")
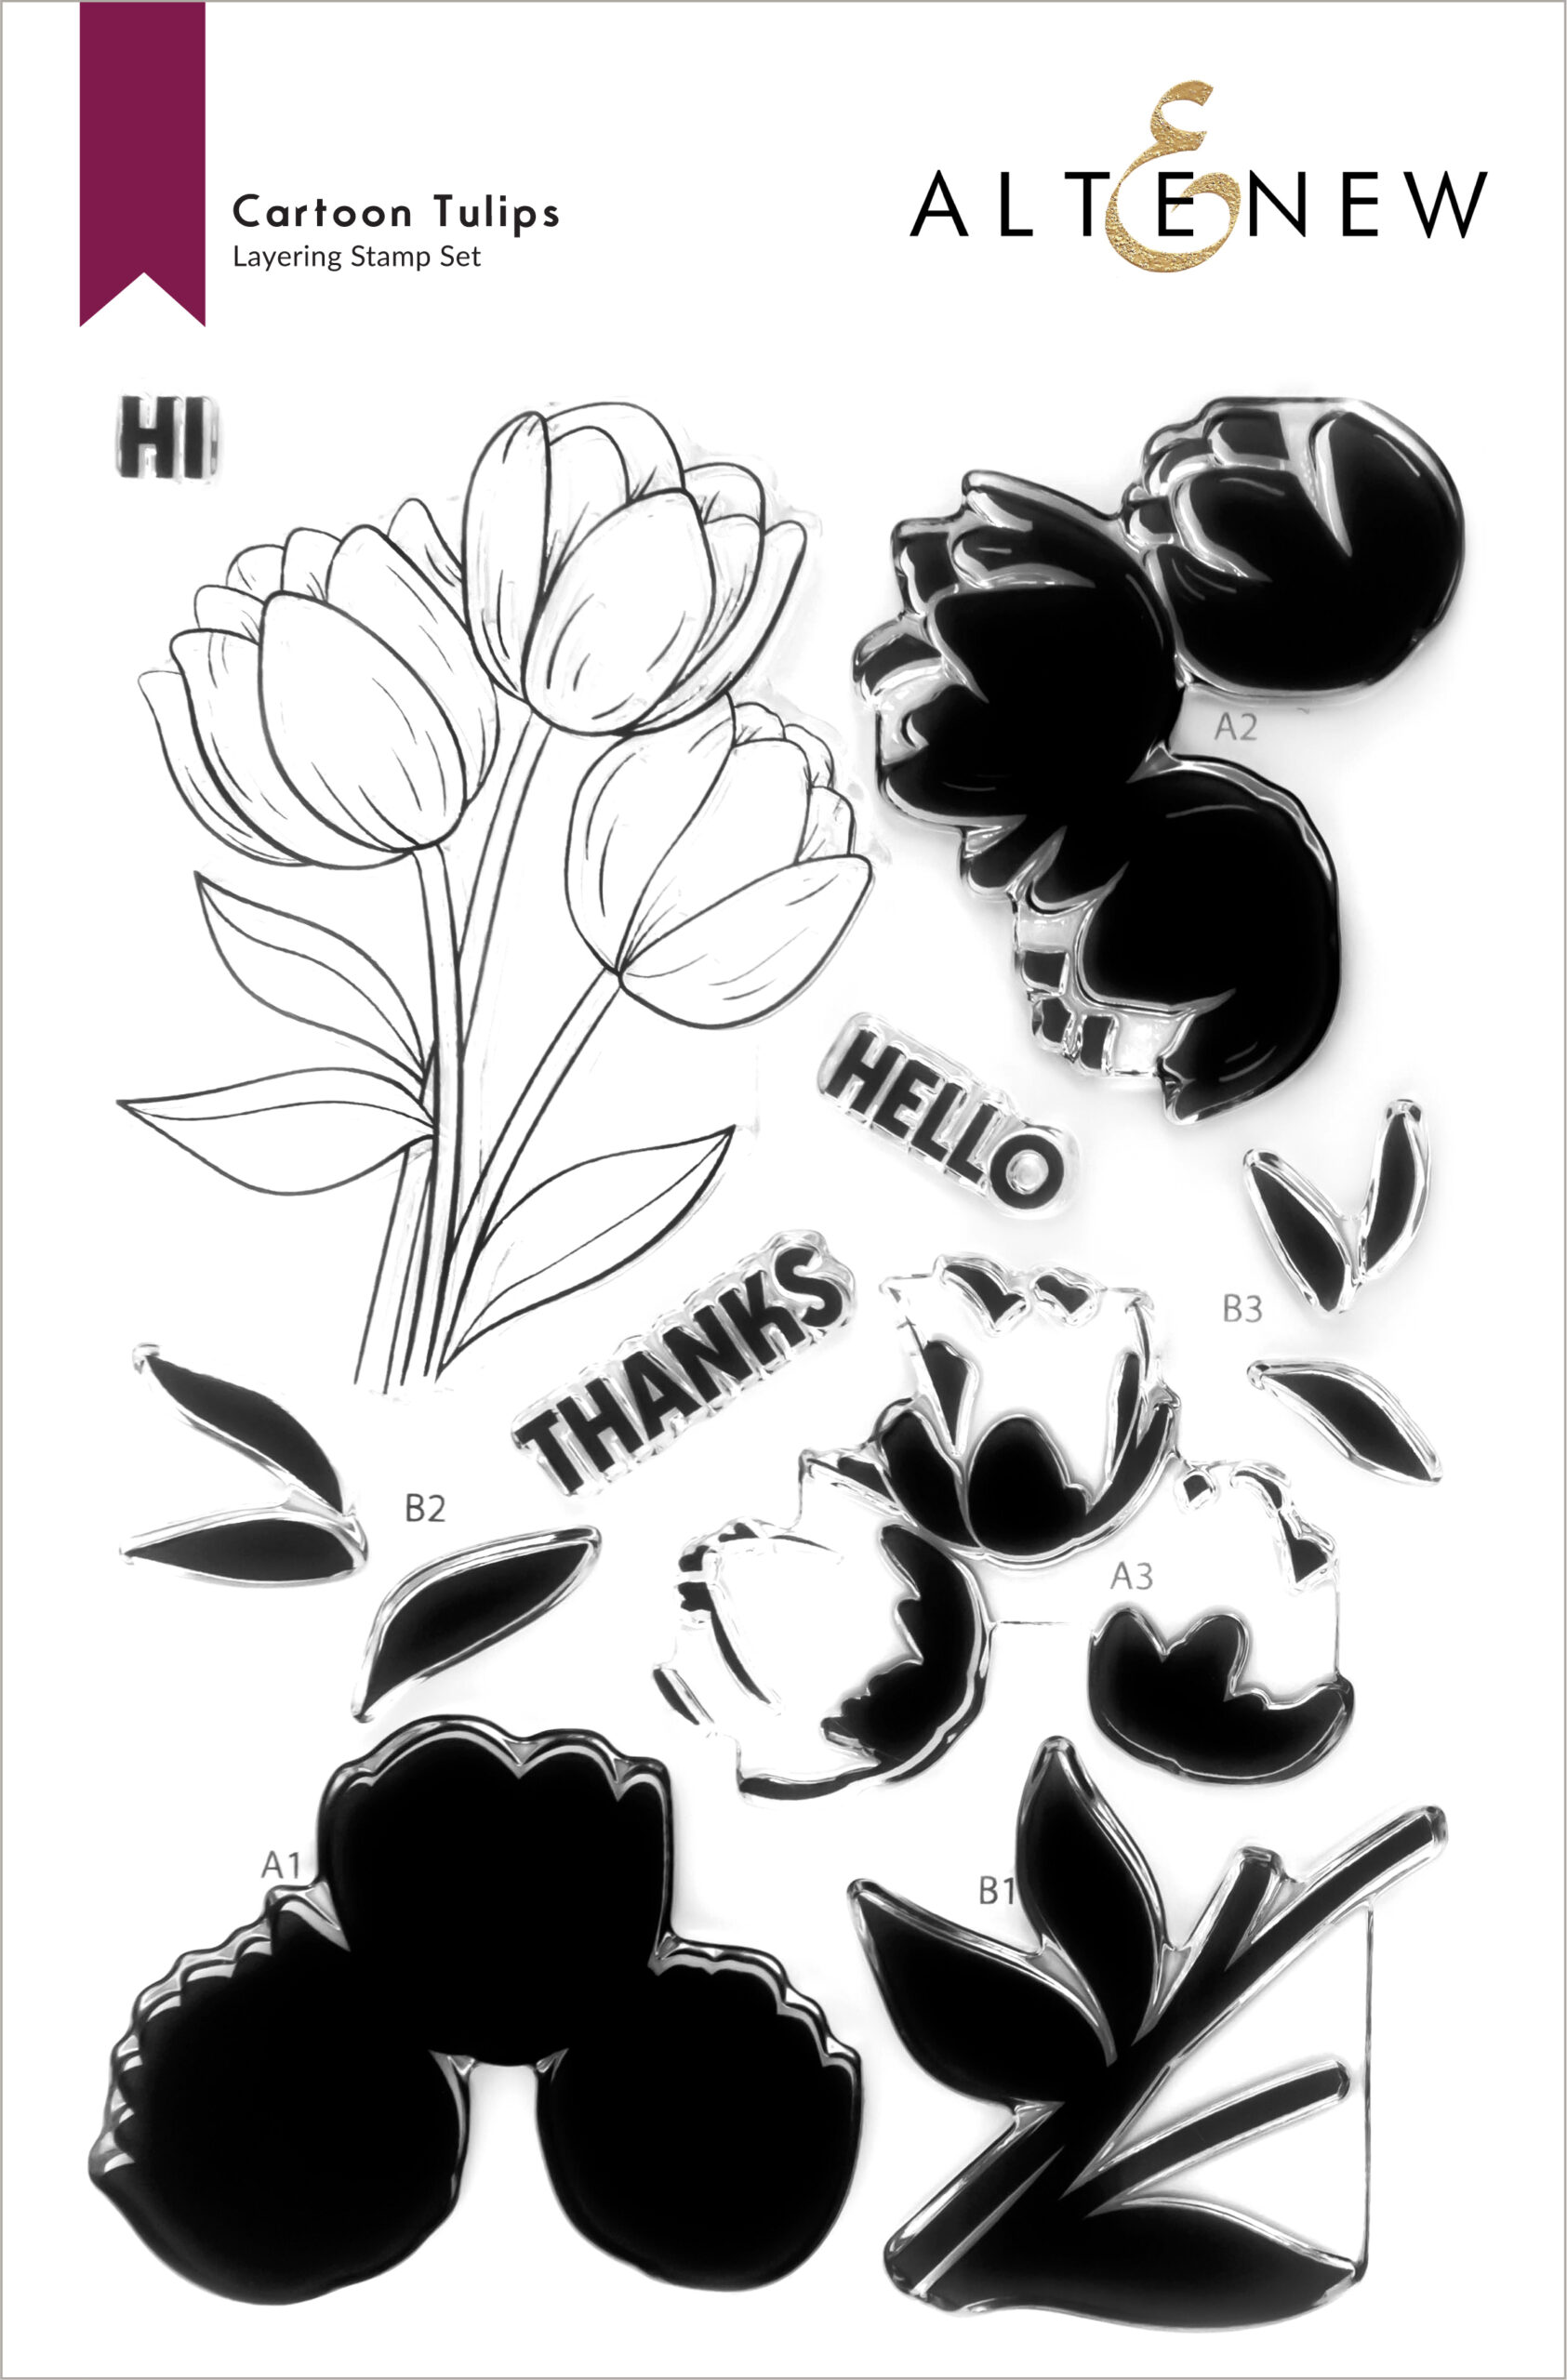
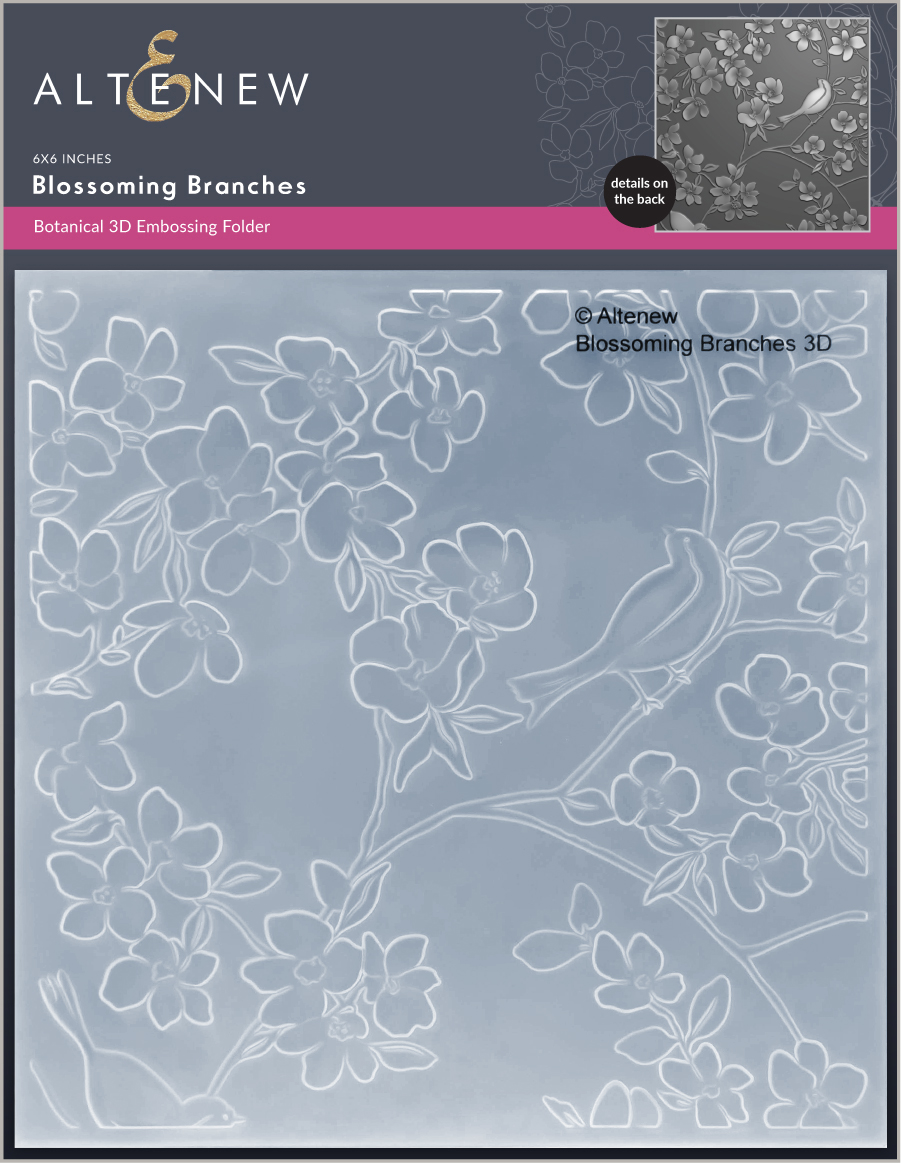
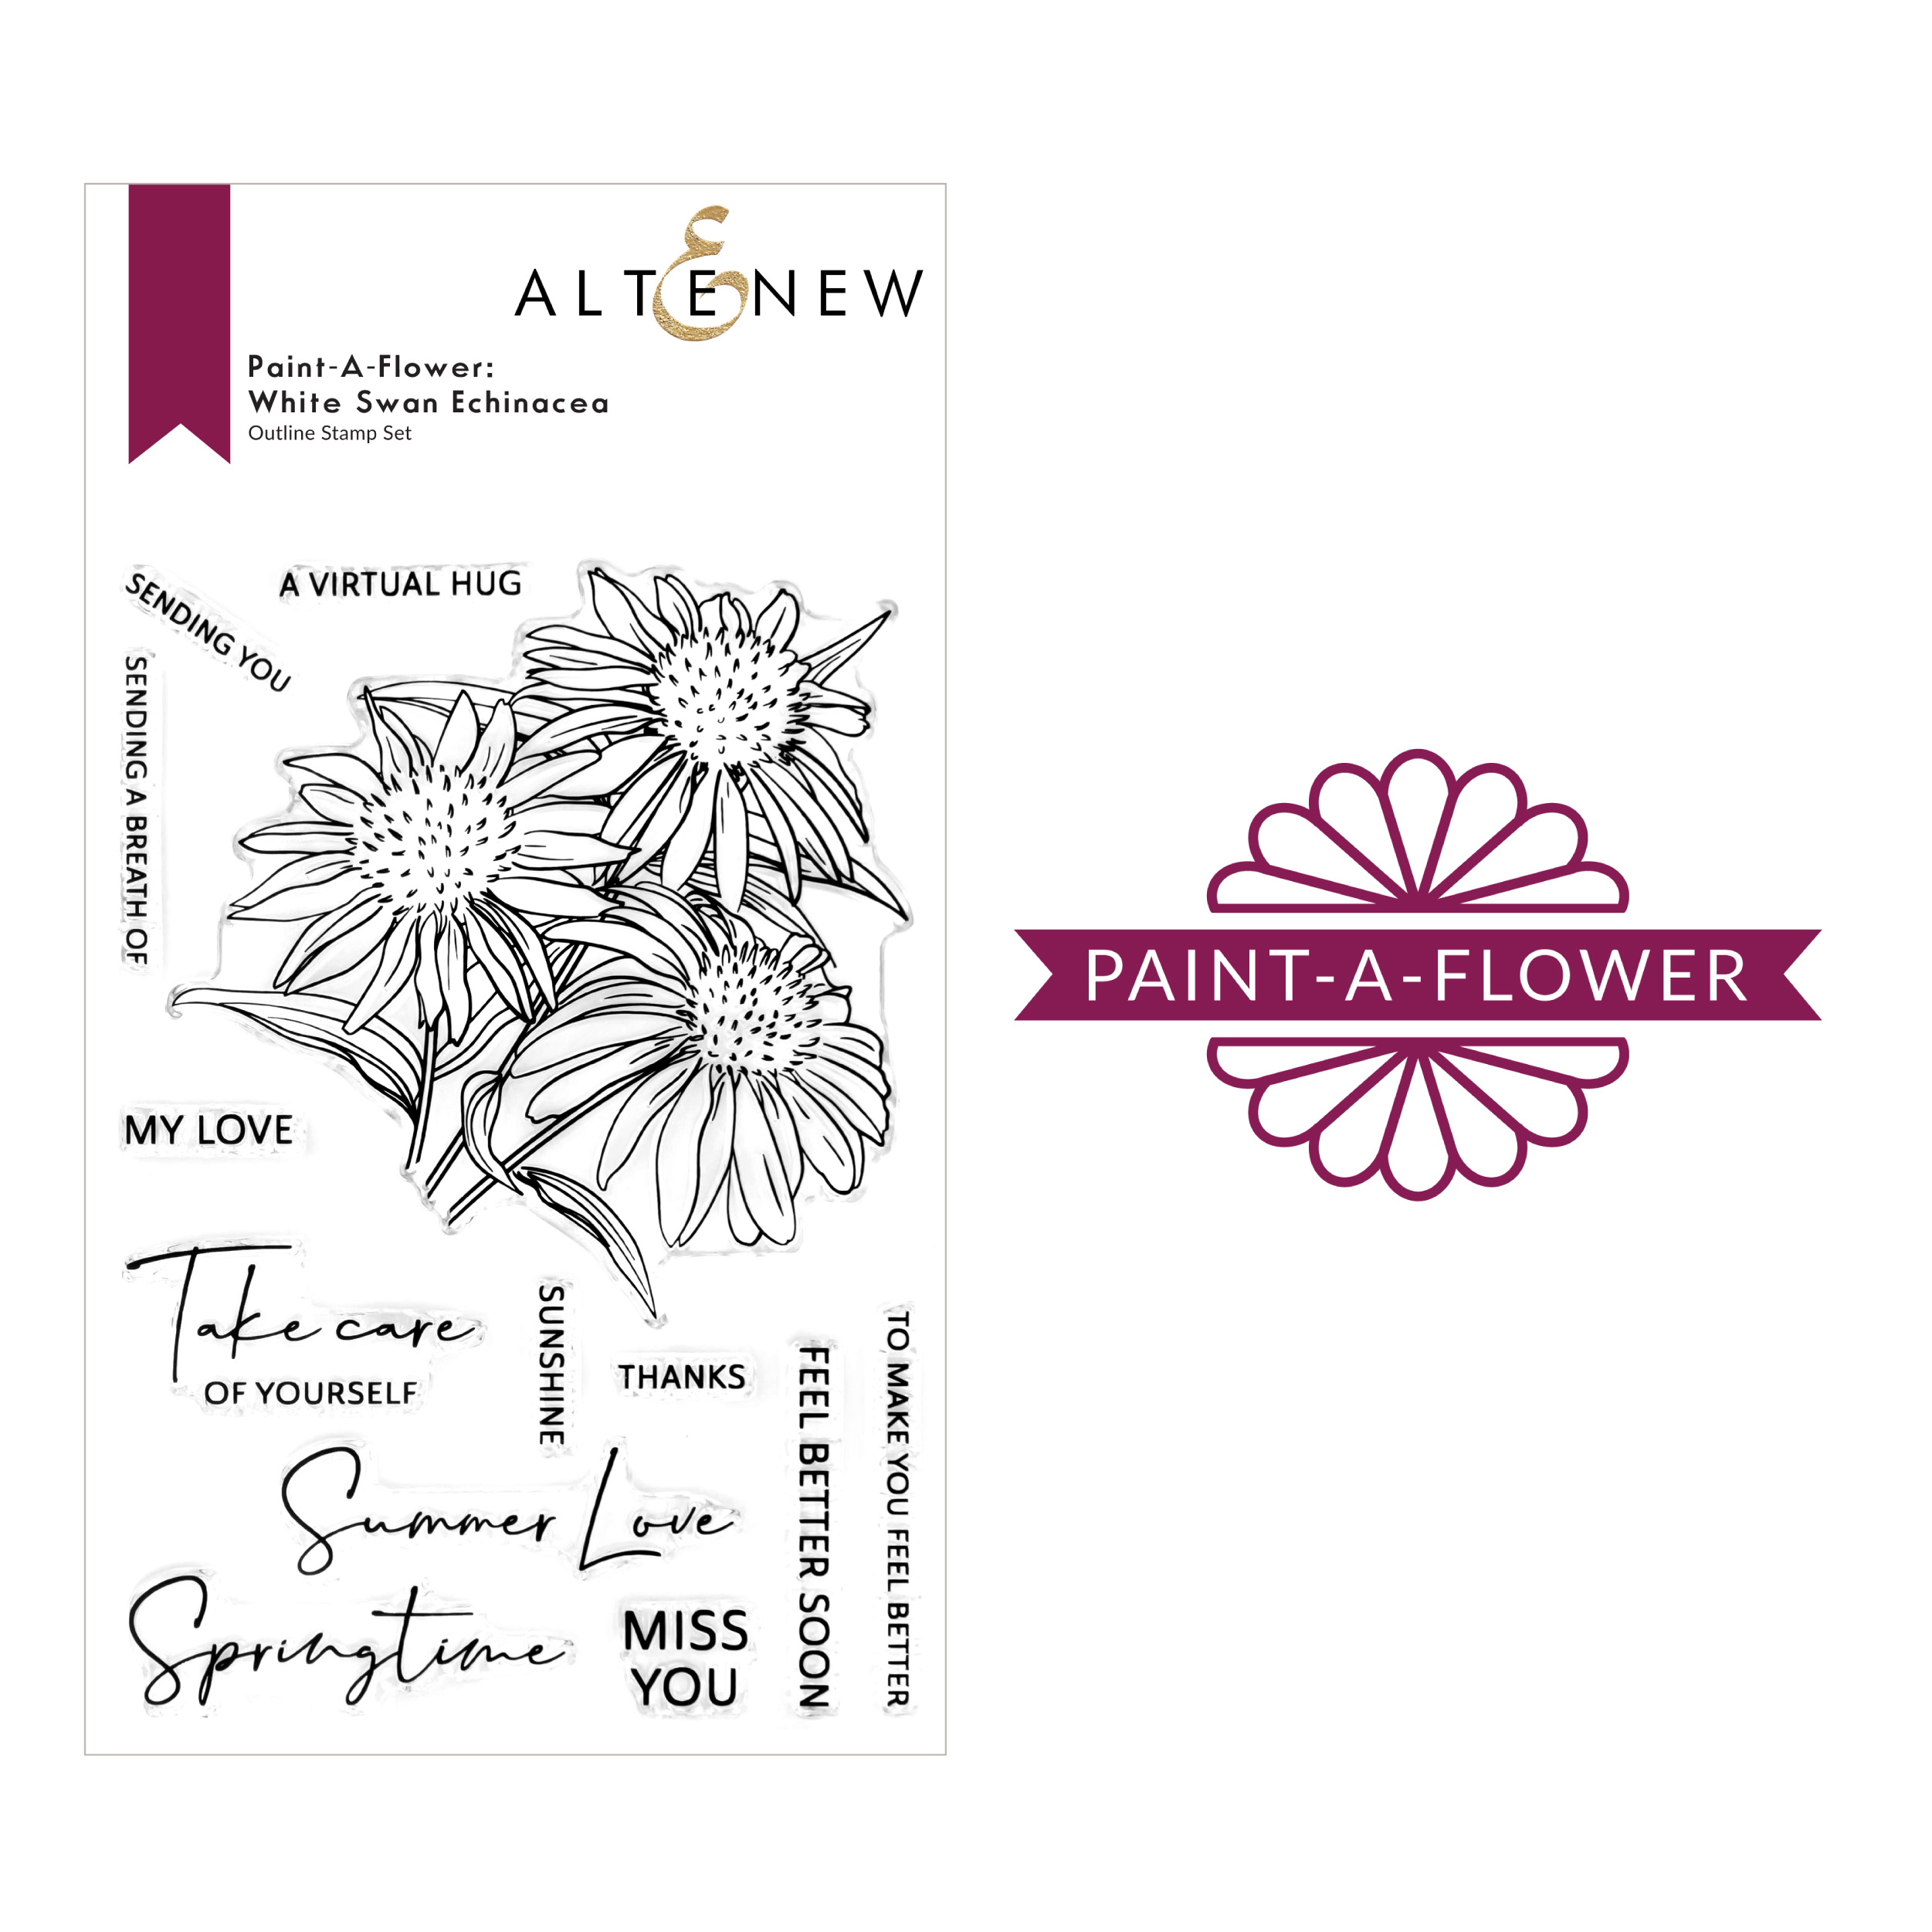
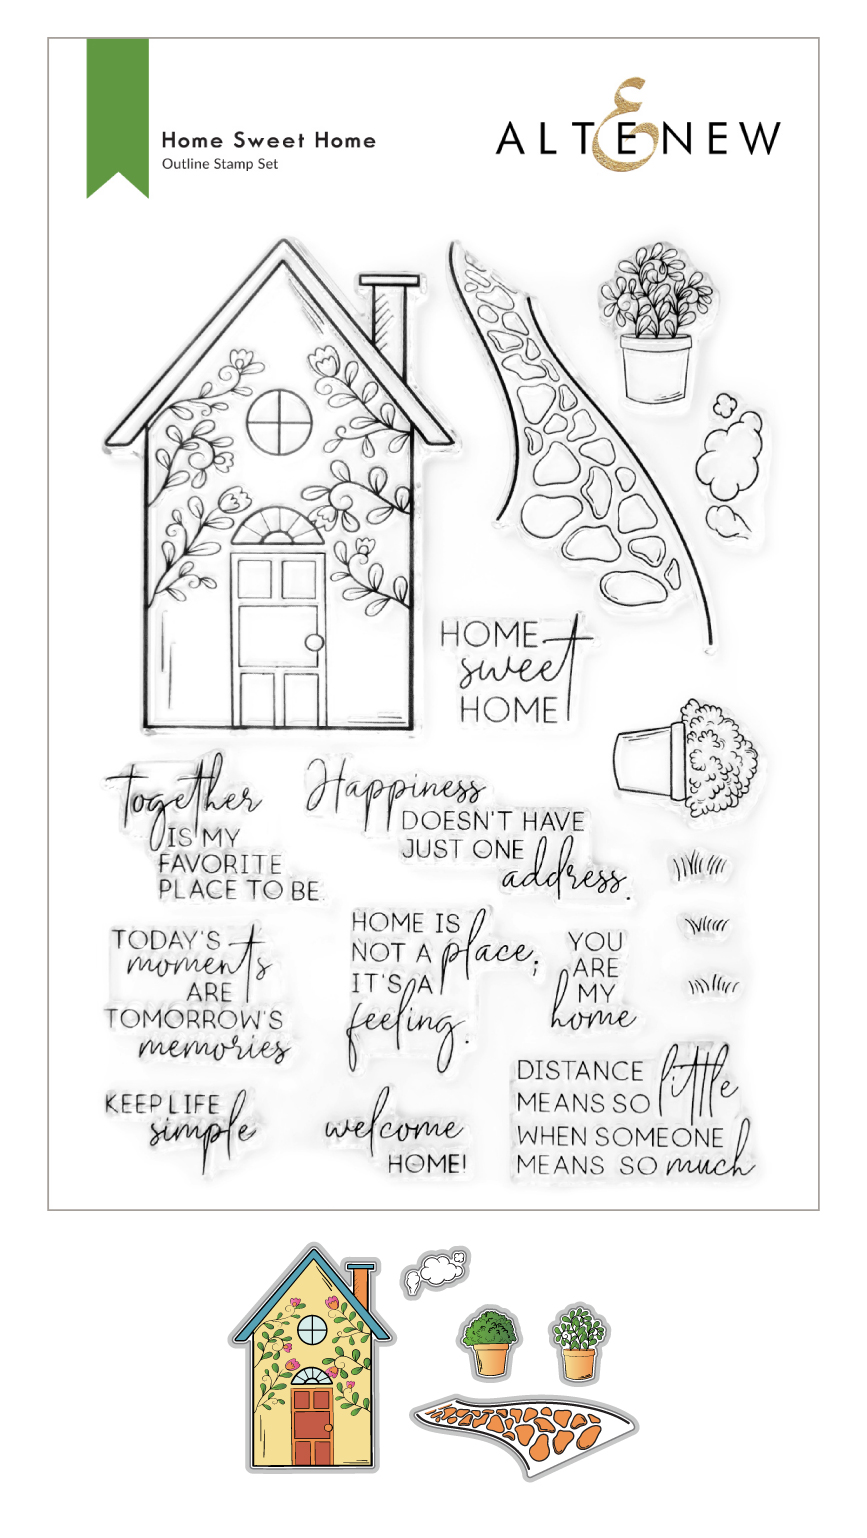
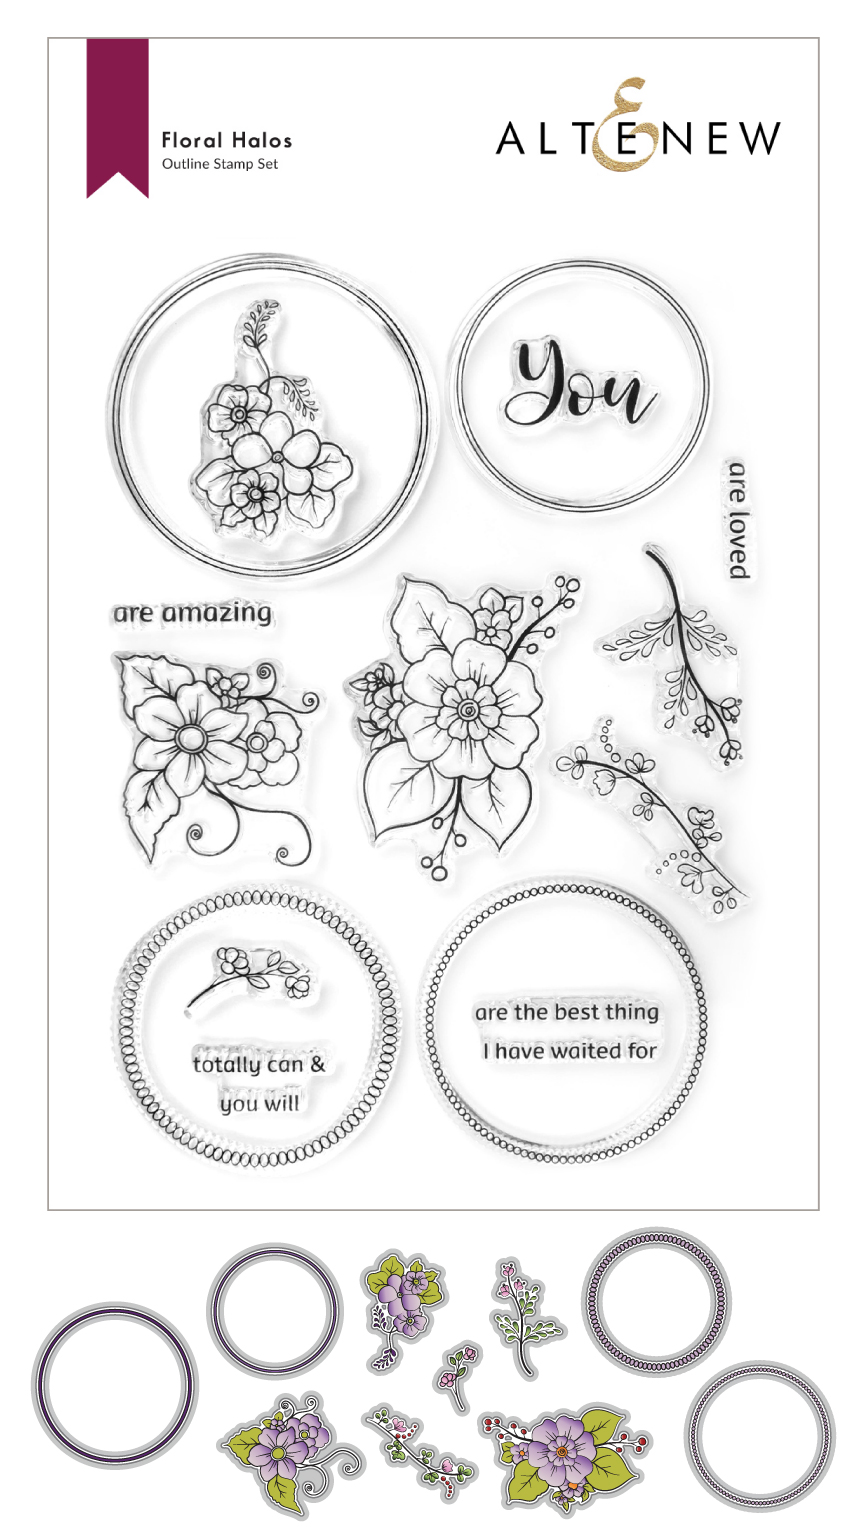
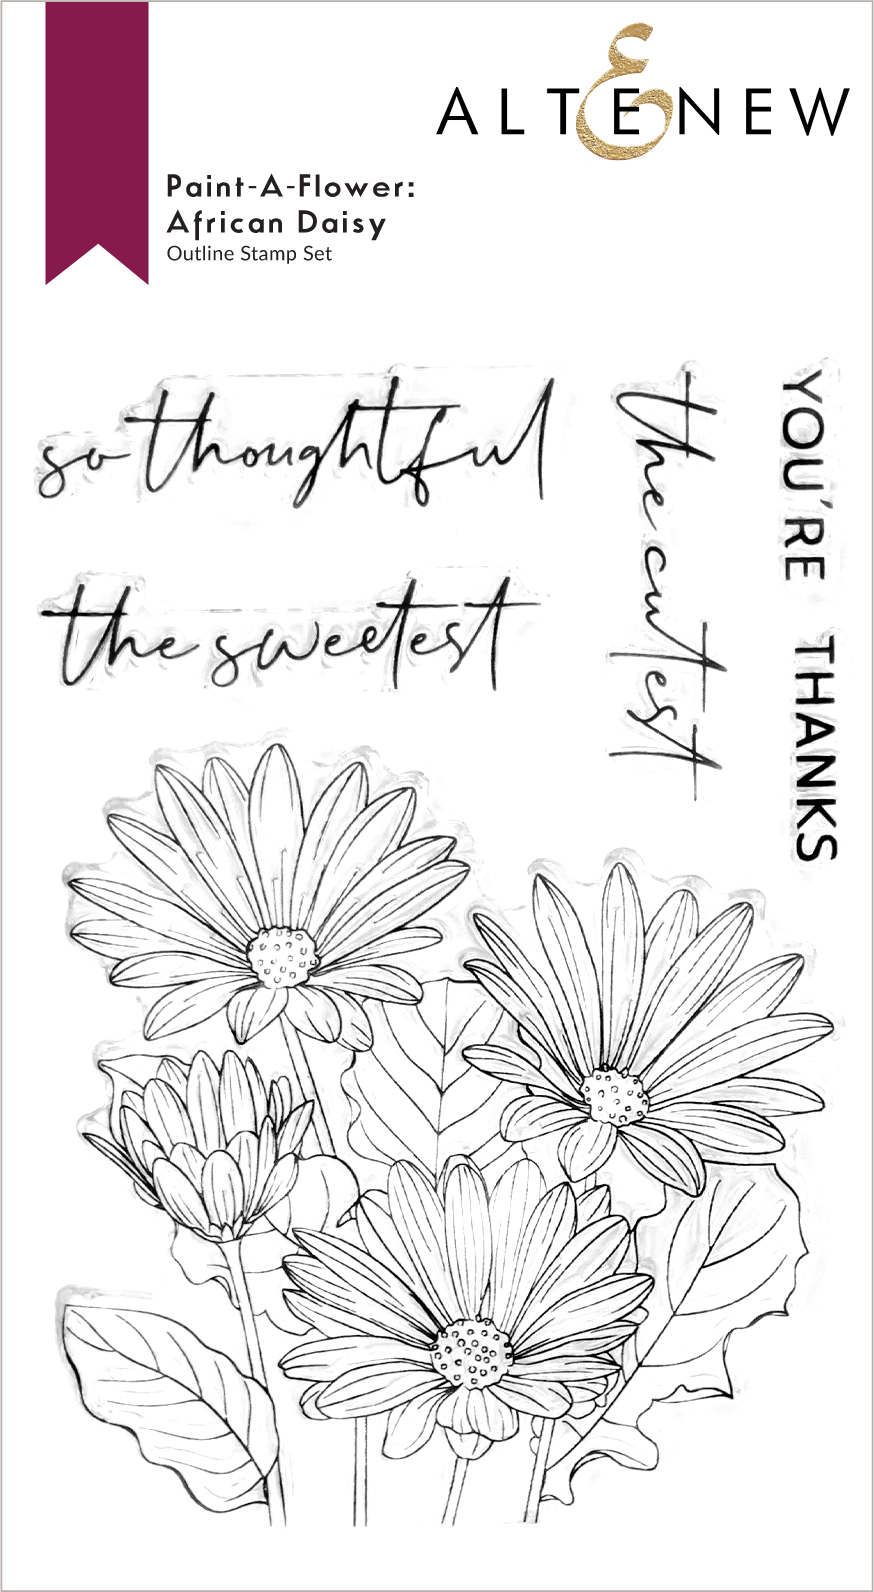
Welcome to my blog, crafty friends! Thanks so much, Emily Midgett, for sending everybody over. For the complete details of this hop, head over to the Altenew blog. Take a look at the latest Build-a-Flower release:
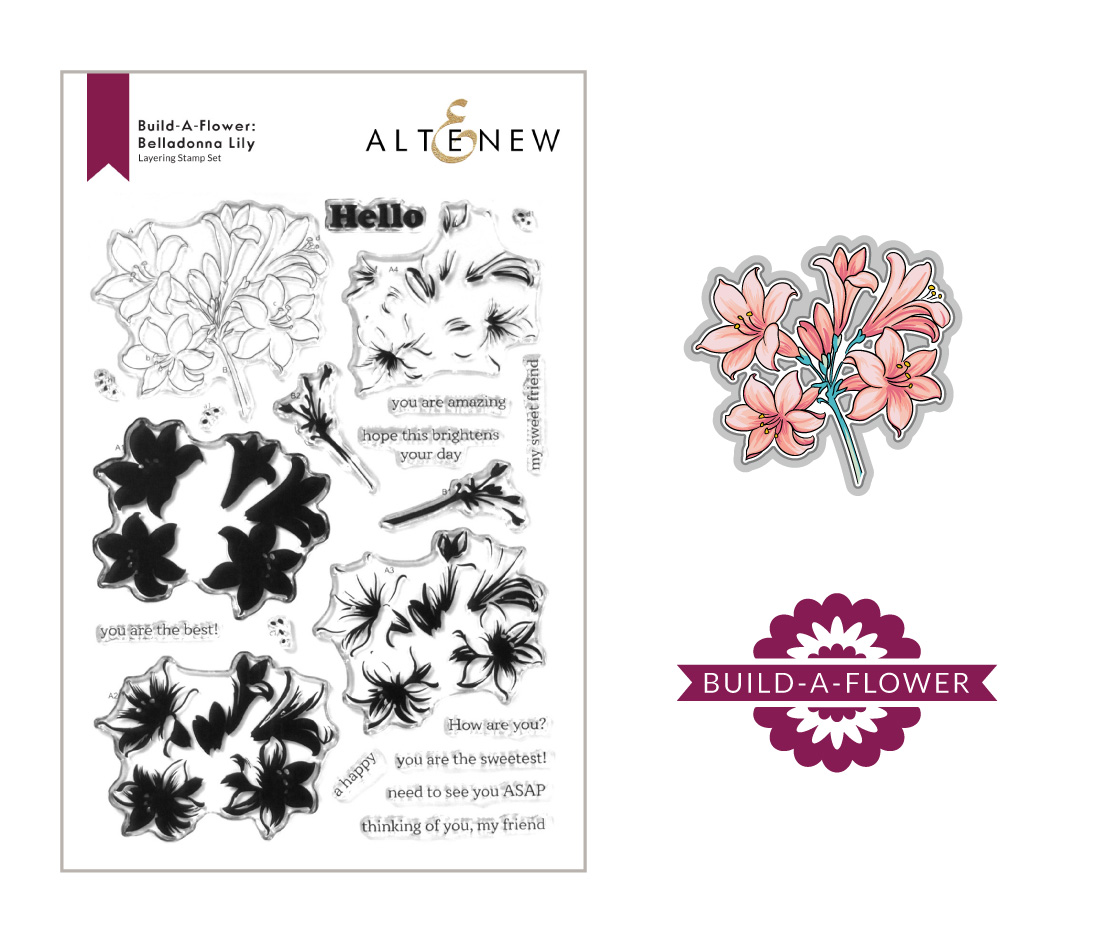
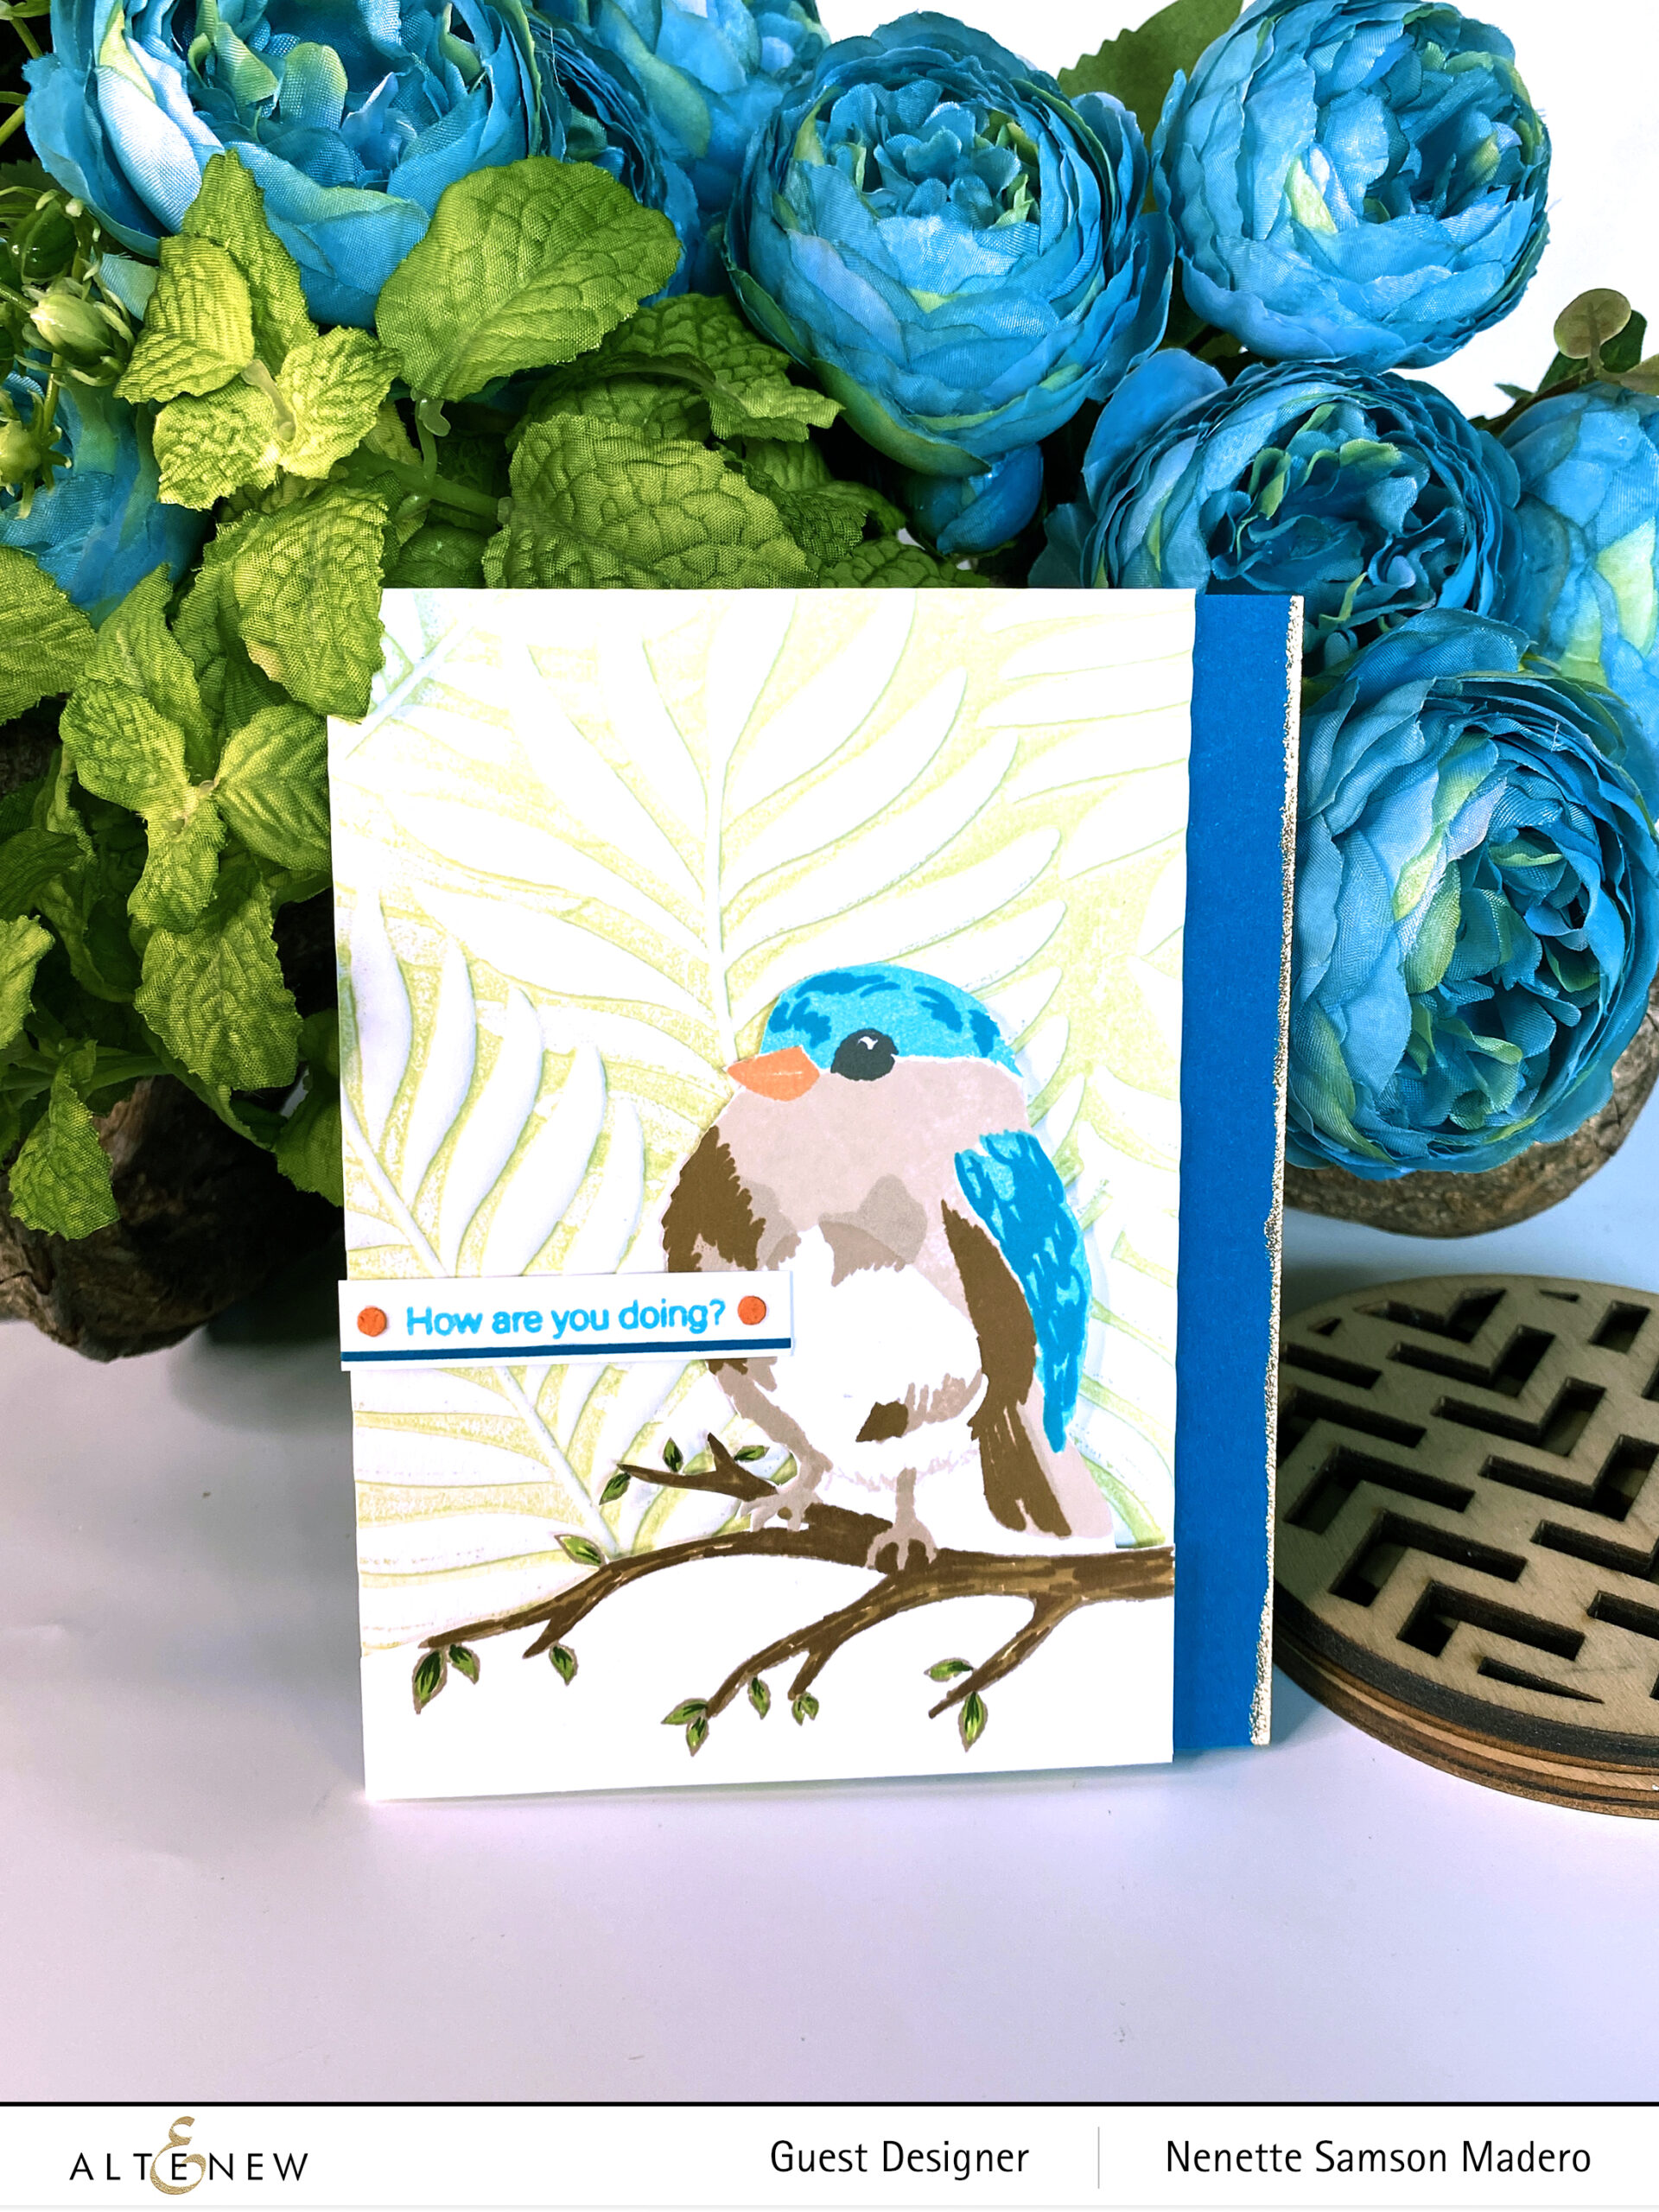
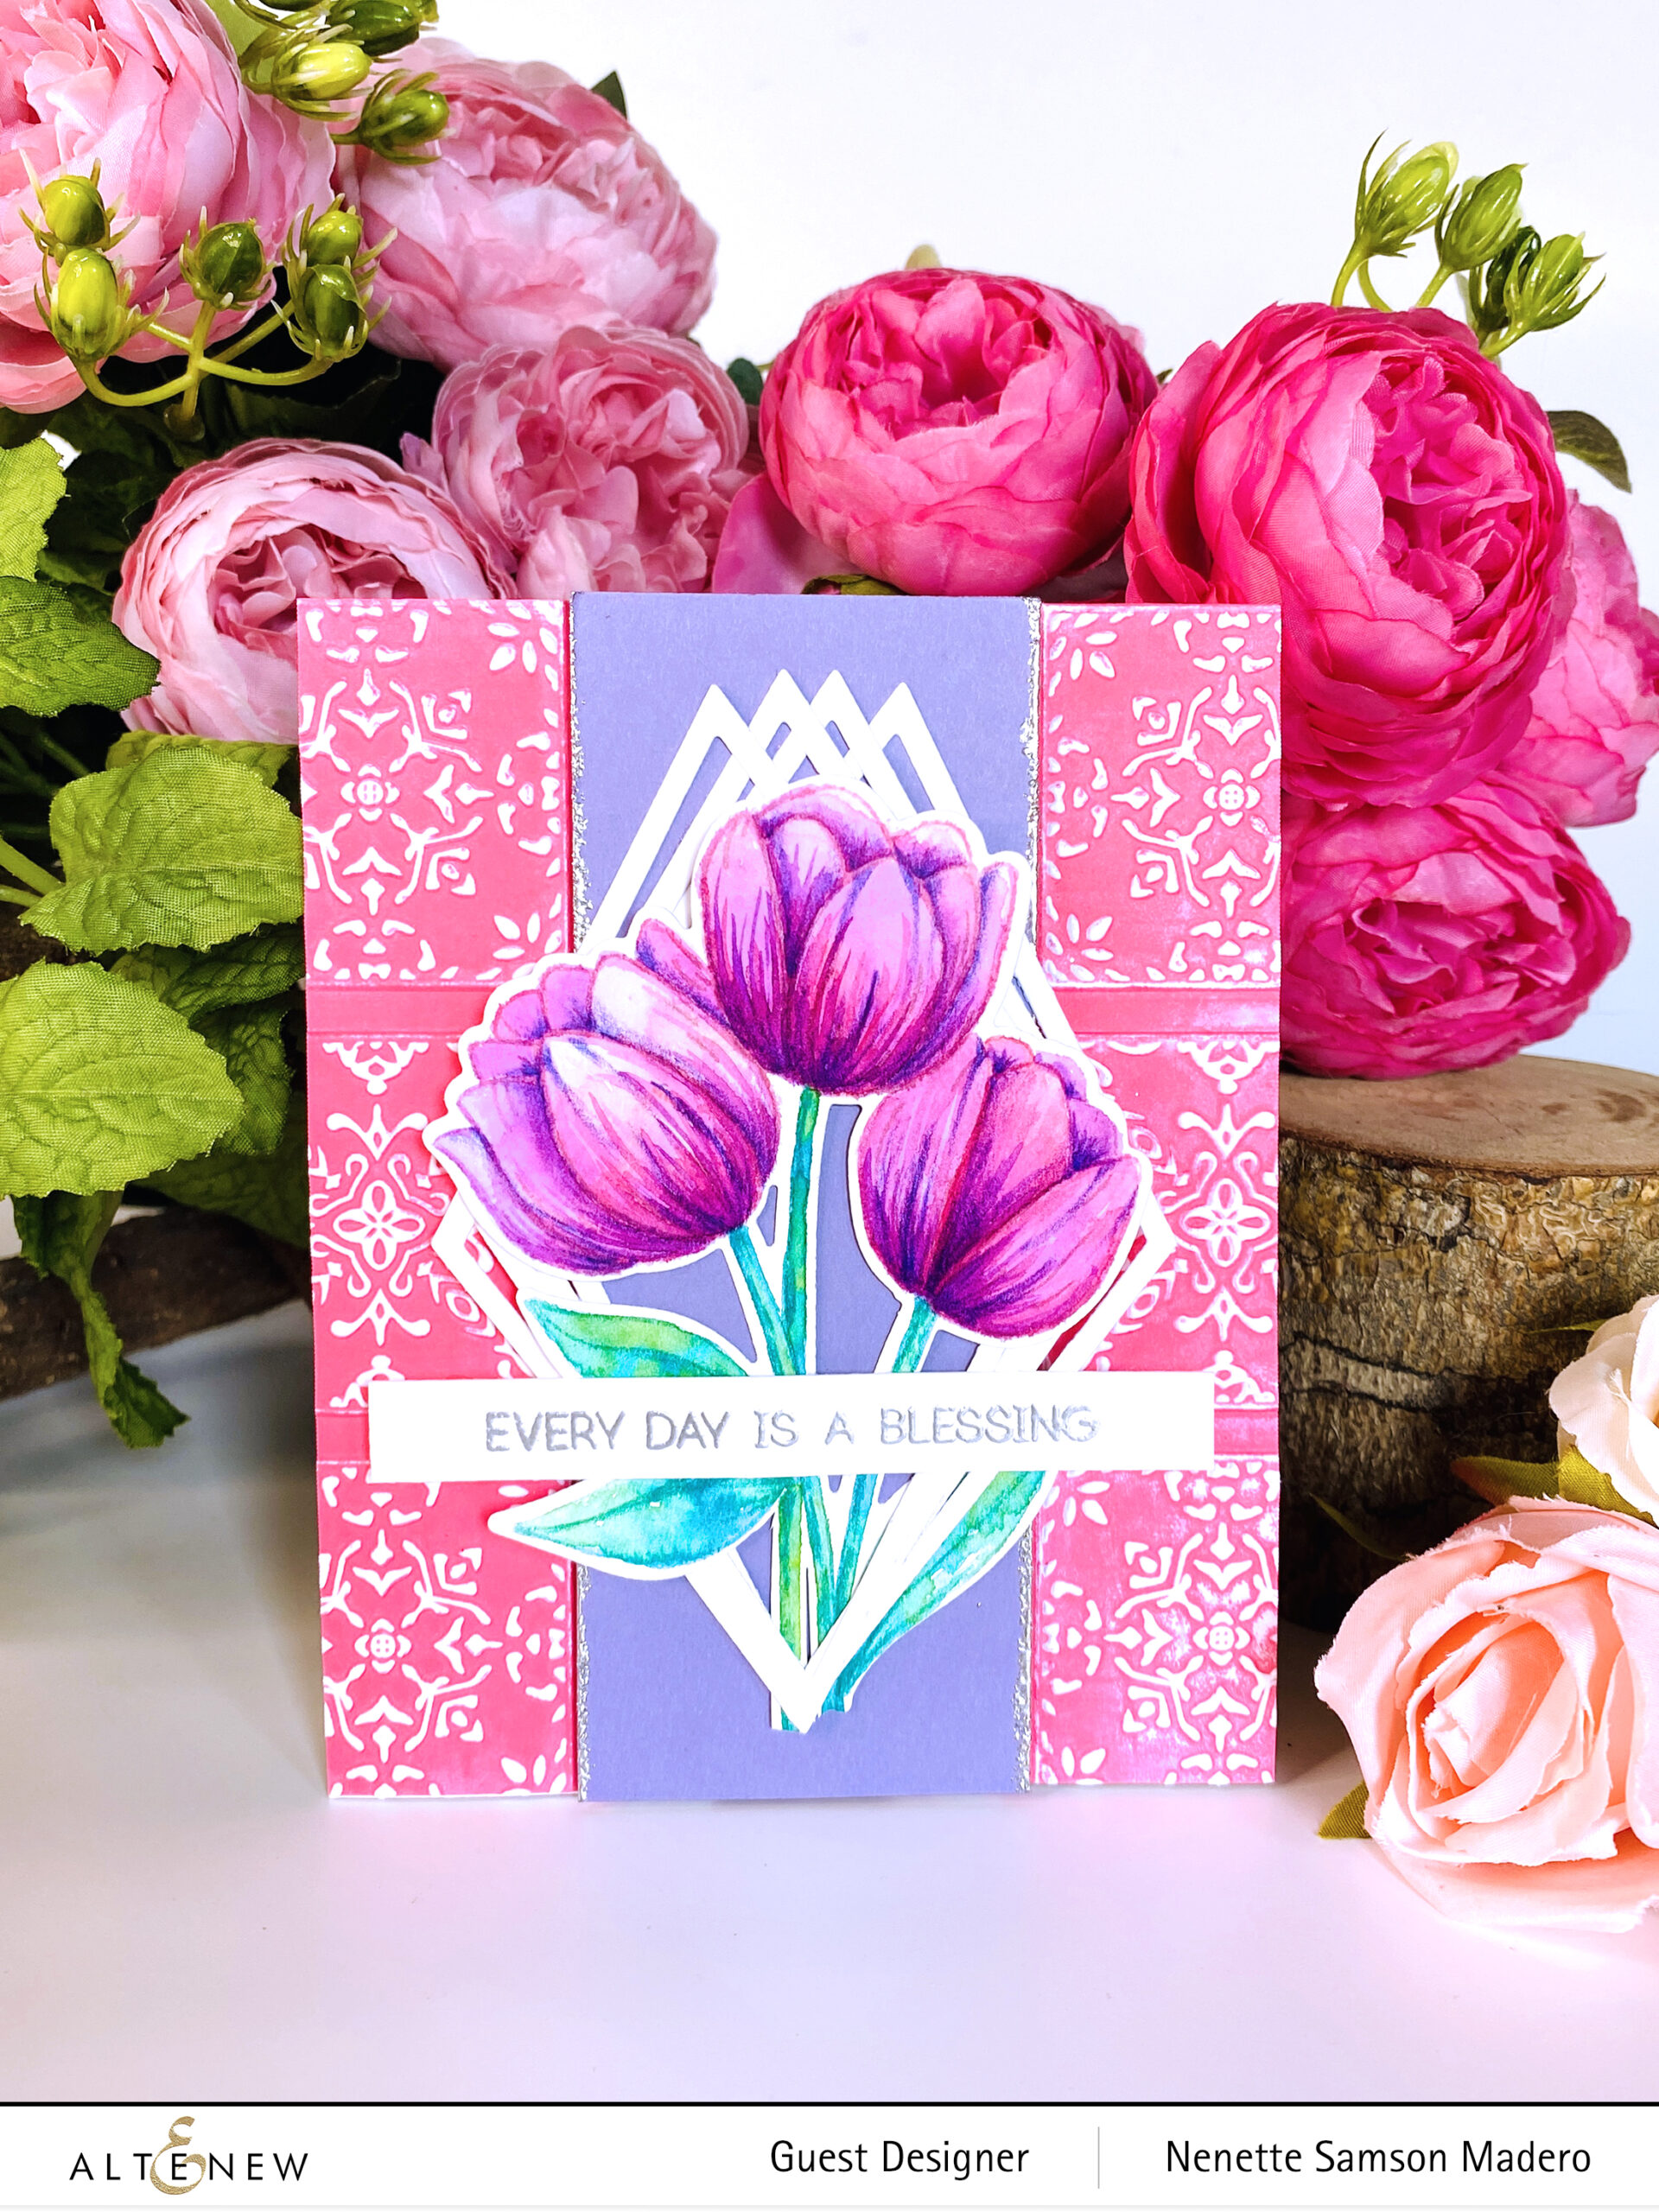
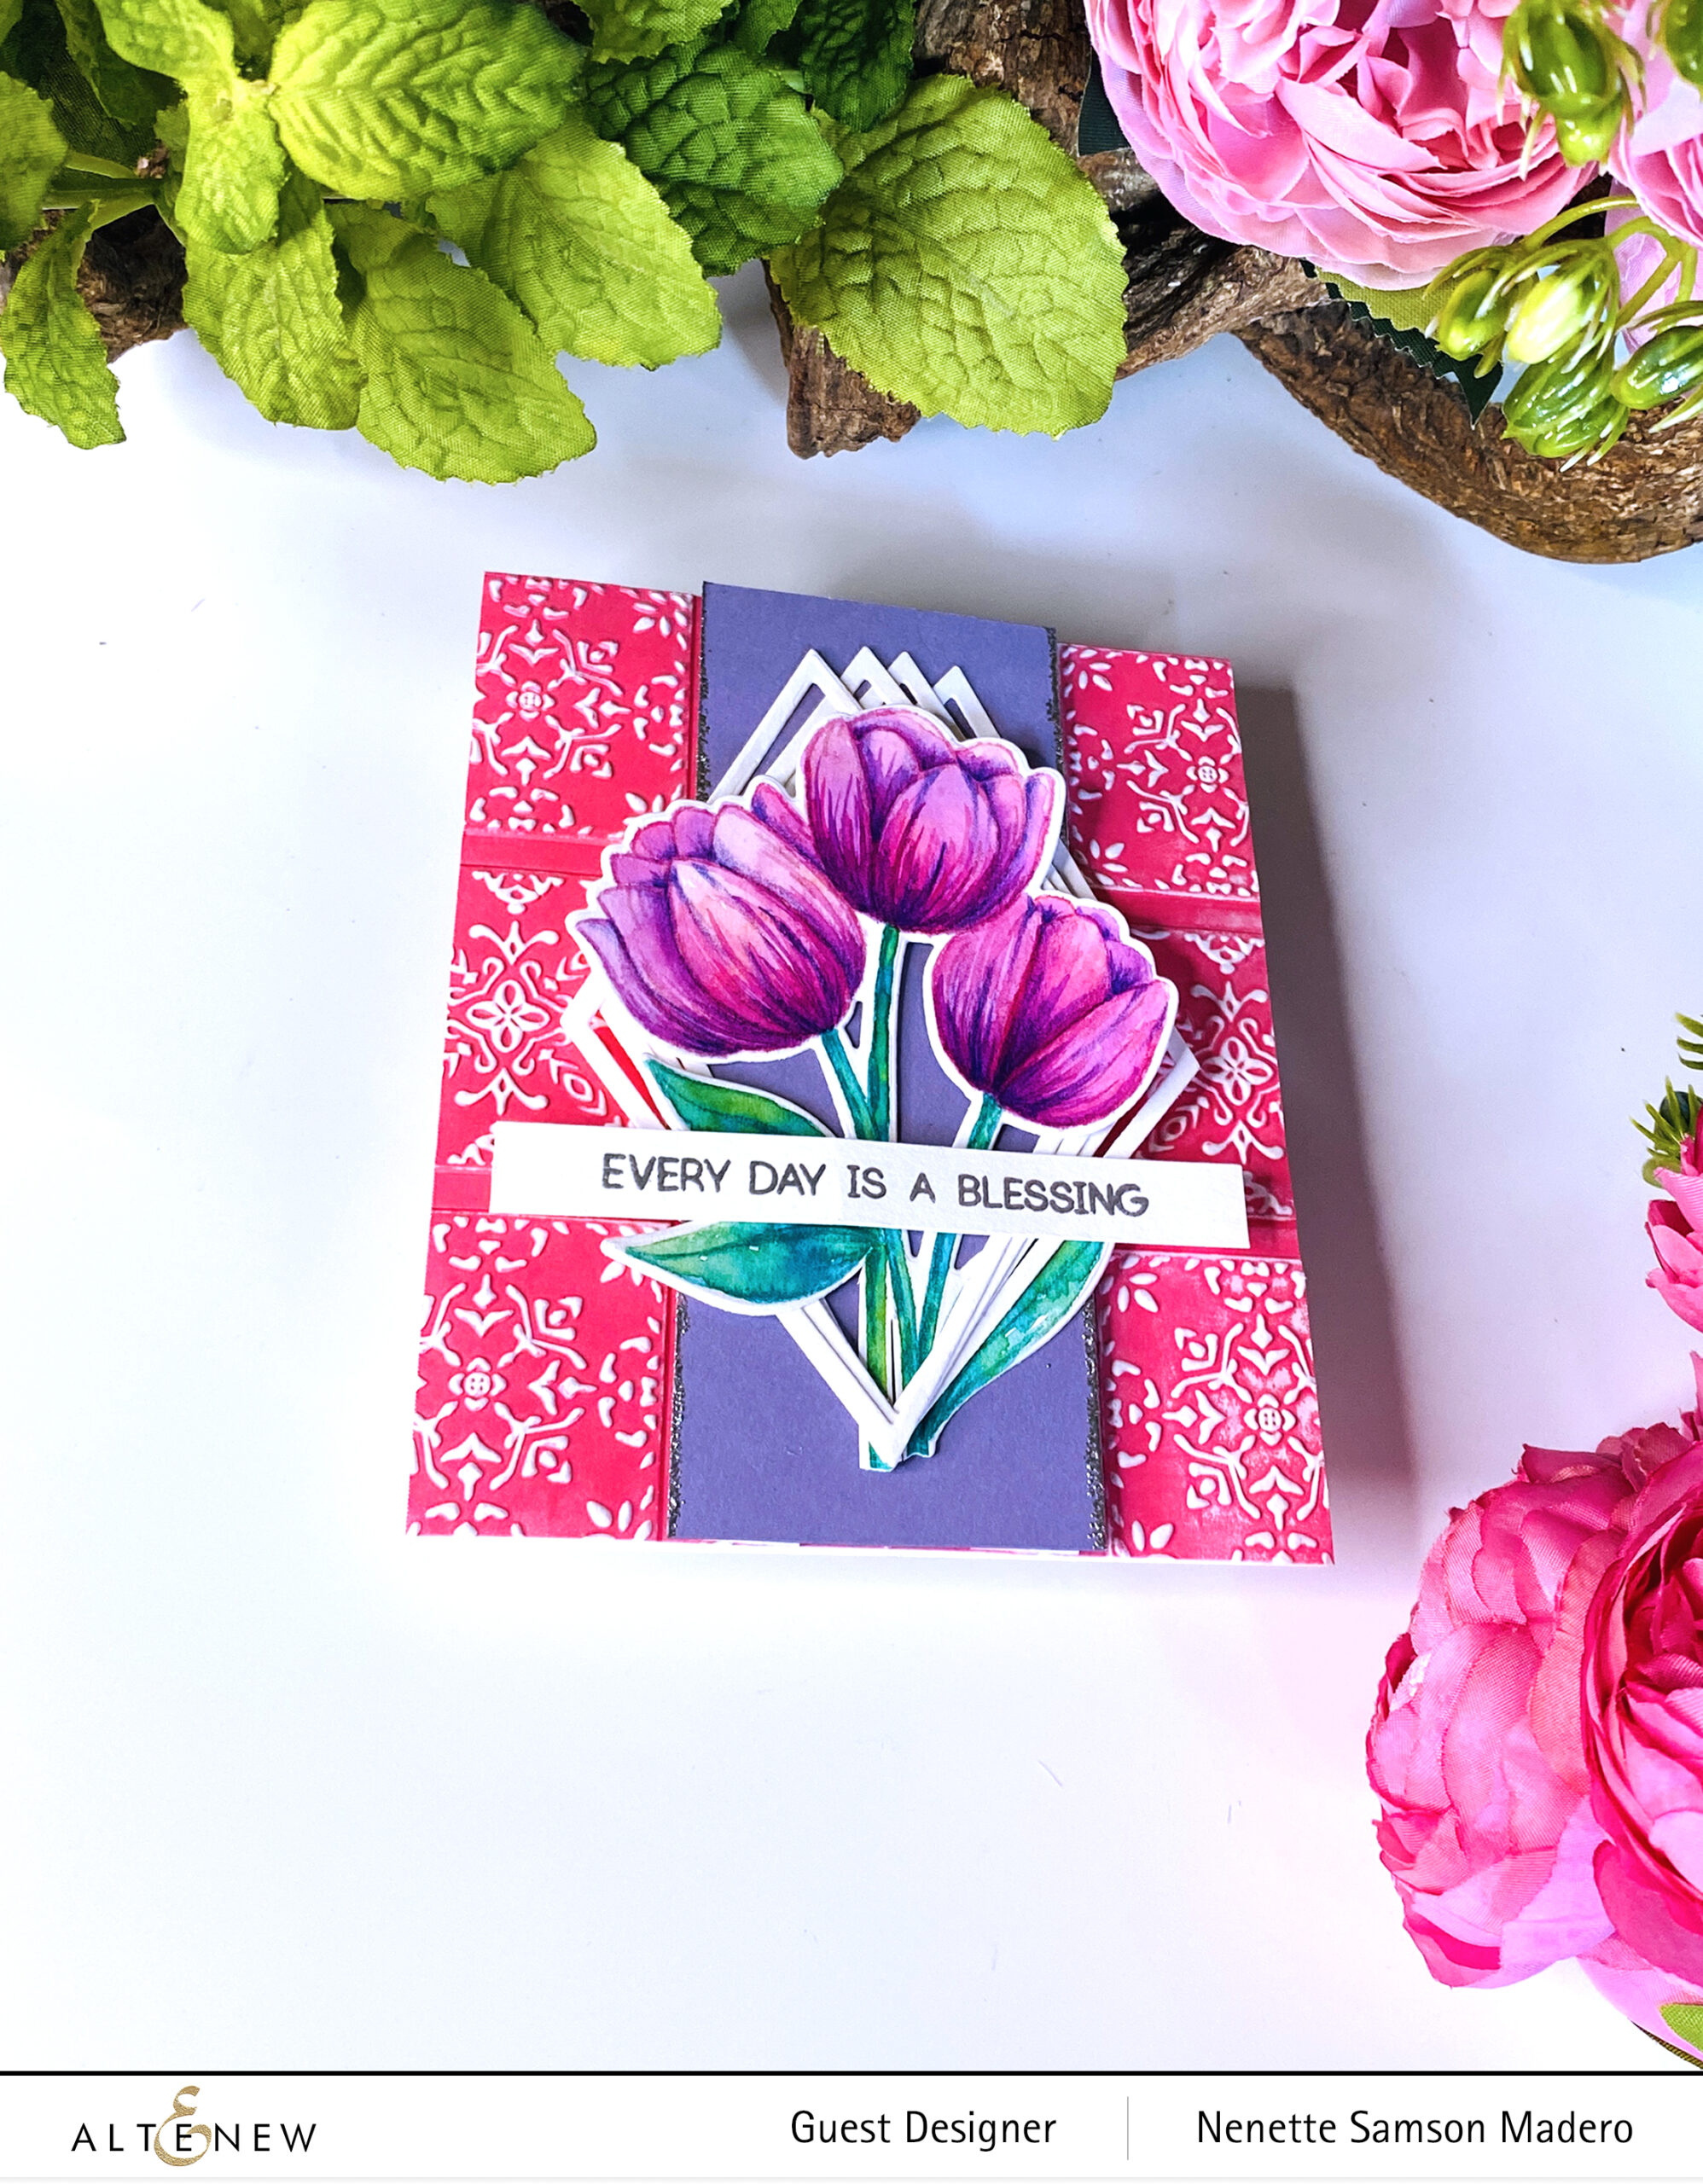
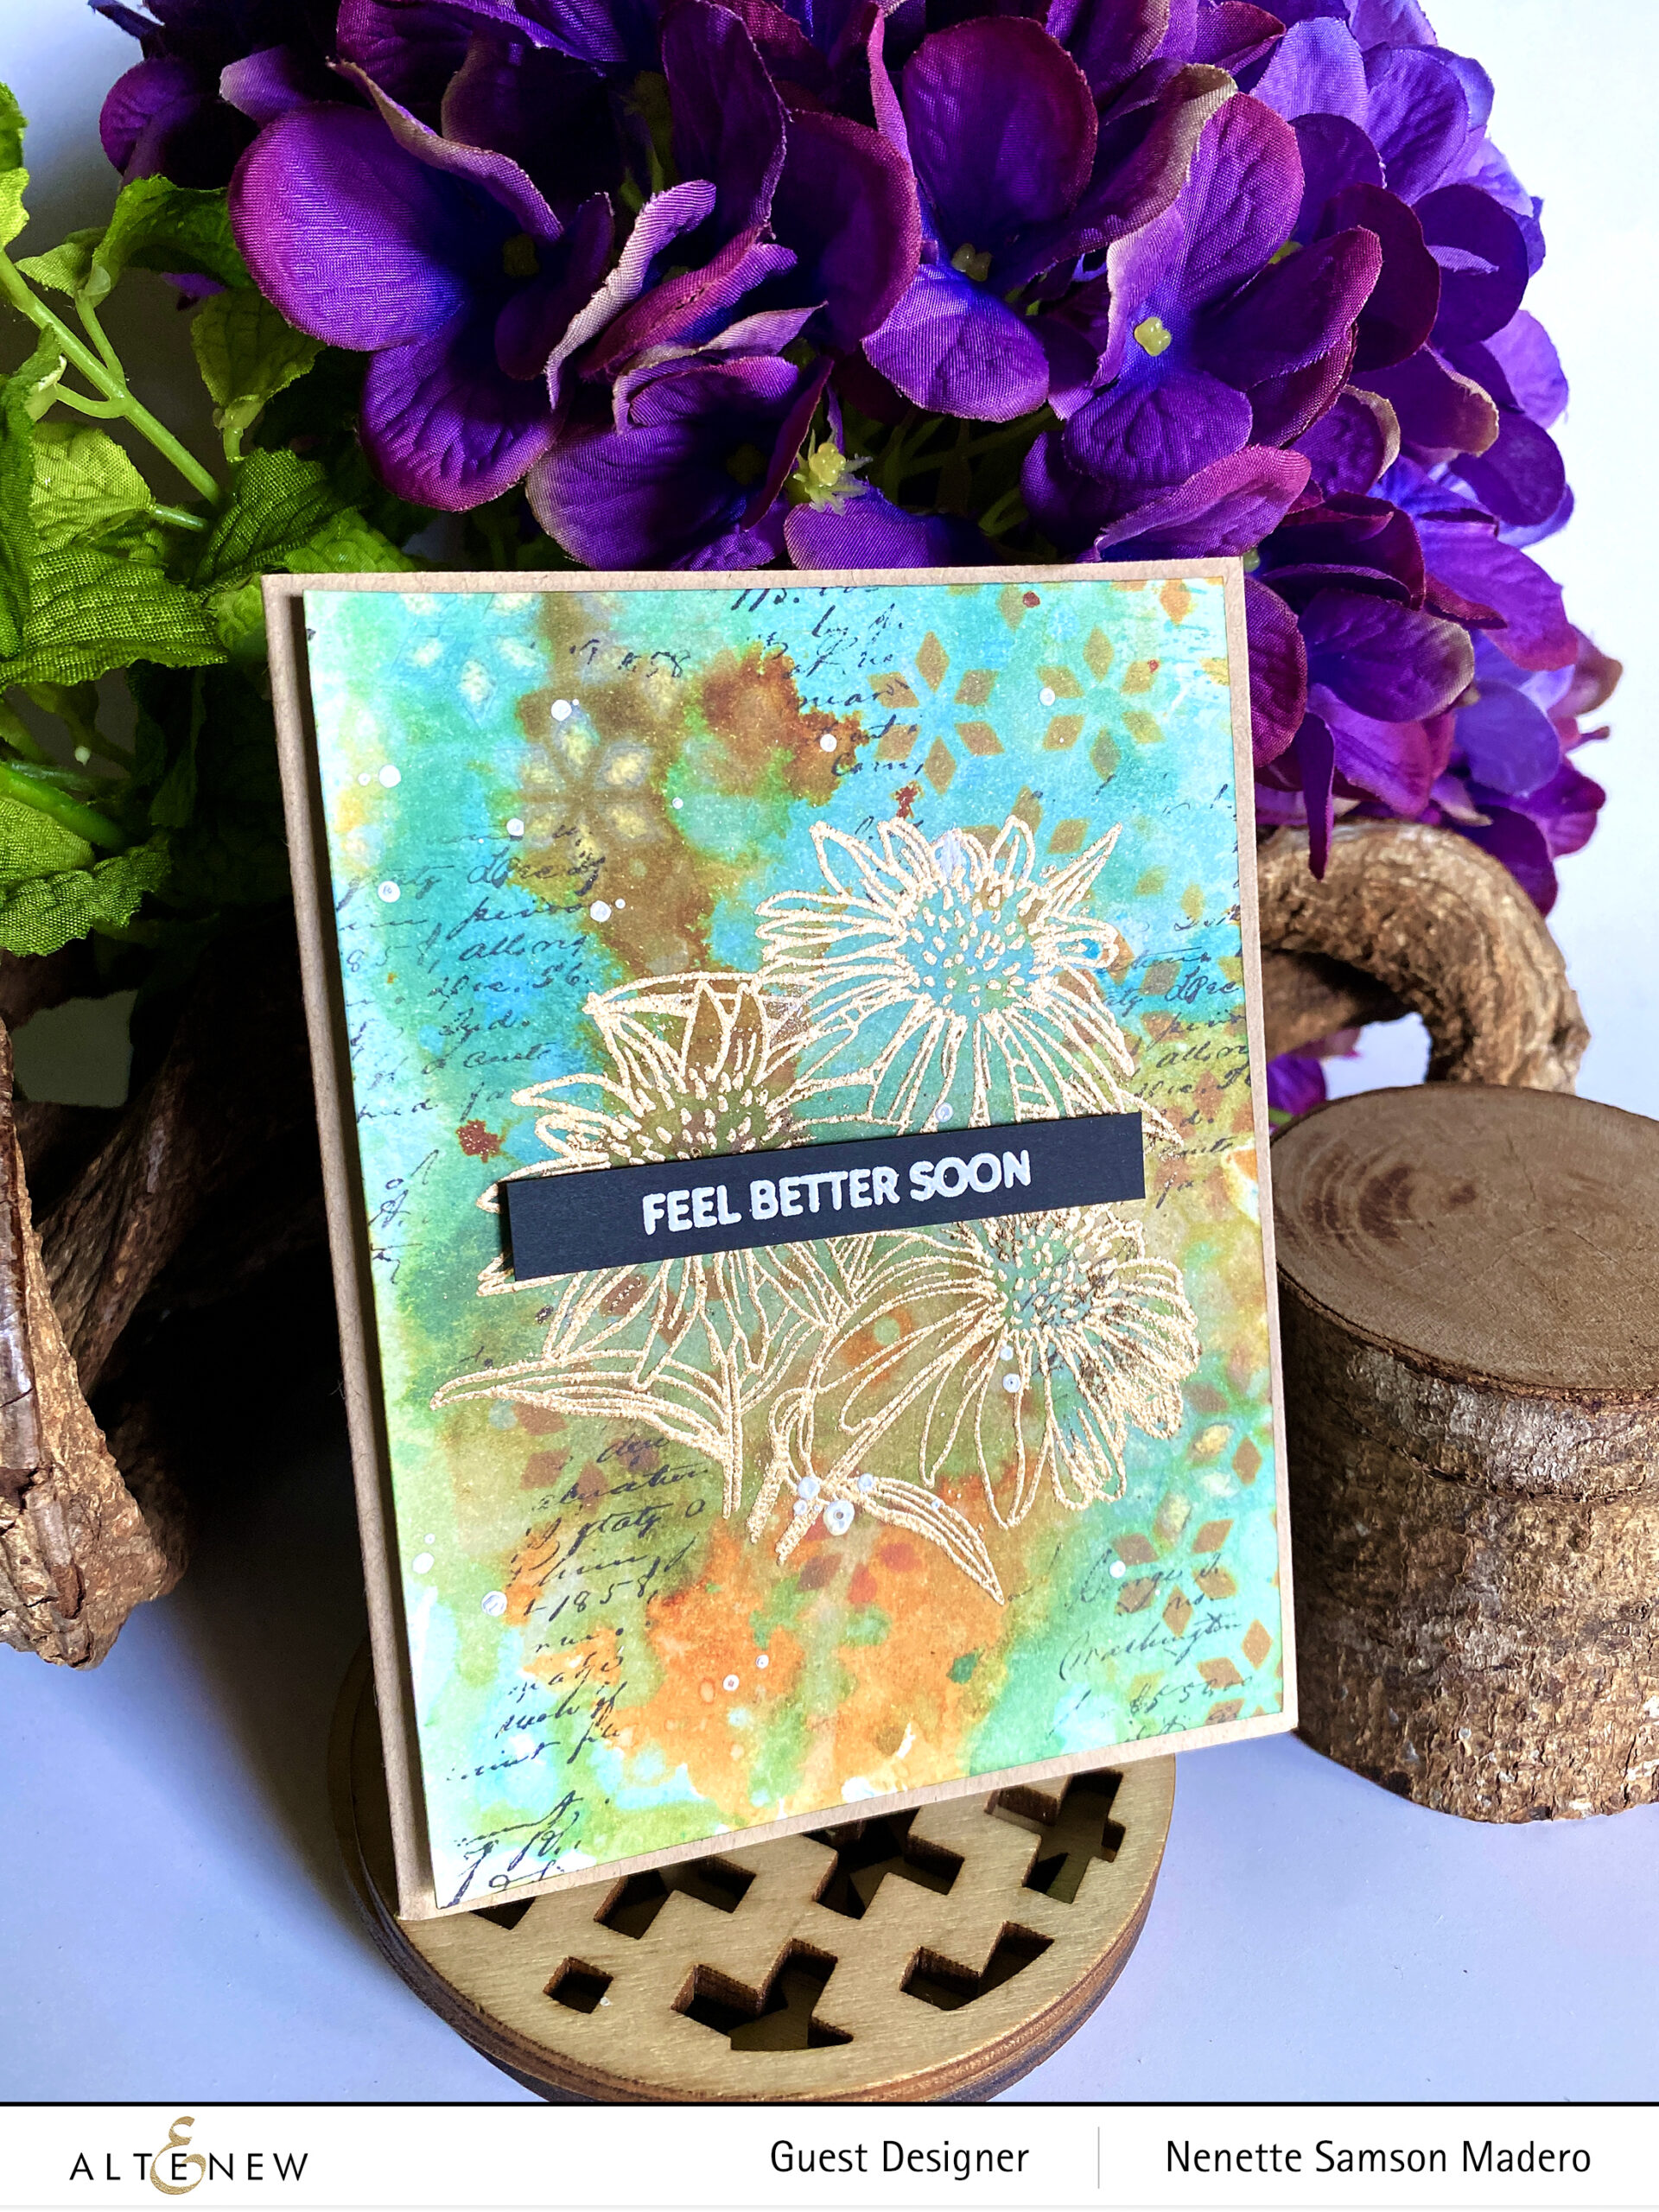
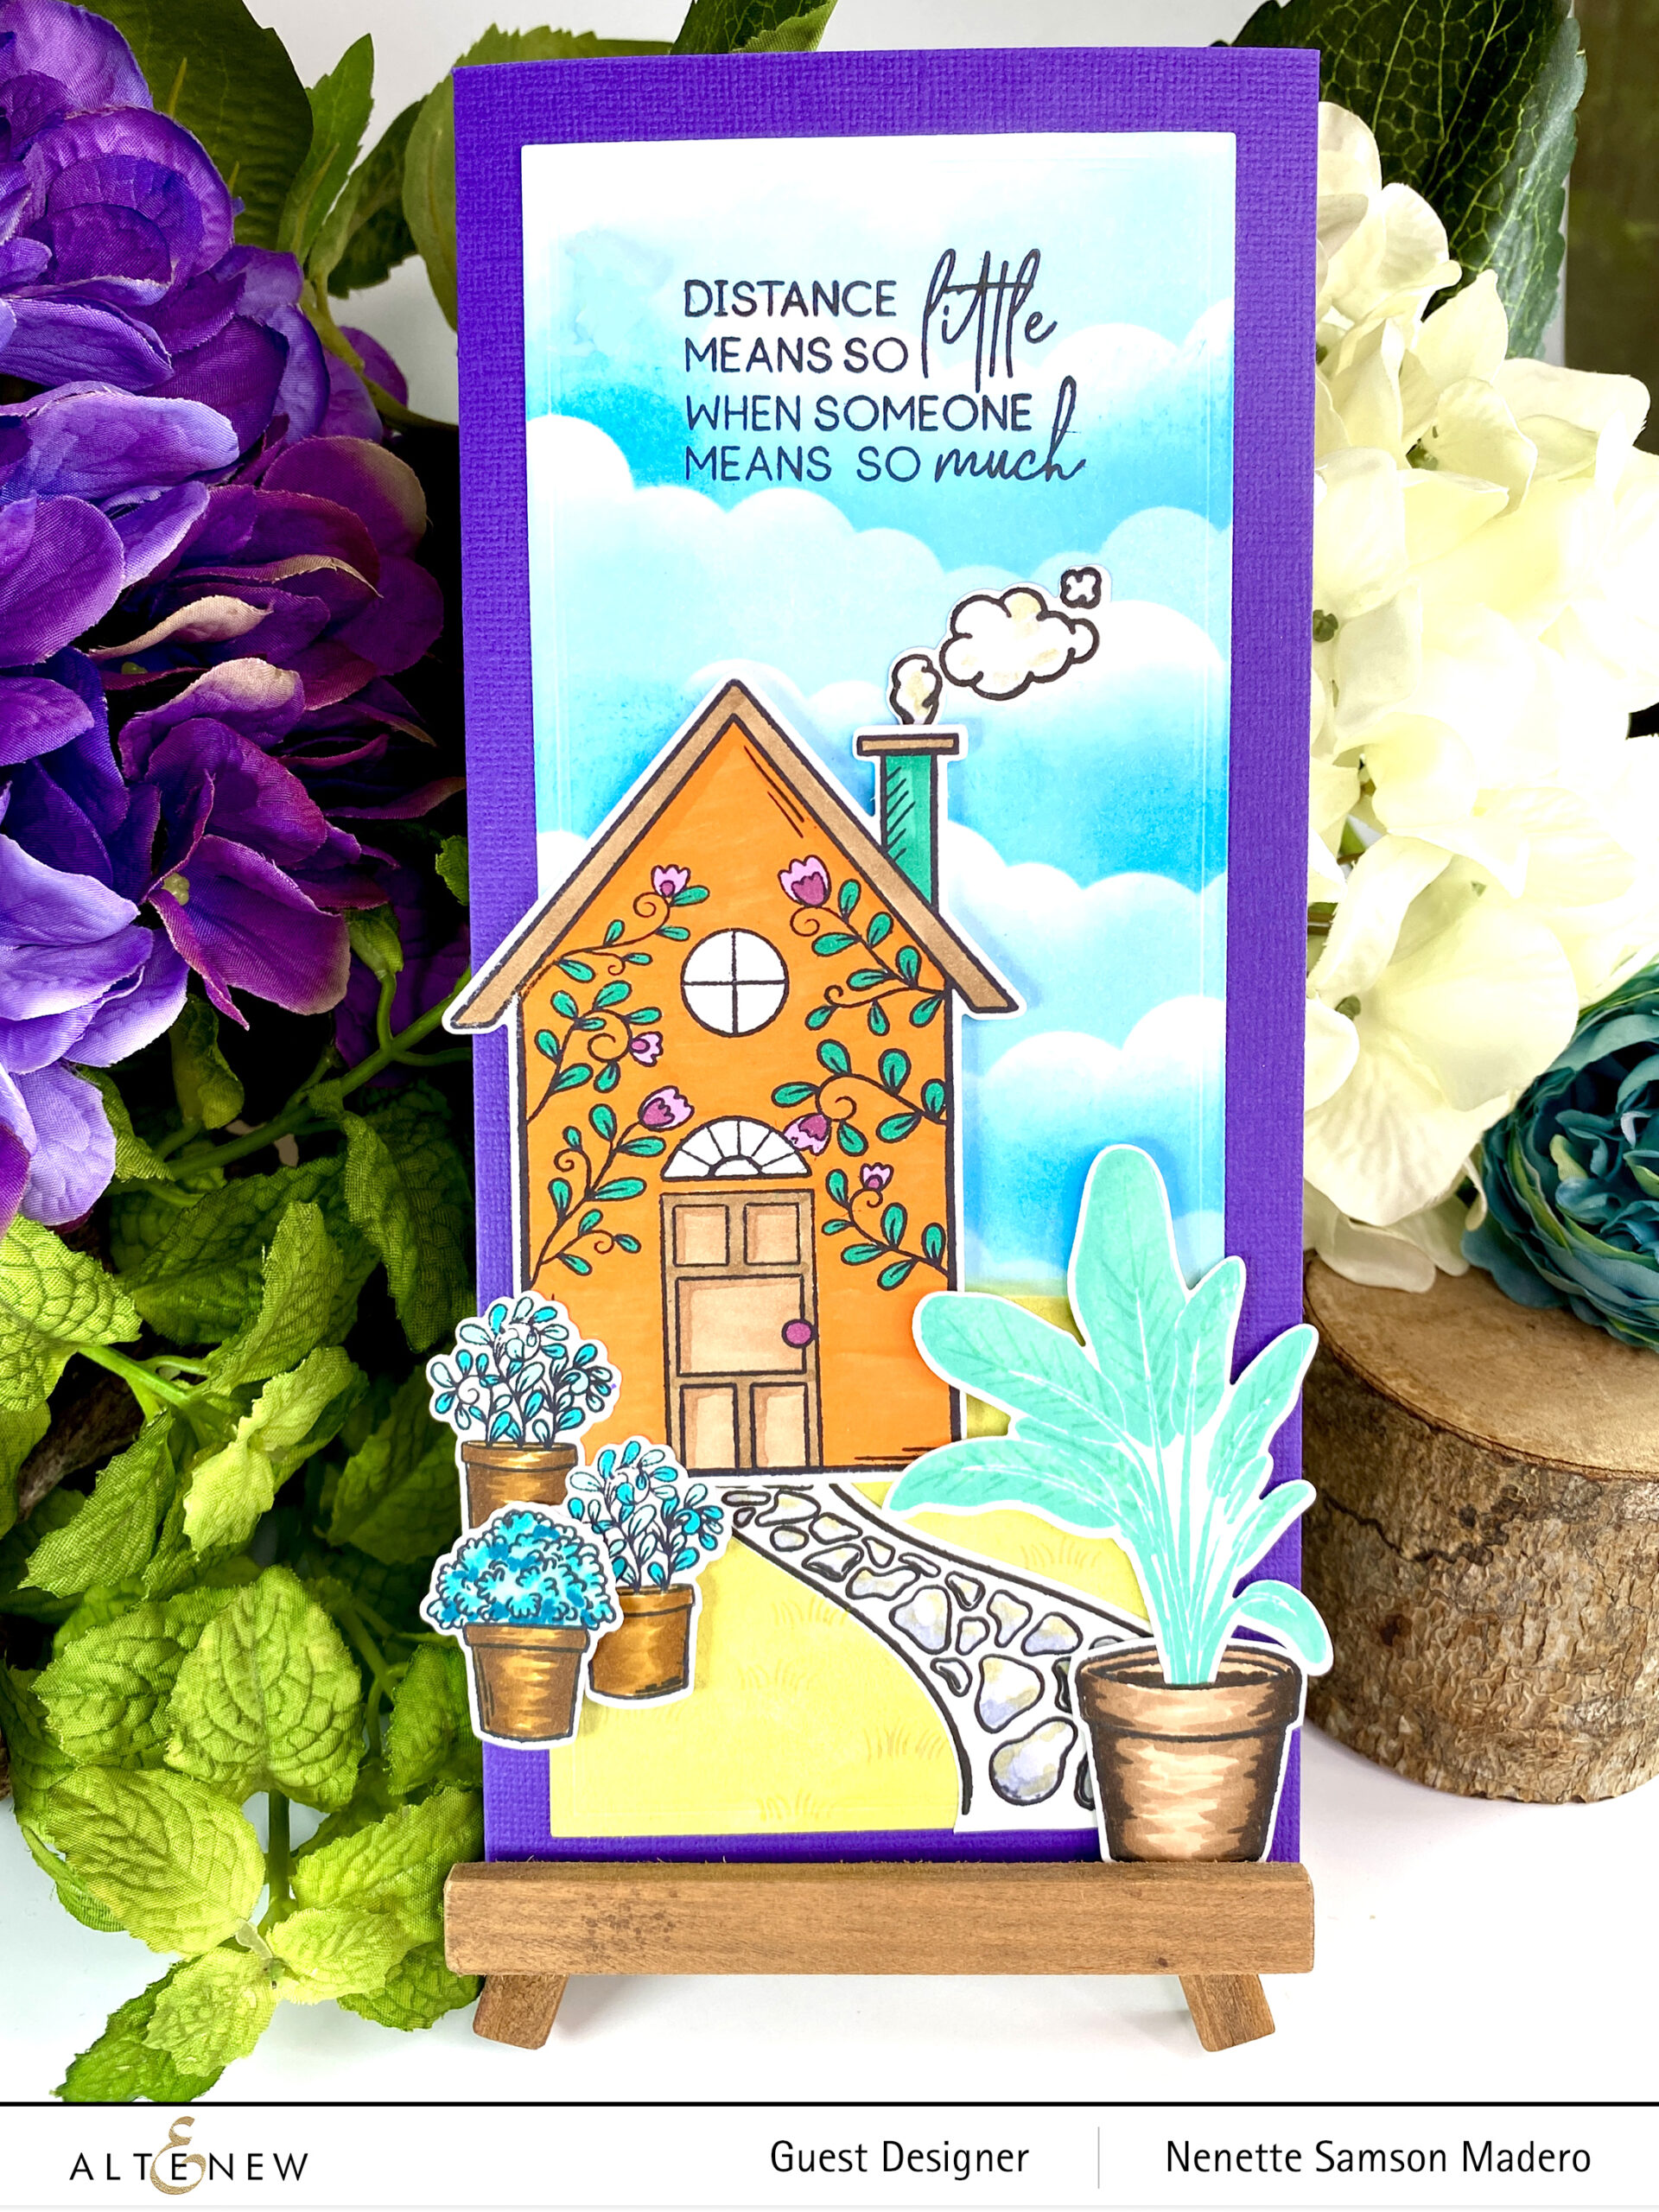
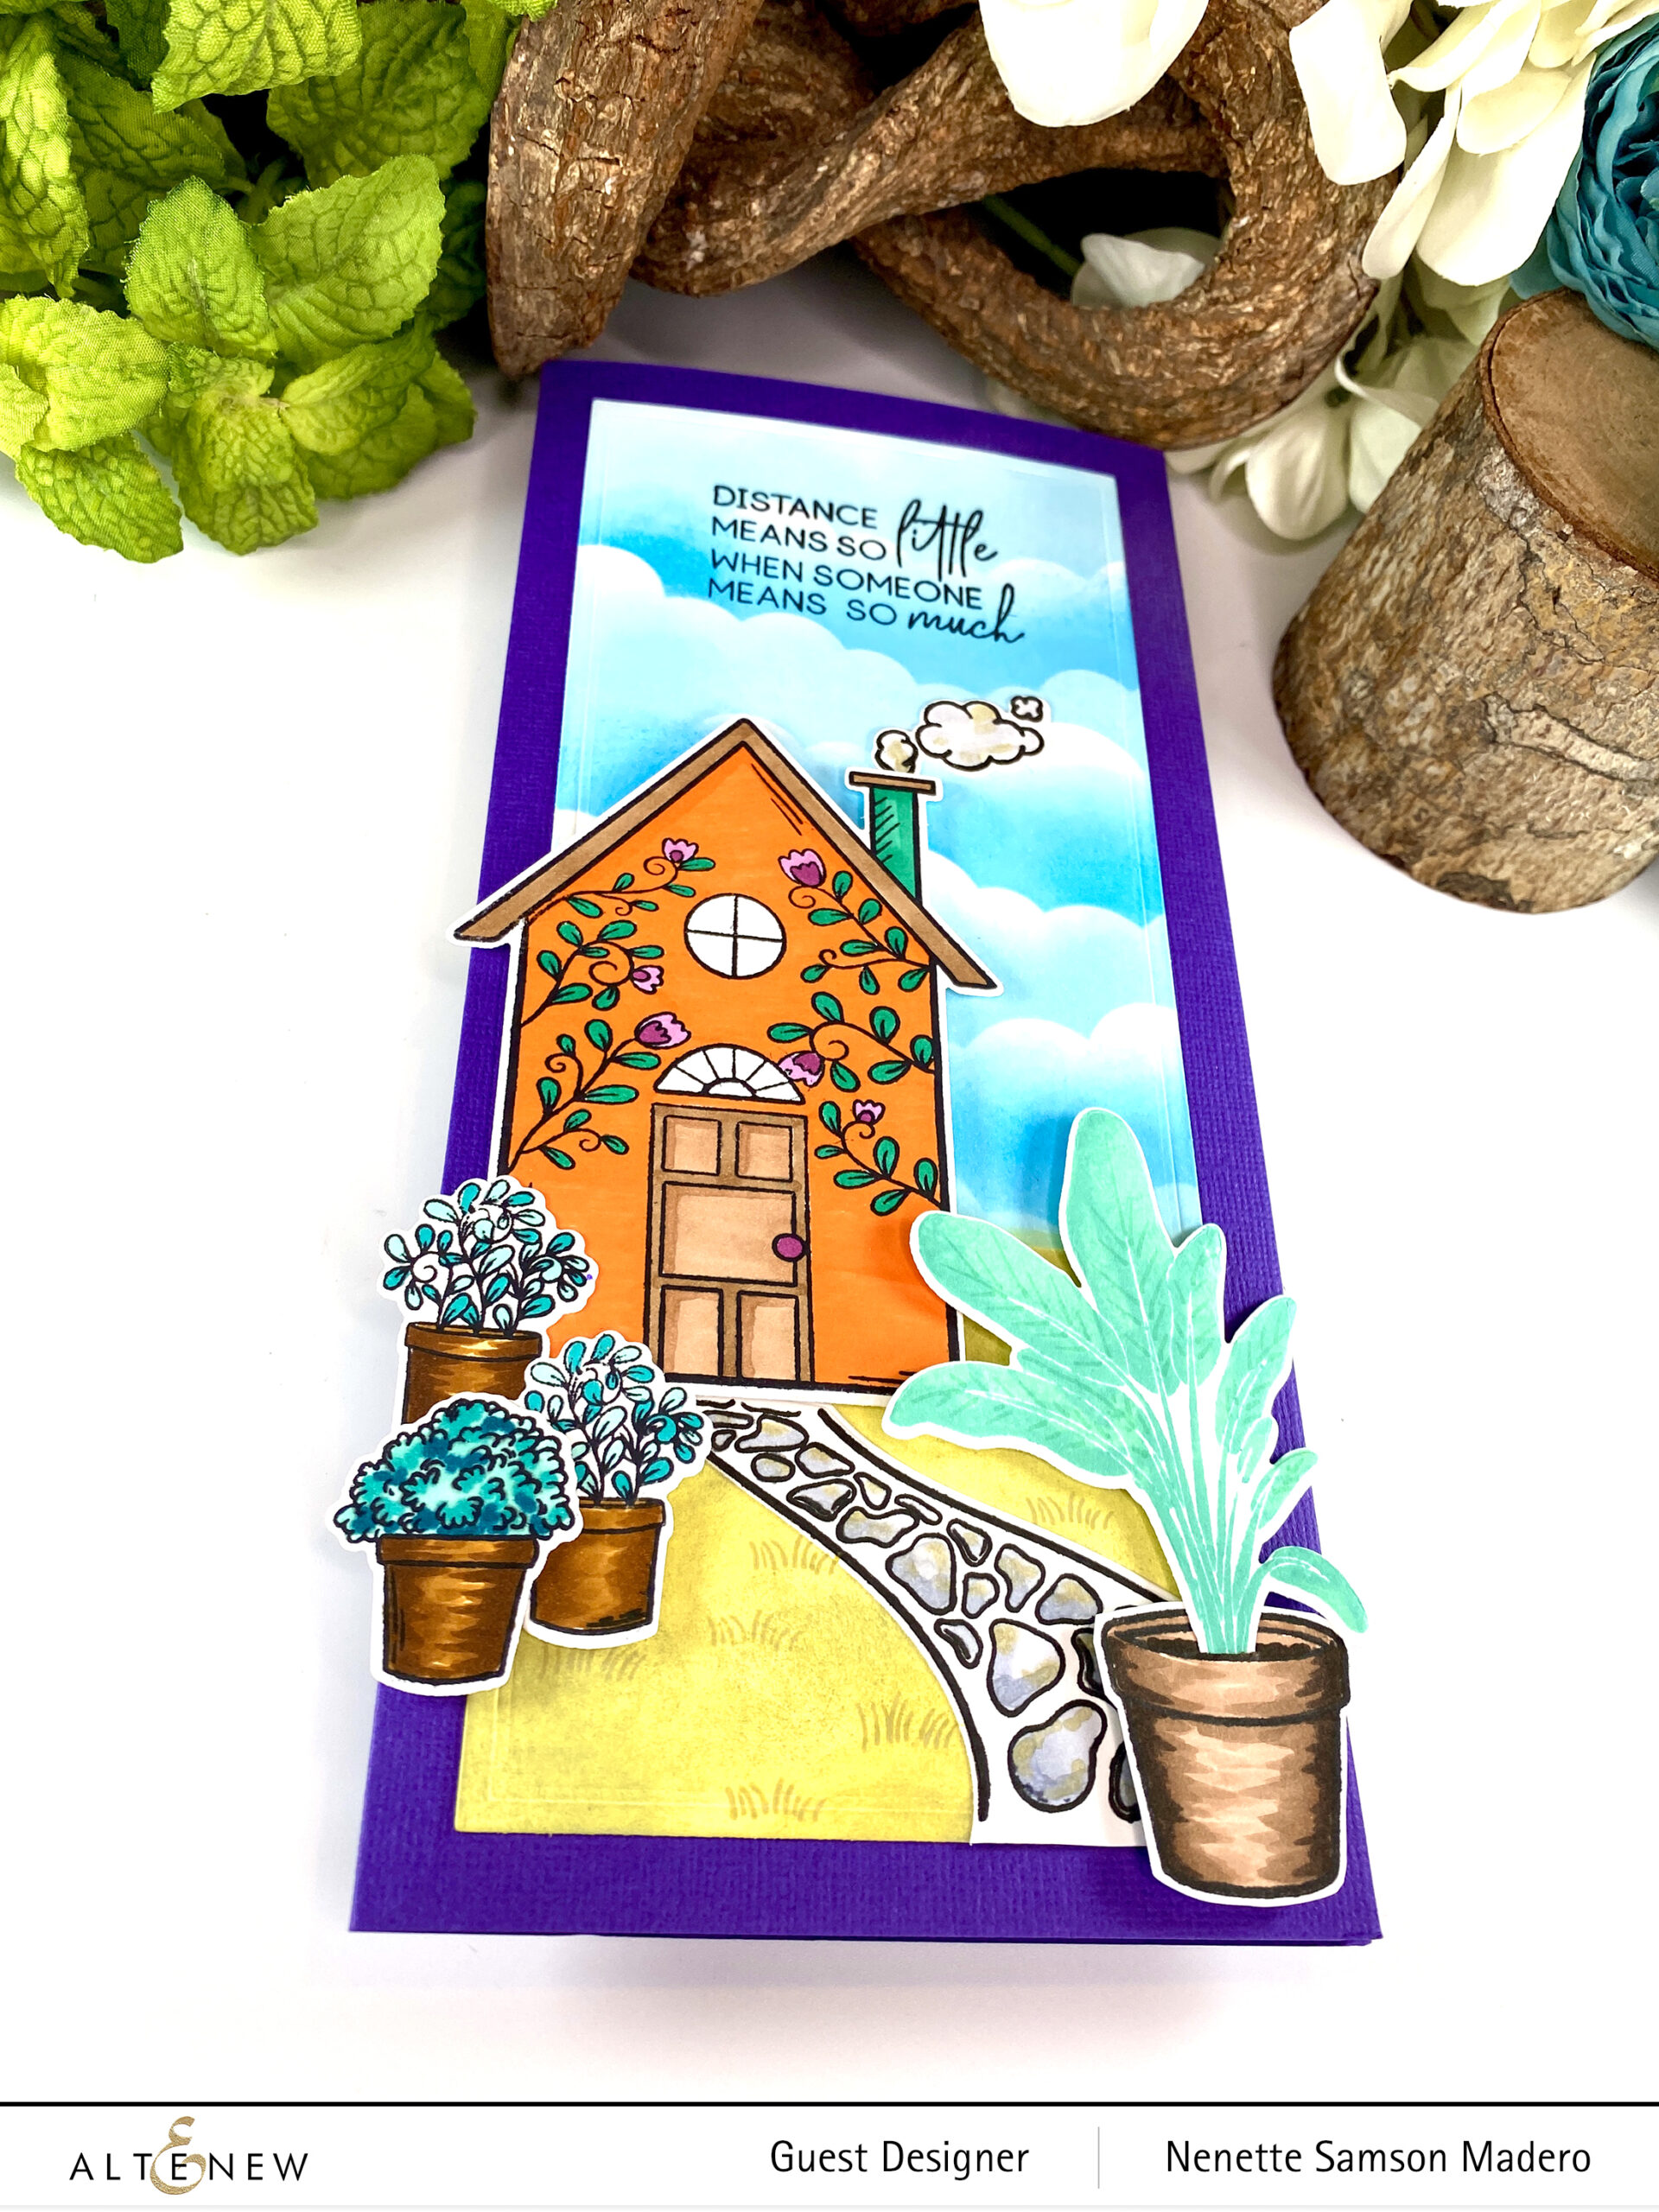
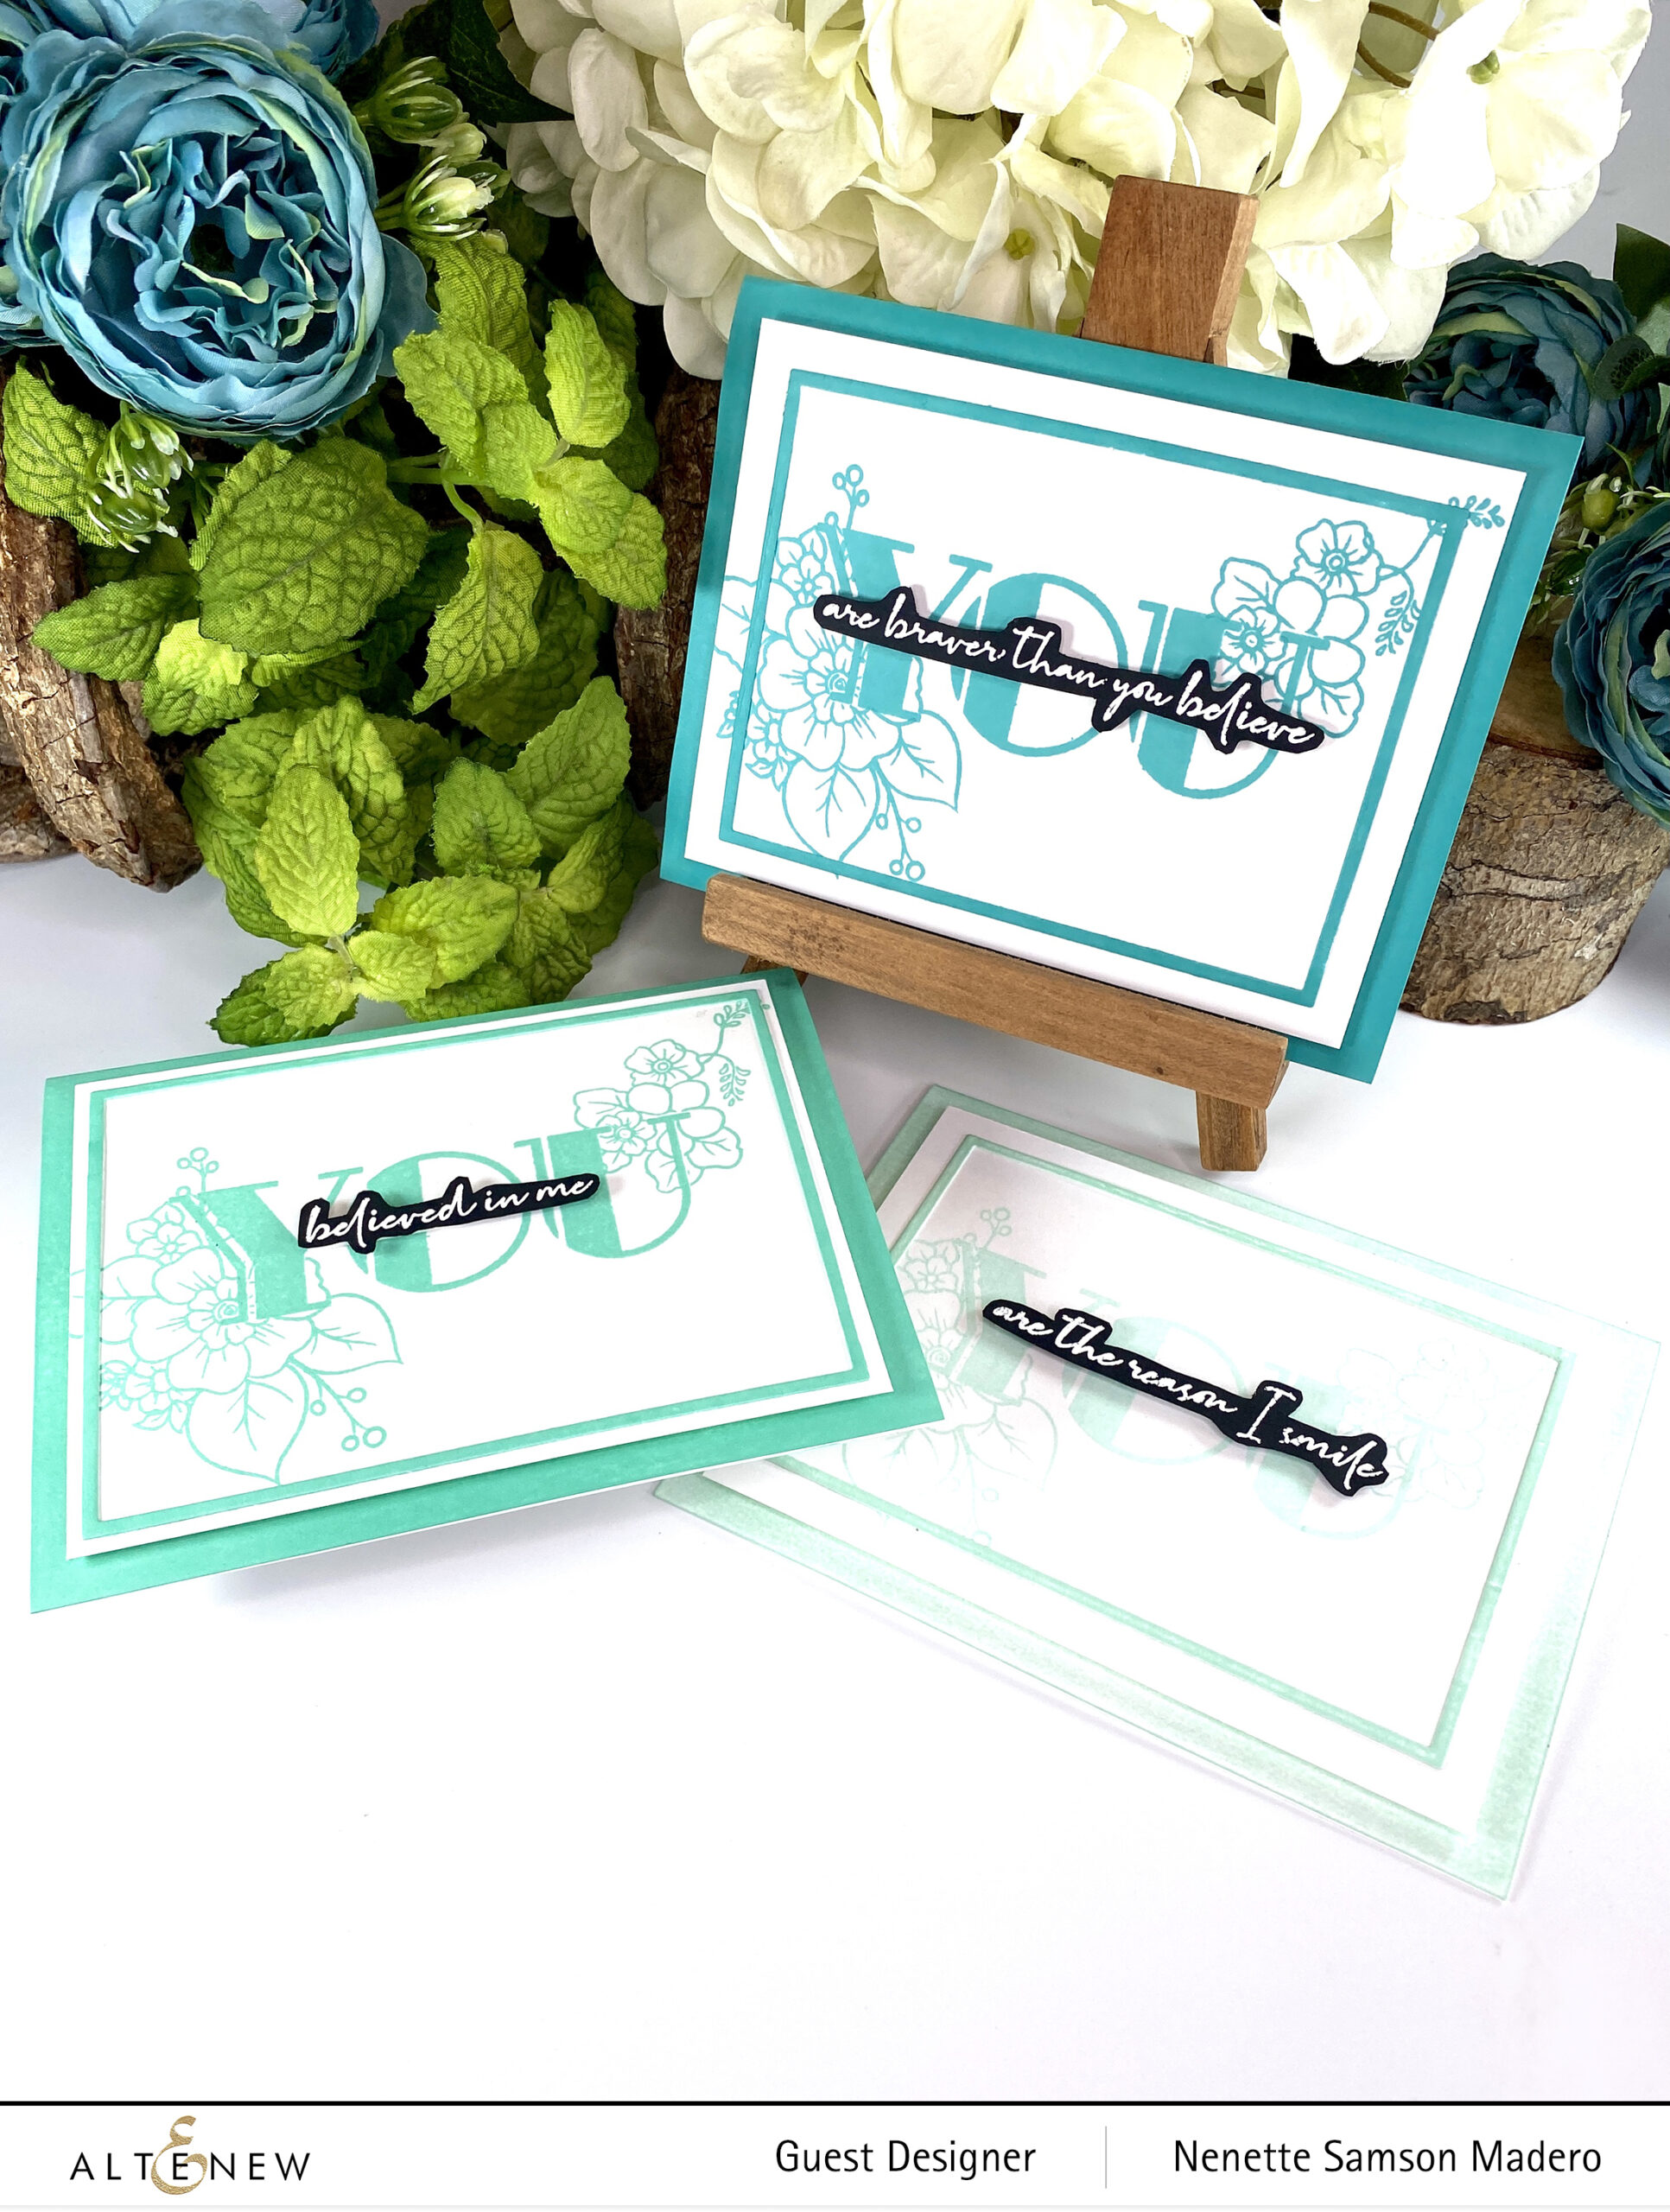
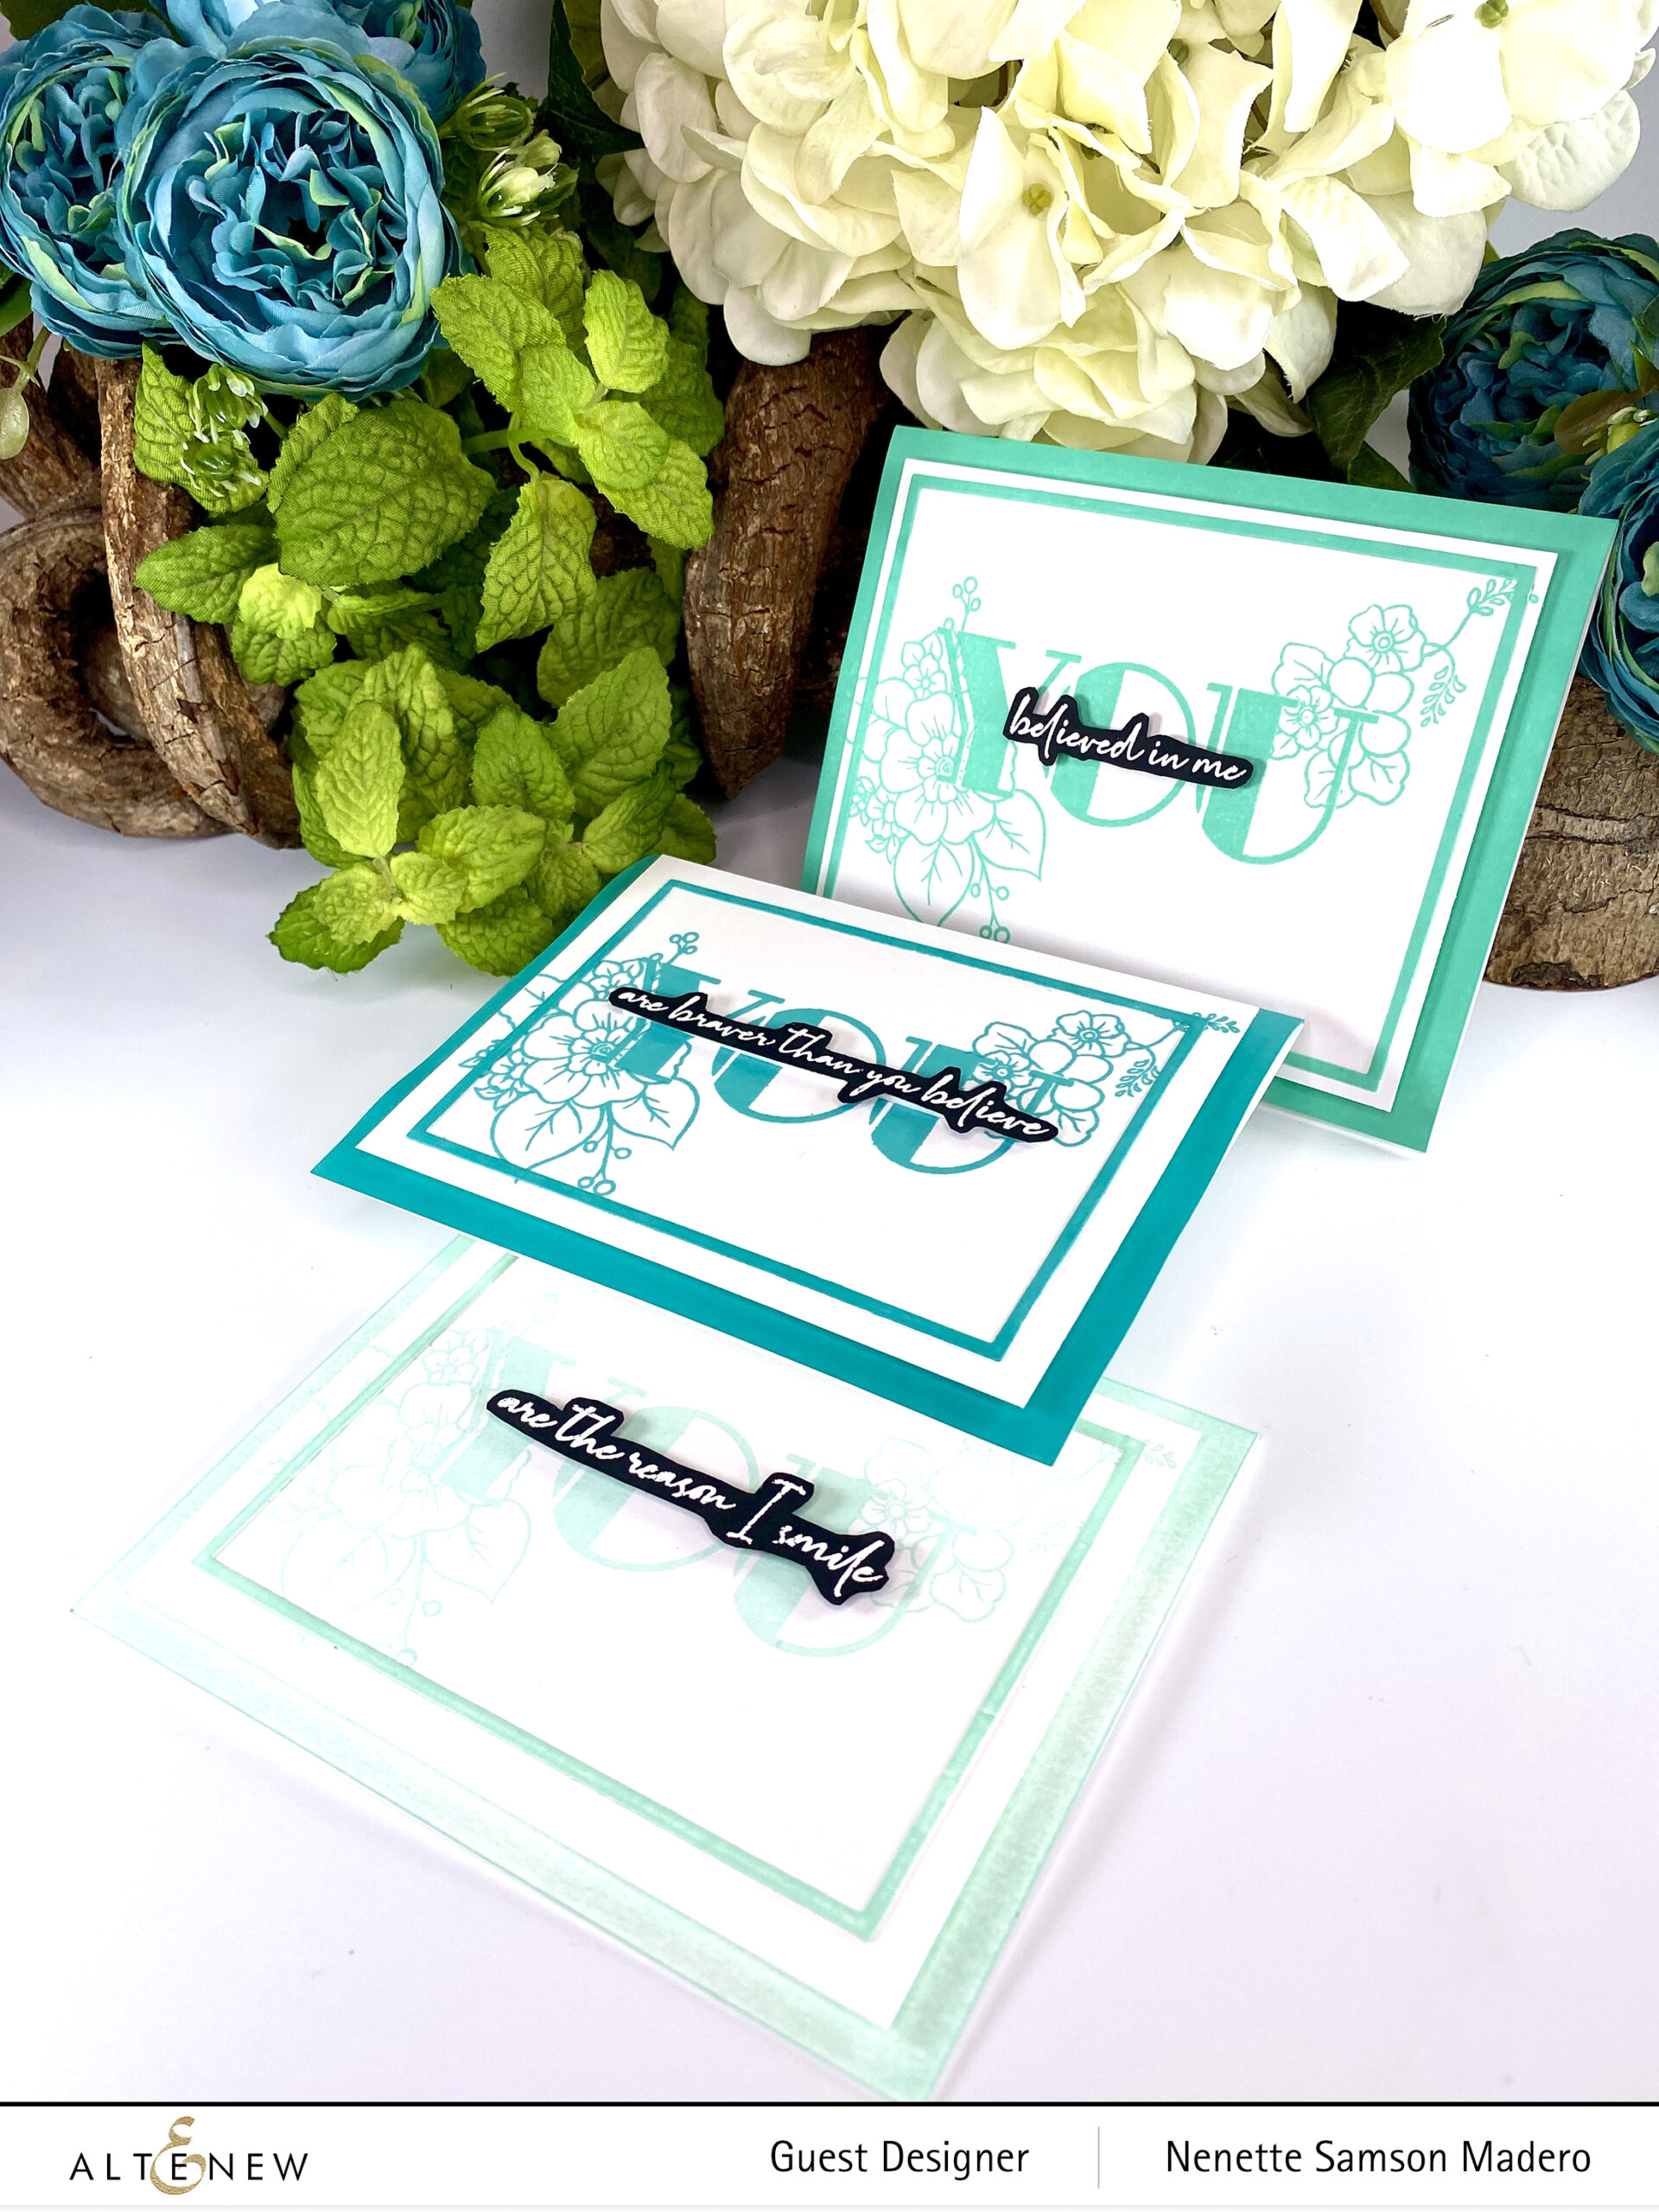
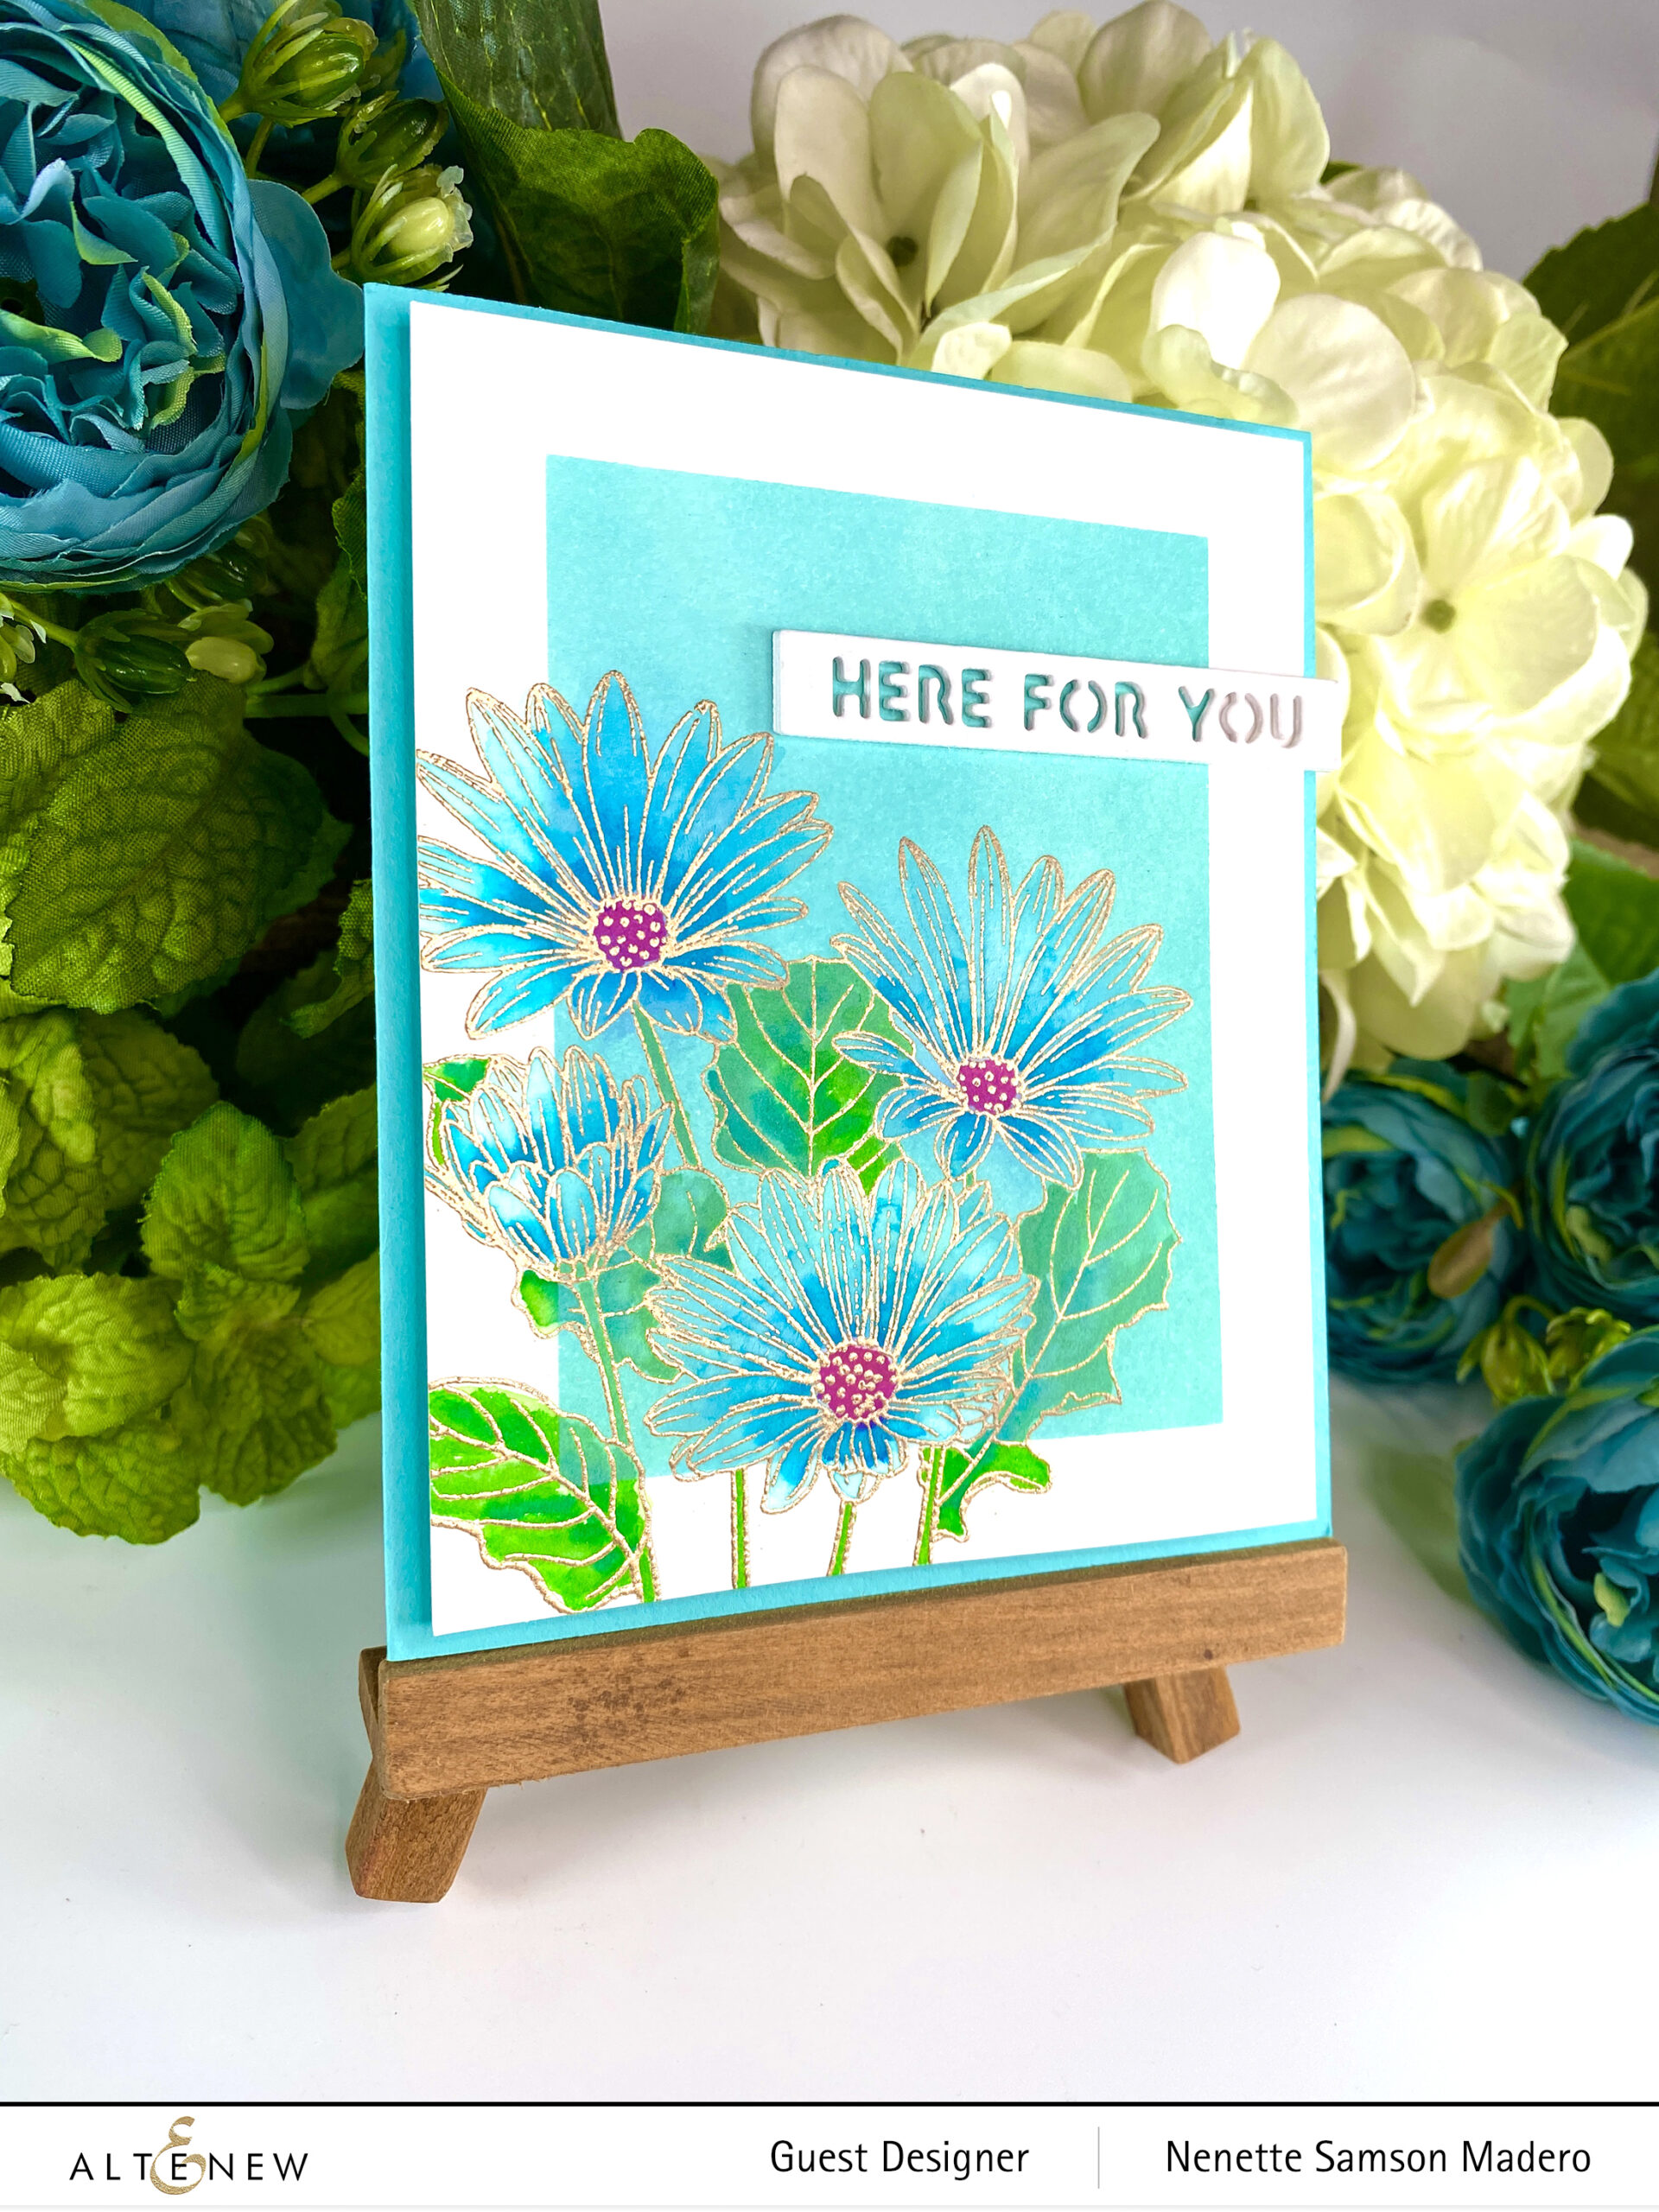
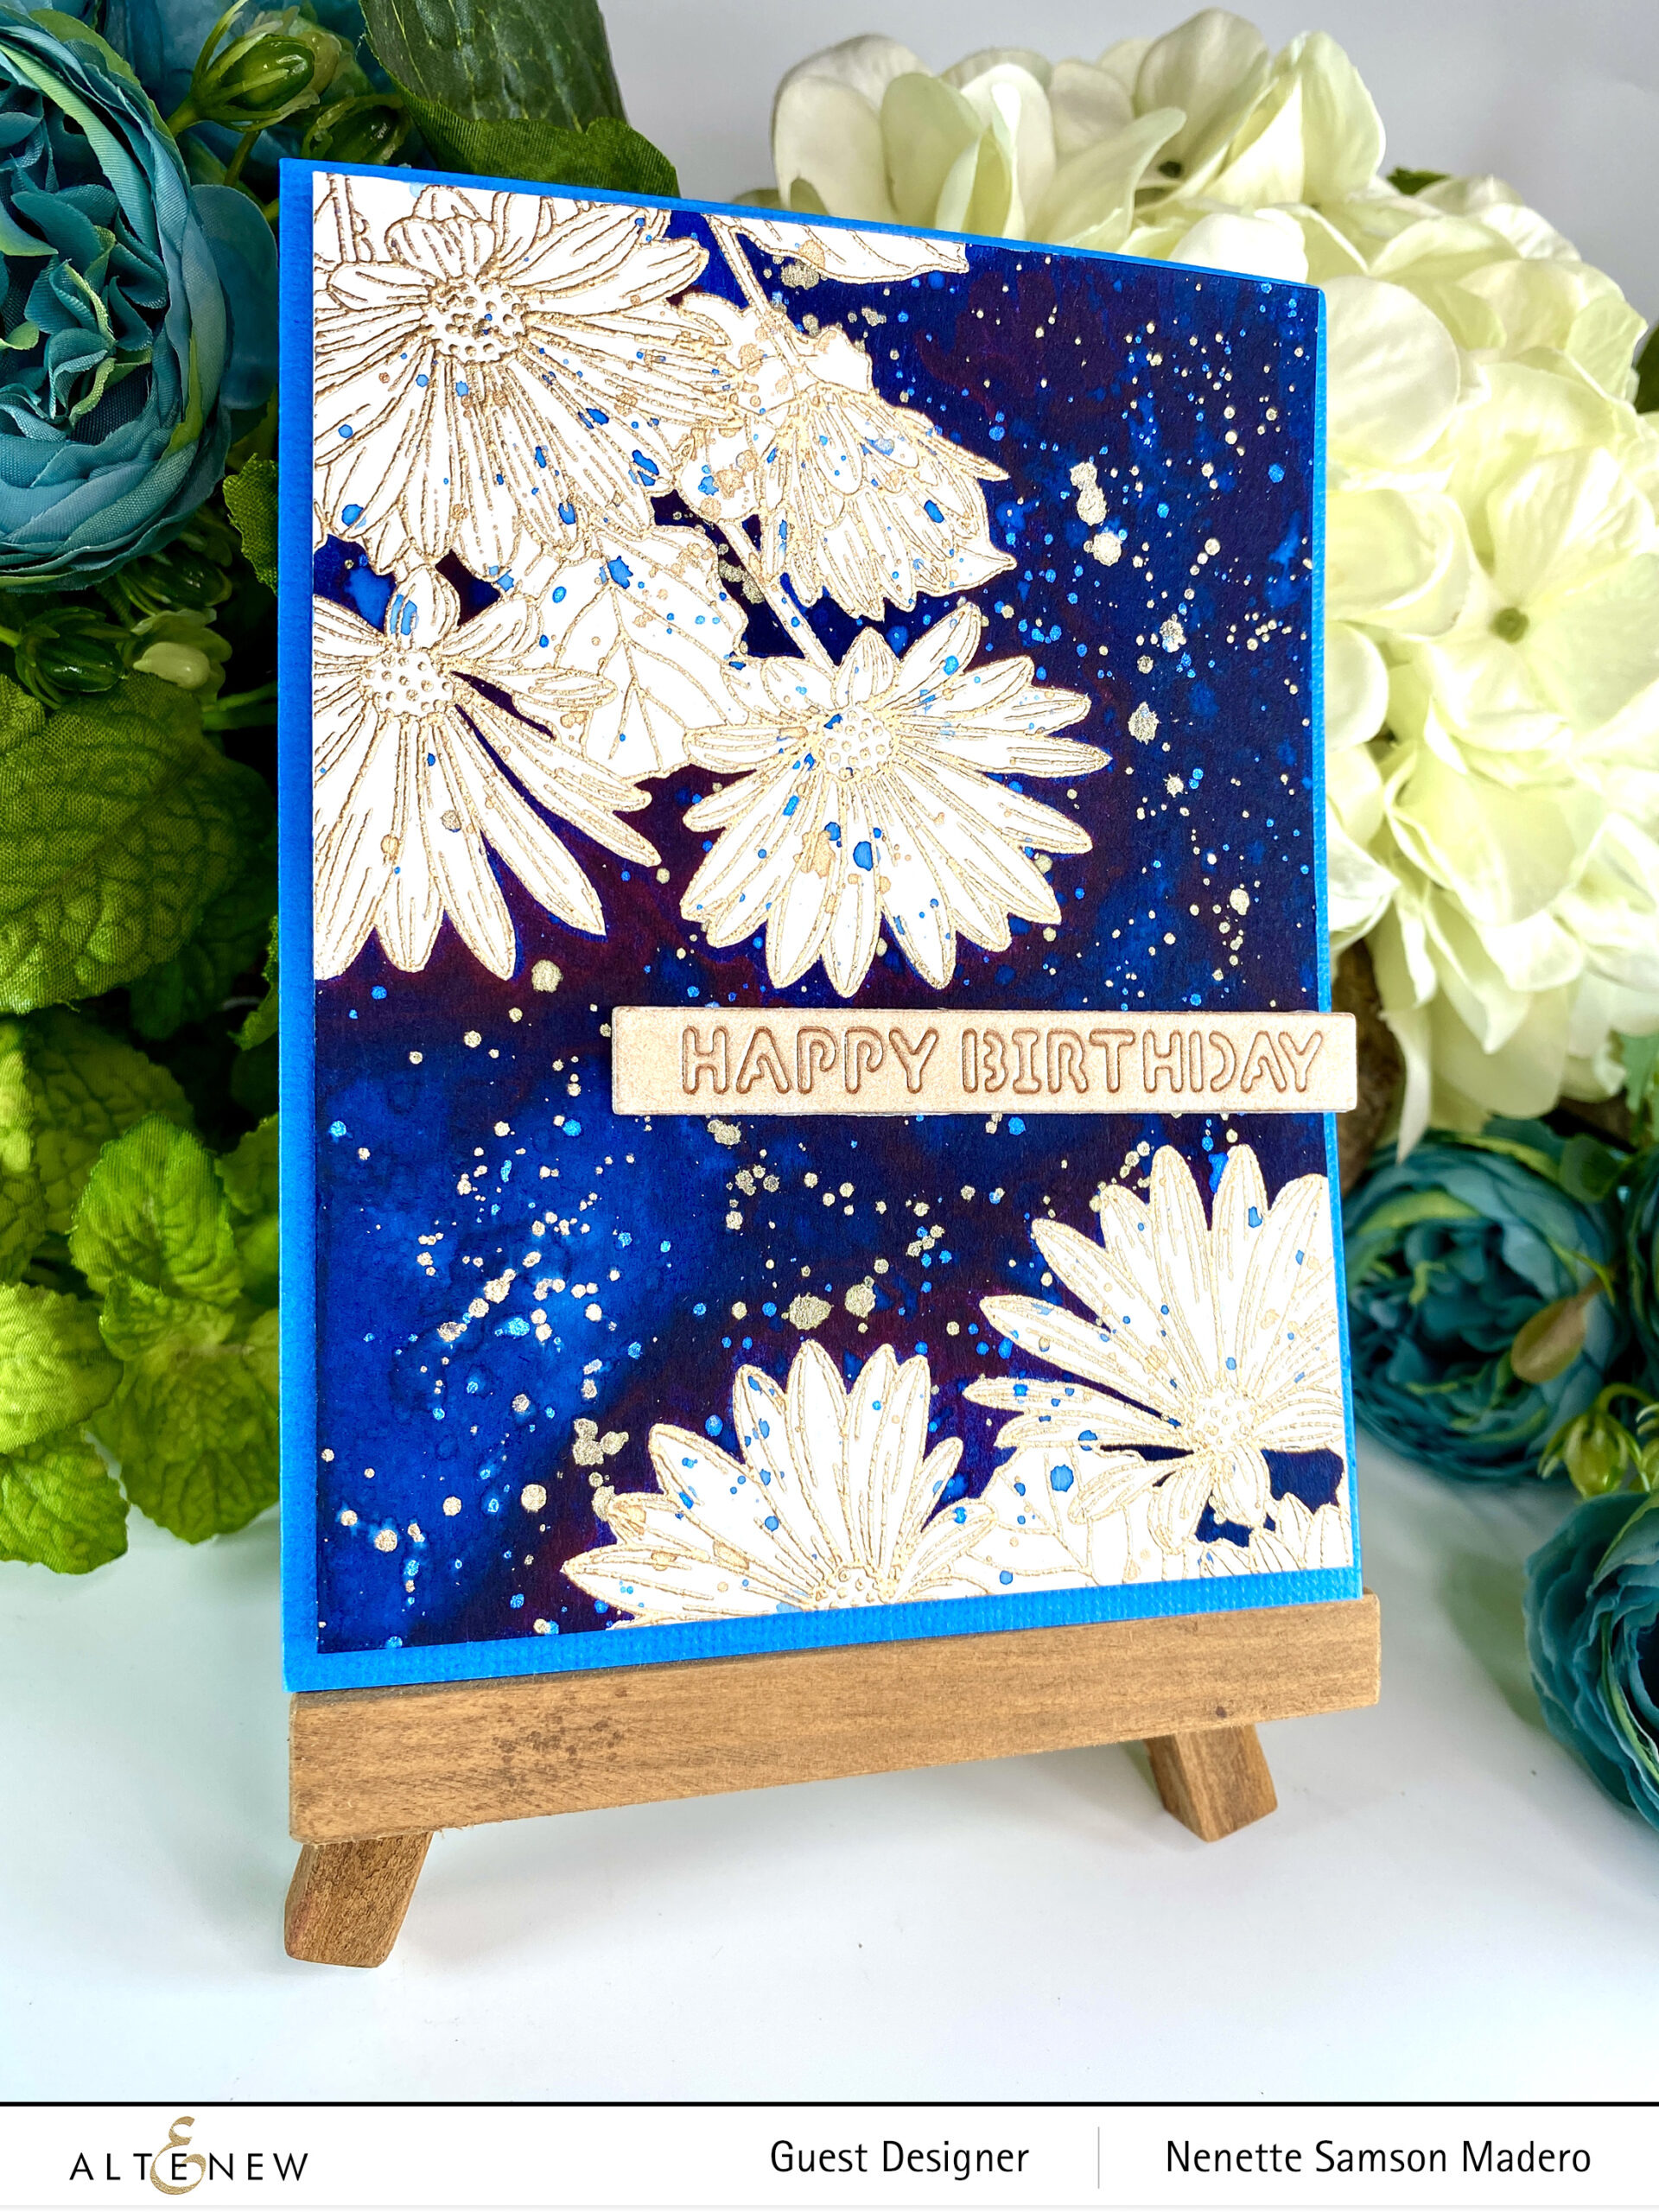
This stamp set is a gorgeous cluster of flowers combined with lovely sentiments. Today, I chose only to use the outline stamp of the flower against an ombre background.
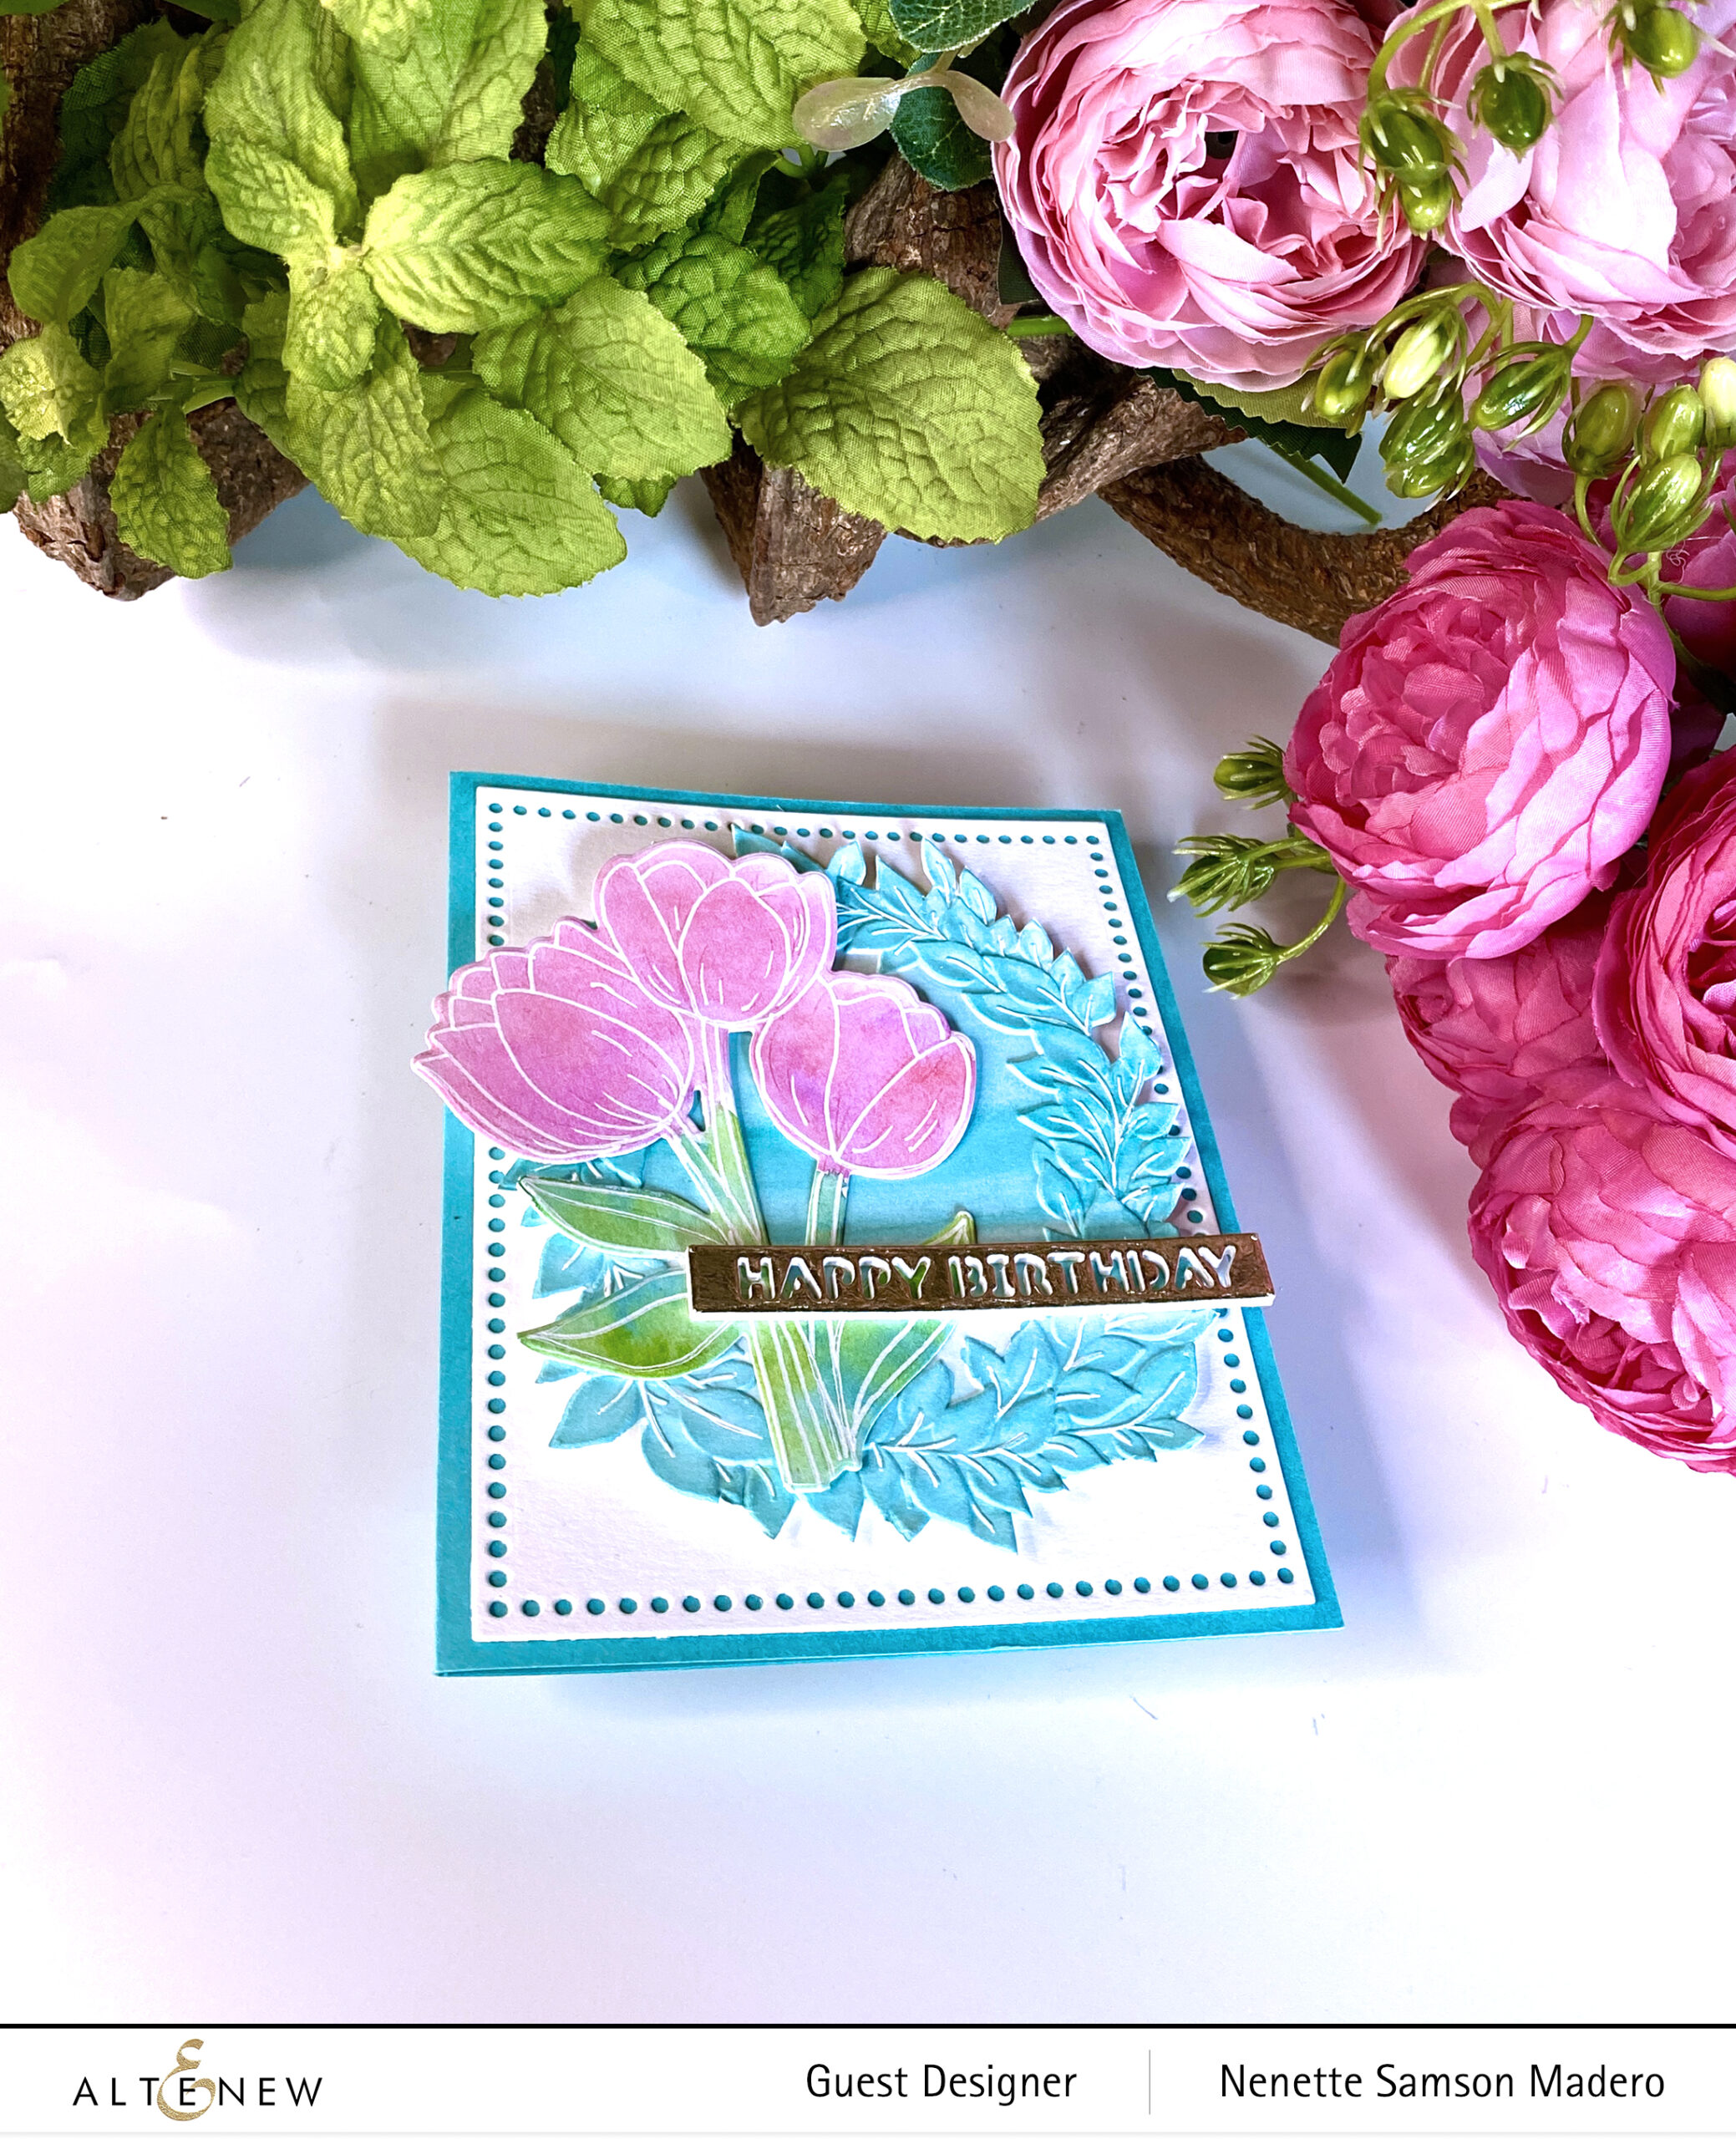
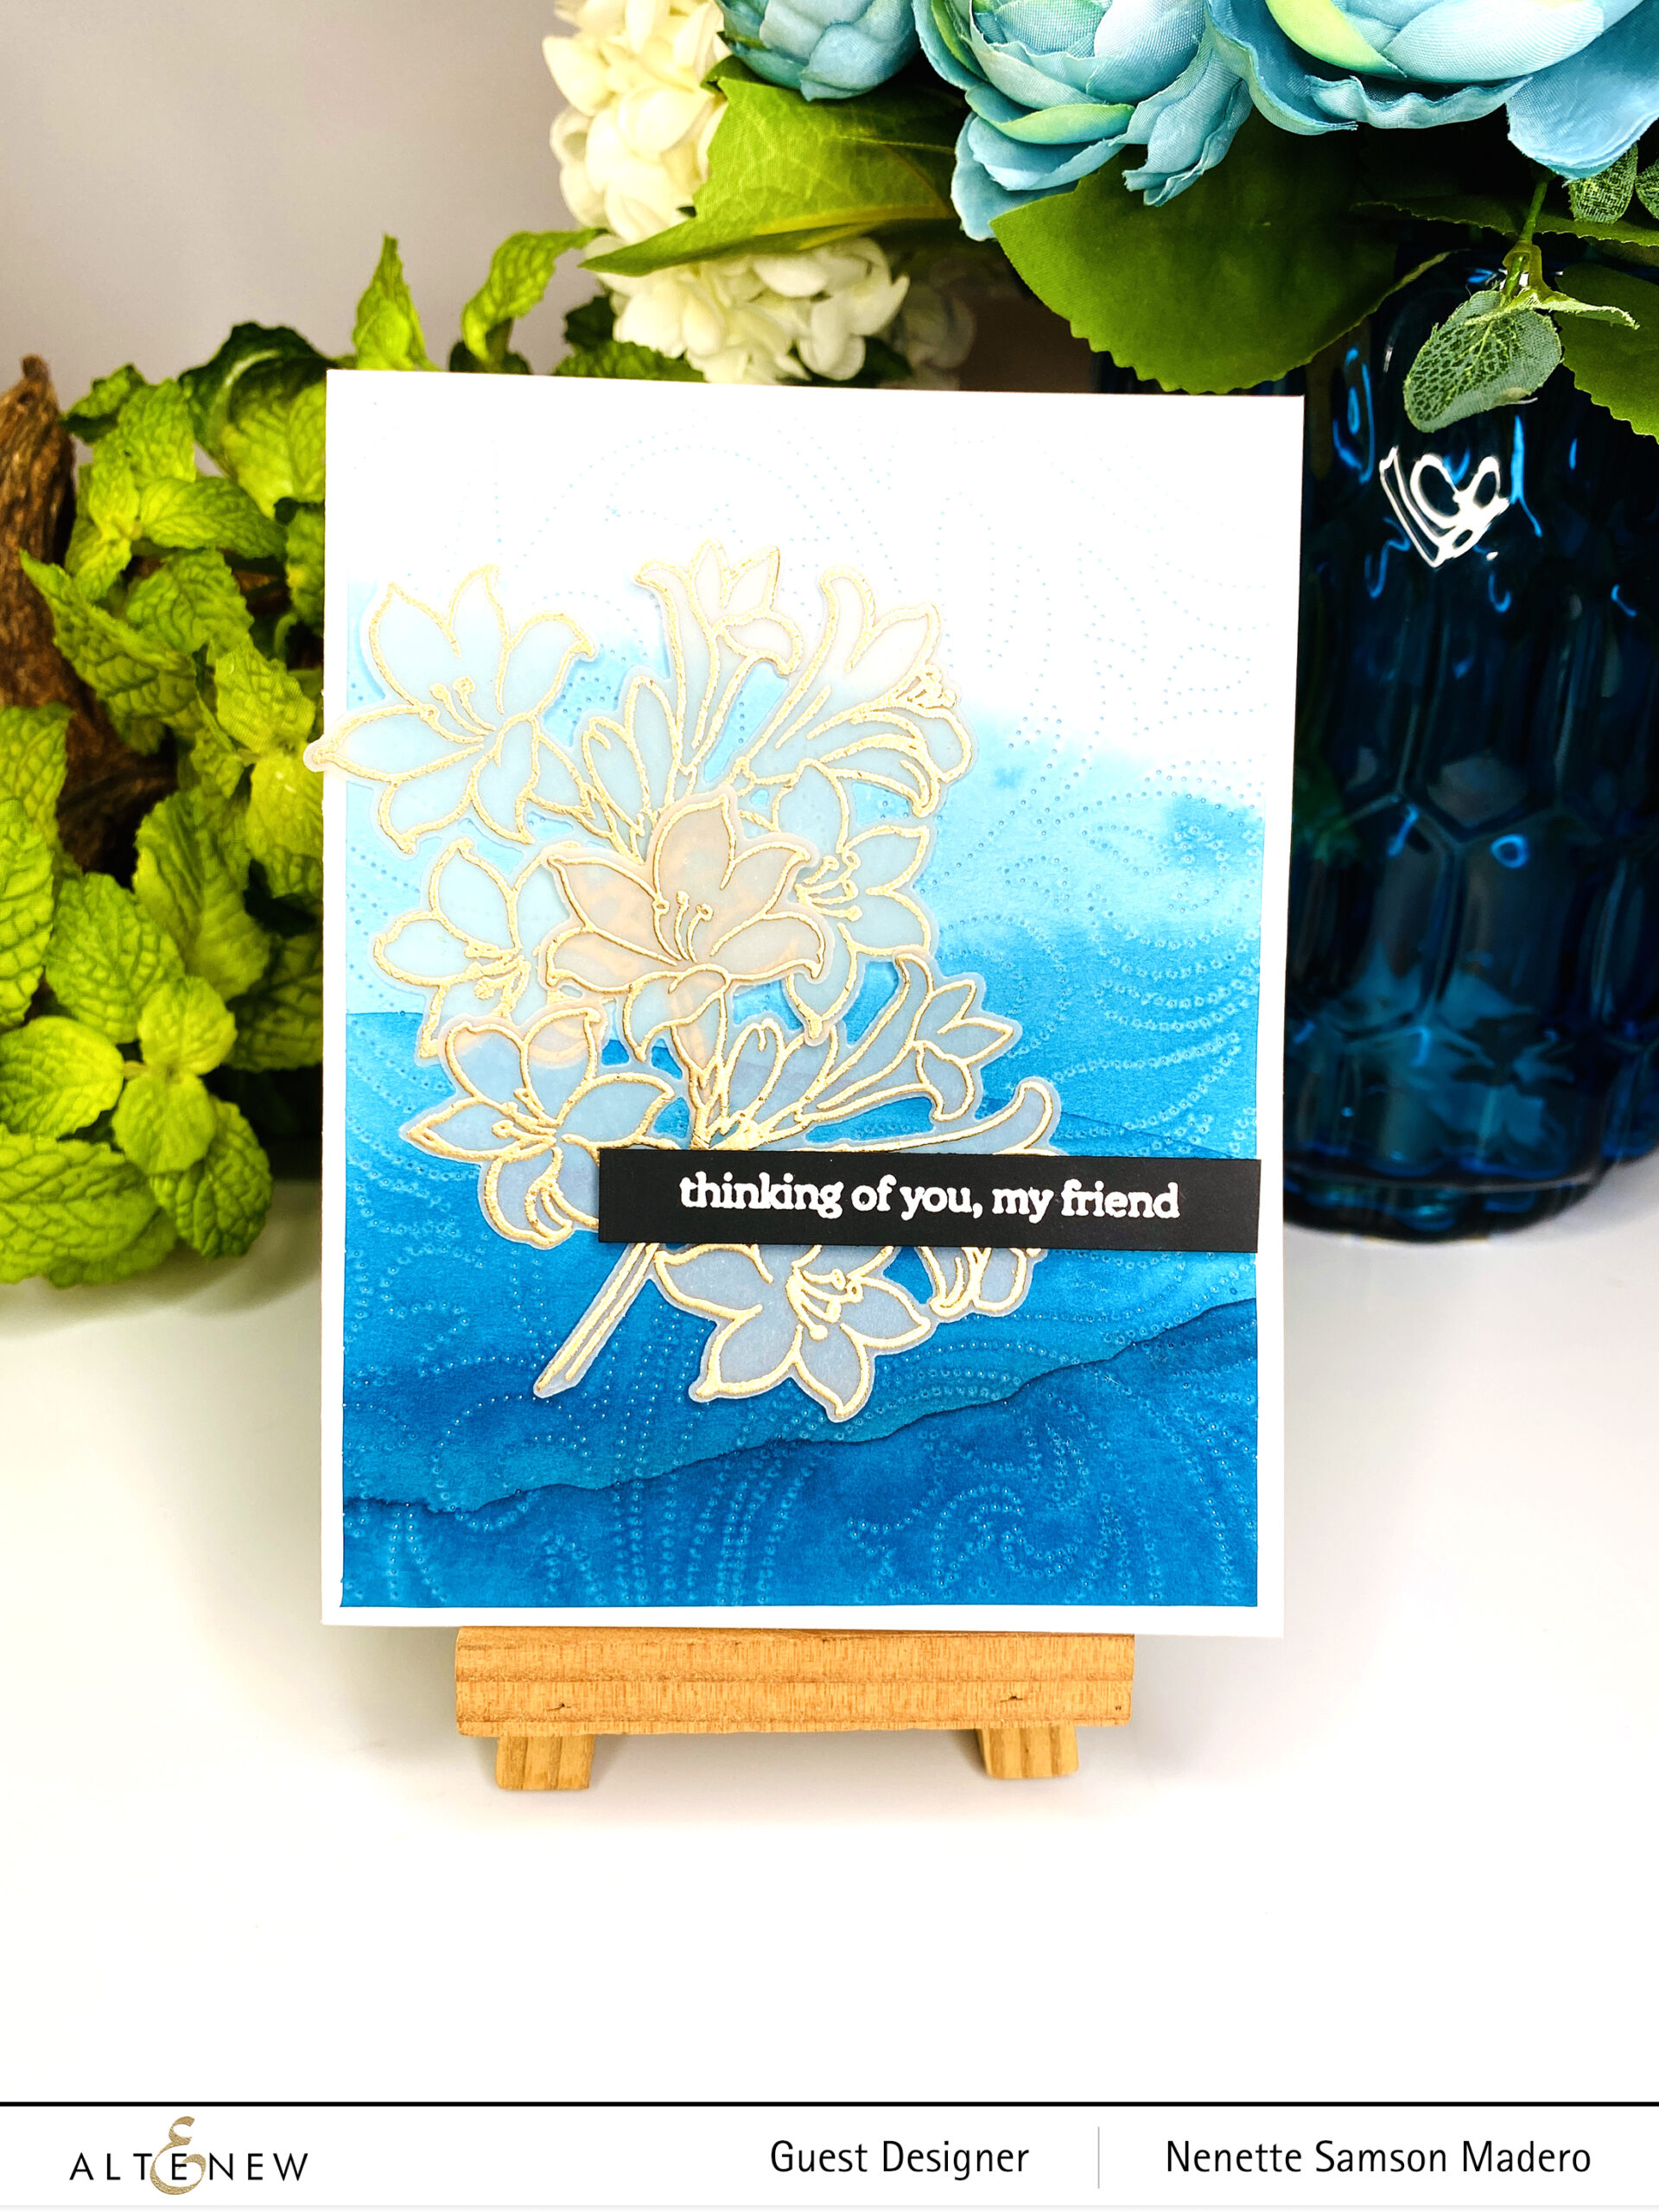
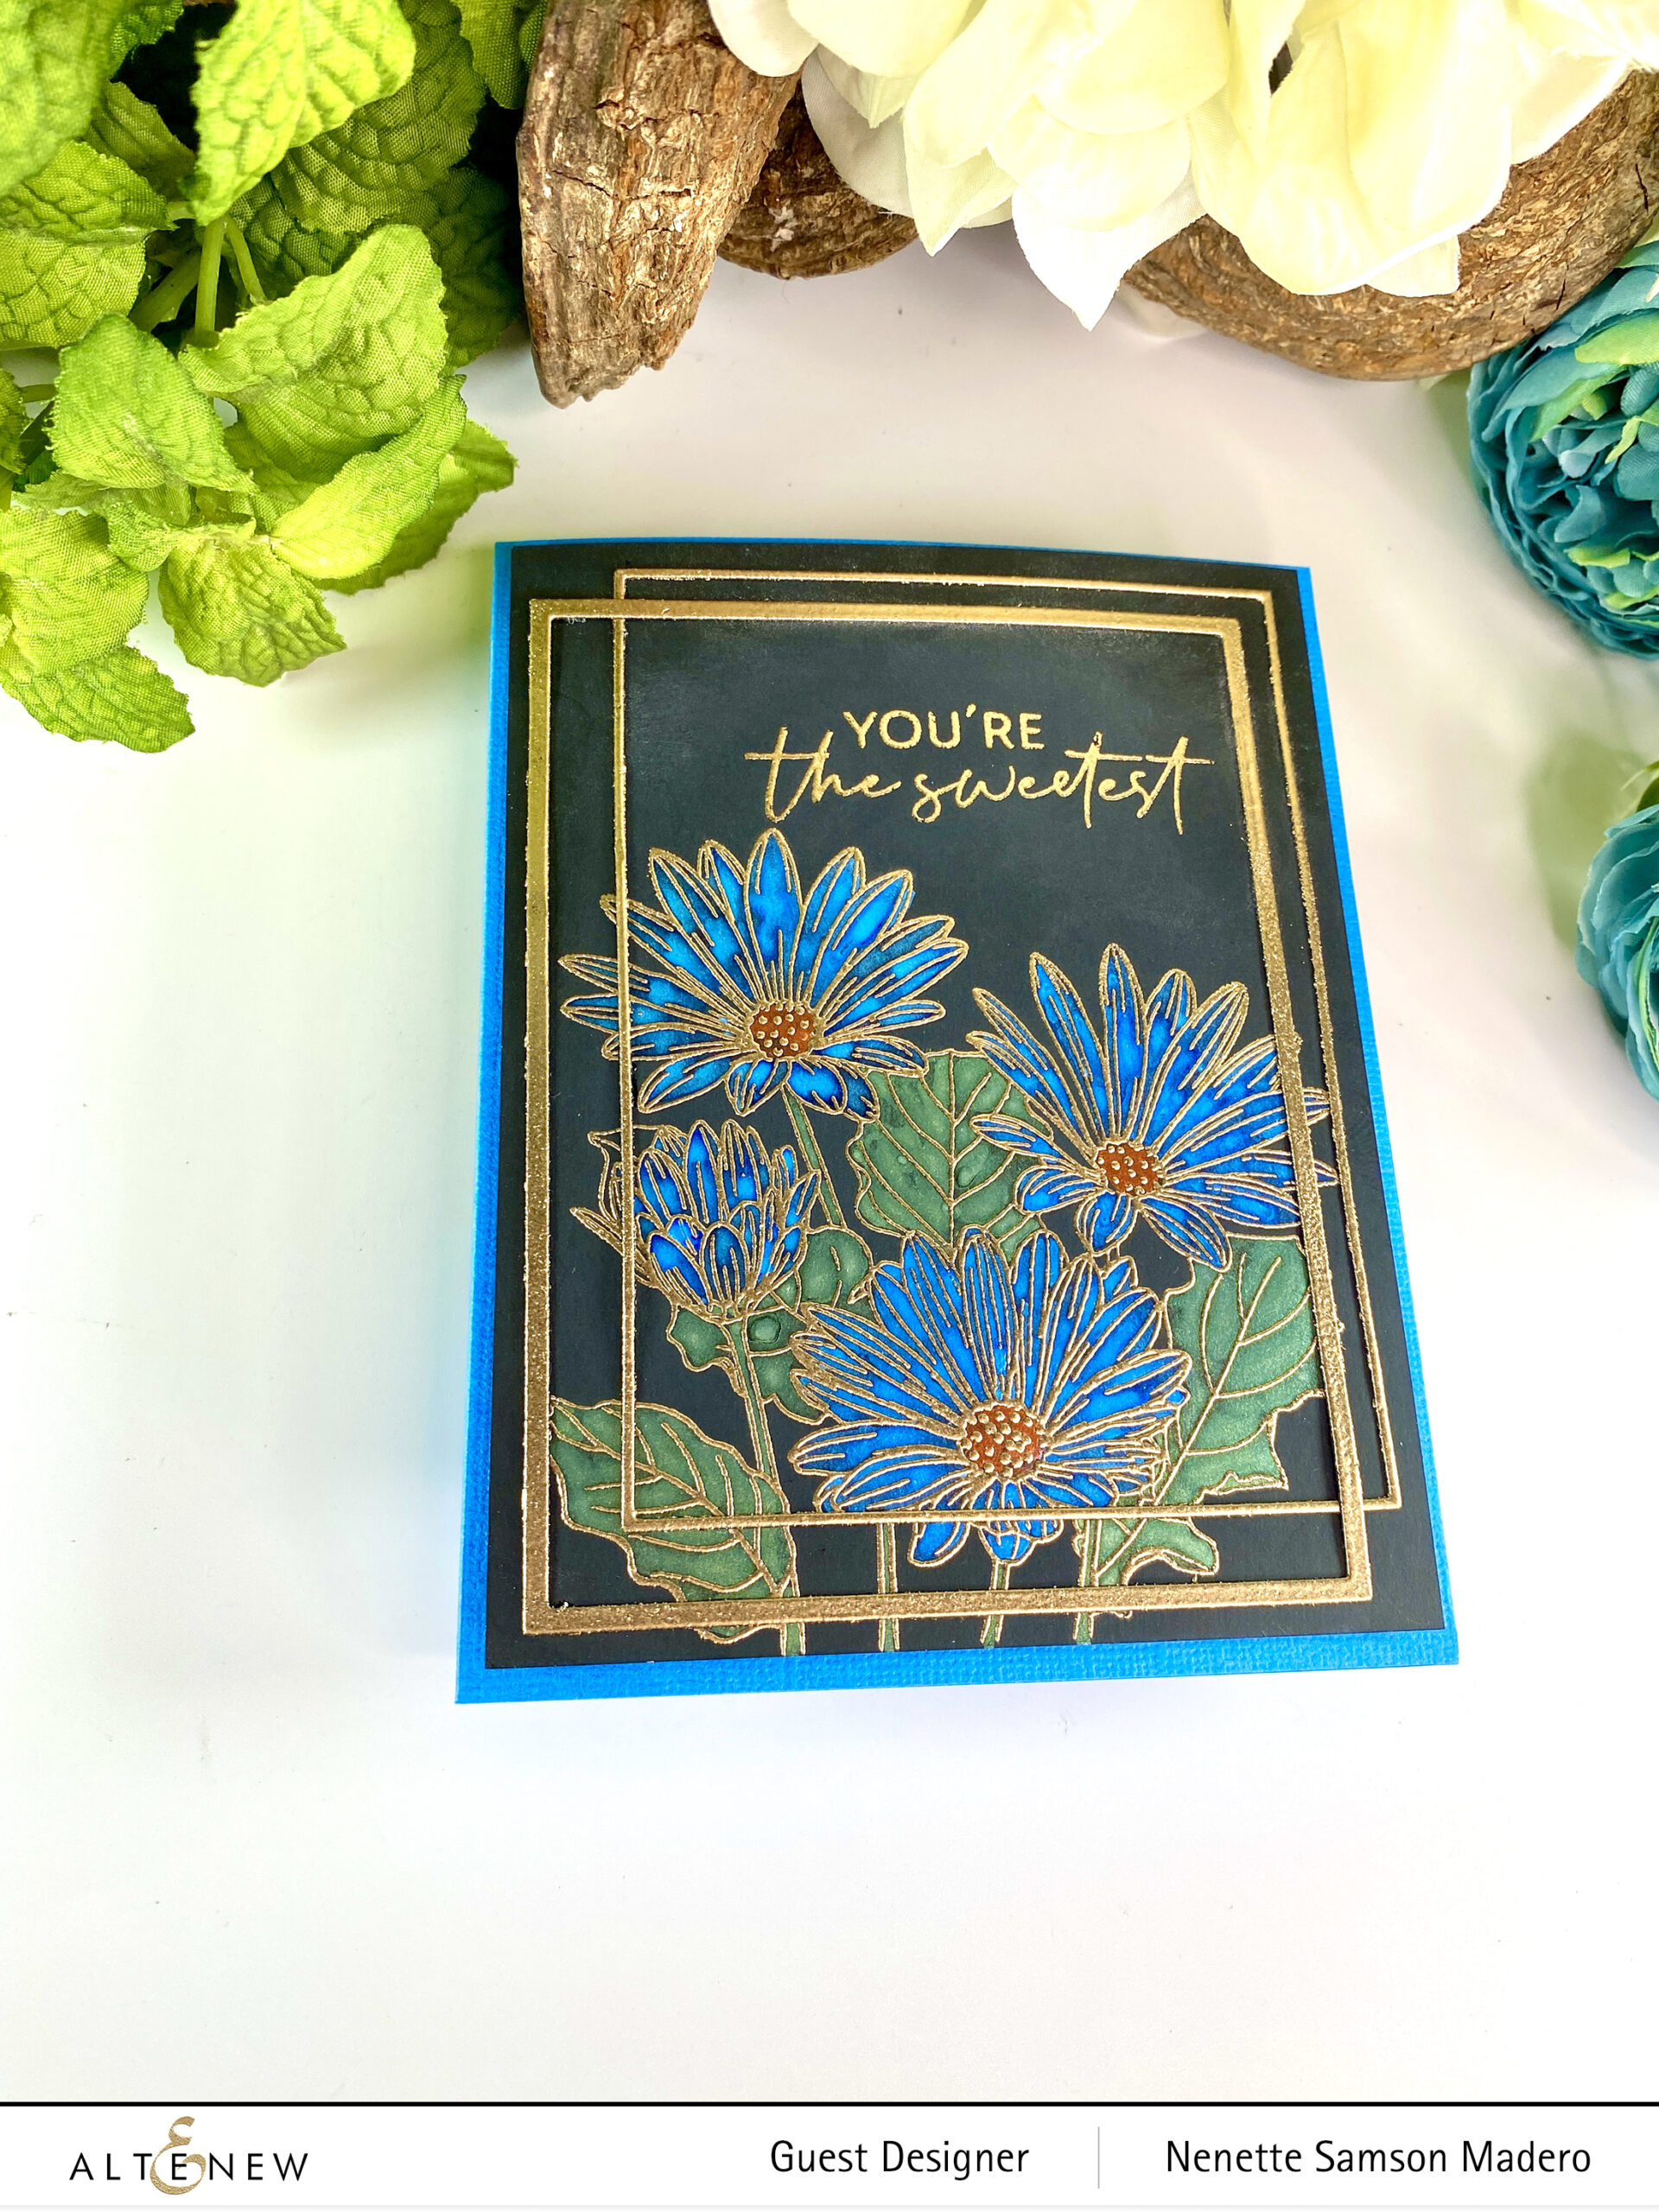
THINKING OF YOU, MY FRIEND
STEPS:
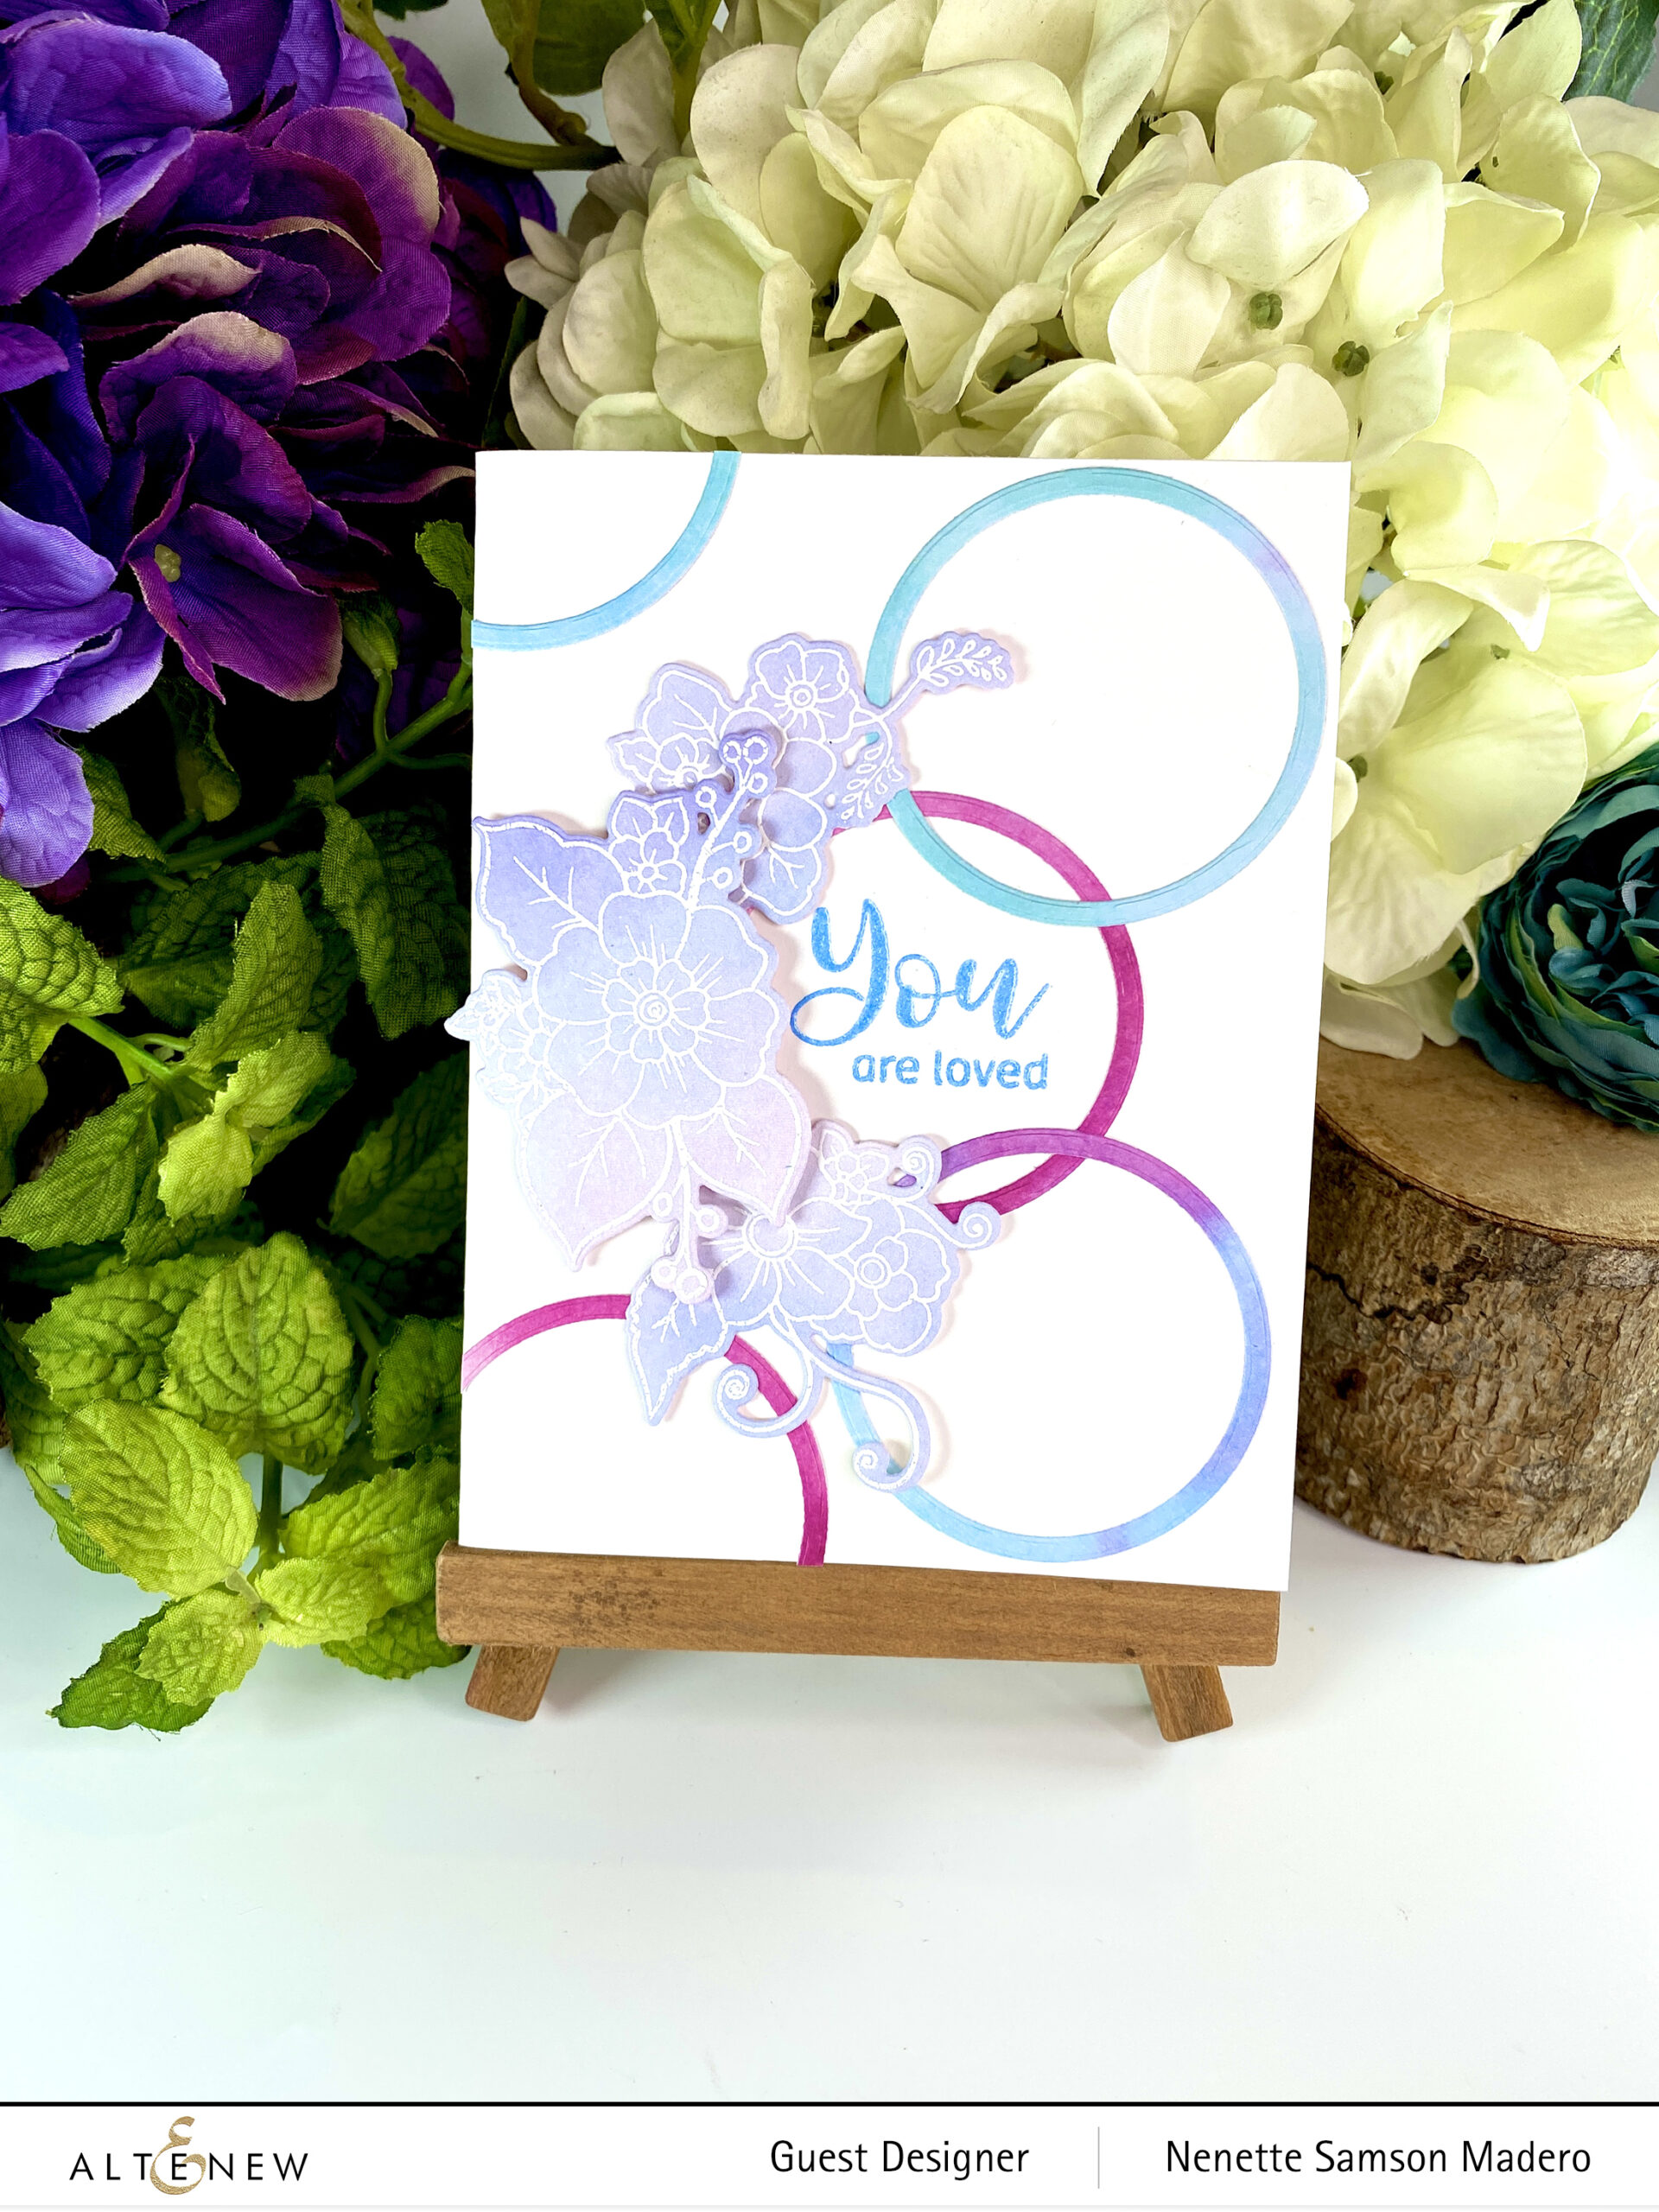
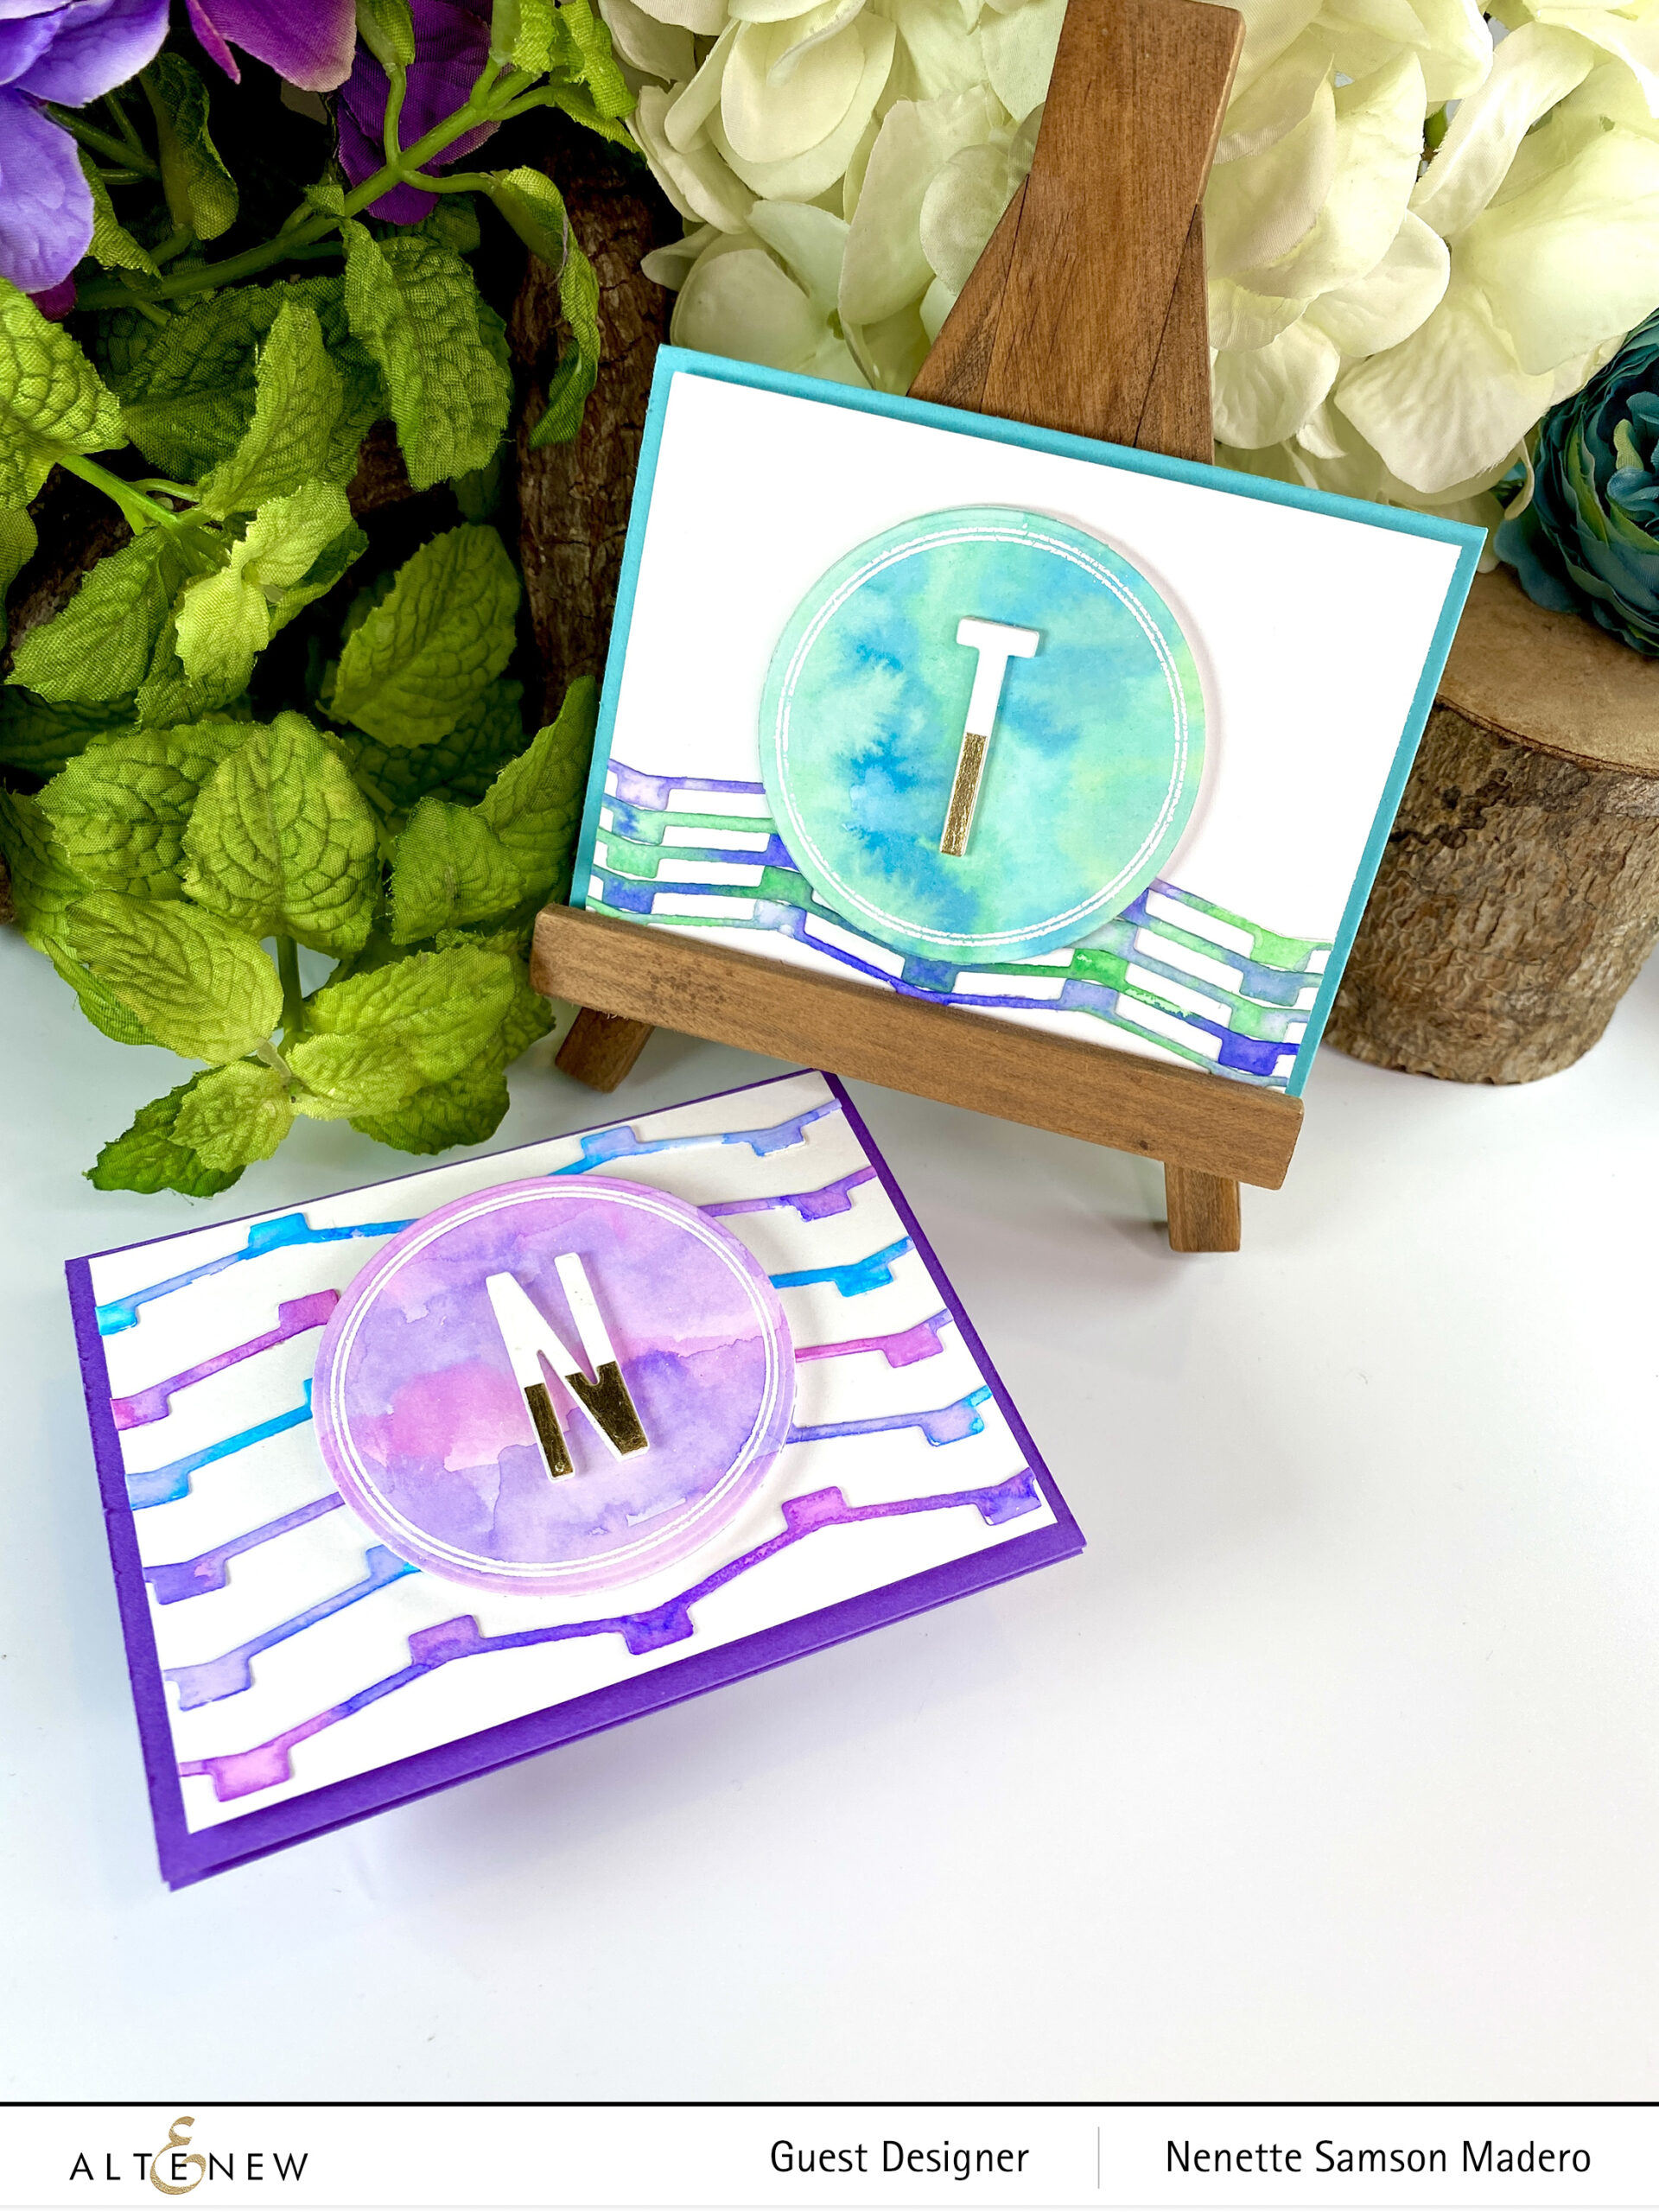
- Die cut watercolor paper using the Dotted Swirls Debossing Cover Die.
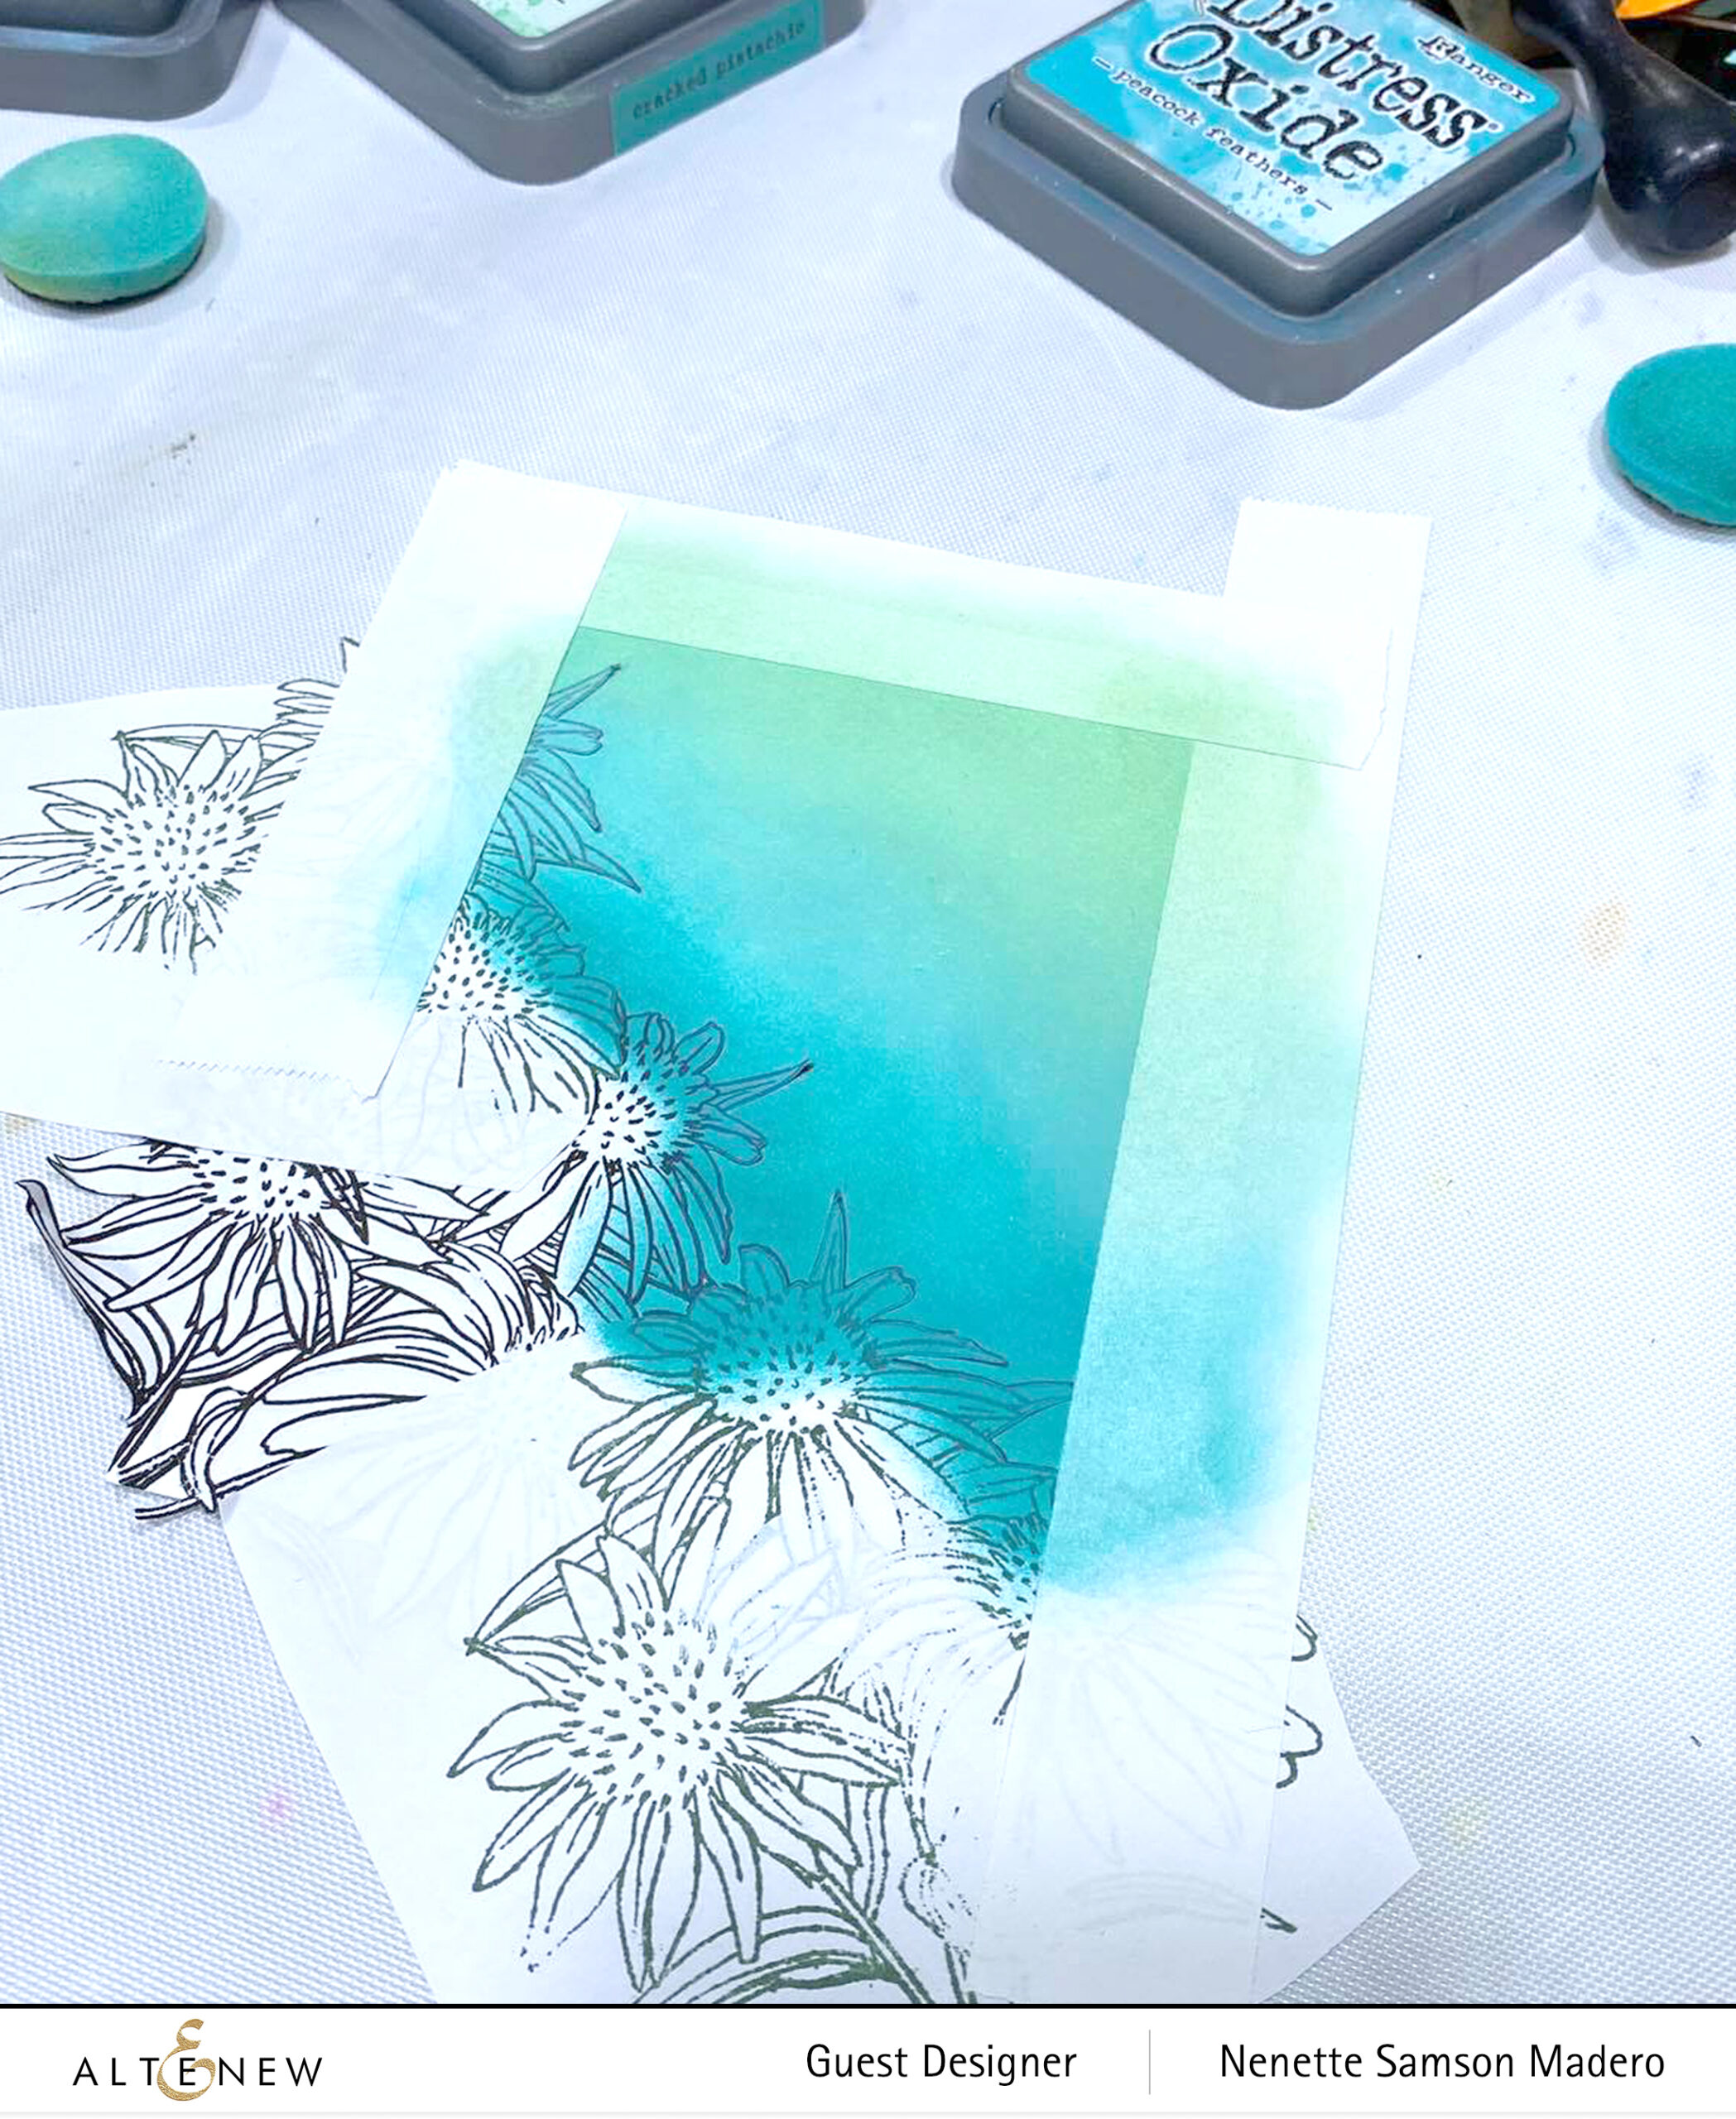
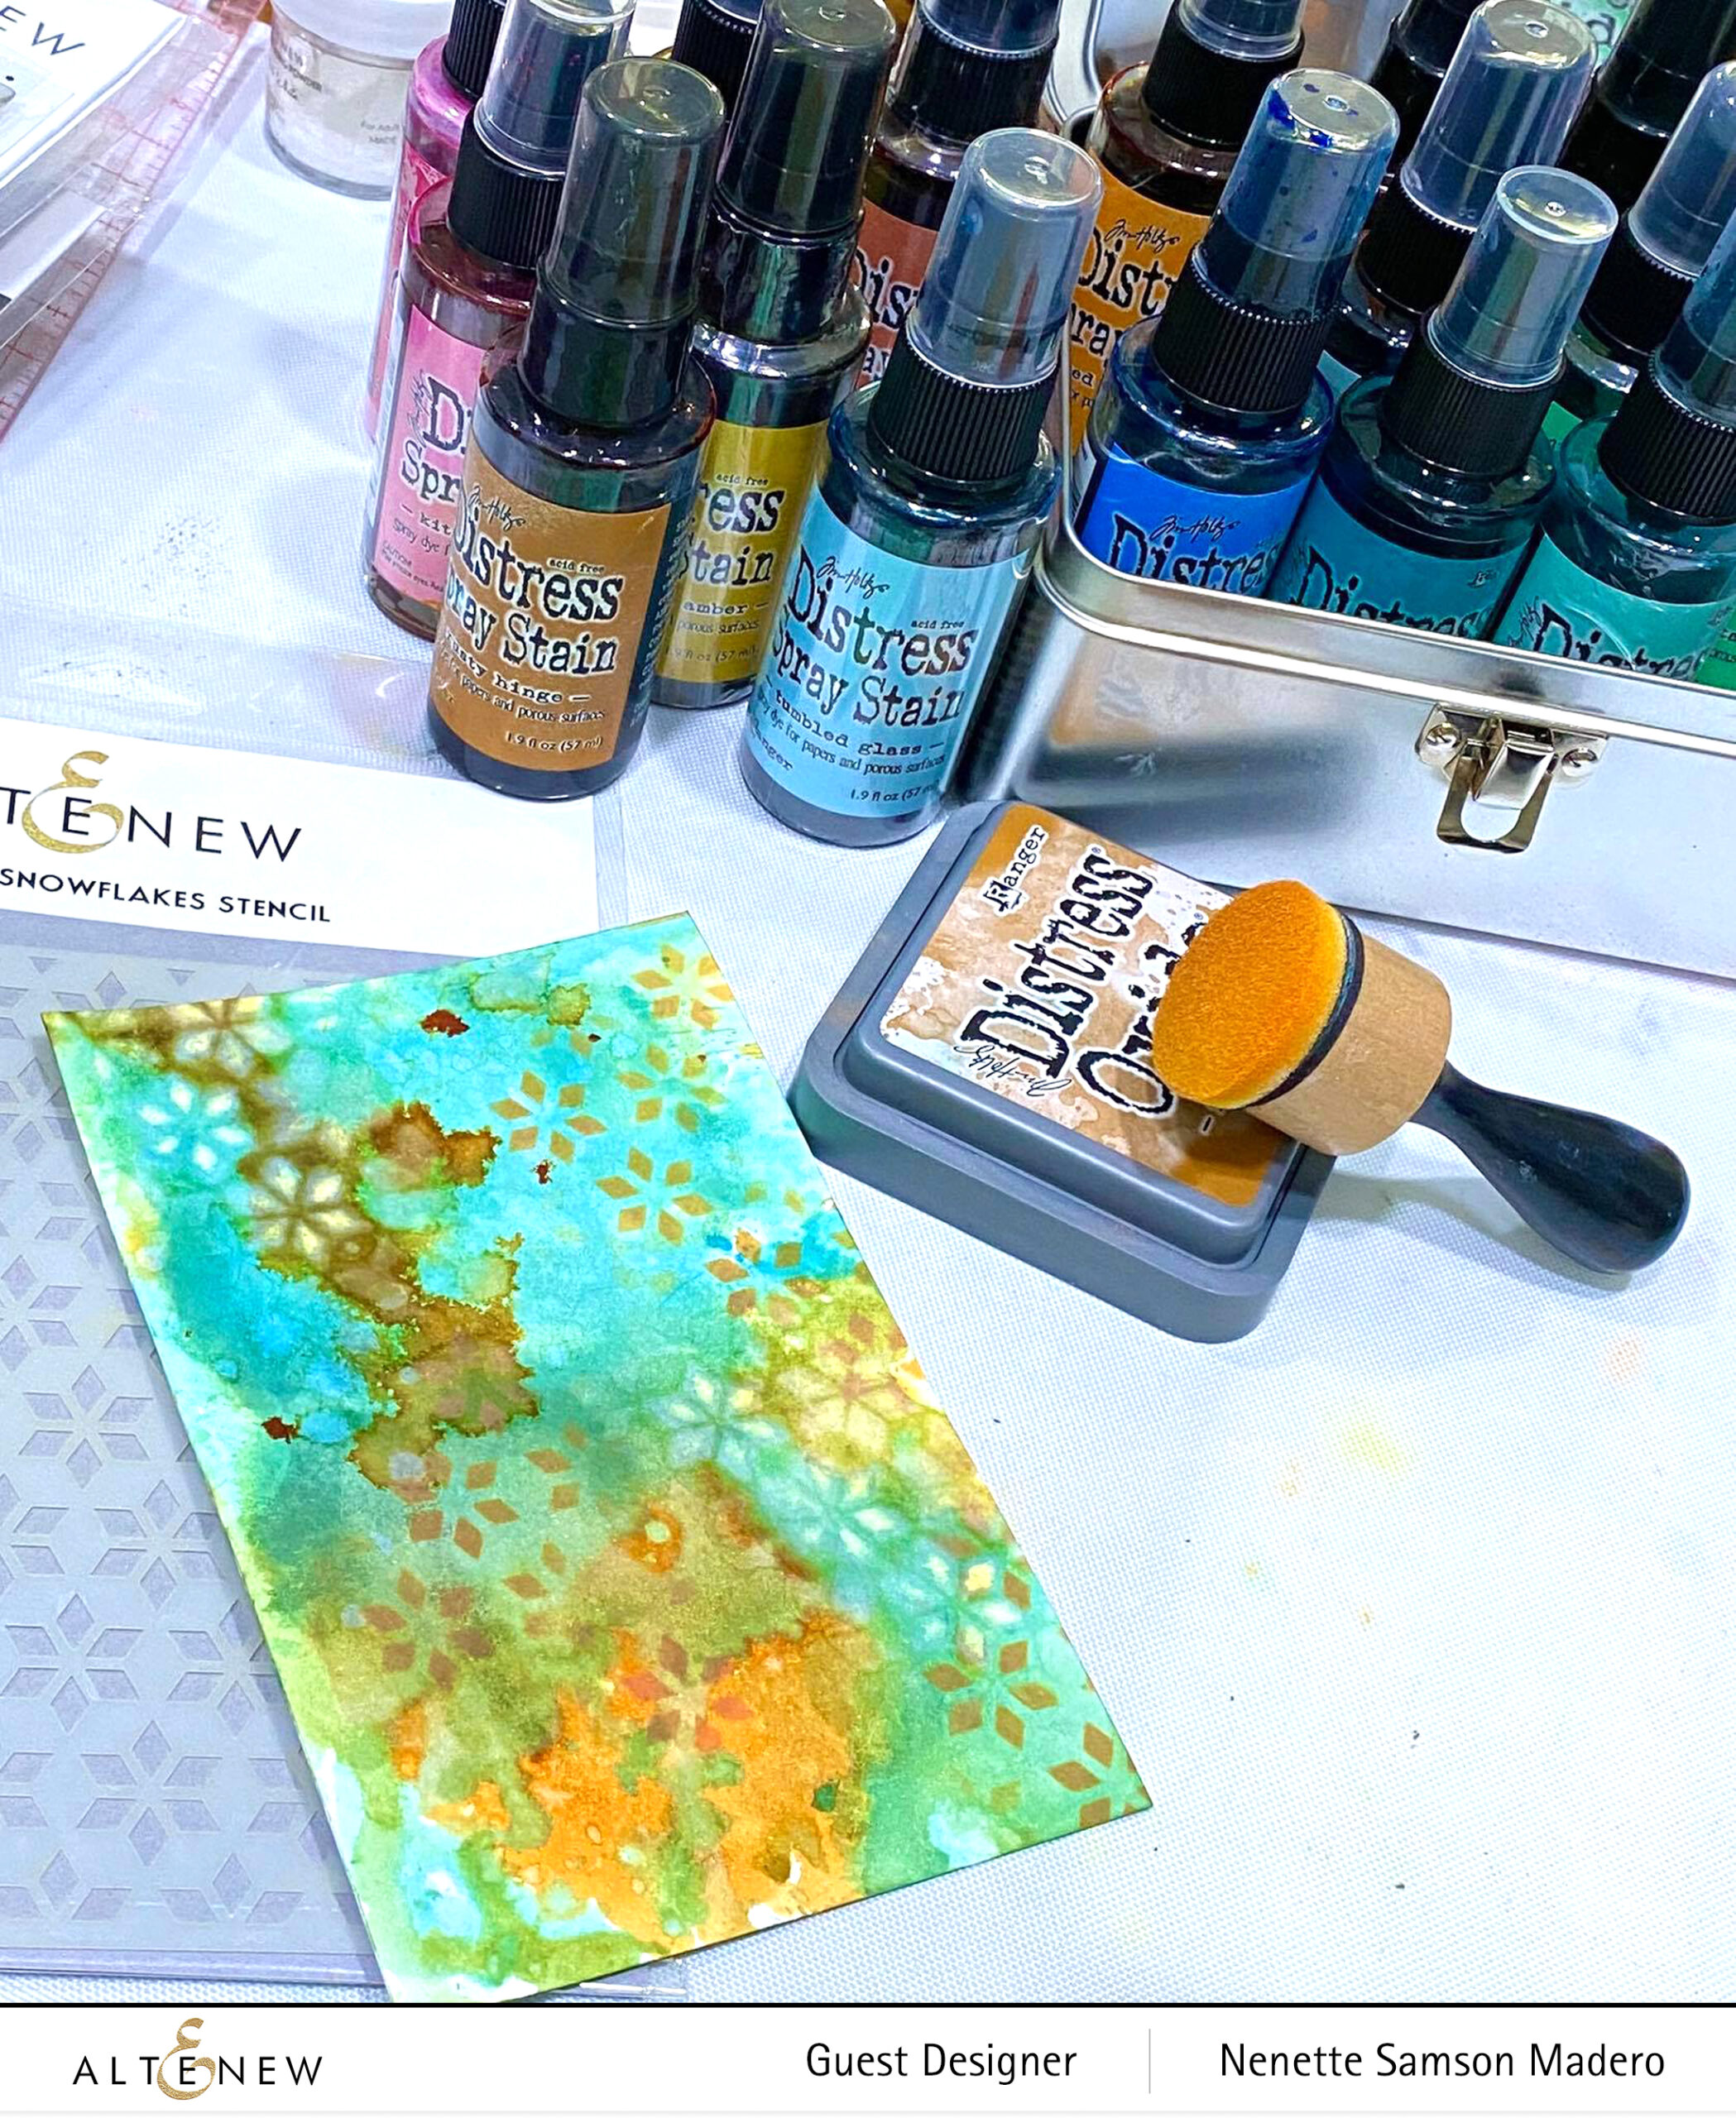
- Use the watercolor brush markers to create an ombre background starting from lightest to darkest.
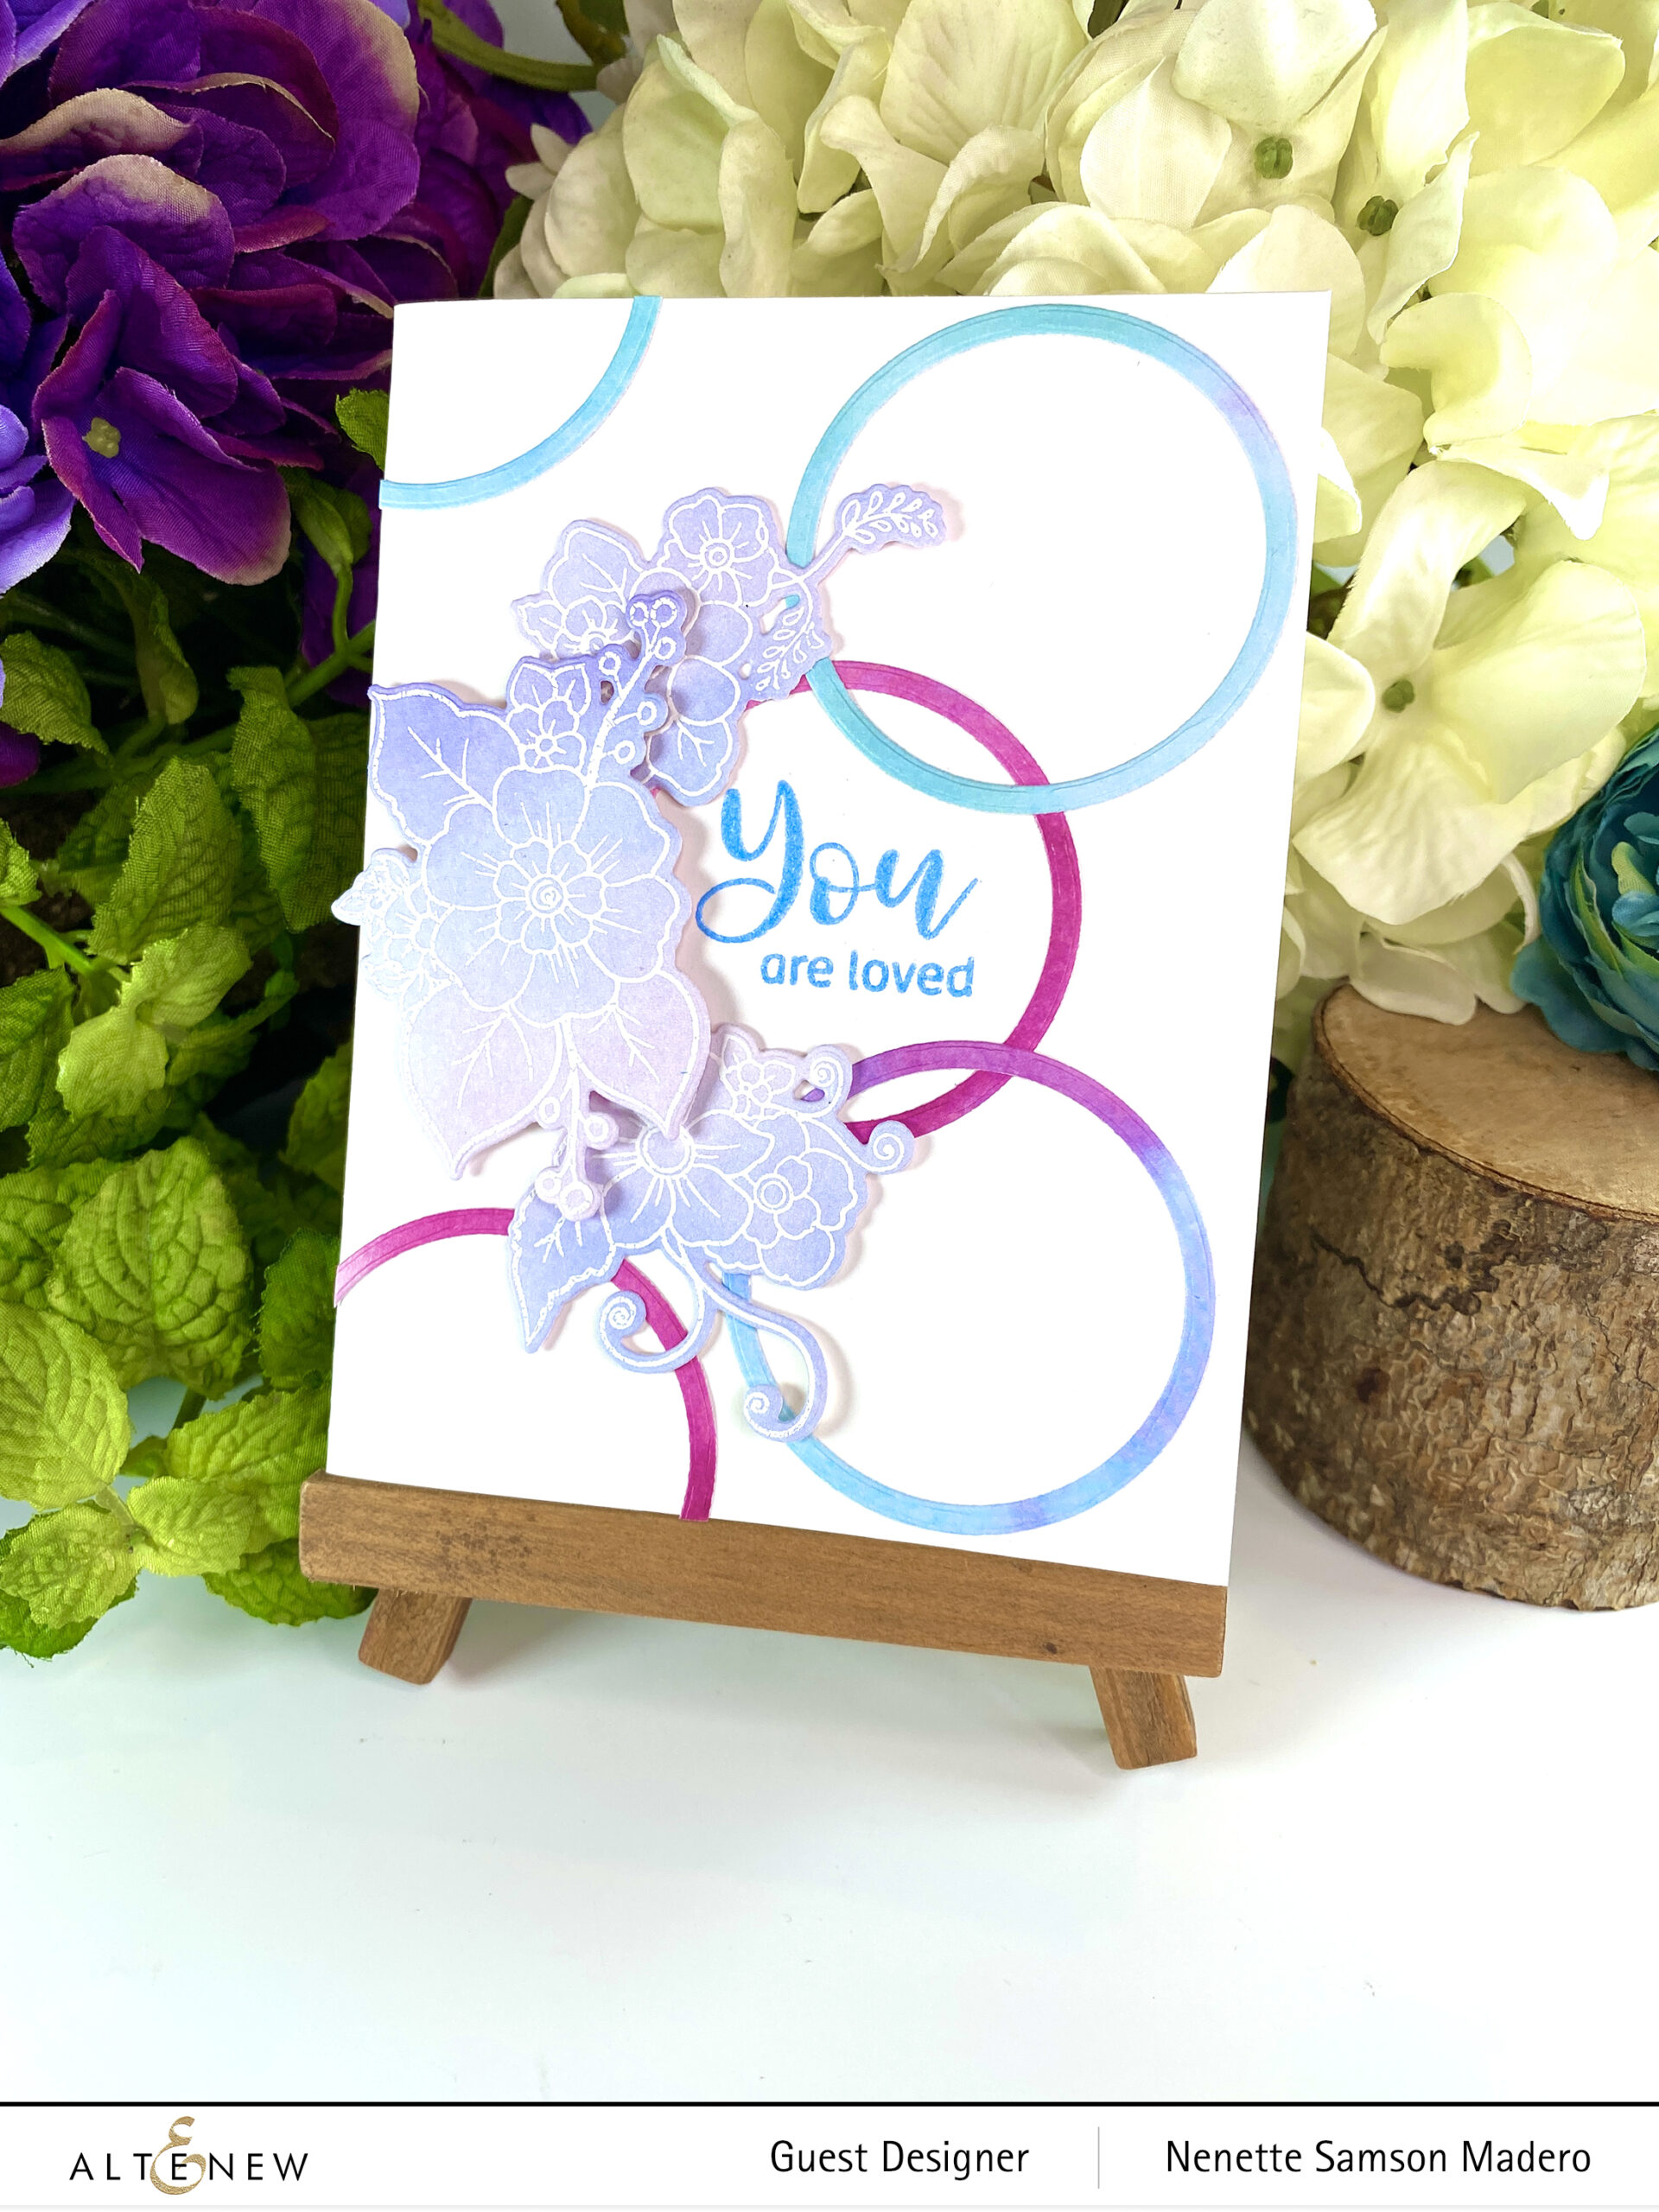
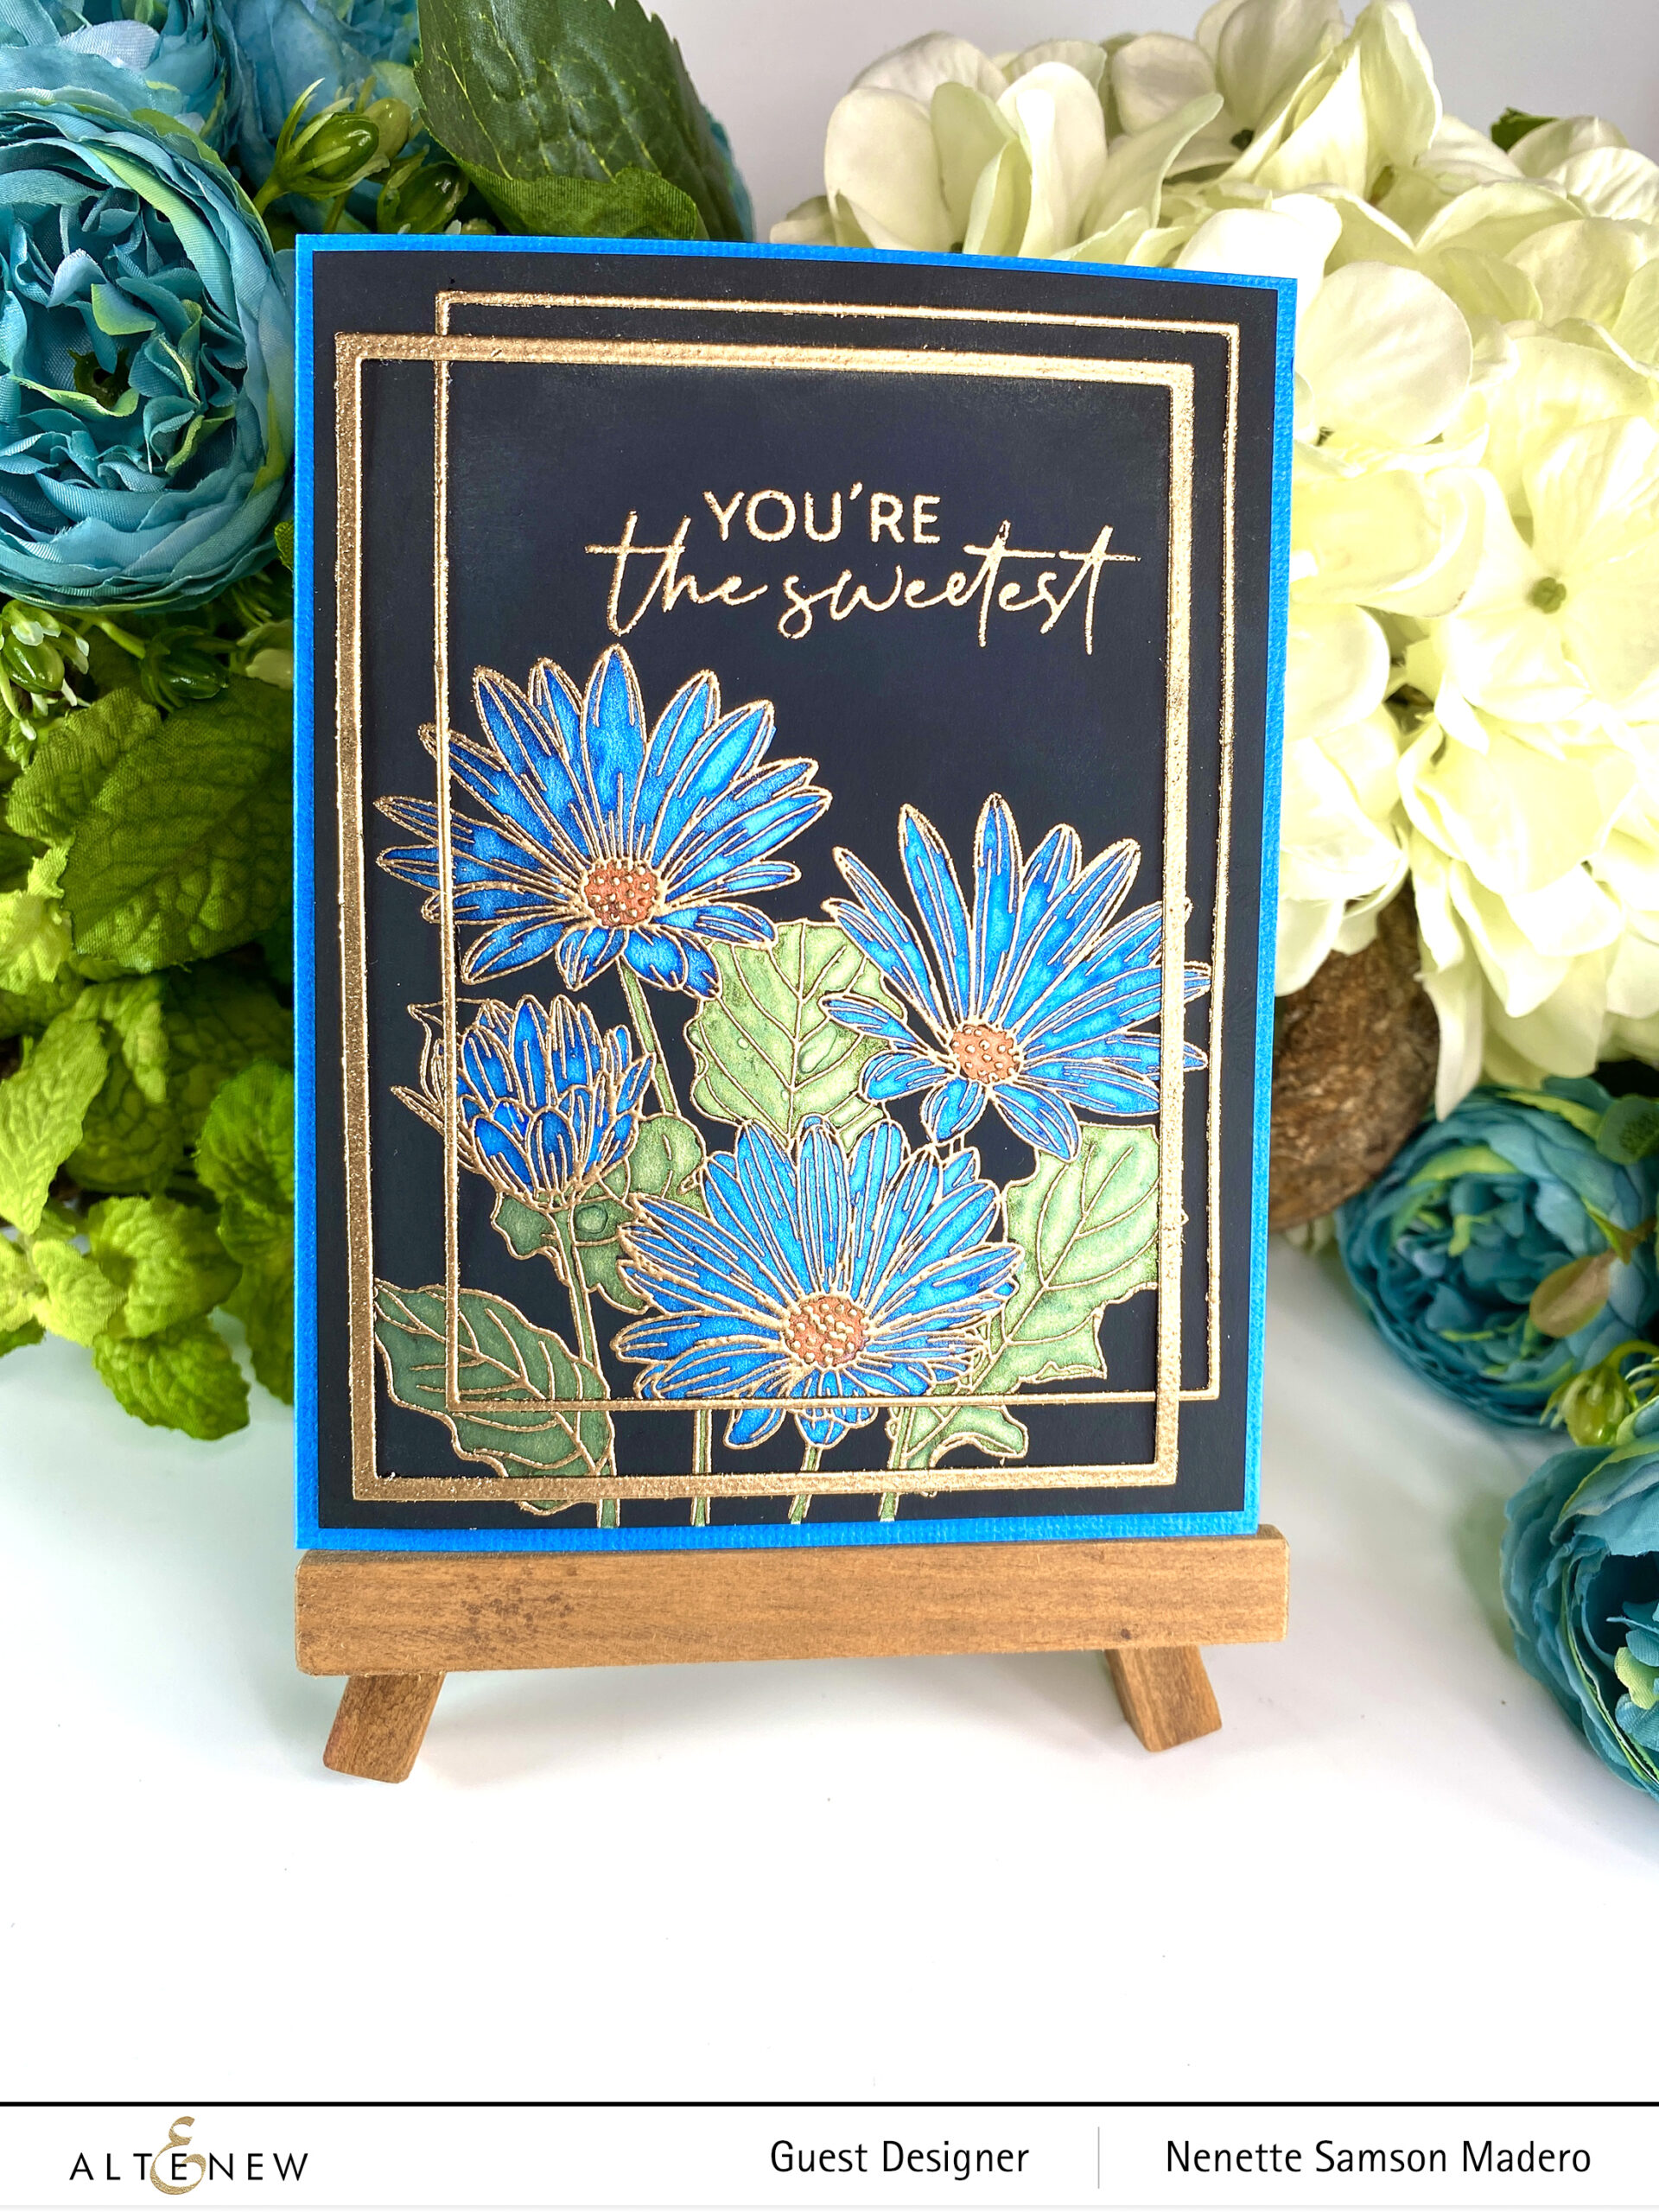
- Stamp the outline image onto Vellum and emboss with Rose Gold embossing powder. Die cut the image using the coordiating die.
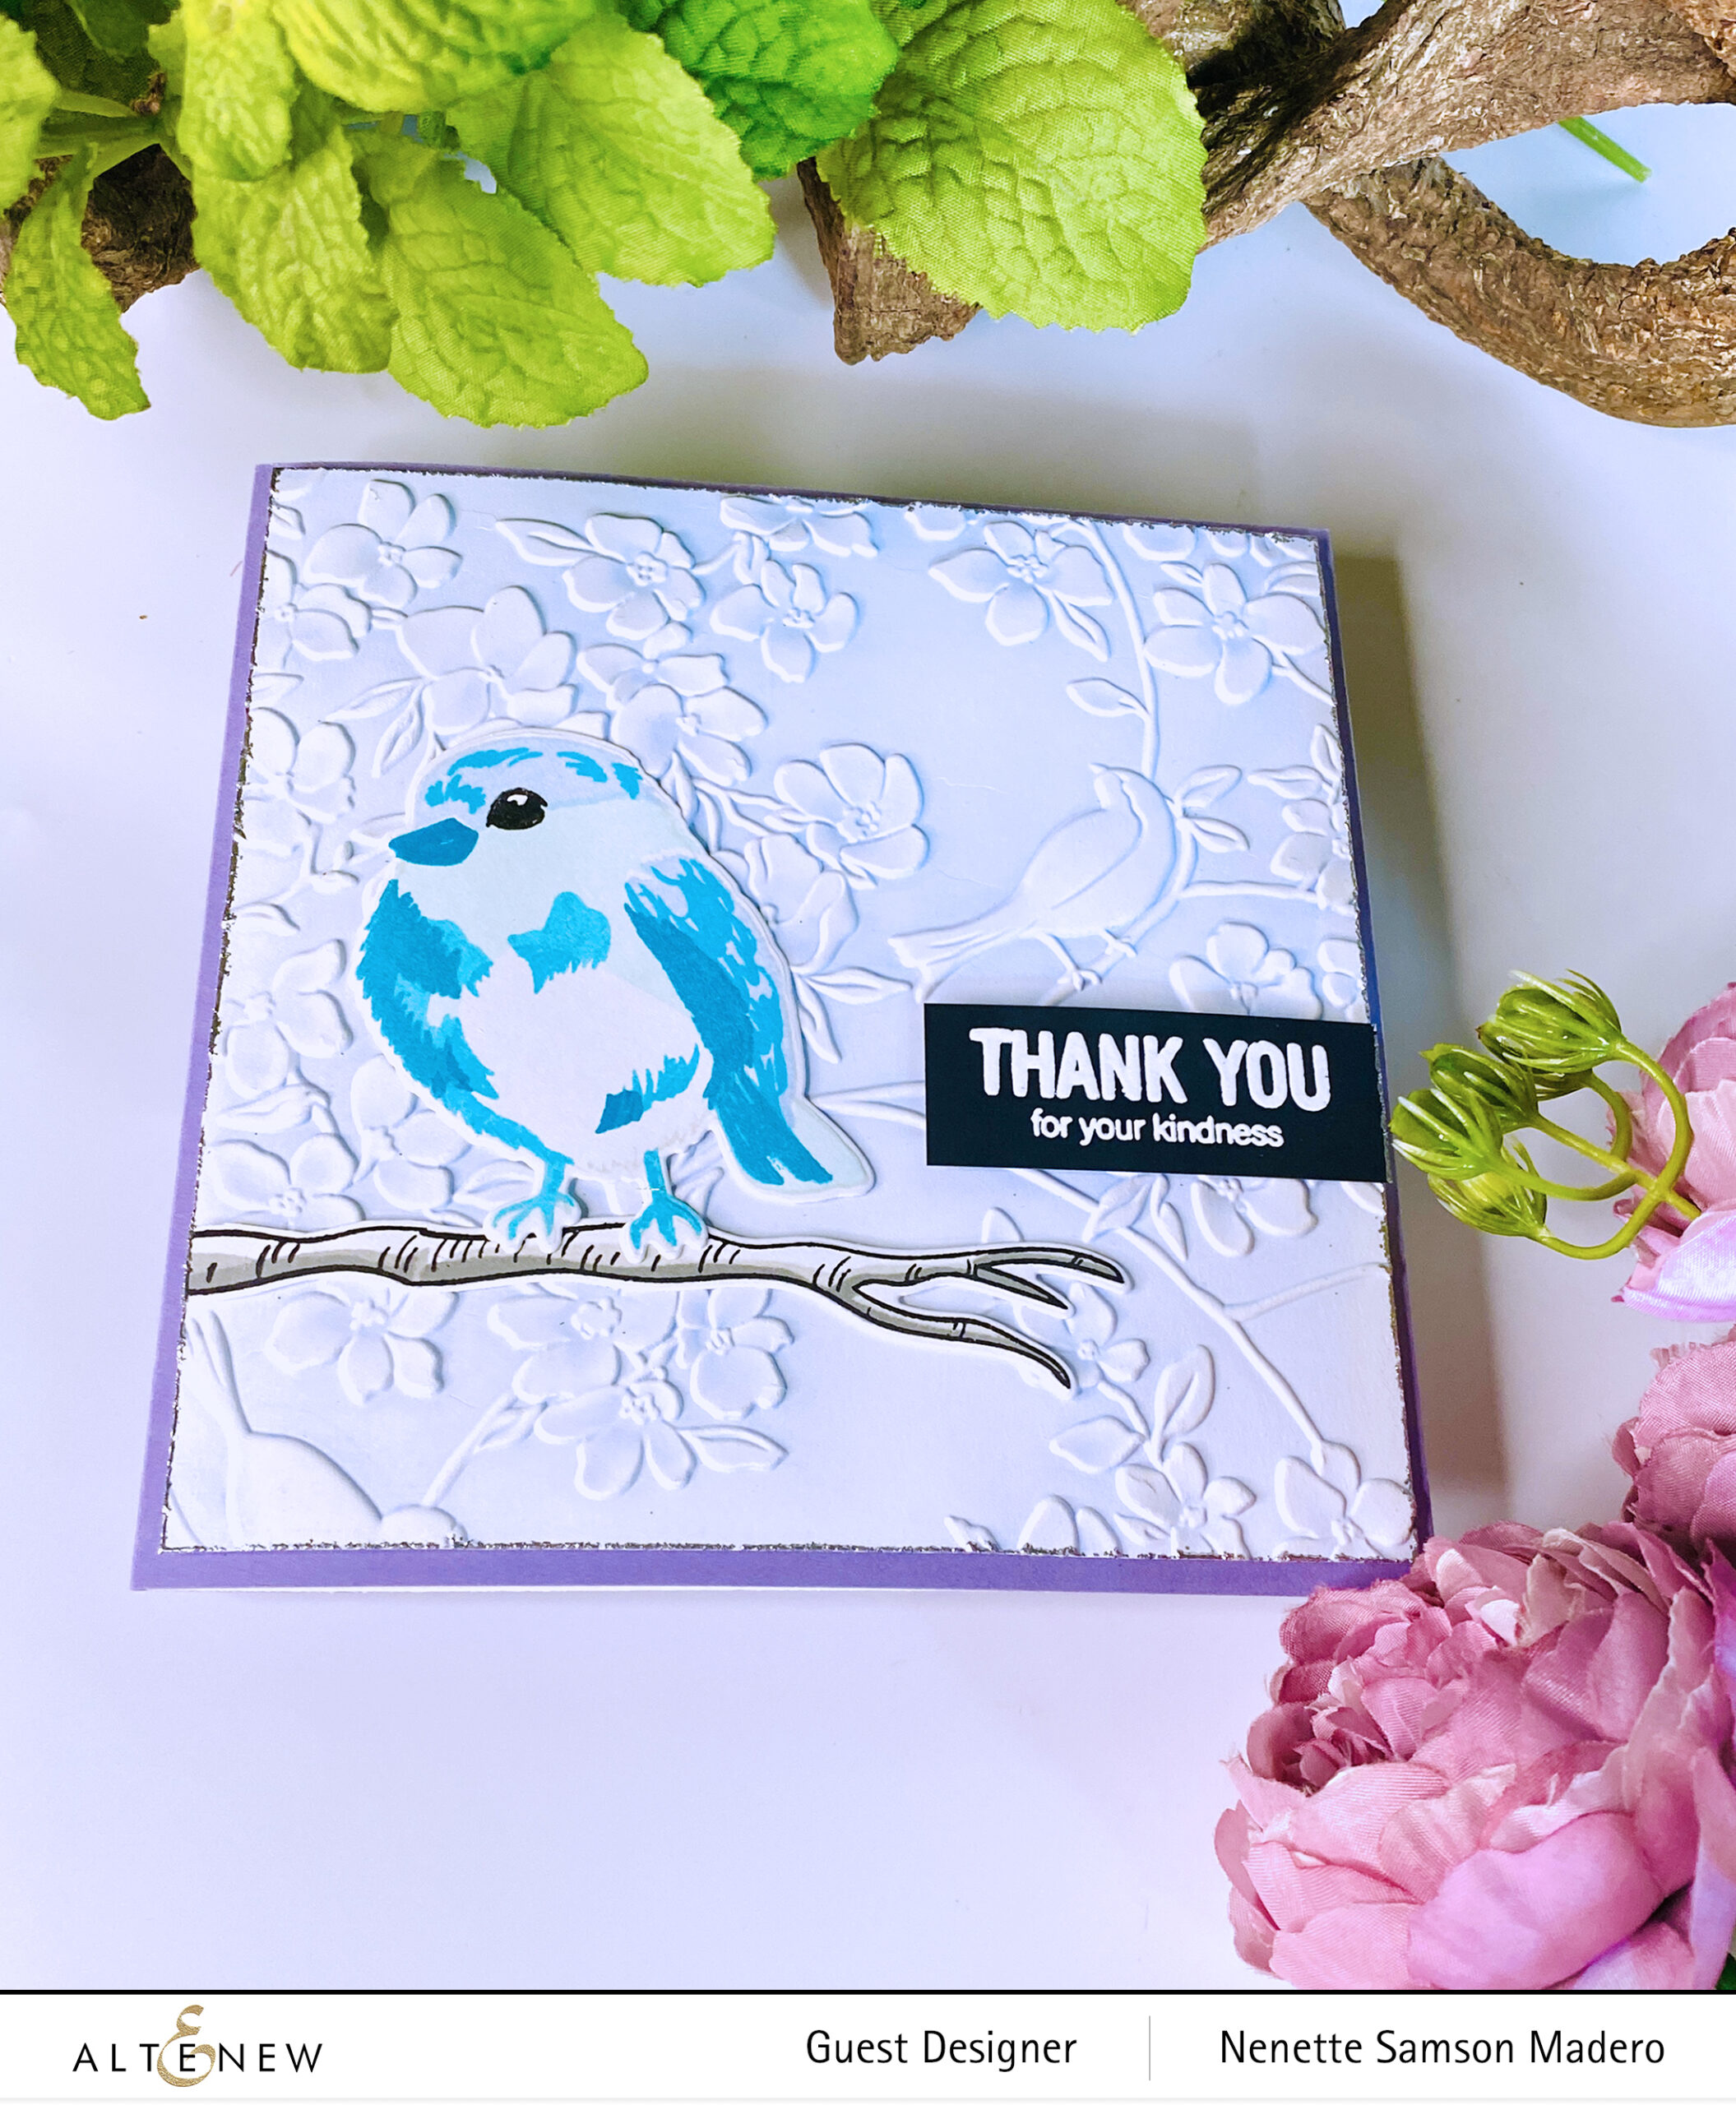
- Stamp the sentiment on black cardstock and emboss using Pure White embossing powder.
- Assemble card.
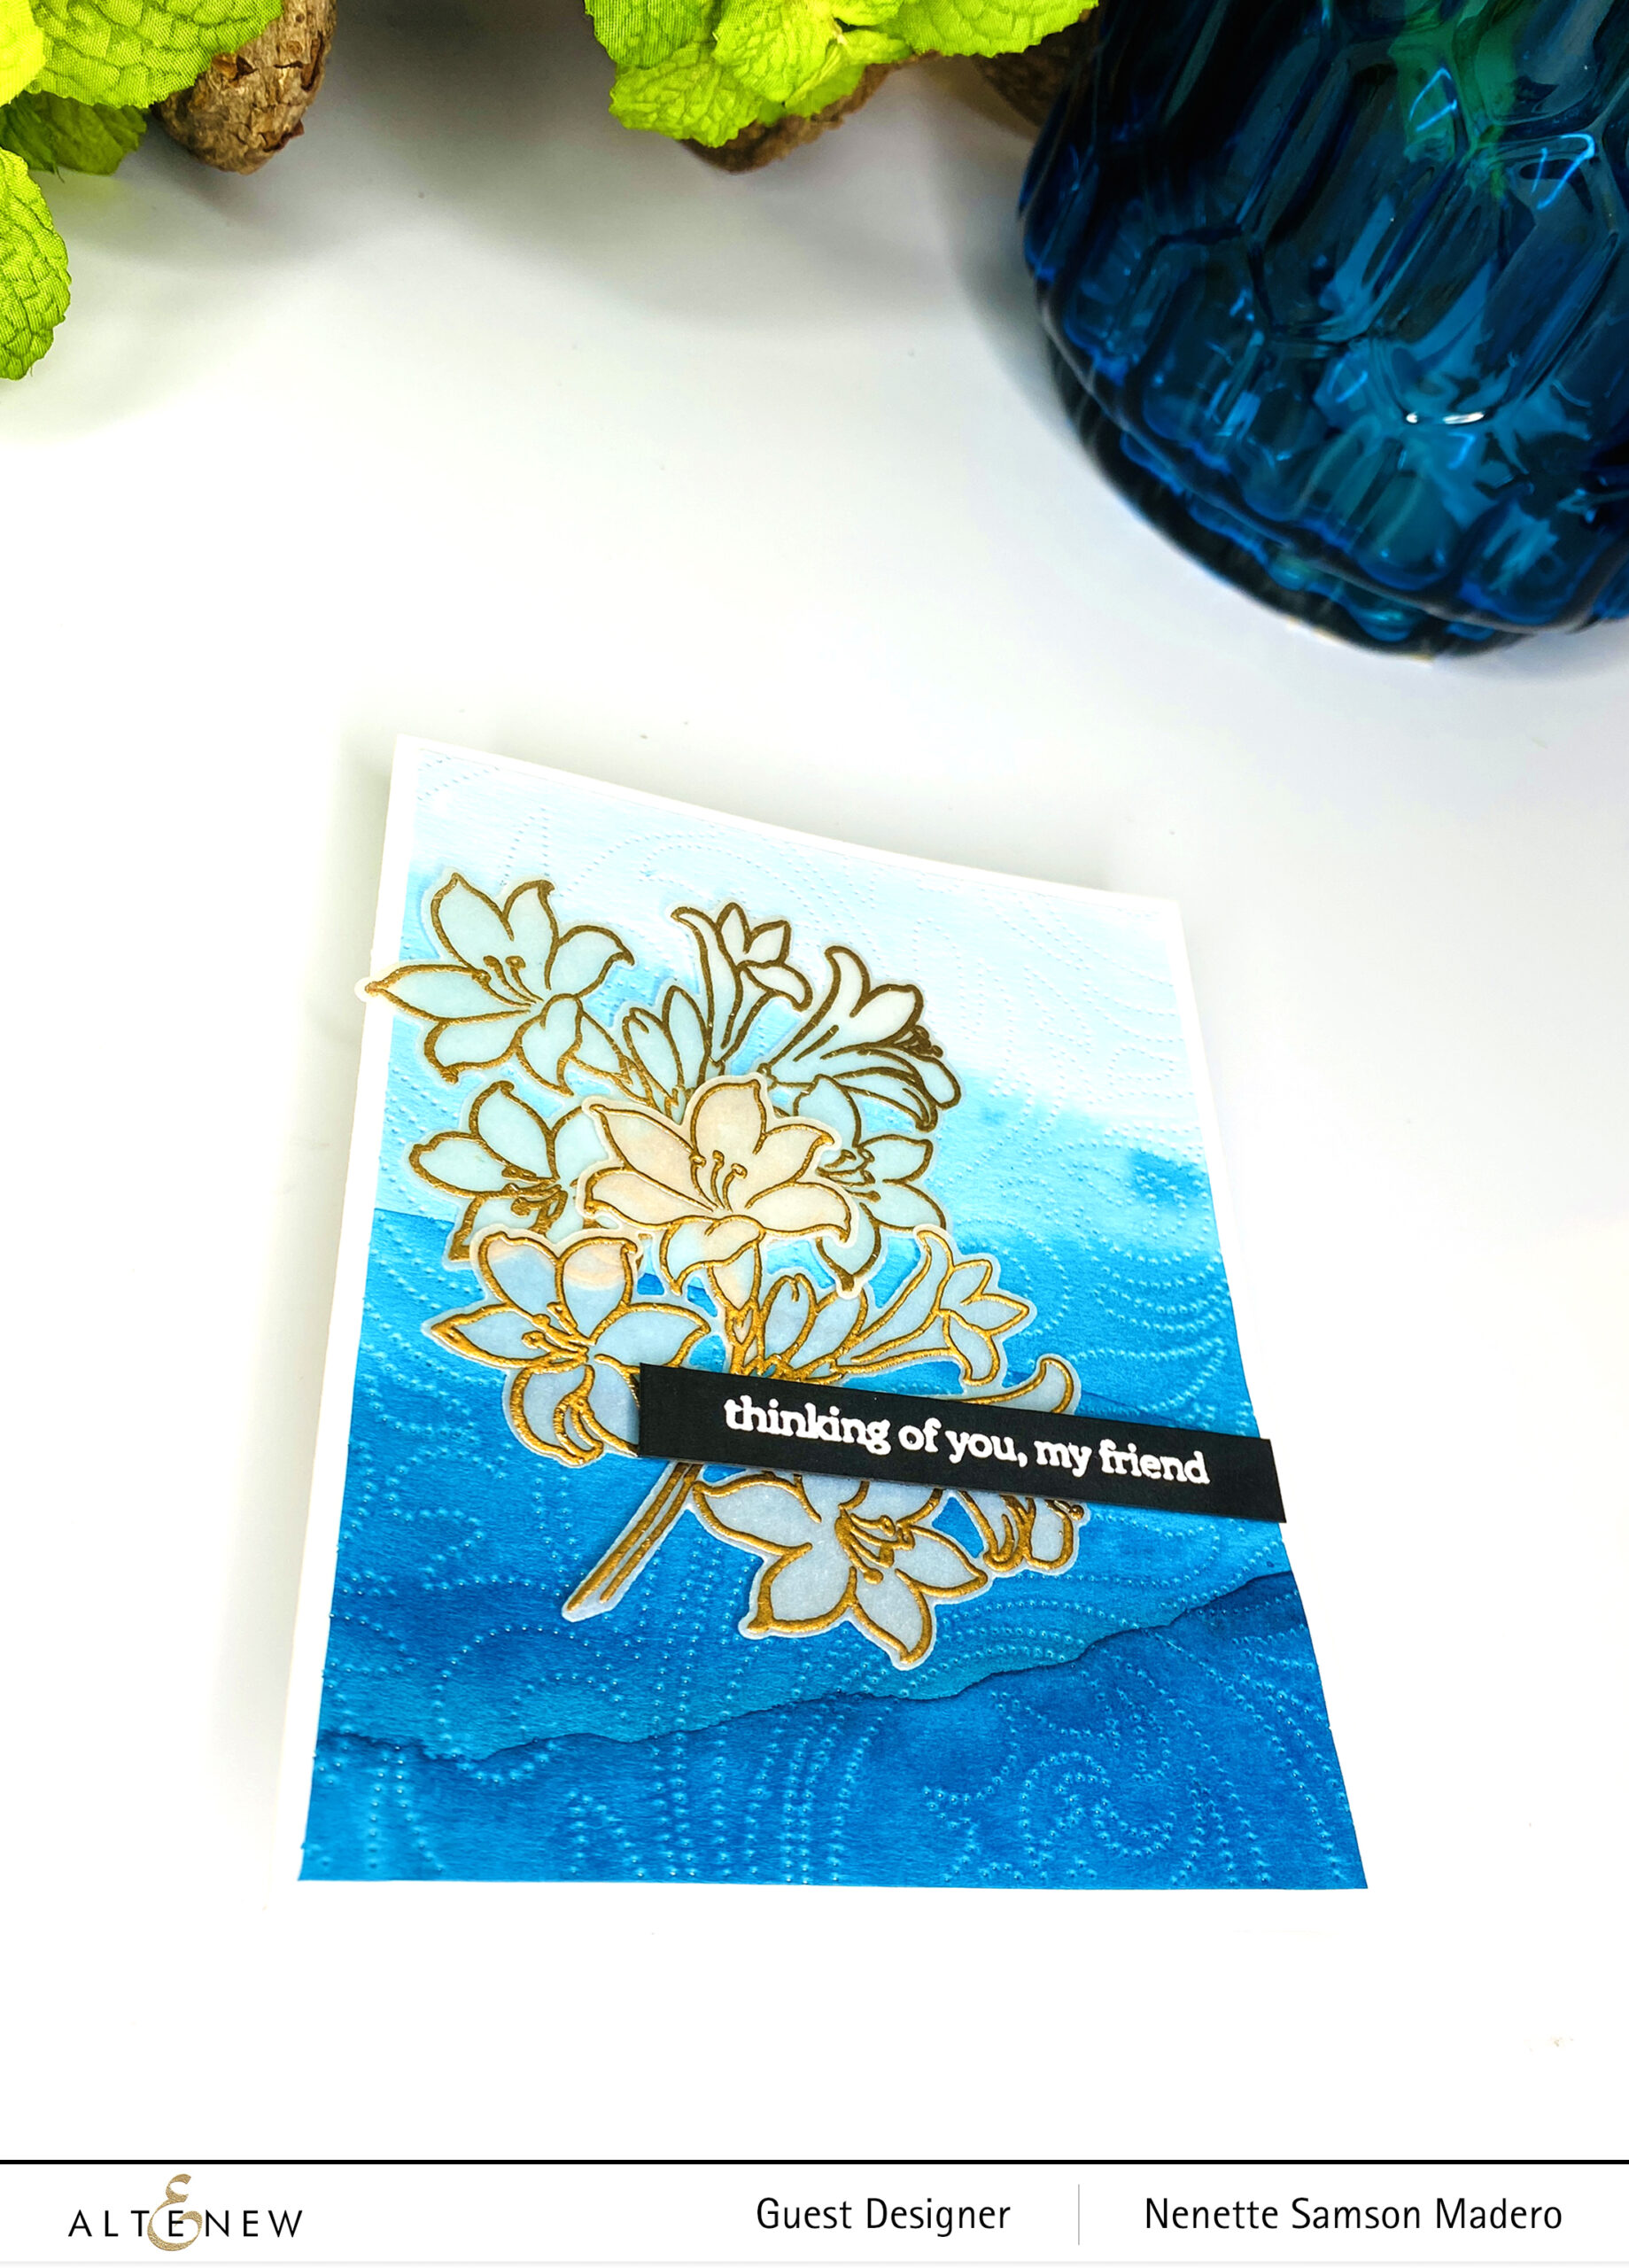
TIP: Allow the lightest wash to completely dry then add different shades of blue. This will create some added texture on top of the background.
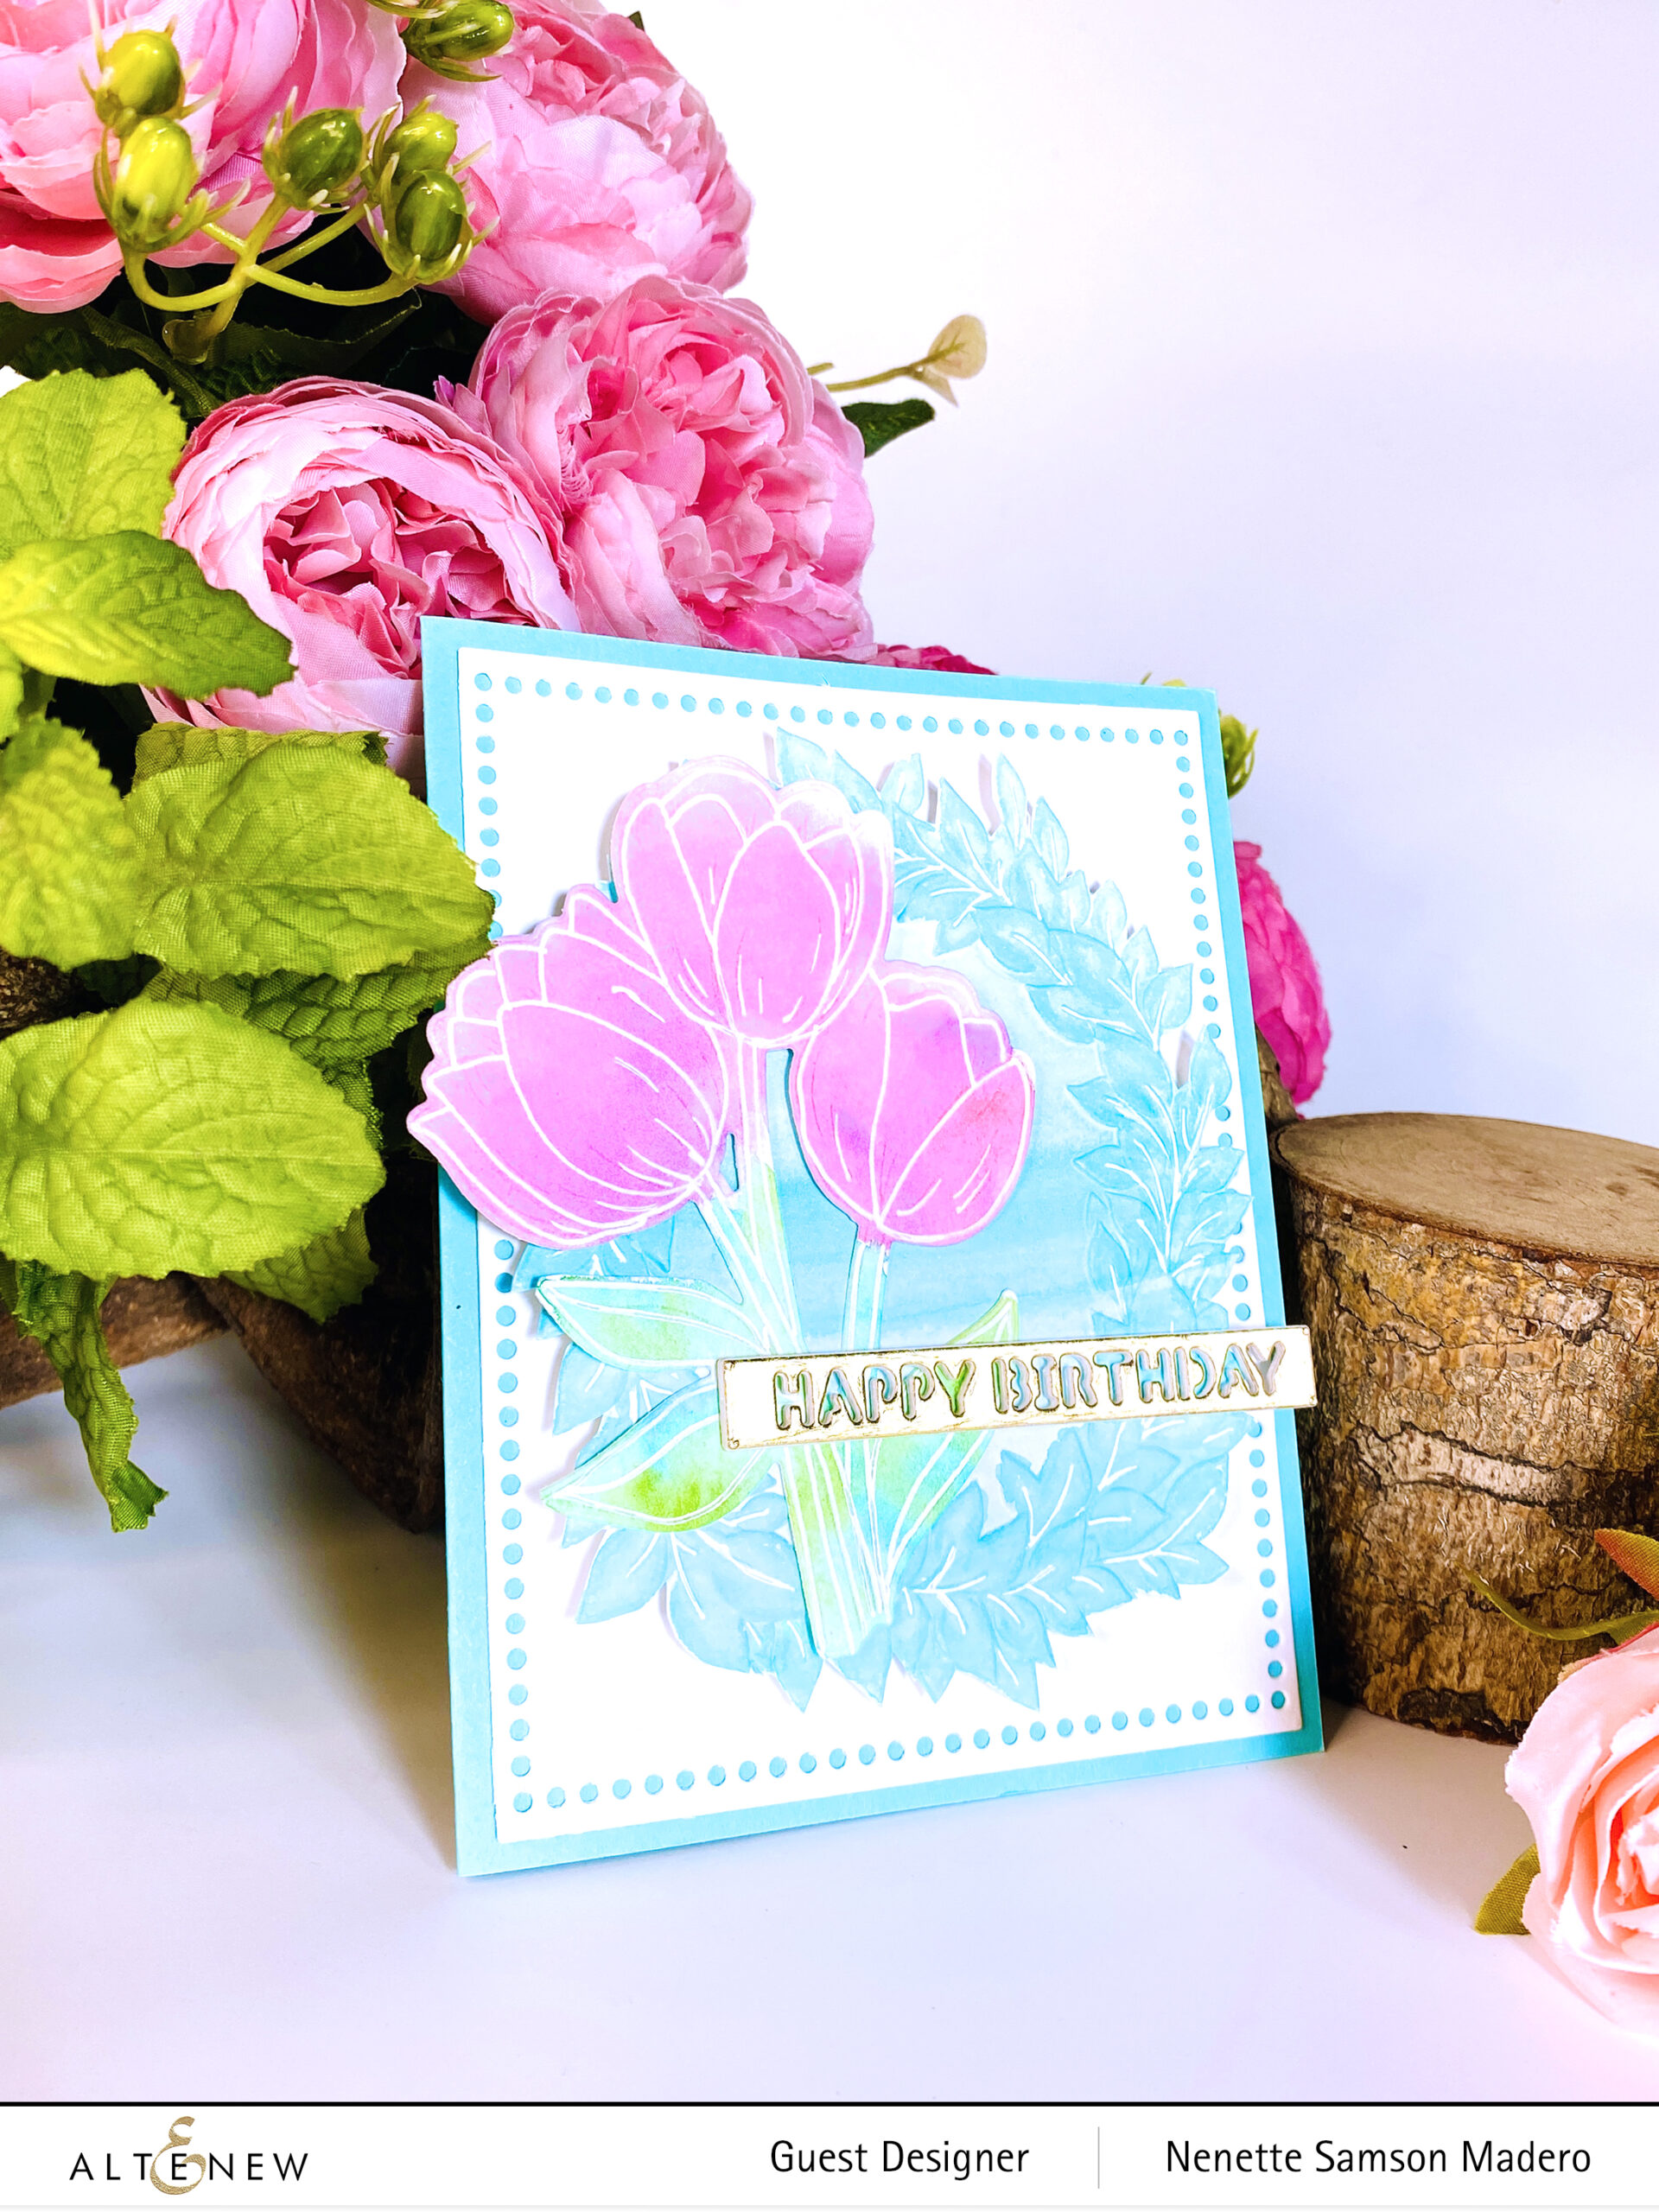
This is a pretty quick card to make. Sometimes, less is more. It can be simple but elegant. Using a contrasting color for the flower will let it stand out more. Since vellum is translucent, you can still see the variations of blue come through the paper. I stamped 2 clusters of flowers and just layered them on top of each other.
GIVEAWAYS

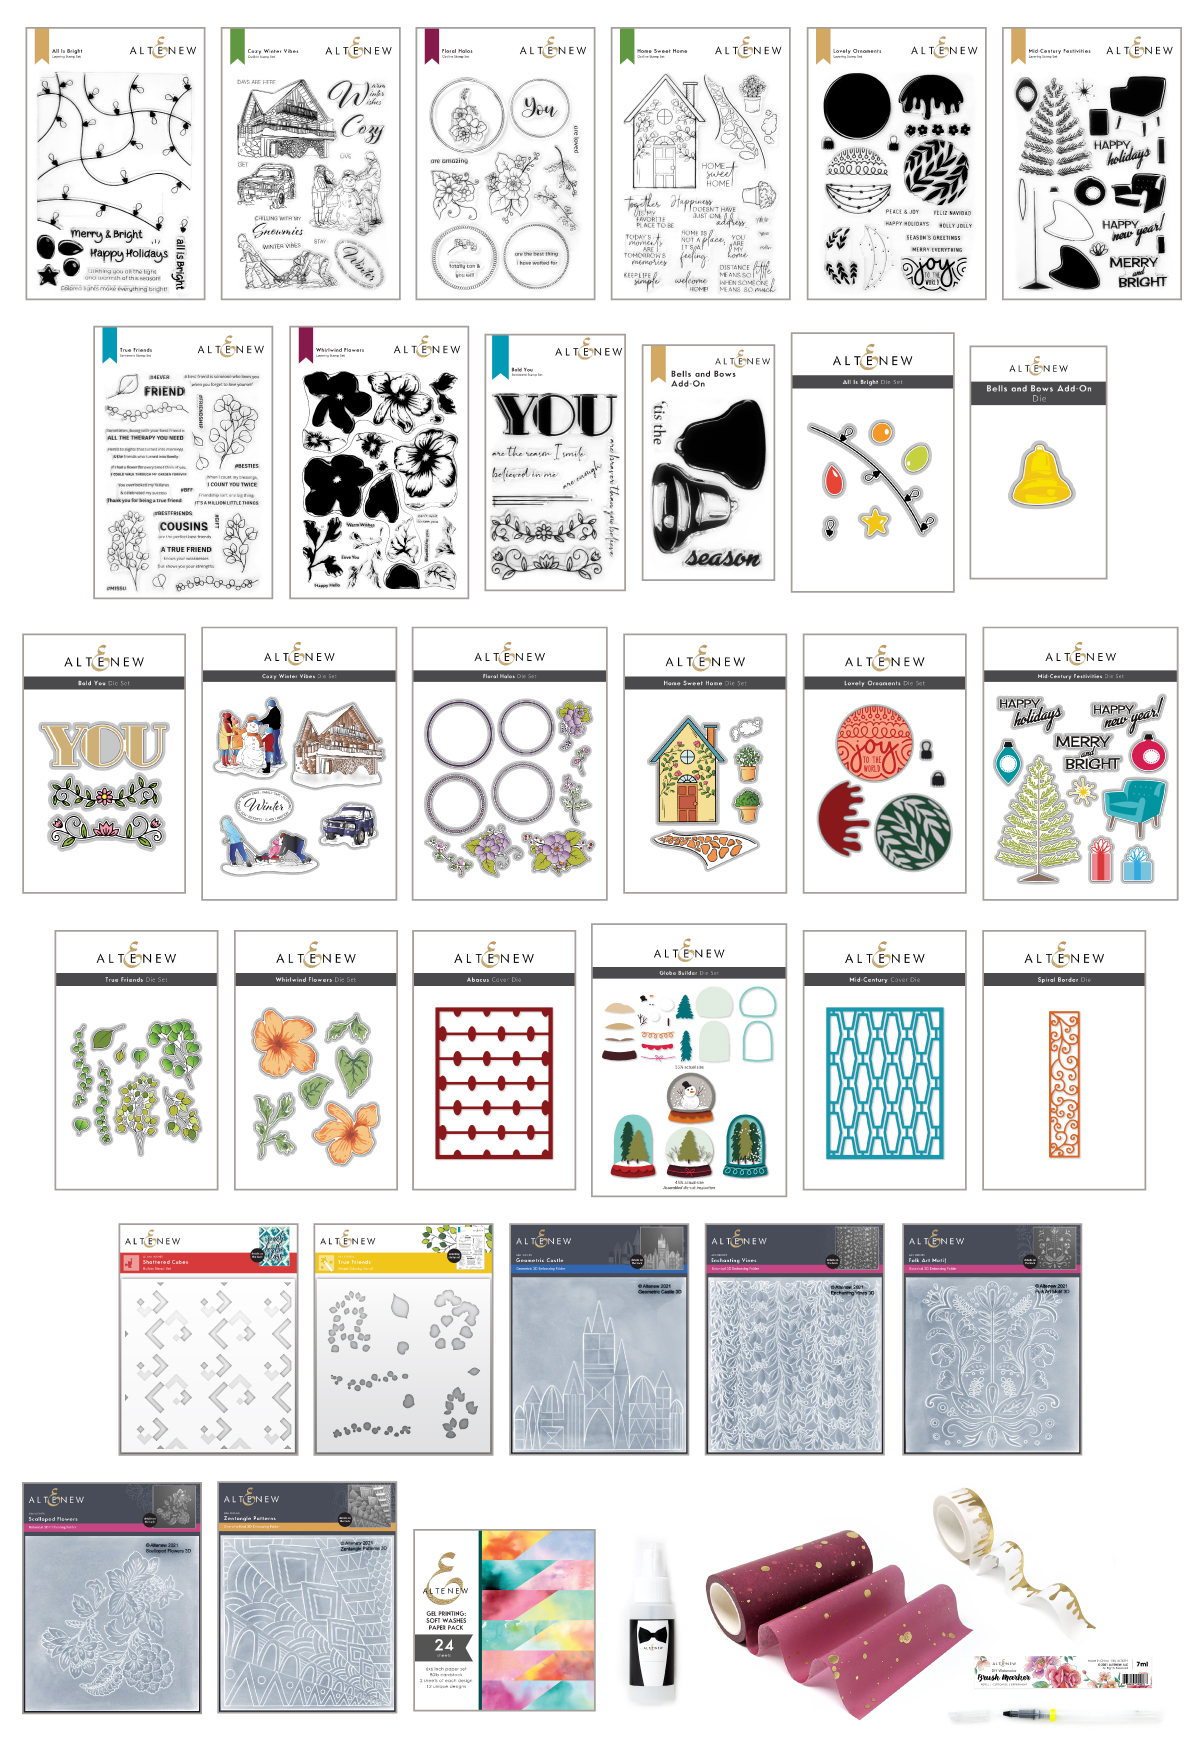
$200 in total prizes! To celebrate this release, Altenew is giving away a $50 gift certificate to 2 lucky winners and a $20 gift certificate to 5 winners! Please leave a comment on the Altenew Card Blog and/or each designer’s blog post on the blog hop list below by 04/06/2022 for a chance to win. Altenew will draw seven random winners from the comments left on each blog hop stop and announce the winners on the Altenew Winners Page on 04/08/2022.
Next up is my uber-talented friend, Erum Tasneem. Drop by her blog and be blown away by her exceptional talent. Thanks for dropping by, and I would love to know if you prefer clean and simple cards or layered and elaborate ones. Make sure to leave a comment and get a chance to win a prize from Altenew! For my latest creations, please follow me on Instagram @mylittleatticstudio. Thanks again, and happy crafting!

")


")


")