")

Welcome to my blog, everyone! If you just came from Lilith Eeckels blog, then you’re on the right track. For the complete details of this hop, you may head to the Altenew Card Blog. You can find the complete release of the October 2021 Mighty Kind release collection here.
I created a number of cards for this wonderful release. Let me know in the comment section which one you like the best.
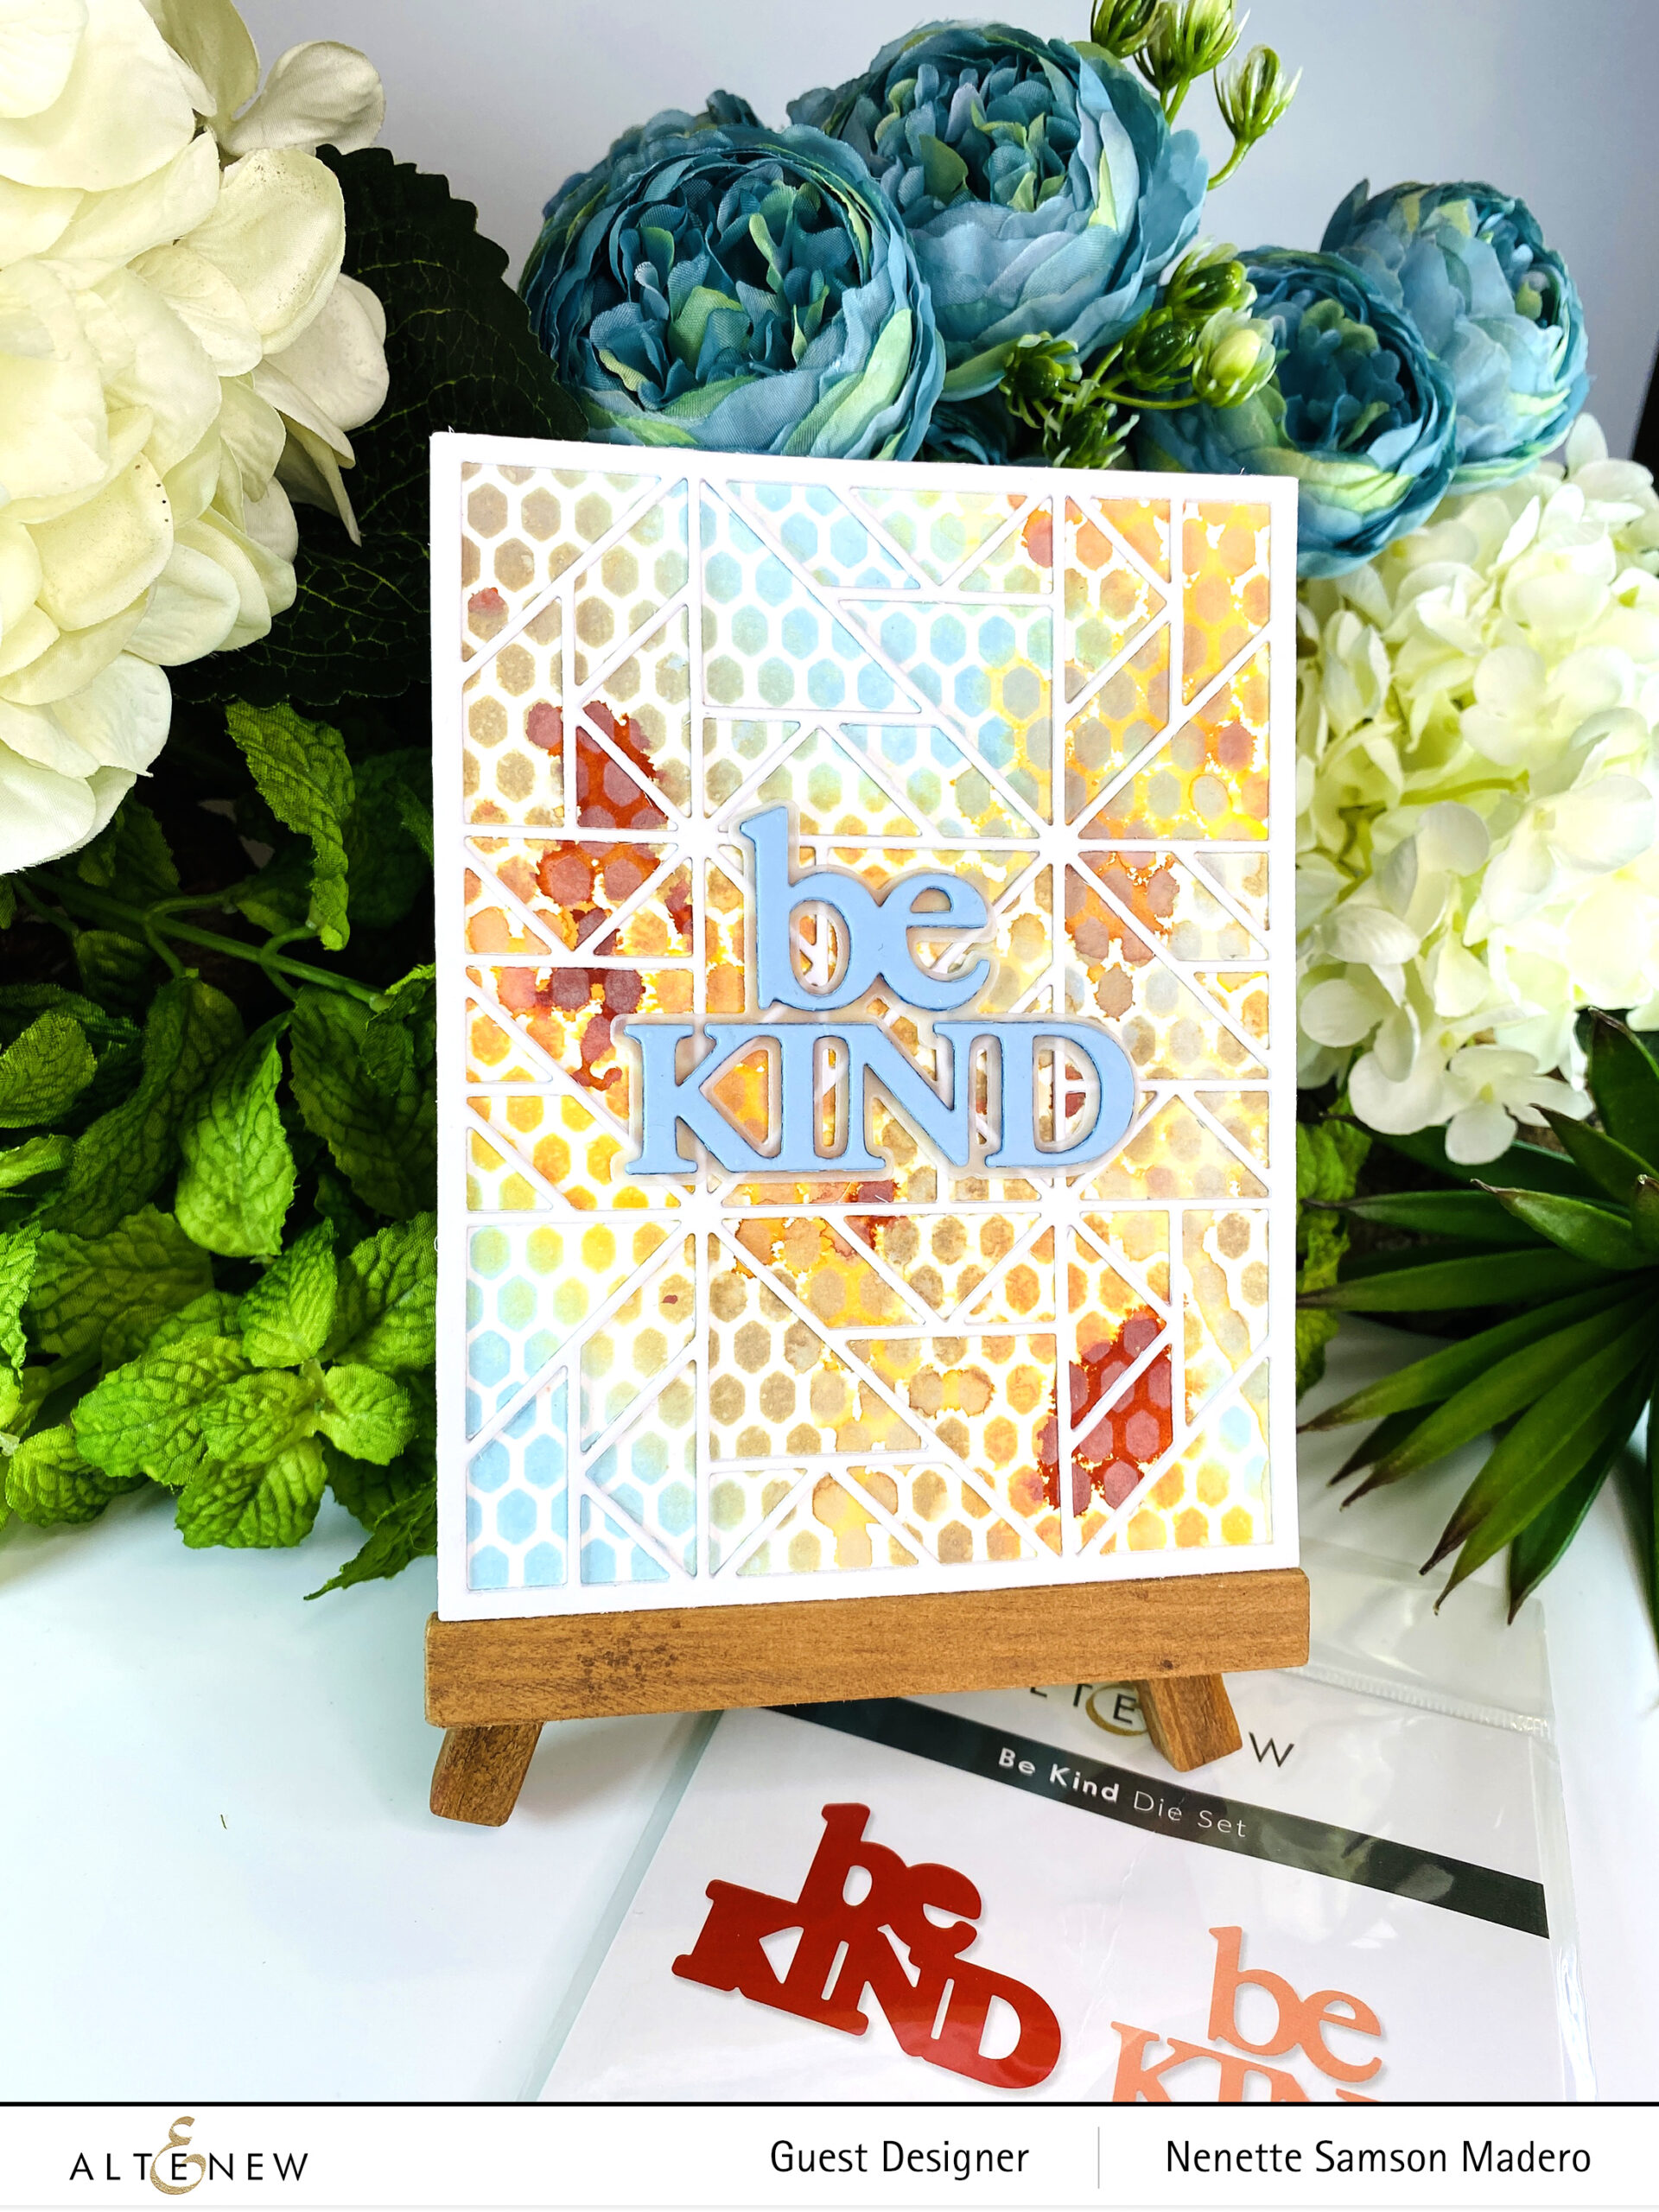
BE KIND
STEPS:
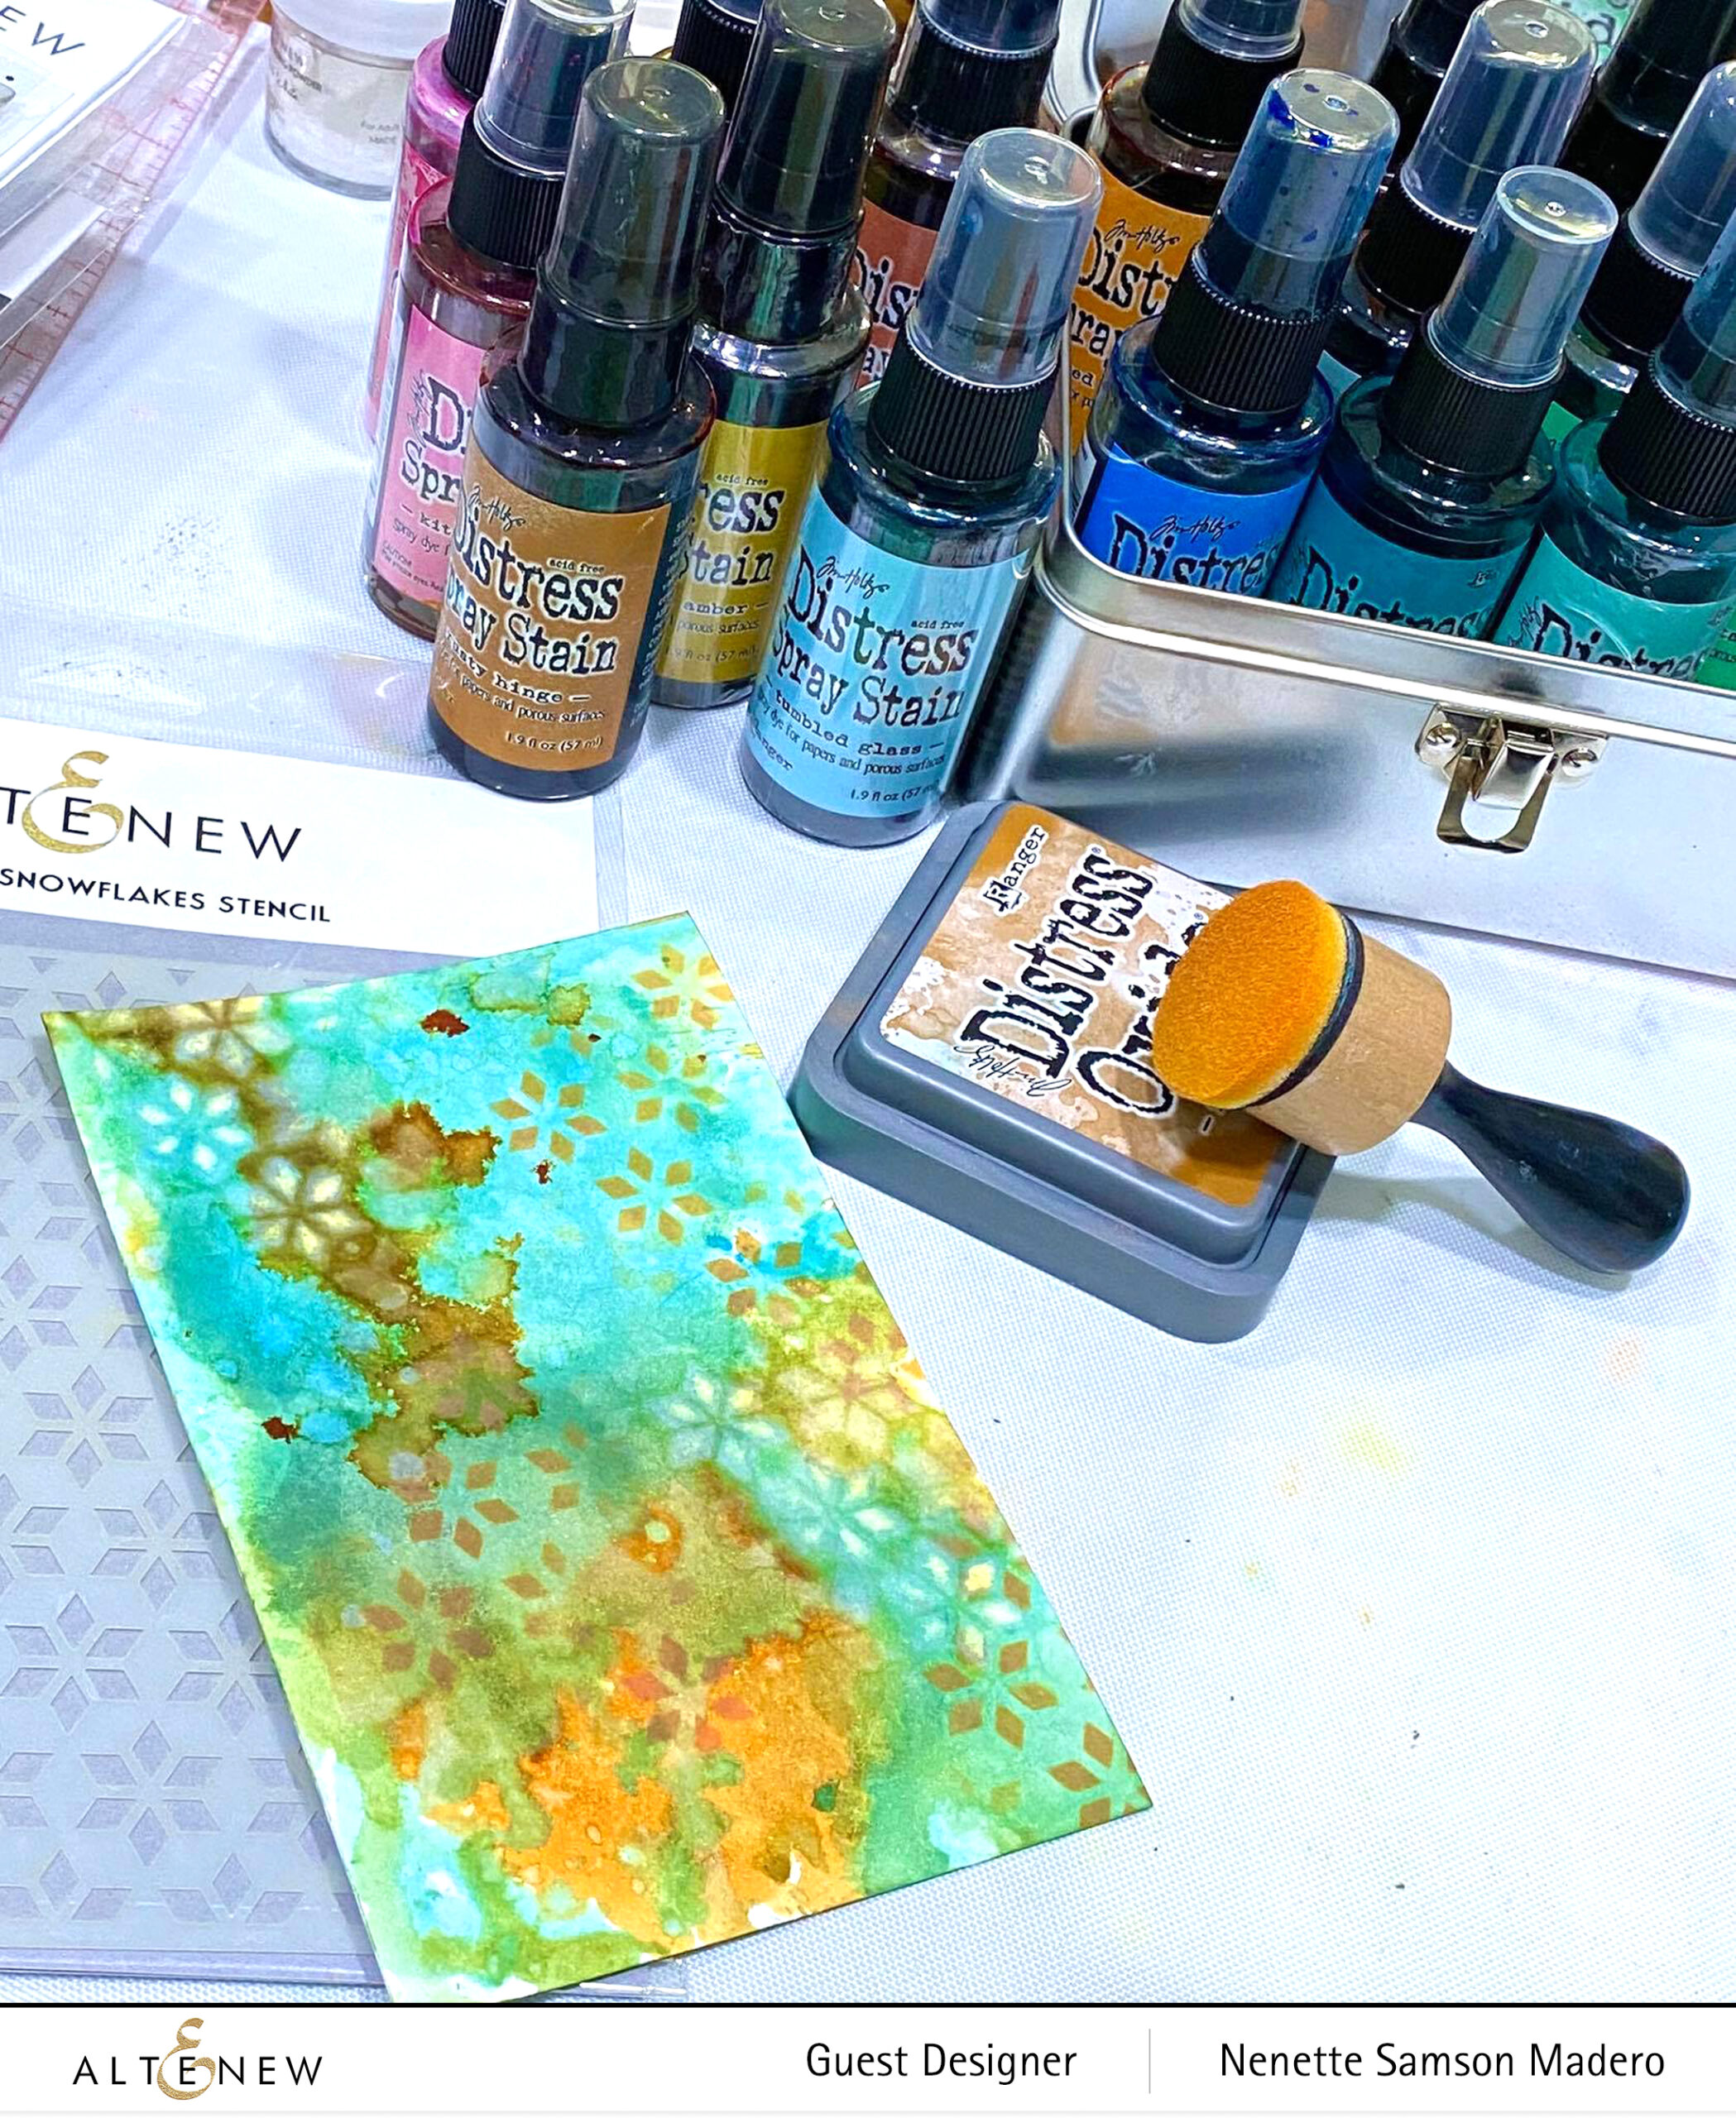
- Create the background using Fine Tulle Stencil with Tumbled Glass, Frayed Burlap and Spiced Marmalade Distress Oxide inks and Rusty Hinge Spray stain. Spray some areas with water for the inks to react.
- Die cut the Simple Shapes Cover Die and adhere on top of the background.
- Die cut from vellum the background die and from light blue cardstock the Be Kind die. I die cut this 4 times and adhered them on top of each other for added thickness.
- Assembe the card with adhesive.
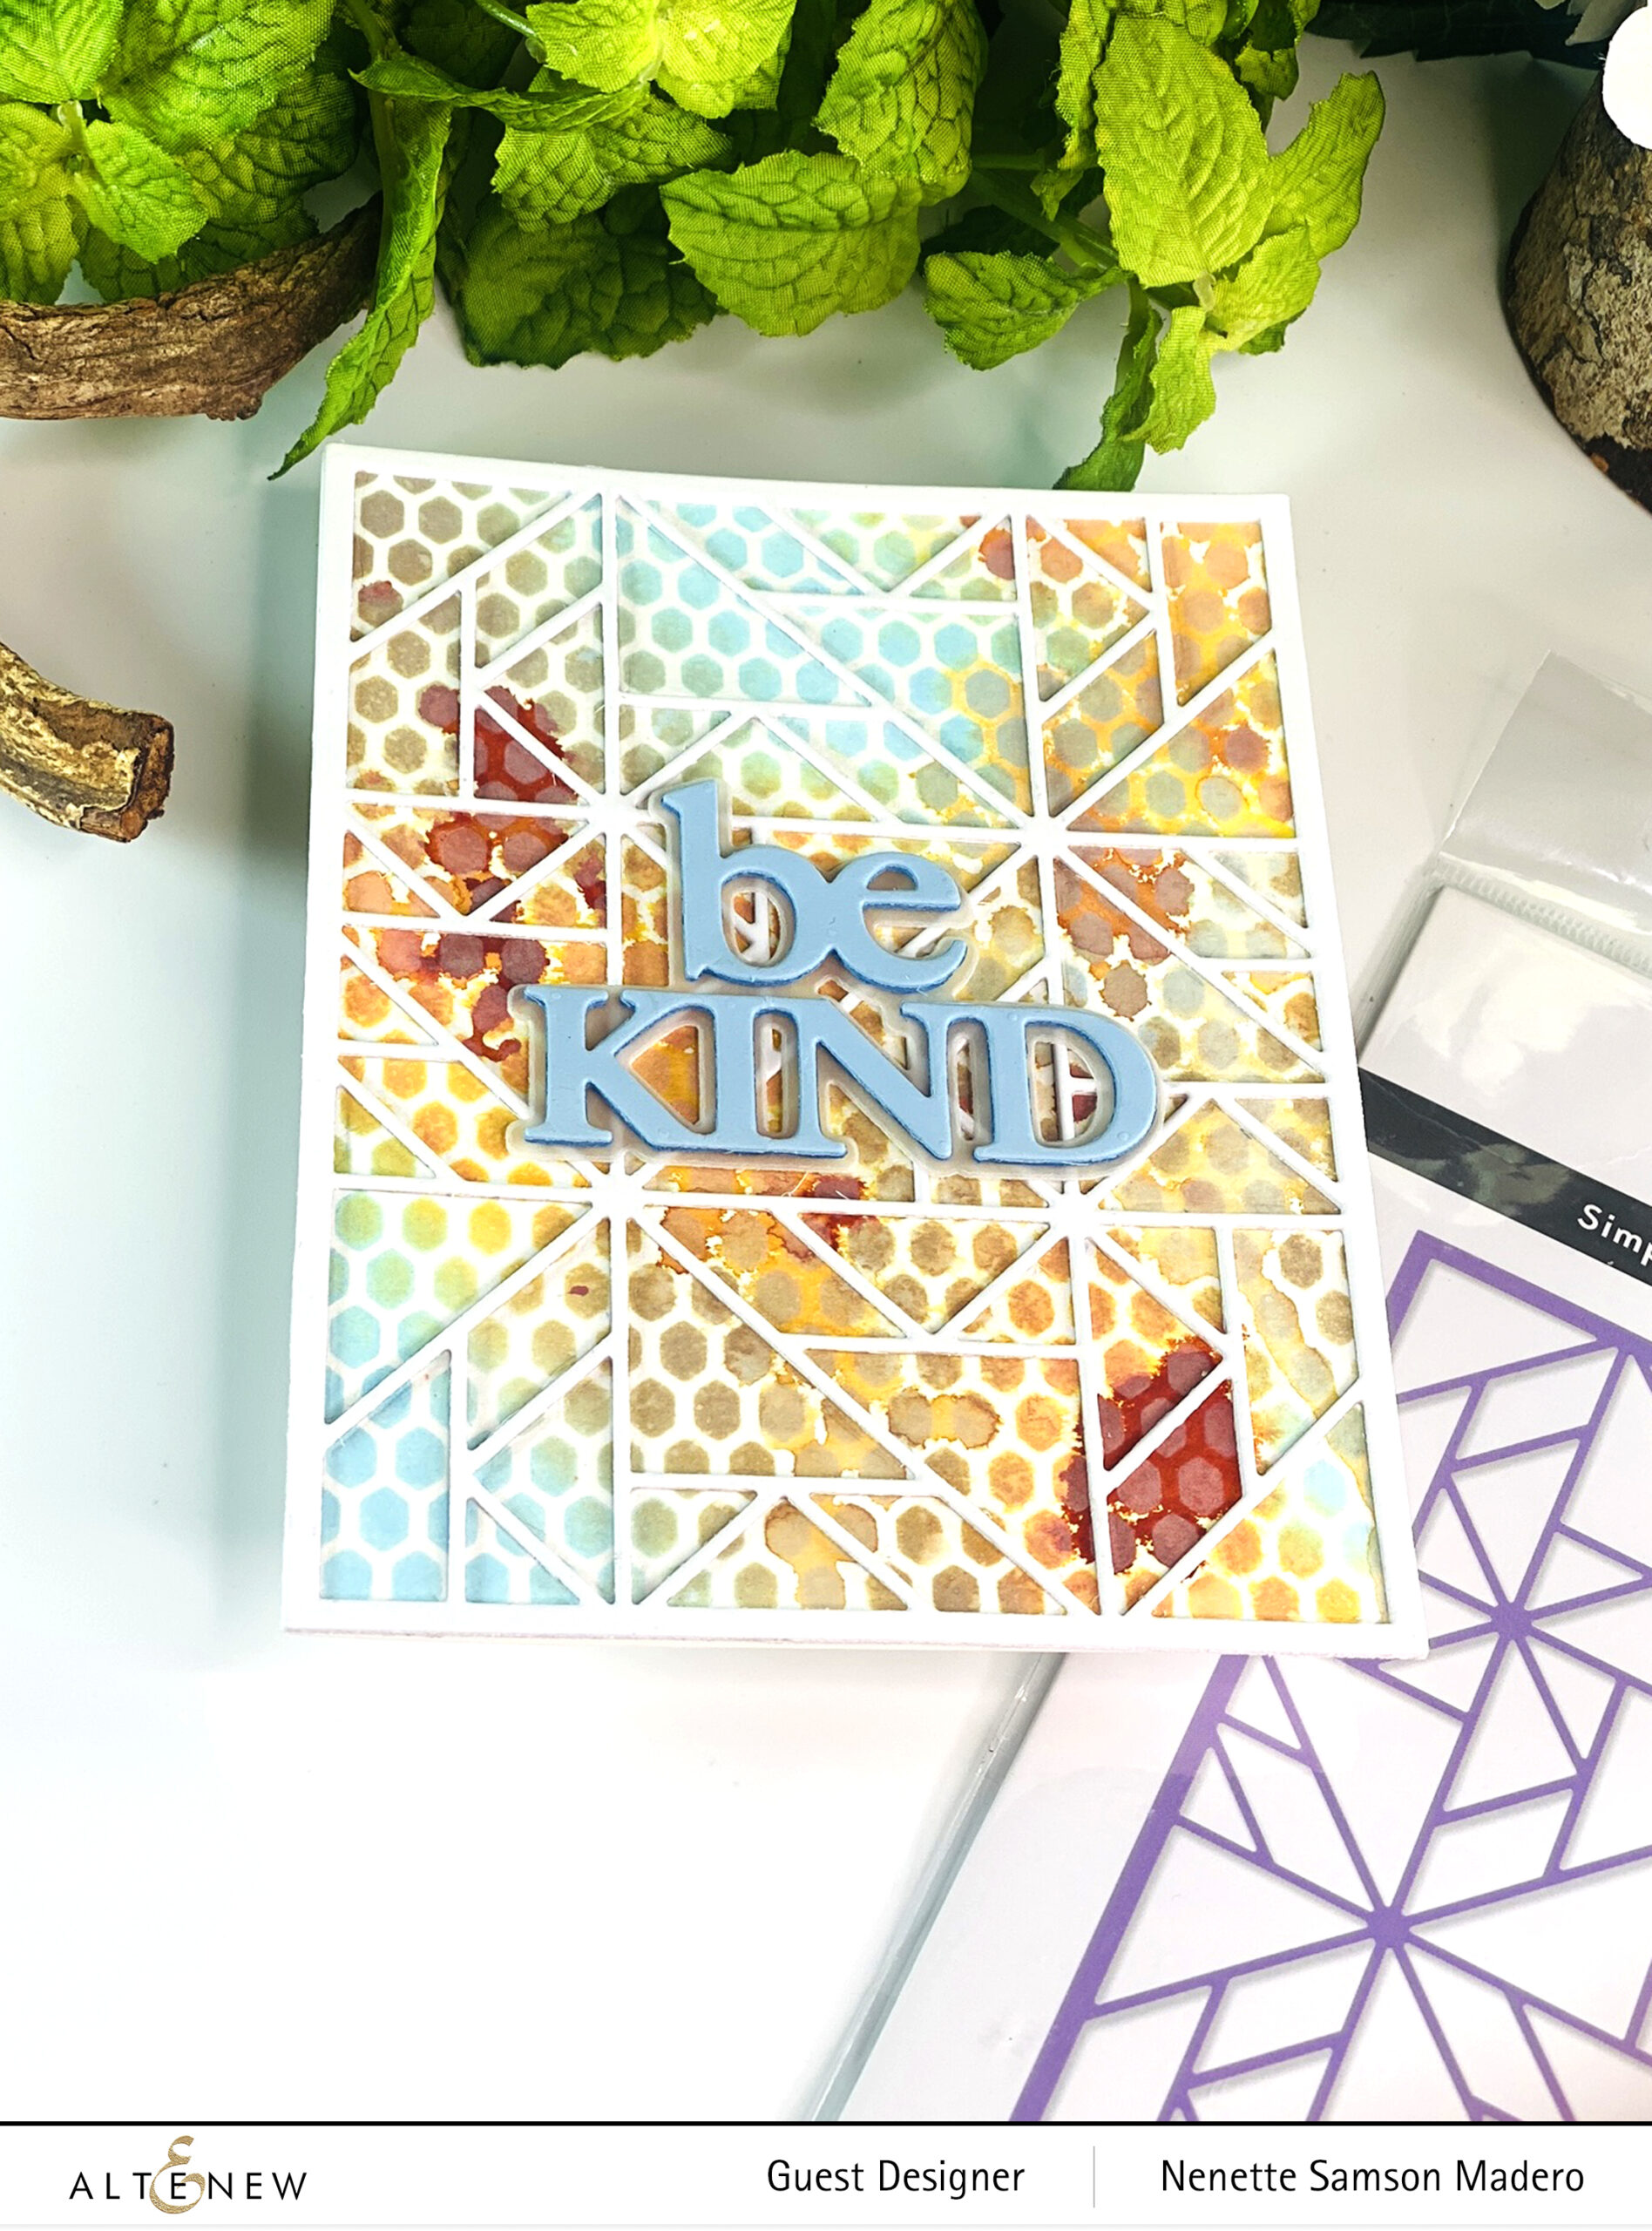
Wouldn’t the world be a better place if we all can just be kind to one another??? Kindness is being considerate, generous, empathetic and accepting of the difference of others. I think we should remind ourselves, every day, to be kind.
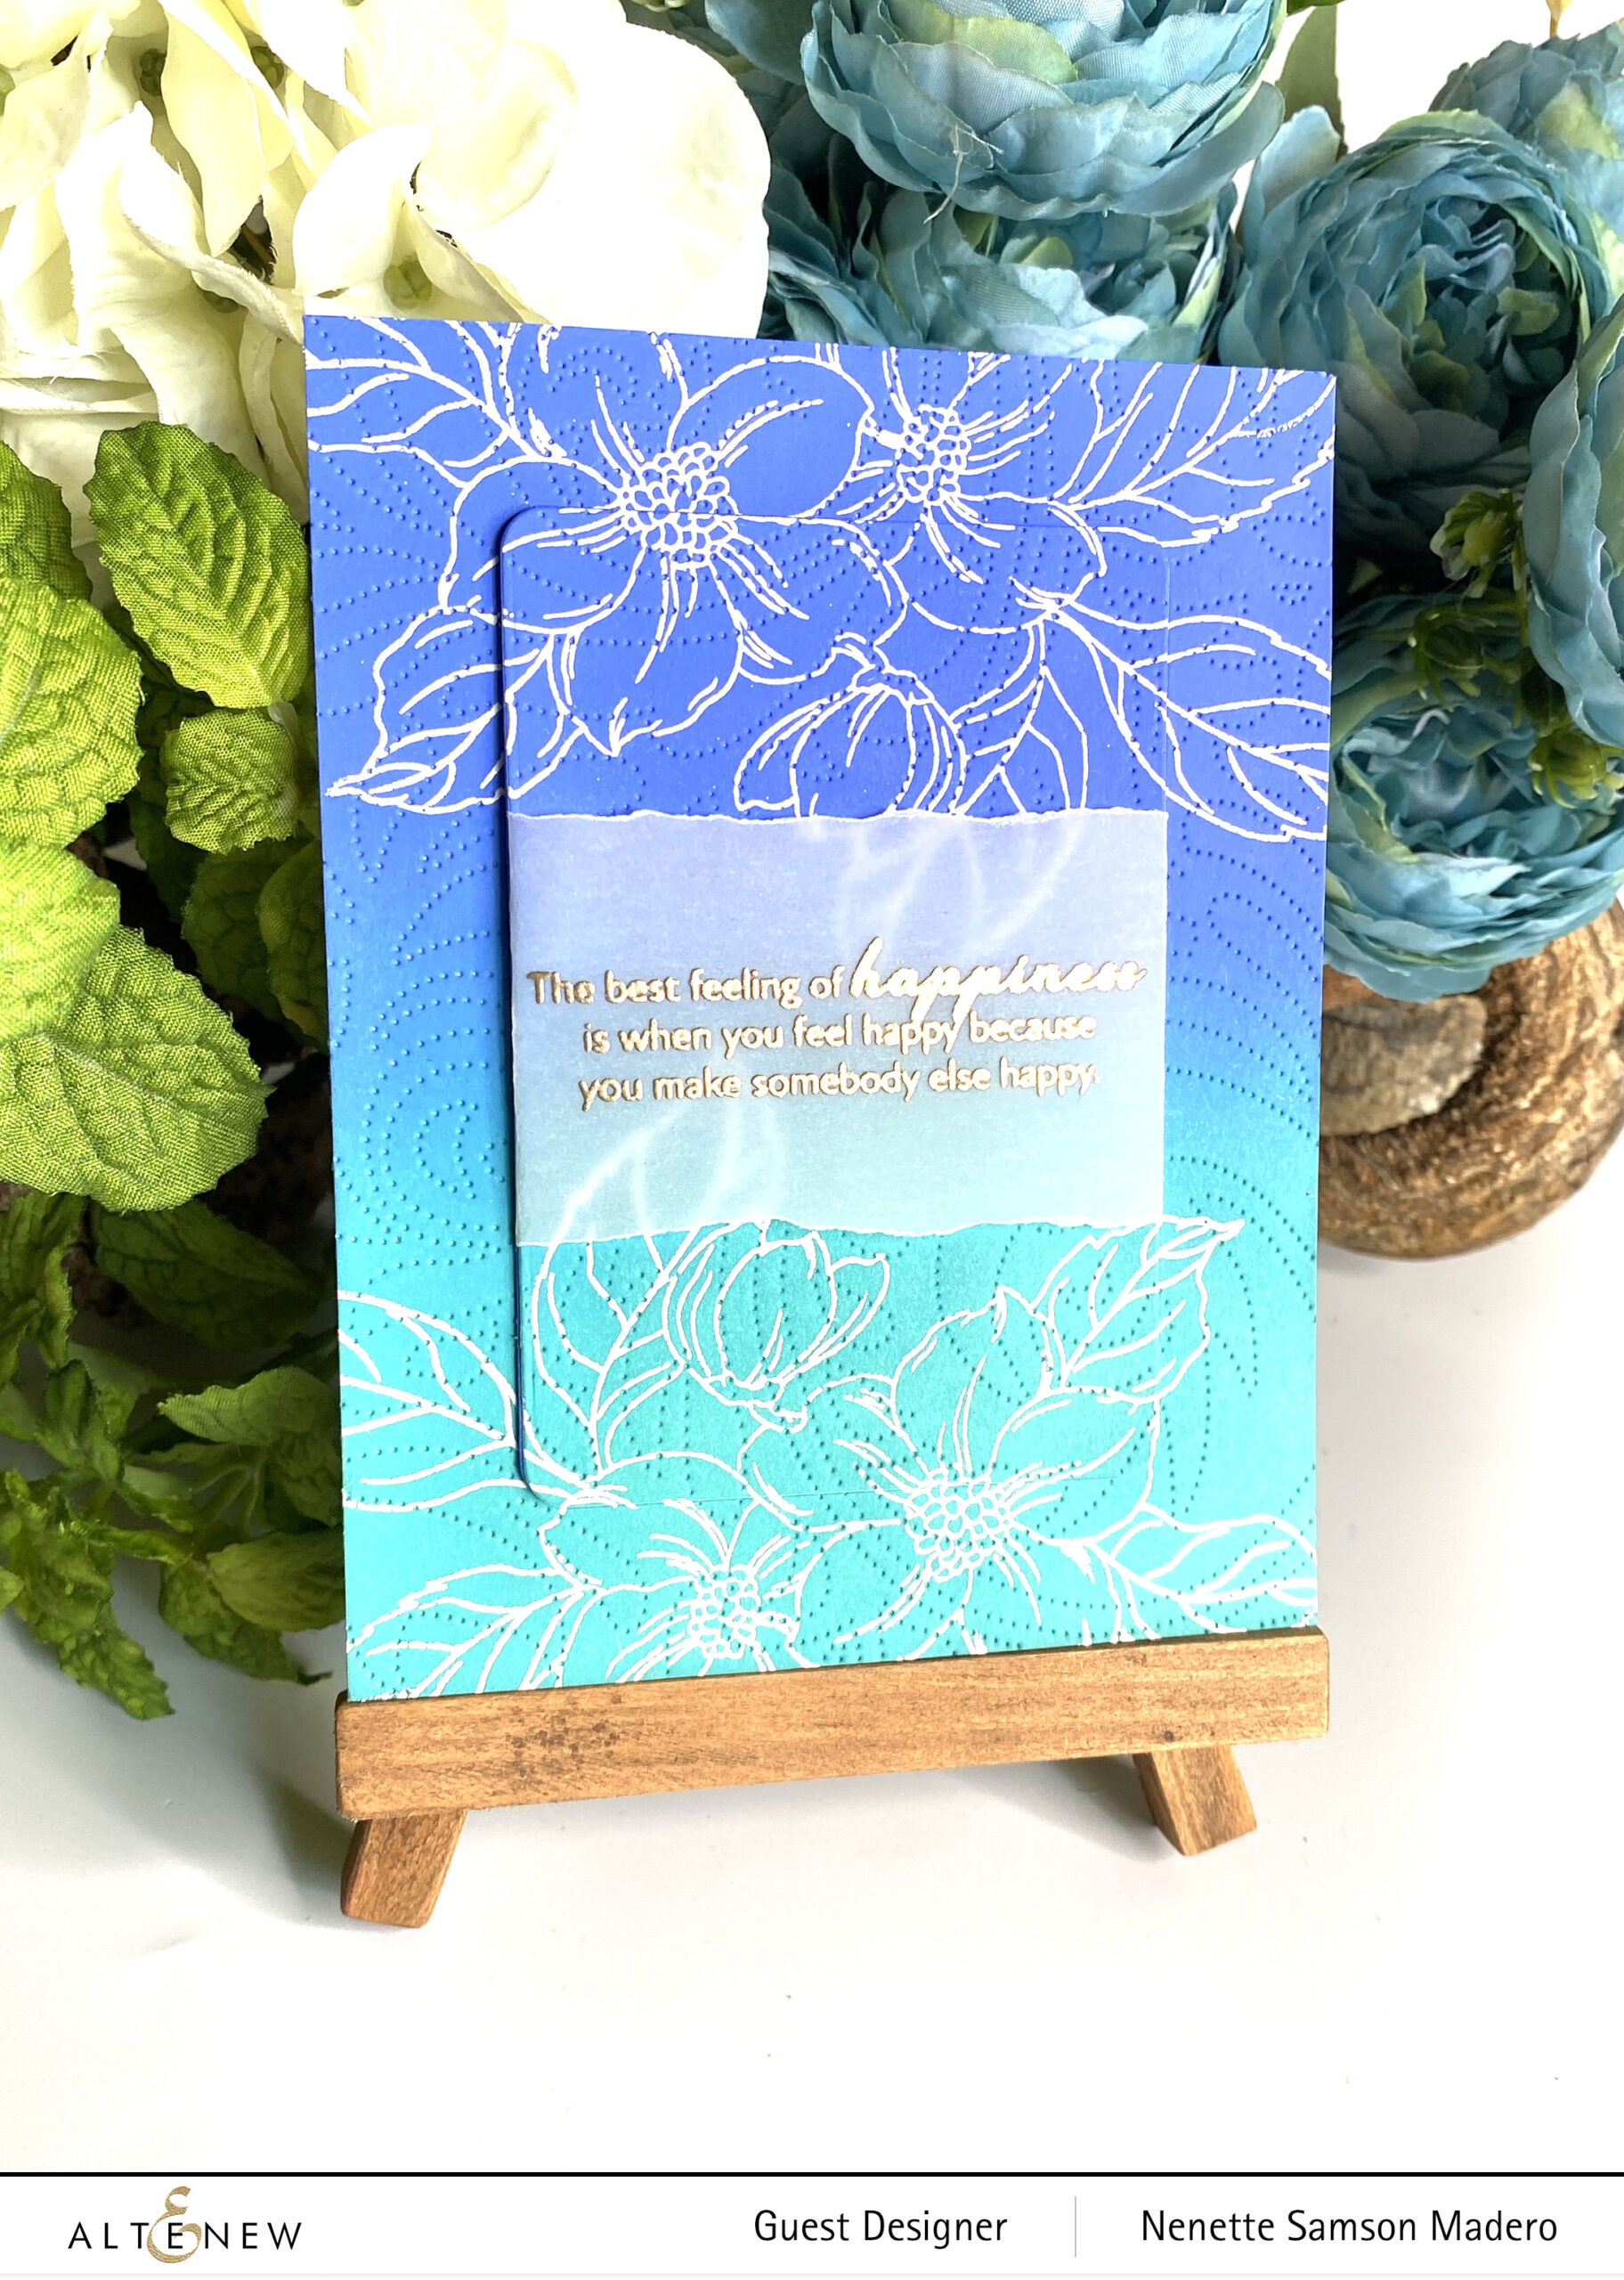
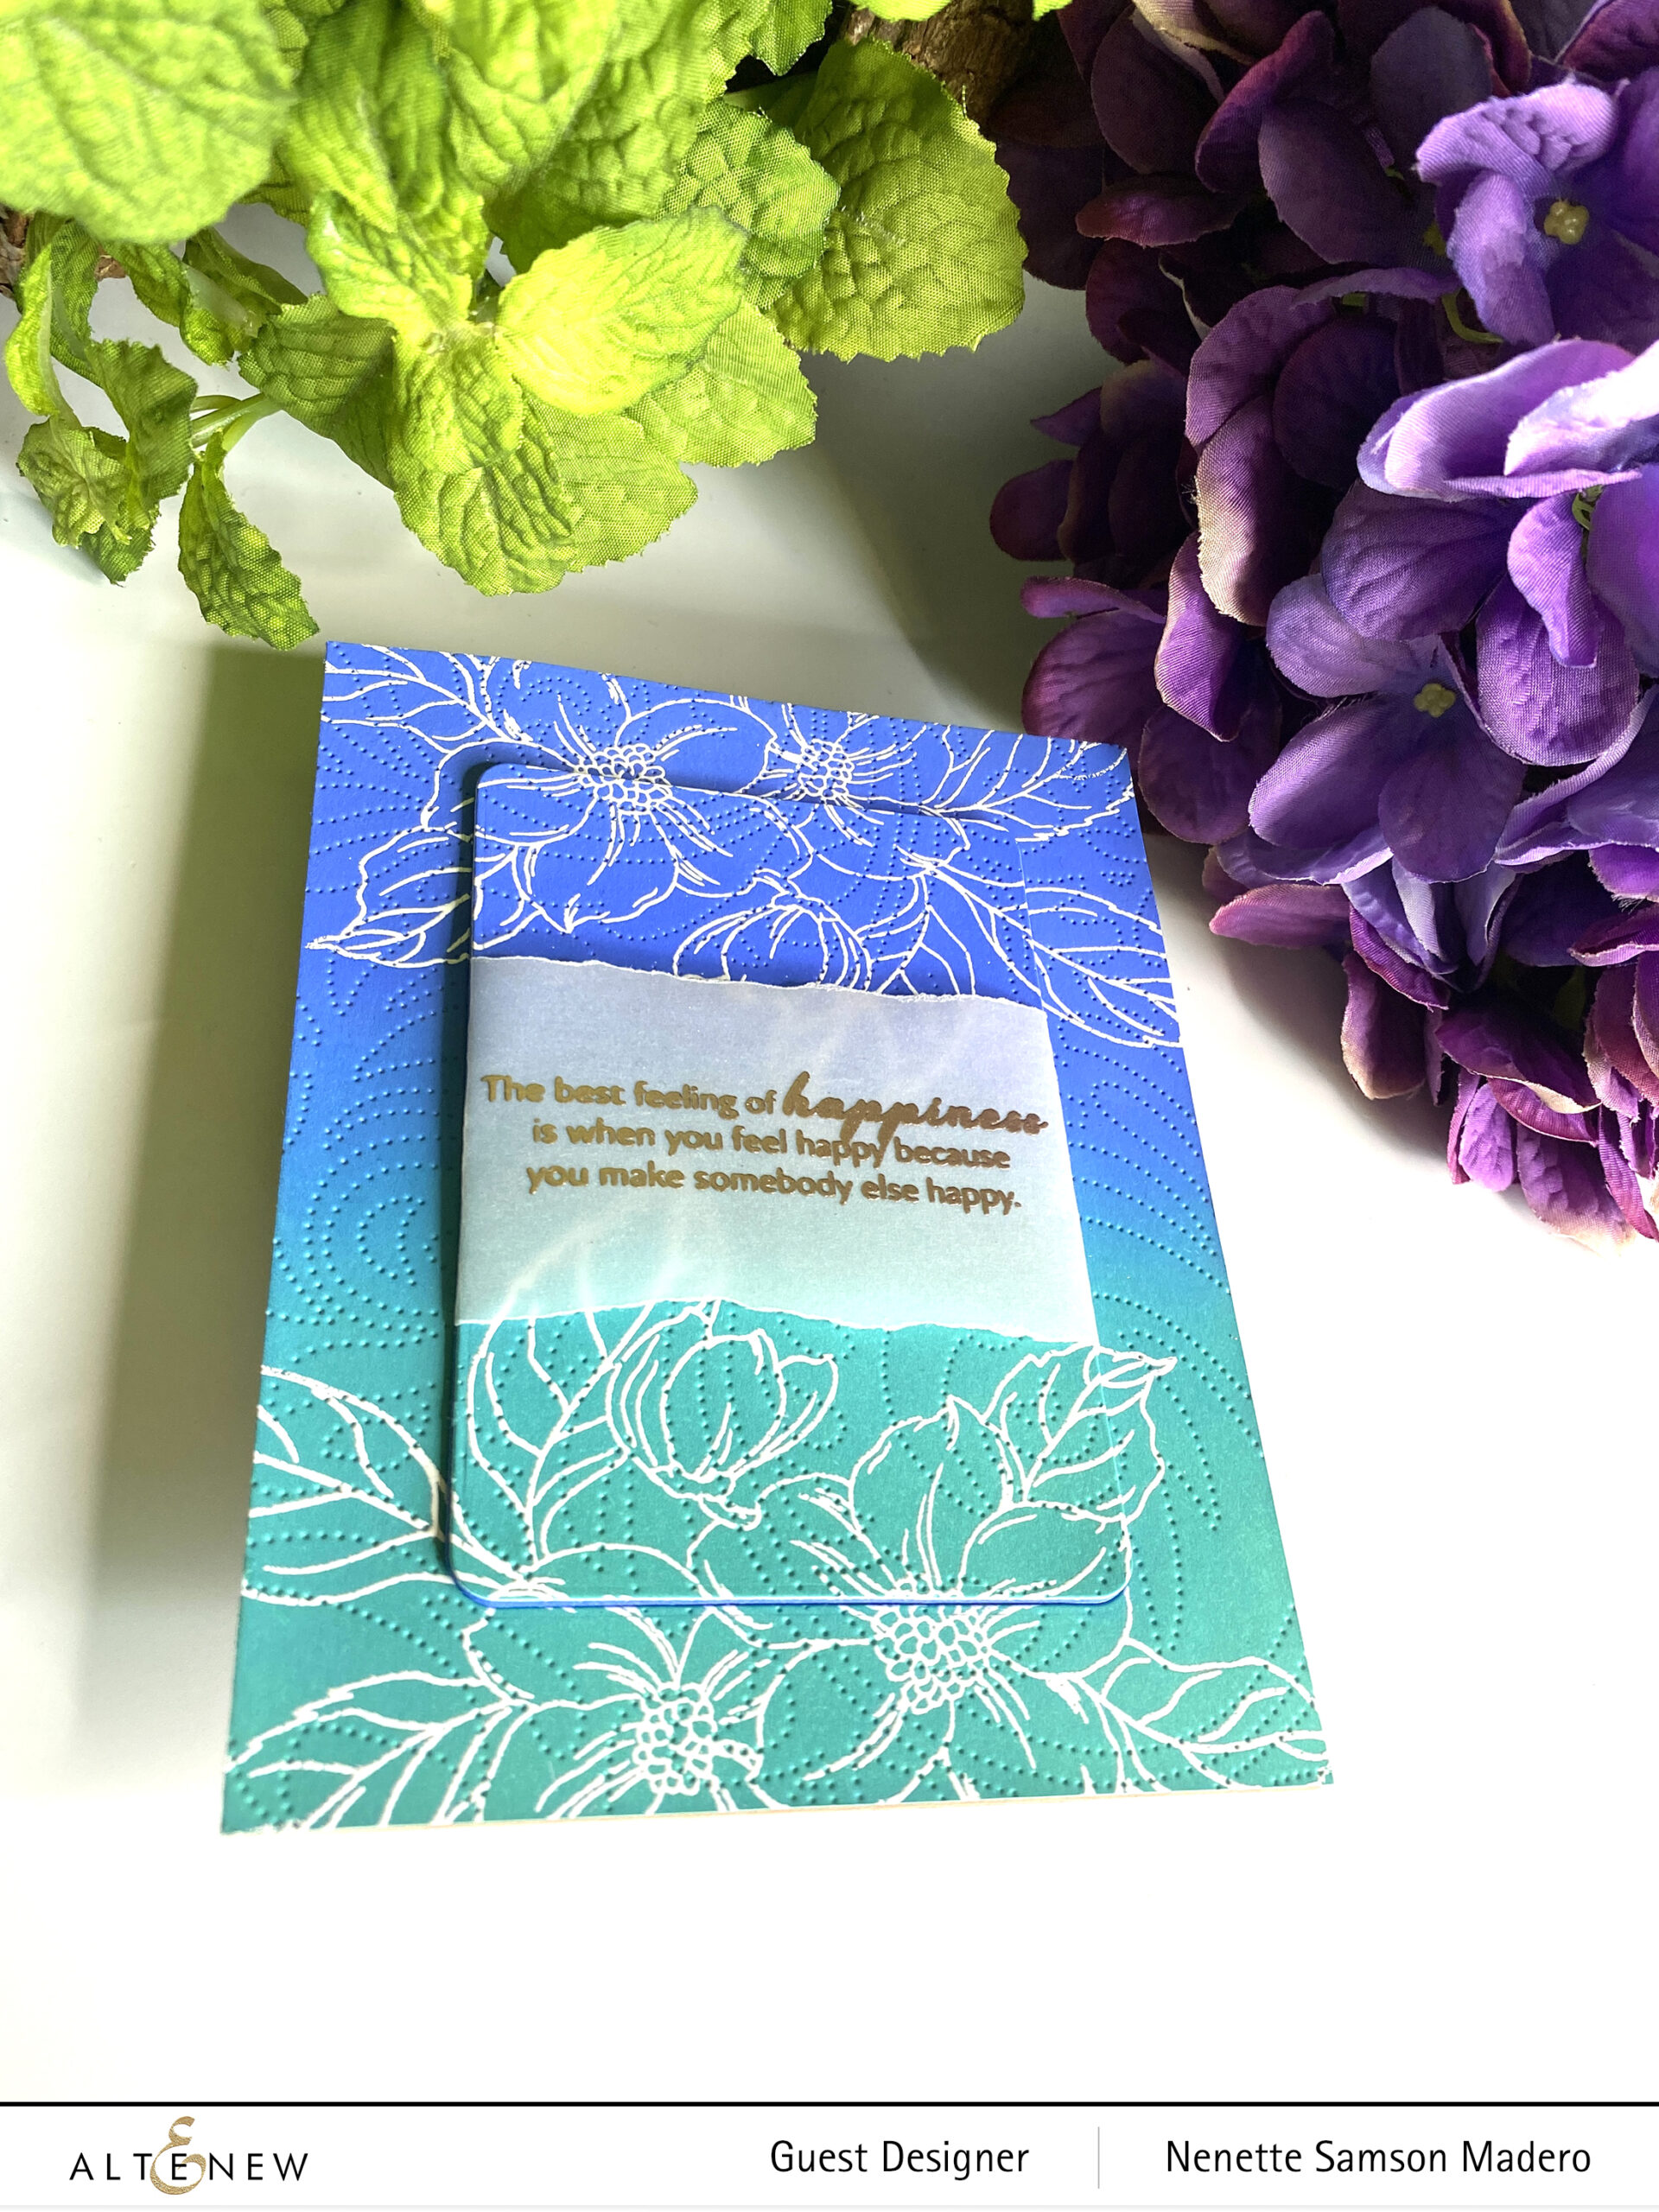
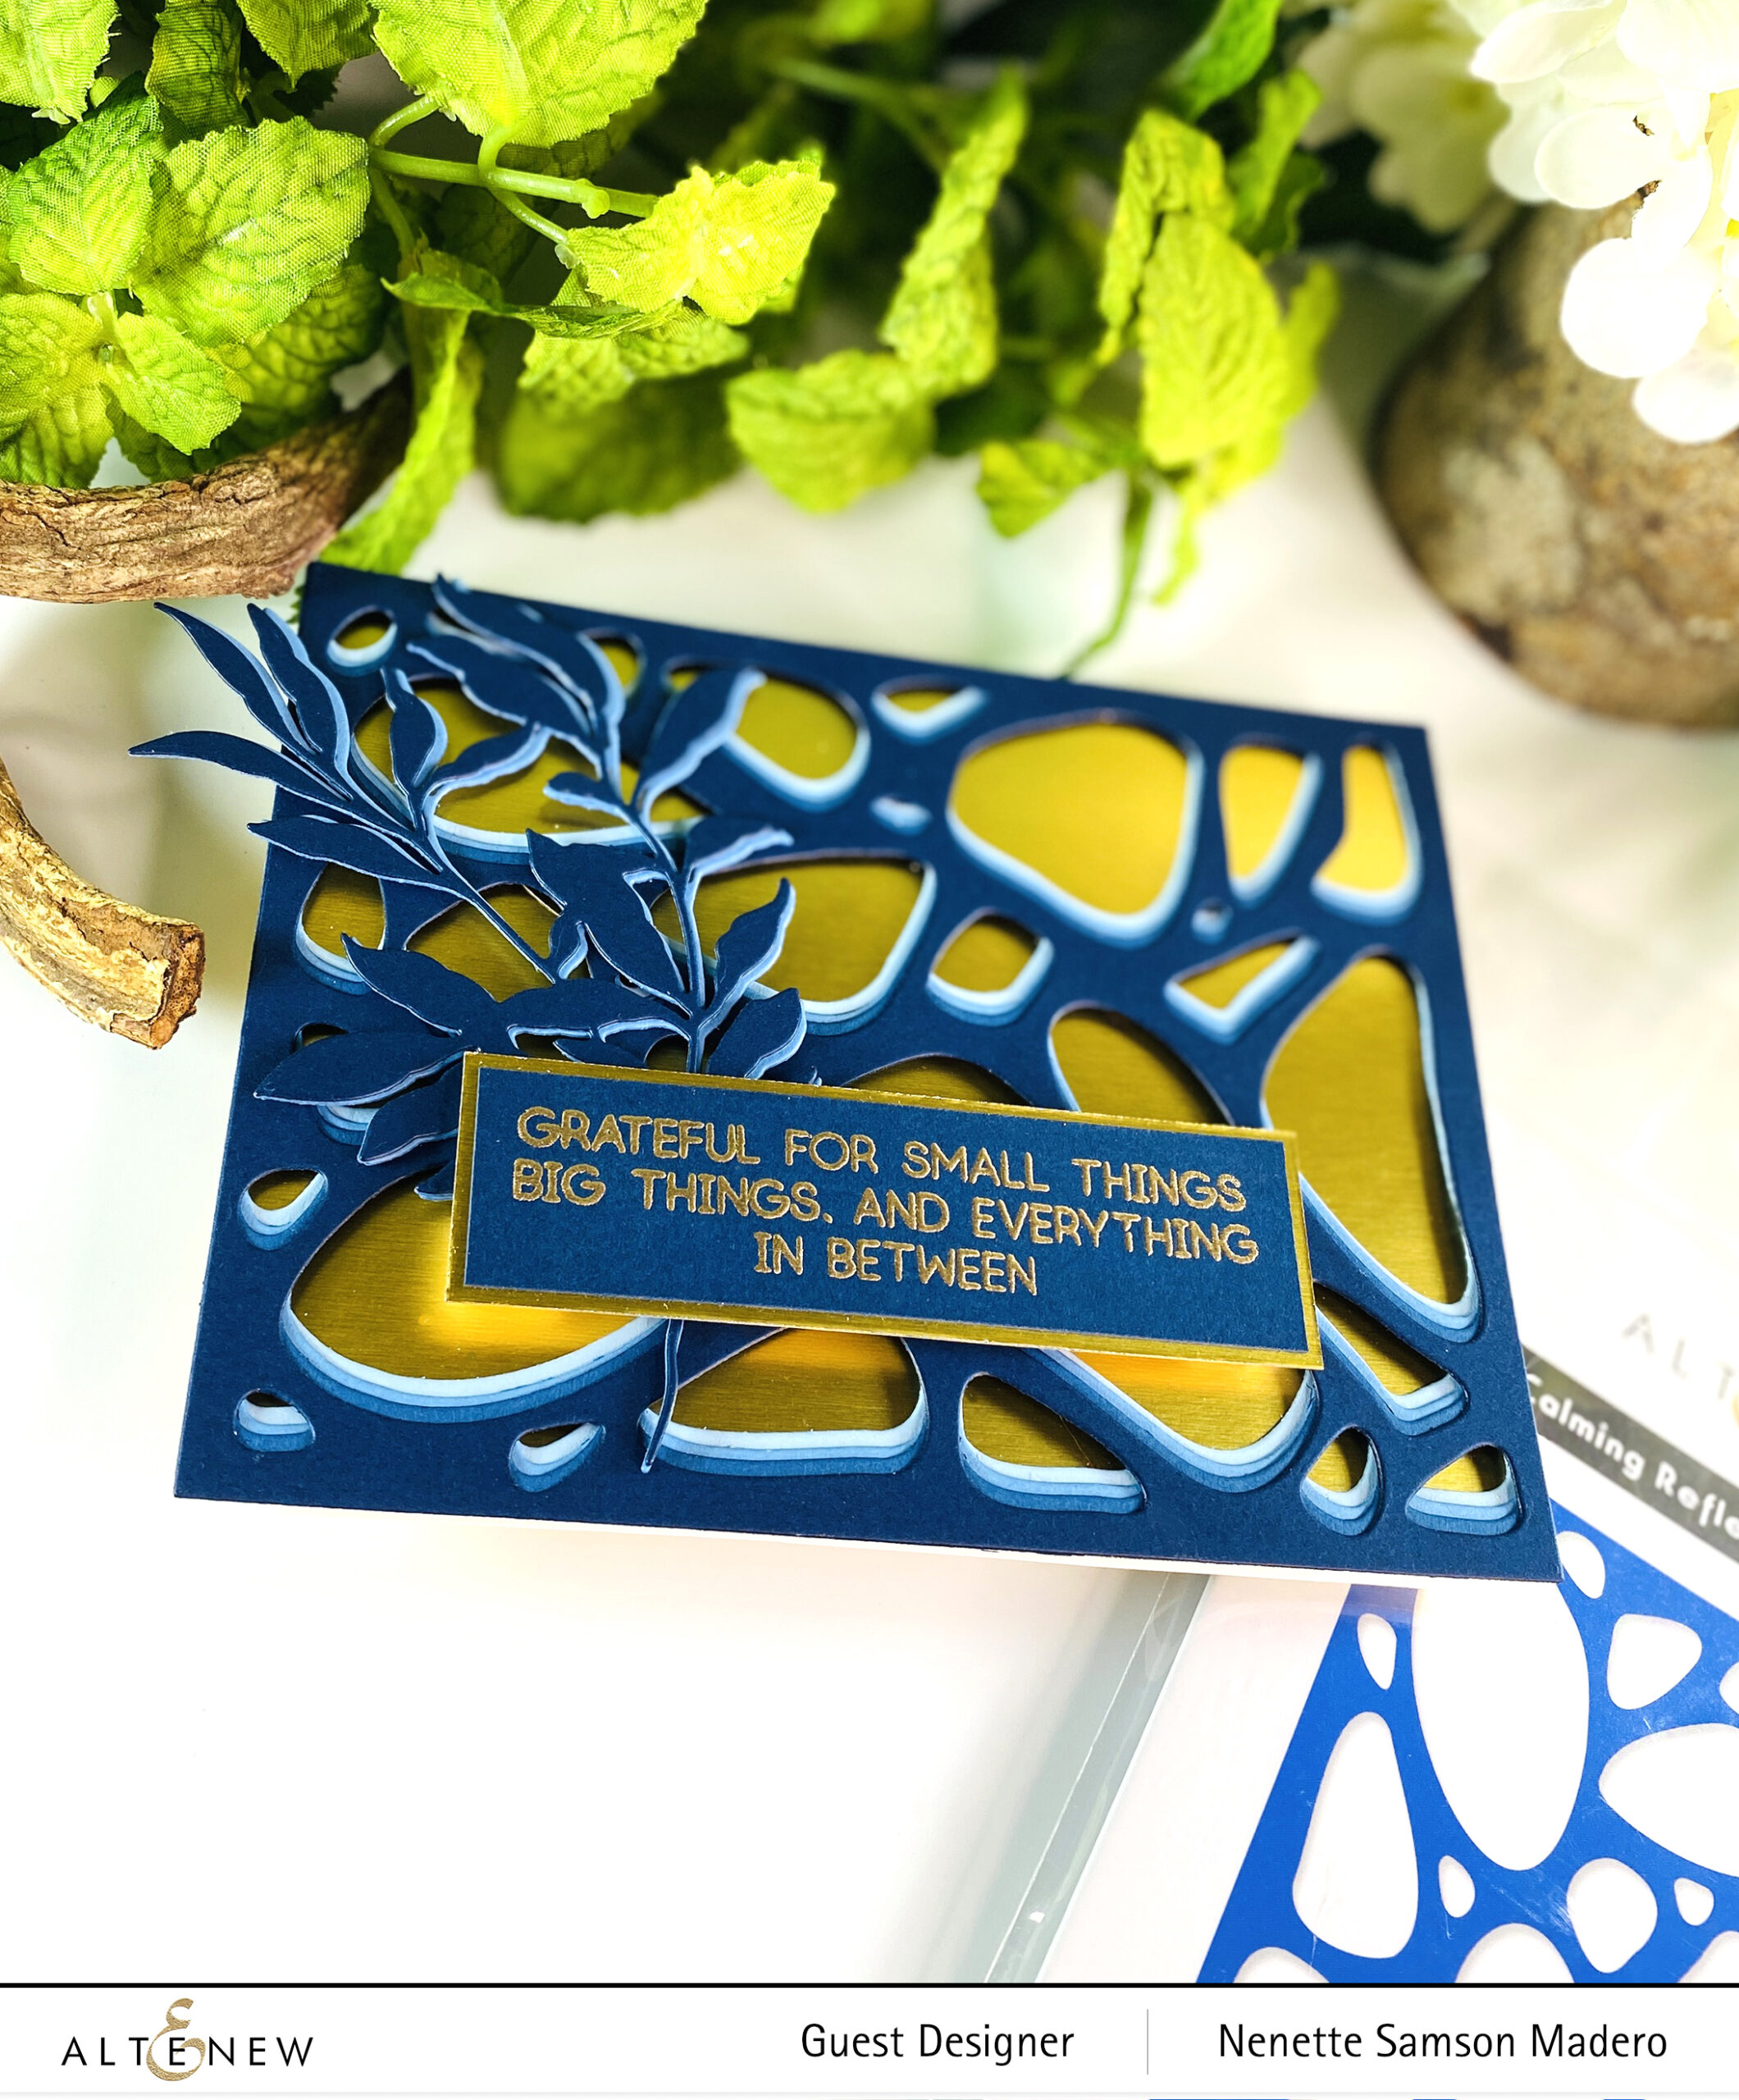
GRATEFUL FOR SMALL THINGS, BIG THINGS AND EVERYTHING IN BETWEEN
STEPS:
- Die cut 4 different shades of blue cardstock using the Calming Reflection Cover die.
- Adhere the layers from darkest to lightest but slightly shifting a few millimeters so that the lighter cardstrock will be seen.
- Stamp the sentiment from the Greatest Blessings Stamp and emboss using Rose Gold embossing powder.
- Die cut blue cardstock using the Just Leaves Die.
- Assemble the card on gold cardstock with adhesive.
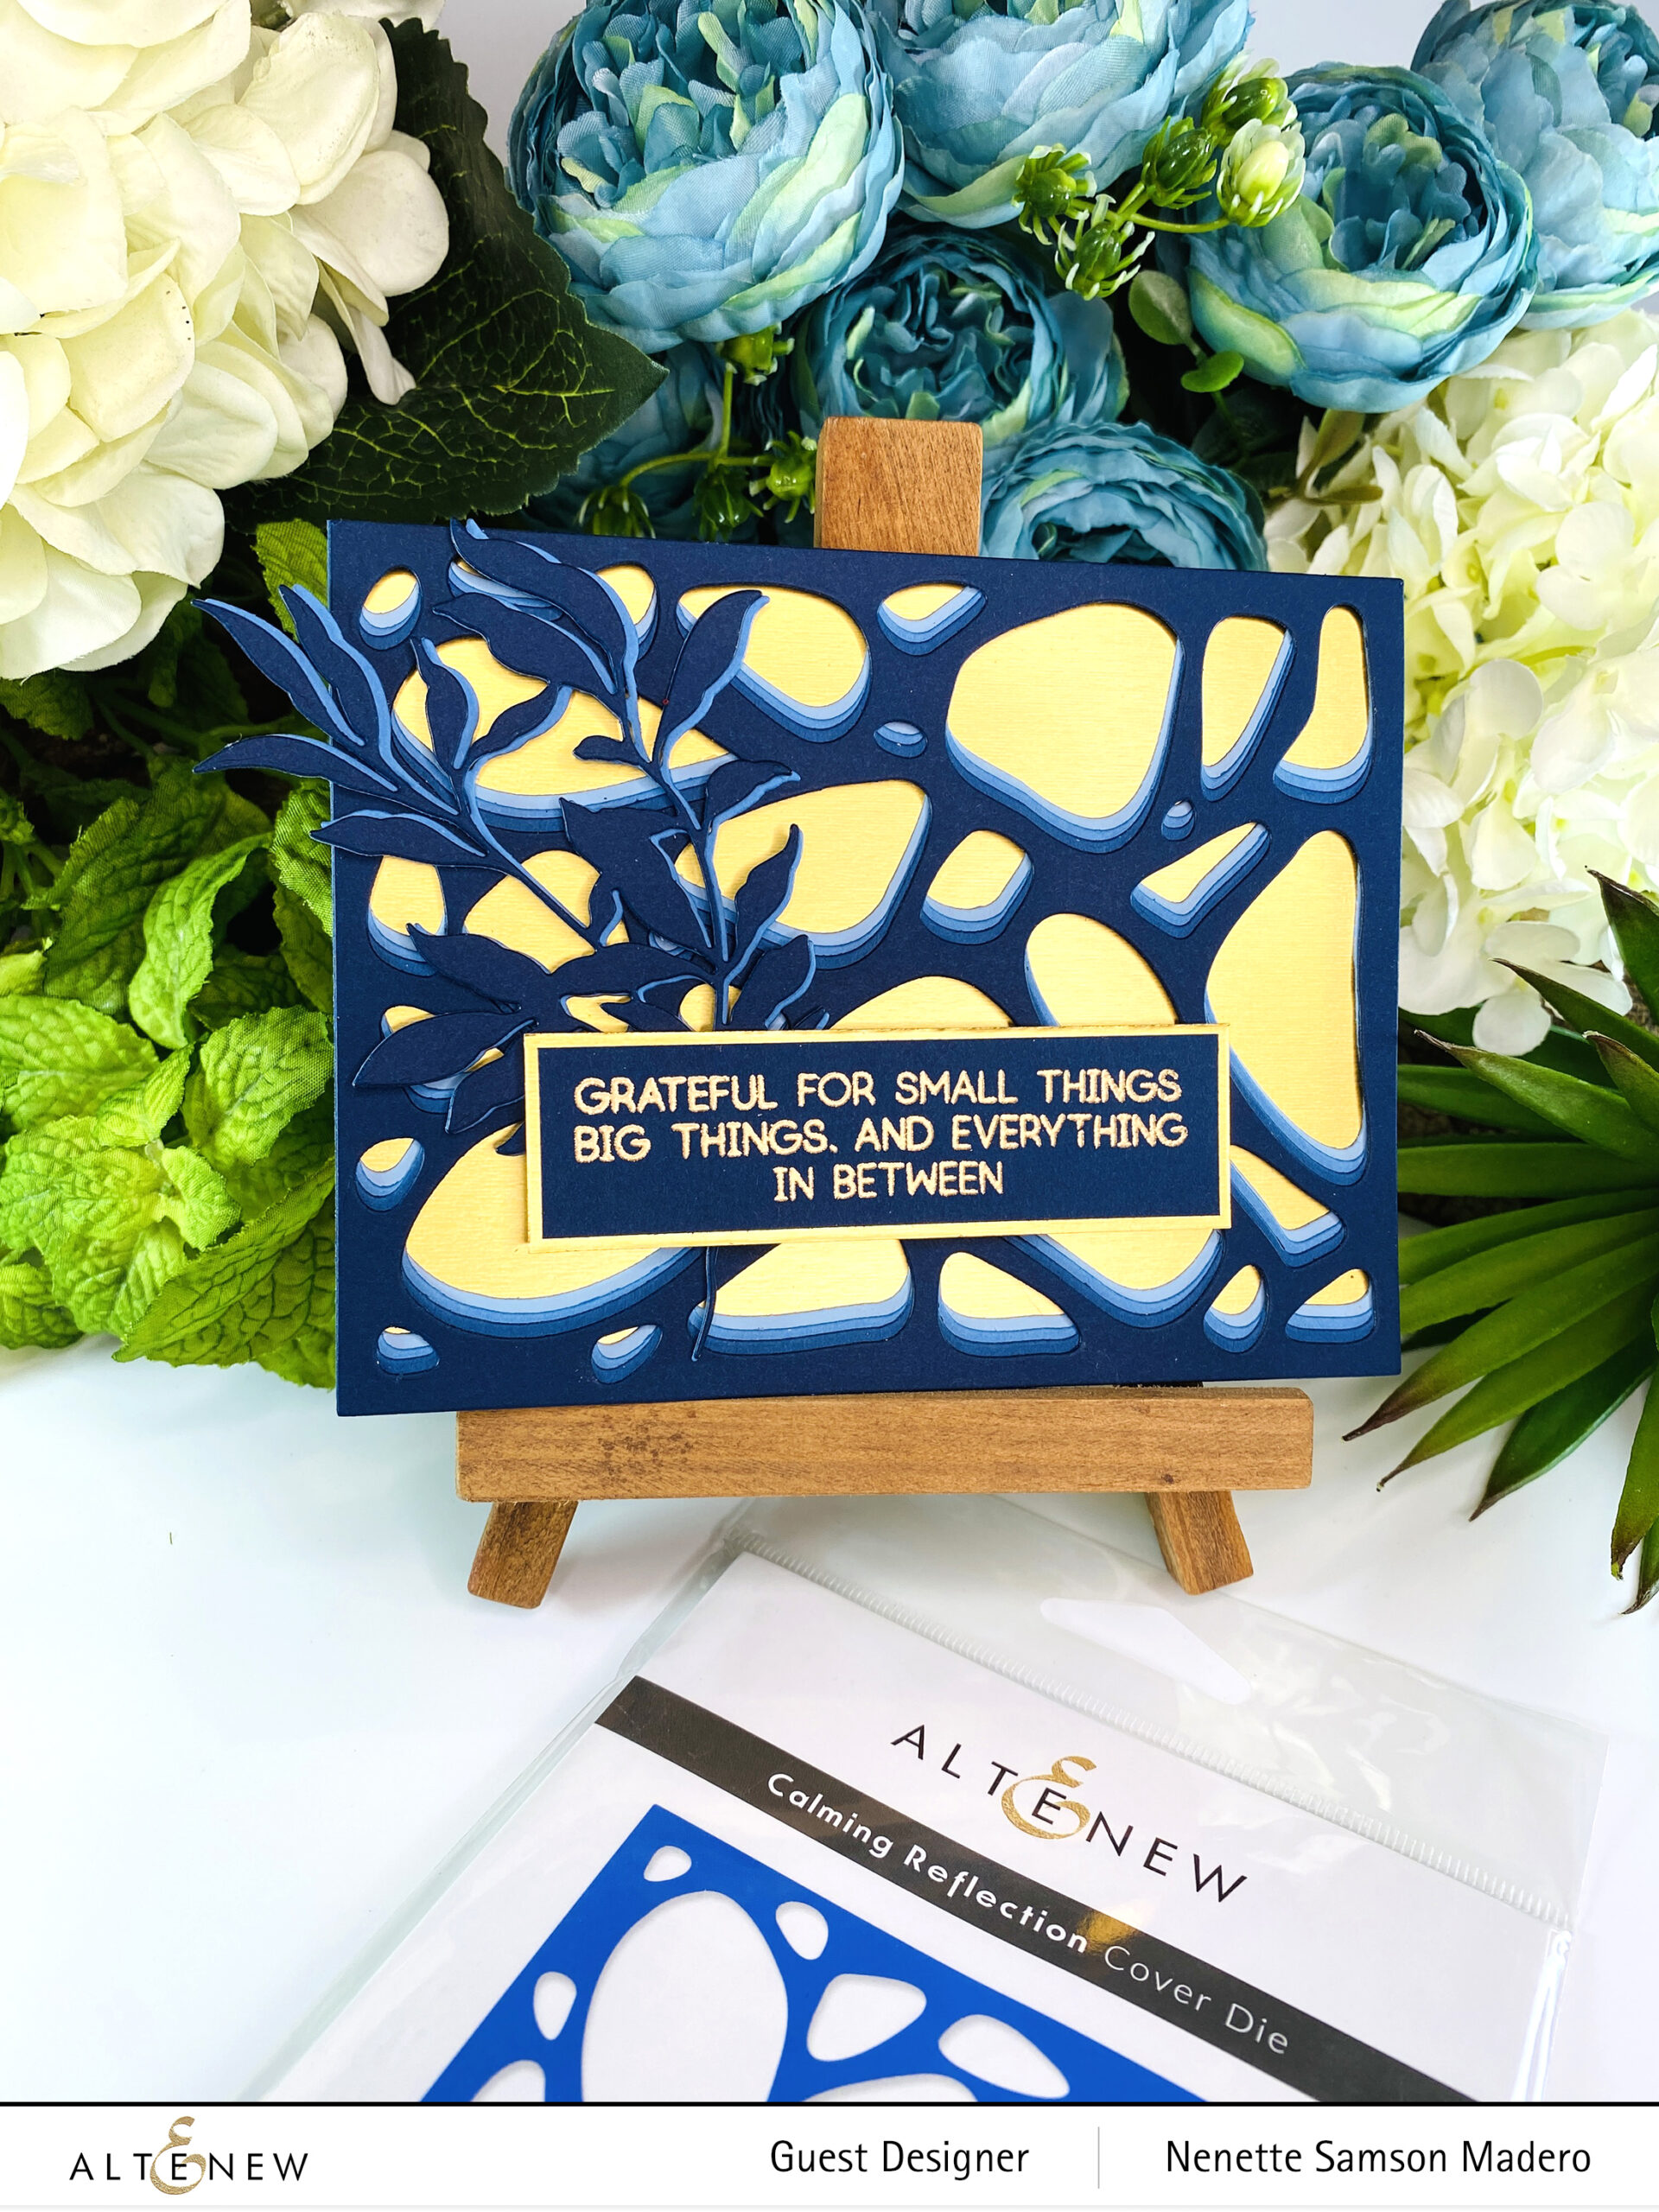
Here’s another quick card to make… all you have to do is die cut the pieces. I love the shine of the gold cardstock against the layers of blue!
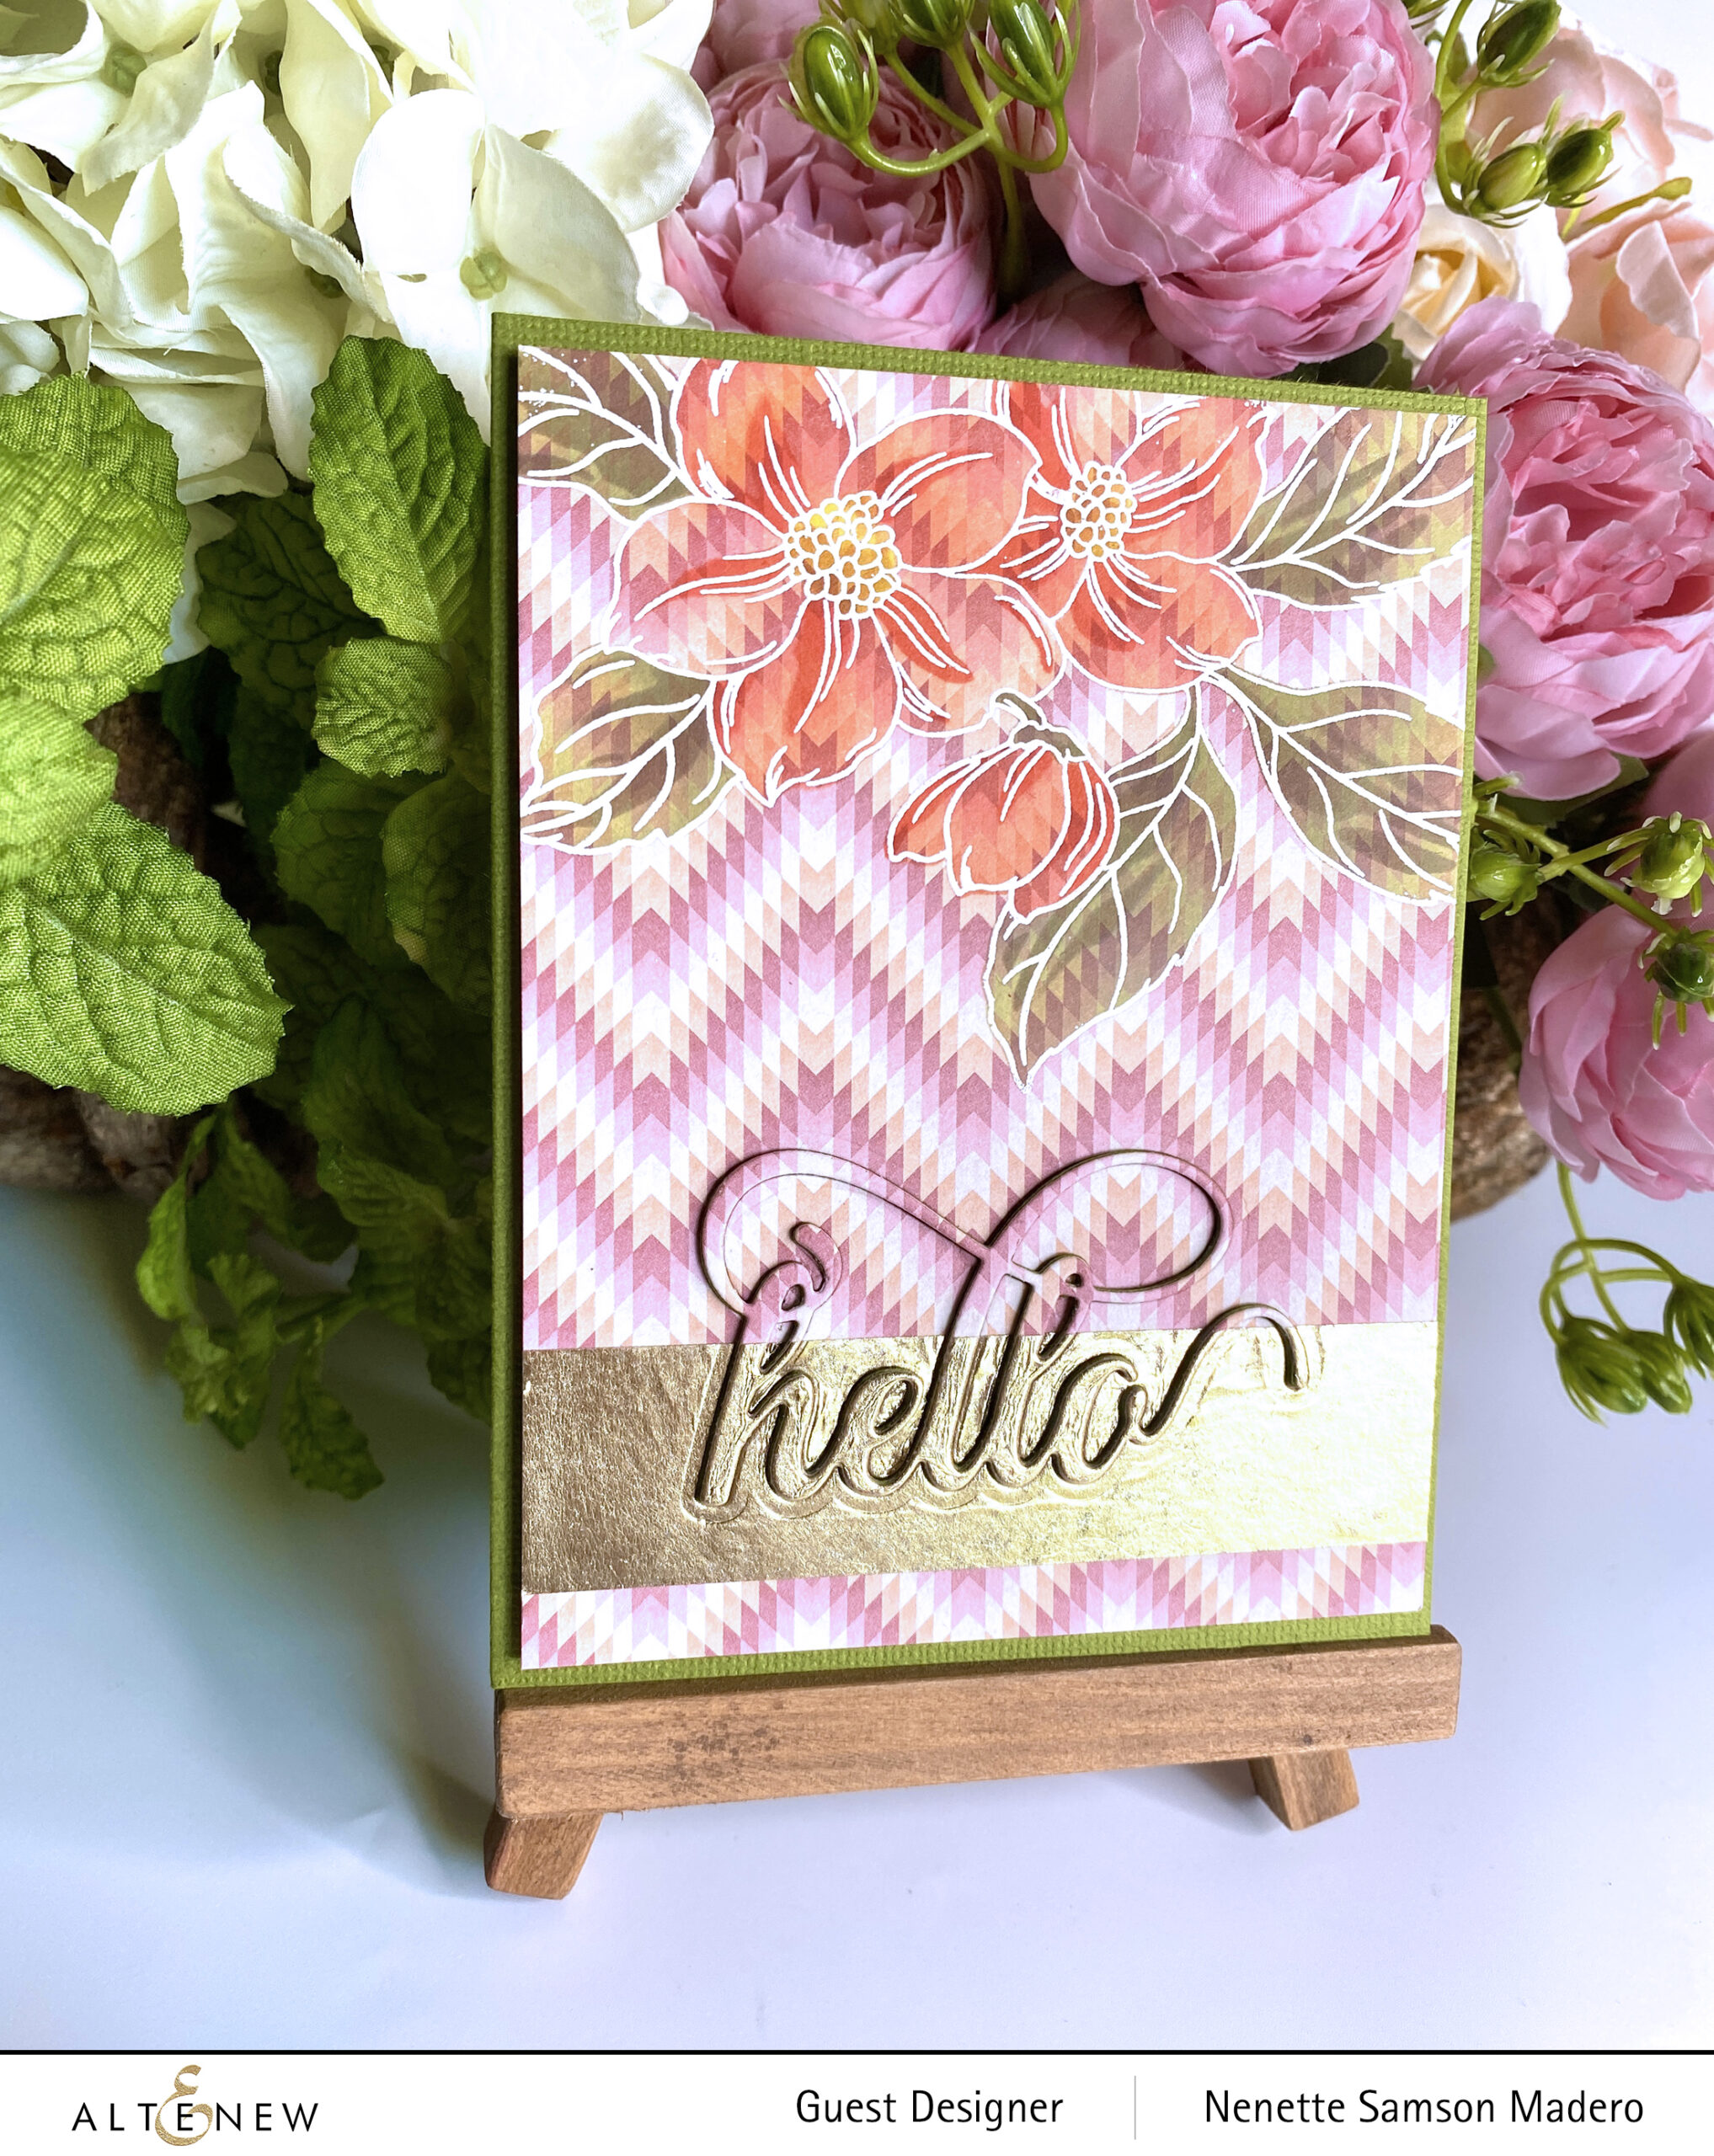
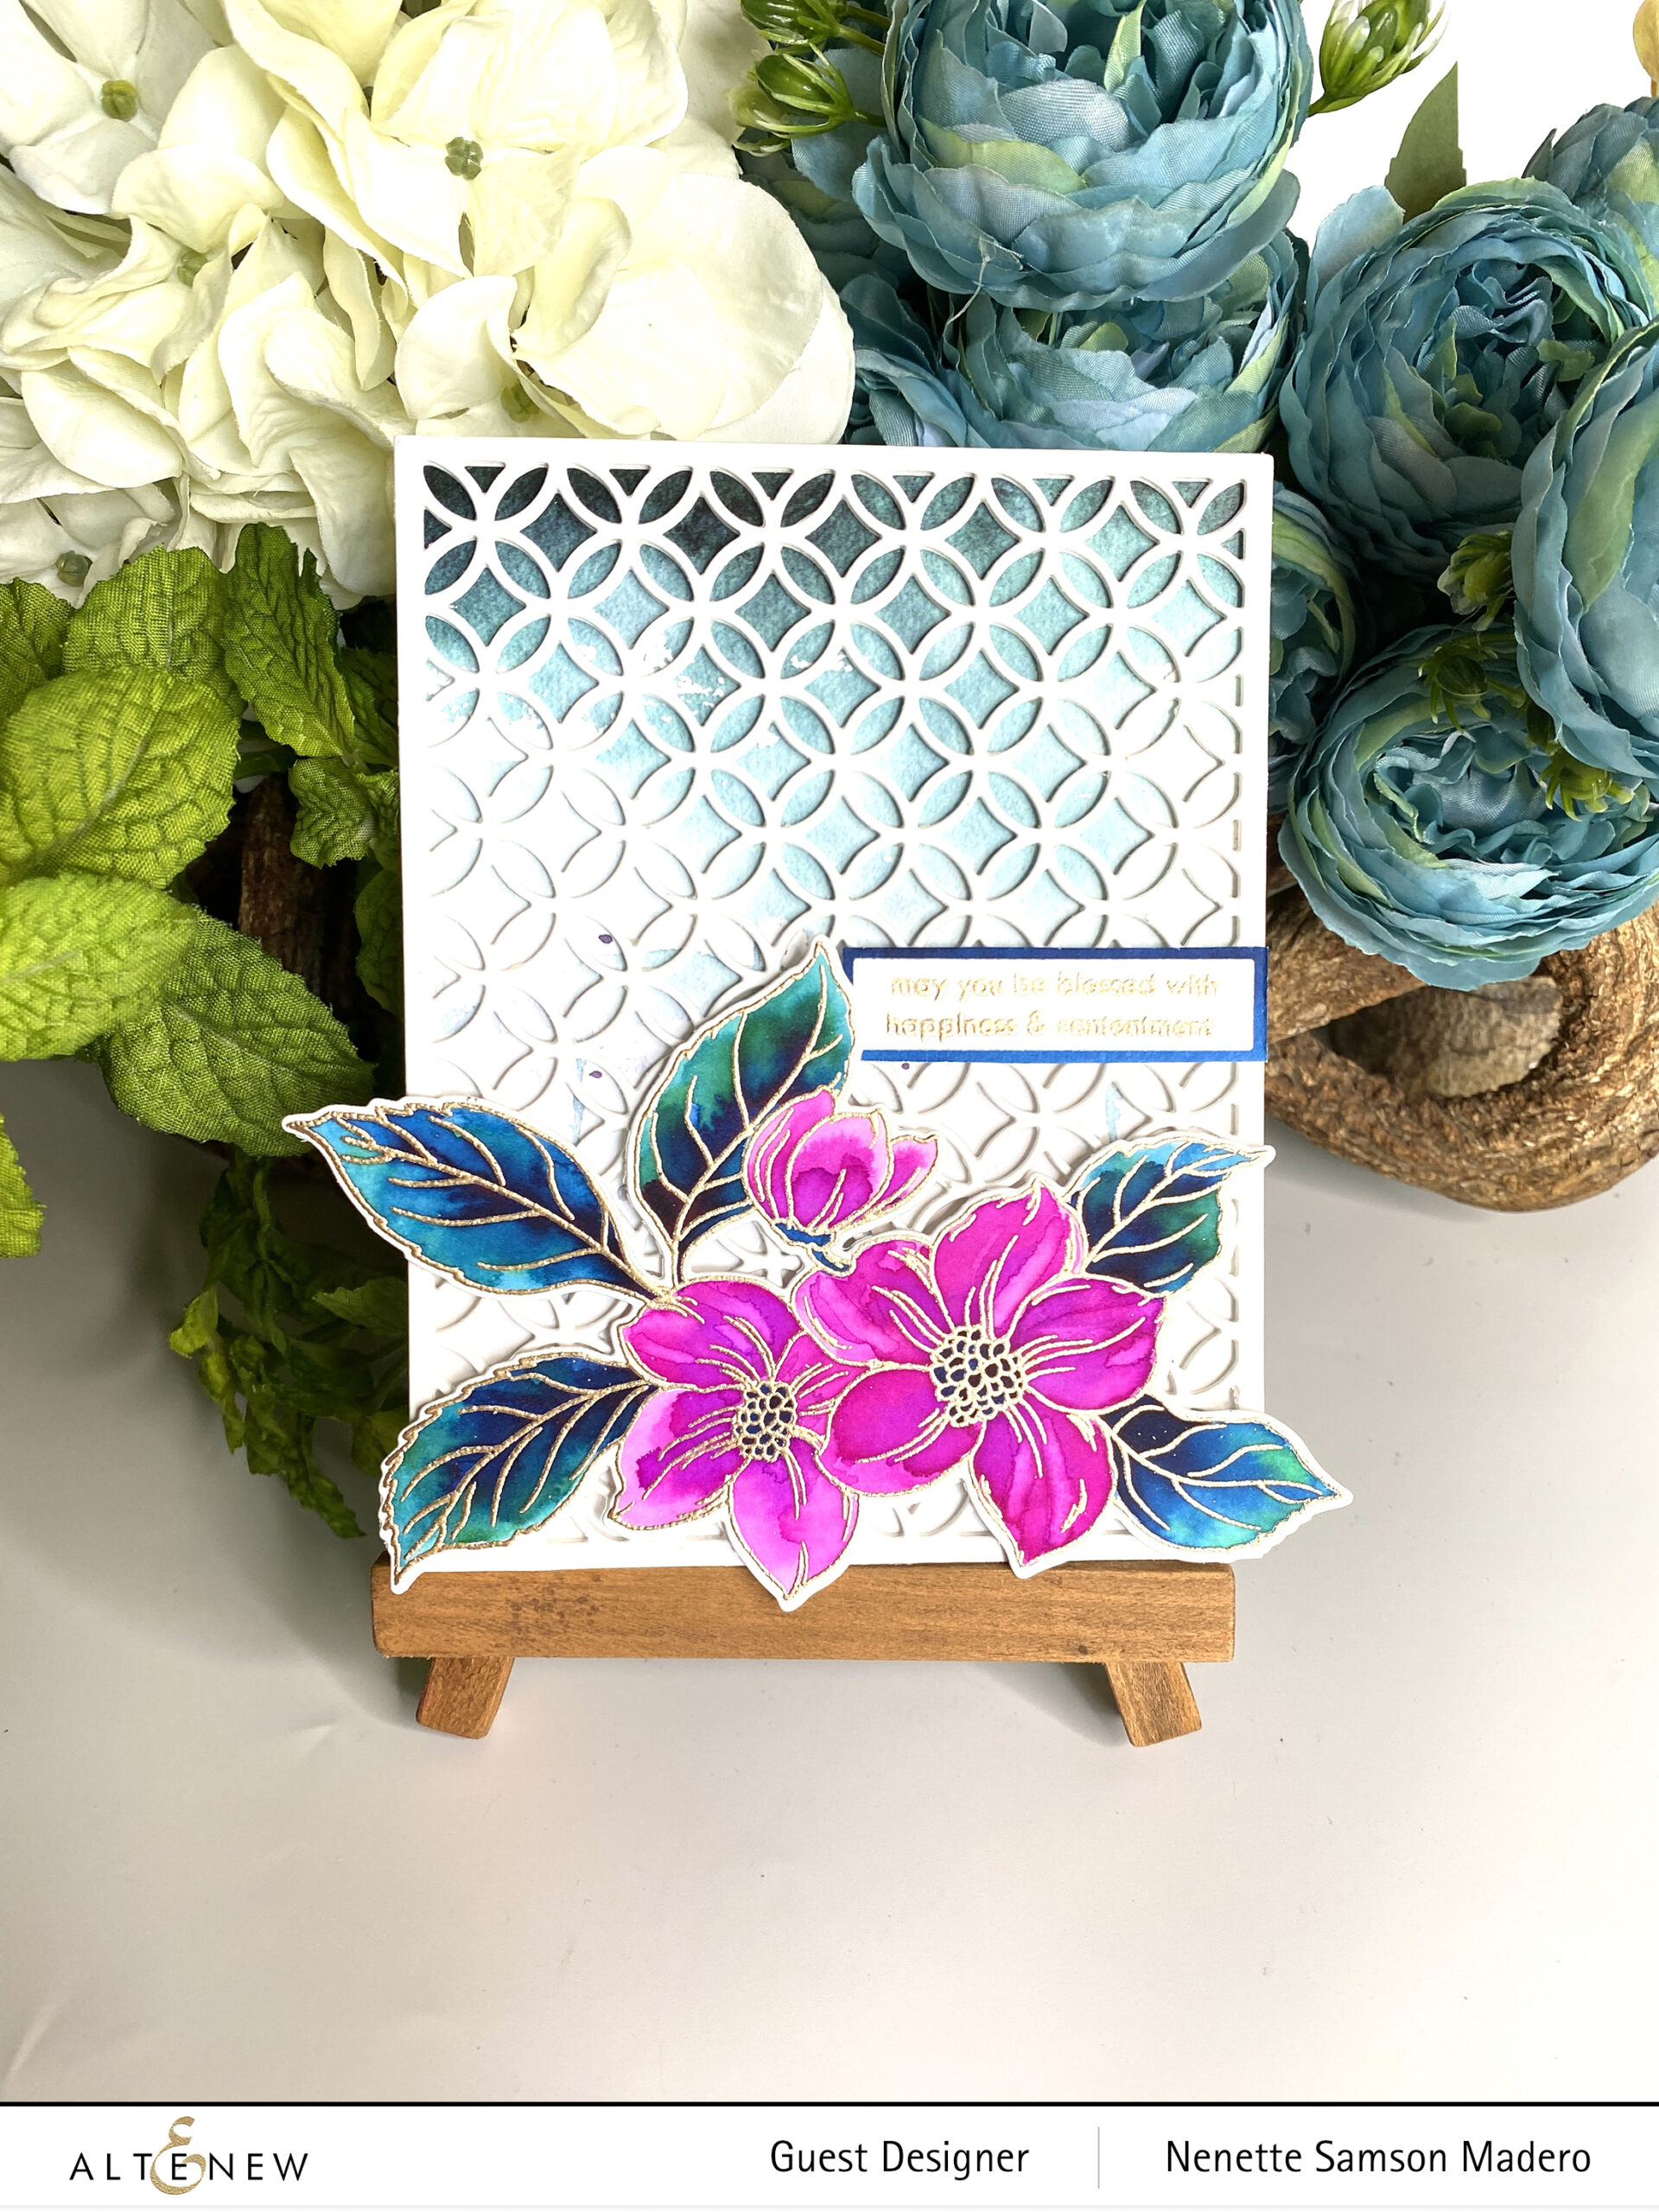
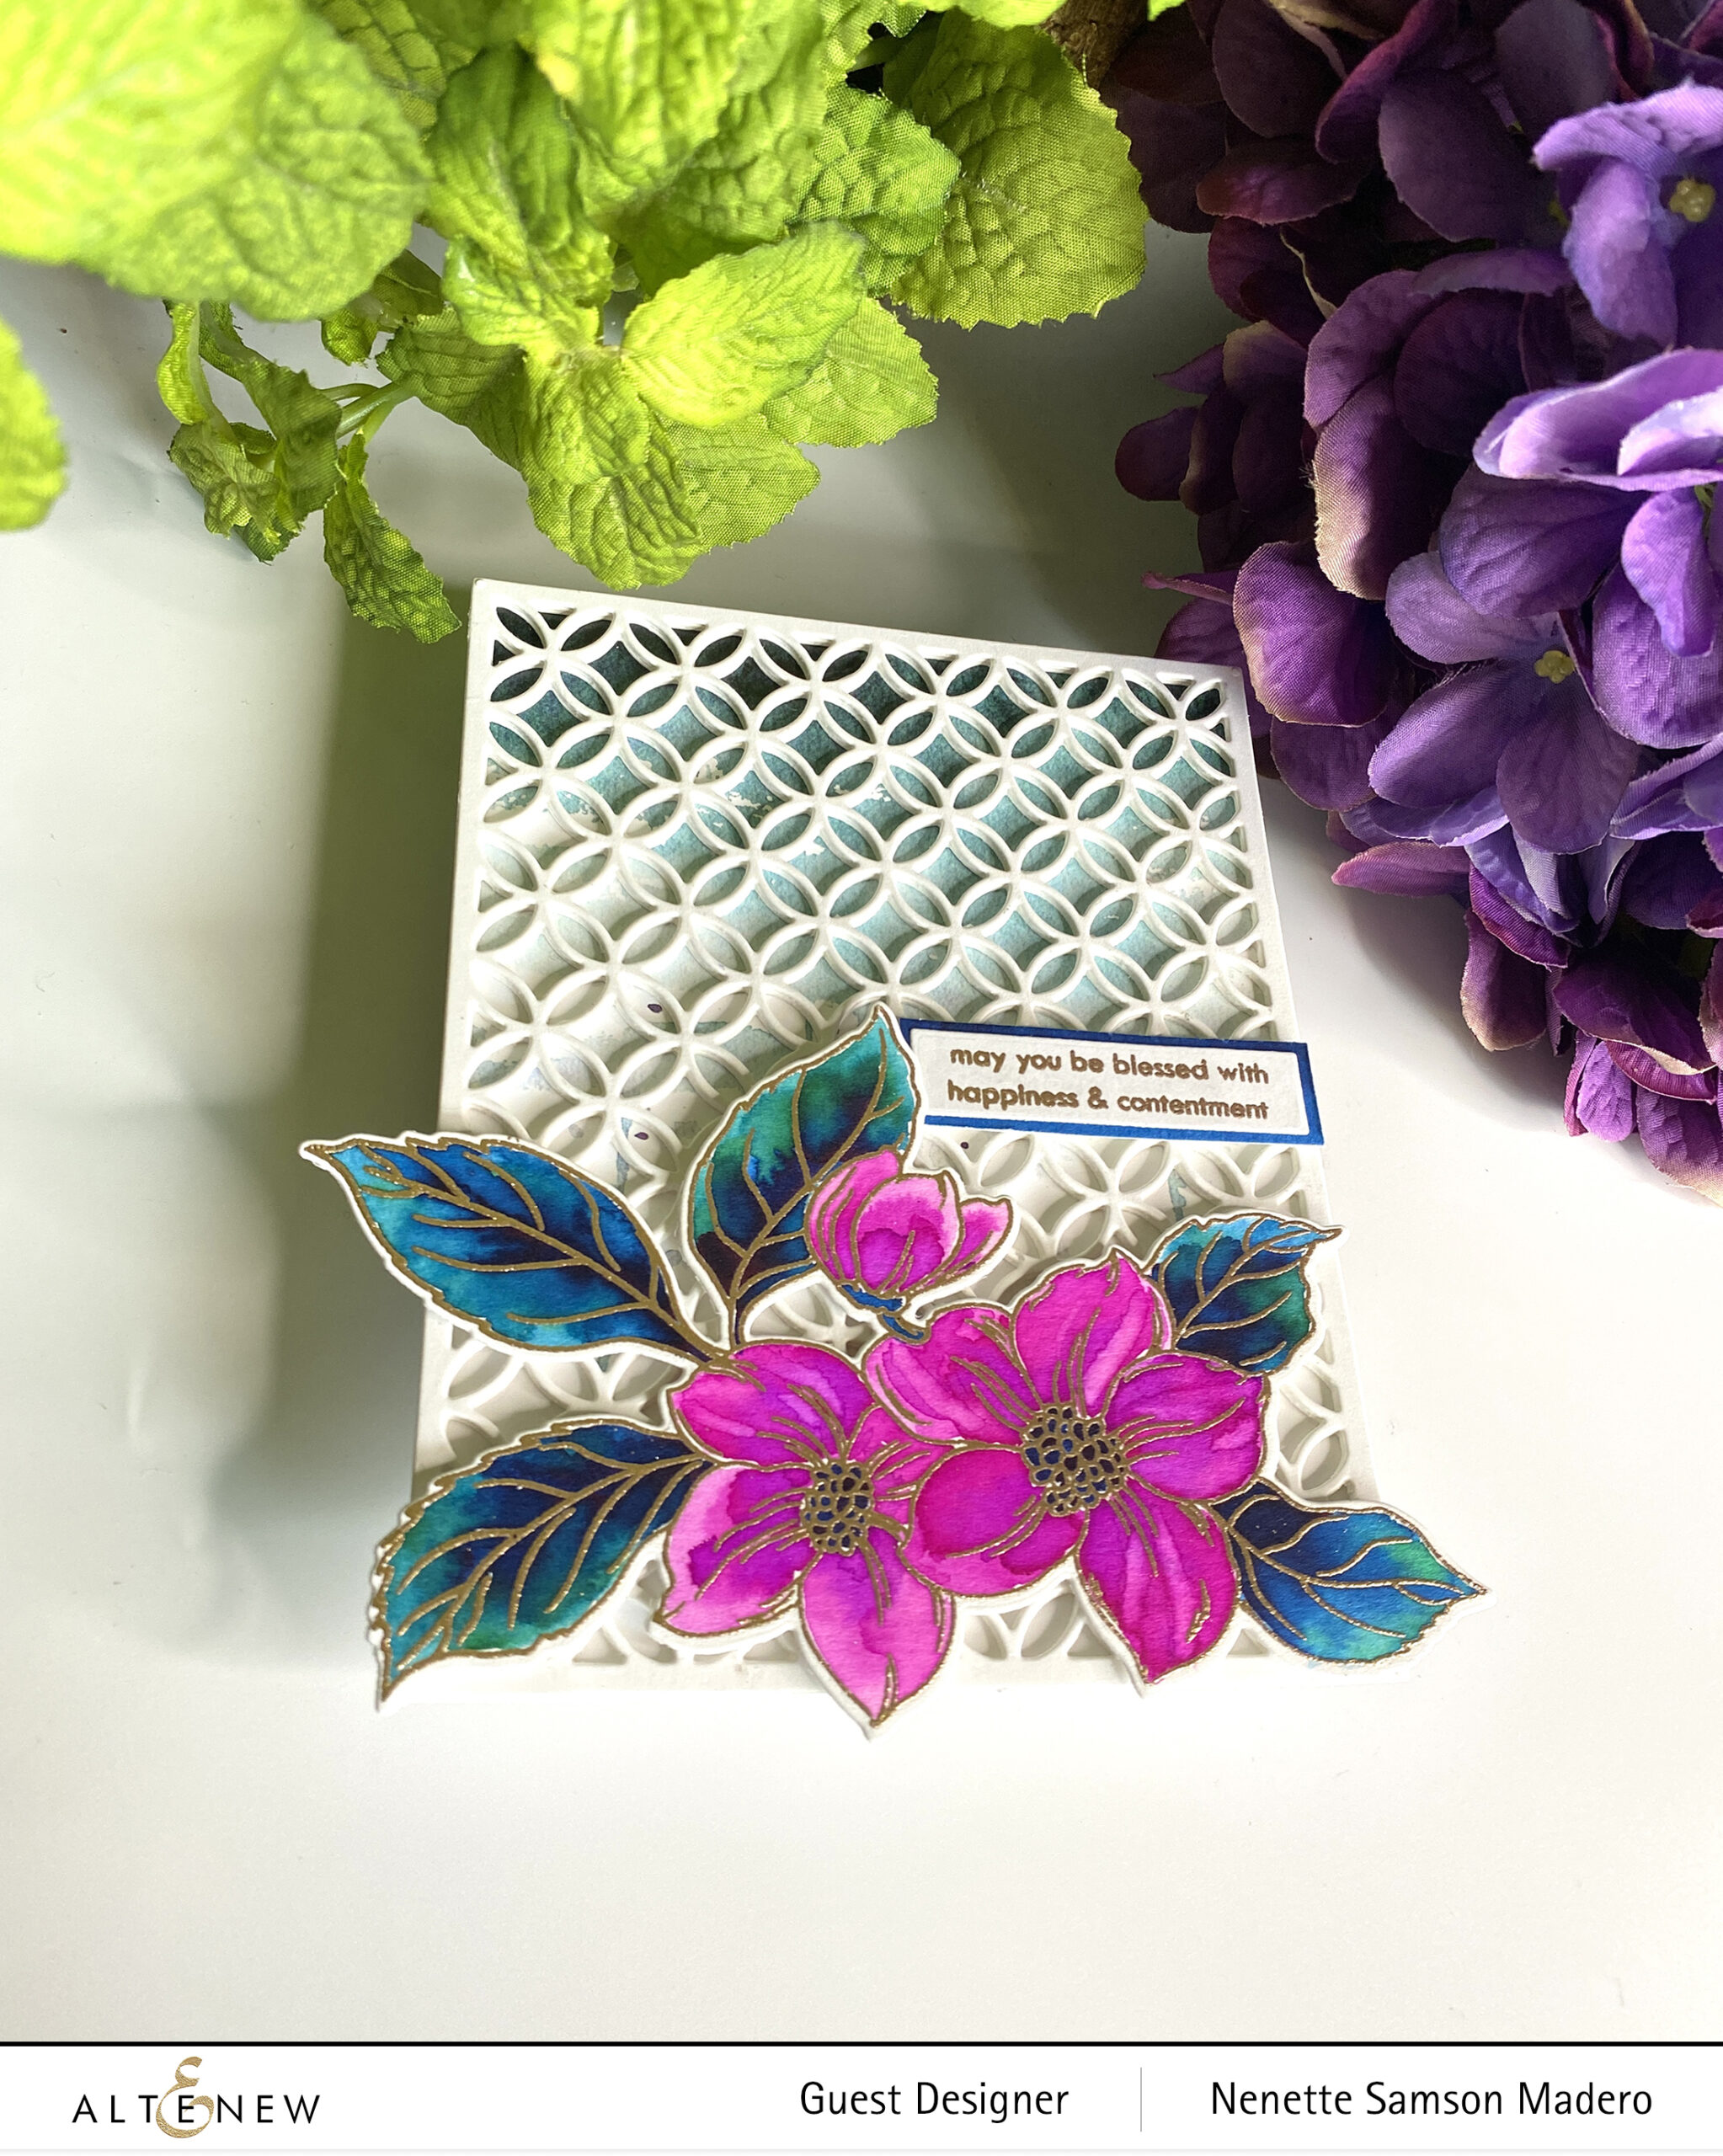
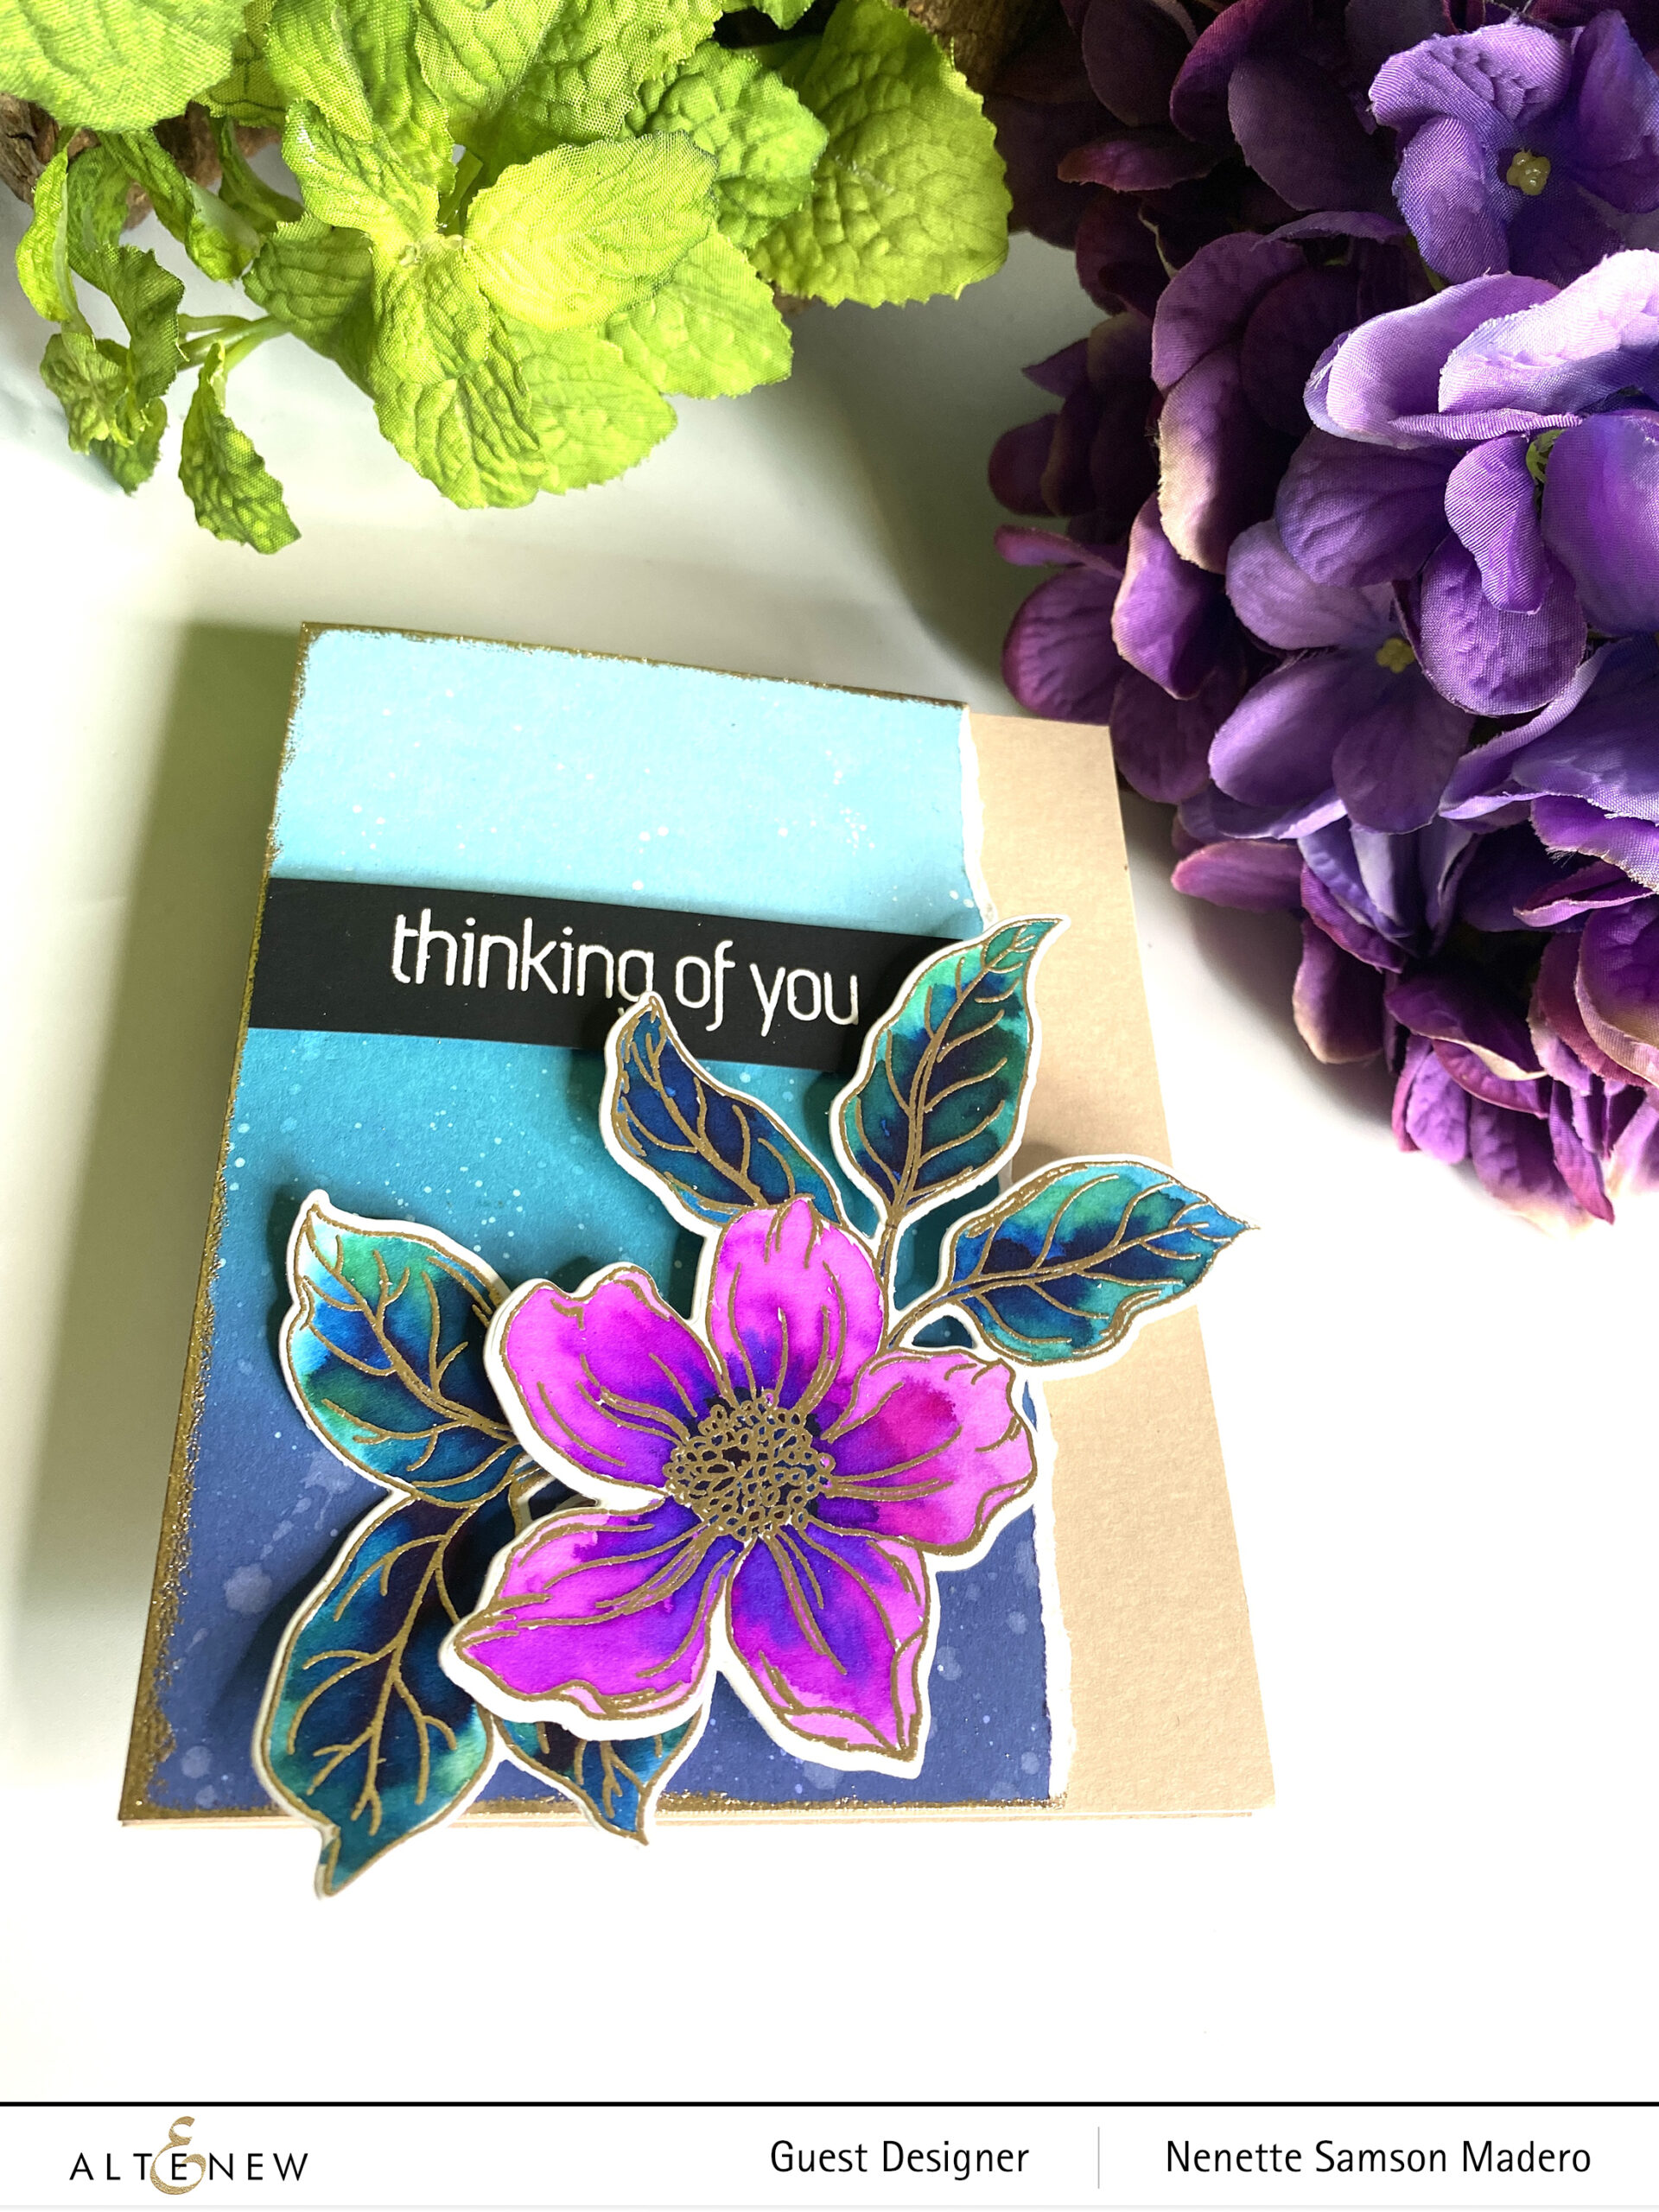
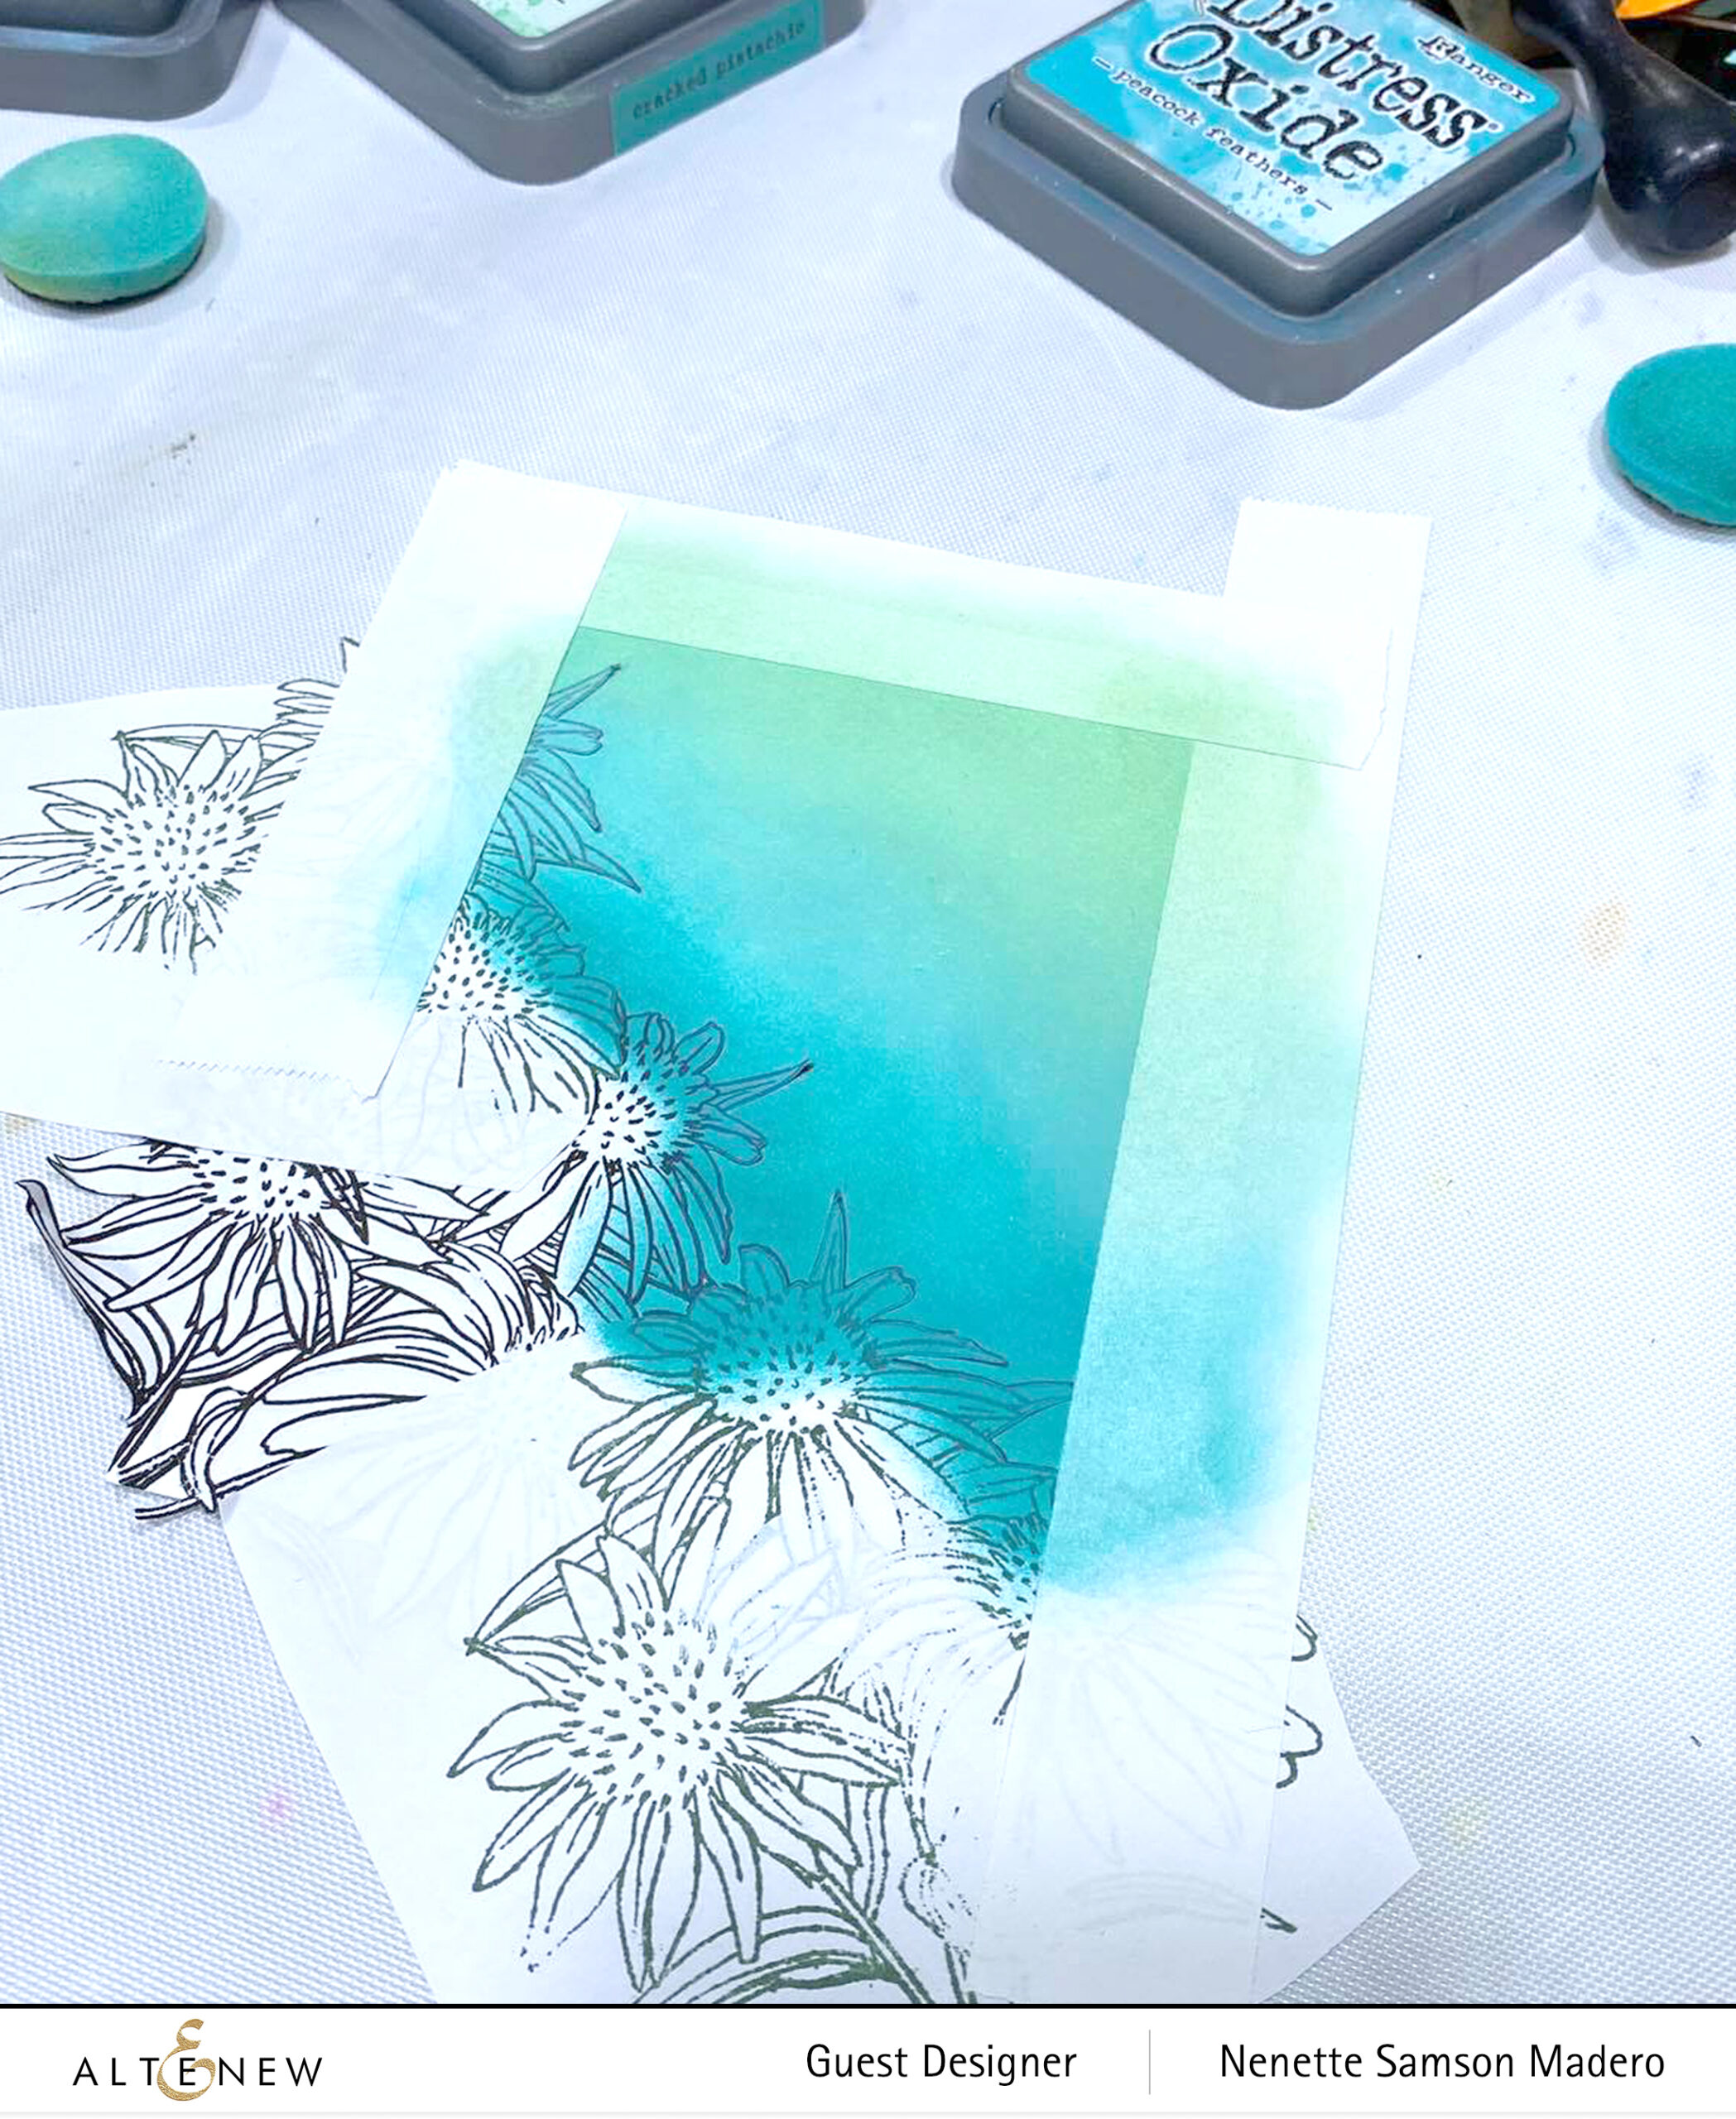
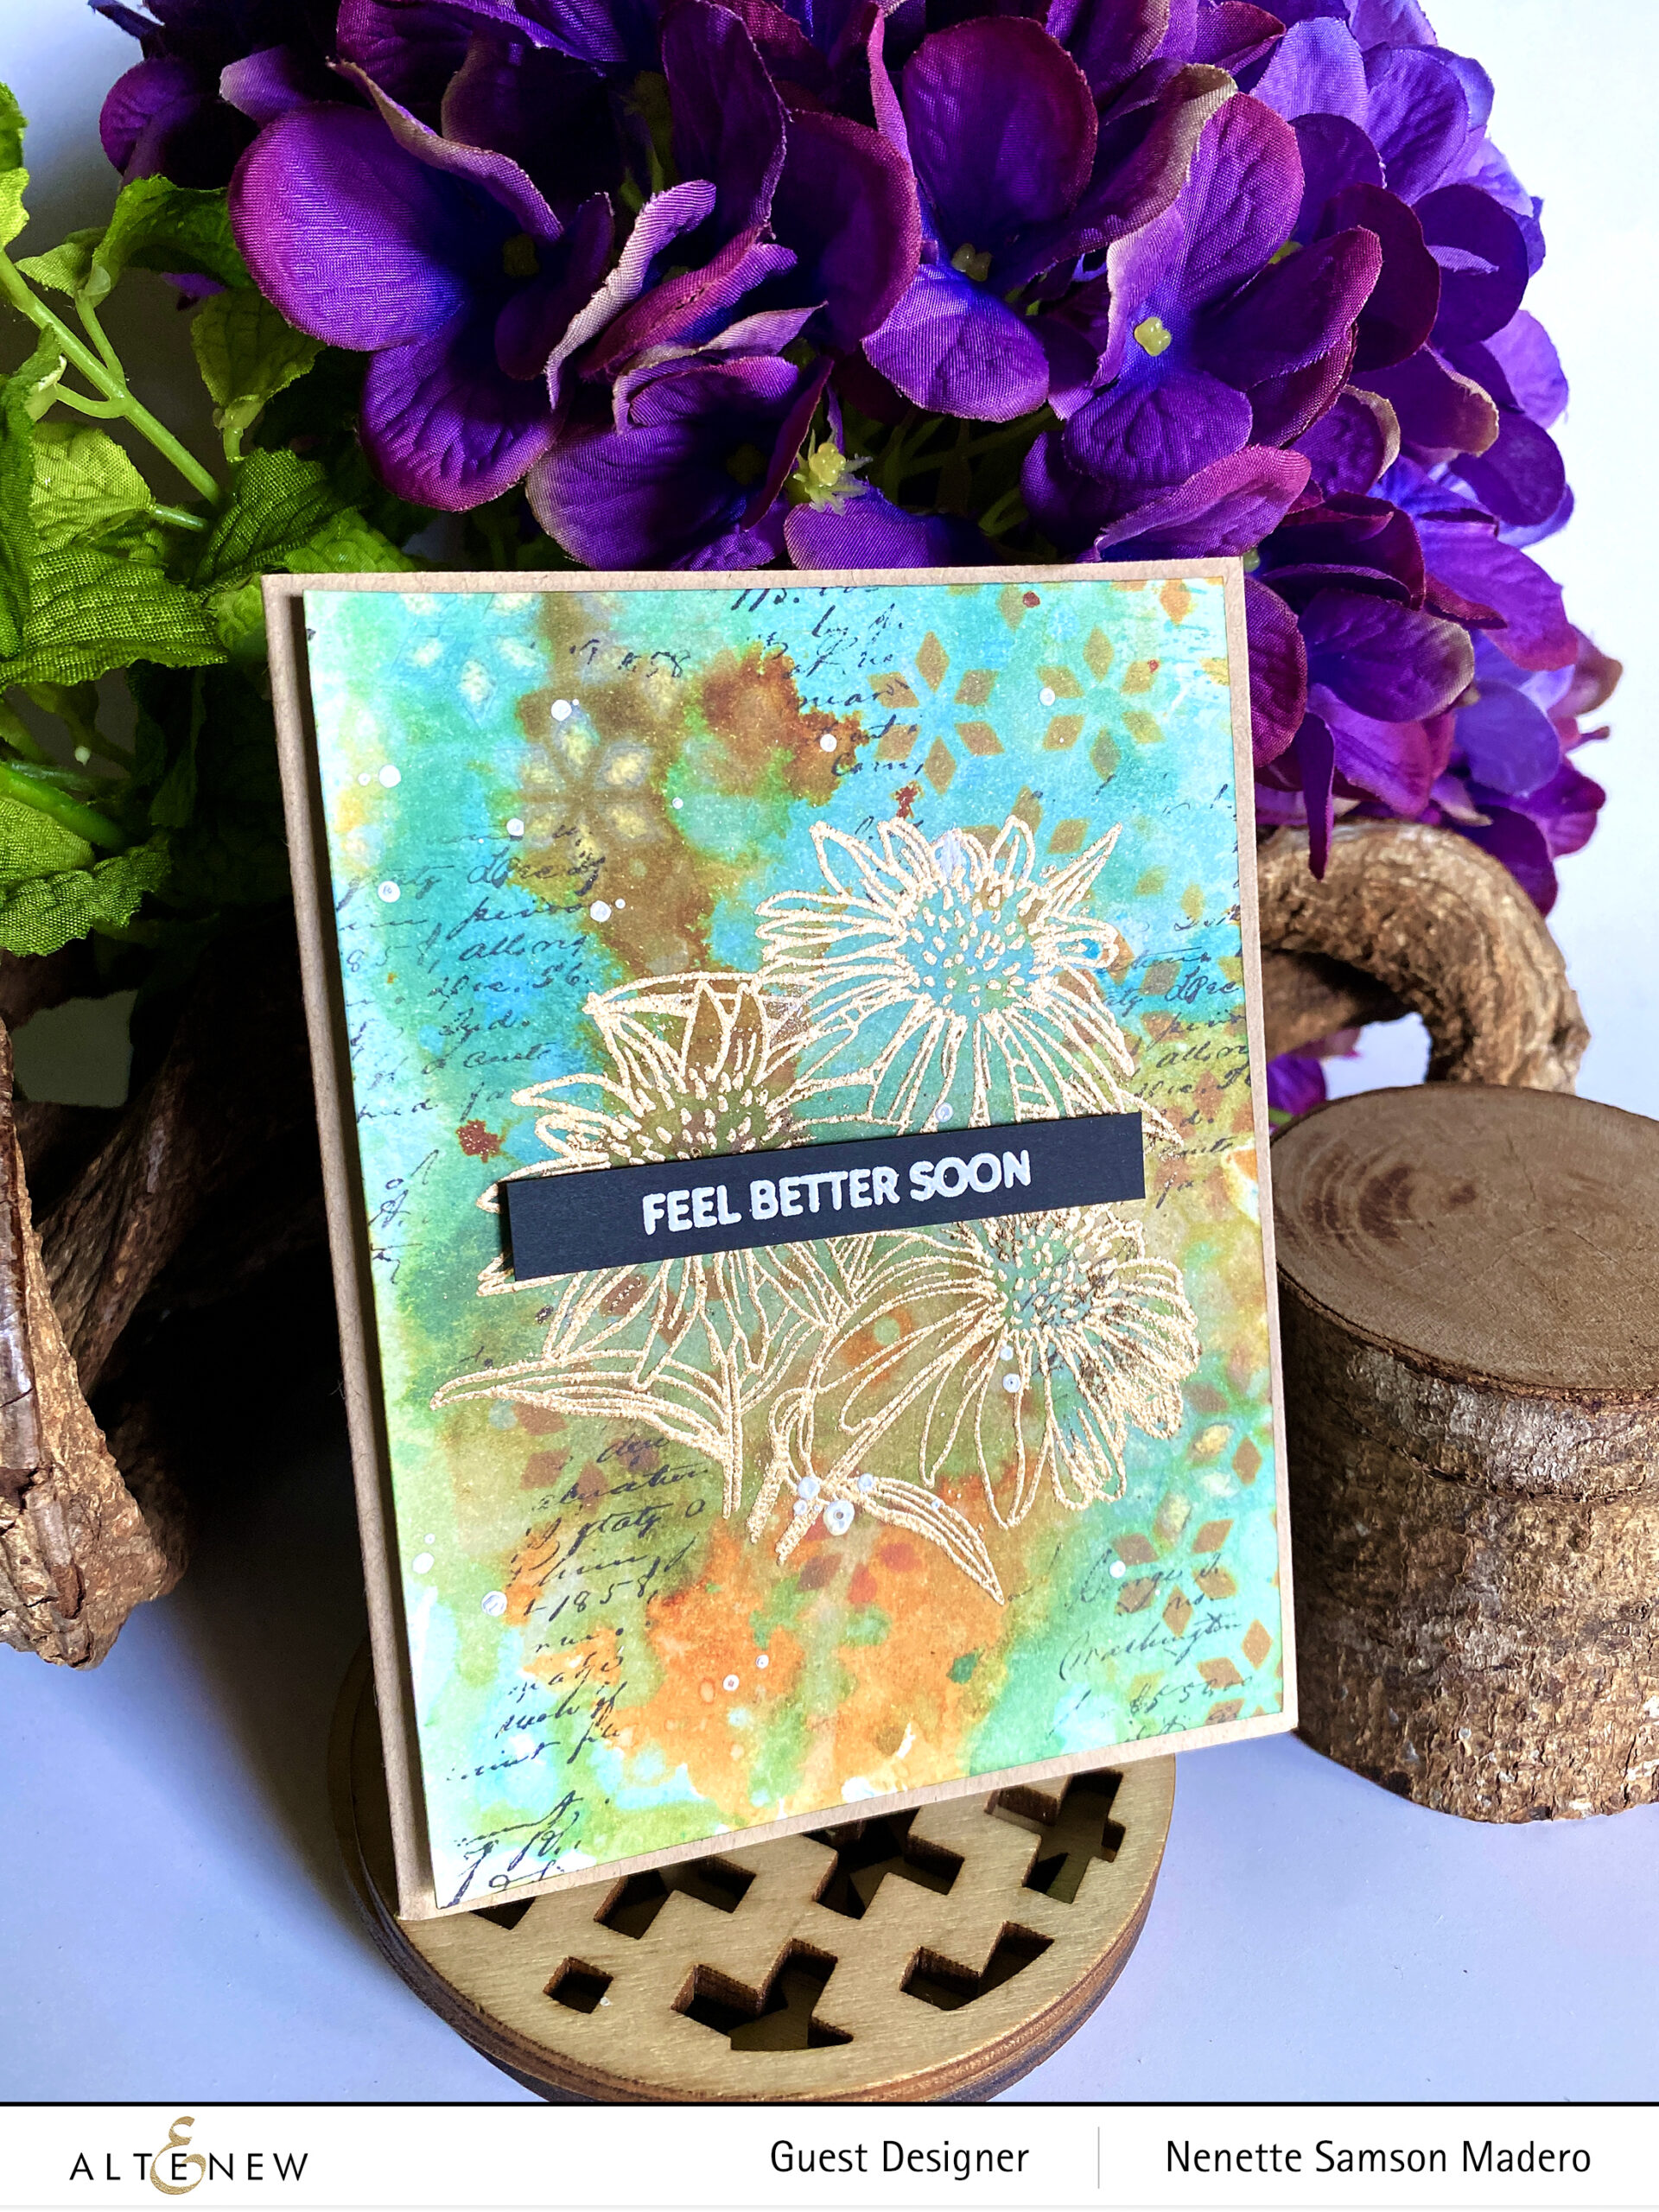
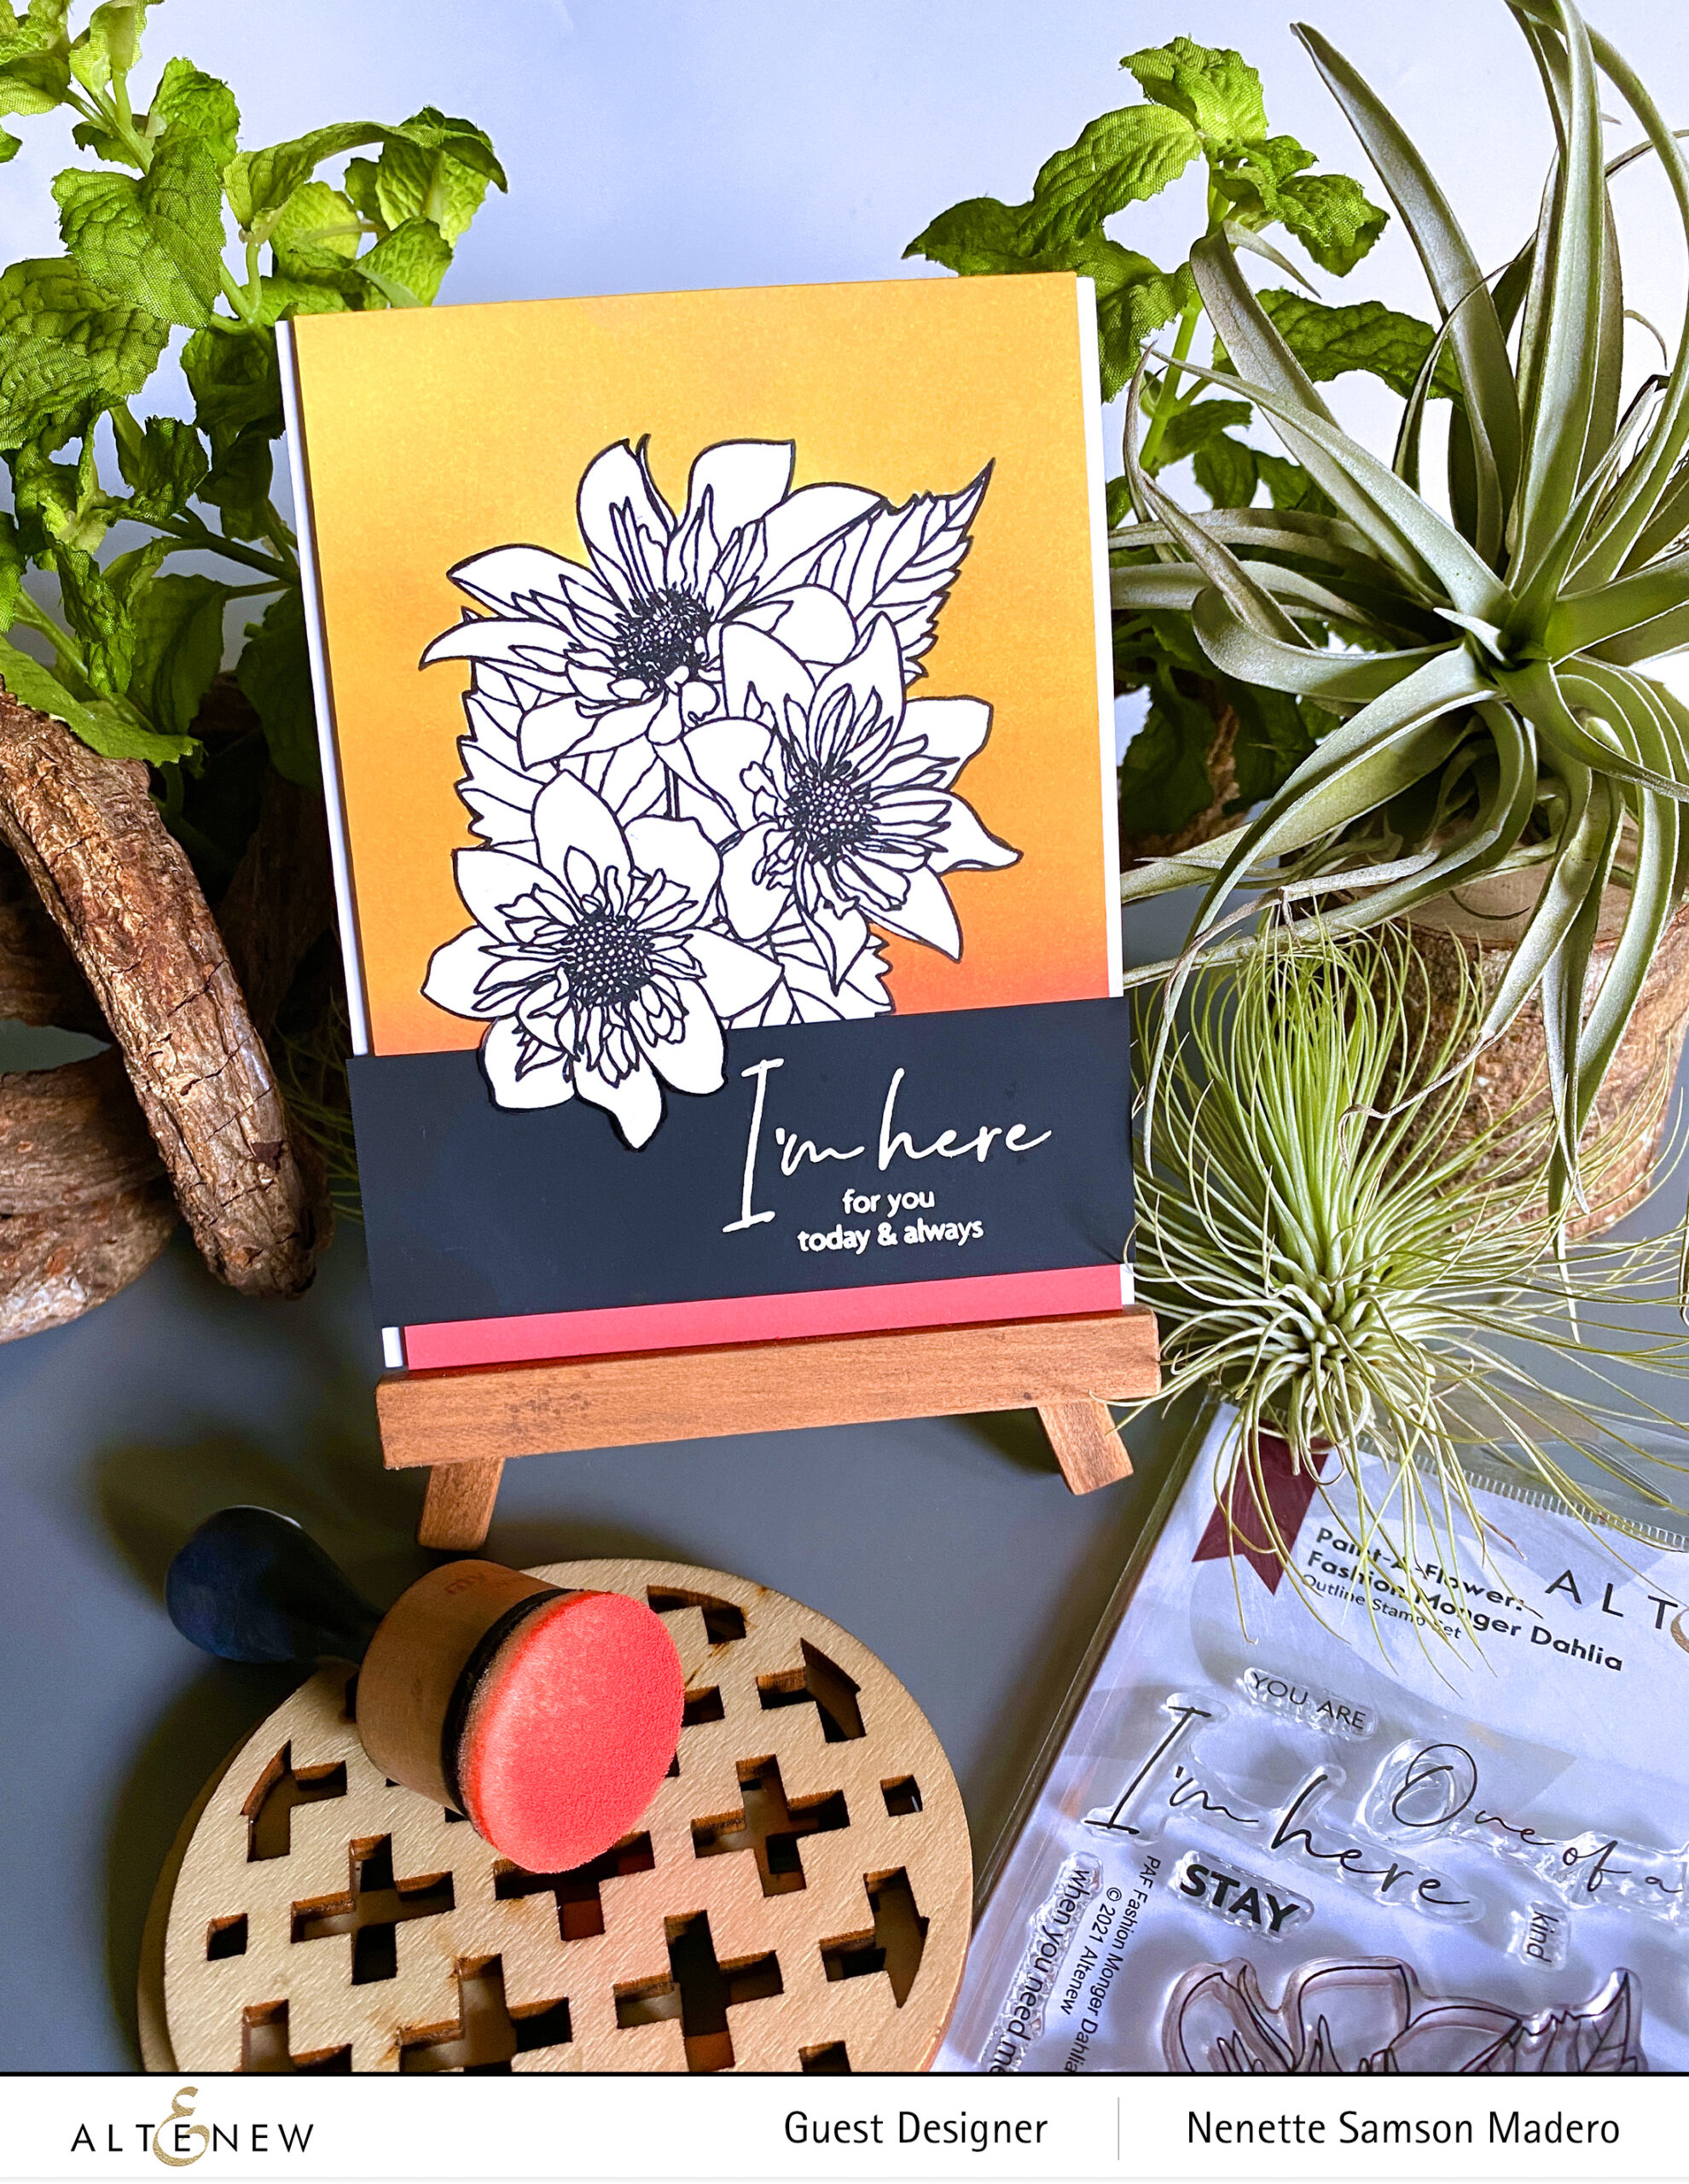
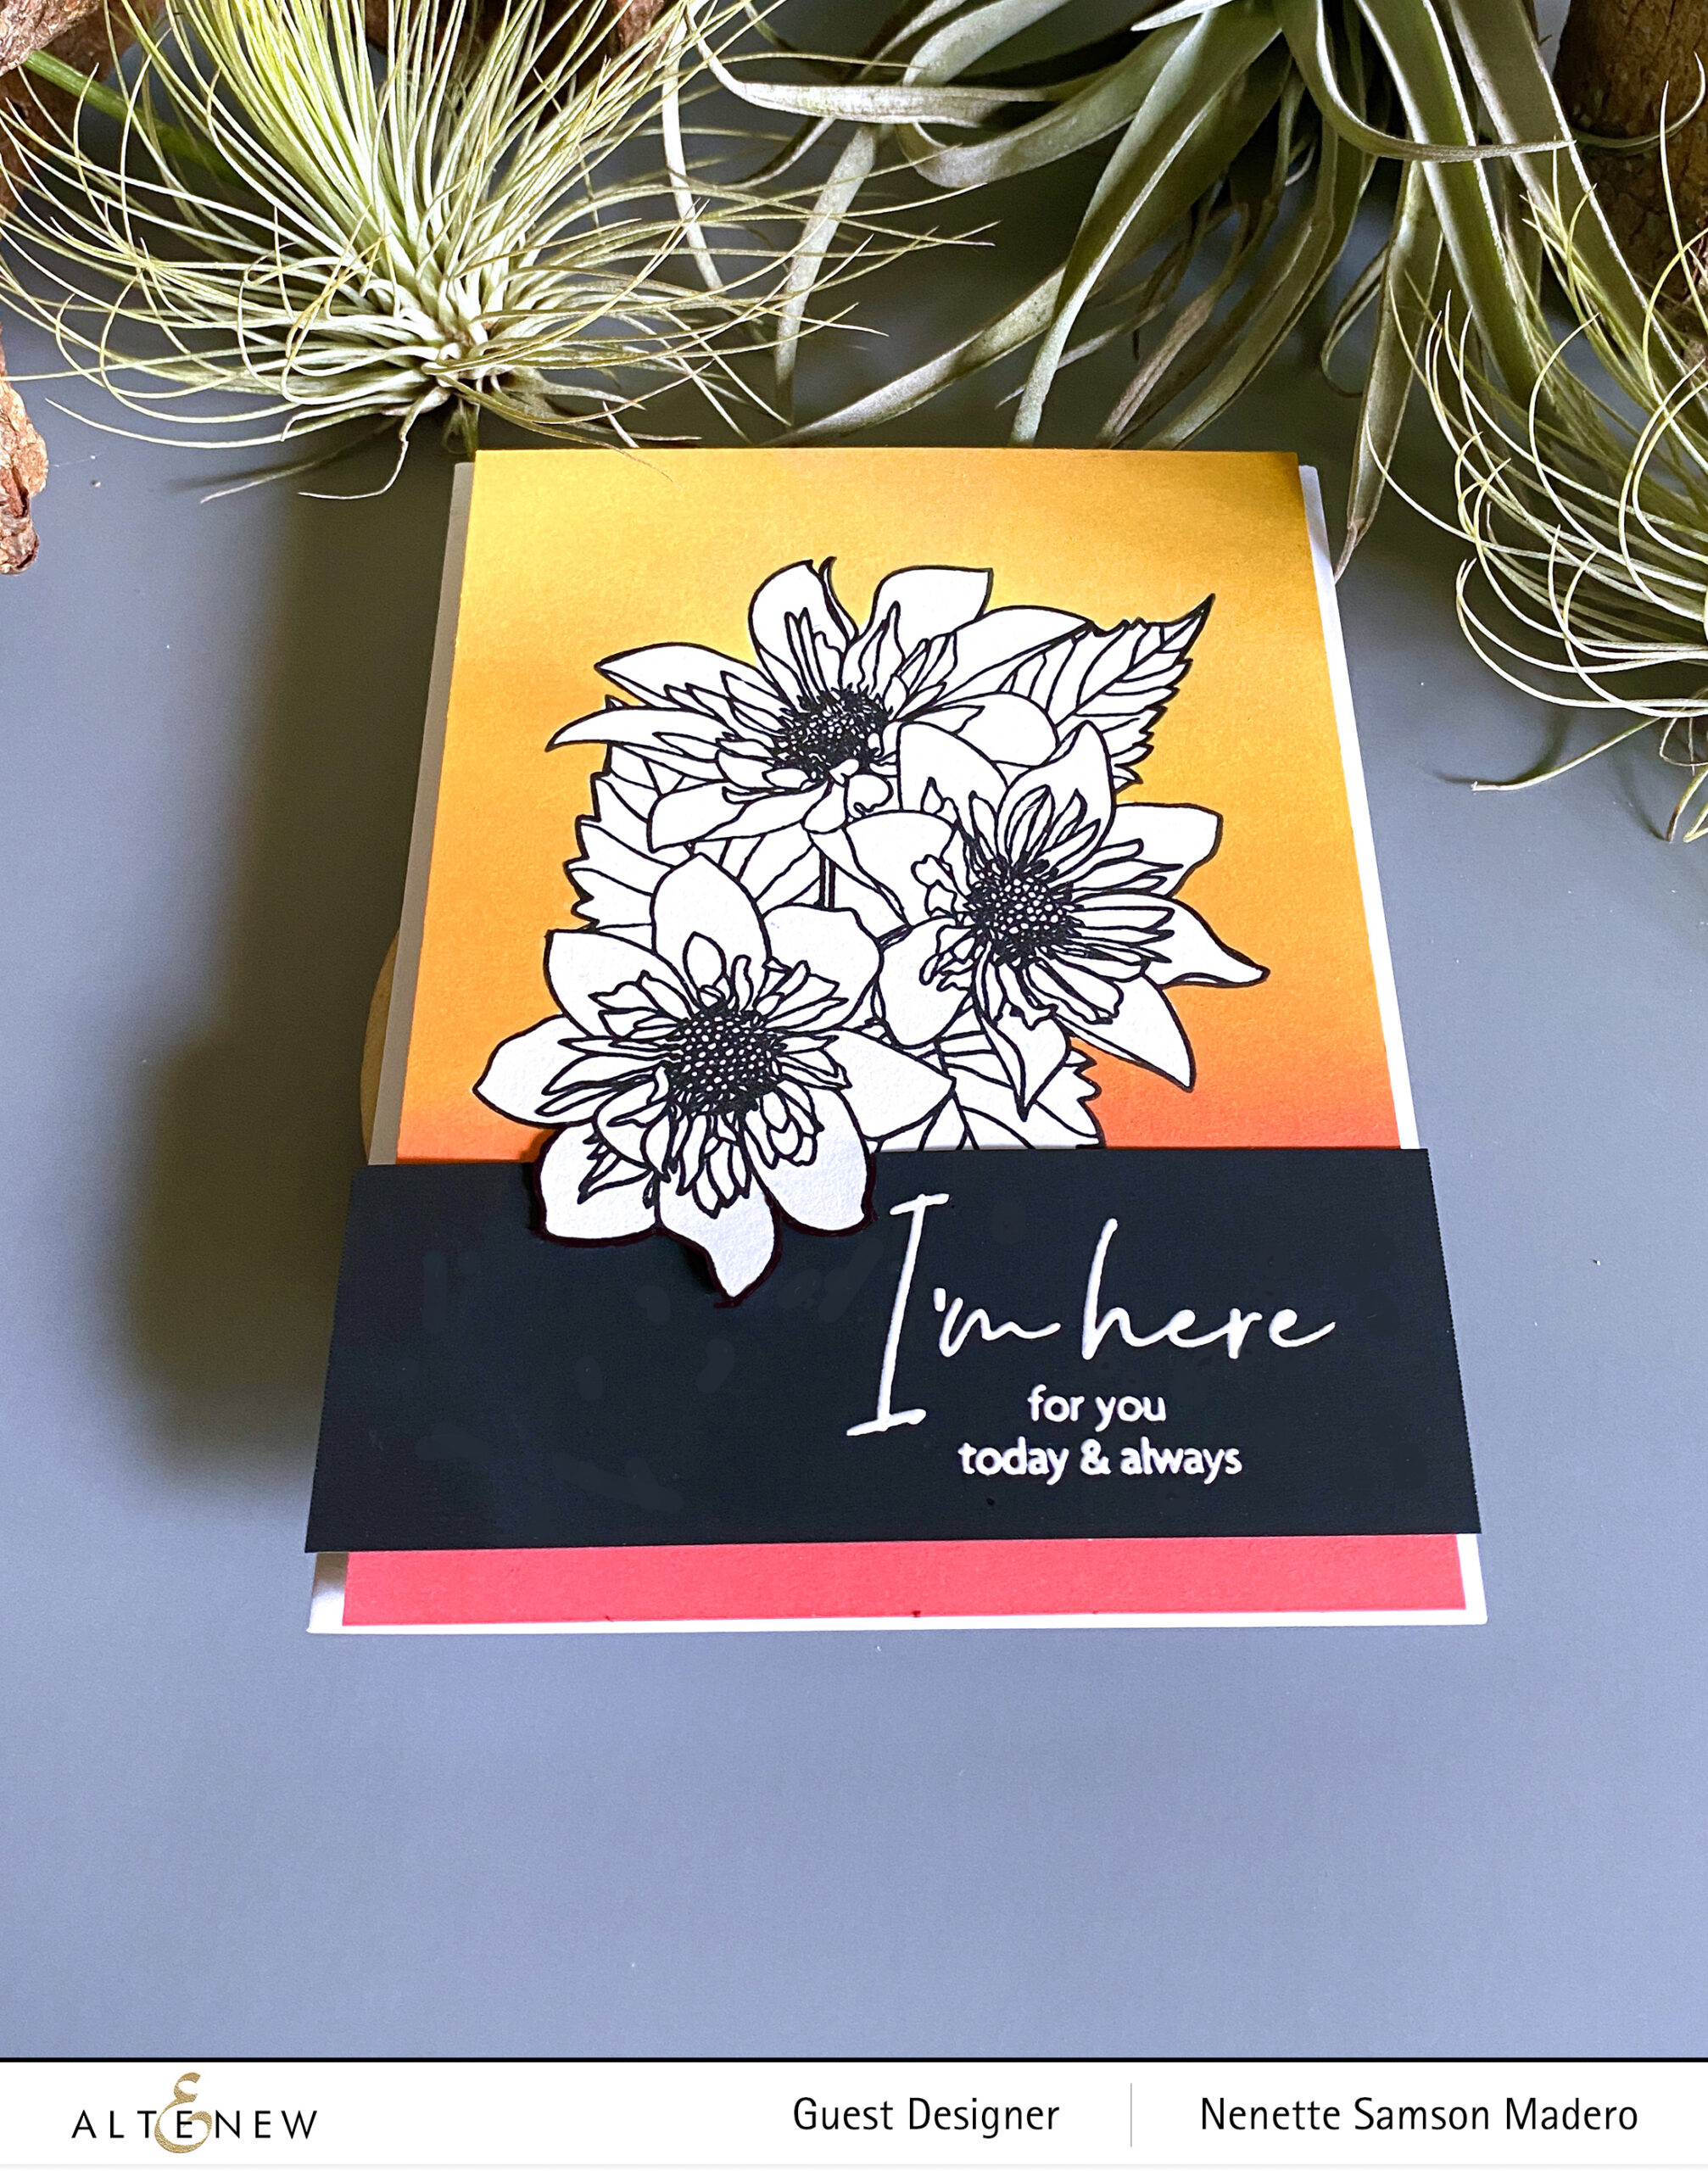
STRONGER THAN YESTERDAY

STEPS:
- Die cut white cardstock using one of the dies from the Flowing Foliage Die several times and adhere on top of each other for dimension.
- Create the background using Distress sprays and water.
- Die cut the background using the Mix & Match Frame die. Die cut white cardstock using the largest die from the same set to create the dotted frame.
- Arrange the the die cut flowers on the Distressed background.
- Stamp and emboss the sentiment from Block Sentiments Stamp on the excess backround using Versamark Ink and Pure White embossing powder. Adhere this on parchment paper.
- Assemble the card with foam squares and adhesive.
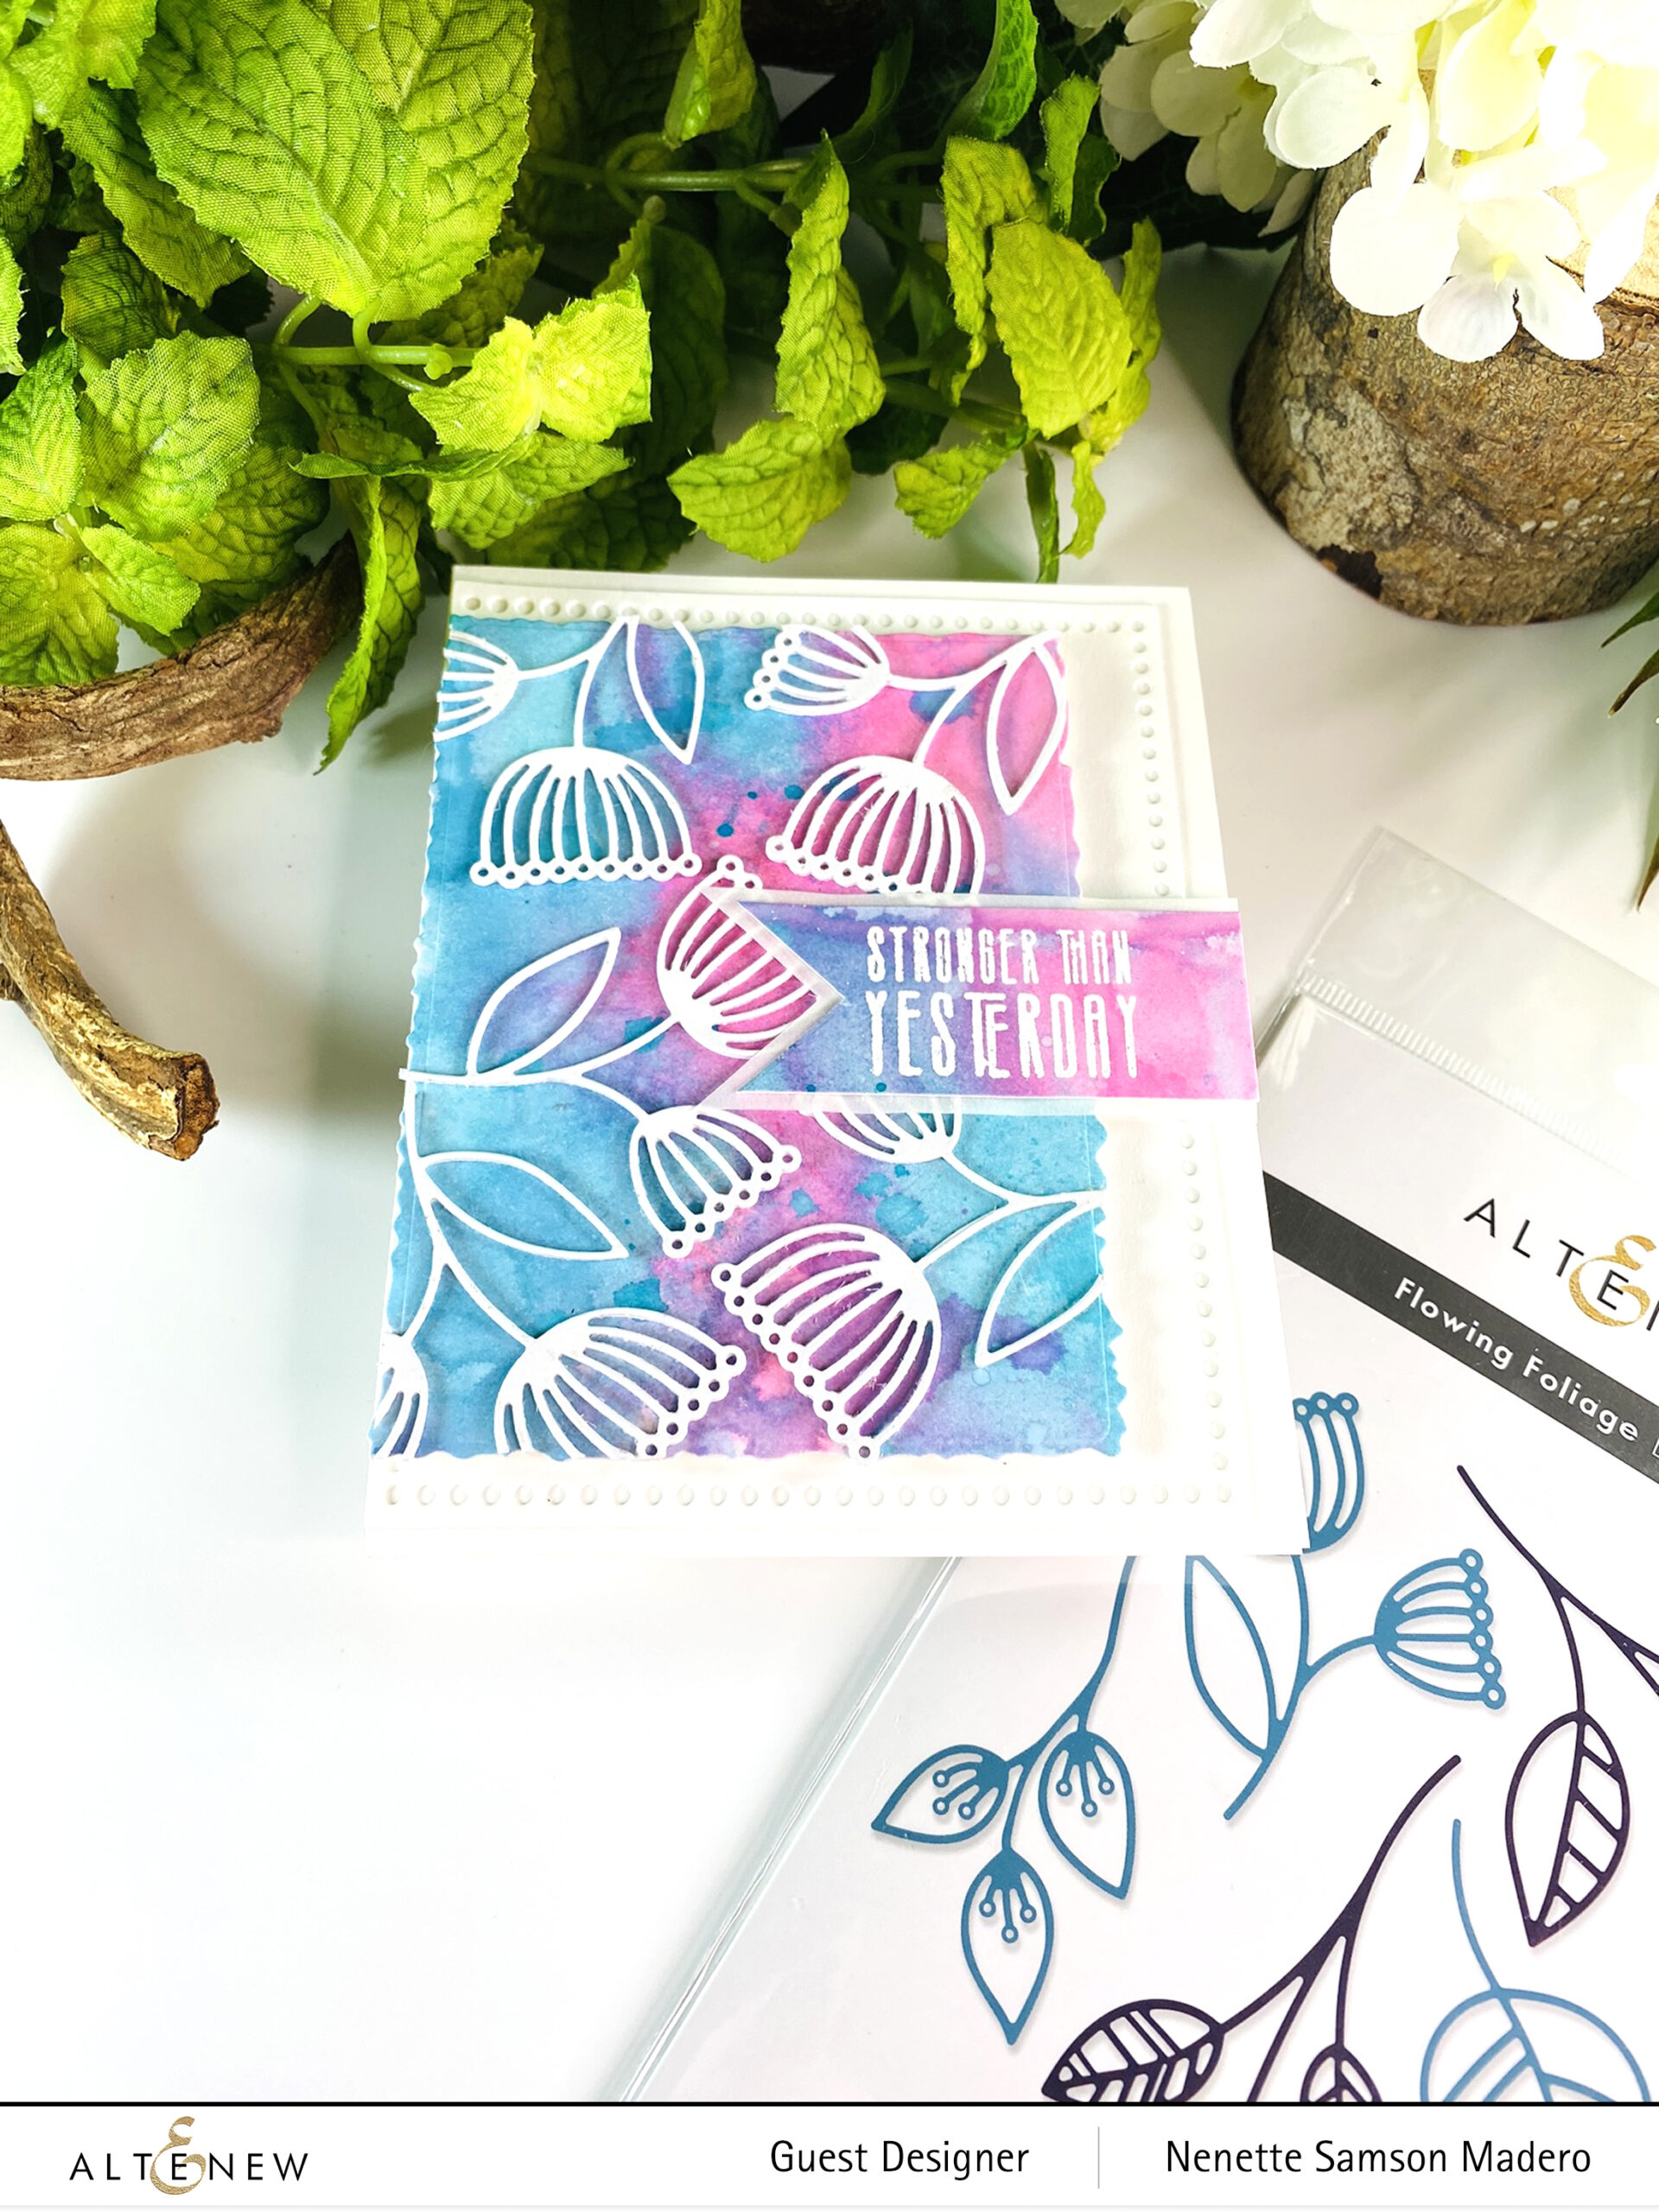
I love the dies in this set!!! There are so many ways you can use this set. You can also mix them with your floral stamps, too.
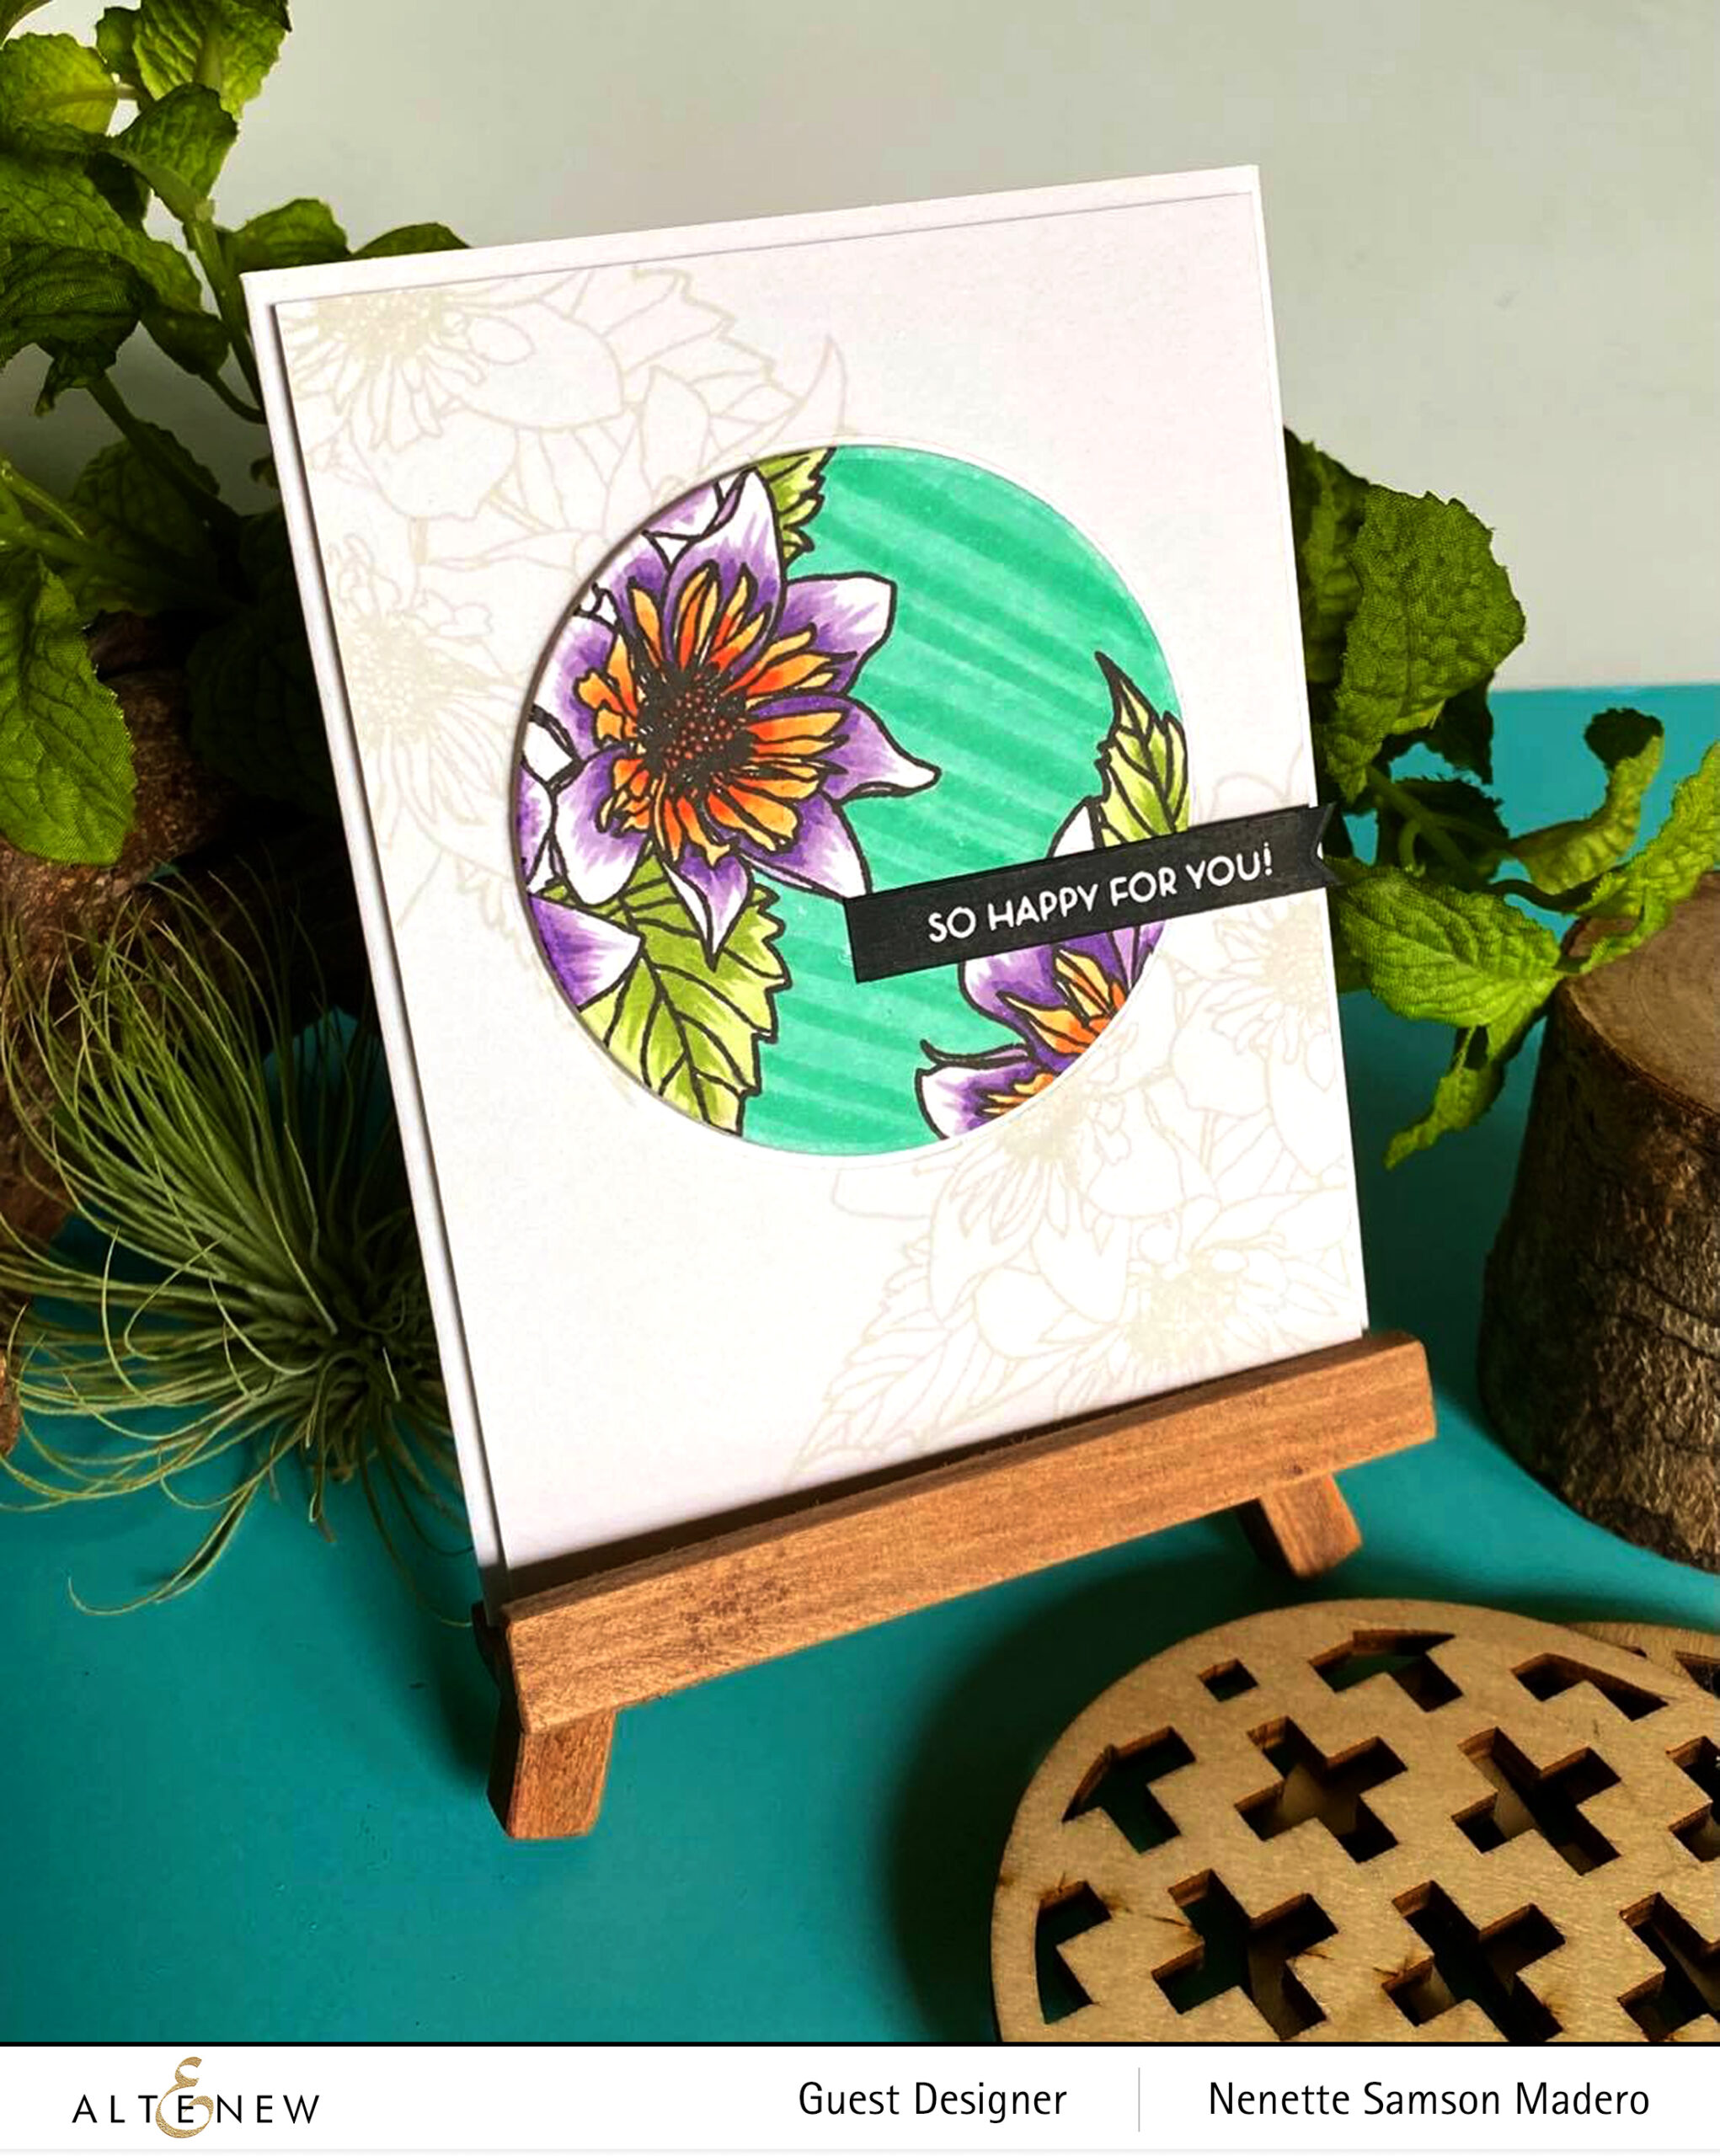
YOU ROCK
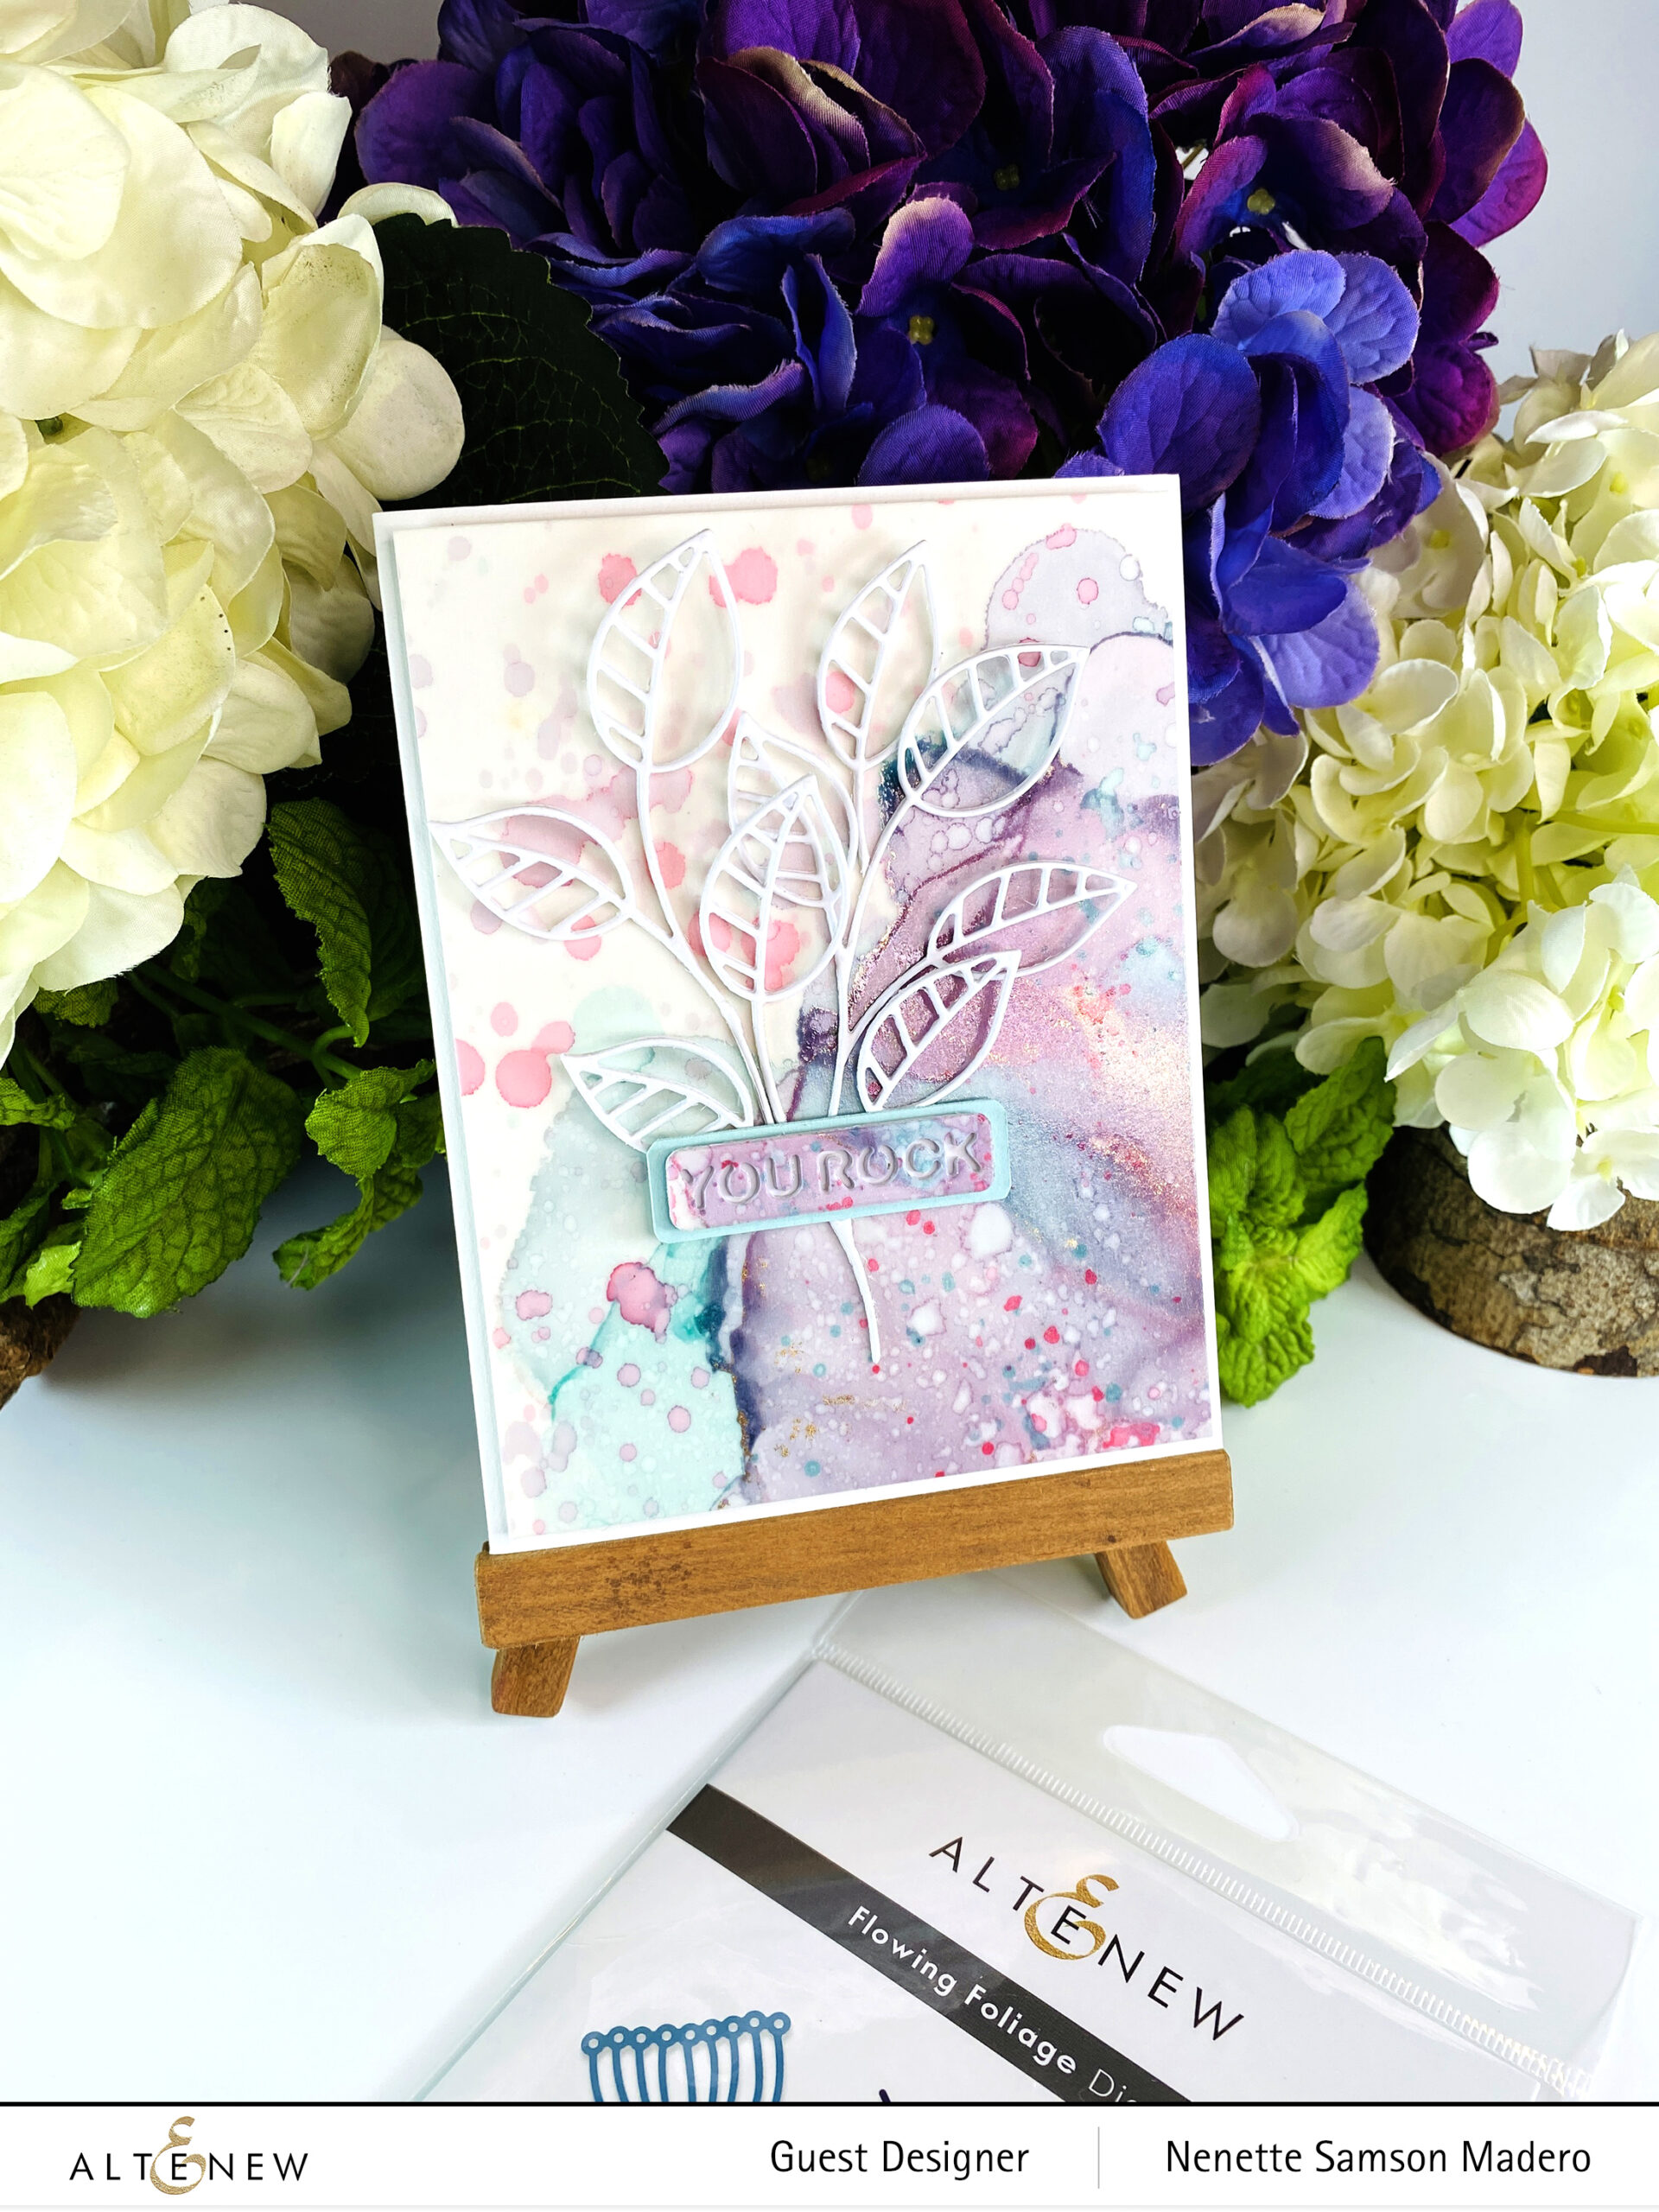
STEPS:
- Create an alcohol inked background using Cotton Candy and Sea Glass Alcohol Inks and isopropyl alcohol on vellum. Add Piñata Brass for shine.
- Add splatters using the mentioned inks and plain alcohol.
- Cut down to 5.25 ” x 4″ sheets and adhere to white cardstock using double sided adhesive sheets.
- Create 3 die cuts using the leaf pattern from the Flowing Foliage Die. Stack 3 on top of each other for more dimension.
- Die cut 4 times from white carstock the sentiment using the Way To Go die. For the last layer, use the excess alcohol inked background.
- Assemble the card with foam squares and adhesive.
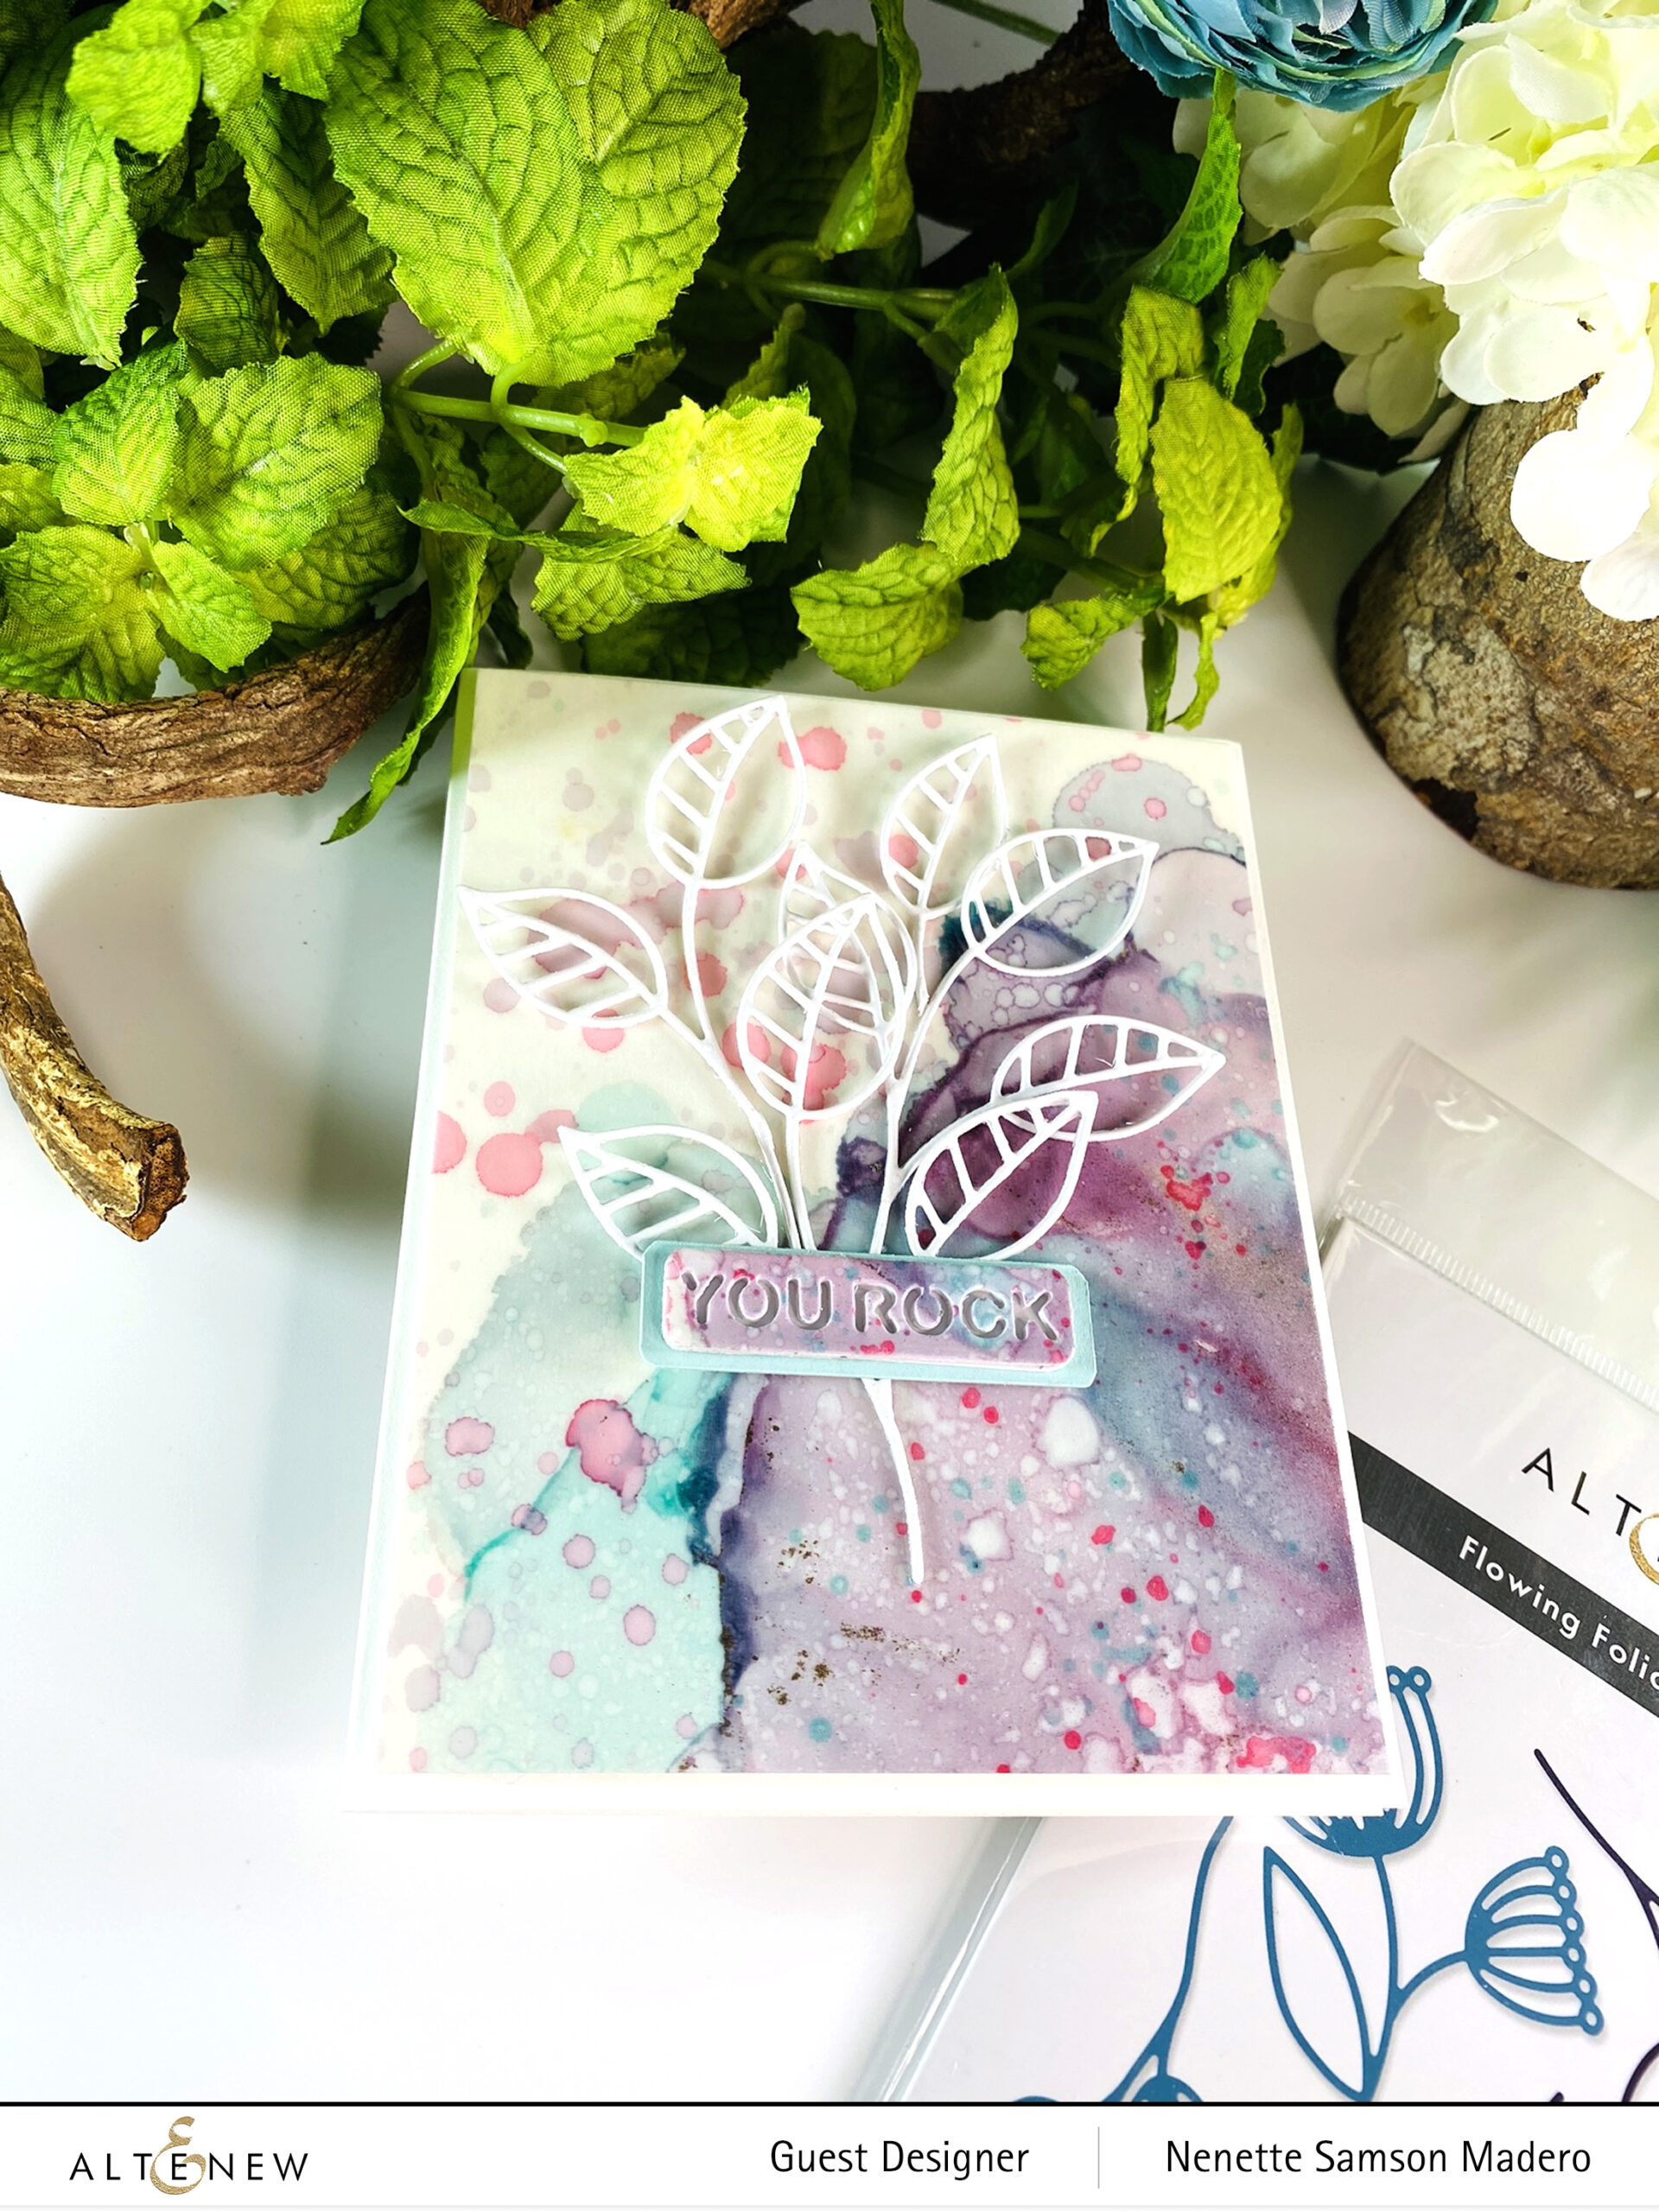
I was inspired by Tiffany Solorio’s alcohol ink process using vellum so I tried it out. She used an Alcohol blending solution while I used isopropyl alcohol. I did not have that much warping maybe because I used thicker vellum. Love all the texture on this card.
HAPPY BIRTHDAY
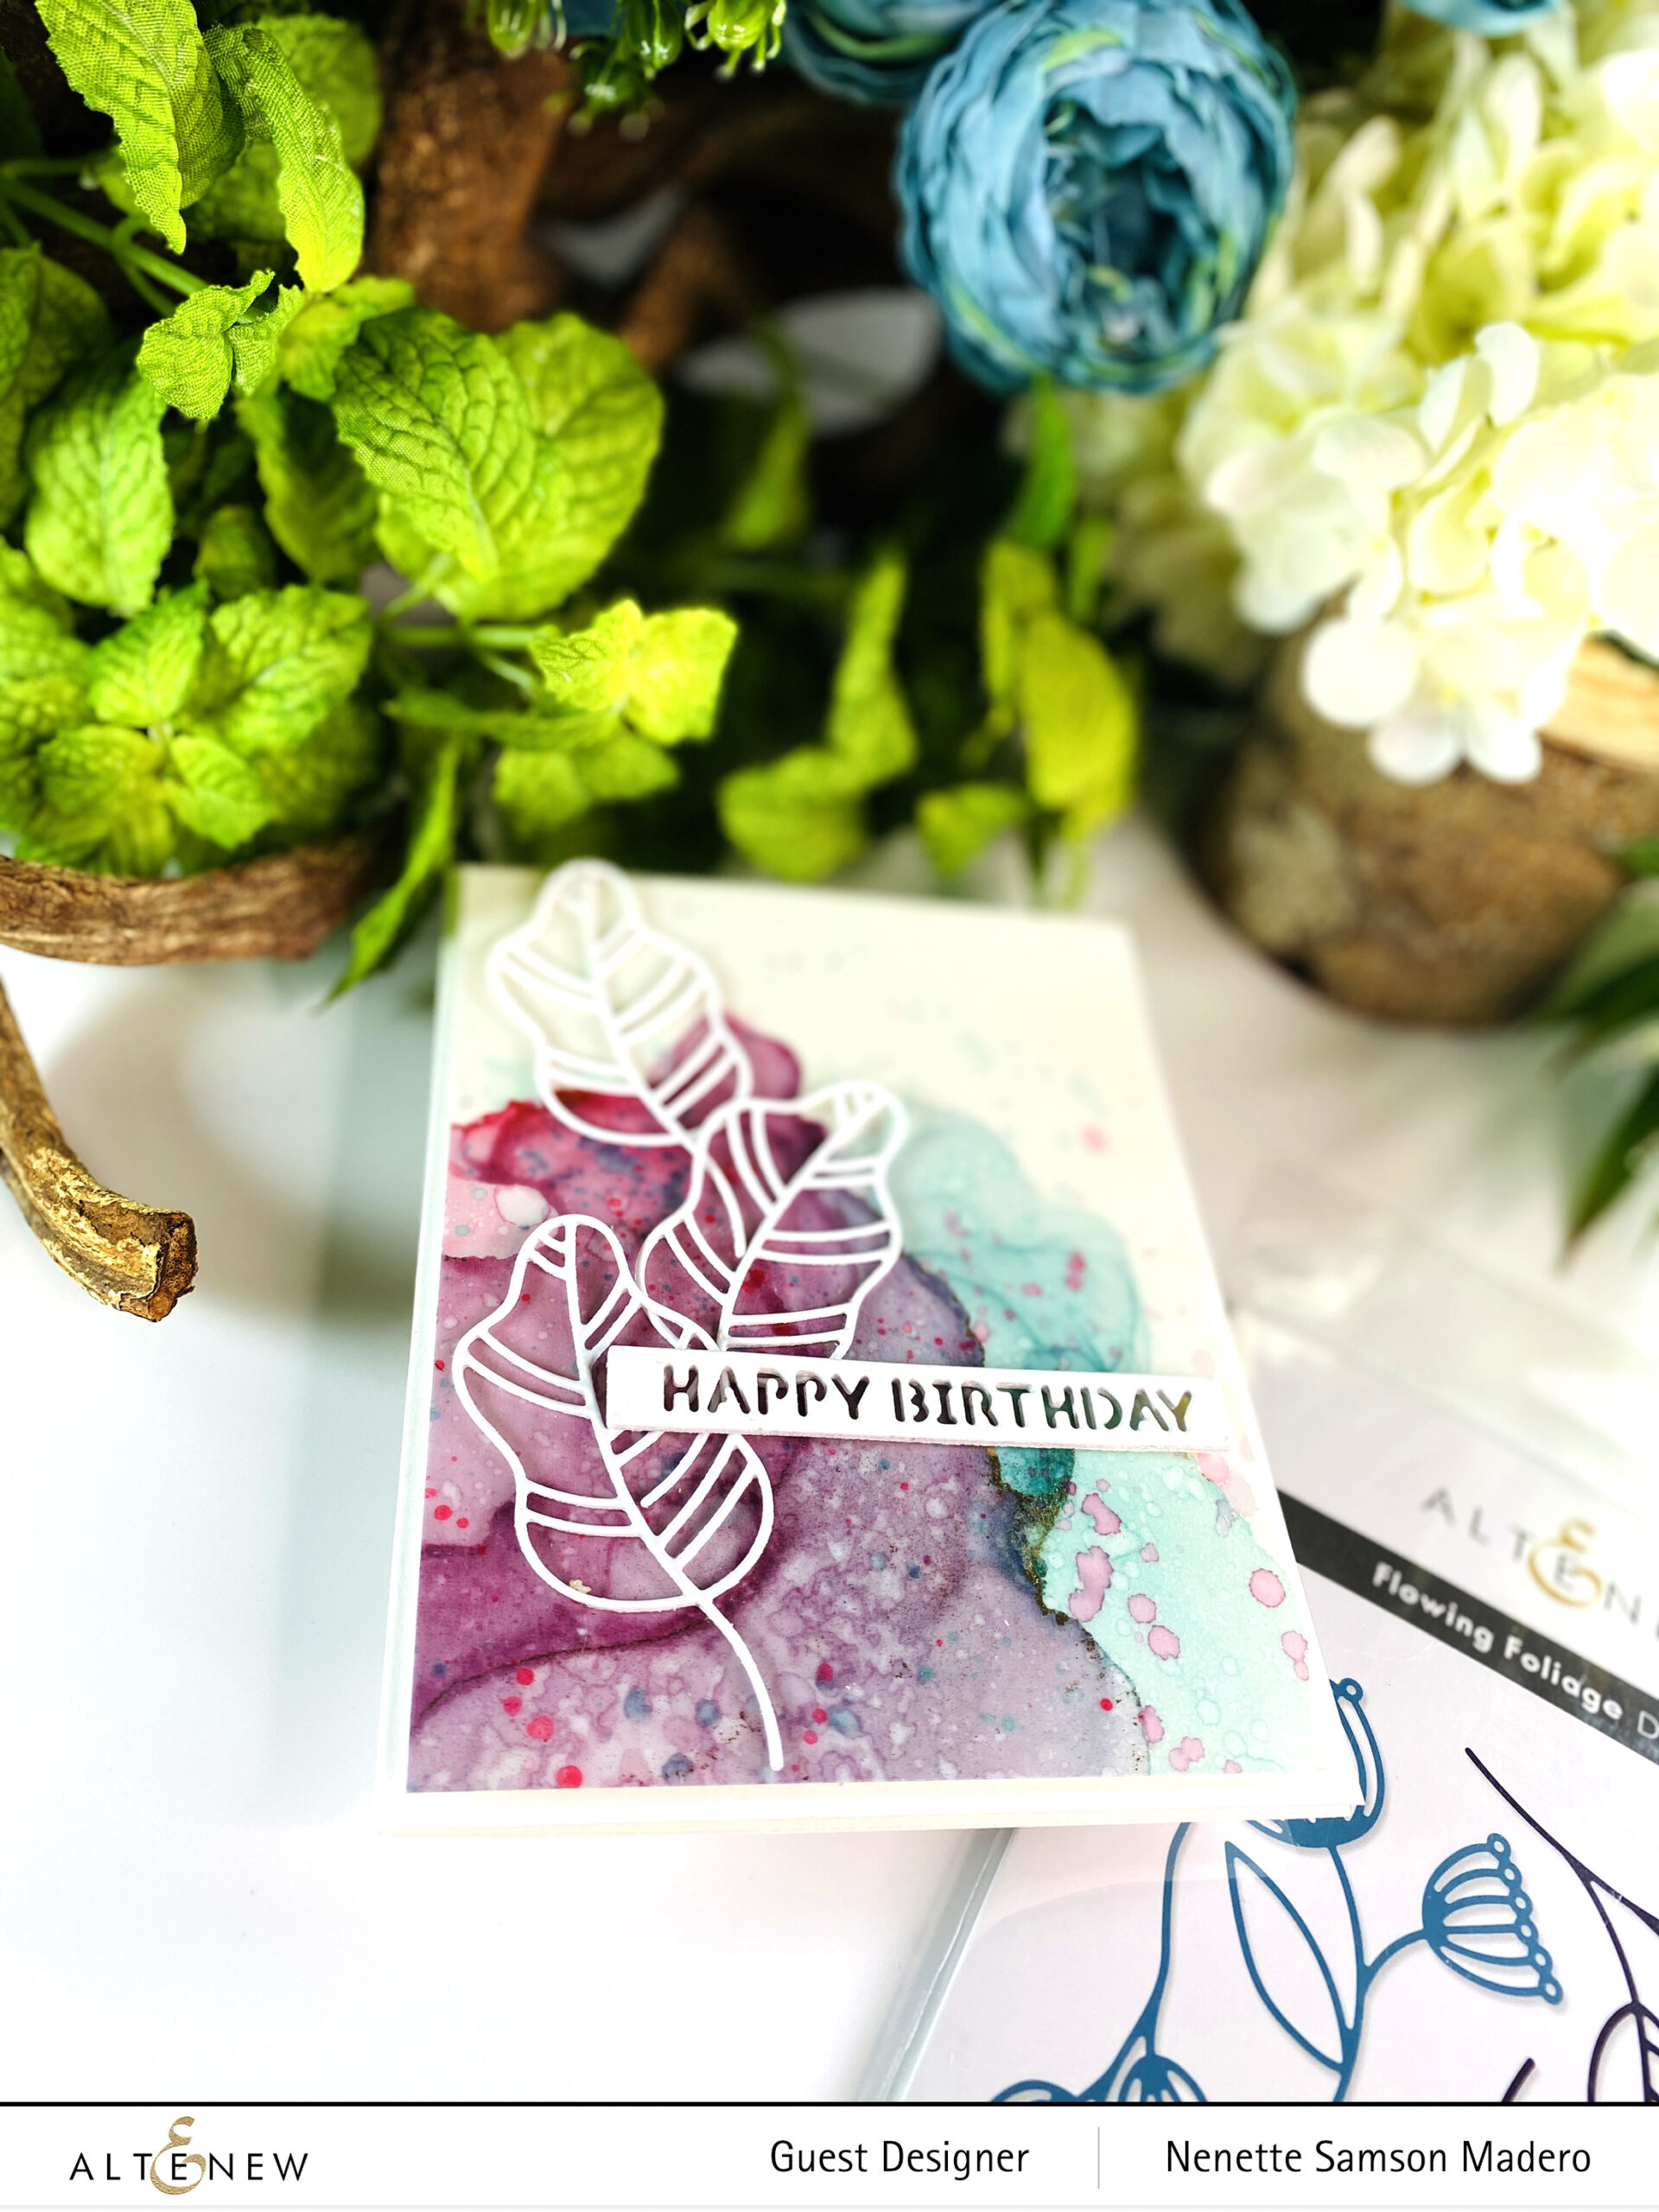
The process of this card is the same as the previous one. I was able to make 2 cards using 1 background! I will definitely be experimenting more with alcohol inks and vellum. For this card, I used the sentiment from the Essential Sentiments Die set for the sentiment.
GIVEAWAY AND PRIZES
$300 in total prizes! To celebrate this release, Altenew is giving away a $50 gift certificate to 2 lucky winners and a $25 gift certificate to 8 winners! Please leave a comment on the Altenew Card Blog and/or each designer’s blog post on the blog hop list below by 10/25/2021 for a chance to win.
Altenew will draw 10 random winners from the comments left on each stop of this blog hop and announce the winners on the Altenew Winners Page on 10/27/2021.
Next up: Maryam Perez. I hope you liked the cards I created for this hop. Let me know which one is your favorite in the comment section below and get a chance to win a prize from Altenew. I hope to see you on Instagram as well @mylittleatticstudio for my latest creations. Stay safe everyone and happy crafting! ❤️

")