Hello, everyone! Welcome to Altenew’s Craft your Life Kit: Hello Beautiful Release and giveaway! Thank you, Maryam Perez, for sending all of you over to my blog. For the complete details of the blog hop, make sure to visit the Altenew Card Blog.
There is nothing like a bouquet of flowers to bring you joy and contentment! Enjoy our Craft Your Life Project Kit, an exciting monthly package that is sure to get the creative juices flowing! Featuring a 6×8 stamp set, coordinating die set, as well as a stencil and embossing folder to fit the theme, this project kit has almost everything you need to start crafting. Just add ink and cardstock, and you’ll be good to go! This kit features a gorgeous stamp set with three beautiful floral clusters. The flowers and leaves were drawn with great care, giving special attention to the folds and curves of the petals. The set includes eight messages great for everyday occasions. The kit also features FIVE coloring stencils which will allow you to color the floral clusters in two coloring layers. Furthermore, there is a matching die for each of the floral clusters and an embossing folder featuring an elaborate version of one of the floral clusters from the stamp set. Pair them together for the best results. Take a look at this beautiful kit!

I created 4 cards using the stamp set and stencils in this release. Let me know which one you like ok?
HELLO
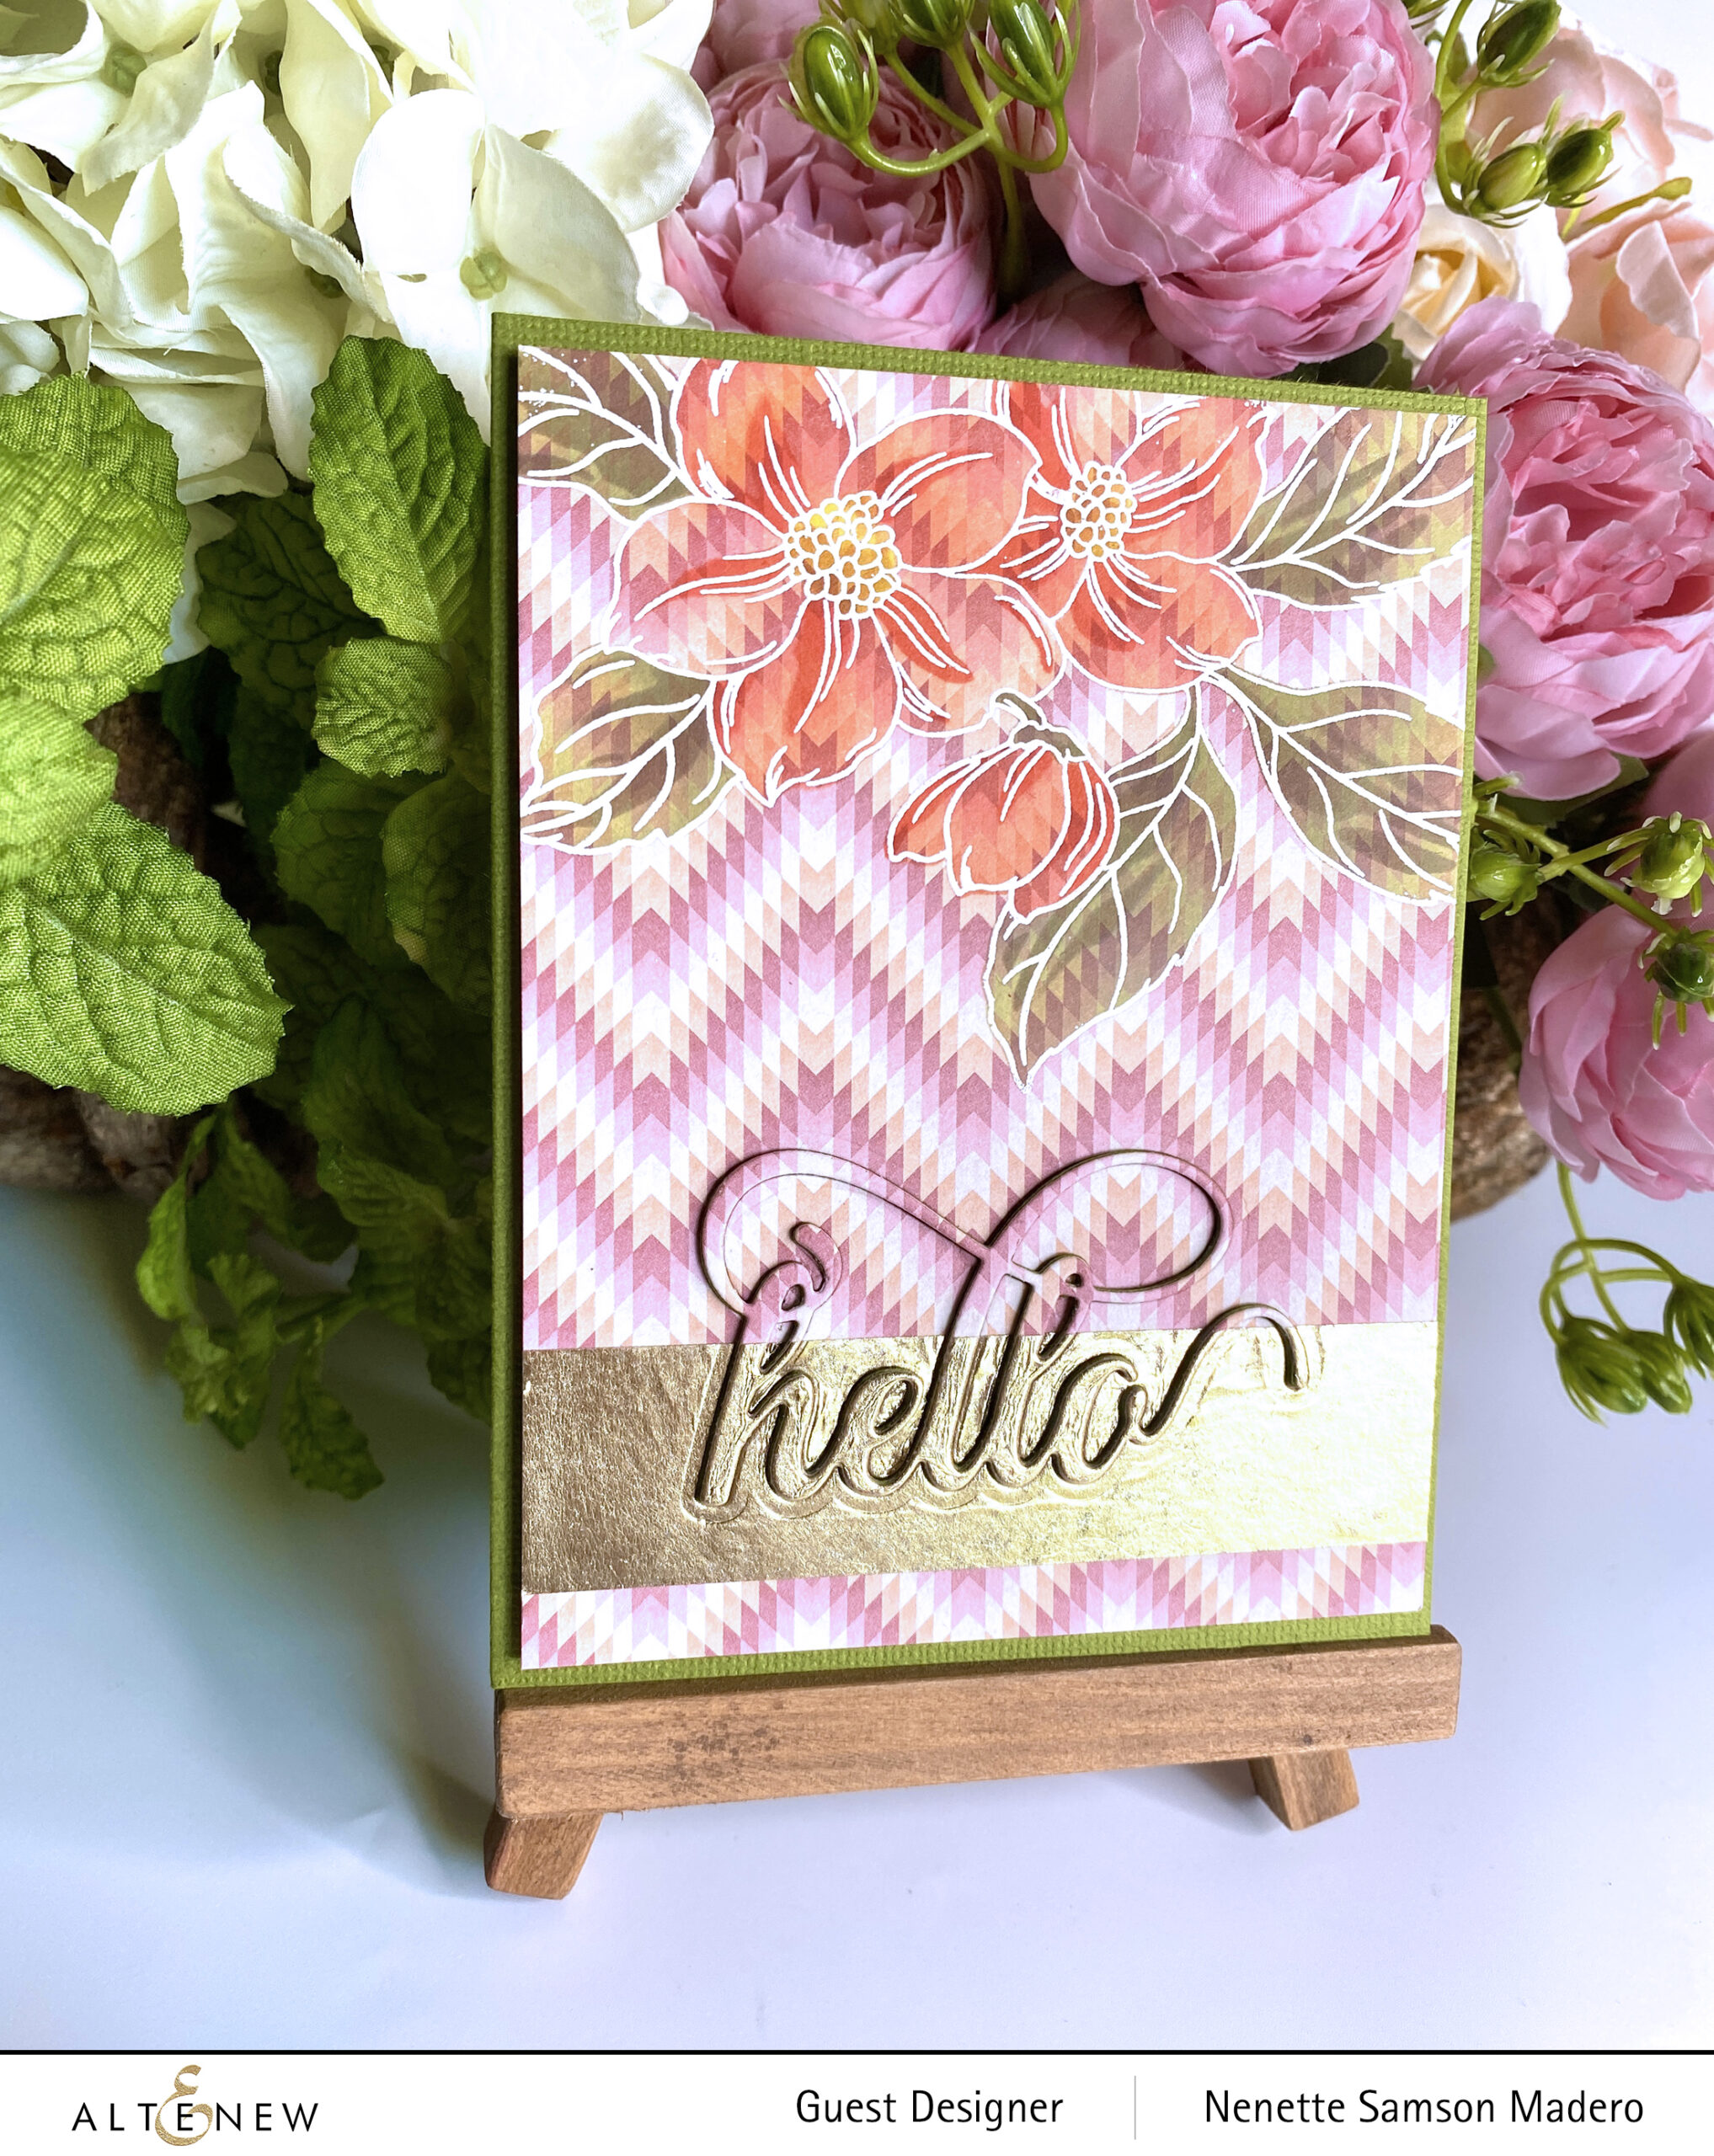
- Stamp the floral design using Versamark Ink and emboss with Pure White Embossing powder.
- Color the flowers and leaves using the stencil and dye inks.
- Add a strip of gold foil washi tape and die cut the word hello. Die cut additional hello 4 times to create a thicker die cut.
- Assemble the card.
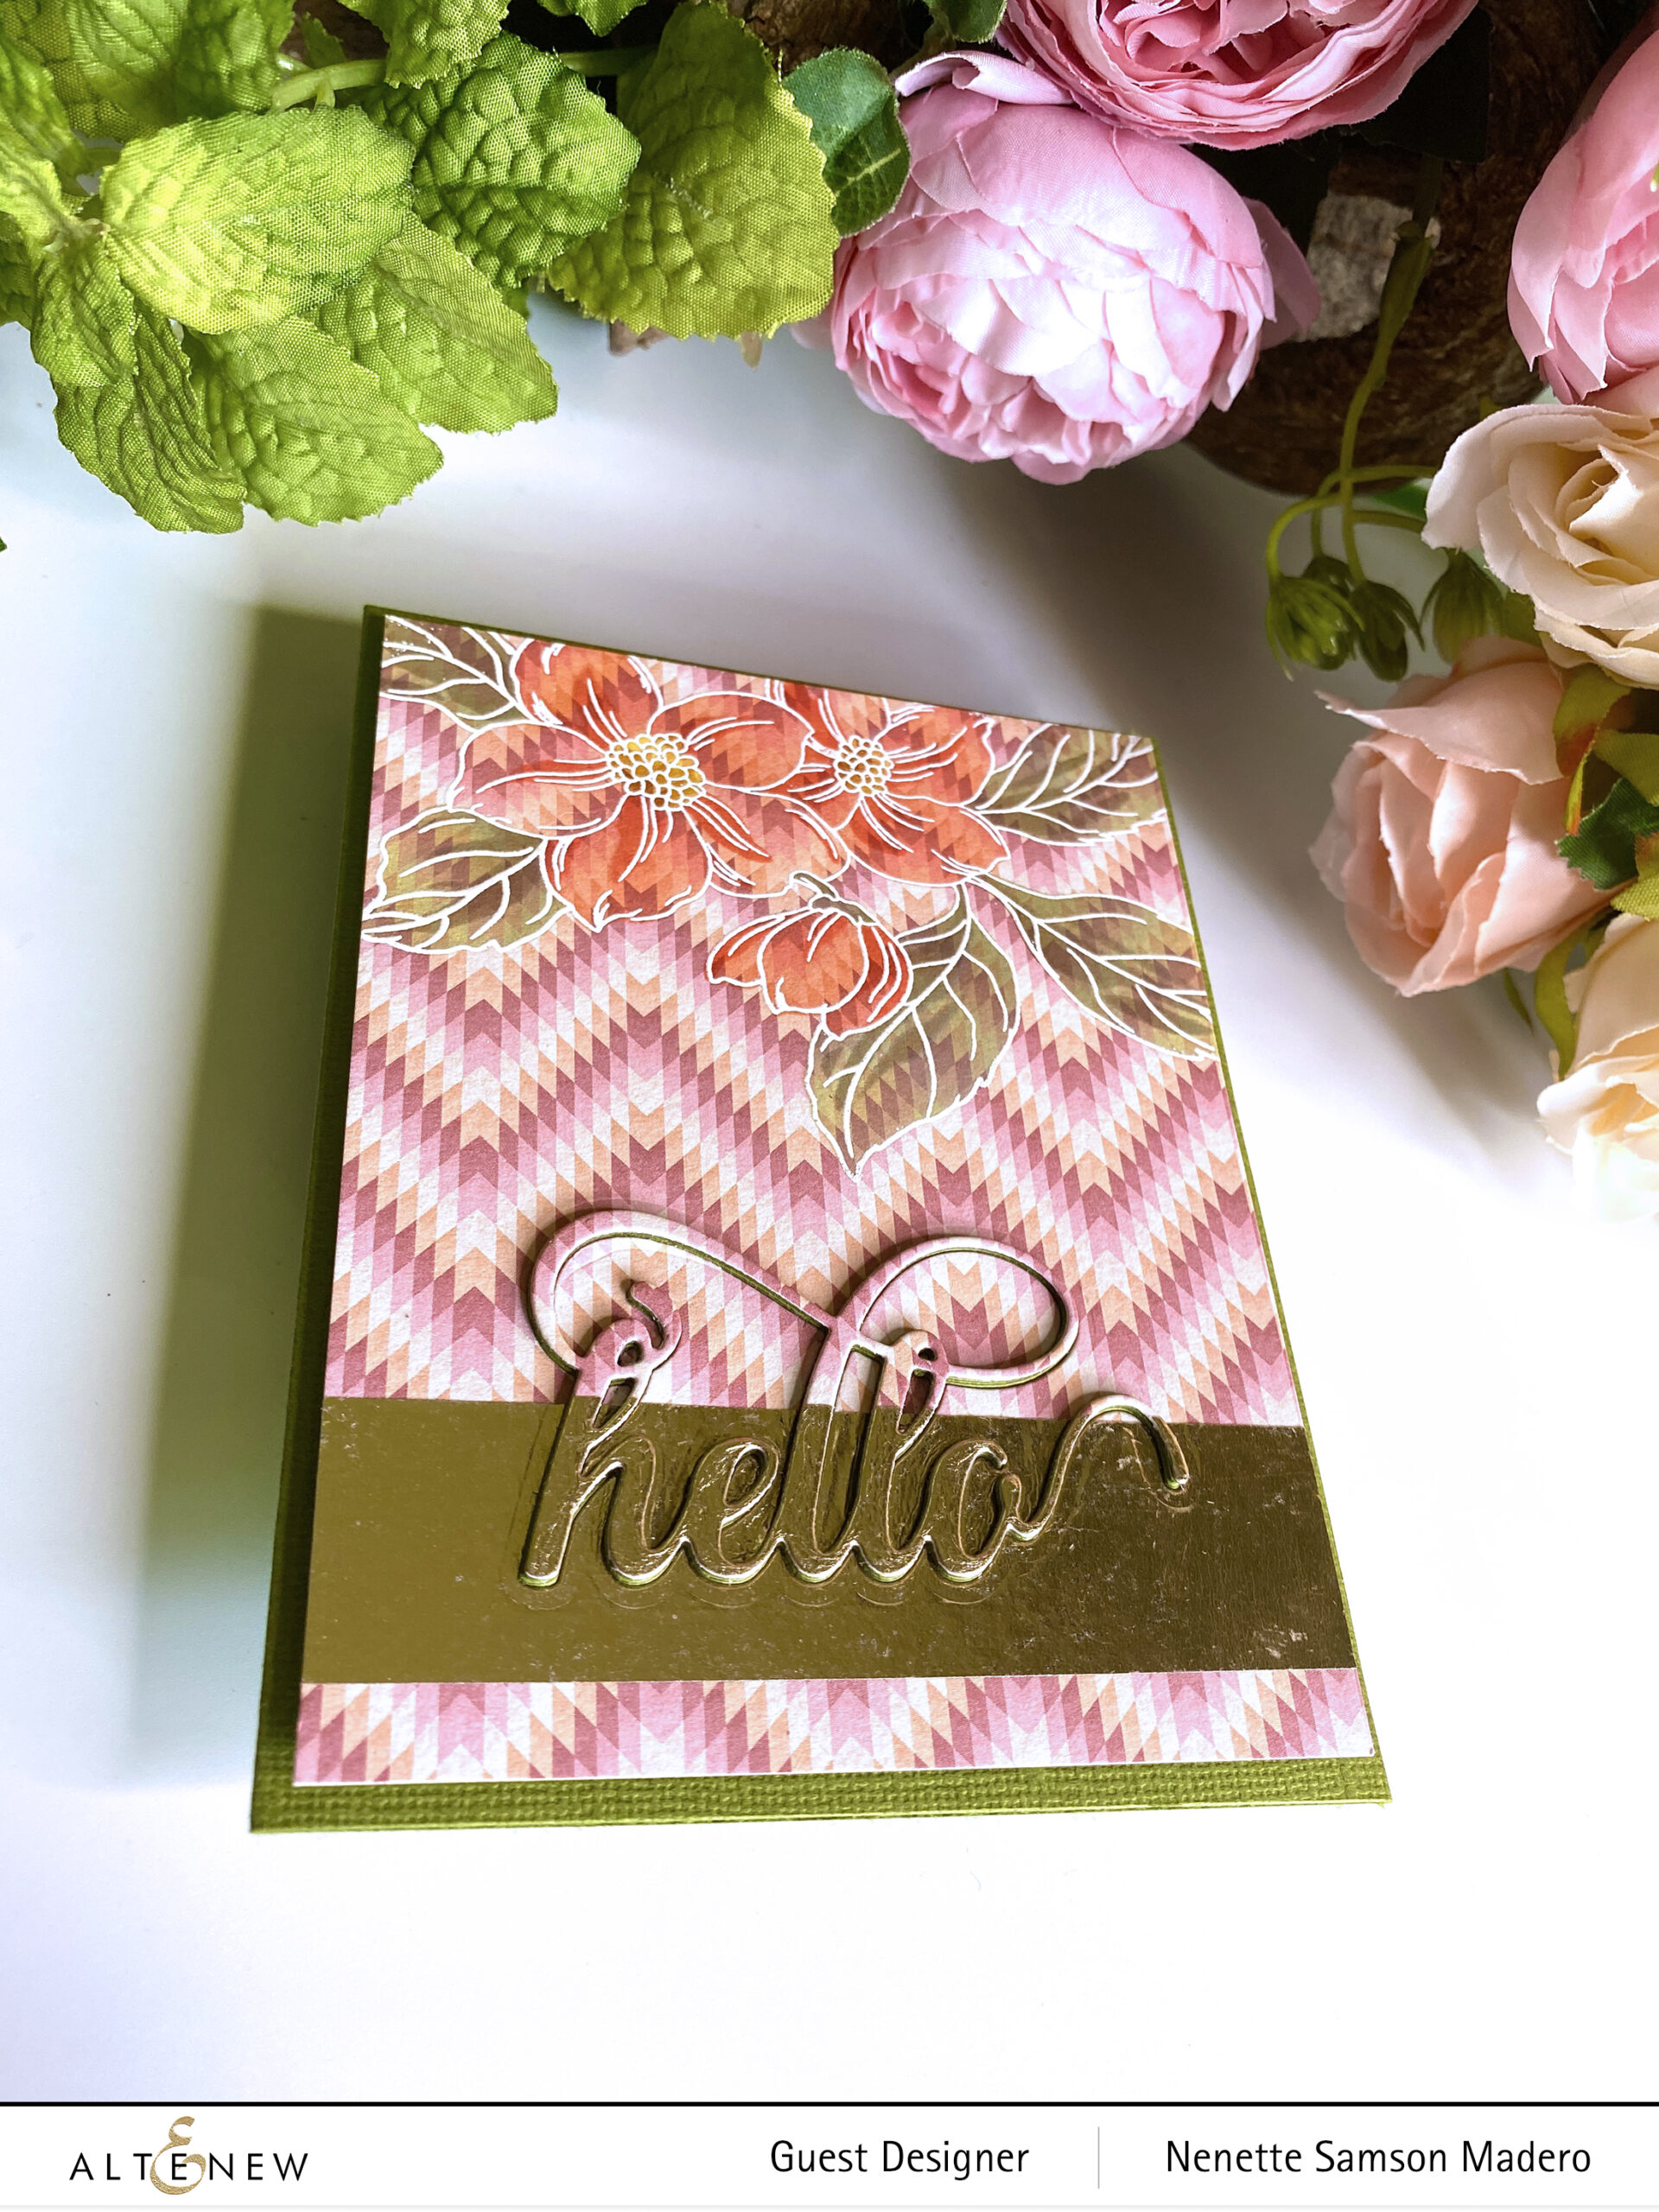
I love the look of this card! The translucent dye inks allow the patterned paper to show through the flowers and leaves in a subtle way. The stencils make it so easy to color this set.
MAY YOU BE BLESSED…
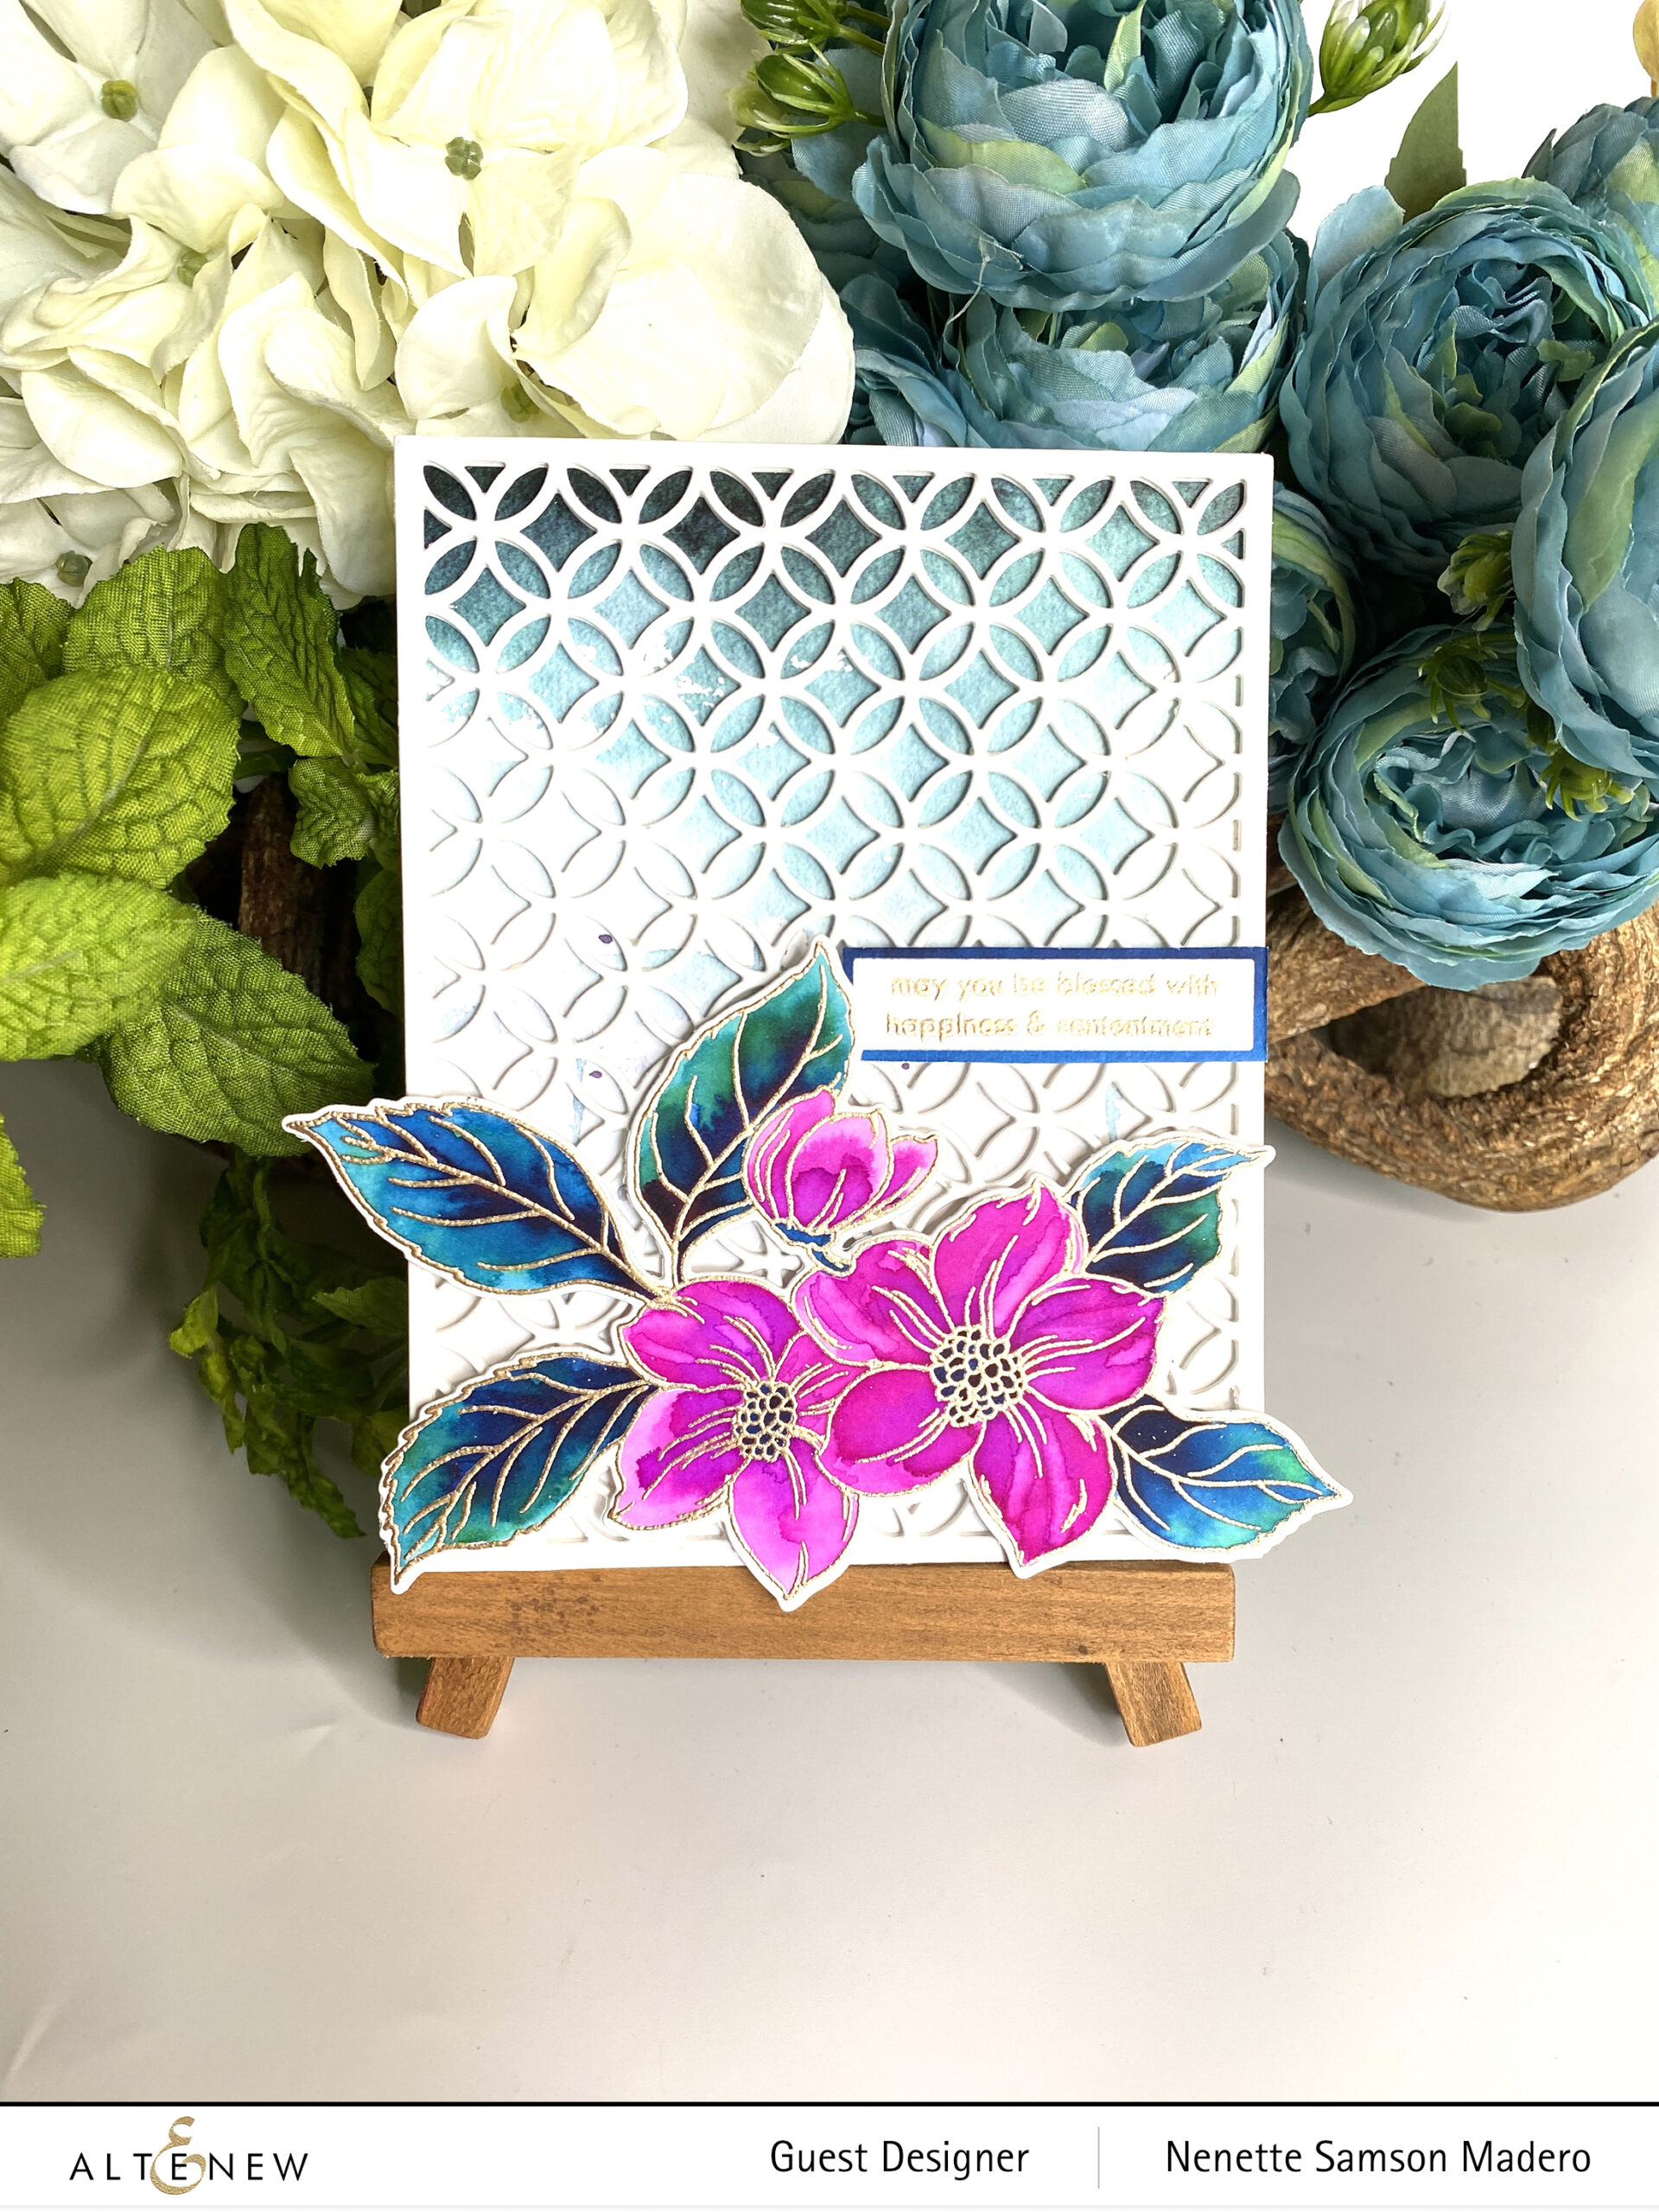
- Stamp the image on watercolor paper using Versamark Ink and embossing using Rose Gold embossing powder. Color with Watercolor Brush markers then die cut.
- Stamp and emboss the sentiment.
- Die cut 5 times the Circle Quilt Cover die and adhere on top of each other with adhesive.
- Assemble the card.
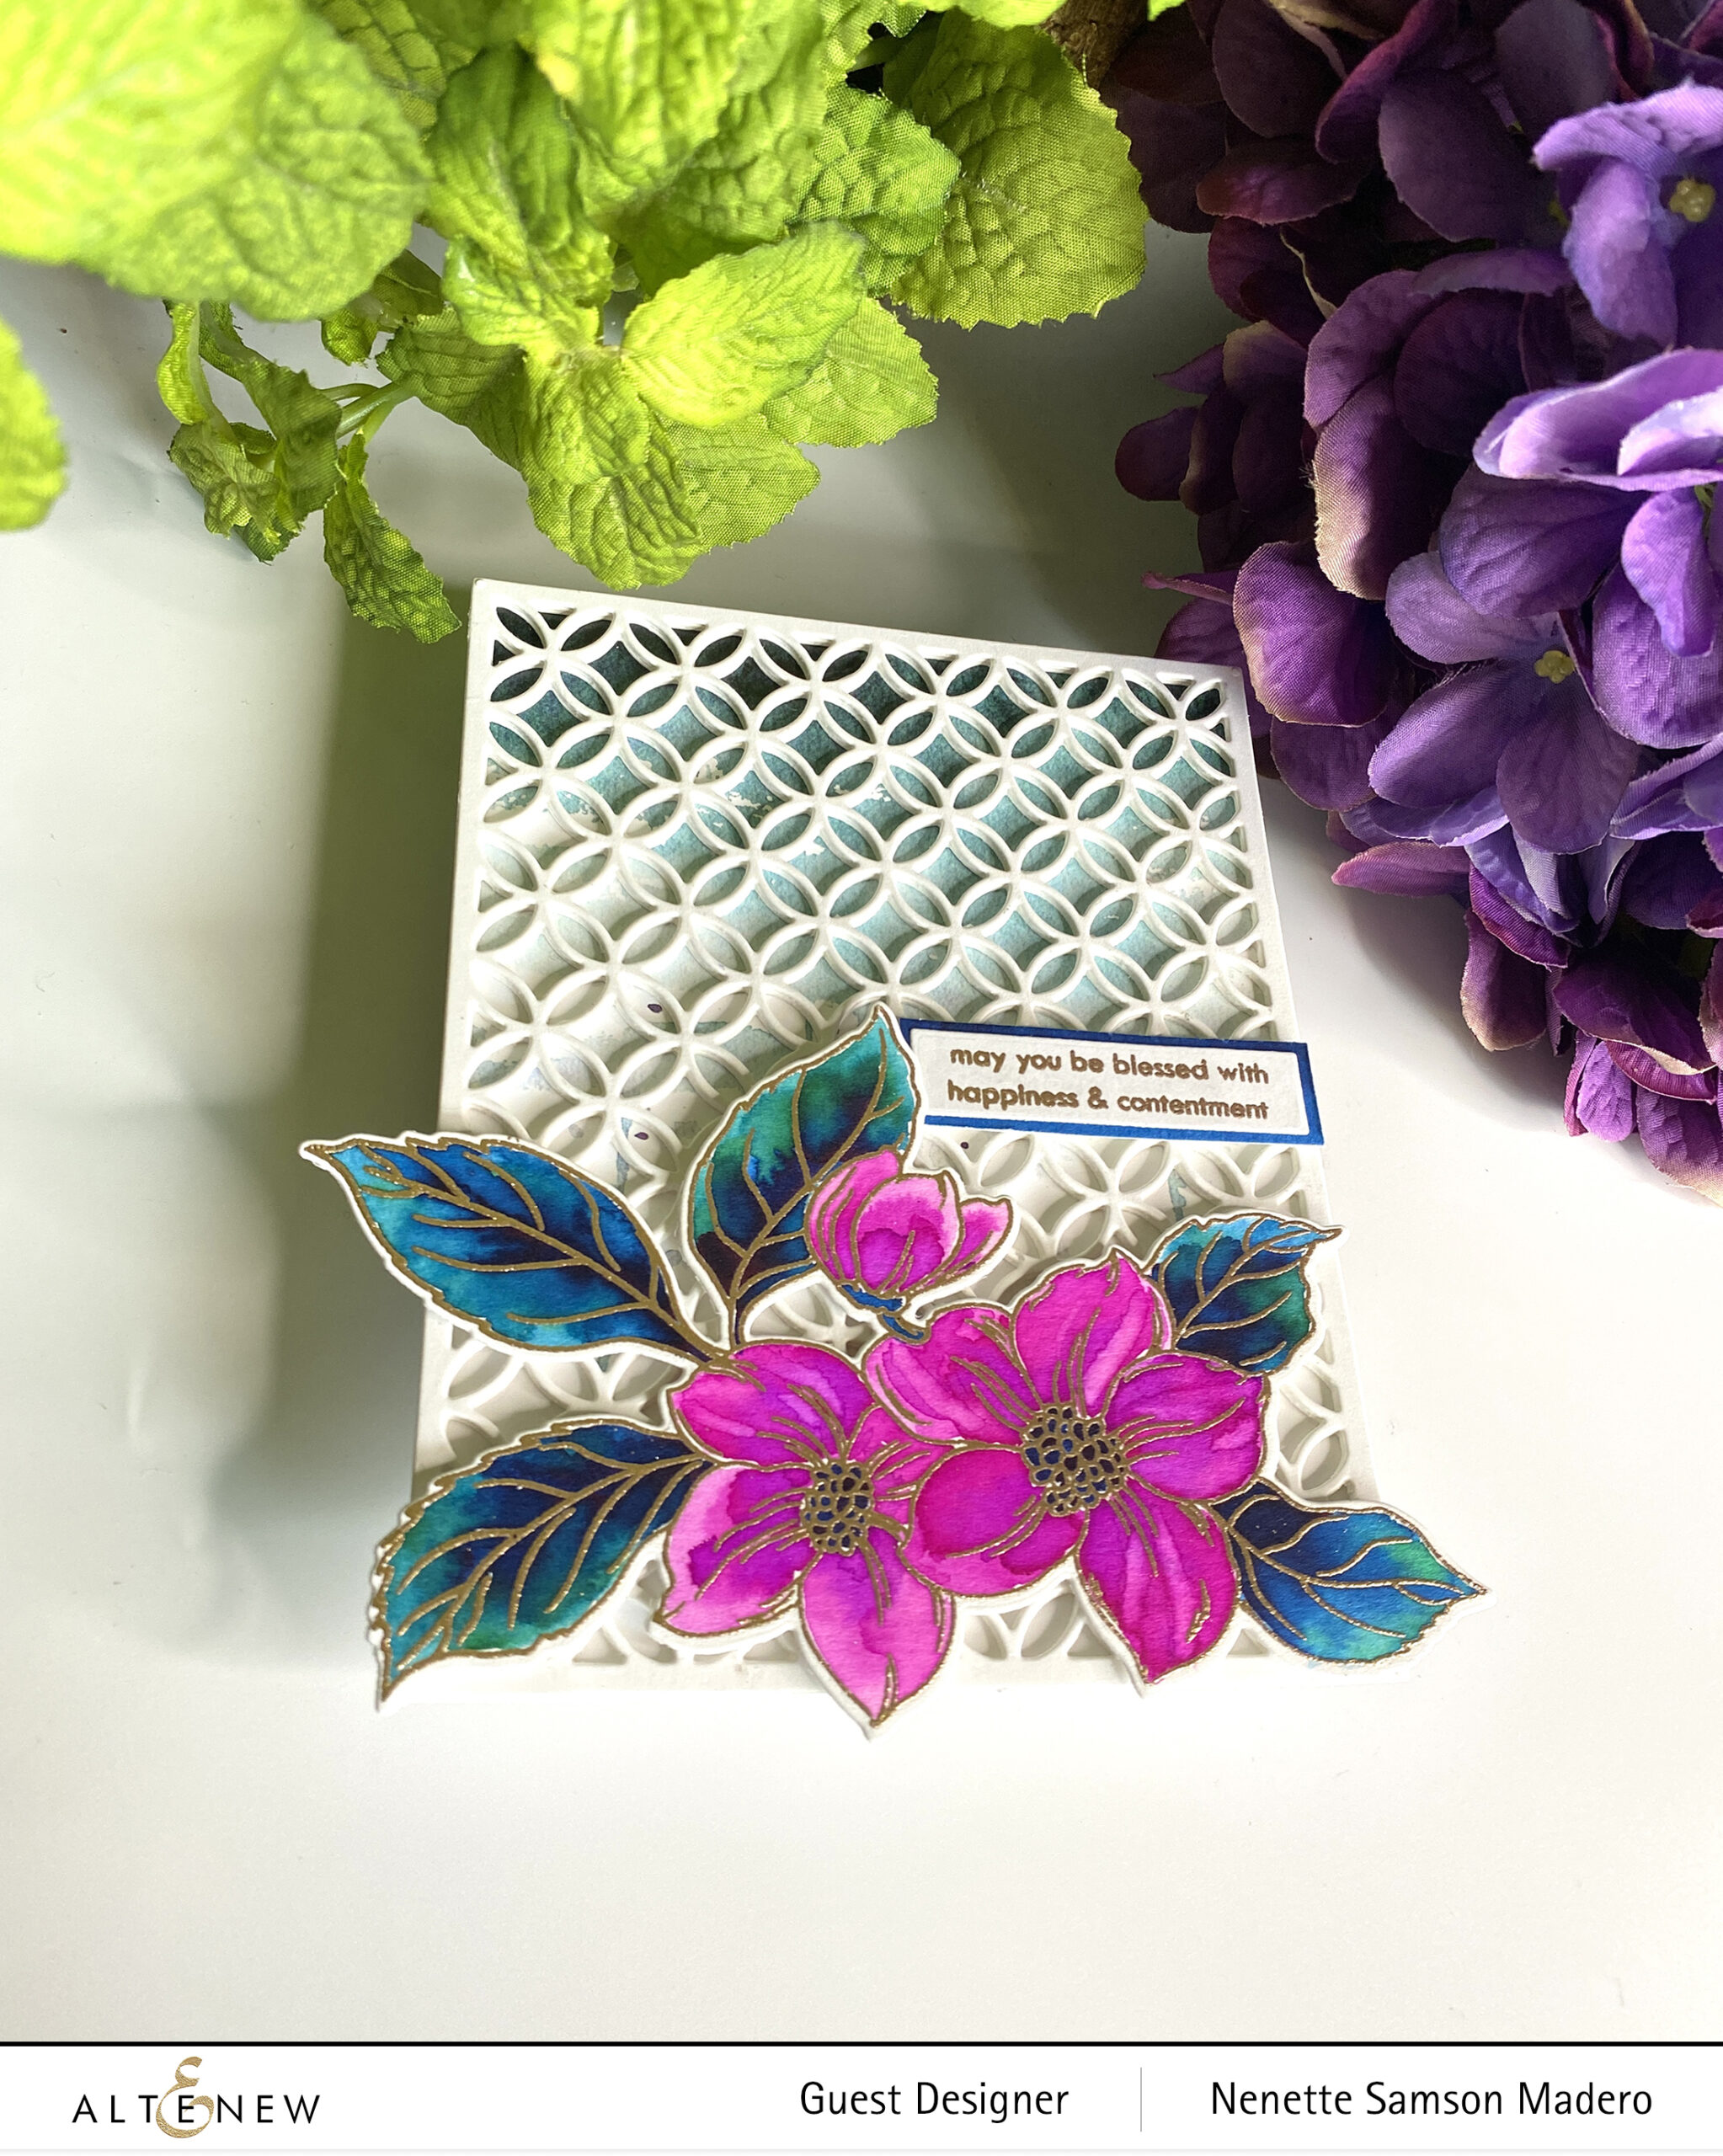
Using patterned paper as the background makes this card one step faster. Go through your patterned papers and see what pattern will go with your stamped and painted florals!
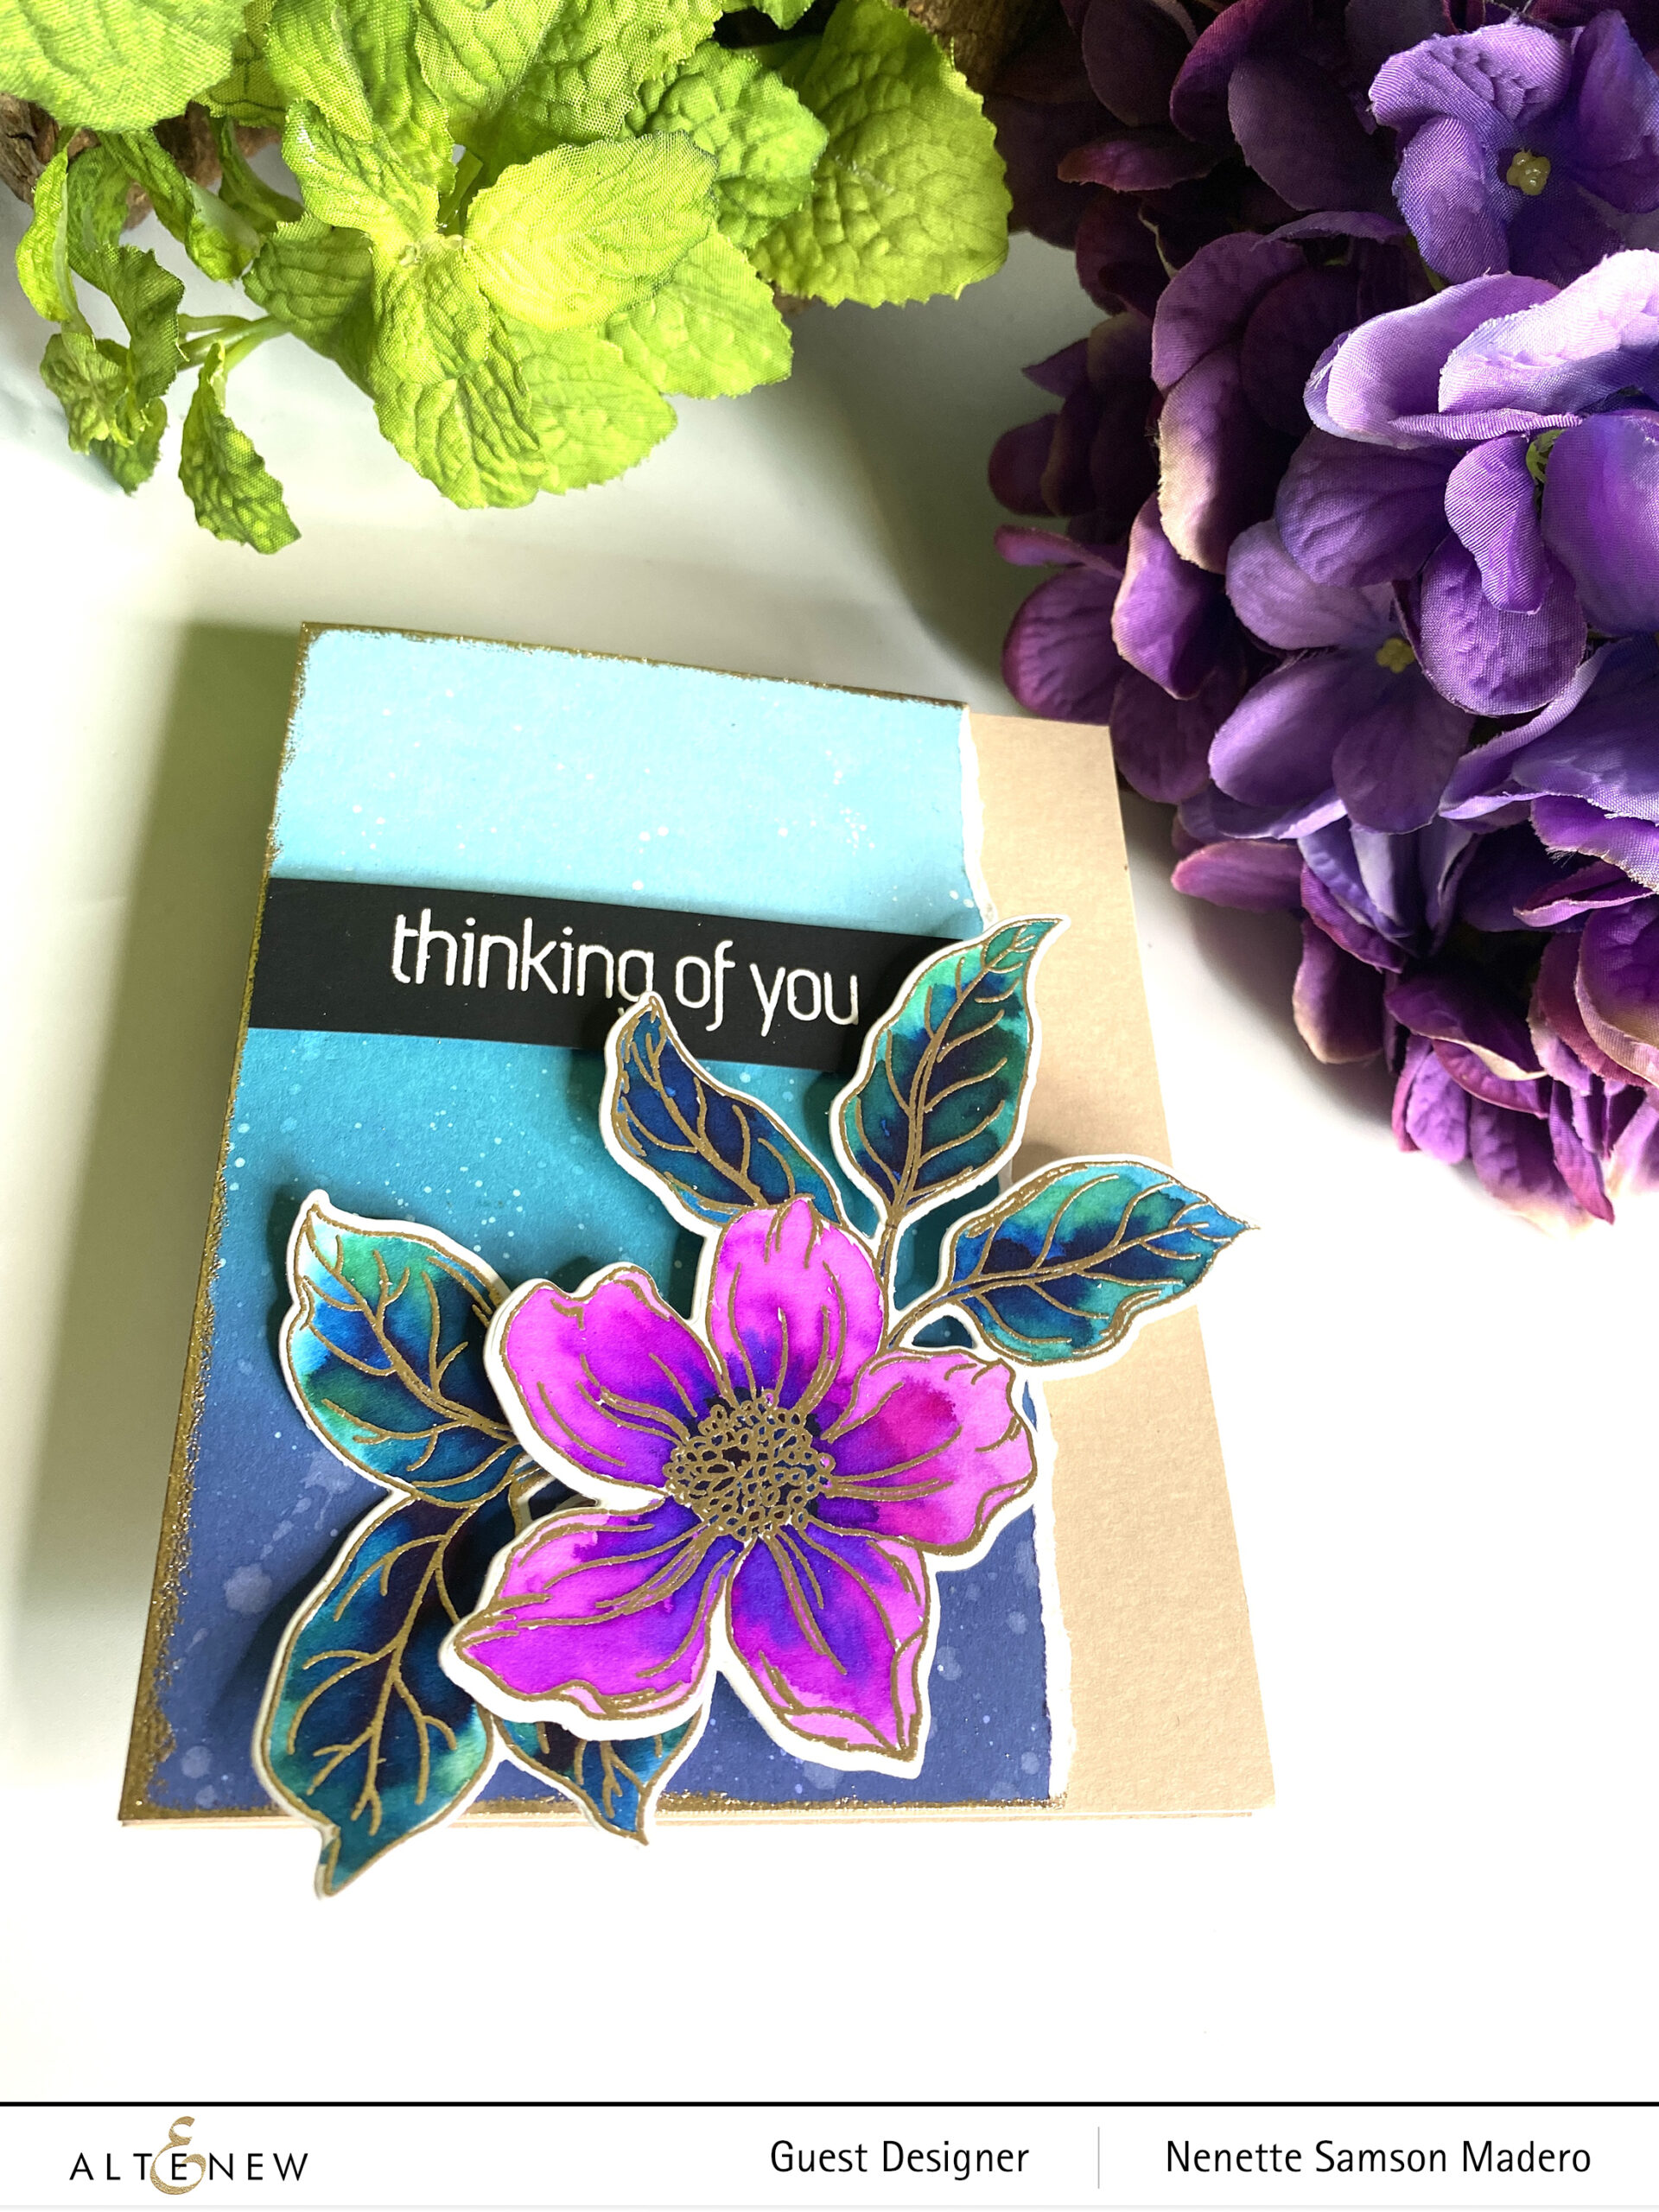
THINKING OF YOU
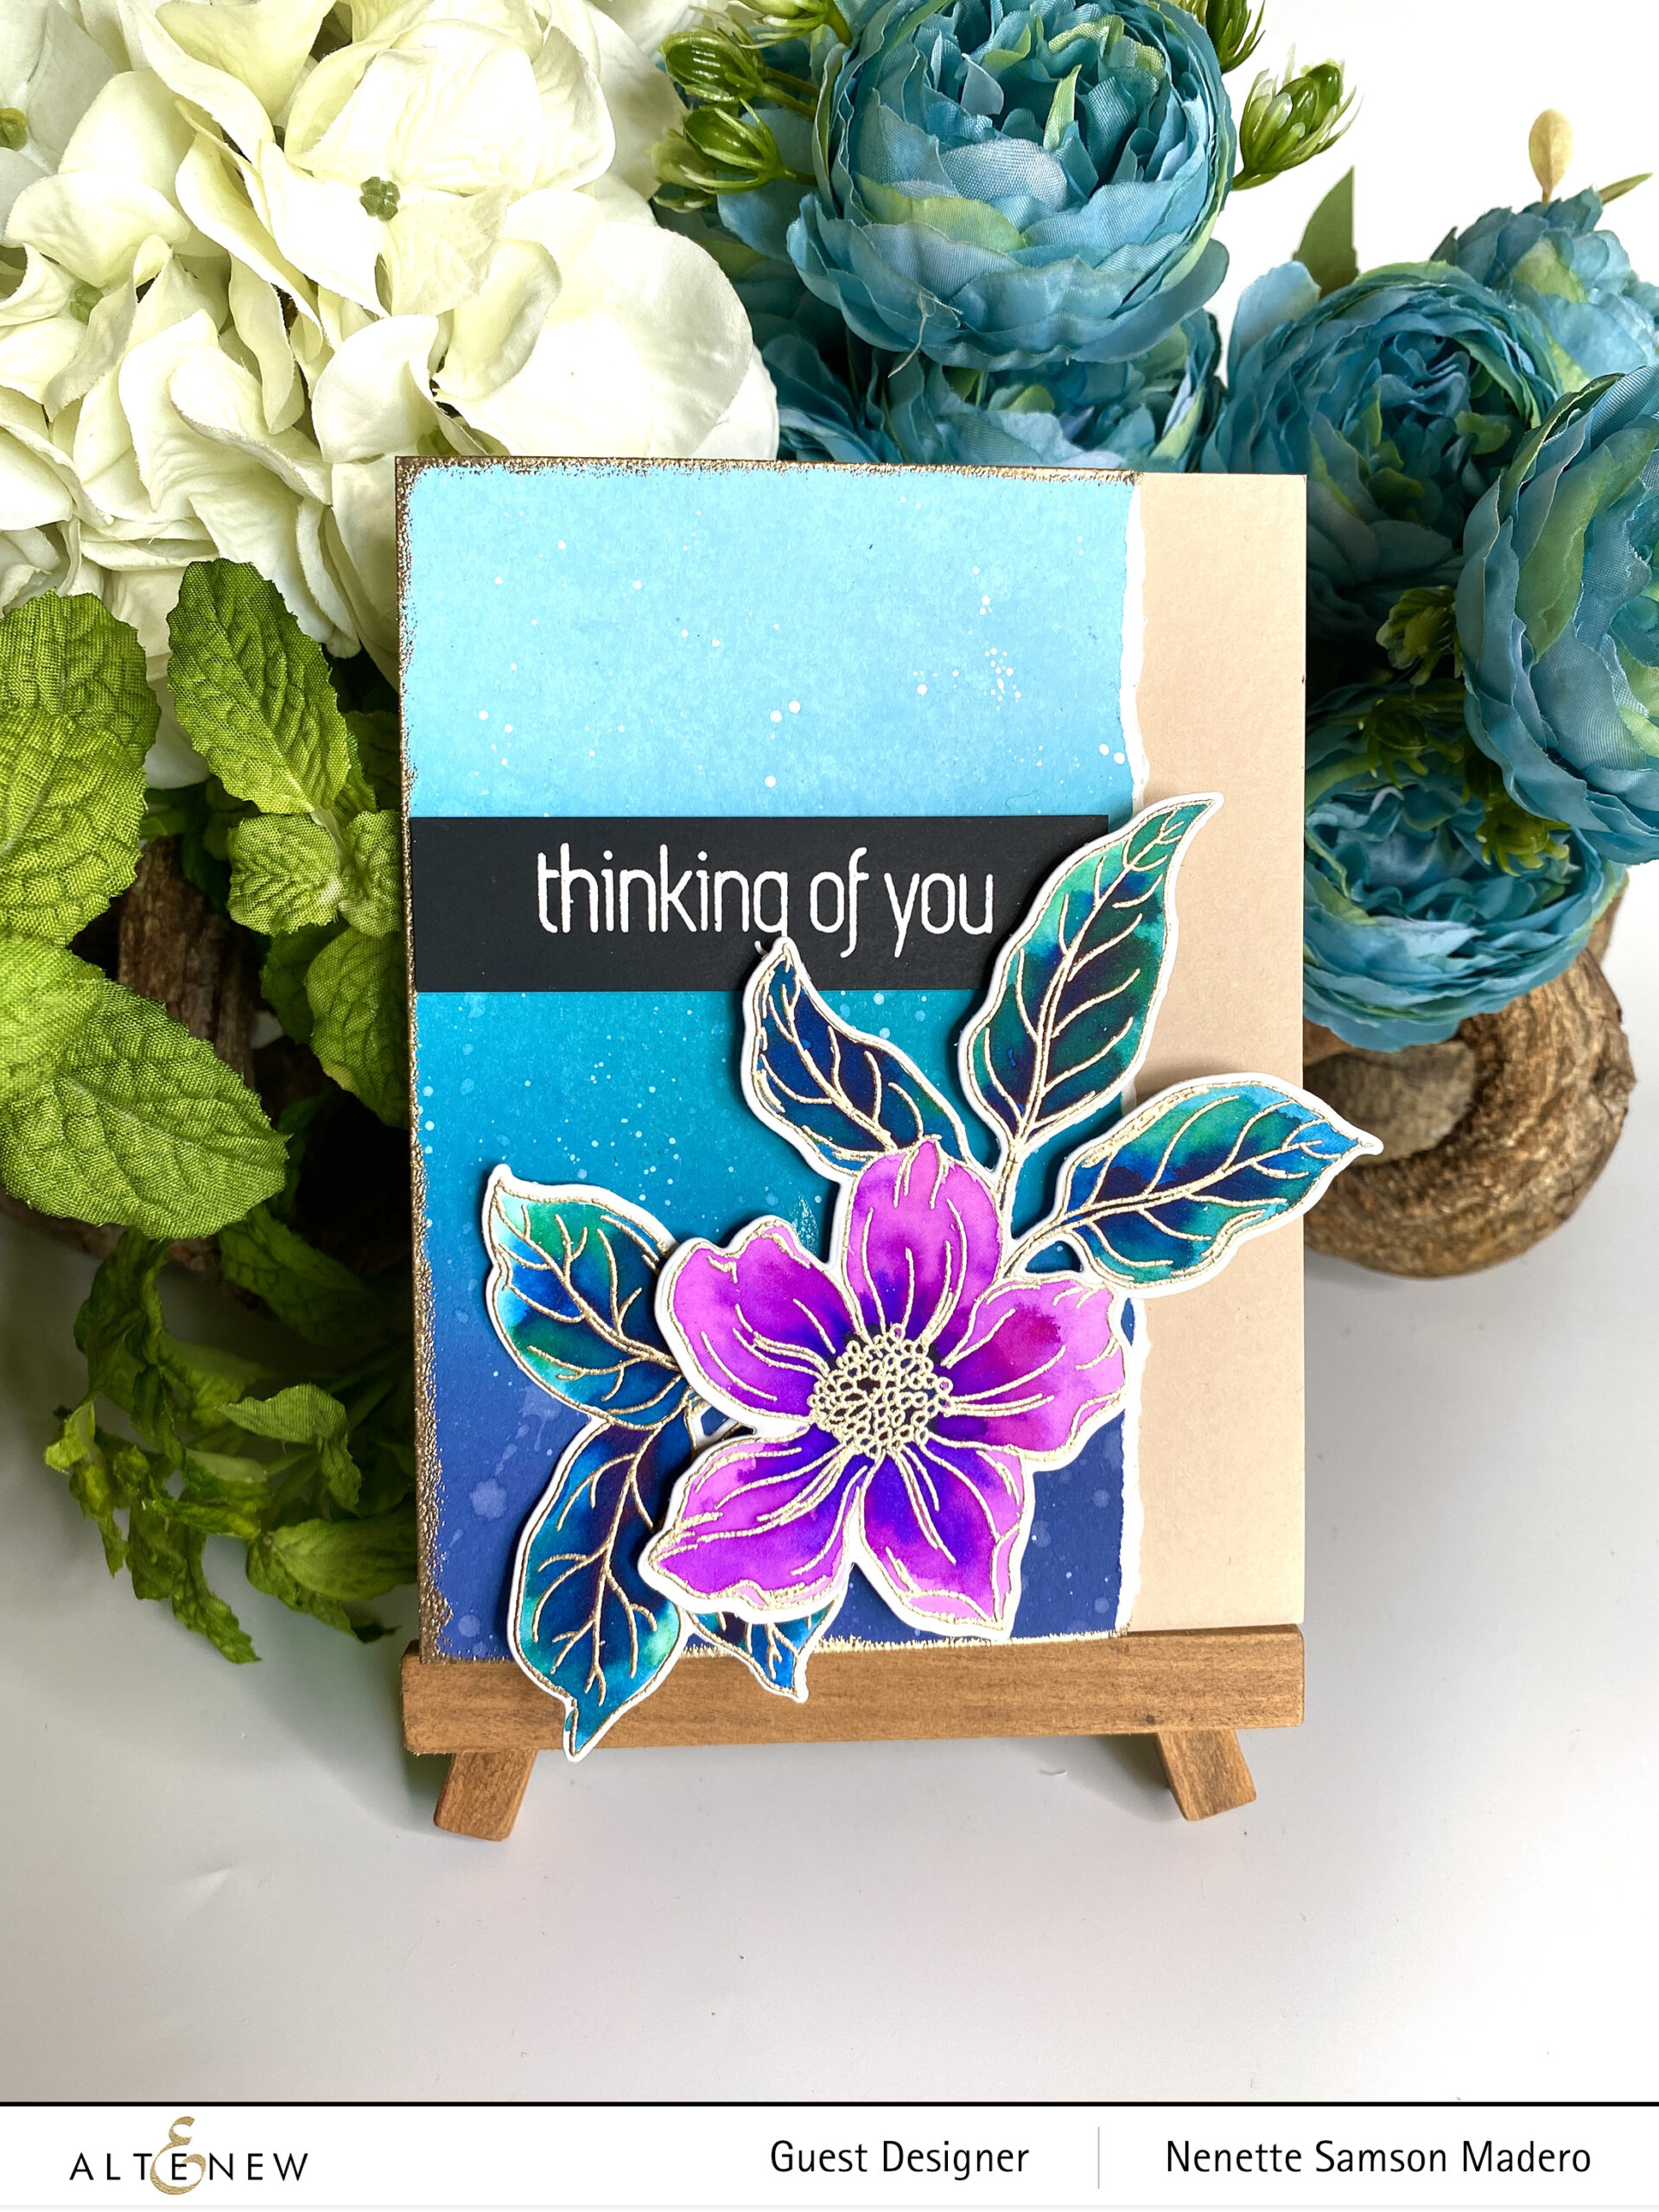
- Stamp and emboss the floral image using Rose Gold embossing powder and color with watercolor brush markers.
- Create an ombre background using Distress Oxide inks. Add water and white splatters.
- Tear one end and emboss the other 3 edges with Rose gold embossing powder.
- Emboss the sentiment on black cardstock.
- Assemble the card.
Most of the time, I stamp, emboss and watercolor extra images so that I have extras that I can easily use for another card.
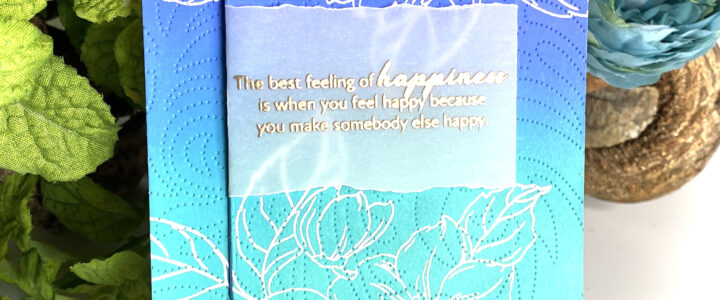
THE BEST FEELING OF HAPPINESS…
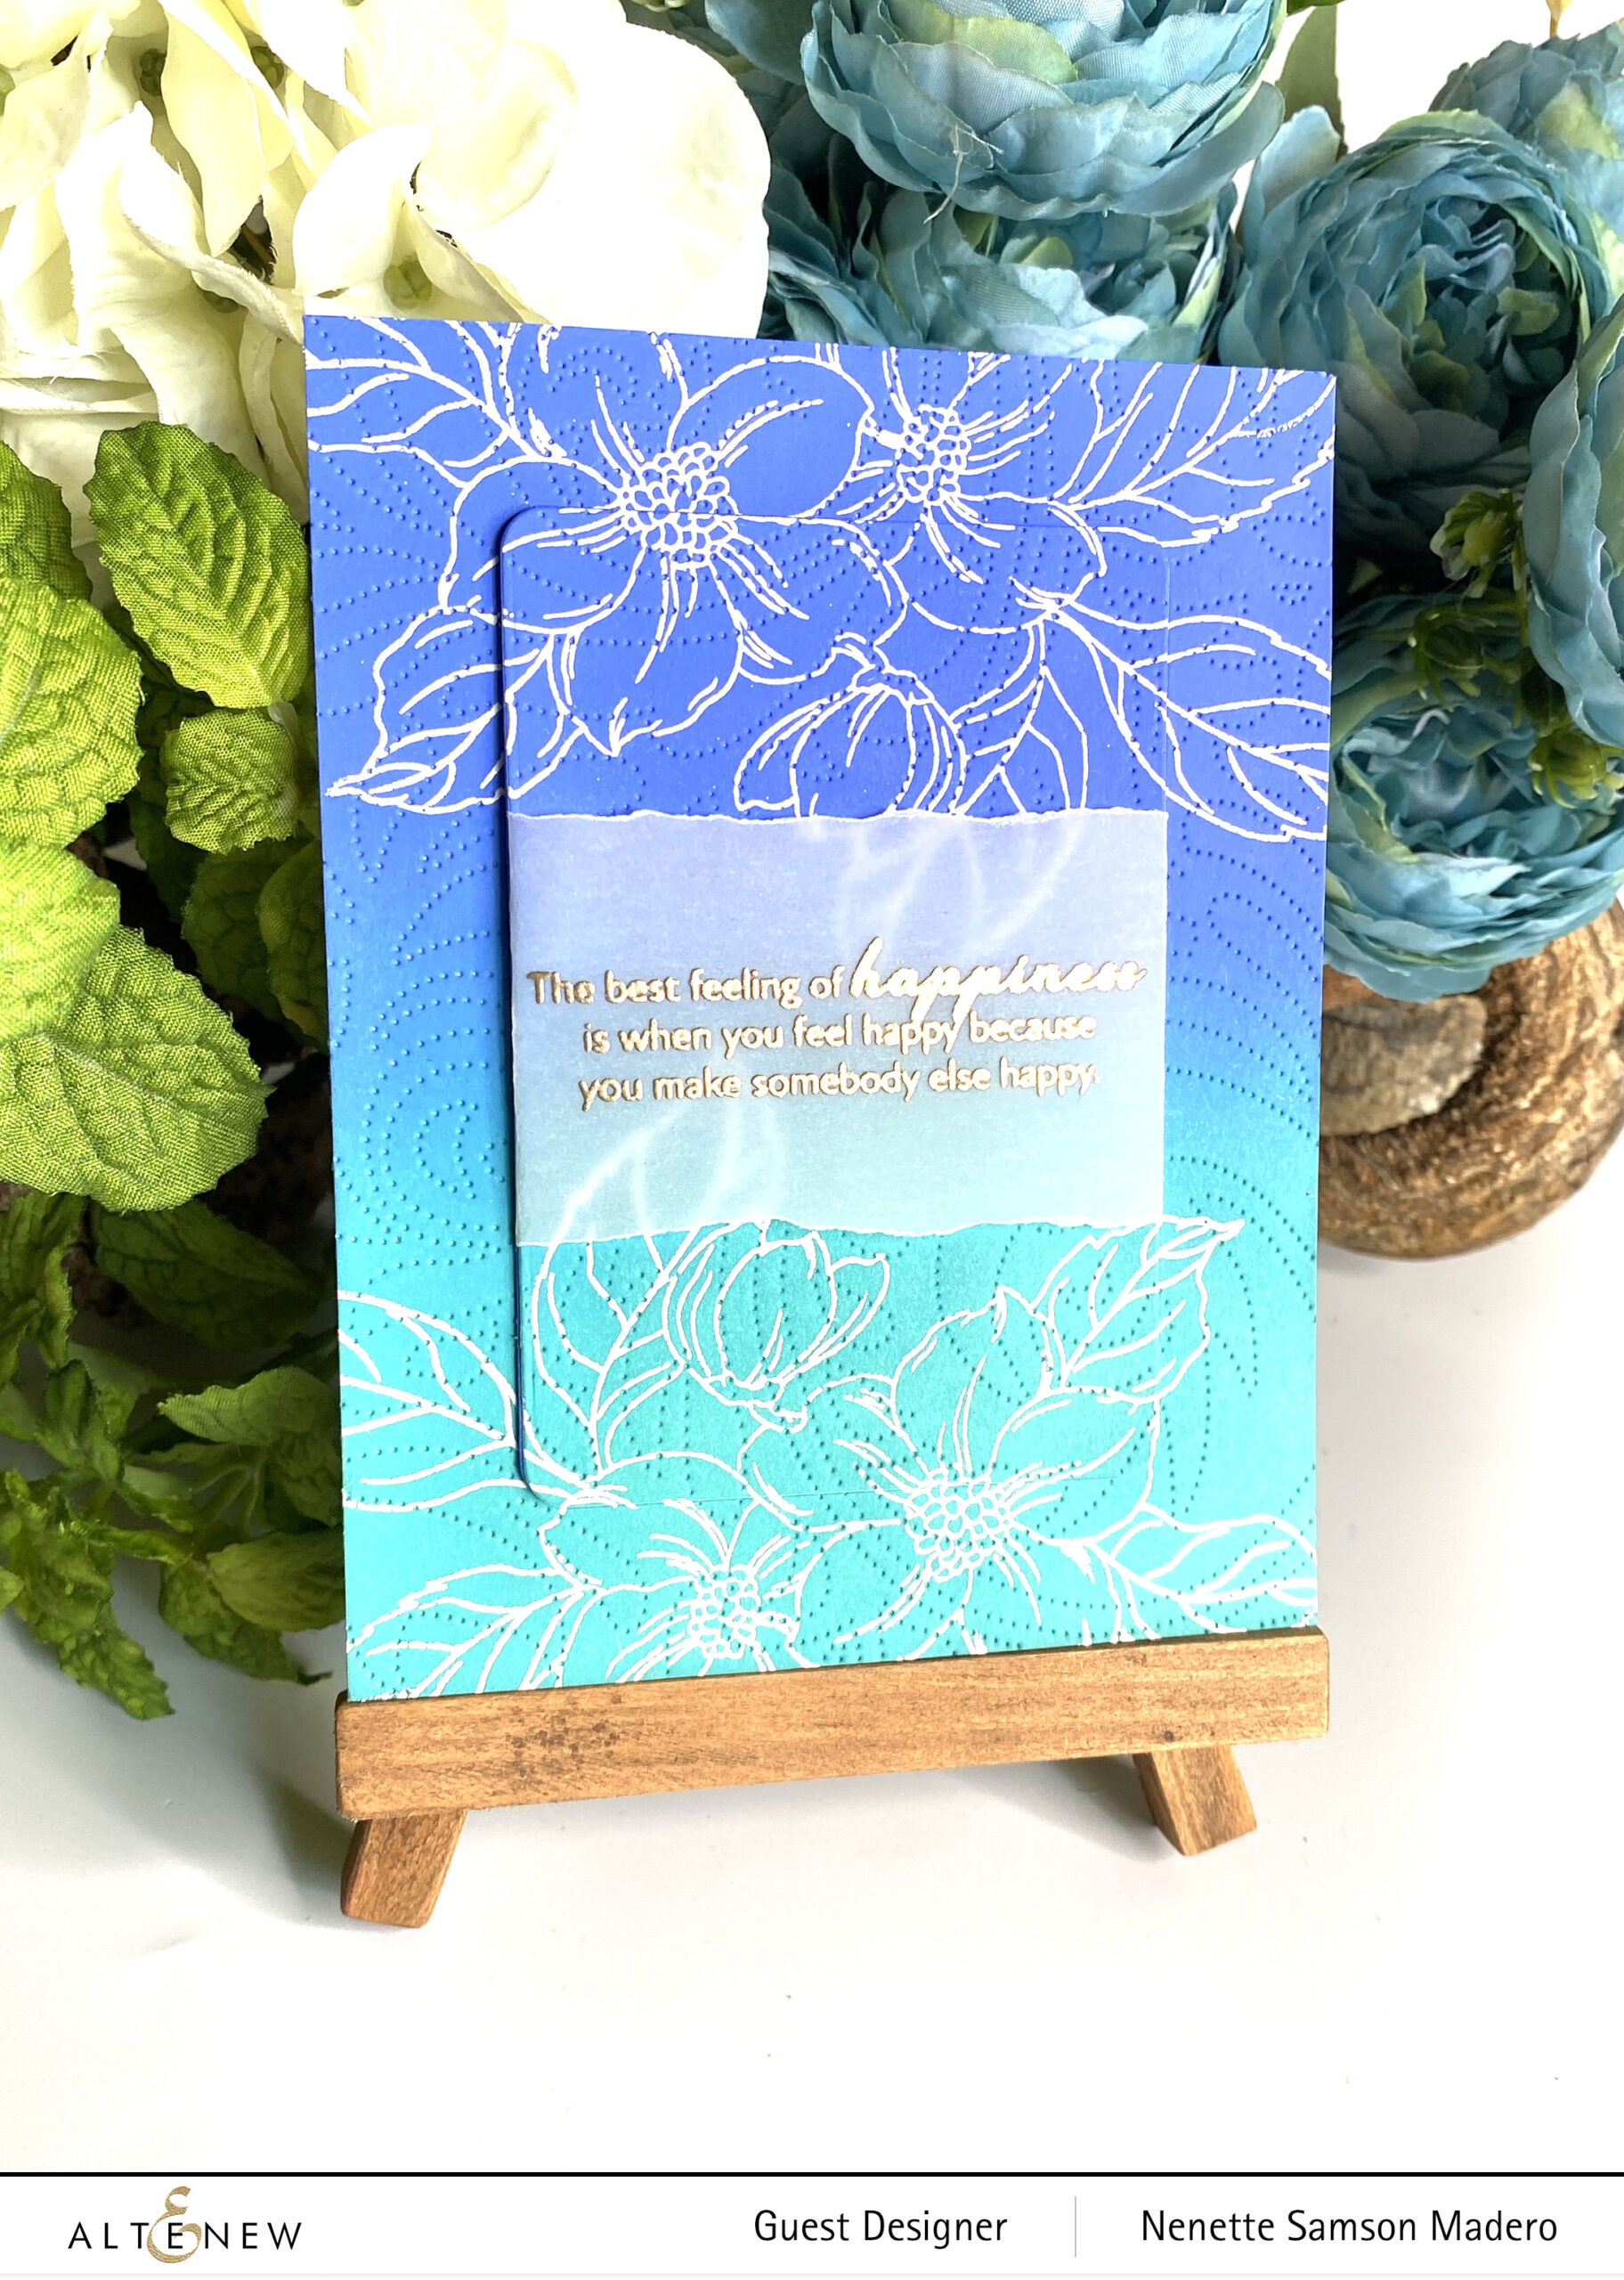
- Create an ombre card front using Distress Ink Oxides.
- Use the Dotted Swirls Debossing die to crate a debossed pattern.
- Stamp the floral image from the Hello Beautiful Stamp set at the top and bottom of the card front and emboss using Pure White embossing powder.
- Die cut the center using the Rounded Rectangles die. Add 4 more rectangles and adhere on top of each other.
- Stamp and emboss the sentiment on vellum.
- Assemble the card.
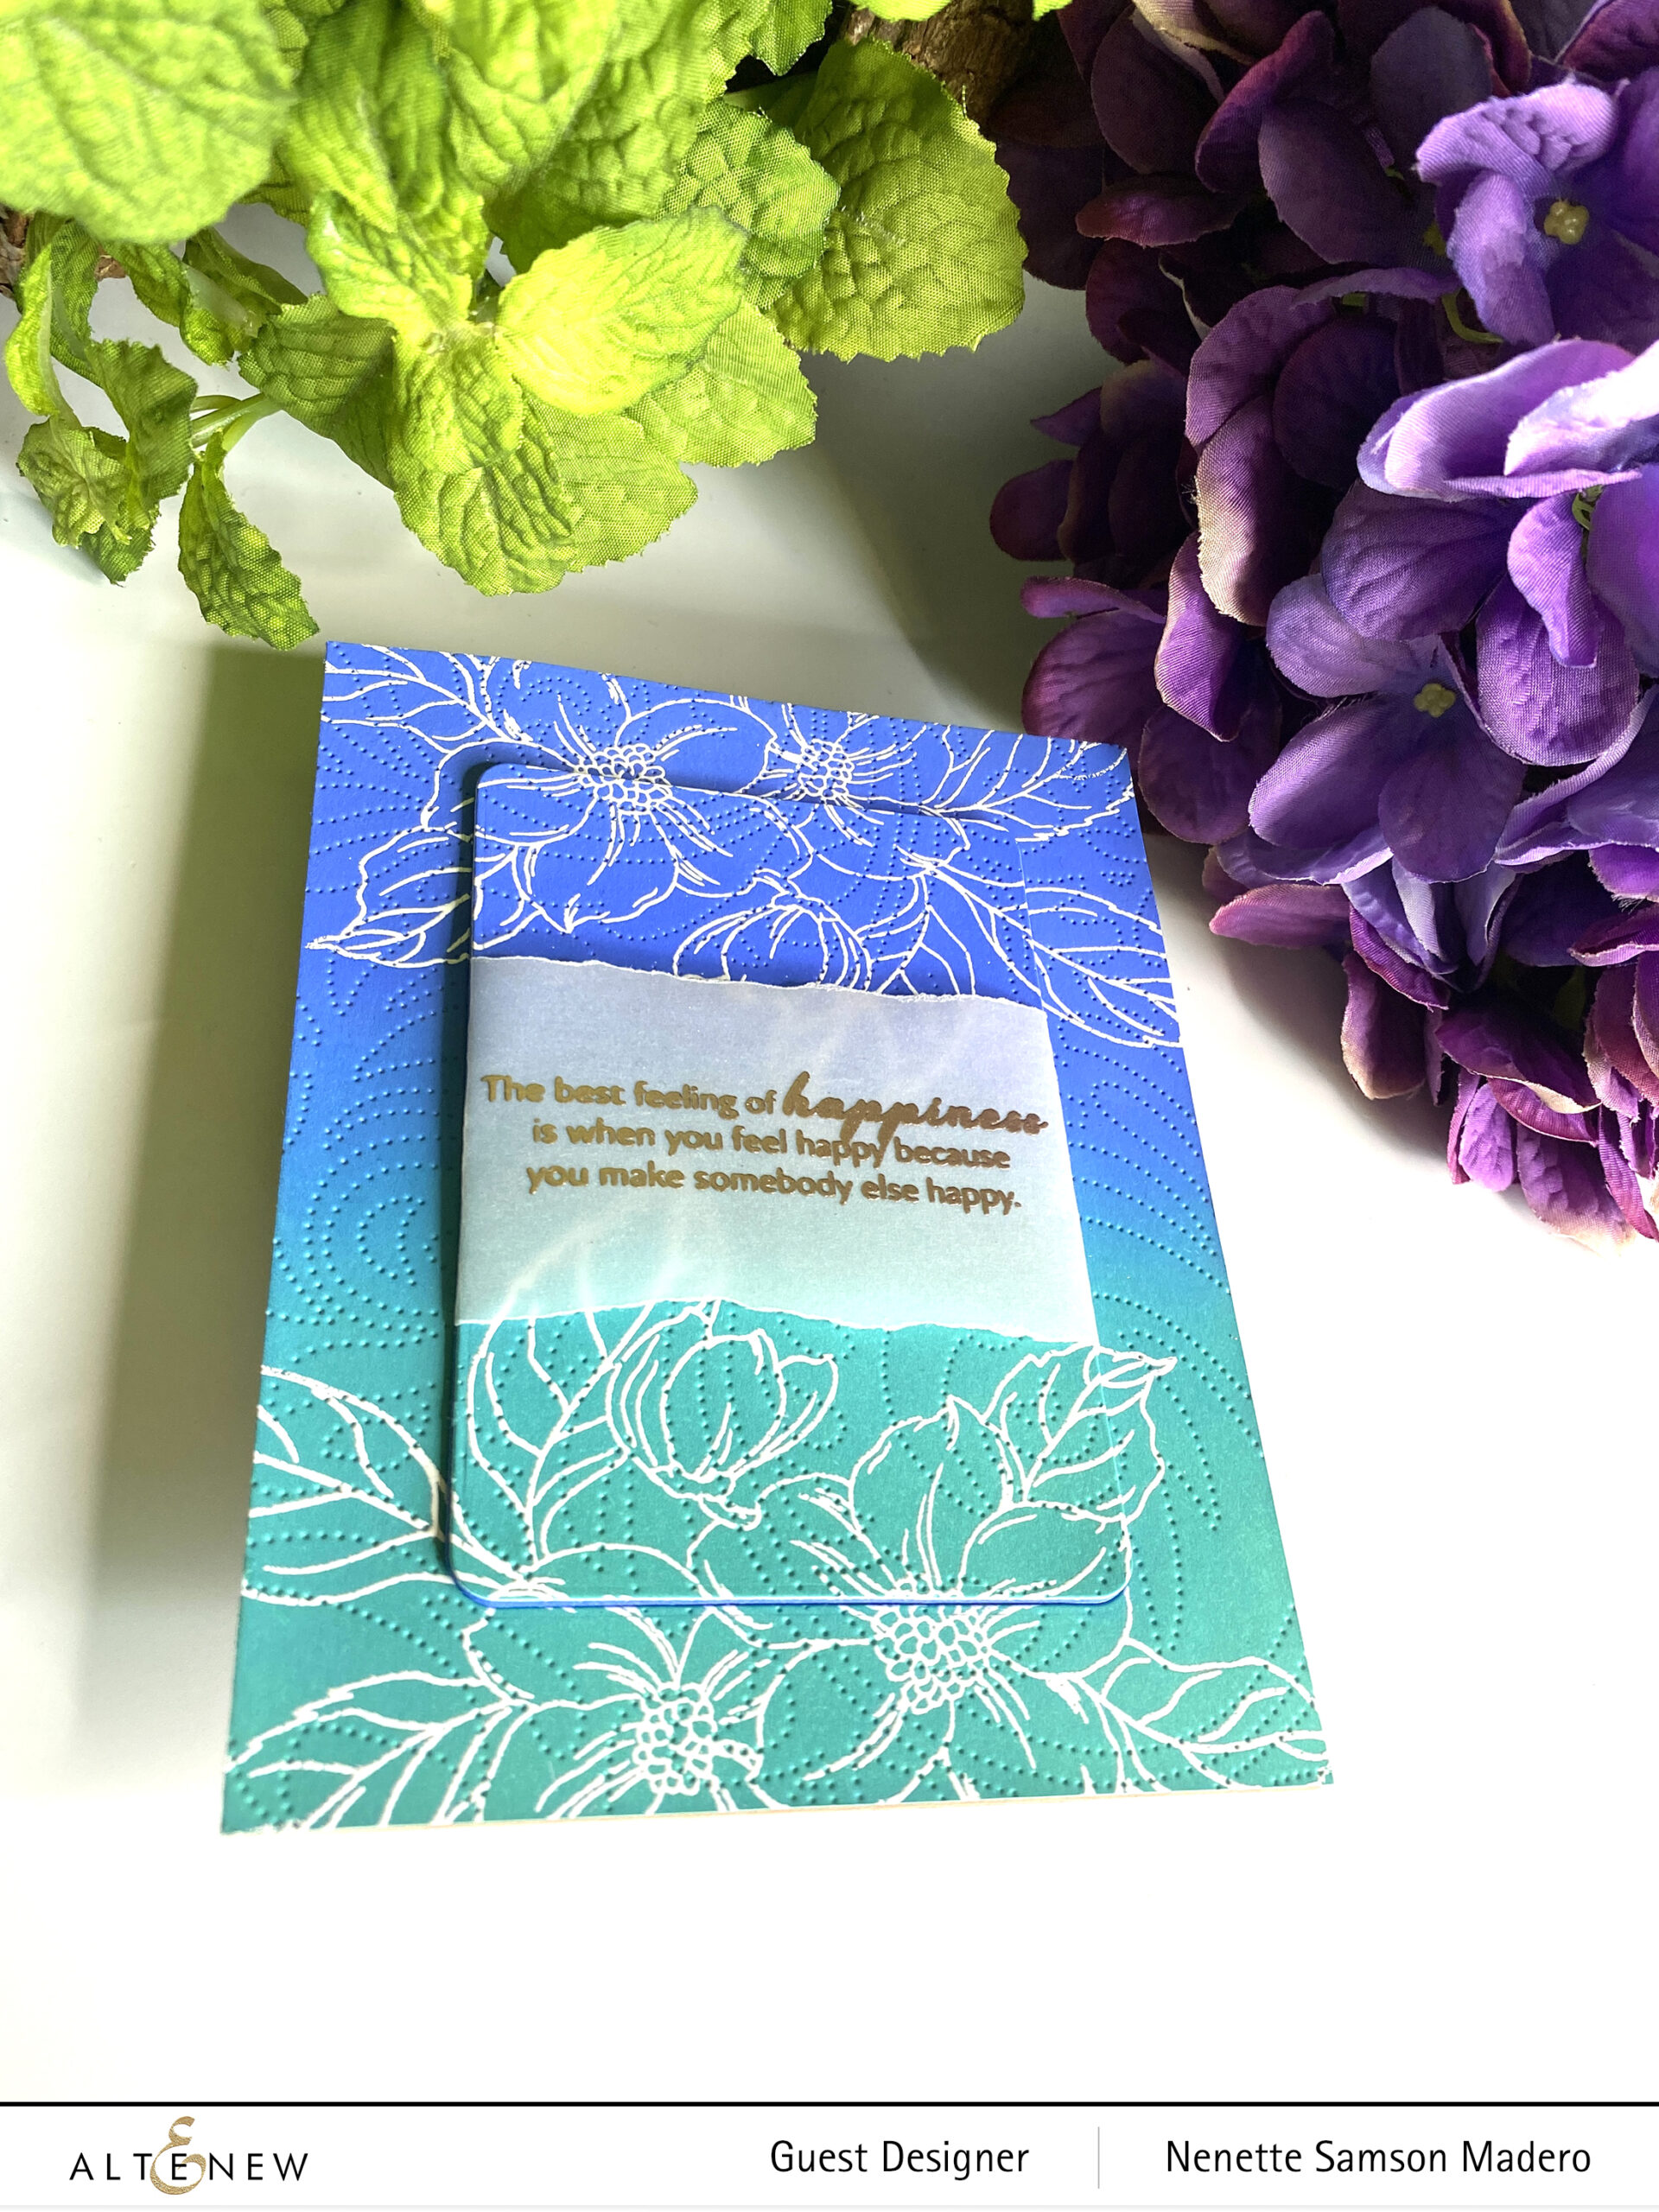
I love the look of outline stamps on an ombre background! Adding a few more rounded rectangles gave some dimension to the card.
GIVEAWAYS
$300 in total prizes! To celebrate this release, Altenew is giving away a $50 gift certificate to 2 lucky winners and a $ 25 gift certificate to 8 winners! Please leave a comment on the Altenew Card Blog and/or each designer’s blog post on the blog hop list below by 09/18/2021 for a chance to win. Altenew will draw 10 random winners from the comments left on each stop of this blog hop and announce the winners on the Altenew Winners Page on 09/20/2021.
Thank you so much for dropping by! Next up: Michelle Short. Make sure to leave a comment to get a chance to win a prize from Altenew! I love hearing from you and appreciate all your wonderful comments. If you haven’t yet, I hope you can follow me on Instagram as well @mylittleatticstudio. Until my next post–be safe everyone and keep on crafting!


