Altenew June 2022 Today is the Day Collection Release Blog Hop + Giveaway ($300 in total prizes)

Altenew June 2022 Today is the Day Collection Release Blog Hop + Giveaway ($300 in total prizes)

Hello, crafty friends! Thanks so much to Svitlana Shayevich for sending all of you over to my blog. For the complete details, please visit the Altenew Card Blog. You can view and purchase the complete release here. Below are some samples I made using some of the latest releases.

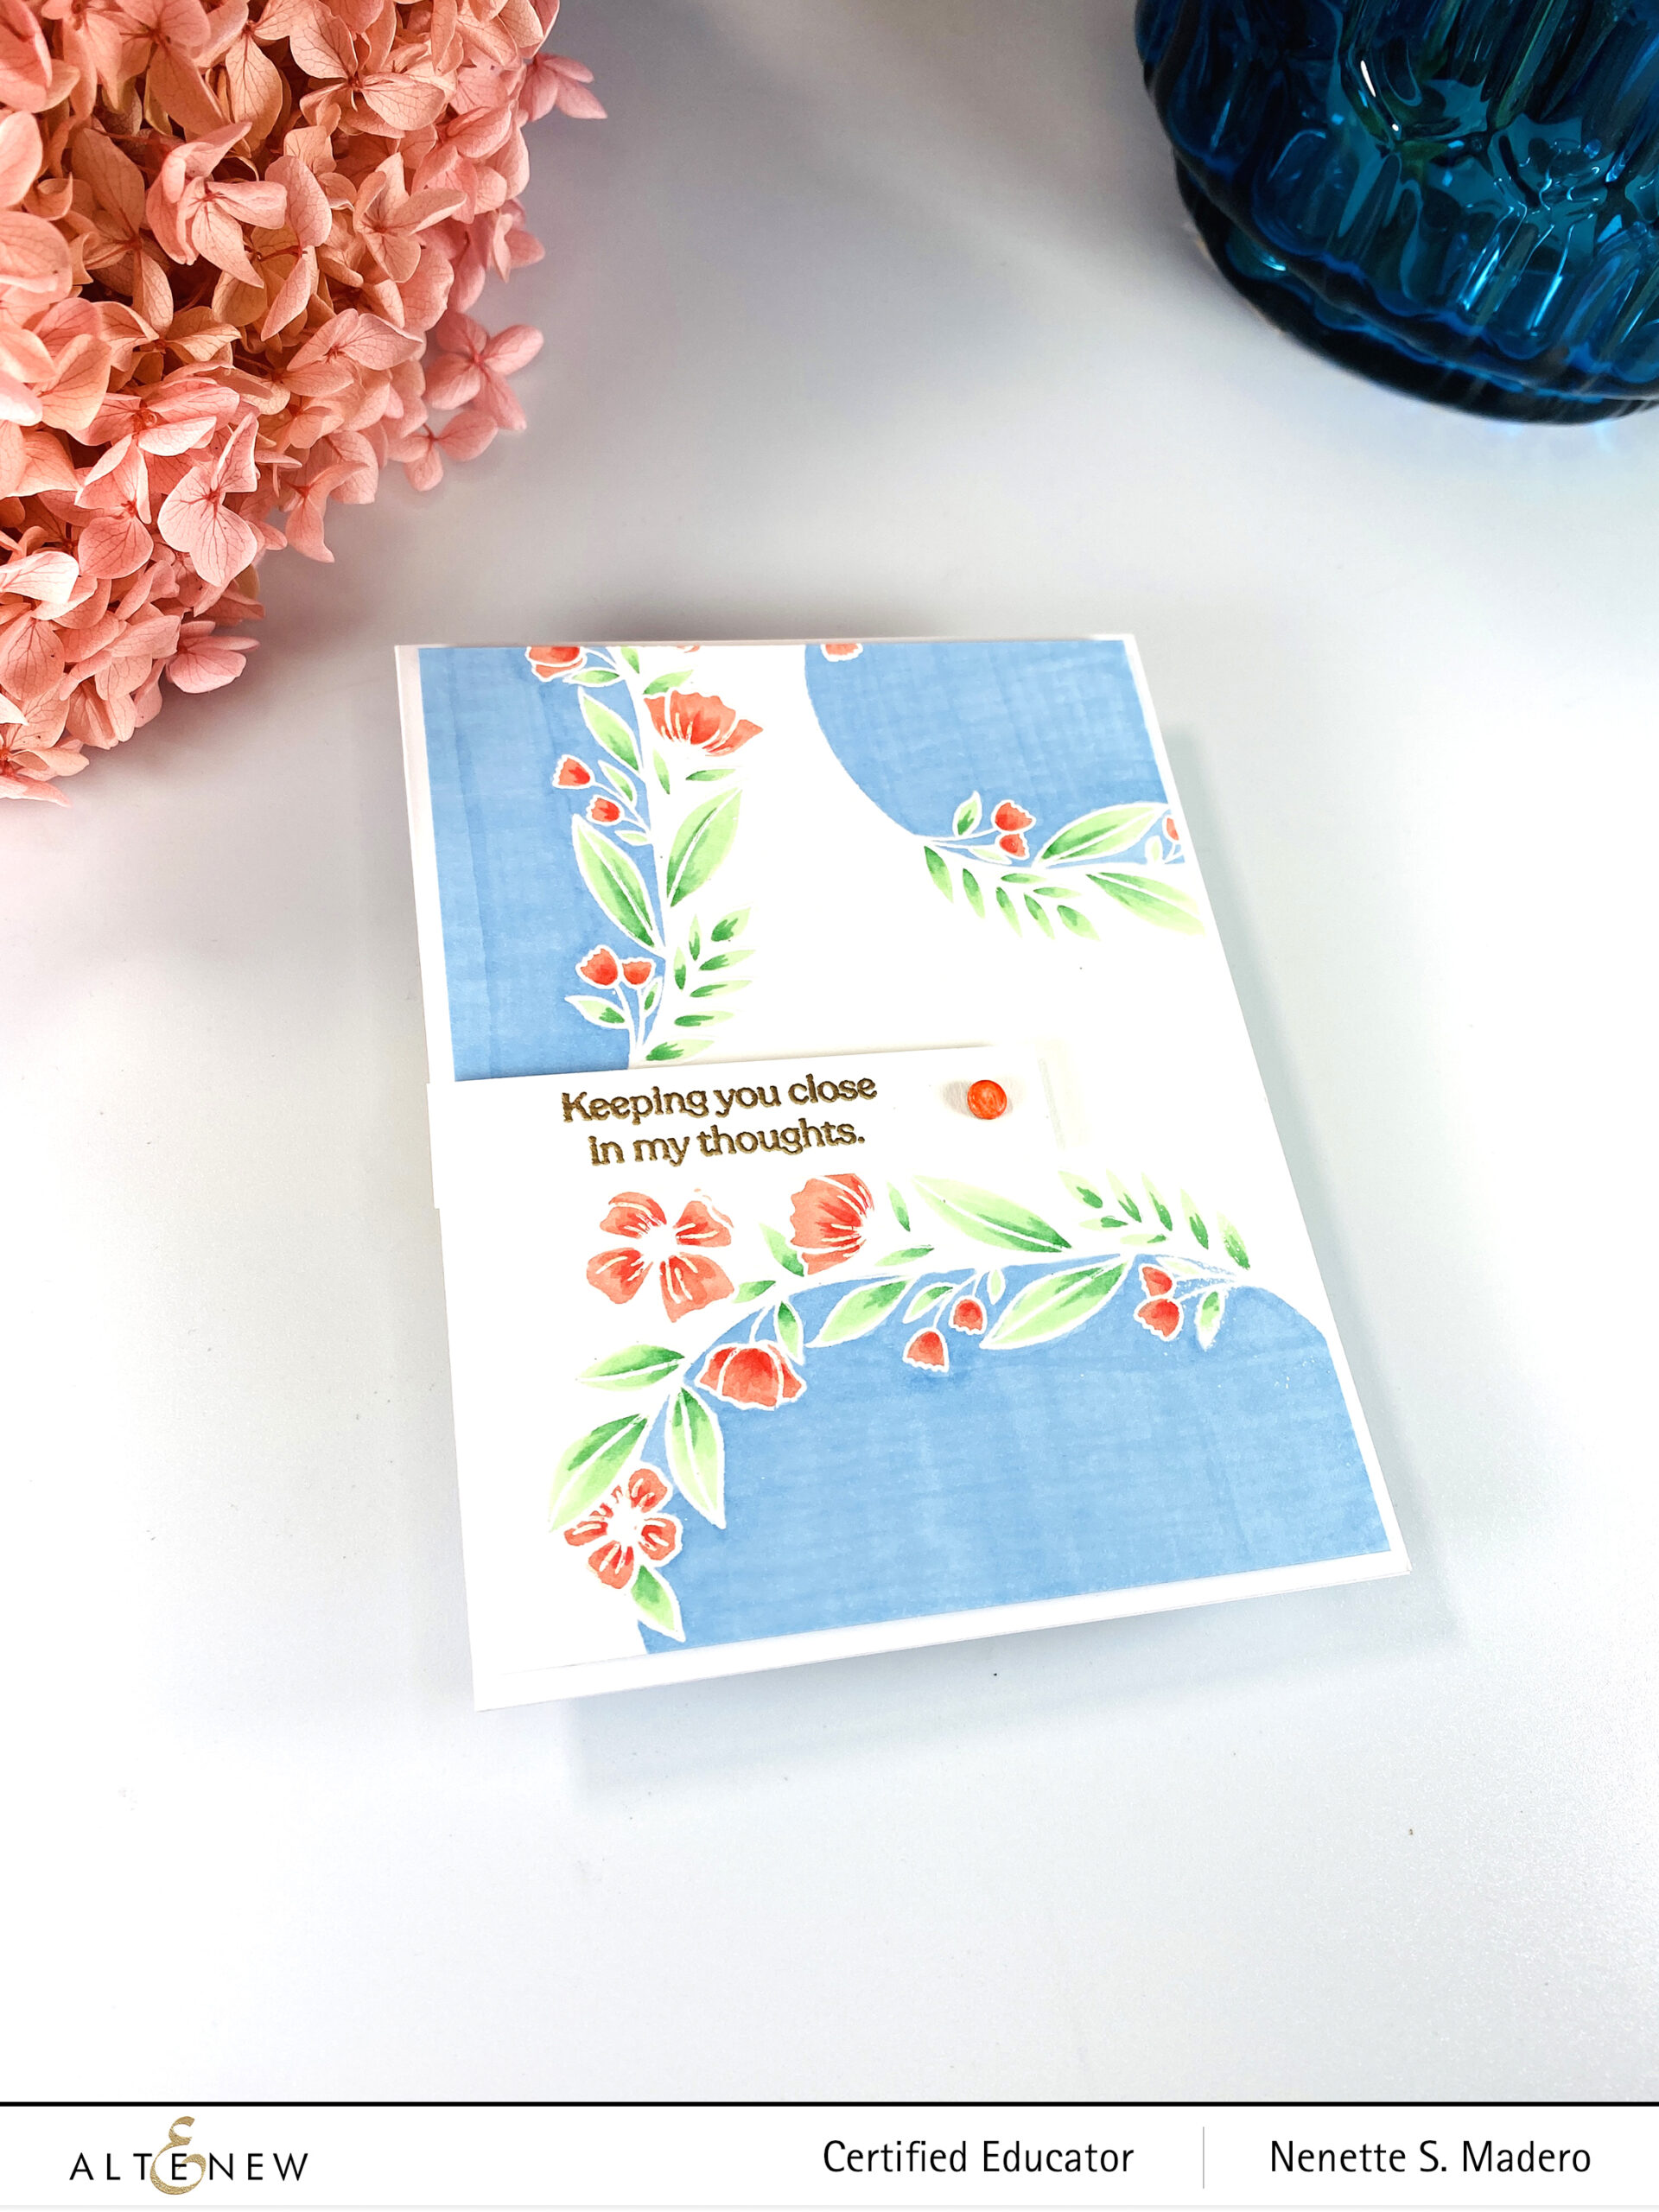
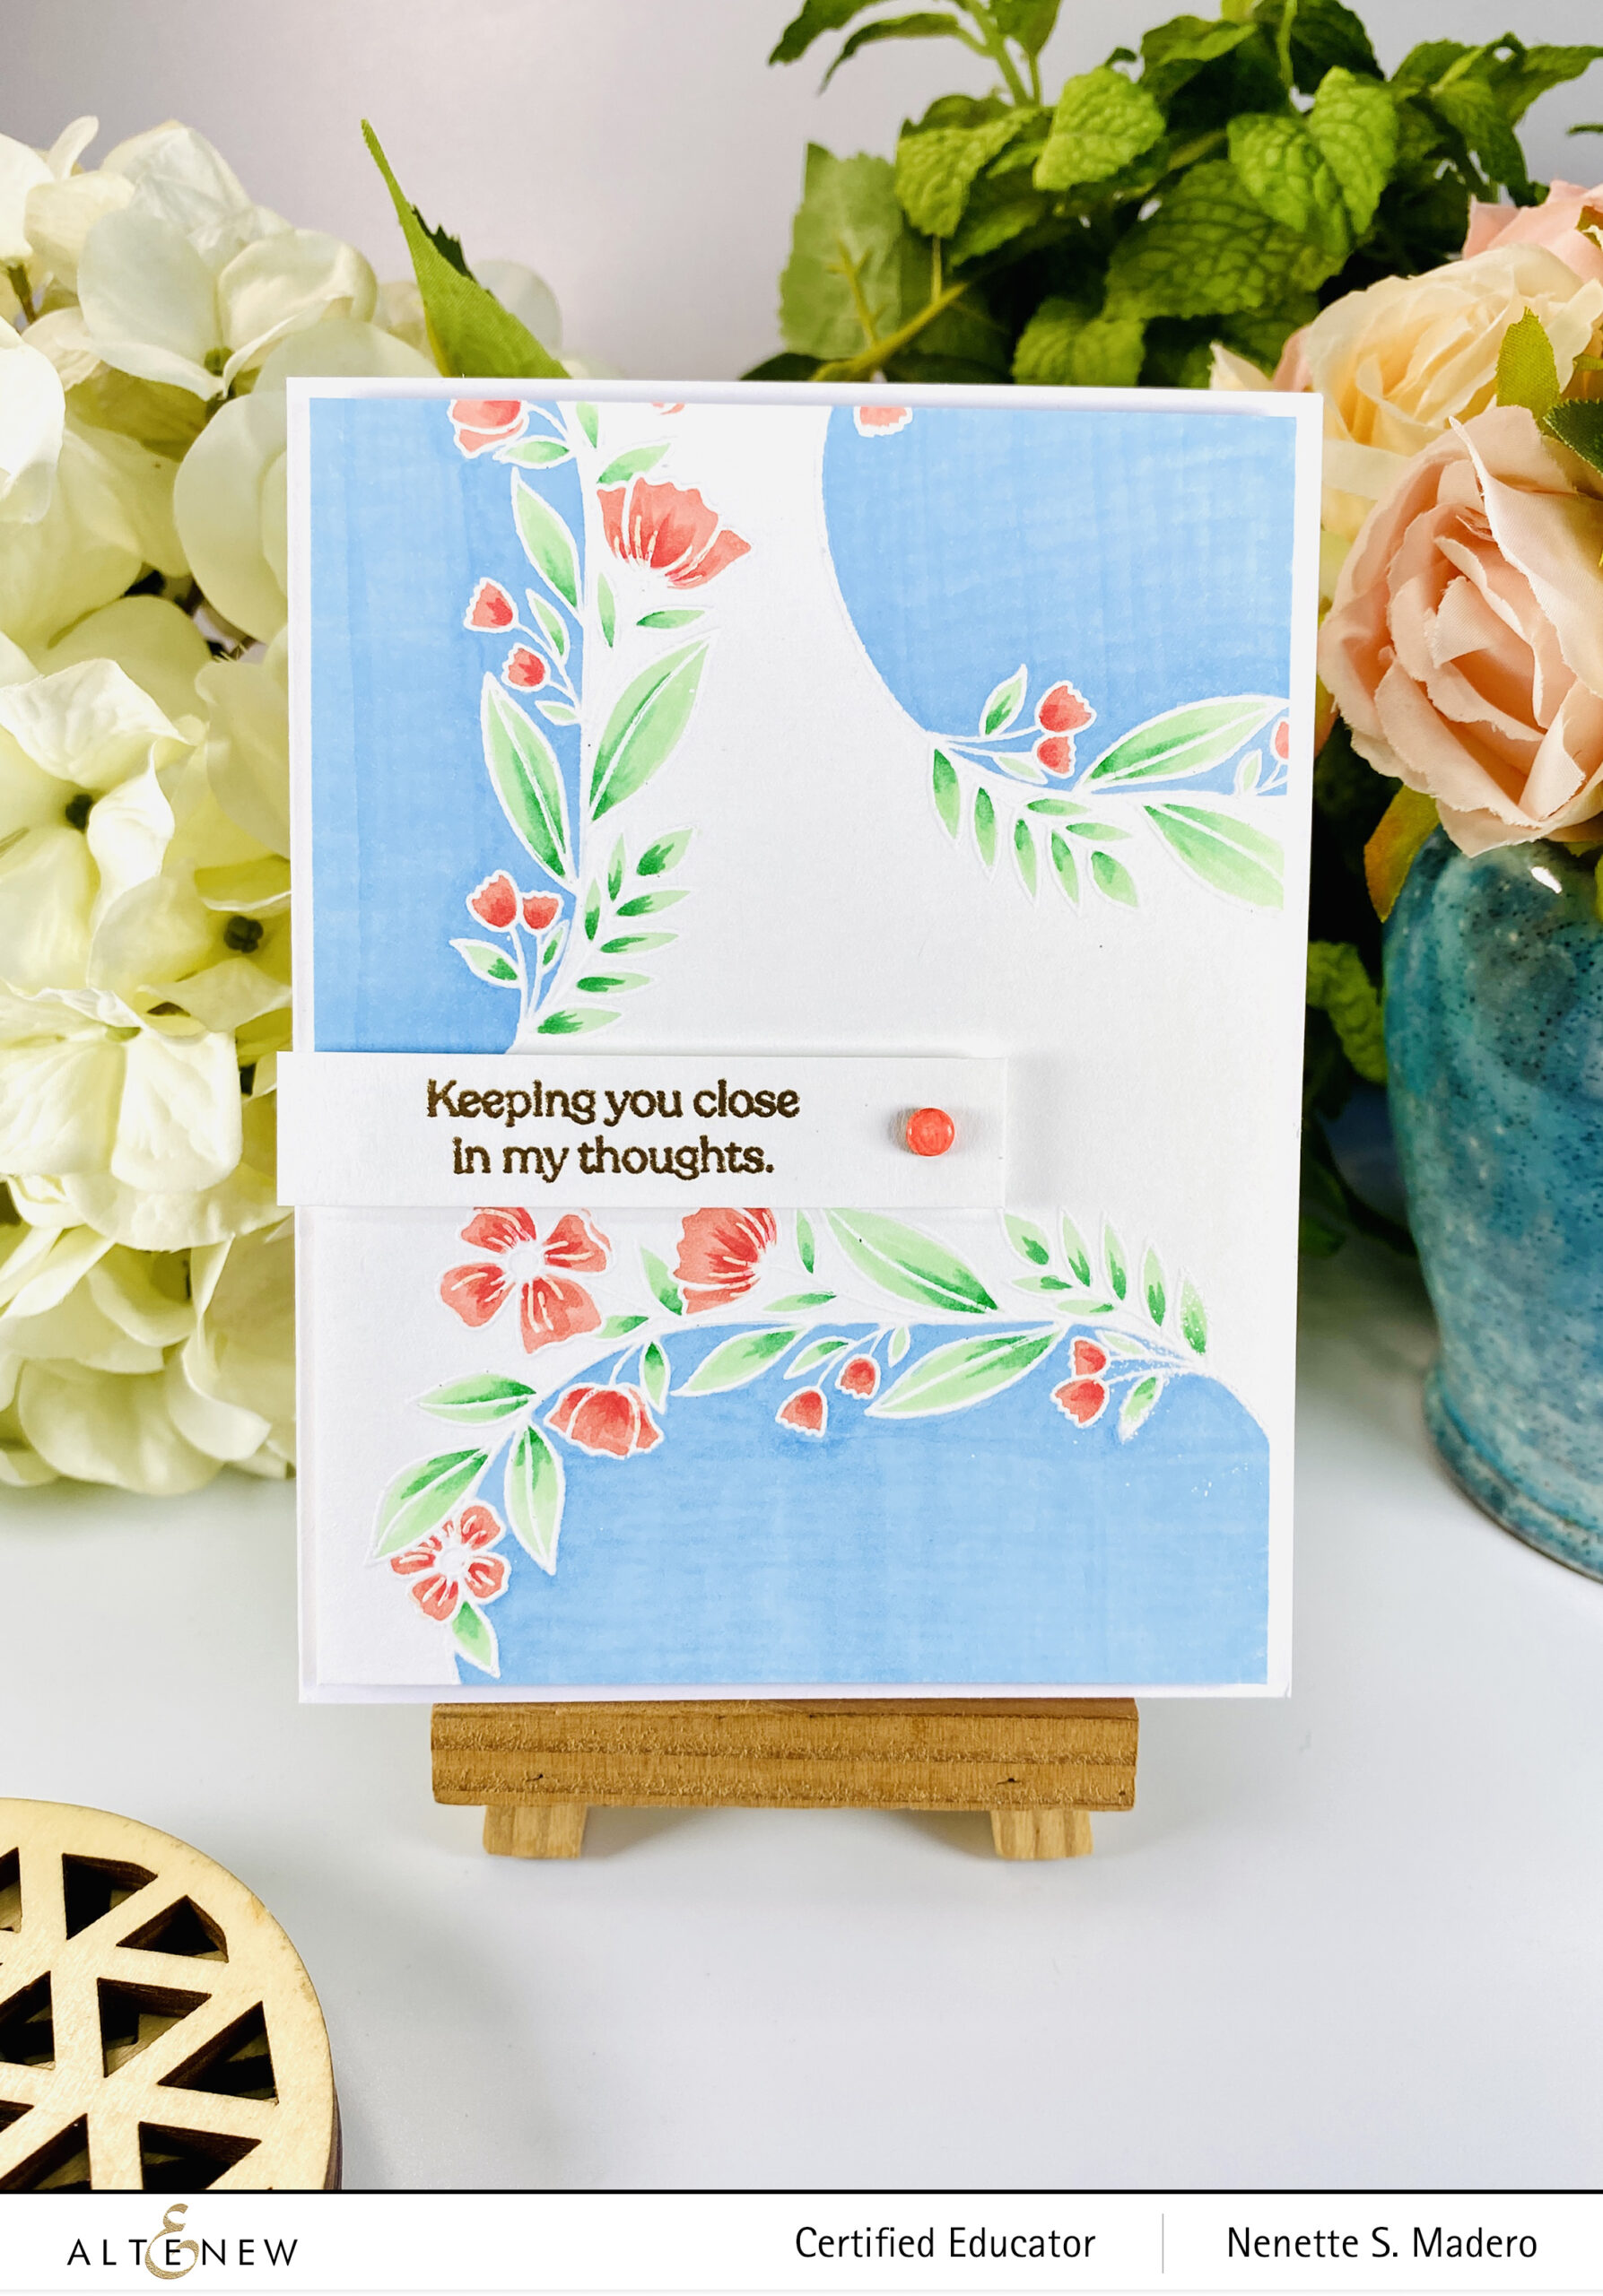
KEEPING YOU CLOSE IN MY THOUGHTS
STEPS:

  1. Stamp and emboss the image from the Sentimental Florals Stamp set using Pure White embossing powder.
  2. Color the floral images with Altenew Artist Markers.
  3. Stamp the sentiment and emboss using Rose Gold embossing powder.
  4. Color a brad using the matching artist marker. When dry, add Versamark ink and emboss with clear embossing powder.
  5. Color the inside of the wreath blue with markers.
  6. Assemble the card.

I thought of using the wreath differently by just stamping portions of it and coloring the inner parts.

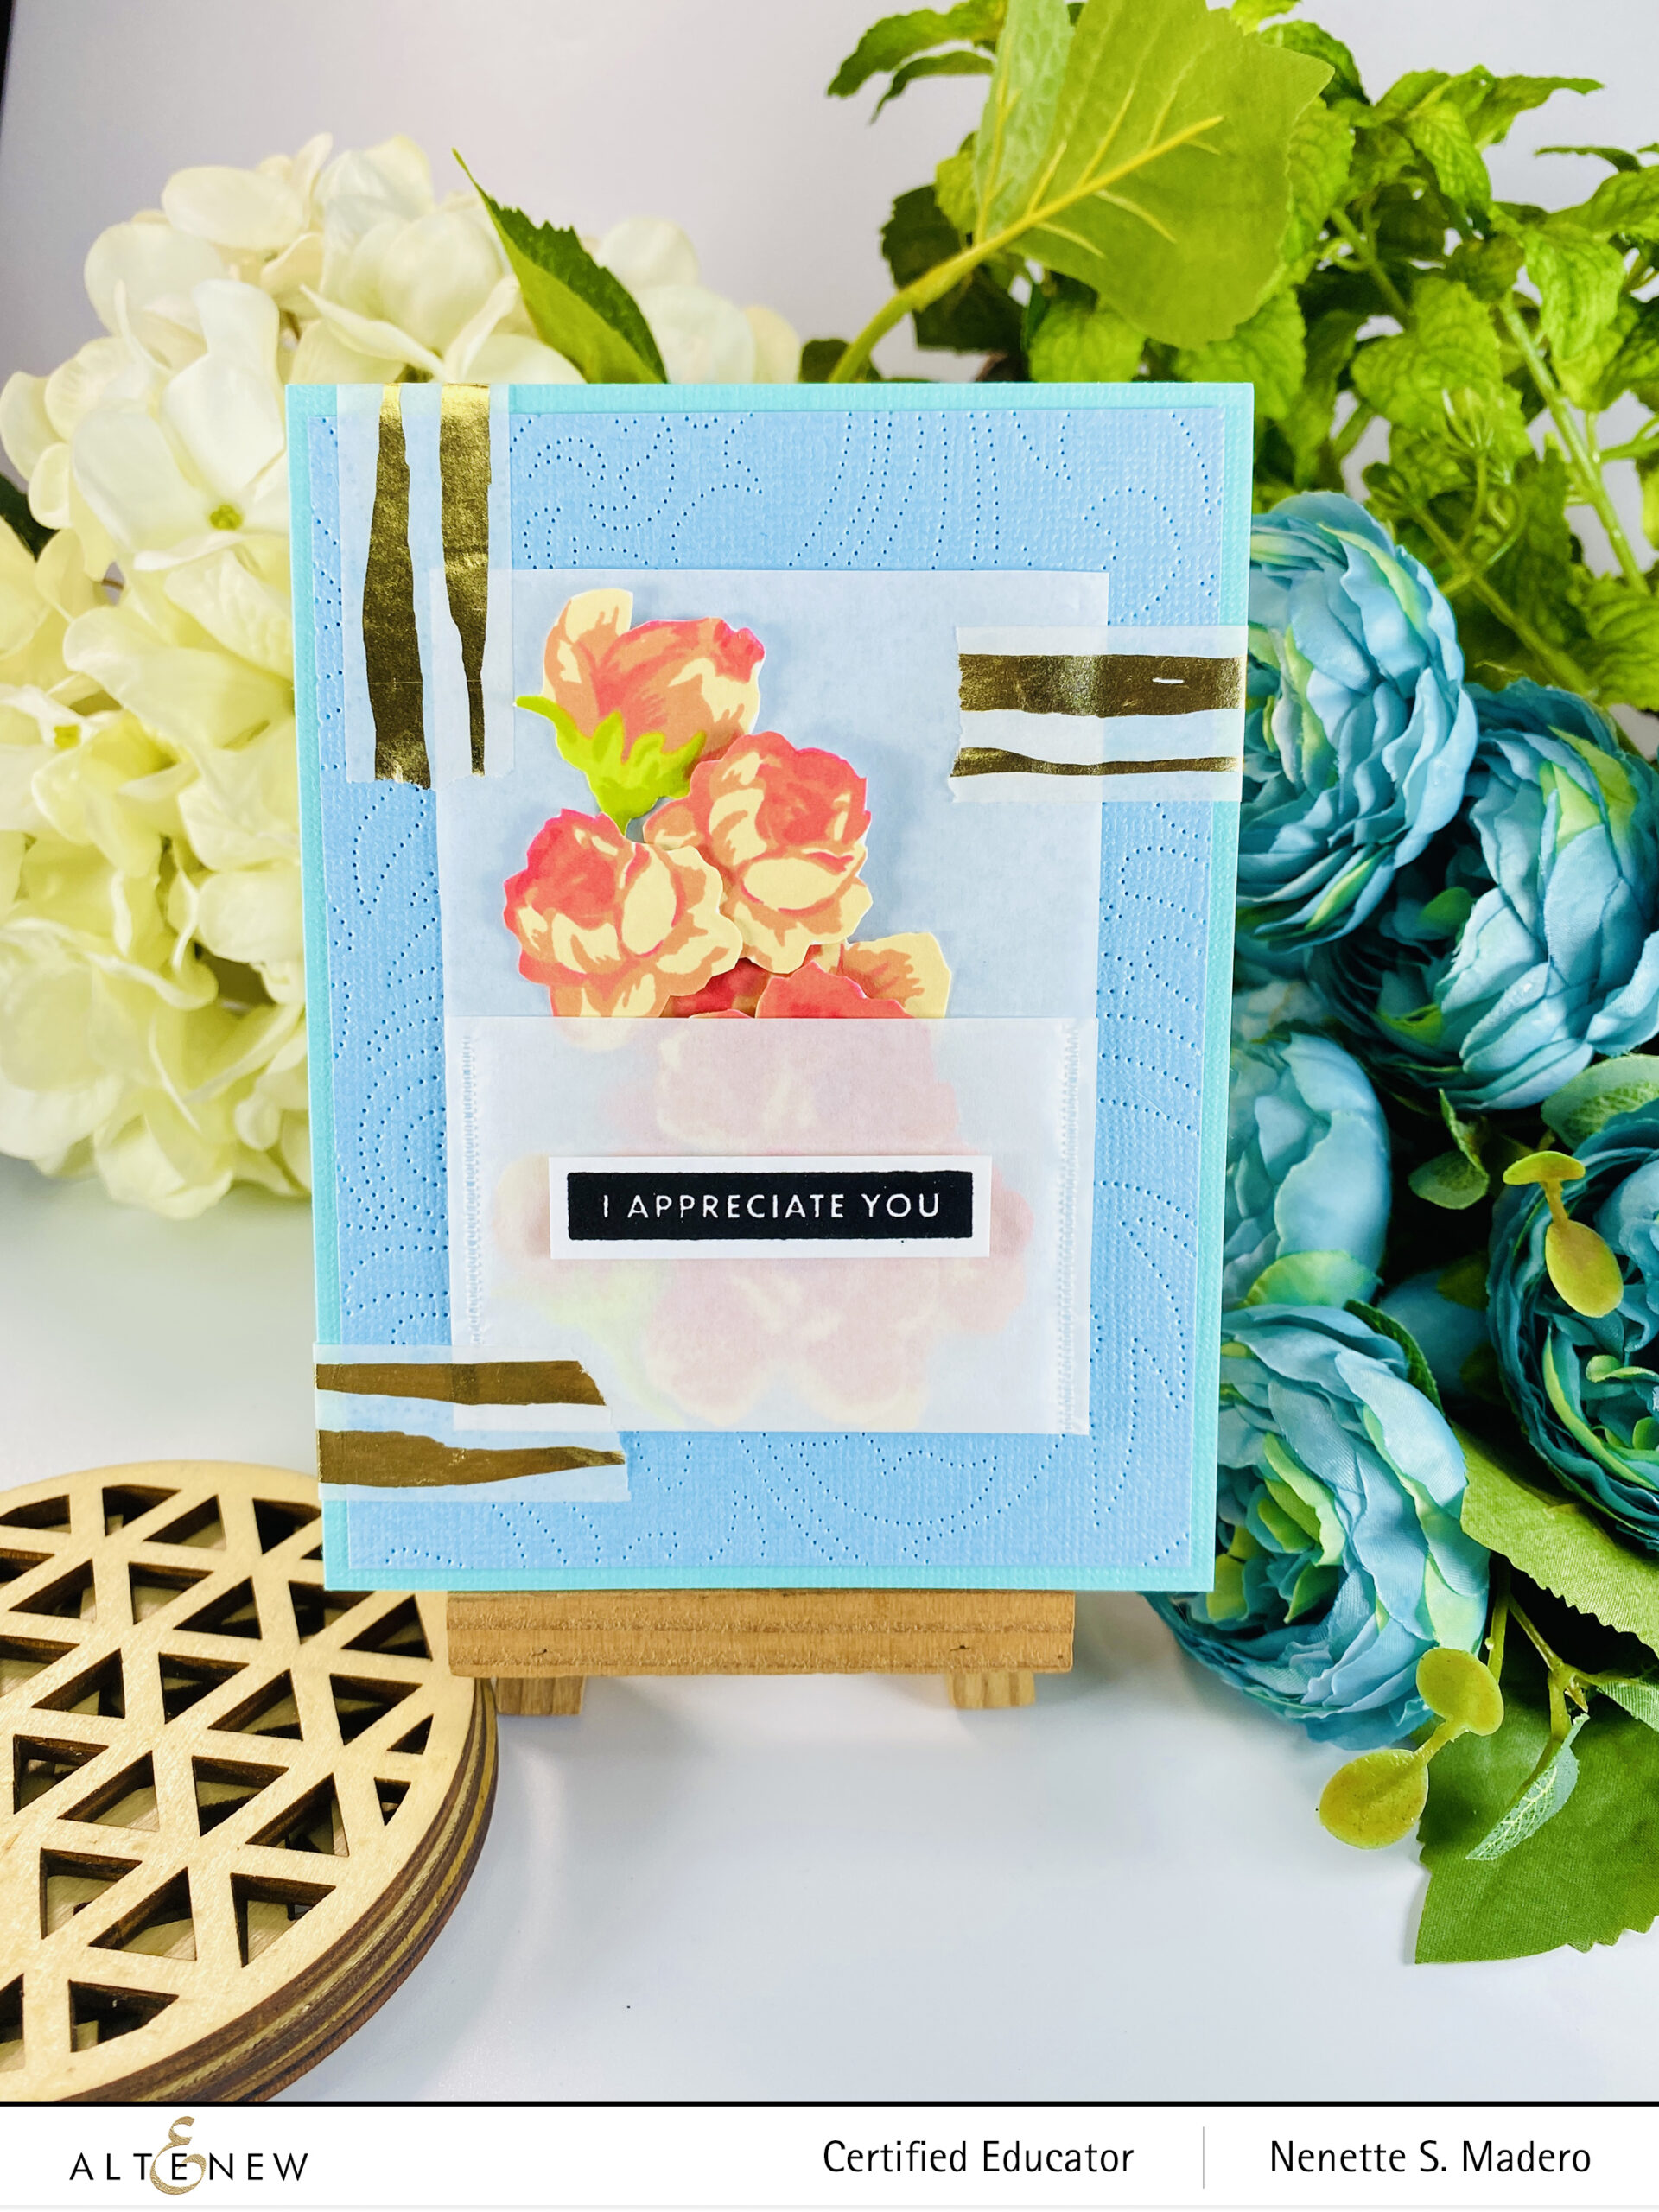
I APPRECIATE YOU
STEPS:

  1. Stamp the image from the Ethereal Roses Stamp set using dye inks.
  2. Fussy cut the flowers.
  3. Create a pouch using vellum and a stapleless stapler.
  4. Fill the pocket with flowers and adhere some with glue.
  5. Deboss a light blue panel using the Dotted Swirls Debossing Cover Die.
  6. Attach the pocket to the debossed panel using the Golden Stream Washi Tape and adhere to the card front with glue.
  7. Stamp and emboss the sentiment from the Bold Sentiments Stamp set and attach with foam squares.
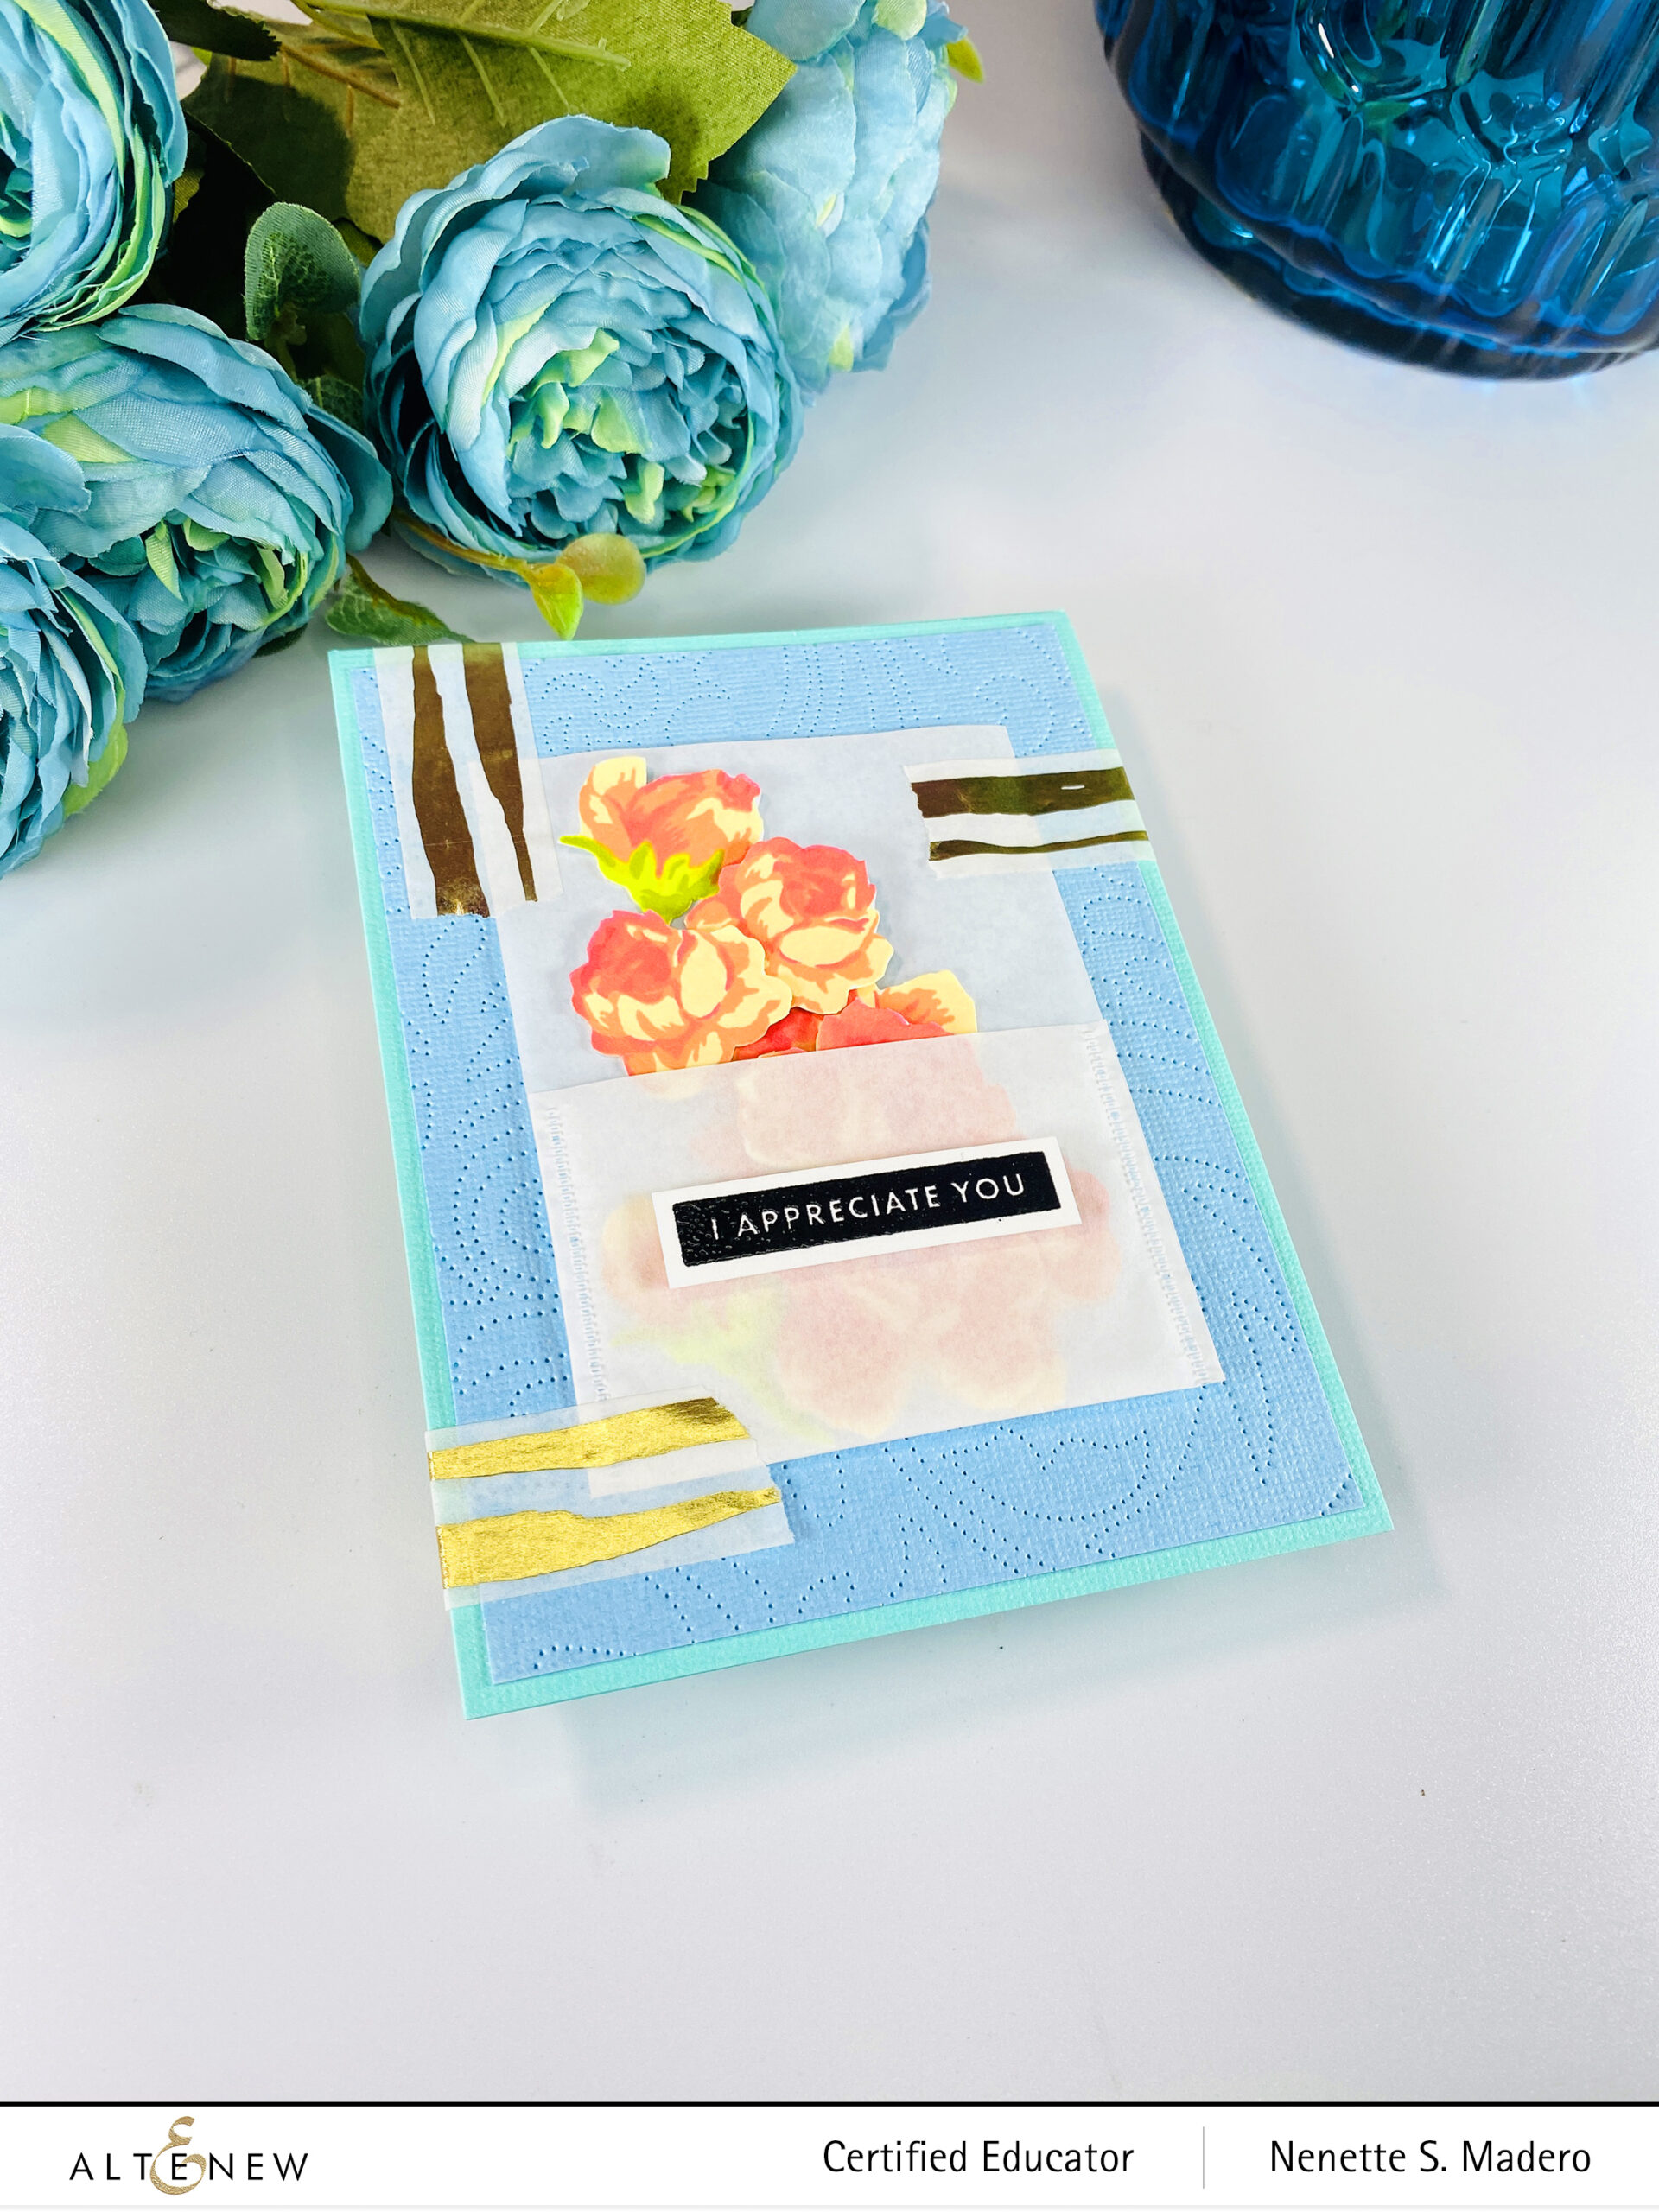
The recipient can use the loose flowers for her own cards or layouts.

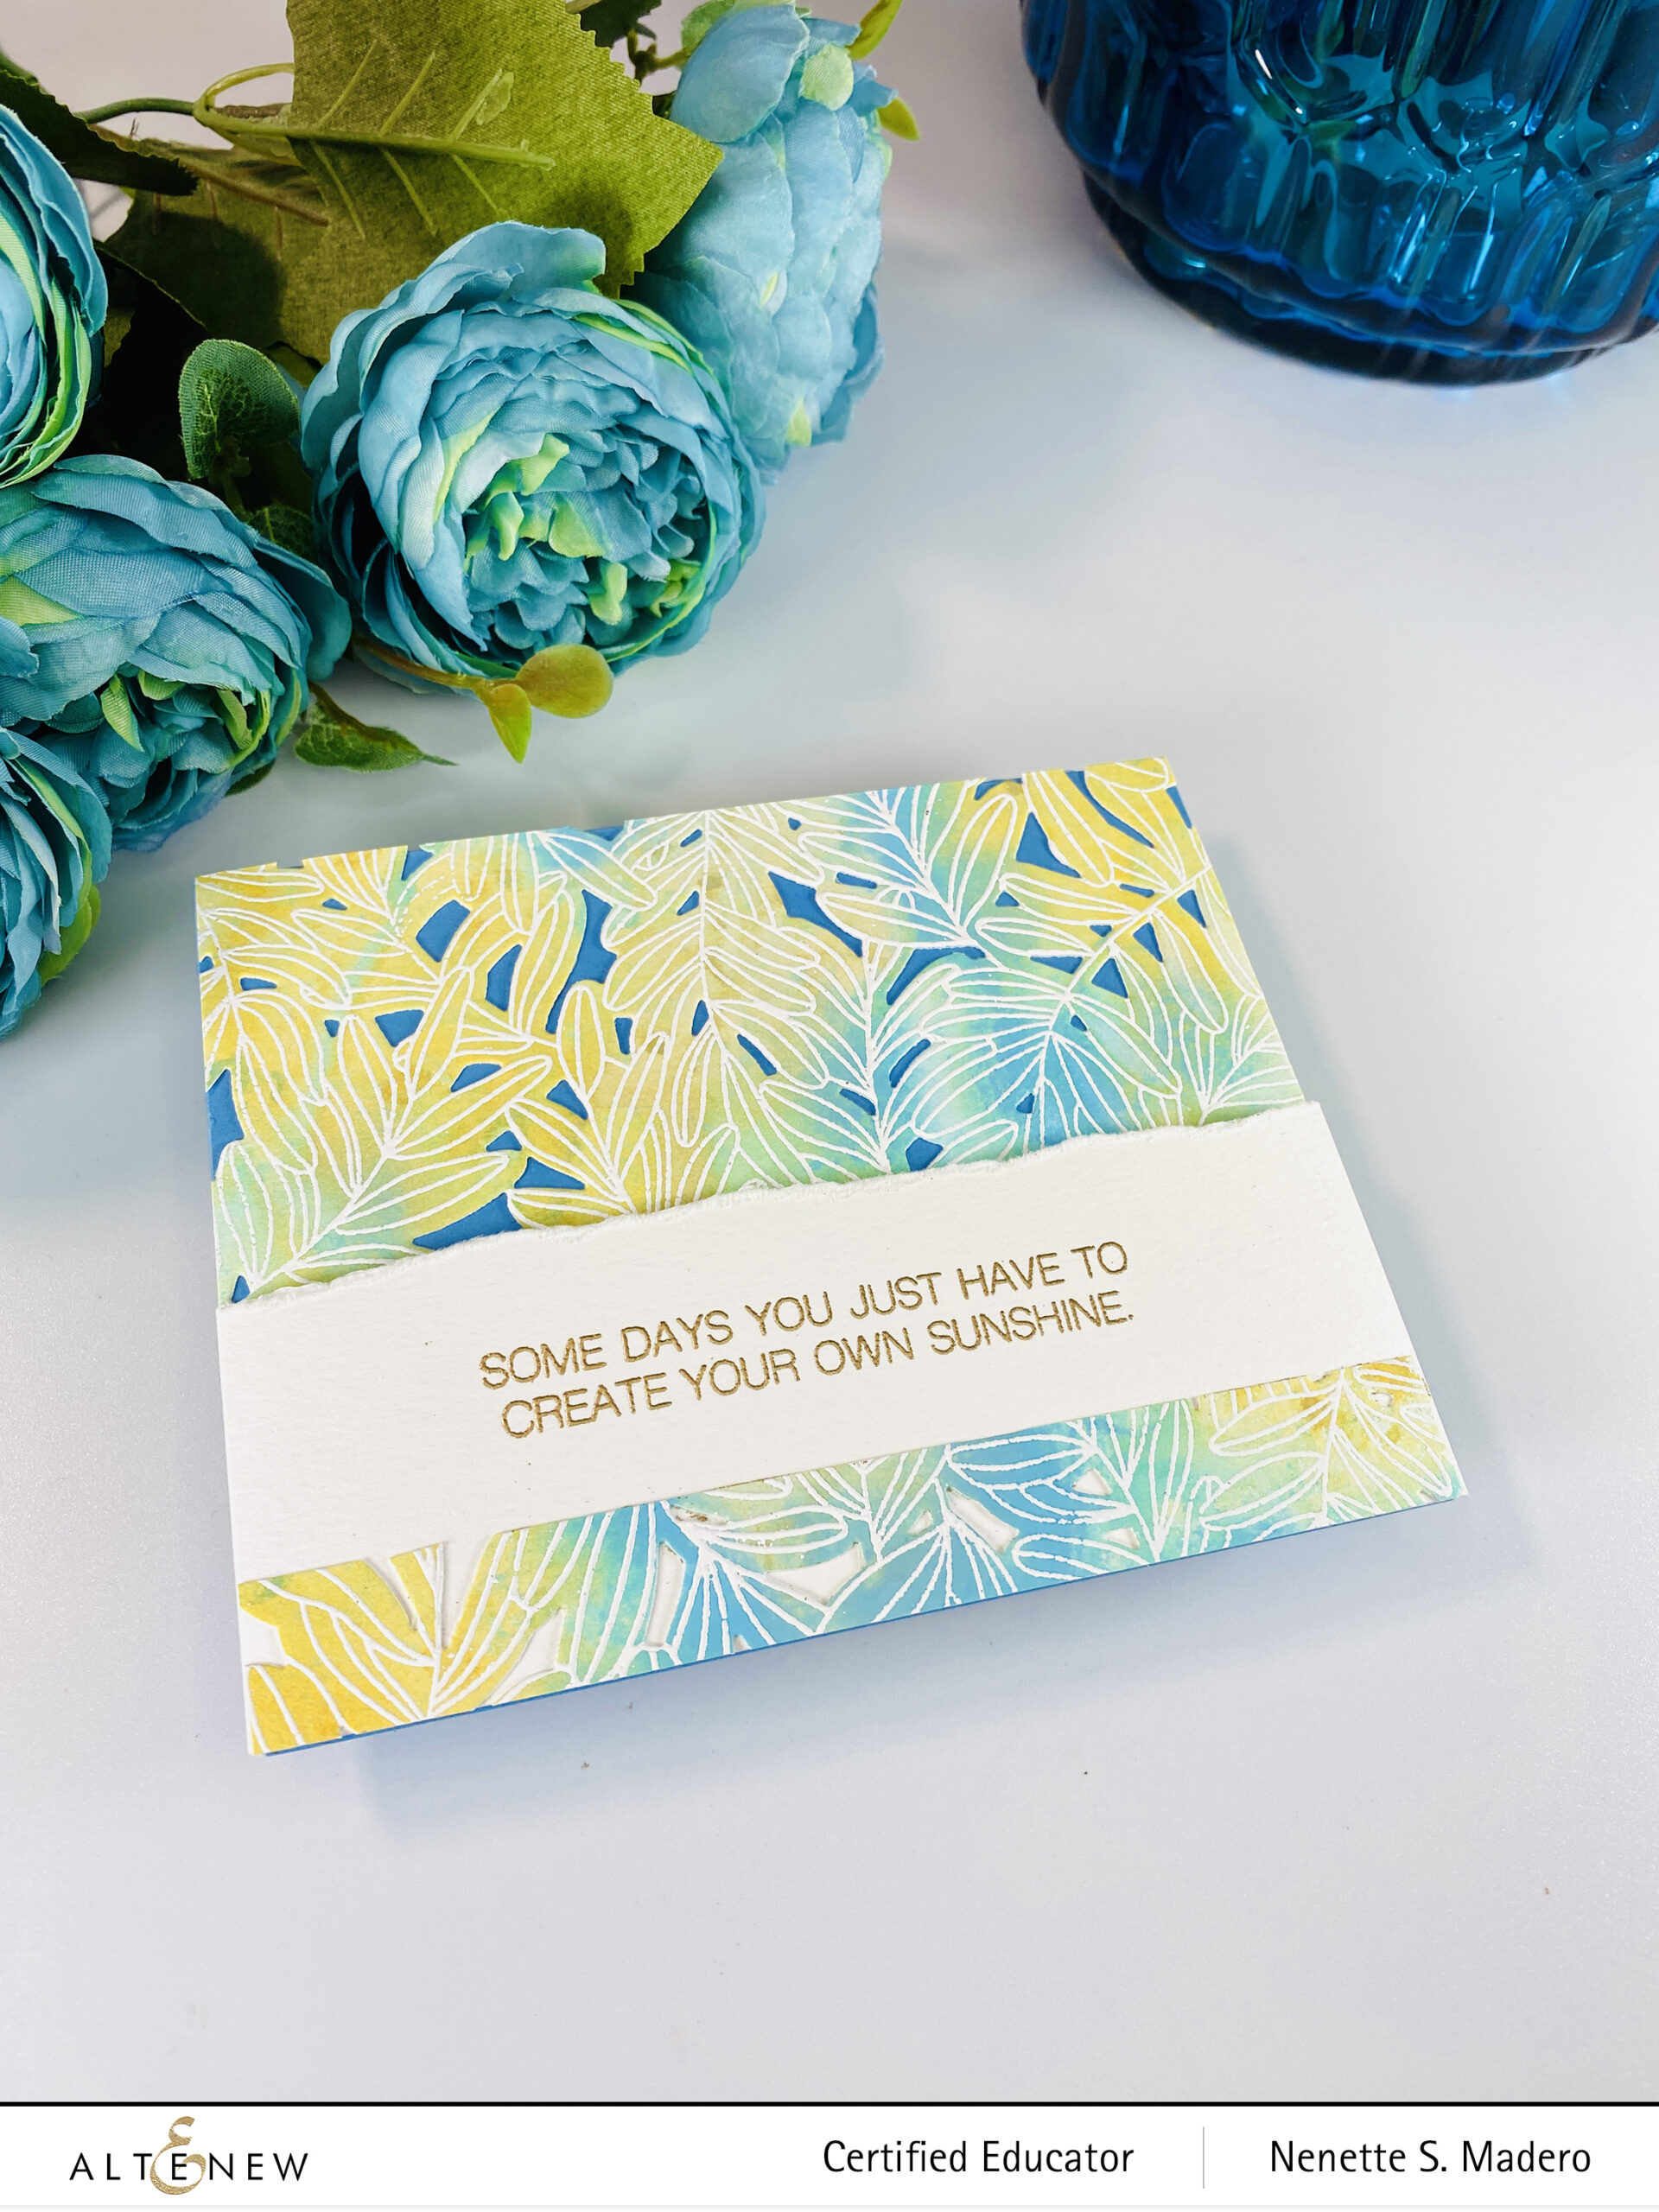
SOME DAYS YOU JUST HAVE TO CREATE YOUR OWN SUNSHINE
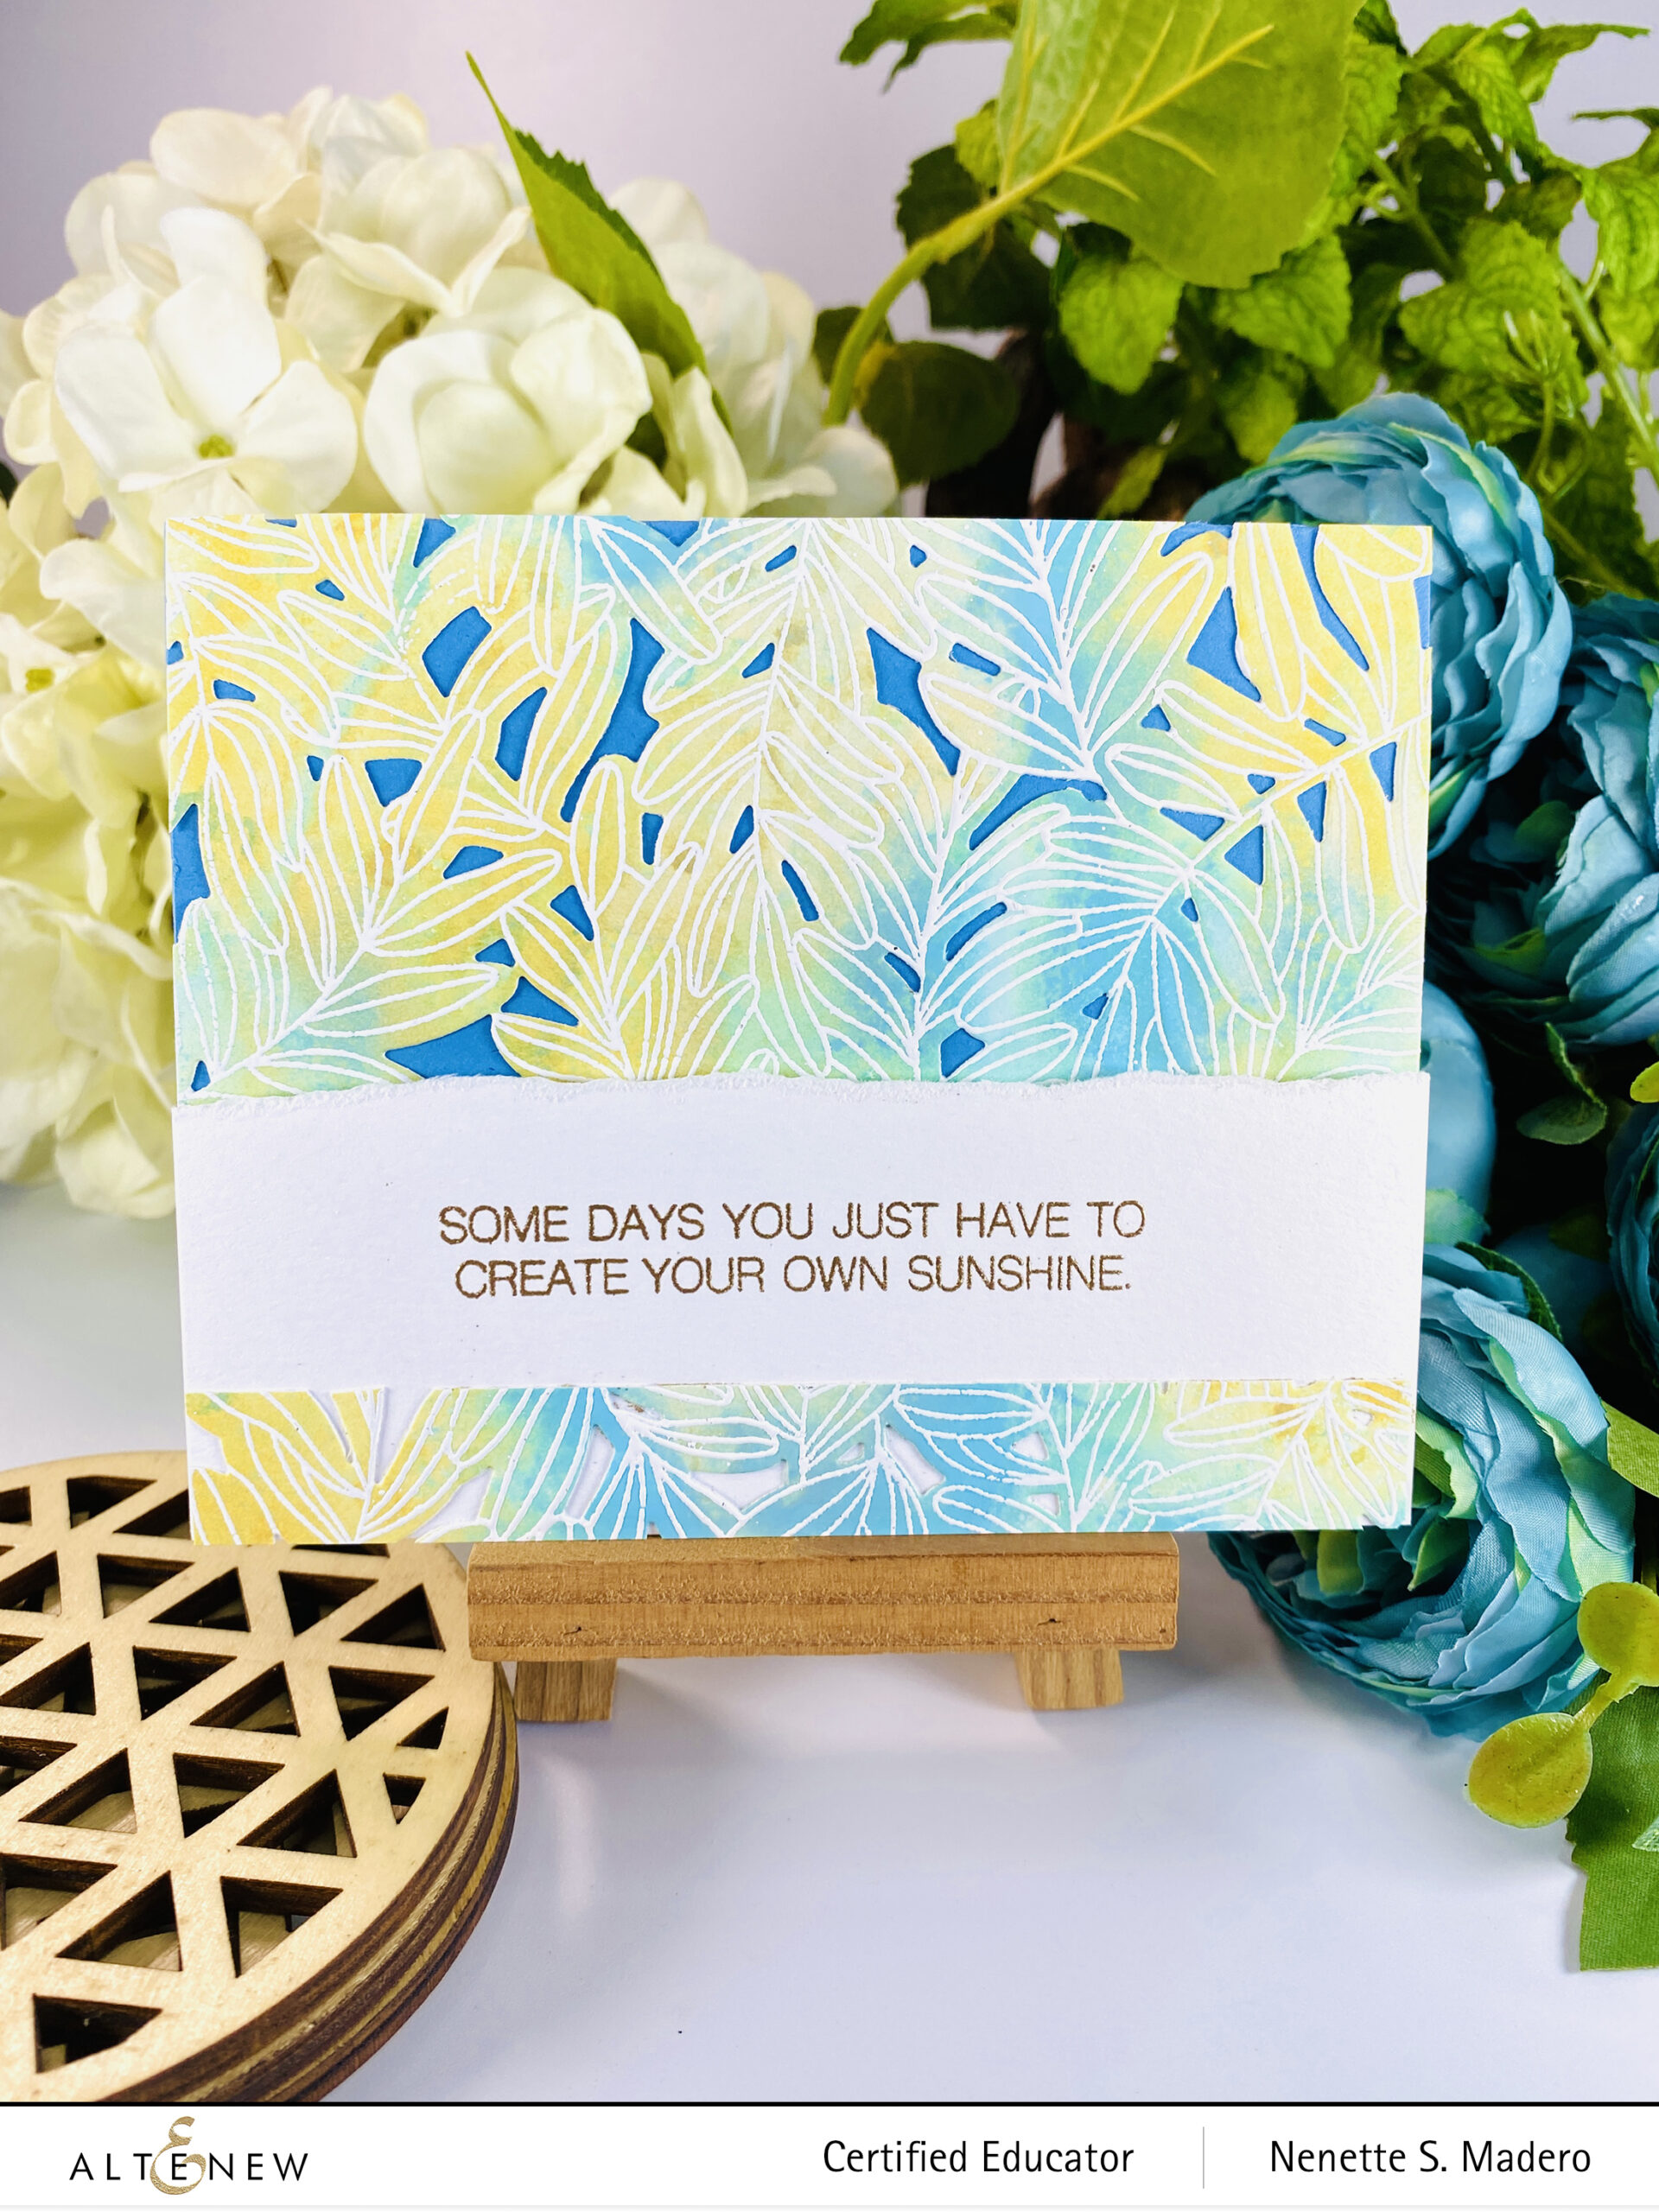
STEPS:

  1. Create a background using Distress sprays and allow it to dry.
  2. Stamp and emboss the image from the Climbing Leaves stamp set and Pure White embossing powder. Die-cut the image using the coordinating die set.
  3. Stamp and emboss the sentiment using Rose gold embossing powder.
  4. Attach the leftover background to the bottom of the sentiment and tear the top part.
  5. Assemble the card using foam sheets.
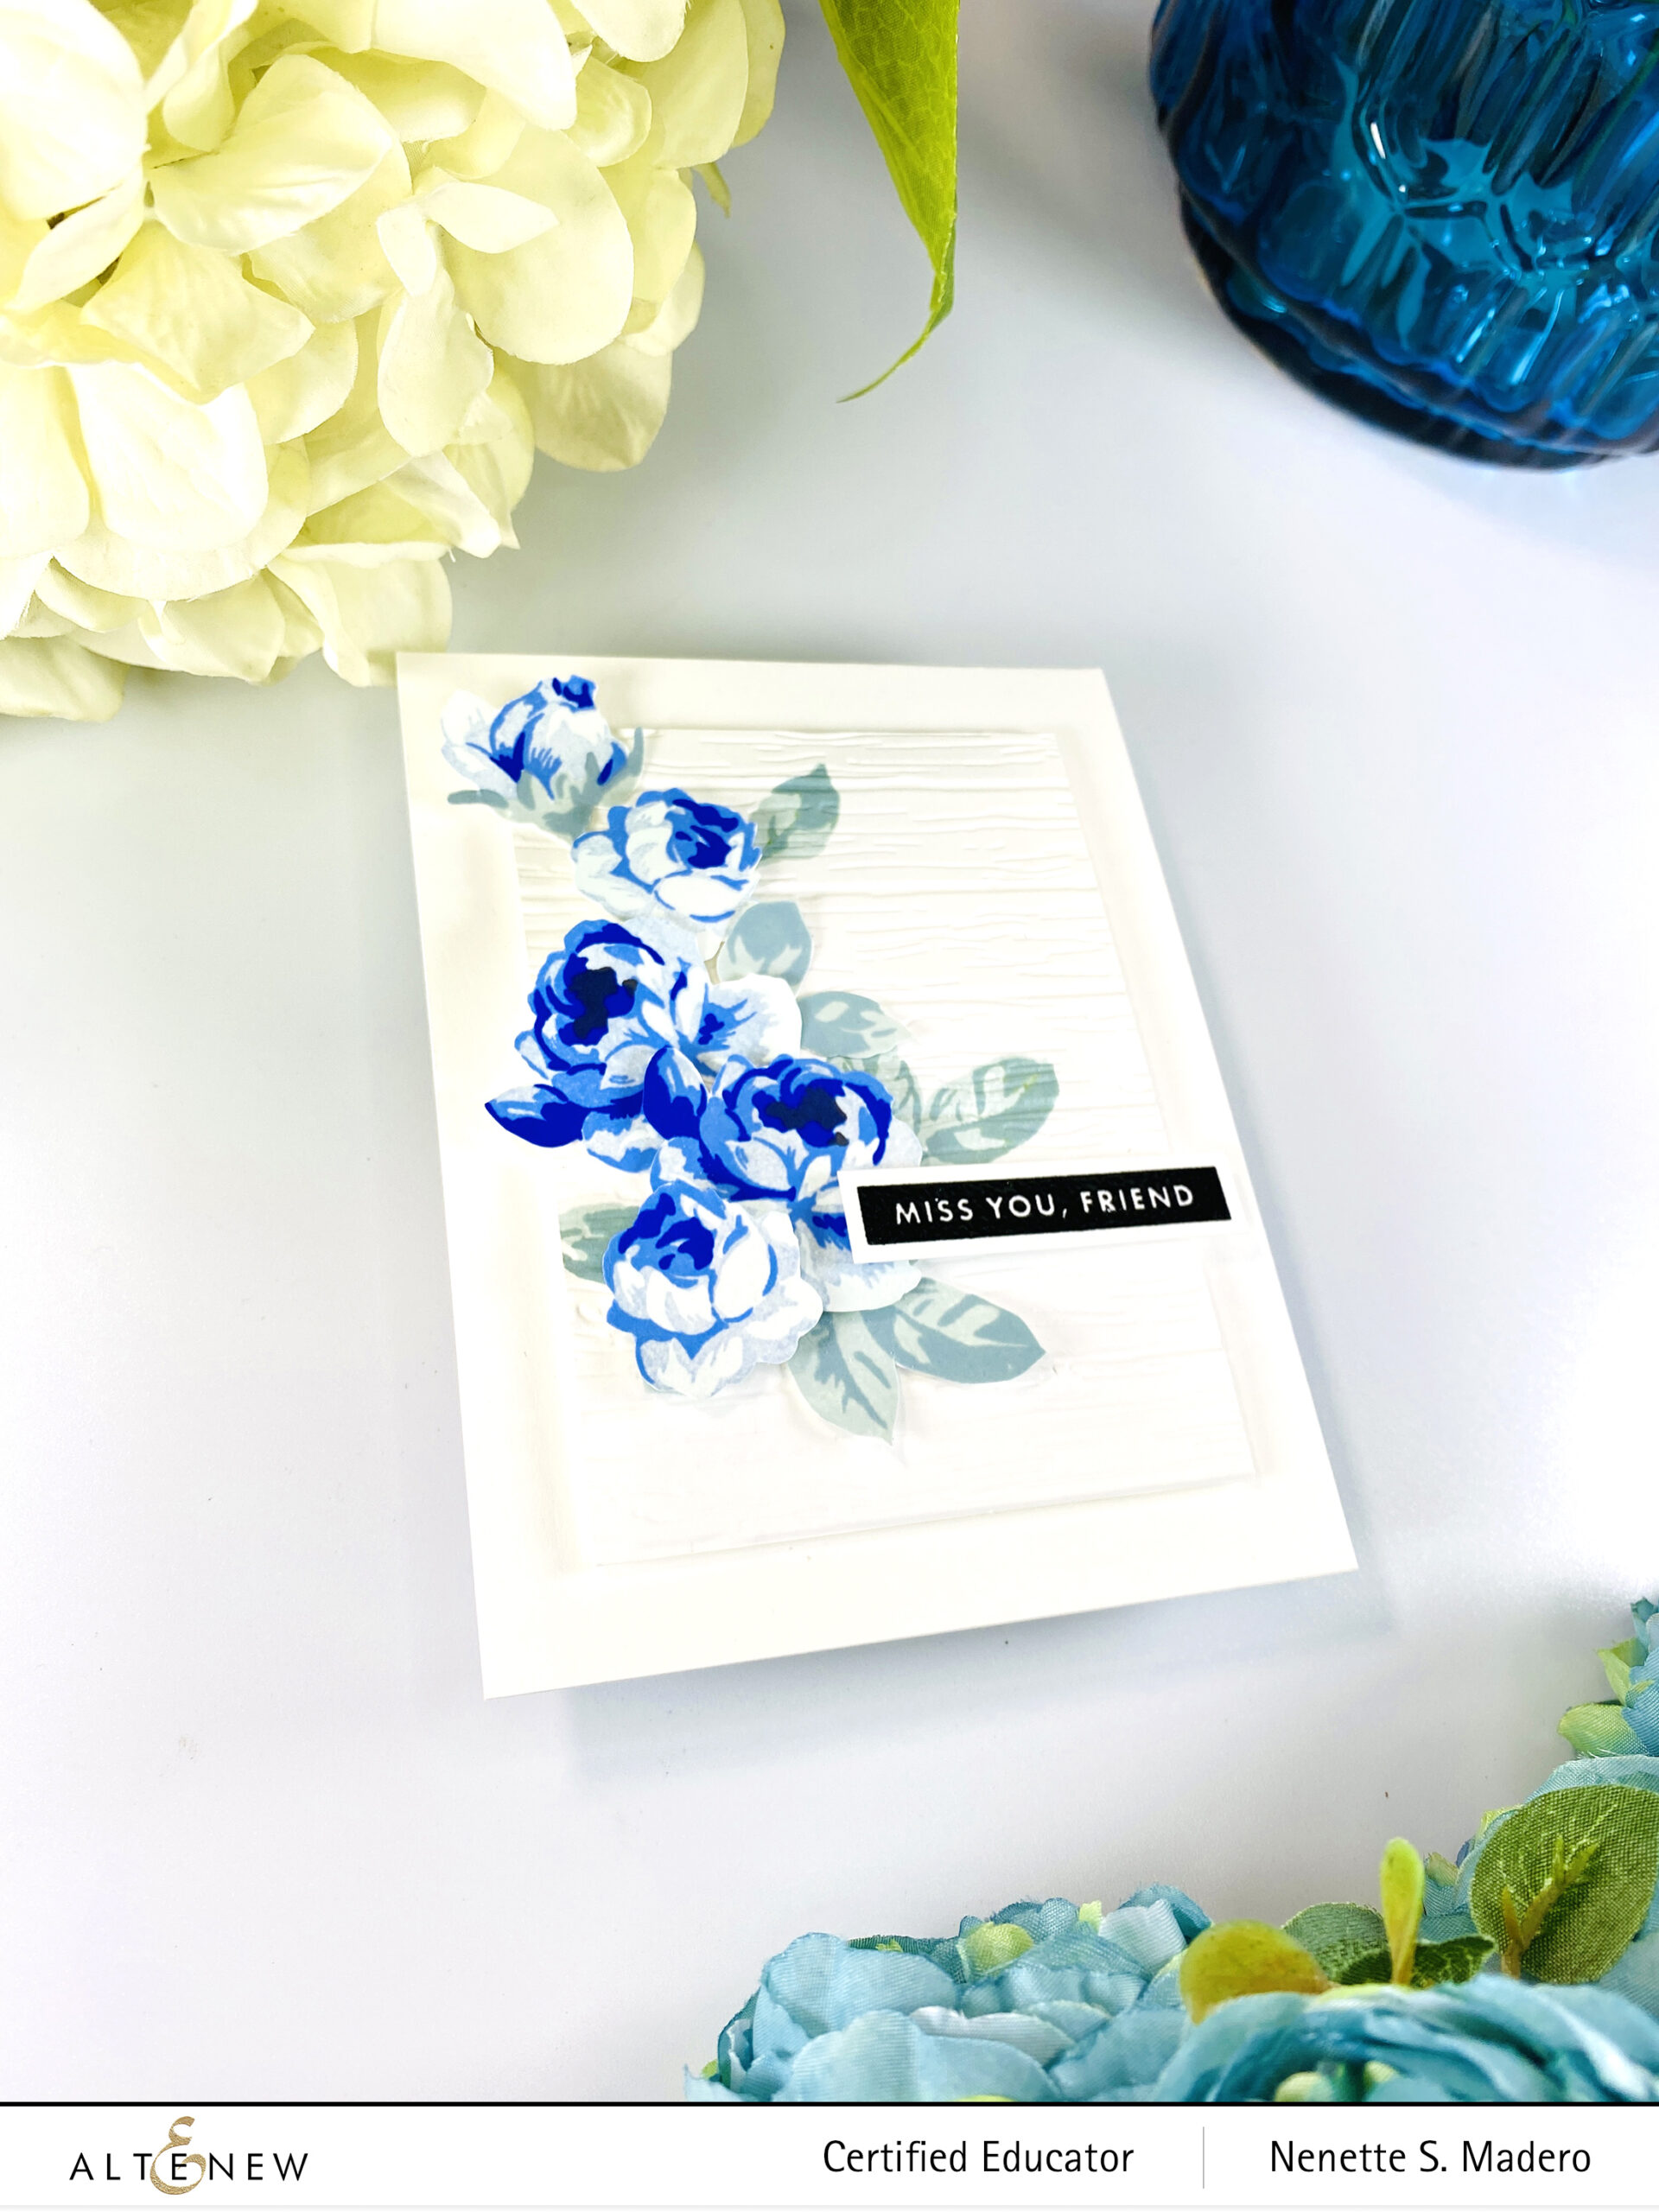
MISS YOU, FRIEND
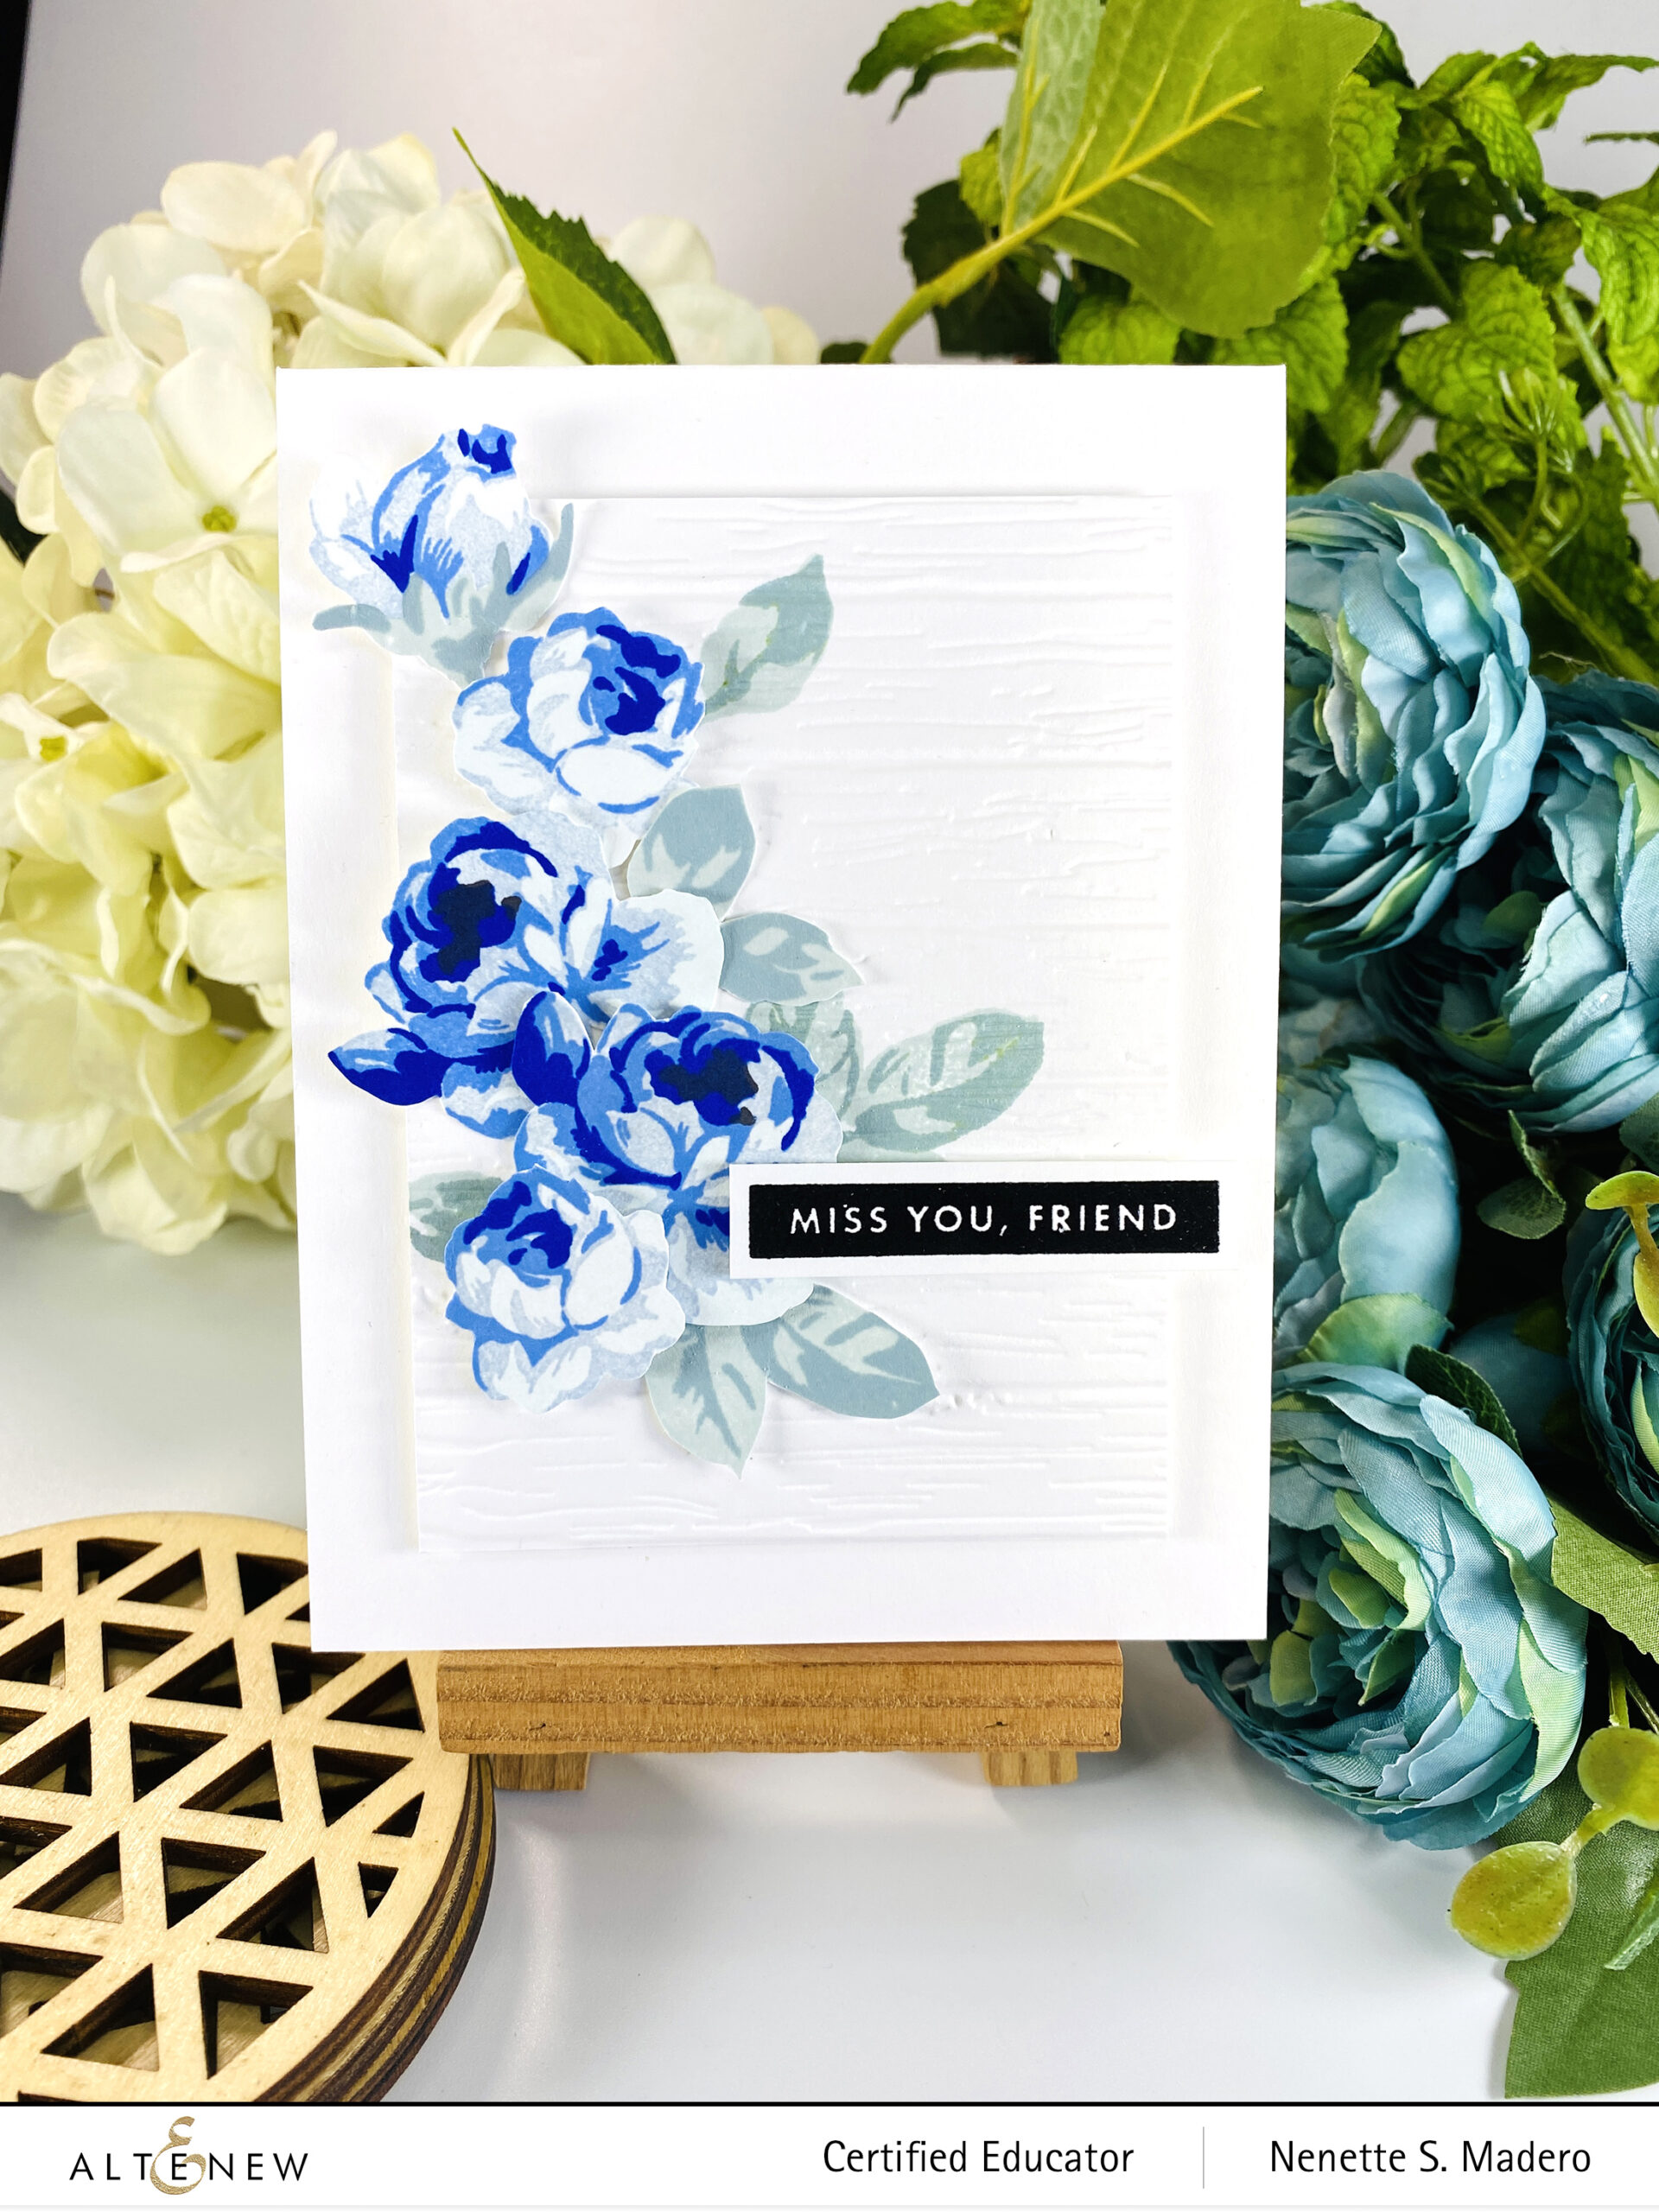
STEPS:

  1. Stamp the floral images using dye inks. Fussy cut the flowers and leaves.
  2. Position the floral images onto a panel and lightly mark the areas to know where to stamp the leaves.
  3. Stamp the leaves, then emboss using the Deck Planks 3D embossing folder.
  4. Stamp the sentiment from the Bold Sentiments Stamp using Obsidian Ink and emboss with Clear embossing powder.
FREE GIFTS

We are running a free gift promotion to celebrate the release. Feel free to share the promotion banner/info on your blog hop post or on your social media post using your affiliate links for a chance to make some extra money. 

  • Get a FREE brand new Today is the Day Mini Inspiration Guide with every order from 06/03/2022 through 06/05/2022. Shop HERE!
  • Get a FREE brand new Today is the Day Stamp & Die Release Inspiration Guide Ebook  (worth $5.99) with every order of high-value Sweet Moments Bundles. Shop HERE! *Exclusions apply.
  • Get a FREE brand new Online Cardmaking Class with every order from the new Today is the Day Stamp & Die Release Collection from 06/03/2022 through 06/09/2022. Shop HERE!
GIVEAWAYS

$300 in total prizes! To celebrate this release, Altenew is giving away a $50 gift certificate to 2 lucky winners and a $25 gift certificate to 8 winners! Please leave a comment on the Altenew Card Blog and/or each designer’s blog post on the blog hop list below by 06/09/2022 for a chance to win. 

Altenew will draw ten random winners from the comments left on each blog hop stop and announce the winners on the Altenew Winners Page on 06/11/2022.

Next up: Maryam Perez. If you liked my cards, I hope you can follow me on Instagram and YouTube to see my latest creations. Links are found below. Don’t forget to leave a comment to get a chance to win a prize from Altenew! Thank you so much for dropping by! Happy crafting!

Altenew Craft Your Life Project Kit: Lush Garden Release Blog Hop + Giveaway

Altenew Craft Your Life Project Kit: Lush Garden Release Blog Hop + Giveaway

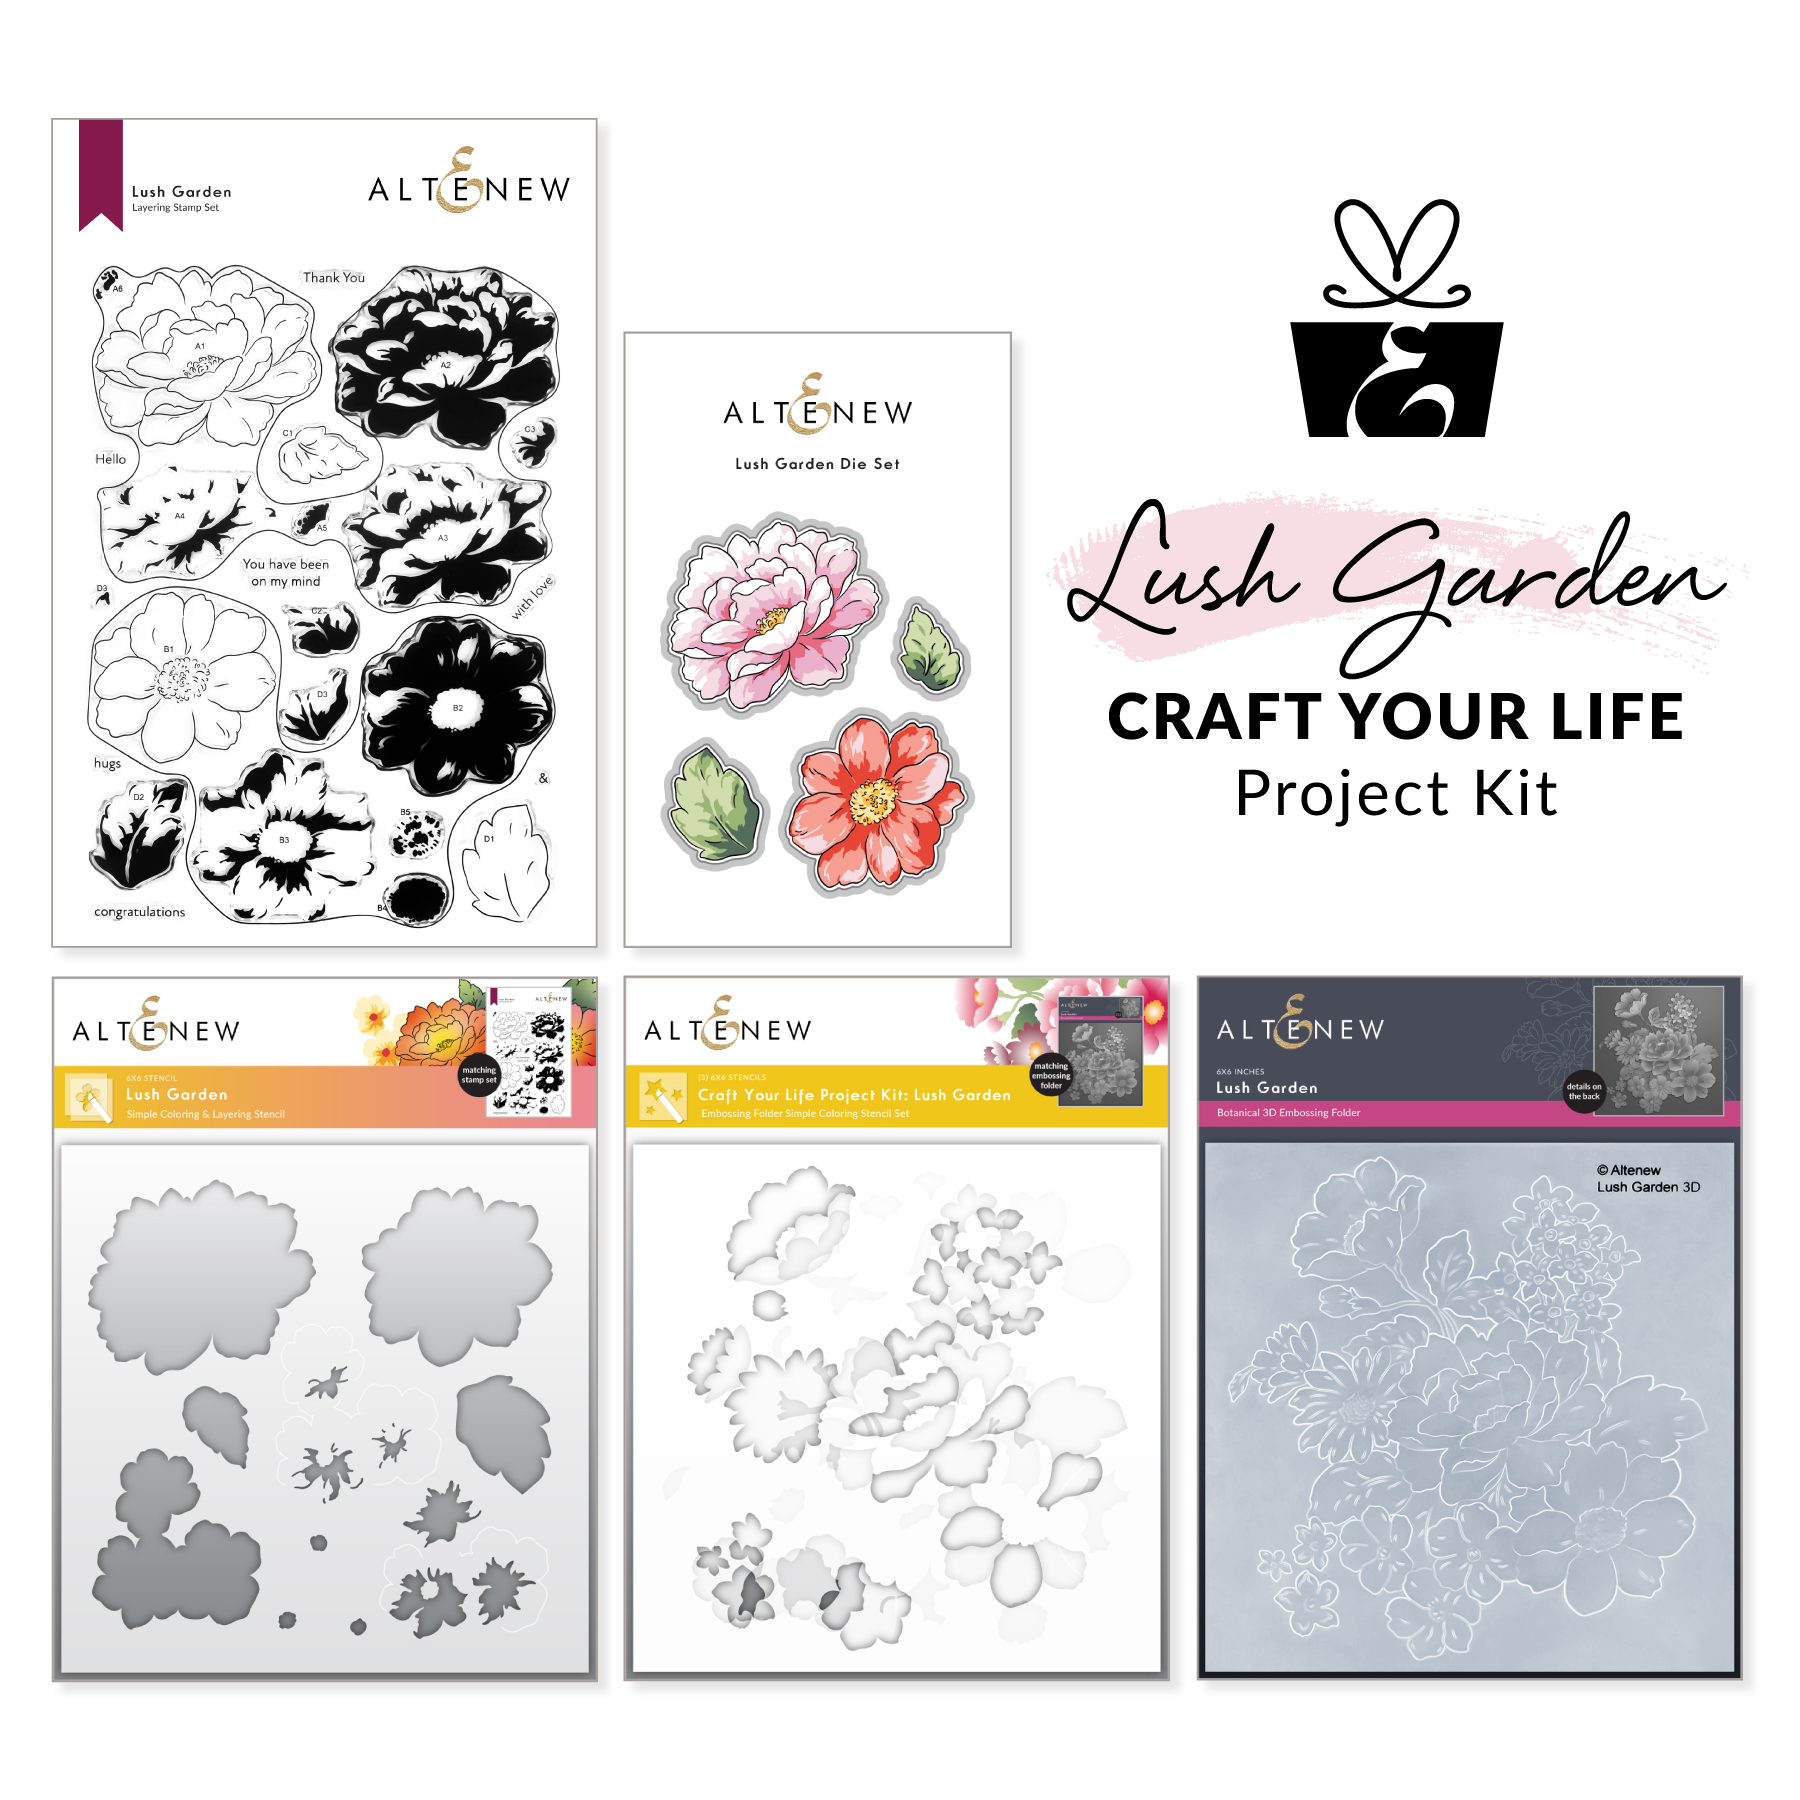
Hello, everyone! Welcome to the second Craft Your Life Project Kit Release!!! If you just came from Erin Thompson’s blog, then you’re on the right track. For the full list, kindly visit the Altenew Card blog. This is another beautiful set that everyone should have. Take a look at what’s included in the Craft your Life Project Kit: Lush Garden!

CRAFT OUR LIFE PROJECT KIT: LUSH GARDEN

For this release, I wanted to create something different from my usual vibrant cards. Lately, I’ve been drawn to CAS cards with very light and muted colors and lots of white space. Here are three cards that I made with these ideas in mind.


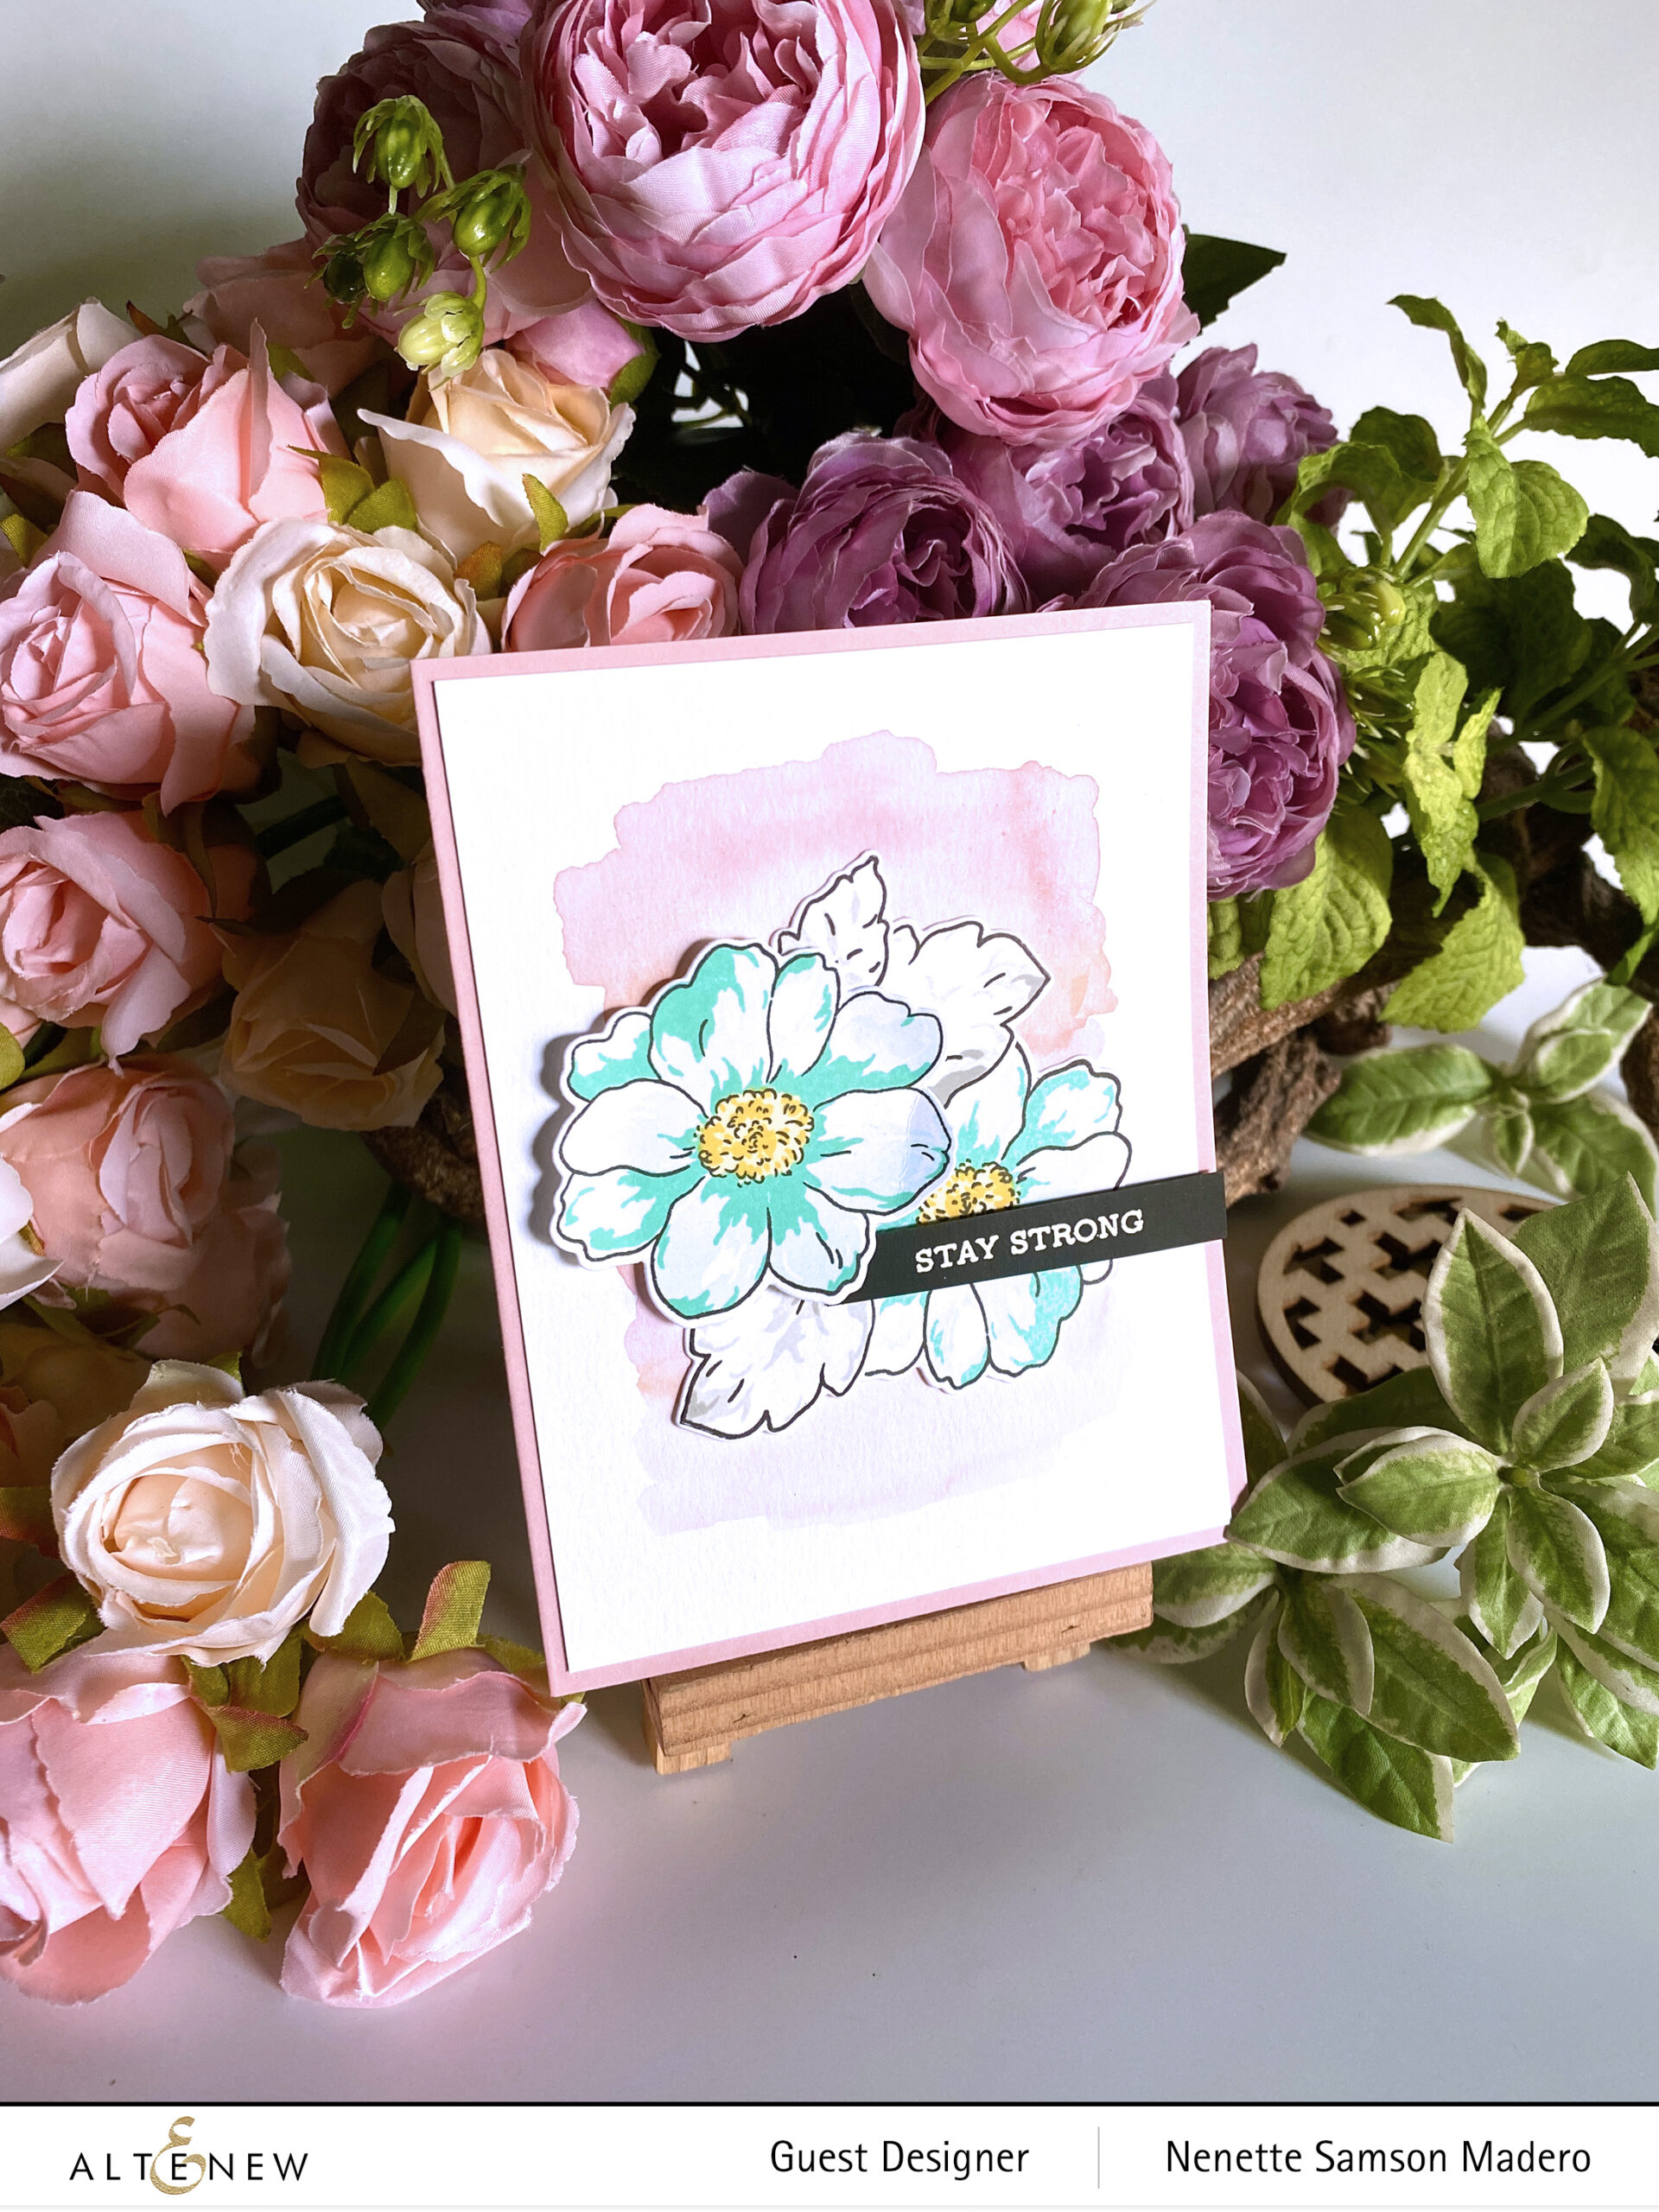
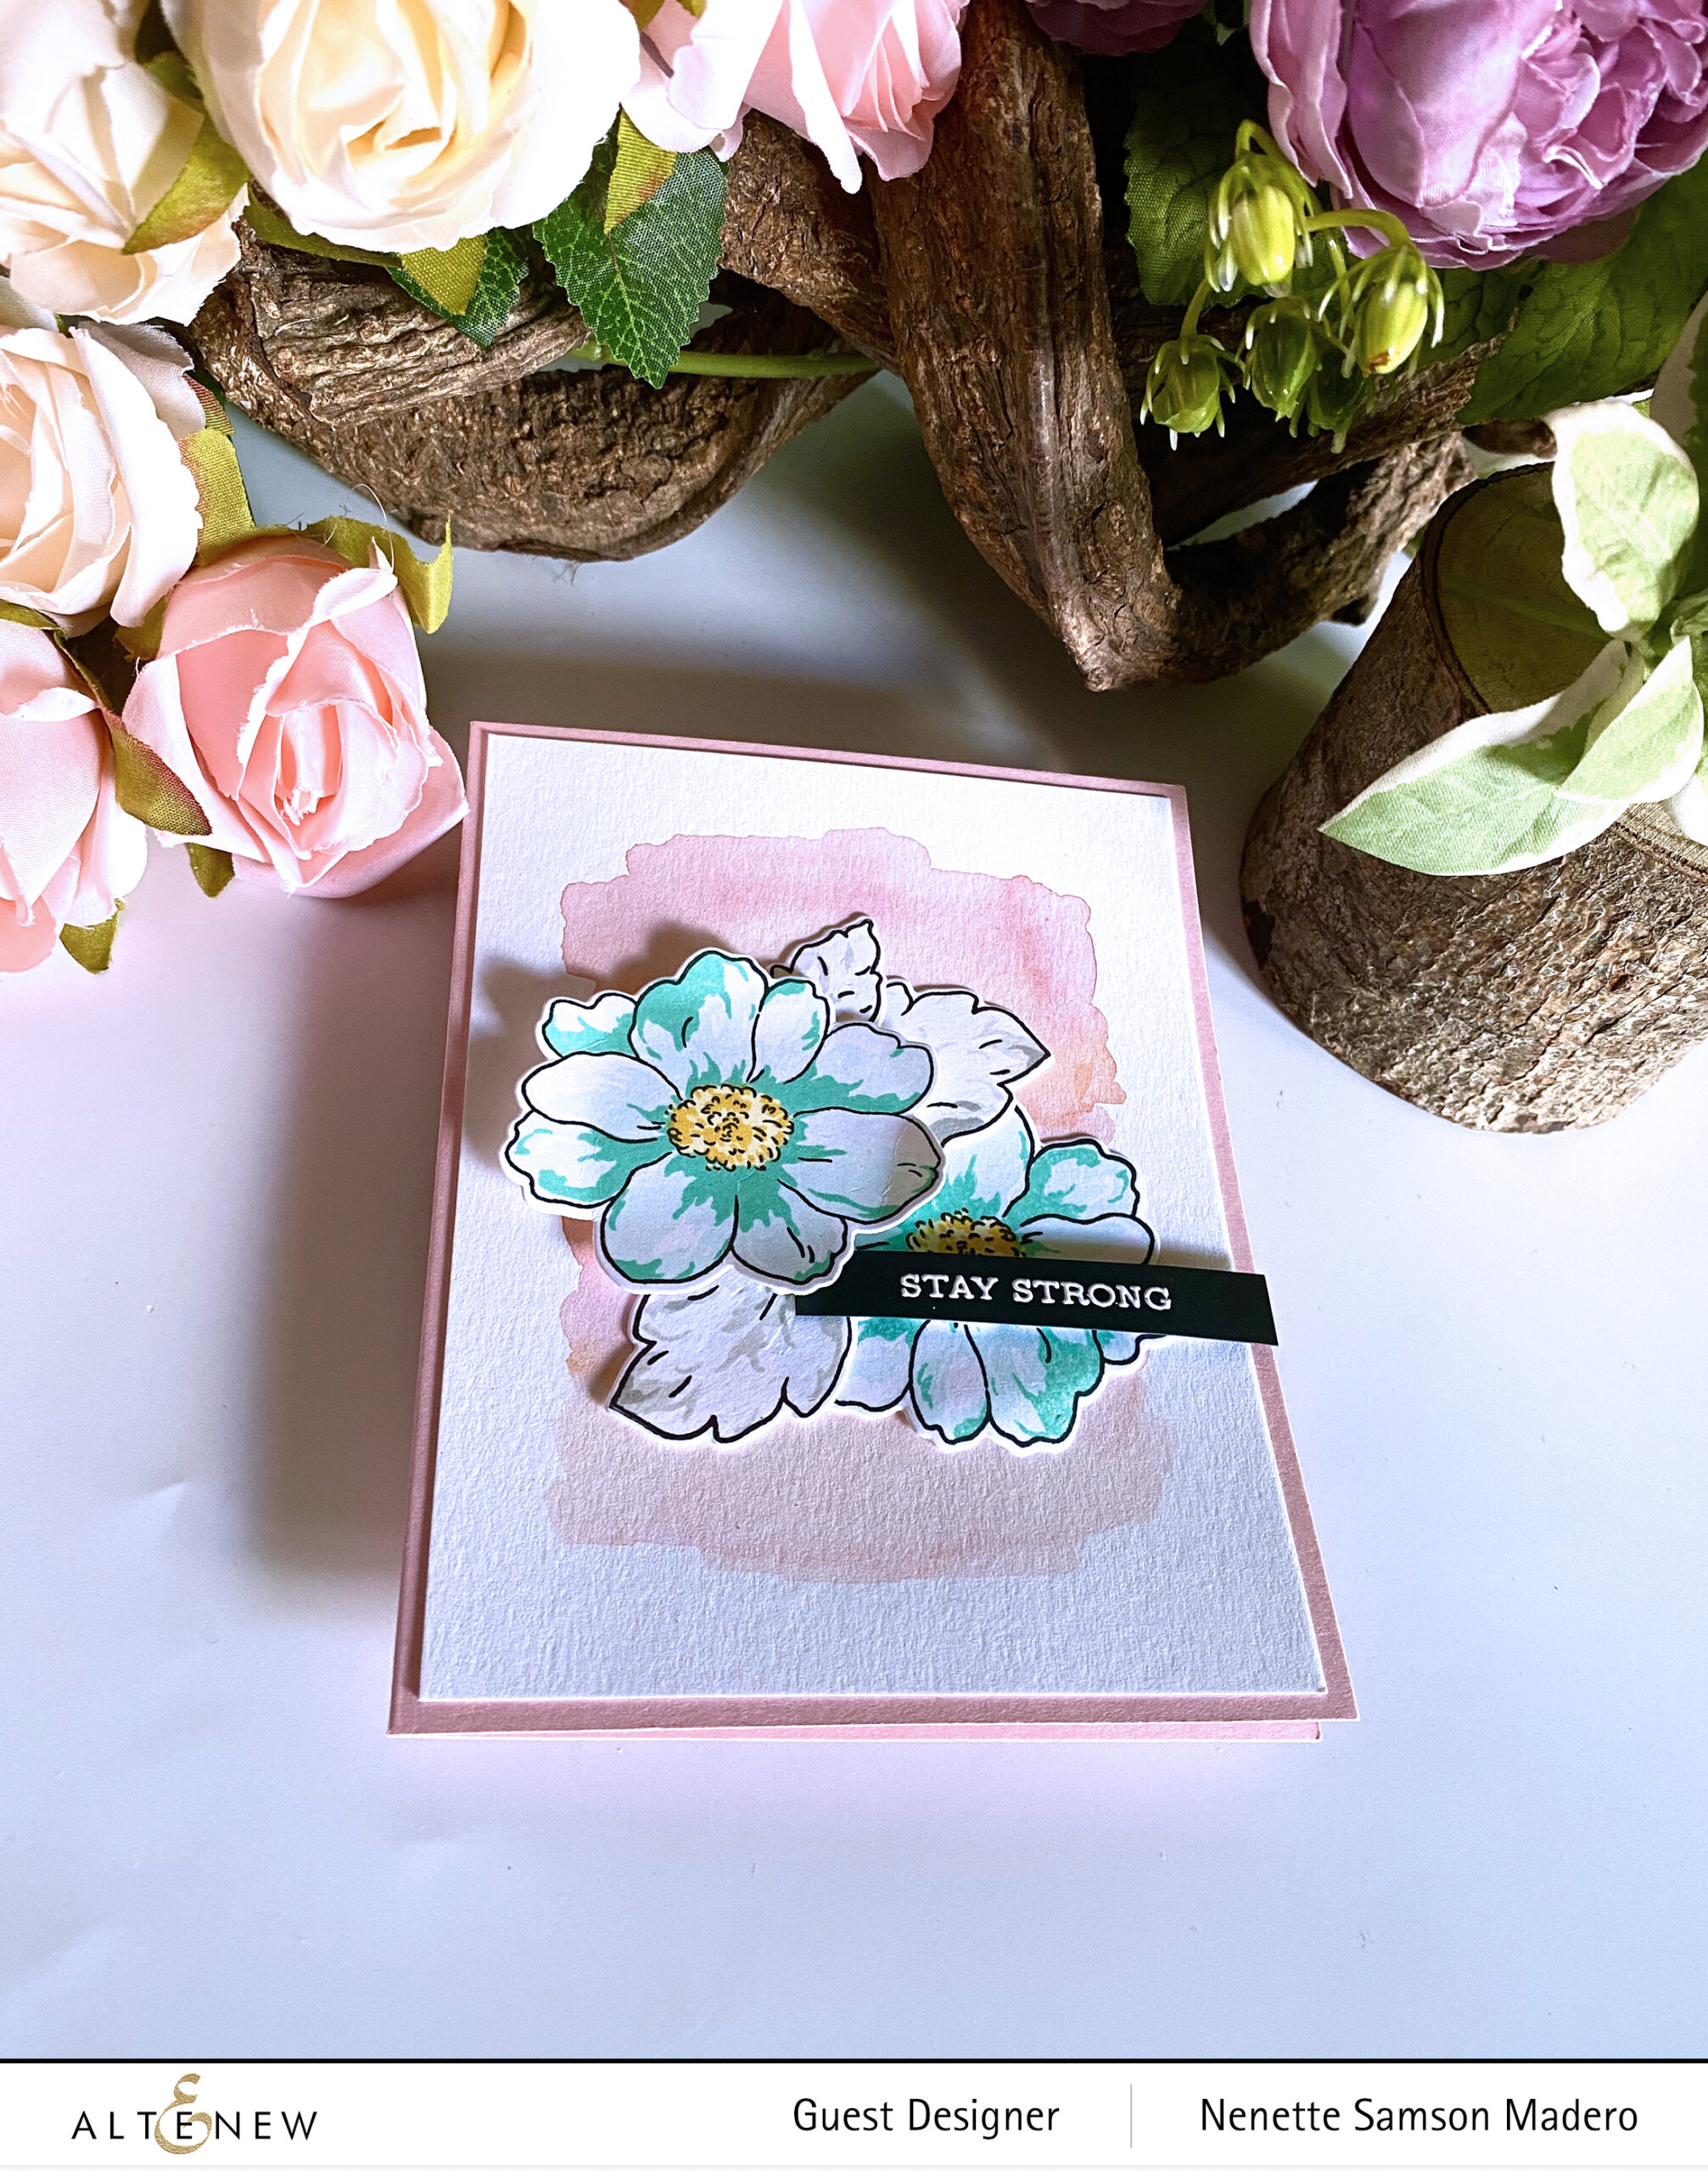
STAY STRONG


I love the flowers from the Lush Garden Stamp and Die Set. First, I created a light watercolor wash on watercolor paper then I stamped the flowers using Versafine Onyx black then layered the Iceberg and Volcanic Lake dye inks. These were die cut. The sentiment was stamped on black cardstock using Versamark Ink and embossed with Pure White Embossing Powder.

I purposely kept the colors light, muted and sweet.


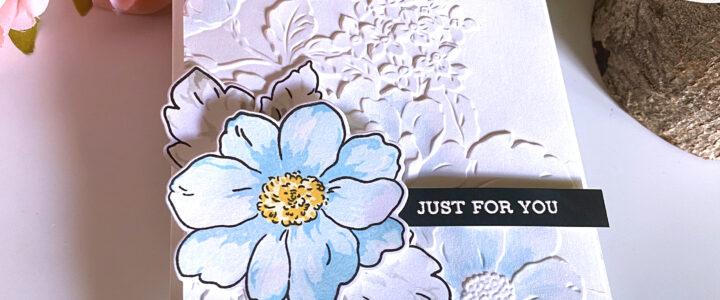
JUST FOR YOU


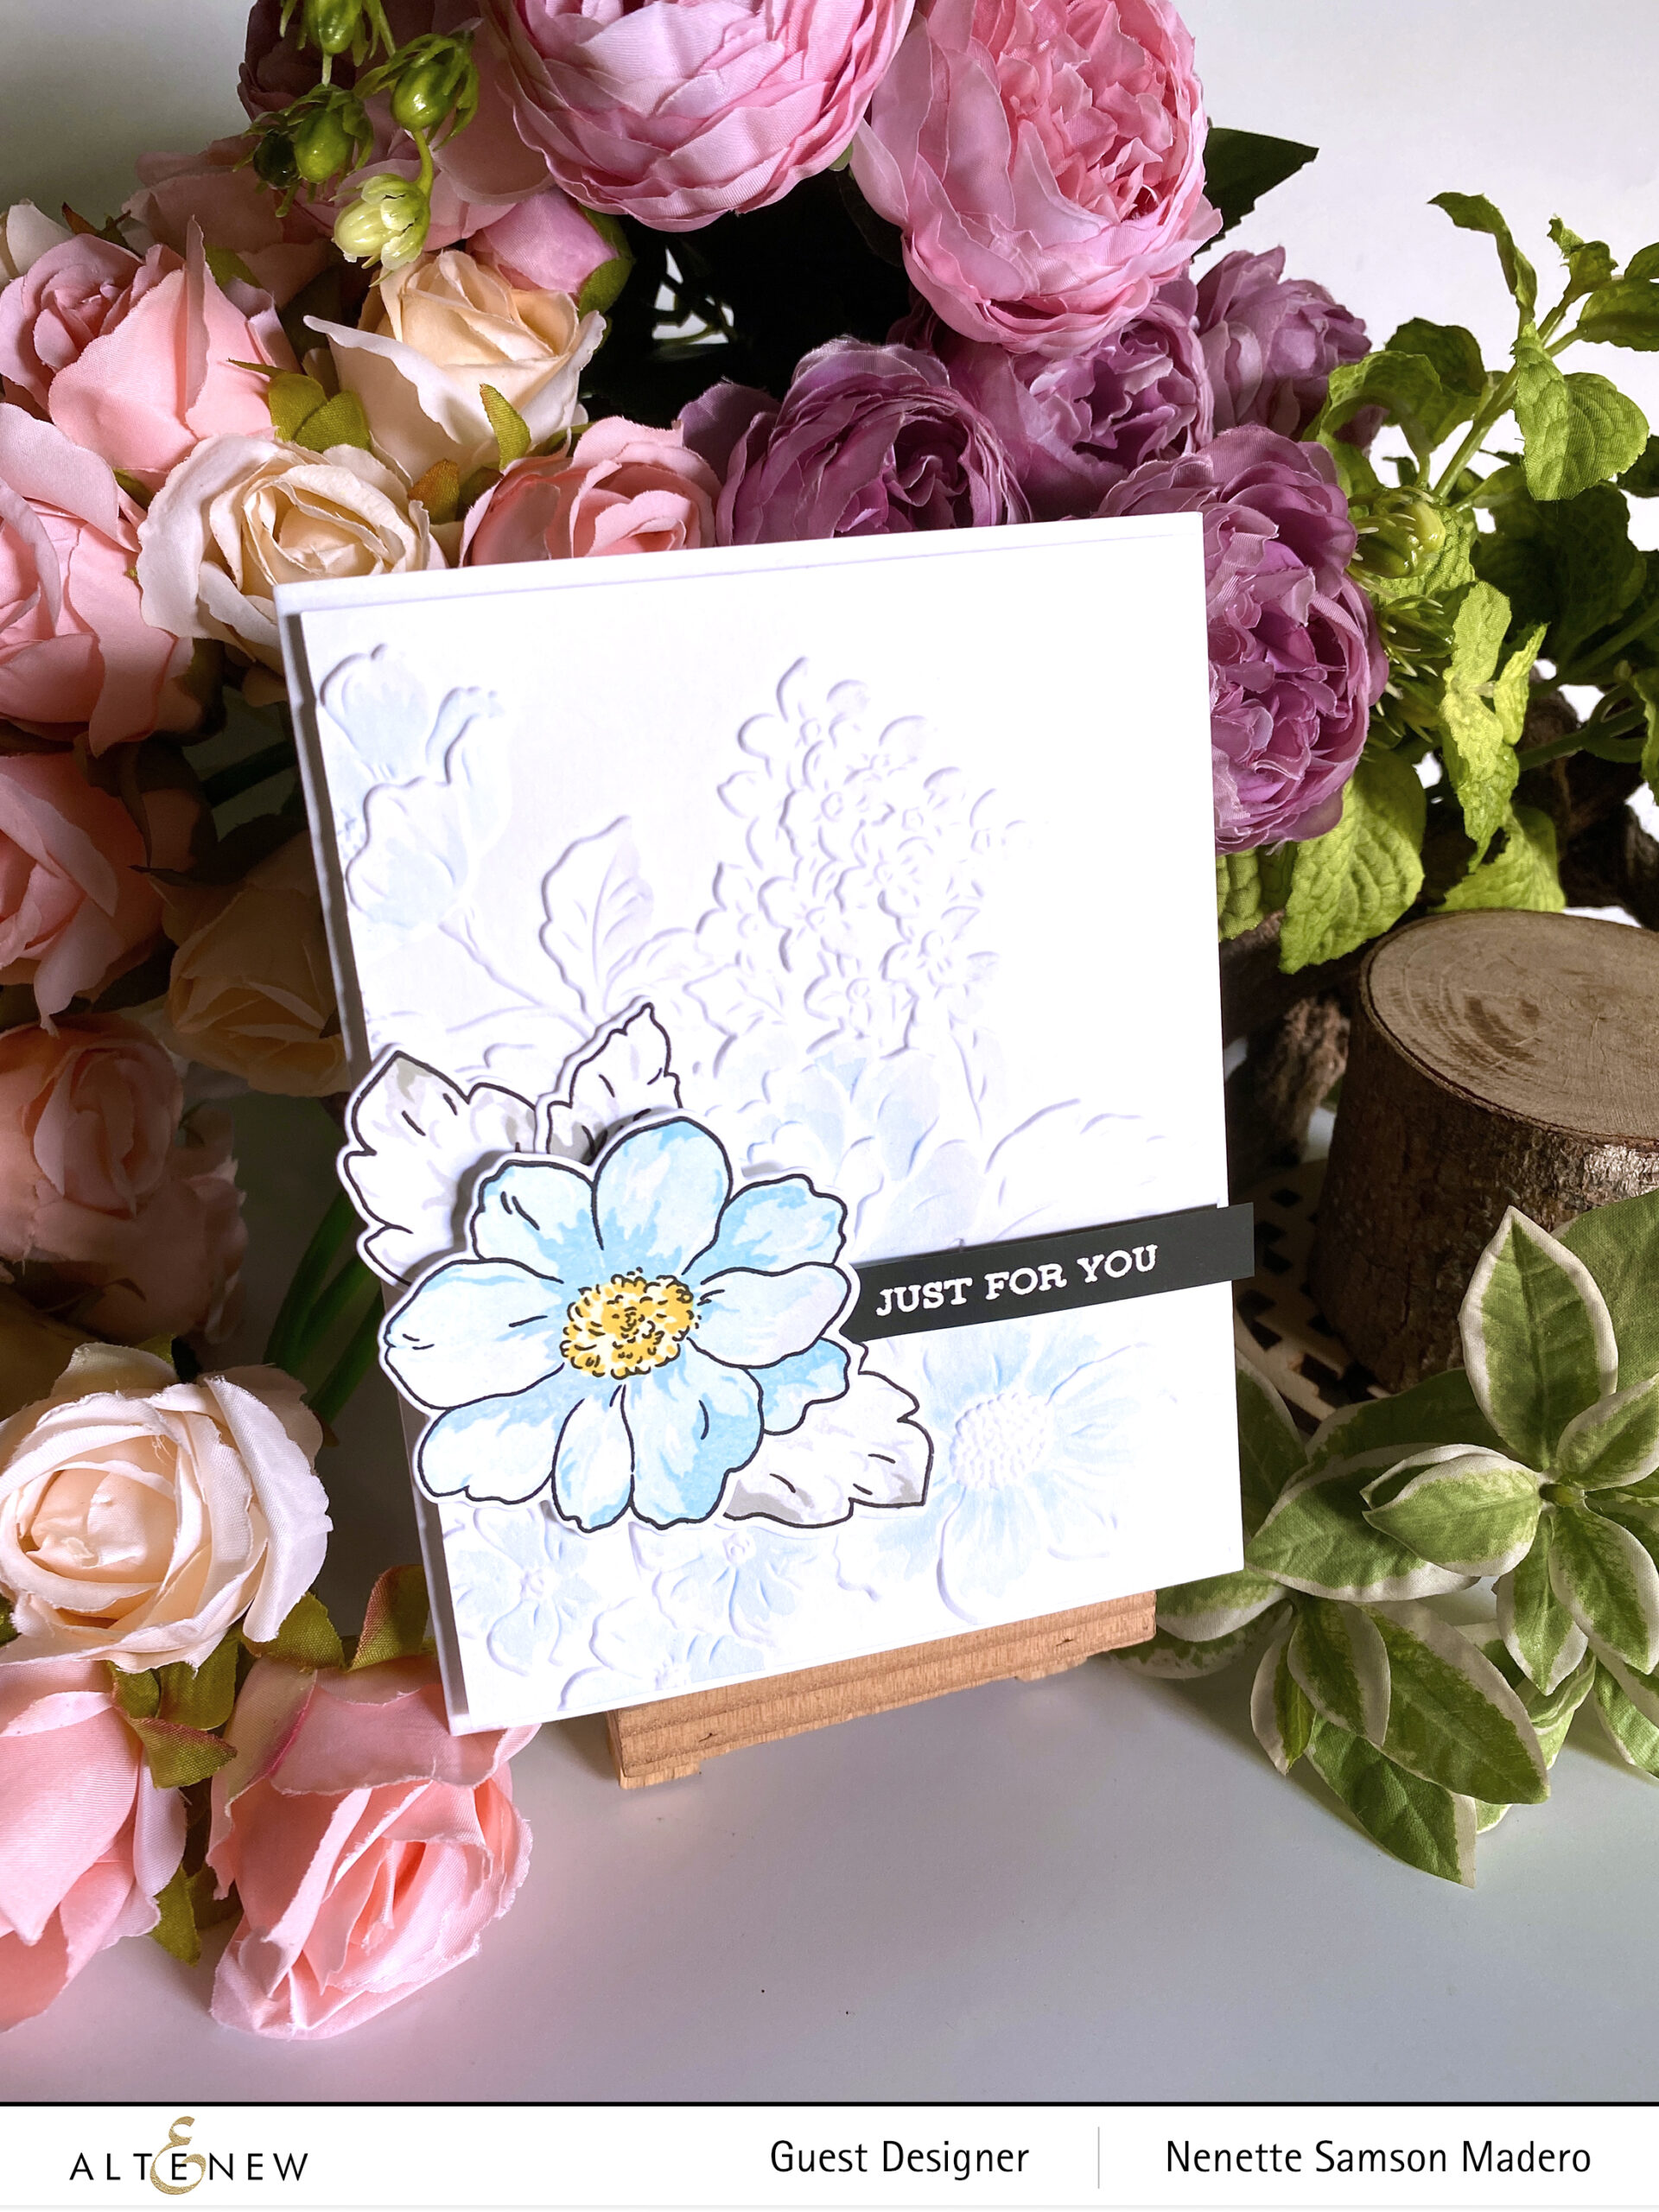
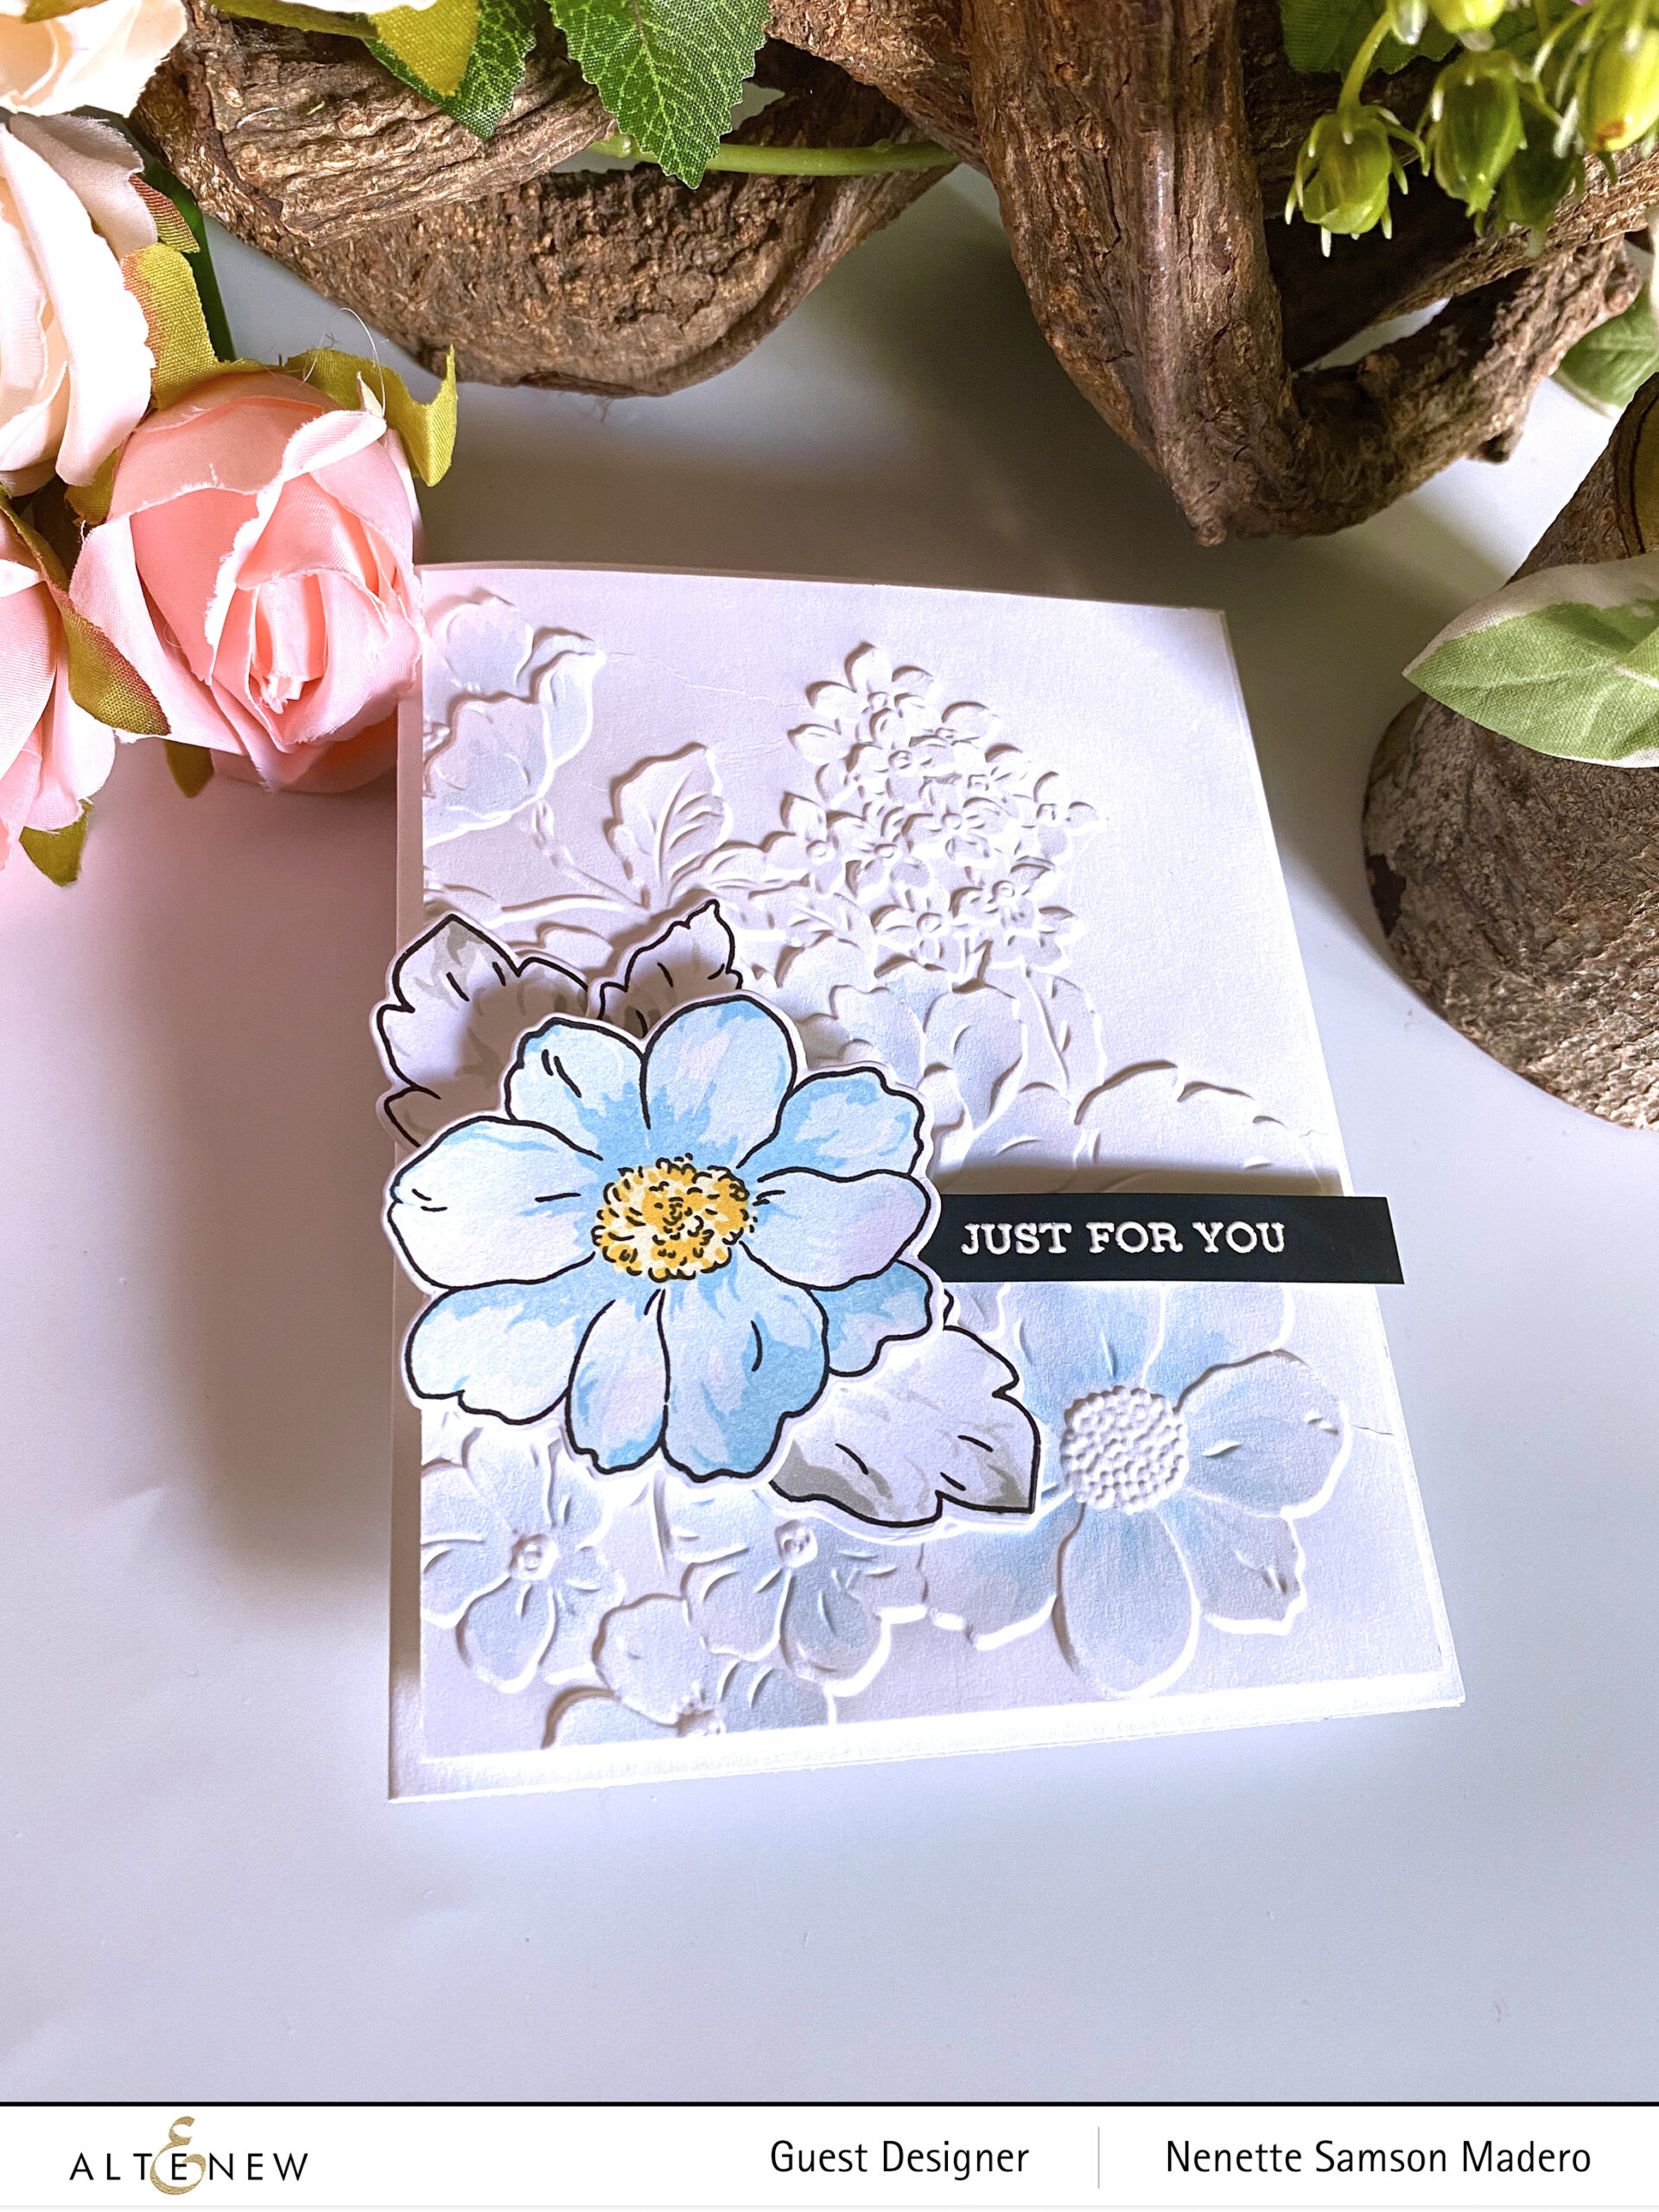
For this card, I wanted to use the coordinating Lush Garden 3D embossing folder to complement the flowers. The letterpress paper really brings out the beautiful design of this embossing folder!!! I simply added some light blue touches of color to the background then layered the stamped image on top. Sentiment Strips 2 was used for the sentiment. This is a simple card with lots of texture and white space. <3


HELLO


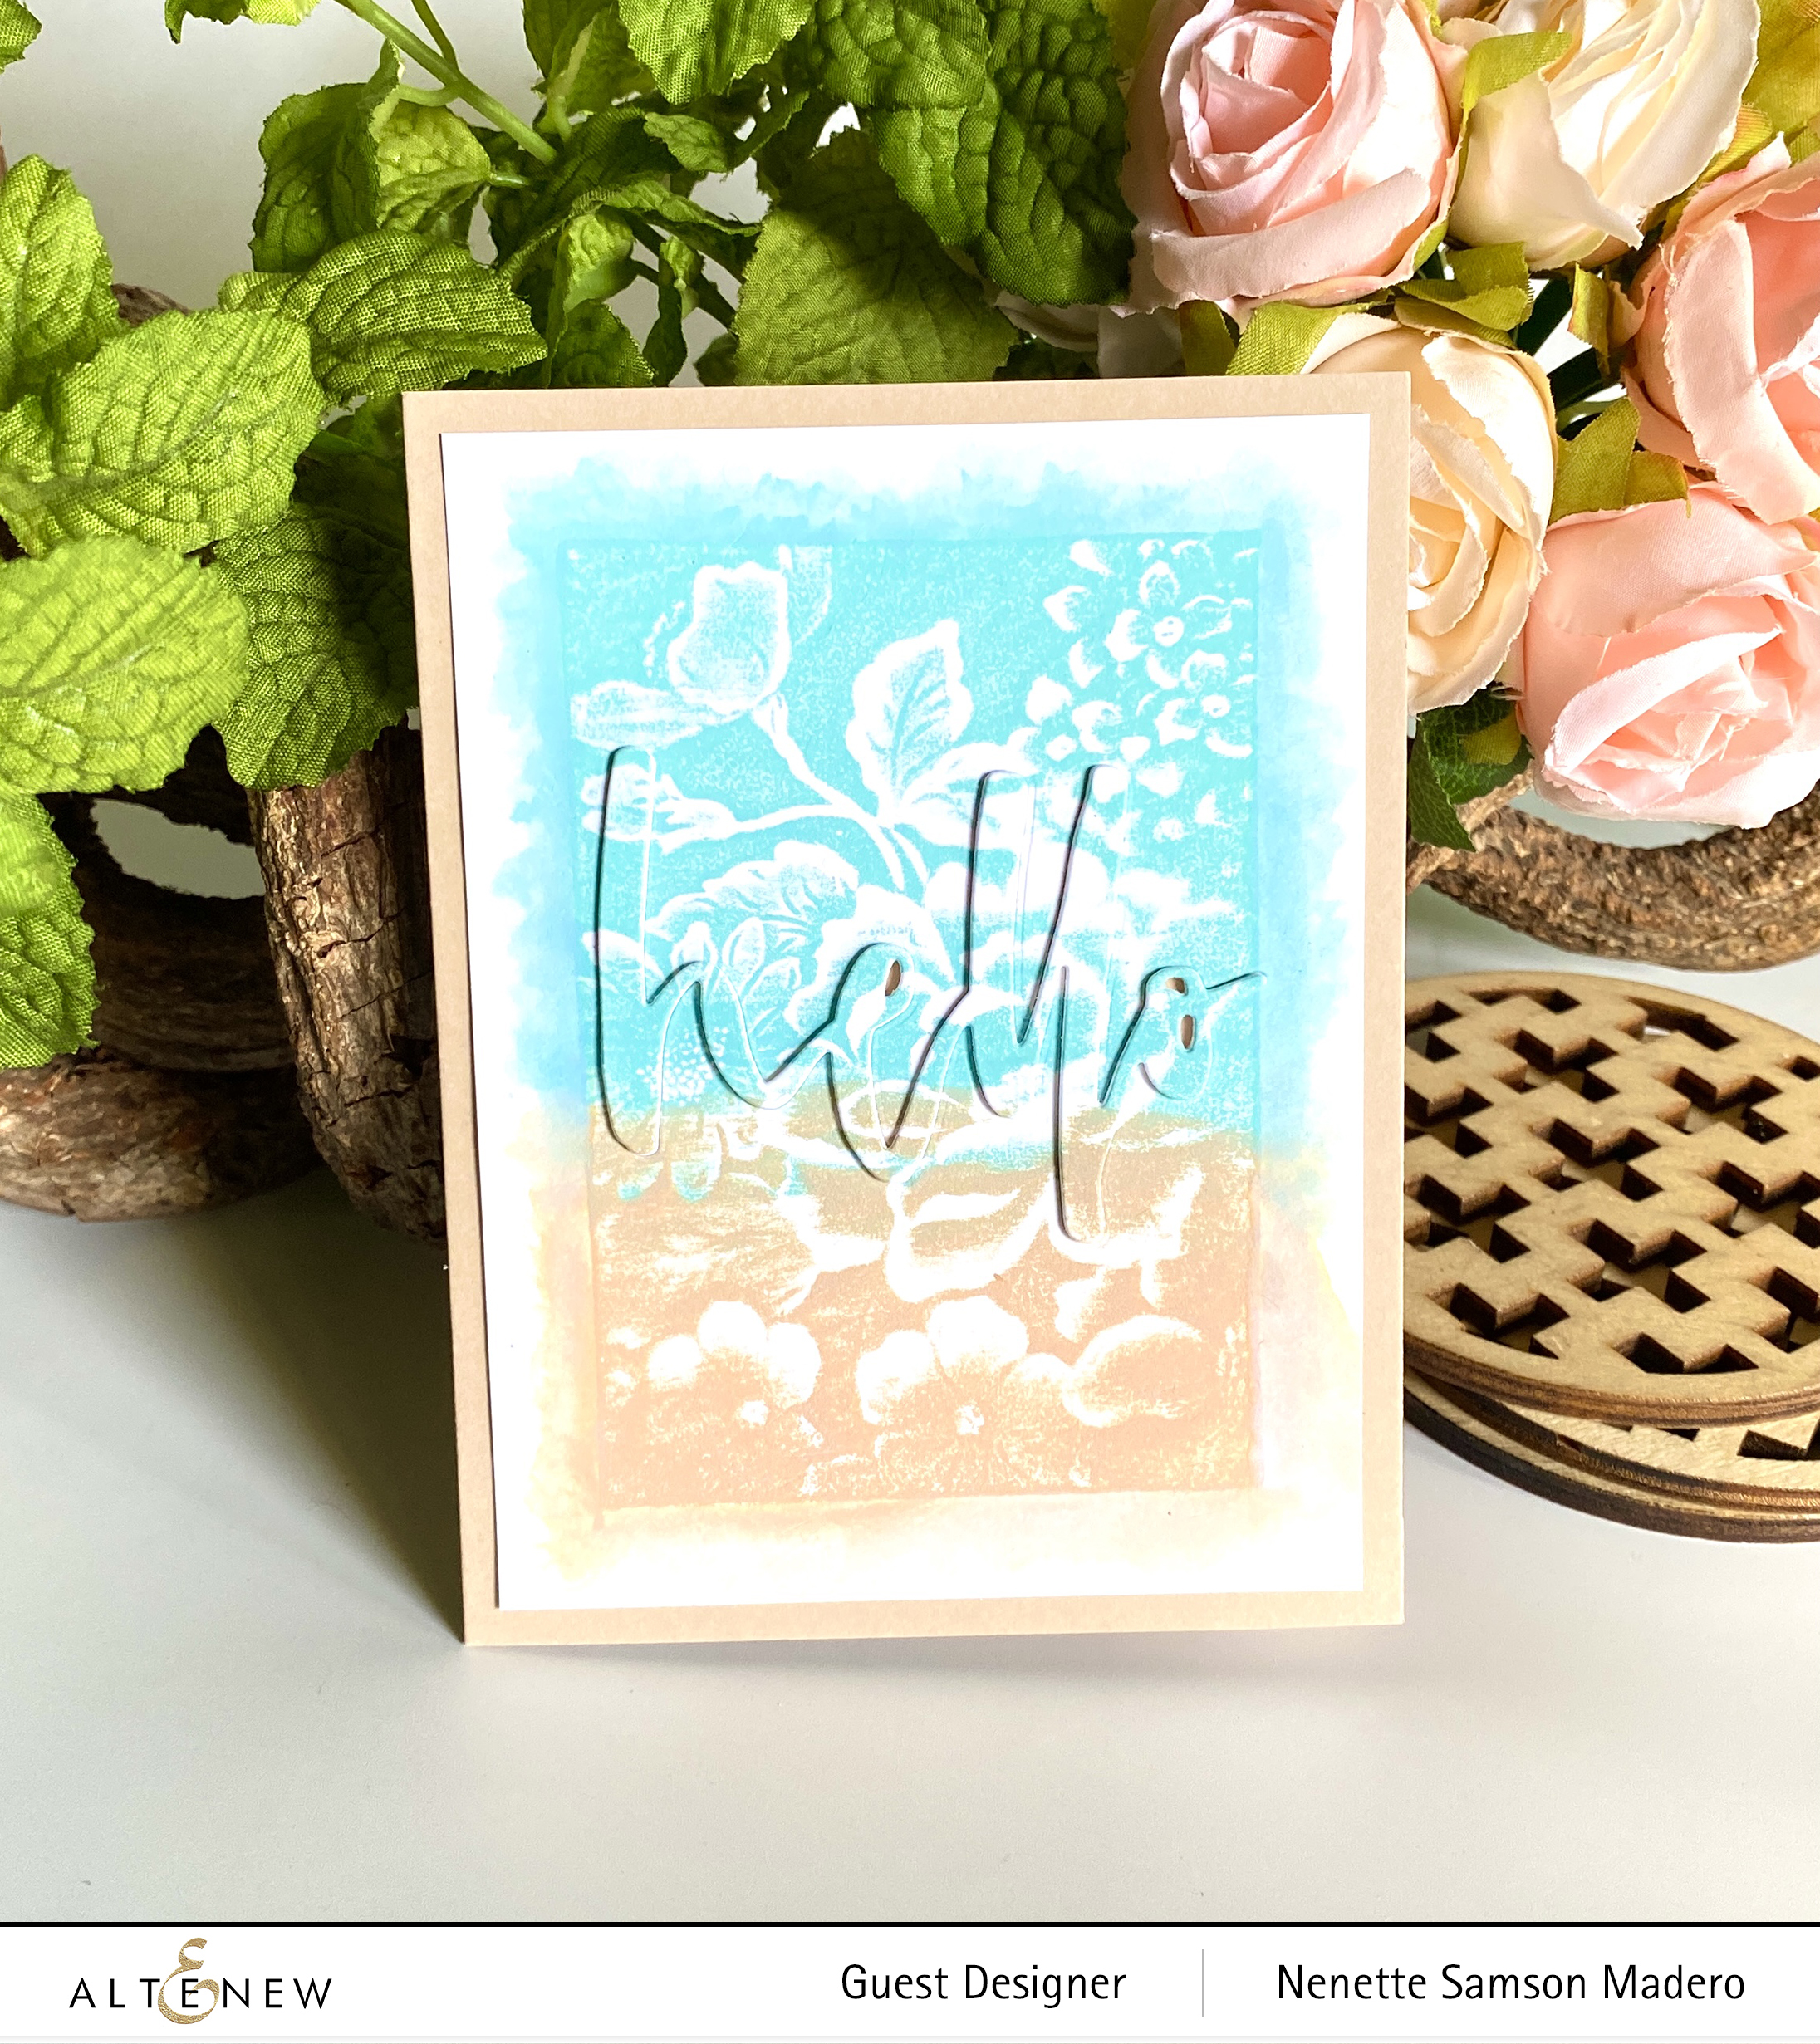
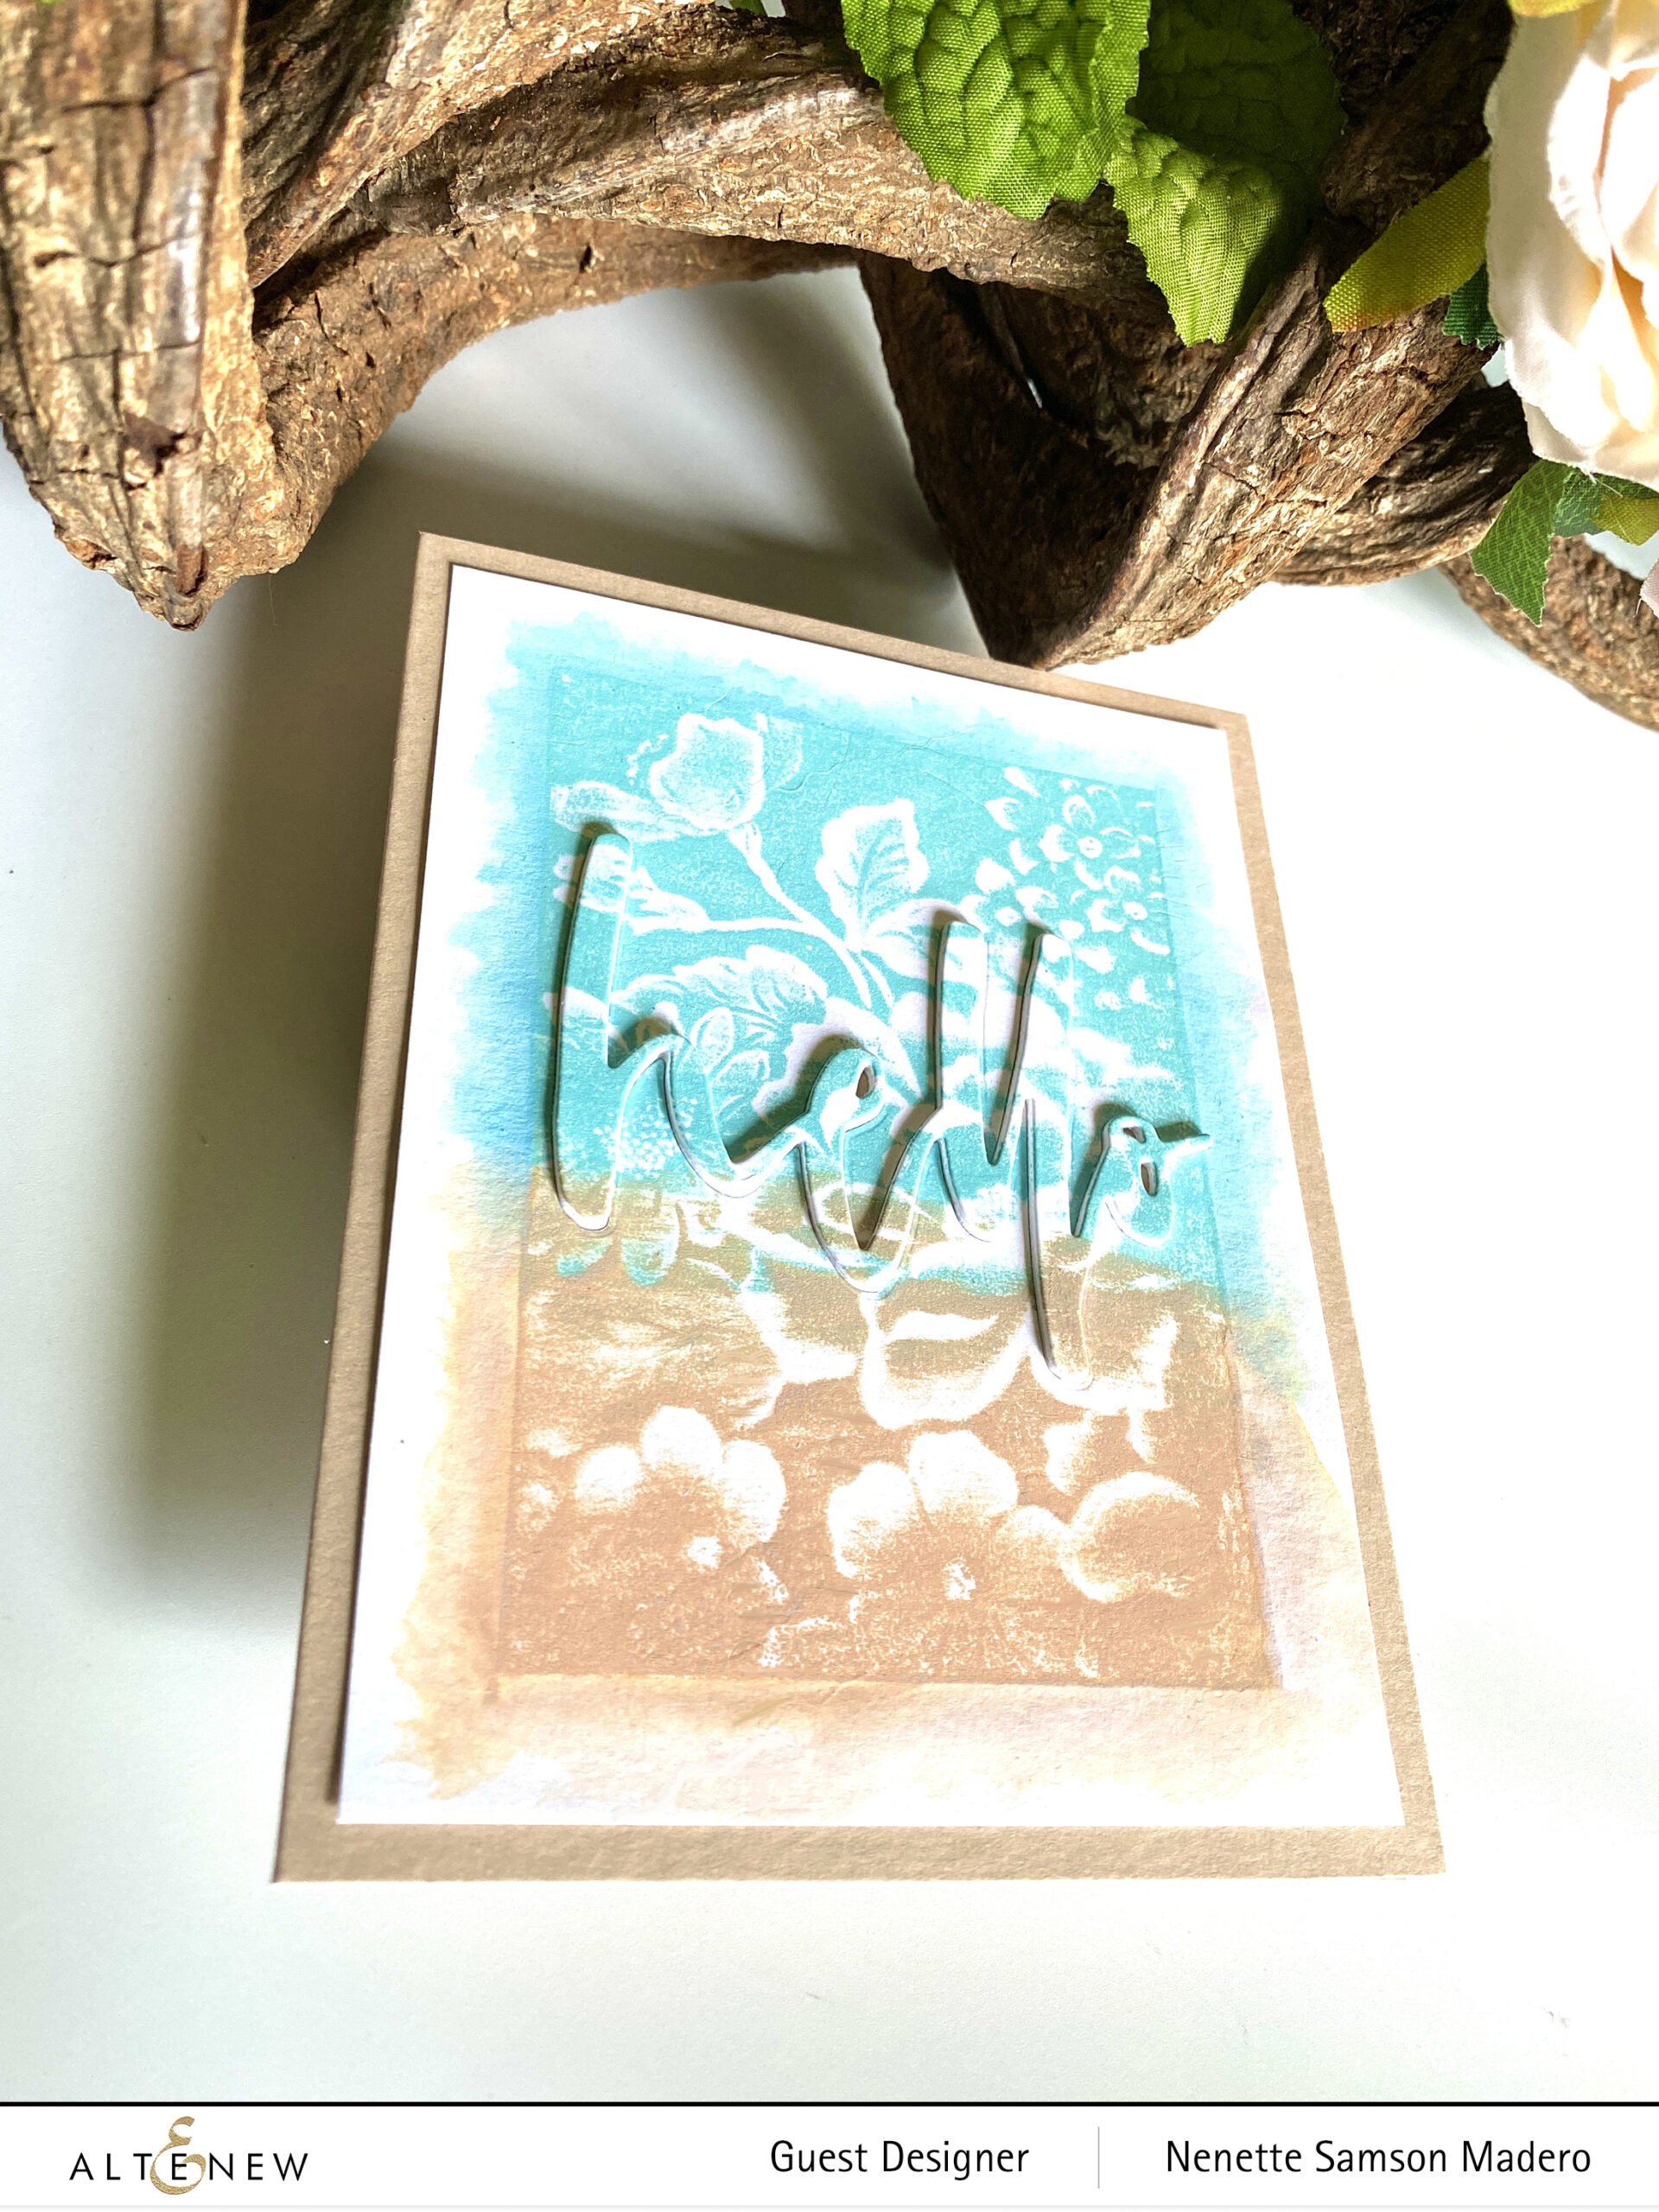
Here’s another simple card to make. I used the Simon Hurley stamping foam to get an impression from the Lush Garden 3D embossing folder. Take note that this will be printing the mirror image of the embossing folder. I inked up the foam with distress oxide inks and stamped the image onto Neenah Solar White cardstock. The Waterbrush Hello die was used to die cut the word and was layered on top of 4 more Hello die cuts for added dimension.


GIVEAWAY PRIZES


$300 in total prizes! To celebrate this release, Altenew is giving away a $50 gift certificate to 2 lucky winners and a $ 25 gift certificate to 8 winners! Please leave a comment on the Altenew Card Blog and/or each designer’s blog post on the blog hop list below by 08/18/2021 for a chance to win. Altenew will draw 10 random winners from the comments left on each stop of this blog hop and announce the winners on the Altenew Winners Page on 08/20/2021.

Thank you so much for dropping by!!! Next up is Tina Smith. Please make sure you leave a comment to get a chance to win a prize from Altenew. I truly love reading your kind words. If you haven’t yet, hope you can follow me on Instagram @mylittleatticstudio. All of my latest works are posted there. Until my next post! Keep on crafting and stay safe, everyone!

Altenew Paint-A-Flower: Fashion Monger Dahlia Release Blog Hop + Giveaway

Altenew Paint-A-Flower: Fashion Monger Dahlia Release Blog Hop + Giveaway

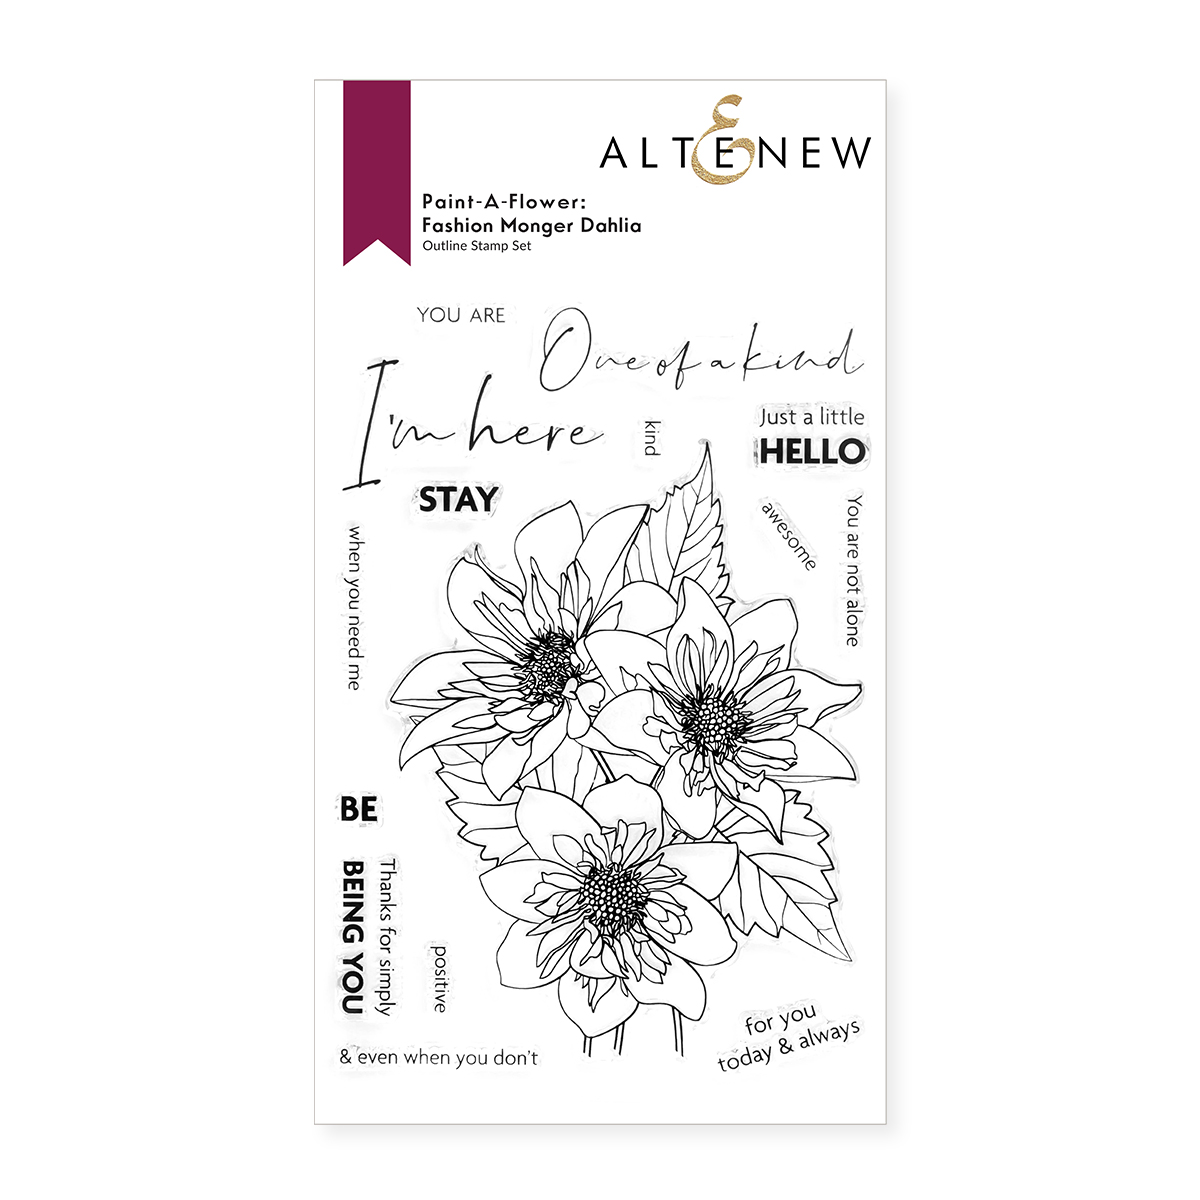
Welcome to my blog, friends! Today is the release of Altenew’s Paint-a-Flower: Fashion Monger Dahlia! Thanks so much, Daniel Diaz for relaying everyone over to my blog. For the complete list, you may start at Altenew’s card blog.

PAINT A FLOWER: FASHION MONGER DAHLIA STAMP AND DIE SET CAN BE FOUND HERE

Sometimes, the images from a stamp set have a lot of details that it seems a bit complicated to color because of the intricate designs. Below, I will show you 3 ways to easily color detailed stamp images.


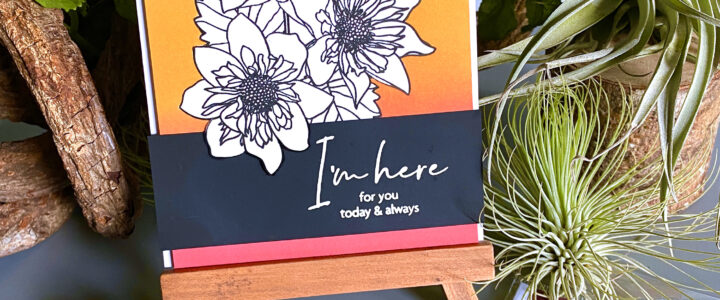
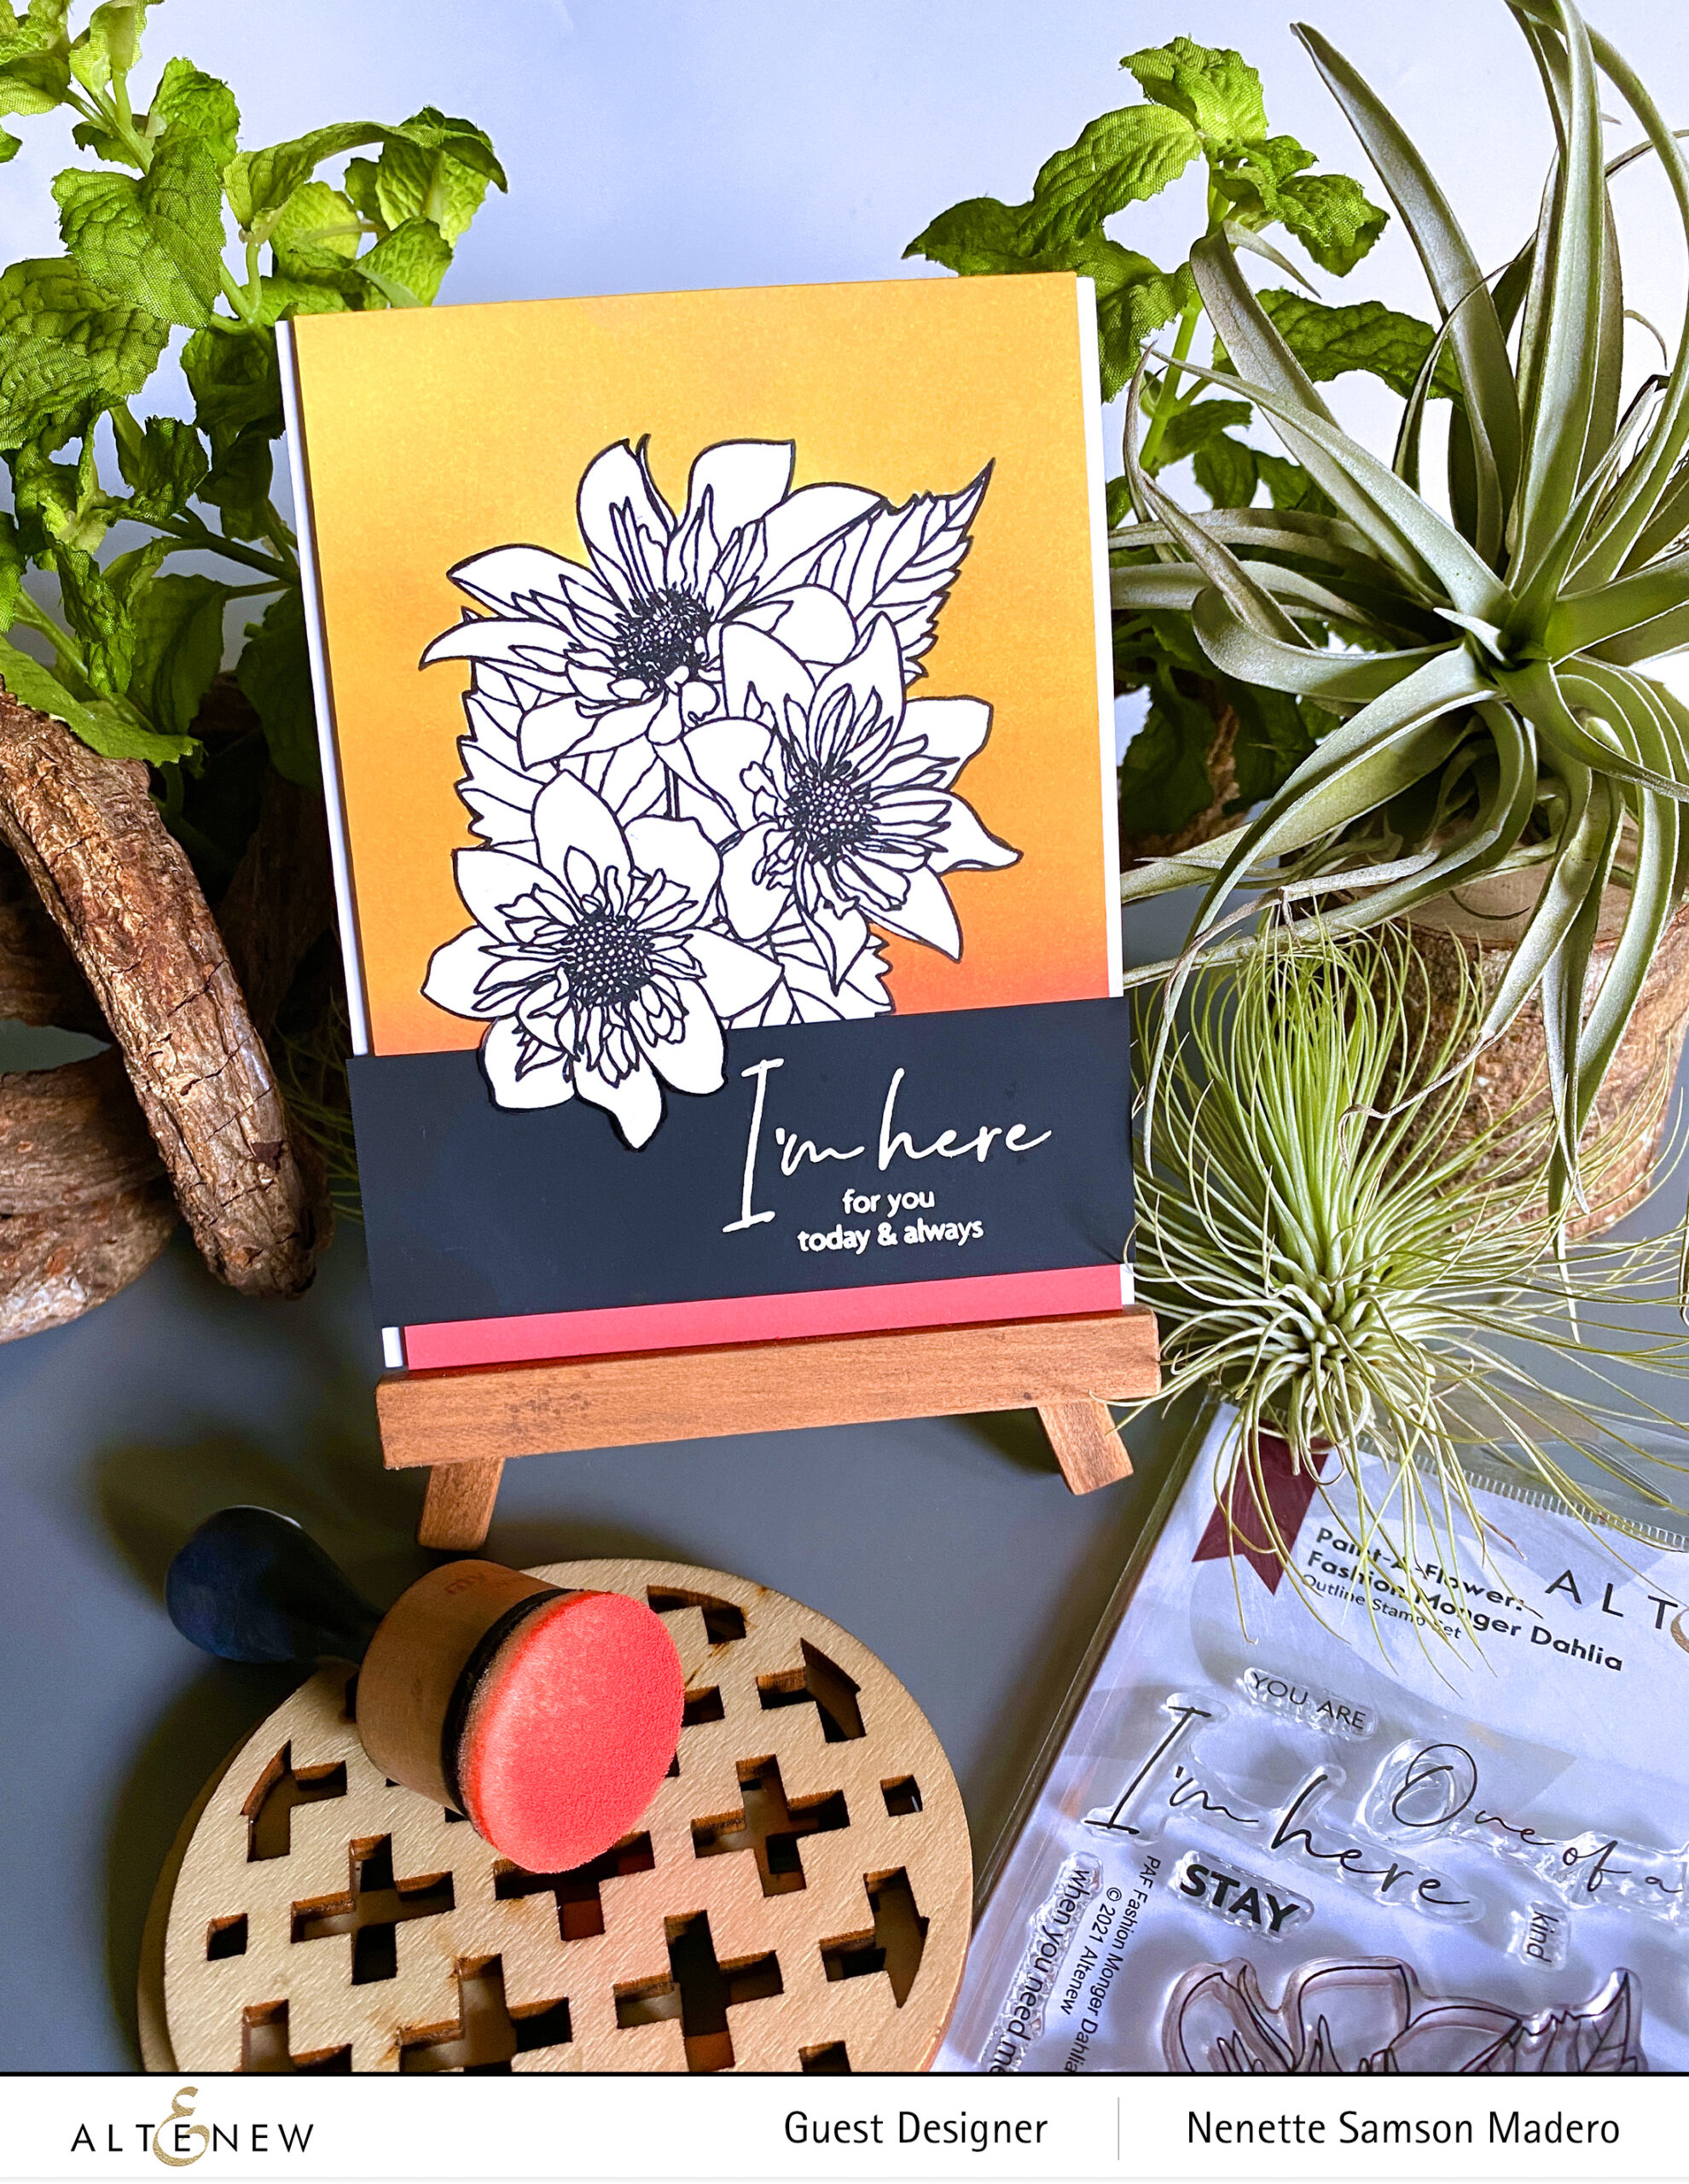
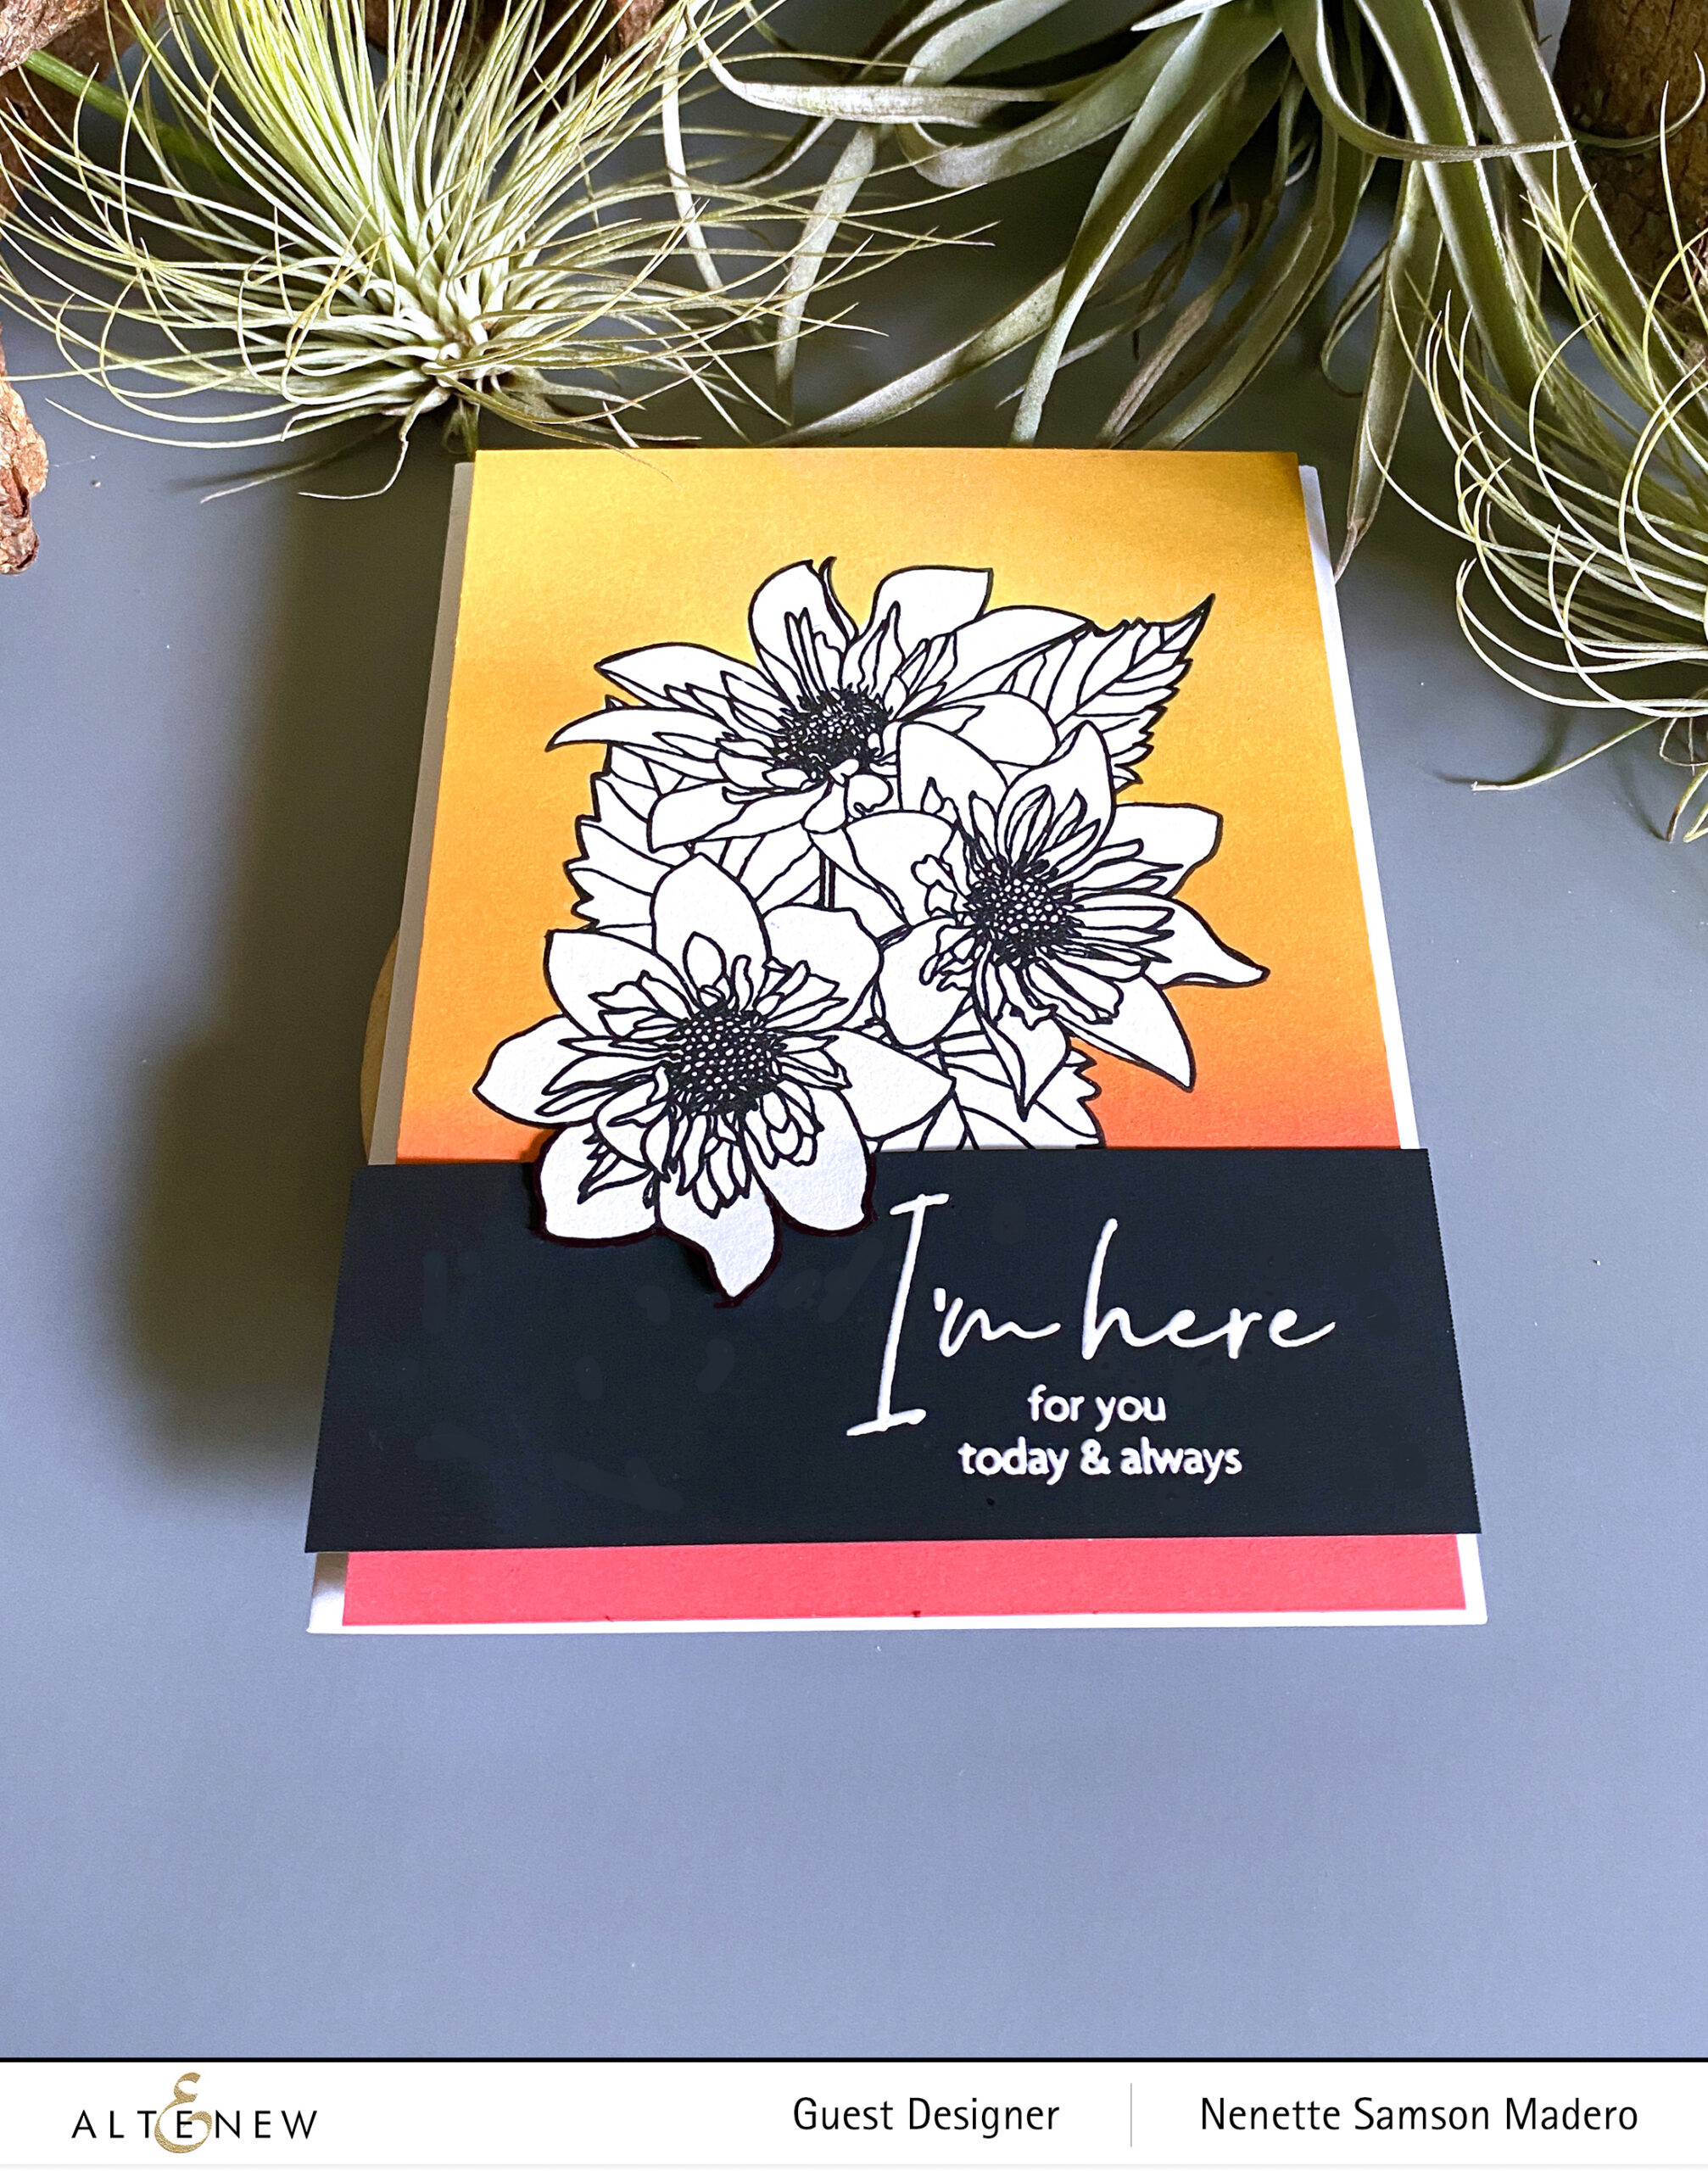
I’M HERE FOR YOU TODAY & ALWAYS


MATERIALS: PAF: FASHION MONGER DAHLIA, PURE WHITE EMBOSSING POWDER, OBSIDIAN INK, VERSAMARK INK, MASKING PAPER,DISTRESS OXIDE INKS- BARN DOOR, WILD HONEY, CARVED PUMPKIN, NEENAH SOLAR WHITE CARDSTOCK, BLACK CARDSTOCK, FOAM SQUARES AND ADHESIVE, EXACTO KNIFE

STEPS:

  • Stamp the image onto Neenah Solar white cardstock using Obsidian Ink
  • Stamp the image on masking paper and fussy cut the outline of the whole image
  • Line up the mask then add color to the background. Blend the oxide inks well
  • Stamp the sentiment using Versamark Ink on black cardstock then emboss with white embossing powder
  • With an Exacto knife, cut a portion of the outline of the flower so that you can tuck the sentiment underneath it for added interest
  • Assemble the card

Sometimes, when an image seems to be complicated to color, you can always choose to color the background and keep the image black and white. This way, the image stands out more. Since I love layering in my cards, I cut out a portion of the stamped image so that I can tuck in the sentiment strip underneath the petal. It just gives the card a different twist than just adding the sentiment on top of the image.


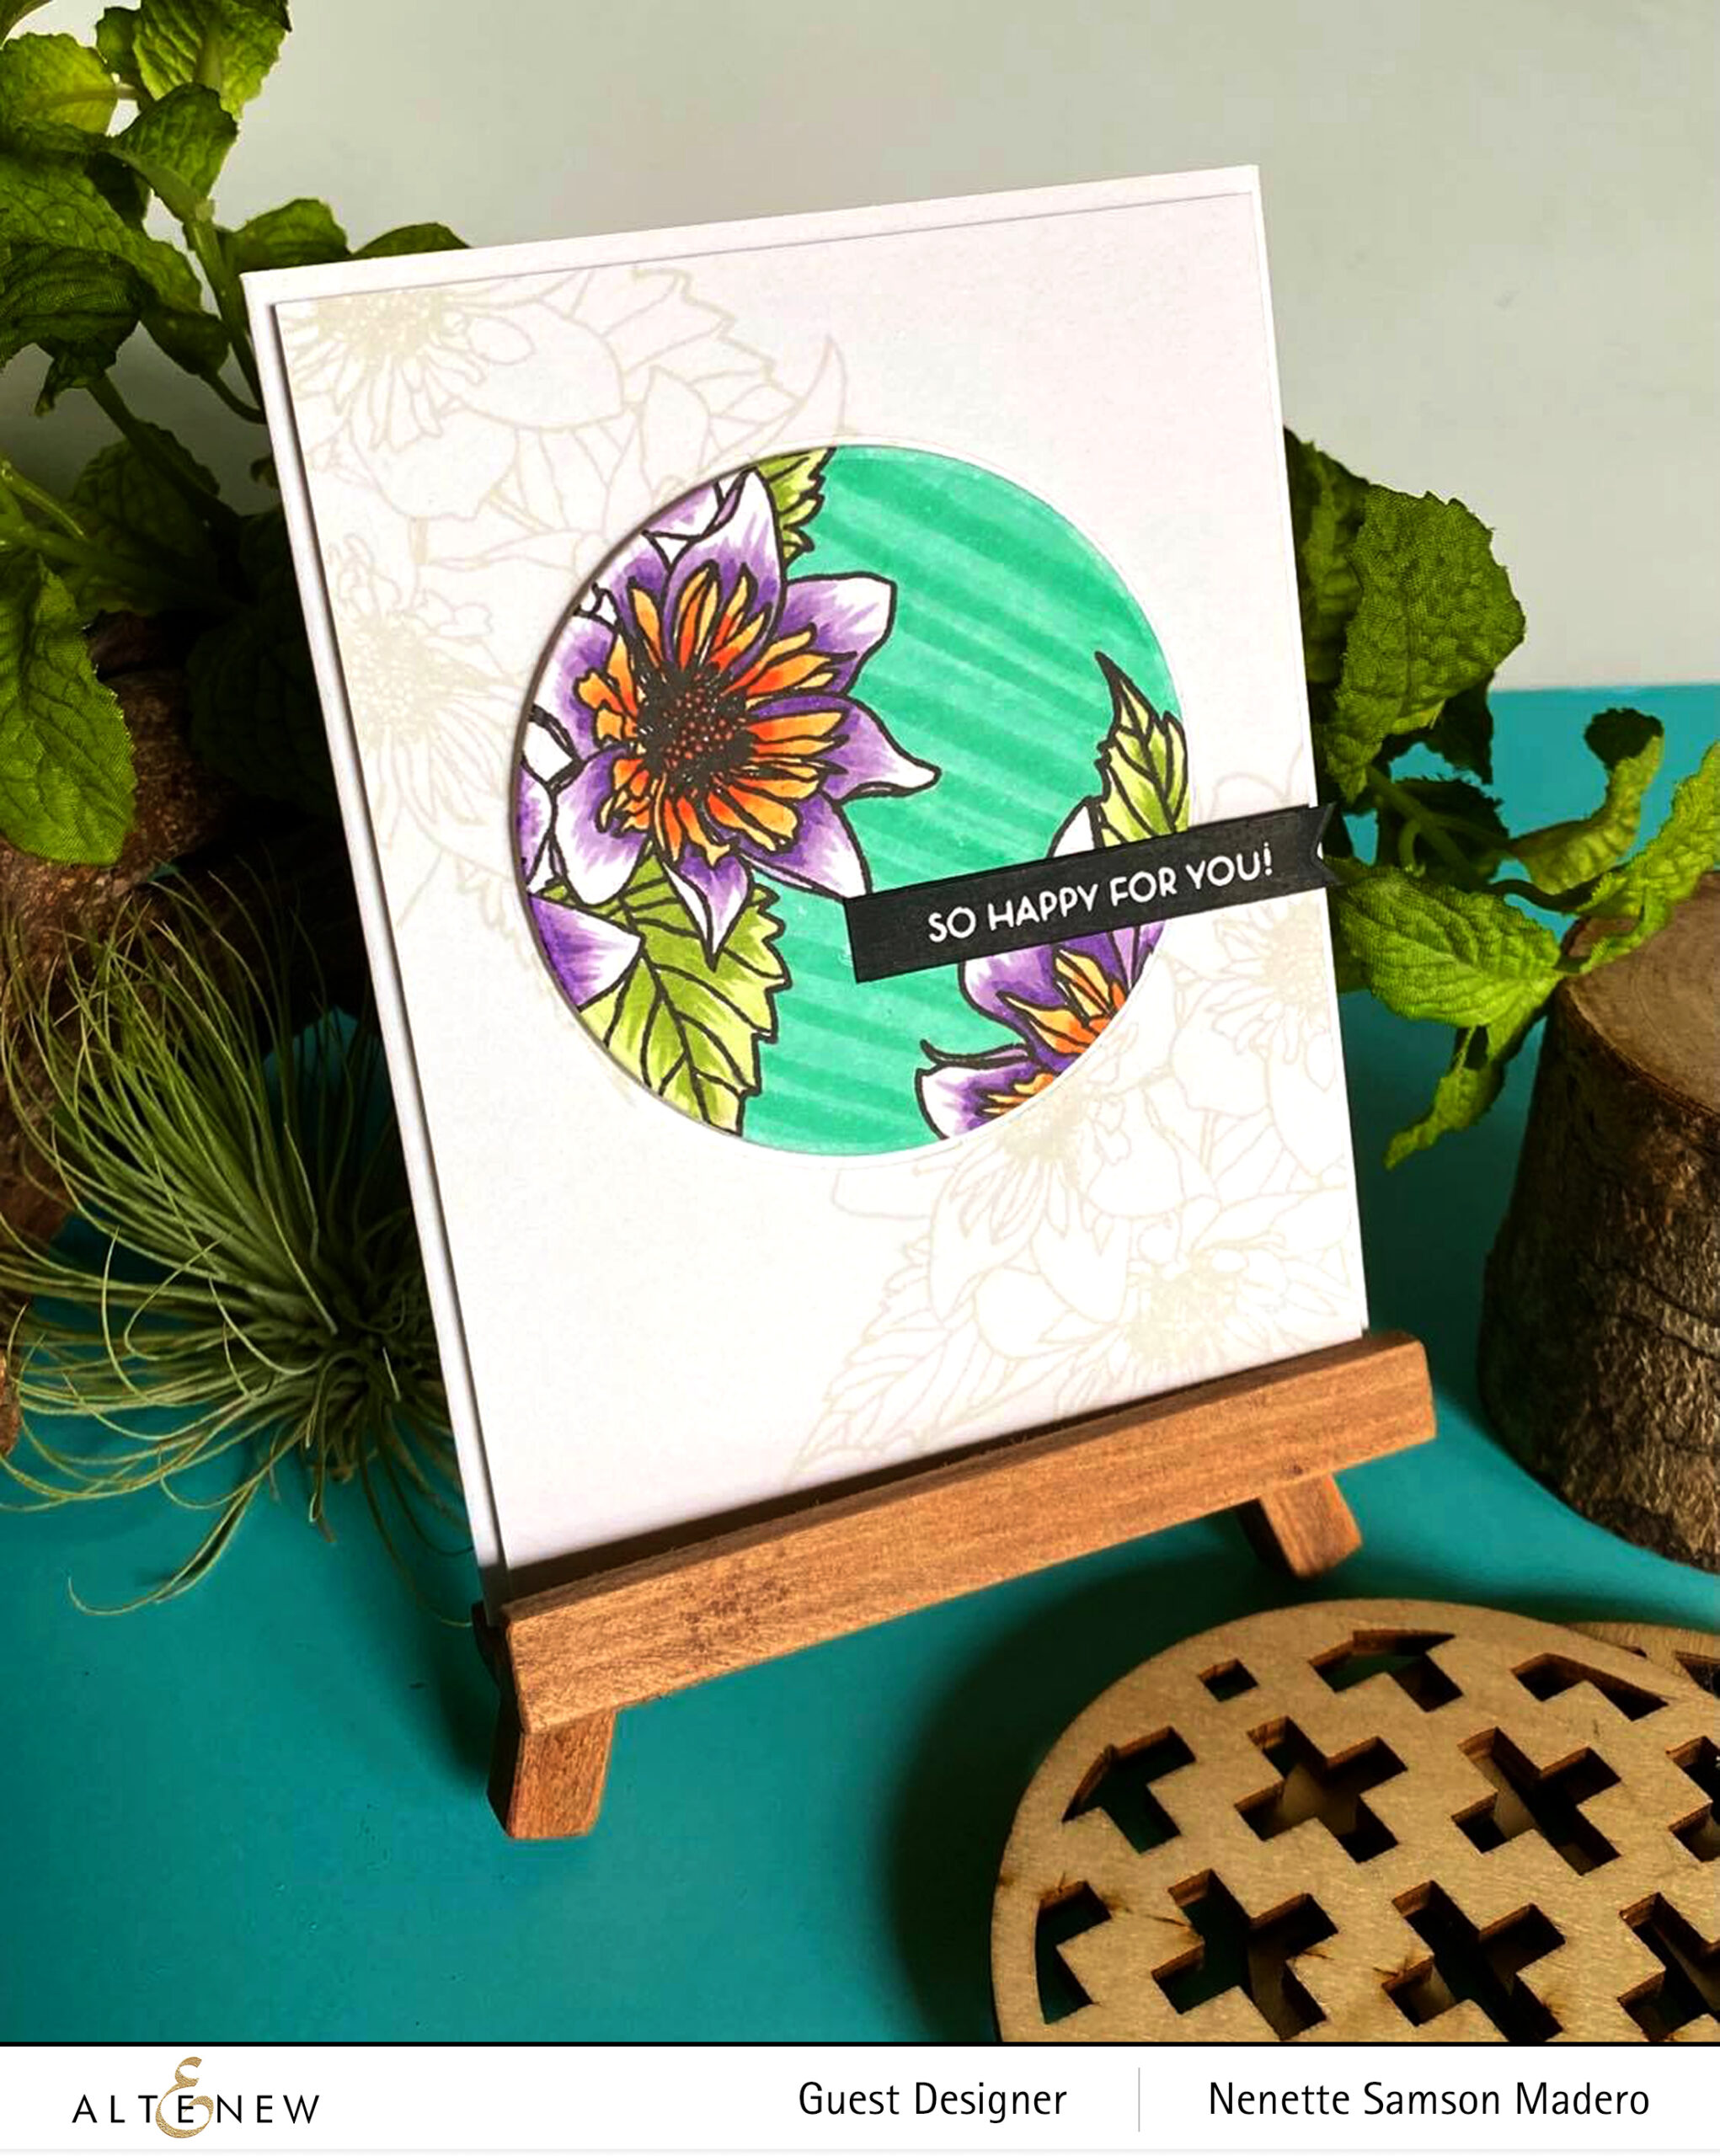
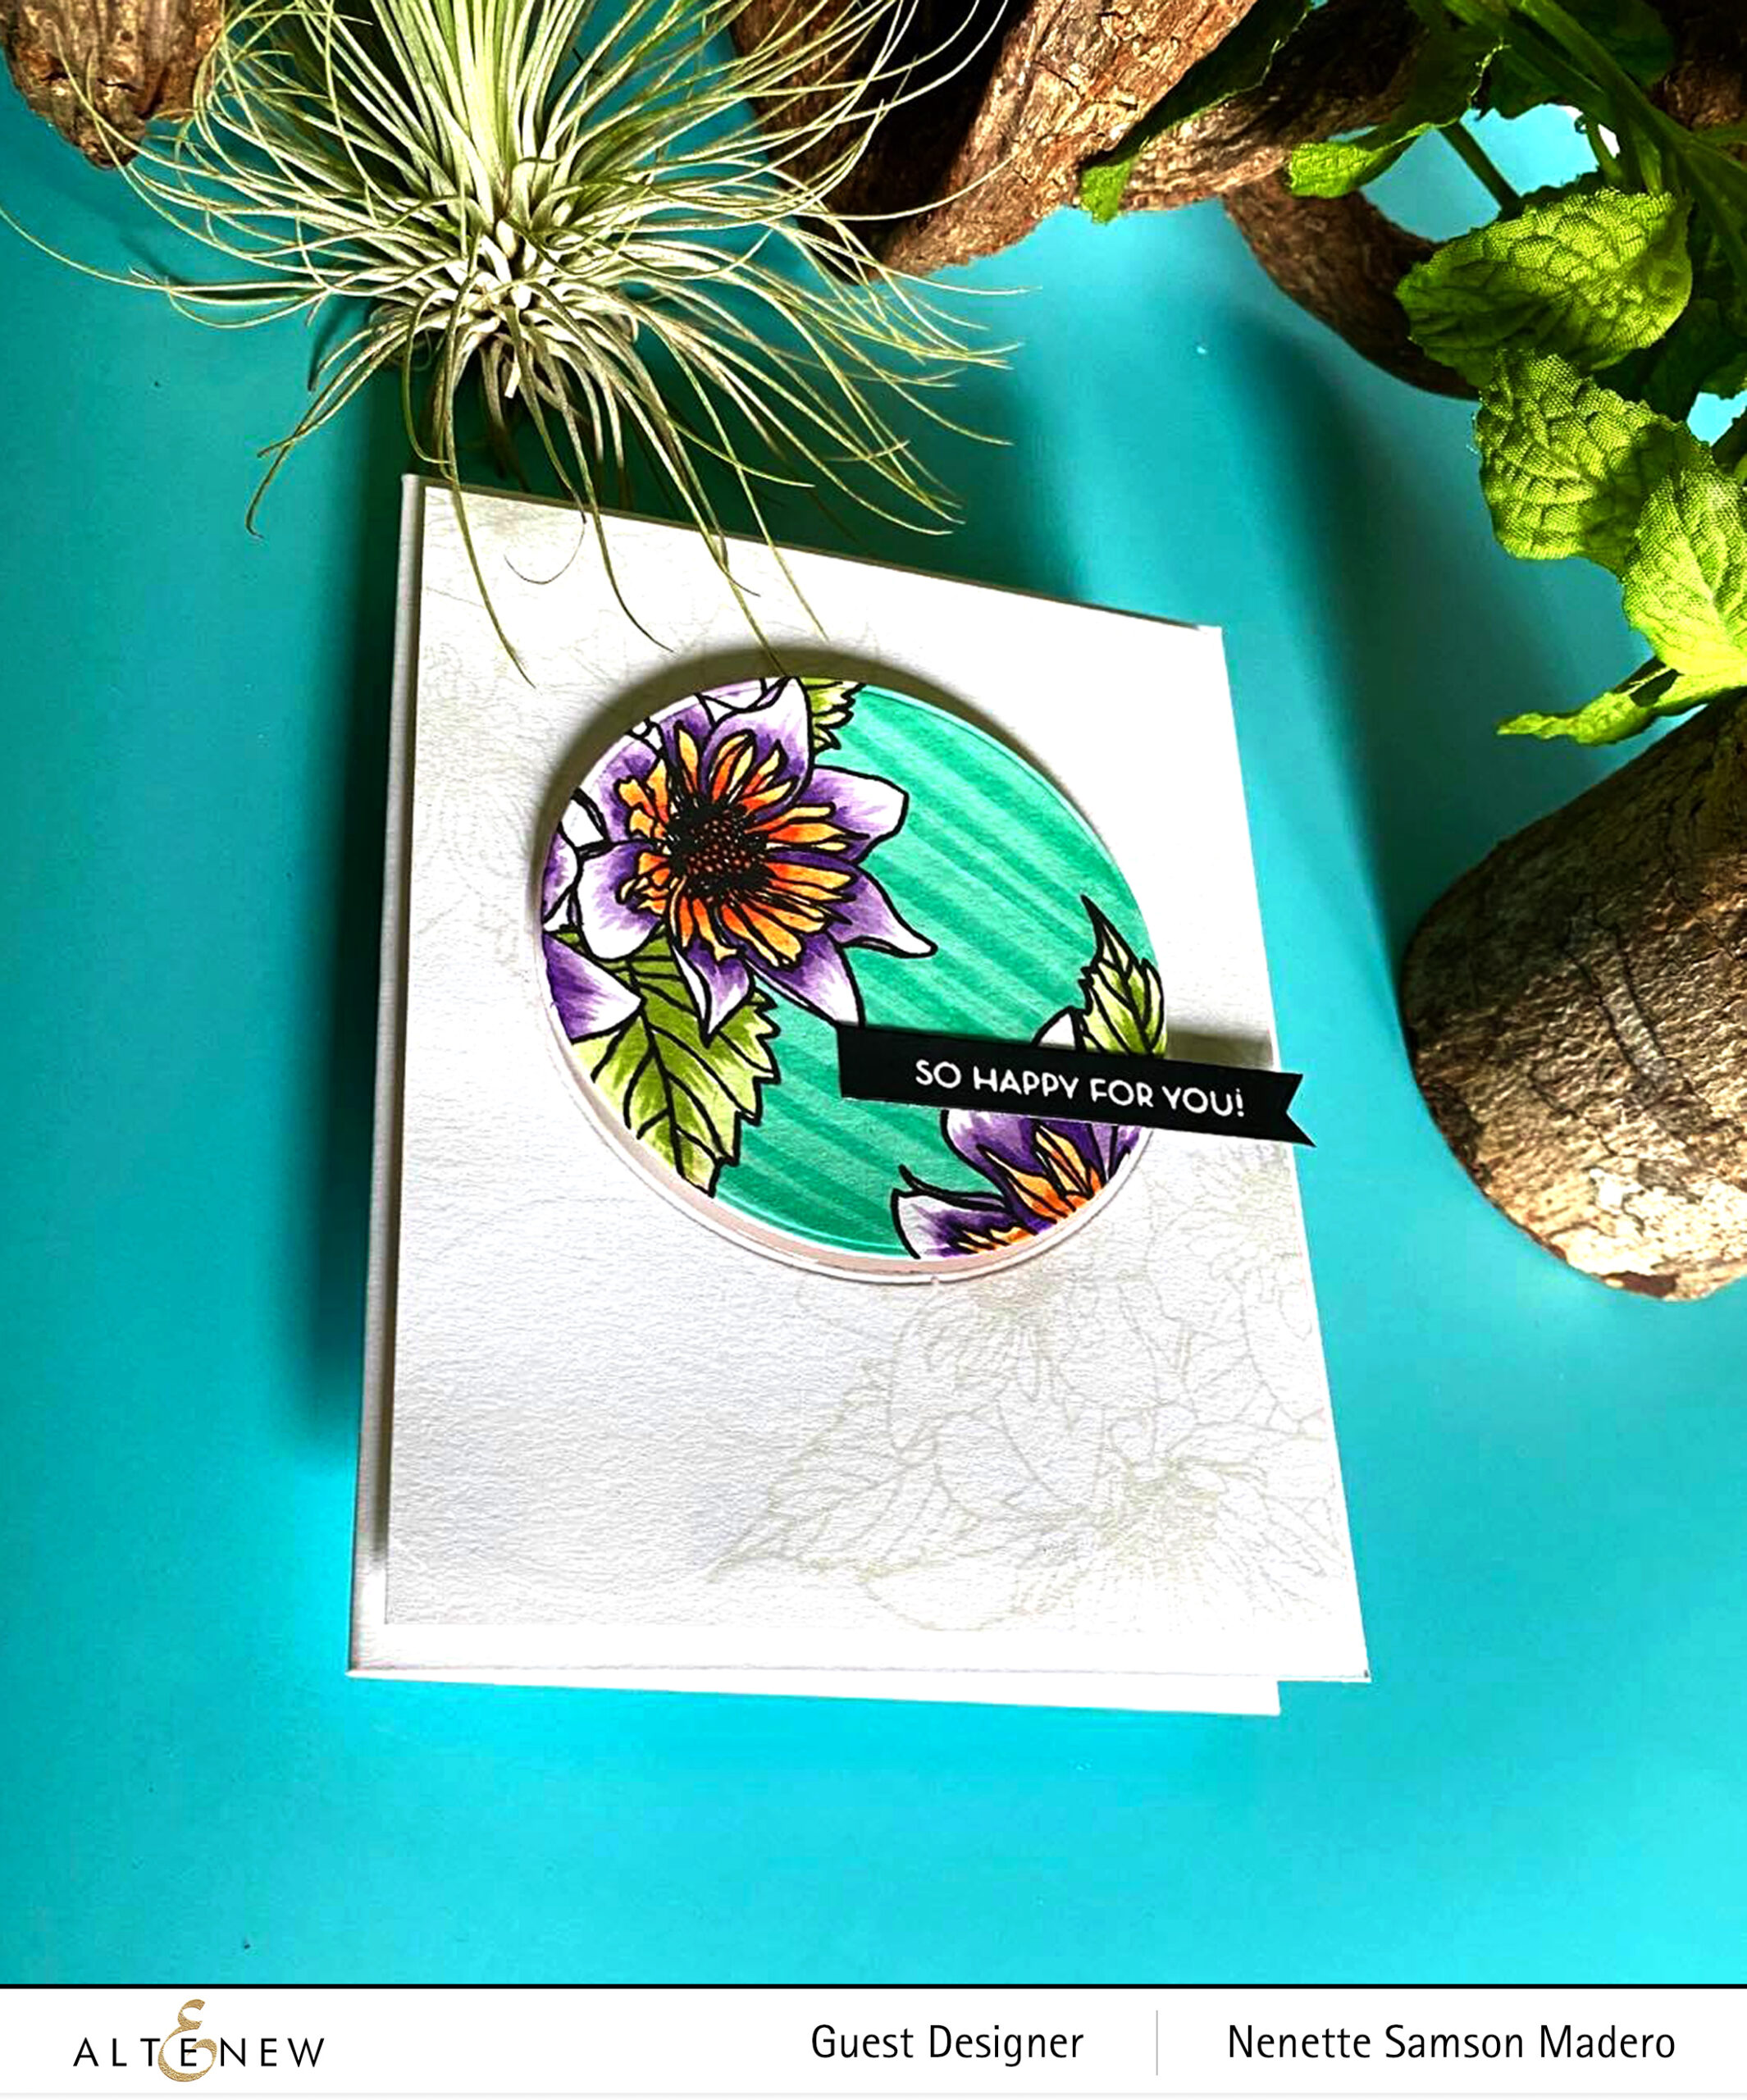
SO HAPPY FOR YOU


MATERIALS: PAF: FASHION MONGER DAHILIA, ALCOHOL MARKERS B815, R 702, R823, R705, G702, G715, KARIN BRUSH MARKERS PALE ORANGE 357, AMBER 195 AND OMBRE RED 051, NO LINE INK, OBSIDIAN INK, PURE WHITE EMBOSSING POWDER, CIRCLE DIE , NEENAH SOLAR WHITE CARDSTOCK, FOAM SQUARES AND VERSAMARK INK

STEPS:

  • Using a Misti, stamp the image on Neenah Solar White cardstock using Obsidian Ink. Allow to dry
  • Align the paper using the Misti and stamp the image on Neenah Solar White cardstock using no line ink
  • Die-cut the circle from the stamped image using Obsidian ink
  • Color using Alcohol Ink markers
  • Stamp the sentiment with Versamark ink and emboss with Pure White embossing powder
  • Assemble the card by lining up the colored image with the background image and adhere using foam squares. Add the sentiment

A second way of coloring a very detailed image is spotlight colorcoloring… choose an area to spotlight and color that part only. Leave the rest of the image uncolored. This way, you only have small portion to color instead of coloring the whole image!


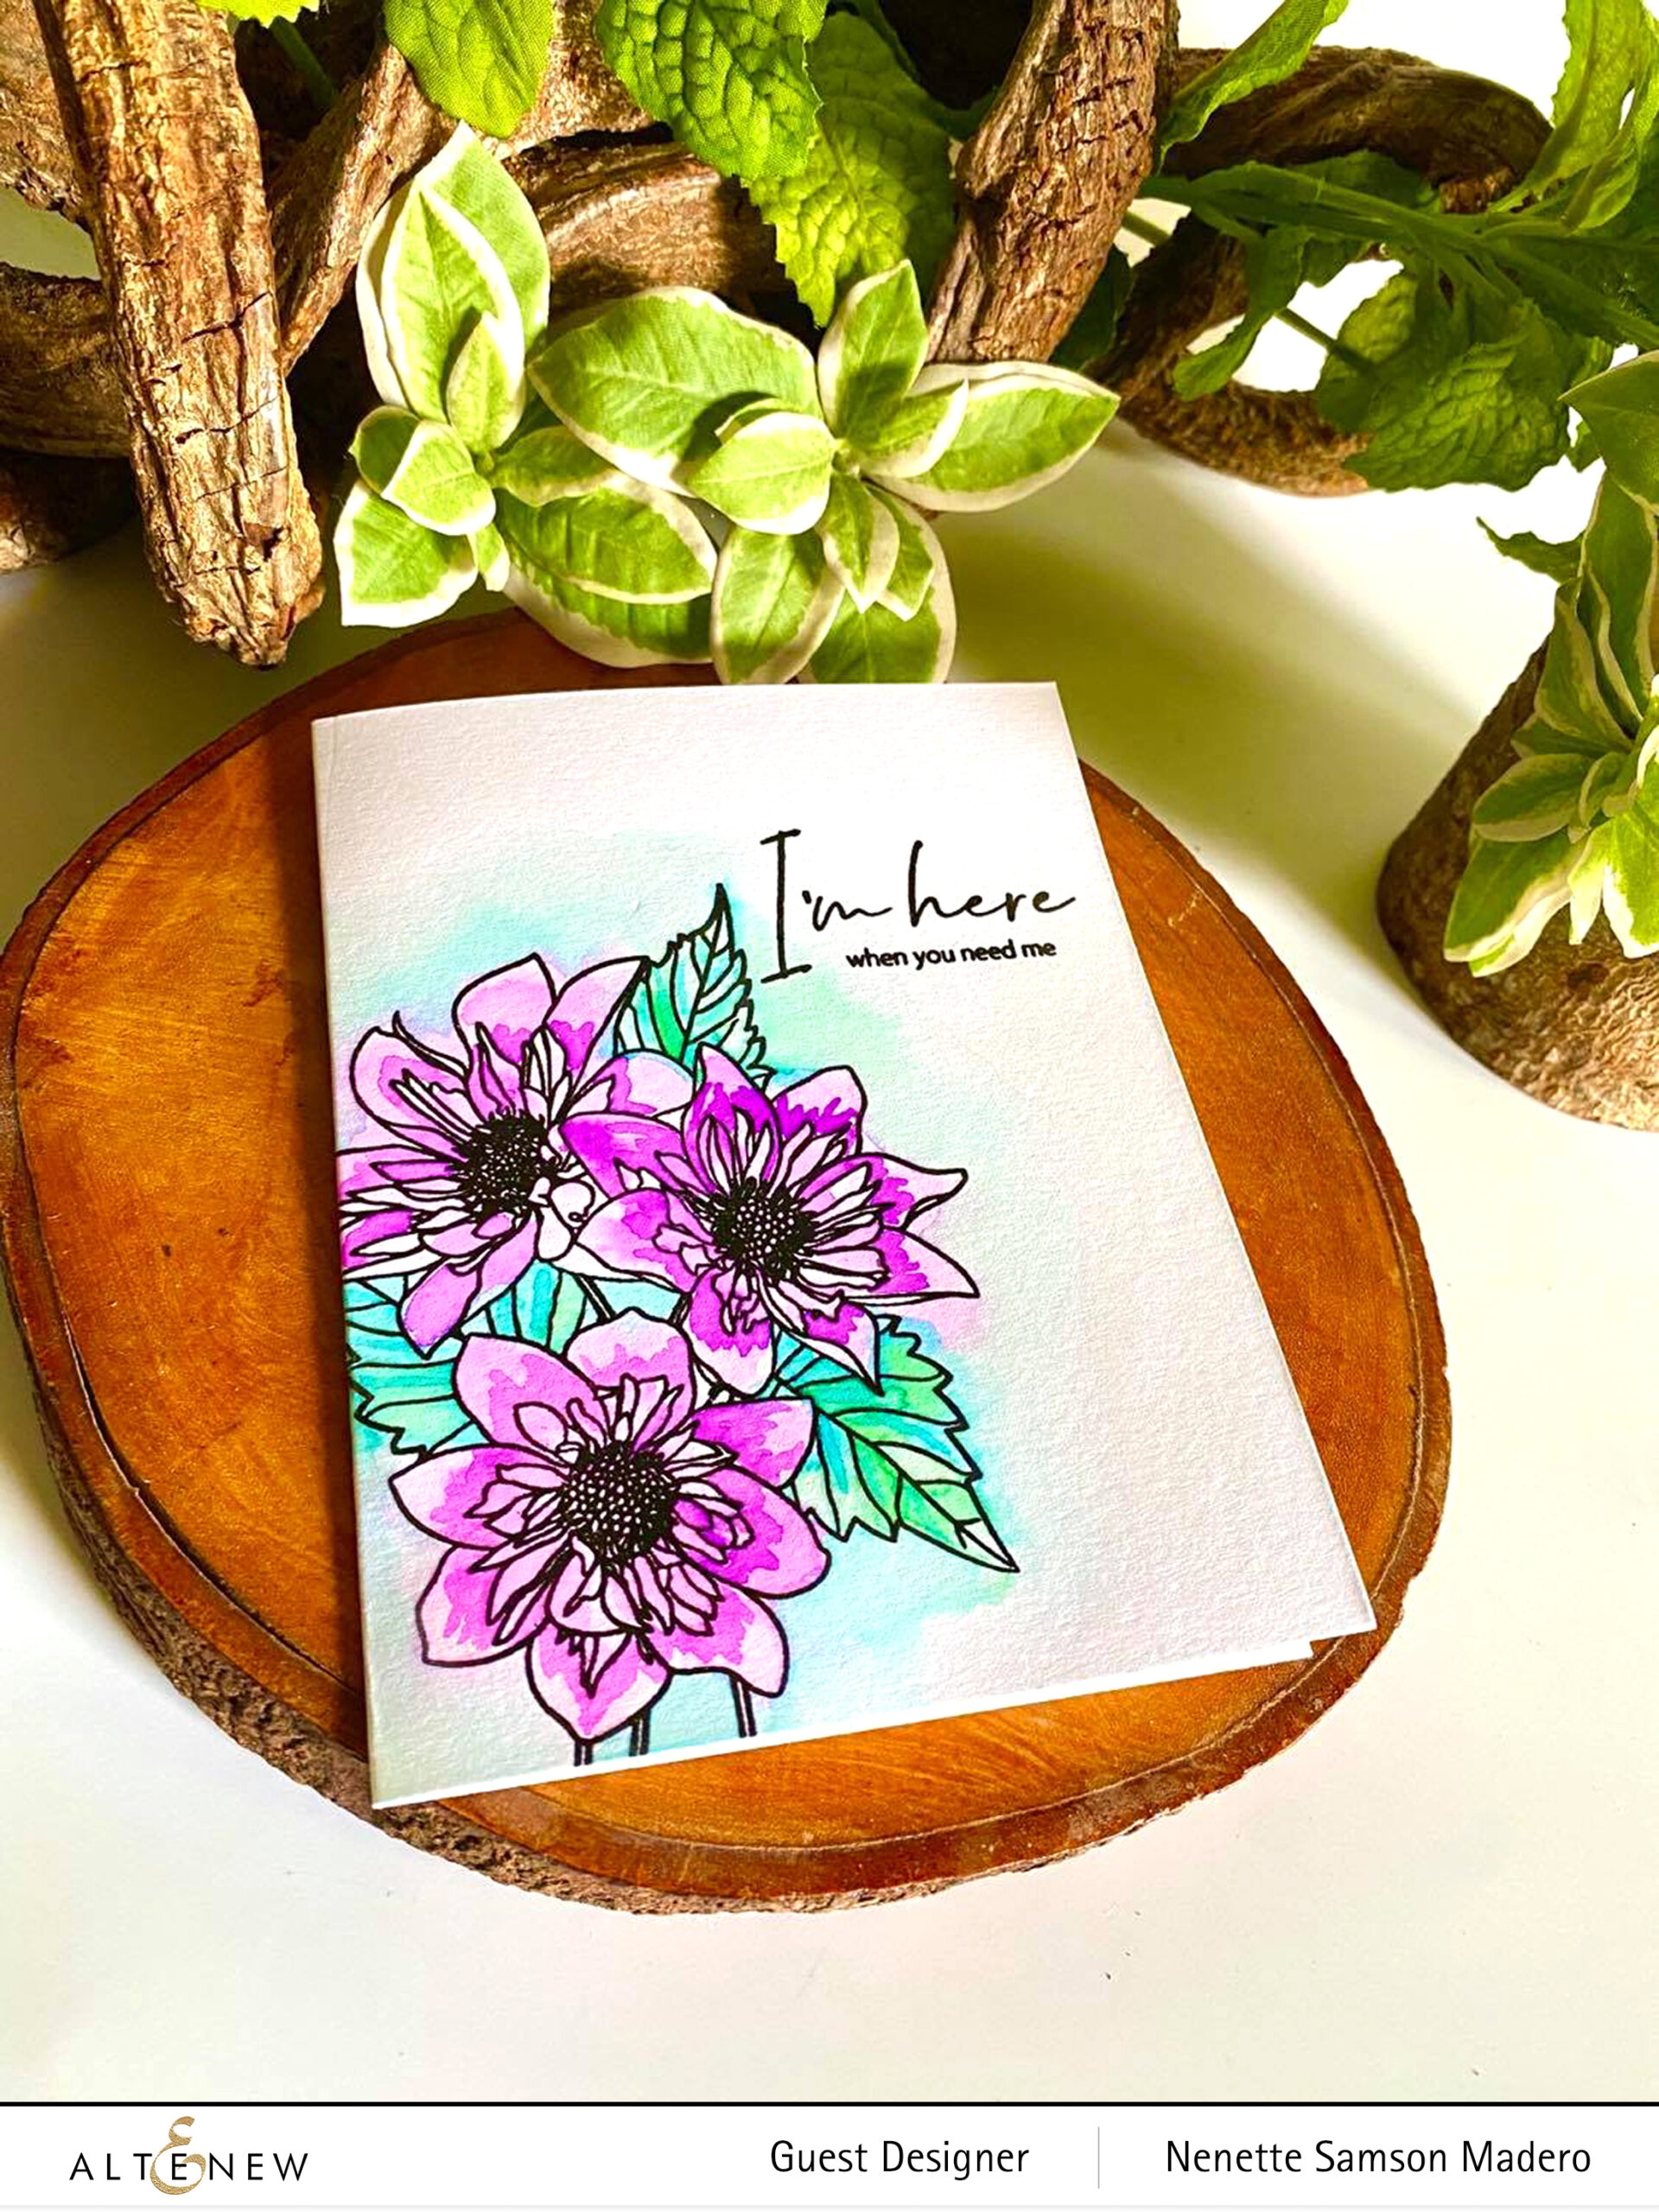
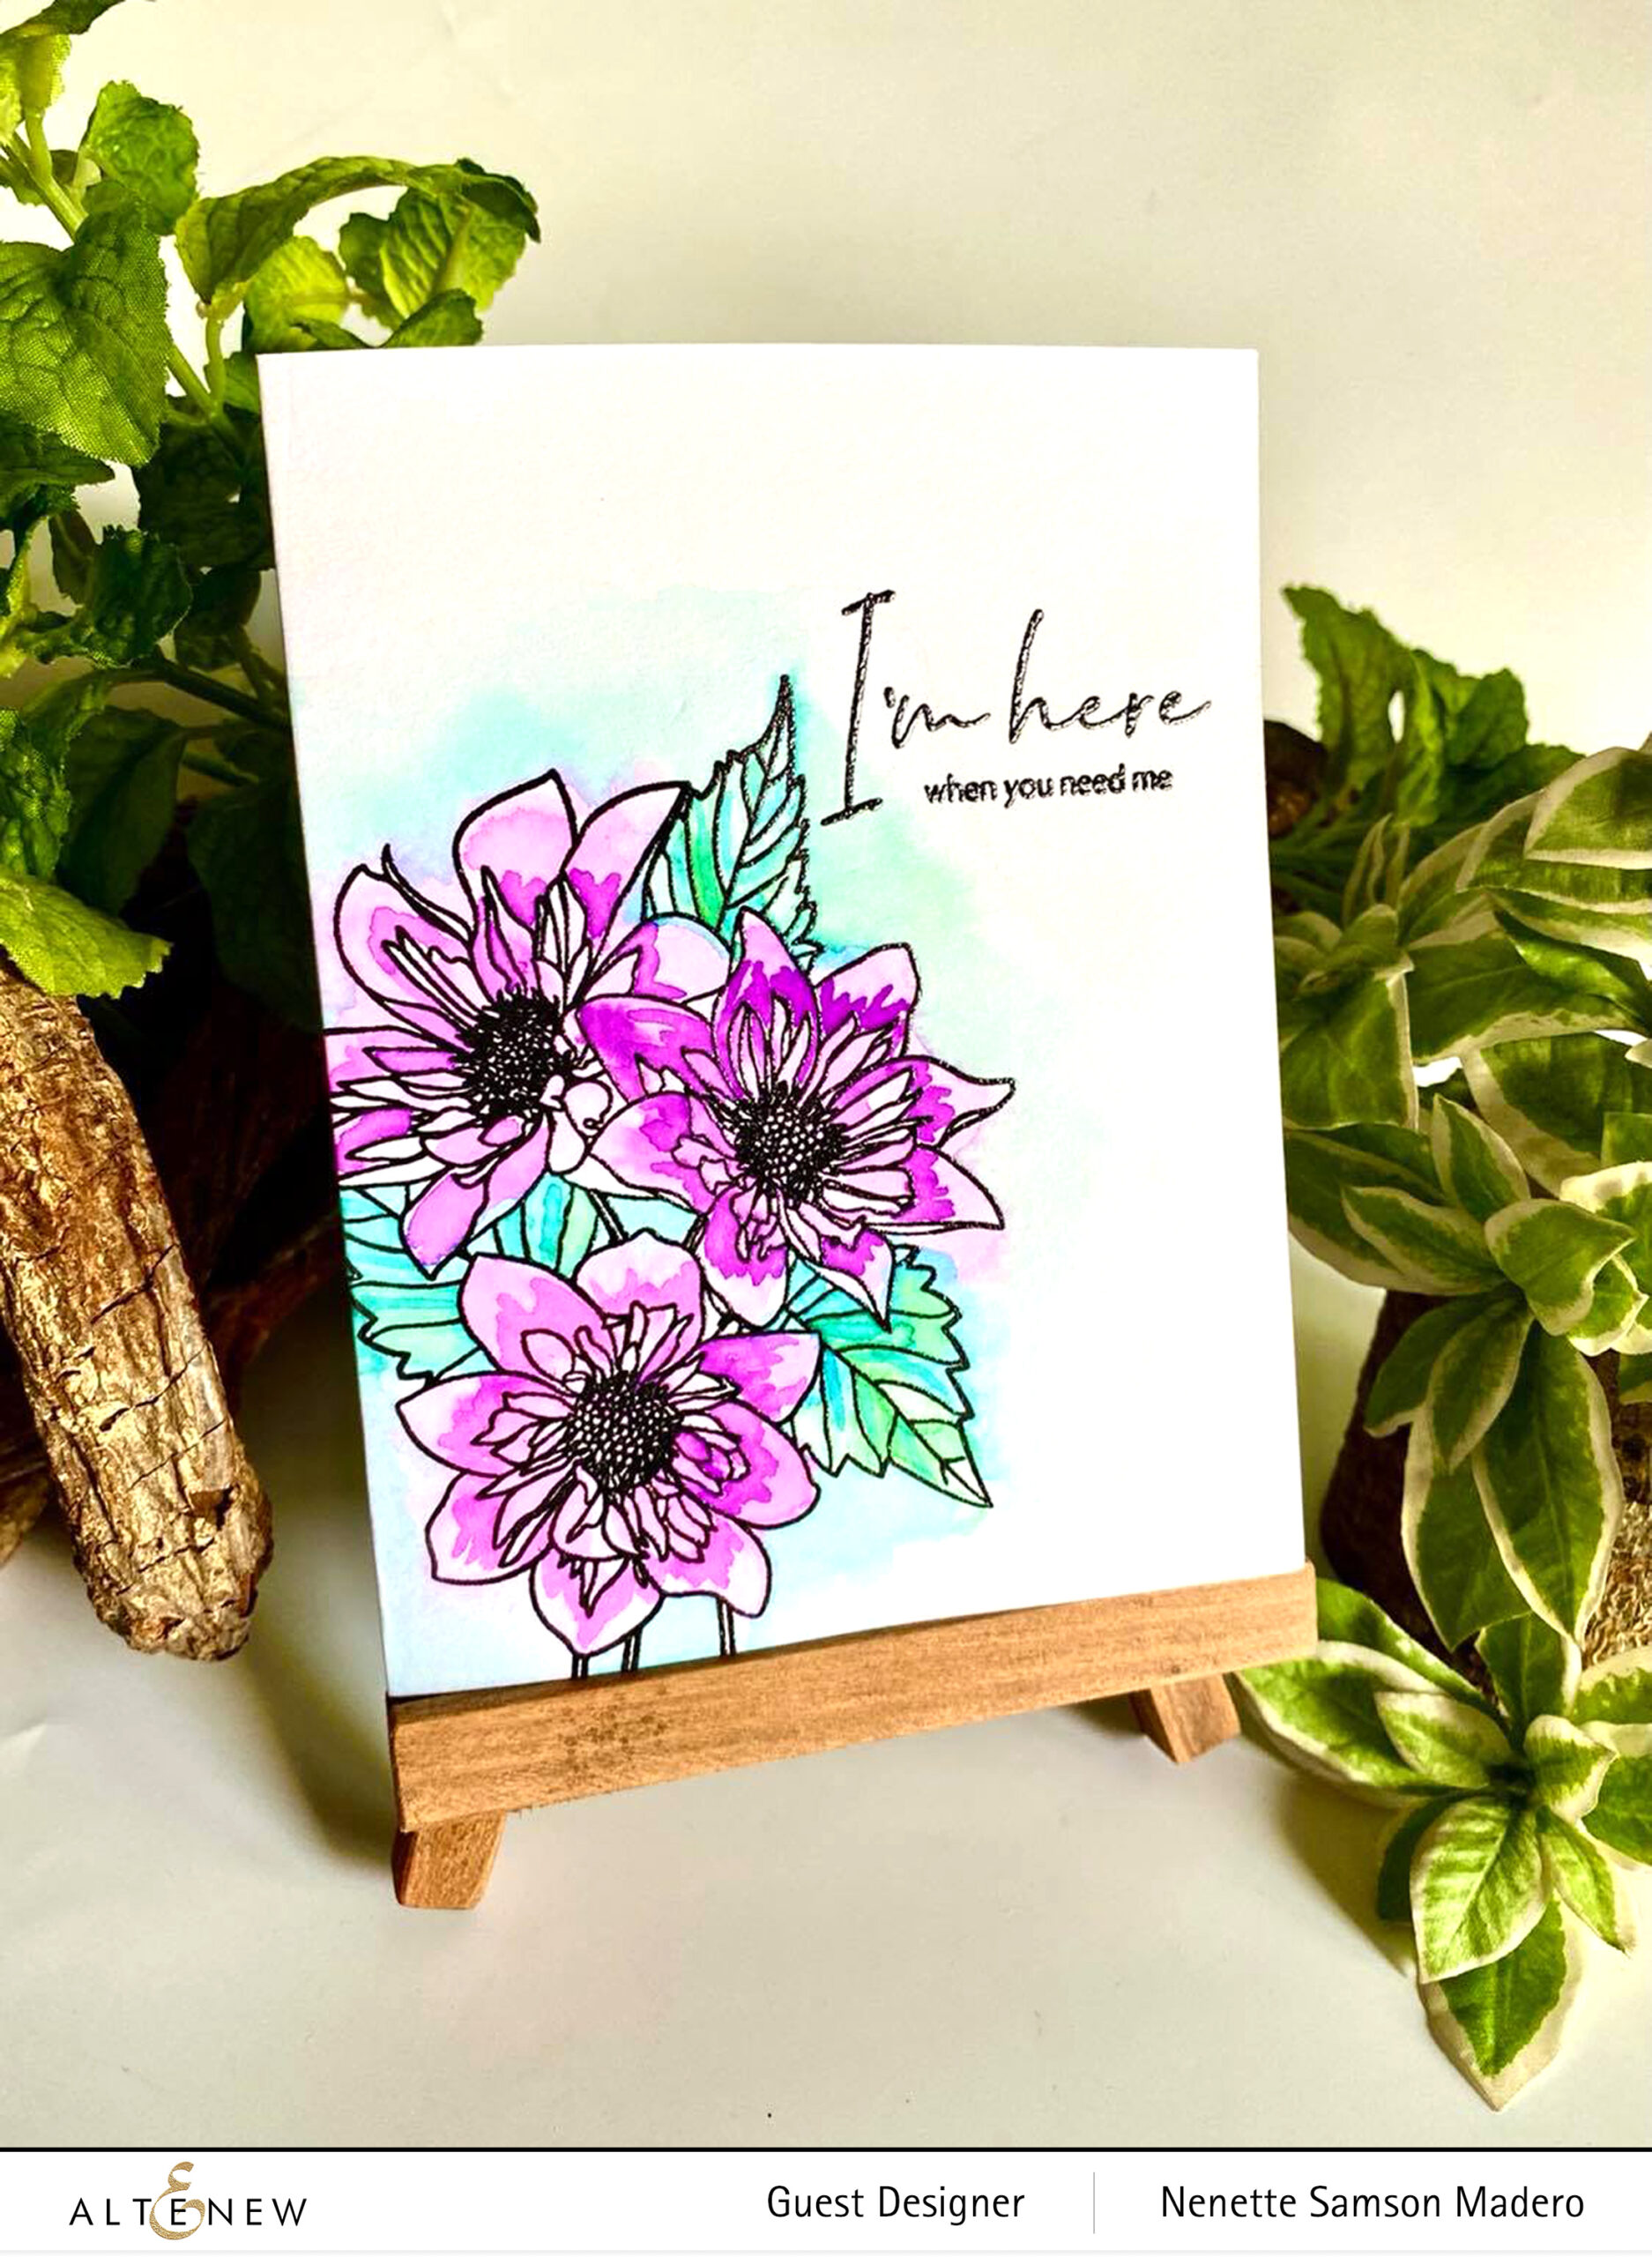
I’M HERE WHEN YOU NEED ME


MATERIALS: PAF: FASHION MONGER DAHLIA, WATERCOLOR BRUSH MARKERS, WATERCOLOR PAPER, OBSIDIAN INK, CLEAR EMBOSSING POWDER

STEPS:

  • Stamp the image and sentiment with Obsidian ink and emboss using clear embossing powder
  • Loosely color the images with a light wash of pinks, greens and blues using the wet on wet technique
  • Allow to dry then color with a more pigmented wash of darker shades to add texture

Loose watercolor technique is when you intentionally leave out the details and allow the water to move the pigments more freely… no need to worry about staying within the lines for this type of coloring. The only time you have to pay attention is when you are adding the second layer which is the highly pigmented watercolor.

If you don’t want to miss any of the BAF releases, you can subscribe monthly and get a 14% off discount!


GIVEAWAYS

$200 in total prizes! To celebrate this release, Altenew is giving away a $50 gift certificate to 2 lucky winners and a $20 gift certificate to 5 winners! Please leave a comment on the Altenew Card Blog and/or each designer’s blog post on the blog hop list below by 07/28/2021 for a chance to win. 

Altenew will draw 7 random winners from the comments left on each stop of this blog hop and announce the winners on the Altenew Winners Page on 07/30/2021.

I hope you learned a thing or two on how to color detailed images easily. Let me know which technique you’d like to try next time you create a card with a very detailed stamp image. The next stop is the talented Bridget Casey. Please don’t forget to leave a comment to get a chance to win a prize from Altenew. Hope you can follow me on Instagram as well @mylittleatticstudio cause that’s where I post all my works. Enjoy the rest of the week! Stay safe and happy crafting!