")

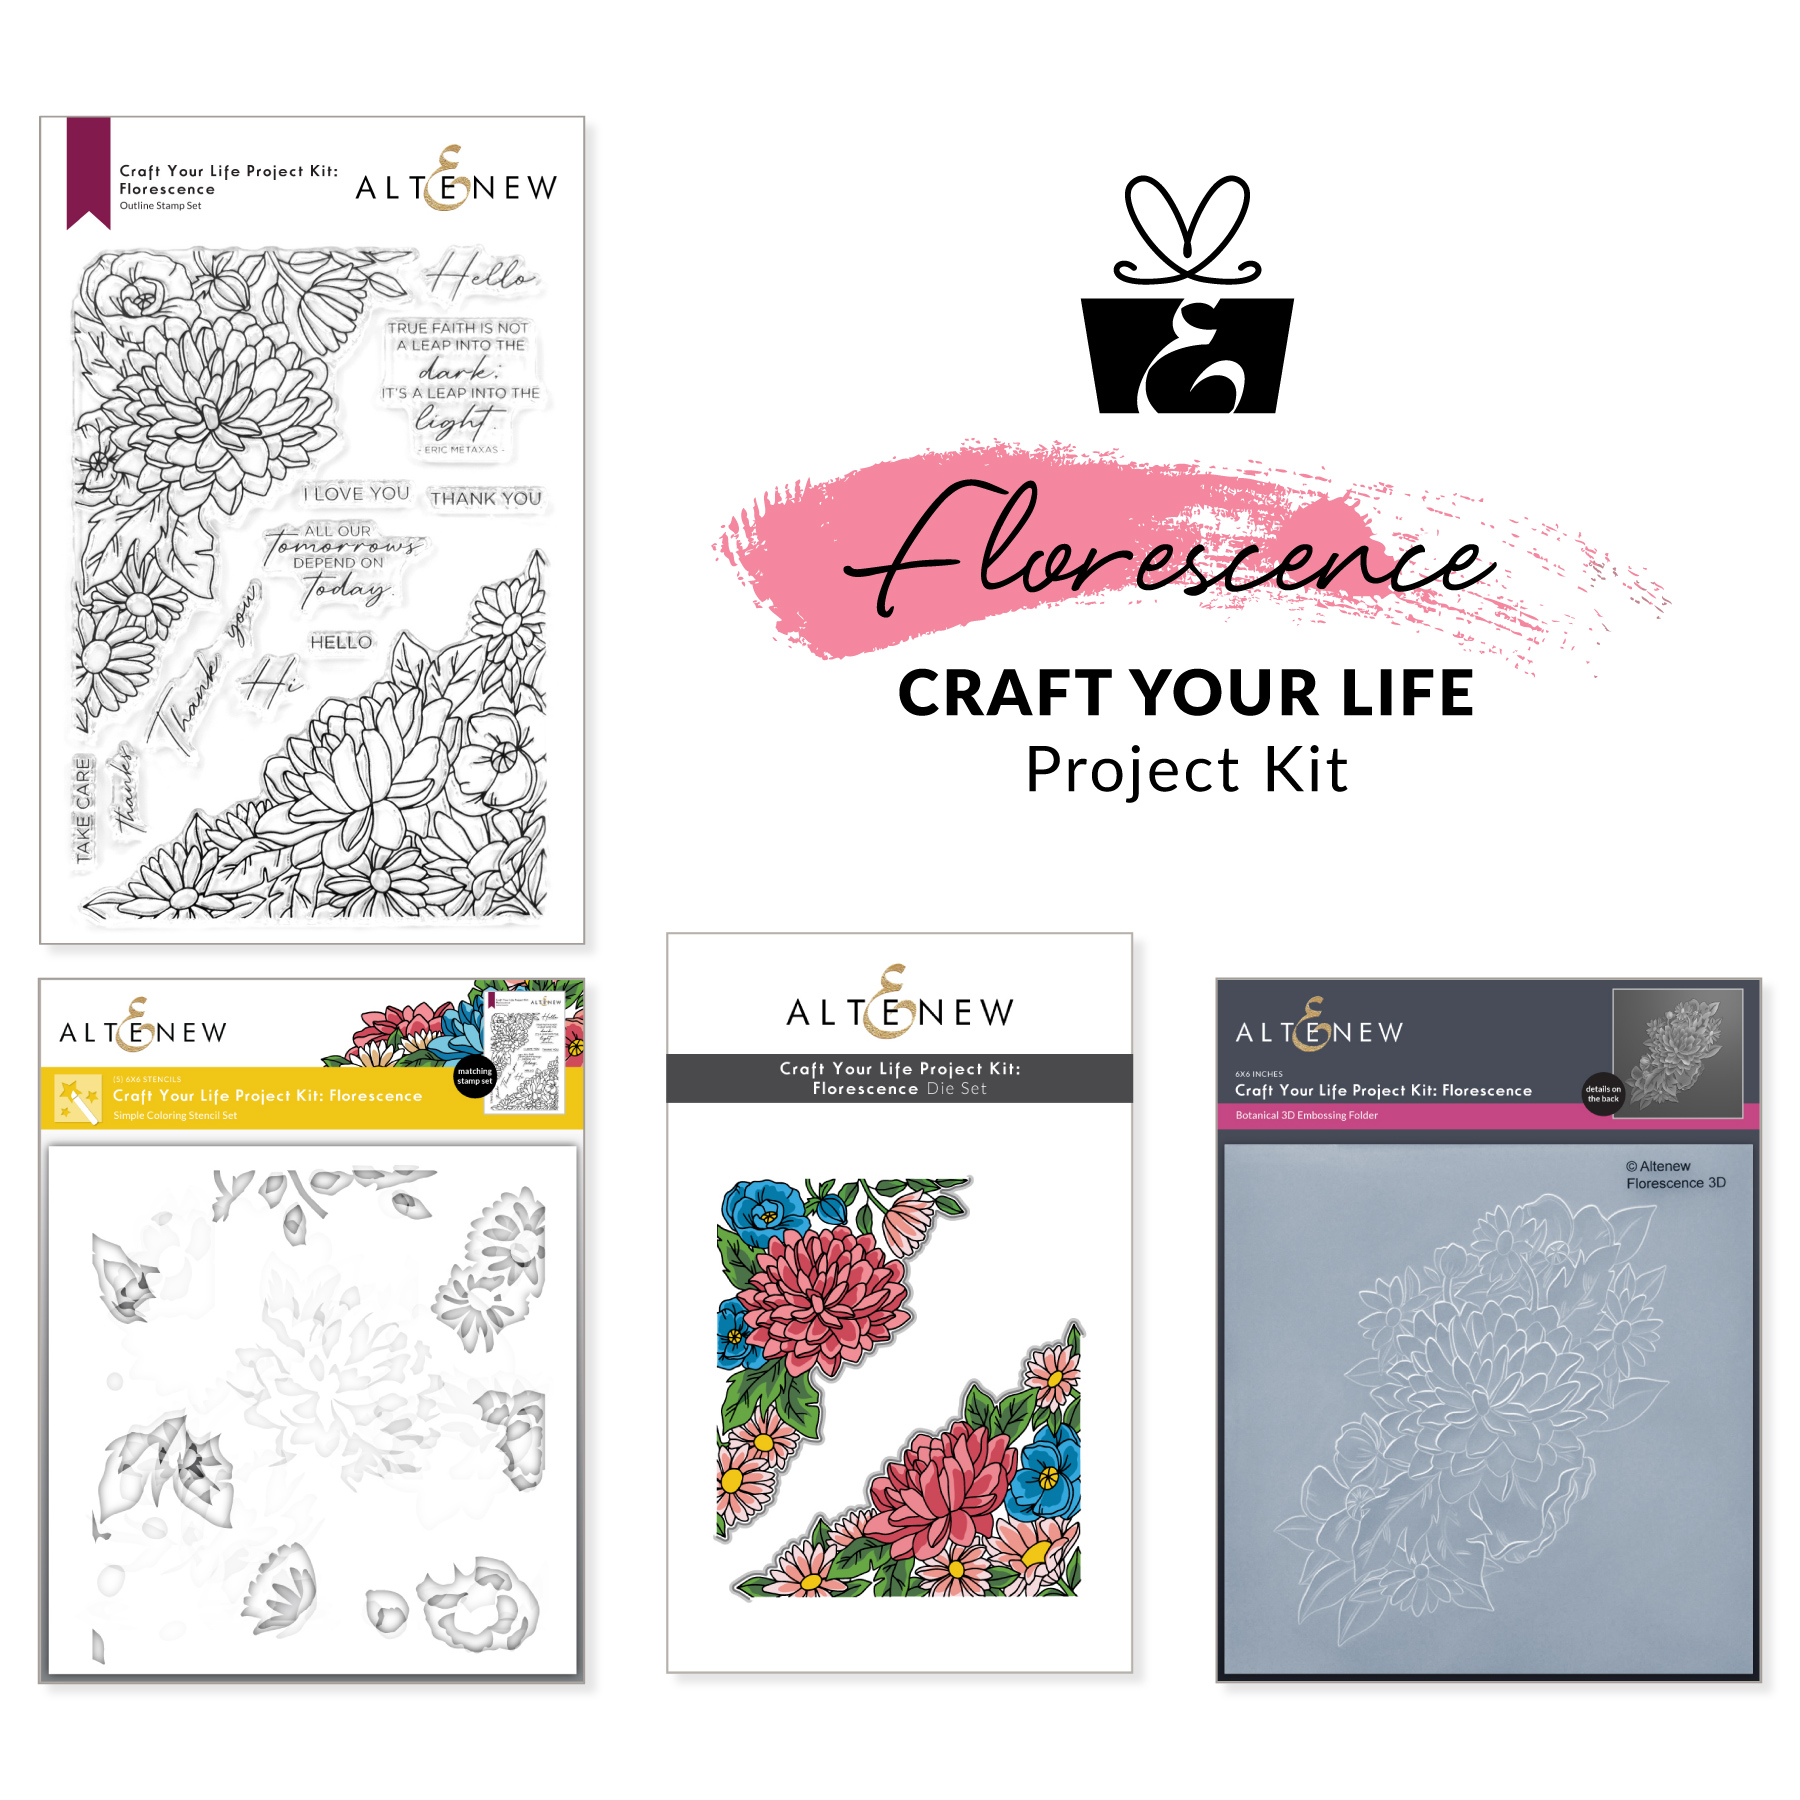
Hello, crafty friends! Welcome to my blog! Thank you so much, Virginia Lu, for sending everyone over! By now, you’ve seen what a lovely release this is!
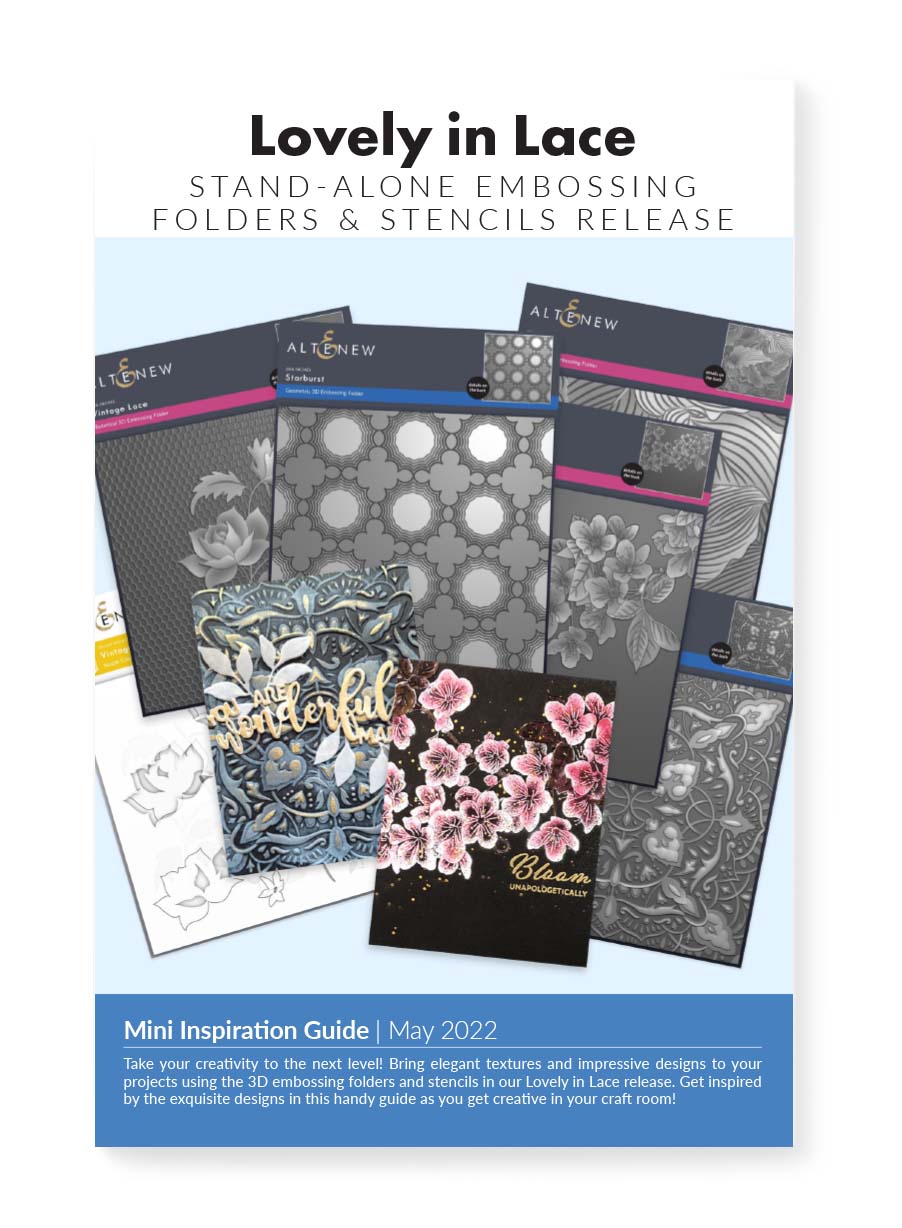
Here are a few more ideas on how you can use these products. 🙂
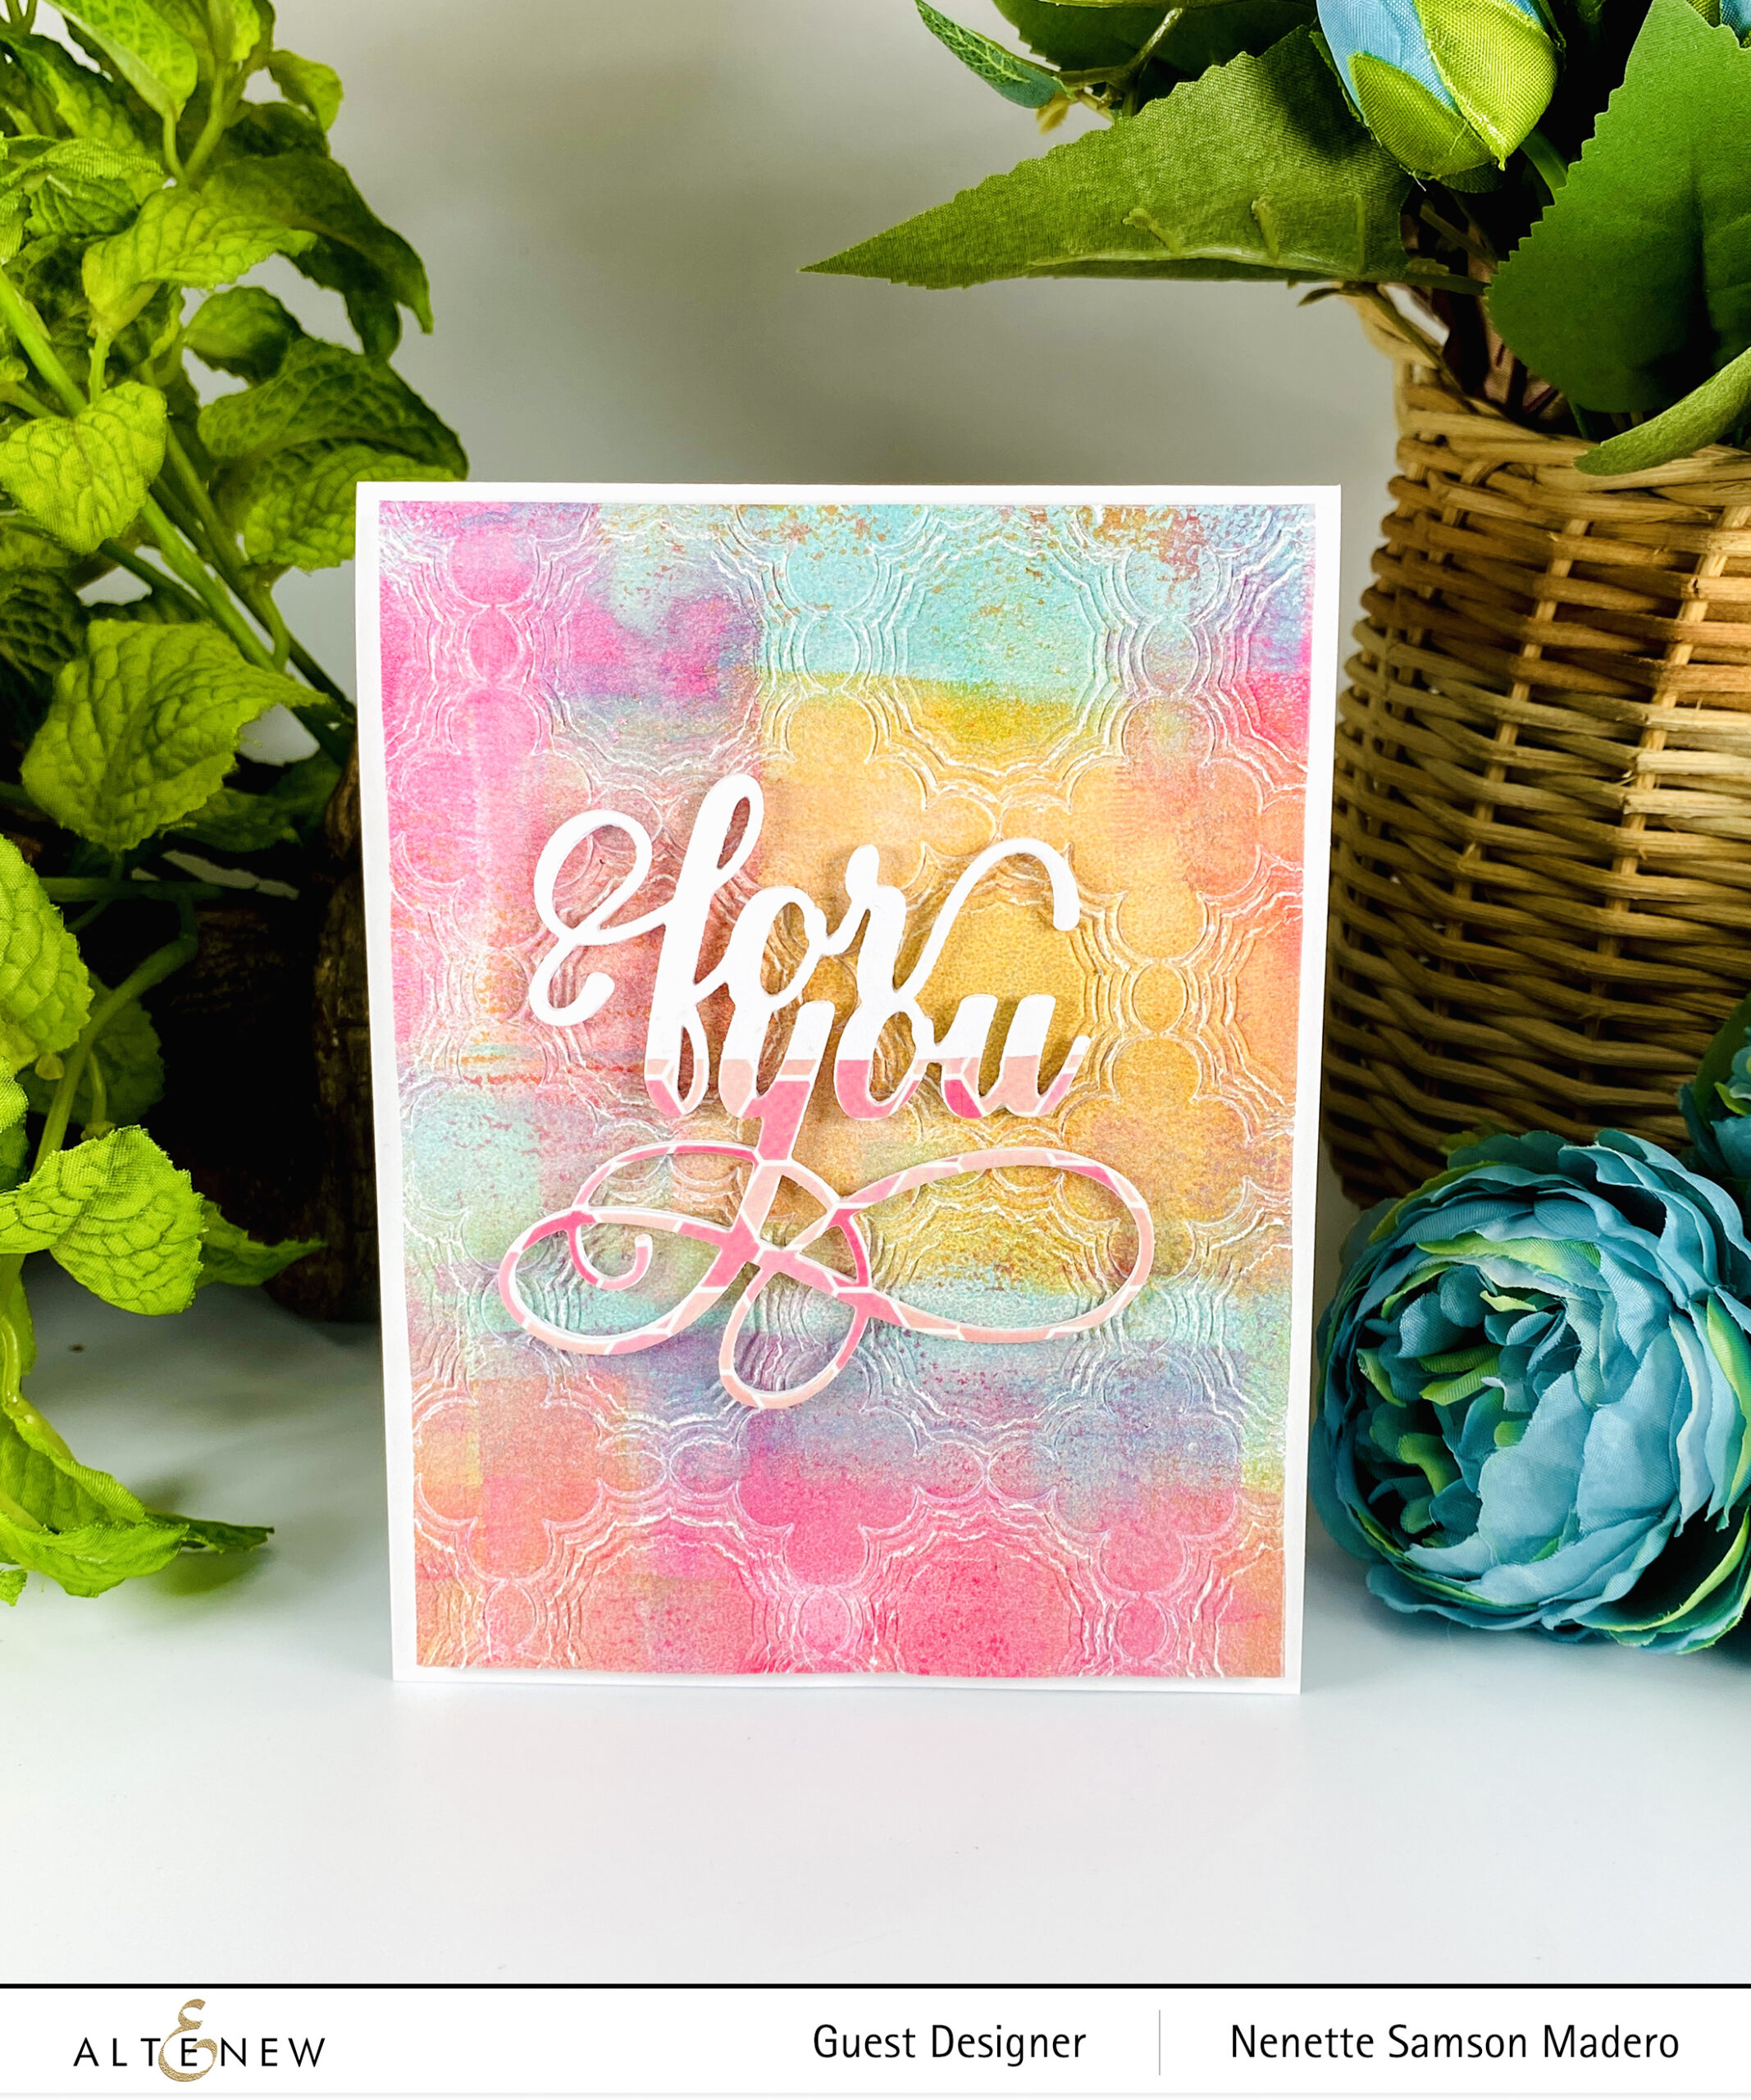
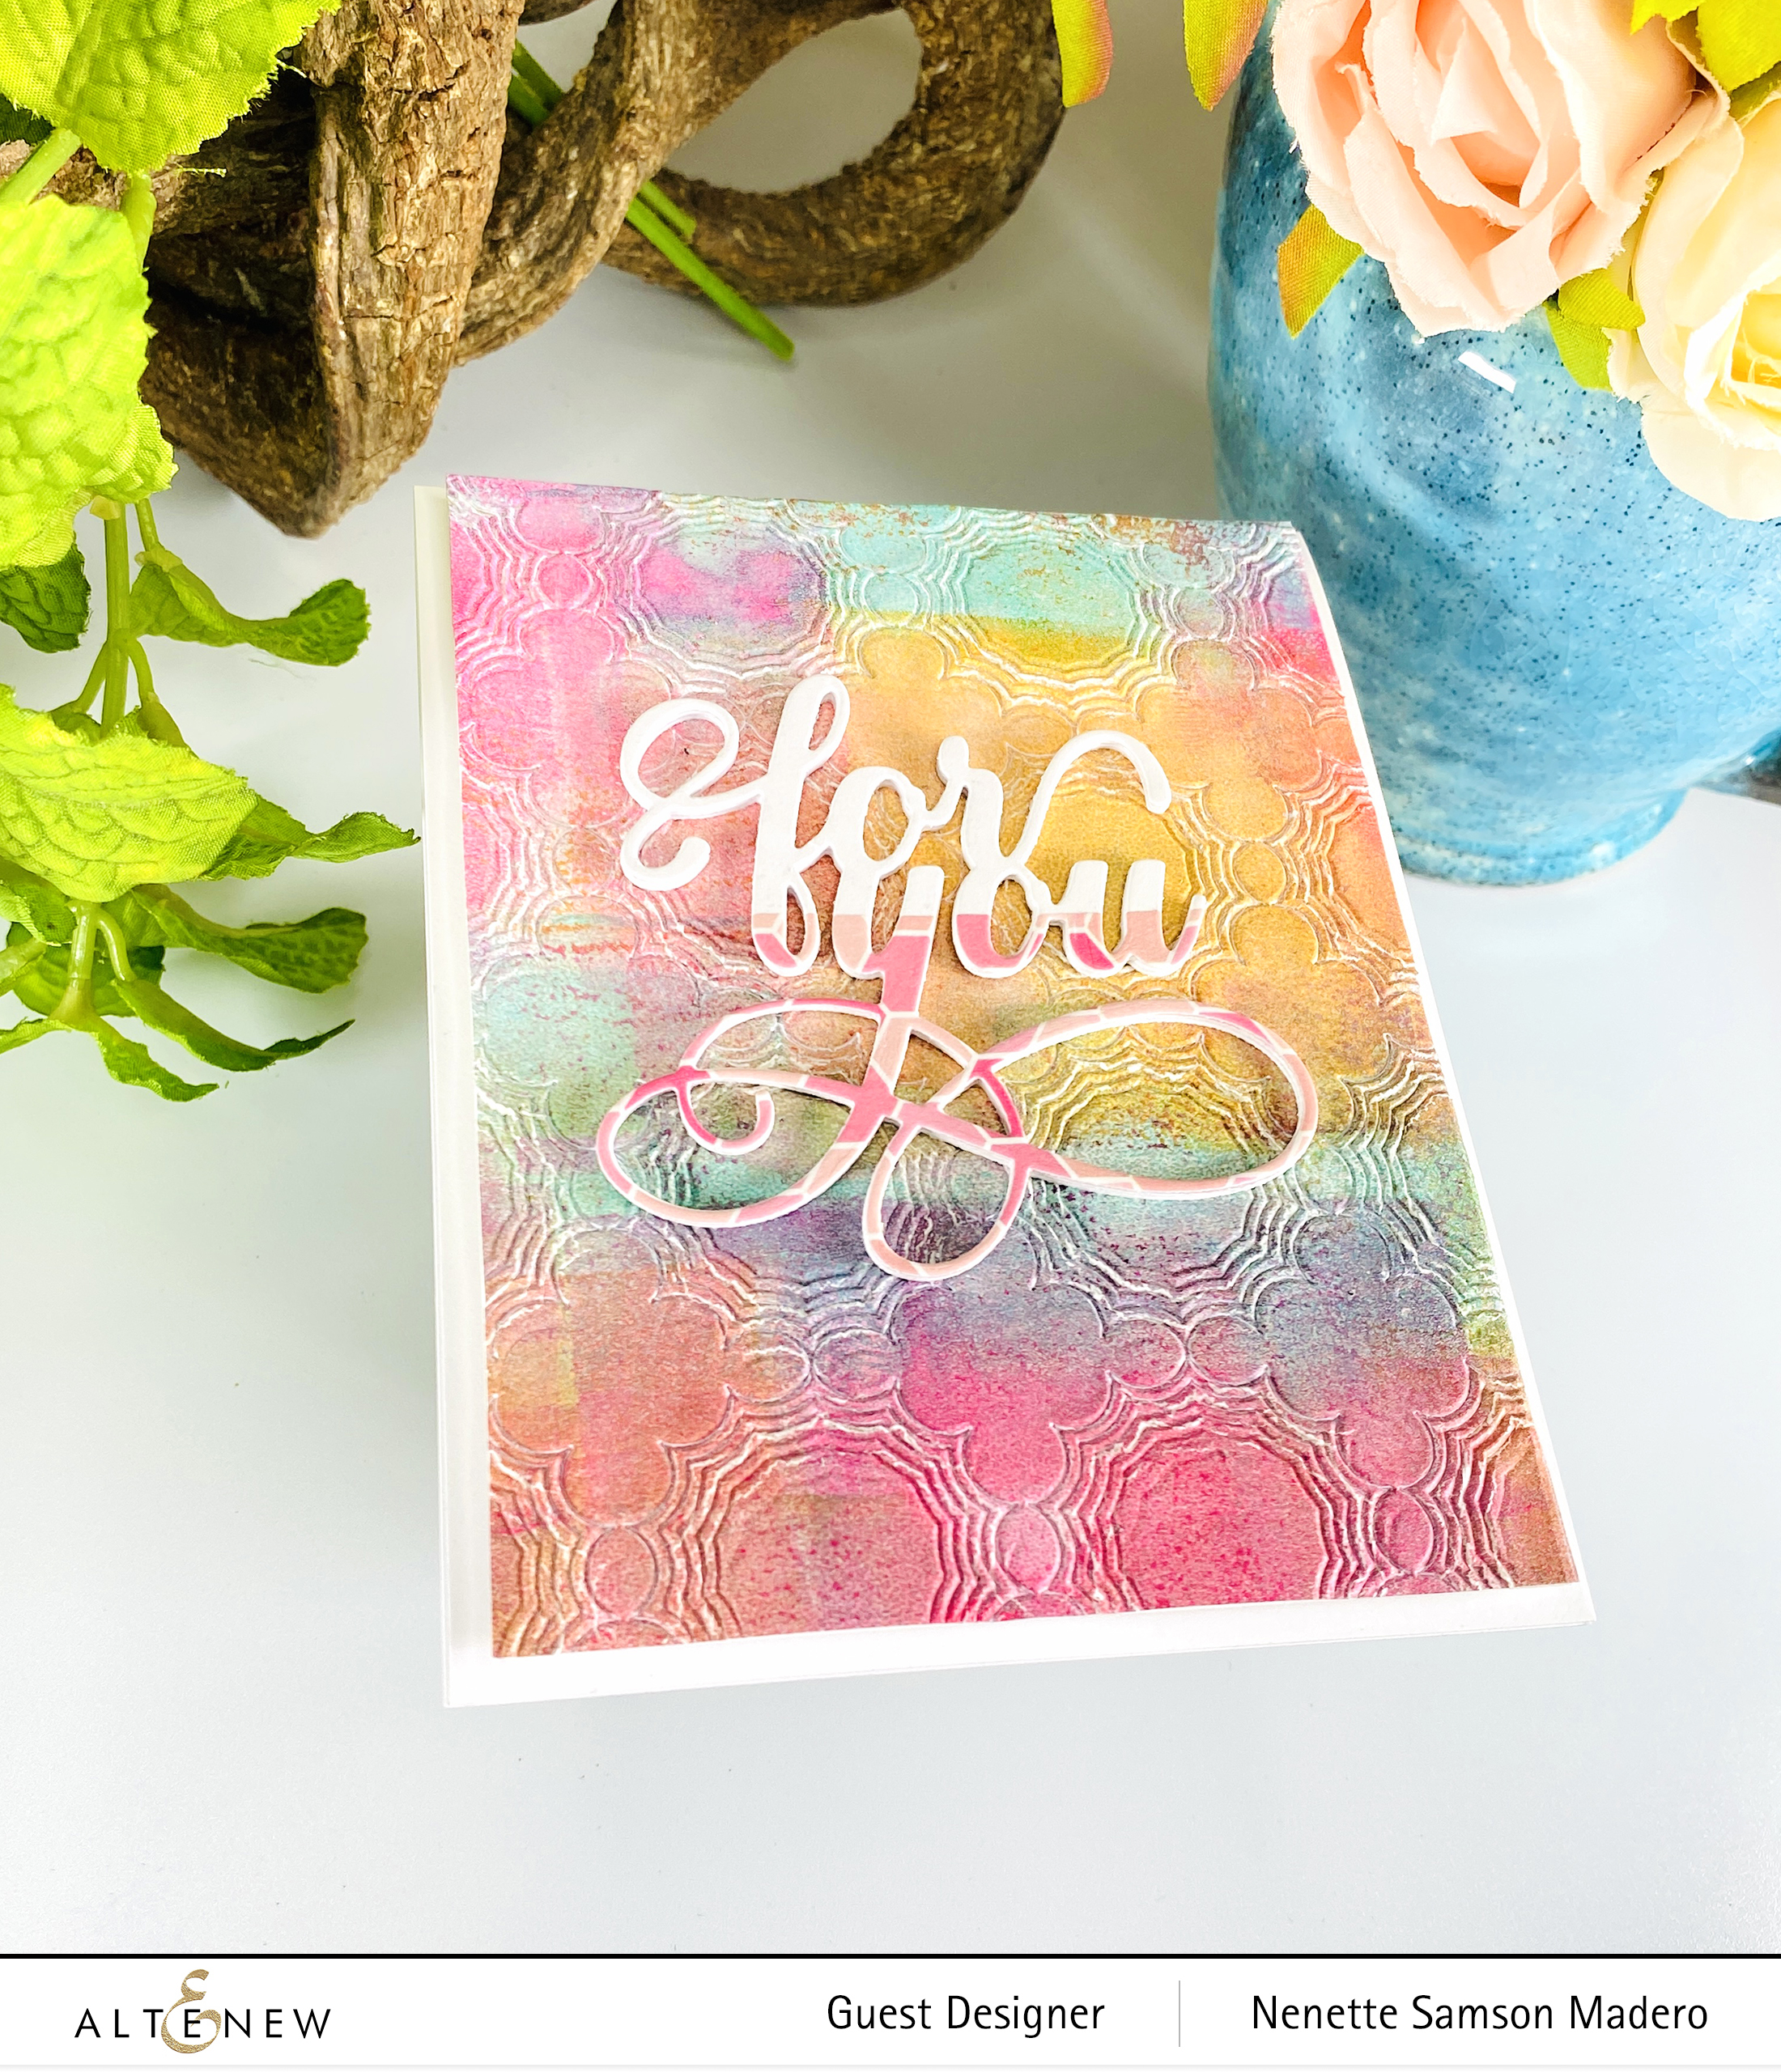
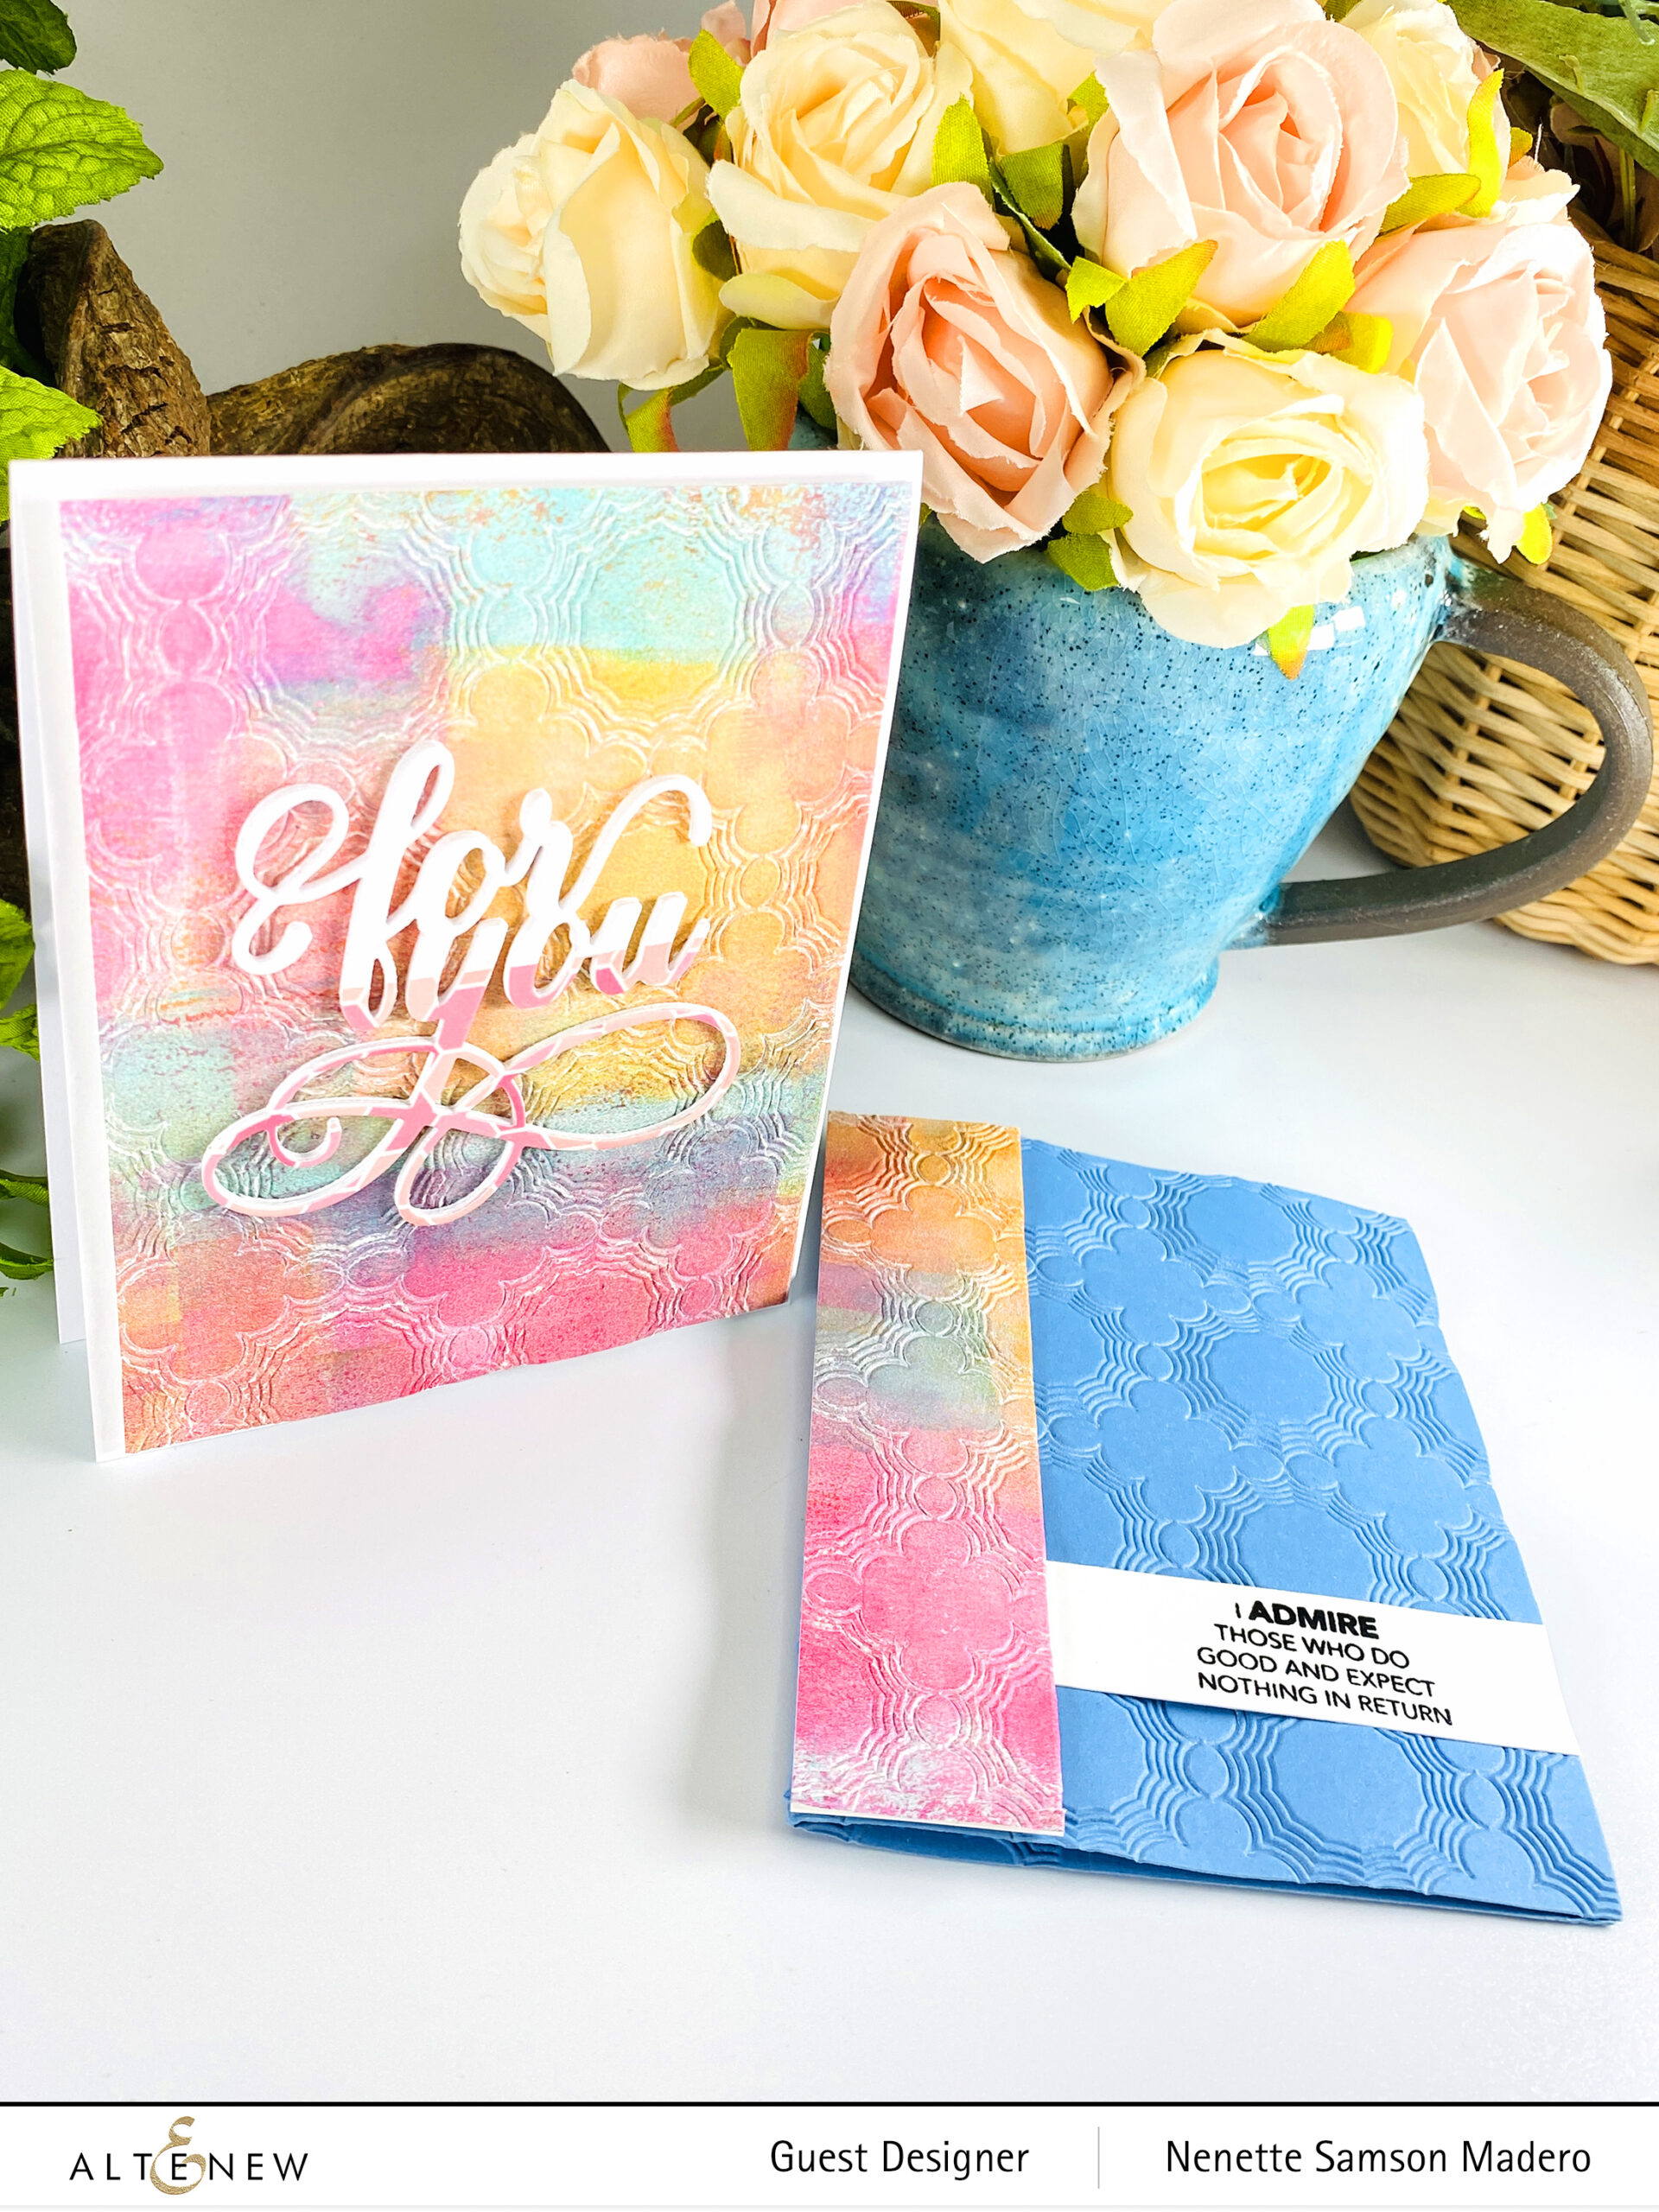
FOR YOU
STEPS:
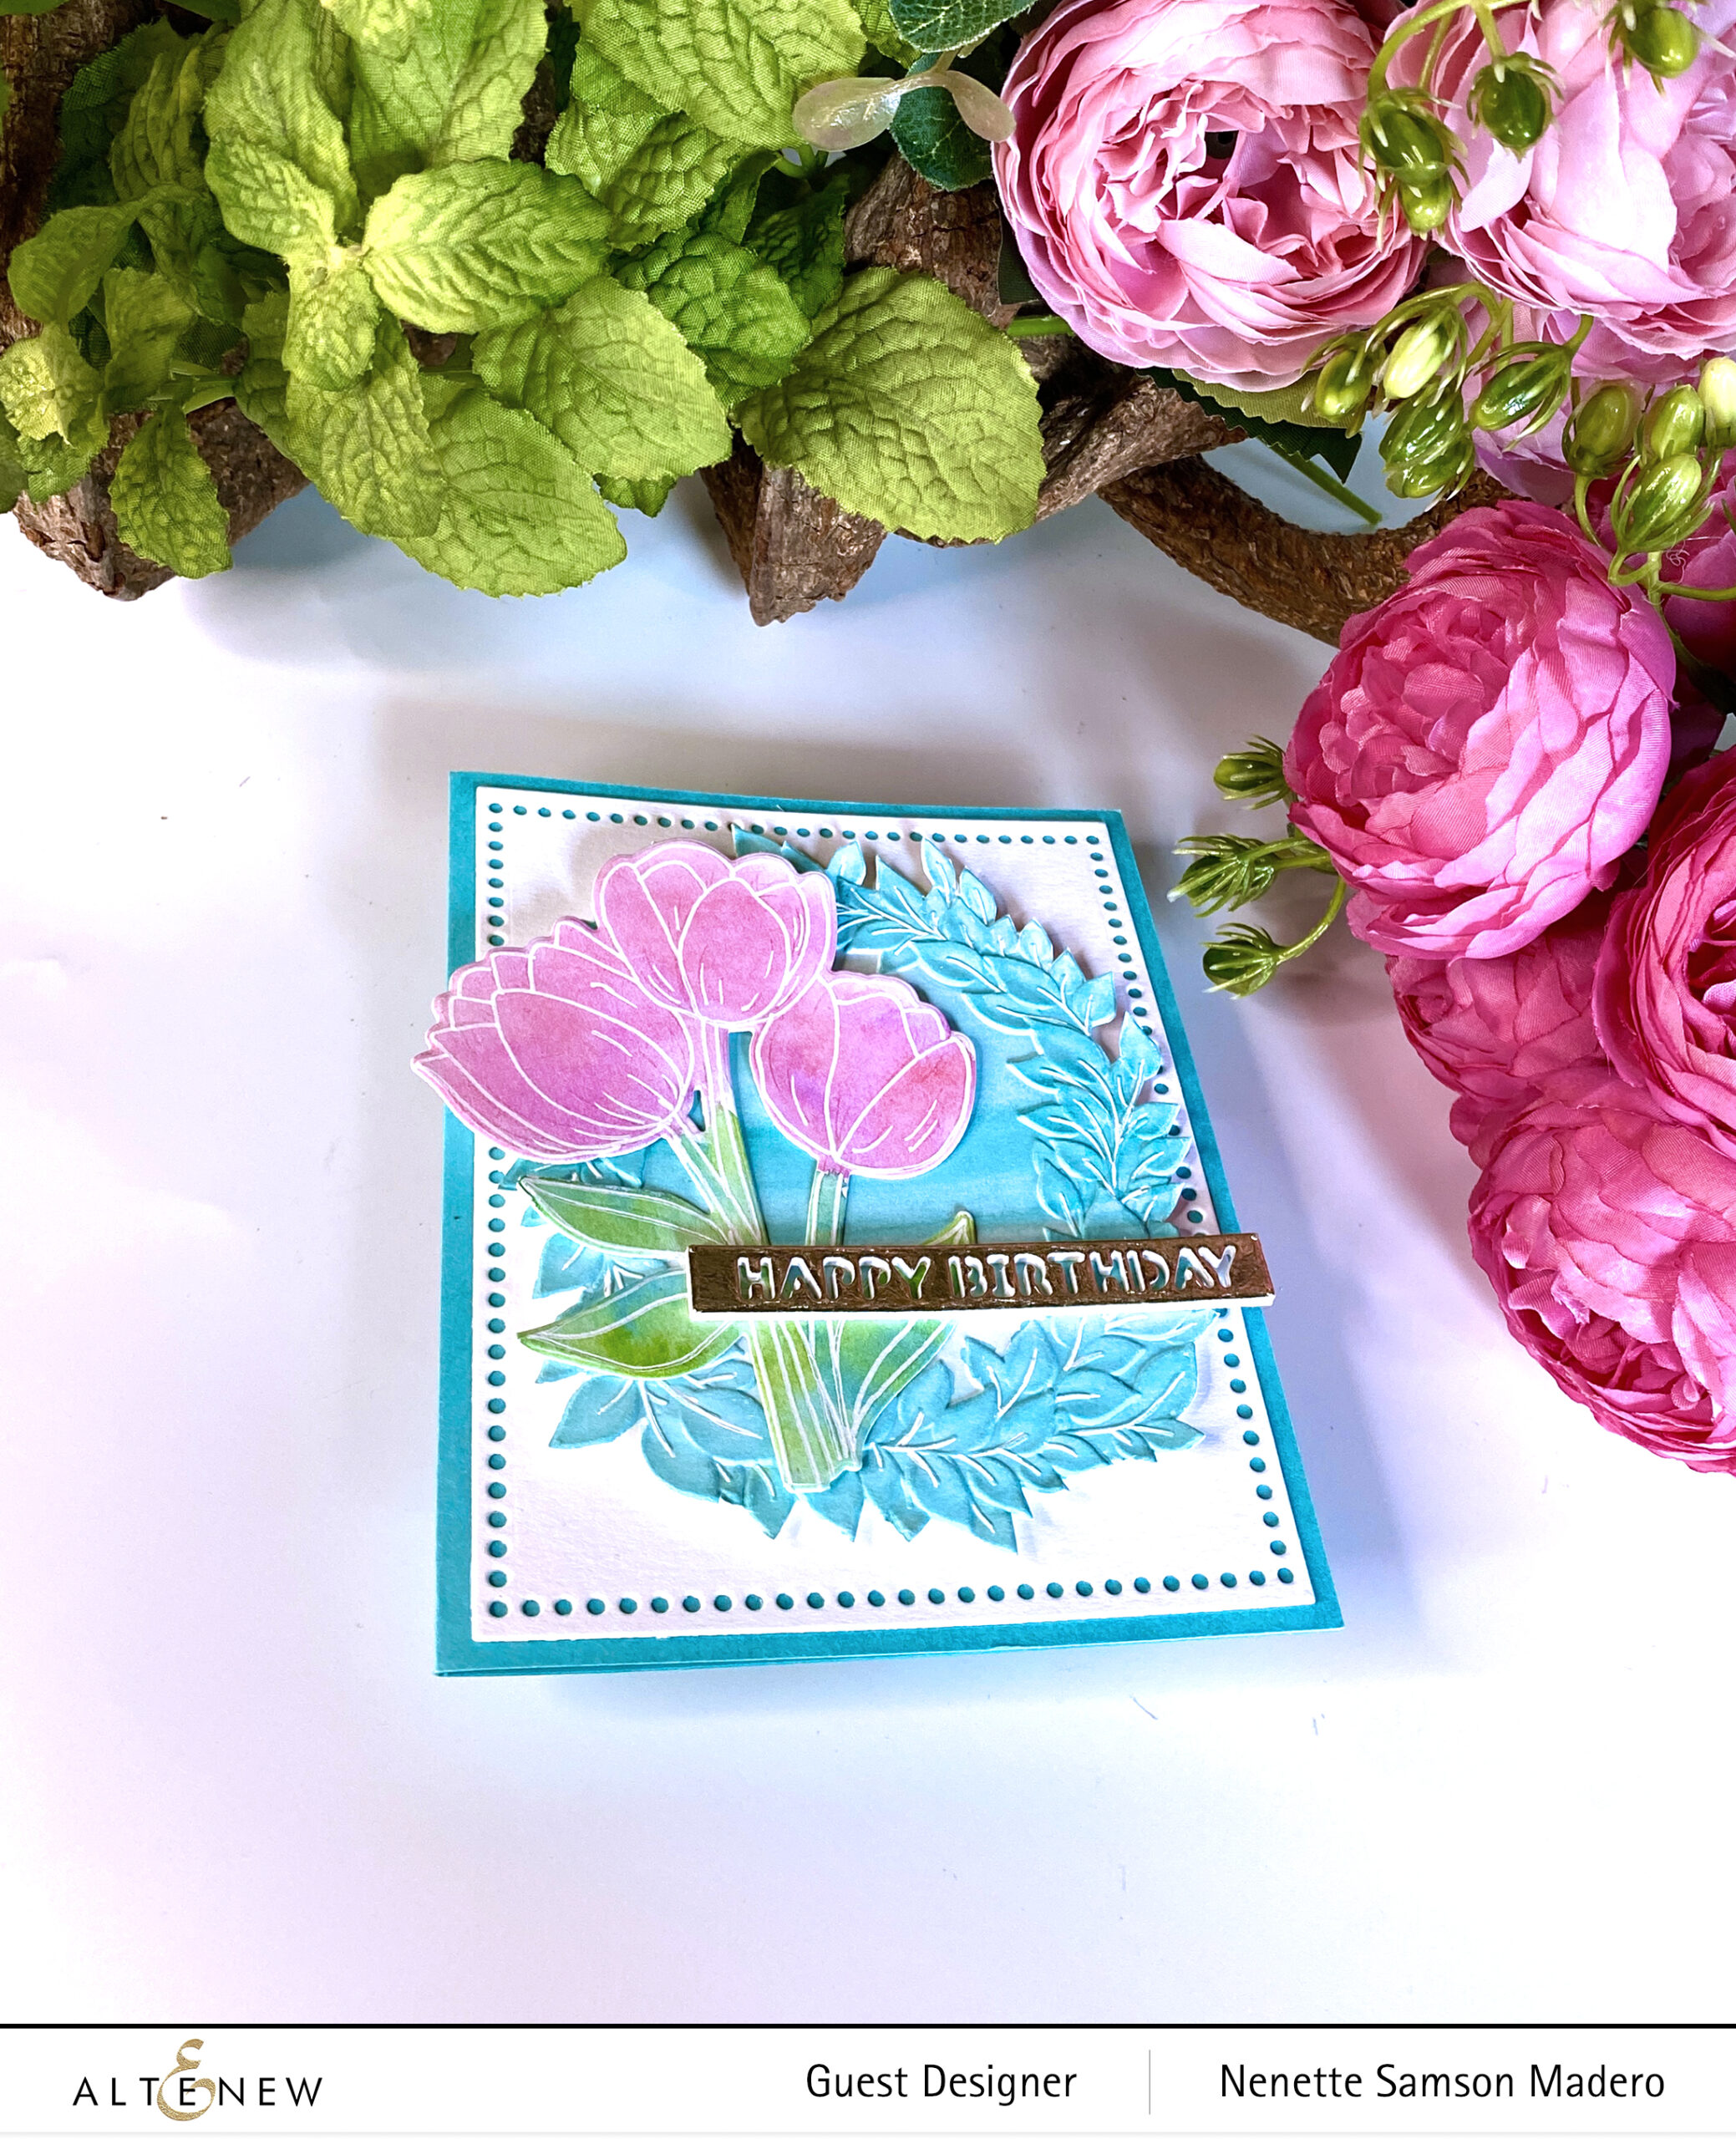
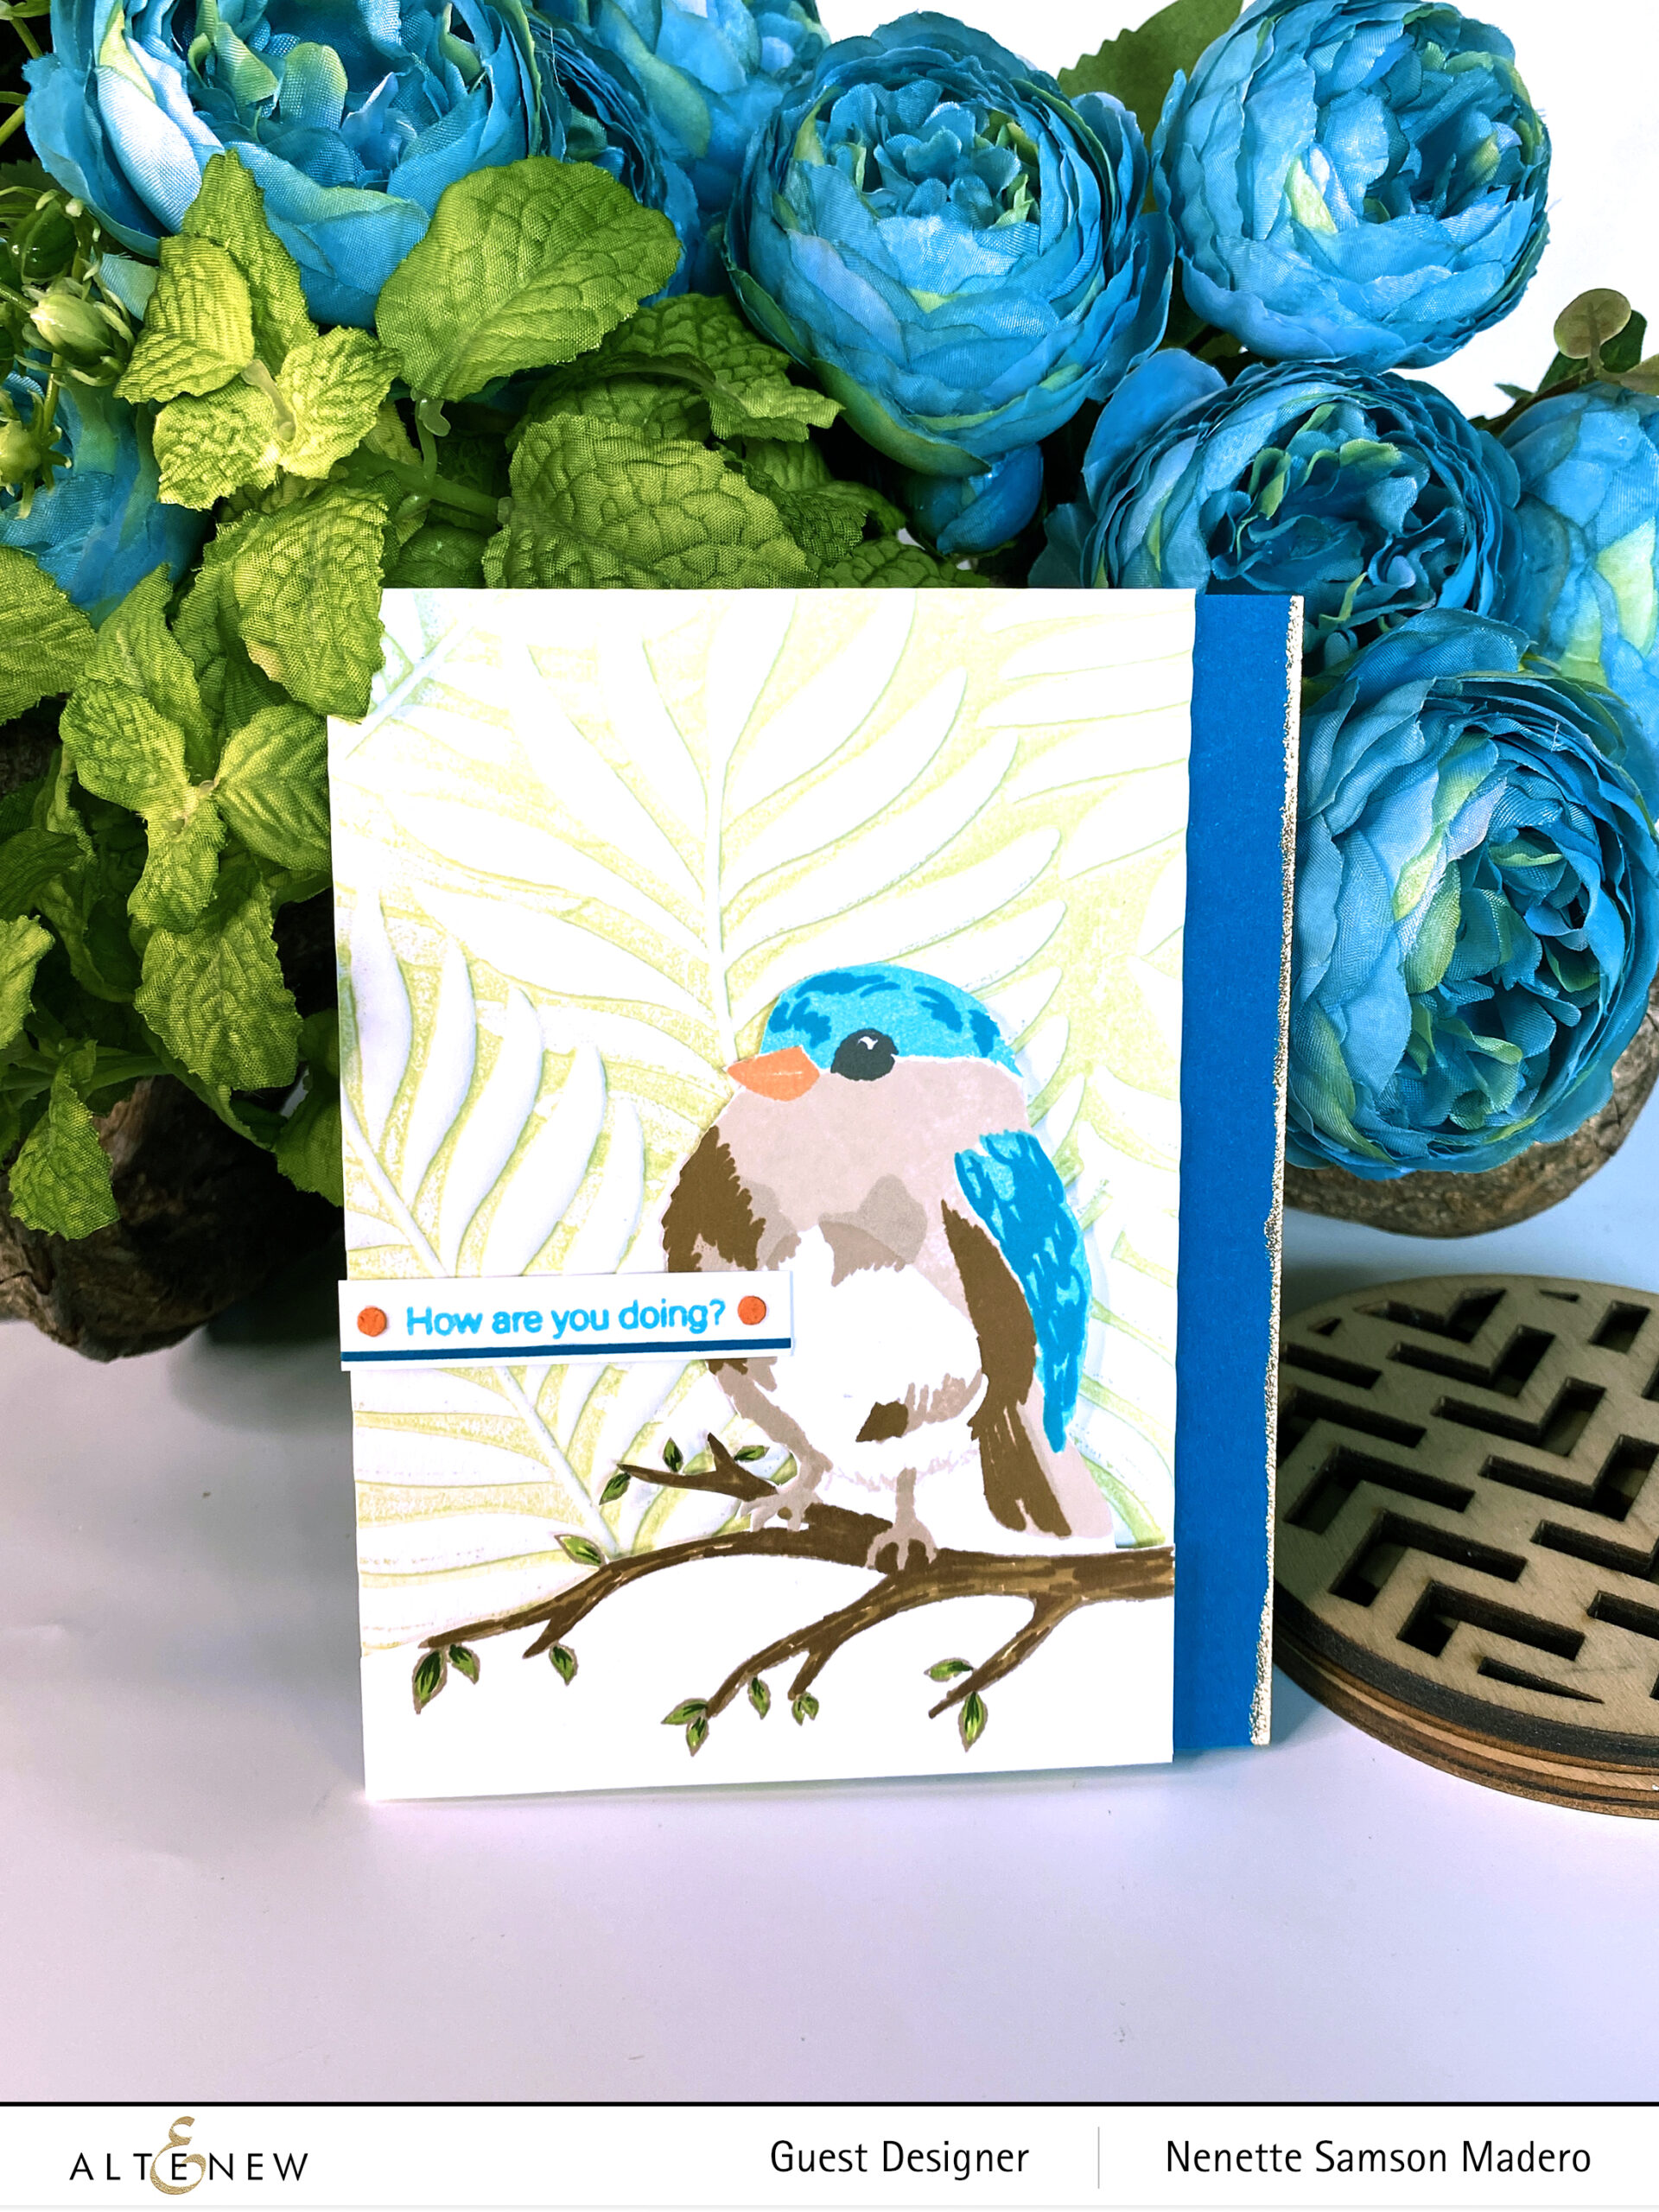
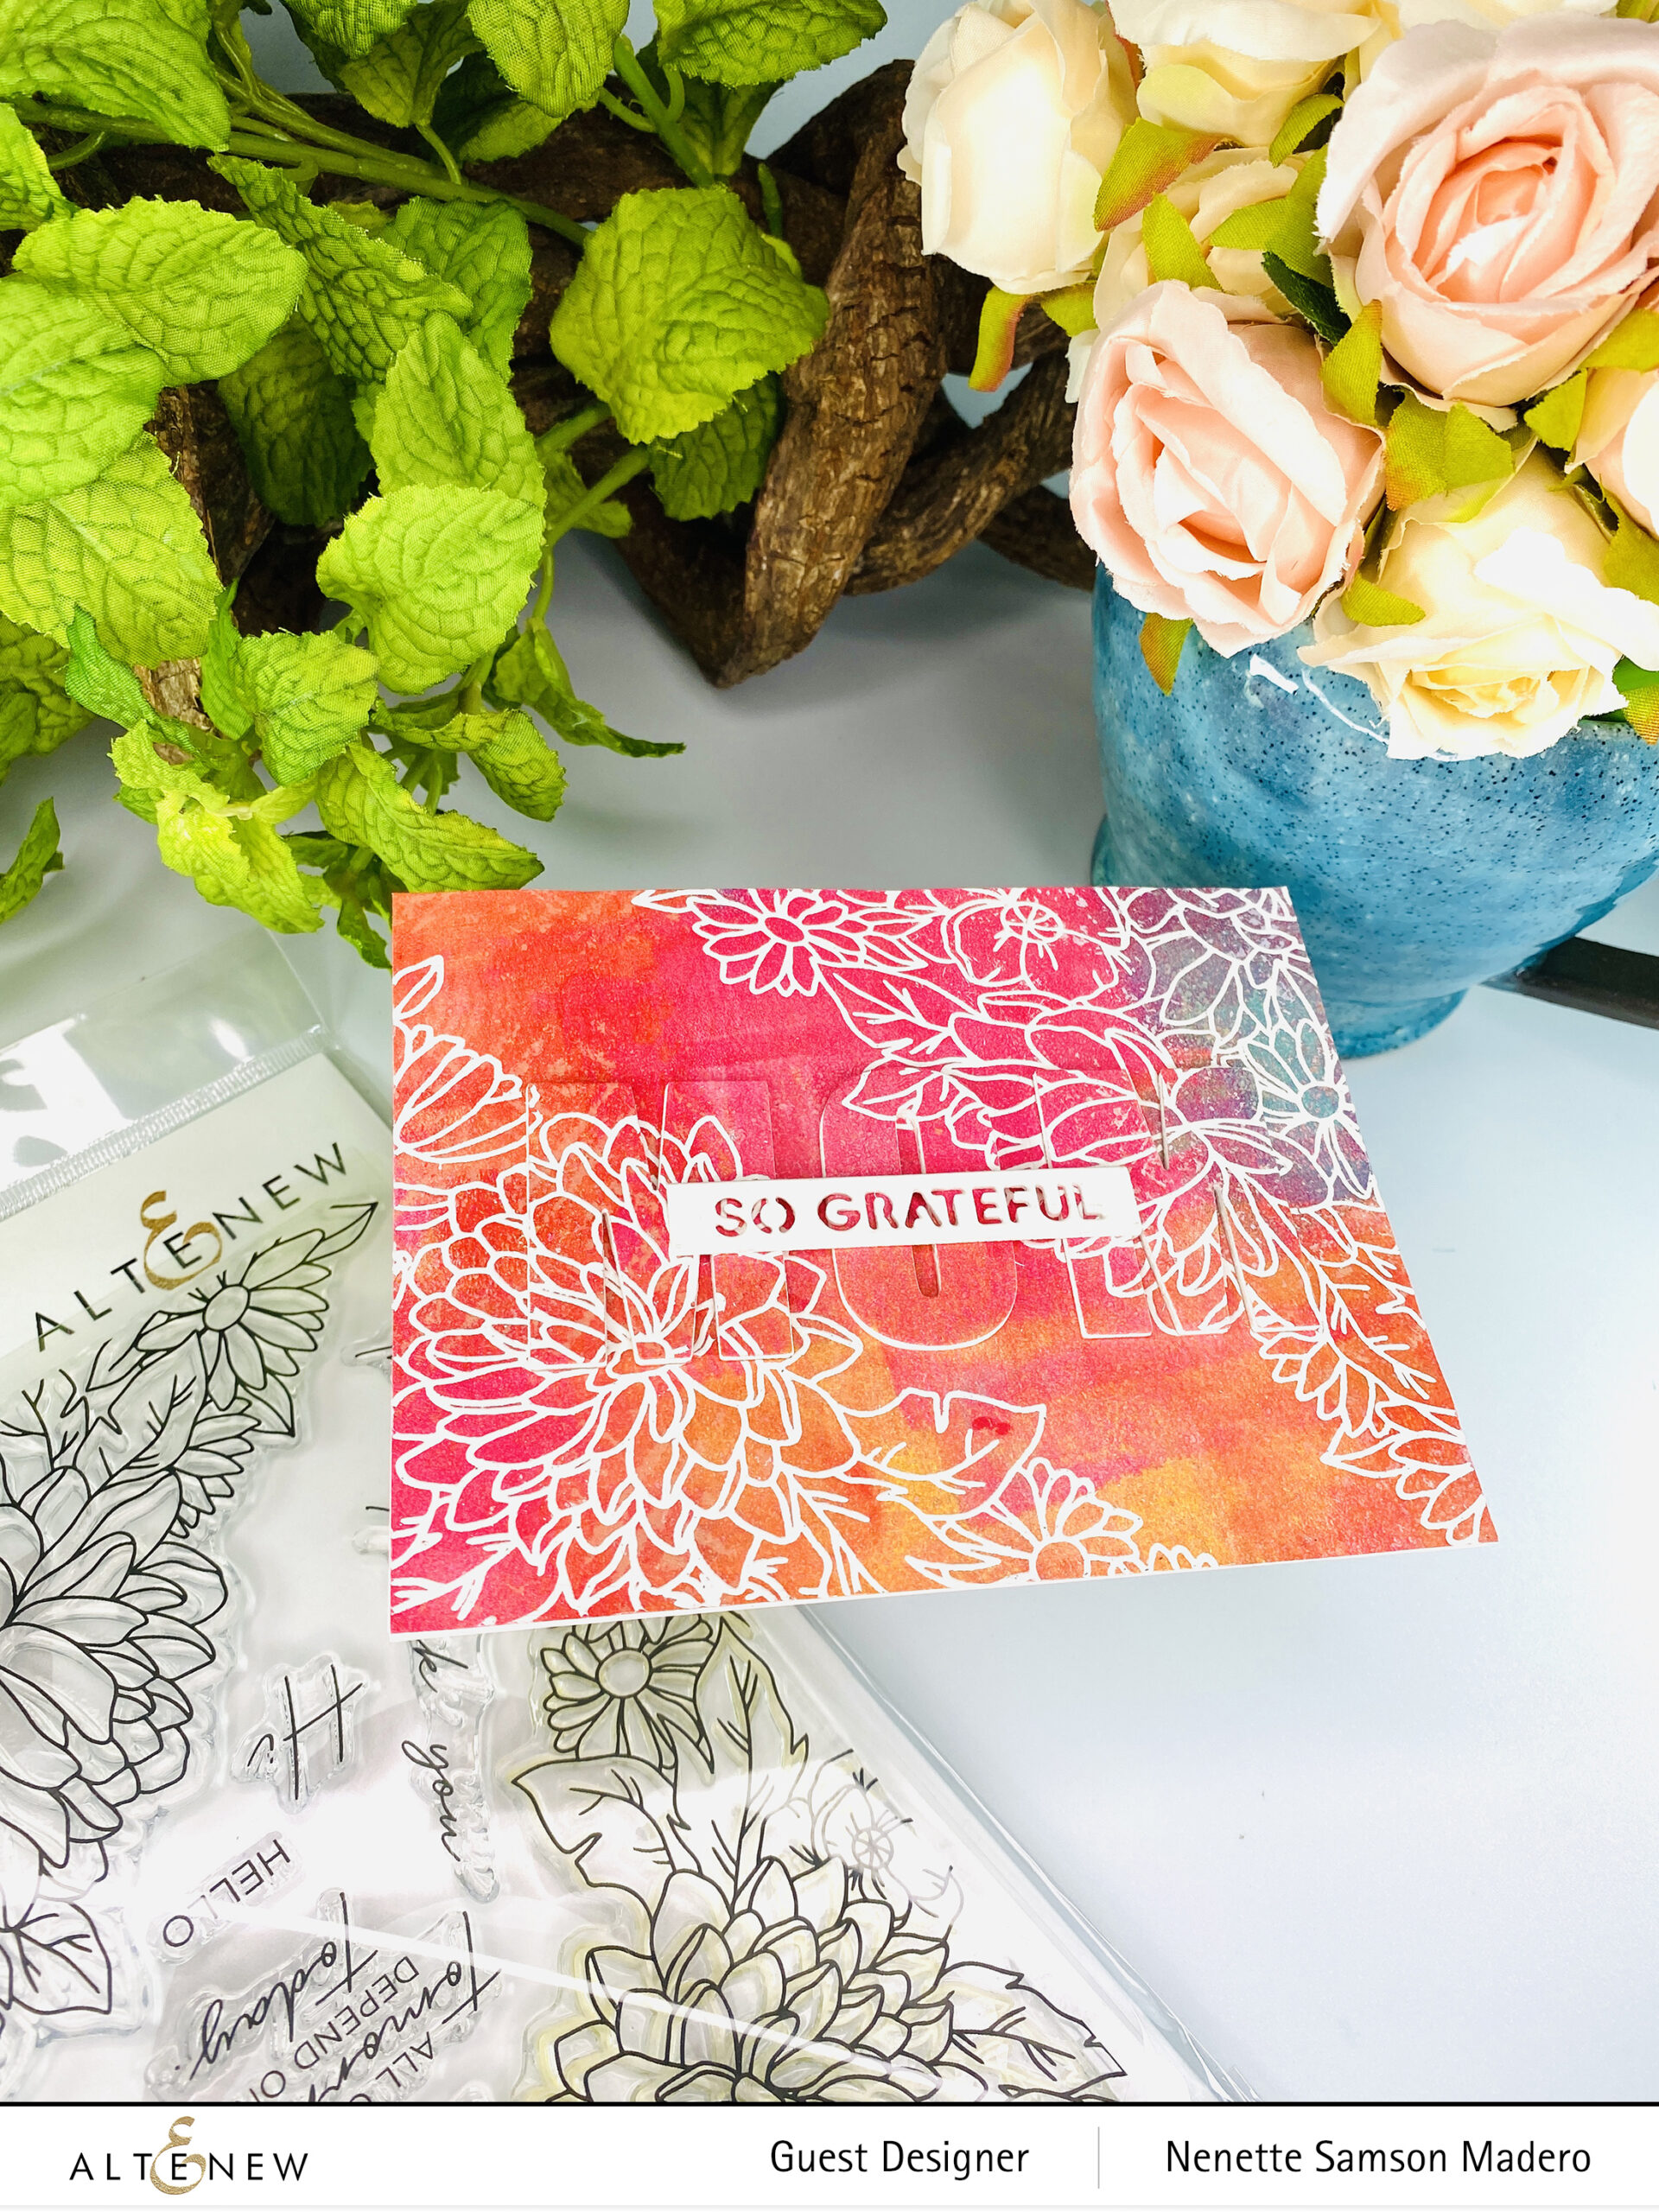
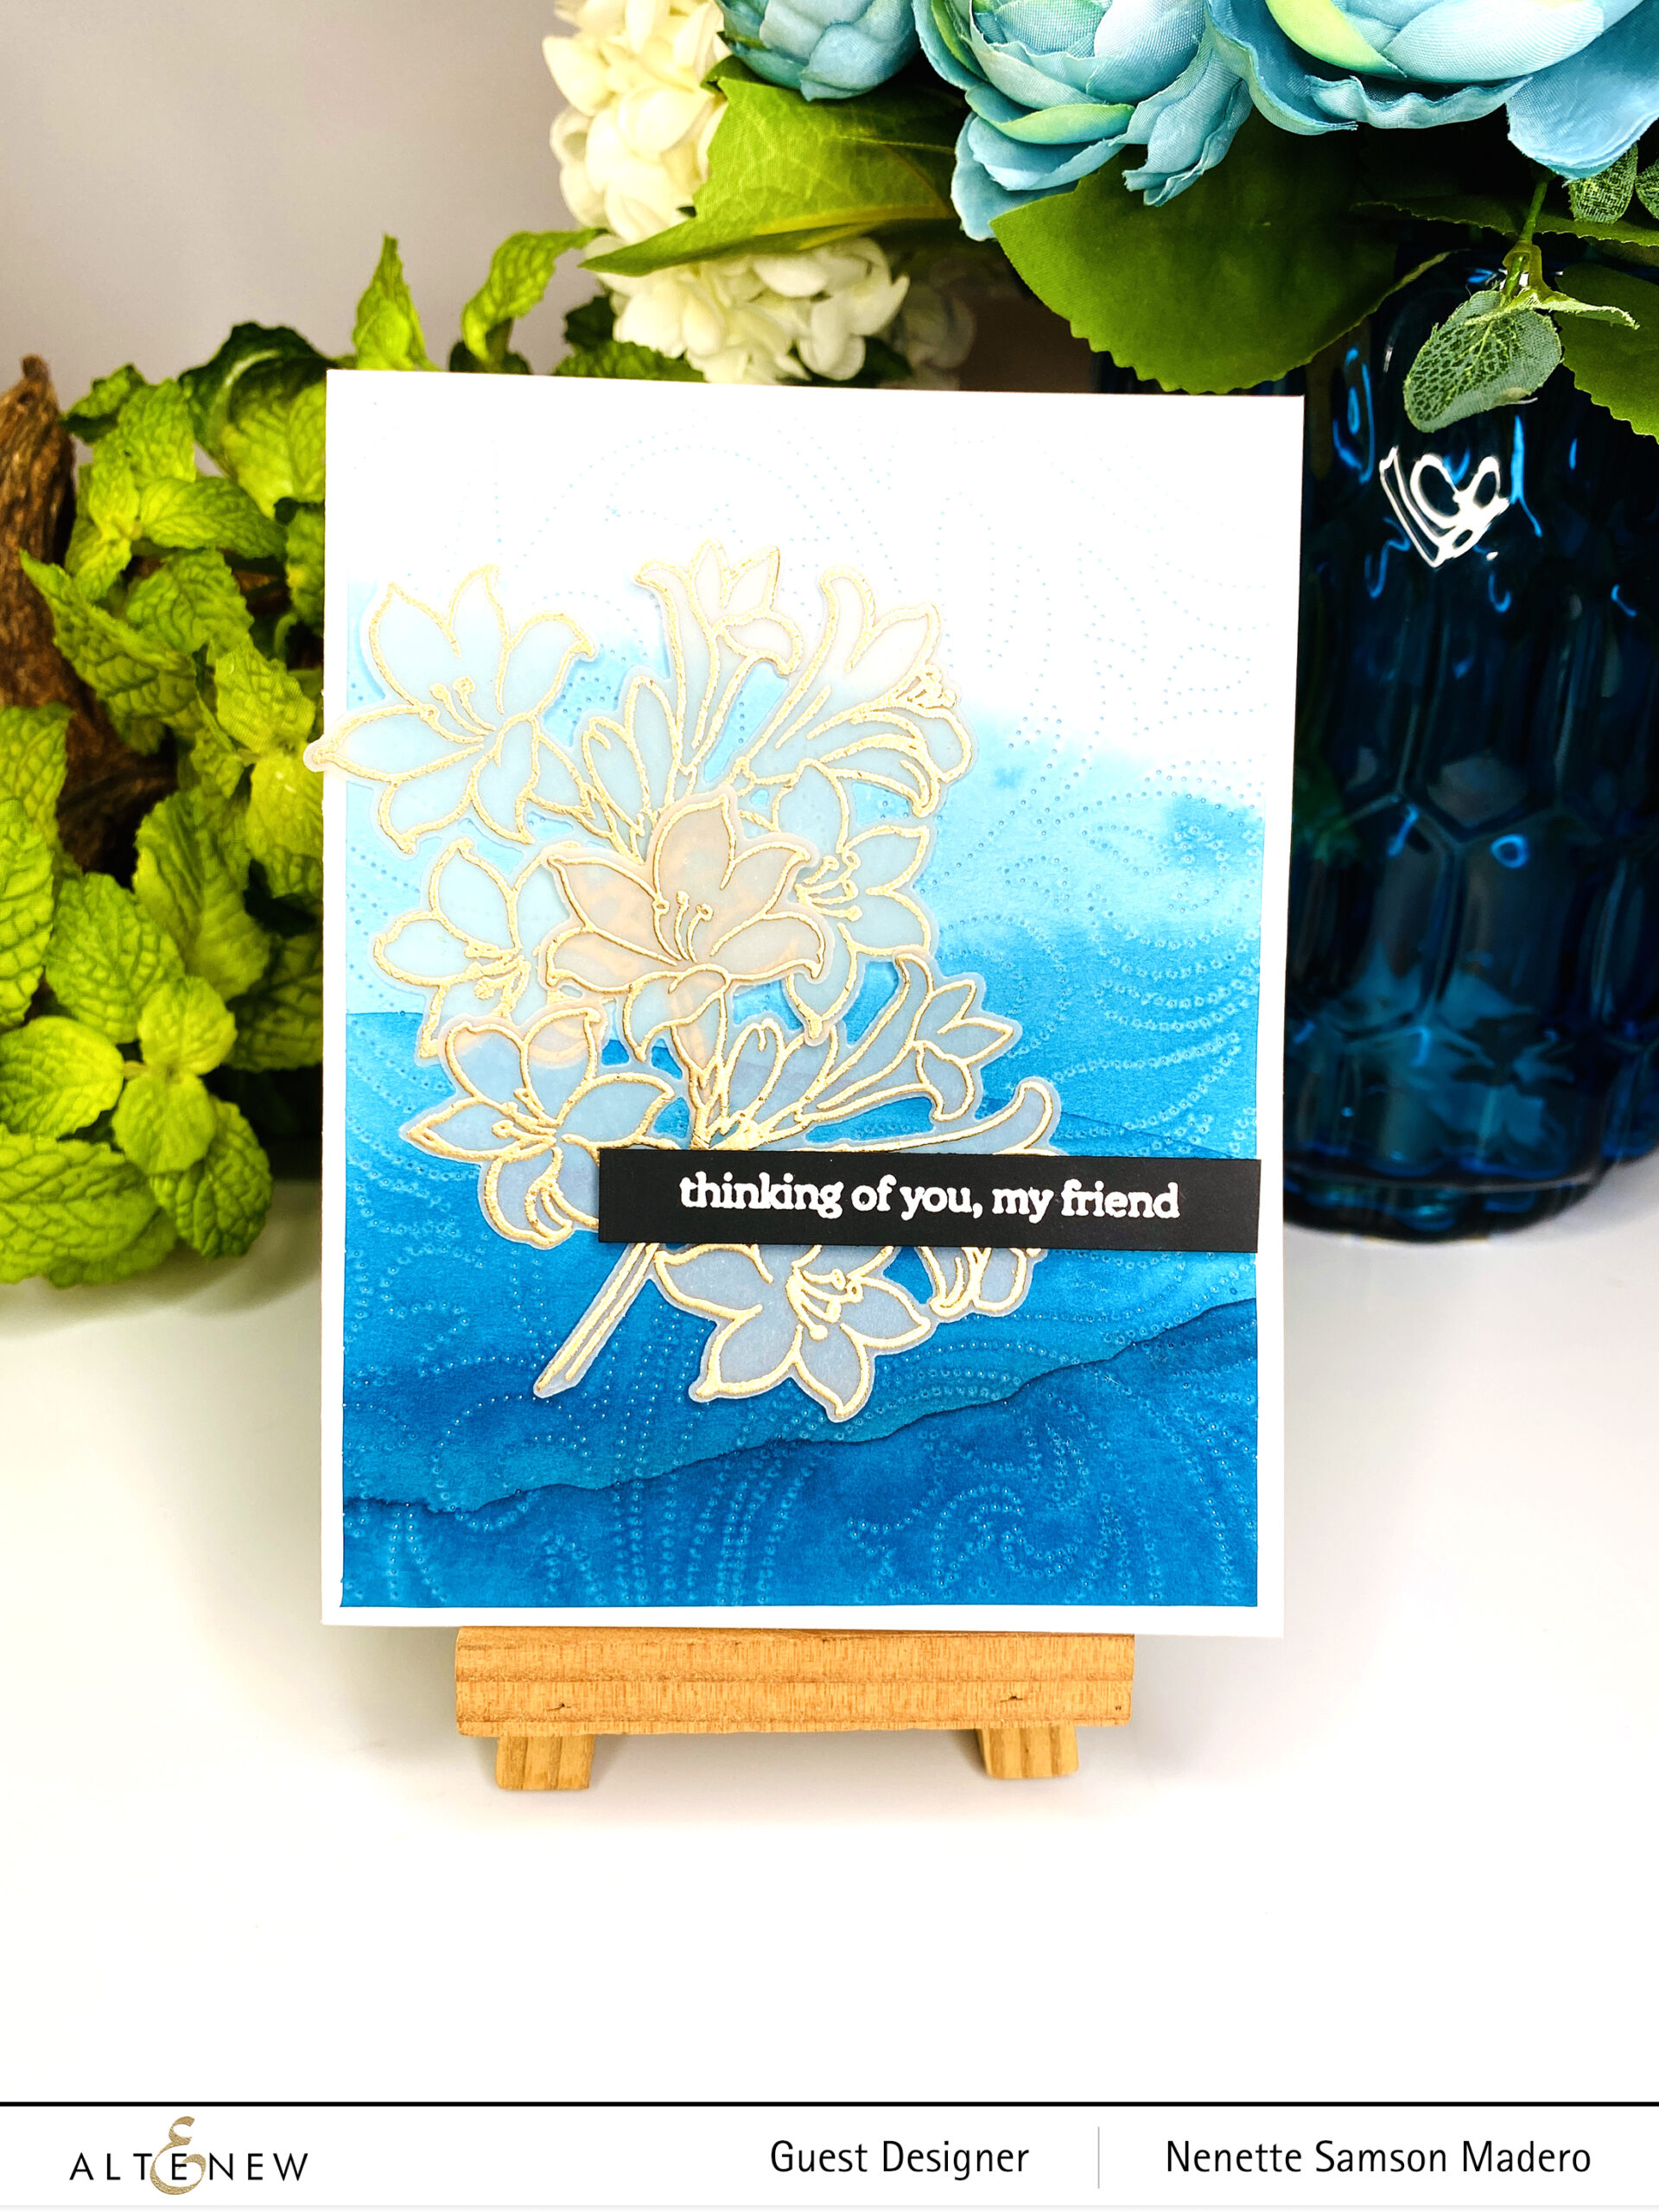
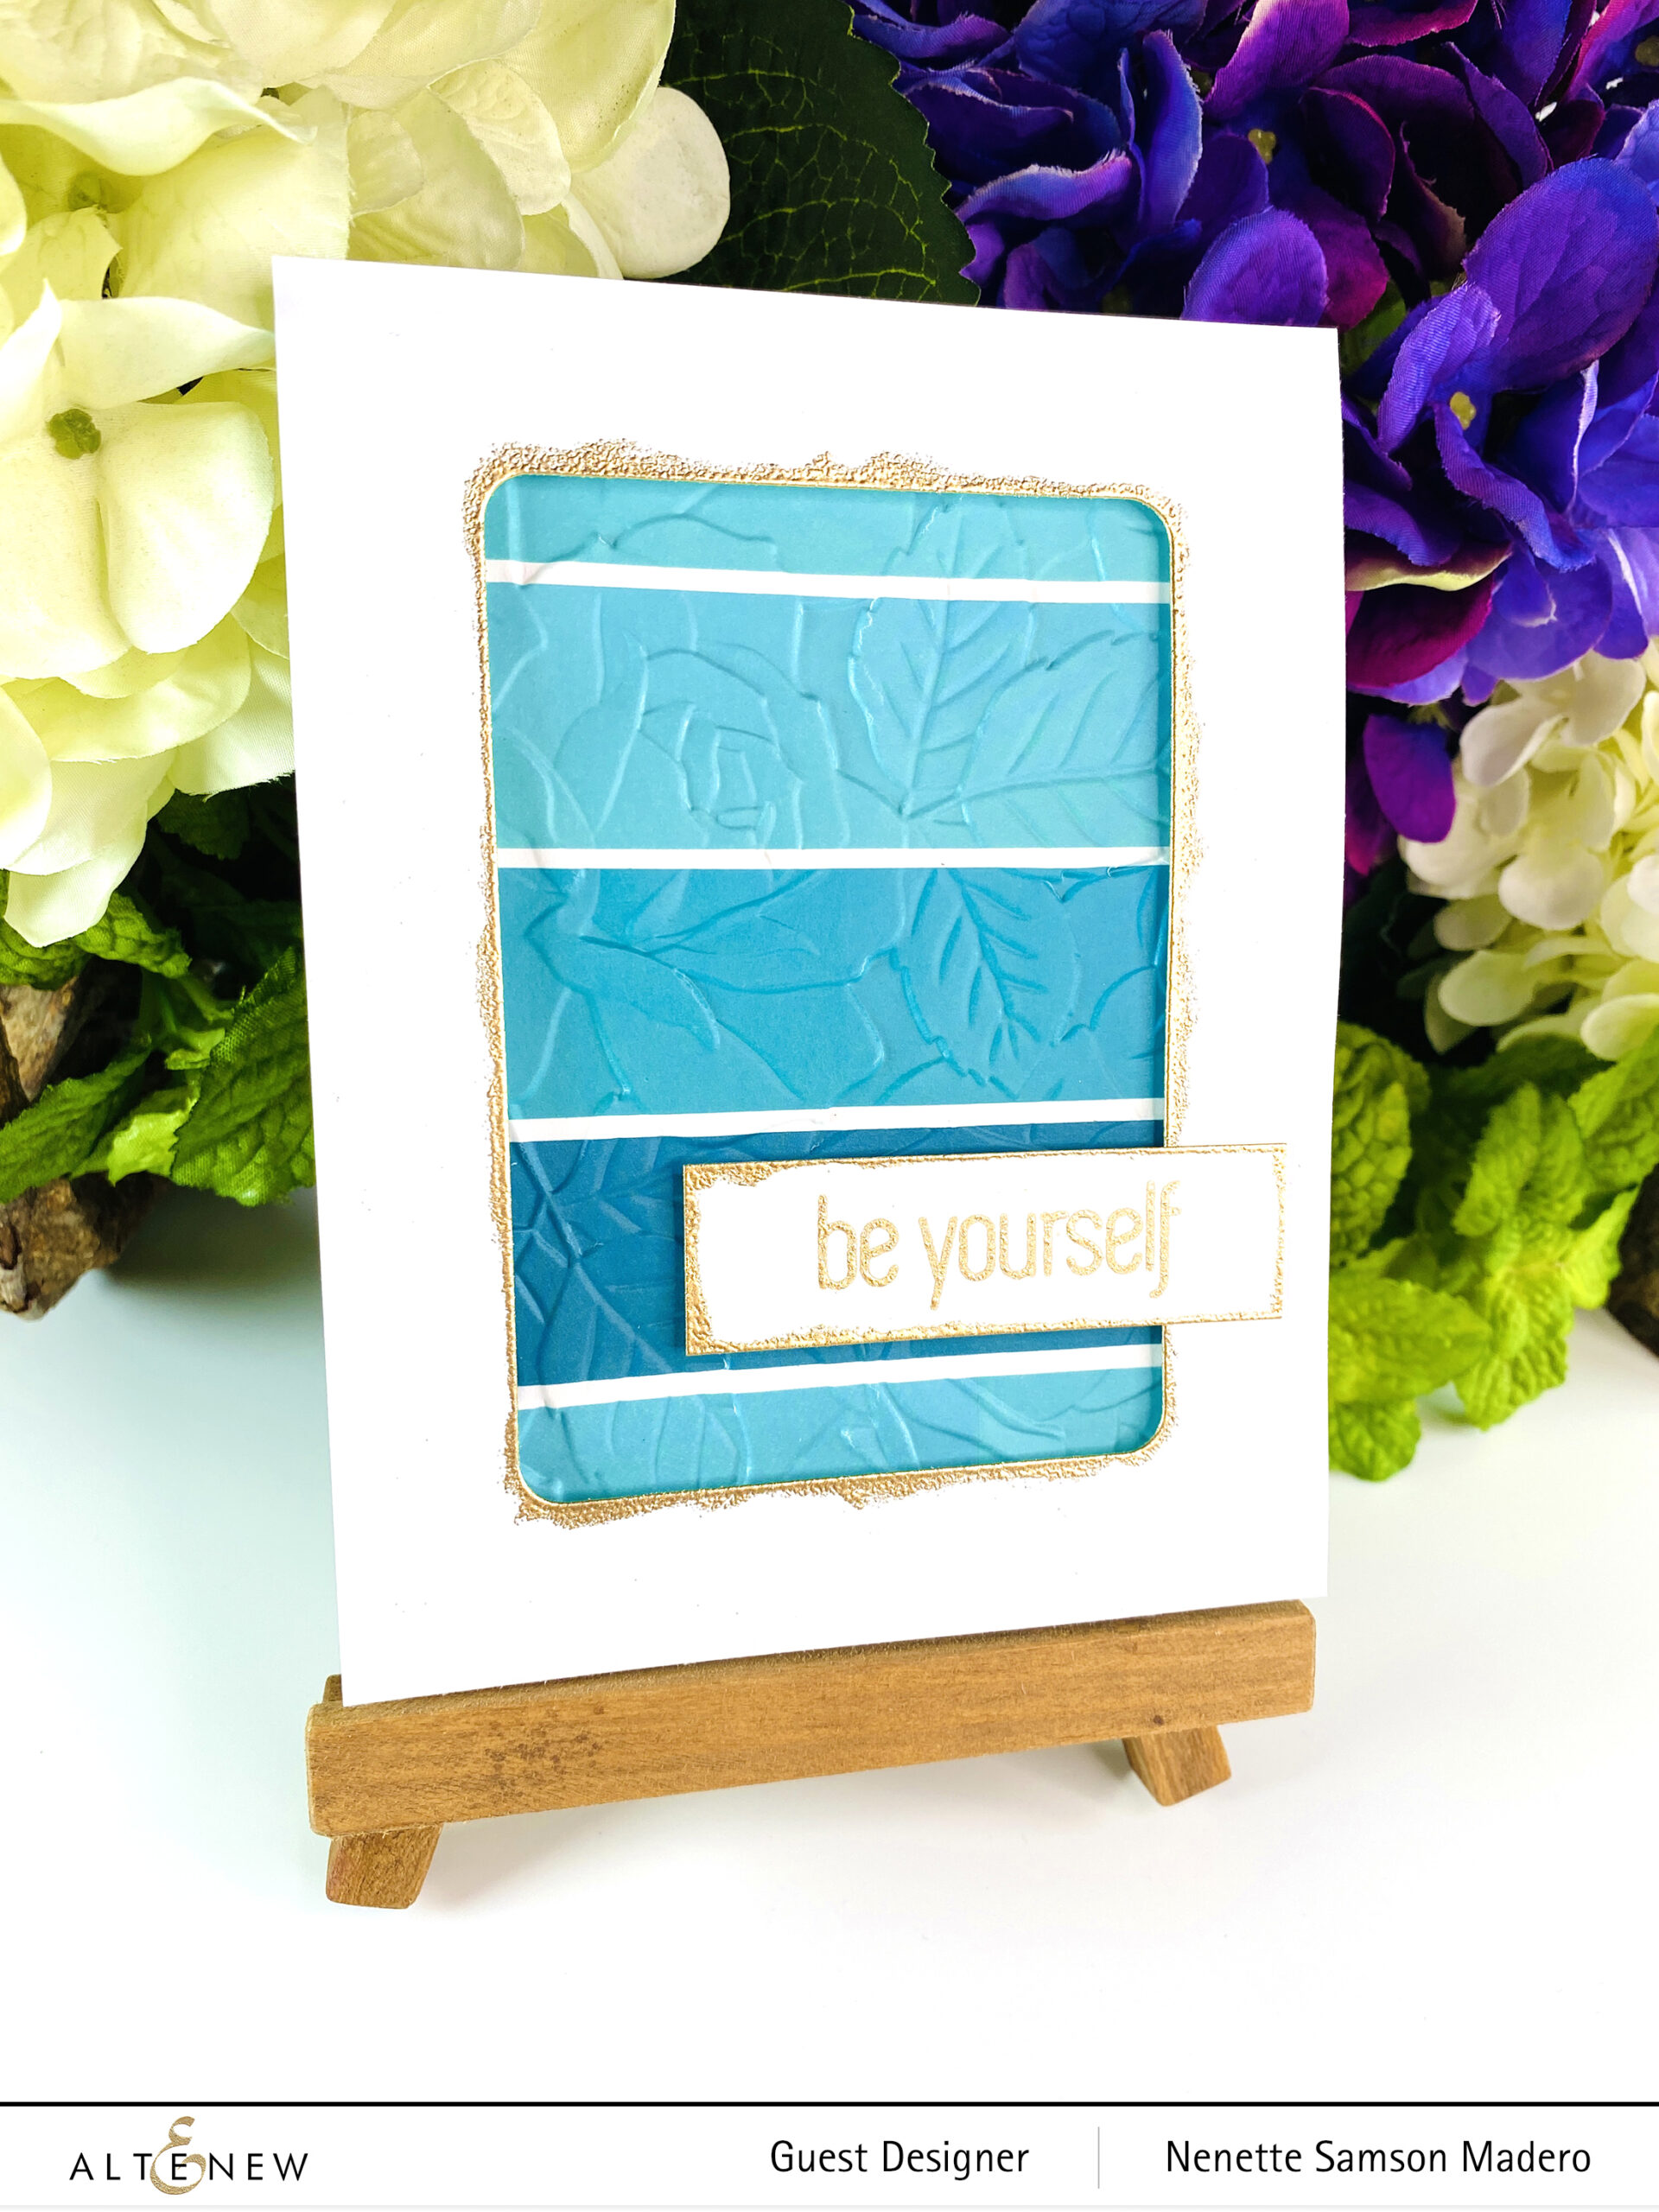
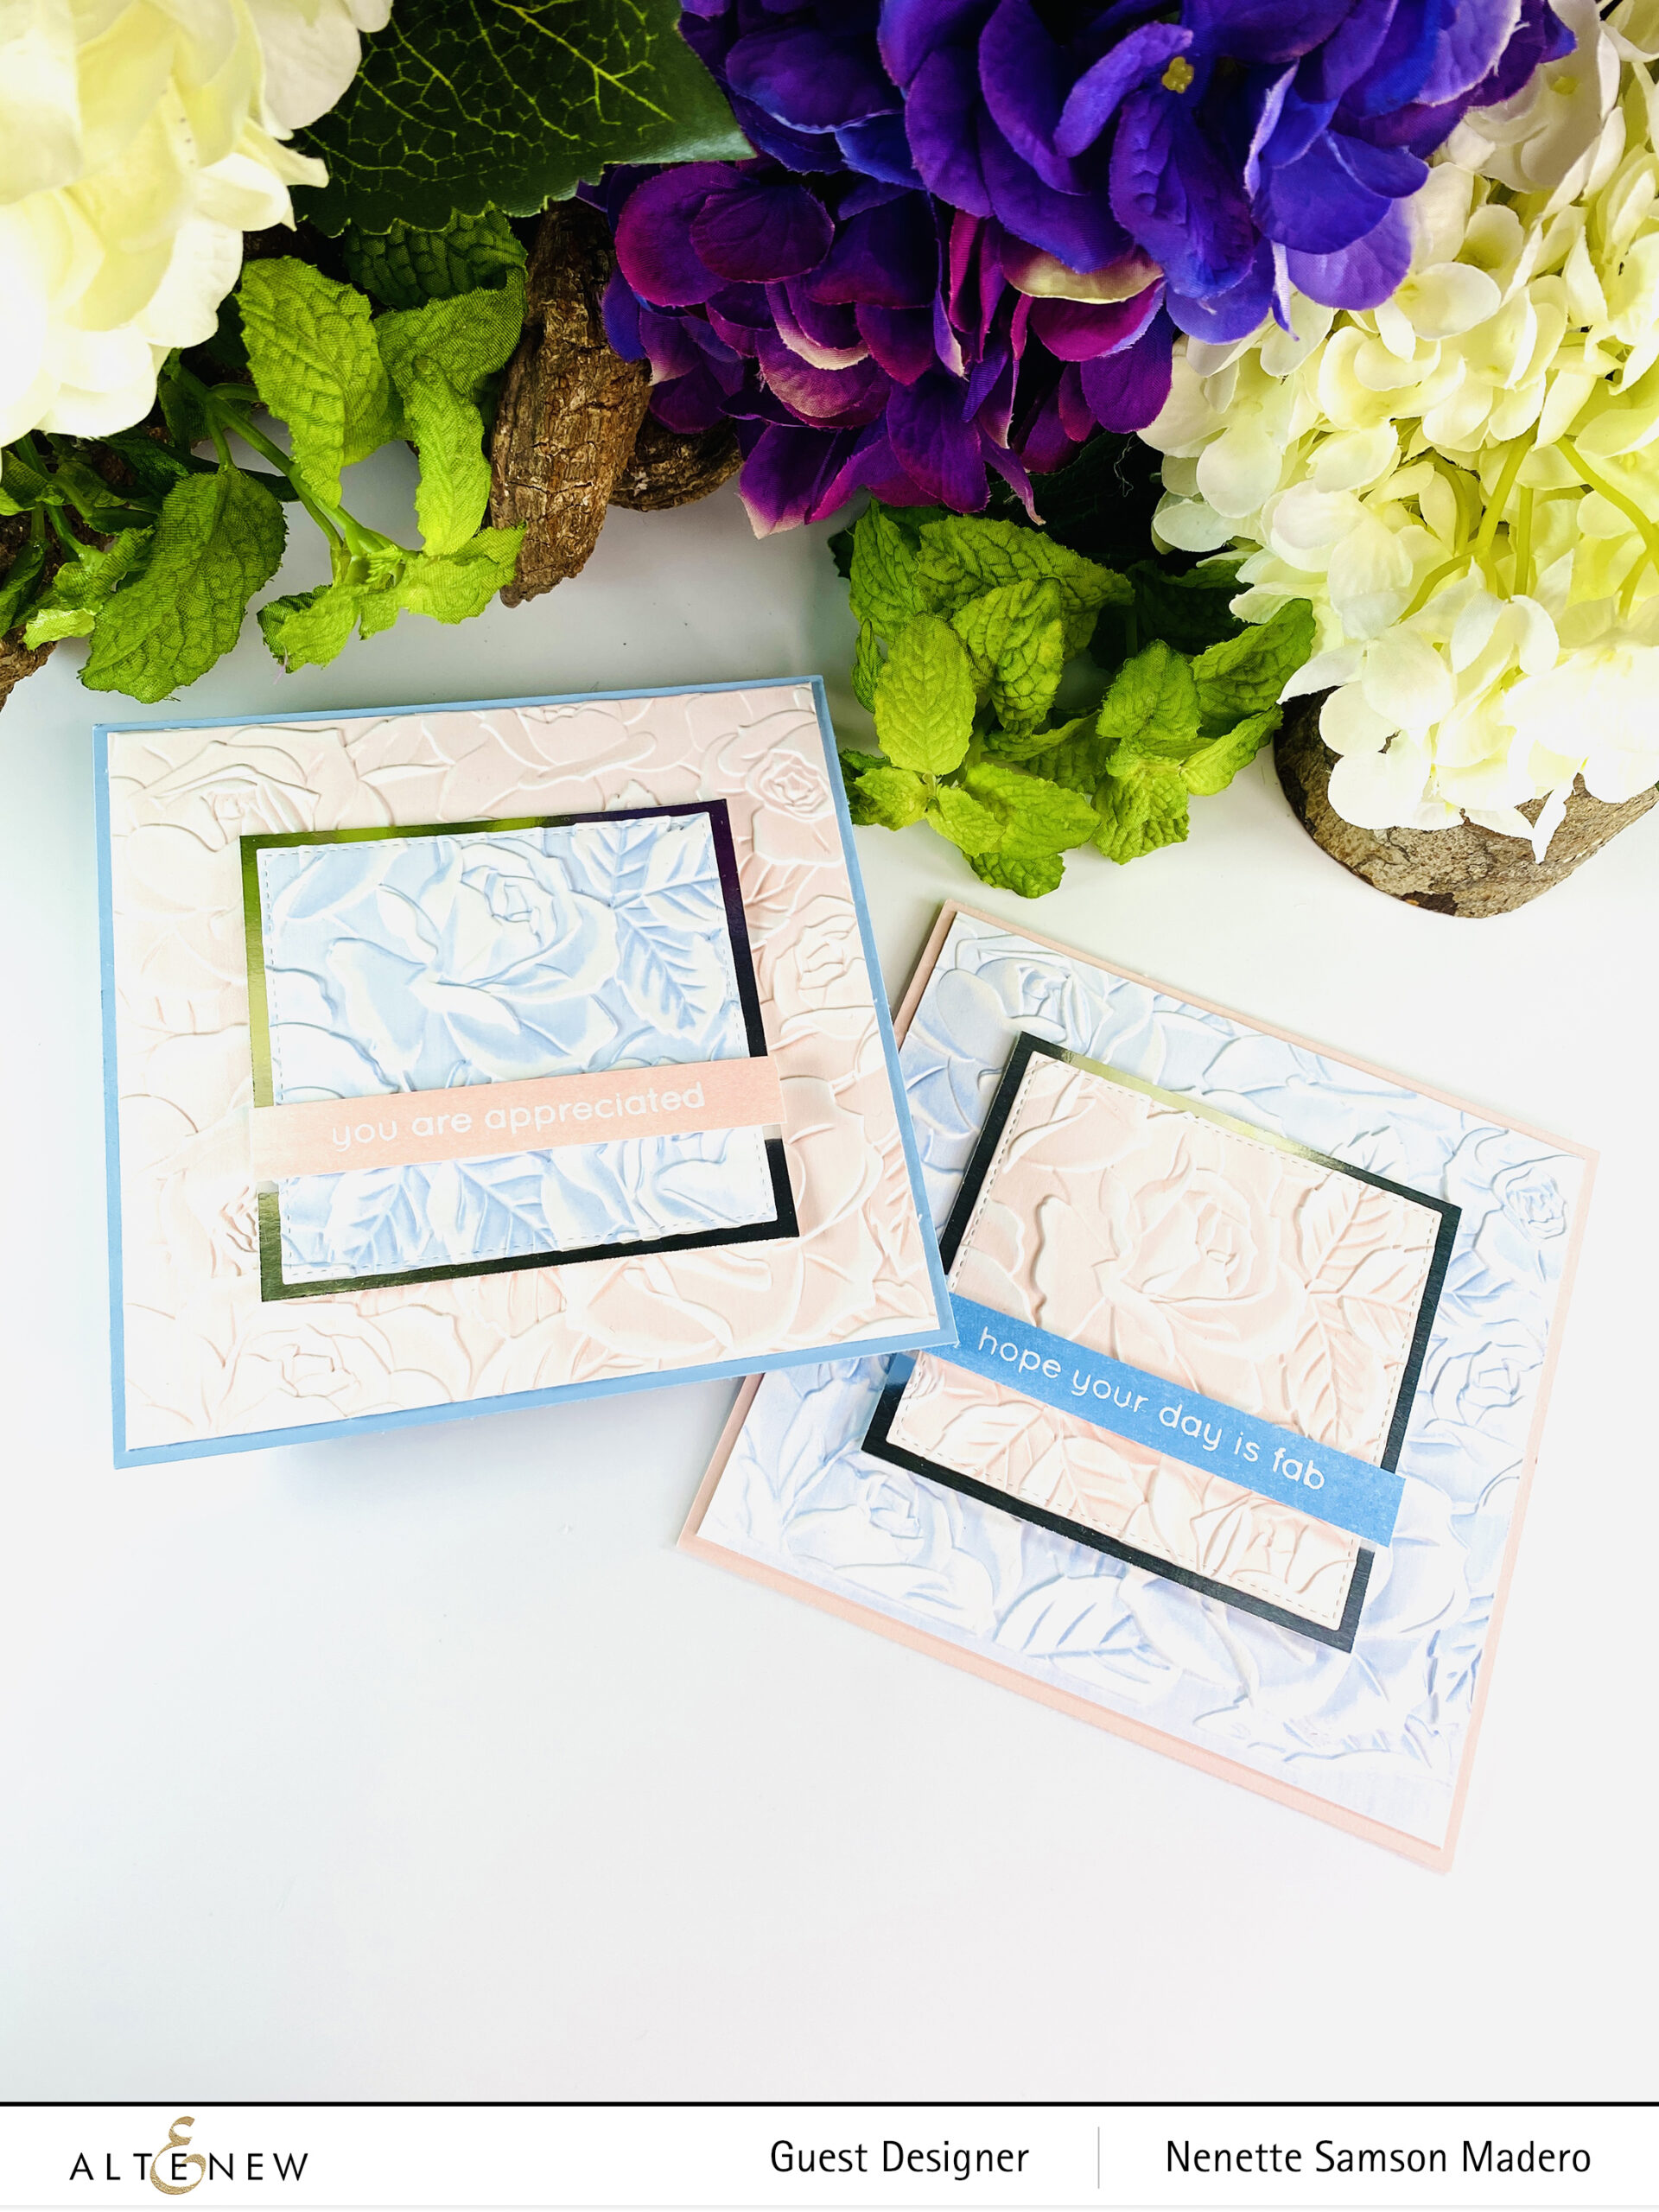
- Create a background using the Gelli plate and acrylic paints.
- Emboss the background using the Starbust 3D embossing folder.
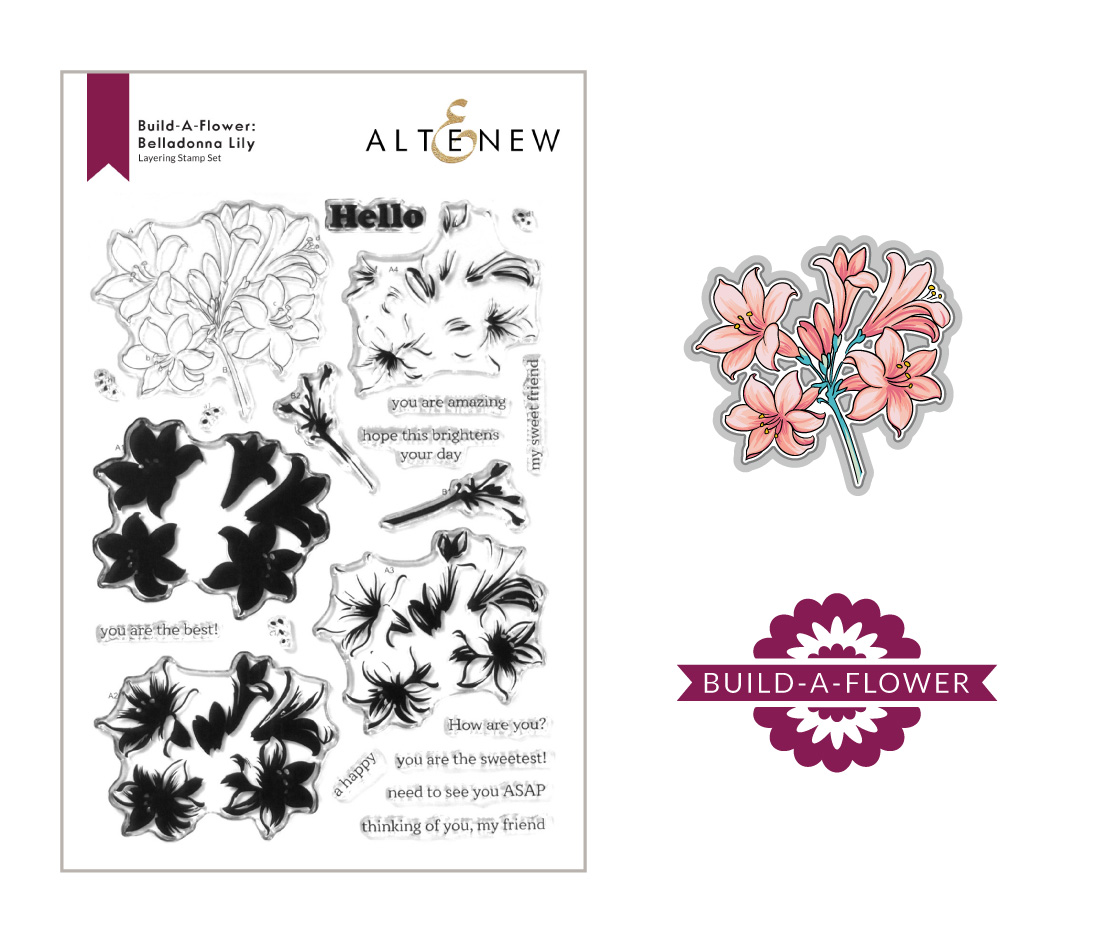
- Die-cut 4 white cardstocks using the Fancy for You die. Add a layer of Peachy Tiles washi tape before die cutting the fifth and adhere to each other to create dimension.
- Assemble card.
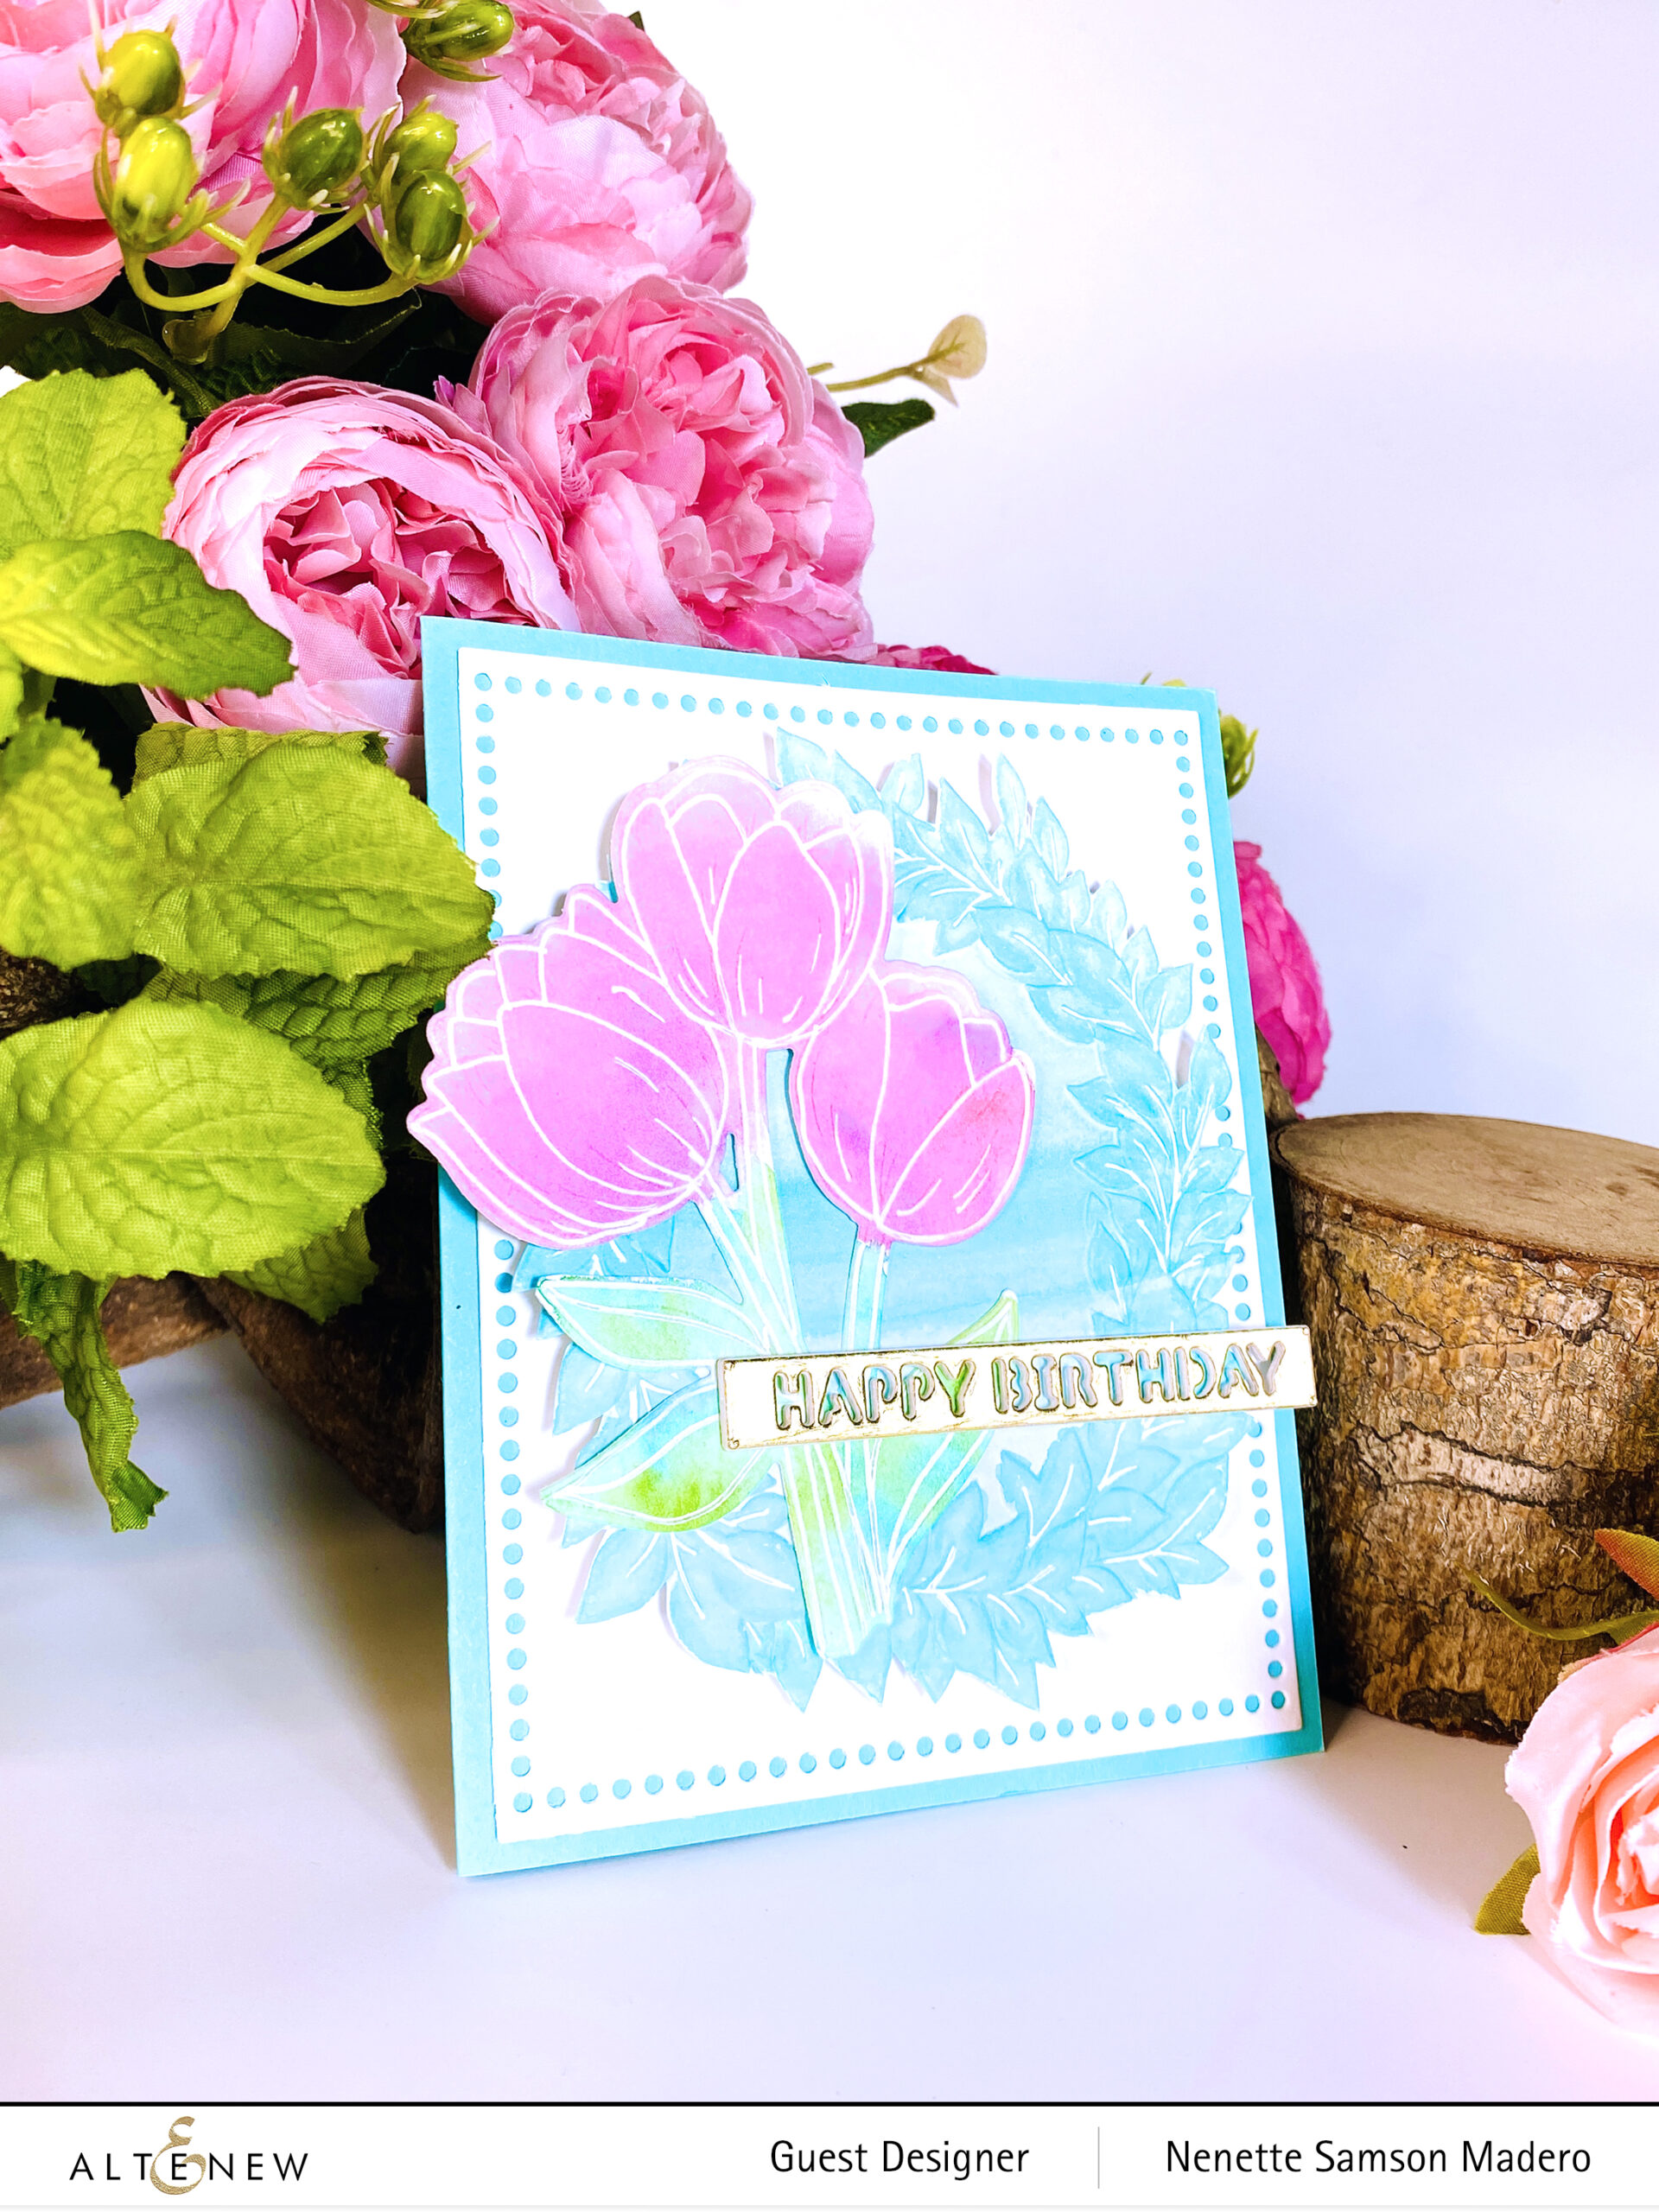
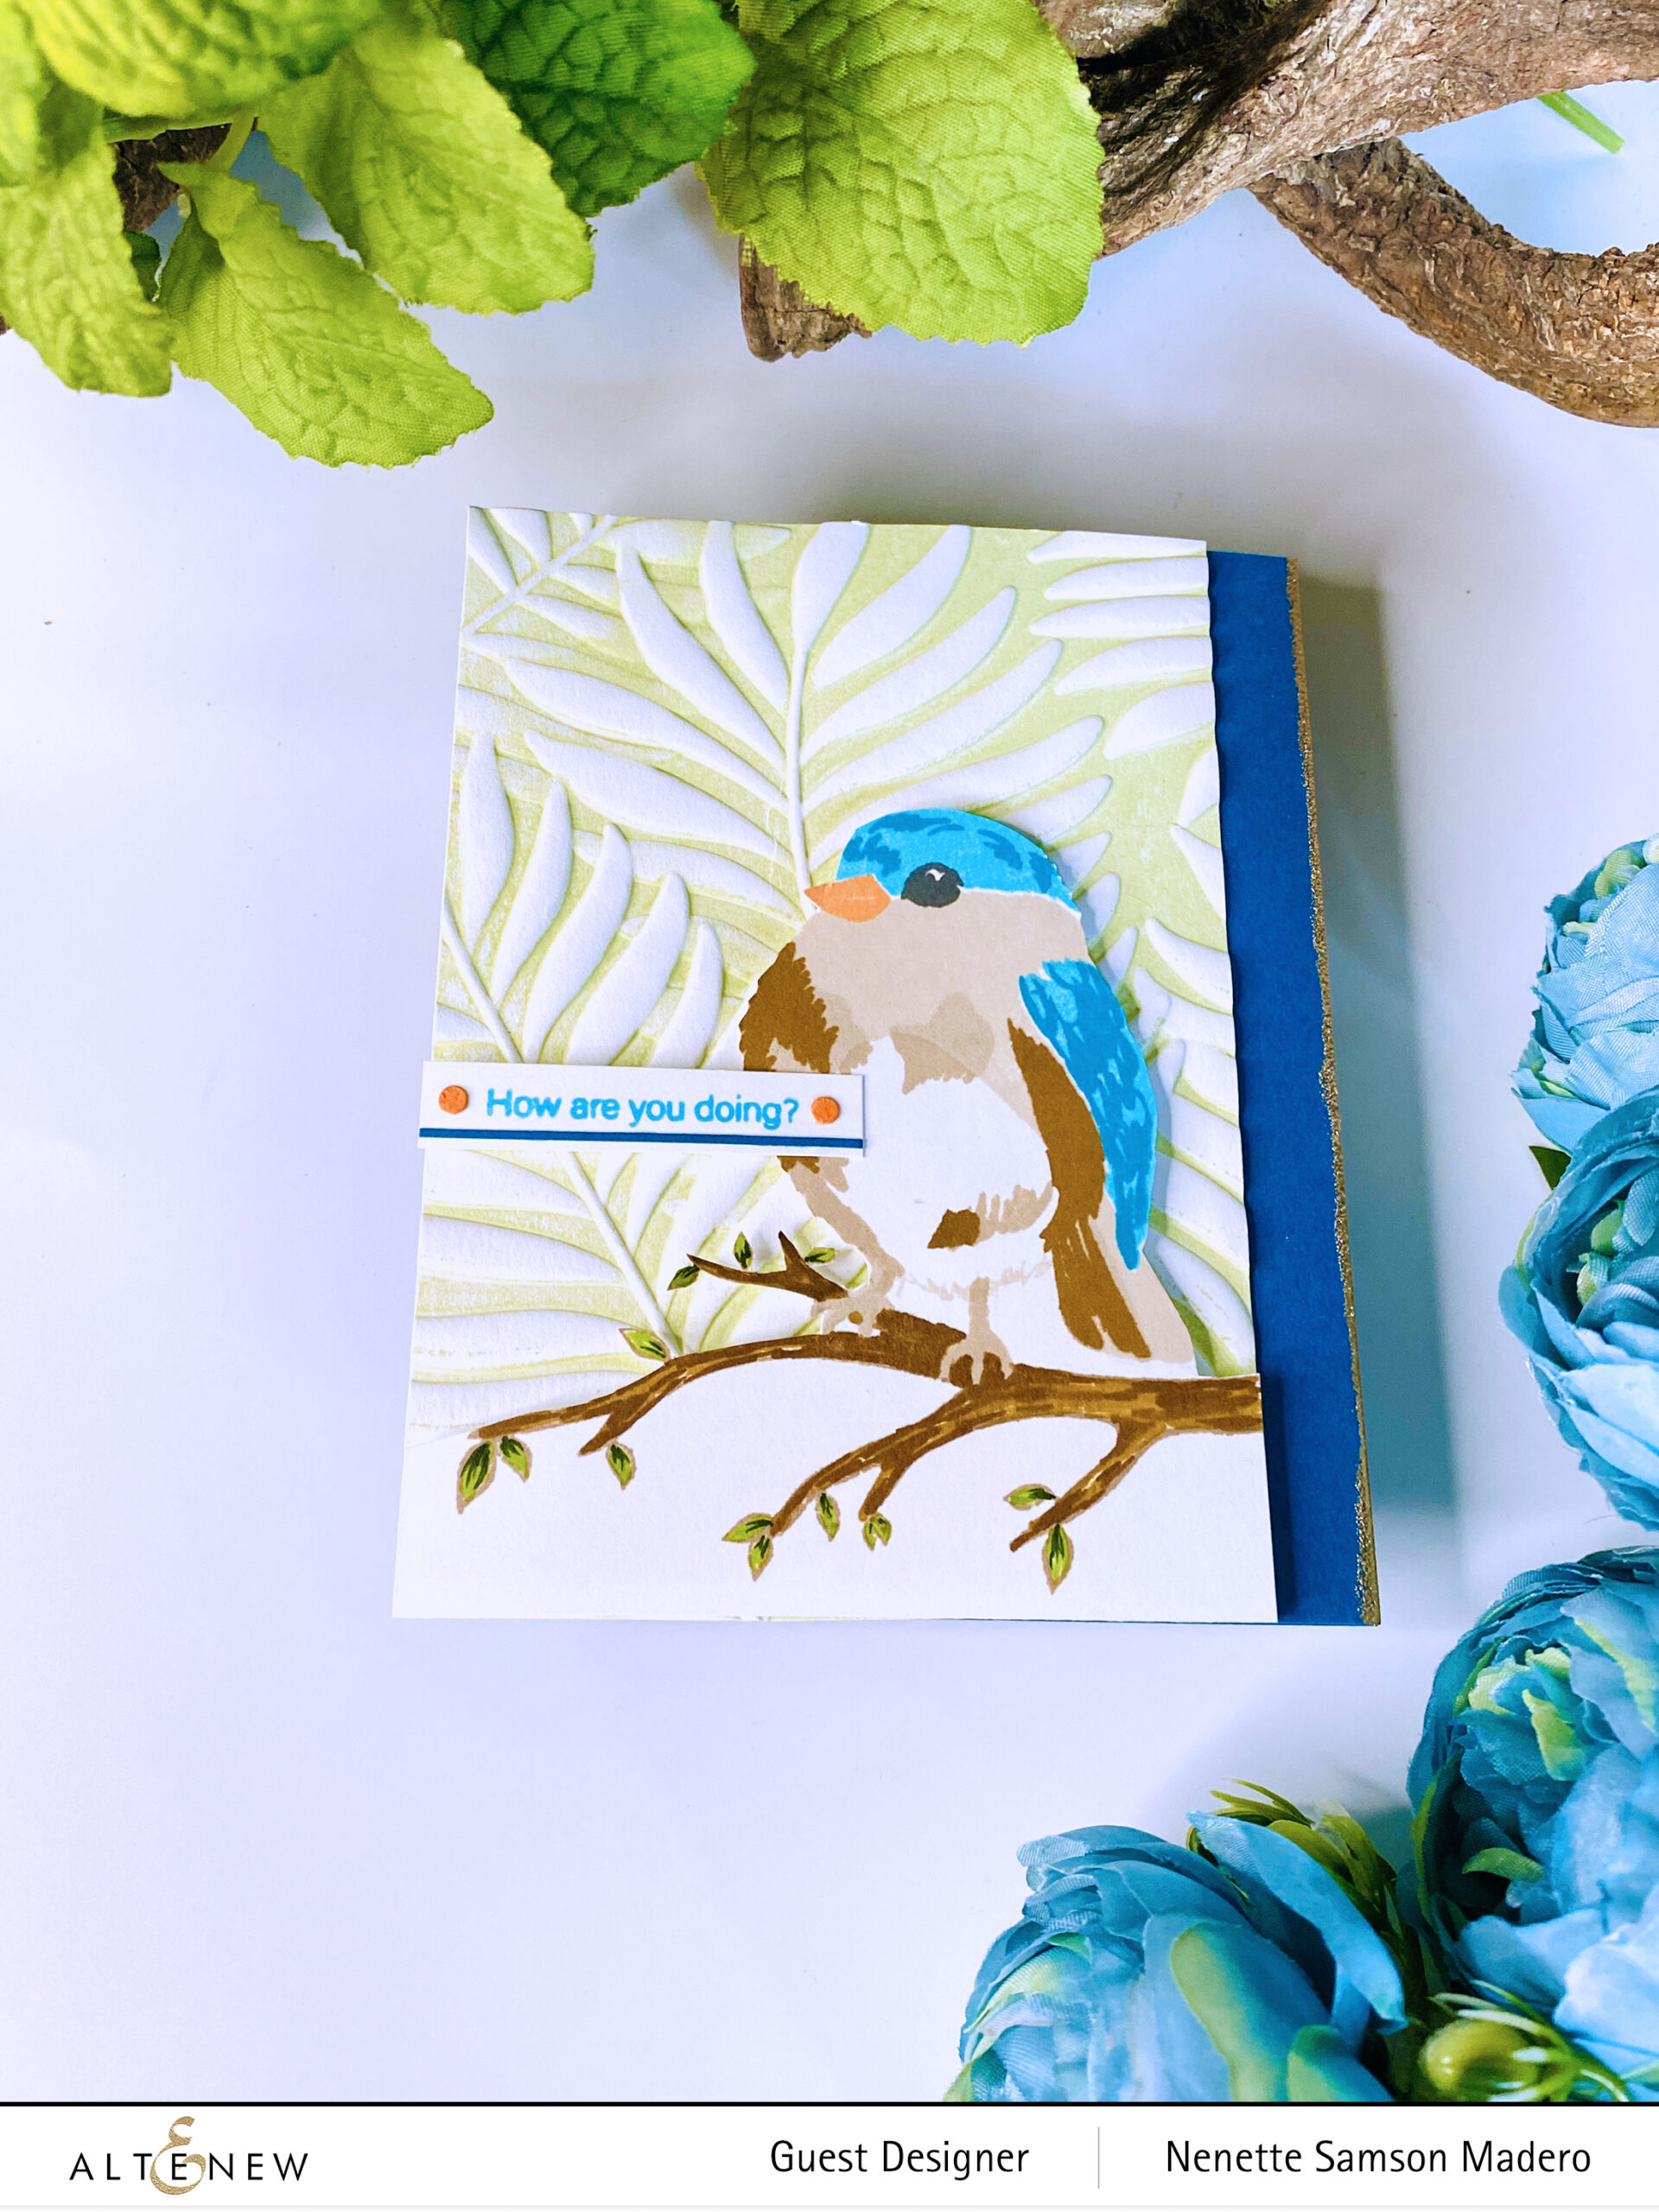
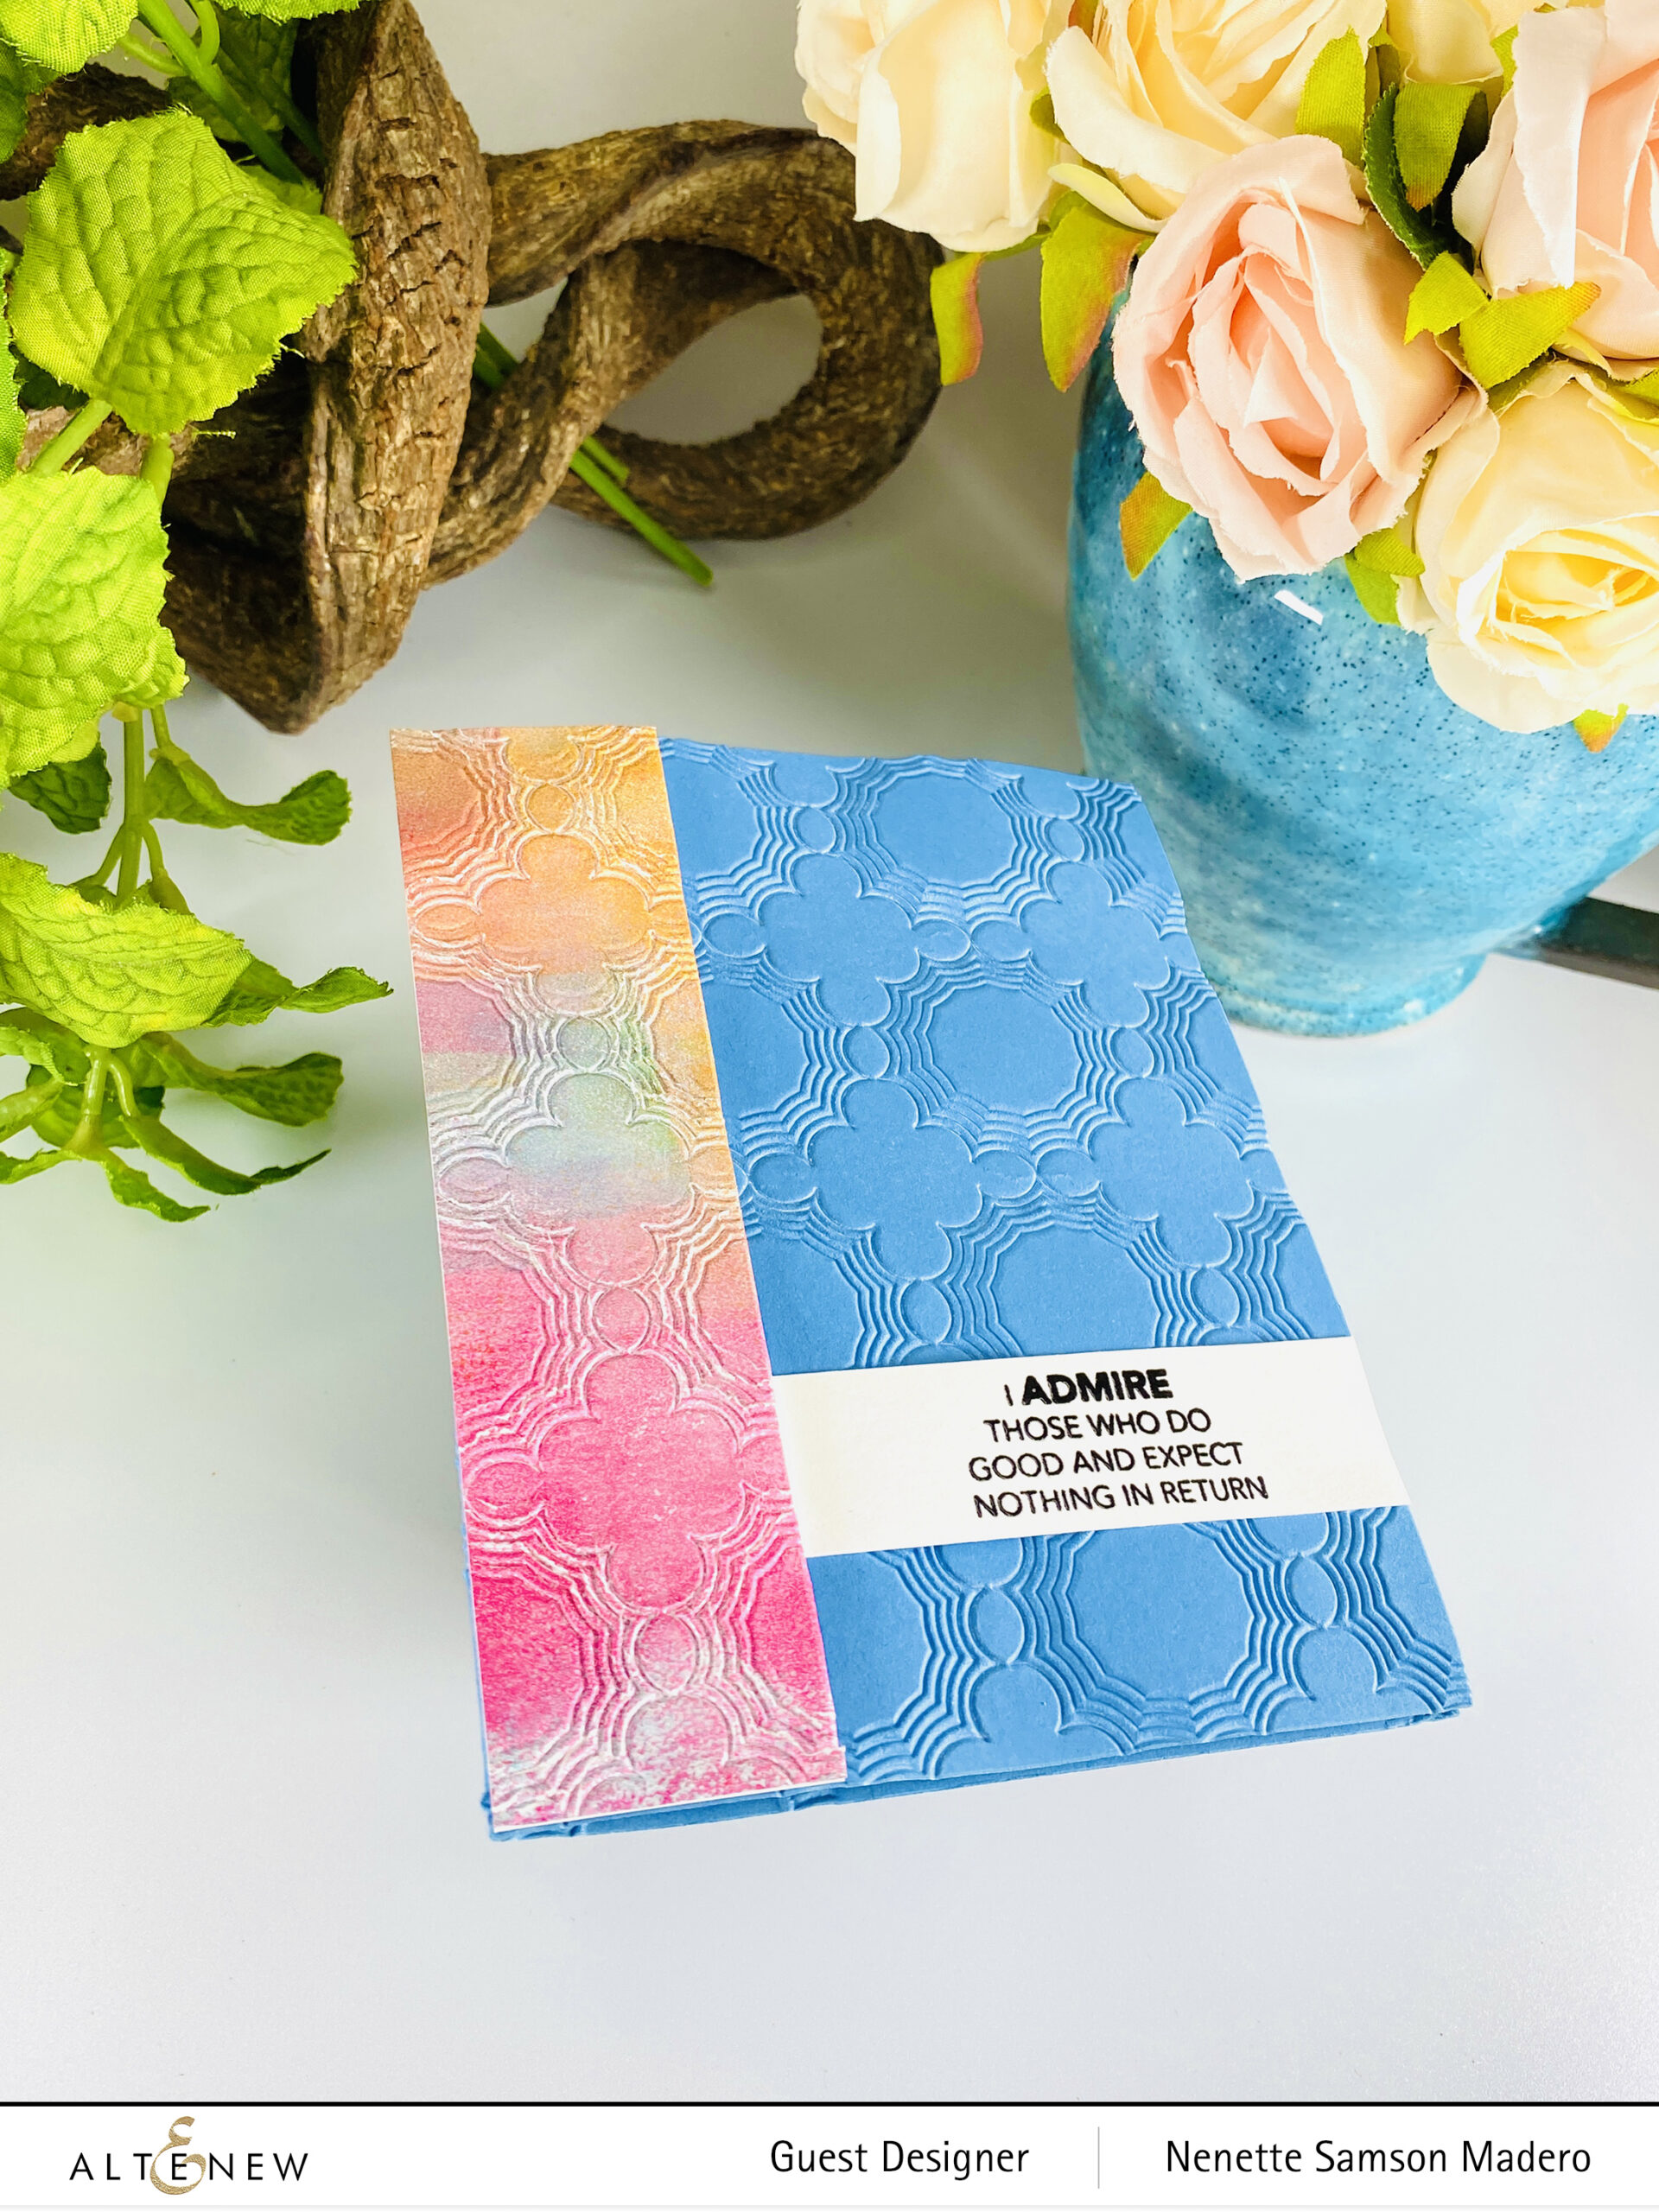
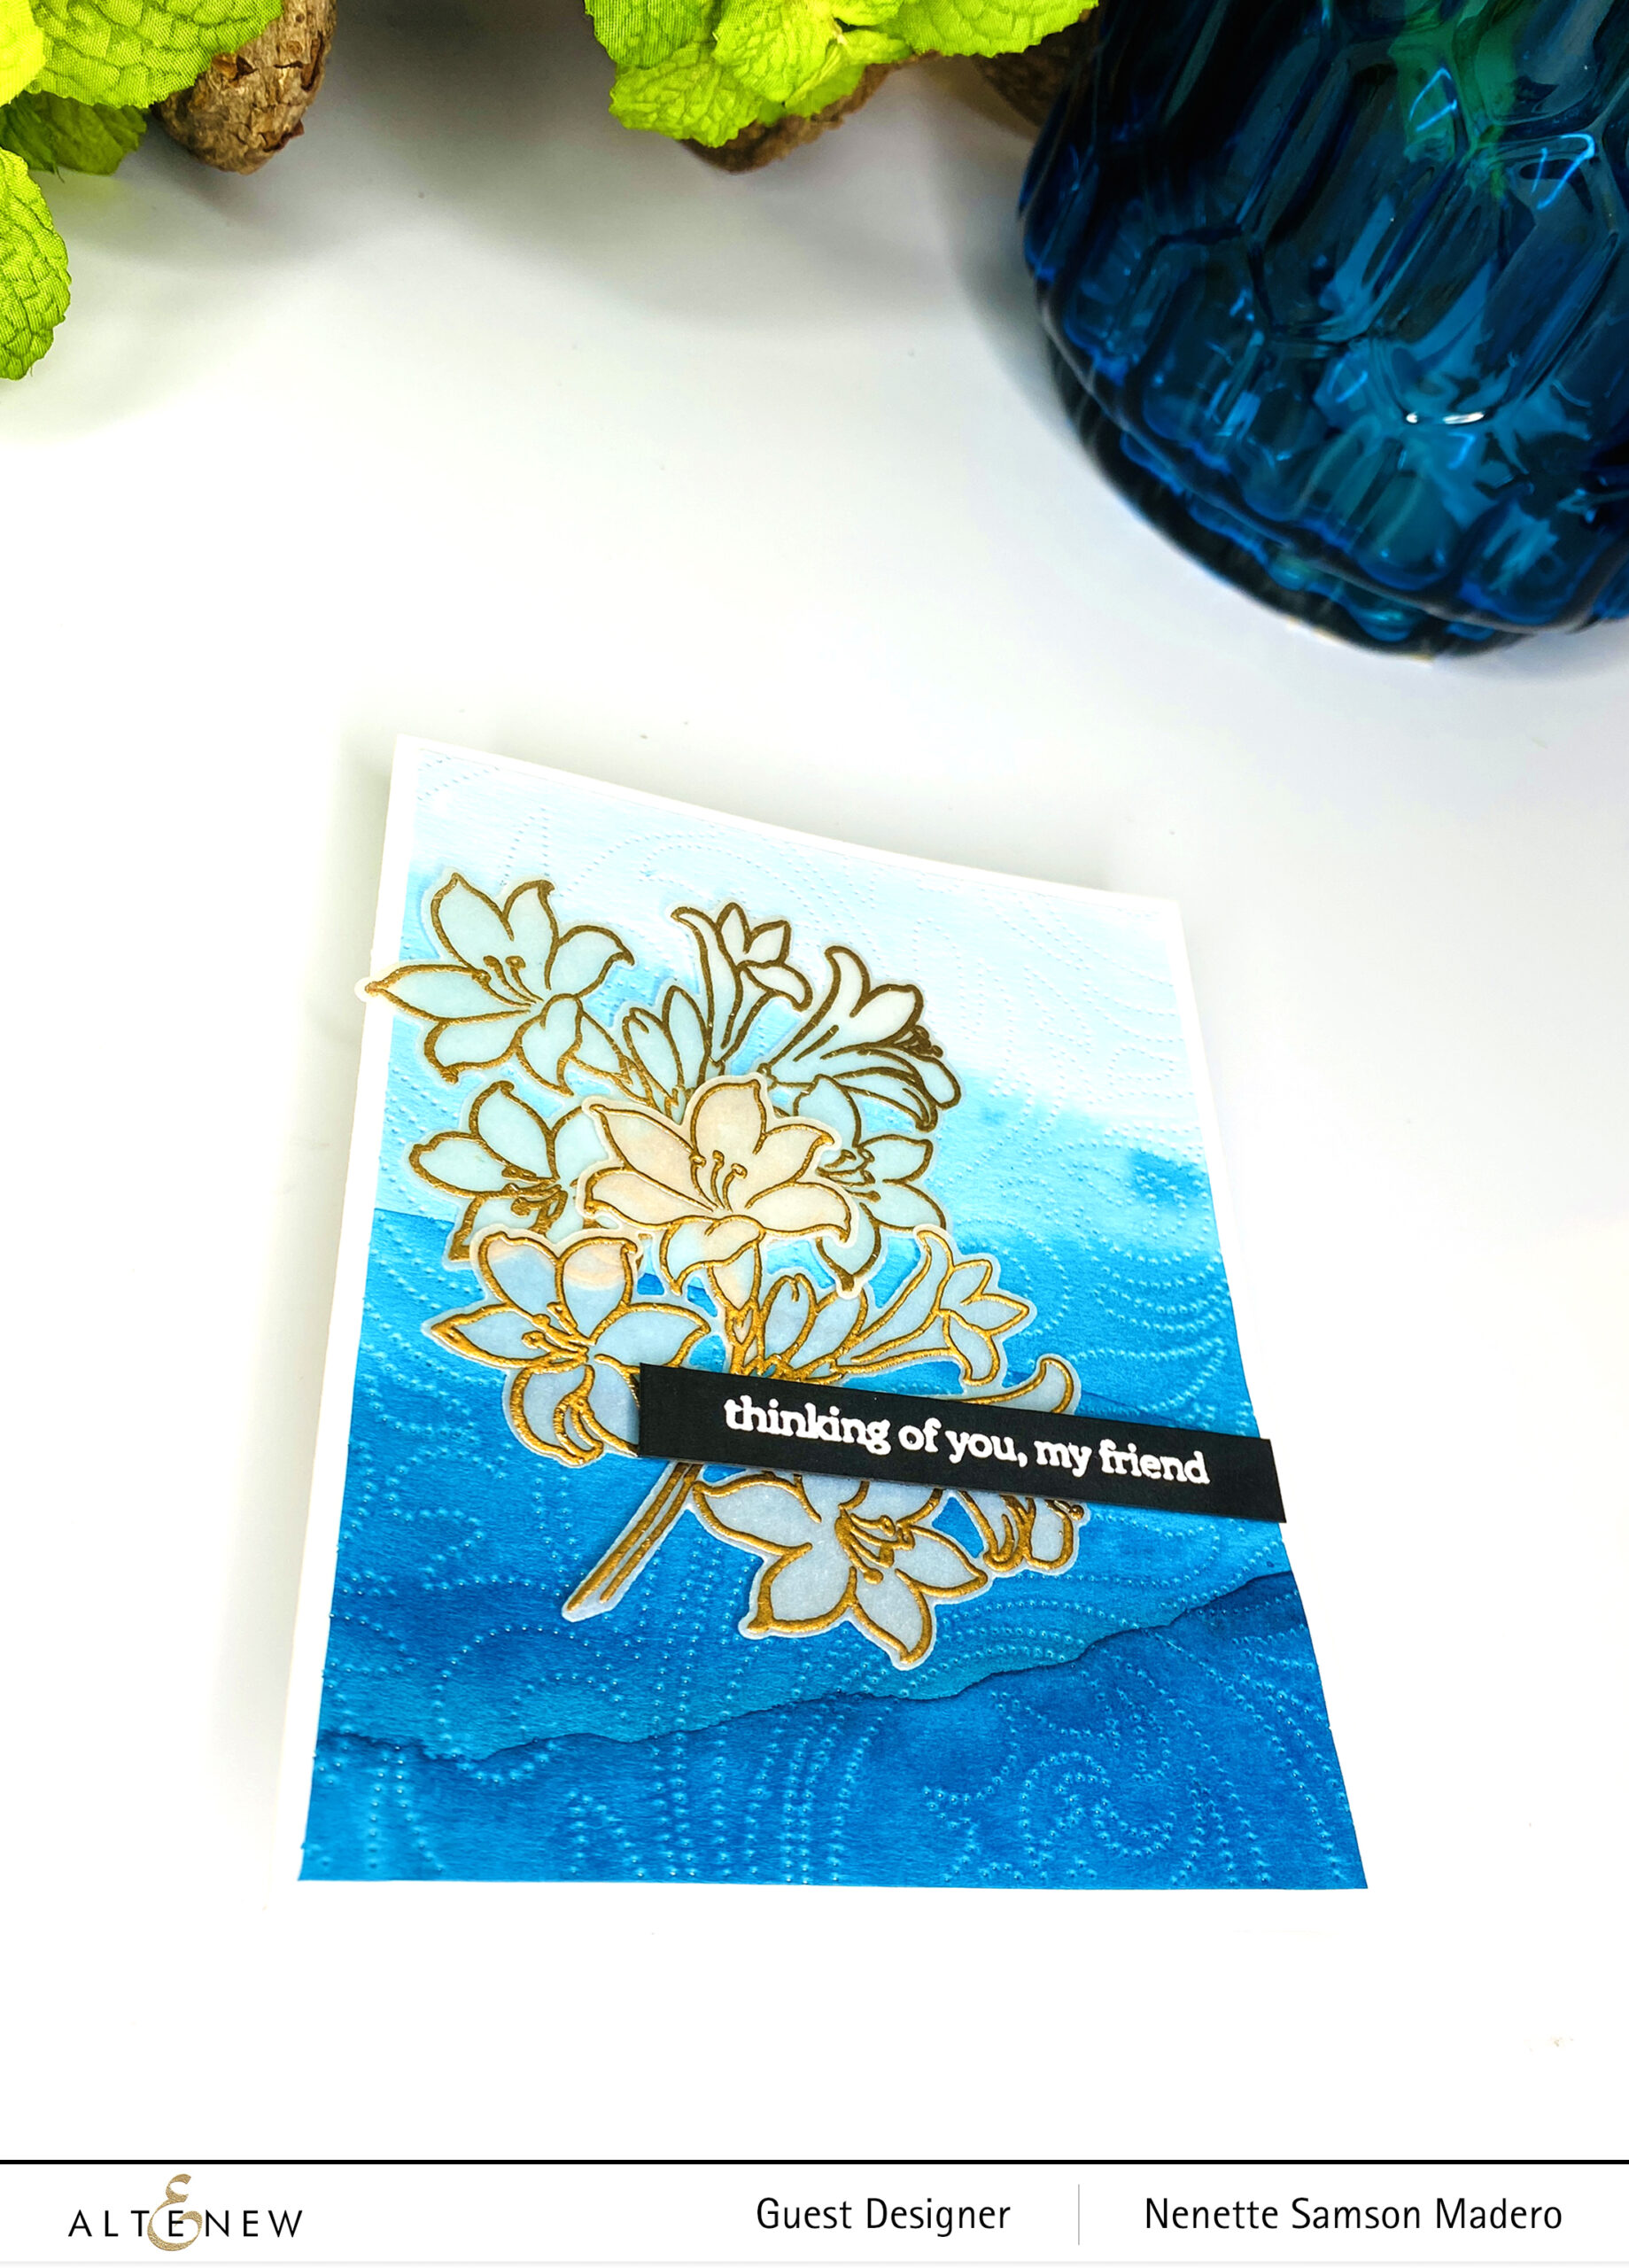
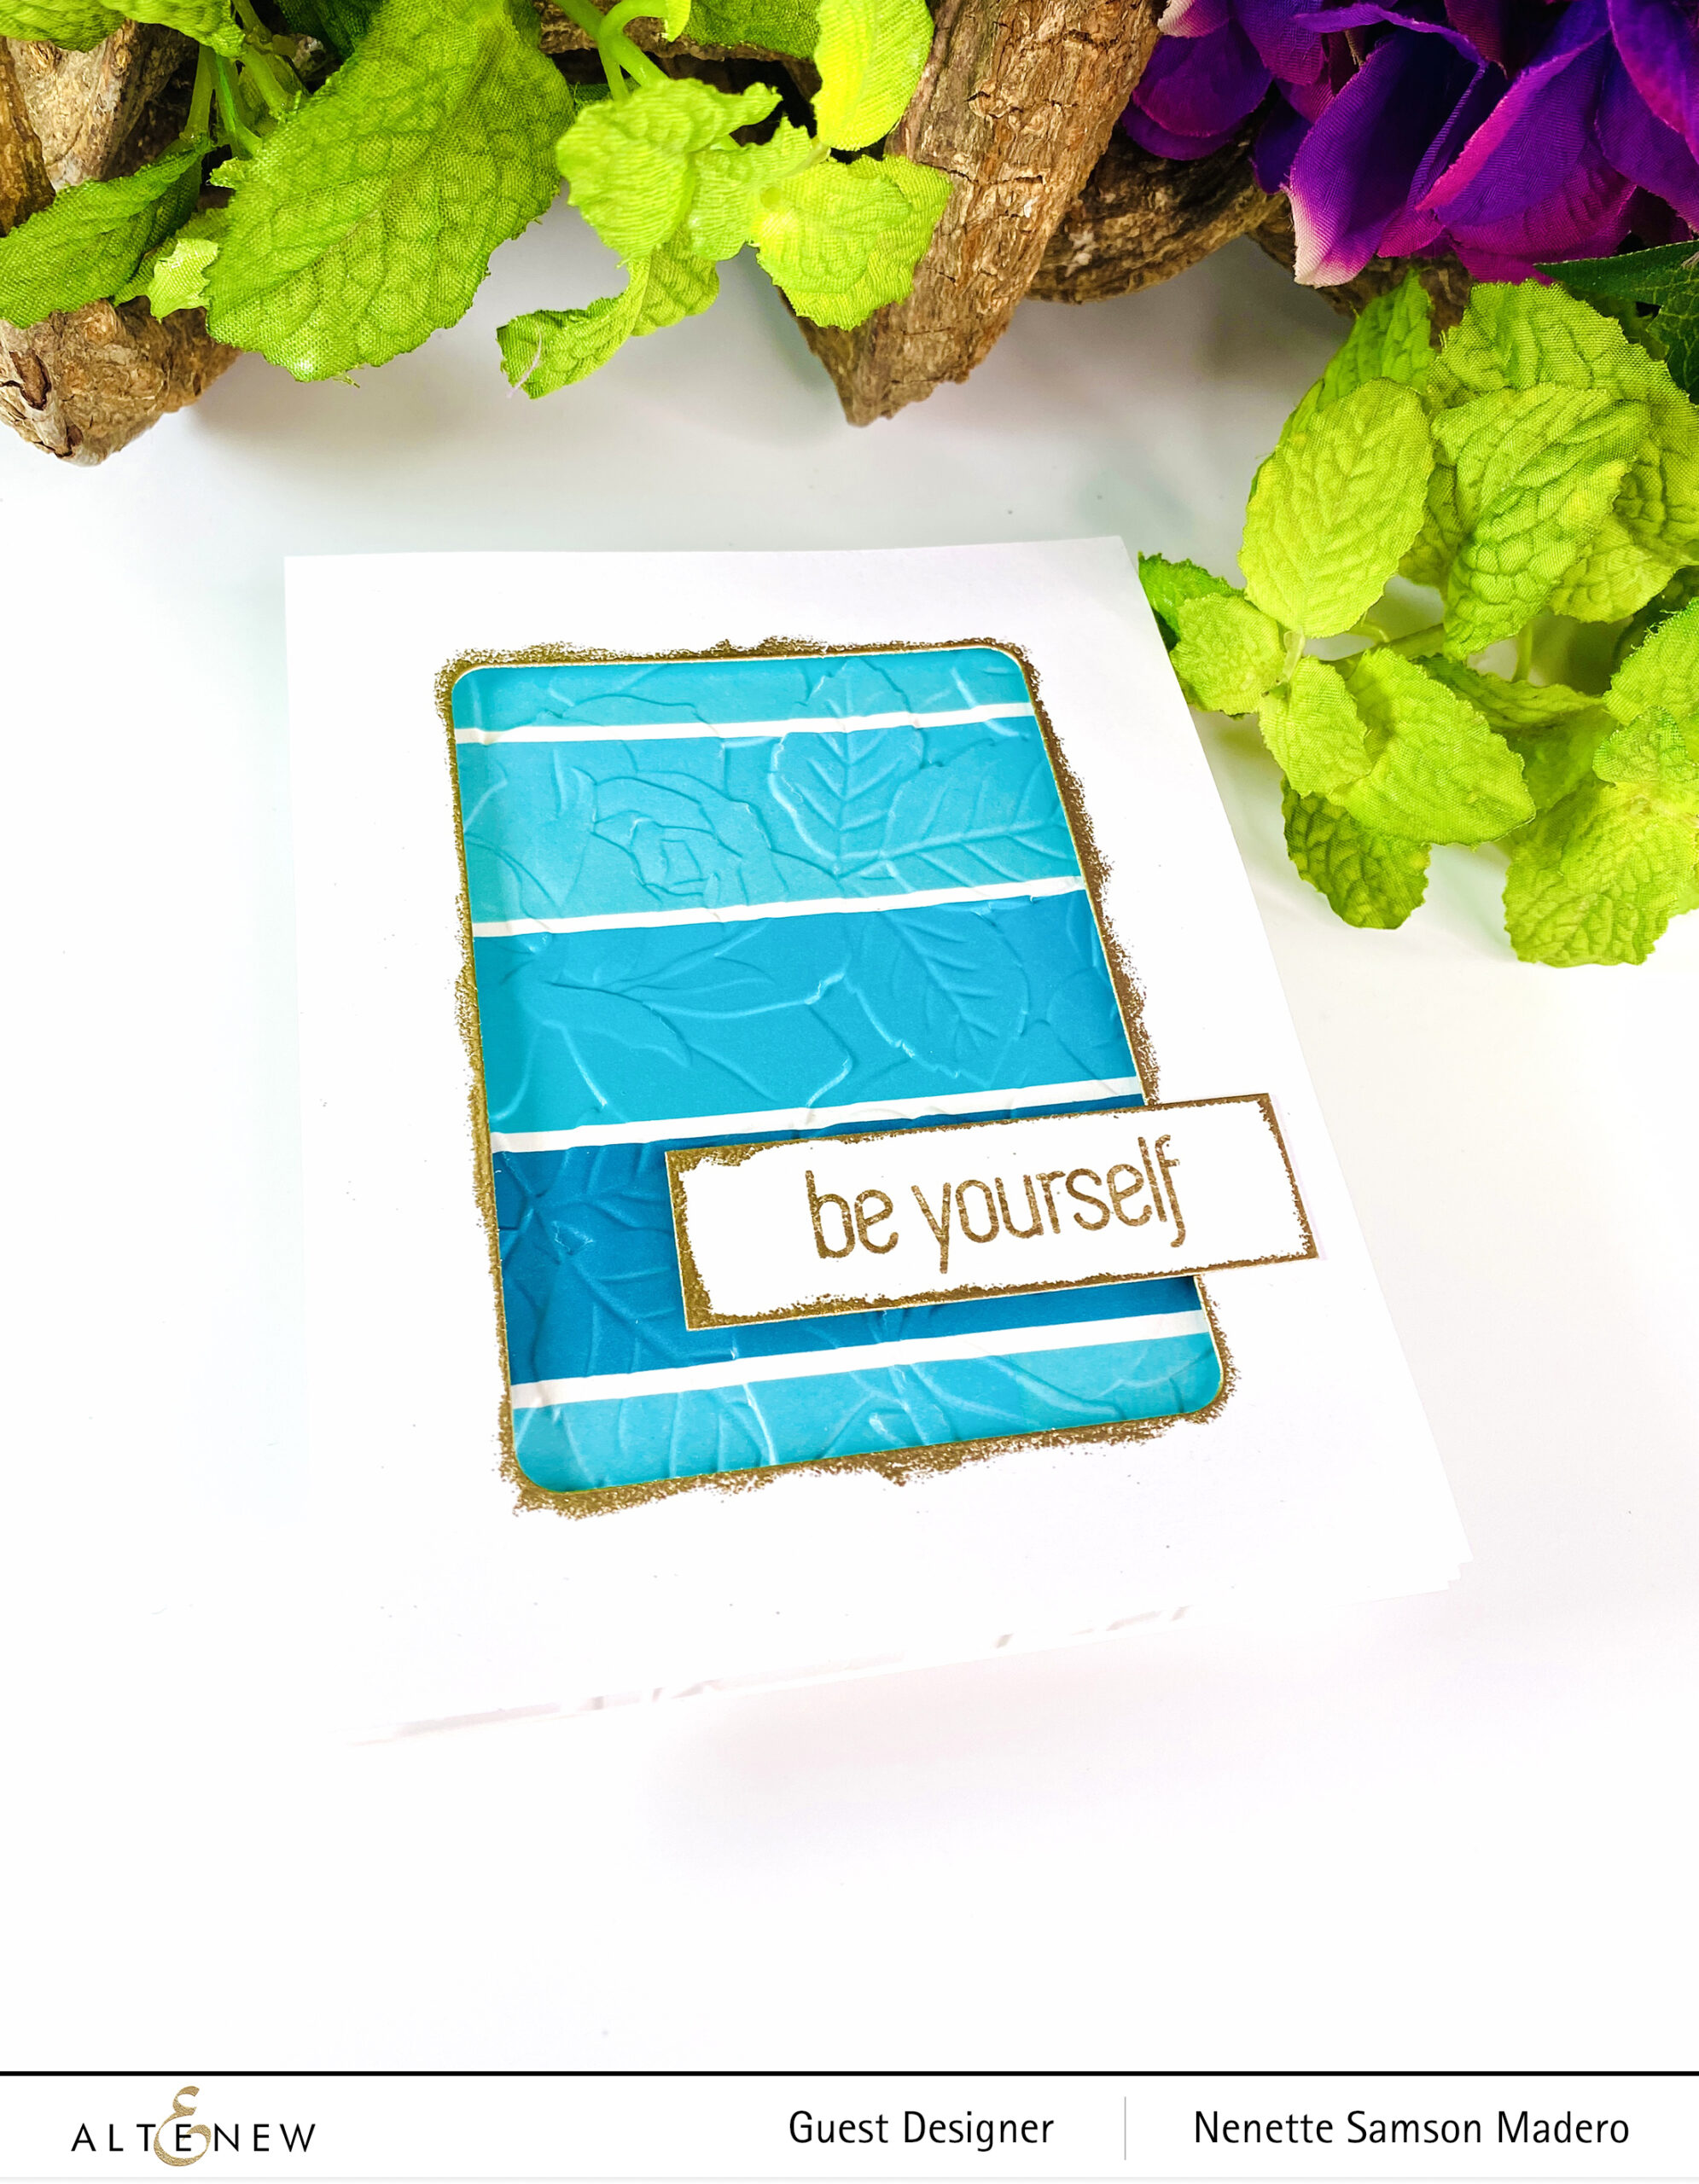
Don’t throw away the excess! I used it as a border for this second card and lined up the design when I embossed the blue card base.
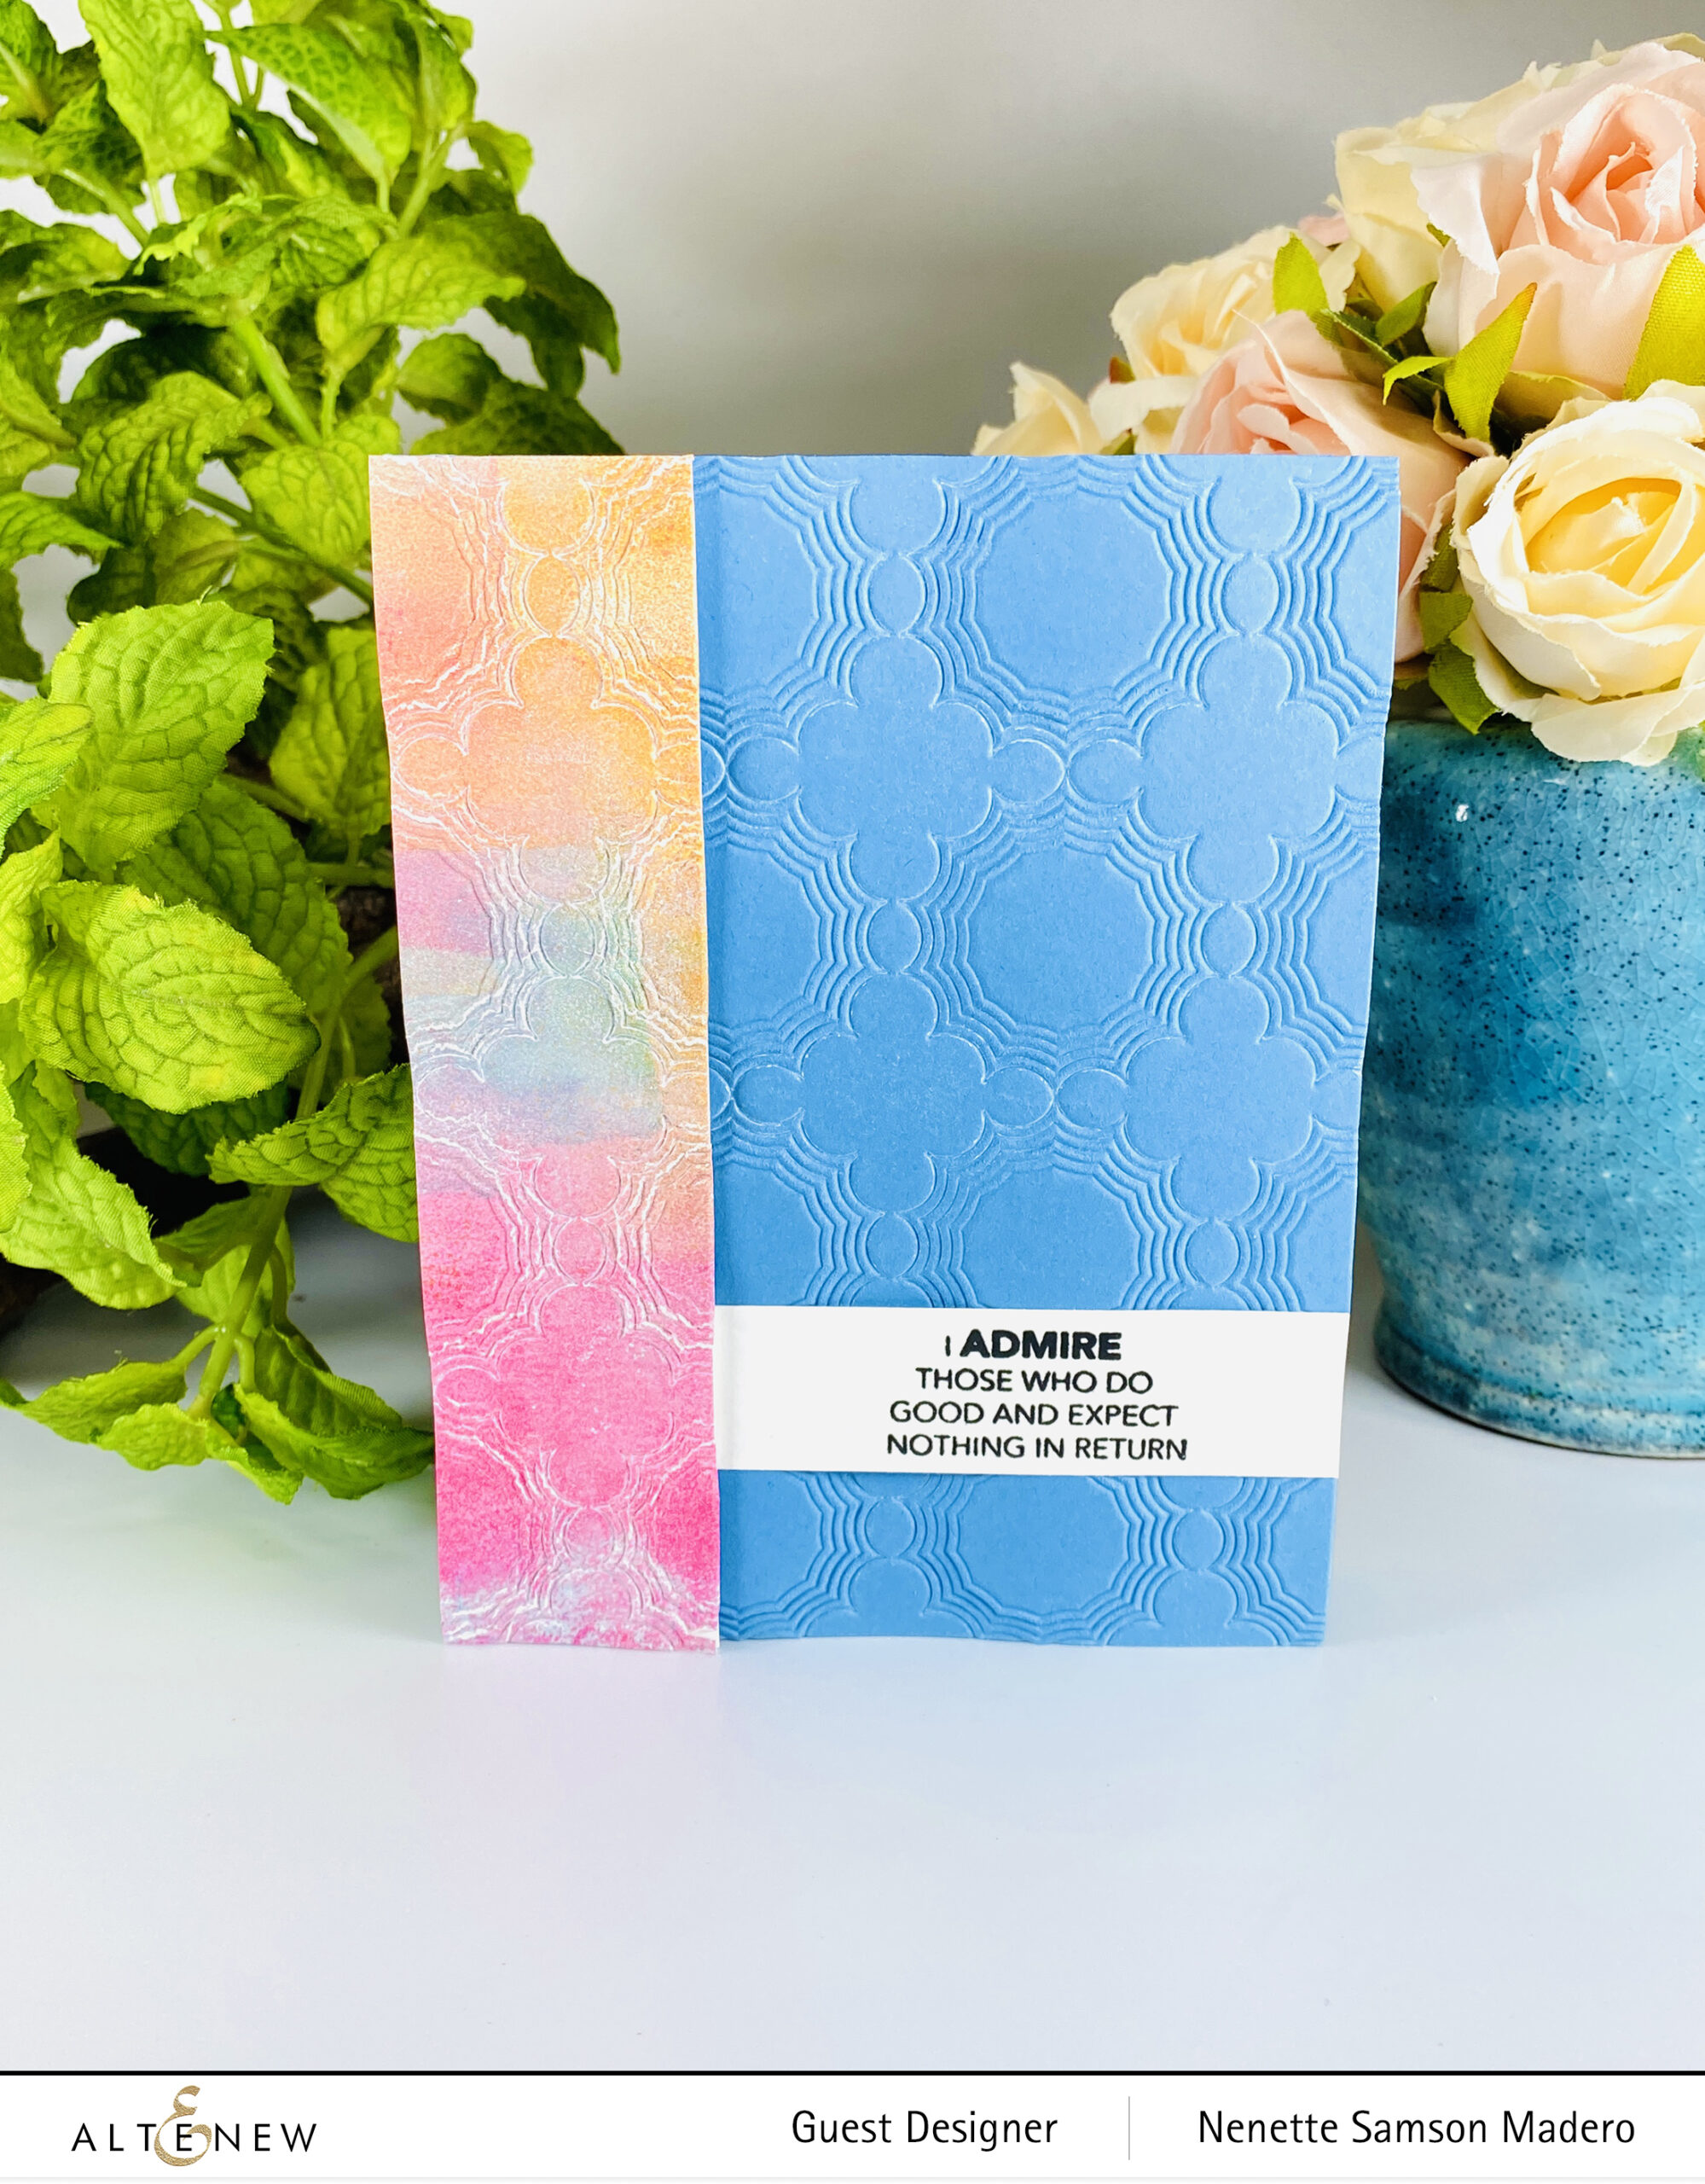
The sentiment from the All Things A stamp set was stamped with Obsidian Ink then embossed with Crystal Clear Crisp embossing powder.
MONOGRAM A
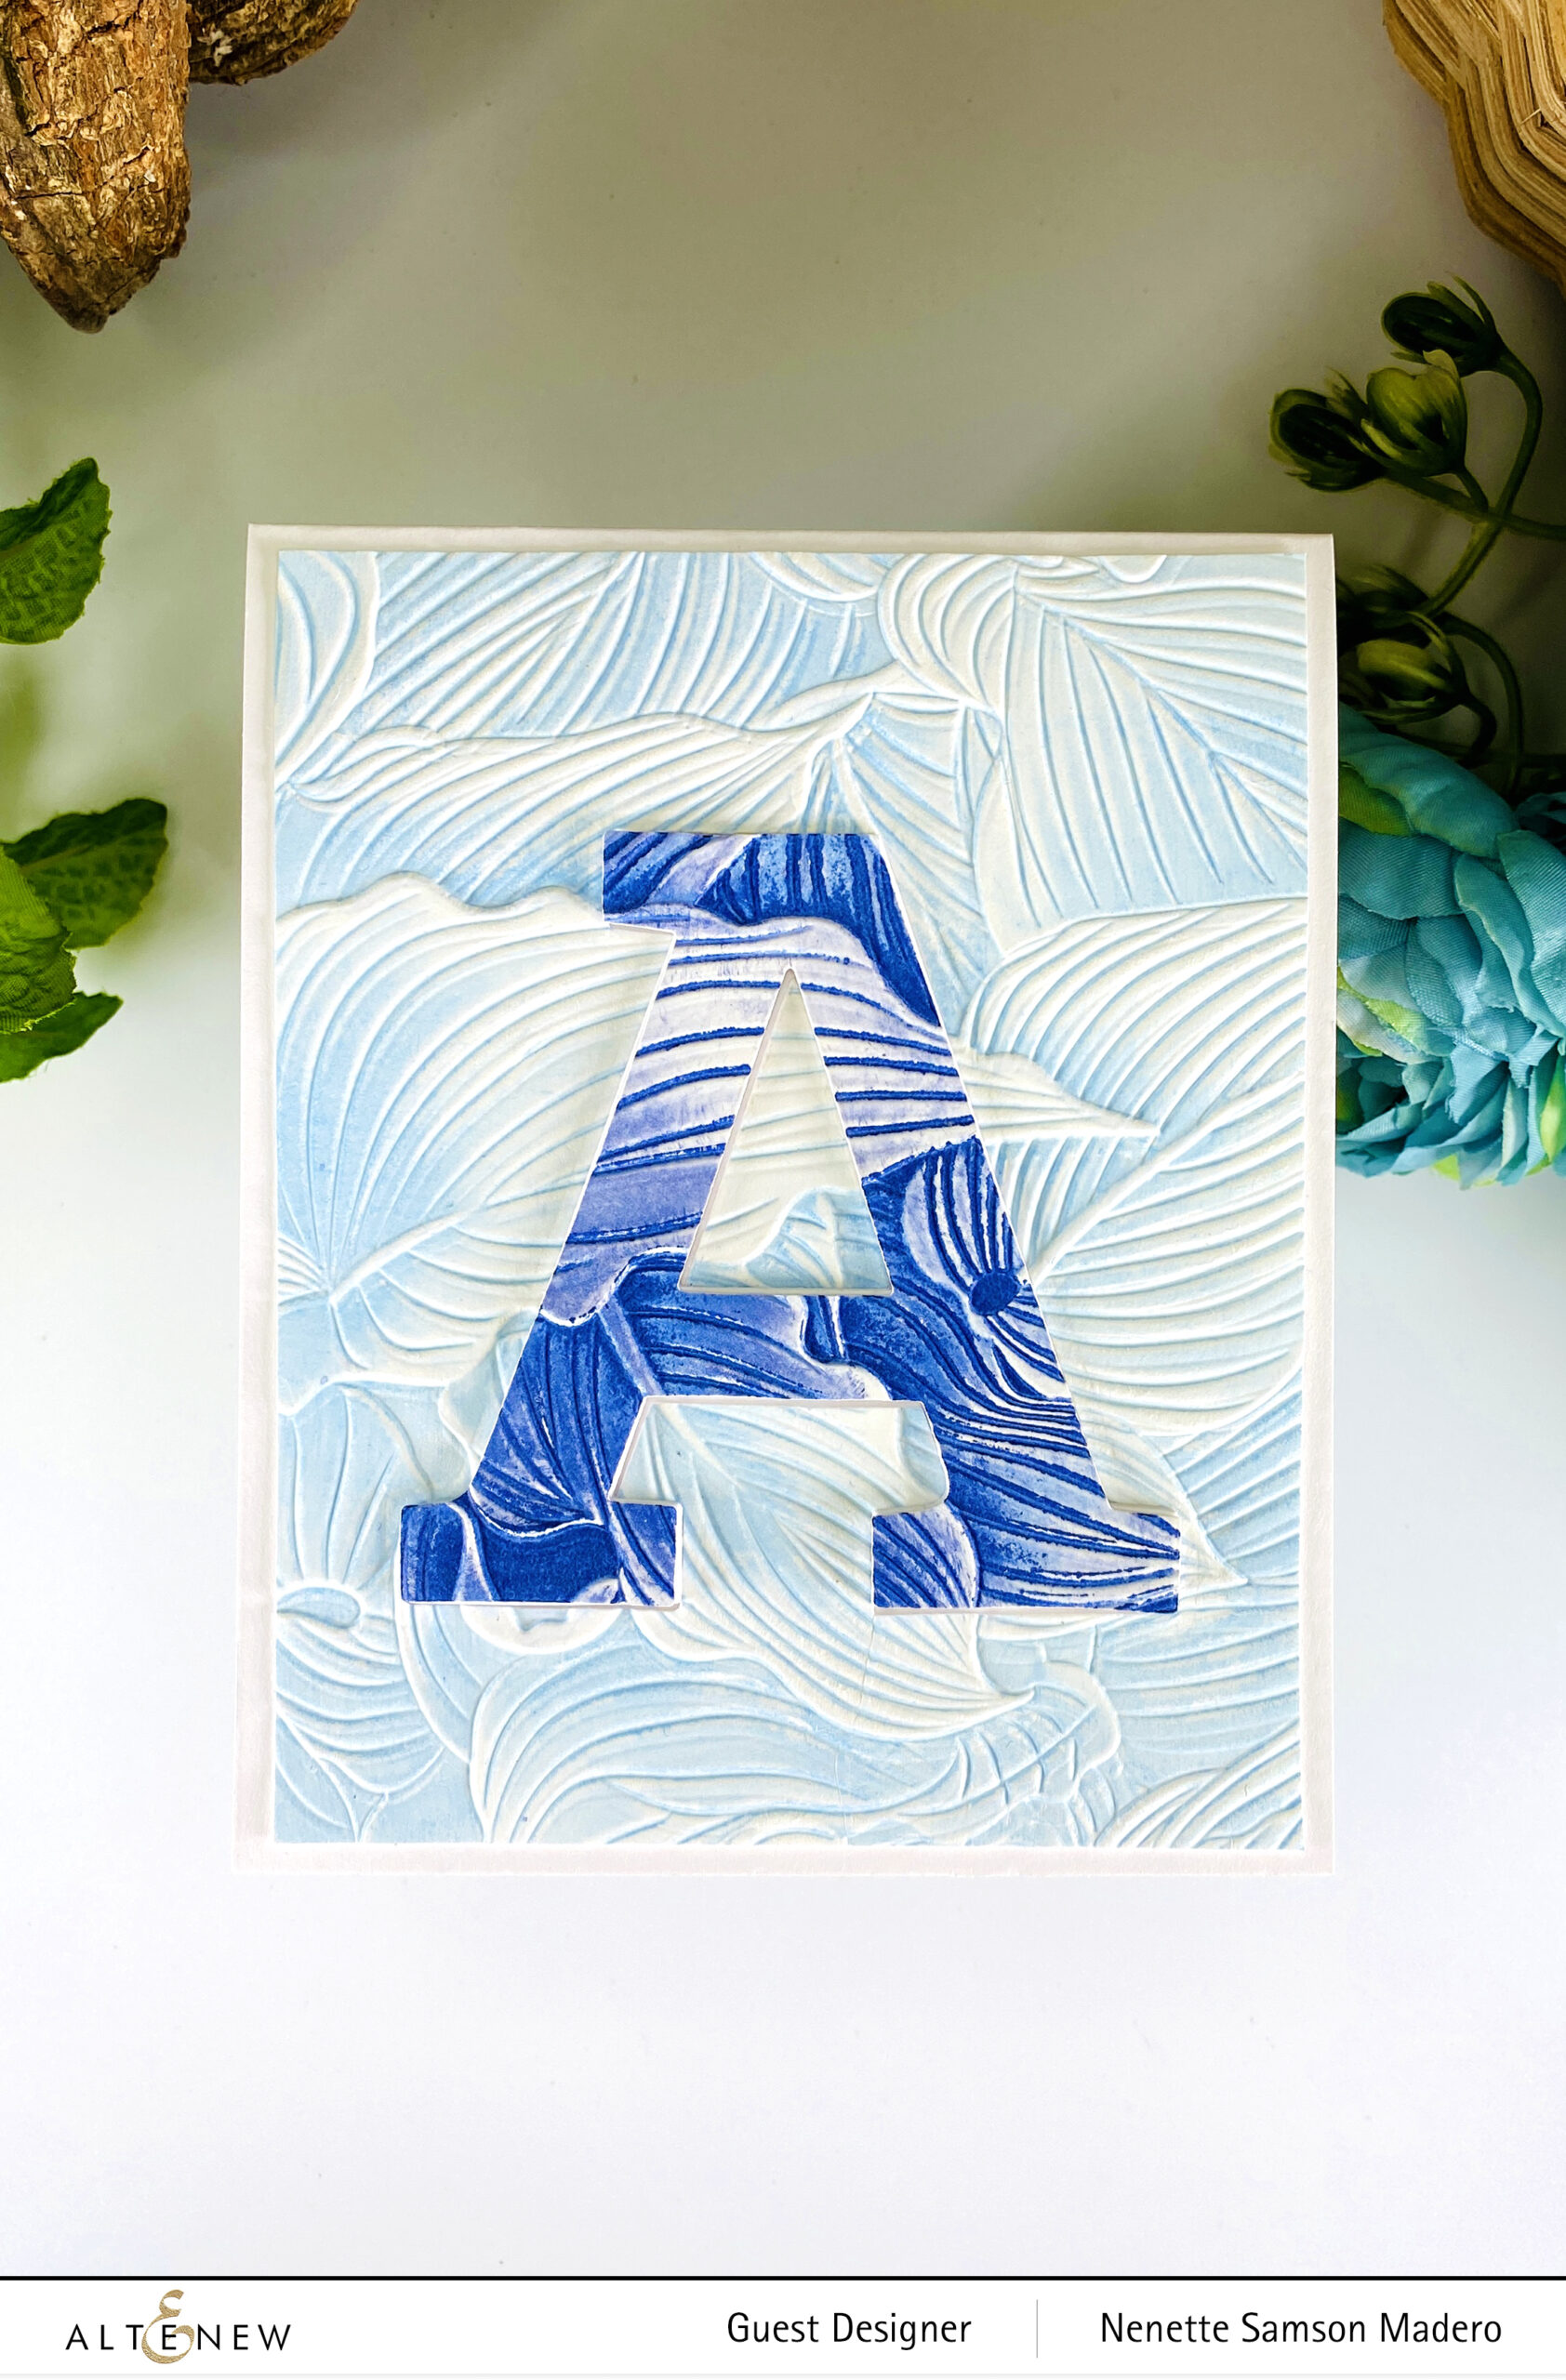
STEPS:
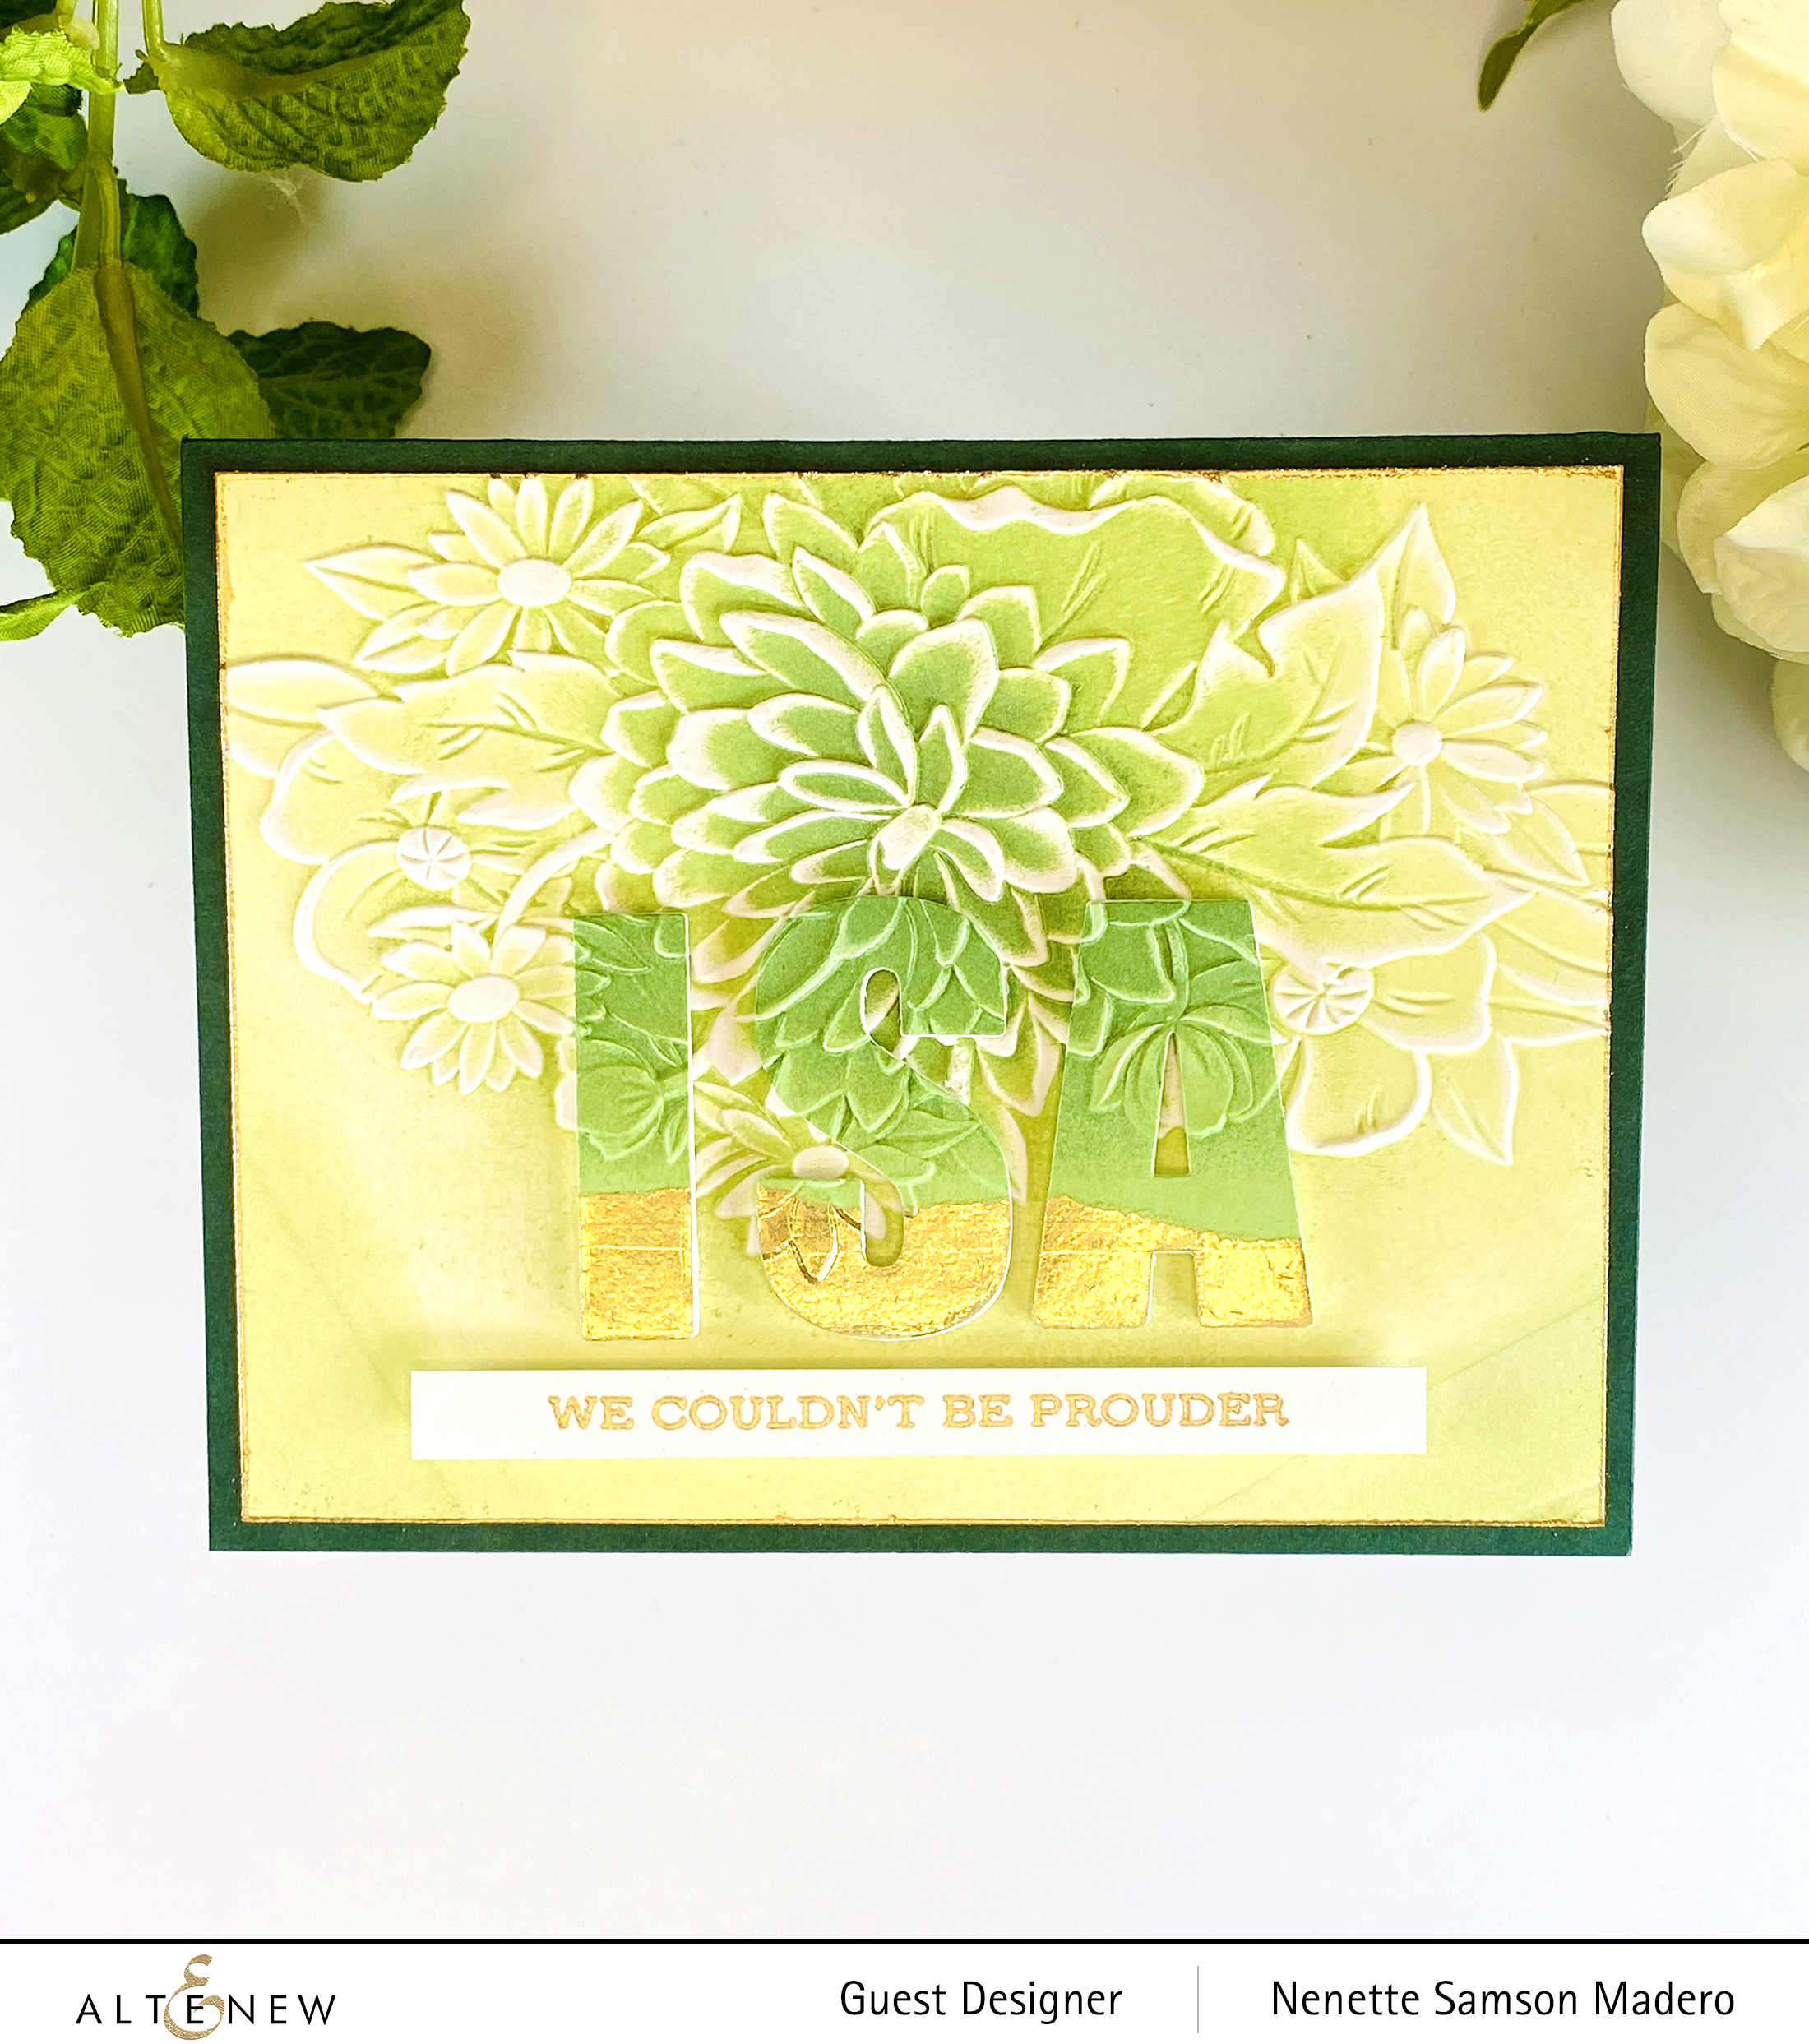
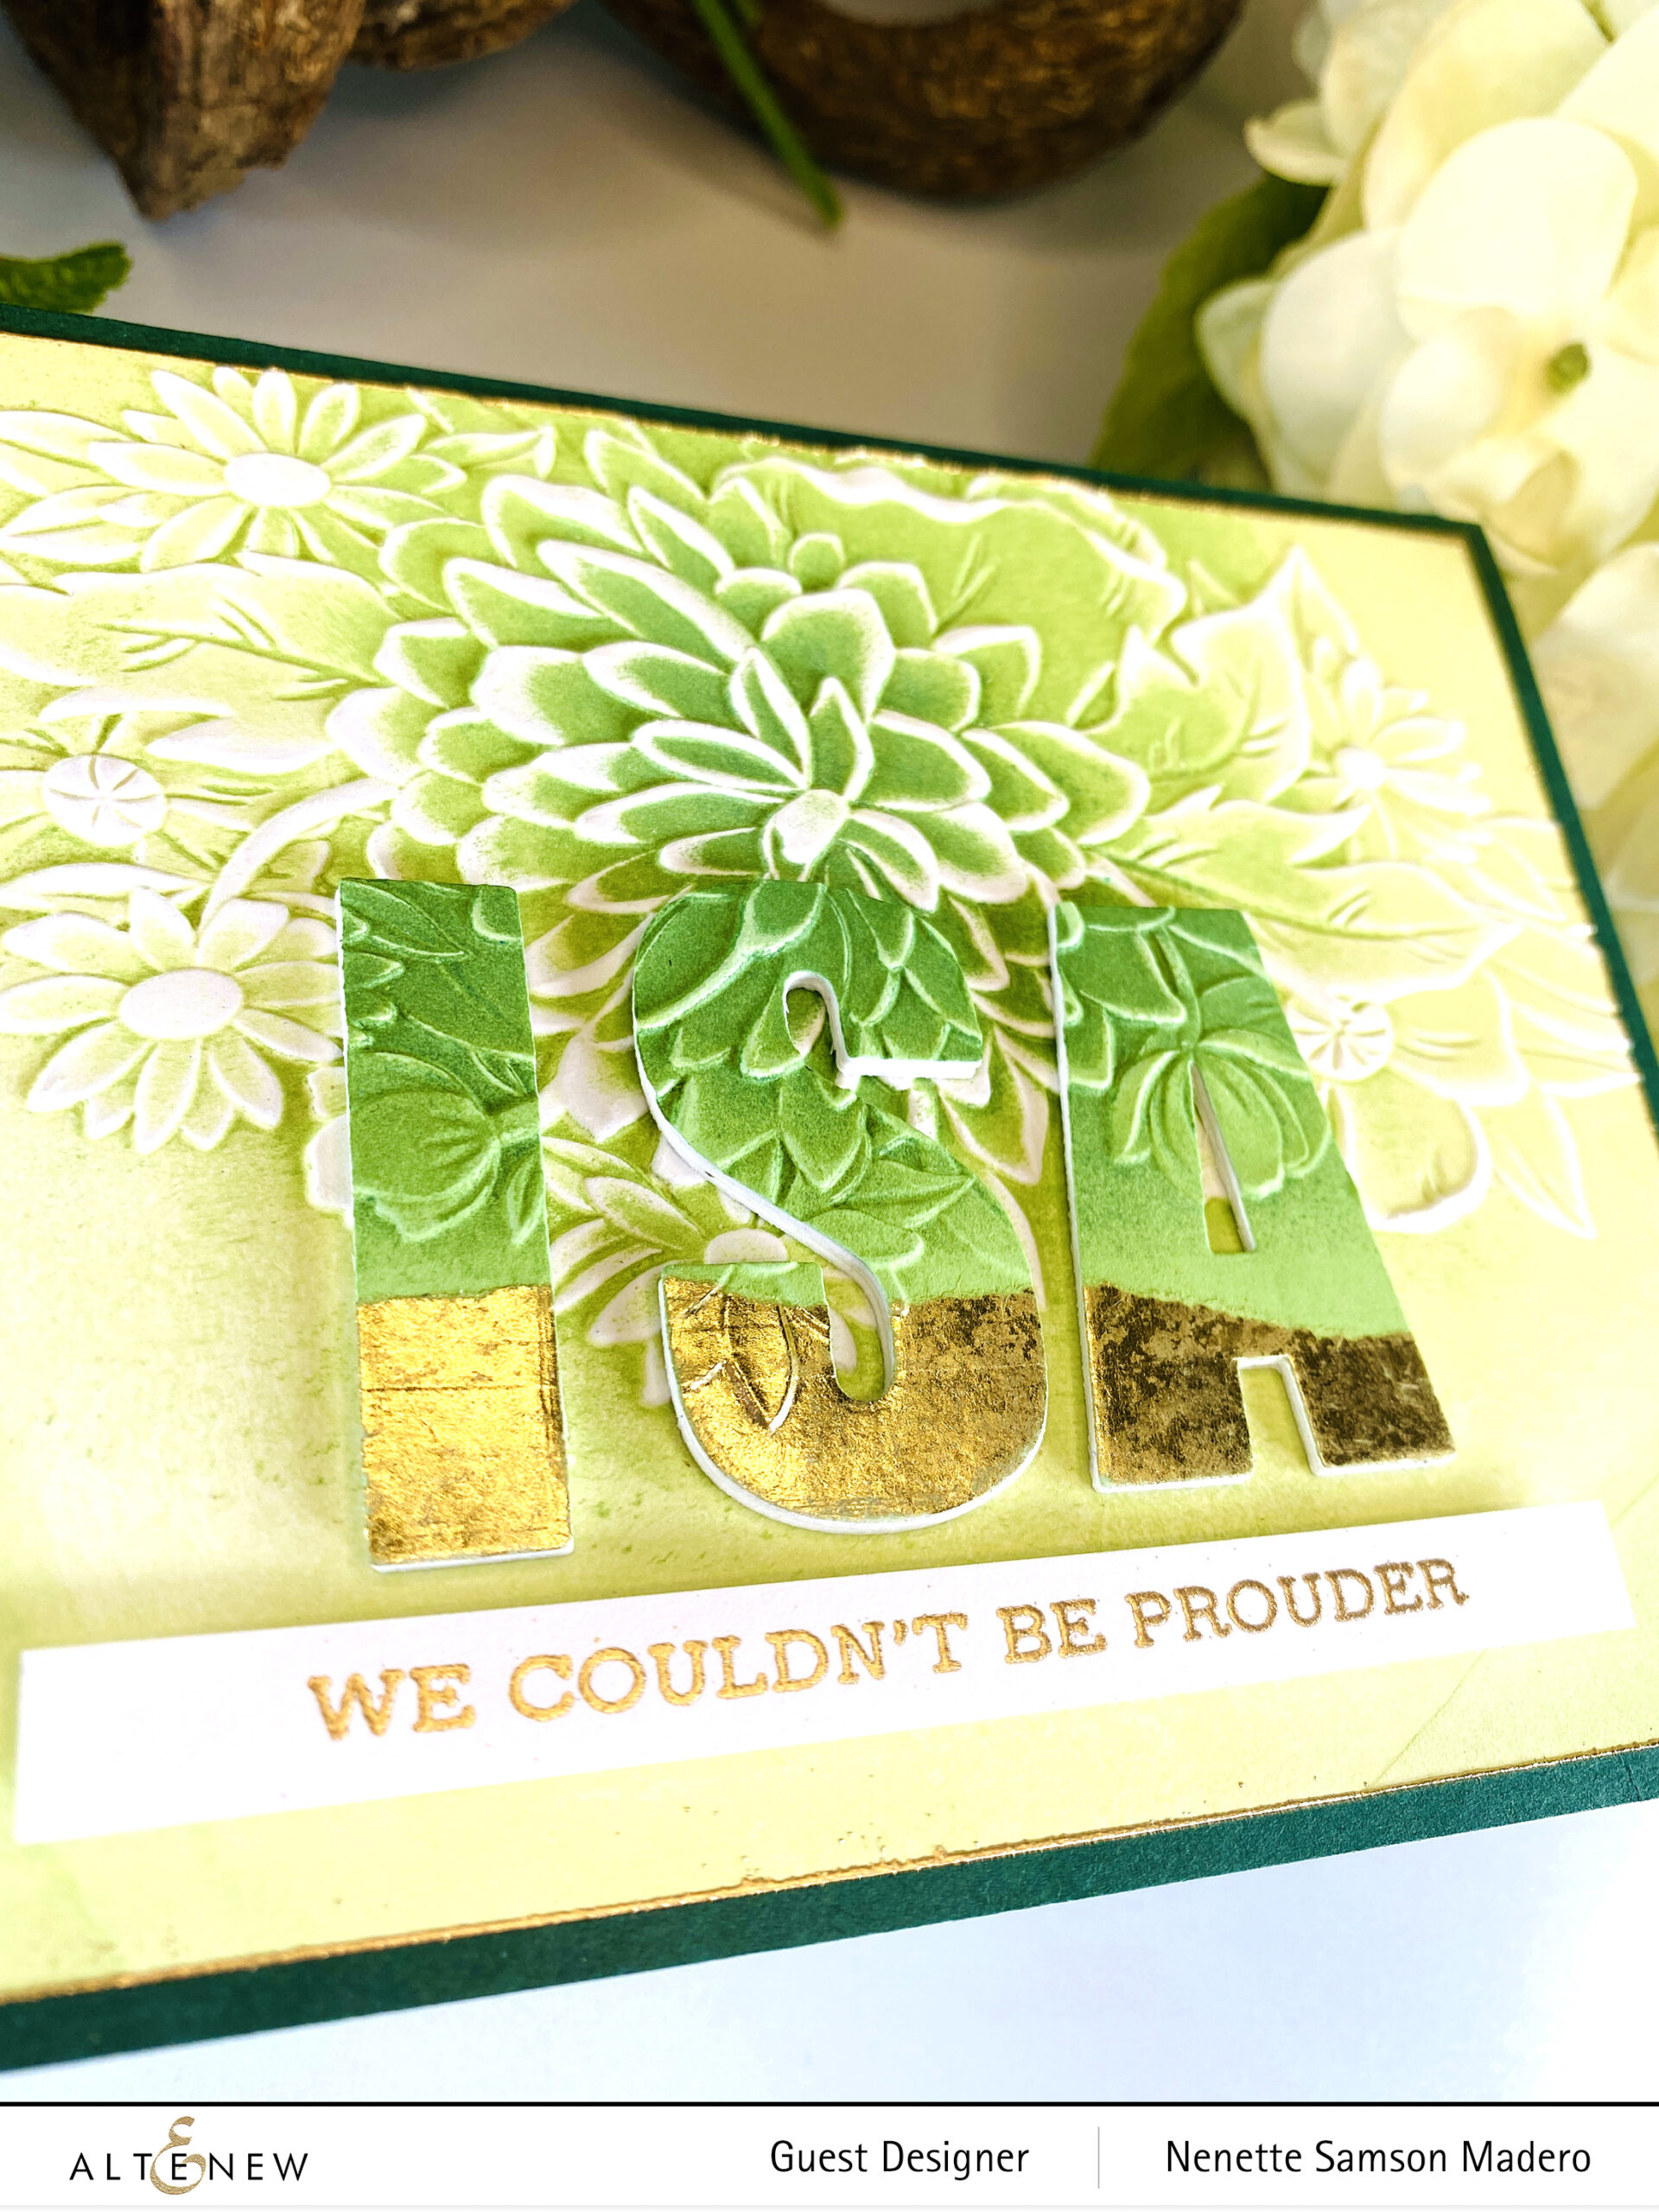
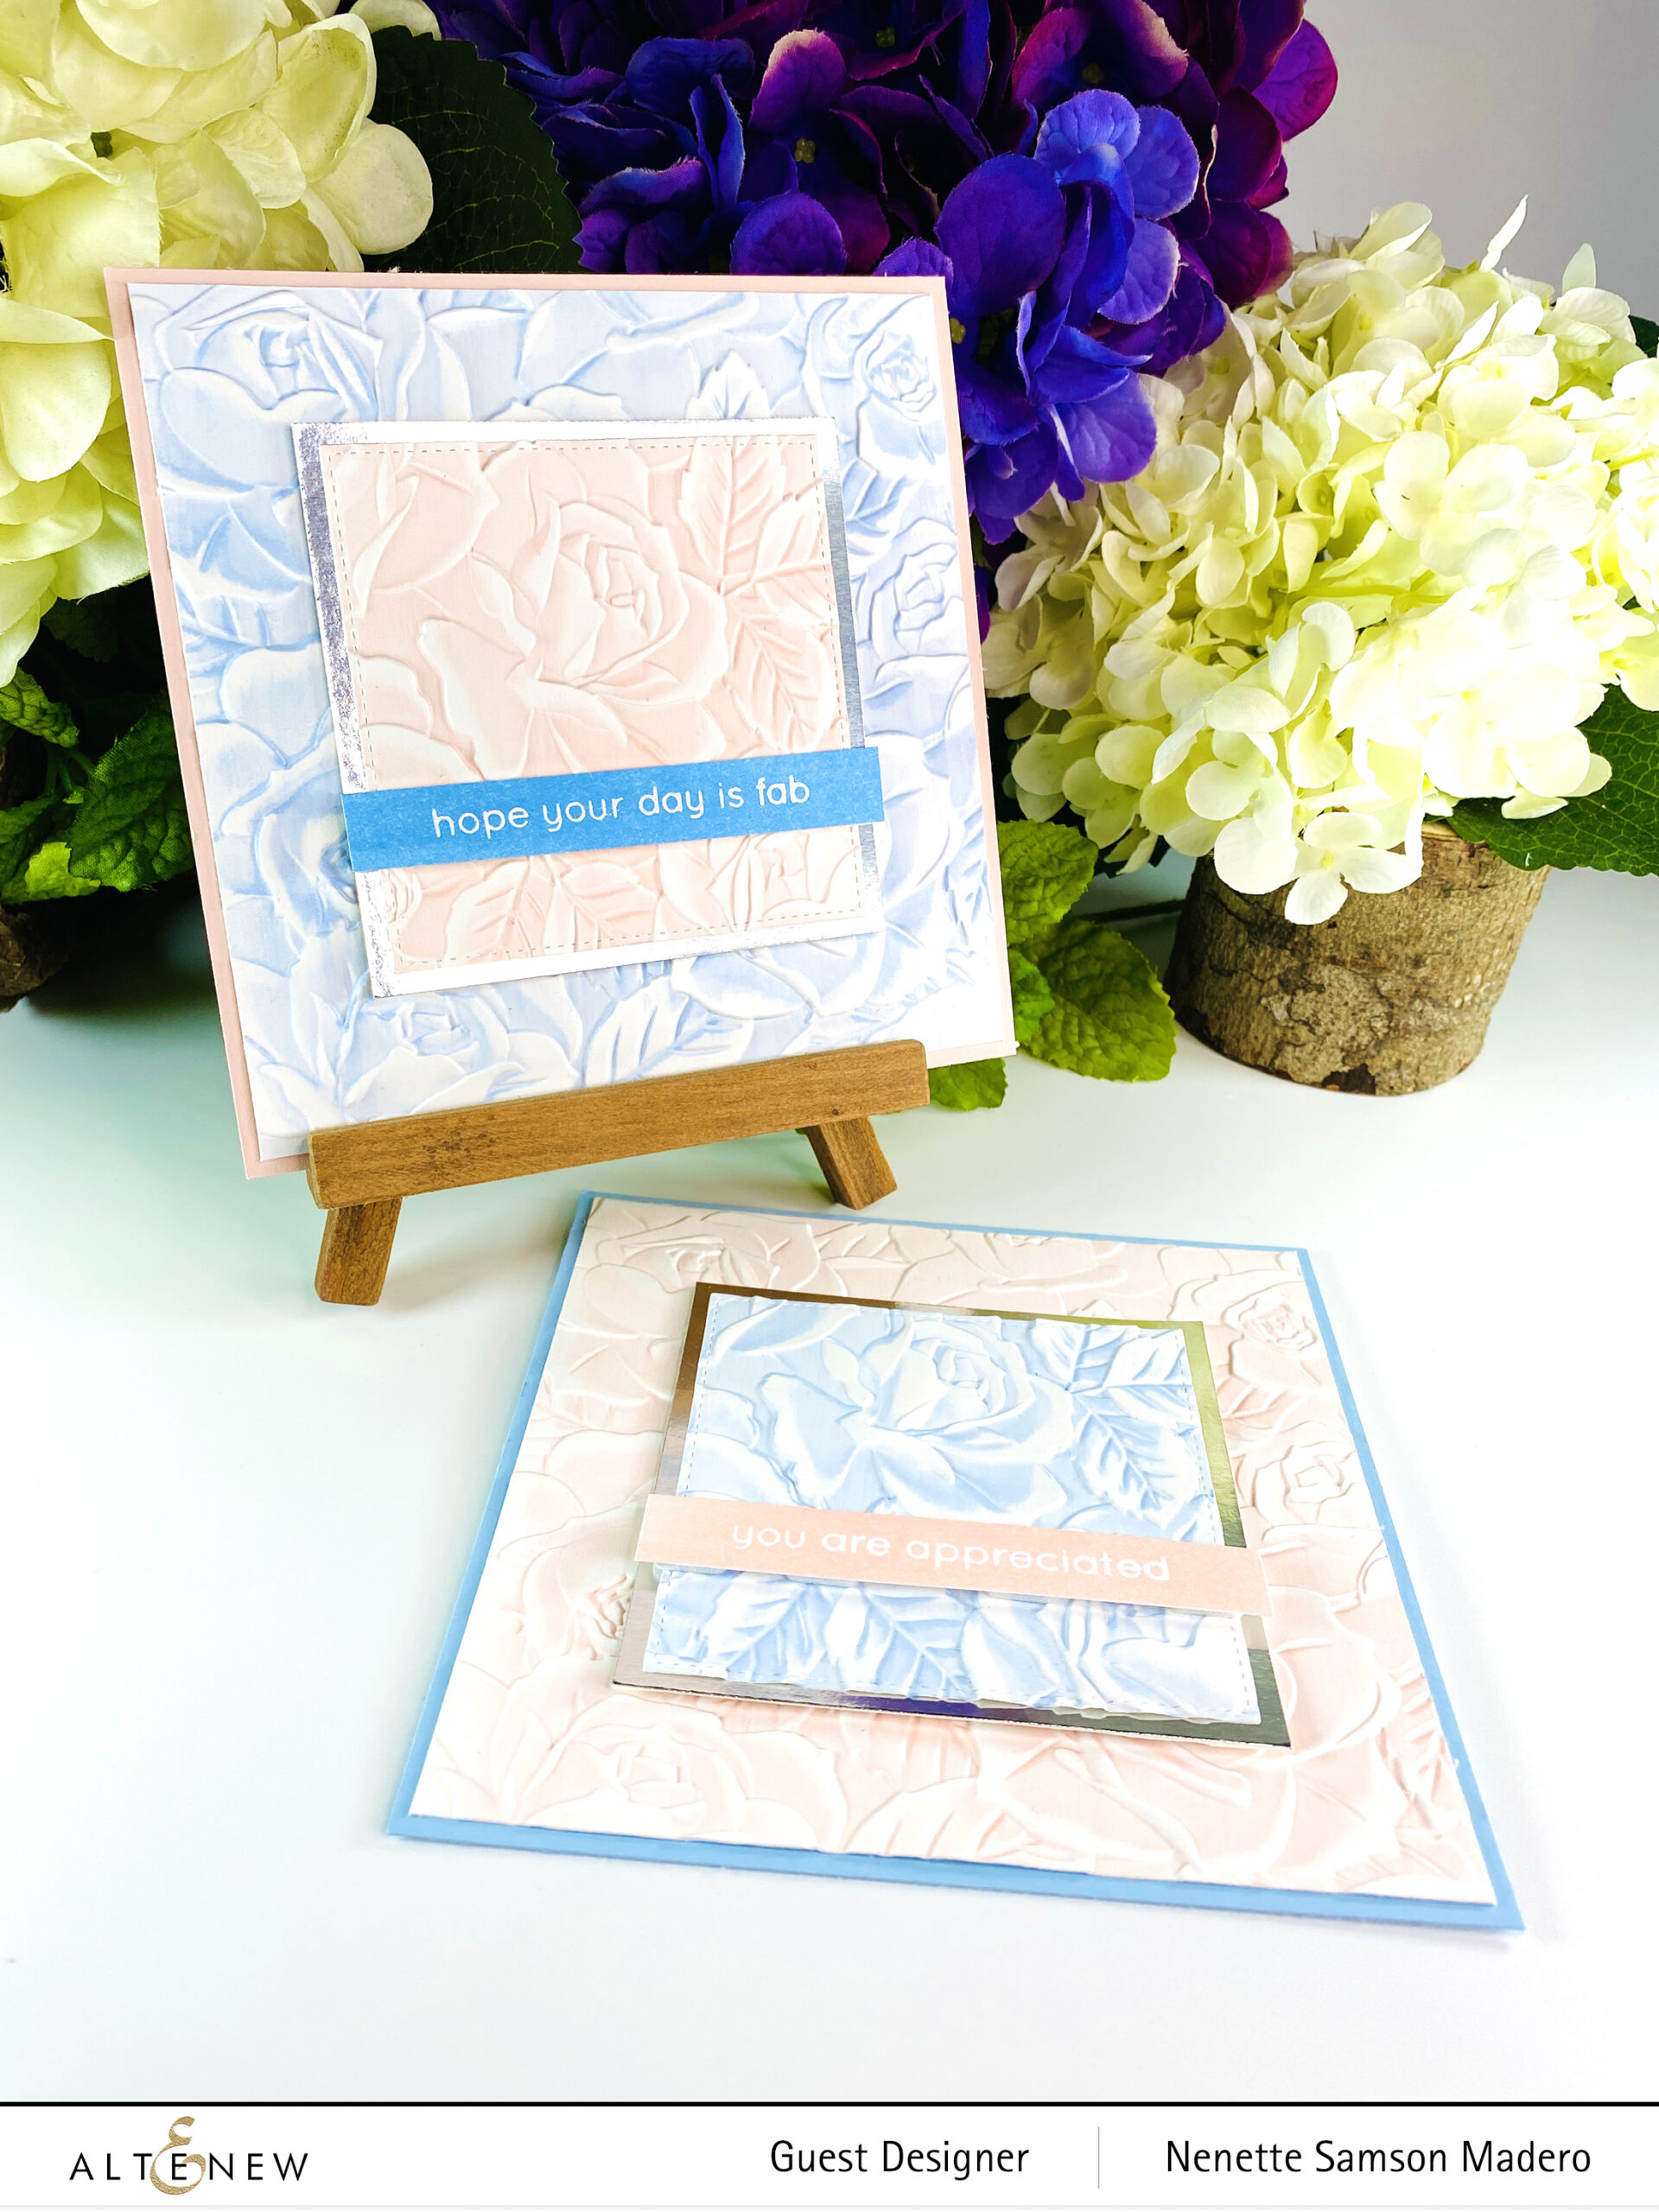
- Die-cut white cardstock using the Mega Alpha A. Secure the A with tape.
- Ink the debossed side with Caribbean Sky dye ink and emboss.
- Add Arctic dye ink to the high areas and emboss.
- Die-cut 4 more cardstocks and add to the A.
- Assemble card.
I love the texture of this embossing folder! I will be using this for sure in my future projects.
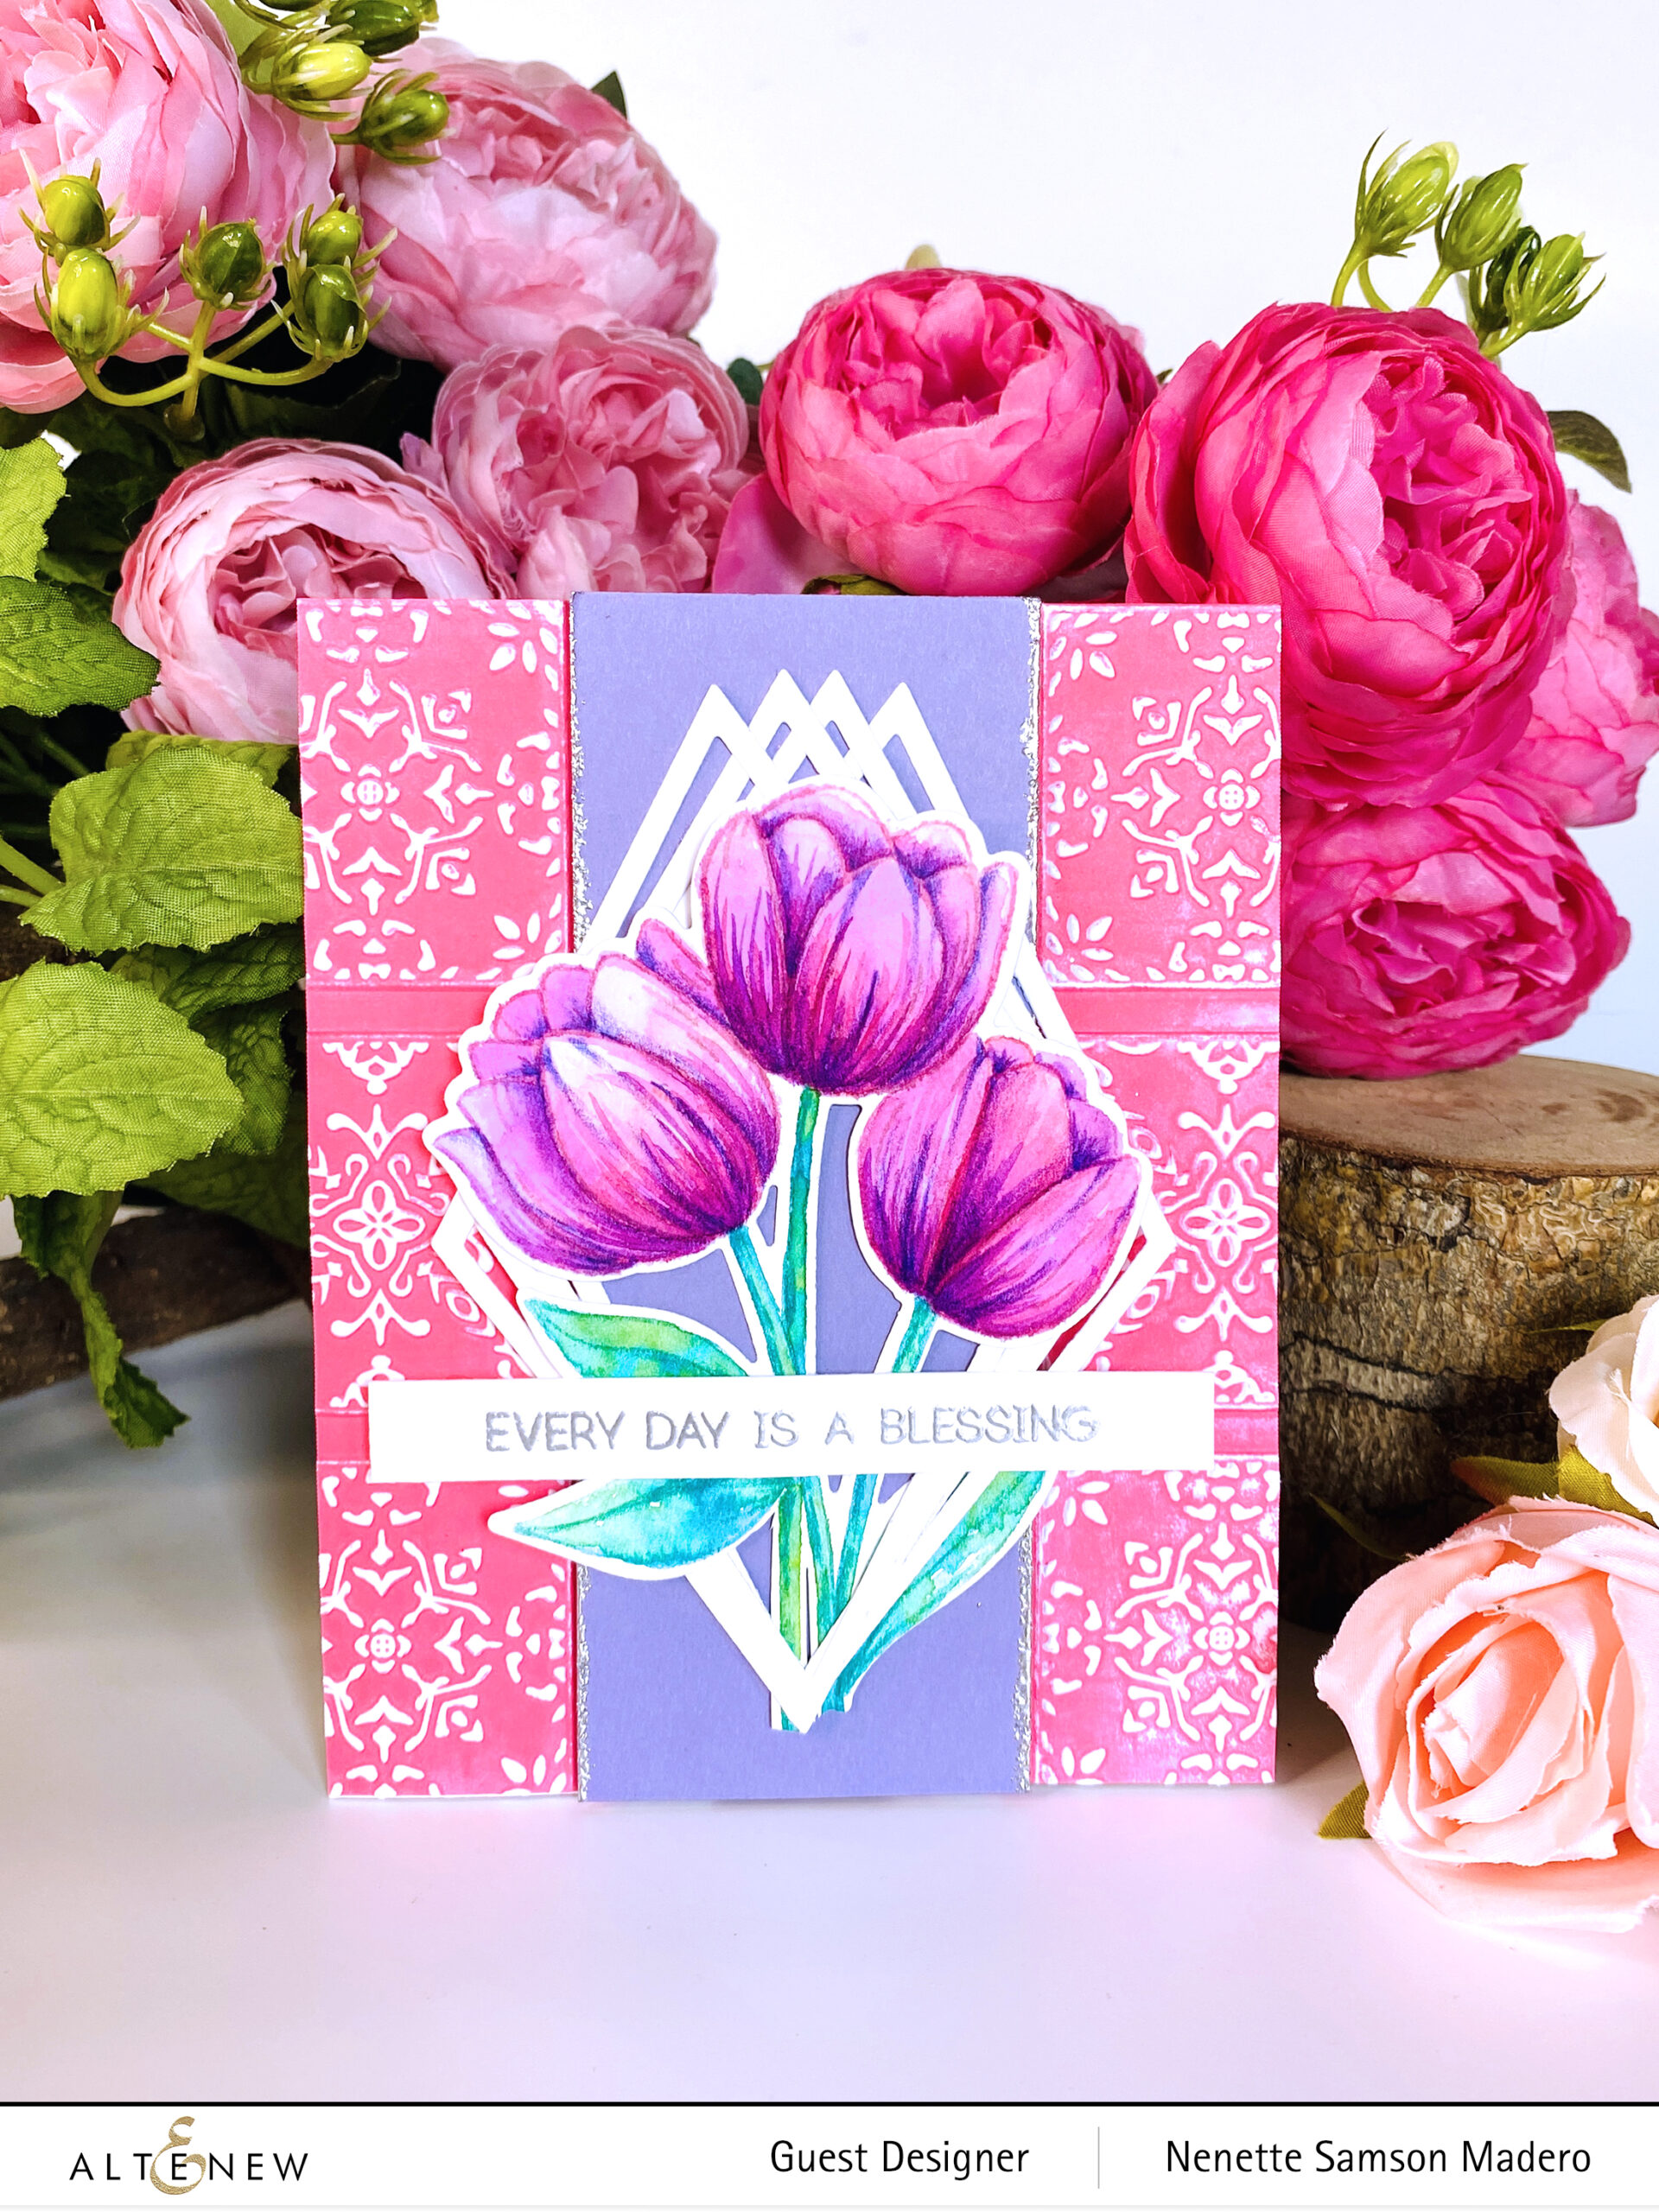
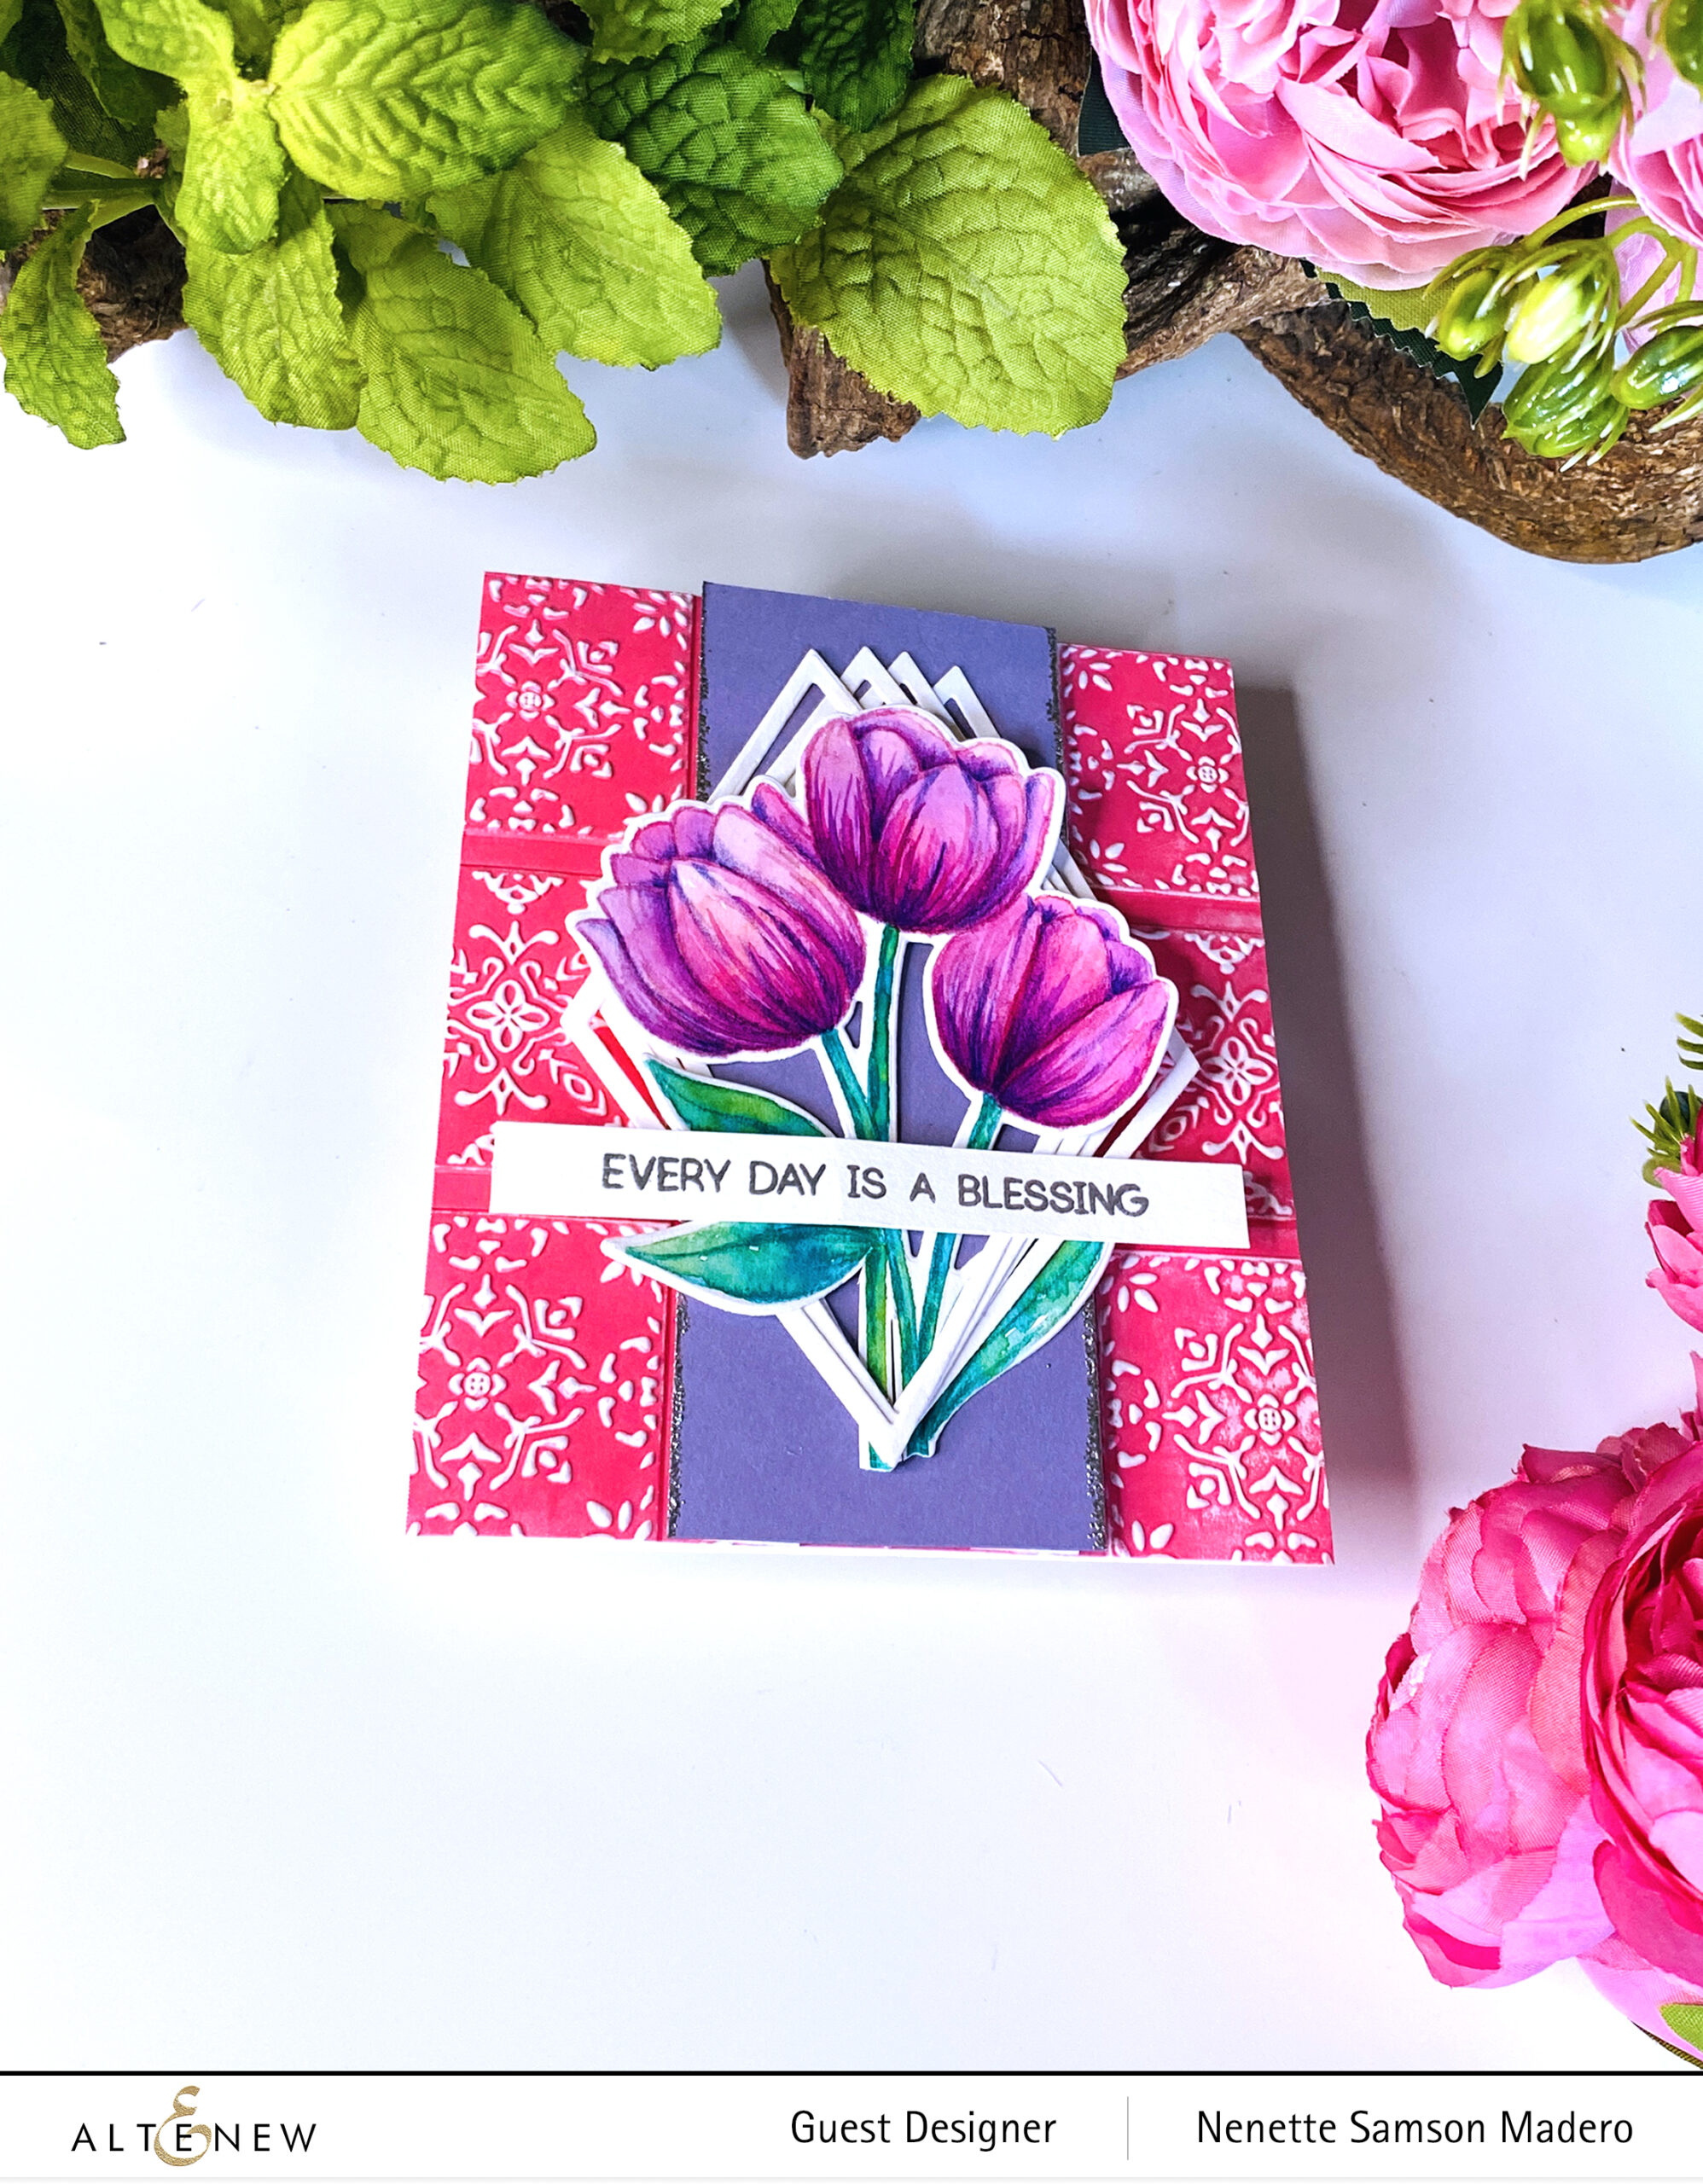
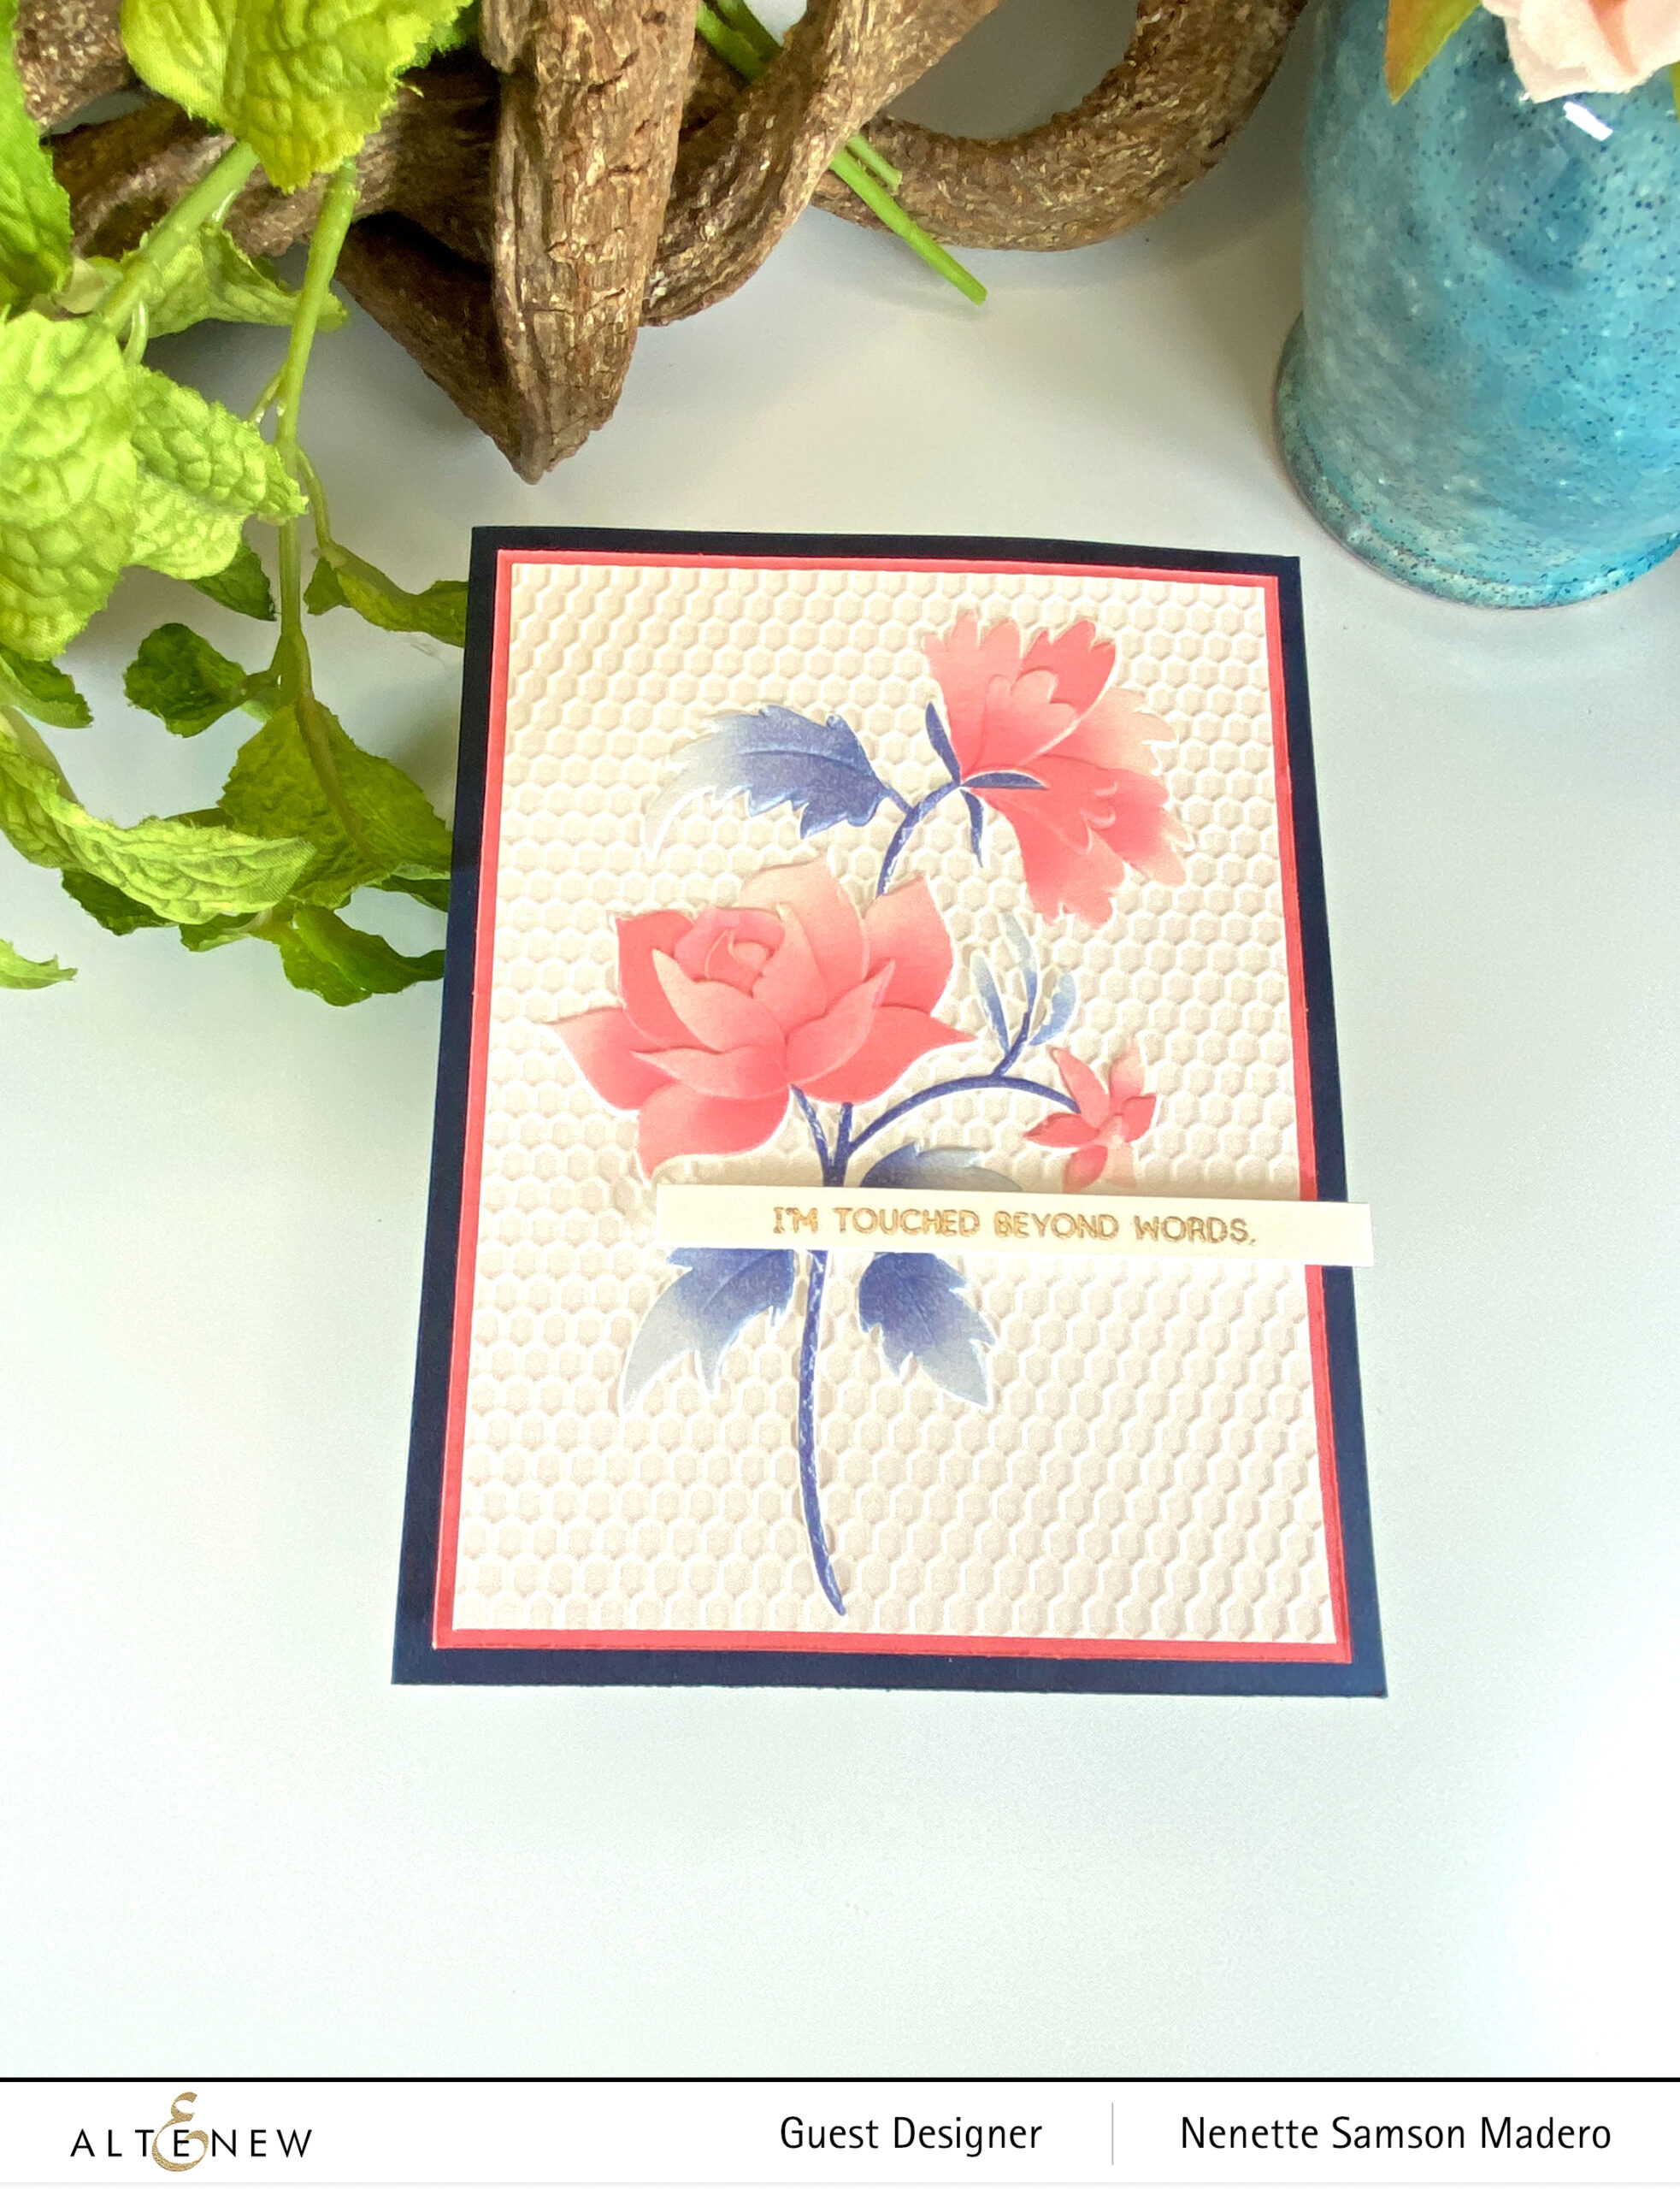
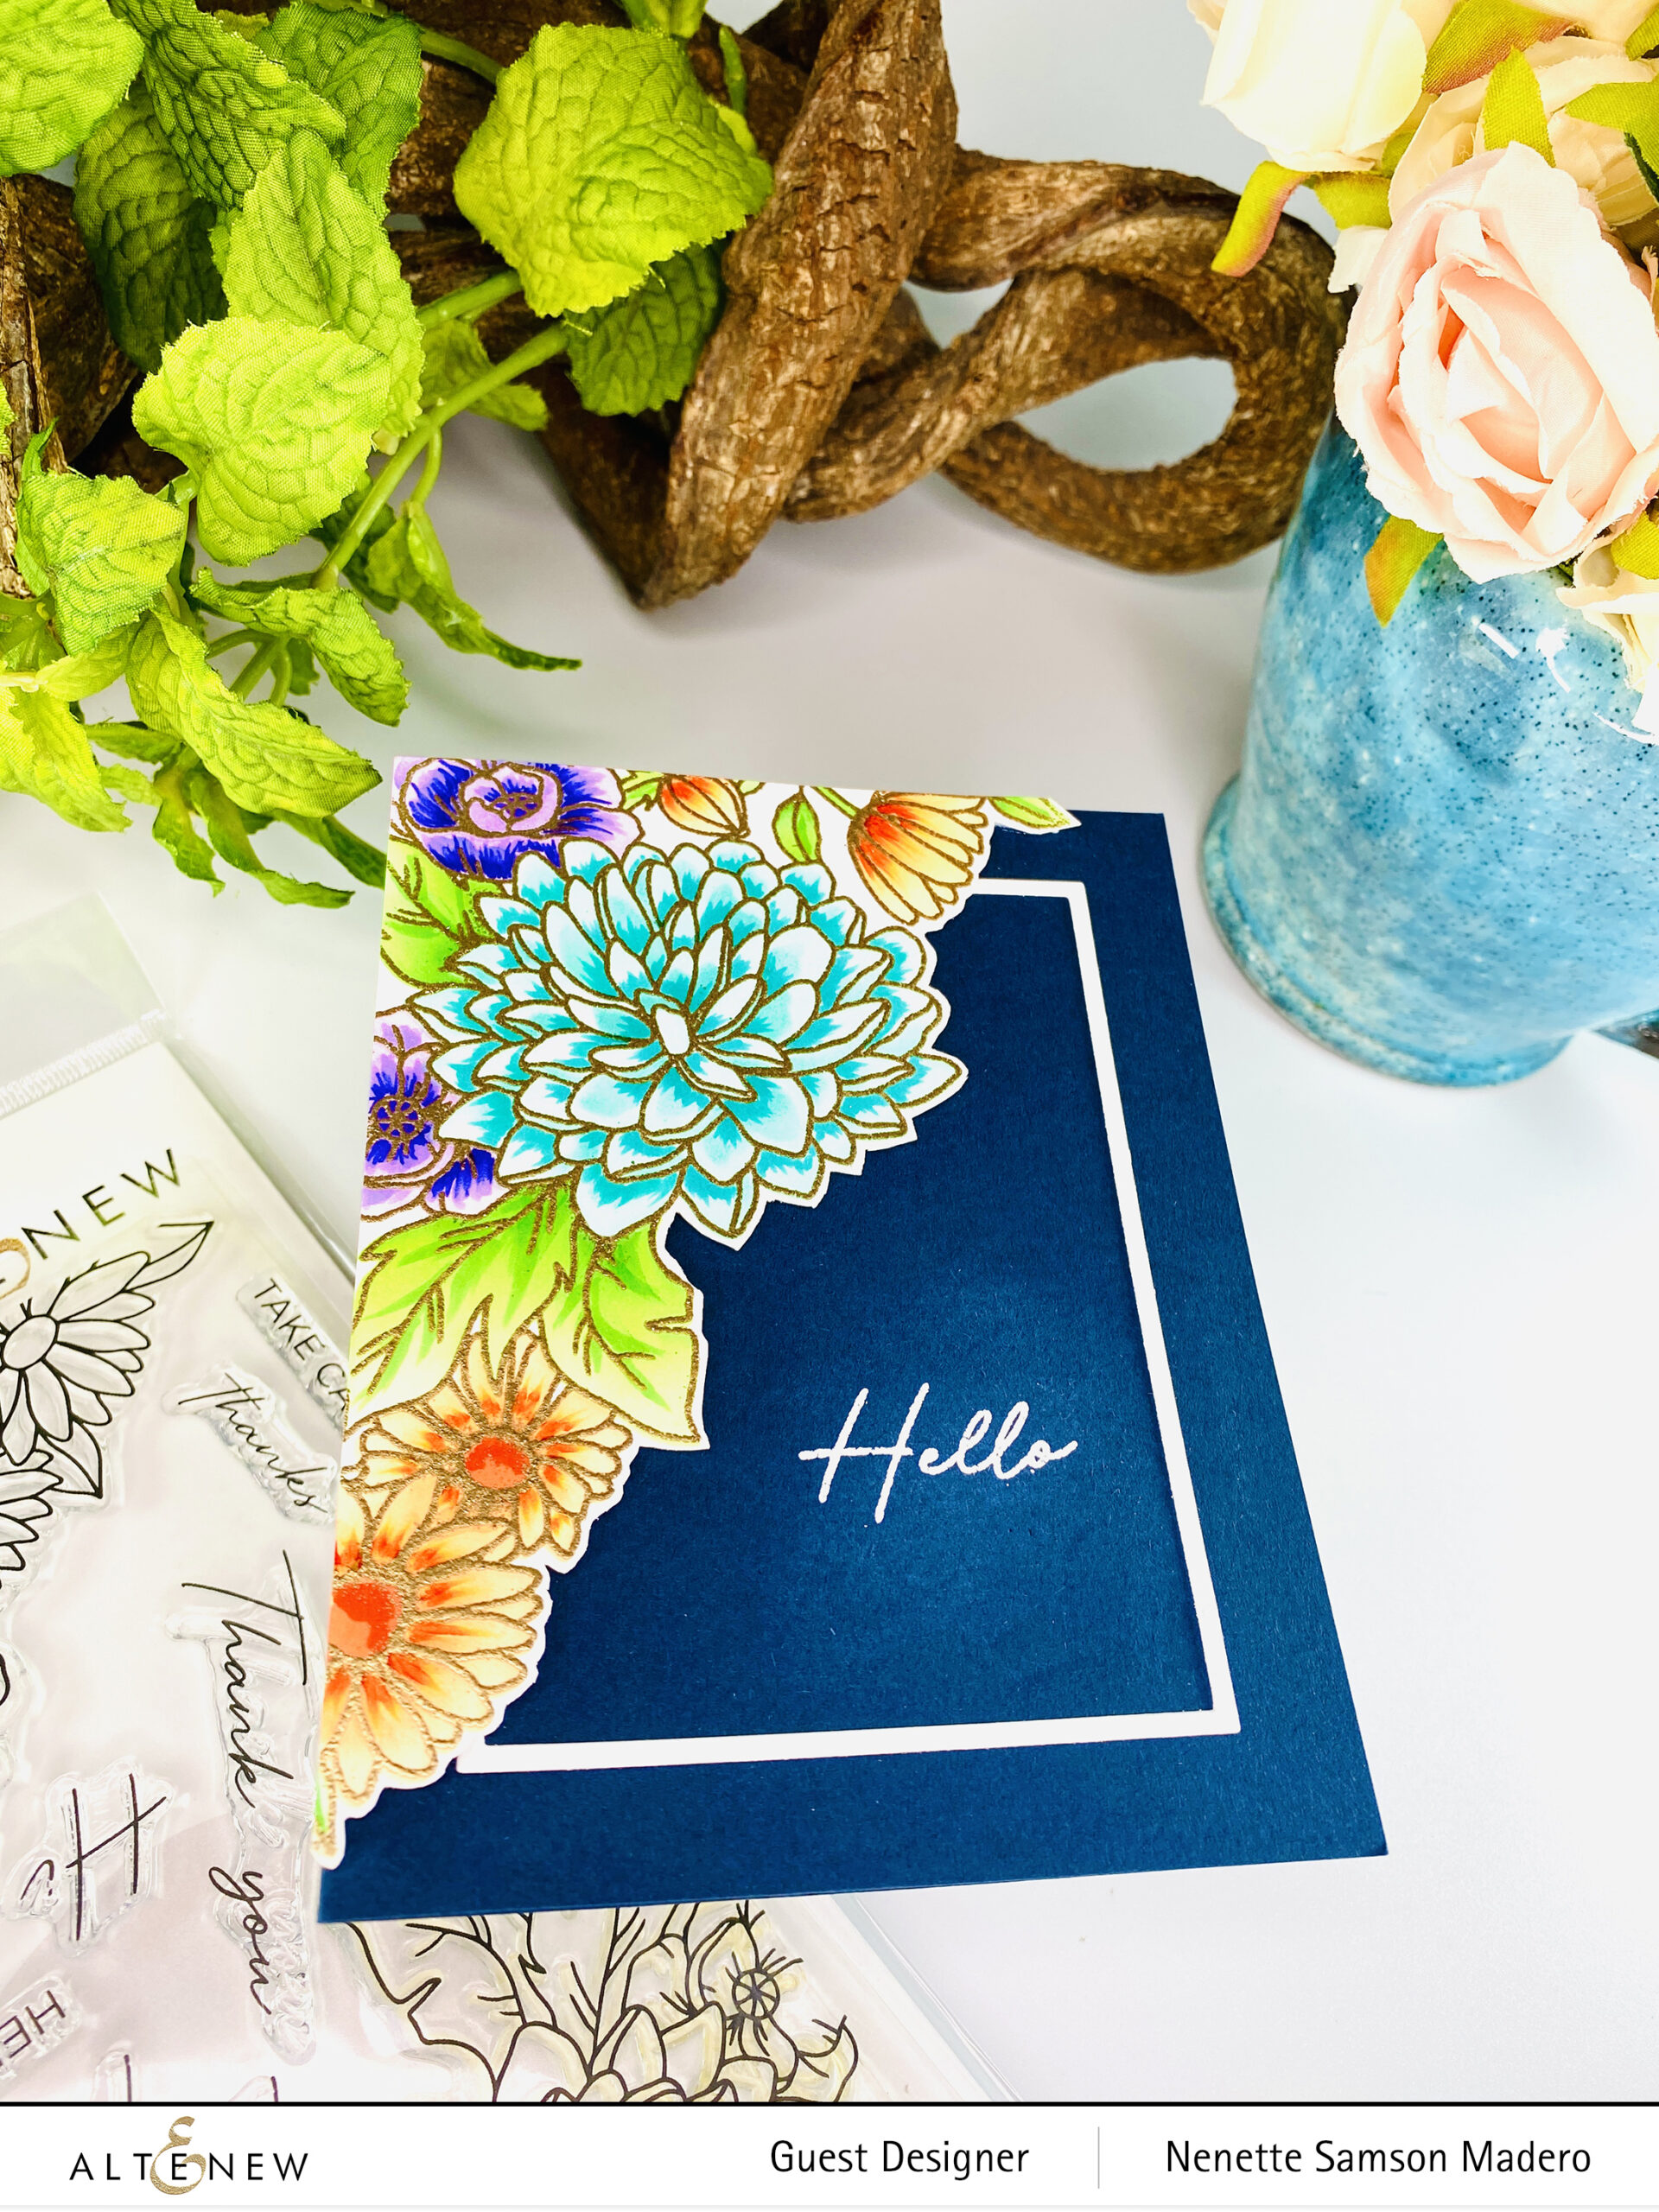
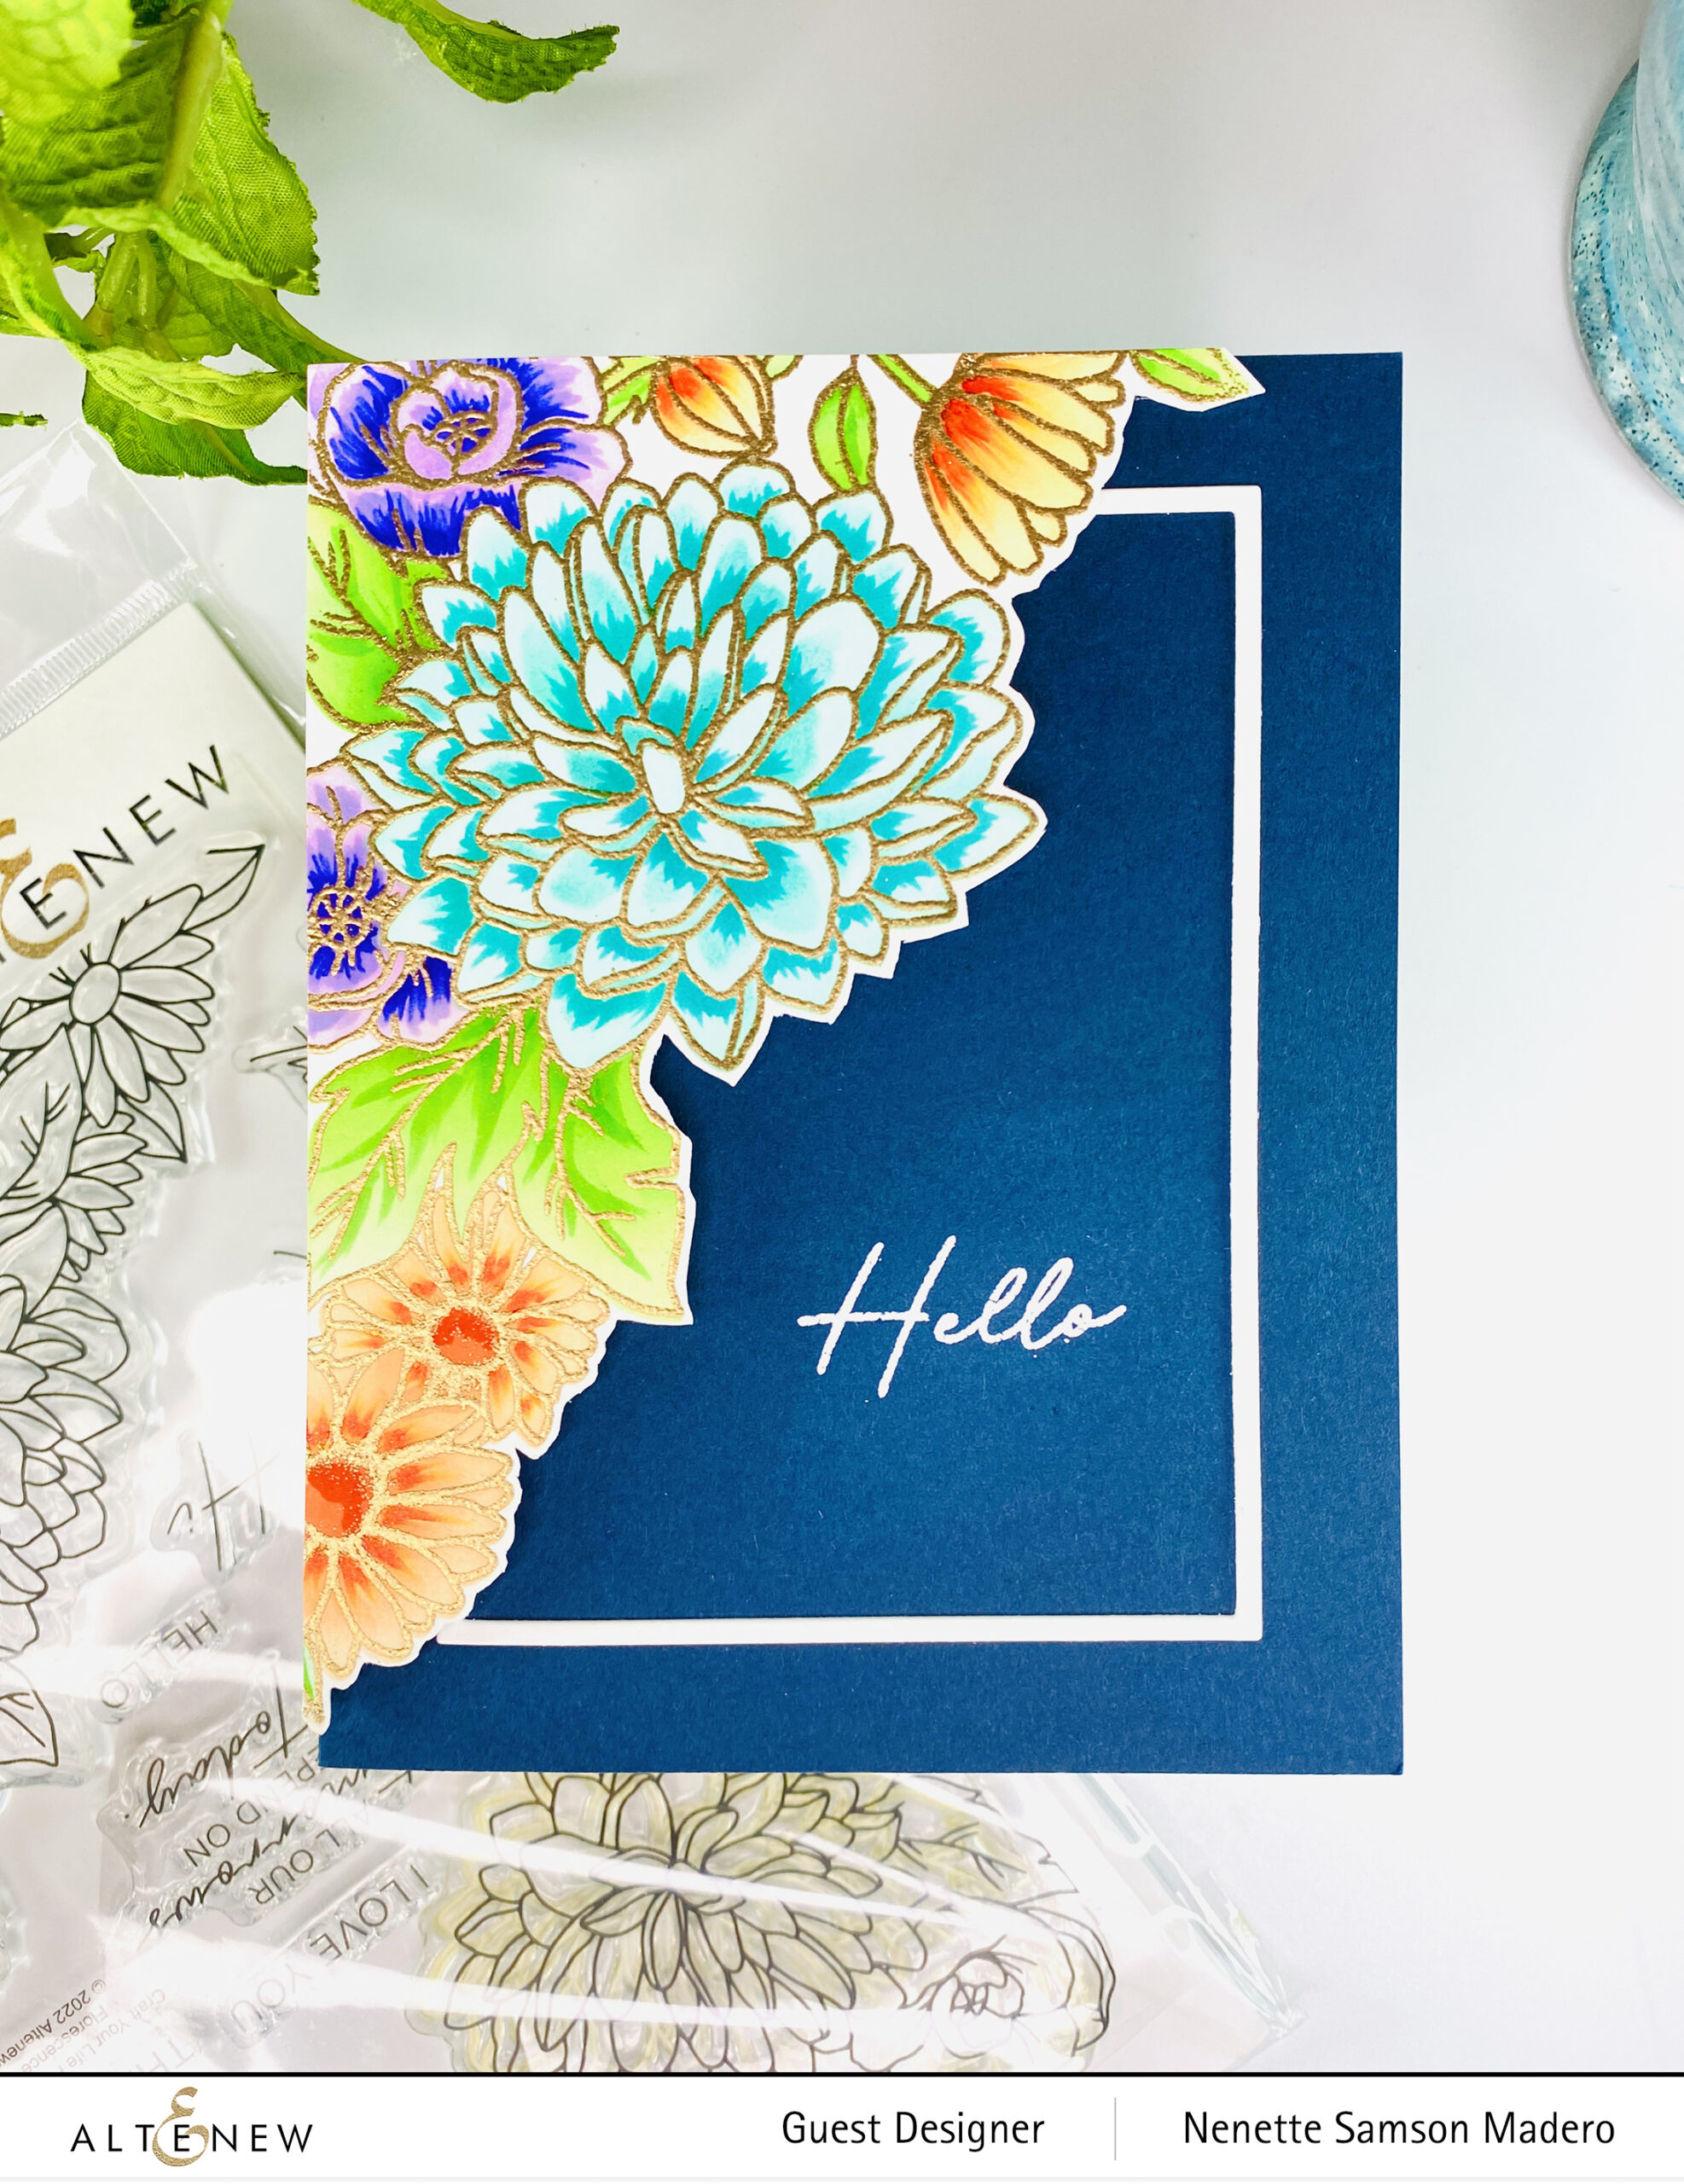
I’M TOUCHED BEYOND WORDS
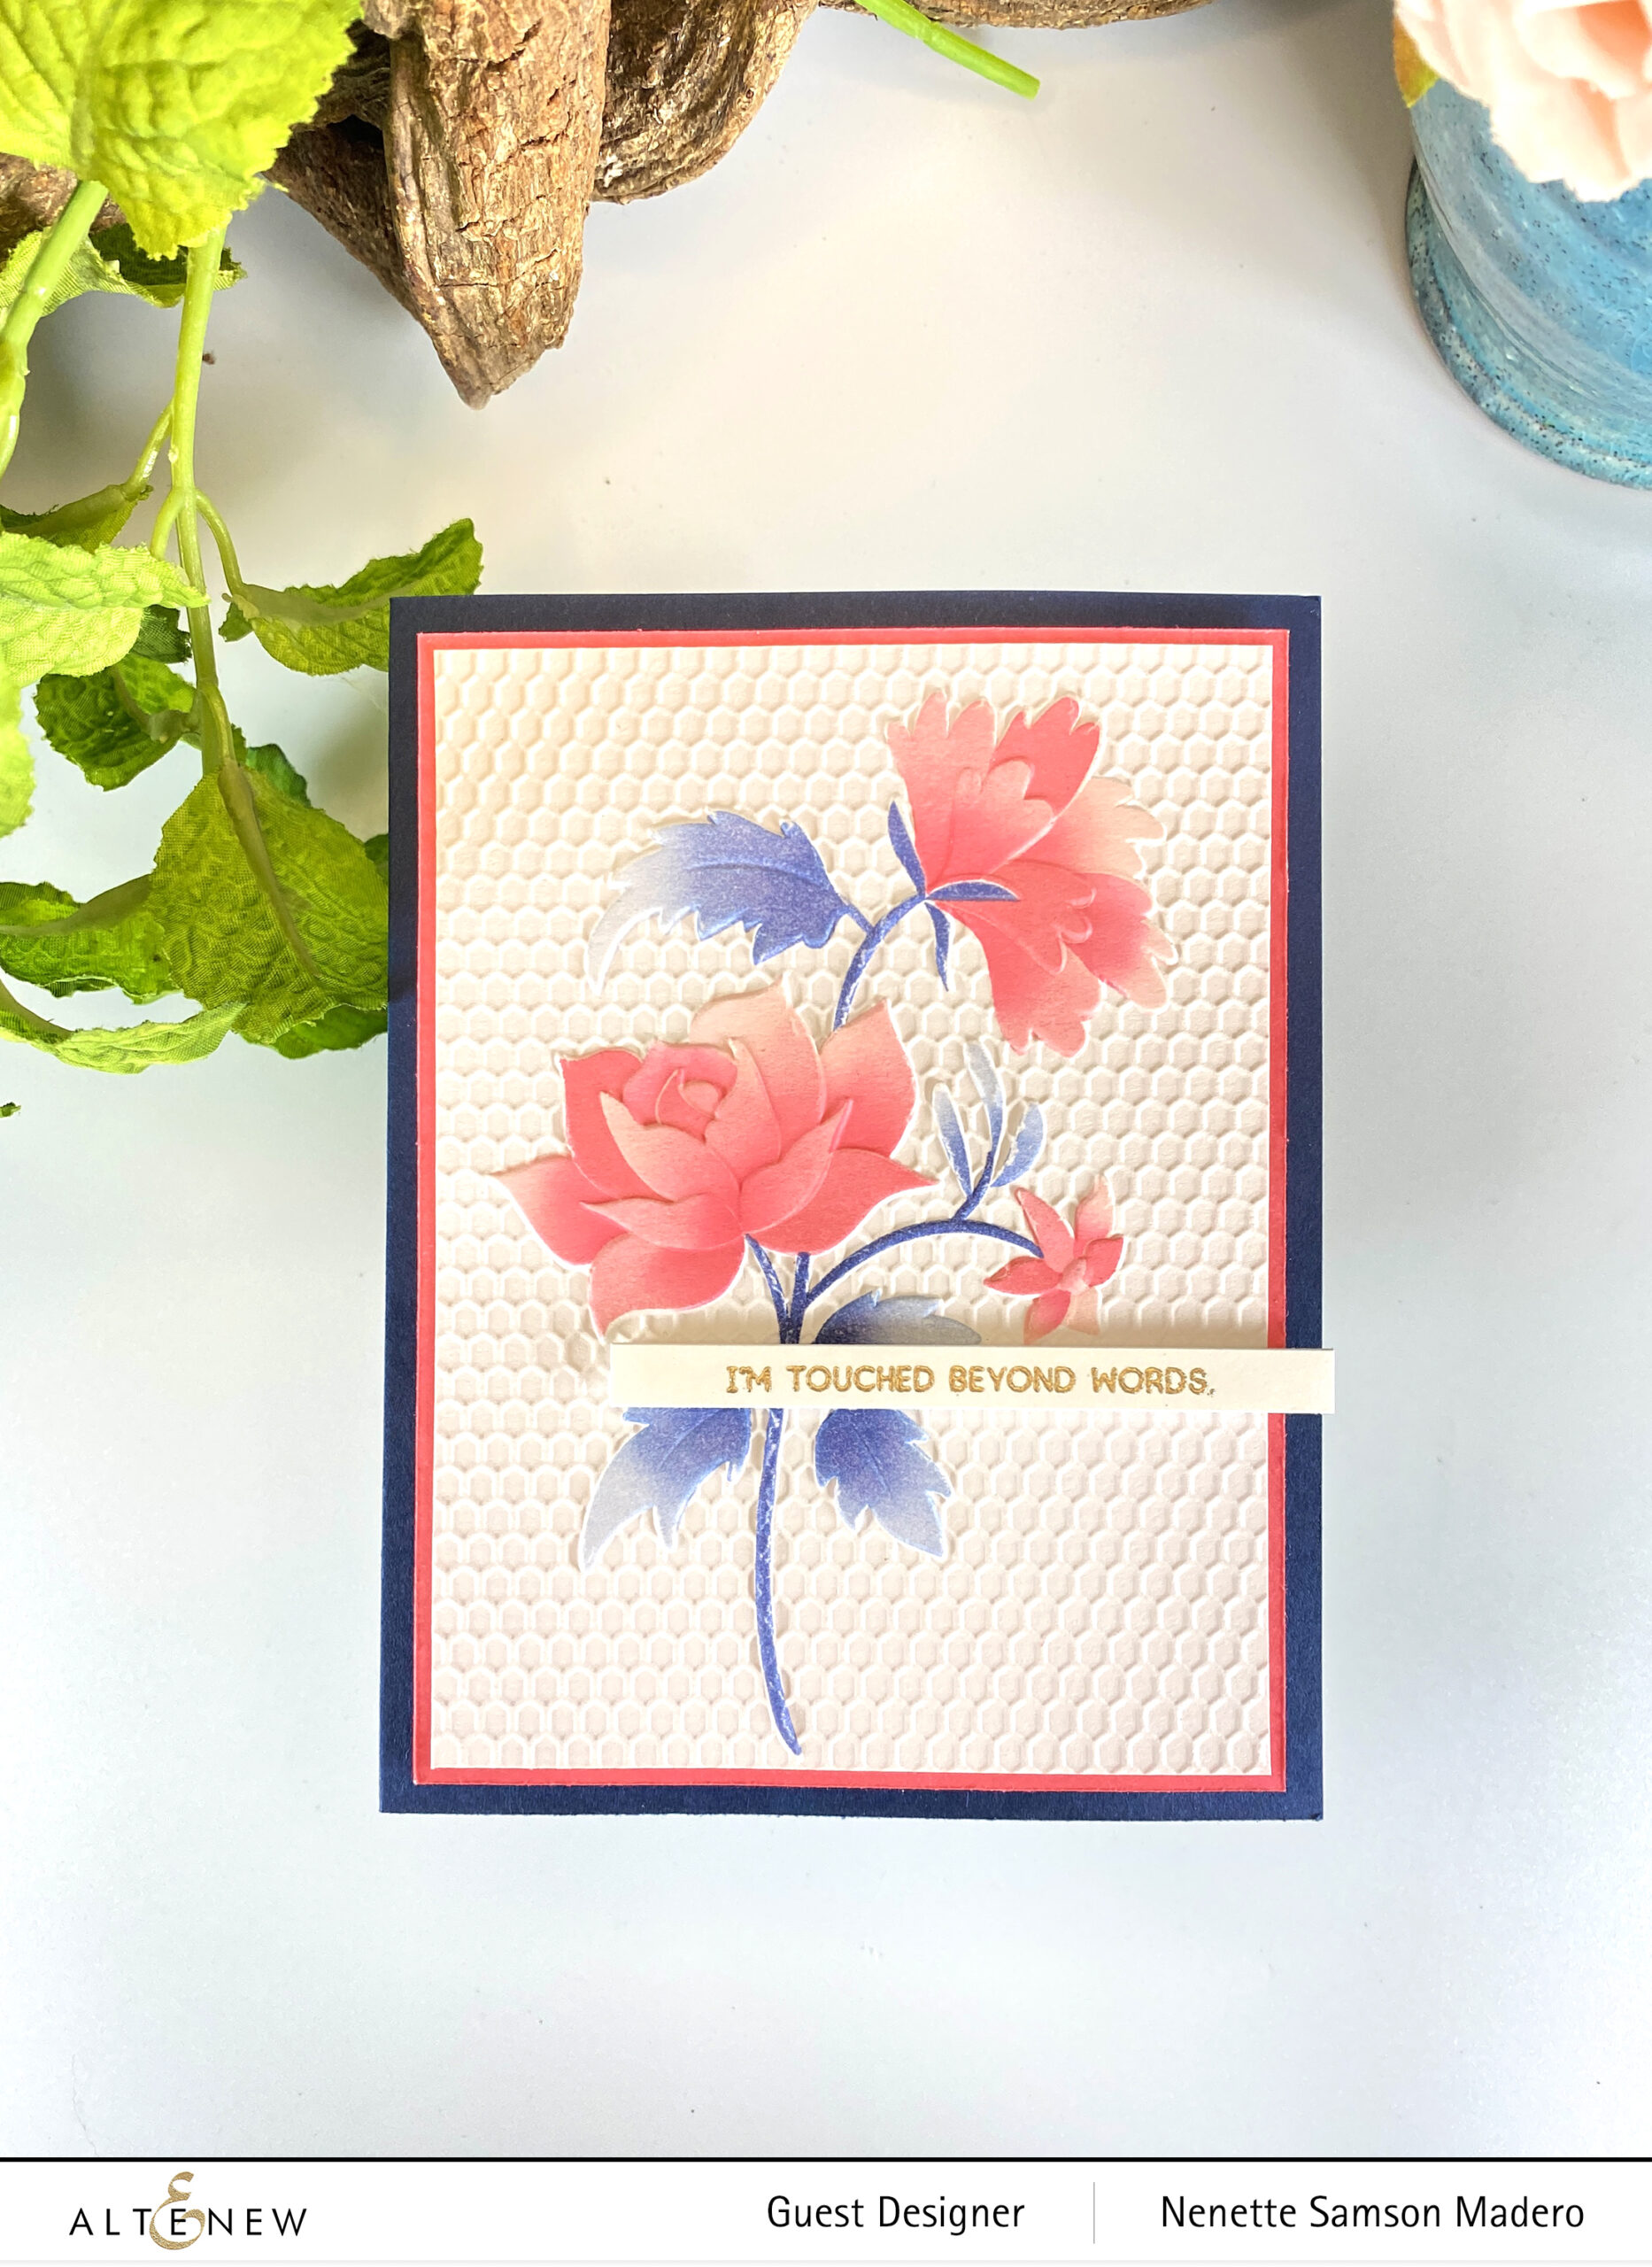
STEPS:
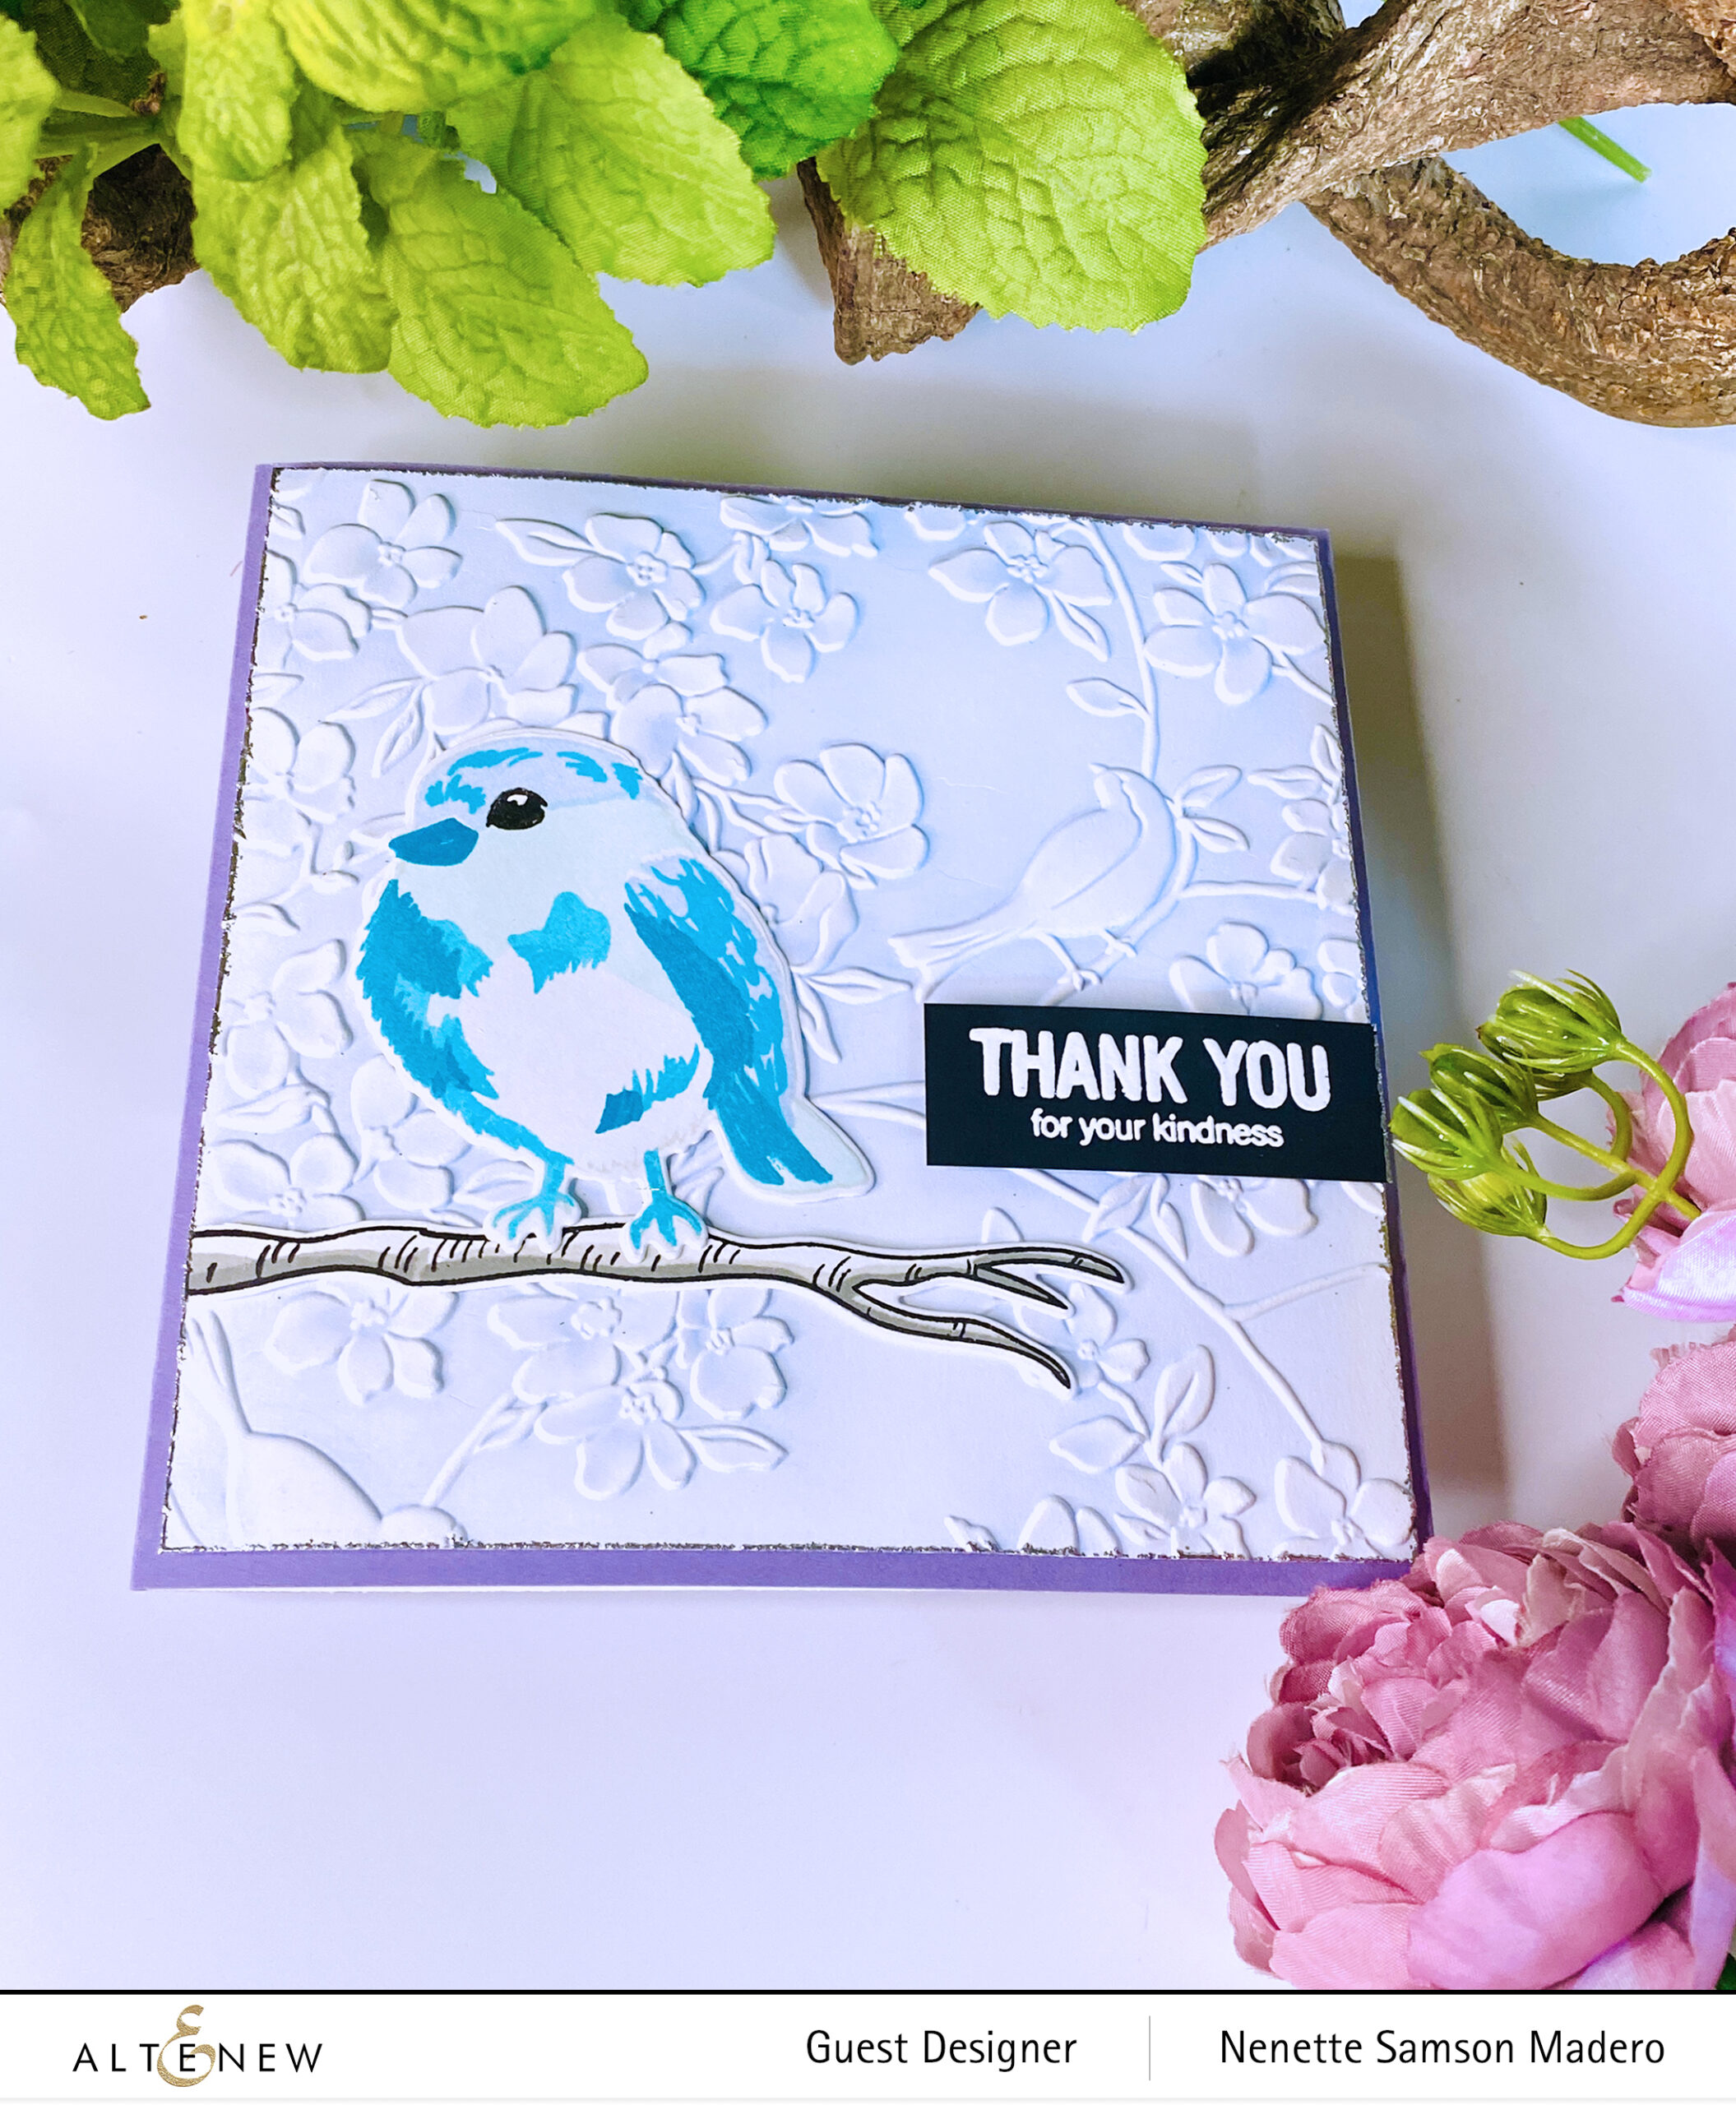
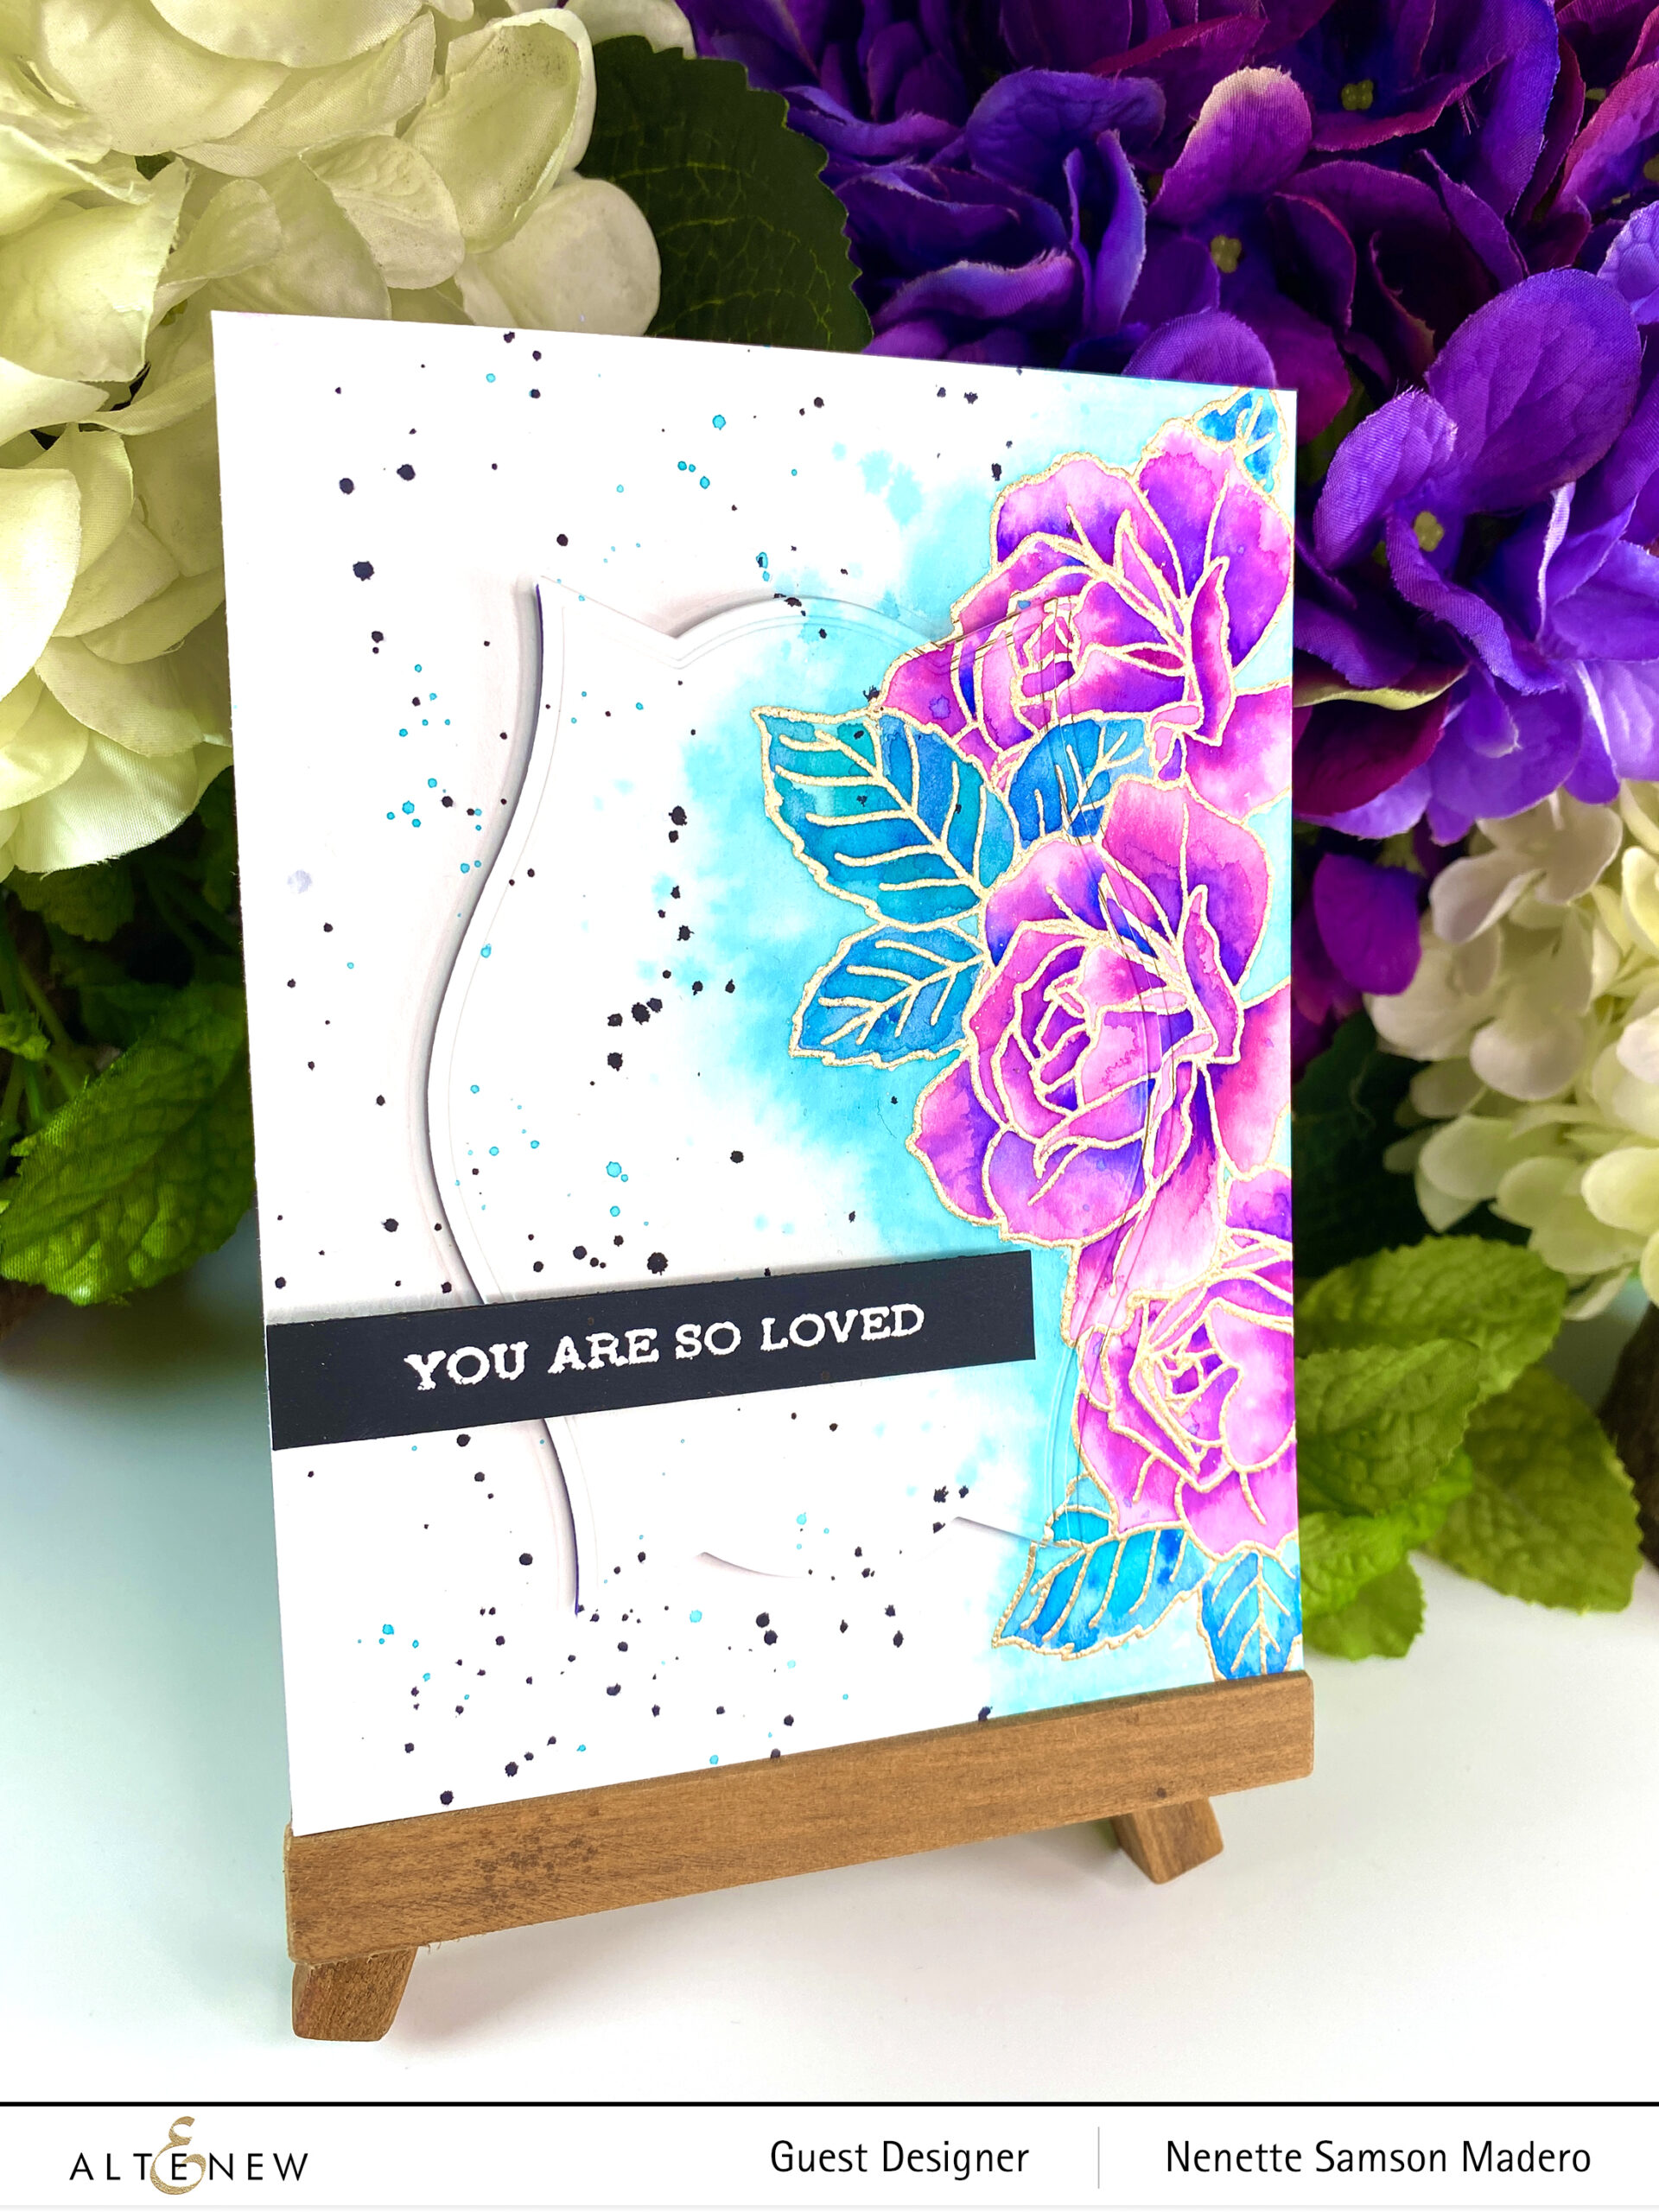
- Color the image with Mixed Media Inks from the Glacier Caves and the Red Cosmos bundles using the Vintage Lace Simple coloring stencils.
- Emboss with the coordinating Vintage Lace 3D embossing folder.
- Stamp and emboss the sentiment with Rose Gold embossing powder.
- Create a border using Mixed Media inks.
- Assemble the card.
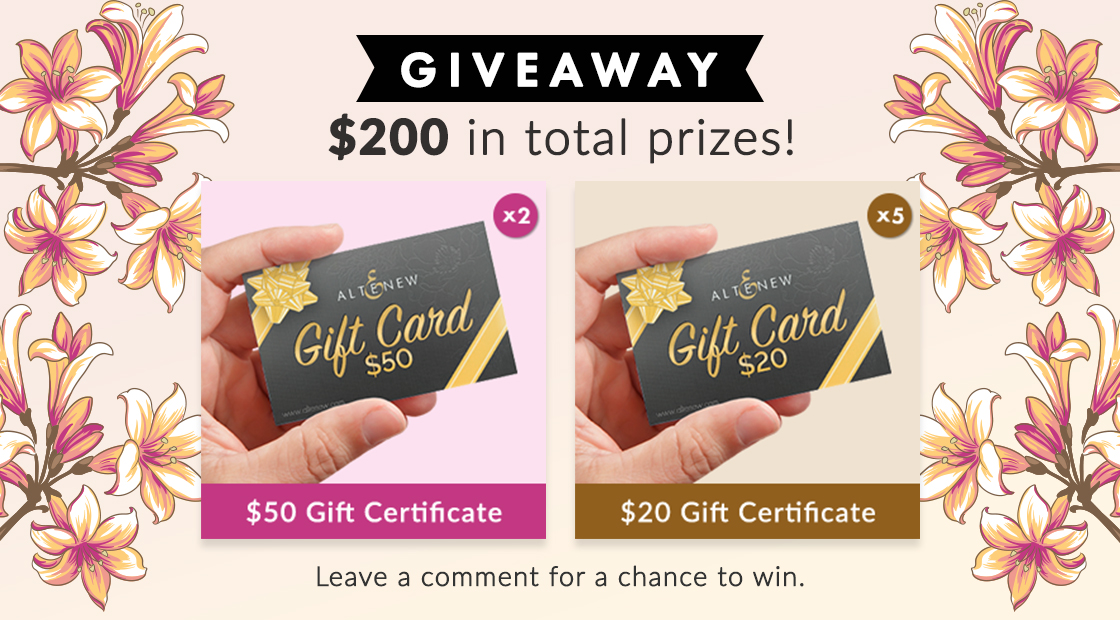
GIVEAWAYS
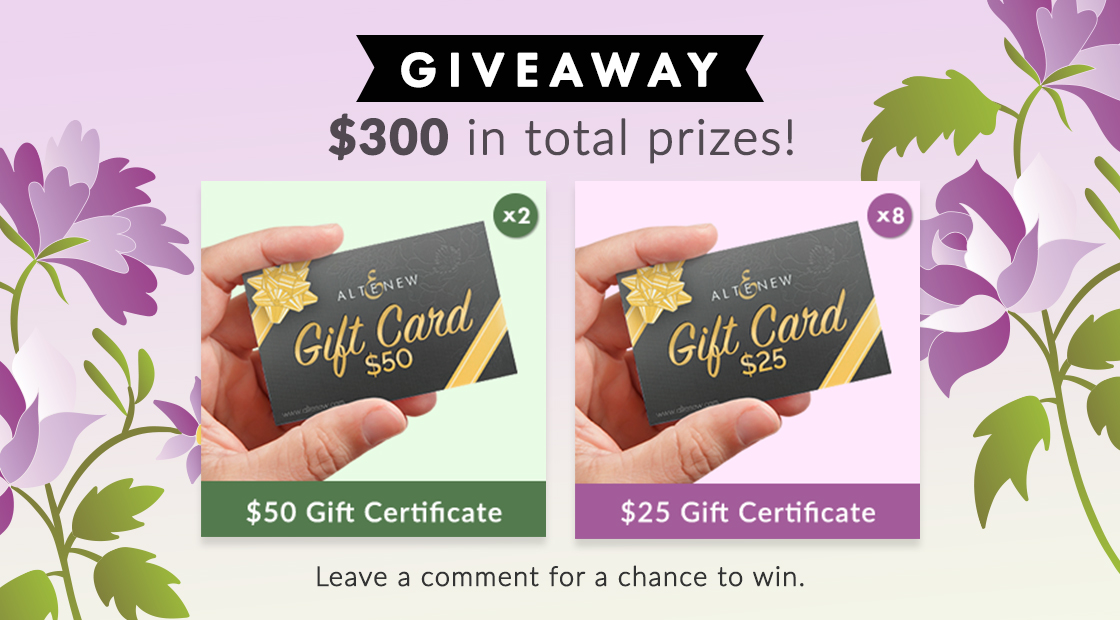
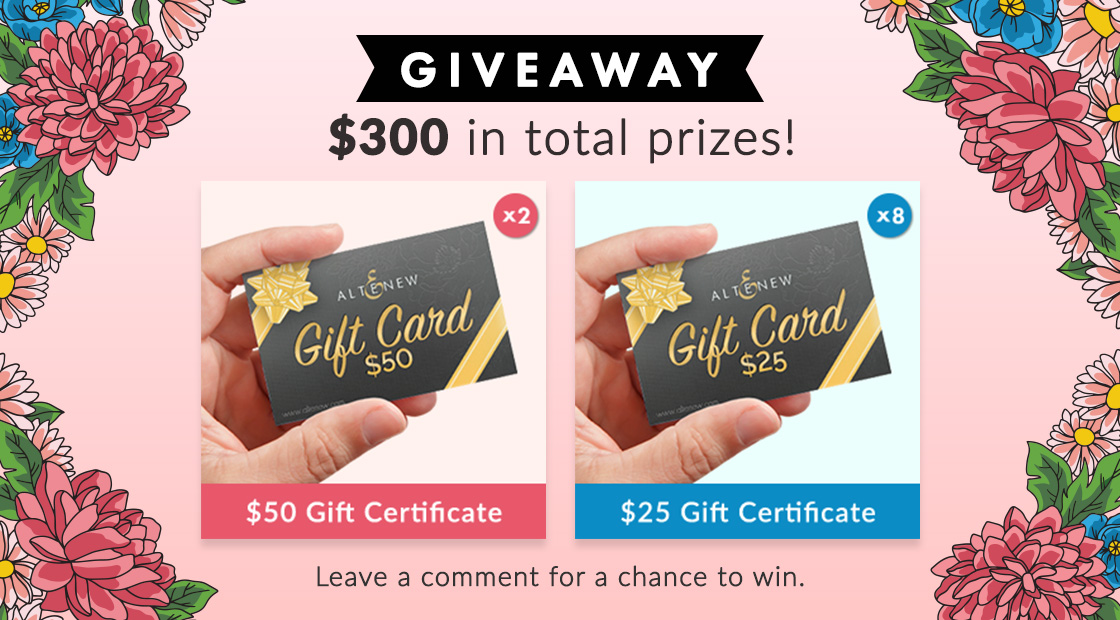
$300 in total prizes! To celebrate this release, Altenew is giving away a $50 gift certificate to 2 lucky winners and a $25 gift certificate to 8 winners! Please leave a comment on the Altenew Card Blog and/or each designer’s blog post on the blog hop list below by 05/29/2022 for a chance to win.
Altenew will draw 10 random winners from the comments left on each stop of this blog hop and announce the winners on the Altenew Winners Page on 05/31/2022.
Next up: Terri Koszler. Don’t forget to leave a comment to get a chance to win. 🙂 Also, I started a YouTube channel and would love it if you could subscribe there, too! Don’t forget to hit the bell button to get notifications every time I post a new video tutorial. the link is found below. Thanks for dropping by! Happy crafting!

")


")

")


")