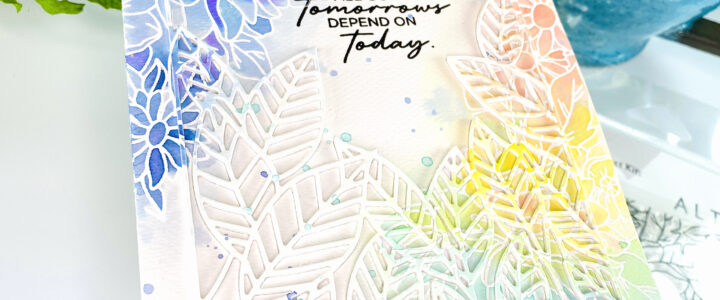
Welcome, crafty friends! Thank you so much, Nathalie DeSousa, for sending everyone over. For the full details of this hop, make sure to drop by the Altenew blog. You can also find this latest release here.
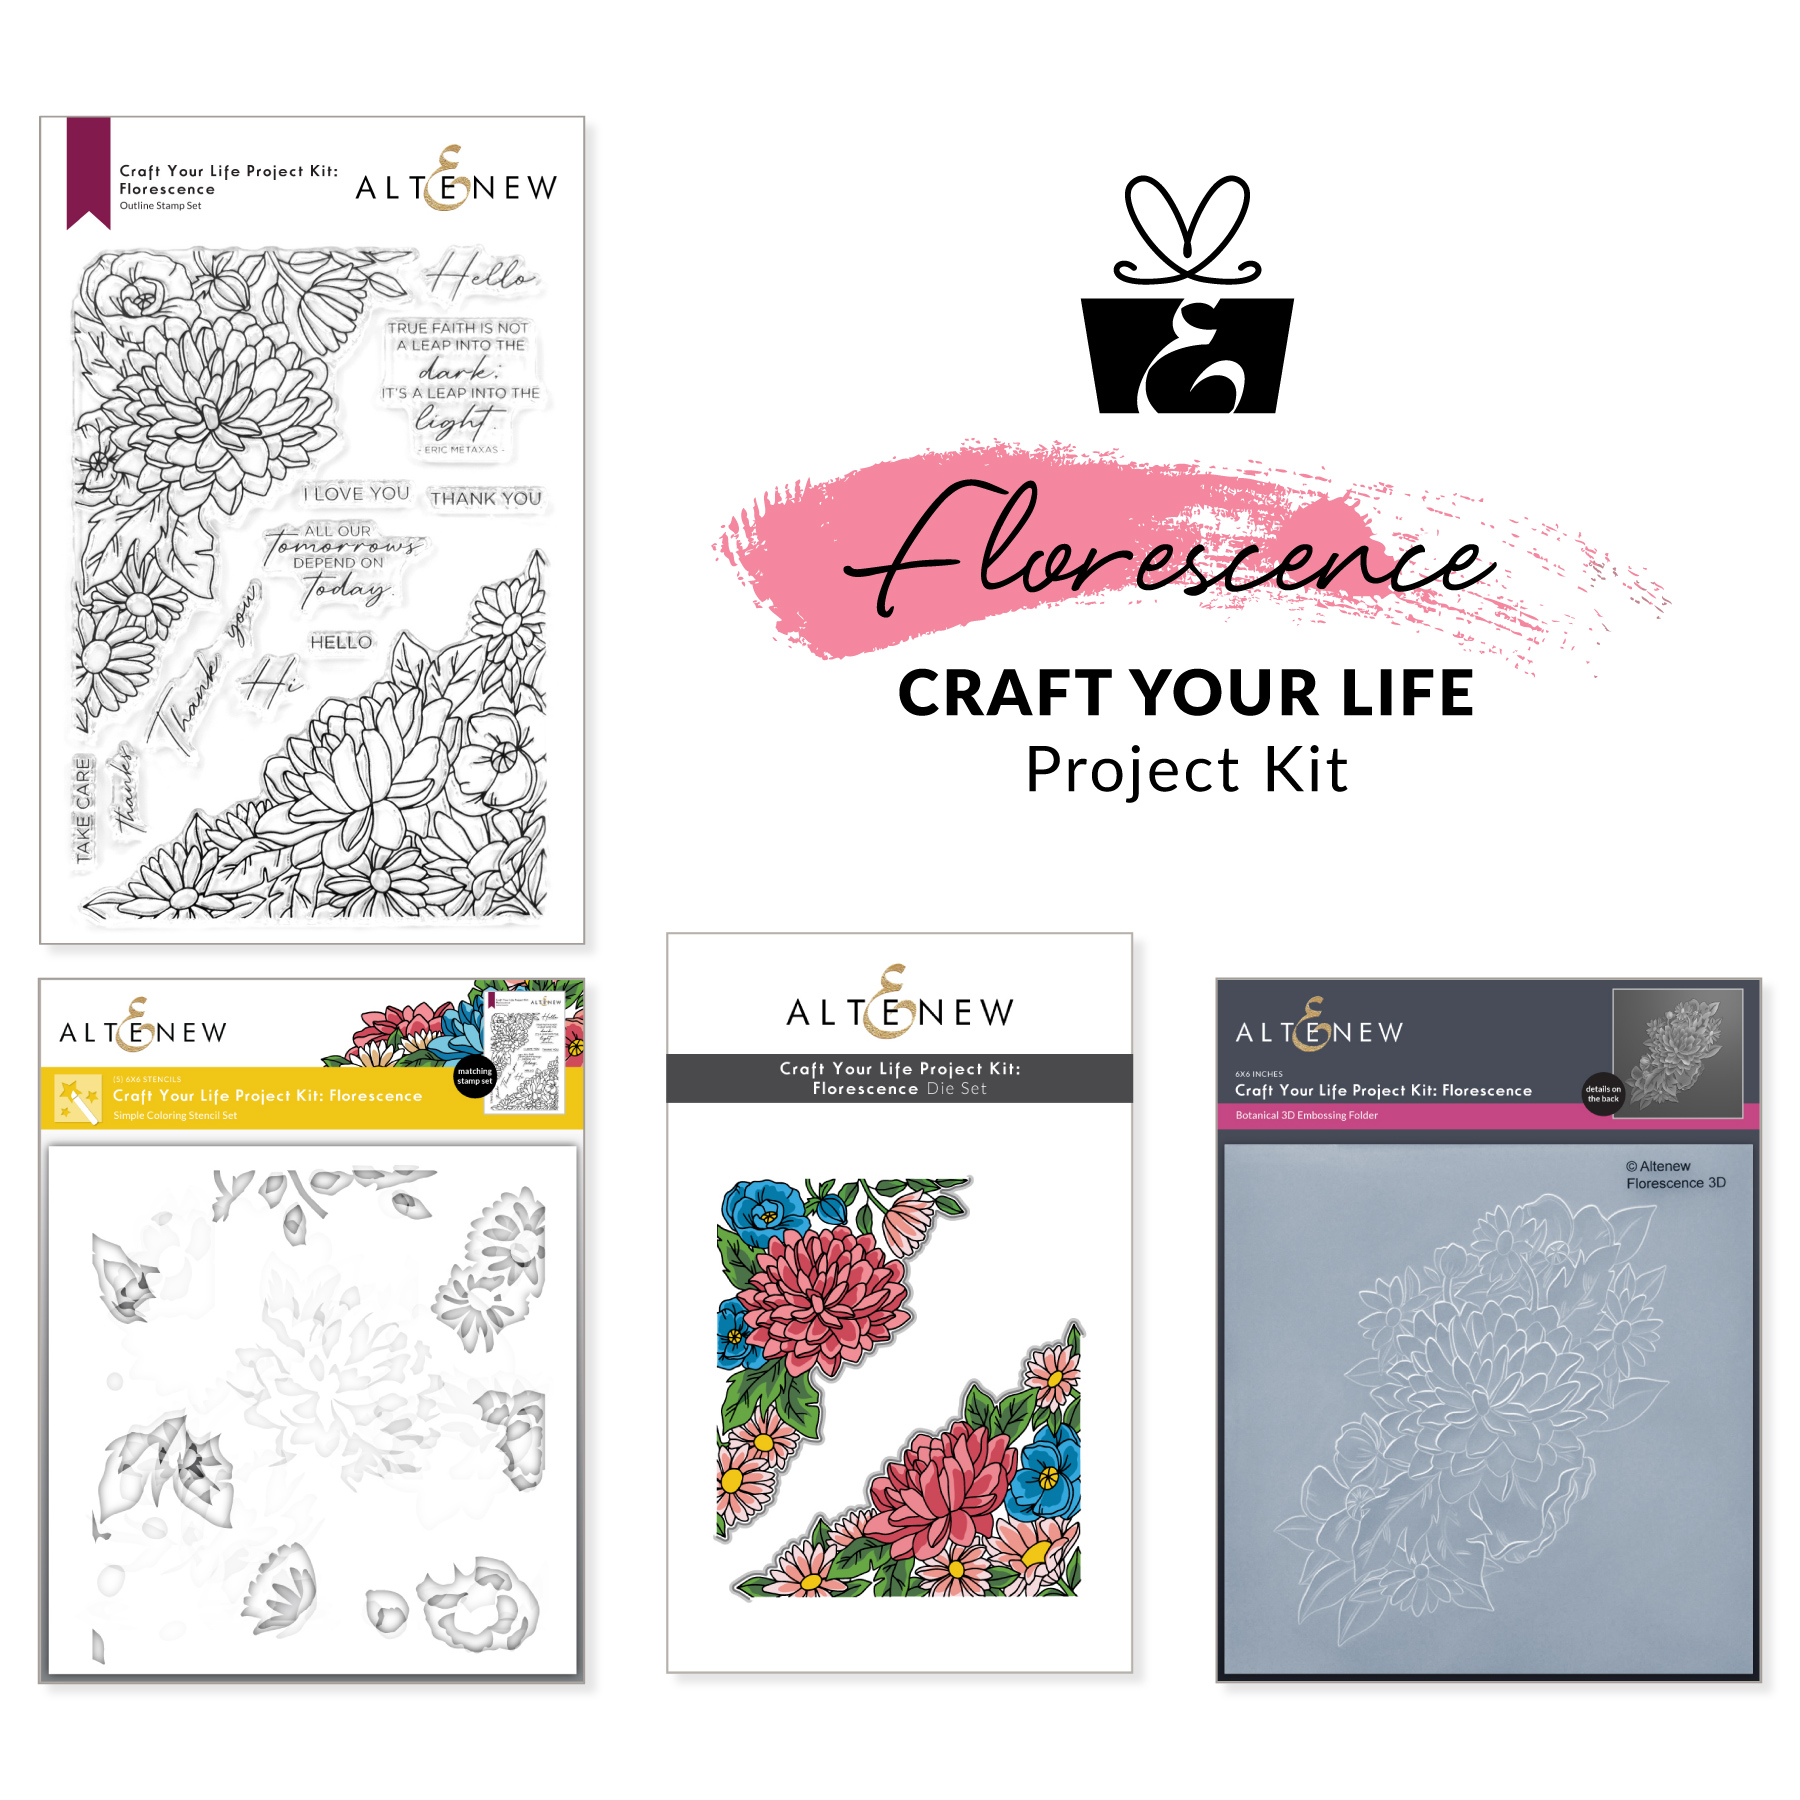
I was so excited when I saw the products in the Craft Your Life: Florescence kit! I love huge images because that would mean there can be many ways to use this stamp set. Below are the cards I made for this hop.
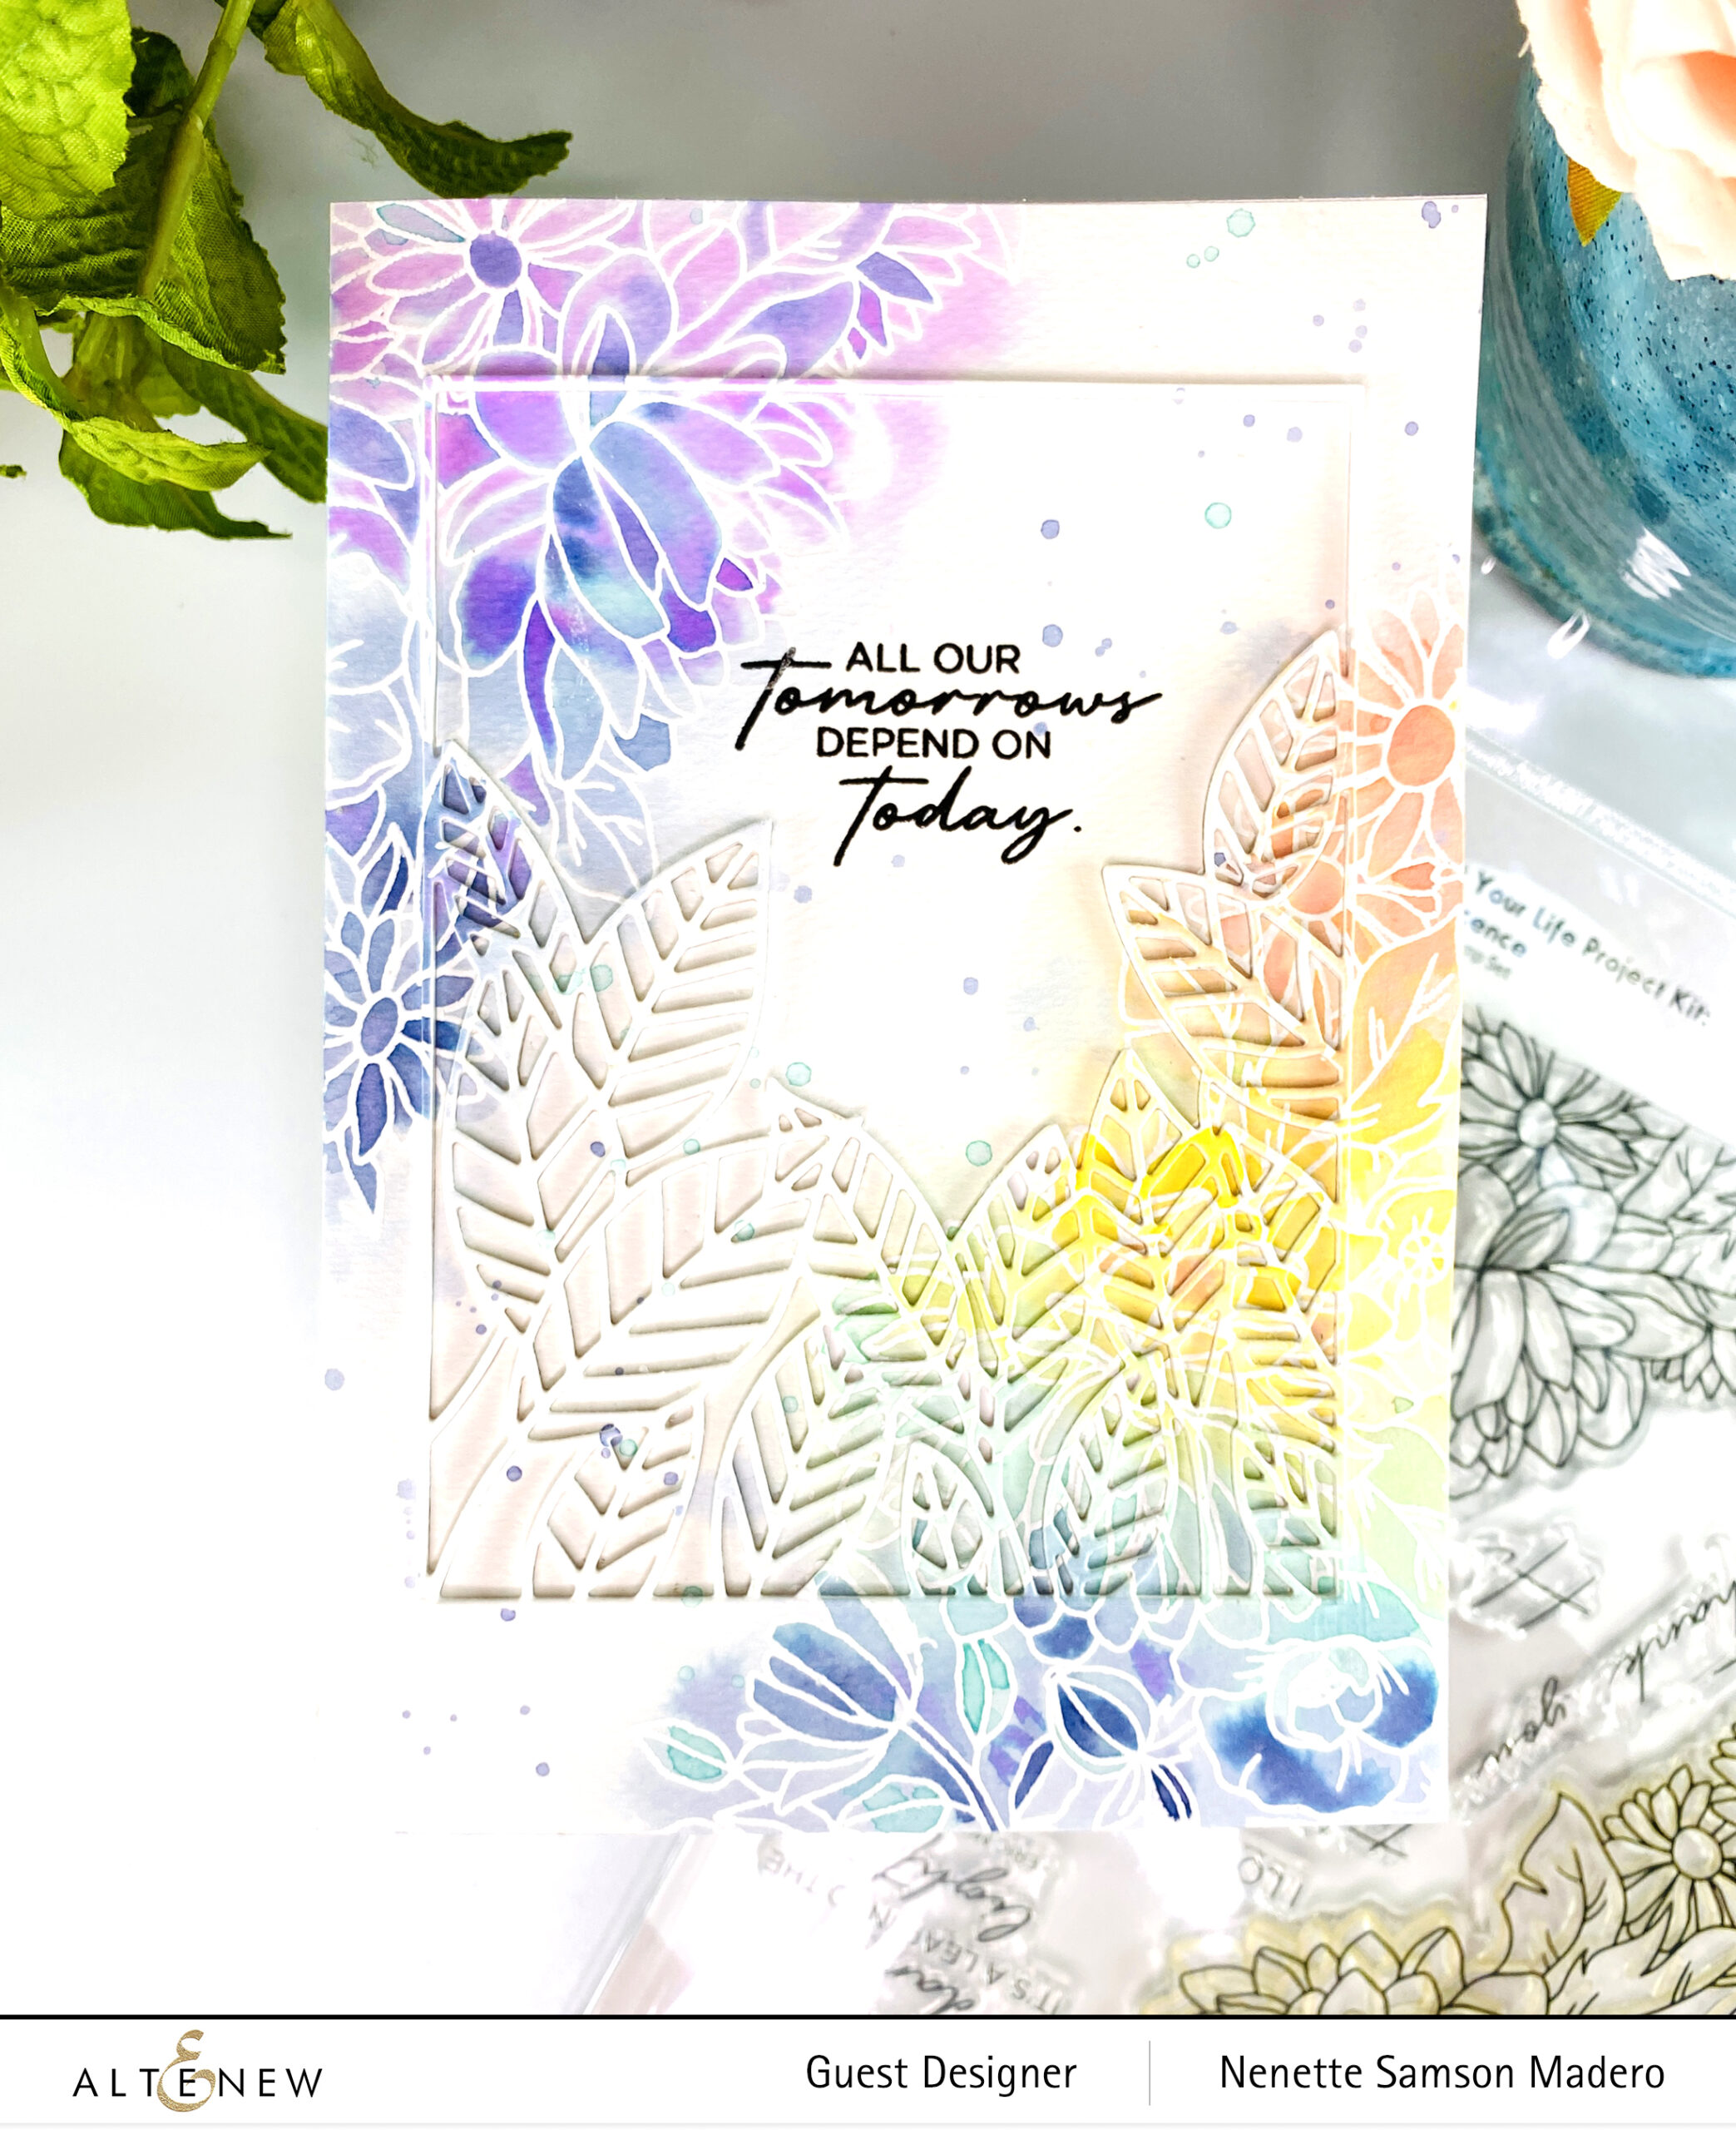
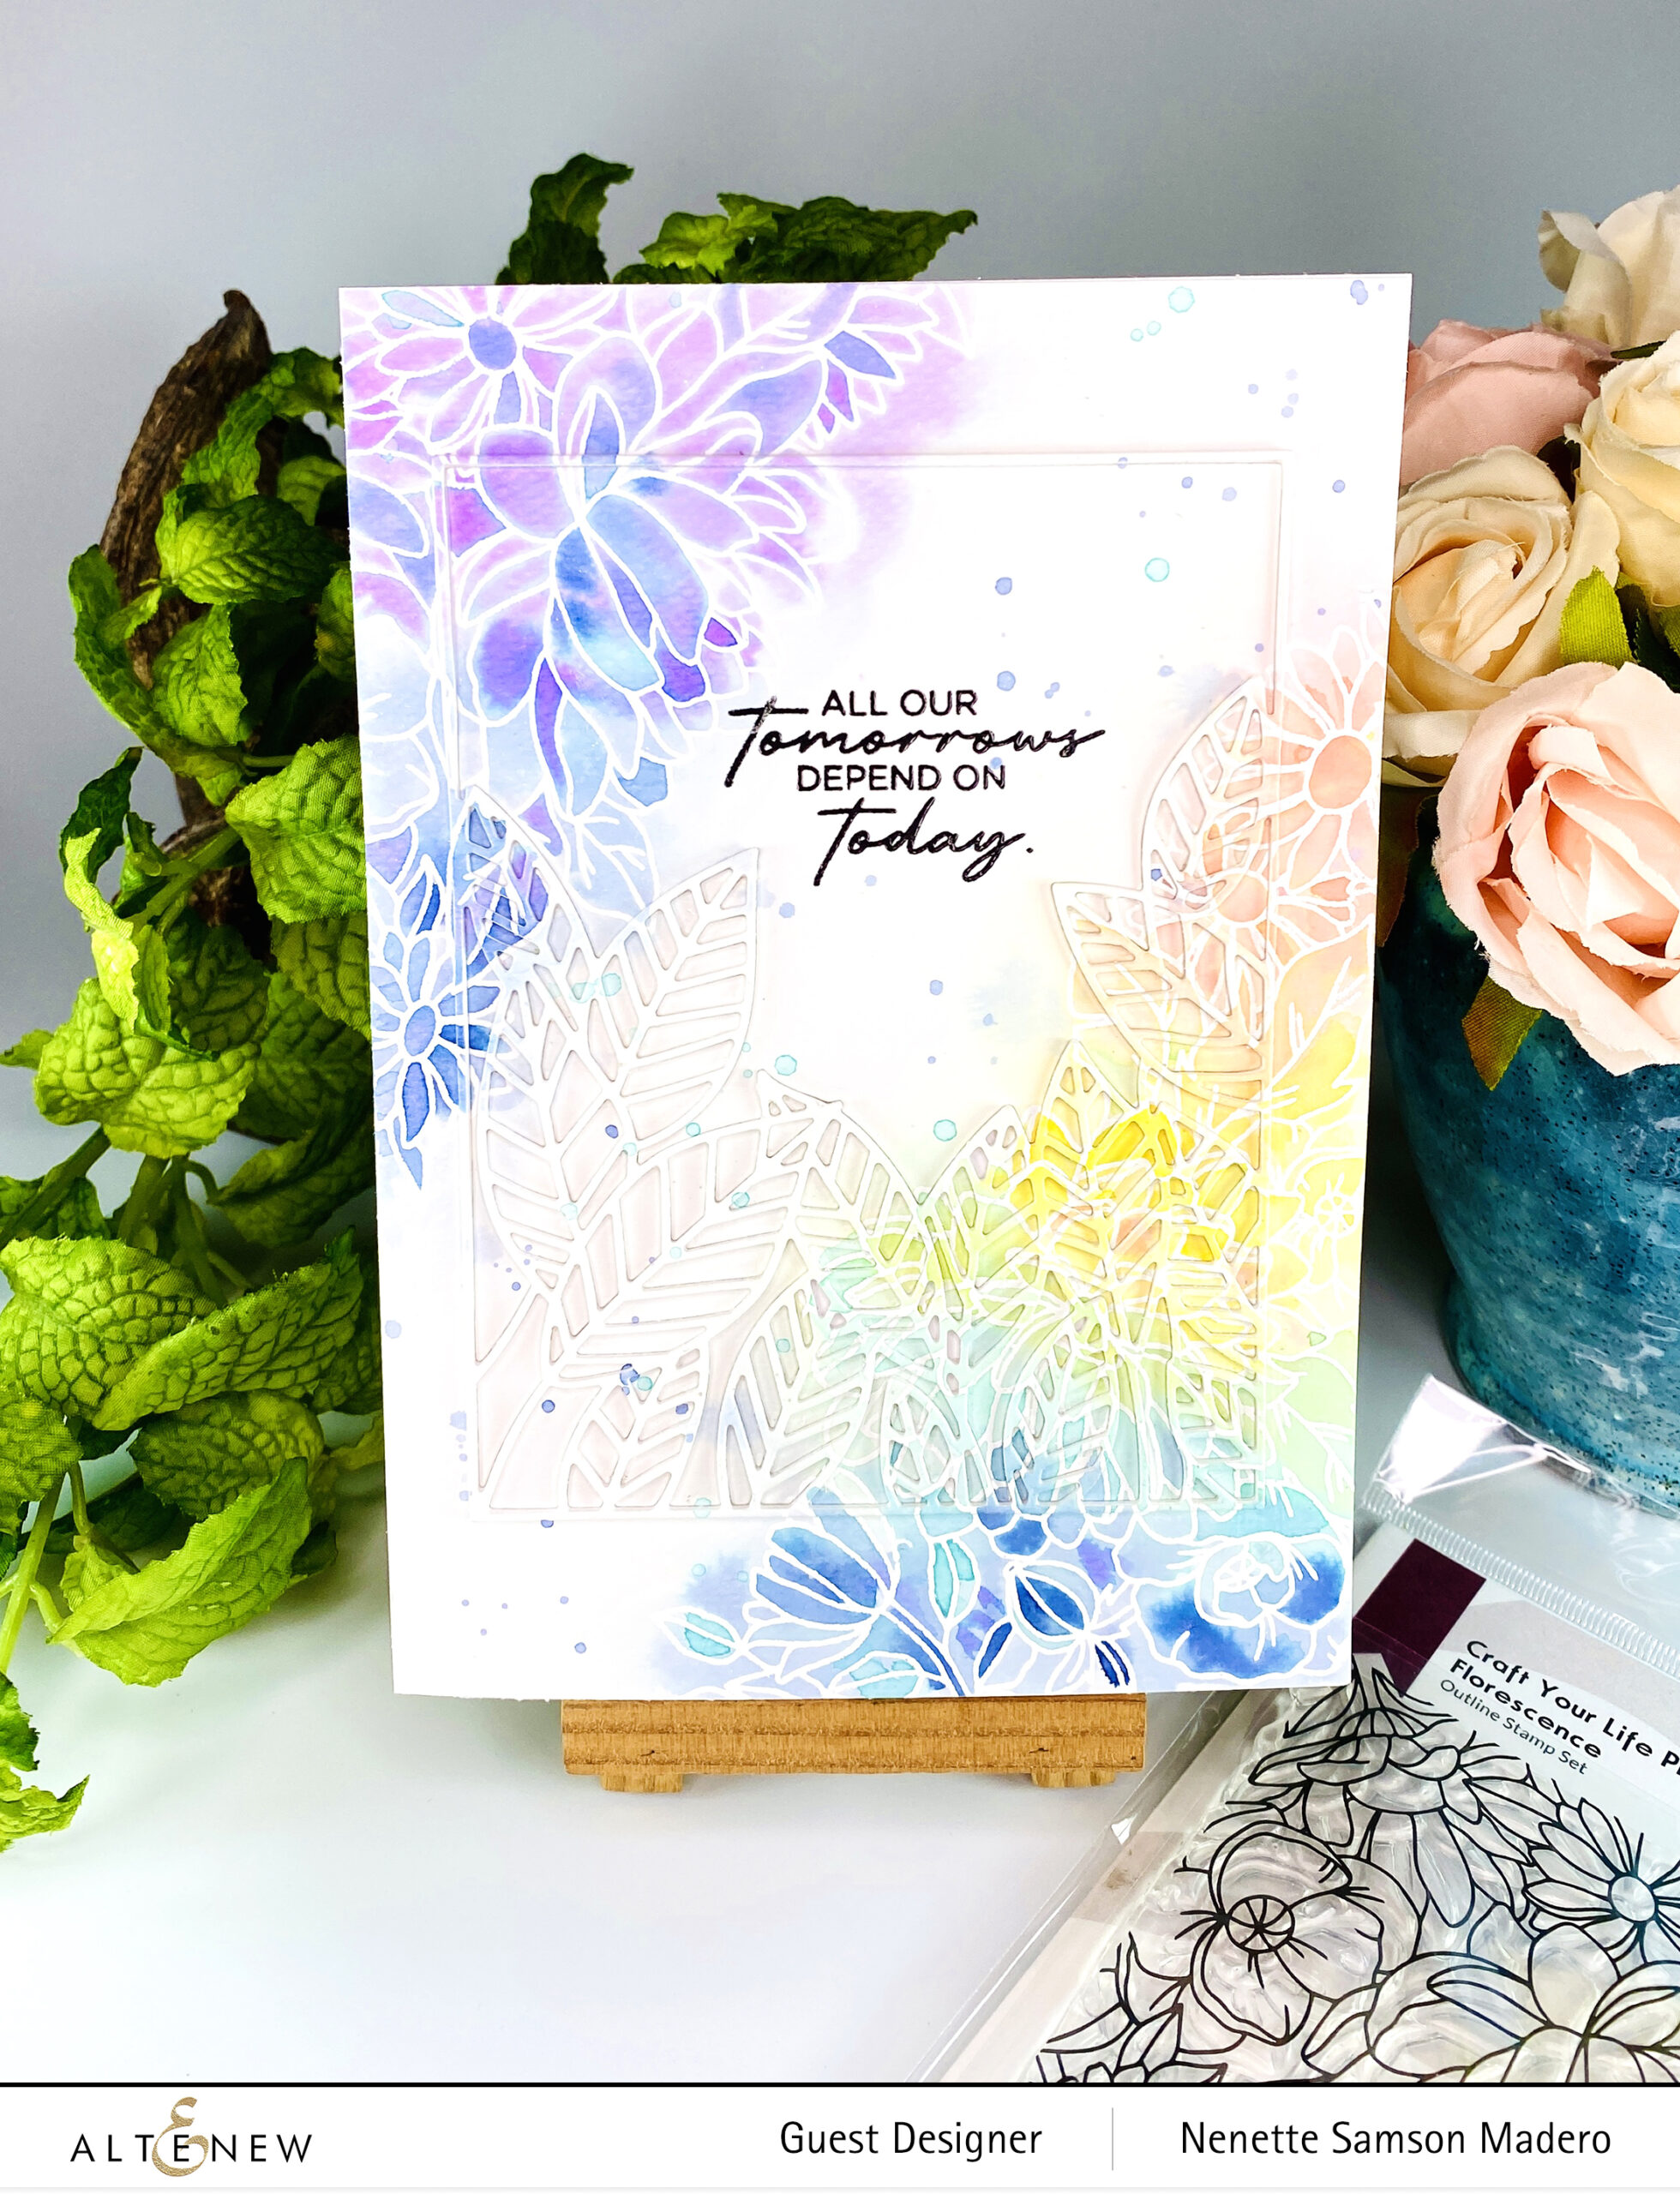
ALL OUR TOMORROWS DEPEND ON TODAY
STEPS:
- Stamp and emboss the image from the CYLPK: Florescence stamp using Pure White crisp embossing powder.
- Watercolor the image using the following dye inks: Rouge, Orange Cream, Warm Sunshine, Volcano Lake, Lagoon, Icy Water, Winter Lake, and Ultraviolet.
- Die-cut the painted panel using the Peeking Leaves Cover Die. Add four more die cuts for added dimension and adhere on top of each other.
- Stamp sentiment using Obsidian Ink and emboss with Clear embossing powder.
- Adhere the background to a 5×7 inches card base and do the inlay technique for the die-cut.
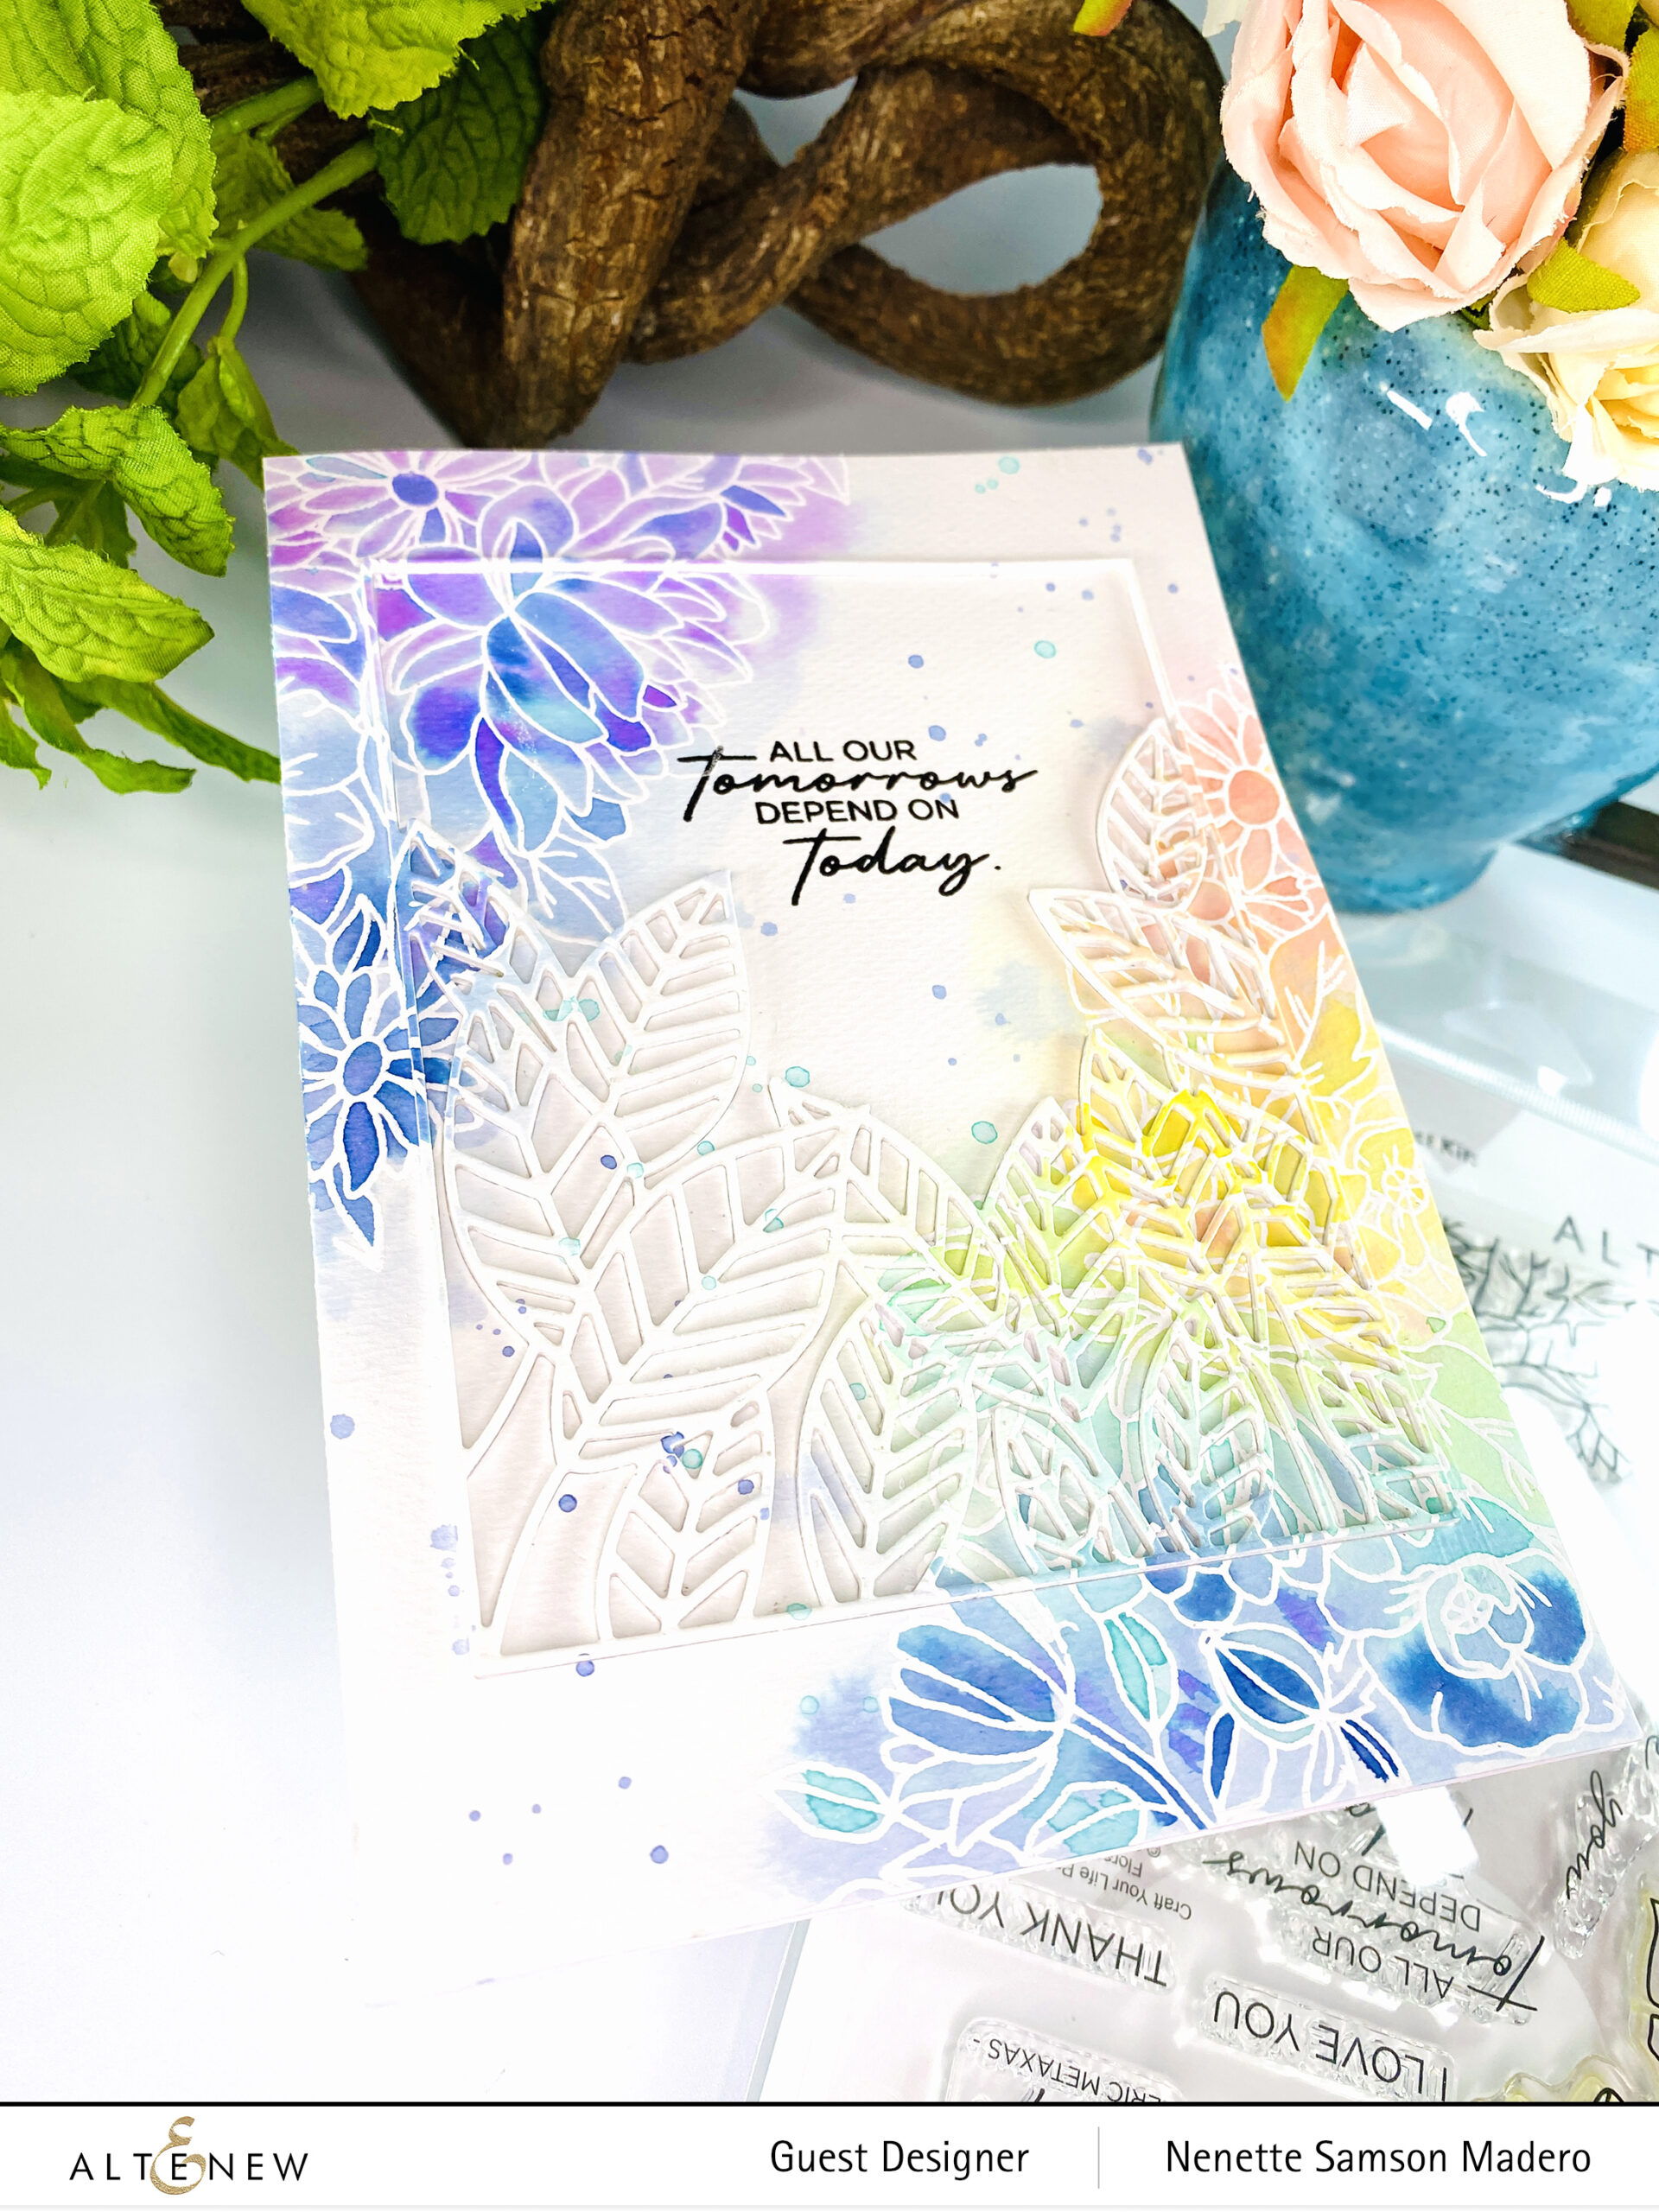
TIP: Make sure to use the Press and Seal to pick up all the tiny negative parts of the die. It is a bit tedious to put back all the tiny negative die cuts, but it was worth it!
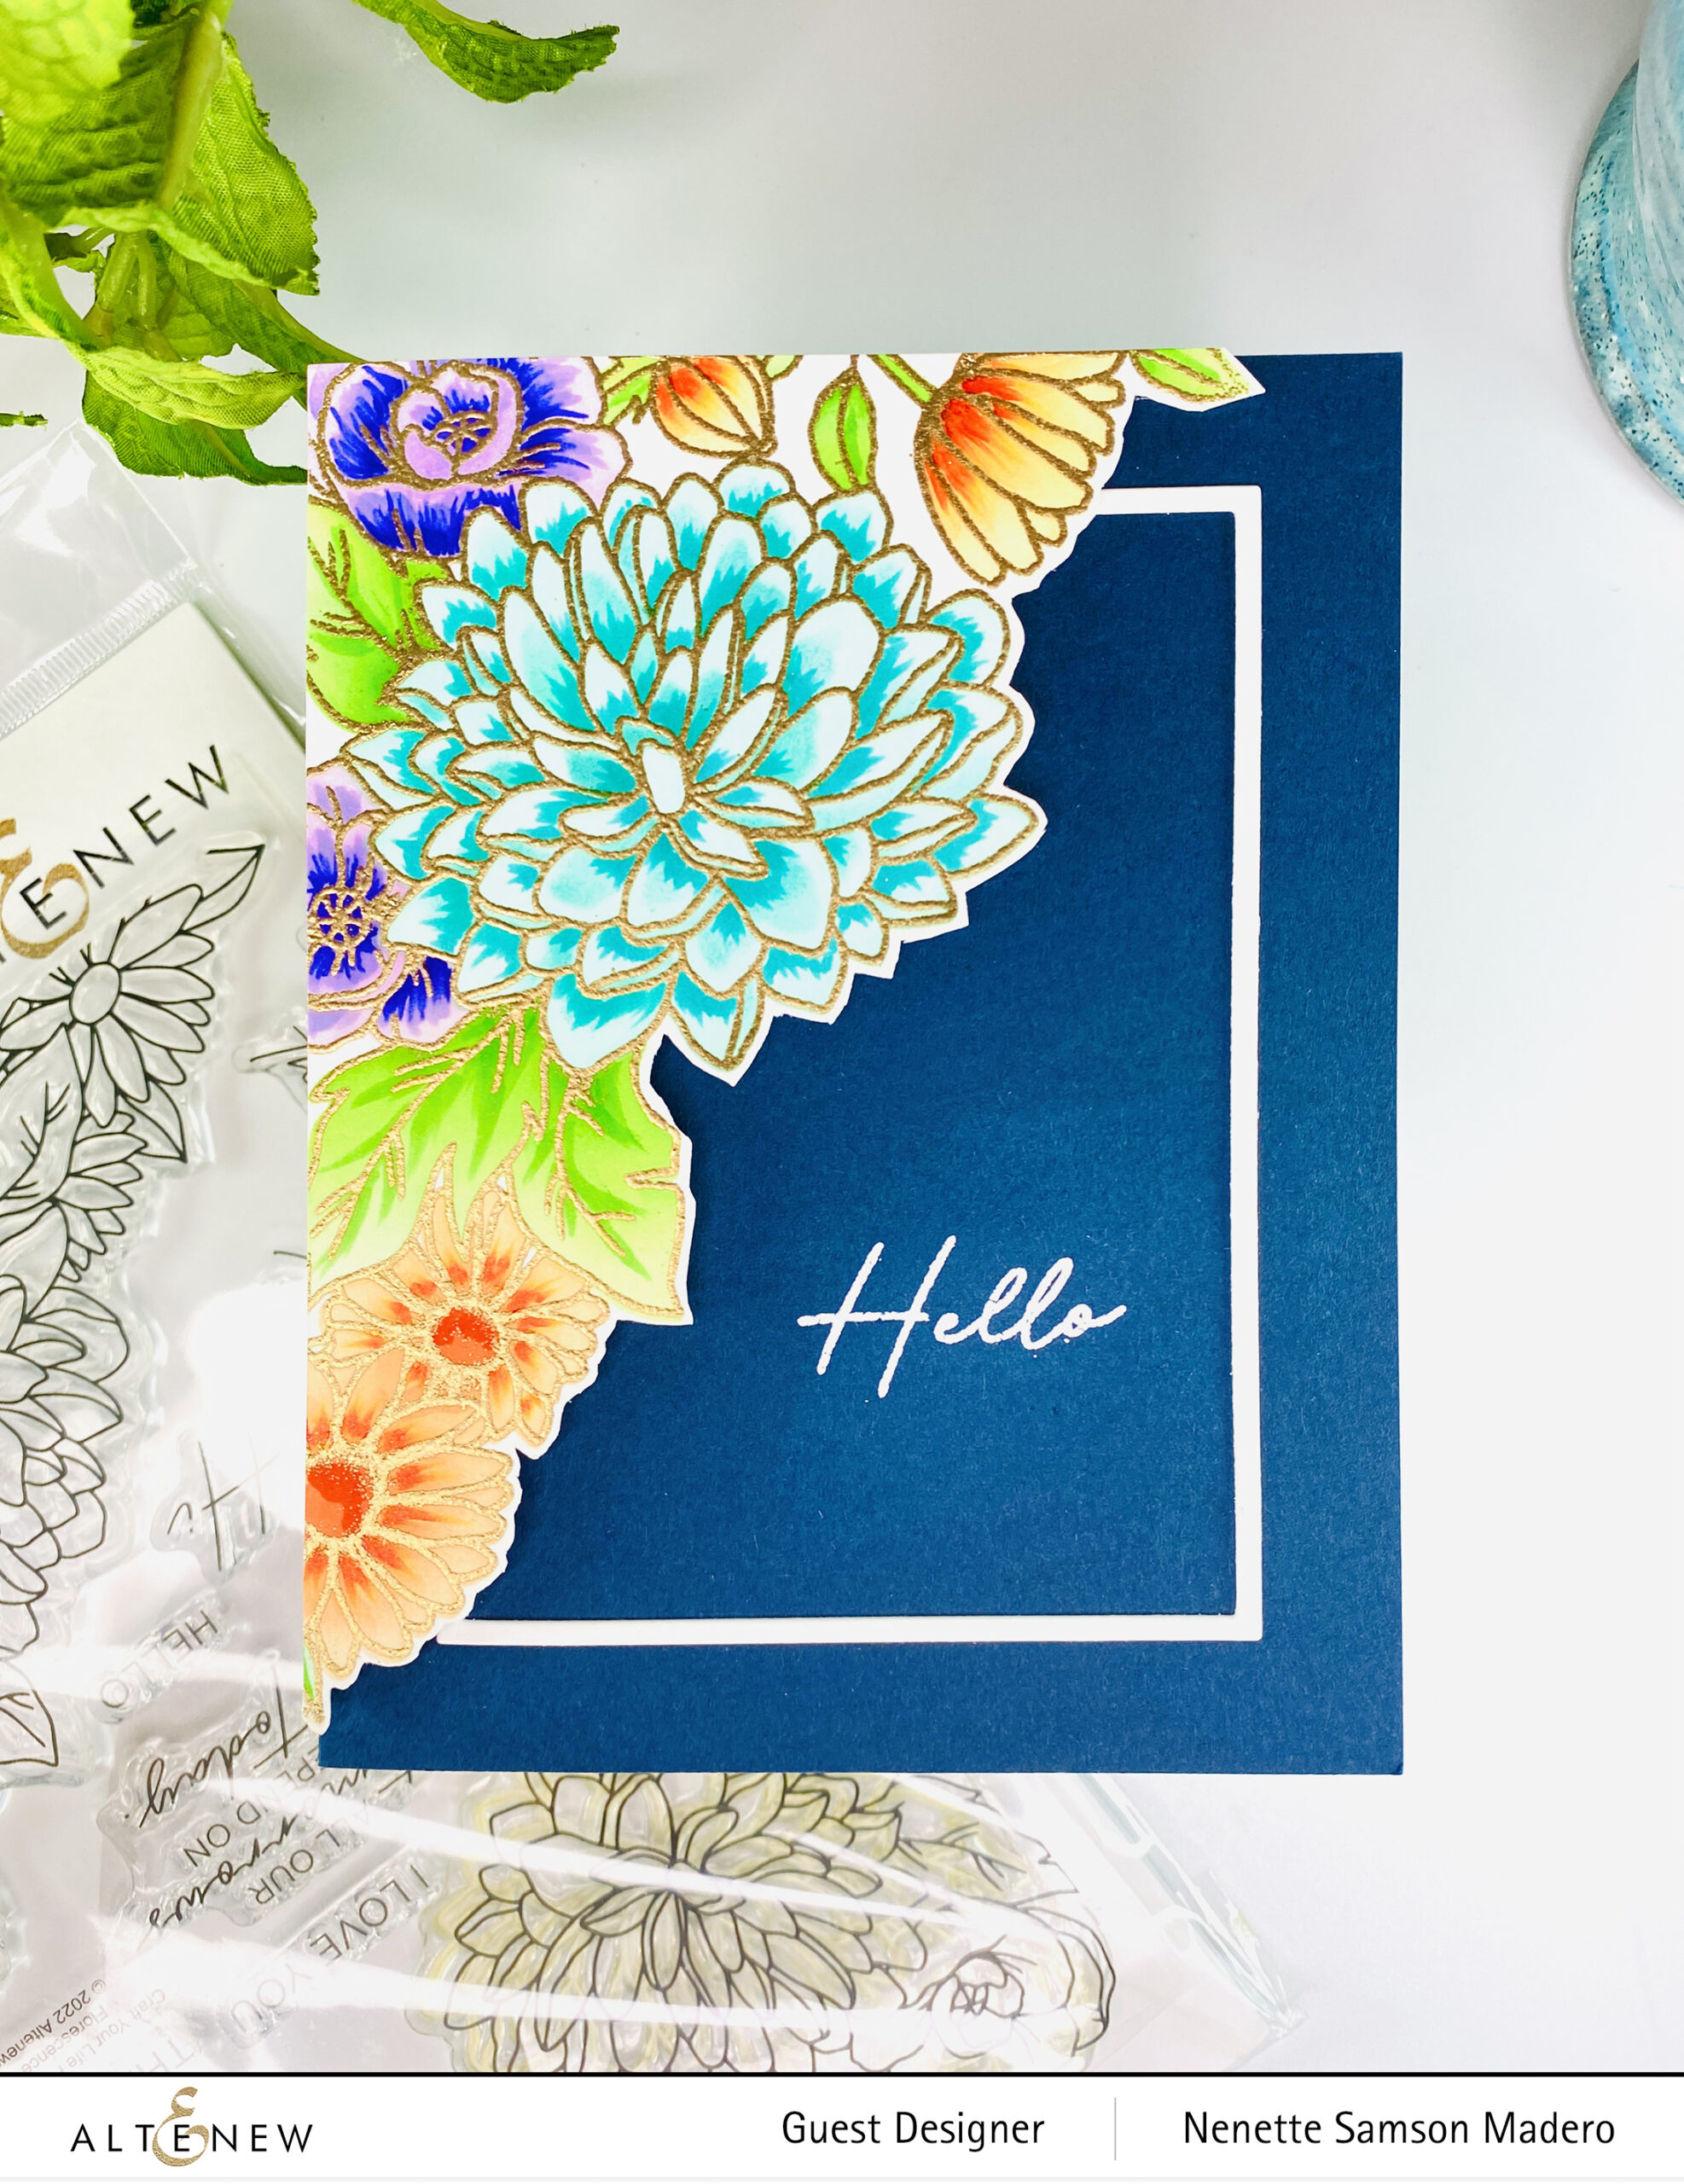
HELLO
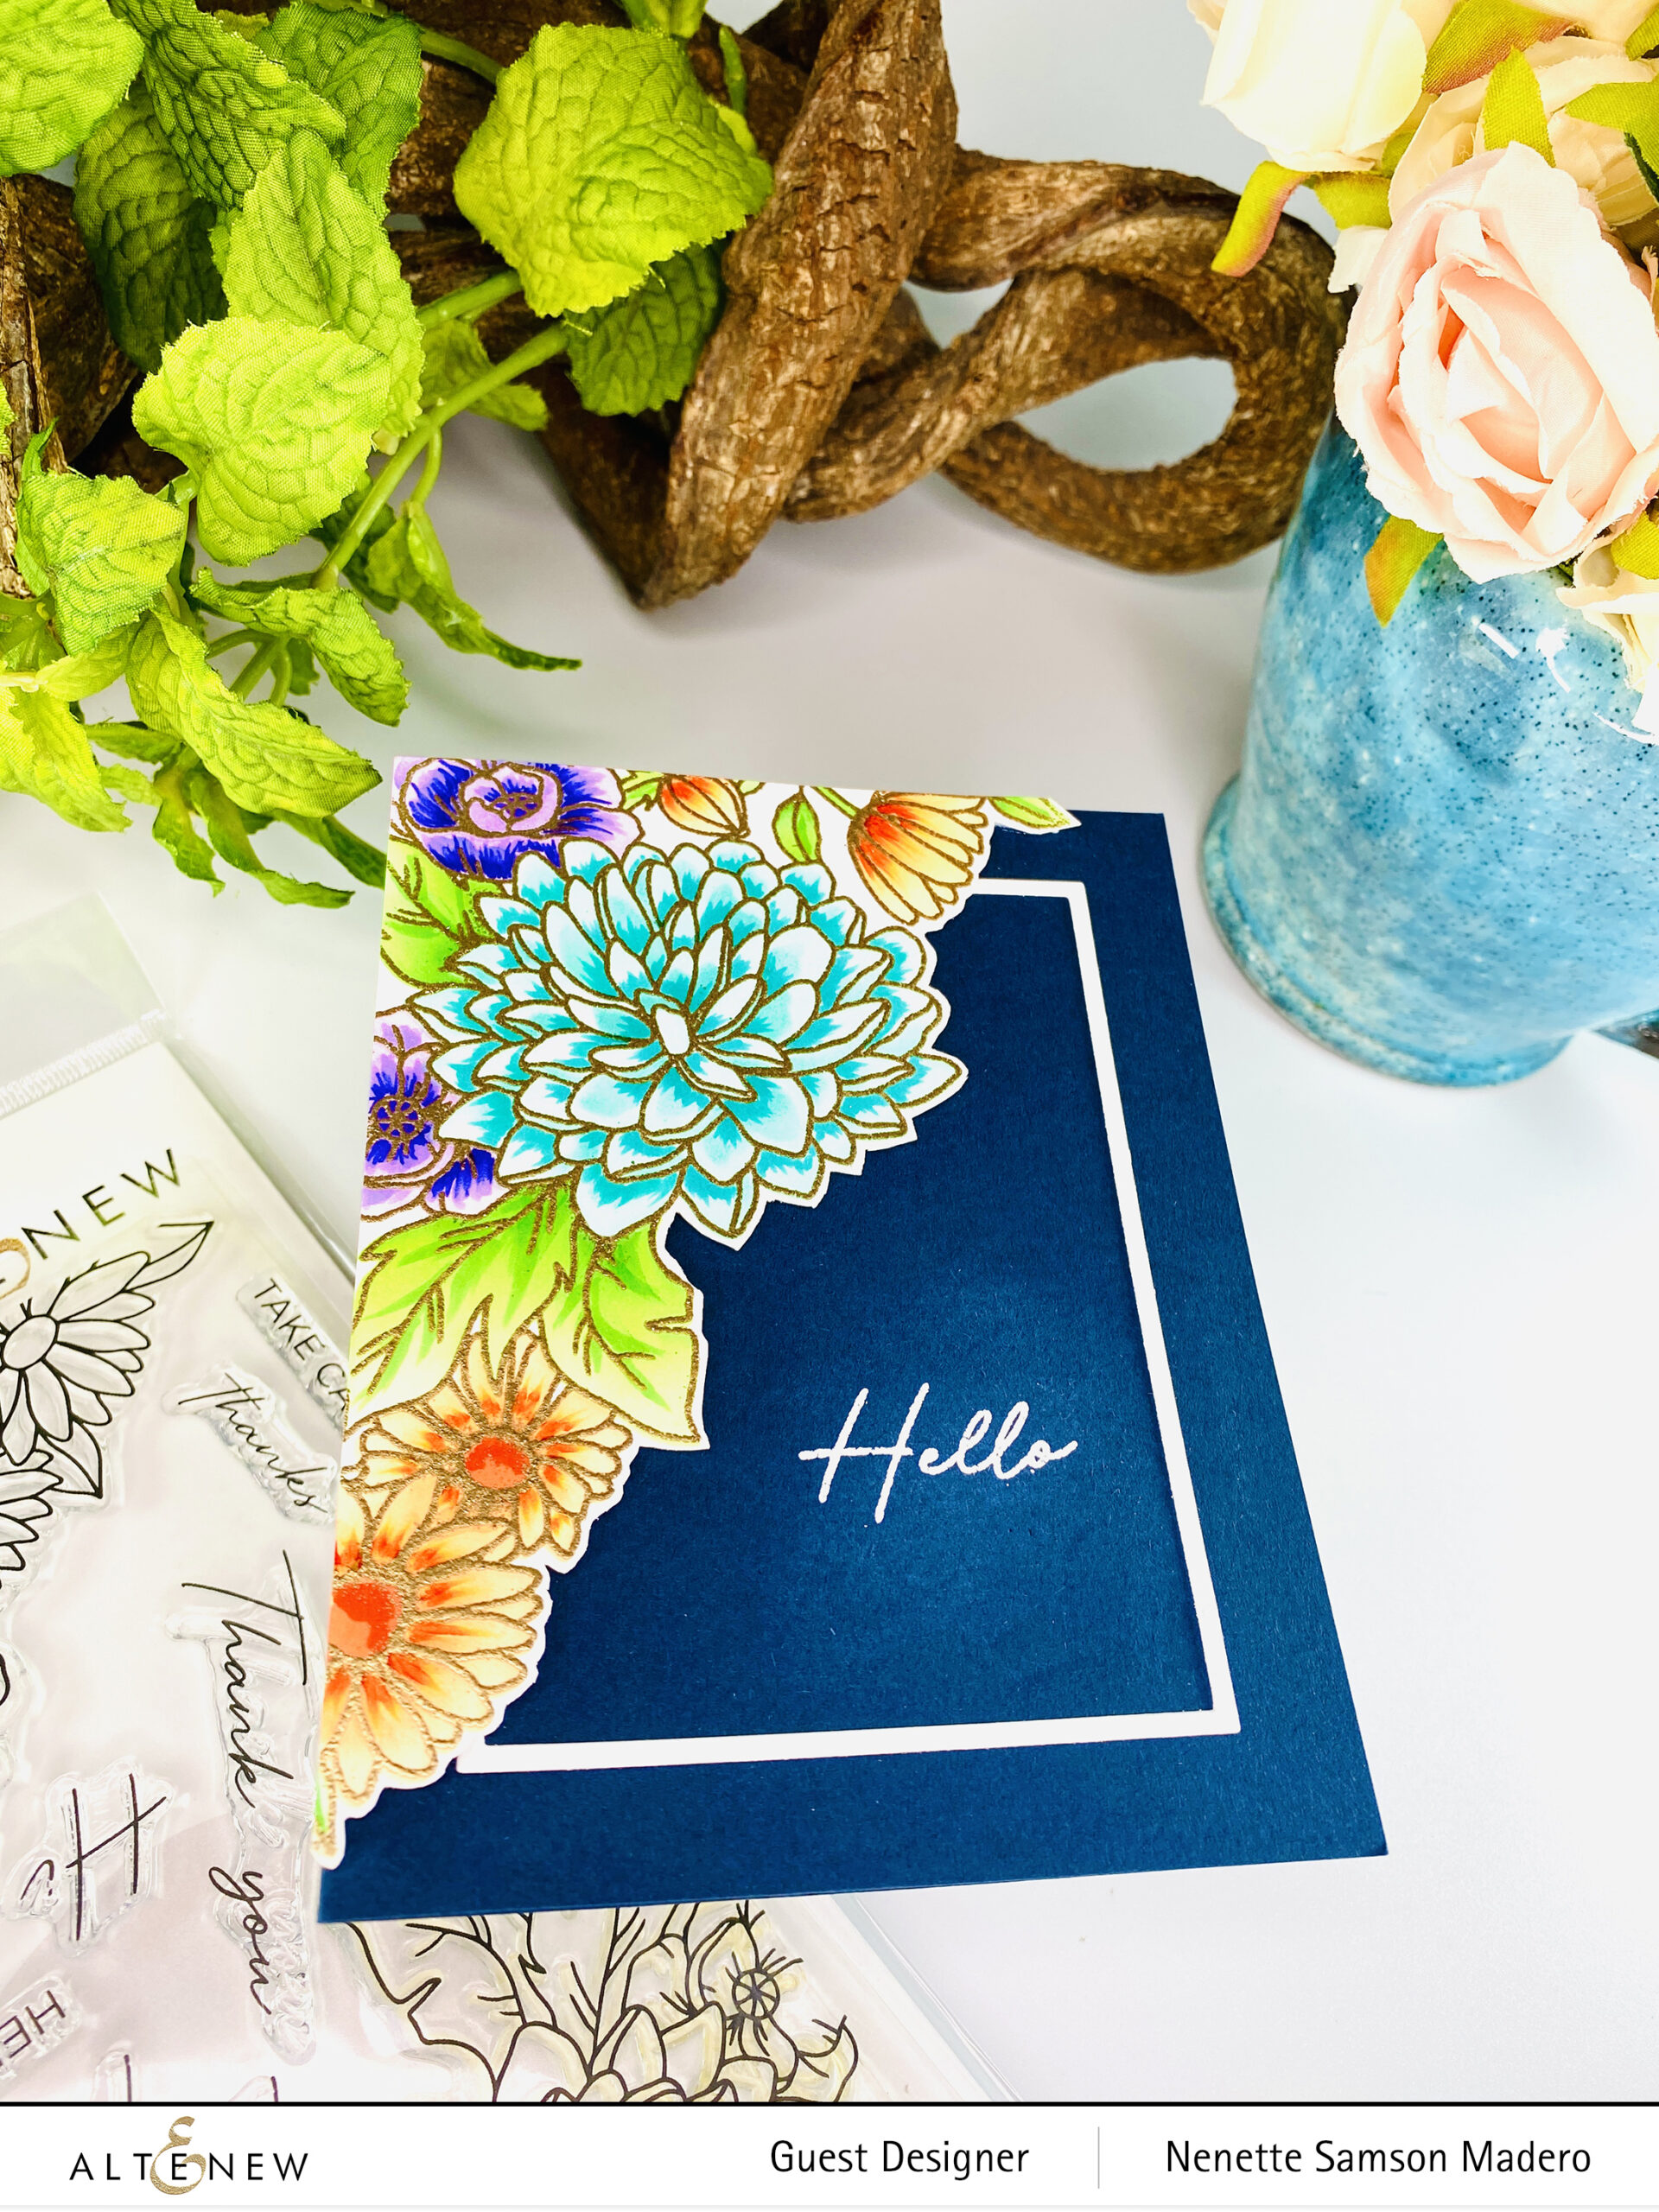
STEPS:
- Stamp and emboss the image from the CYLPK: Florescence with Rose Gold embossing powder.
- Color the image using stencils and dye inks.
- Add shadows using alcohol ink markers.
- Stamp and emboss the sentiment using Pure White Crisp Embossing powder.
- Assemble the card.
SO GRATEFUL MOM
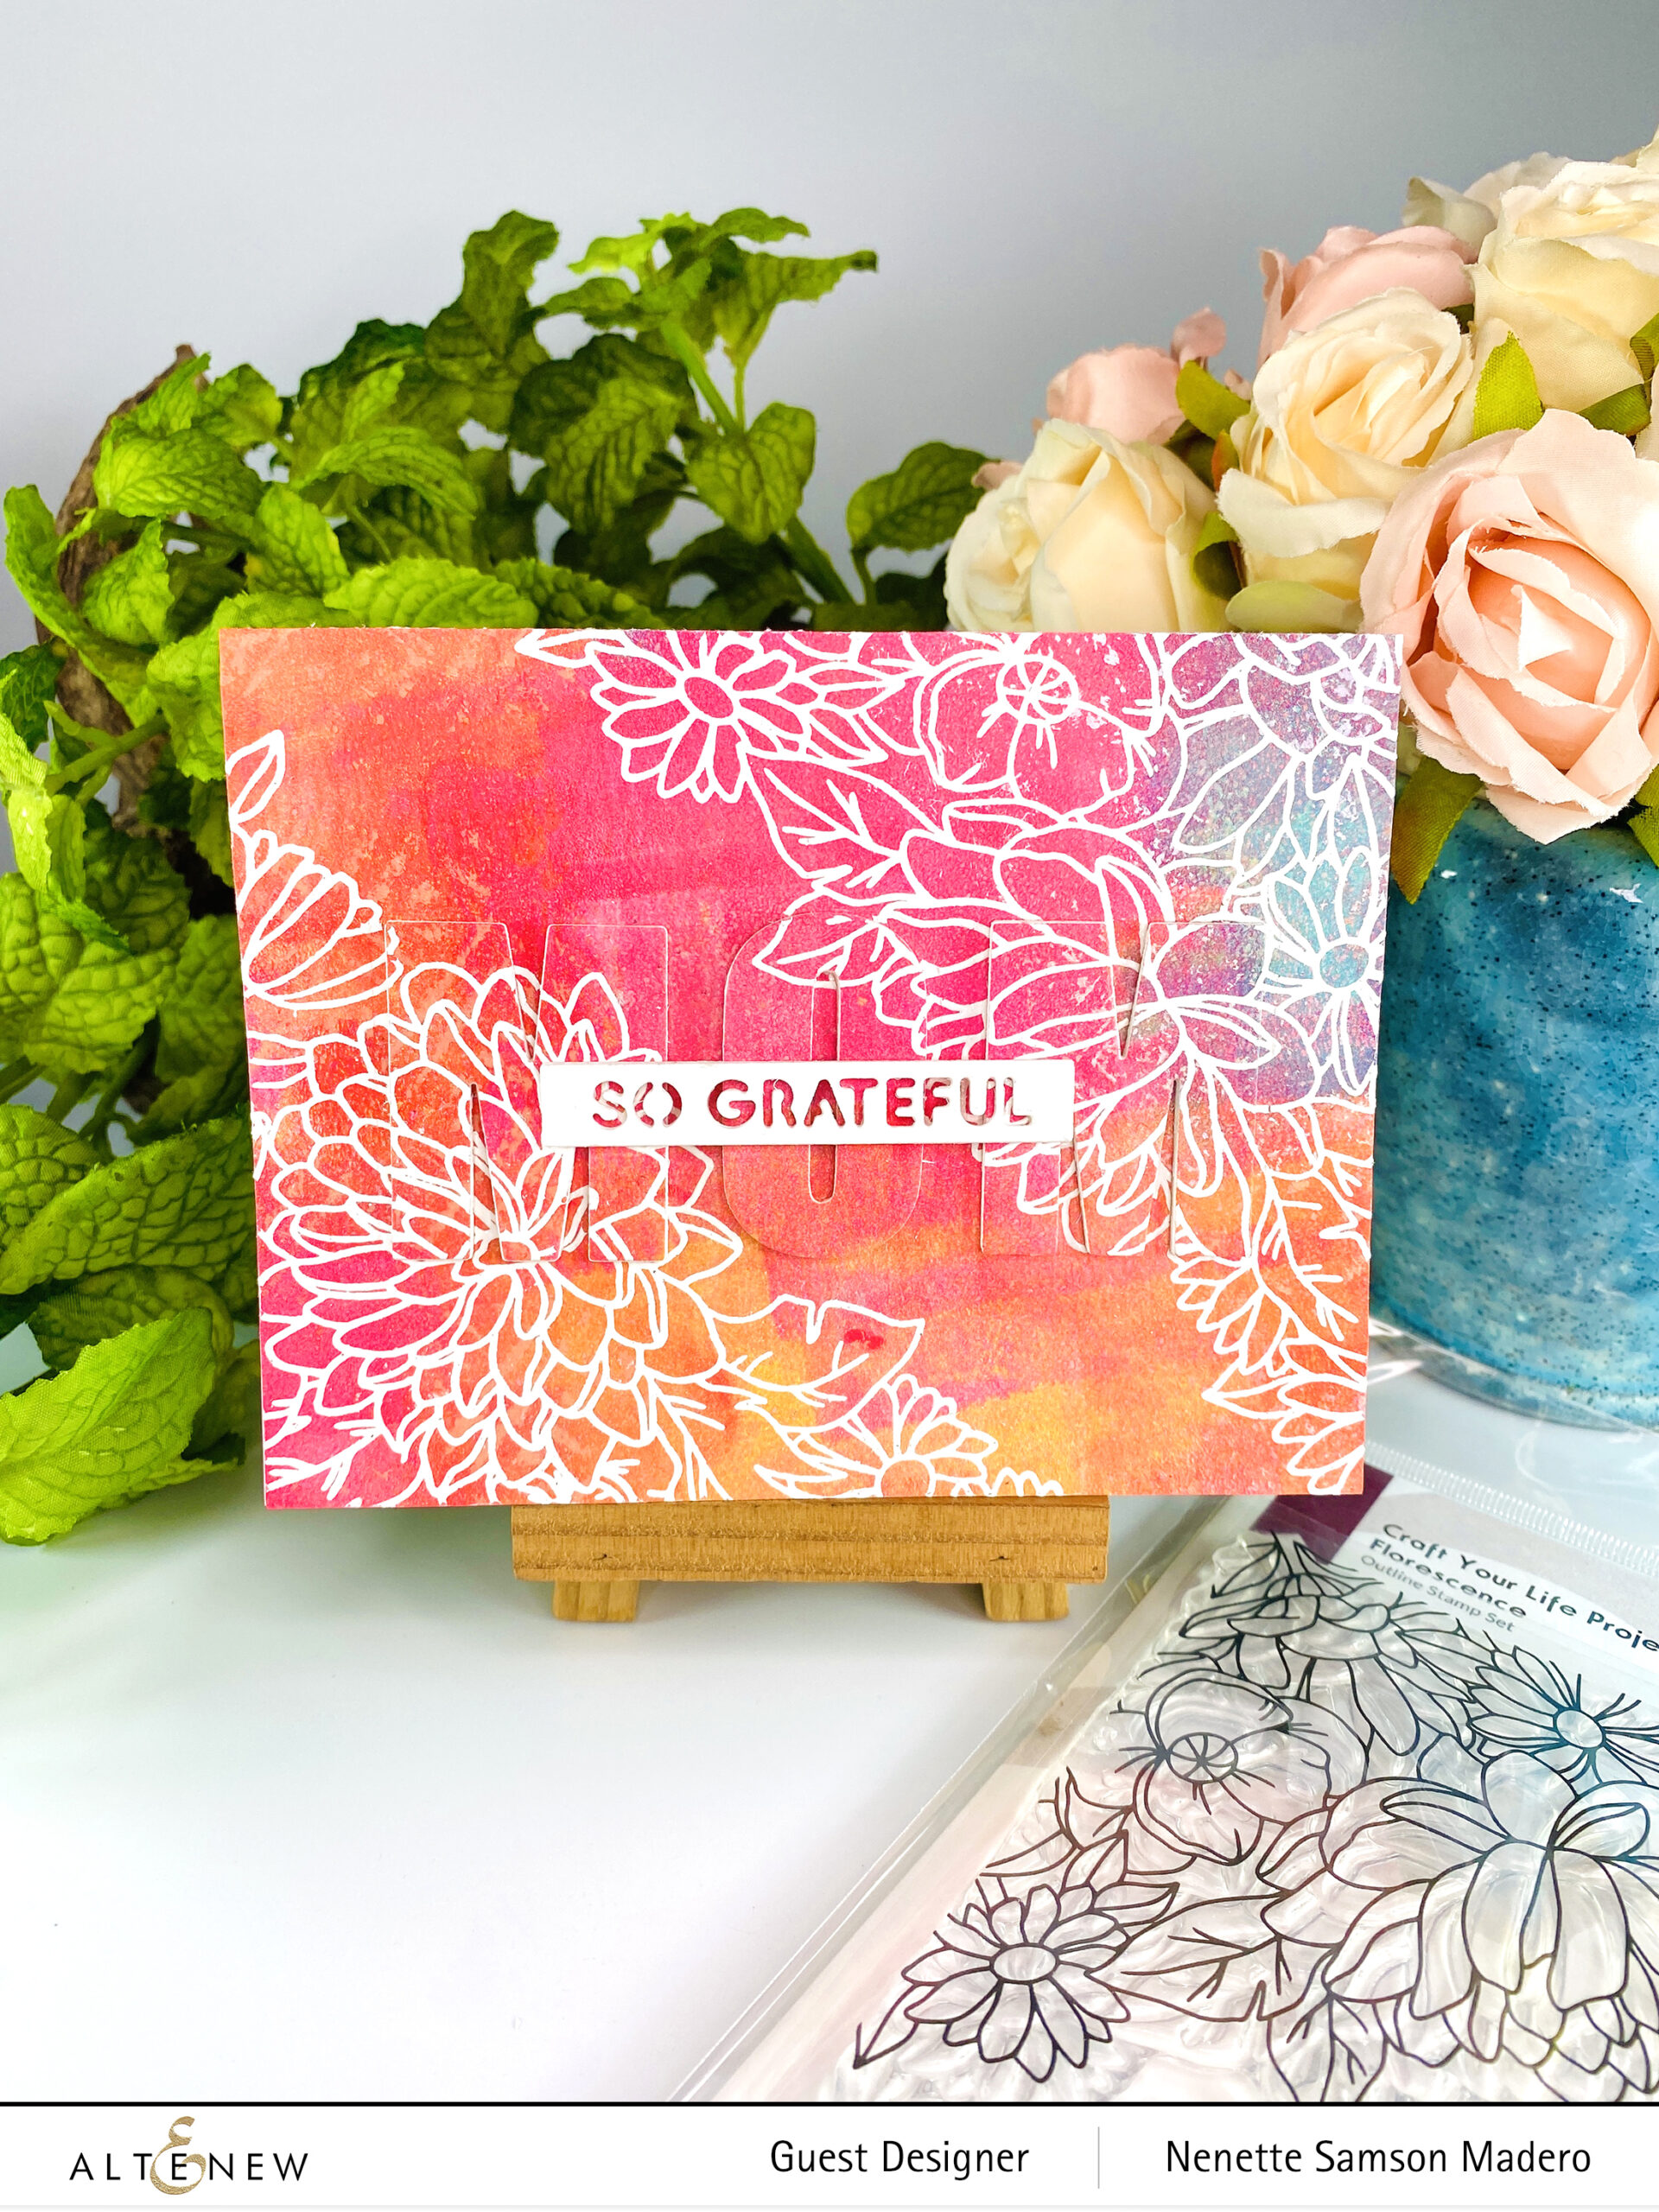
STEPS:
- Create a background by using the Gelly Art plate and acrylic paints.
- Stamp the image from the CYLPK: Florescence and emboss with Pure White Crisp Embossing powder.
- Die-cut the word MOM using the Caps Bold Alpha set. Die-cut 4 more of the letters and adhere them to each other for added dimension.
- Die-cut the sentiment from the Essential Sentiment Strips dies using white cardstock.
- Assemble the card.
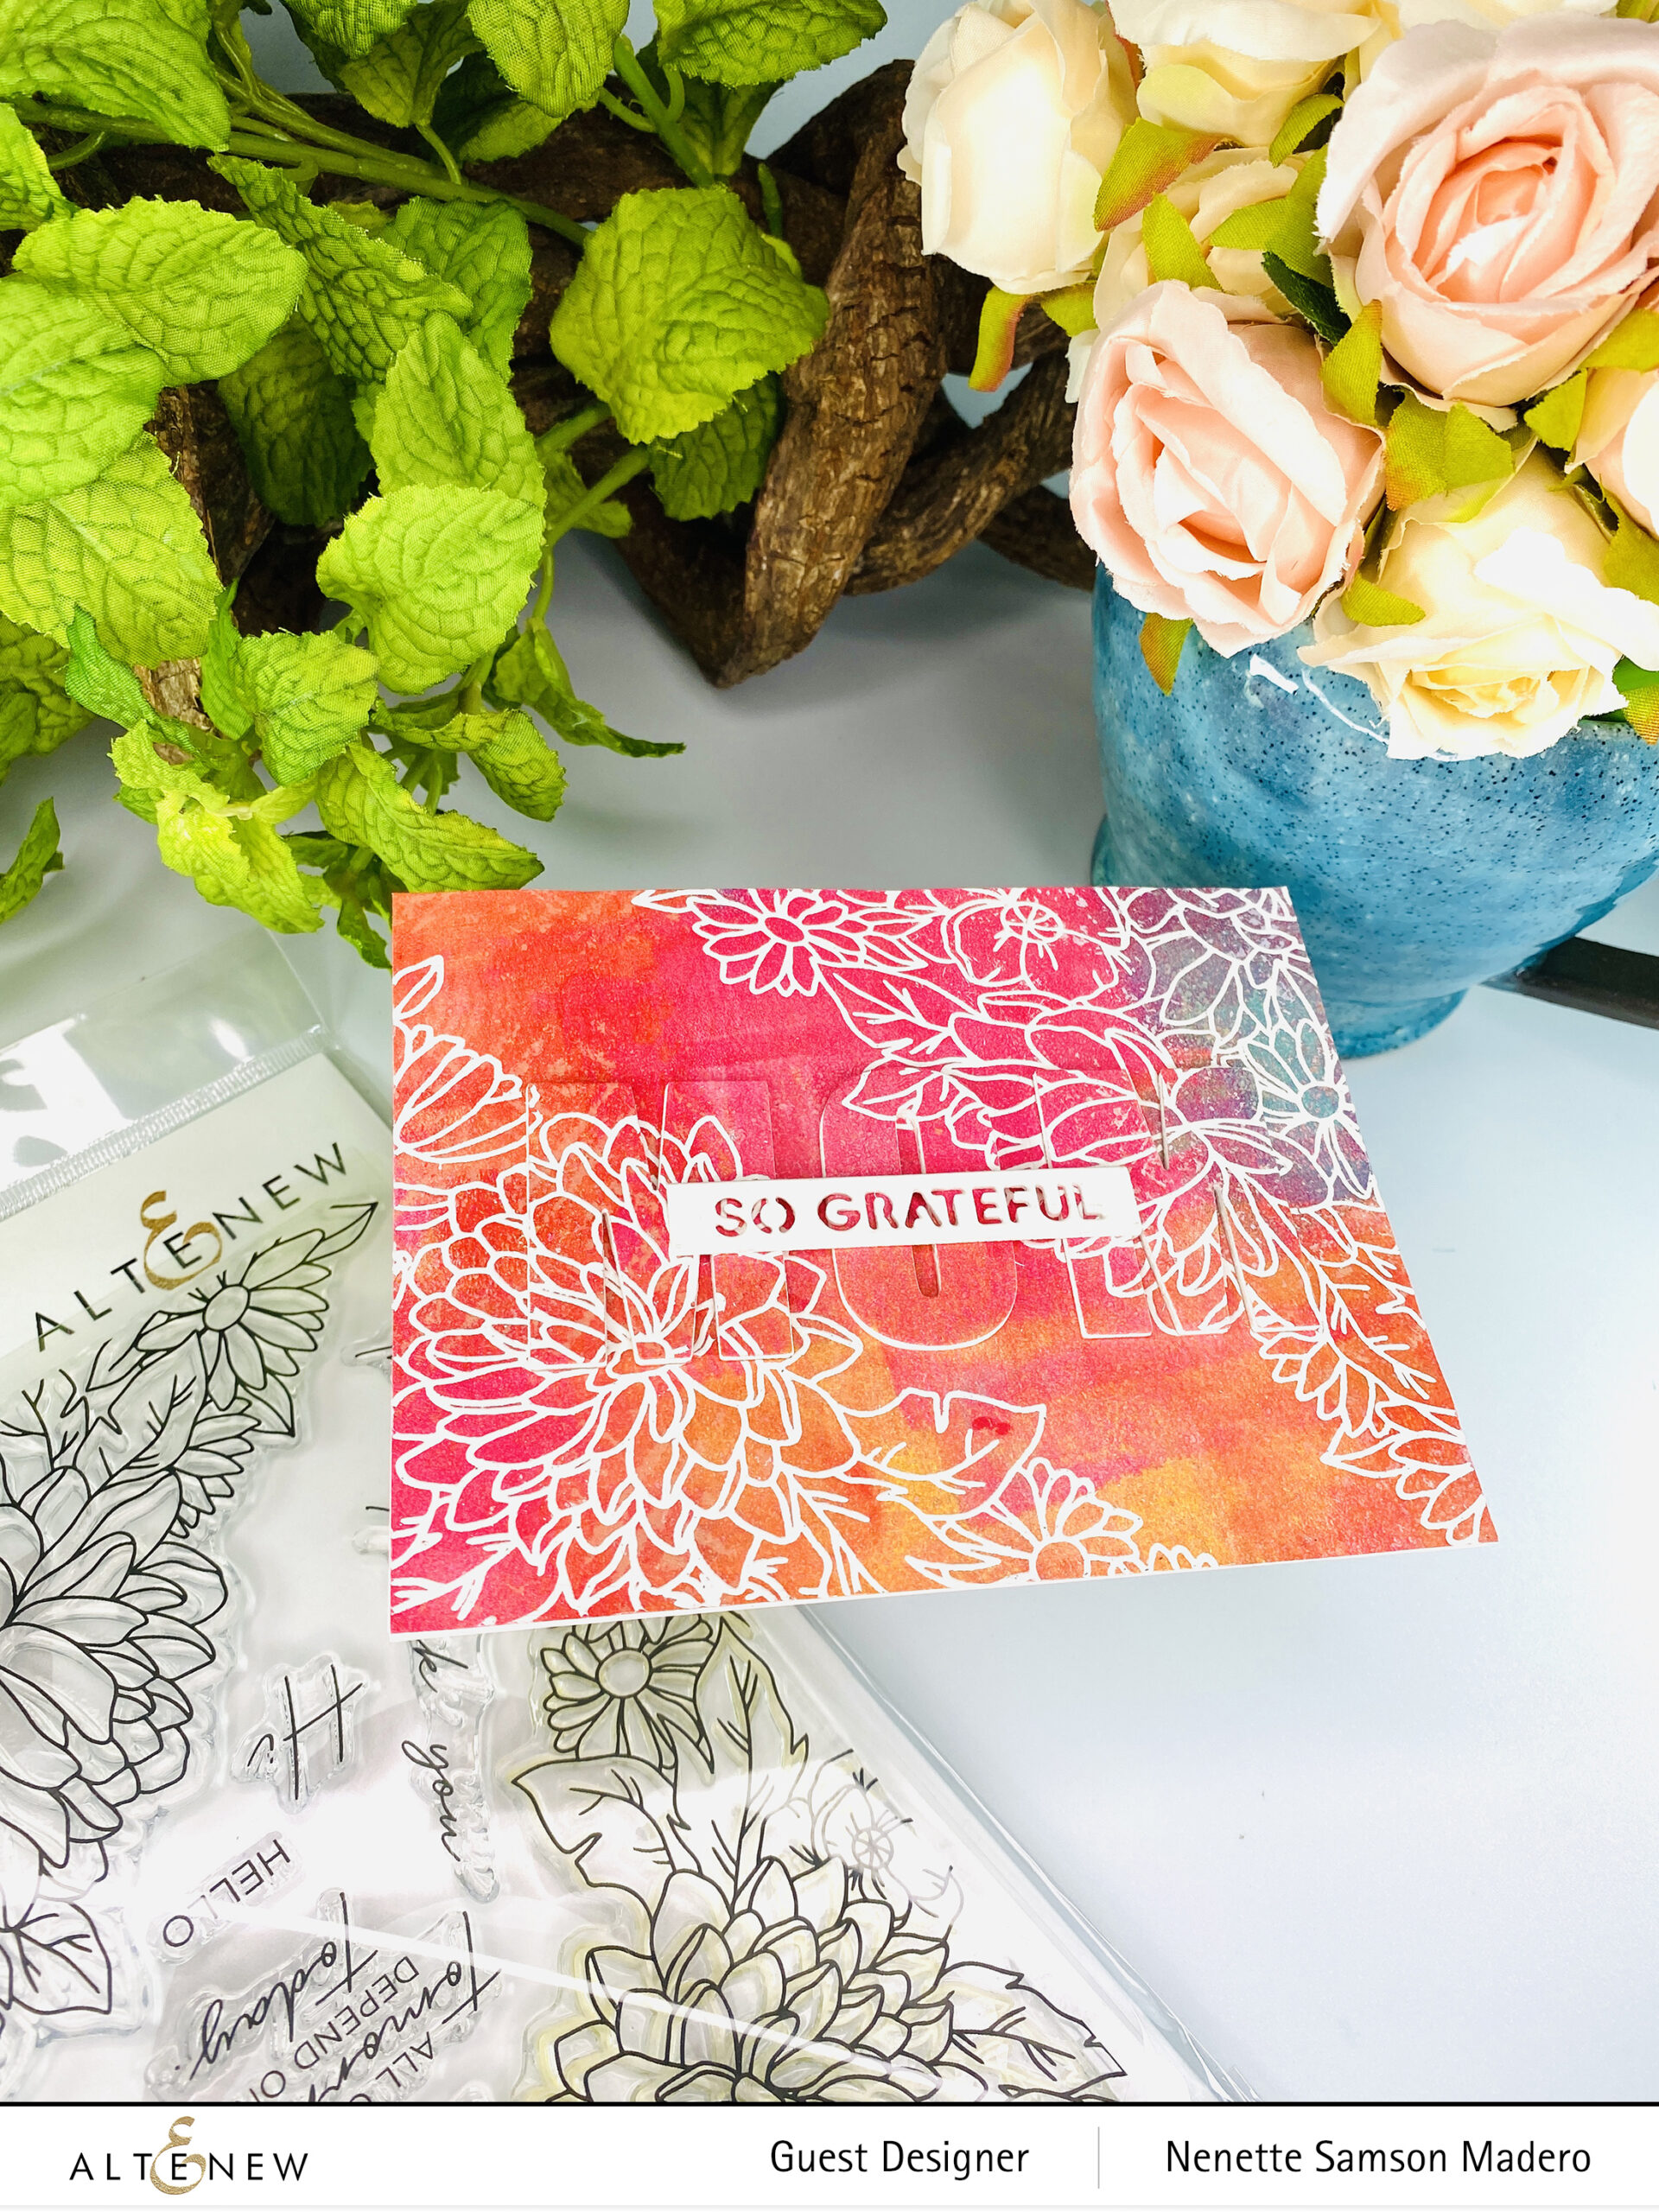
I wanted to make a Mother’s Day card for my Mom. She loves bright colors, so that this card will be perfect for her. You can also use patterned paper for a quicker card instead of making your own backgrounds.
ISA WE COULDN’T BE PROUDER
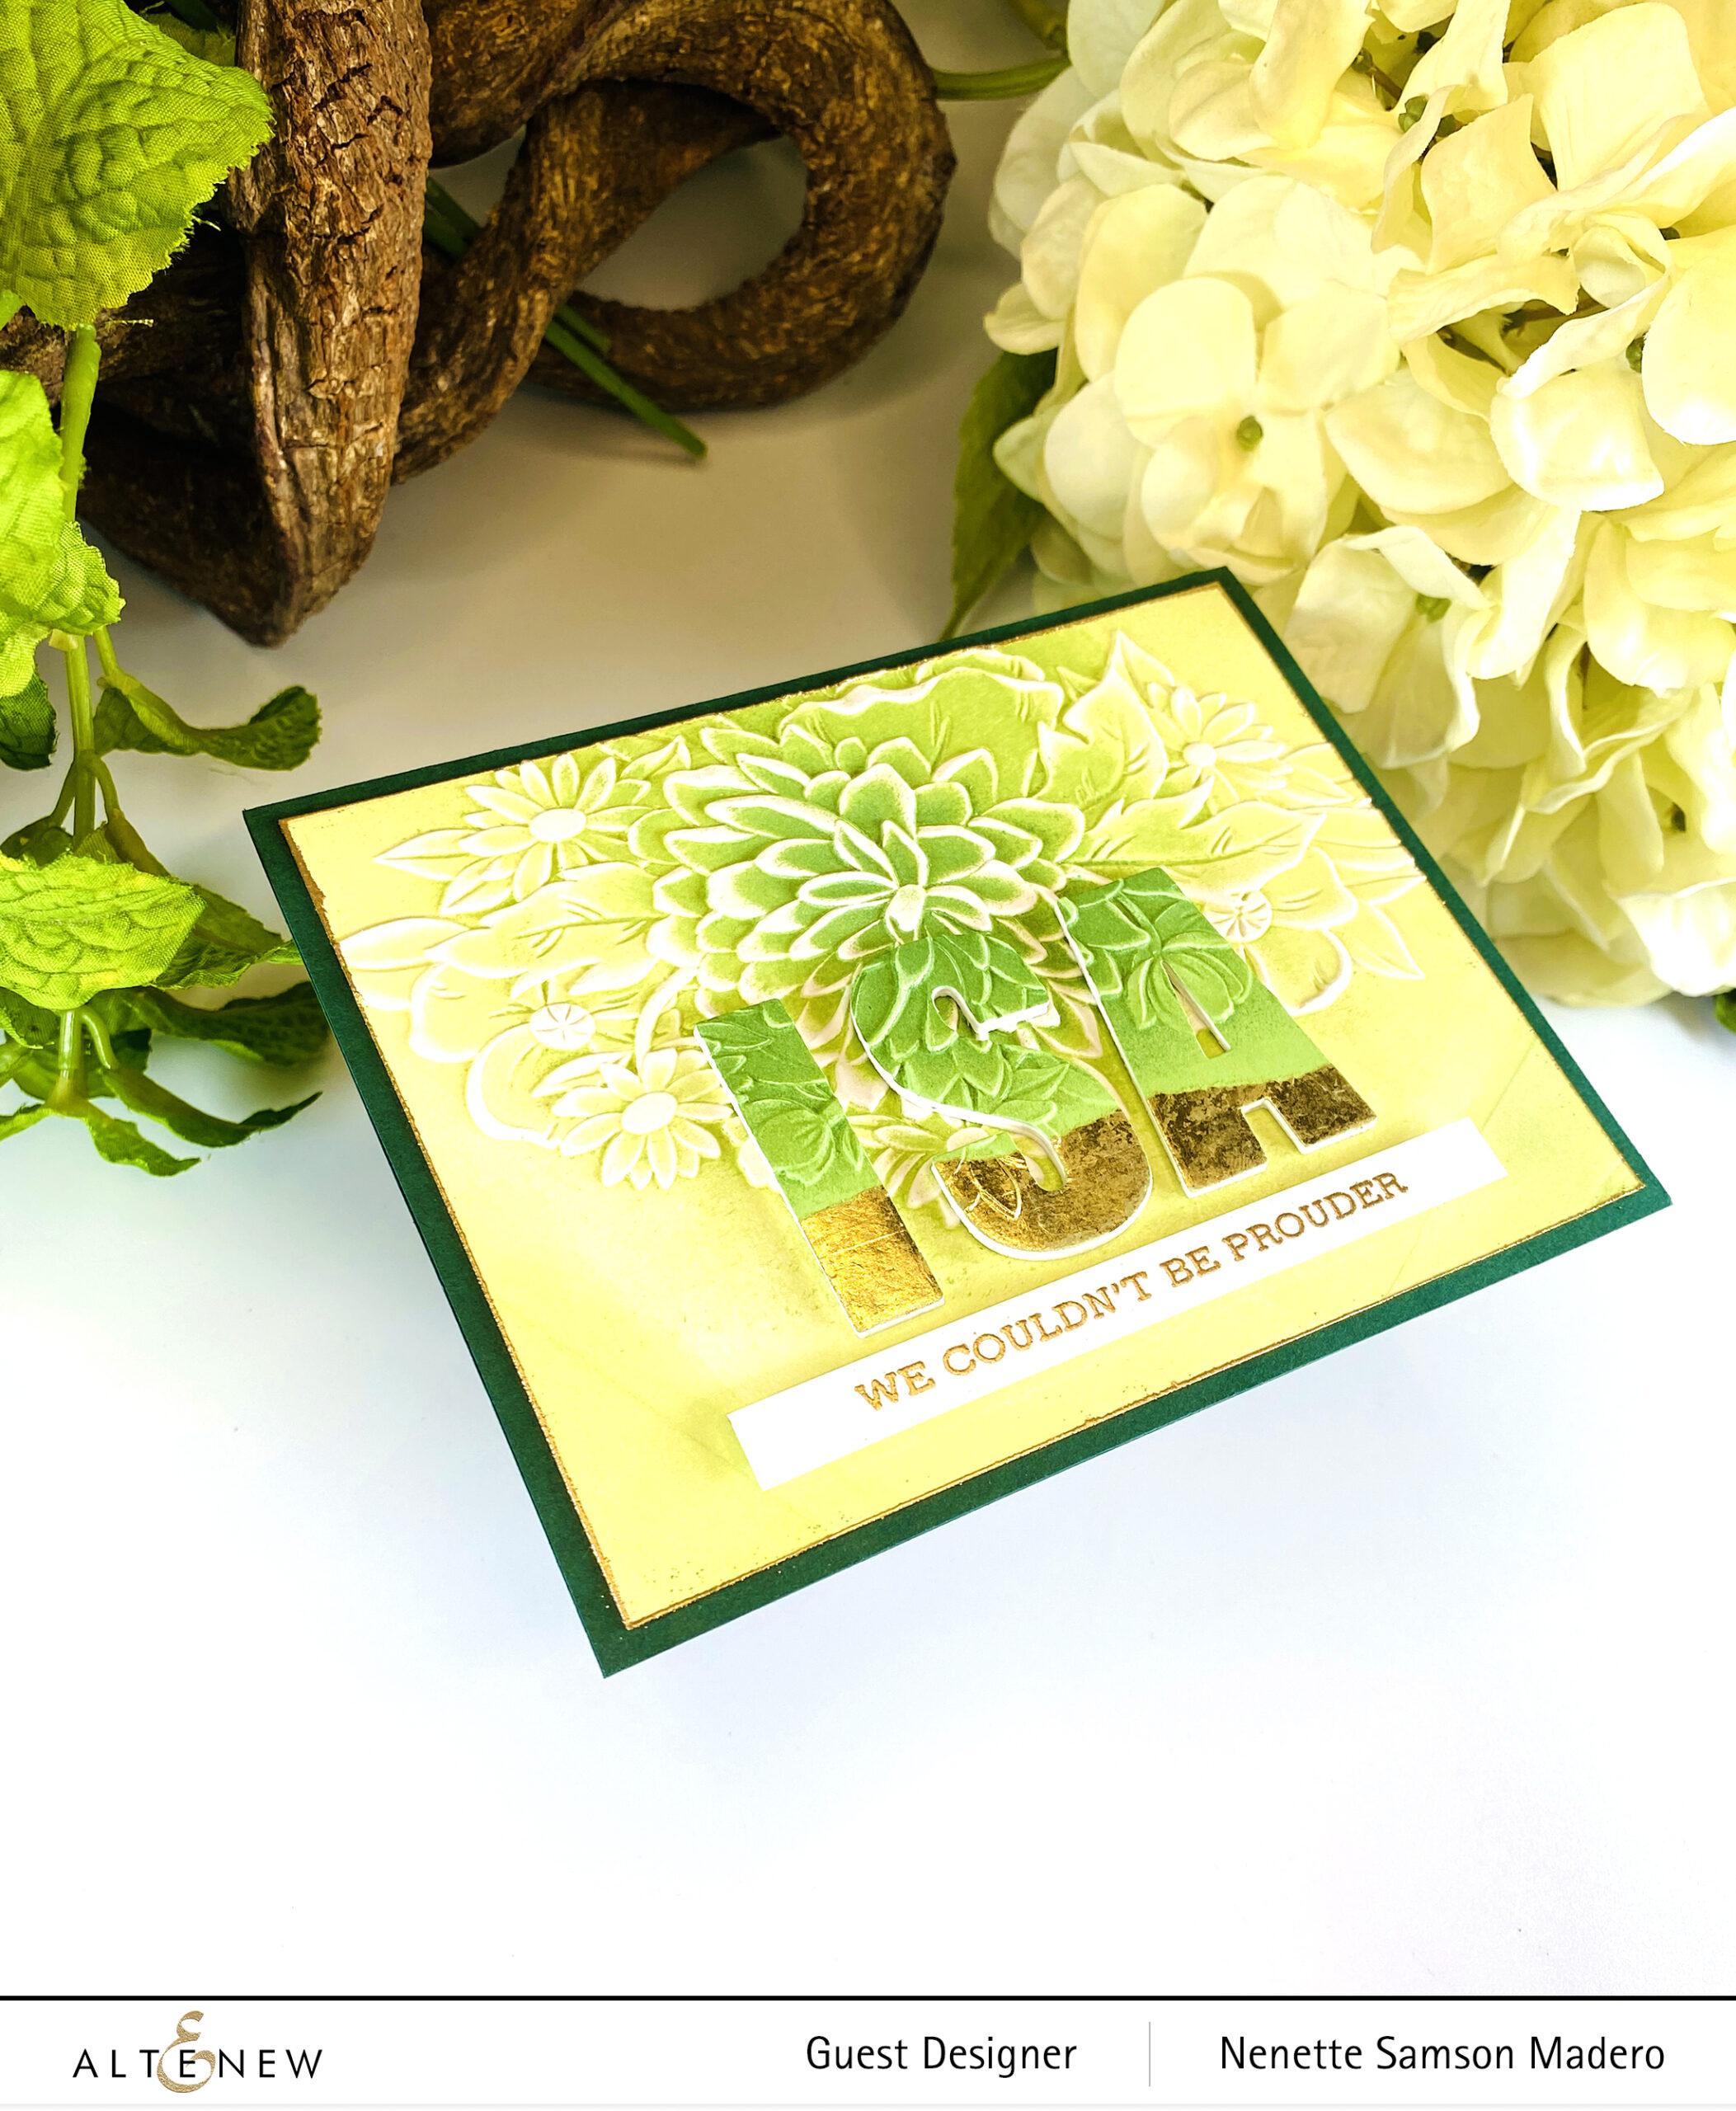
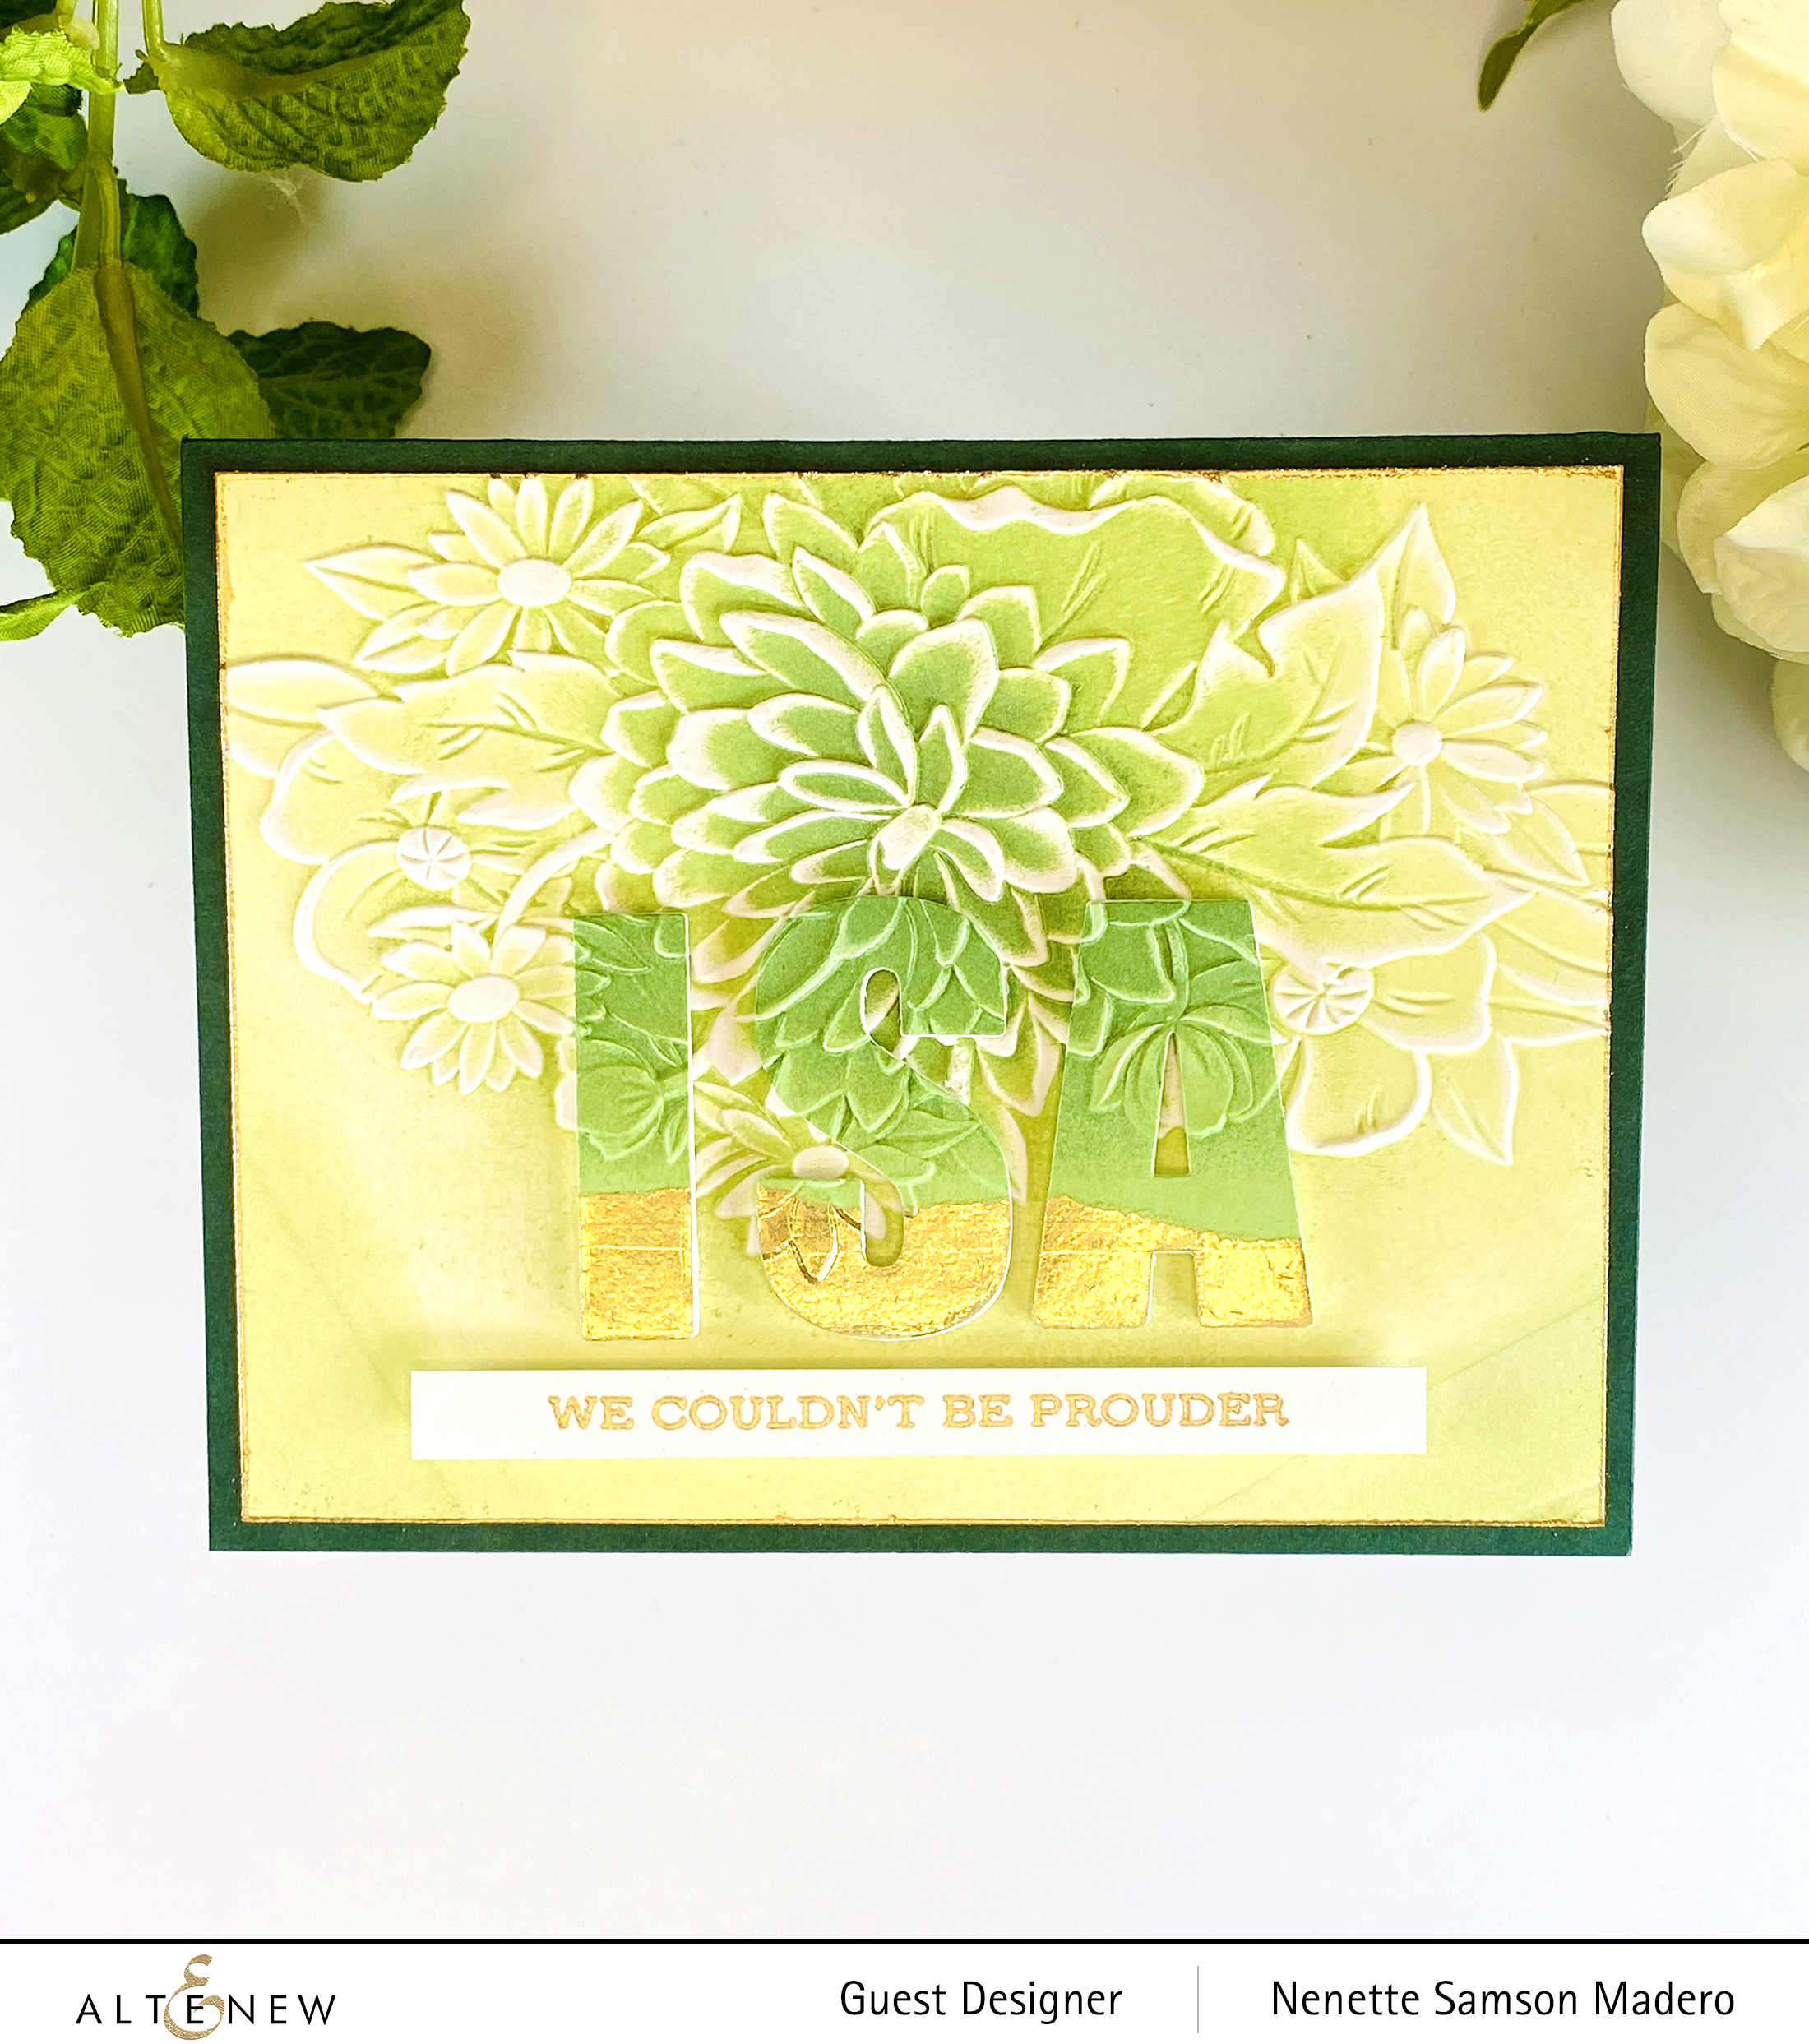
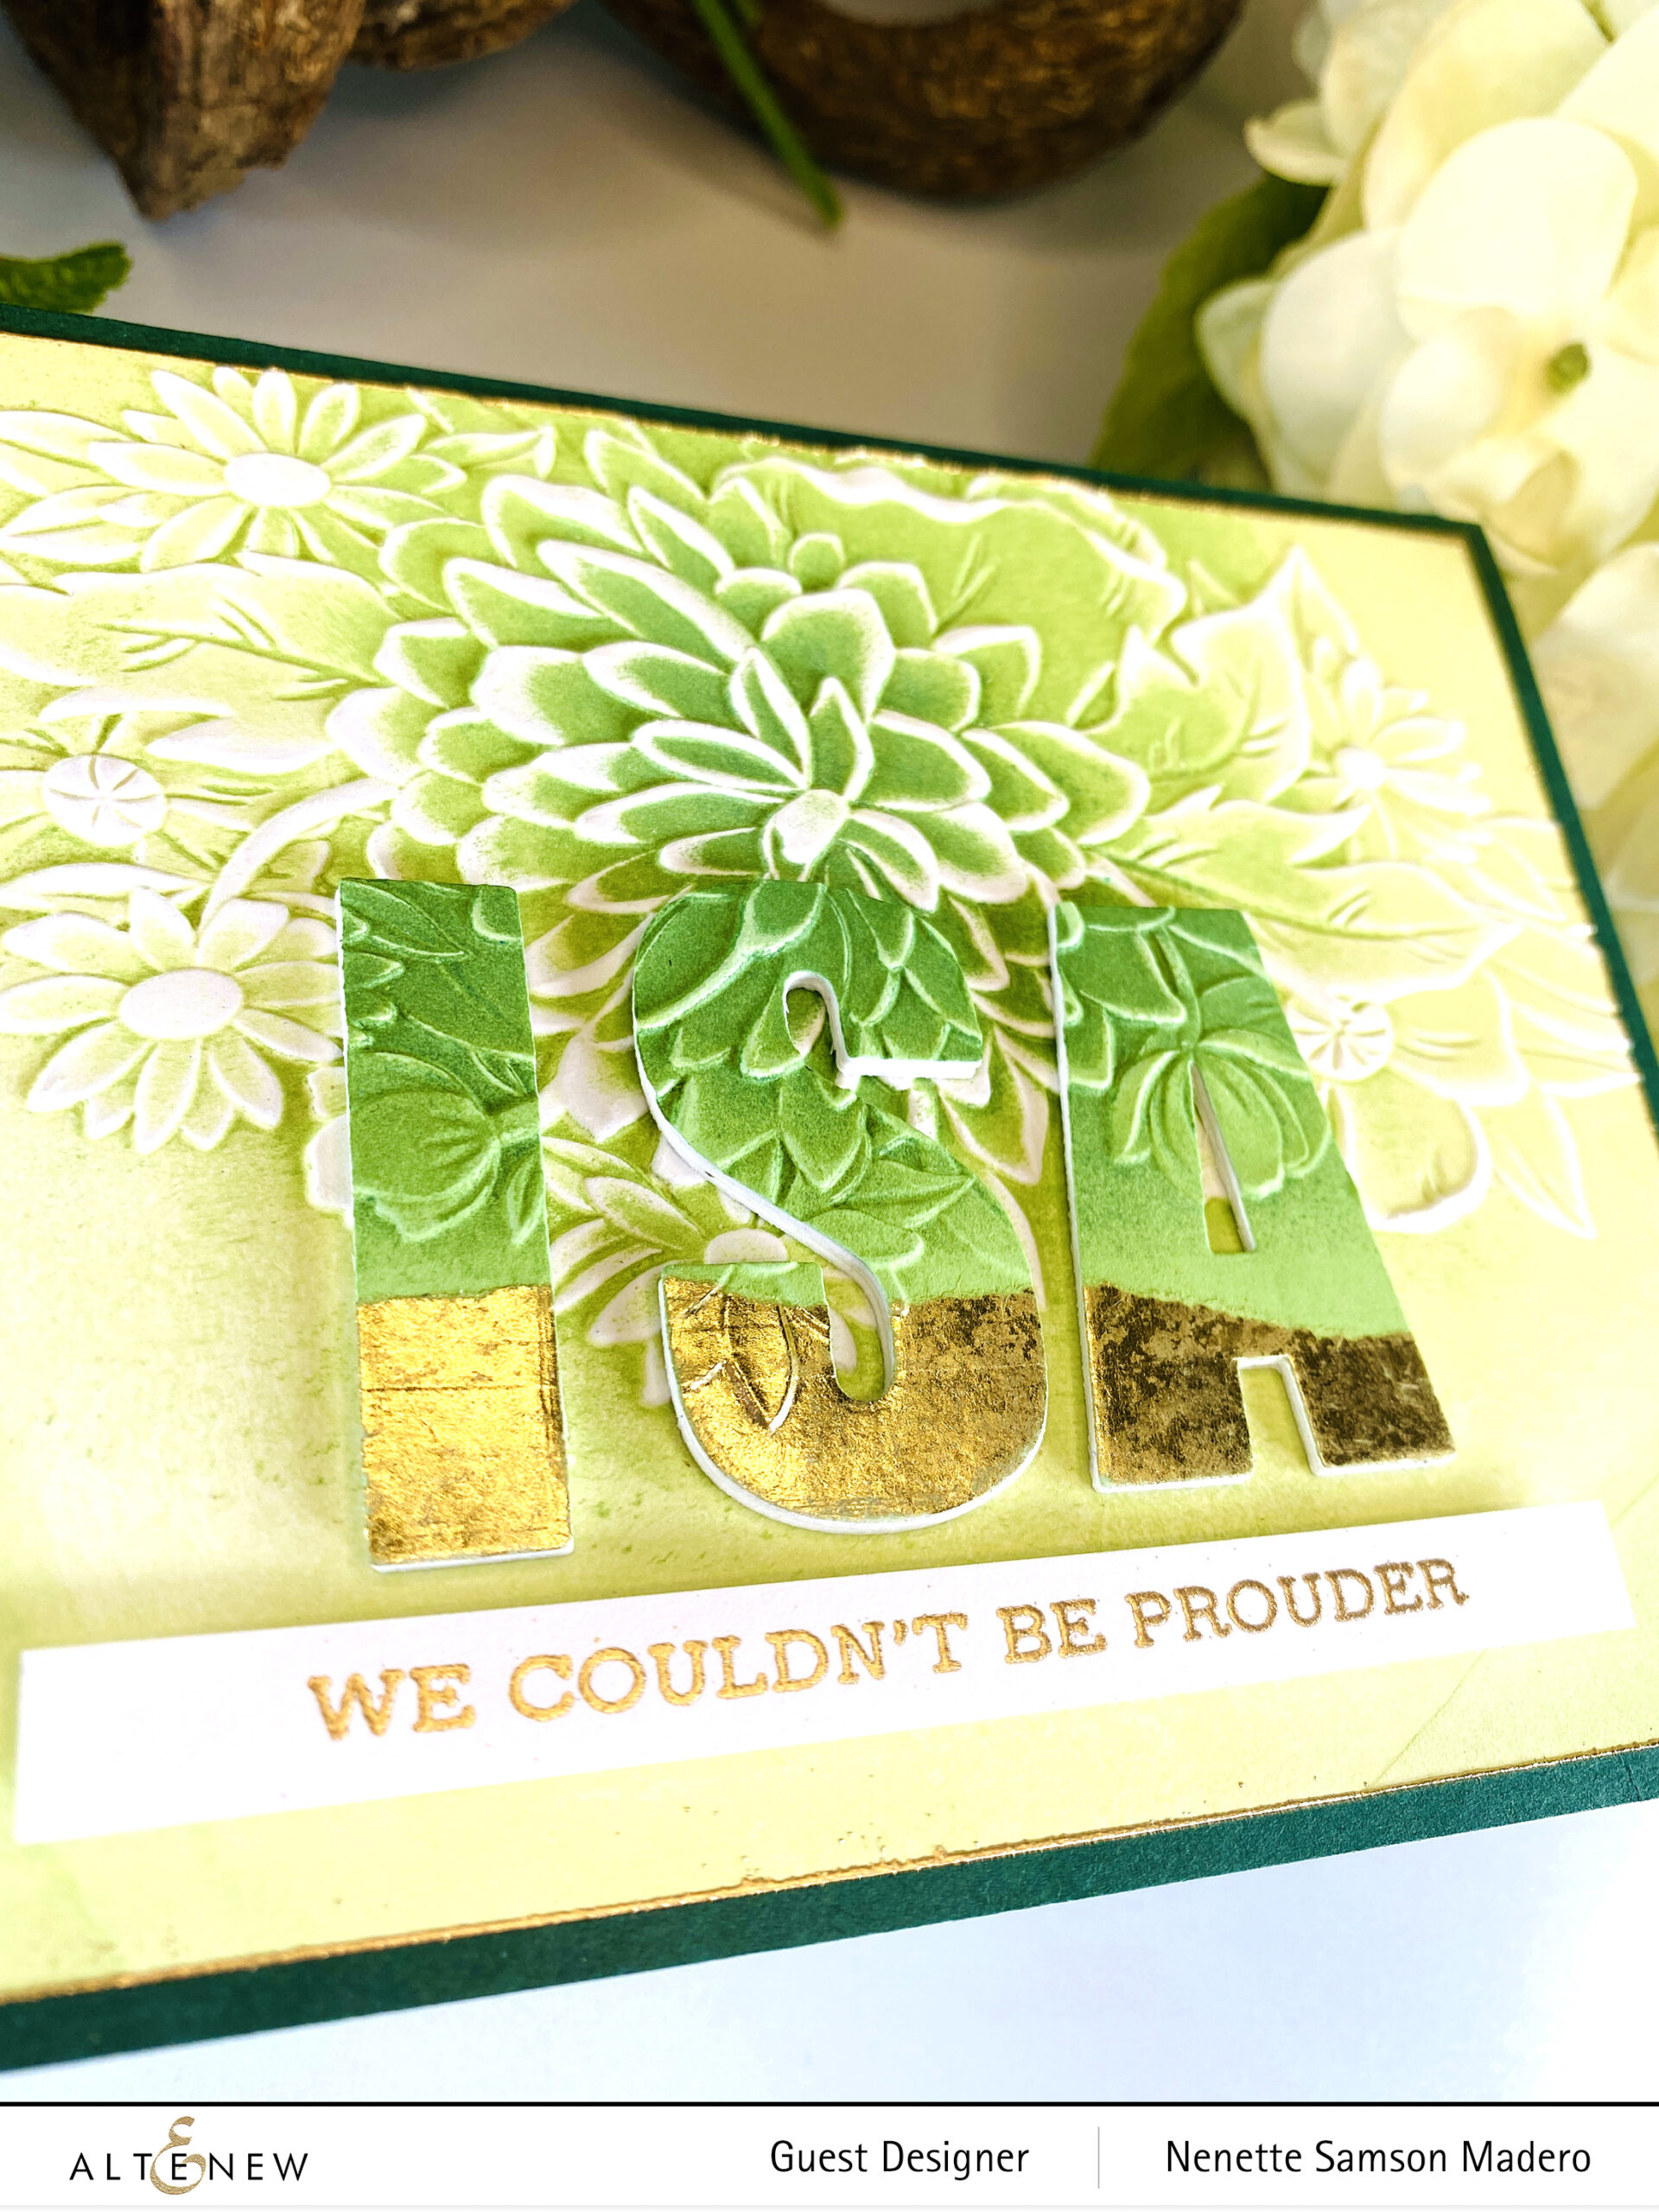
I was blown away when I saw Jaycee Gaspar’s card using this technique, and I had to try it out. I urge you to watch the tutorial on making a card like this from my idol. 💕 He will walk you through all the steps. Such an ingenious way to use embossing folders! You can find it on his YouTube channel here. Make sure to check out his blog as well for more inspiration.
For my card, I added some gold foil washi tape at the bottom of the letters for more contrast. I also added embossed edges to finish off the card. Isa is short for Isabela, my eldest child, who graduated from college just a few days back. 💕
Again, thank you so much, Jaycee, for continuing to be my source of inspiration!!!
GIVEAWAYS

$300 in total prizes! To celebrate this release, Altenew is giving away a $50 gift certificate to 2 lucky winners and a $ 25 gift certificate to 8 winners! Please leave a comment on the Altenew Card Blog and/or each designer’s blog post on the blog hop list below by 05/18/2022 for a chance to win. Altenew will draw ten random winners from the comments left on each blog hop stop and announce the winners on the Altenew Winners Page on 05/20/2022.
Up next: Terri Koszler. Make sure to leave a comment and get a chance to win a prize from Altenew.
I recently put up a YouTube channel for my video tutorials, and I’d greatly appreciate it if you could subscribe and click the bell icon to follow all my videos. Just click the YouTube icon below to get there. Thank you so much for your continued support, and thanks for dropping by! Till my next post… happy crafting! 💕


