Welcome to Altenew’s blog hop Day 3!!! Right now, my country is under enhanced community quarantine that has displaced over 100k people. My heart goes out to all the front liners– doctors, nurses, residents, health care workers, police and law enforcement people, pharmacists, grocery employees, delivery guys etc– just to make sure that we survive. Aside from helping out in donations for hospital equipment and protective gear or other necessities desperately needed now, our crafting community can help in giving inspiration to all those who have to be quarantined at home. Maybe a little inspiration can keep them calm and provide some distraction and help relieve stress.
I’m thrilled and humbled to be a part of this big big giveaway to celebrate Altenew’s 6th anniversary!!! I can’t believe it has been 6 years already!!! Congratulations to the Altenew team for continuously giving us beautiful stamp designs and materials to work with. Don’t forget to drop by the Altenew Card Blog for the complete list of giveaways. Here are some of the cards I made for this hop.
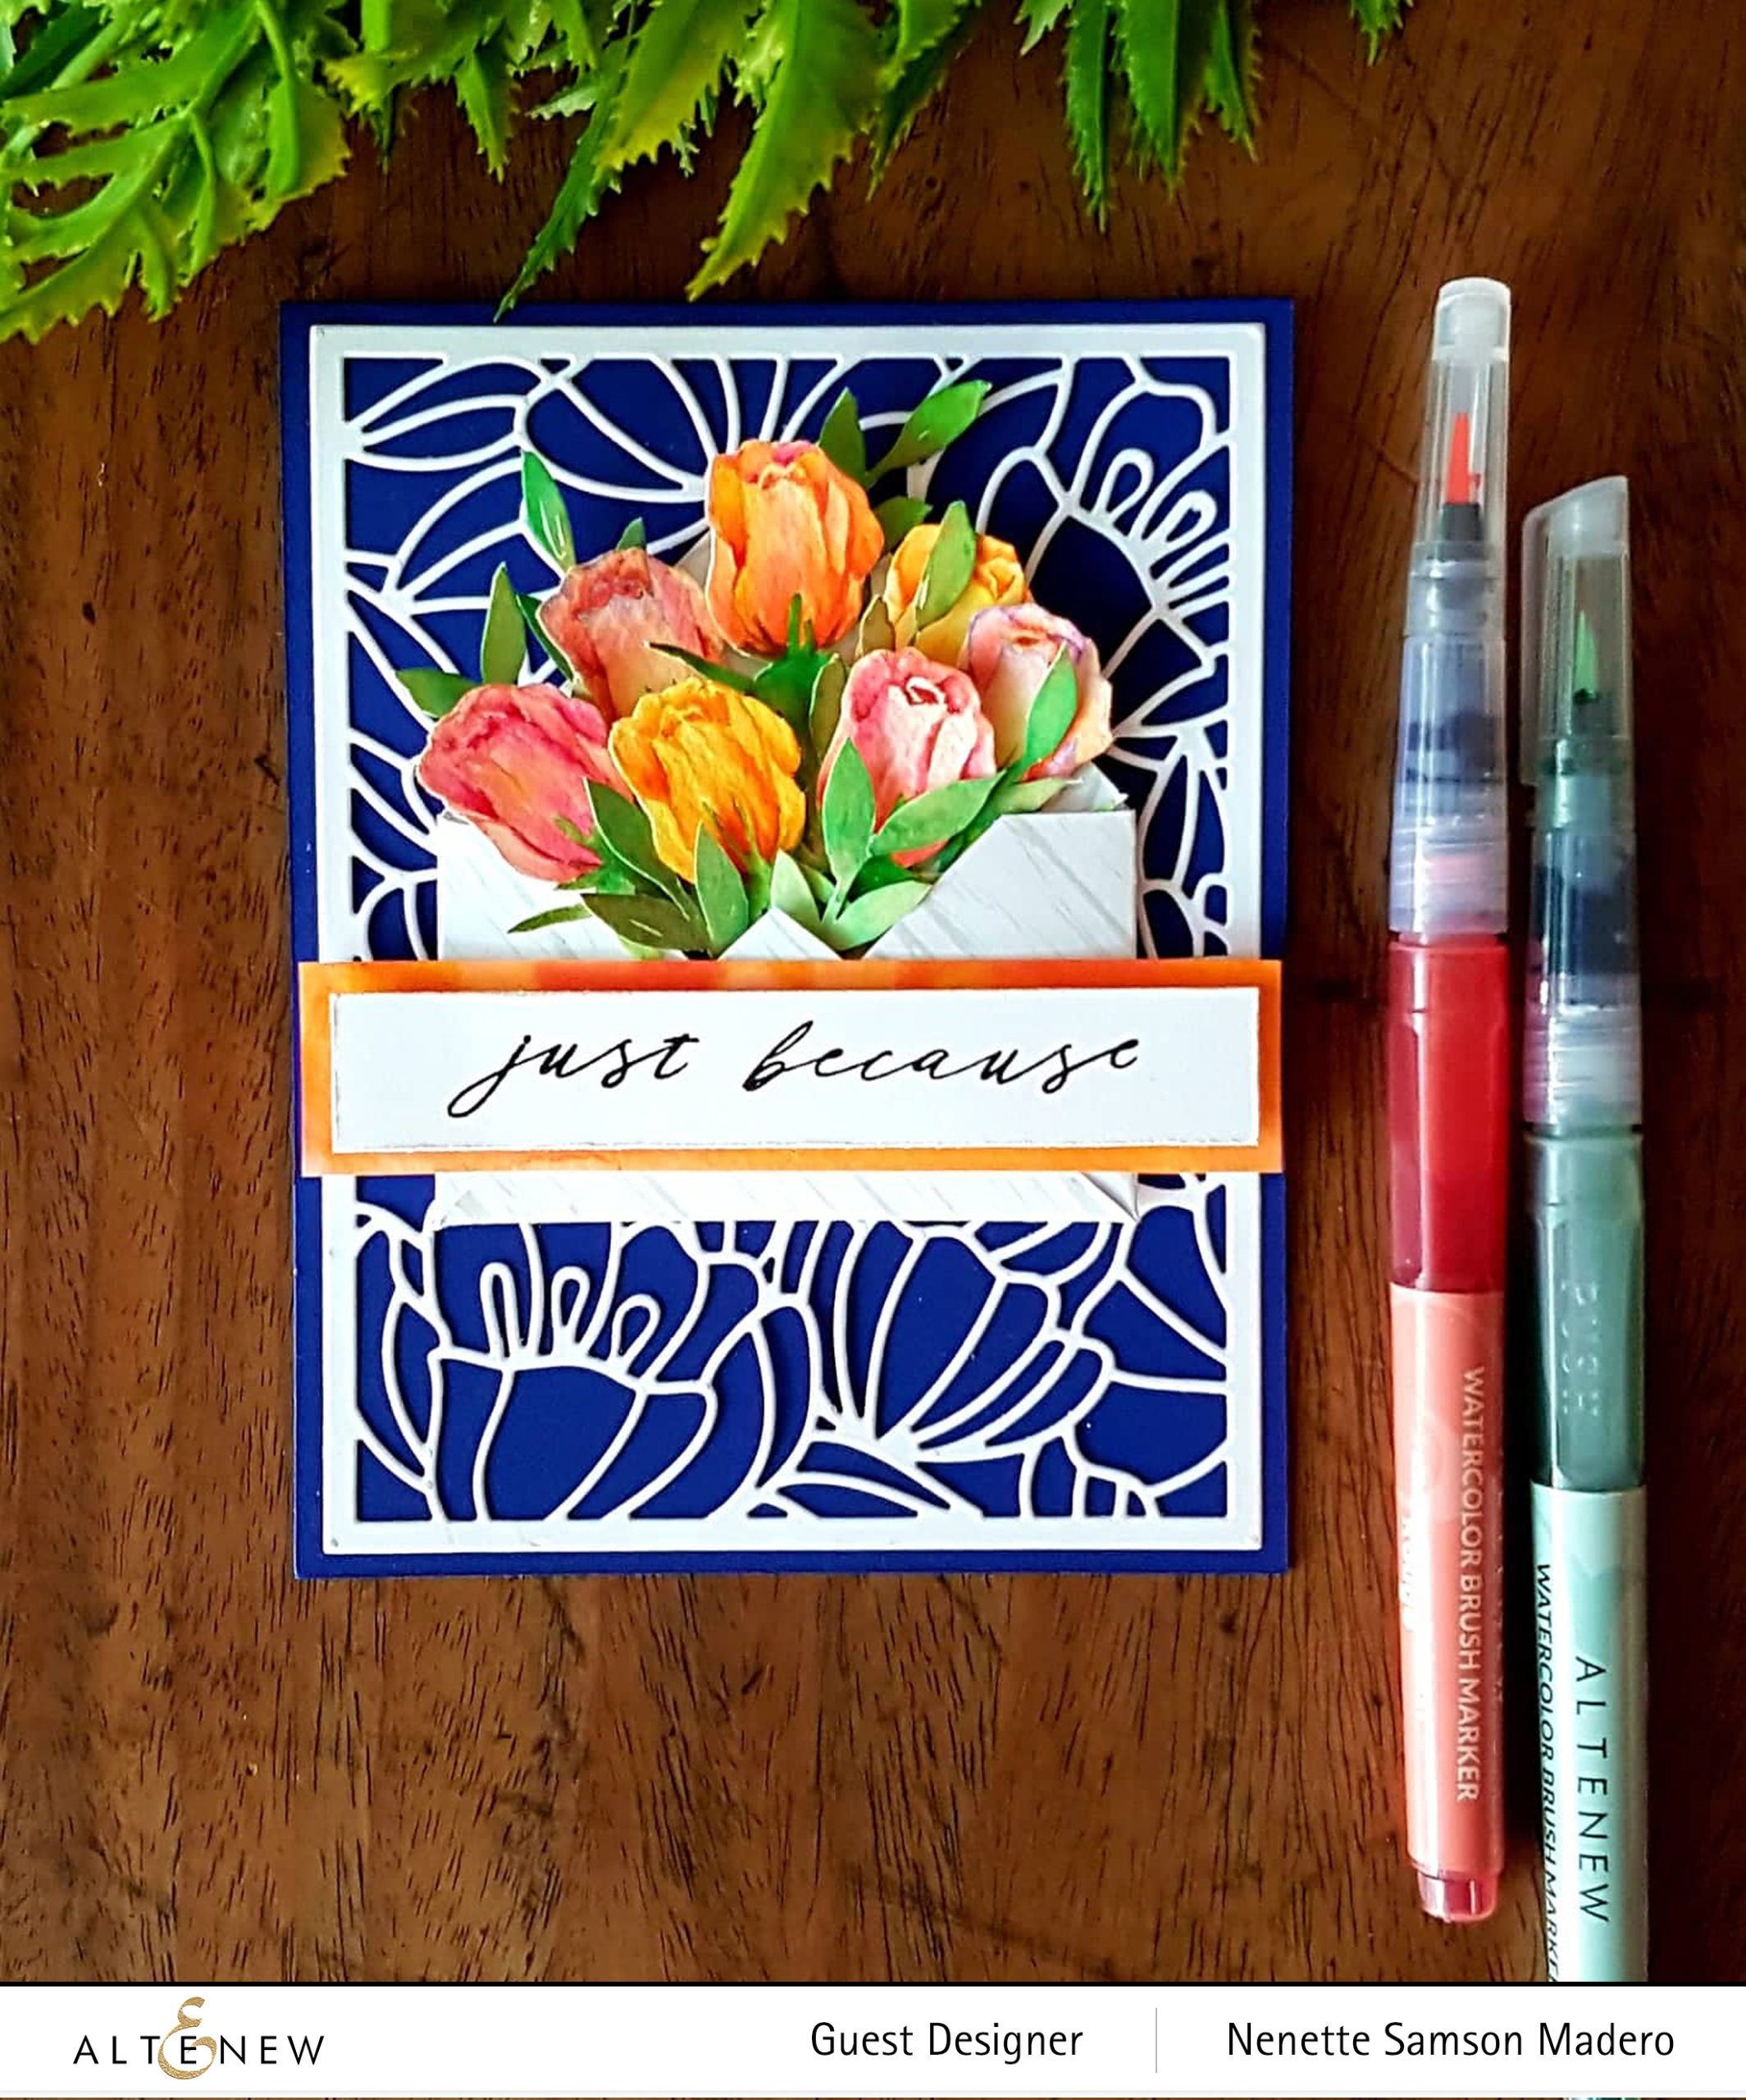
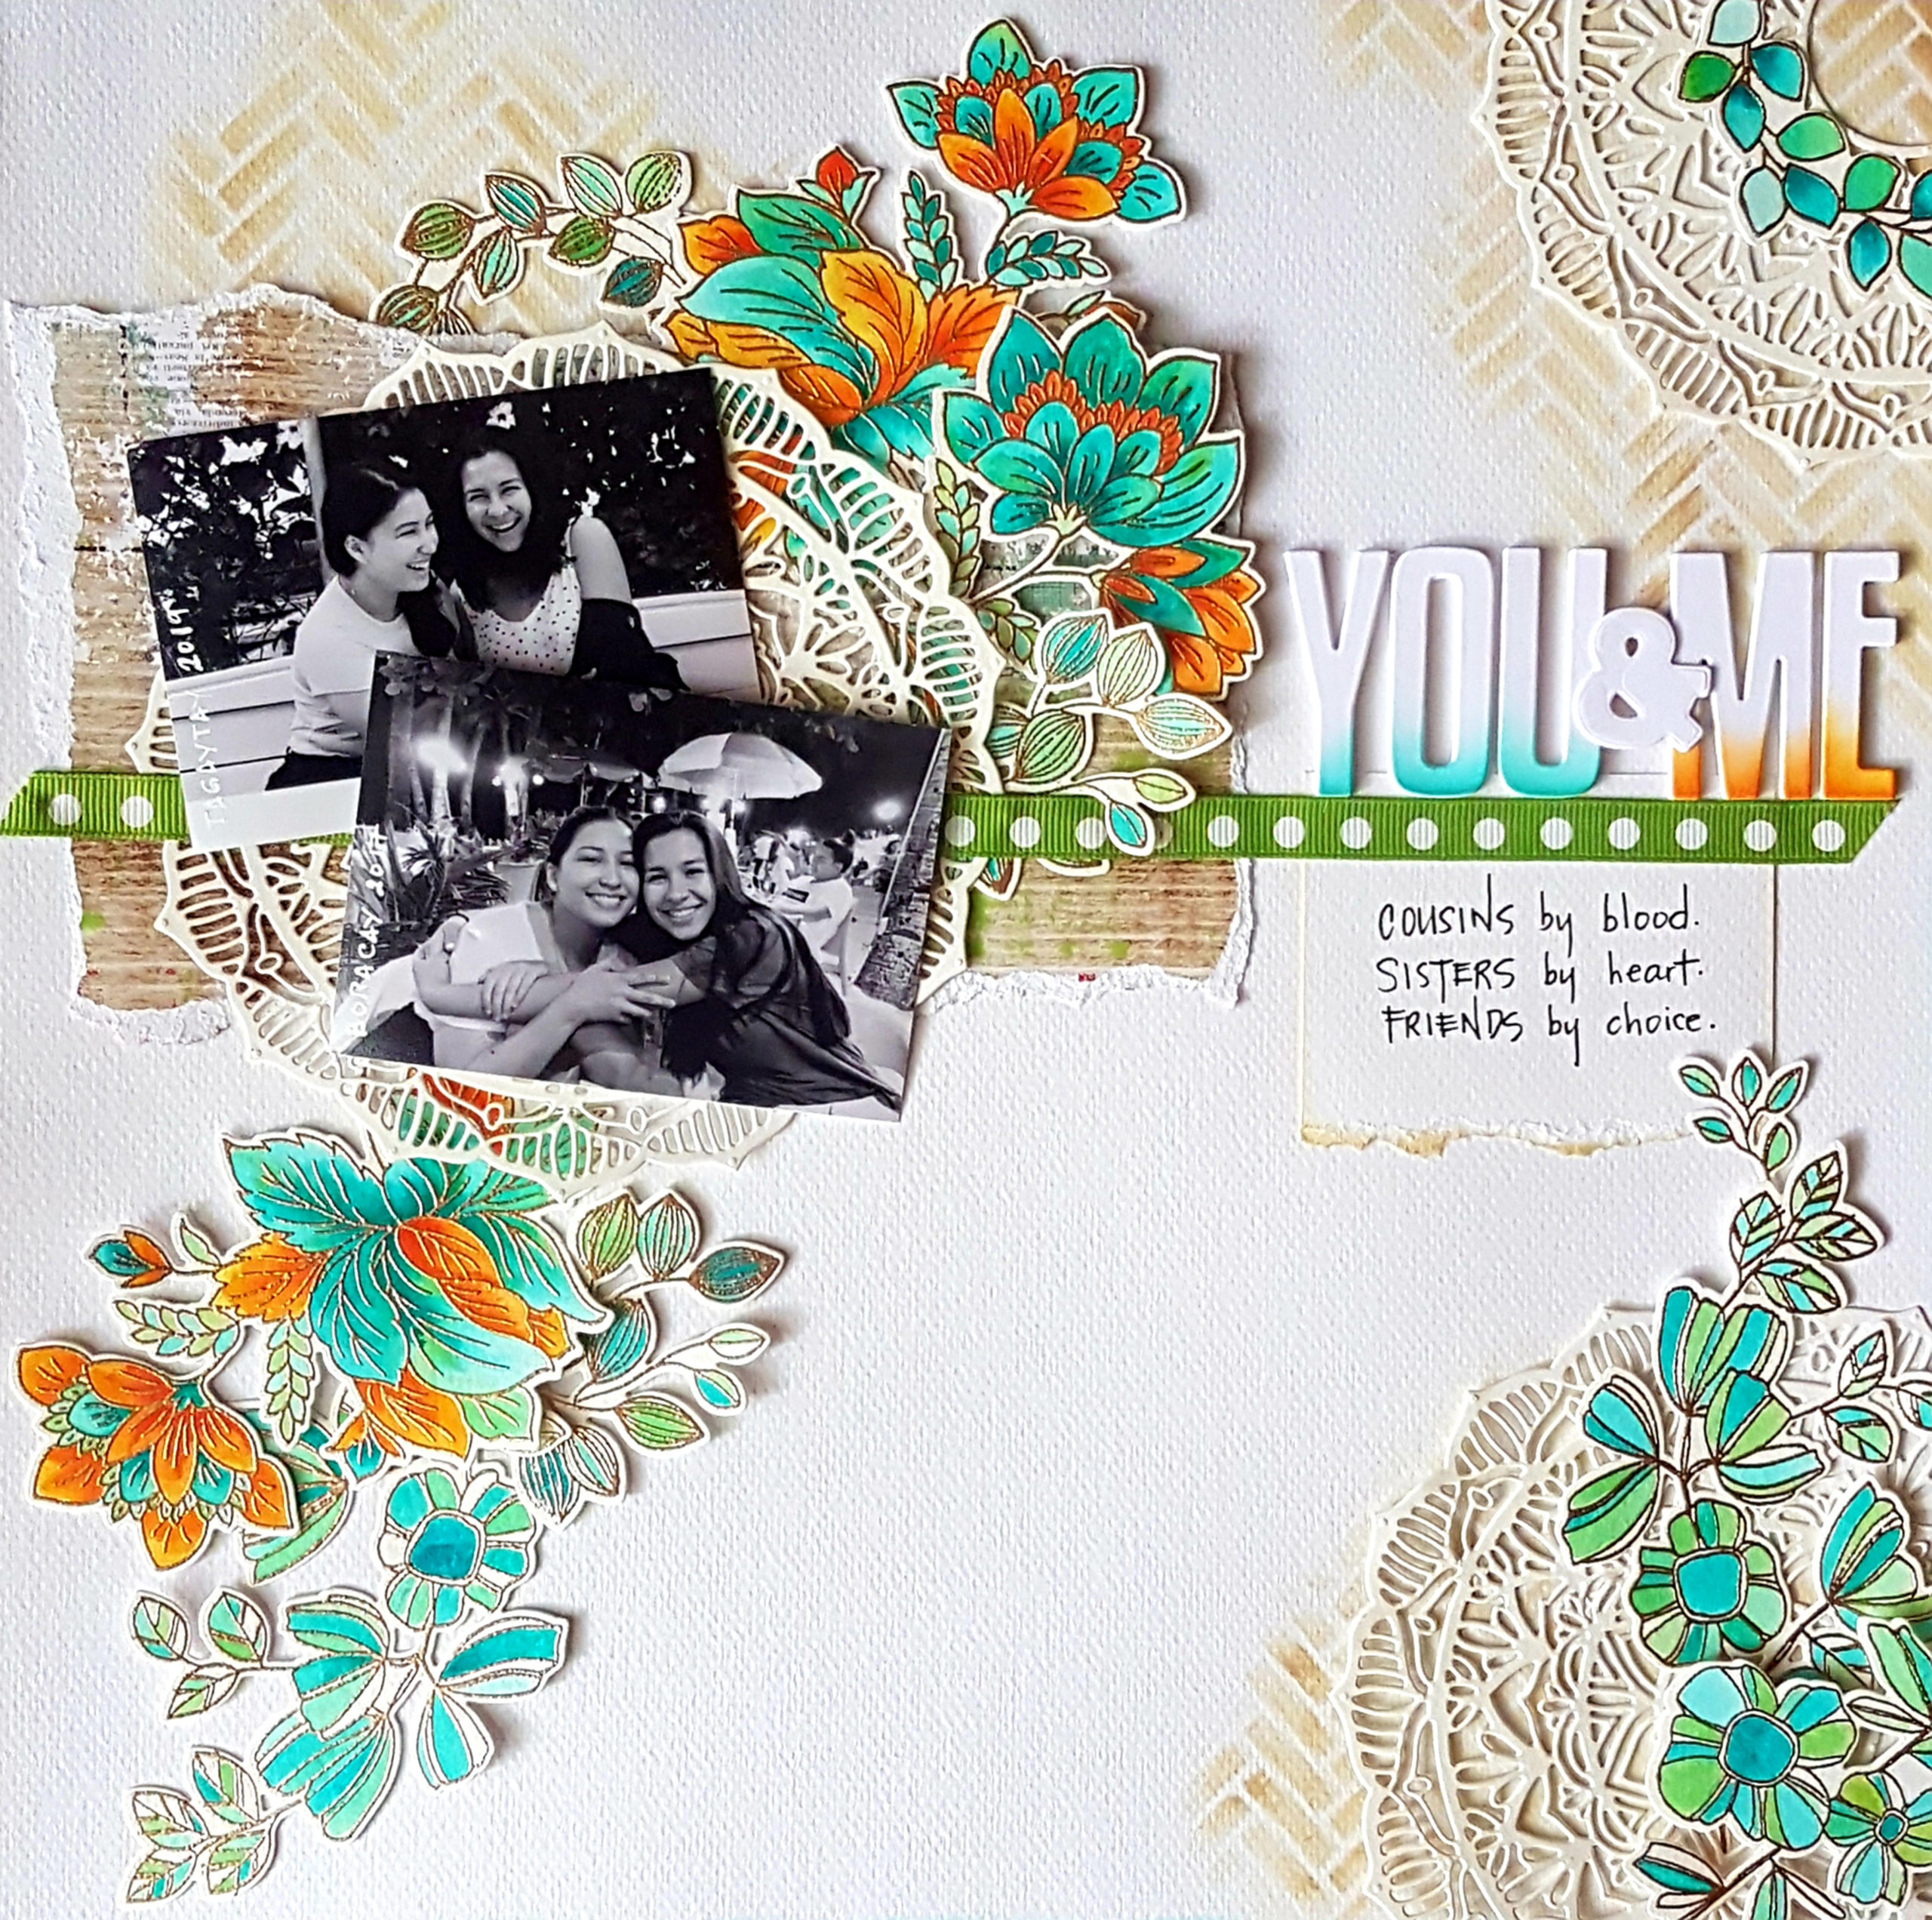
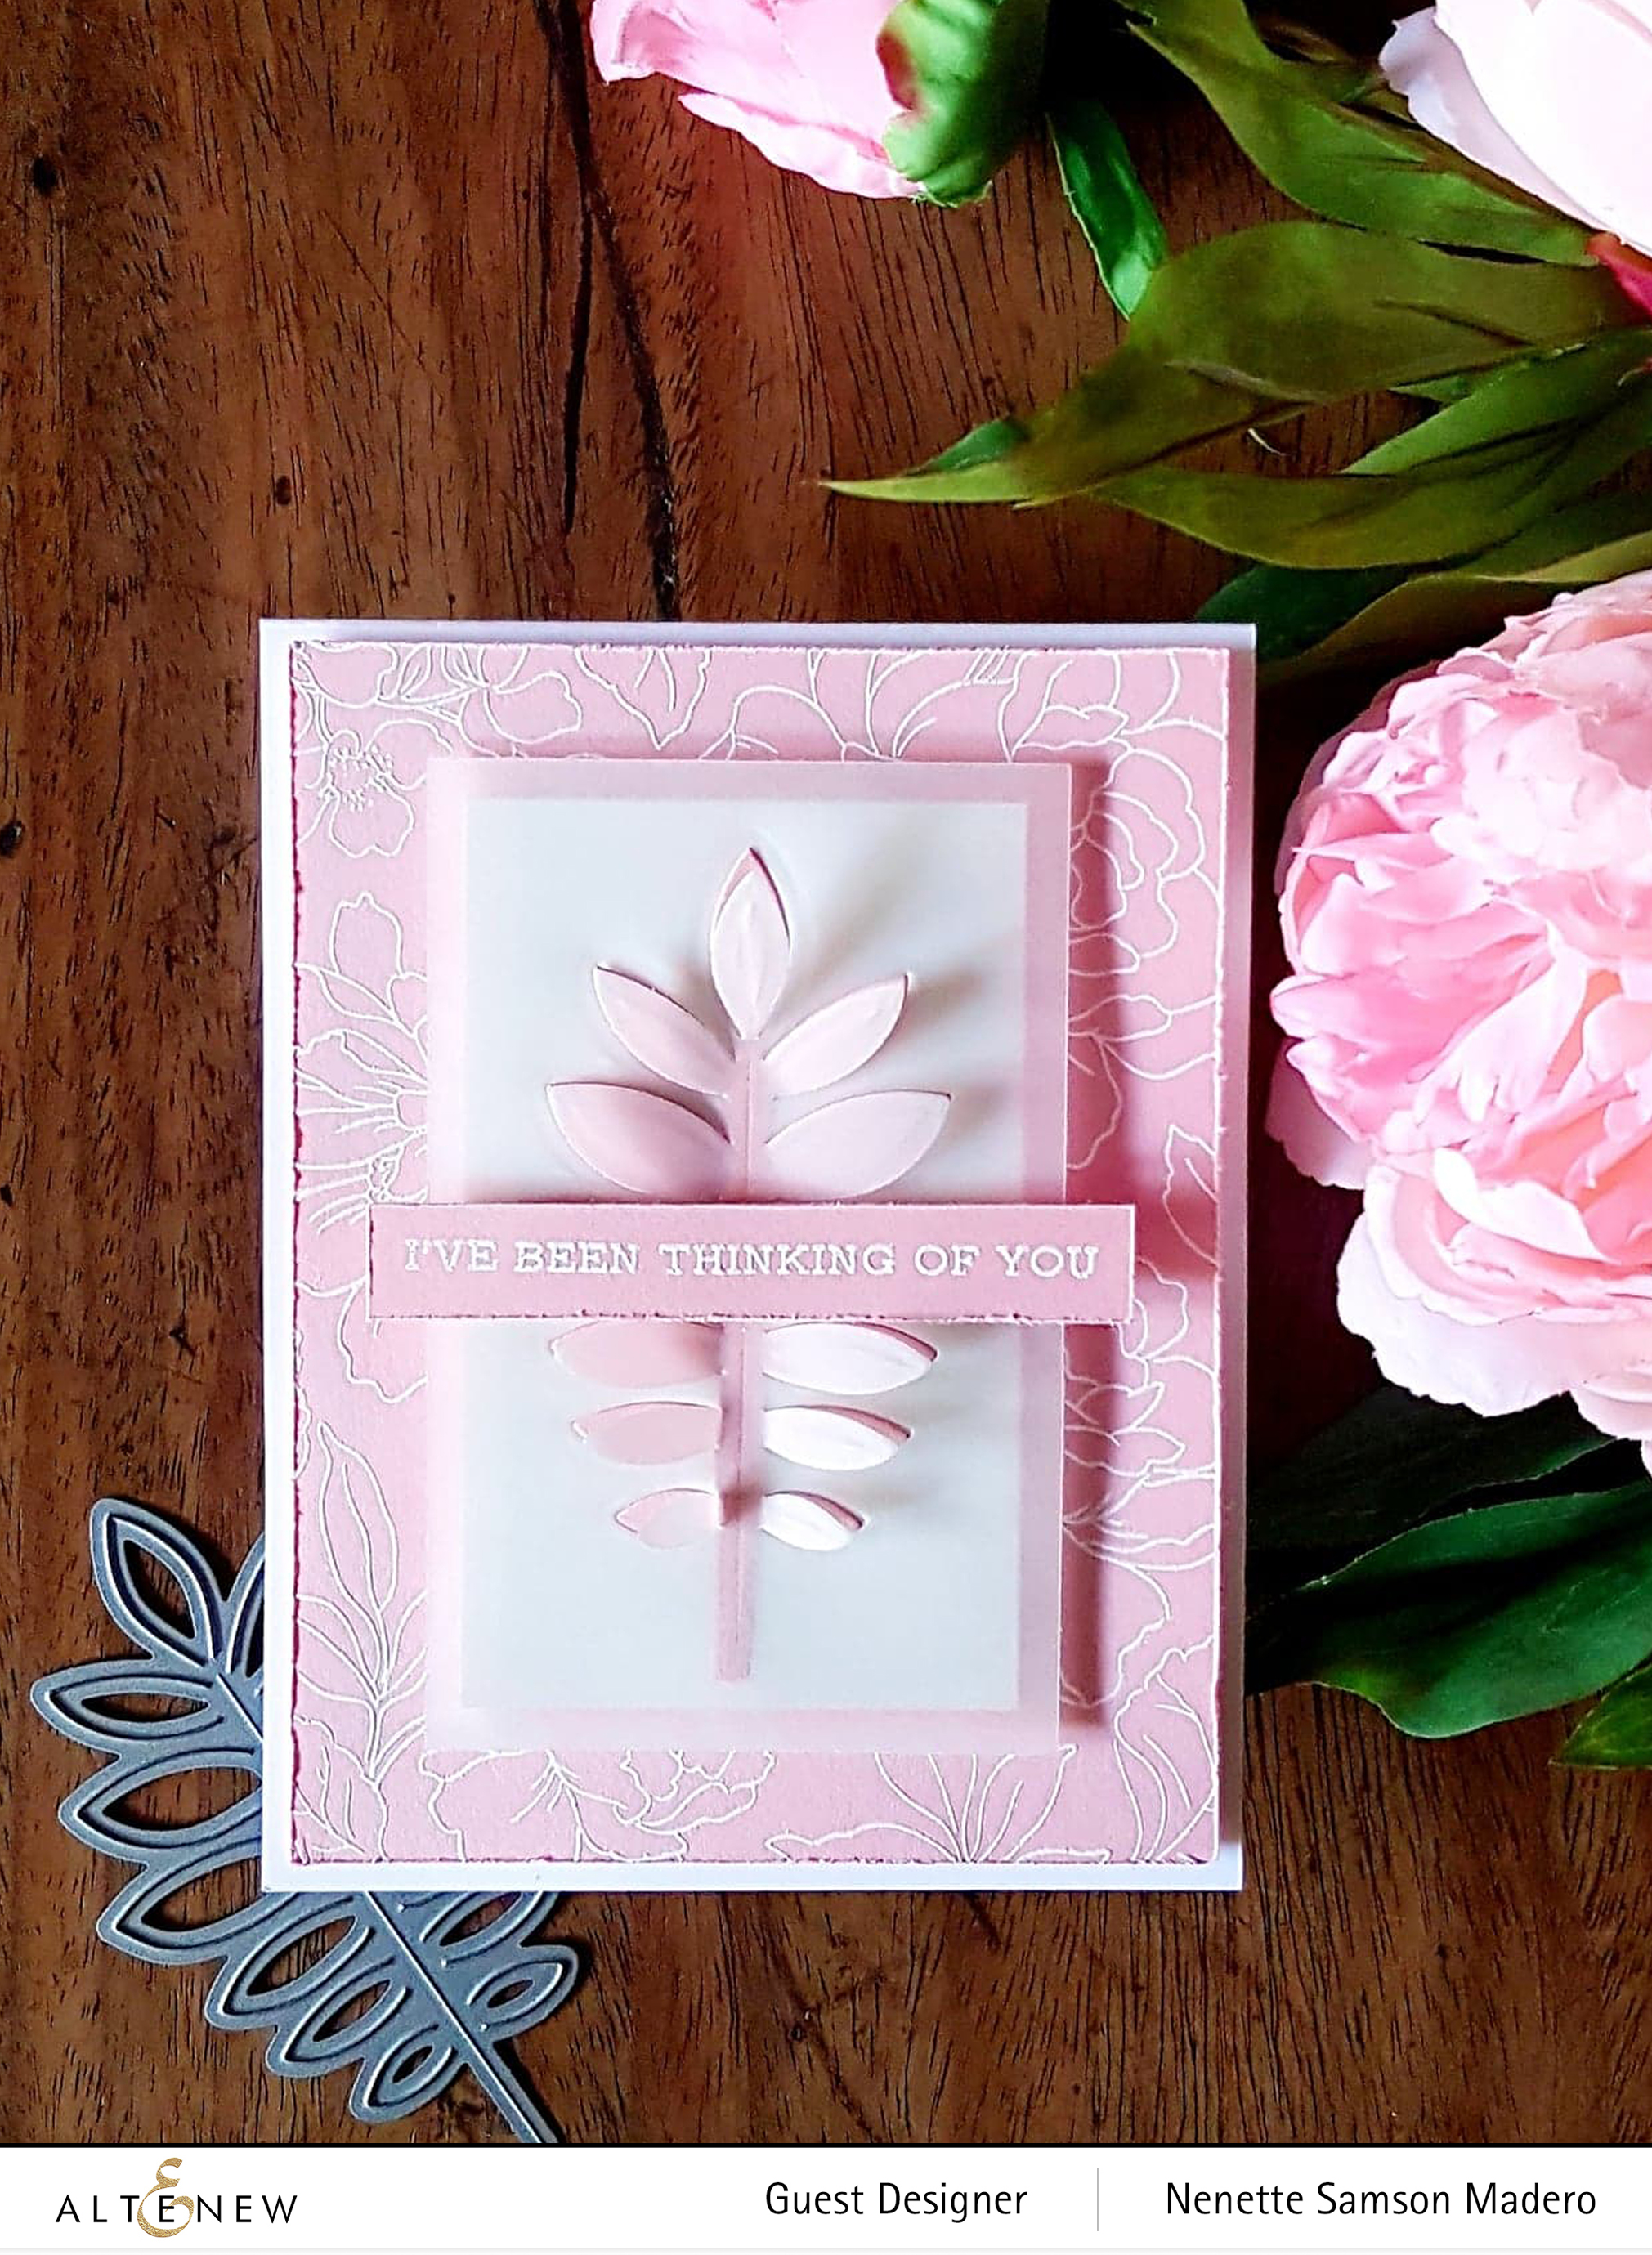
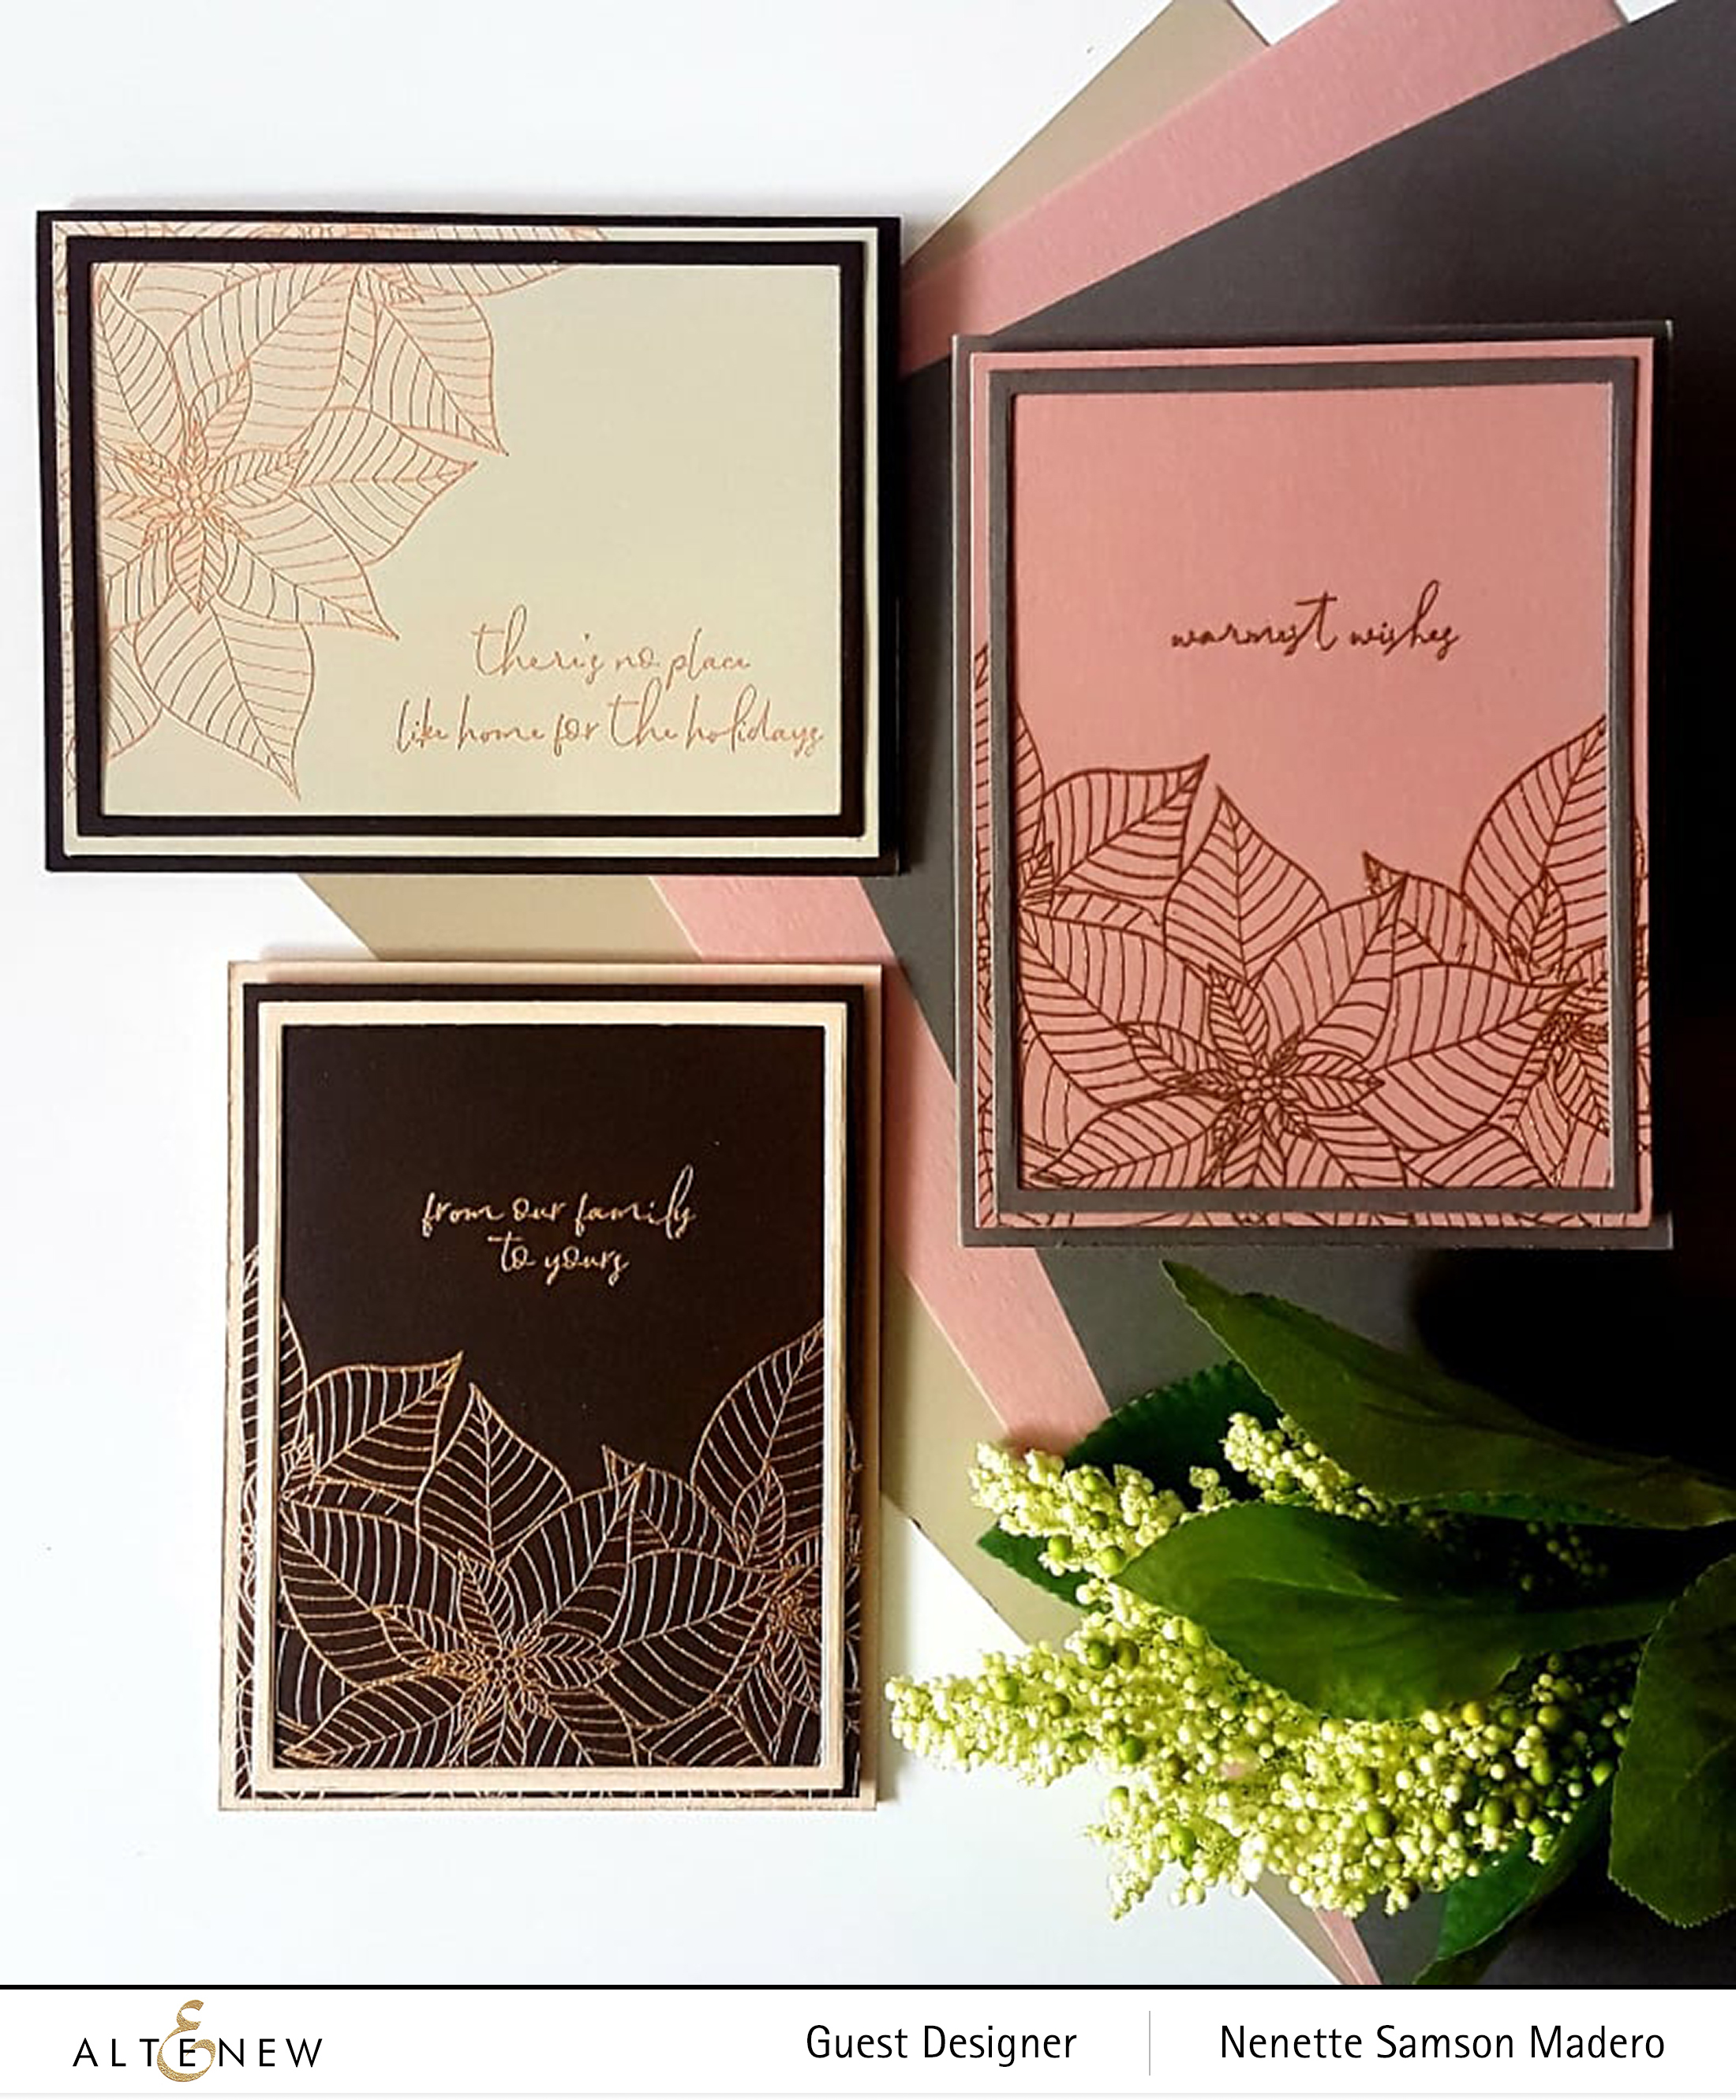
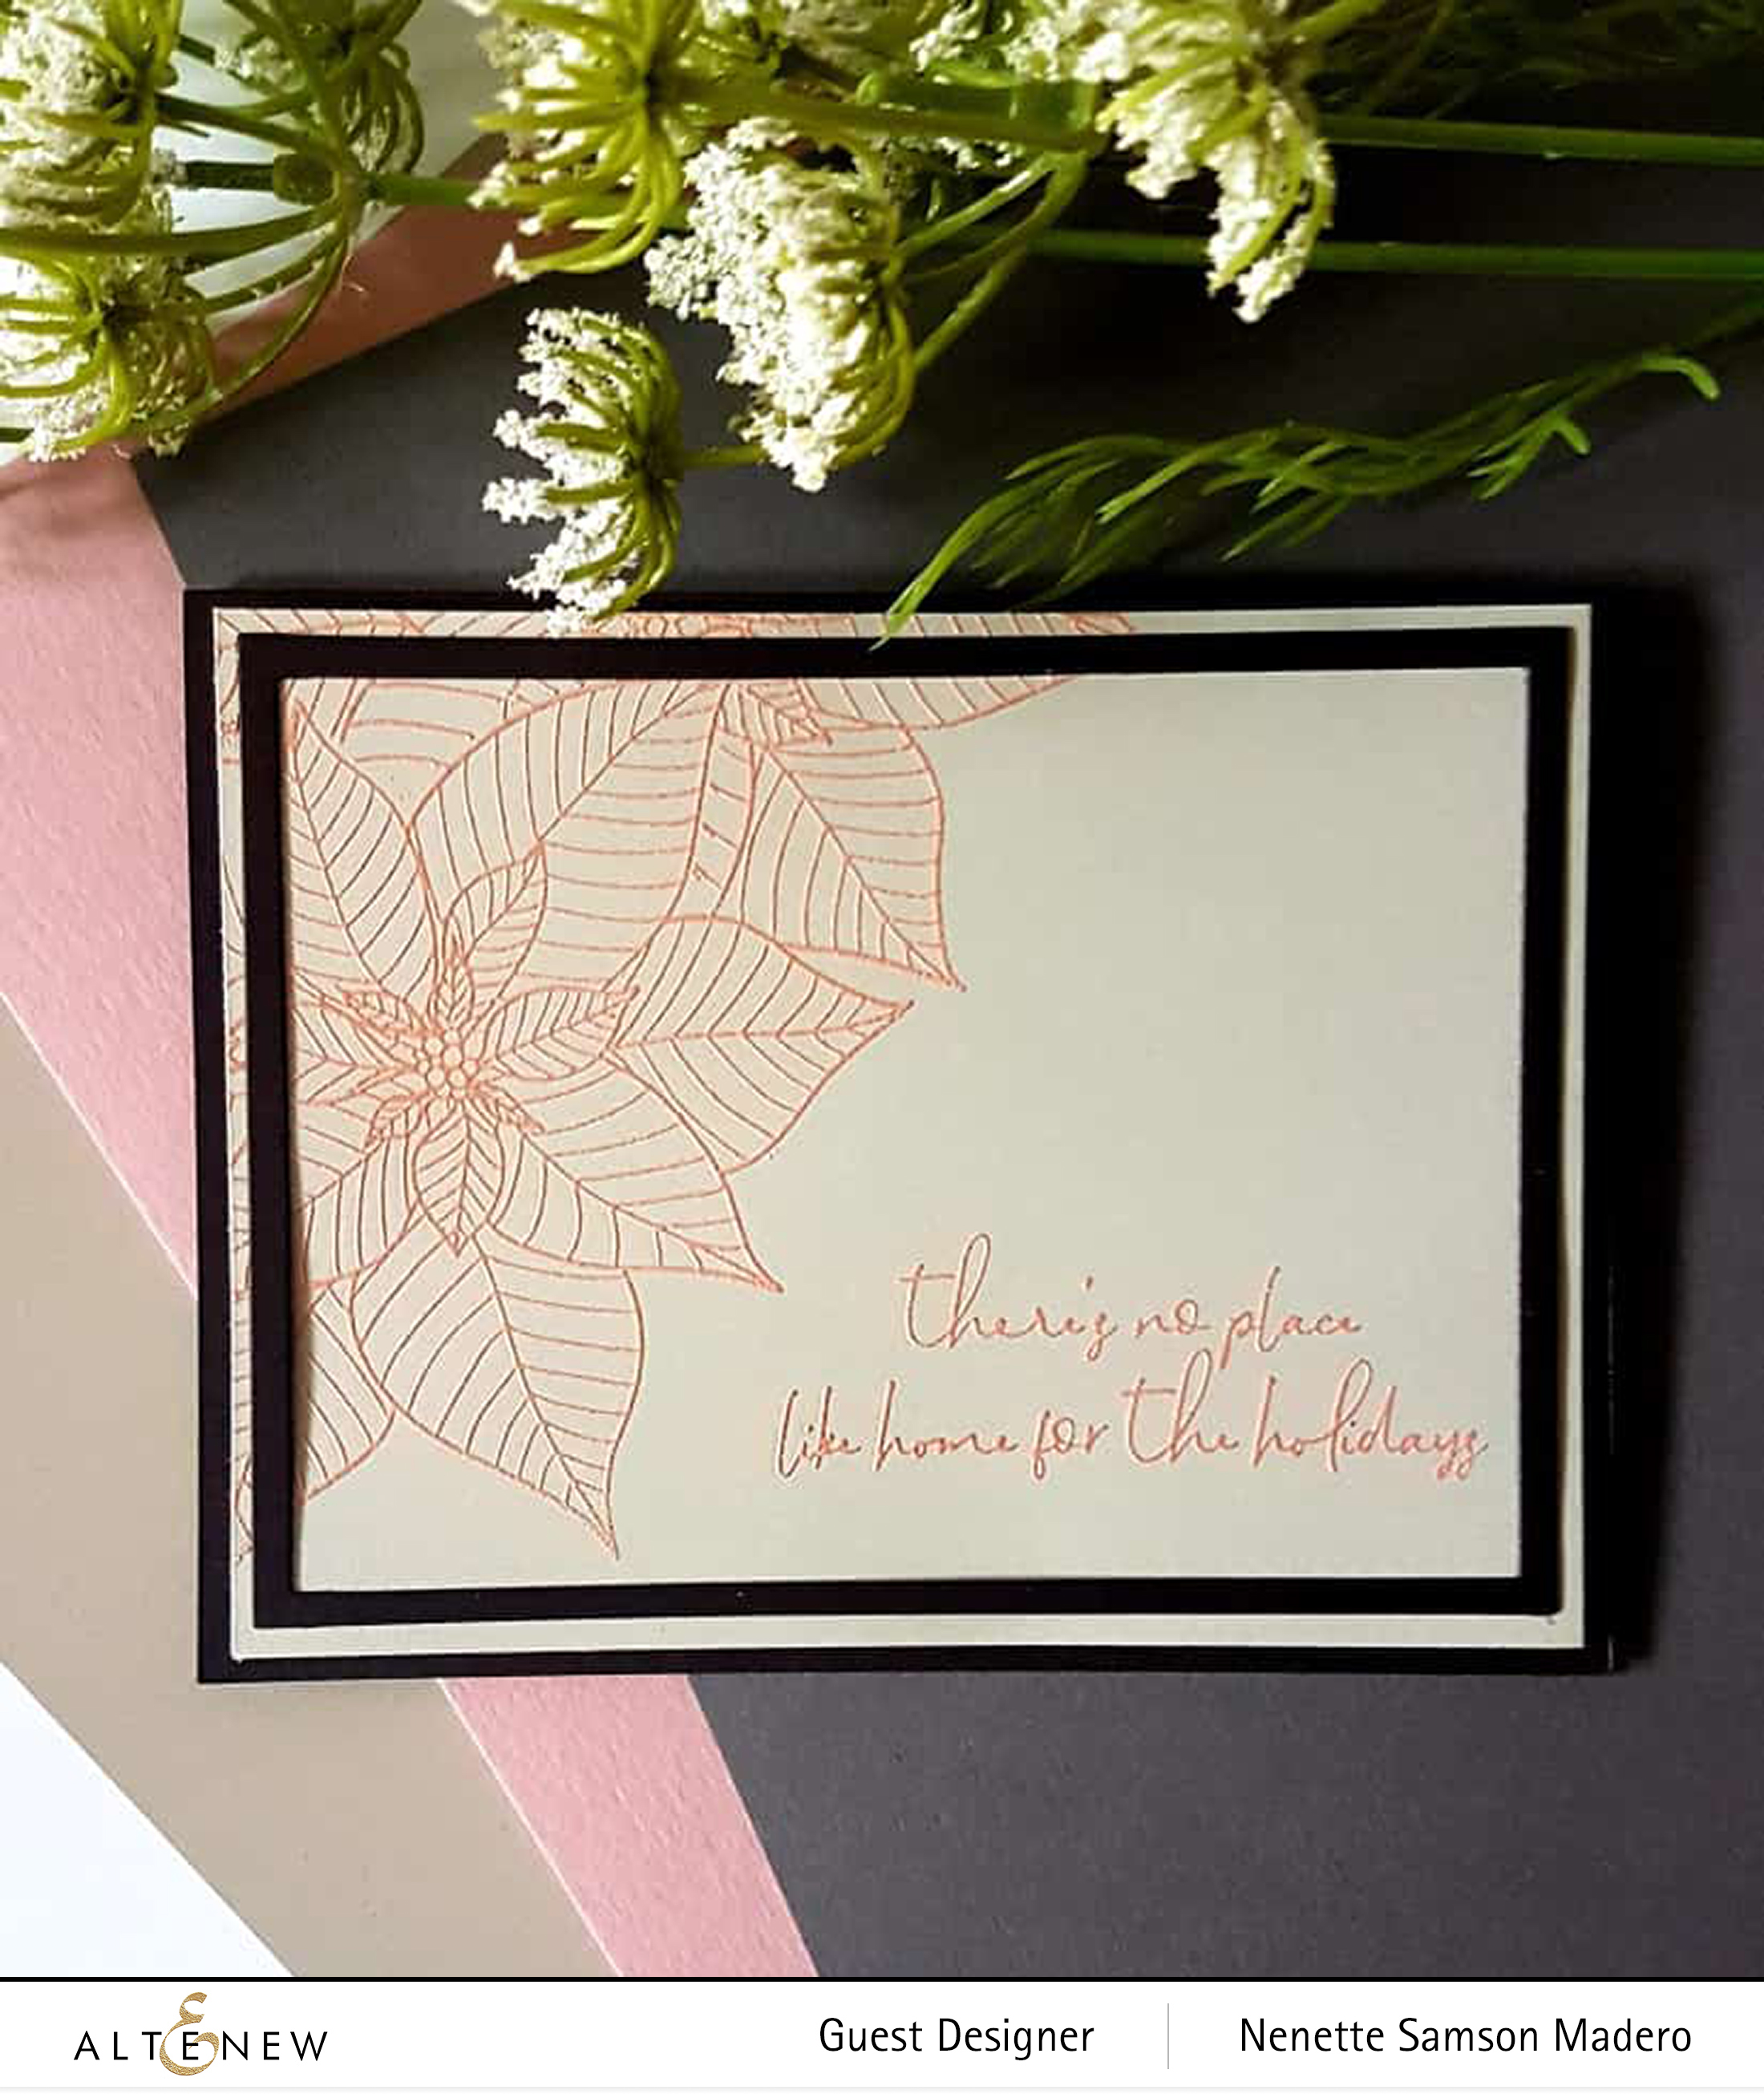
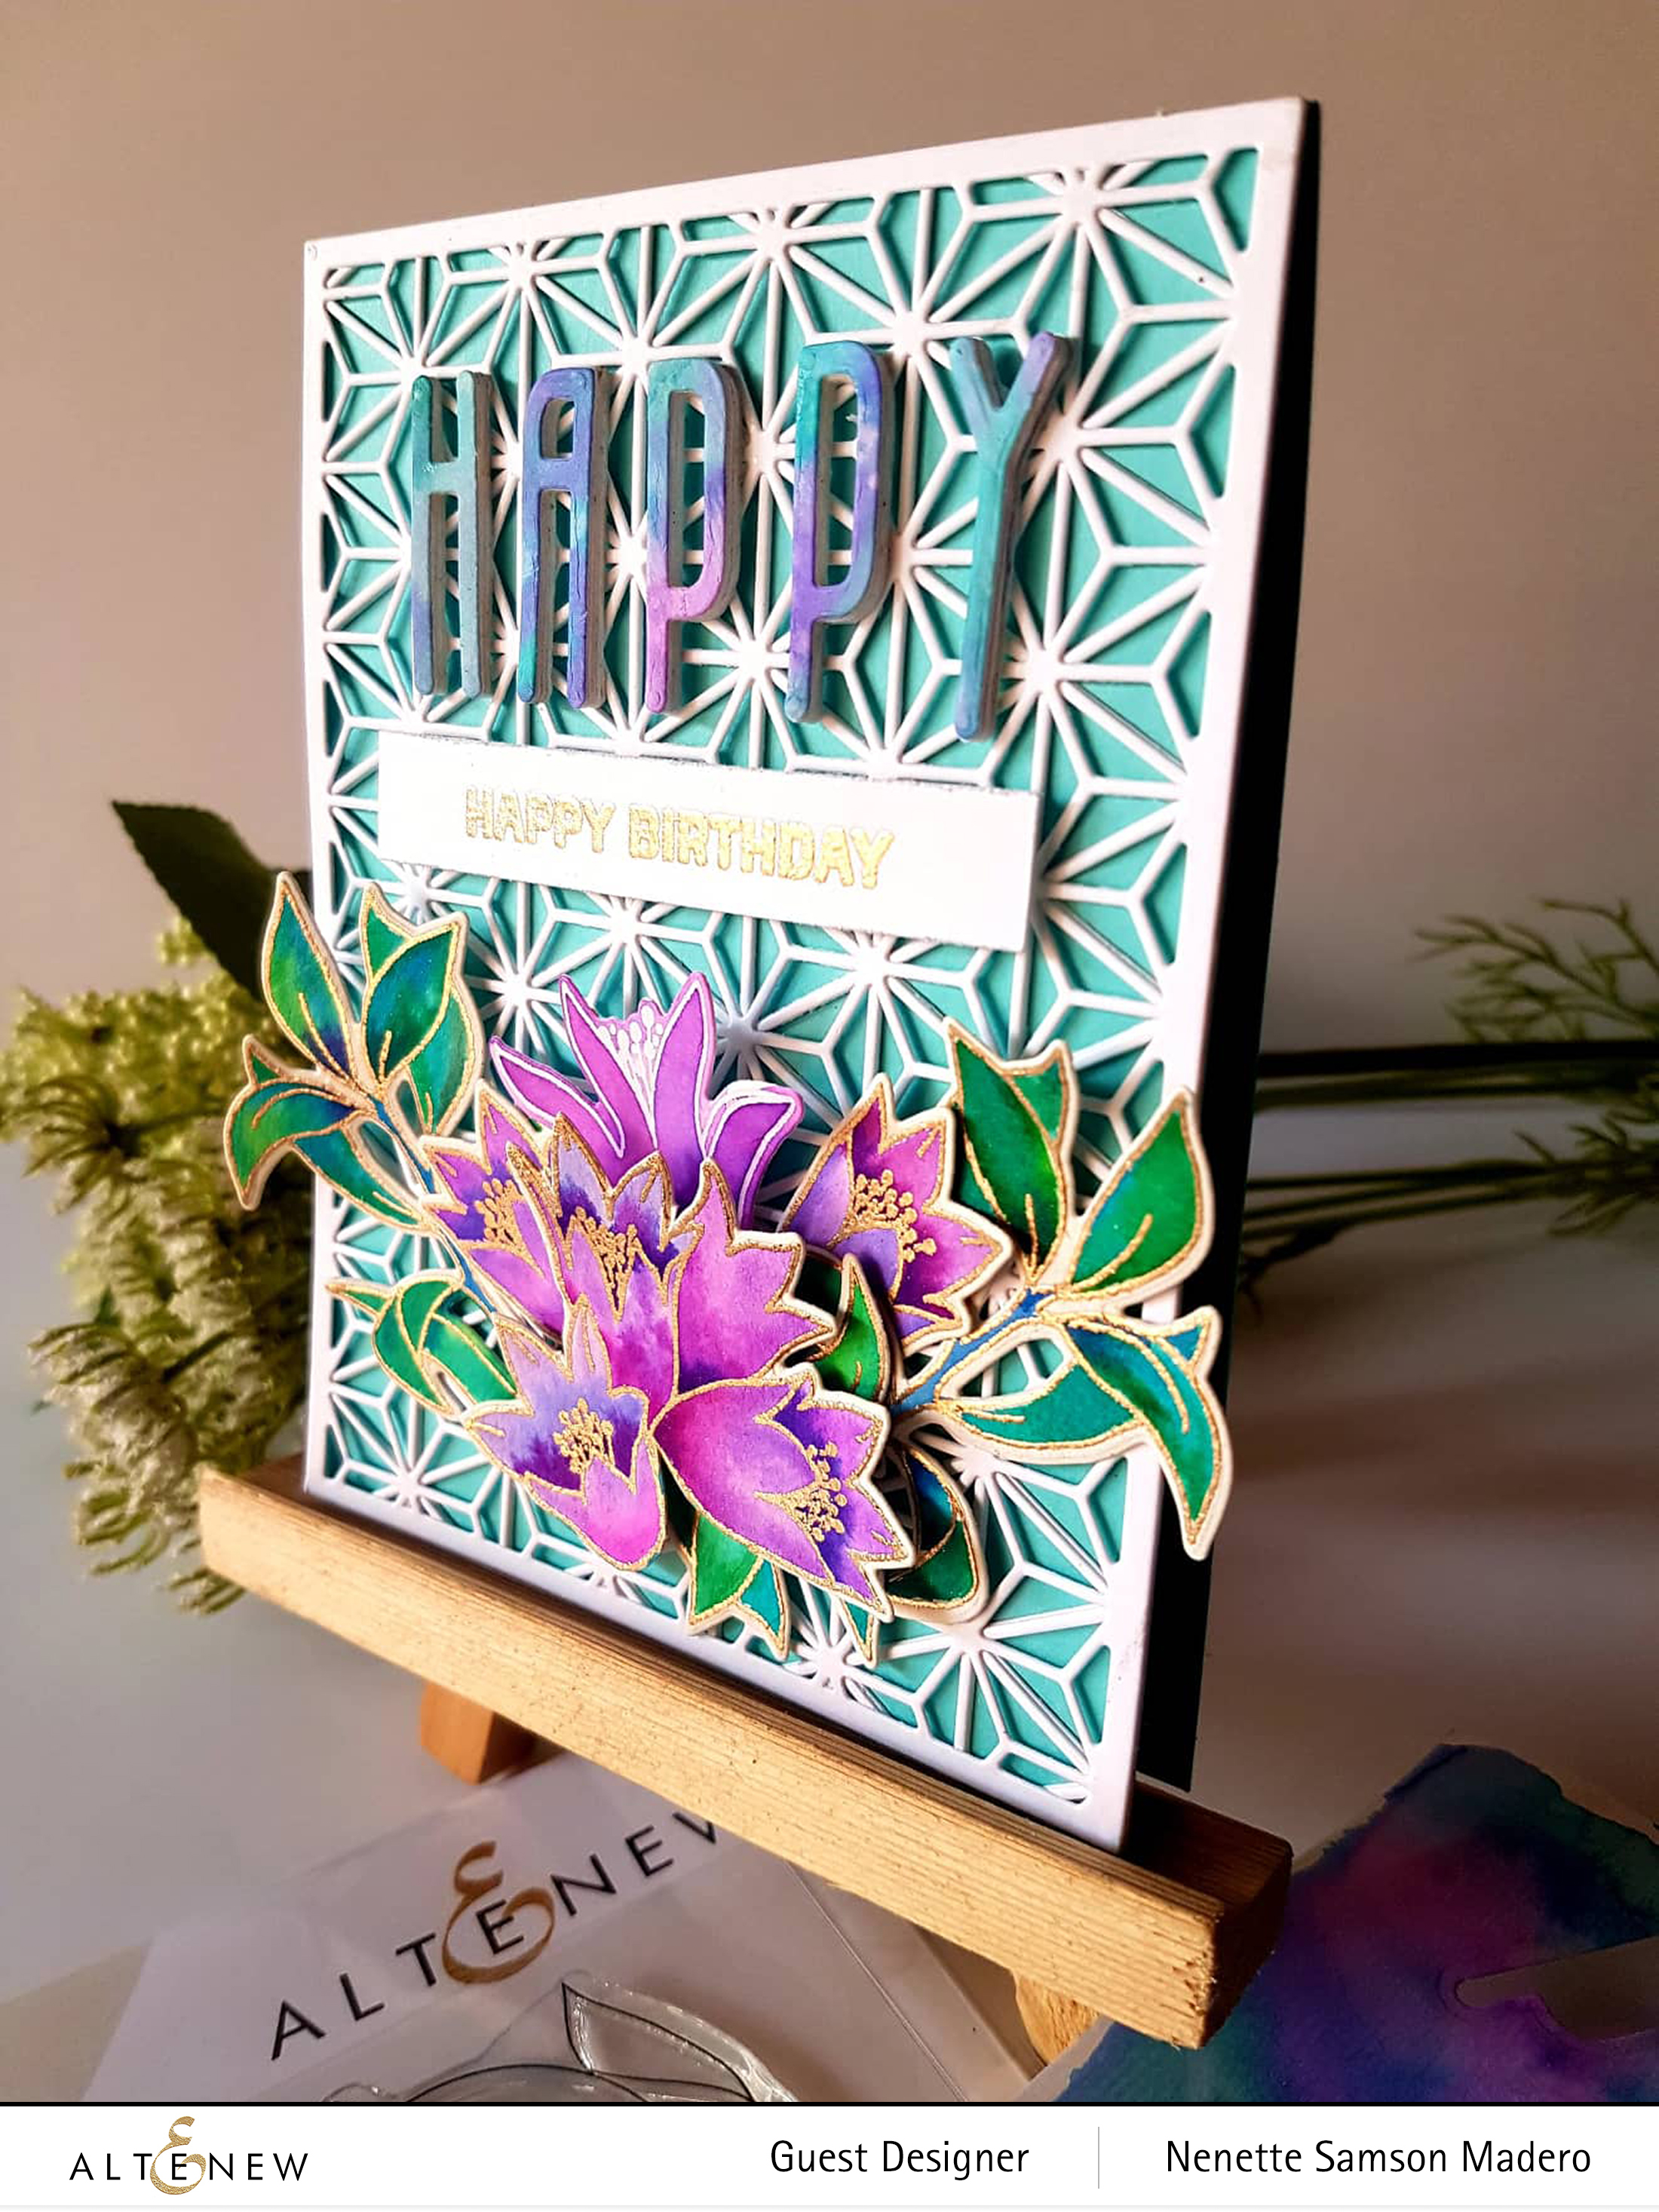
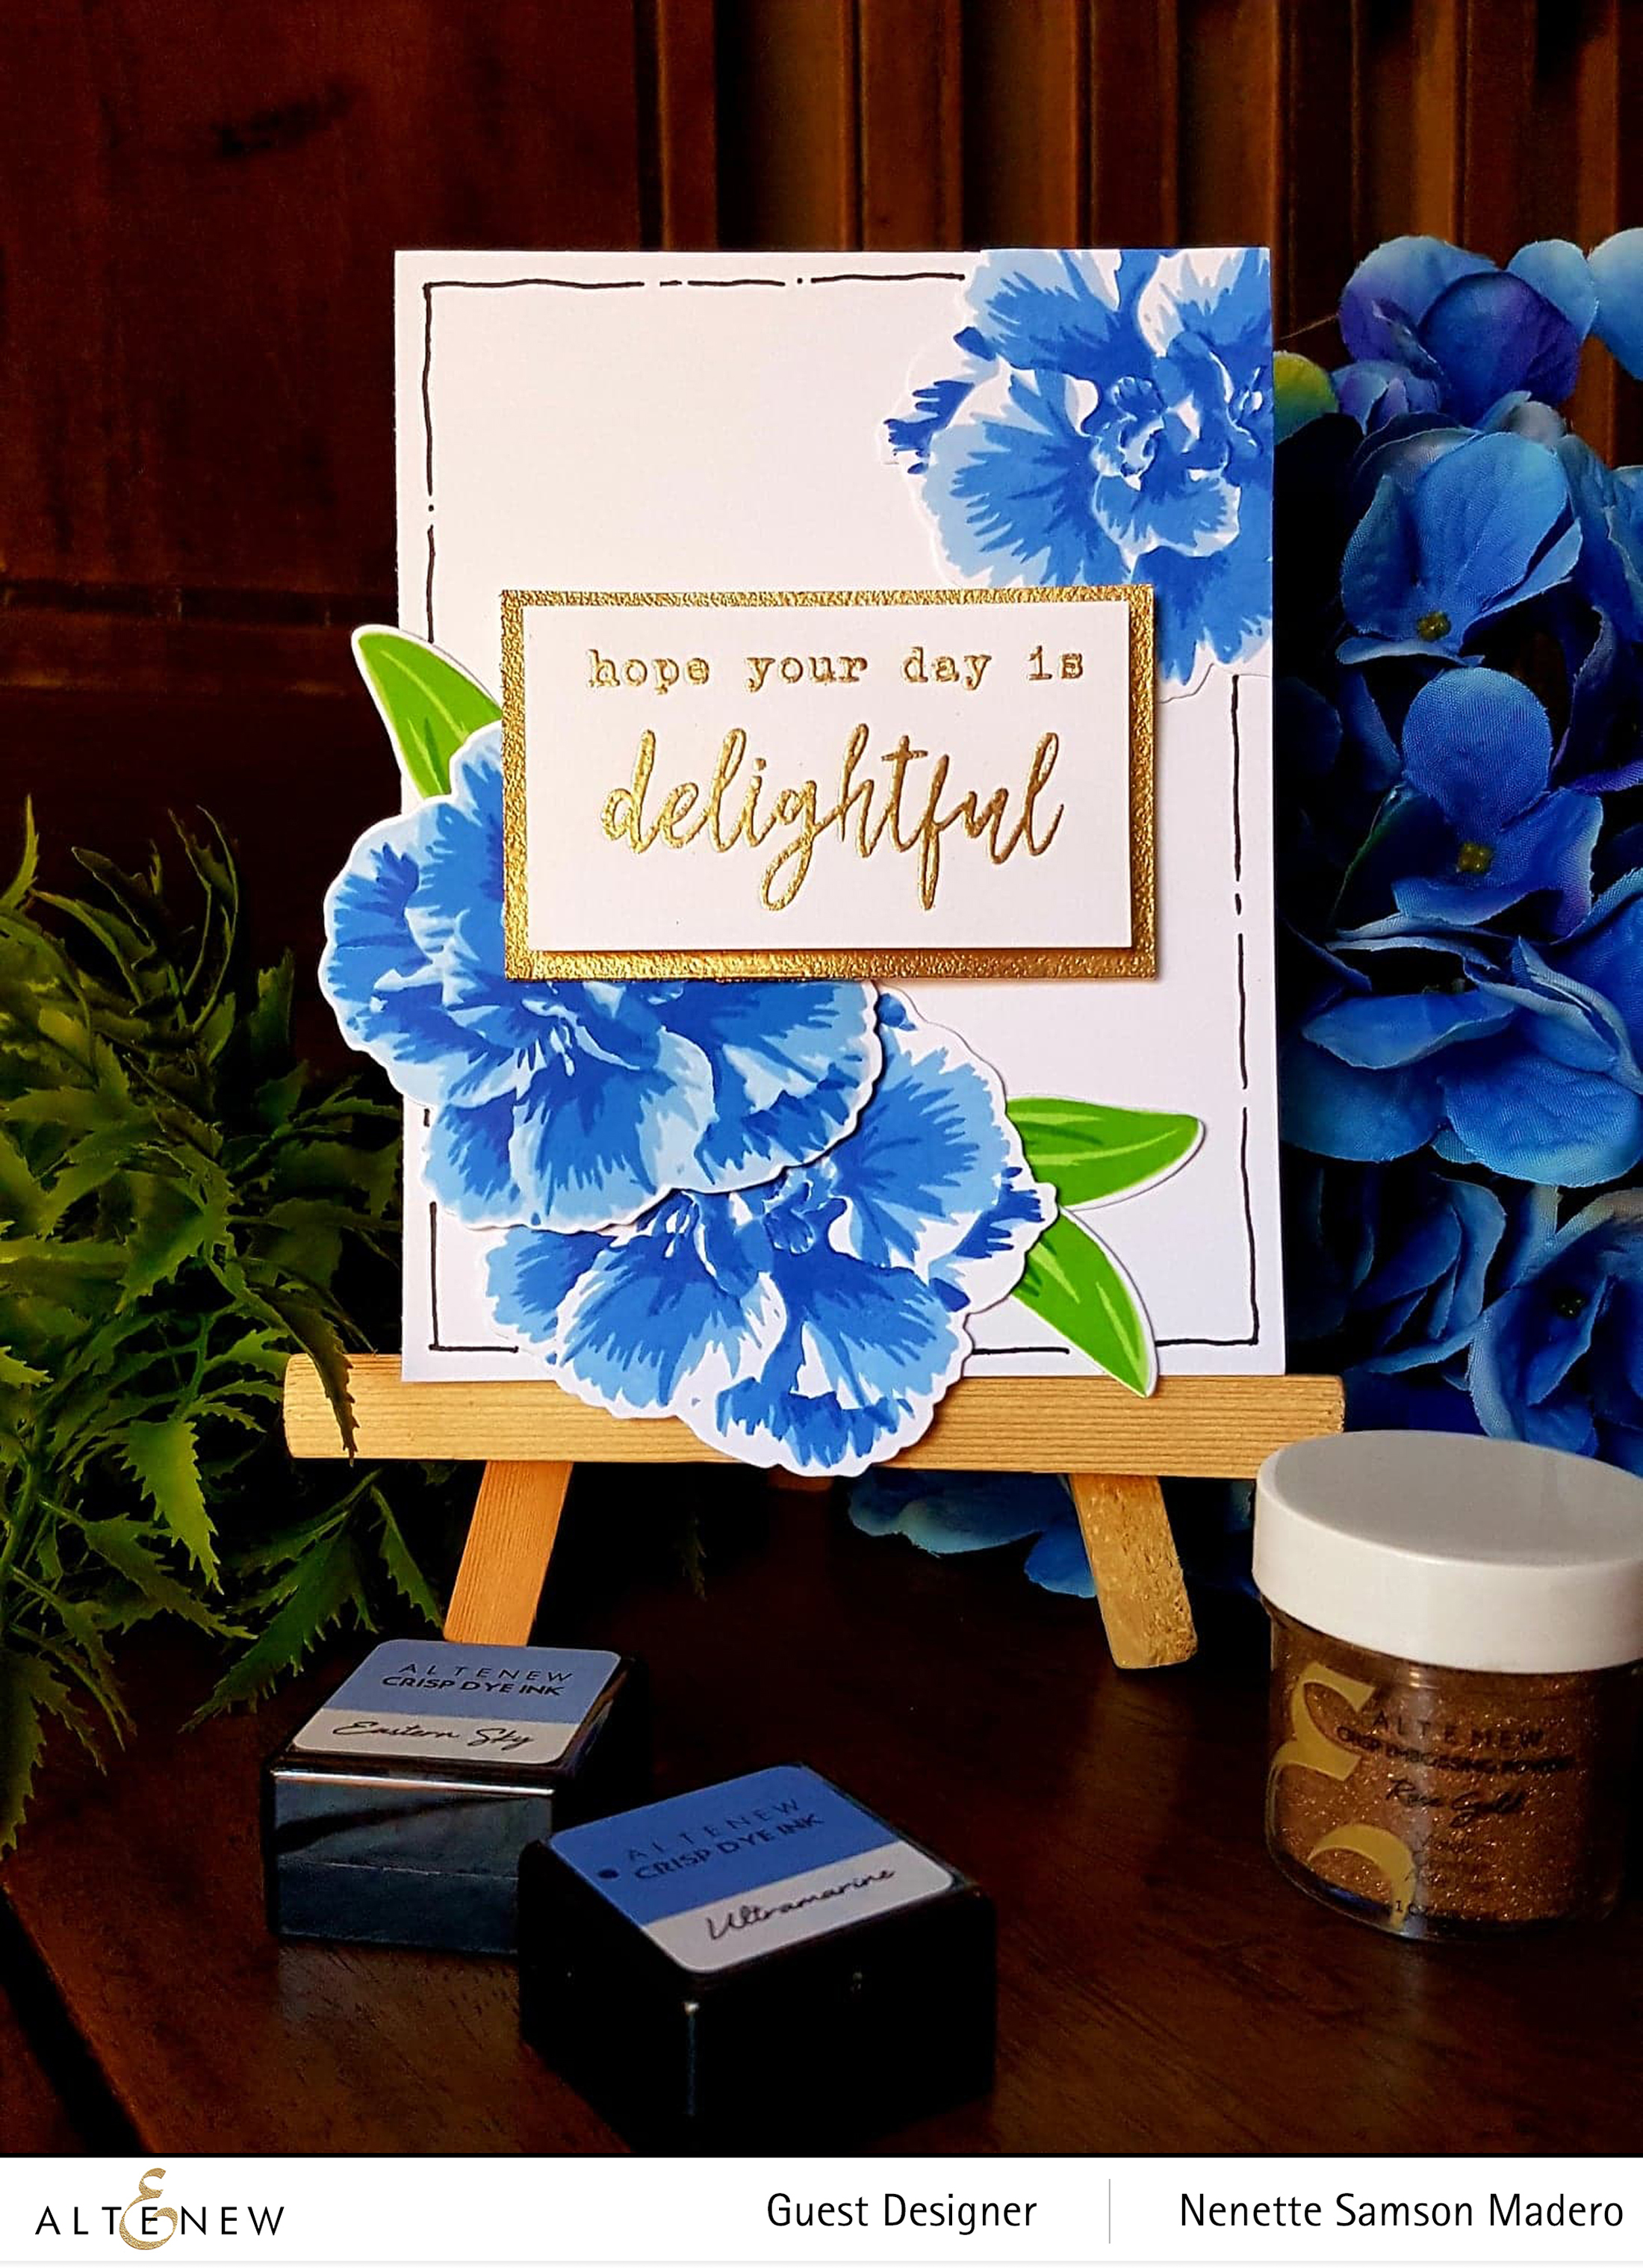
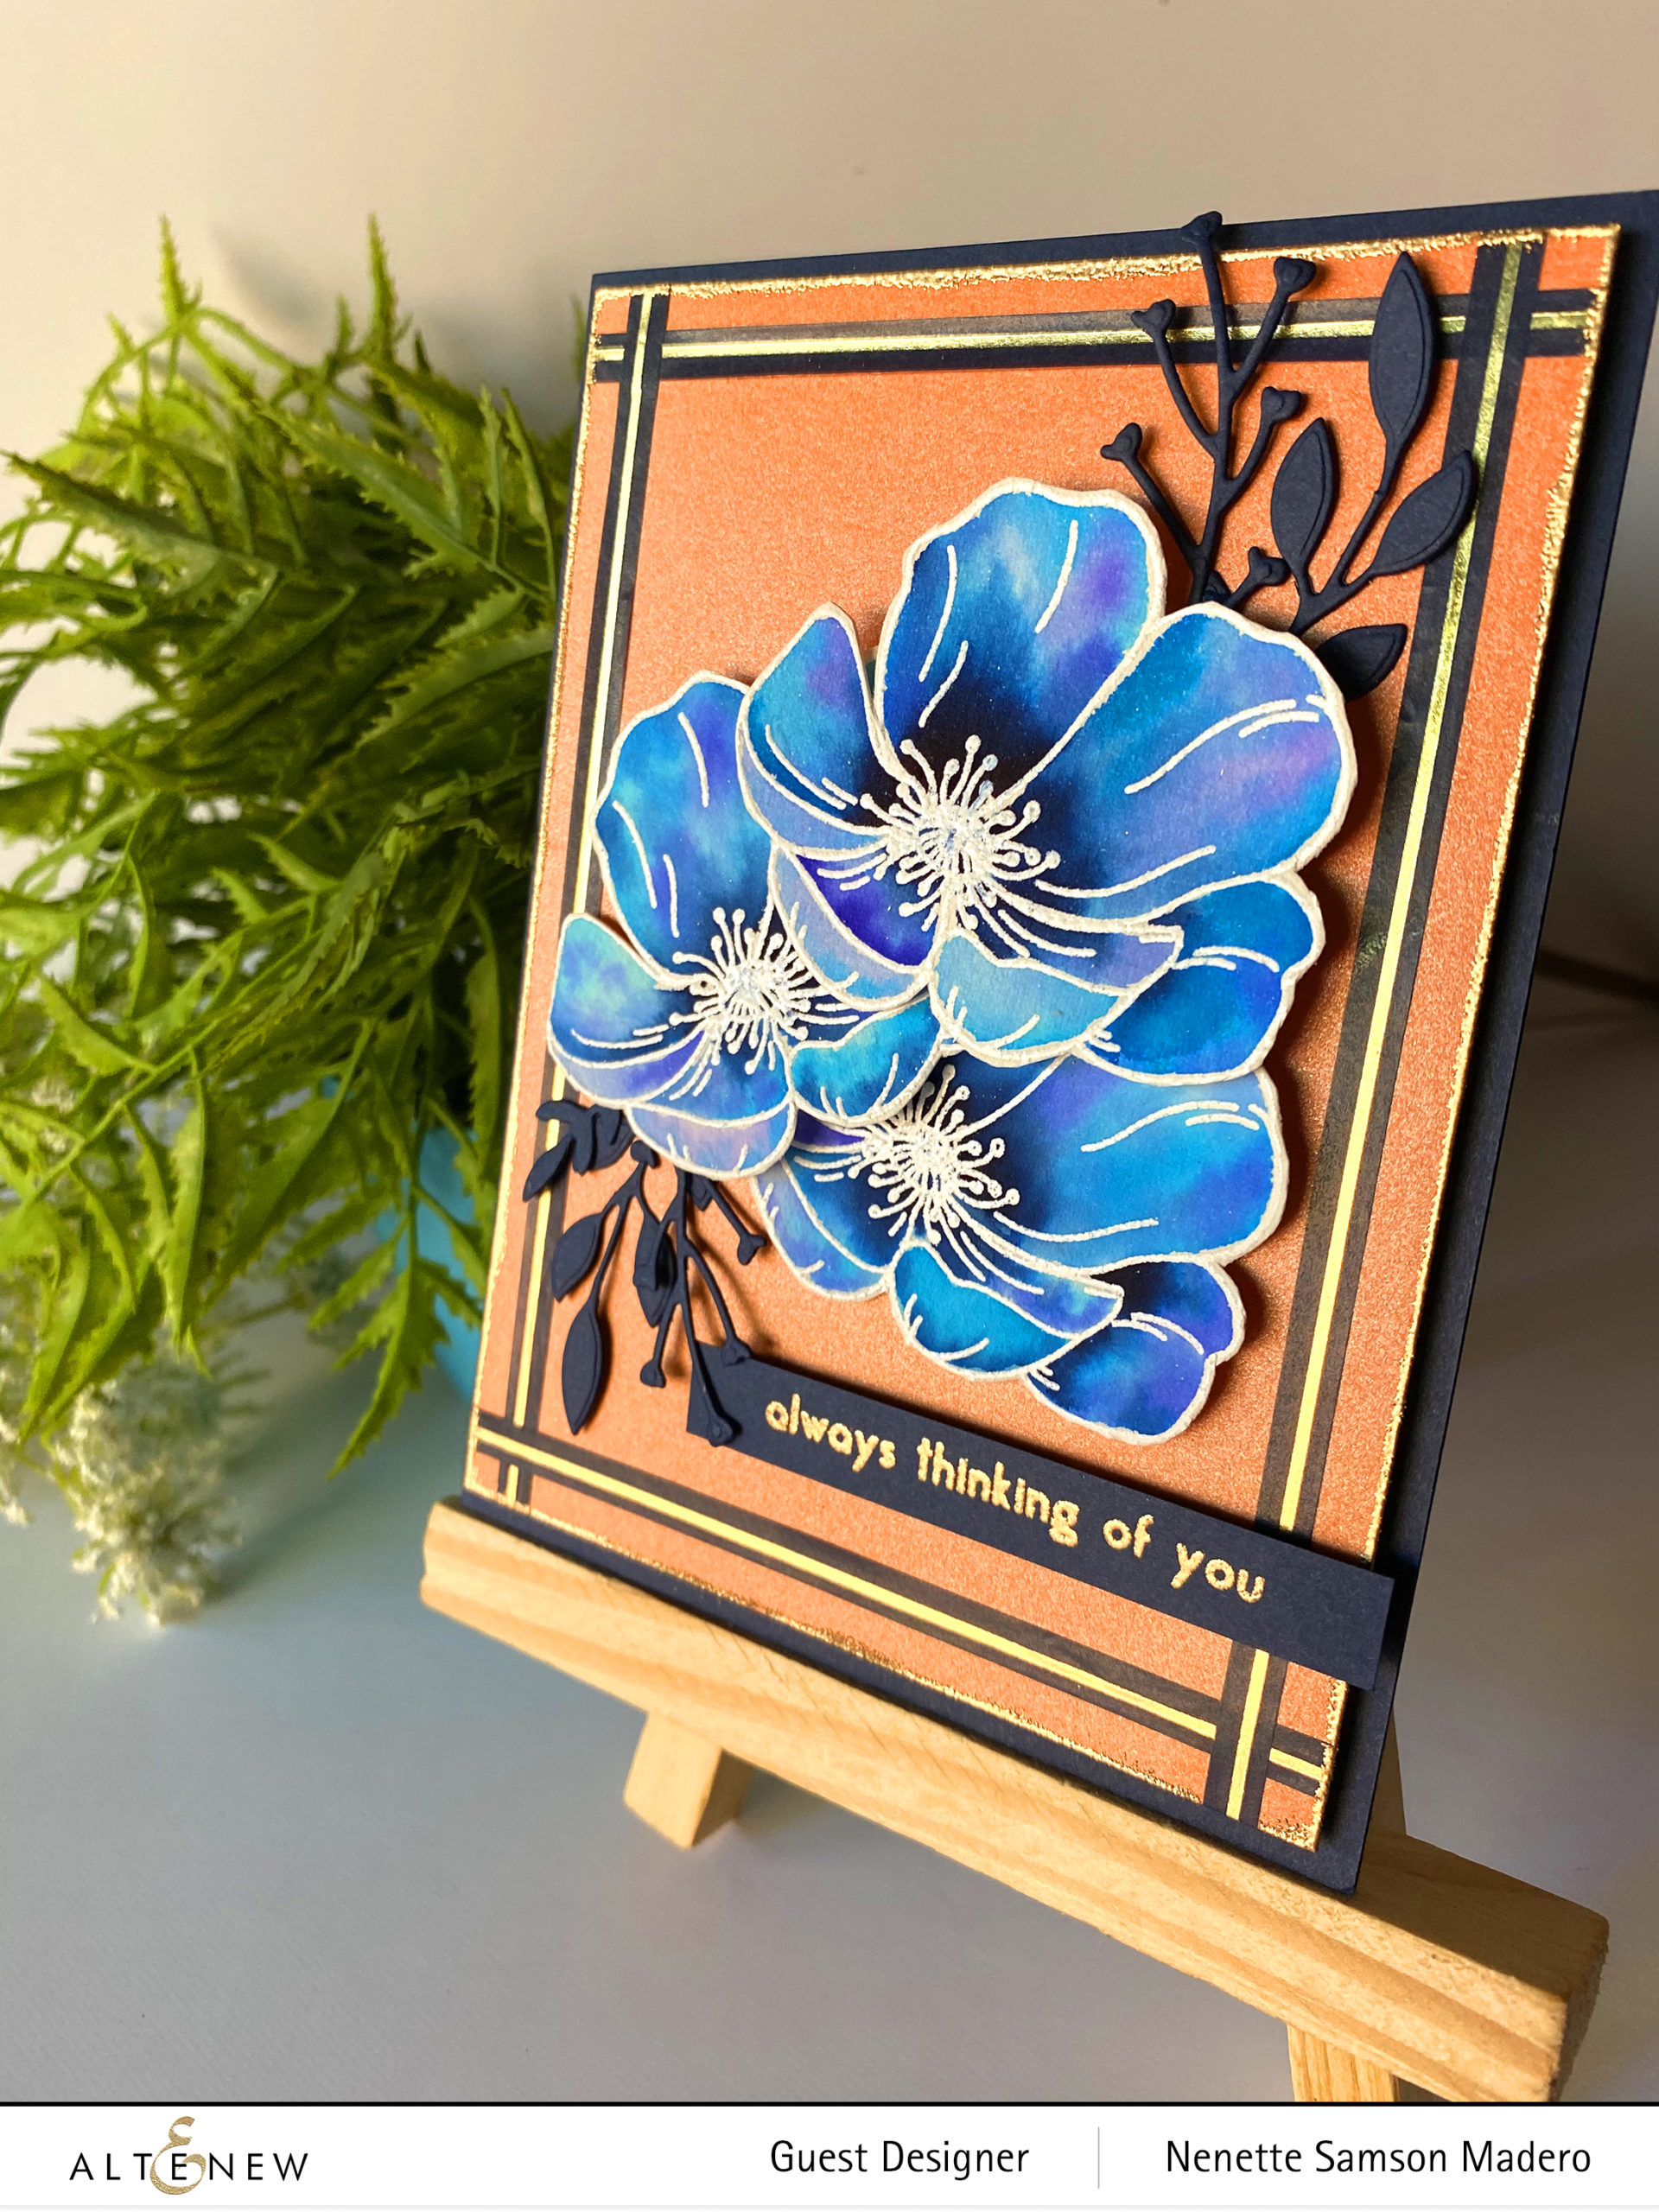
ALWAYS THINKING OF YOU
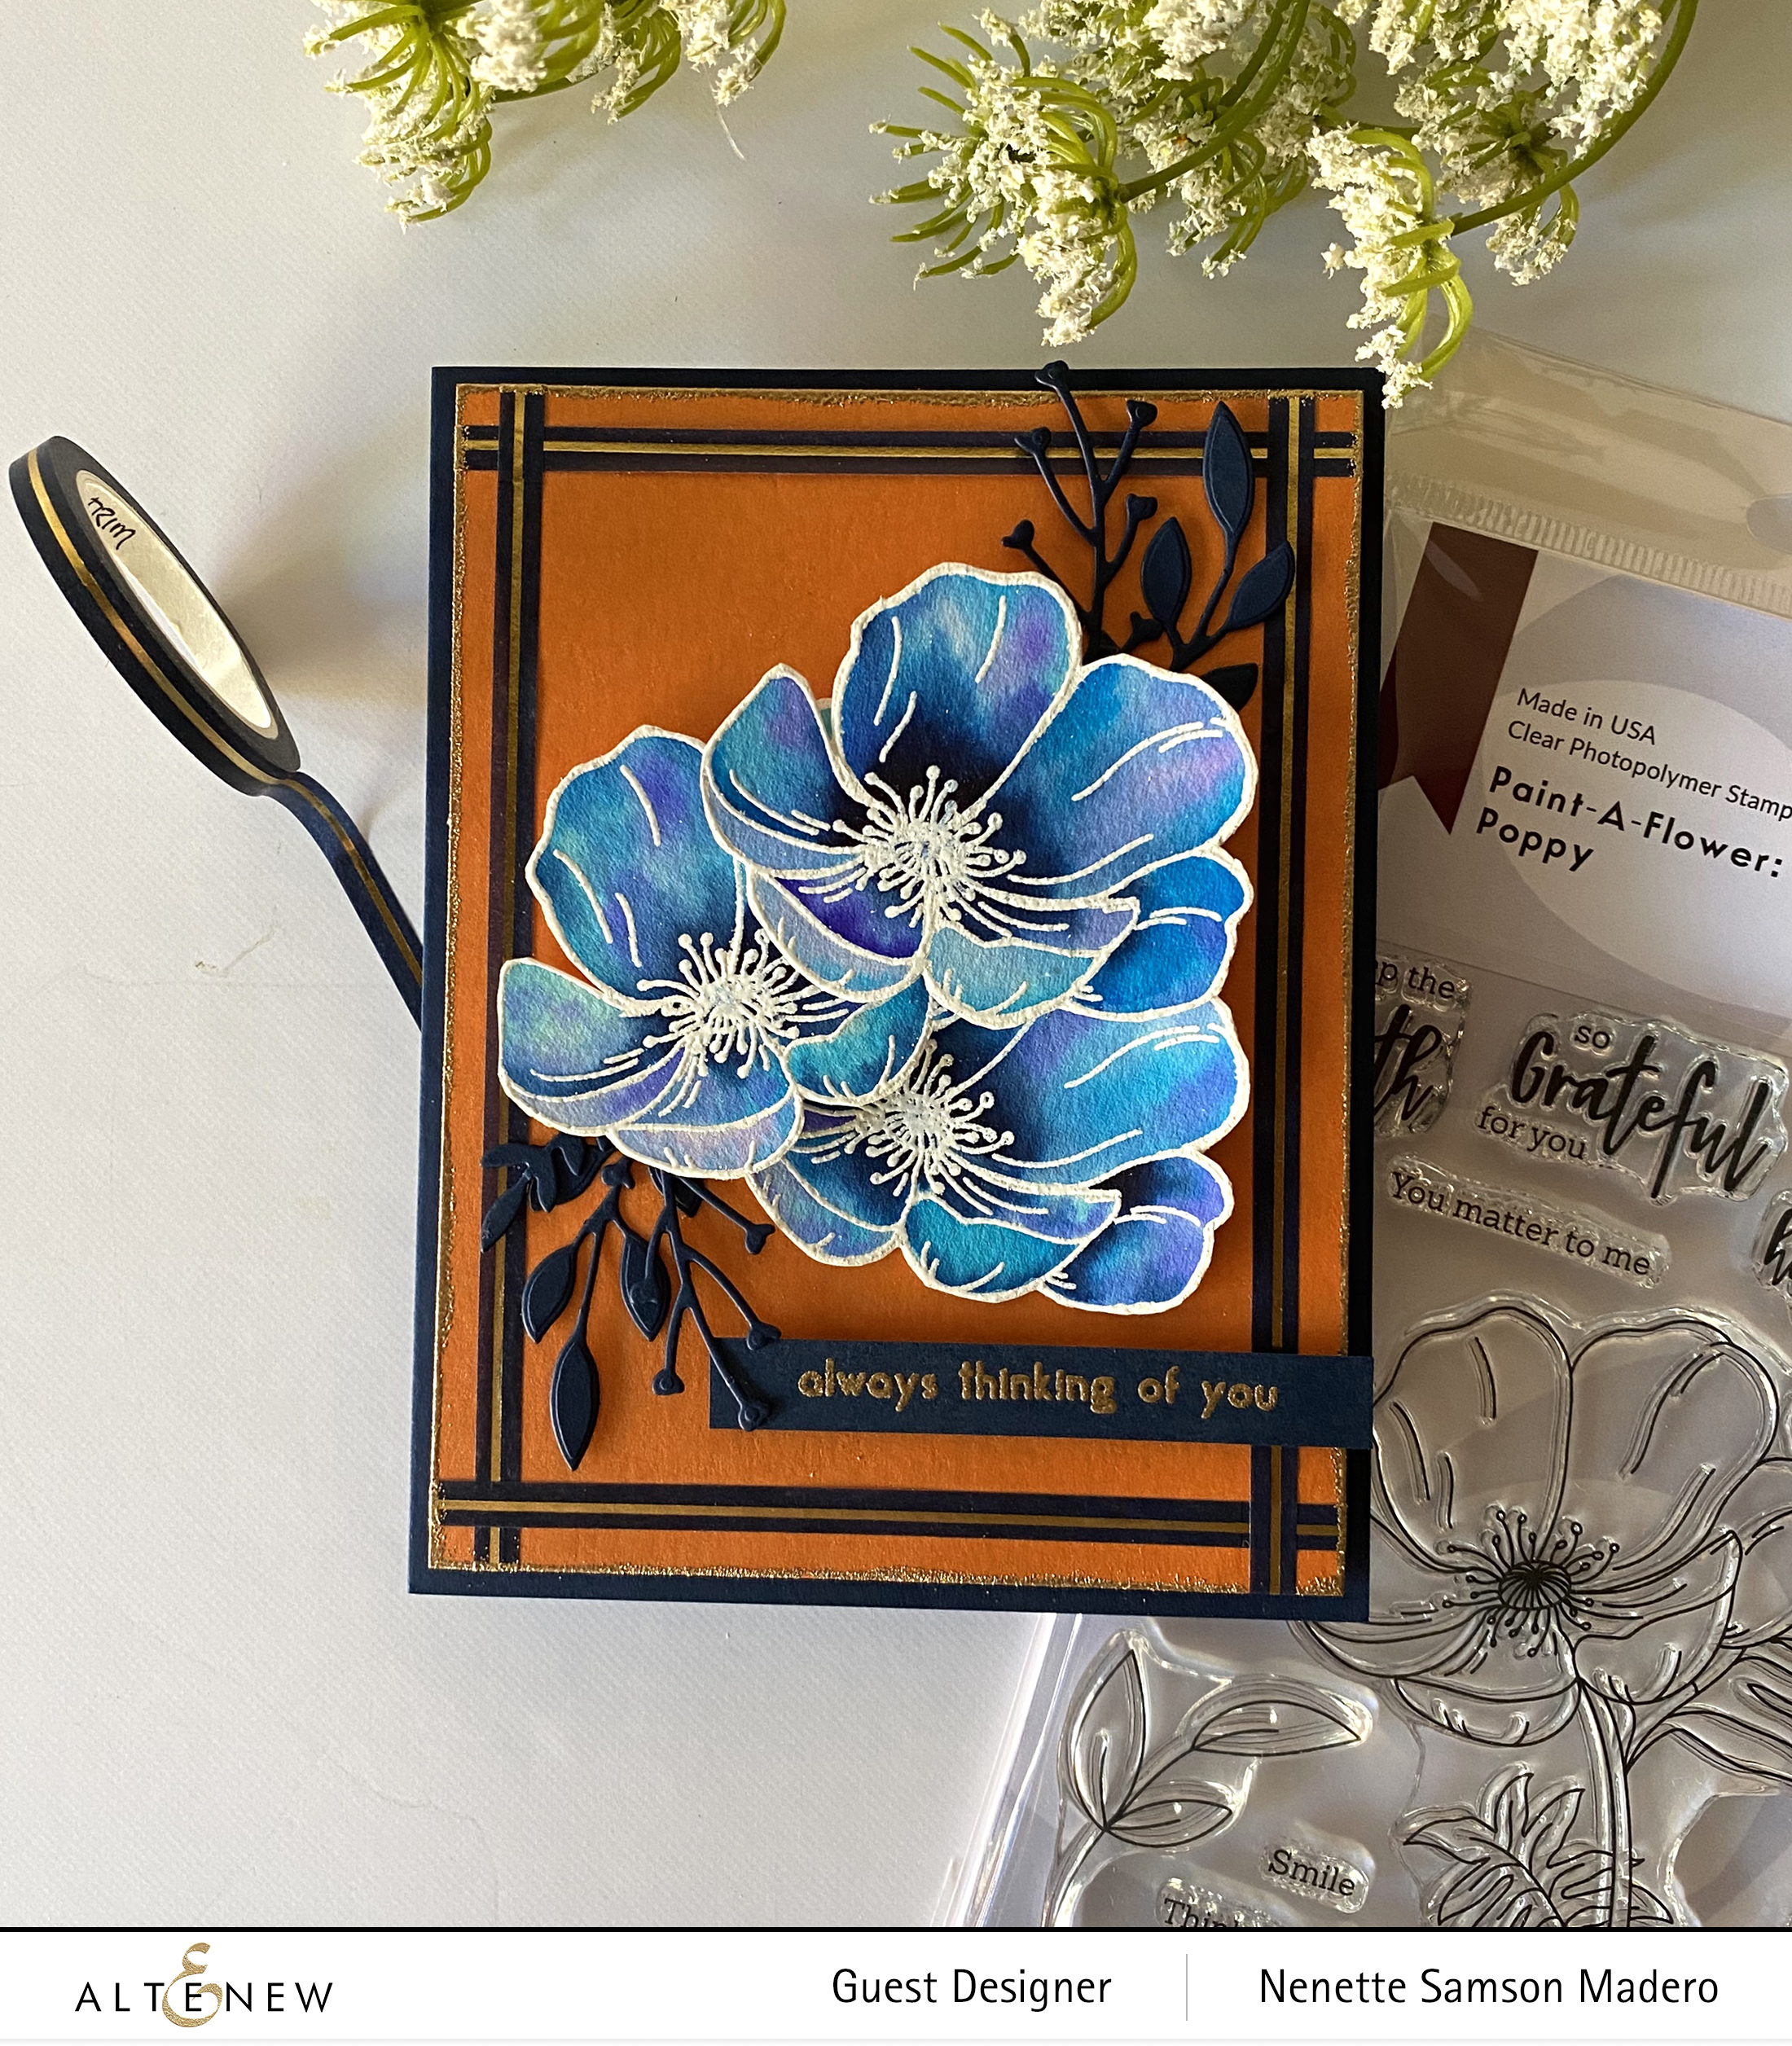
I used the beautiful Paint a Flower Poppy stamp for this card. These flowers were stamped on watercolor paper using Versa Mark Embossing ink then embossed with Altenew pure white crisp embossing powder. The petals were then watercolored using the watercolor brush markers.
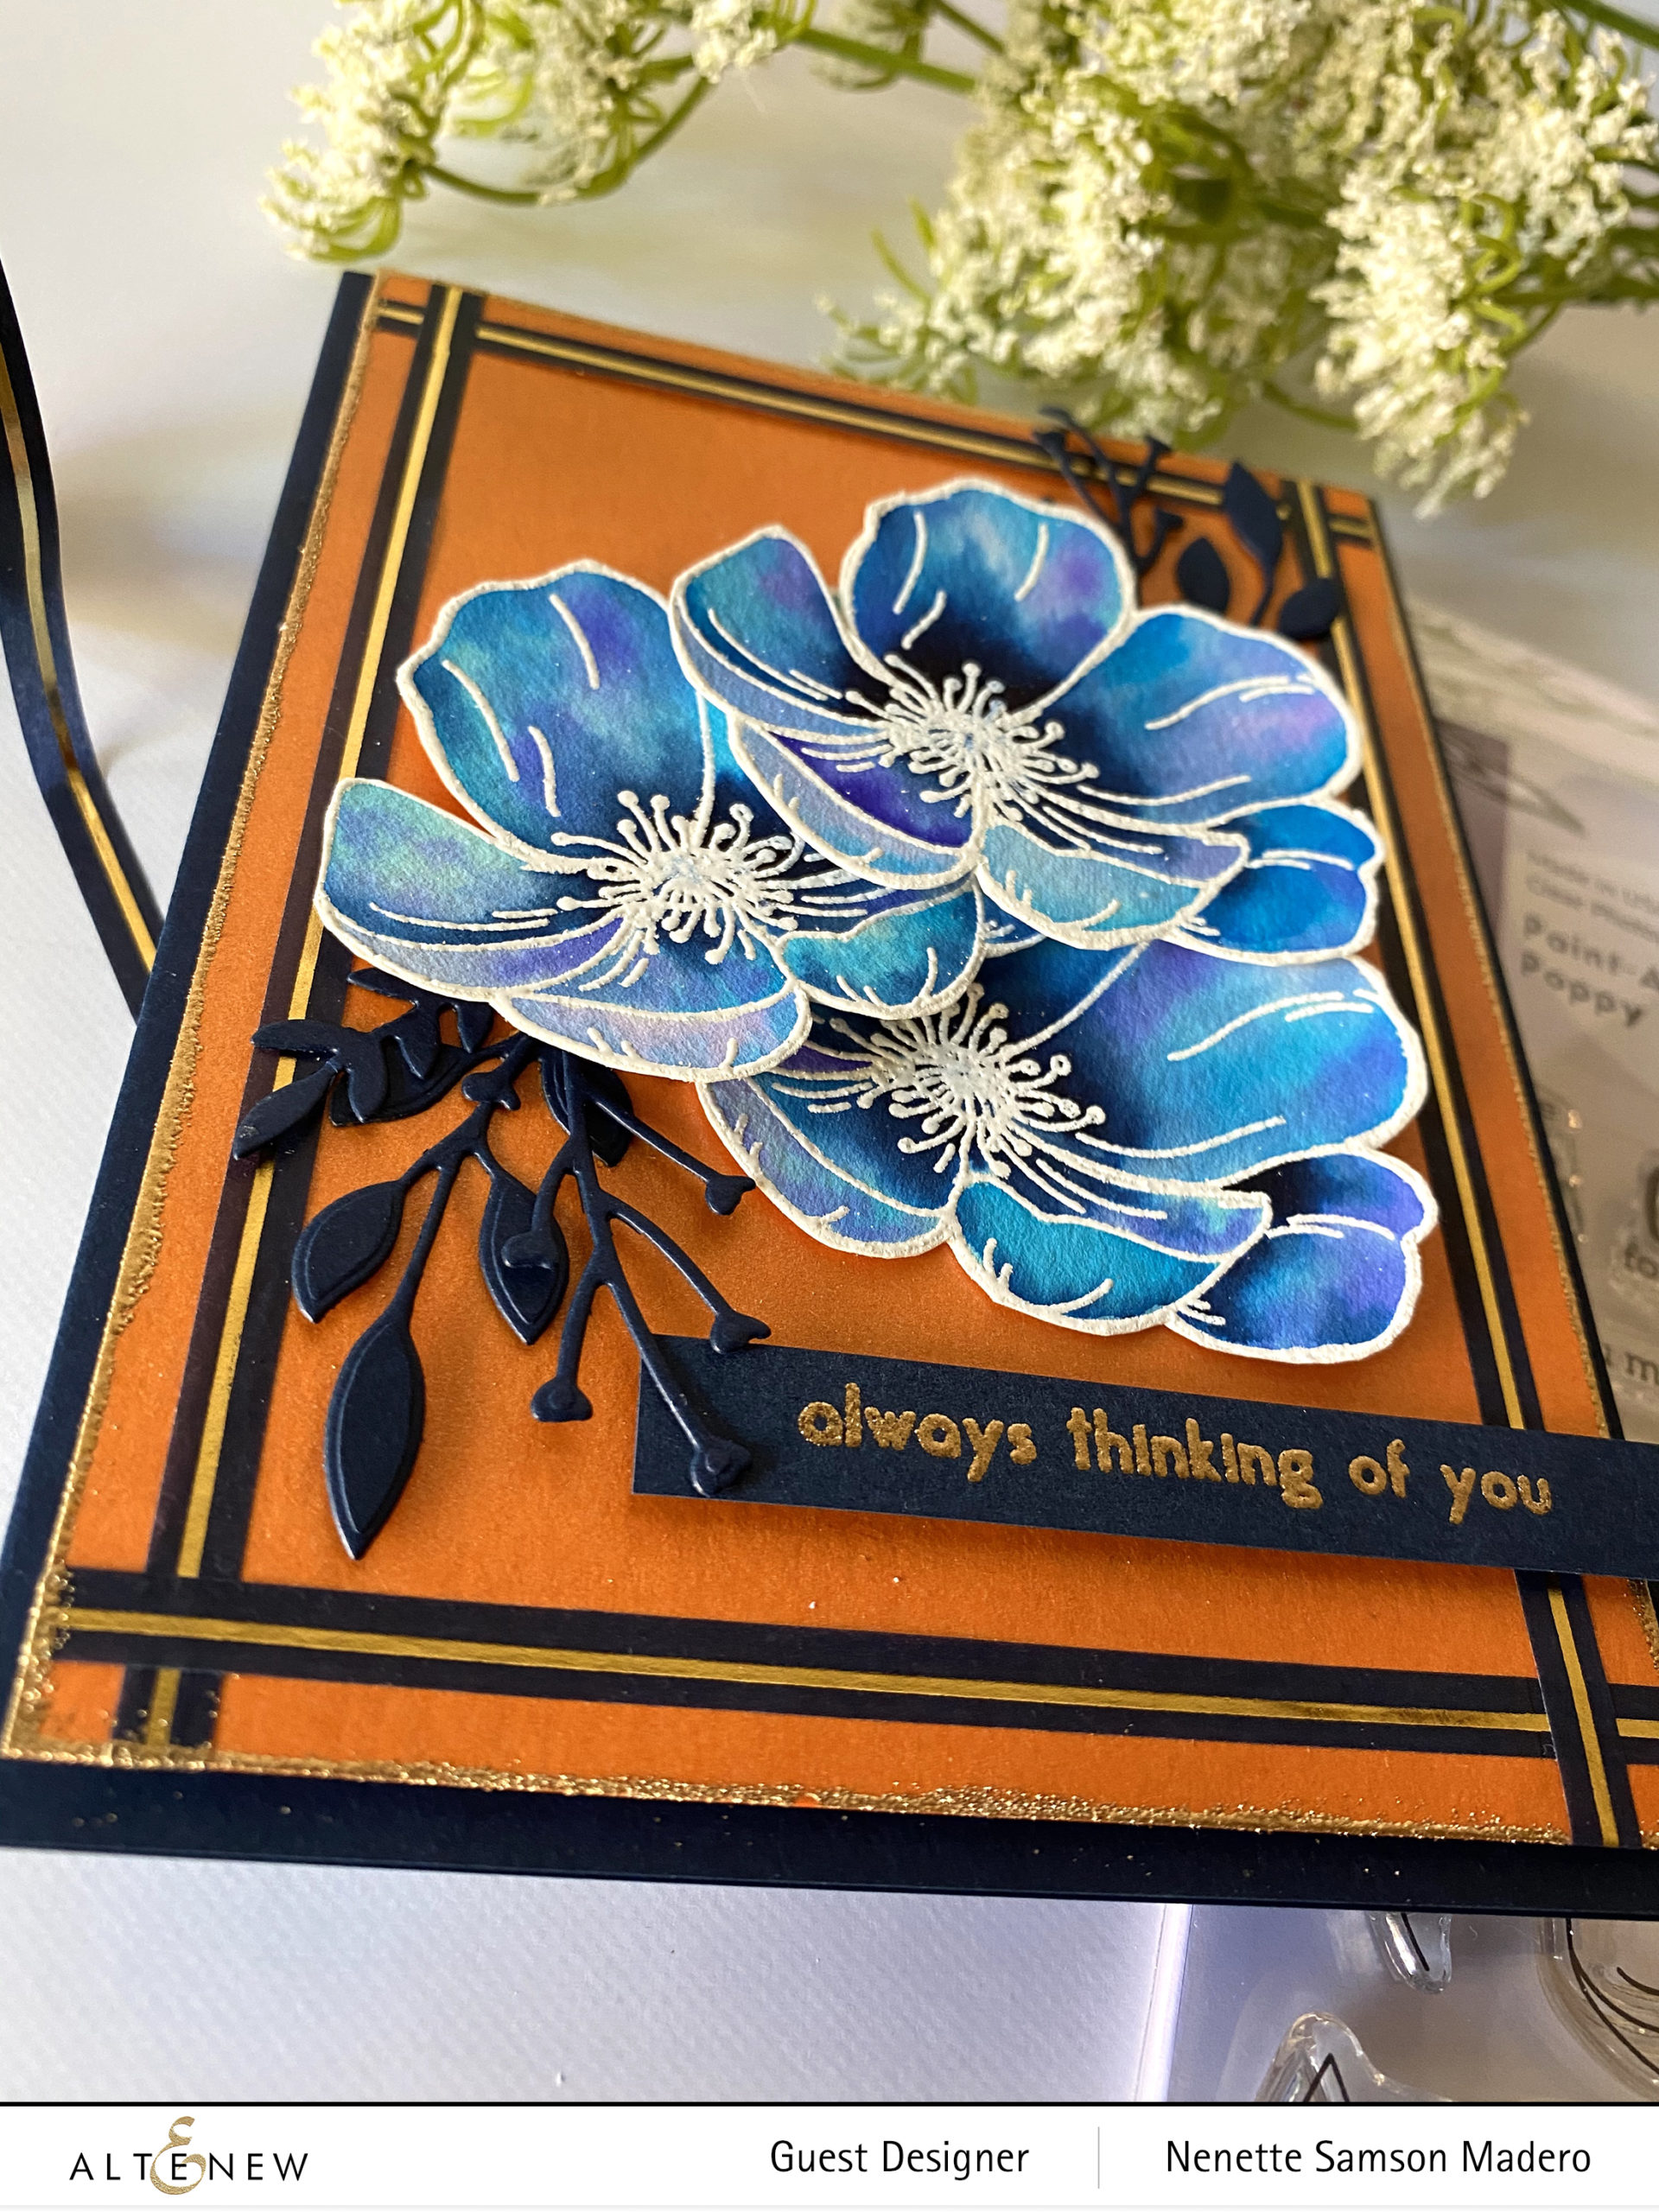
Some of the foliage from the Layered Floral Elements die were used to cut navy blue cardstock. The sentiment was stamped on the blue cardstock as well and embossed with the Rose Gold Embossing powder. I added Versamark Ink to the edges and embossed with gold embossing powder for contrast. The flowers were adhered using foam tape to create some dimension. These flowers were framed using the Navy Gold trim washi tape.
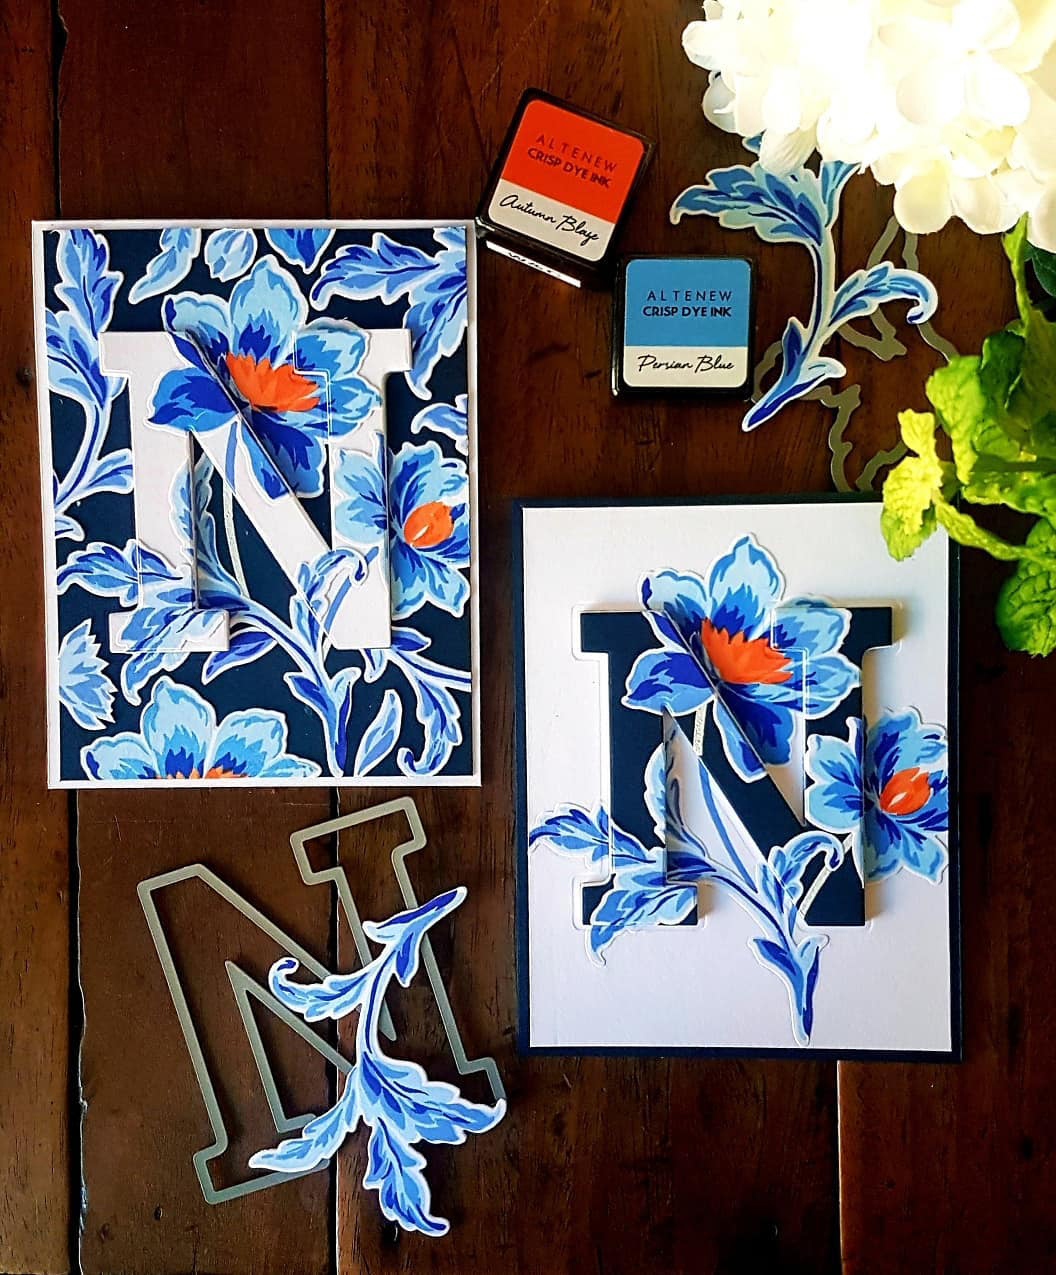
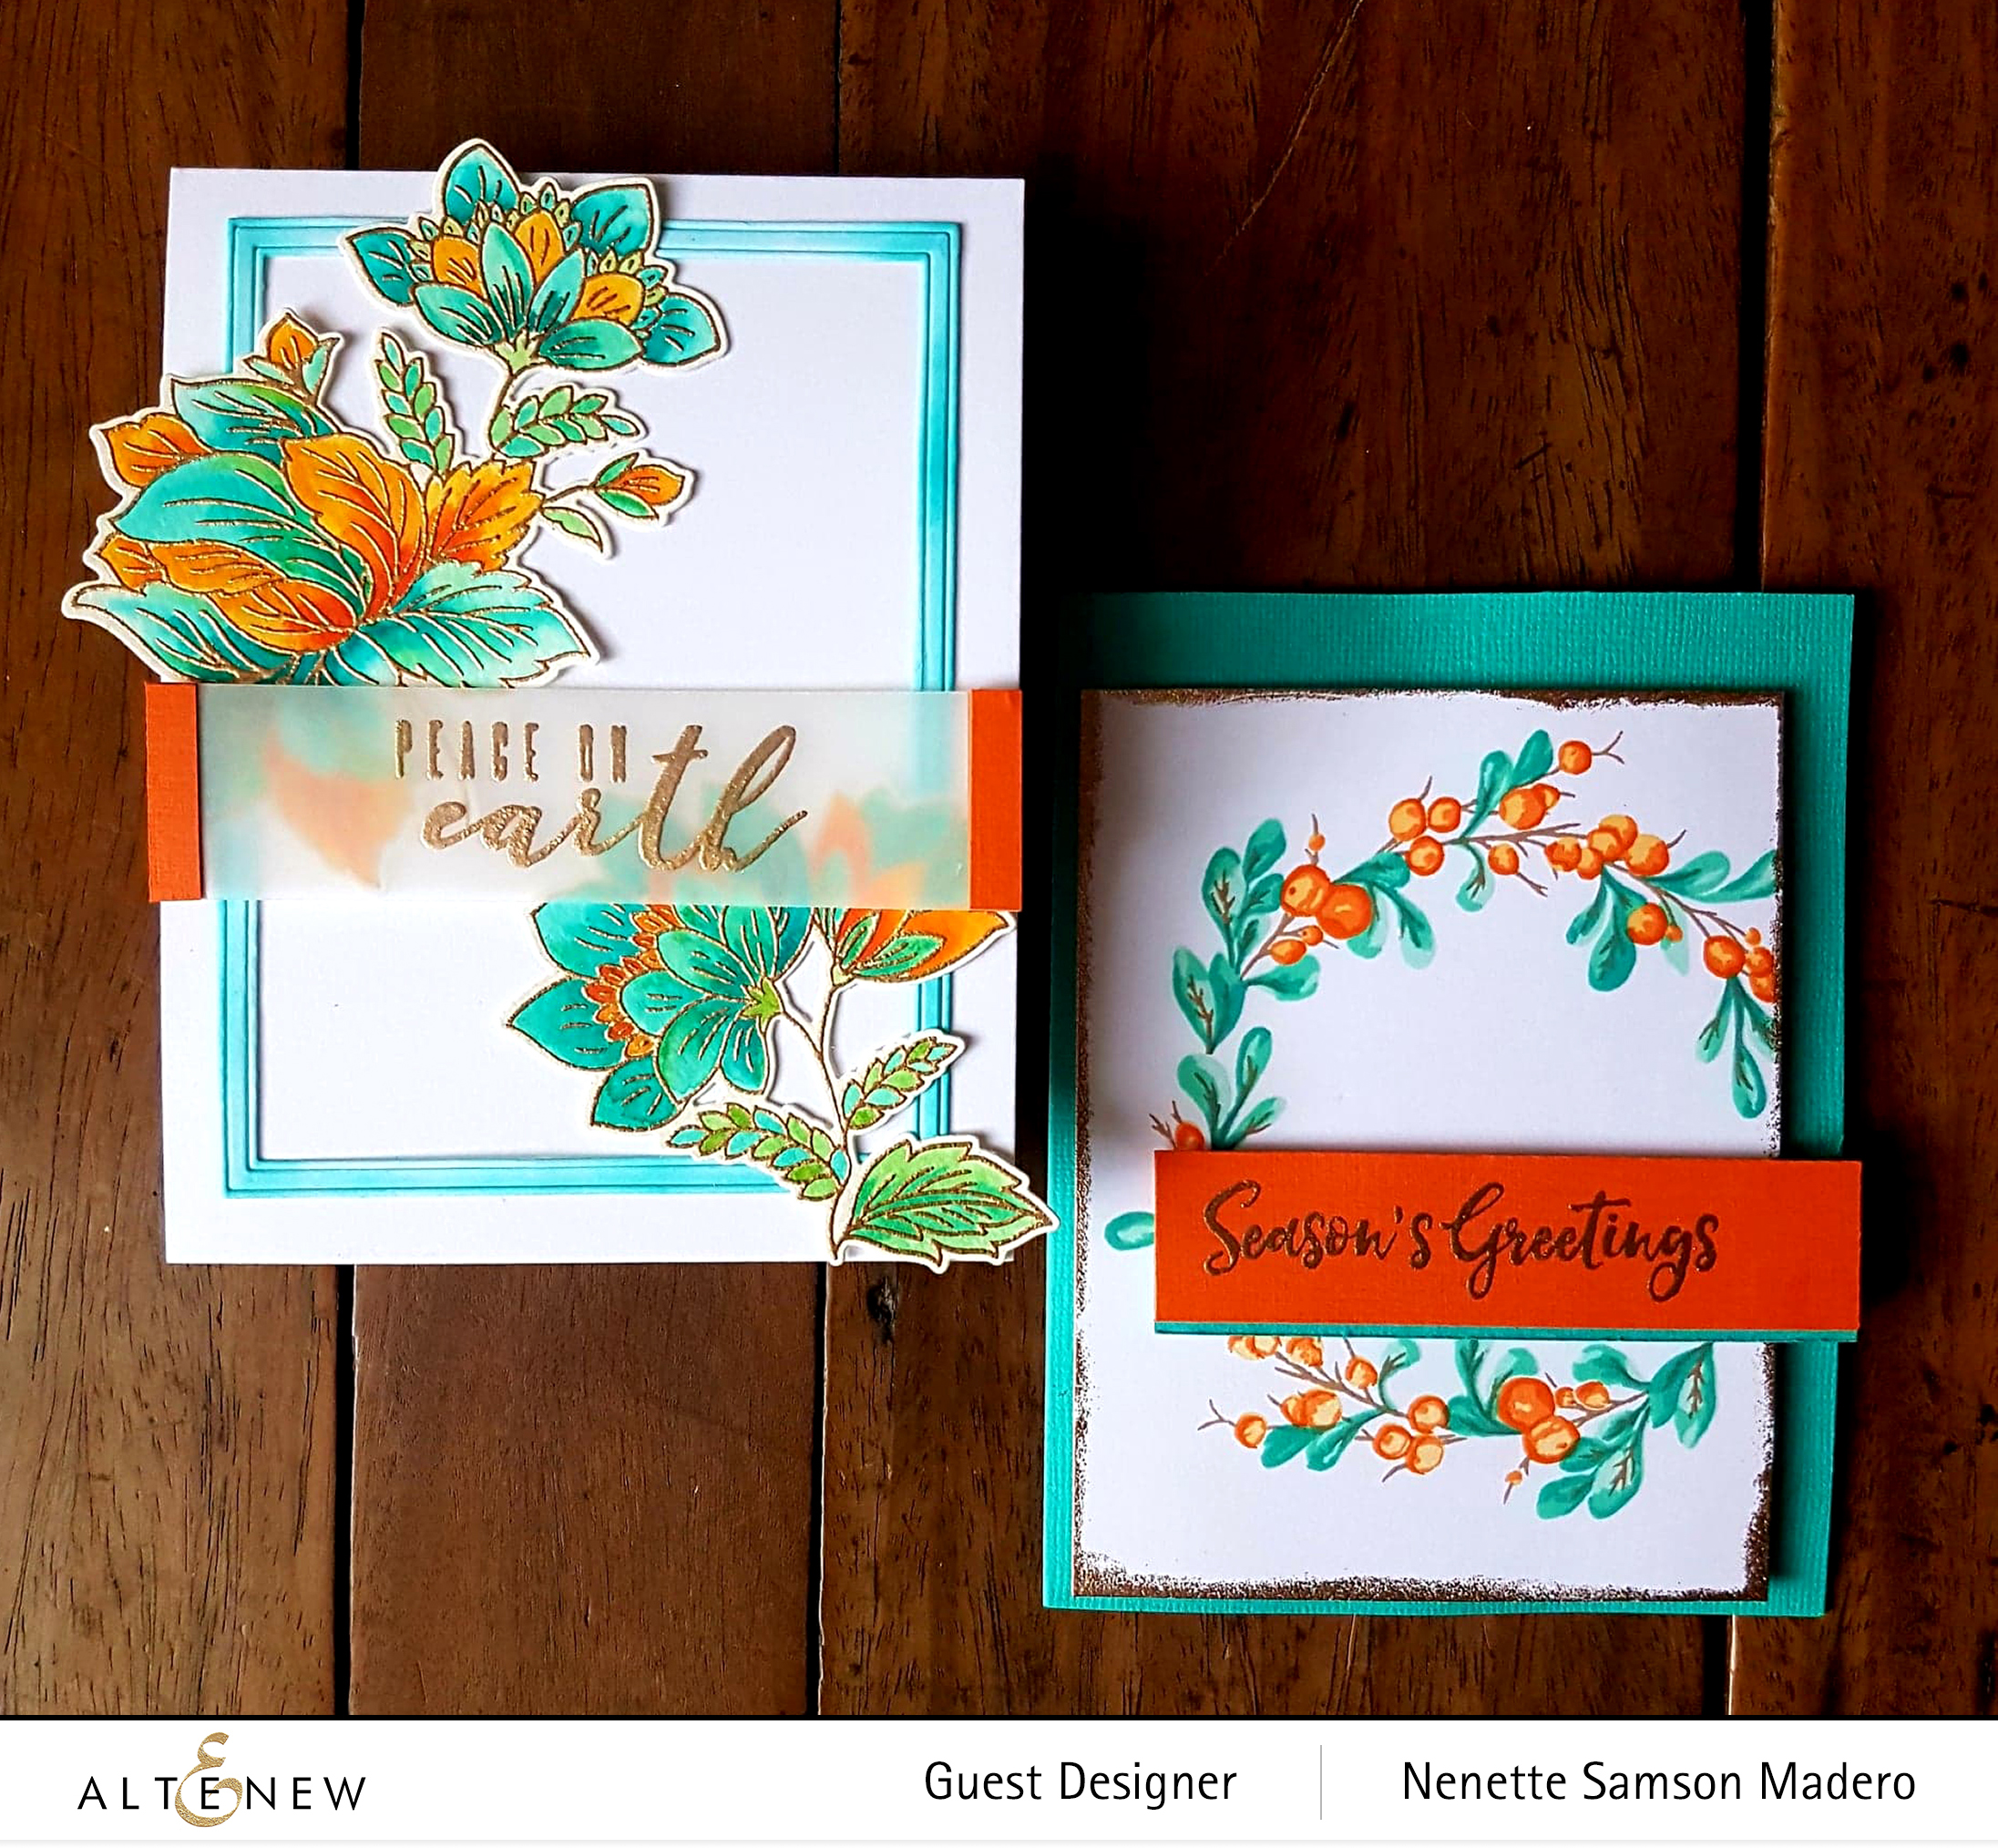
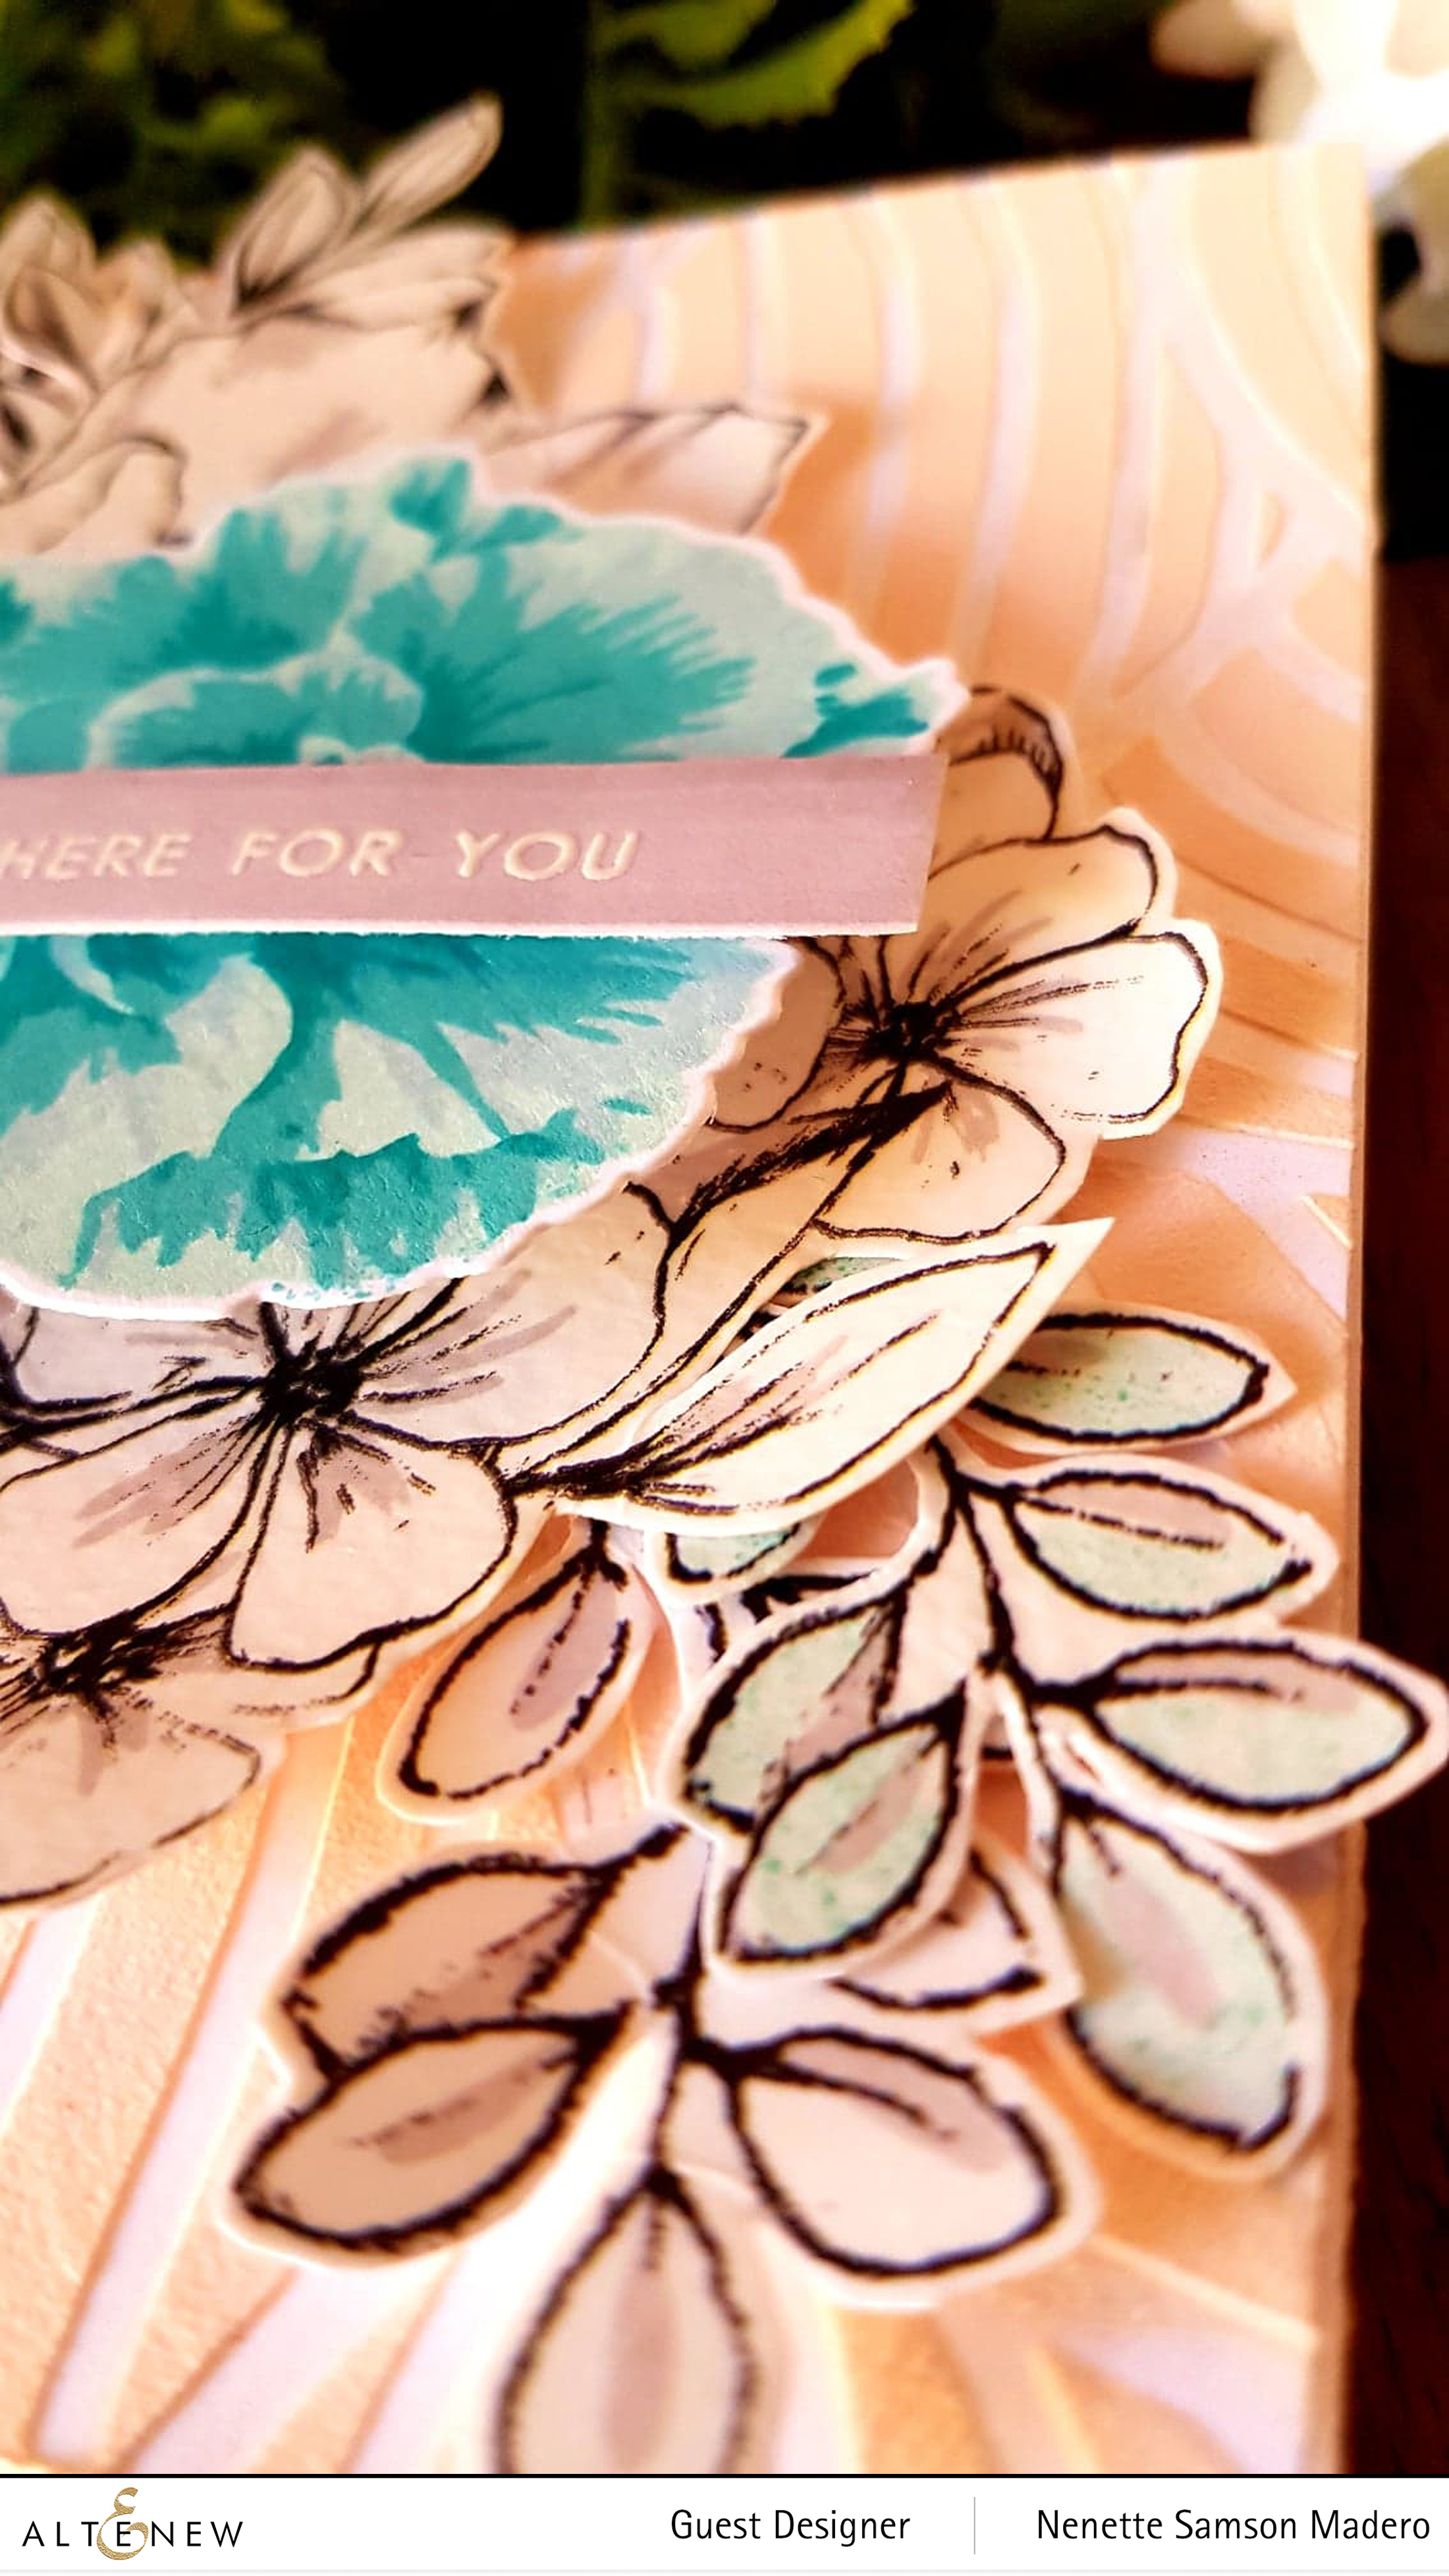
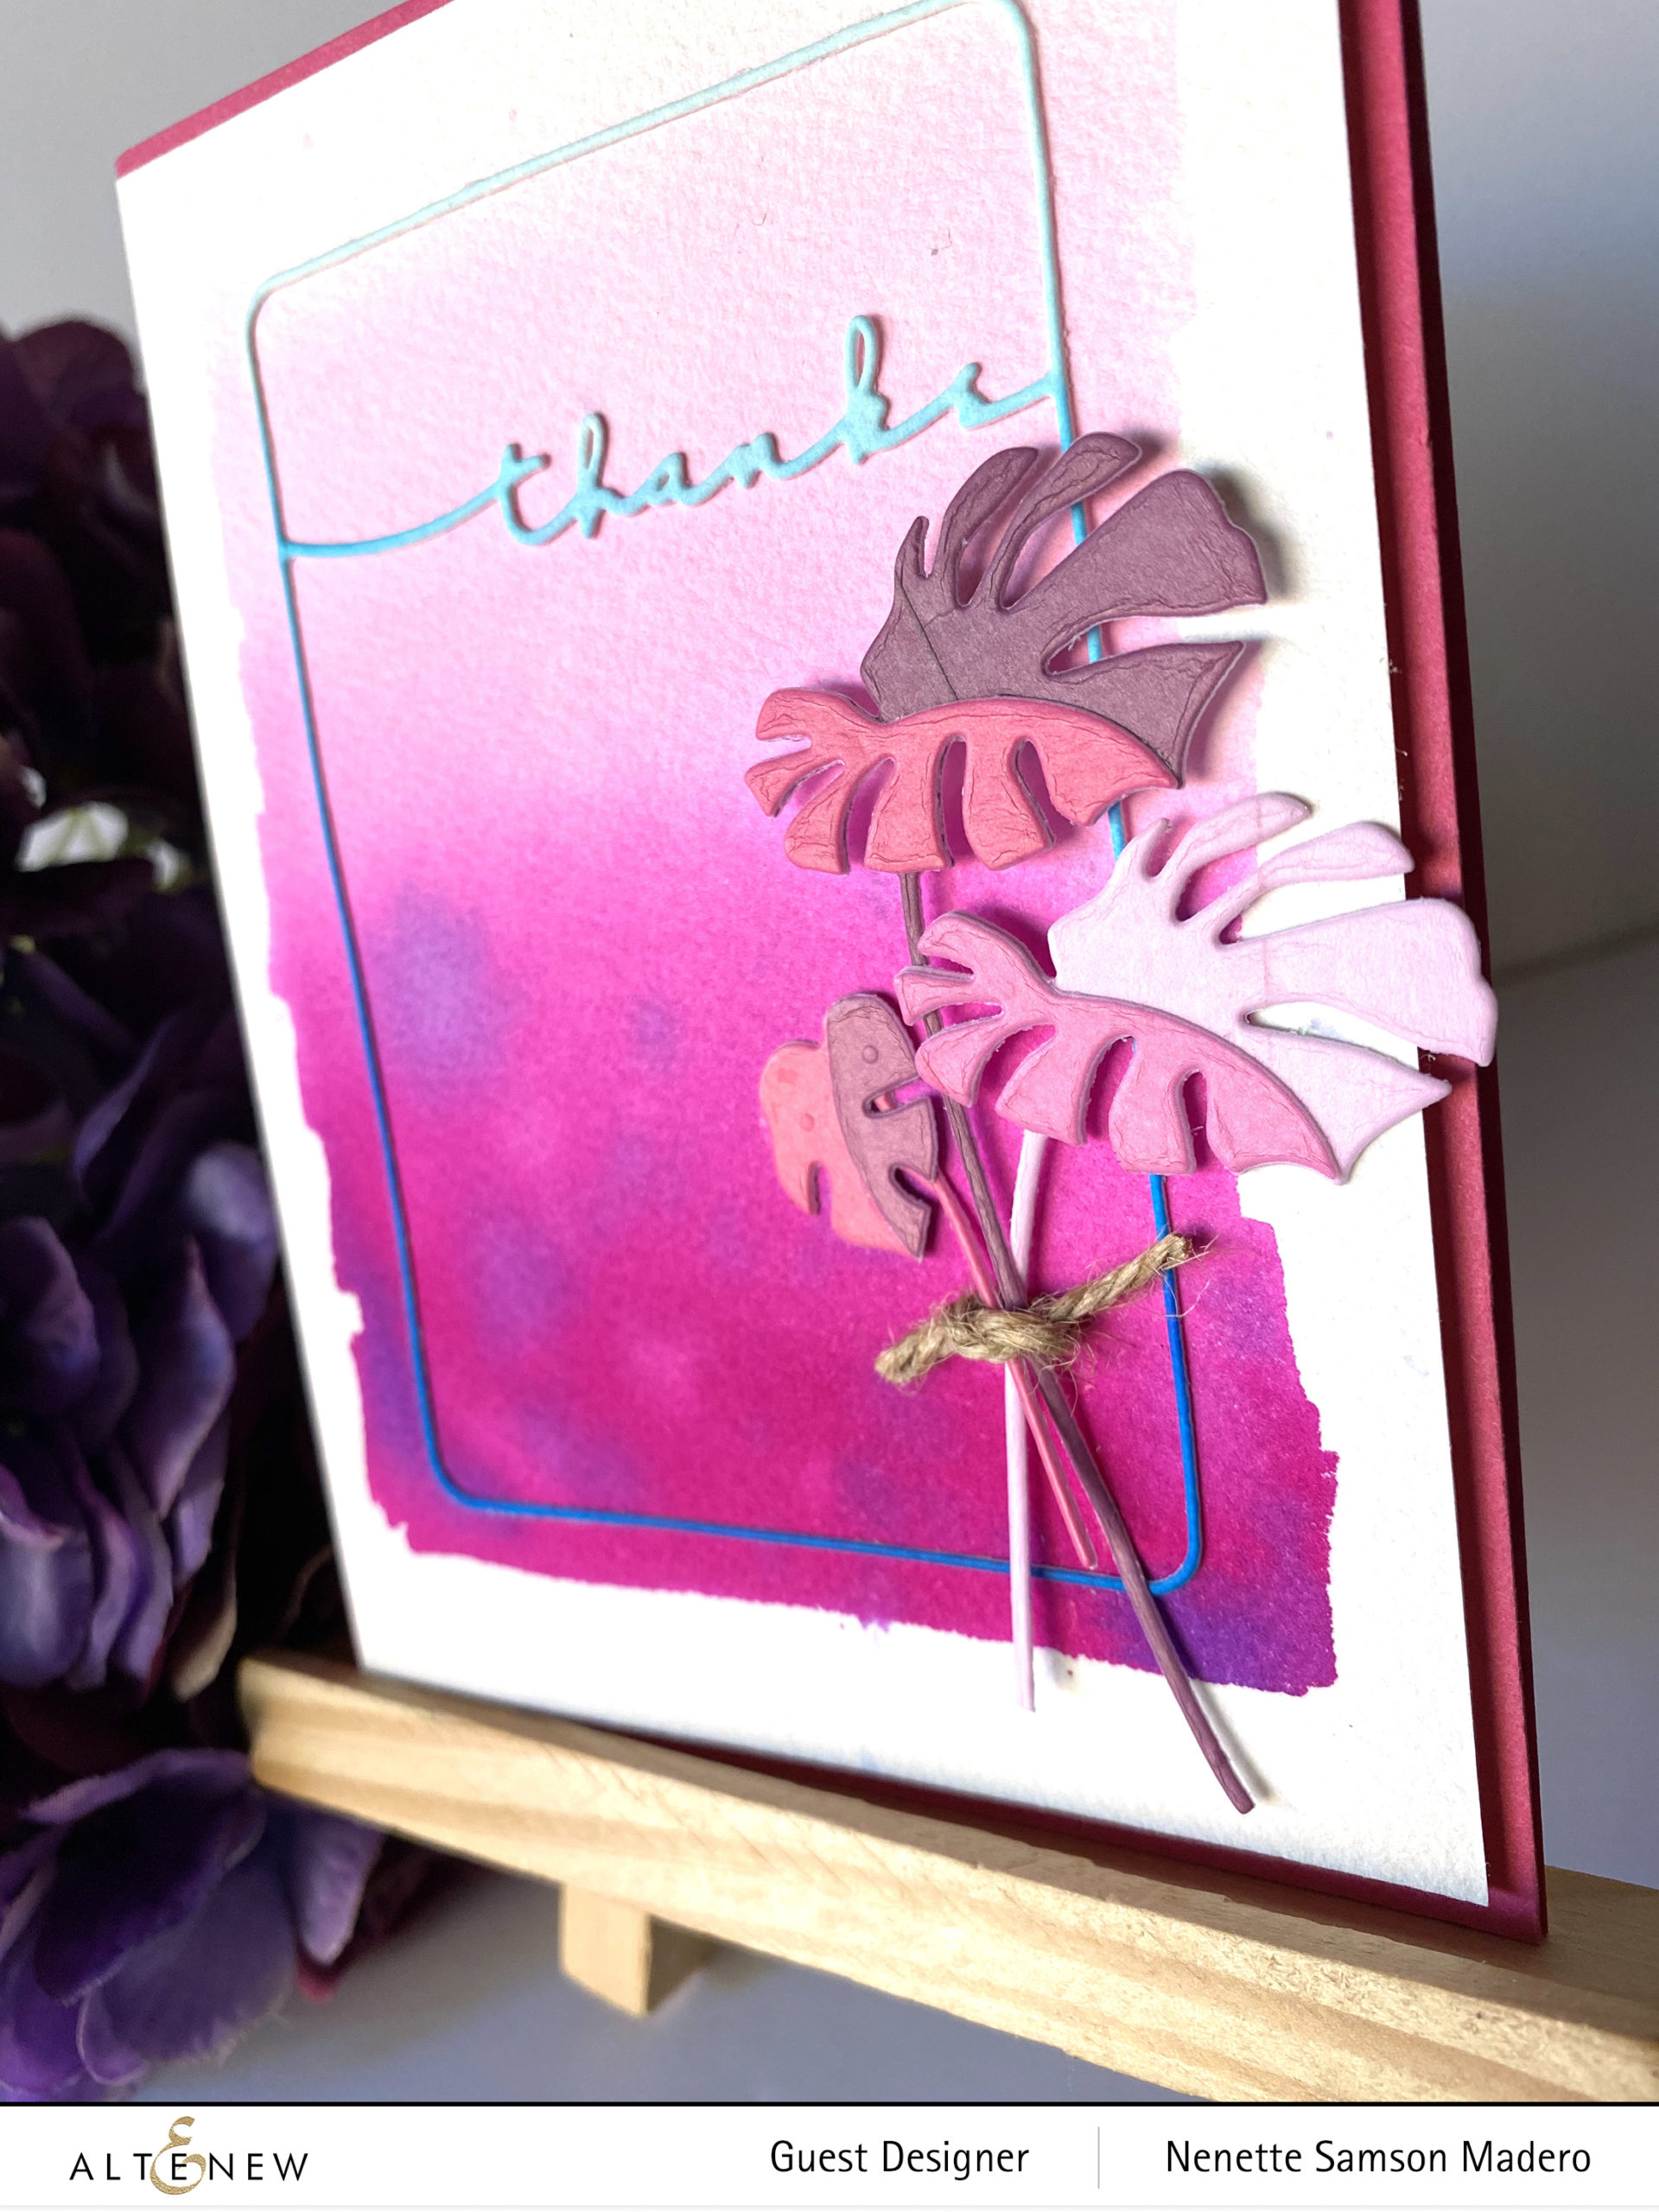
THANKS
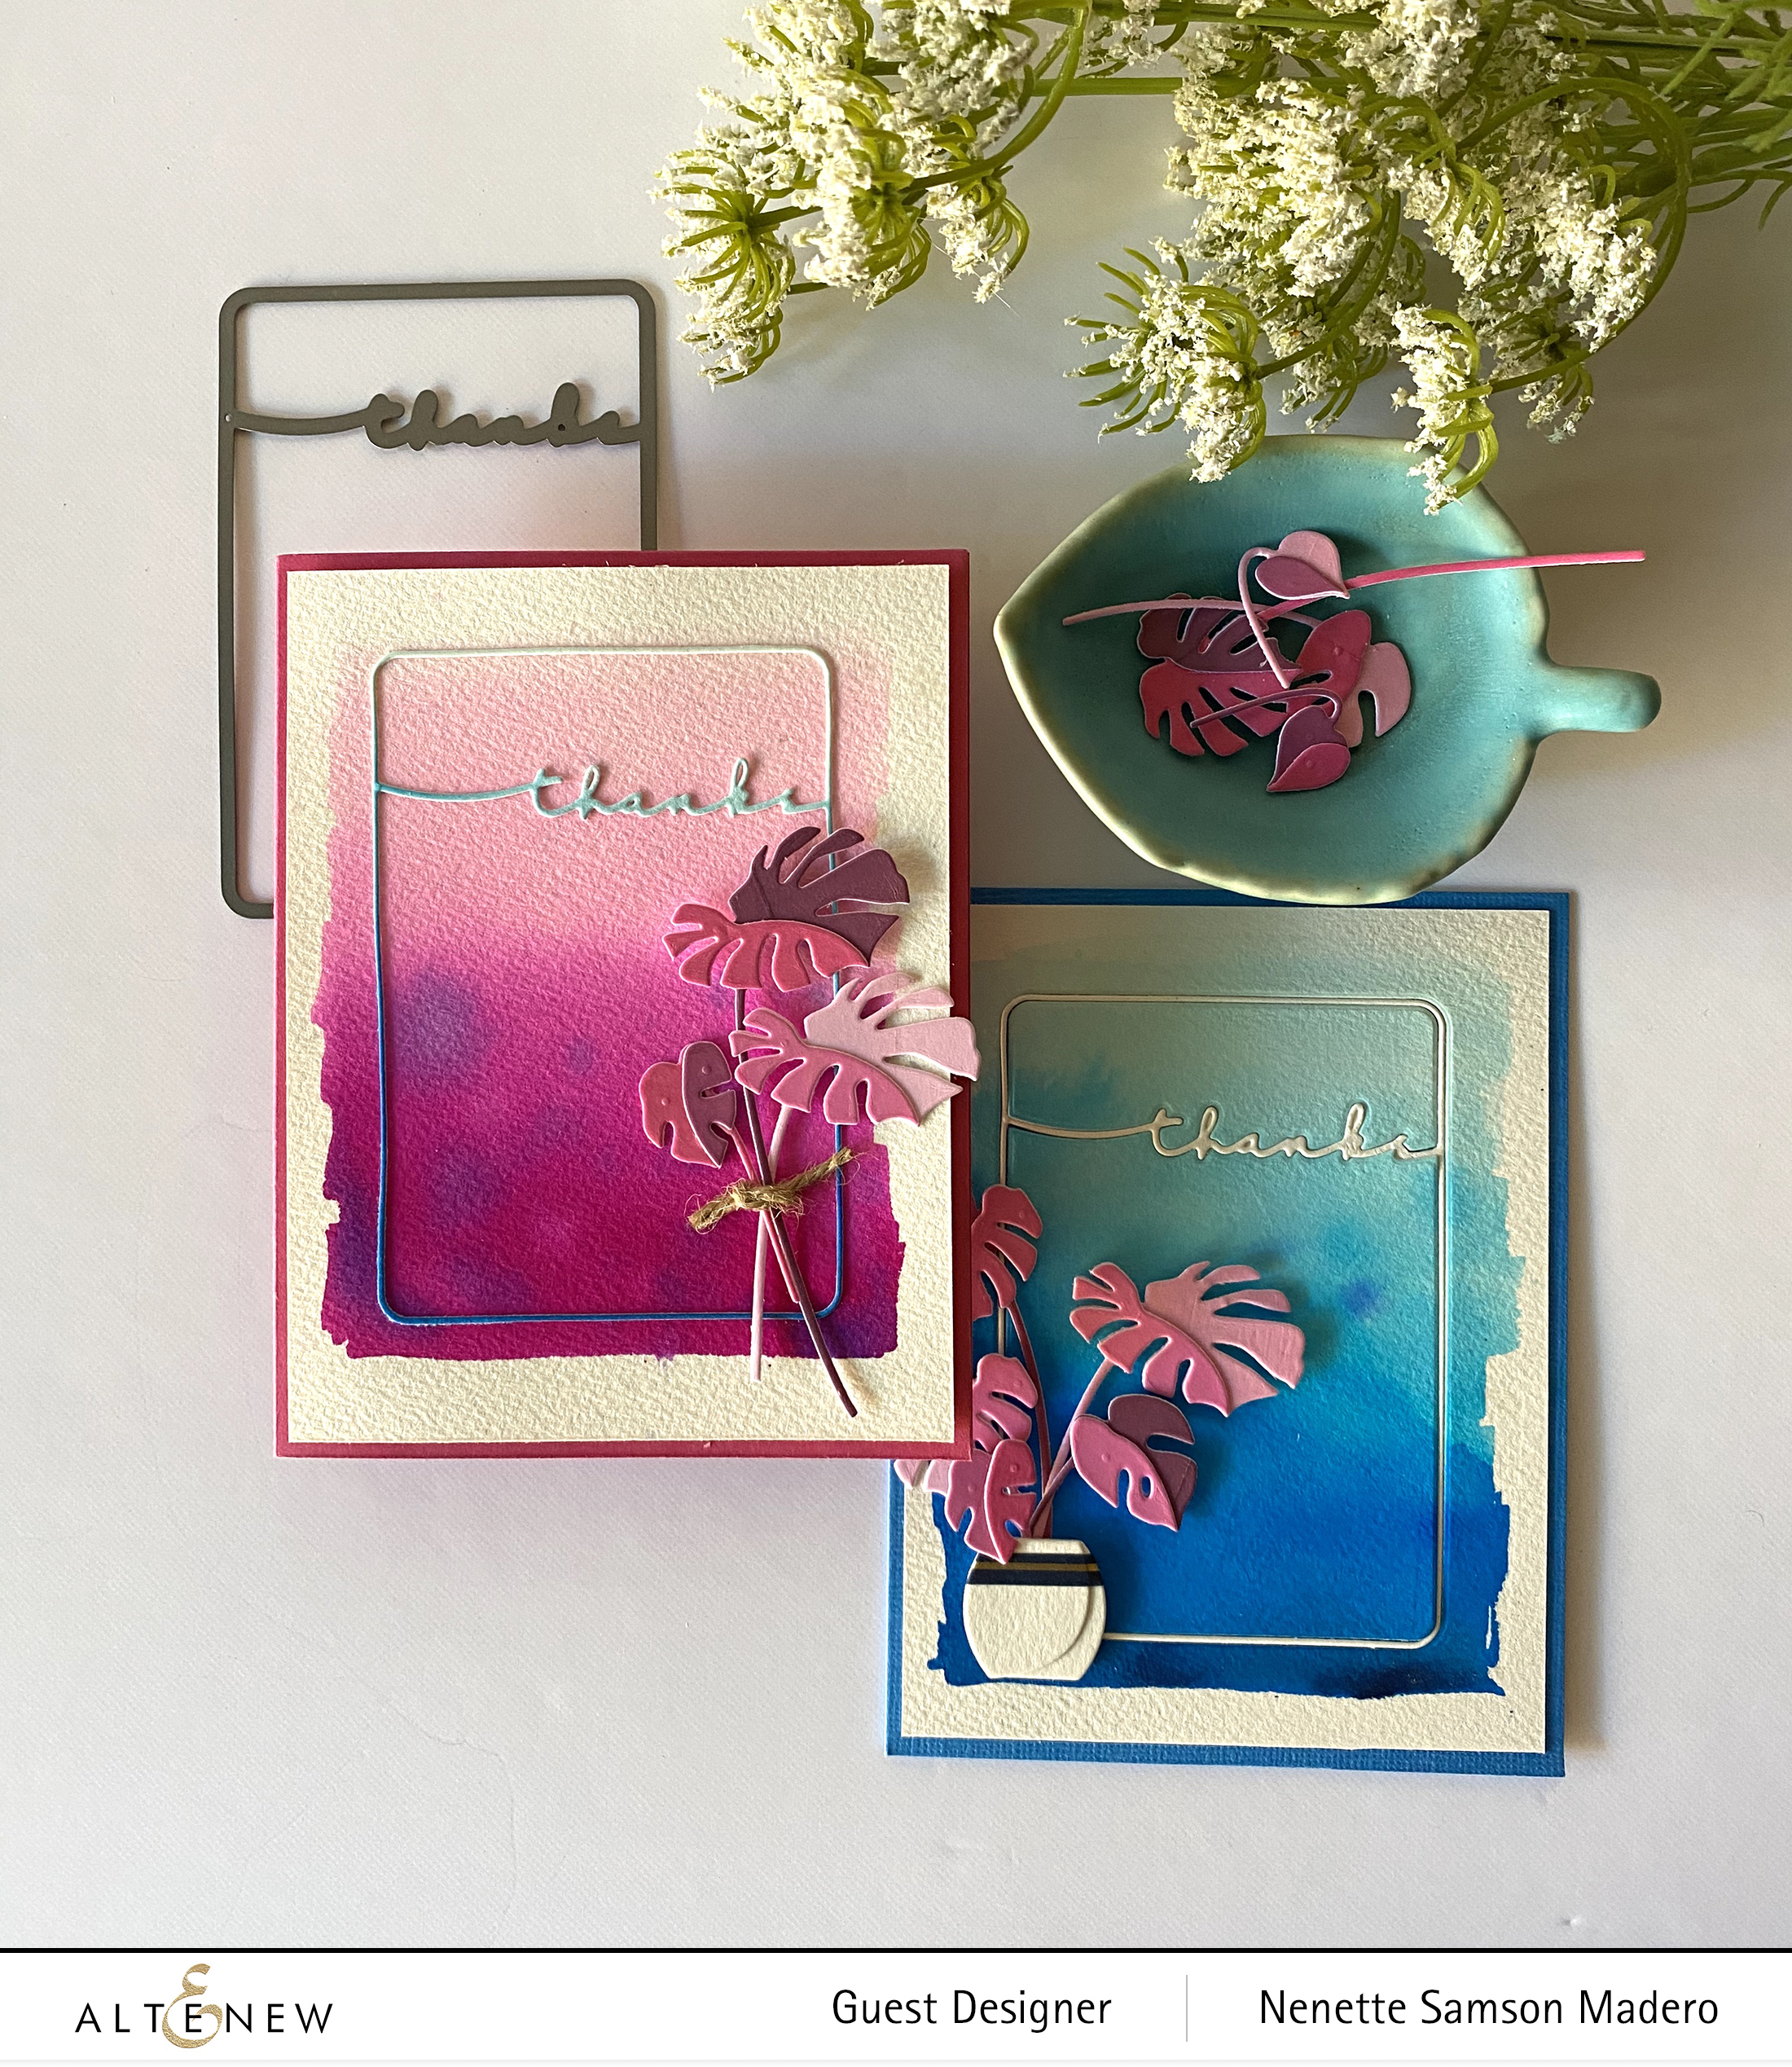
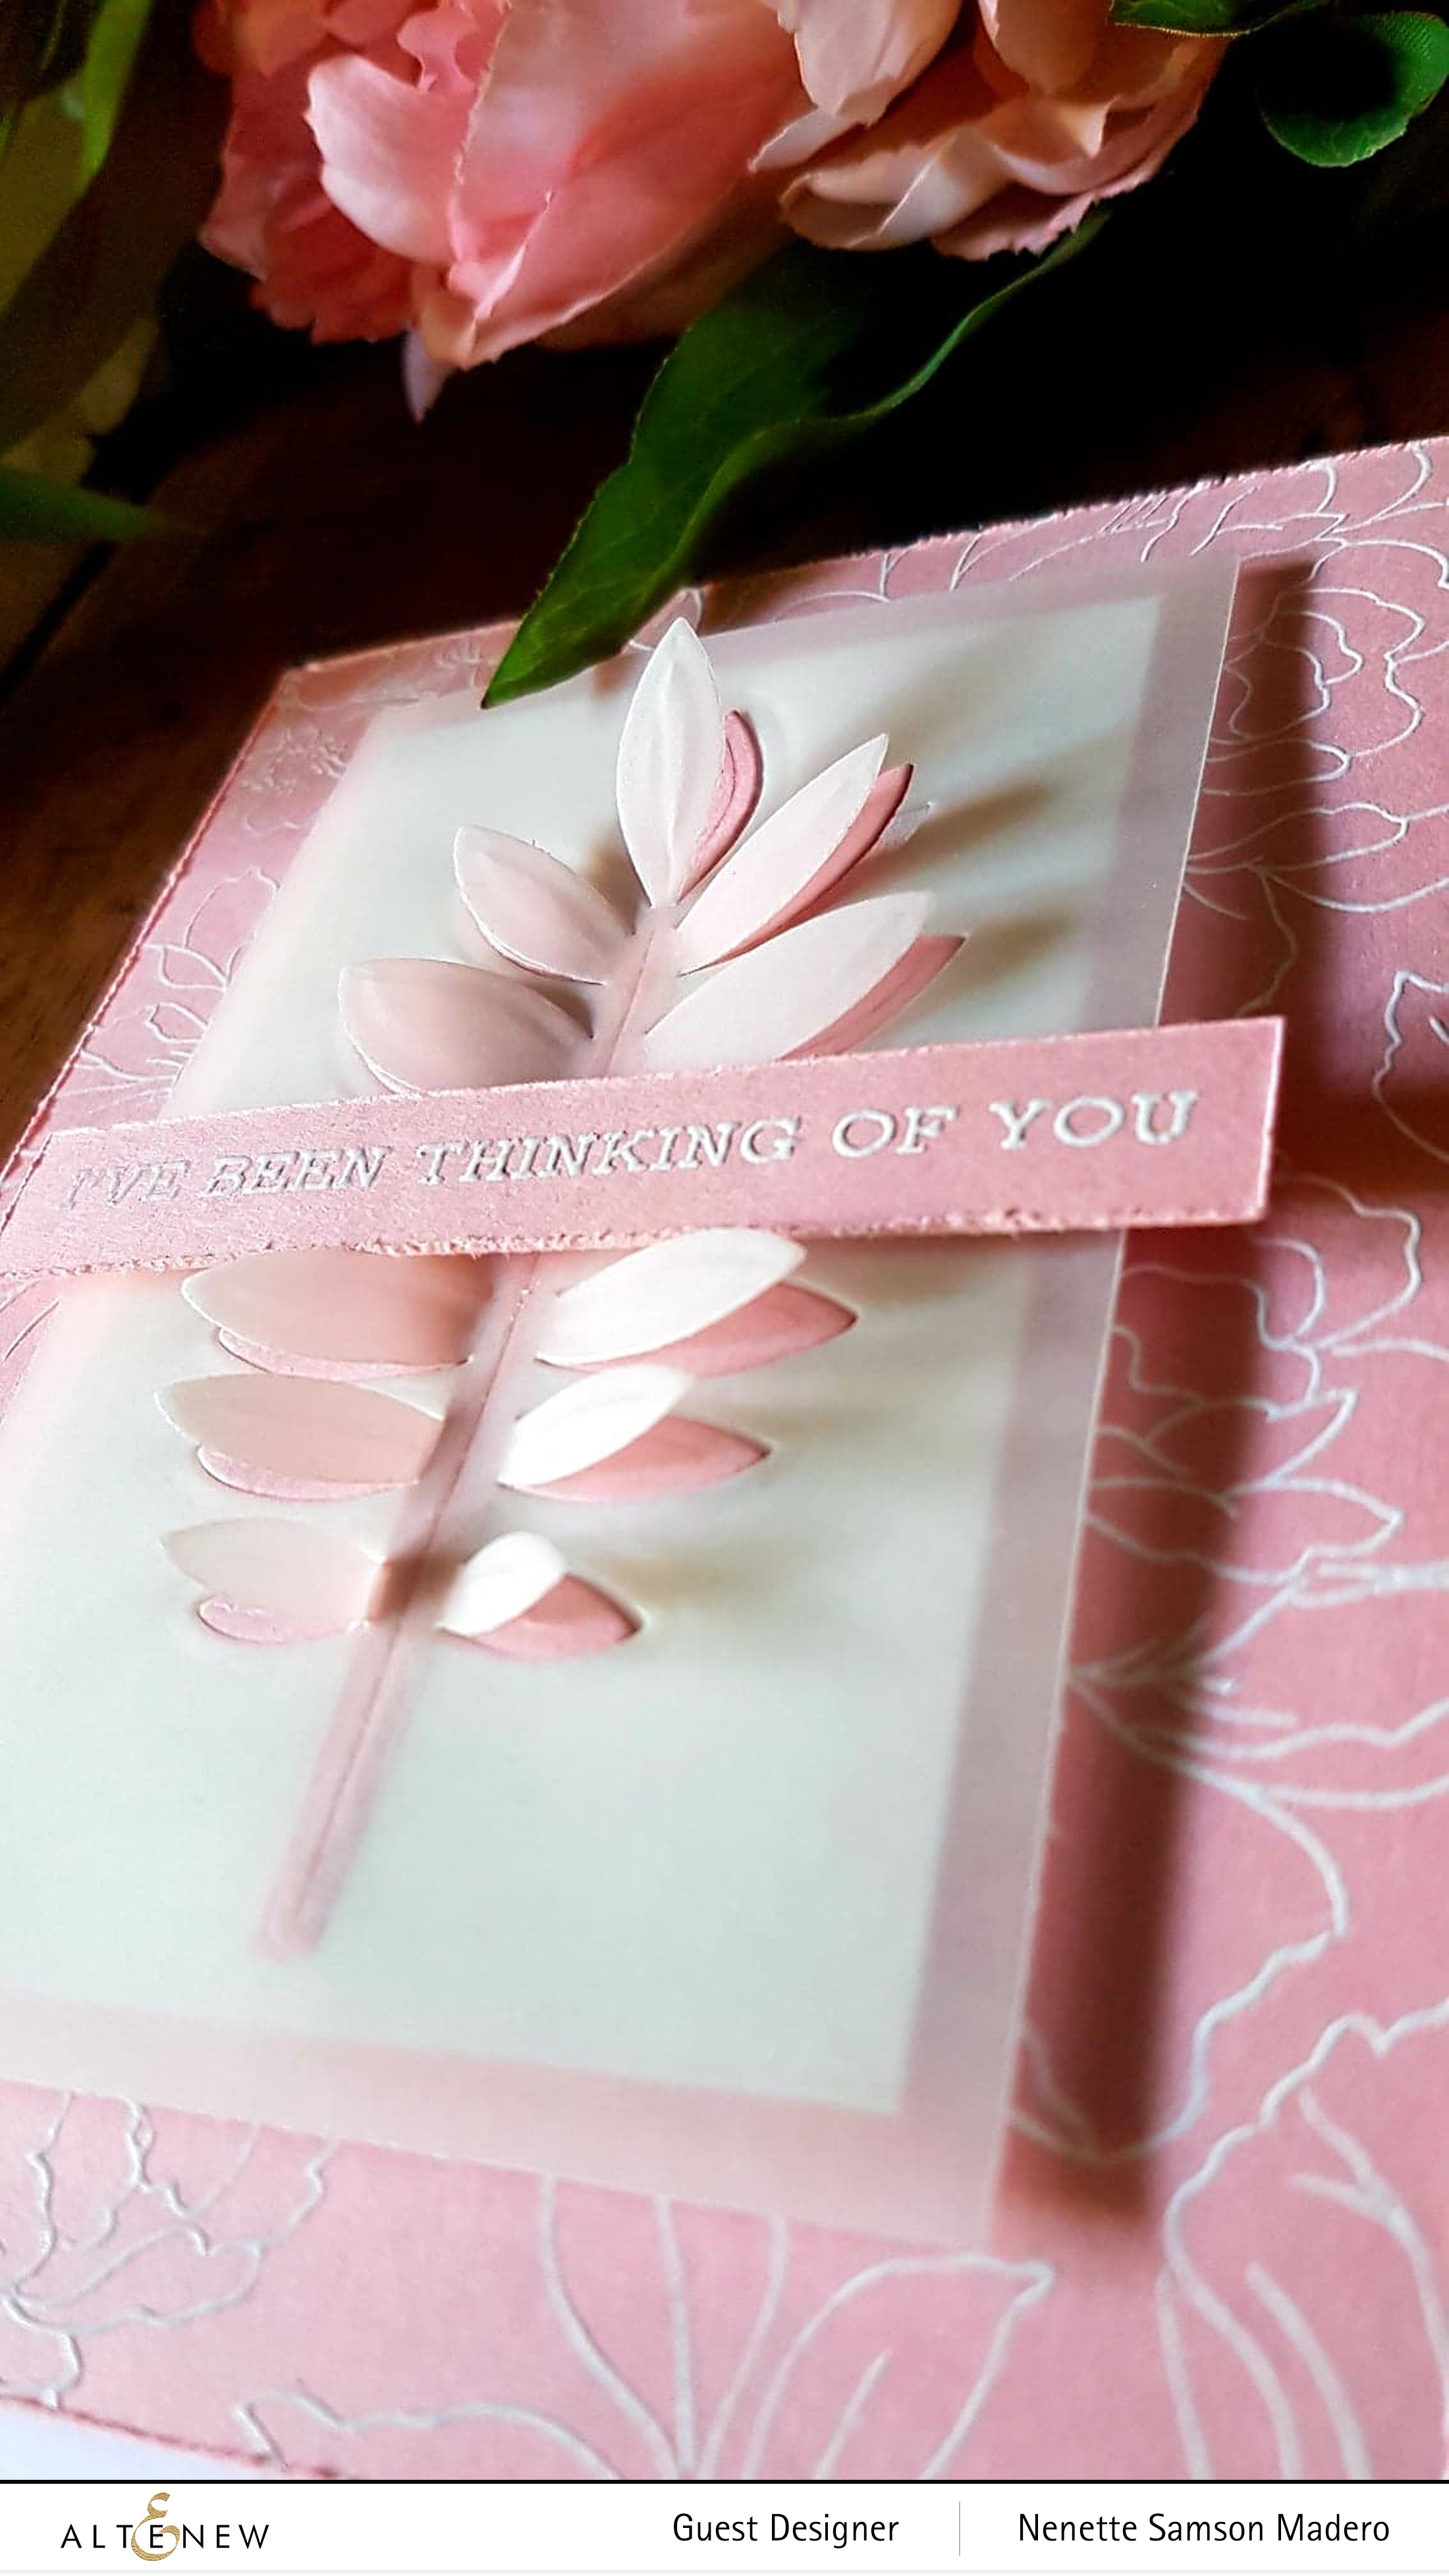
I love when you can make two different cards by switching some elements. These were very easy to make using the Monstera 3d die set. (I’m obsessed with them!!!) These cards were inspired by Norine Borys’ card using the same die. The different directions of the leaves make them fun to arrange in a vase or pot.
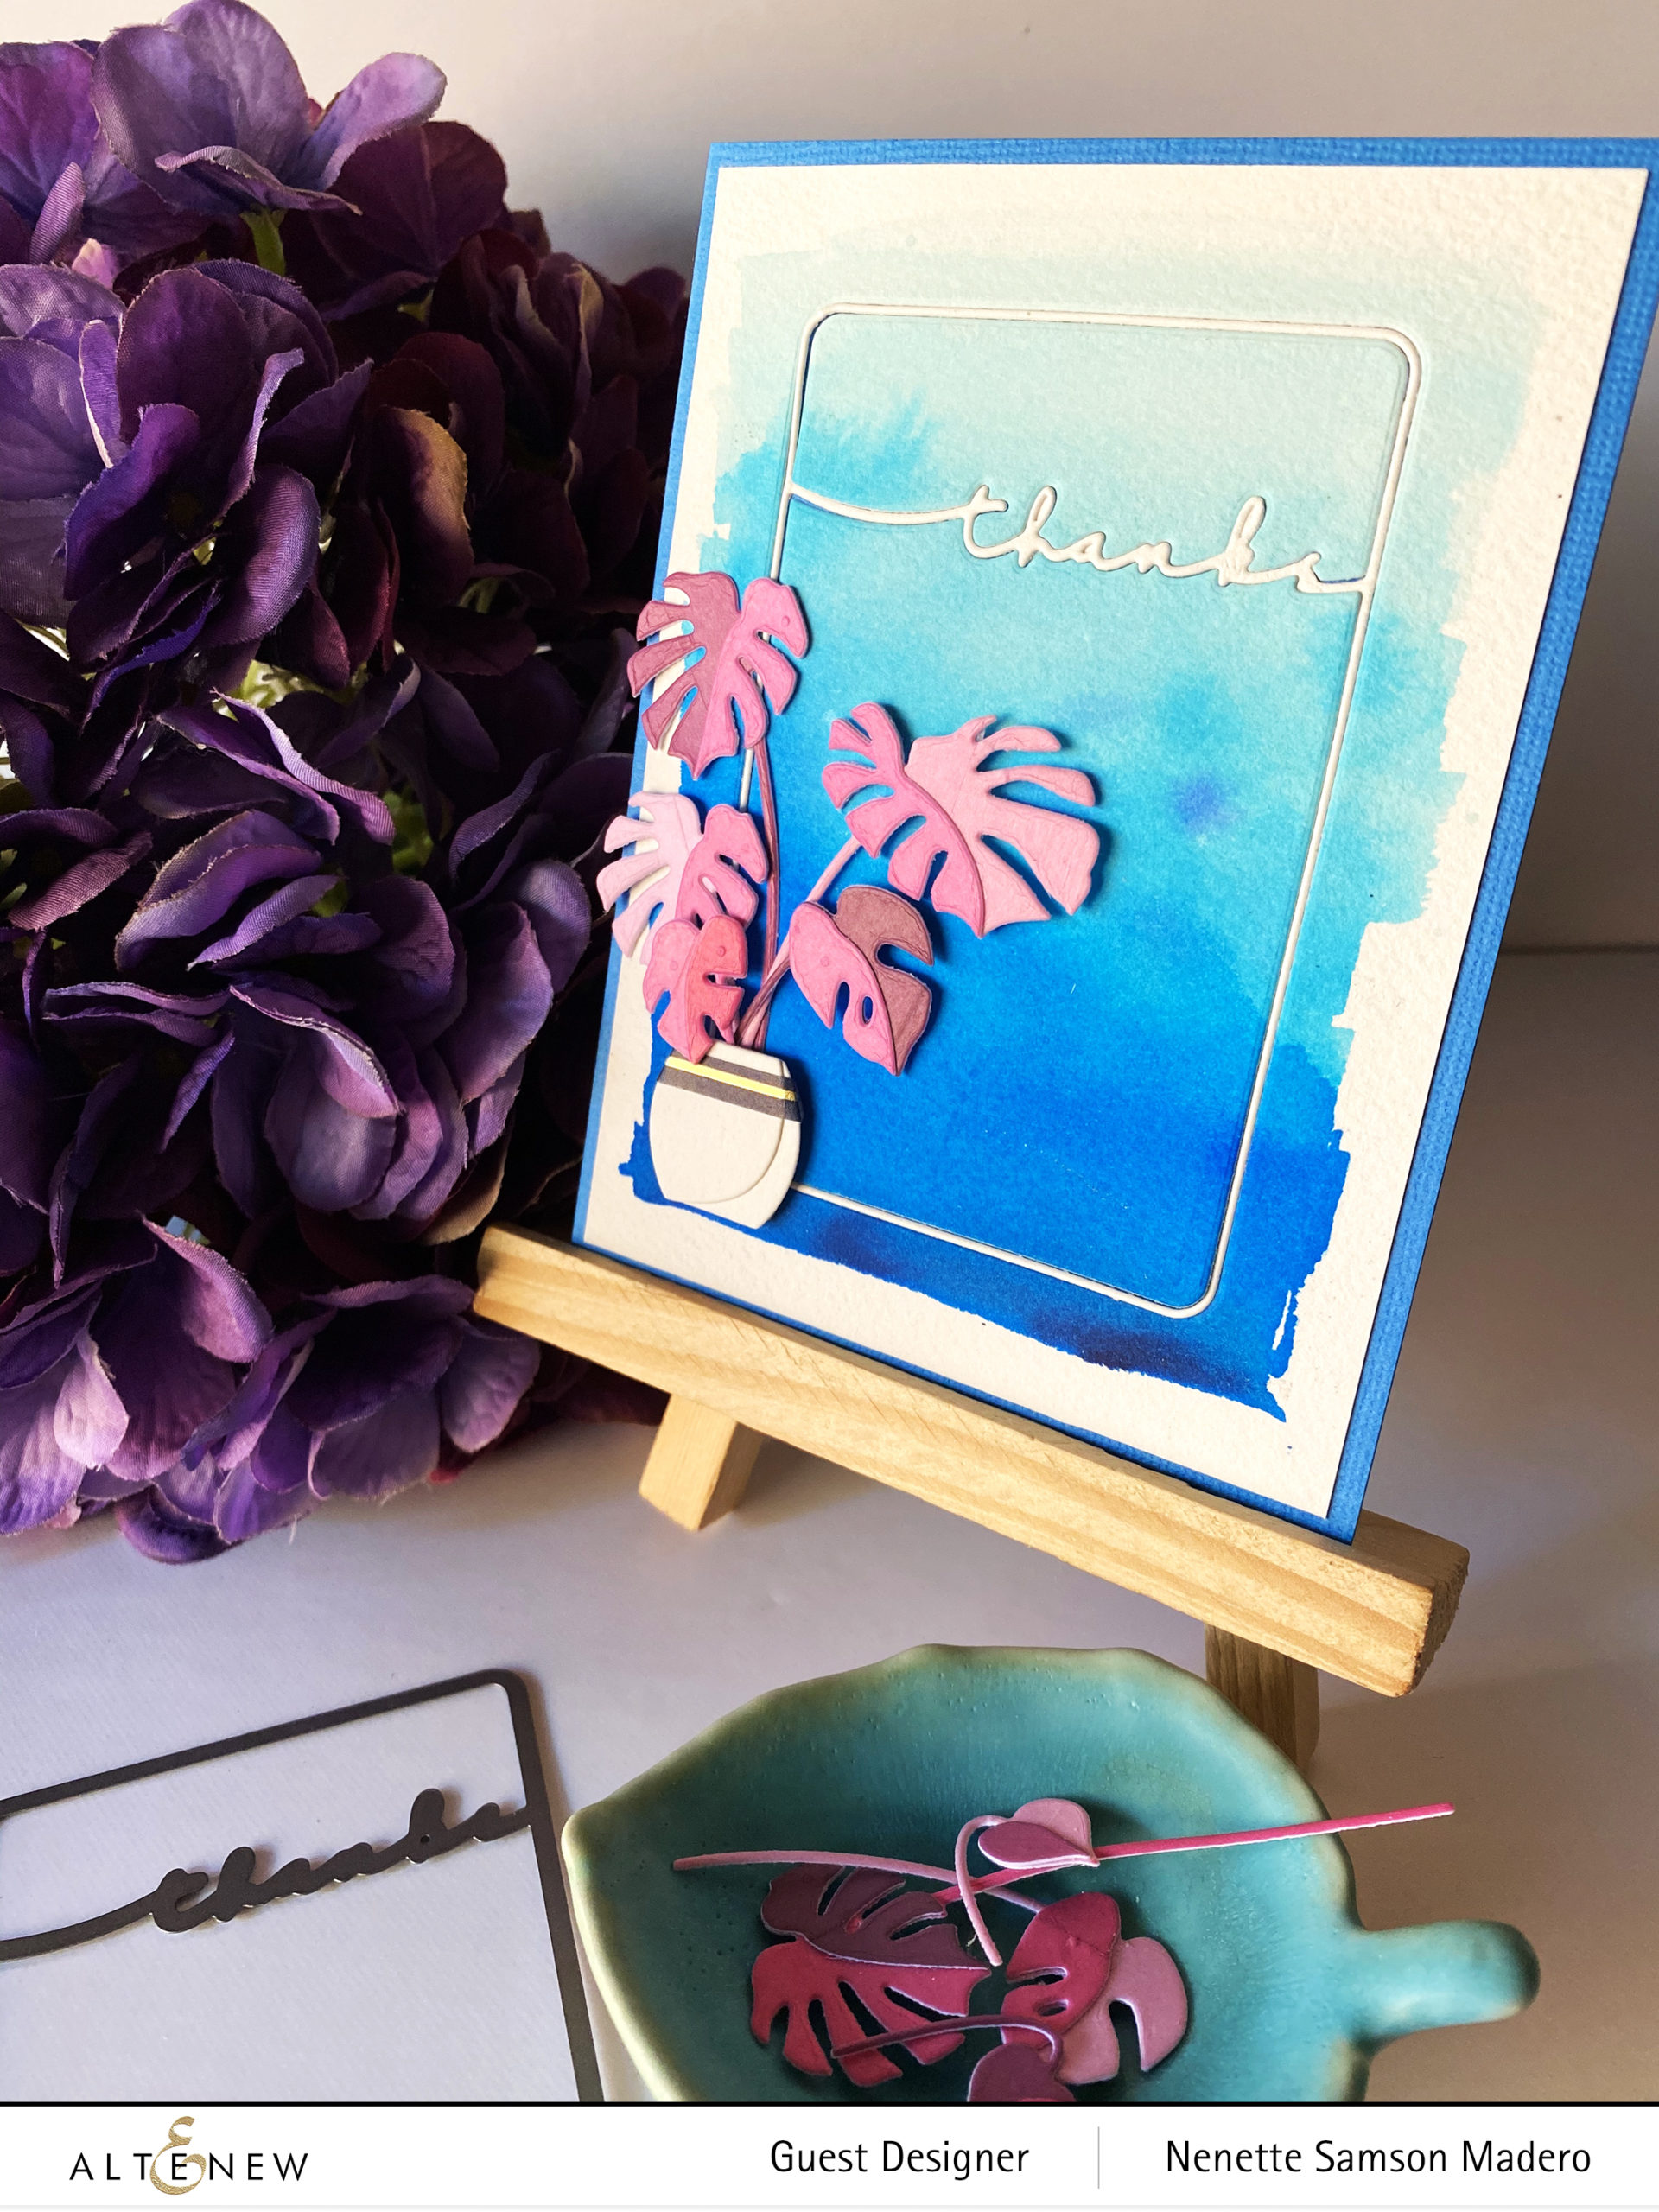
I adhered the different shades from the Rose Petal washi tapes onto Neenah Solar White cardstocks then I die cut the leaves. Two watercolor papers were painted–one using pinks and violets starting at the bottom with the most concentrated watercolor and slowly fading towards the top to create an ombre effect. The other was painted with blues and a touch of purple. The Framed Thanks die was used to cut out the image from the blue watercolored paper and adhered to the pink cardfront.
I cut another thanks die on plain white cardstock for the blue card and pieced in the negative parts of the die. The leaves where then arranged using jute string and the other with a pot. The Navy Gold trim washi tape was used to add accent to the pot.
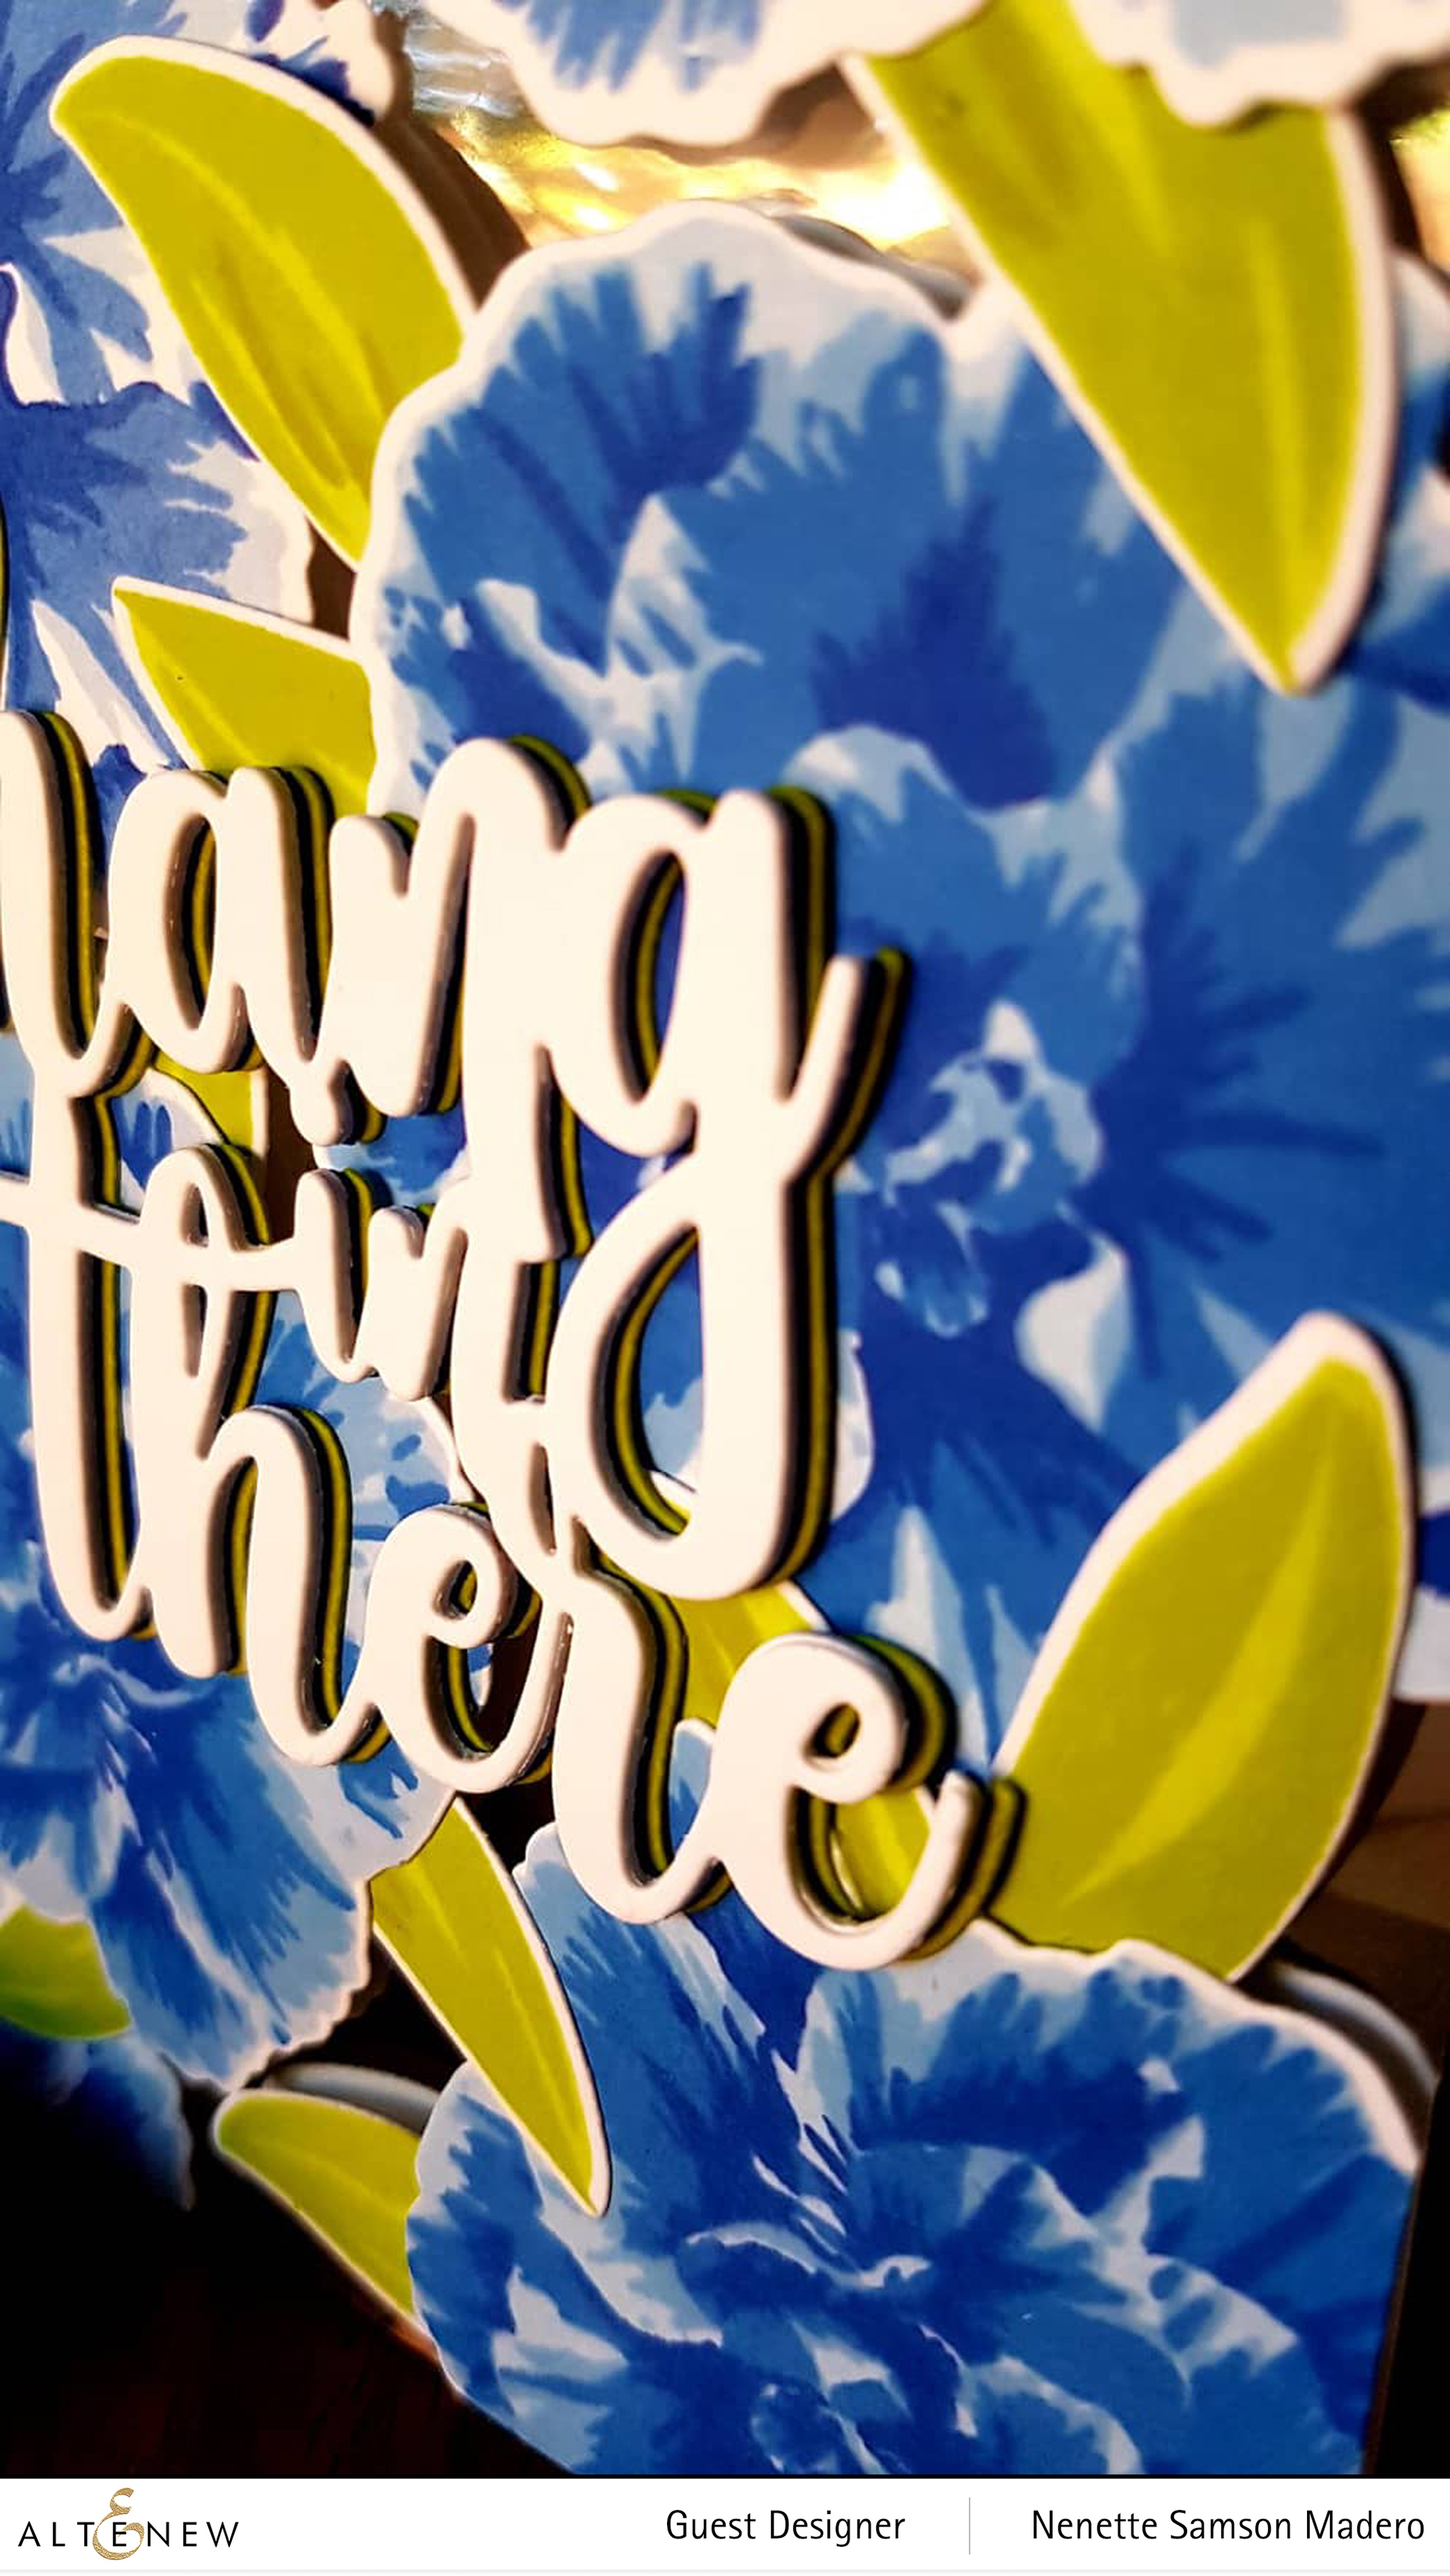
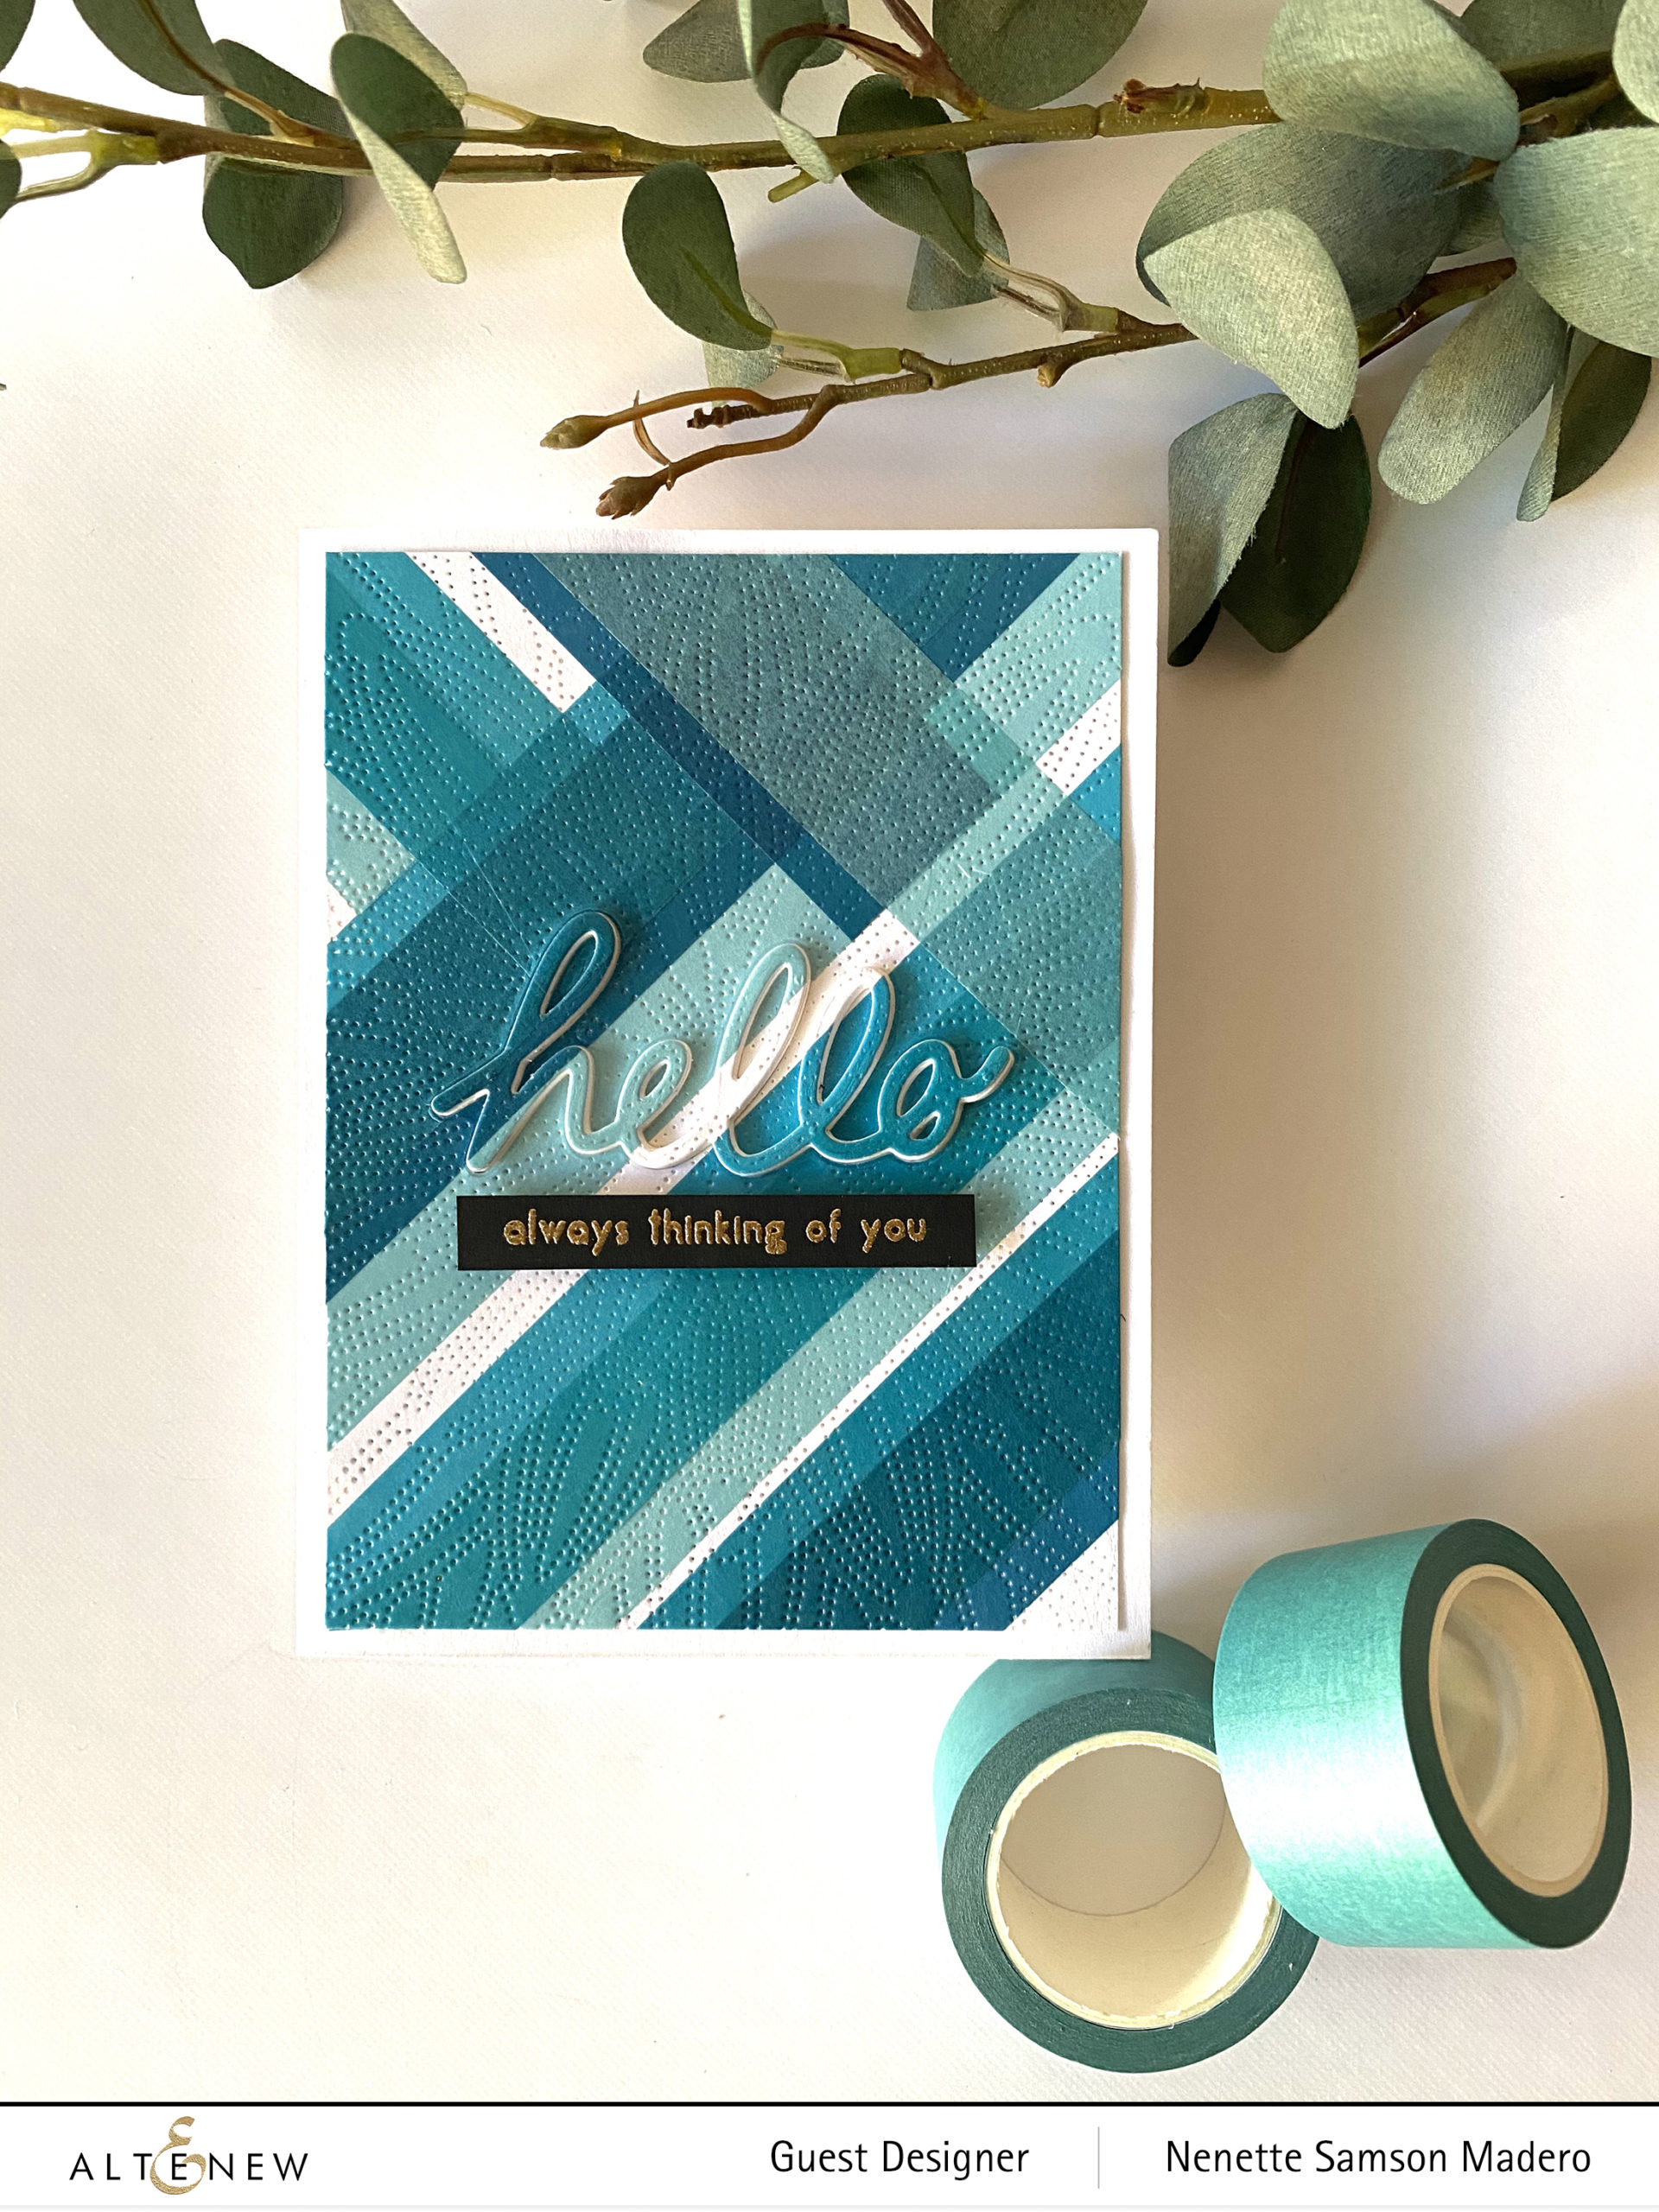
HELLO ALWAYS THINKING OF YOU
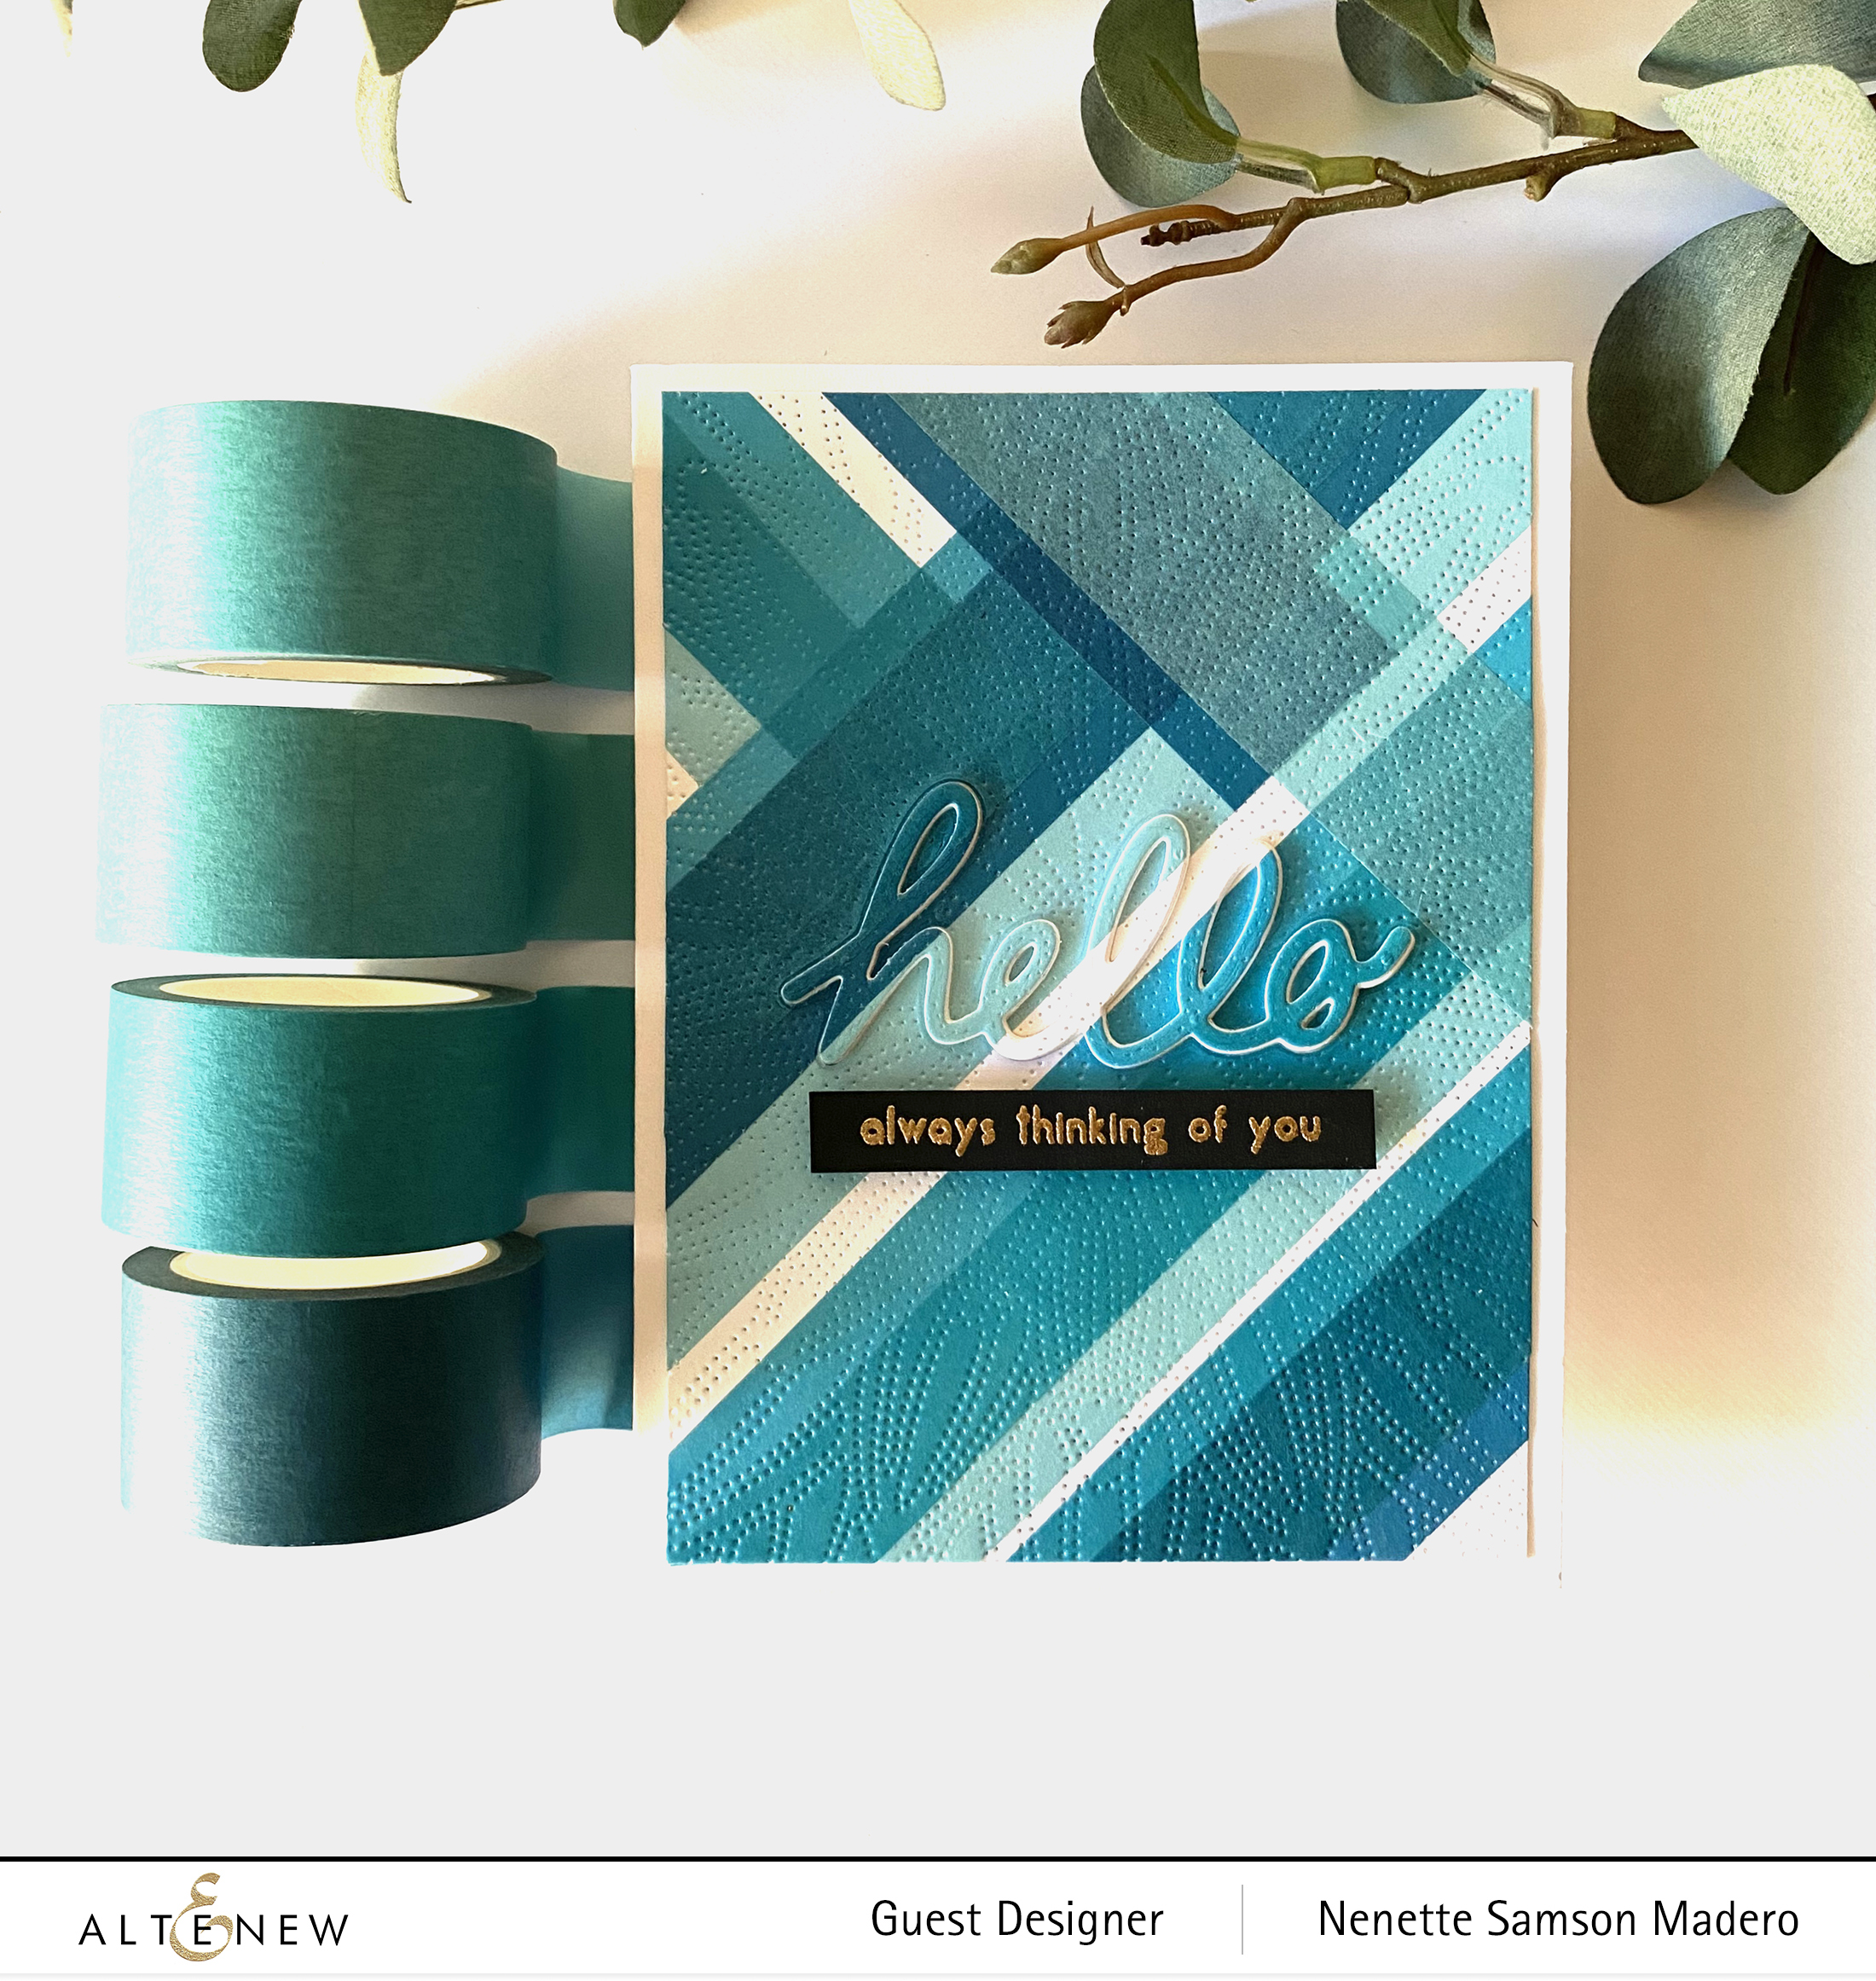
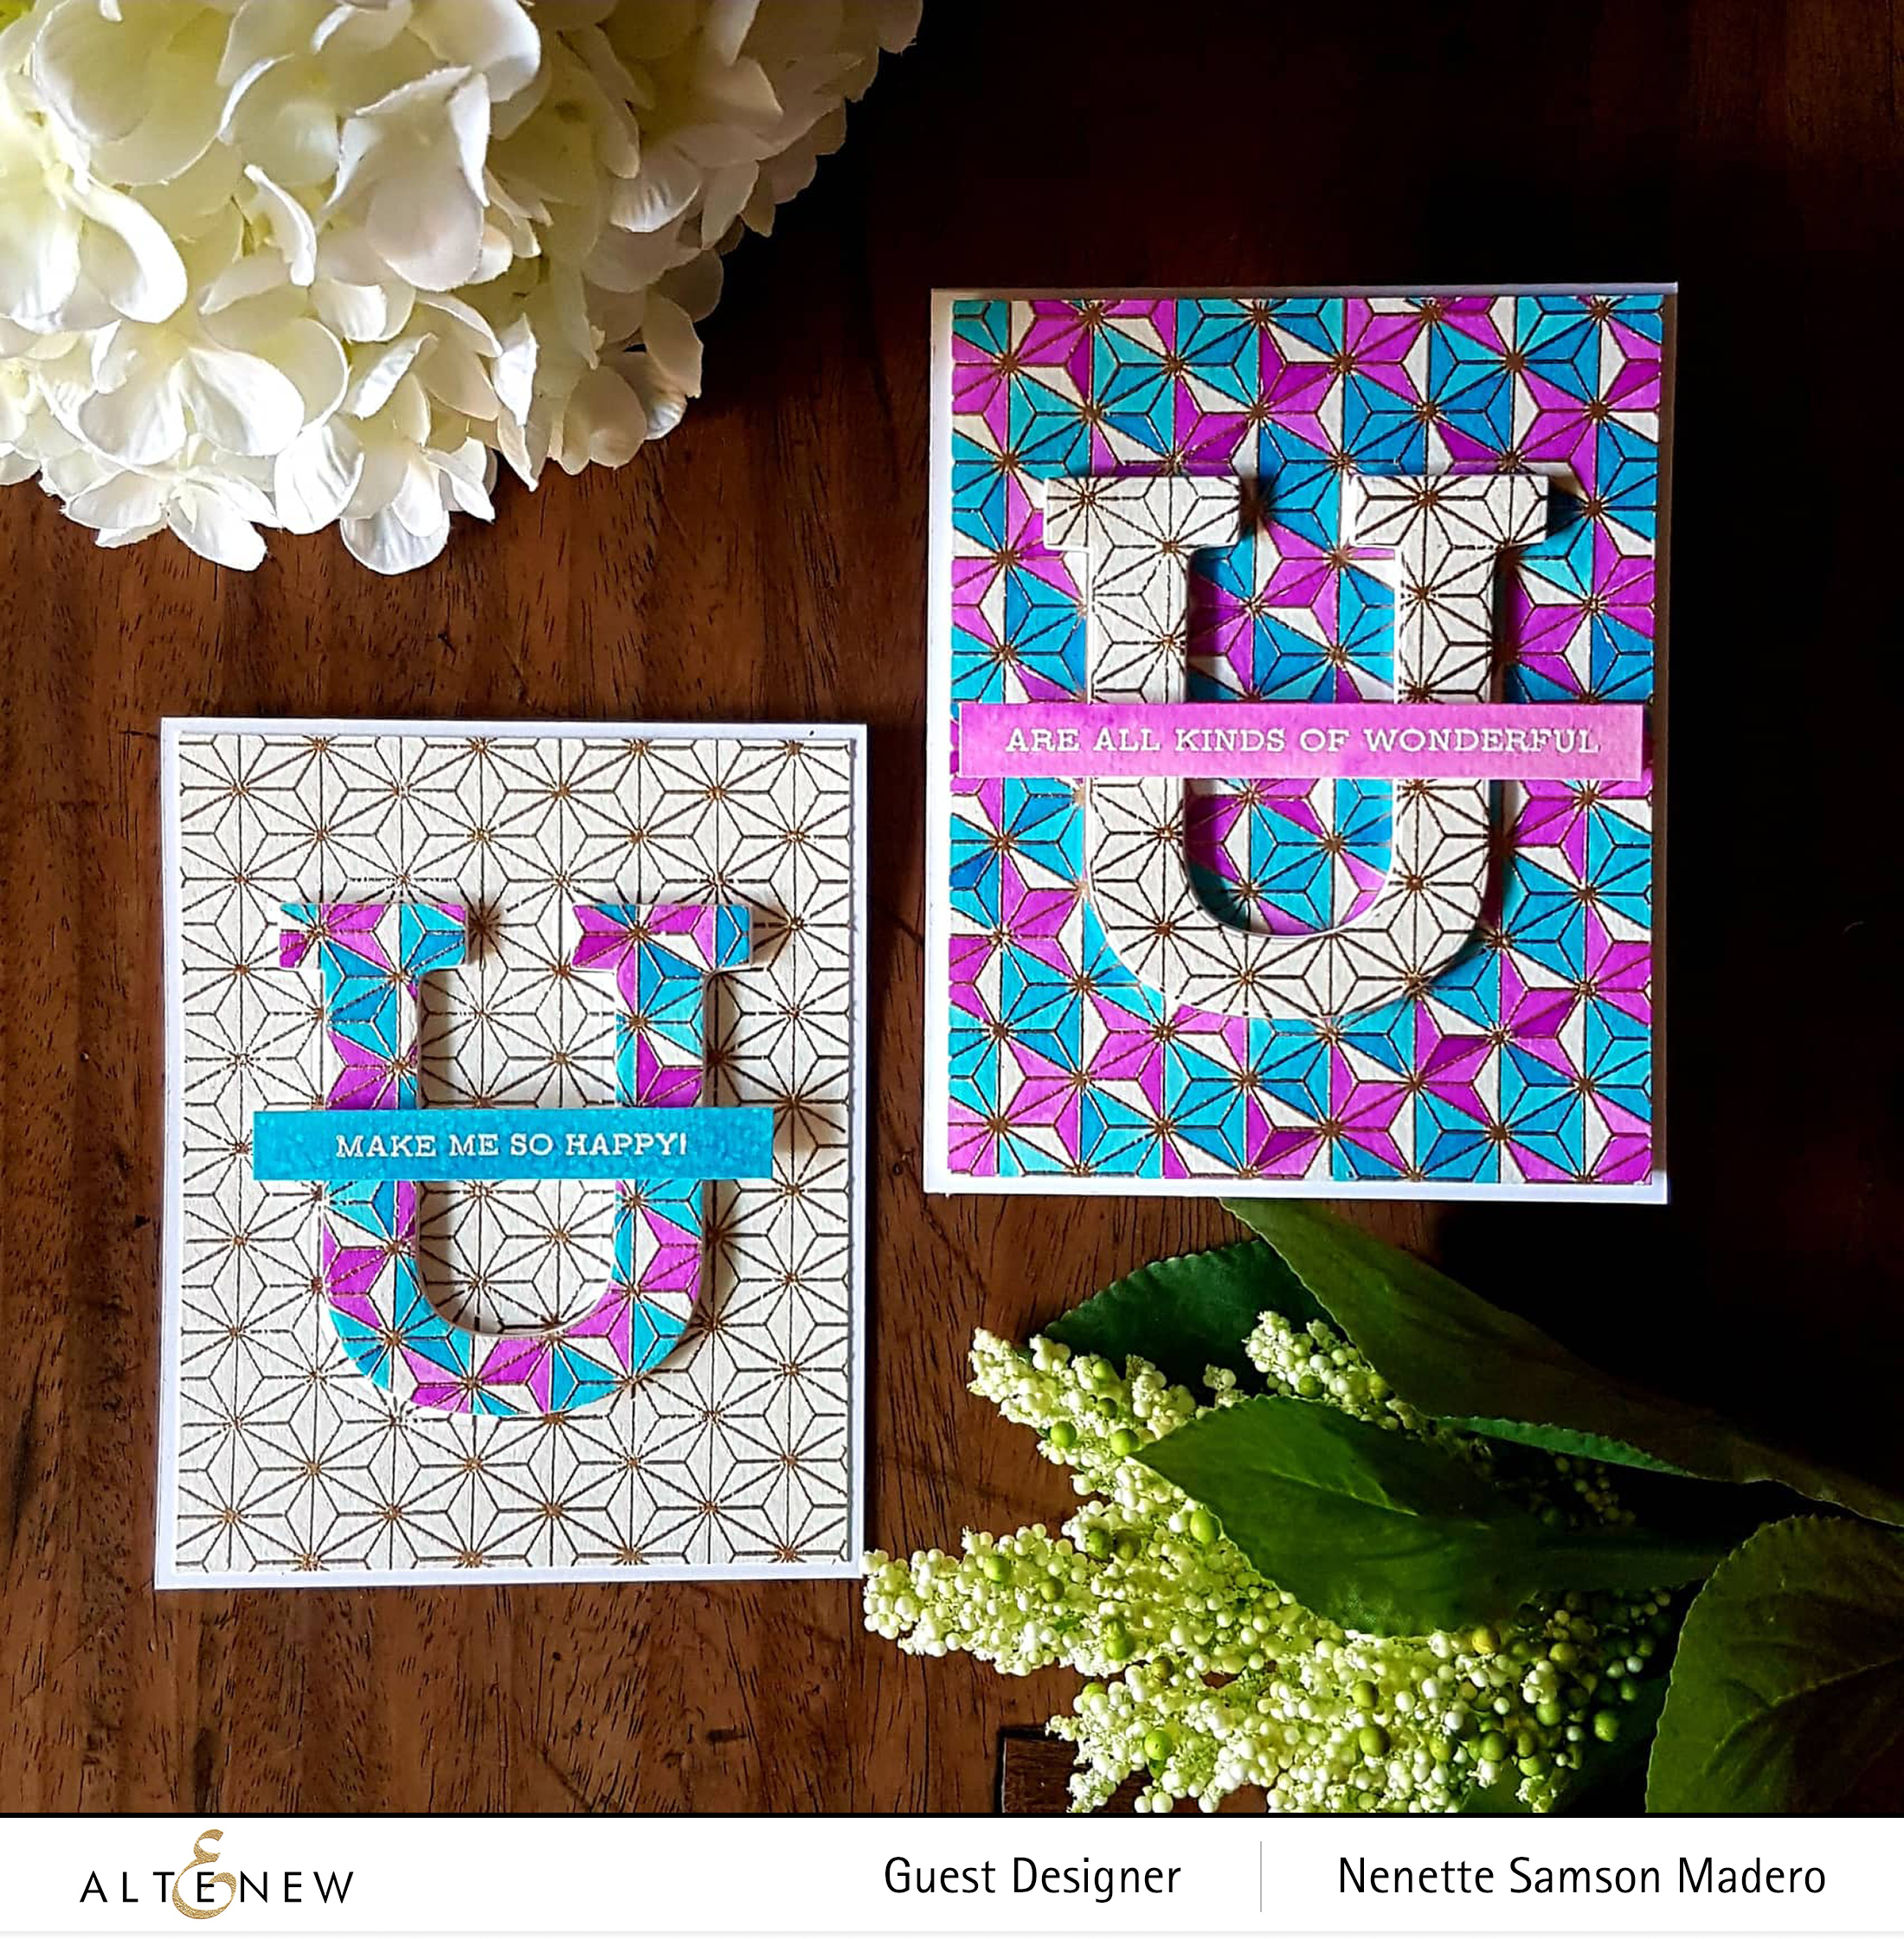
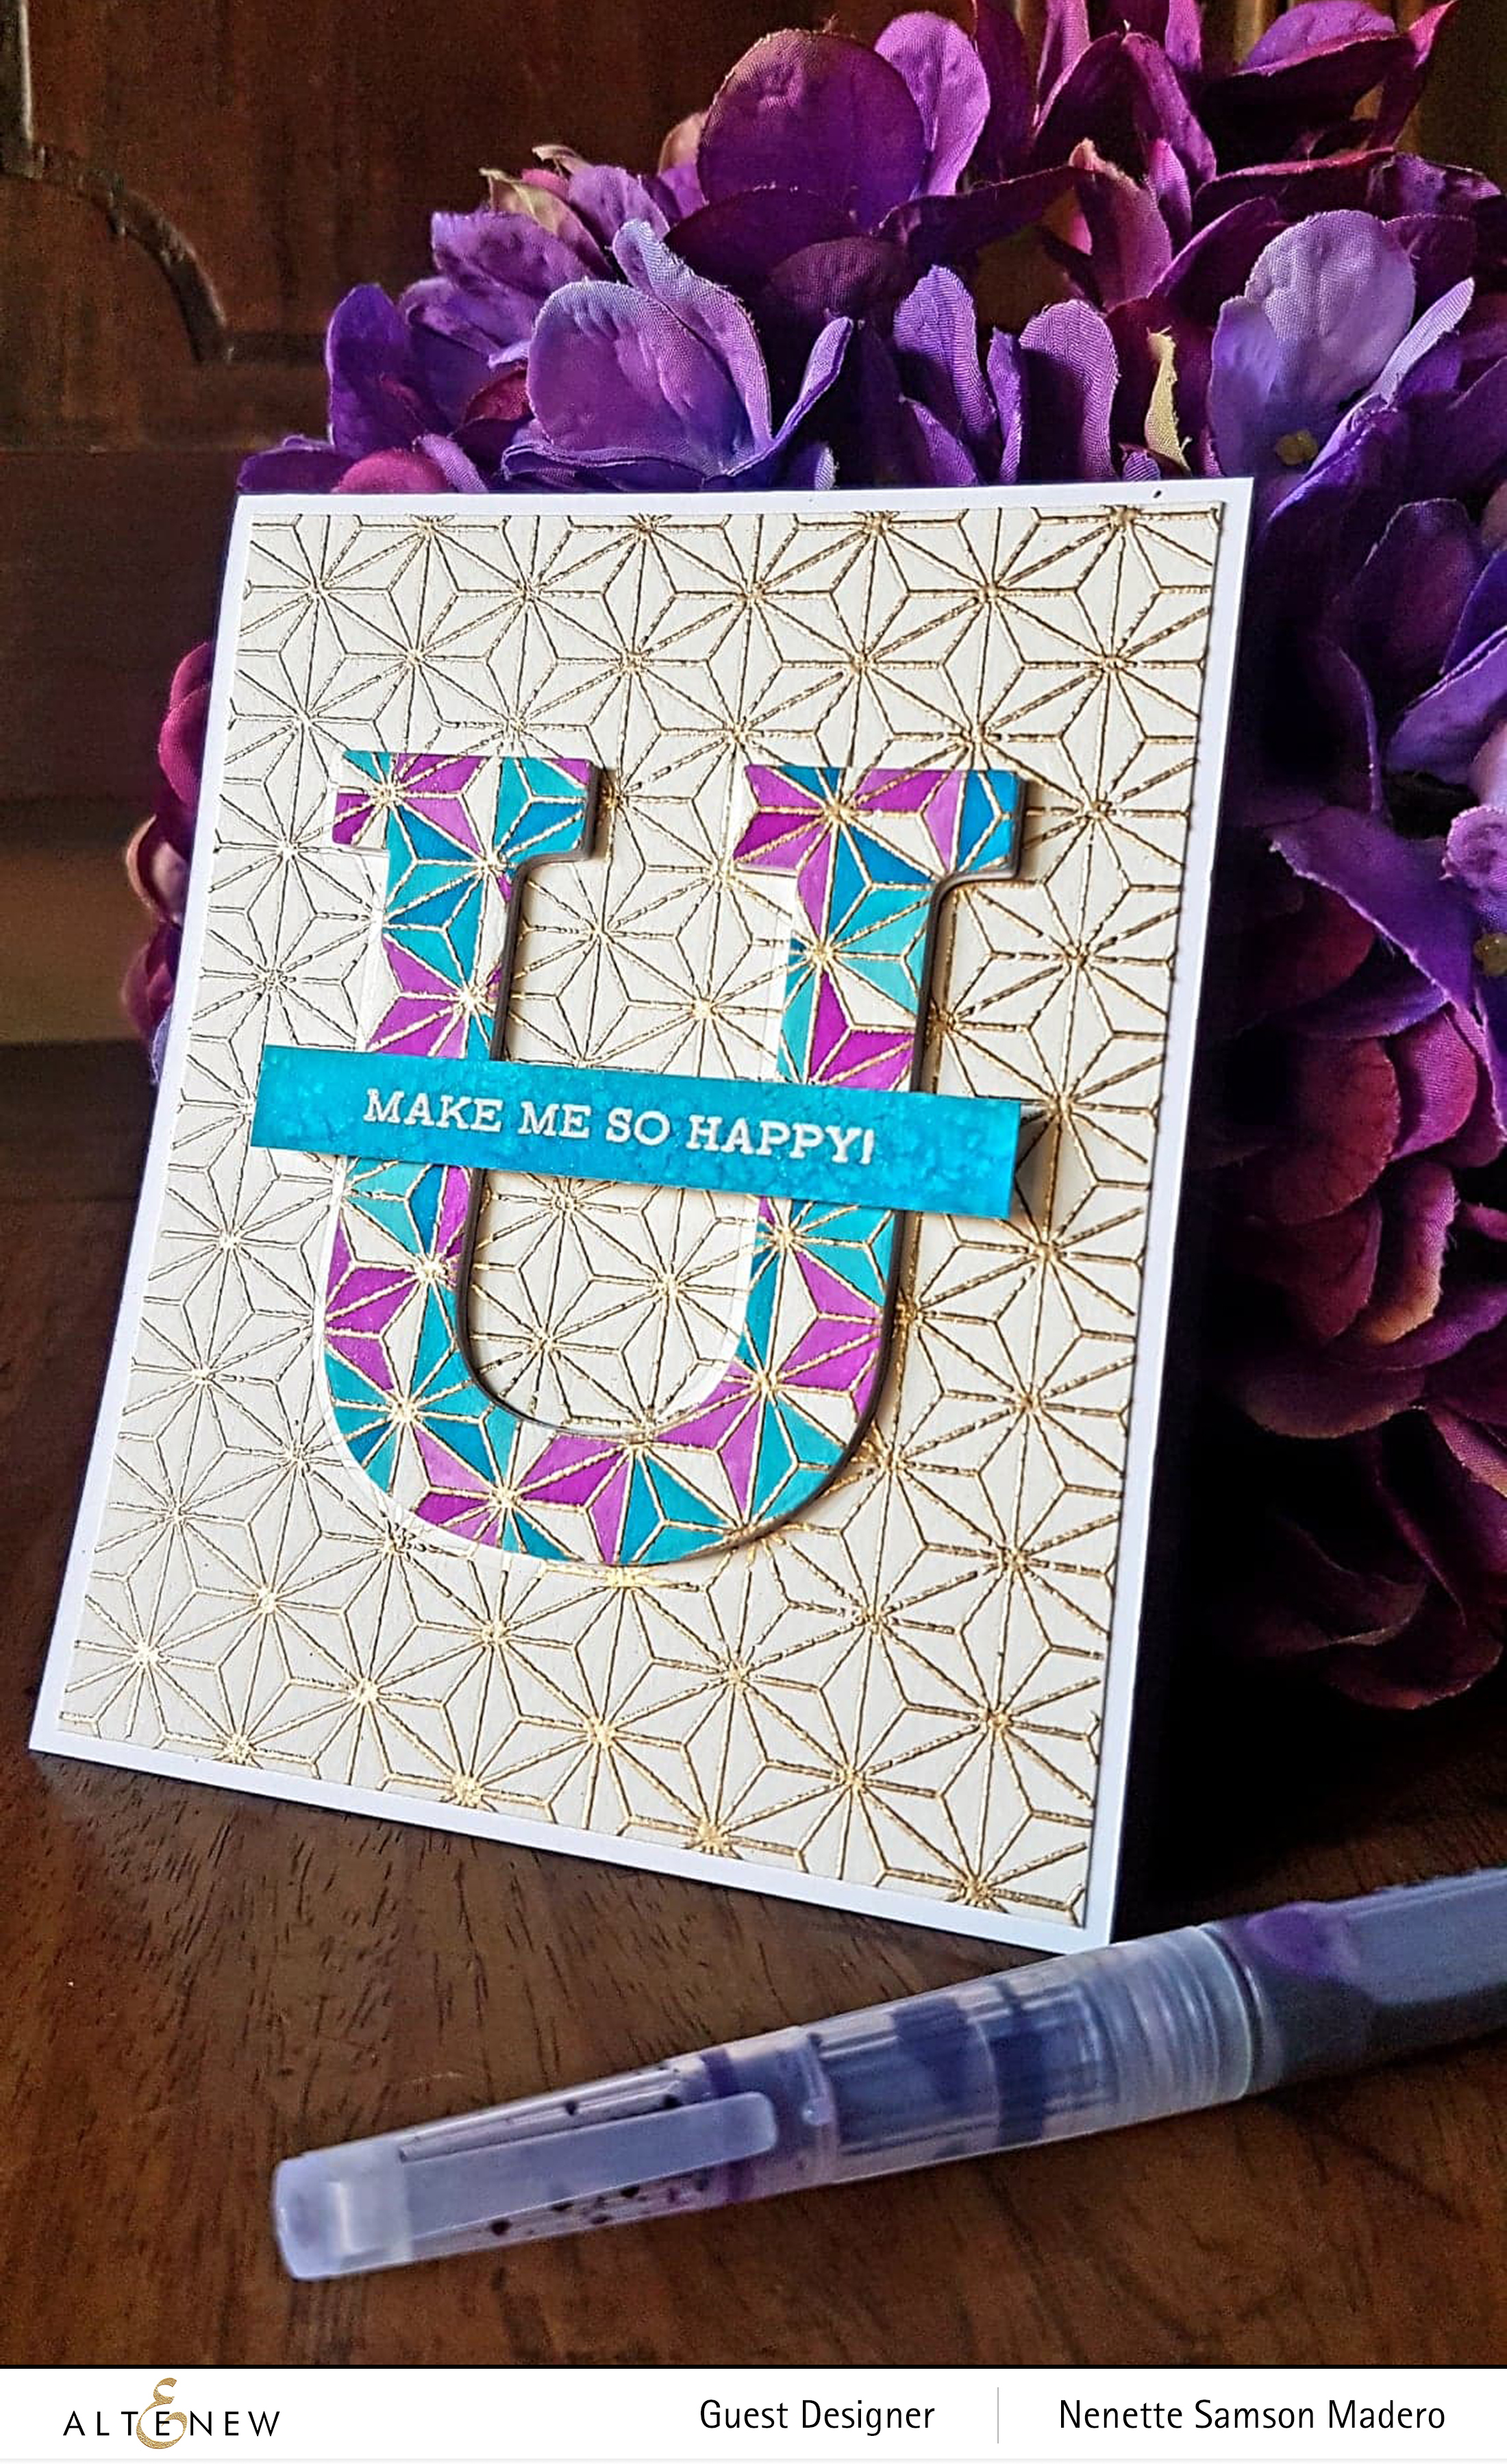
Here’s a simple card to make by using washi tapes and dies. I created a geometric background using the different shades of the Sea Shore Washi Tape. I made sure to leave some white paper showing through. I then used the Dotted Starburst debossing cover die and debossed the whole panel.
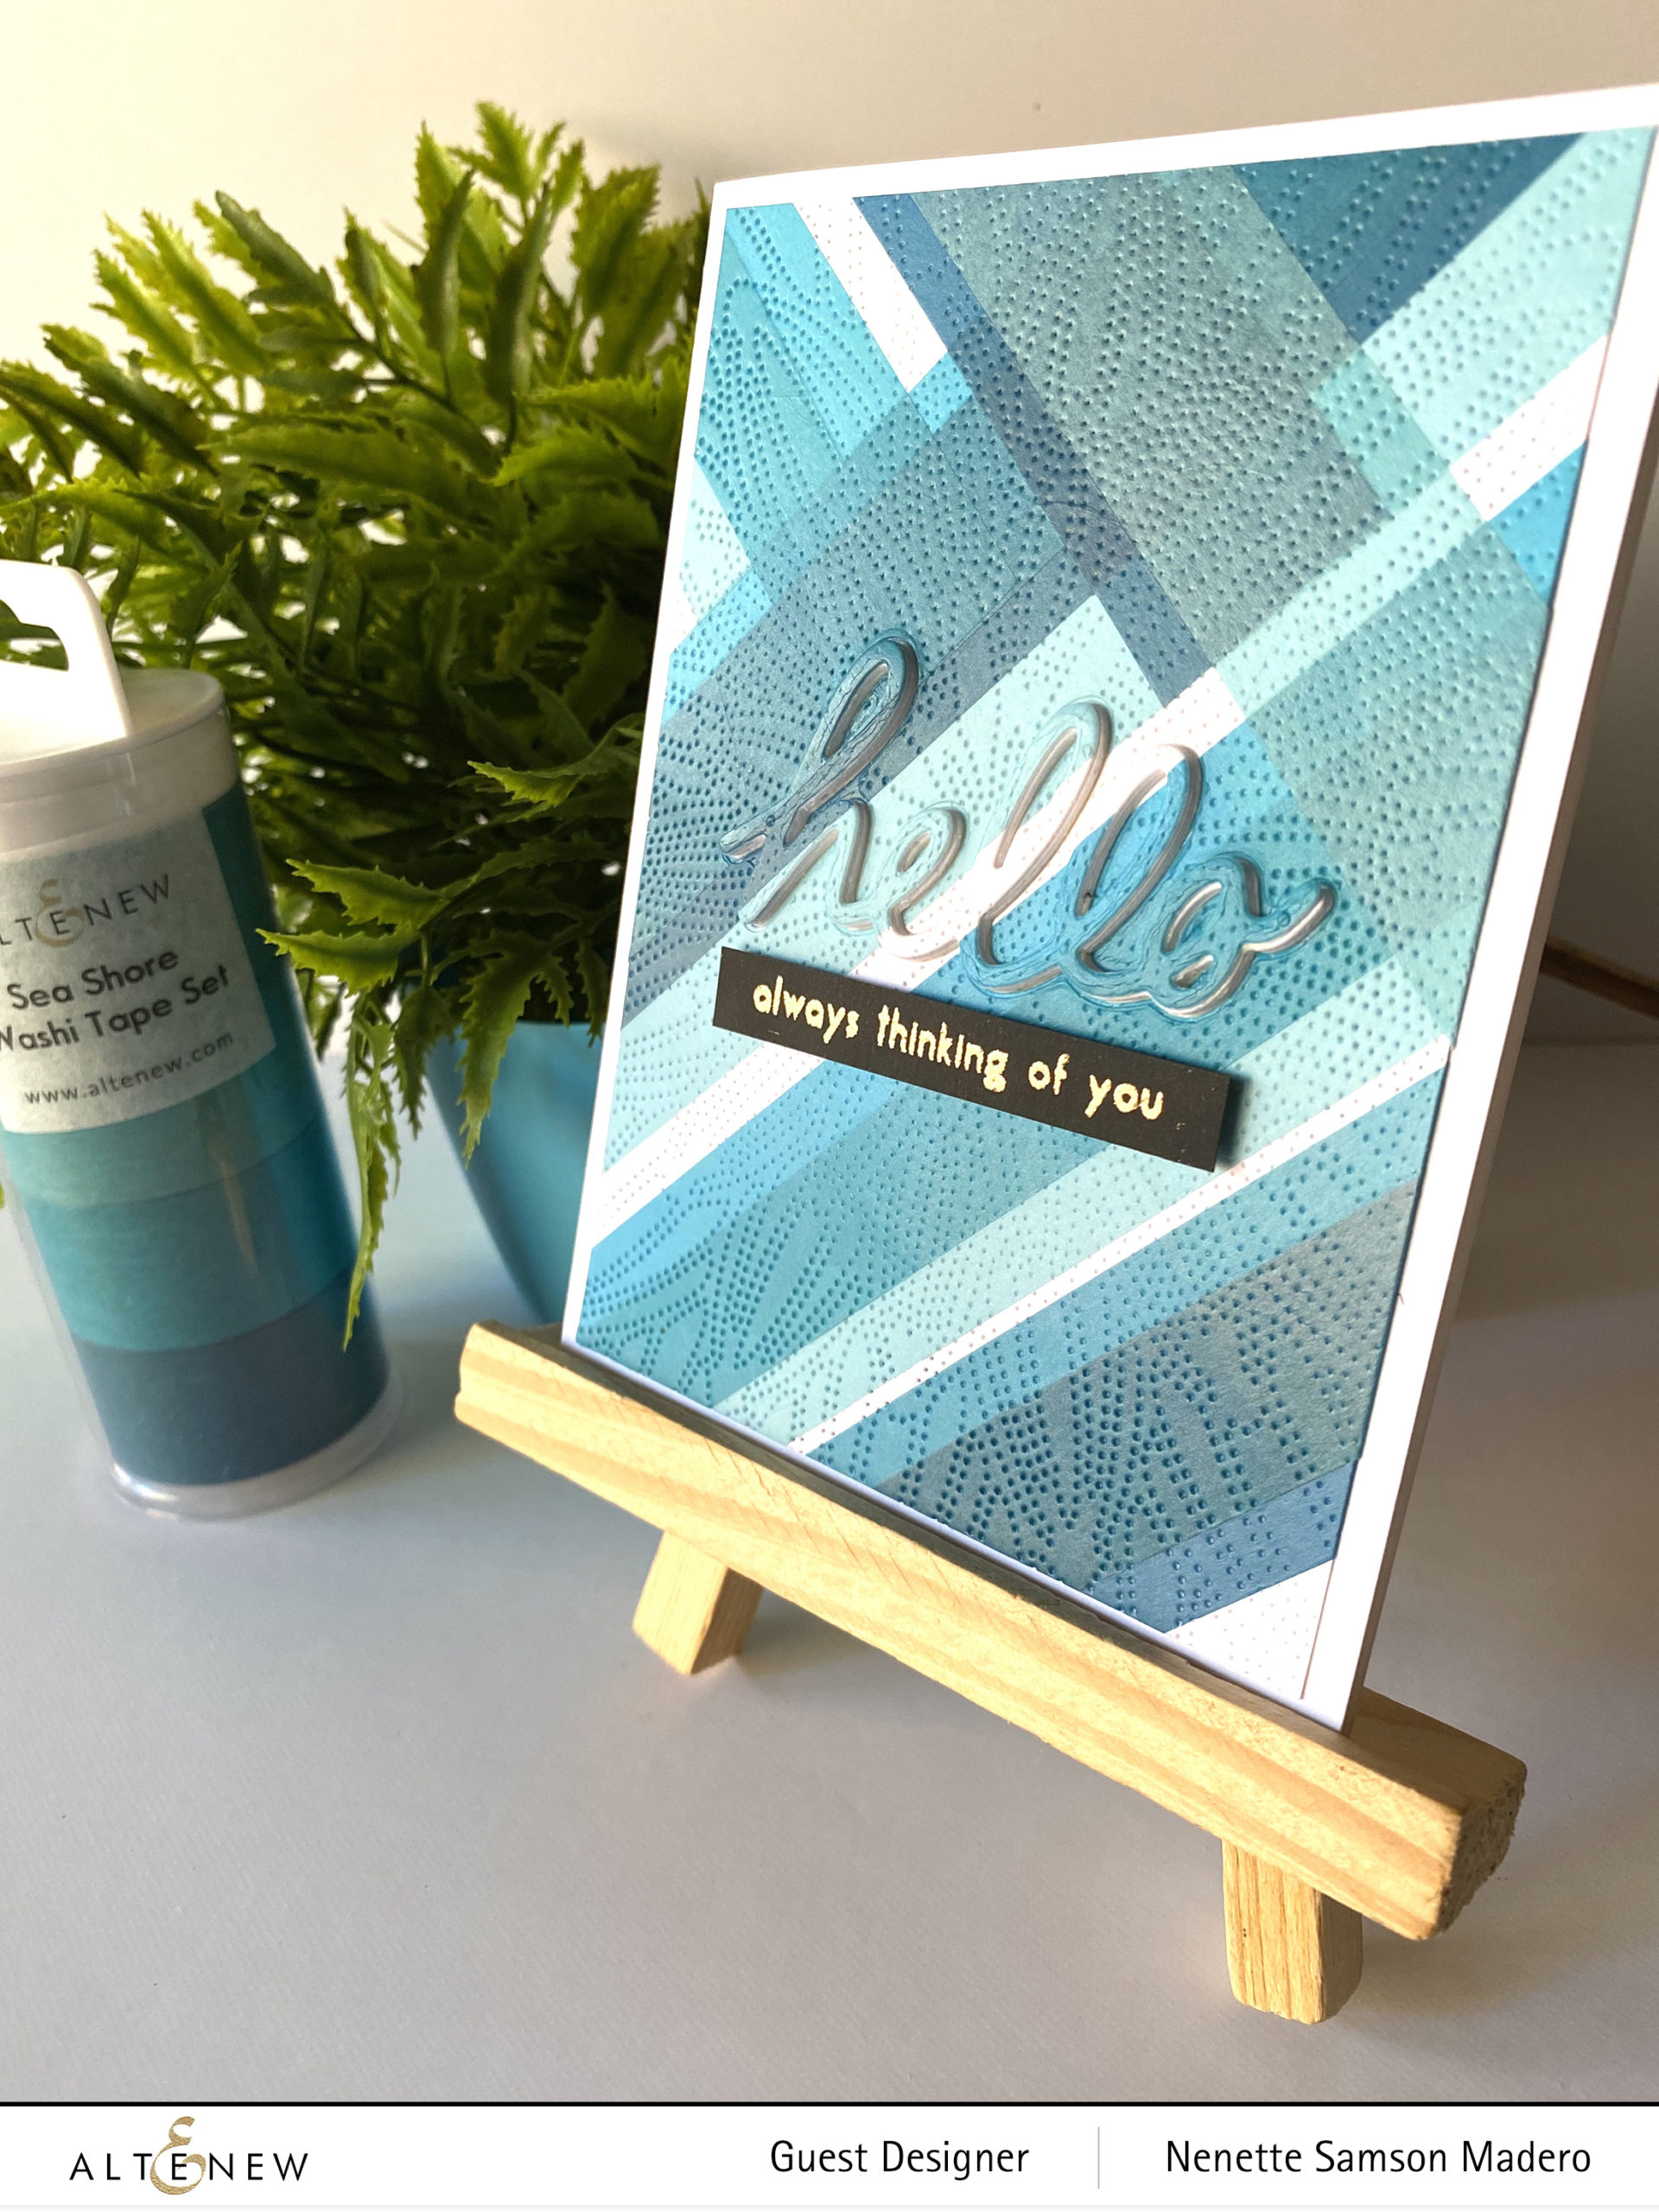
I love the subtle texture it gives on card fronts. ❤️ Notice that when you layer the washi tapes since they are translucent, you get more shades of blue when they’re taped on top of each other. The Handwritten Hello die was used to cut the word right at the center of the front panel. An additional 4 layers were cut and adhered together to add dimension. The sentiment was stamped using Rose Gold Embossing Powder on black cardstock.
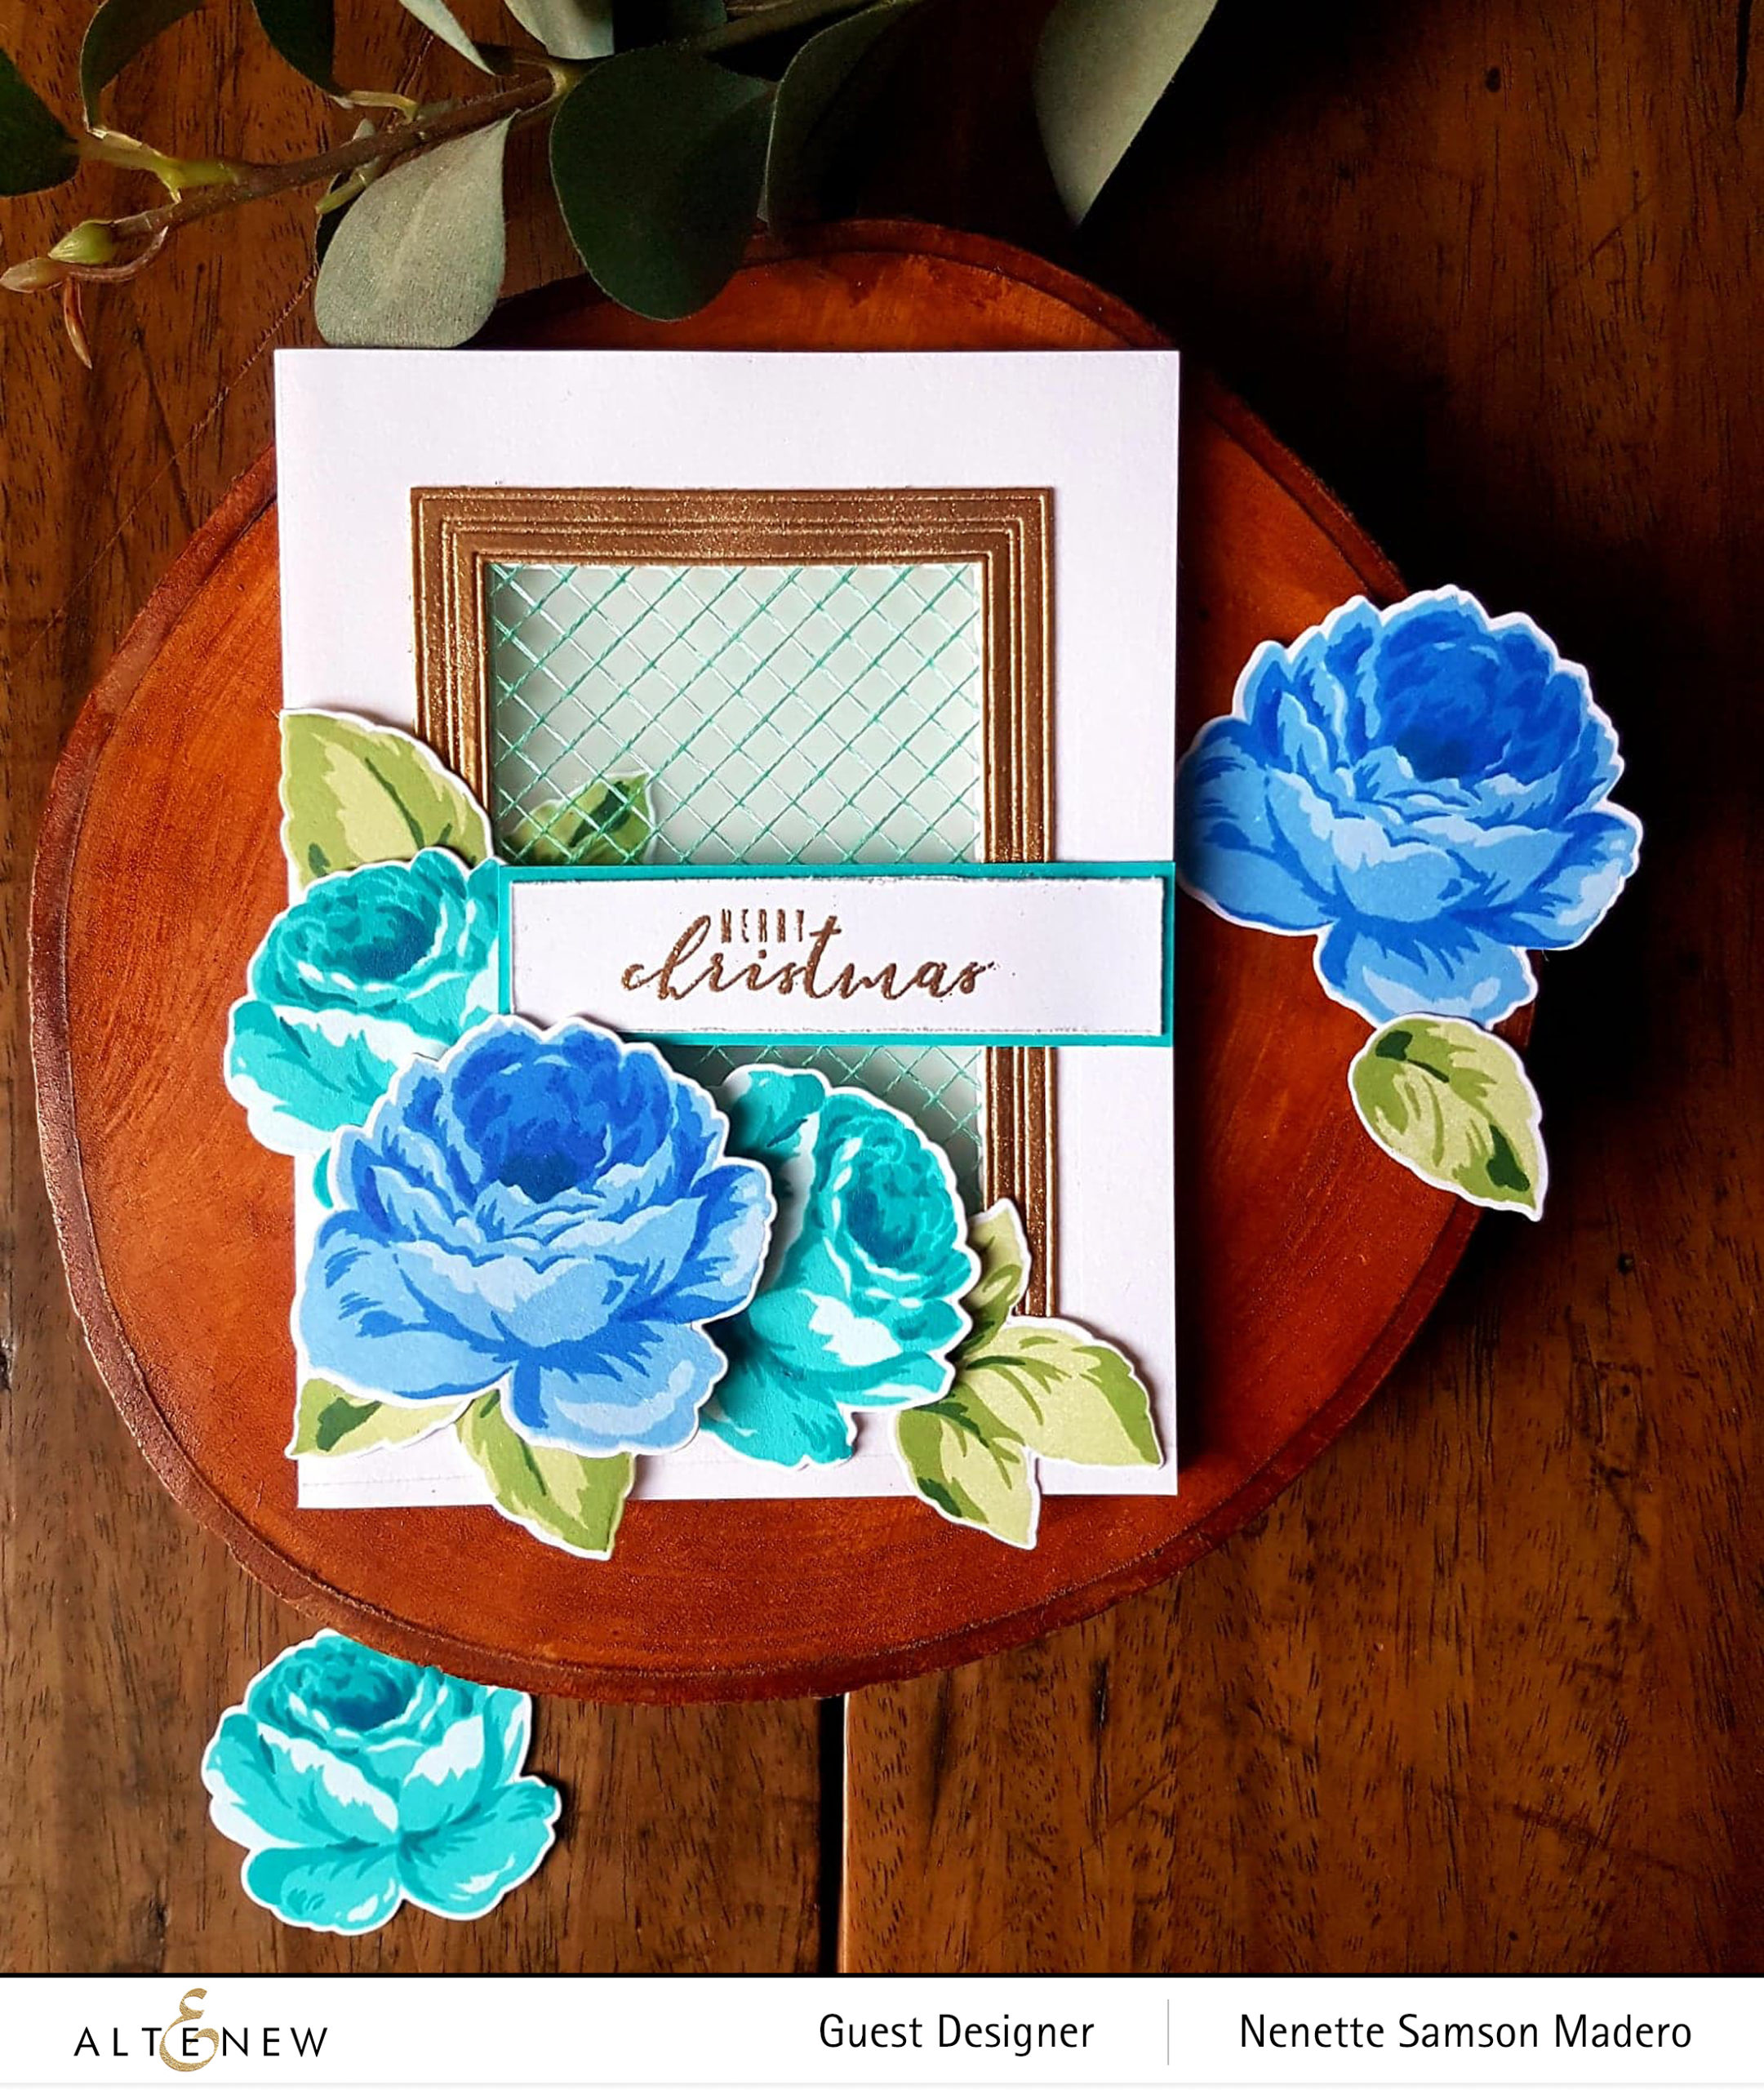
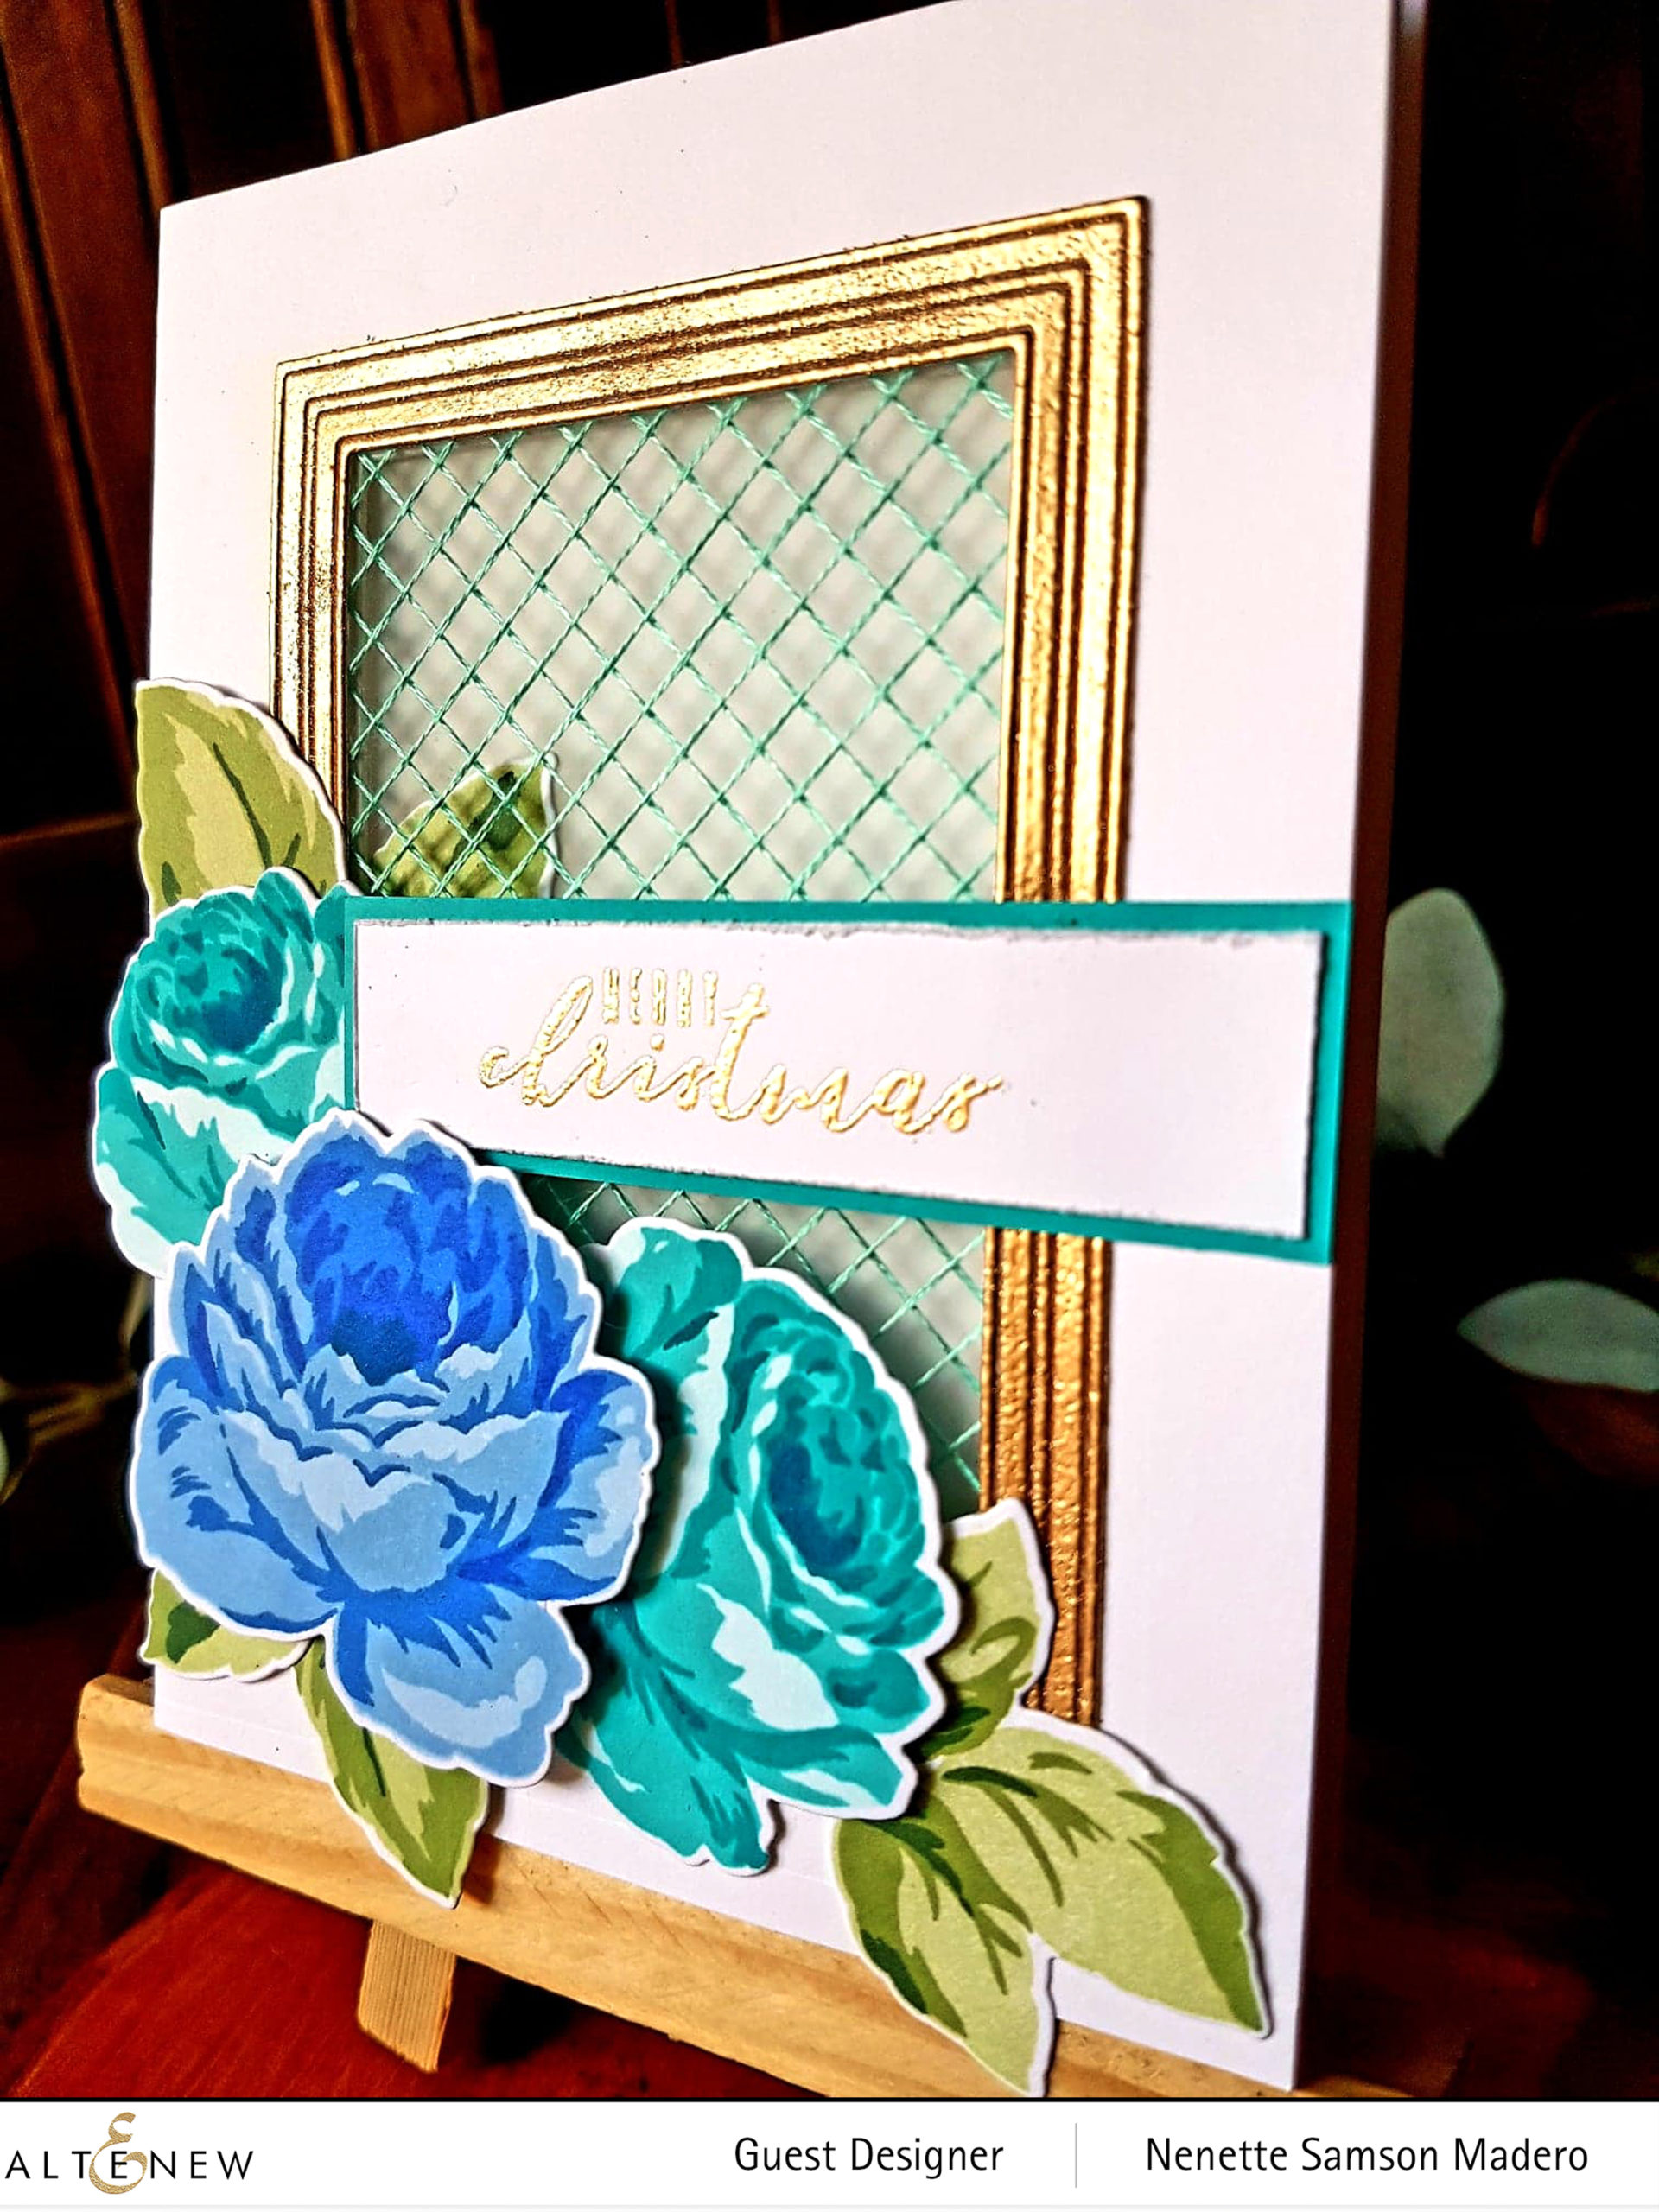
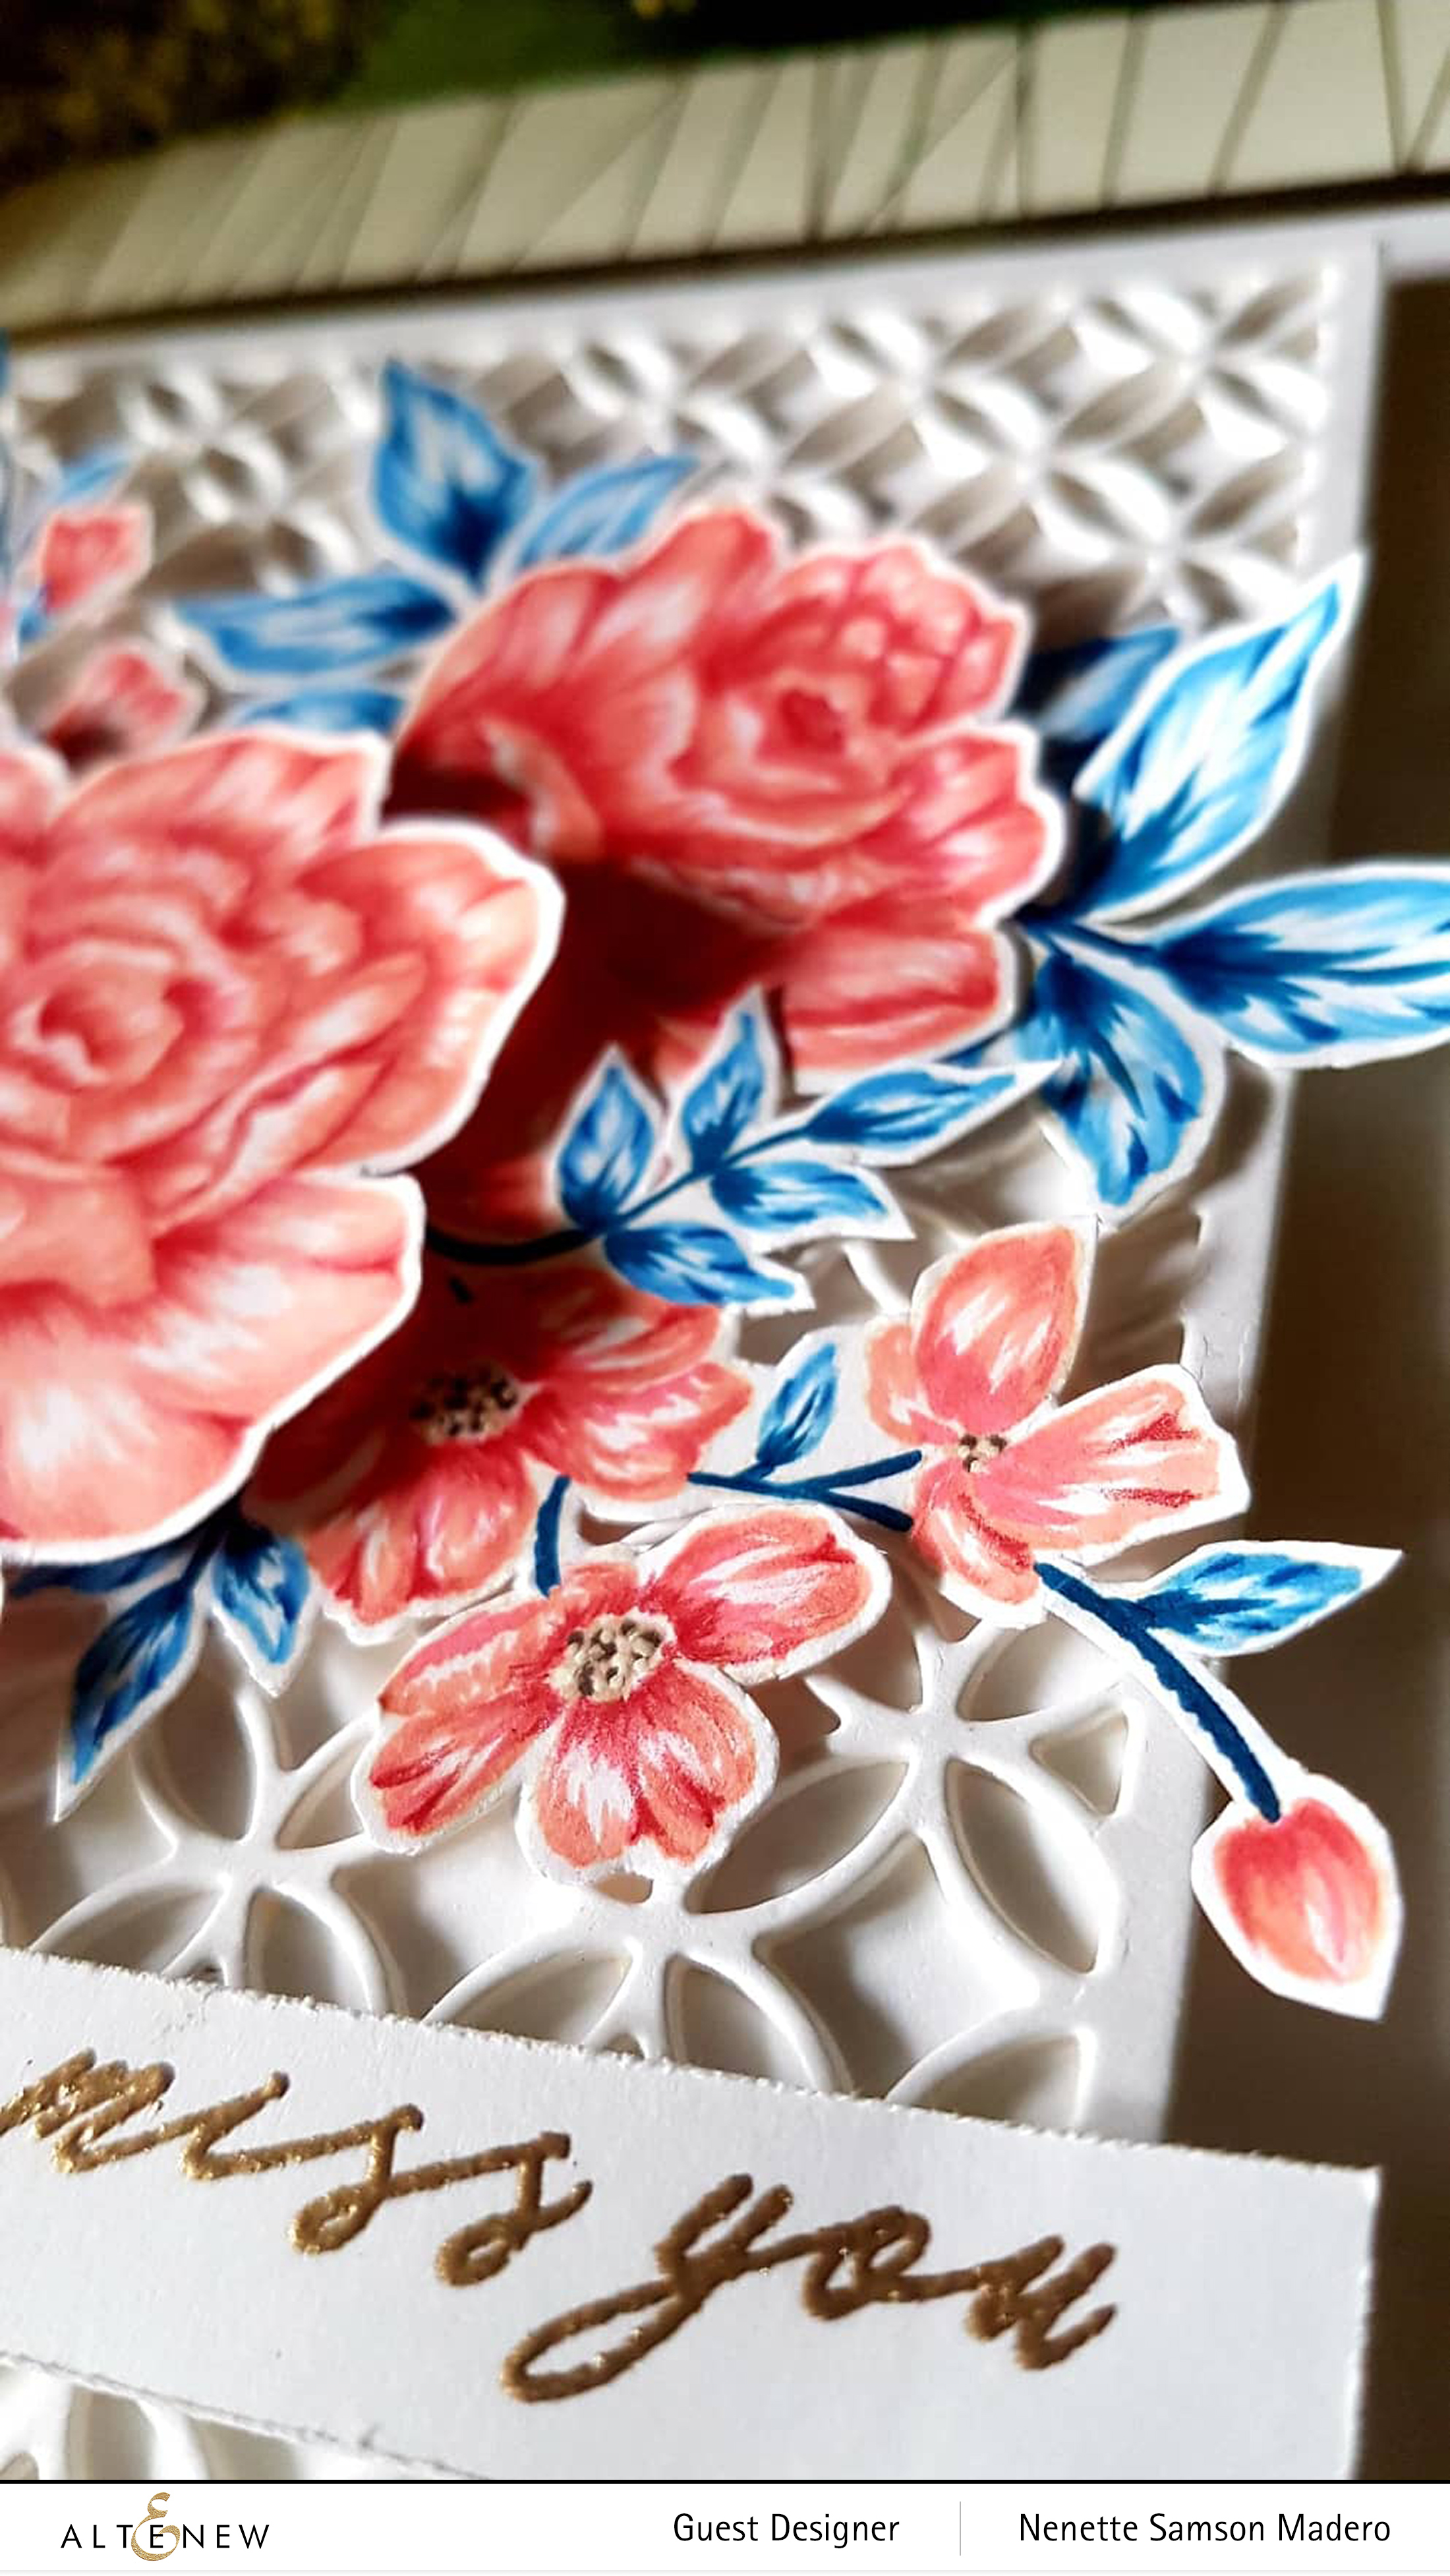
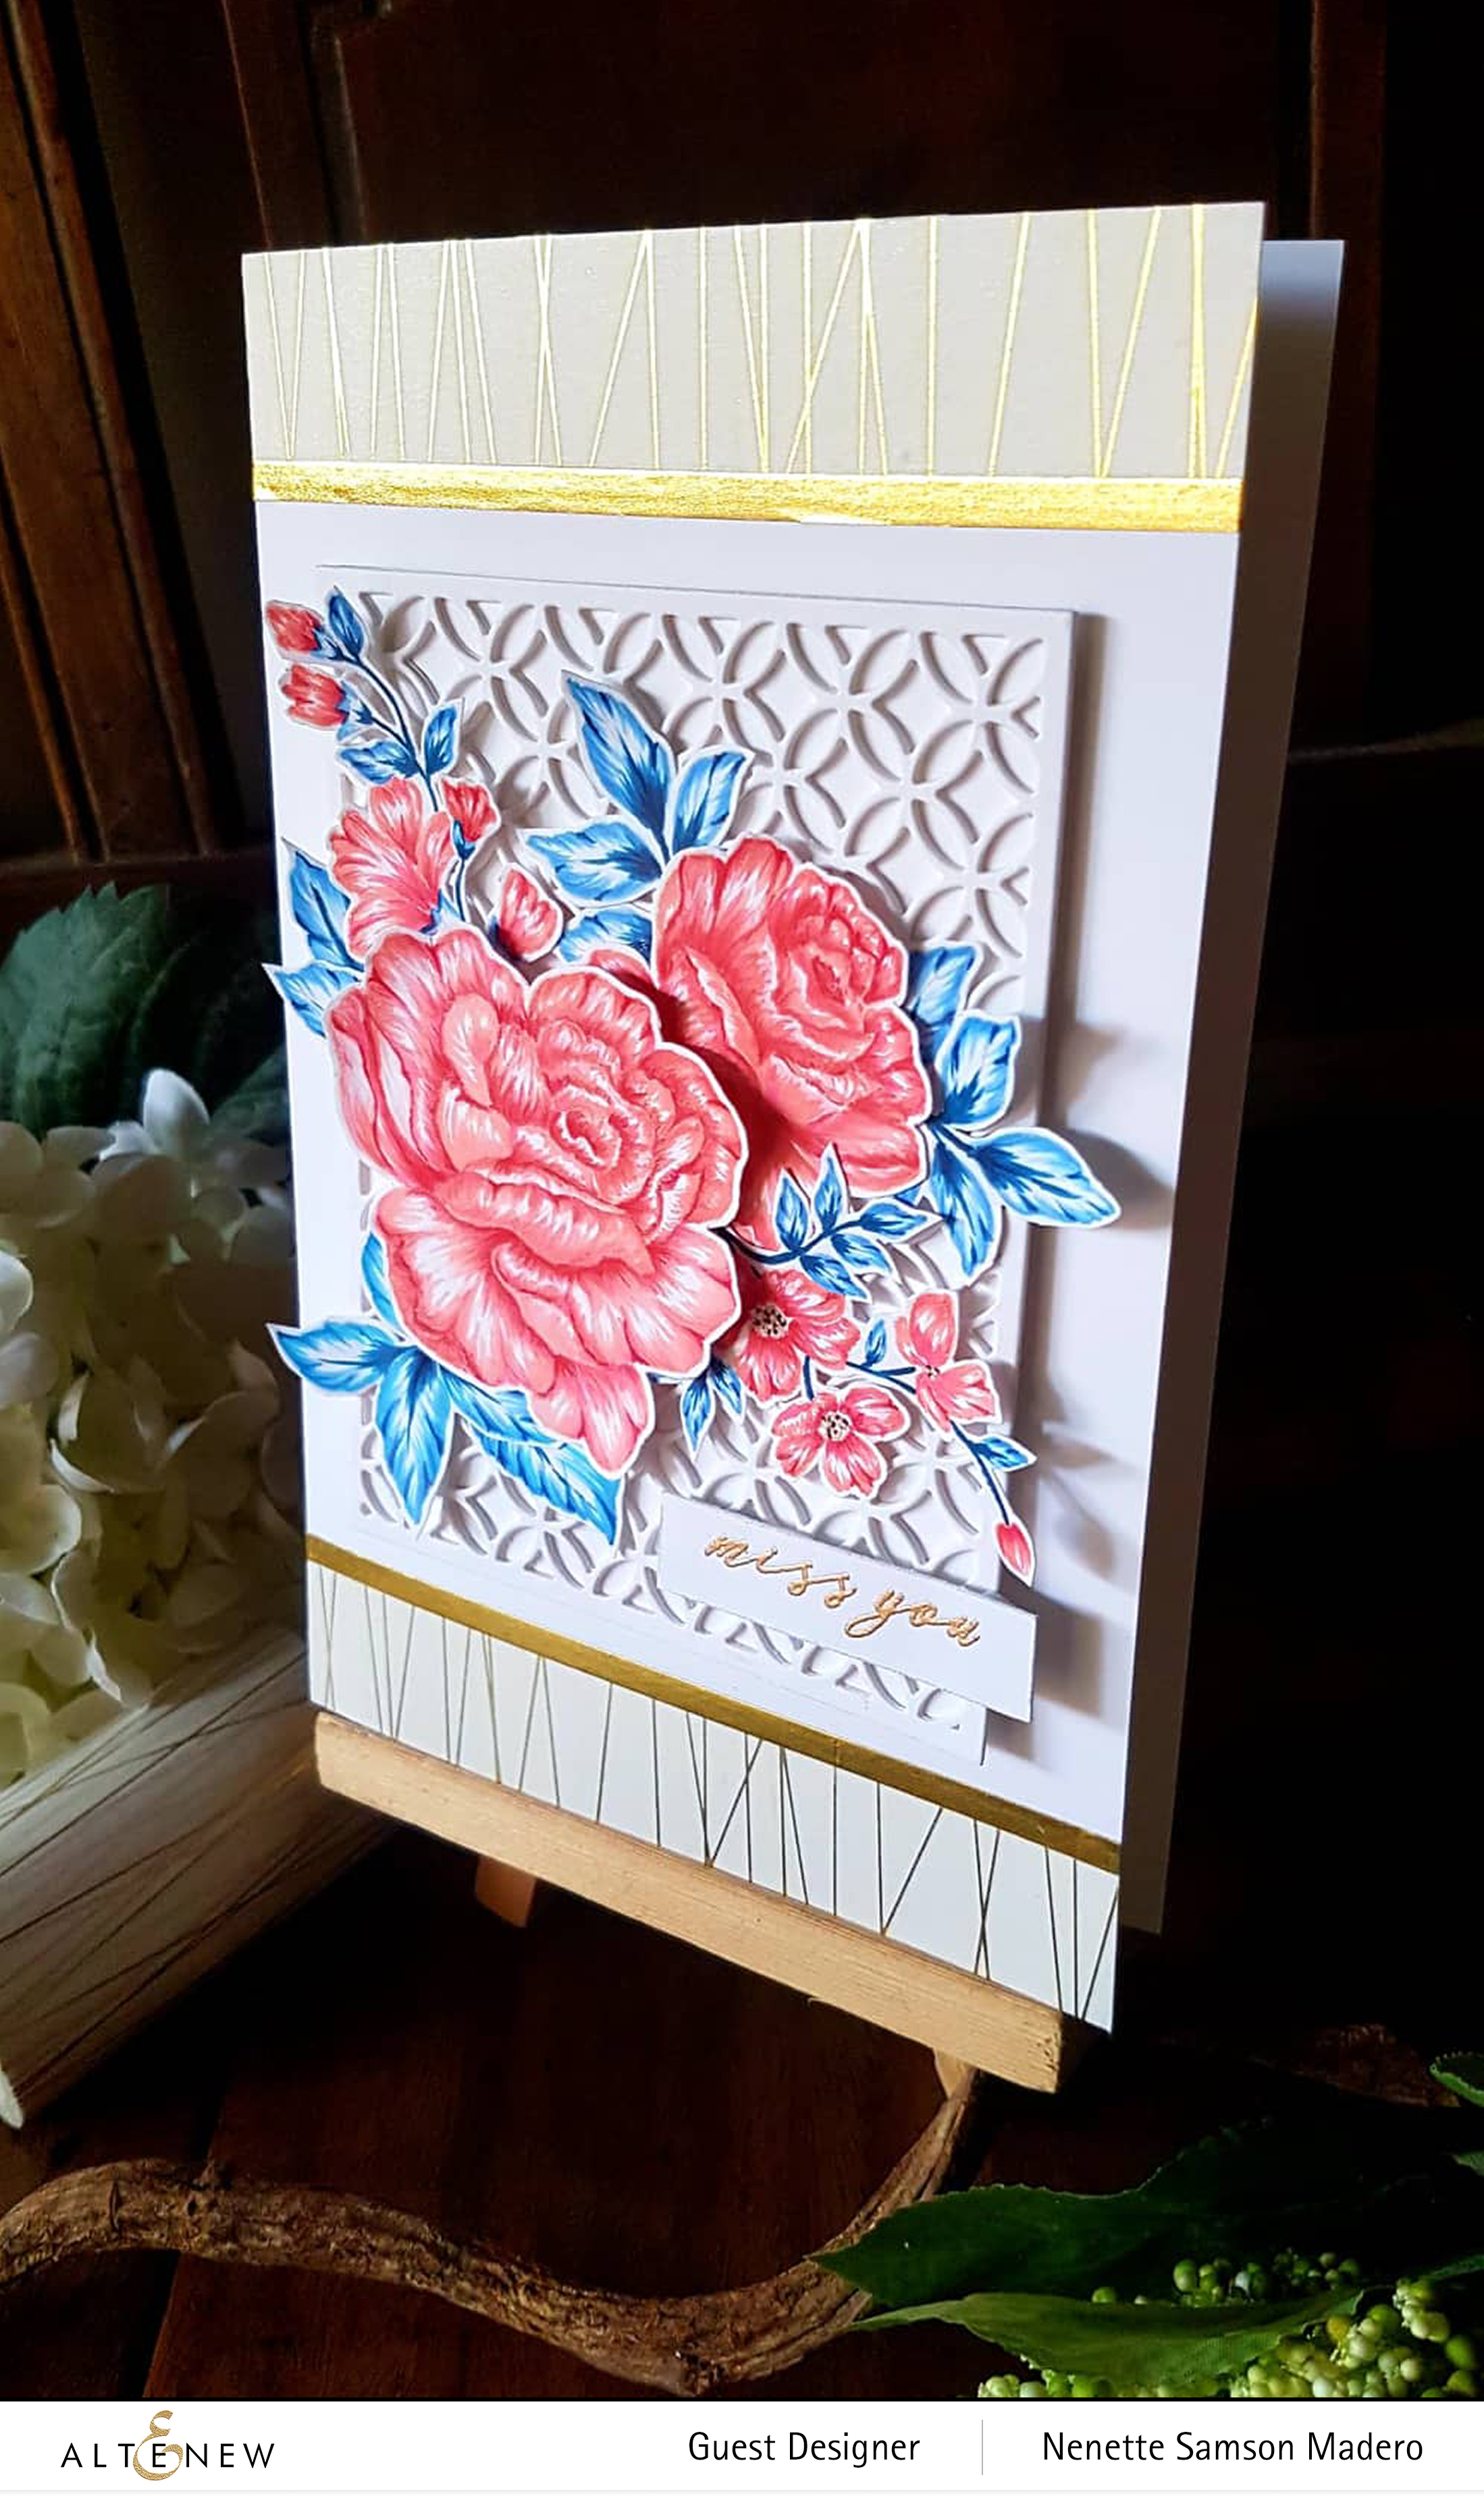
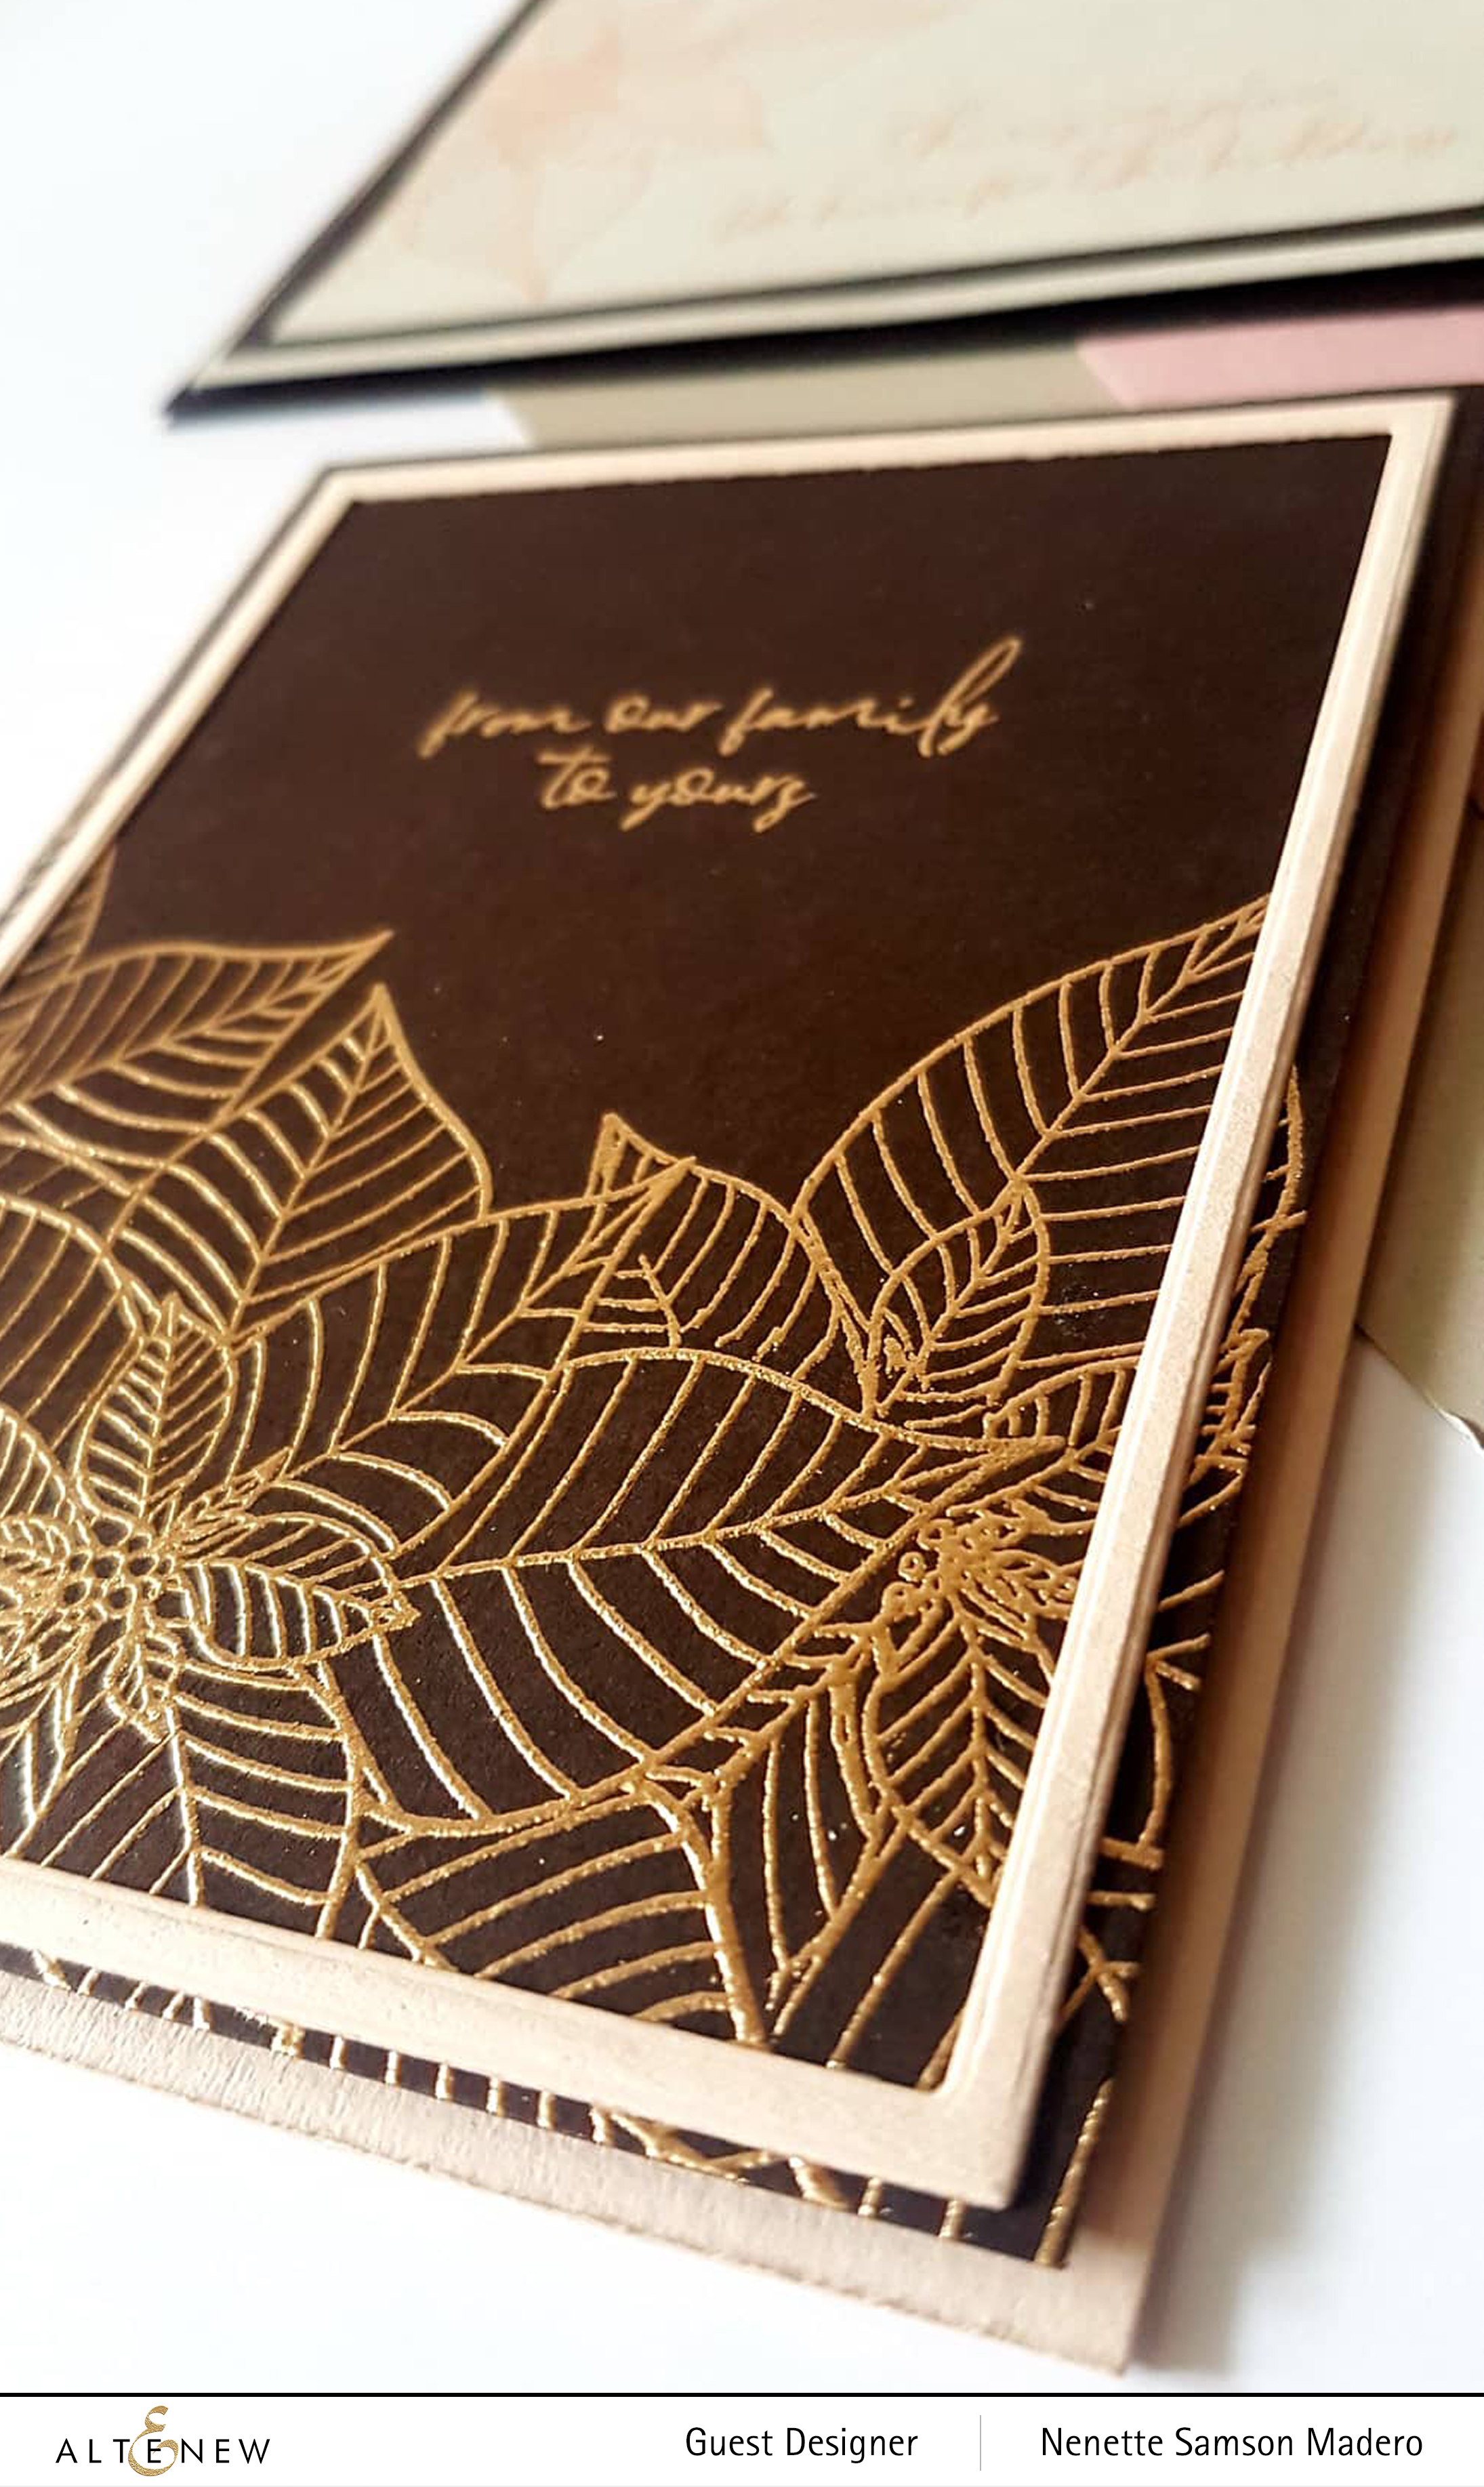
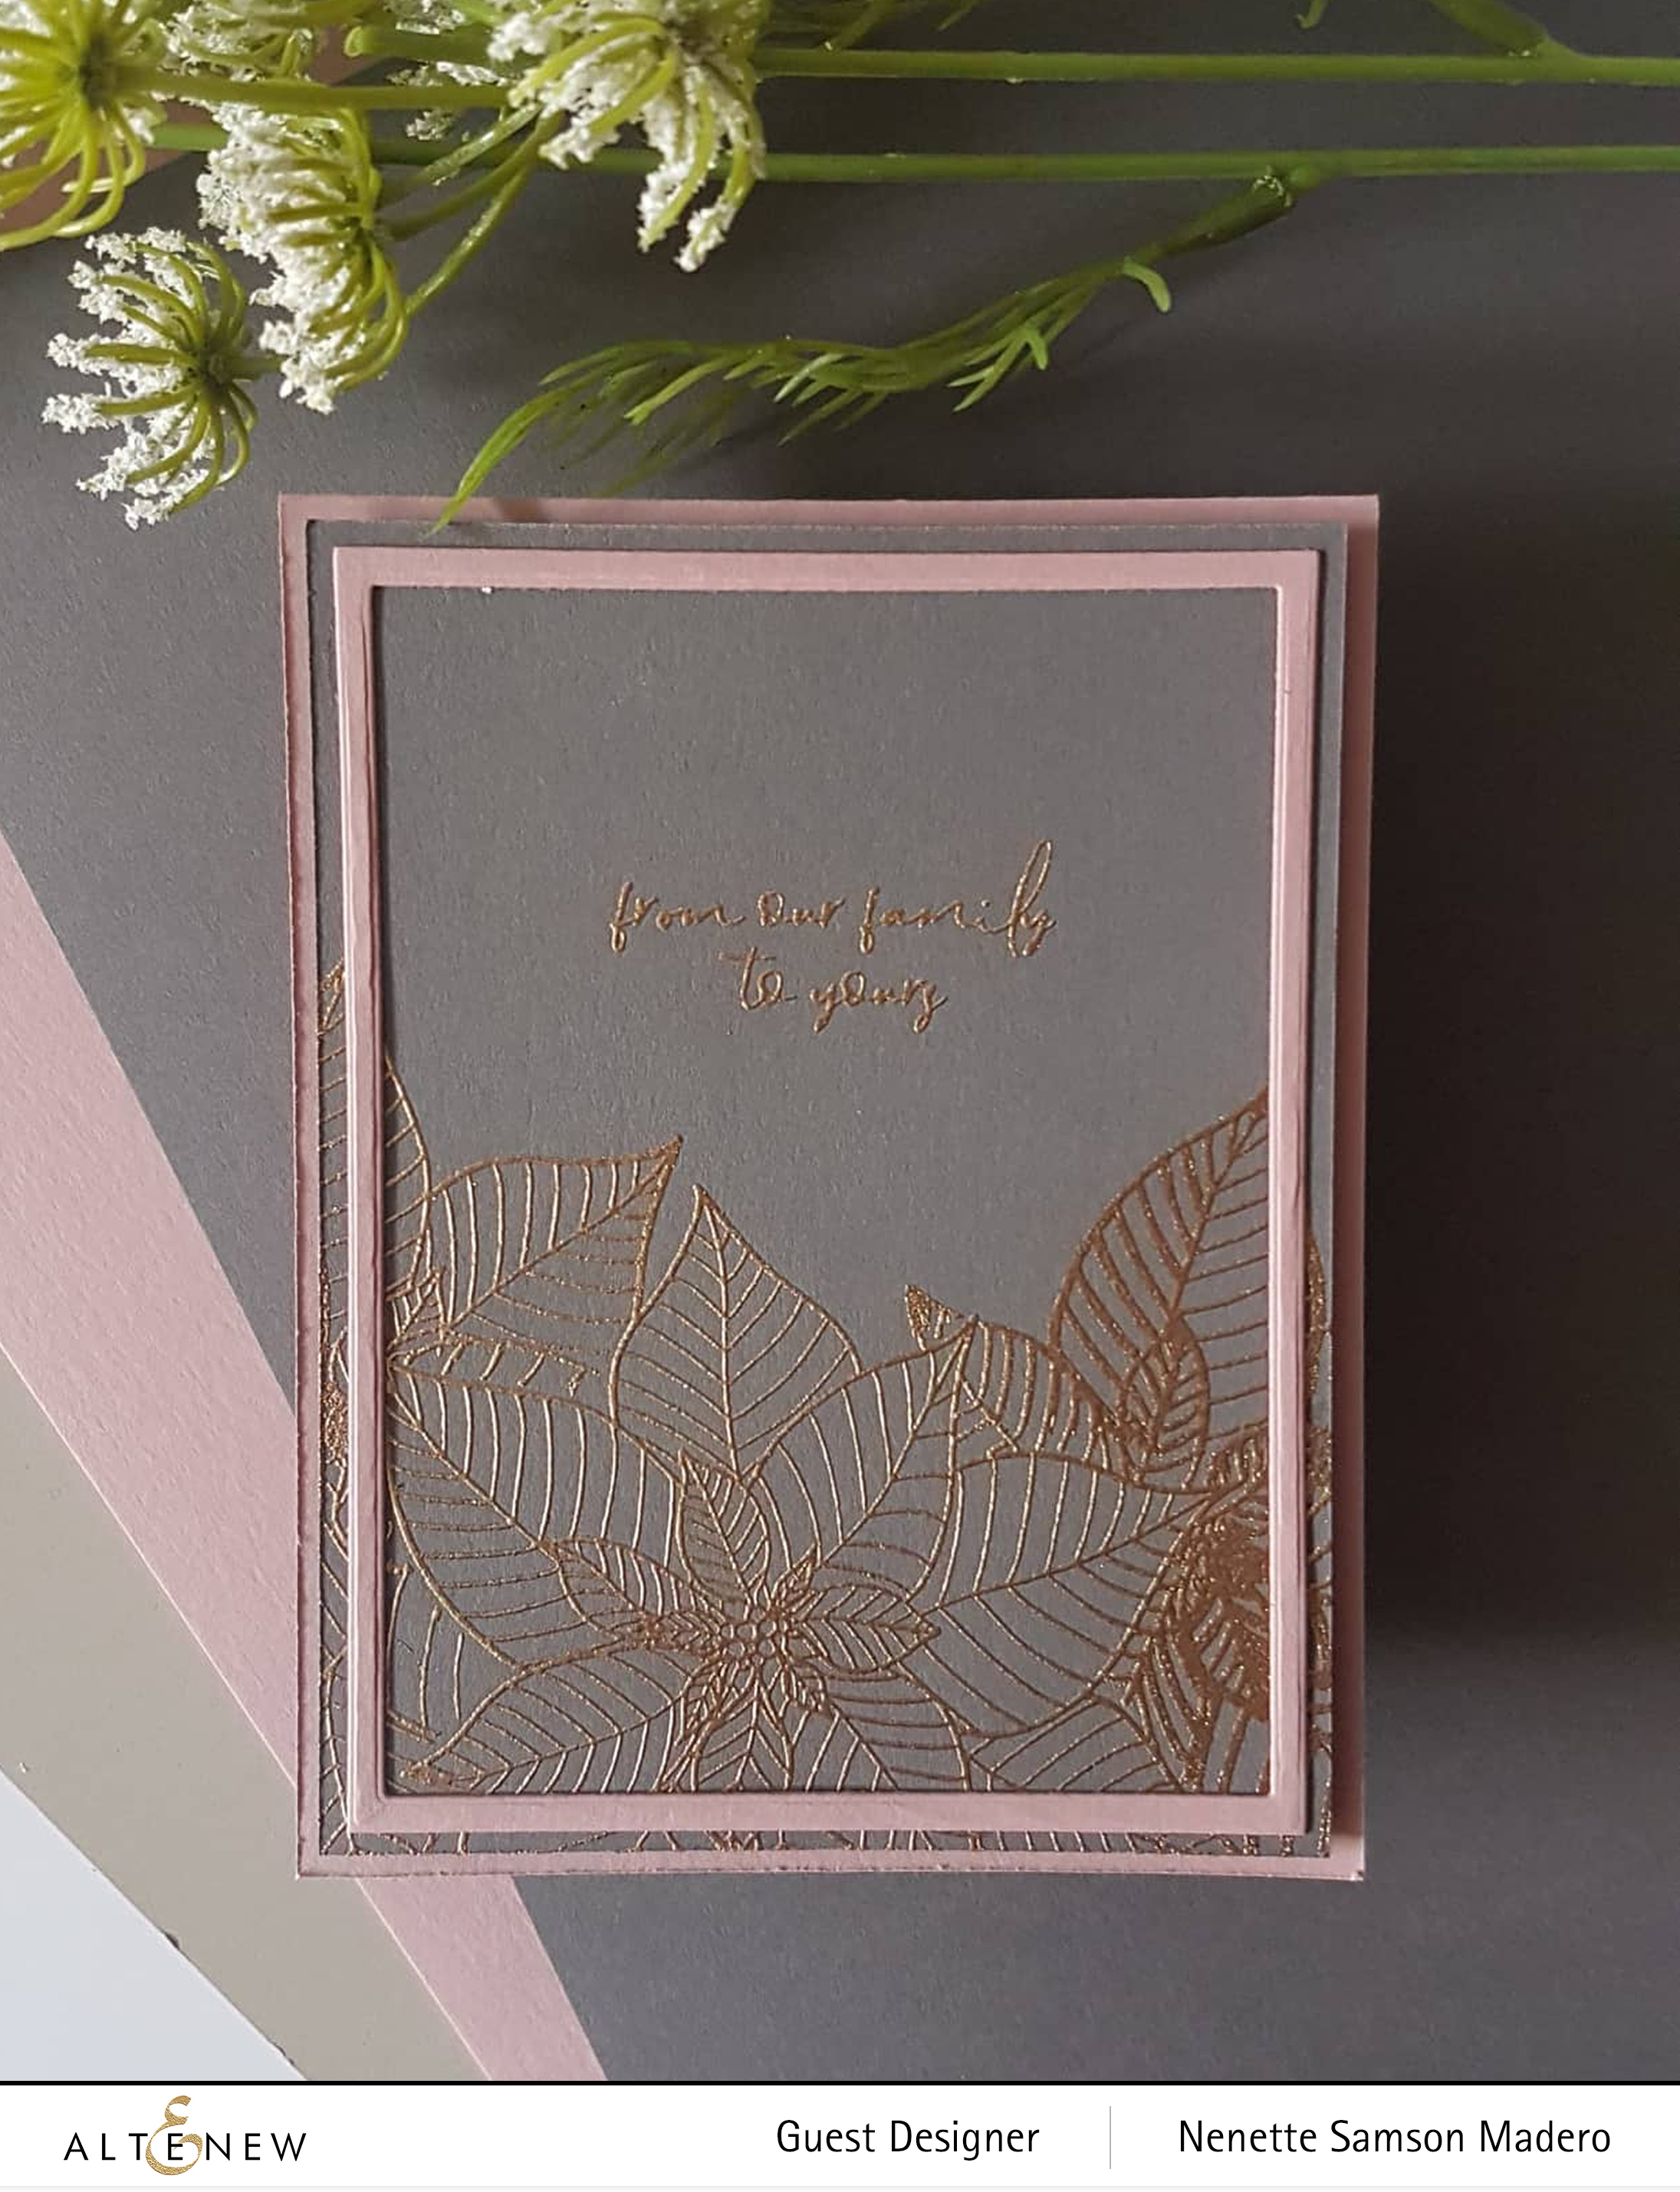
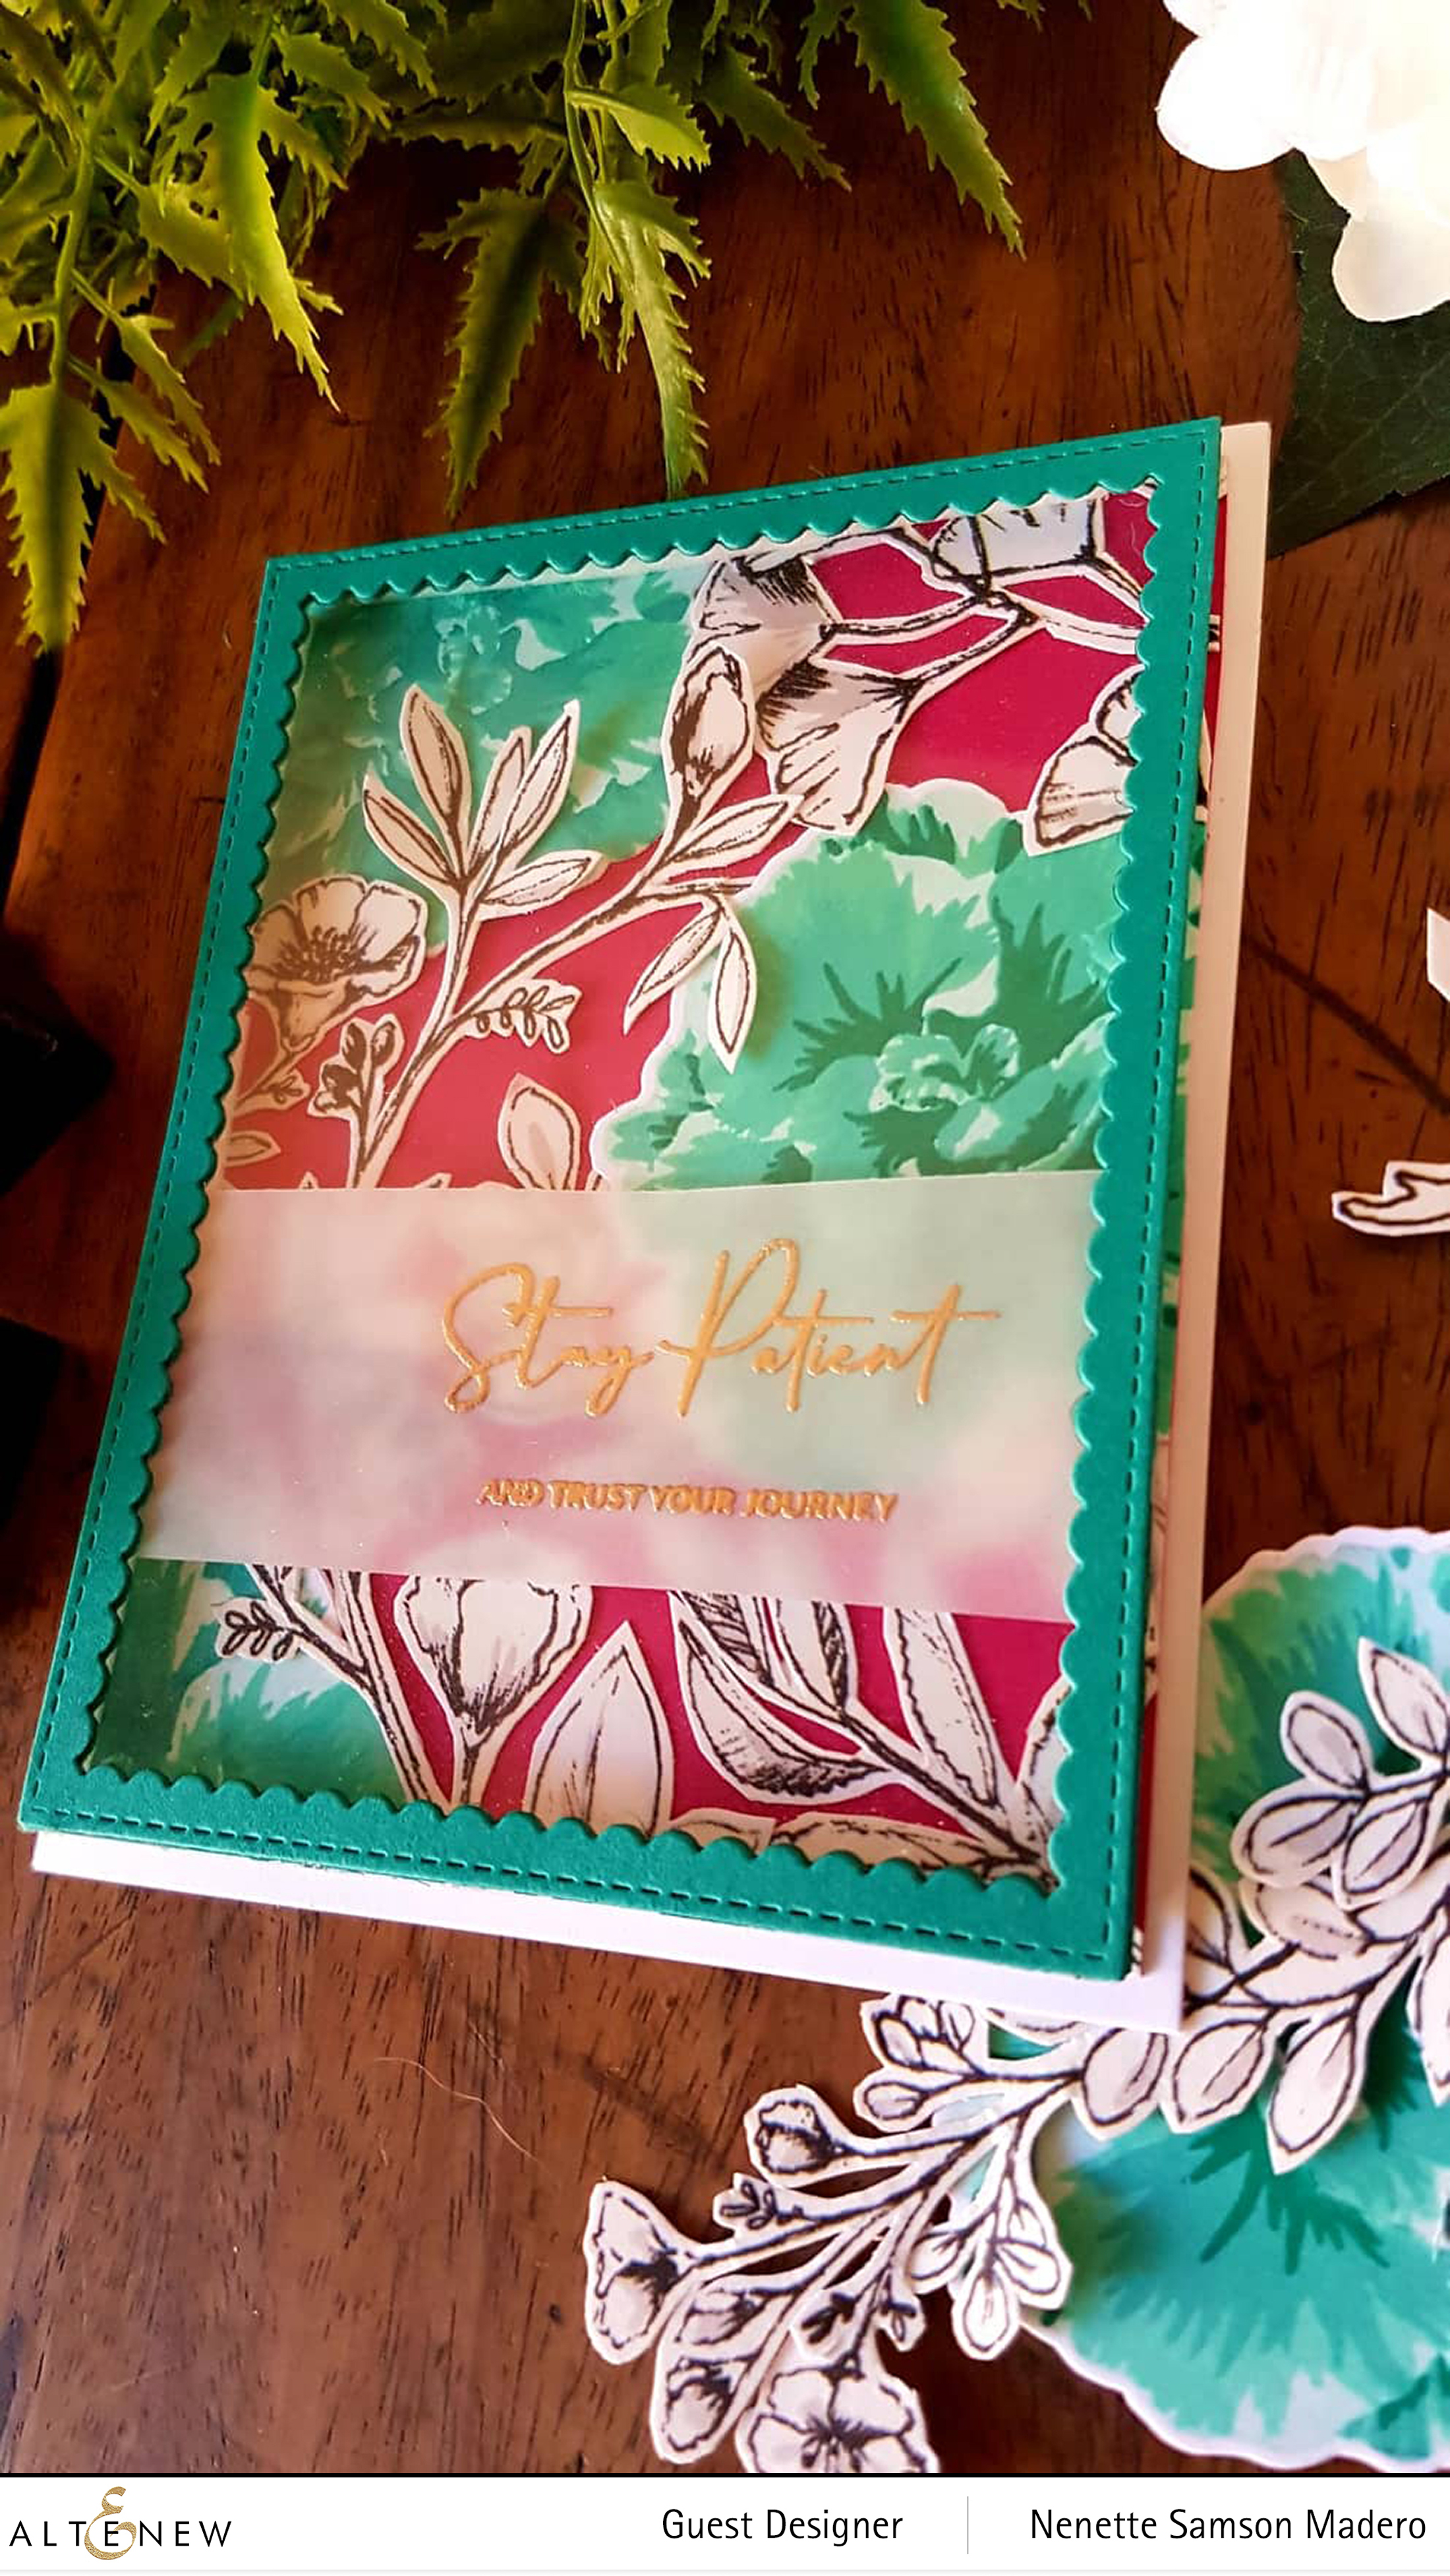
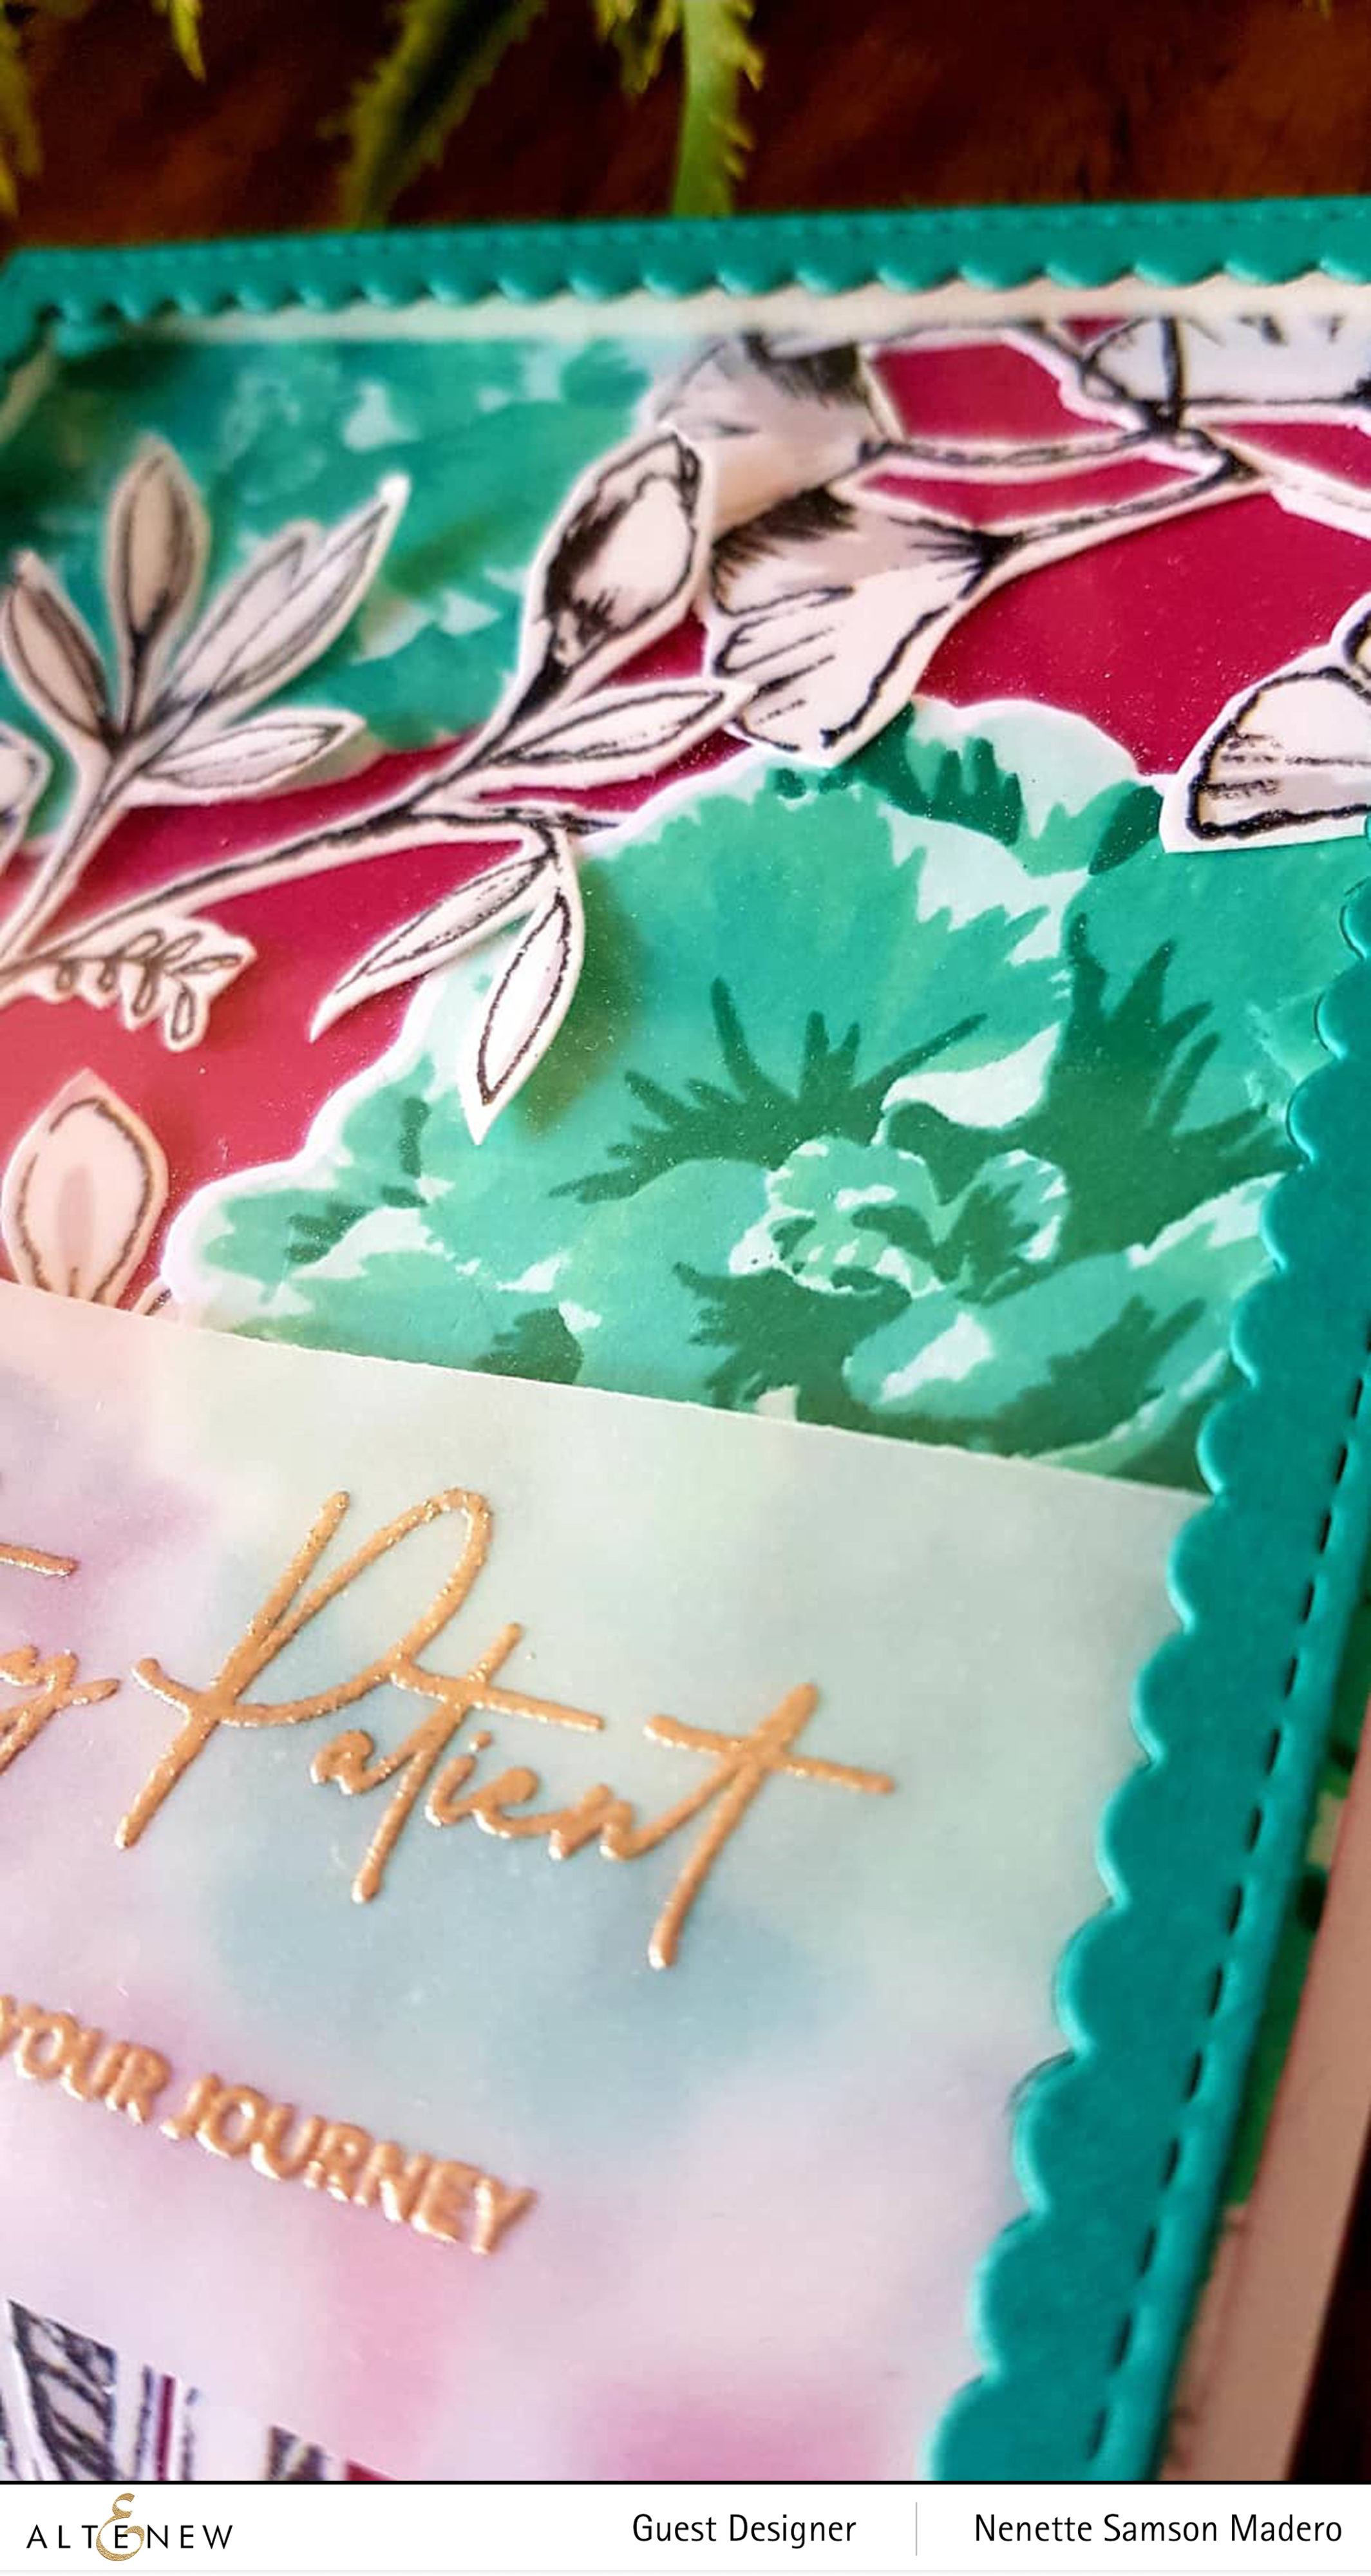
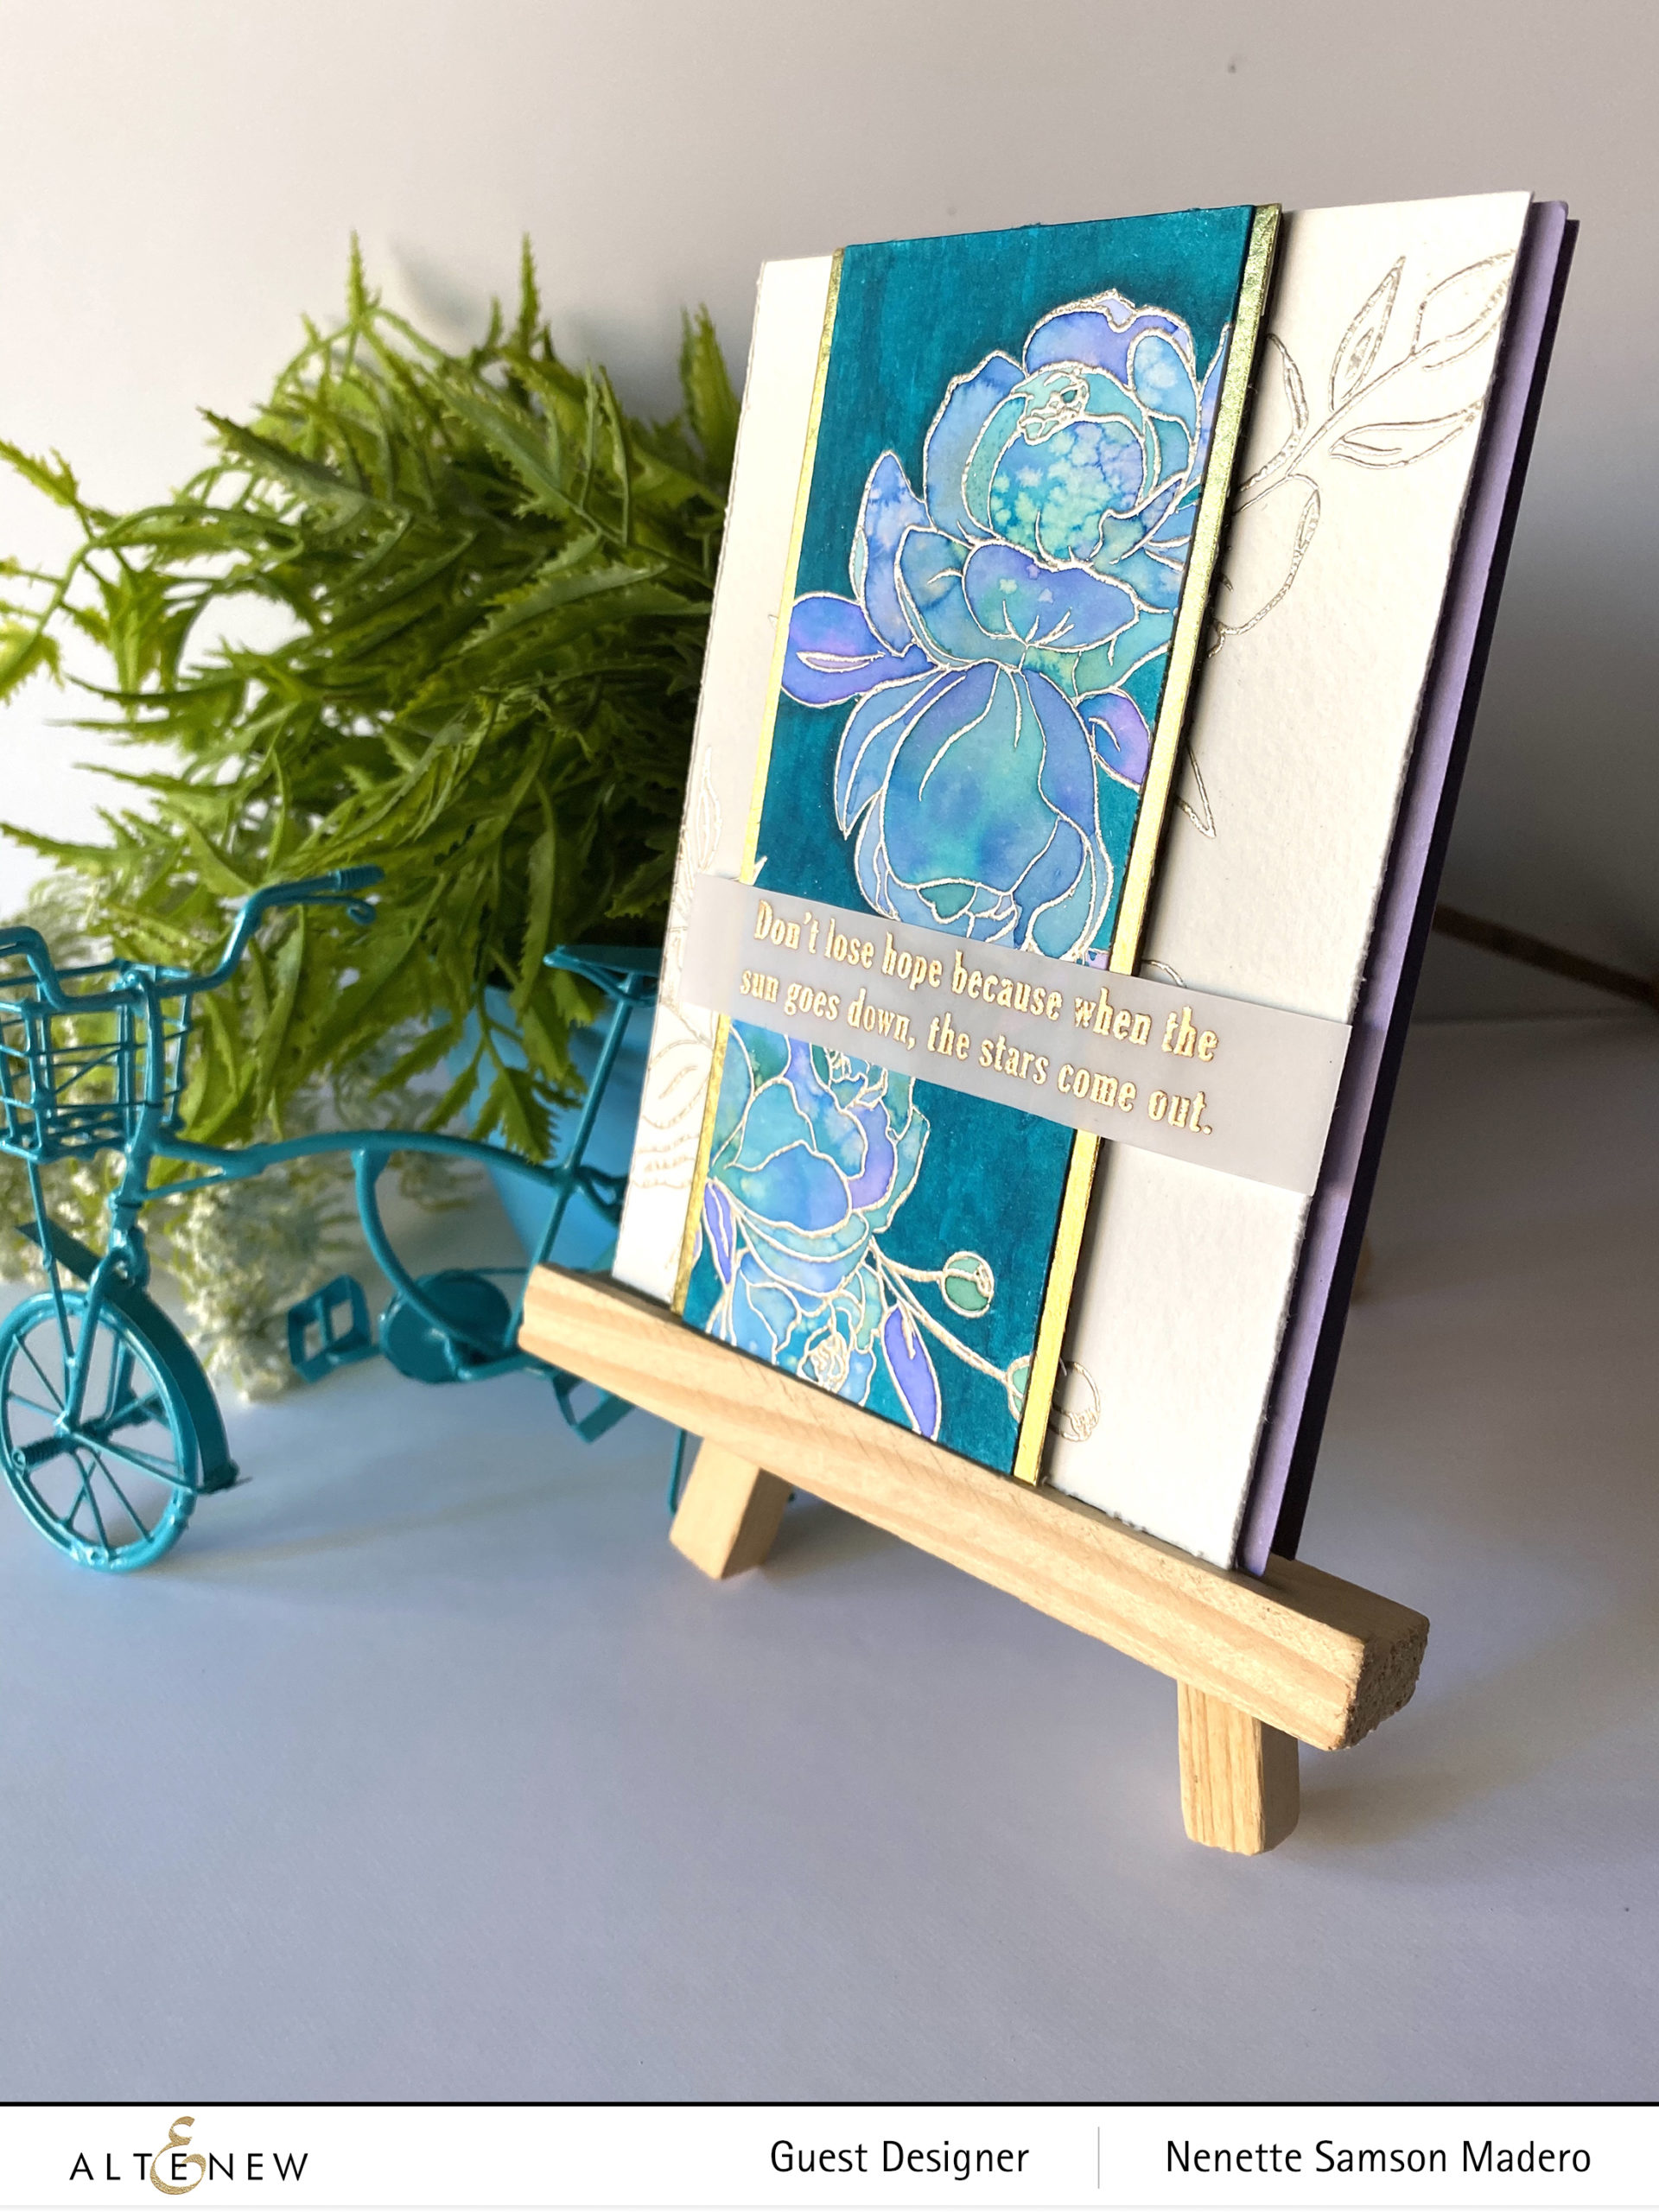
DON’T LOSE HOPE BECAUSE WHEN THE SUN GOES DOWN, THE STARS COME OUT
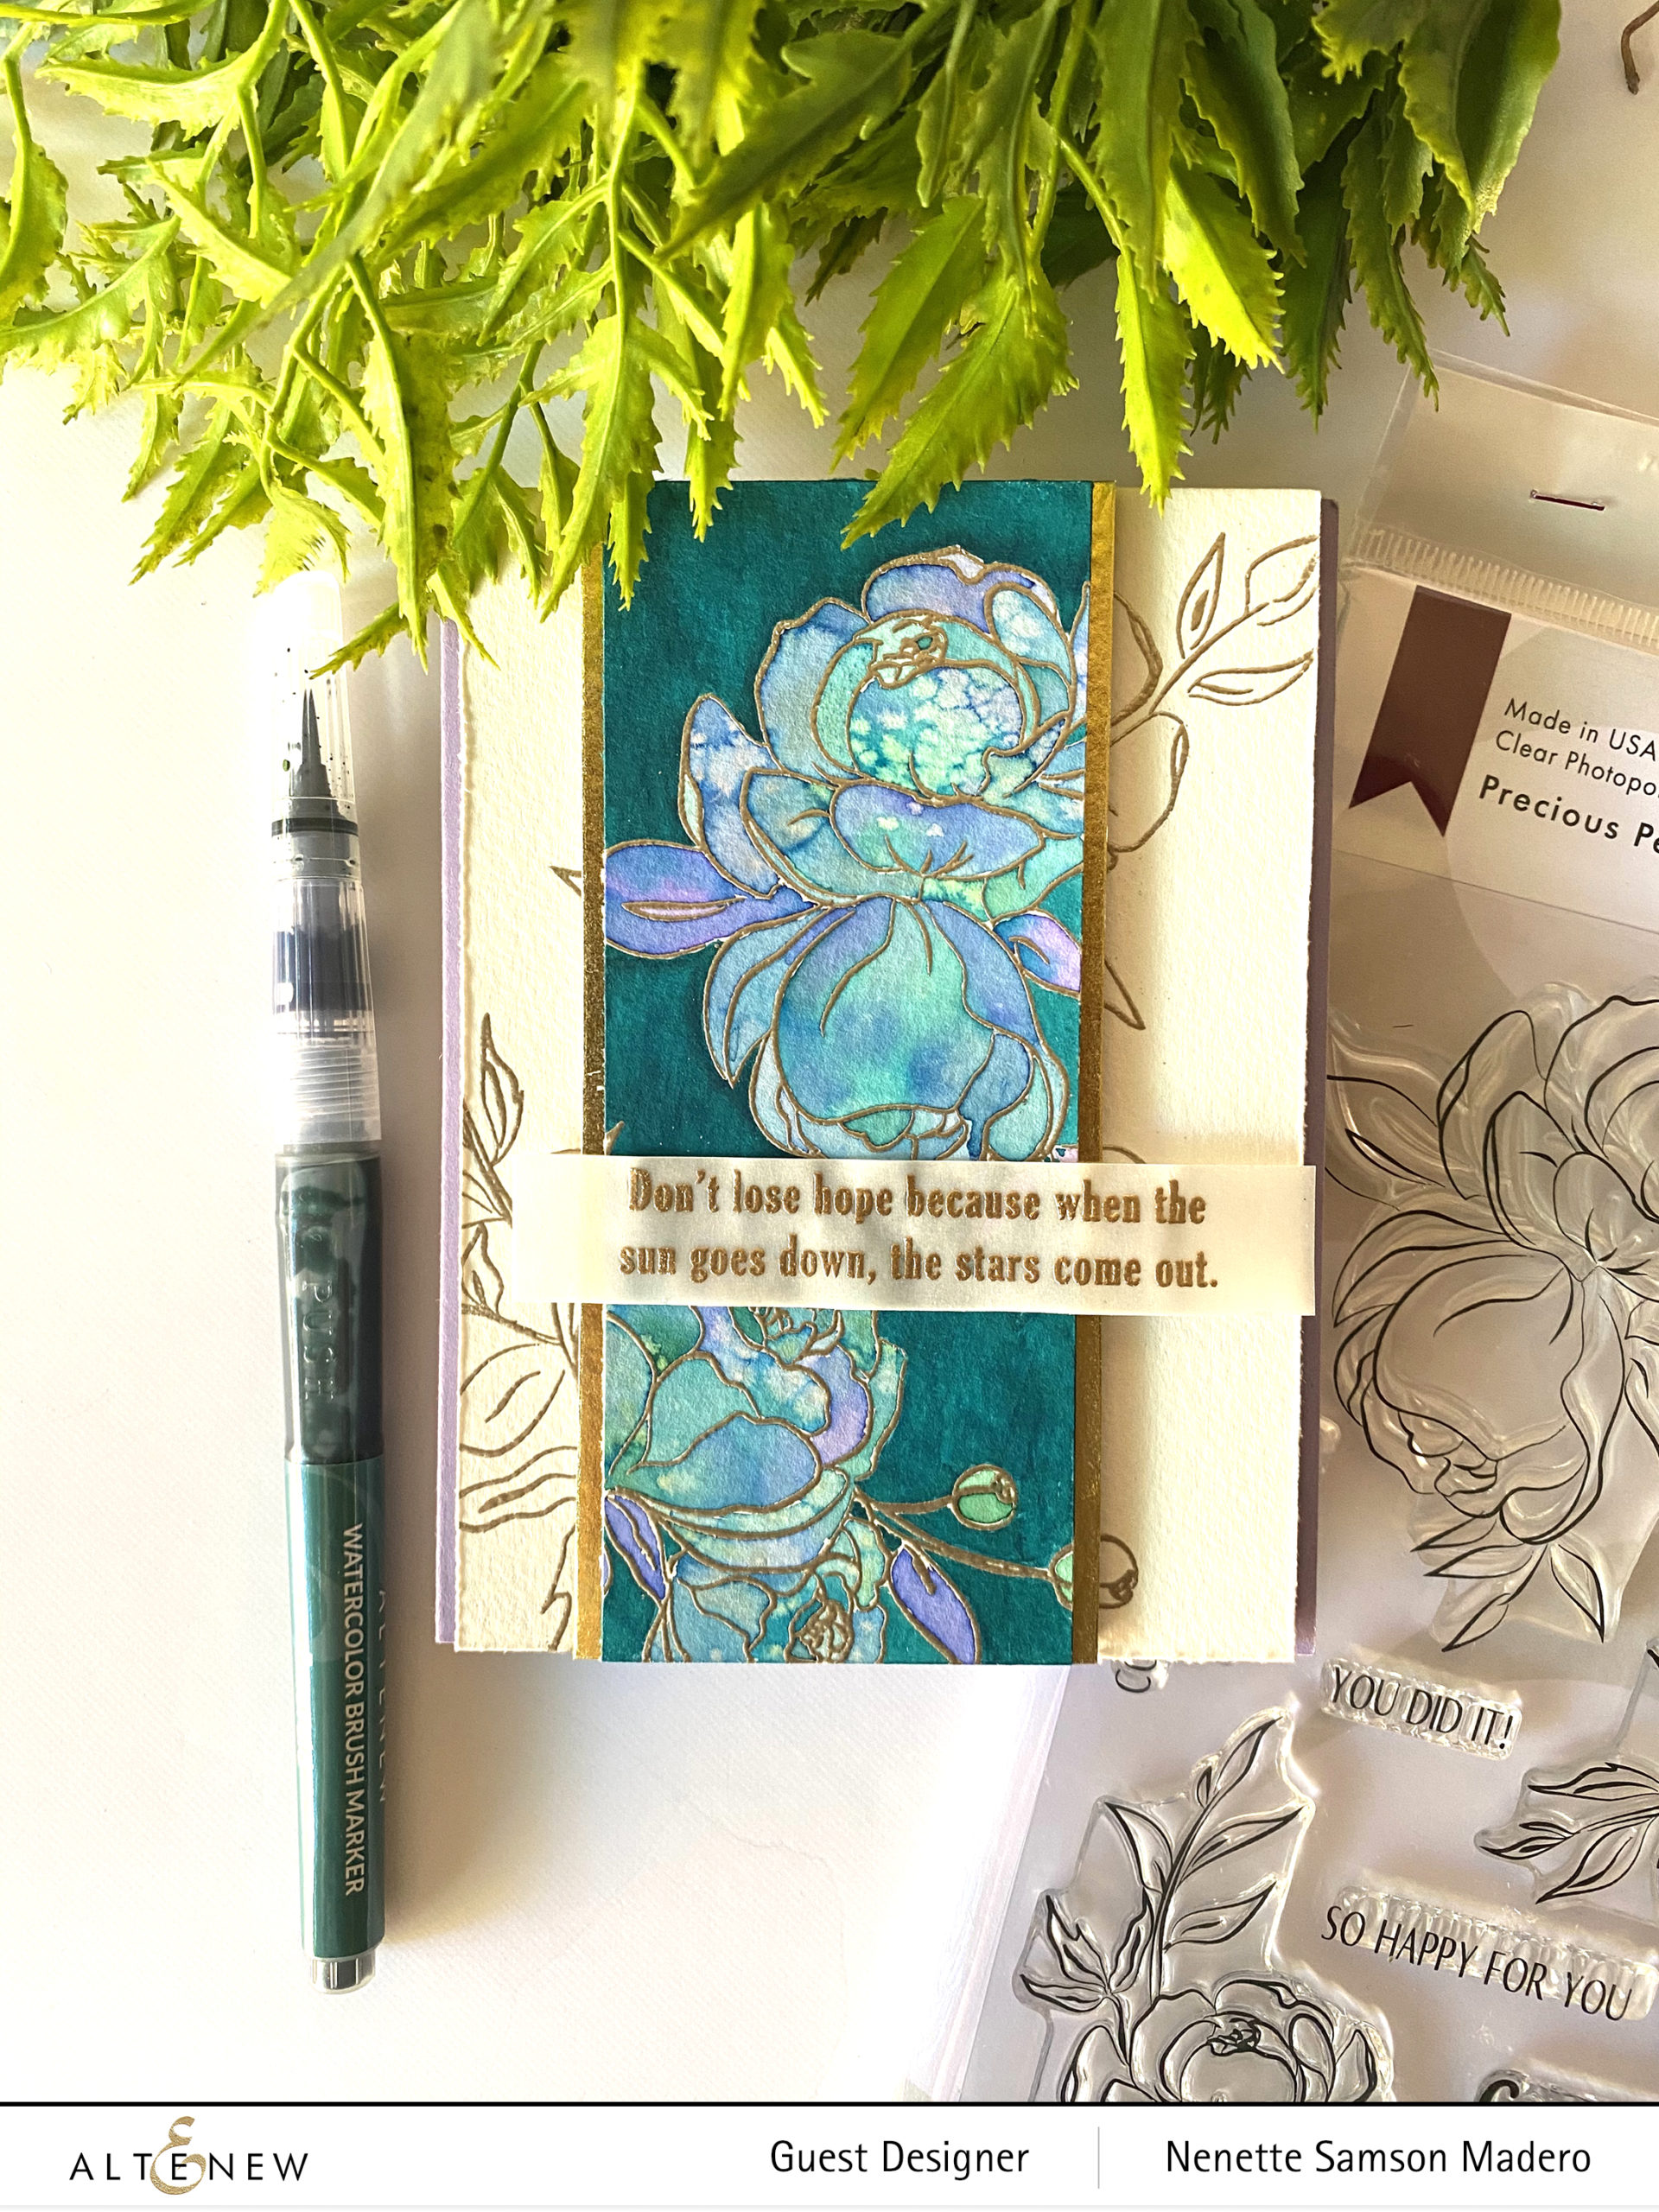
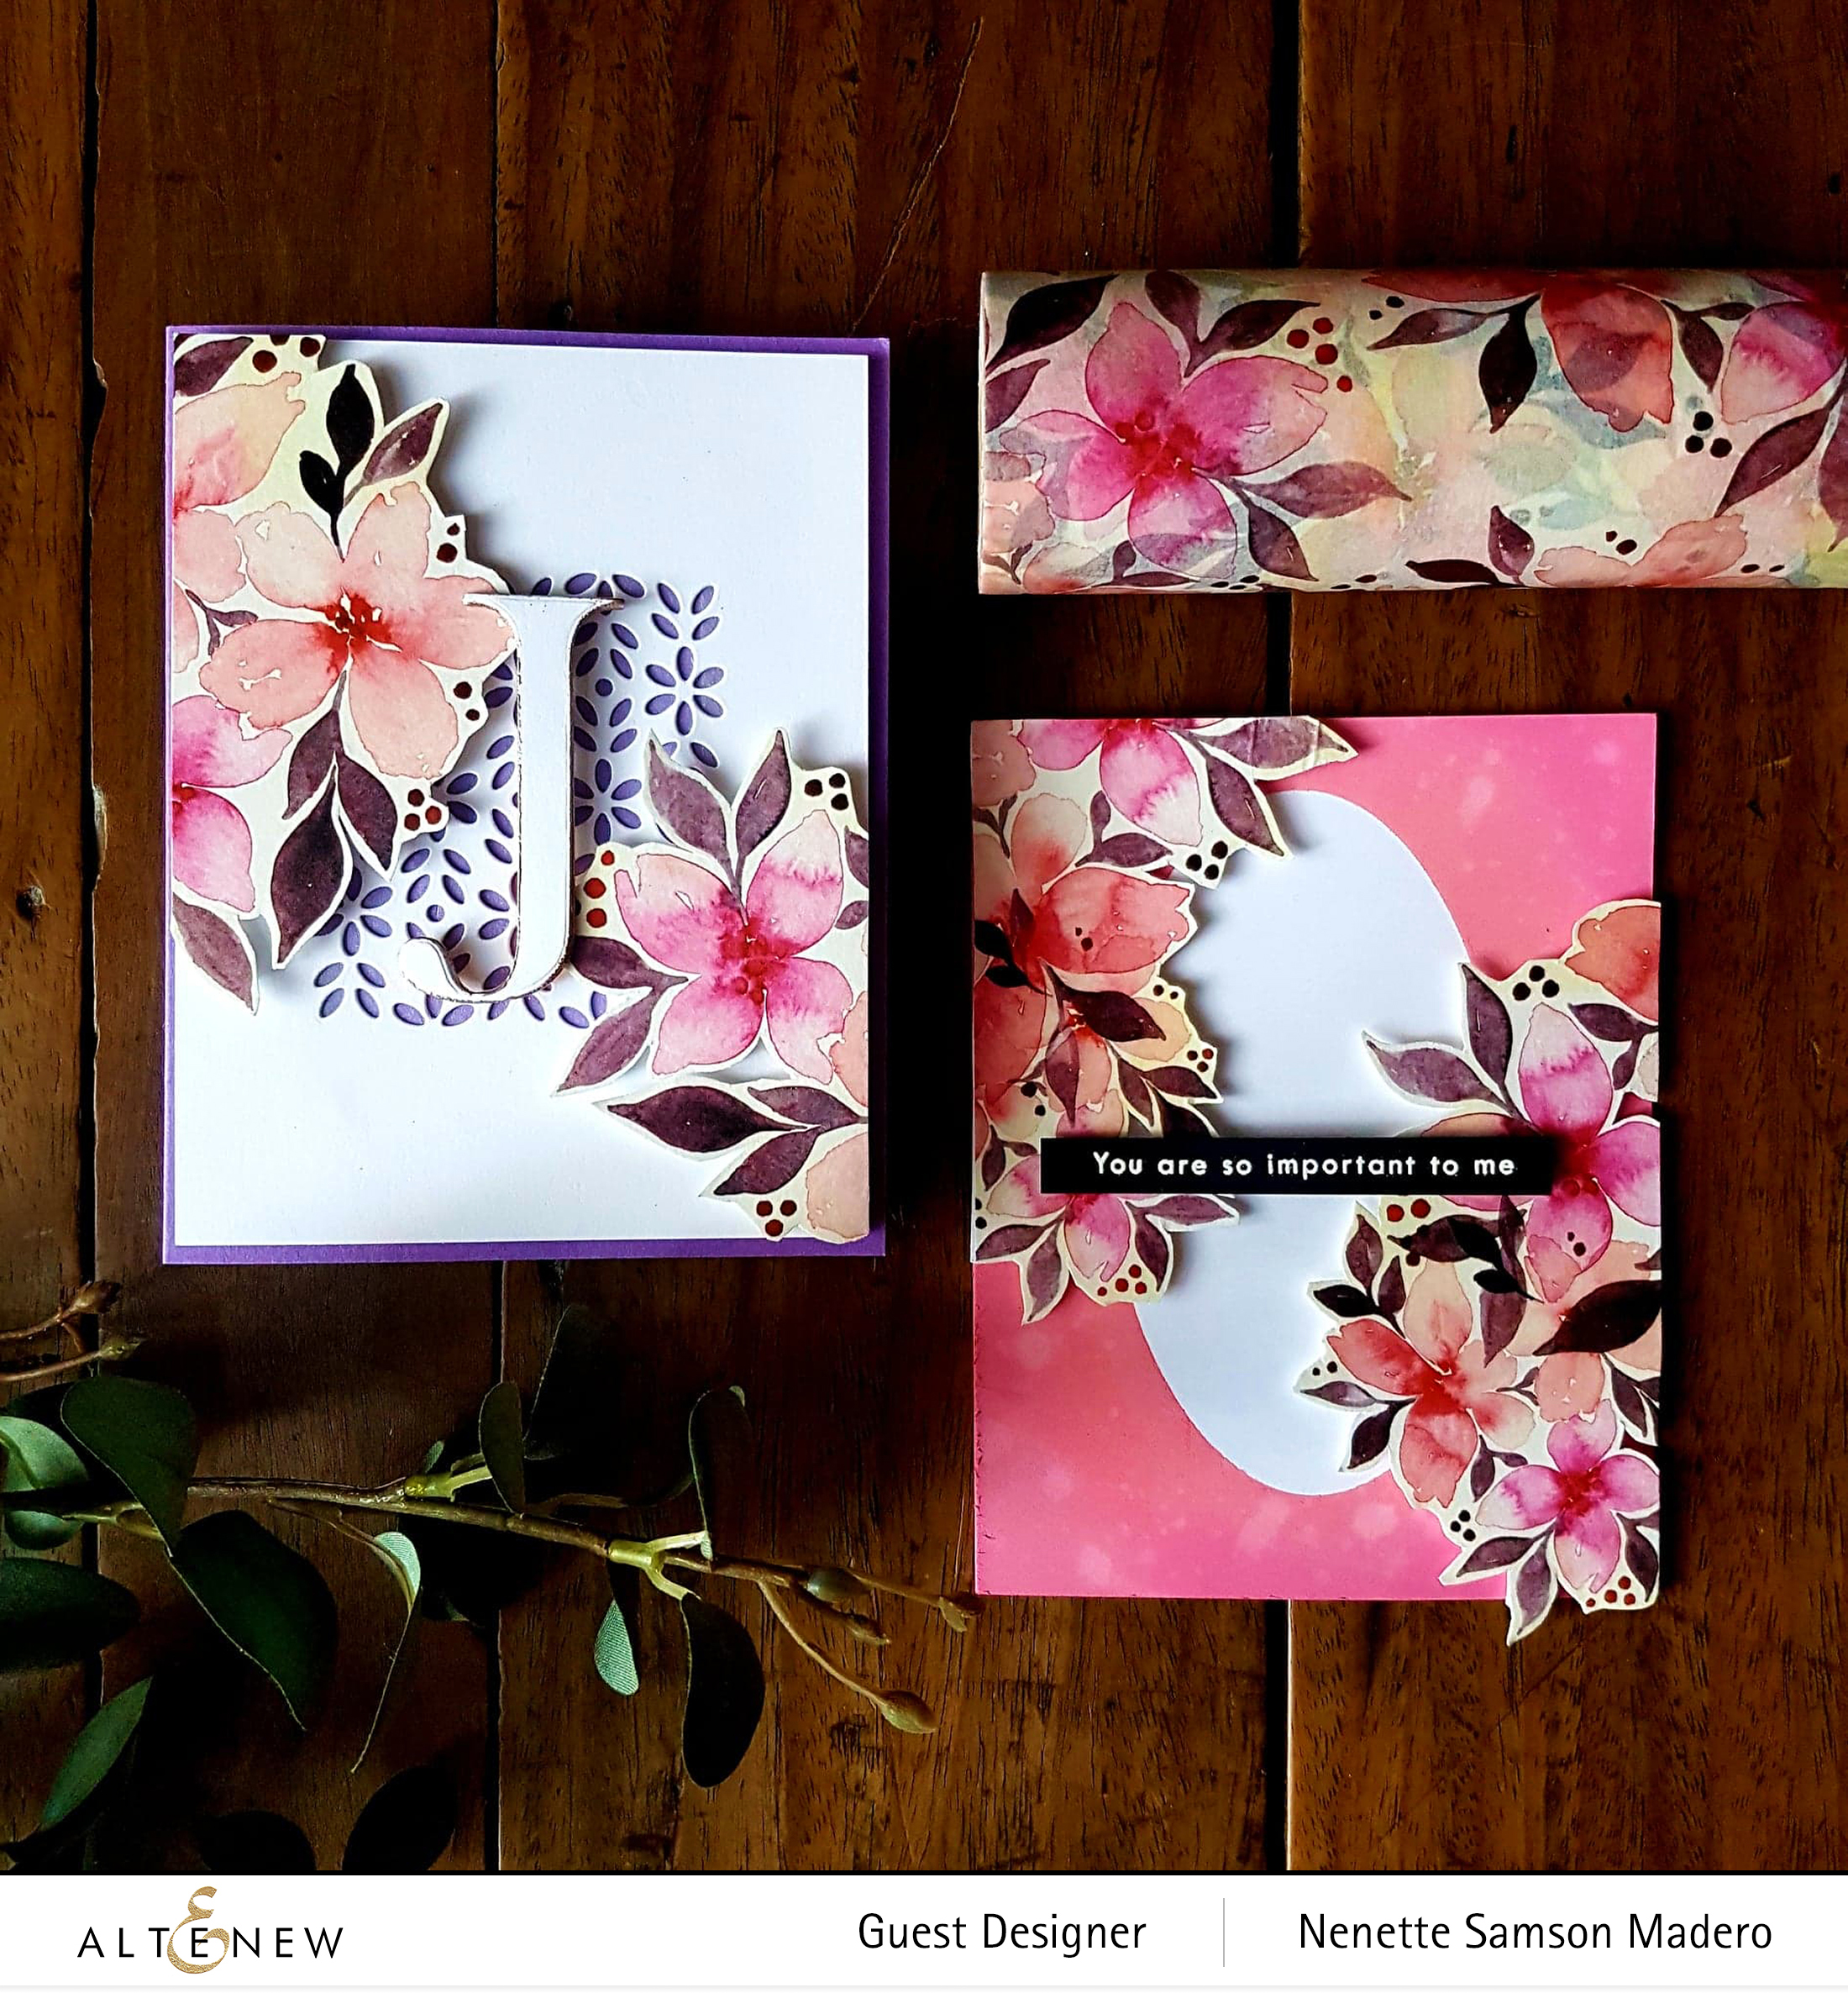
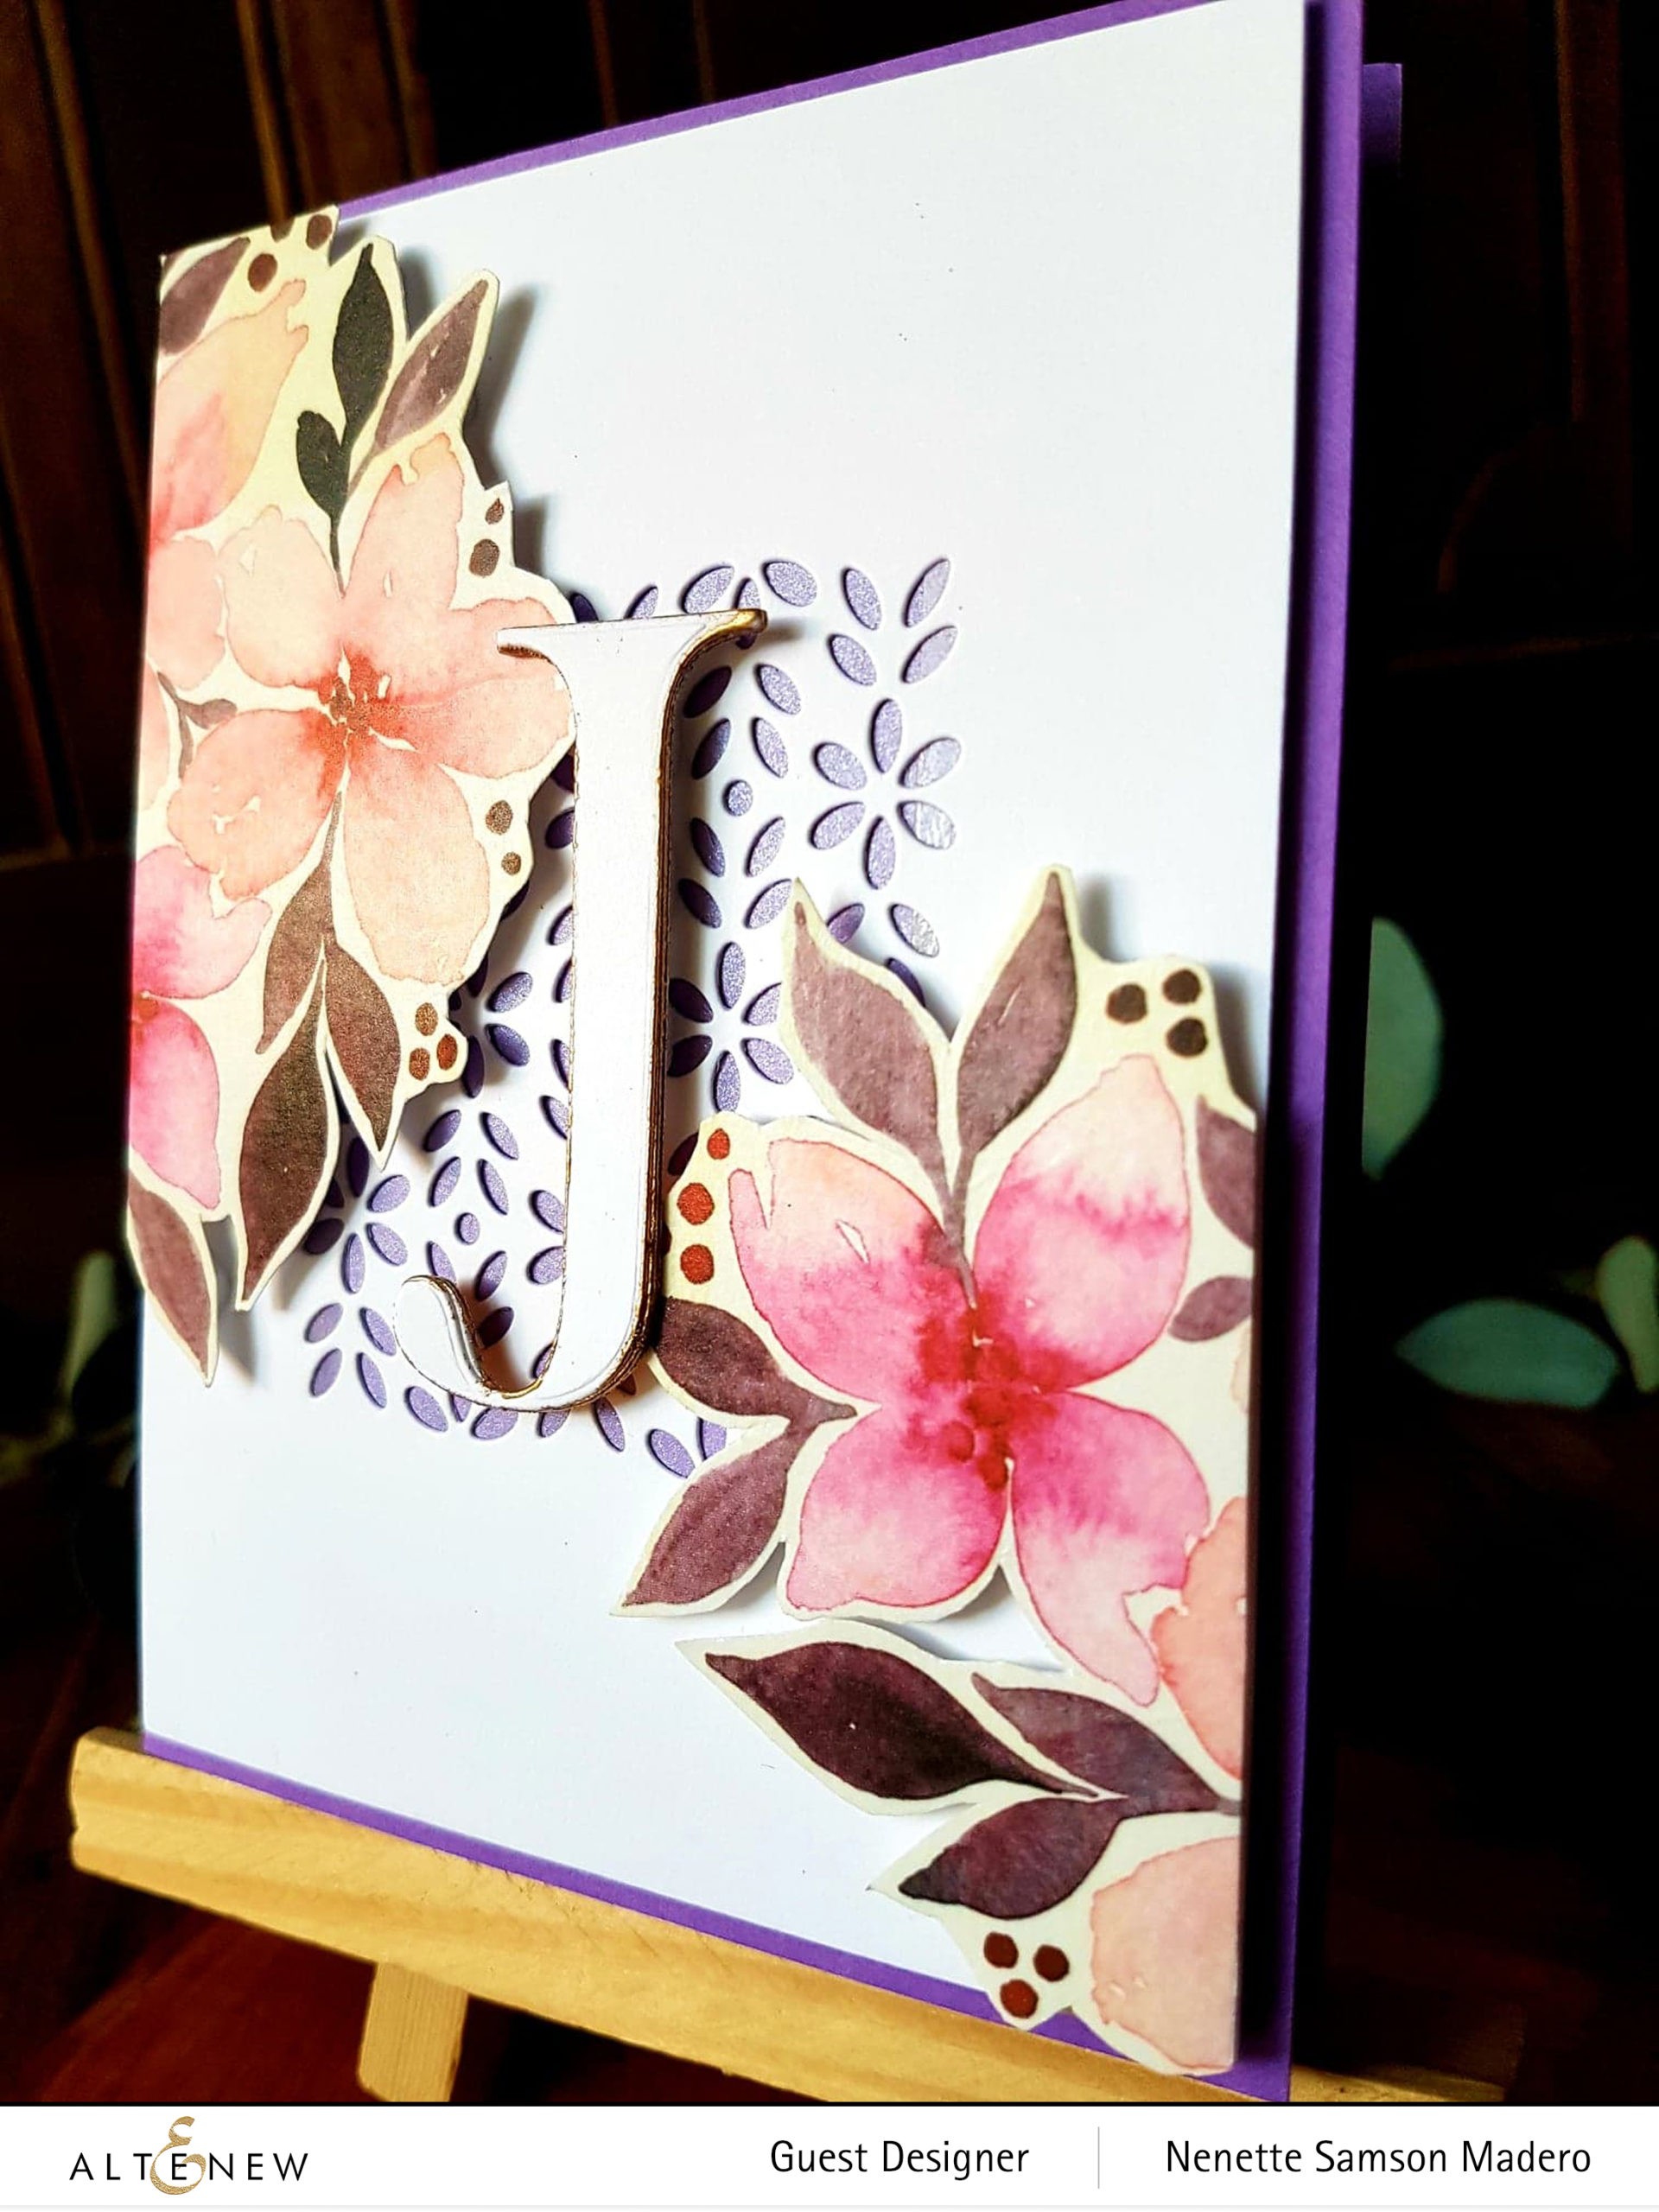
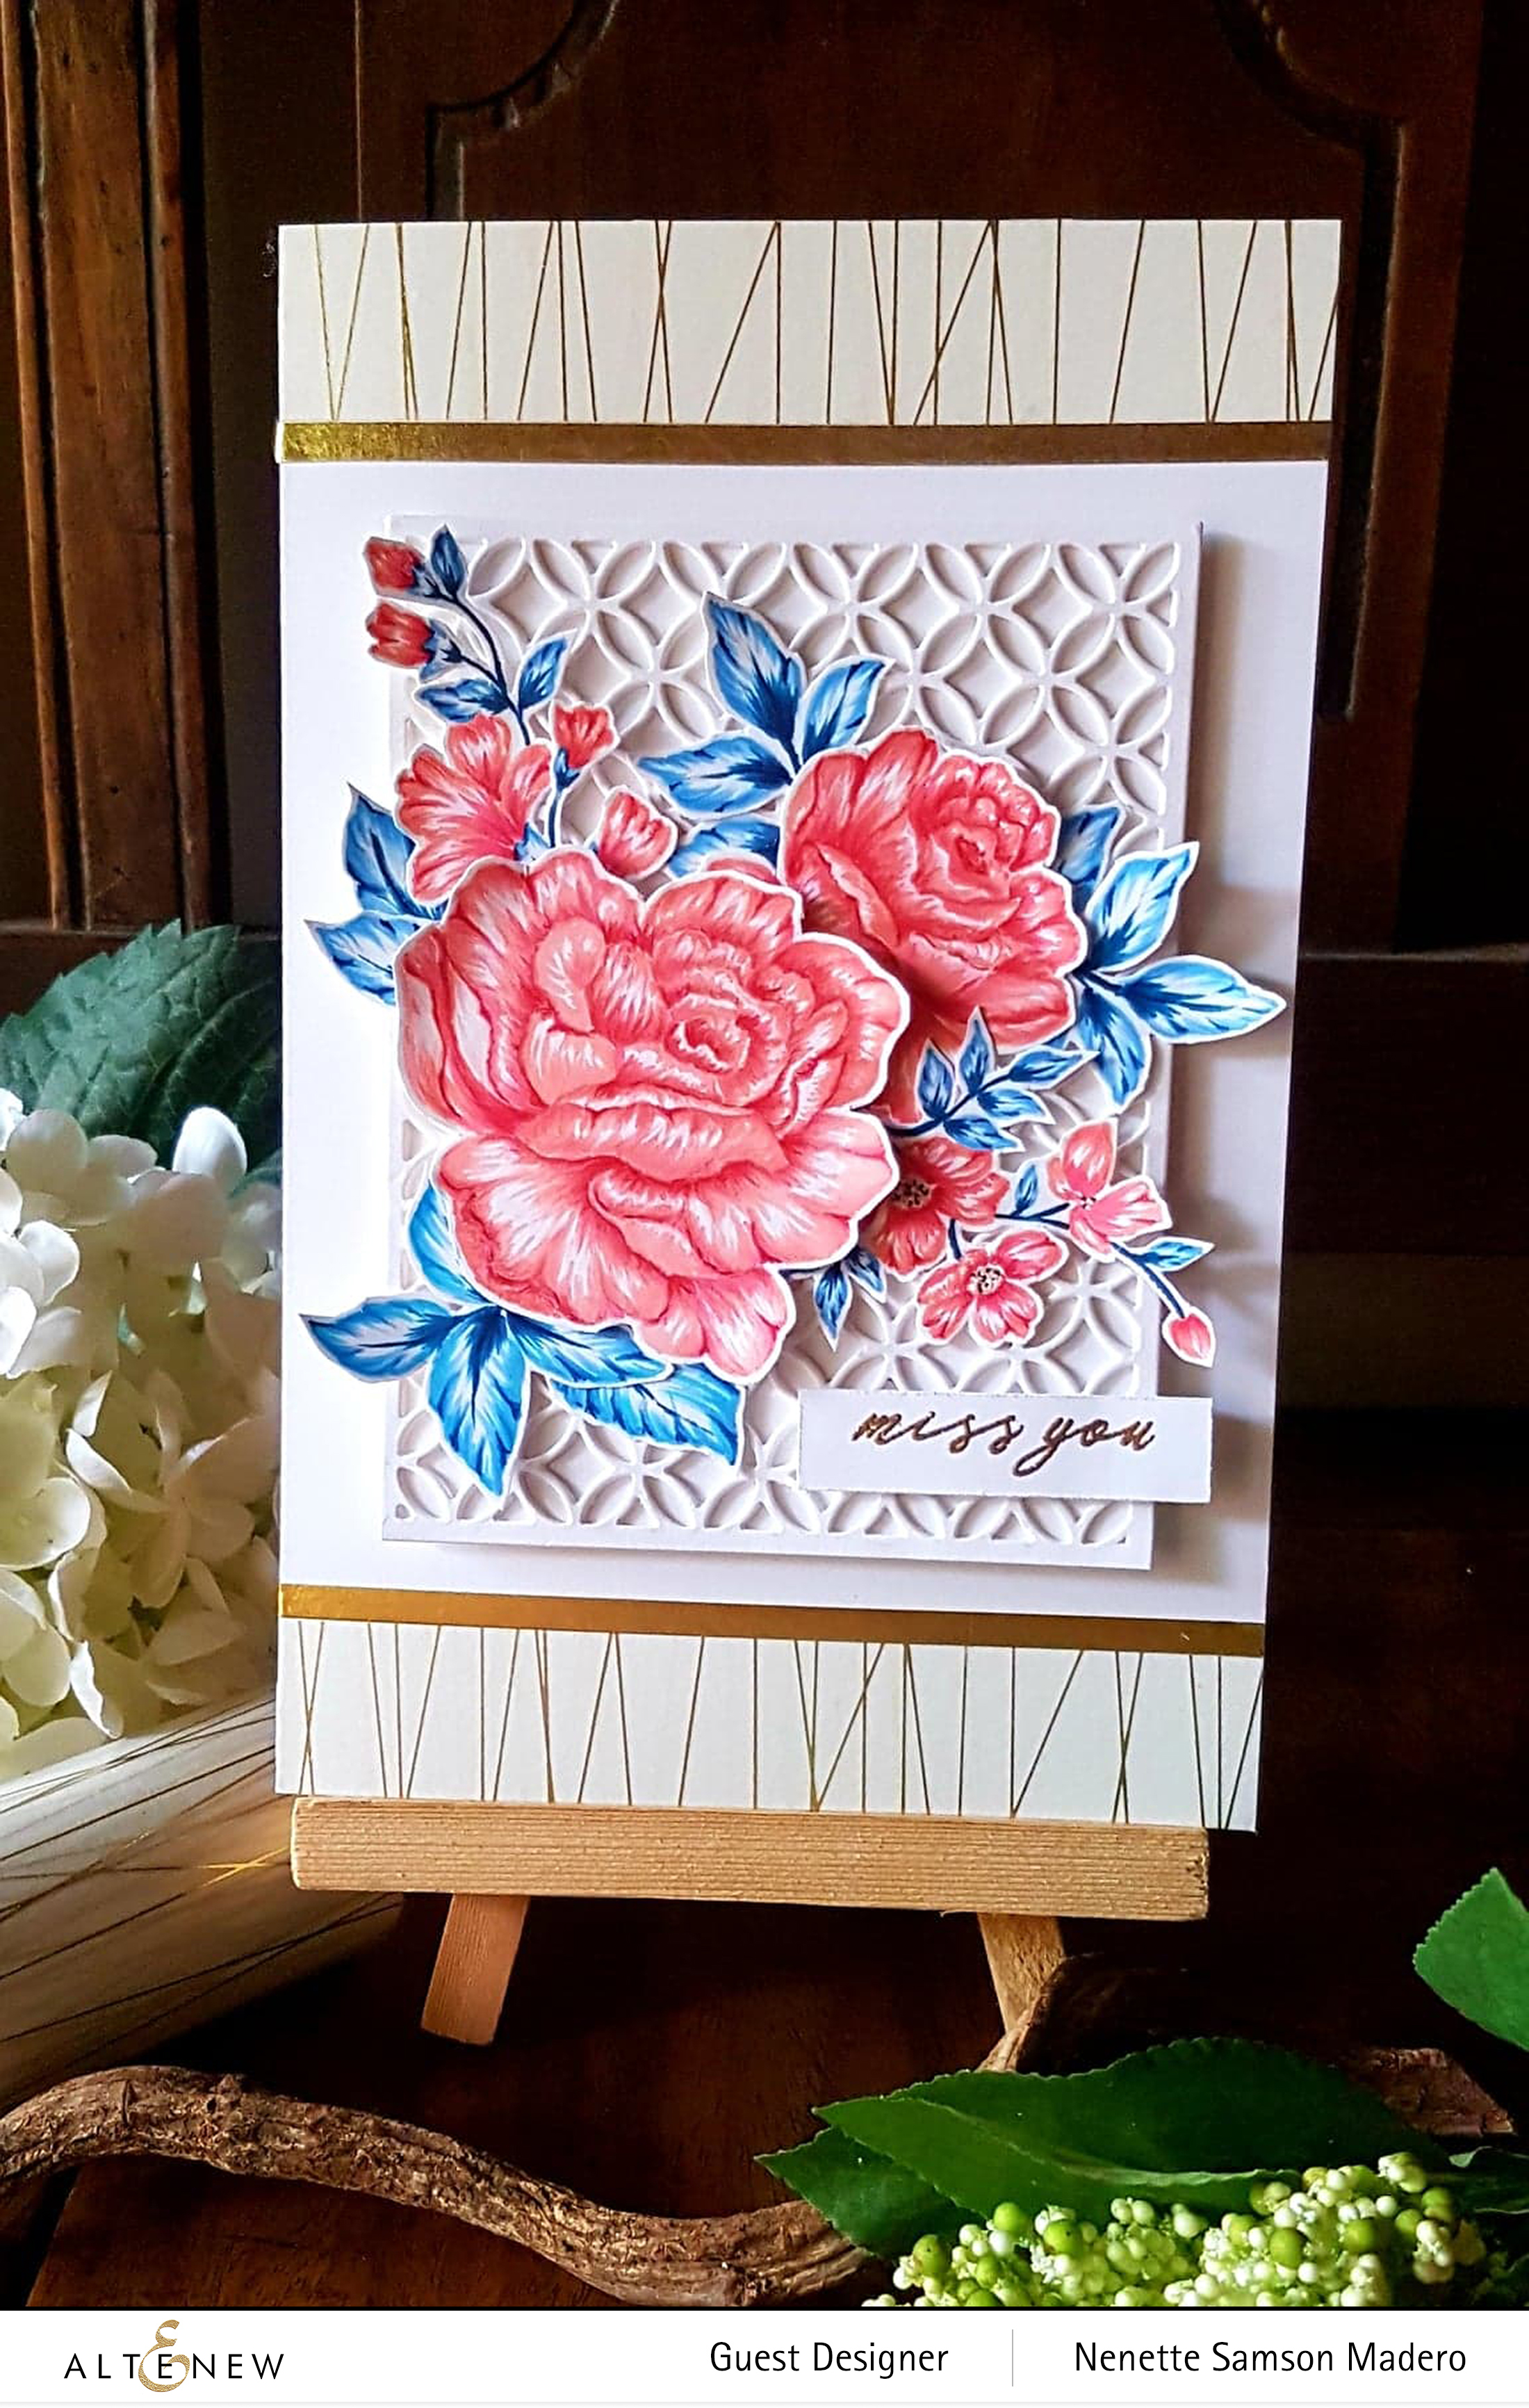
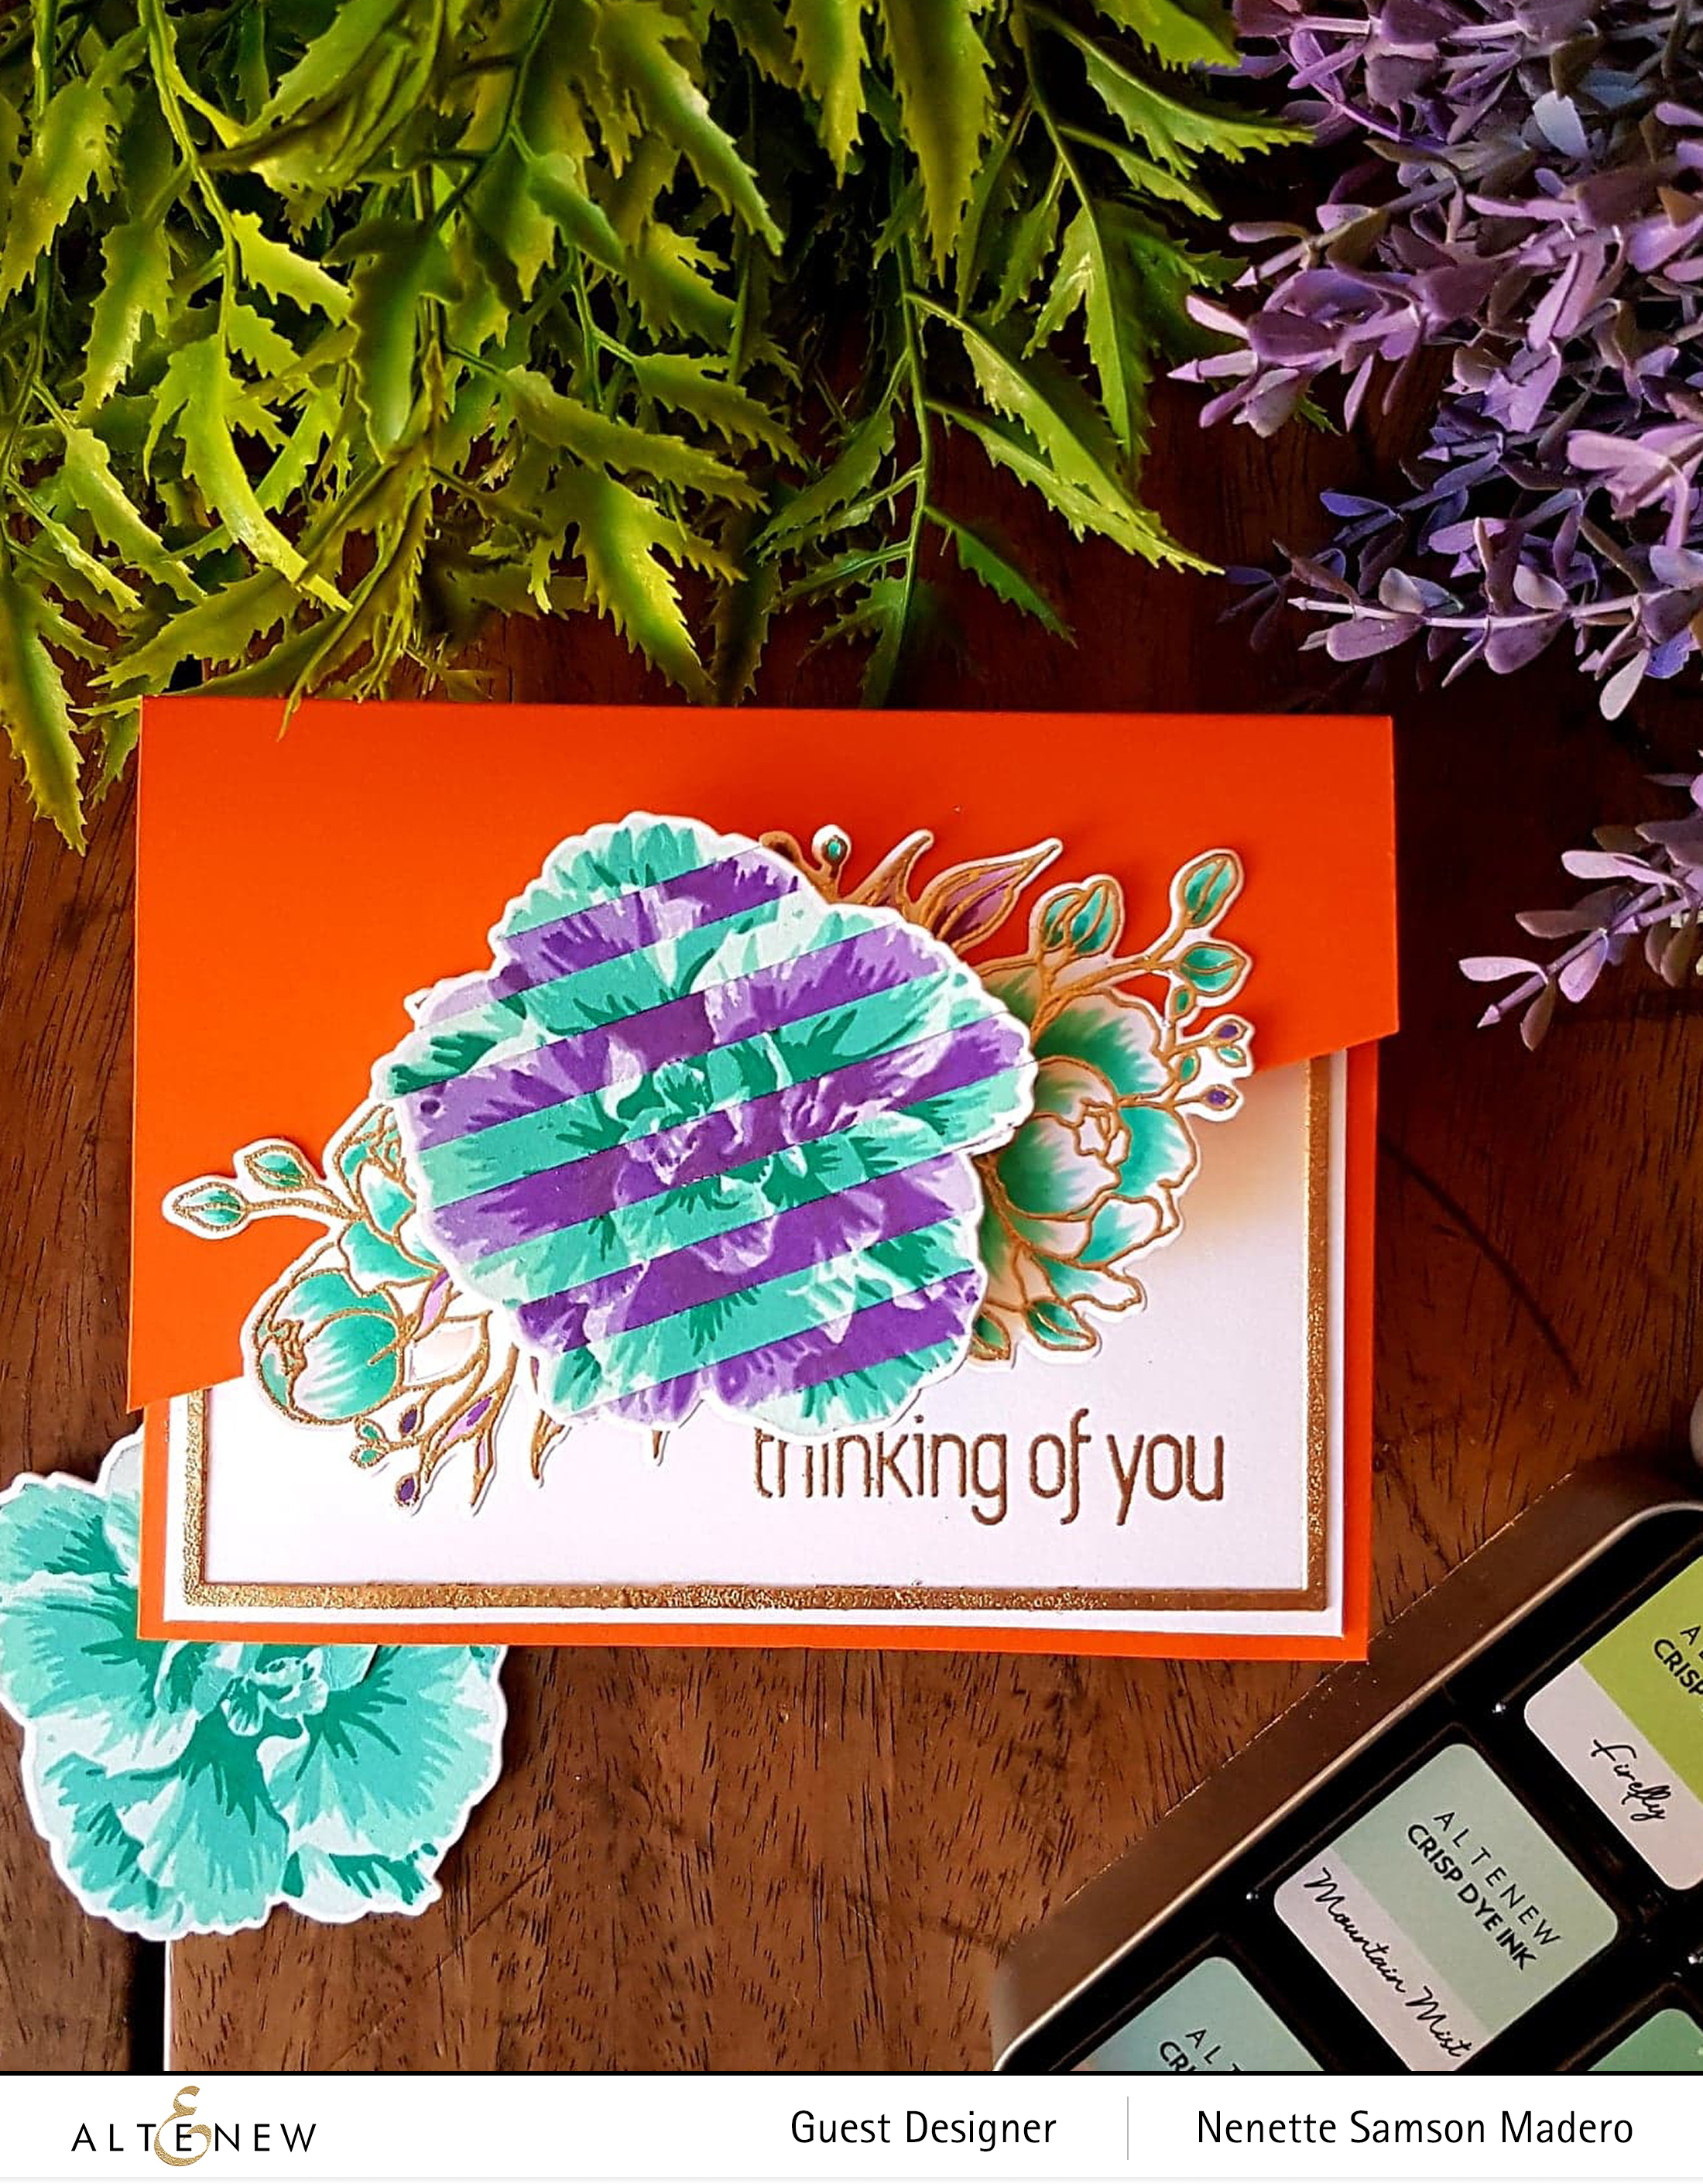
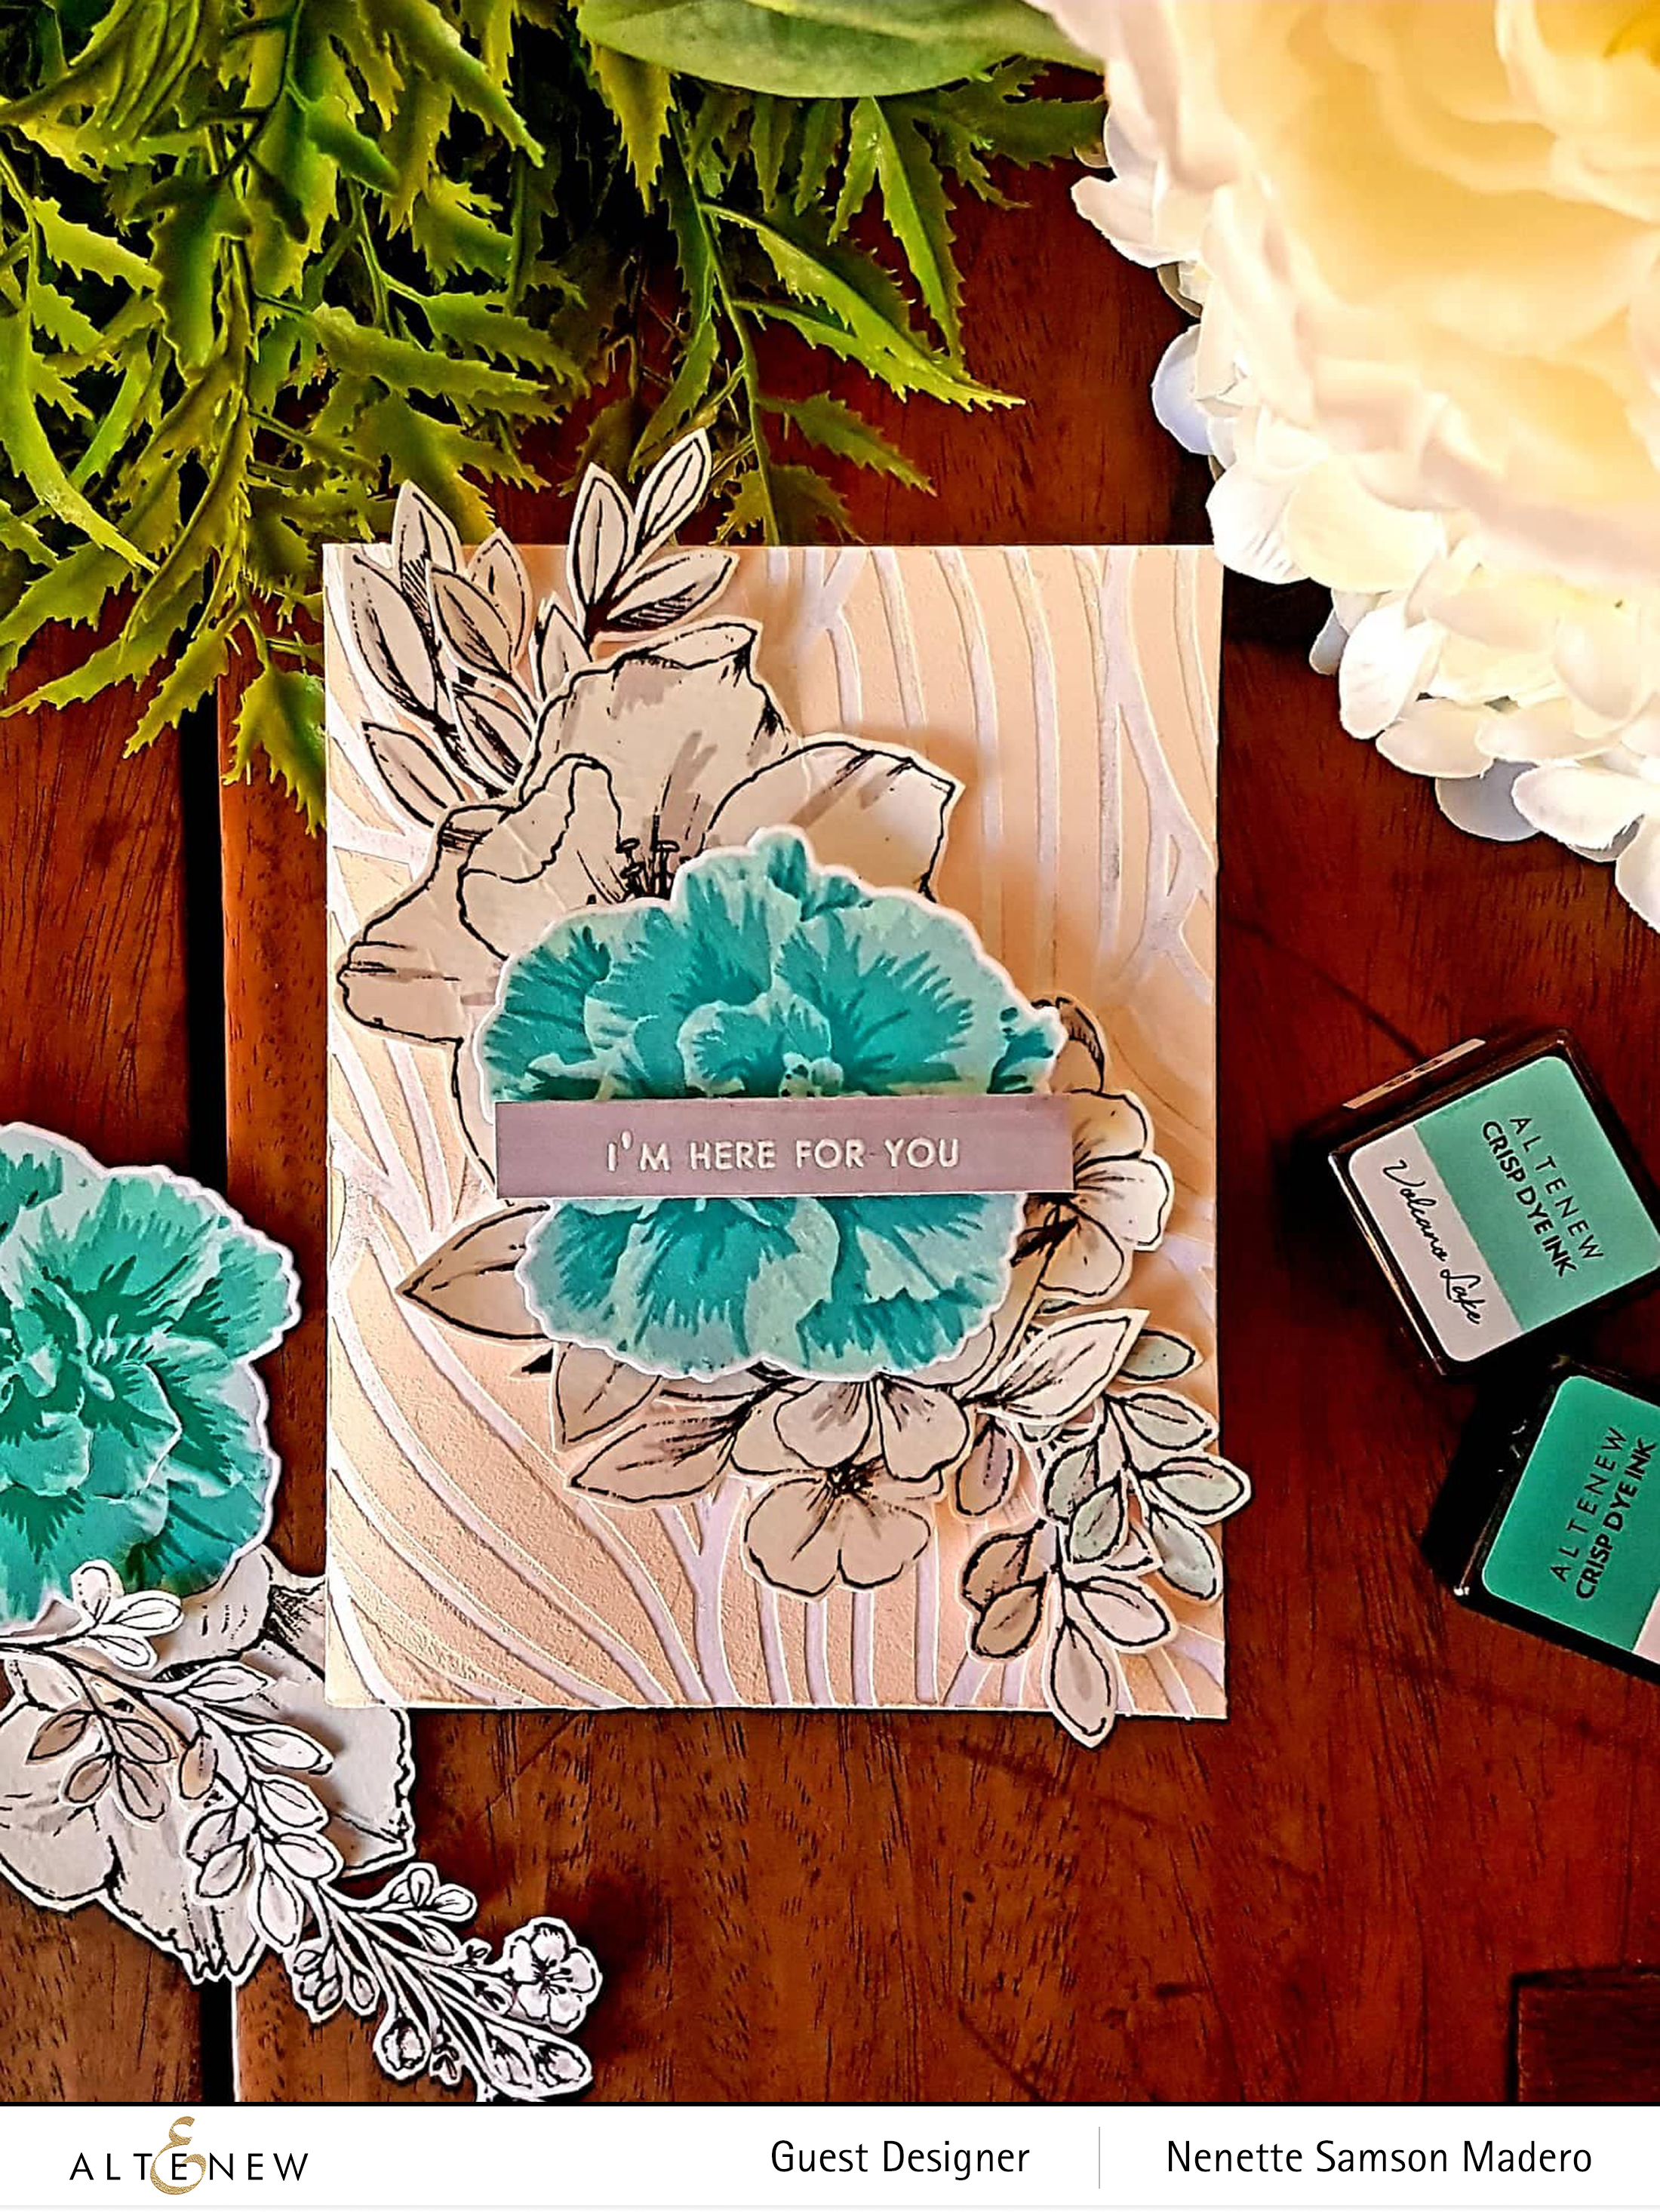
This card is so timely. The message gives us hope that things will get better. For this card, I stamped the floral images from the Precious Peony stamp set on watercolor cardstock and again on Neenah solar white cardstock without moving the stamp images. Both images were embossed using the Platinum Crisp Embossing Powder . Next, 1 inch was trimmed off on each side of the watercolored paper. The central part was then colored using the Altenew brush watercolor markers. While the flowers were still wet, I sprinkled some salt to create some pattern on the flowers. The background was colored using the Lagoon watercolor brush marker. I just love this color!
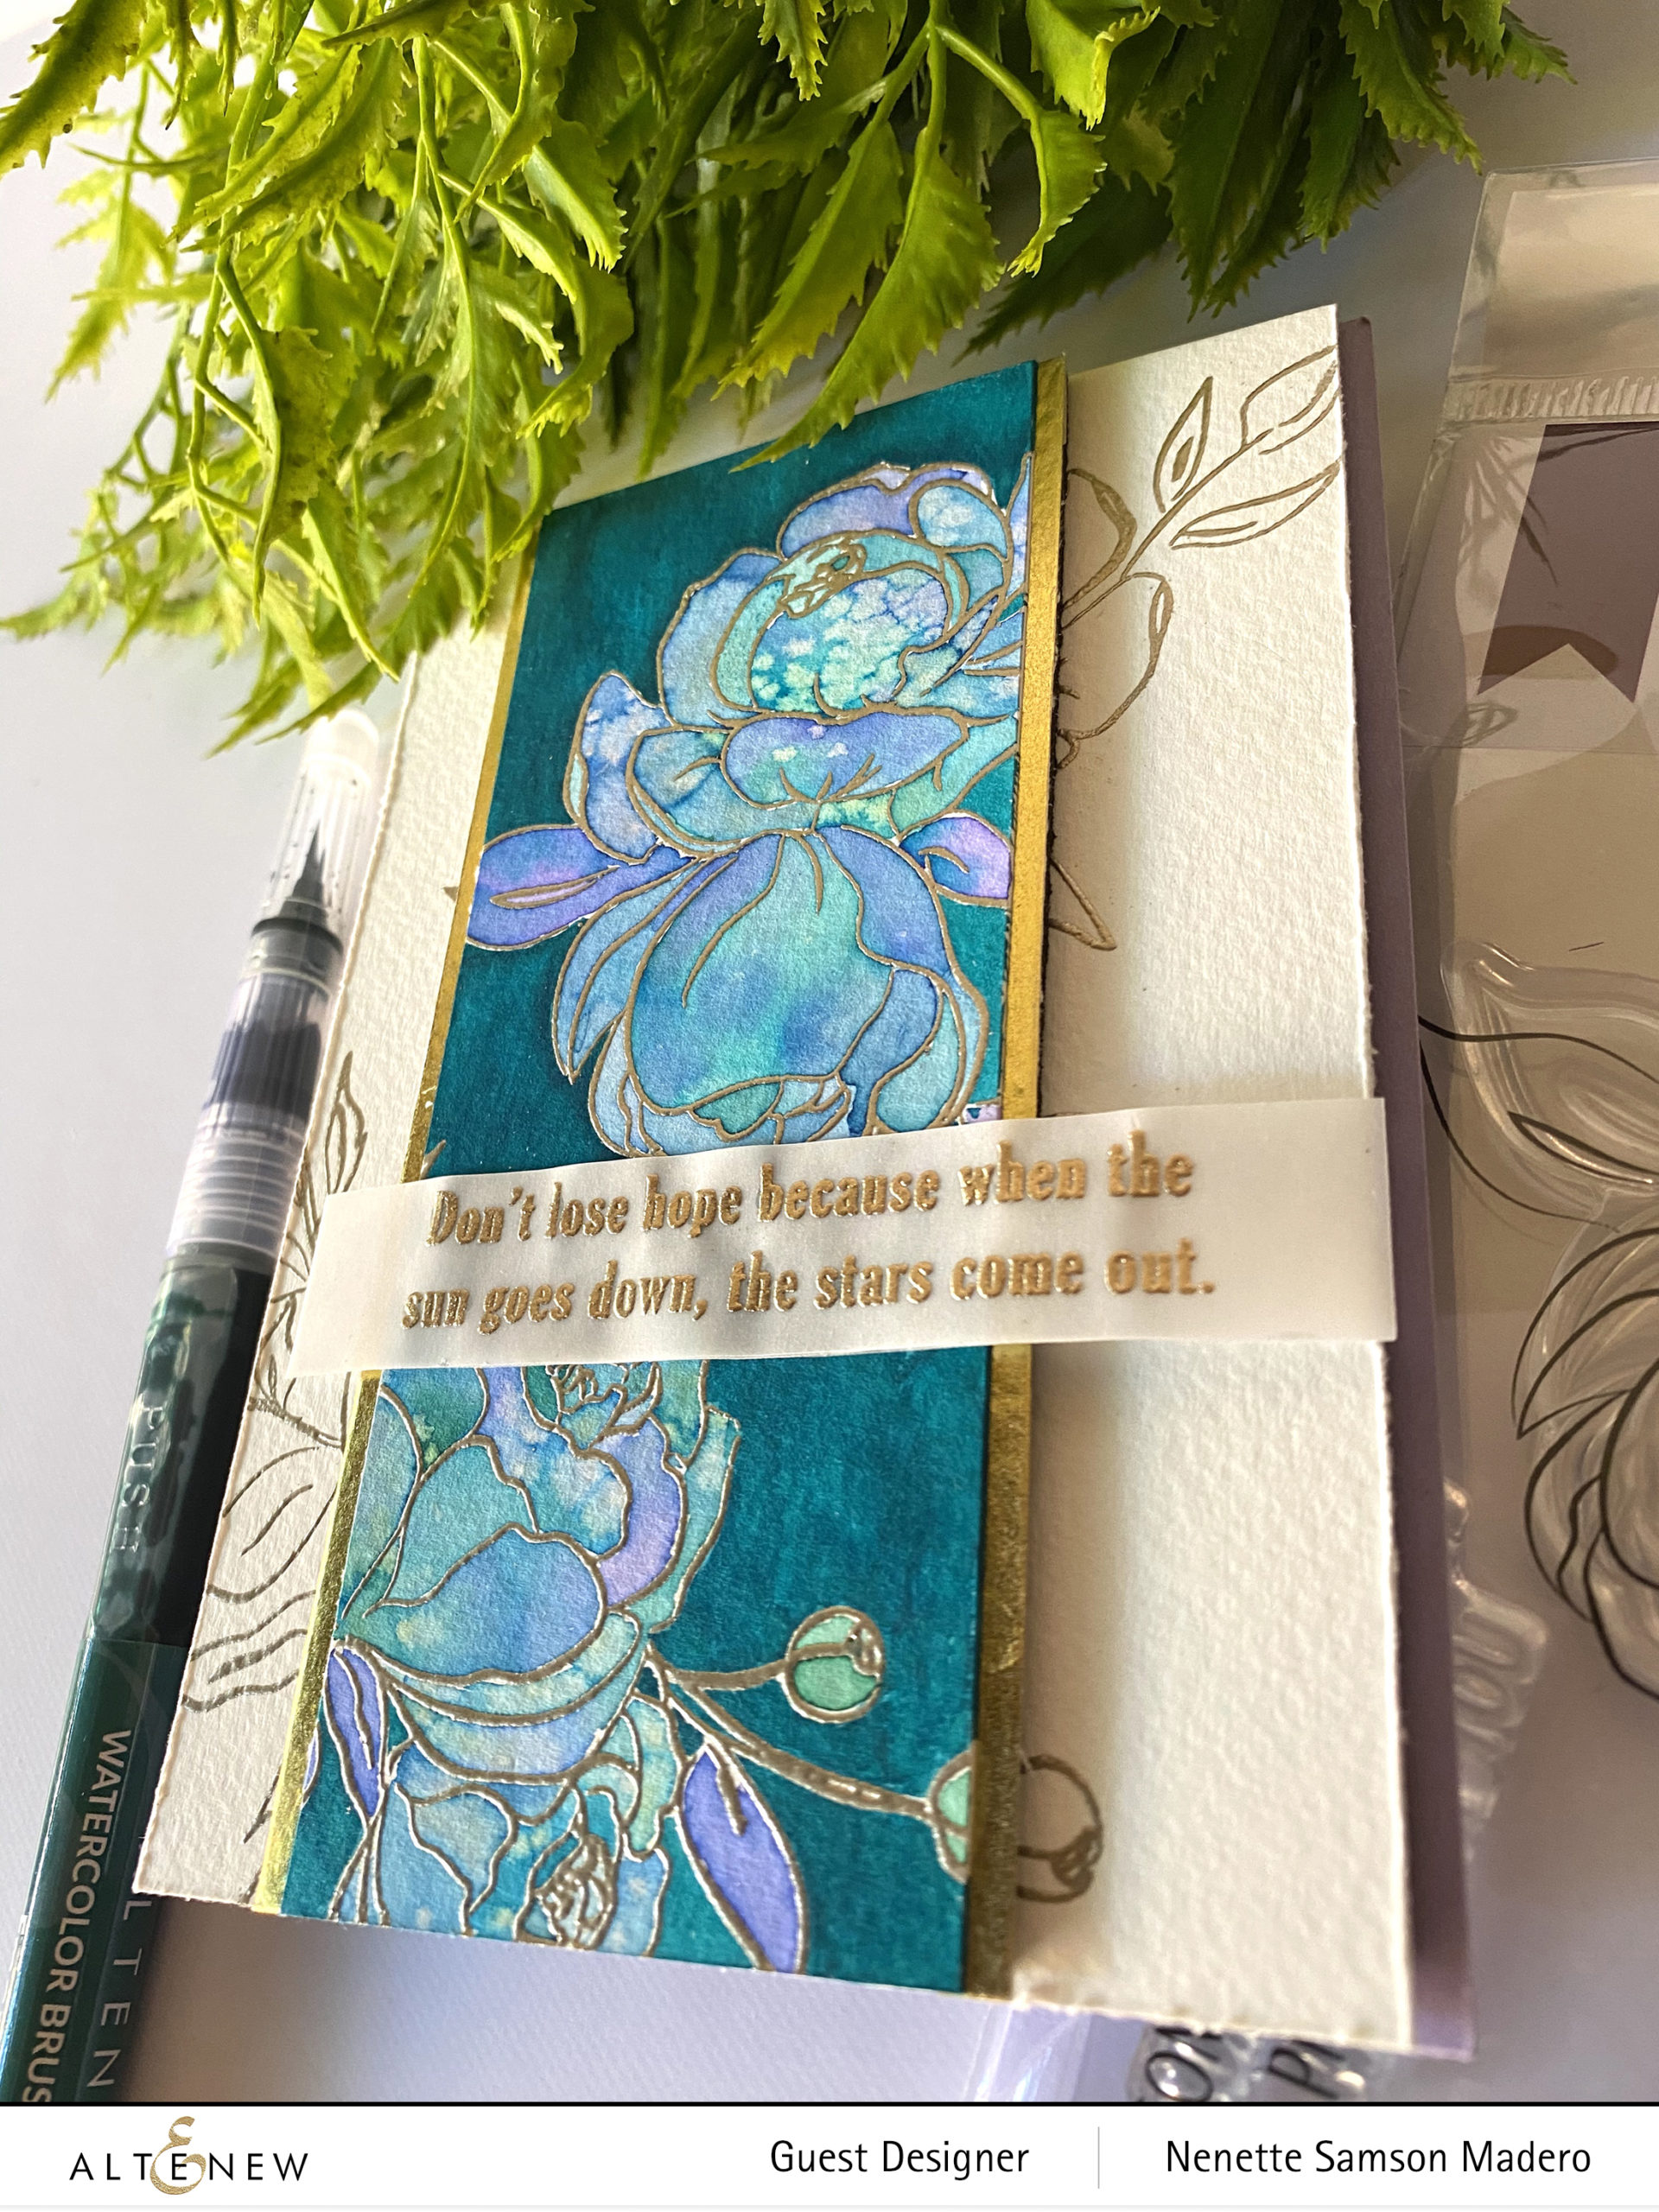
This panel was layered on top of a cardstock lined with the Gold foil .2 inch washi tape for contrast. Foam tape was mounted behind this painted panel then adhered on top of the embossed image making sure to line up the petals and leaves. This was then attached to a purple side folding card. The sentiment from the Kind Words stamp was stamped on vellum using Versa Mark embossing ink then embossed with Rose Gold embossing powder. I added 2 more layers of vellum to make the sentiment a little sturdy.
PROUD PAPI
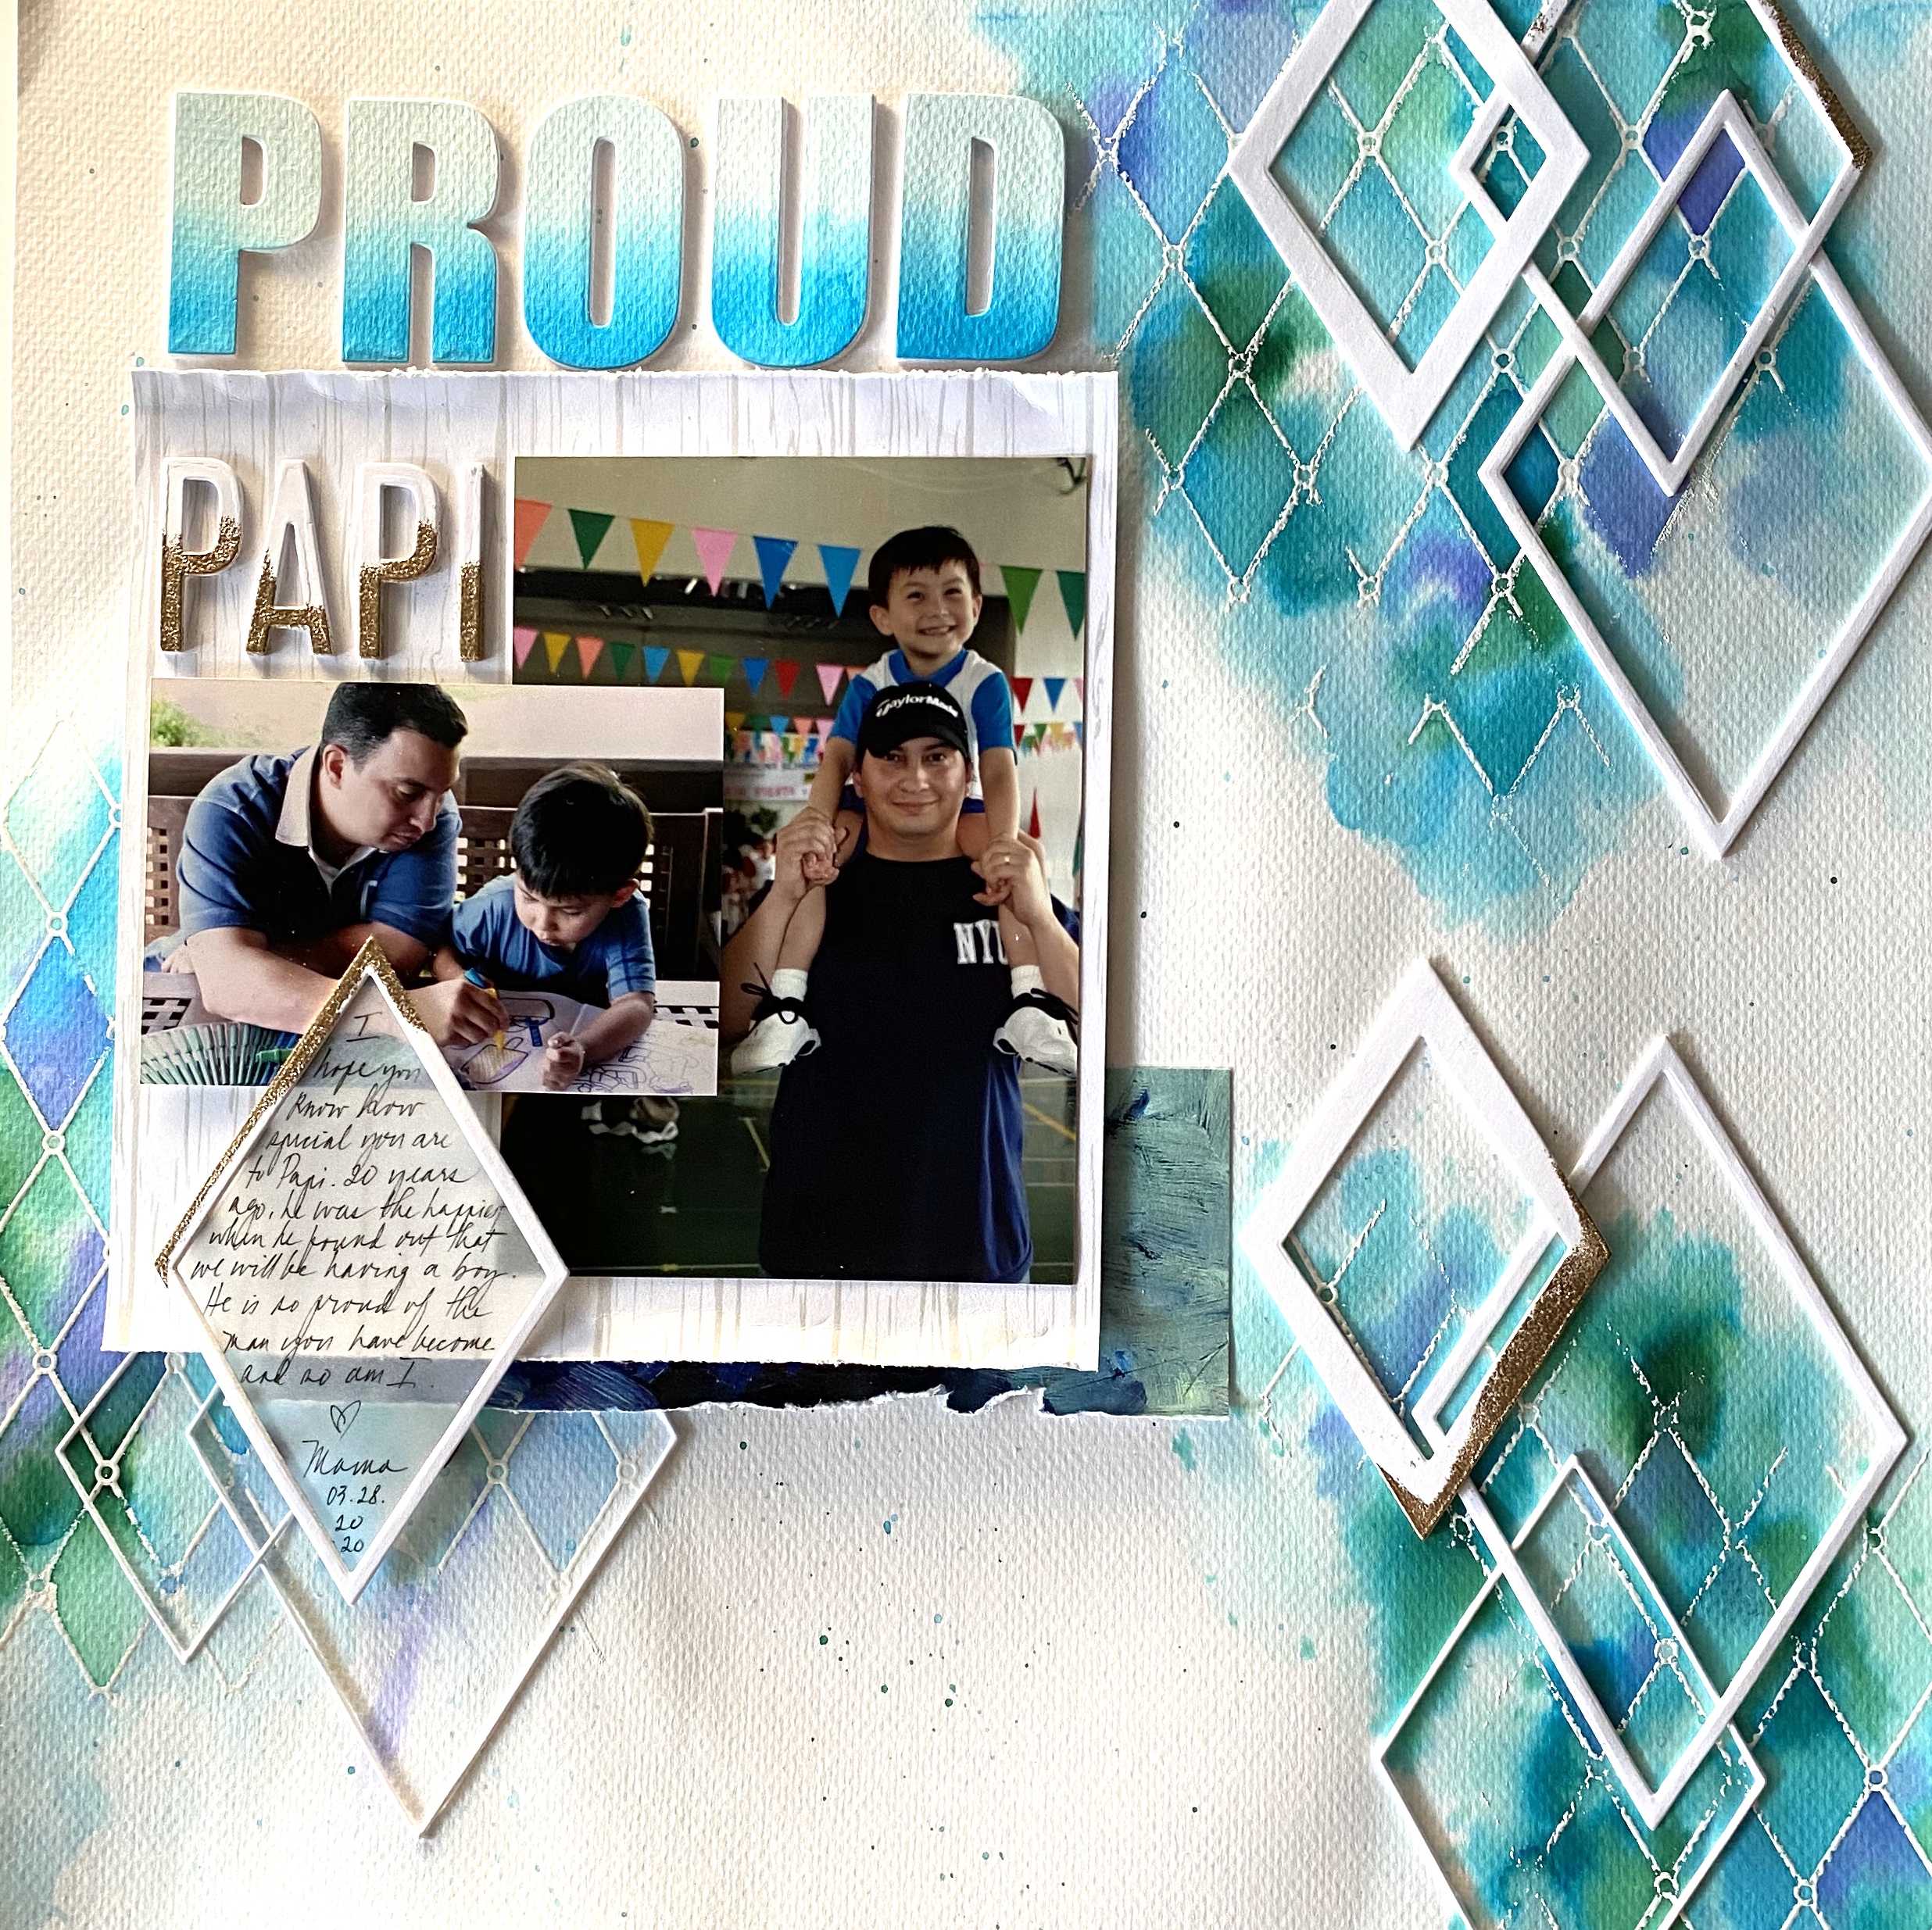
I don’t think I’ve ever created a layout WITHOUT flowers until today. I found these photos of my husband and son tucked away in a drawer and wanted to create a simple masculine layout. Before I did anything, I visualized the layout to have 3 areas of stamped images, color and embellishments.
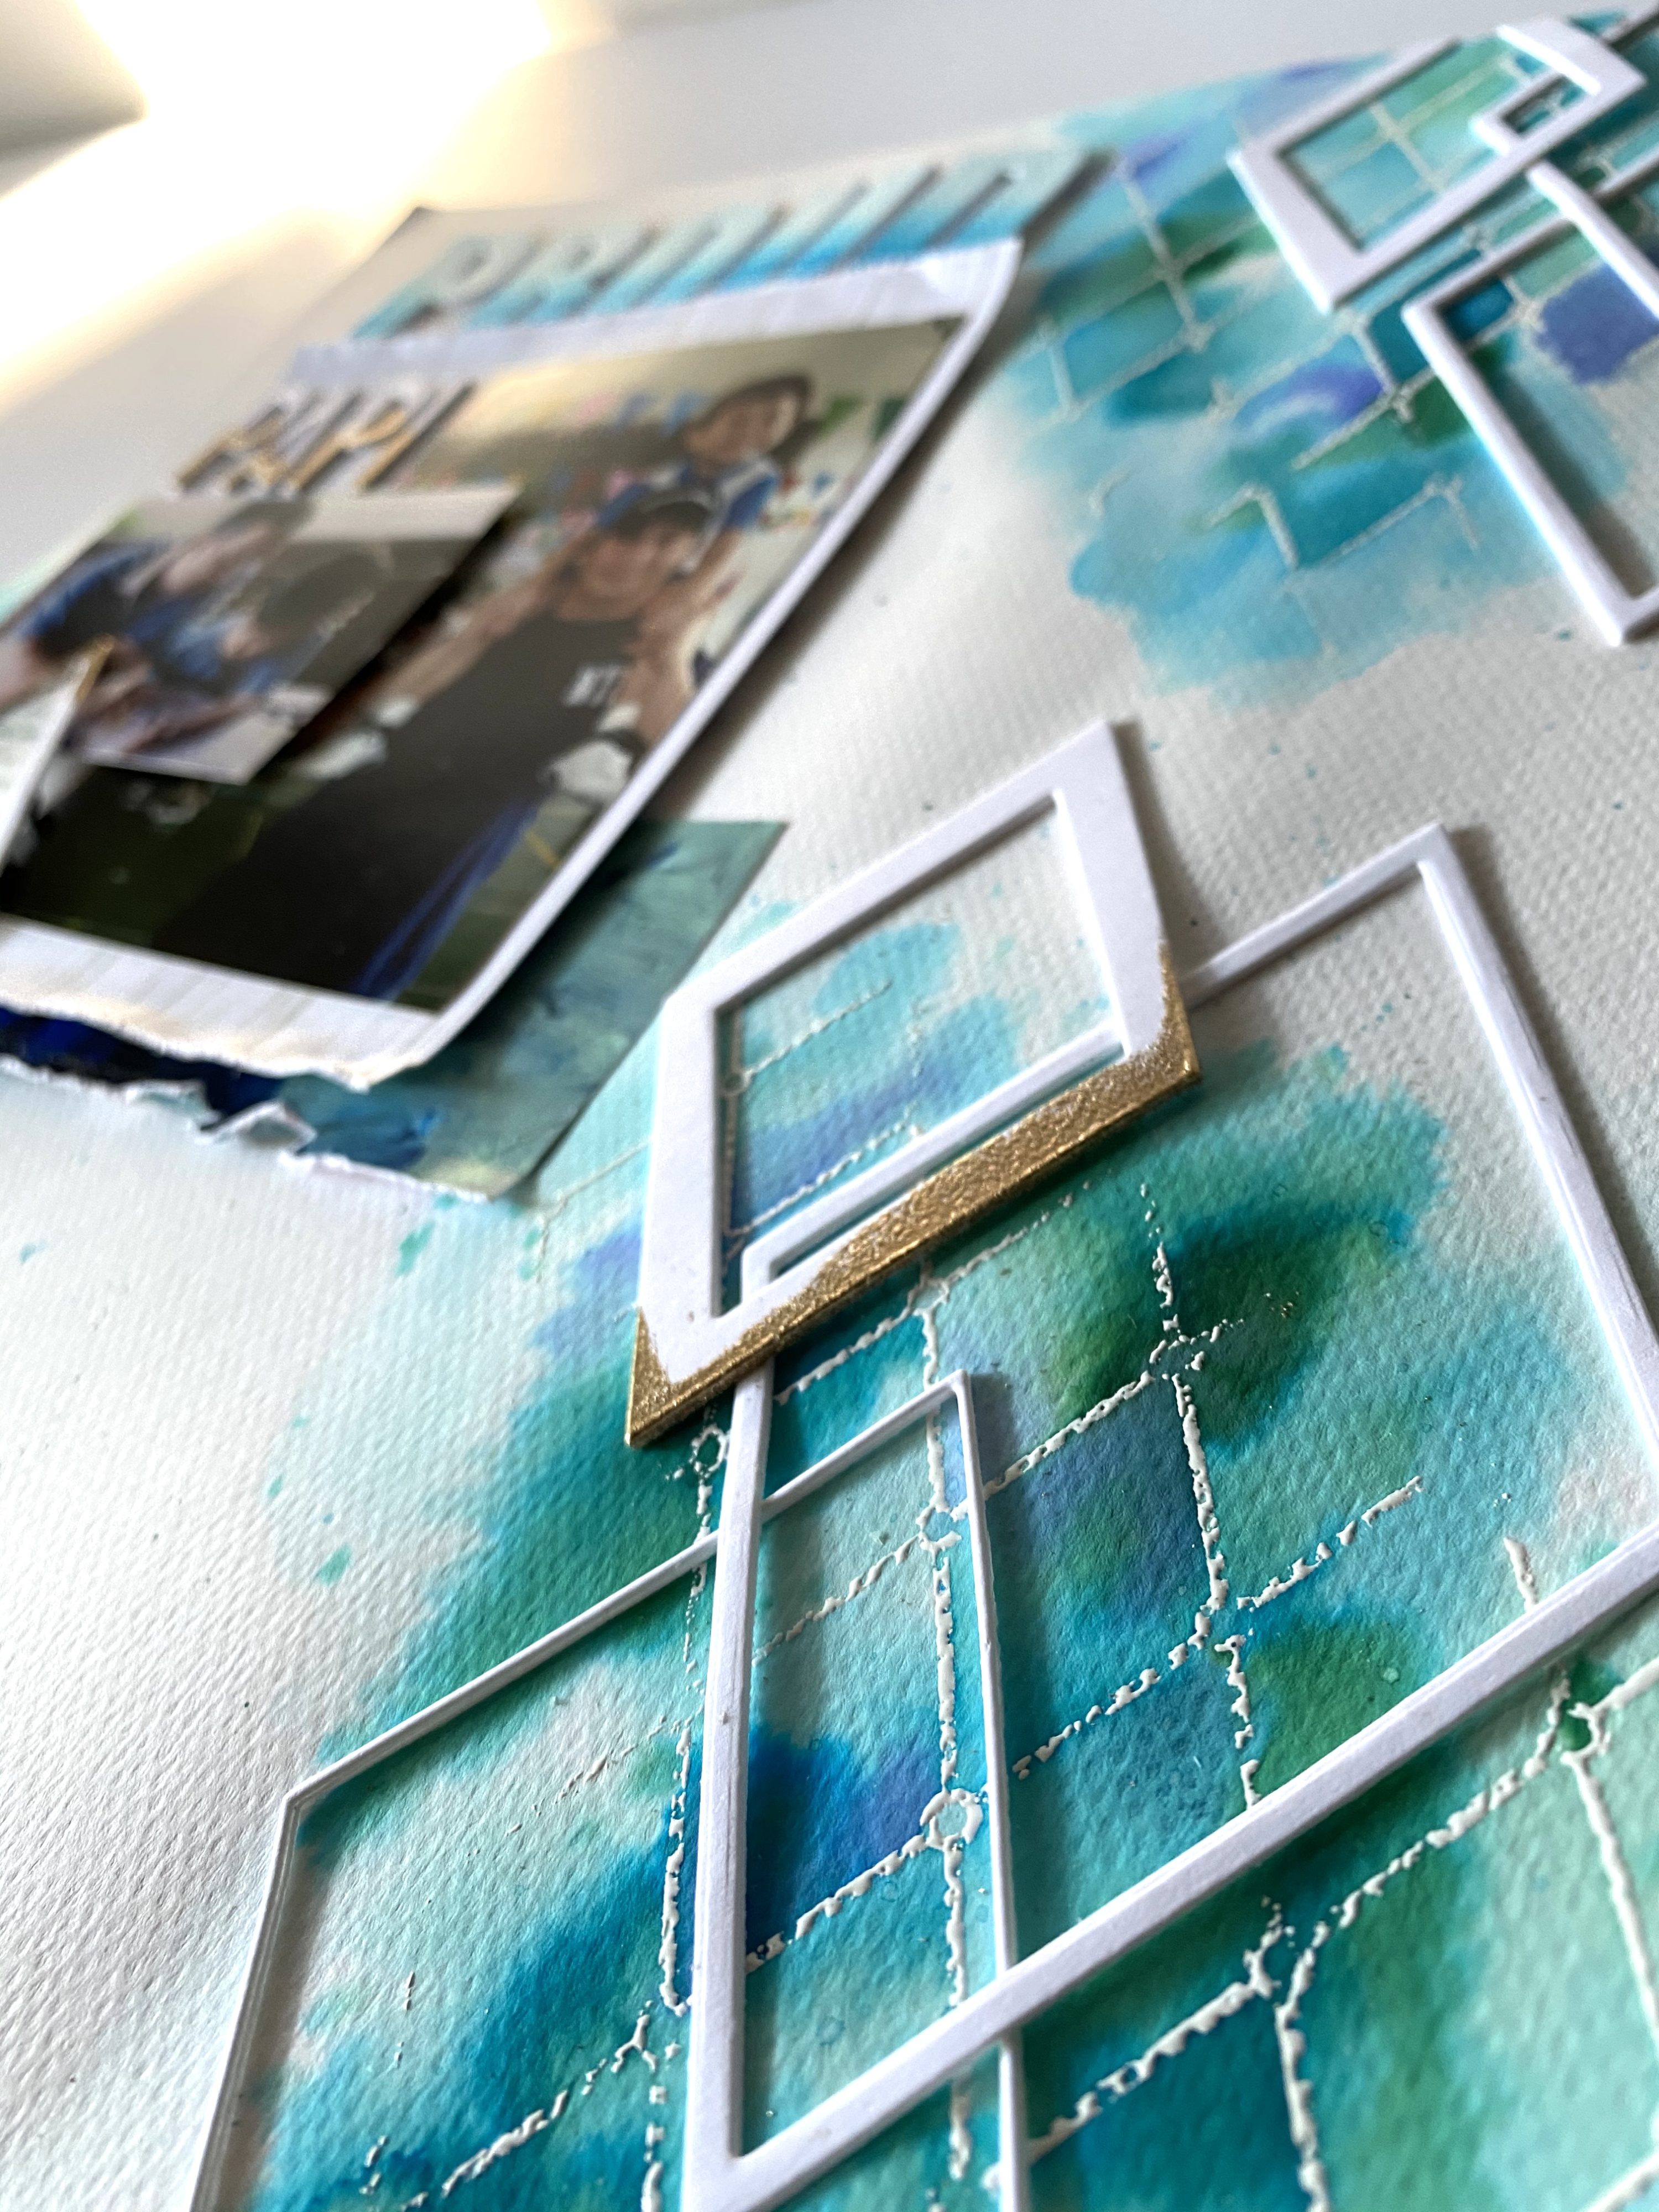
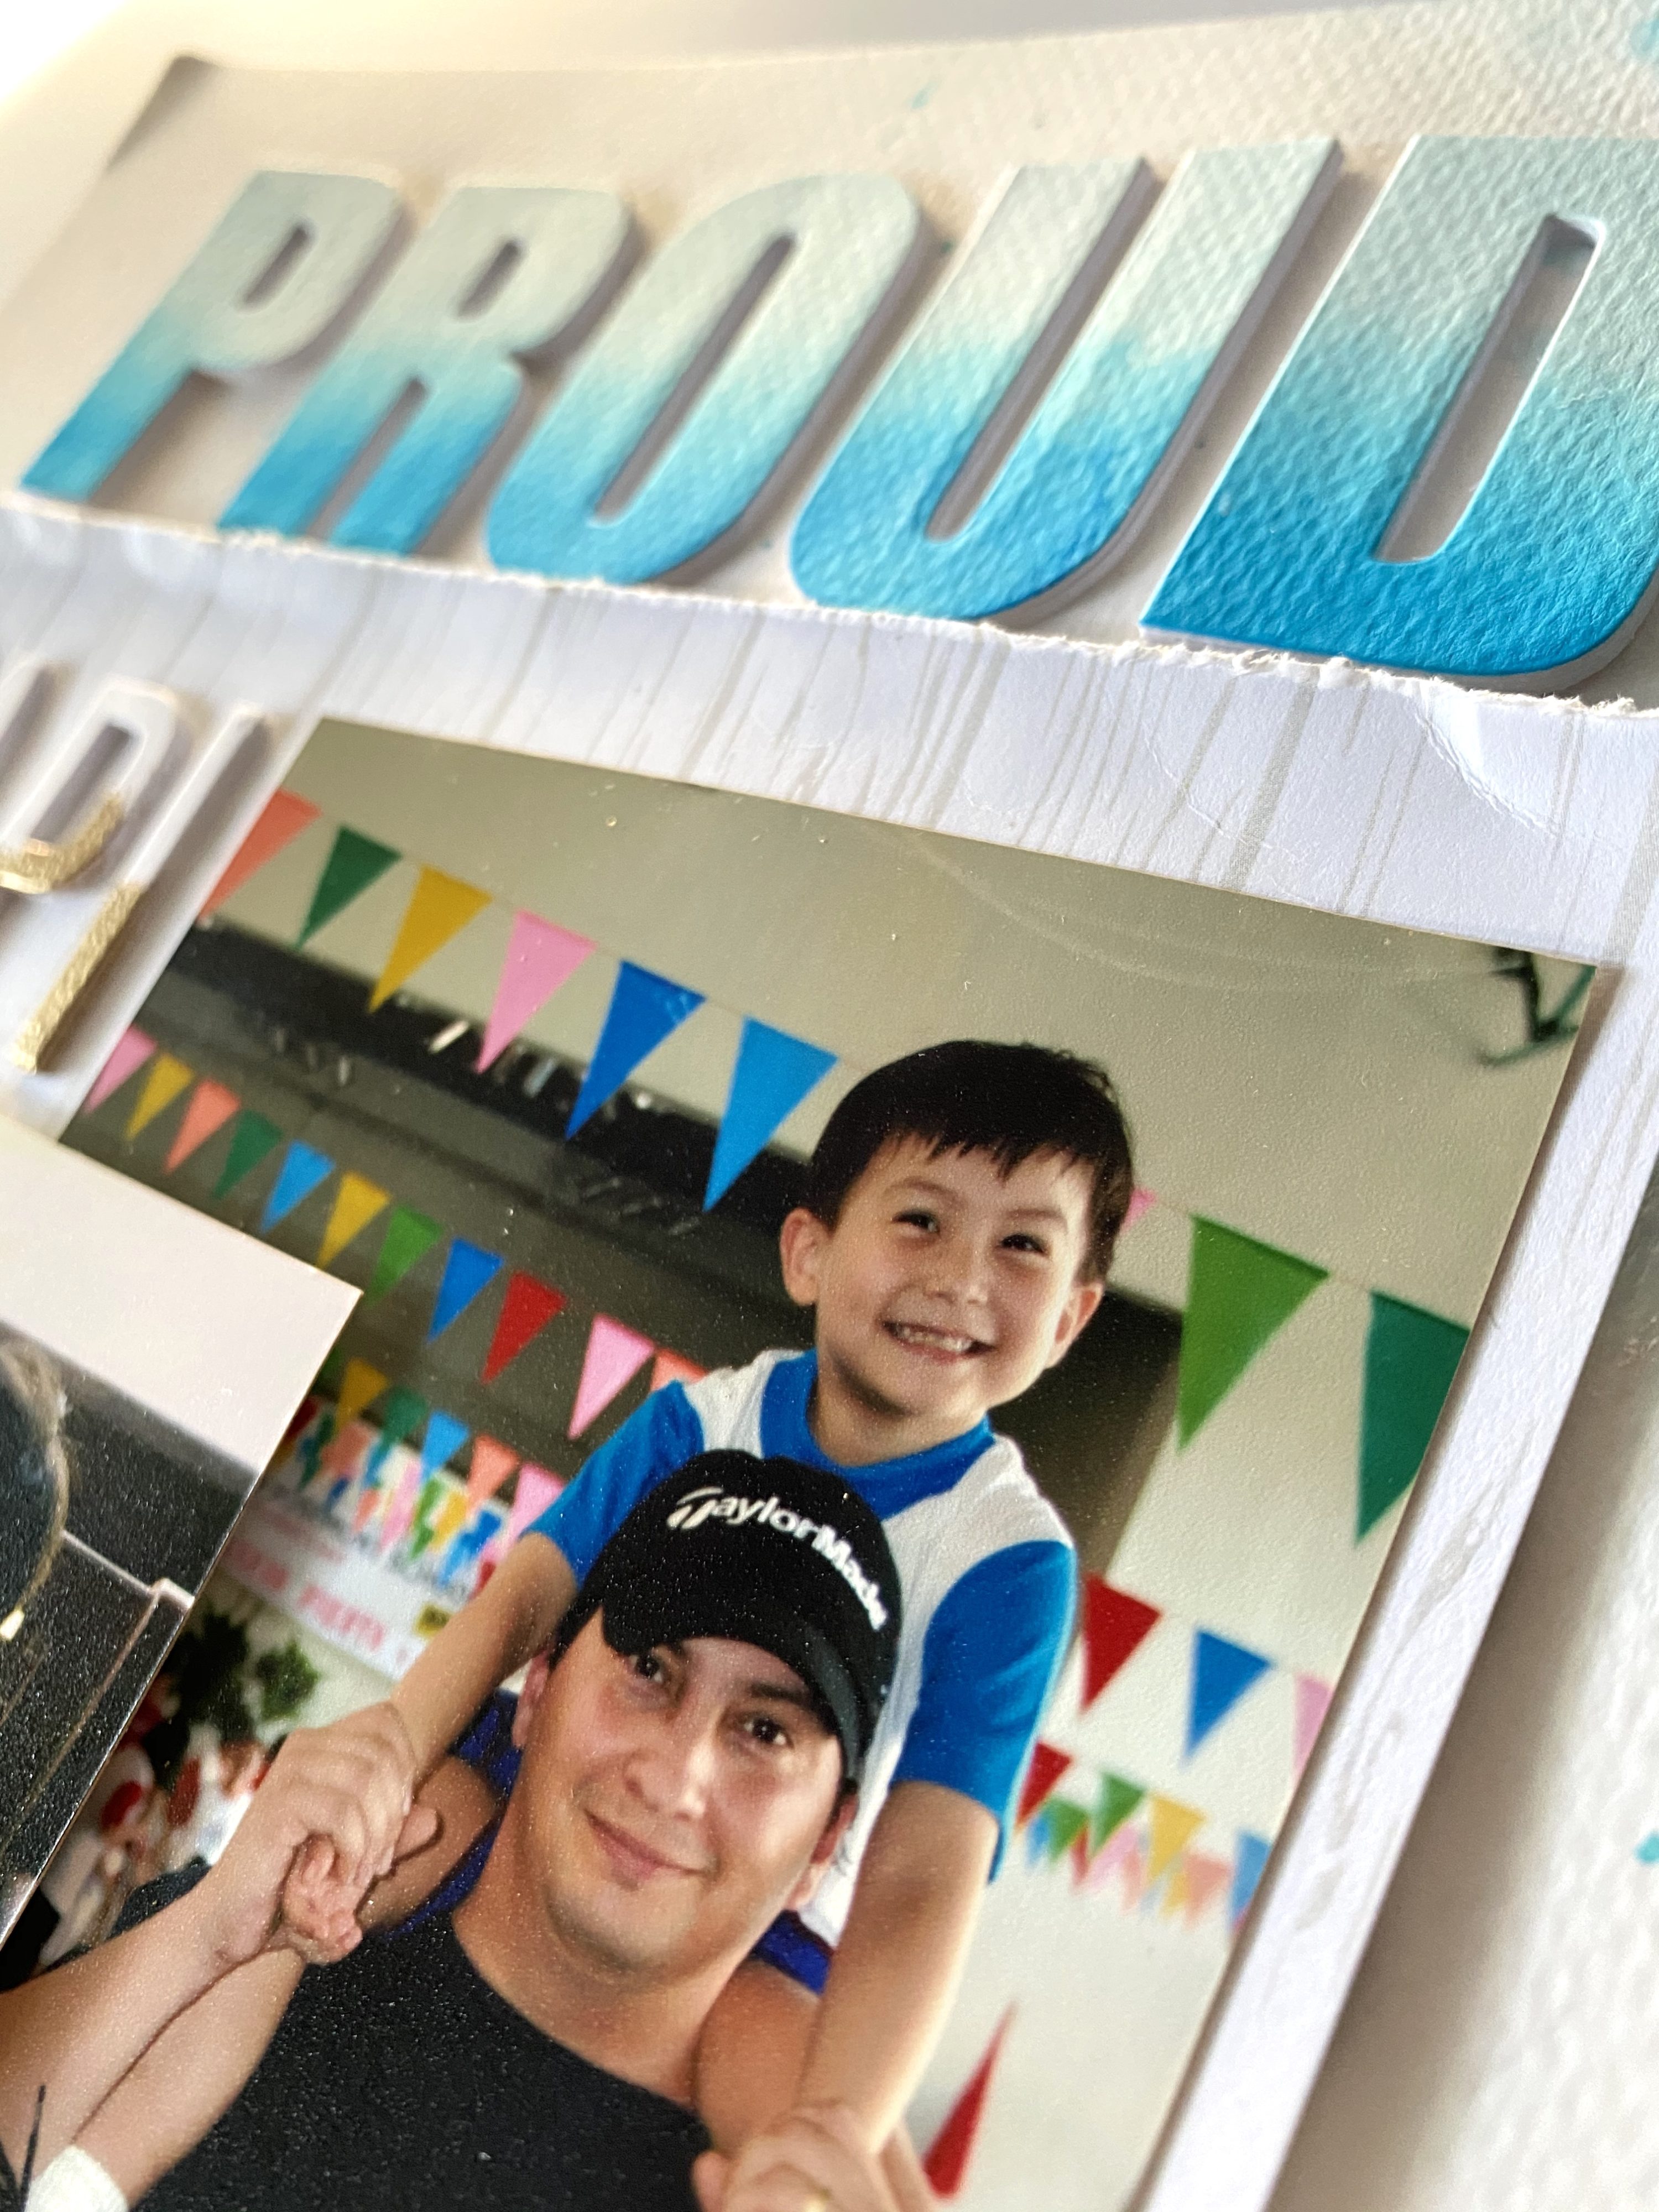
I used the Pattern Play -Diamond stamp set for the background embossed with white embossing powder. Watercolor brush markers were used to add colors to the background. The Fina Frames Diamonds Set was used to cut out the diamonds and these were stacked on top of each other to create dimension. The papers from Alluring Blooms and the Blushing Blooms created a base for the photos. The Fine alphabet die and the Caps bold alphabet were used for the title. The letters were either watercolored or embossed with gold embossing powder.
For the journaling, I traced the outline of the diamond onto vellum so that I could write within the lines.
SPECIAL OFFER
Enjoy FREE U.S. shipping with code HAPPY6TH or $5 OFF international shipping with code ANNIV20 at checkout. Offer valid from 4/2/2020 at 12:01 am EDT through 4/5/2020 at 11:59 pm EDT. Not valid on prior purchases. Cannot be combined with other promo codes. Shop here: https://altenew.com/
PRIZES

Altenew is giving away a $50 gift certificate to 6 lucky winners and one Altenew Academy class to 10 lucky winners. There are also 14 awesome companies/crafty friends who are celebrating with us, and they are offering the following prizes:
Altenew: 6 $50 Altenew gift certificates
Altenew Academy: 10 class spots
Jennifer McGuire Ink: 1 $100 Altenew gift certificate & 5 Share Handmade Kindness goodie bags($20 each)
My Sweet Petunia: 1 prize bundle(Original MISTI, a set of Creative Corners, a Cut-Align and a bar magnet)
CiLi in Papers: $100 gift certificate
Craft Stash: £75 gift certificate
Amy Tangerine: Your Brightest Year Yet online workshop(valued at $89)
Online Card Classes: 3 class spots
Simon Says Stamp: $50 gift certificate
Scrapbook.com: $50 gift certificate
Michelle’s Cards & Stamp: $50 gift certificate
Ellen Hutson LLC: $30 gift certificate
Butterfly Reflections Ink: $25 gift certificate
Scrapbook & Cards Today: 1 copy of Scrapbook & Cards Today Spring 2020 issue
Bumbleberry Papercrafts: £25 gift certificate
Seven Hills Crafts: £25 gift certificate
Be sure to leave comments by 4/12/2020 for a chance to win one of 37 prizes! To make the hop more exciting, start your comment with “Hi from (city or country where you’re from)!”. 37 winners will be chosen at random from the comments left on any of the blogs listed below and will be announced on the Altenew Card Blog on 4/18/2020.
Thank you so much for finding time to drop by! Your comments mean so much to me. I’ll be having my own little giveaway too and will pick a winner from the comments on my blog. The winner will be getting a card set from me <3 (will ship it out as soon as the situation gets better 🙏) Next stop: Scrapbook & Cards Today.
May this season of uncertainty give us more reasons to be kind to one another. My prayers go out to all the heroes risking their lives for a brighter future for all of us. Stay safe everyone and happy crafting! ❤️
BLOG HOP ORDER
Day 3: April 4th
Altenew Blog
Laura Bassen
Therese Calvird
LauraJane
Ellen Hutson LLC
Nathalie DeSousa
Seeka
Nenette S. Madero <<– YOU ARE HERE
Scrapbook & Cards Today
Sveta Fotinia
Ilda Dias
Craft Stash
Laurie Willison
Laura Volpes
Bumbleberry Papercrafts
Arjita Sepaha Singh
The Hedgehog Hollow
Jenny Colacicco