Hello everyone!!! I’d like to thank Svitlana for sending you over to my blog. So thrilled to be back as part of Altenew’s February Stencils/Decals/Stand-Alone Dies Release this 2020!!! This is such an amazing release and to view all the latest arrivals, you can check them out here, or you can visit the Altenew Card Blog for the complete details. I have a number of card samples prepared for you so let’s get started!
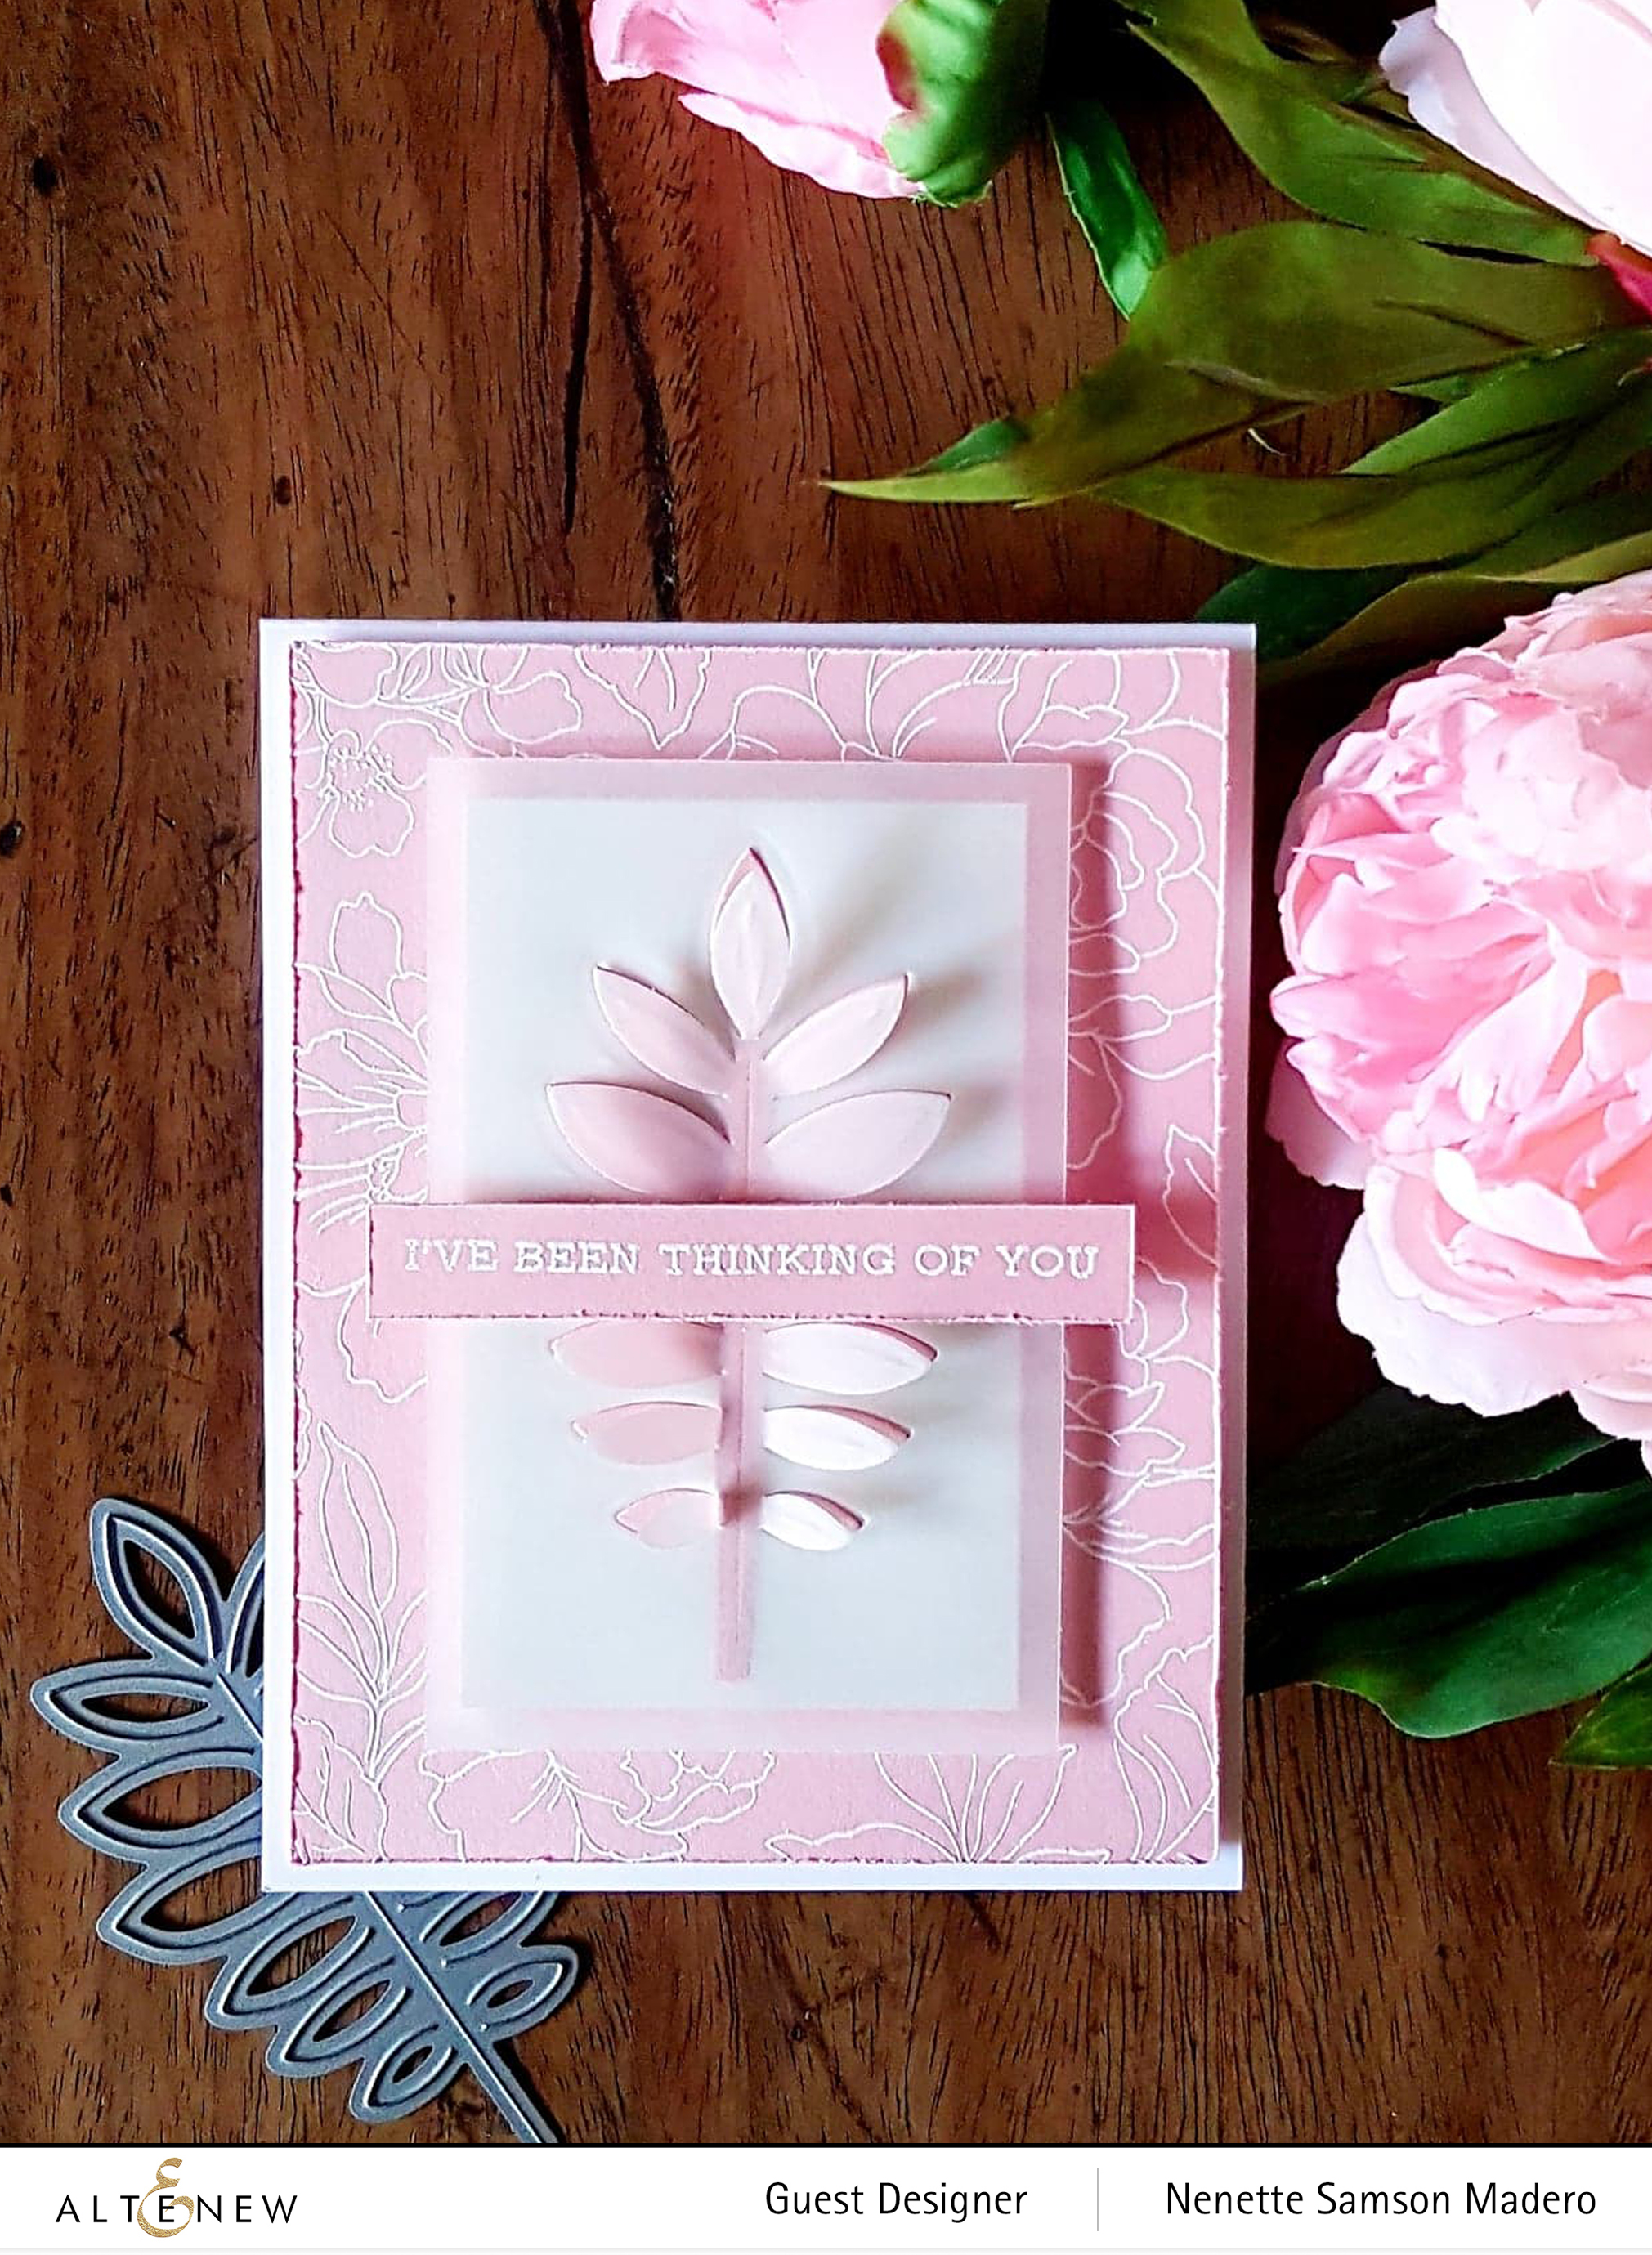
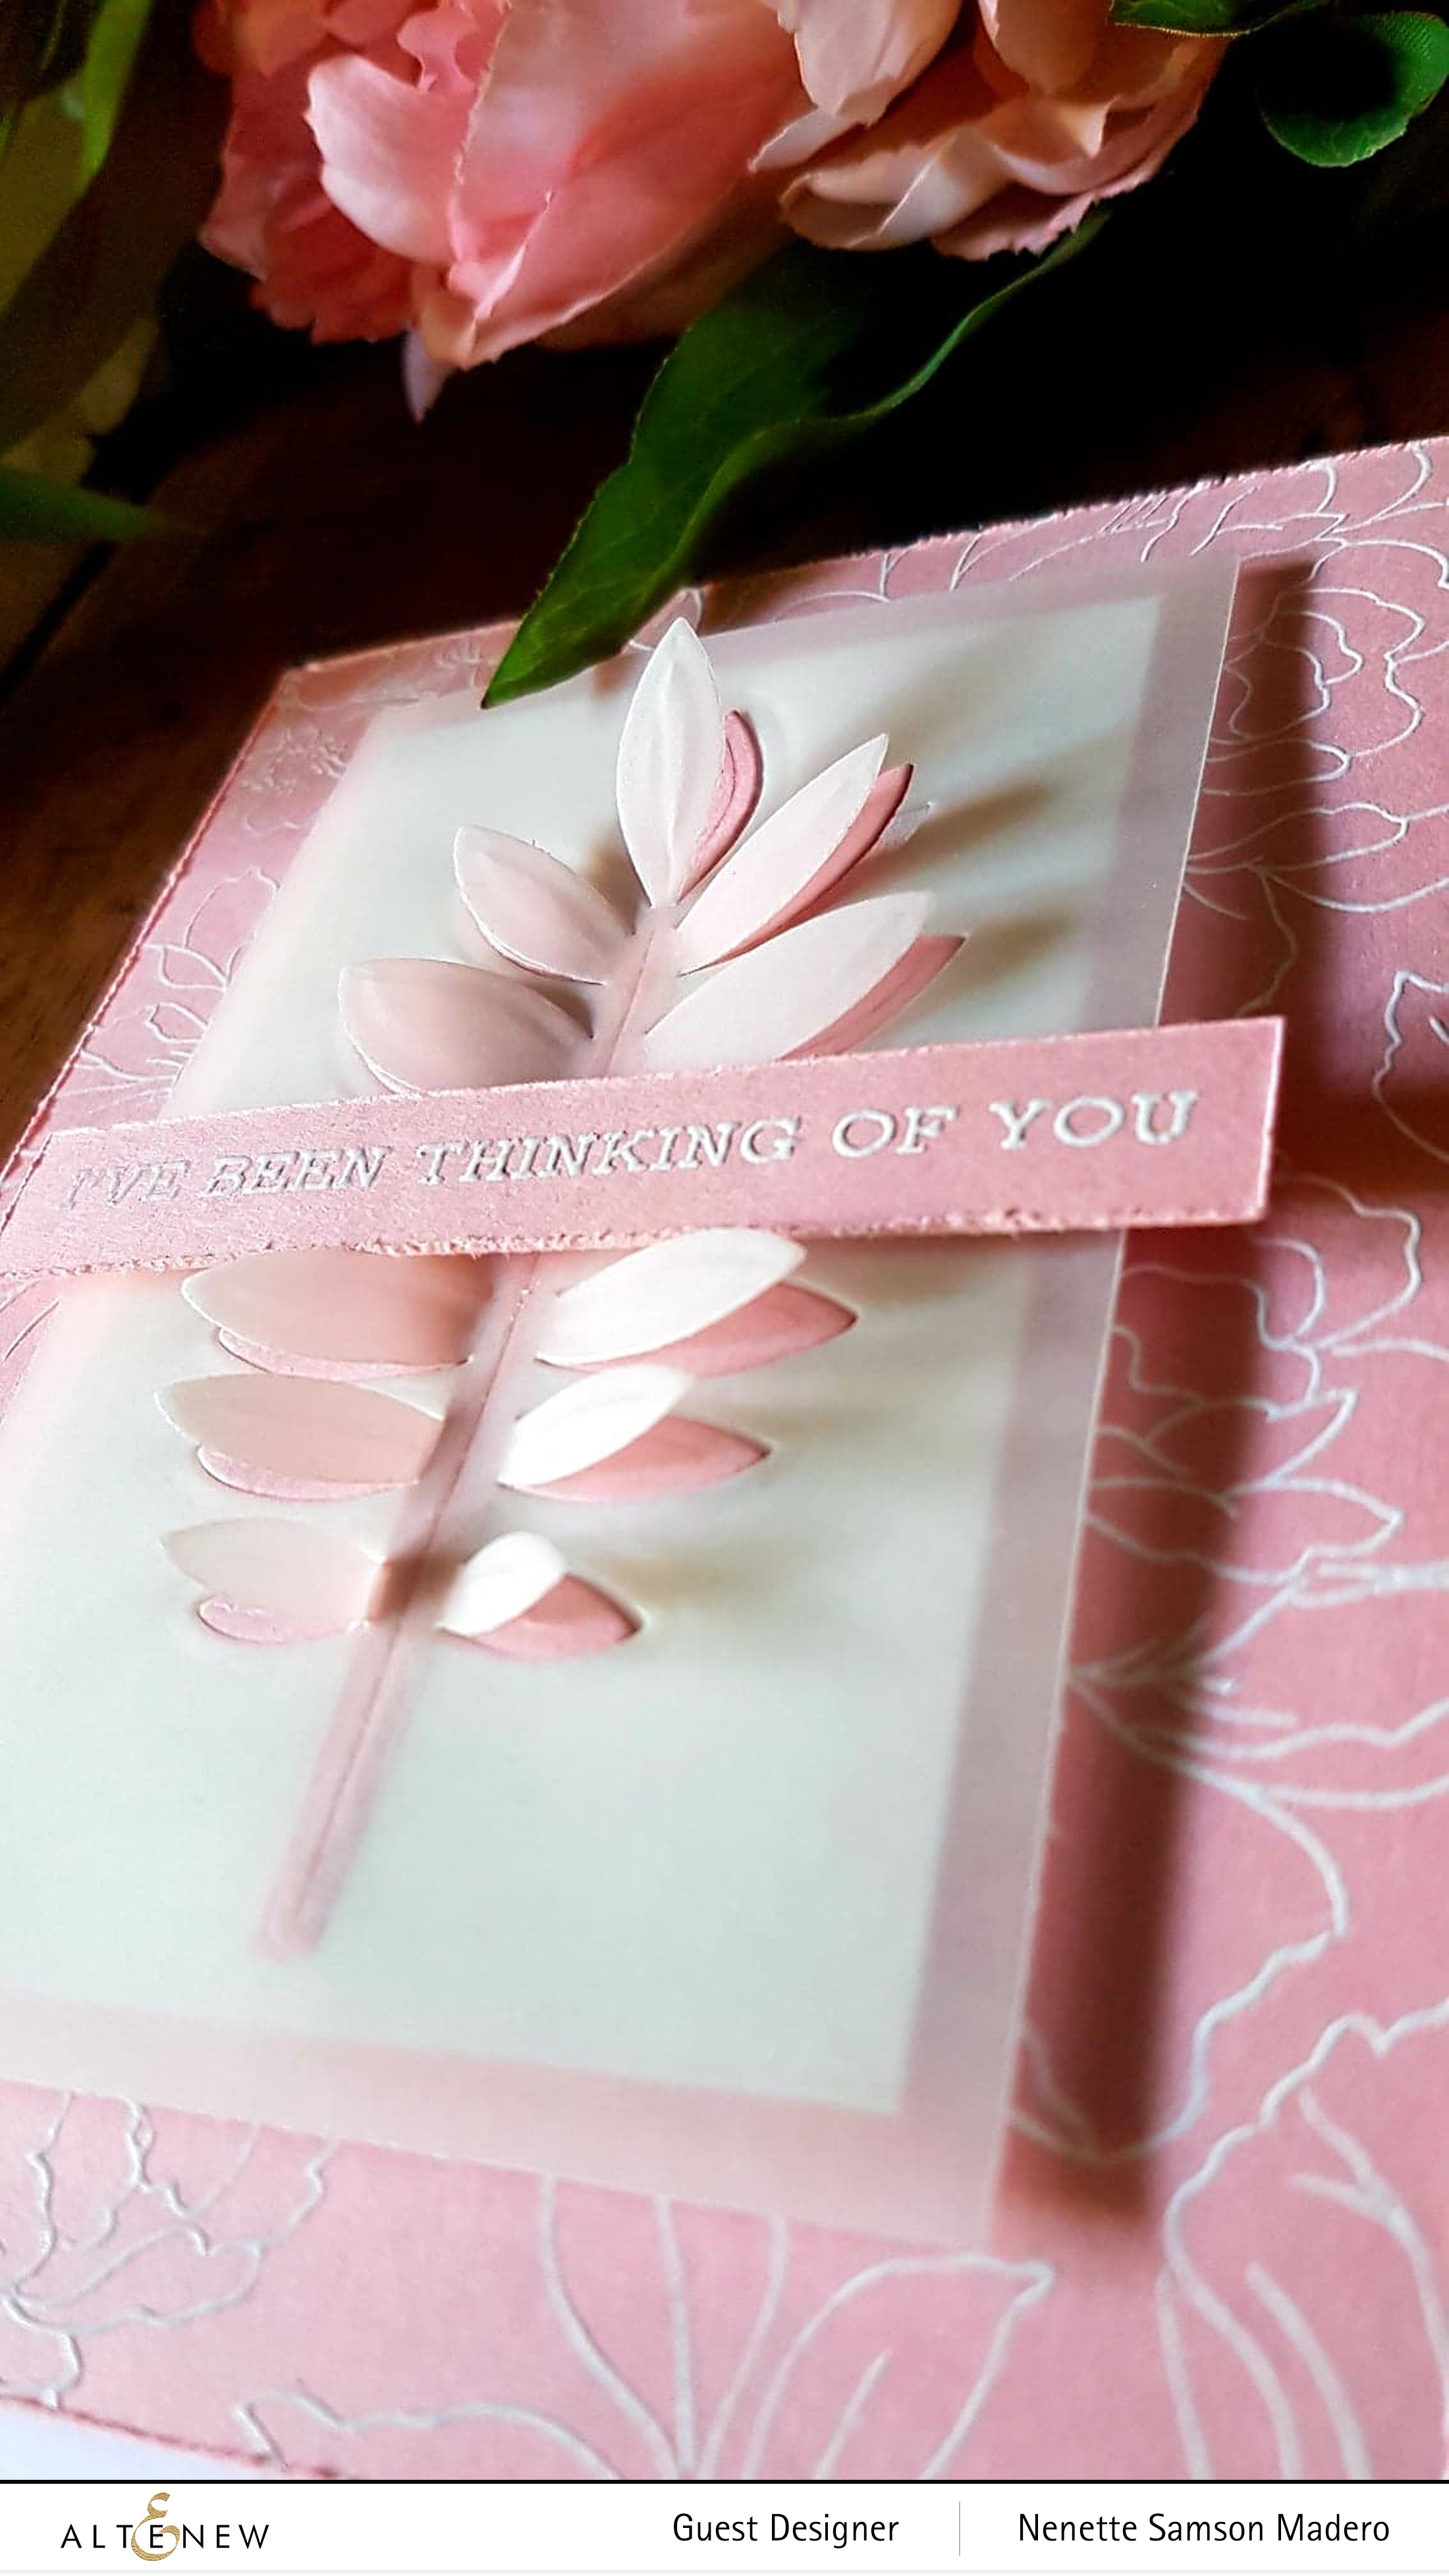
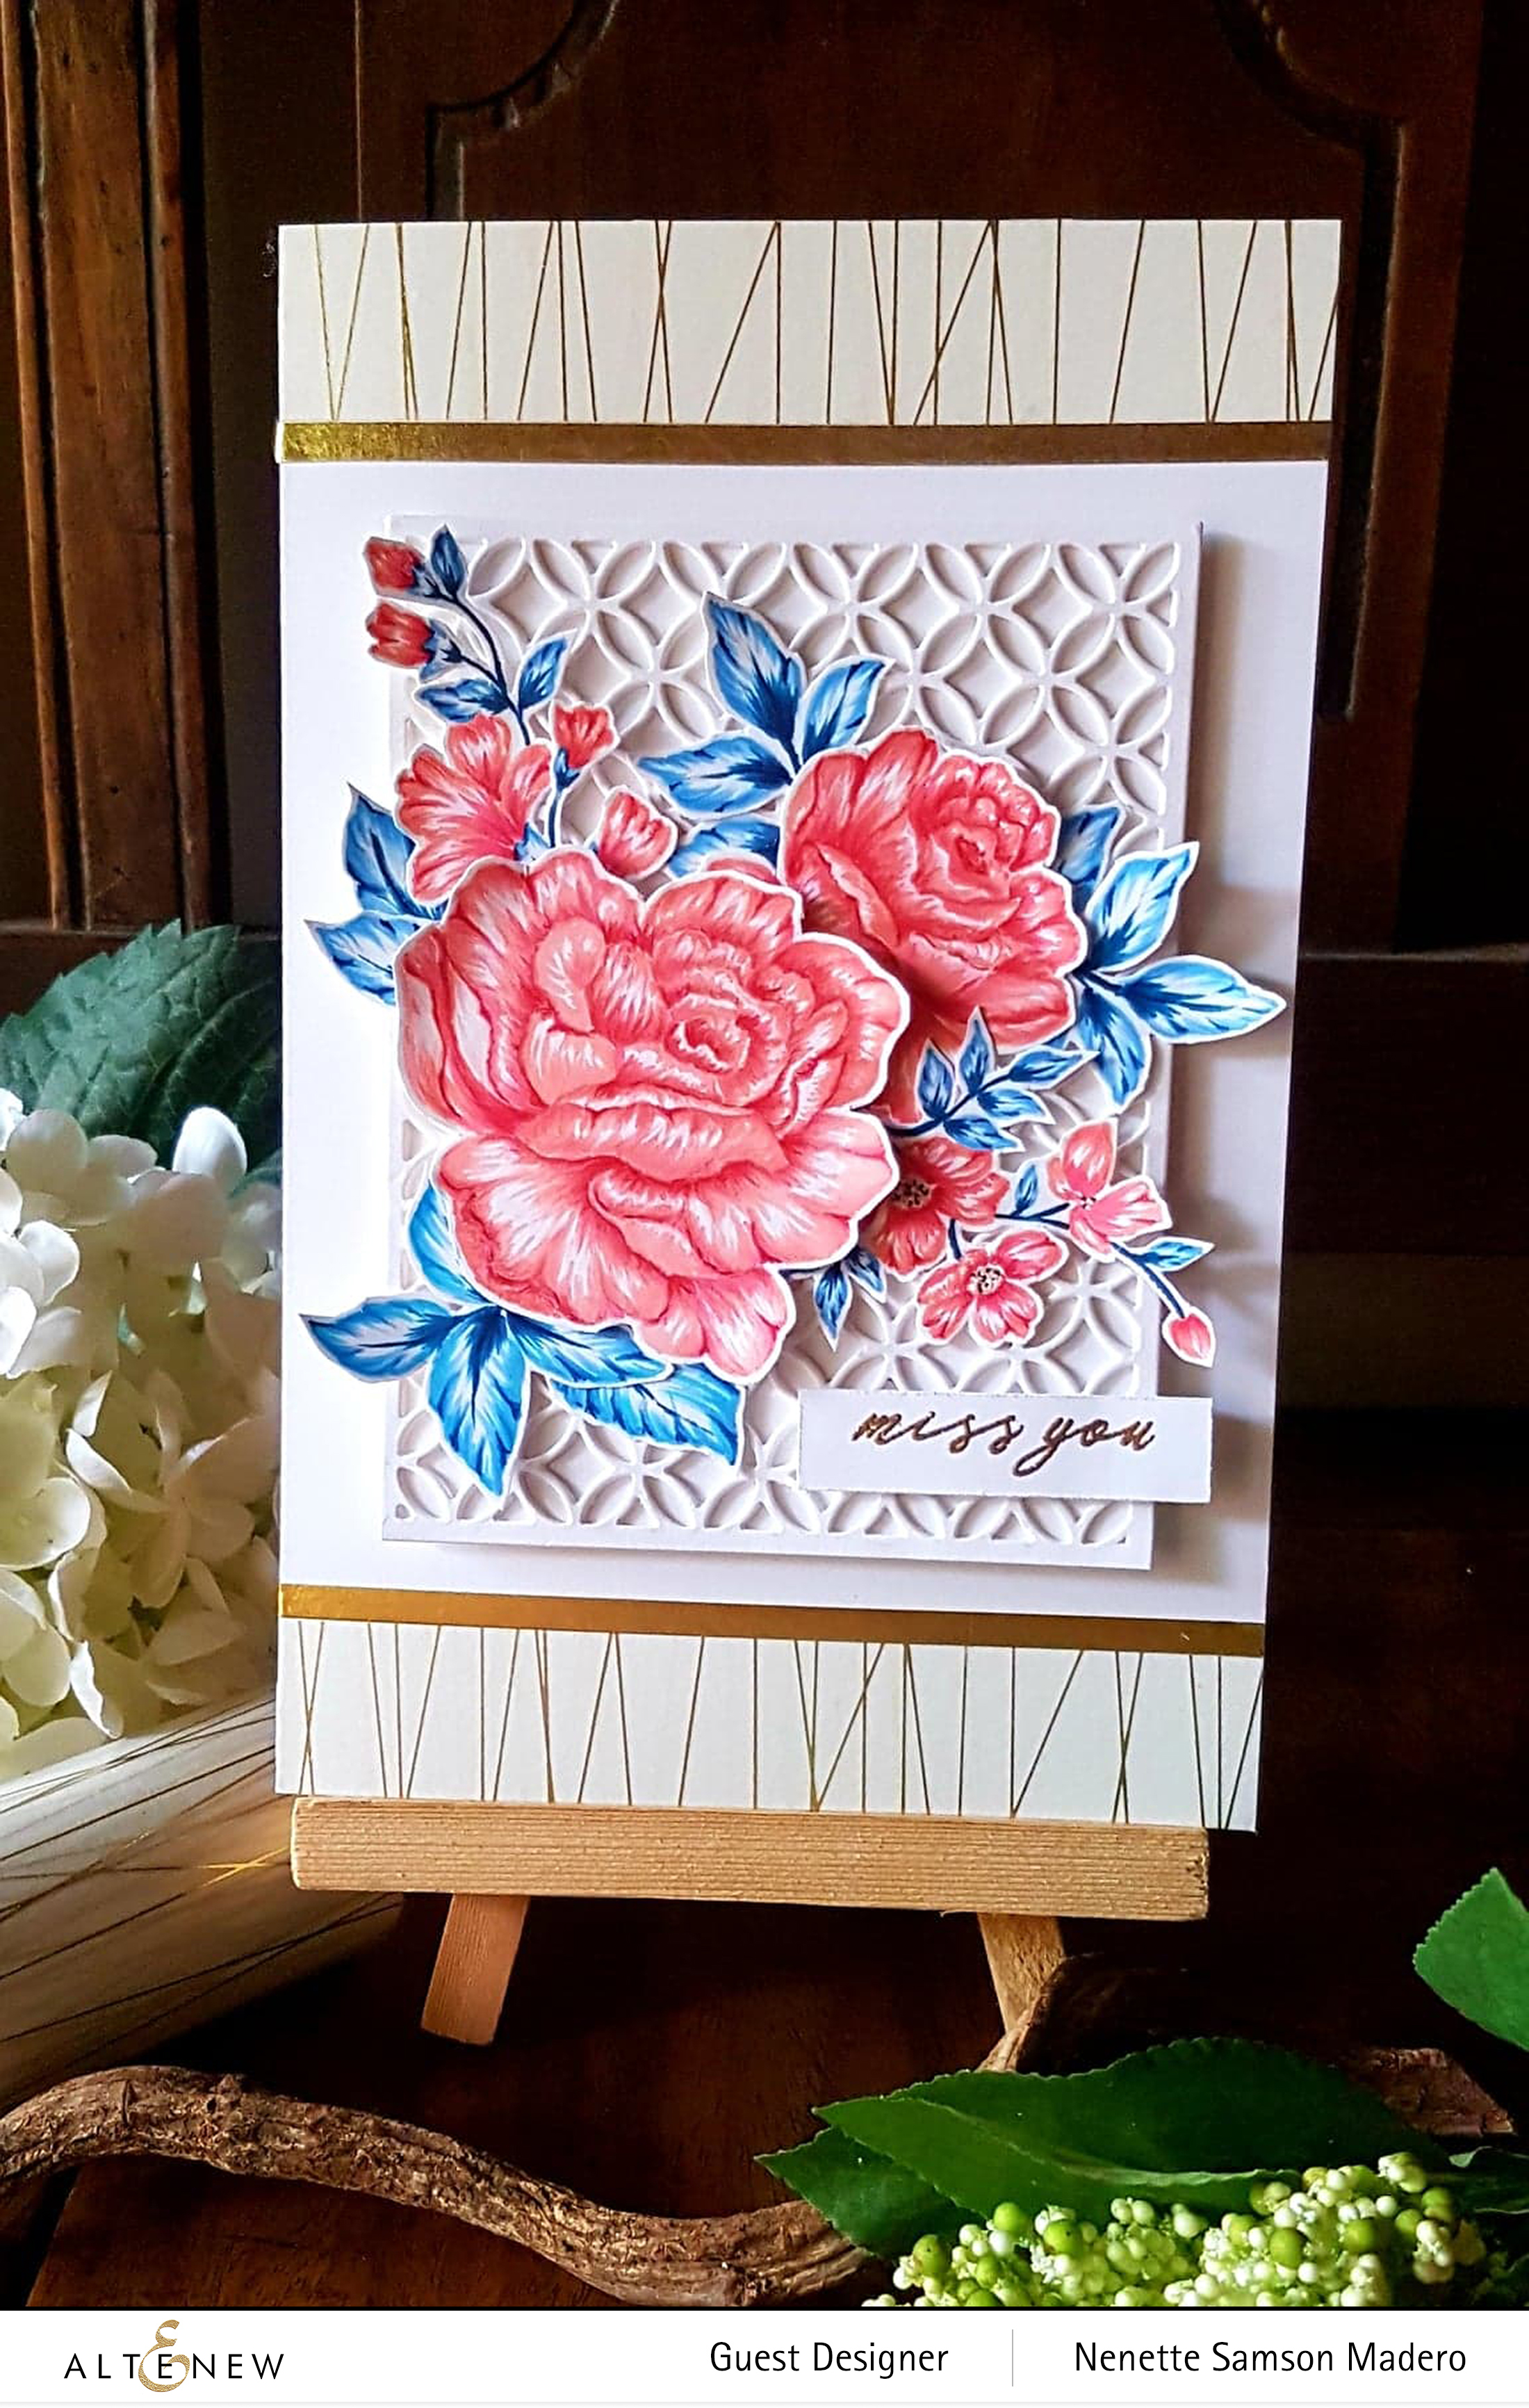
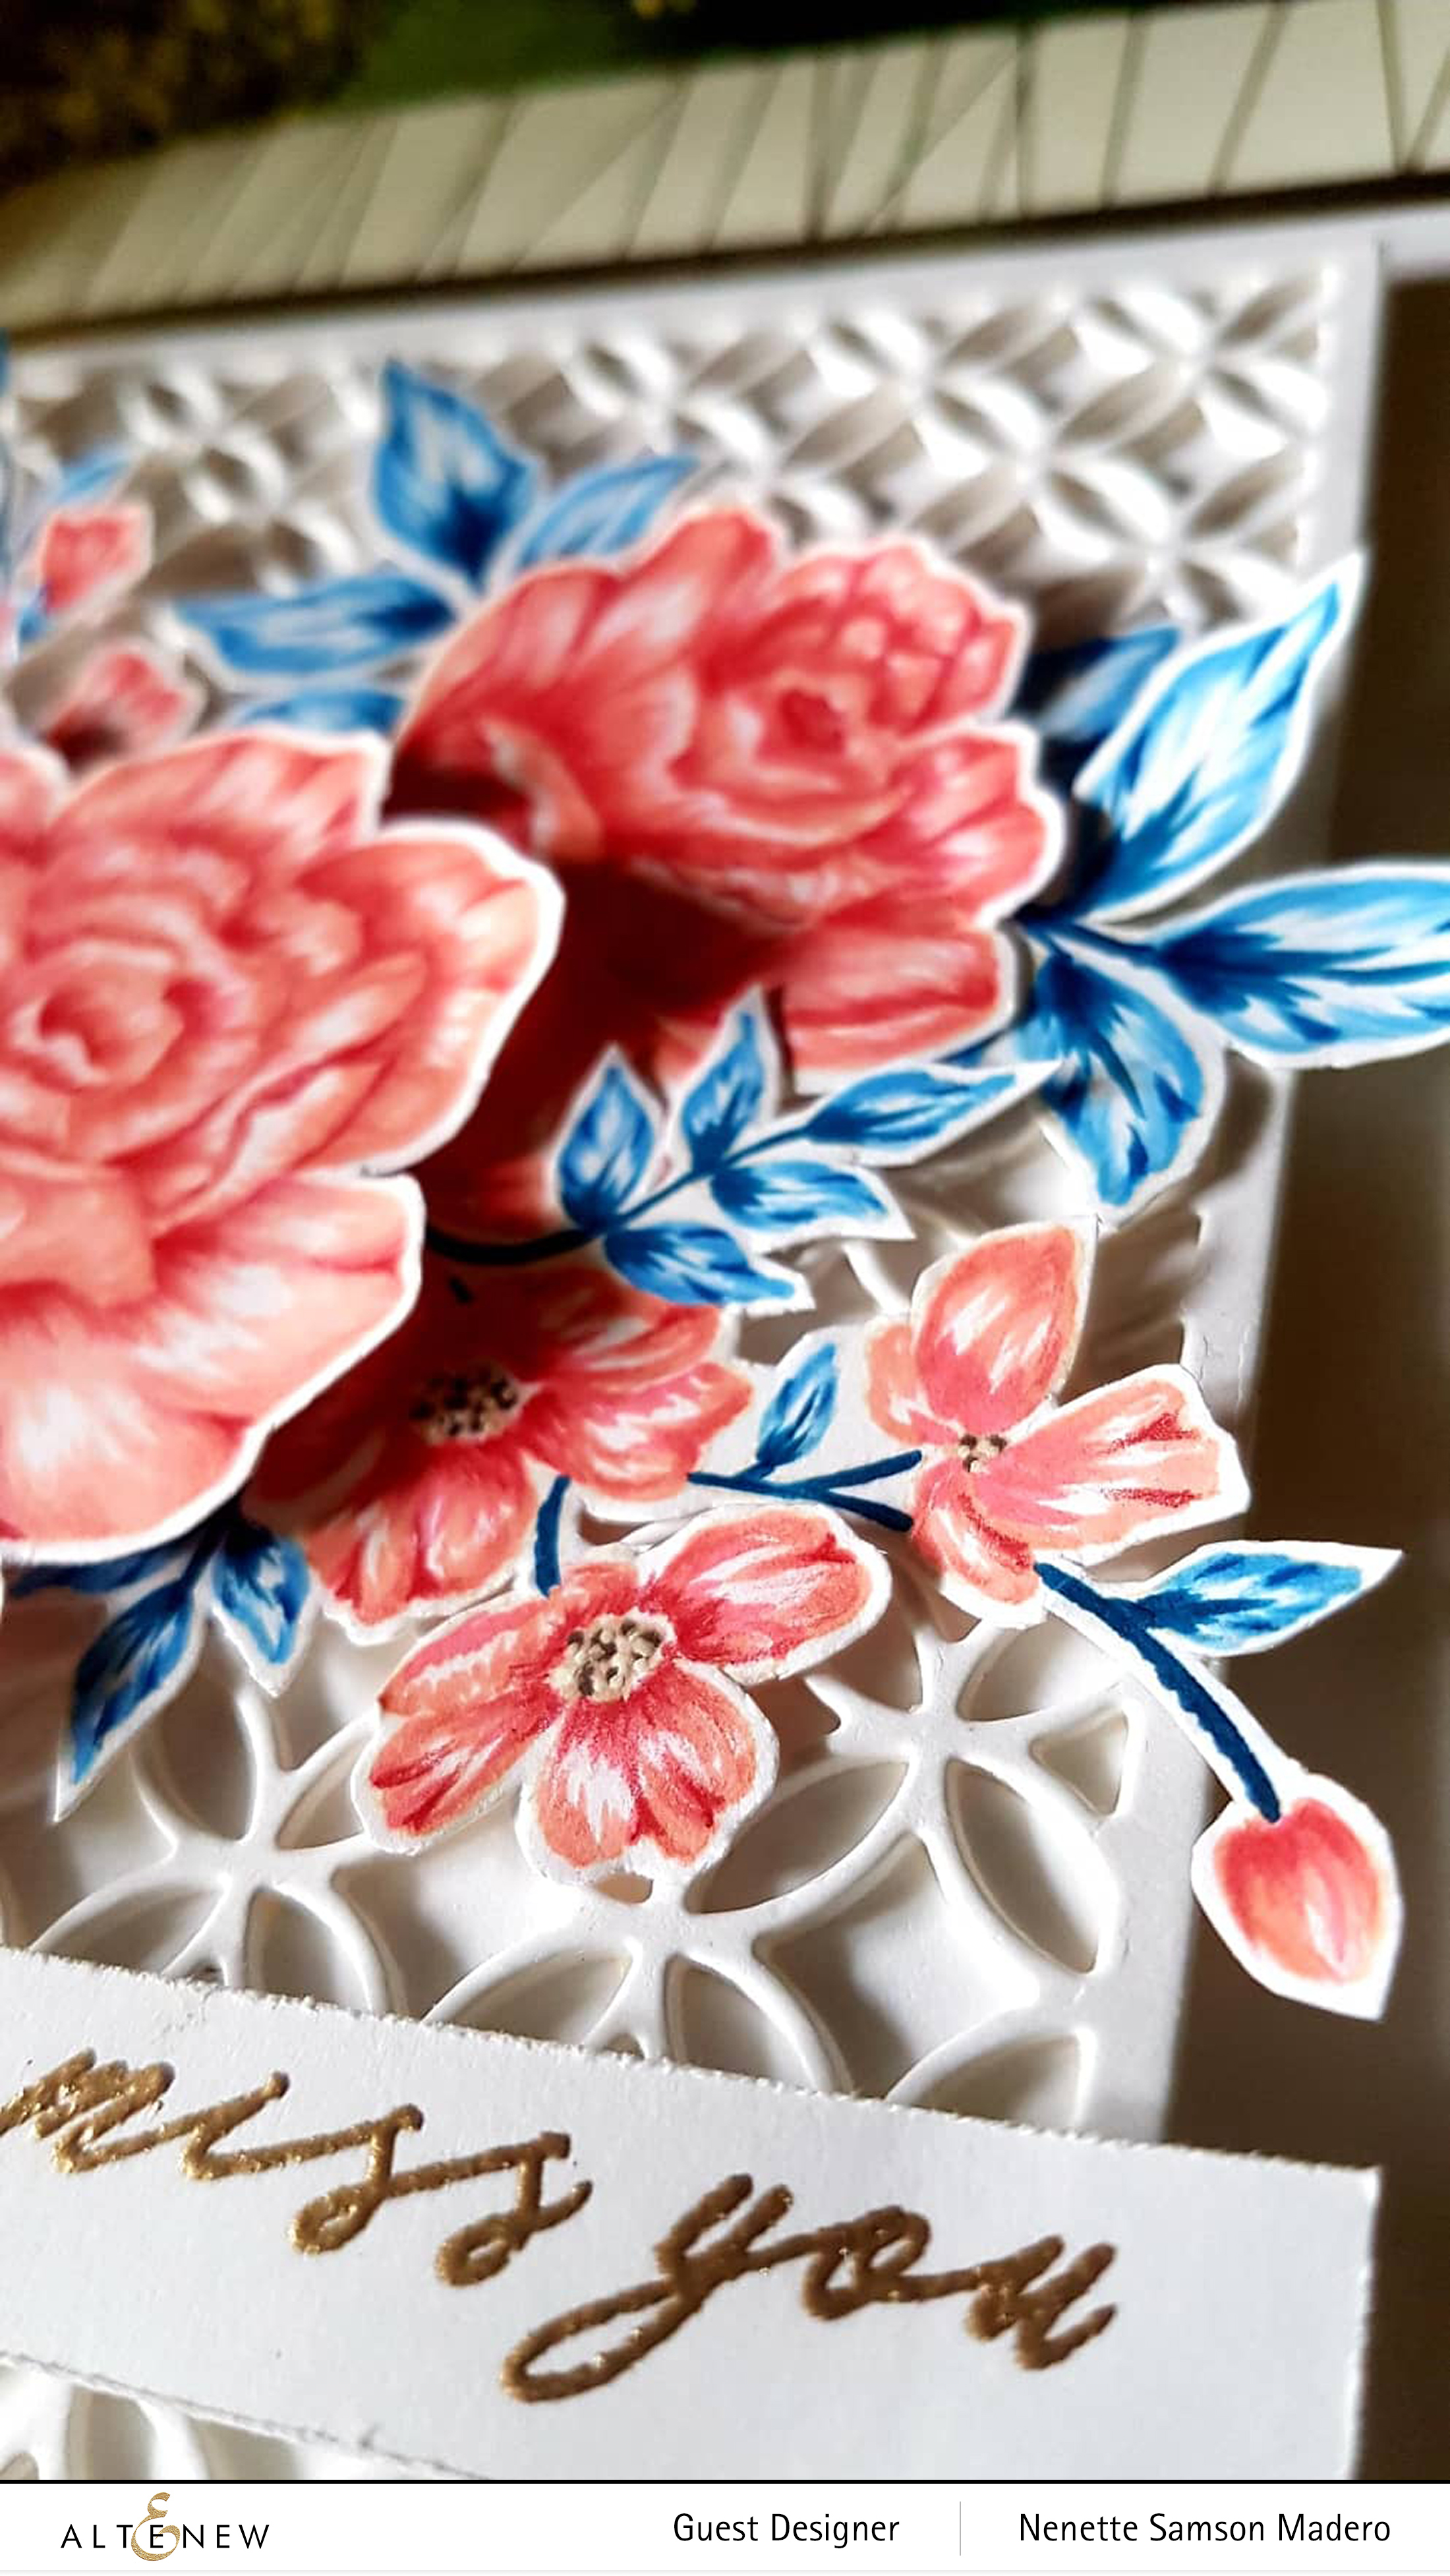
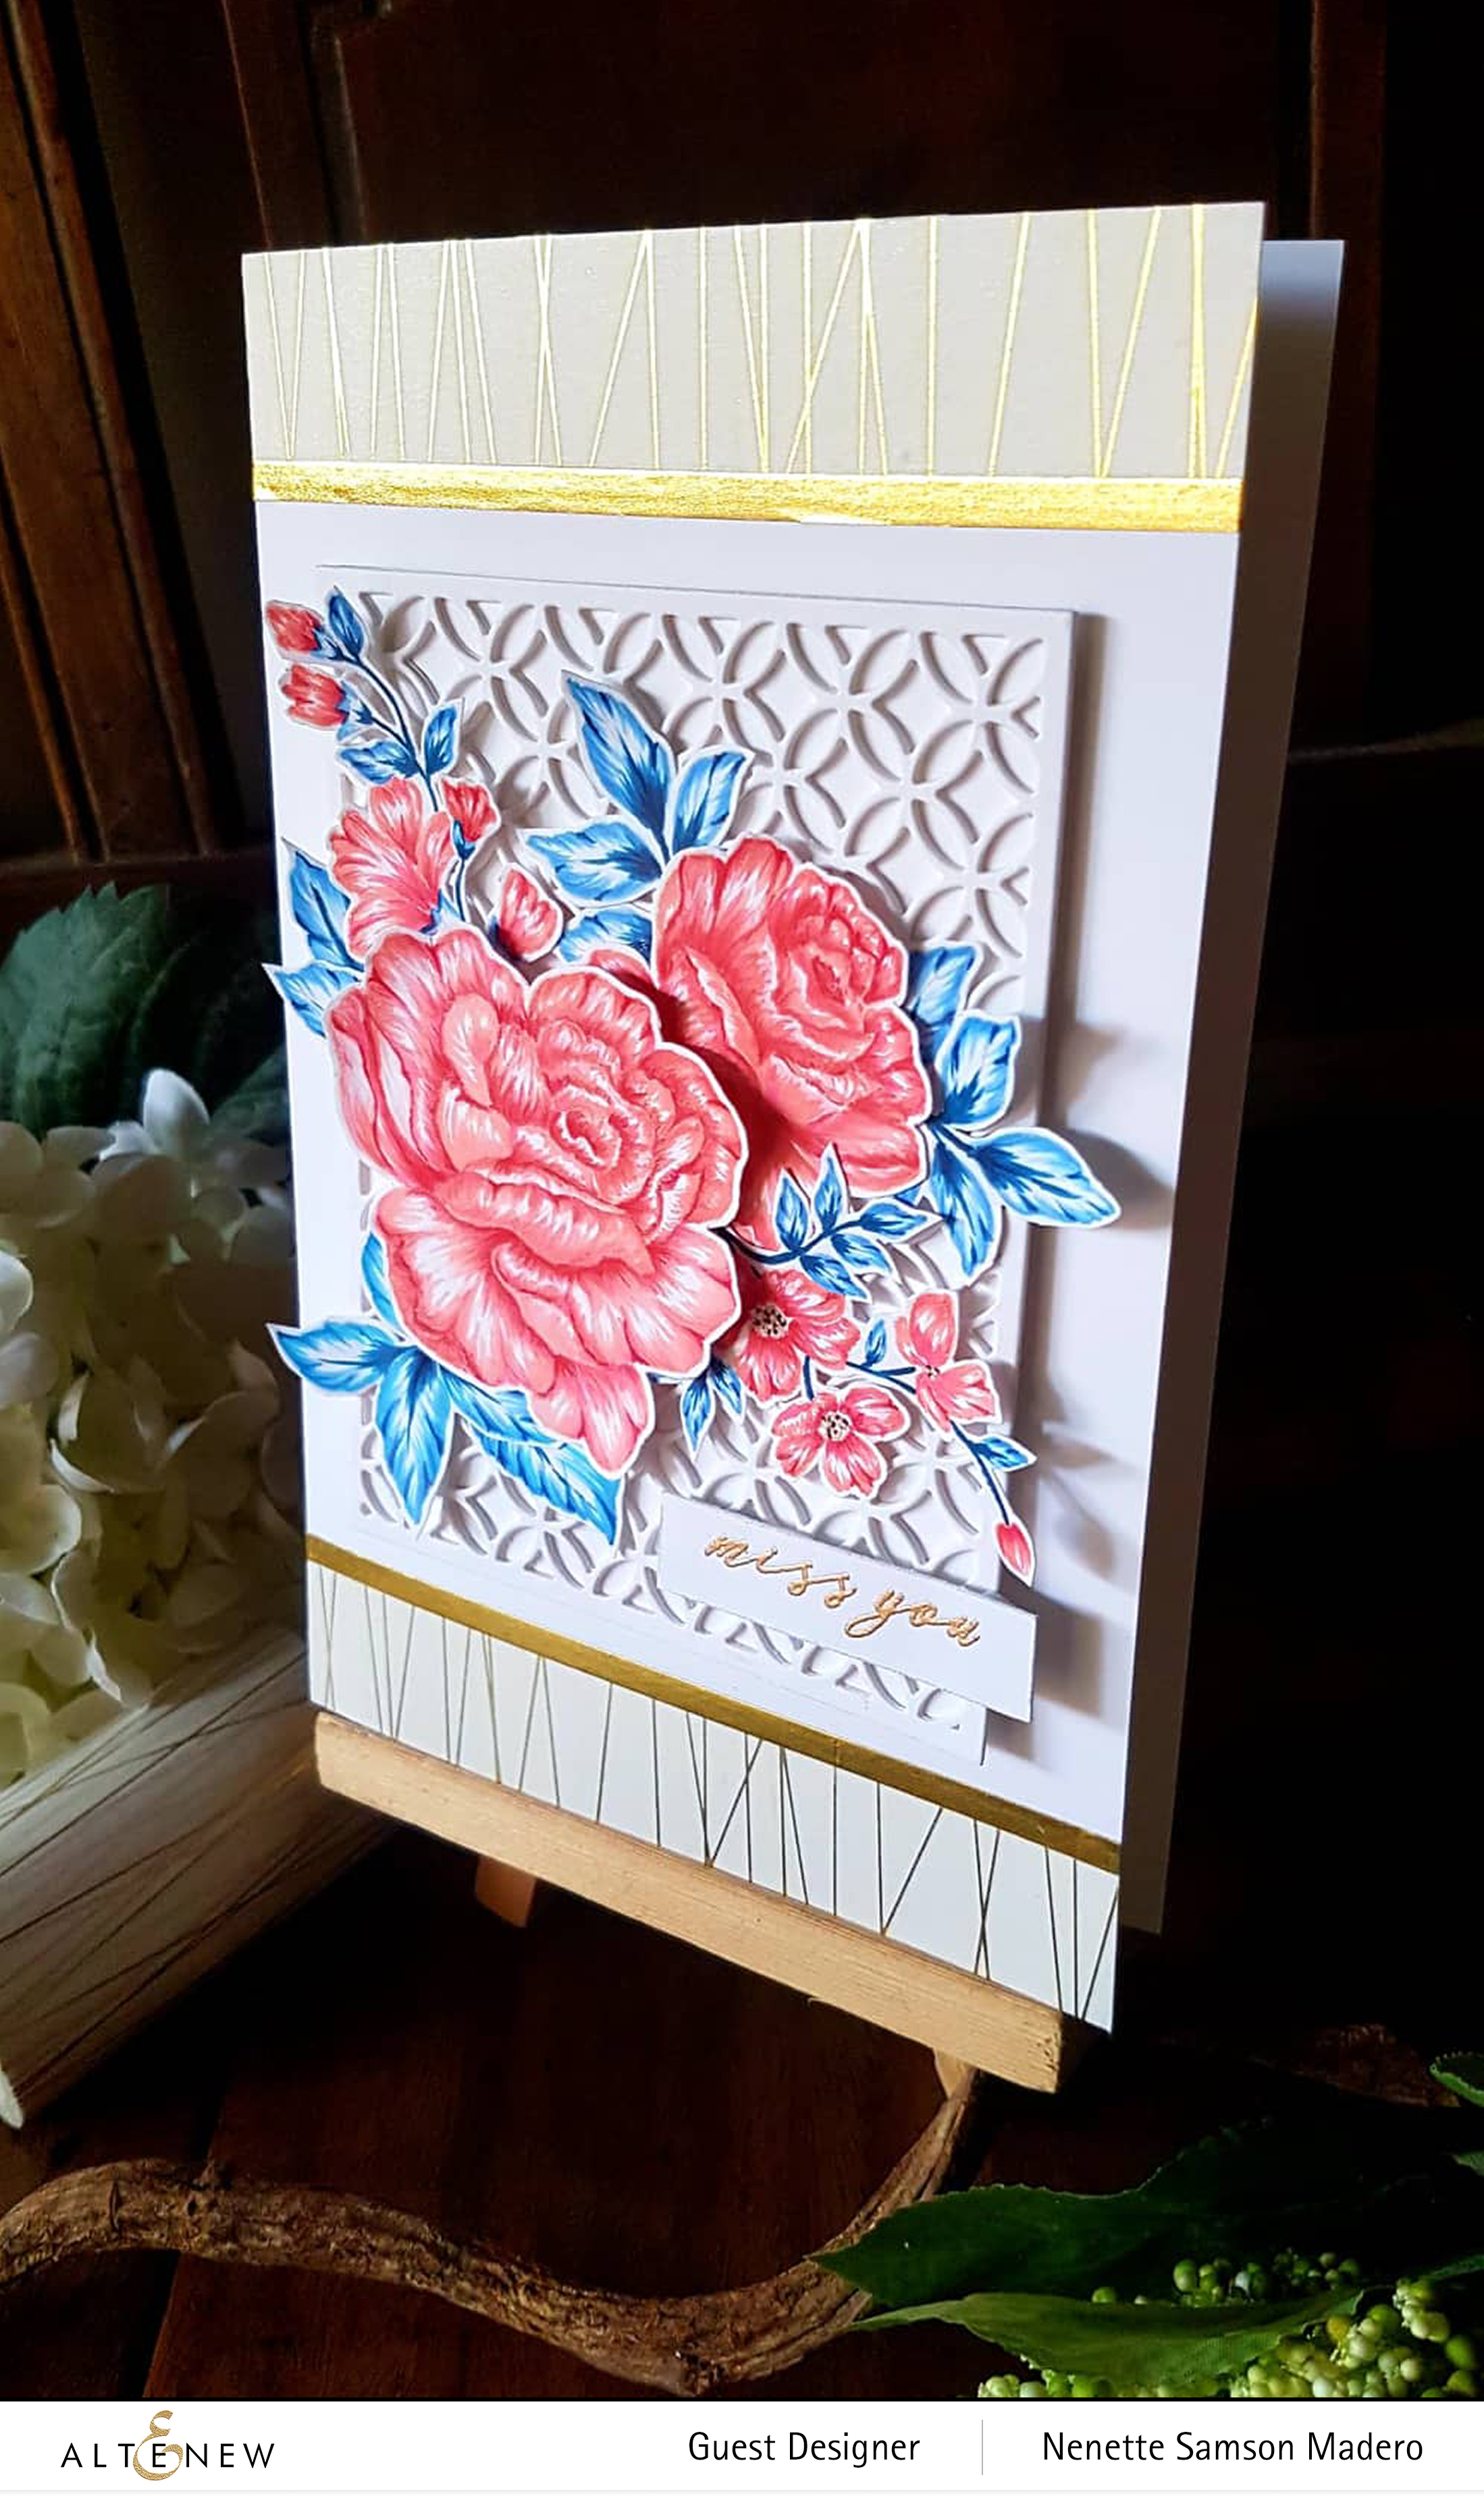
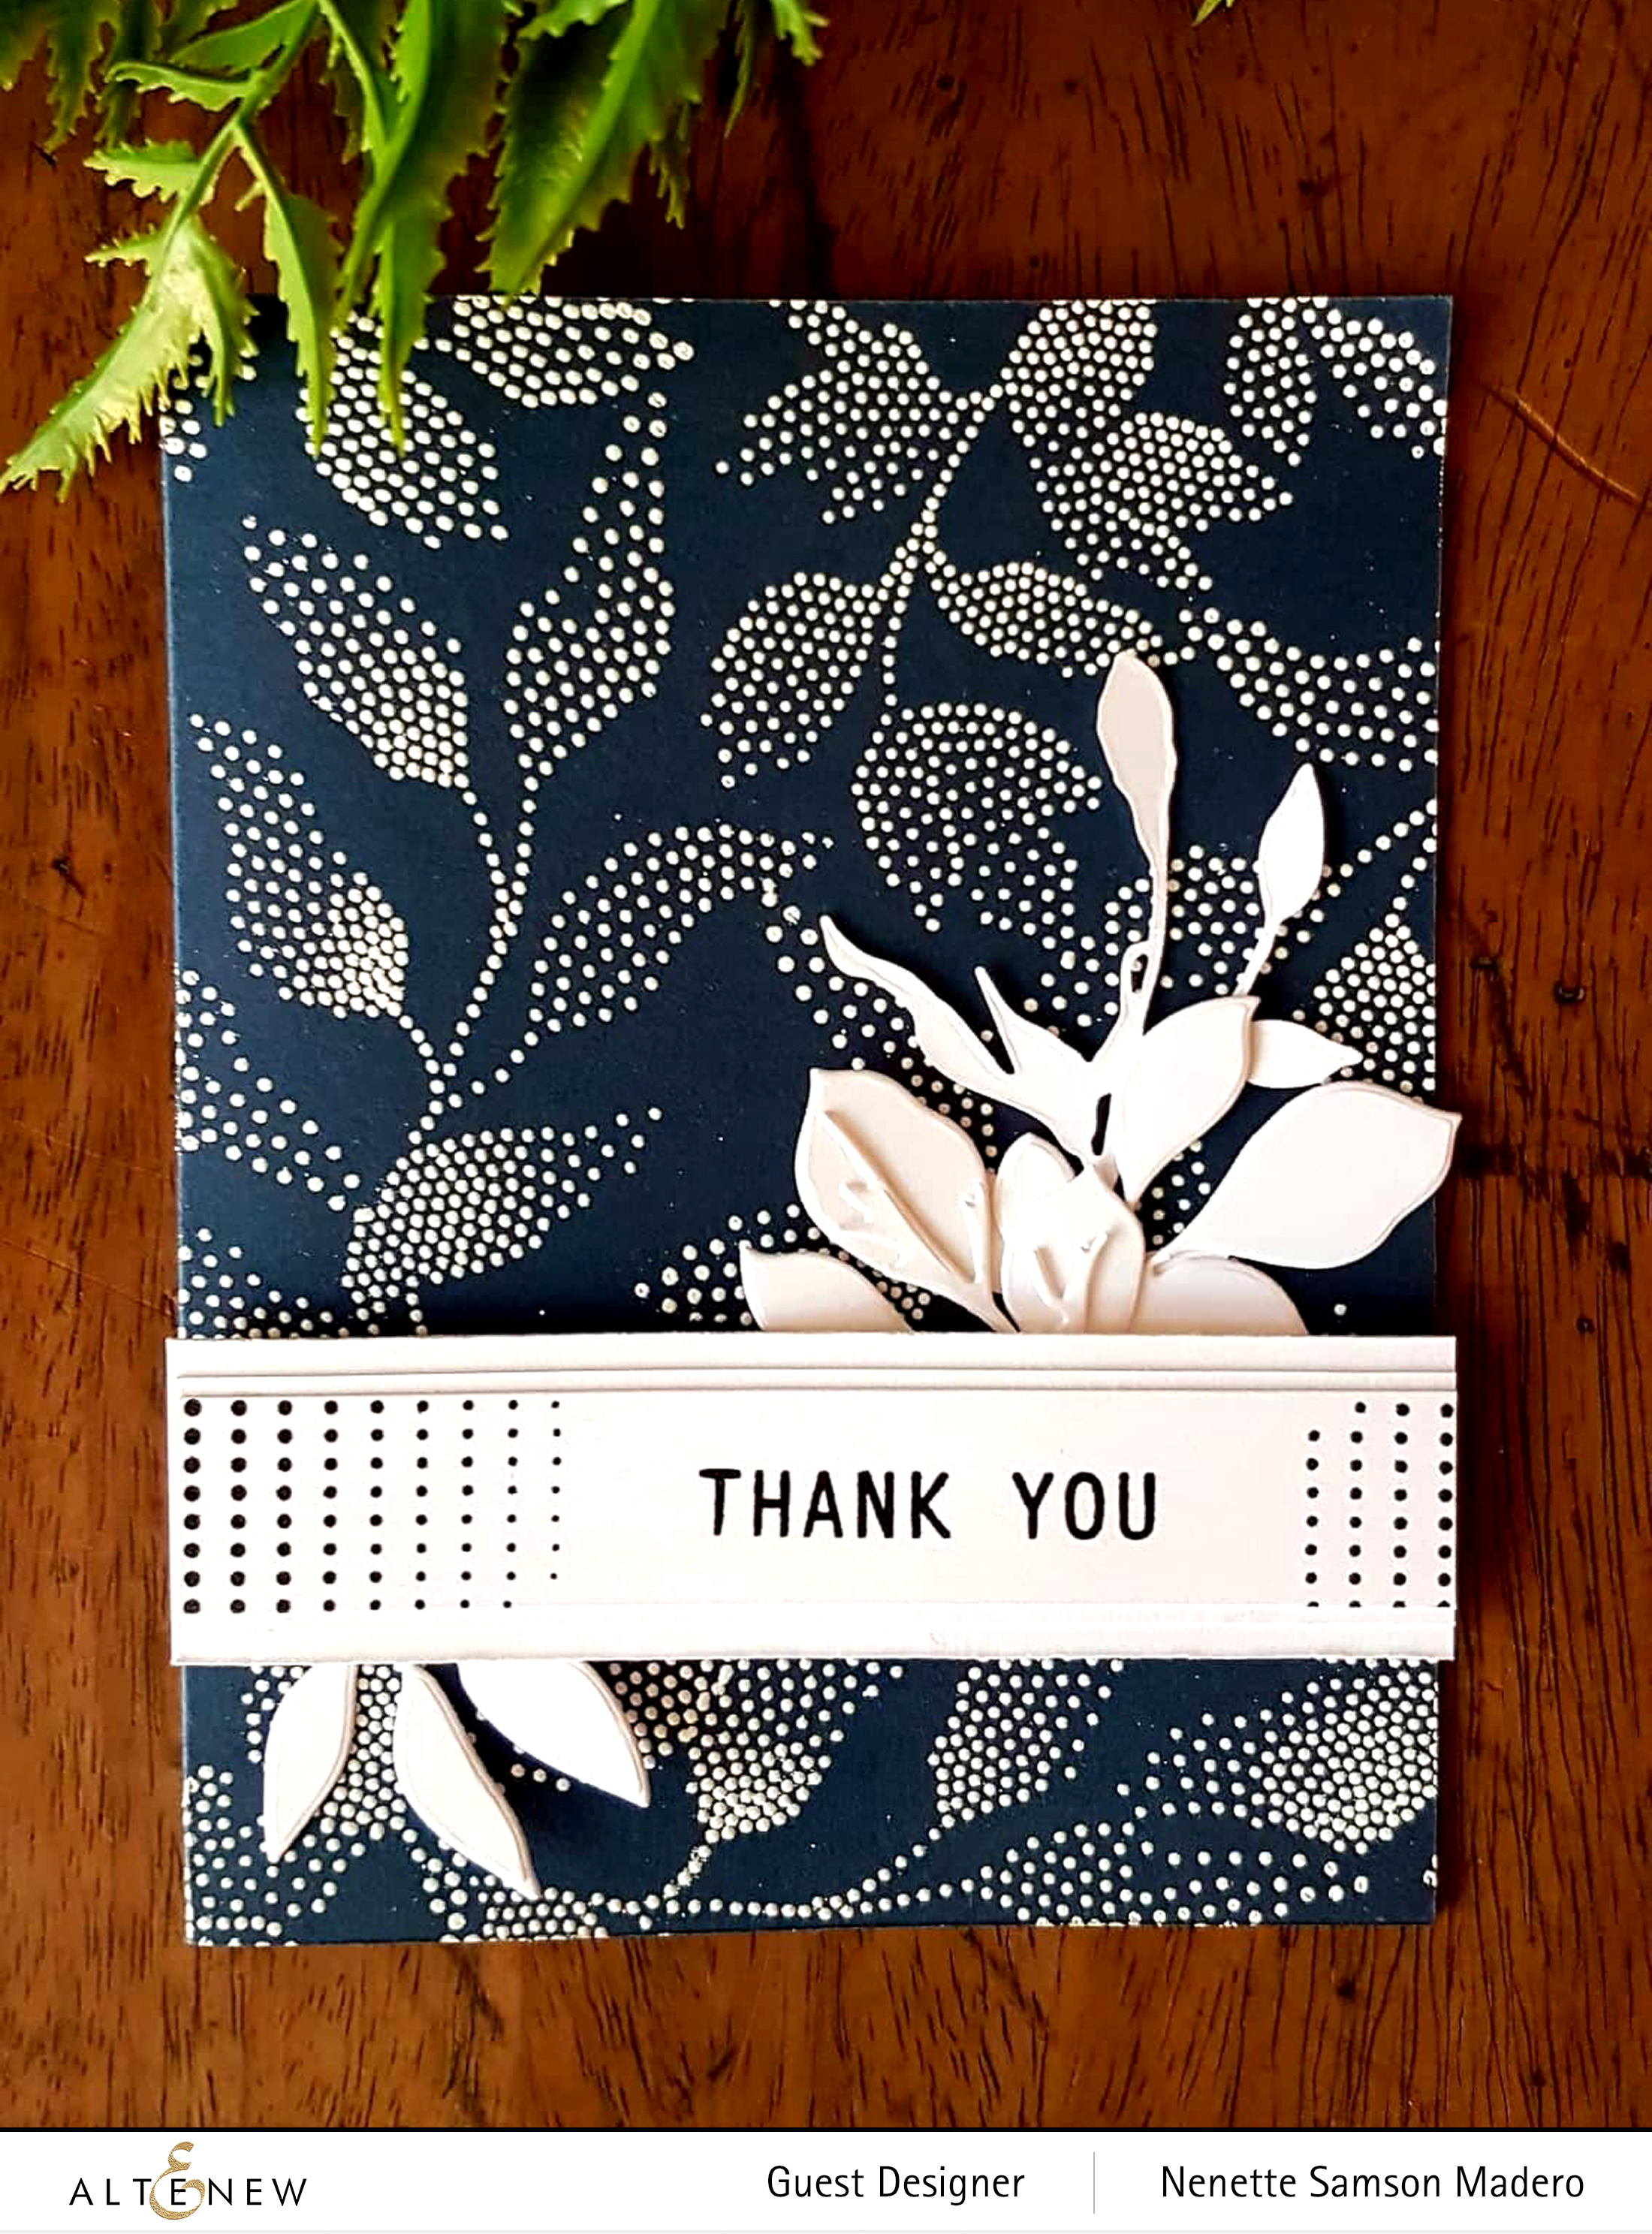
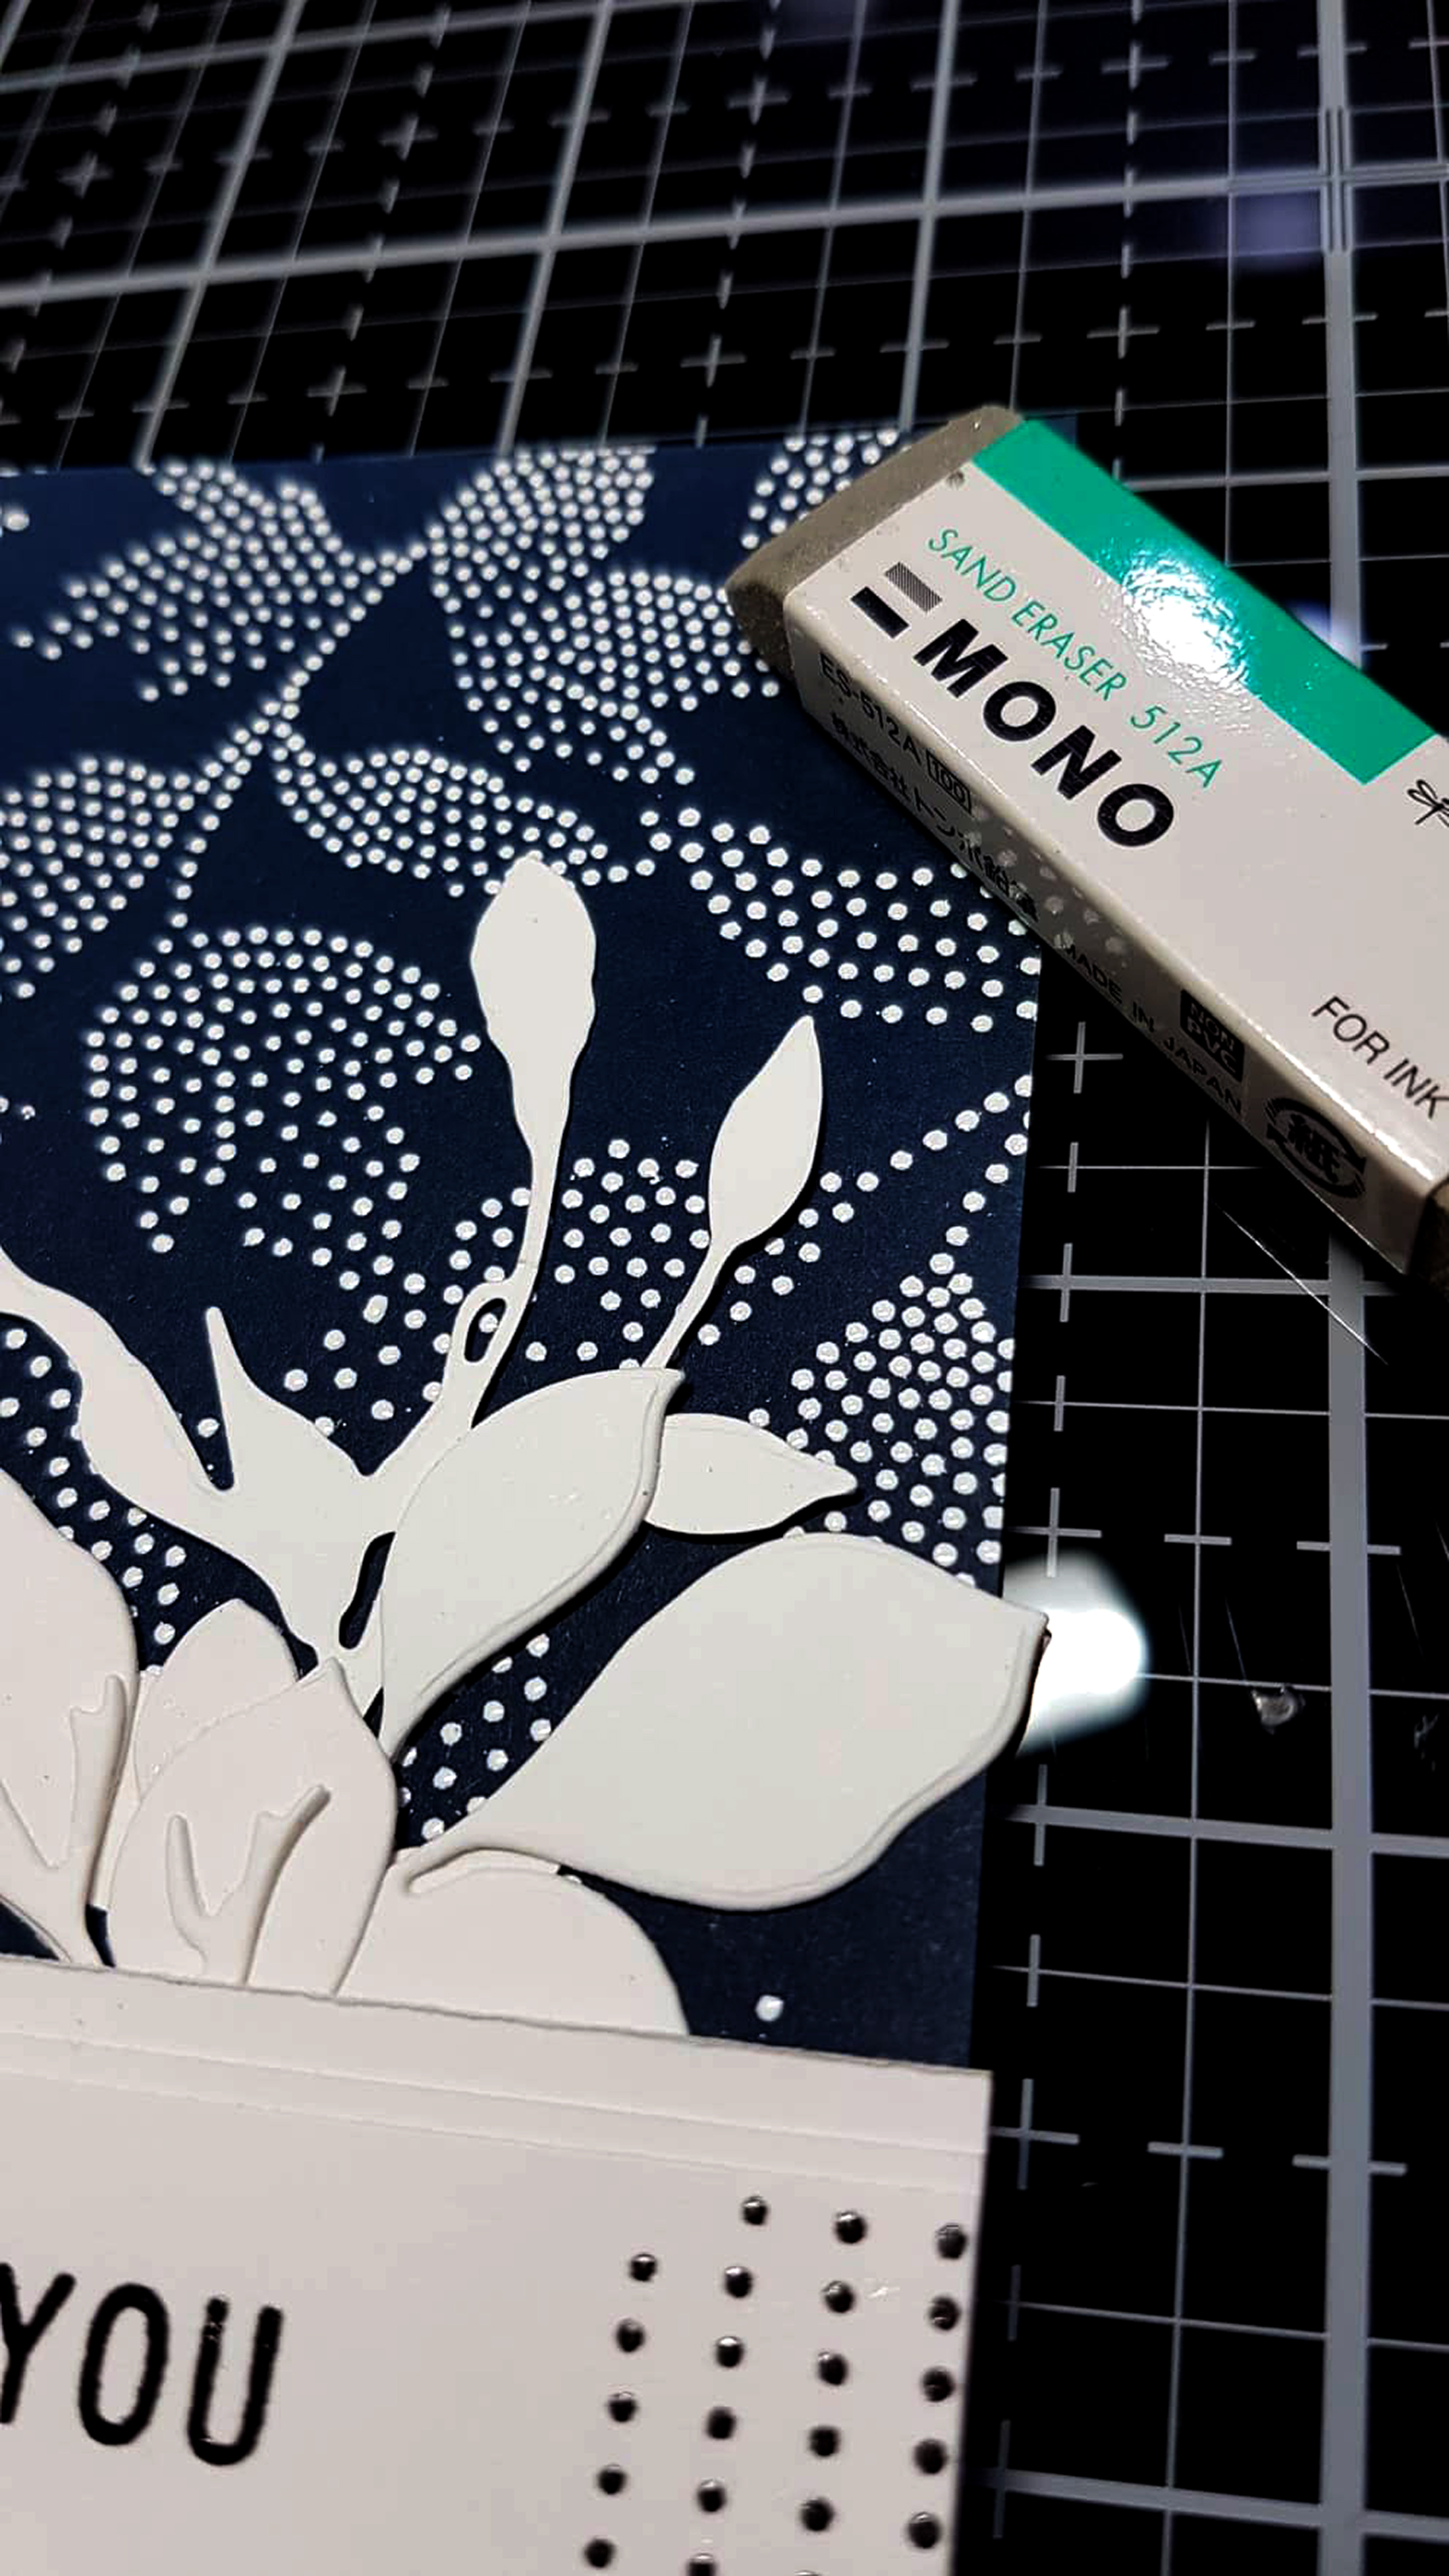
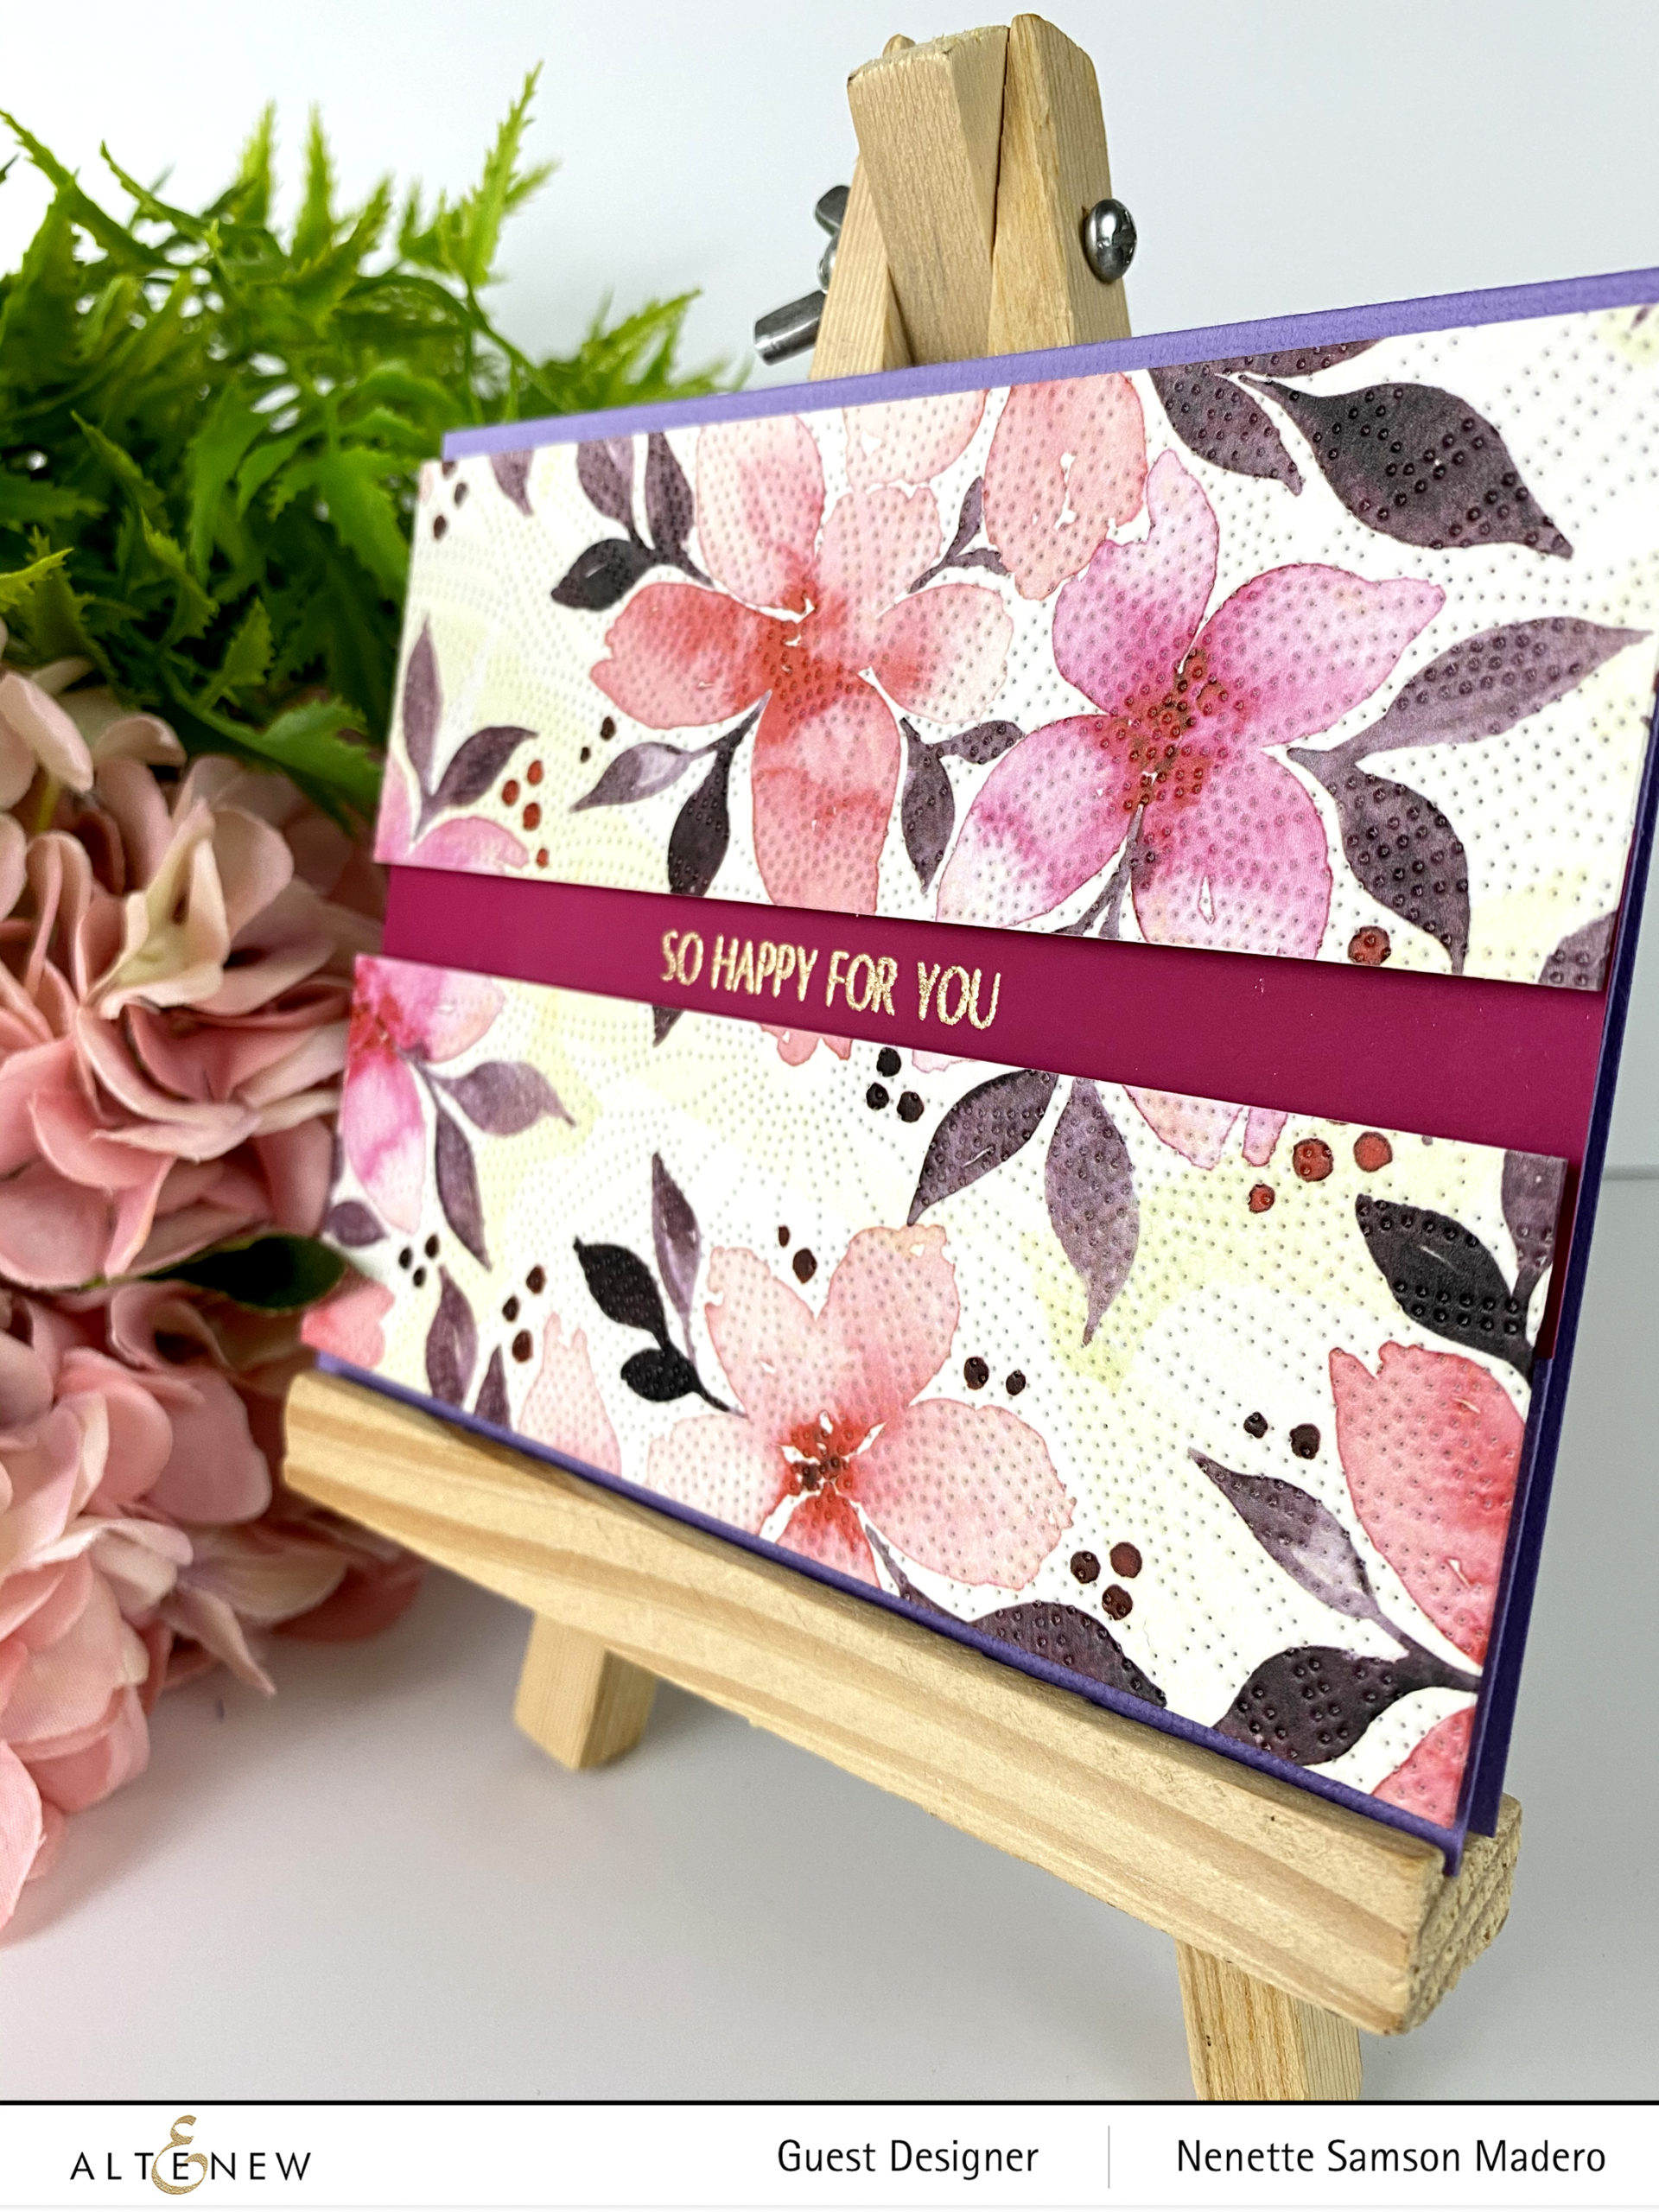
SO HAPPY FOR YOU CARD
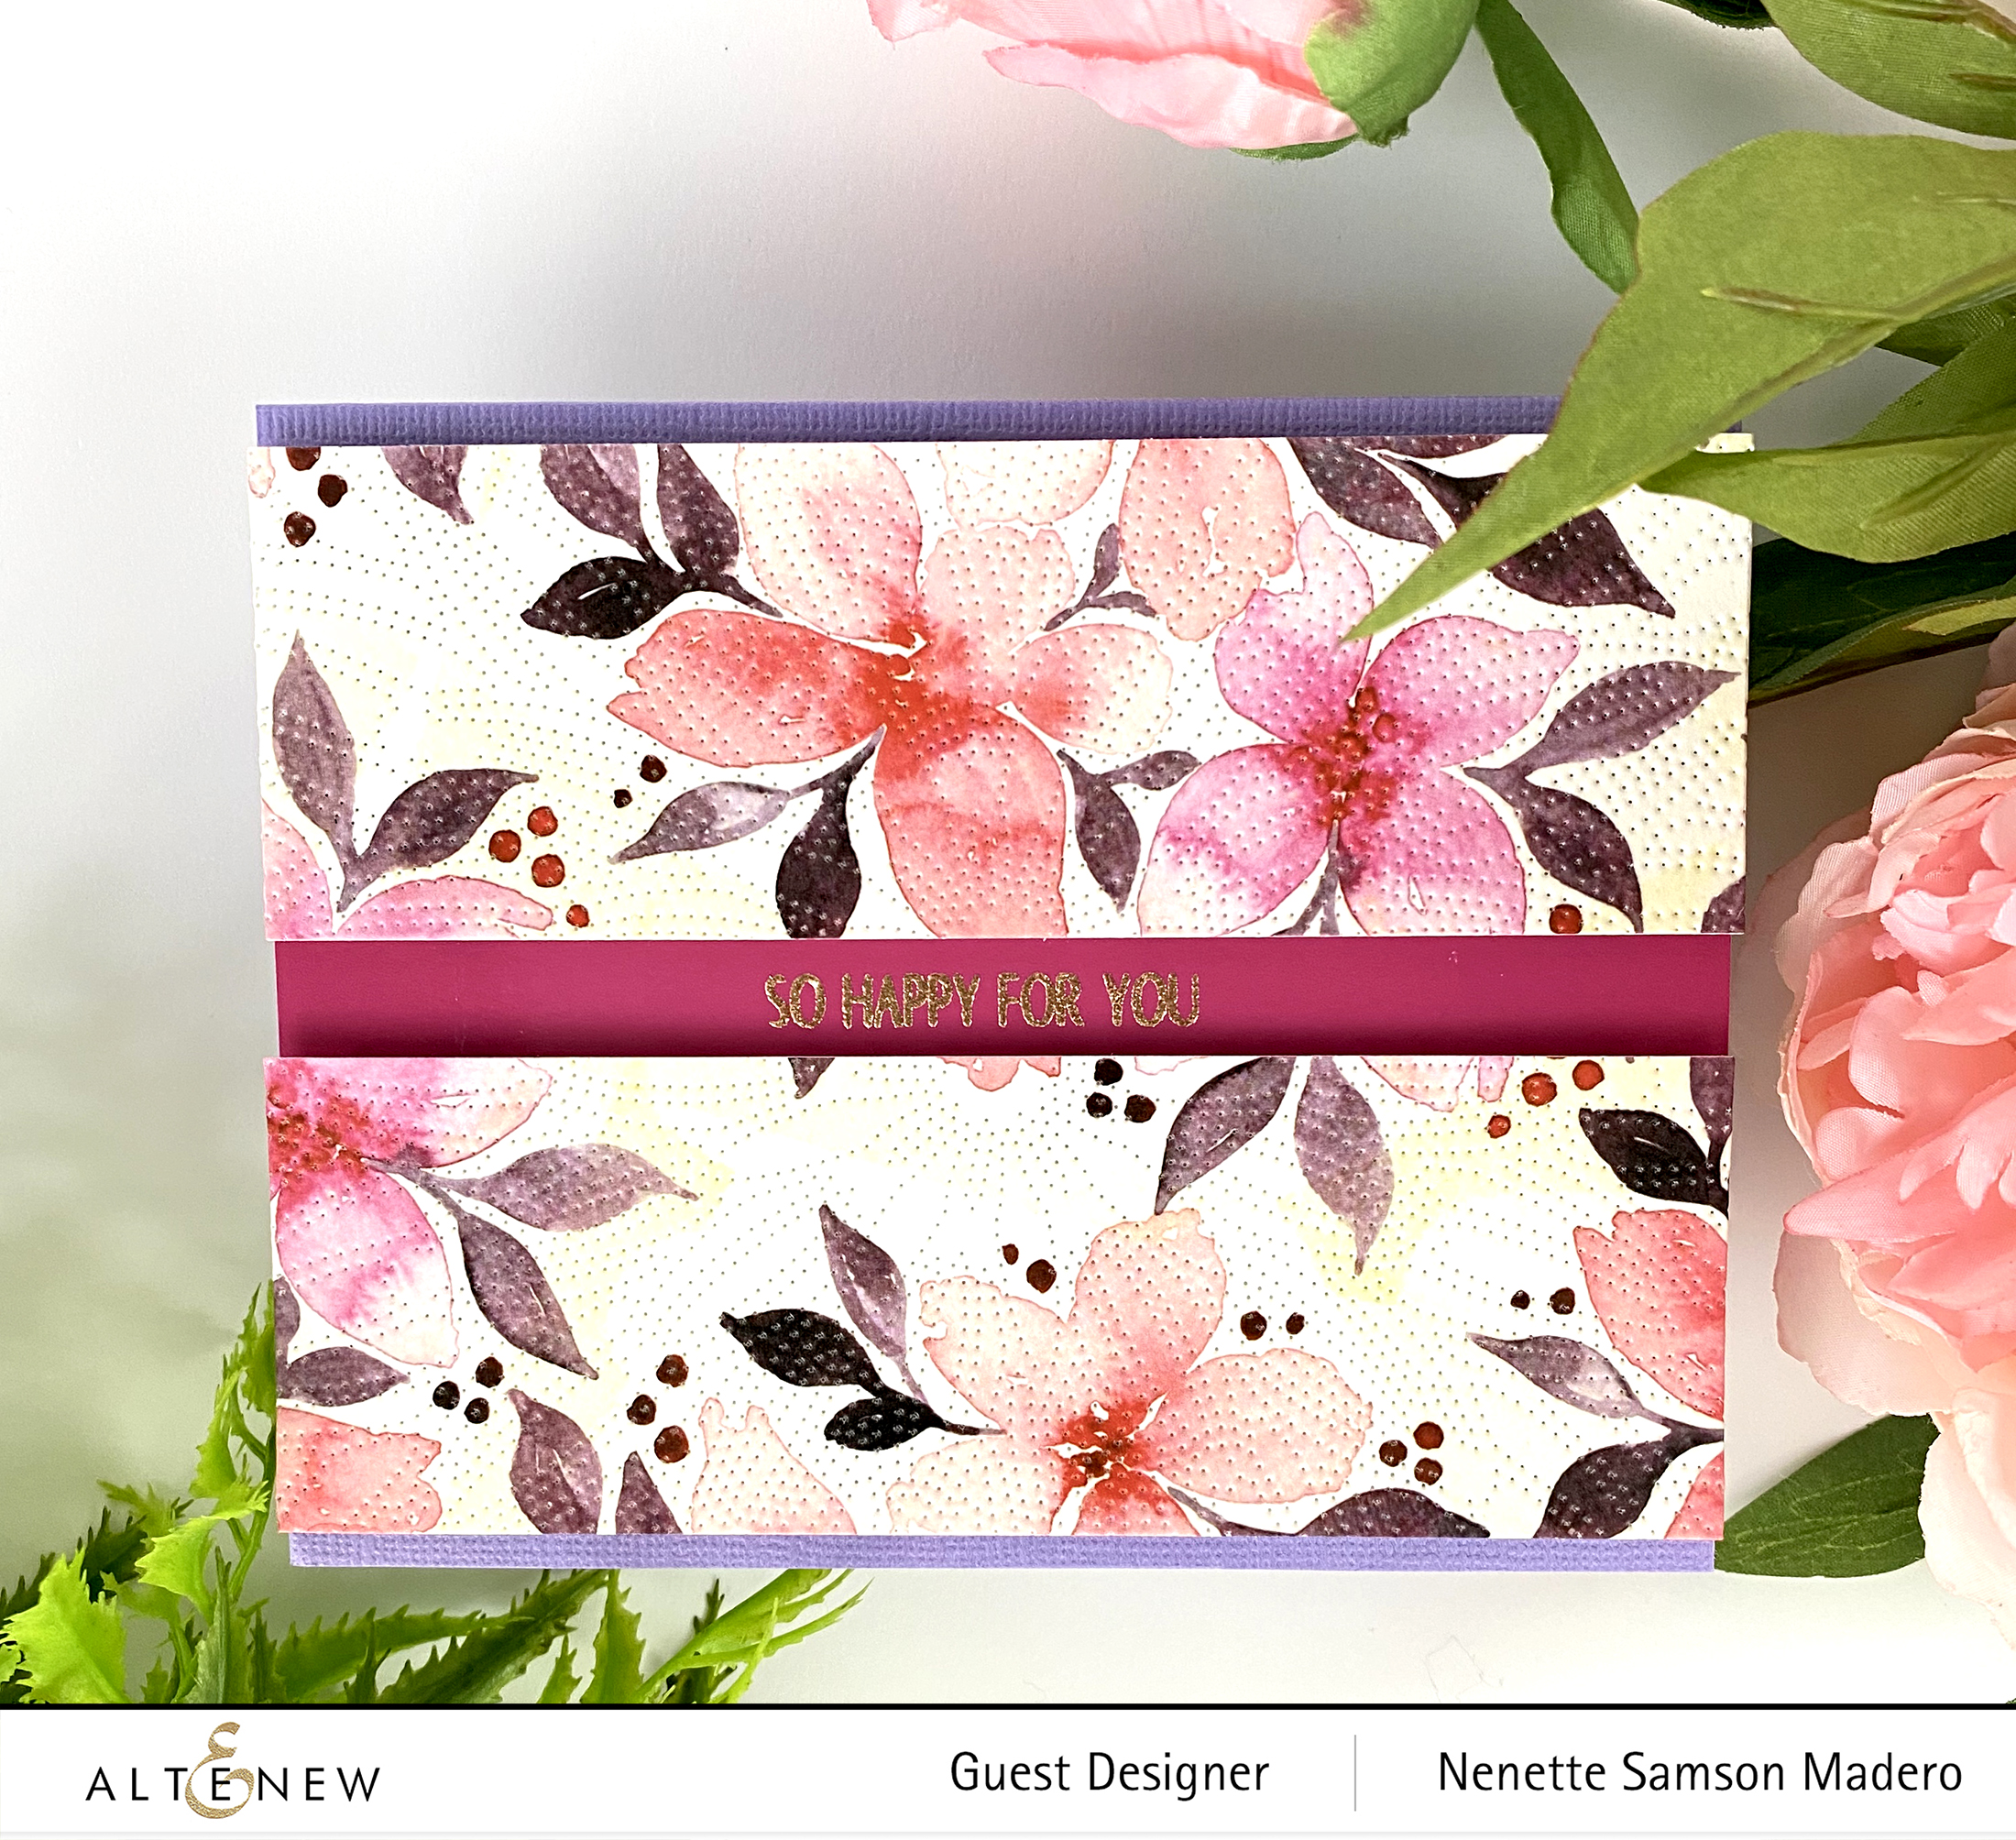
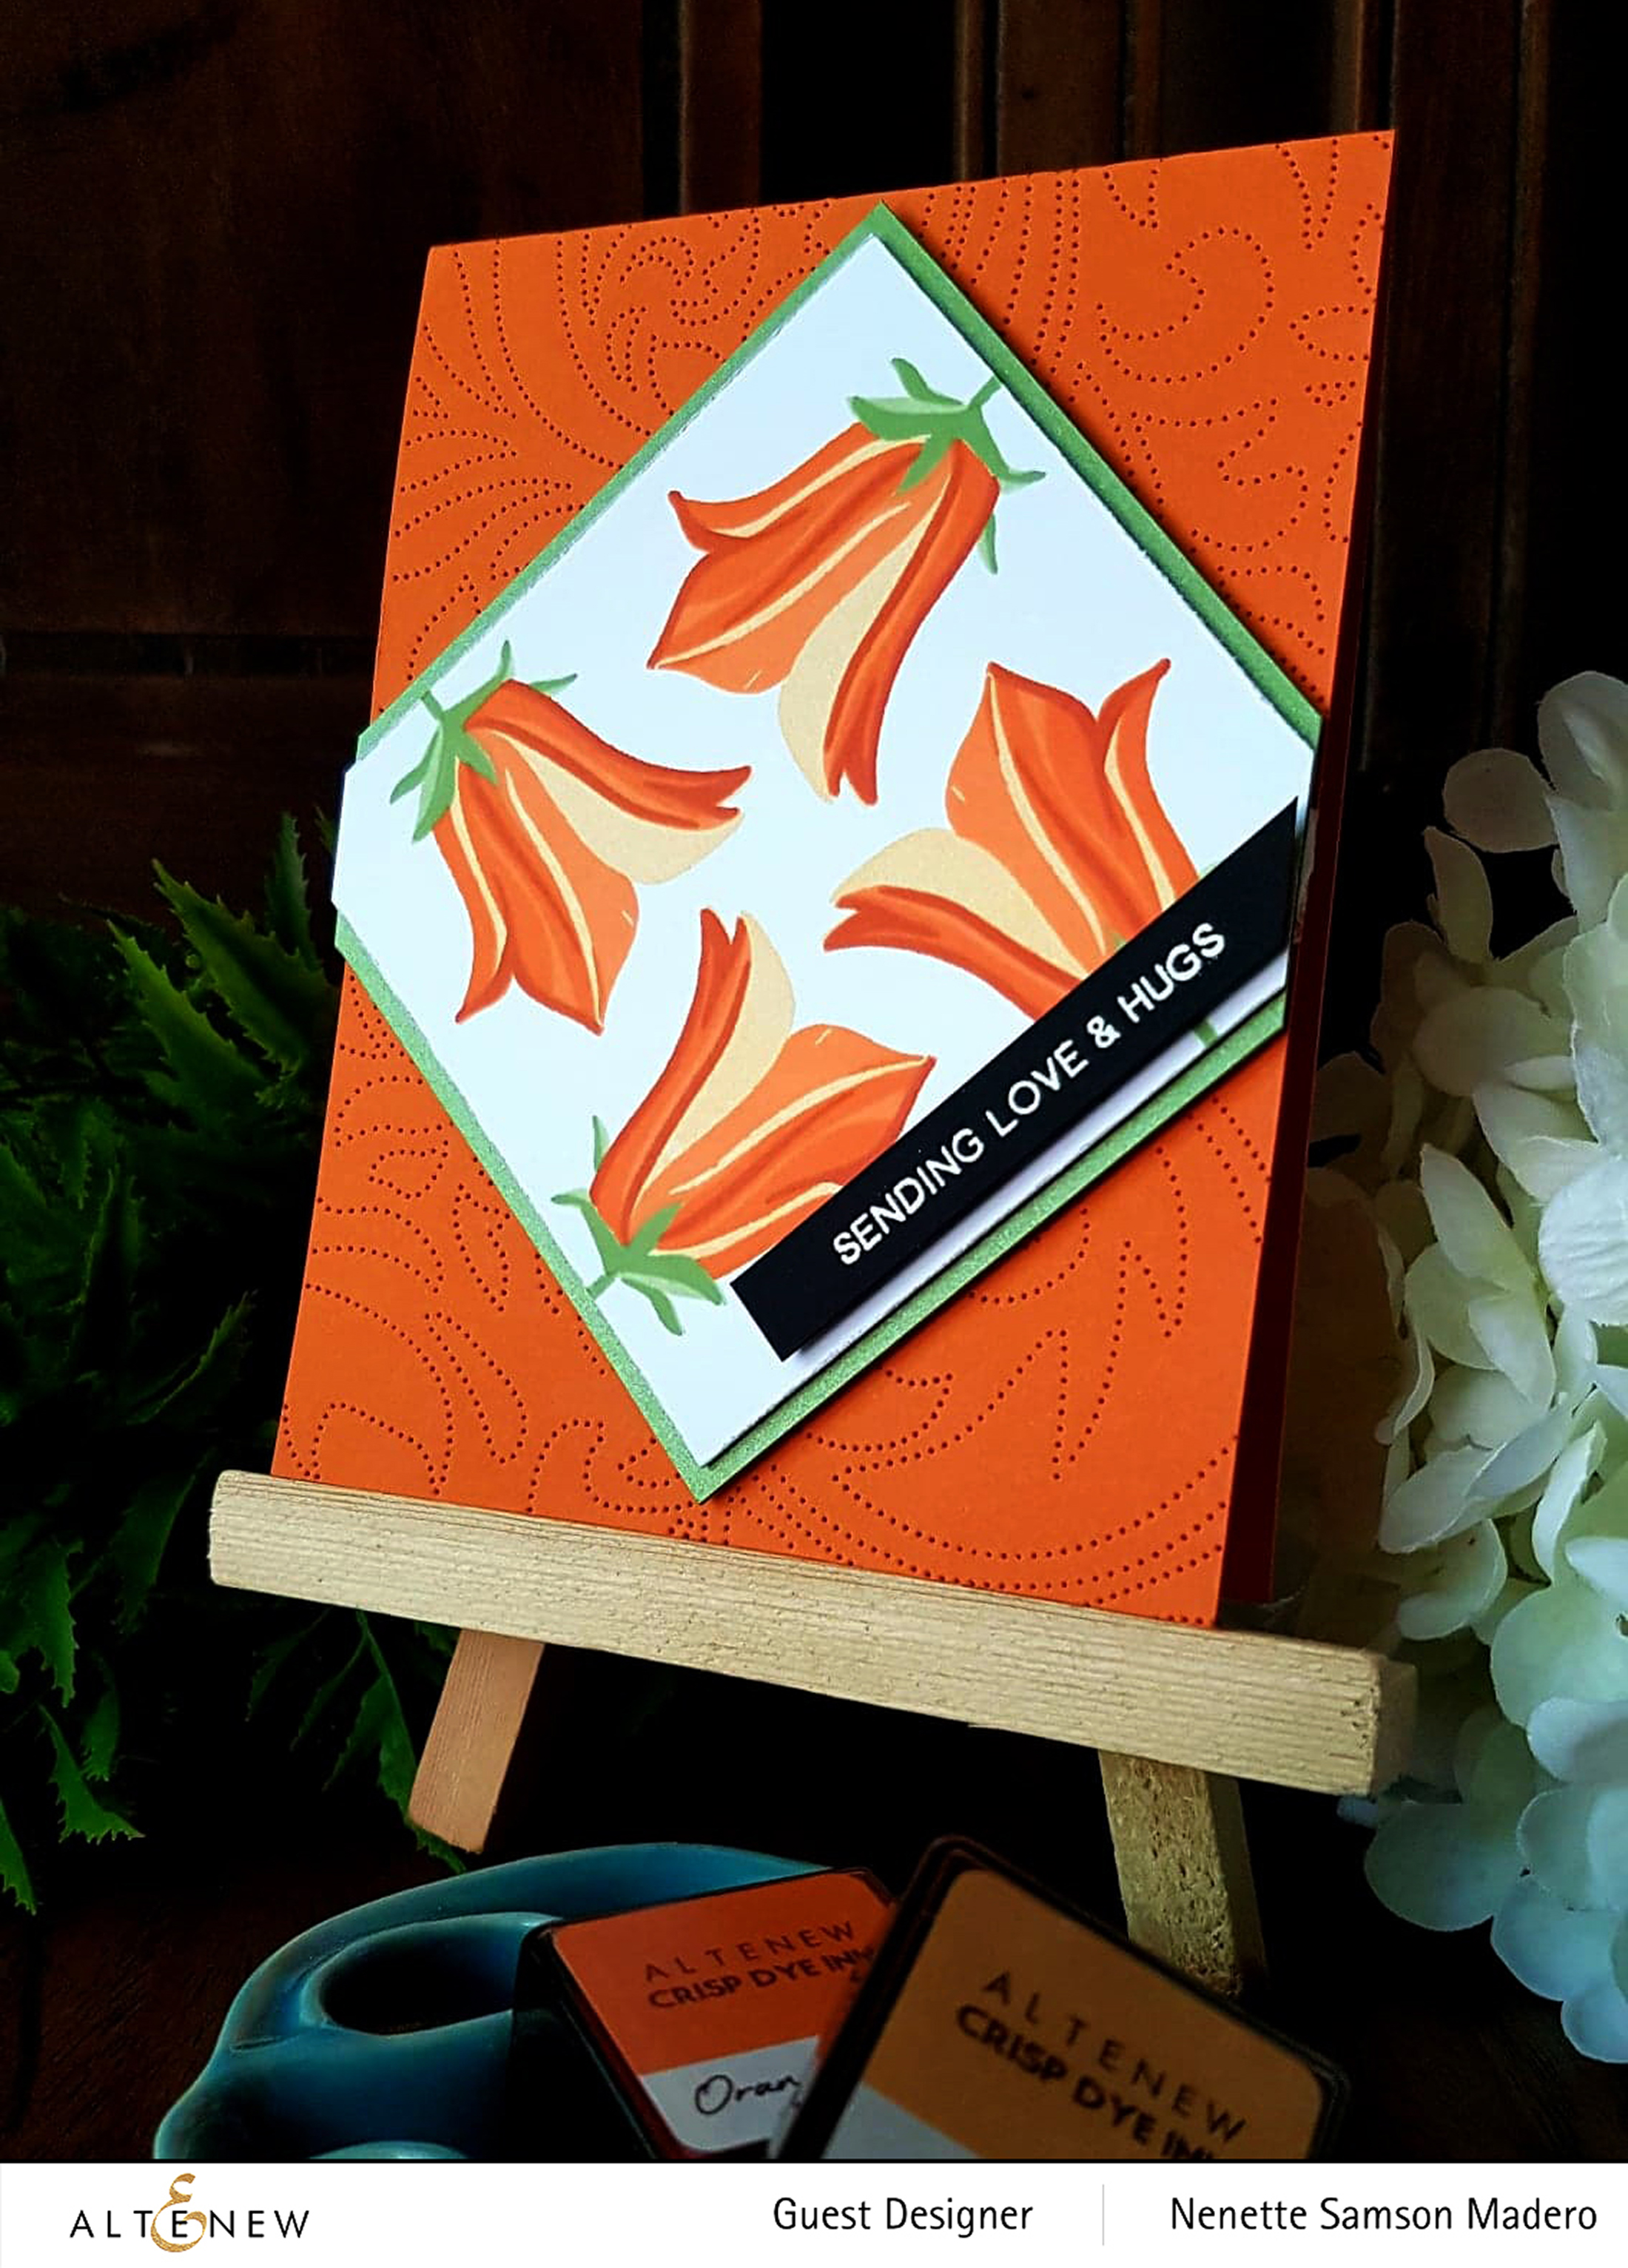
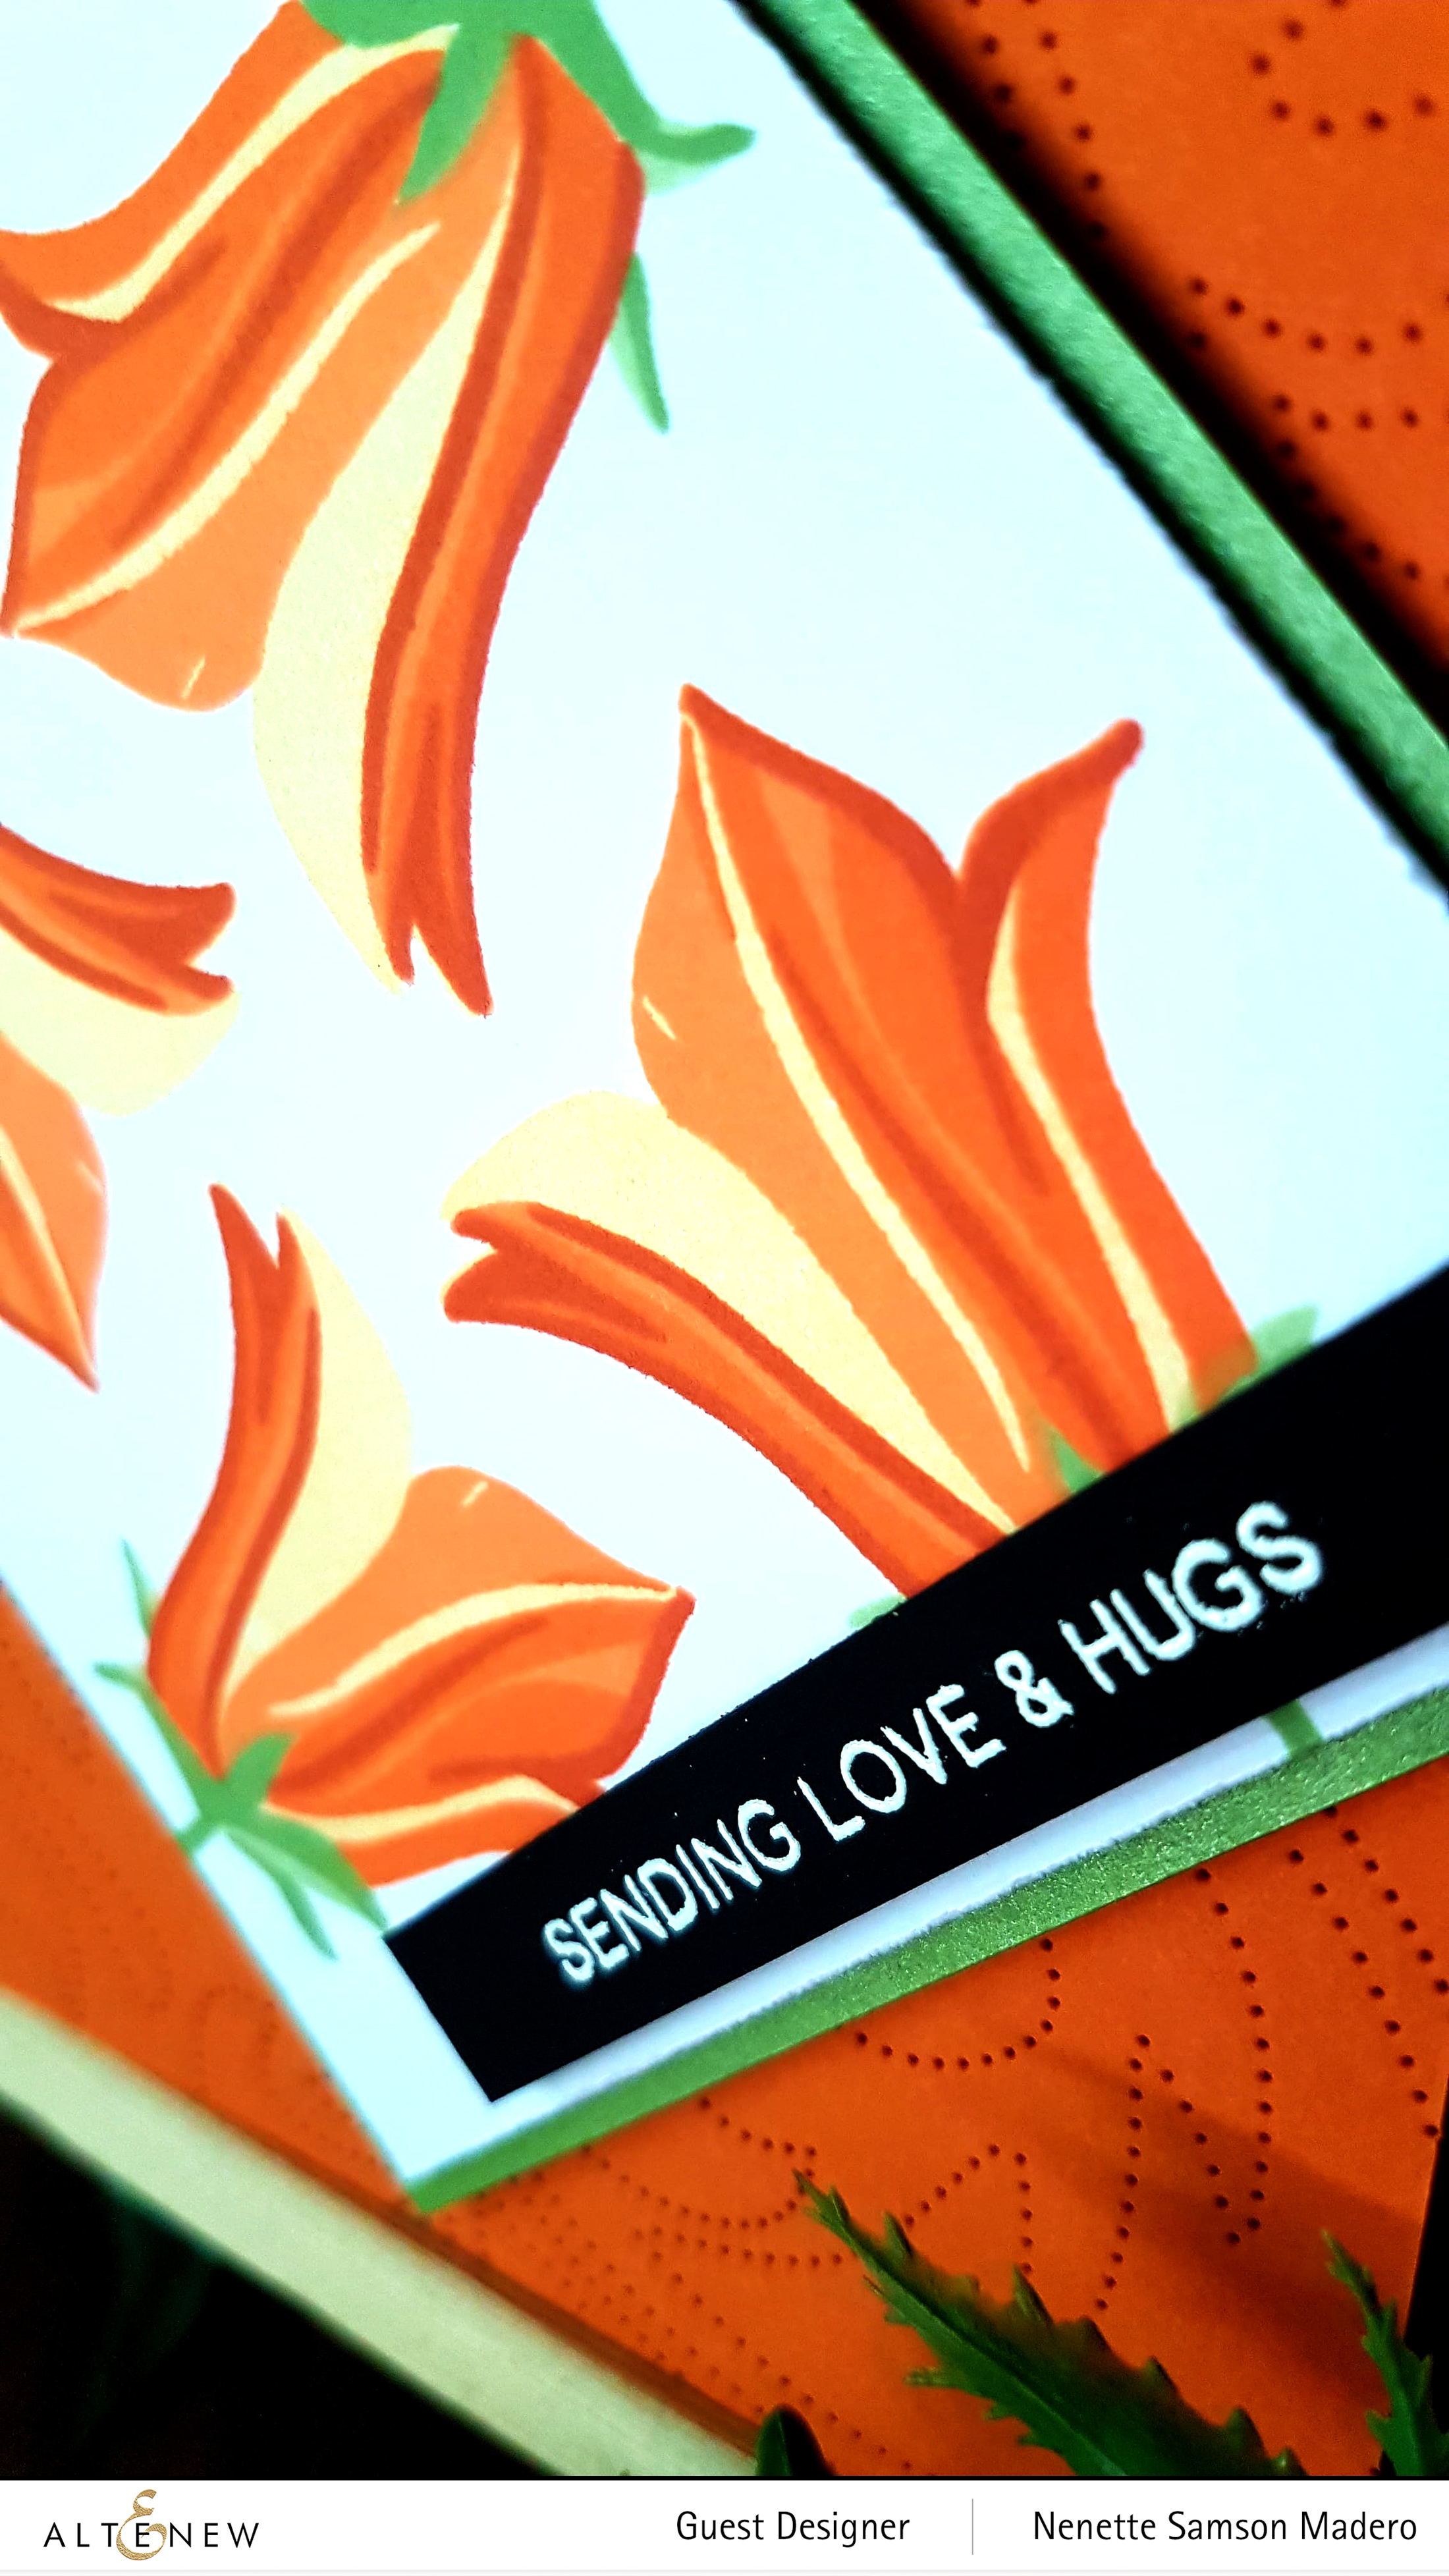
I made this card using the Dotted Starbust Debossing Cover Die, the Calming Bouquet Washi Tape, Rose Gold Embossing Powder and Precious Peony Stamp Set. This was a quick card to make. Simply cover a white cardstock with the washi tape. Run it through the die cutting machine with the Dotted Starburst Debossing cover die. It will give it a beautiful subtle pattern. Cut about .25 inches on both ends then divide the panel in the middle. Stamp the sentiment in the middle of the card front then attach the washi panels using foam tape making sure to reveal the sentient in the middle
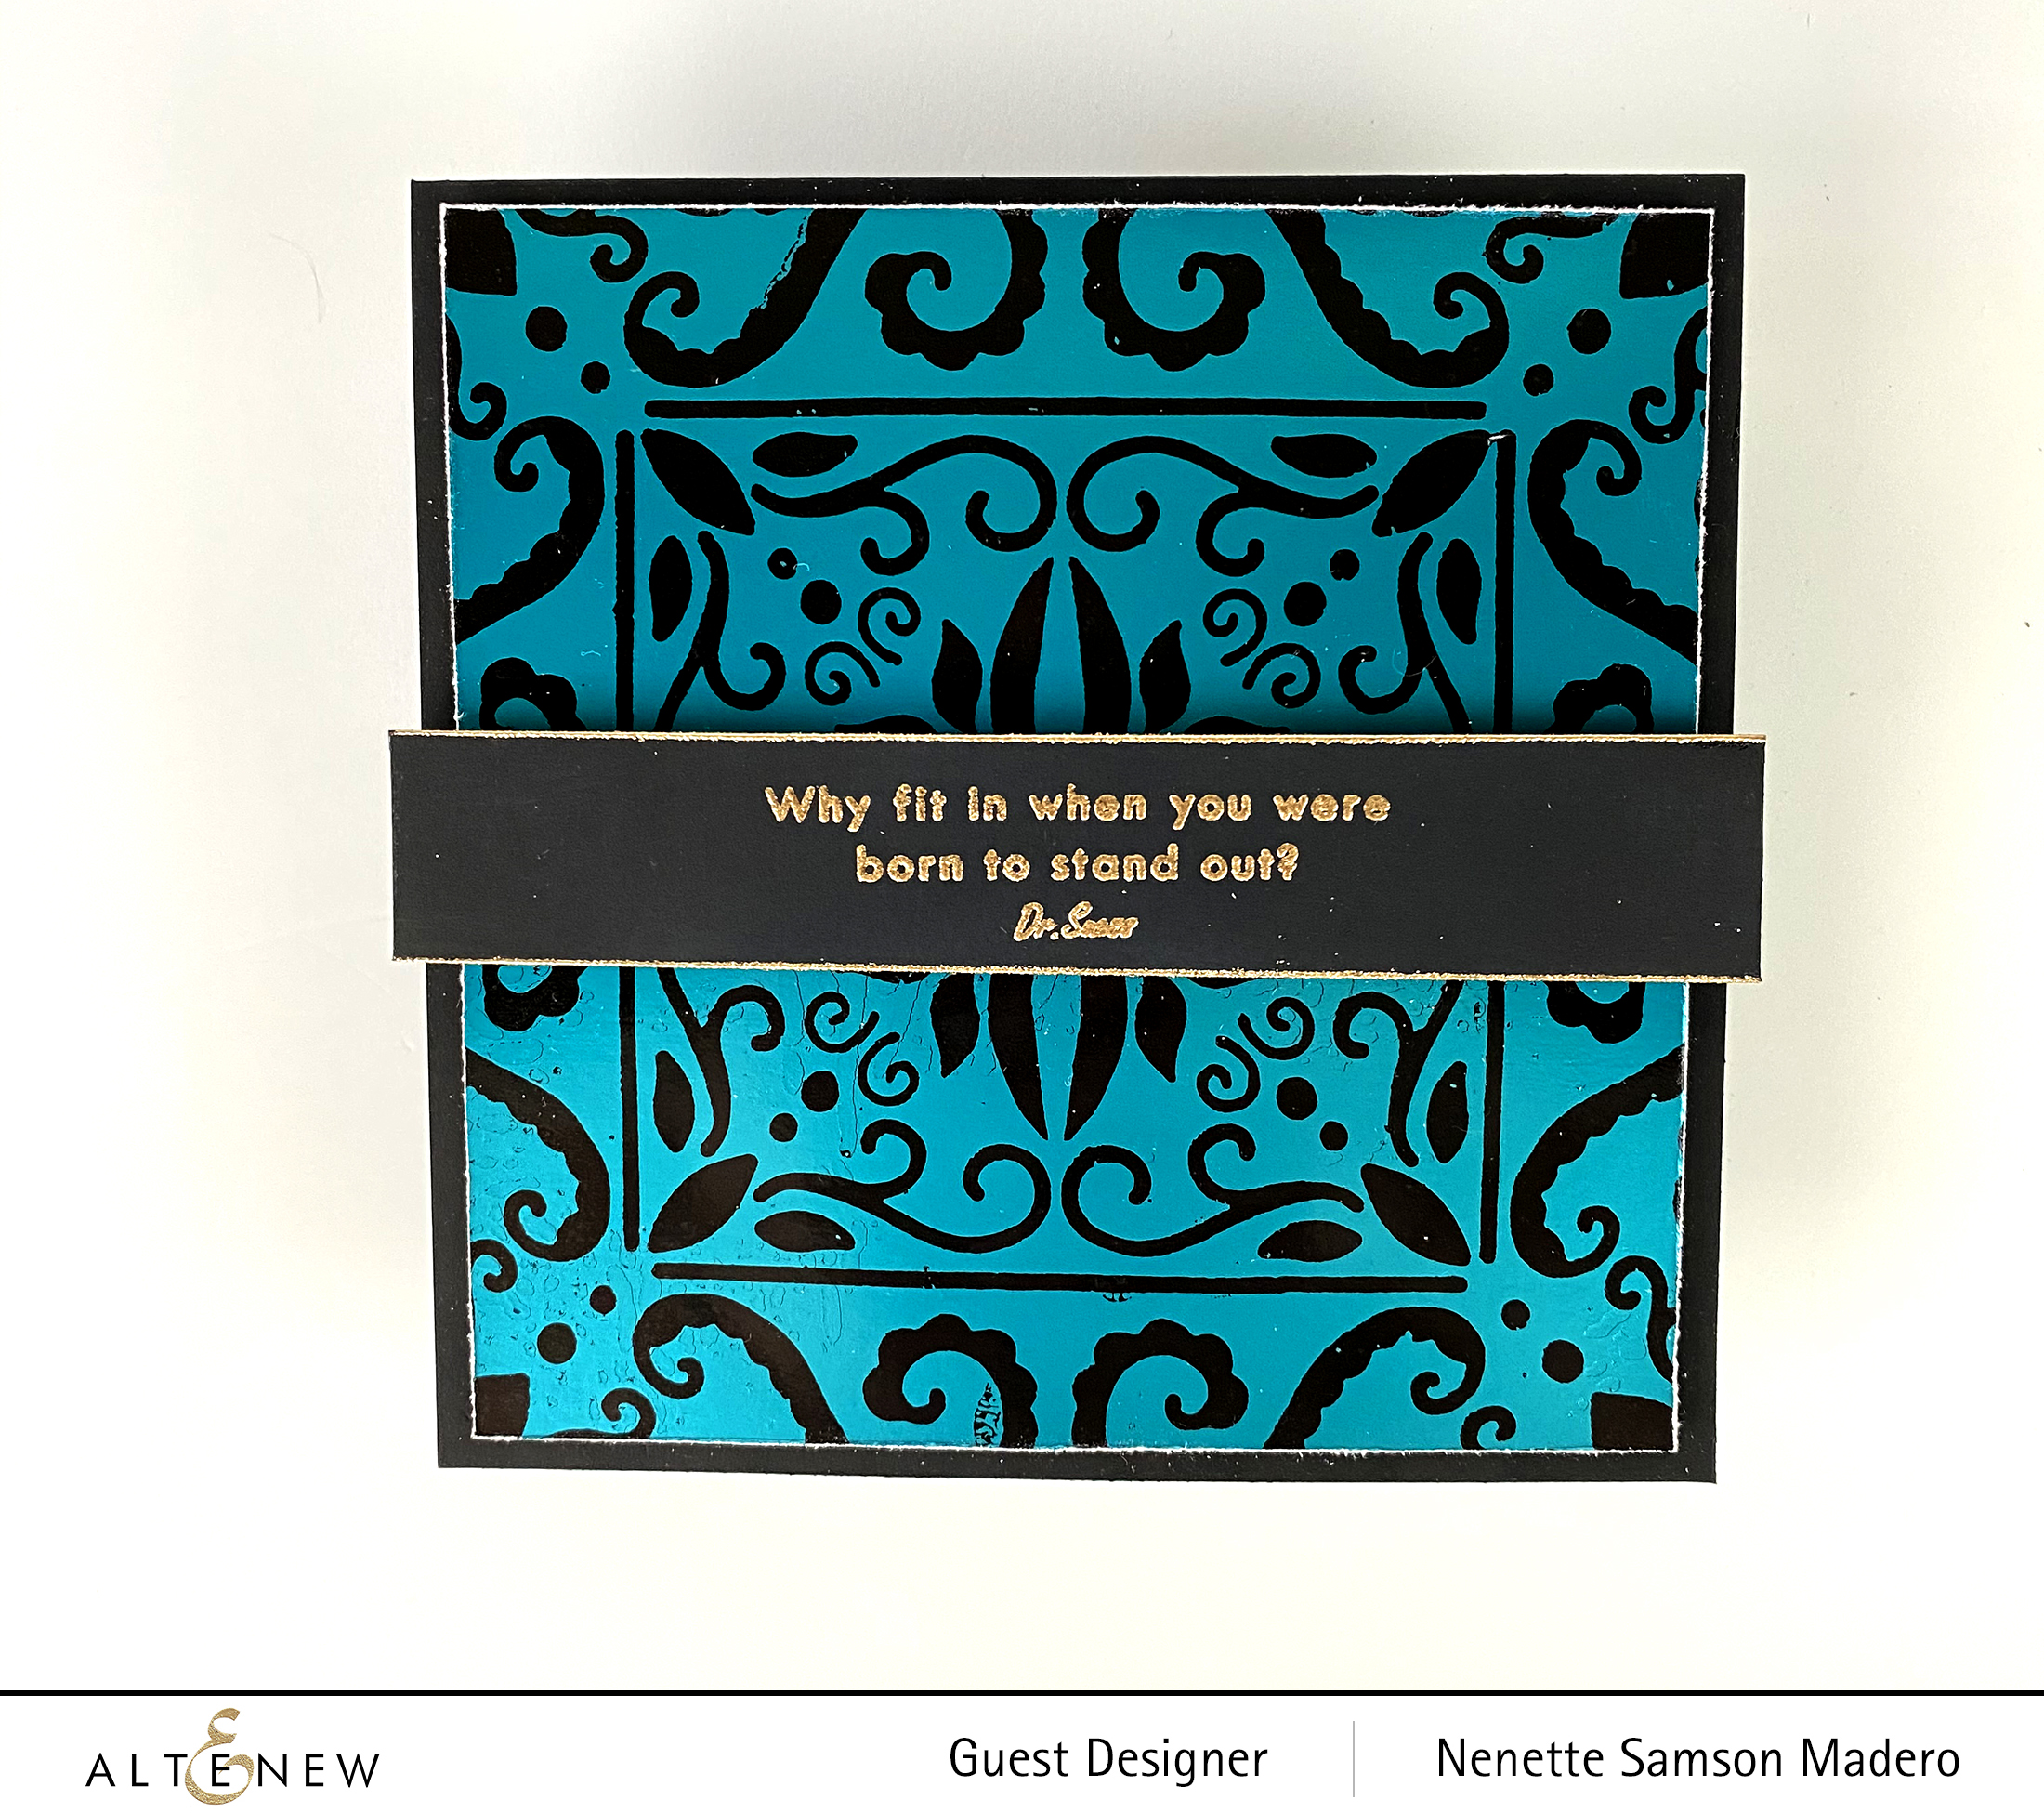
WHY FIT IN WHEN YOU WERE BORN TO STAND OUT CARD
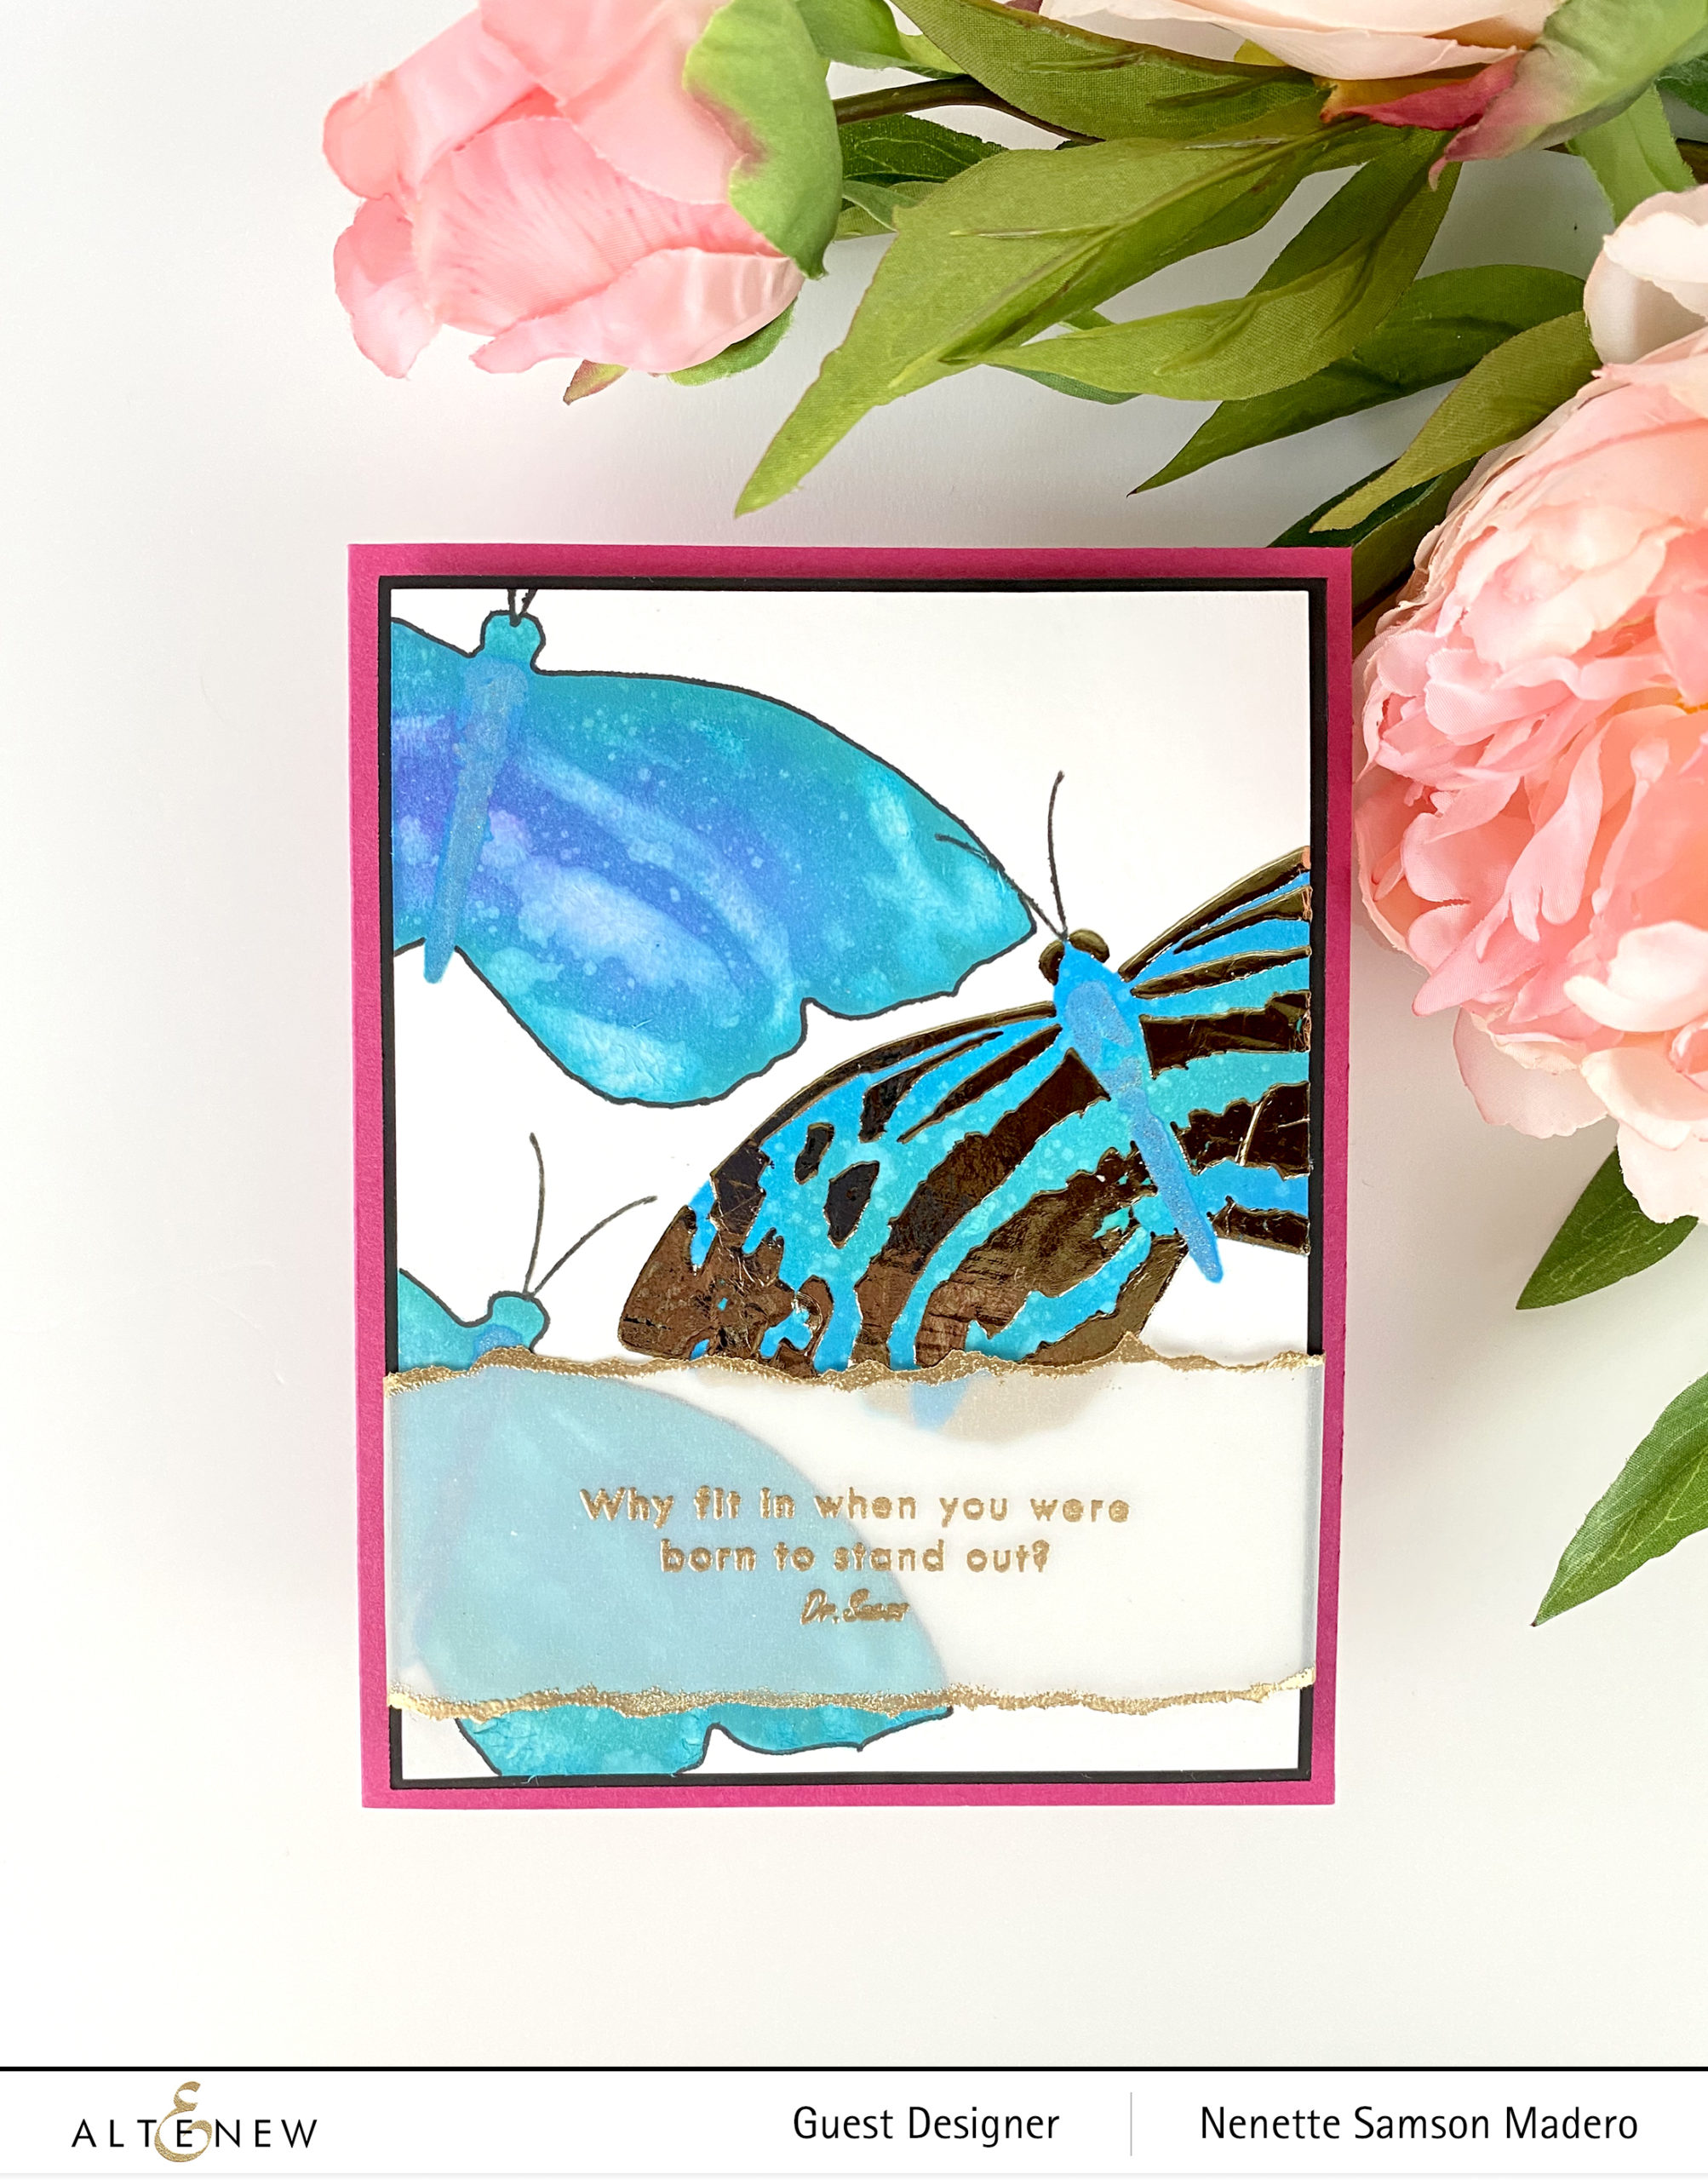
The following were used for this card: Tranquil Wings stencil, Rose Gold Embossing Powder, Distress Oxide inks (Peacock Feathers, Broken China, Mermaid Lagoon and Wilted Violet), Decofoil Transfer Gel, Decofoil gold, laminator, cardstocks, vellum and Versamark Ink.
I really wanted the middle butterfly to stand out and be different– in color, texture and position to emphasize the sentiment. First, the body of the butterfly was colored using distress oxide inks. Water droplets were sprayed over them to add more texture. When these were dry, I used the Decofoil transfer gel to add the details of the wings. These were allowed to dry then decofoil was applied using a laminator to add shine to the wings.
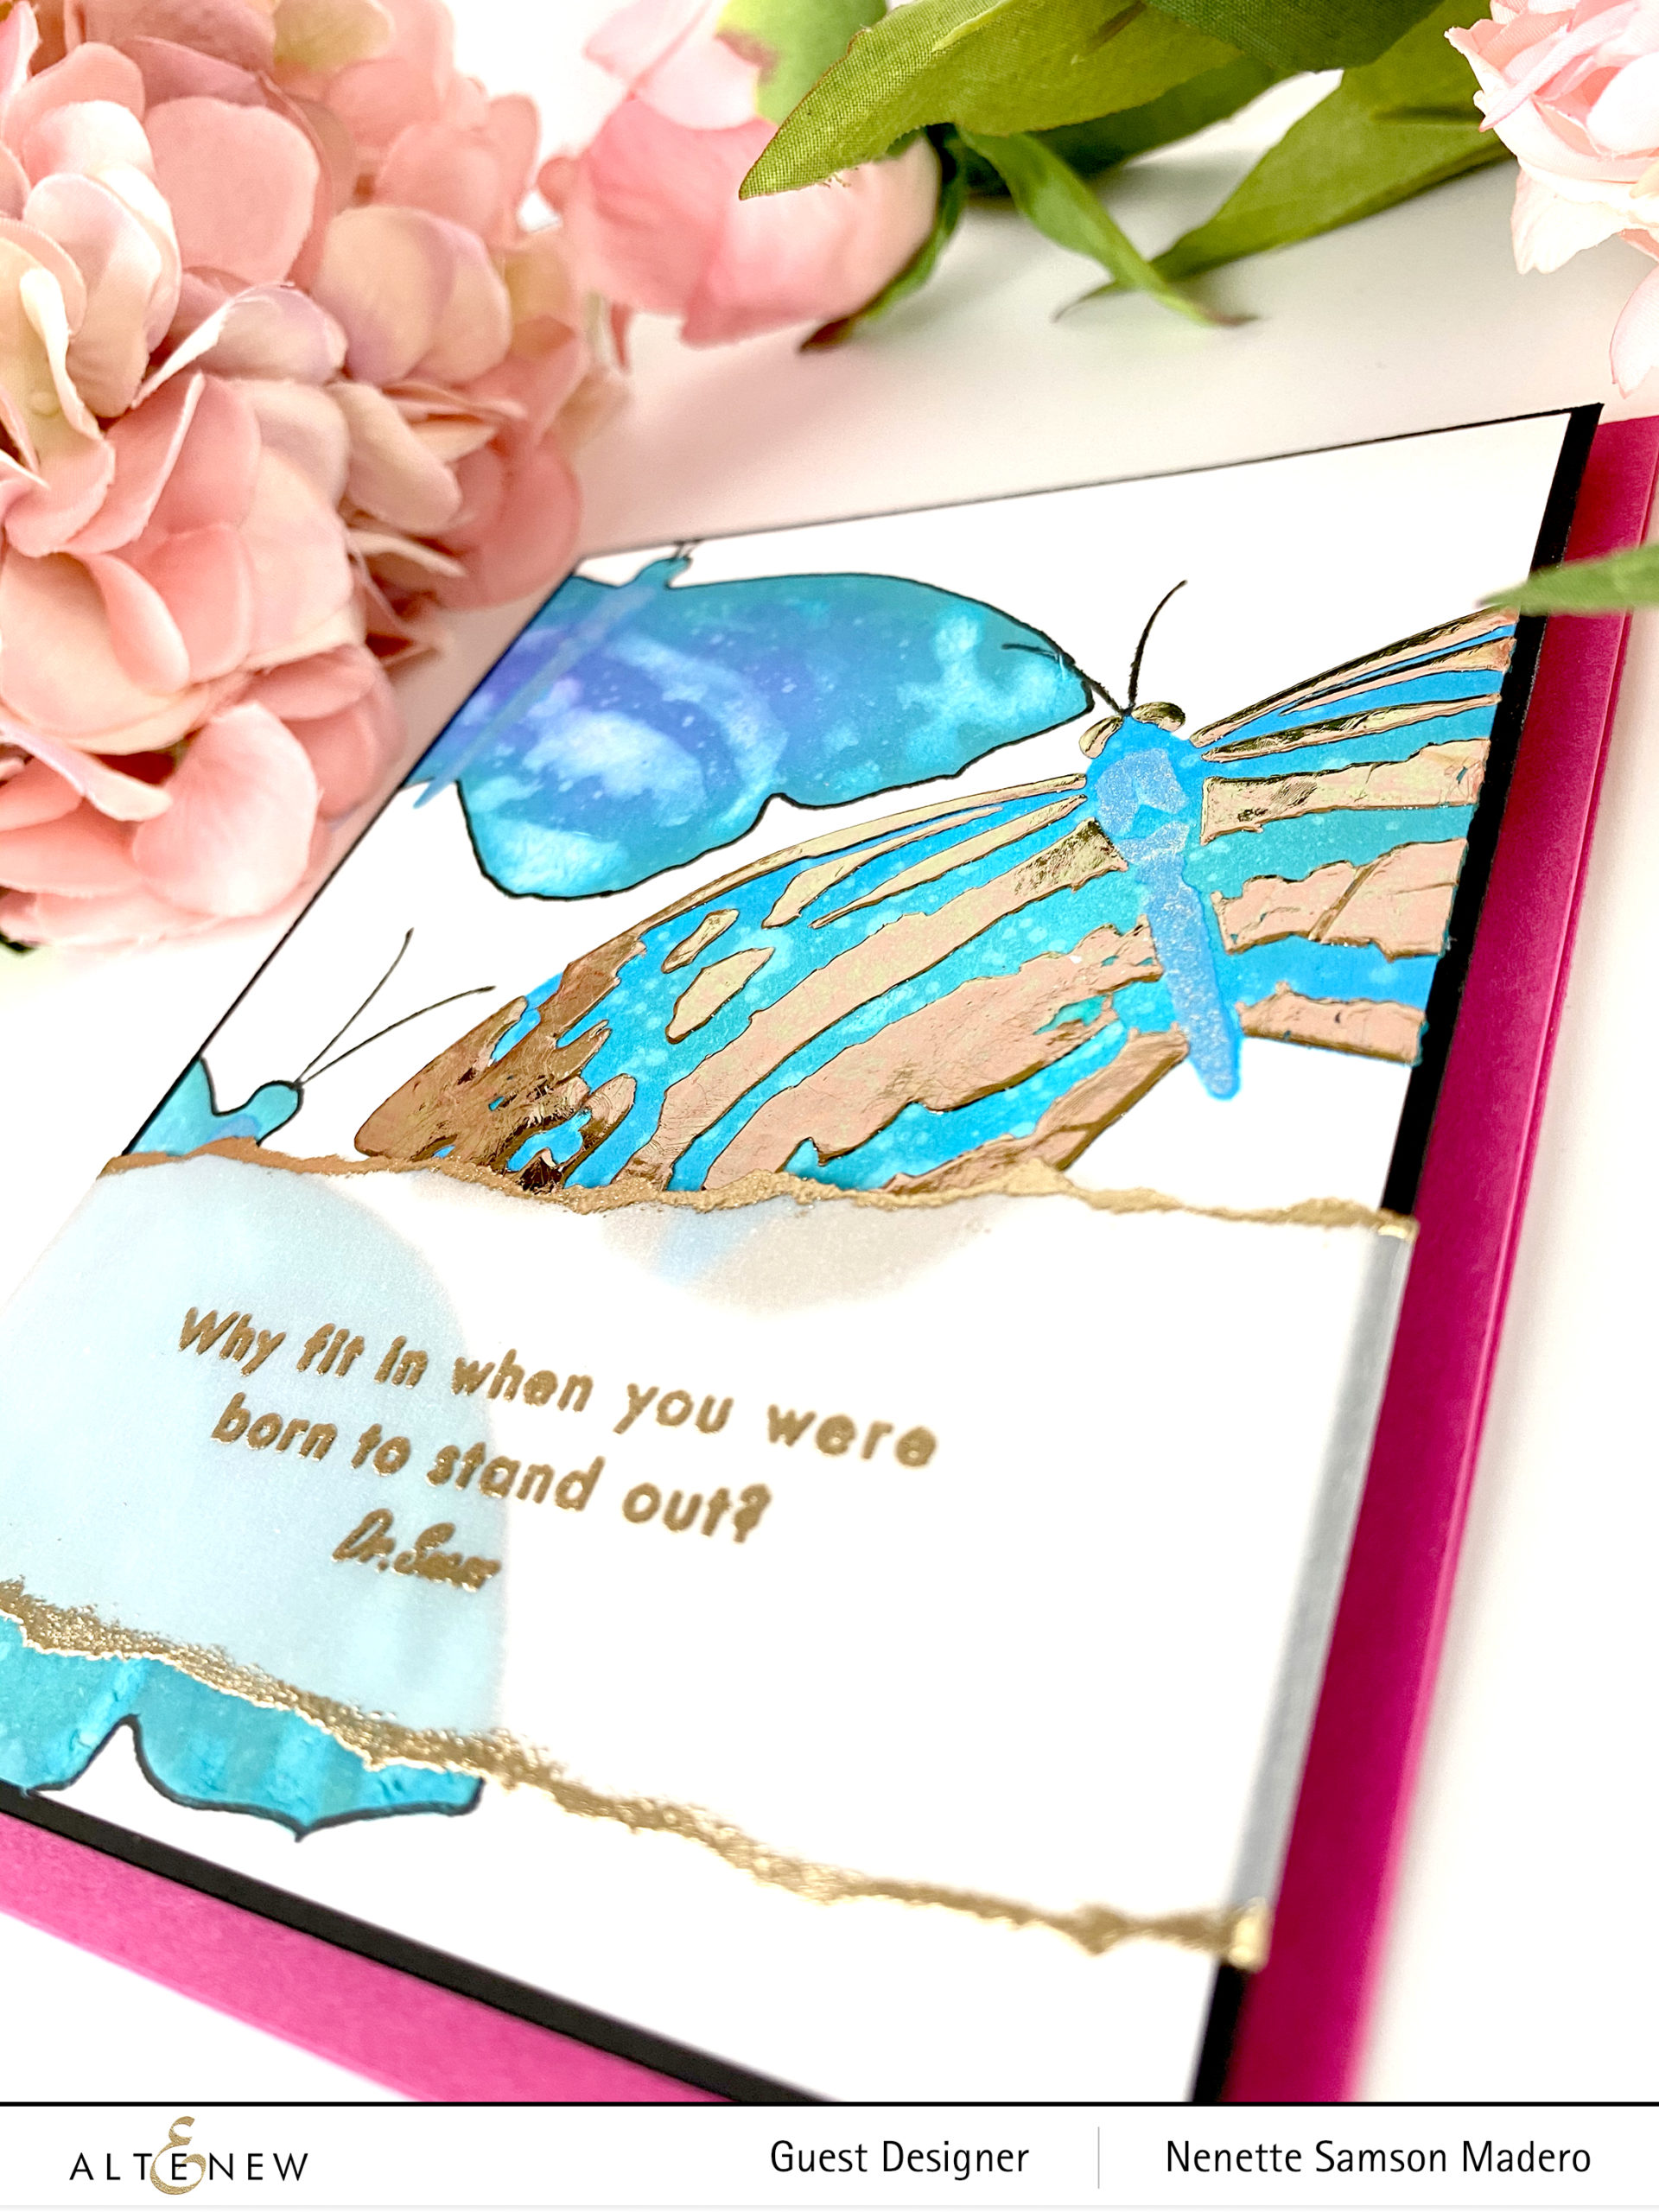
The sentiment was stamped on vellum. Edges were torn and Versamark Ink and rose gold embossing powders were added to give a gold embossed edge. I added a black mat before attaching the whole panel to a pink card front. The thin black mat gives it a finished look.
THANKS CARD
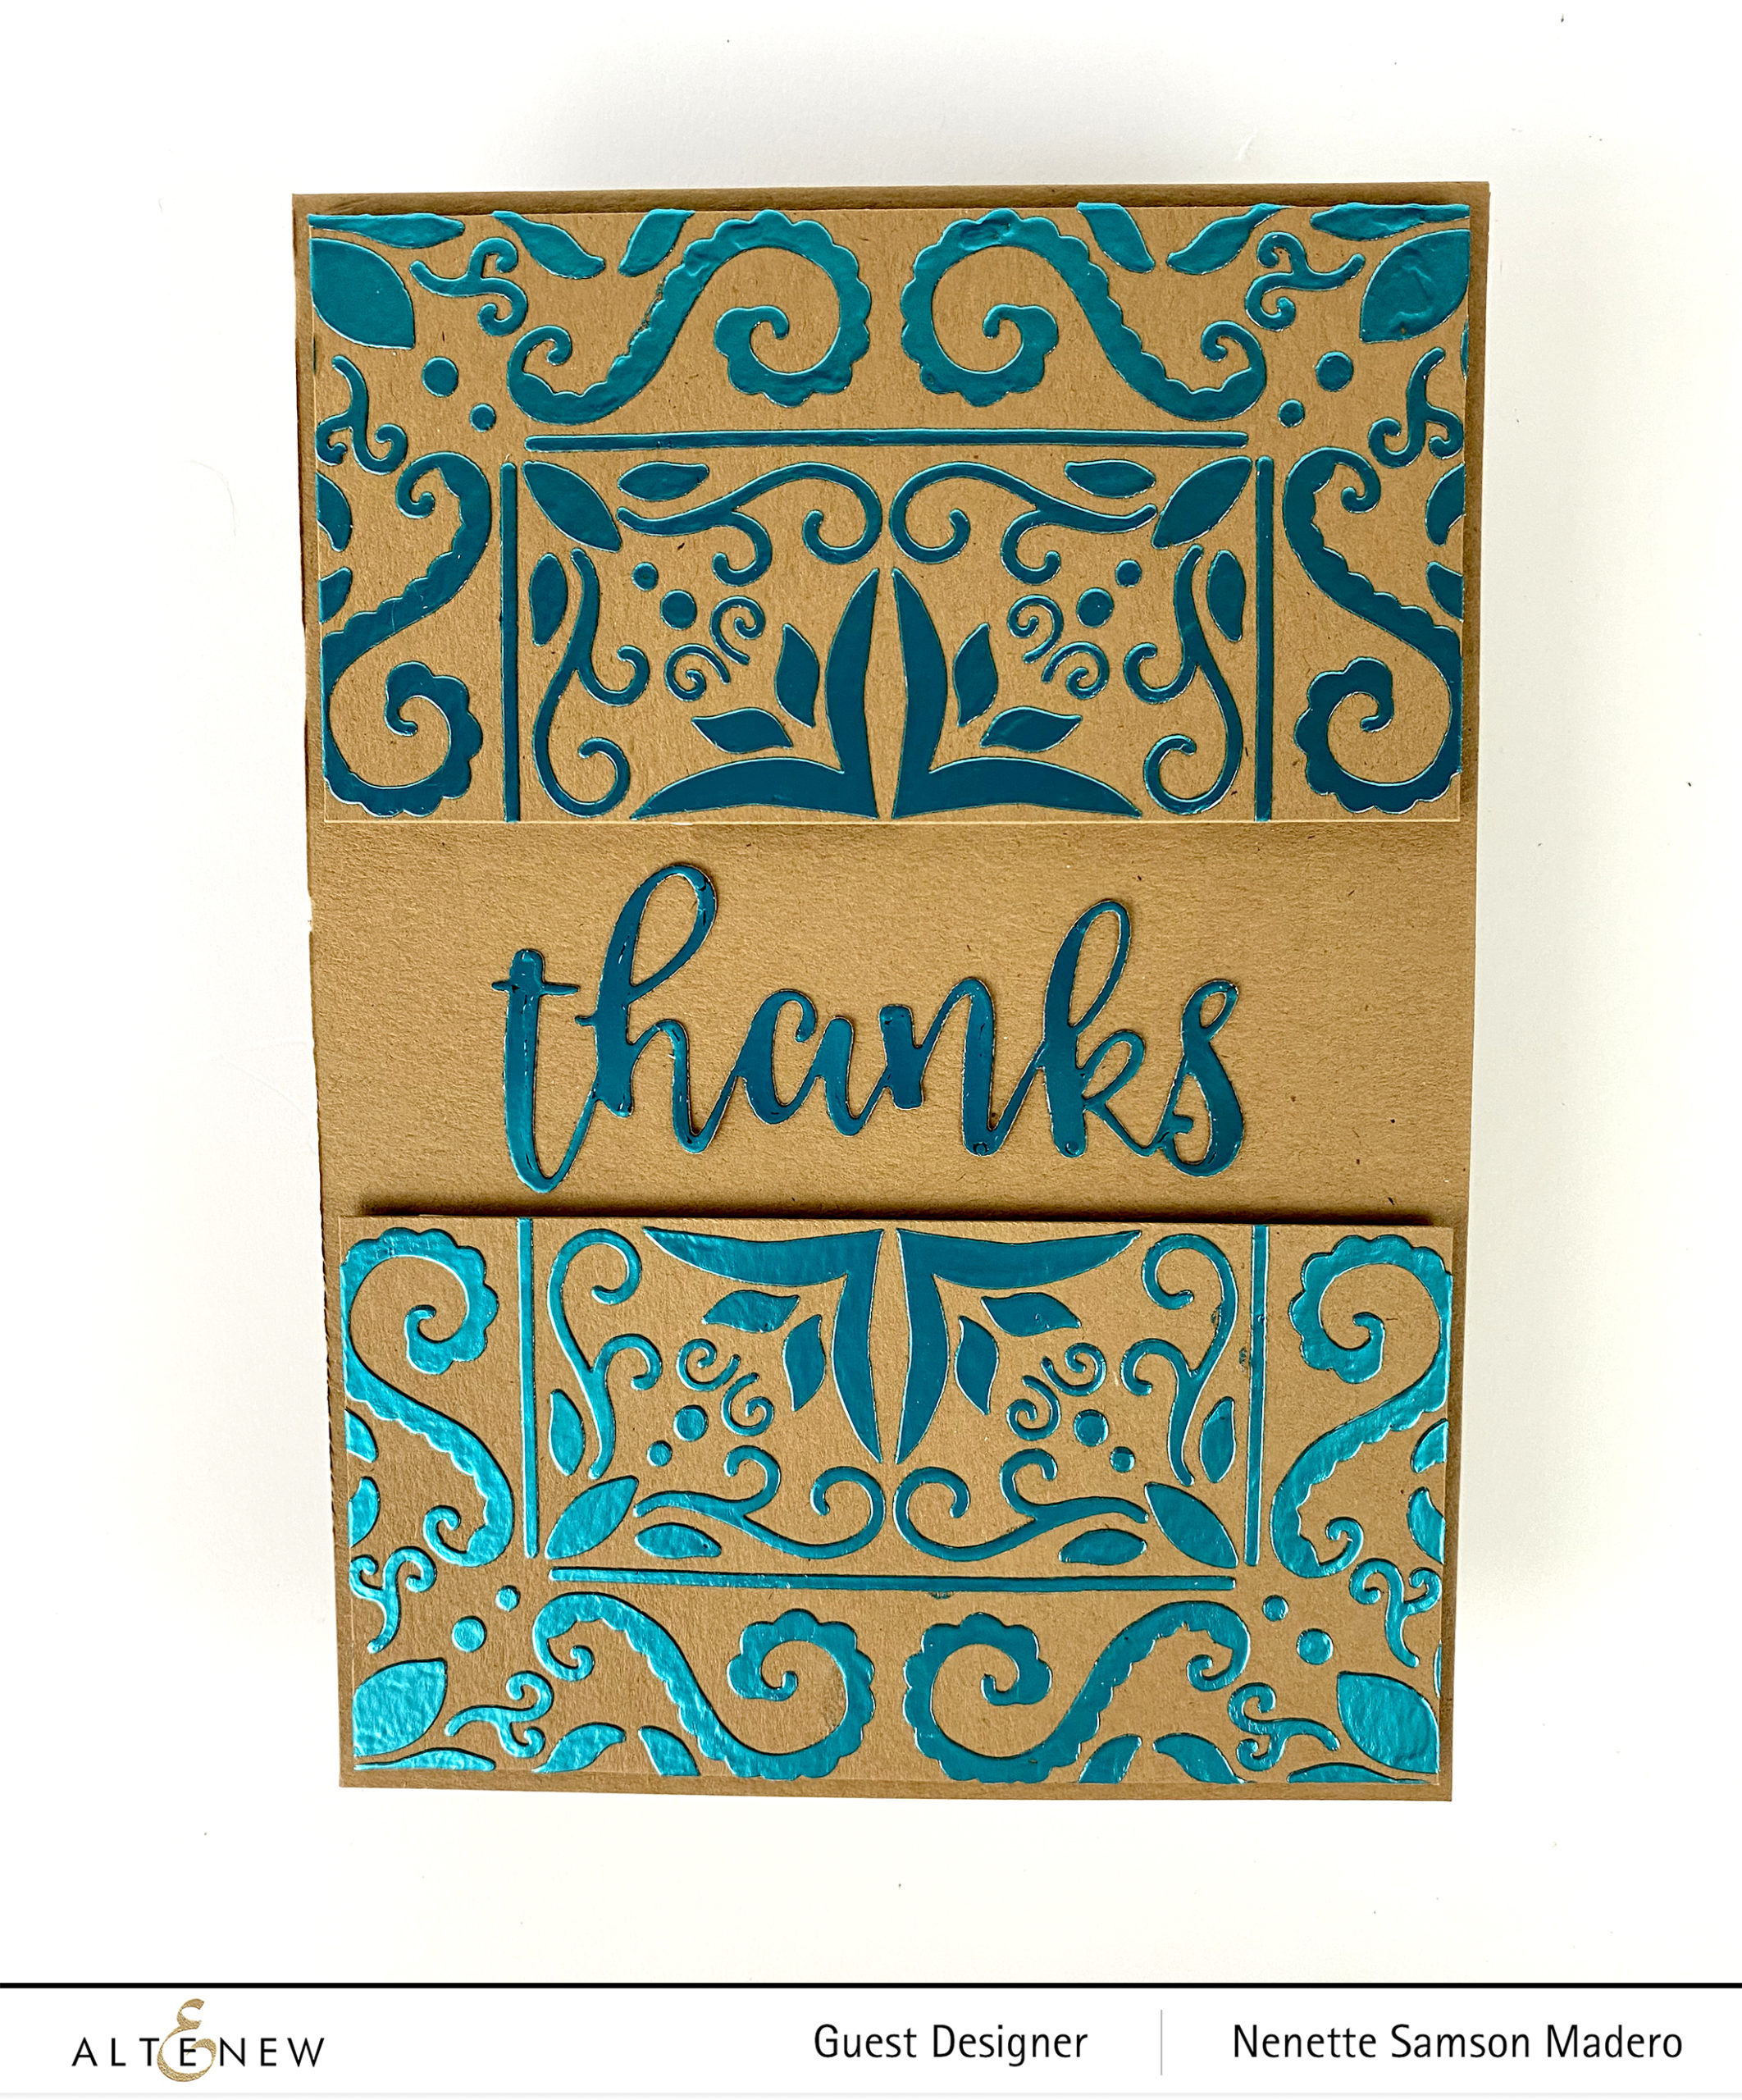
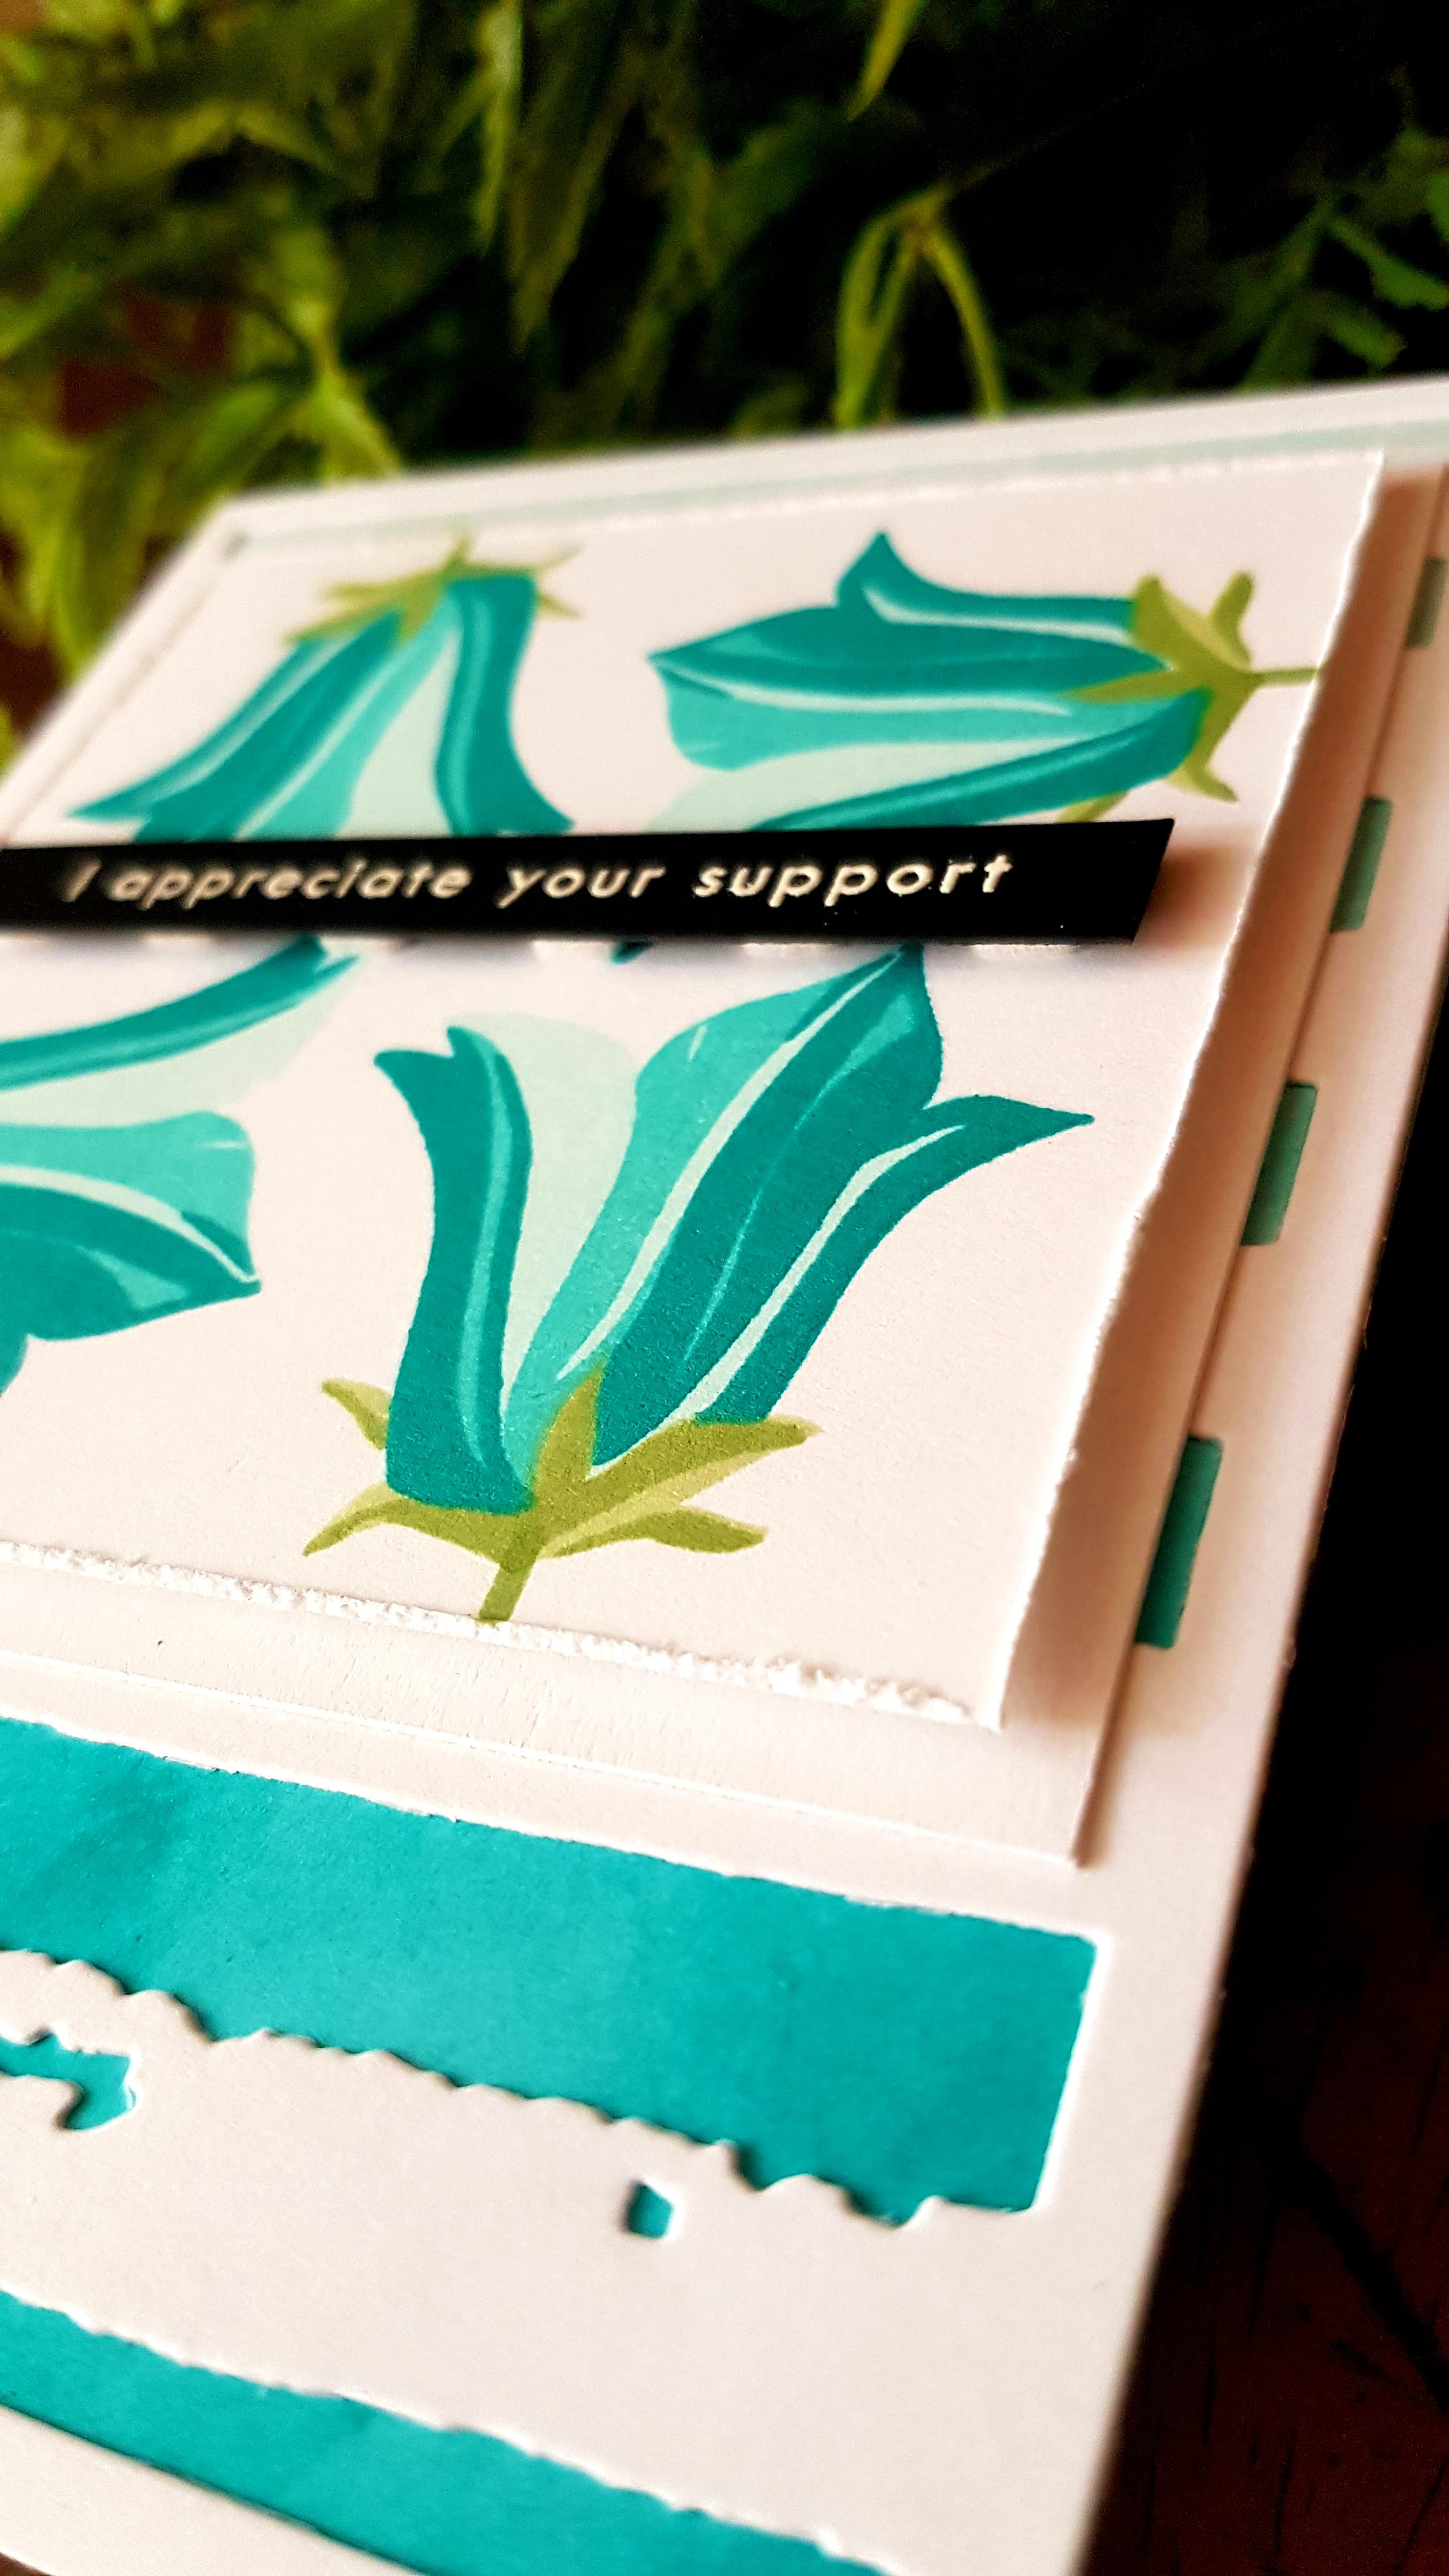
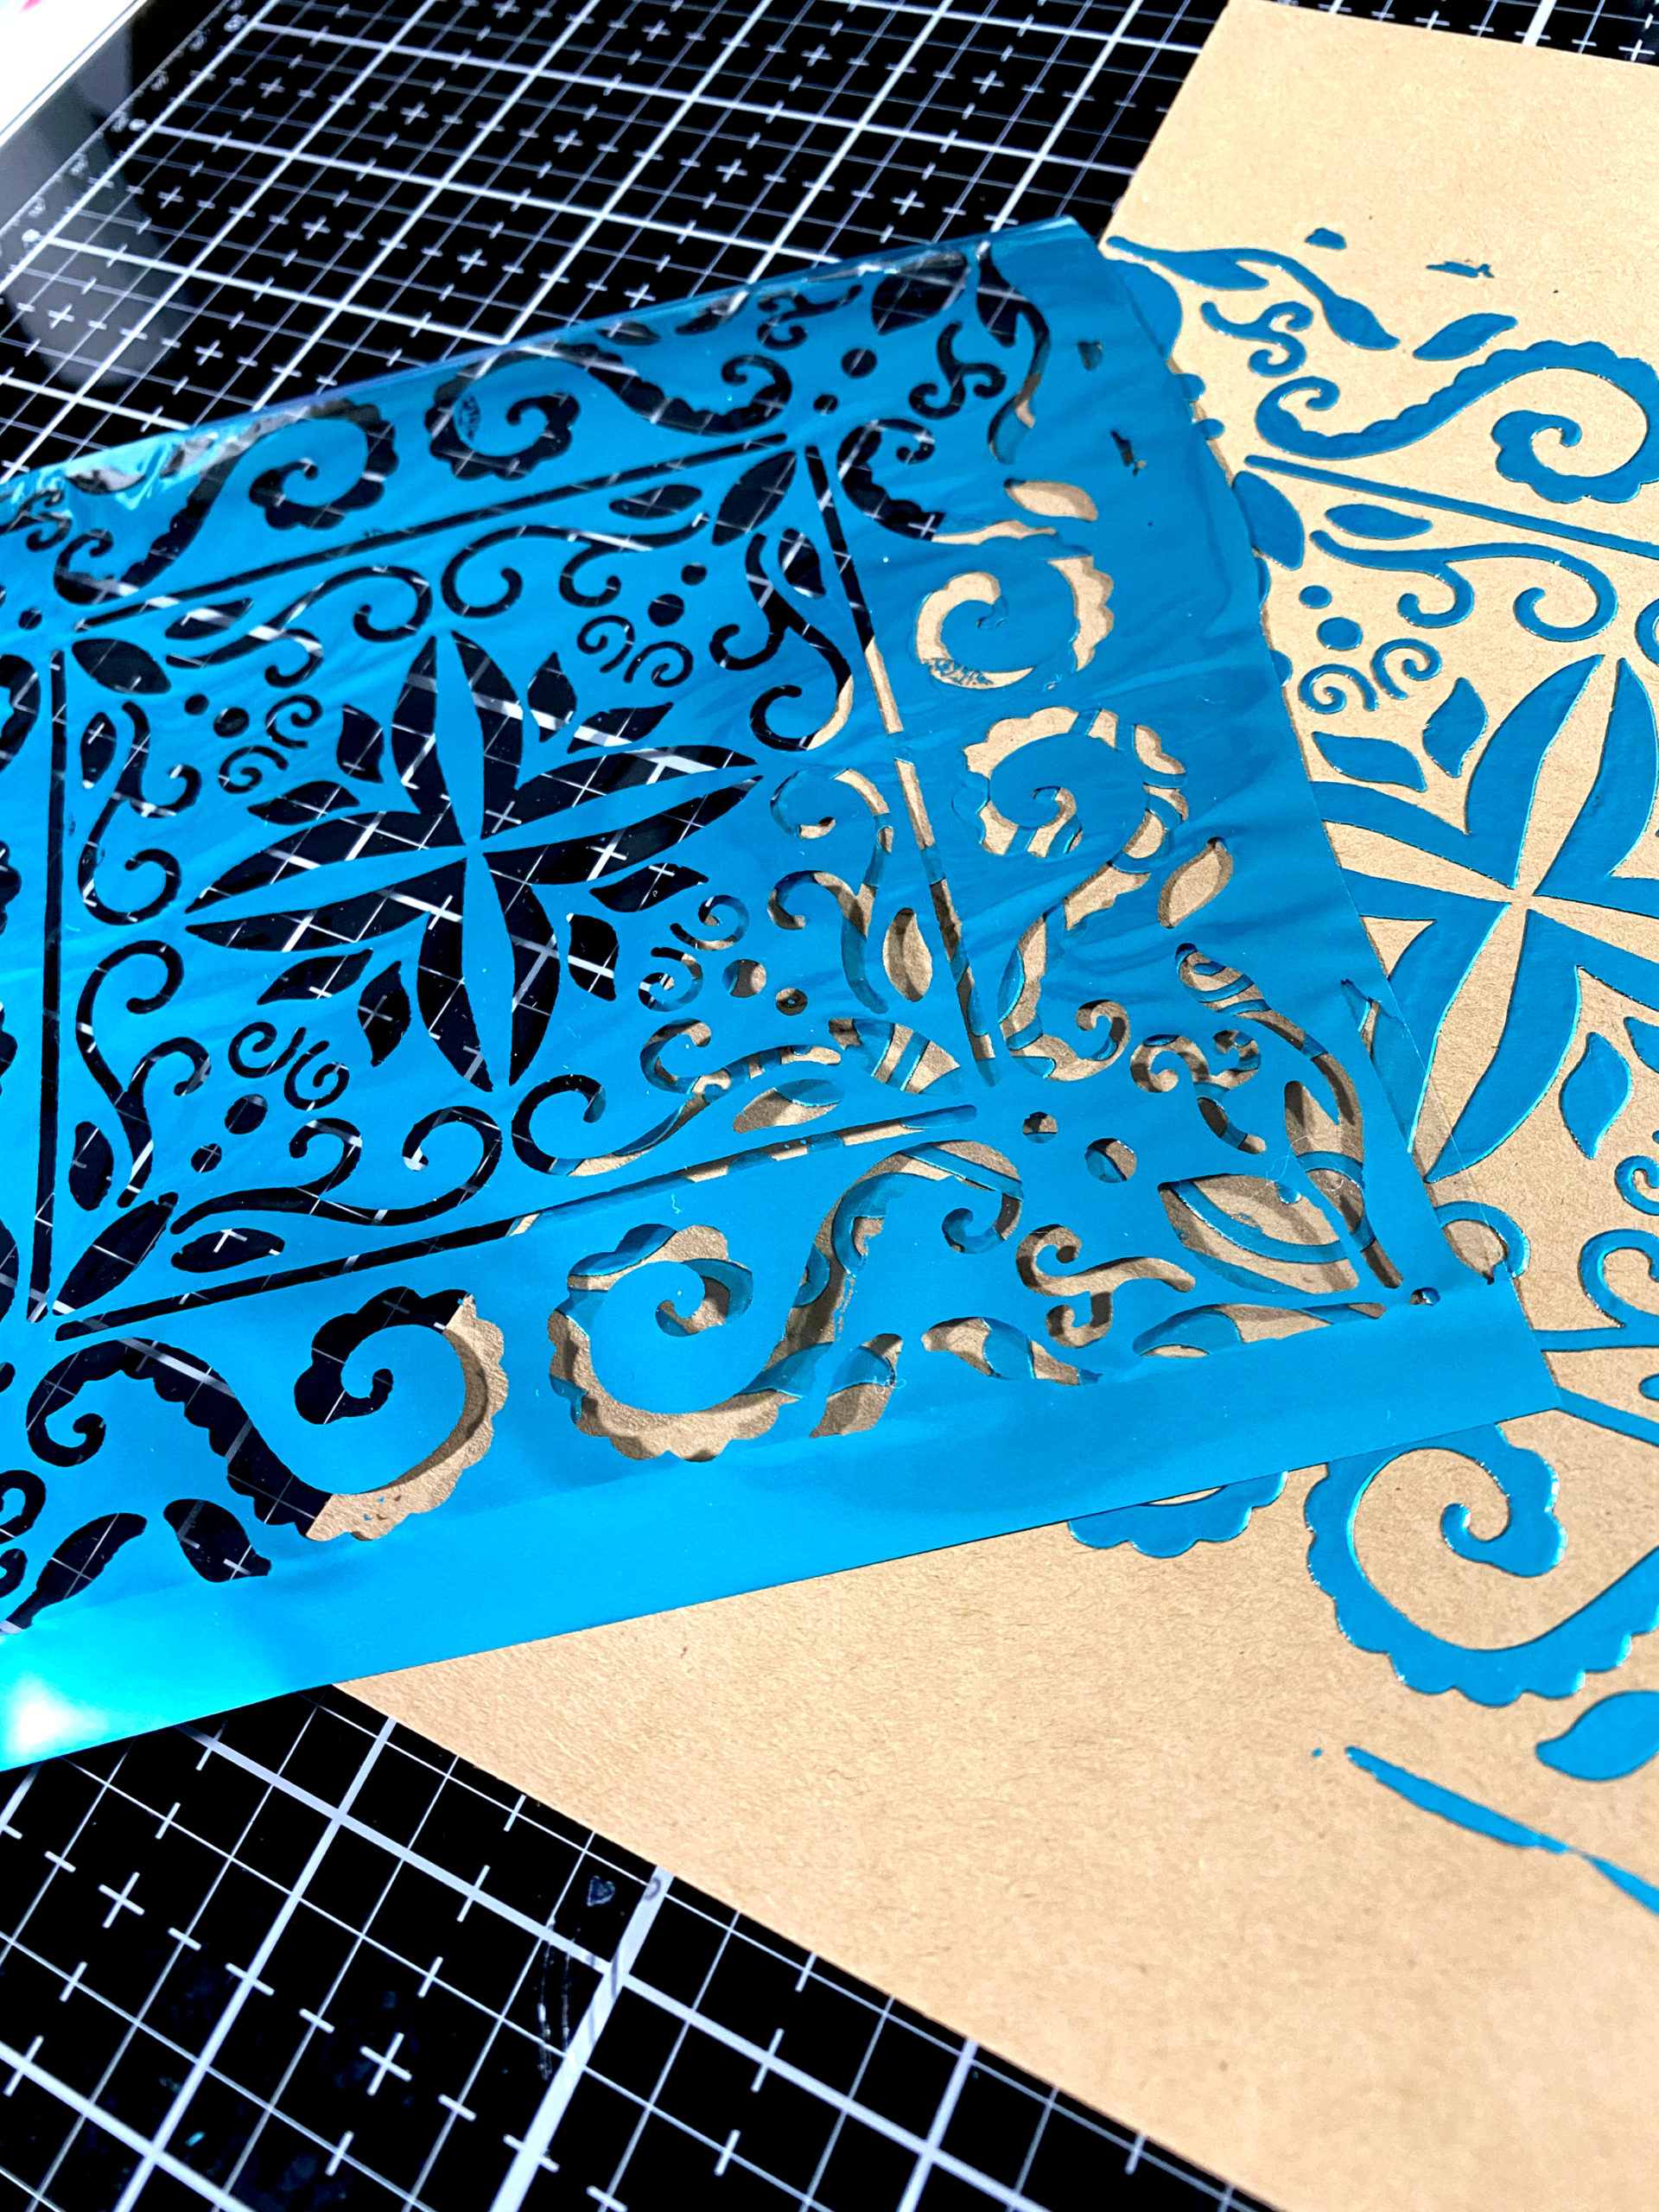
Since I already had my laminator out, I decided to use the Hand Drawn Tile Stencil with the Decofoil Transfer gel on a card front.
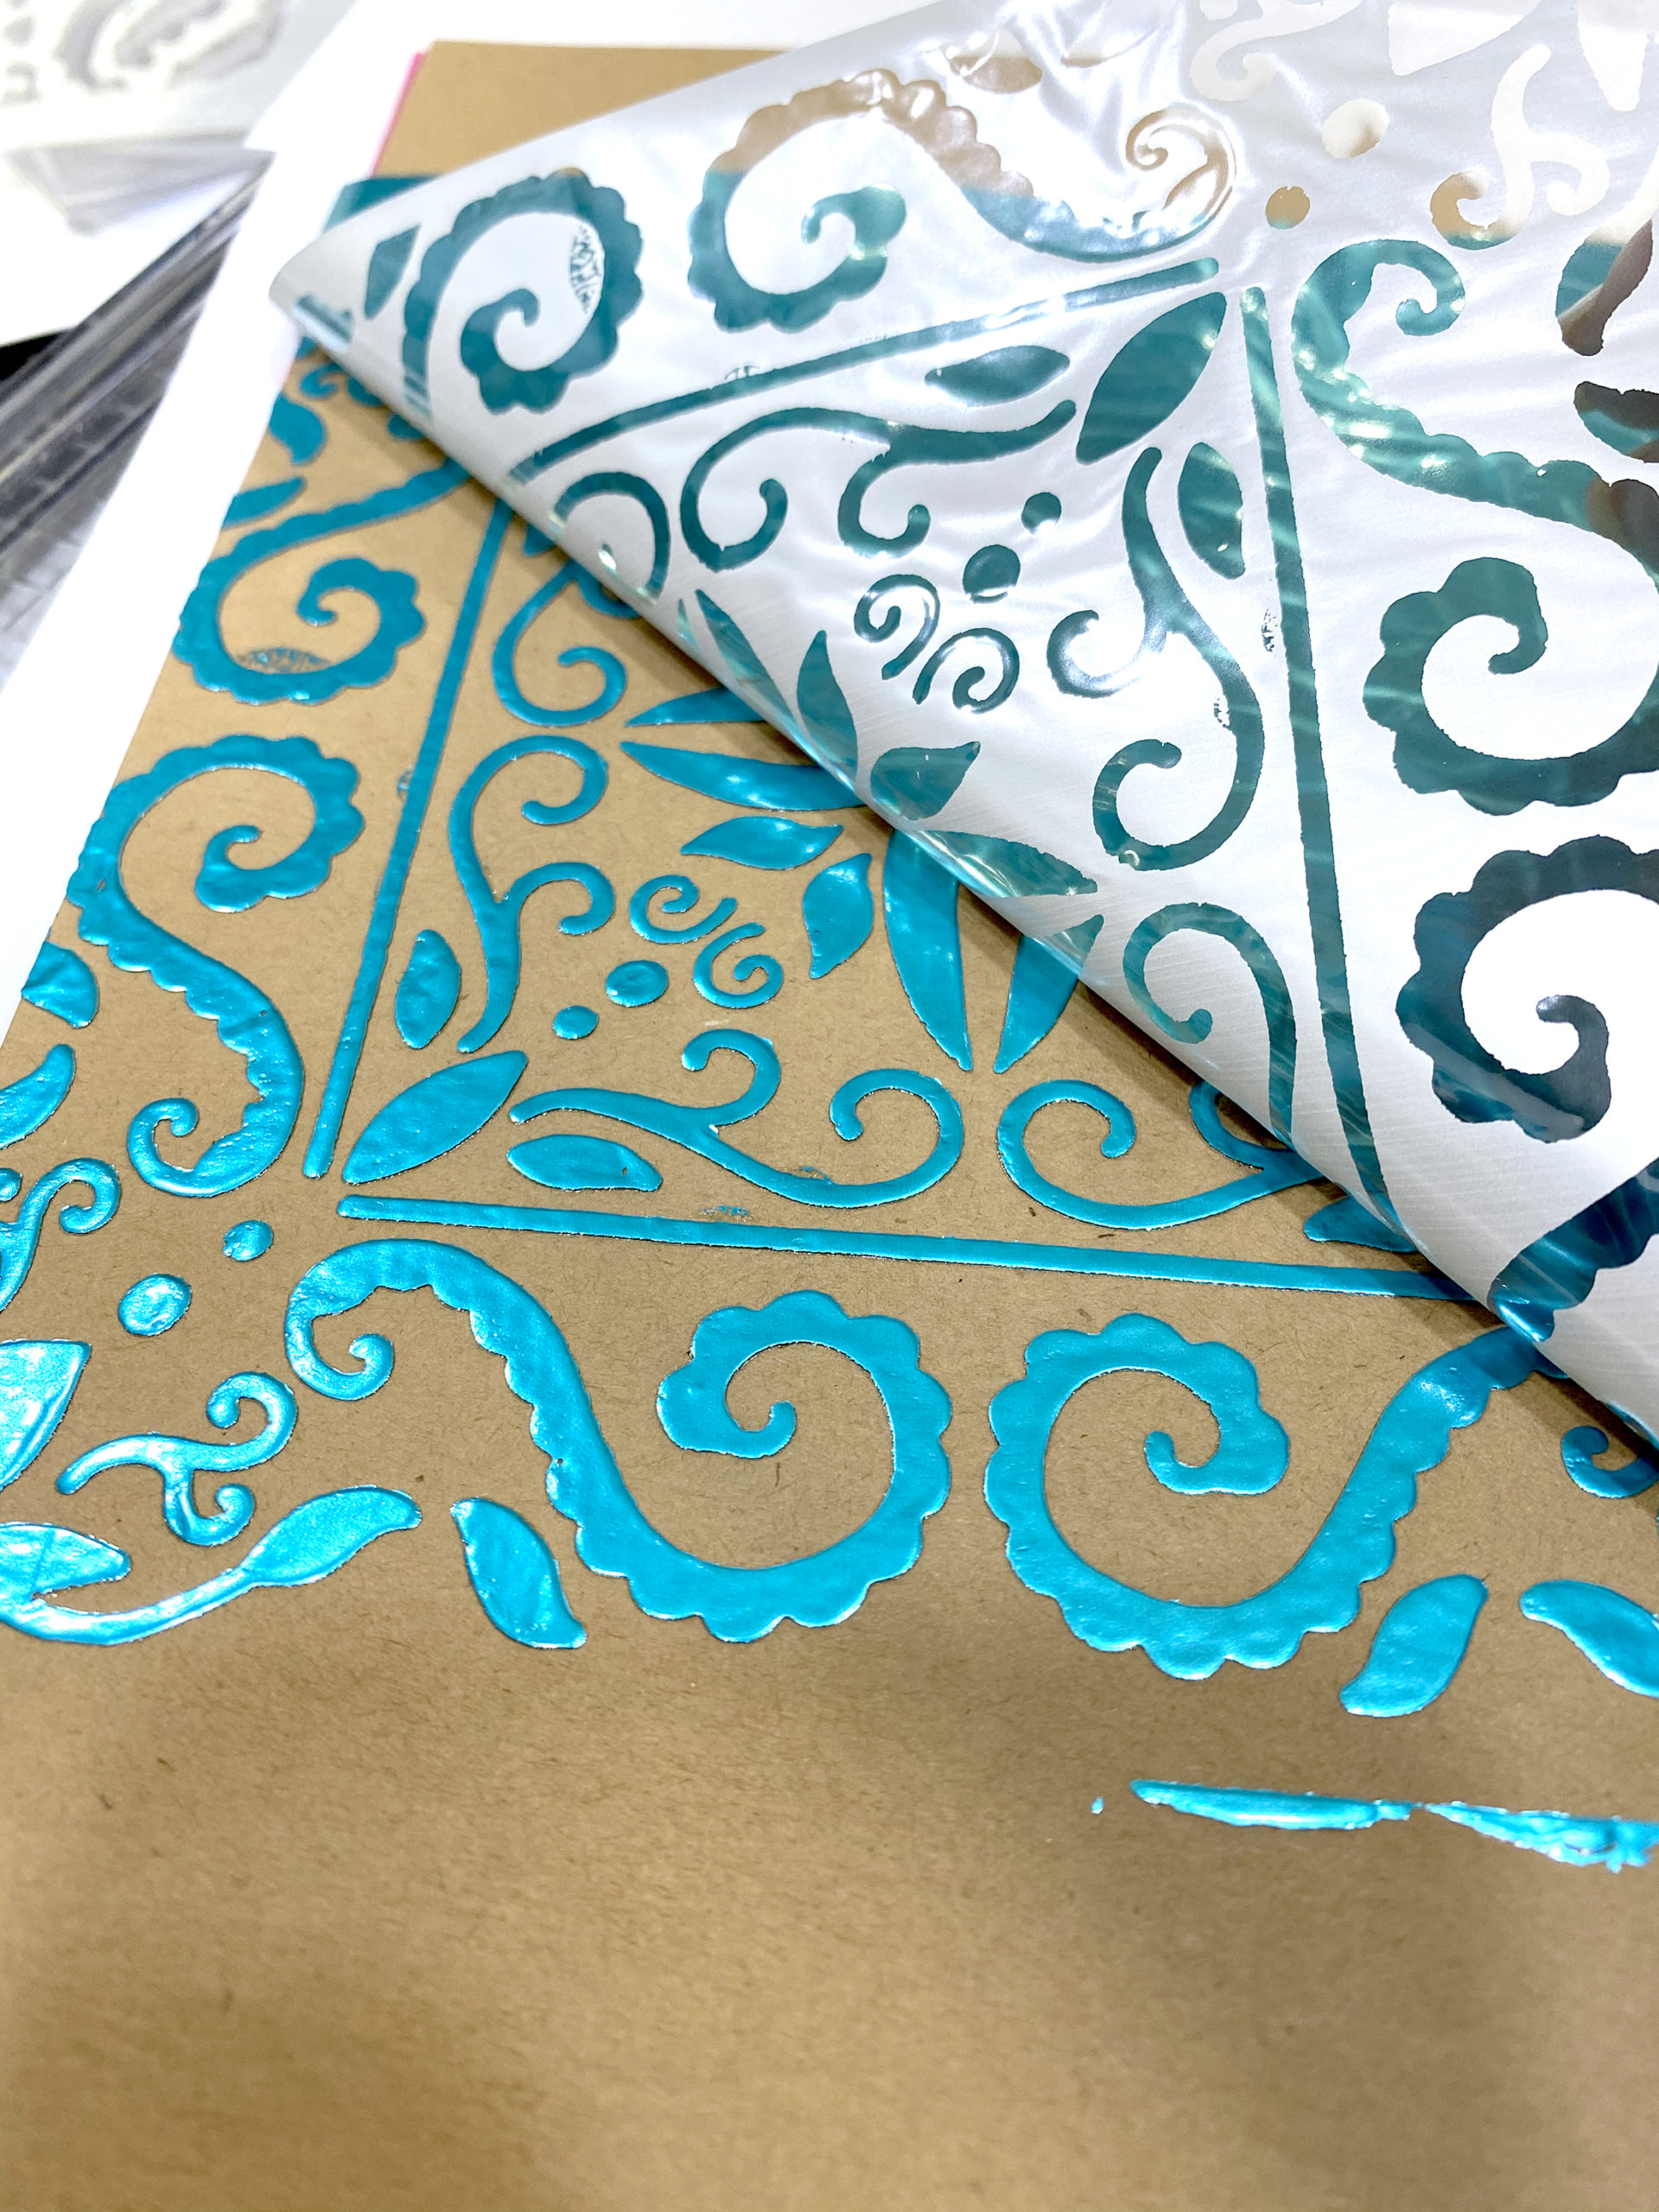
Teal foil was added and the panel was cut into two. The Thanks die from the Script Words 2 die set was used to cut toner paper then this was also foiled.
The negative of the foil was so pretty and I didn’t want to waste it so I made another card using toner paper.
The sentiment (one of my all-time faves as you will see me use it often) was taken from the Wonderland Stamp set and embossed using Rose Gold embossing powder.
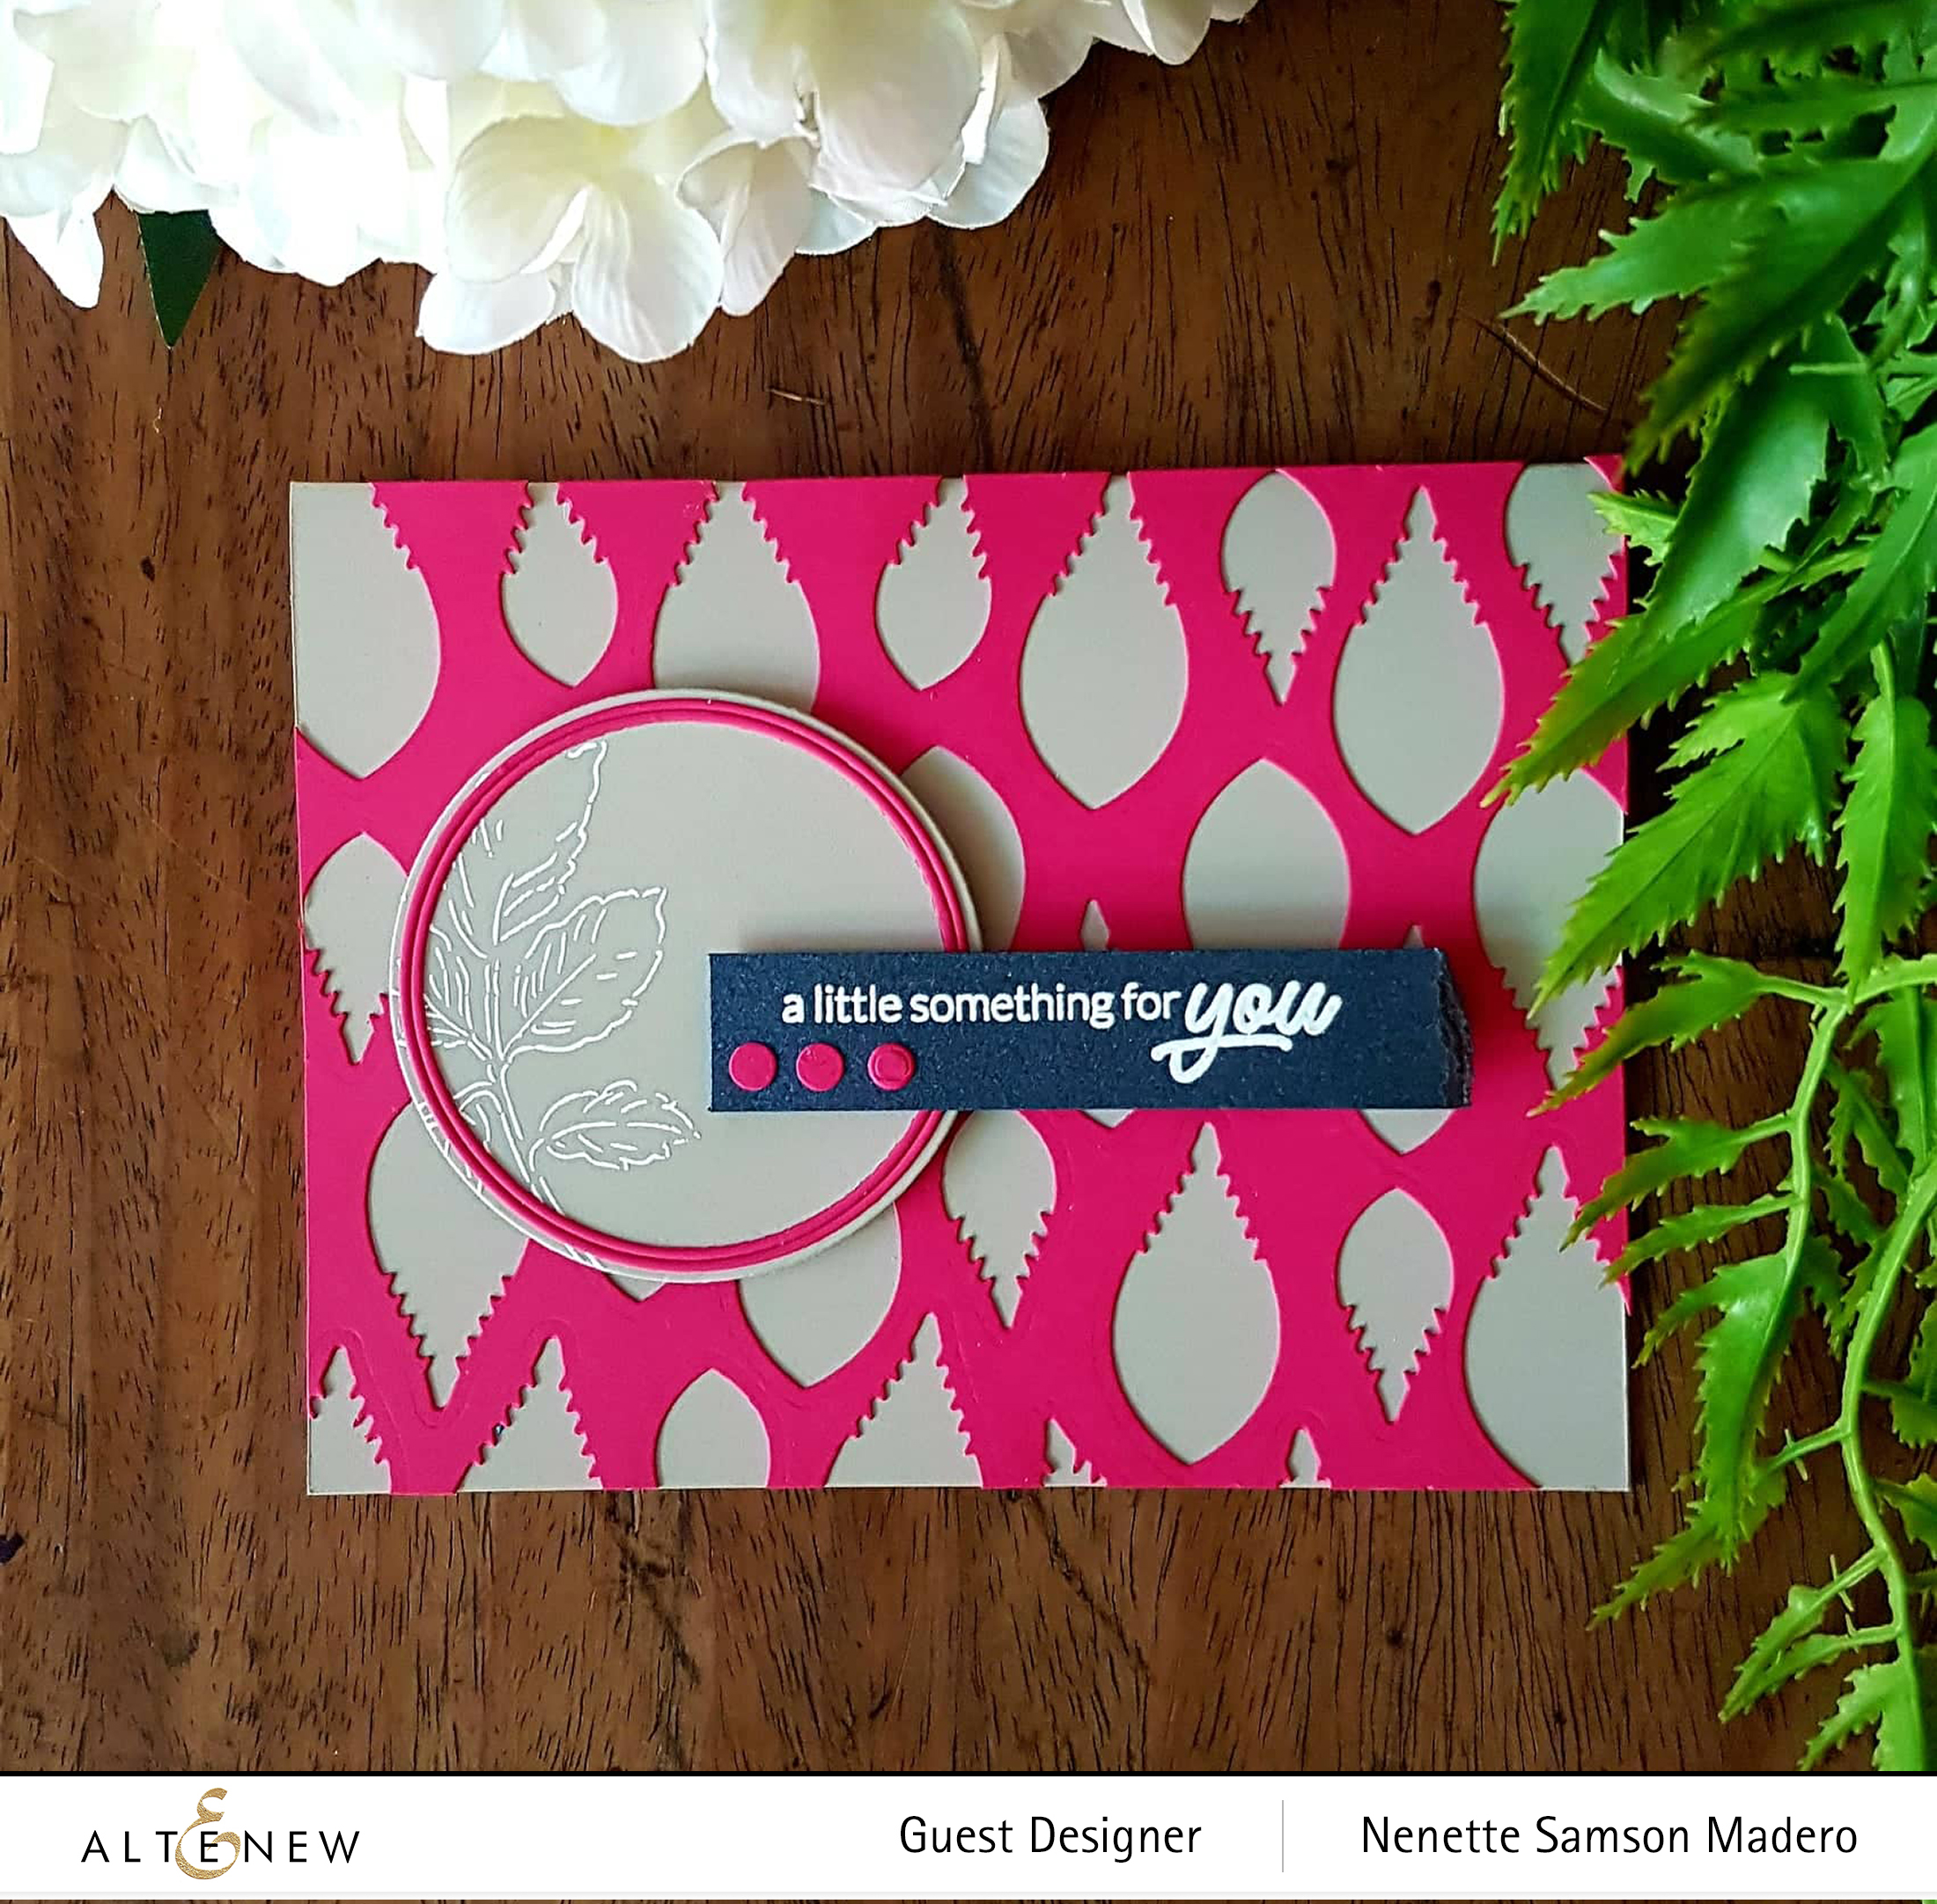
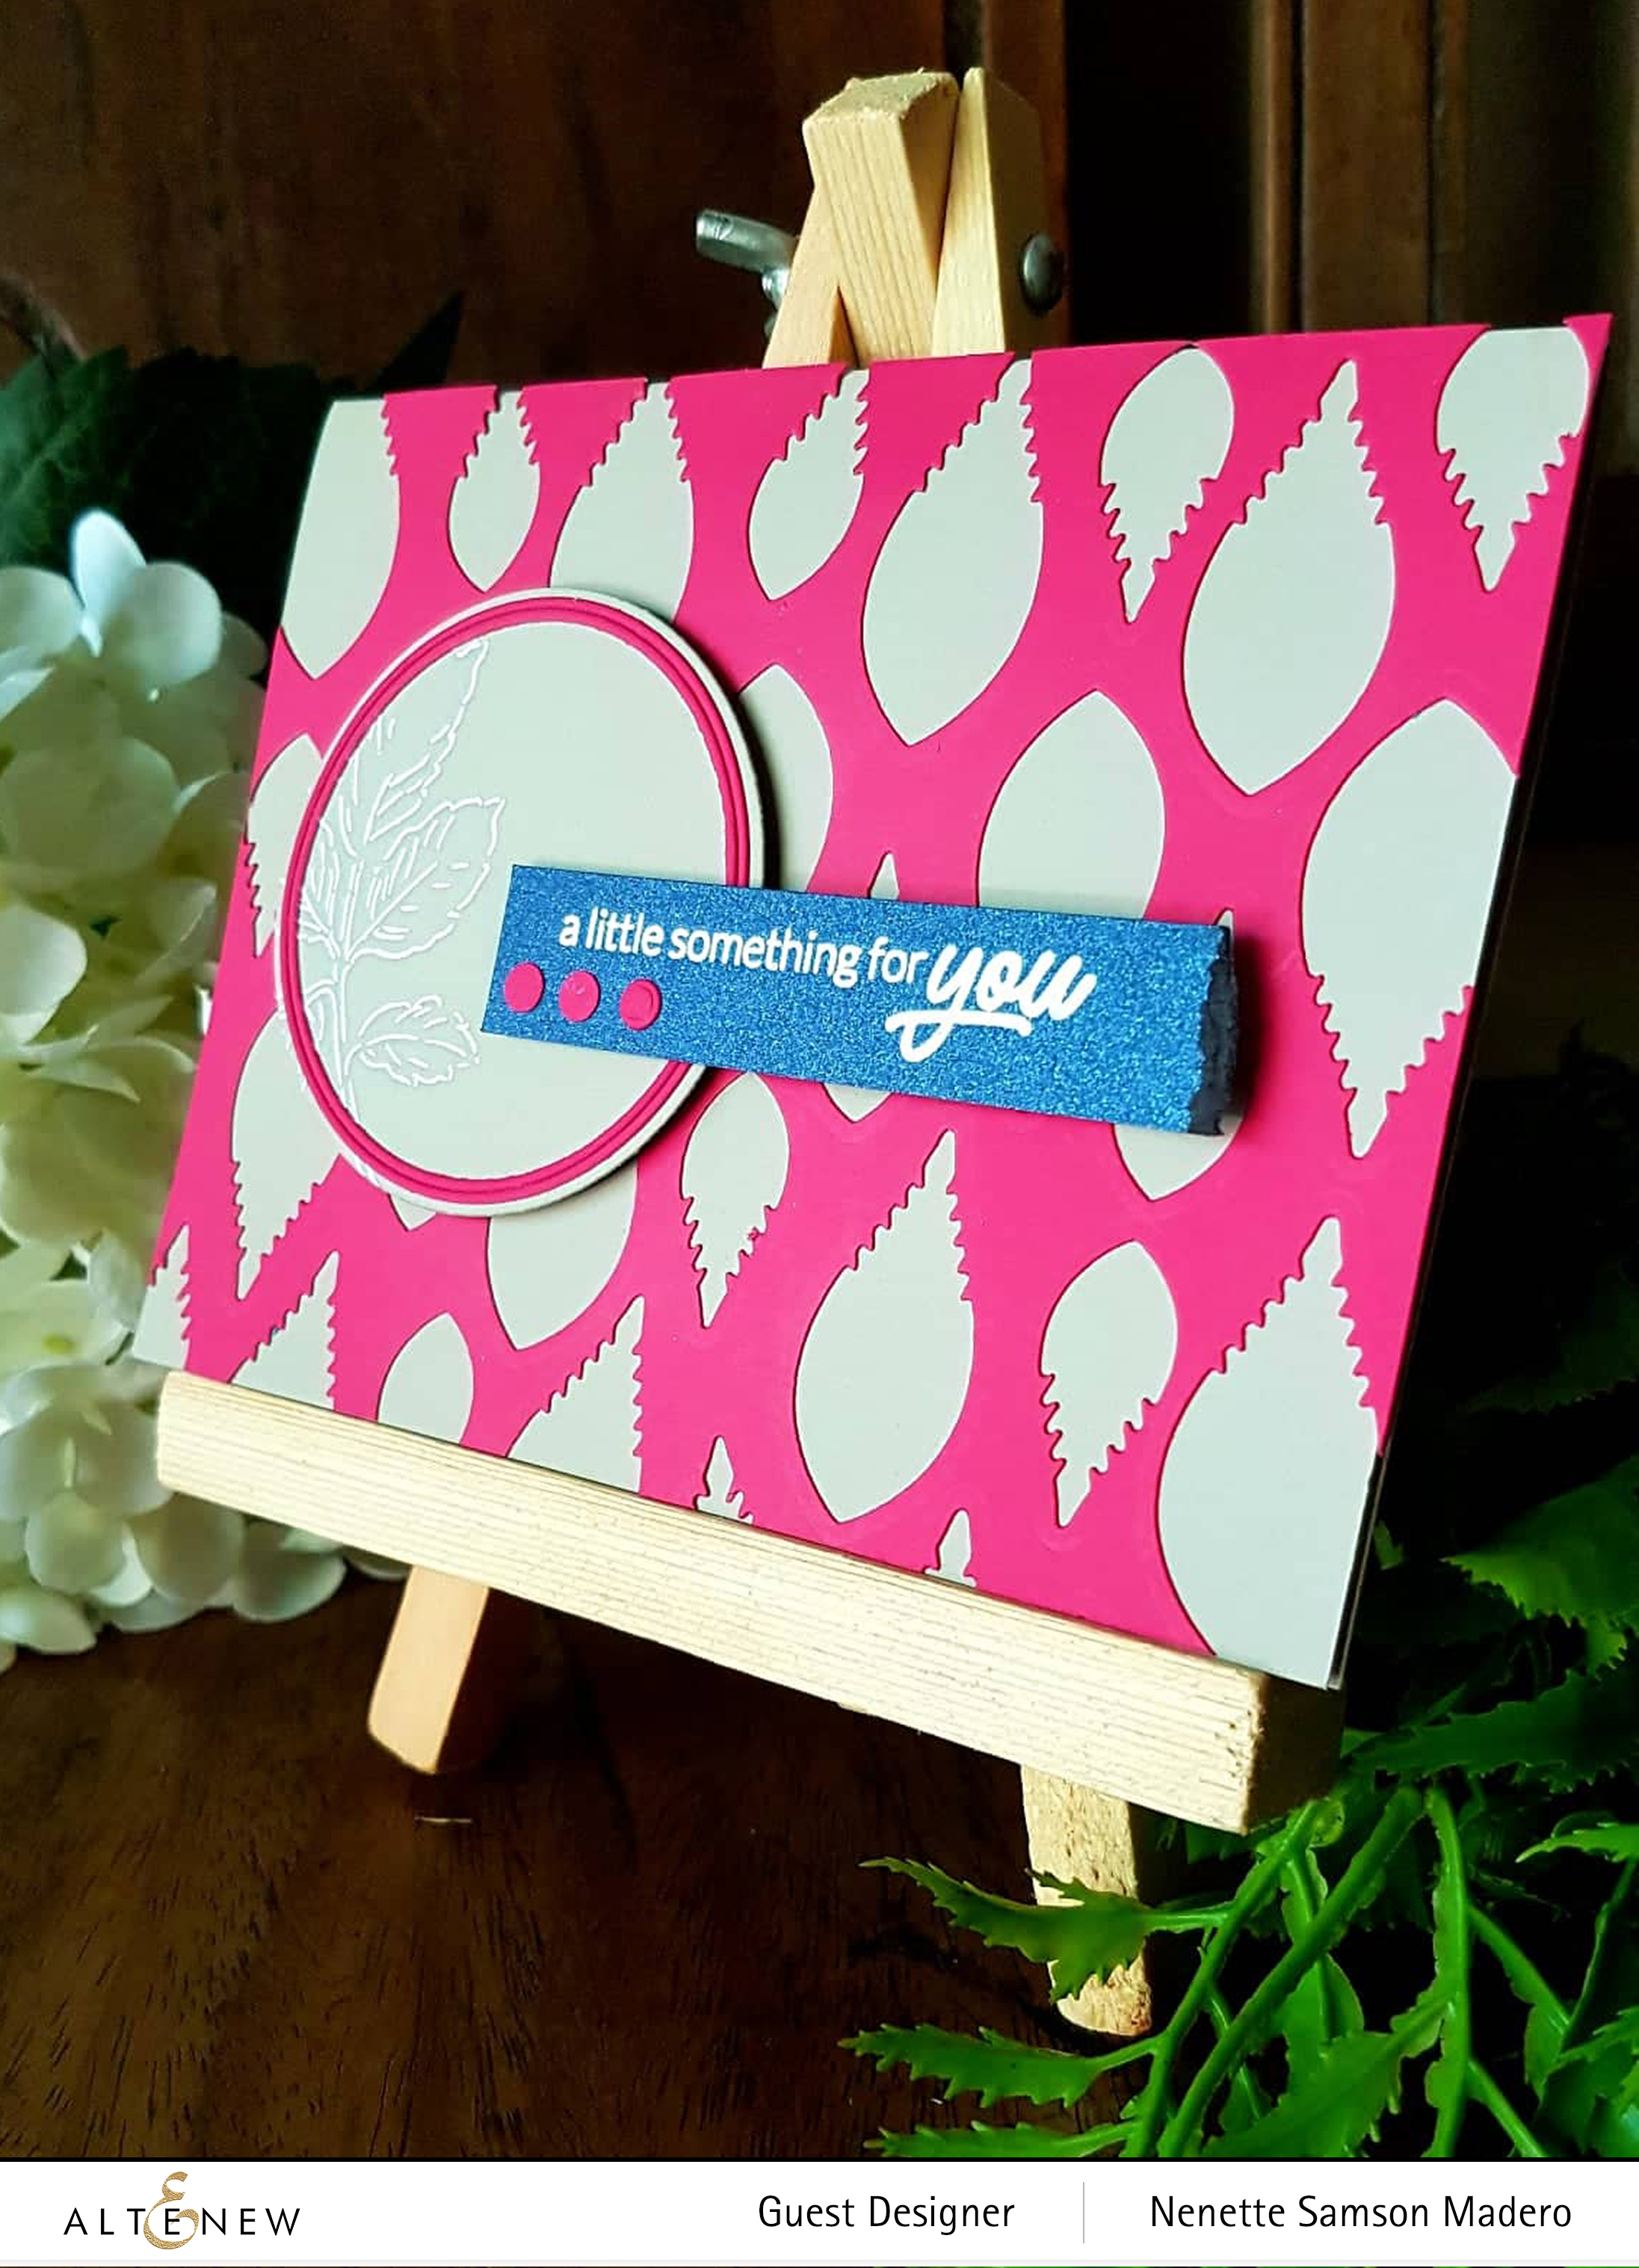
FOR YOU CARD
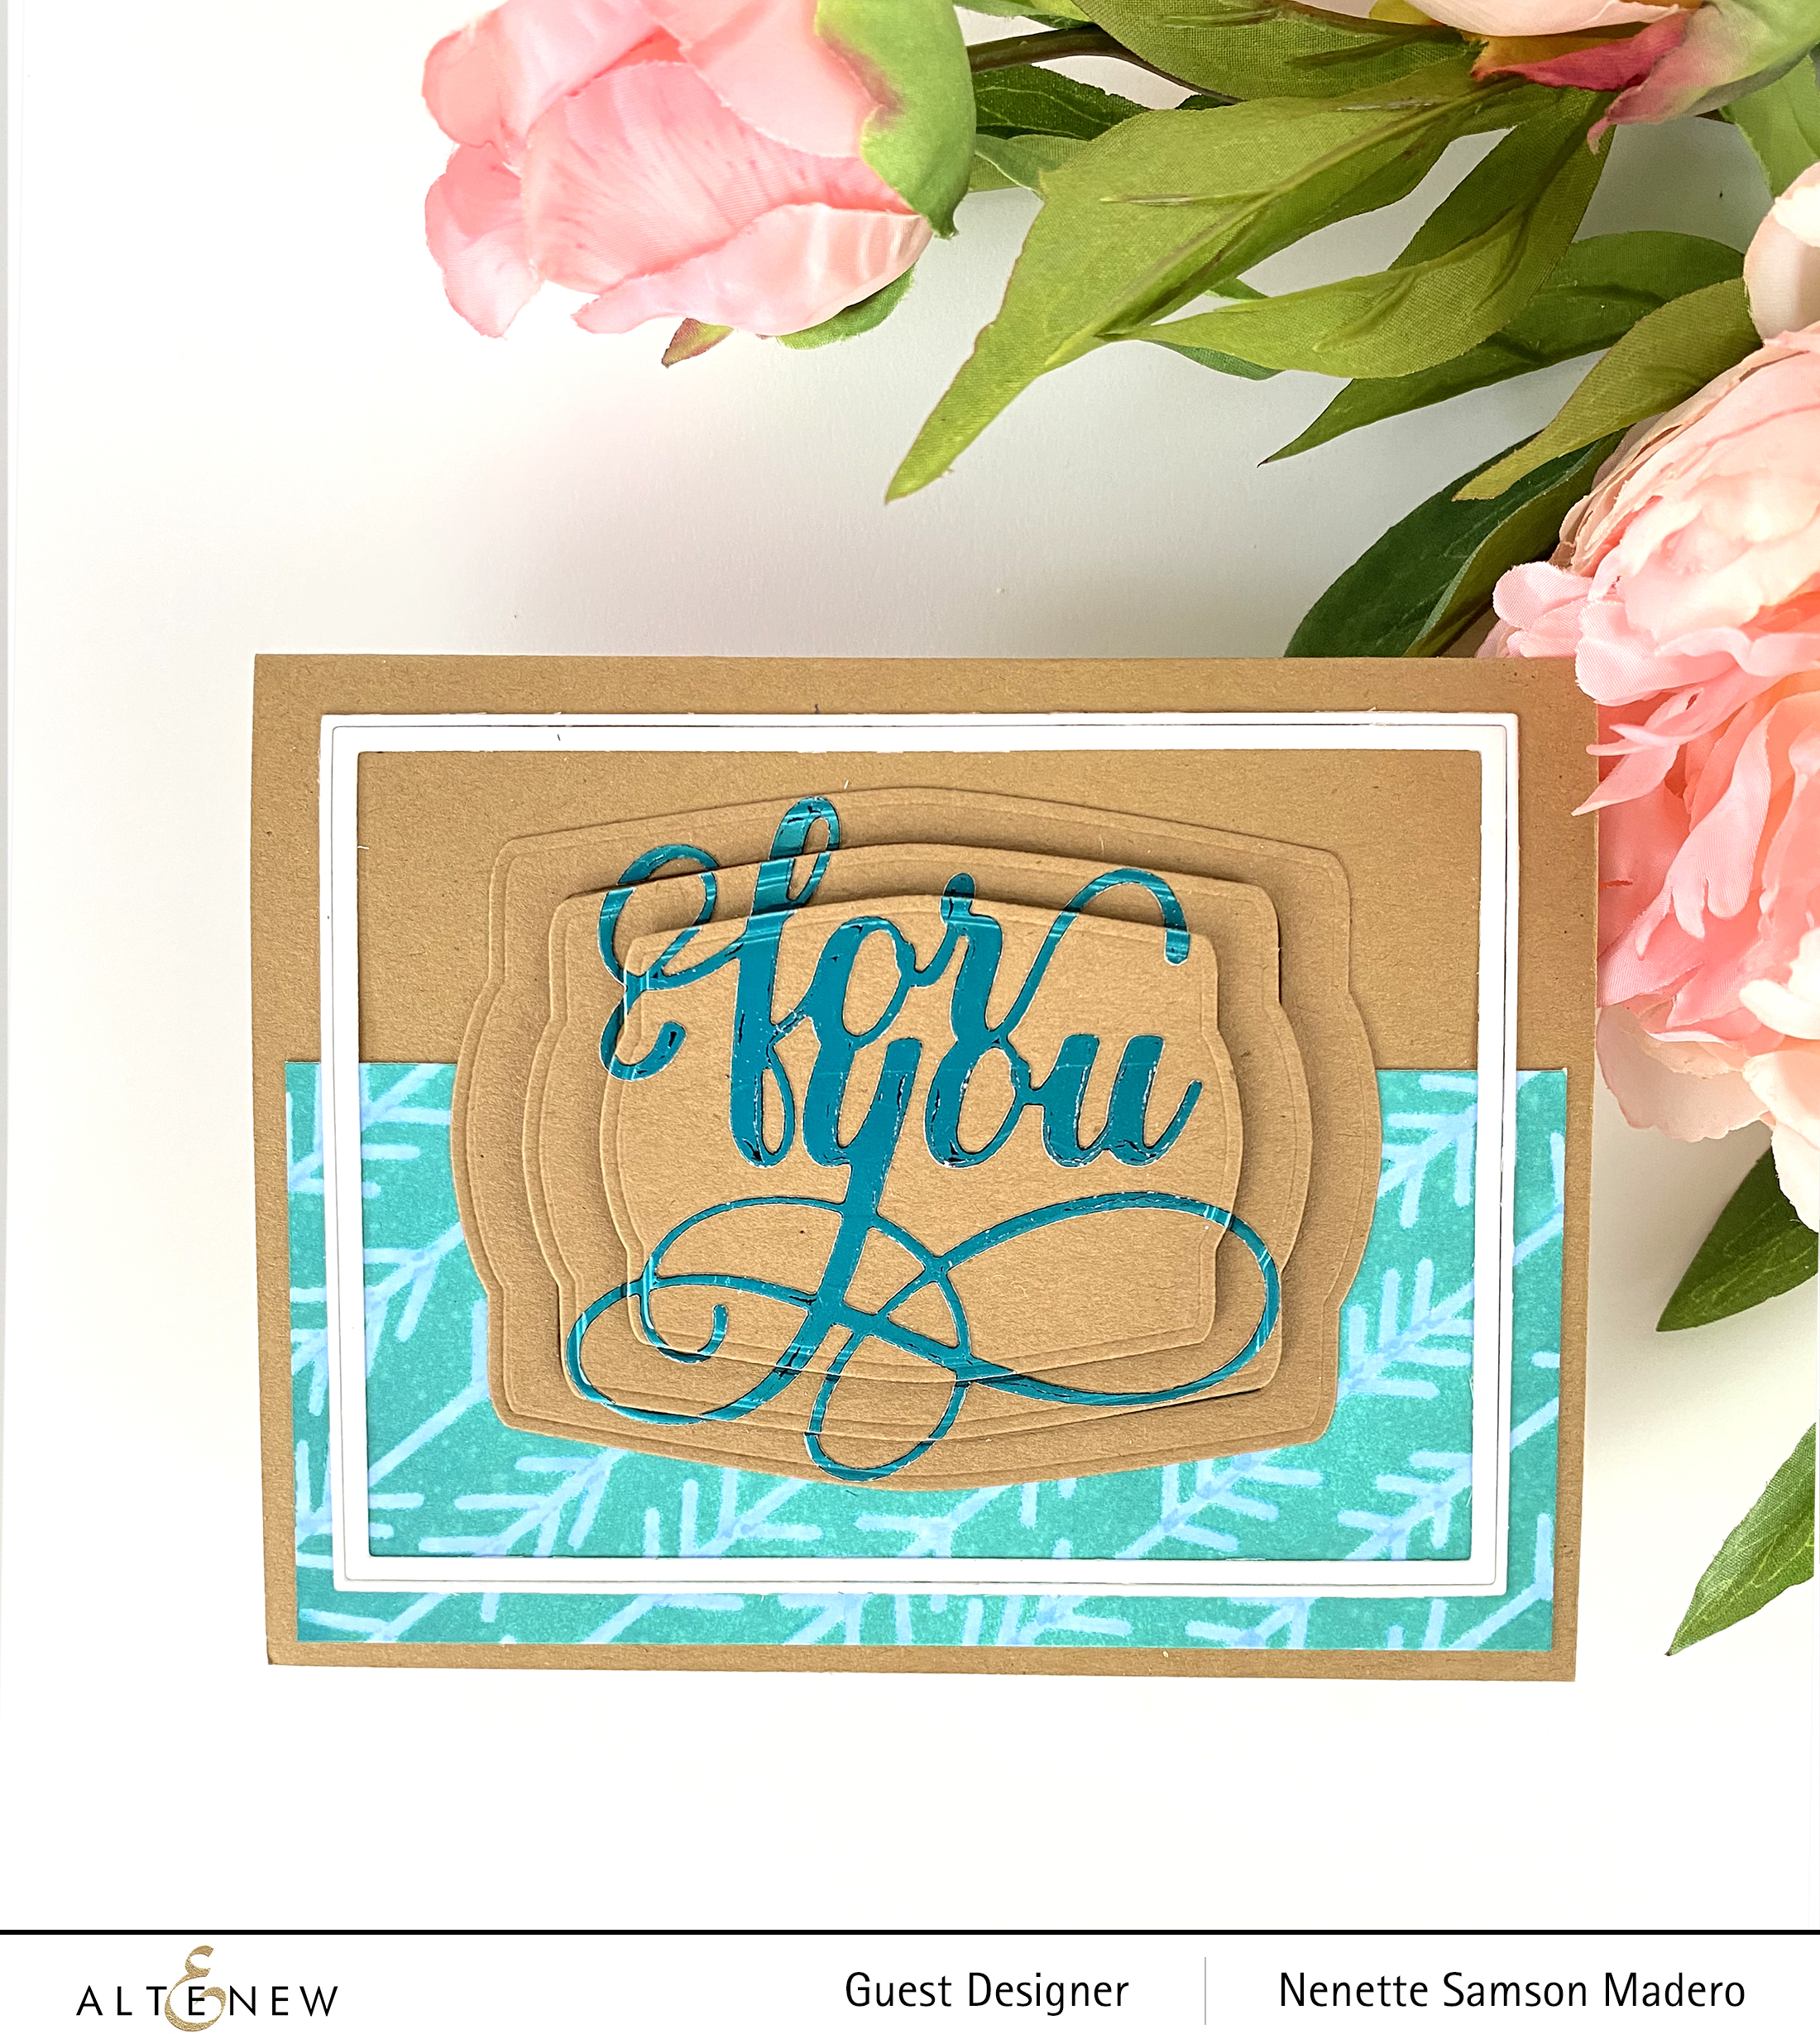
The following materials were used for this card: Fancy For You Die, Nesting Frames Die, On Point Stencil, Fine Frames Cover Die, and Distress Oxide Inks.
I used the Fancy For You die to cut toner paper then foil was added using a laminator. This was then adhered onto the biggest die cut using the Nesting Frames die set. This frame was cut twice using the smaller frames. A panel of paper was inked using distress ink over the On Point stencil. The arrows were then colored in using the Artist marker.
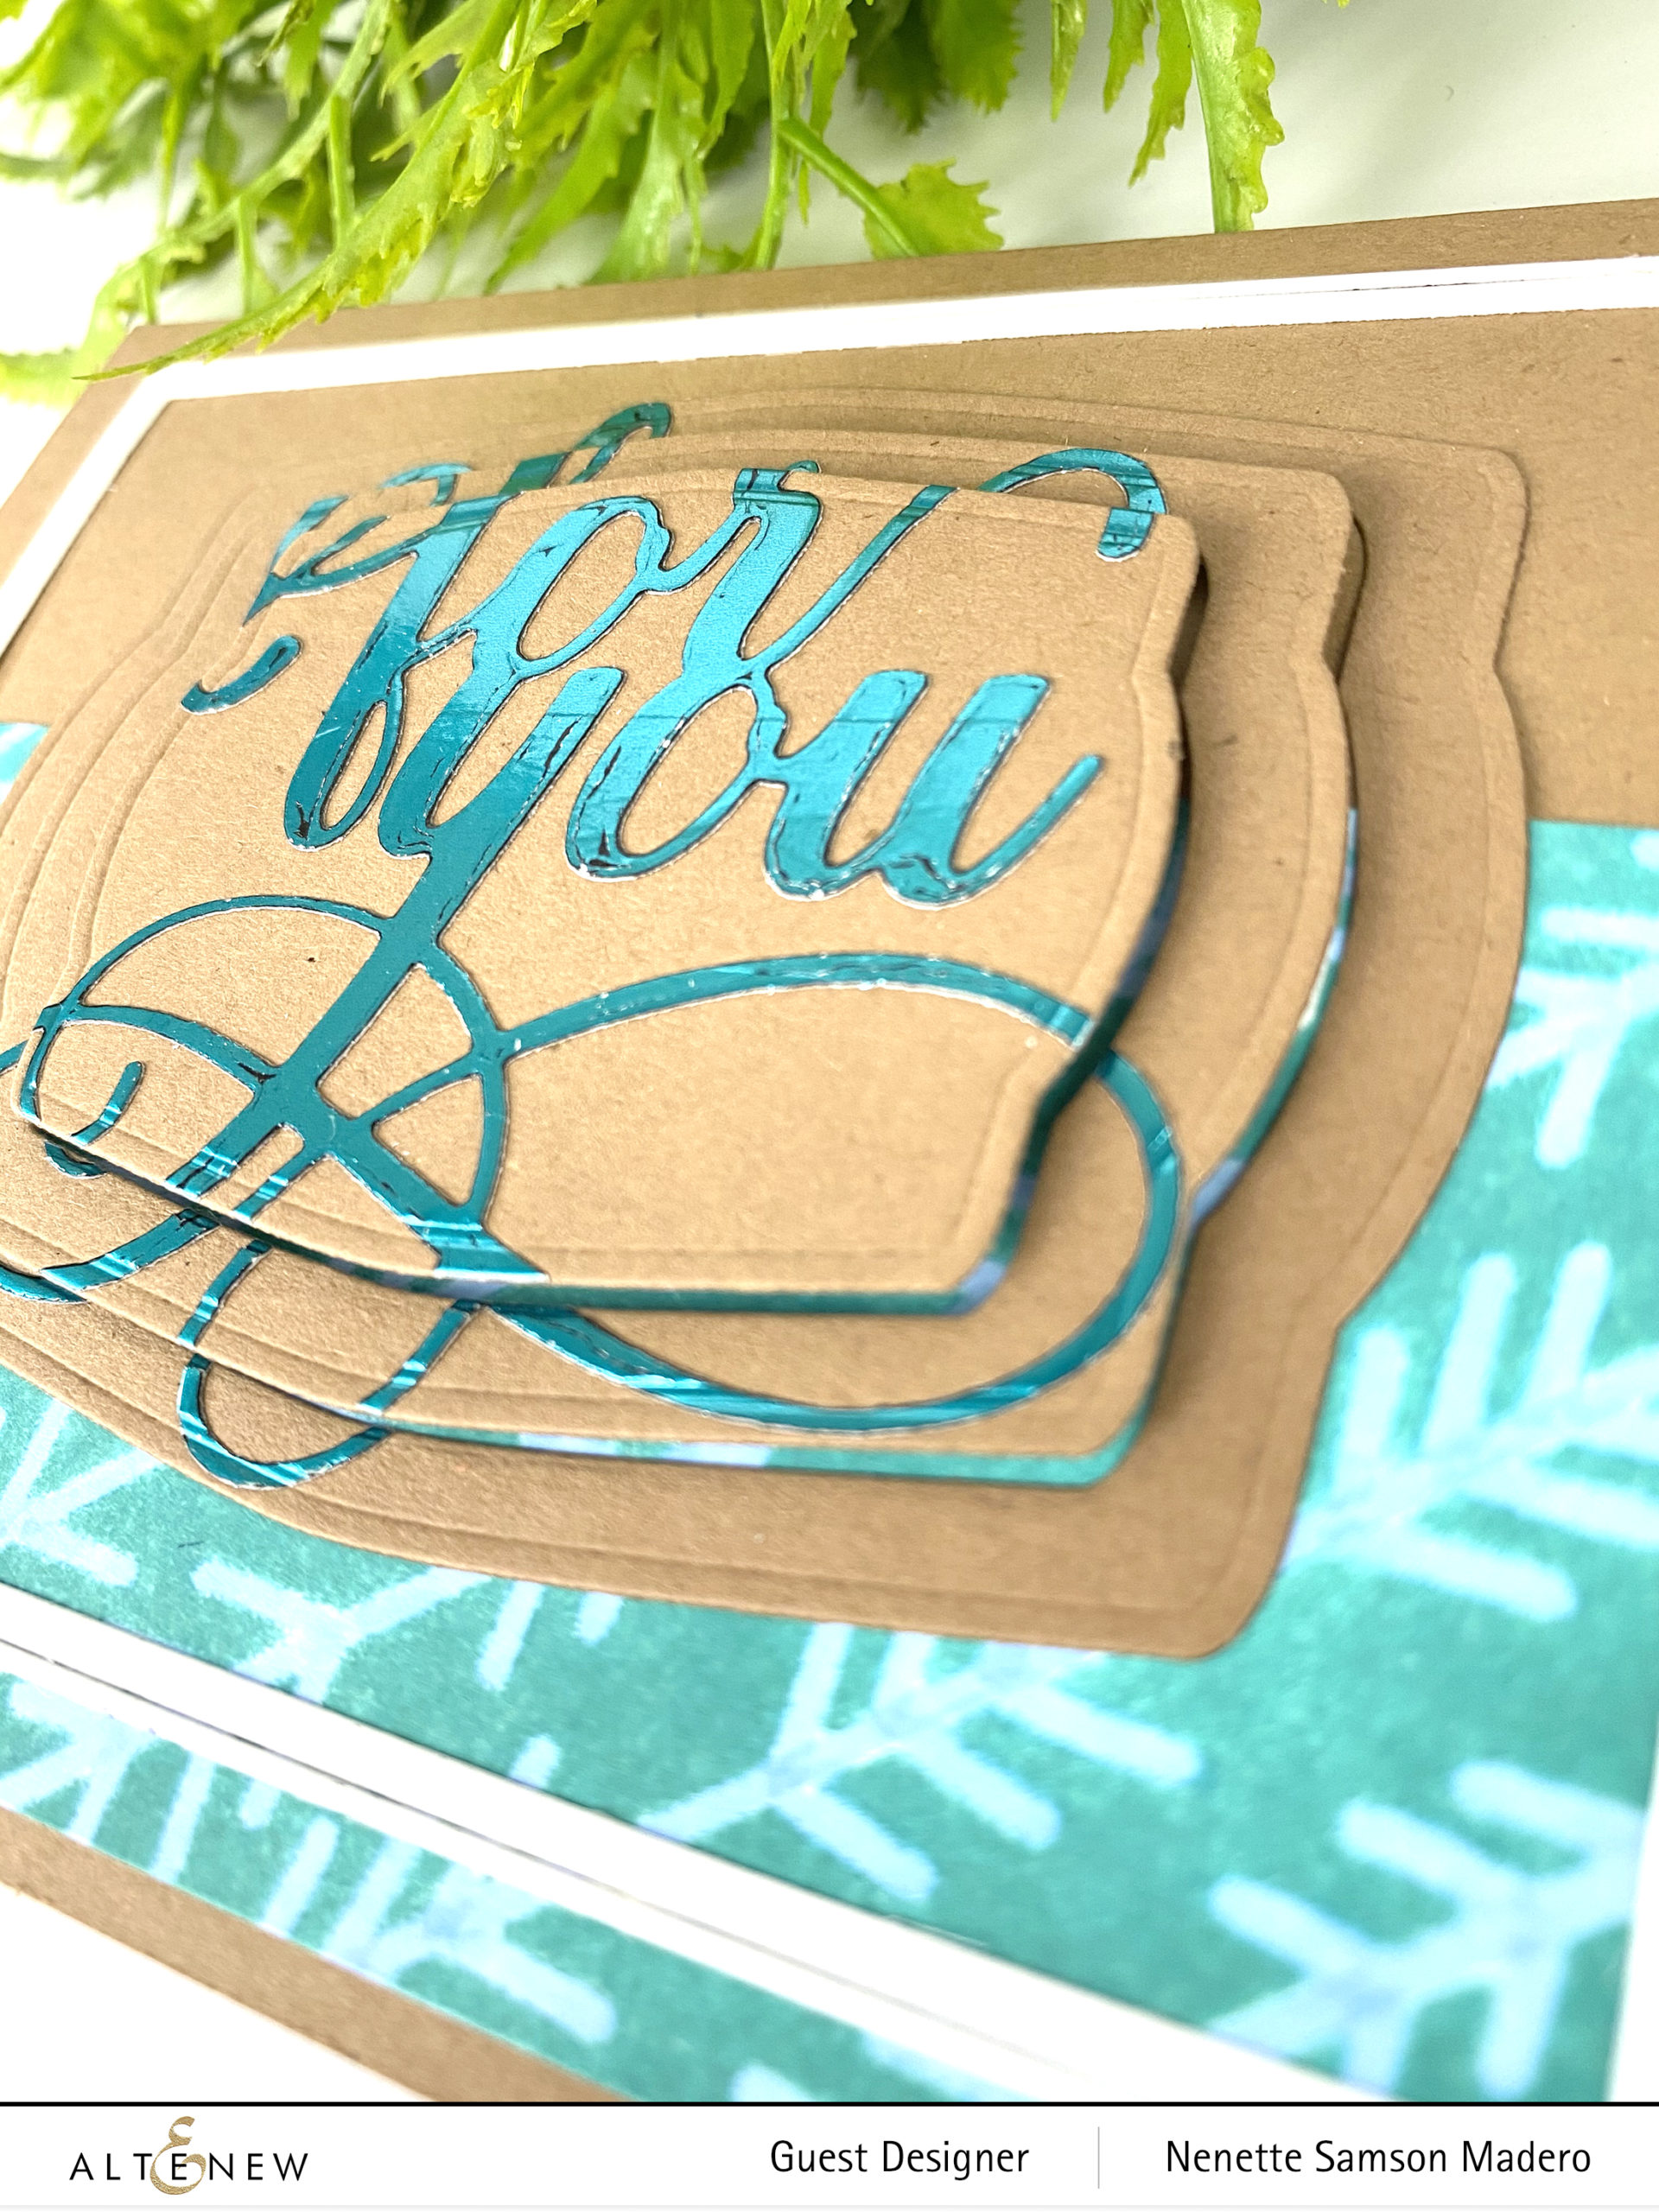
The card was then assembled using foam tape to add dimension to the frames.
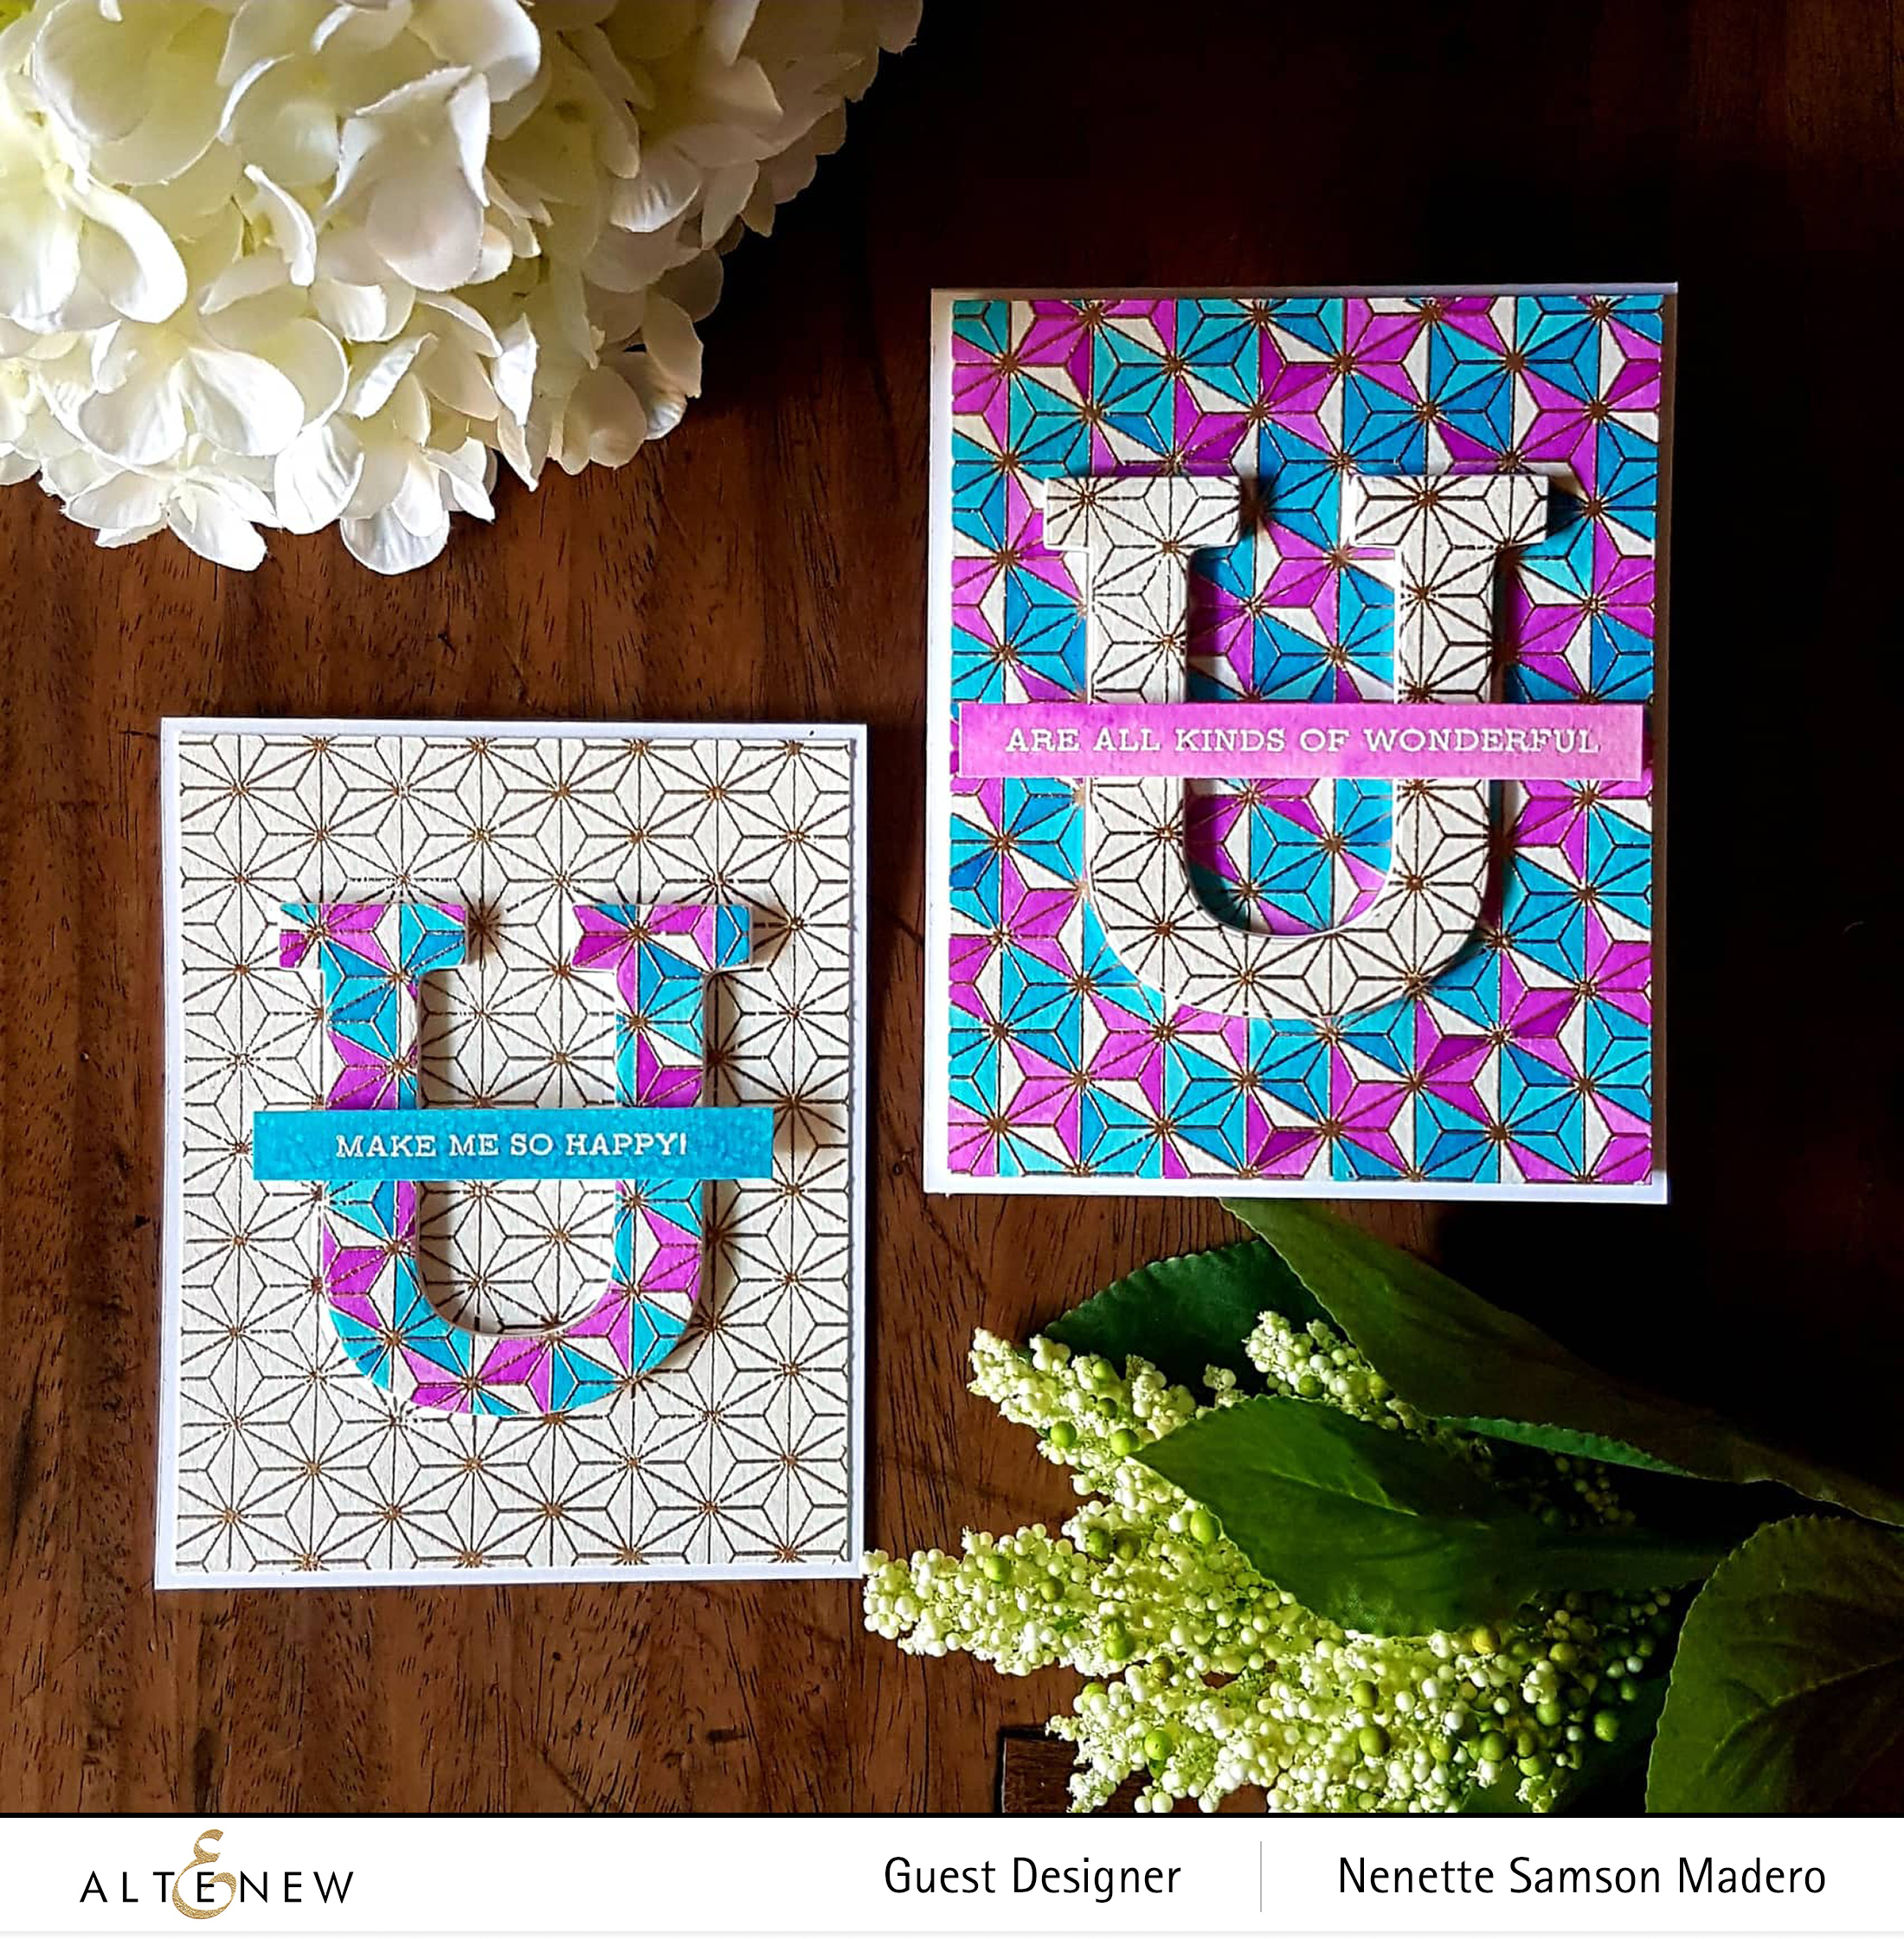
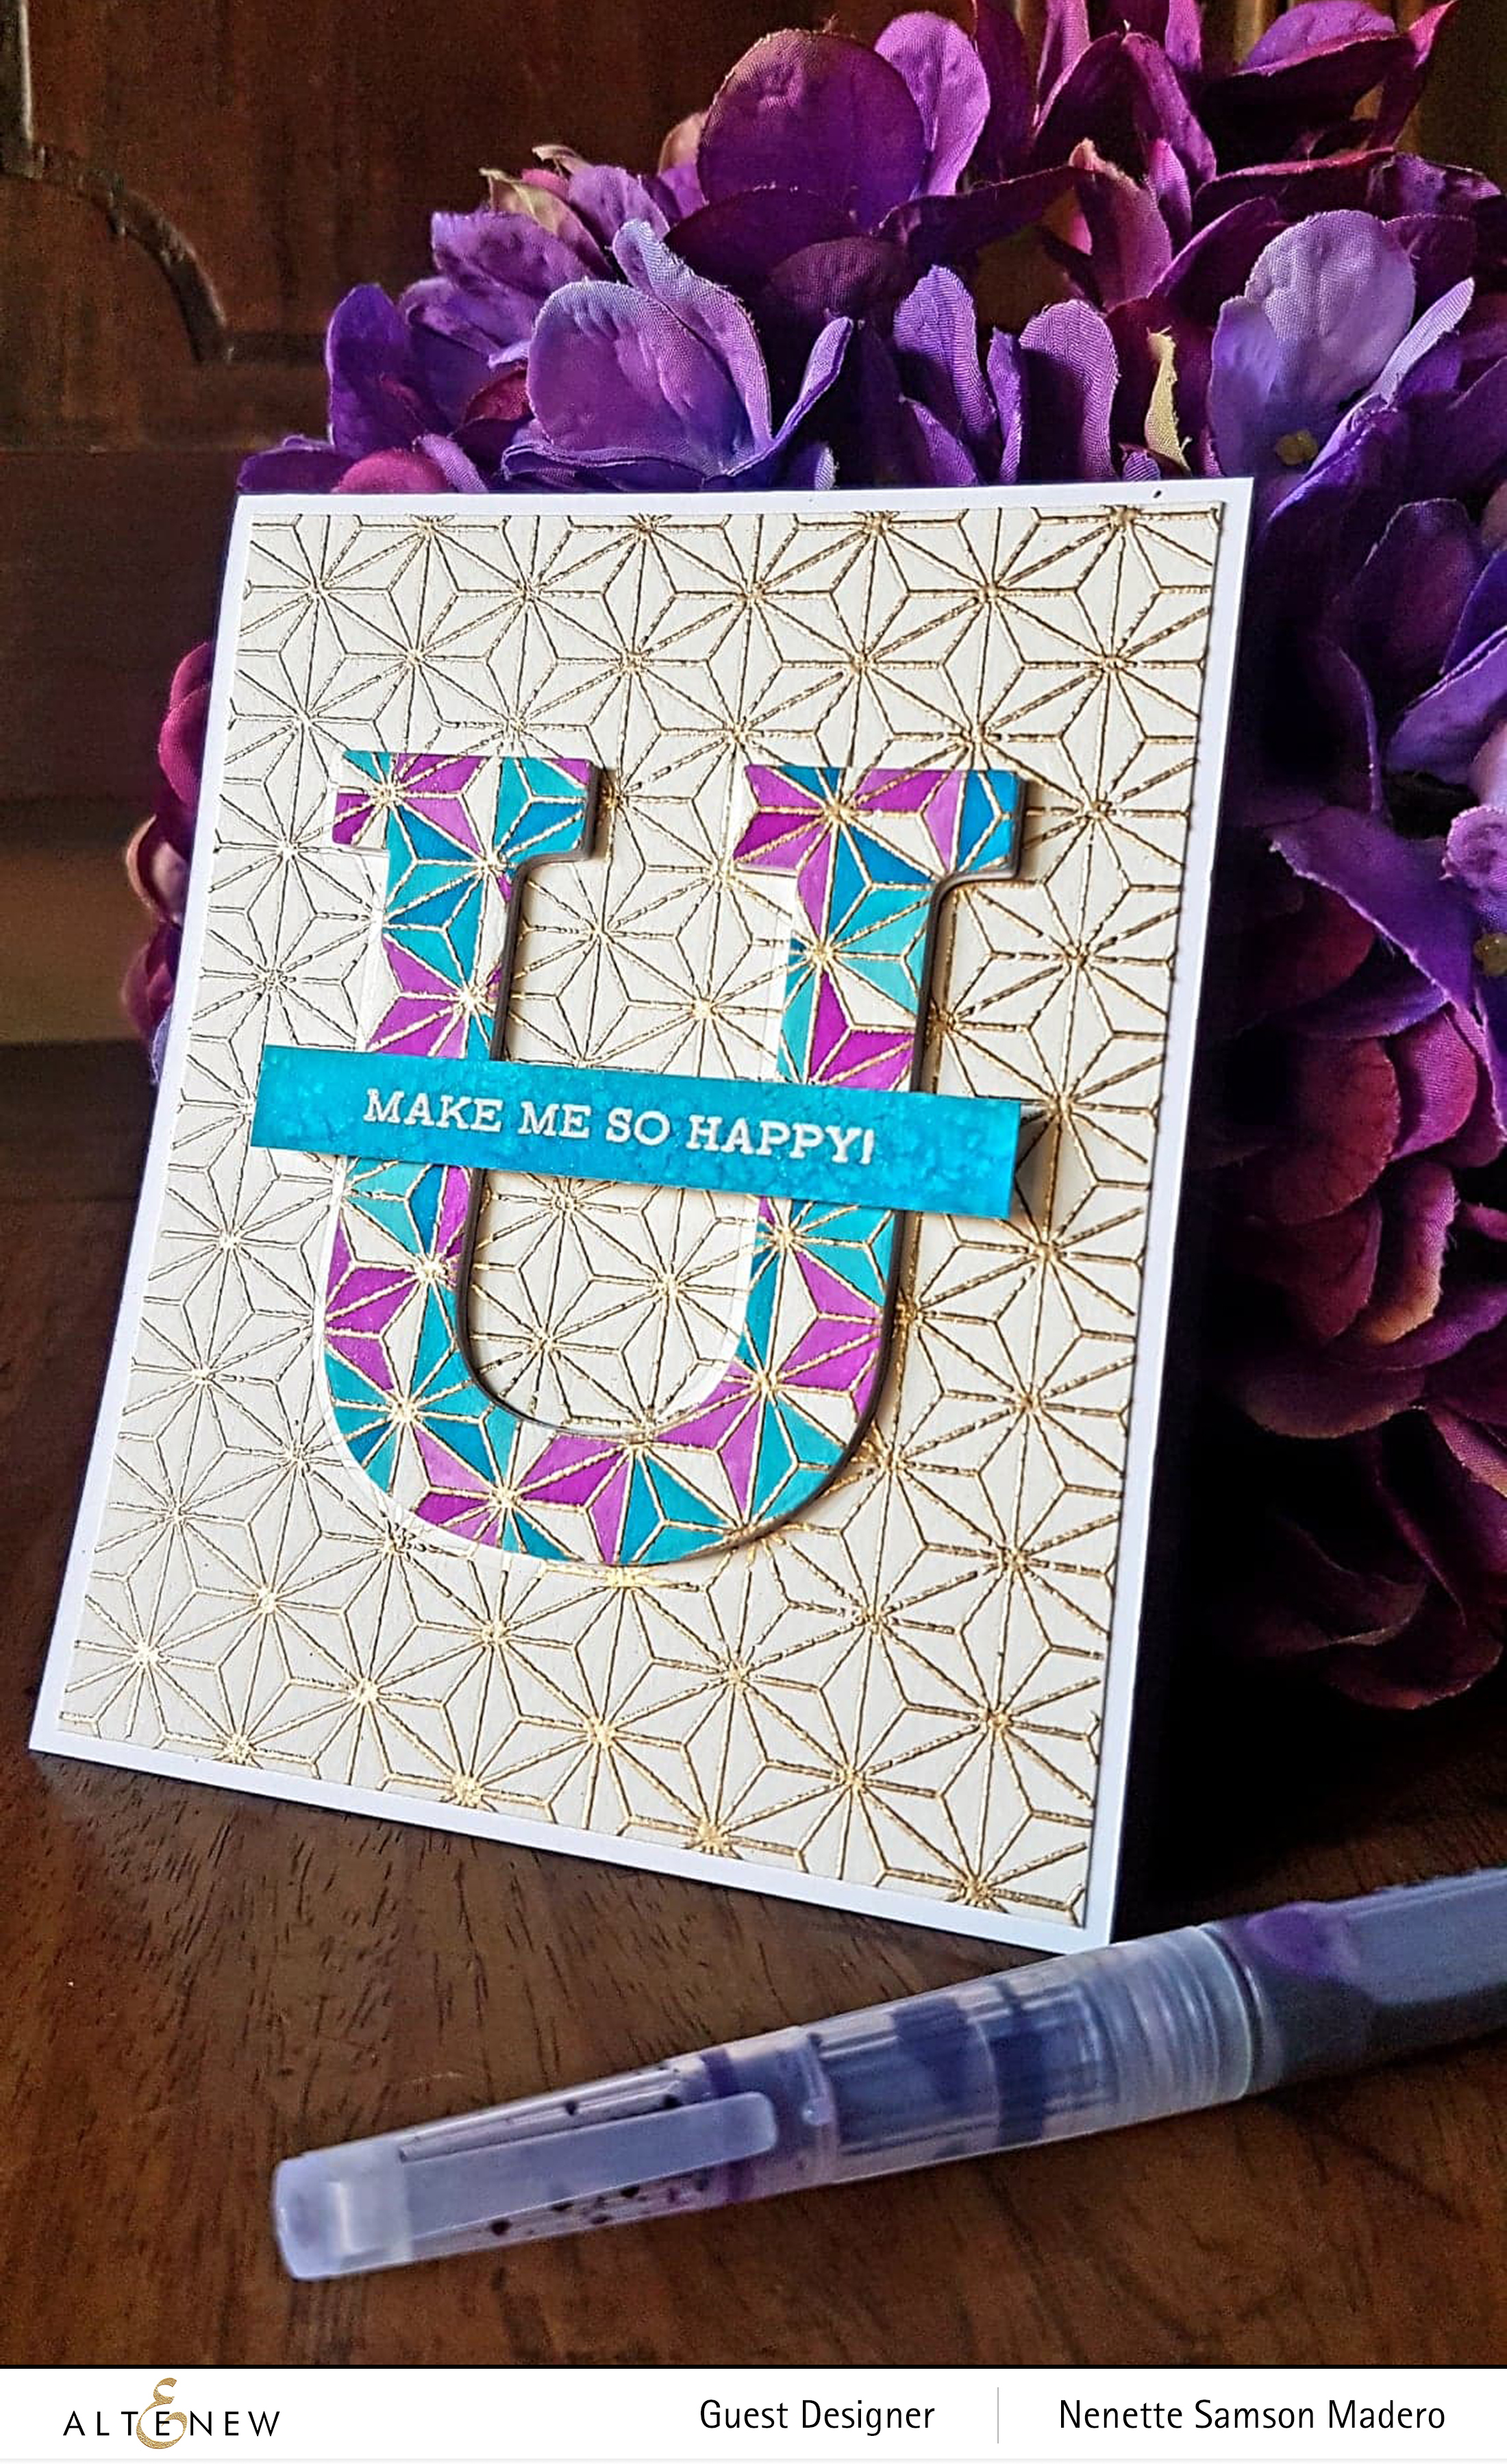
I THINK YOU’RE FABULOUS CARD
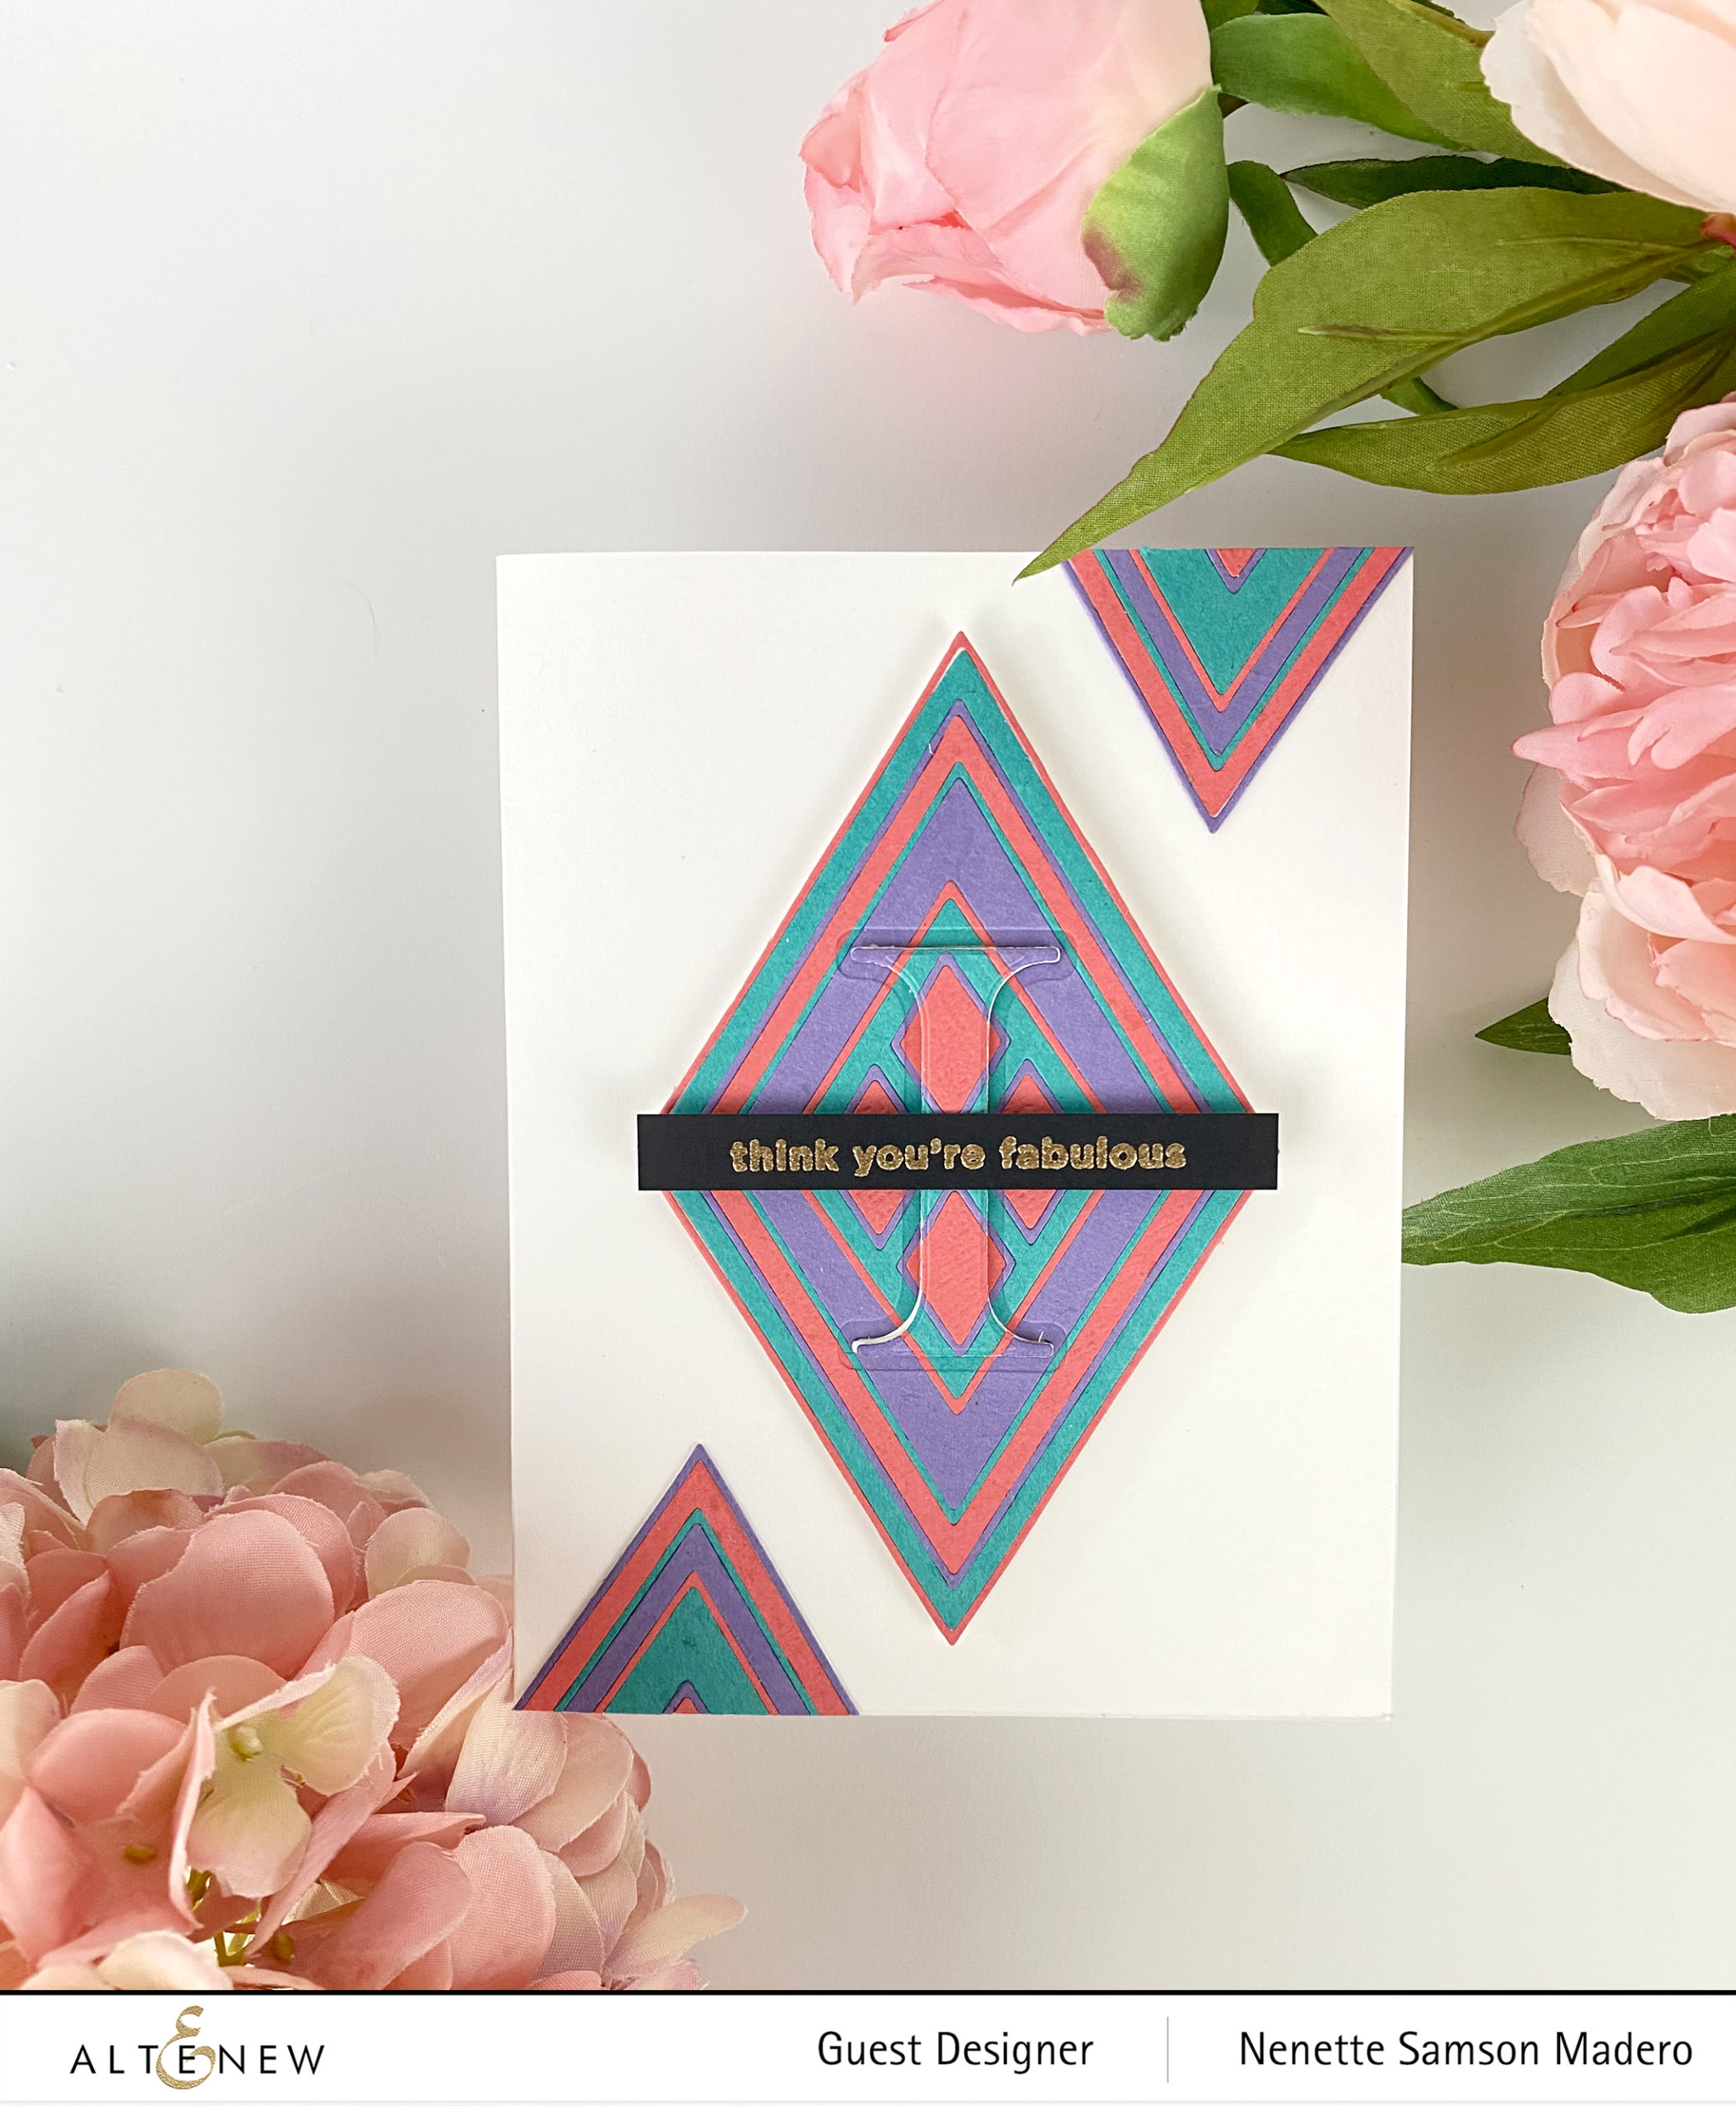
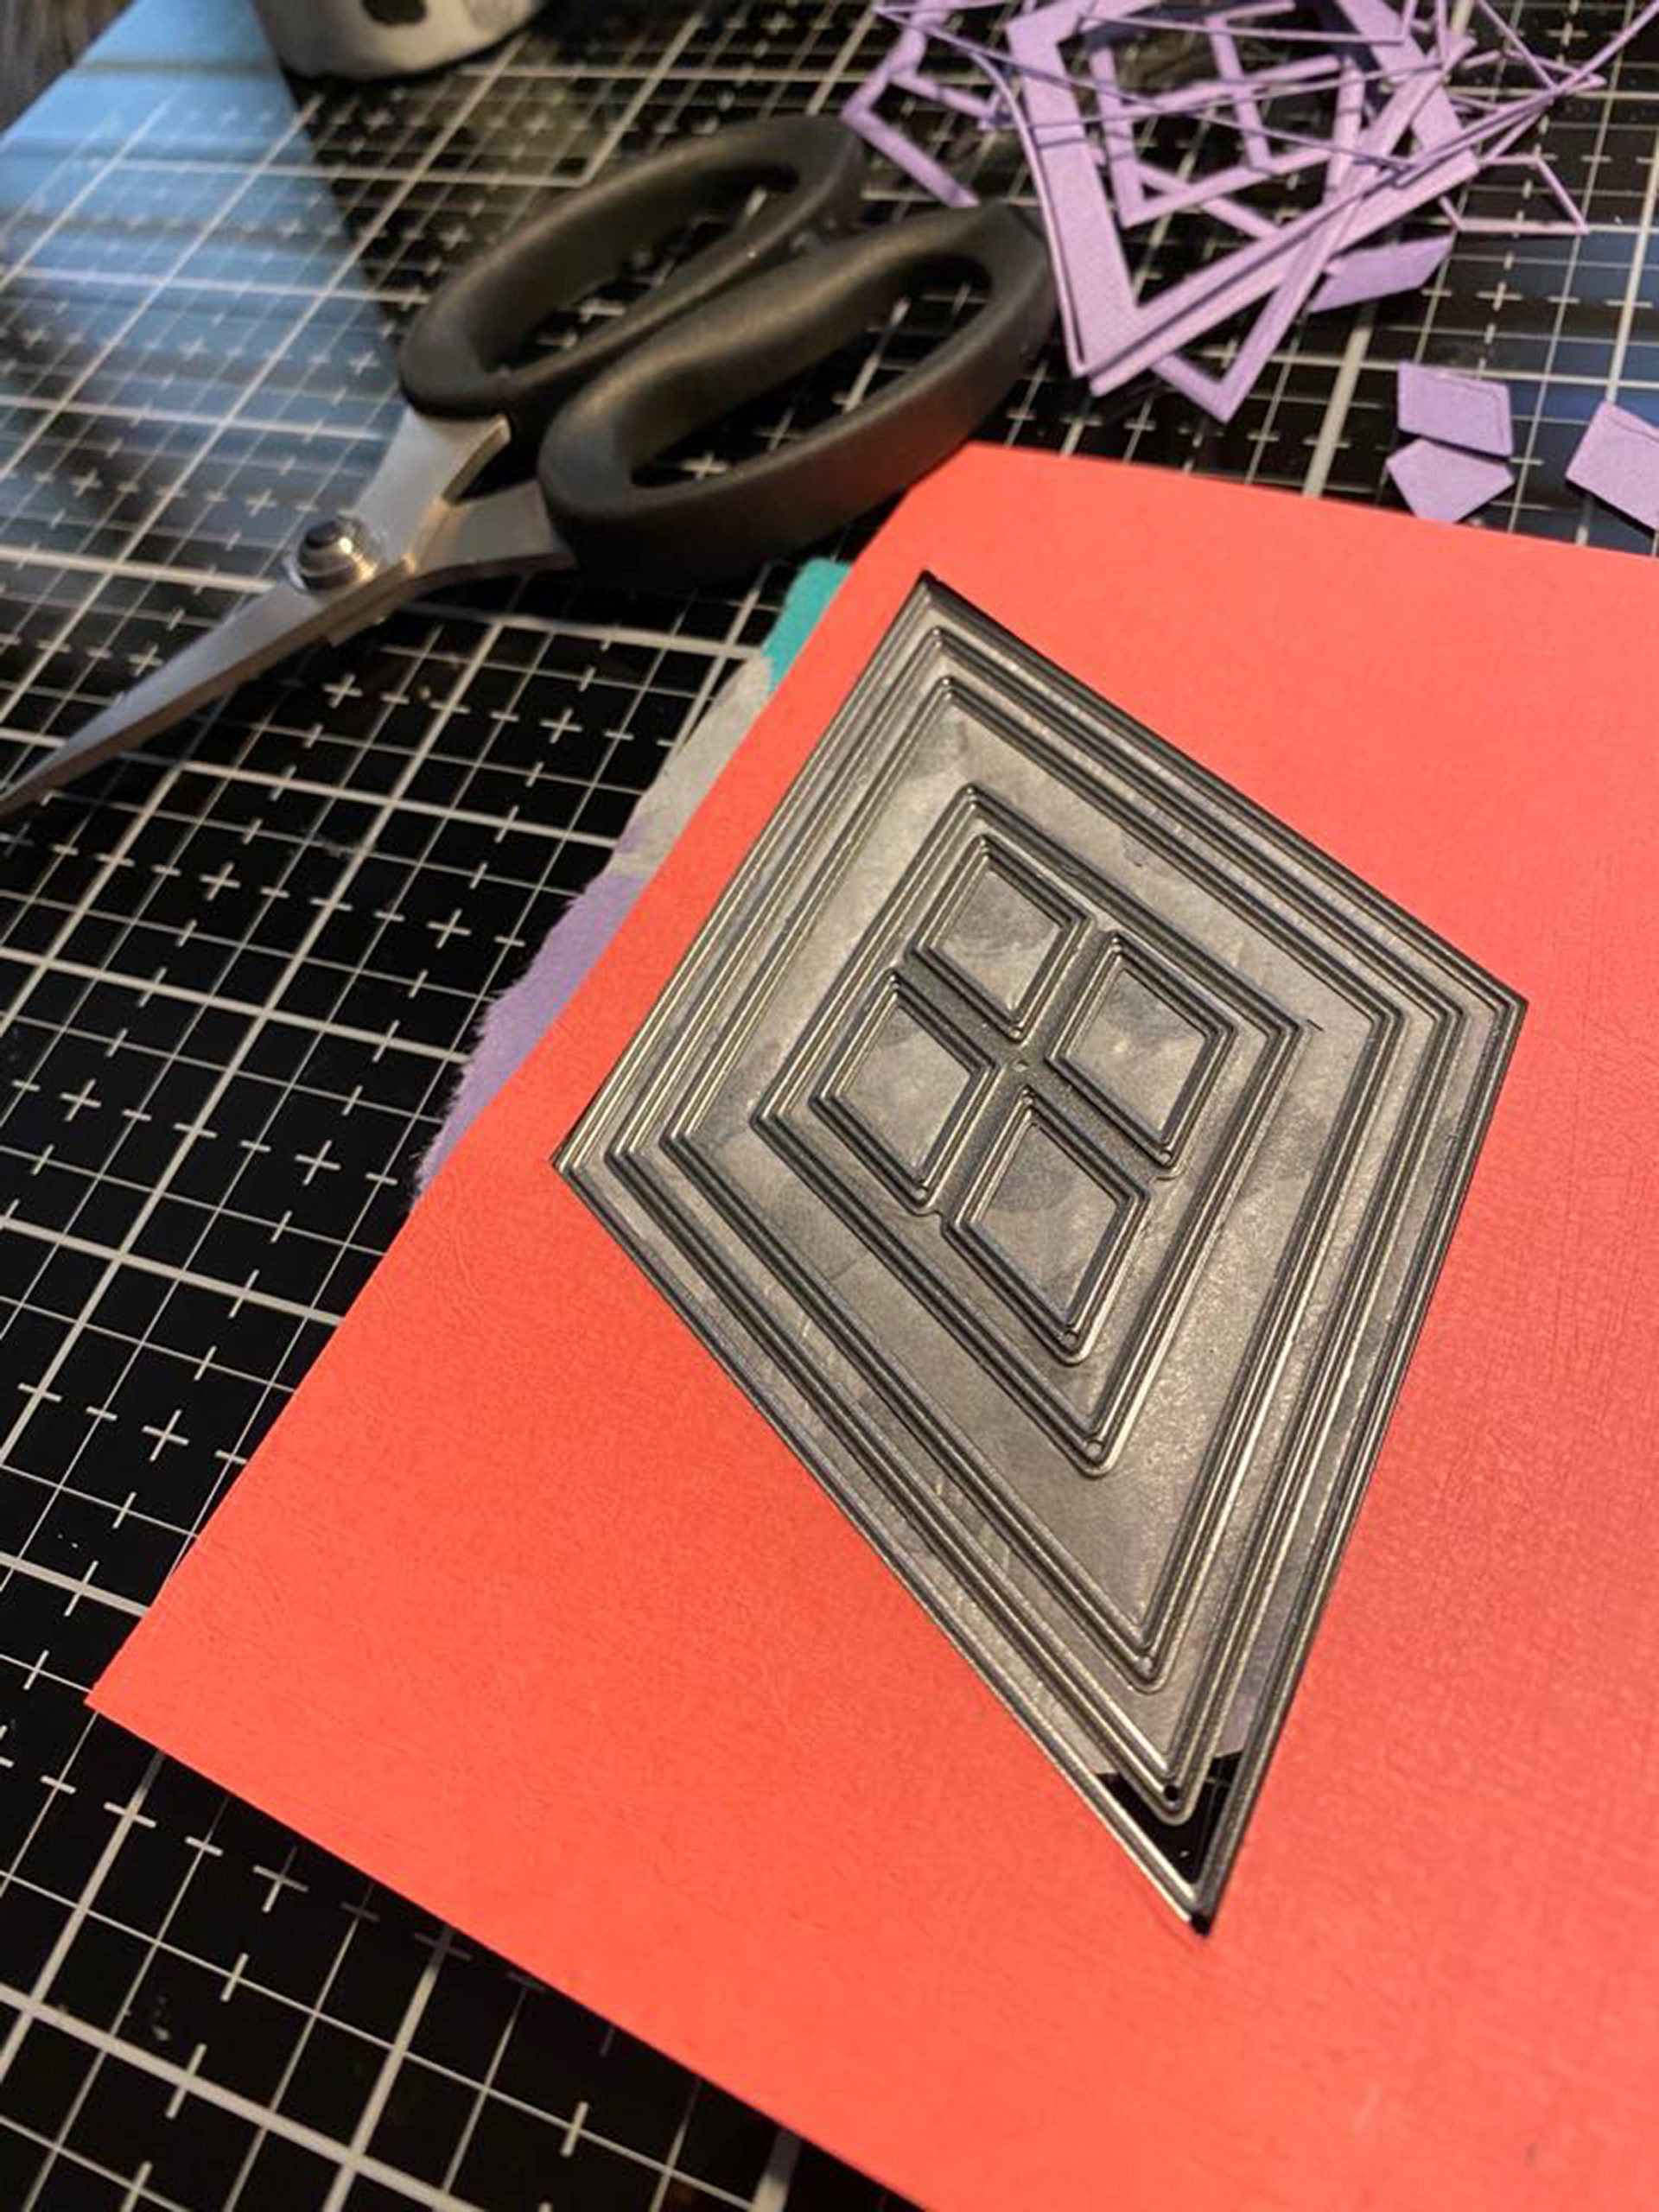
For this card, I used the Fine Frames Diamonds Die Set, The Classic Alphabet die, assorted cardstocks, Rose Gold embossing powder and Versamark ink.
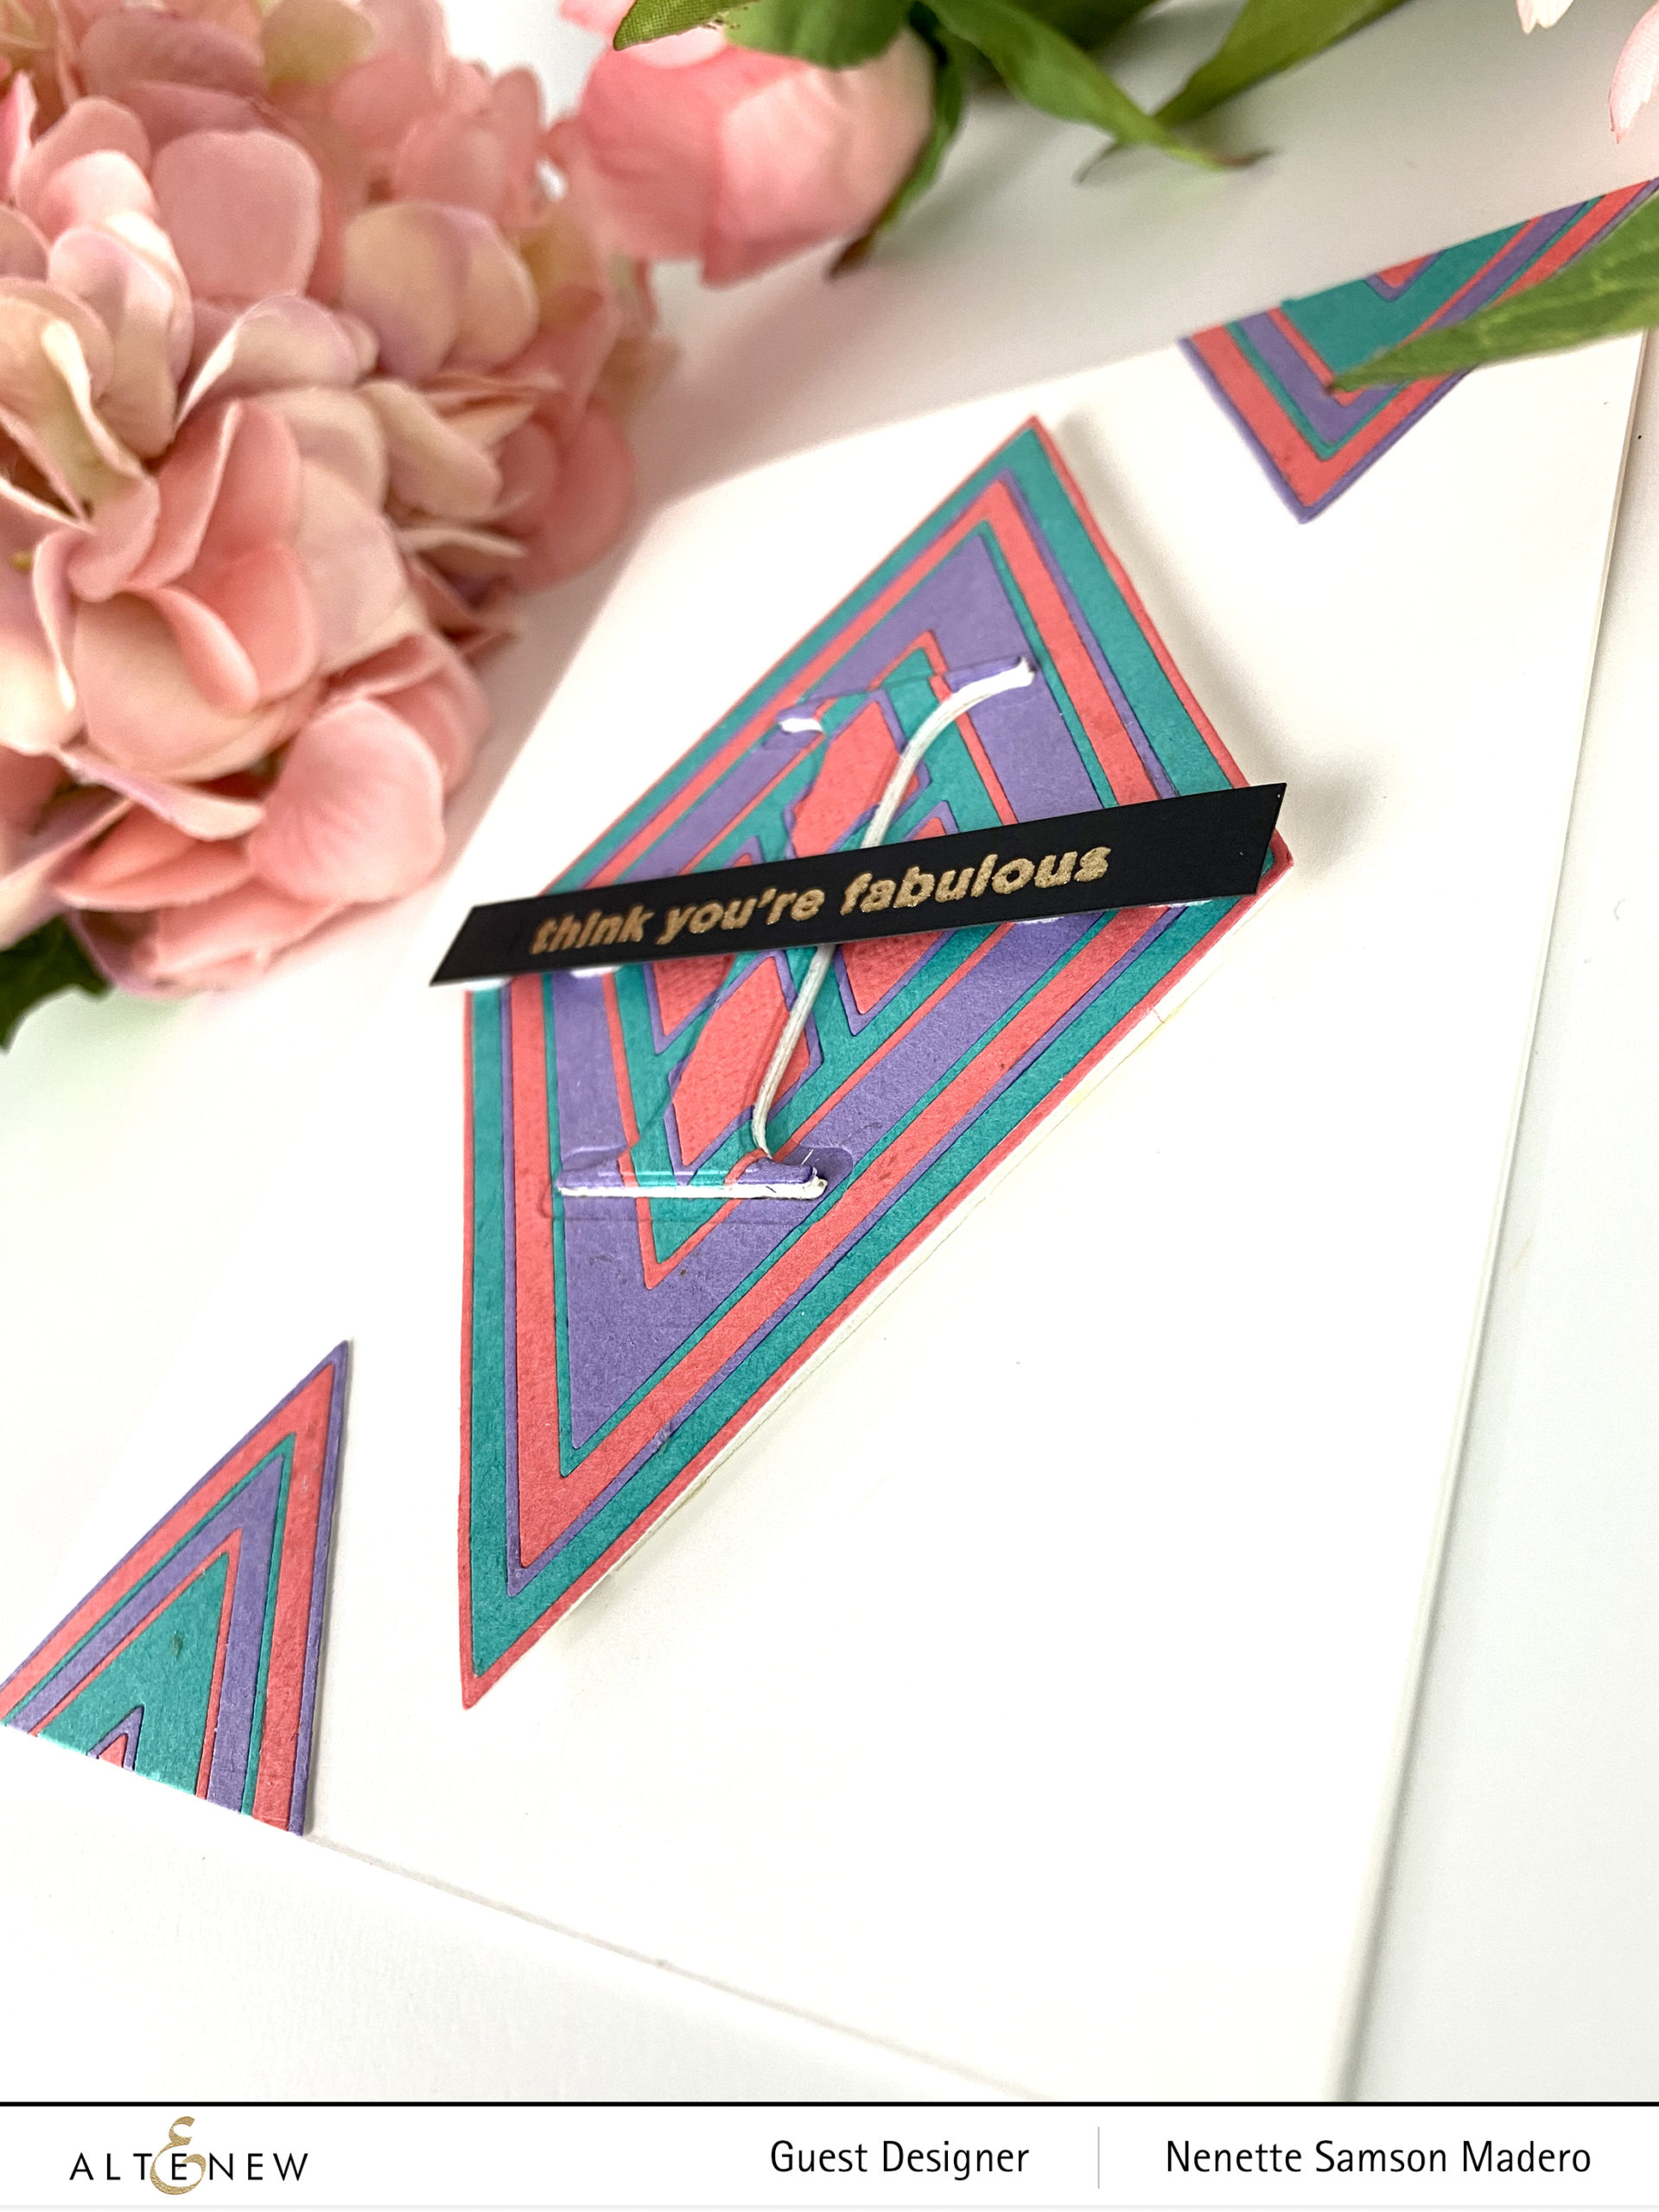
I purposely left a lot of white space so that the attention will be focused on the monogram. 3 different colors of cardstocks were cut using the Fine Frames Diamonds die set. I stuck them together using some washi tape to make sure the dies don’t move so that I can cut different colors of cardstock with the same widths of frames.
I then interchanged the colors to come up with a nice pattern. These were glued onto white cardstock. The letter I was die-cut in the middle of the frames and 4 more were die cut and layered to give it dimension. The sentiment was stamped on black cardstock and embossed in gold. Since I was able to create 3 diamonds mix-matching the papers, I made use of one and added the tips to both top and bottom to balance out the card.
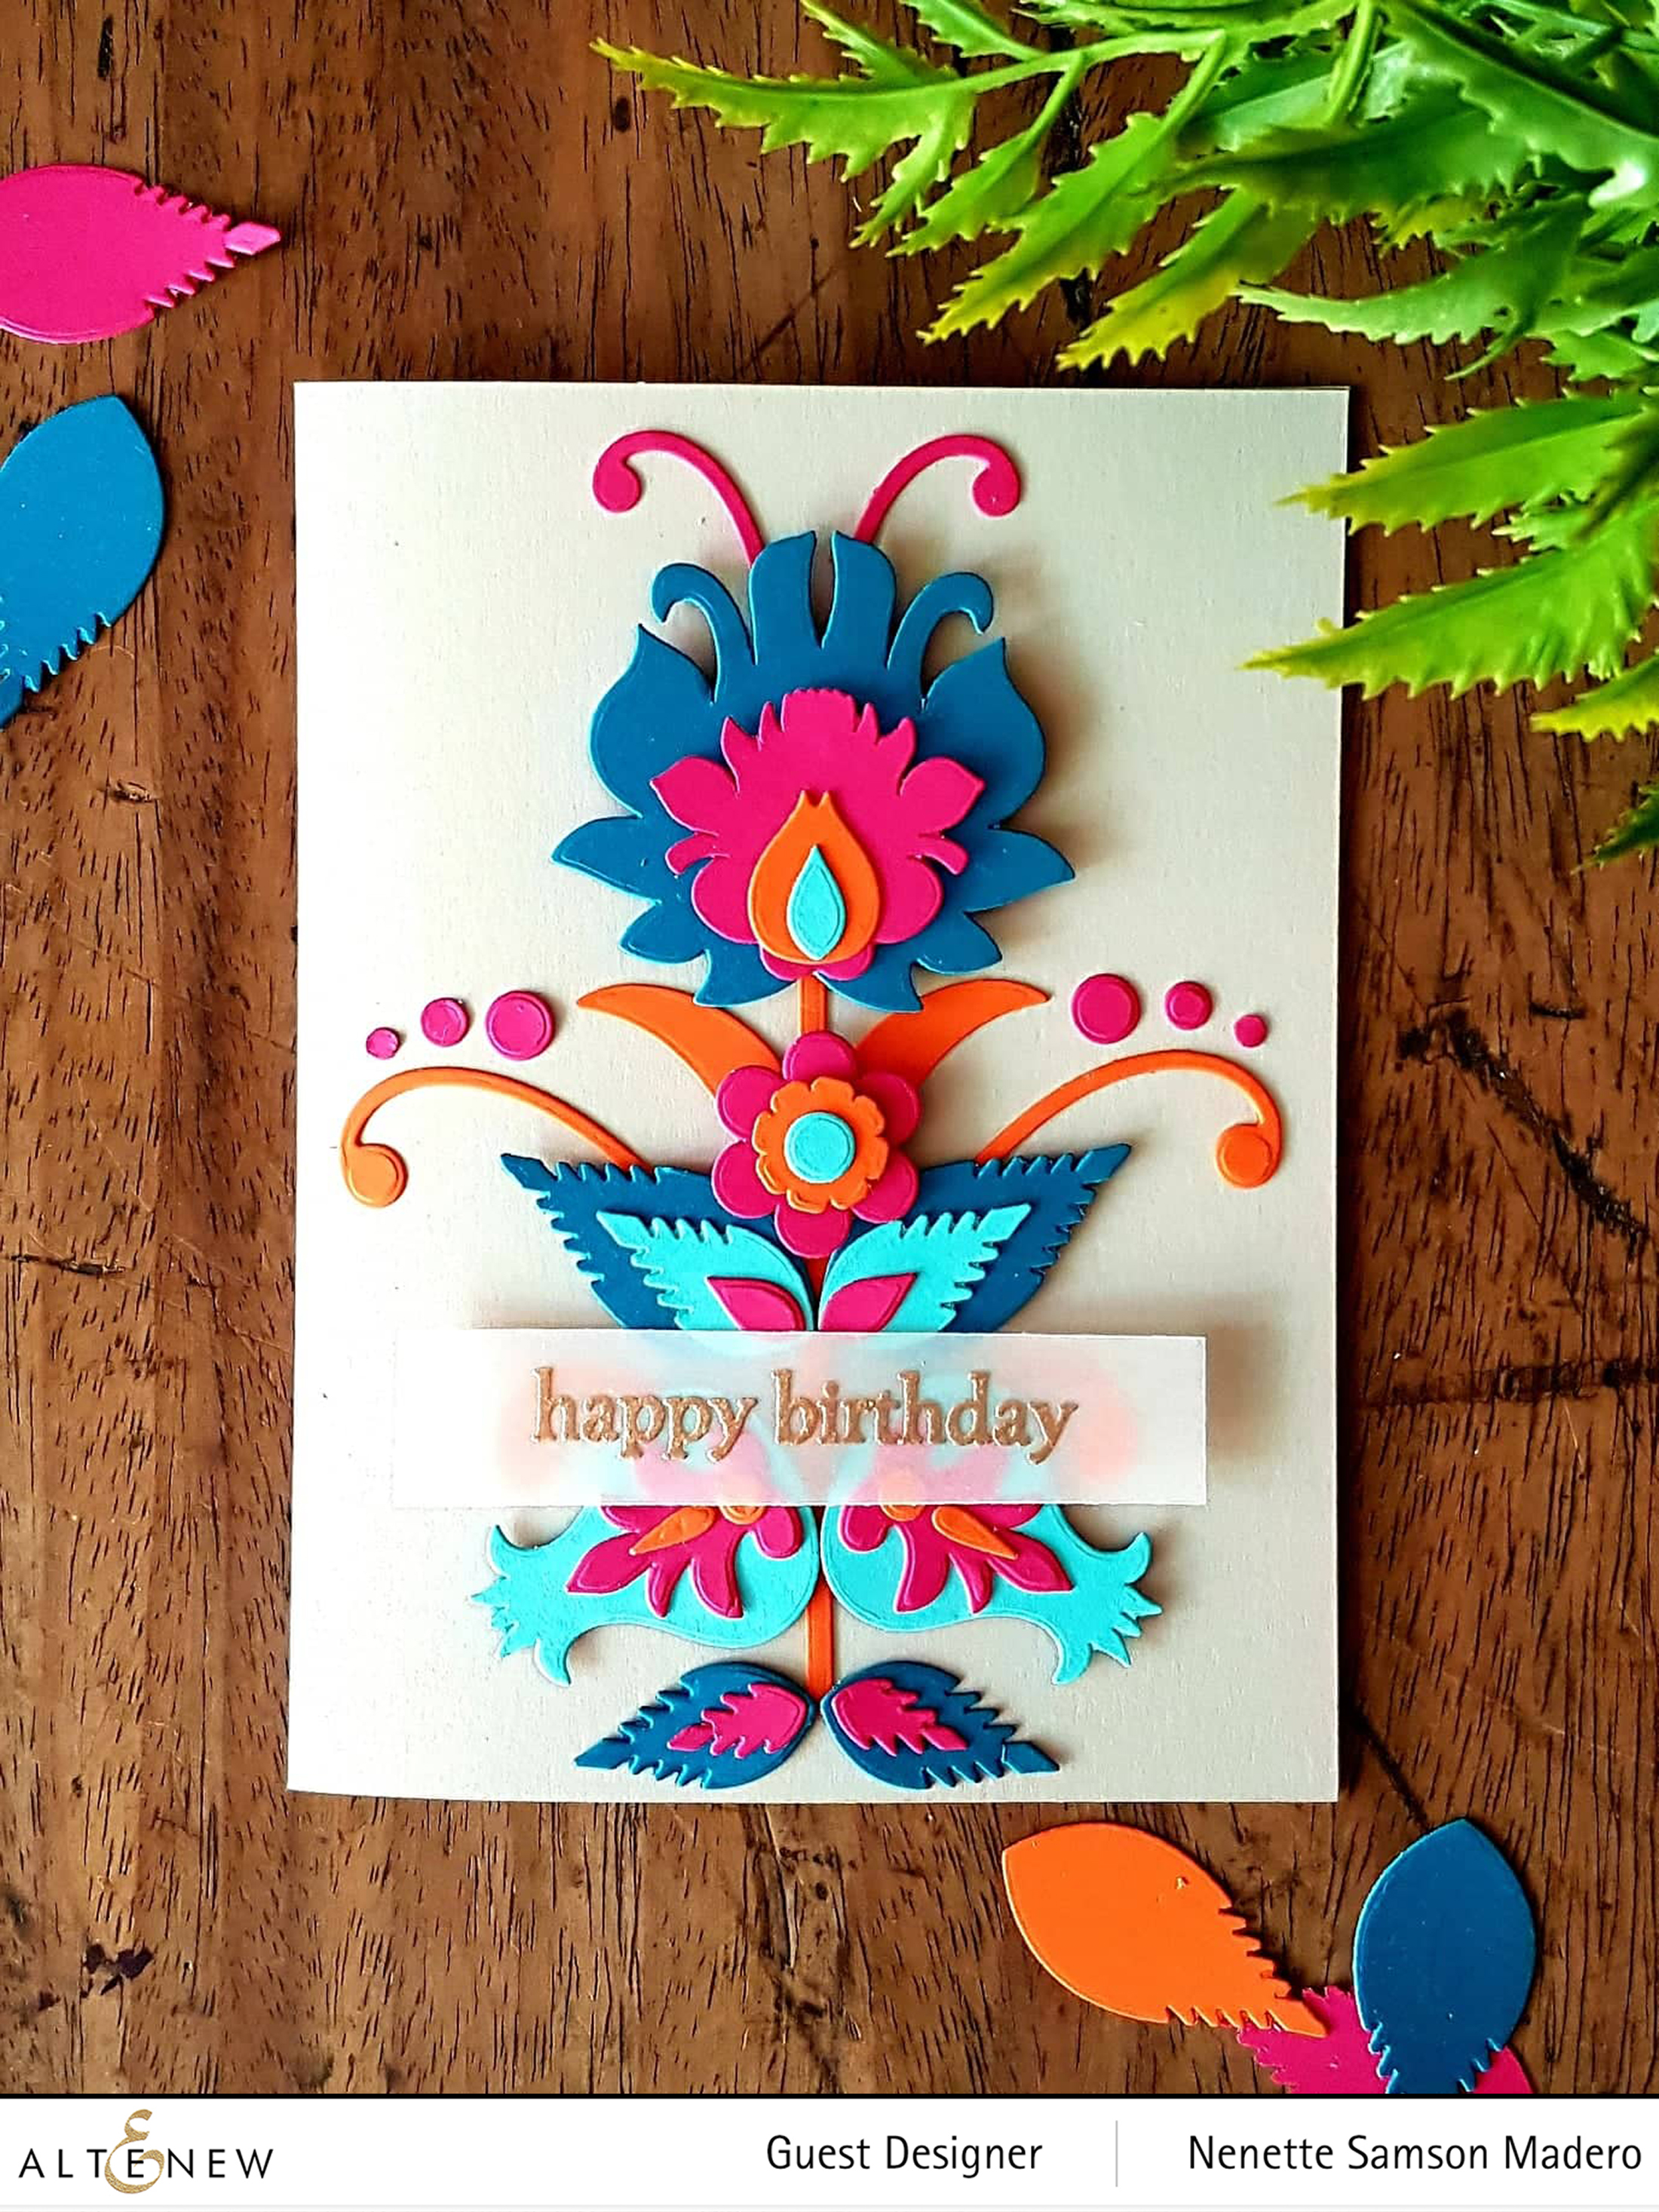
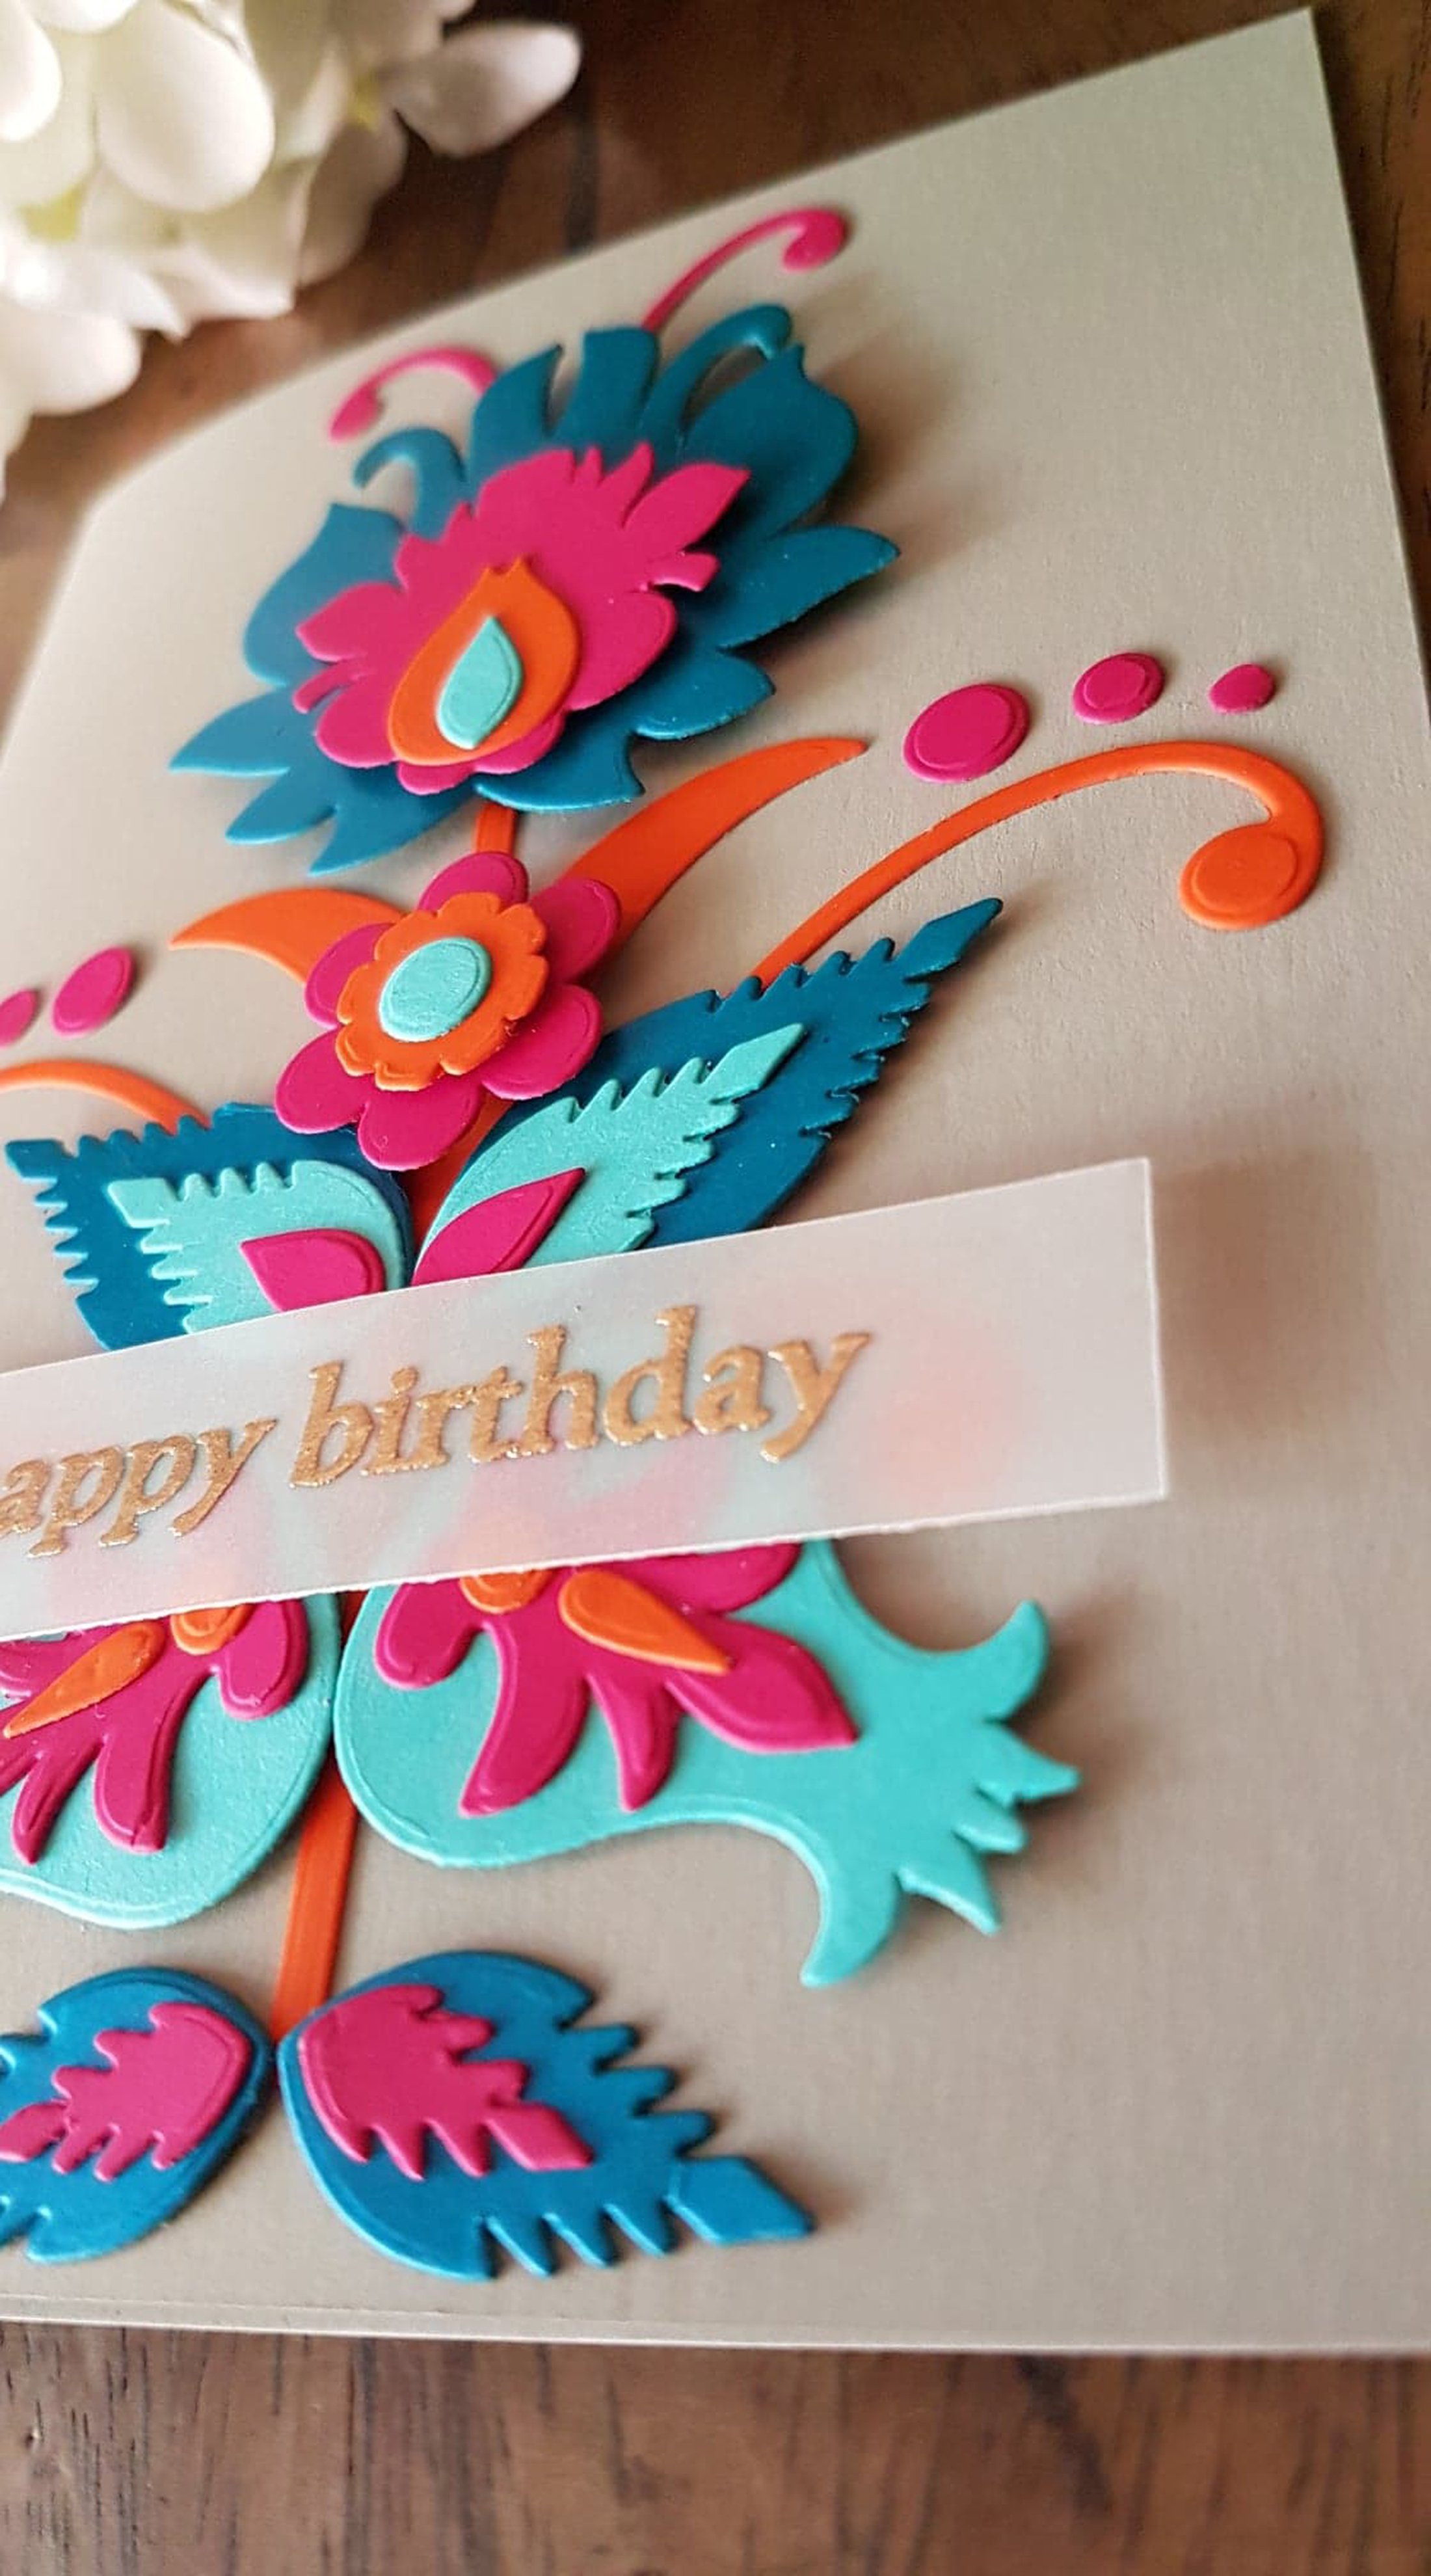
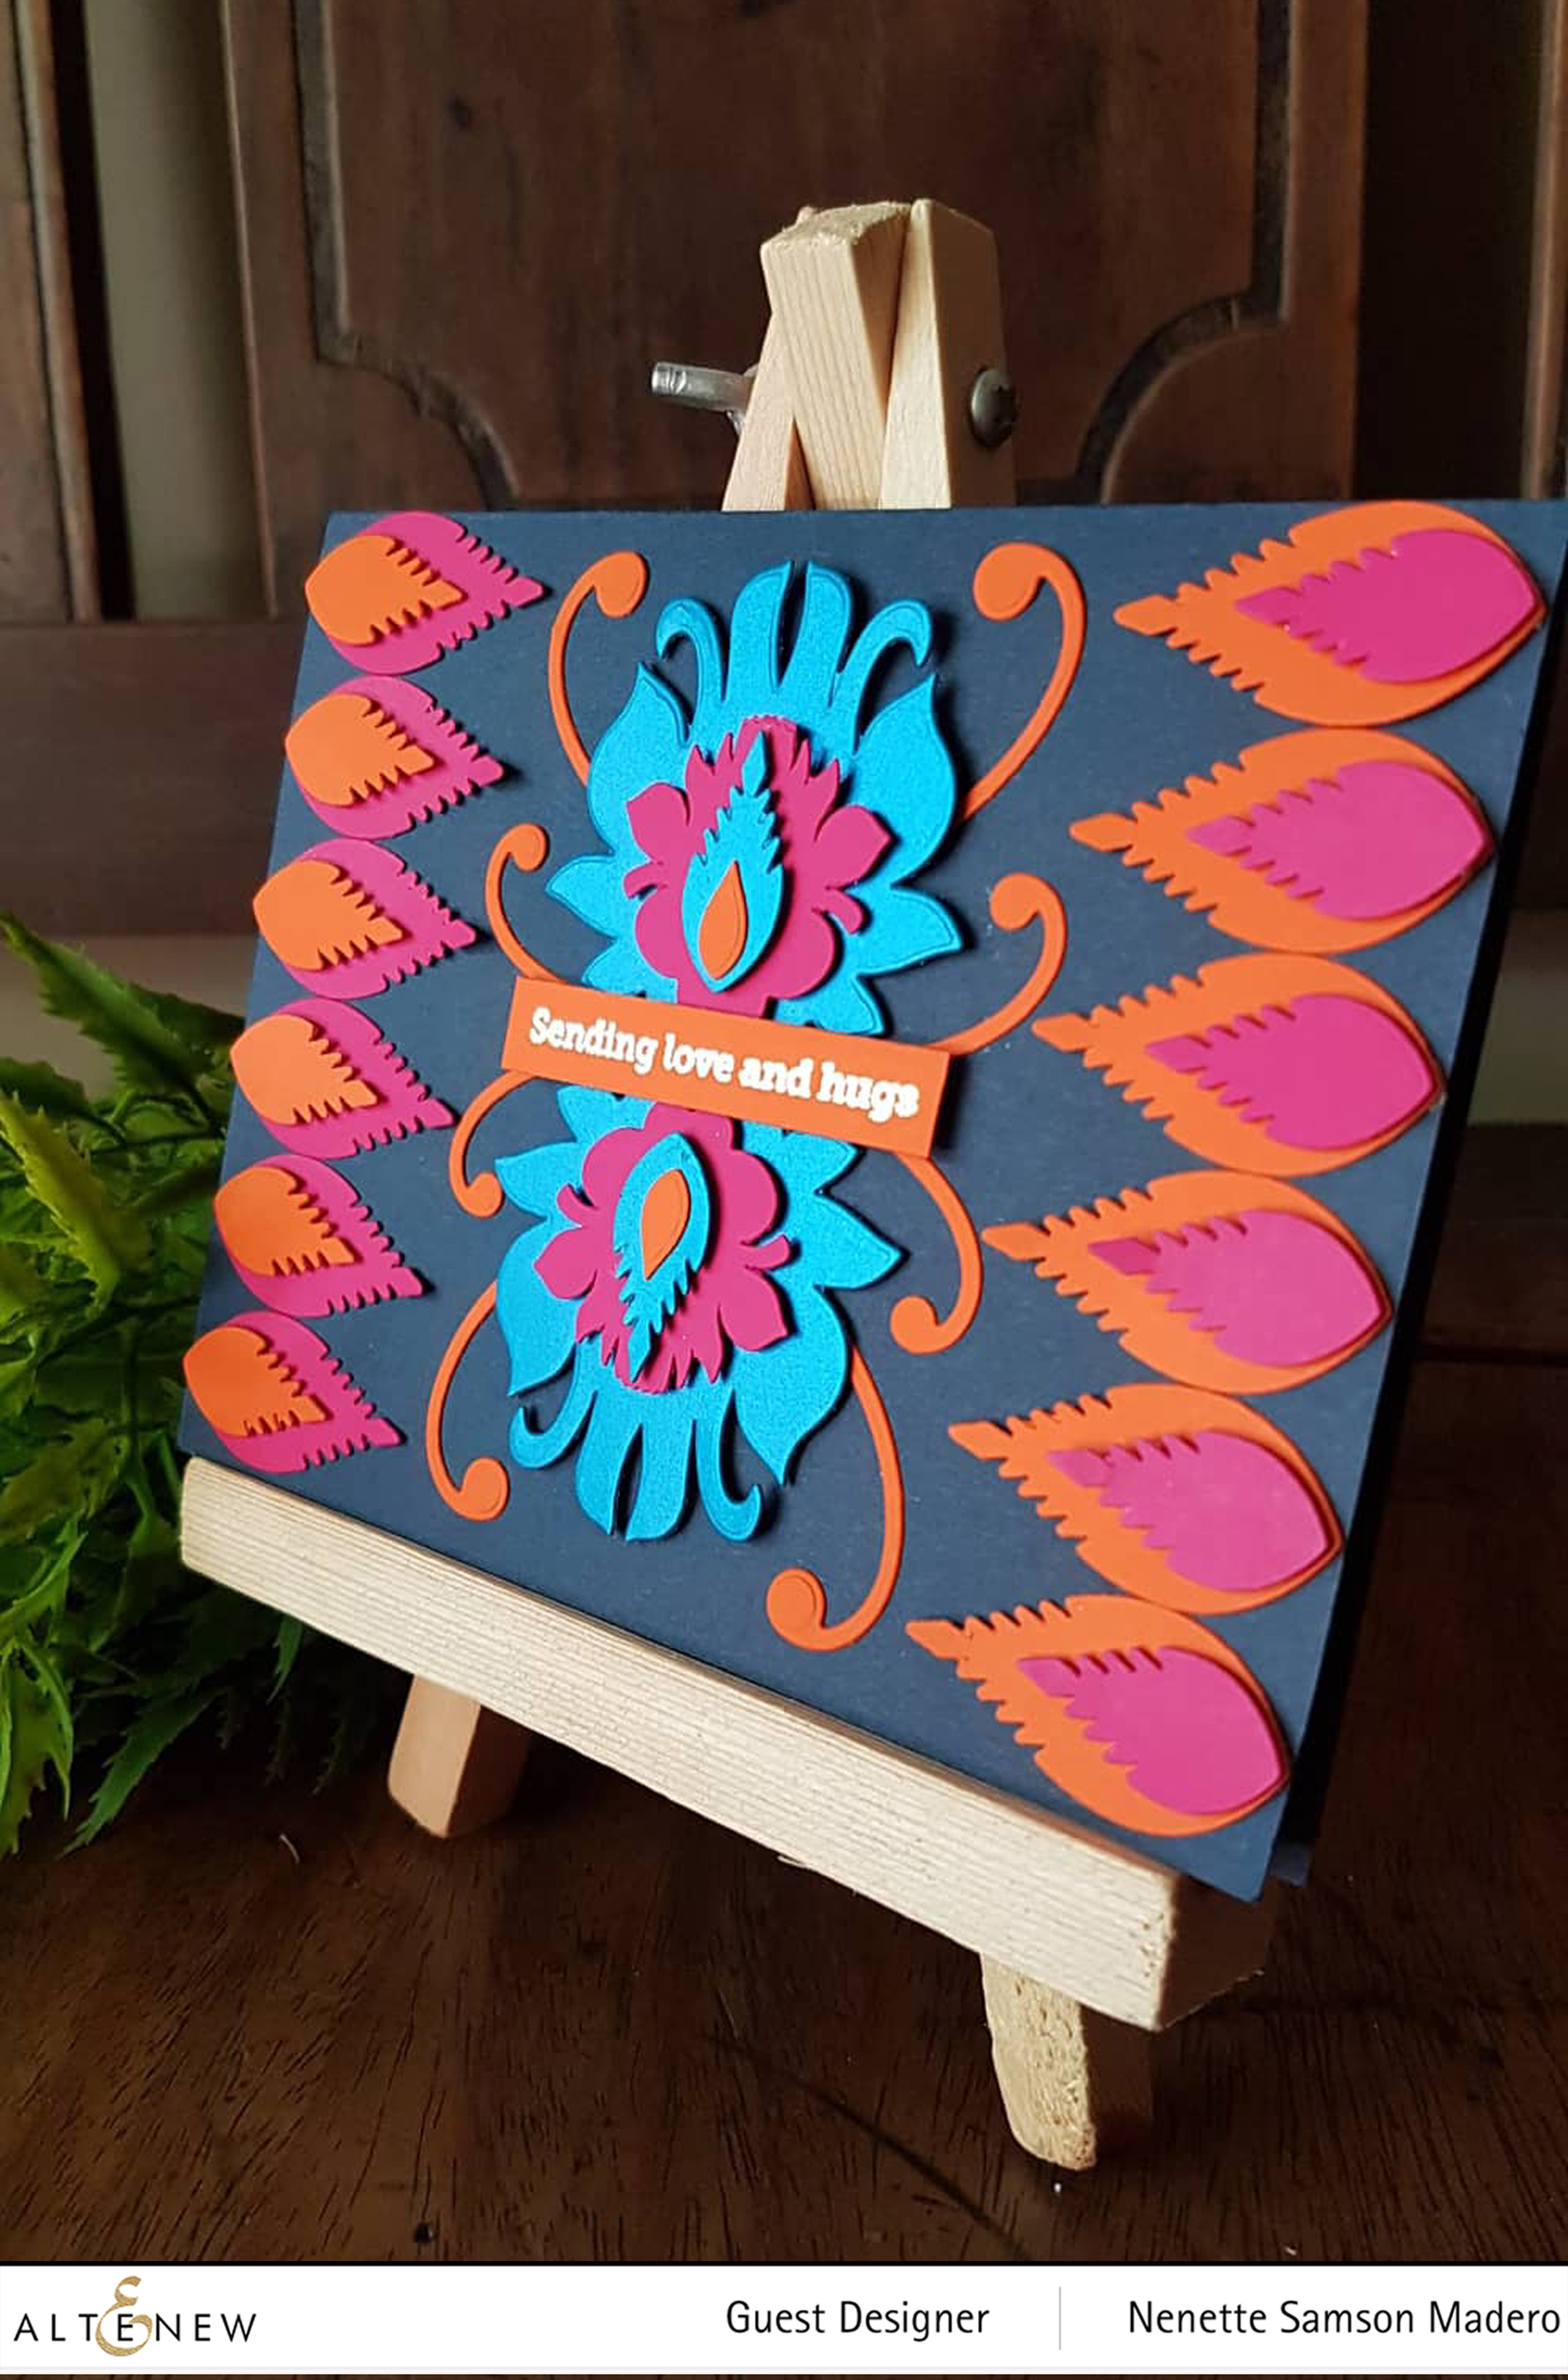
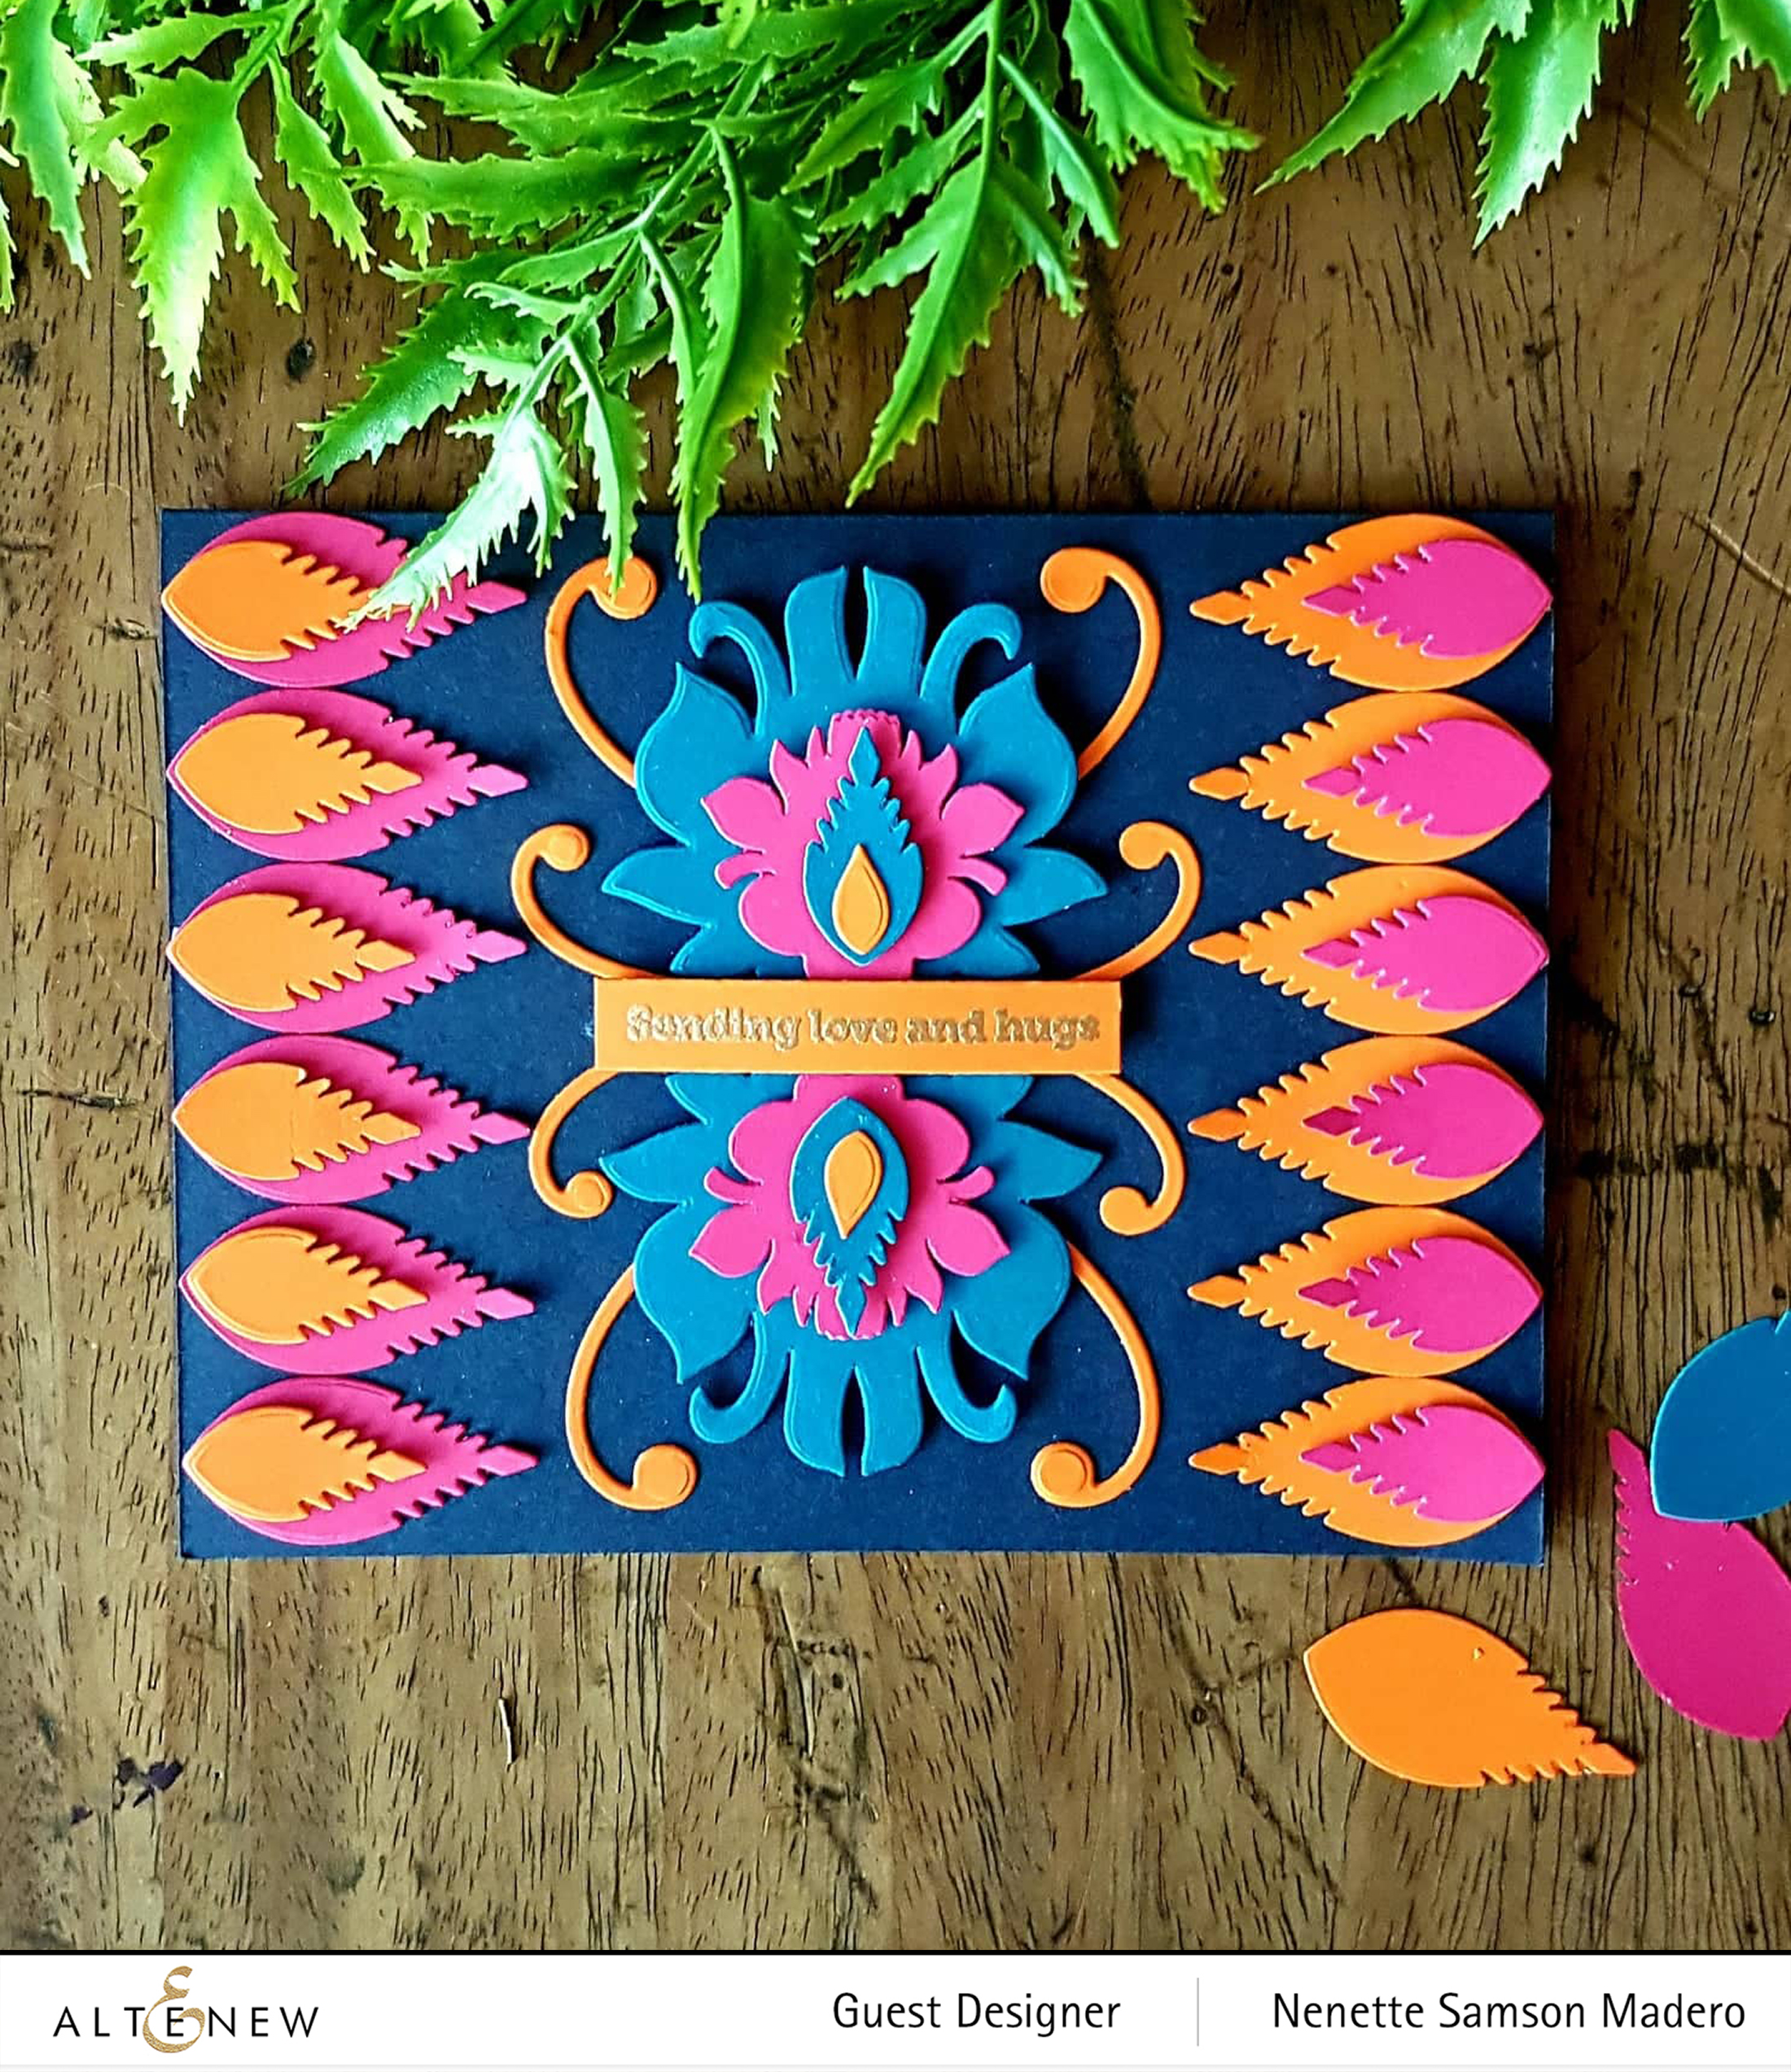
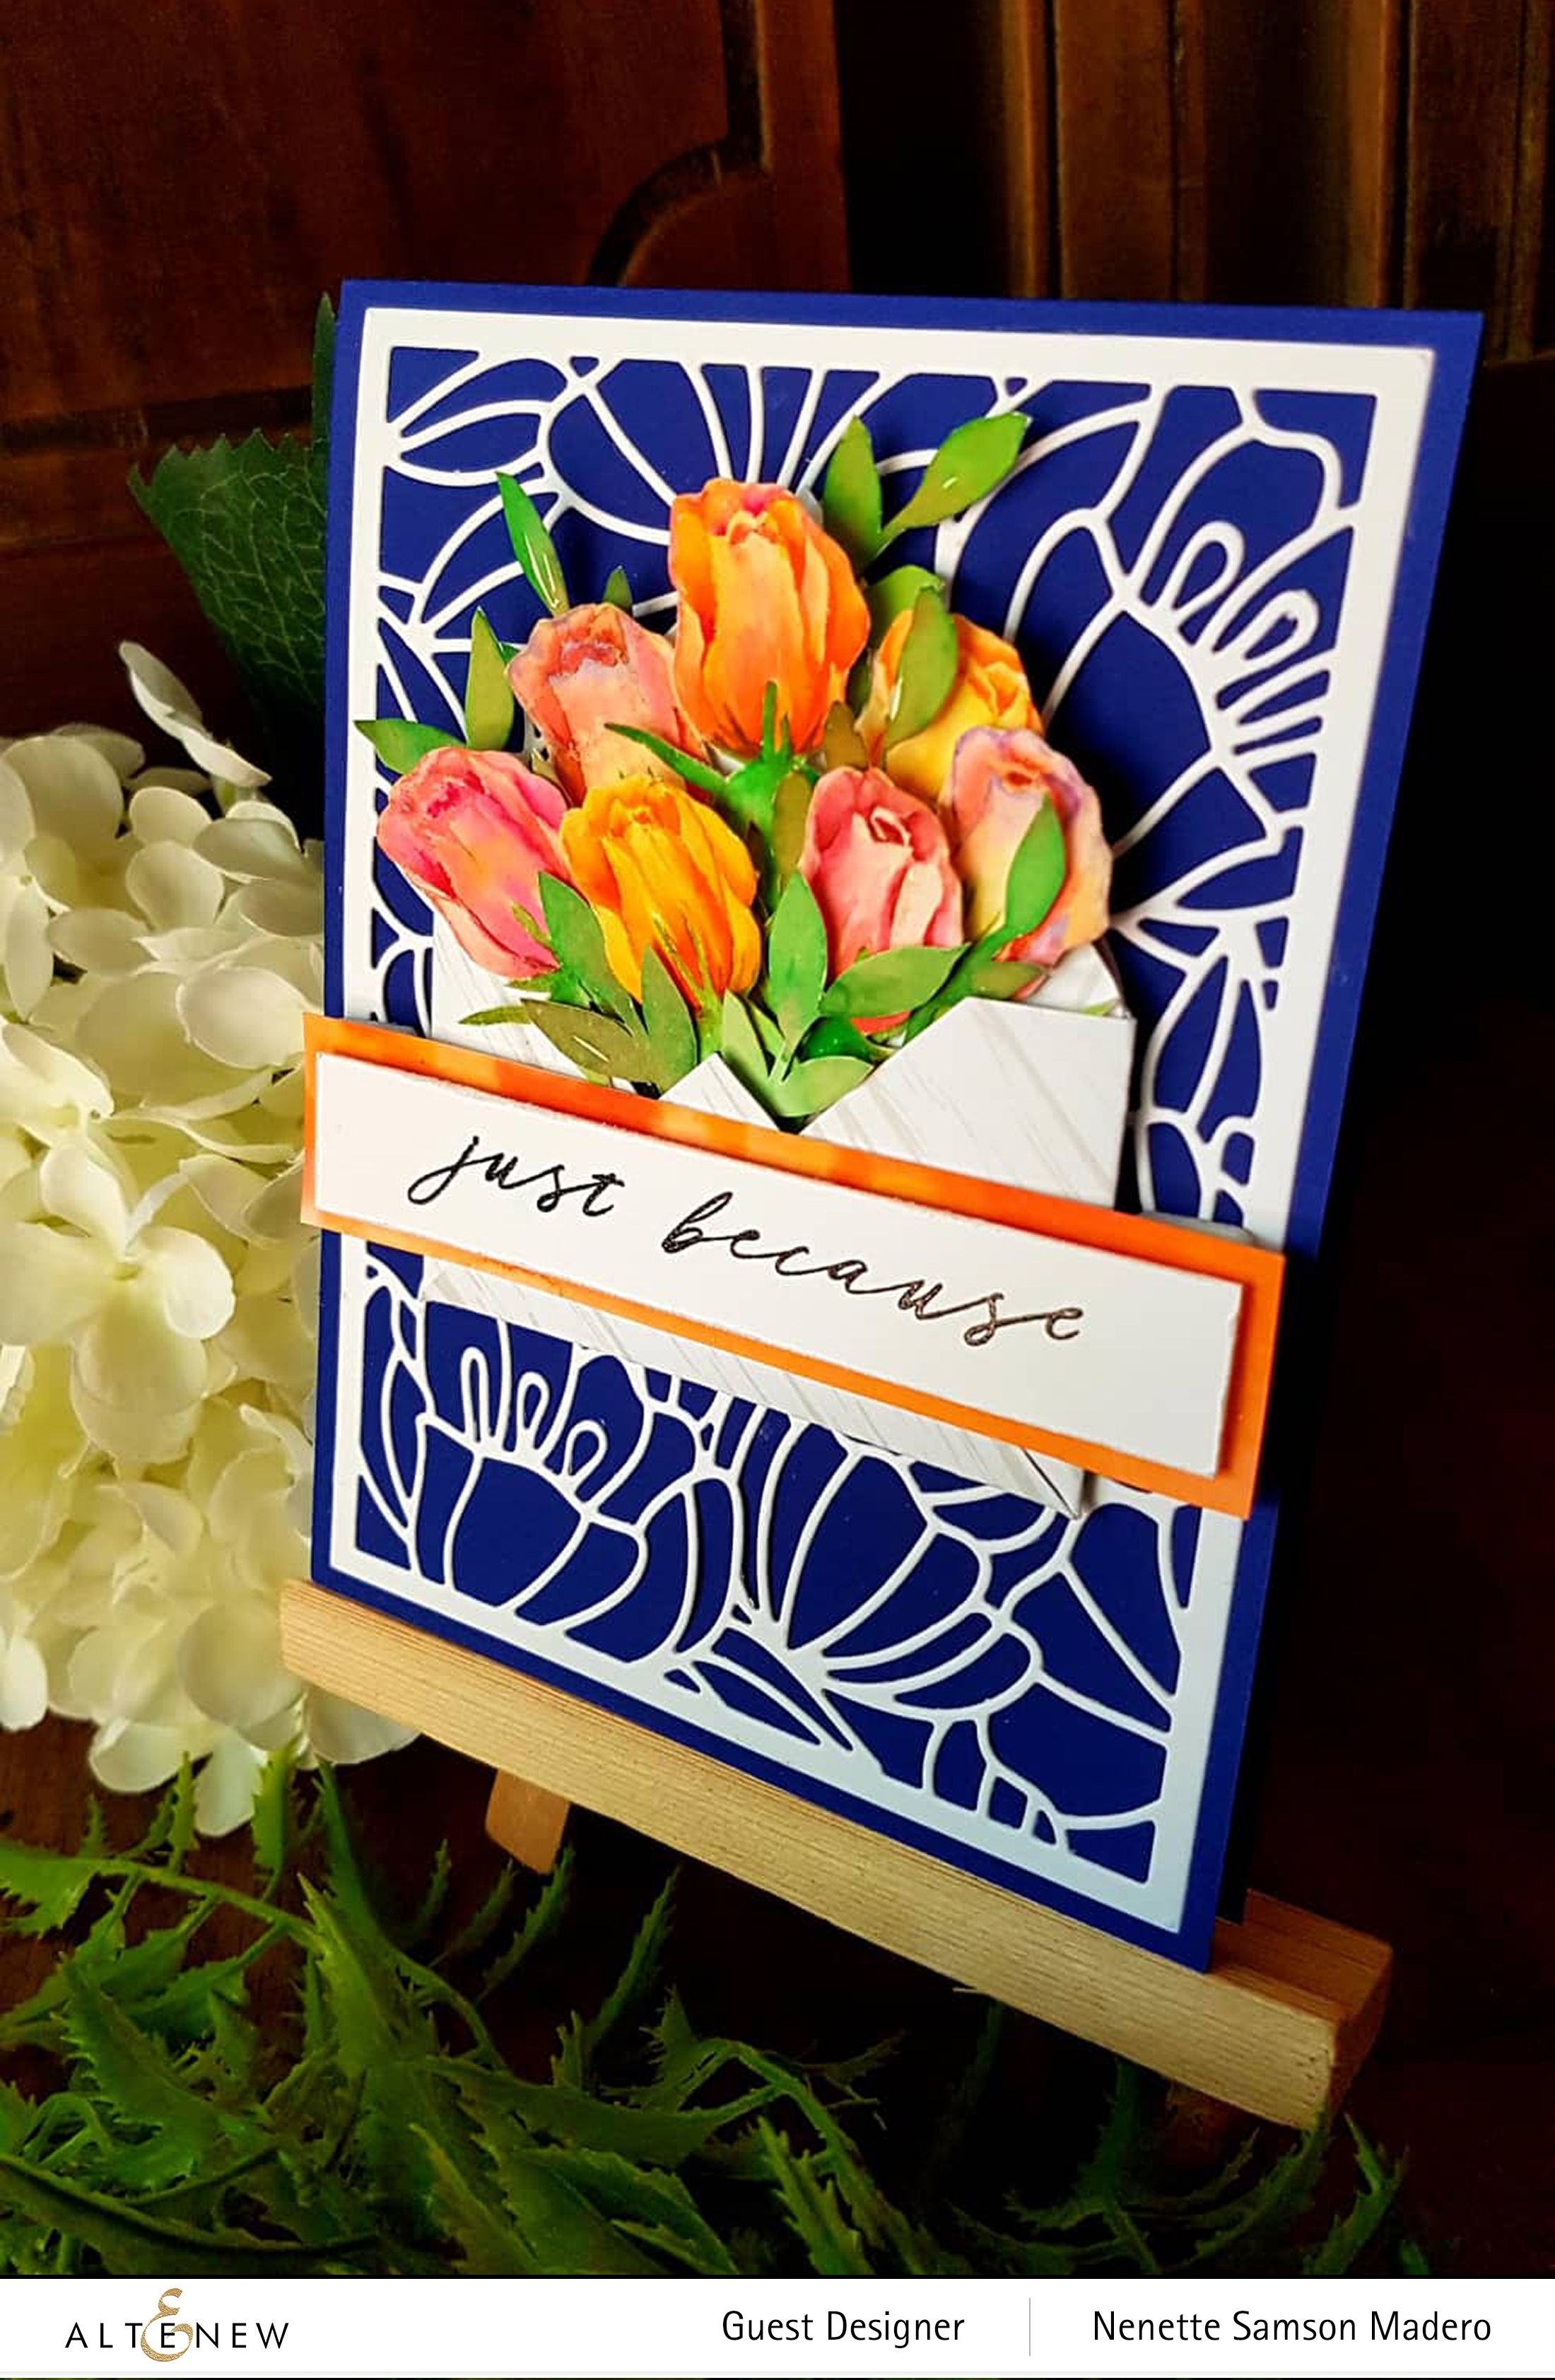
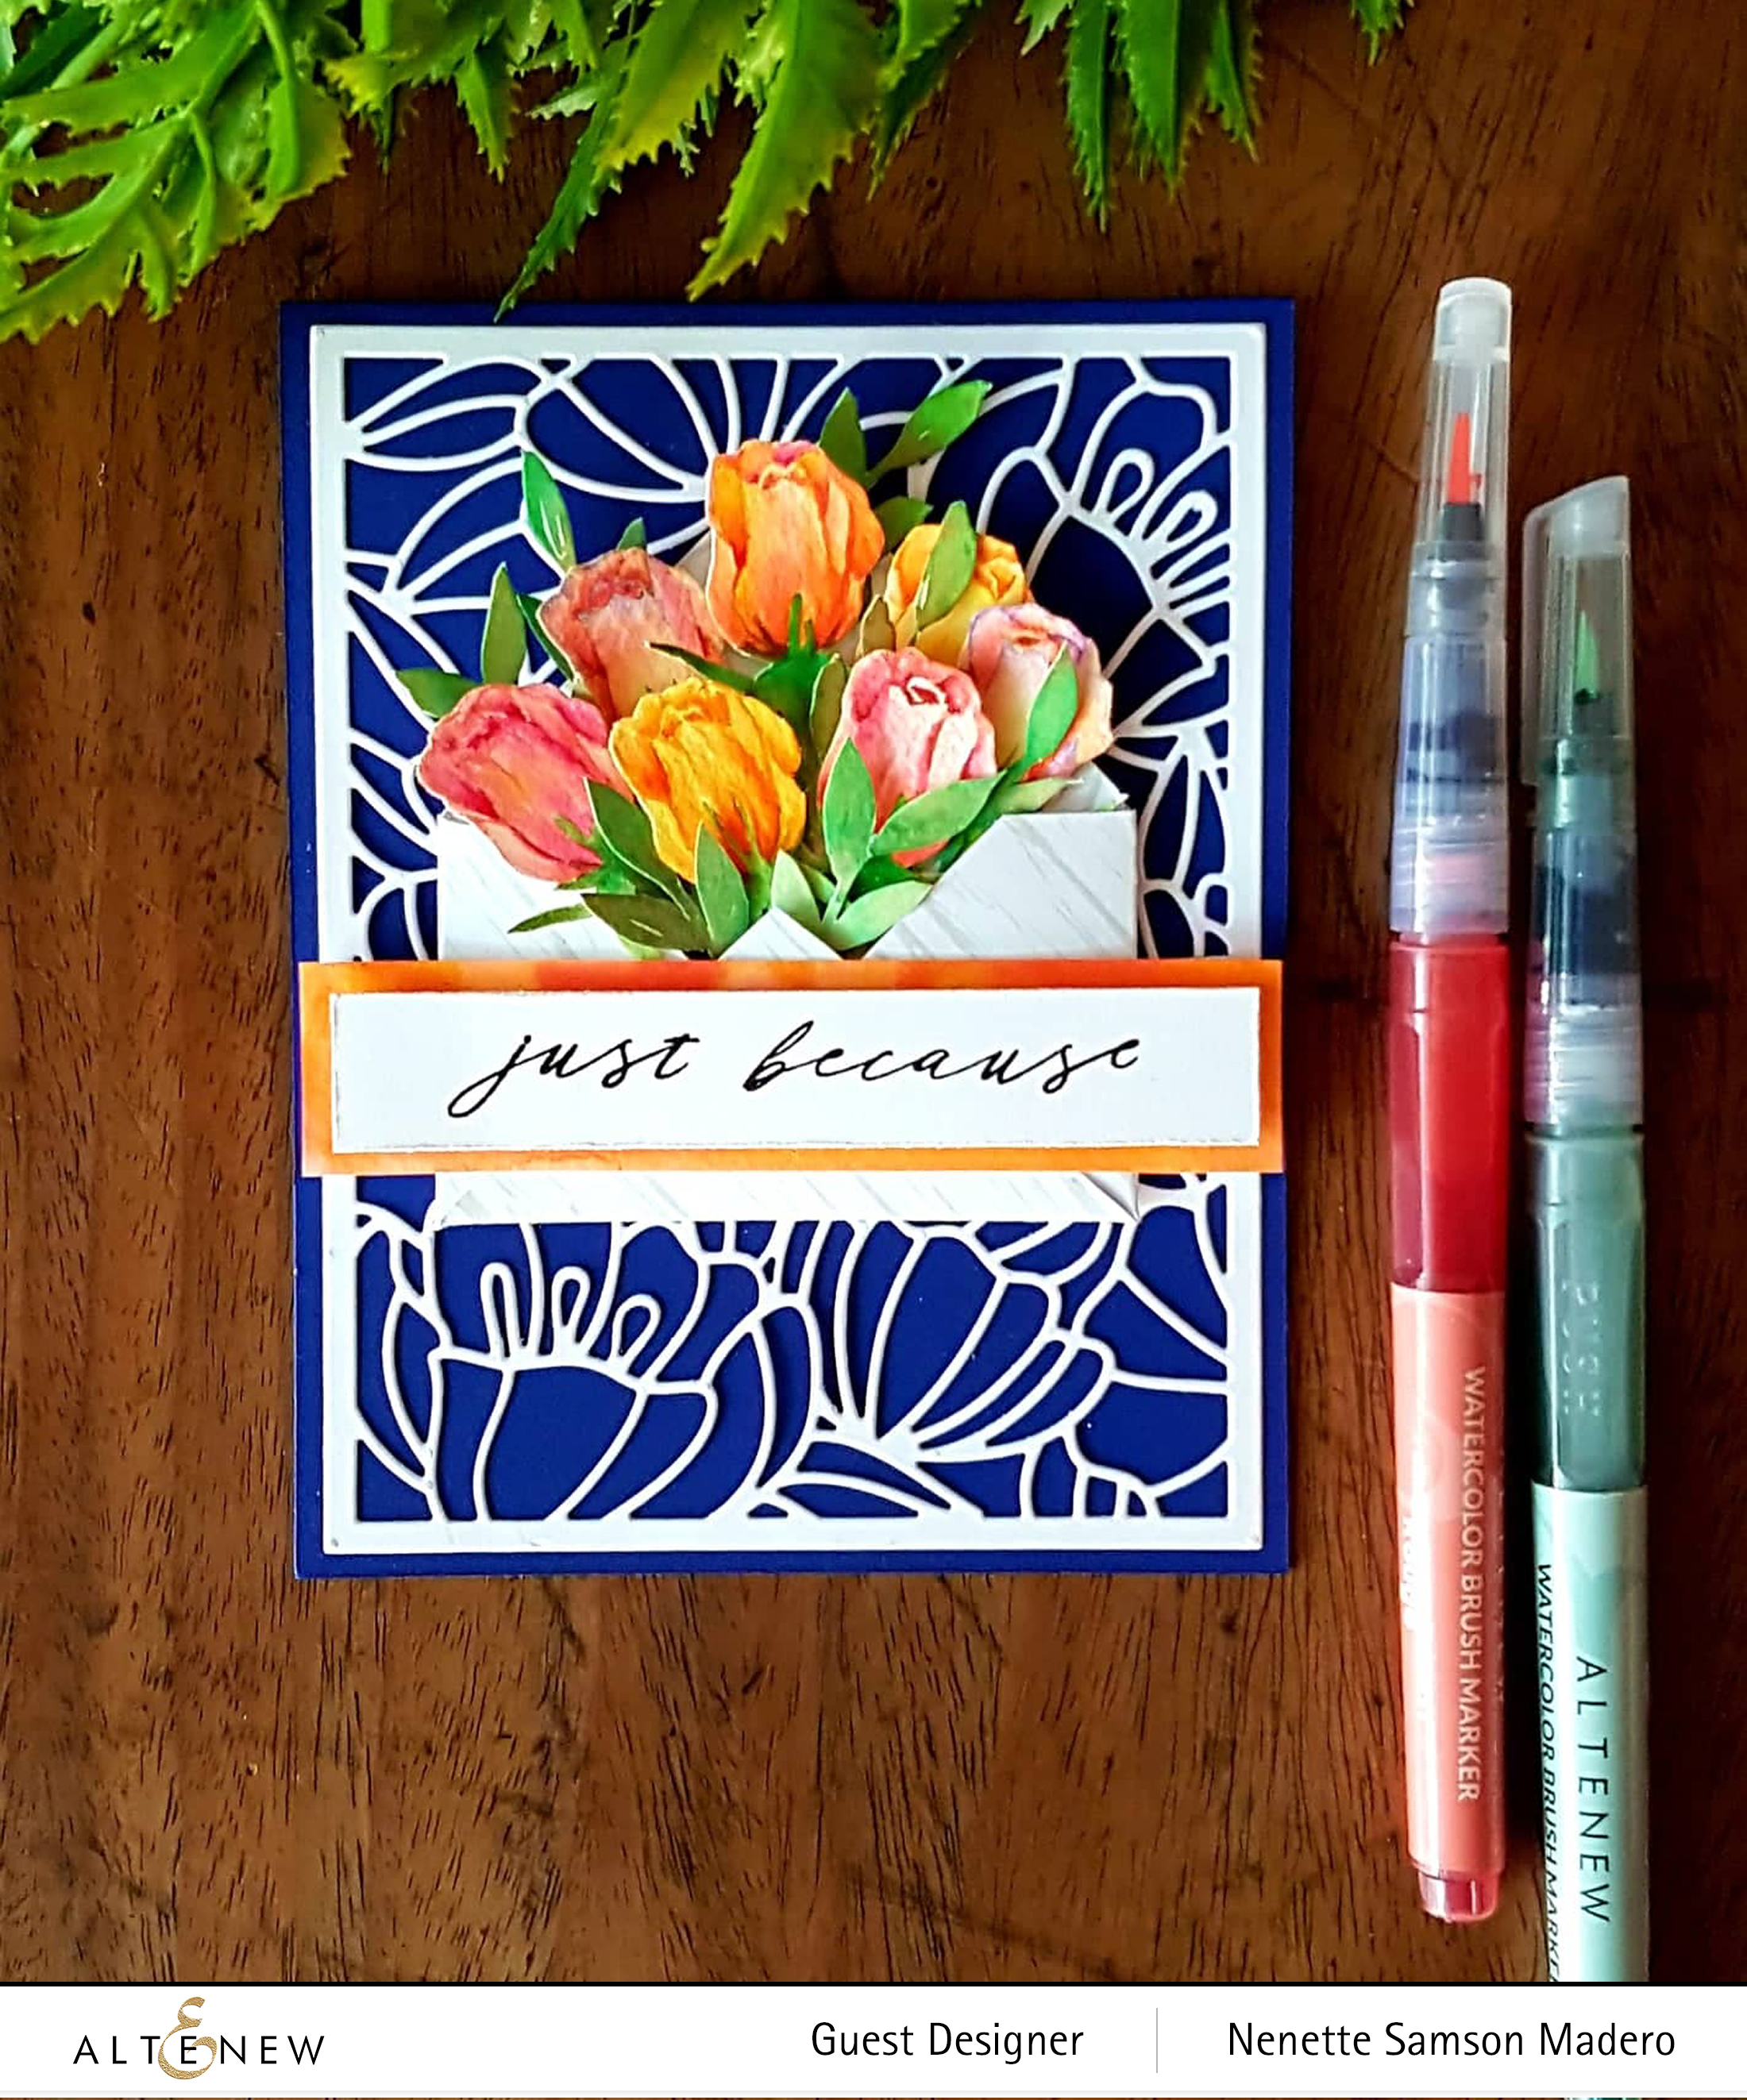
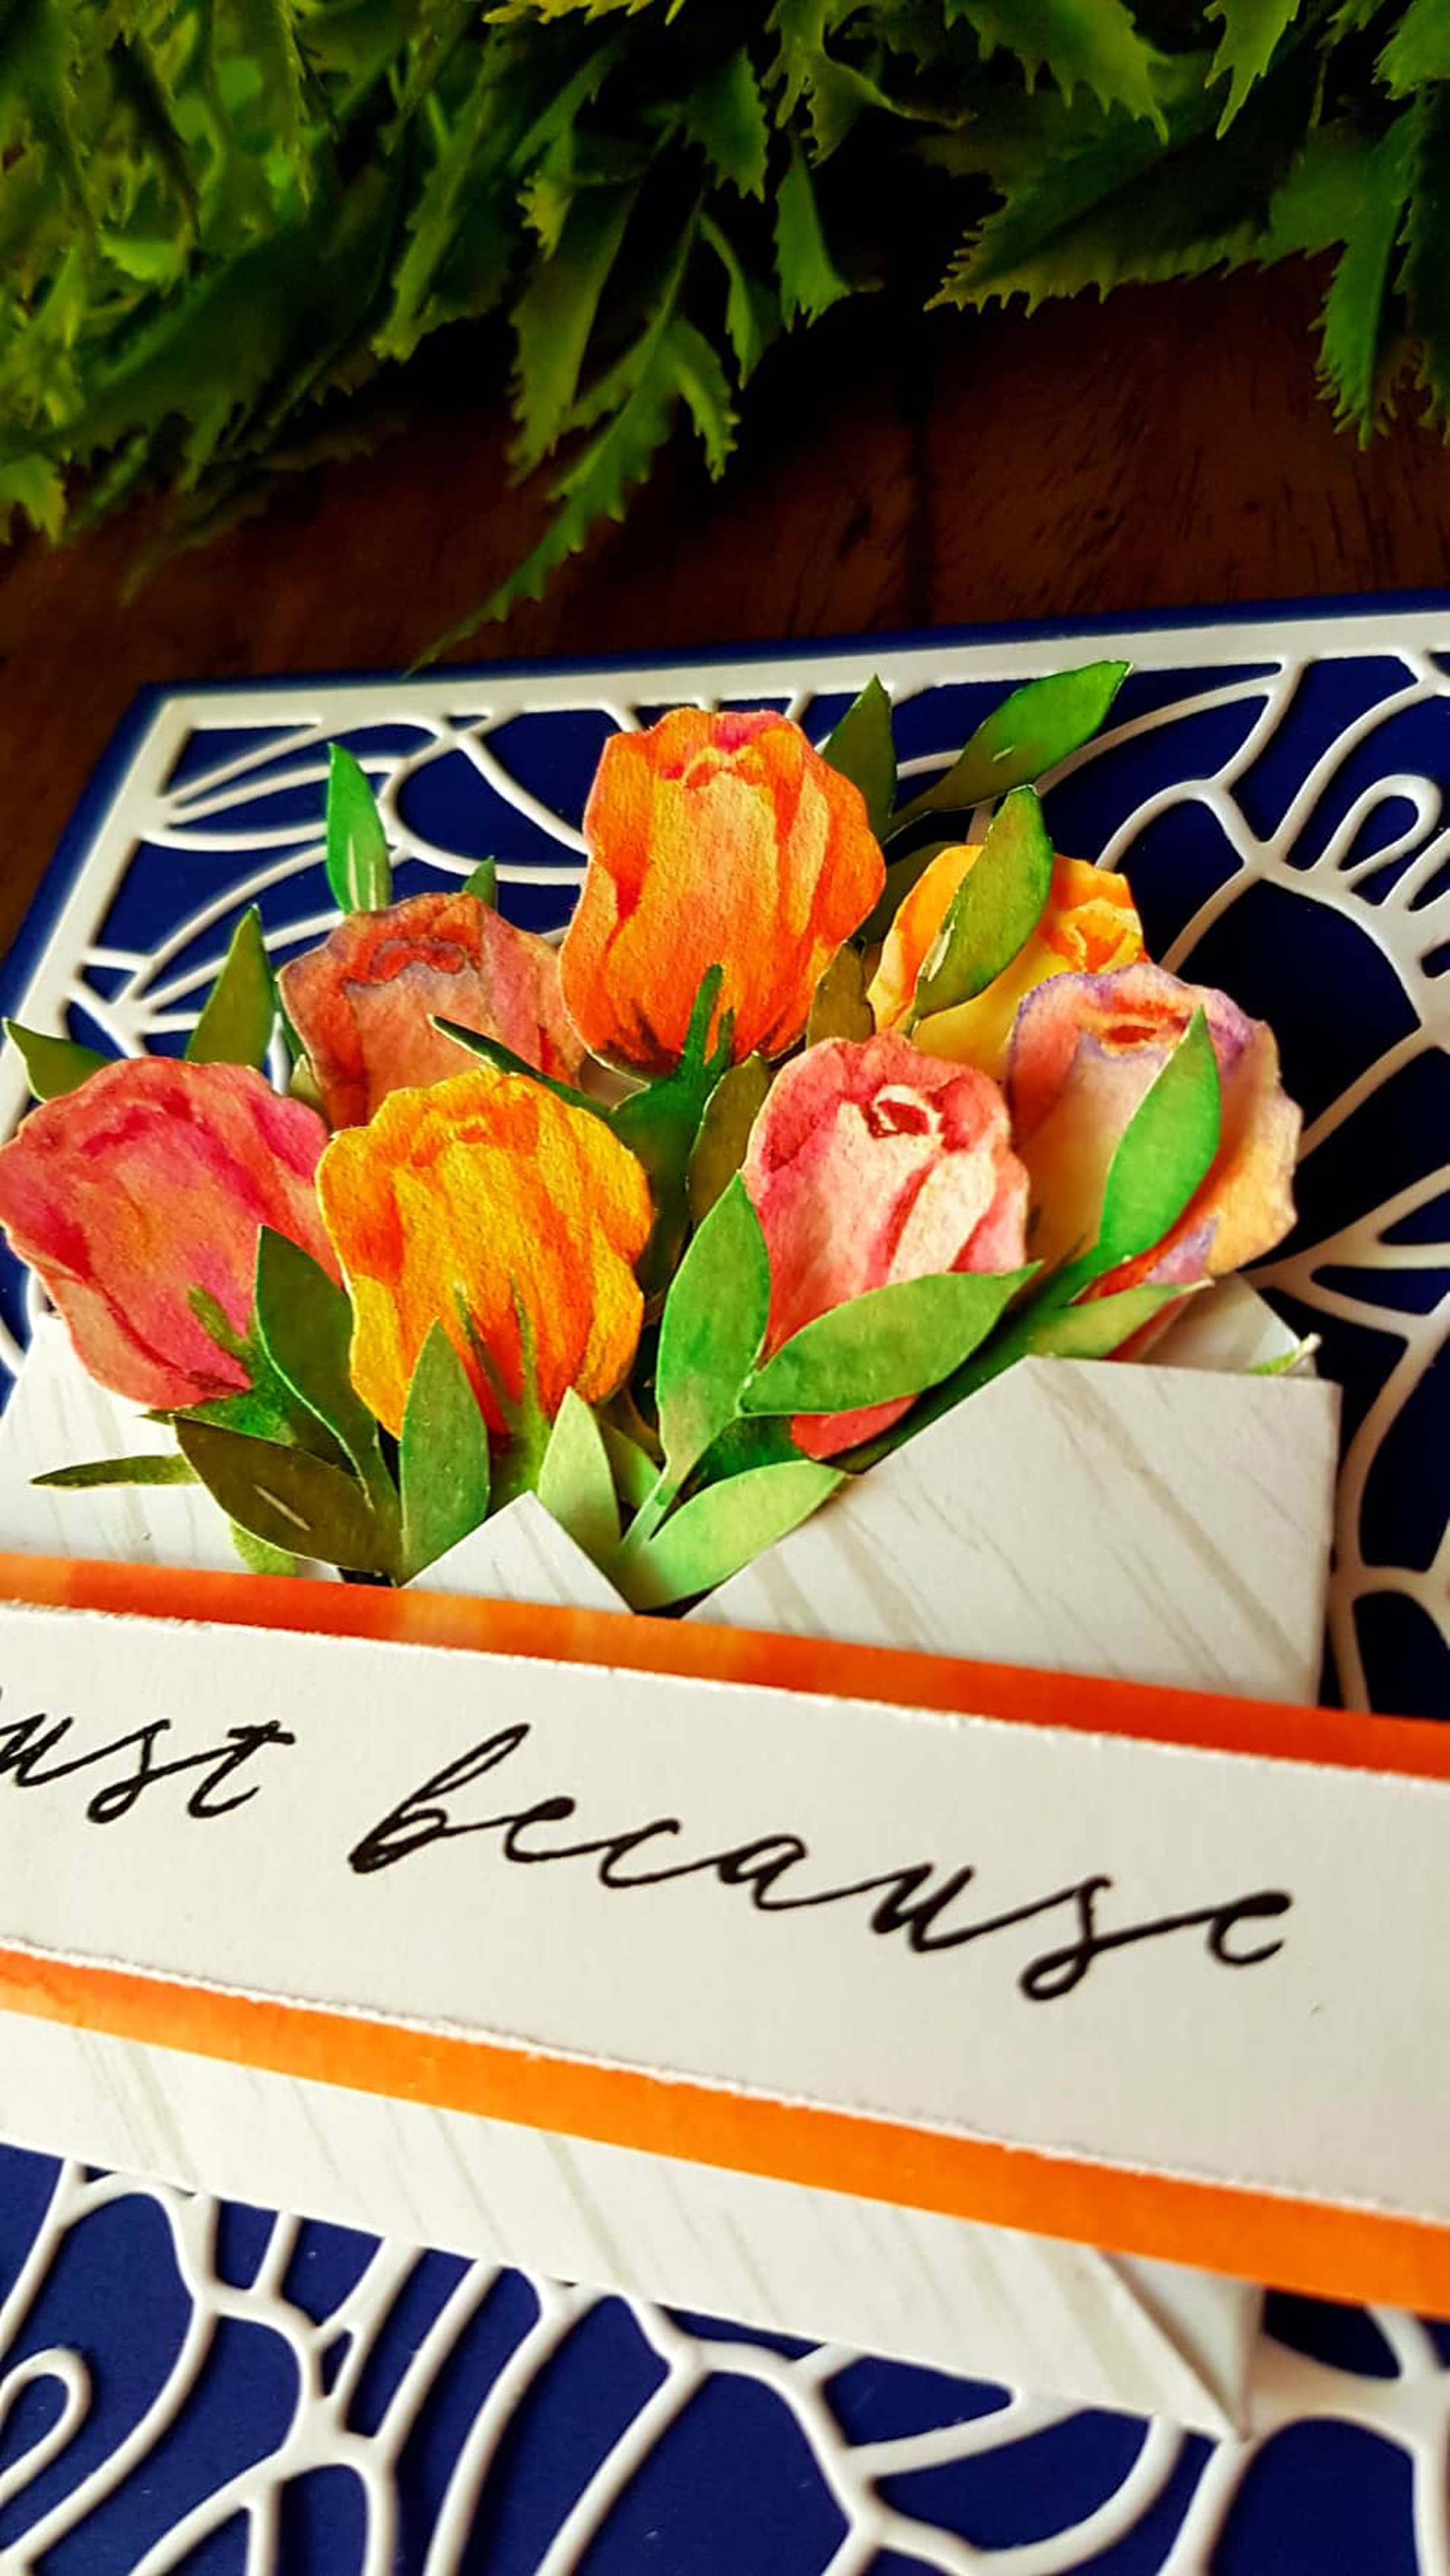
FOR YOU CARD
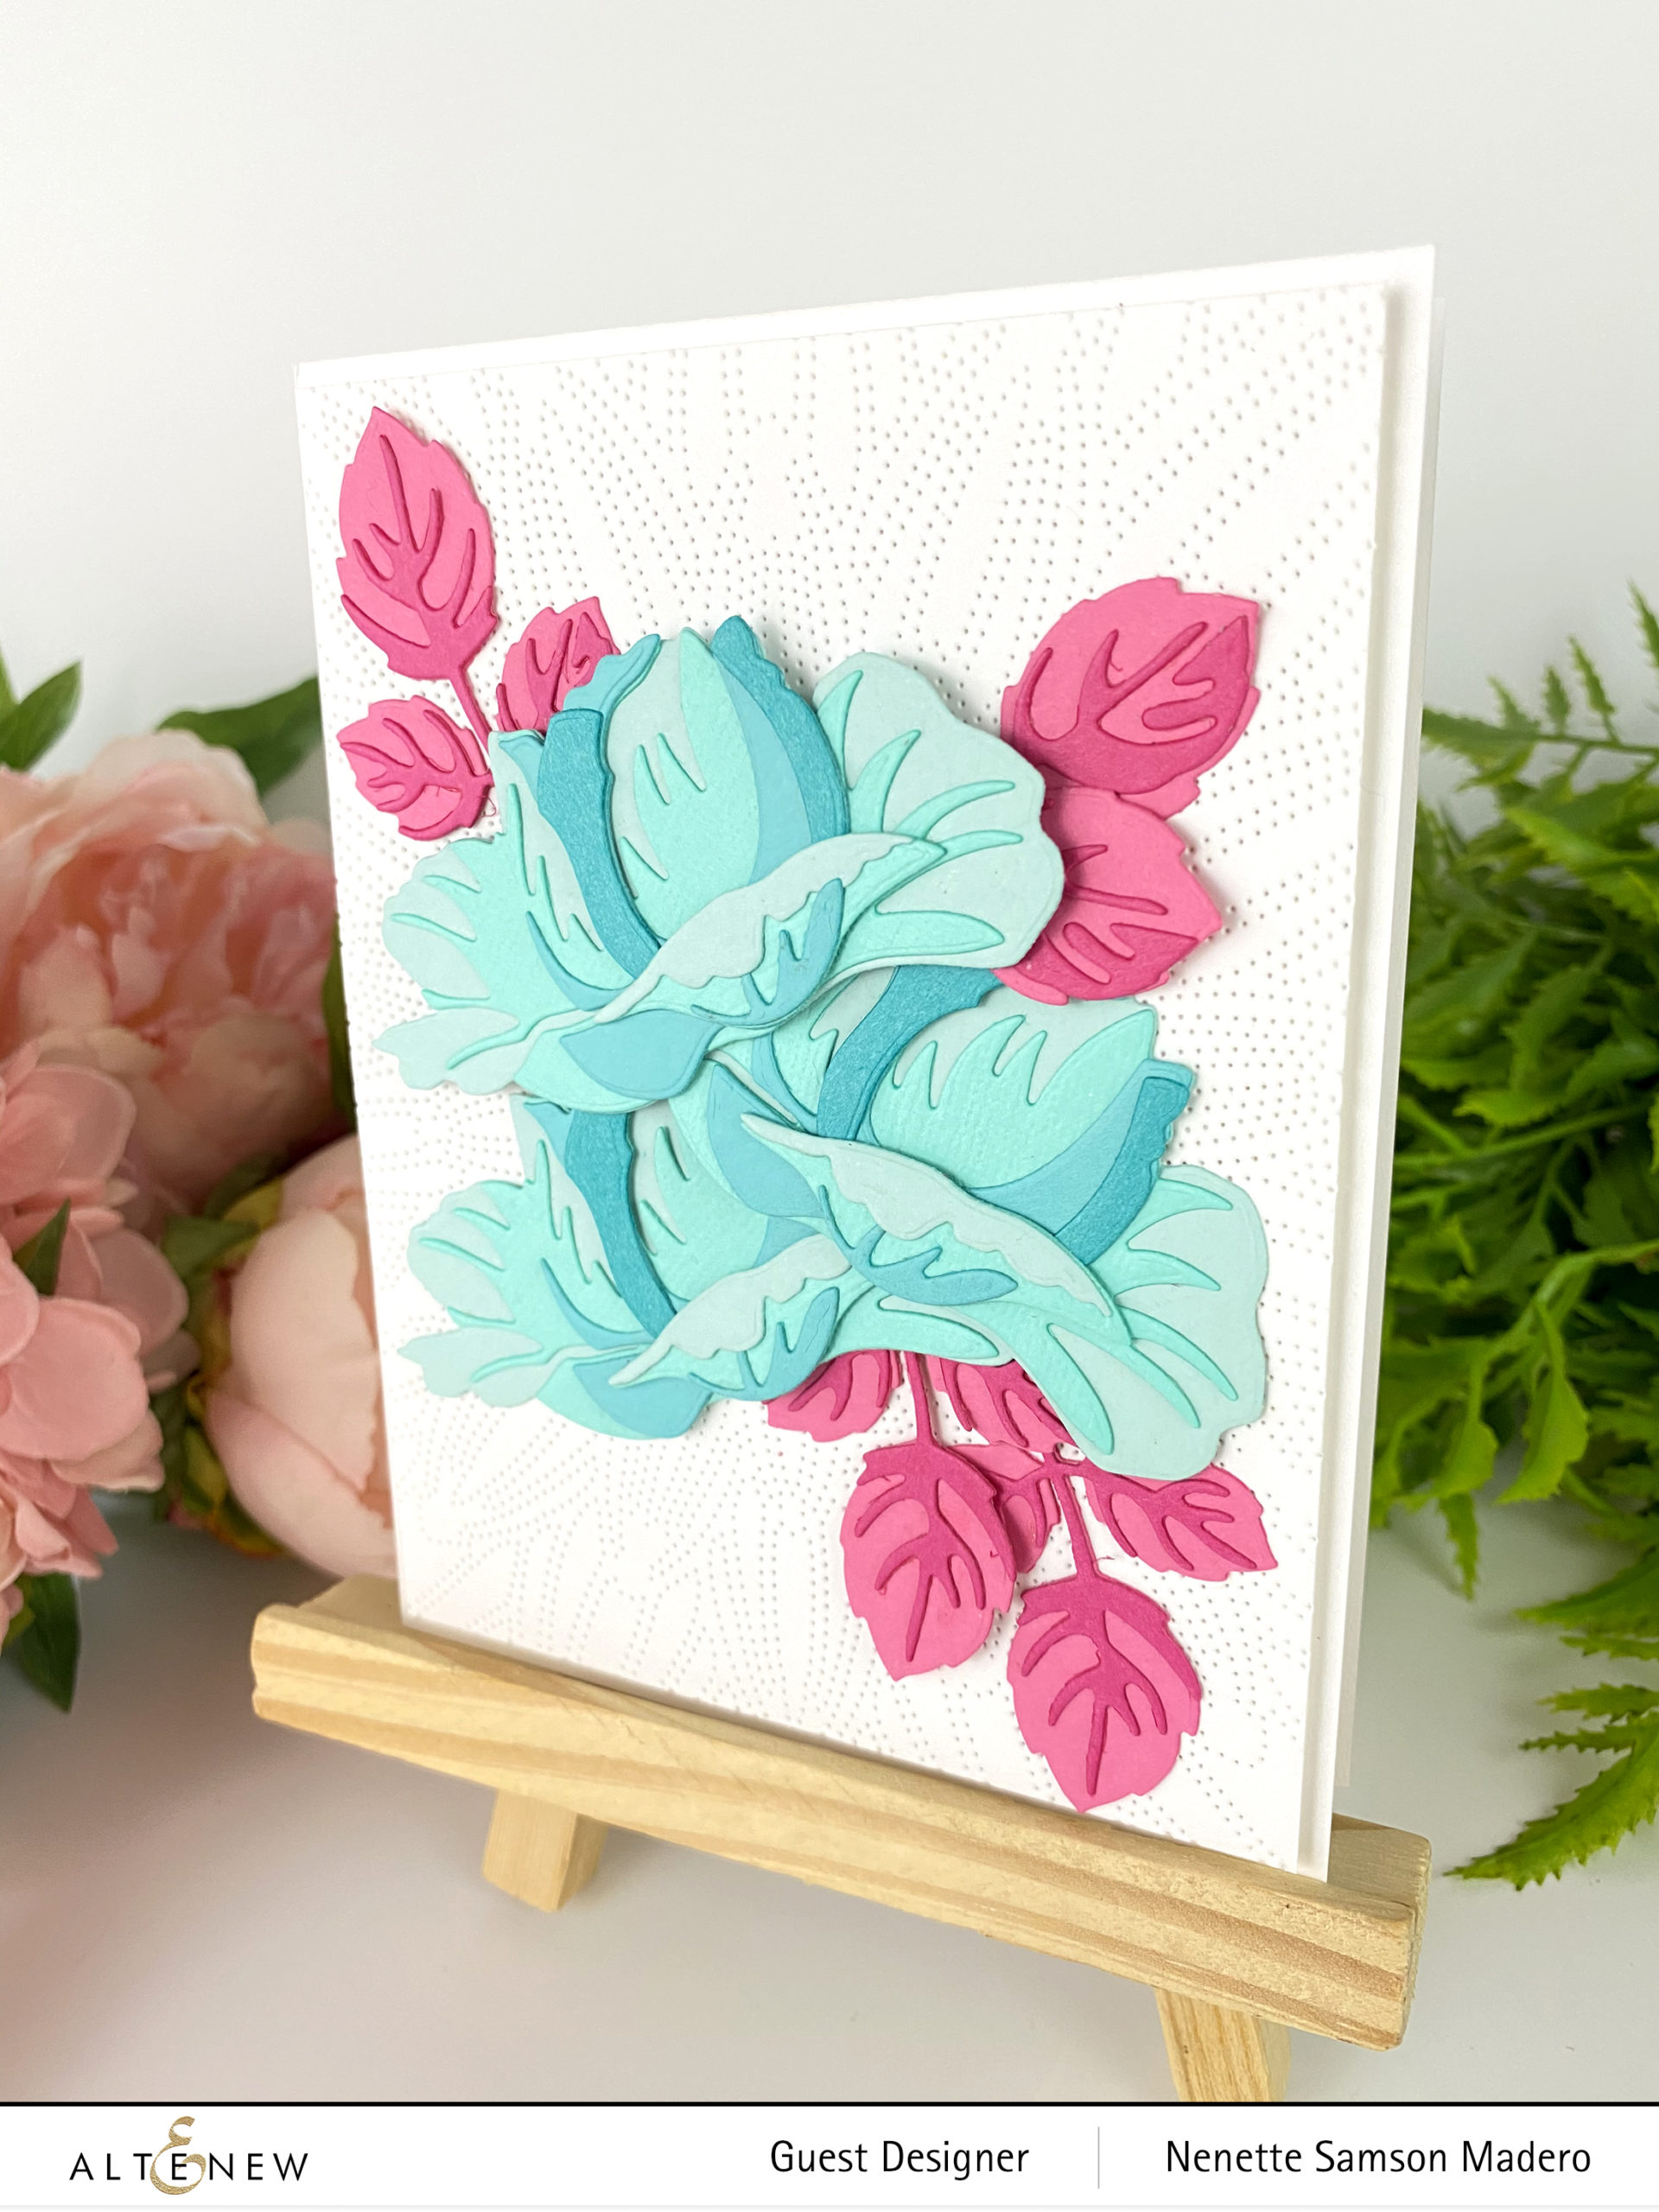
Look how gorgeous these 3D dies are!!! I used the Open Bloom 3D die set, the Dotted Starbust Debossing Cover Die , the Fancy for You die , colored cardstocks and Neenah Solar White cardstock for this sweet card. The die cuts were easy to layer and I popped up some of the flowers with foam squares for more dimension.
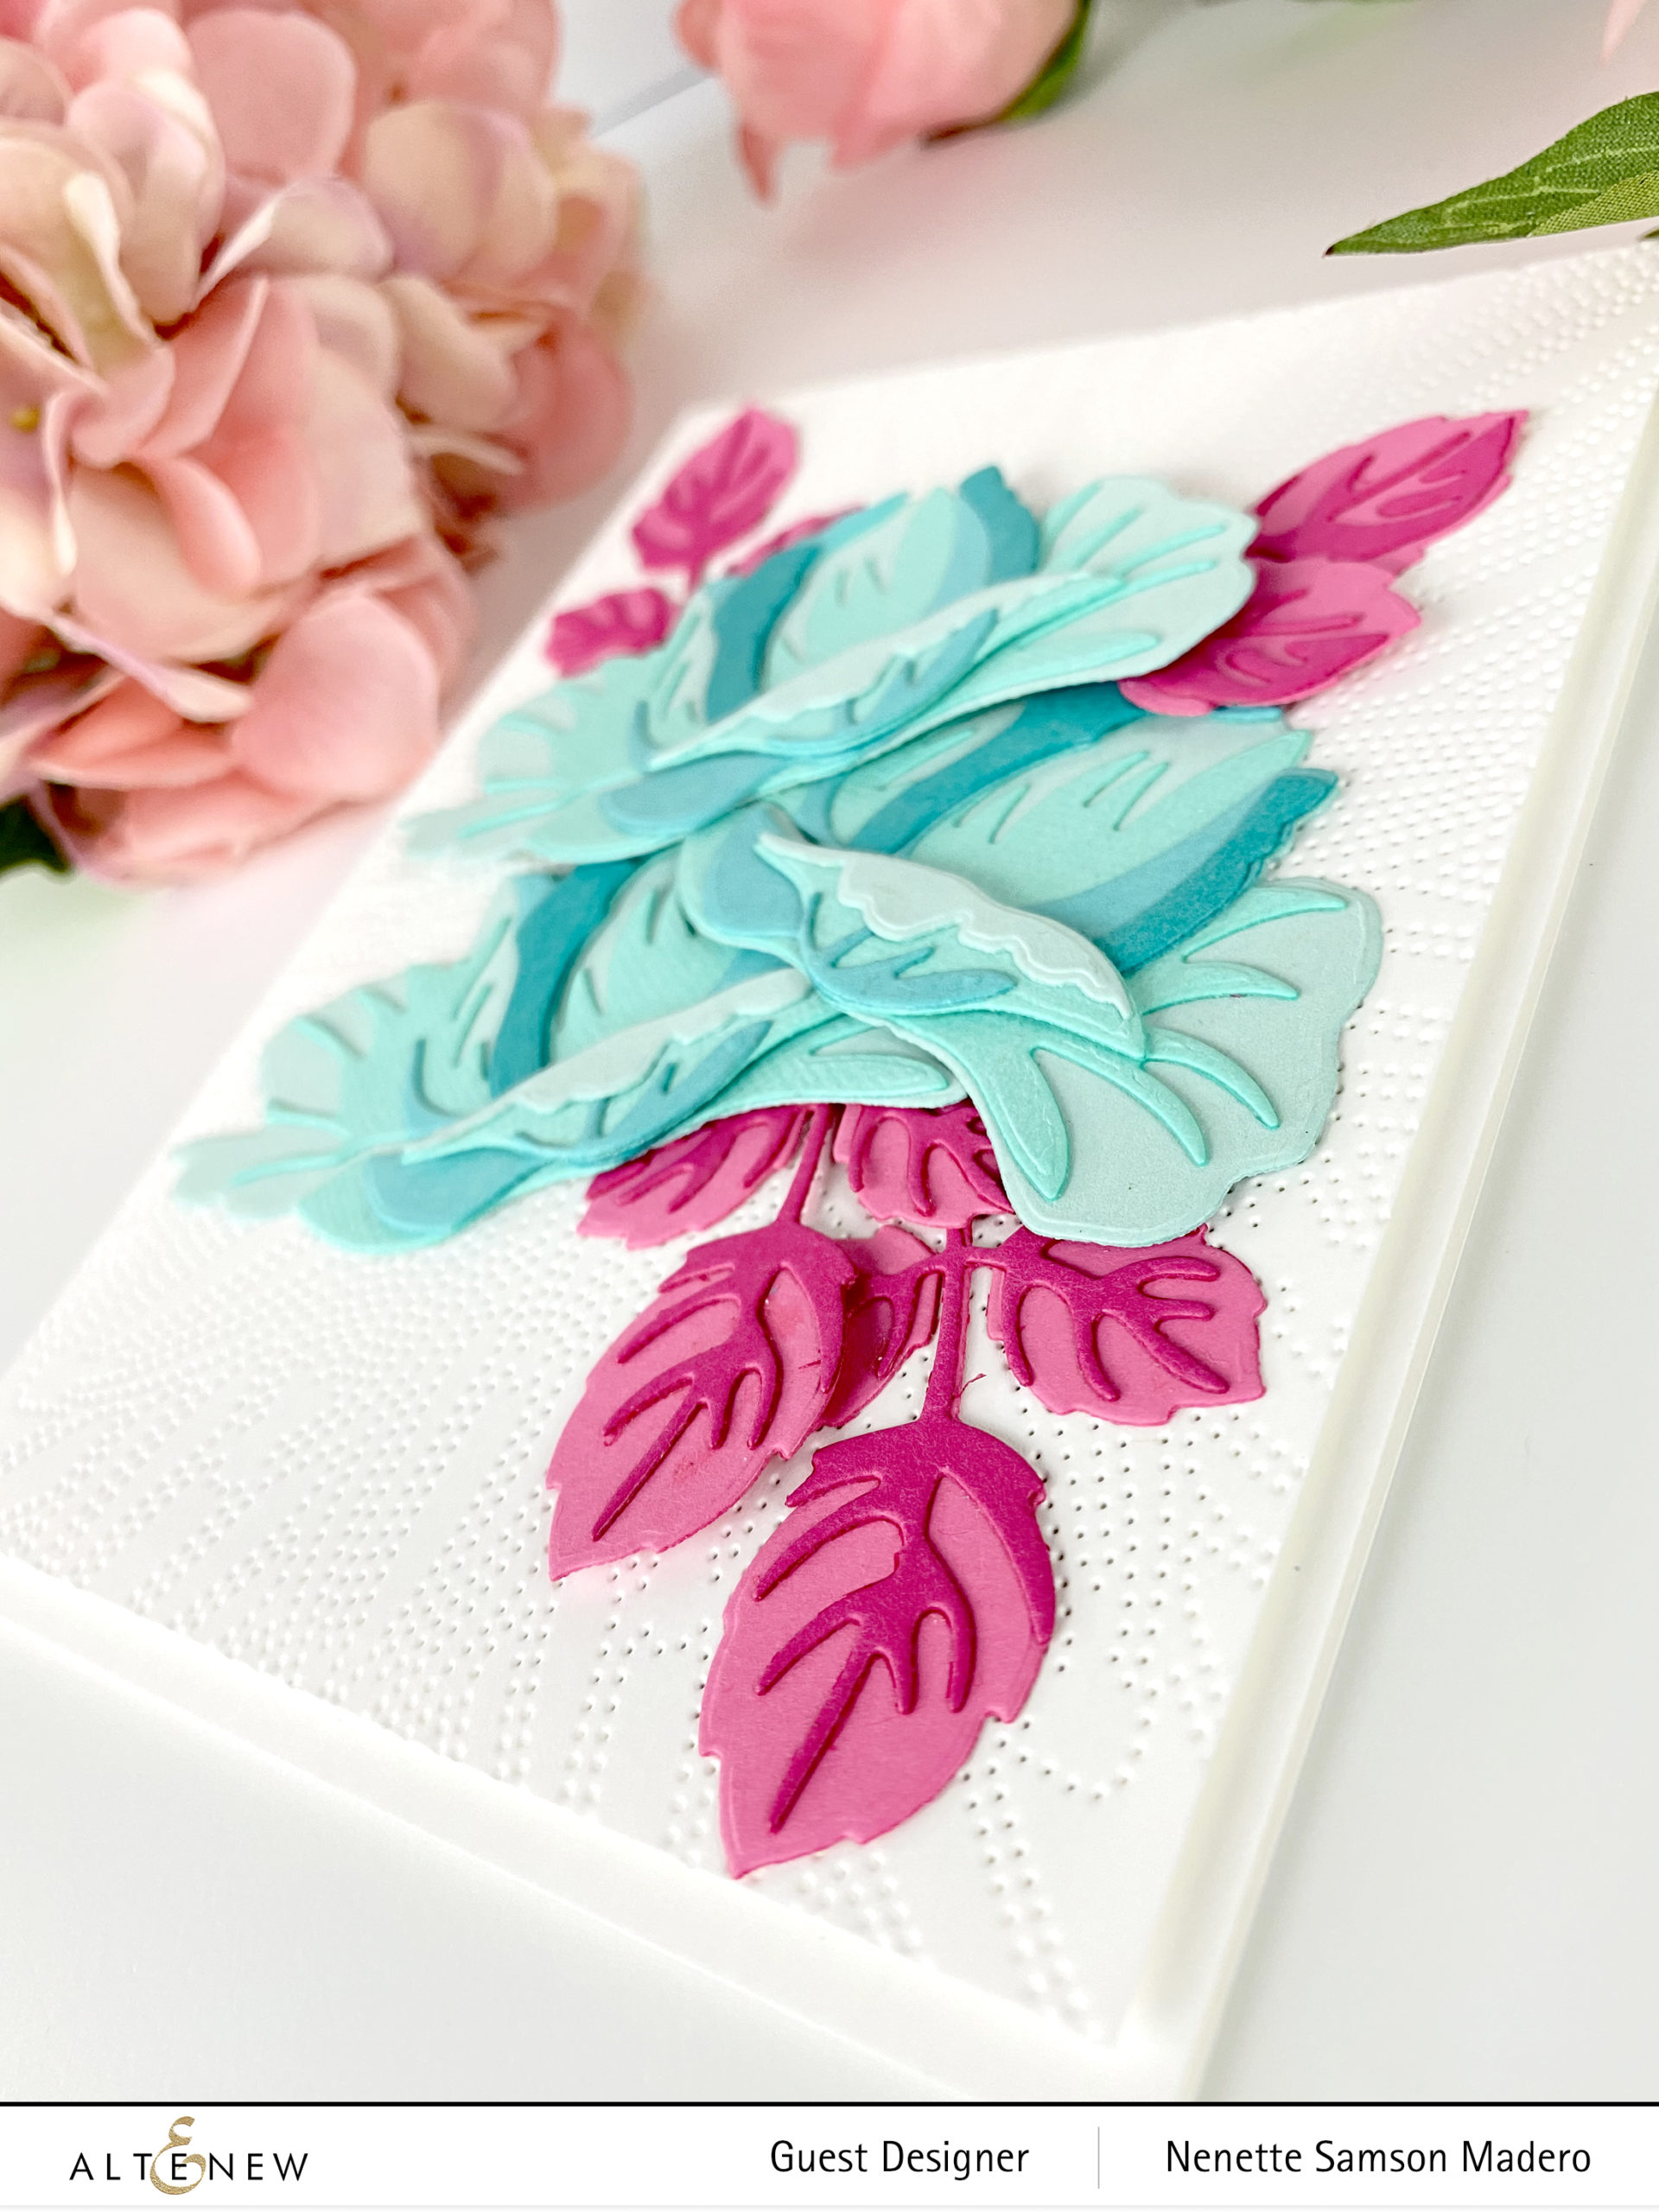
I used the Dotted Starbust debossing die for added texture to the card front. Since the front of the card was already full of embellishments, I decided to put the die cut sentiment inside.

I cut strips of paper using the leftover cardstocks, pasted them on white cardstock then die cut the For You sentiment. I layered them on 4 more die cuts to add dimension then this was glued inside the card.
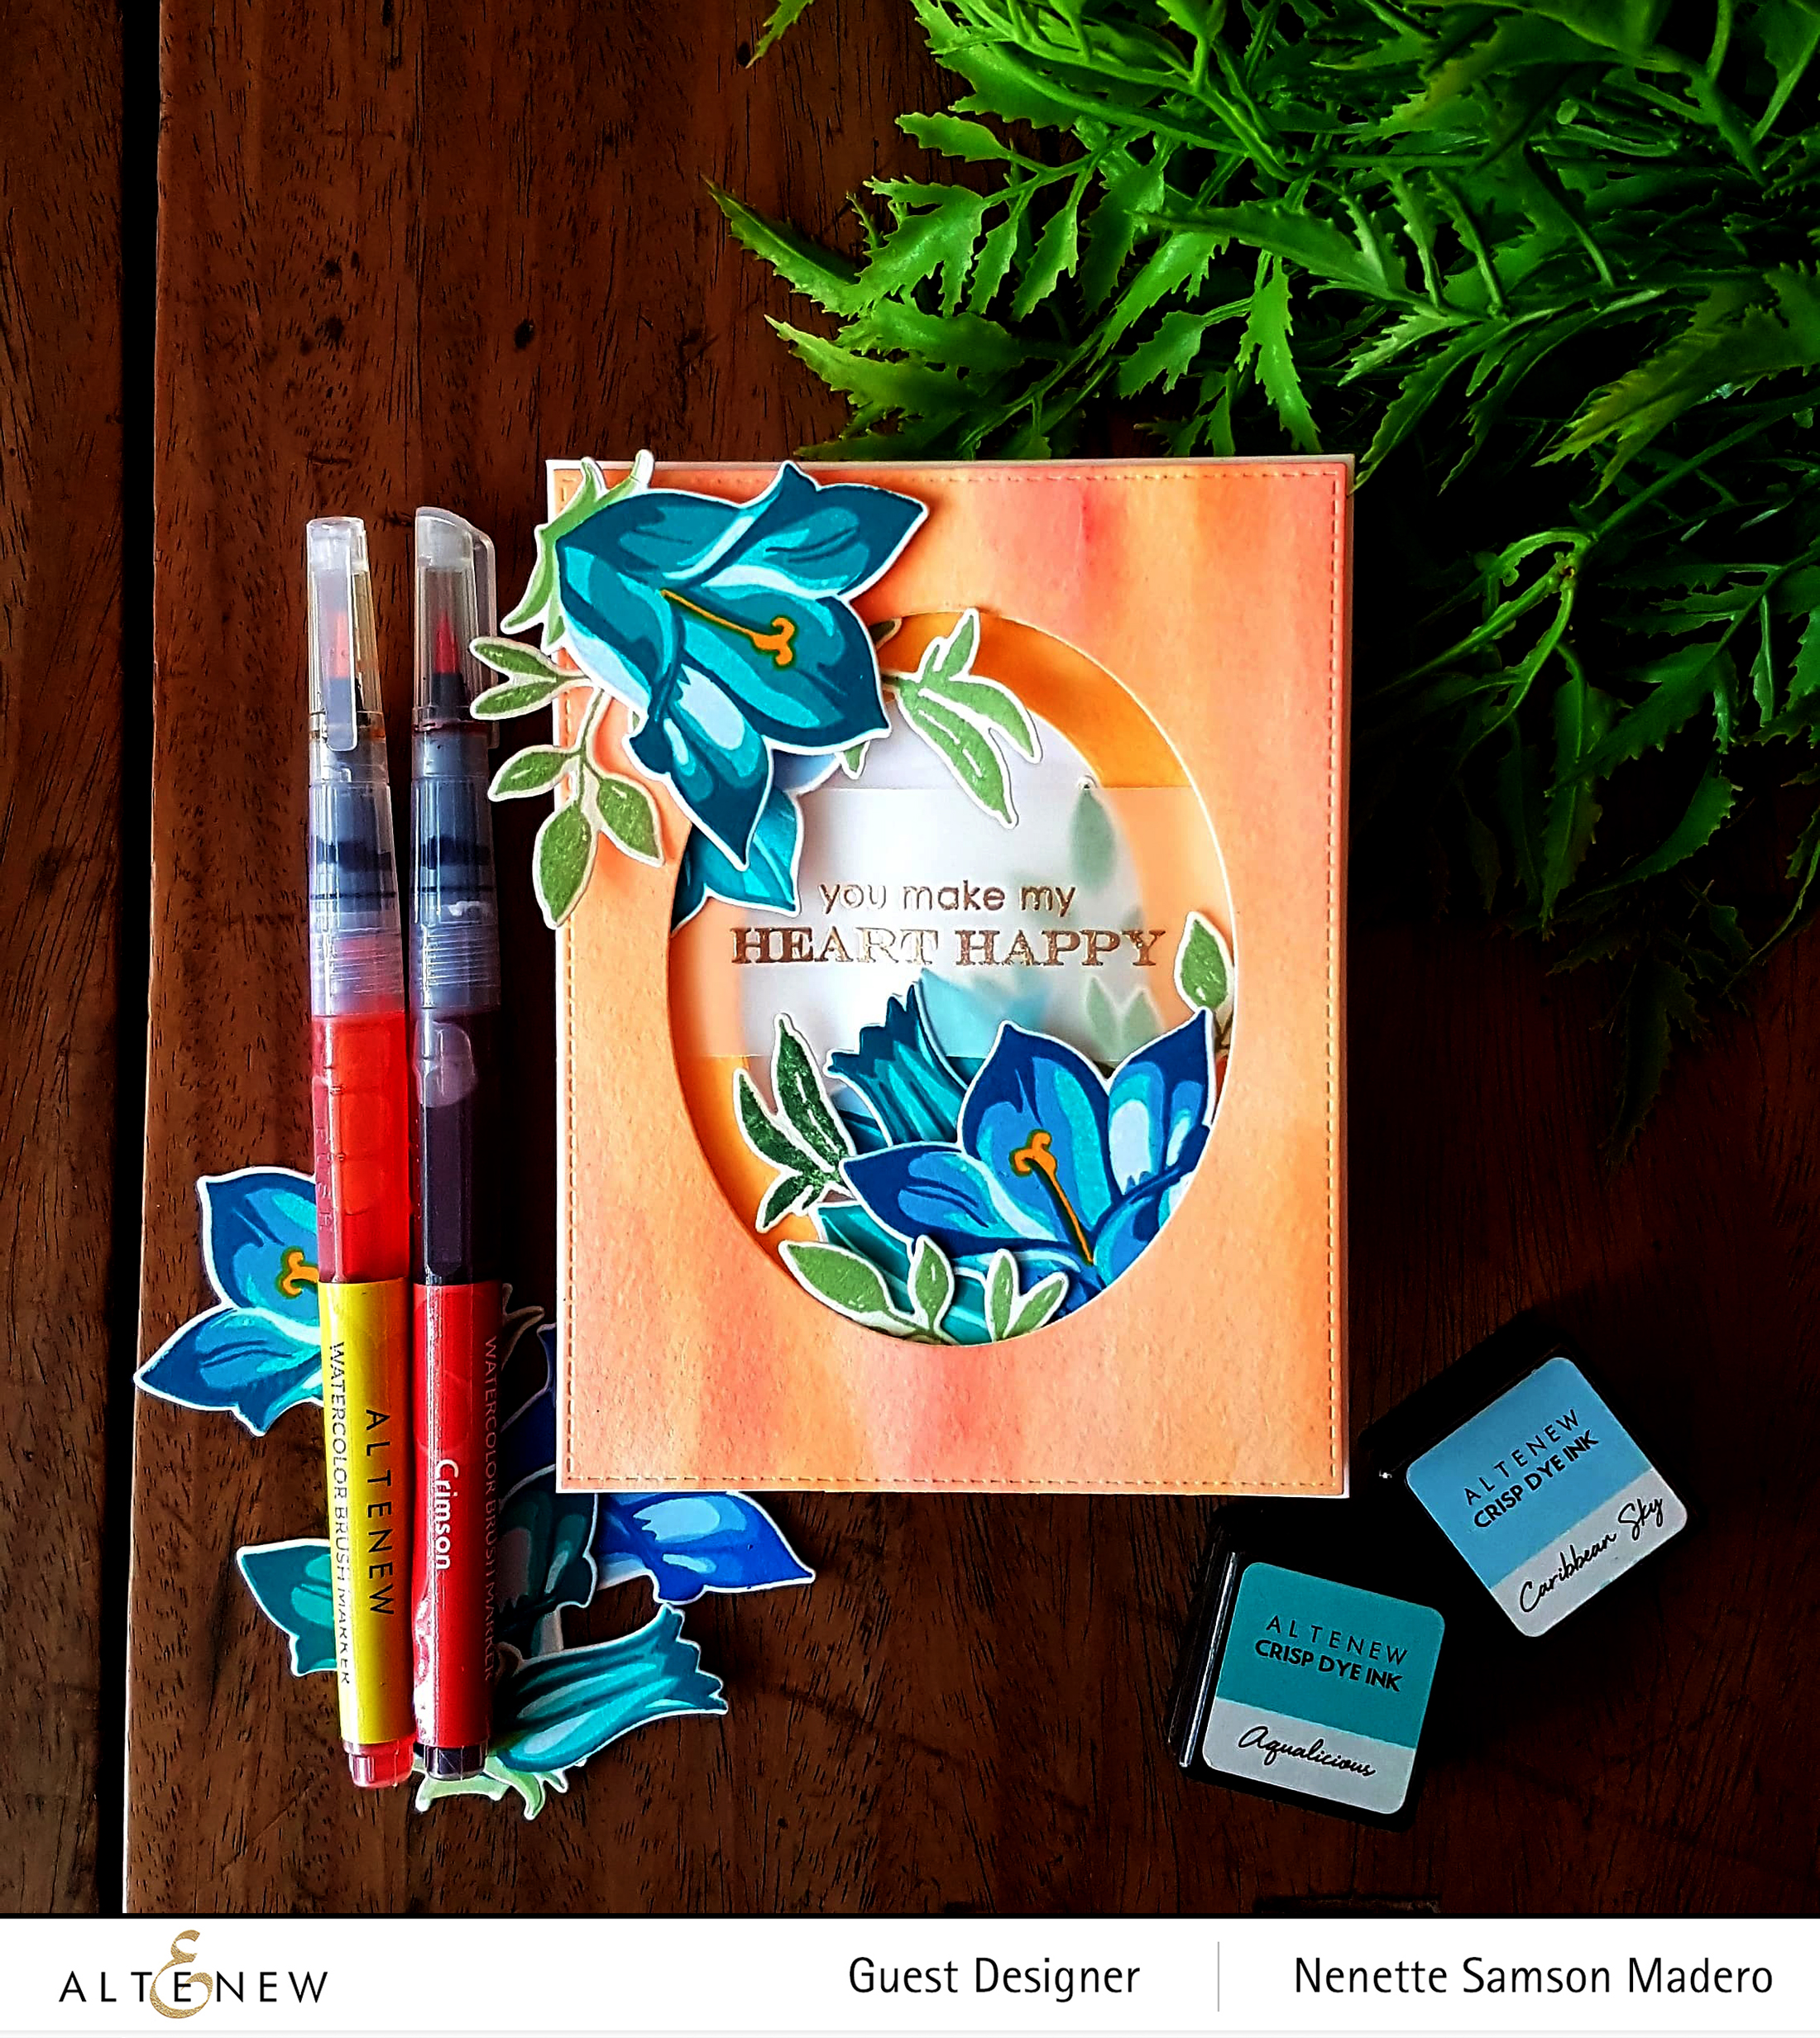
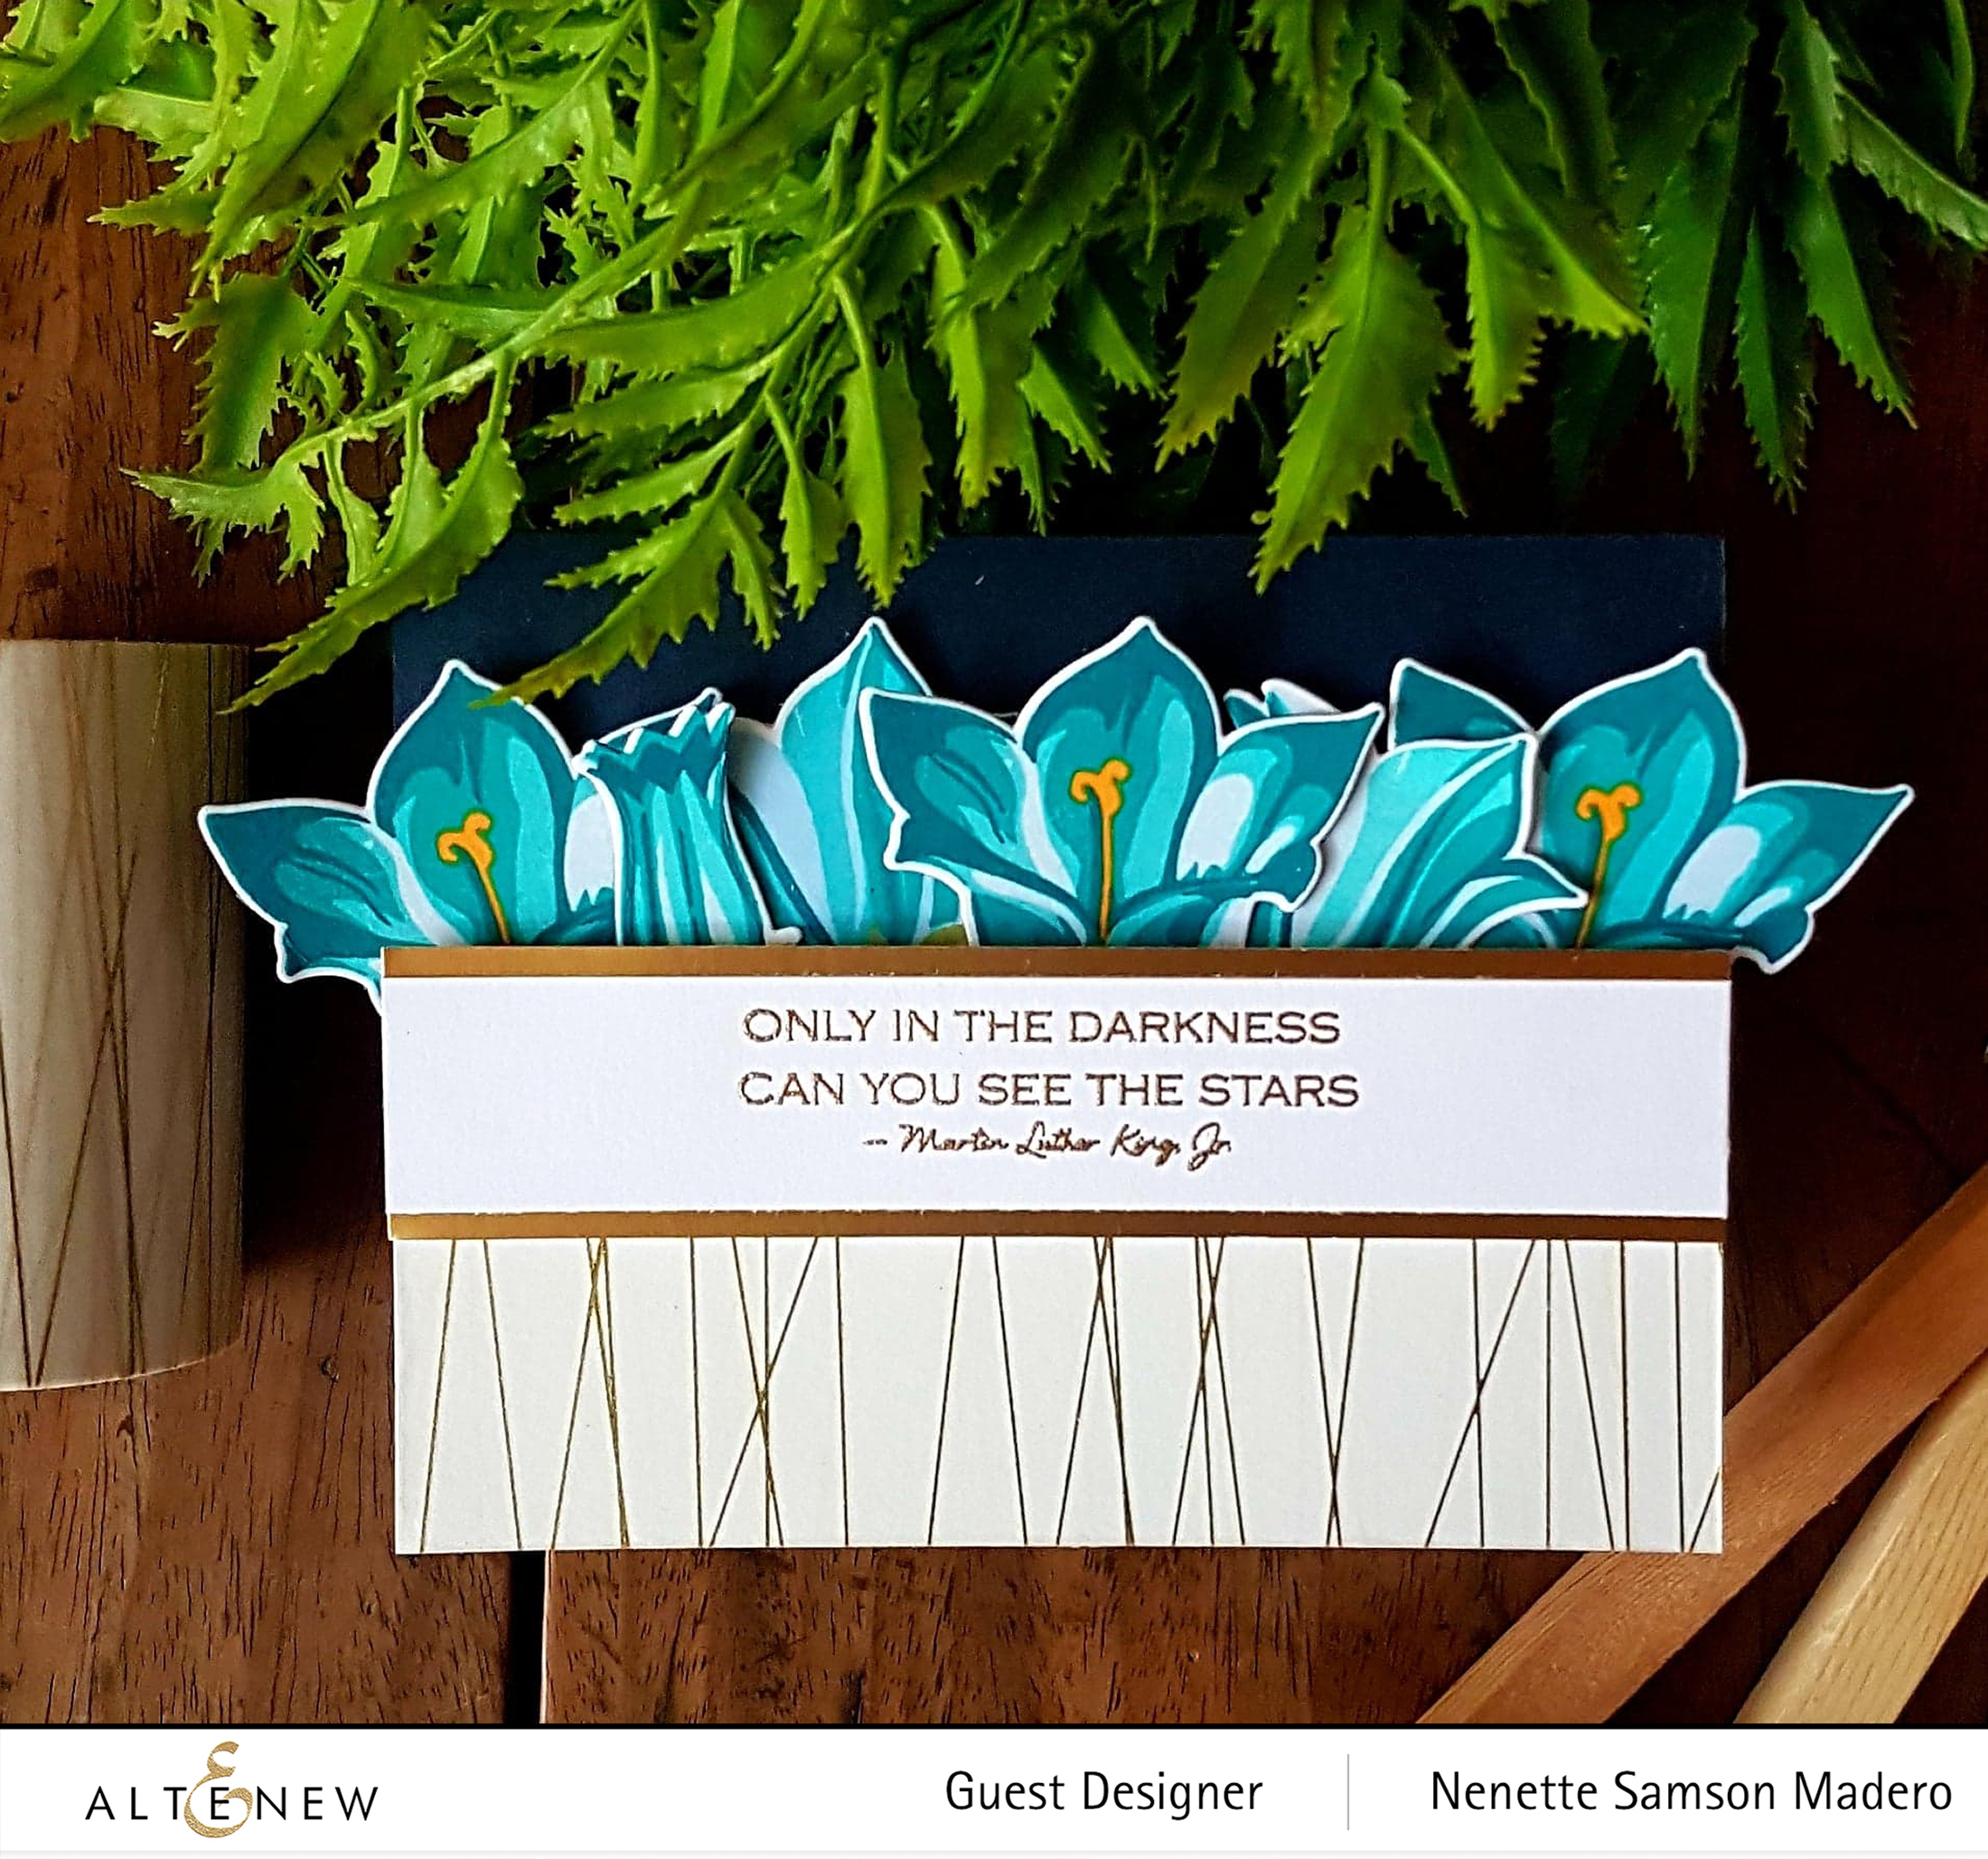
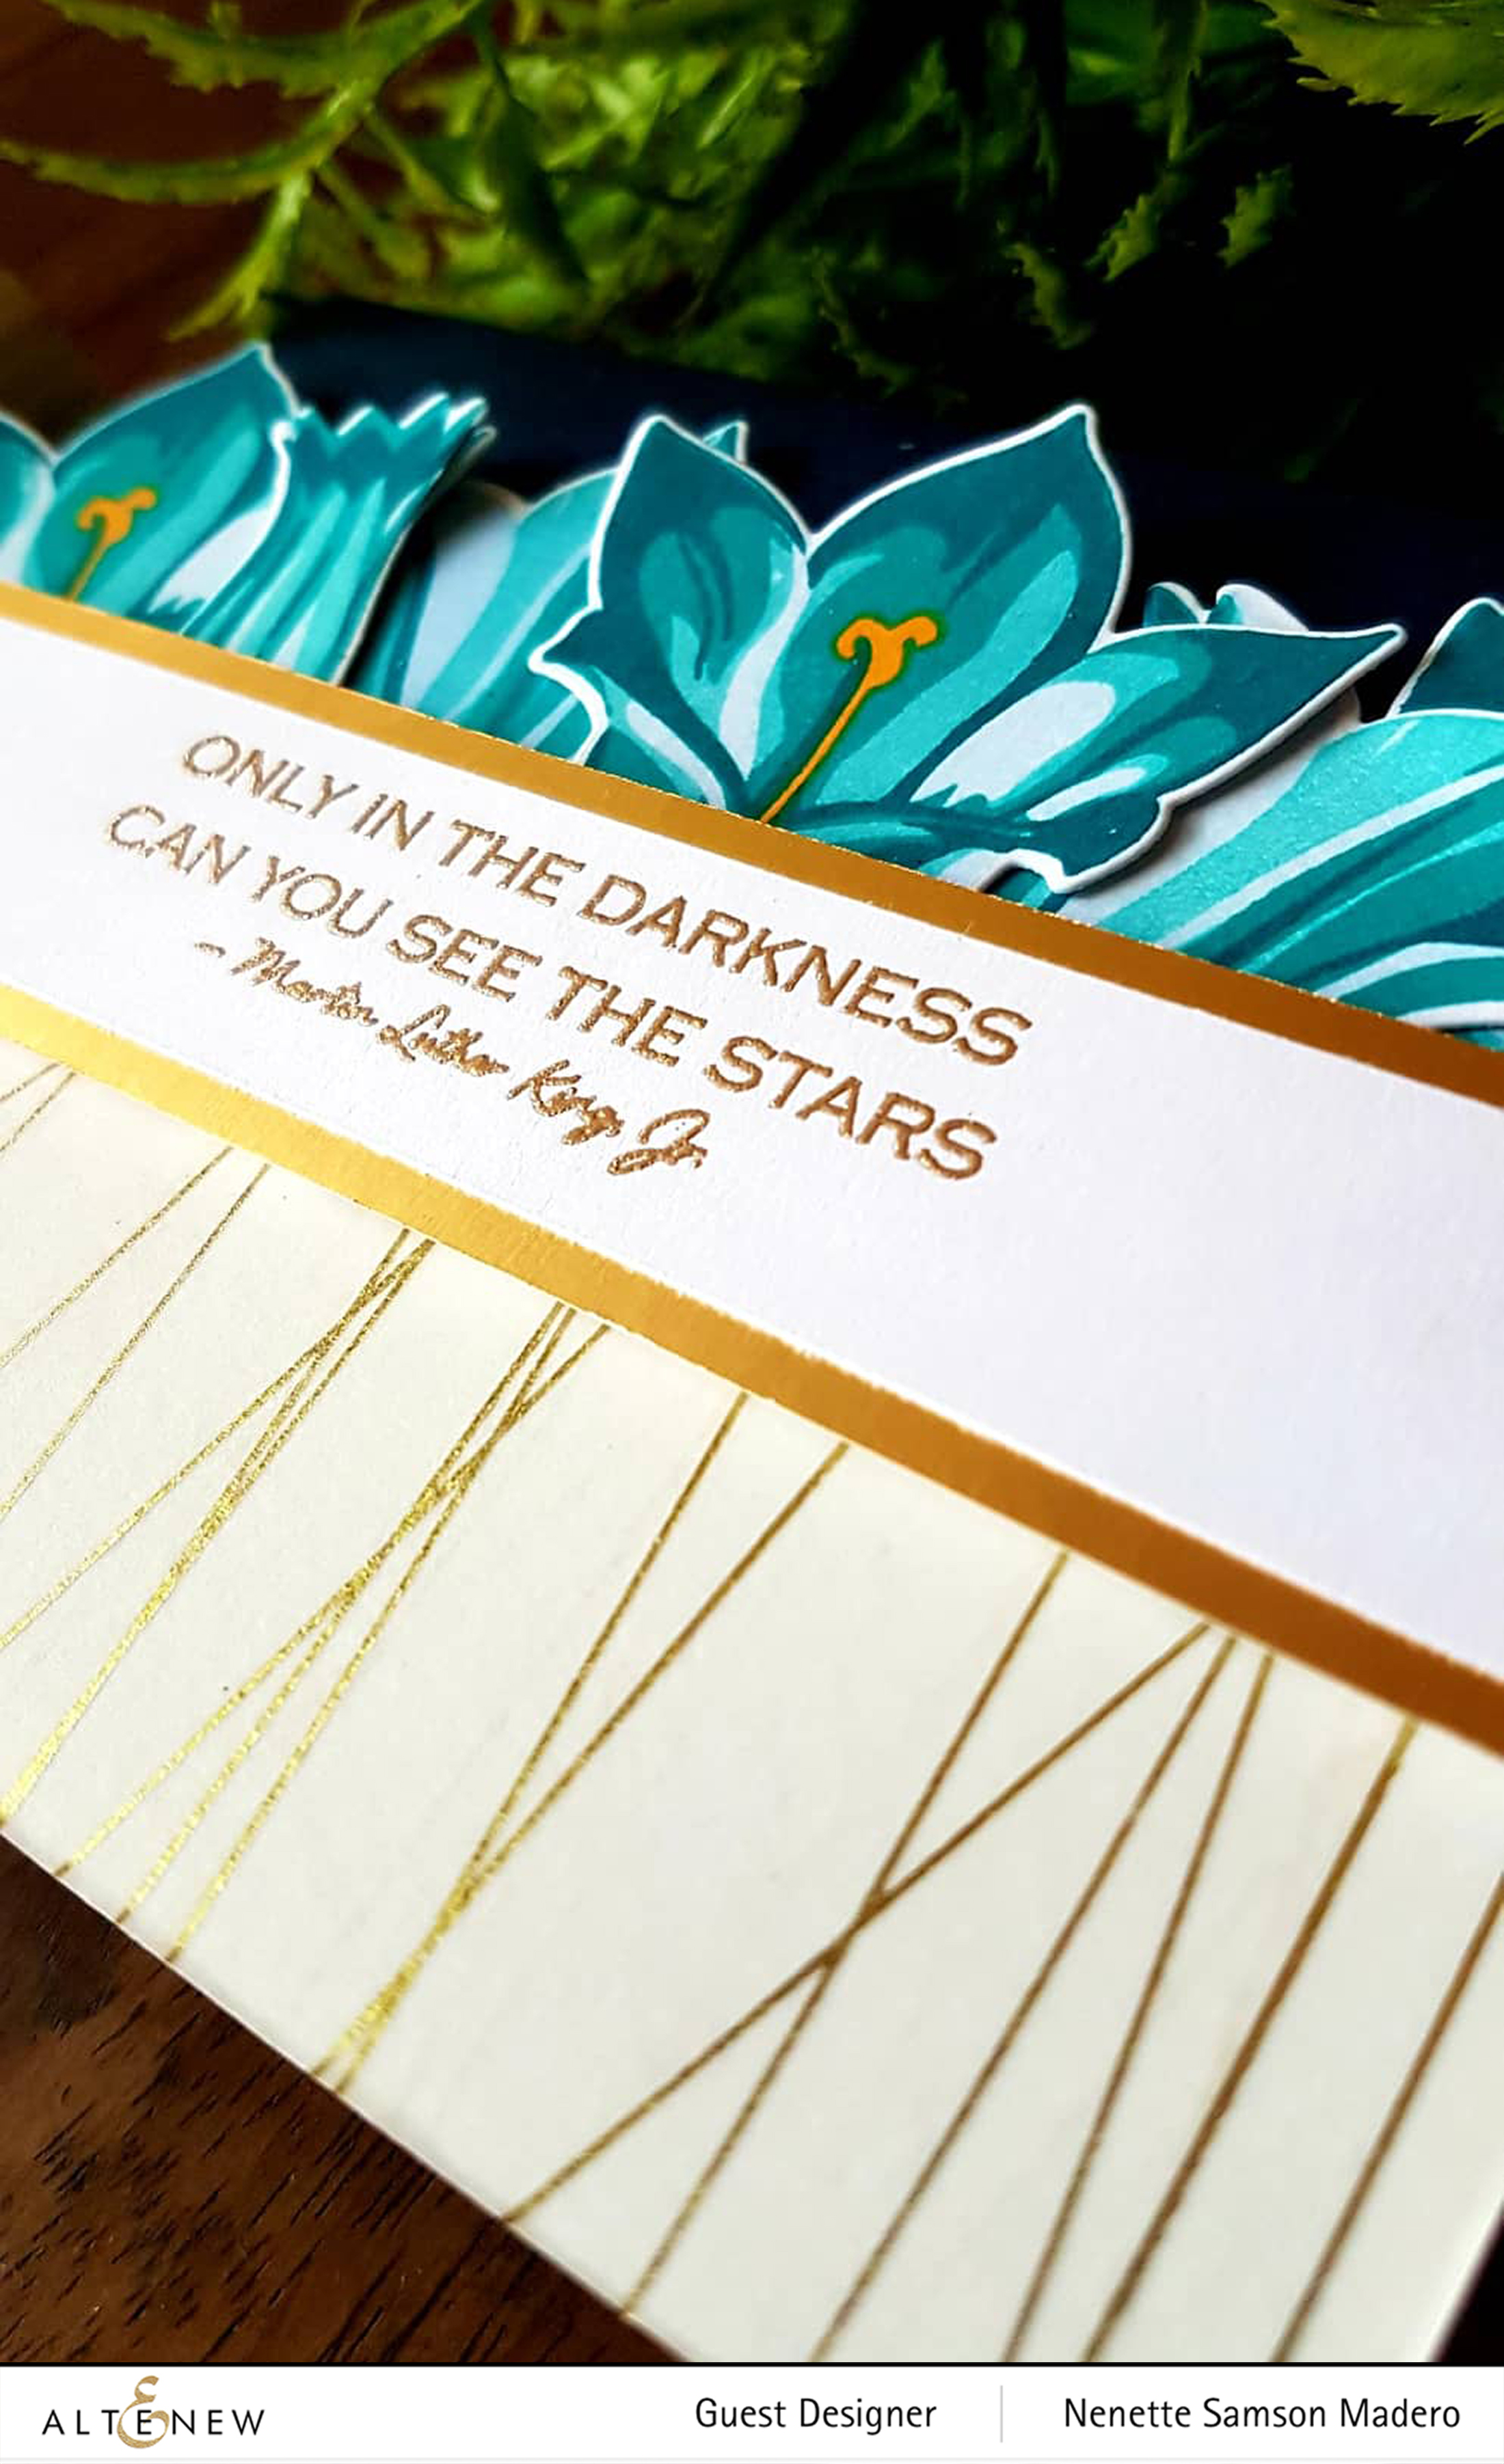
ONLY IN THE DARKNESS CAN YOU SEE THE STARS CARD
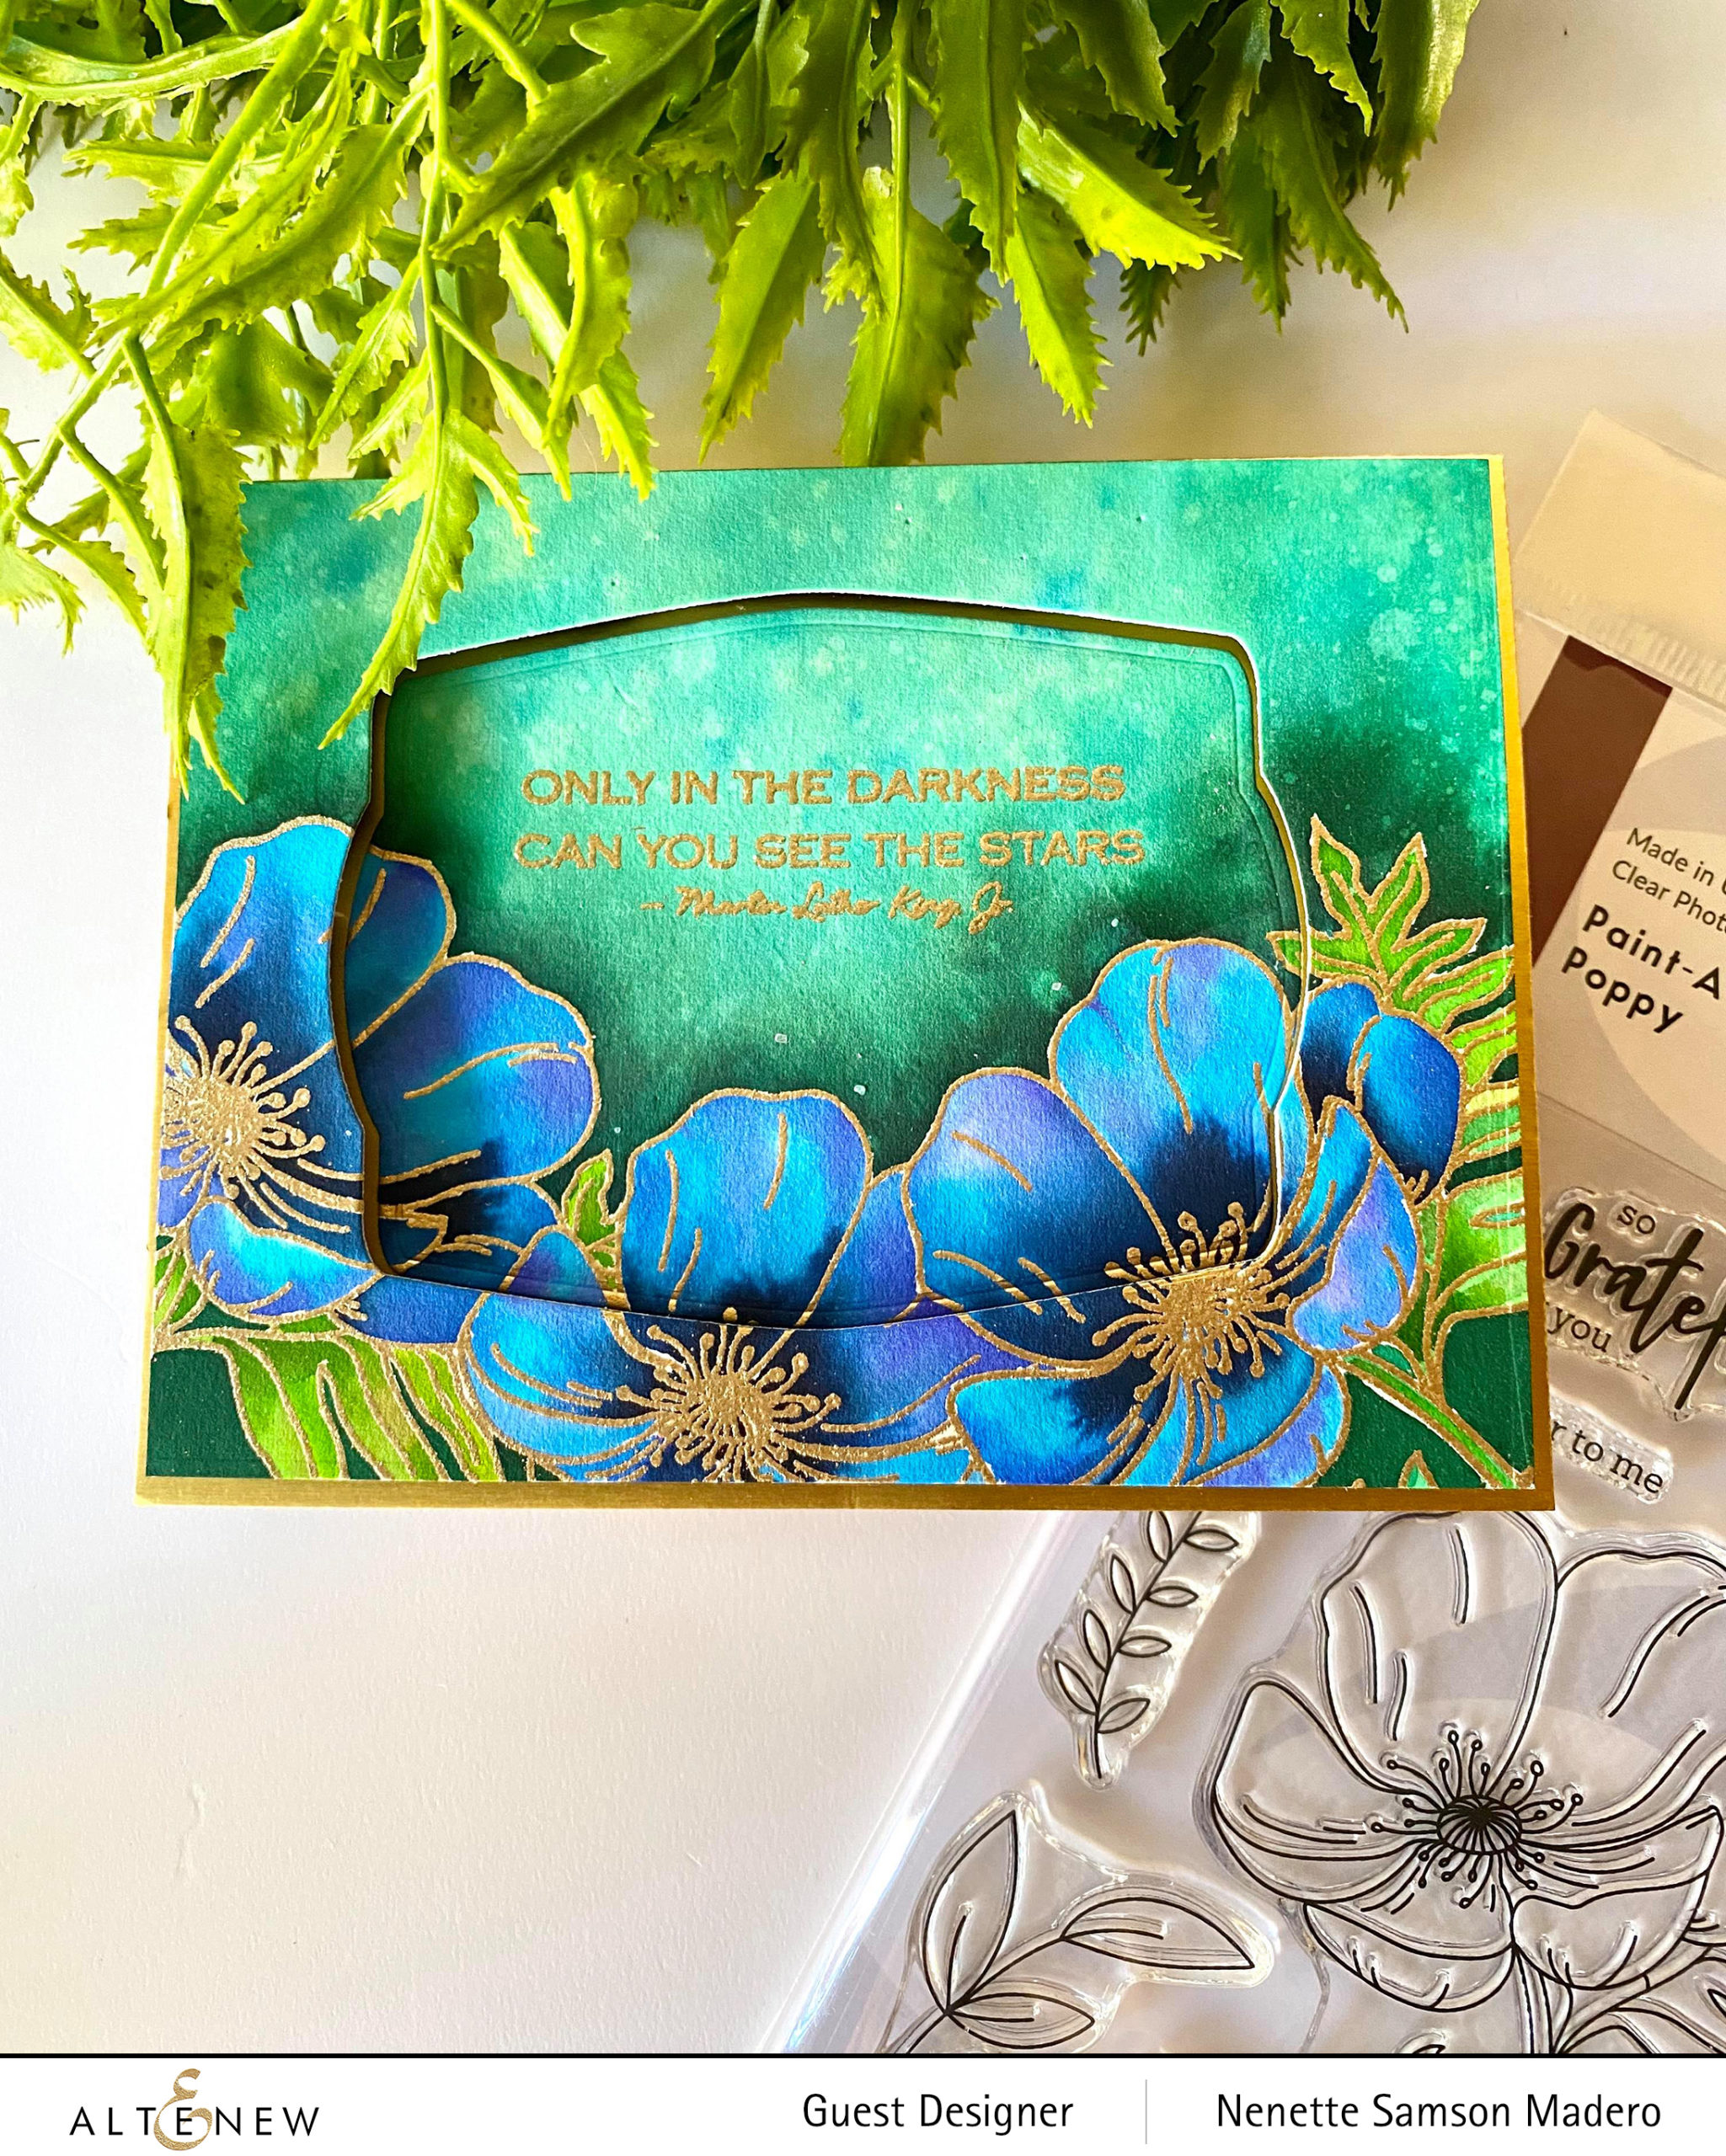
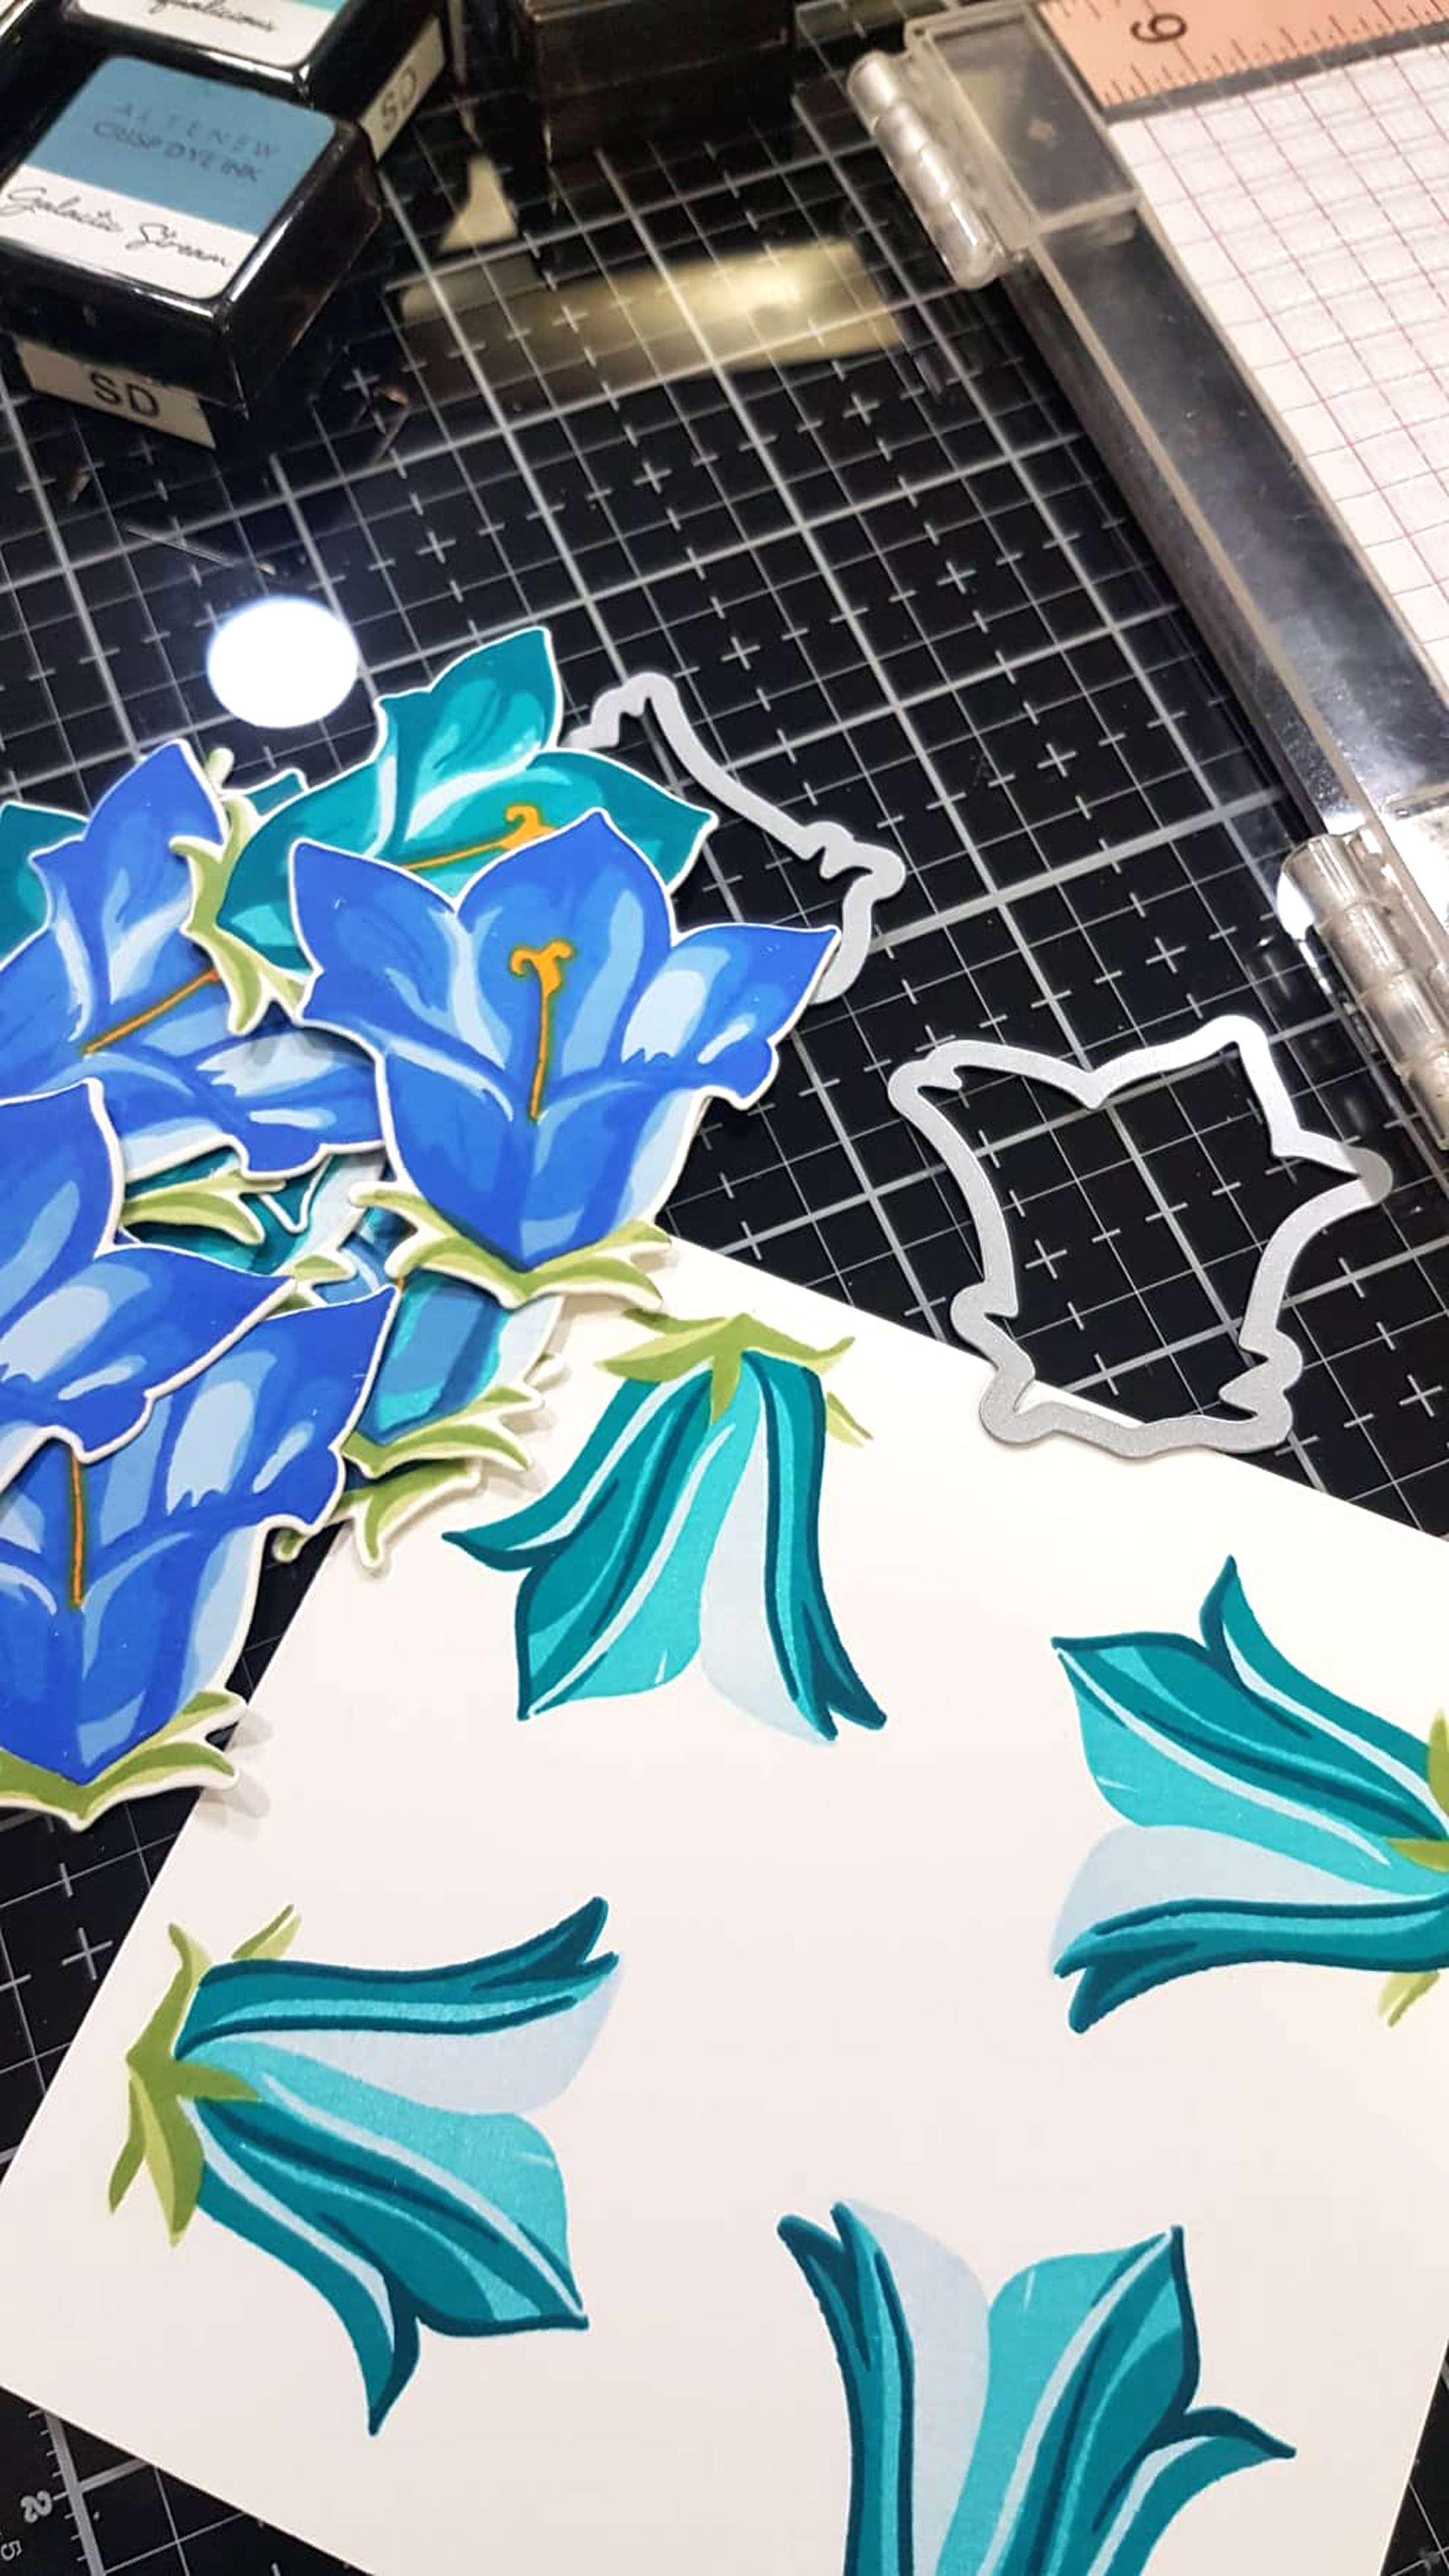
The following were used for this card: Paint a Flower Poppy stamp set, Kind Words stamp, Watercolor brush markers, Nesting Frames die, Rose Gold embossing powder, Versamark Ink, Arches cold press 300gsm watercolor paper.
I stamped the flower image on Arches cold press 300gsm watercolor paper using the masking technique. The images were embossed using Rose Gold embossing powder then watercolored with the watercolor brush markers.
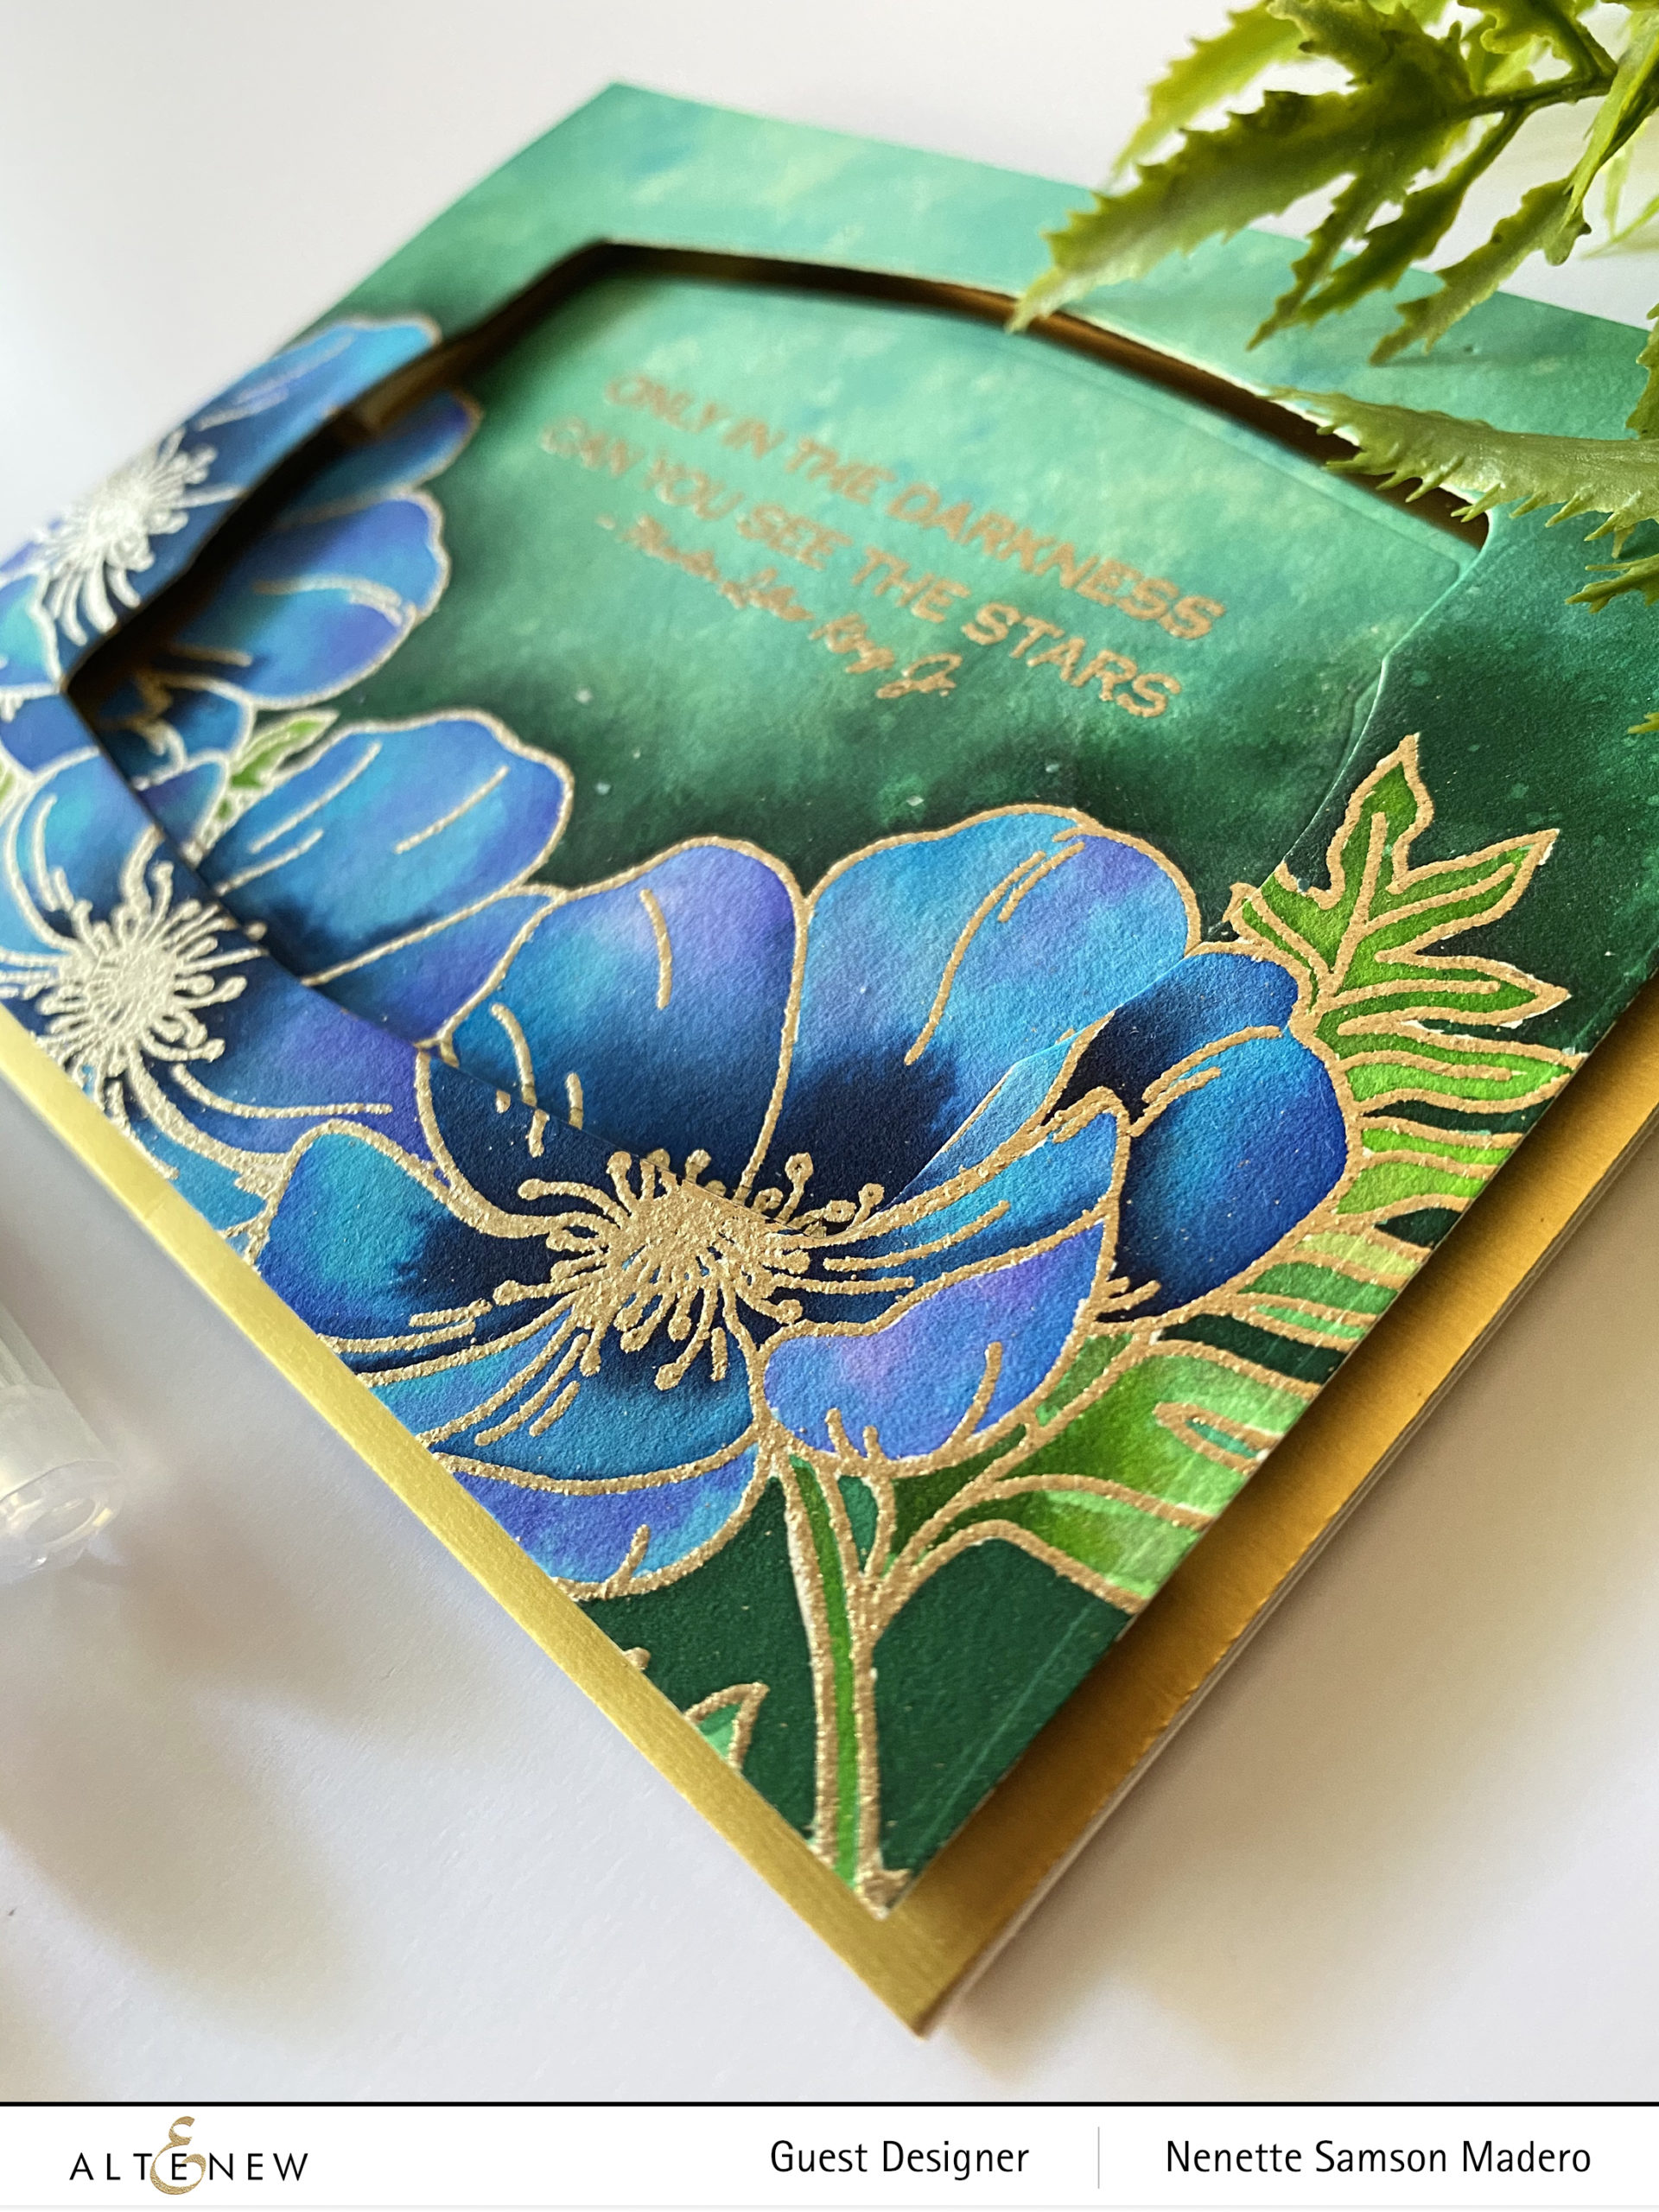
I love how intense the colors are! The background was then painted and sprinkled with salt. Water droplets were also added for more texture. When it was dry, the largest die from the Nesting Frames Die was used to cut the center of the panel. The outer edge was then mounted on a gold card base using foam squares while the center was glued directly onto the card front.
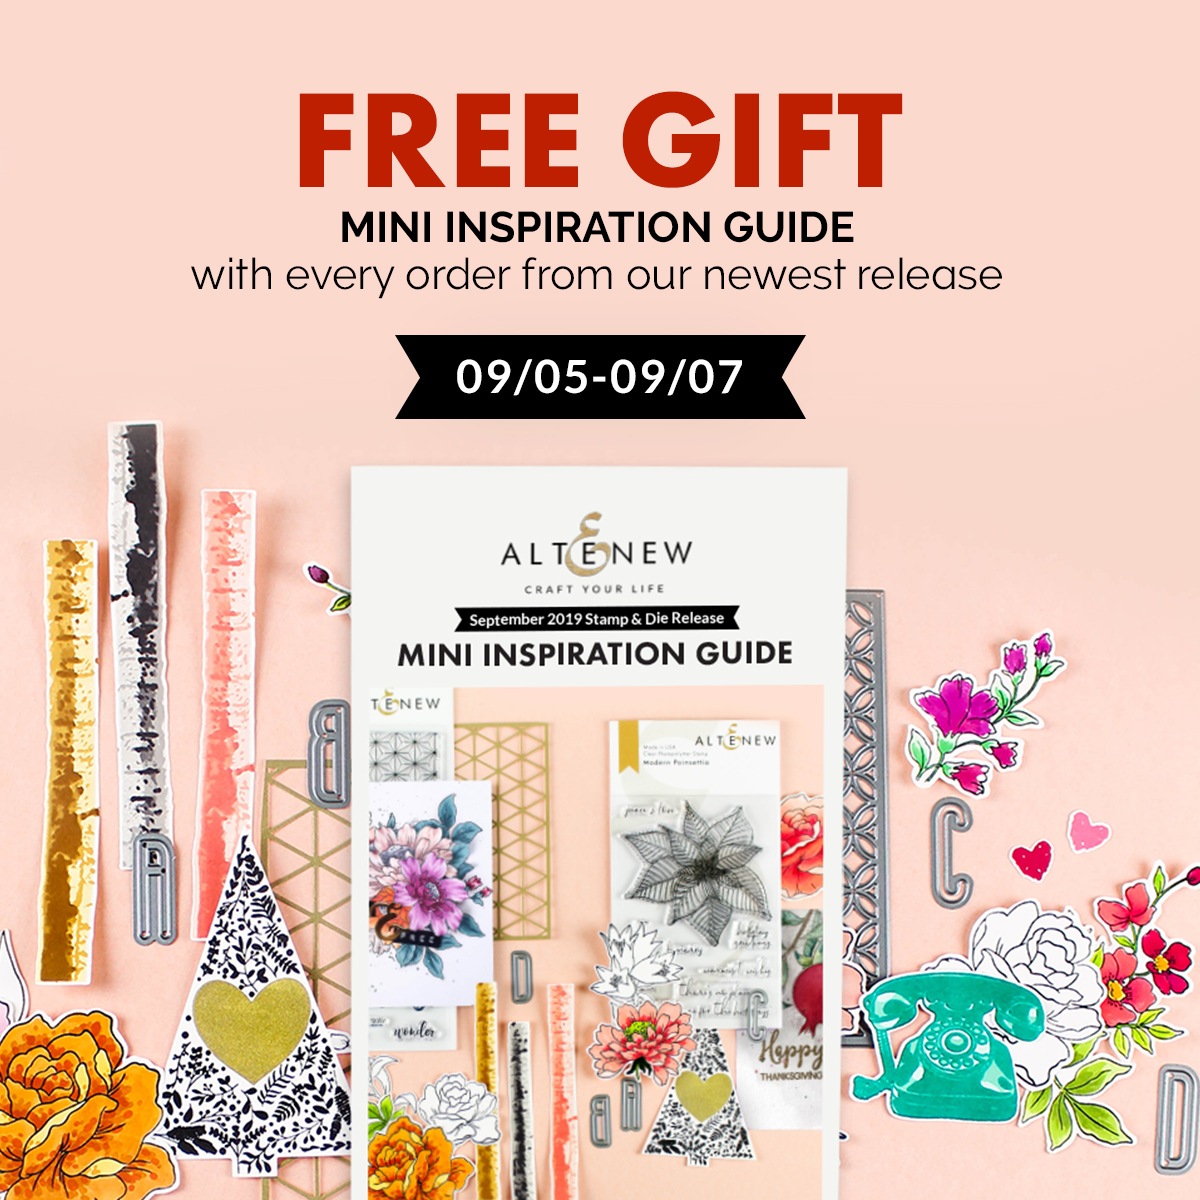
PRIZES
To celebrate this release, Altenew is giving away a $30 gift certificate to 6 lucky winners! Please leave a comment on the Altenew Card Blog and/or Altenew Scrapbook Blog by 3/3/2020 for a chance to win.
Altenew will also draw a winner to receive a $15 gift certificate from the comments left on each designer’s blog on the blog hop list below so don’t forget to comment below! All winners will be announced on the Altenew blogs on 3/6/2020.
Next up is one of my idols in the industry–Therese Calvird <3 Make sure to drop by her blog and I’m definitely sure that you’ll get blown away by her creativity!!!
Thank you again for visiting my blog. Do let me know which one is your favorite! I love hearing from my visitors and because I appreciate the time it takes to comment here and on Instagram, I will randomly choose one winner from my blog and one winner from IG on March 6. The winners will be receiving the chosen card so make sure you let me know which one is your favorite. :-). Happy crafting everyone!!!
INSTAGRAM | FACEBOOK | PINTEREST | WEBSITE
BLOG HOP ORDER
Altenew Card Blog
Jennifer McGuire
Jaycee Gaspar
Nicole Watt
Maryam Perez
Kelly Griglione
Norine Borys
Amanda Baldwin
Altenew Scrapbook Blog
Amber Rain Davis
Ashlea Cornell
LauraJane
Kymona Tracey
Seeka
Laurie Willison
Nathalie DeSousa
Erum Tasneem
Nancy McClelland
Sveta Fotinia
Svitlana Shayevich
Nenette S. Madero–> YOU ARE HERE
Therese Calvird
Mindy Eggen
Virginia Lu
Terri Koszler
Emily Midgett
Agnieszka Malyszek Lilith Eeckels