Hello everyone! Welcome to the Altenew Educators’ Certificate Program IG hop! I decided to create a blog post for this as well so that I can share the process with all of you. We were asked to choose a favorite class that we draw inspiration from. I chose the Creative Coloring with Erum — Advanced Techniques workshop because I have been a huge fan of Erum’s coloring skills and I knew that it will be packed with tons of tips and techniques. I was not disappointed. Erum is immensely talented and is always so generous in sharing her creative process. Thank you so much, Erum!!! You can check out her blog here and her youtube channel here.
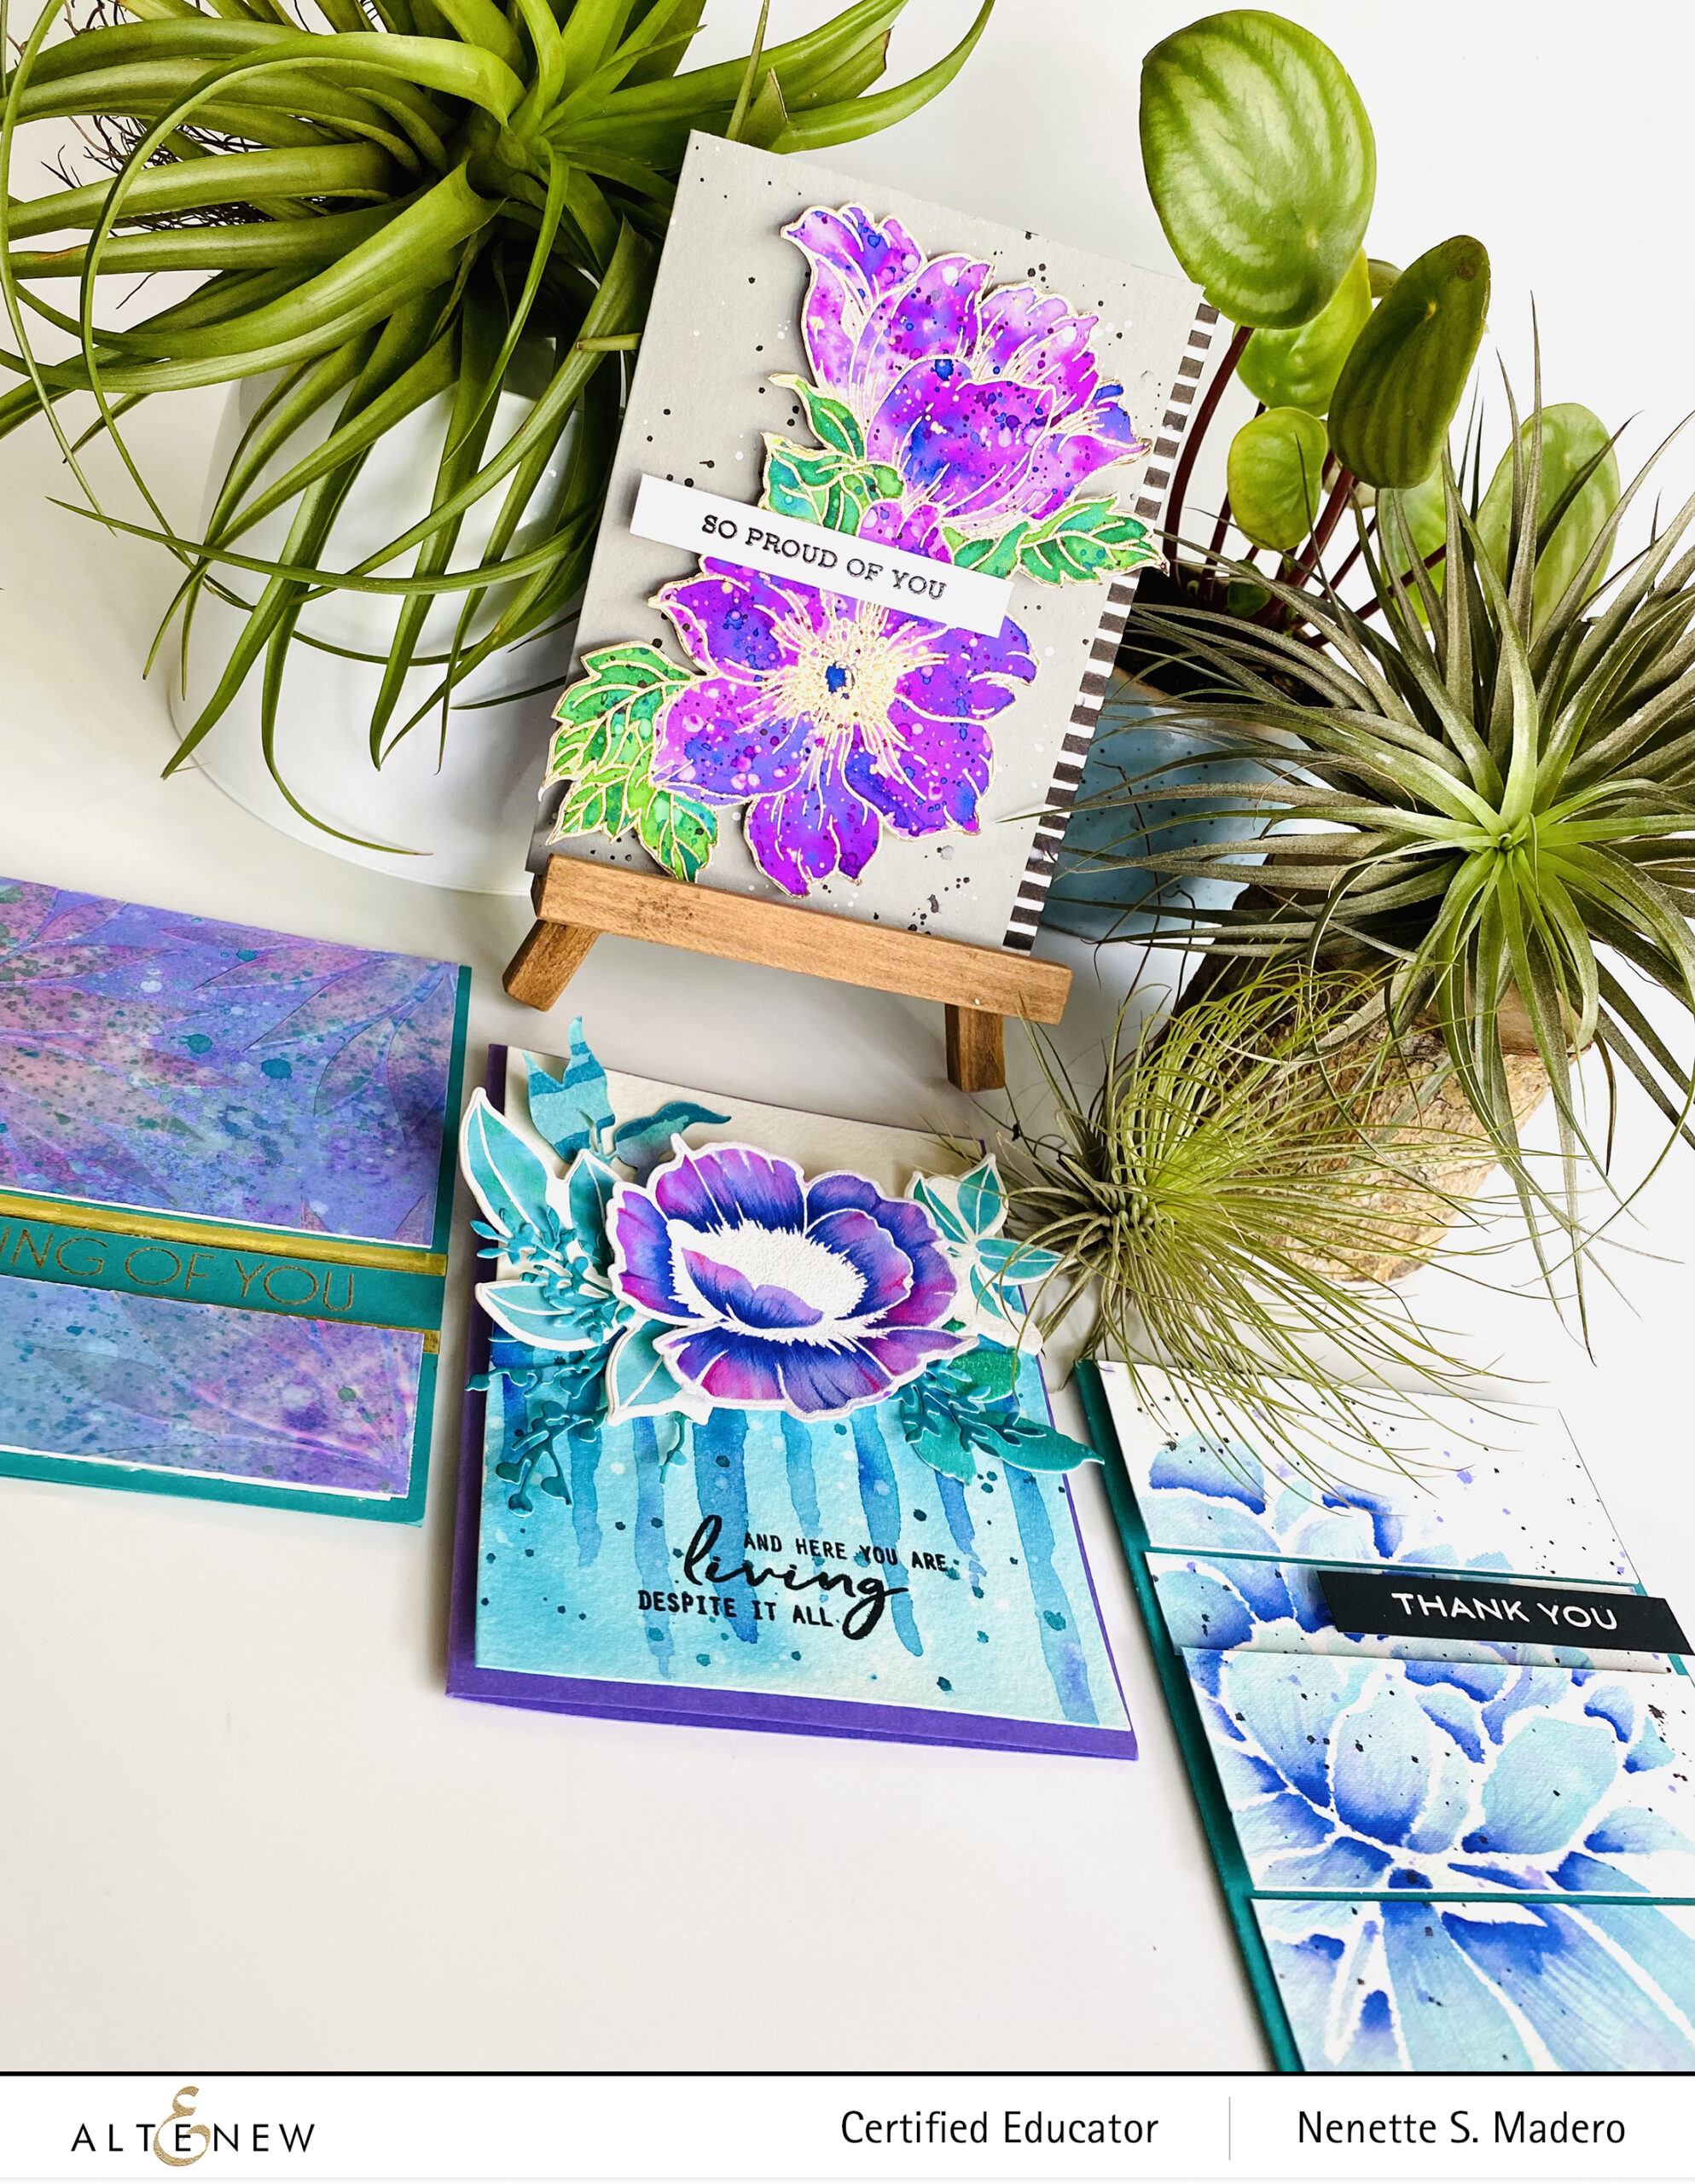
Here are the cards I made which were all inspired by her creations. Do let me know which one is your favorite on the comment section, ok?
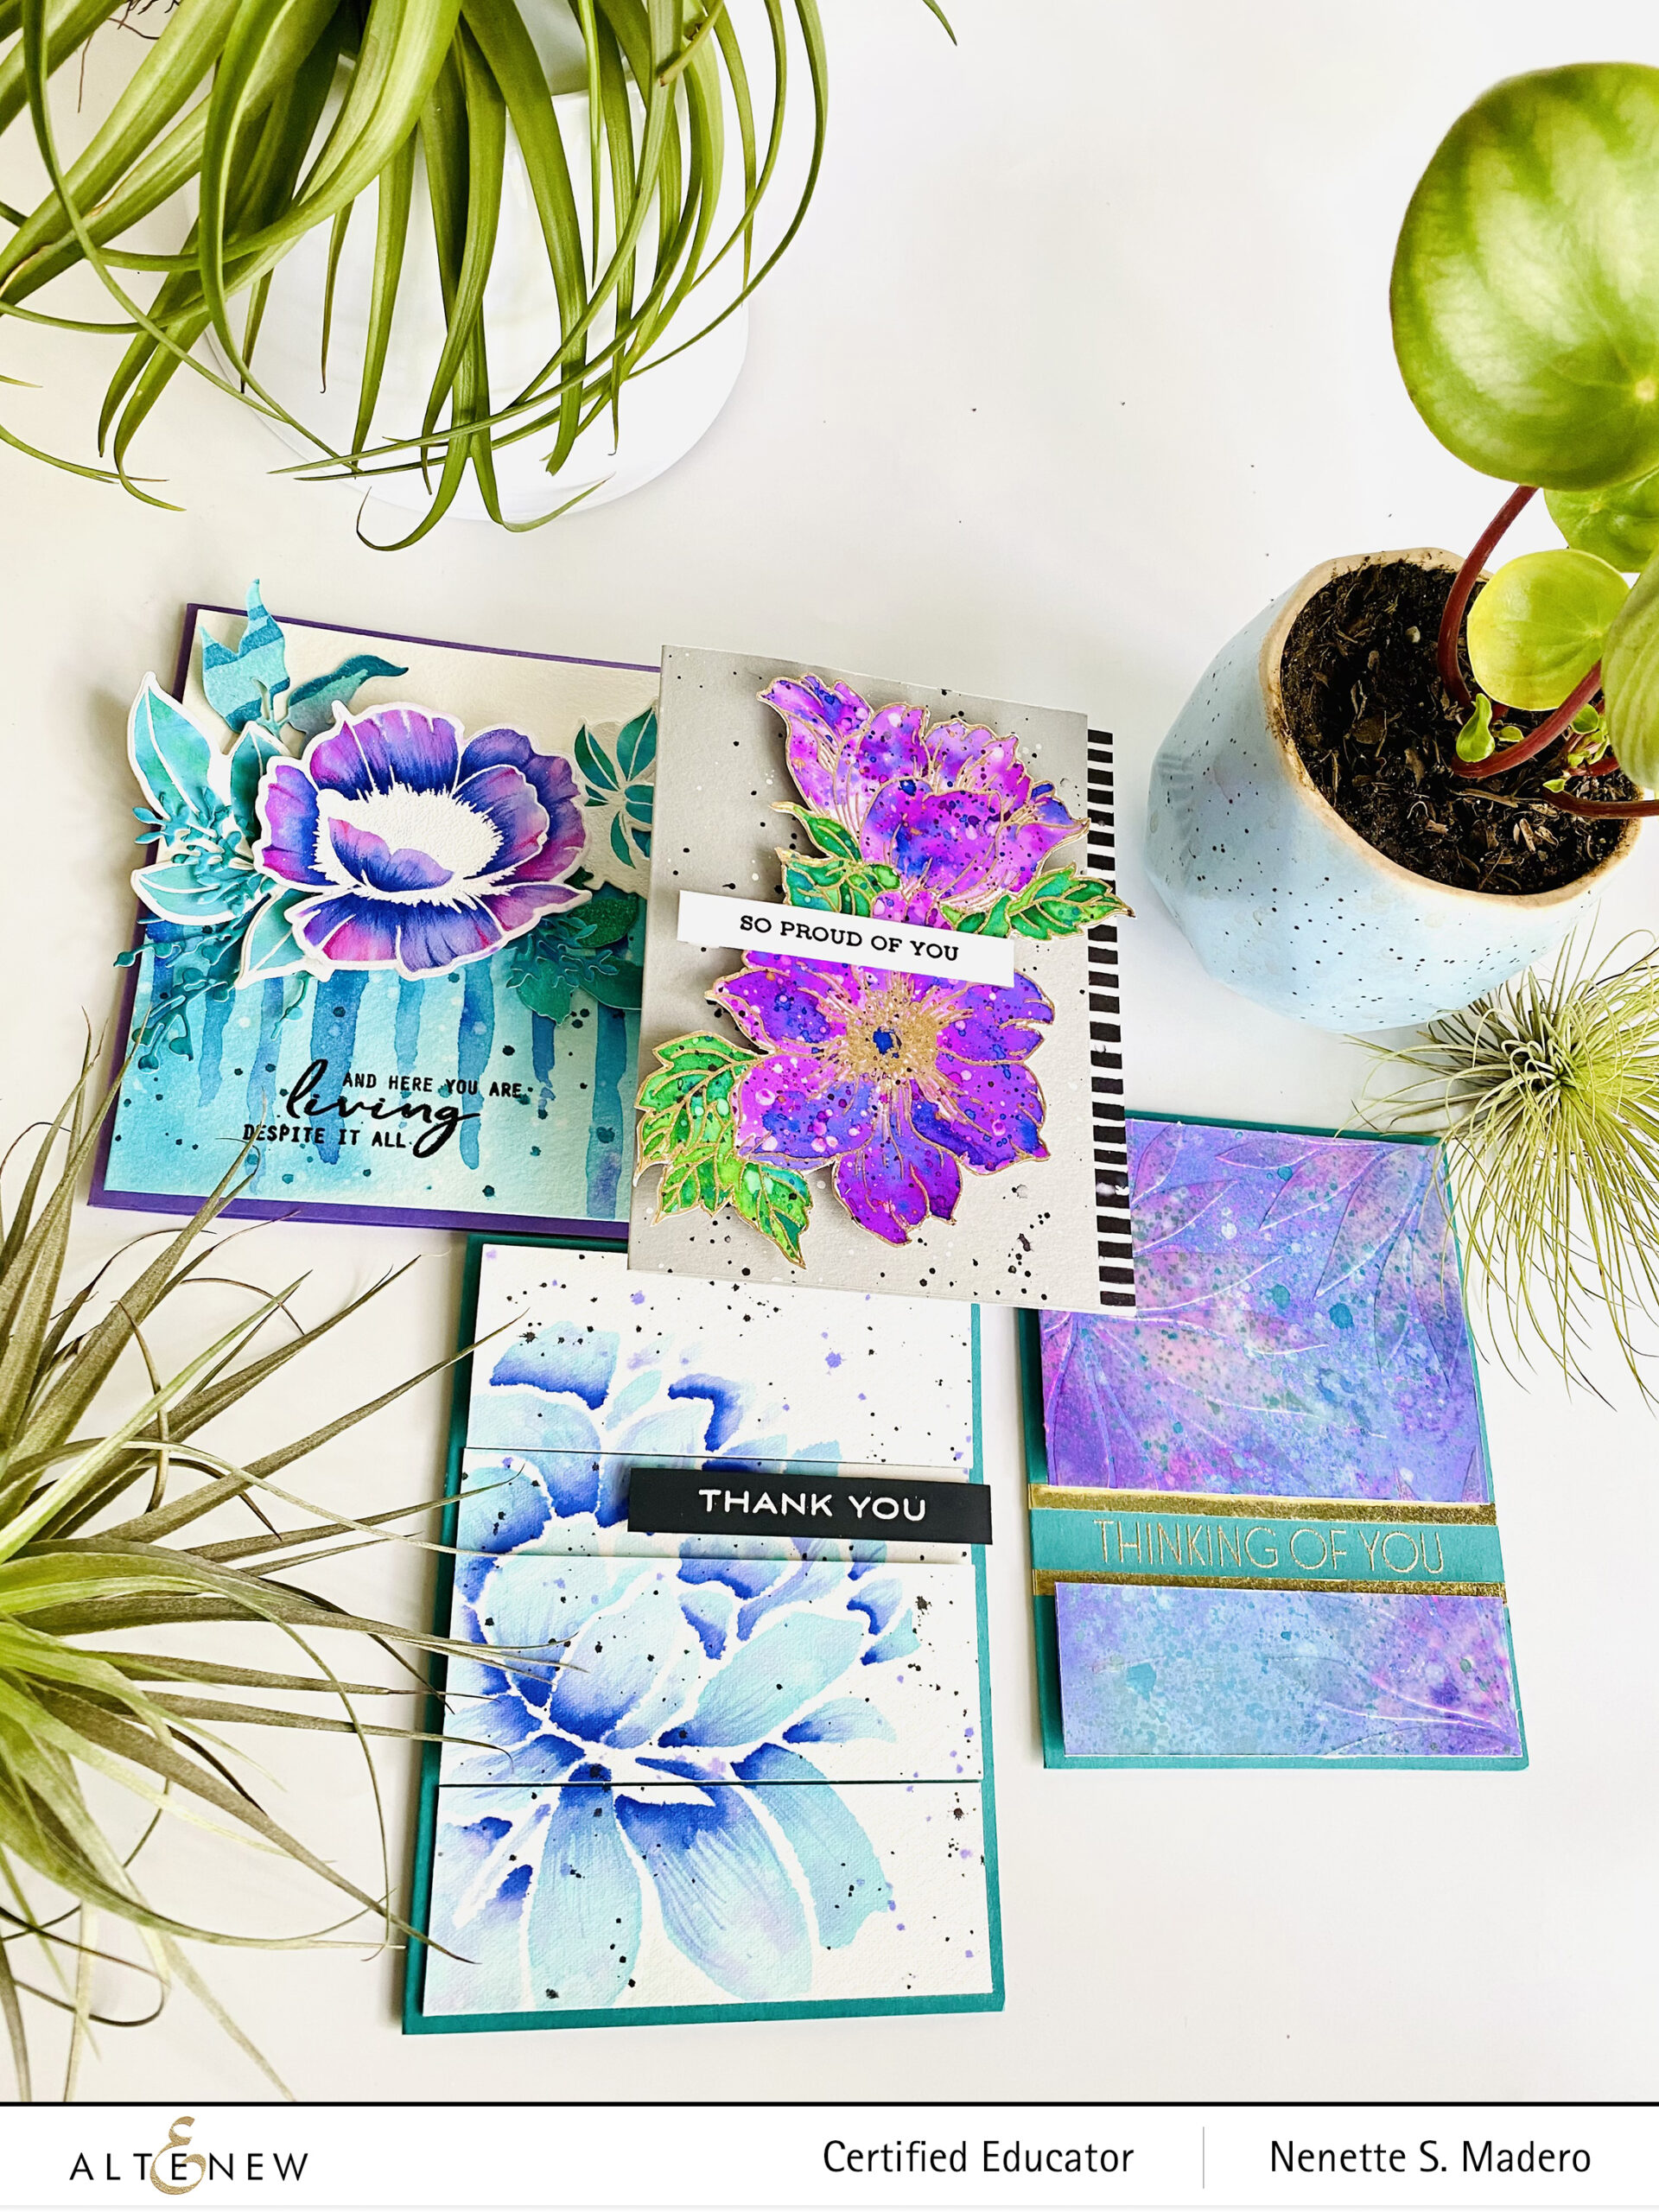
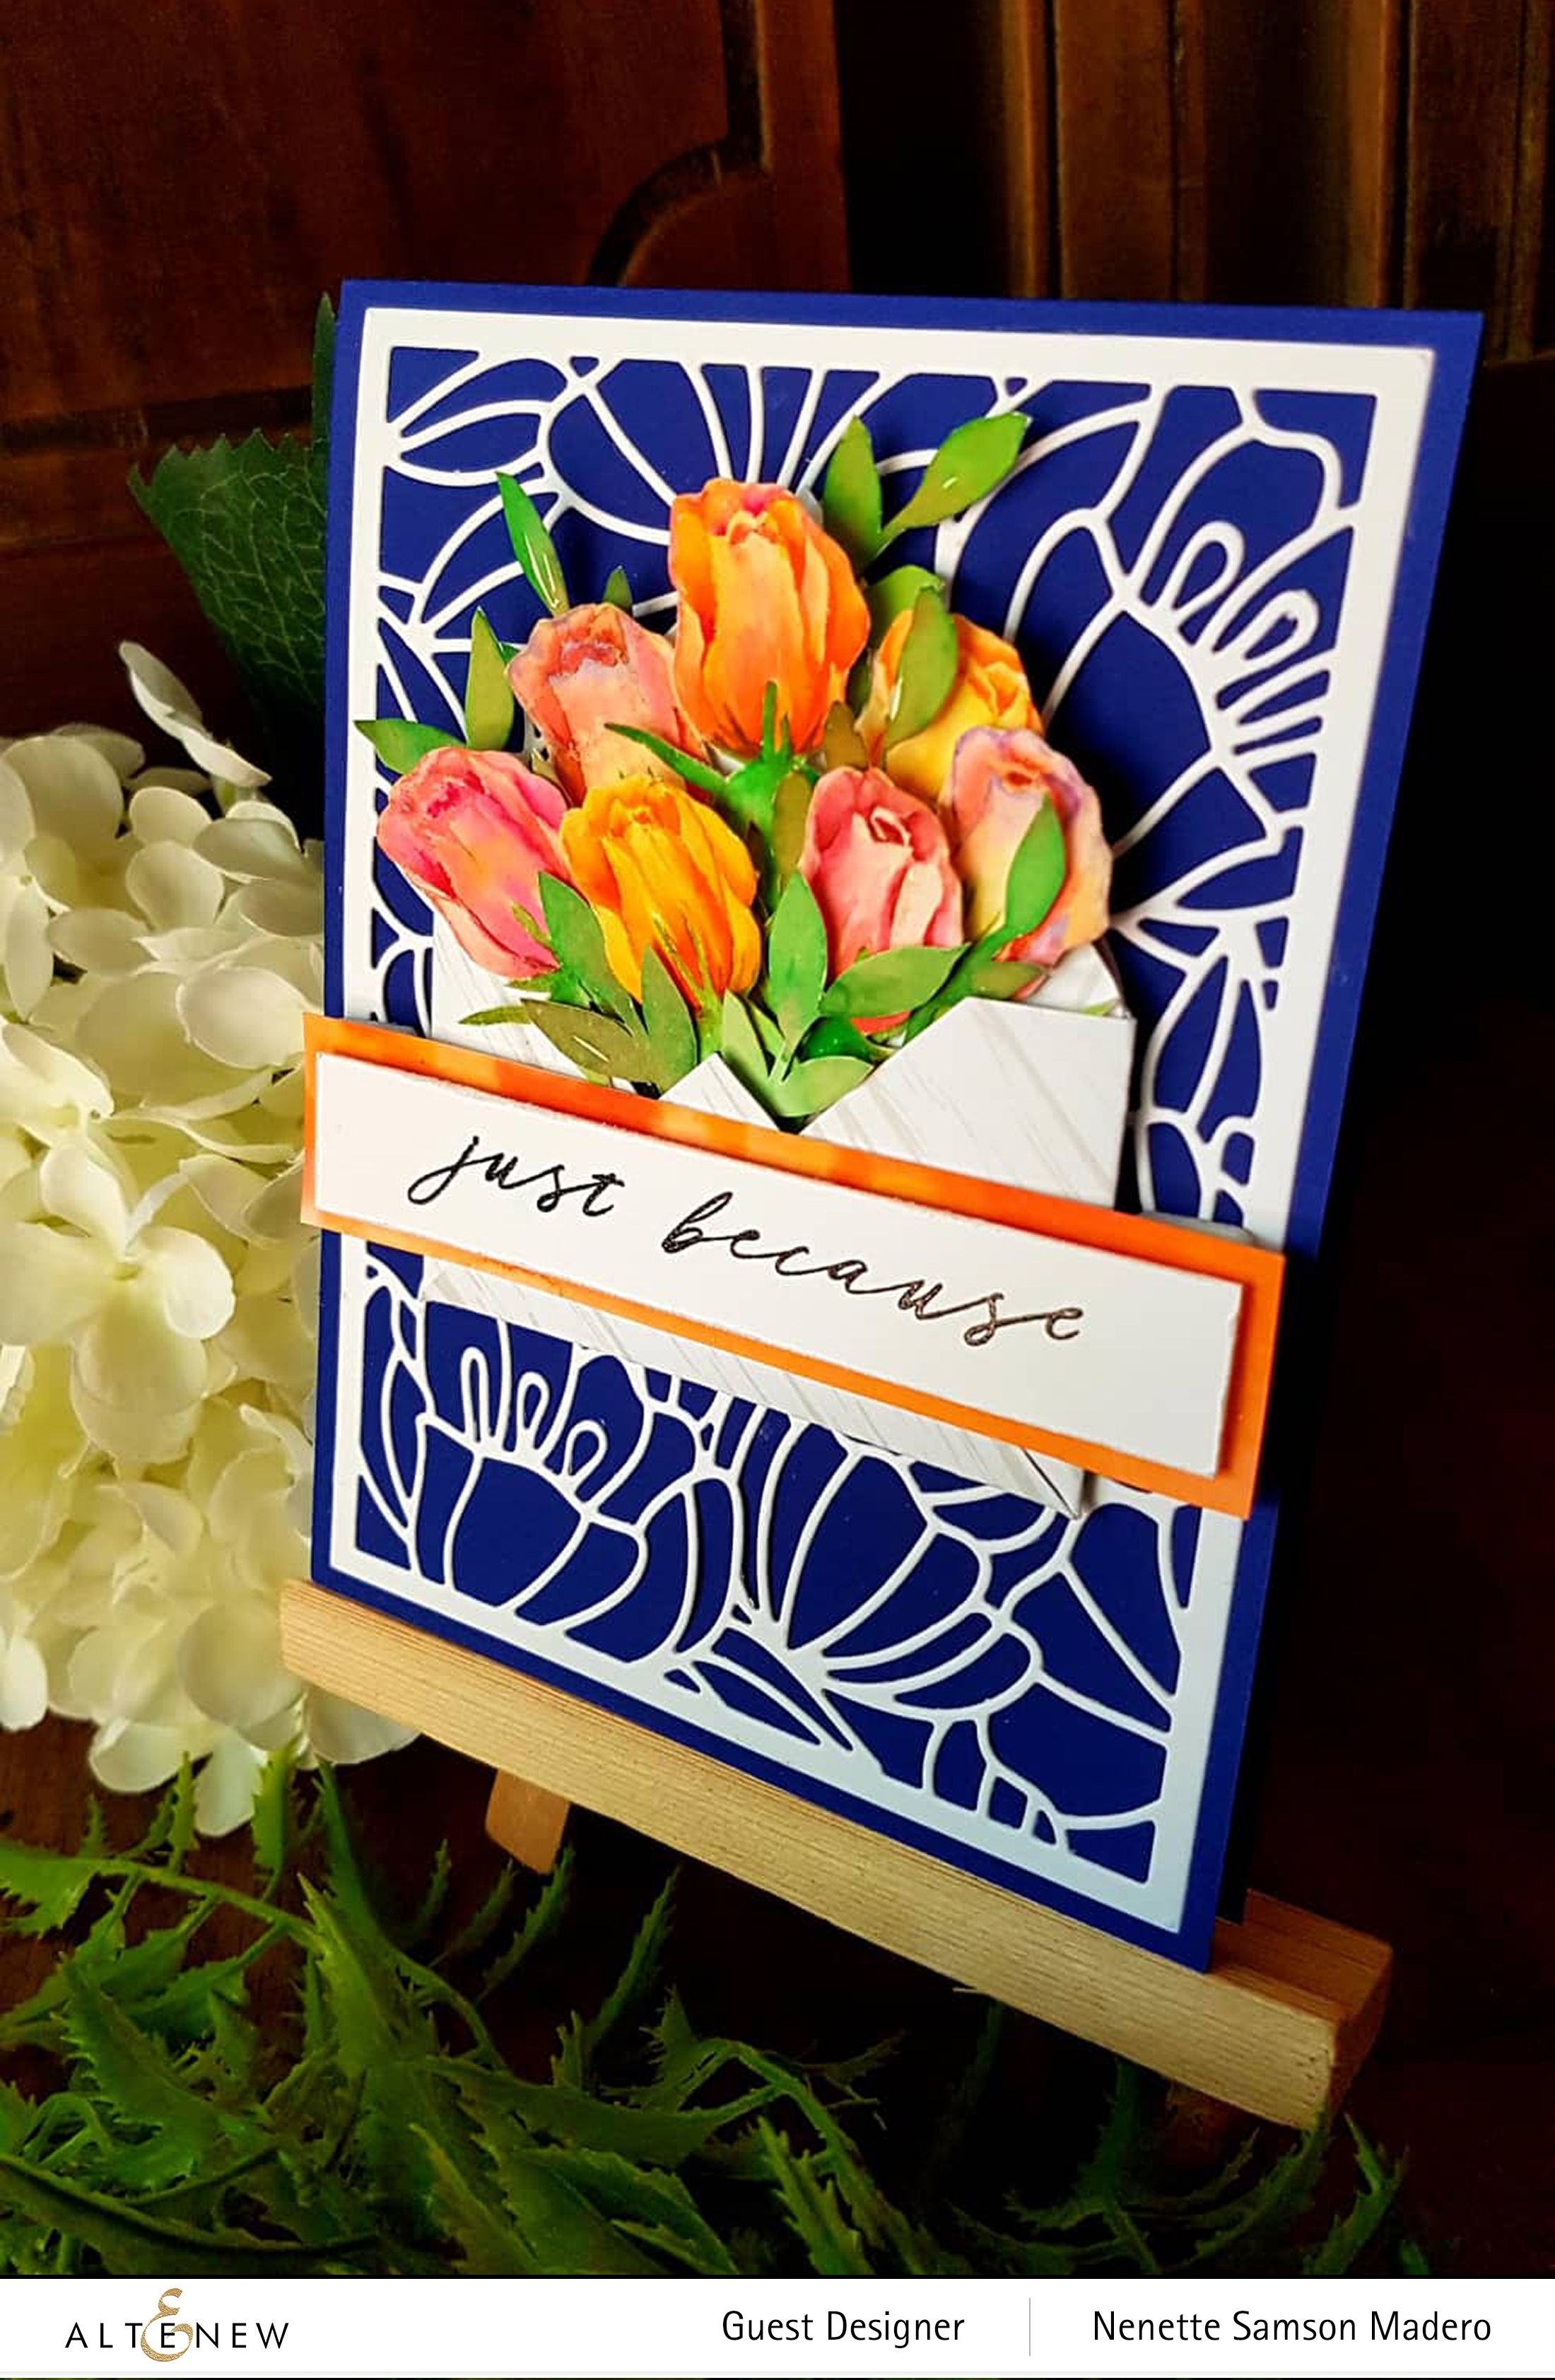
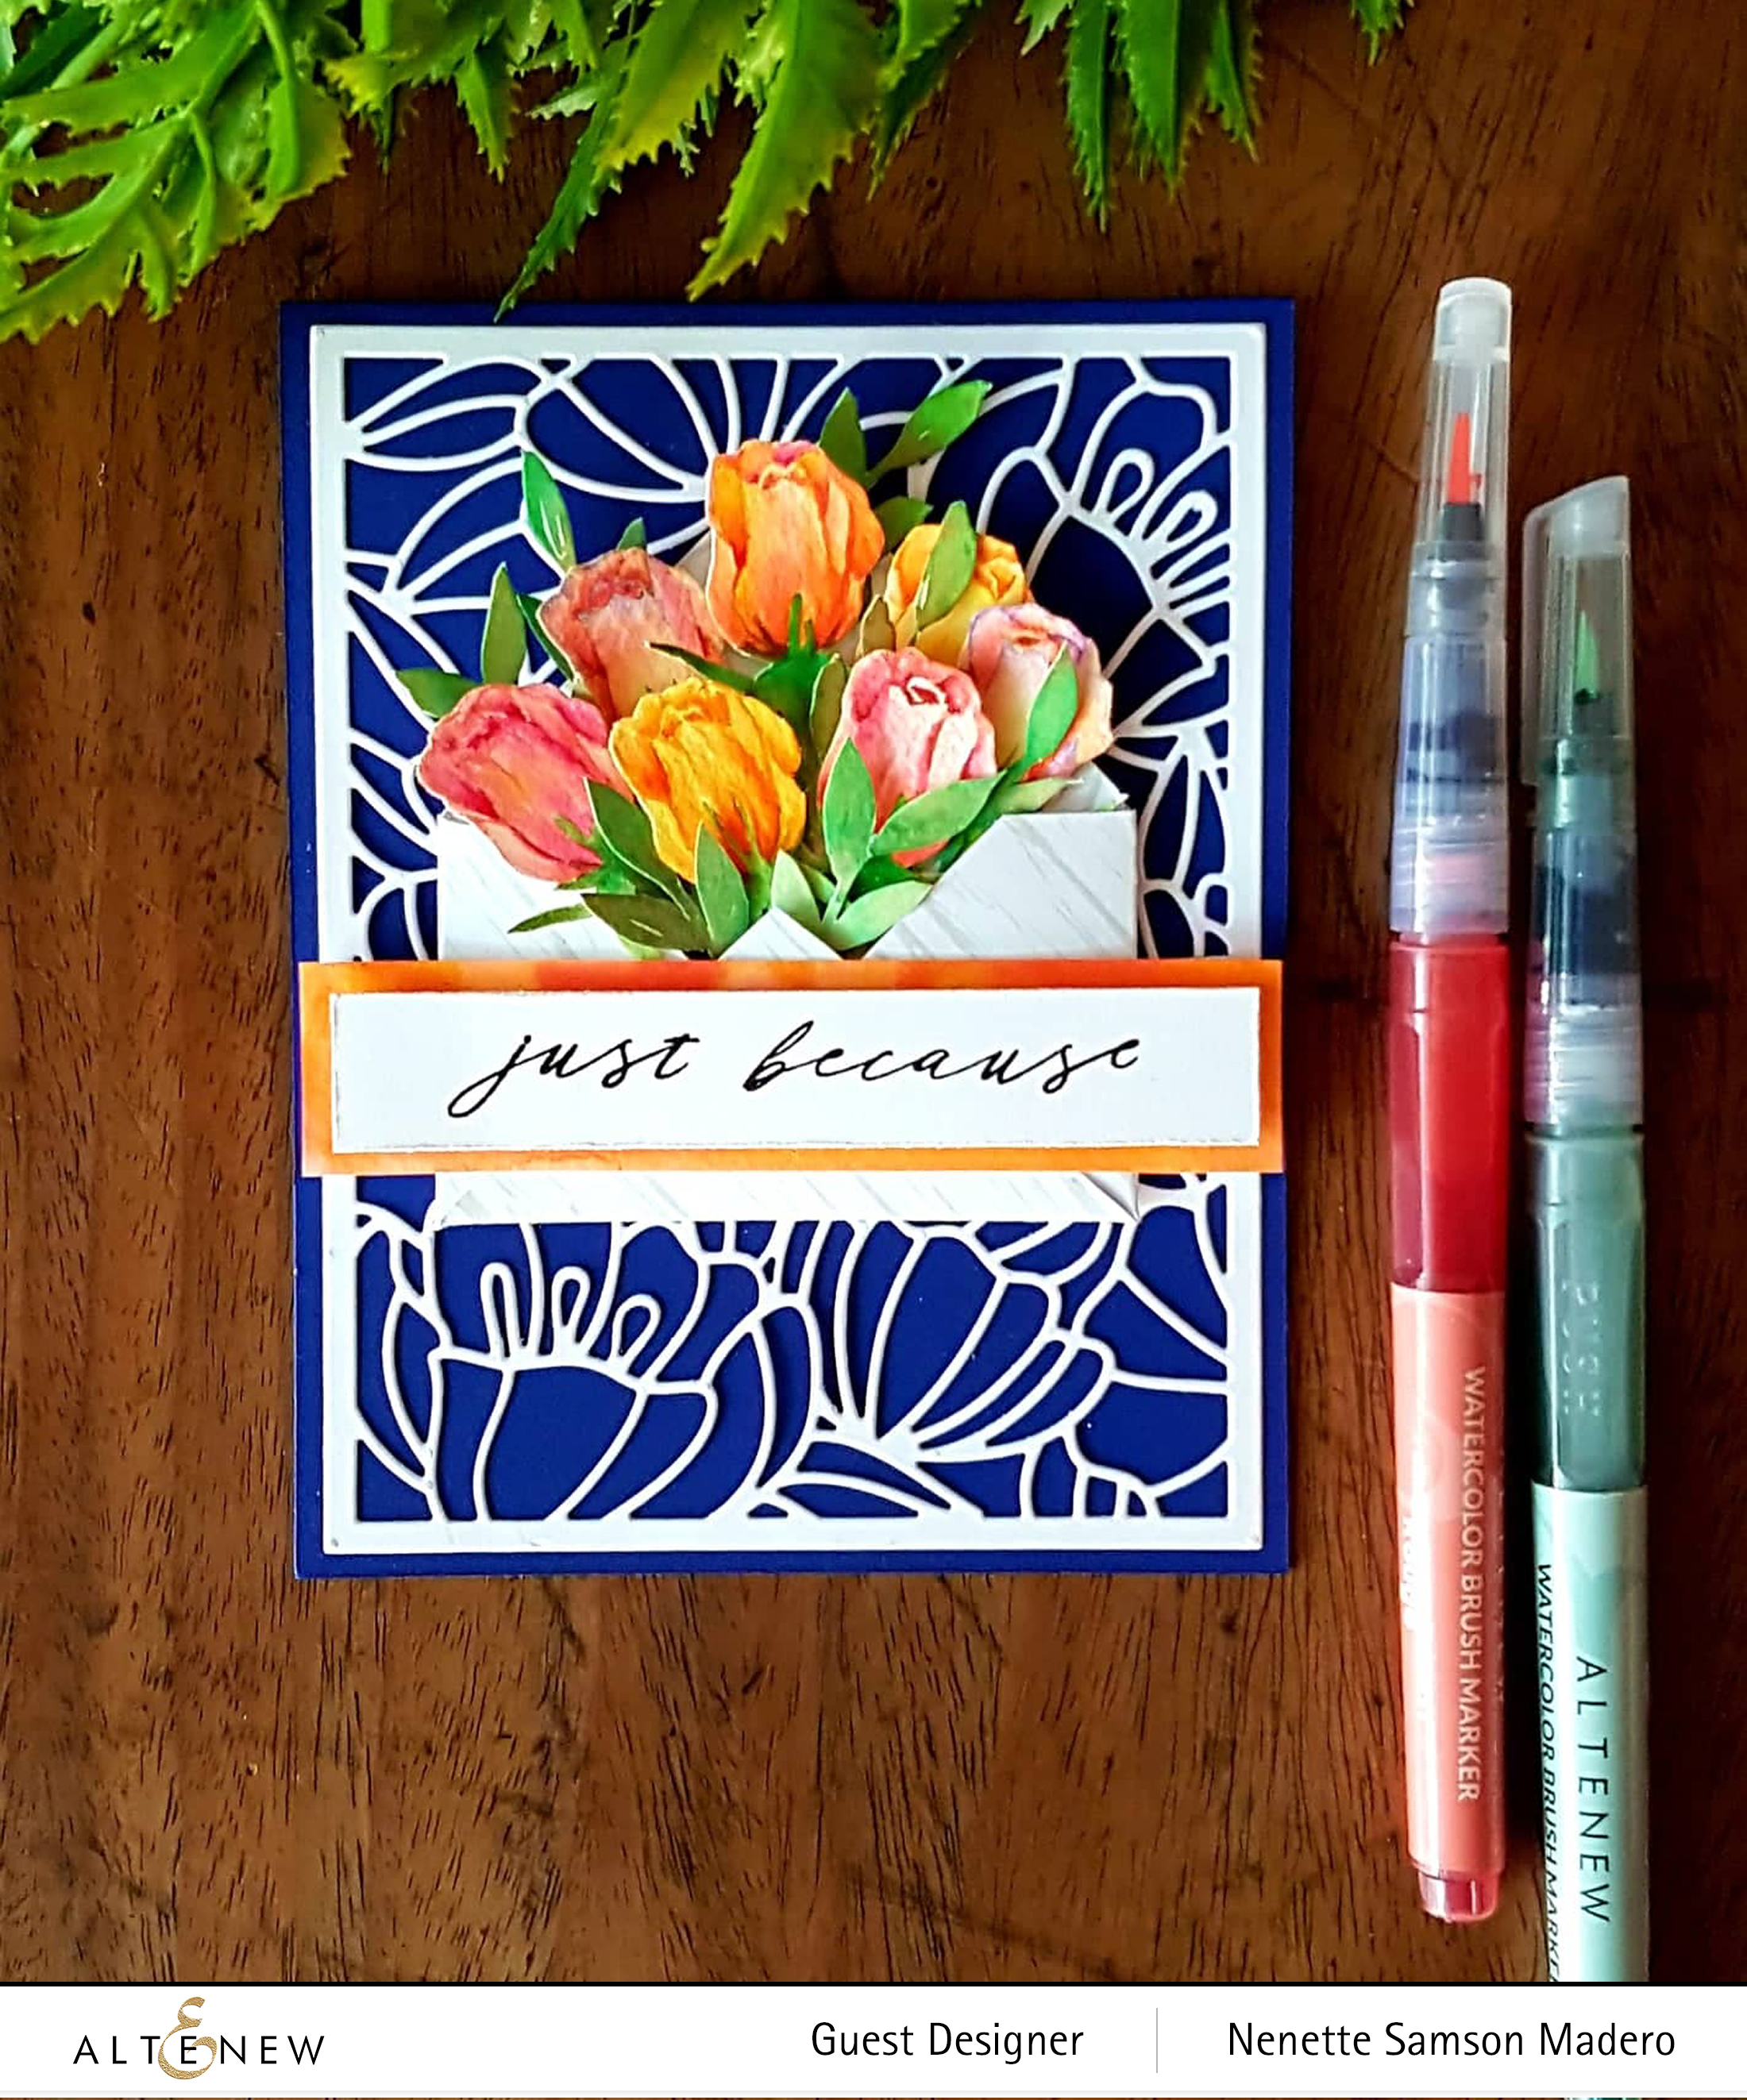
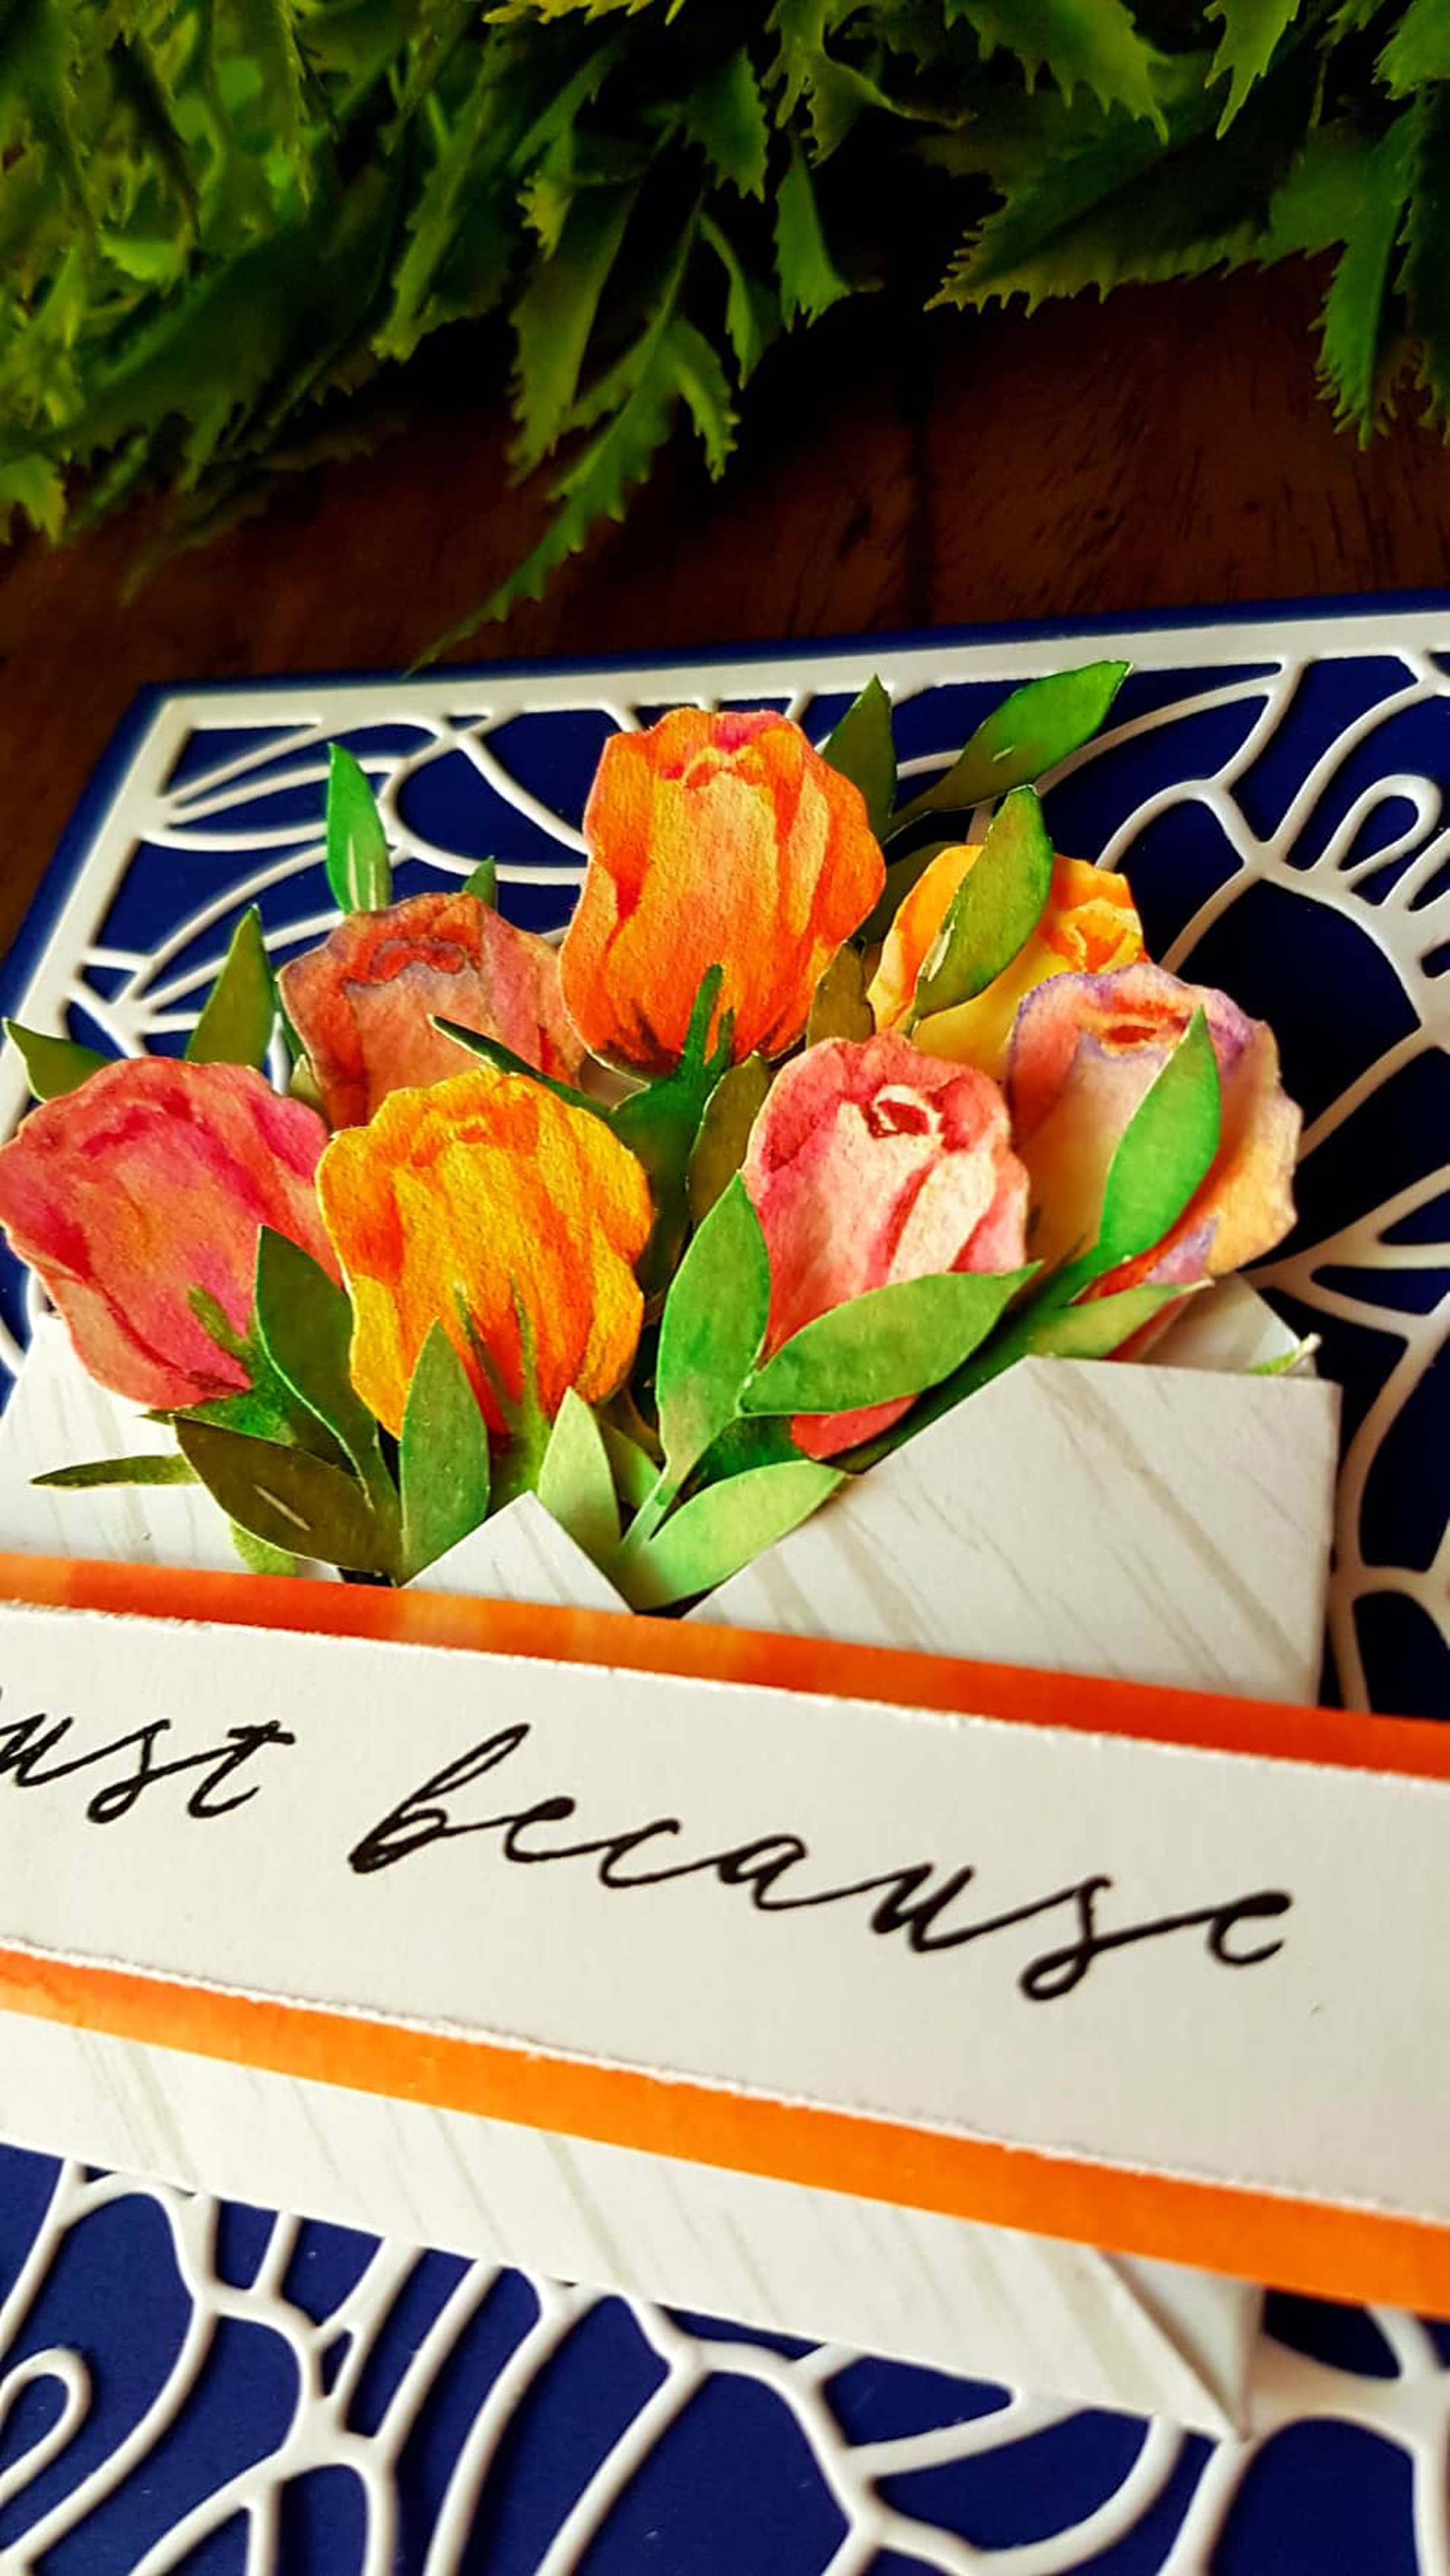
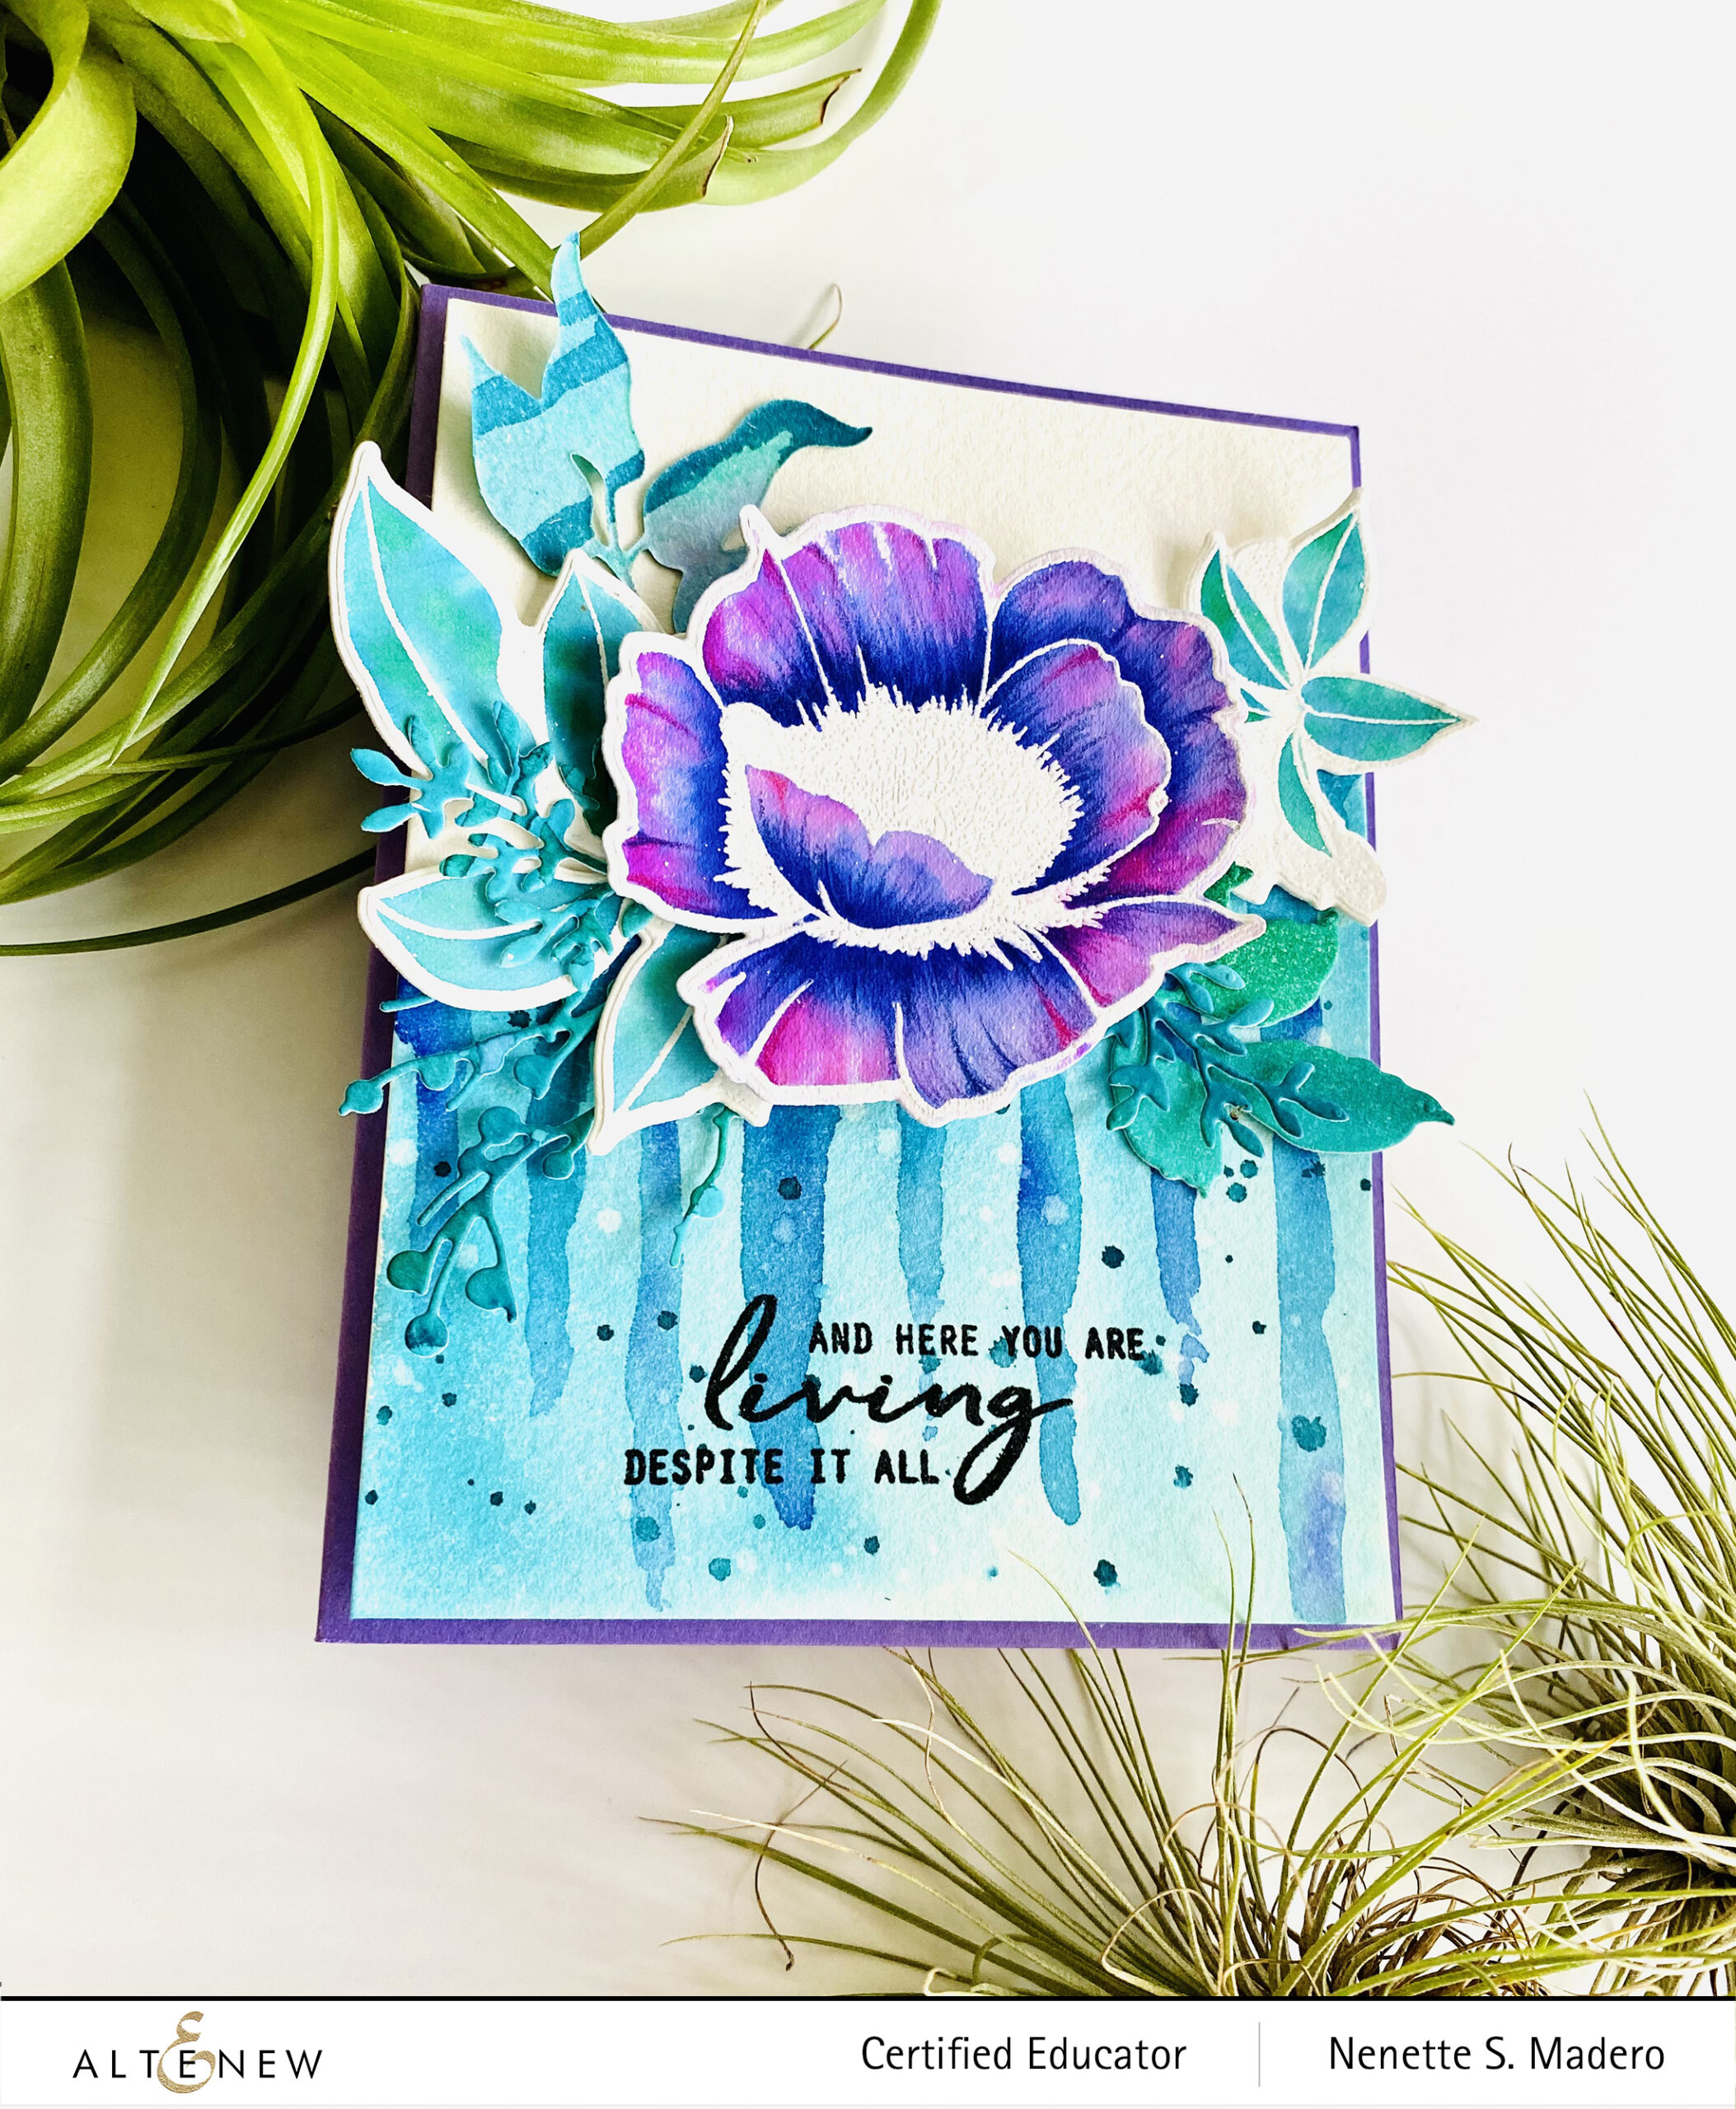
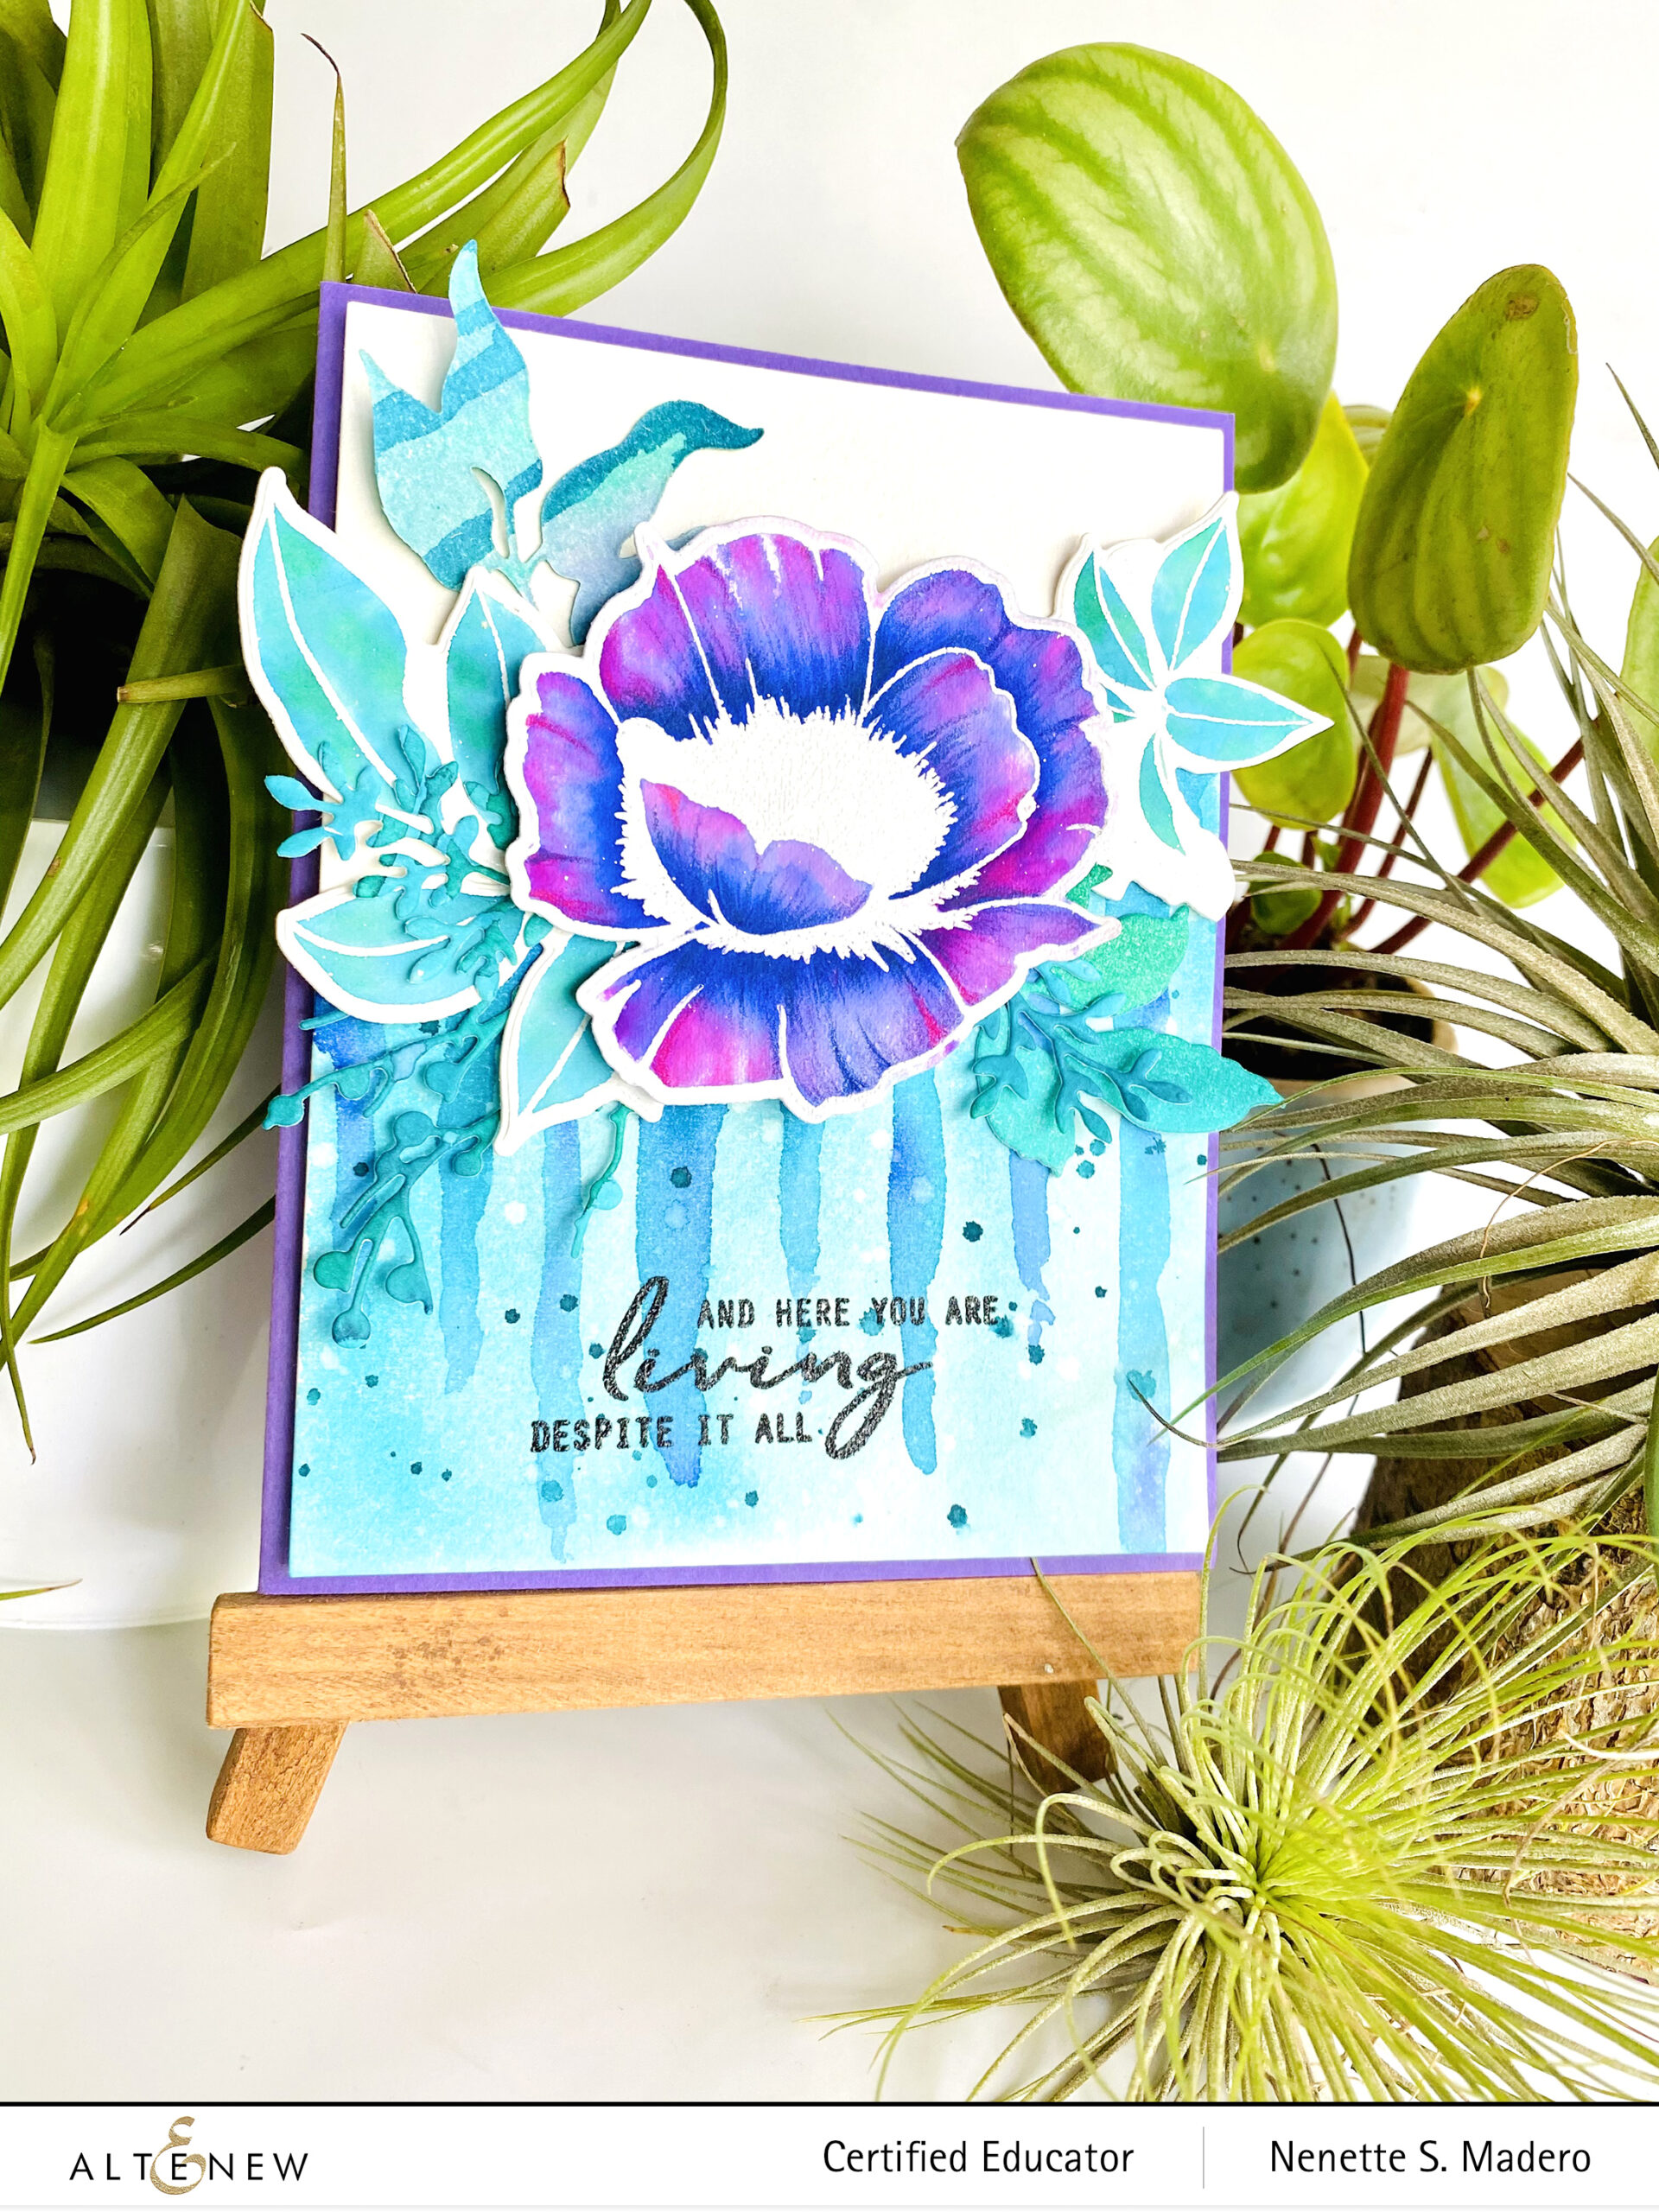
The first card is based on her watercolor drip class.
AND HERE YOU ARE LIVING DESPITE IT ALL
STEPS:
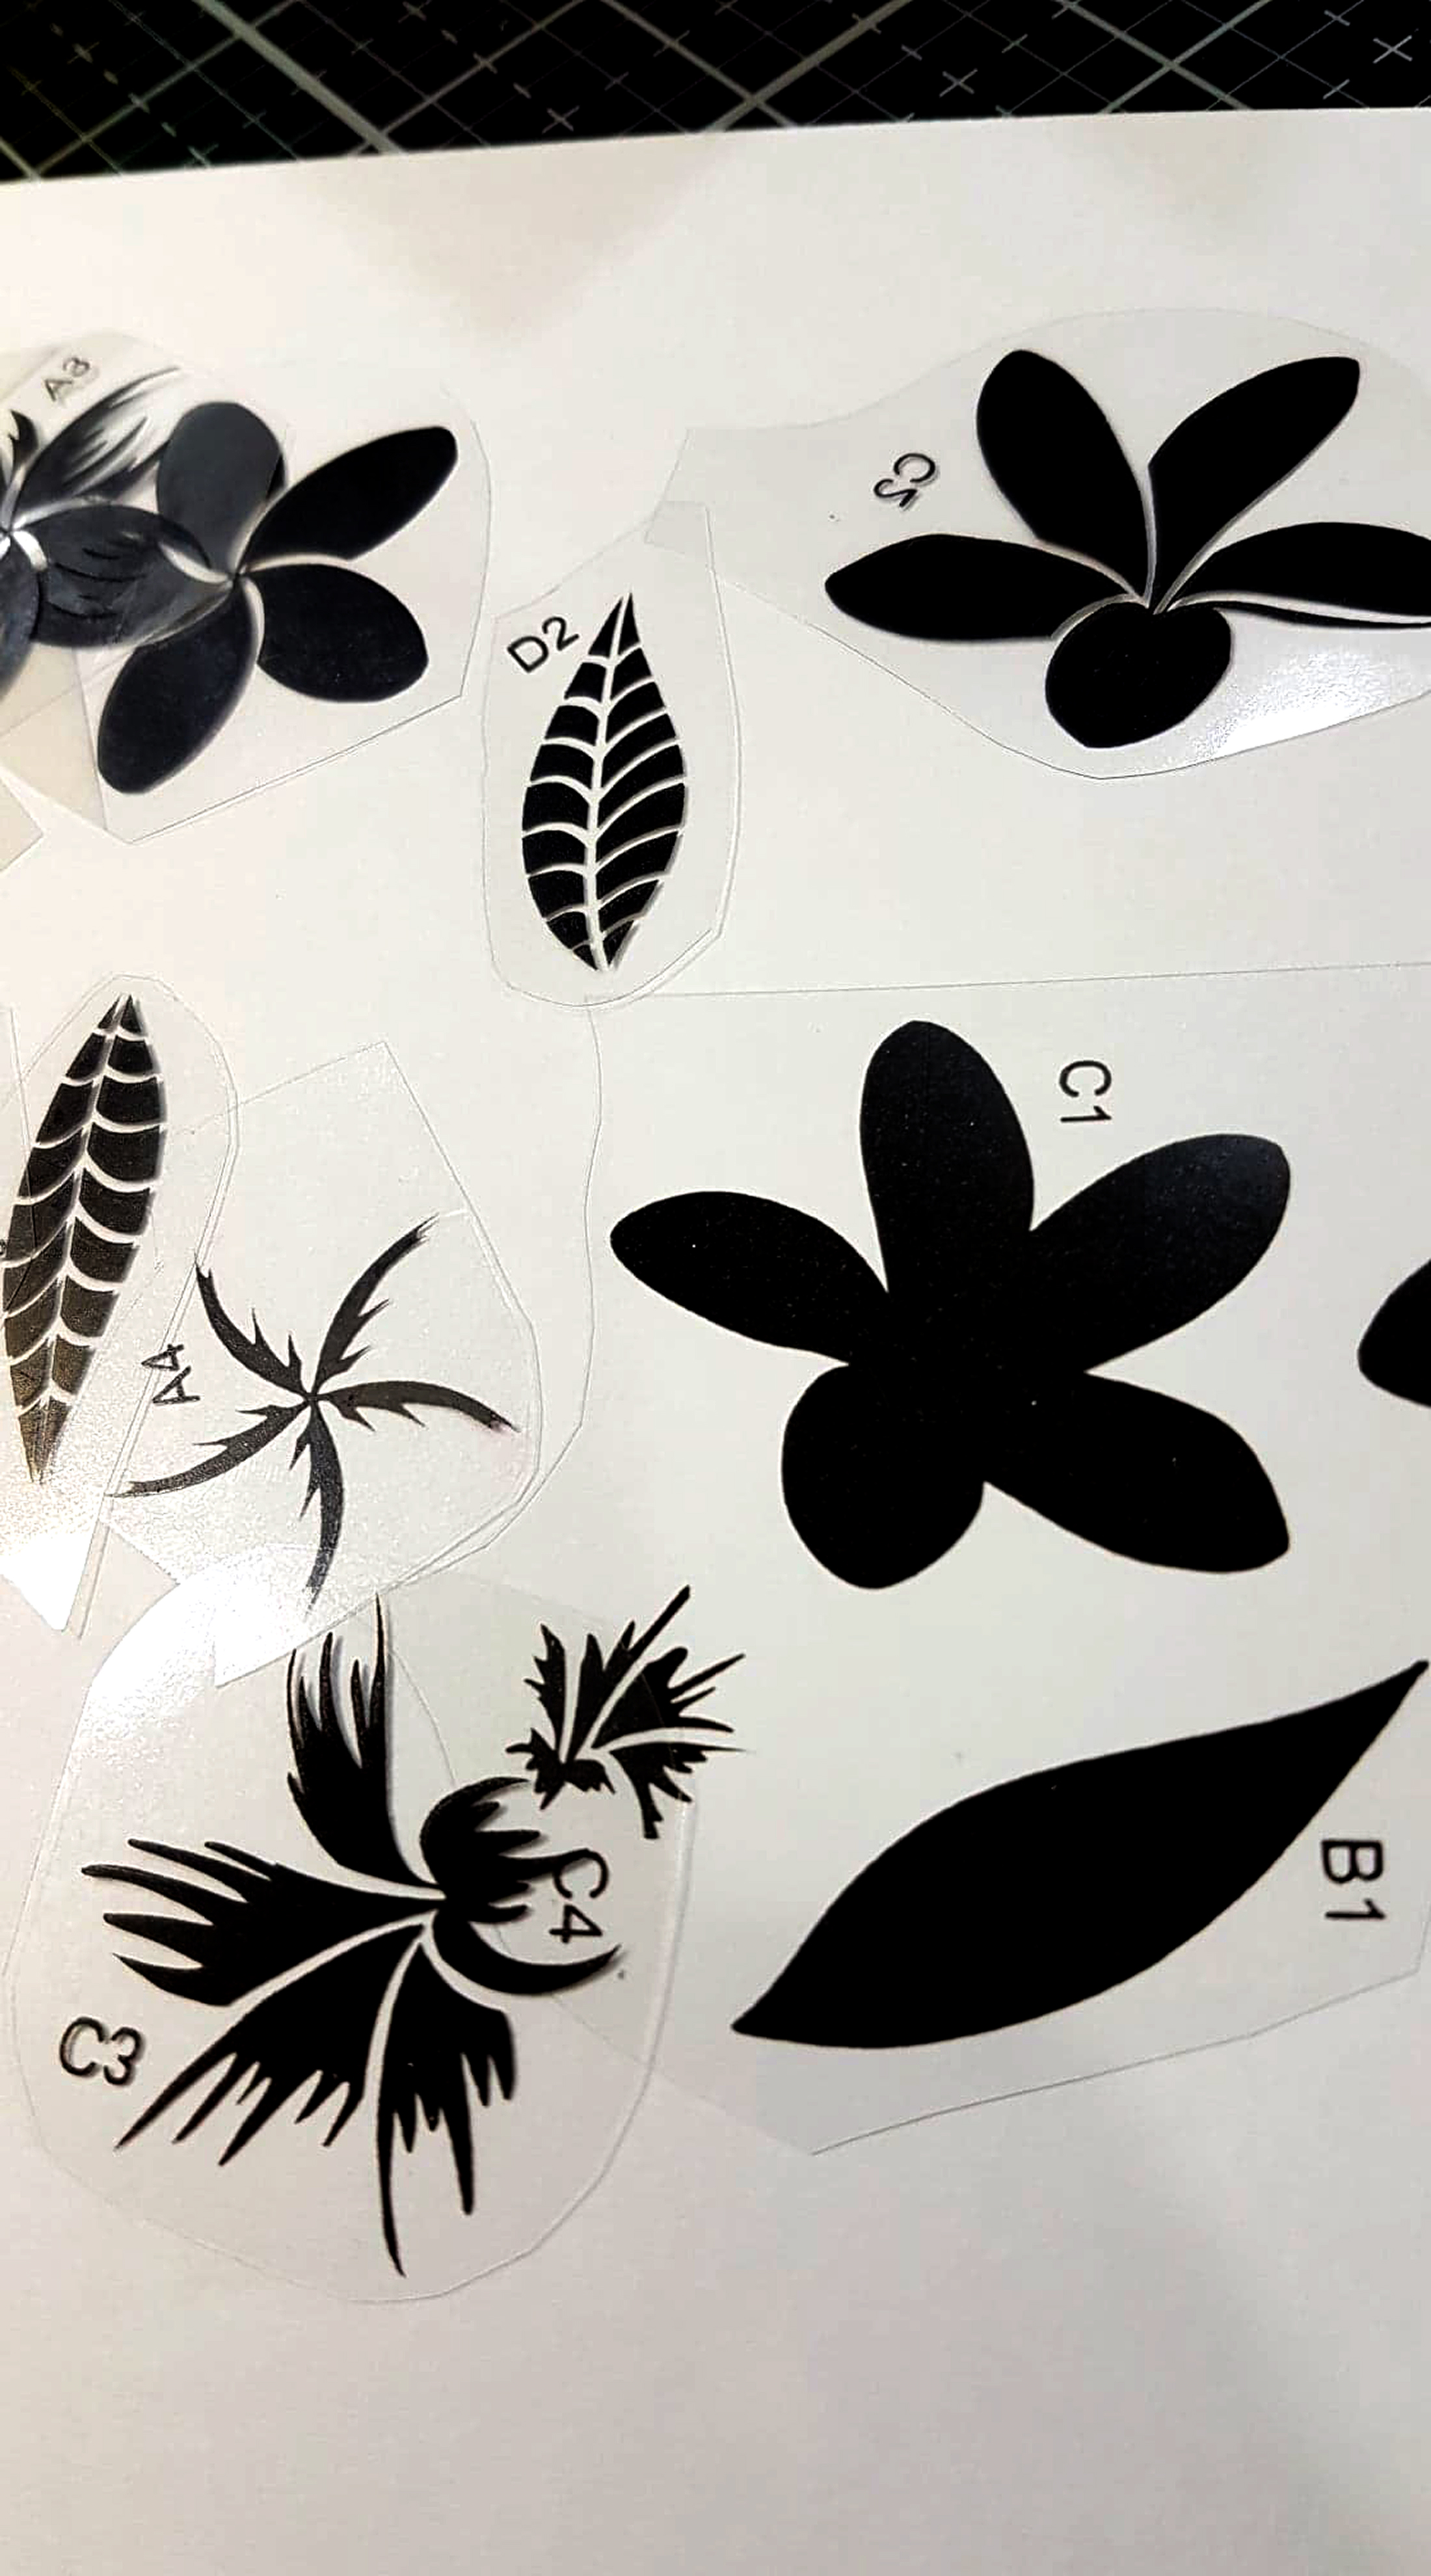
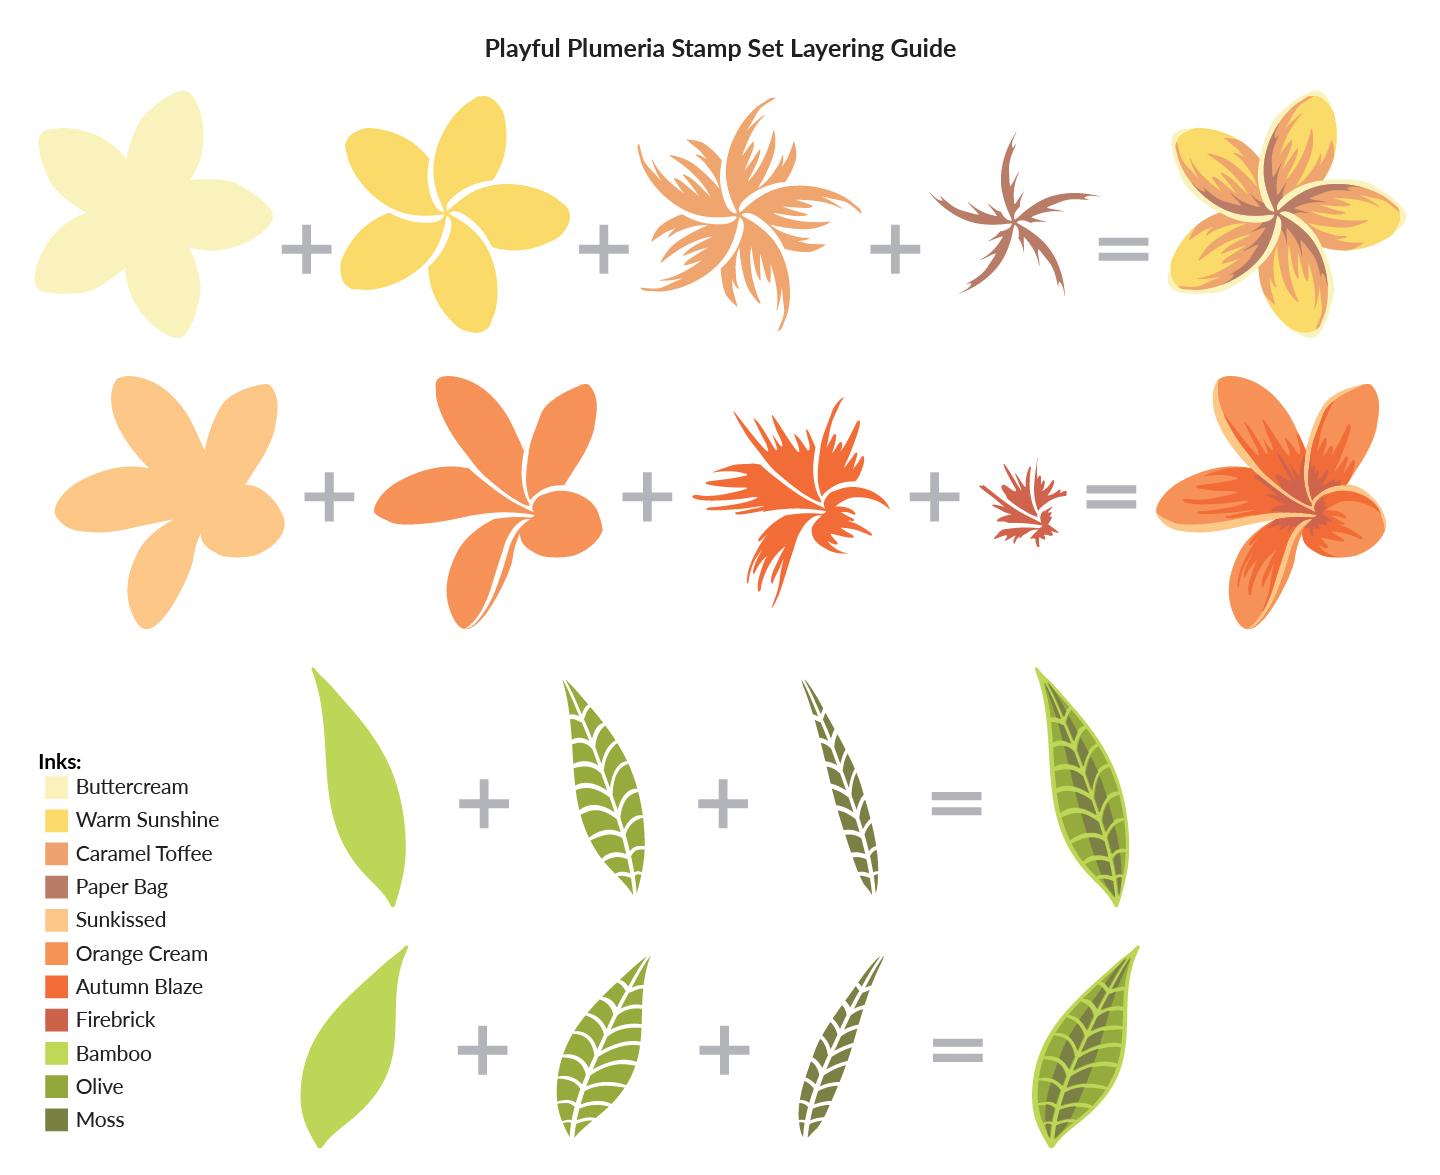
- Stamp the floral image from the Wallpaper Art stamp set on watercolor paper using Versamark ink and emboss with Pure White Embossing powder. Do the same with the leaves.
- Watercolor the petals using Altenew watercolor brush markers- Persian blue, Midnight Violet, Ultramarine and Purple Wine using the wet on wet technique. For the leaves, color with Lagoon and Emerald.
- Add details using Faber Castell polychromos colored pencils.
- On a scrap of watercolor paper, do a wash of Lagoon and Emerald. After the inks have dried, die cut the leaves from Branches and Berries dies and the Just Leaves dies.
- For the background, wet half of the surface with water and add a light wash using the leftover inks on the palate.
- Add more concentrated ink drips by tilting the paper and allow the pool of water to drip down.
- When the panel has dried, add spatters of water. After 10 seconds, pat dry with a tissue to remove the ink.
- Add spatters of lagoon.
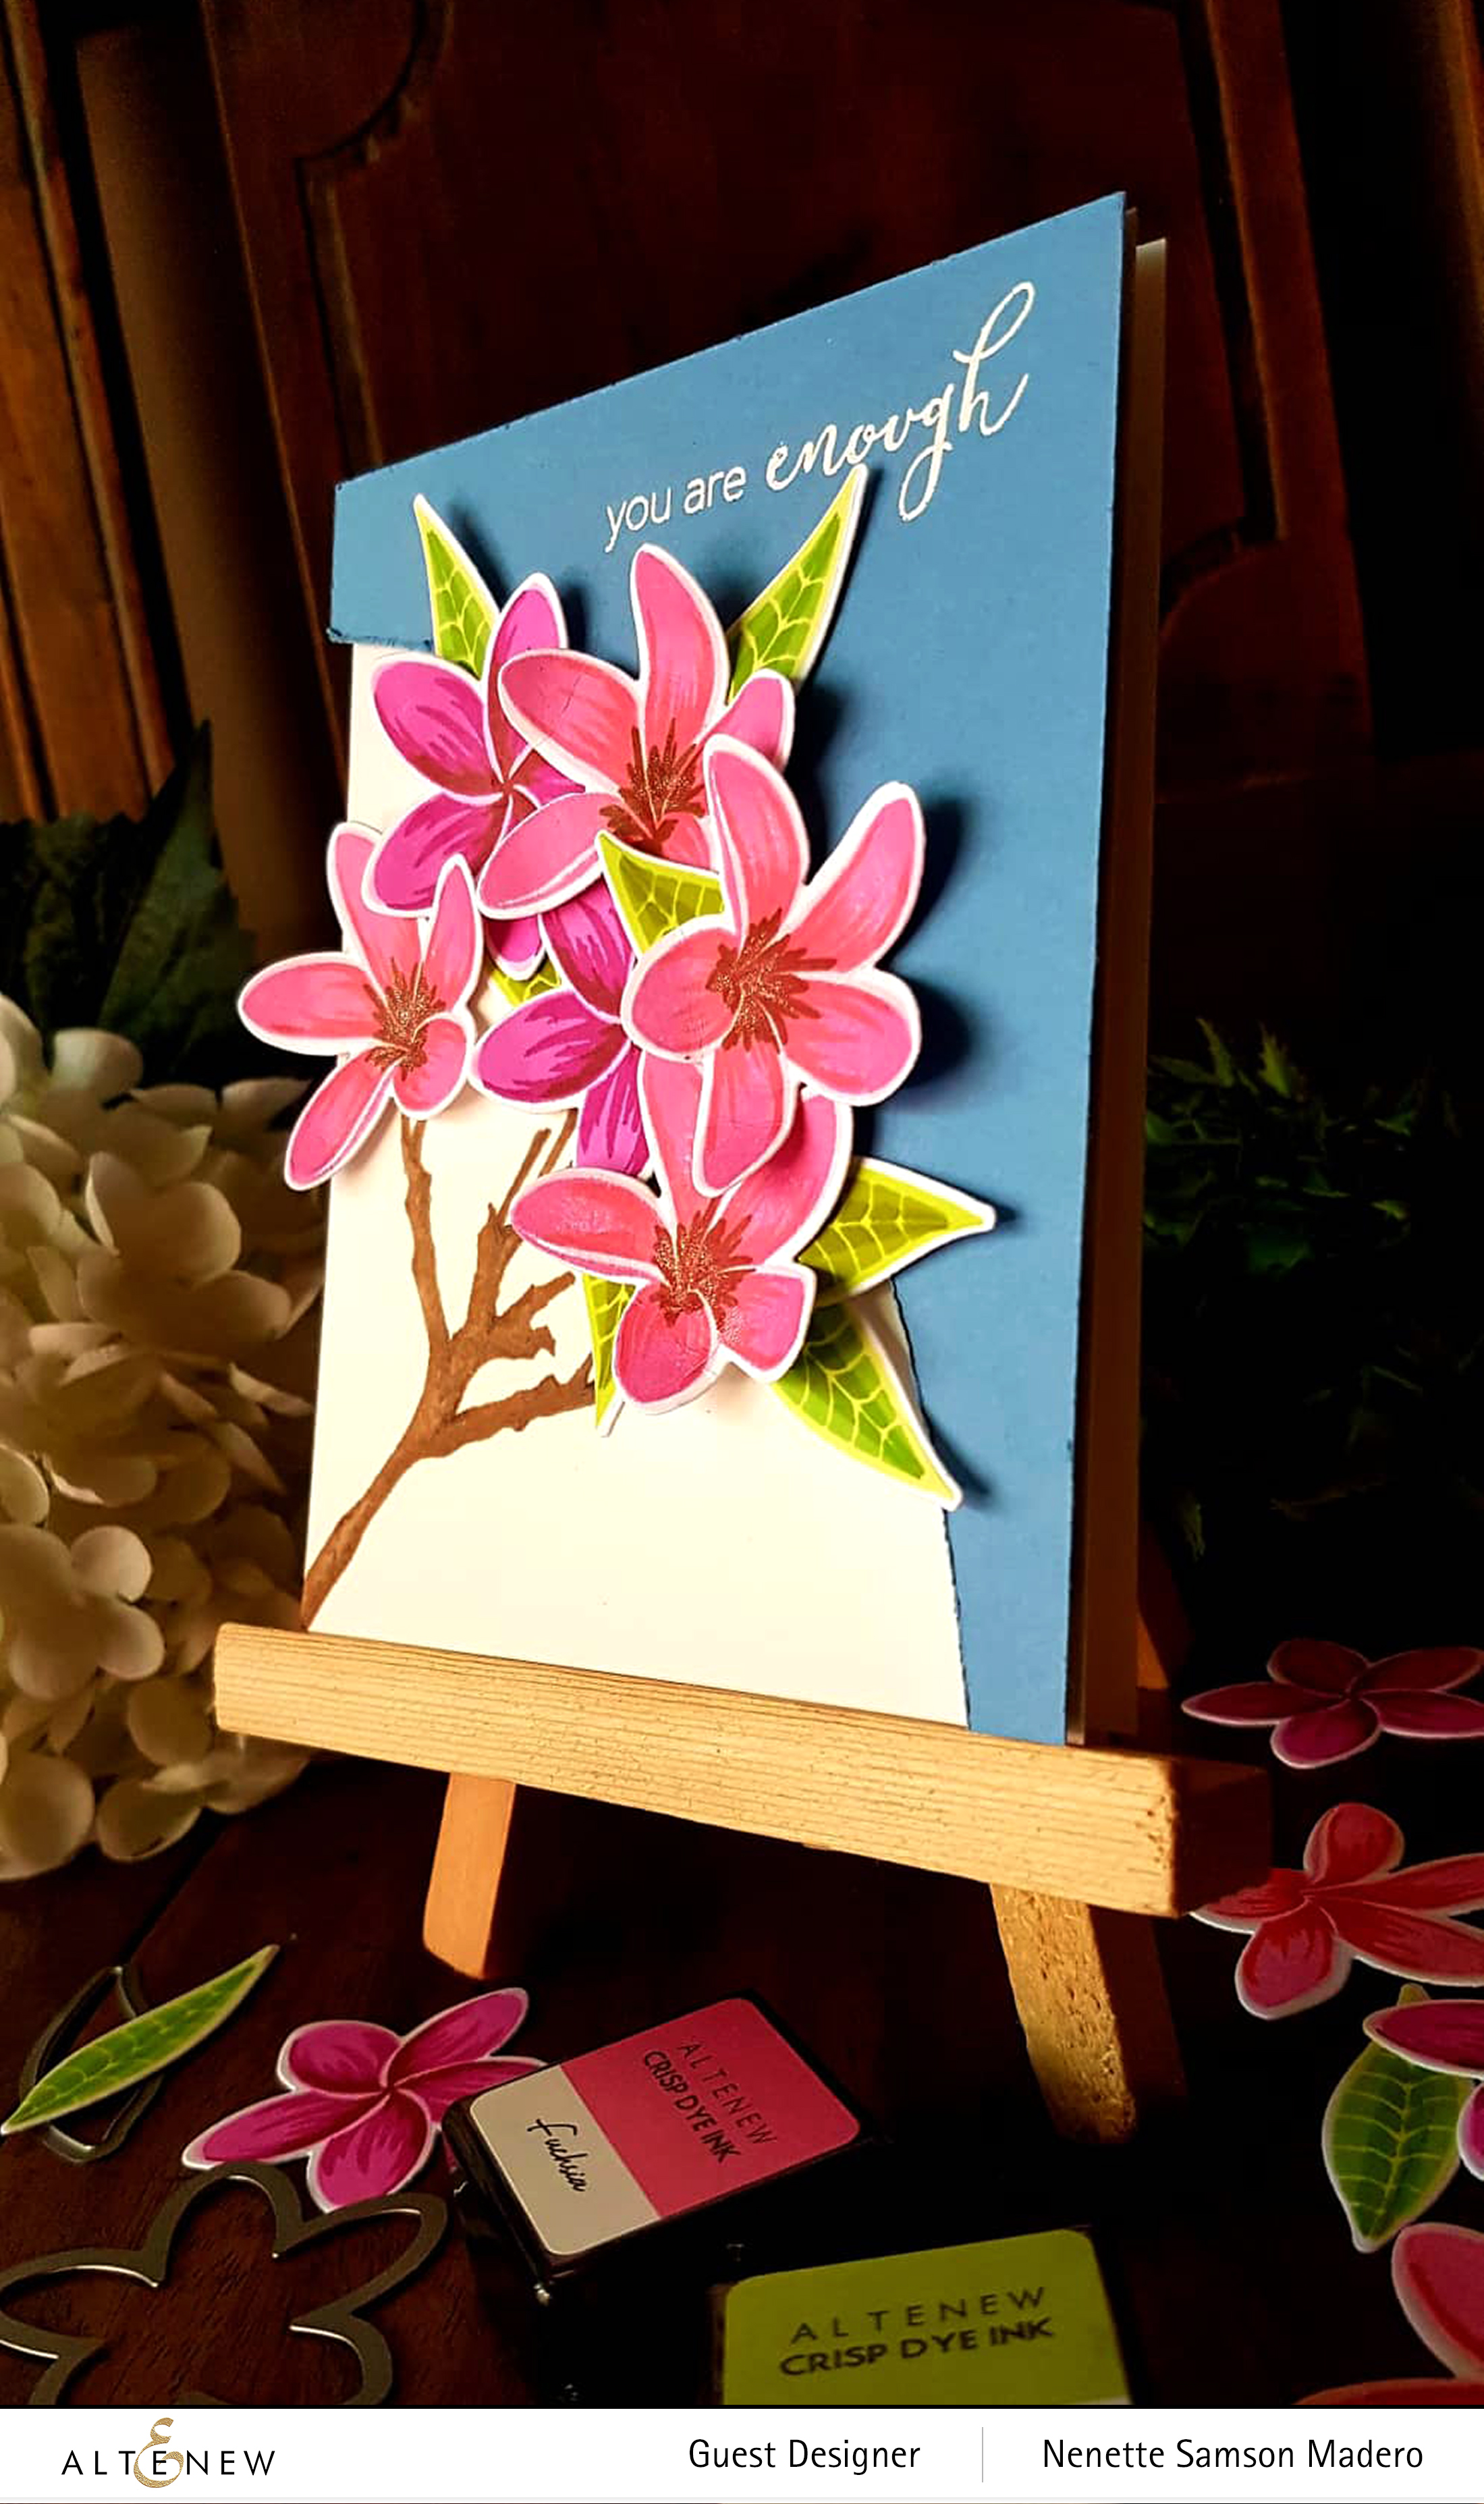
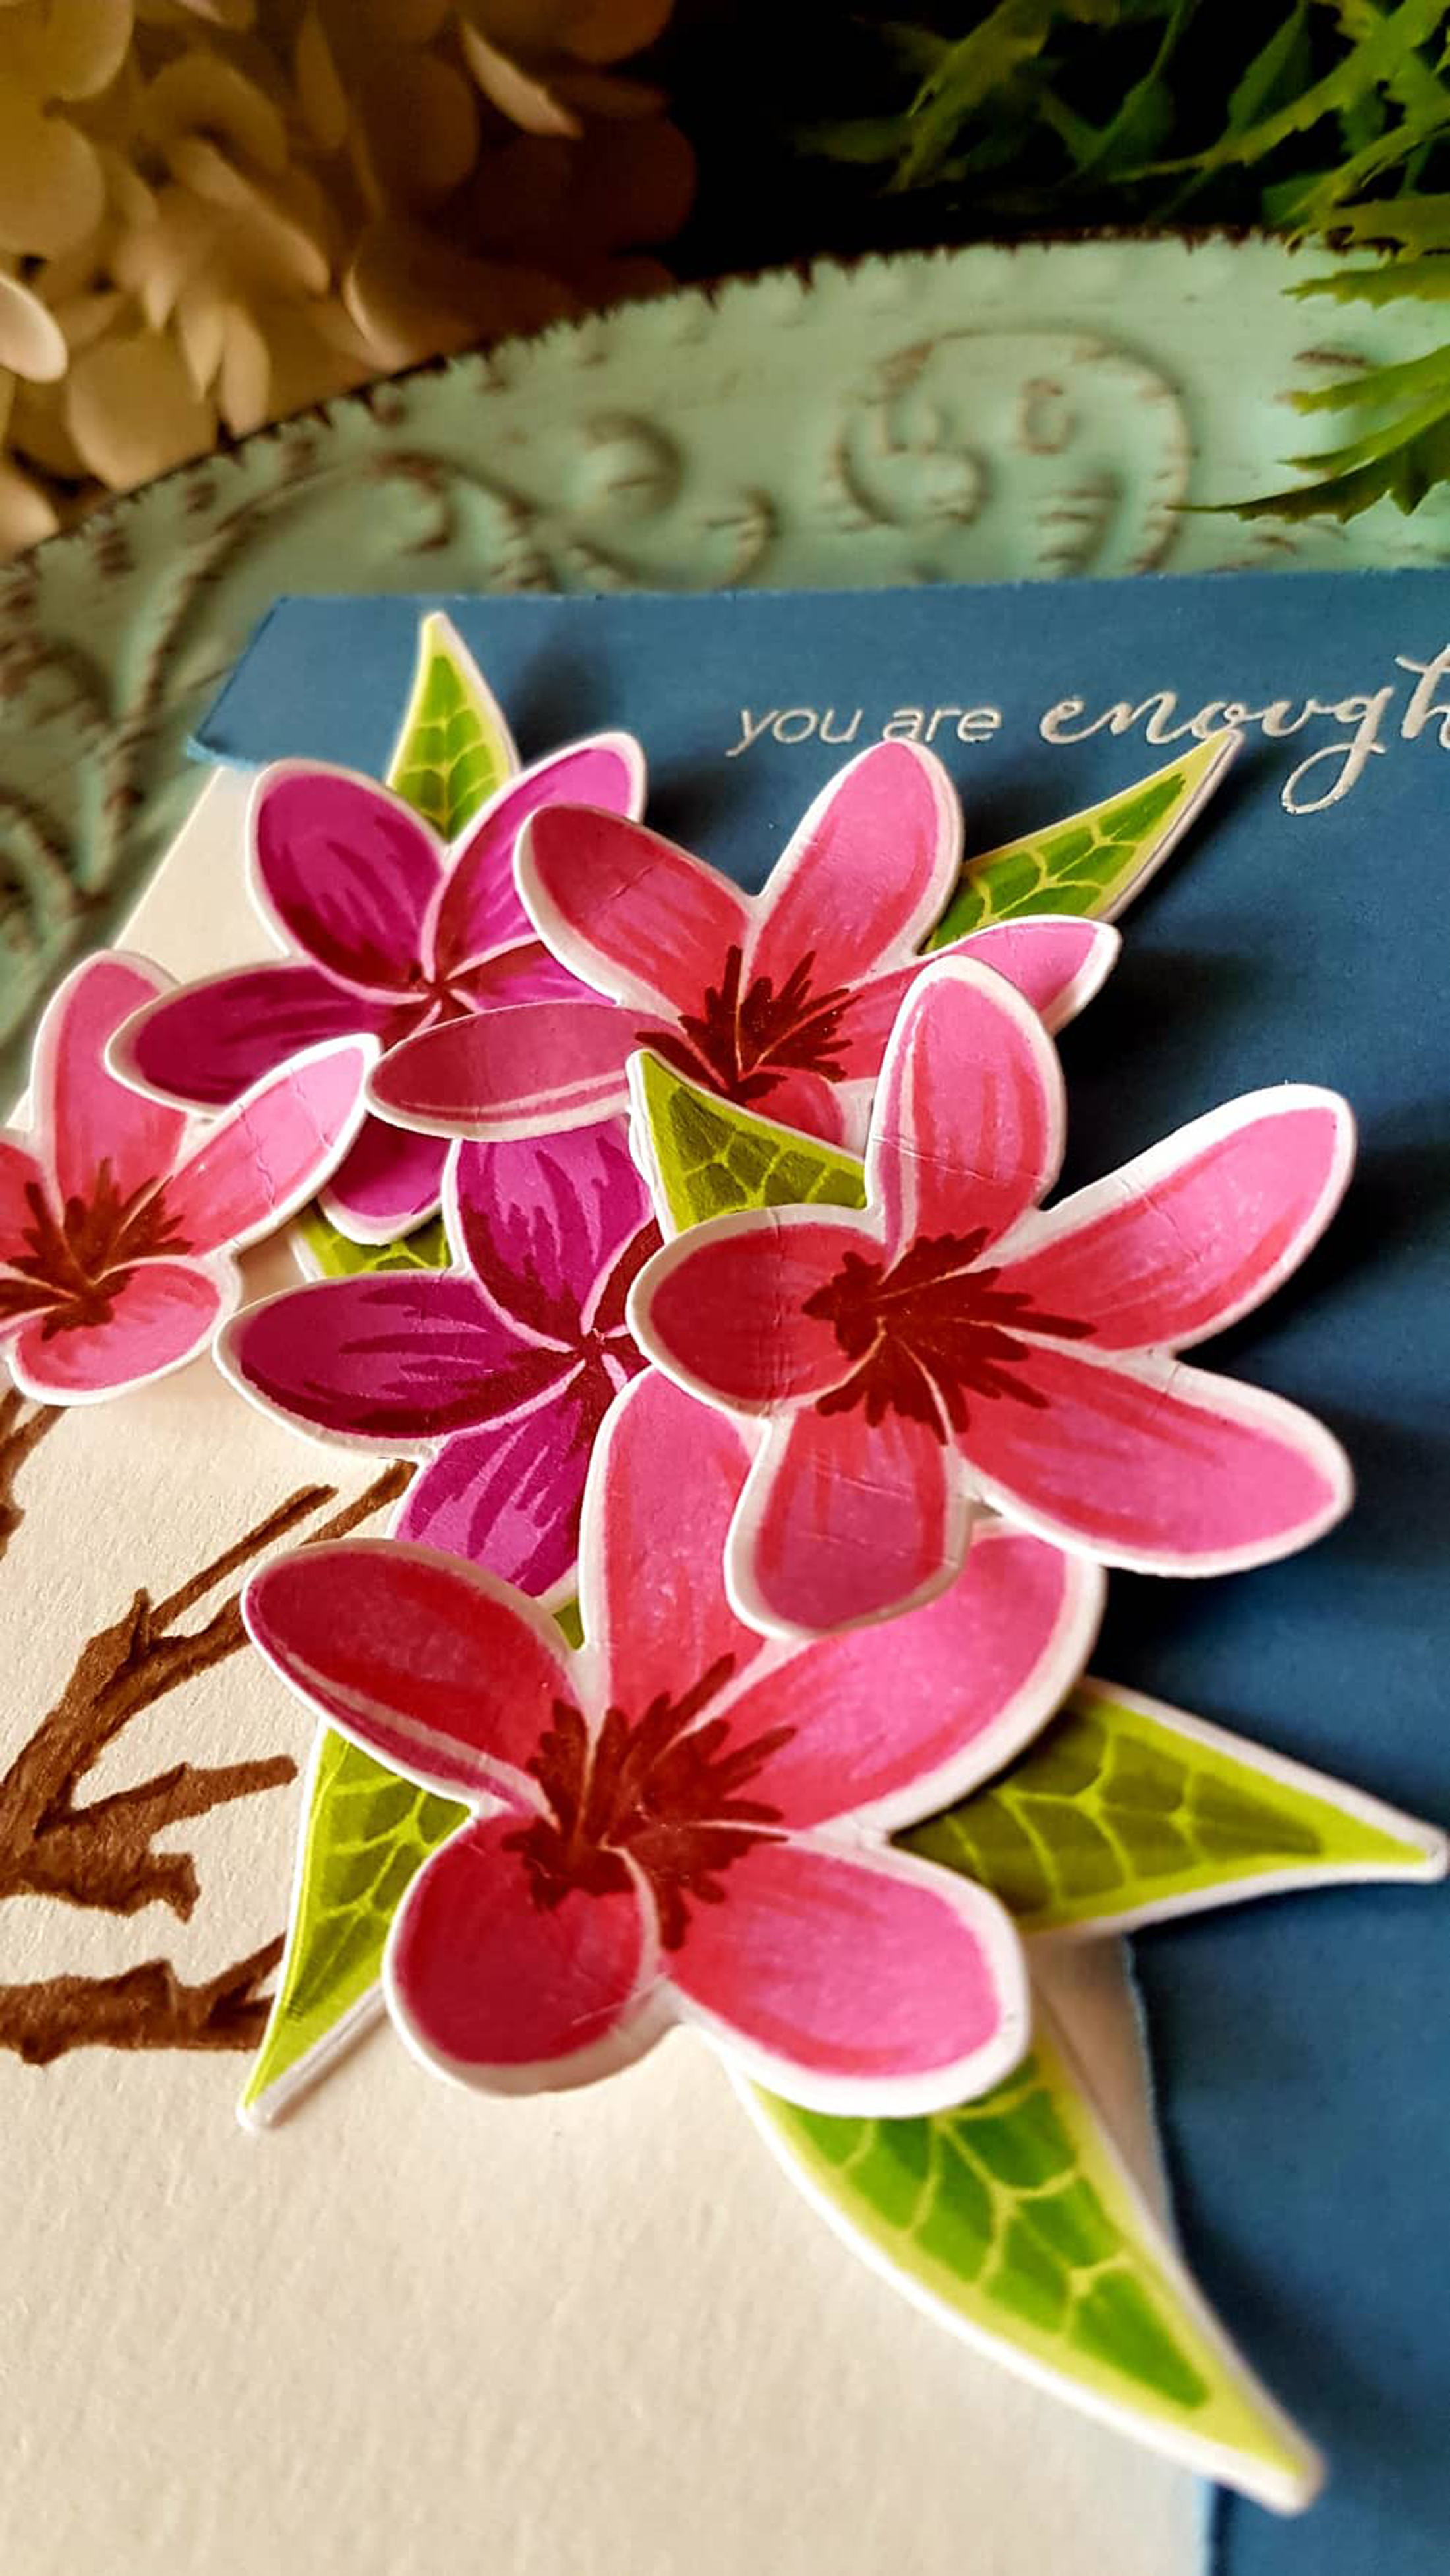
- Assemble the card using adhesive and foam squares.
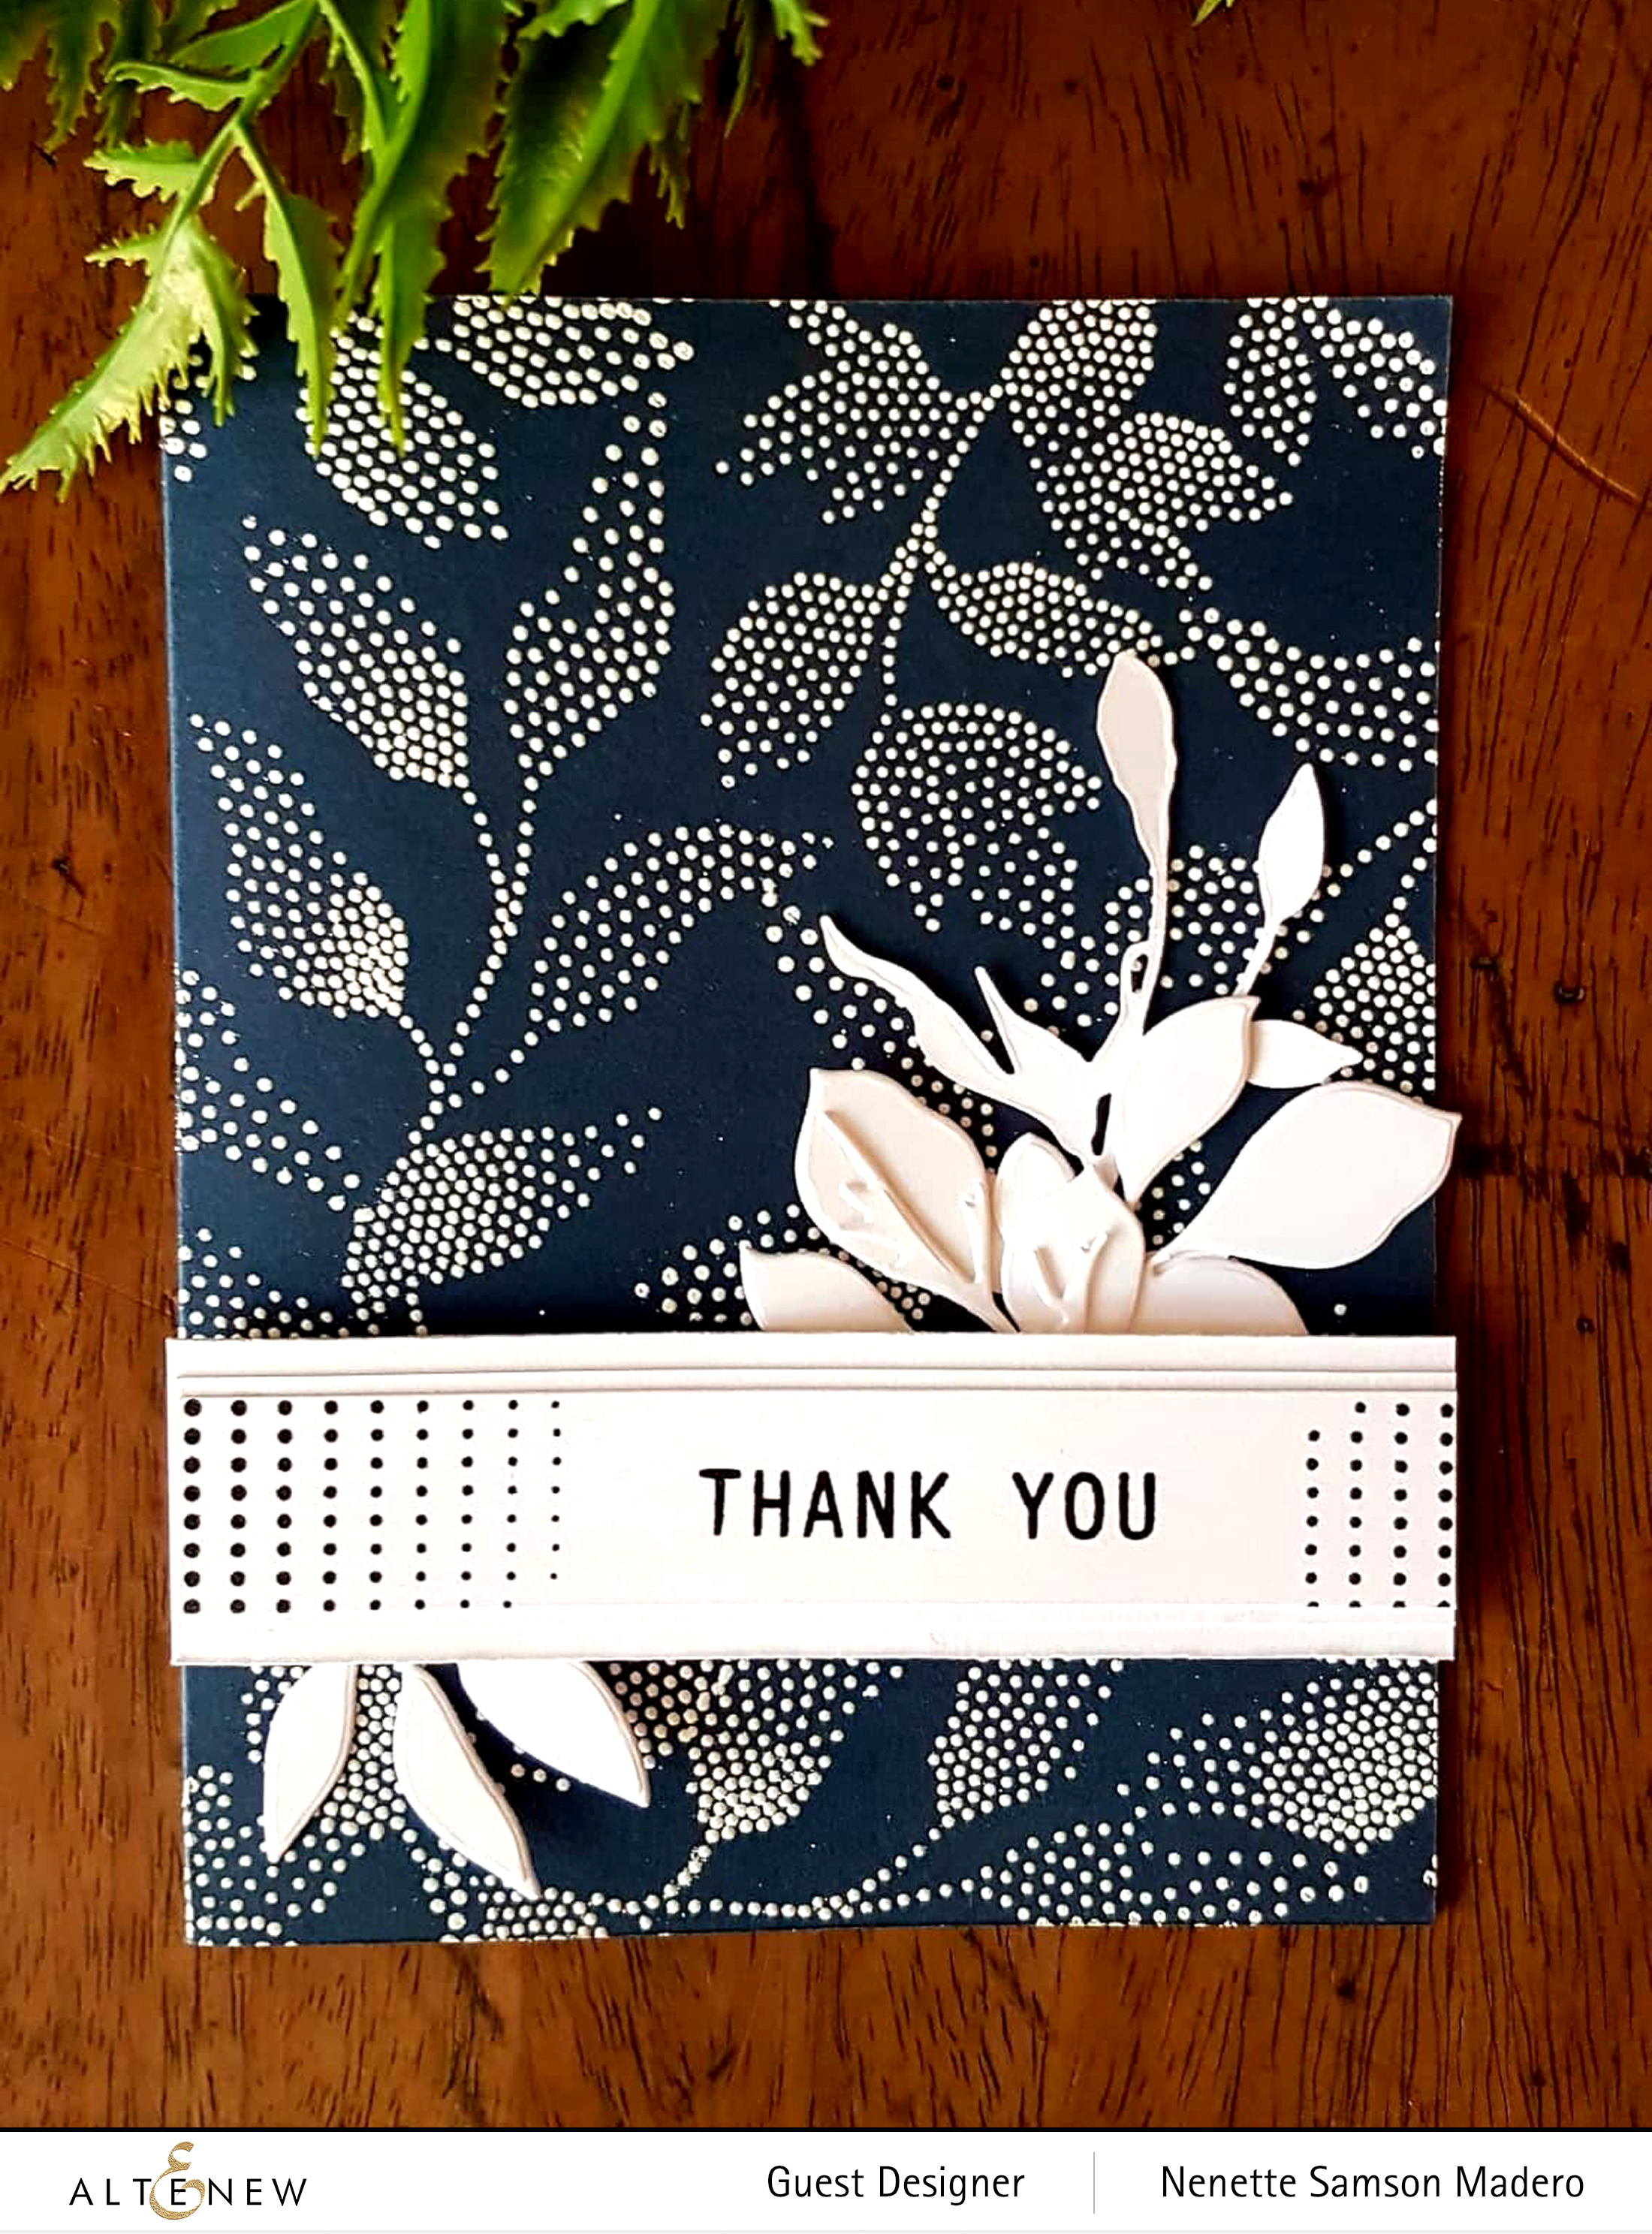
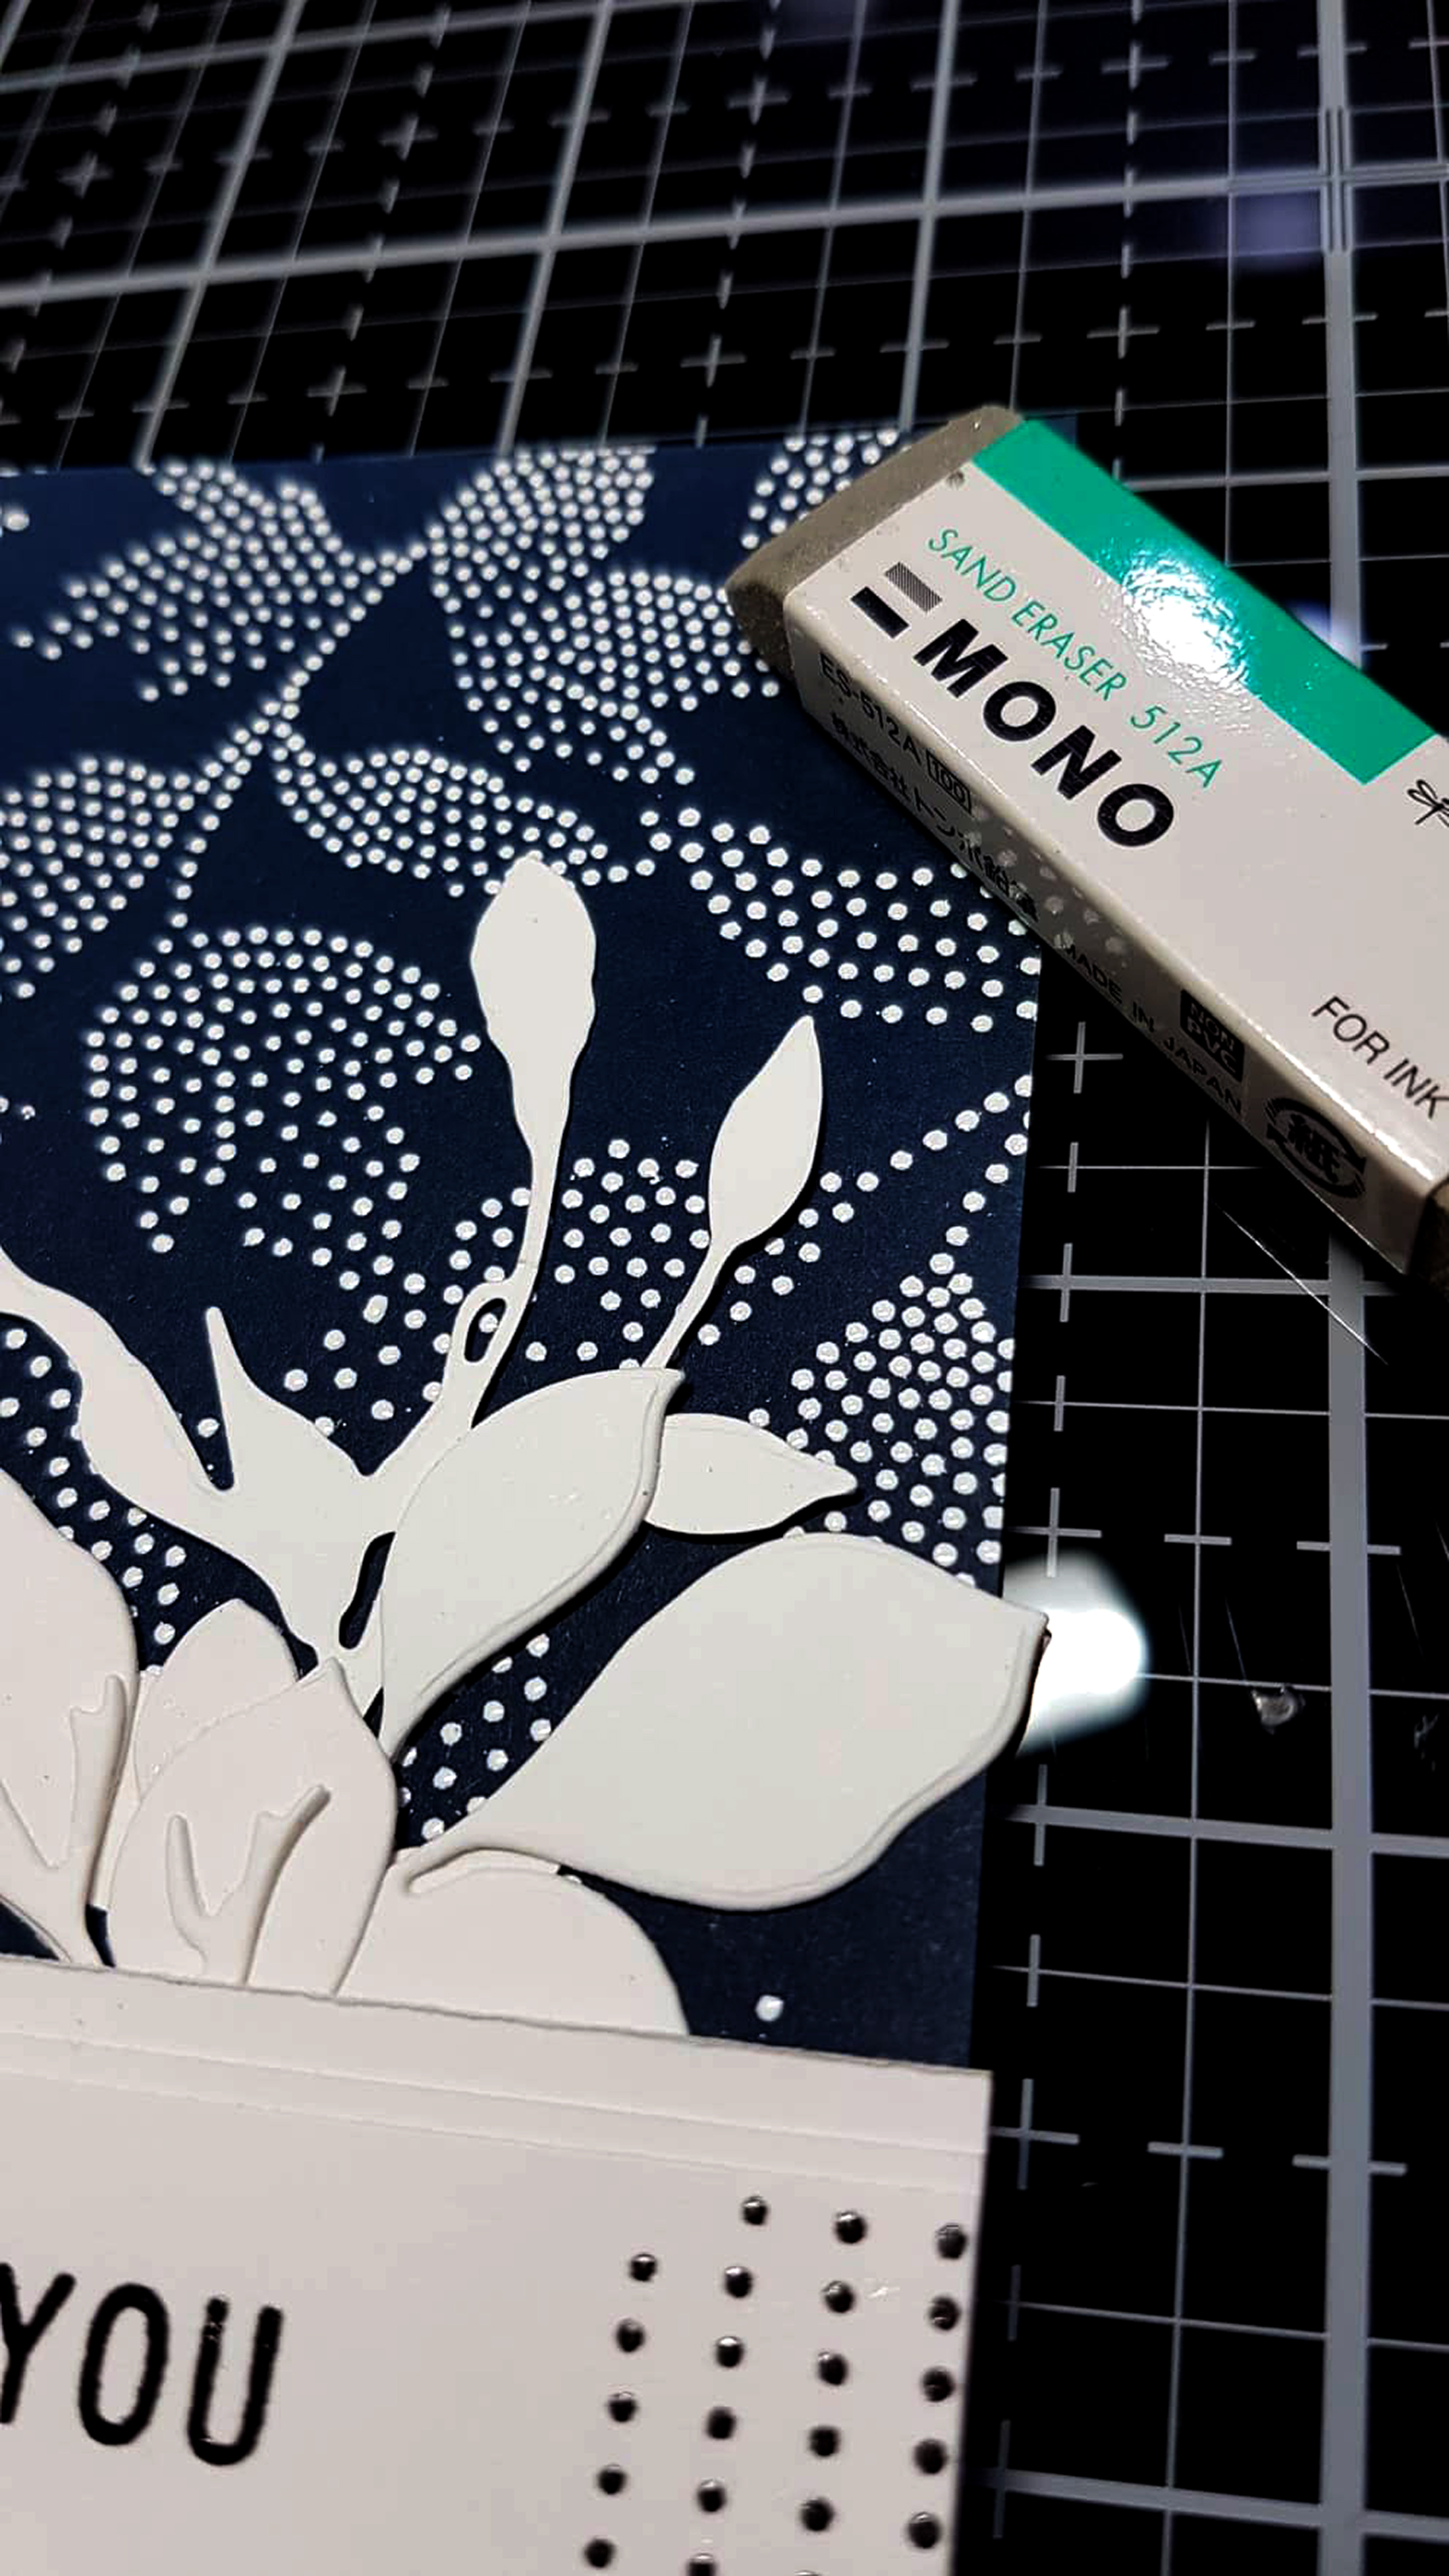
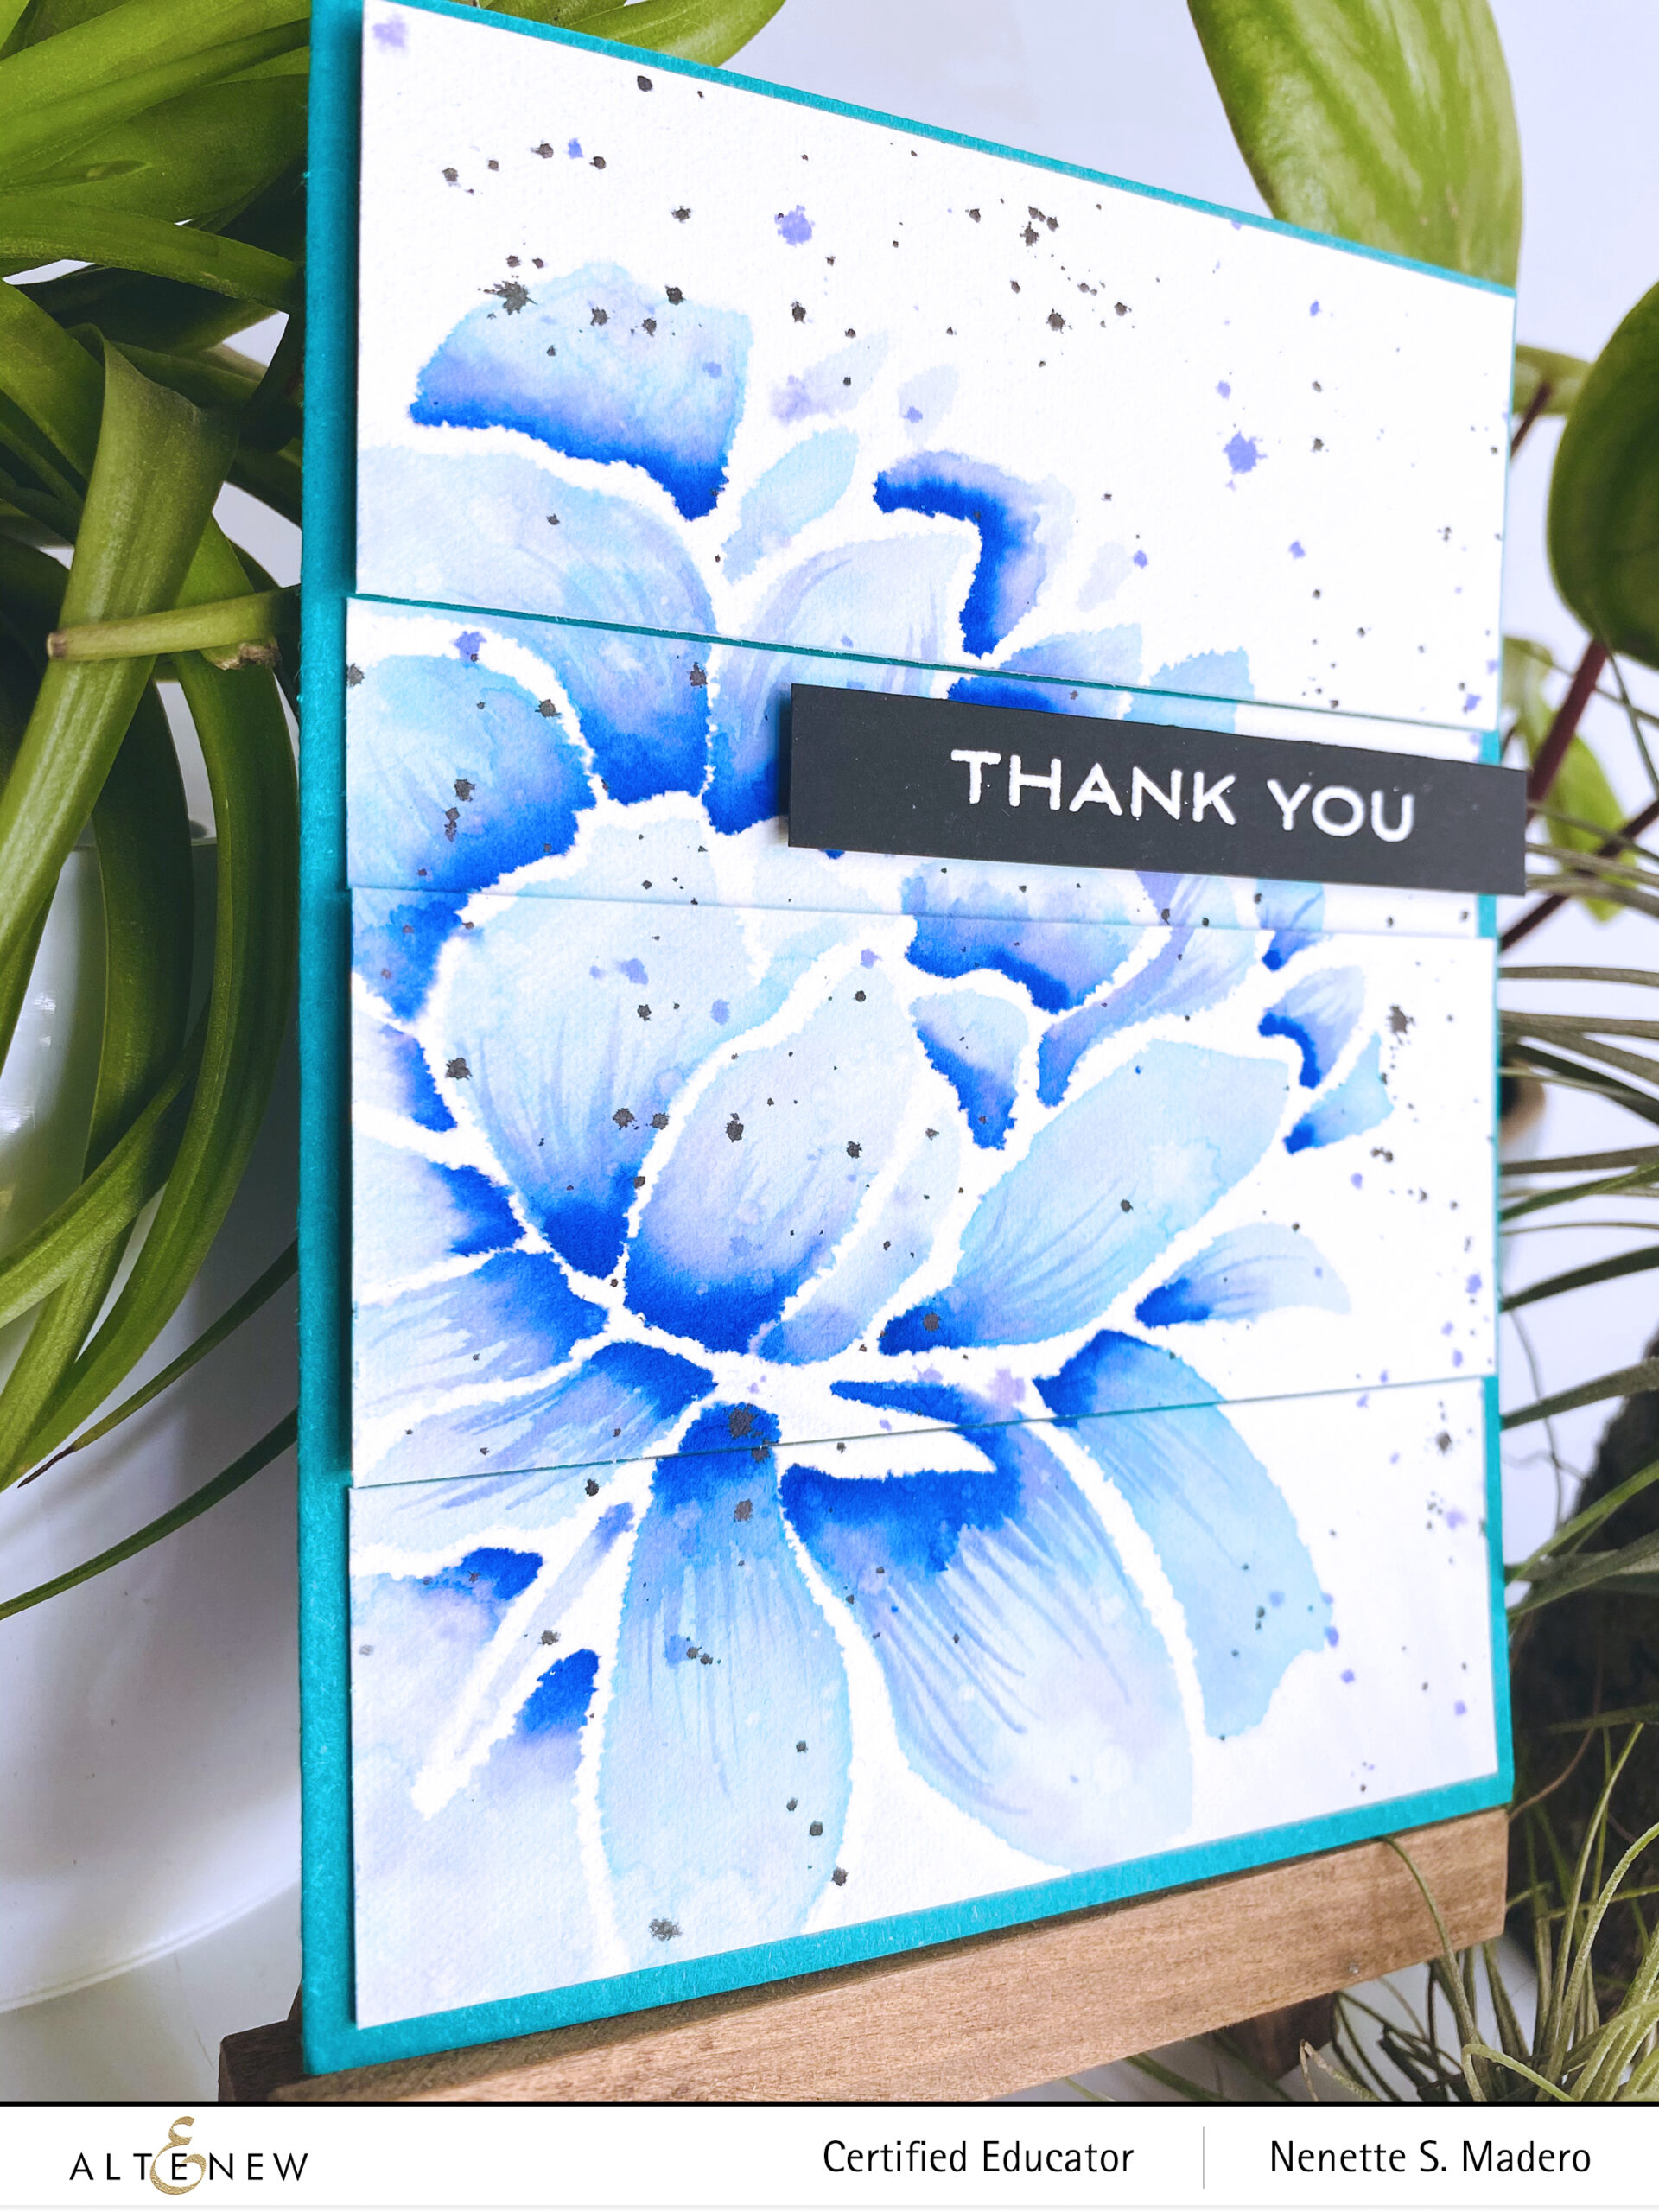
This next card was inspired by the use of watercolor and stencils.
THANK YOU
STEPS:
- Using the Mega Bloom stencil, add color using a blending brush and the Dew Drops crisp dye ink on watercolor paper.
- Using the wet on wet technique, mix the Lagoon and Mountain Mist watercolor brush markers and the Persian Blue to add shadows to the petals.
- Once the flower is dry, add splatters of purple and black.
- Emboss the sentiment on black cardstock using Versamark ink and Pure White Embossing powder.
- Cut the panel into 4 pieces and mount the 1st and 3rd panel with foam squares to add dimension to the card.
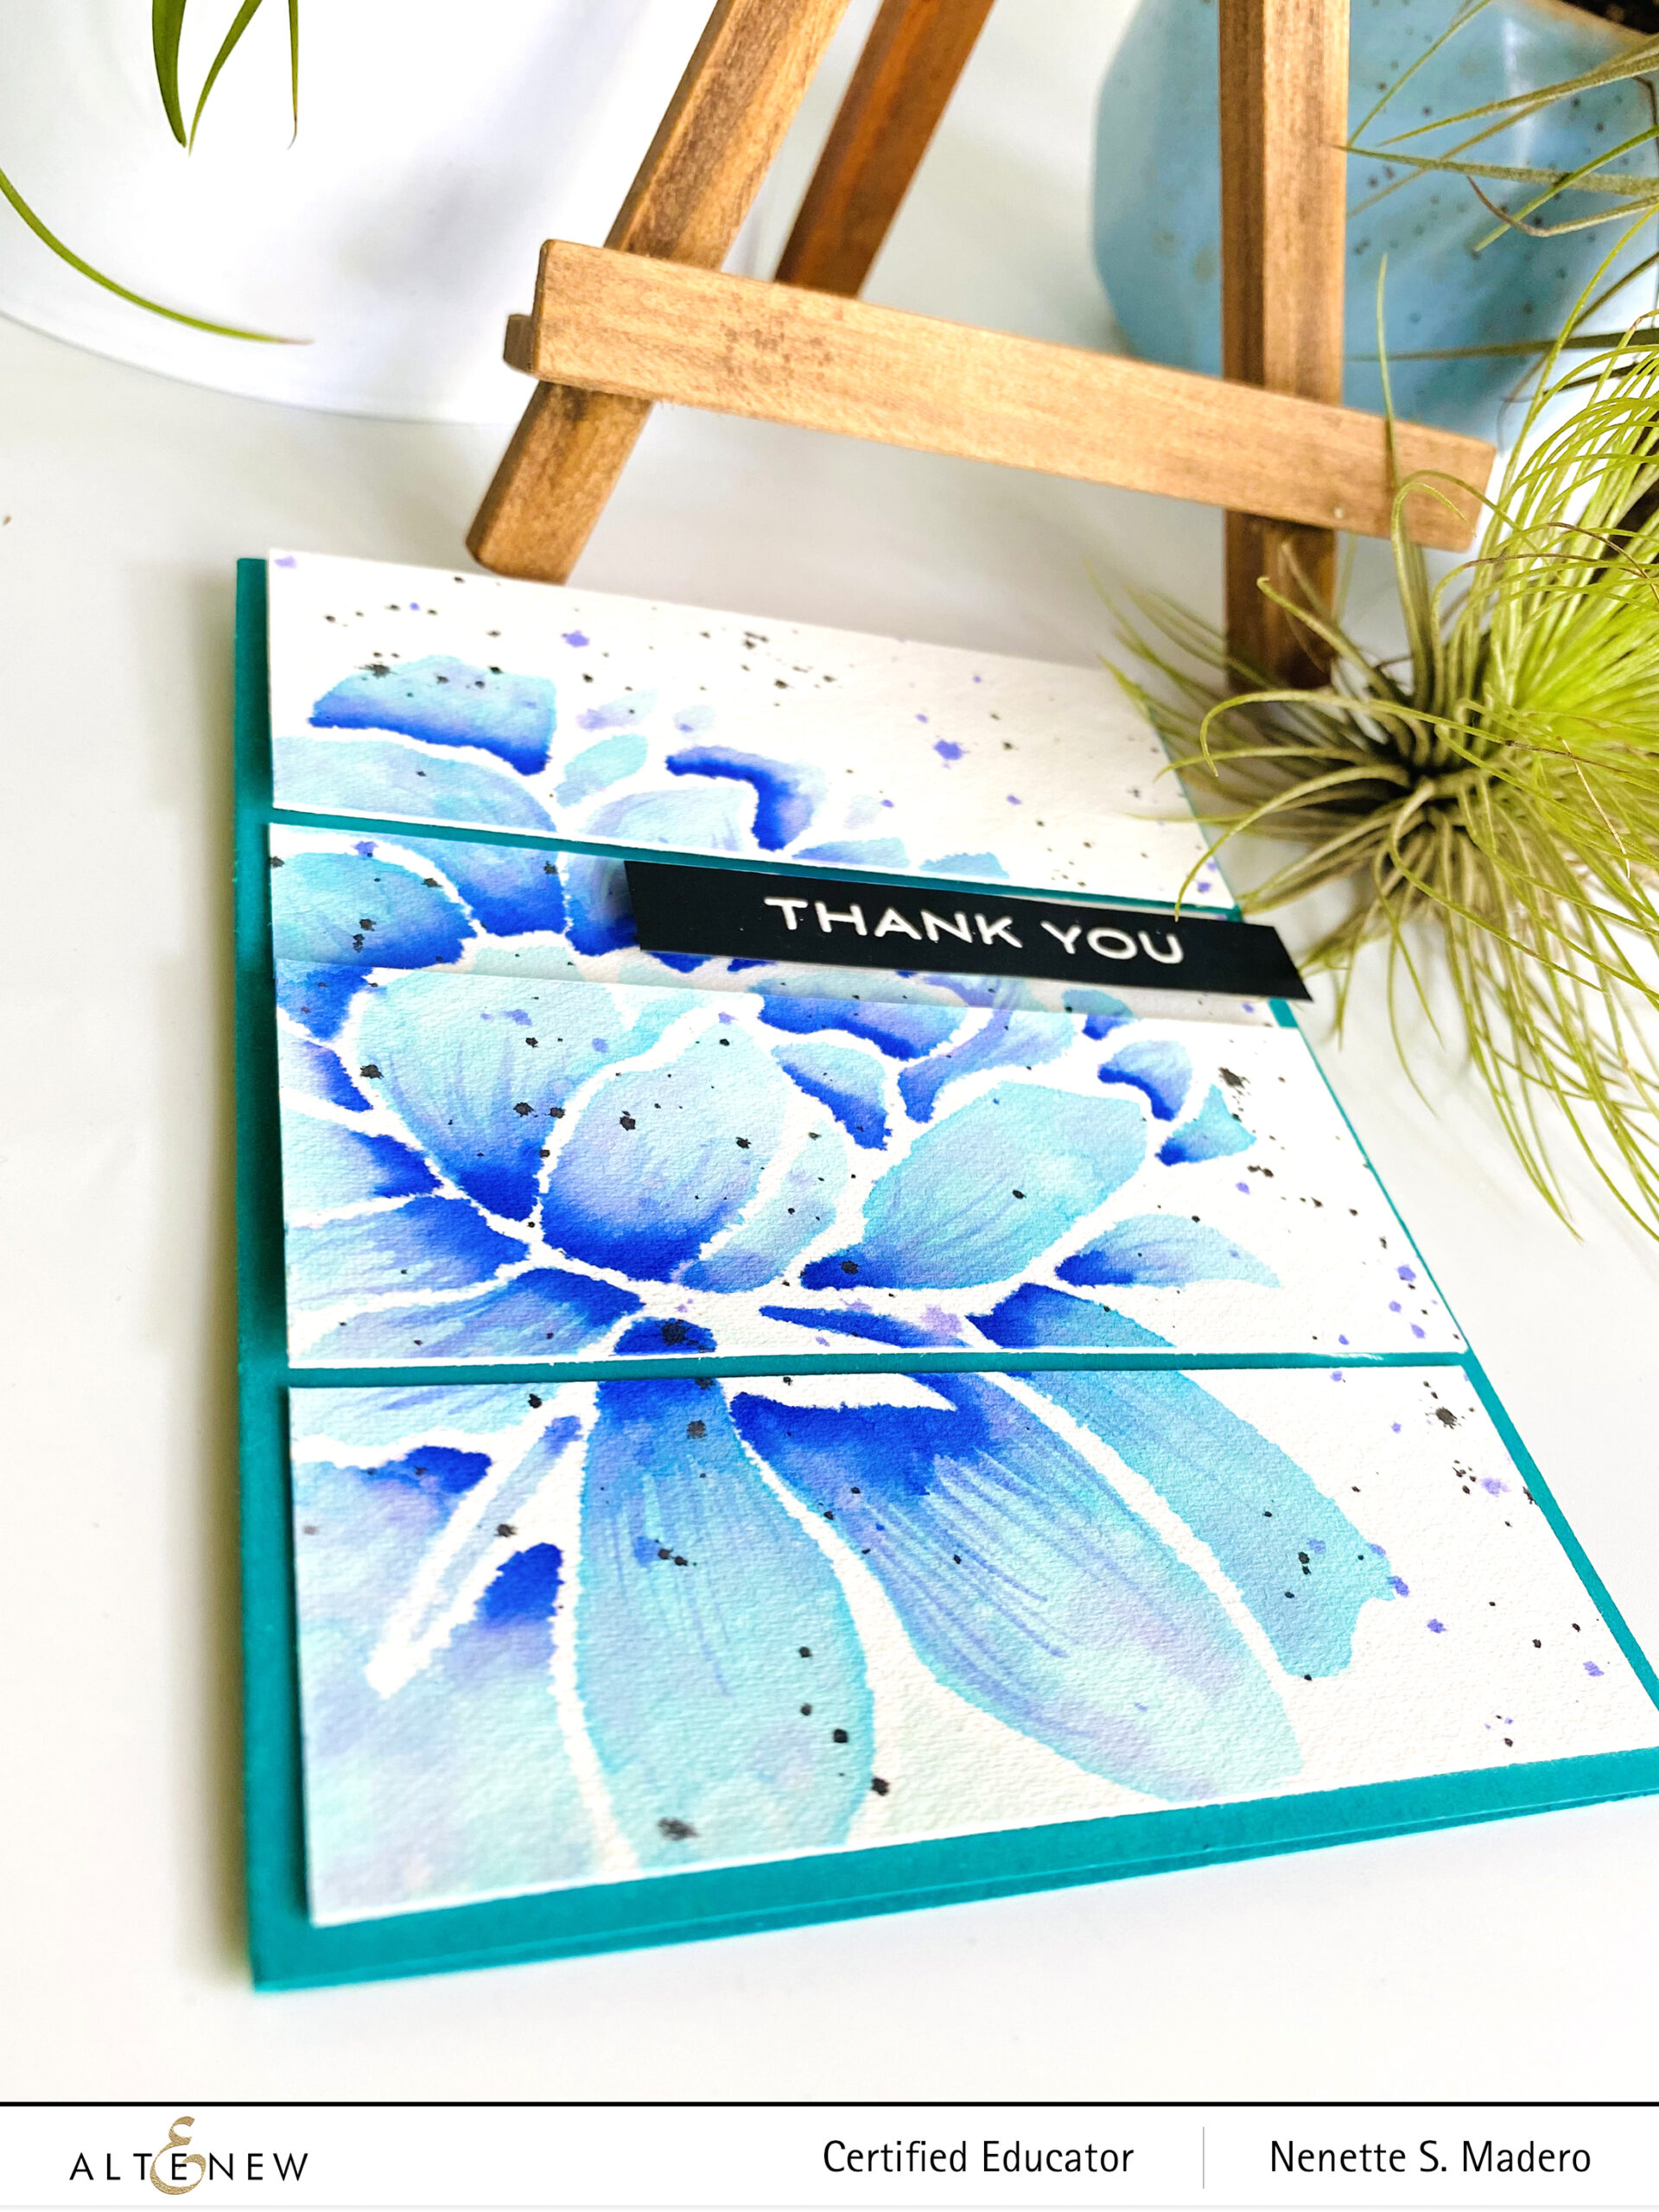
There were some bleeds at the edges of the petals. I think it’s because I did not heat set the dye ink before I painted the watercolor. 🙁 But I think the roughness of the edges added more character to the flower so I just went ahead and colored the rest of the petals. Cutting the painted card front into panels and adhering some panels using foam tape added more interest to the card.
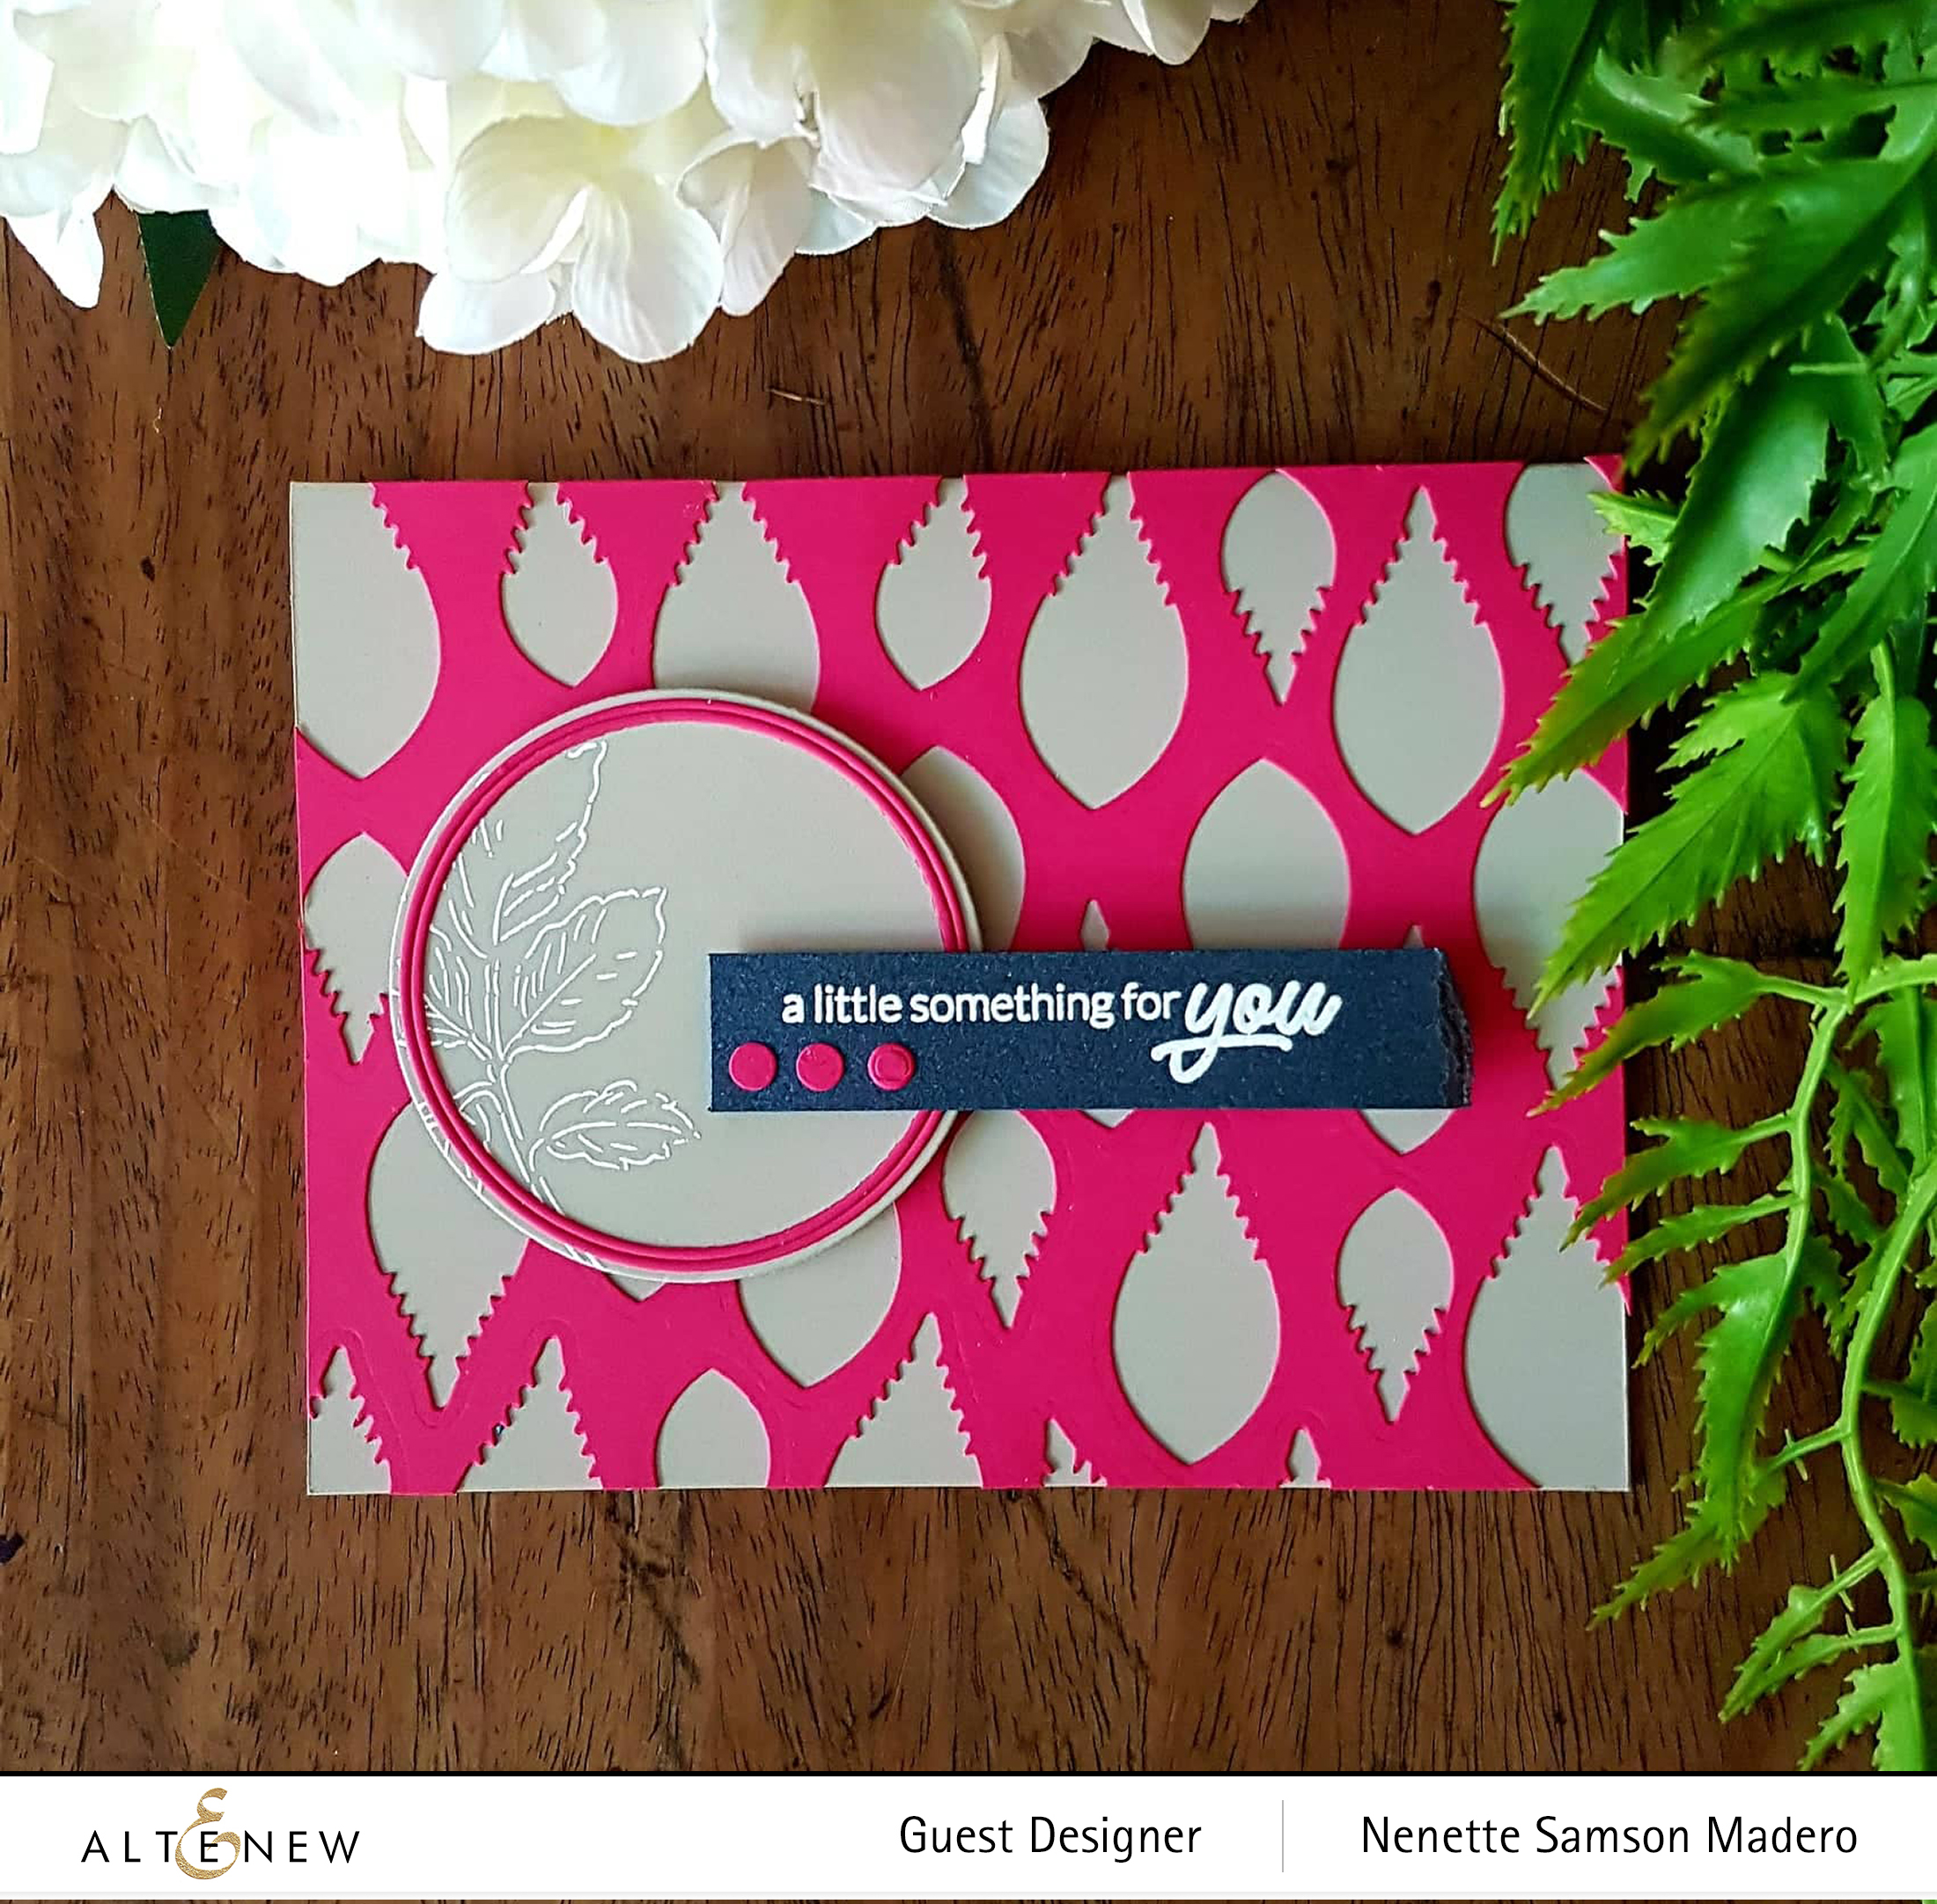
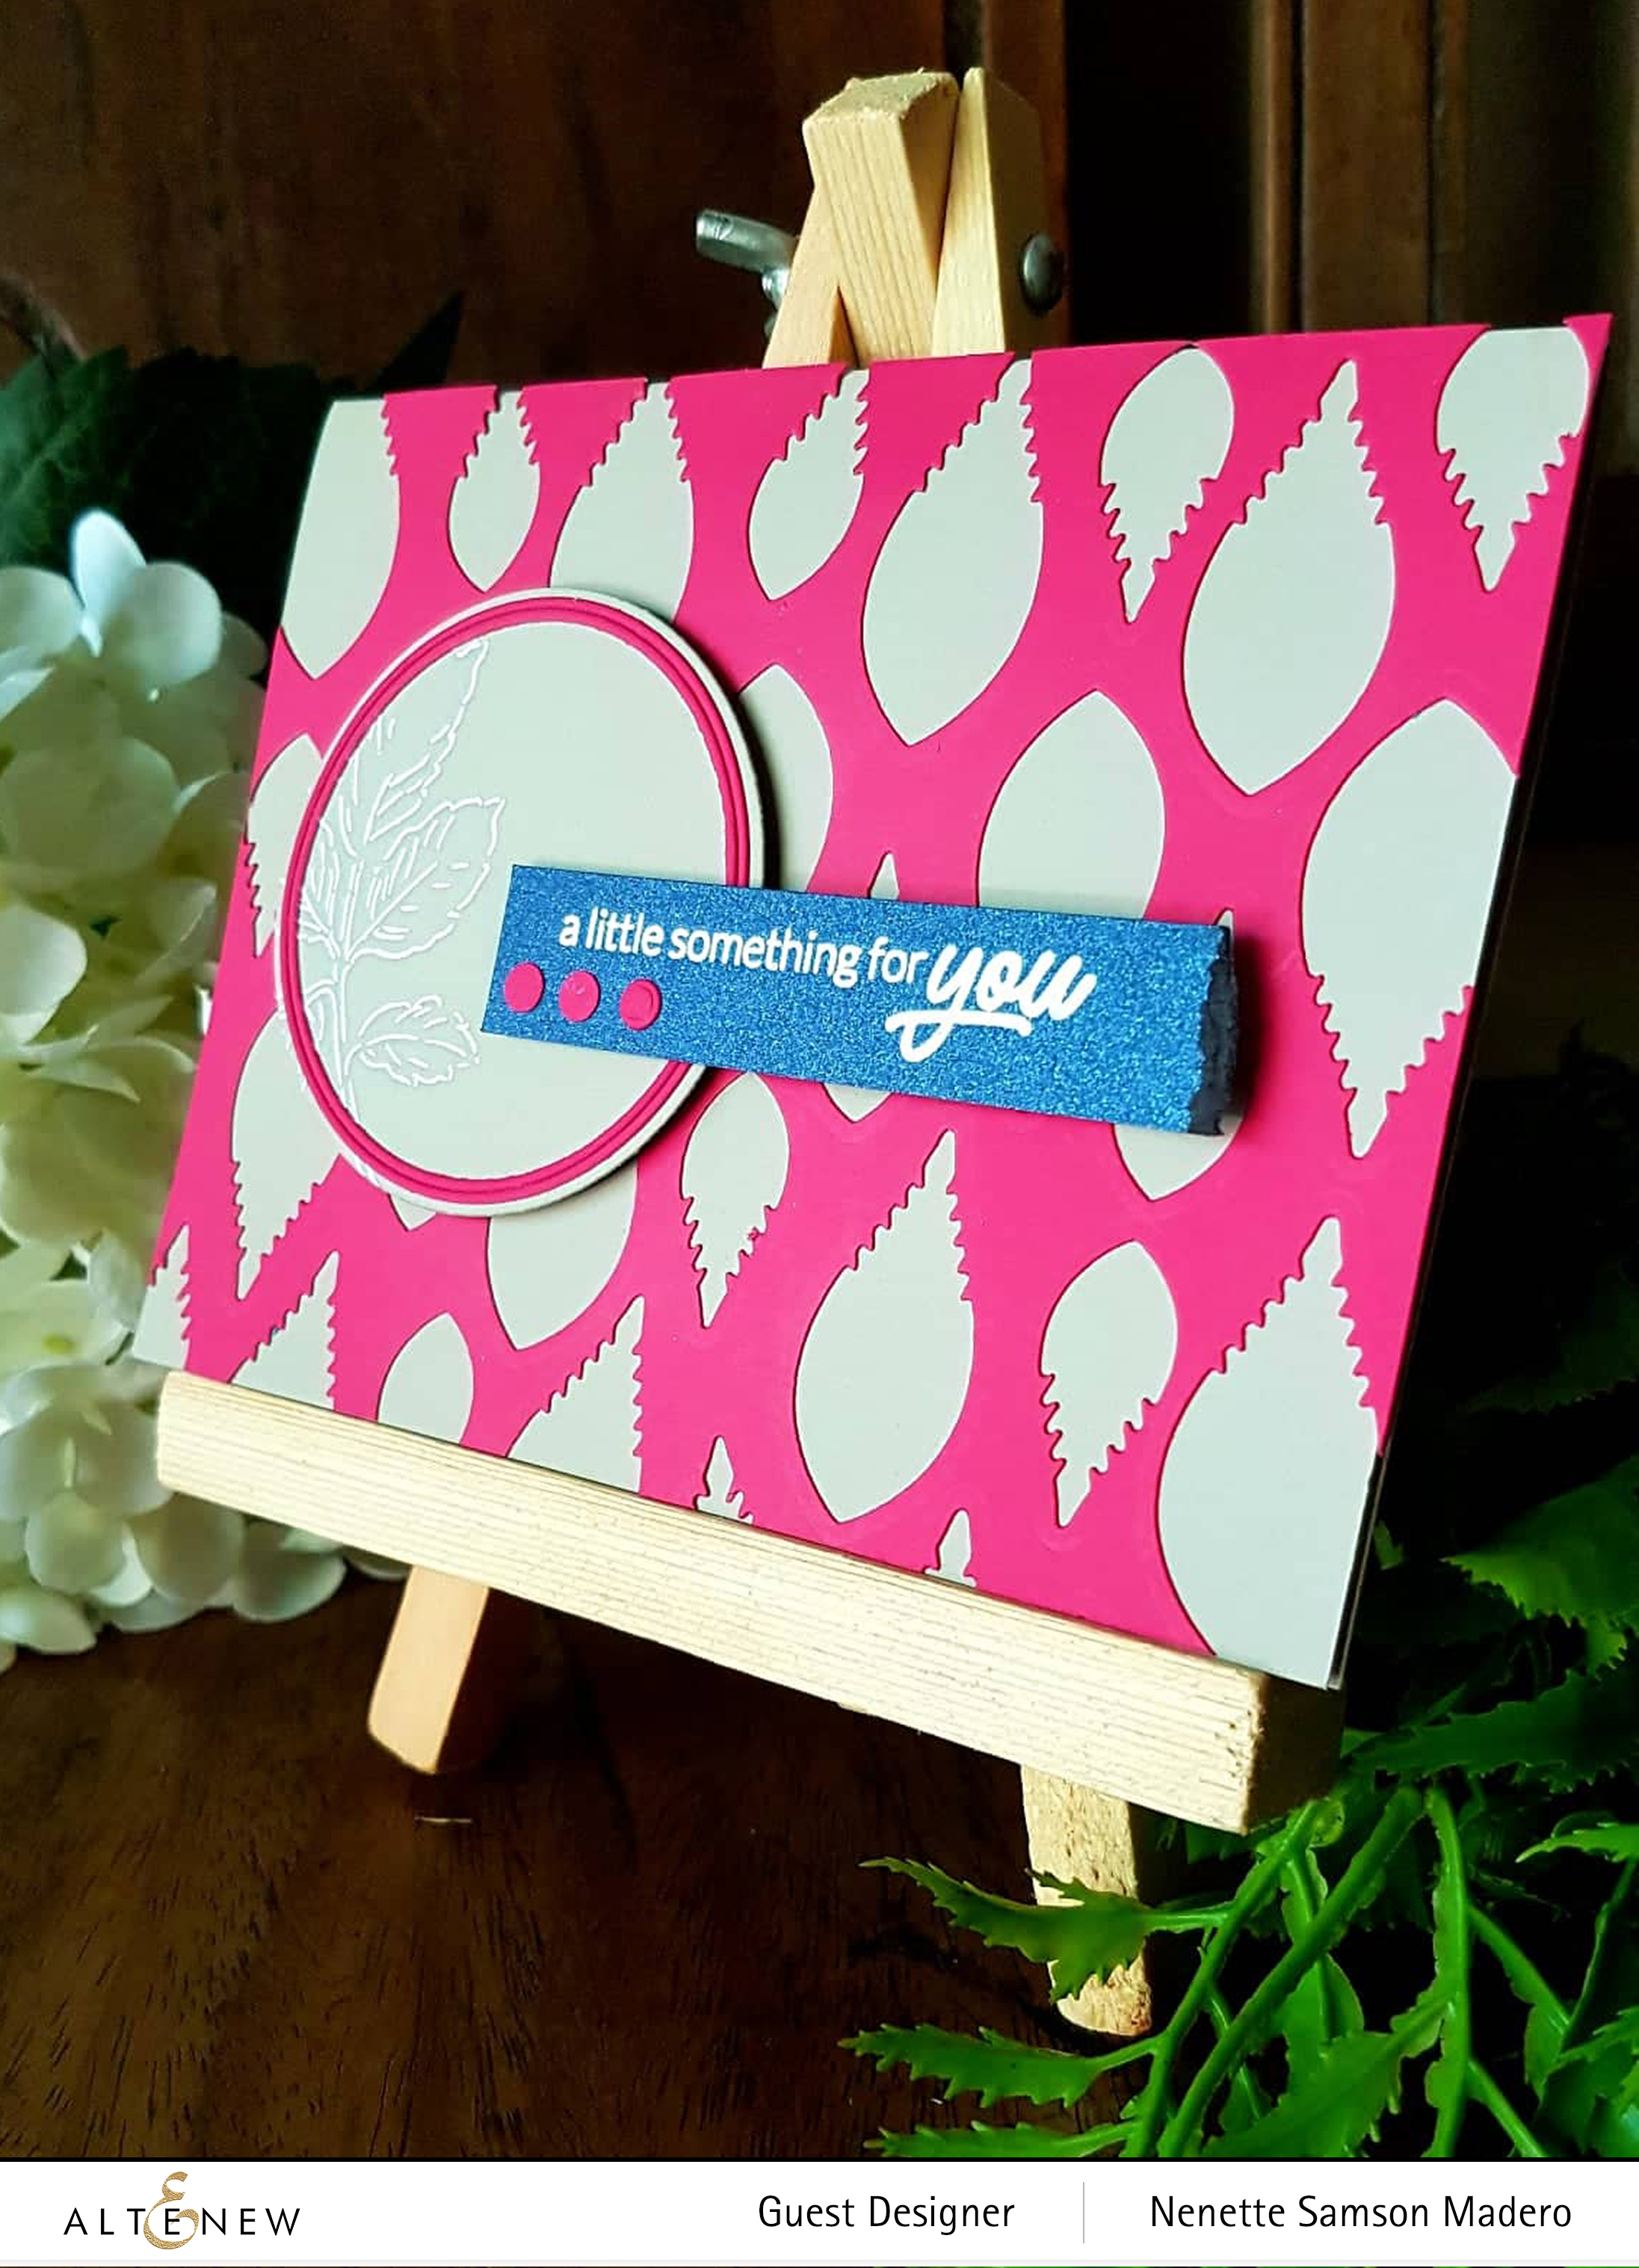
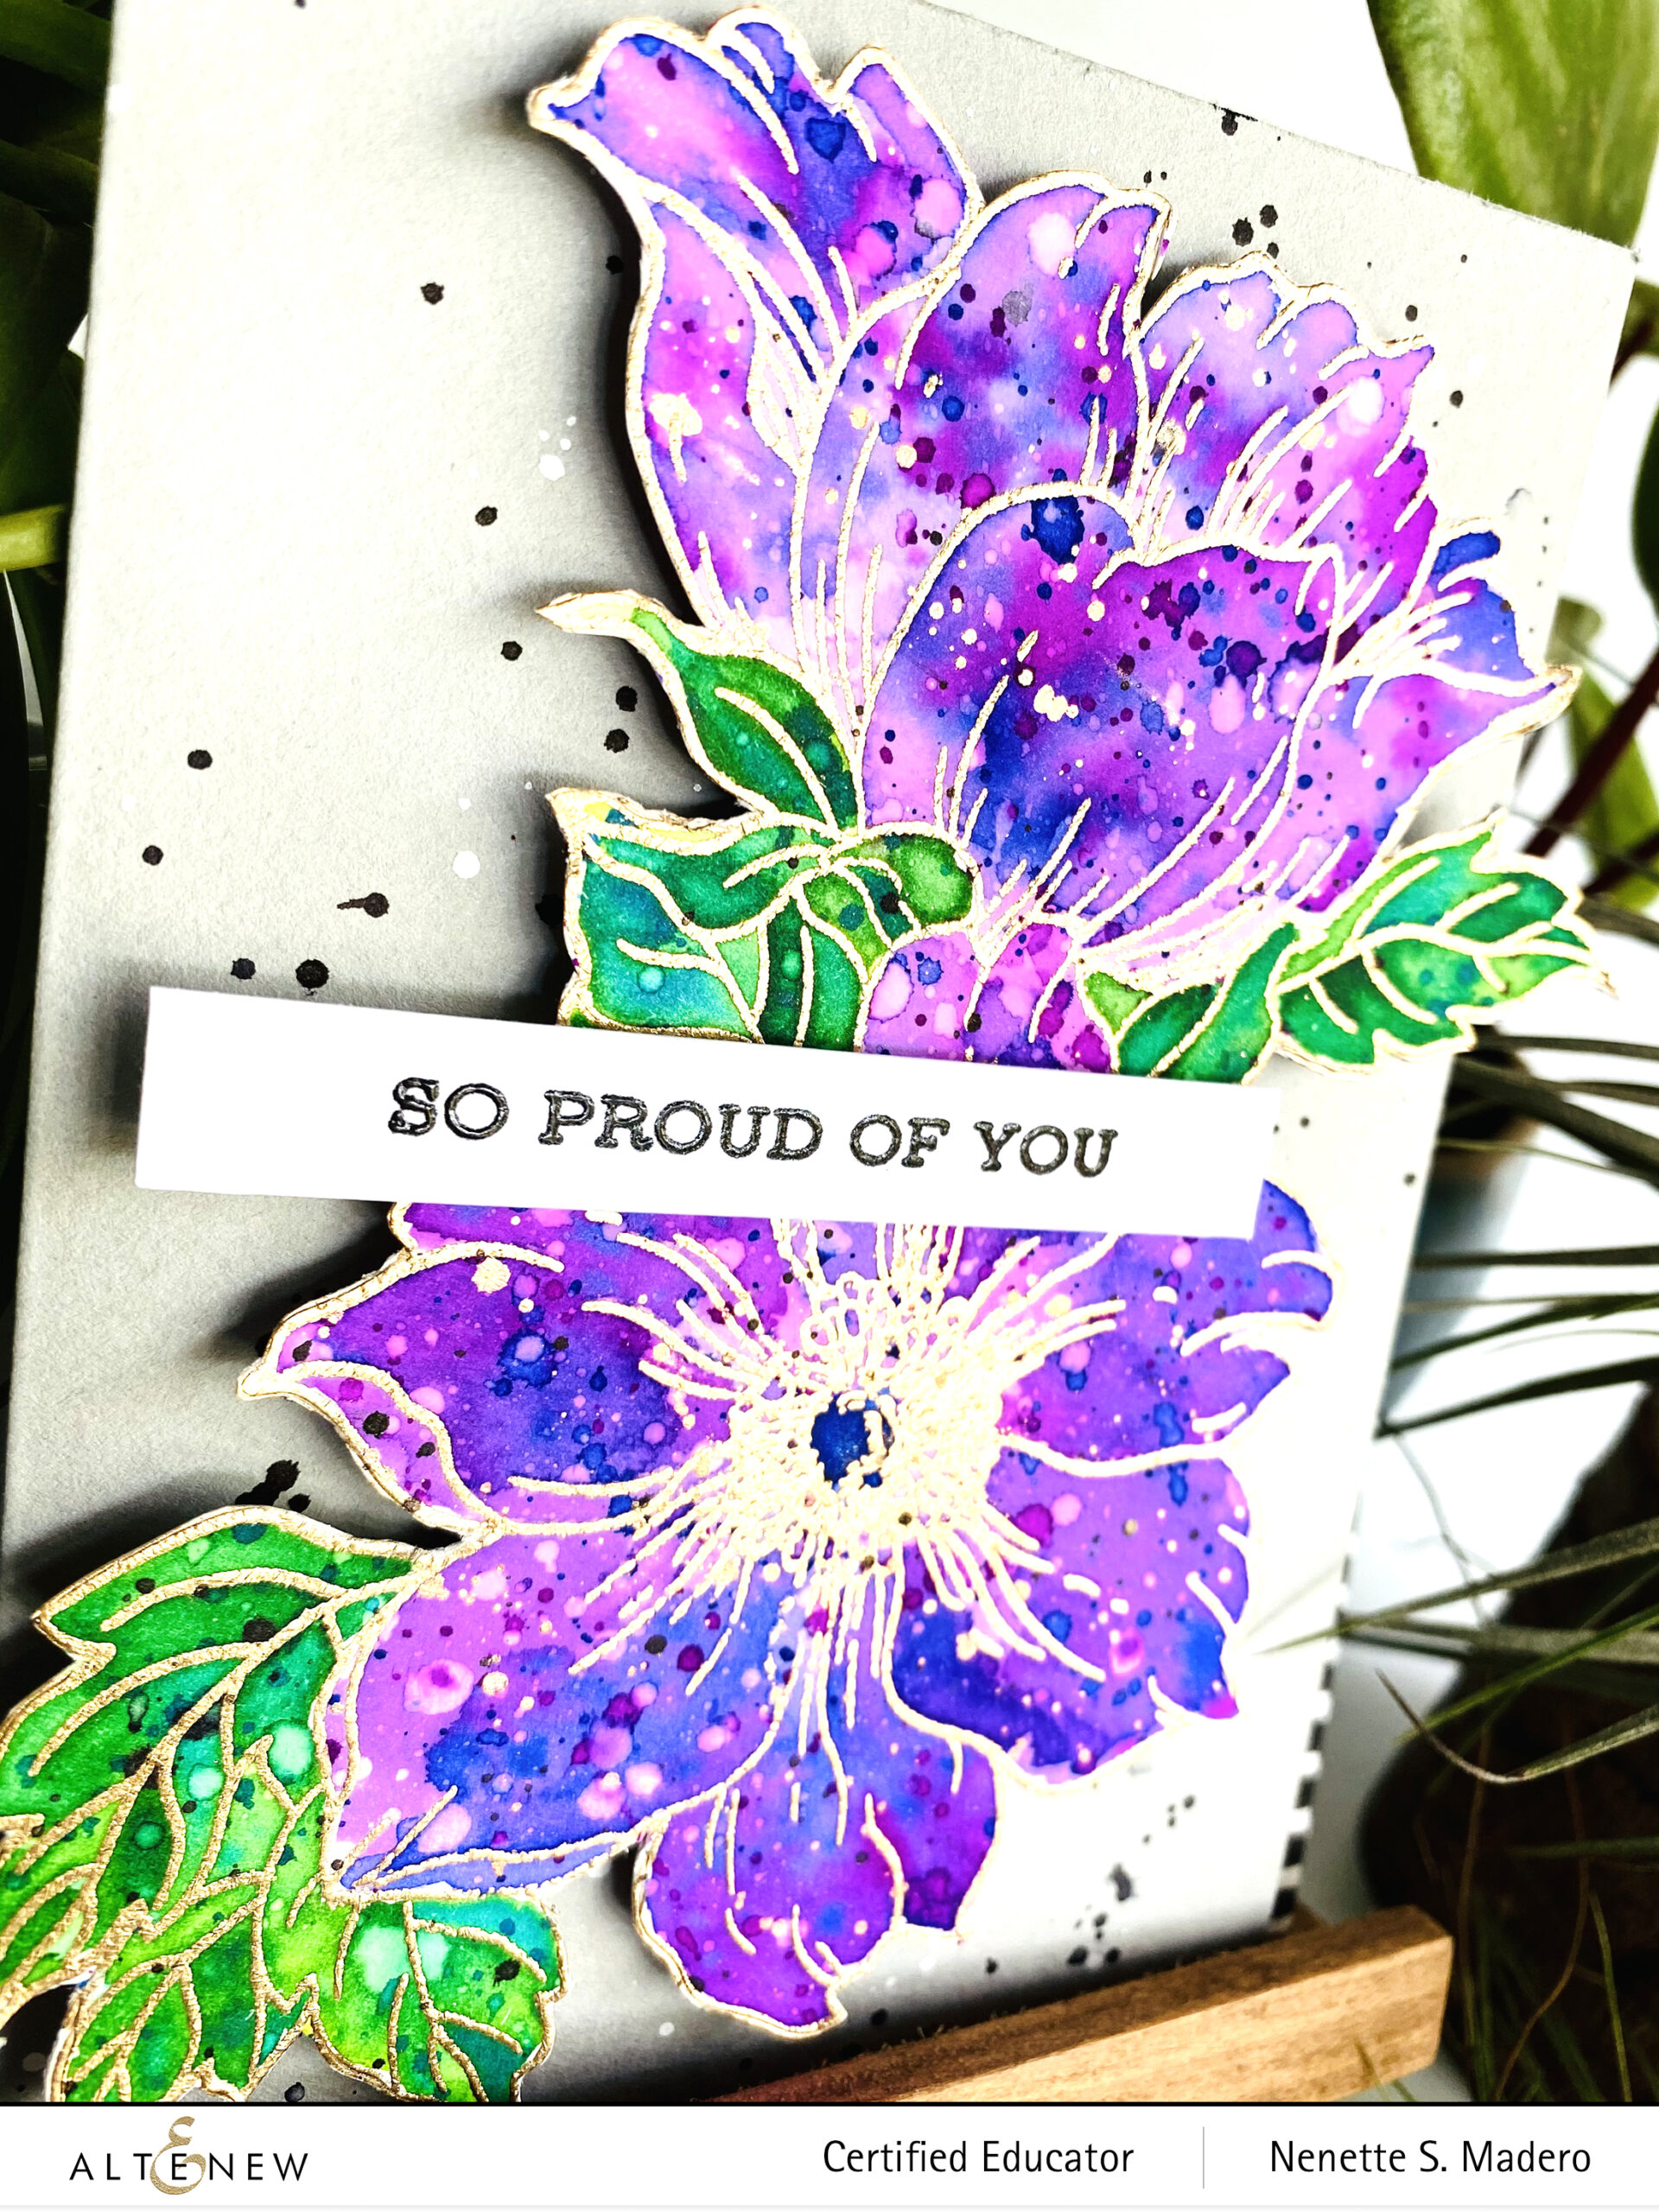
The third card was inspired by Erum’s splatter watercolor class. Such a fun technique!!!
SO PROUD OF YOU
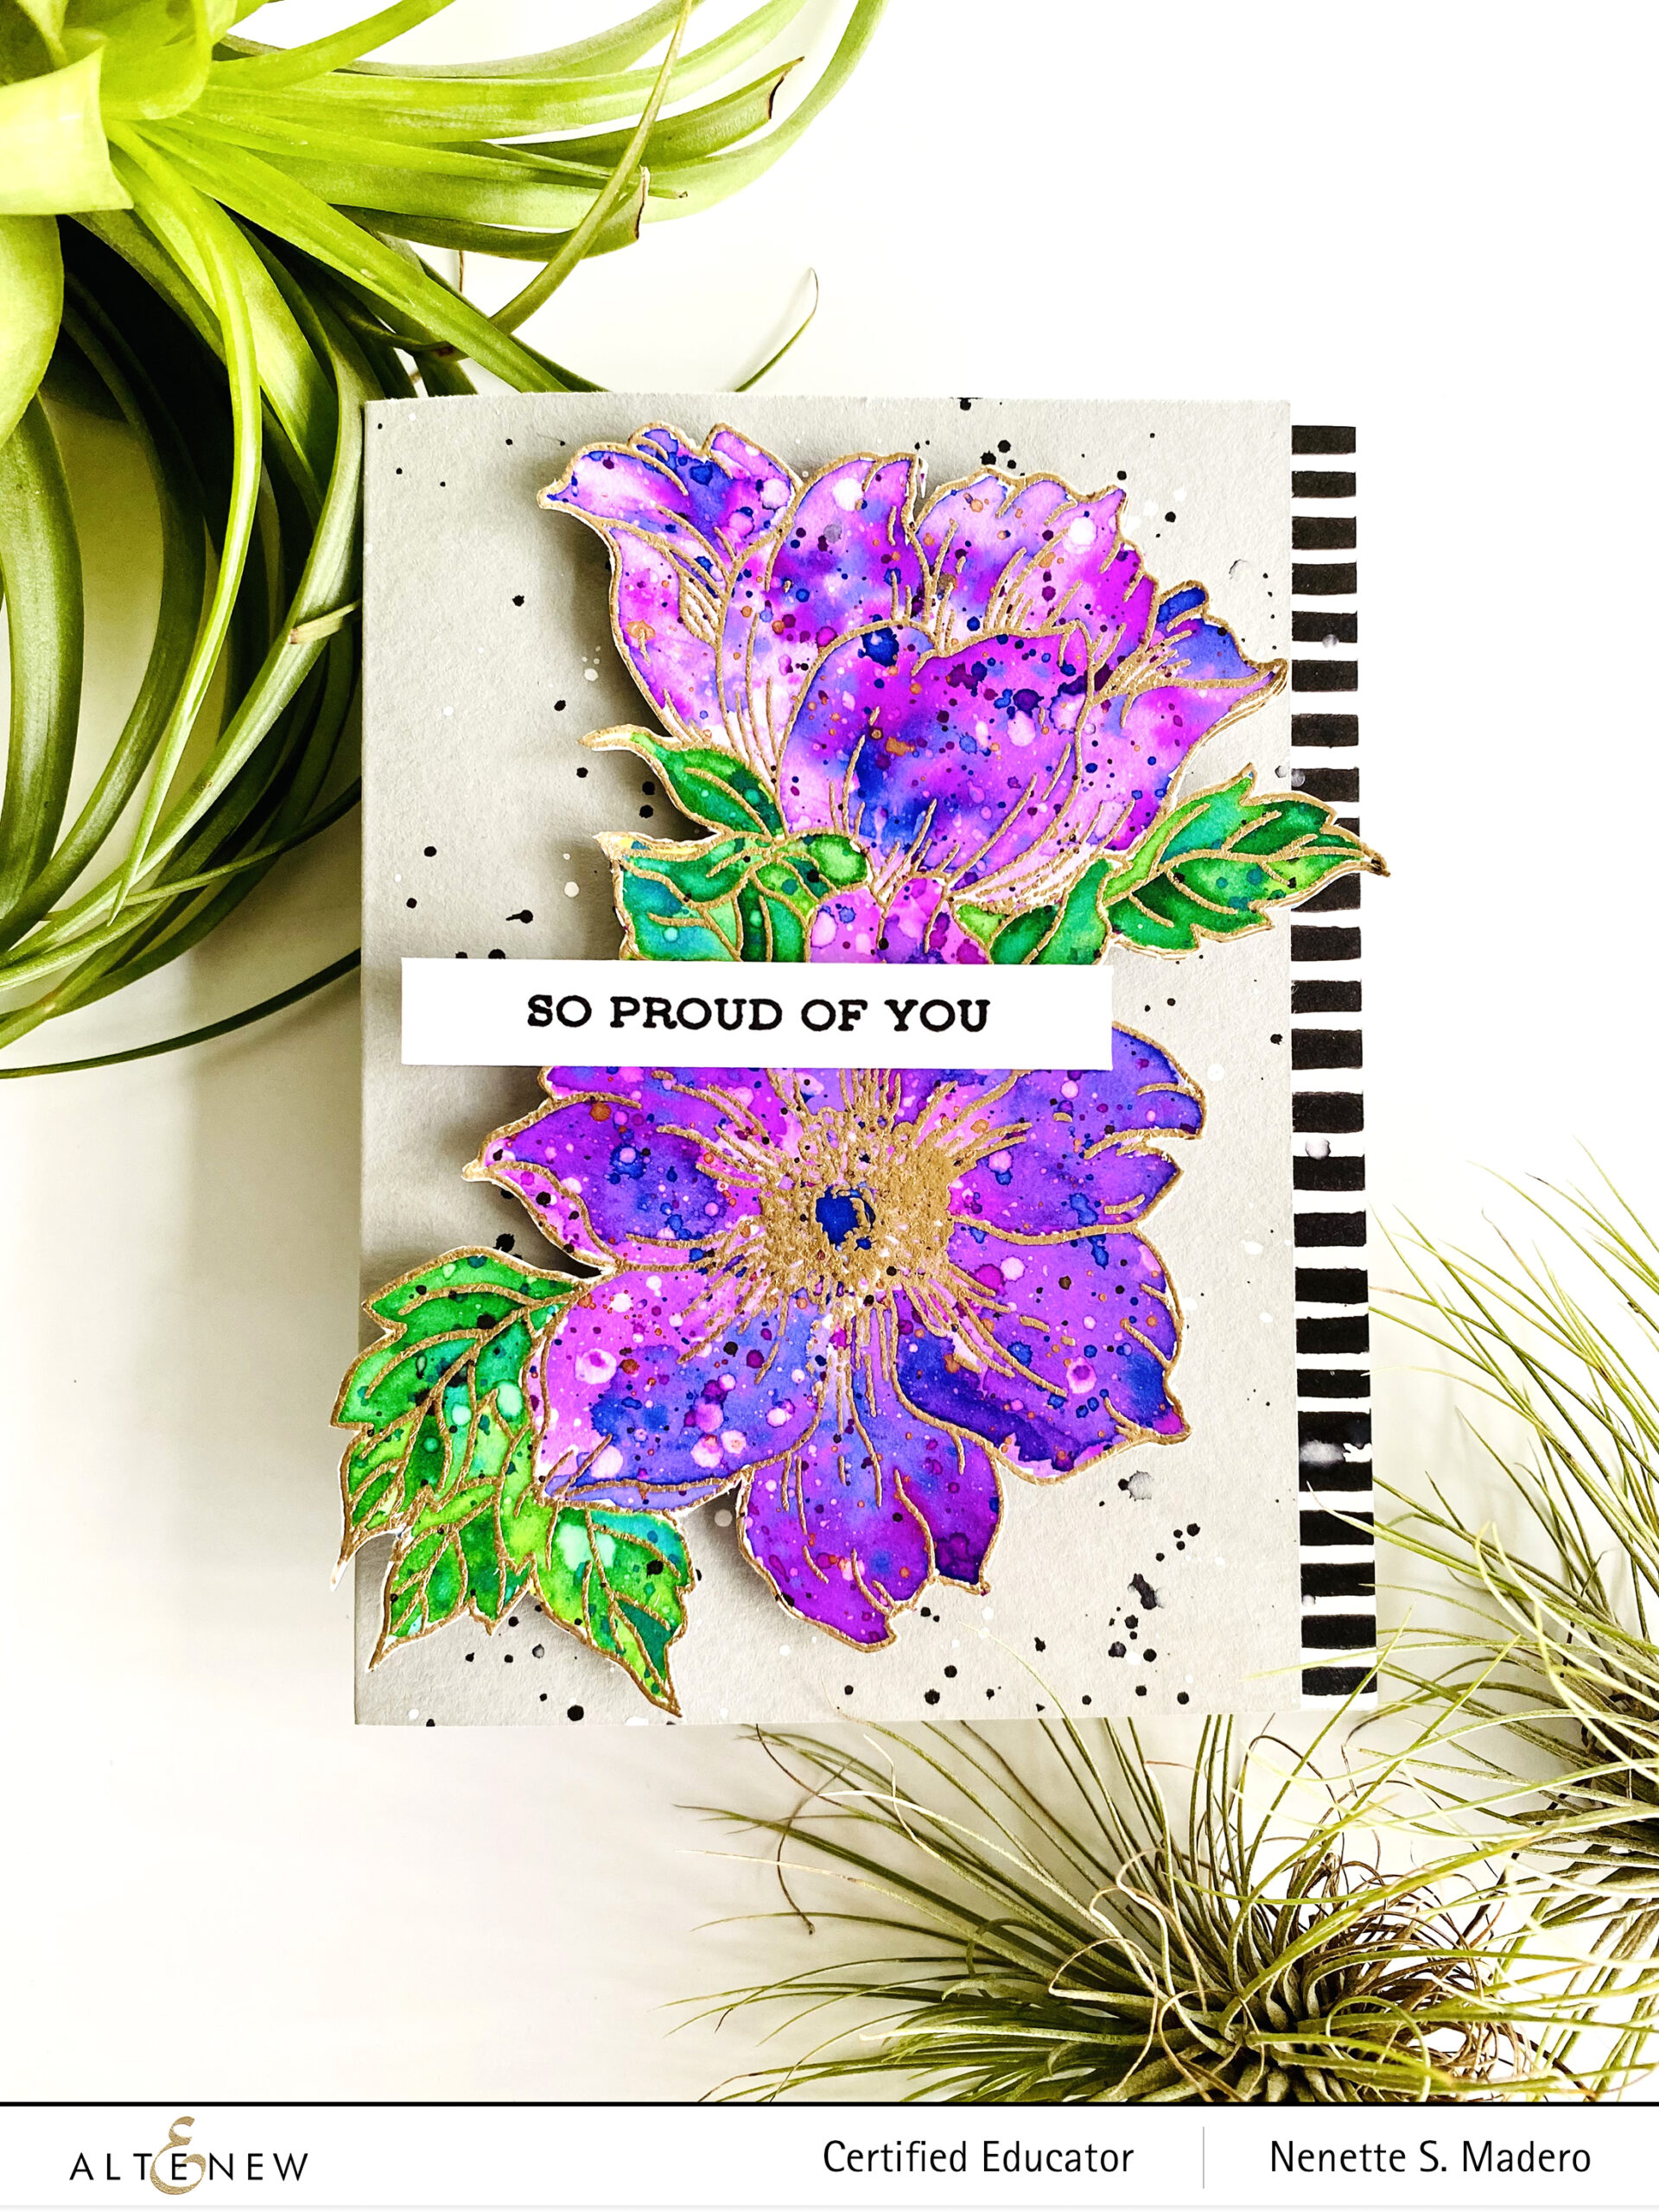
STEPS:
- Stamp the image from the Statement Flowers stamp set with Versamark in and embossing with Rose Gold embossing powder.
- Wet the surface of the petals with water and then add splatters of watercolor from Midnight Violet and Persian Blue brush markers.
- Allow the petals to dry and add more spatters.
- Spray the flowers with water and lift the colors for added texture.
- Color the leaves using the same technique with Emerald, Limeade and highlight with a little bit of Sea Breeze.
- Cut out a mask then trim out the leaves. Cover the flowers to protect them from the green spatters.
- Add green and blue splatters to the leaves.
- With the Jet Black ink, customize black and white stripes patterned paper.
- Add black and white splatters to the Real Grey card base.
- Emboss the sentiment using Obsidian Pigment ink and Crystal Clear embossing powder.
- Assemble the card using glue and foam squares.

I really enjoyed making this card. Just make sure to turn your panel when creating spatters for a variety of direction. Adding water droplets to lift some color added more texture to the petals. I loved this technique because it didn’t take a lot of time to create yet it seems to be complicated to make. I also didn’t have black and white striped paper so I just created my own using a black marker. The freehand lines made the card more organic looking.
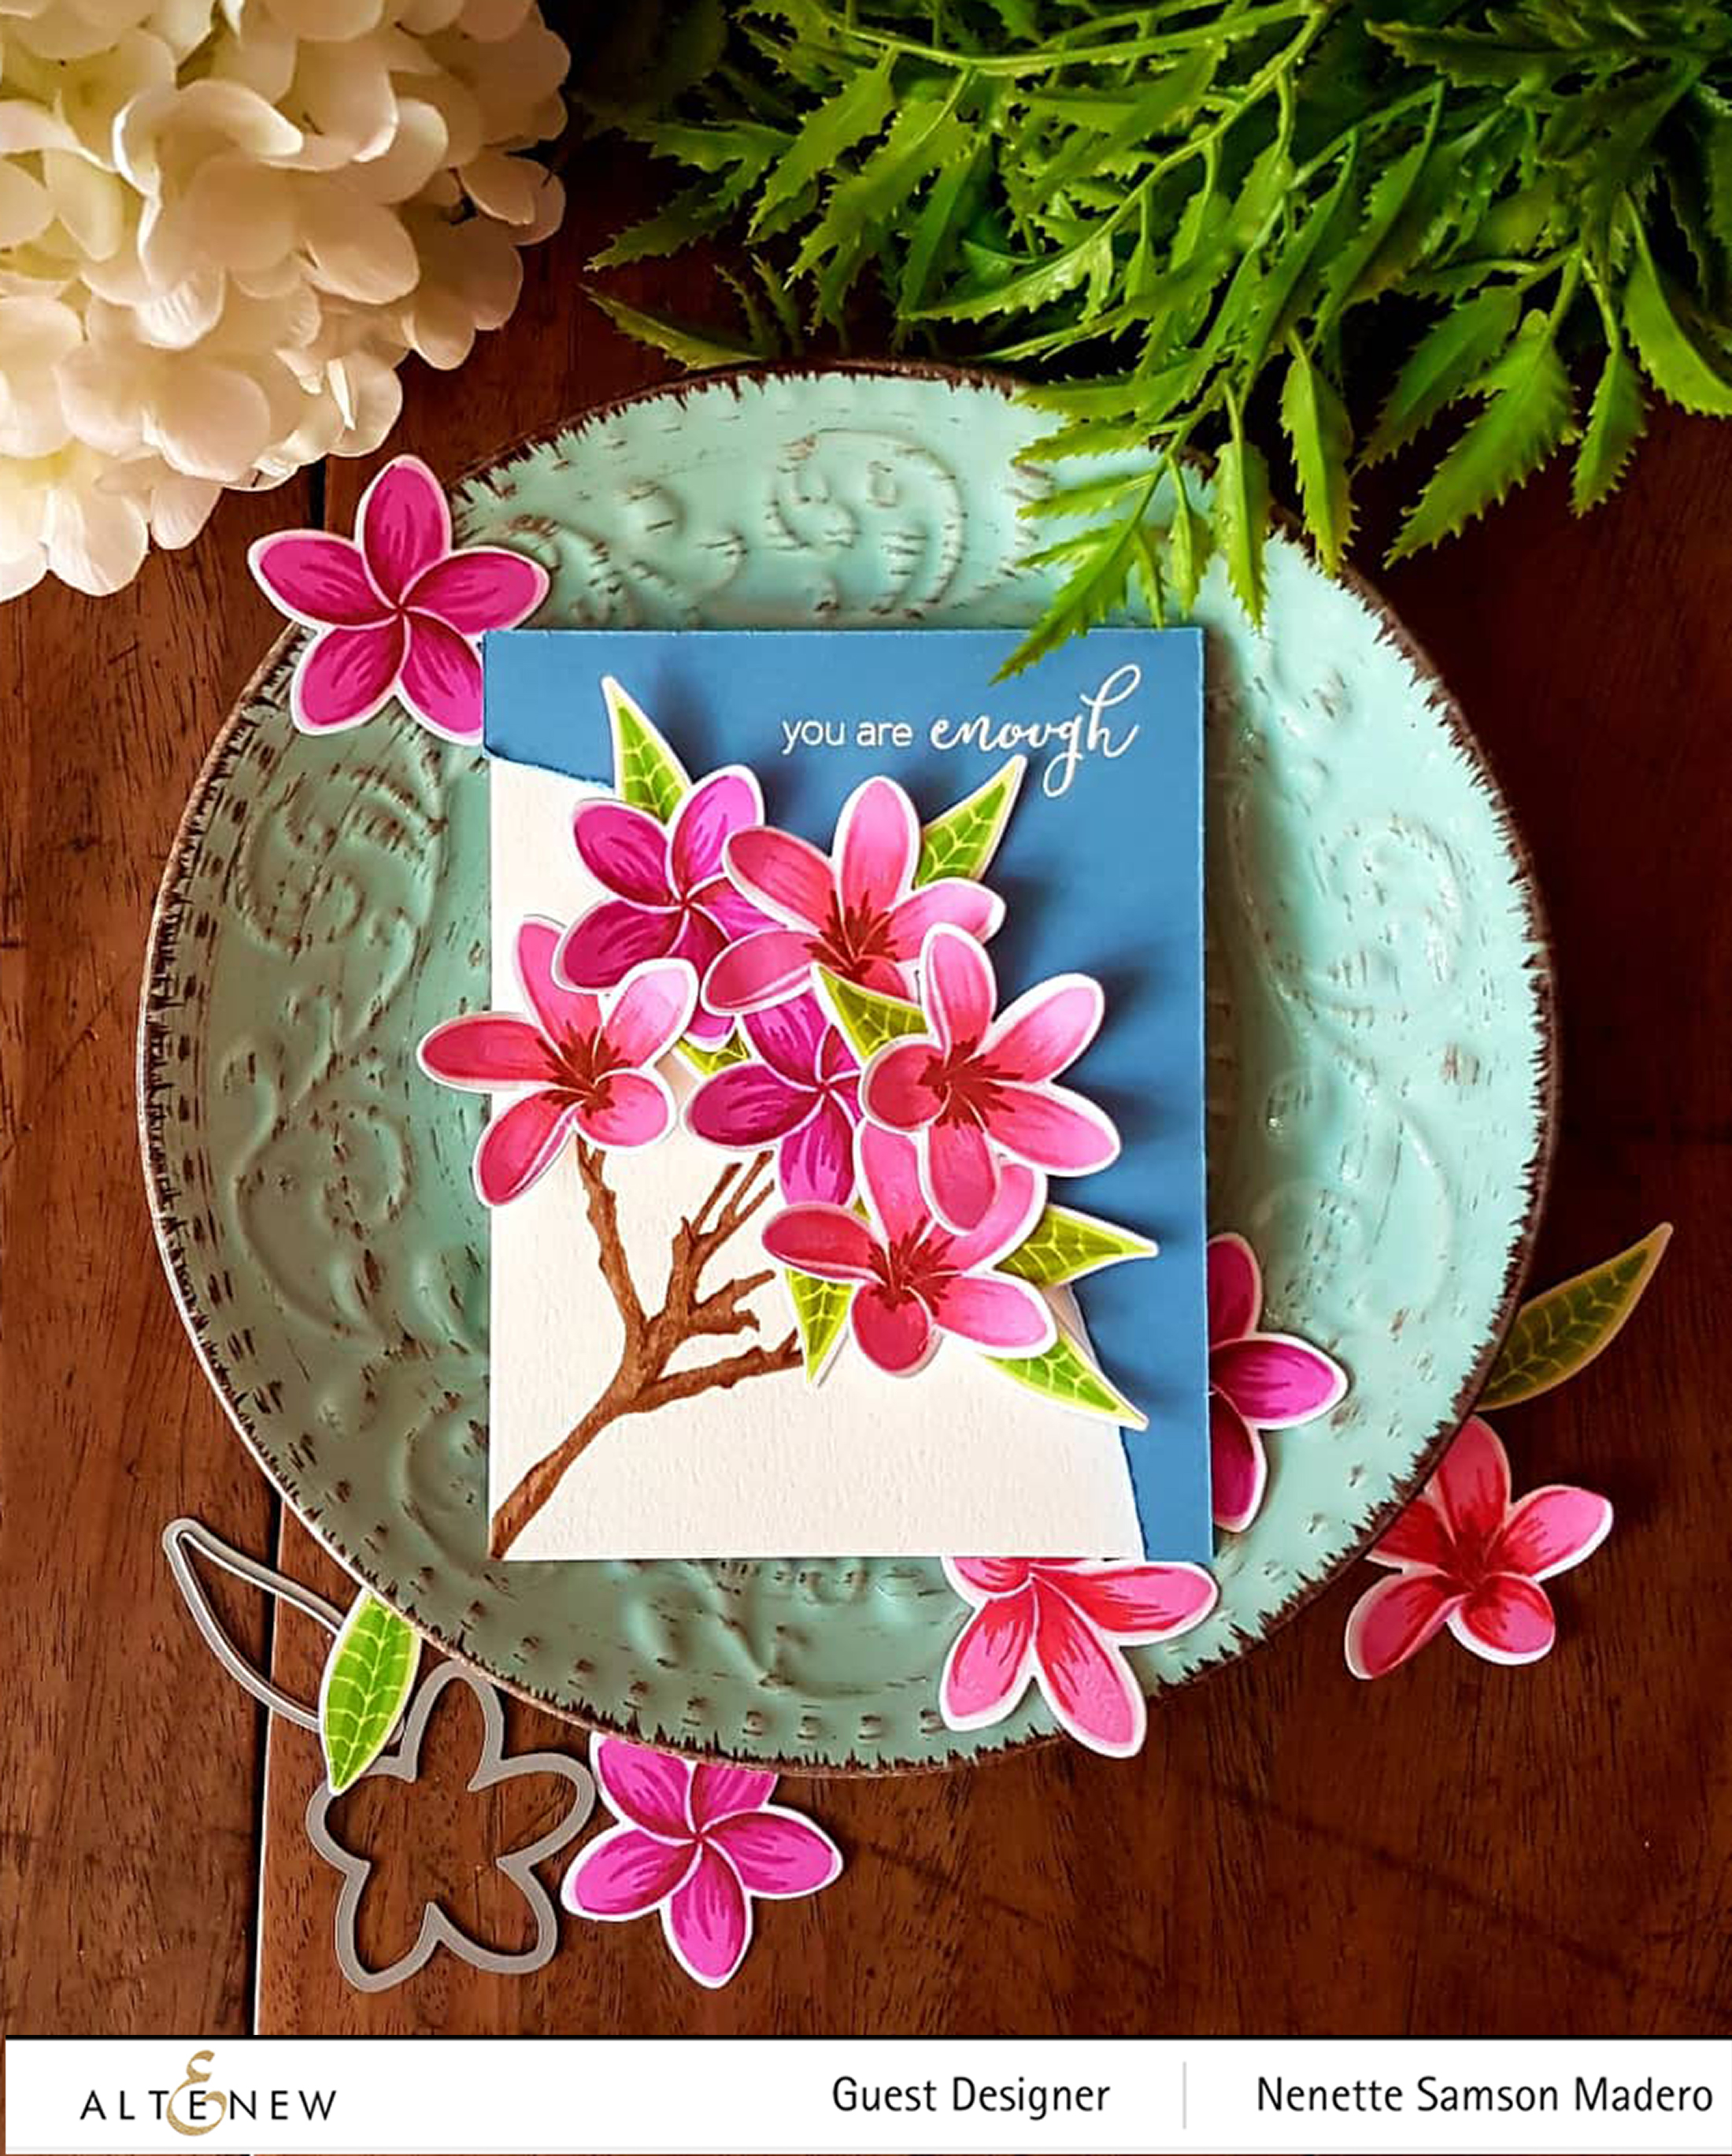
This fourth card was inspired by Erum’s Playing with Texture class.
THINKING OF YOU
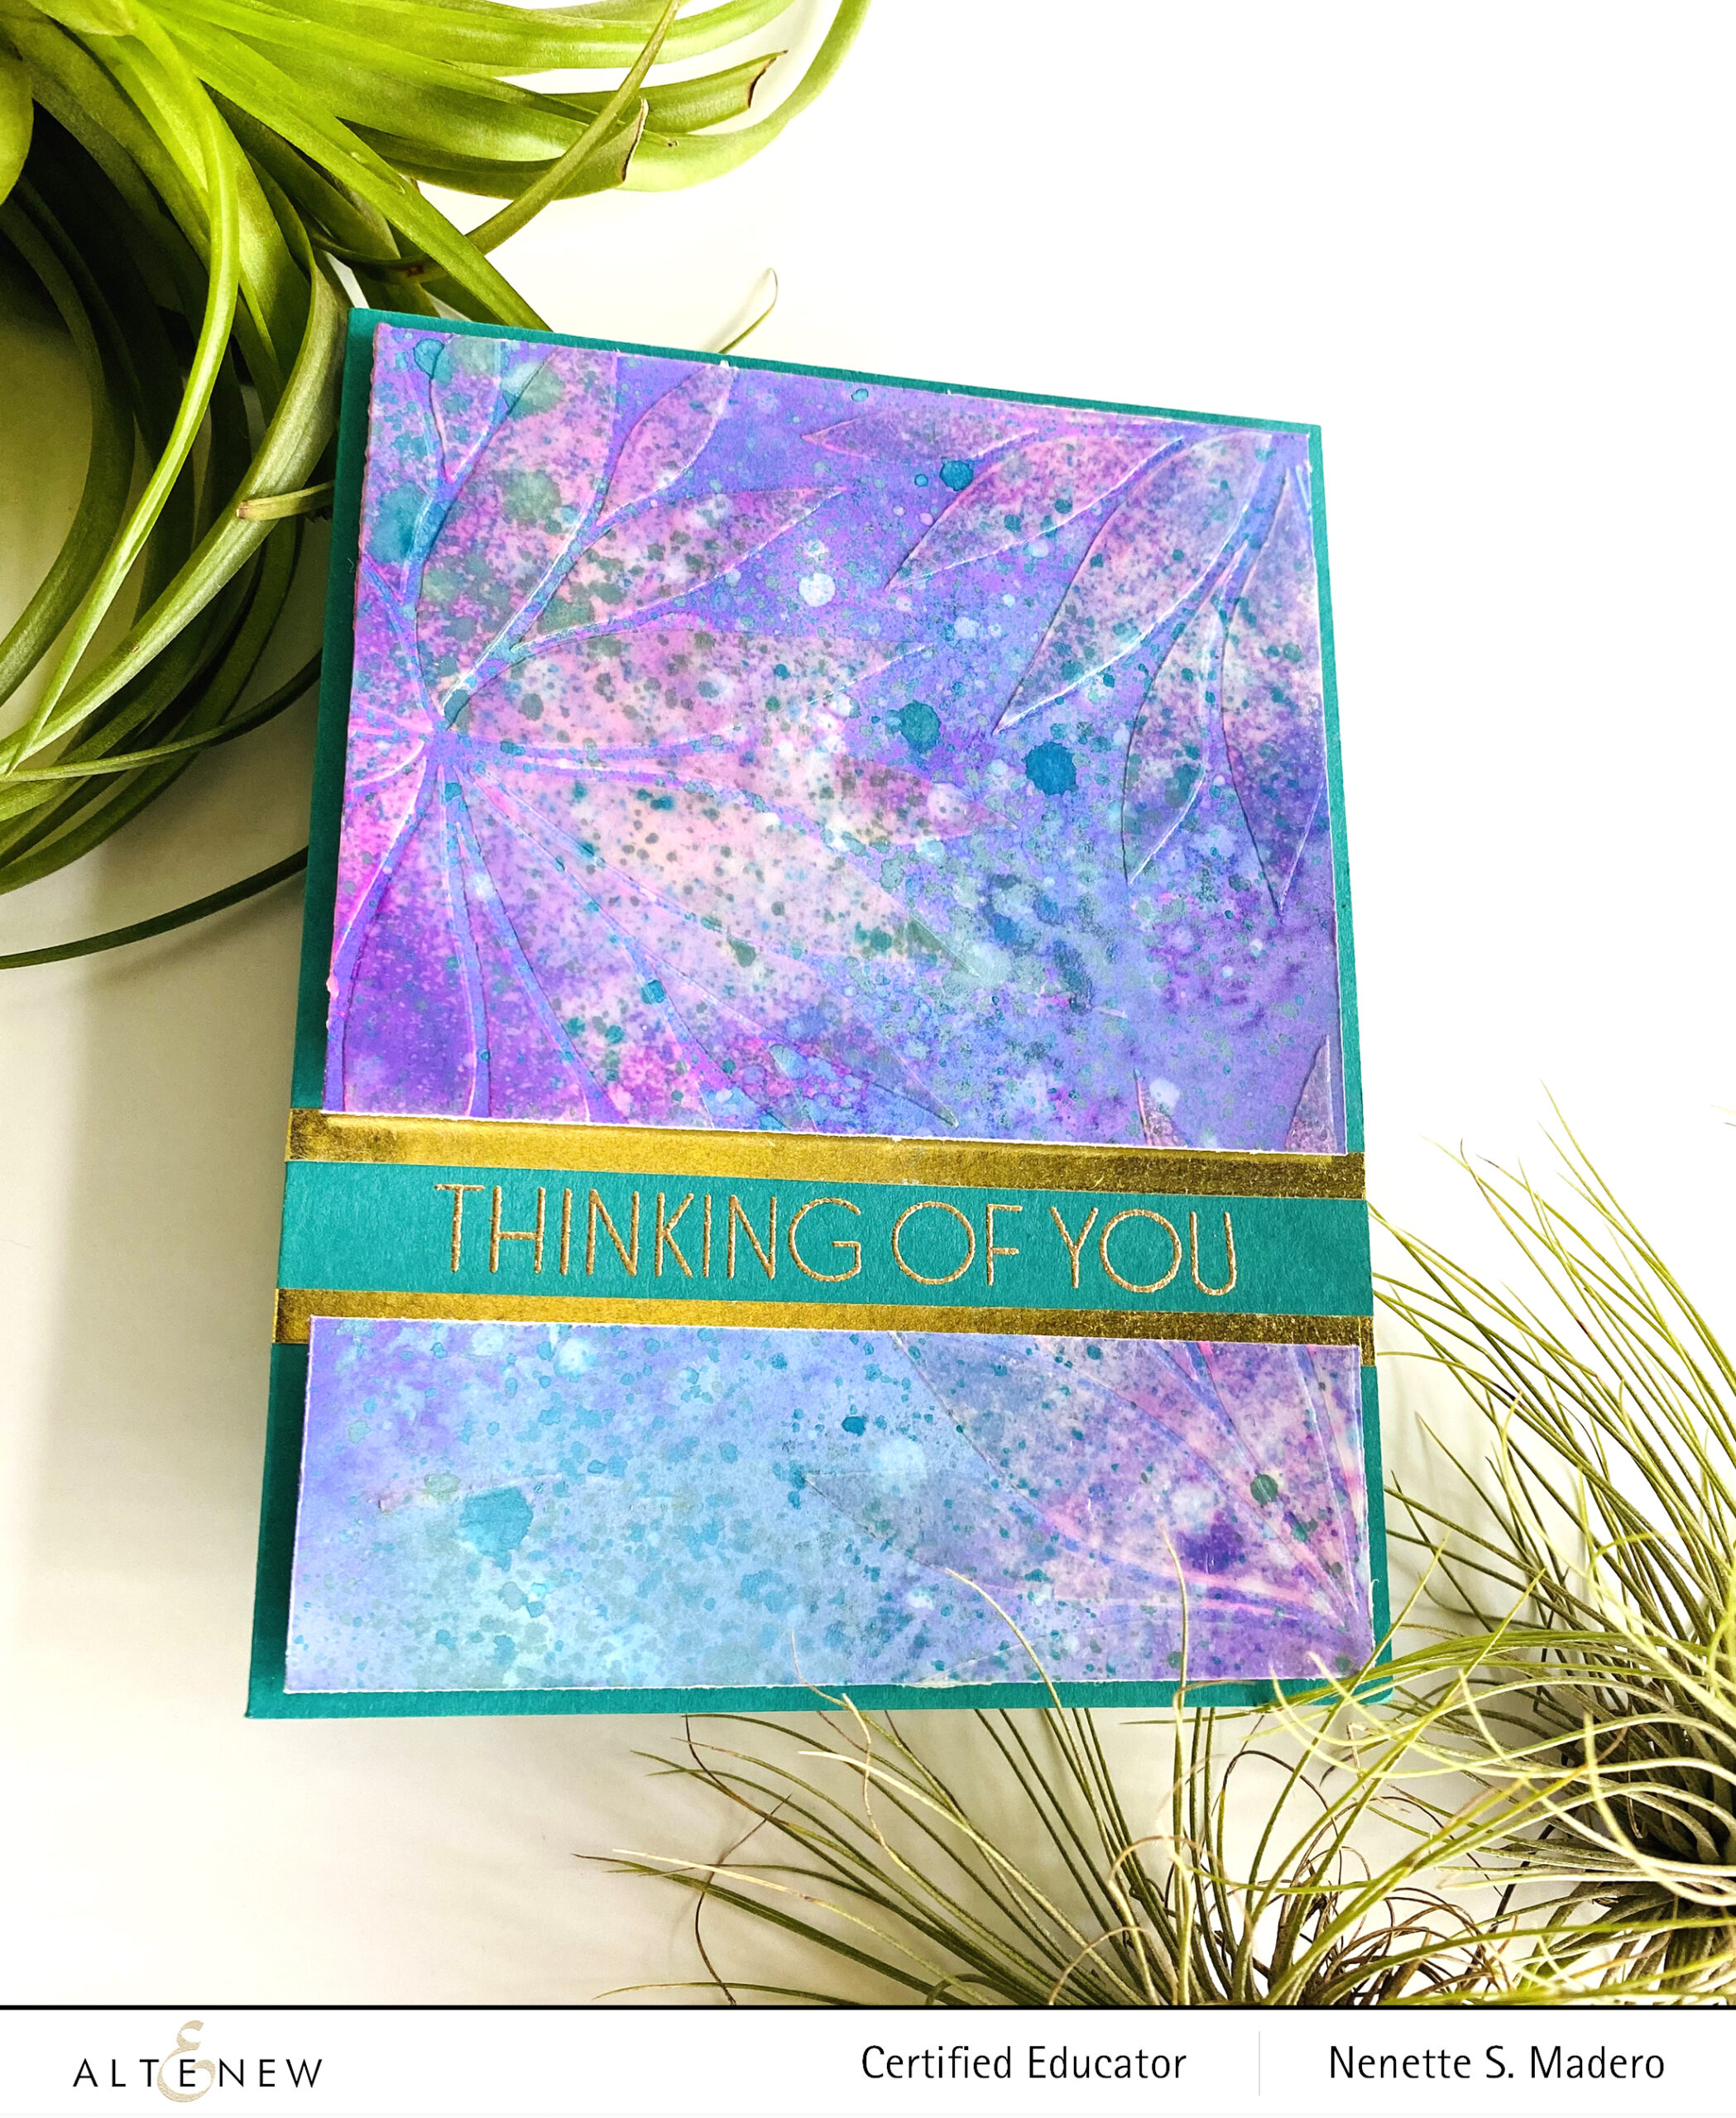
STEPS:
- Create a background using distress sprays, distress oxides and distress inks. Make sure to dry between sprays.
- Add water splatters and after 10 seconds, lift the colors using a paper napkin.
- With the Mega Blooms Stencil, create transparent flowers using the transparent texture paste. Allow it to dry.
- Stamp the sentiment from the Ornamental Bliss stamp set with Rose Gold crisp embossing powder. Add gold washi strips to emphasize the sentiment.
- Assemble the card.
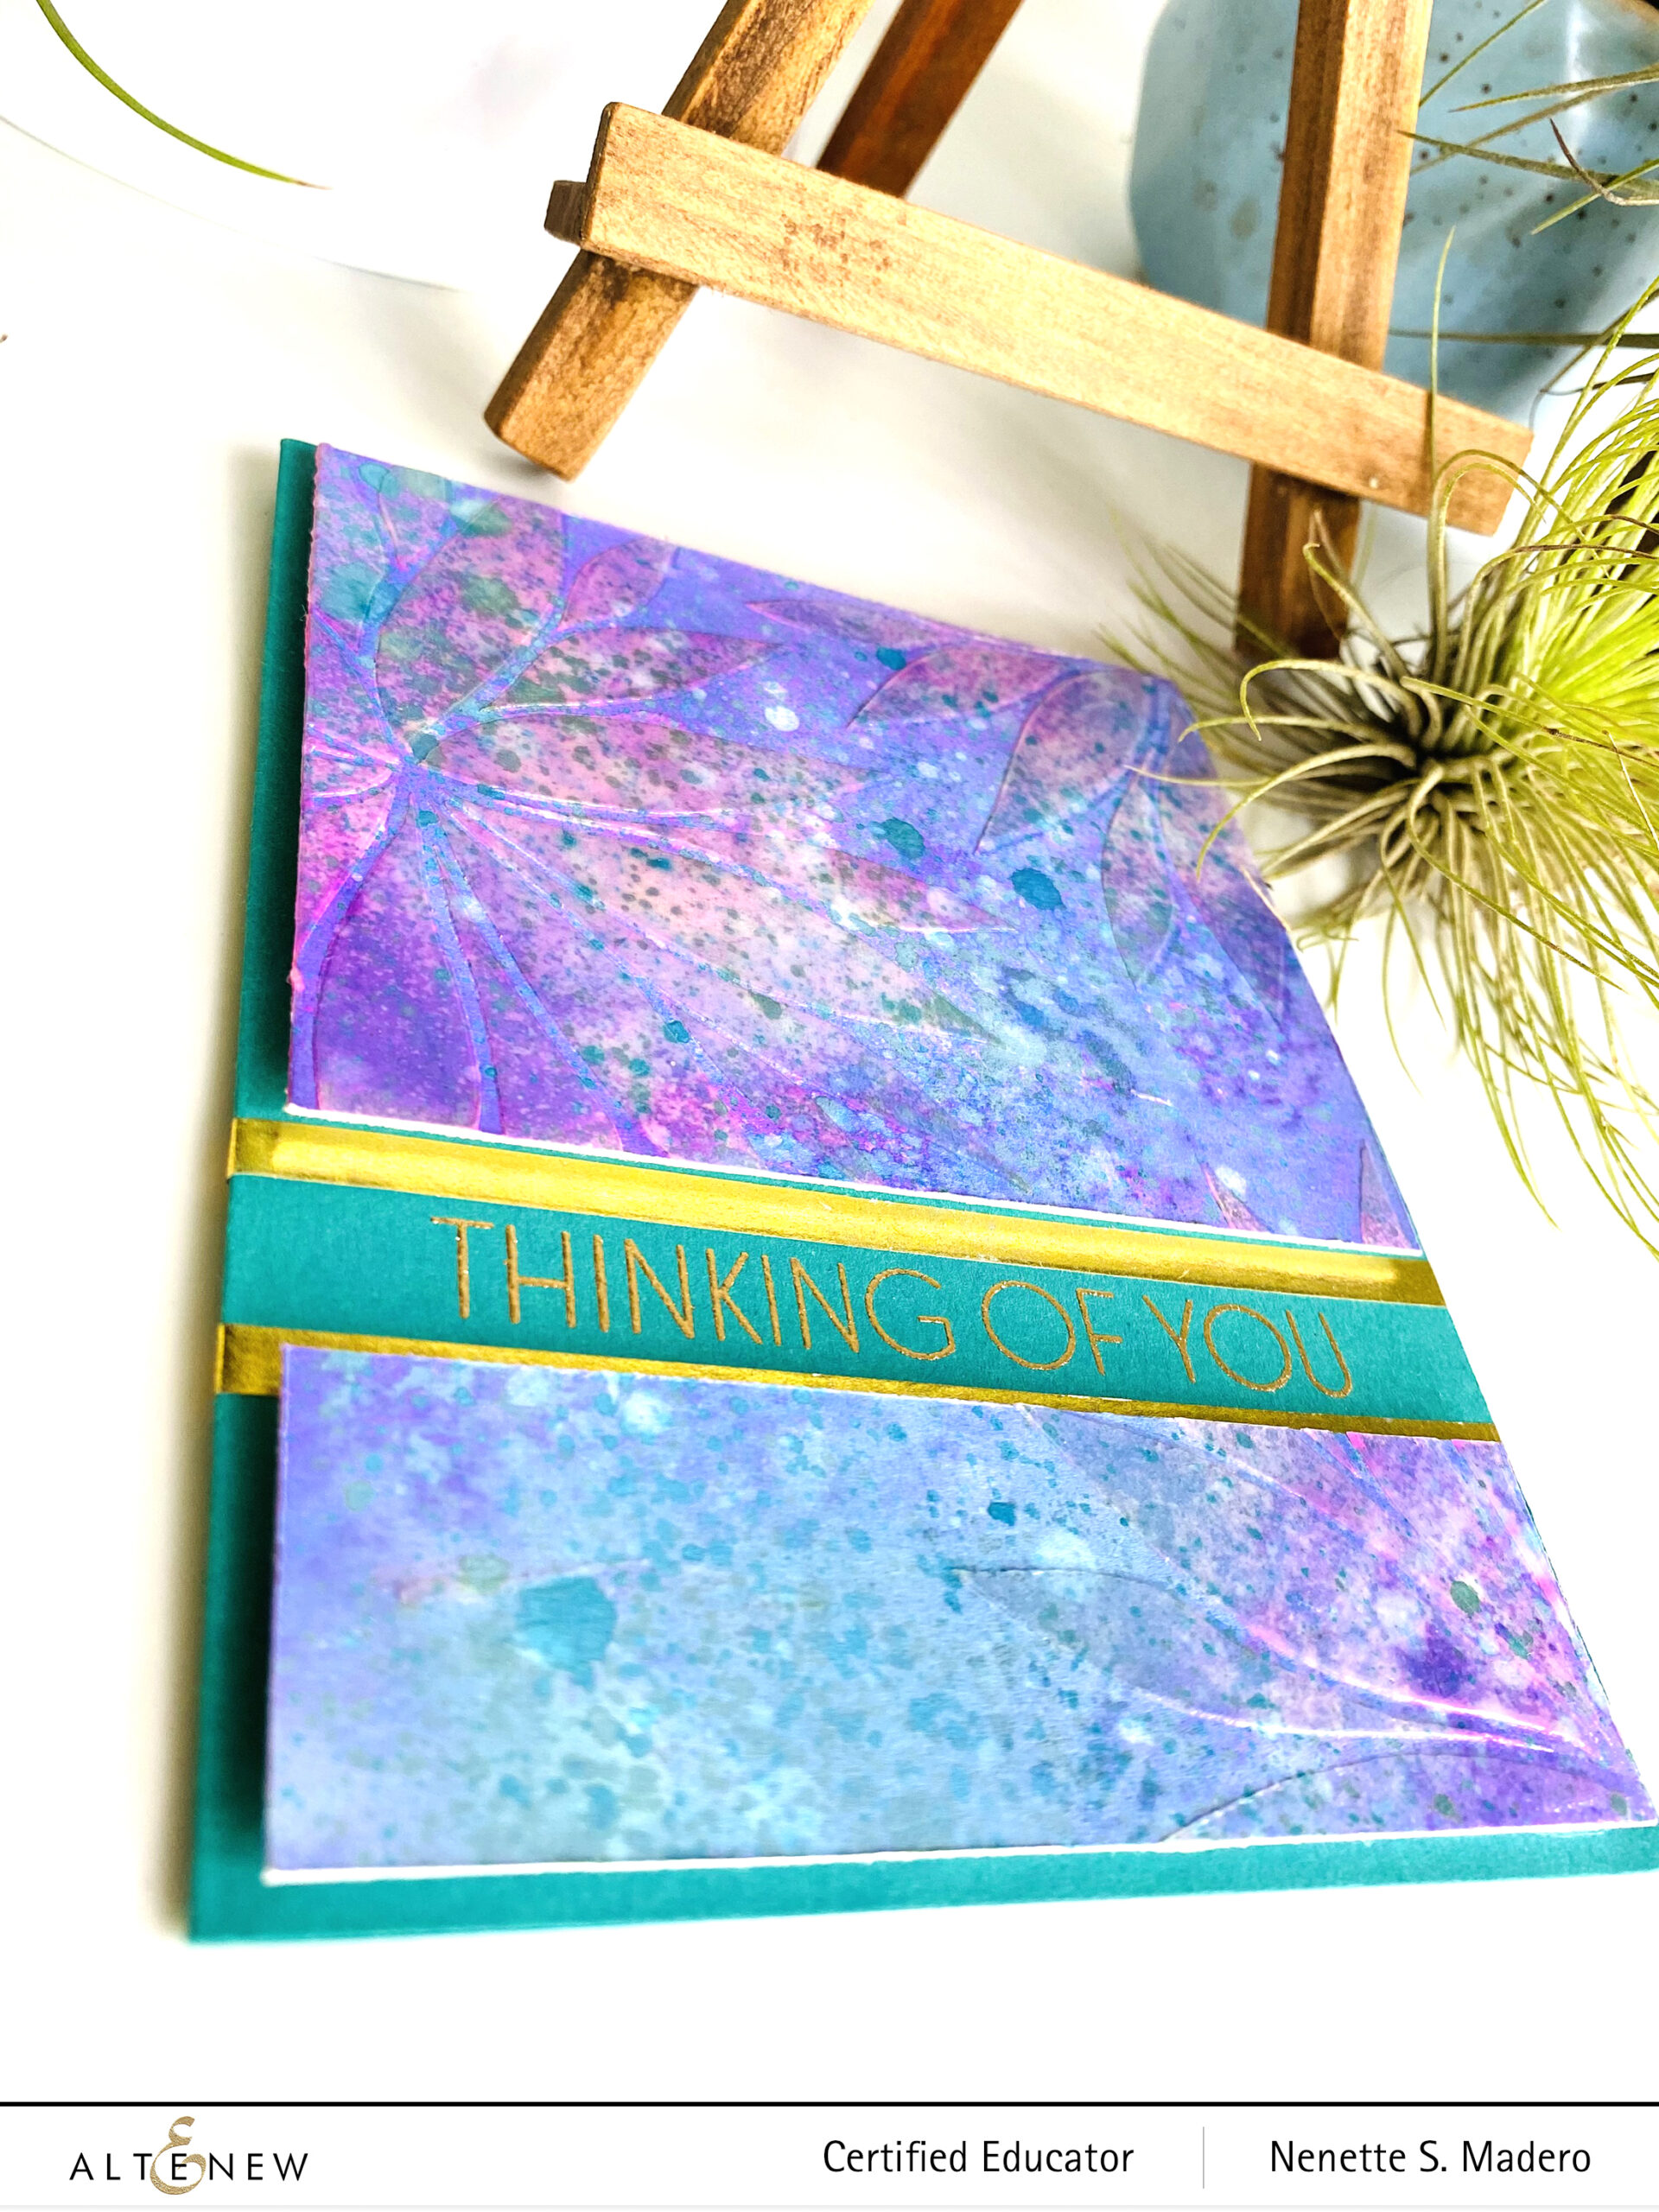
This was a quick card to make. It only took longer because of the drying time of the transparent texture paste. I love the subtle texture the clear texture paste gives yet it allows the background design to show through.
I hope you liked the 4 cards I made based on Erum’s Creative coloring class. I highly recommend it. She also included tons of other project ideas that you can get inspiration from.
Do stop and say hello on Instagram where I post my latest creations and giveaway announcements. You can also subscribe to this blog if you want to receive email notifications of my posts.
Again, thank you so much for taking the time to drop by! Don’t forget to leave a comment to get a chance to win a prize! I truly appreciate your kind comments and always look forward to hearing from you. 😊 Please stay safe and happy crafting!