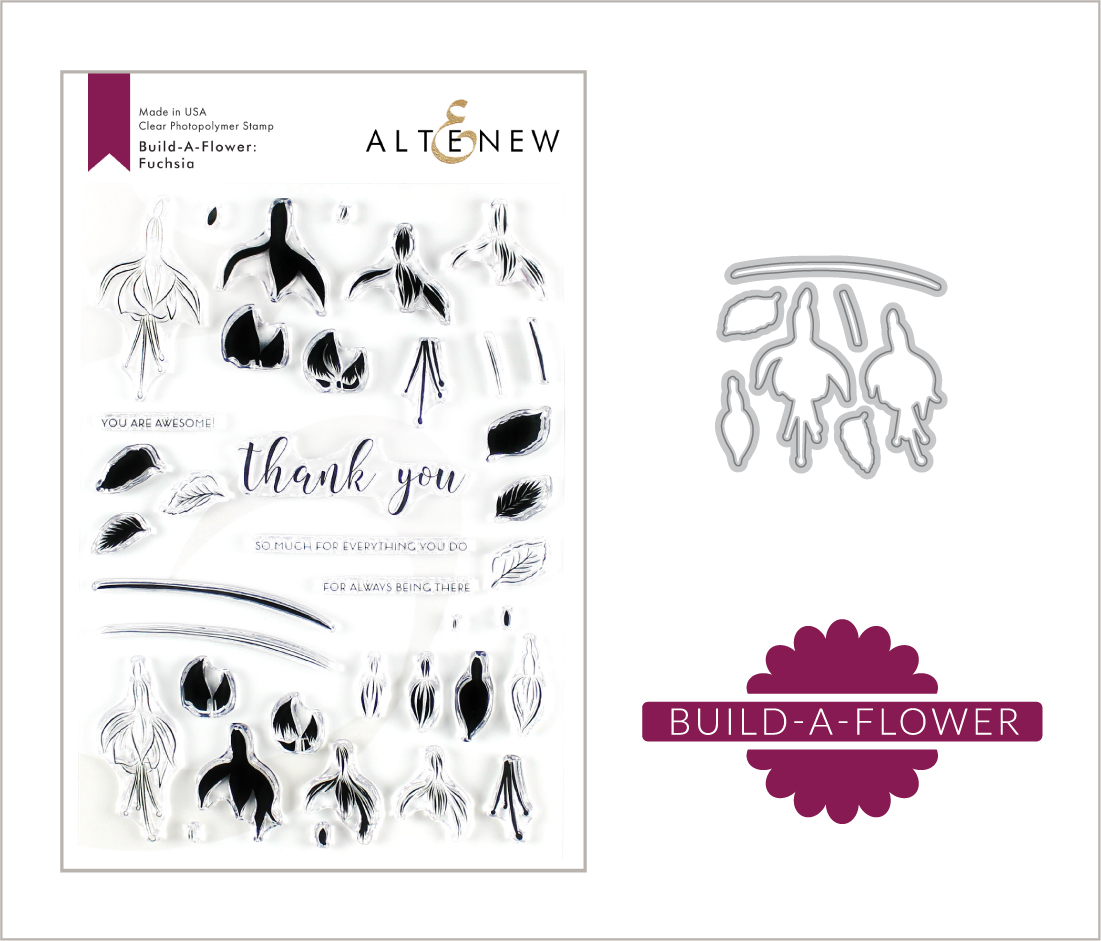
Hello everyone!!! Altenew has a wonderful July release and I made a couple of cards to showcase this new release. Take a look at these gorgeous products!!!

I read all your comments on my blog and truly appreciate your kind words. I’ve noticed that there are quite a number of people who are new to cardmaking so this blog post will be a mixture of simple, fun and easy to make cards/tags and some that need a little more time to create. Do let me know which one is your favorite in the comment section, ok? I really love hearing from all of you. <3
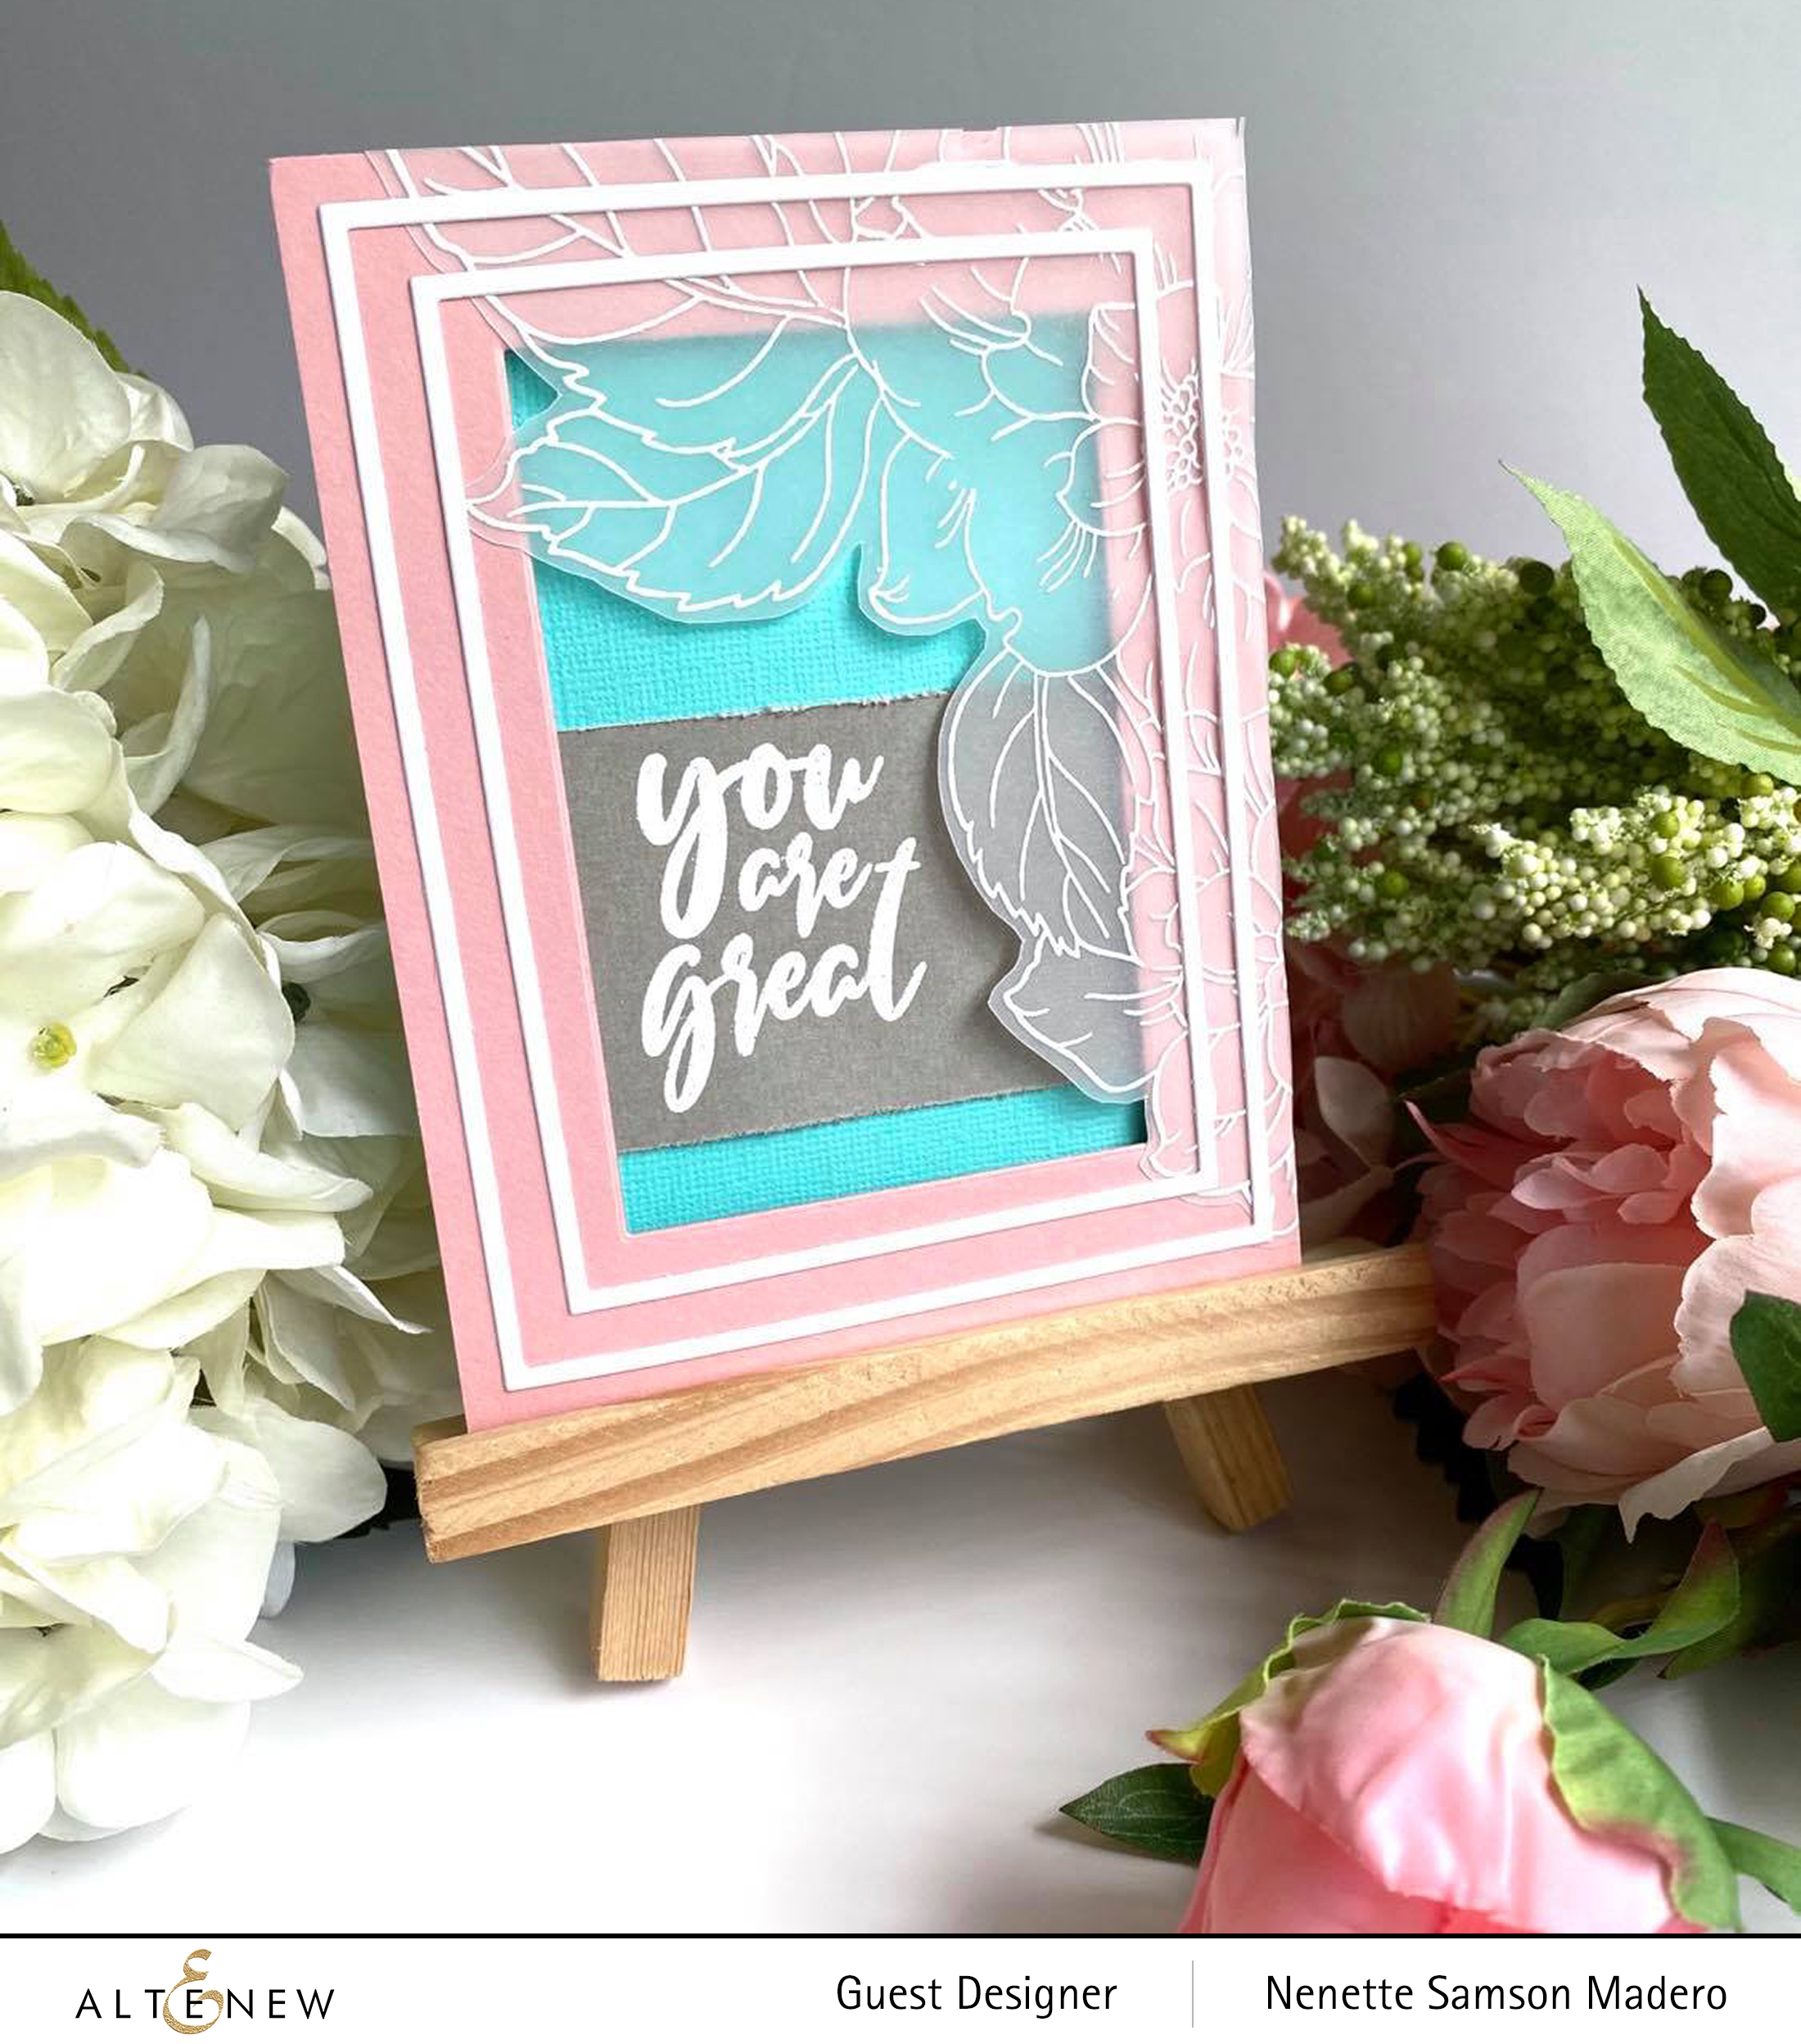
WHATEVER YOU ARE, BE A GOOD ONE | YOU ARE GREAT

Don’t you just adore the Courageous You stamp set!?!?! I love huge images that can be colored using different kinds of coloring mediums. For these cards though, I thought of stamping and embossing the image on vellum for a soft and dainty look. I used the Fine Frames cover die to add borders around the card front. Light colors were chosen to match the soft look of this card.
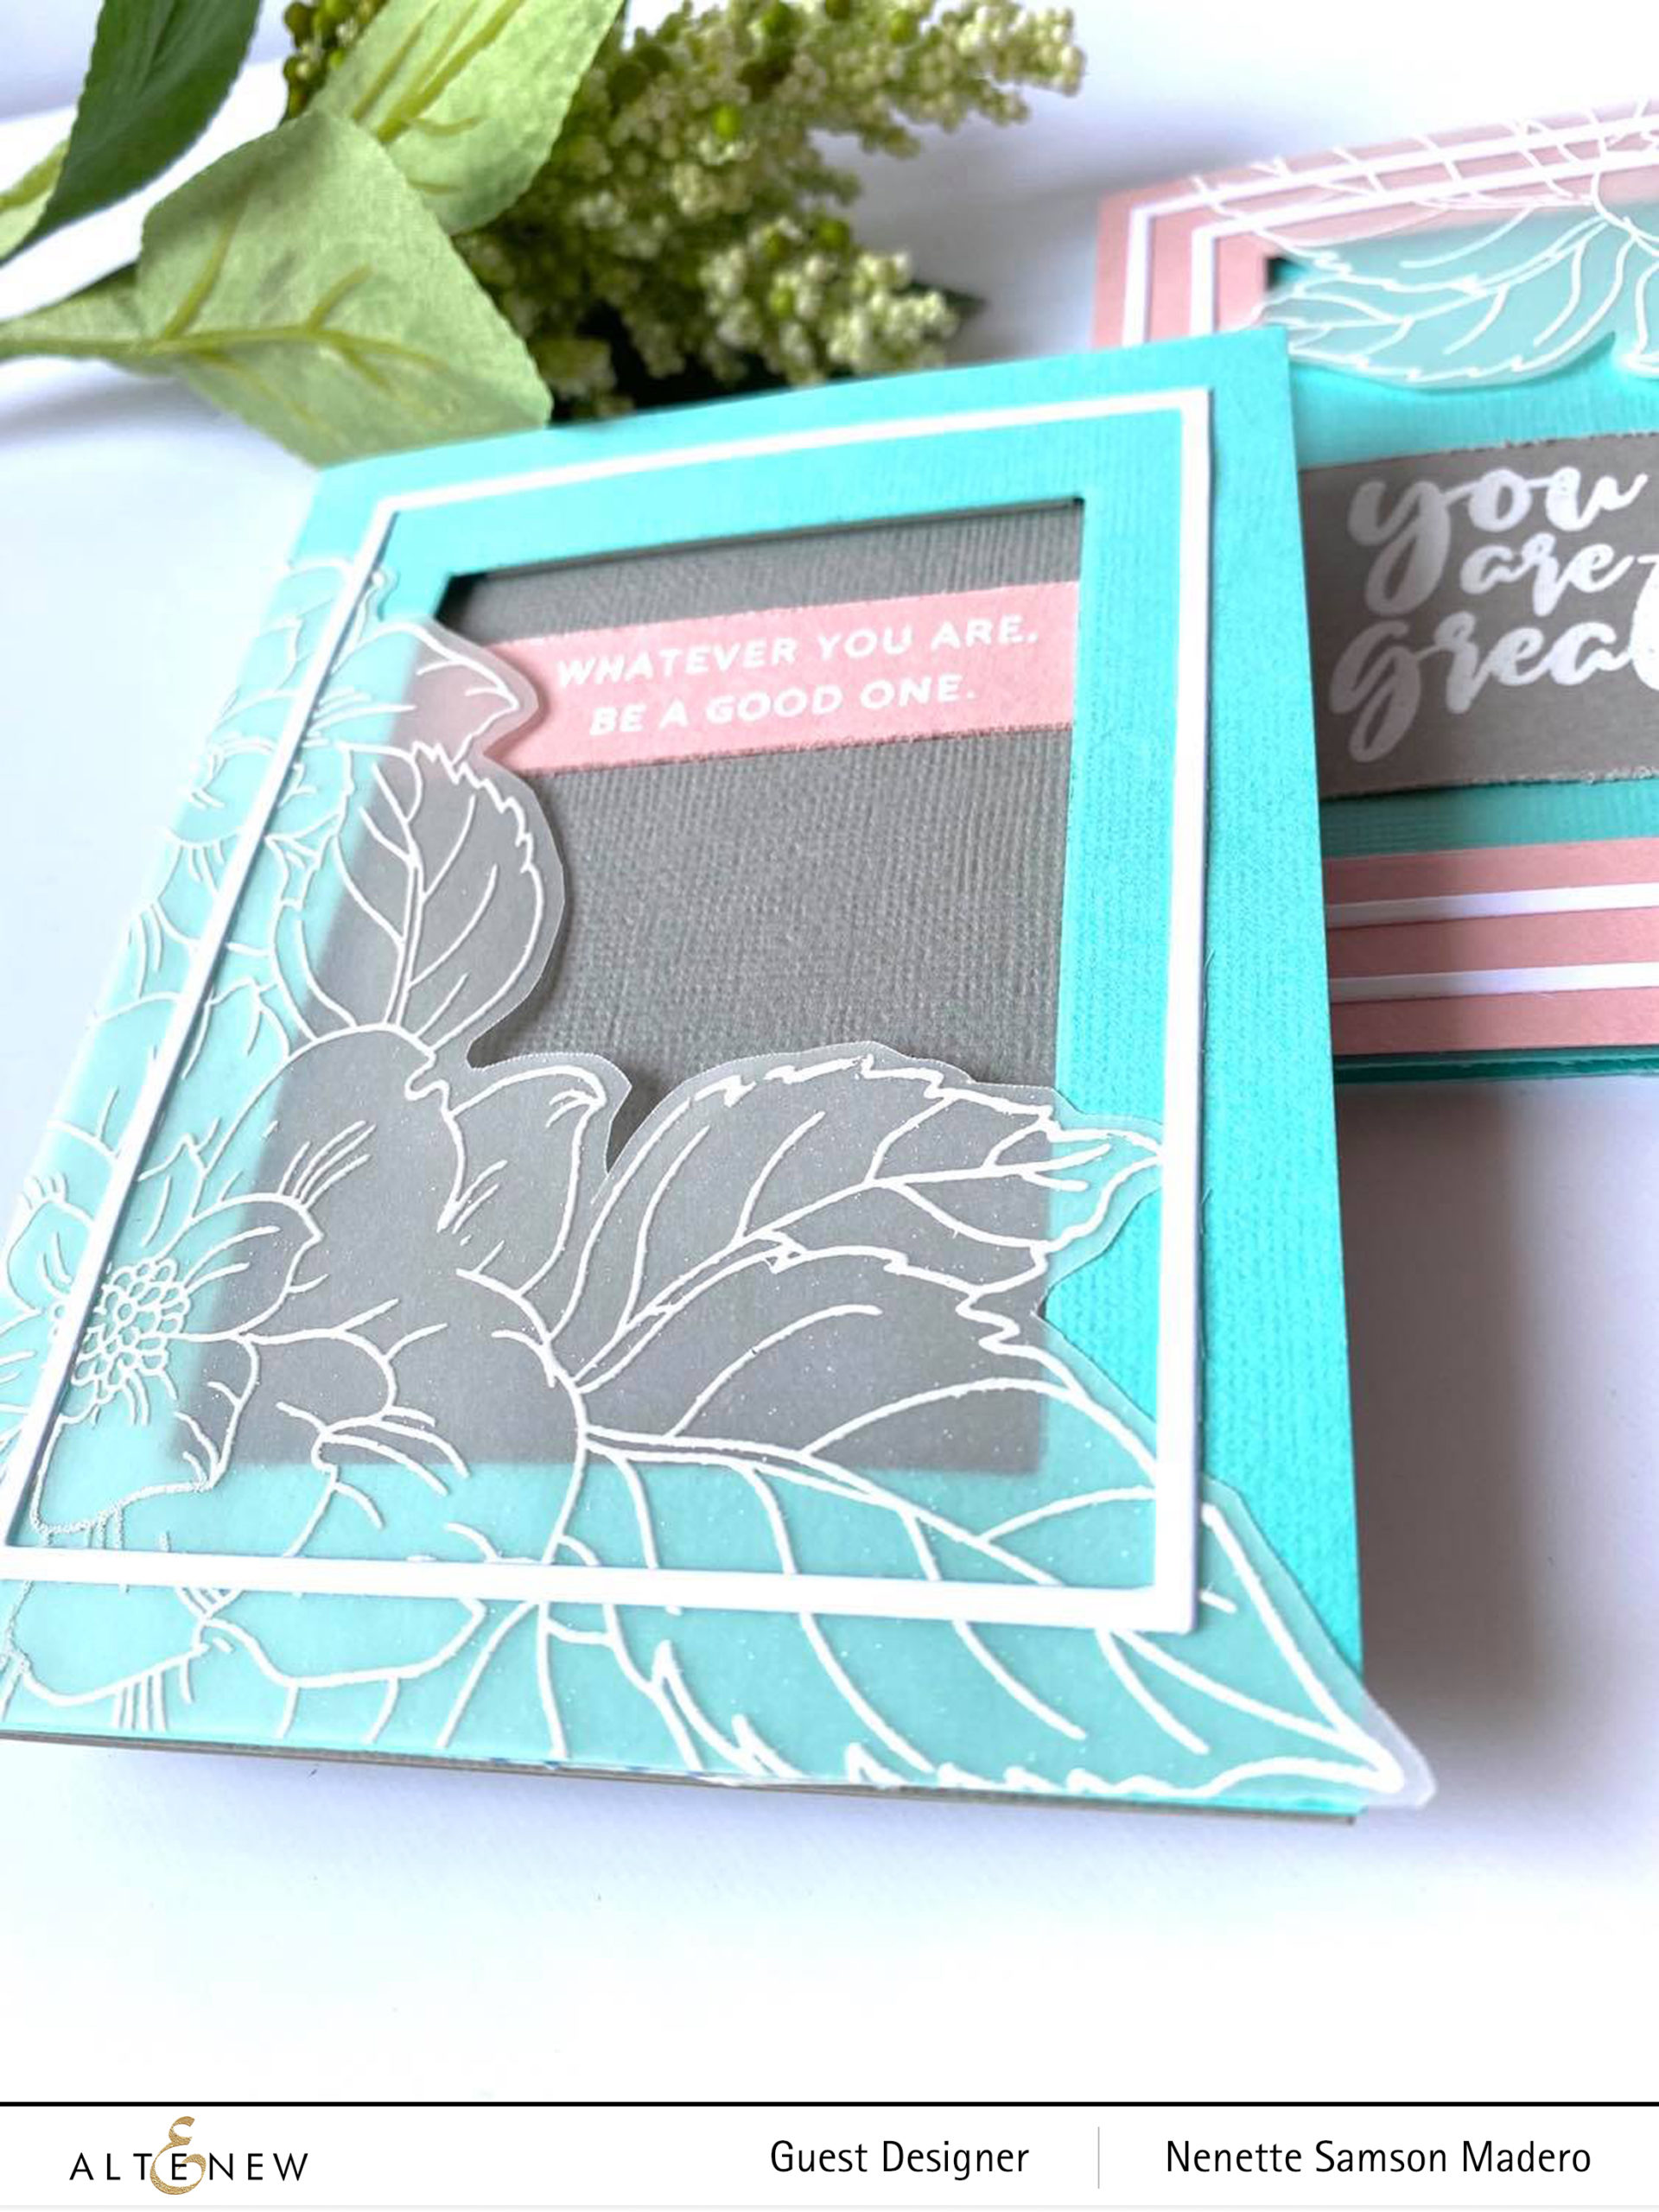
When embossing on thin papers like vellum, just make sure that you heat up your heat gun first. I also heat it from the back to prevent the paper from warping.
THINKING OF YOU | WITH GRATITUDE
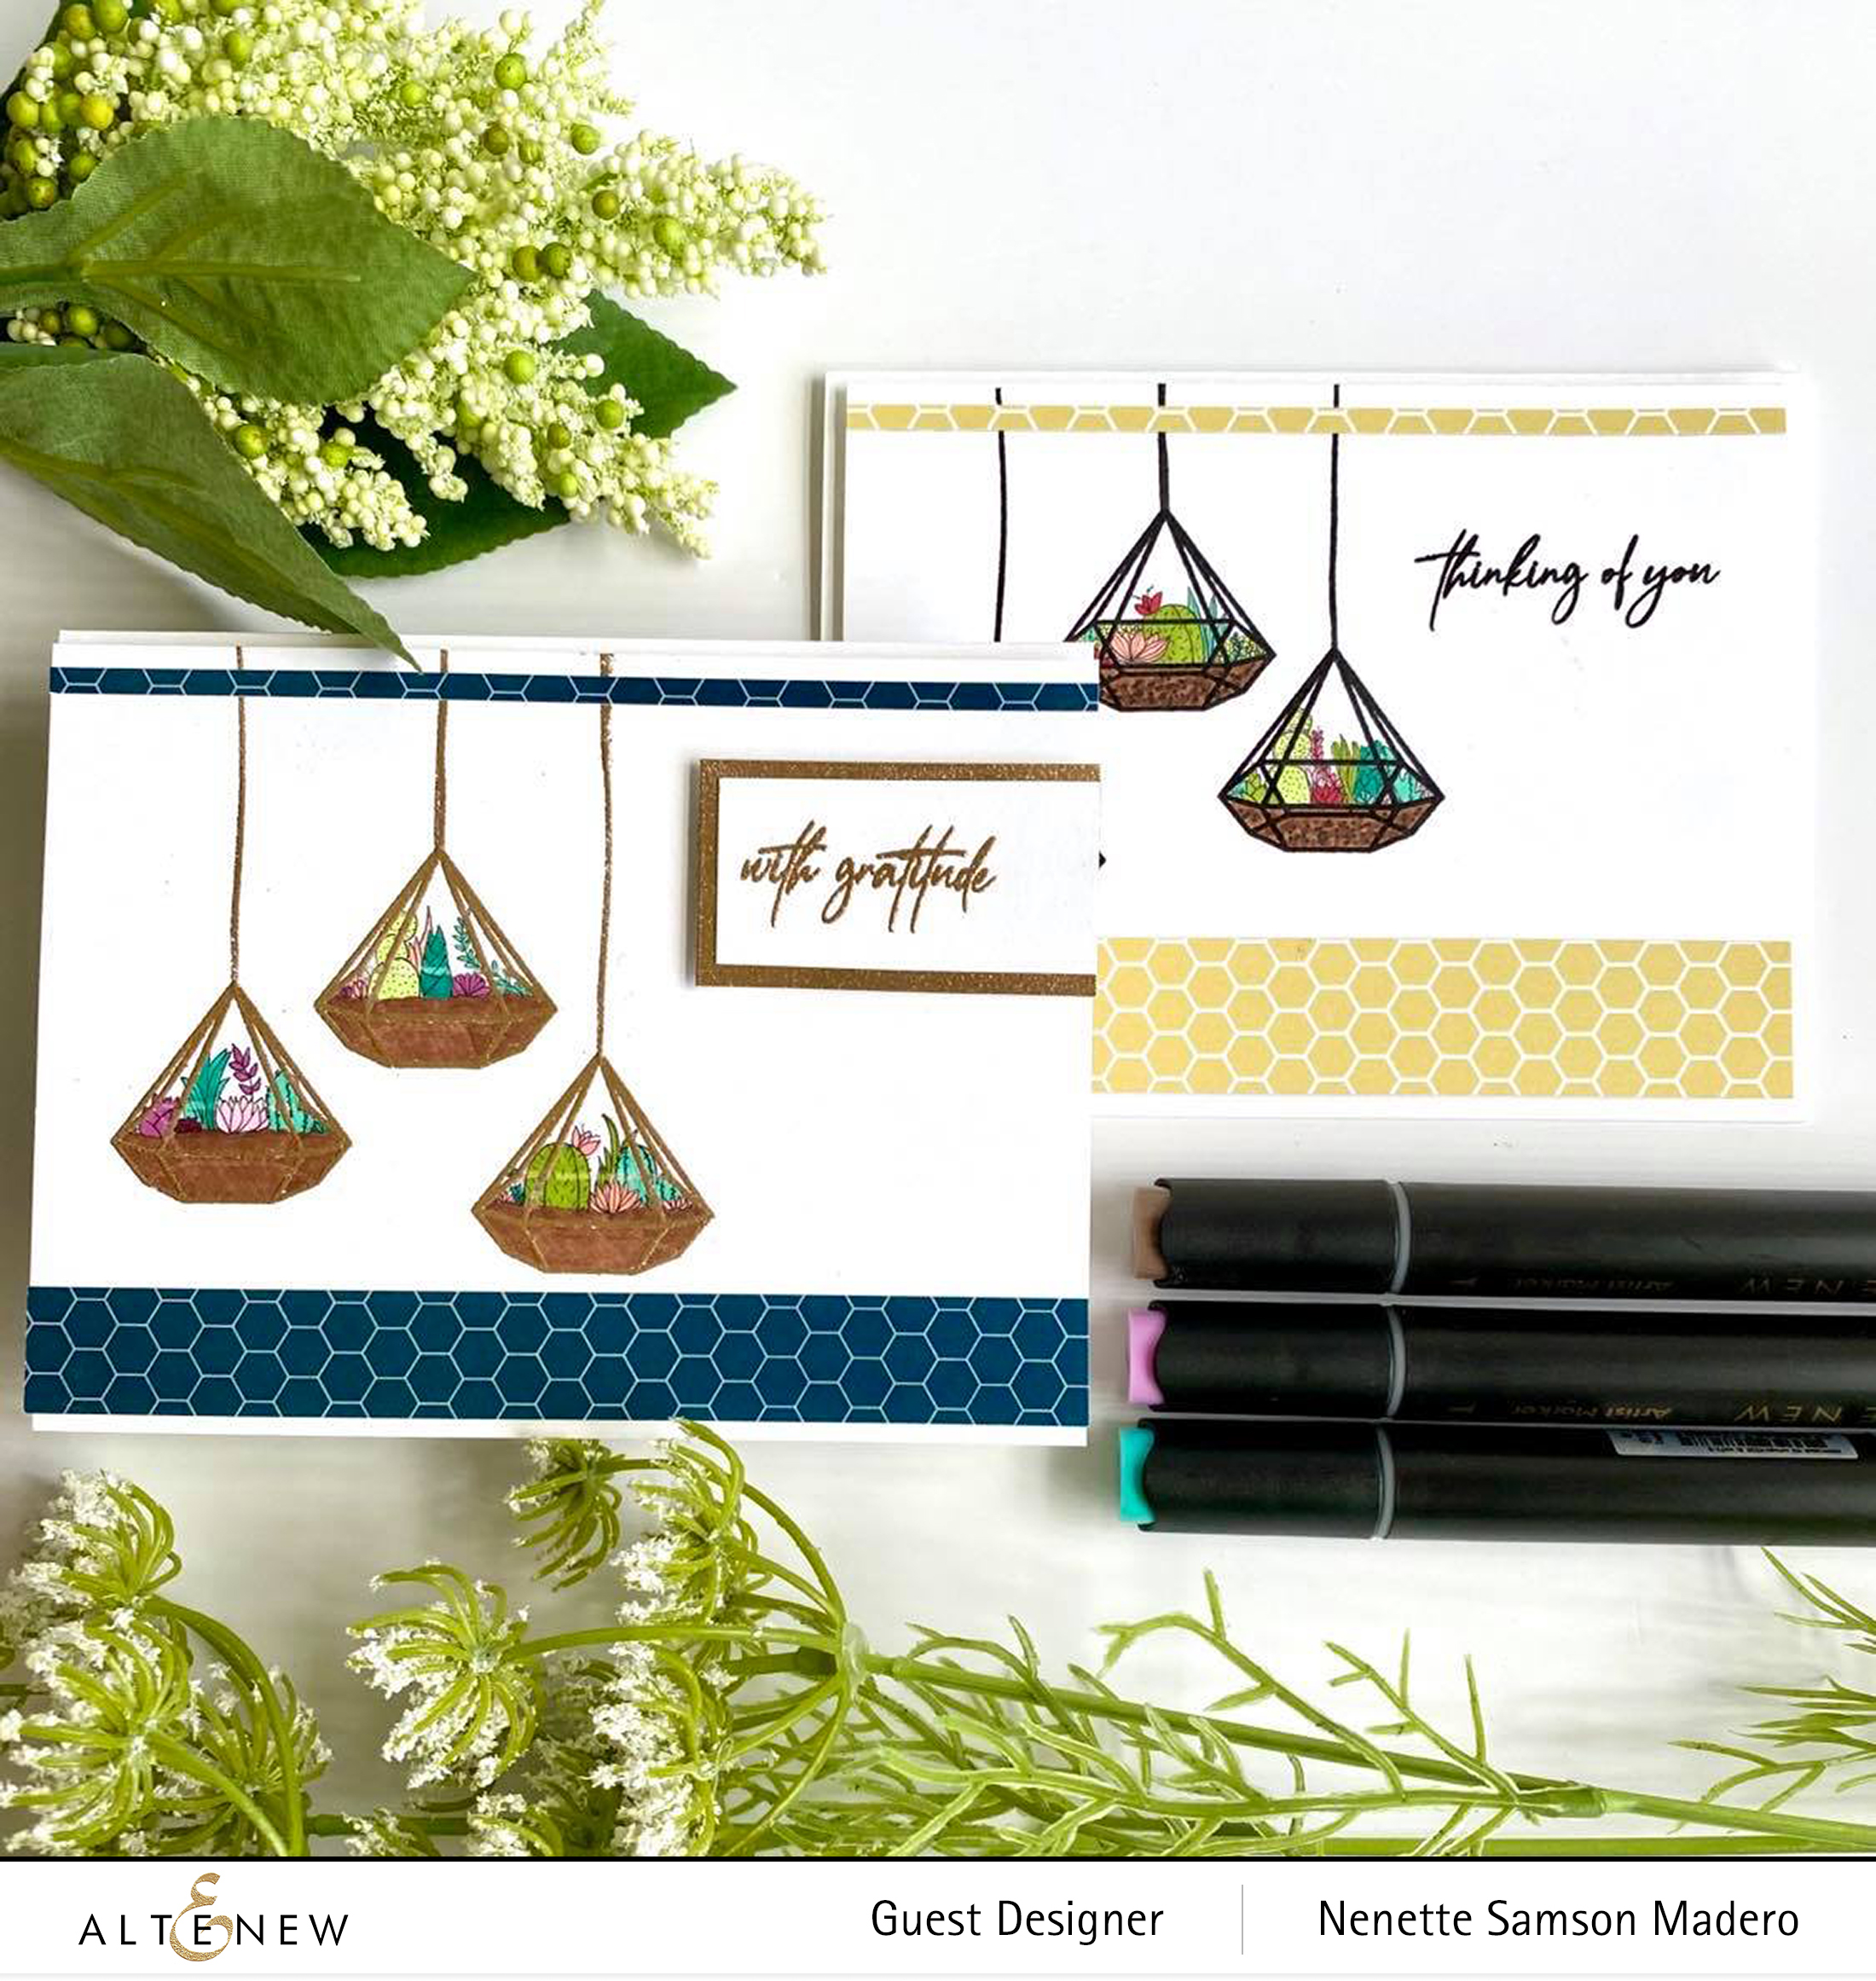
Here’s another set of CAS cards using the Geometric Elements stamp. When I saw this stamp set, the first thing that came into my mind was the geometric terrariums that I used for my daughter’s party a few years ago. 🙂

I used the stems on the Fragile Foliage Stamp set as strings for these “terrariums”. My youngest daughter Andrea helped me with the drawings of the mini succulents ( I will need a magnifying glass in order to do that!!! Thanks so much, Dea! <3 ) The succulents were colored with the Altenew alcohol artist markers. Strips of papers from the Blushing Blooms paper pack were added to finish off these cute and simple cards. The card front was also mounted onto foam sheets for added dimension.
YOU ARE WORTHY
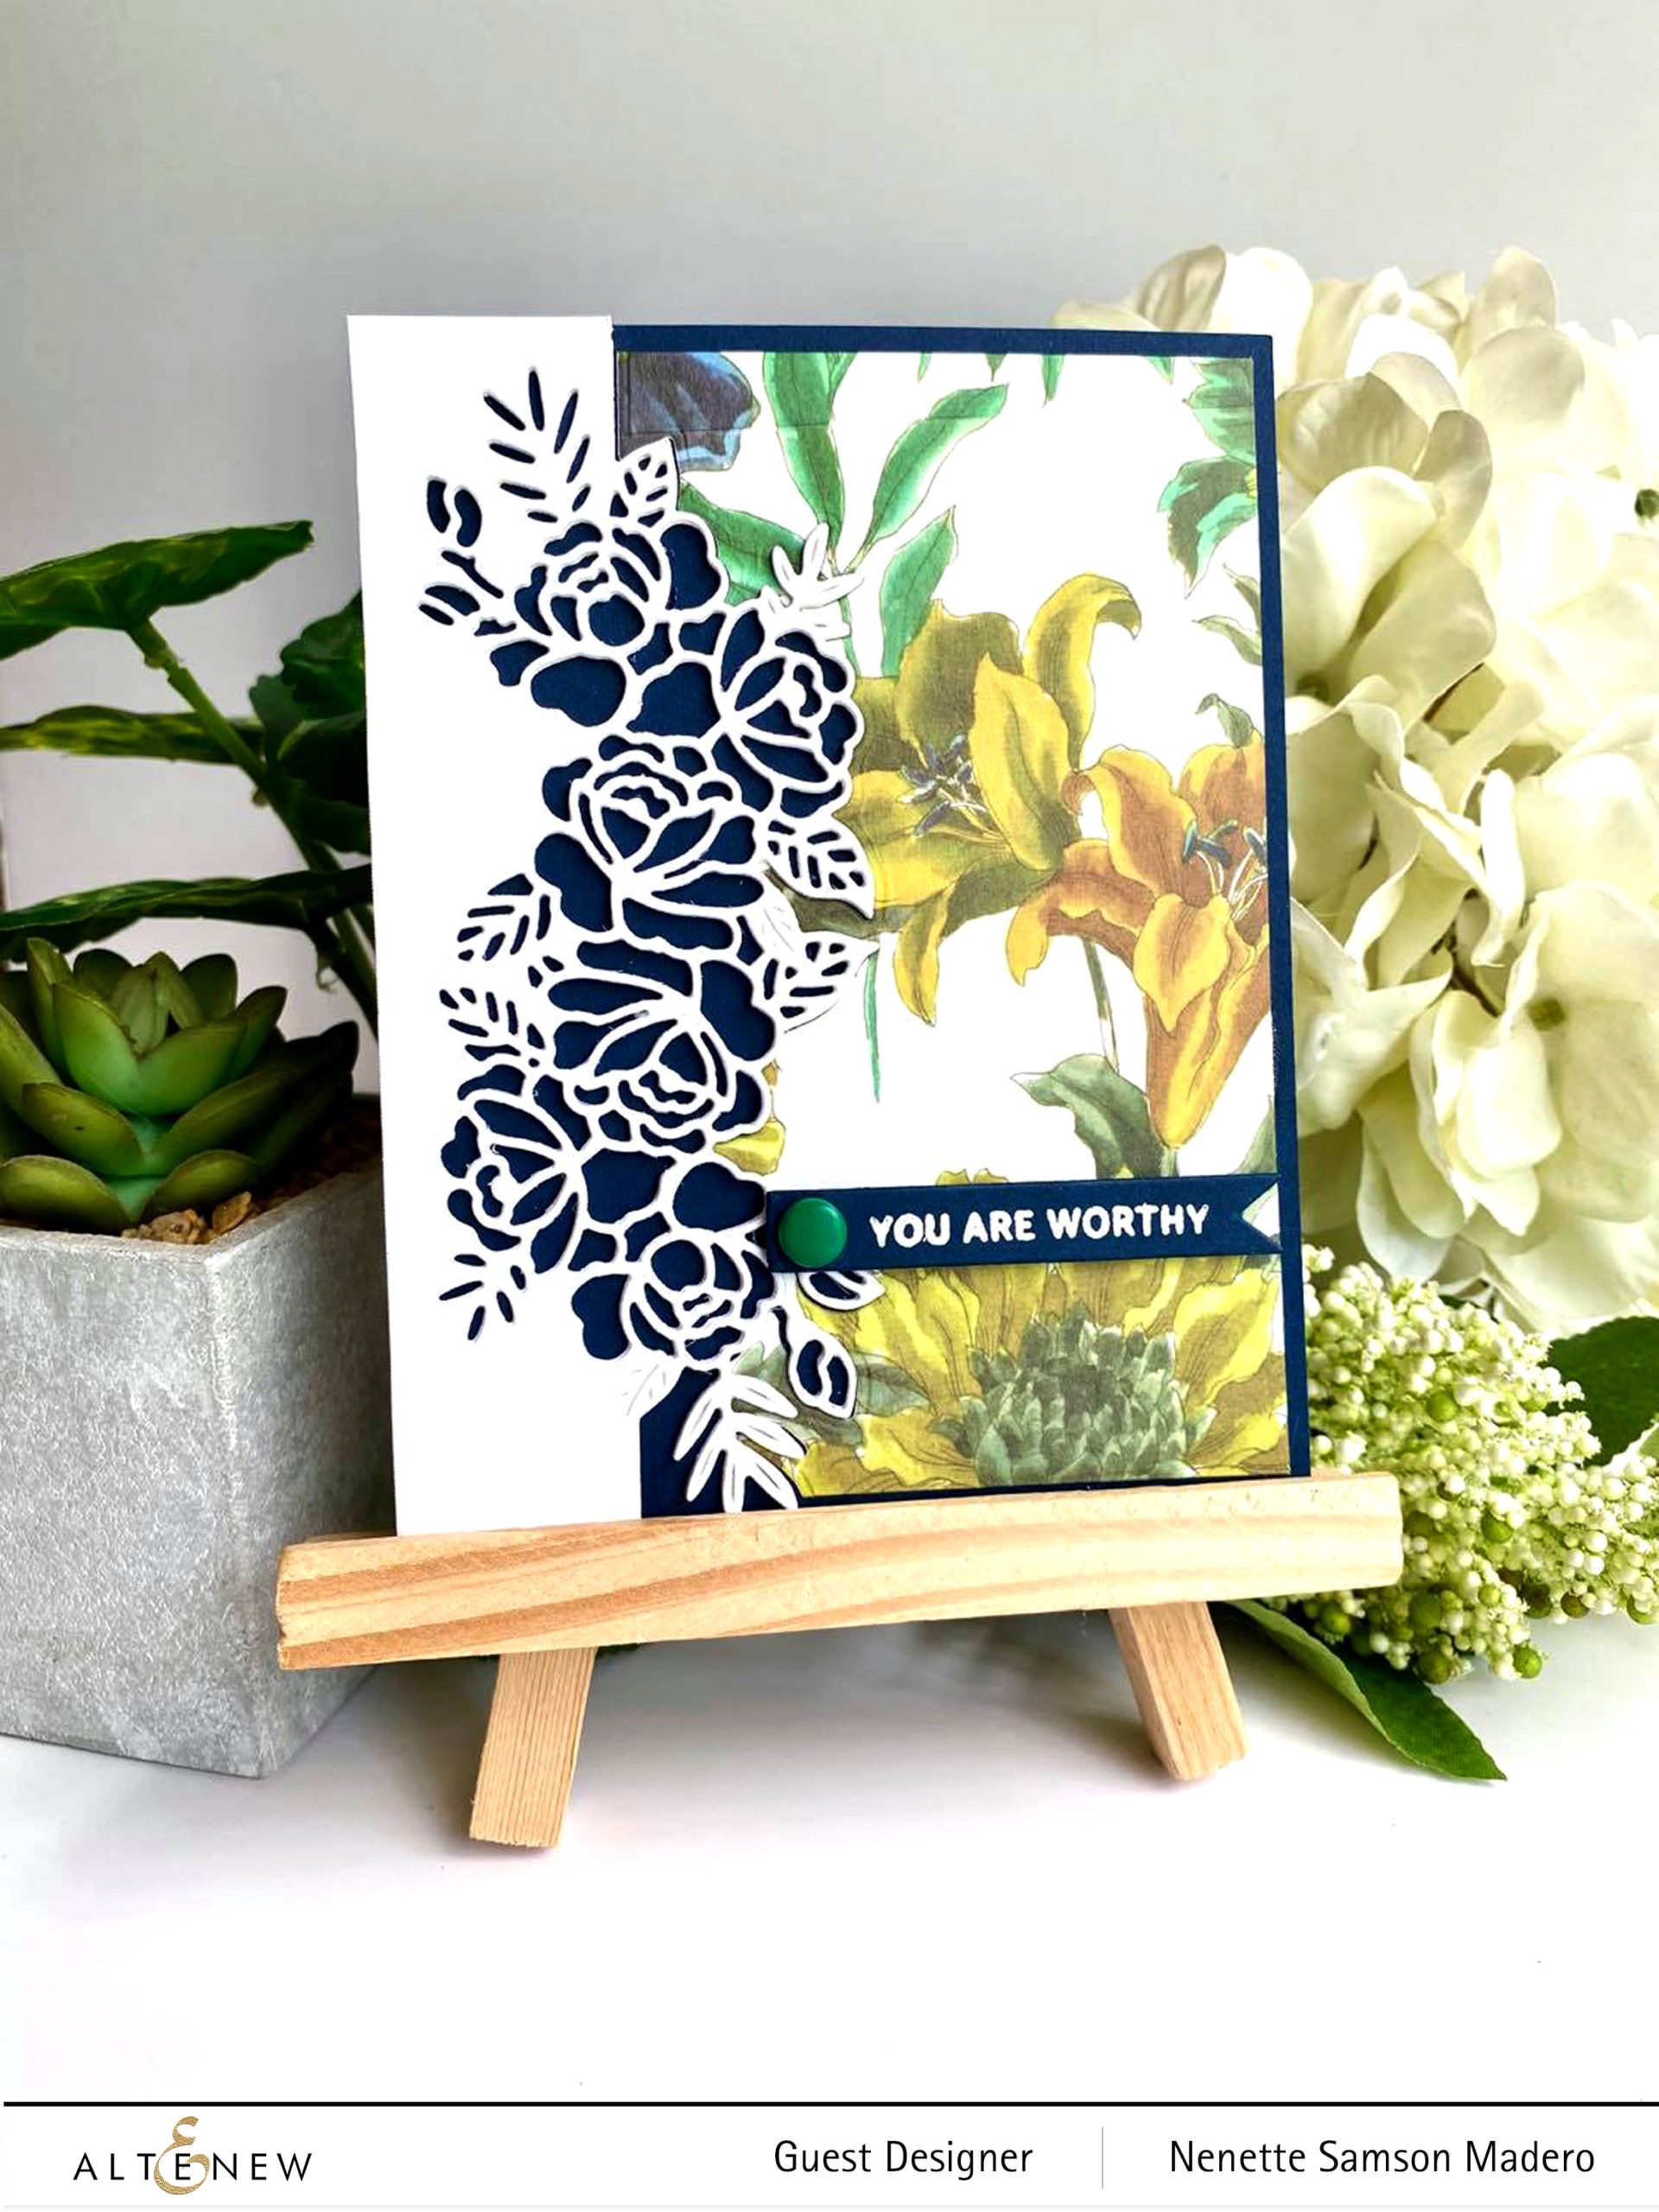
This next card was created using the Floral In and Out Border die, the Wild Flora washi tape, the Terrific Tags die and the sentiment from the Courageous You stamp set. I wrapped a panel with the washi tape then die cut the Floral in and out border die. I did the same to 4 layers of white cardstocks so that I can stack them up to create some dimension.
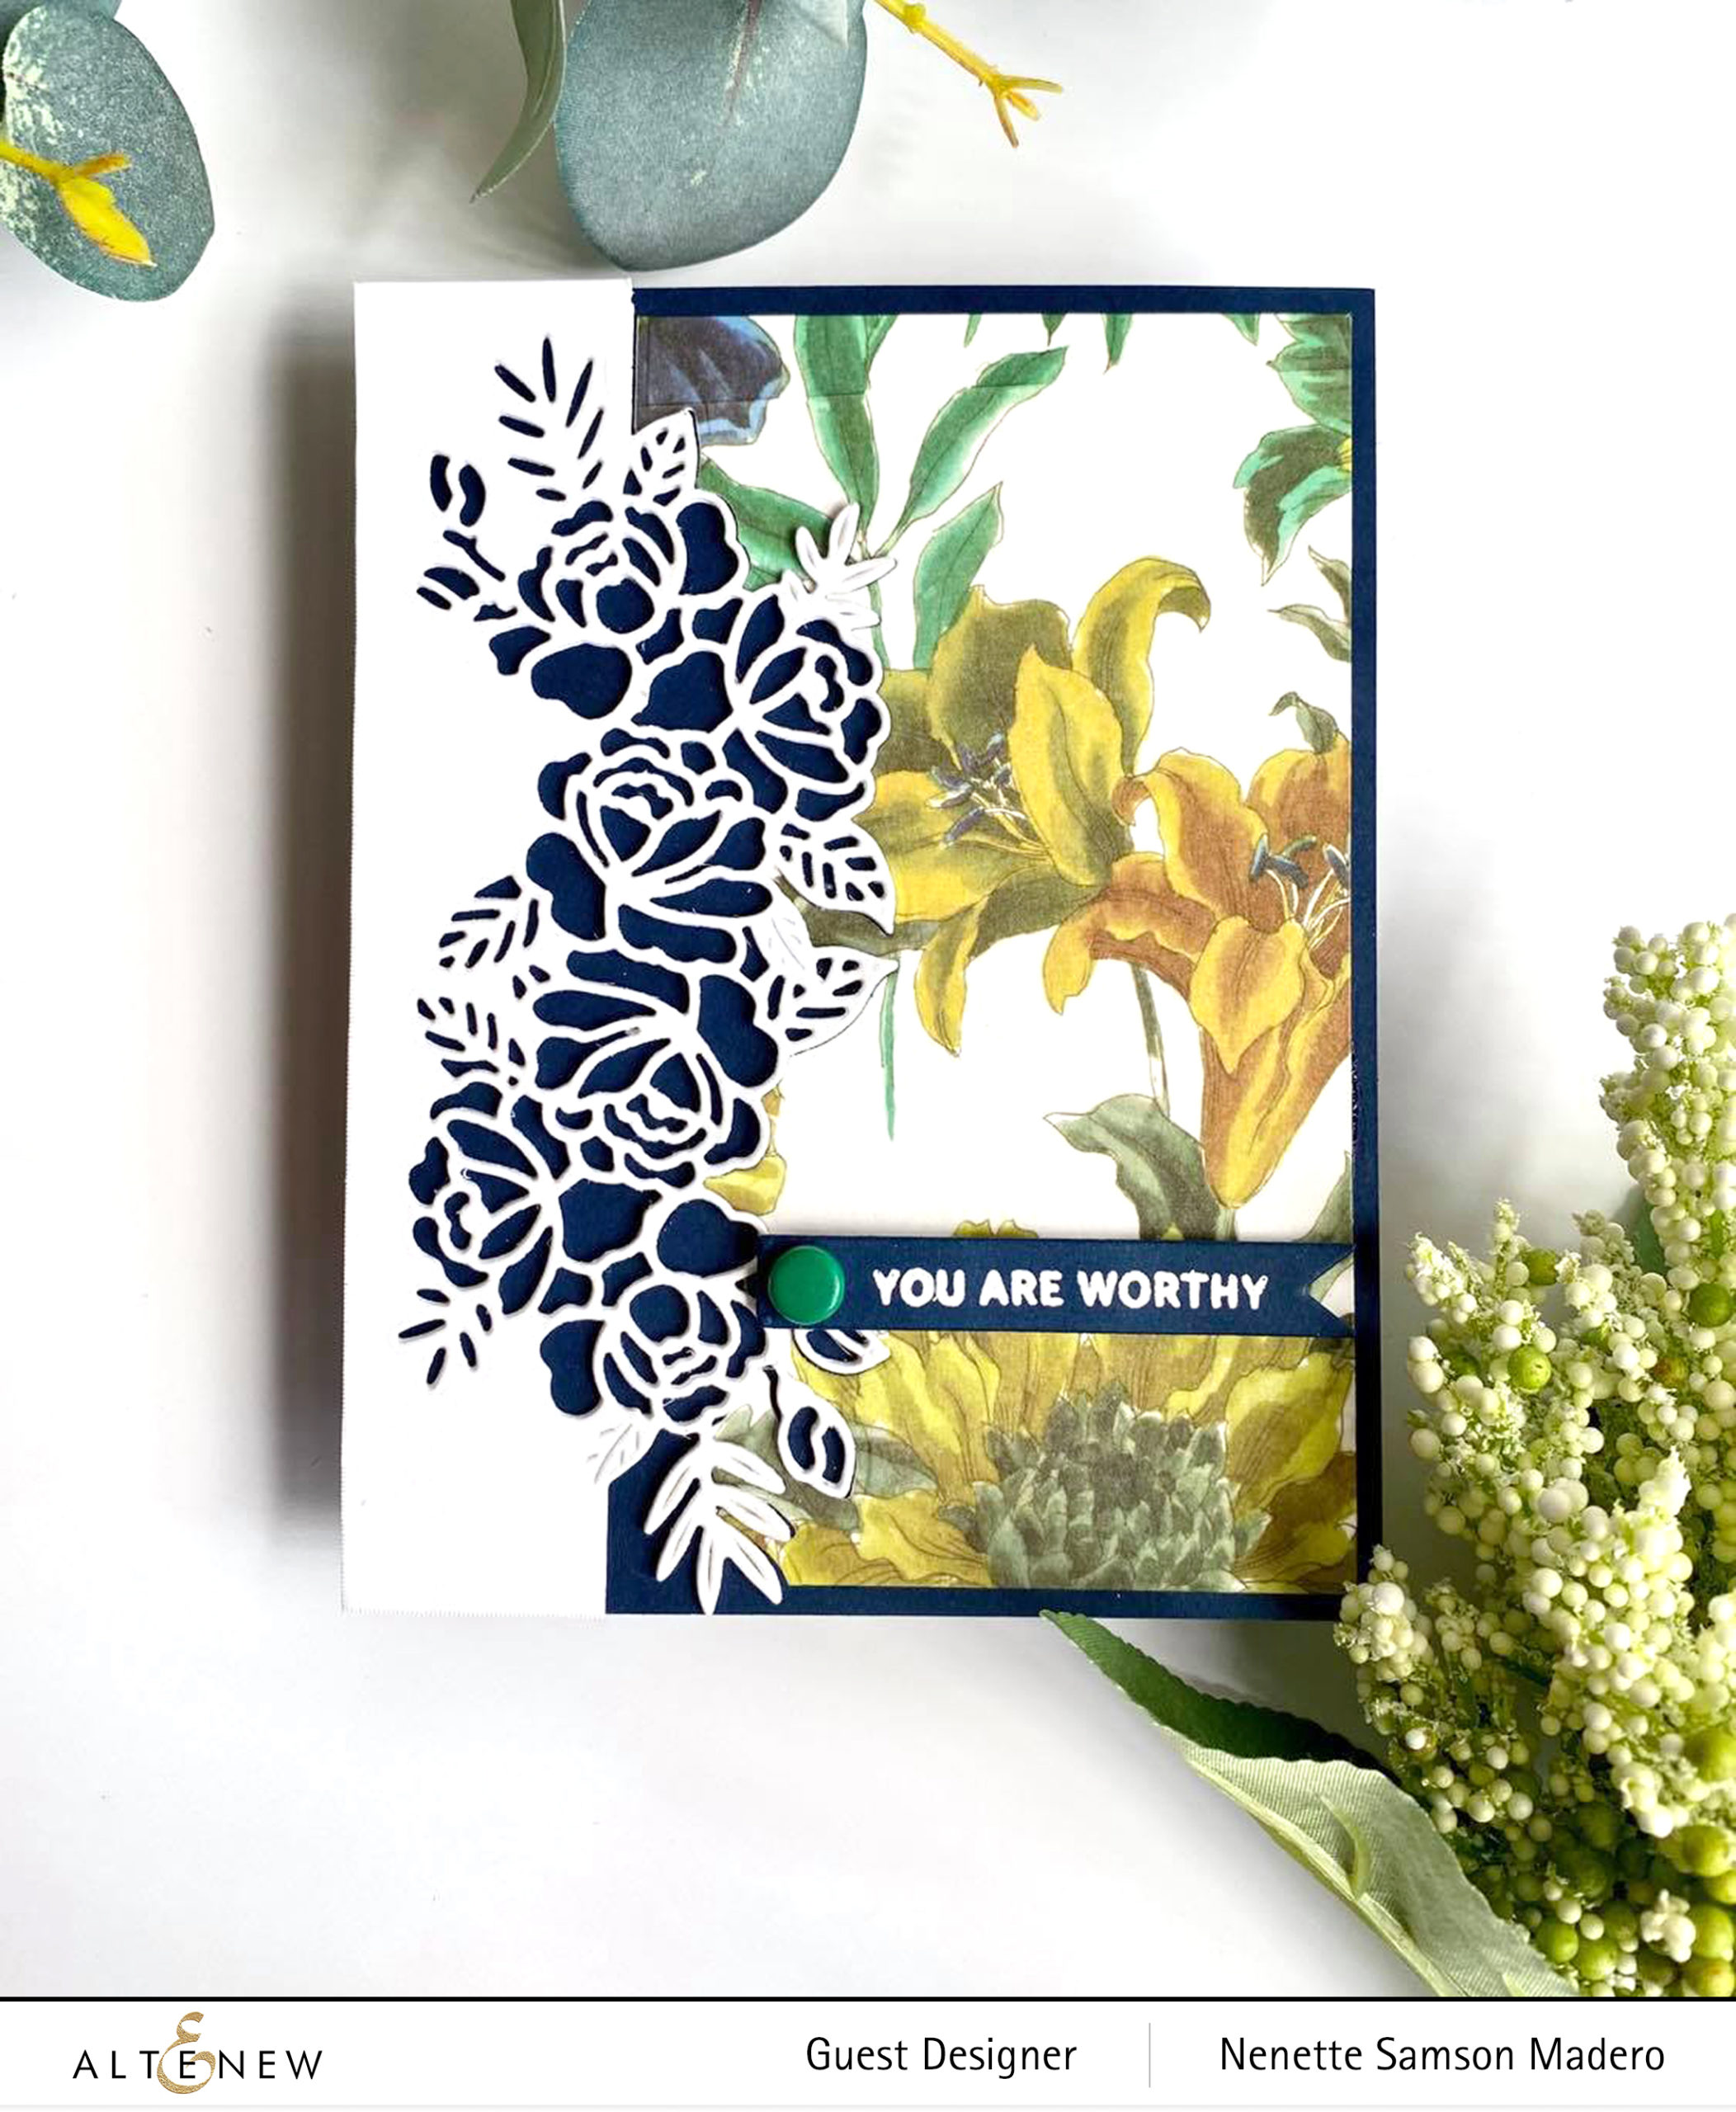
I just had to fit them like a jigsaw puzzle then added a sentiment stamped on one of the tags from the Terrific tags die. A green brad was added as an accent to this simple card. You really don’t have to do much because the washi tape is already so beautiful.
HUGS

Here’s another pair of quick cards to make. I got some paper scraps from the Shades of Purple gradient cardstock set and cut them into strips. My apologies if I can’t remember who I saw this technique from– must be from the amazing Laura Bassen or Jennifer Mcguire or maybe even from Kristina Werner or the wonderful Cathy Zielske. They are my go-to cardmakers where I get my inspirations from.
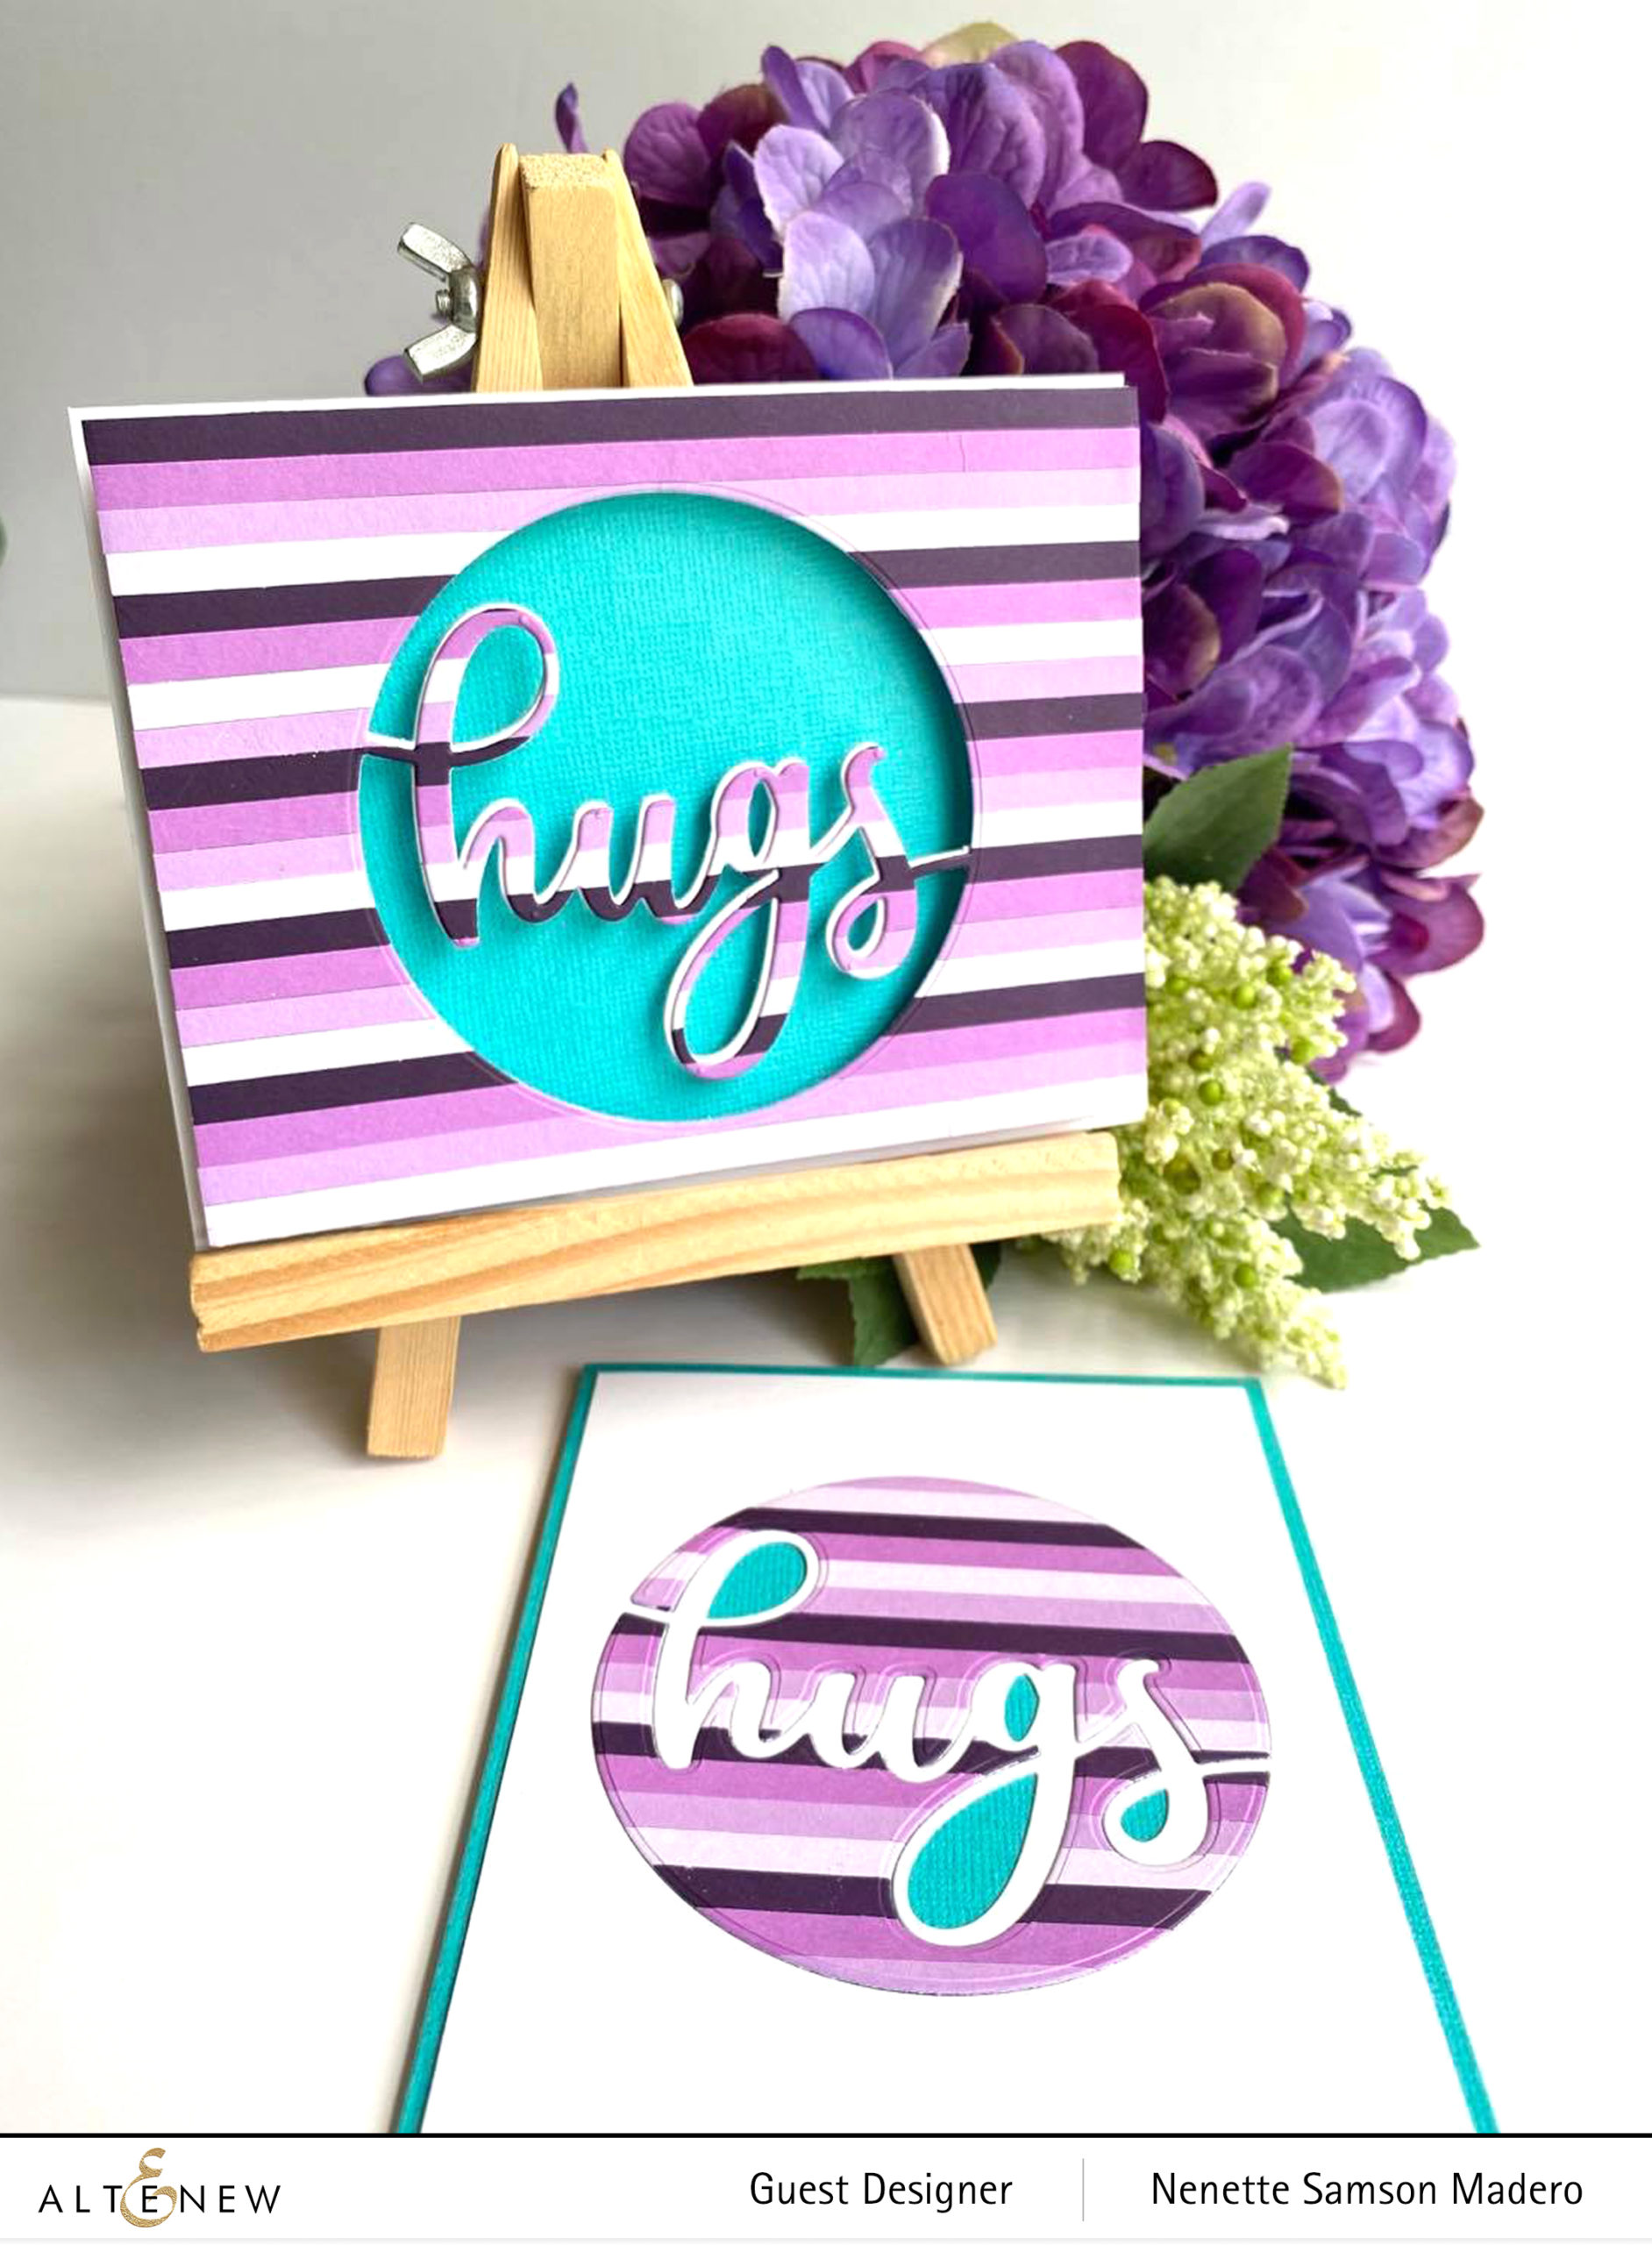
I covered the entire card front with double-sided tape then adhered the strips. Both positive and negative elements from the Circled Greetings: hugs die were used to create 2 cards so nothing went to waste.
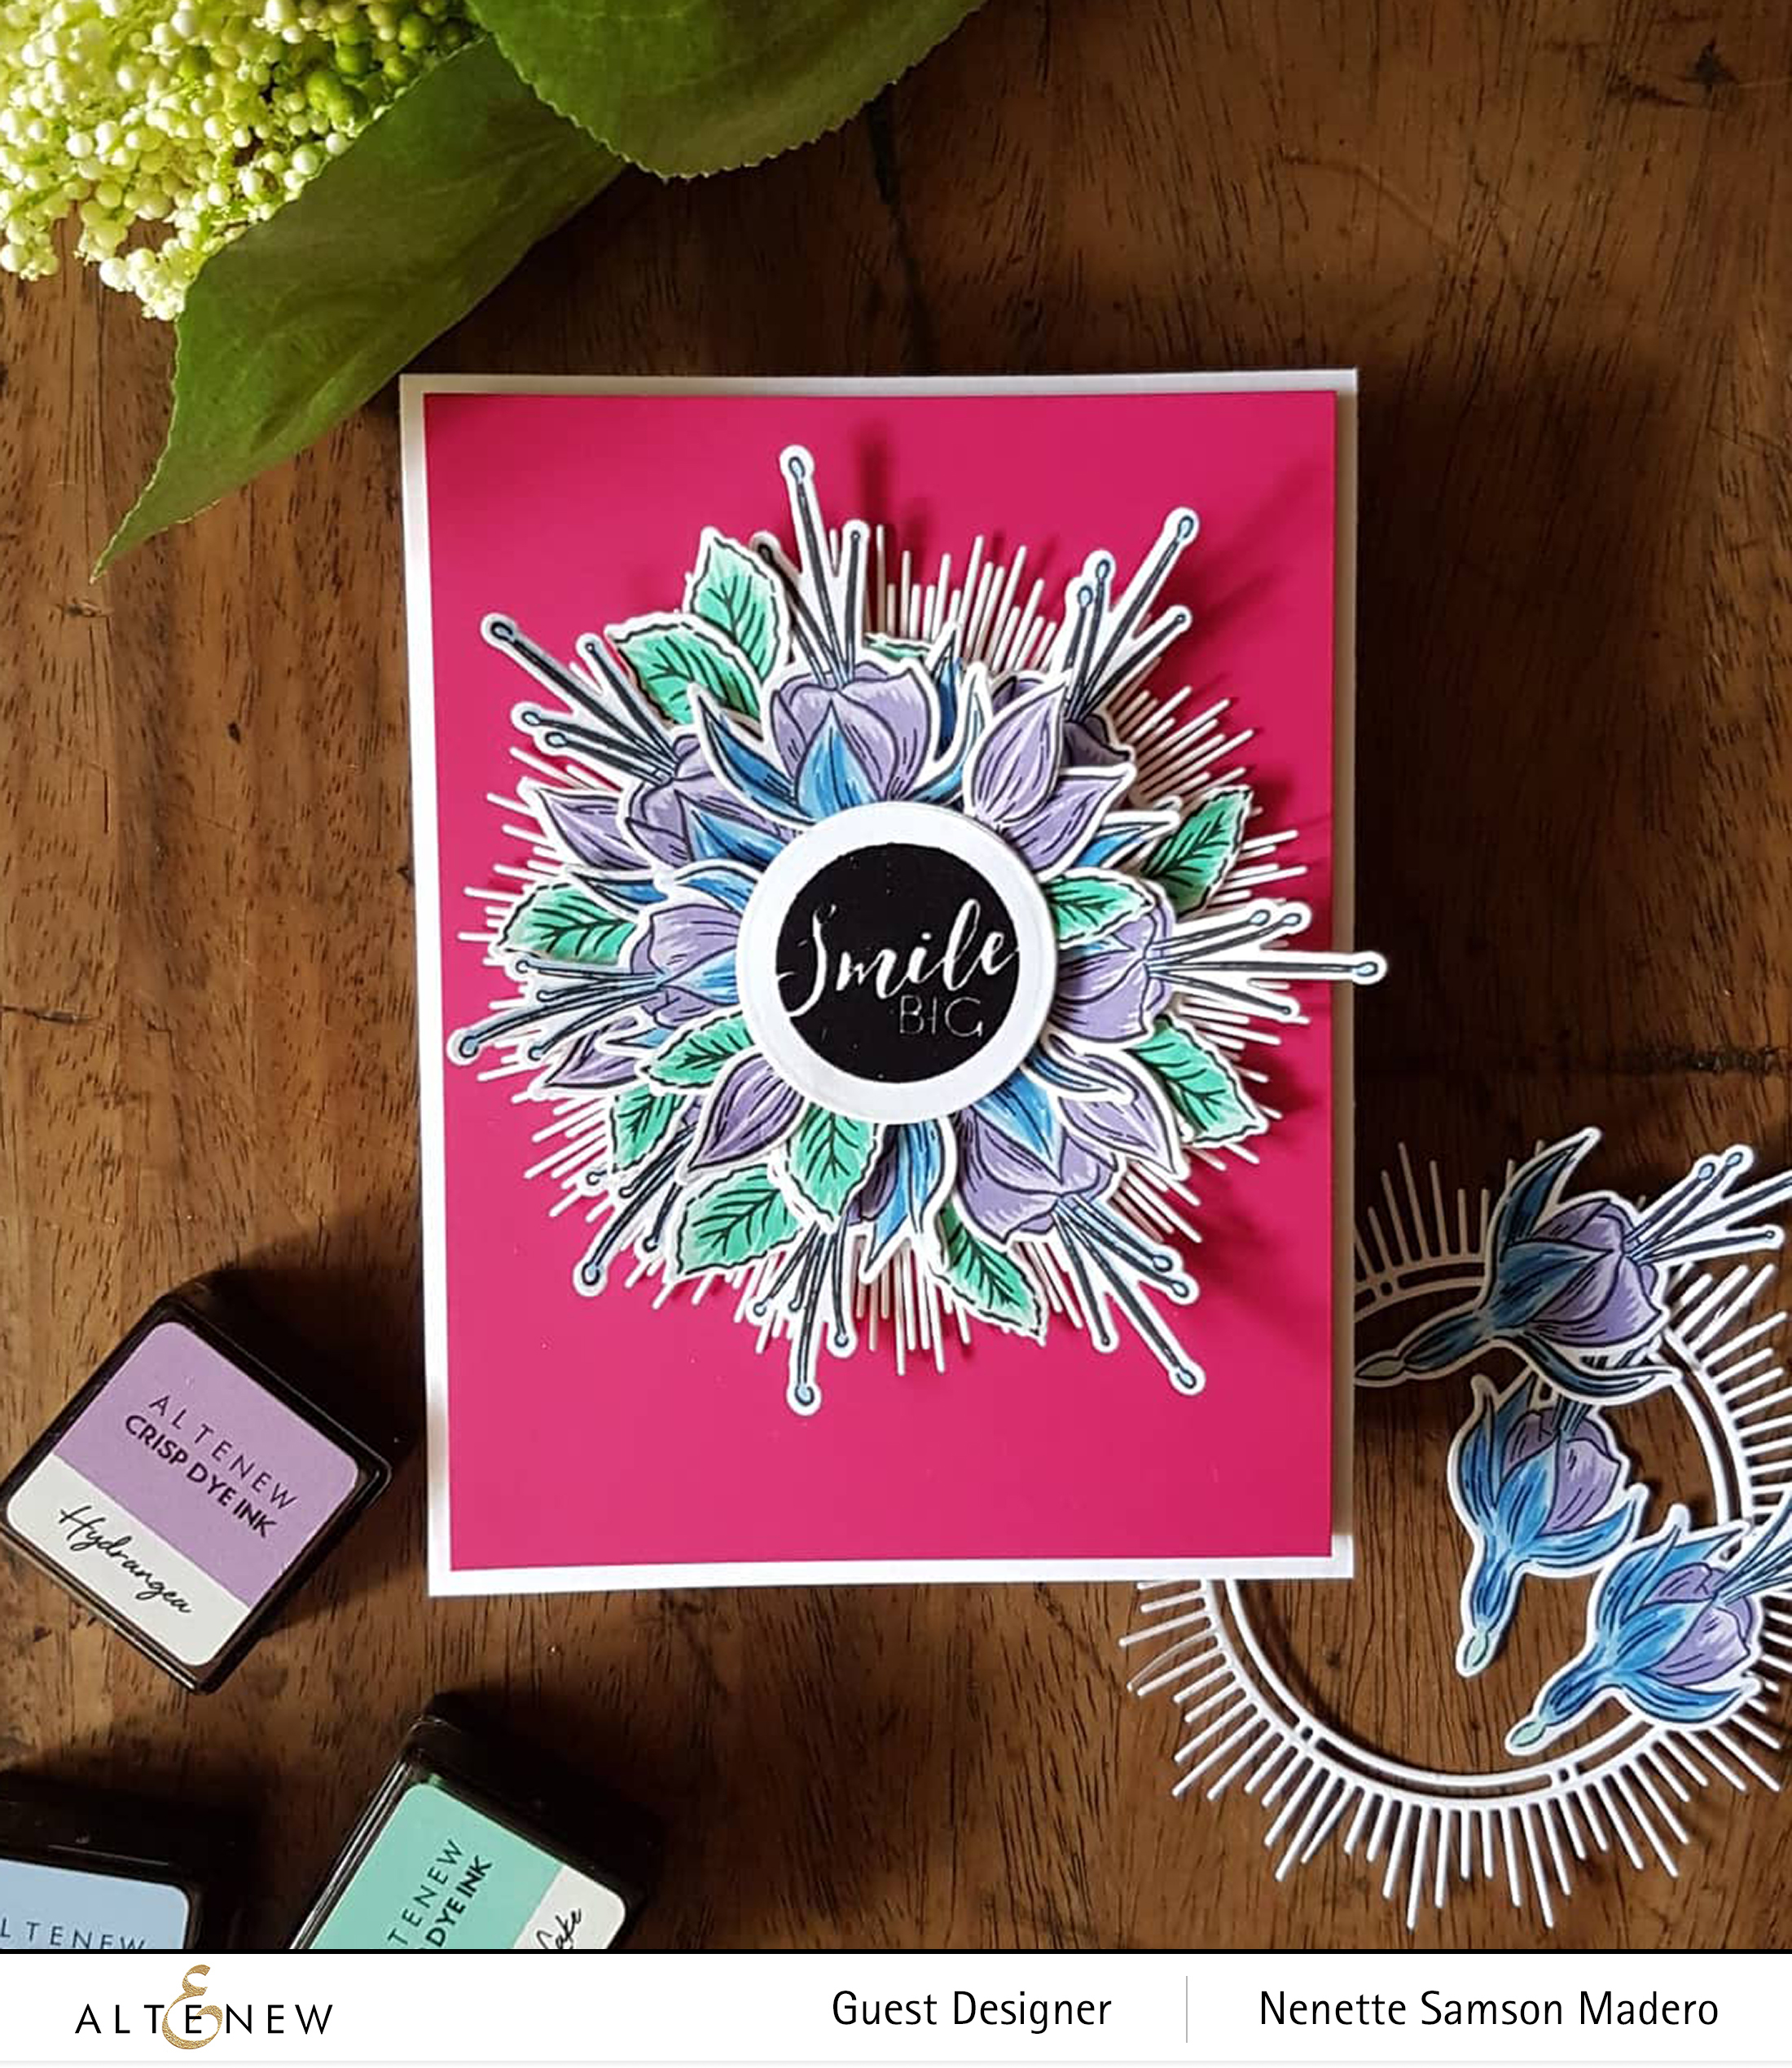
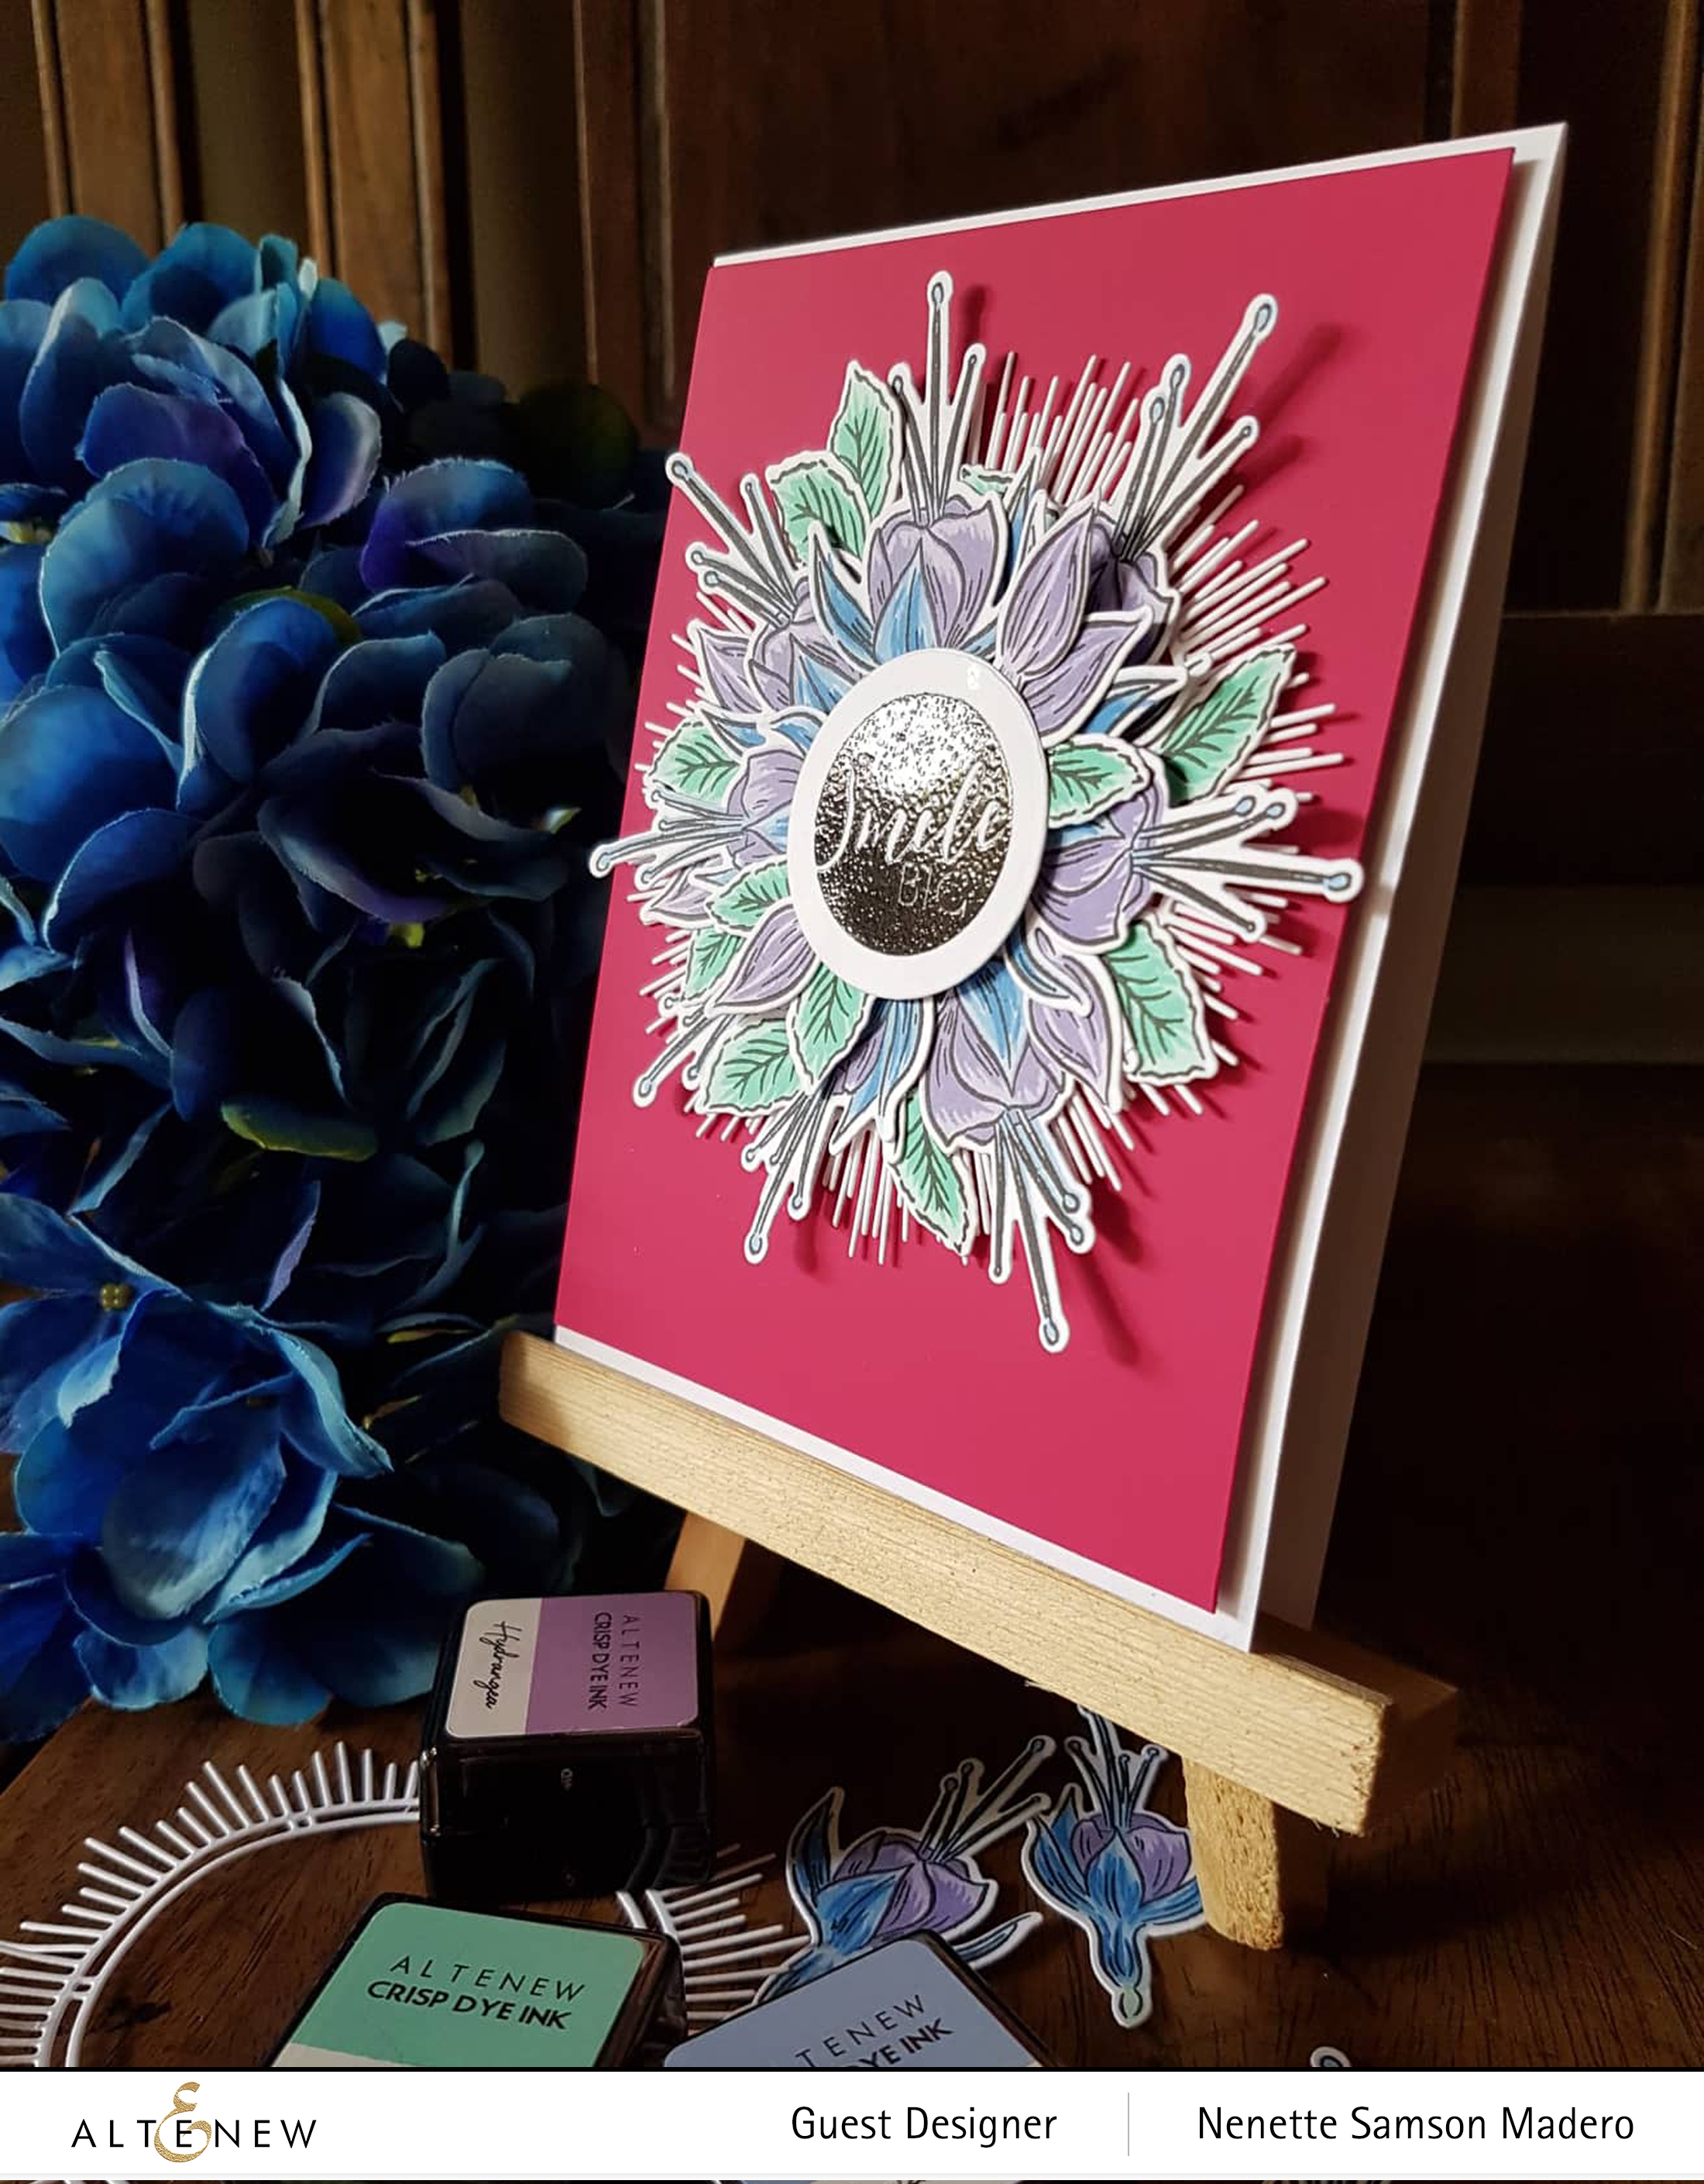
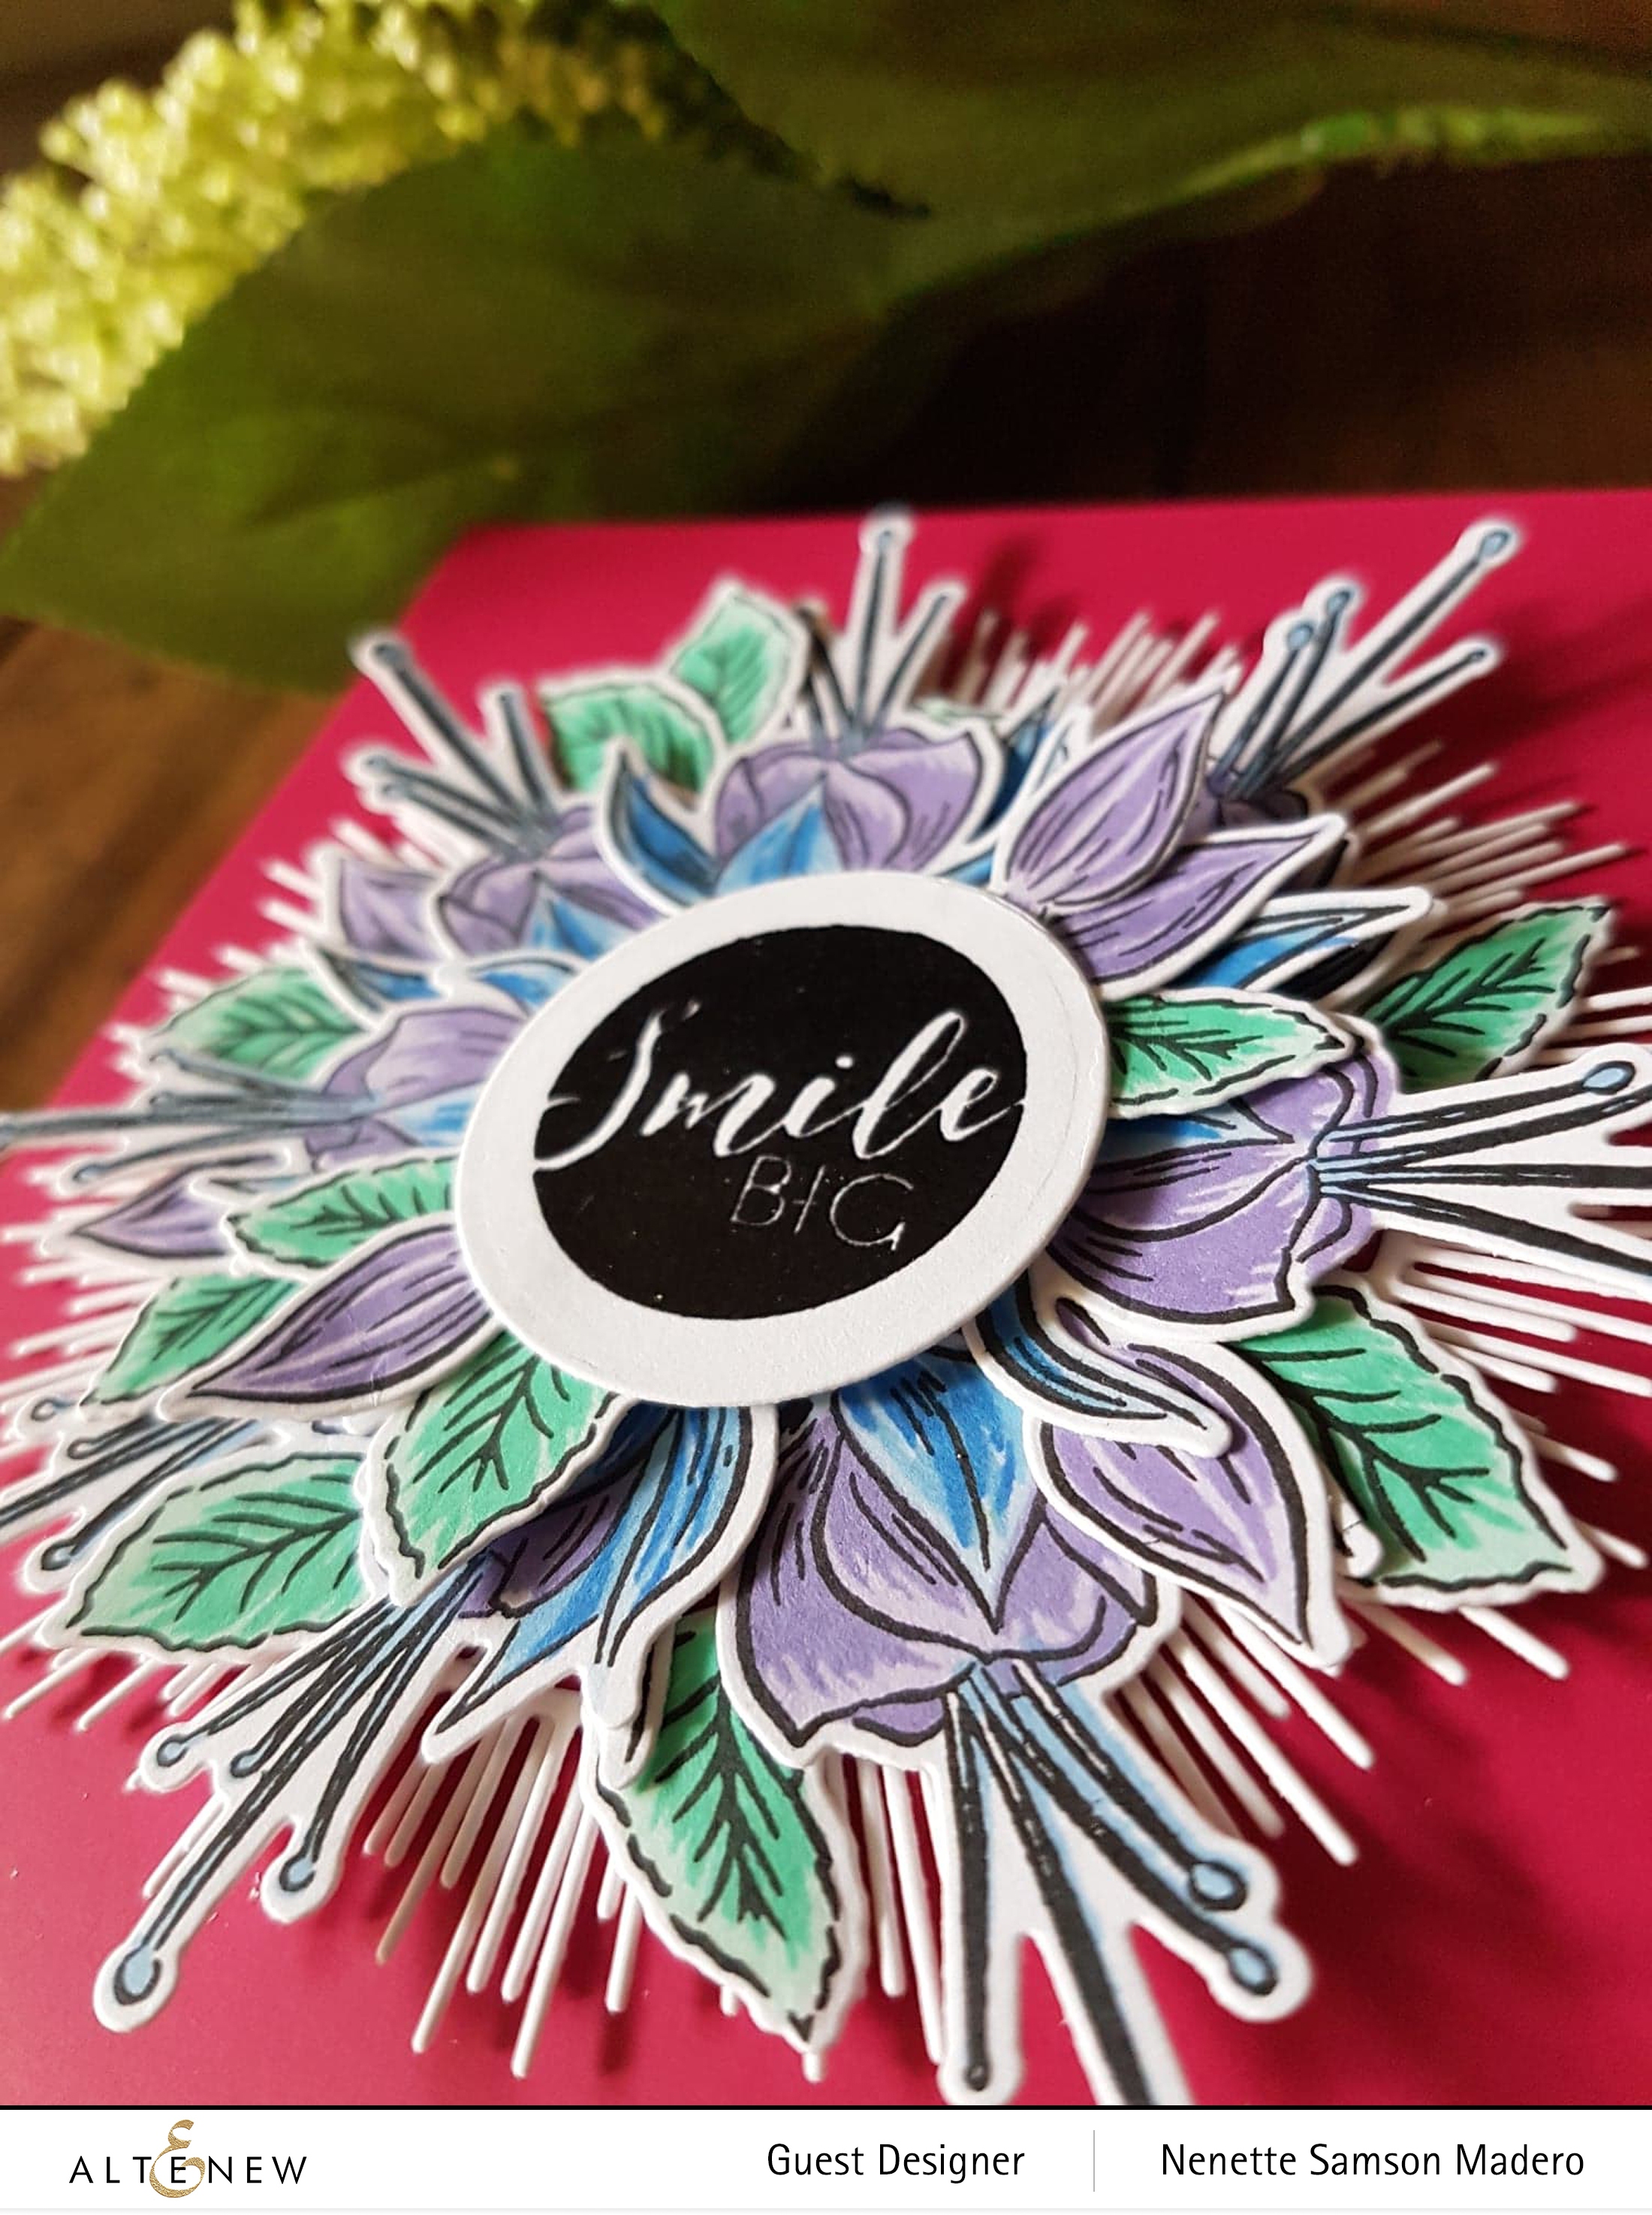
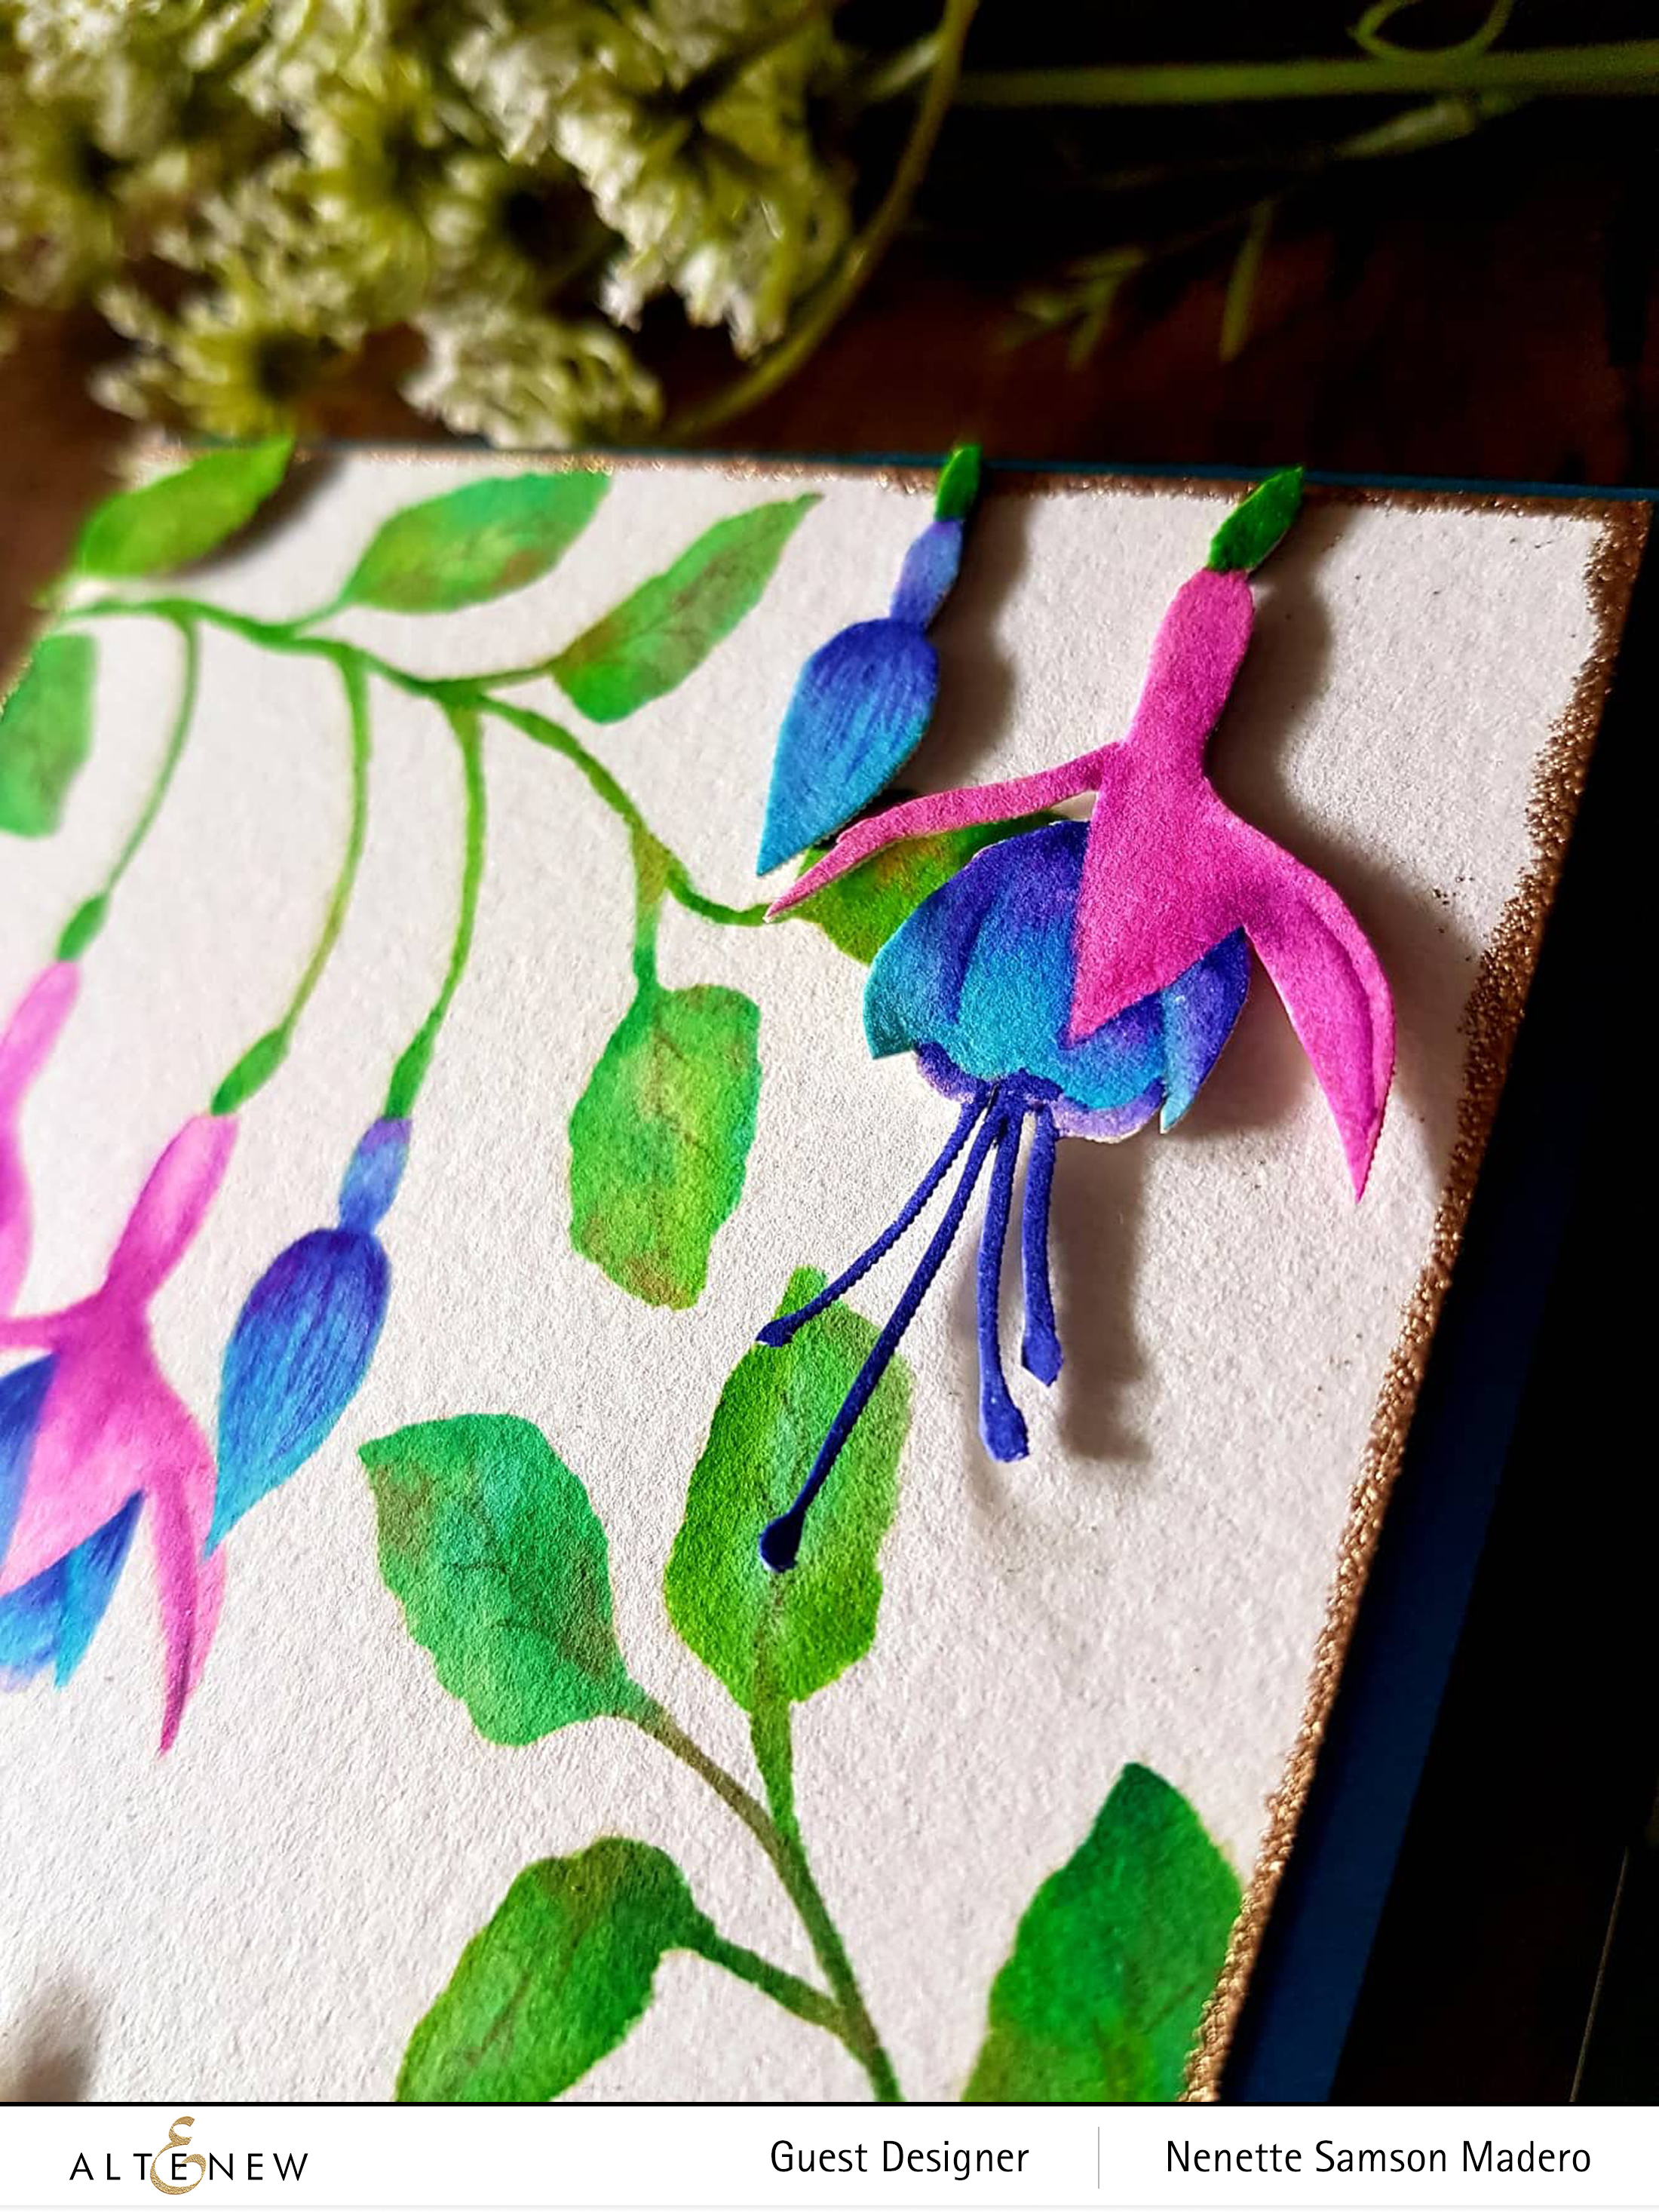
SOME DAYS YOU JUST HAVE TO CREATE YOUR OWN SUNSHINE
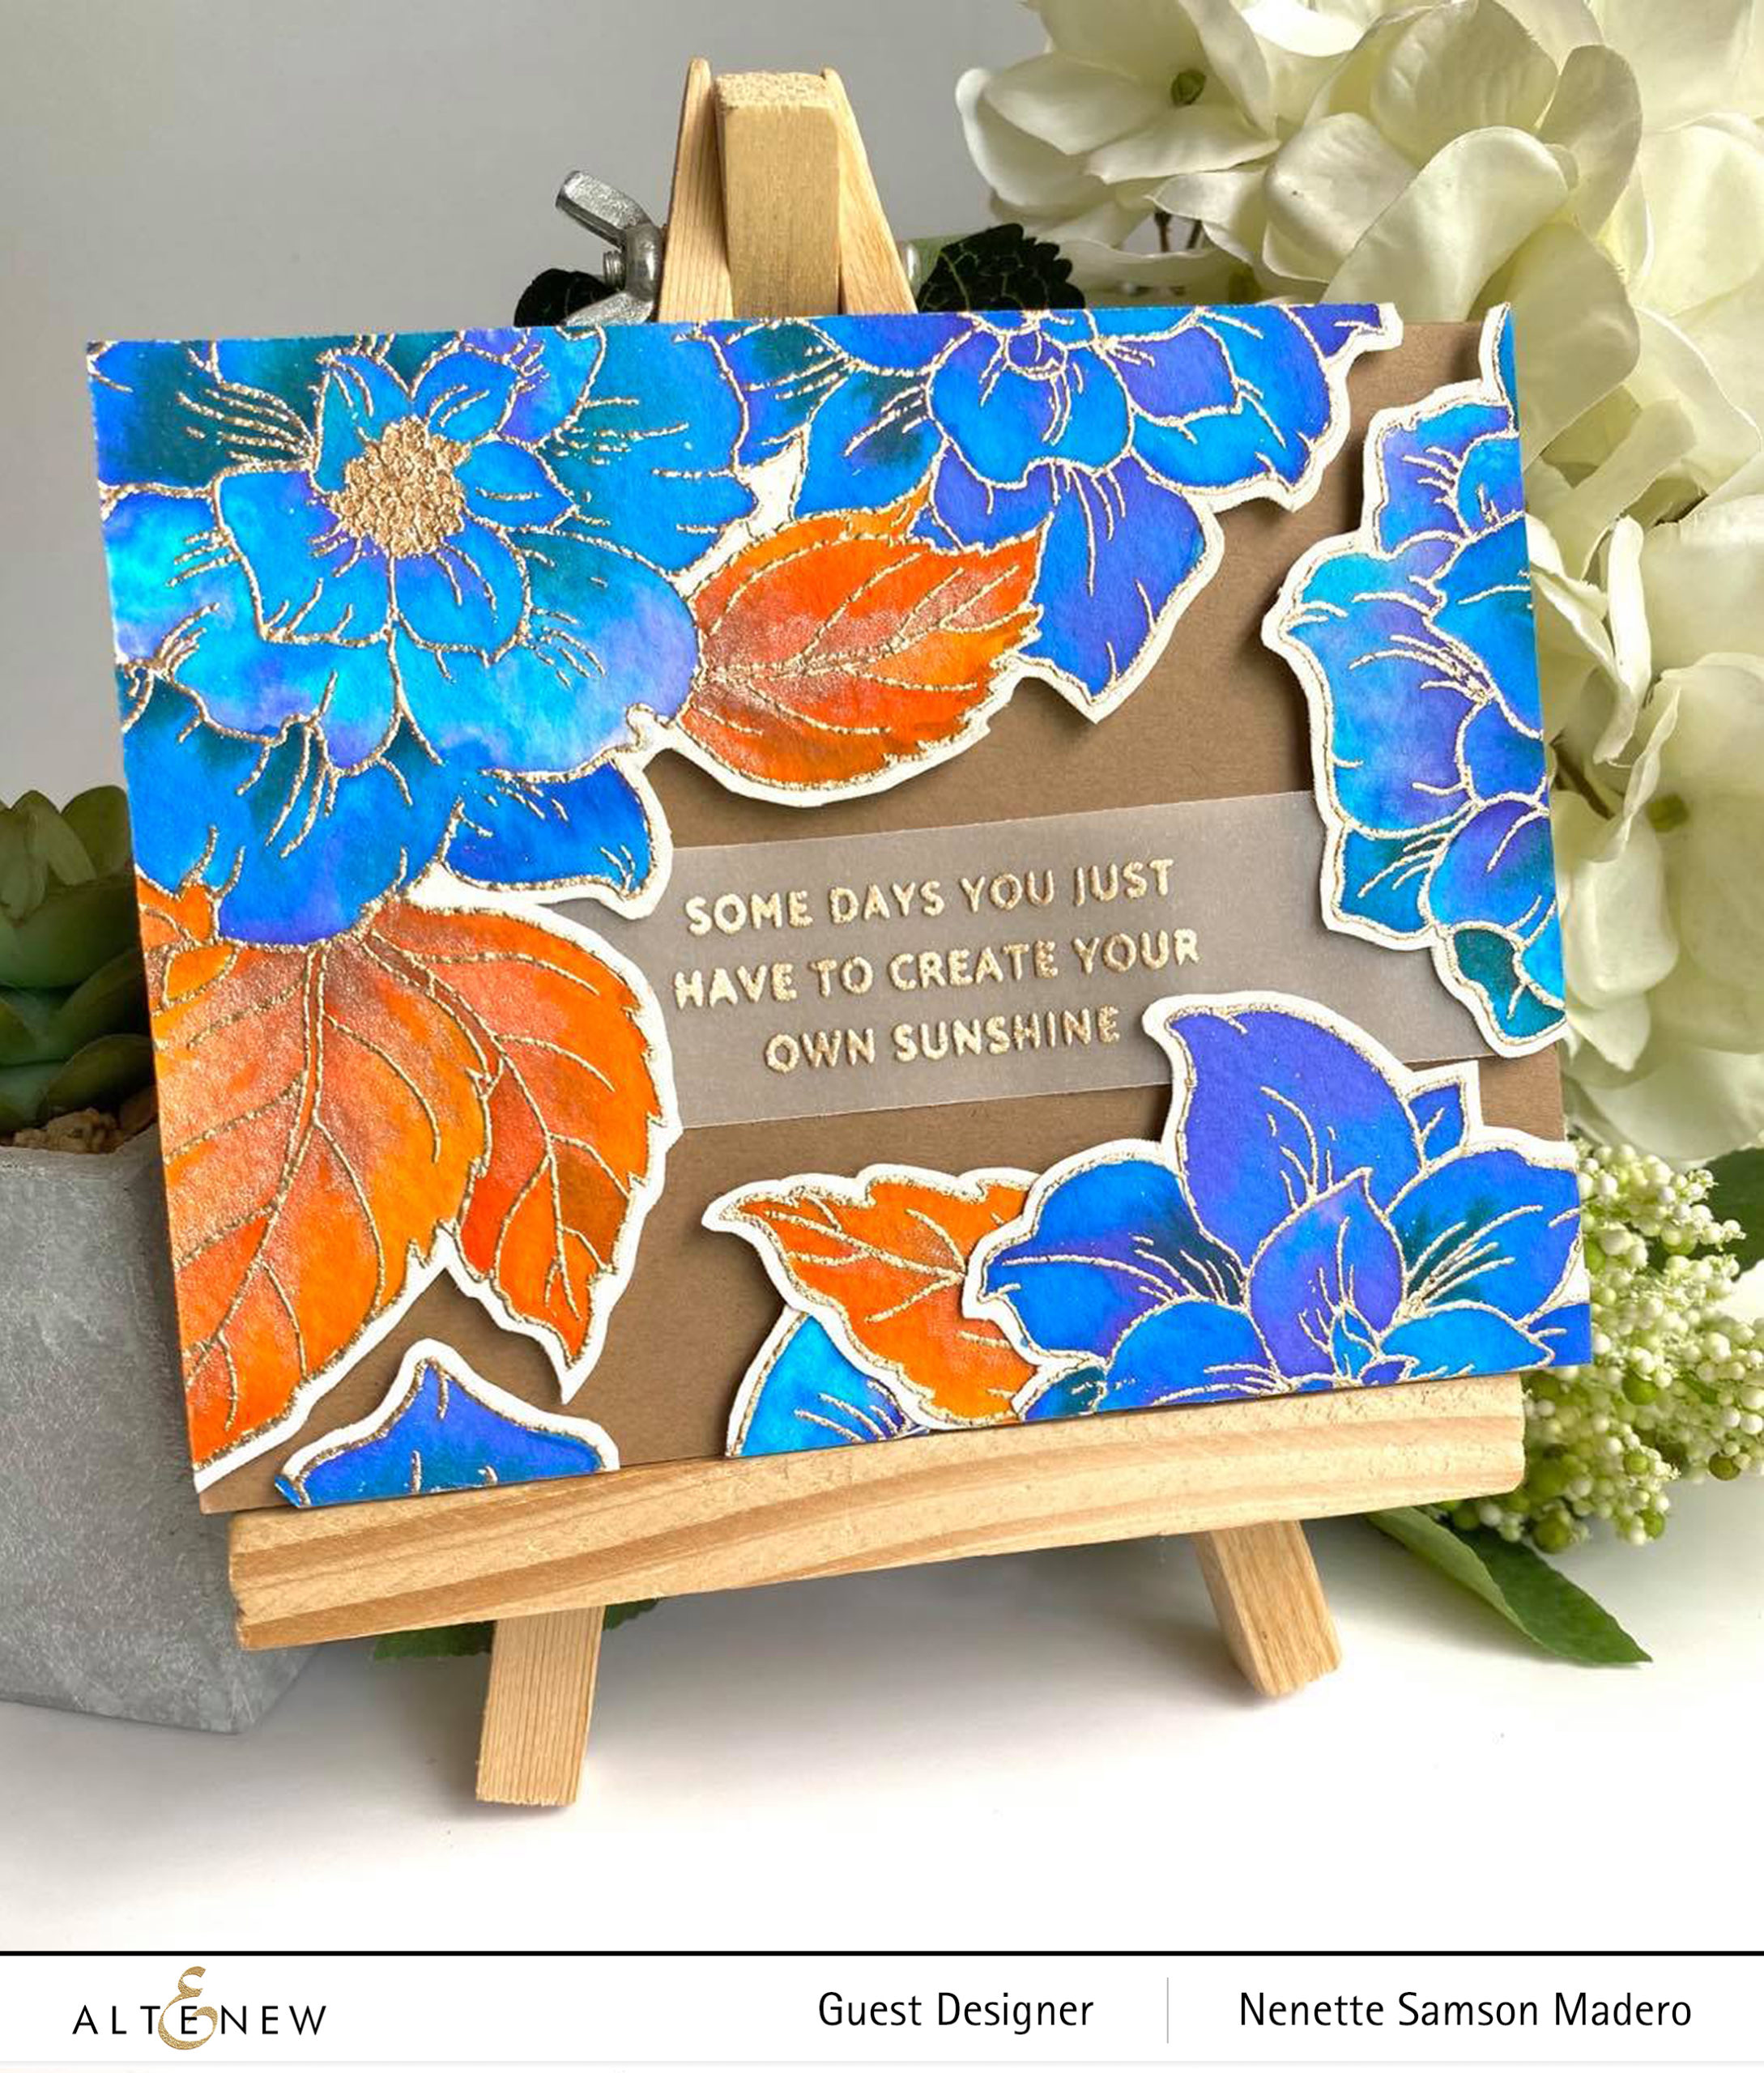
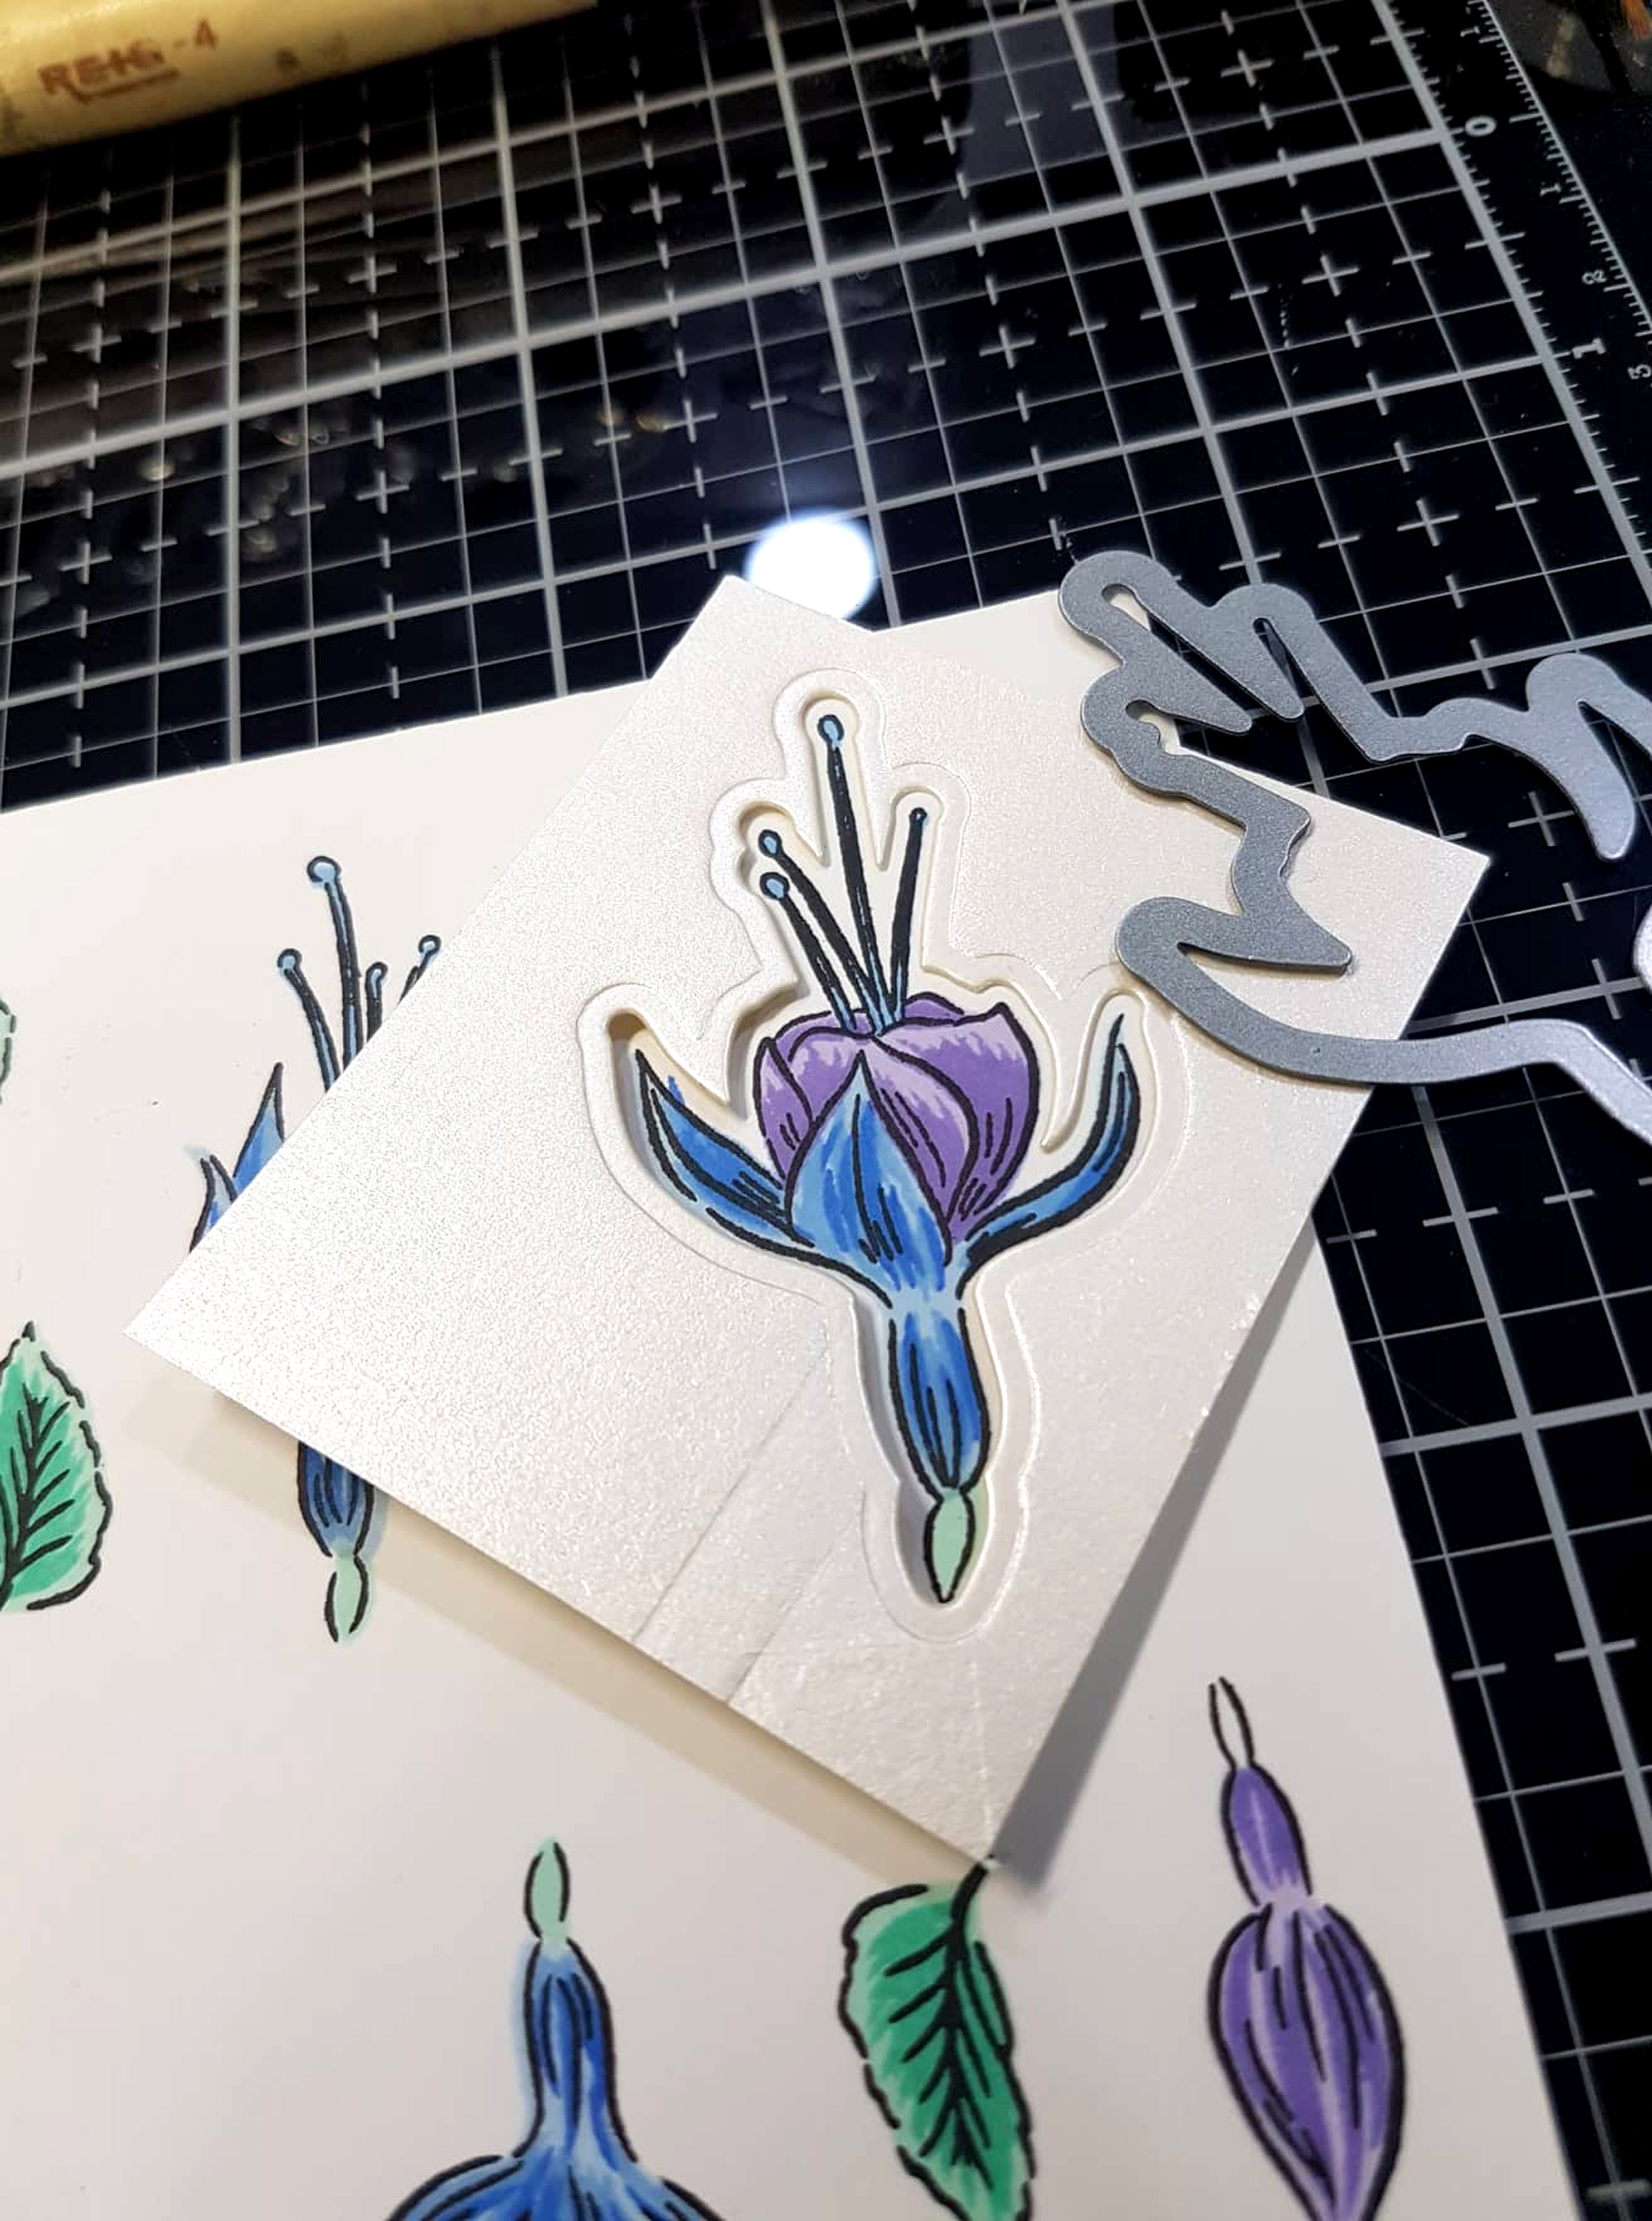
Would you believe that this card was made using only 1 stamped image? 🙂 The sentiment was stamped and heat embossed on vellum. The floral image from the Courageous You stamp set was stamped on 140 lbs Arches watercolor paper using Versamark ink then heat embossed with Rose gold embossing powder. I used colors from the Altenew watercolor brush makers. I love how highly pigmented these watercolors are! A little goes a long way.
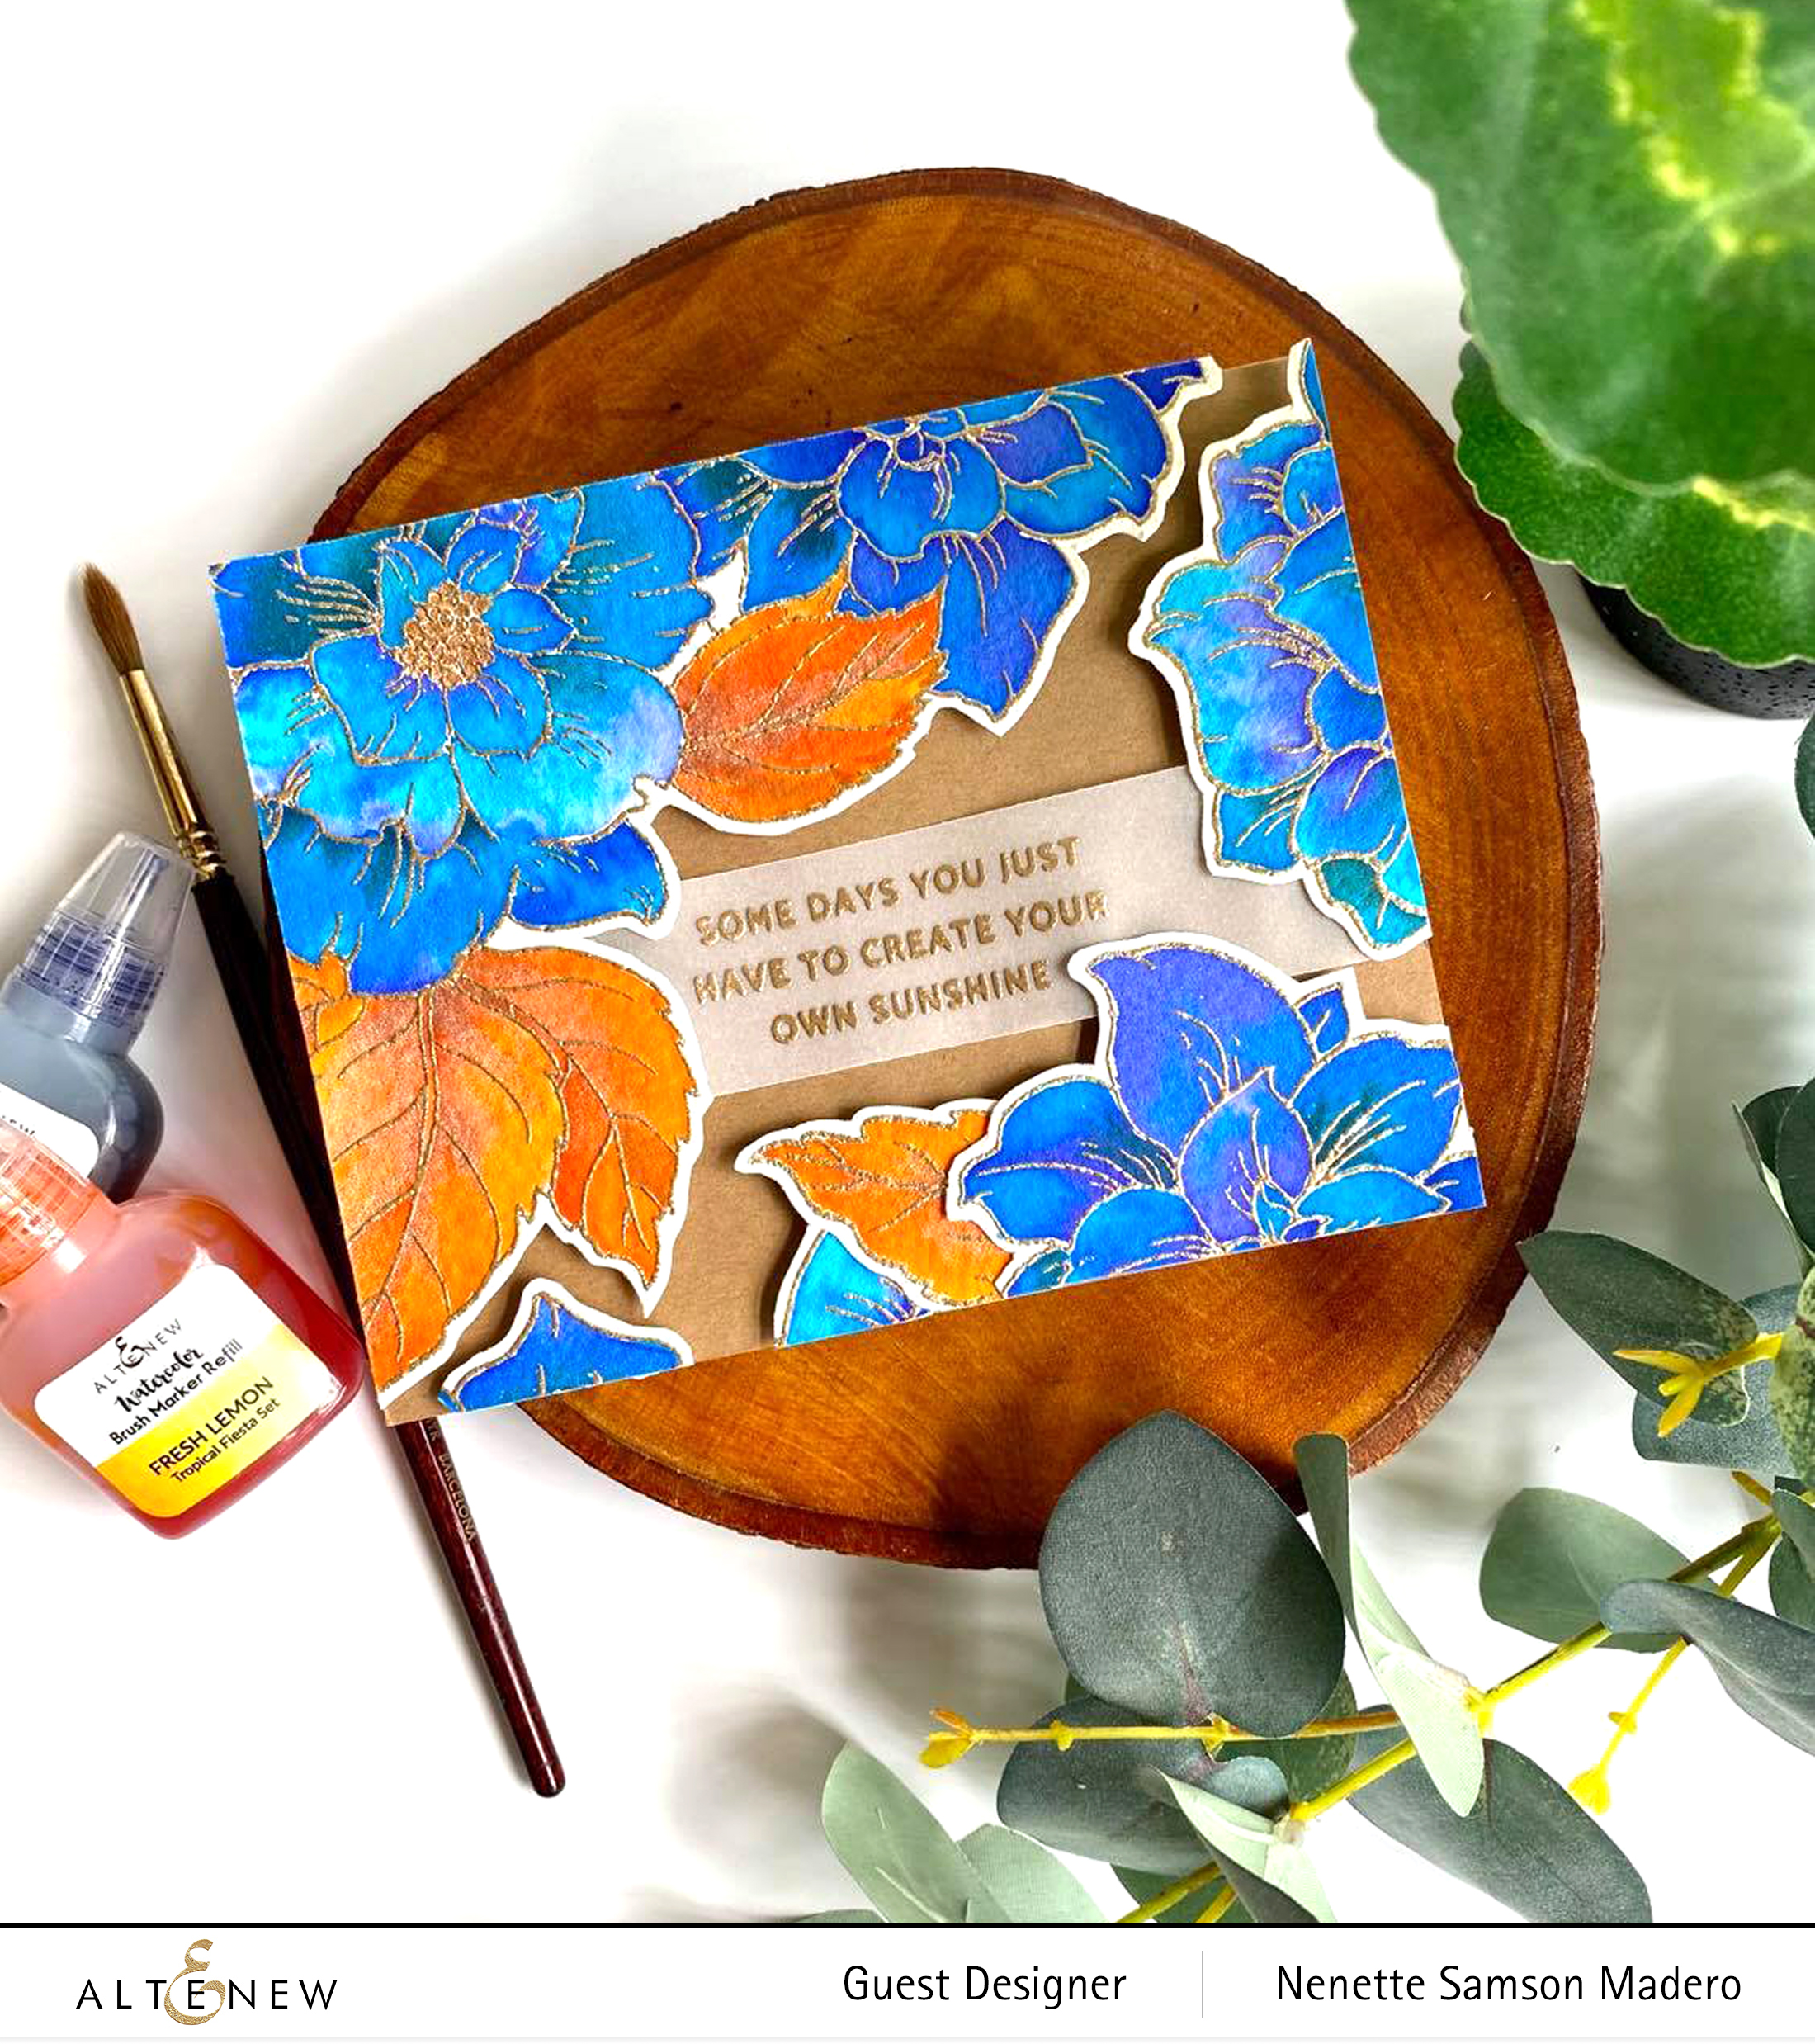
The image was placed in one corner and the excess was cut off. Foam tape was used to create dimension. The leftover pieces were also adhered to the card front to fill the other edges of the card.
THANKS
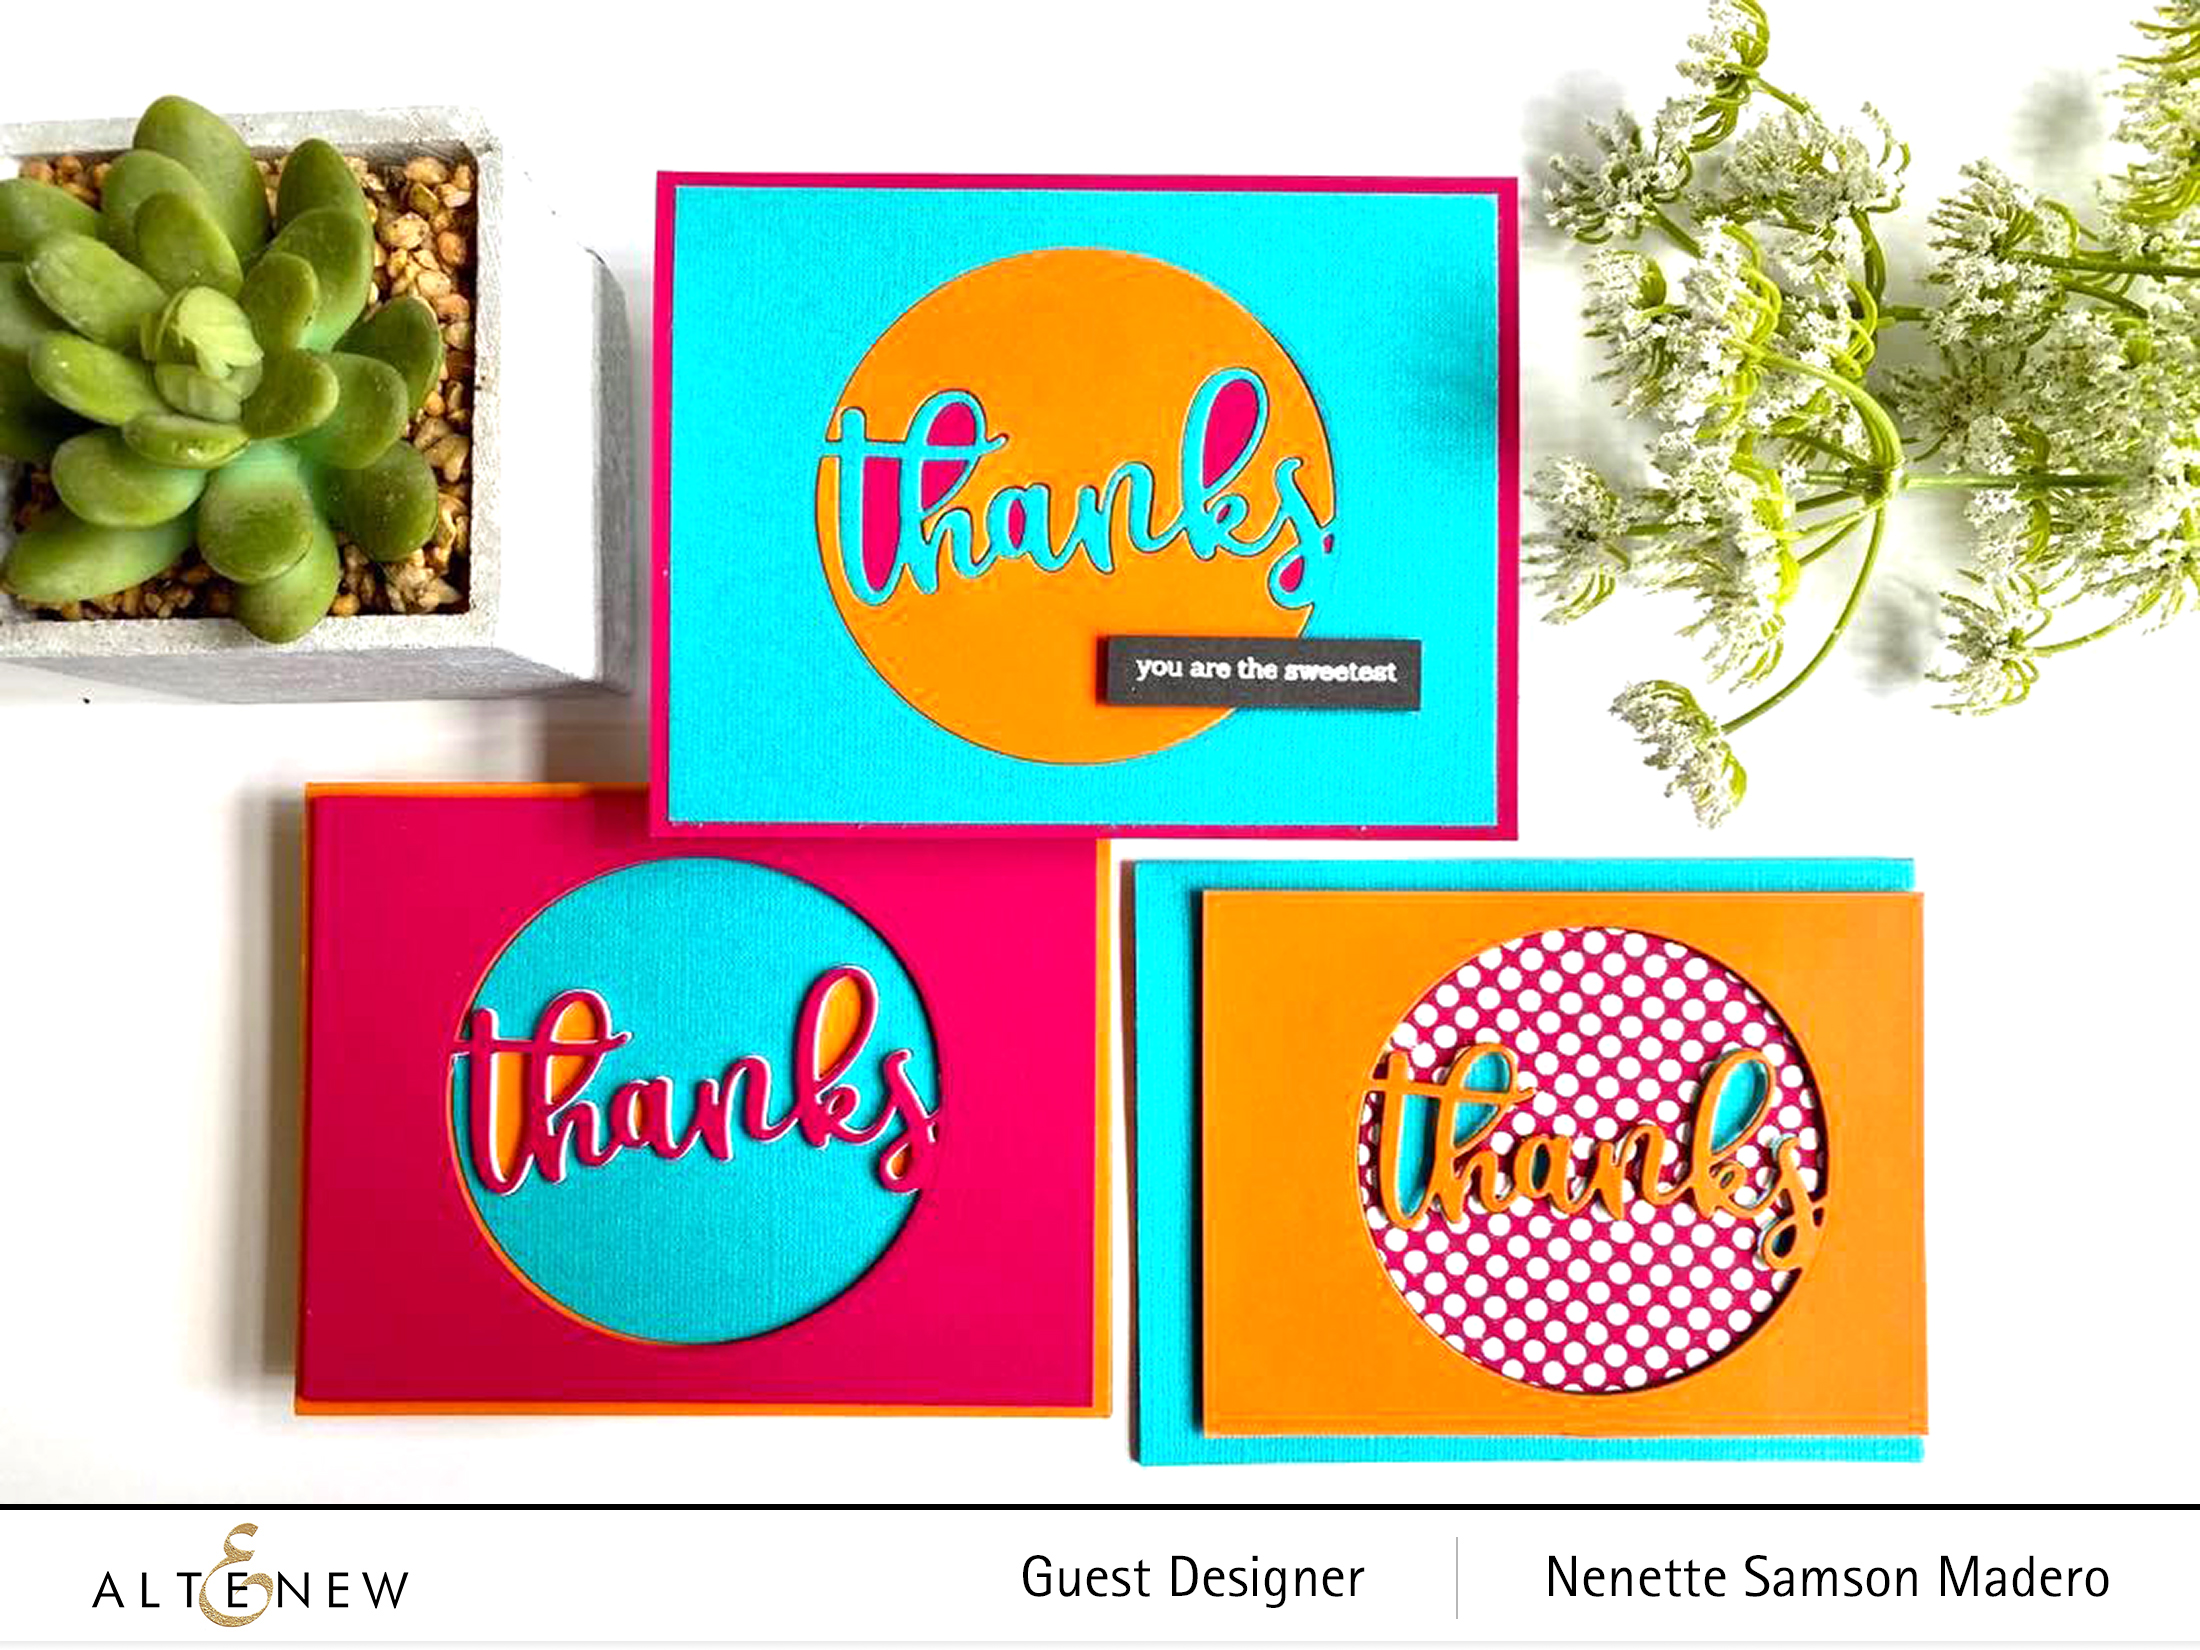
Here’s another set of CAS cards using bold colors. I die cut 3 different colored cardstocks using the Circled Greetings: thanks die. To vary the background, I placed the Feeling Dotty Stencil over the background then added Versamark ink over it.

White embossing ink was poured over it and heat embossed to create a dotted background. I also added a sentiment from the Hello and Hugs stamp set for variation. This is a quick way to create multiple cards with a single die– just vary the cardstocks and backgrounds.
THANK YOU TAG
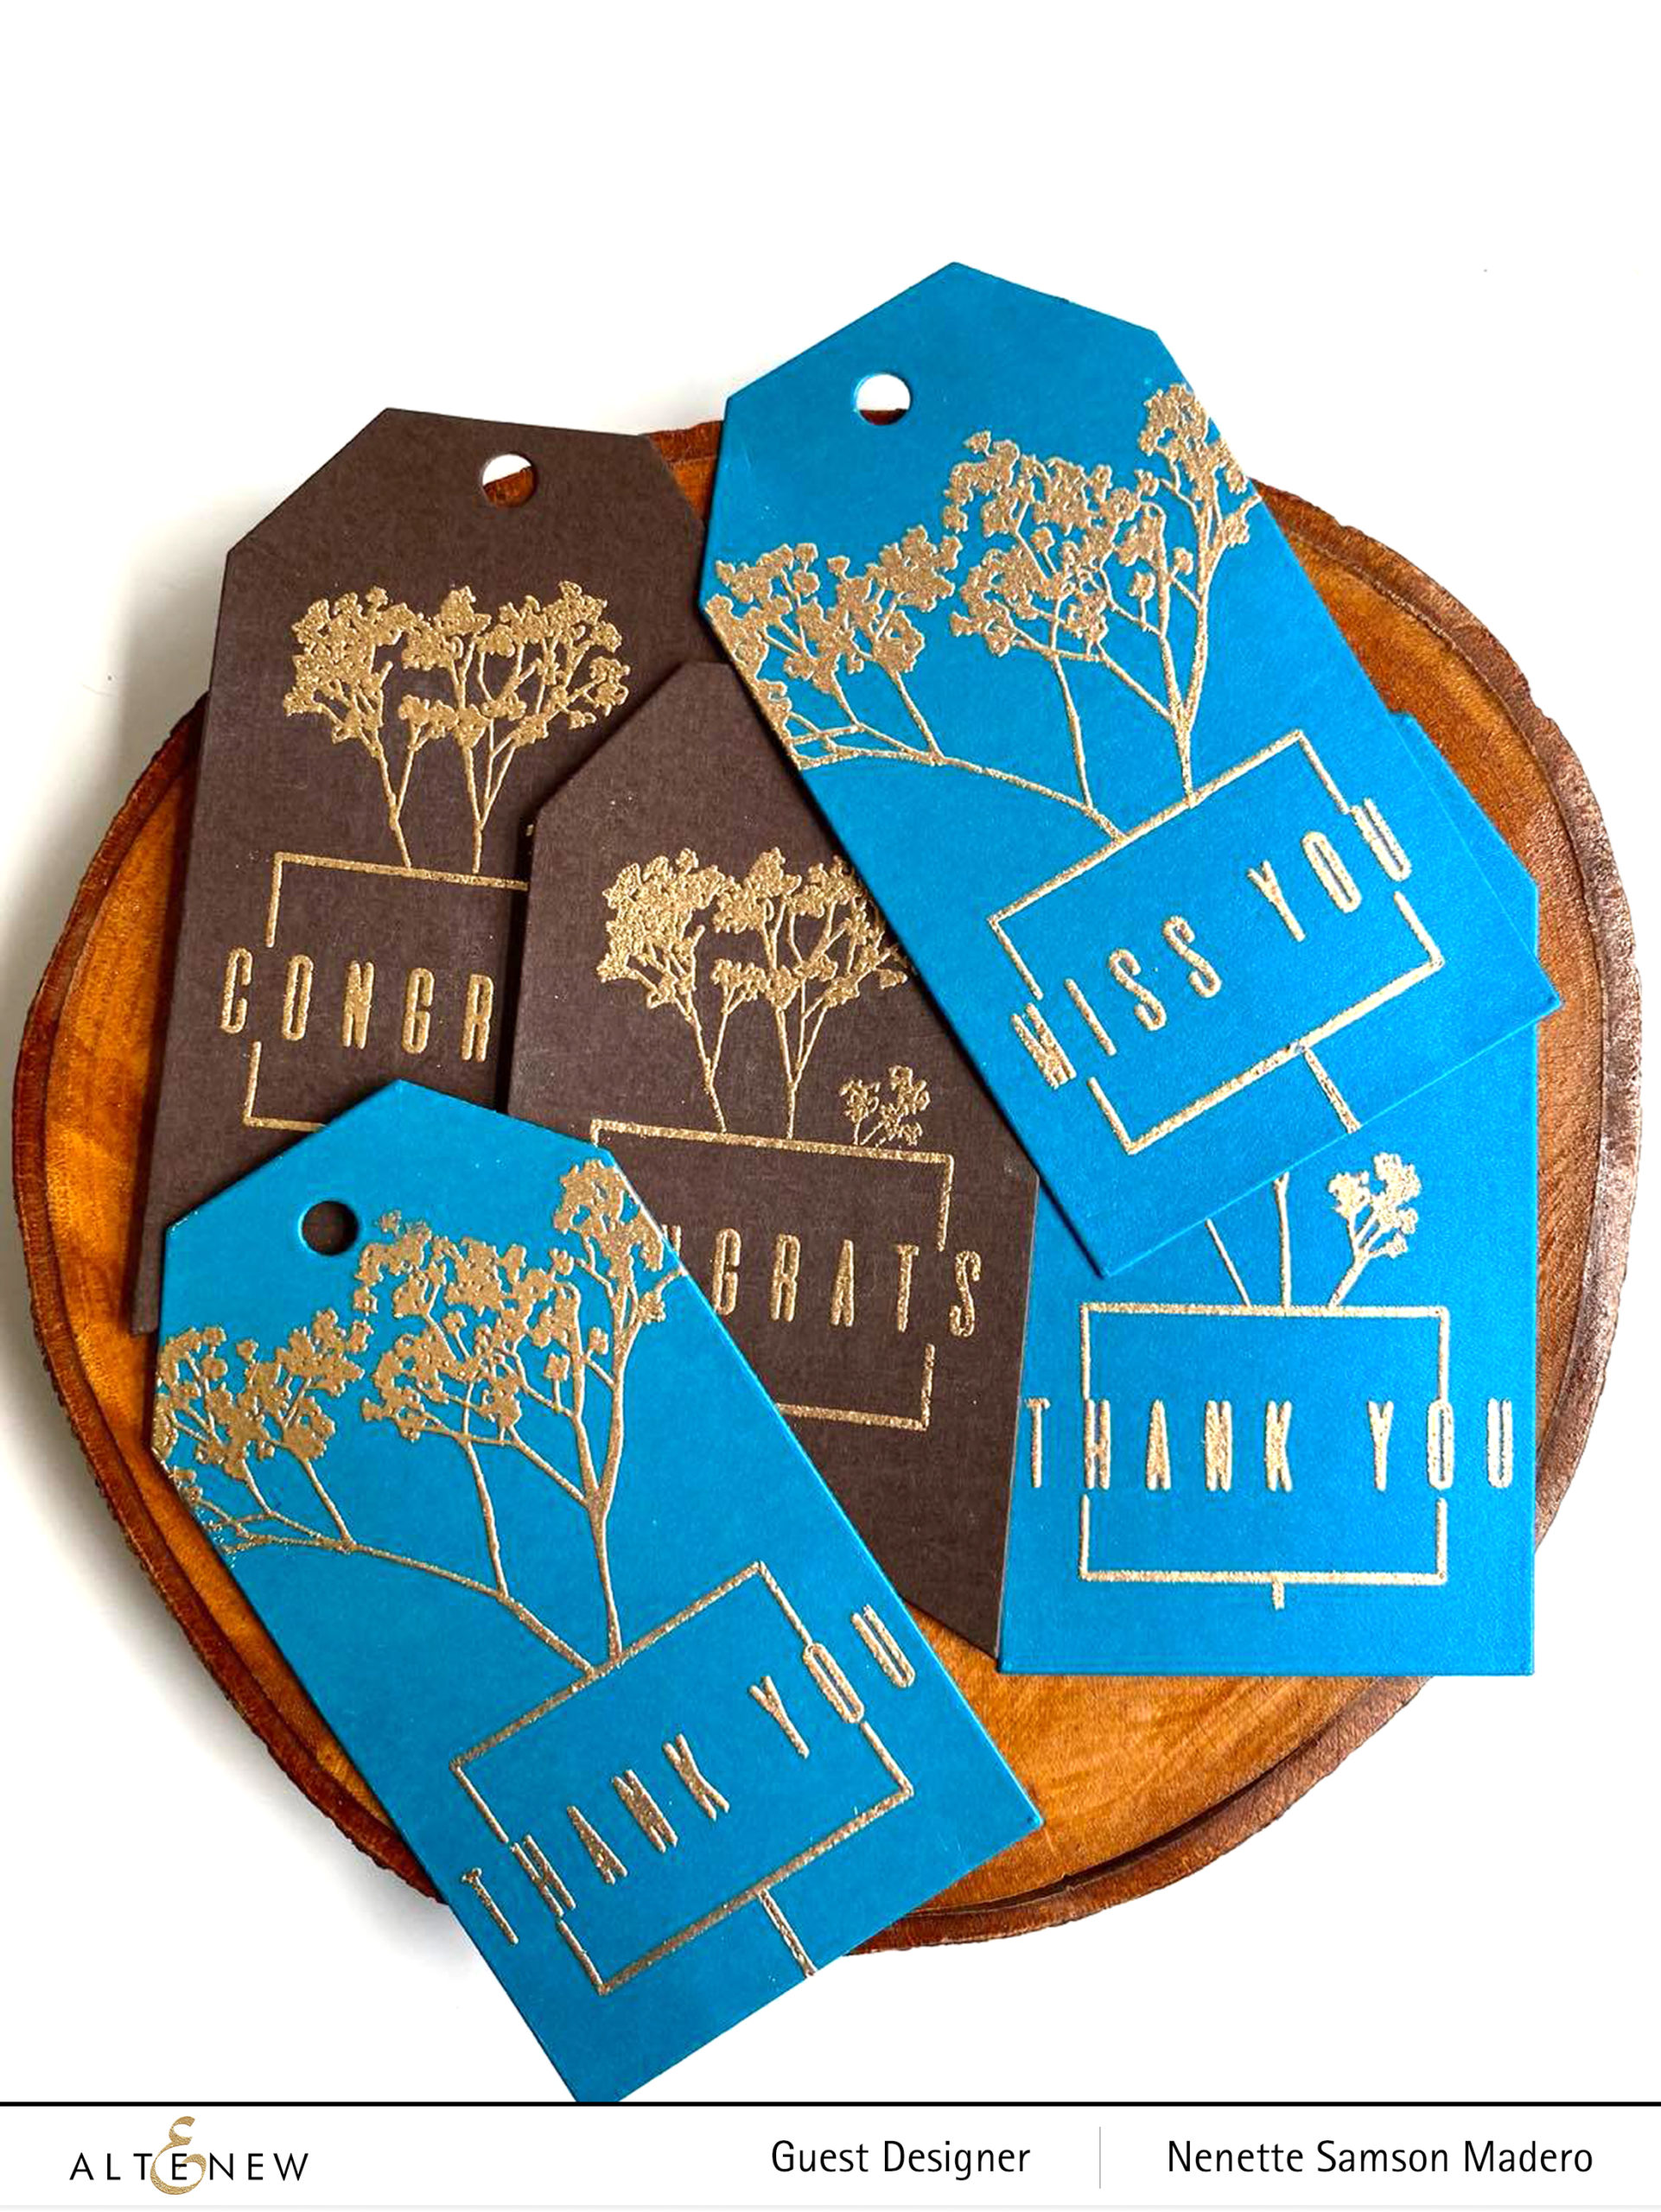
Here’s another quick project using the masking technique. For these tags, I used the sentiments from the Geometric Elements and the Fragile Foliage image. The biggest tag from the Terrific Tags dies was perfect to make the packaging for the monogram cards I made for a friend look pretty. I love the simplicity of the image which ties up with the modernity of the font.
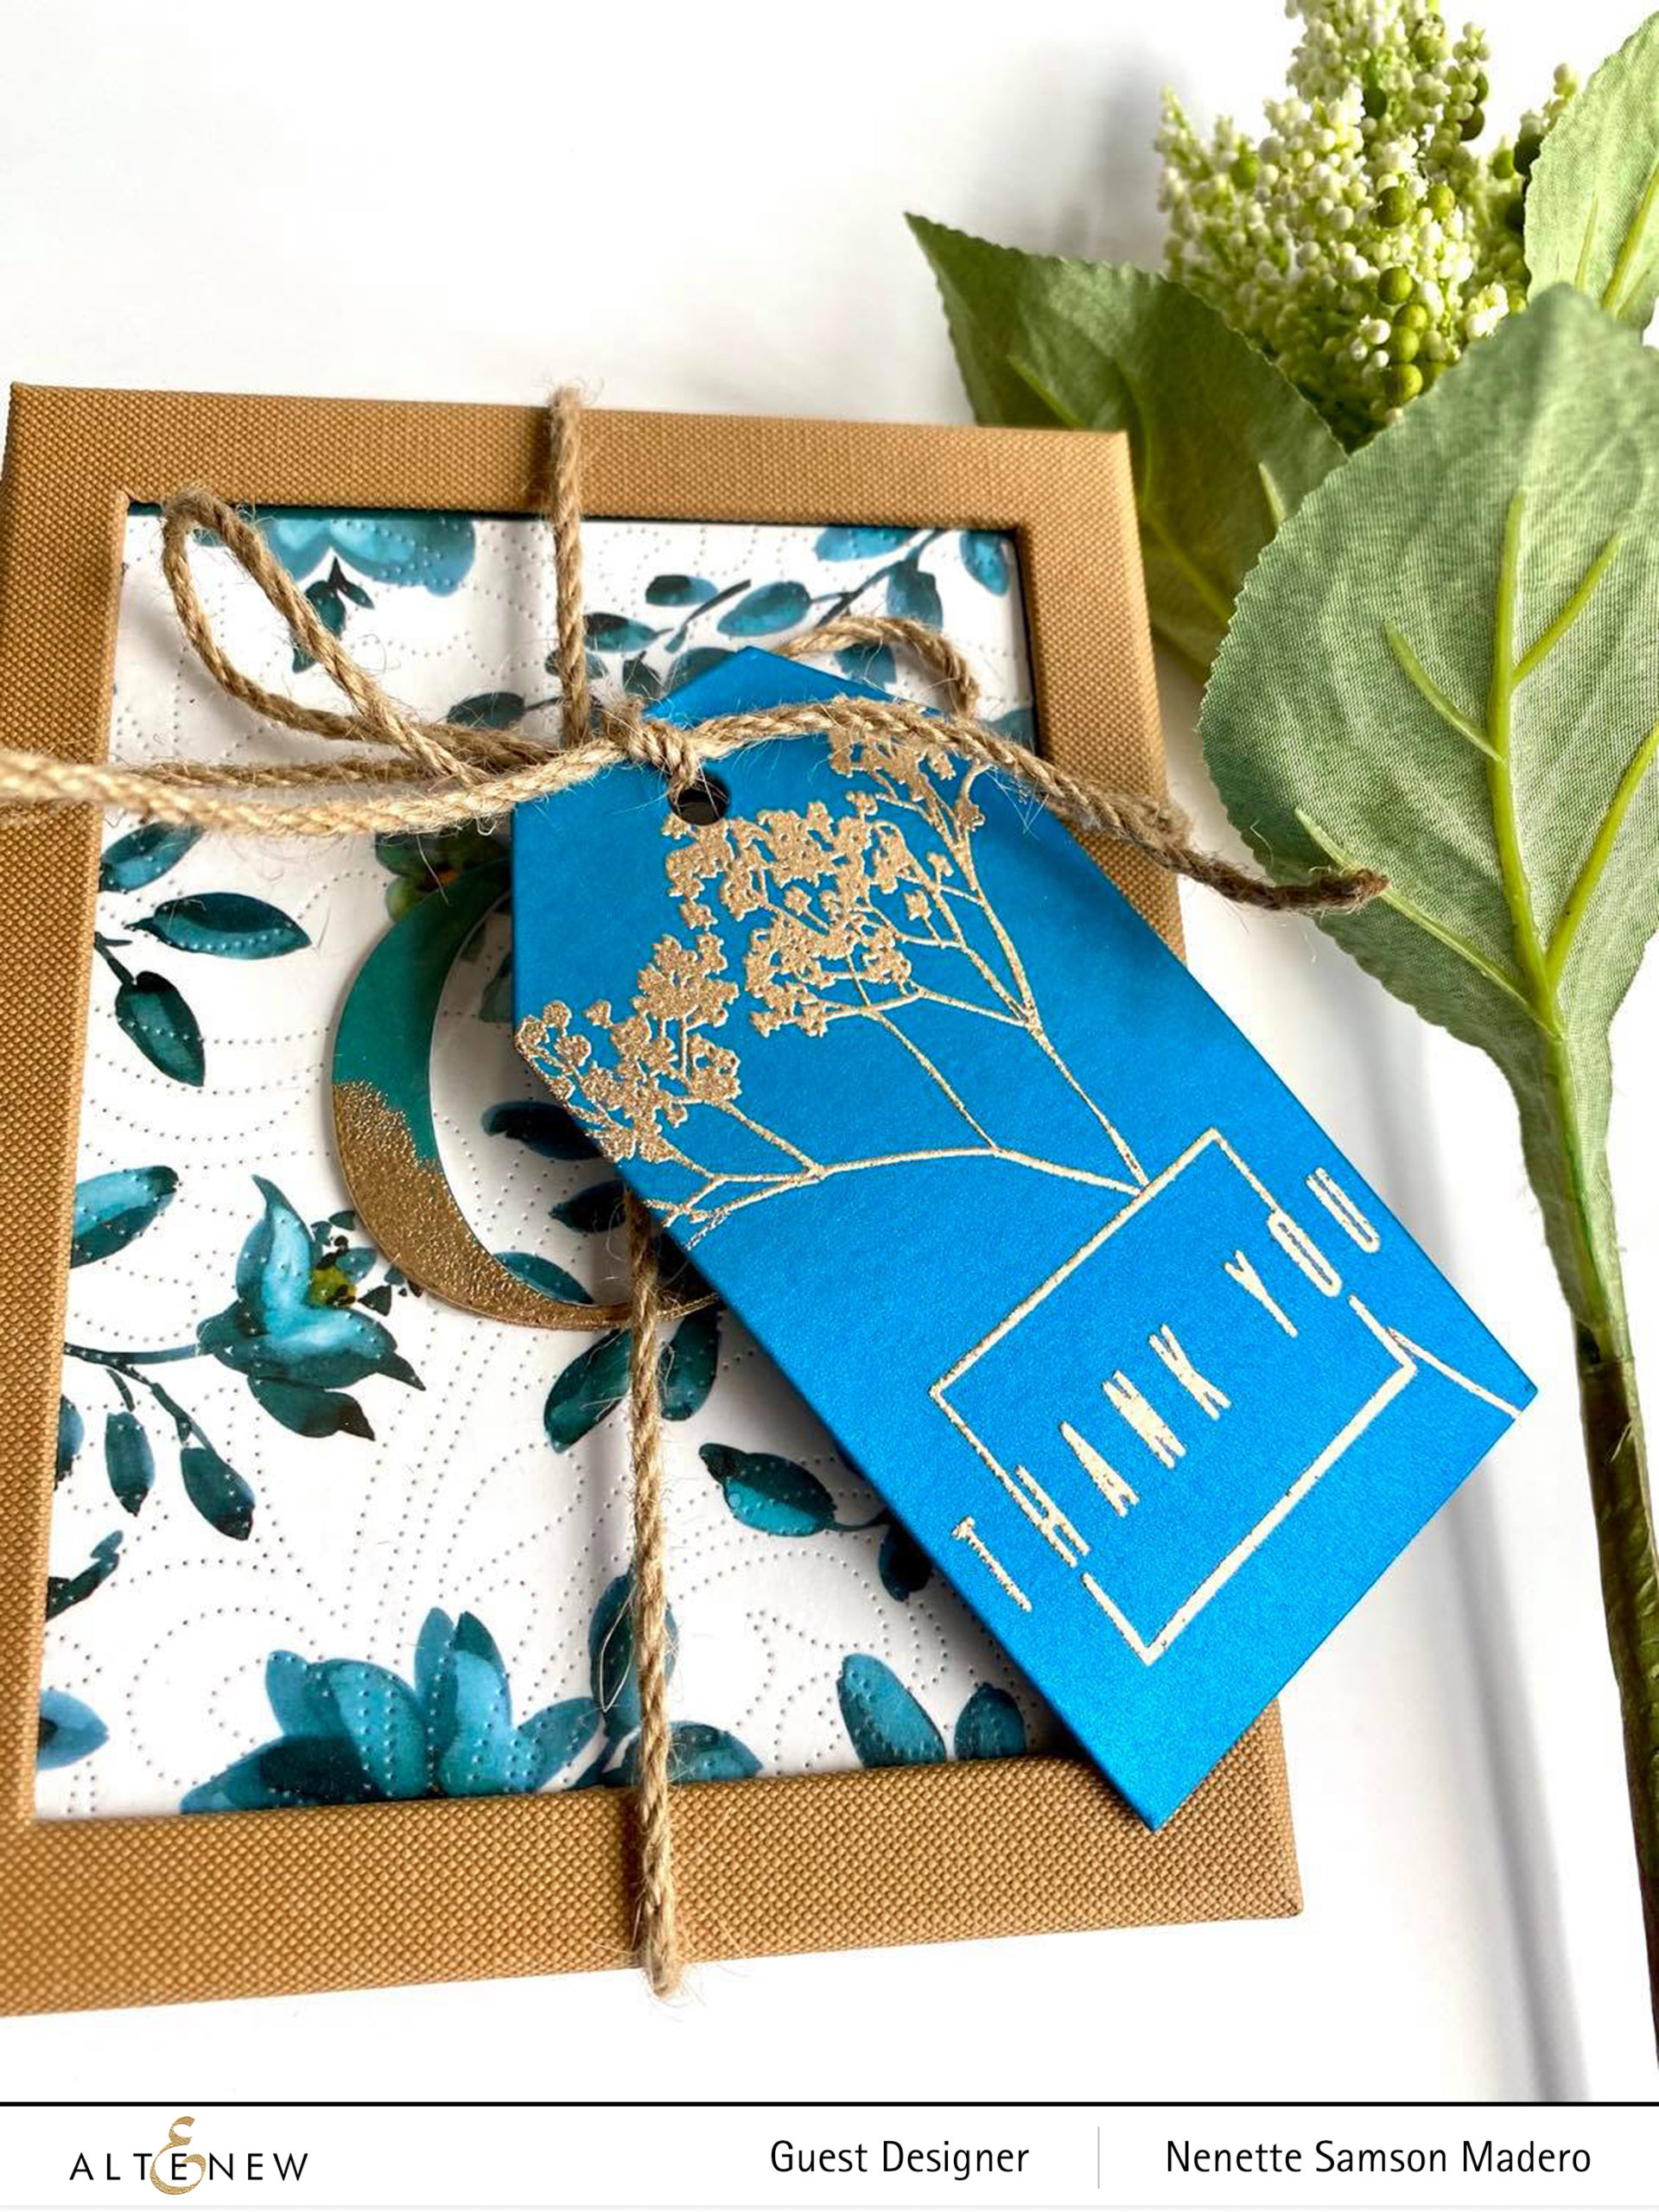
The sentiment and border were stamped and embossed first using rose gold embossing powder. Then I masked the area so that I can stamp the foliage image over it.

If you have been following my previous blog posts, you’ll notice that my style leans heavily towards layering and lots of embellishments. Restraining myself from adding more to a card is truly a struggle for me. I have a hard time creating clean and simple cards because I tend to cover up all of the white space. That being said, I’ve always been a huge fan of Cathy Zielske‘s CAS style ever since my scrapbooking days in the early 2000s. From her, I’ve learned the basics in design principles. She’s my rockstar when it comes to CAS layouts and cards. And just recently, she sent me a video message full of sound advice on how to deal with certain types of people. I am so humbled that she took time out of her busy schedule to personally send a message and make me feel better. So in honor of this amazing human being, this post showcases a number of CAS cards and from this post onwards, I will step out of my comfort zone and try to include a card that reflects her style. Thank you, Cathy! Truly appreciate what you did. ❤️ Below is a set of CAS cards inspired by her style using the Fragile Foliage stamp set.
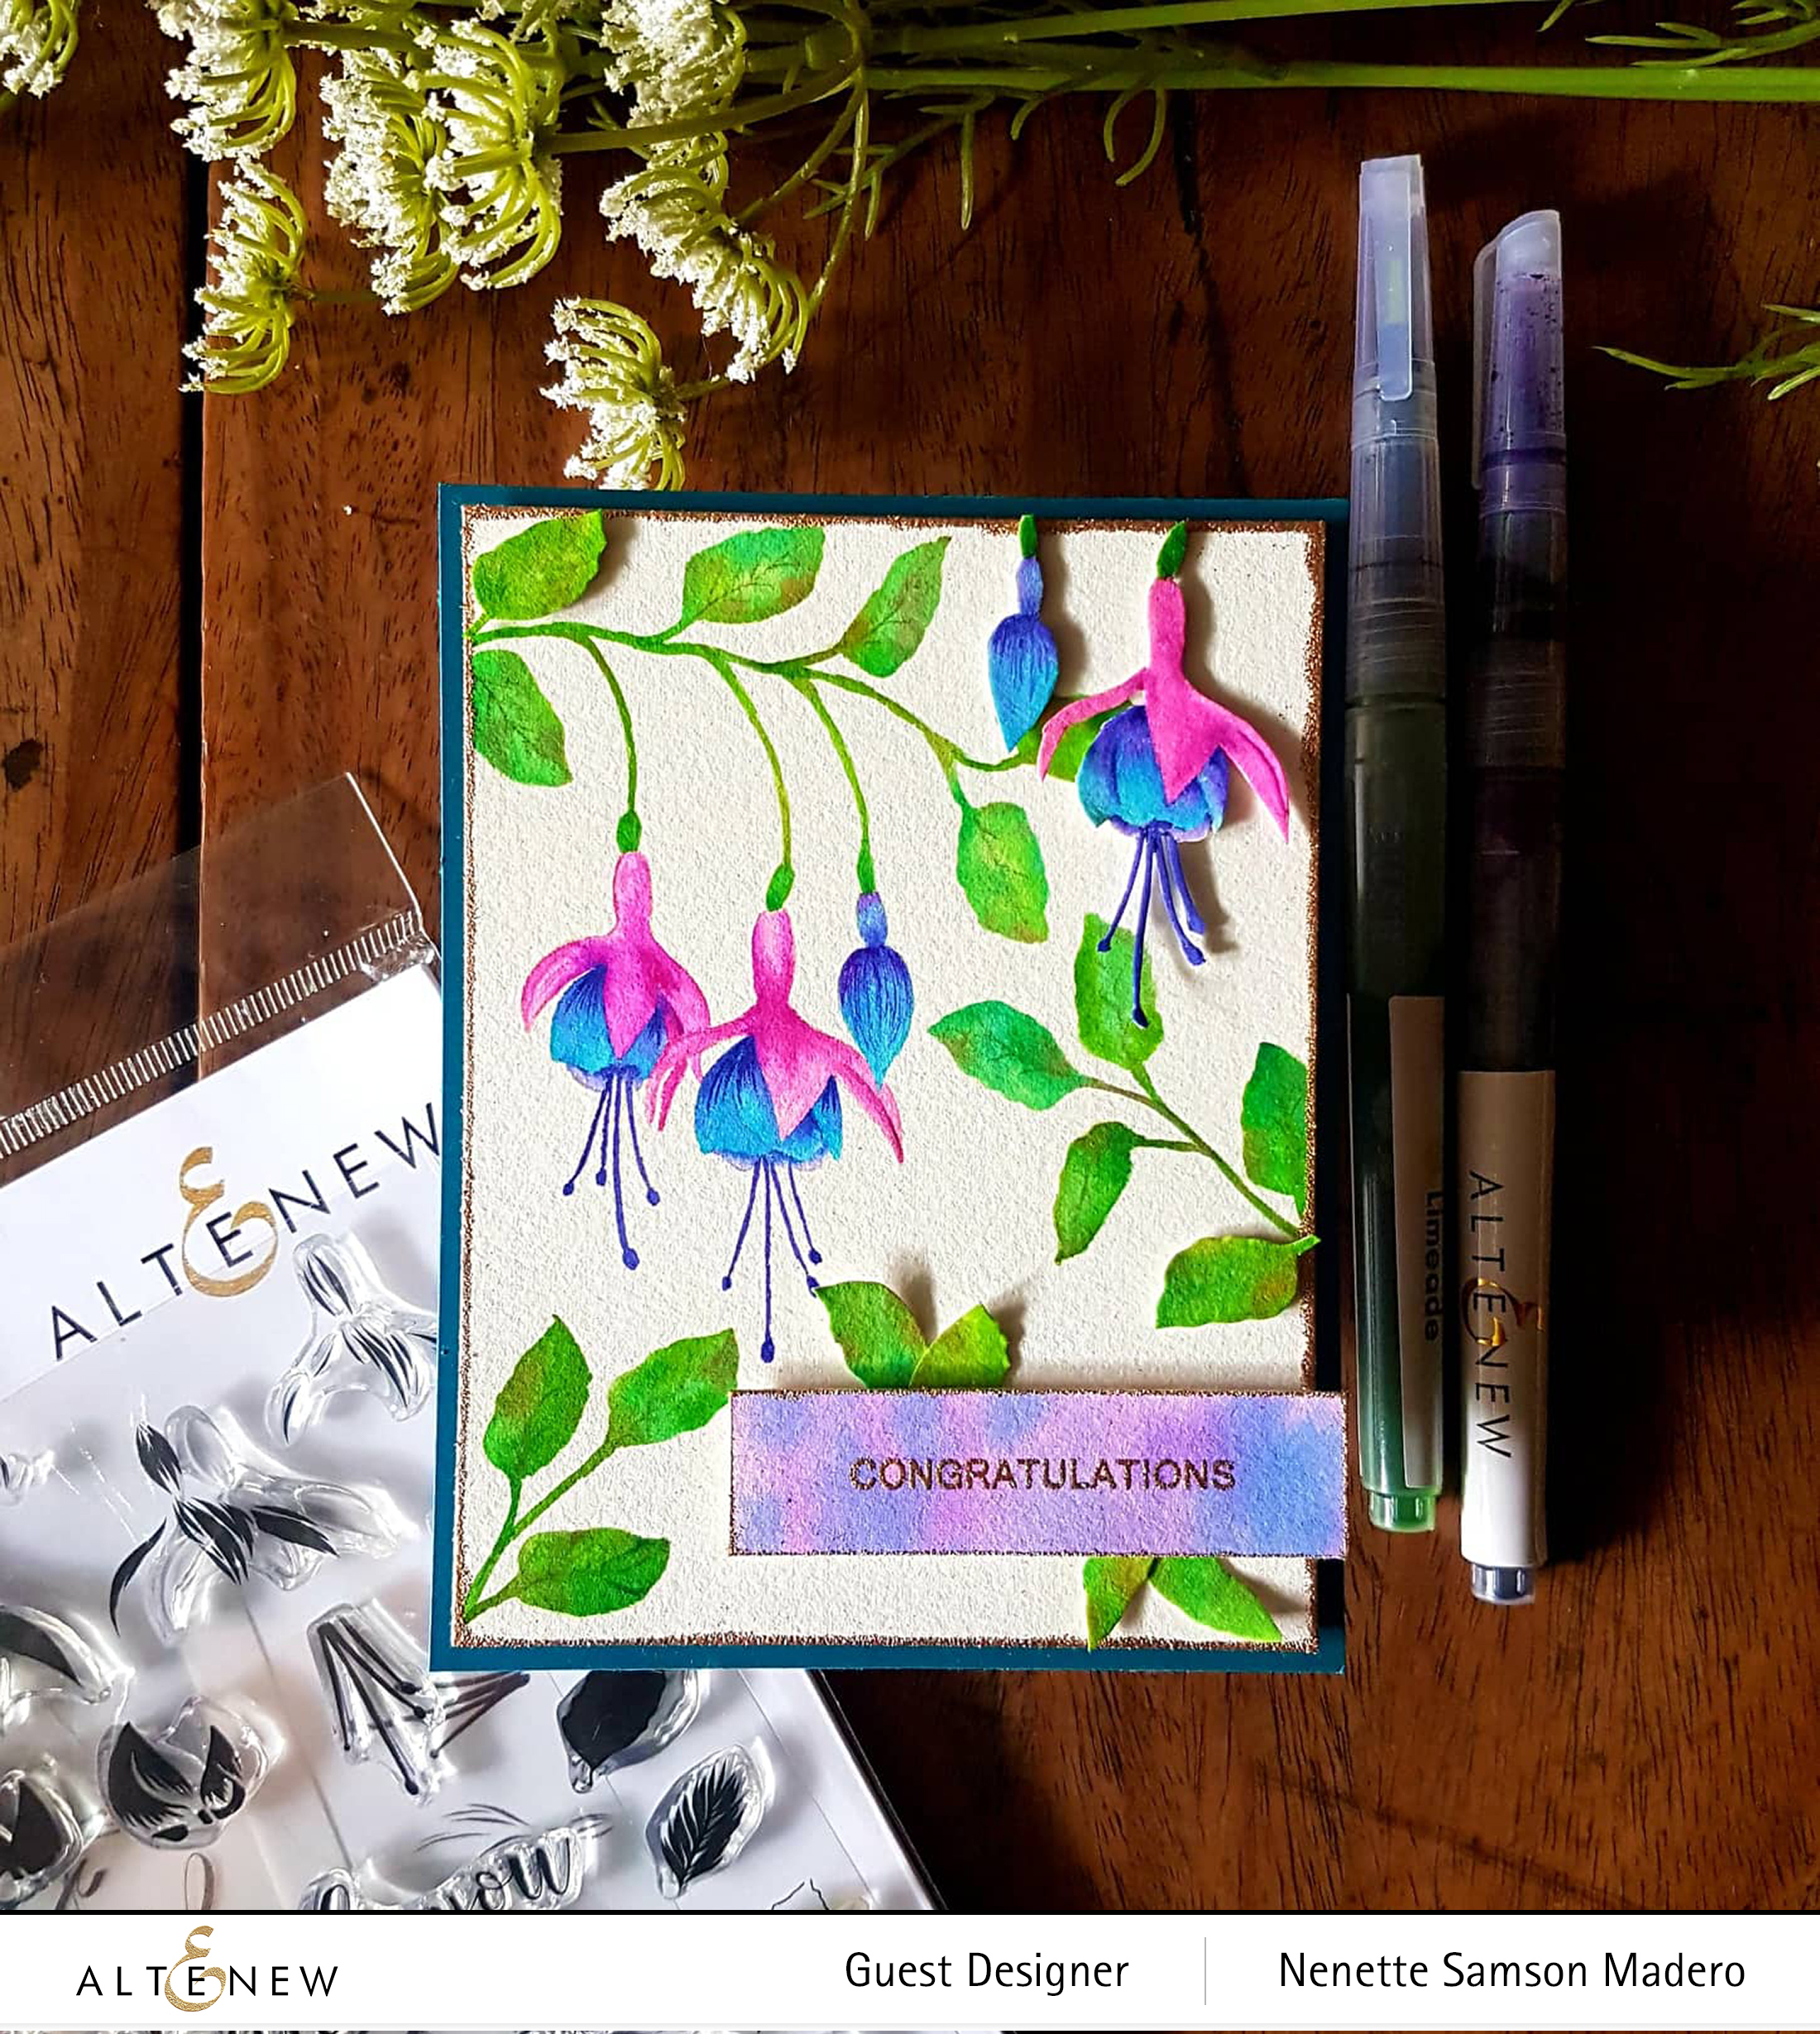
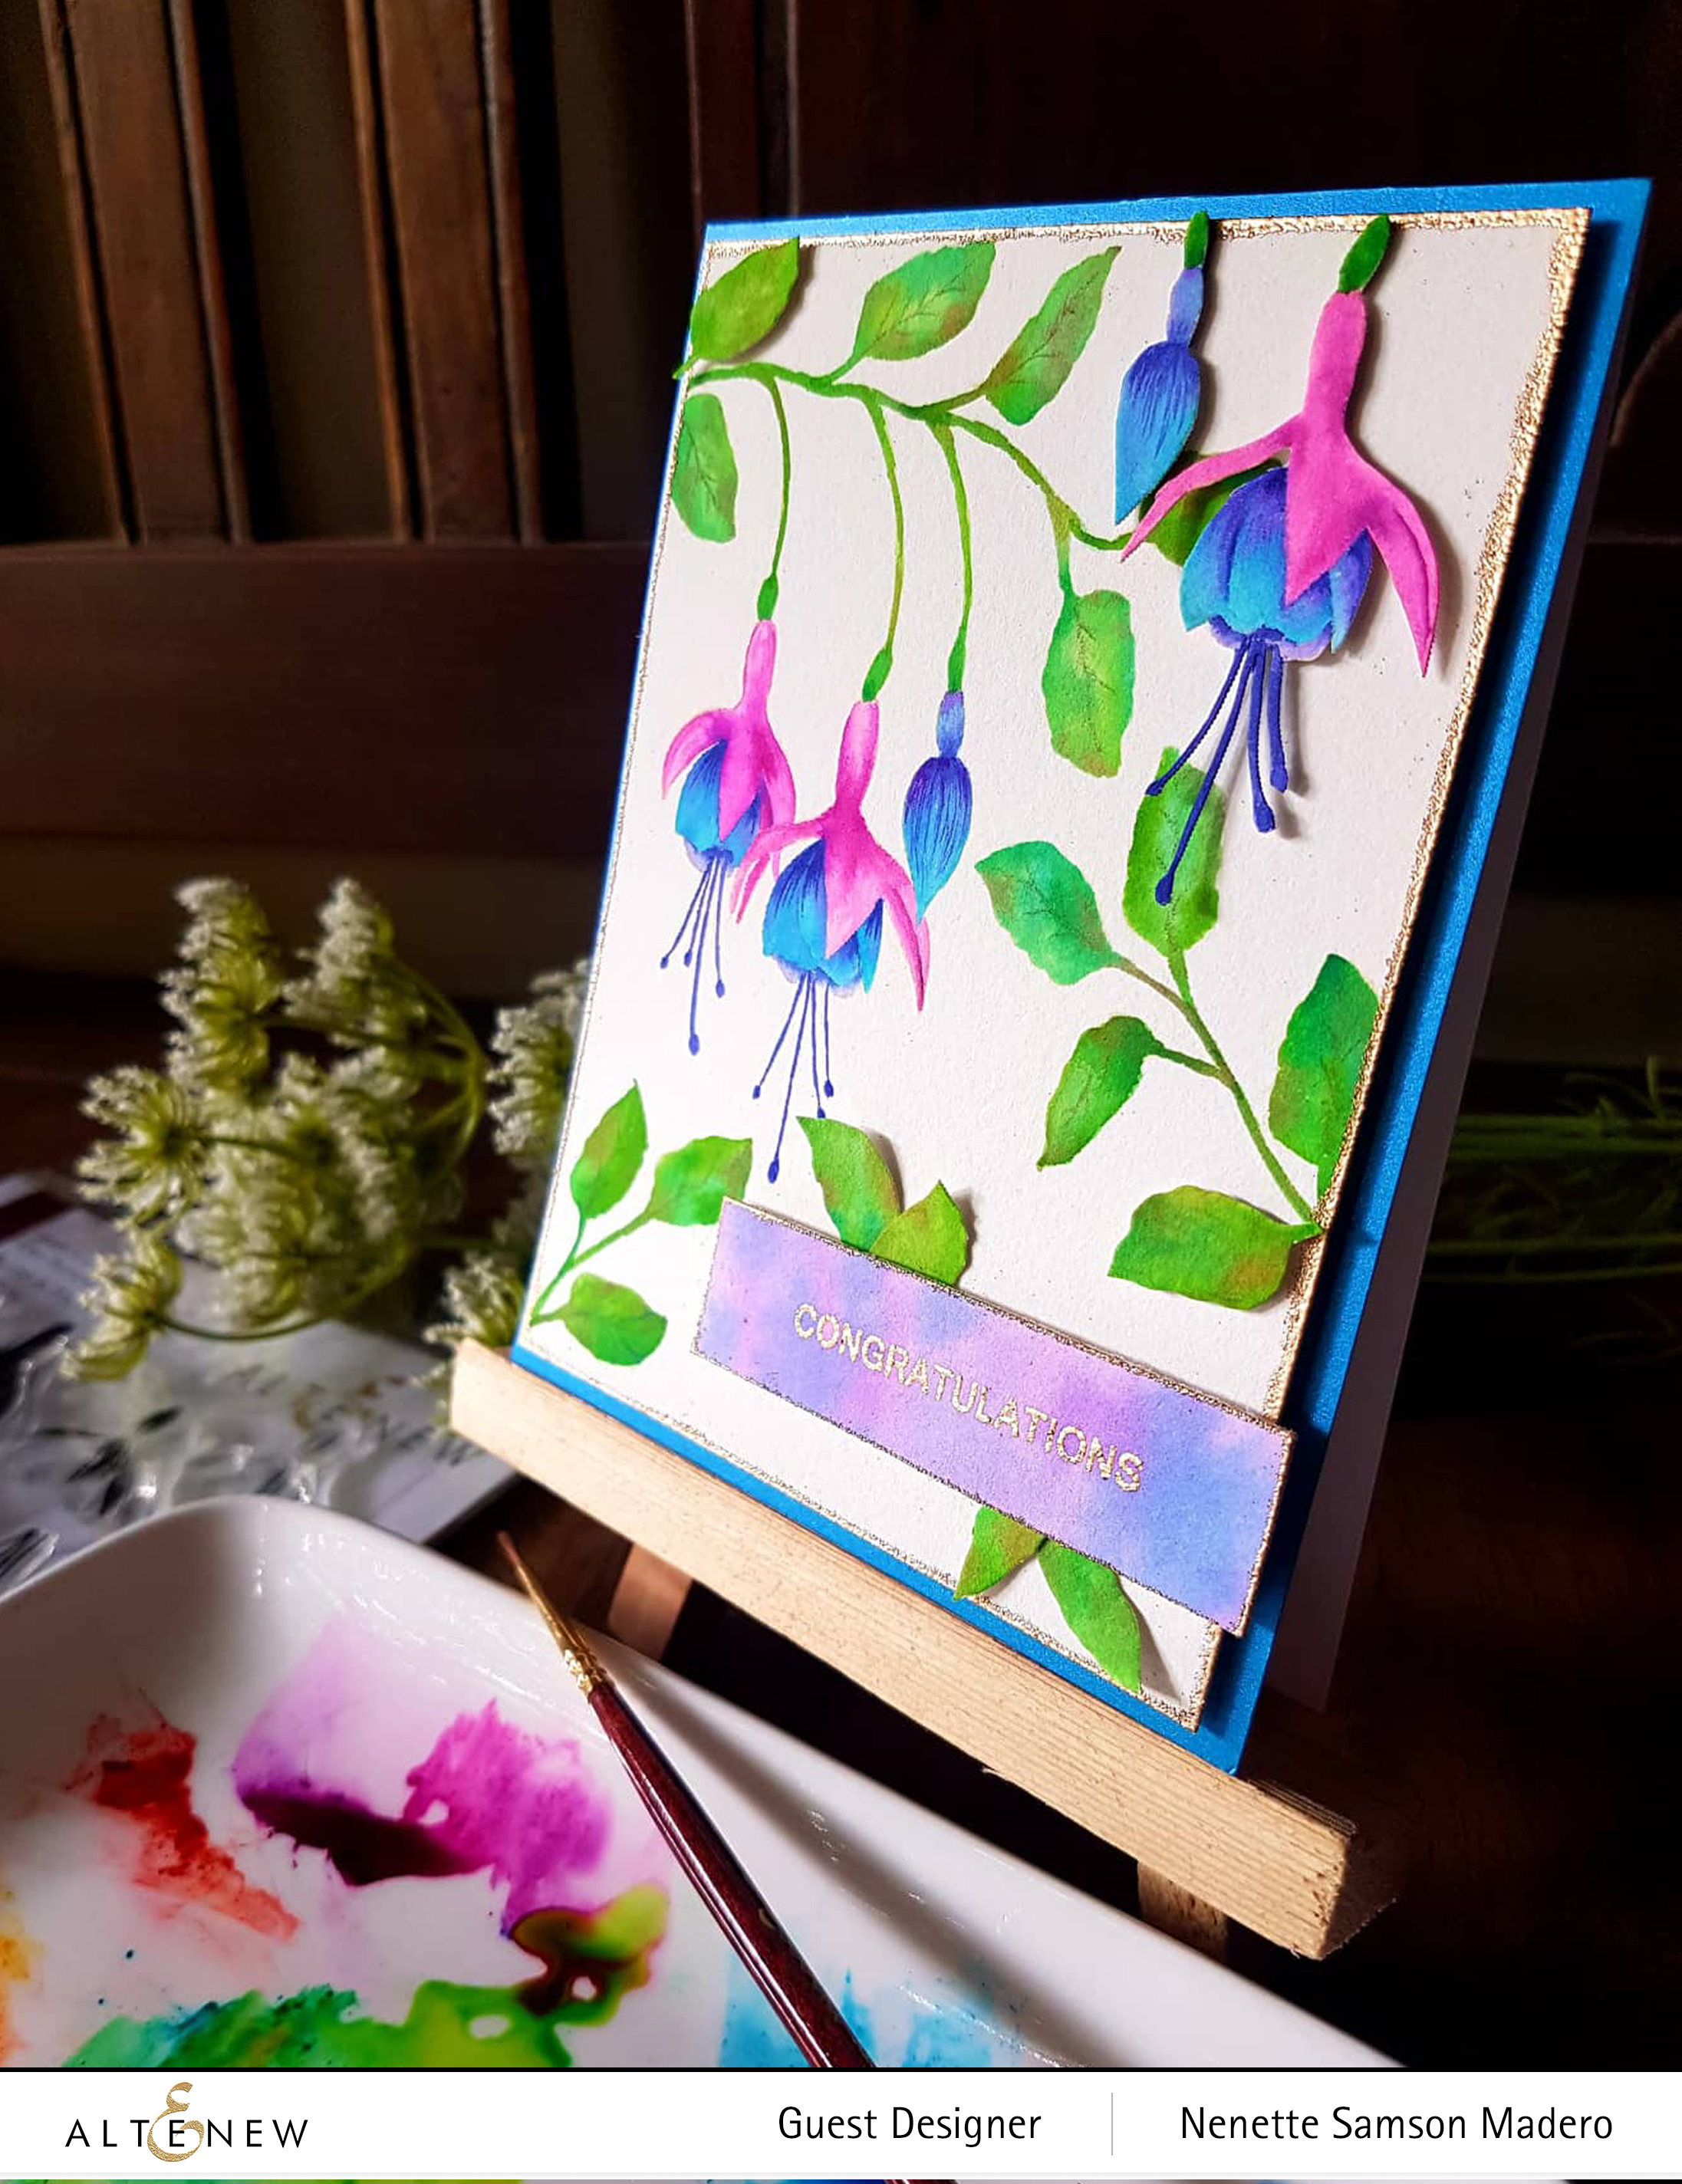
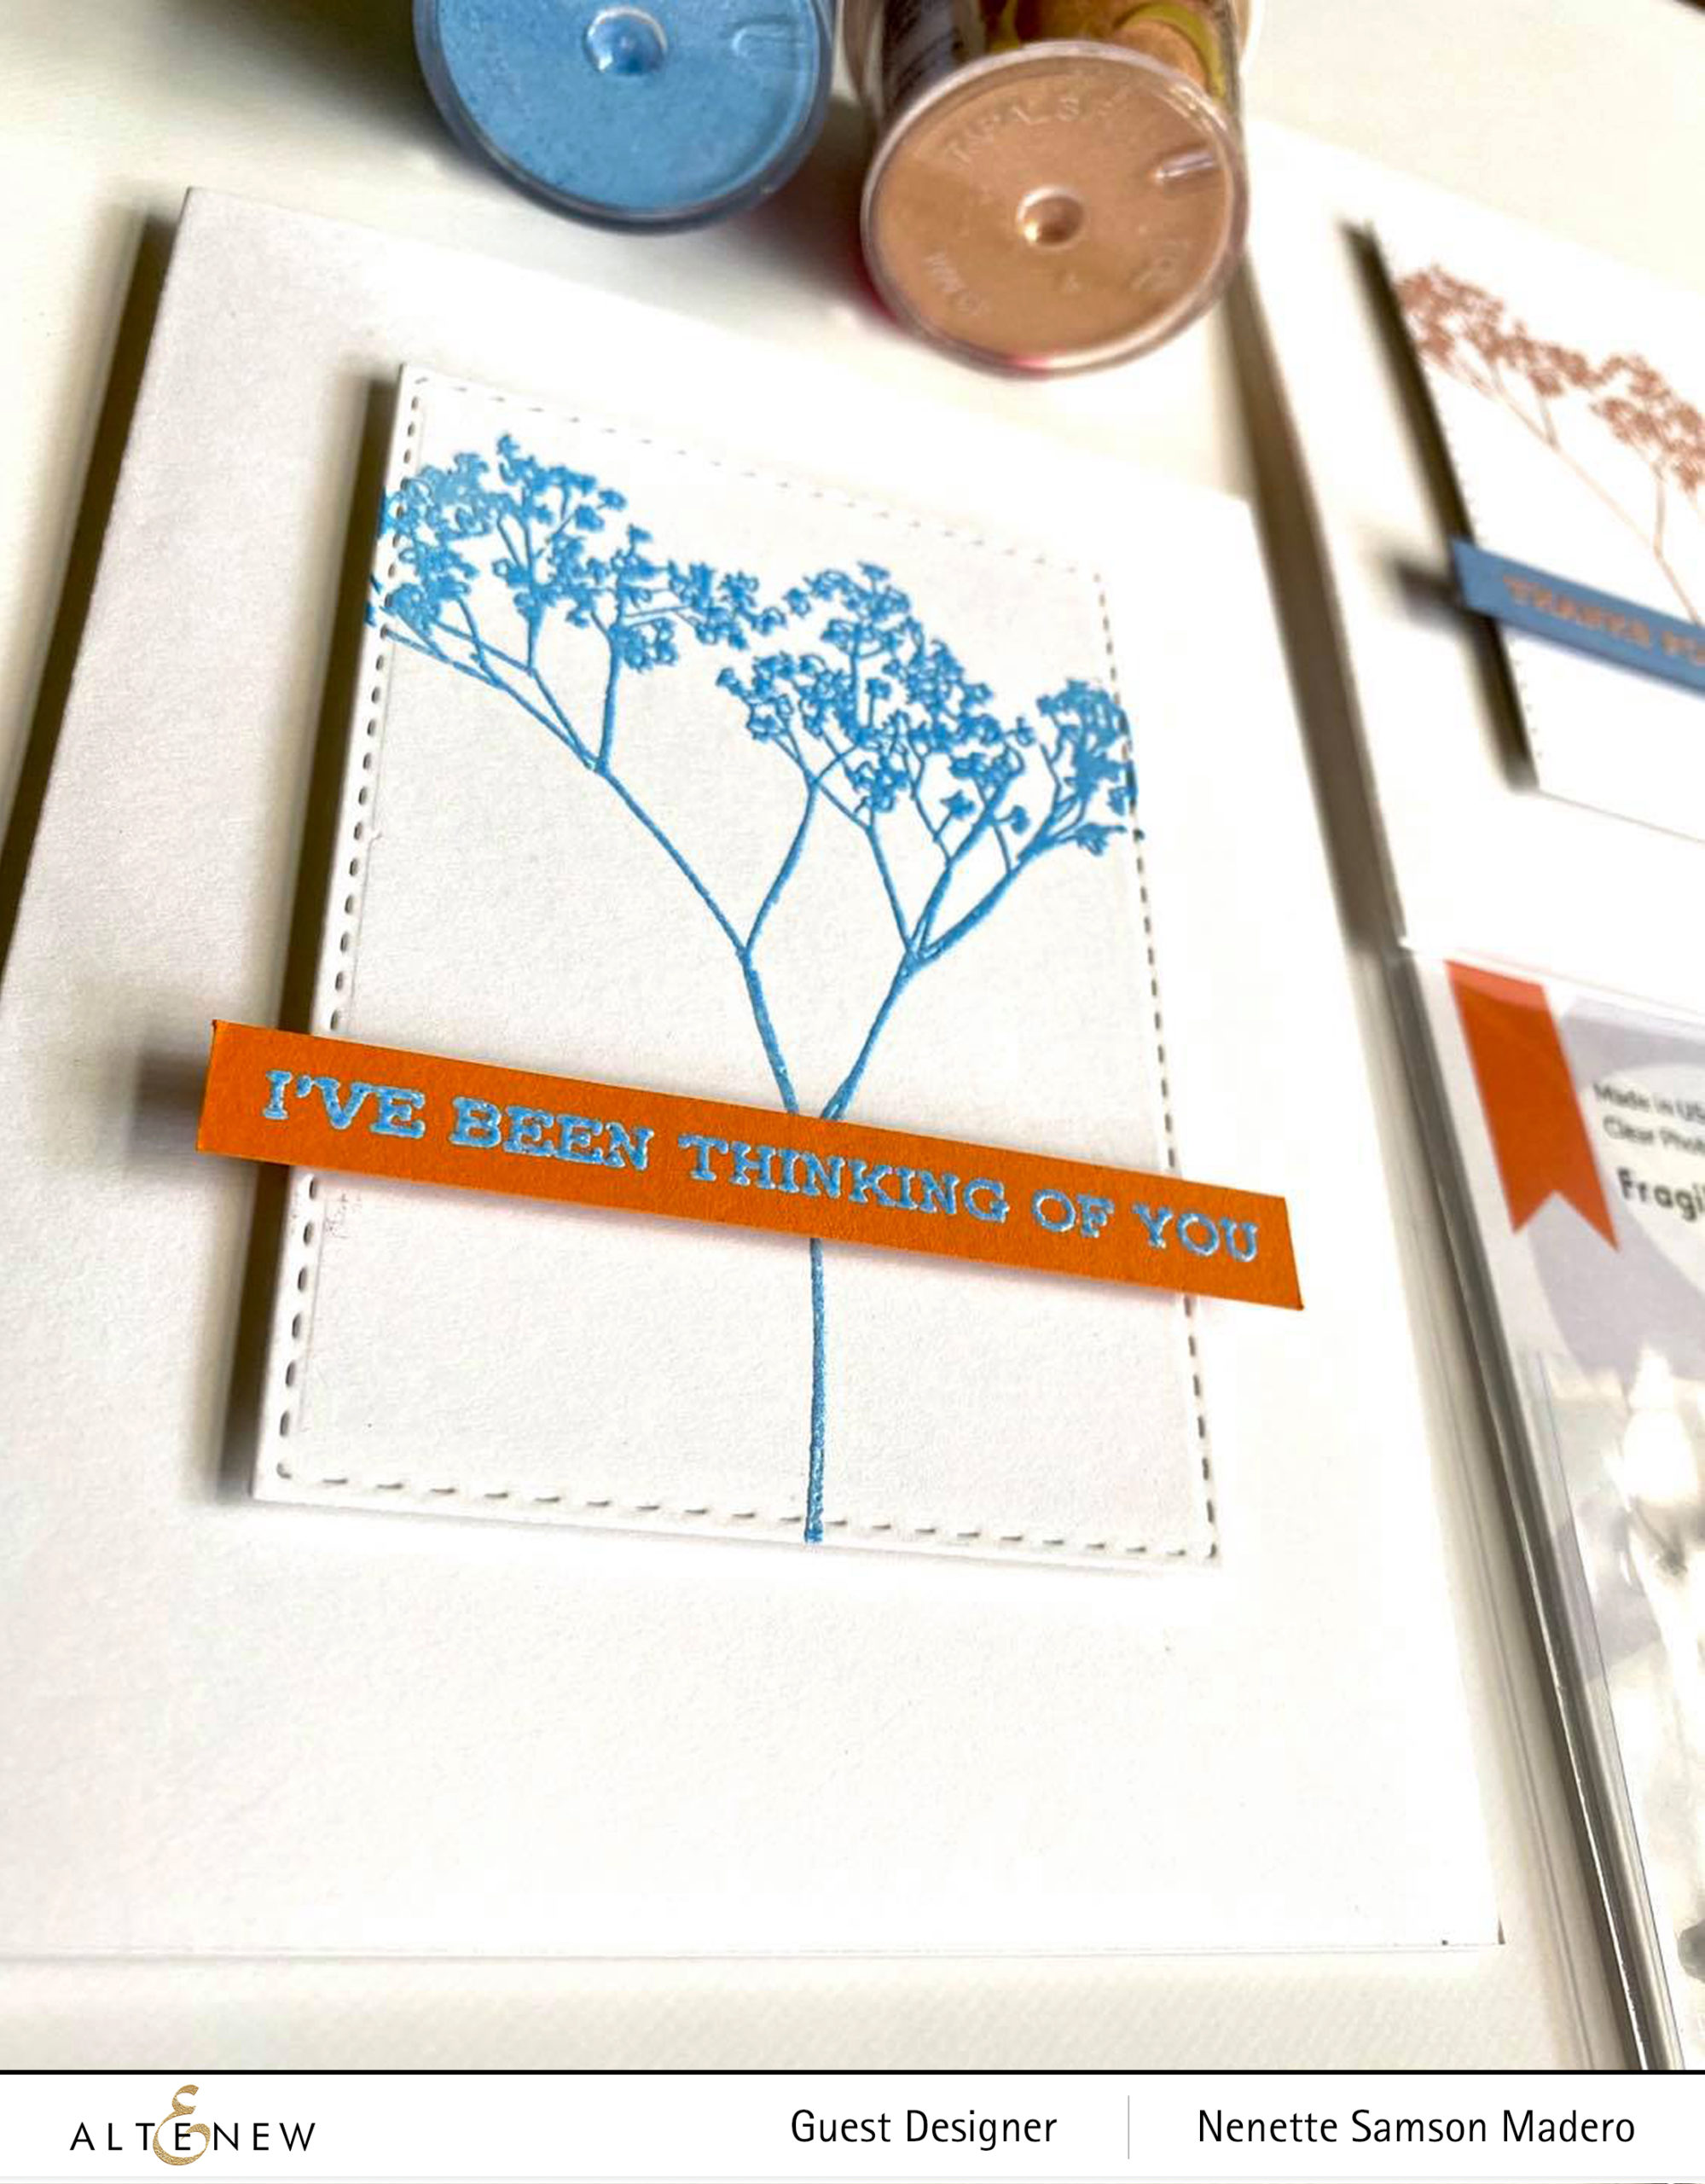
I’VE BEEN THINKING OF YOU|THANKS FOR EVERYTHING
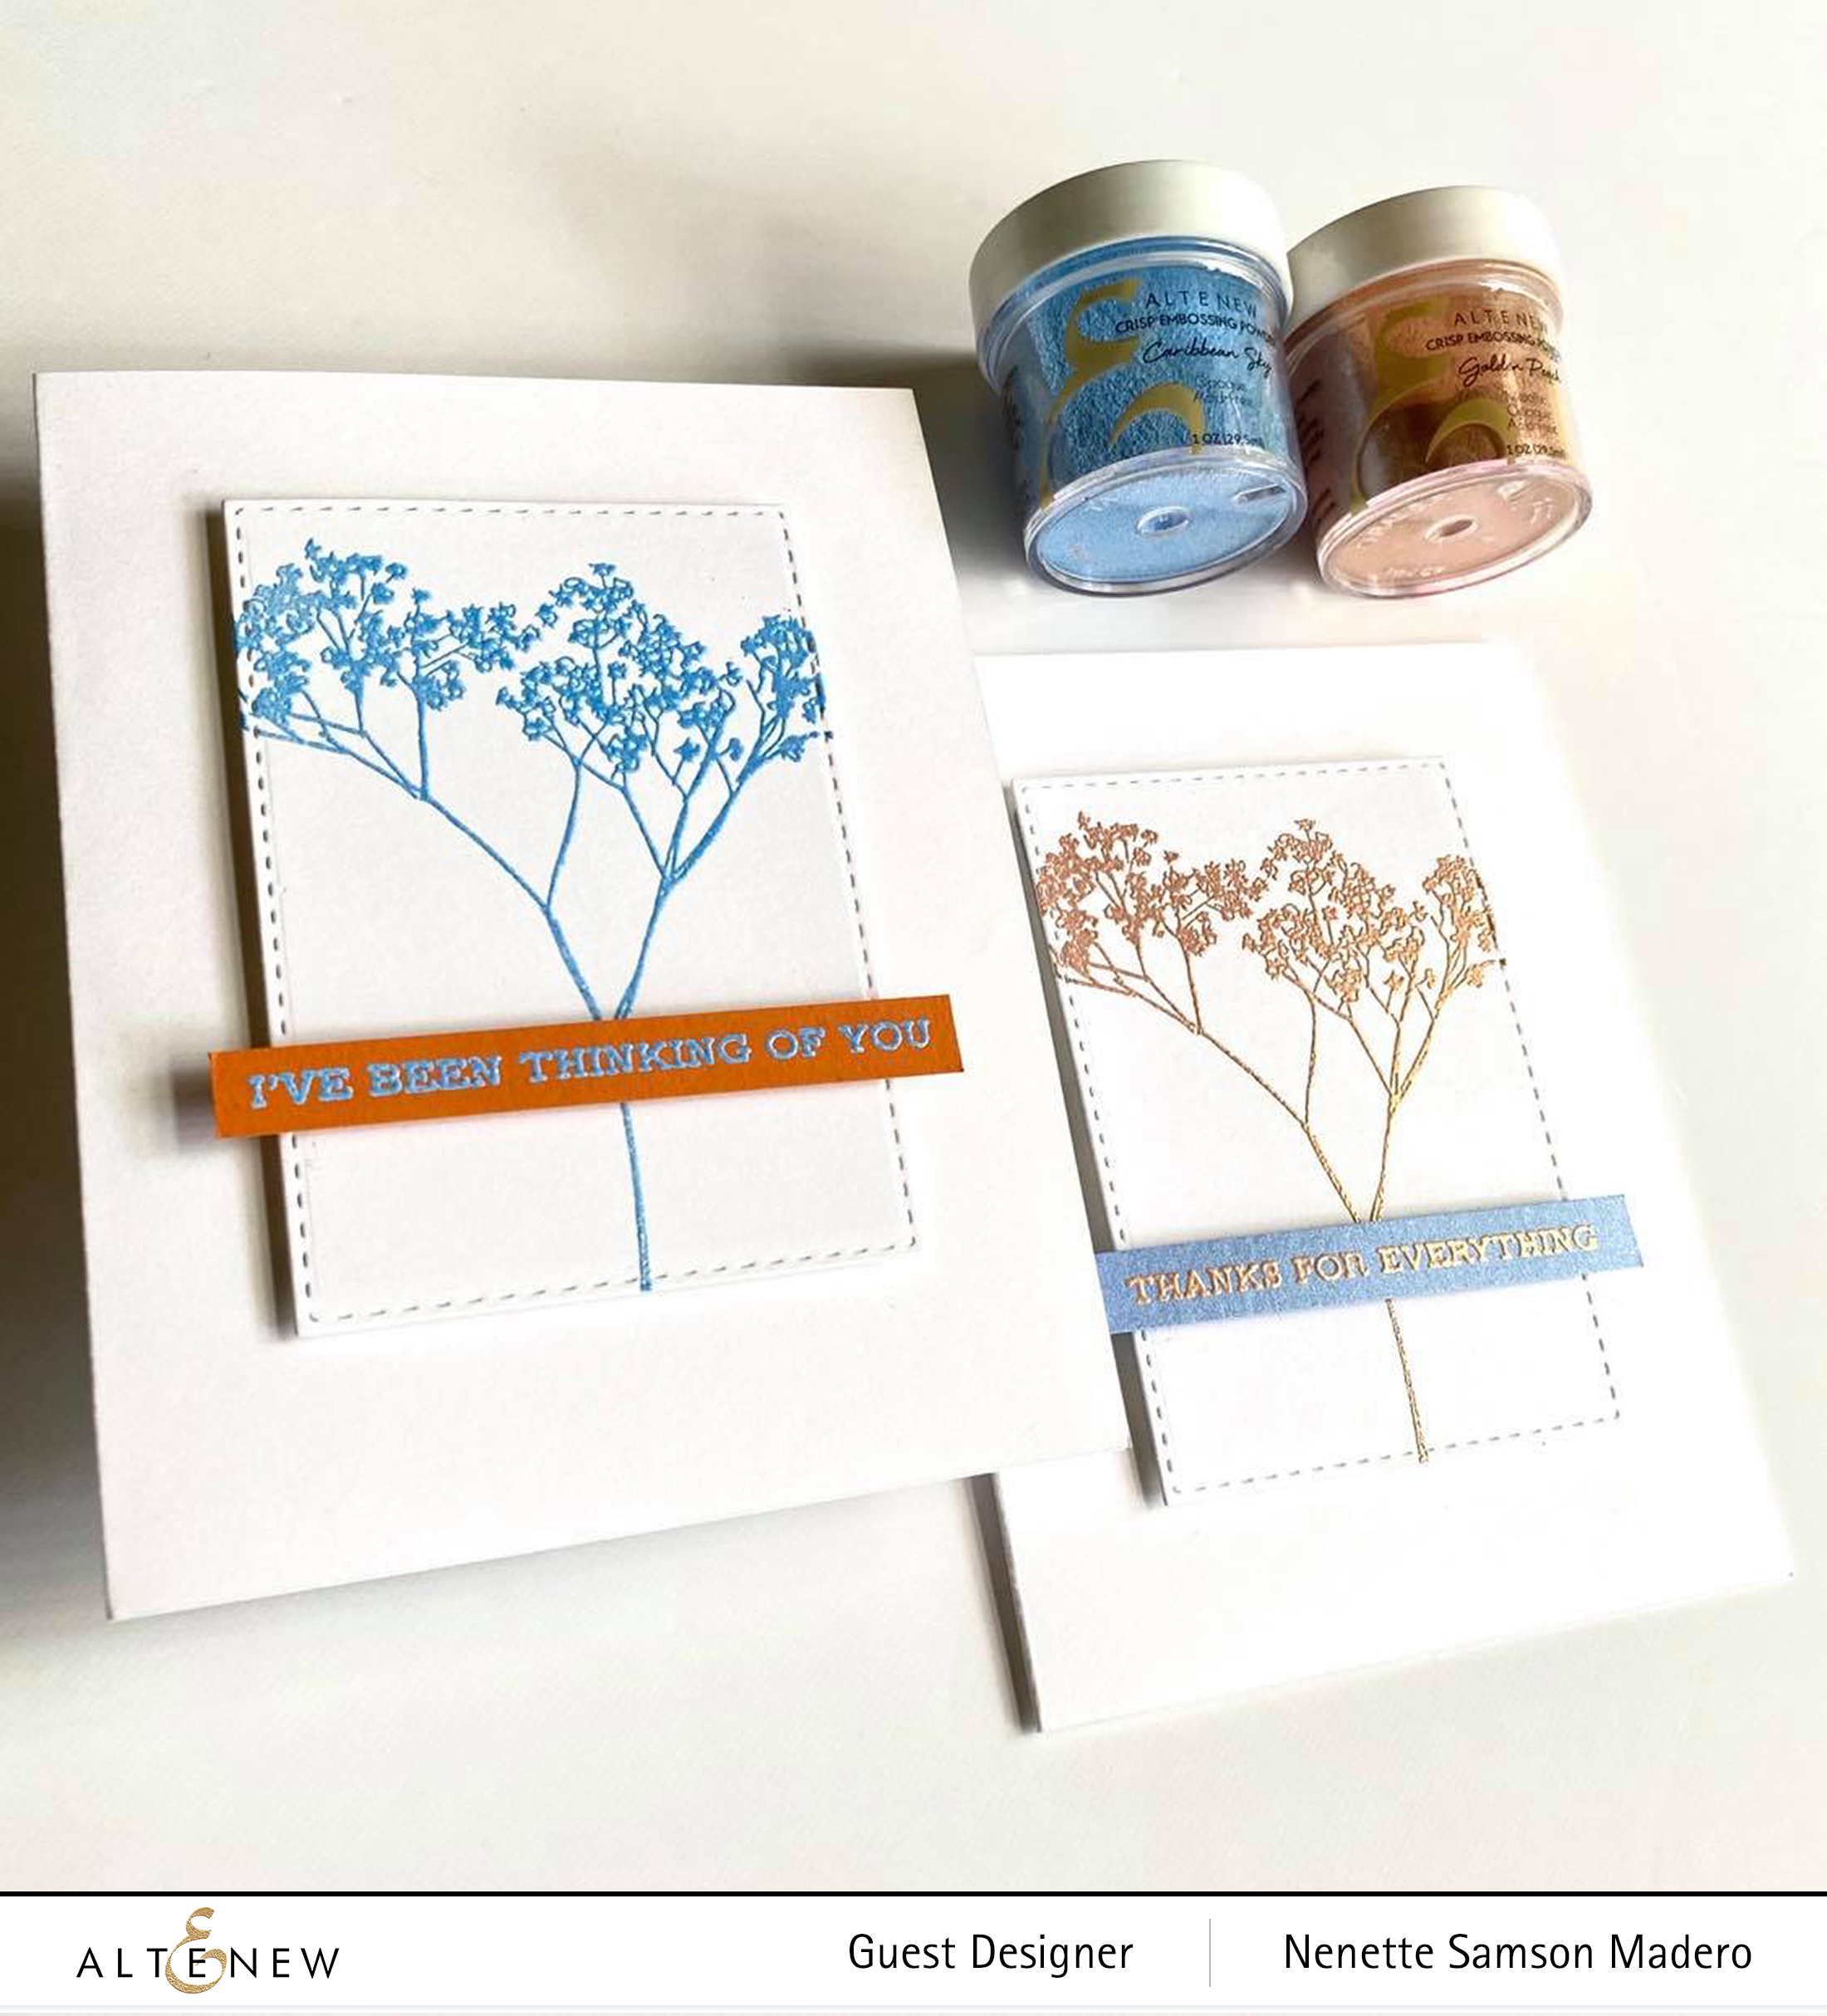
The image from the Fragile Foliage image was stamped on a rectangular die cut cardstock. This was adhered on the card front using a foam sheet. Golden peach and Caribbean sky embossing powders were used to emboss the sentiments from the Sentiment Strips stamp set.
Thank you so much for dropping by!!! As I’ve said earlier, I truly enjoy reading all your wonderful comments. Do say hi and let me know which card is your favorite! Would love to see you too in my other social media platforms. To see my latest projects, you can follow me on Instagram and Facebook . Thanks again for dropping by and keep on crafting!!!