Build-A-Flower: Peony Release Blog Hop + Giveaway

Build-A-Flower: Peony Release Blog Hop + Giveaway
BUILD-A-FLOWER: PEONY

Hello everyone! Welcome to Altenew’s Build-a-Flower: Peony Release Blog Hop! Isn’t this flower just gorgeous?!! The Altenew Card Blog is hosting this hop so make sure to drop by there, too. If you just came from the talented Therese Calvird, then you’re on the right track.


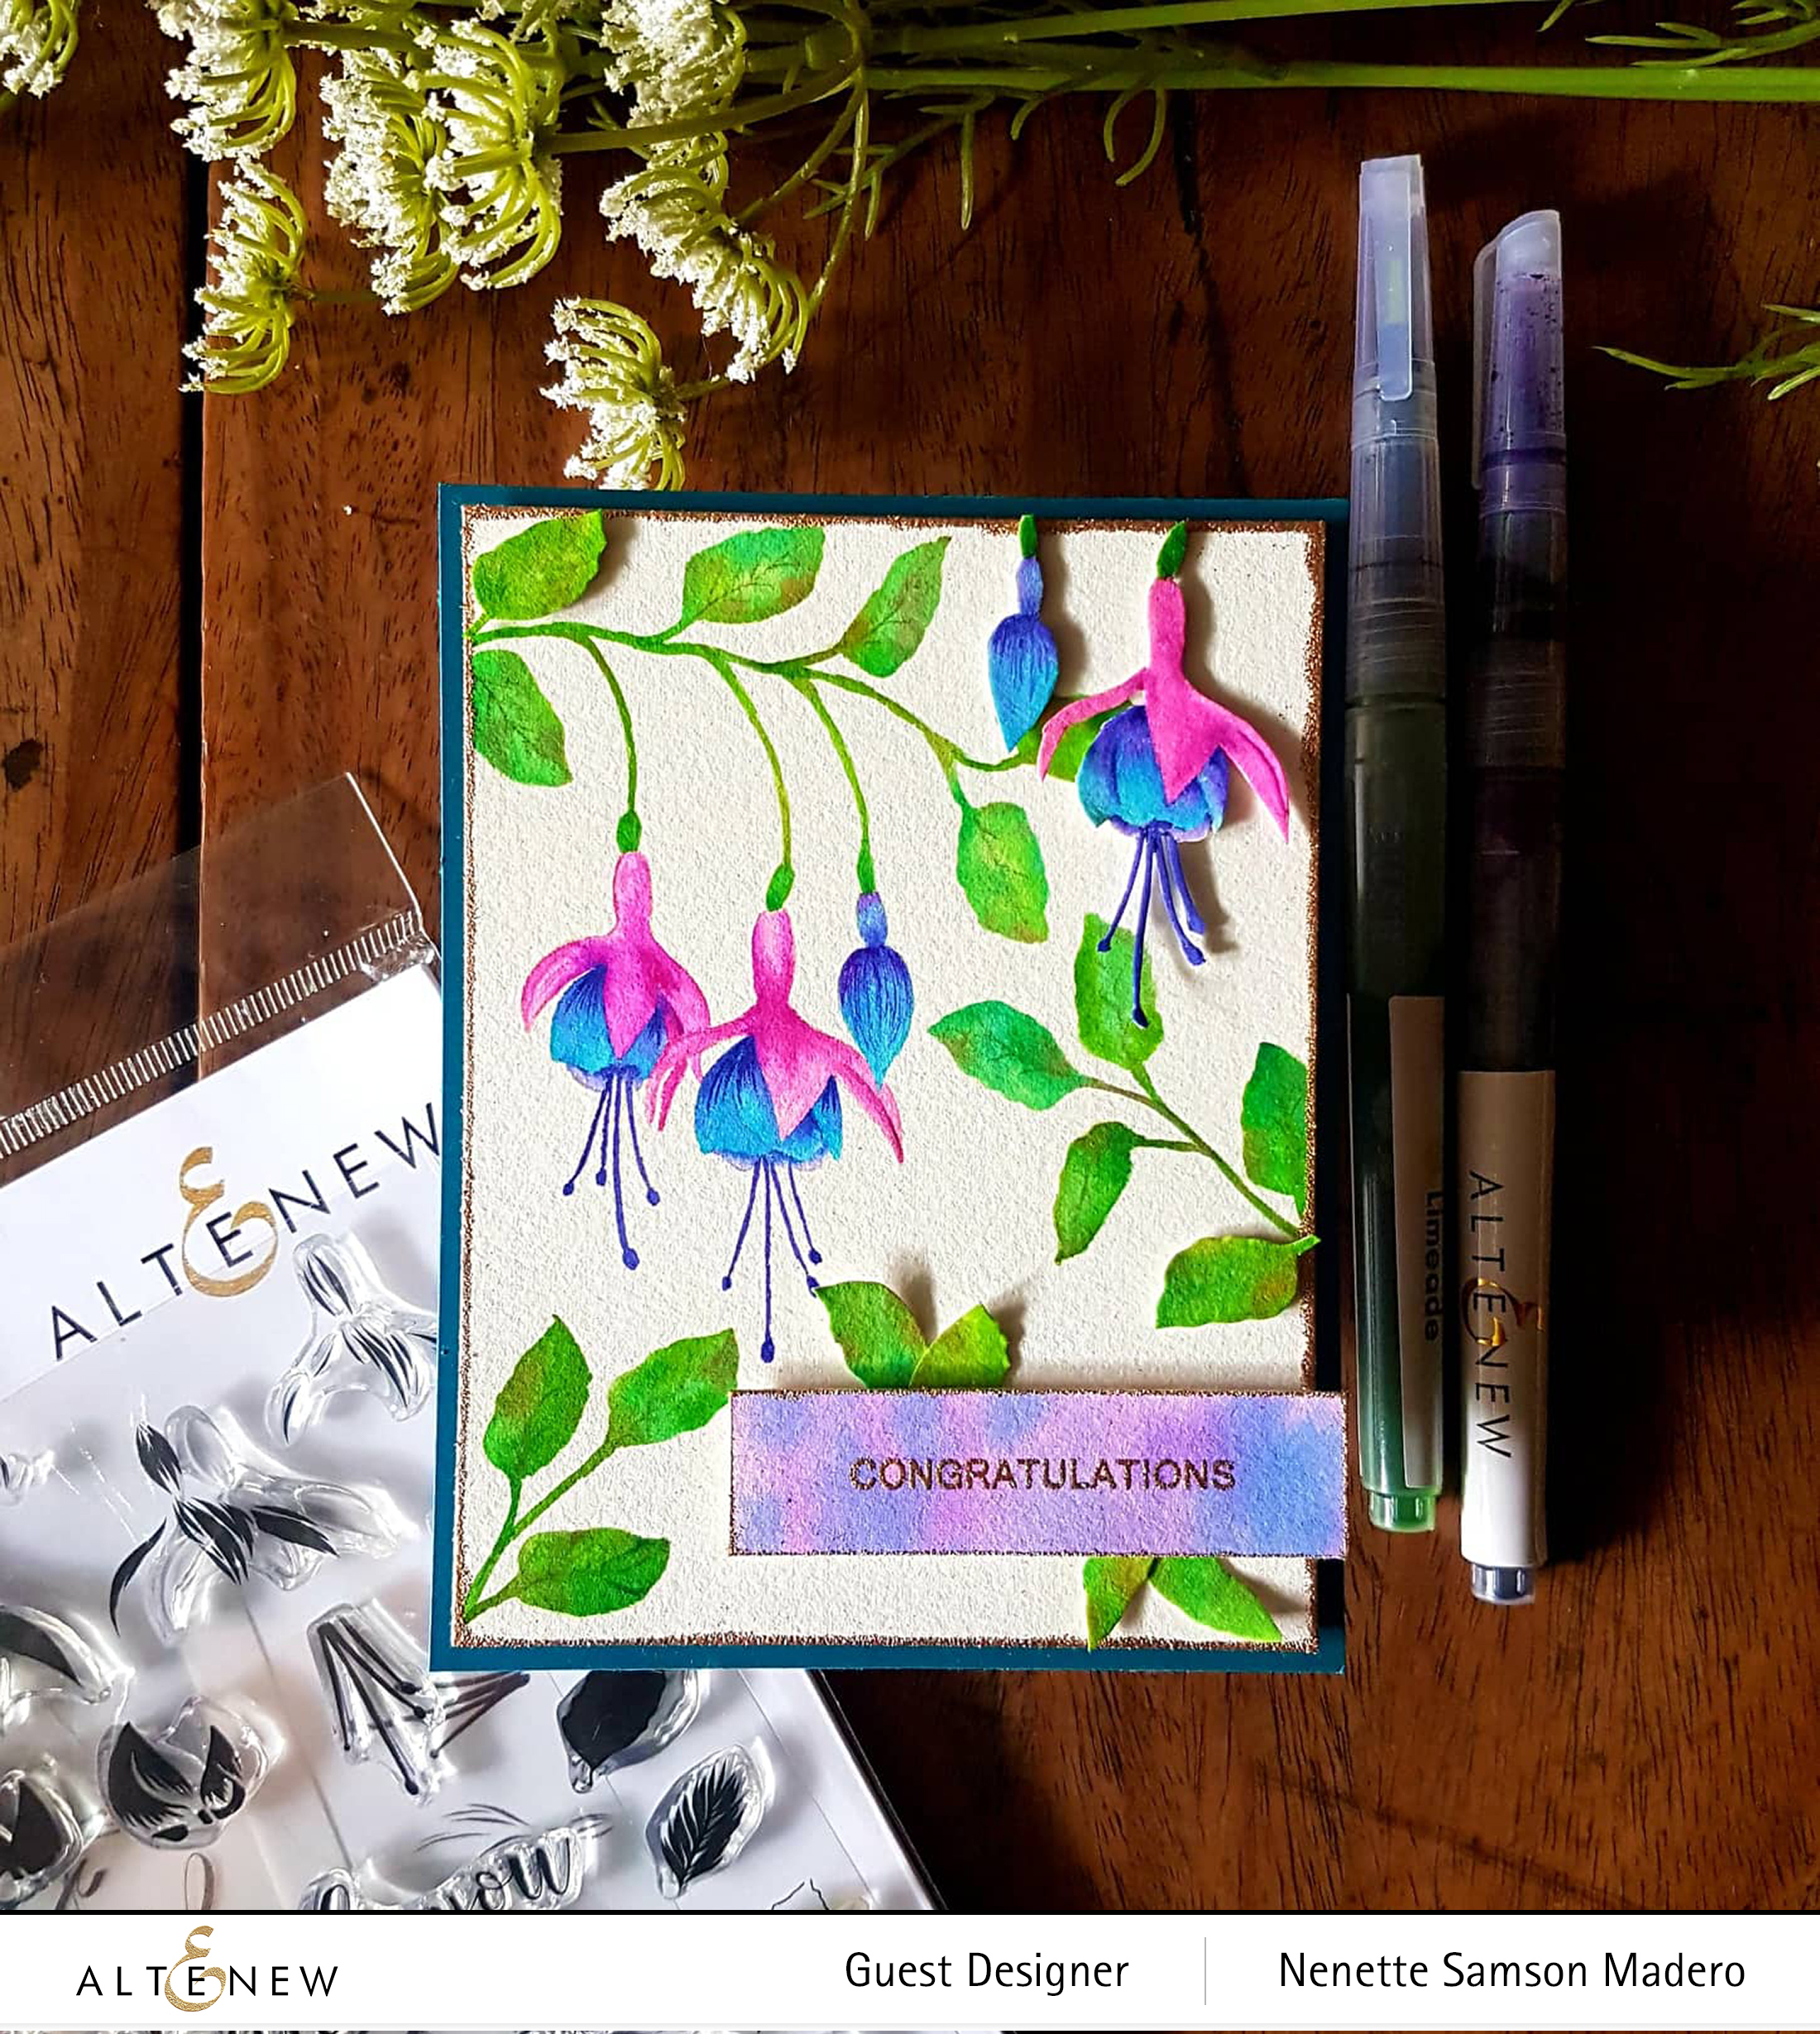
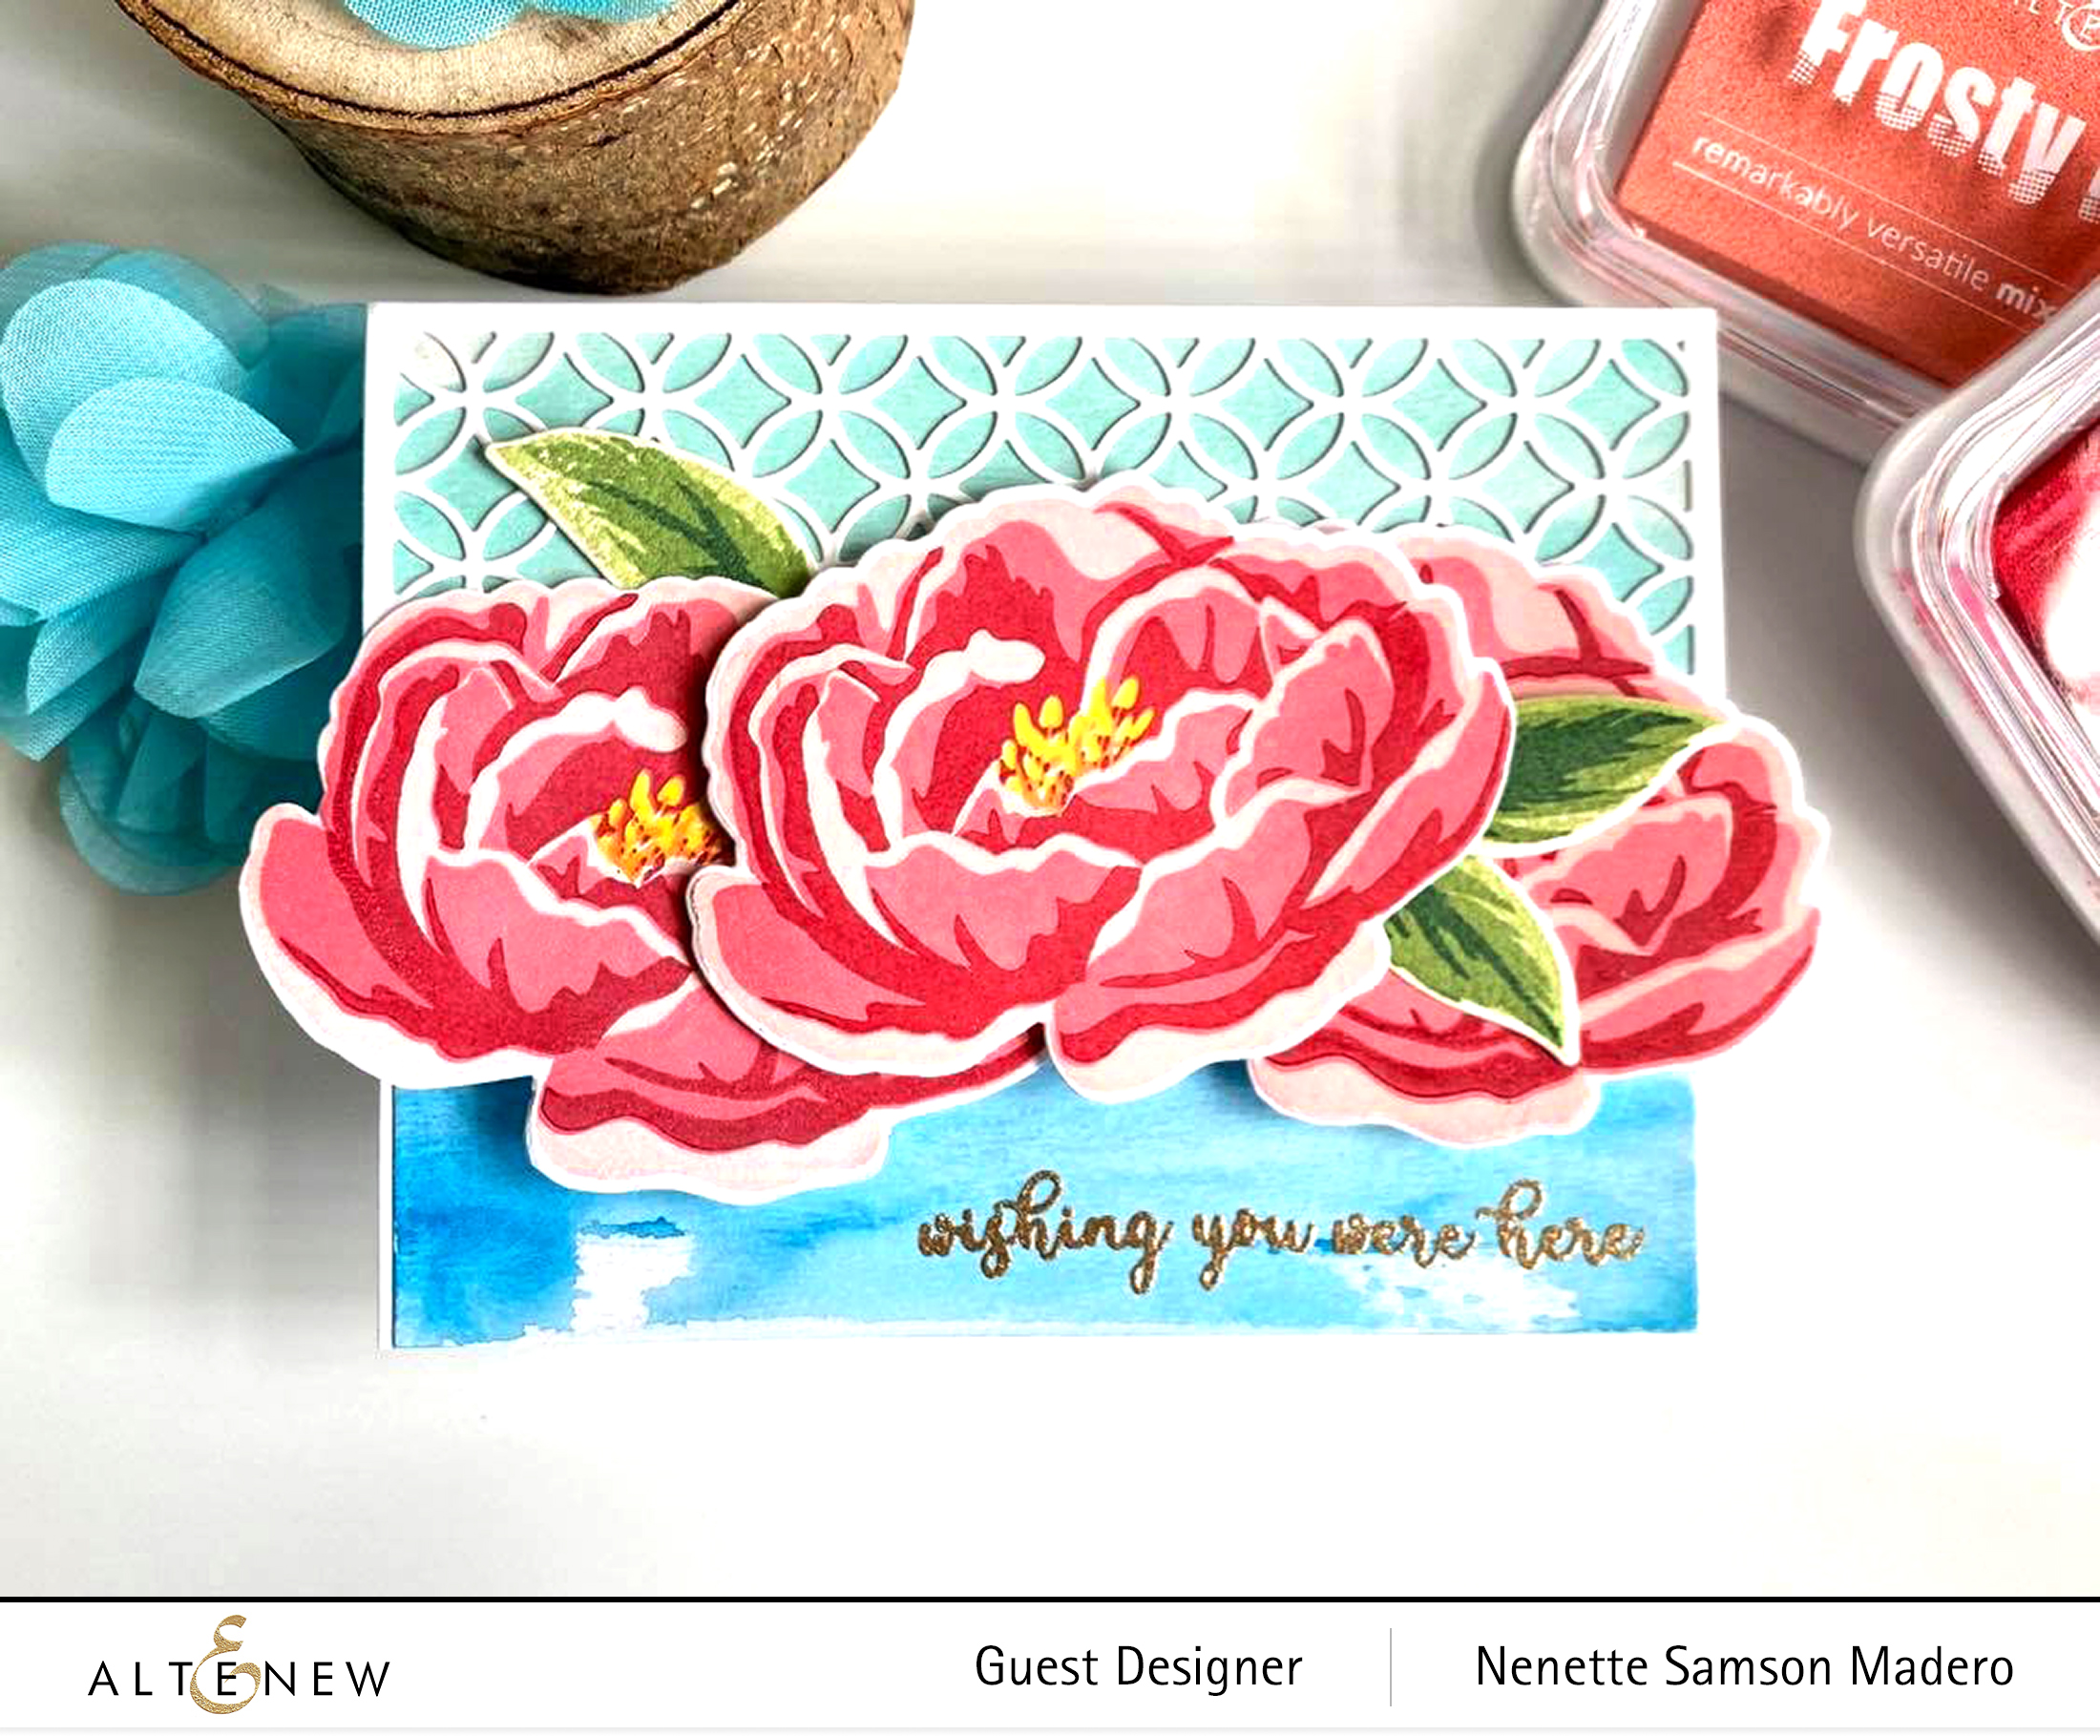
WISHING YOU WERE HERE


MATERIALS: BAF PEONY, Circle Quilt Cover Die, Mixed Media Frosty Pink, Coral Berry, Ruby Red, Frayed Leaf, Forest Glades and Evergreen, Rose Gold Embossing powder, Versamark Ink, Gansai Tambi Watercolor, Foam Squares, Watercolor paper, Neenah Solar Cardstock

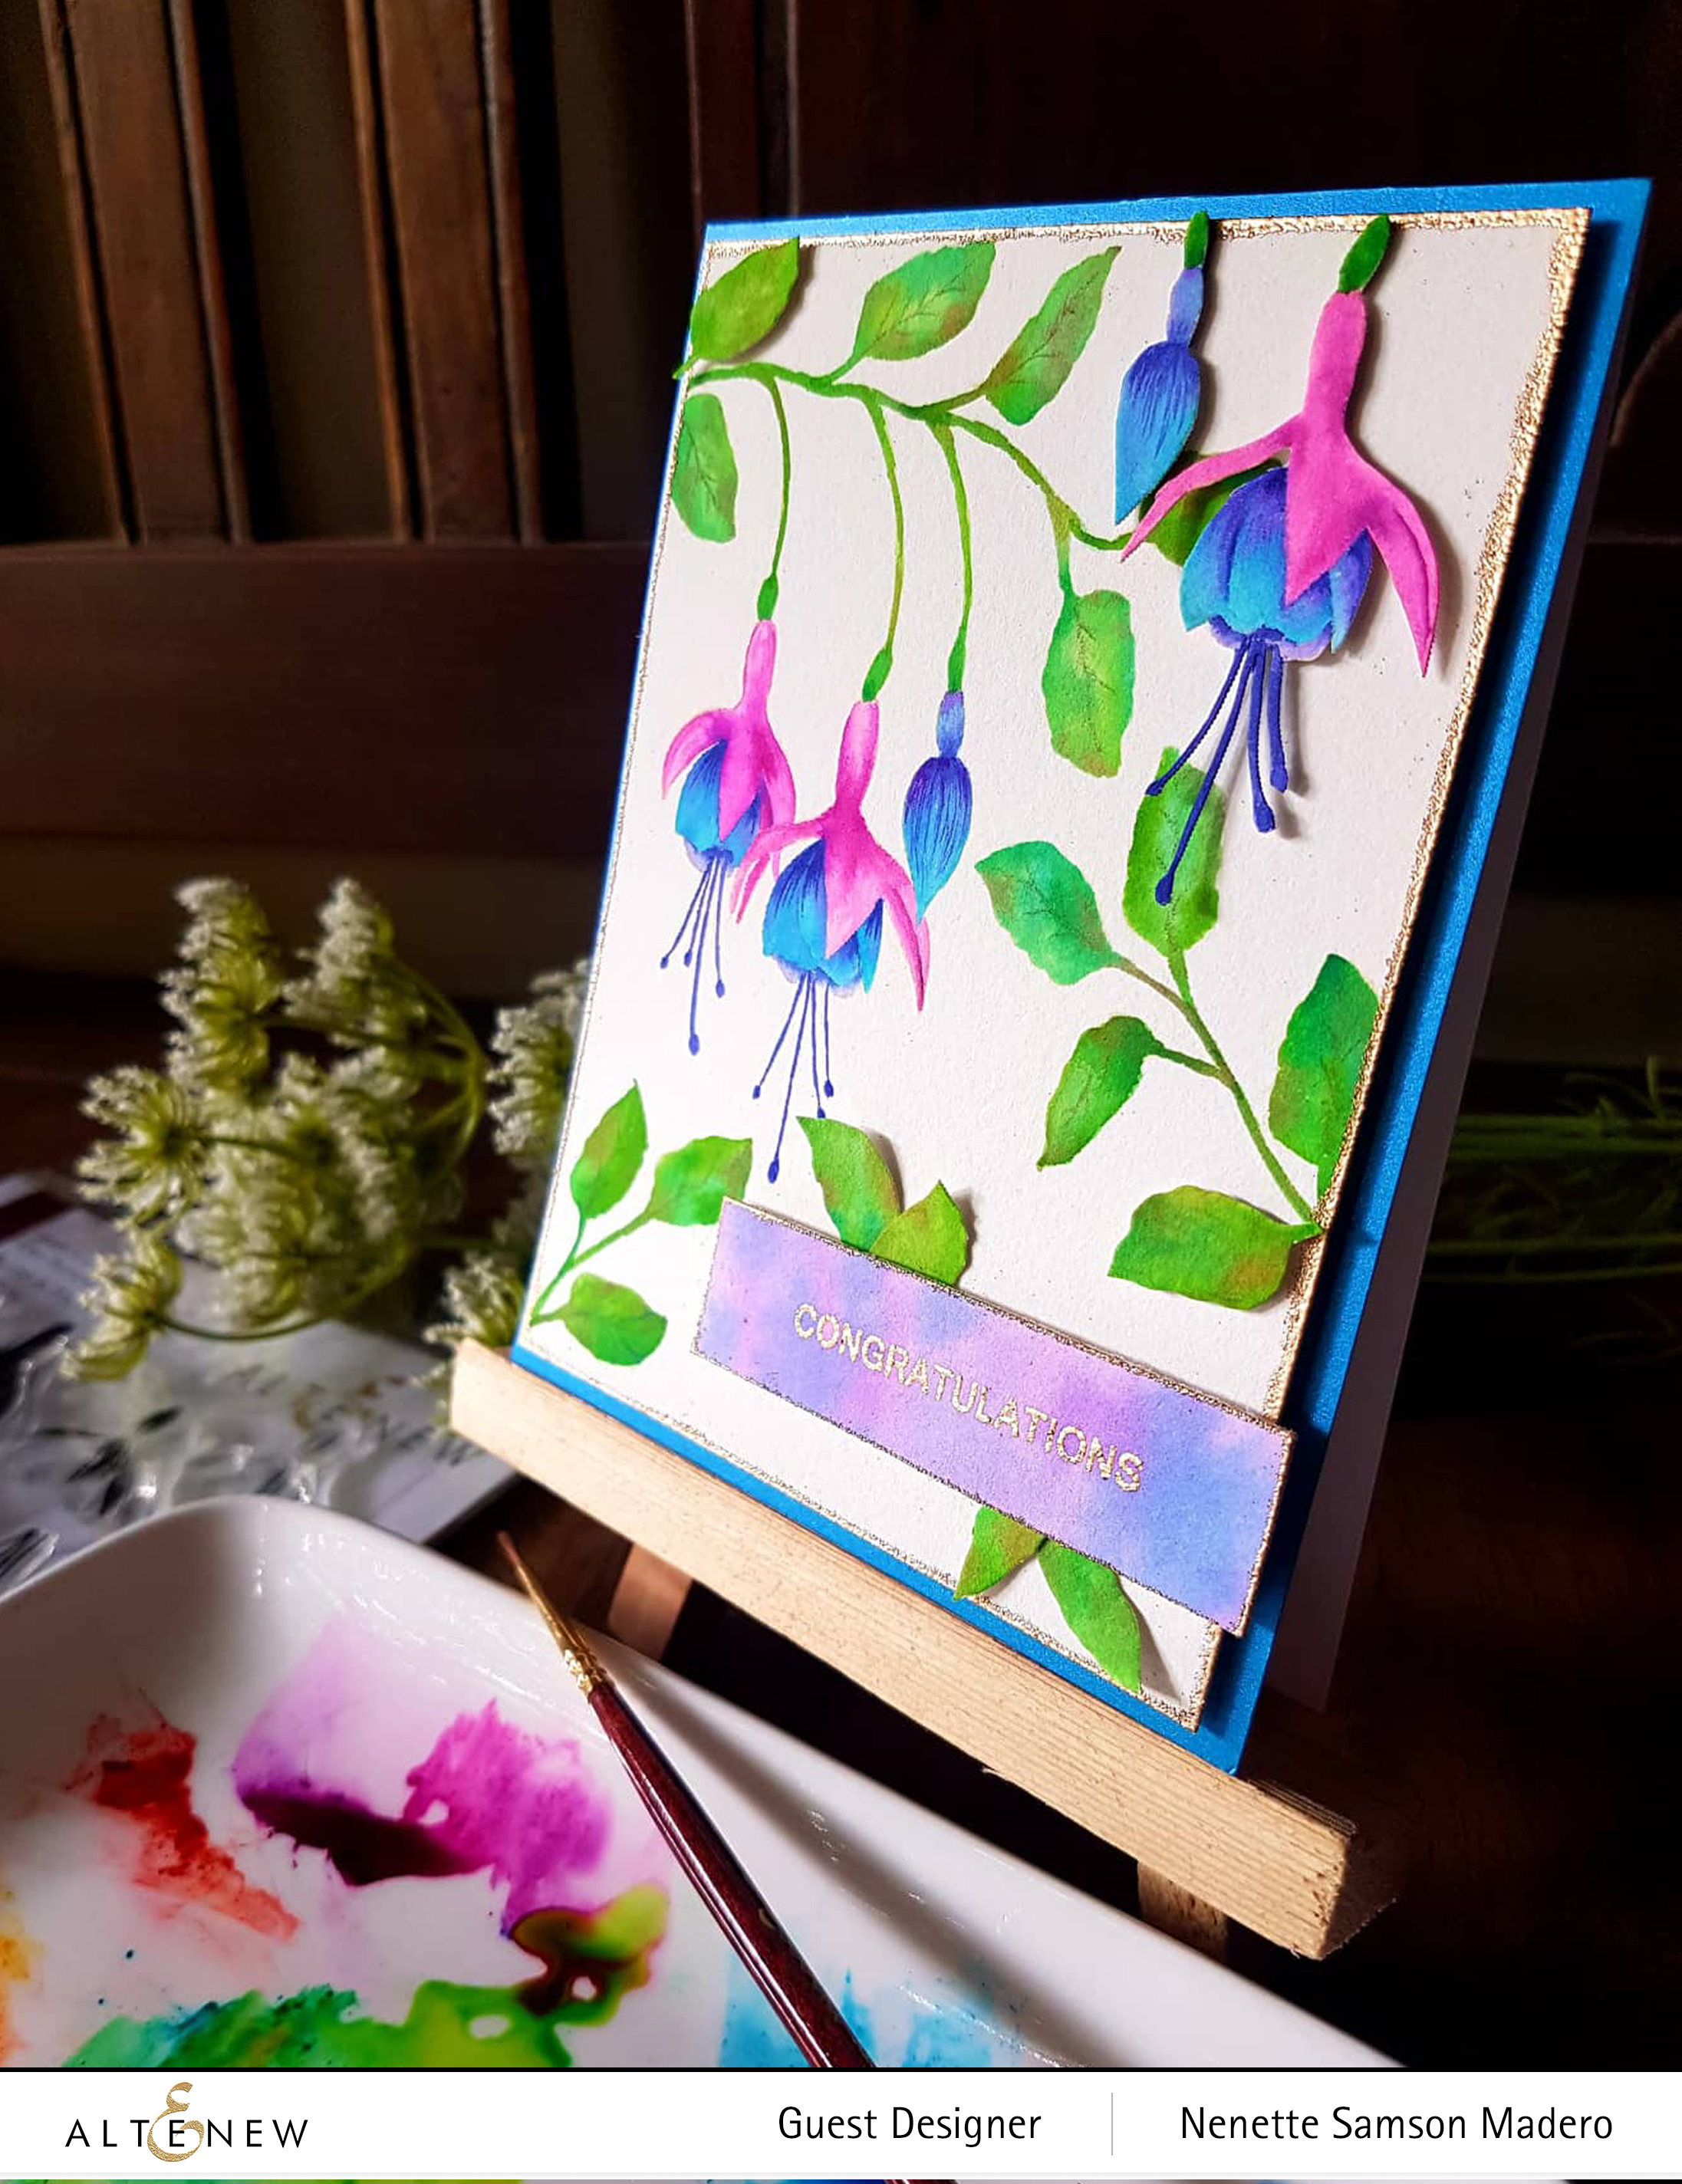
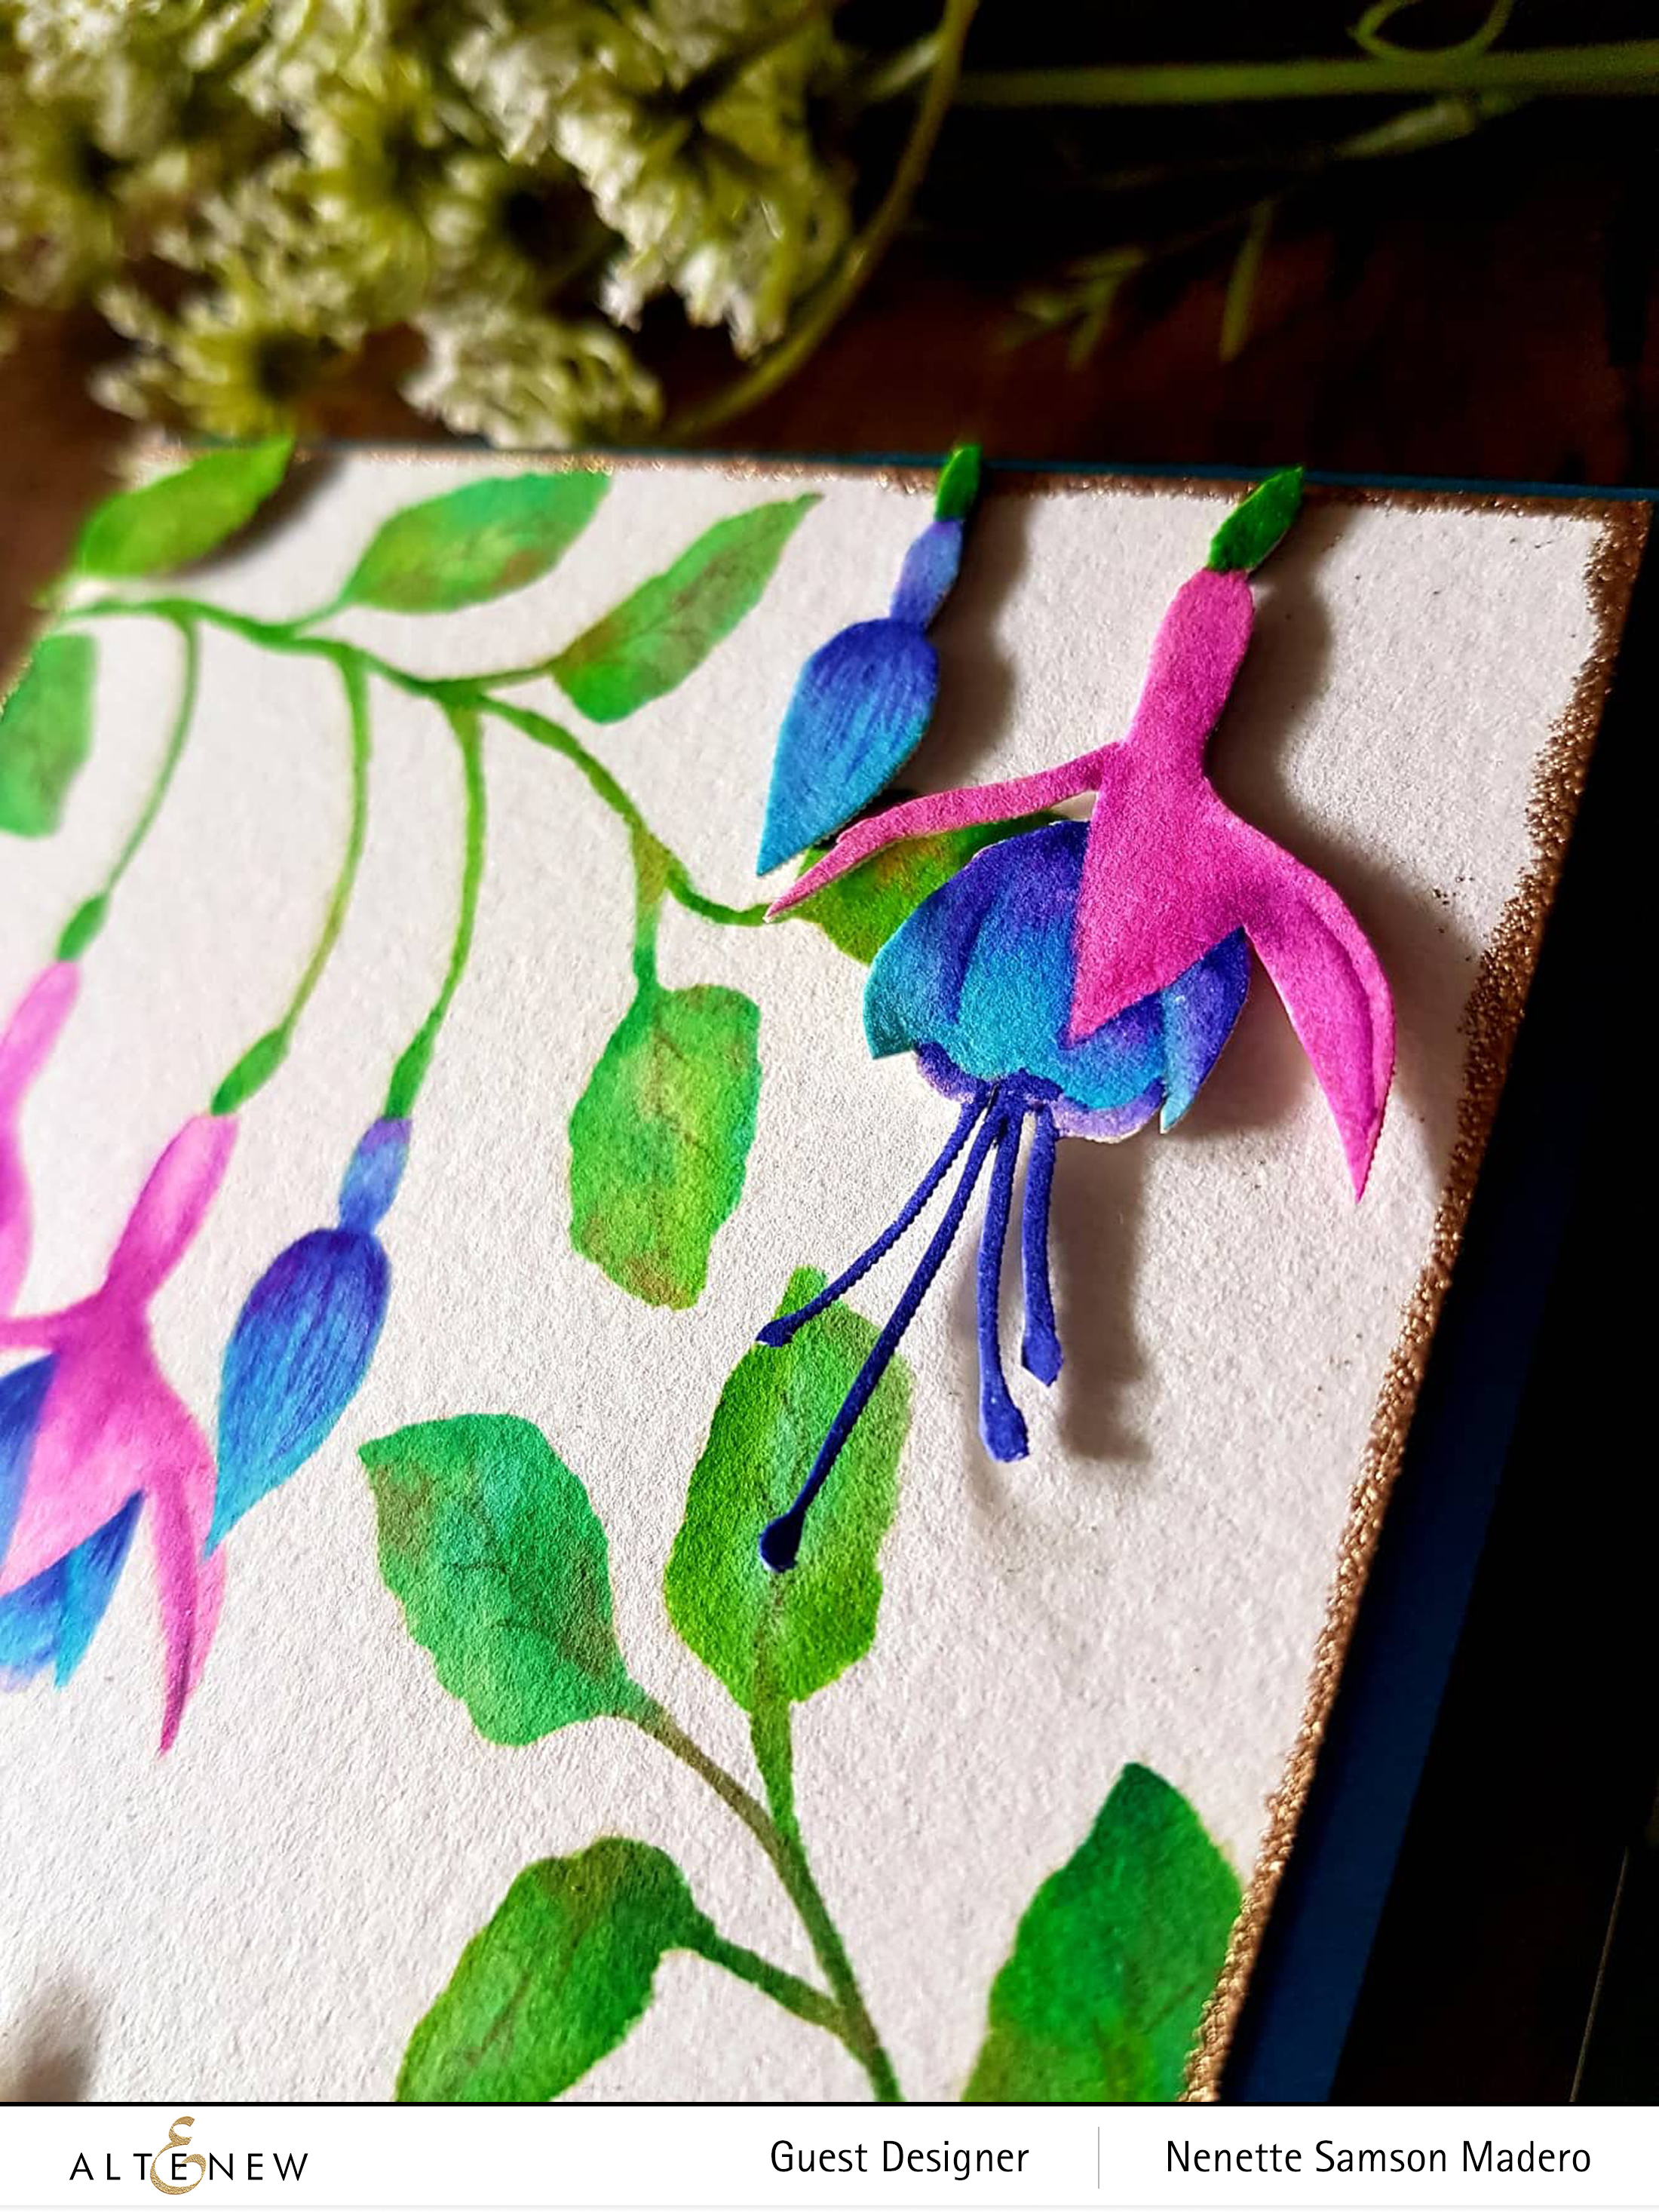
This was my first time to try the Altenew Mixed Media inks. Because these are pigment inks, the finely ground colored particles which are suspended in a medium actually sit on top of the paper. It stamped smoothly and beautifully!❤️Compared to dye inks wherein the inks are absorbed by the paper quickly, these pigment inks stay wet longer so you’ll have to heat set them.

Layering Guide

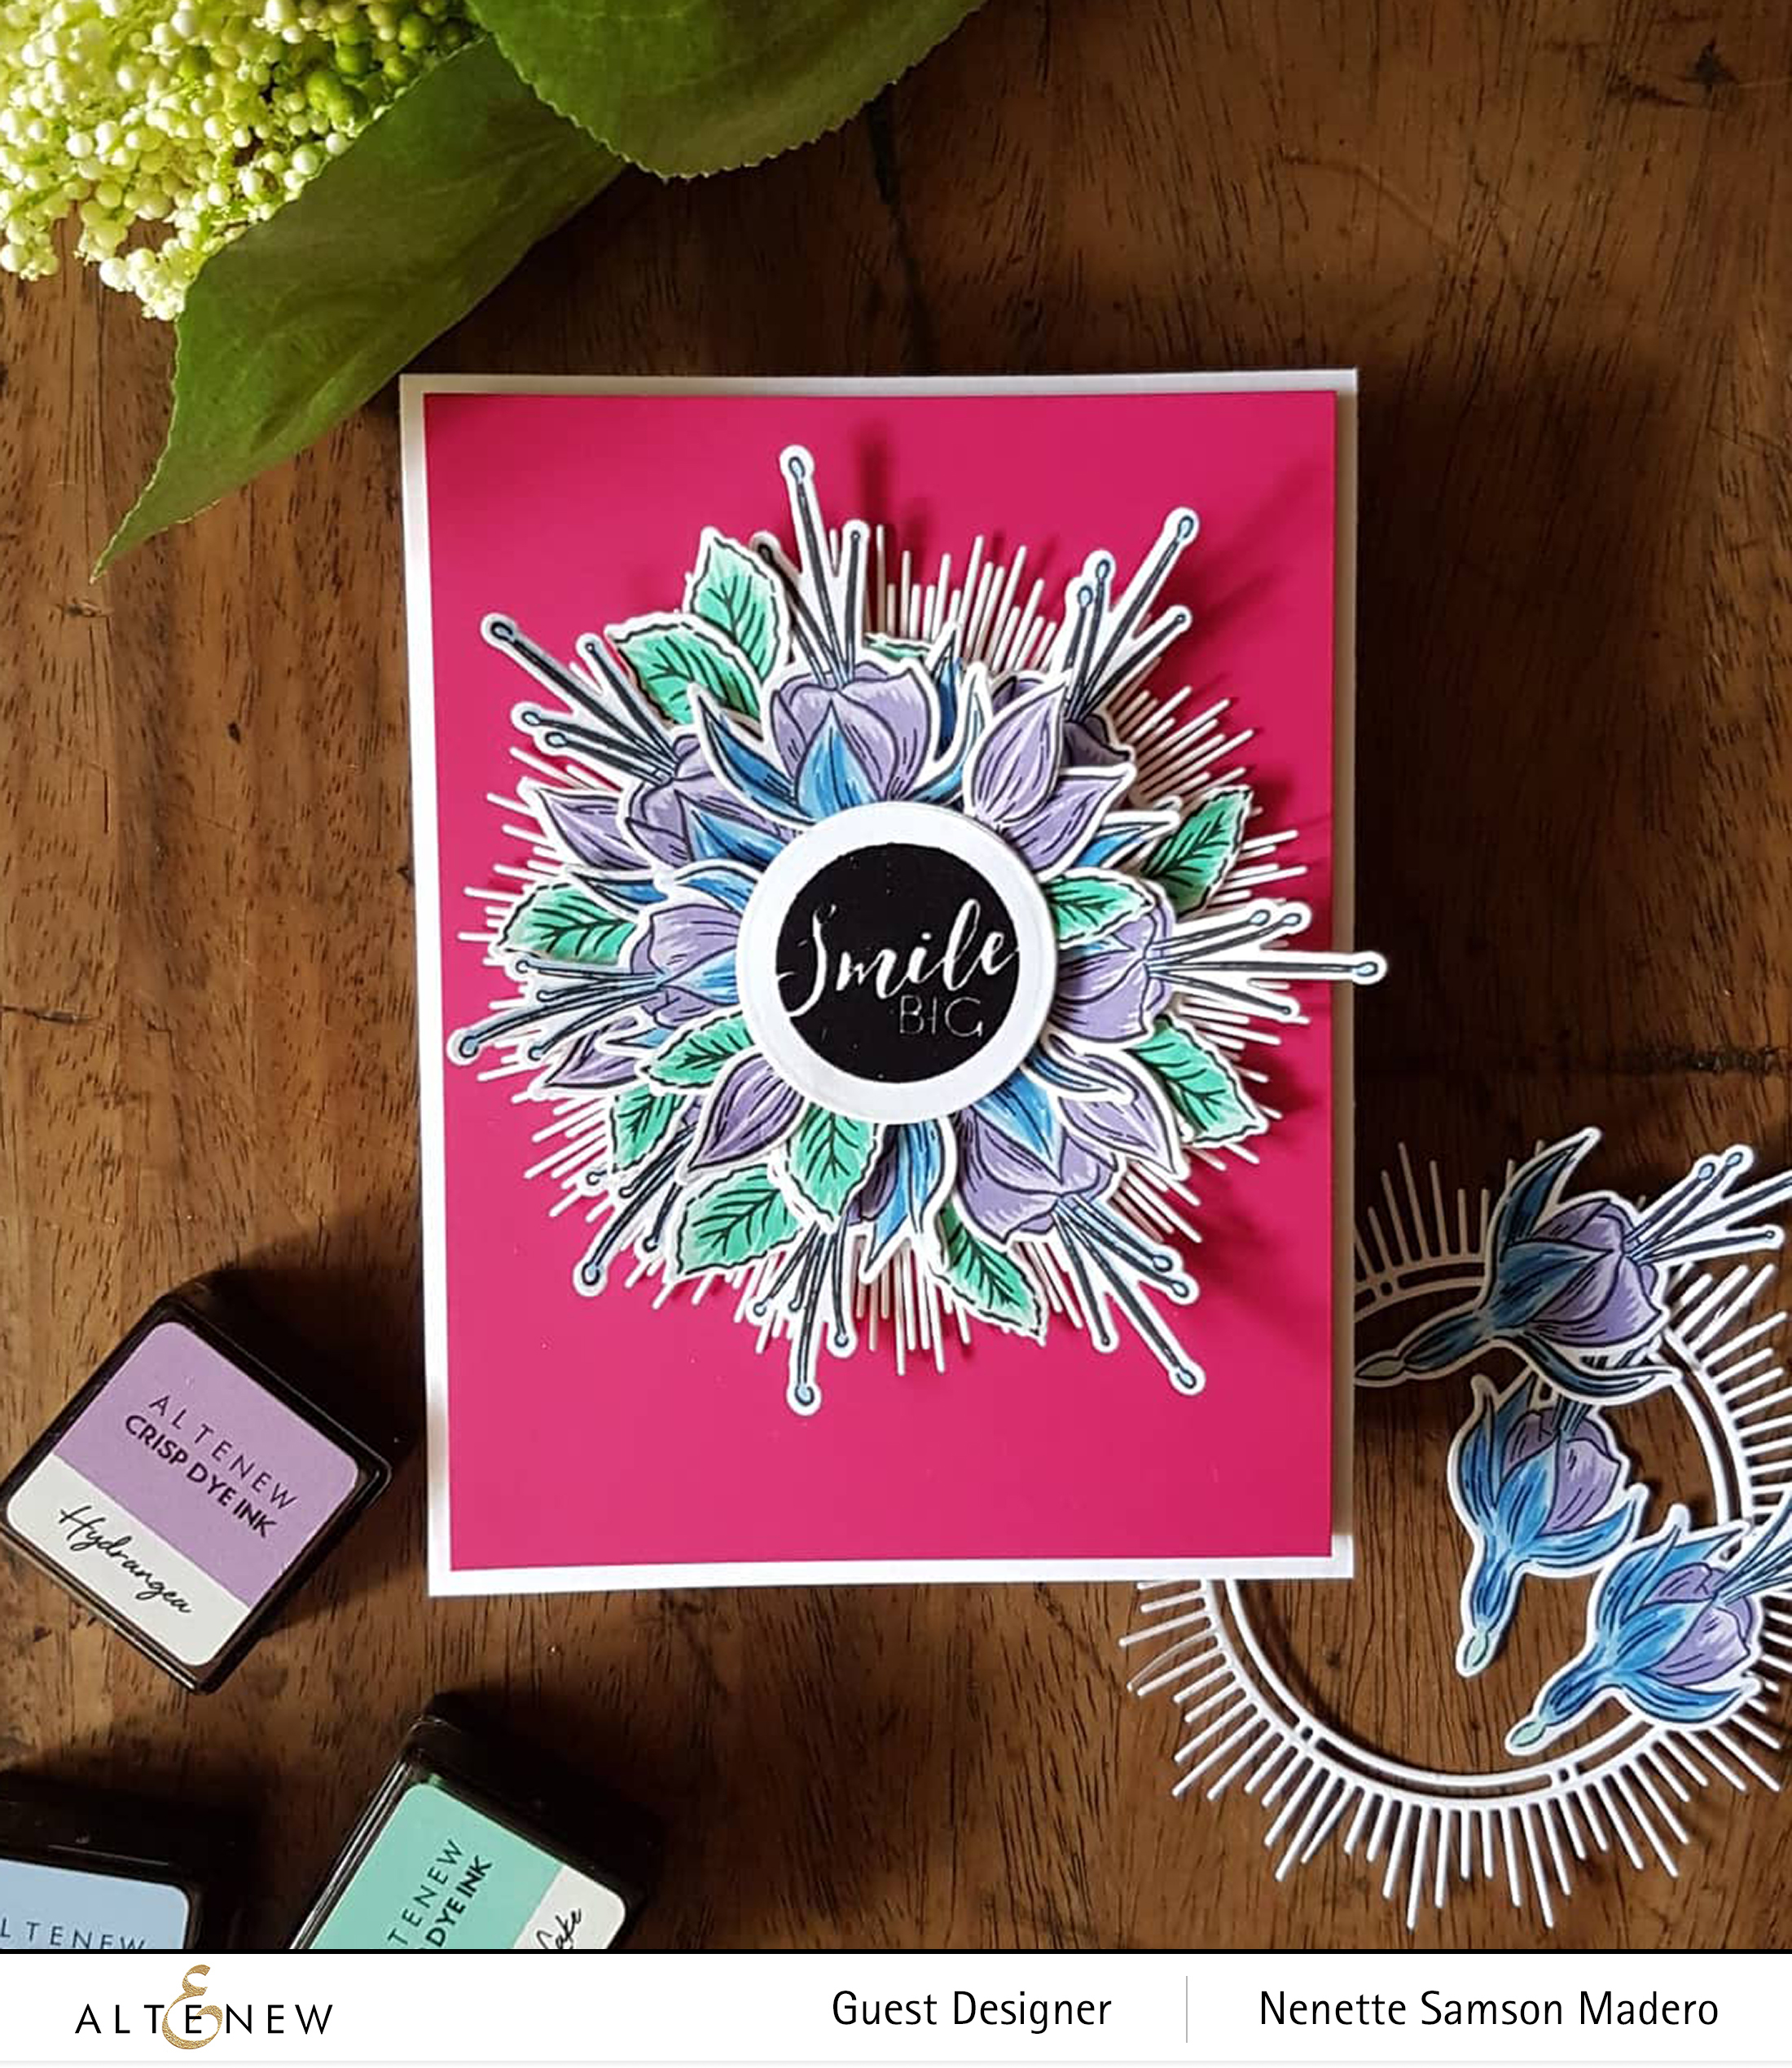
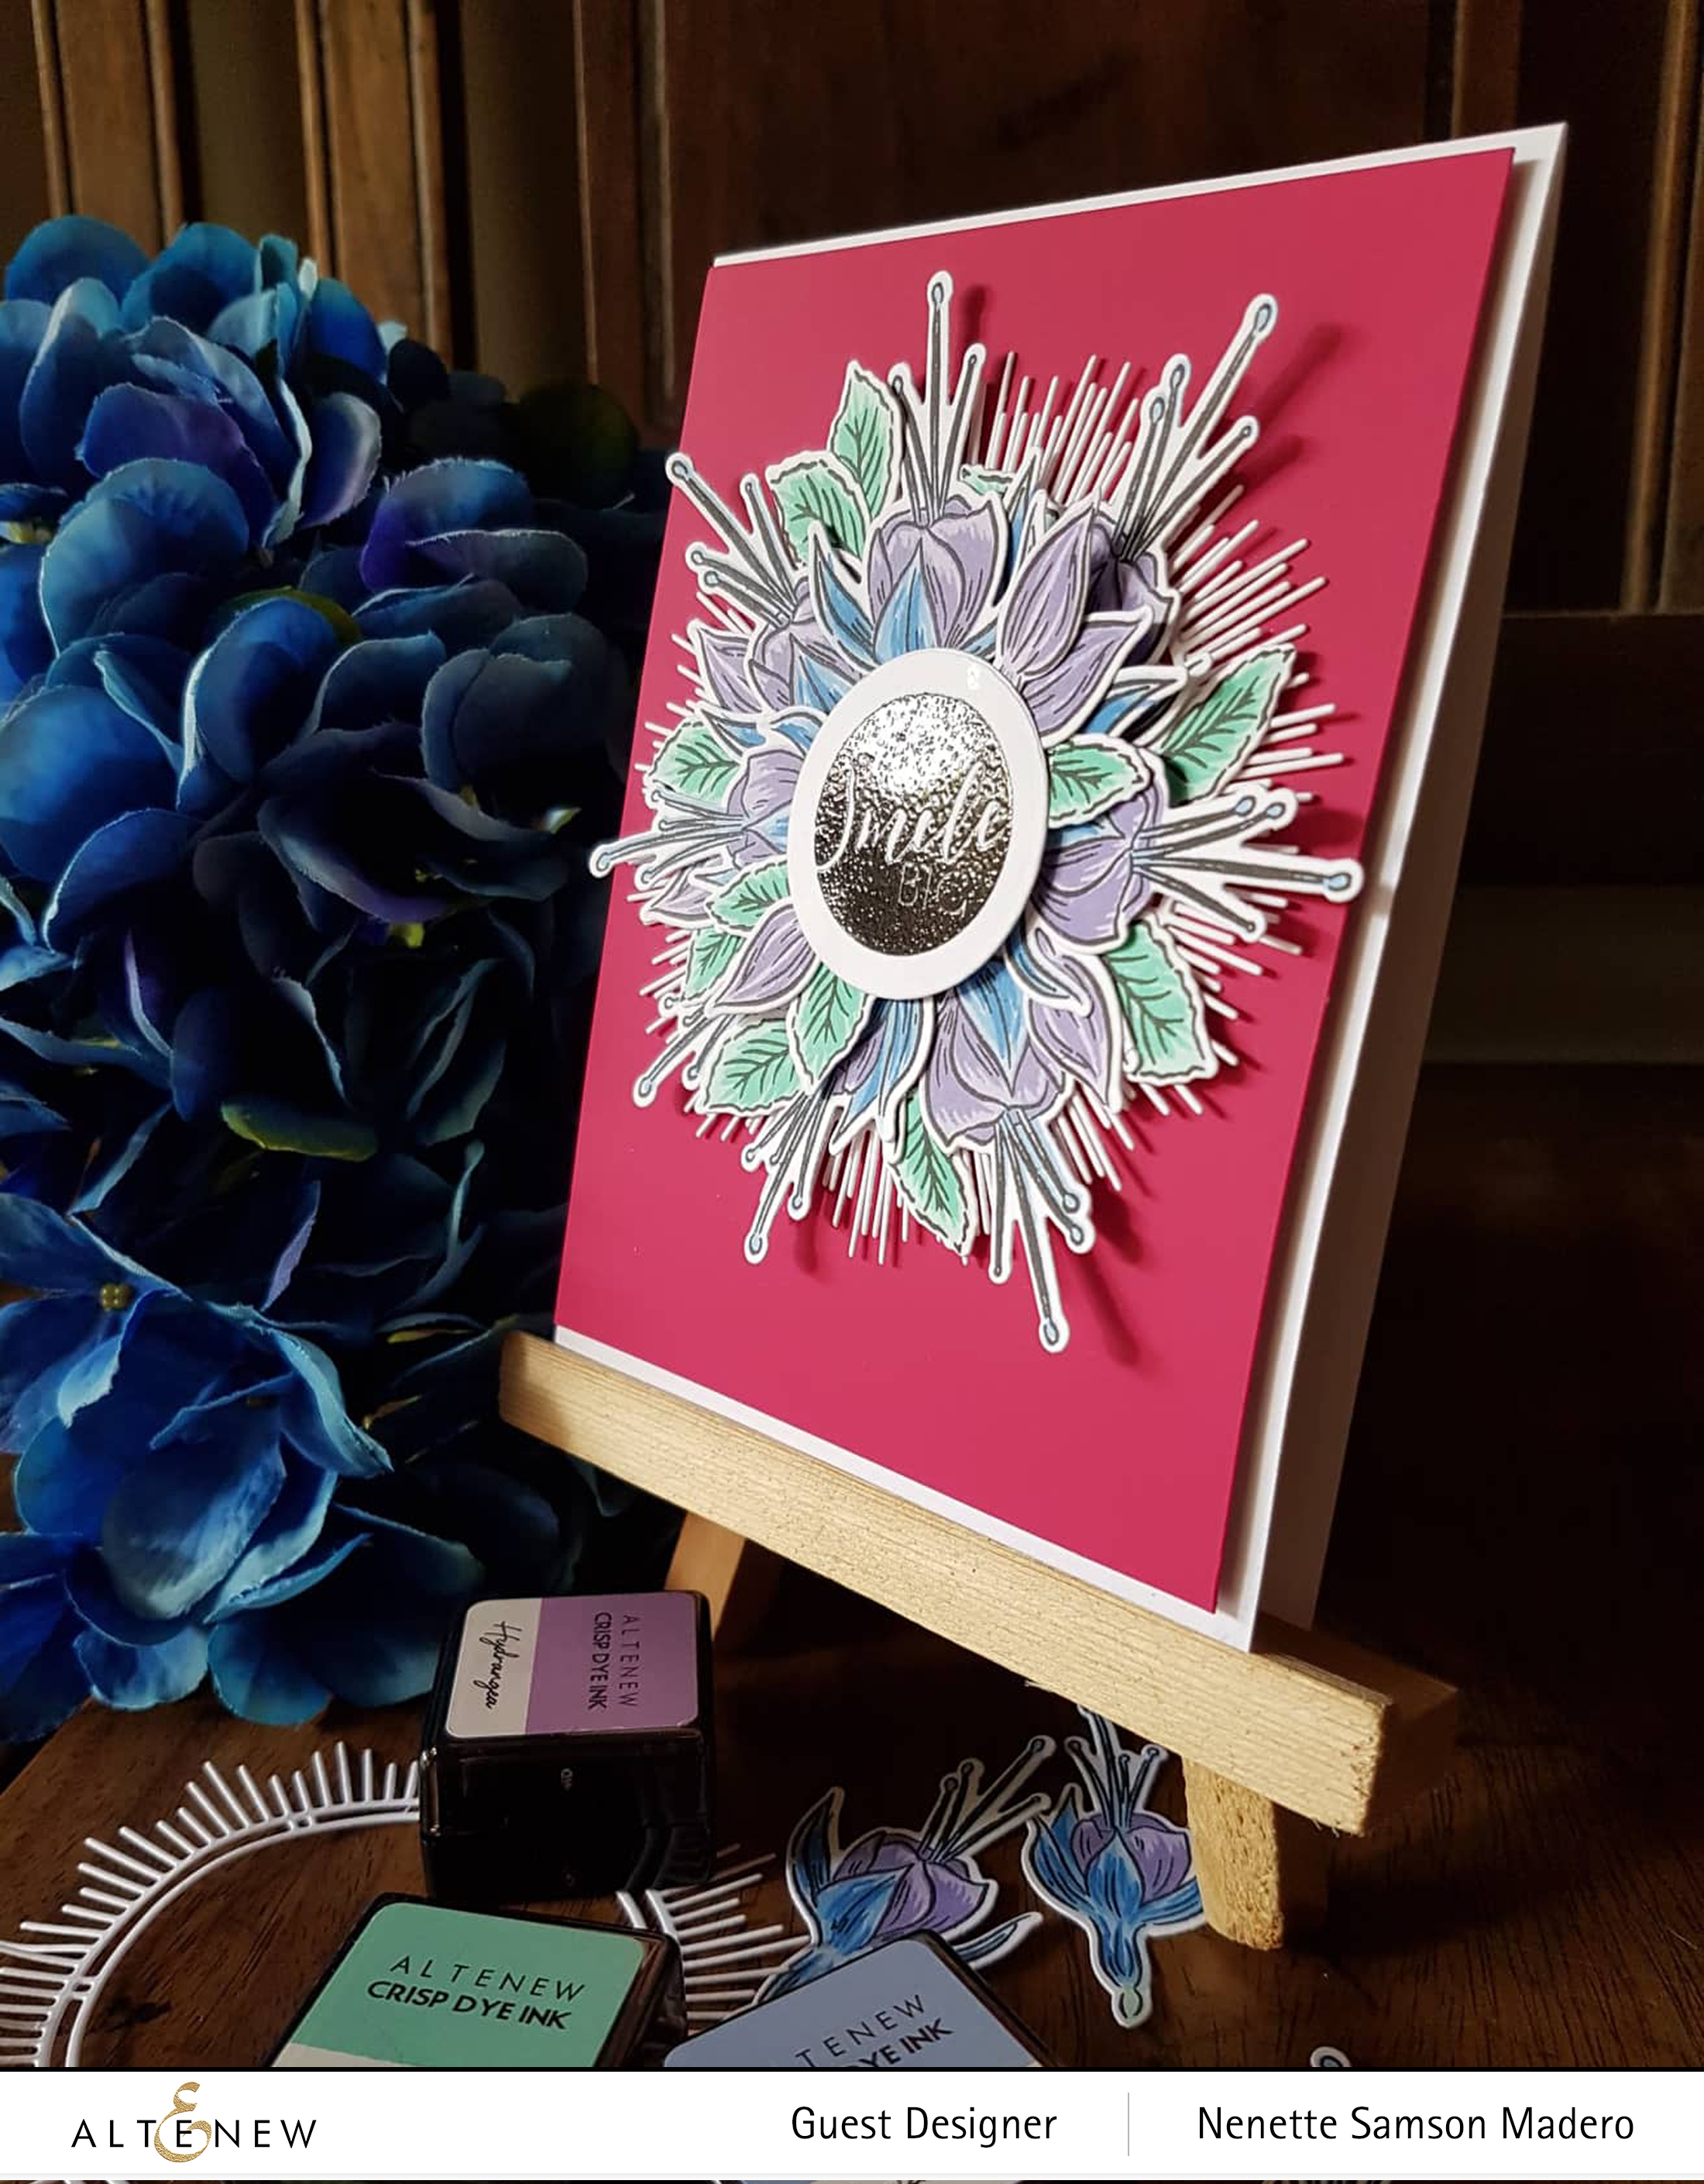
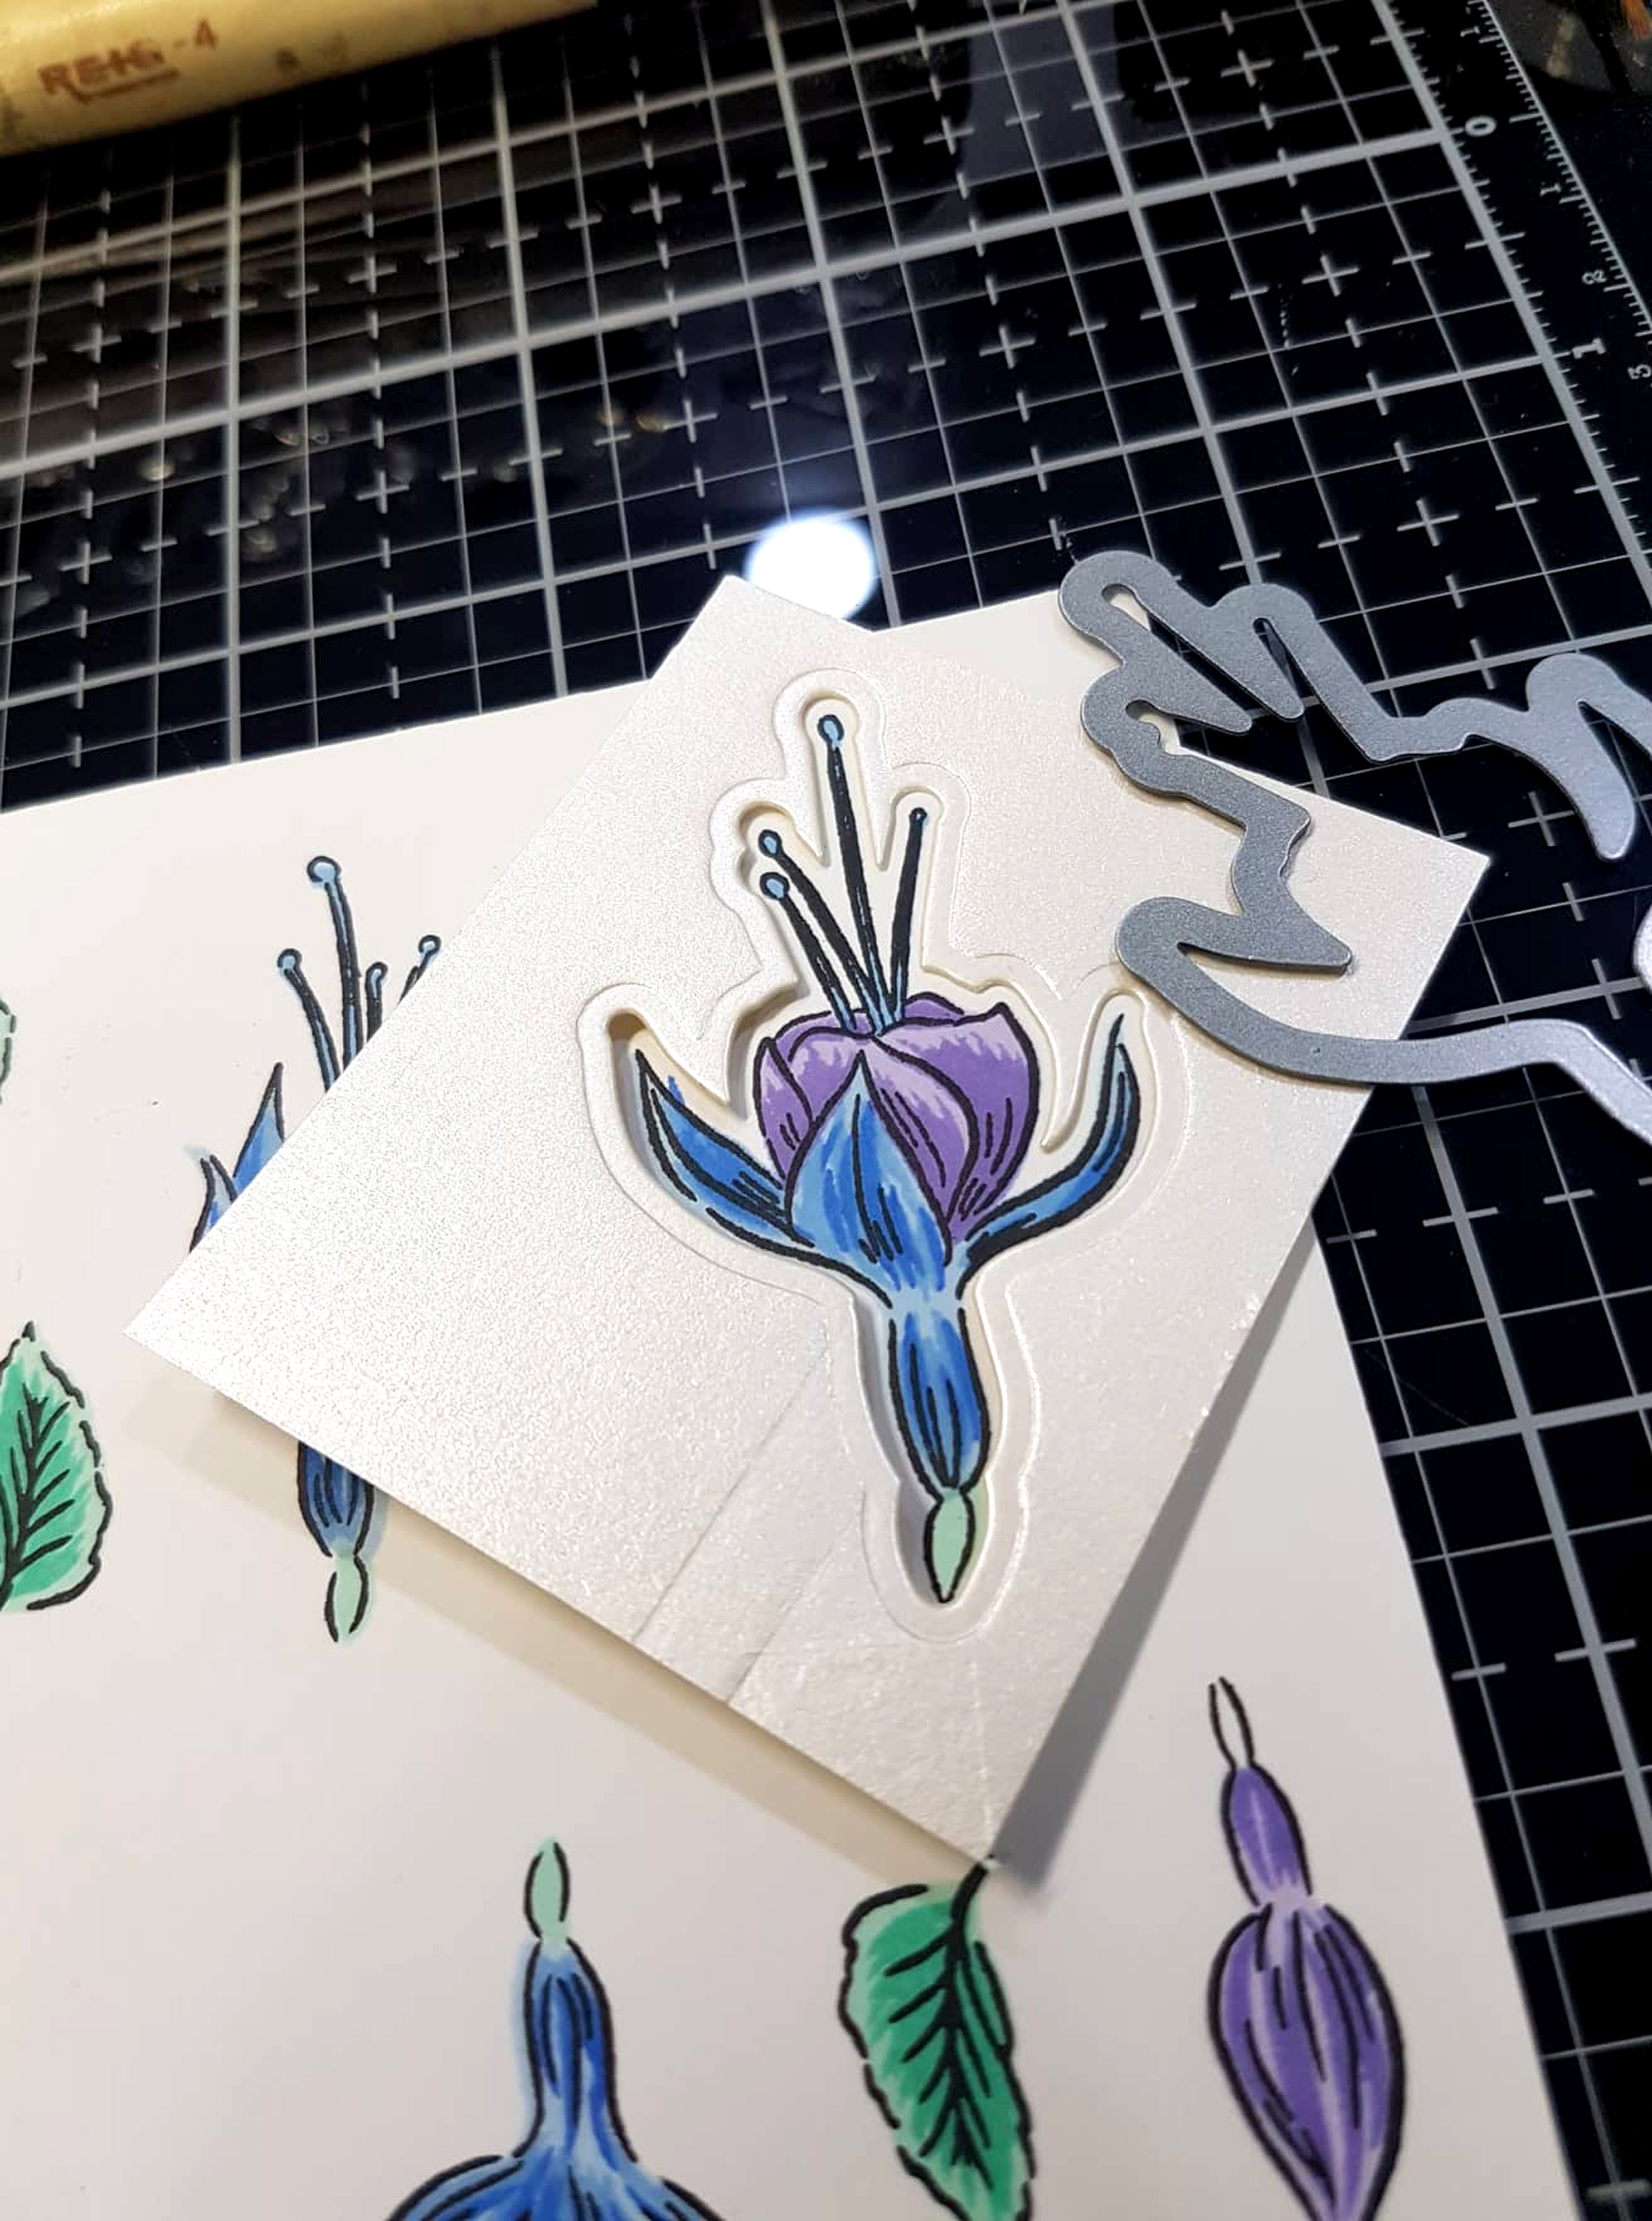
It is pretty easy to layer this stamp set as seen in the layering guide above. The lightest color was stamped first then layered with the next darker color until you end with the darkest. I stamped 3 sets of flowers and leaves. The card front was watercolored using a light wash then the Circle Quilt cover die was adhered on top of the watecolored panel. About an inch was cut off to reveal the darker watercolored panel underneath.

The flowers were layered at the edge of the card front leaving enough space to see the sentiment that was stamped using Rose Gold embossing powder.
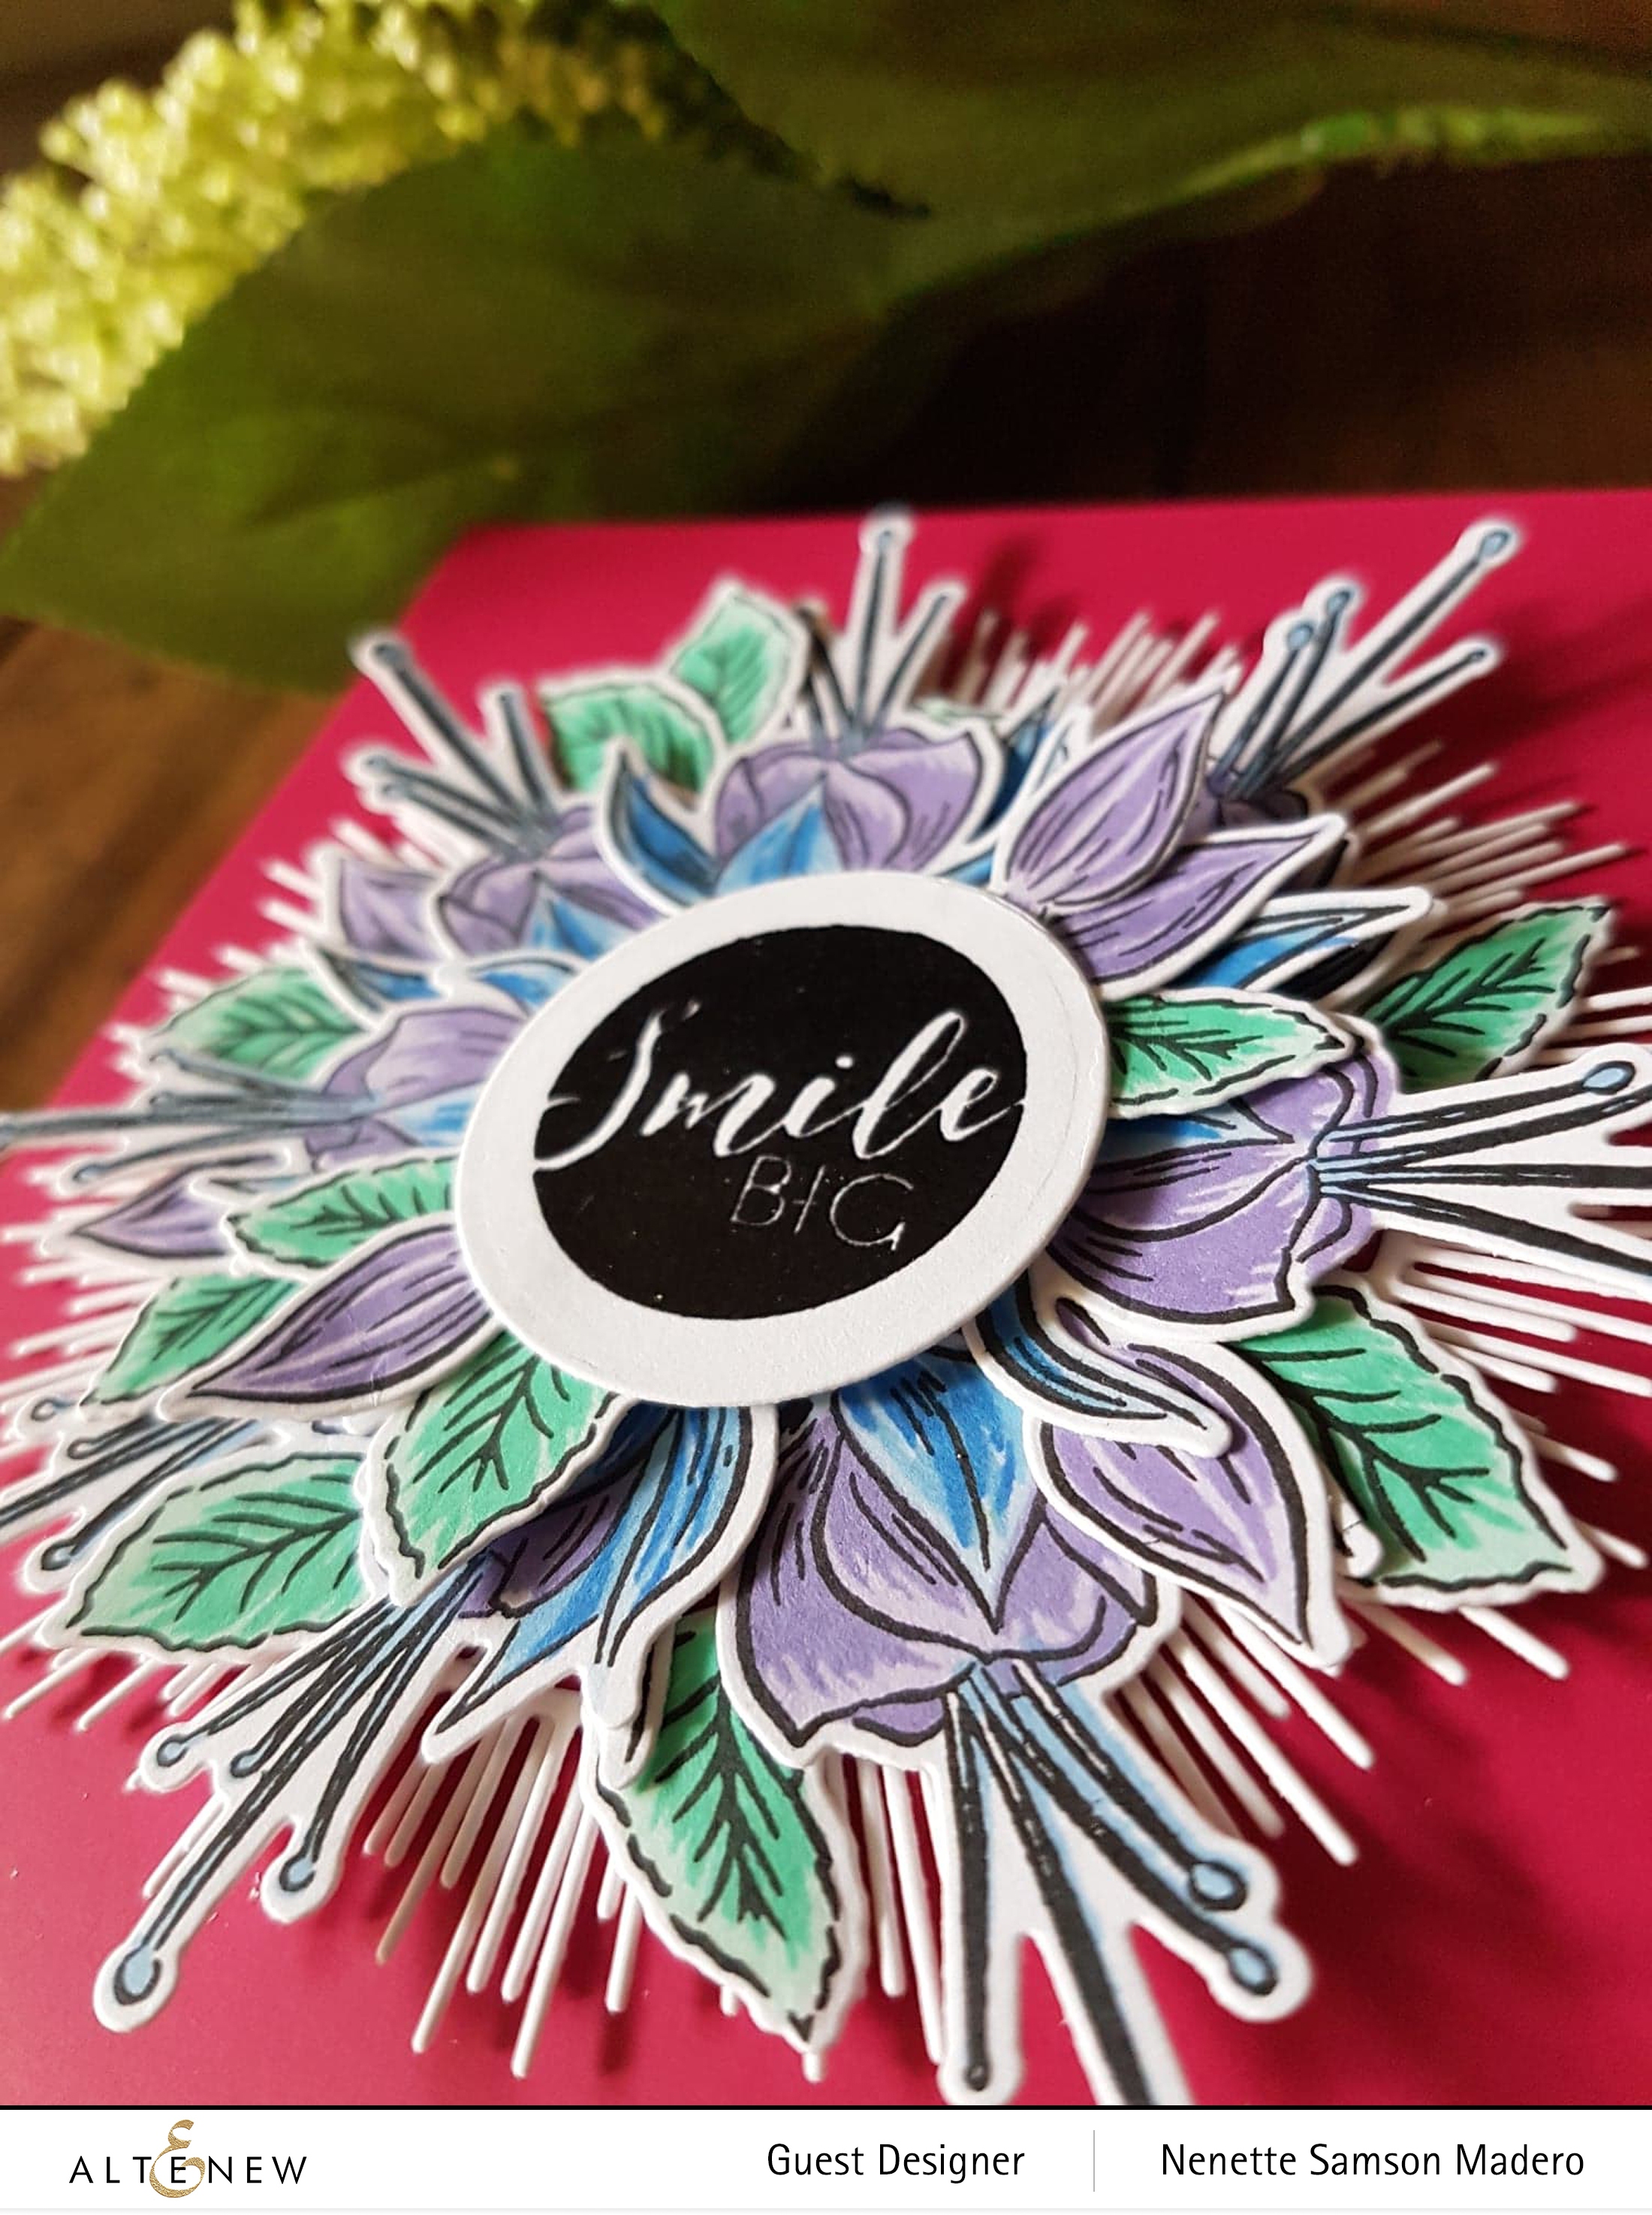

BLESSINGS ALWAYS


MATERIALS: Build-a-Flower: Peony, Parlor Palm Die, Fine Frames Die, Holiday Tag Sentiments, Rose Gold Embossing Powder, Versamark Ink, Foam Squares Versa Color Hyacinth, Sky Blue and Laislazuli

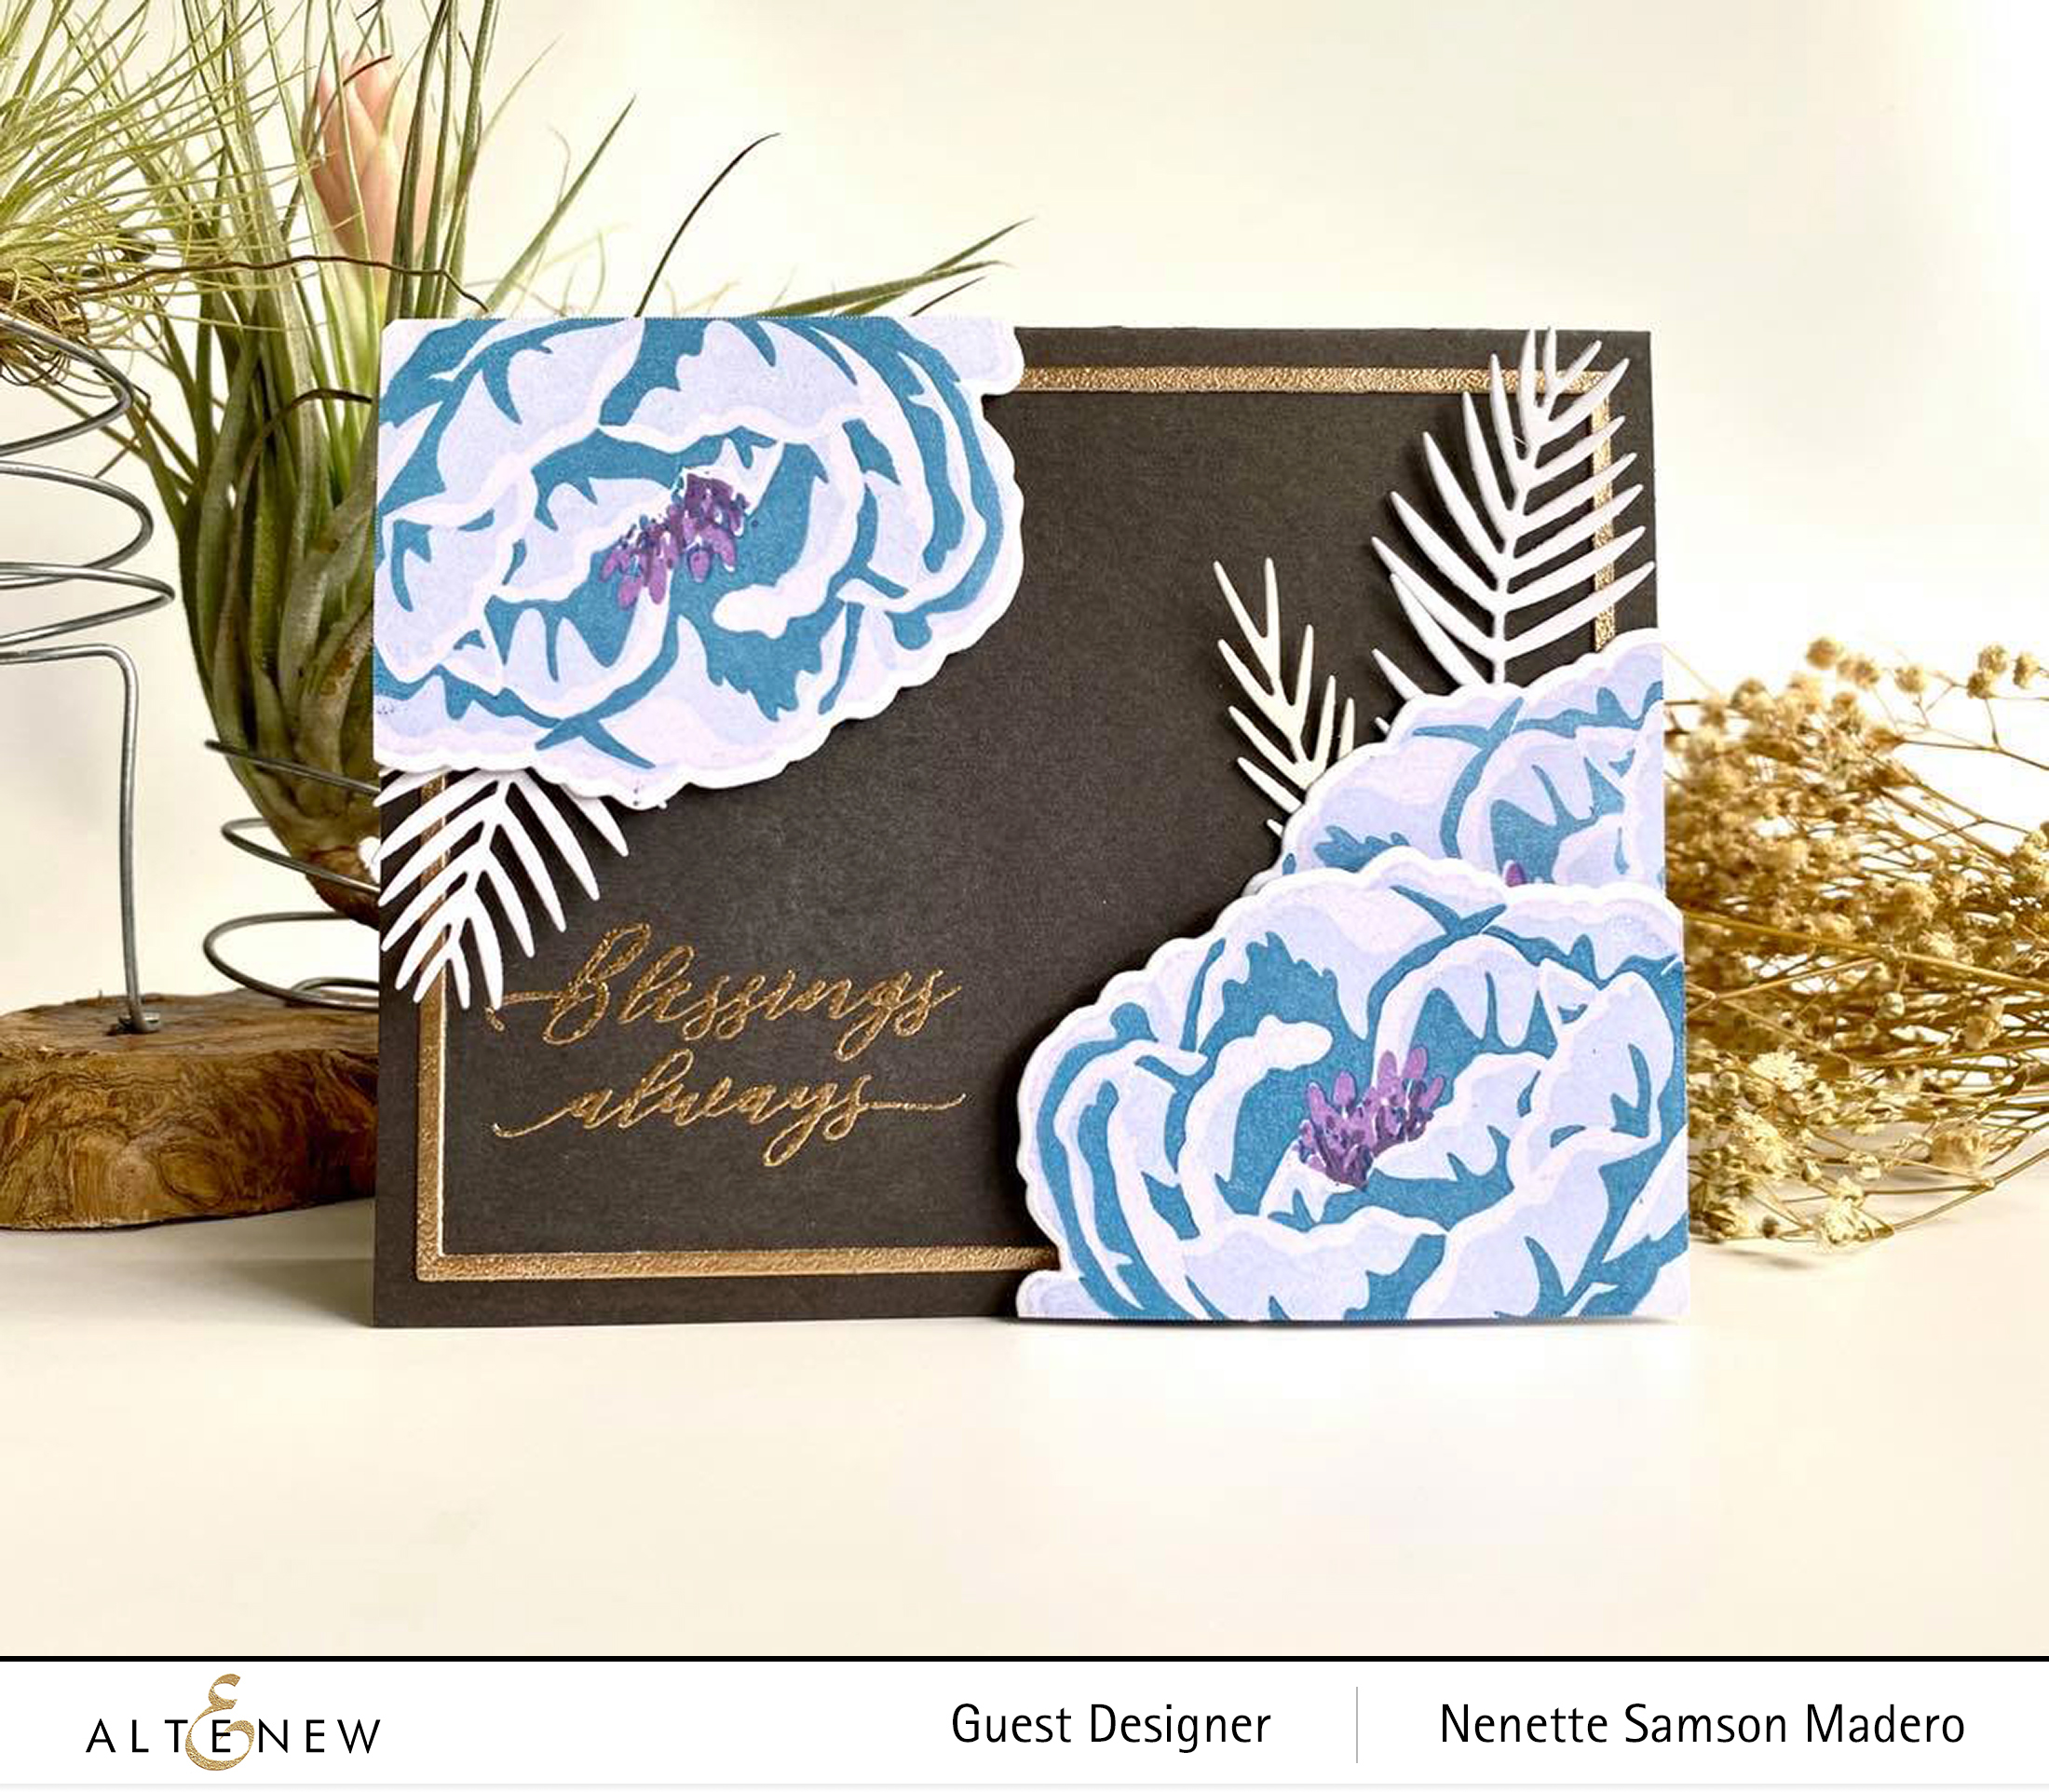
I wanted to try stamping the set using cooler colors. For the flowers to stand out more, I chose a dark brownish-grey cardstock. To finish the card, I added a border using the Fine Frames die then embossed it with Rose Gold embossing powder then added some leaves from the Parlor Palm die.


GIVEAWAY PRIZES


To celebrate this release, Altenew is giving away a $30 gift certificate to 2 lucky winners! Please leave a comment on the Altenew Card Blog by 10/07/2020 for a chance to win. Altenew will also draw a winner to receive a $15 gift certificate from the comments left on each designer’s blog on the blog hop list below. All winners will be announced on the Altenew Winners Page on 10/07/2020.

Next stop is Nathalie DeSousa blog. Don’t forget to leave a comment below to get a chance to win some prizes. I always look forward to hearing from you. ❤️ Hope you can follow me on Instagram as well. I post all of my works there so make sure you follow me for my latest projects! Stay safe everyone and happy crafting!!!


IG: MYLITTLEATTICSTUDIO | FB: MY LITTLE ATTIC STUDIO


ALTENEW BUILD-A-FLOWER: FUCHSIA

ALTENEW BUILD-A-FLOWER: FUCHSIA

Hi everyone! Welcome to Altenew’s Build-a Flower: Fuschia release! You have arrived from the blog of the amazing EMILY MIDGETT. Just in case you are lost, the master list will be at the end of this blog post and at the Altenew Card Blog where this stamp set release is being hosted. Take a look at this beautiful stamp and die set!!!

BUILD A FLOWER: FUCHSIA

Below are 2 samples of cards I made for this stamp set using the stamp layering technique and the no line watercolor technique.

SMILE BIG CARD

MATERIALS:

I decided not to use the stems for this flower and just use the flowers, buds and leaves to create a focal point. The mid-century frame die was used to create a frame using white cardstock. Two of them were layered to add more rays. The flowers were then stamped using the different layers then the flowers were arranged using adhesive and foam tape for dimension.

I always die cut scratch paper to act as a template when lining up the die with the stamped image to make sure the white outline around the image is uniform.

The sentiment from the Circled Sentiments was stamped using the Obsidian pigment ink then embossed with clear embossing powder.

CONGRATULATIONS CARD

MATERIALS:

I had a booboo 🙁 After carefully stamping and masking my card front, I didn’t realize that the magnet of my Misti somehow had ink underneath it so when I lifted it from the card front, this was what I saw. 🙁

So instead of starting all over again with stamping and masking, I just decide to cover up the area with a watercolored sentiment strip. 🙂

I chose to make a simple no-line coloring card front by stamping the images using Distress Ink Antique Linen then colored them in with Altenew’s watercolor brush markers. A few of the flowers were stamped then the rest of the cardfront was filled with leaves. The stems were painted freehand after stamping the leaves randomly. The flower was masked so that I could layer one on top of the other.

I also inked the edges of the card front and sentiment strip with Versmark Ink and then heat embossed with Rose Gold embossing powder to add a touch of shimmer at the edges of the card.

Since I had extra flowers and leaves, I decided to fussy cut them and adhere them to the card front with foam tape for better balance and to add more dimension.

To celebrate this release, Altenew is giving away a $30 gift certificate to 6 lucky winners! Please leave a comment on the Altenew Card Blog and/or Altenew Scrapbook Blog for a chance to win.

We’ll also draw a winner to receive a $15 gift certificate from the comments left on each designer’s blog on the blog hop list below. All winners will be announced on the Altenew blogs on 10/7/2019.

Thank you so much for dropping by!!! I appreciate all your heartwarming comments here and on IG. Your kind words continue to inspire me to create more. ❤️ Next up is the amazing Caly Person. Hope you can follow my IG & FB accounts for future paper crating projects. Have a wonderful week ahead! ❤️

FACEBOOK | INSTAGRAM | PINTEREST

BLOG HOP LIST