Altenew April 2022 Gardens Around the World Collection Release Blog Hop + Giveaway ($300 in total prizes)

Altenew April 2022 Gardens Around the World Collection Release Blog Hop + Giveaway ($300 in total prizes)

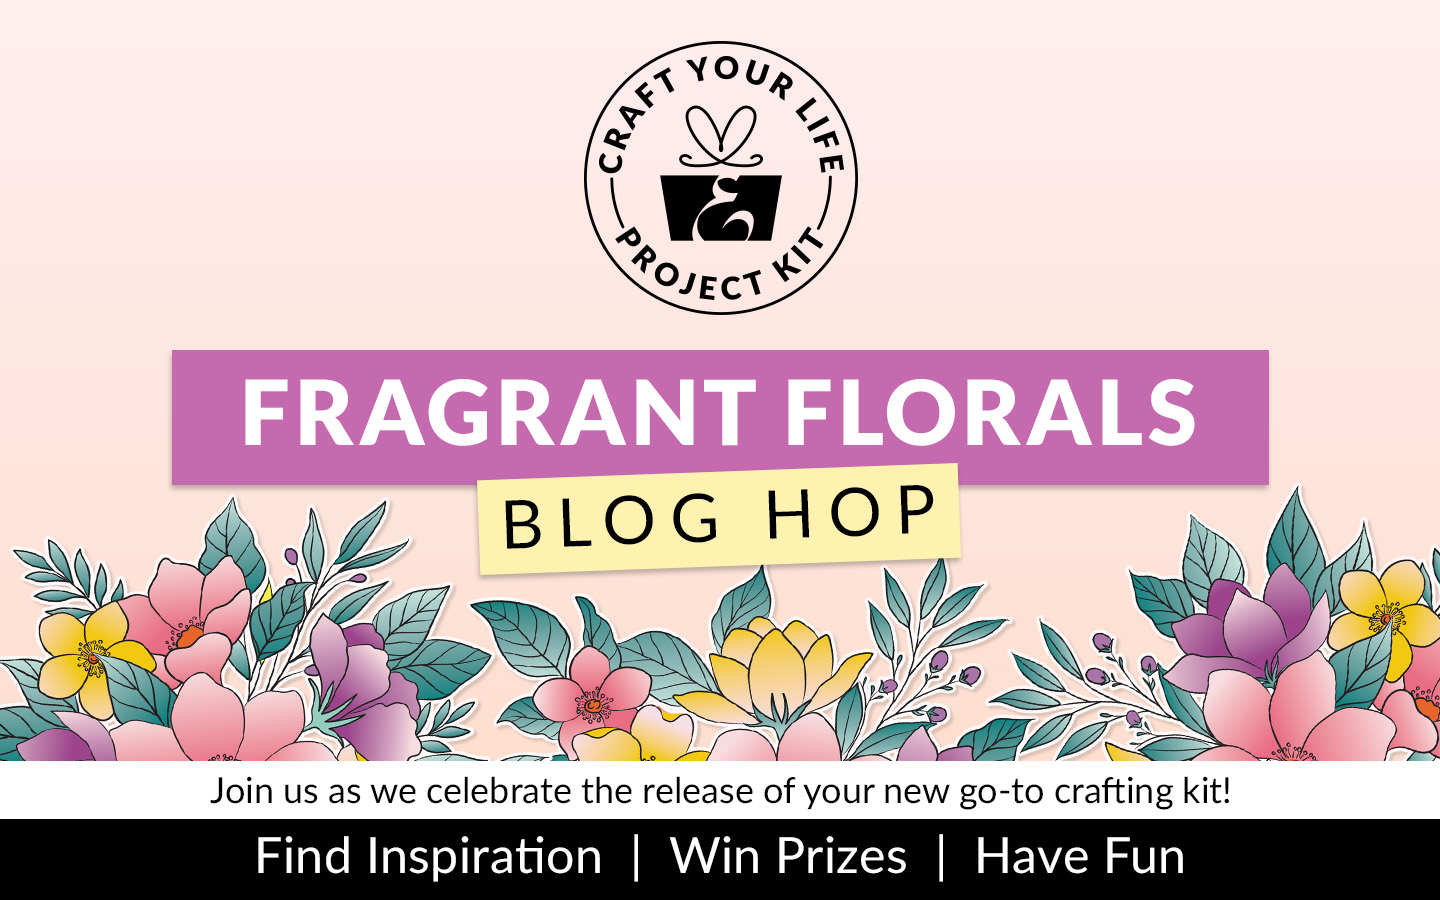
Welcome, everyone! Thanks so much my dear friend, Erum Tasneem, for sending everybody over. For the complete details of this hop, make sure to drop by the Altenew Blog.

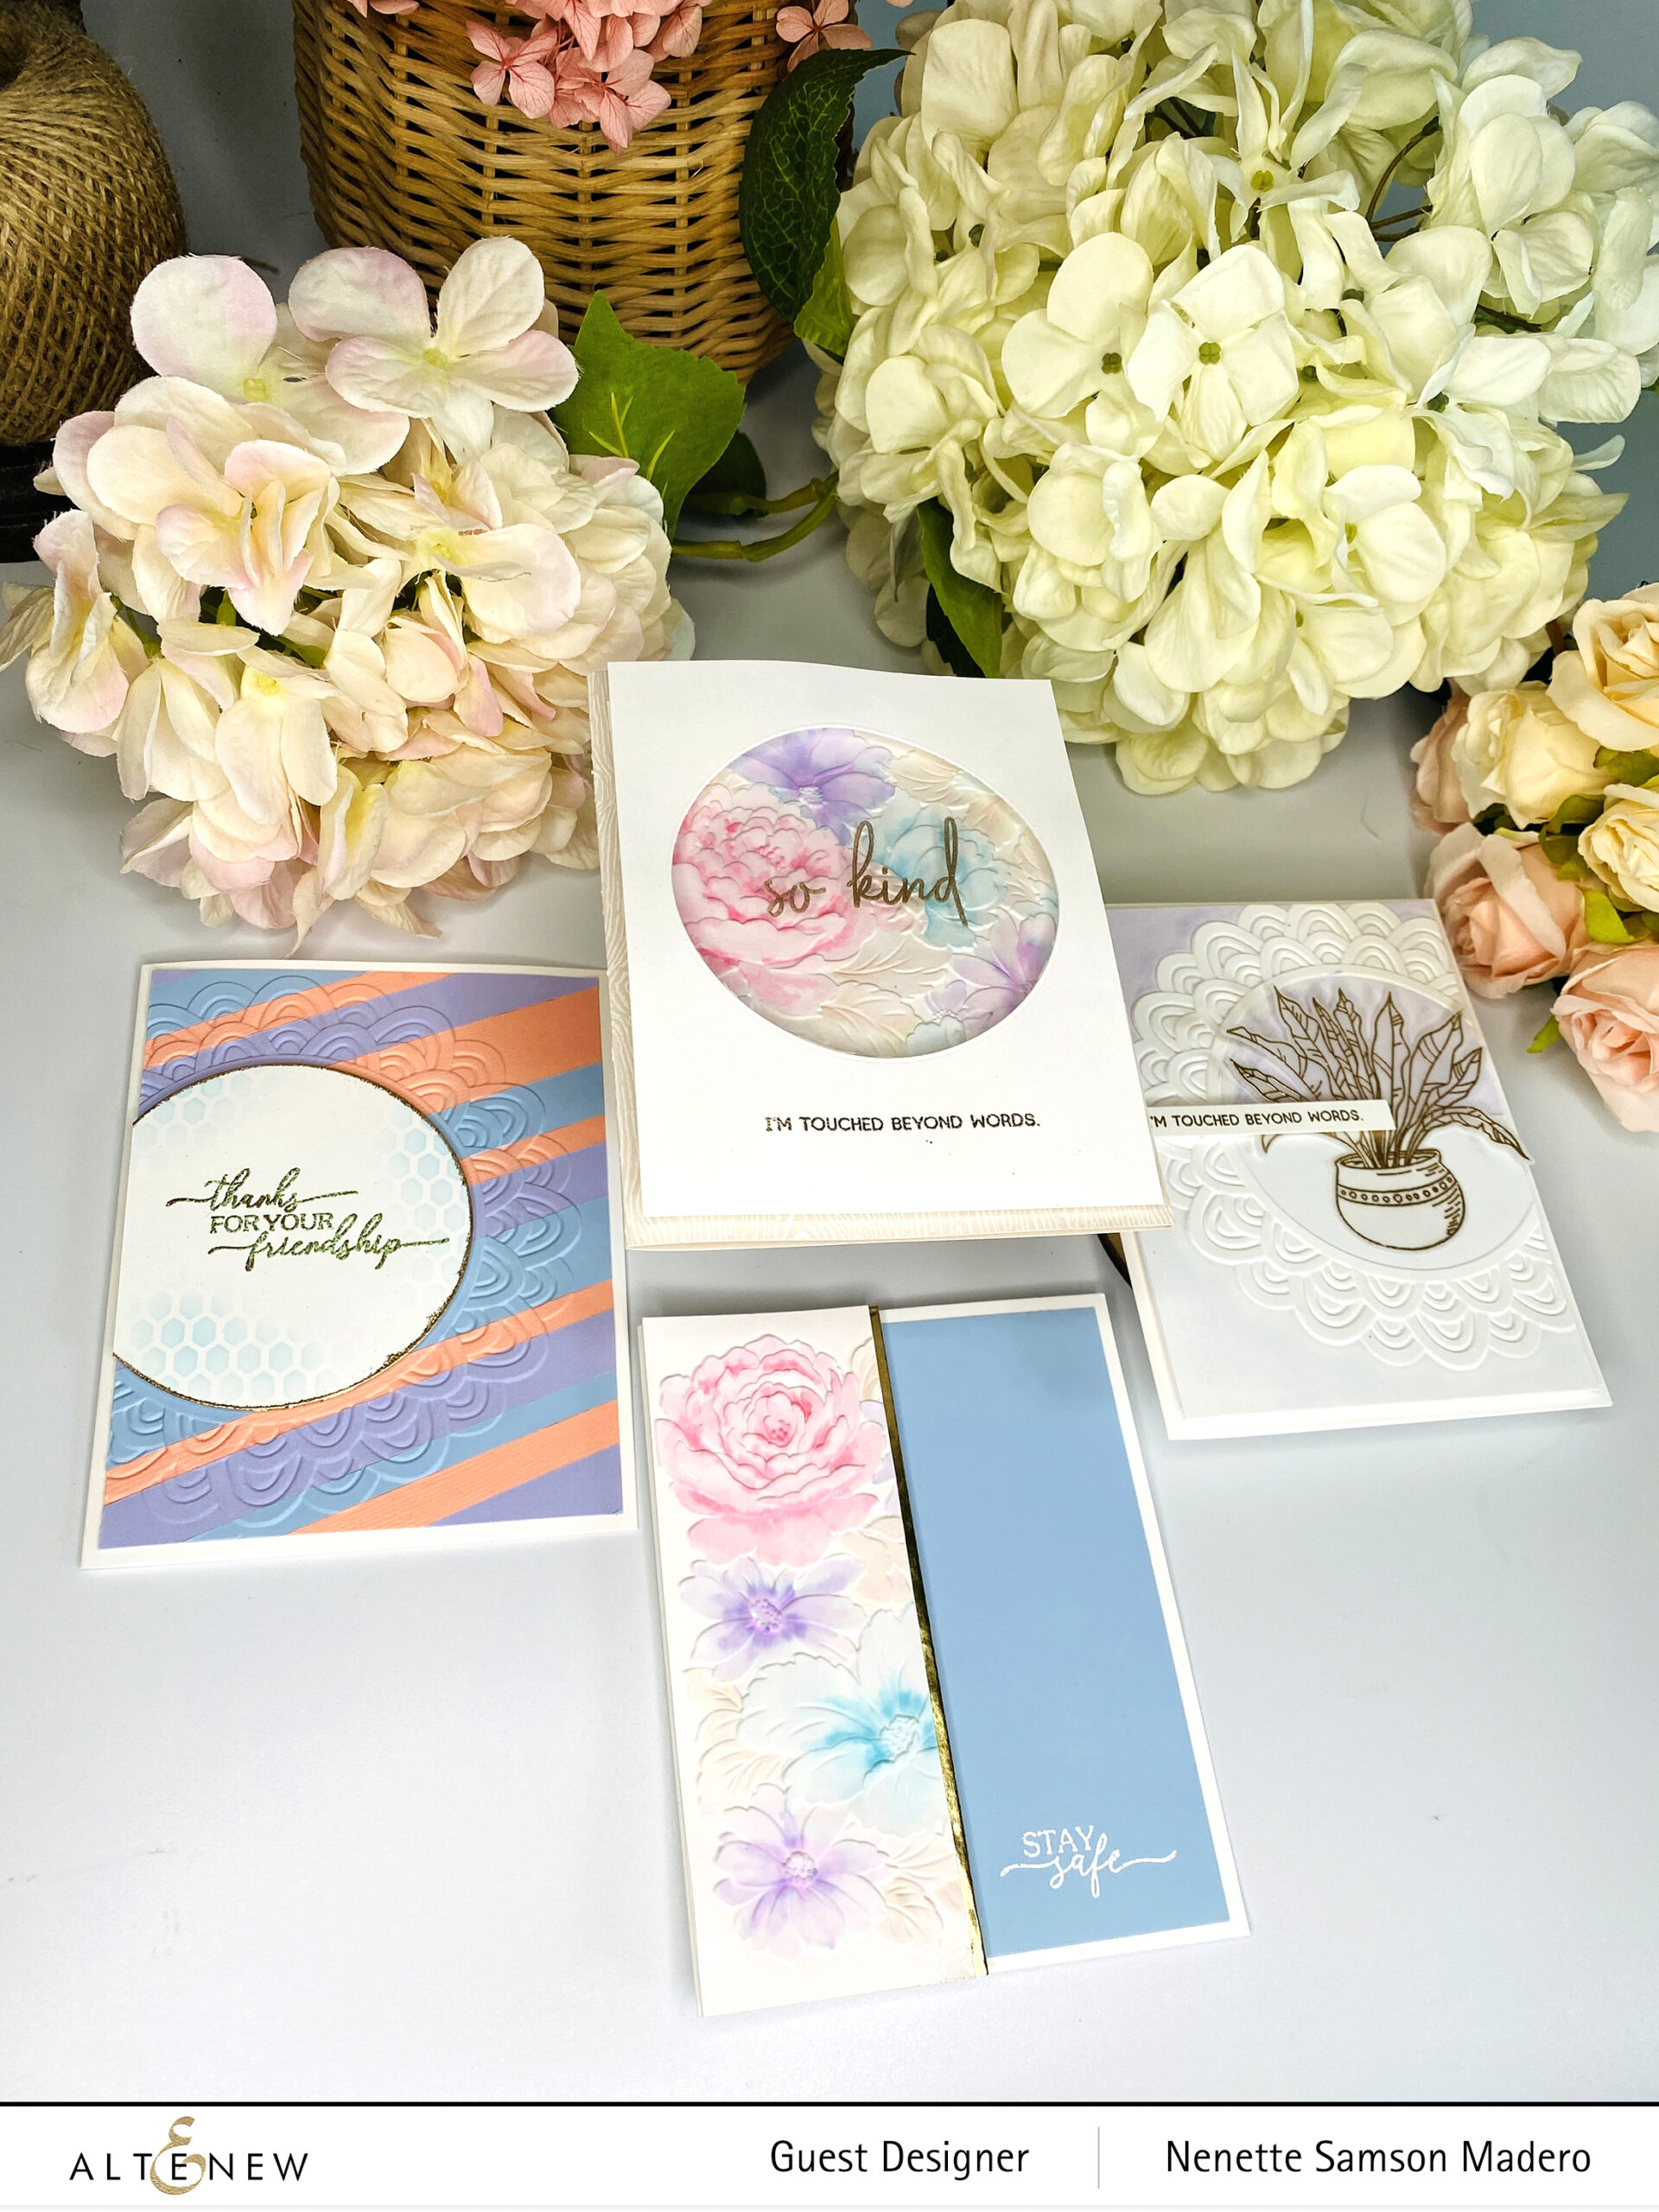
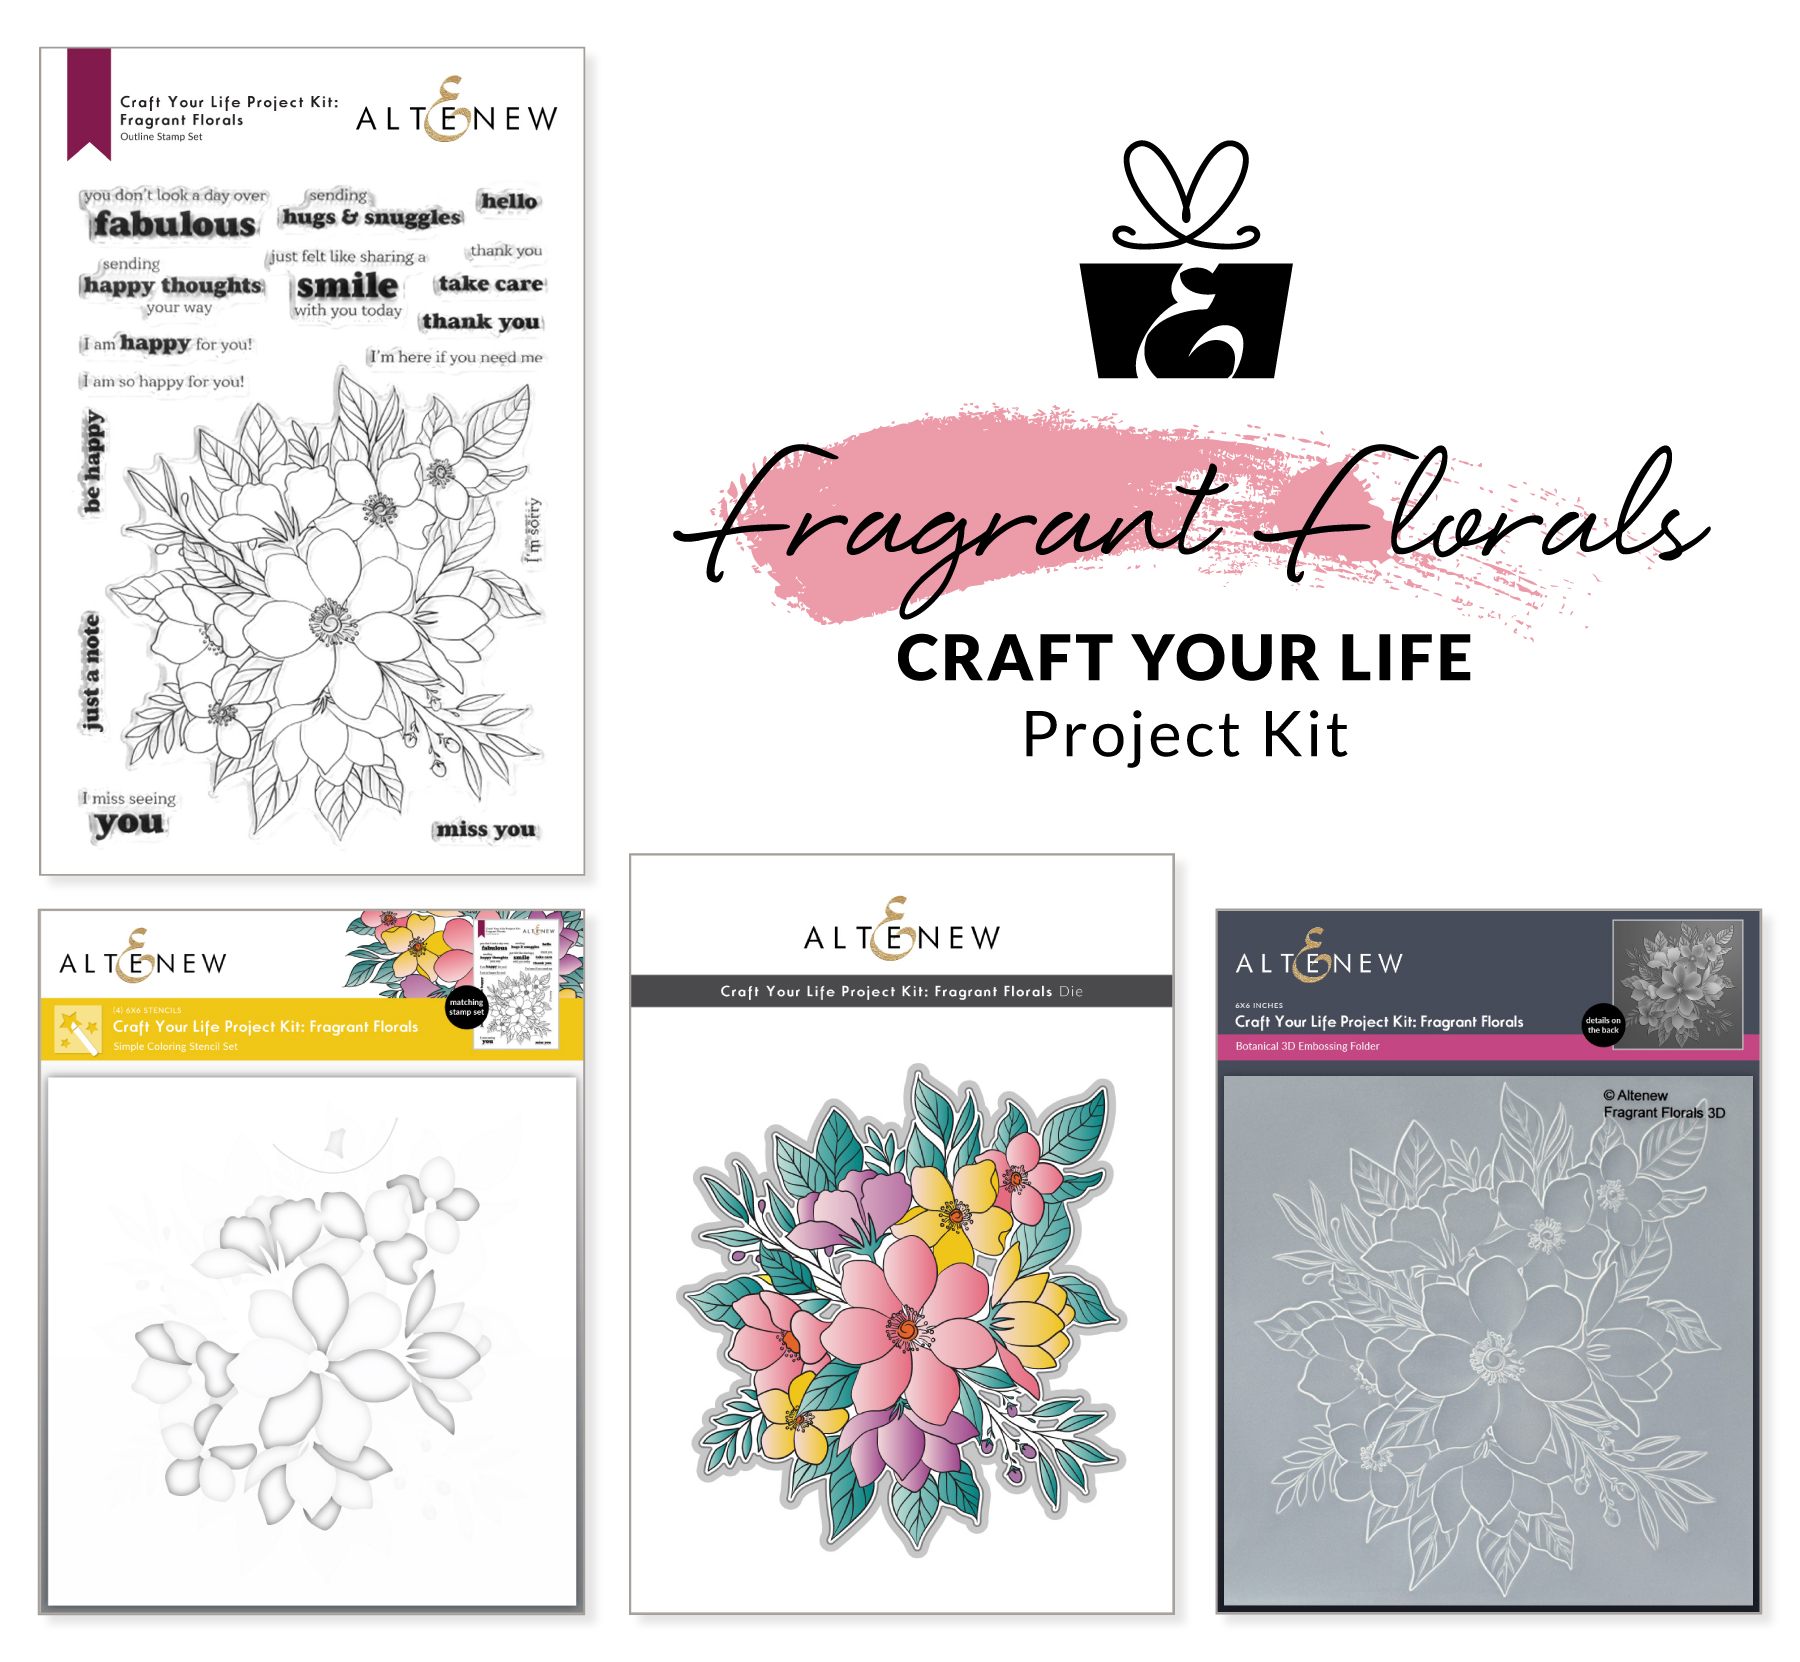
If you have been following my Instagram account, you know that I have gotten into liking plants. A friend of mine gifted me with one and I only realized that seeing a new leaf could bring so much joy! So when I saw these products, I was so happy!!! Here are the cards I made for the Gardens Around the World release.

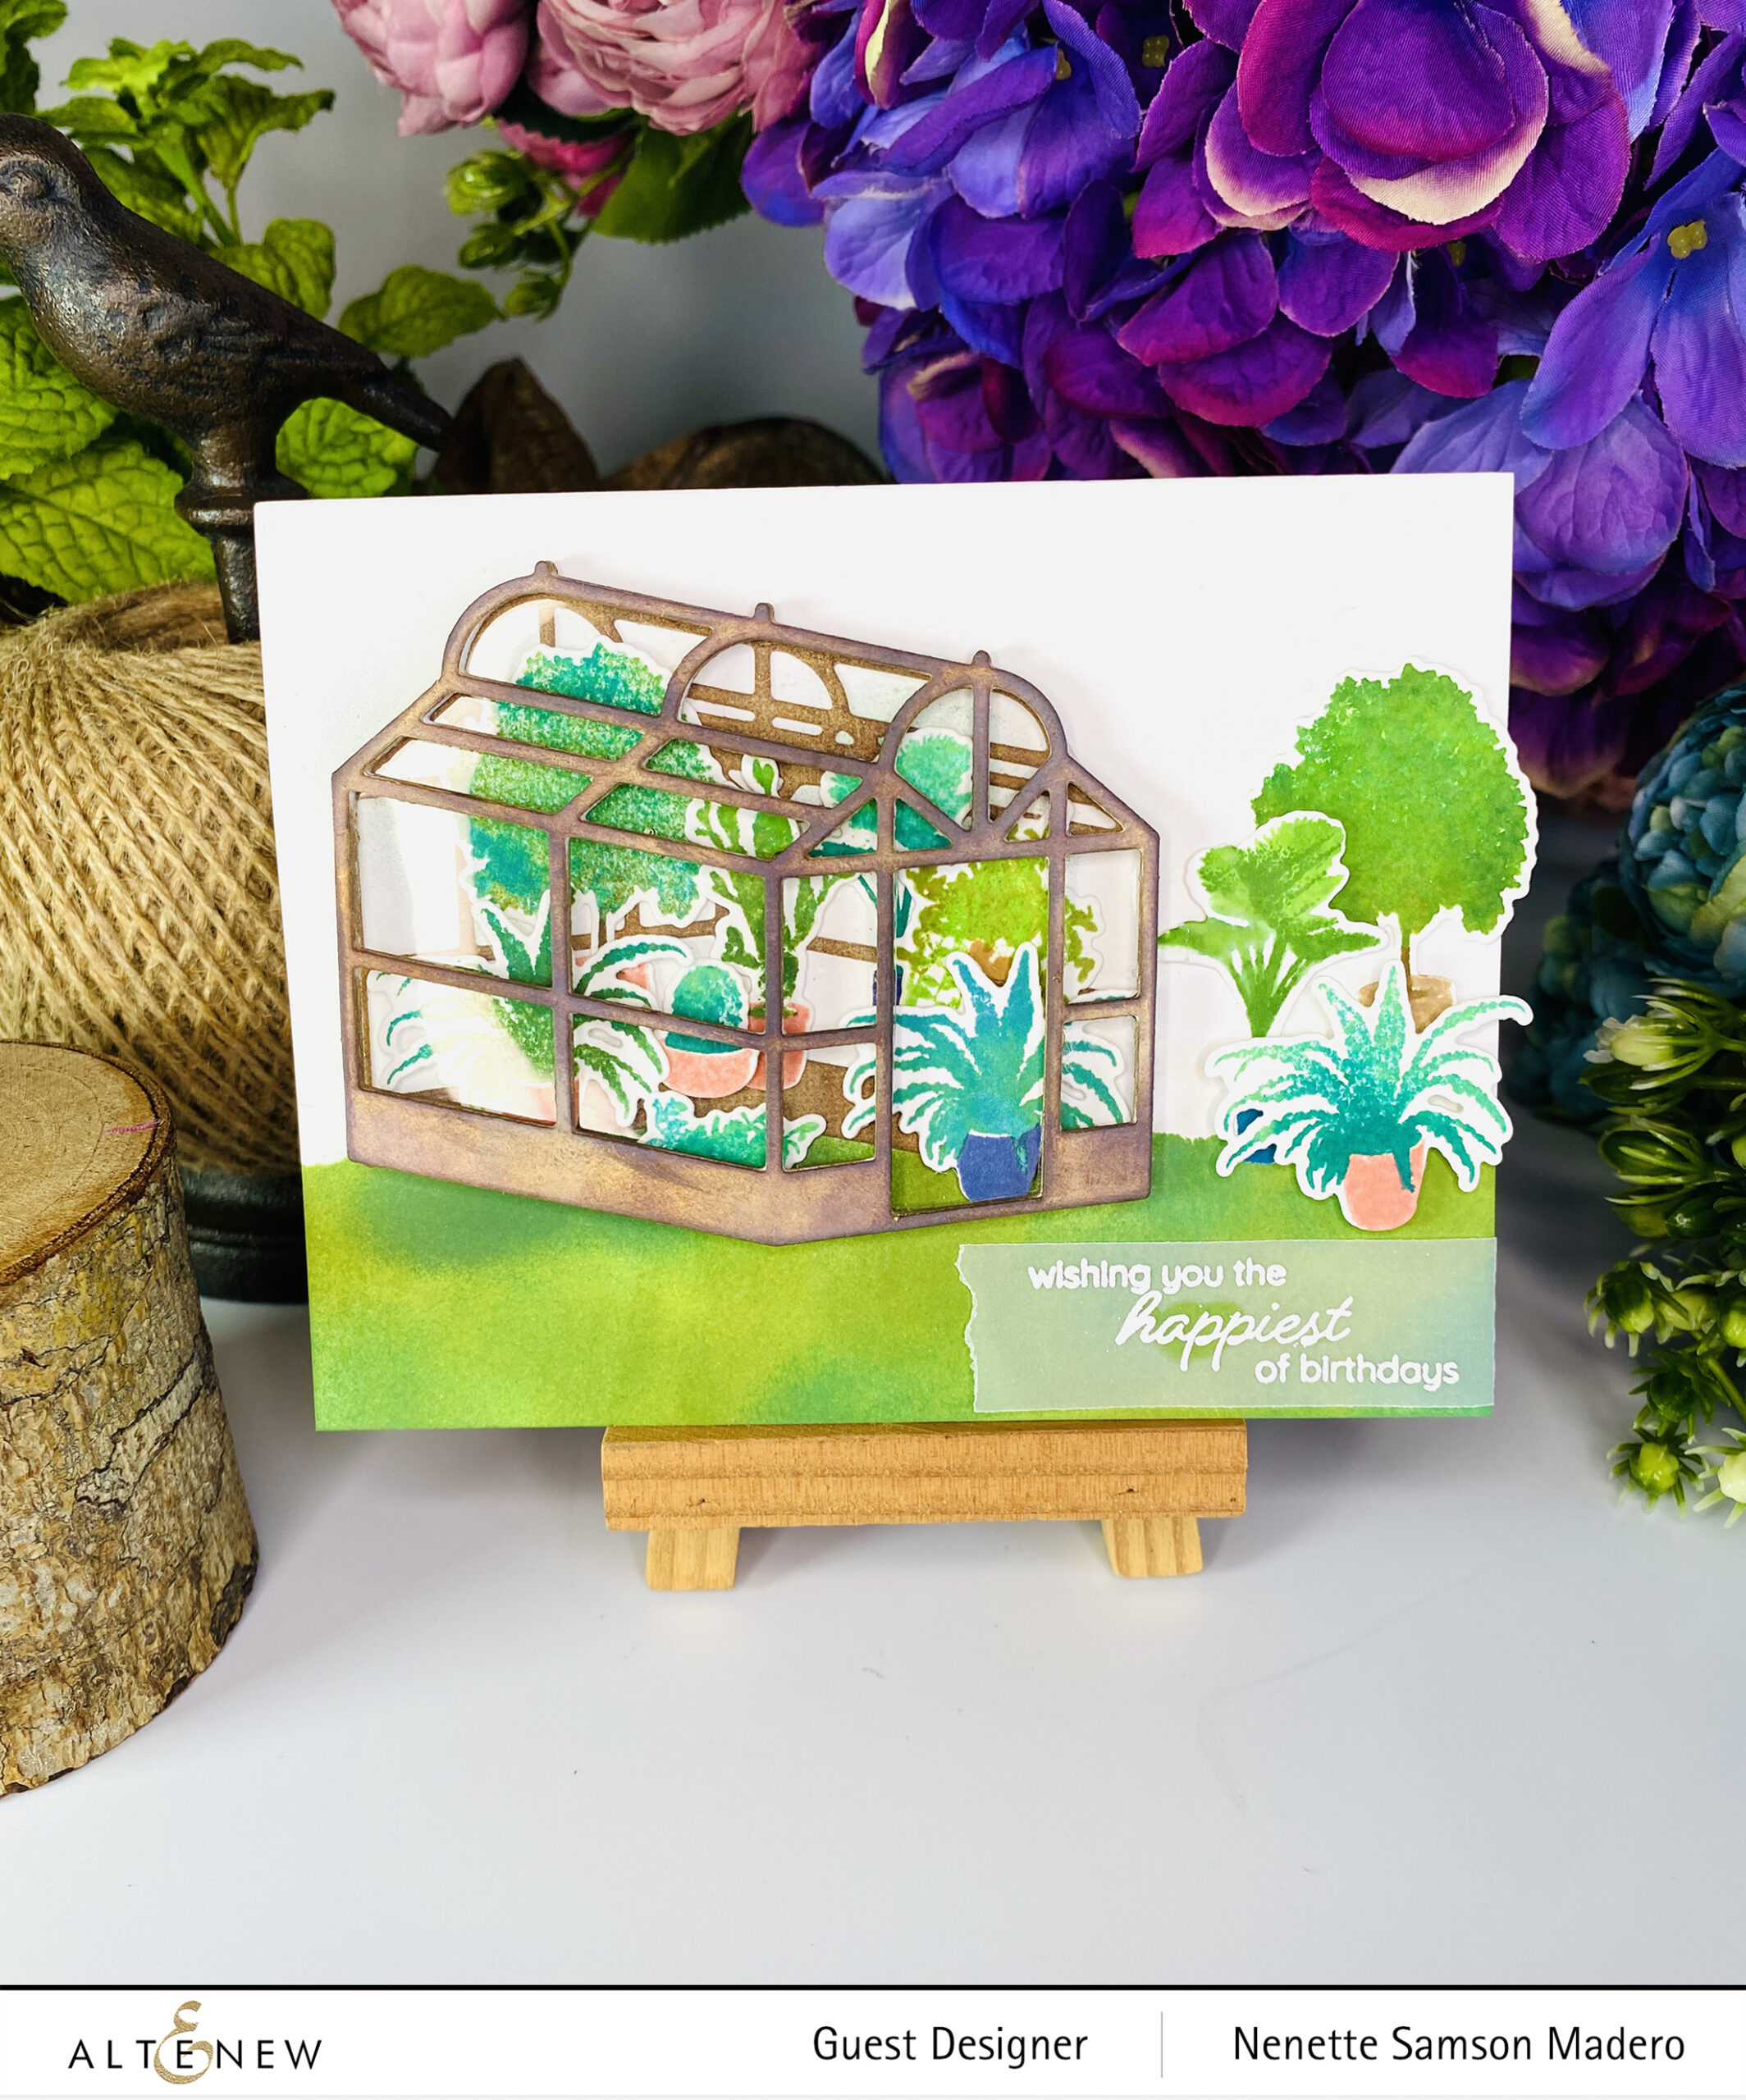
WISHING YOU THE HAPPIEST OF BIRTHDAYS

VICTORIAN GREENHOUSE STAMP, CLASSIC GREENHOUSE DIE

STEPS:

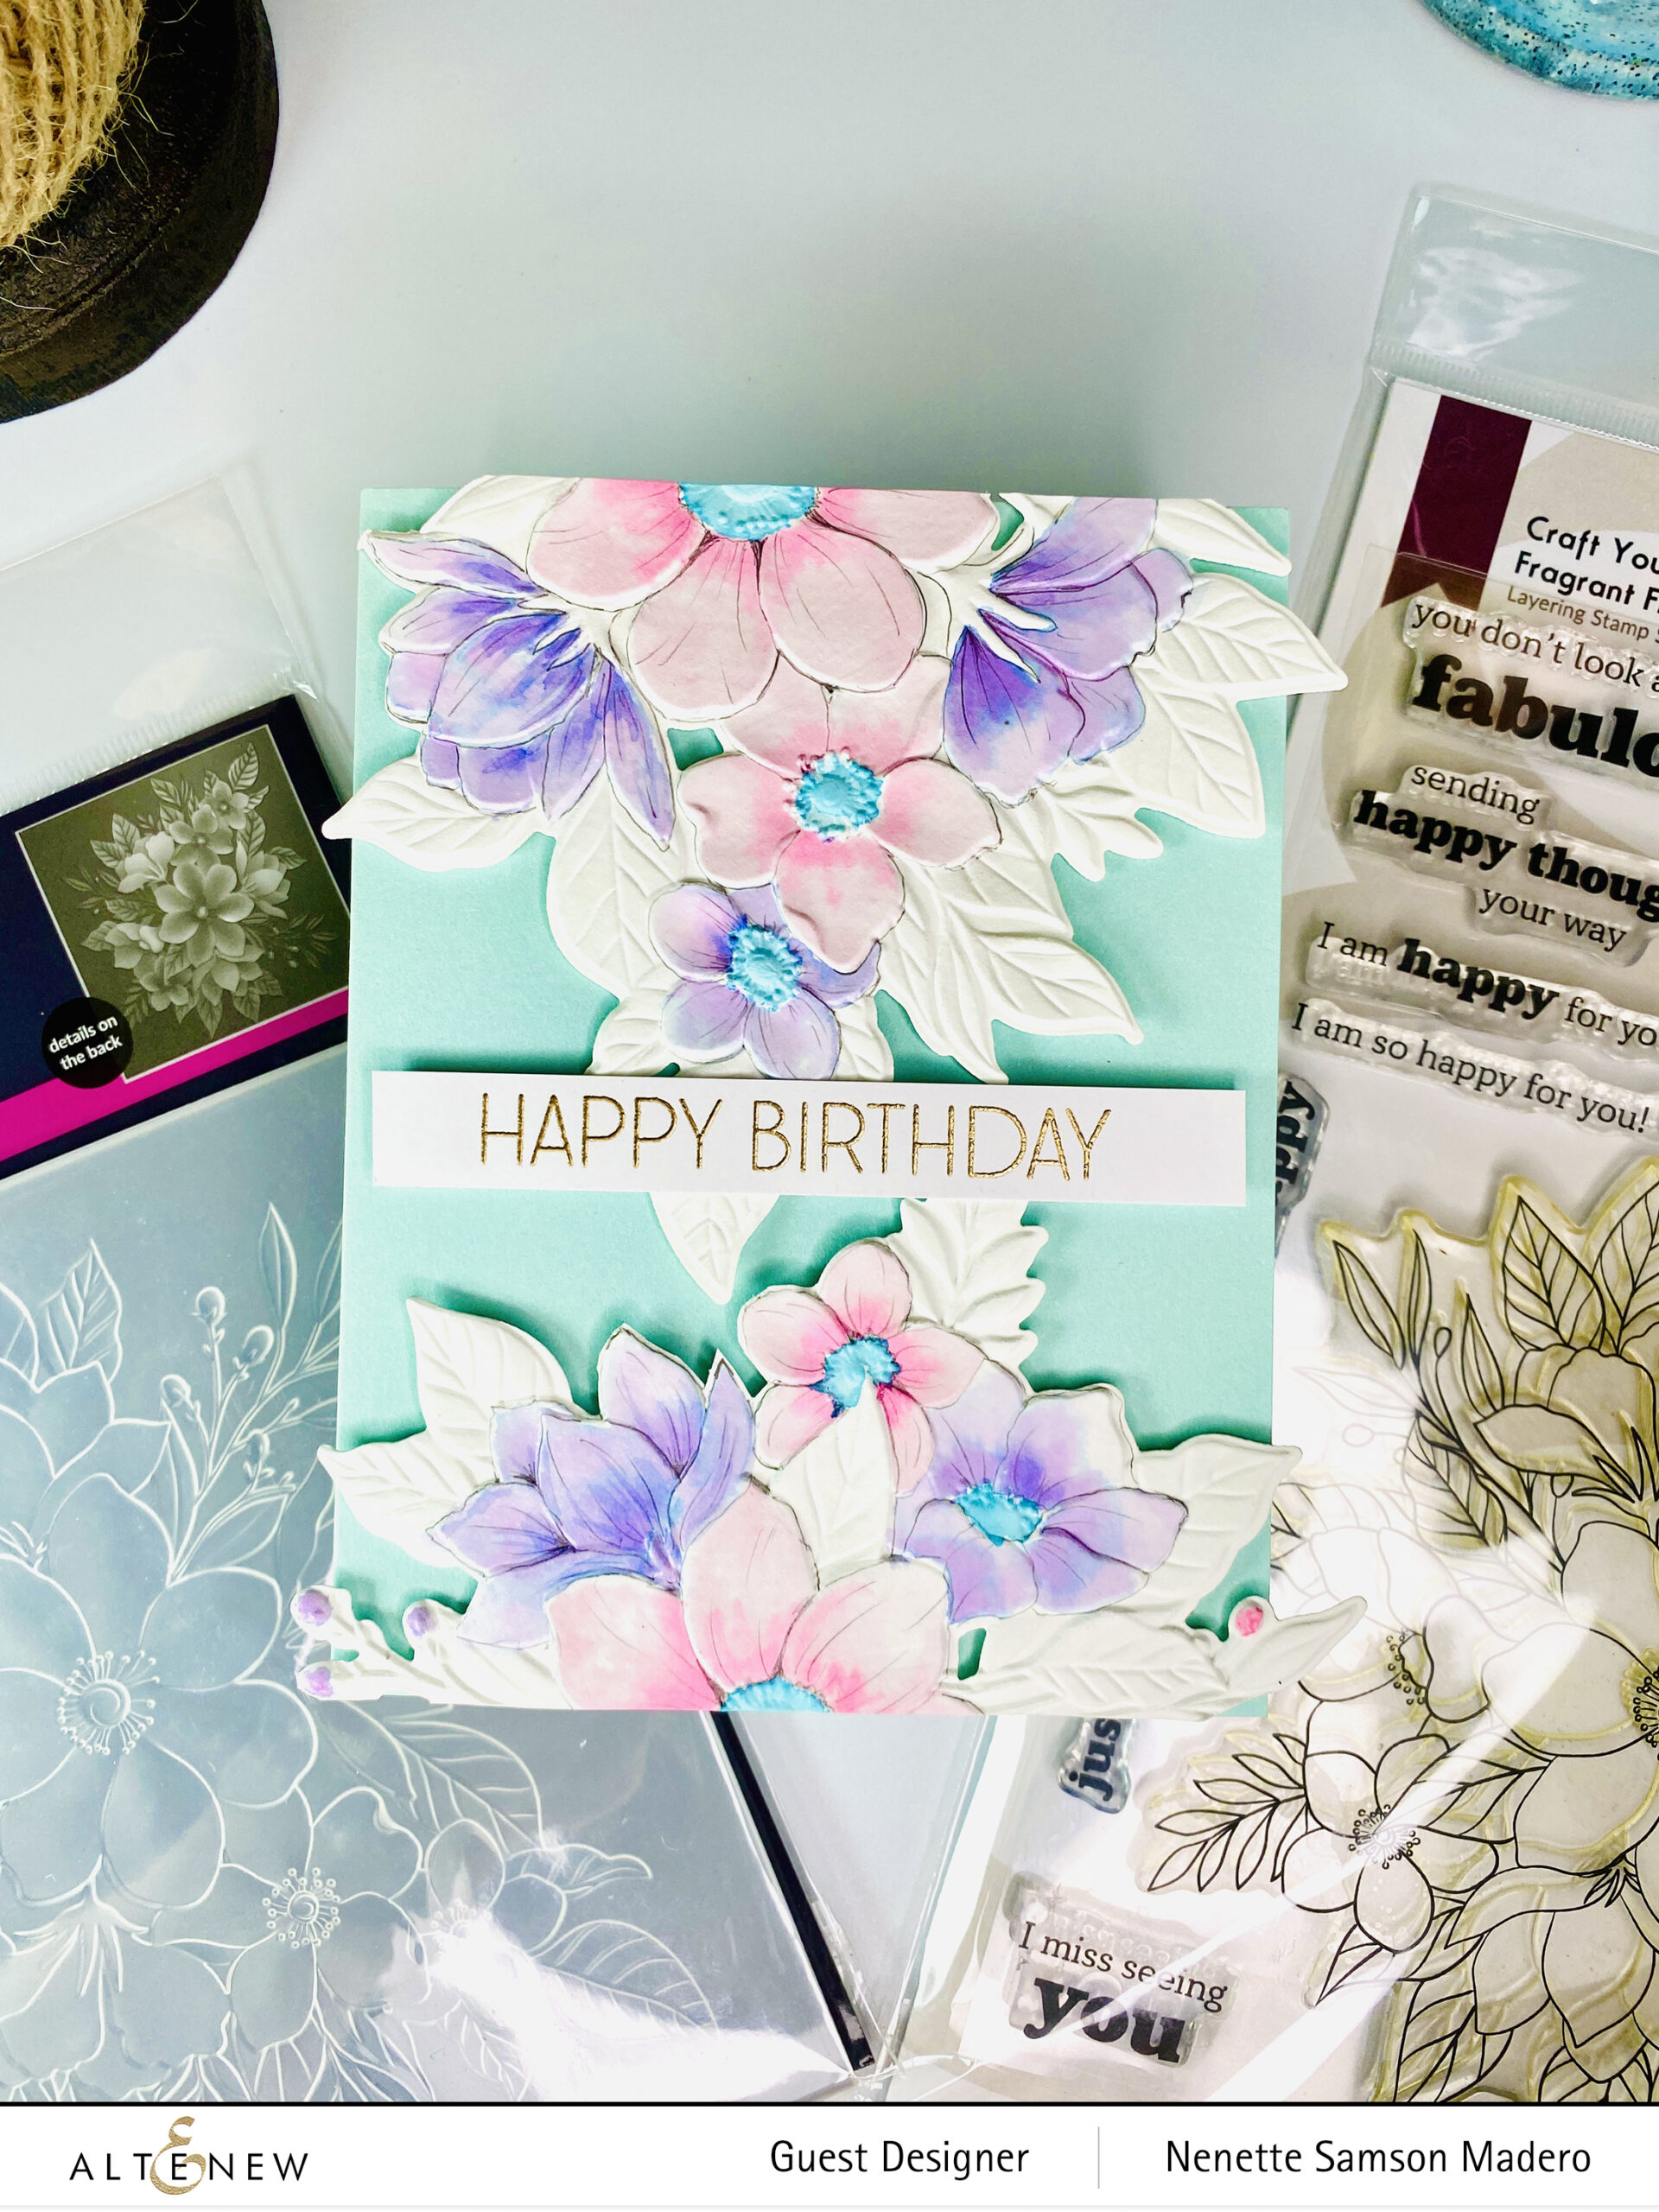
  1. Stamp the images from the Victorian Greenhouse Stamp set using dye inks and die cut using the coordinating dies.
  2. Die cut white cardstock using the Classic Greenhouse 4 times and on the last one, color with Distress Inks.
  3. Tear sticky paper and mask the top part of the card front. Color the lower part using Distress inks to mimic grass.
  4. Stamp sentiment on vellum and emboss using Pure White embossing powder.
  5. Assemble the card.

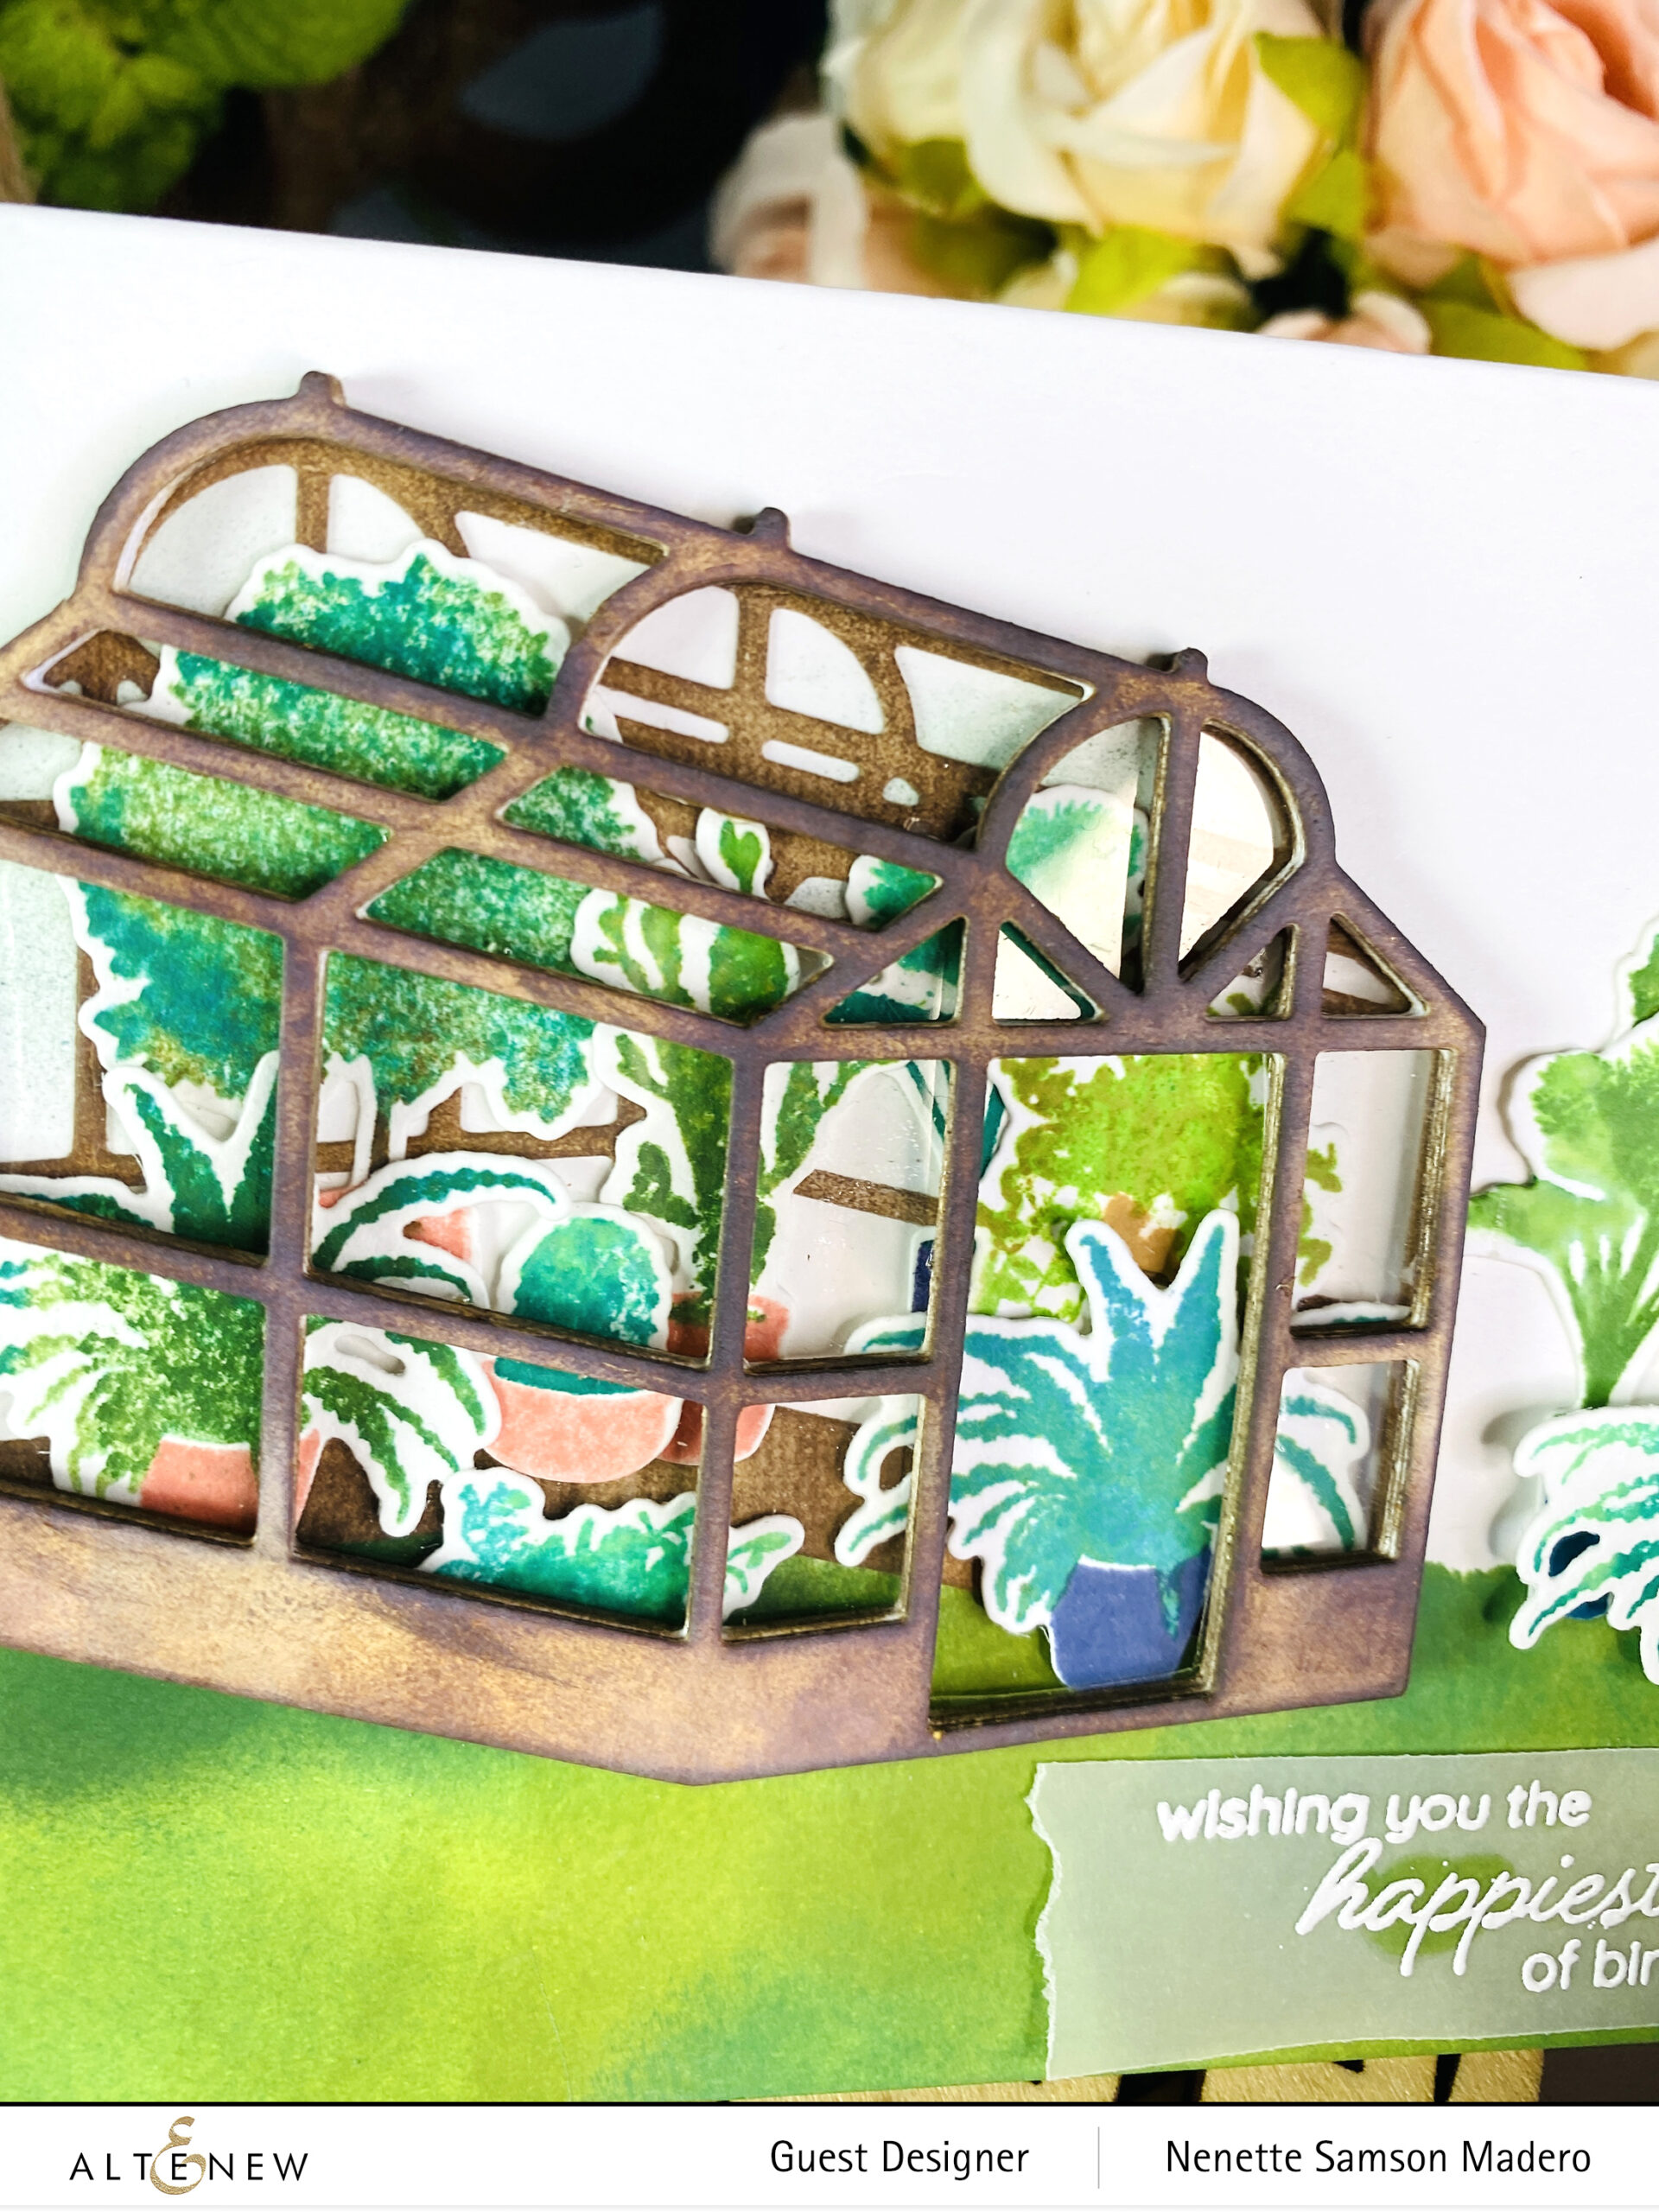
How I wish I had my own greenhouse!!! I enjoyed arranging the plants in this one. To make it look more realistic, I added acetate to make it look like glass.

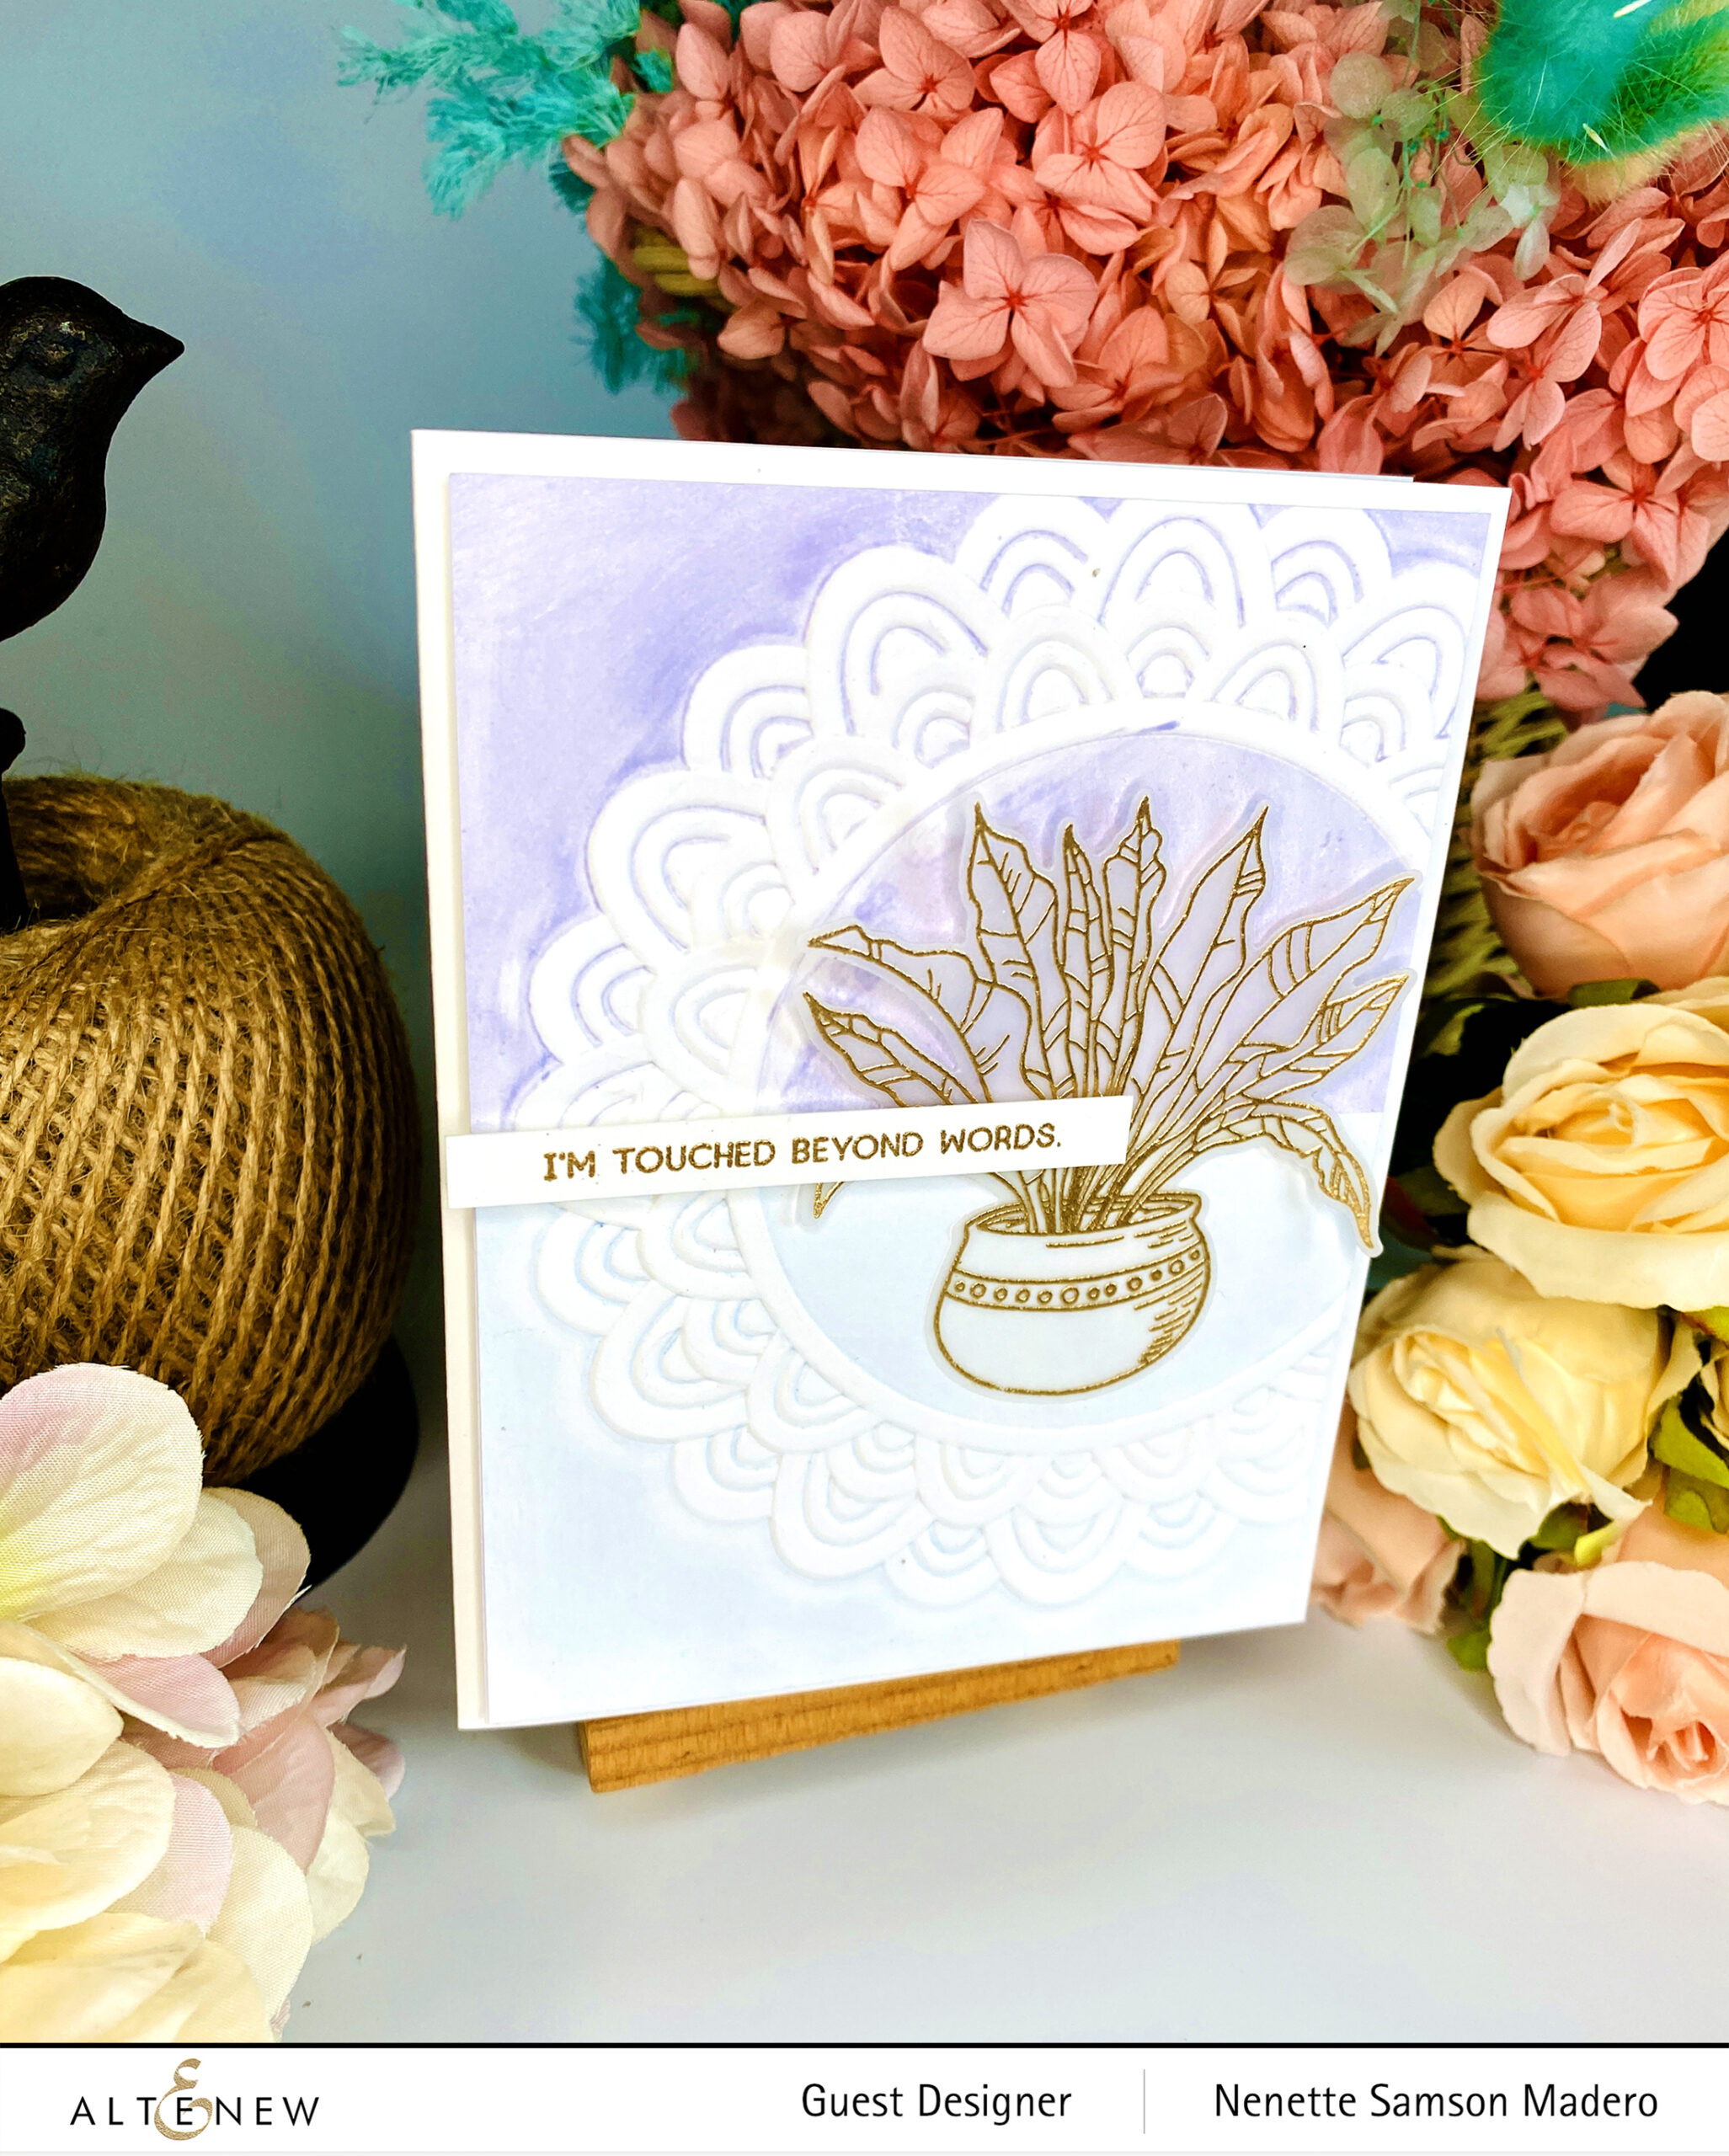
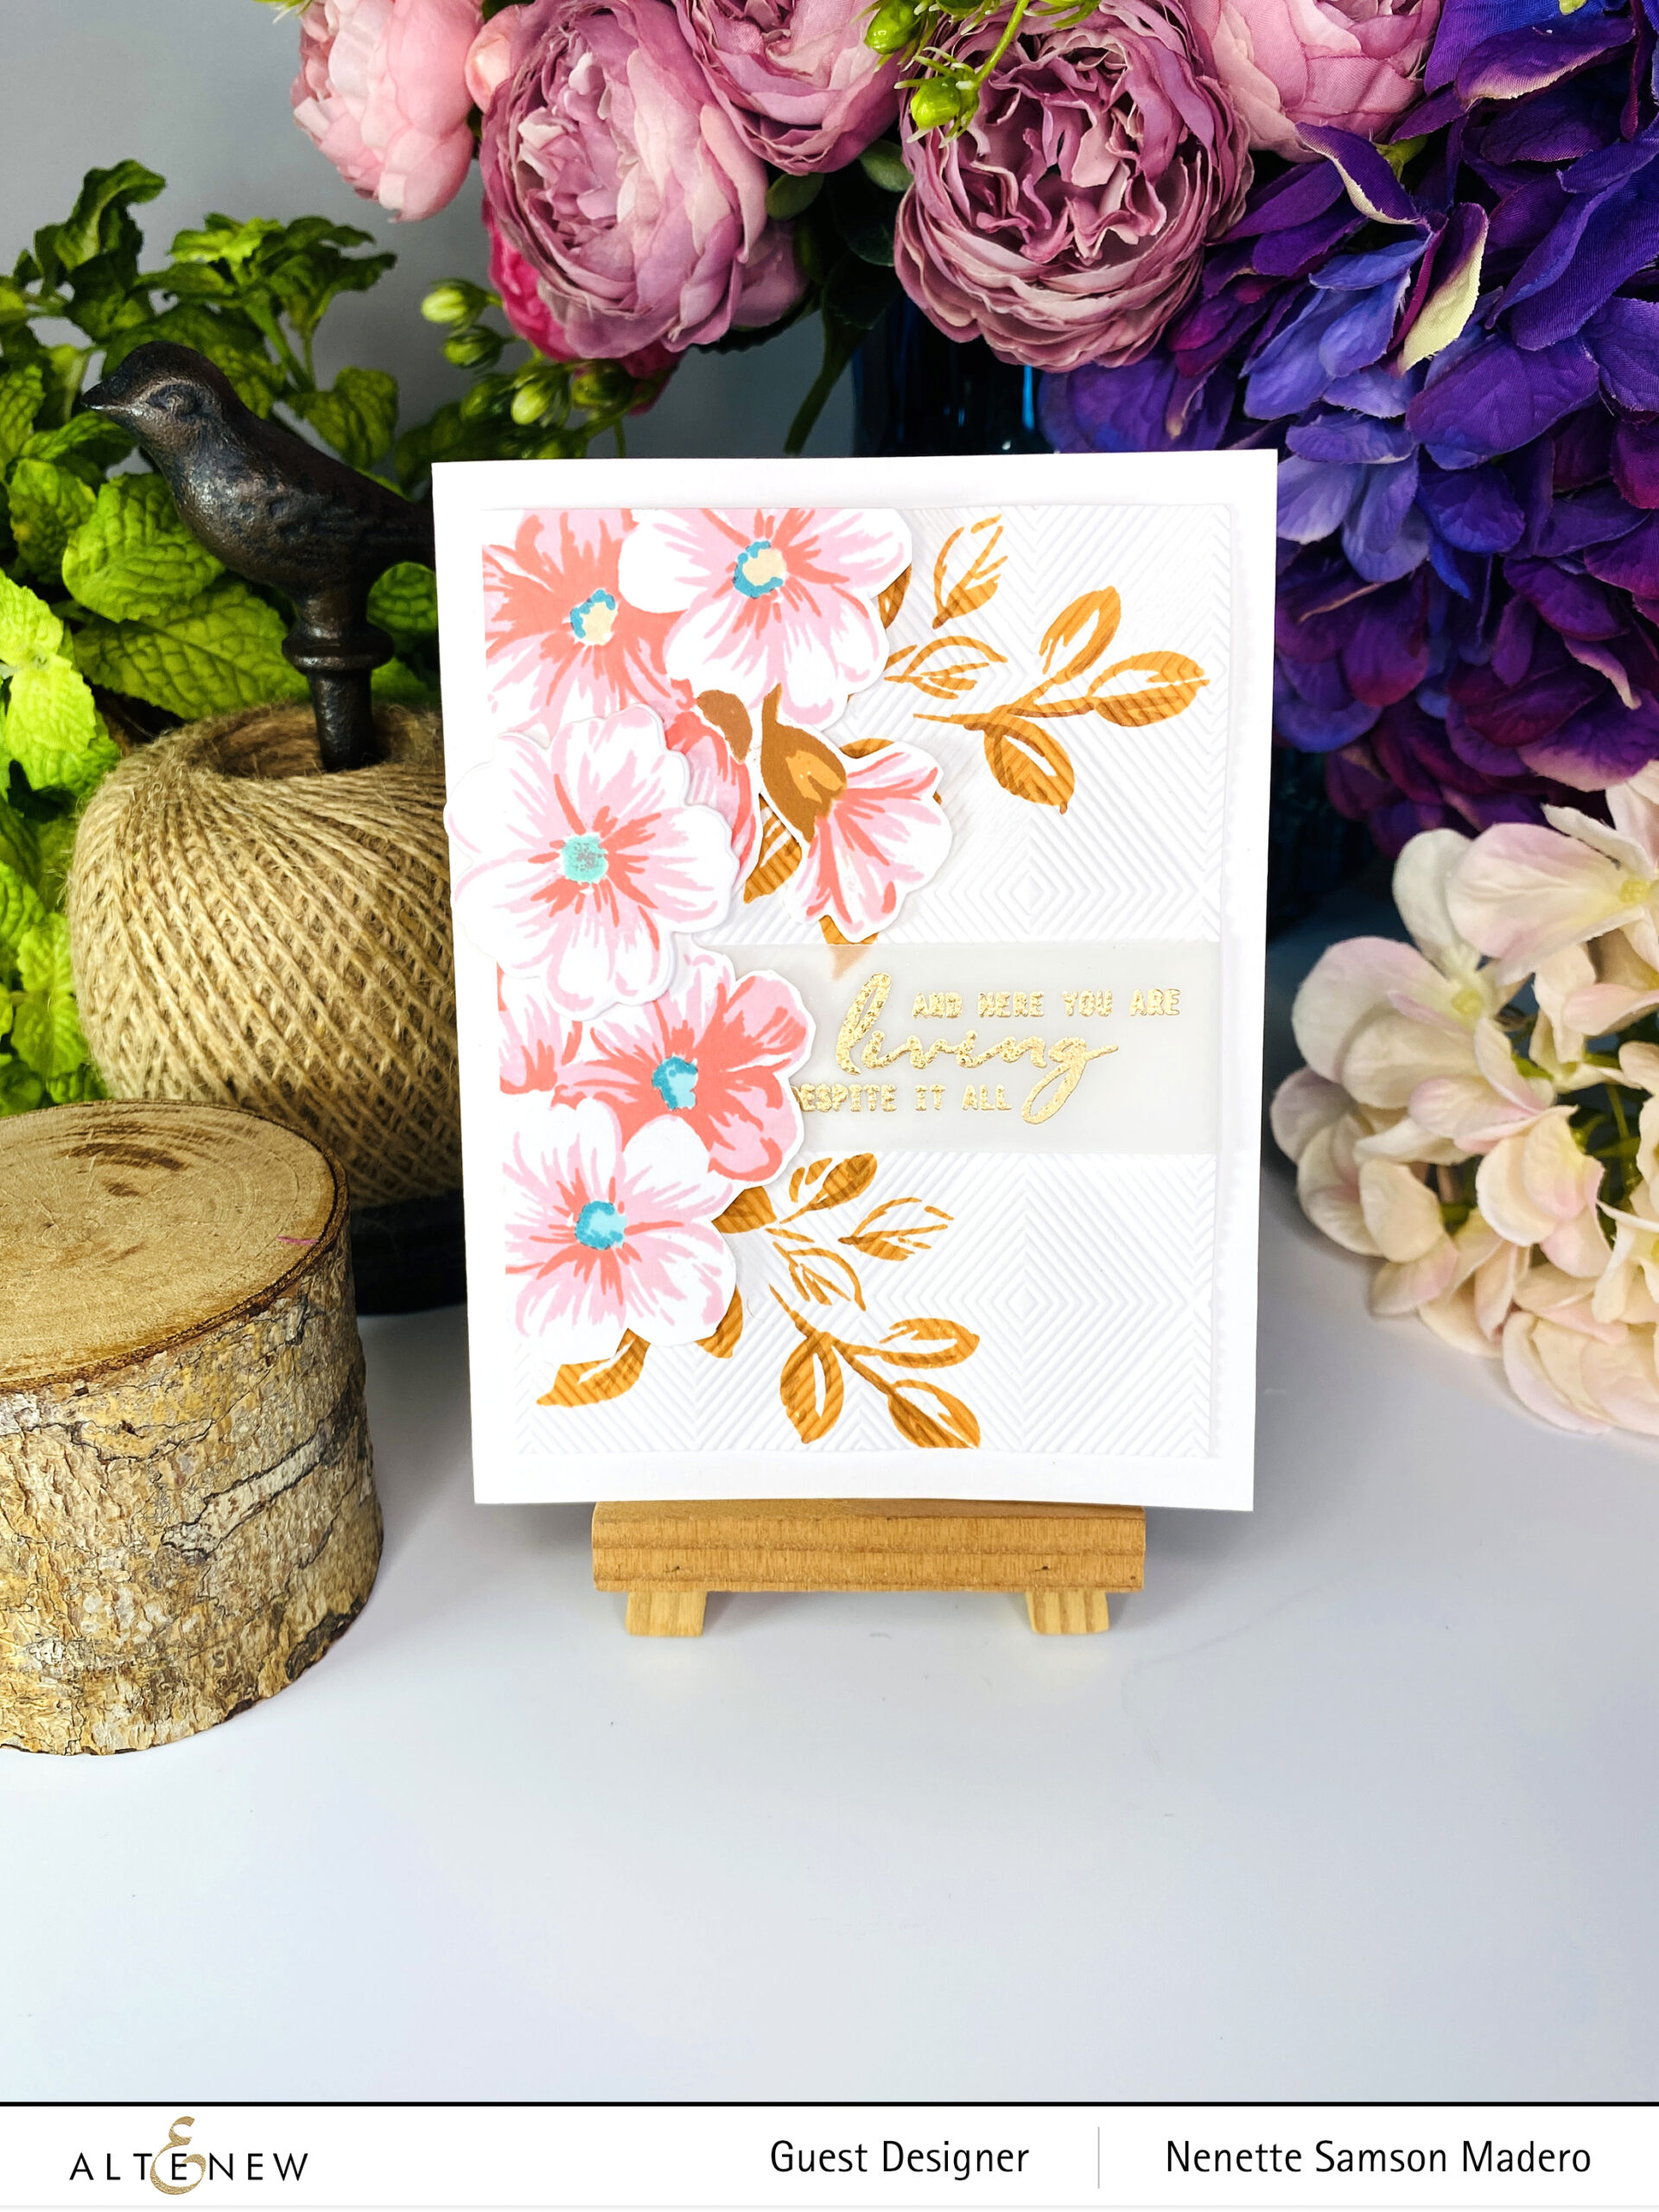
AND HERE YOU ARE LIVING DESPITE IT ALL

MORNING FLOWERS STAMP AND DIE, REASON TO SMILE STAMP, WAFFLED DIAMONDS 3D EMBOSSING FOLDER

STEPS:

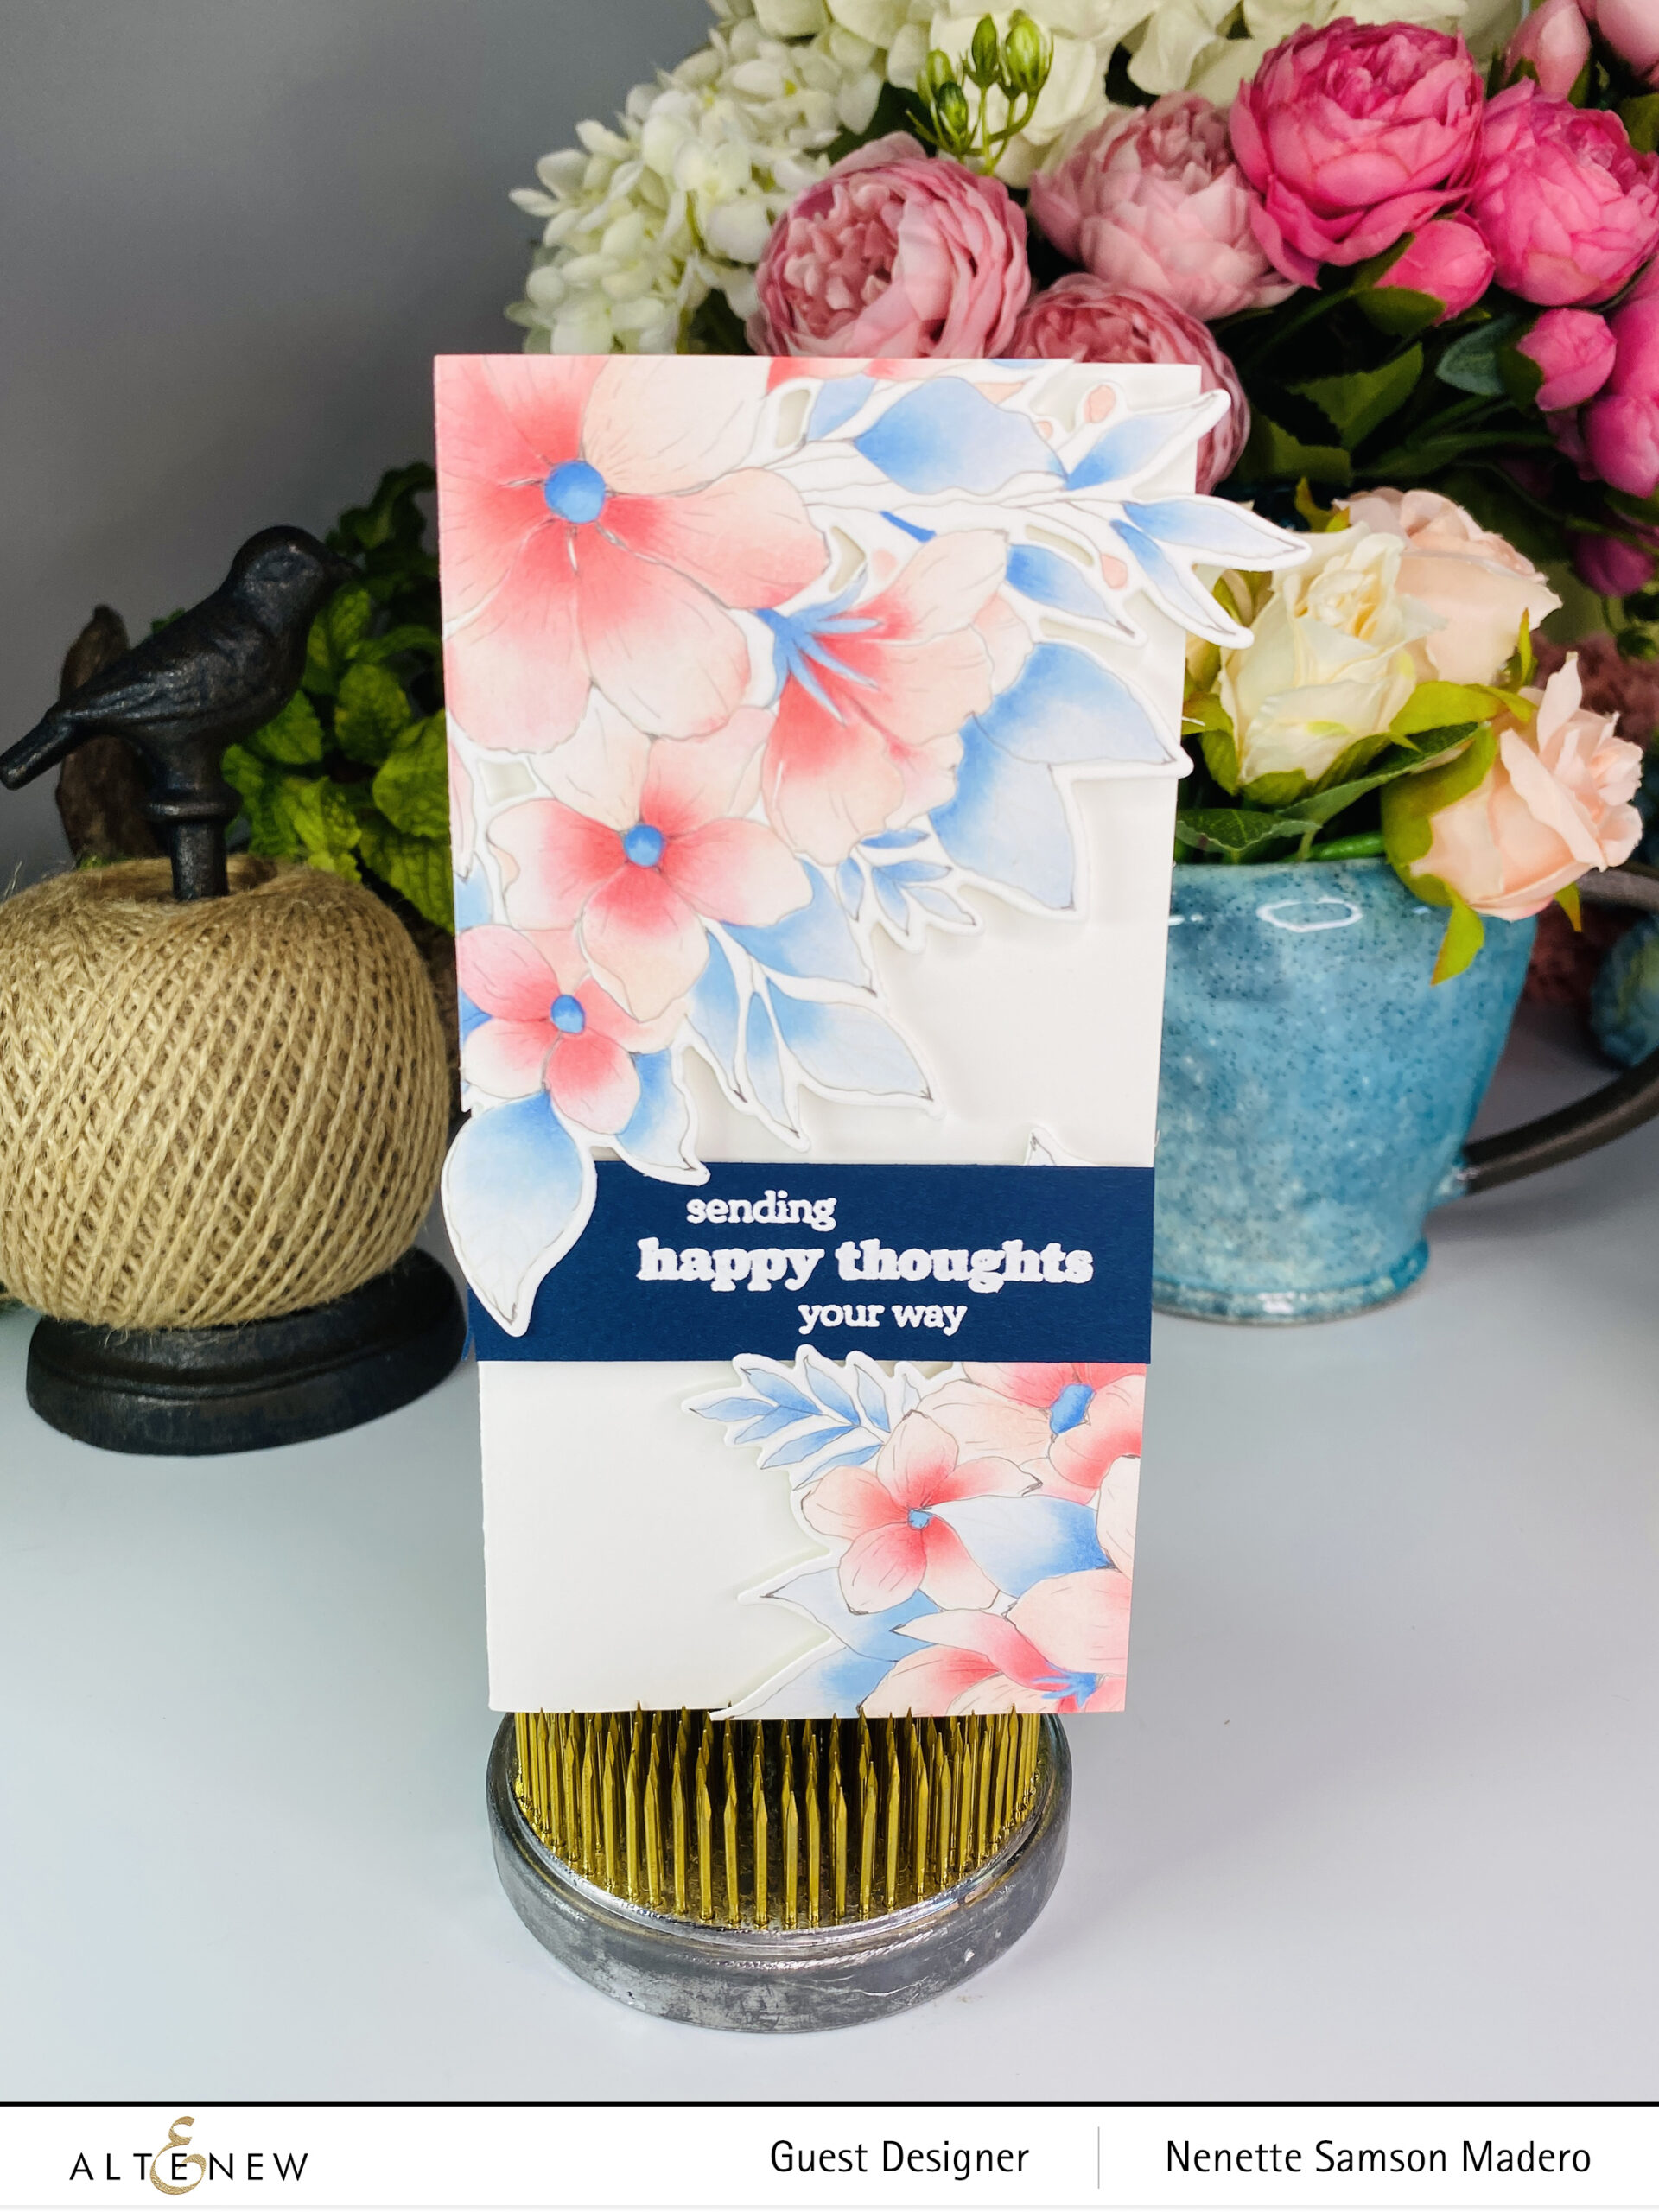
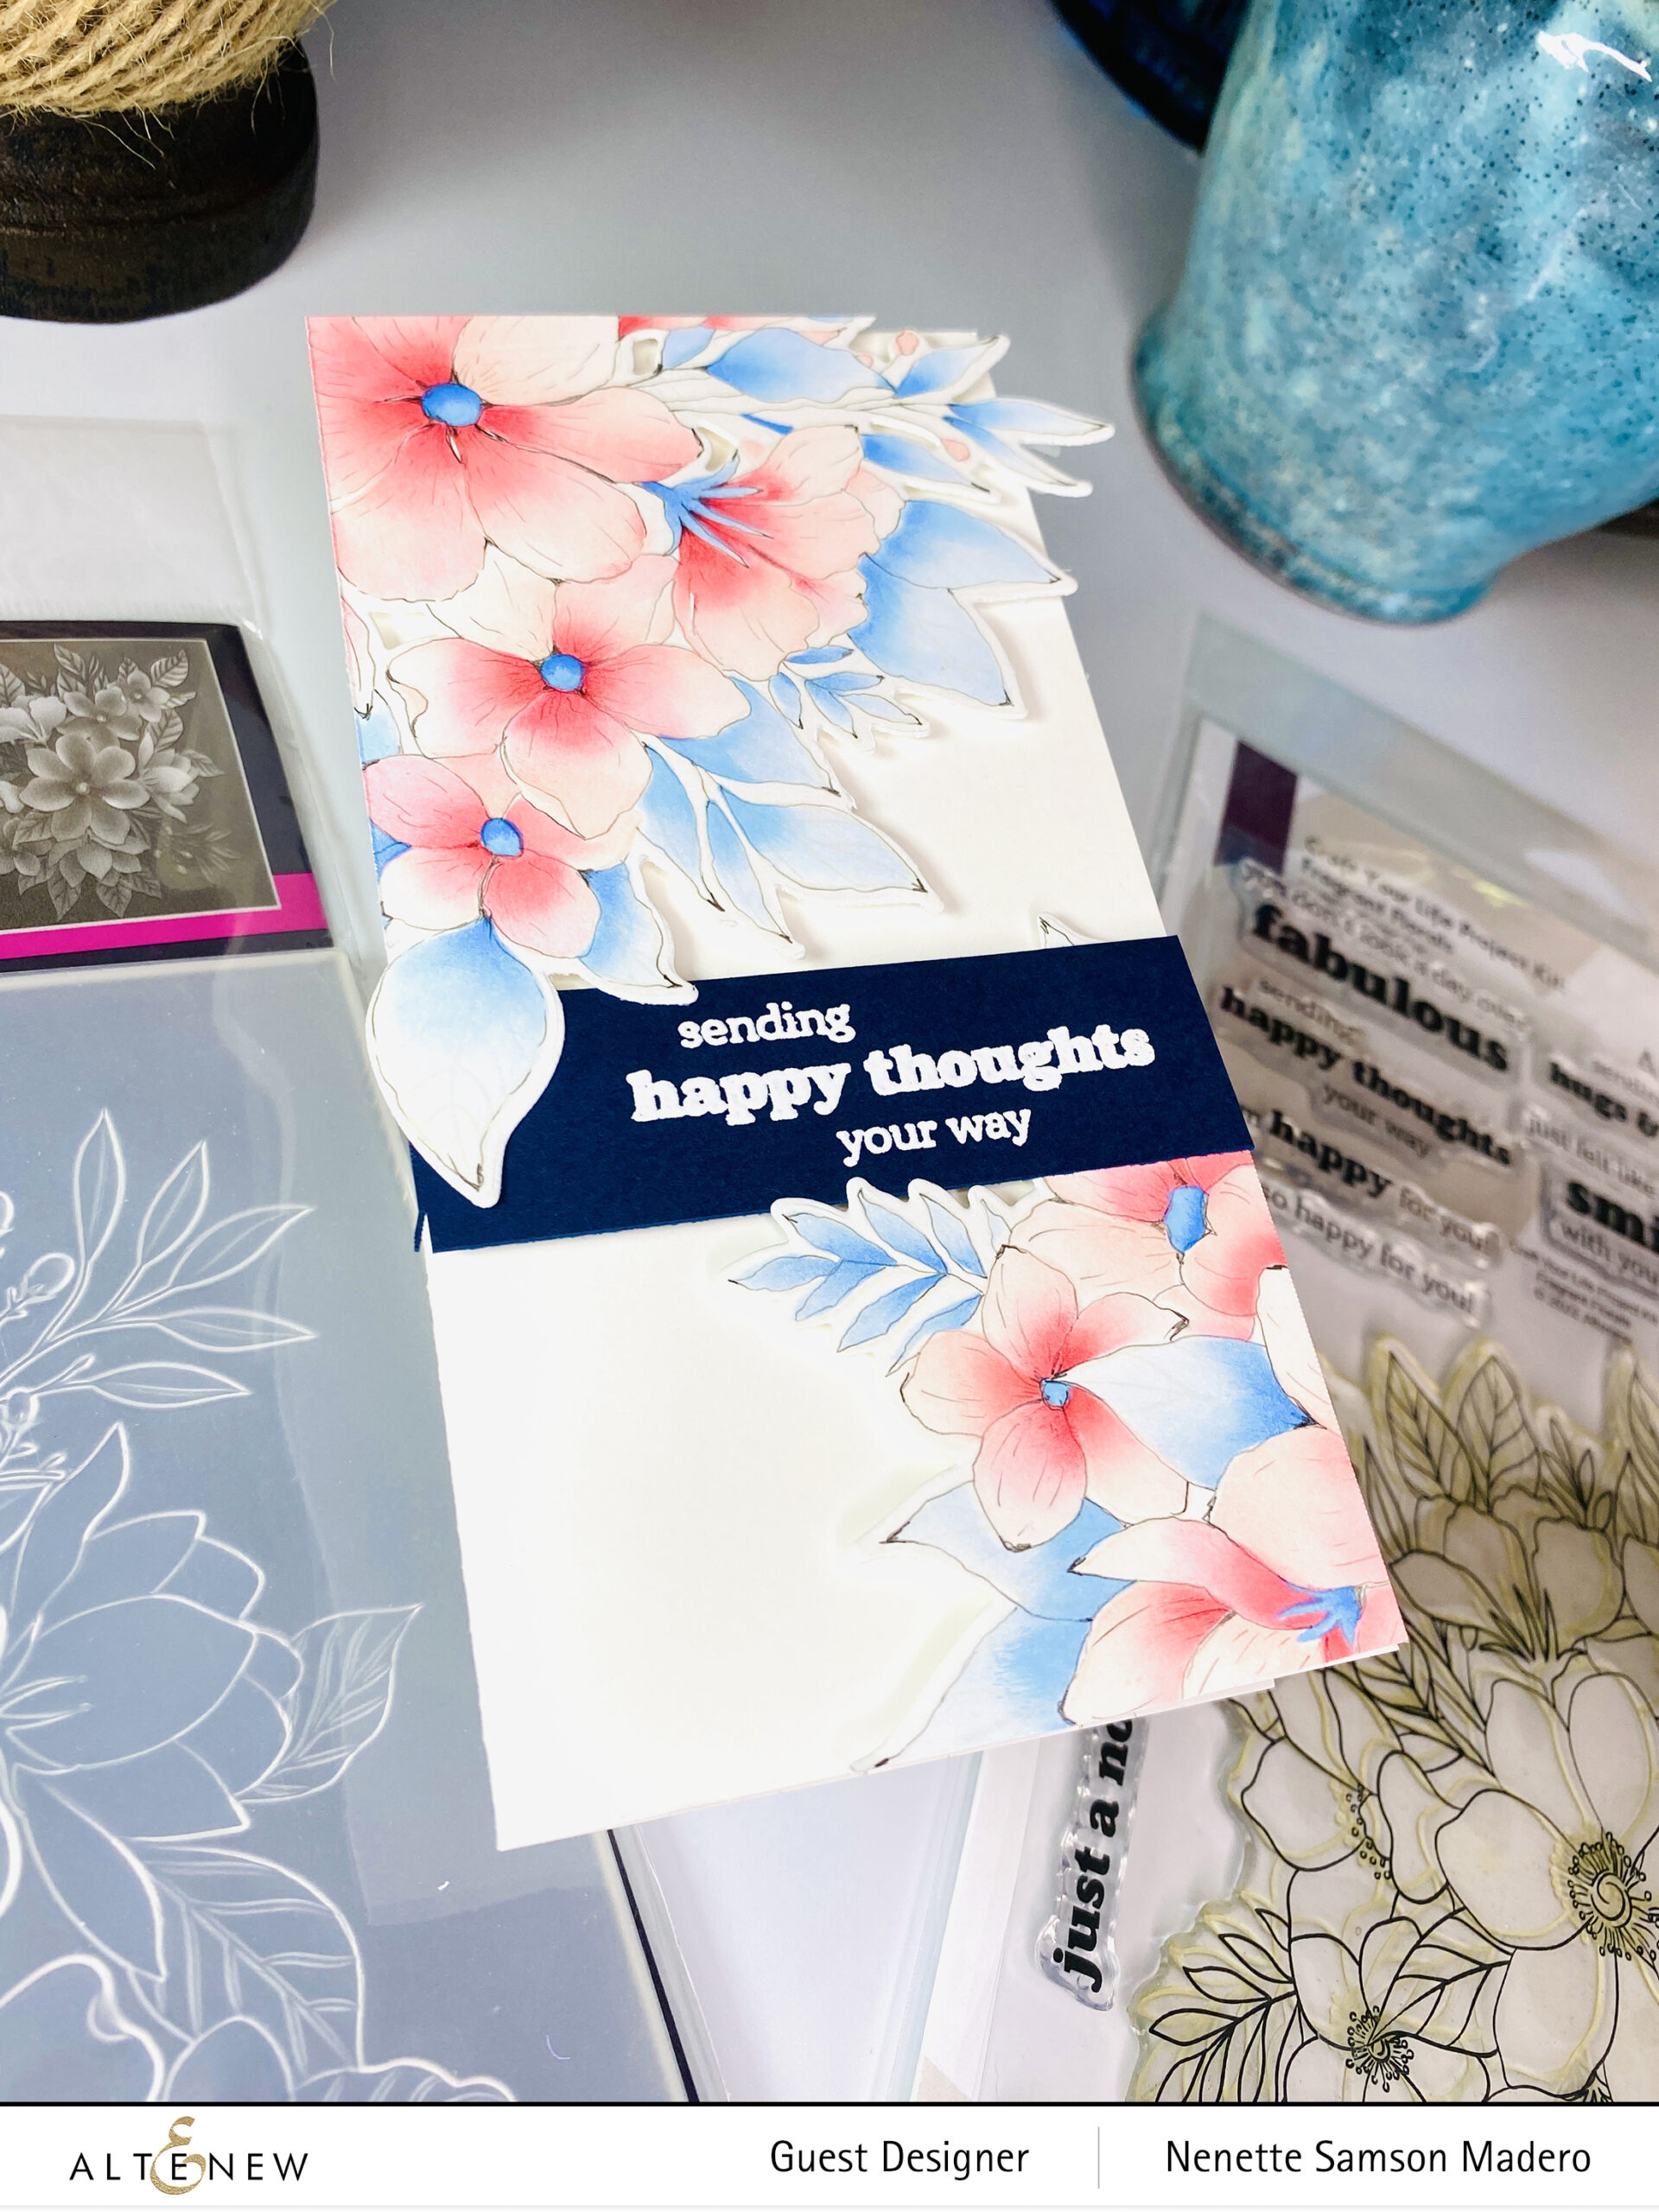
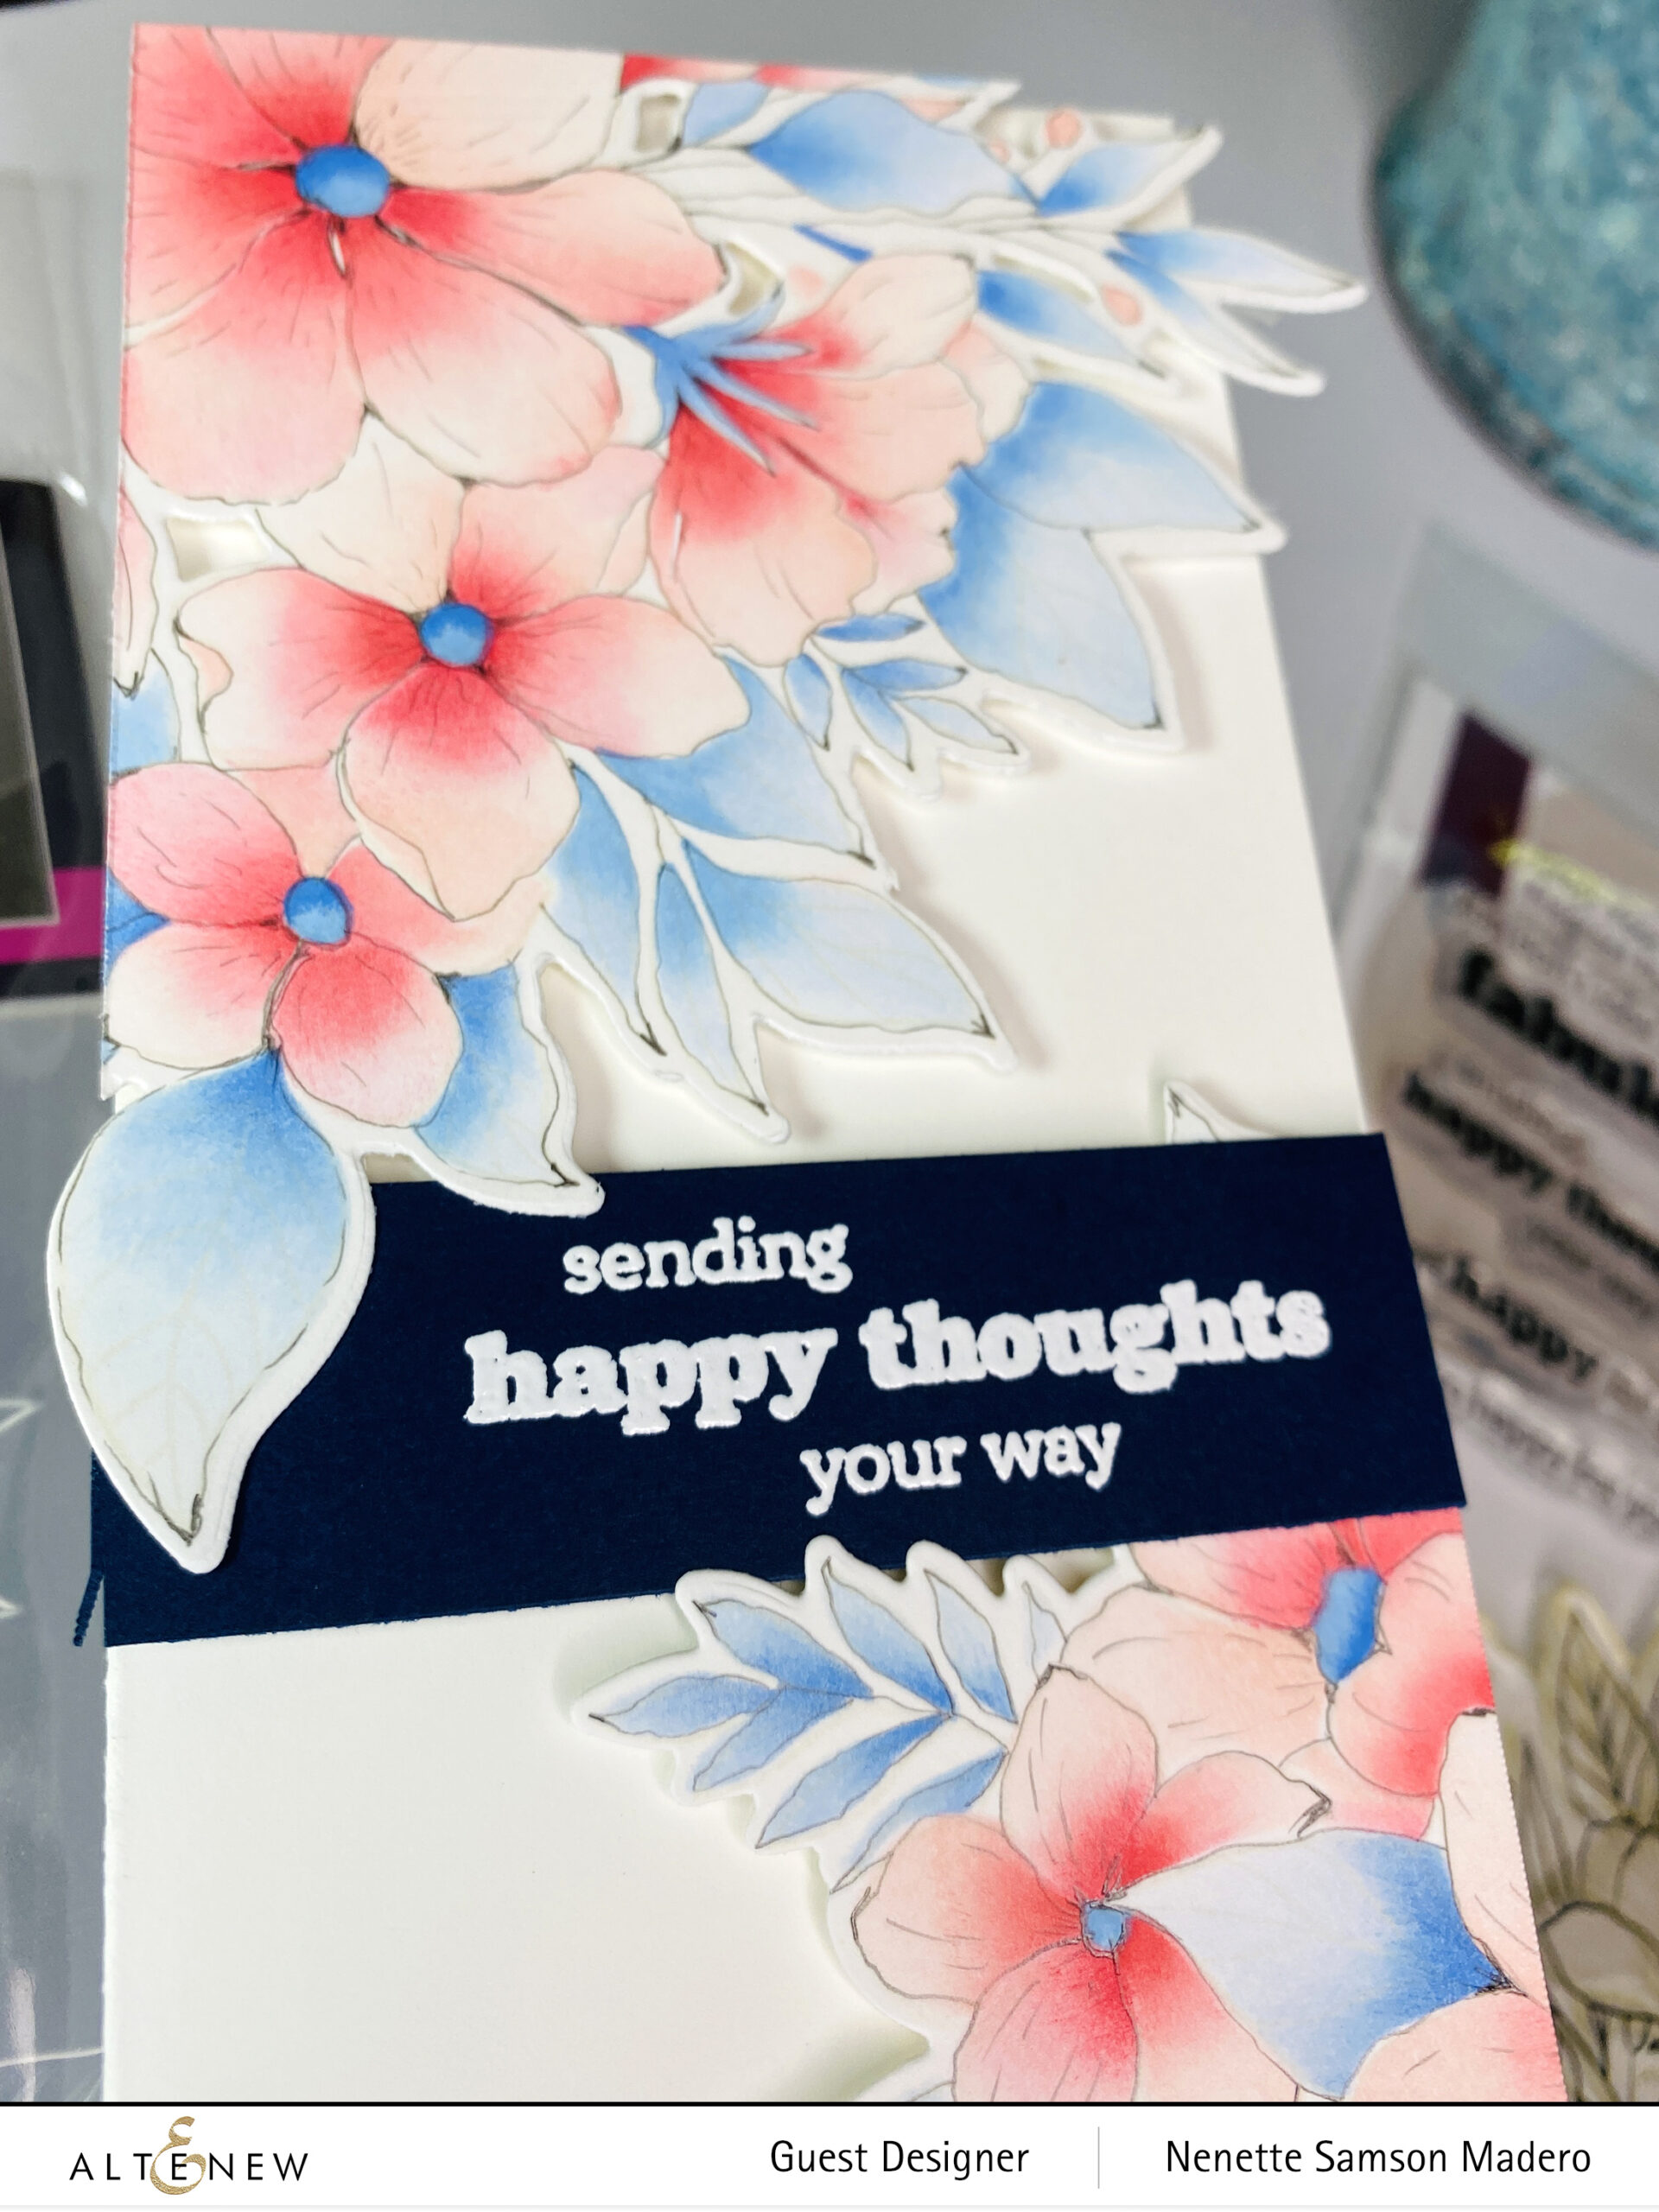
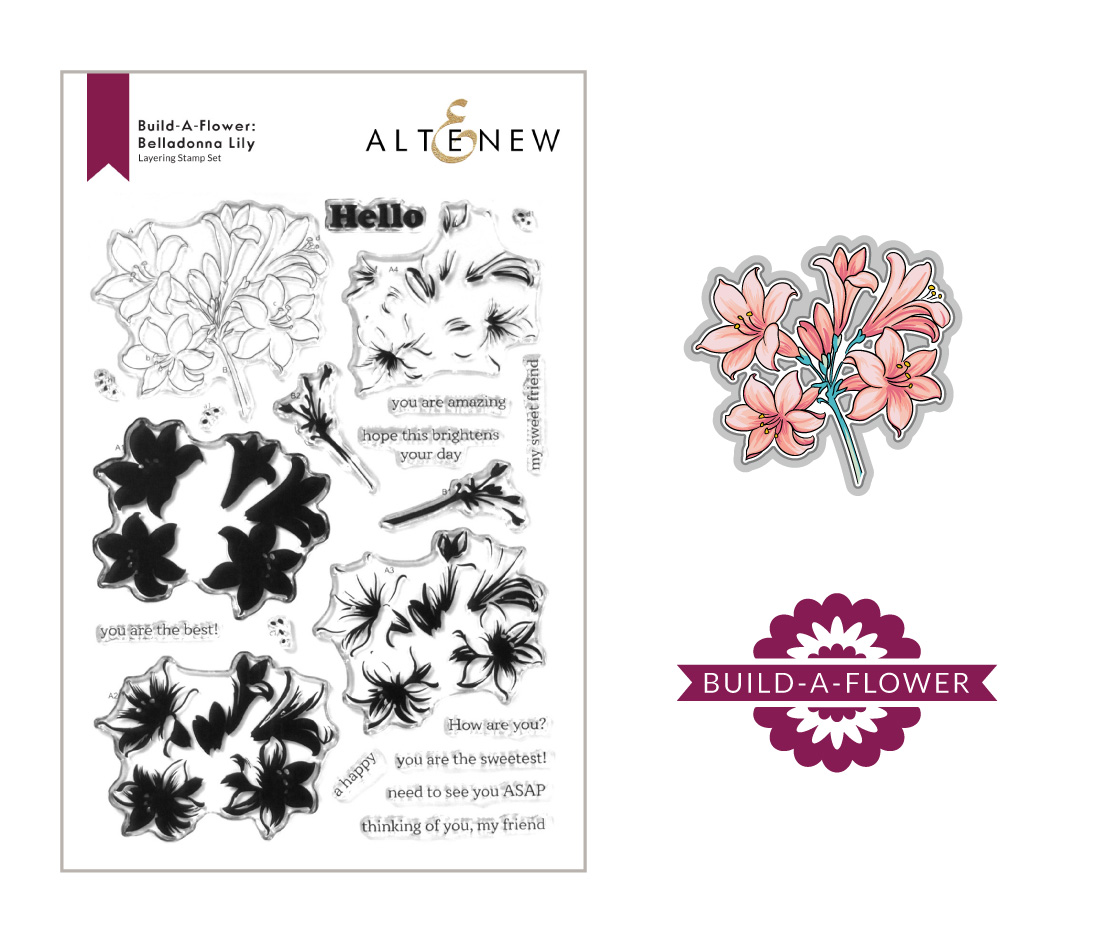
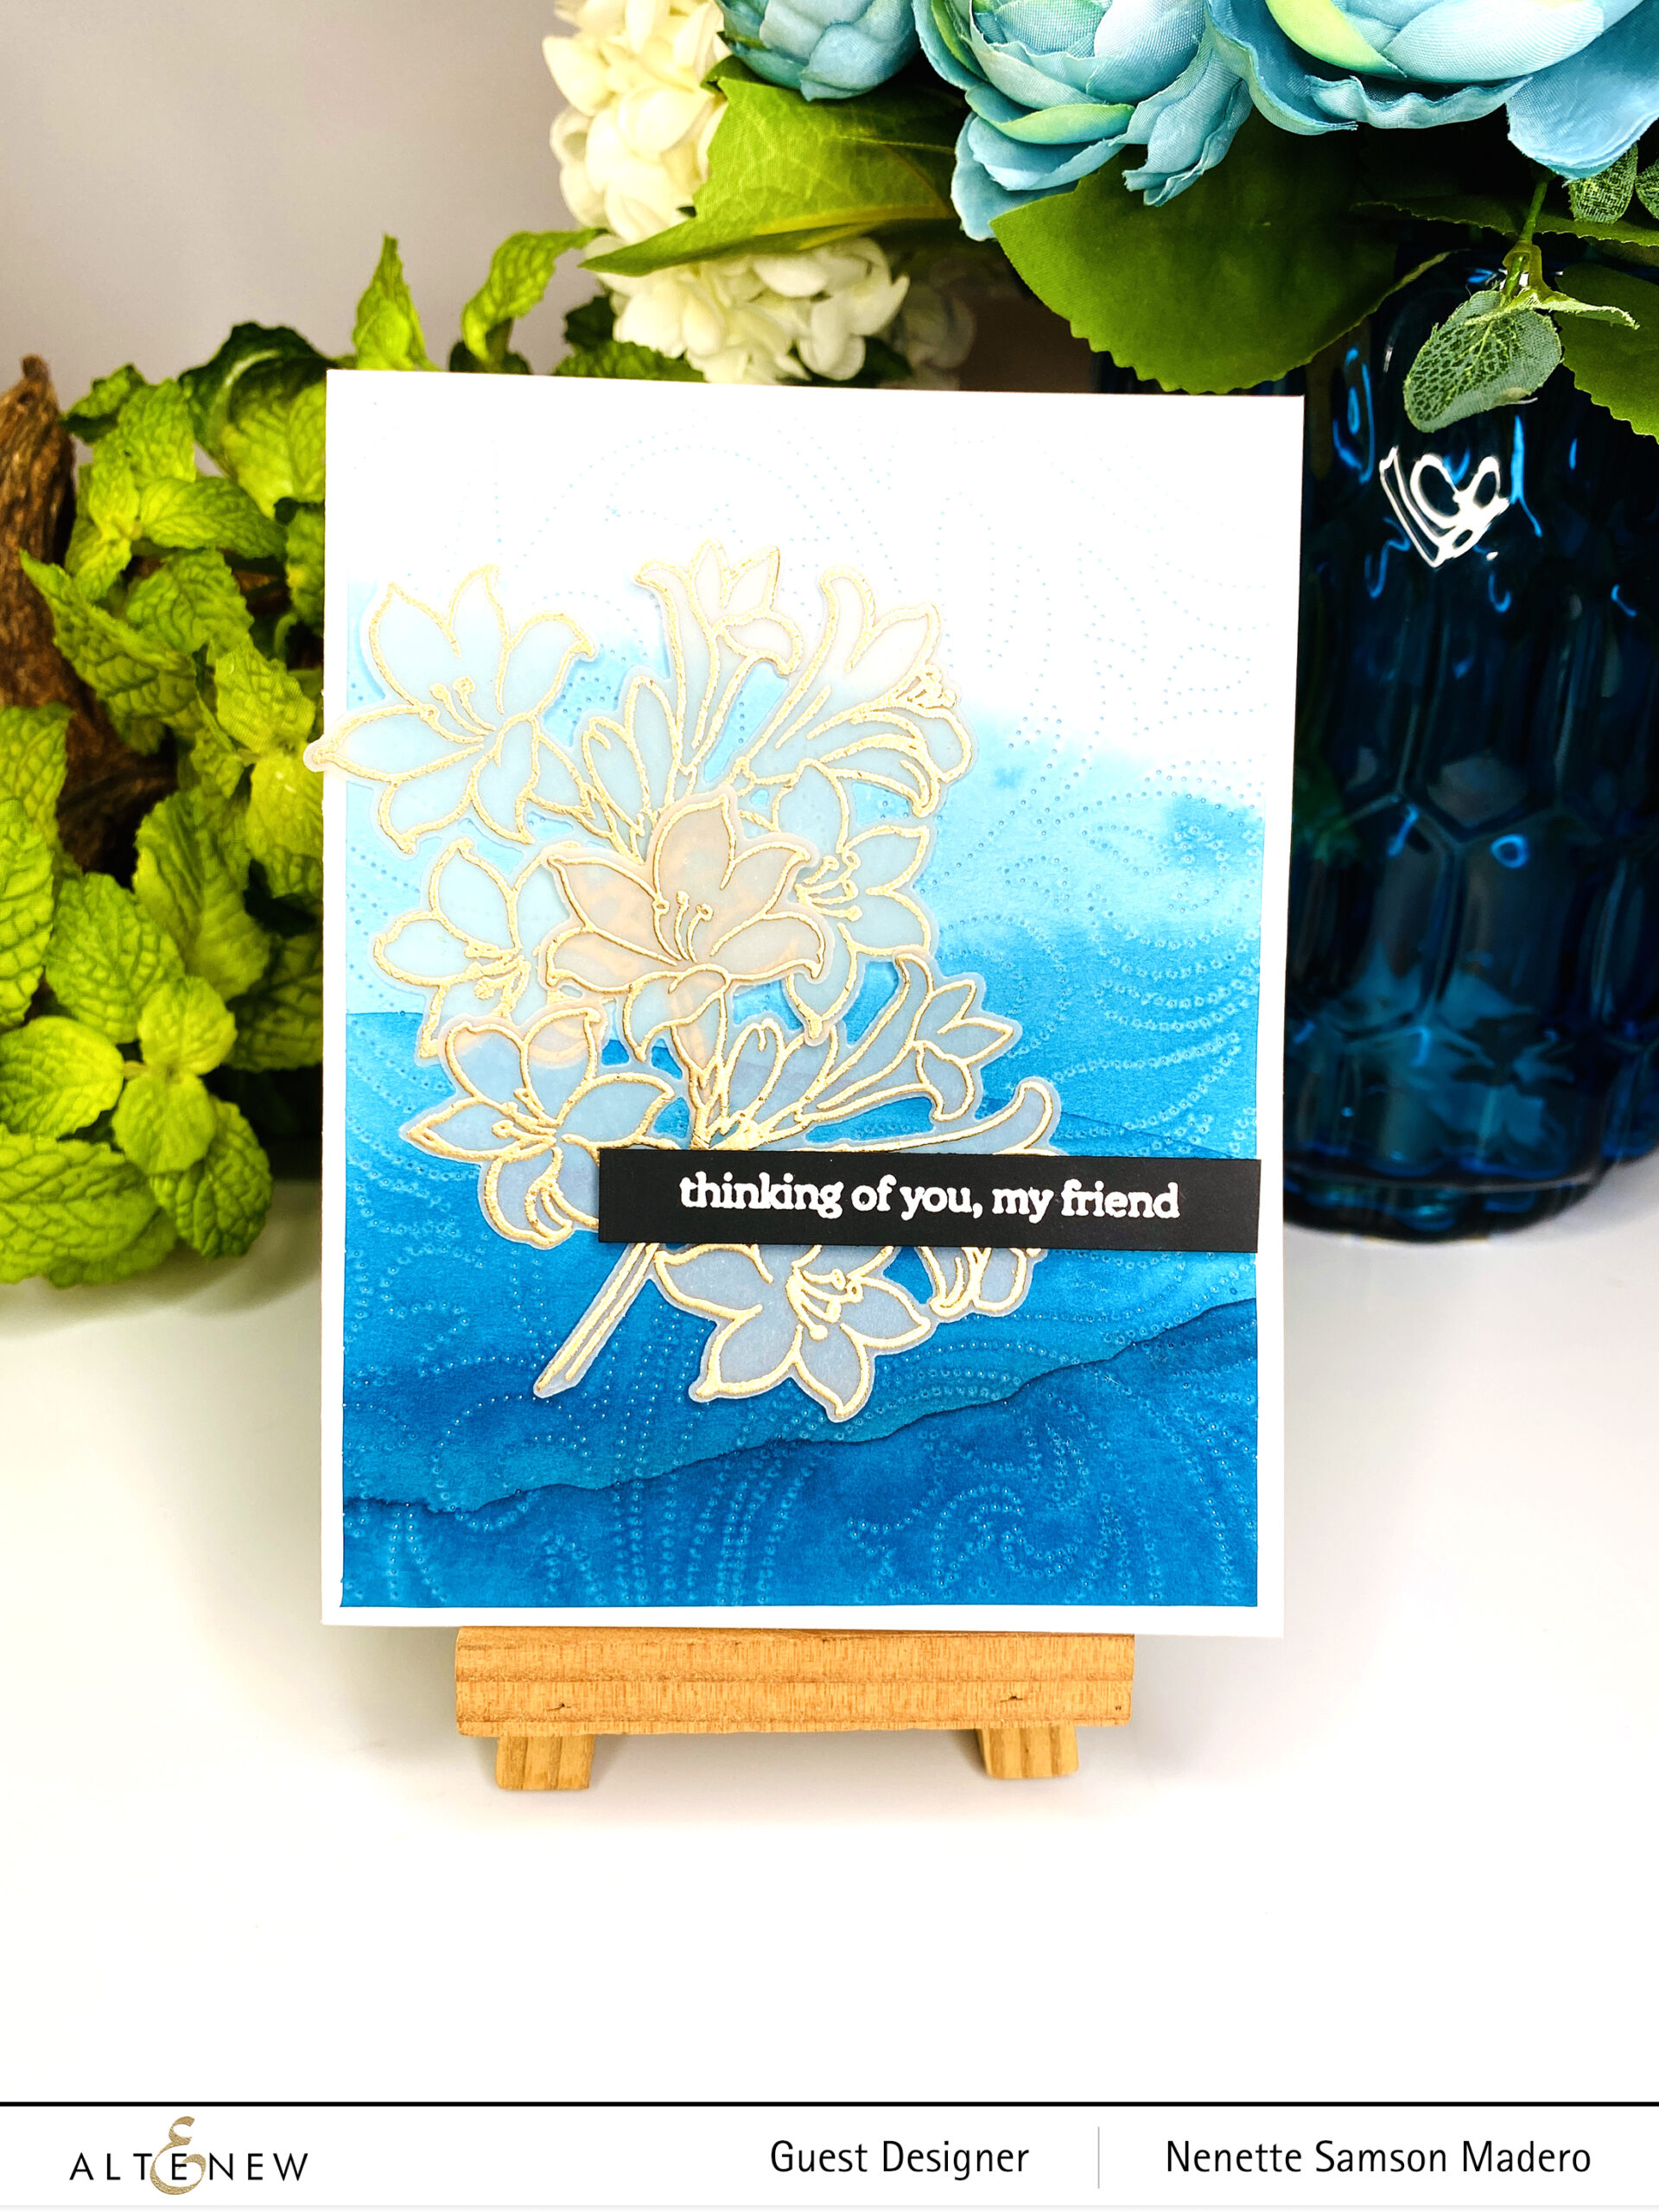
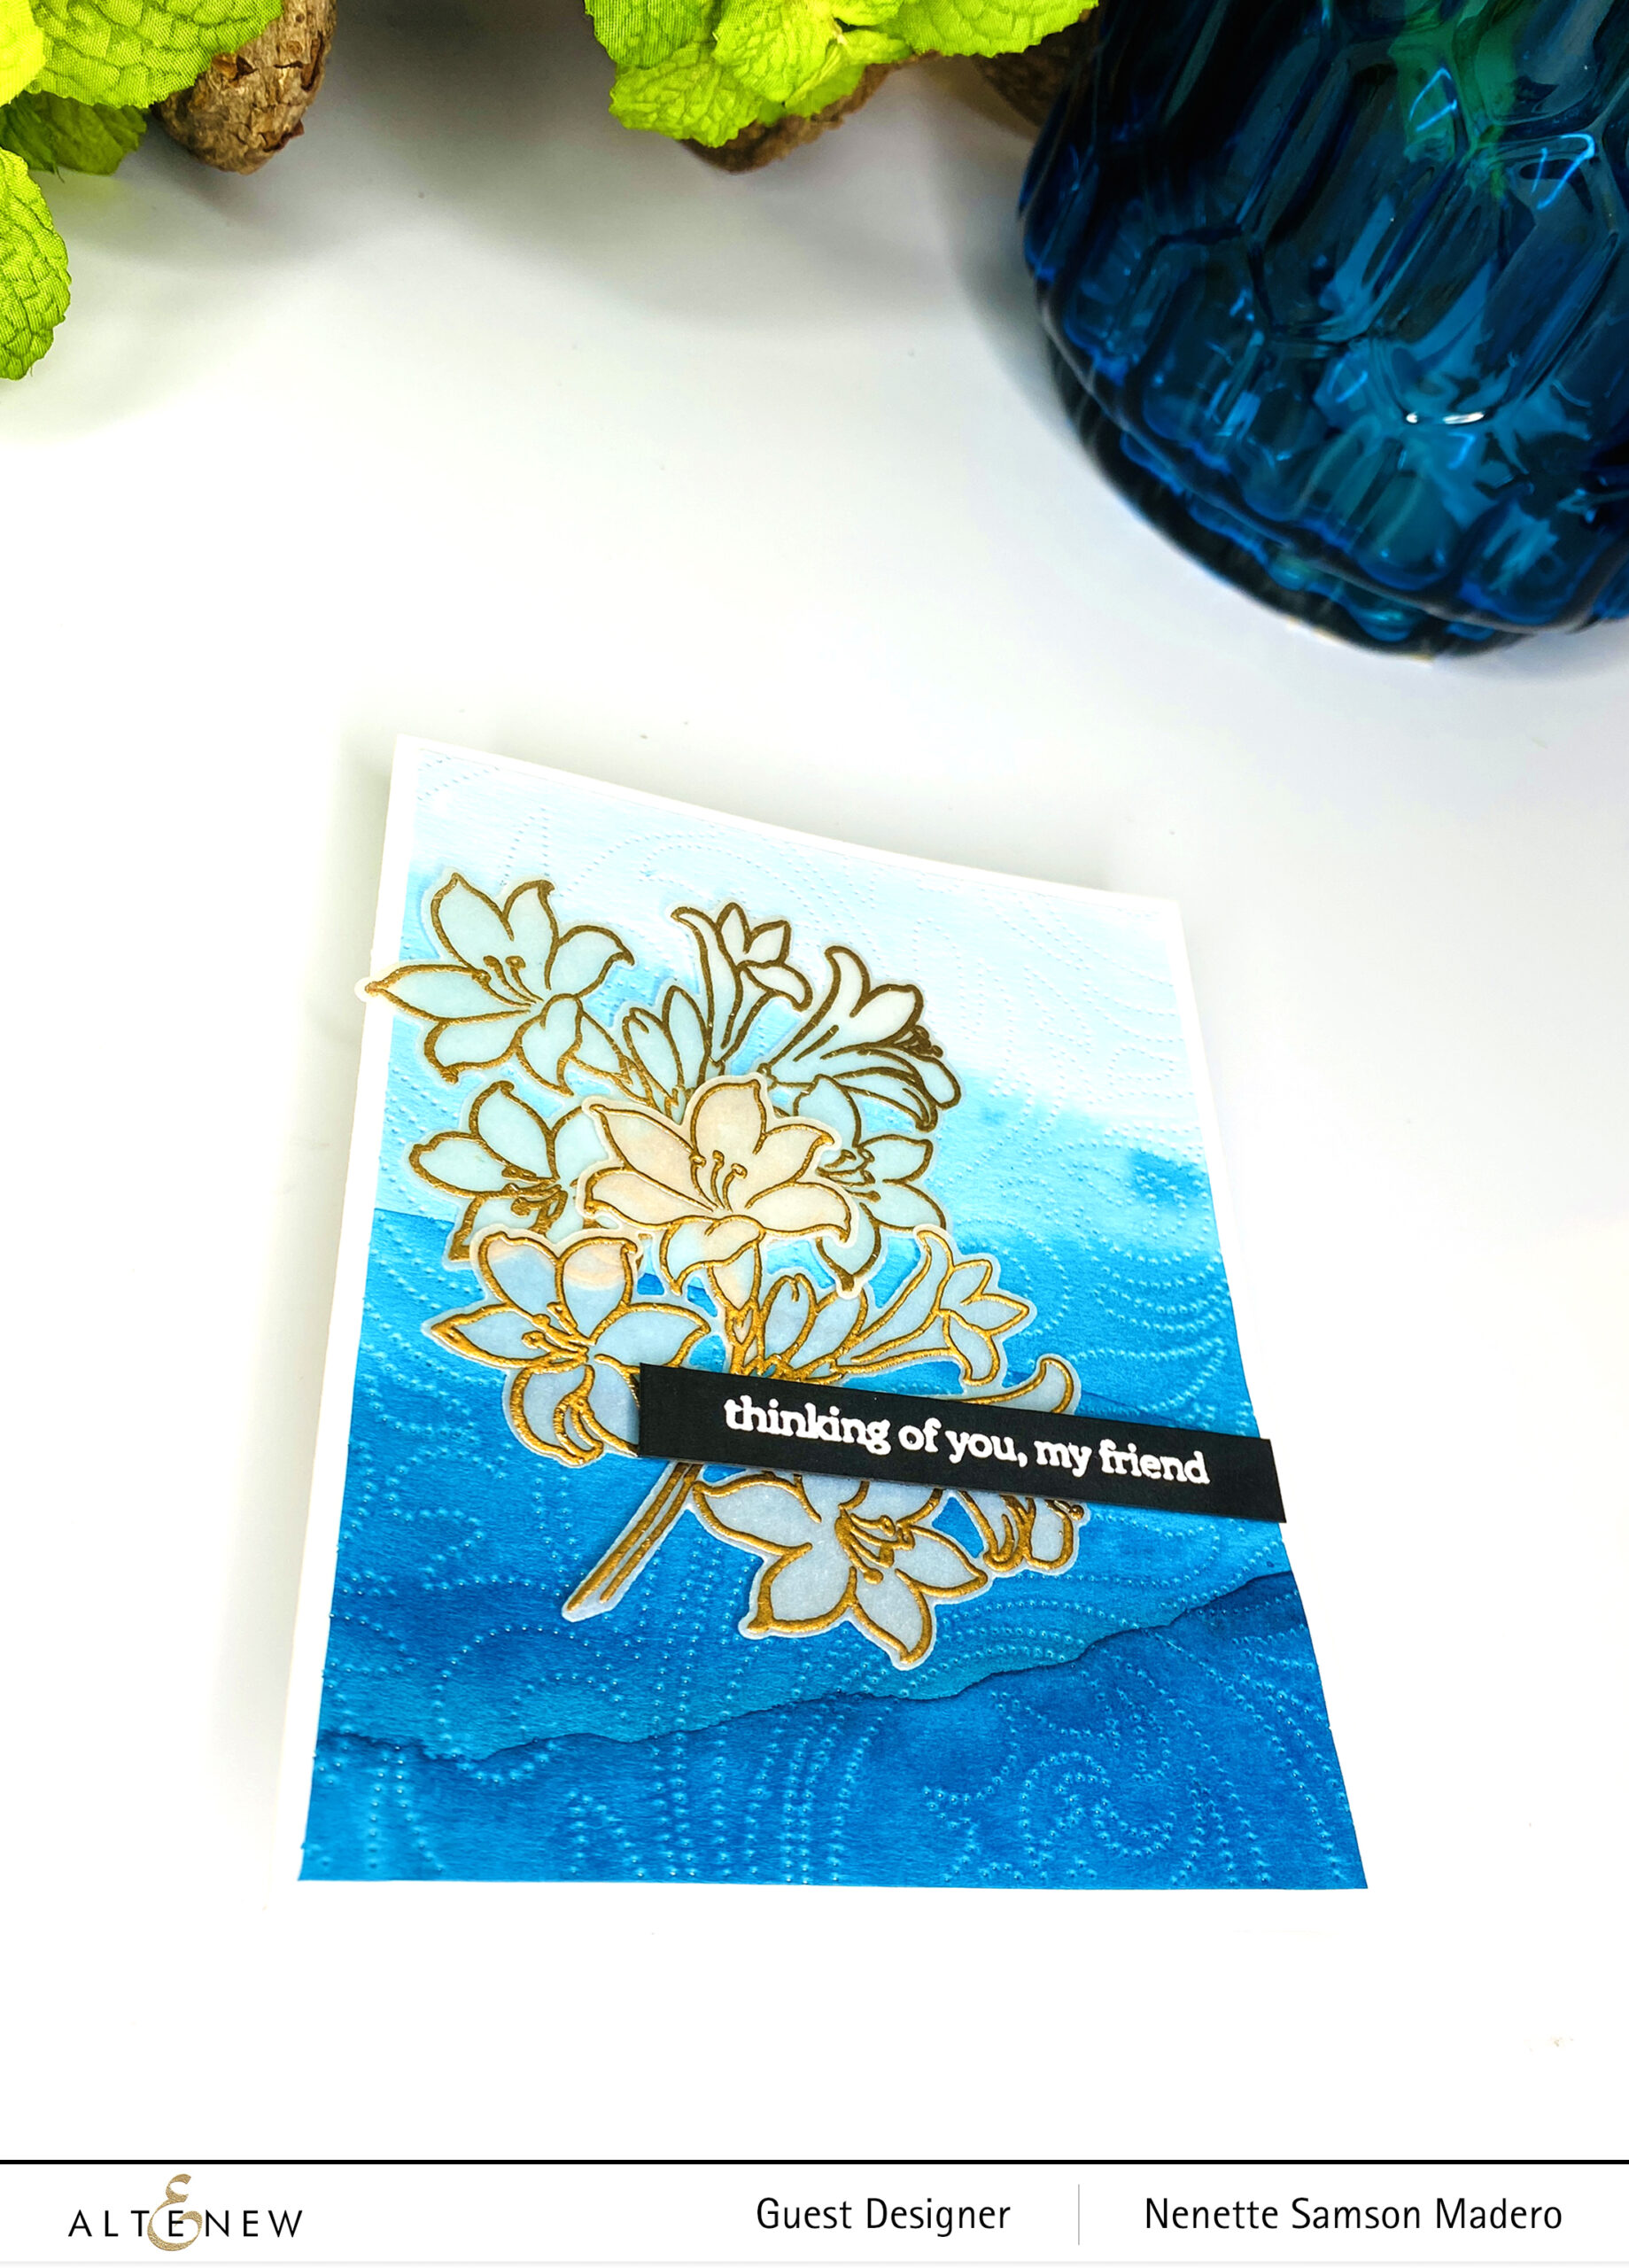
  1. Stamp floral images from the Morning Flowers Stamp set using Pink Diamond, Coral Bliss, Volcano Lake and Lagoon dye inks on white cardstock.
  2. Stamp leaves using Caramel, Toffee and Paper Bag dye inks onto another white cardstock and emboss using the Waffled Diamonds 3D embossing folder.
  3. Die cut the flowers and add on top of the embossed panel.
  4. Stamp sentiment on vellum and emboss using Rose Gold embossing powder.
  5. Assemble the card with adhesive and foam squares.

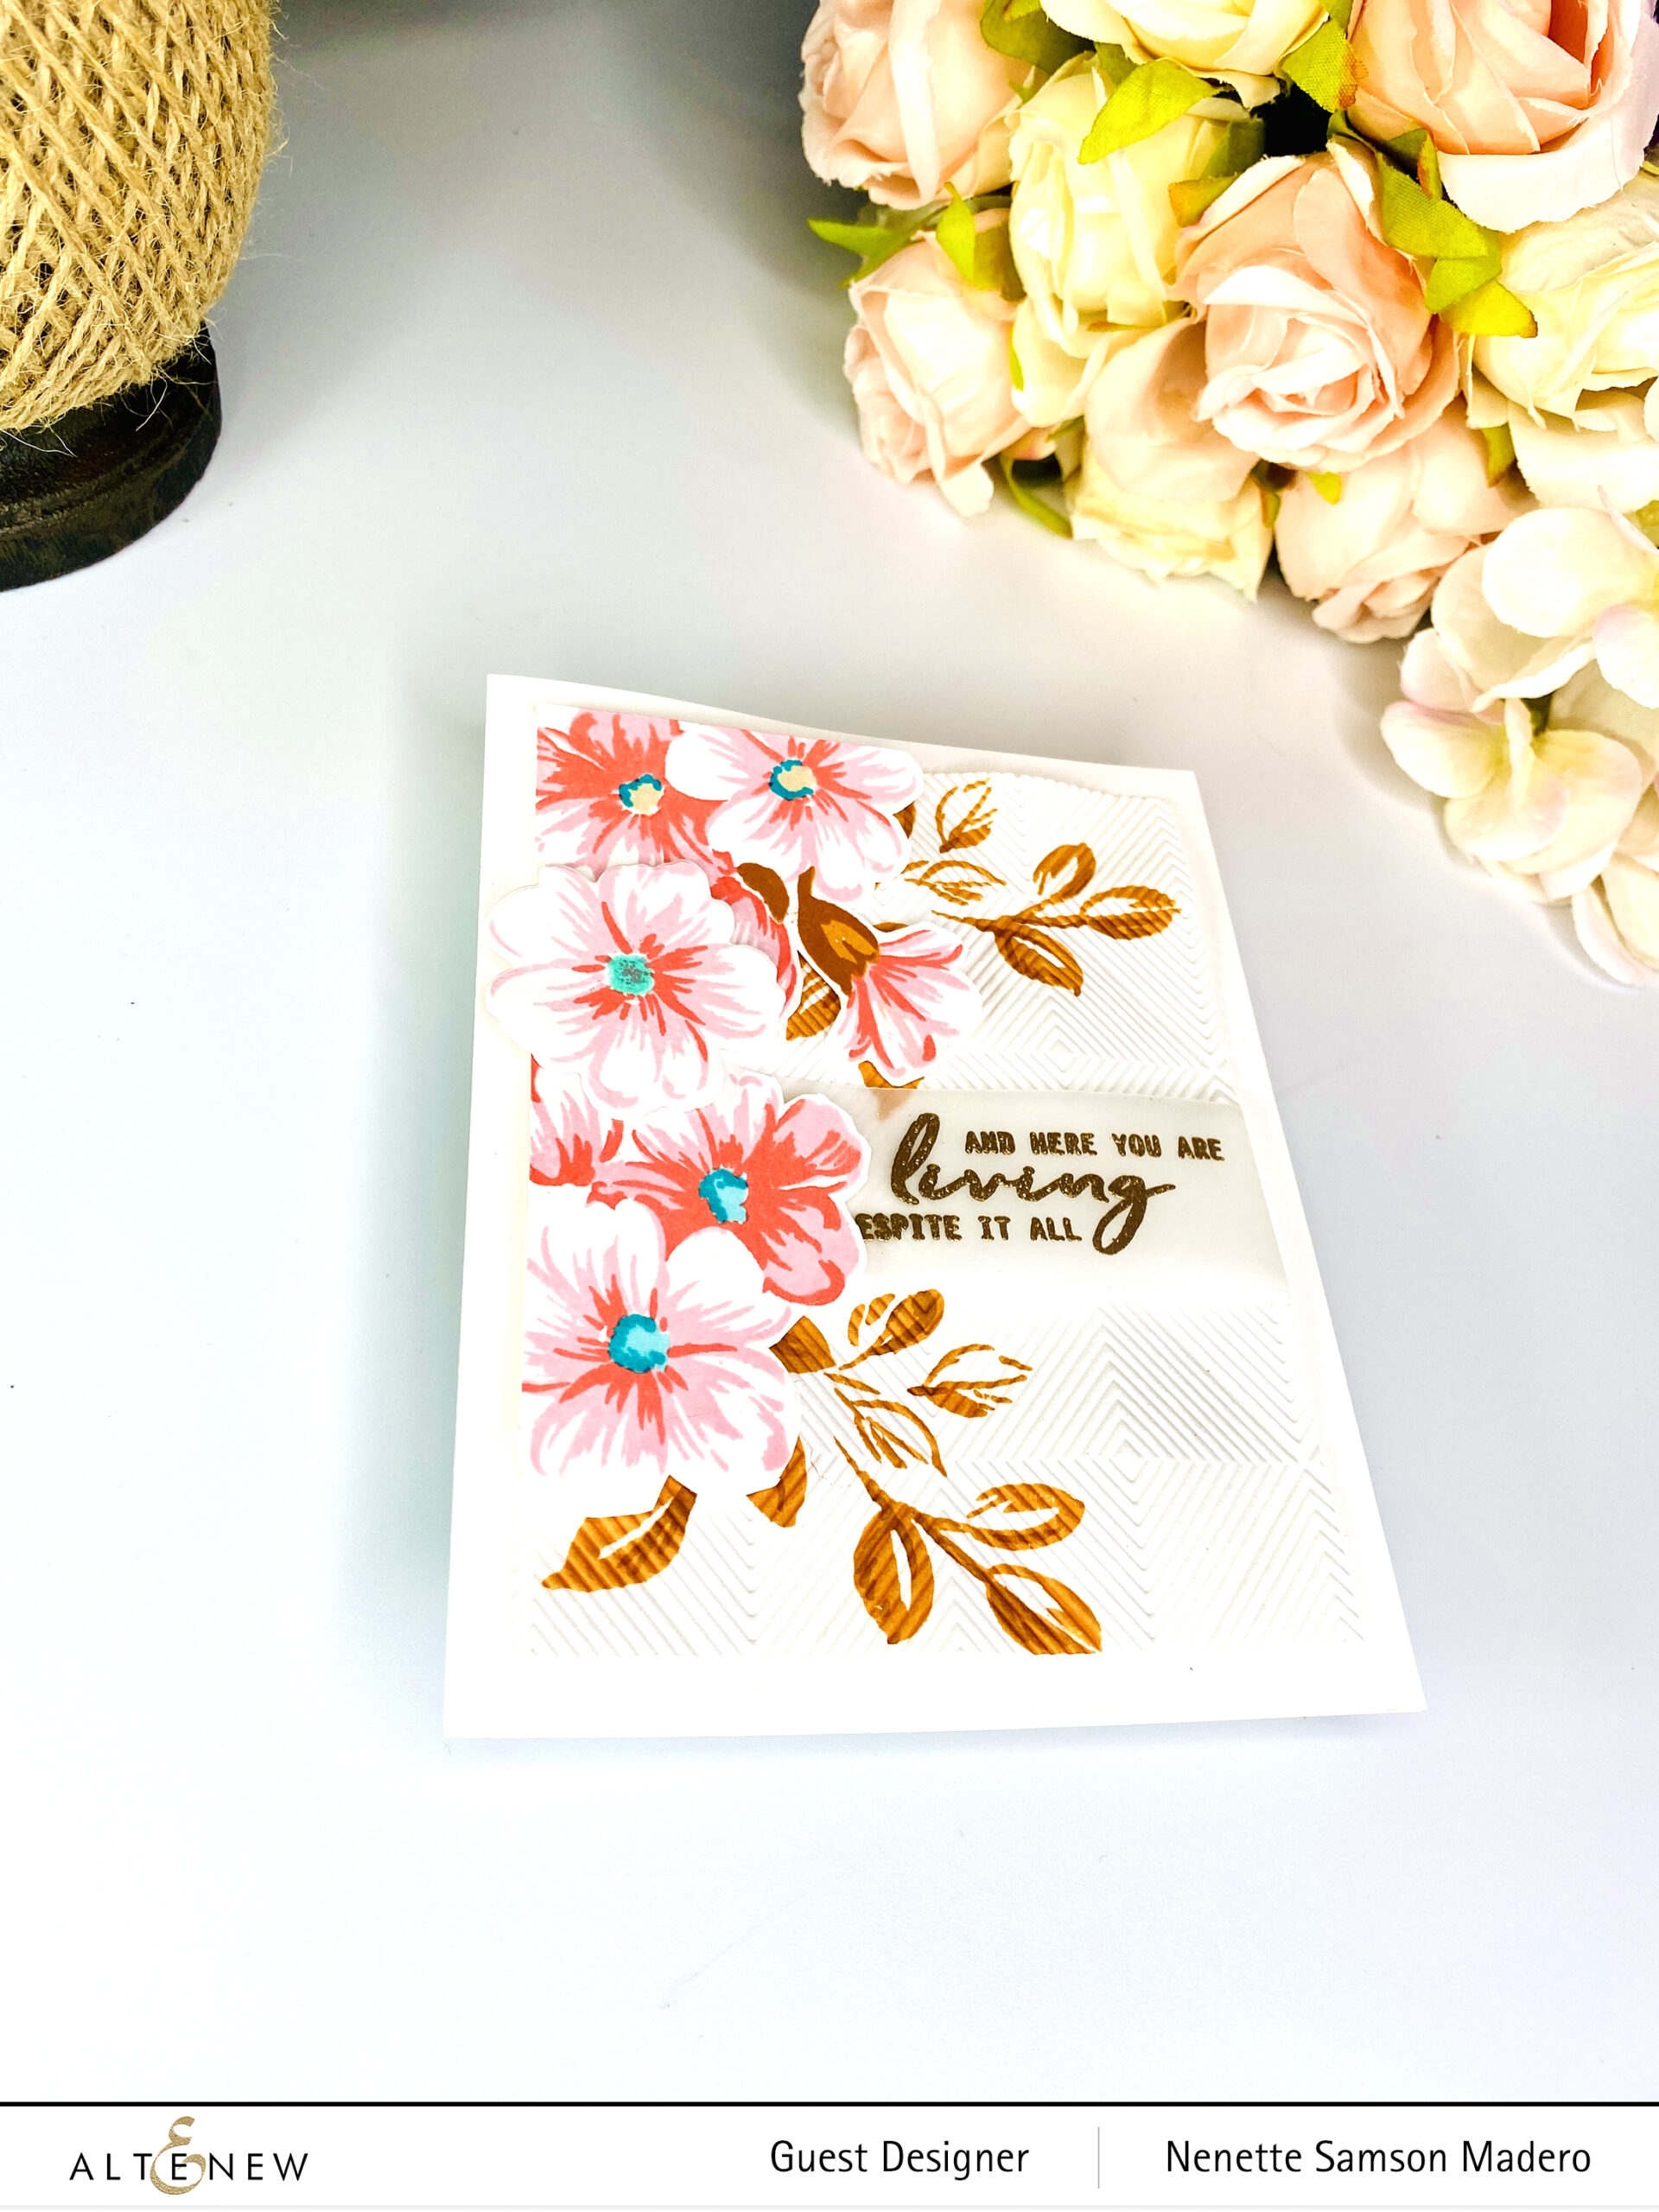
I love the effect of embossing over stamped images! I will surely try this technique again.
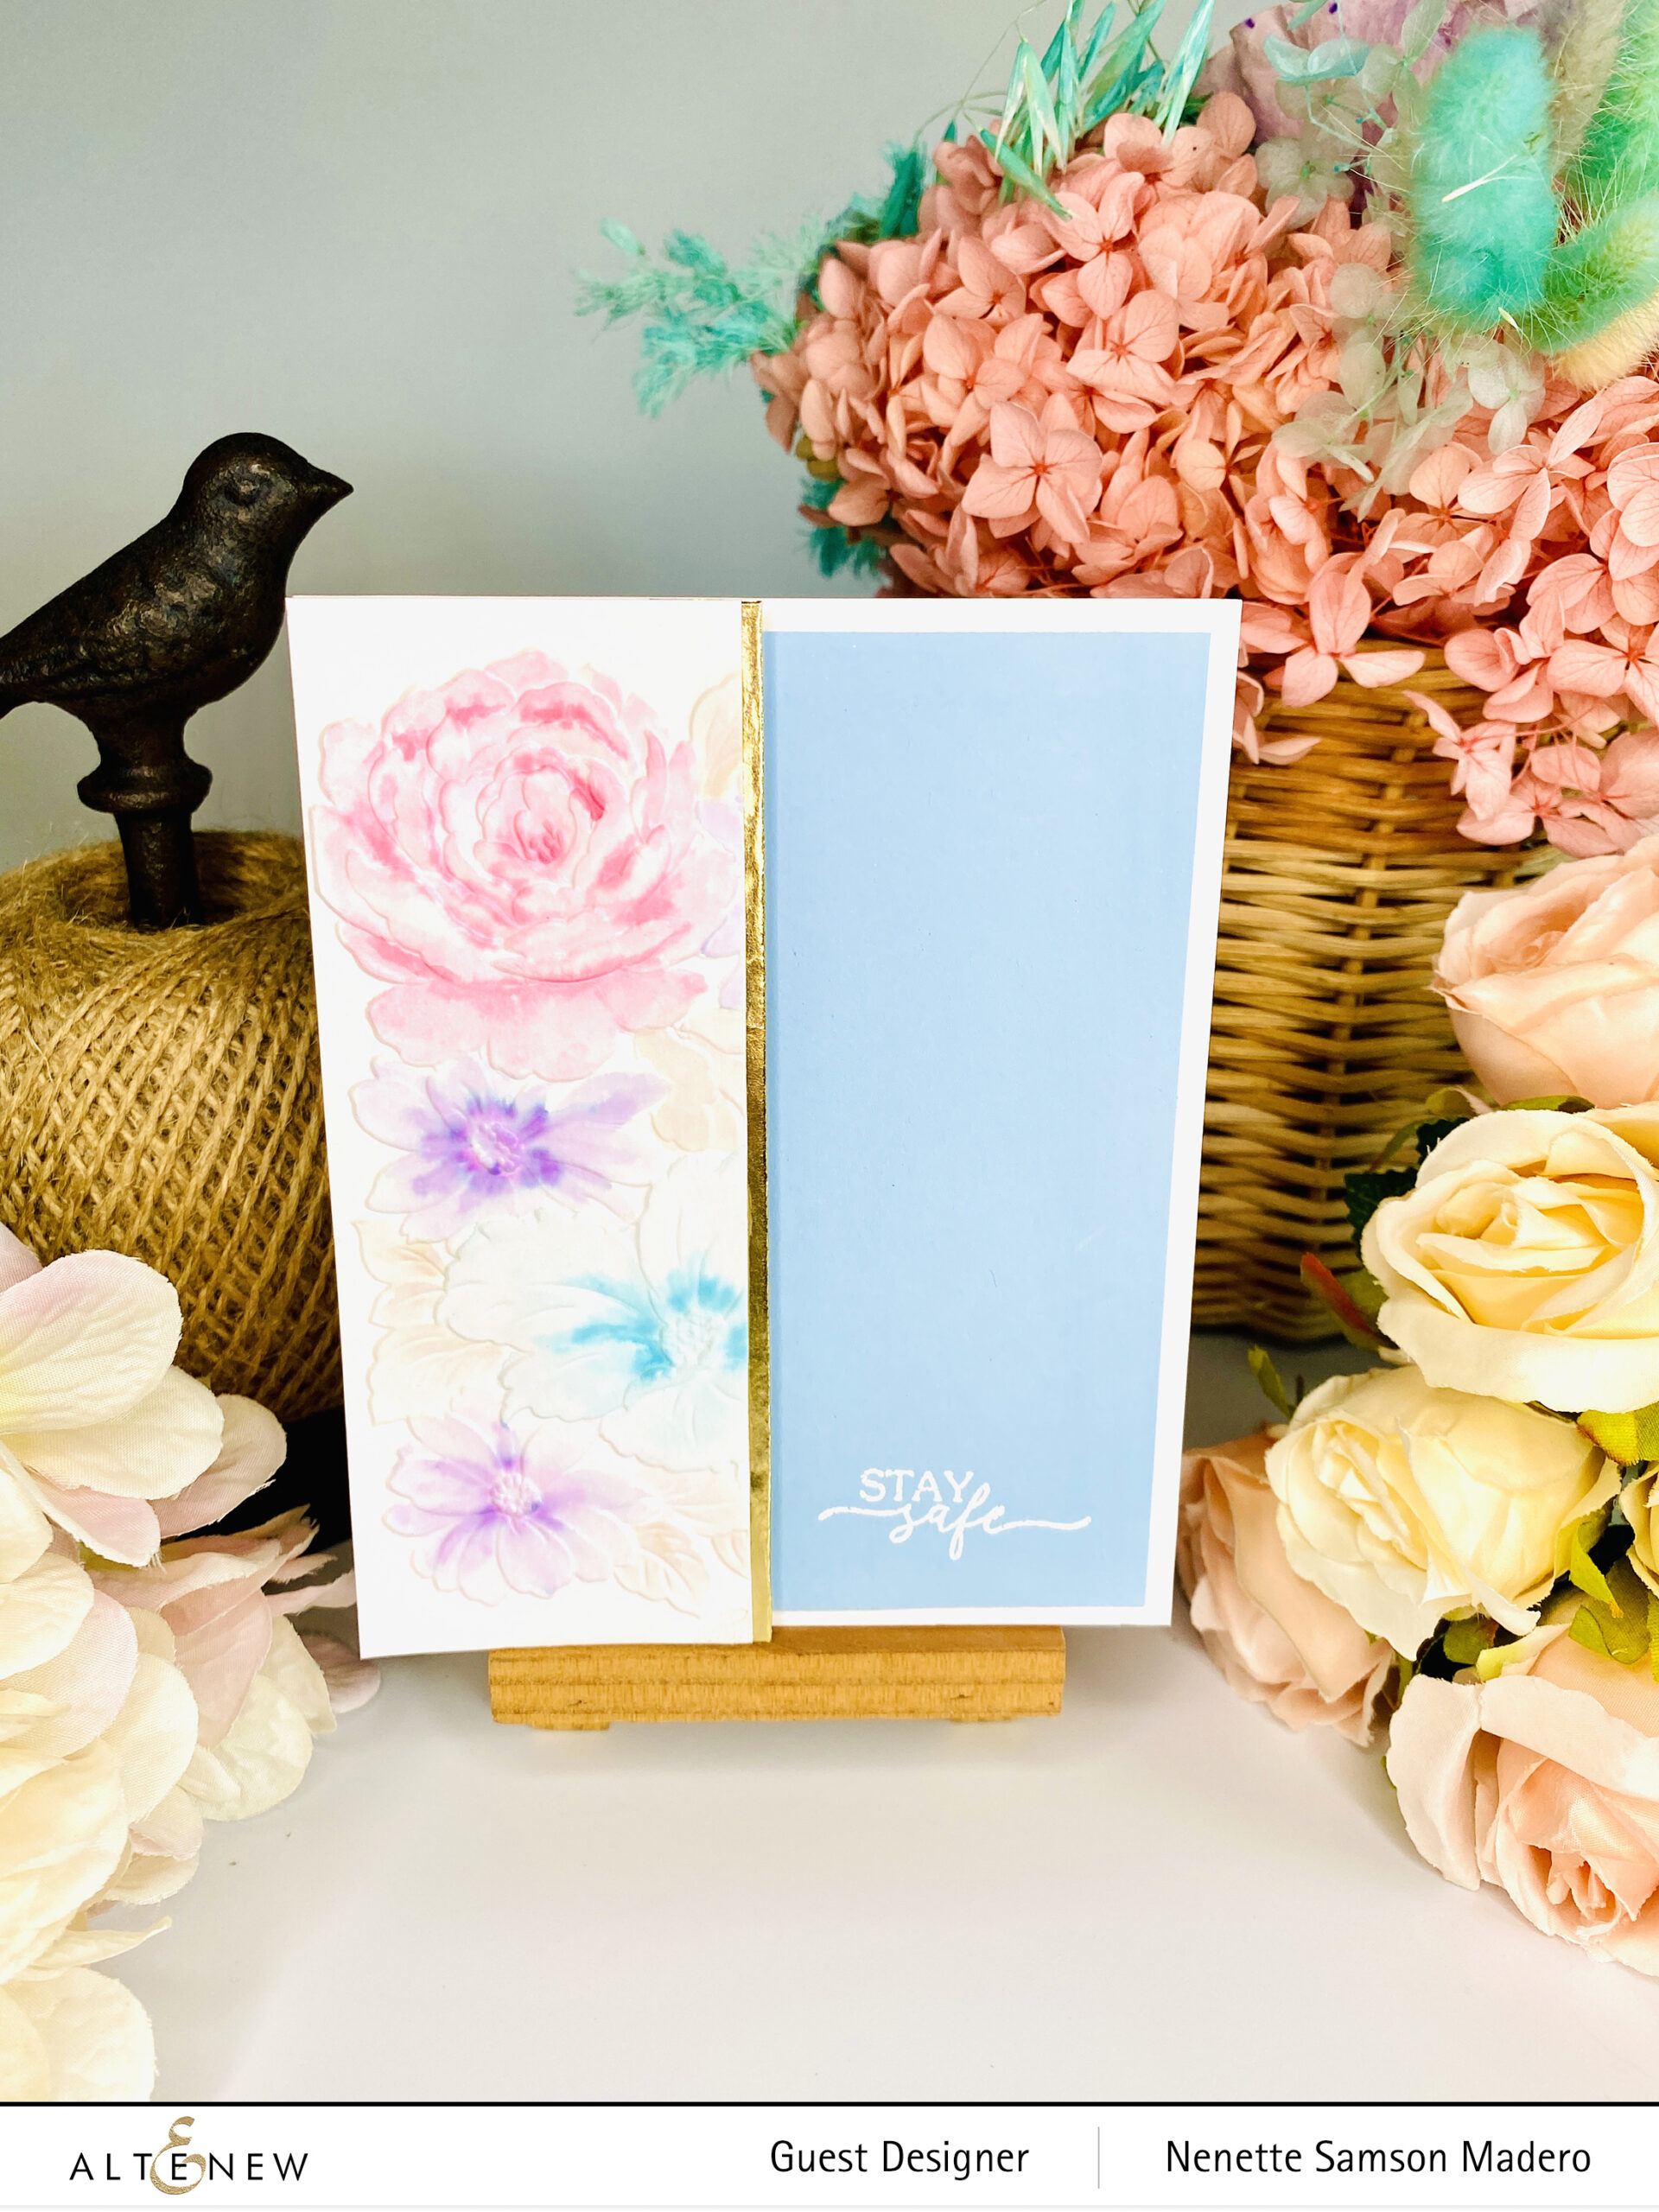
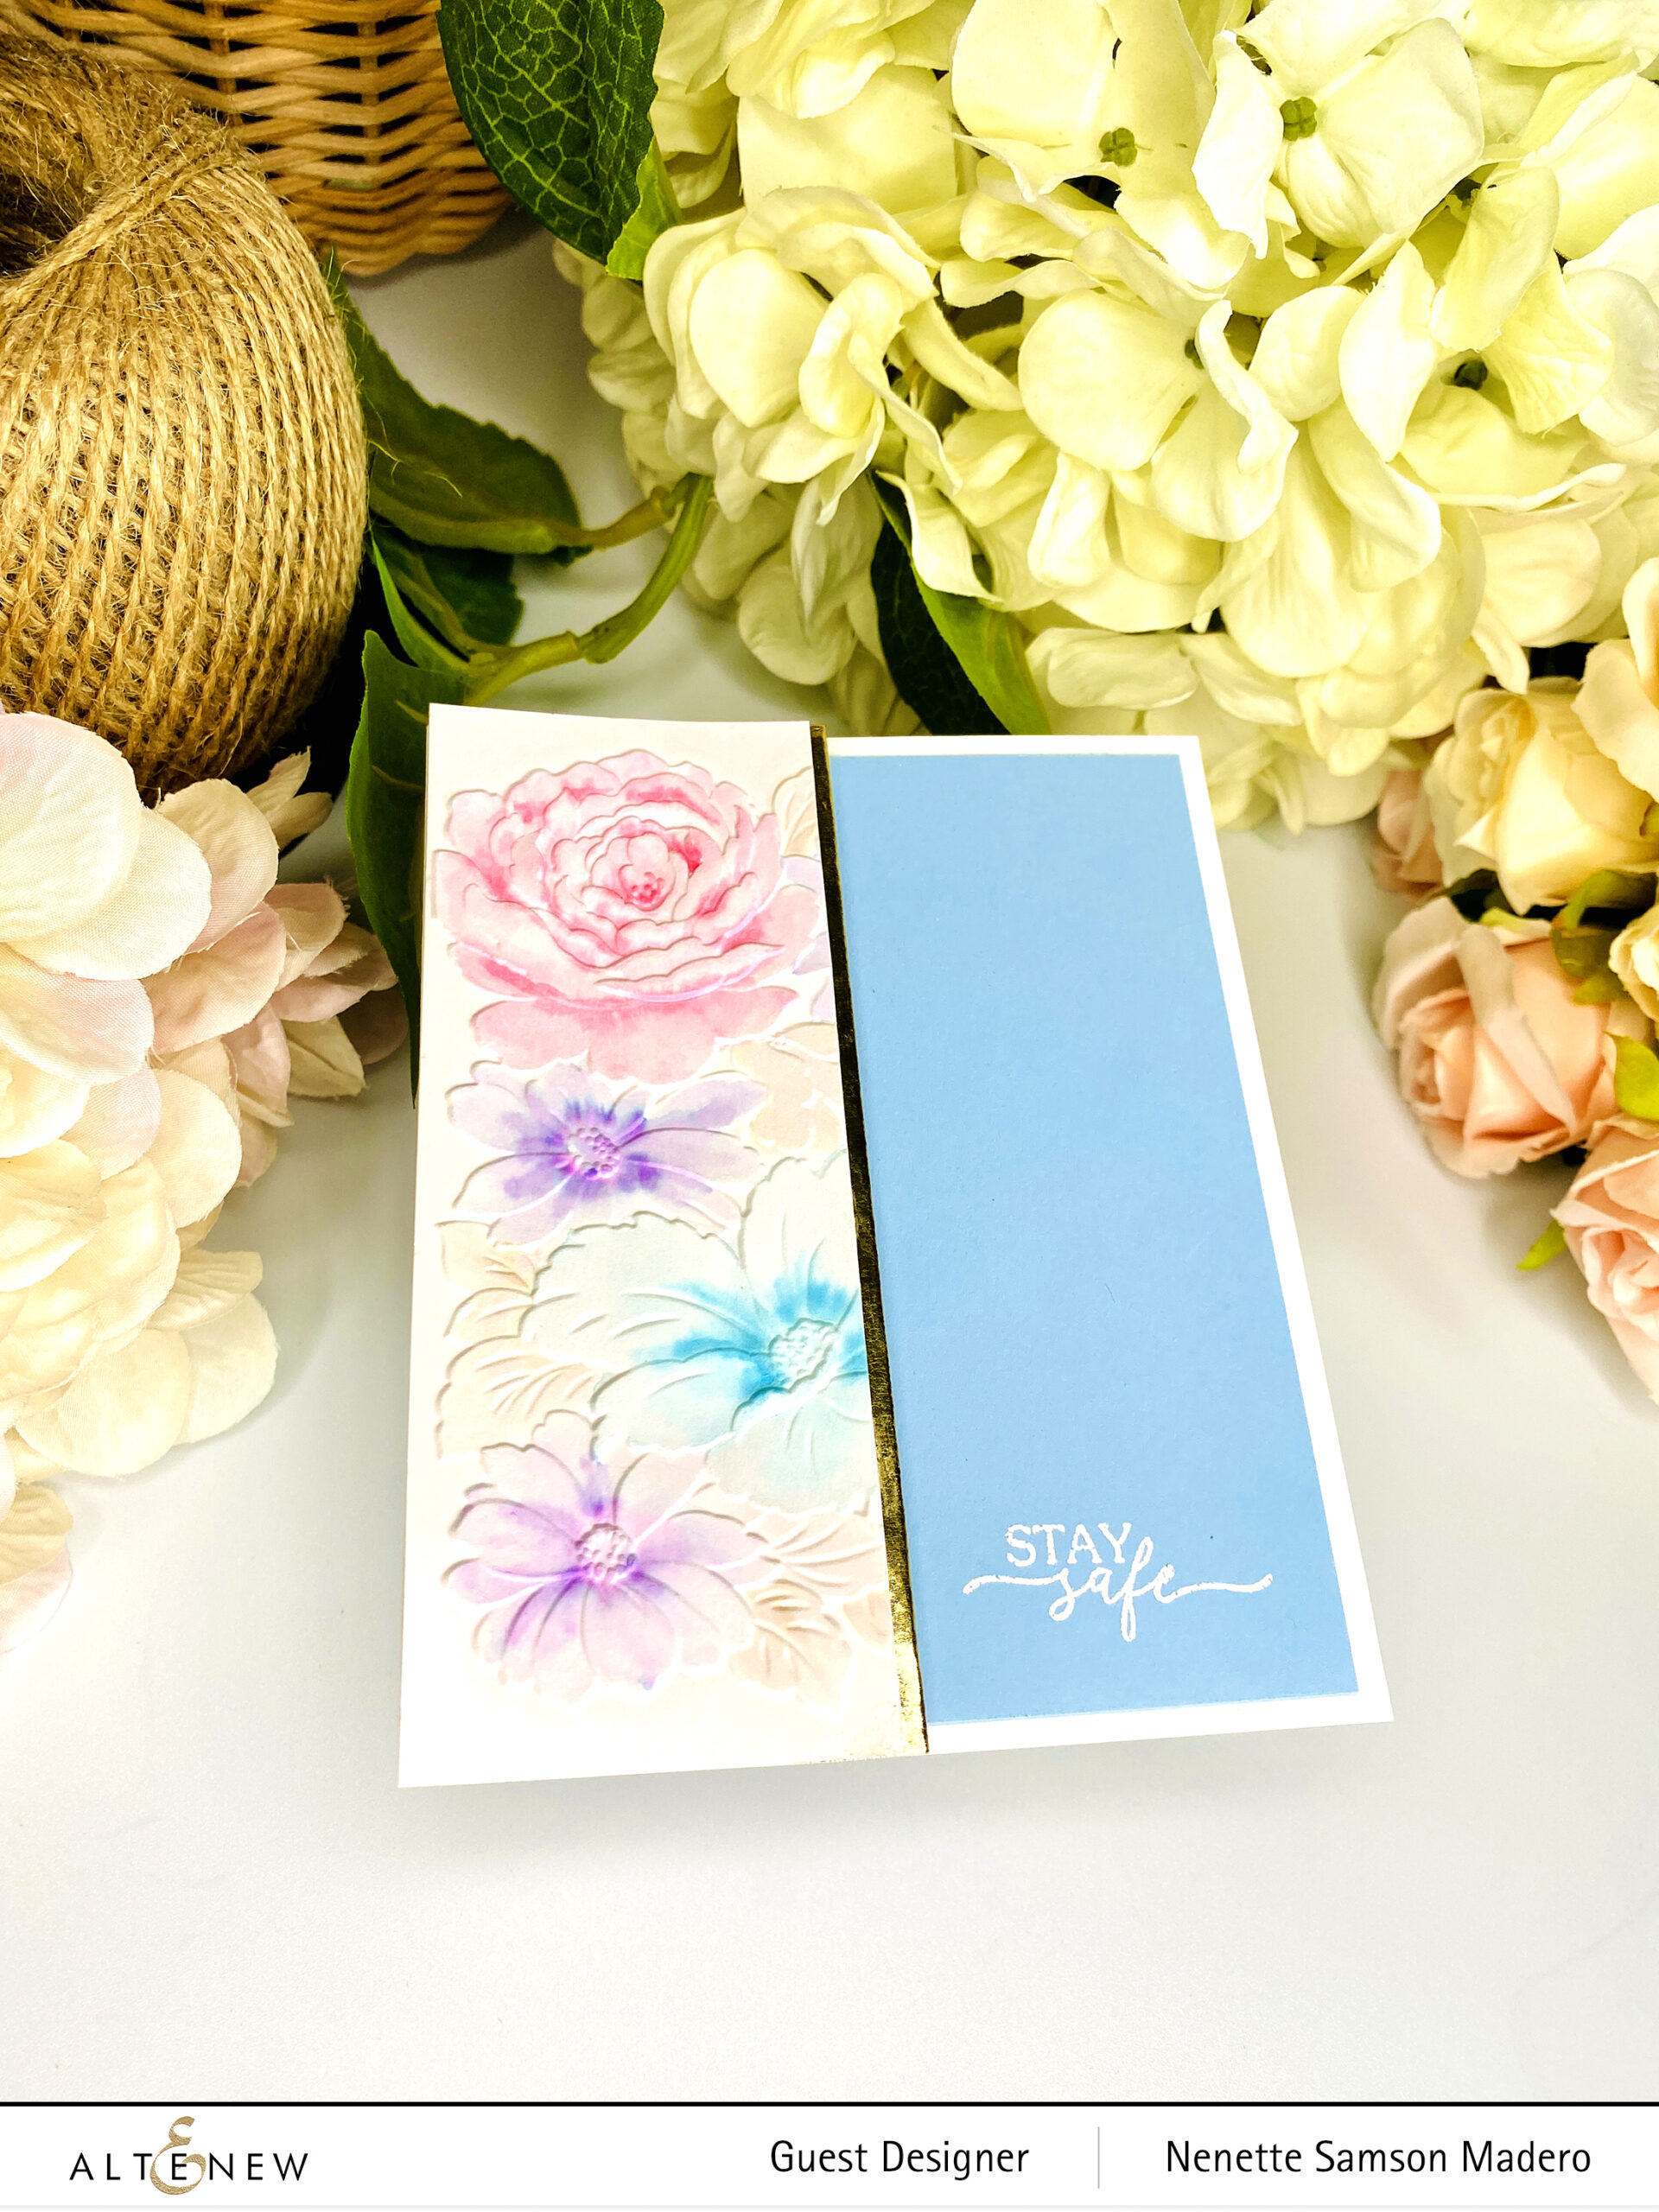
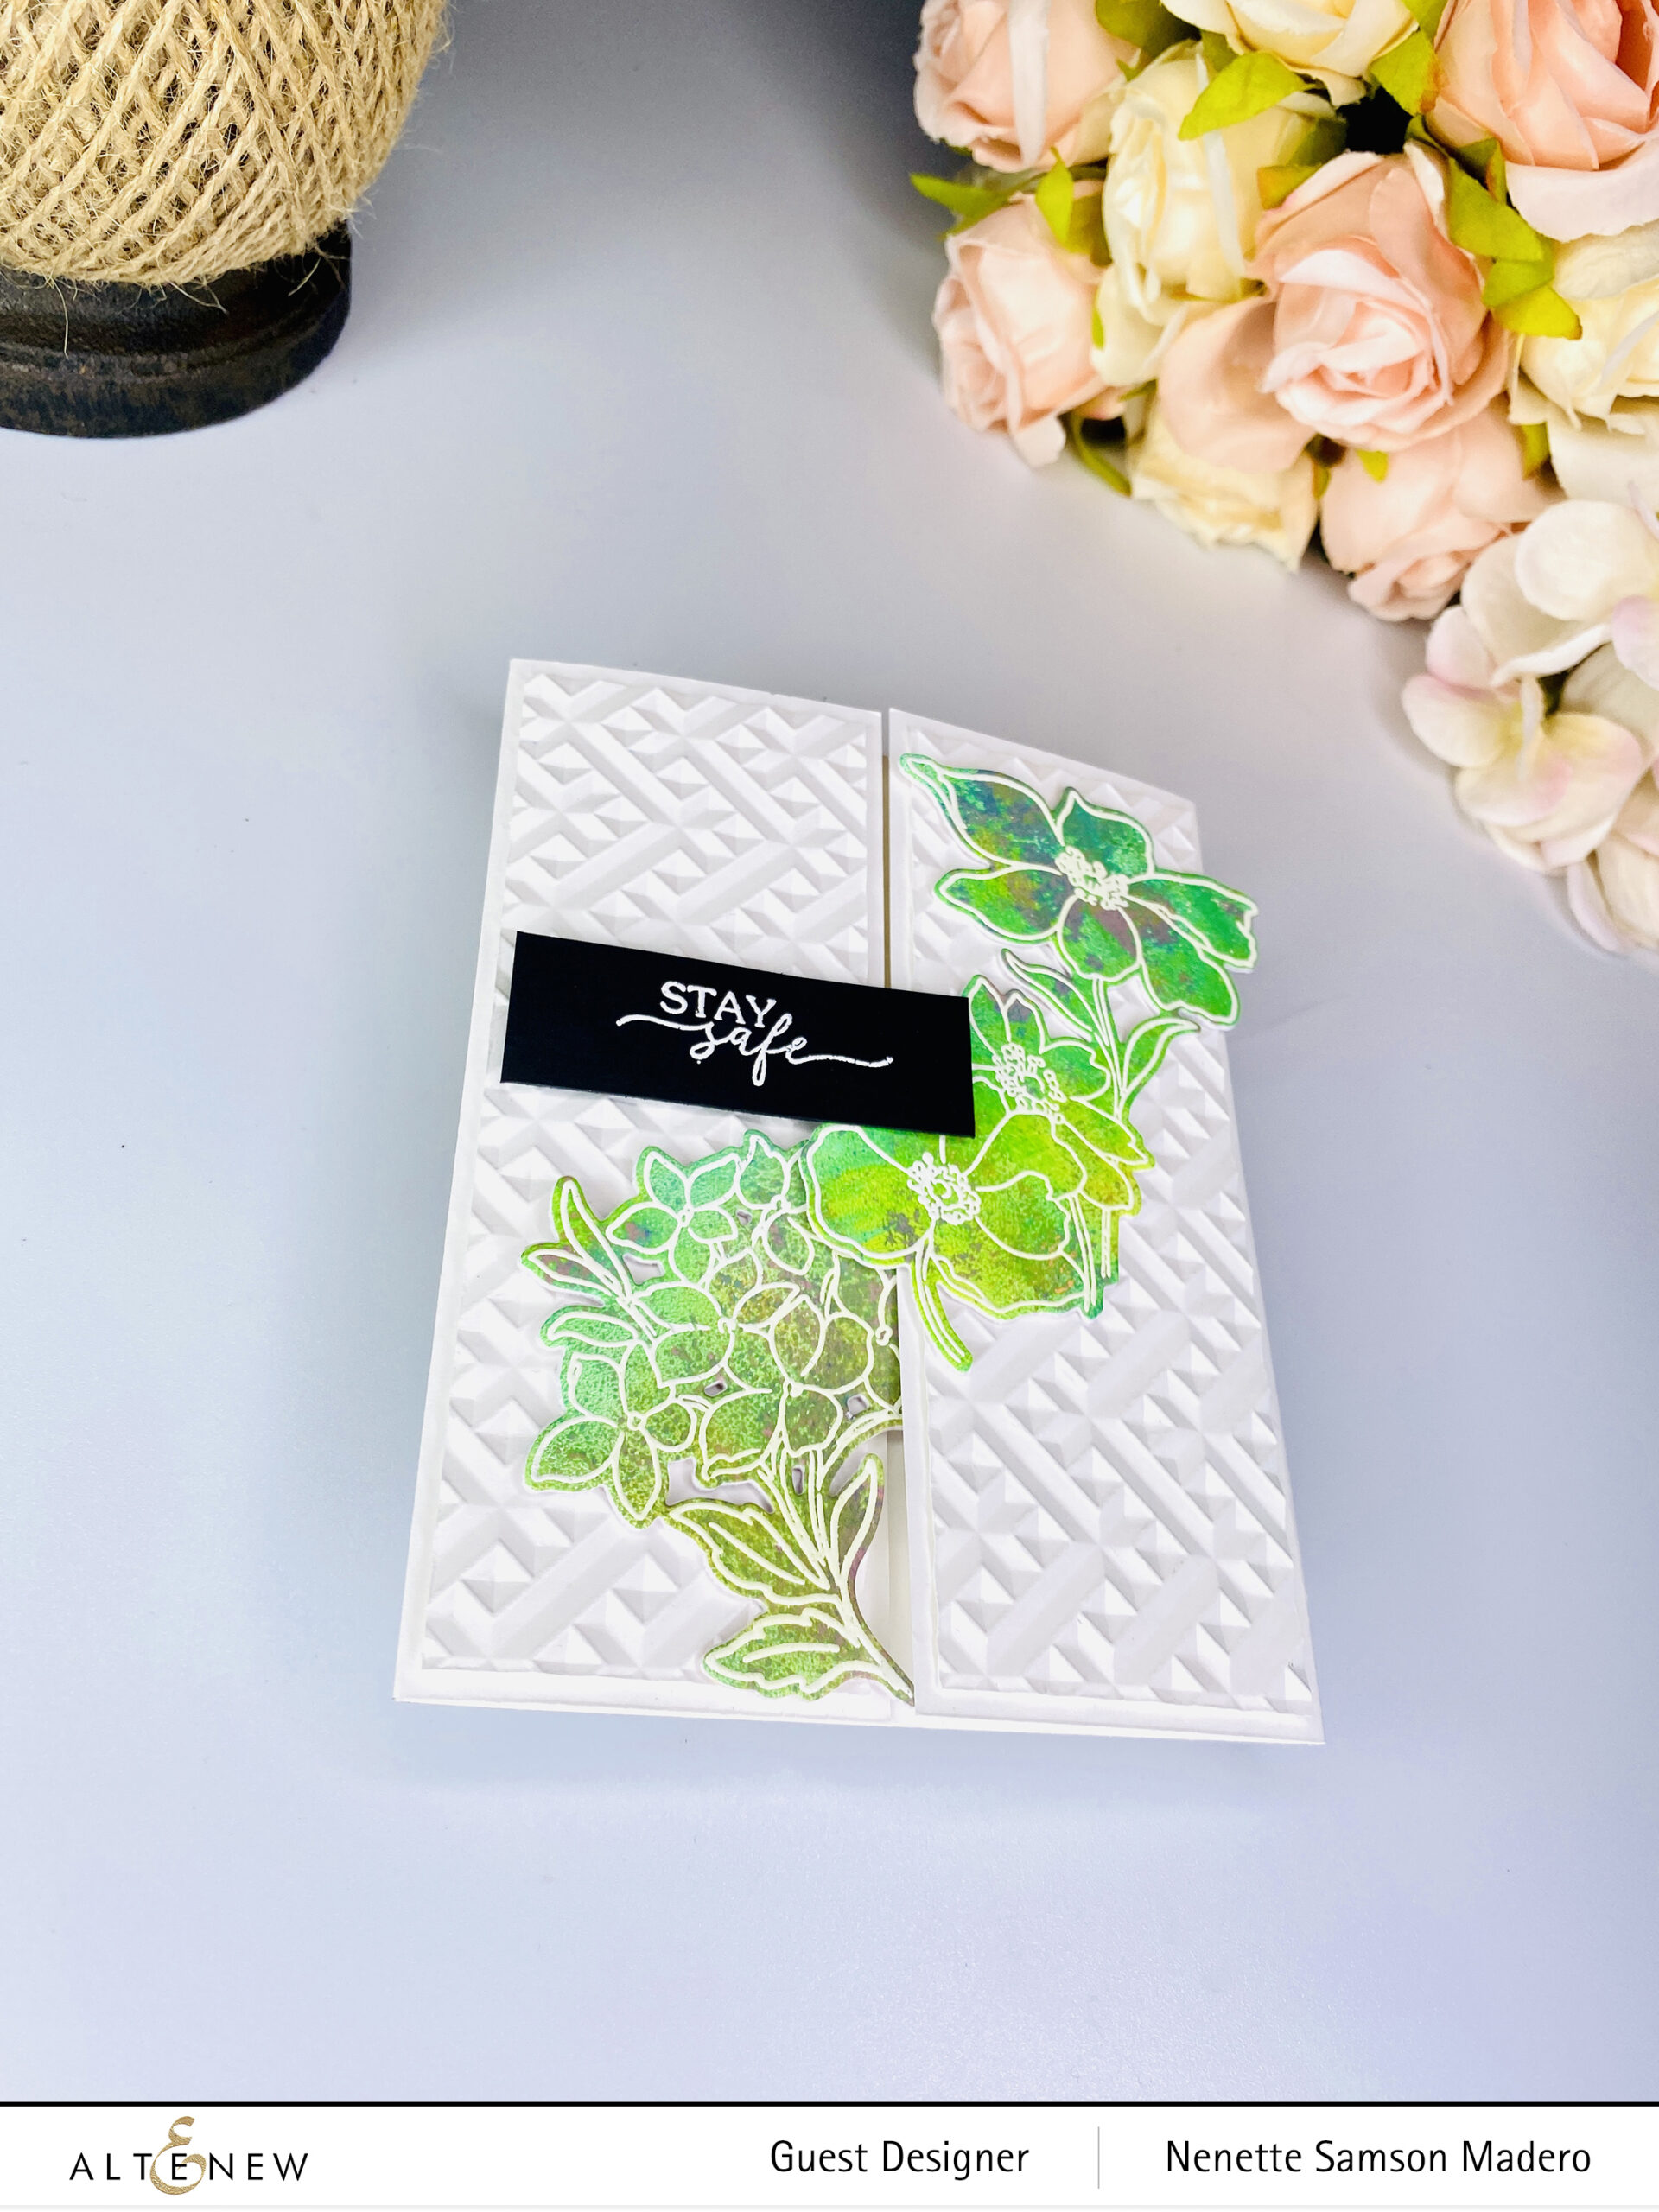
STAY SAFE

CASTLE GARDENS STAMP AND DIE SET, POTS AND PLANTS STAMP SET, CONNECTED 3D EMBOSSING FOLDER

STEPS:

  1. Create backgrounds using acrylic paints and a Gelli plate.
  2. Stamp and emboss the floral images from the Castle Gardens Stamp set using Versamark Ink and Pure White embossing powder. Die cut the images. Emboss the sentiment from Pots and Plants Stamp set on black cardstock.
  3. Emboss two panels using the Connected 3D embossing folder.
  4. Create a gate folding card and adhere the embossed panels and stamped images using adhesive and foam square.

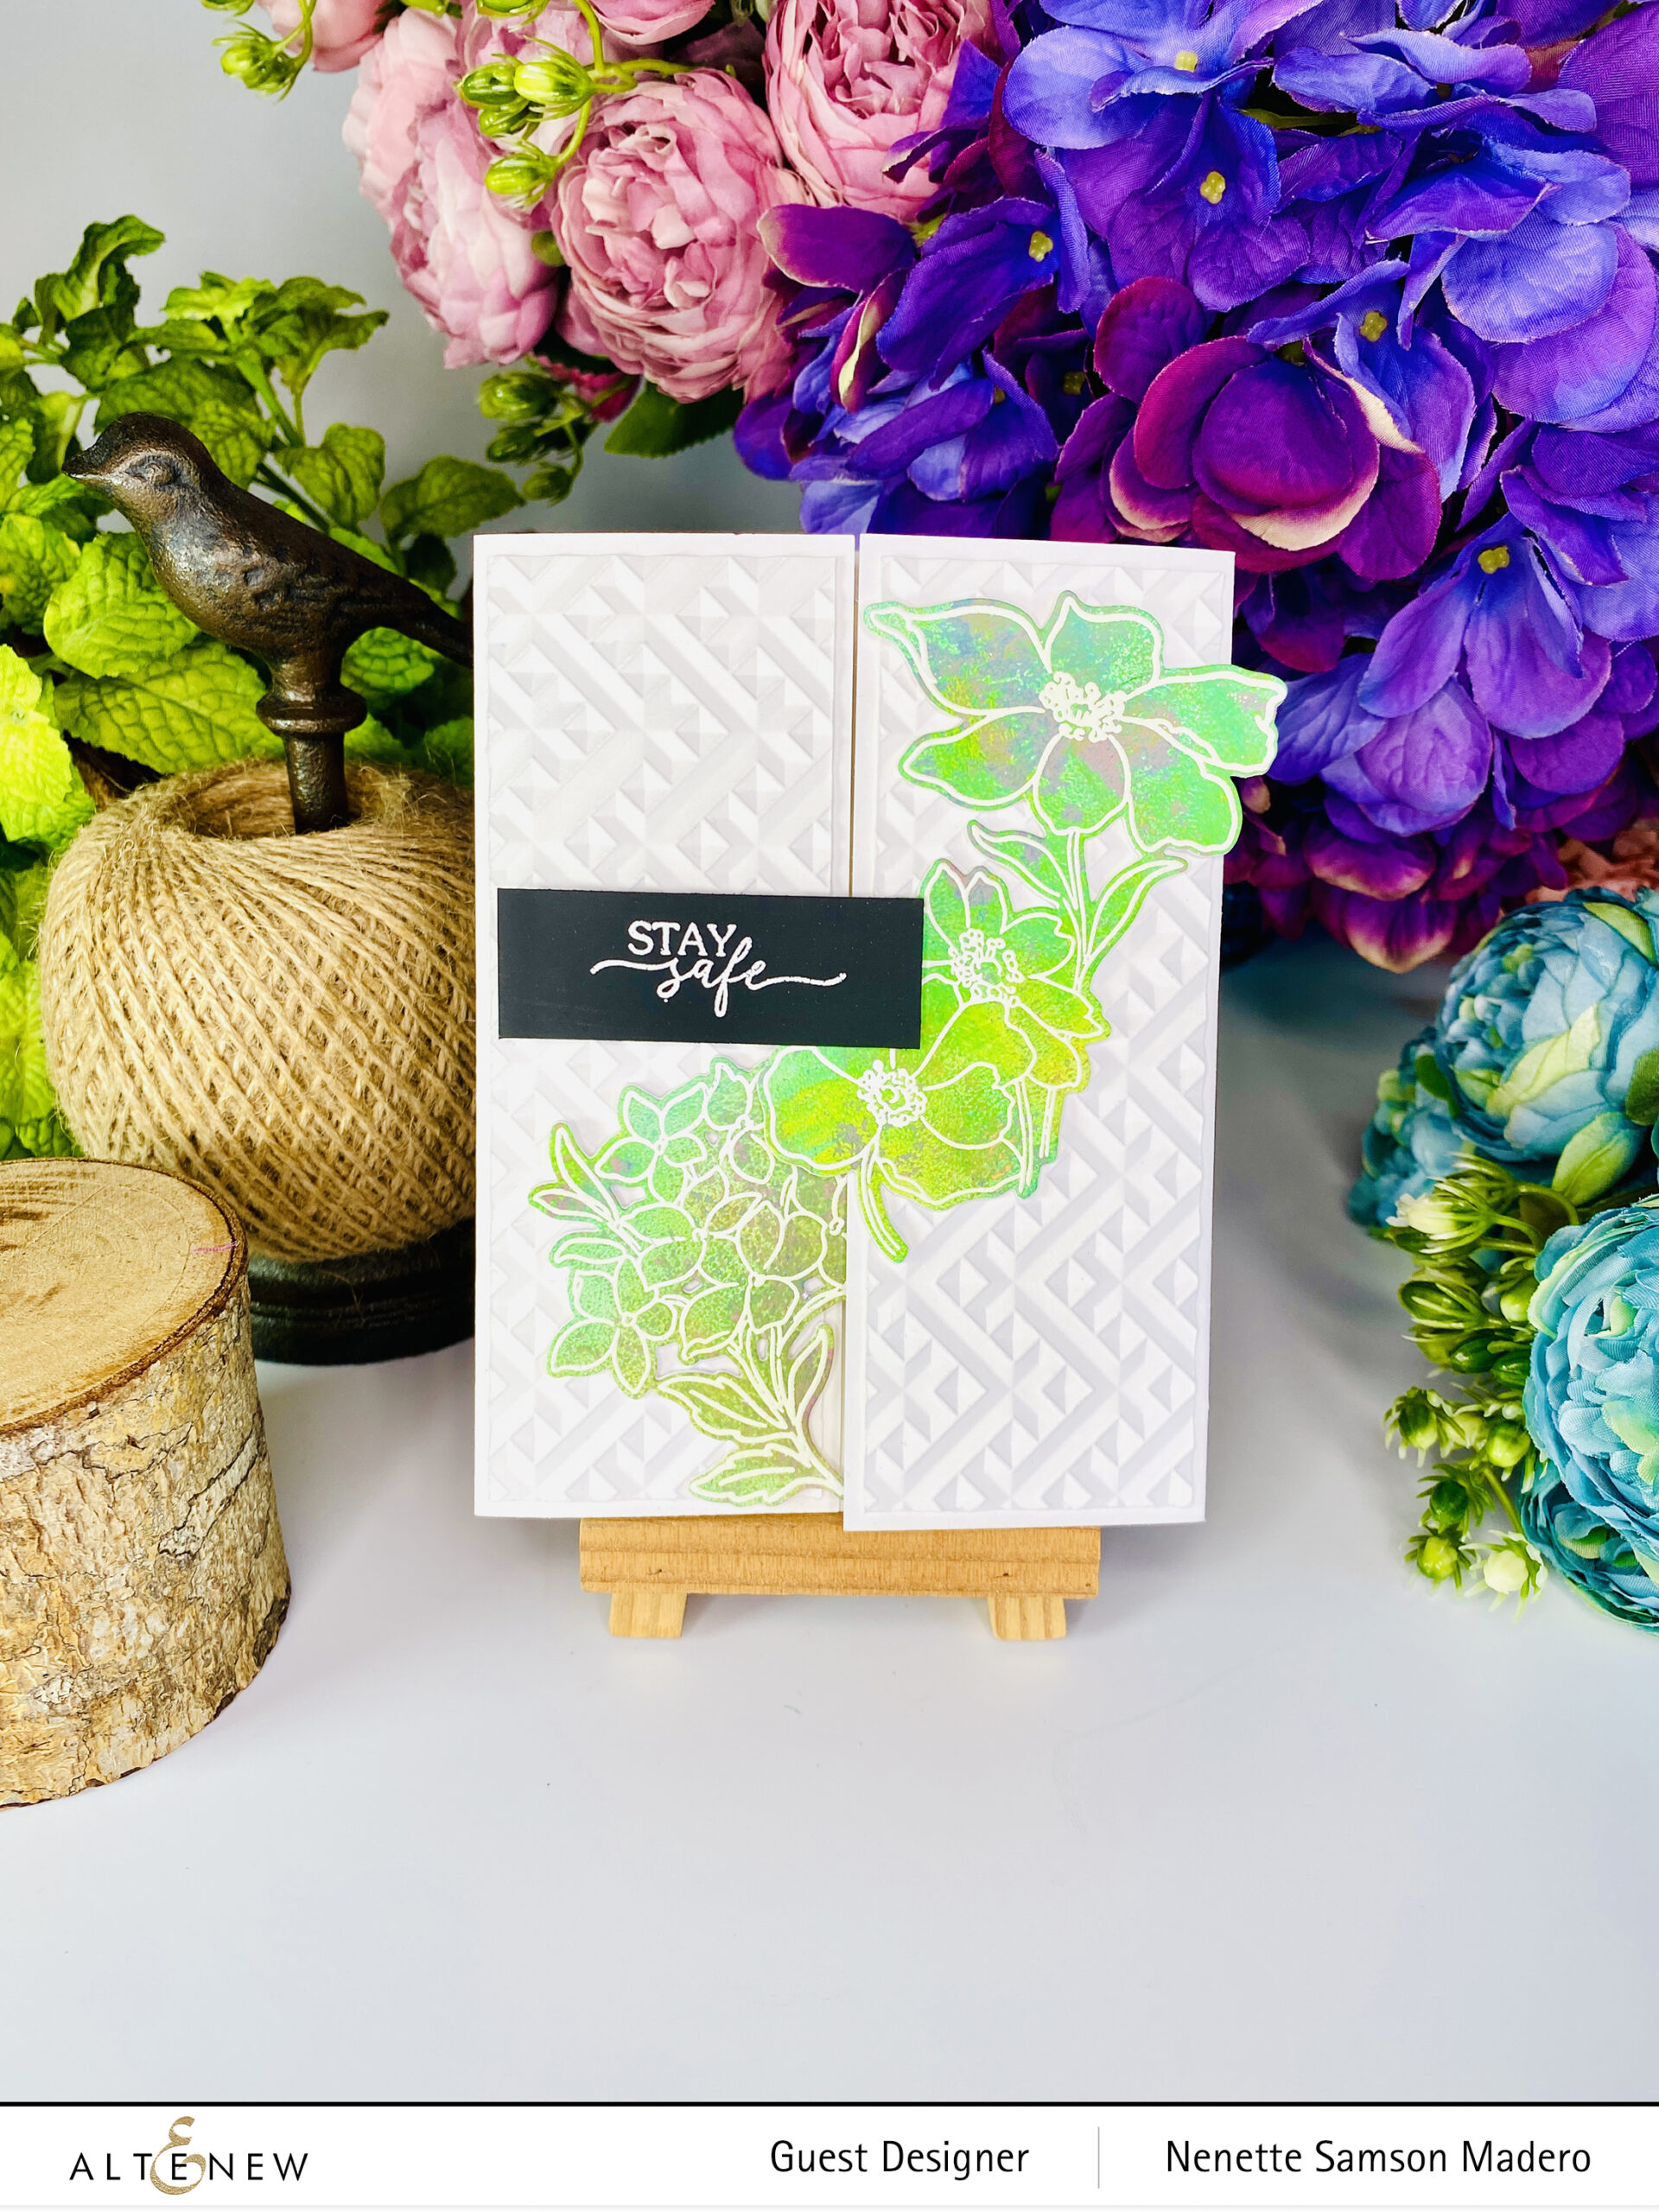
This was a pretty easy card to create. You can also use patterned paper instead of making your own. I enjoy creating my own patterned papers though so that I can choose the colors I want.

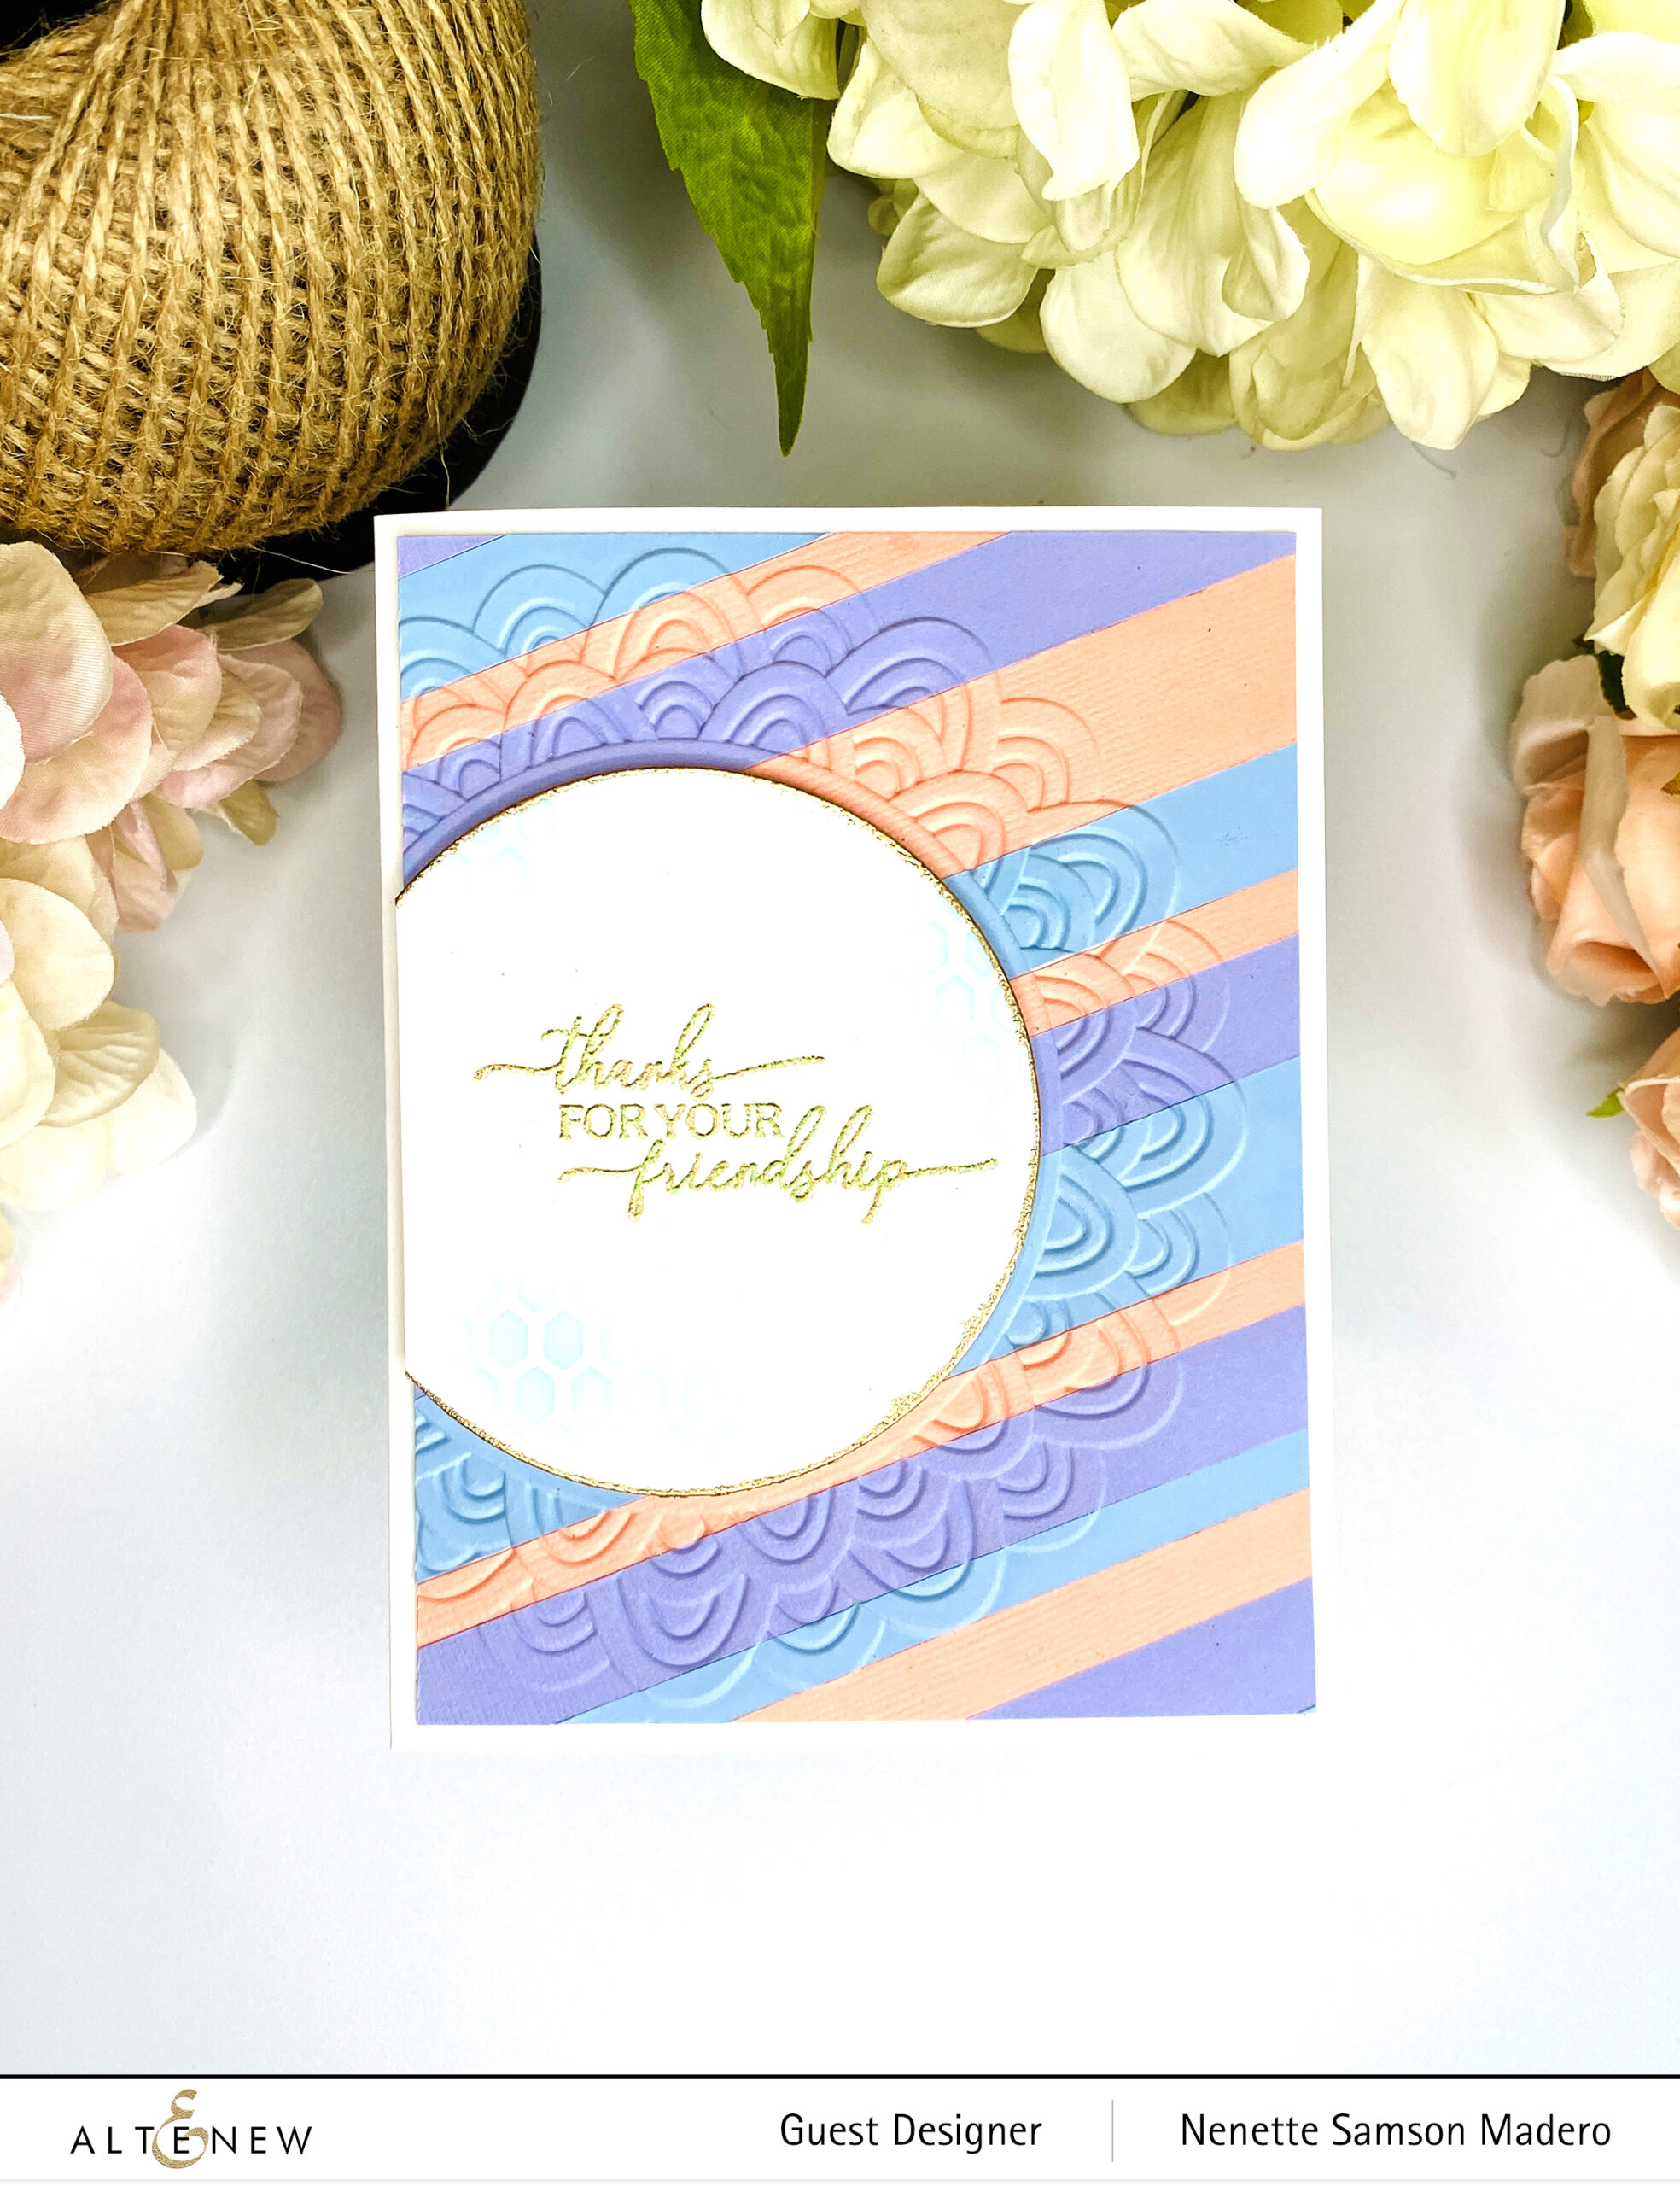
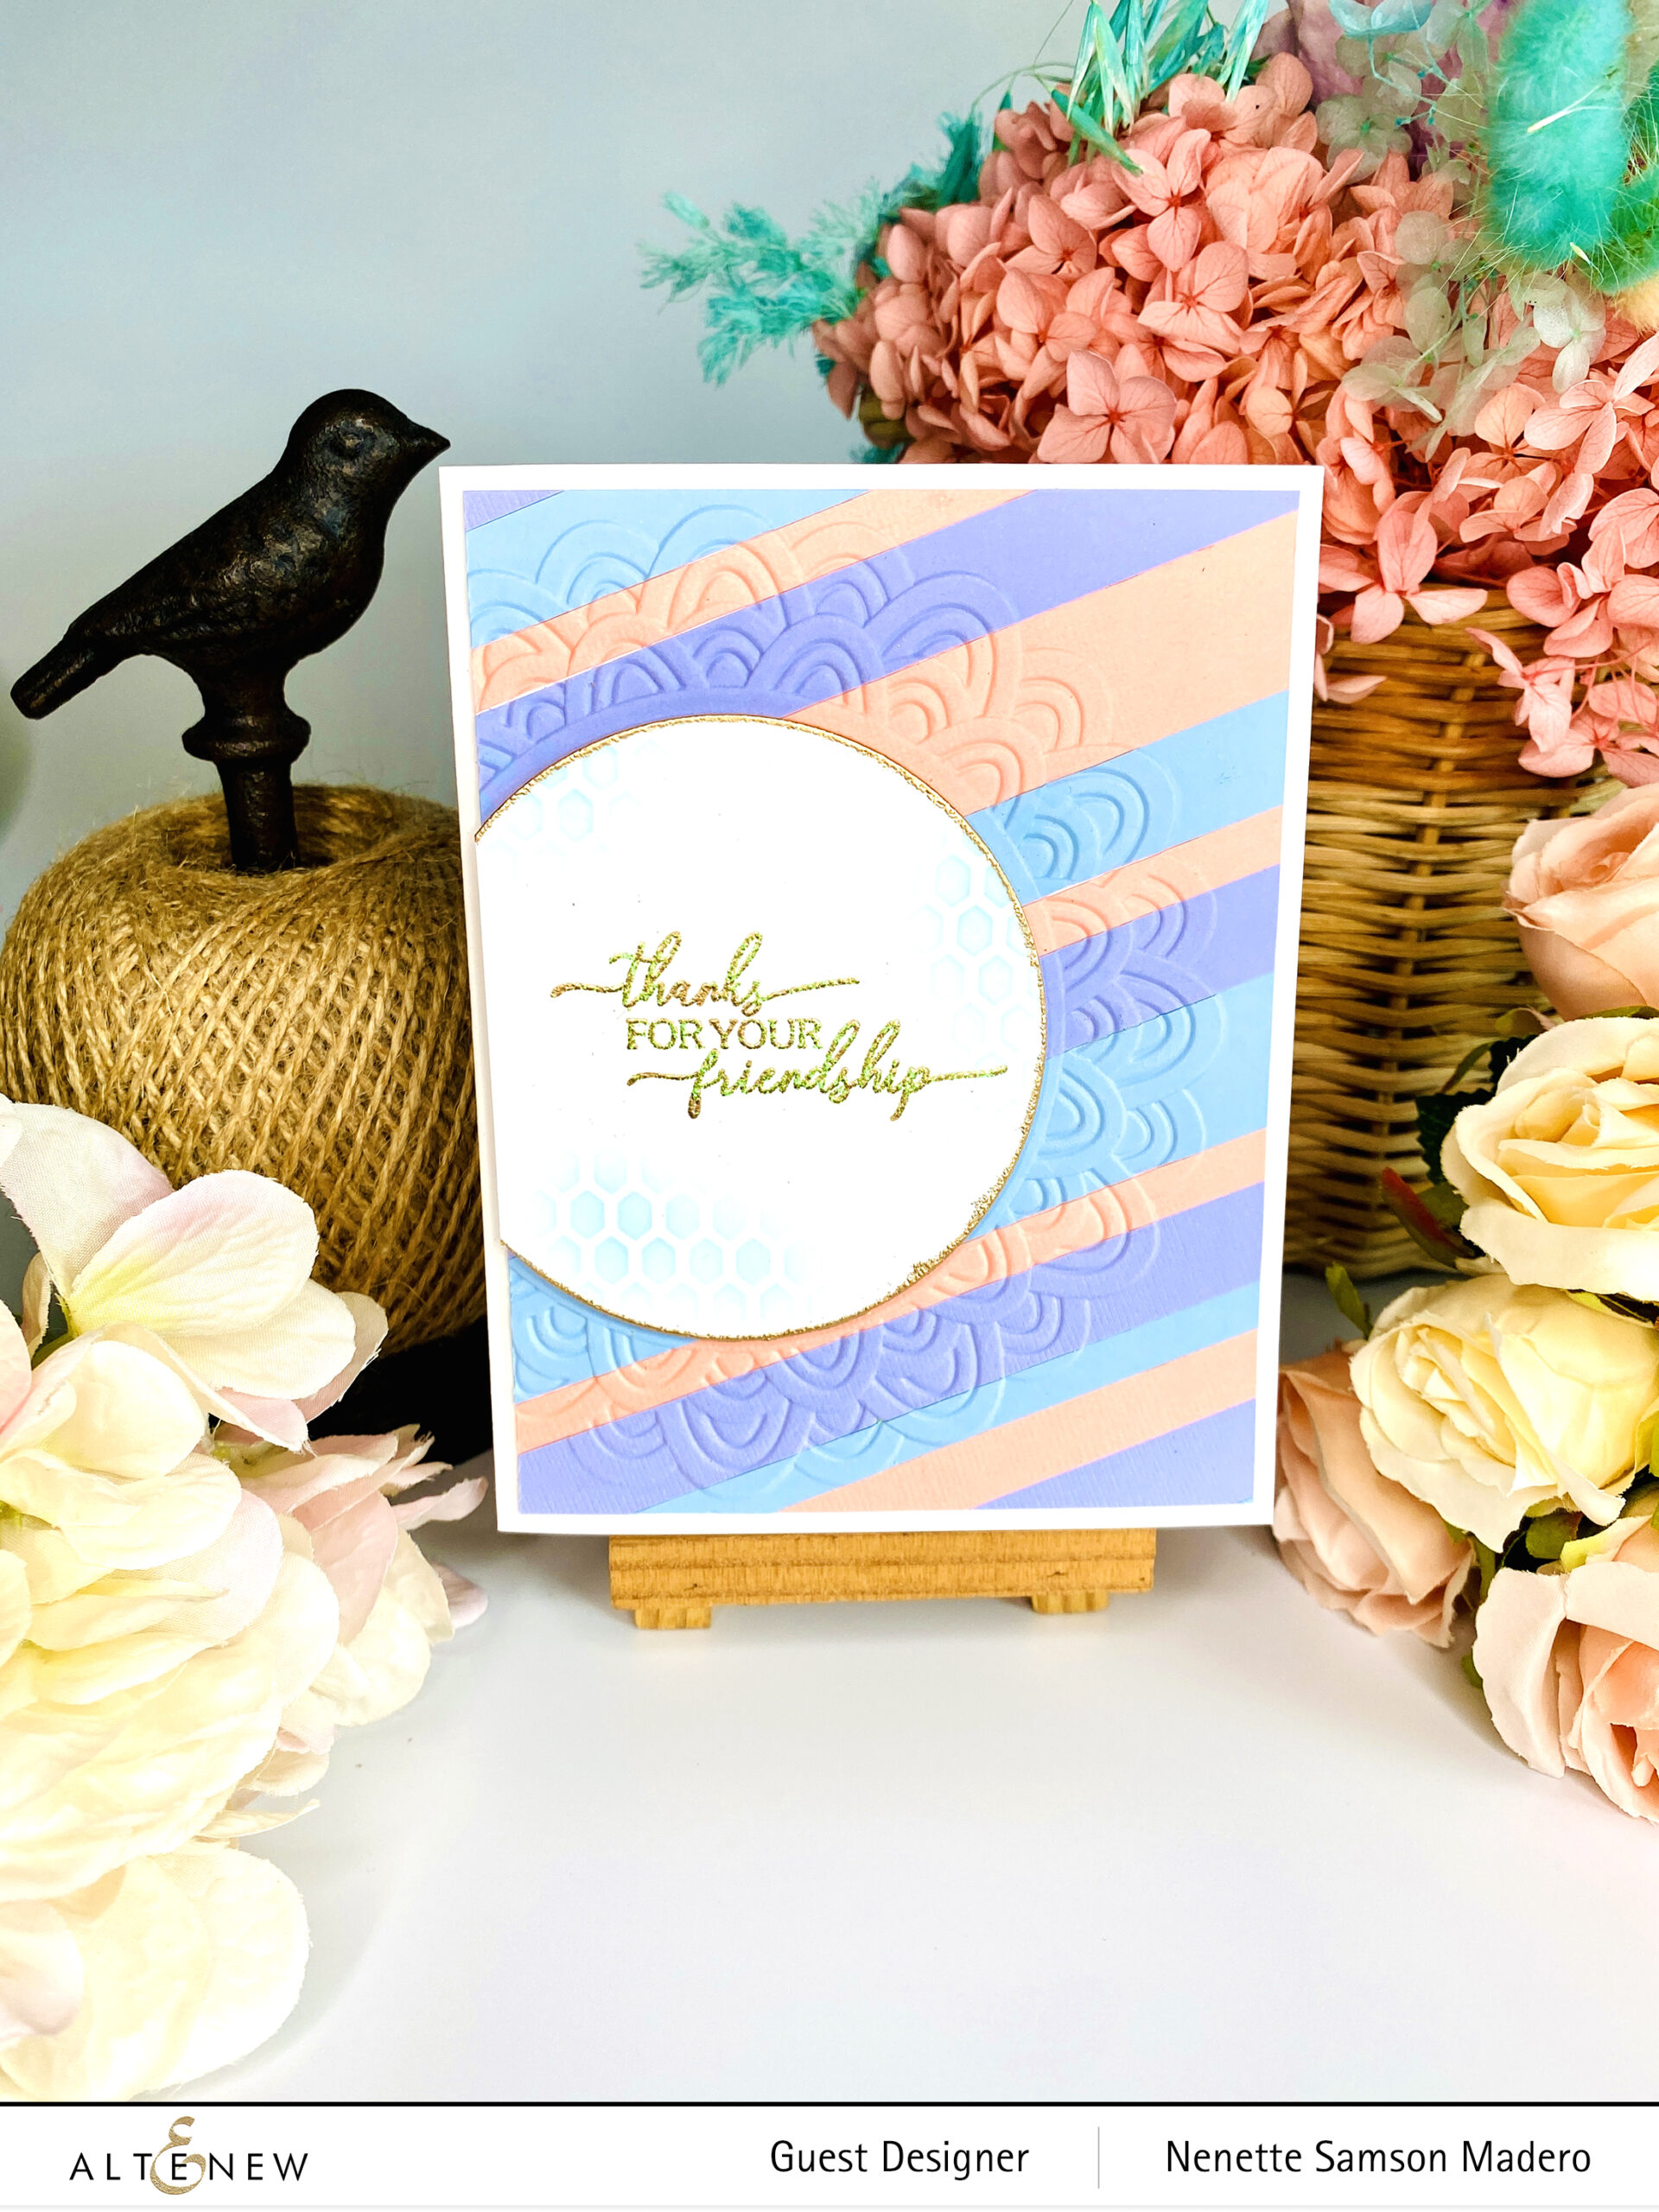
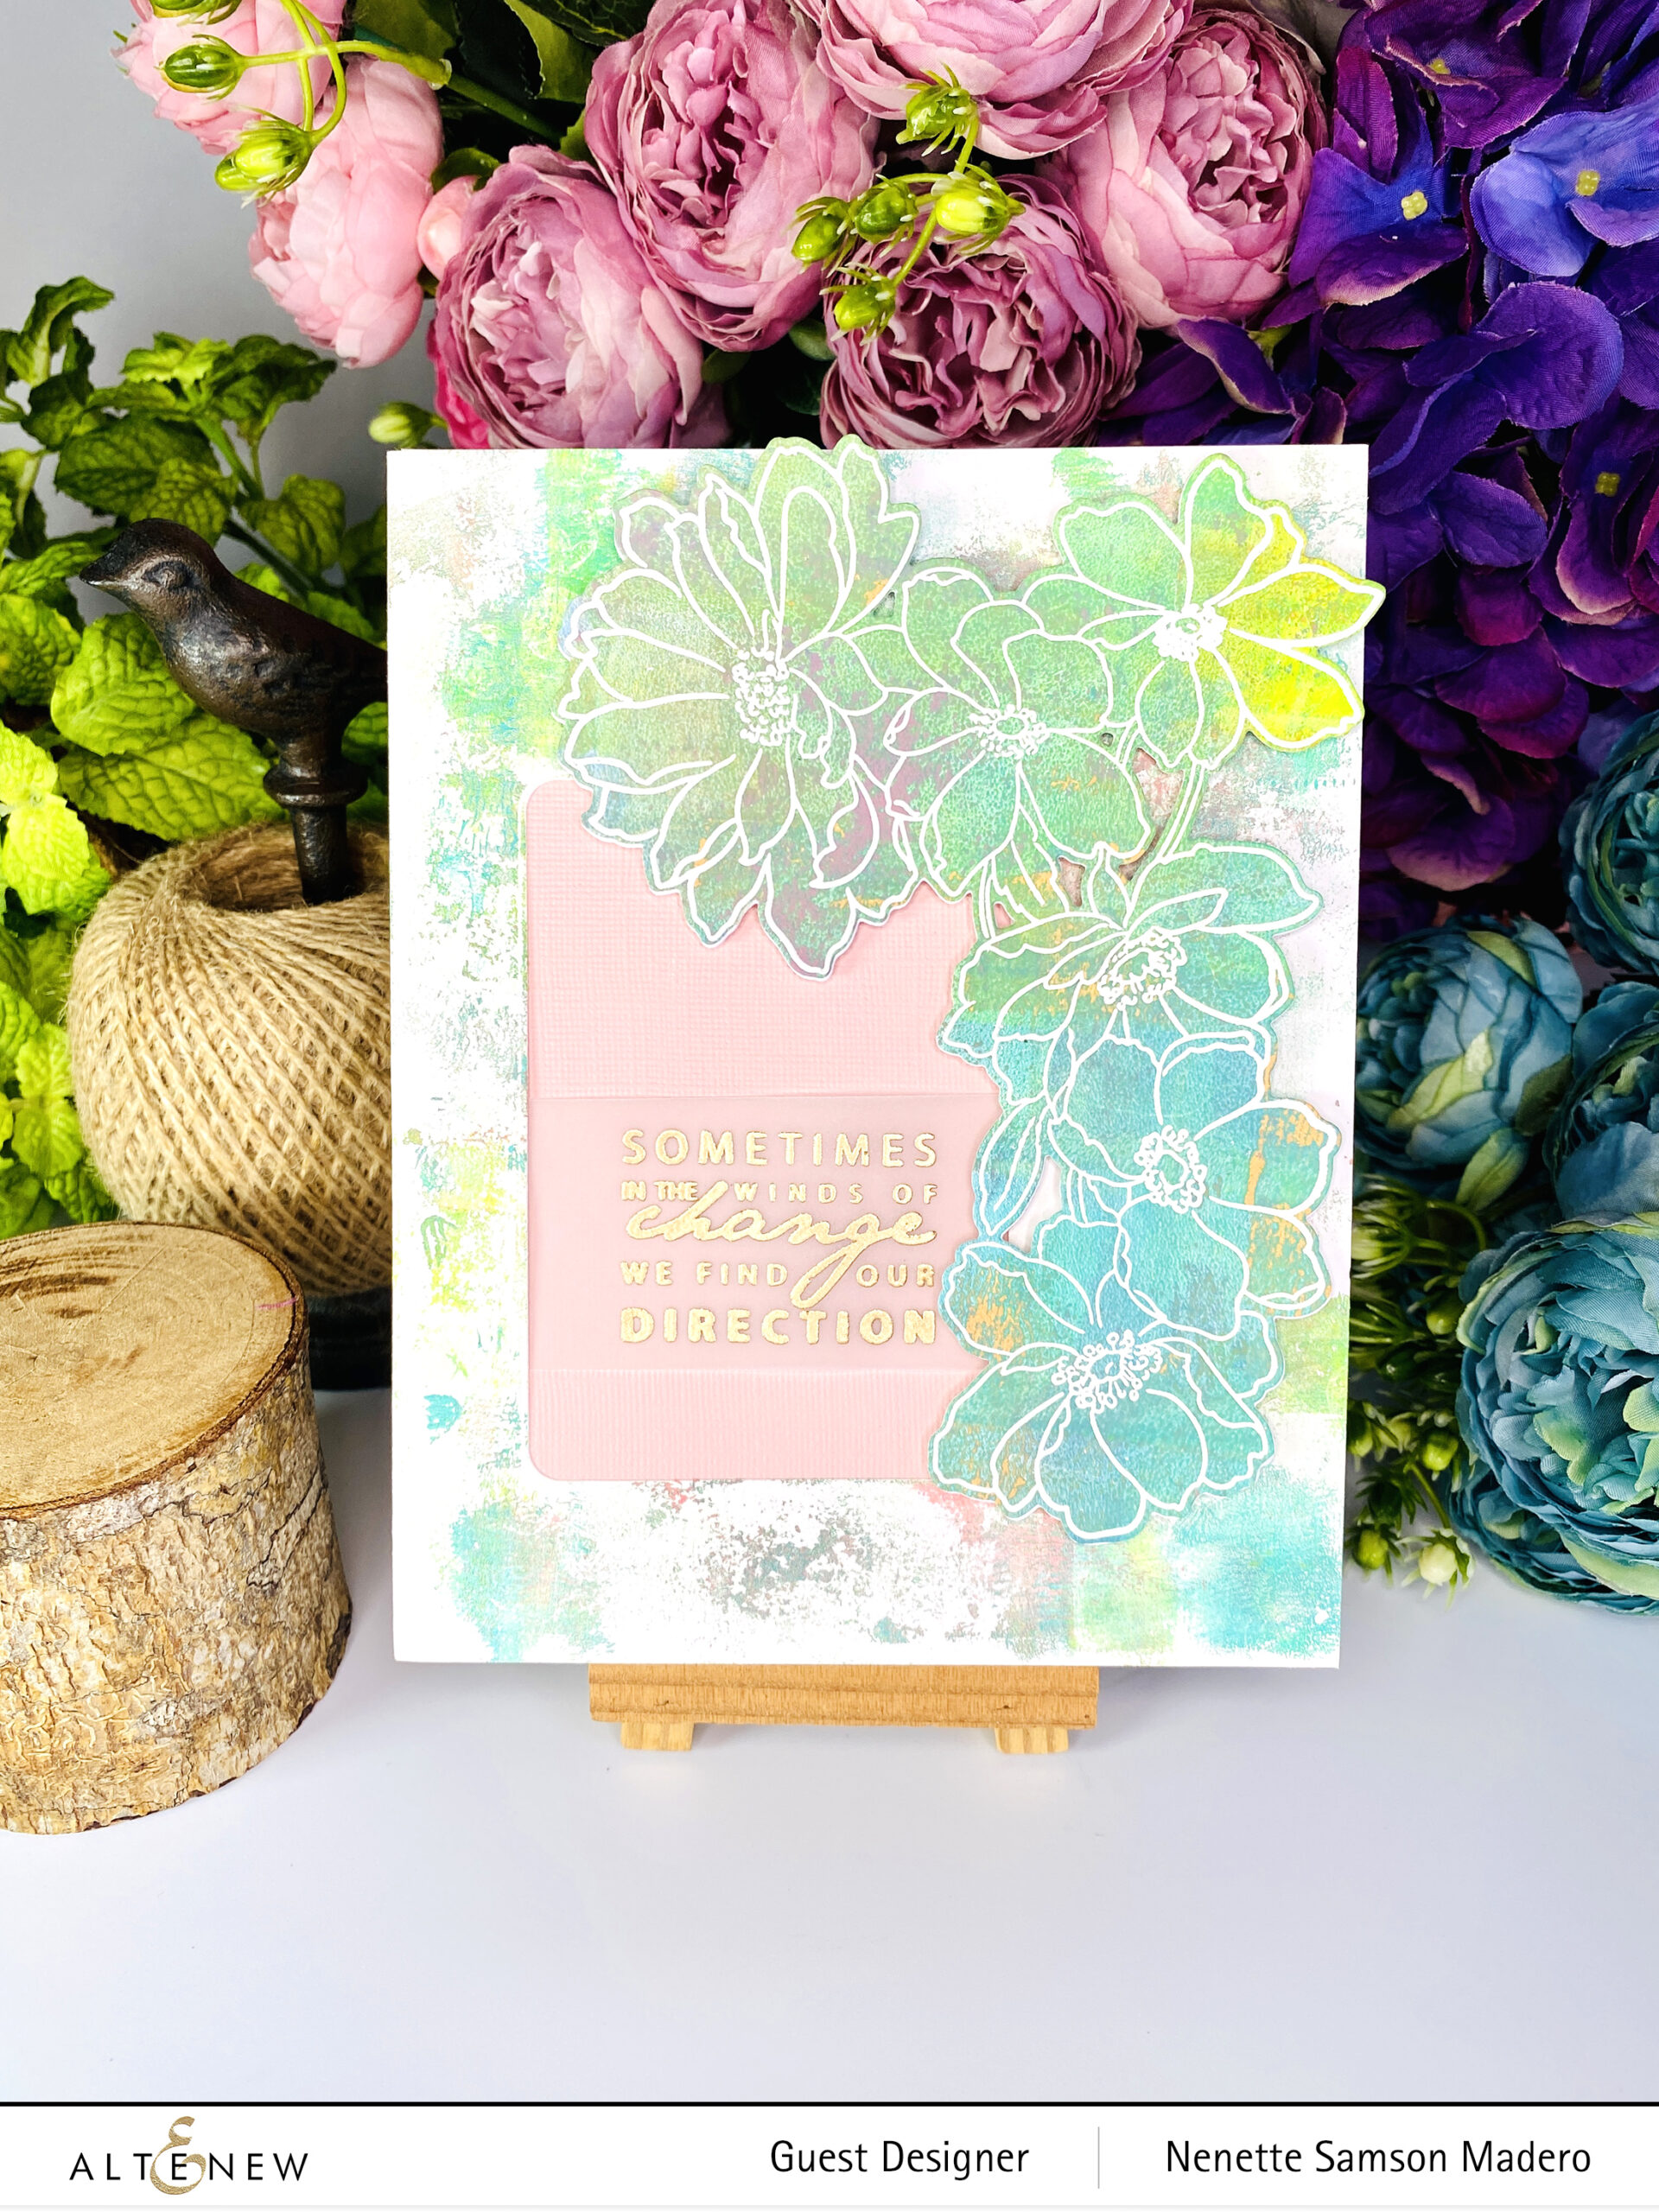
SOMETIMES IN THE WINDS OF CHANGE WE FIND OUR DIRECTION

CASTLE GARDEN STAMP AND DIE SET, BLOCK SENTIMENTS STAMP, ROUNDED RECTANGLE DIE

STEPS:

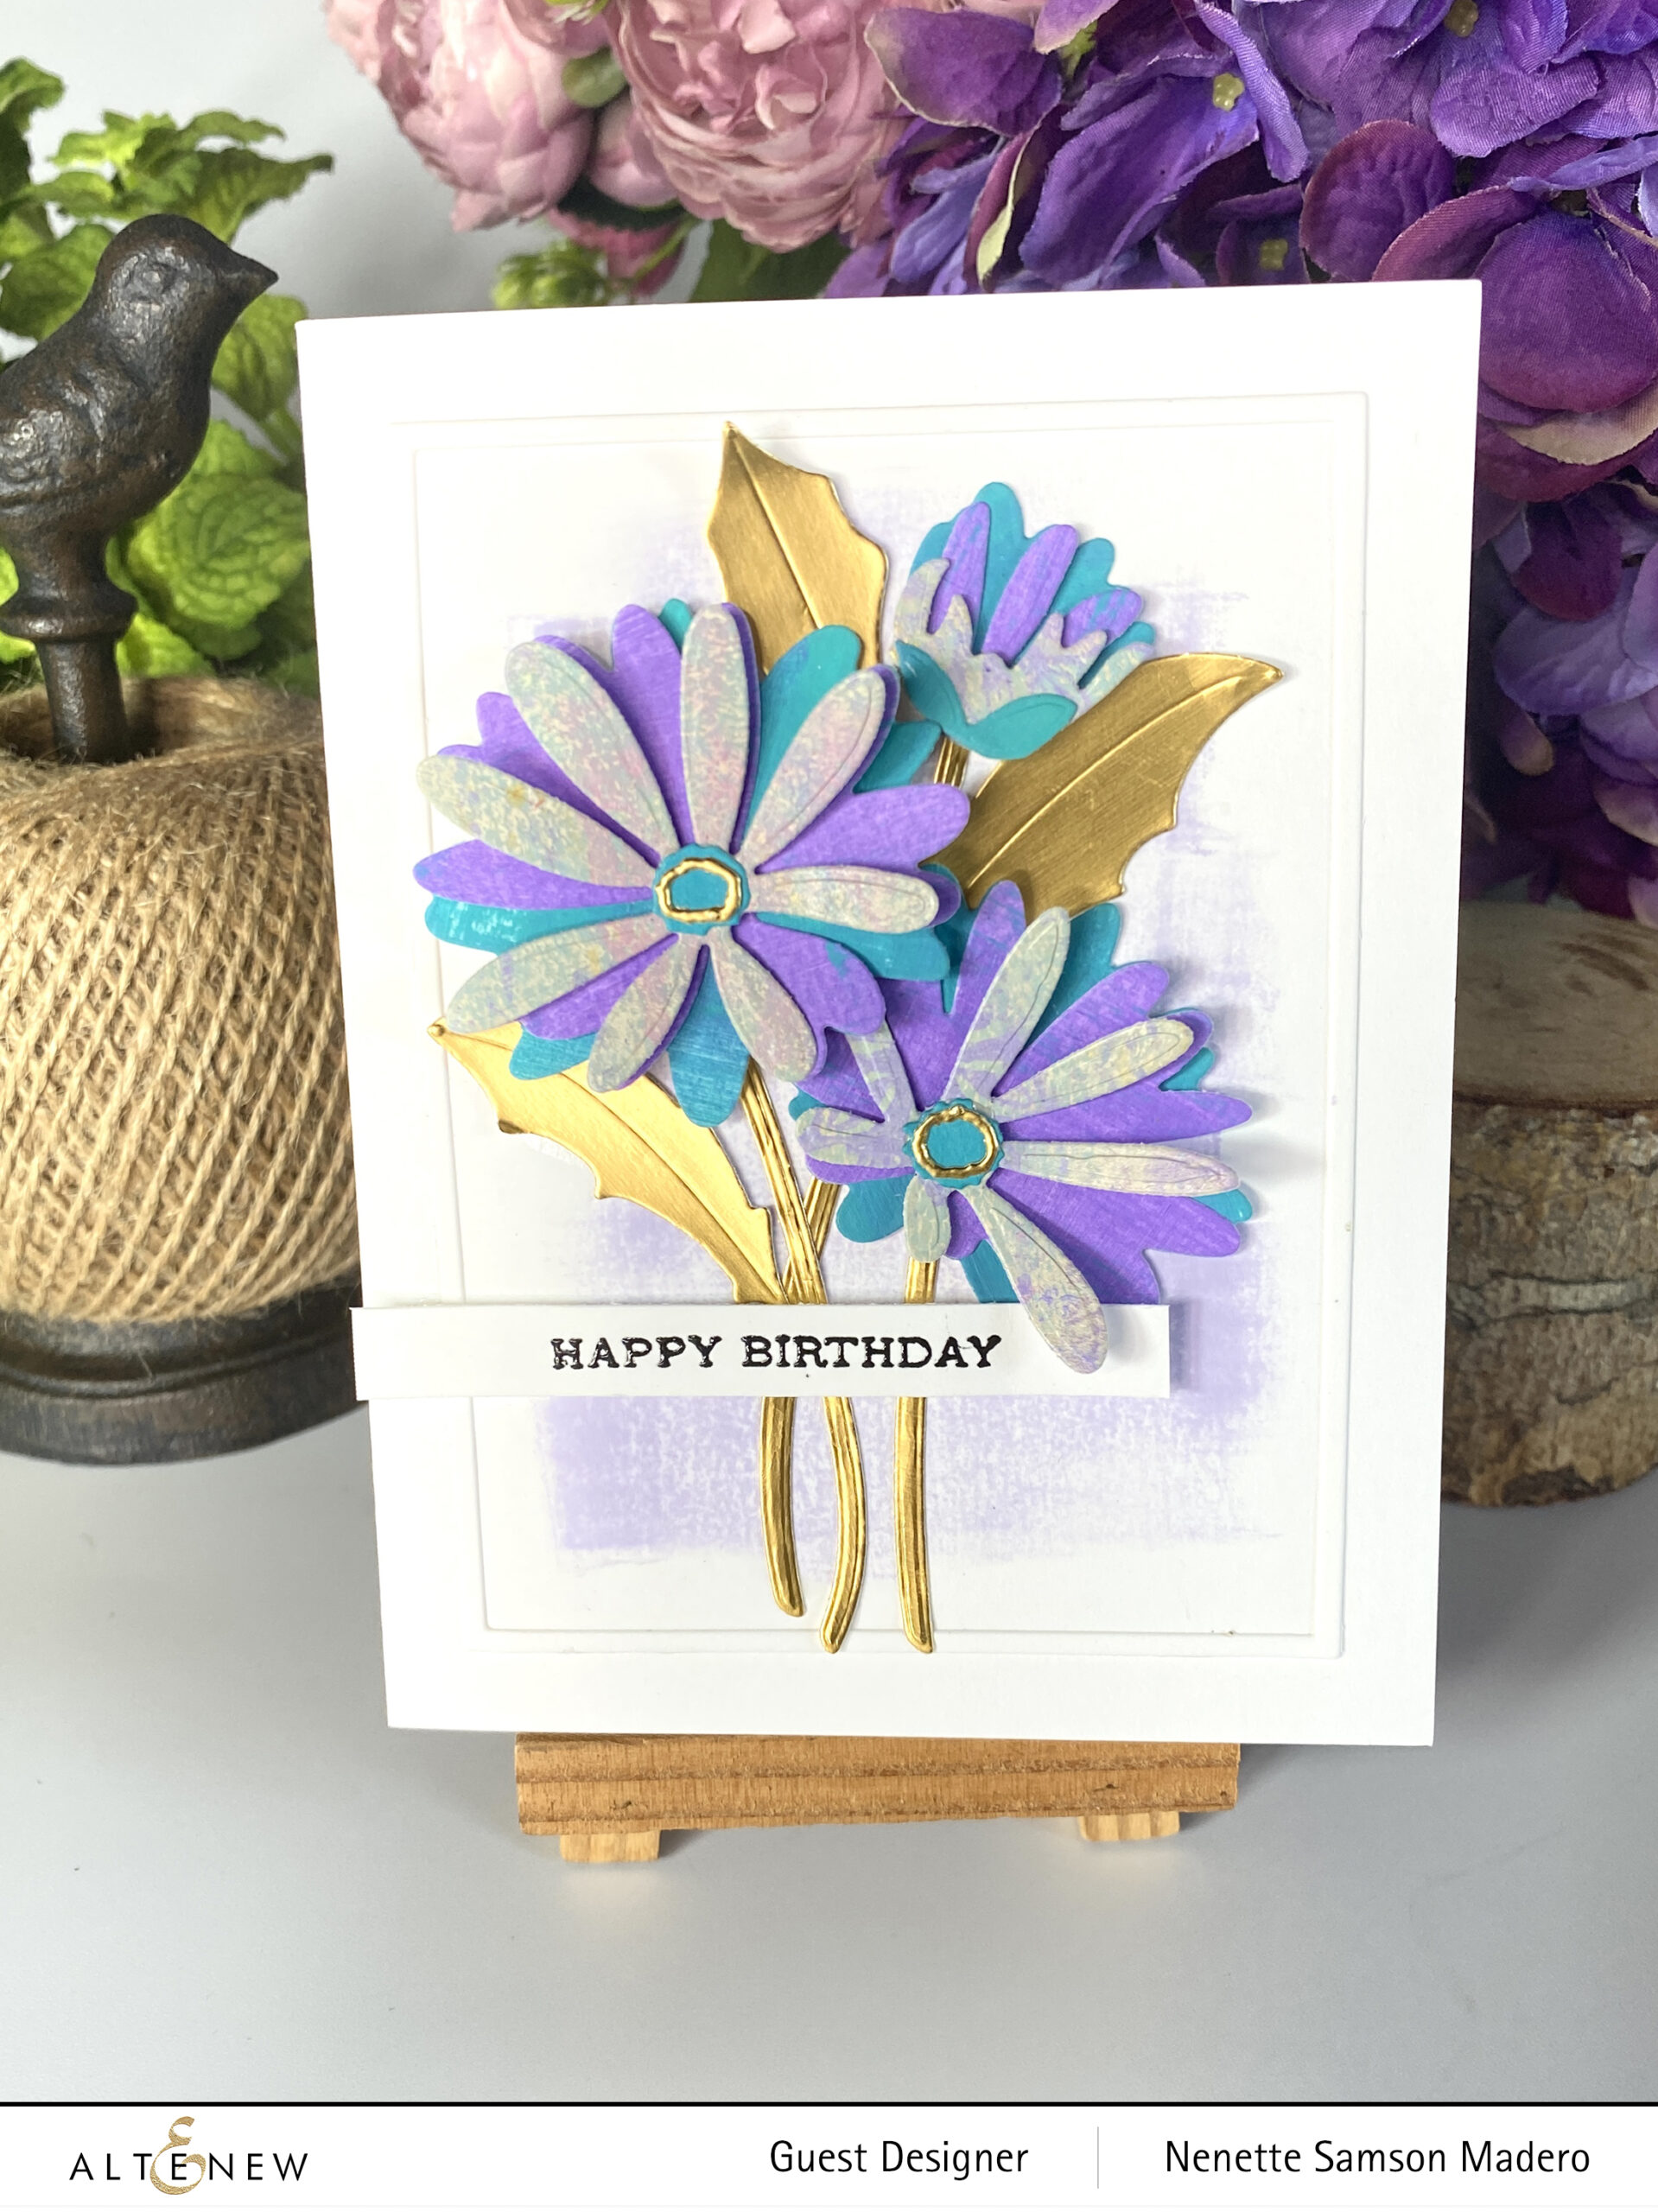
  1. Create a customized patterned paper using acrylic paints and a gelli plate.
  2. Die cut a window using the Rounded Rectangle Dies.
  3. Smoosh the front onto leftover acrylic paints to add color to the card front.
  4. Stamp the floral images from the Castle Garden Stamp set and emboss with Pure white embossing powder. Die cut the image using the coordinating die.
  5. Stamp the sentiment from the Block Sentiments Stamp set onto vellum and emboss with Rose Gold embossing powder.
  6. Assemble the card.

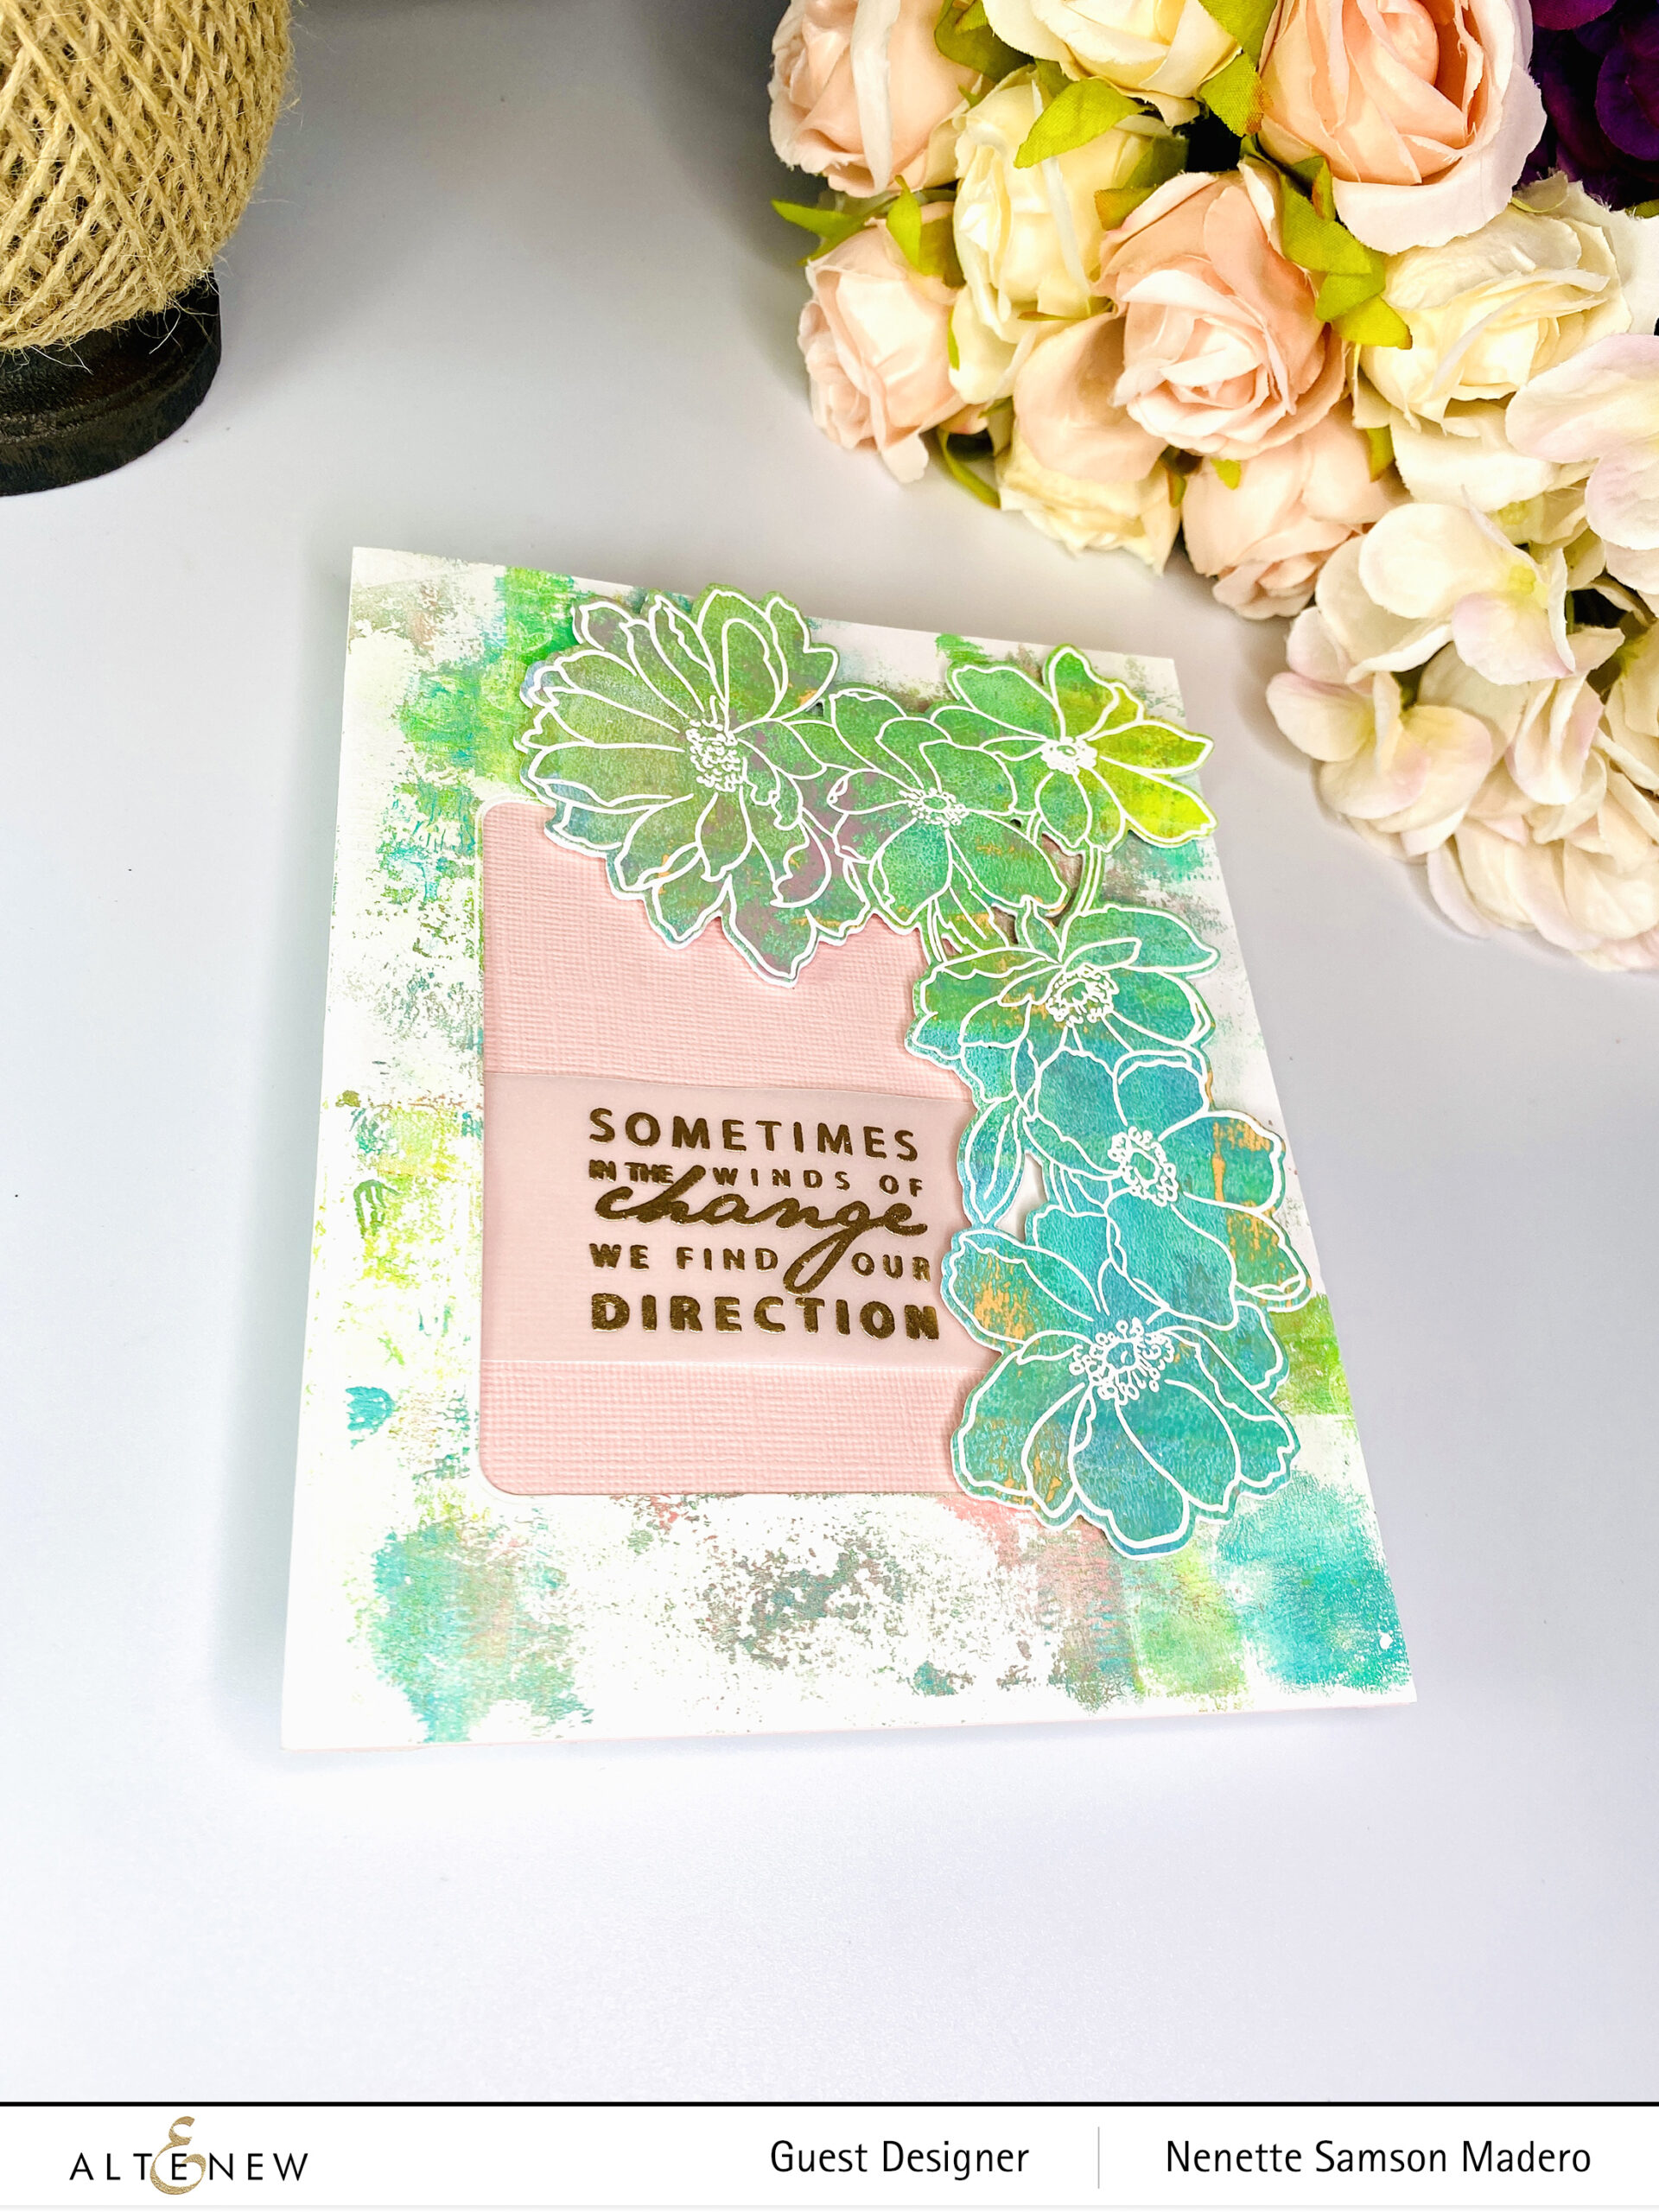
I can’t wait to see how the other designers used this gorgeous stamp set. It’s a big image so you can use it in so many ways!

FREE GIFTS!

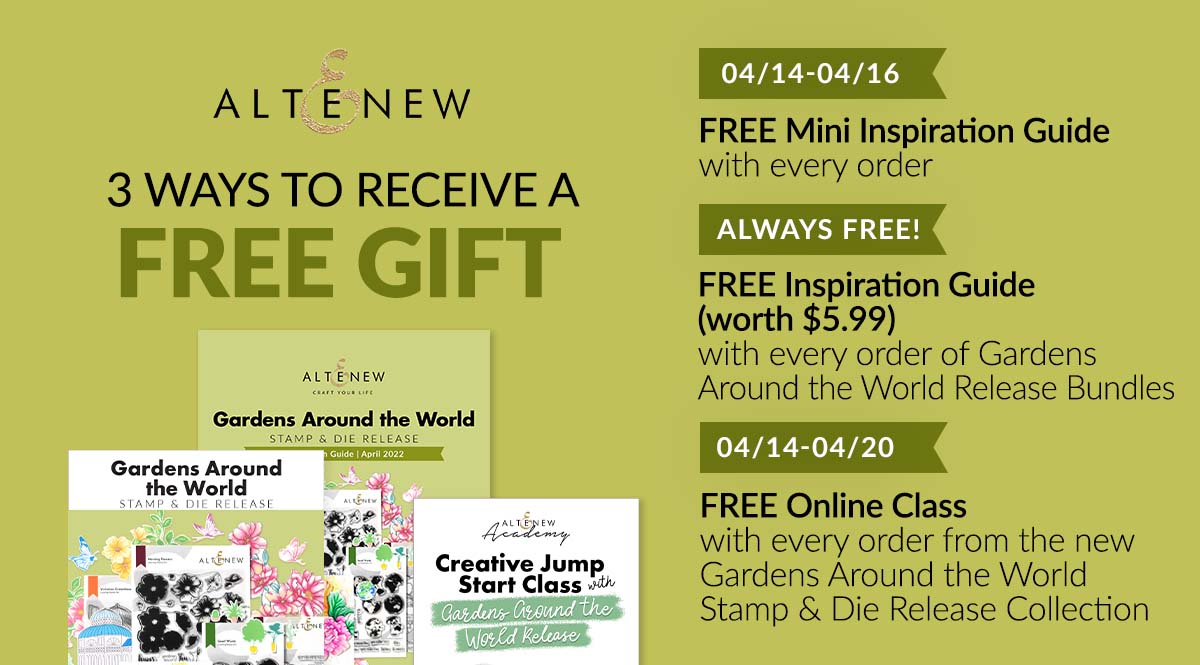
  • Get a FREE brand new Gardens Around the World Mini Inspiration Guide with every order from 04/14/2022 through 04/16/2022. Shop HERE!
  • Get a FREE brand new Gardens Around the World Stamp & Die Release Inspiration Guide Ebook  (worth $5.99) with every order of high-value Sweet Moments Bundles. Shop HERE! *Exclusions apply.
  • Get a FREE brand new Online Cardmaking Class with every order from the new Gardens Around the World Stamp & Die Release Collection from 04/14/2022 through 04/20/2022. Shop HERE!

GIVEAWAYS

$300 in total prizes! To celebrate this release, Altenew is giving away a $50 gift certificate to 2 lucky winners and a $25 gift certificate to 8 winners! Please leave a comment on the Altenew Card Blog and/or each designer’s blog post on the blog hop list below by 04/20/2022 for a chance to win. 

Altenew will draw 10 random winners from the comments left on each stop of this blog hop and announce the winners on the Altenew Winners Page on 04/22/2022.

Next on the hop is someone I truly admire–Norine Borys. Thank you so much for dropping by! Let me know which one you liked the most in the comment section below and you might just win a prize from Altenew! If you liked my content, I hope you can follow this blog and my other social media platforms. Links are listed below. Thank you for reading through! Stay safe and happy crafting!đź’™

Altenew Craft Your Life Project Kit: Fragrant Florals Release Blog Hop + Giveaway ($300 in total prizes)

Altenew Craft Your Life Project Kit: Fragrant Florals Release Blog Hop + Giveaway ($300 in total prizes)

Welcome to my blog, everyone! Thanks so much, Tenia Nelson, for sending everyone over. For the complete details of this hop, make sure to drop by the Altenew Blog.

I’m excited to share what I made for the Craft Your Life Project Kit: Fragrant Florals release! You can find this new release here. This is such a gorgeous kit, and there are many ways you can use the stamp, stencil, die, and embossing folder. Here are a few ways you can use them.

SENDING HAPPY THOUGHTS YOUR WAY

STEPS:

  1. Stamp image using a very light ink.
  2. Color the image using the stencils and Frosty Pink, Corral Berry, Ruby Red, Caribbean Sky, Arctic and Persian Blue Mixed Media Inks with a blender brush and detailed blender brush.
  3. Loosely outline the image with a .03 pencil.
  4. Emboss the sentiment on navy blue cardstock using Pure White Crisp Embossing powder.
  5. Die cut the image and trim down to fit a mini slimline card.
  6. Assemble the sentiments using foam squares.
TIP: Don’t throw away leftovers from the colored image. You can always add them to the inside of the card.

Blending the Mixed Media Inks was a dream!!! Since these are pigment inks, they stay wet long enough so that you can get a nice blend. Just use the same stencil to add layers to the petals and leaves. Always start with the lightest, then work towards the darkest. The detailed blending brushes work well, mainly when you apply the darkest to the areas where there should be shadow. I learned the pencil outline technique from the amazing watercolorist Danielle Donaldson and thought this technique would look wonderful with the Altenew images.

HAPPY BIRTHDAY

STEPS:

  1. Emboss Neenah Solar White cardstock using the CYL Fragrant Florals 3d Embossing folder.
  2. Watercolor using the following dye inks: Hydrangea, Pinkalicious and Turquoise.
  3. Die cut image using the coordinating die.
  4. Emboss the image again with the 3D embossing folder.
  5. Add outline using a mechanical pencil.
  6. Stamp and emboss sentinent from the Ornamental Bliss Stamp set using Rose Gold embossing powder.
  7. Assemble card with foam squares.
TIP: Mist the front and back of the paper with water before embossing. This will help break down the paper fibers and prevent tearing.

SUBSCRIPTION PLAN

GIVEAWAYS

$300 in total prizes! To celebrate this release, Altenew is giving away a $50 gift certificate to 2 lucky winners and a $ 25 gift certificate to 8 winners! Please leave a comment on the Altenew Card Blog and/or each designer’s blog post on the blog hop list below by 04/18/2022 for a chance to win. Altenew will draw 10 random winners from the comments left on each stop of this blog hop and announce the winners on the Altenew Winners Page on 04/20/2022.

Up next: Terri Koszler. Thank you so much for dropping by! I hope you liked the cards I made for this release. Let me know which card you prefer in the comment section below, and you might get a chance to win a prize from Altenew. <3 If you like what you see, please subscribe to this blog and my Instagram @mylittleatticstudio. Stay safe, everyone, and happy crafting!

Altenew Craft-A-Flower: African Daisy Release Blog Hop + Giveaway 

Altenew Craft-A-Flower: African Daisy Release Blog Hop + Giveaway 

Welcome to my blog, crafty friends! Thanks, Tenia Nelson, for sending everyone over. I created two cards for this hop. For the complete details of the blog hop, make sure you drop by the Atlenew Blog.

HERE FOR YOU

STEPS:

  1. Create background paper using the gel printing plate and acrylic paints to use for the top layer of the flower.
  2. Paint white paper to create solid colors using some of the acrylic paints used with the gel printing plate to create monoprints. These will be used for the other layers of the flowers.
  3. Die cut the stem and leaves from the Craft-A-Flower: African Daisy die set using gold cardstock.
  4. Die cut the different layers of petals using the monoprinted papers with the Craft-A-Flower: African Daisy die set as well.
  5. Assemble the flowers using glue and foam squares.
  6. Stamp the sentiment from the Pots and Plants Stamp set using Obsidian Ink and emboss with clear embossing powder. Adhere to vellum with double sided tape.
  7. Assemble card.
TIP: Apply glue at the center of the flower only for a more natural/softer looking flower.

By painting the paper, one can create more texture, and it will also create variations of colors on each petal.

HAPPY BIRTHDAY

STEPS:

  1. Use the extra flowers created for the first card.
  2. Swipe Wisteria Dye ink onto the white cardfront to create a background.
  3. Add a white frame using the Fine Frames Cover die.
  4. Emboss the sentiment using Obsidian Ink and clear embossing powder.
  5. Assemble the card.

GIVEAWAYS

$200 in total prizes! To celebrate this release, Altenew is giving away a $50 gift certificate to 2 lucky winners and a $20 gift certificate to 5 winners! Please leave a comment on the Altenew Card Blog and/or each designer’s blog post on the blog hop list below by 04/13/2022 for a chance to win. Altenew will draw seven random winners from the comments left on each stop of this blog hop and announce the winners on the Altenew Winners Page on 04/15/2022.

The next stop is my mentor and talented friend, Virginia Lu. Thanks so much for dropping by! I enjoy reading your comments, so I hope you can drop me a line and say hello. If you liked what you saw, please subscribe to this blog, and I hope you can follow me on Instagram, Pinterest, and Facebook (links are located below). Stay safe, everyone, and happy crafting! <3

Altenew Build-A-Flower: Belladonna Lily Release Blog Hop + Giveaway ($200  in total prizes)

Altenew Build-A-Flower: Belladonna Lily Release Blog Hop + Giveaway ($200  in total prizes)

Welcome to my blog, crafty friends! Thanks so much, Emily Midgett, for sending everybody over. For the complete details of this hop, head over to the Altenew blog. Take a look at the latest Build-a-Flower release:

BUILD-A-FLOWER: BELLADONNA LILY

This stamp set is a gorgeous cluster of flowers combined with lovely sentiments. Today, I chose only to use the outline stamp of the flower against an ombre background.

THINKING OF YOU, MY FRIEND

STEPS:

  1. Die cut watercolor paper using the Dotted Swirls Debossing Cover Die.
  2. Use the watercolor brush markers to create an ombre background starting from lightest to darkest.
  3. Stamp the outline image onto Vellum and emboss with Rose Gold embossing powder. Die cut the image using the coordiating die.
  4. Stamp the sentiment on black cardstock and emboss using Pure White embossing powder.
  5. Assemble card.
TIP: Allow the lightest wash to completely dry then add different shades of blue. This will create some added texture on top of the background.

This is a pretty quick card to make. Sometimes, less is more. It can be simple but elegant. Using a contrasting color for the flower will let it stand out more. Since vellum is translucent, you can still see the variations of blue come through the paper. I stamped 2 clusters of flowers and just layered them on top of each other.

GIVEAWAYS

$200 in total prizes! To celebrate this release, Altenew is giving away a $50 gift certificate to 2 lucky winners and a $20 gift certificate to 5 winners! Please leave a comment on the Altenew Card Blog and/or each designer’s blog post on the blog hop list below by 04/06/2022 for a chance to win. Altenew will draw seven random winners from the comments left on each blog hop stop and announce the winners on the Altenew Winners Page on 04/08/2022.

Next up is my uber-talented friend, Erum Tasneem. Drop by her blog and be blown away by her exceptional talent. Thanks for dropping by, and I would love to know if you prefer clean and simple cards or layered and elaborate ones. Make sure to leave a comment and get a chance to win a prize from Altenew! For my latest creations, please follow me on Instagram @mylittleatticstudio. Thanks again, and happy crafting!

Altenew March 2022 Whimsical Fairy Tale Collection Release Blog Hop + Giveaway ($300 in total prizes)

Altenew March 2022 Whimsical Fairy Tale Collection Release Blog Hop + Giveaway ($300 in total prizes)

Welcome, my crafty friends and thank you, Tenia Nelson, for sending everyone over to my blog! For the full list, please visit the Altenew Blog. You can also find the full release here.

I just love 3D embossing folders!!! Technology has made it possible to make the designs look more 3D and this release does not disappoint. For this set of cards, I chose to use light and pastel colors. Take a look at the 4 cards I made below using some of the 3D embossing folders.

SO KIND… I’M TOUCHED BEYOND WORDS

STEPS:

  1. Wet the front and back of a Mixed Media white cardstock.
  2. Emboss using the Flower Bed 3D Embossing folder.
  3. Color the flowers and leaves using the following dye inks– Aqualicious, Hydrangea, Sand Dunes and Coral Berry using the wet on wet technique. Add more concentrated pigments for the shadows.
  4. Die cut a circle to form a window.
  5. Emboss the sentiment from the Inside and Out: Thanks stamp set on clear acetate and at the bottom of the die cut window.
  6. Assemble the card using foam squares.

I love how this card turned out. I wanted to create a set of cards using pastel colors to keep them light. The flowers in this card look so ethereal and delicate! And because the panel was big, I was able to create a second card.

TIP: Make sure to paint flowers/ leaves that are separated from each other to prevent the different colors of inks from blending with each other. Also, mist the front and back of the paper before embossing. This will give it a more crisp image and it will also prevent the paper from tearing.

STAY SAFE

STEPS:

  1. Trim the embossed panel to 2″ x 5.5″.
  2. Add a gold trim using Gold foil washi tape.
  3. Stamp the sentiment from the Pot and Plants stamp set on light blue cardstock and emboss with Pure White embossing powder.
  4. Assemble the card with foam squares and adhesive.

I kept this card clean and simple by using the leftover embossed image from the first card as a border. I love it when I can create more than one card using a single embossed image.

THANK YOU FOR YOUR FRIENDSHIP

STEPS:

  1. Cut different widths of strips from paper scraps.
  2. Adhere to a thin sheet of paper with adhesive.
  3. Emboss using the Scalloped Frame 3D embossing folder.
  4. Die cut a circle that will fit the center of the Scalloped Frame embossing folder then add pattern using the Fine Tulle stencil and dye ink.
  5. Stamp the sentiment from the Pots and Plants stamp set and emboss using a mixture of Fluorescent Green and Rose Gold embossing powder.
  6. Assemble the card using foam squares and adhesive.

I’M TOUCHED BEYOND WORDS

STEPS:

  1. Ink up the flat side of the embossing folder and emboss. Repeat using a 2nd color.
  2. Cut the panel to form the embossed circle.
  3. Stamp the plant image from the Pots and Plants stamp set on vellum and emboss with Rose Gold embossing powder. Die cut the image.
  4. Stamp the sentiment.
  5. Assemble the card with foam squares and adhesive.

The embossed circle acts as a frame for the plant image. I can imagine so many other possibilities with this embossing folder.

GIVEAWAYS

$300 in total prizes! To celebrate this release, Altenew is giving away a $50 gift certificate to 2 lucky winners and a $25 gift certificate to 8 winners! Please leave a comment on the Altenew Card Blog and/or each designer’s blog post on the blog hop list below by 03/31/2022 for a chance to win. 

Altenew will draw 10 random winners from the comments left on each stop of this blog hop and announce the winners on the Altenew Winners Page on 04/02/2022.

Next up: Amy Hill. I hope you found something that inspired you to create. Do let me know which one was your favorite in the comment section below to get a chance to win a prize from Altenew. If you like what you see, I hope you can subscribe to my blog, YouTube channel, and Instagram (@mylittleatticstudio). Thanks so much for dropping by! Until my next post– happy crafting!