")

Hello, crafty friends! Welcome to Altenew’s Build-a-Flower: Wild Rose Blog Hop and Giveaway!!! Thanks to my friend, Natasha Davies, for sending you over to my blog. For the complete list, please visit the Altenew Blog. You can find all the newest and latest from this link .
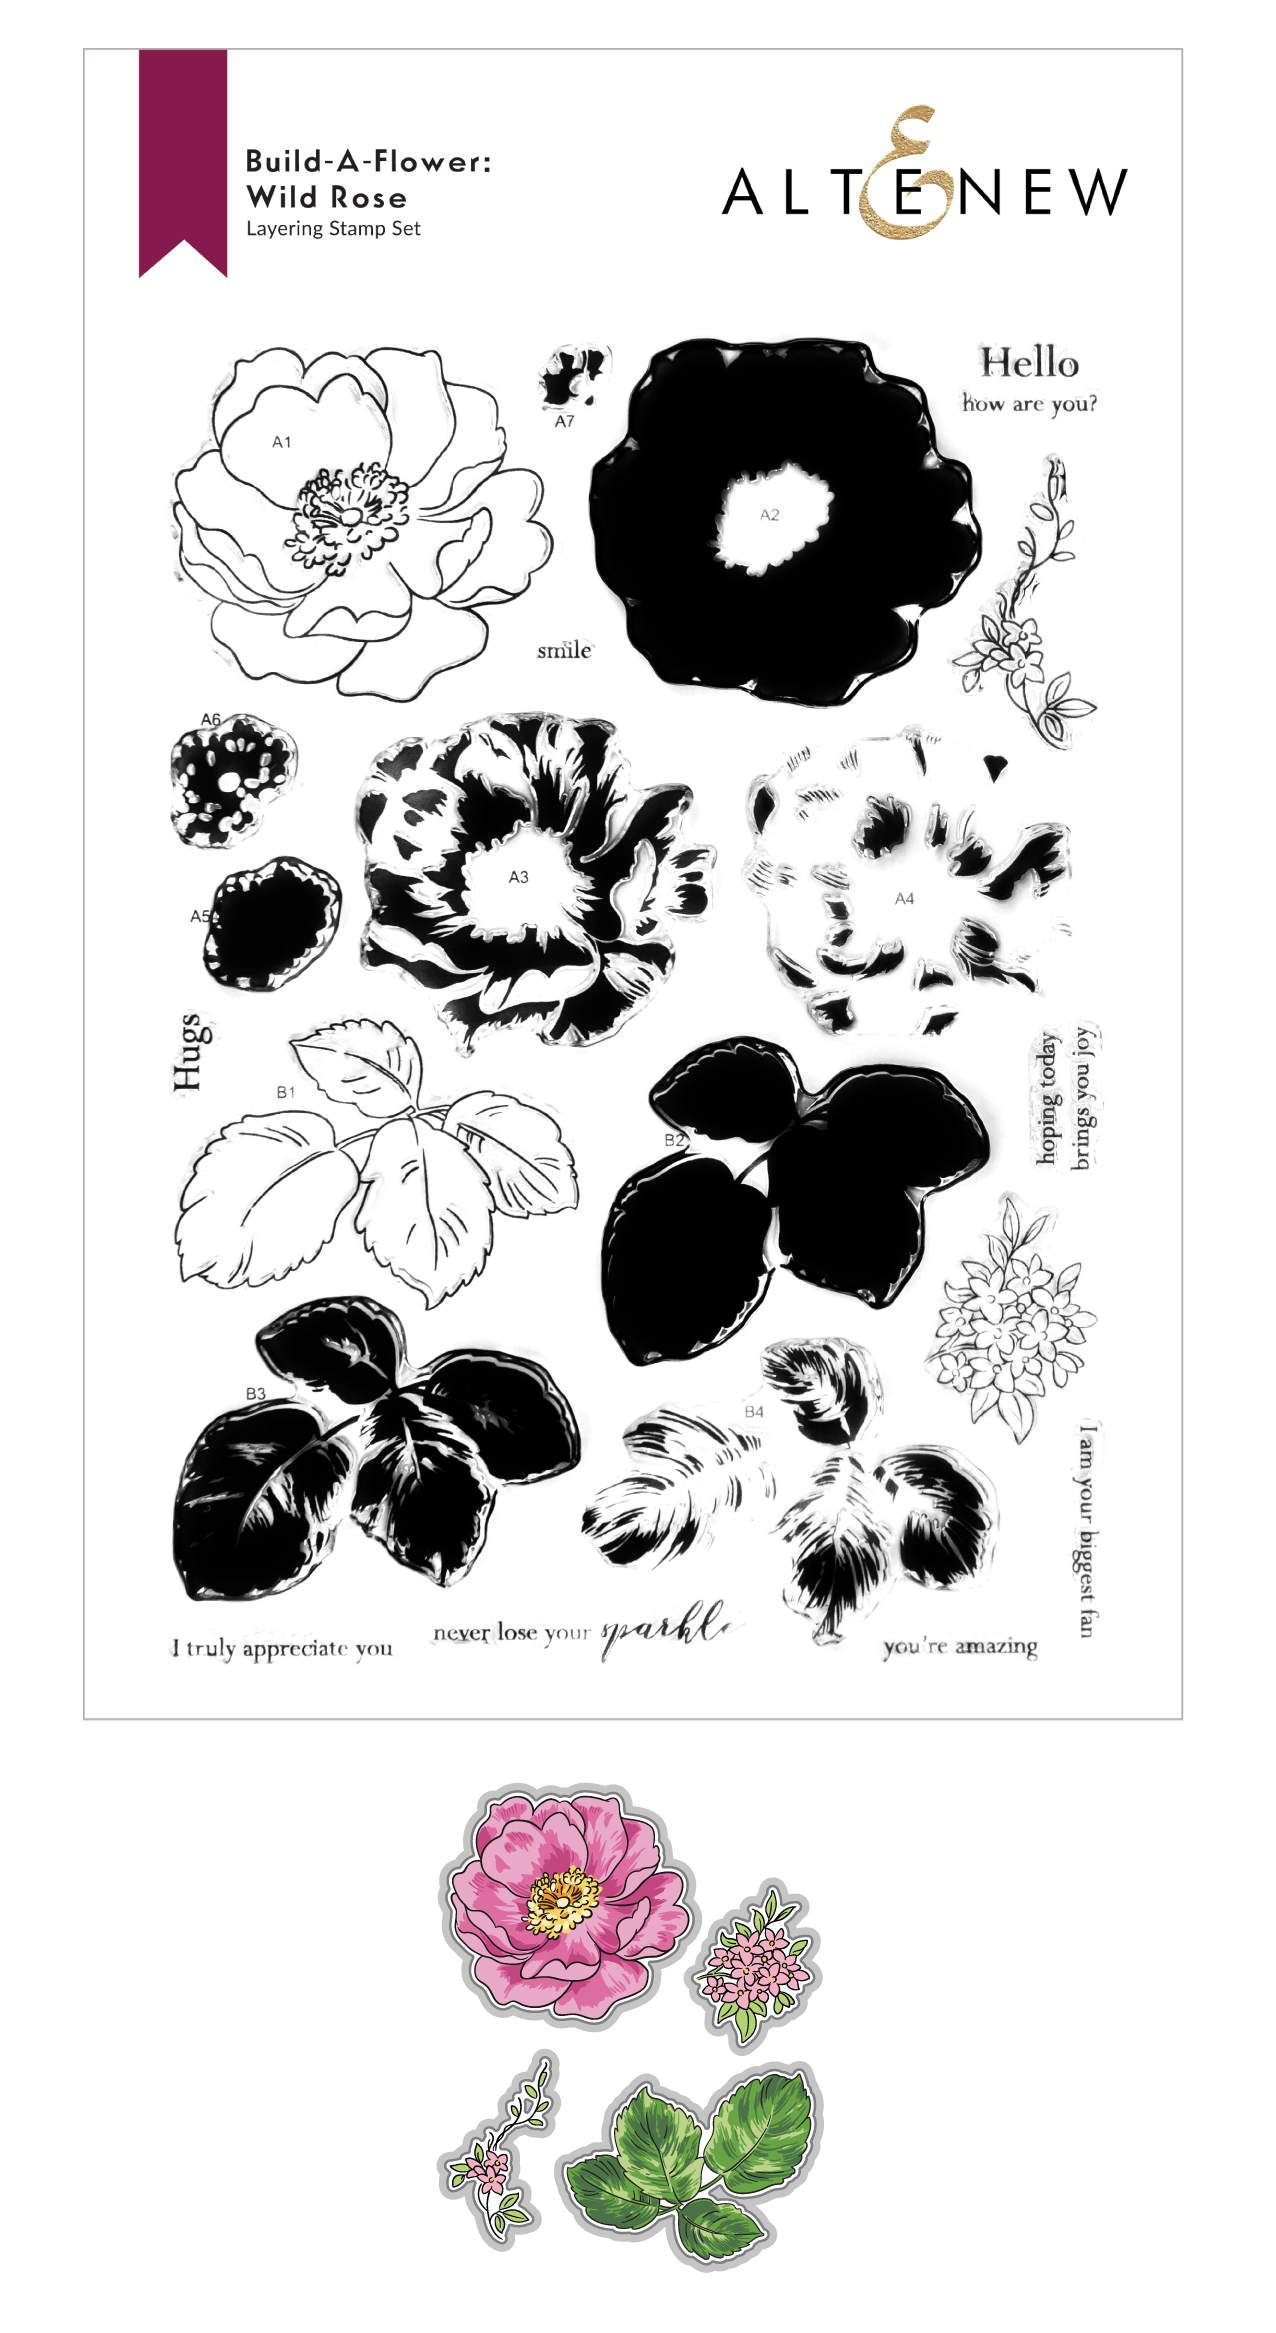
If you’re a lover of wild roses, this set will hit the mark! This stamp set features a beautiful wild rose with cupped semidouble flowers. The flower image includes an outline layer and three coloring layers for the petals and the stamens. There is also has a branch bearing five leaves with an outline layer and three coloring layers. Eight uplifting sentiments and a couple of mini flower clusters finish off the set. Take a look at this beautiful stamp and die set!
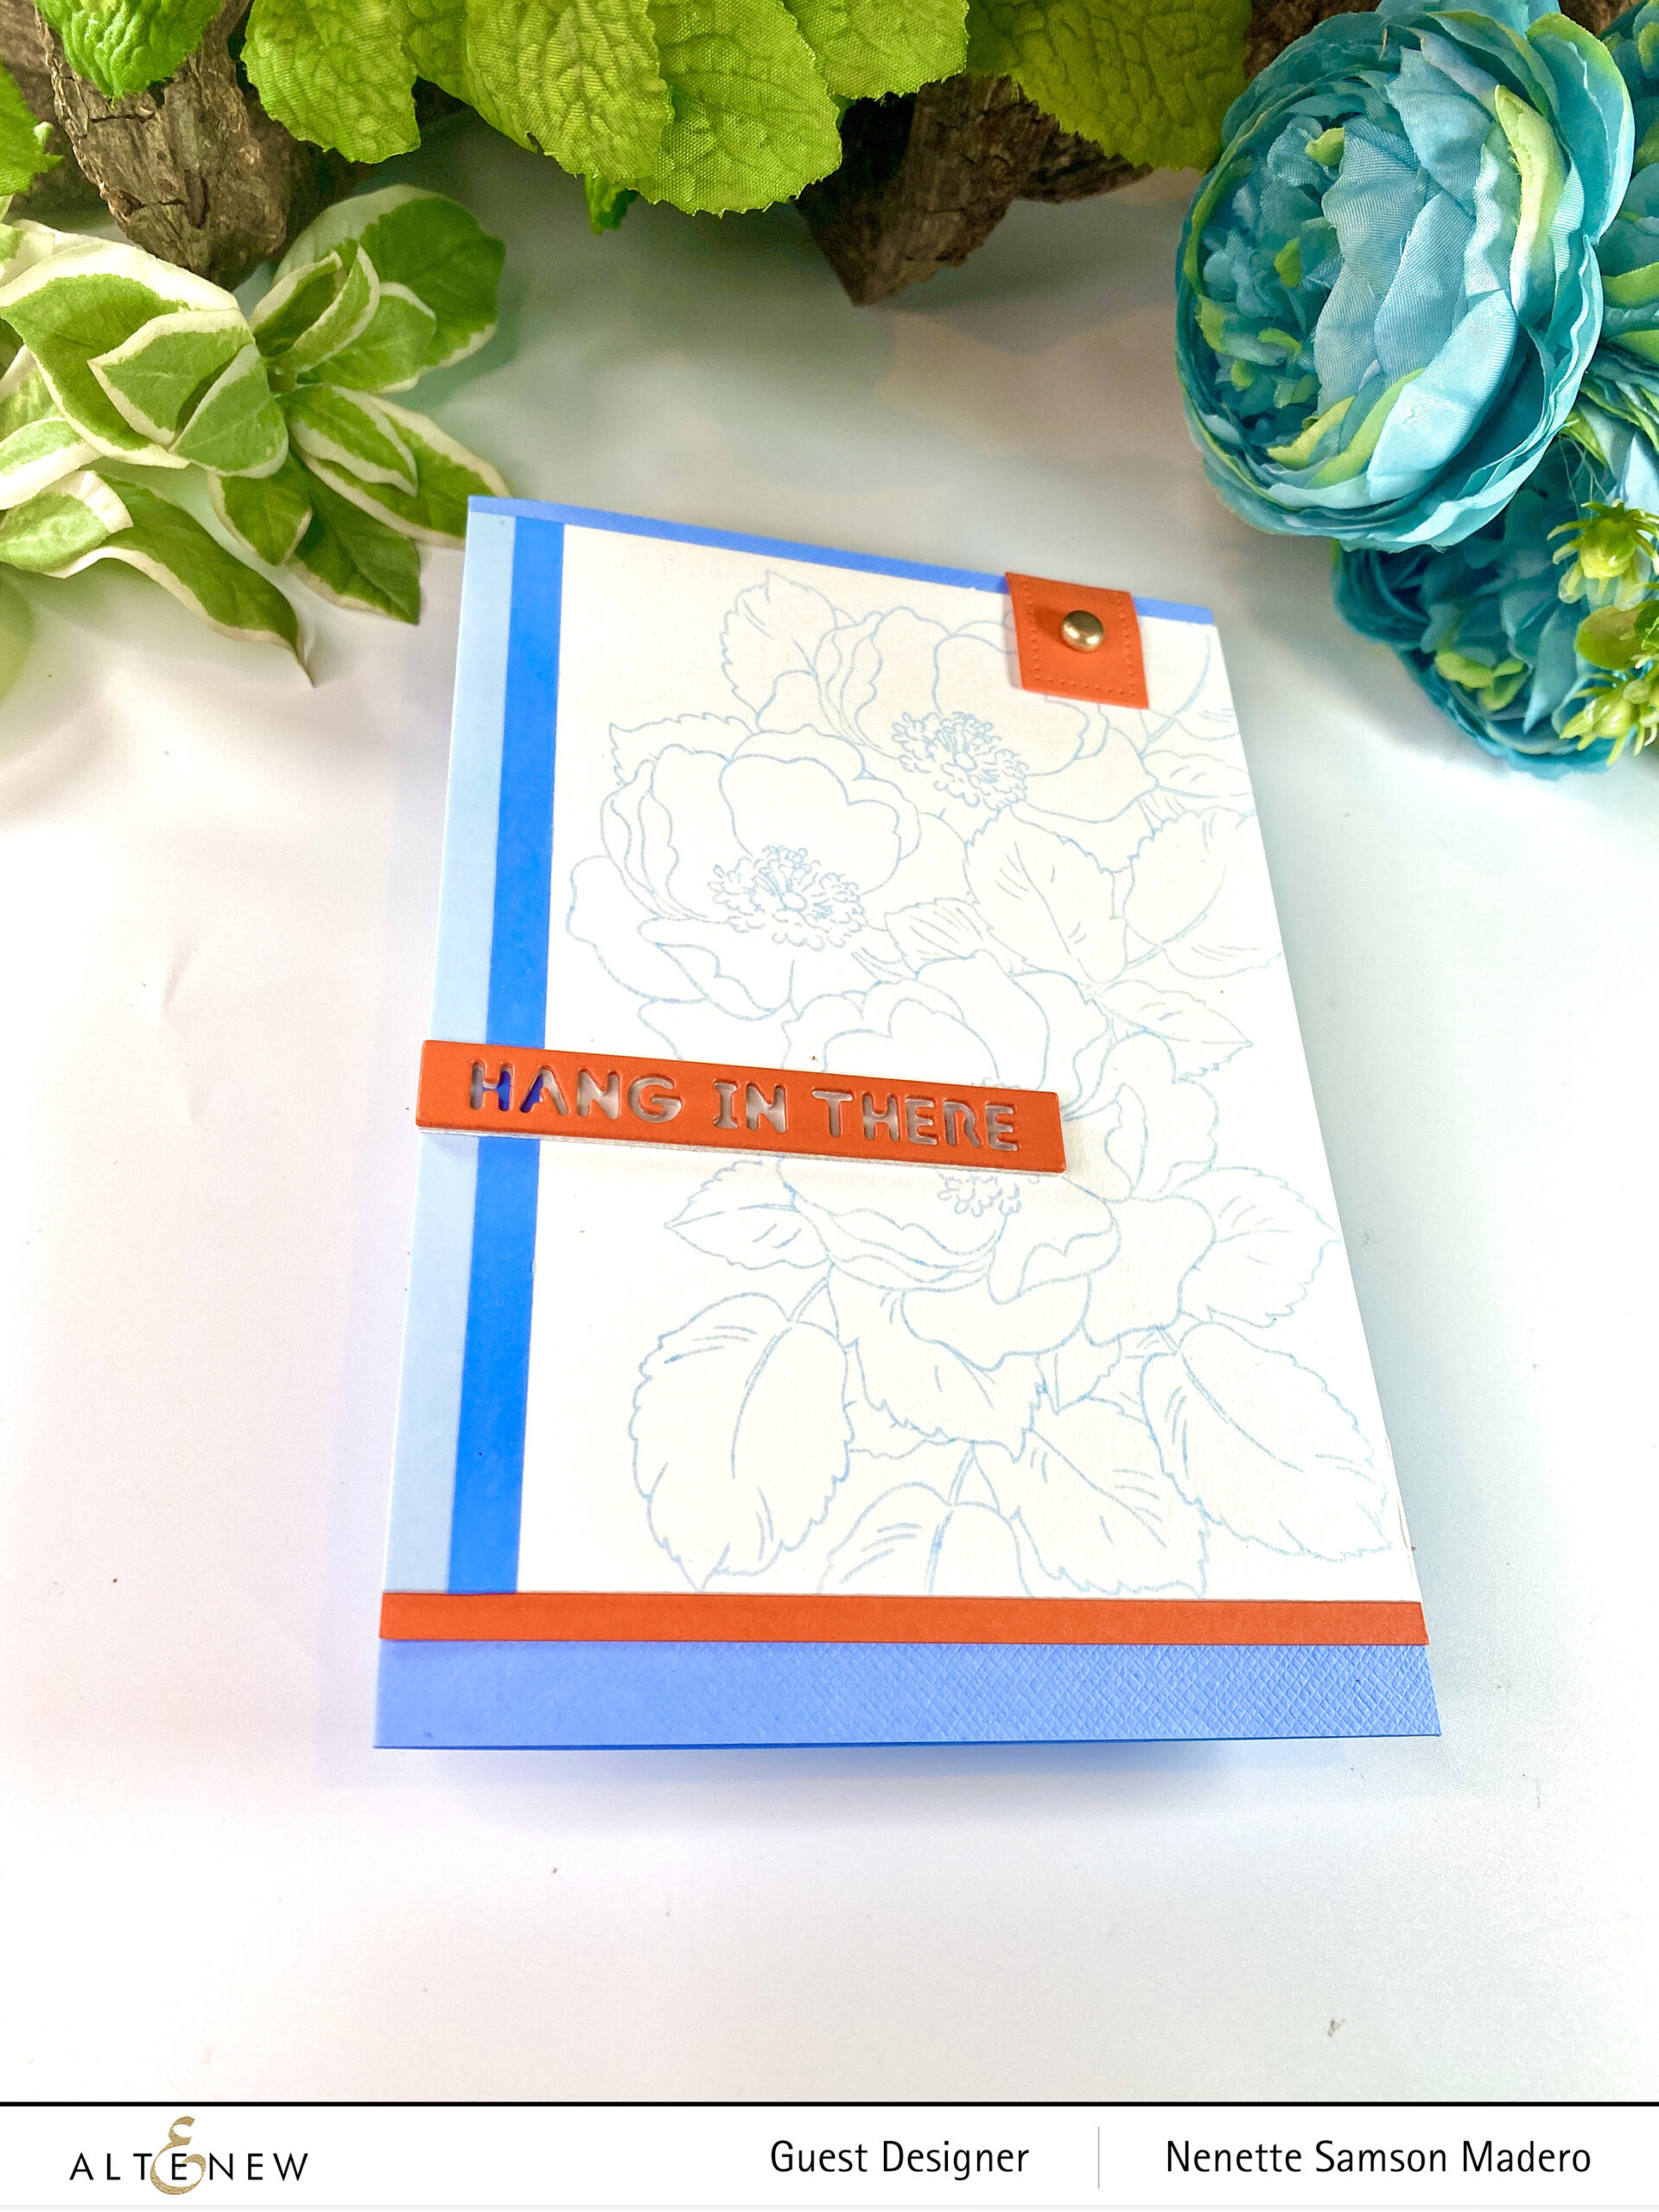
HANG IN THERE
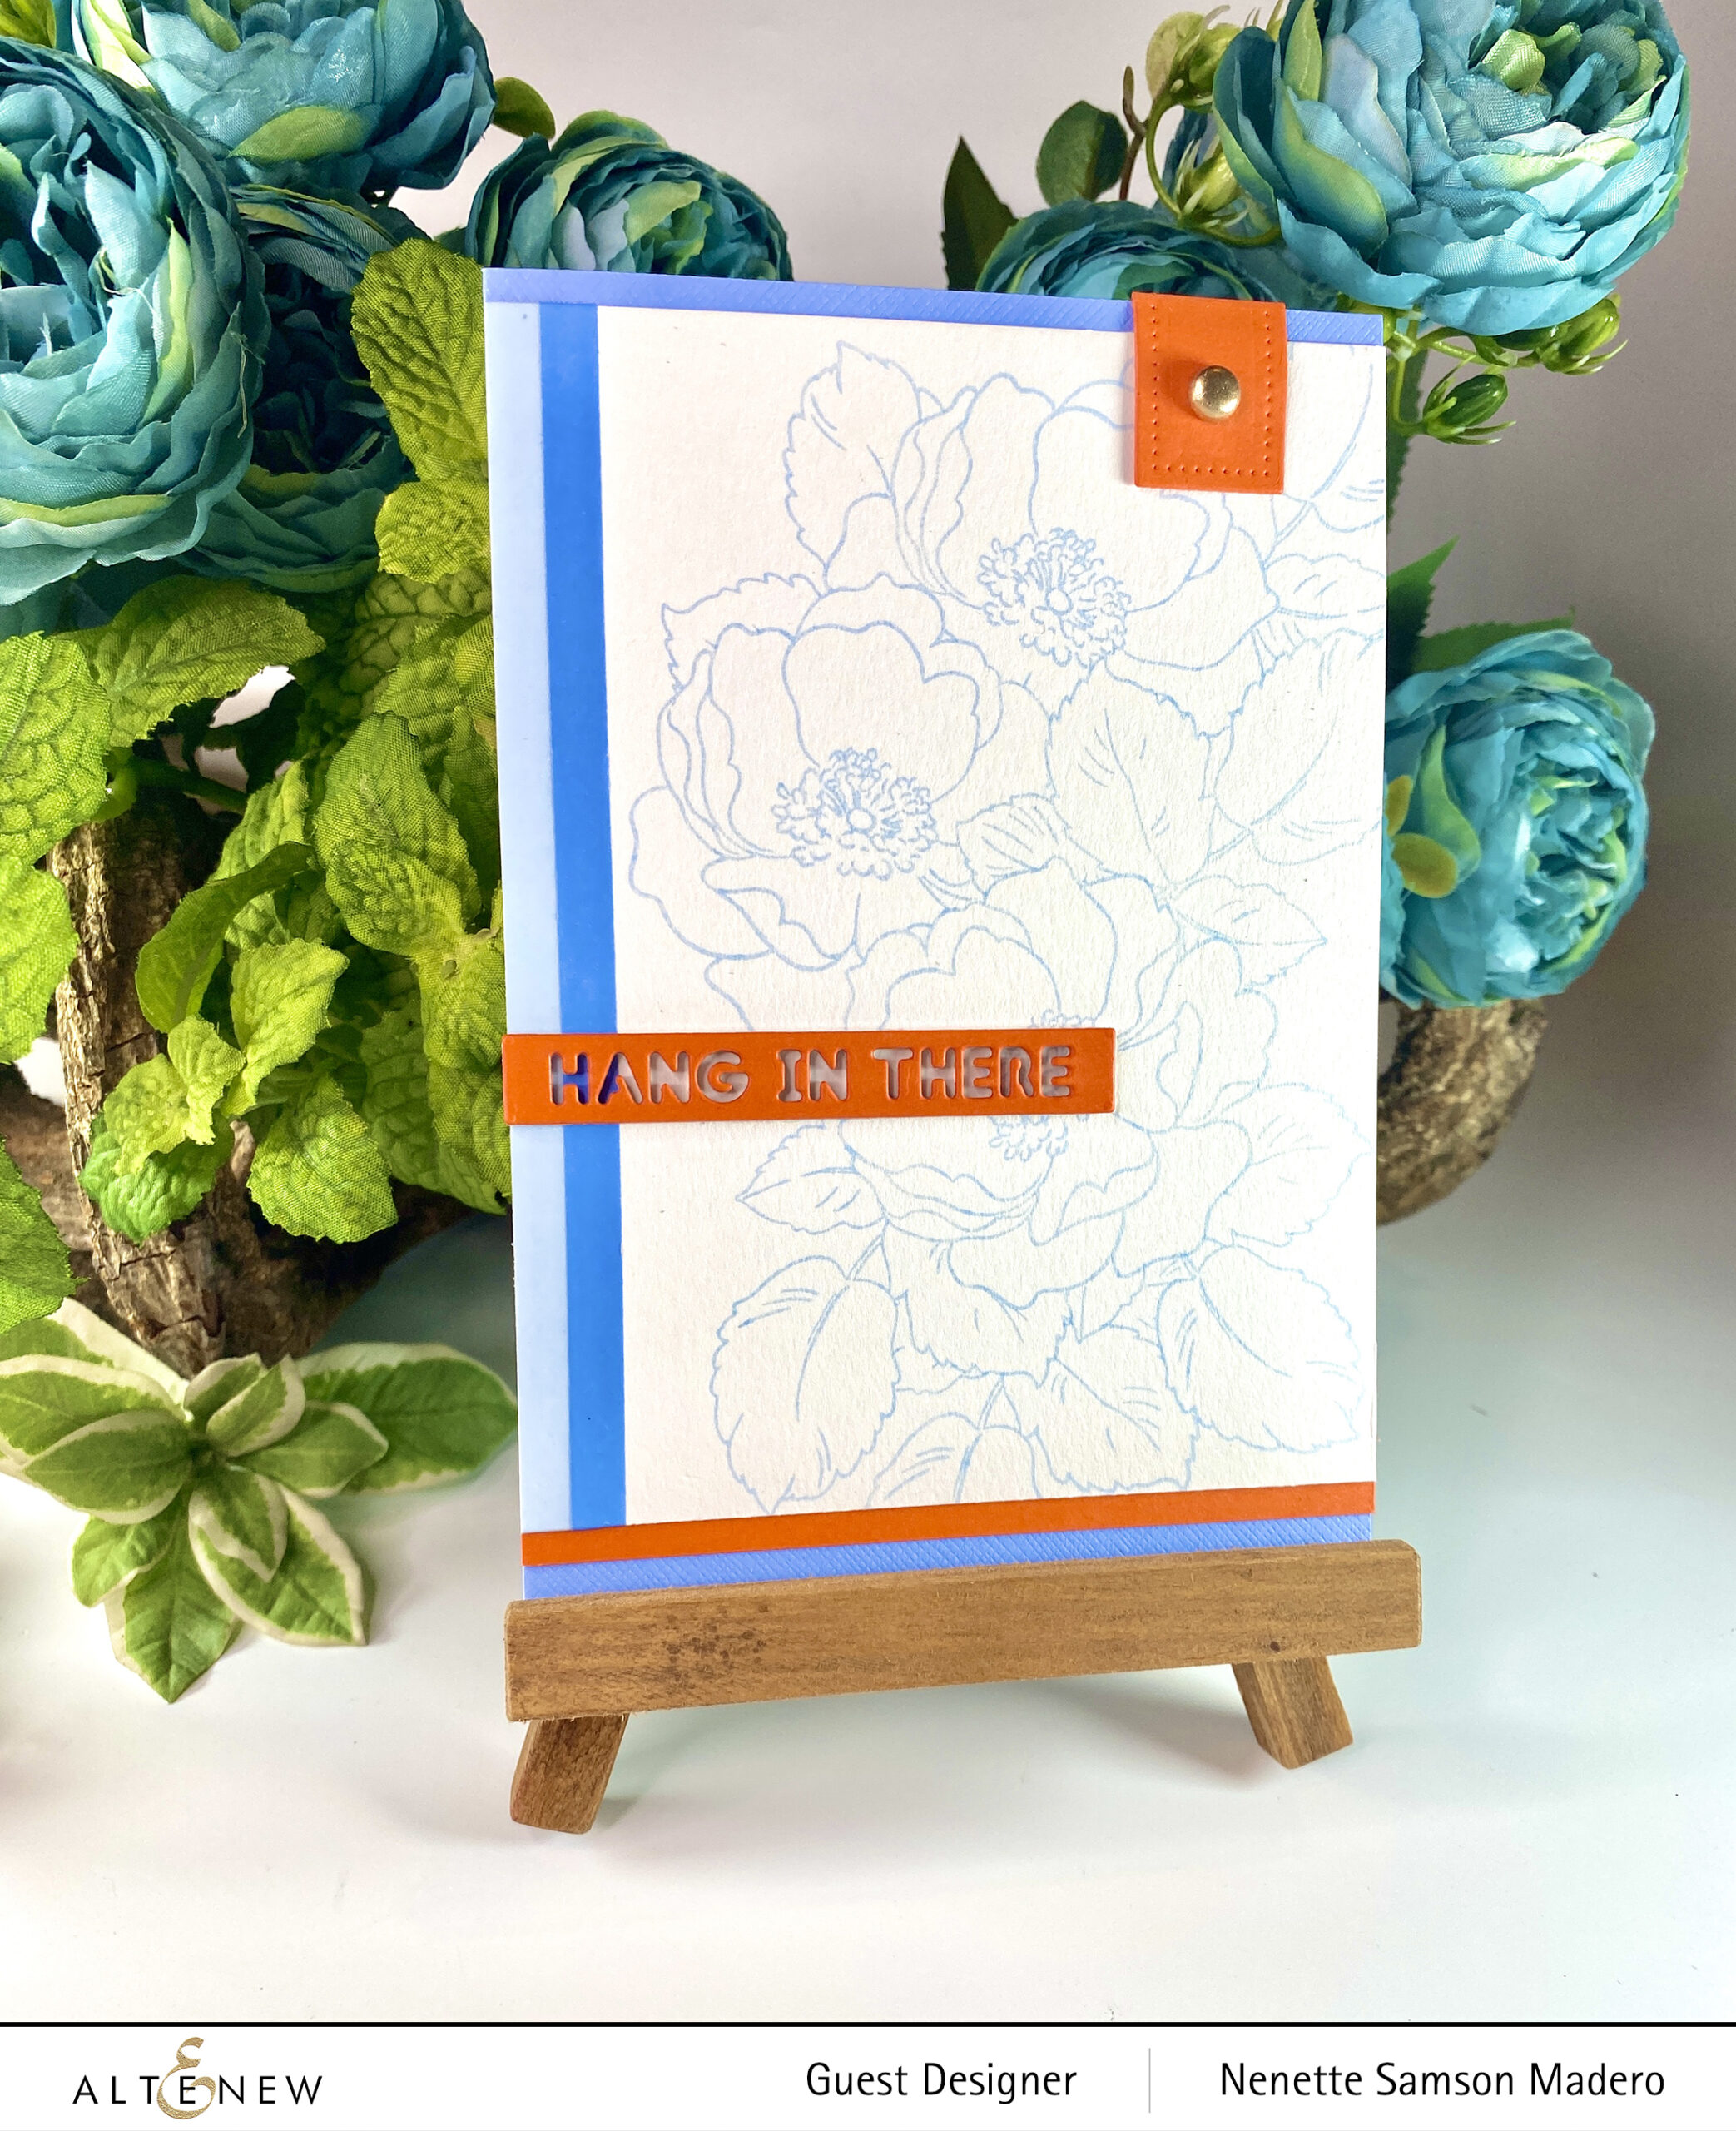
- Stamp the floral image using Carribean Sky dye ink. Stamp the image again on masking paper and fussy cut the image.
- Mask the stamped image and stamp the floral image twice. (The image that was stamped first will be the one that will appear in front.)
- Add strips of the Lapiz Lazuli washi tapes to act as a border.
- Layer orange cradstock under the stamped image.
- Die cut the sentiment 5 times and adhere on top of each other.
- Add versamark ink to the brad and emboss with Rose gold embossing powder.
- Assemble the card.
I know this is a layering stamp set but I wanted to show you that you do not have to use all the layers. The outline stamp is a beauty in itself! I wanted to add a gold brad on the top right for an accent but didn’t have one so I added clear embossing ink to the surface of a silver brad then heat embossed it with Rose Gold embossing powder. By adding a strip of orange at the bottom, the sentiment on the left, and the orange flap with a brad on top, a visual triangle was created which is pleasing to the eye. The rules/guidelines in scrapbooking can definitely be used in cardmaking to create a cohesive look 🙂
HERE FOR YOU
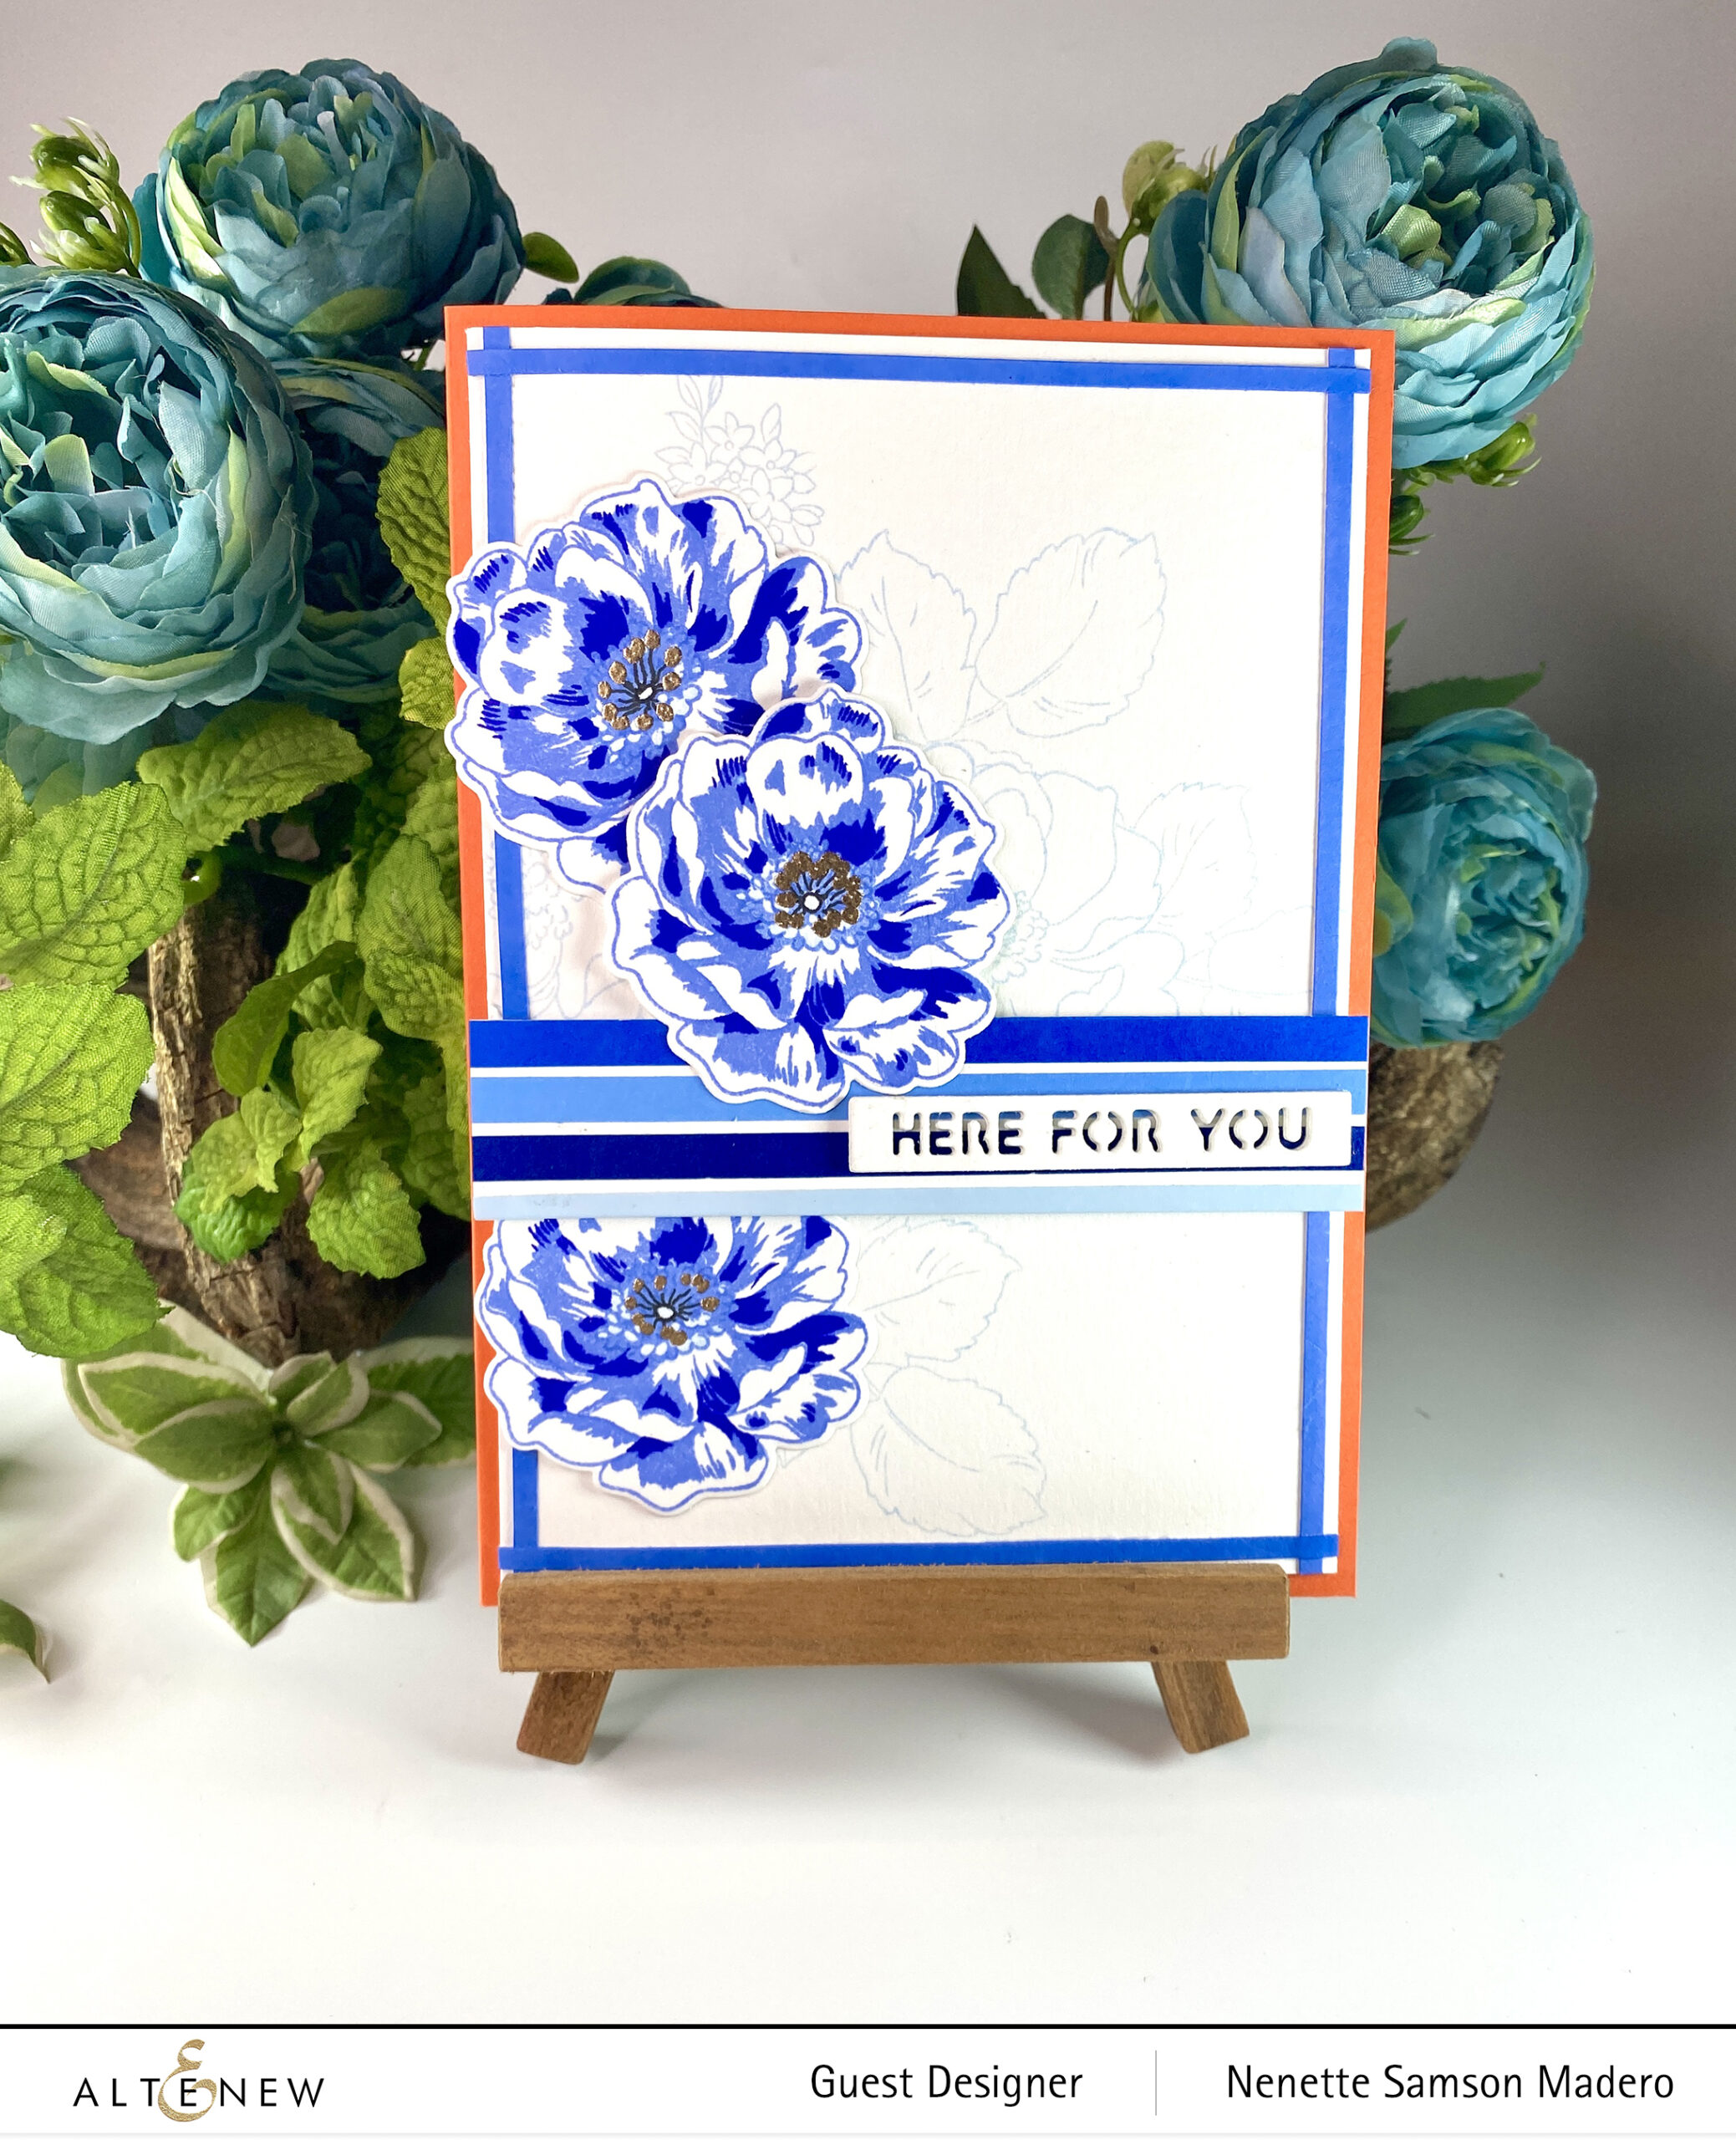
- Stamp the outline stamp using Carribean Sky dye ink. Mask the stamped image and stamp again to create a background.
- Stamp the layered stamps following the guide exept for the 1st stamp so that the lightest part will remain white.
- Continue stamping all the layers then add gold dots by using an embossing pen and Rose Gold Embossing powder.
- Create a striped background using washi tape for the sentiment.
- Die cut the sentiment 5 times and adhere on top of each other.
- Assemble the card using foam squares and adhesive.
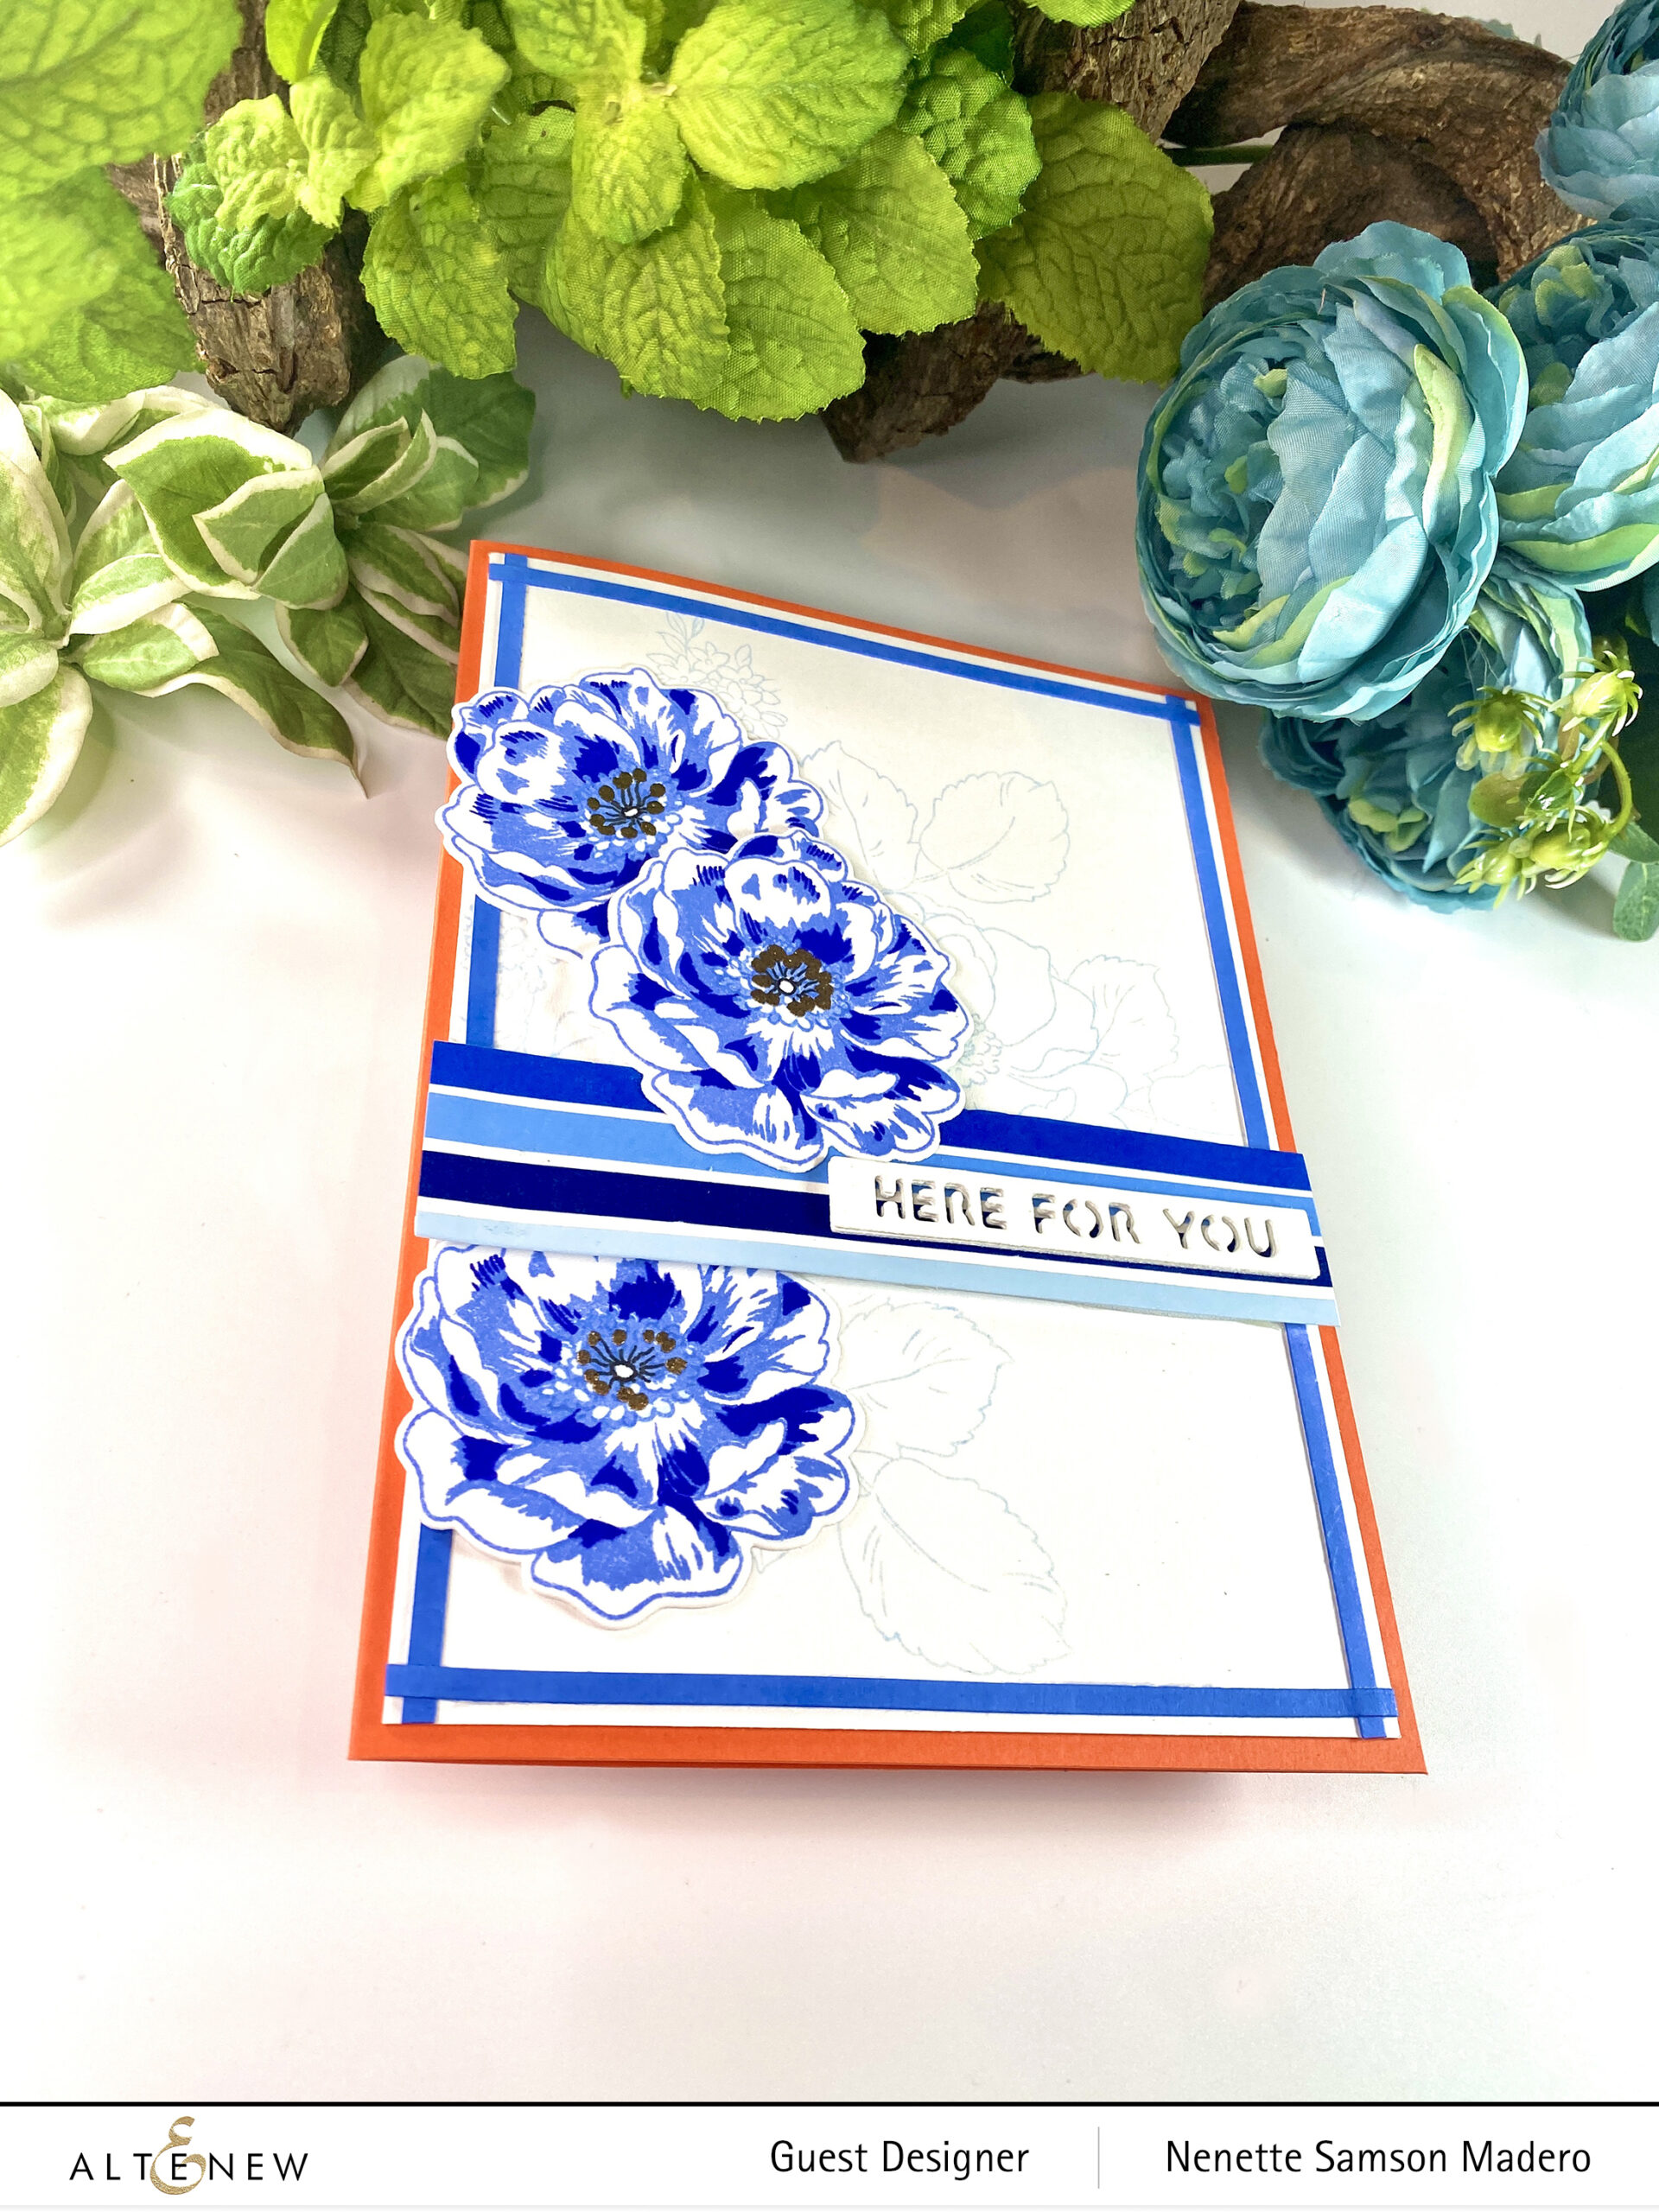
For higher contrast, I used complementary colors. The stamped flowers were layered on the left side with foam squares and to balance it out, I added the sentiment on the right side.
GIVEAWAY PRIZES
$200 in total prizes! To celebrate this release, Altenew is giving away a $50 gift certificate to 2 lucky winners and a $20 gift certificate to 5 winners! Please leave a comment on the Altenew Card Blog and/or each designer’s blog post on the blog hop list below by 09/07/2021 for a chance to win. Altenew will draw 7 random winners from the comments left on each stop of this blog hop and announce the winners on the Altenew Winners Page on 09/09/2021.
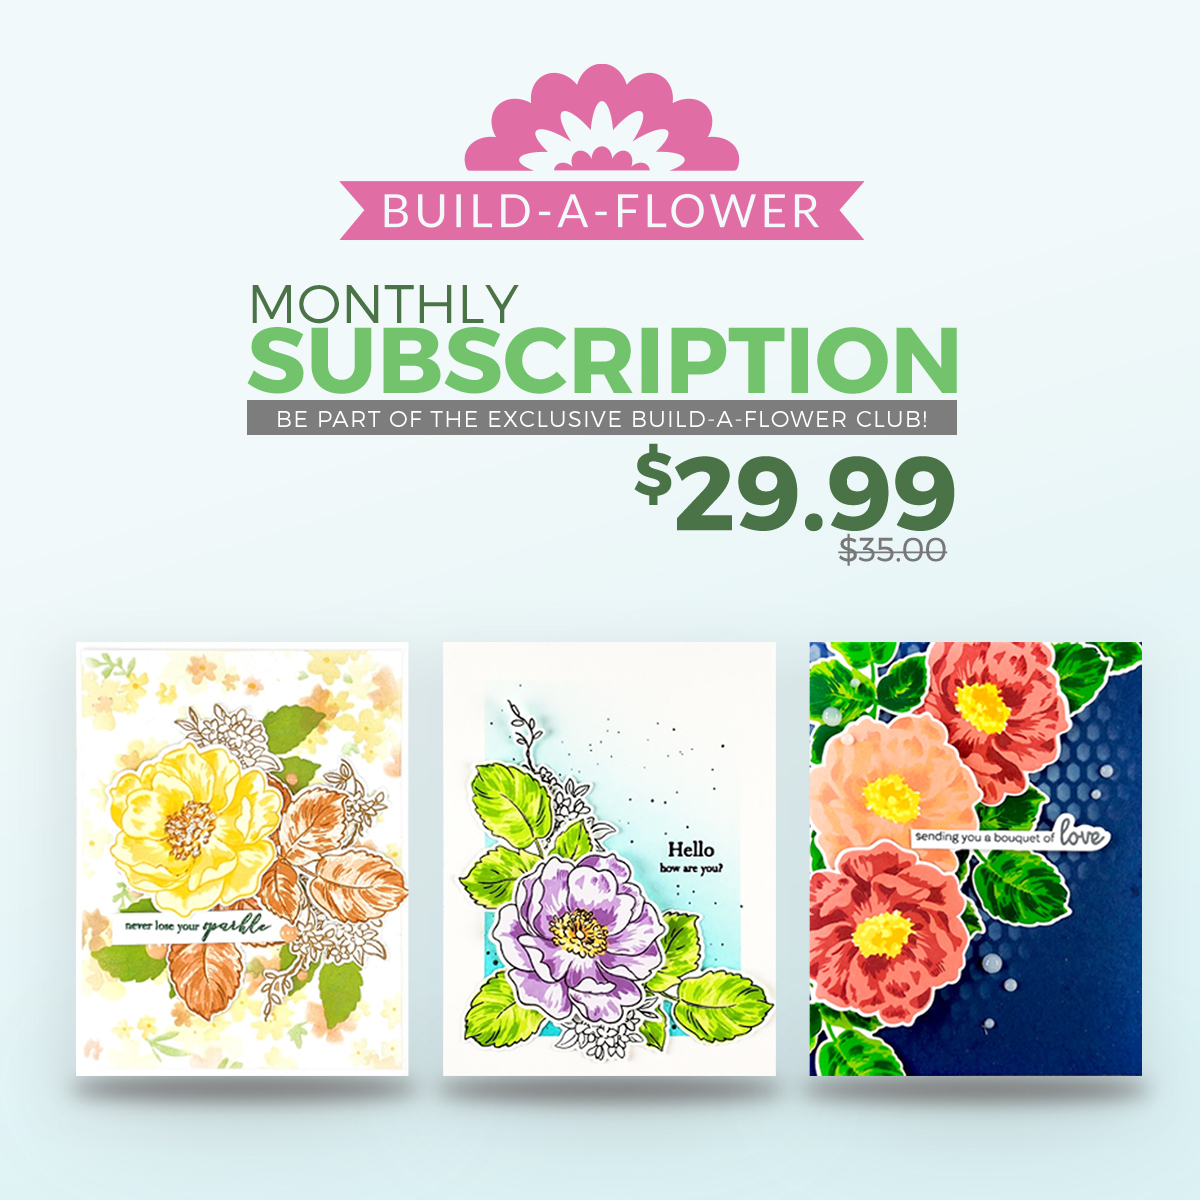
If you don’t want to miss any of the Build-A-Flower series, join the subscription plan and get 14% off.
Next up is Preeti Chandran. Thank you so much for dropping by and don’t forget to leave a comment to get a chance to win a prize from Altenew! Until my next post! Stay safe and happy crafting!