Hi everyone! I’m so
I finished the Altenew Educator’s Certificate Program (AECP) in November of 2018 and it has been one of the most inspiring and fulfilling programs I’ve ever joined. There were quite a number of wonderful classes to choose from. Even if I knew some basic techniques, the talented instructors have shown me other ways to improve and enhance my skills. Their tips and tricks are invaluable. Virginia Lu and Nicole Picadura‘s support and encouragement throughout the course have made the experience very inspiring and memorable. AECP has made me realize that I find so much joy in teaching others! It has also been a wonderful source of new friendships– the Altenew family, the Educator’s group, the students I teach locally, and my online friends from all over the world. Through this program, I’ve been inspired countless times by the creativity of the participants and the generosity of the instructors in sharing their knowledge. I truly believe that crafters are the most generous people on earth!!! 🙂
“Many people will walk in and out of your life, but only true friends will leave footprints in your heart.” Eleanor Roosevelt
I love the theme for this blog hop. I treasure the new friends that I’ve made thru AECP and look forward to meeting more people through this wonderful crafting community. My lifelong friends are kind, sincere and most importantly, genuine people. I’ve learned so many life lessons through their experiences and always find comfort and support in their presence.
For this blog hop, I was so inspired to create backgrounds using distress oxide inks and Altenew
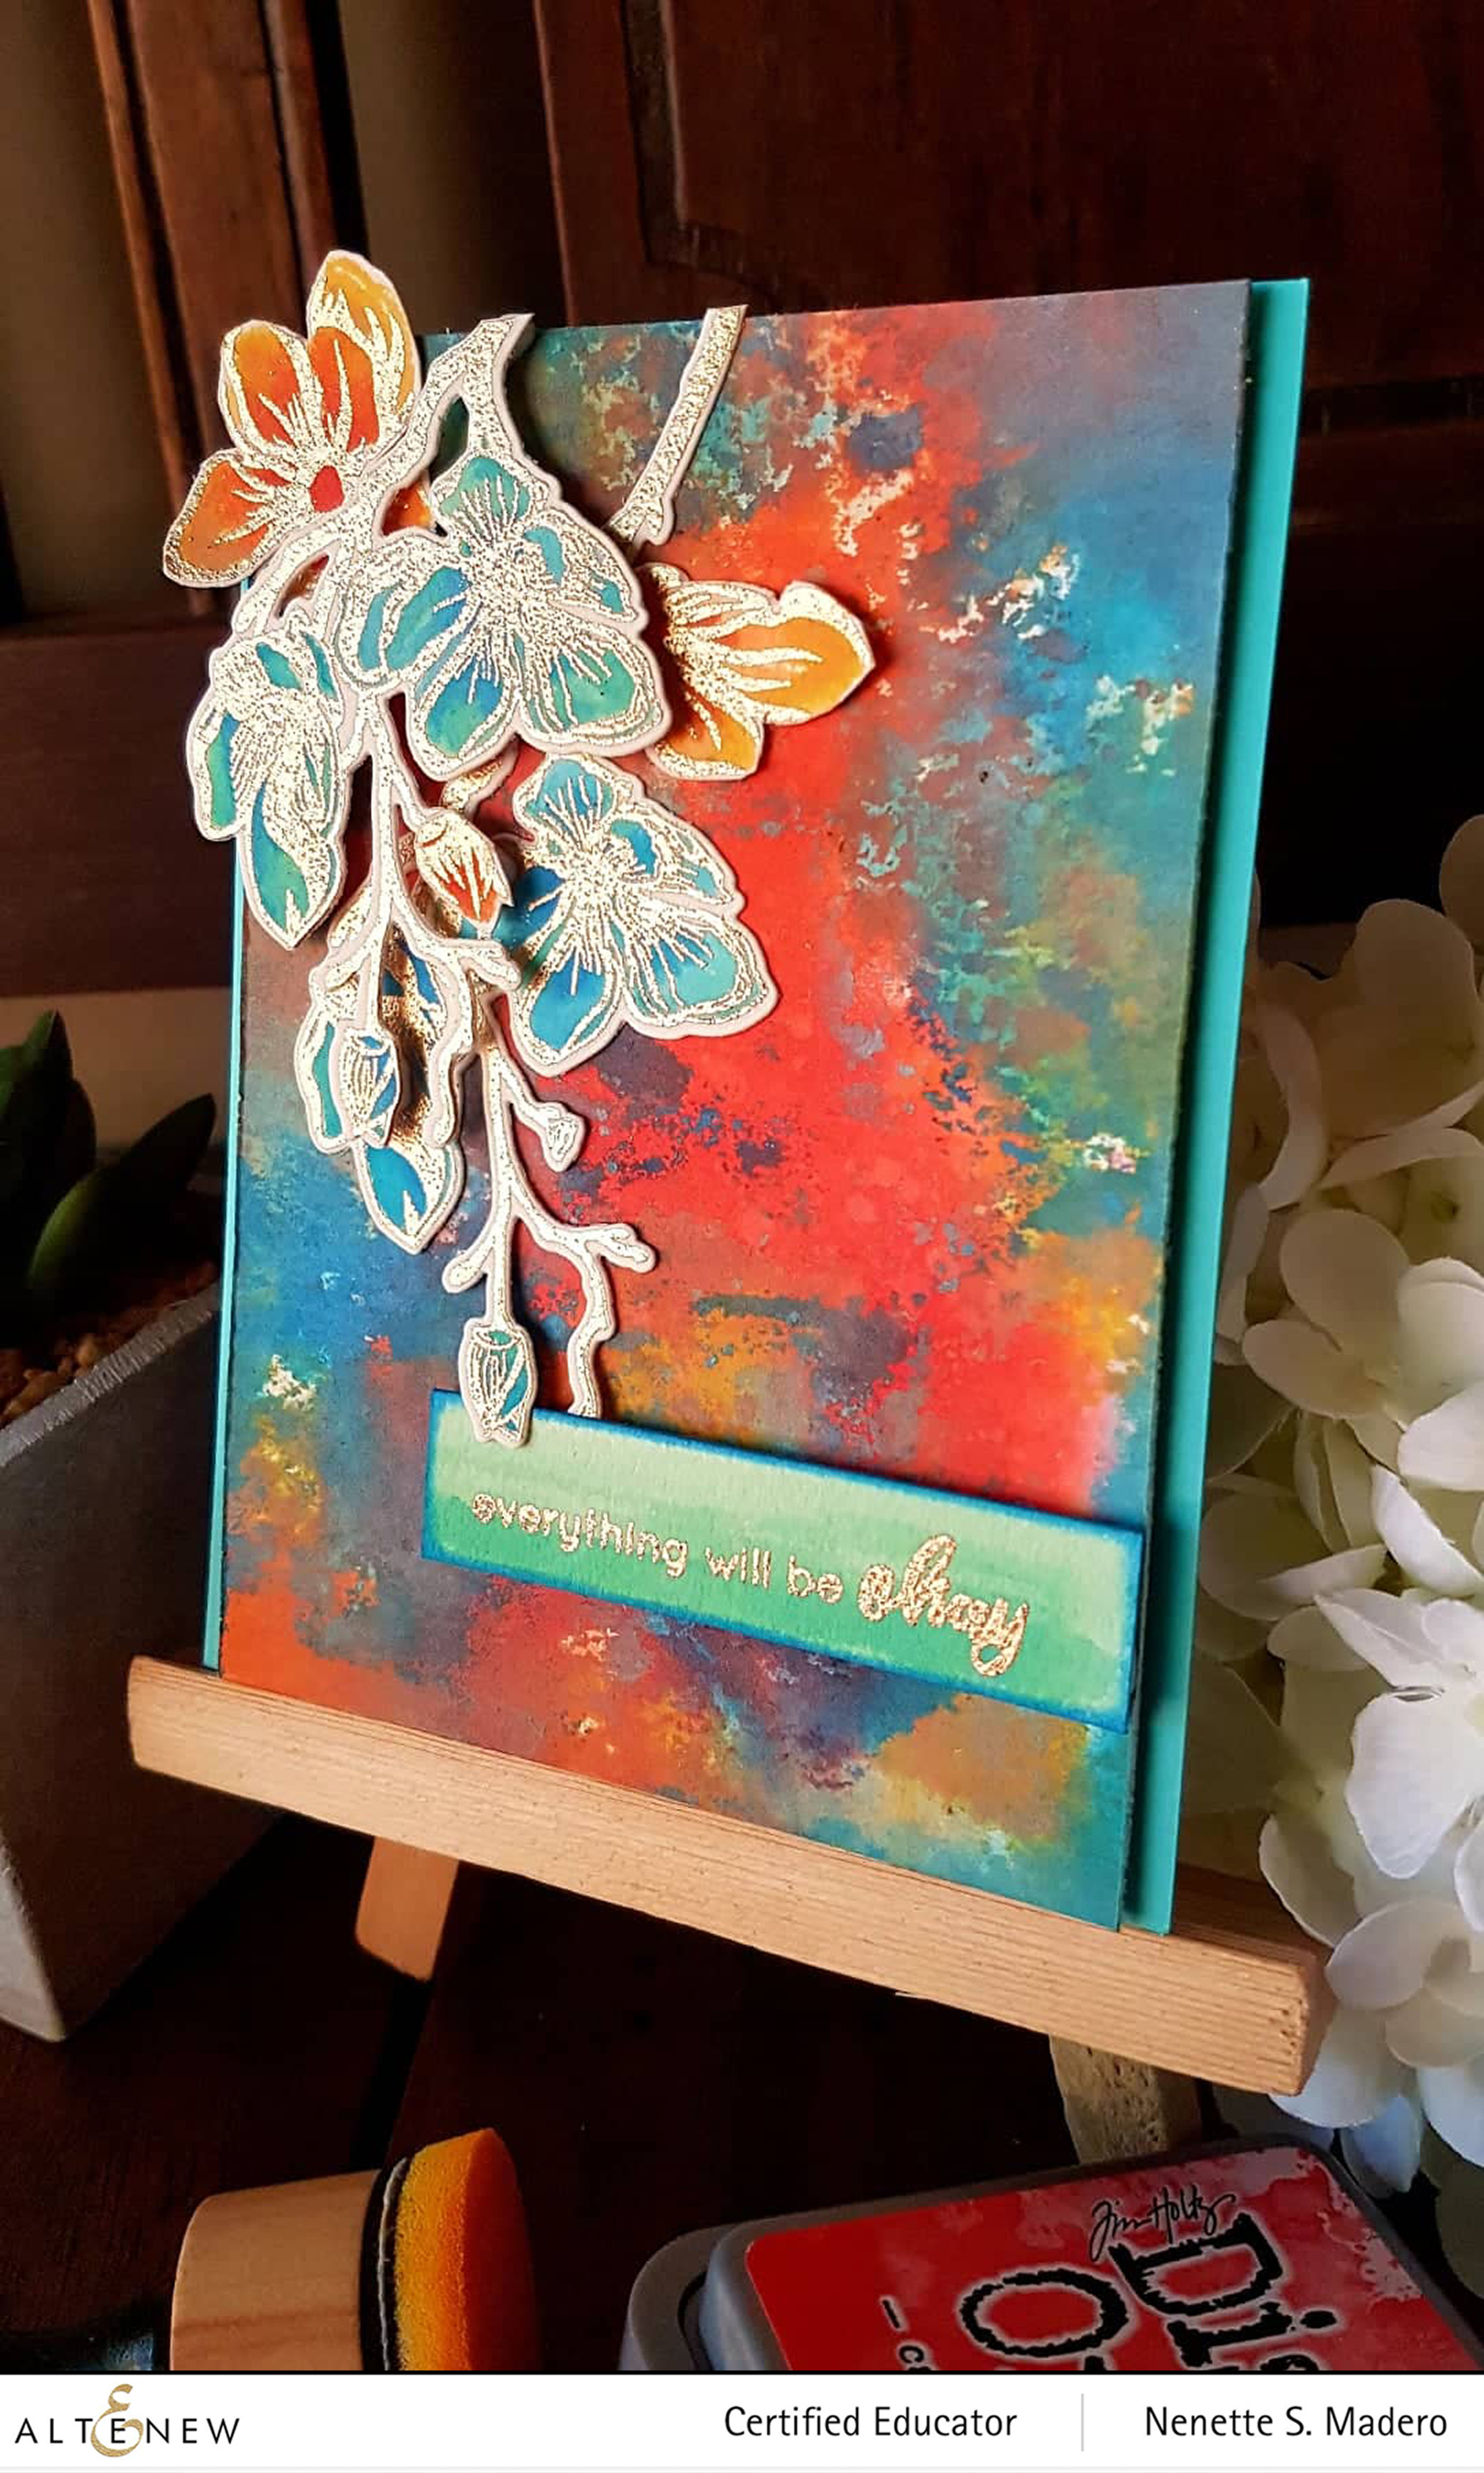
EVERYTHING WILL BE OK CARD
MATERIALS:
- Altenew Dotted Blooms Stamp and Die
- Altenew Rose Gold Crisp Embossing Powder
- Distress Oxide Inks: Cracked Pistachio, Tumbled Glass, Candied Apple, Fossilized Amber, Ripe Persimmon, Salty Ocean
- Versamark Ink
- Tombo Mono Multi Liquid
glue - Arches 300gsm cold press
watercolor paper - Scrapbook Adhesives Foam Tape
- Tonic Paper Distresser
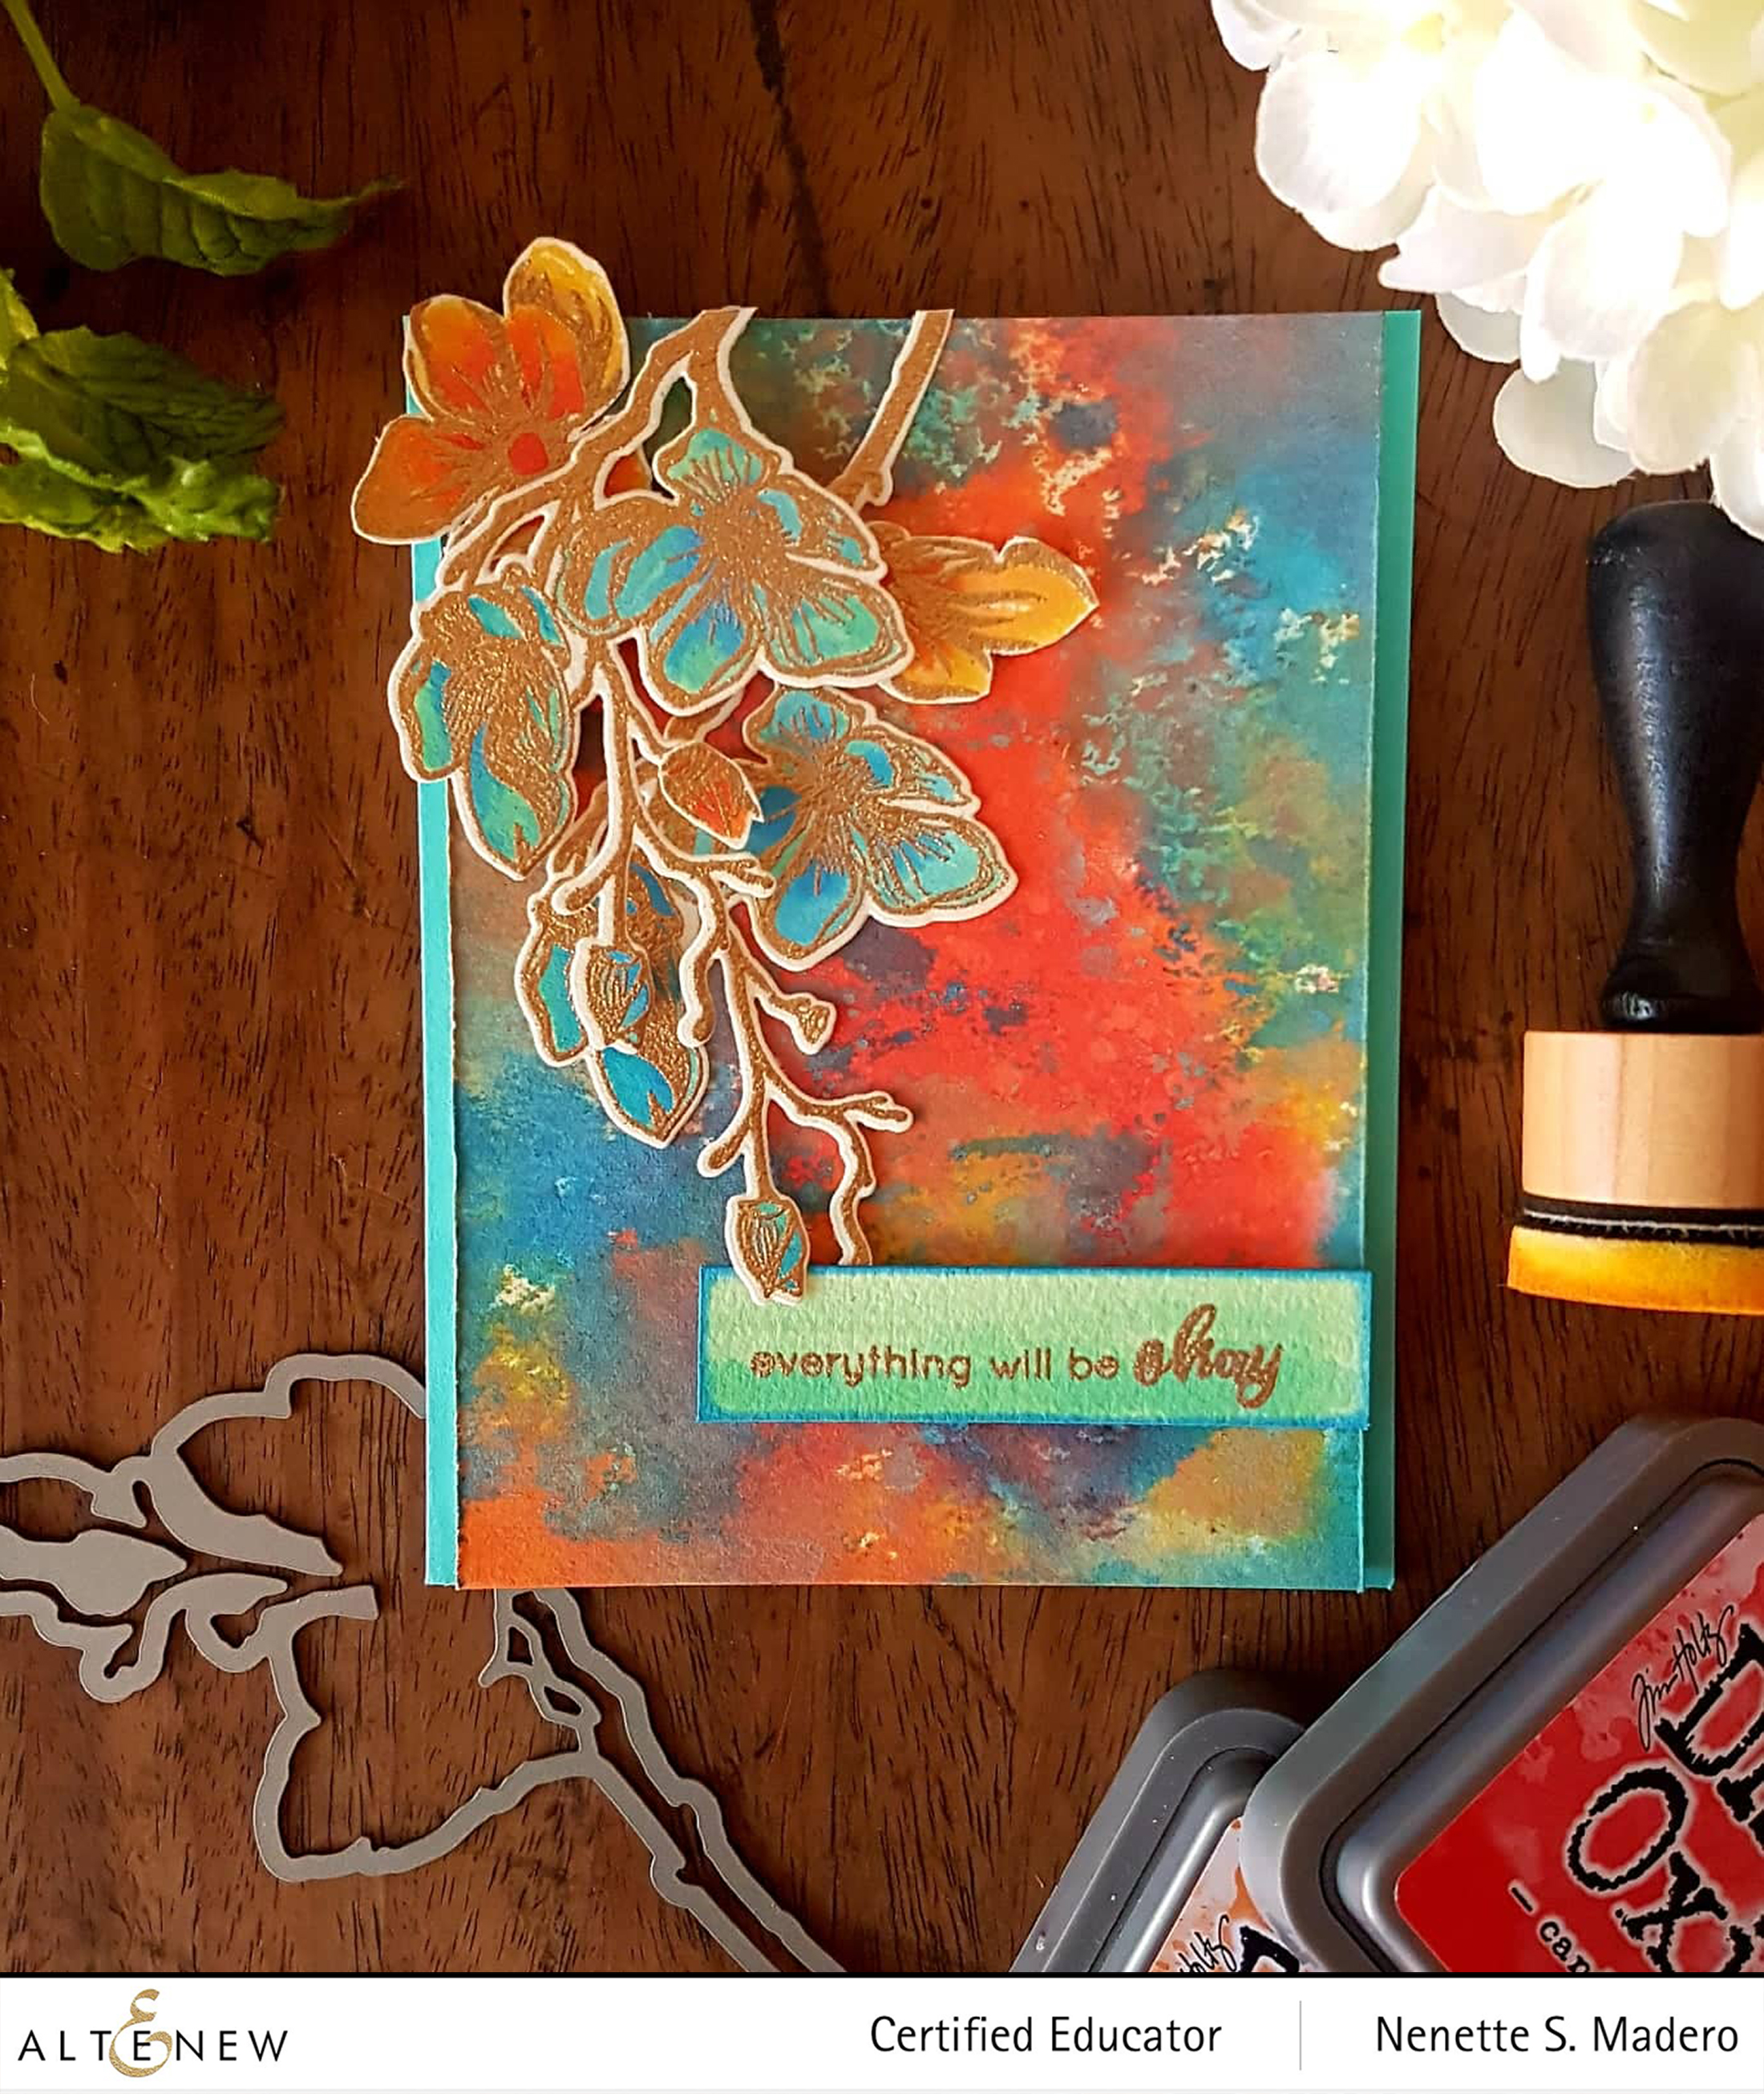
I wanted this card to look like an abstract painting. Arches
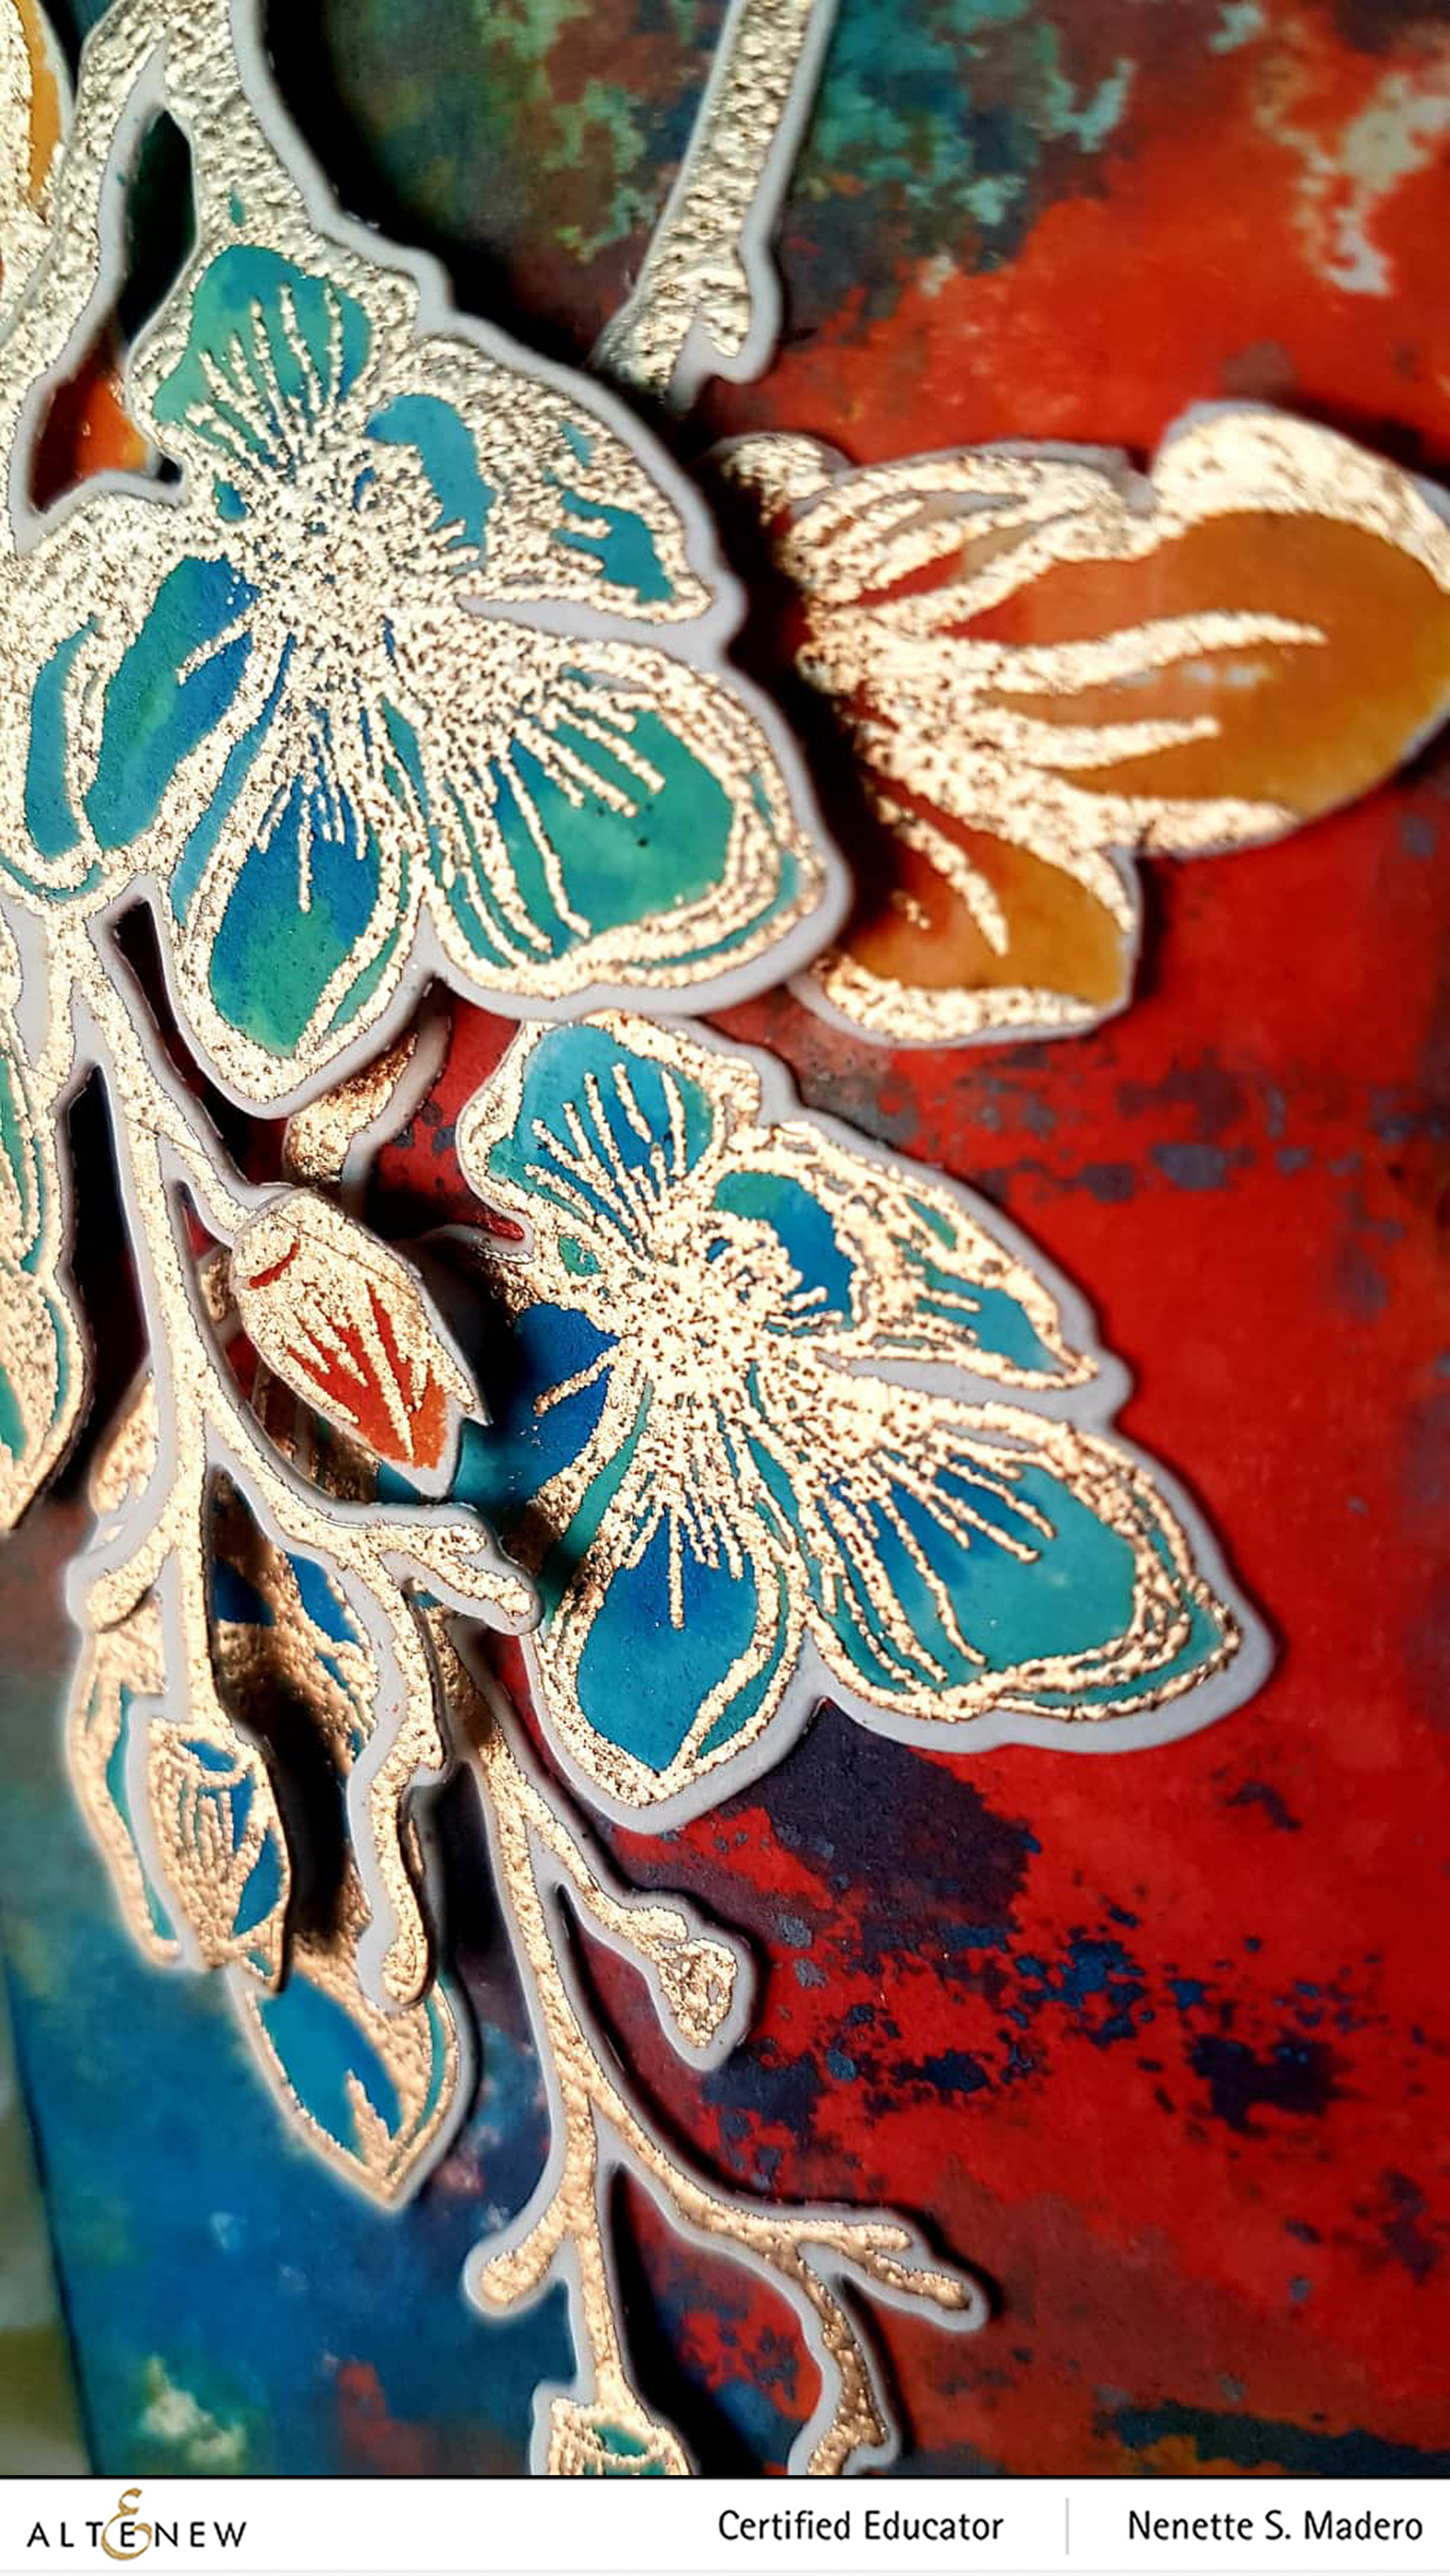
The flower image from the Dotted Blooms stamp set was stamped using Versamark Ink then heat embossed using Rose Gold embossing powder. Notice that I used the other second layers of the stamps separately thus creating more flowers that I can paint and use on my card. The sentiment was stamped on
WISHING YOU ALL THE JOY YOUR HEART CAN HOLD HAPPY BIRTHDAY CARD
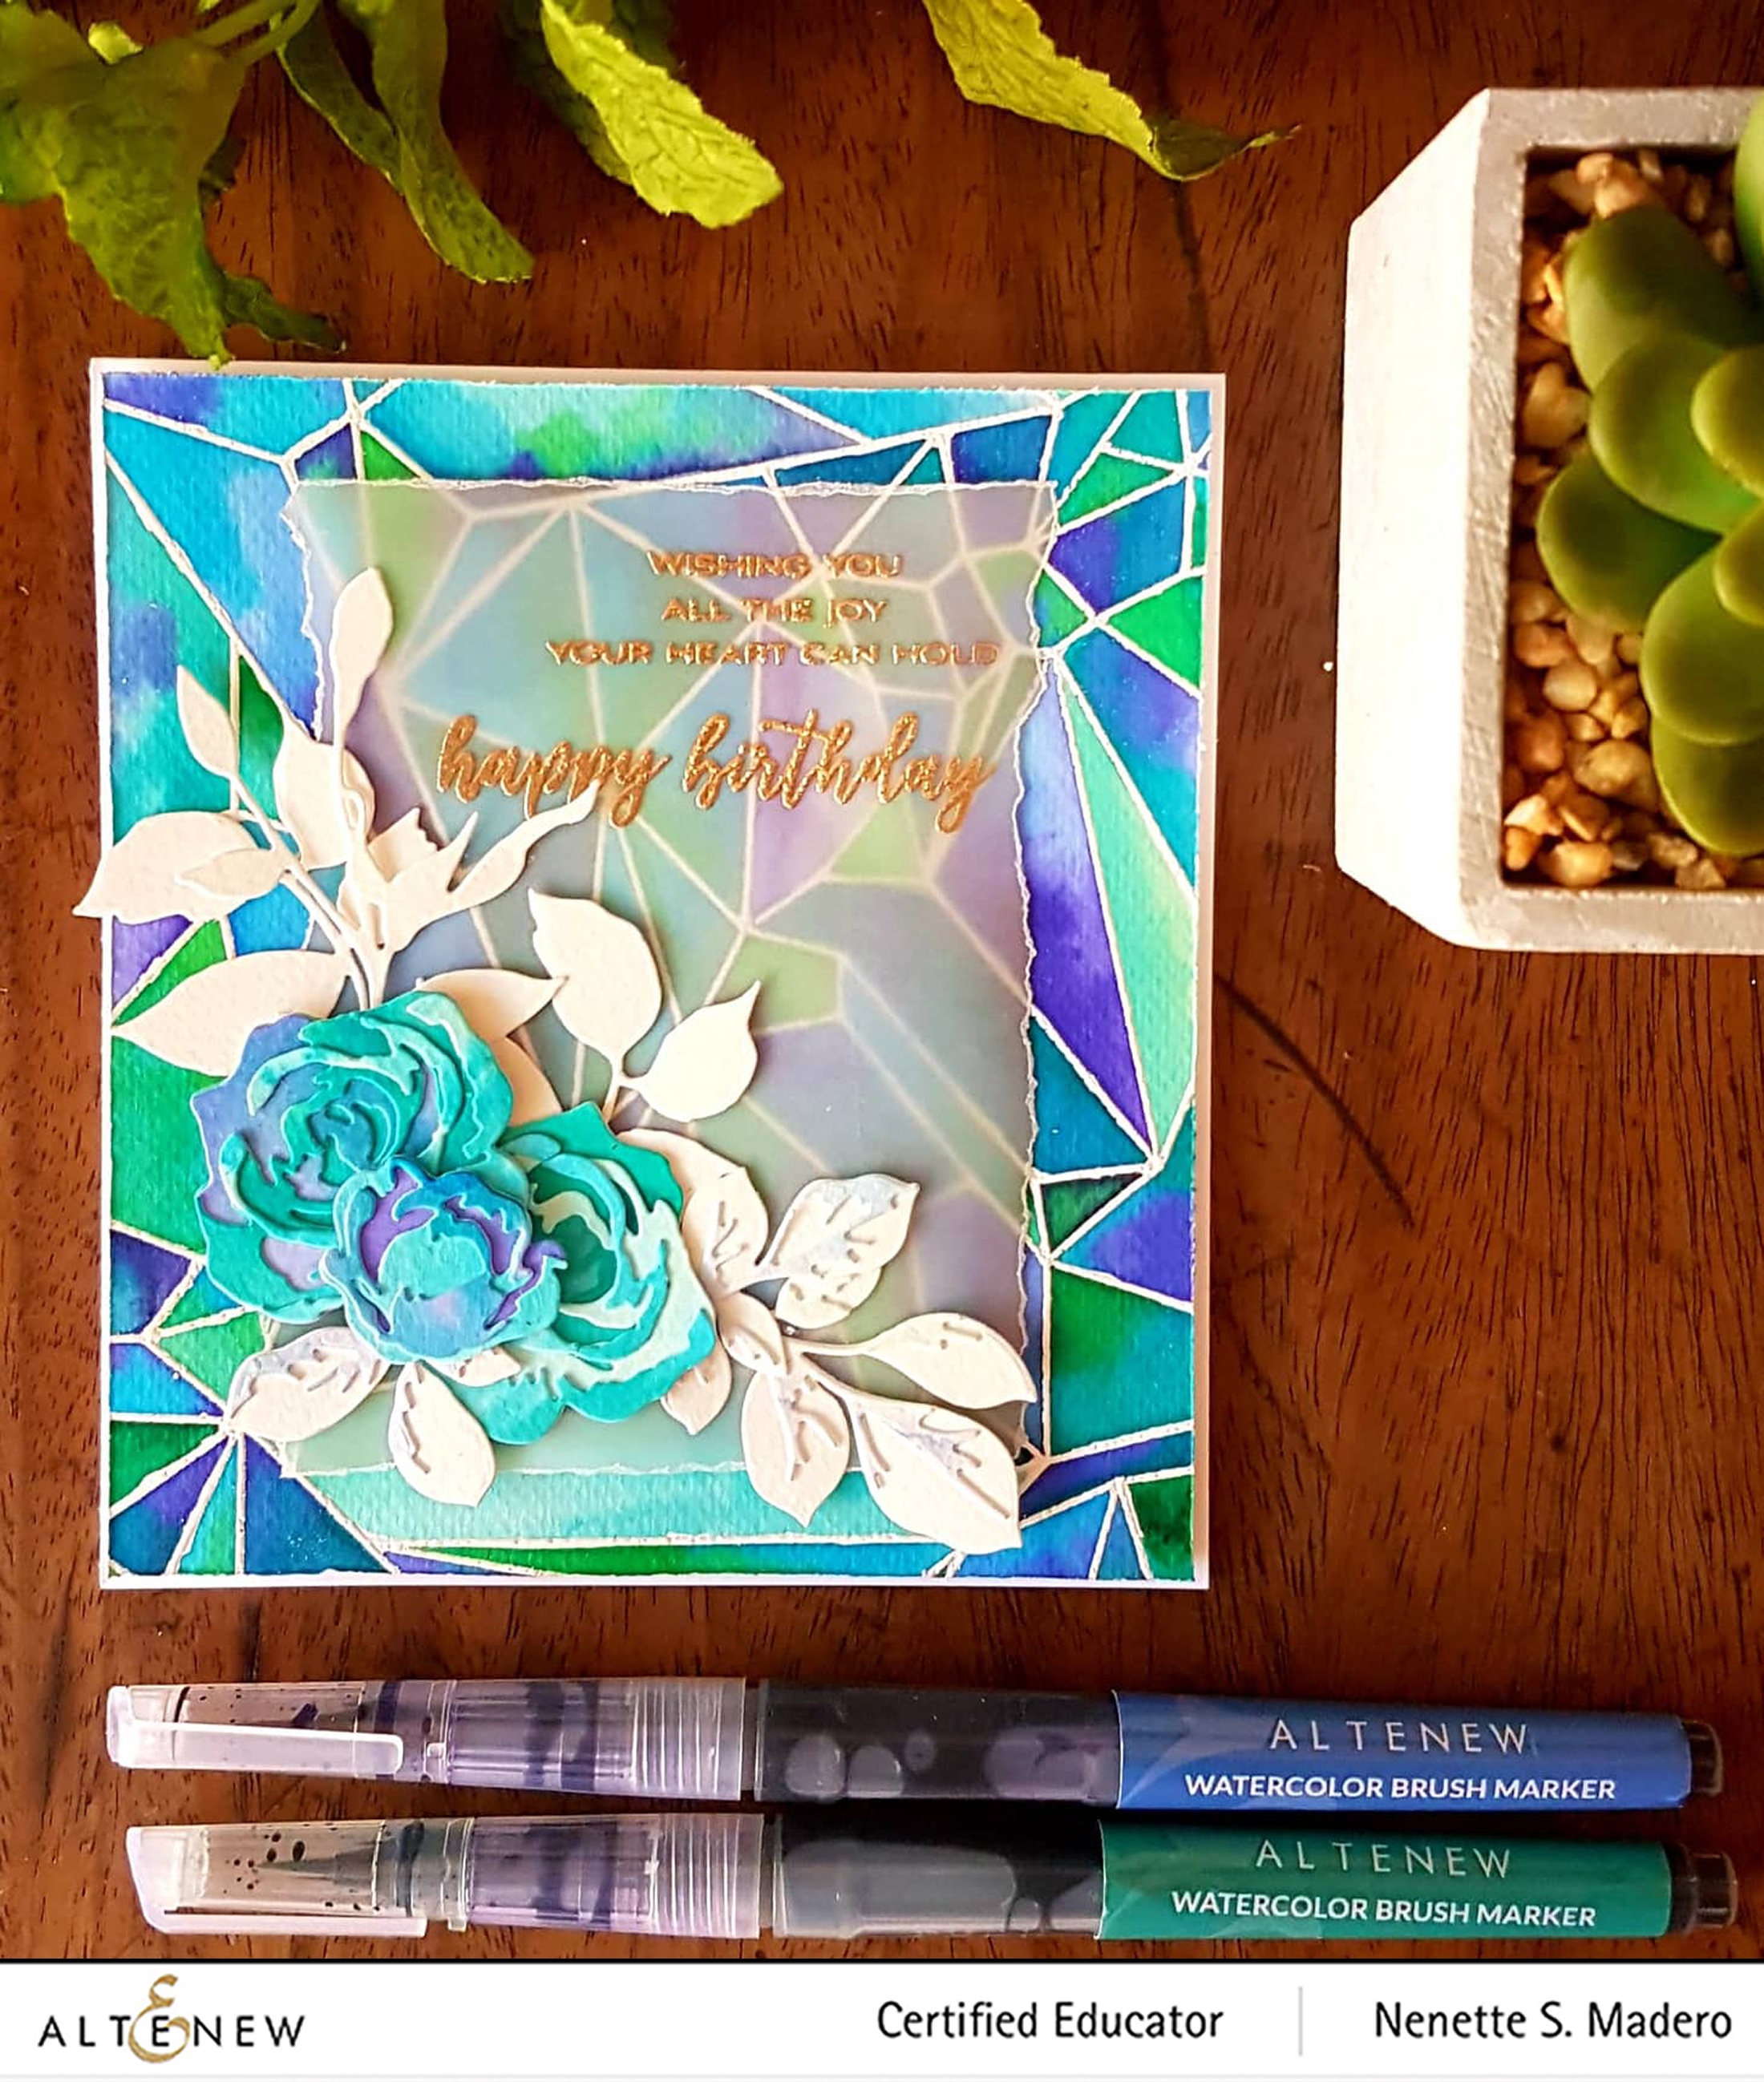
MATERIALS:
- Altenew Geometric Land
s cape Stamp; Altenew SincereGeetings sentiment - Altenew Rose Flurries 3D and Garden Pick 3D dies
- Altenew
watercolor brush markers: Lagoon, Turquoise, Sweet Leaf, Persian Blue, Mountain Mist - Altenew Pure White Crisp Embossing Powder and Rose Gold Embossing Powder
- Versamark Ink
- Fabriano Watercolor cold press 200gsm
- Tonic paper distresser
- Neenah Solar White CS
- Tombow Mono Multi Liquid
glue - Scrapbook Adhesives foam squares
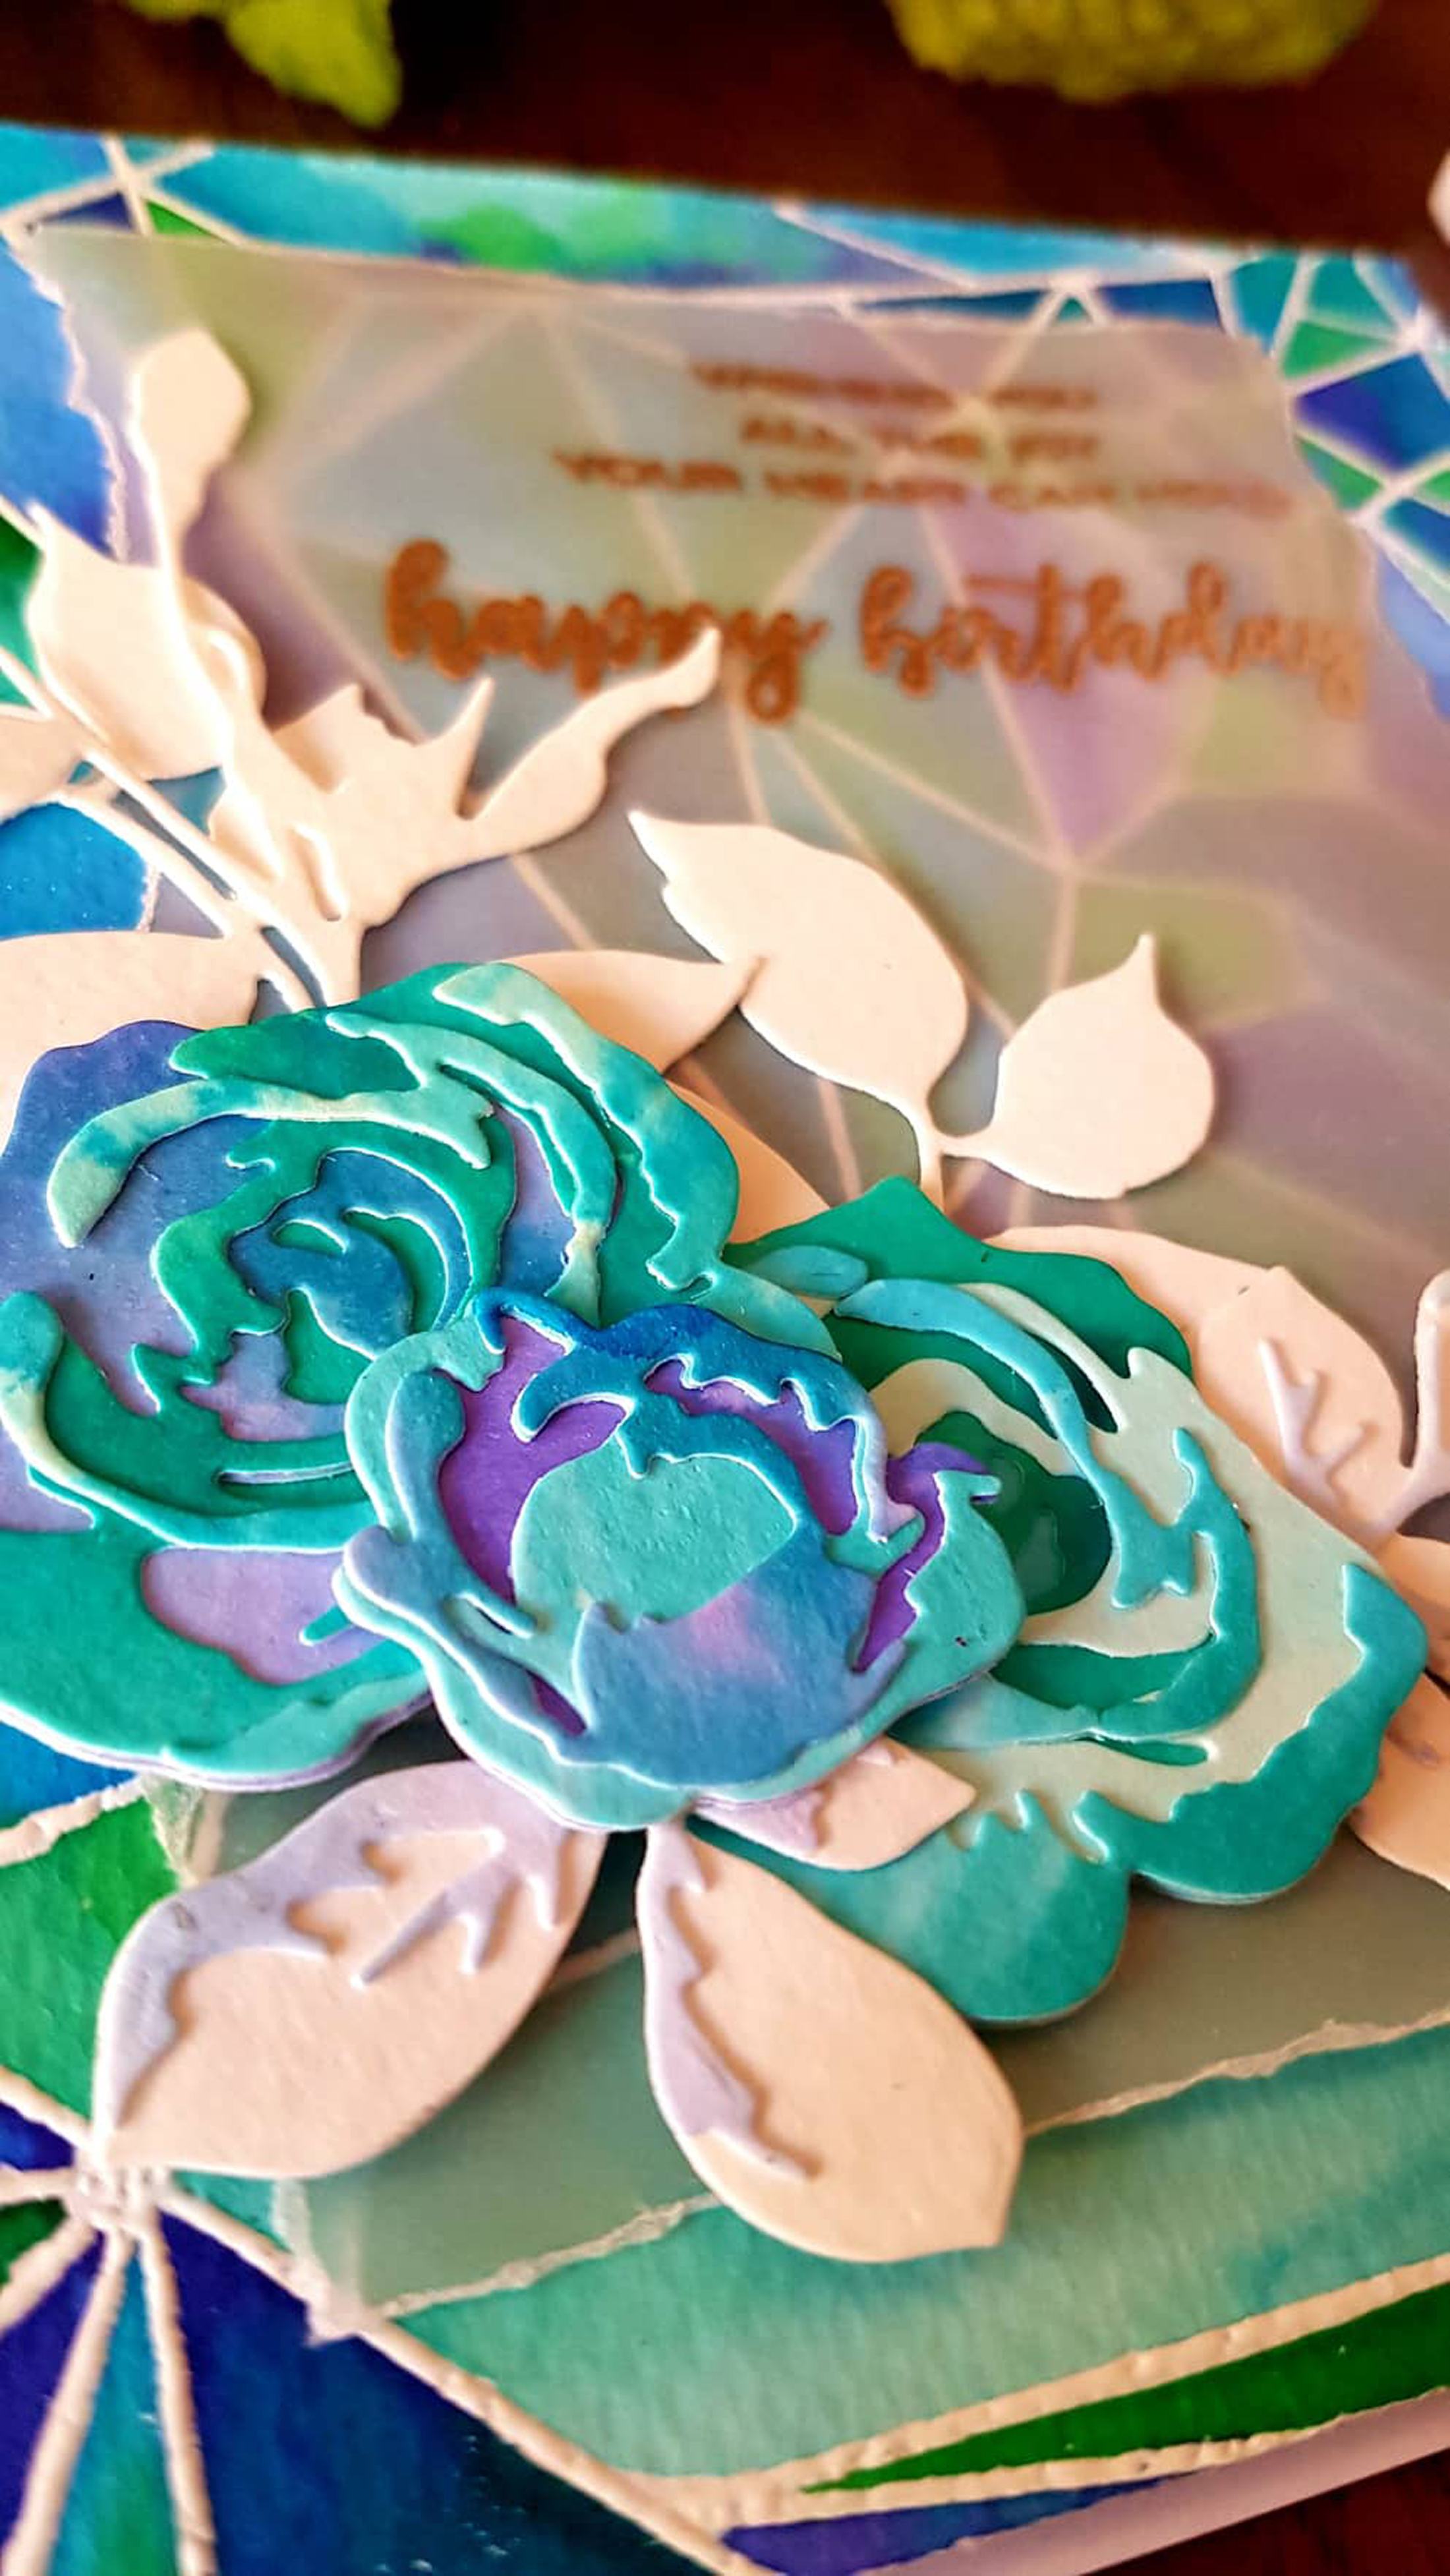
I stamped the image from the Geometric Landscape using Versa Mark onto a 5″ x 5.5″ watercolor paper and heat embossed using Altenew pure white crisp embossing powder. Using the wet on wet technique, I colored in the shapes using Lagoon, Turquoise, Sweet Leaf, Persian Blue and Mountain Mist watercolor brush markers. The edges were distressed using Tim Holtz paper distresser. Velum sheet was torn to create a frame and the sentiment from Sincere greetings sentiment was stamped using Versamark and embossed using Rose gold embossing powder. I chose vellum as a frame/mat for the sentiment so that the background can still be seen.
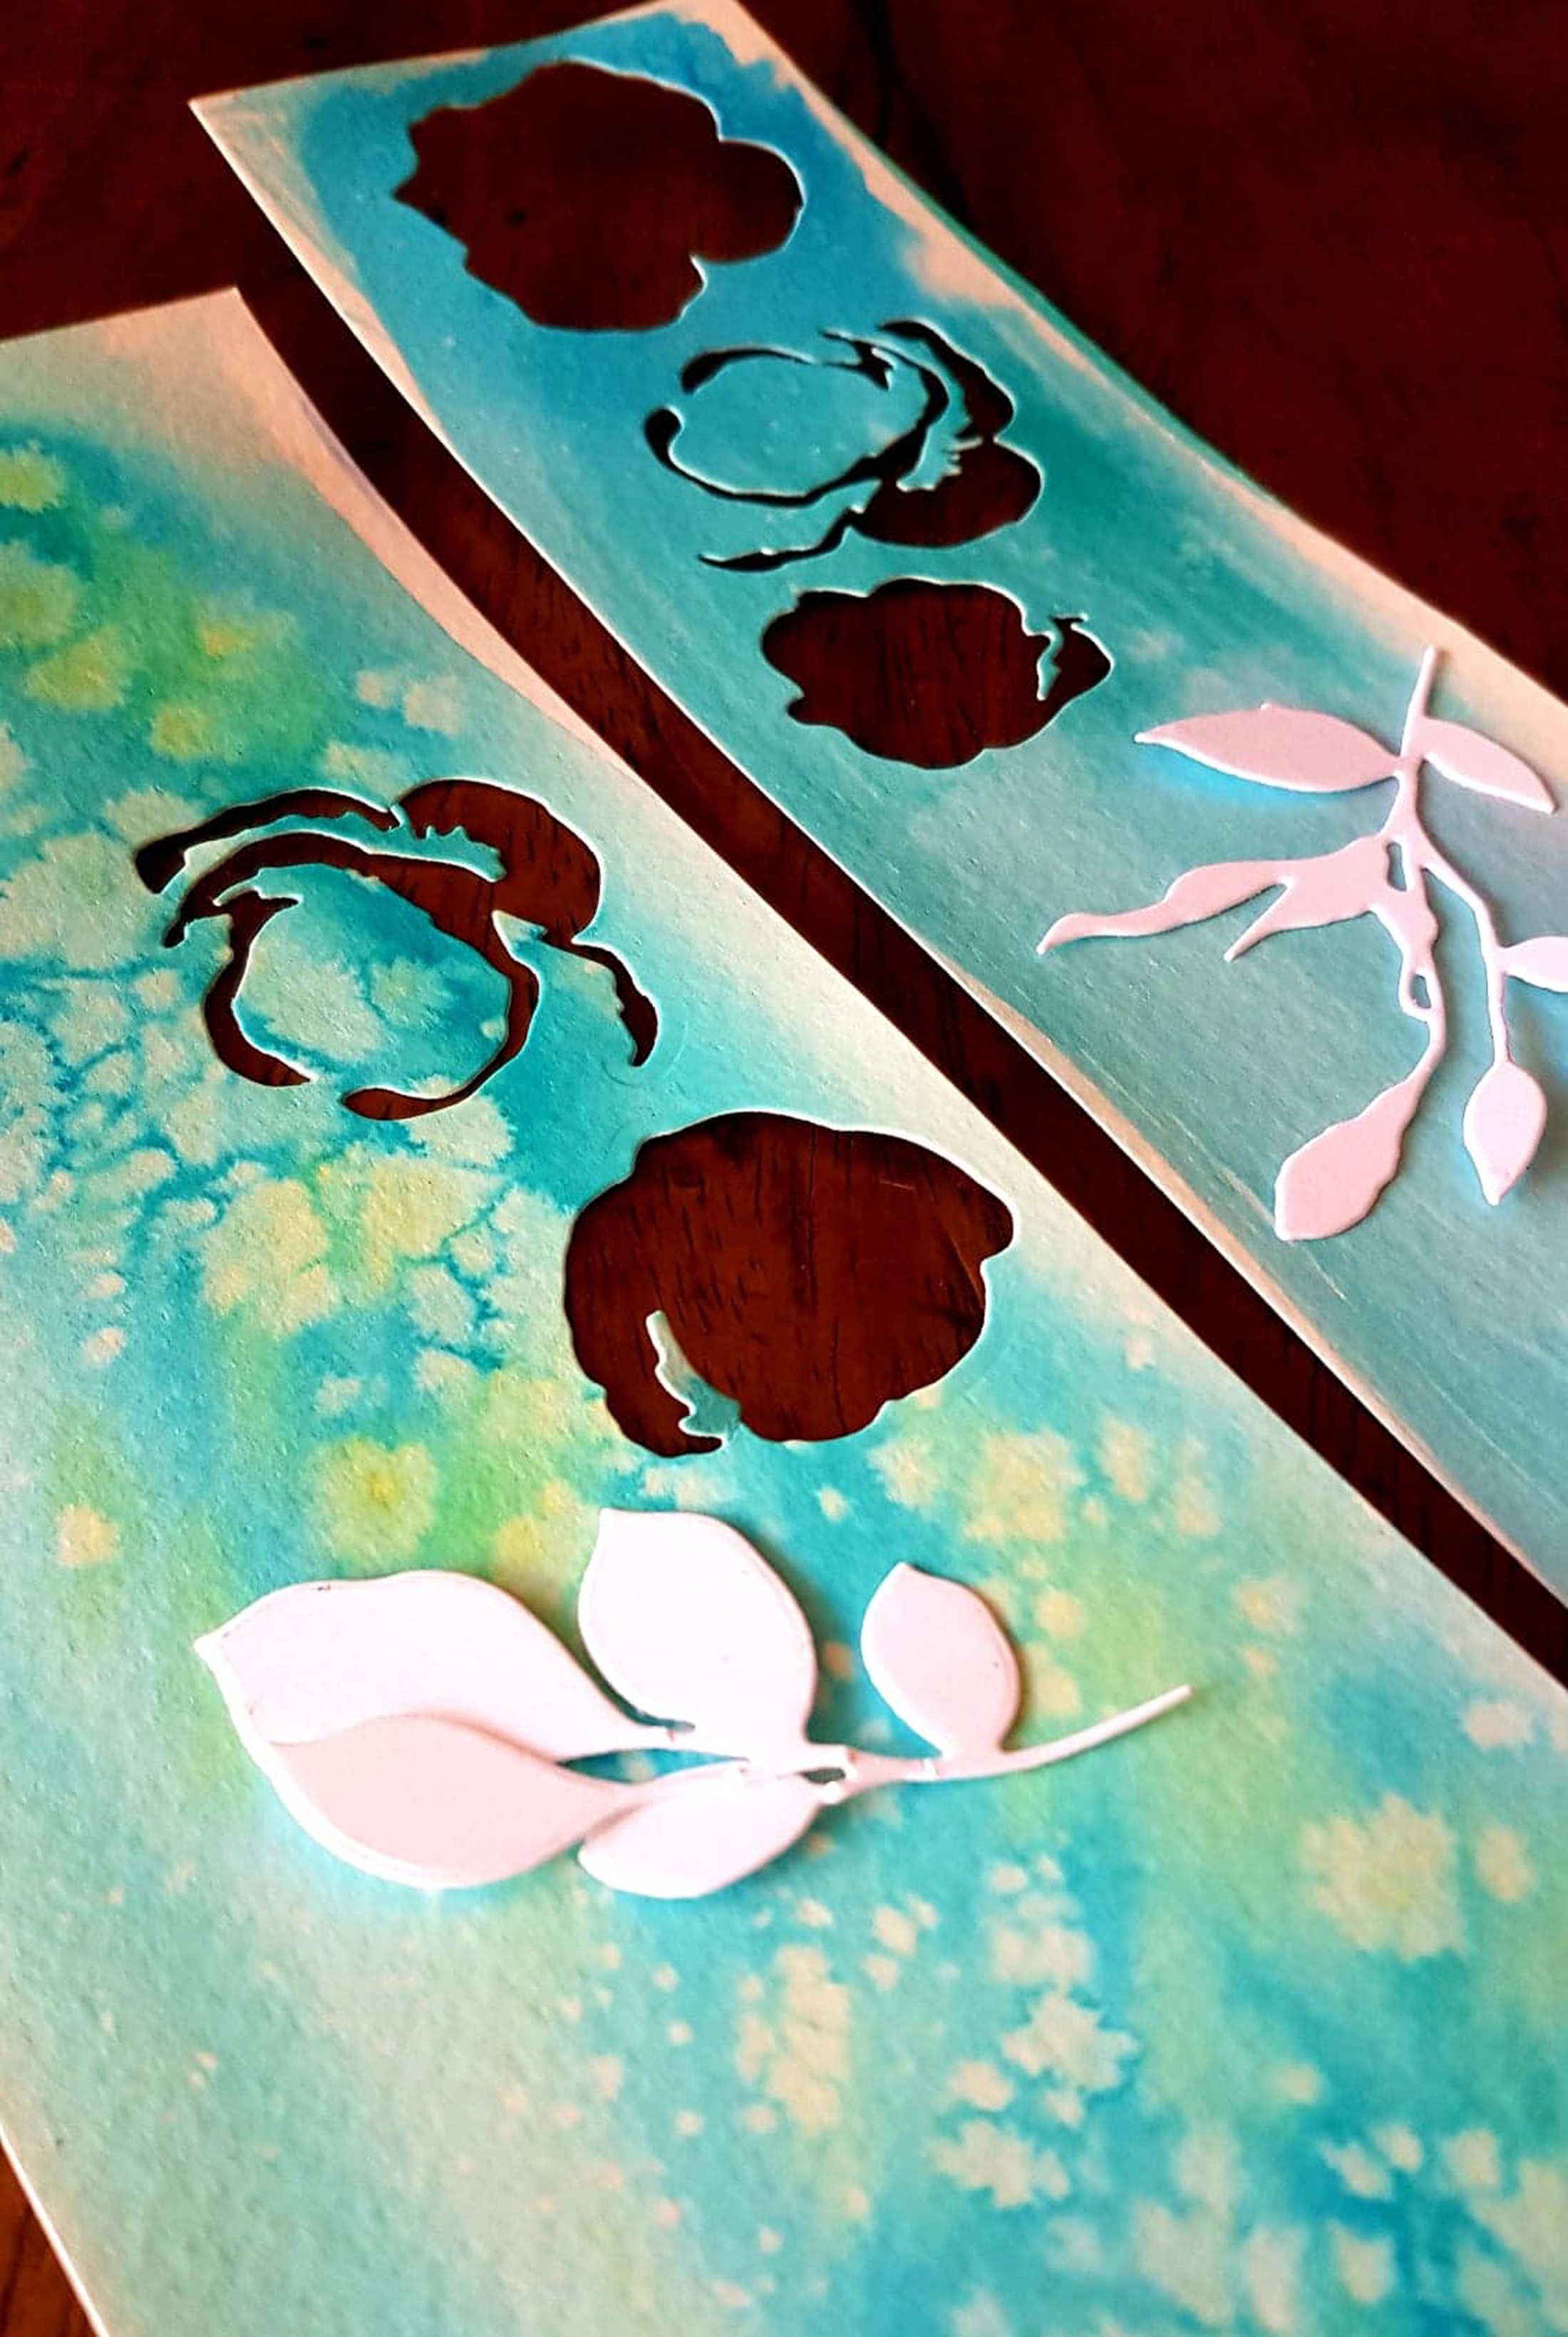
I painted a light wash using the same
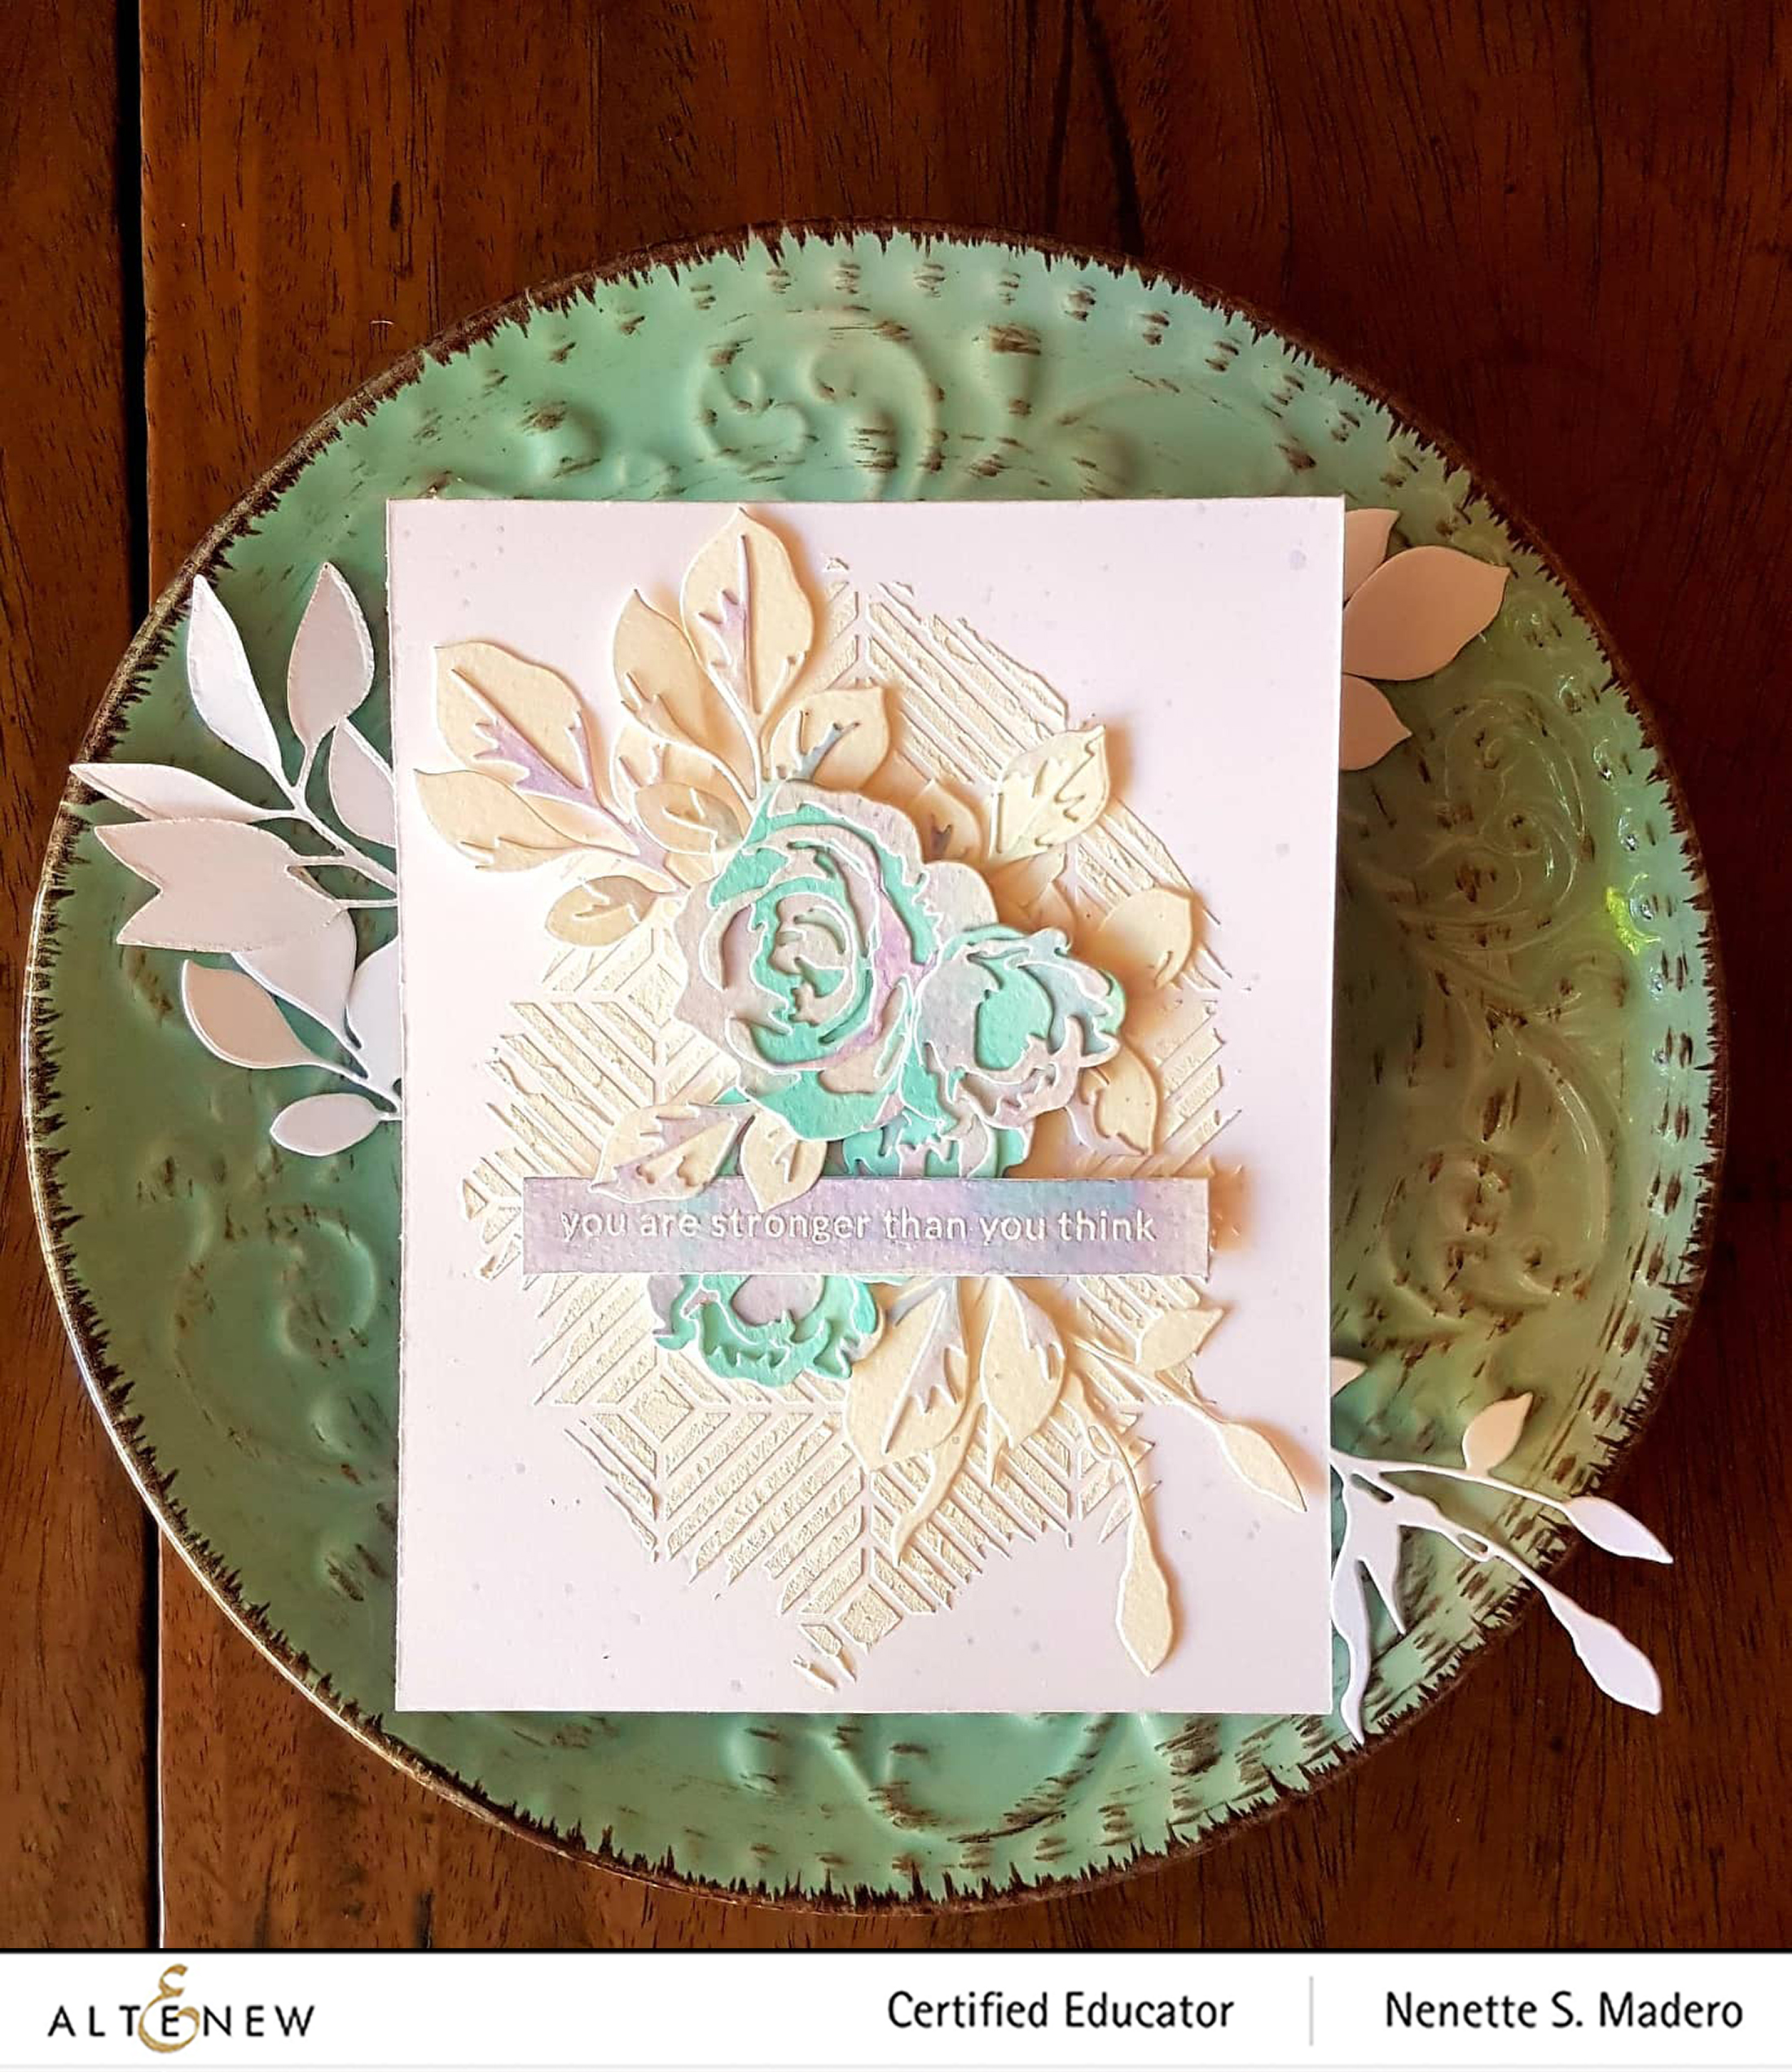
YOU ARE STRONGER THAN YOU THINK CARD
MATERIALS:
- ALTENEW Beveled Square Stencil
- ROSE FLURRIES 3D and Garden Picks 3D dies
- Delicate Flower Bed stamp for
sentiment - Altenew embossing paste
- Altenew Watercolor brush markers—Mountain Mist and Persian Blue
- Neenah Solar White CS
- Fabriano Watercolor cold press 200gsm
- Altenew pure White Crisp Embossing Powder
- Tombow Mono Multi Liquid
glue - Scrapbook Adhesives foam squares
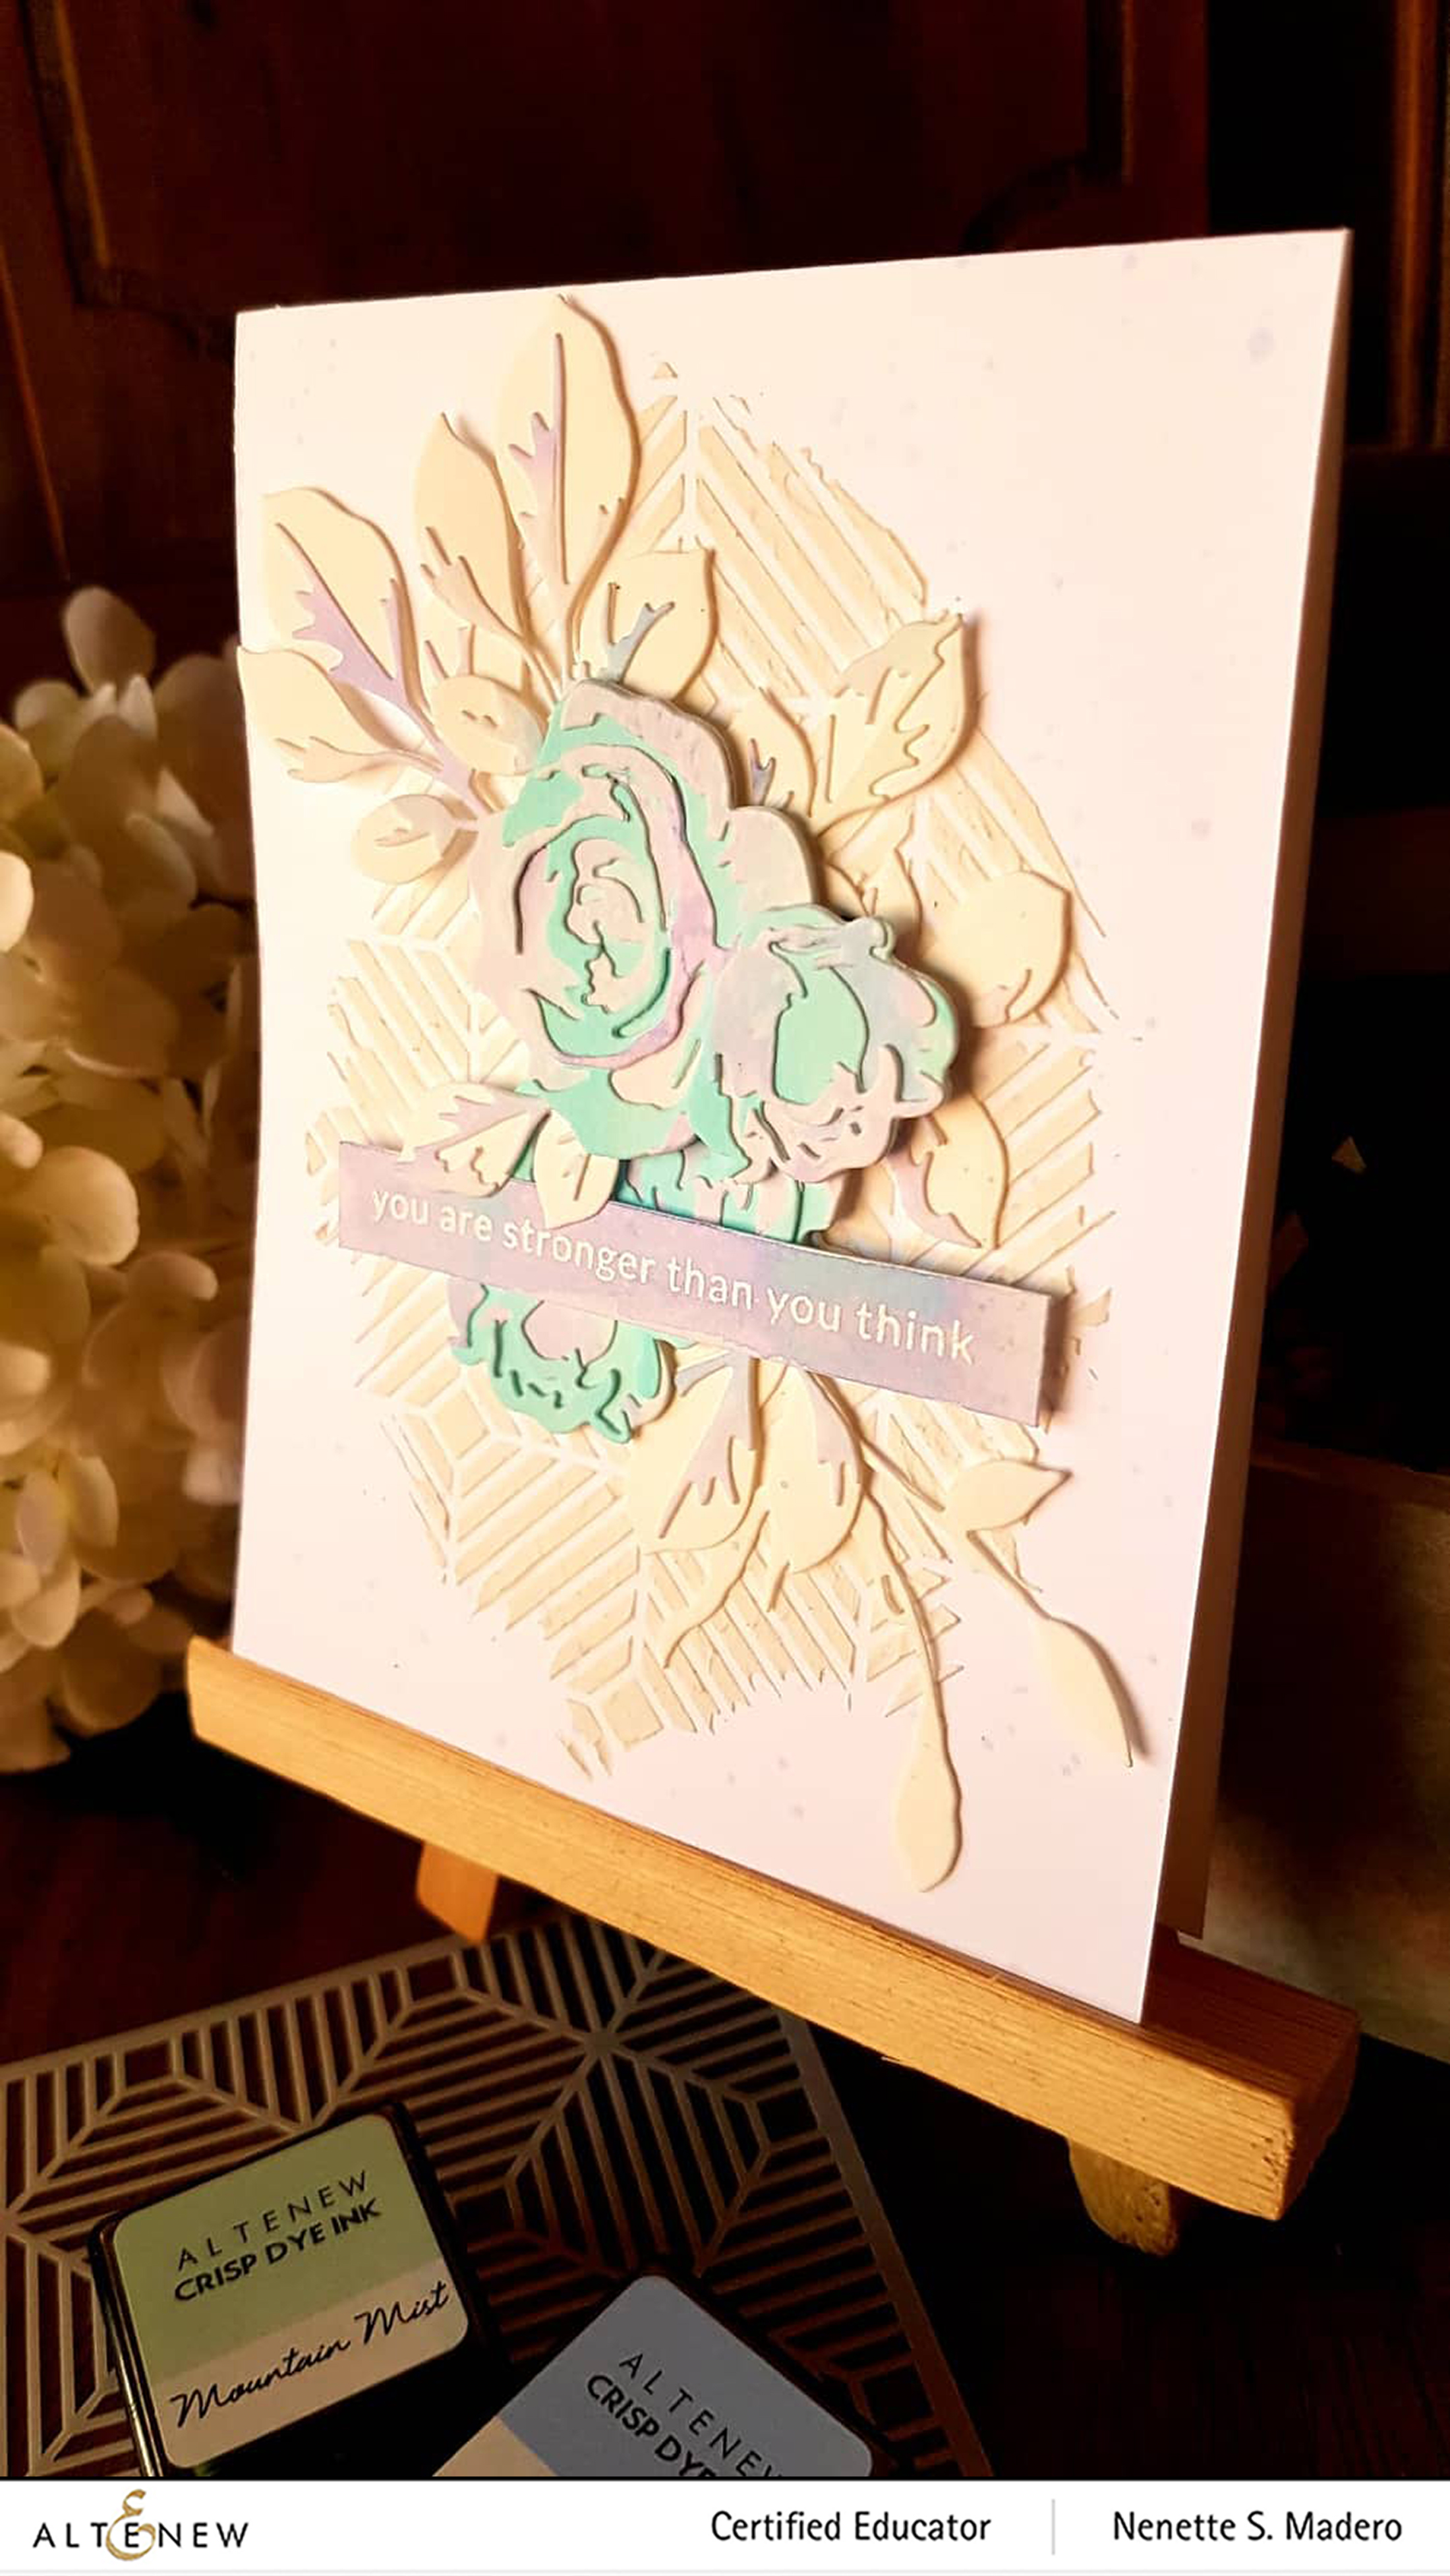
I wanted to make a card that has a lot of white space this time. Neenah Solar White CS was cut down to 4.25” x 11” and scored at 5.5” to create a top-folding card. The Beveled Square stencil was placed on top of the card front and Altenew embossing paste was spread using a spatula. While allowing it to dry, wet on wet technique was used to add some
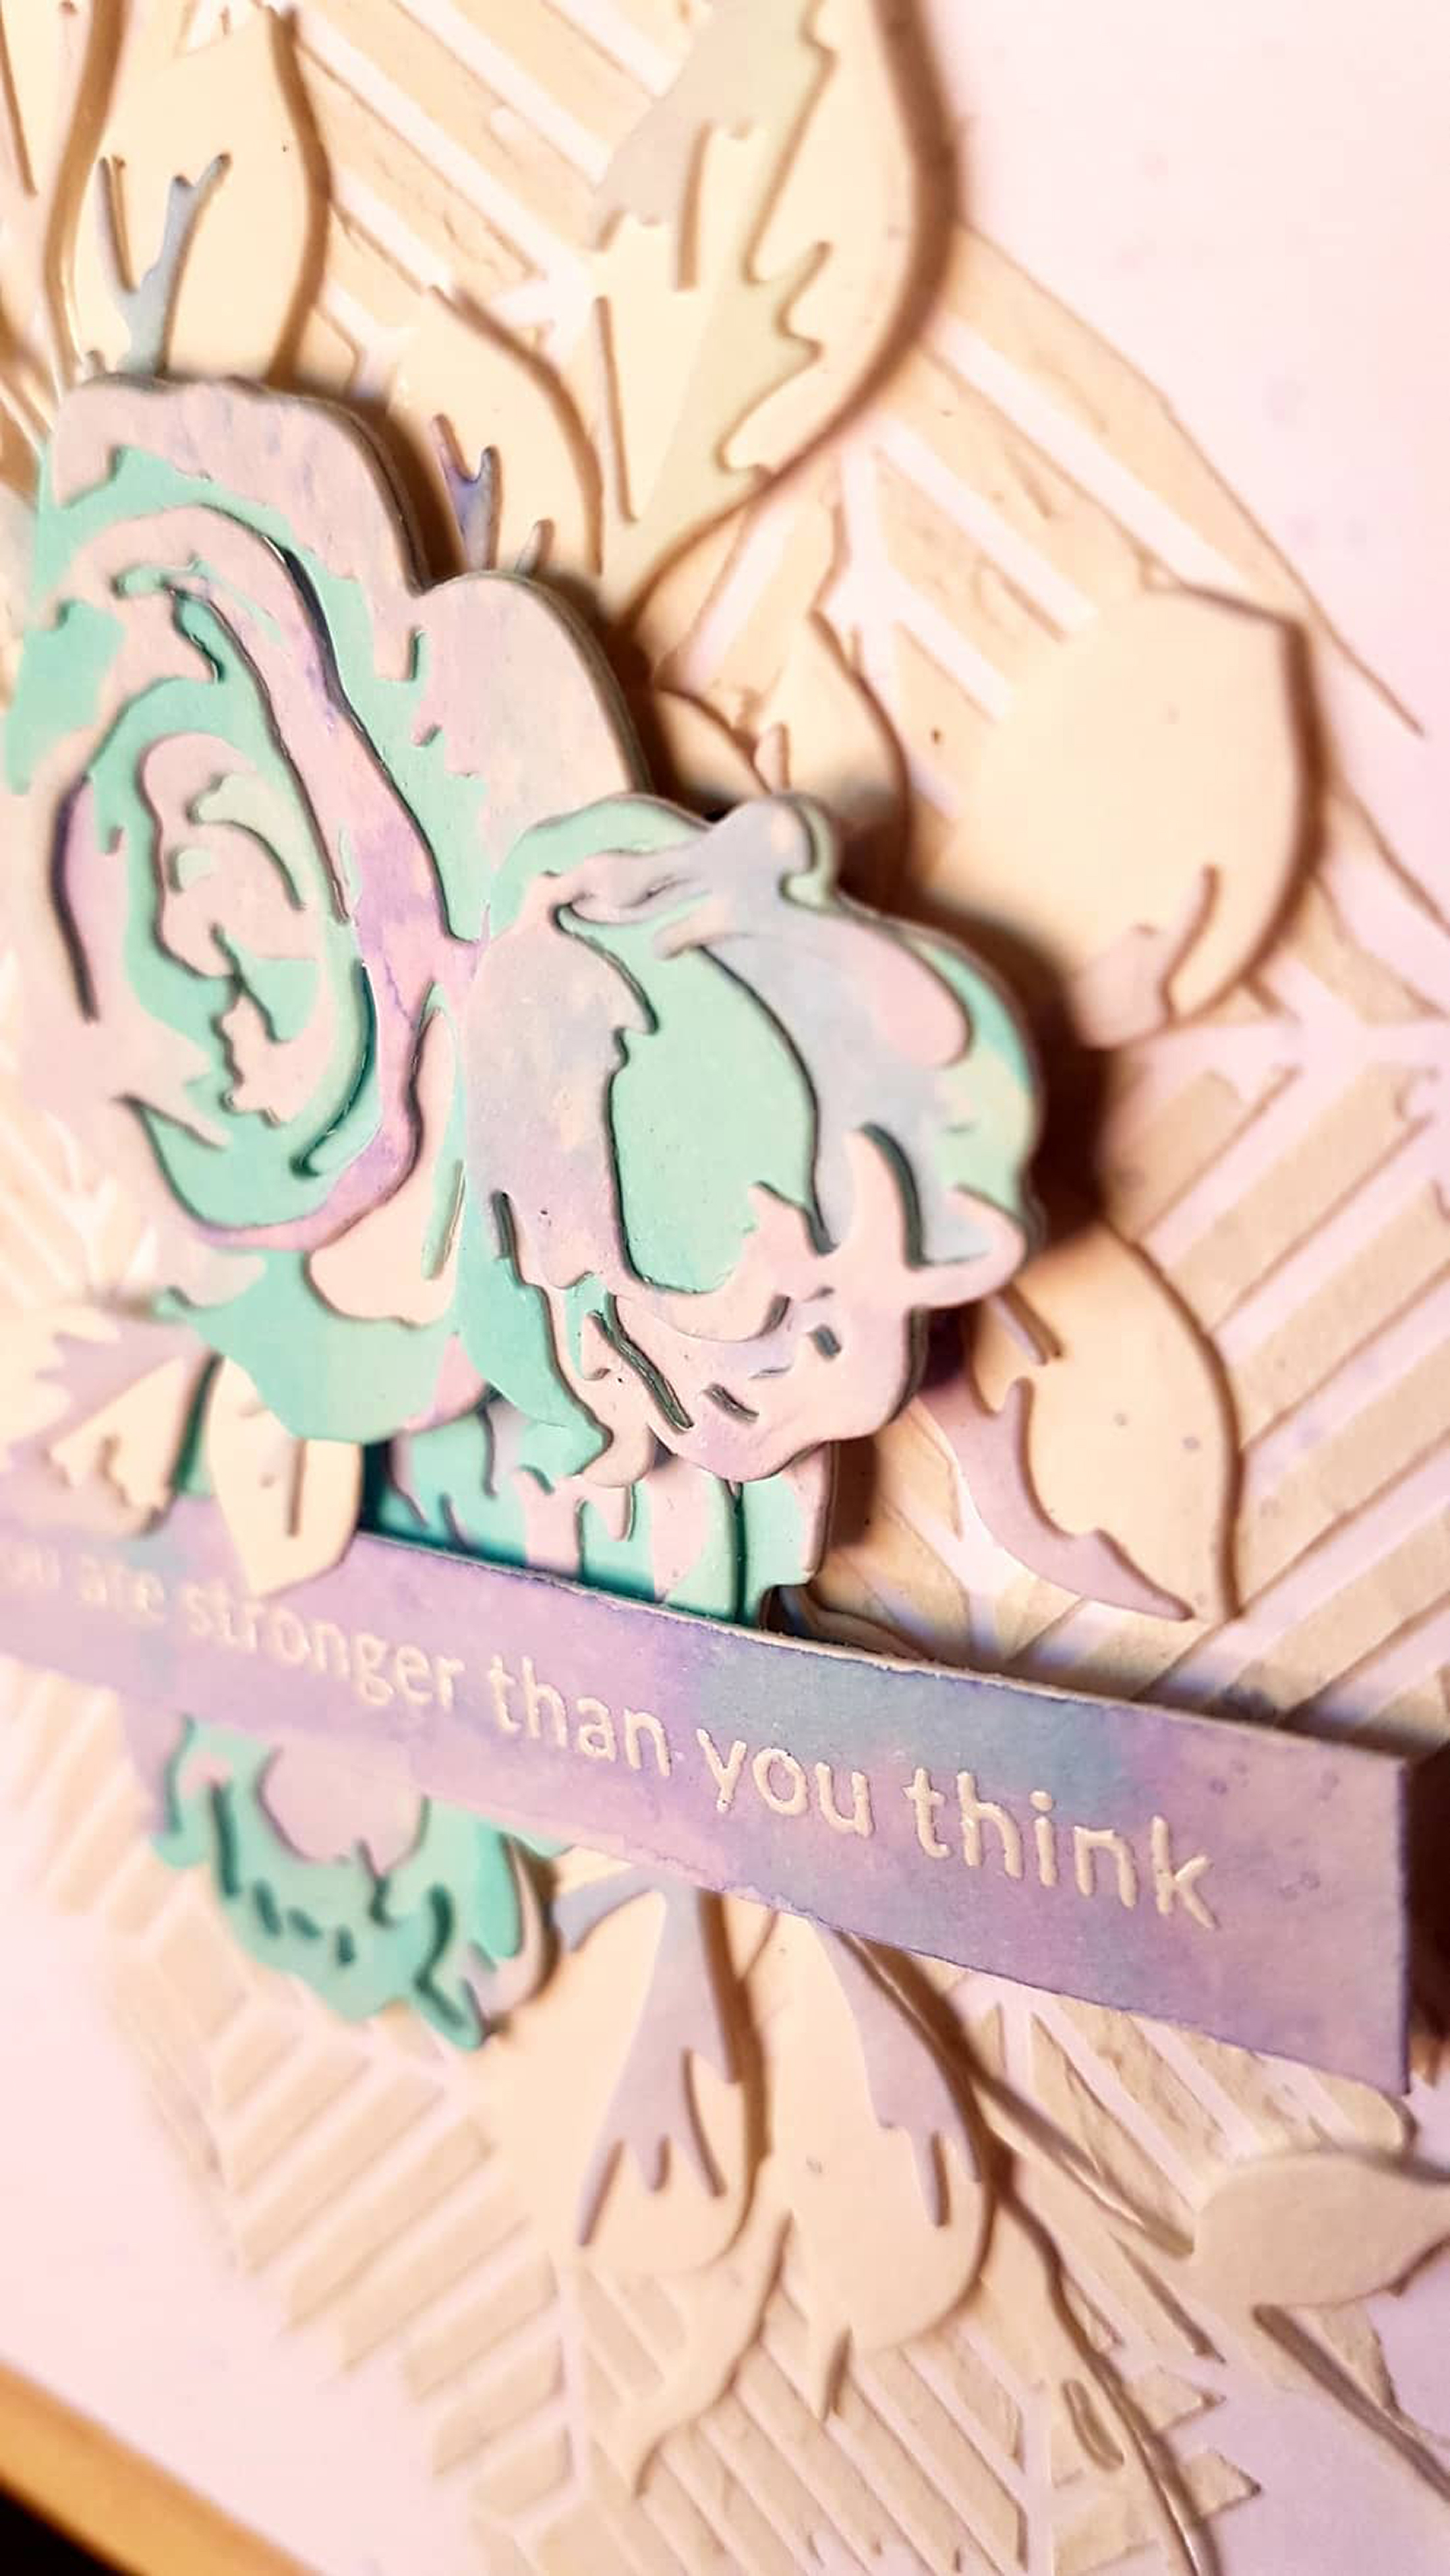
The Rose Flurries 3D leaves and the Garden Picks 3D flowers and leaves were used to die cut the watercolor papers. A strip was also colored and the sentiment from the Delicate Flower Bed stamp set was embossed using Versamark Ink and Altenew Pure White Crisp embossing powder. The flowers and leaves were assembled and adhered with glue and foam squares.
THANK YOU FOR YOUR CONTINUOUS SUPPORT CARD

MATERIALS:
- Altenew Watercolor Stripes cover die
- A
l tenew Teal Shadow Washi tape - Altenew Handpicked Bouquet for sentiment
- Altenew Pure White Crisp Embossing Powder
- Versamark Ink
- Neenah Solar White CS
- Scrapbook Adhesives foam tape
- Glossy Accents clear dimensional medium
- Distress Oxides_ Fossilized Amber, Spiced Marmalade, Abandoned Coral
- Fabriano Watercolor cold press 200gsm
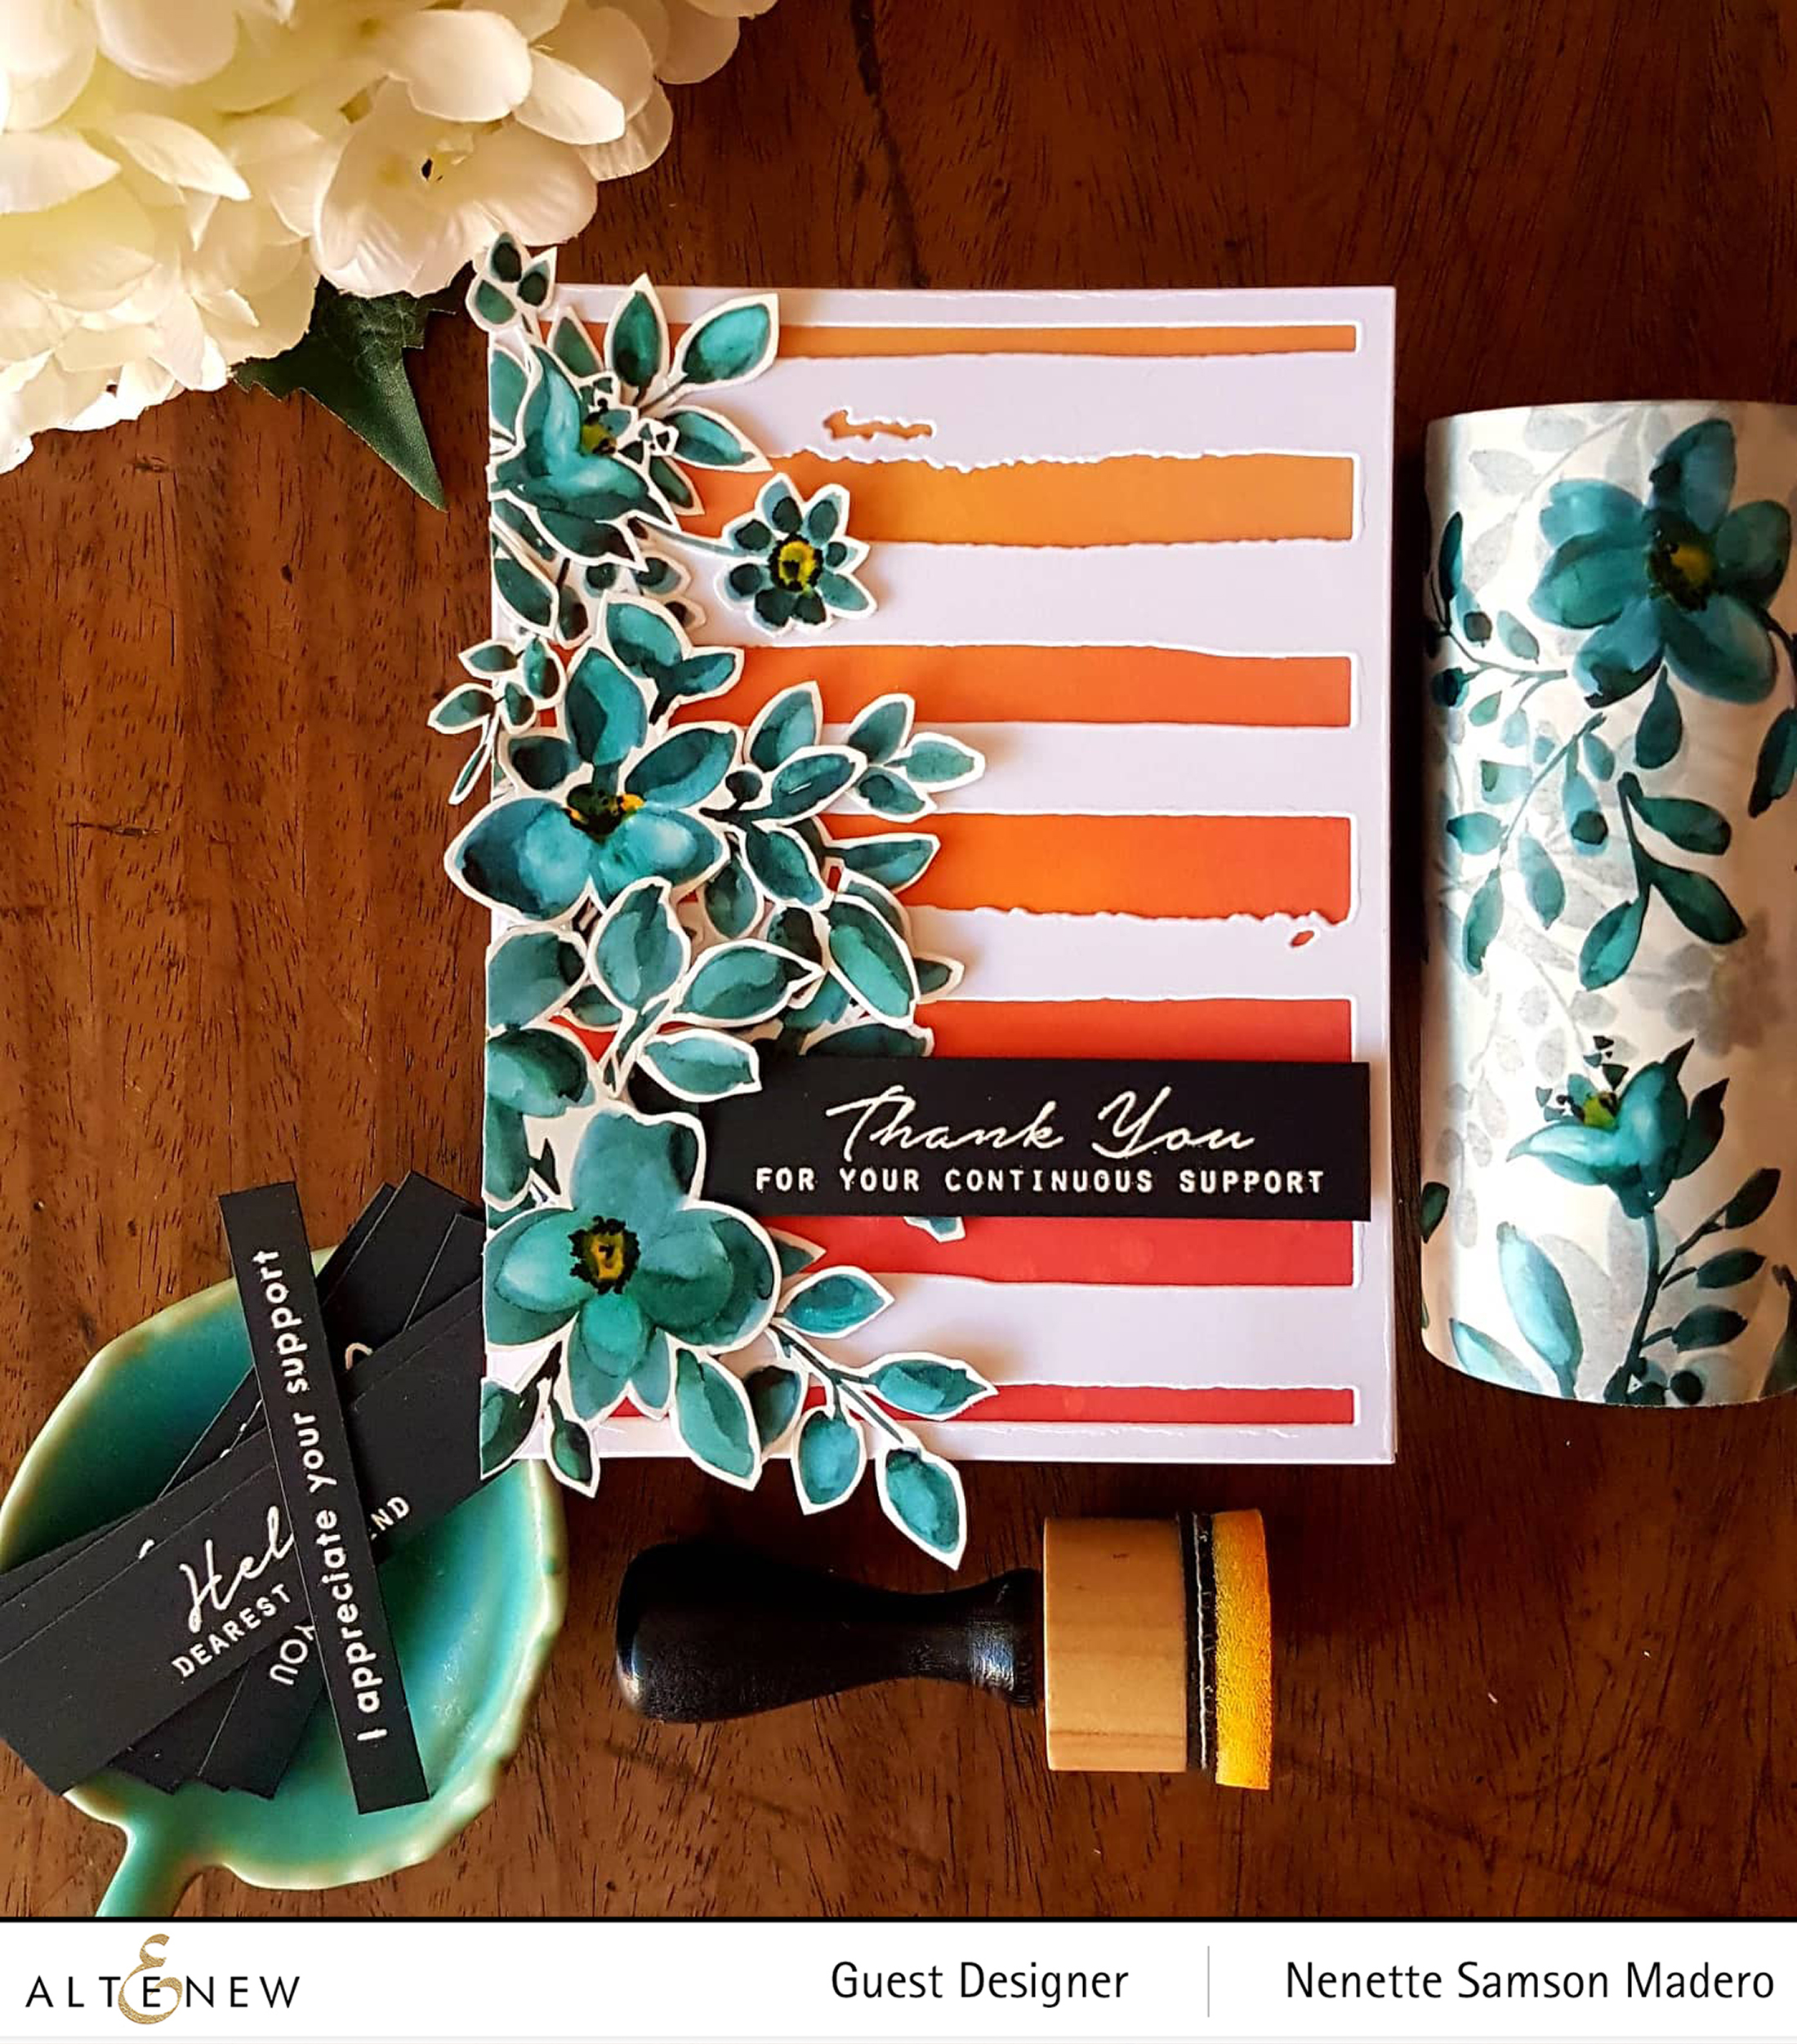
I just love the Teal Shadow Washi Tape because you already have
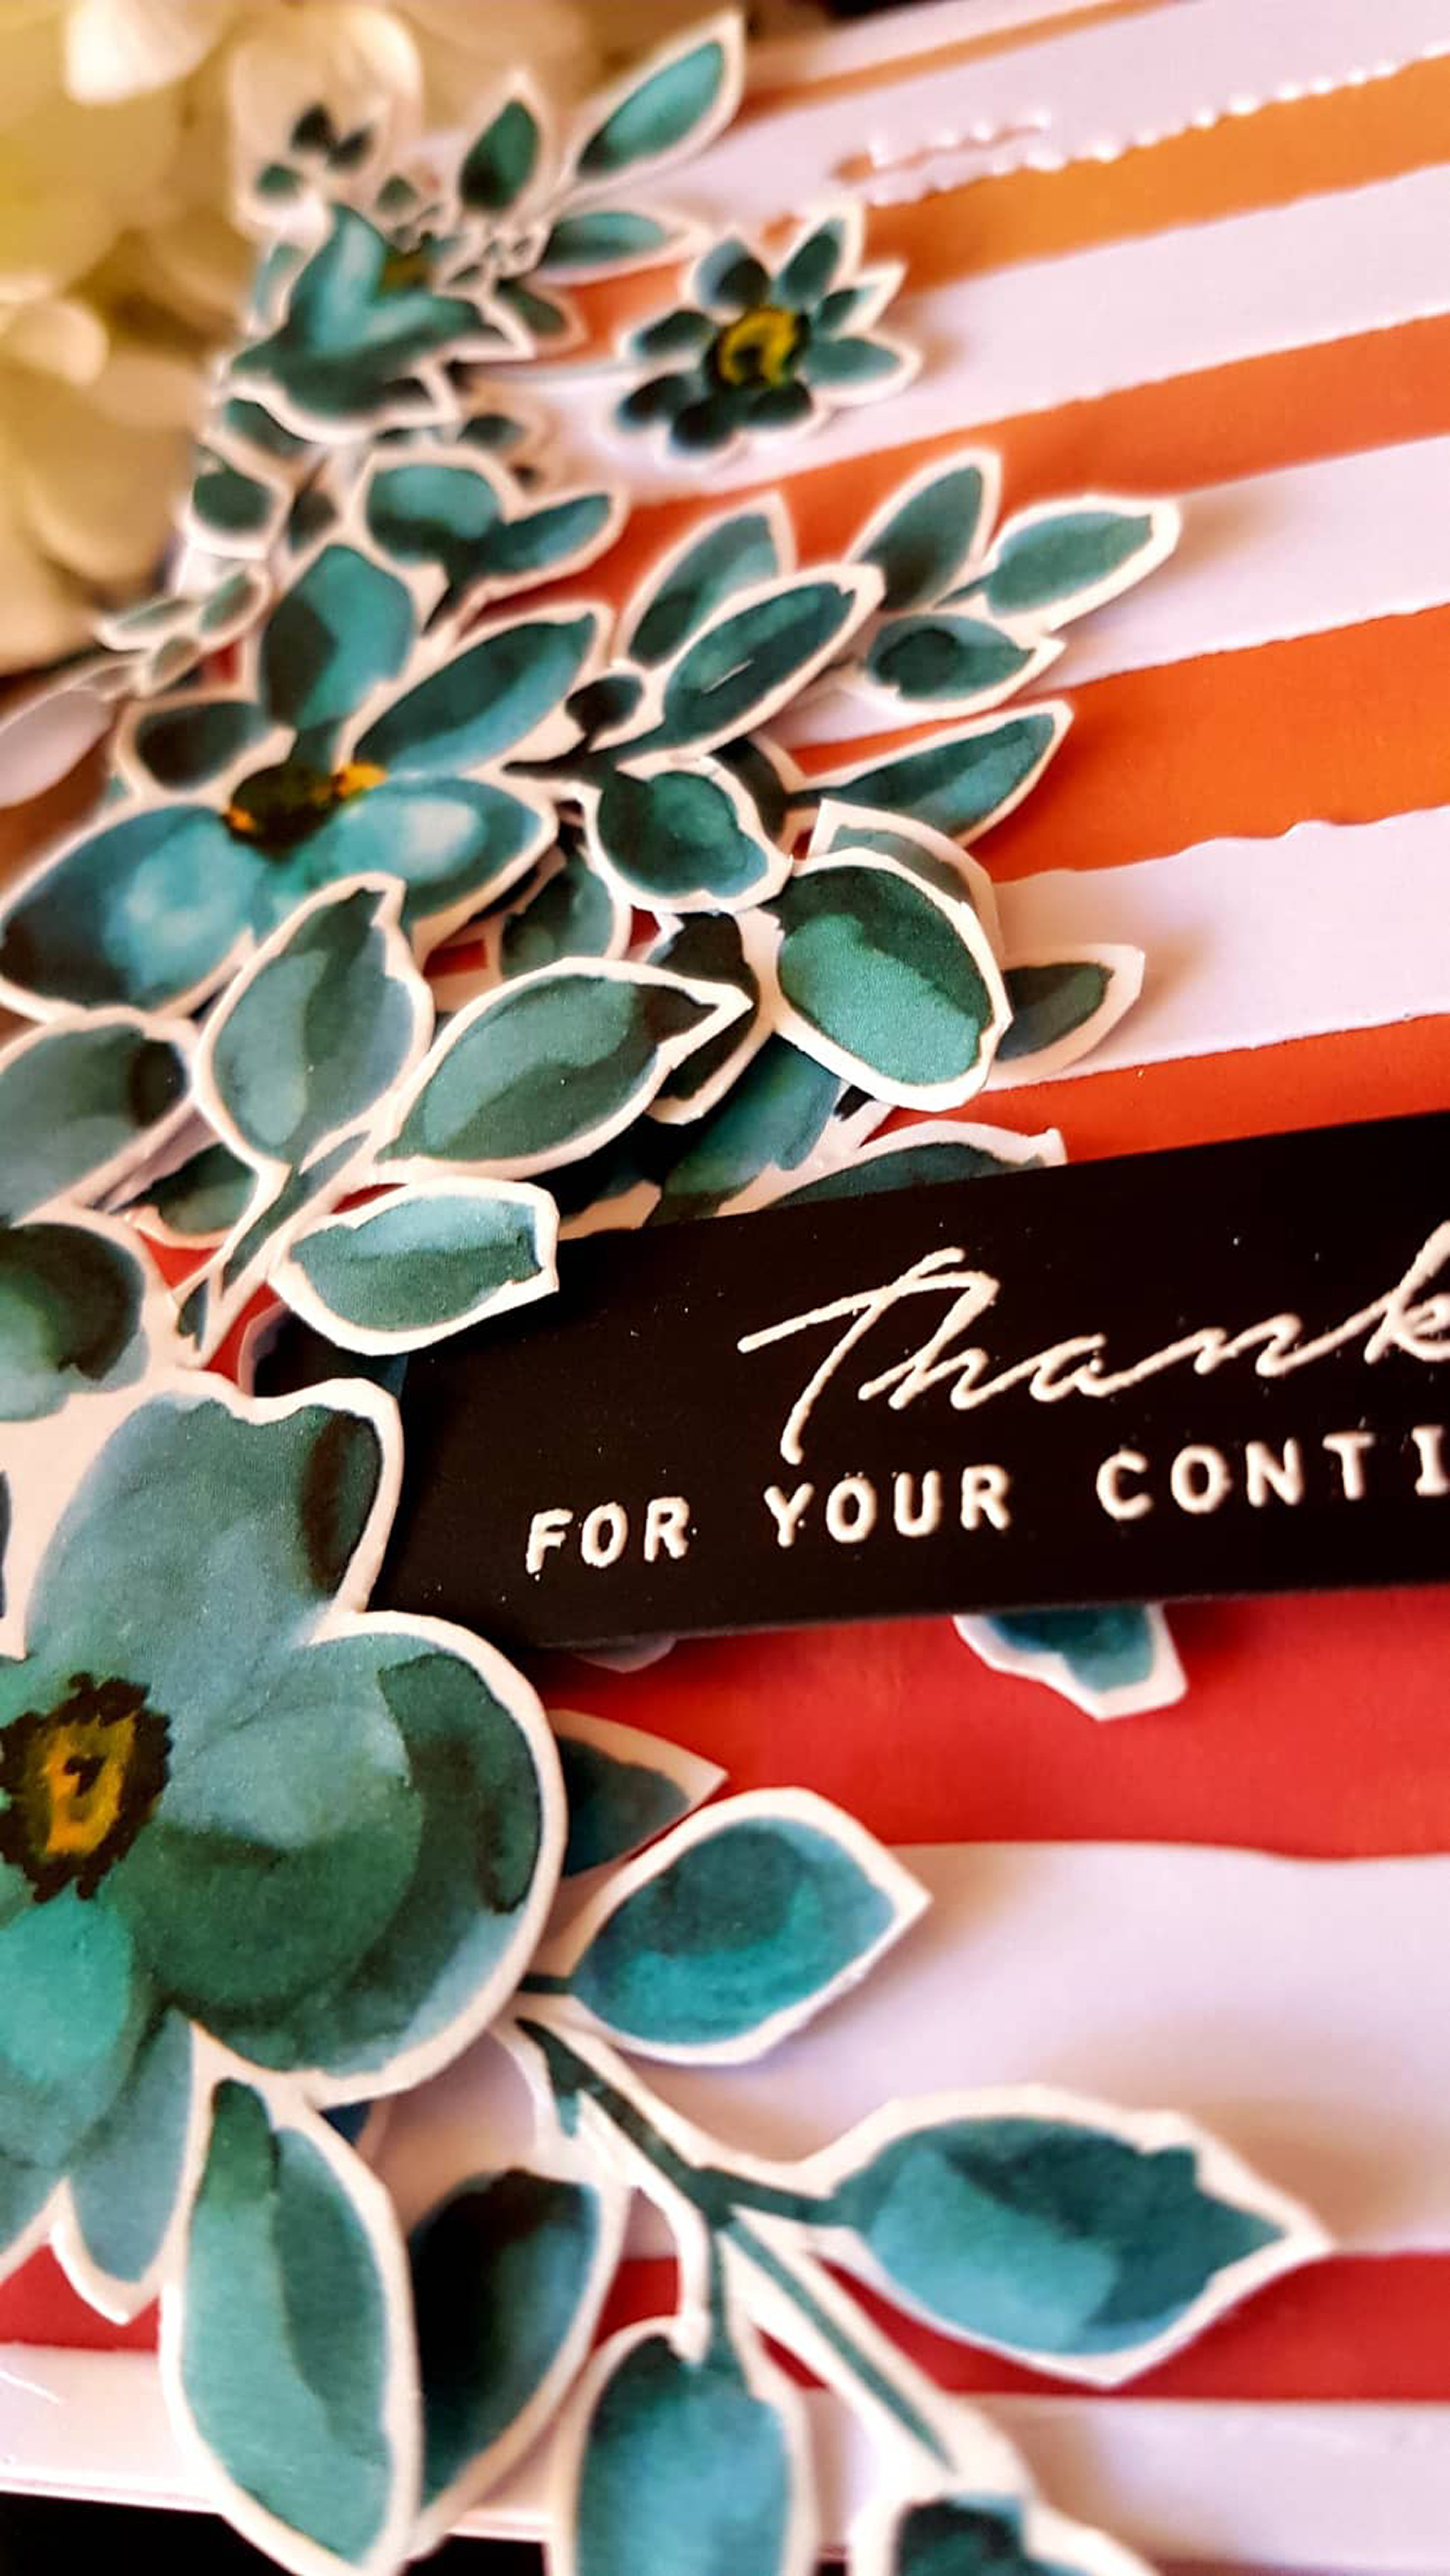
Different thickness of foam tape was also used to create dimension. The sentiment from the Handpicked Bouquet was stamped using Versamark Ink then embossed using Altenew pure white crisp embossing powder. Tuck in the sentiment strip under the leaves for added interest.
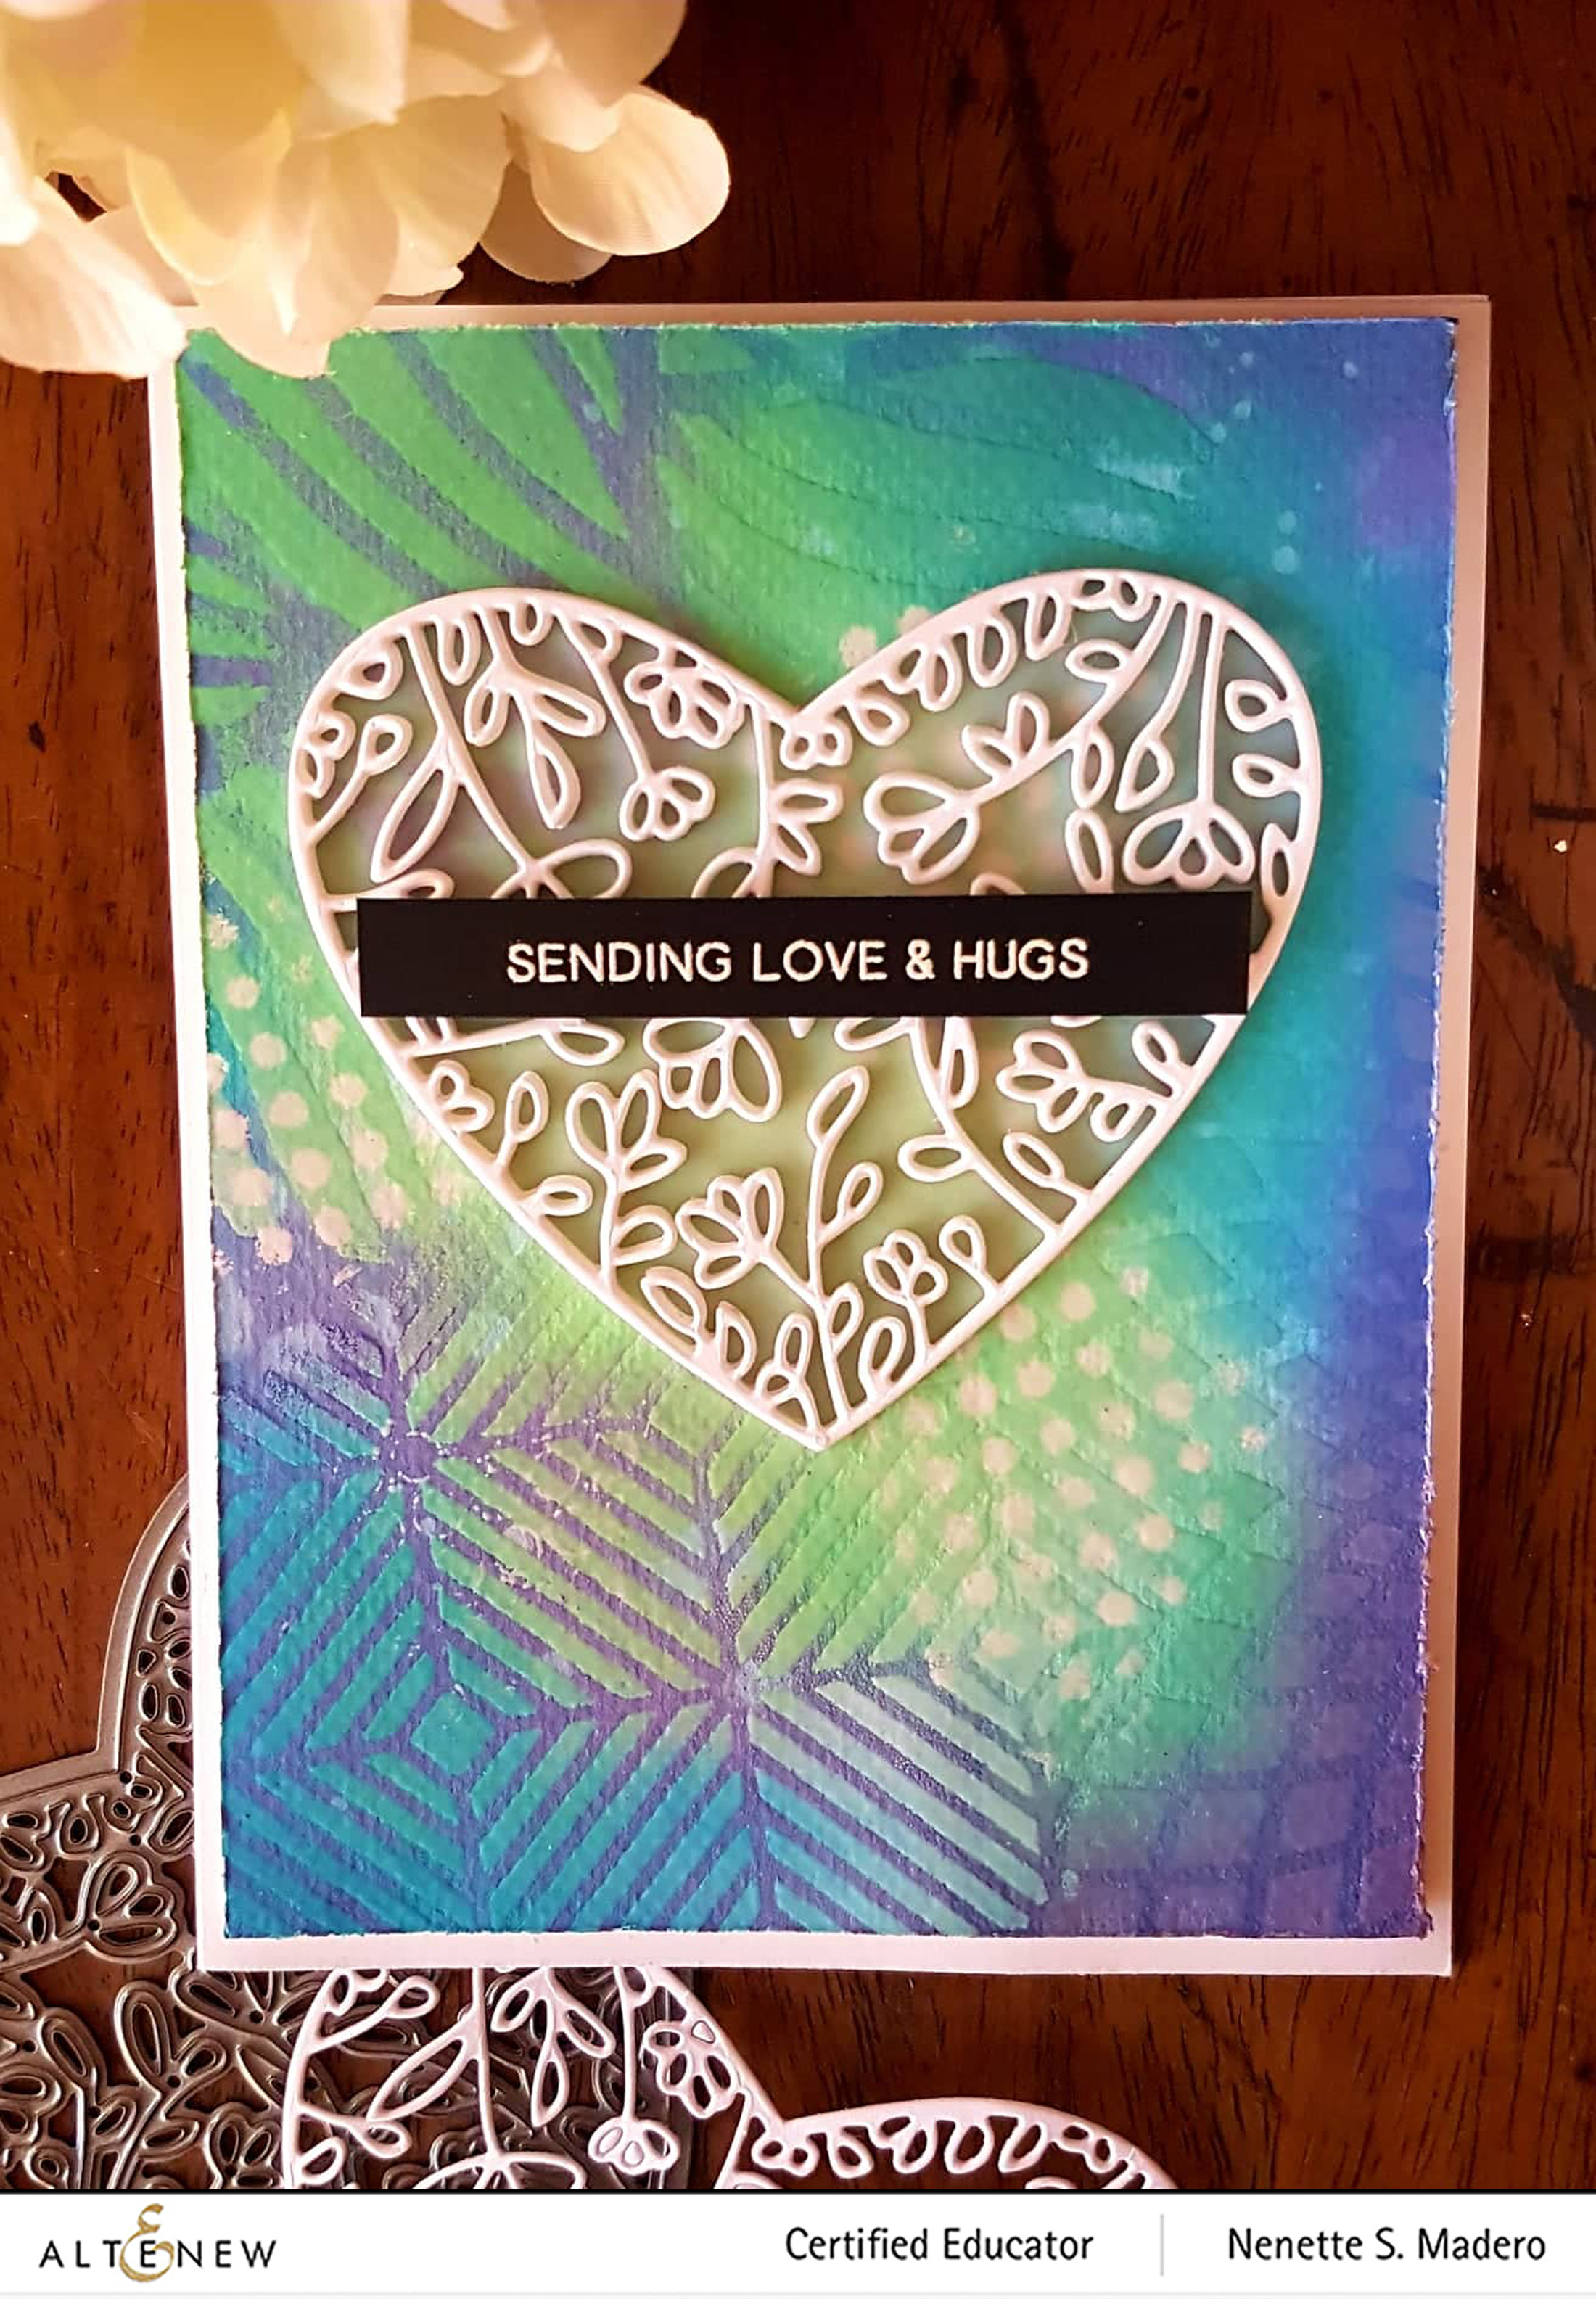
SENDING LOVE AND HUGS CARD
MATERIALS:
- Altenew Stencils– Feeling Dotty Stencil, Beveled Squares Stencil, Feathered Leaves Stencil, Sunburst Stencil
- Altenew Floral Frame Heart Die
- Distress Oxides- Wilted Violet, Cracked Pistachio, Mermaid Lagoon and Peacock Feathers
- Versamark Ink
- Altenew Crystal Clear embossing powder, Pure White embossing powder
- Altenew Adore You Stamp for sentiment
- Black cardstock
- Neenah Solar White CS
- Fabriano Watercolor cold press 200gsm
- Tonic paper distresser
- Scrapbook Adhesives foam sheet
- Vellum
- Antistatic tool
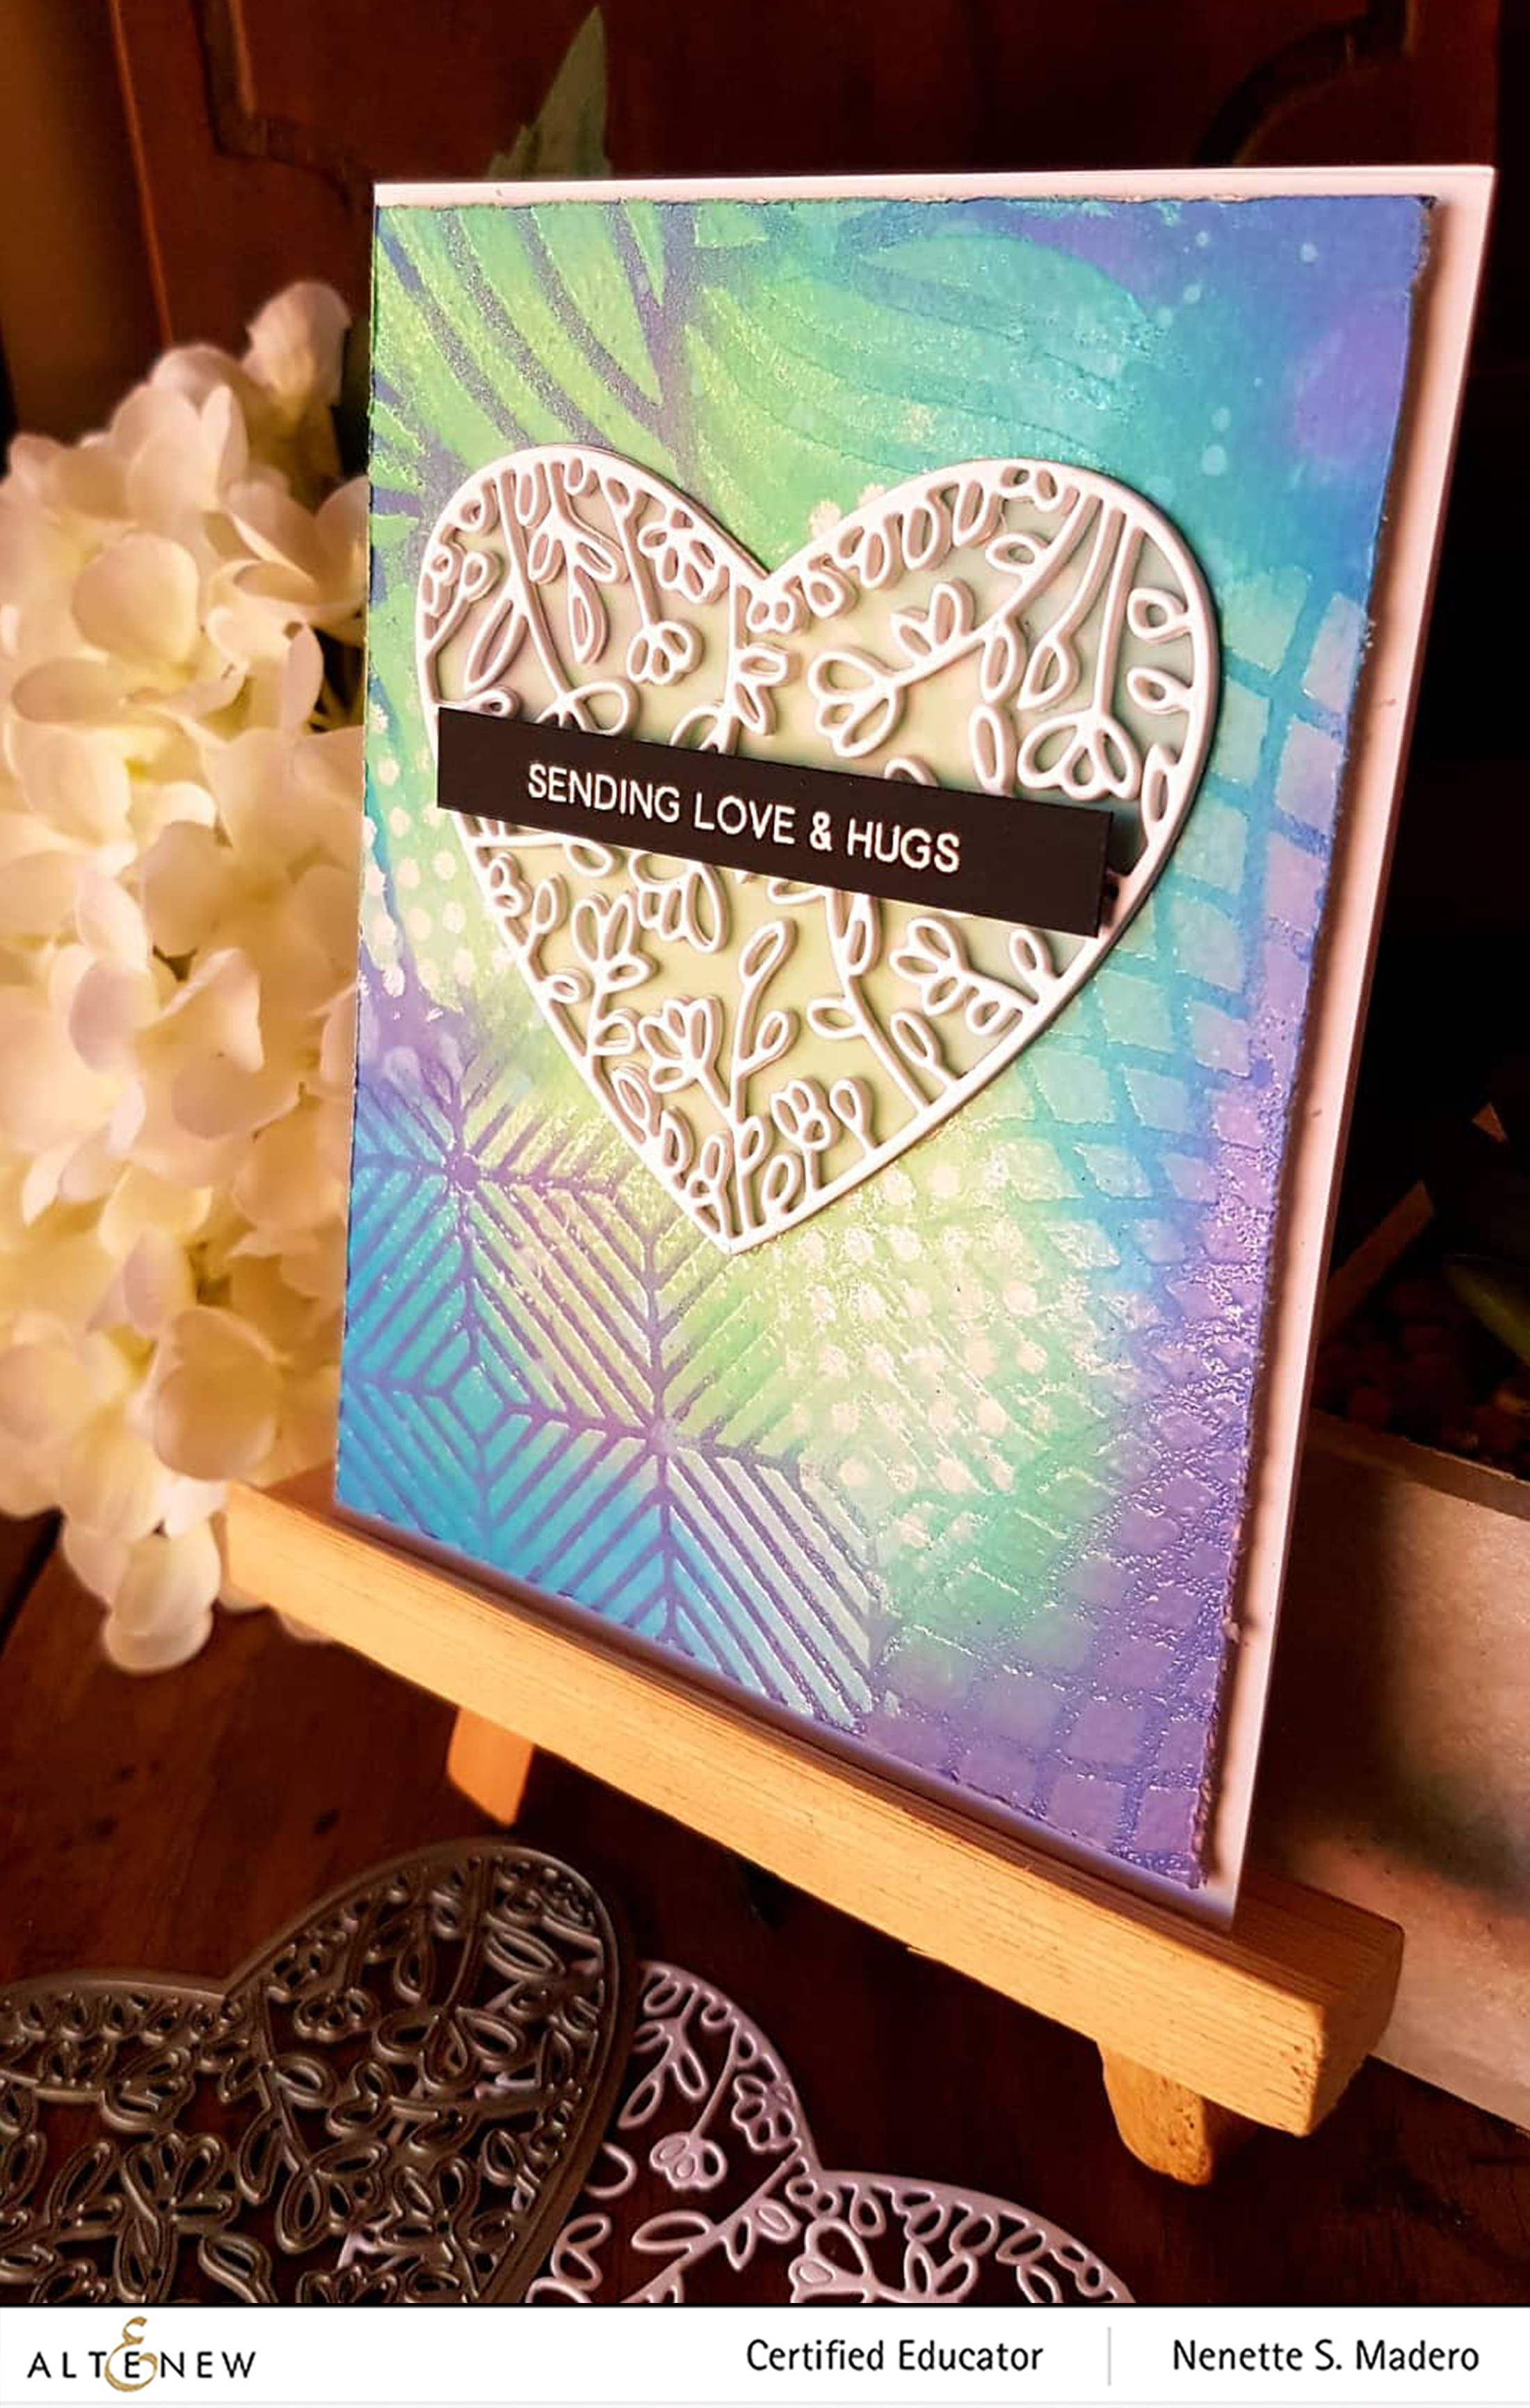
Feeling Dotty stencil was placed on the
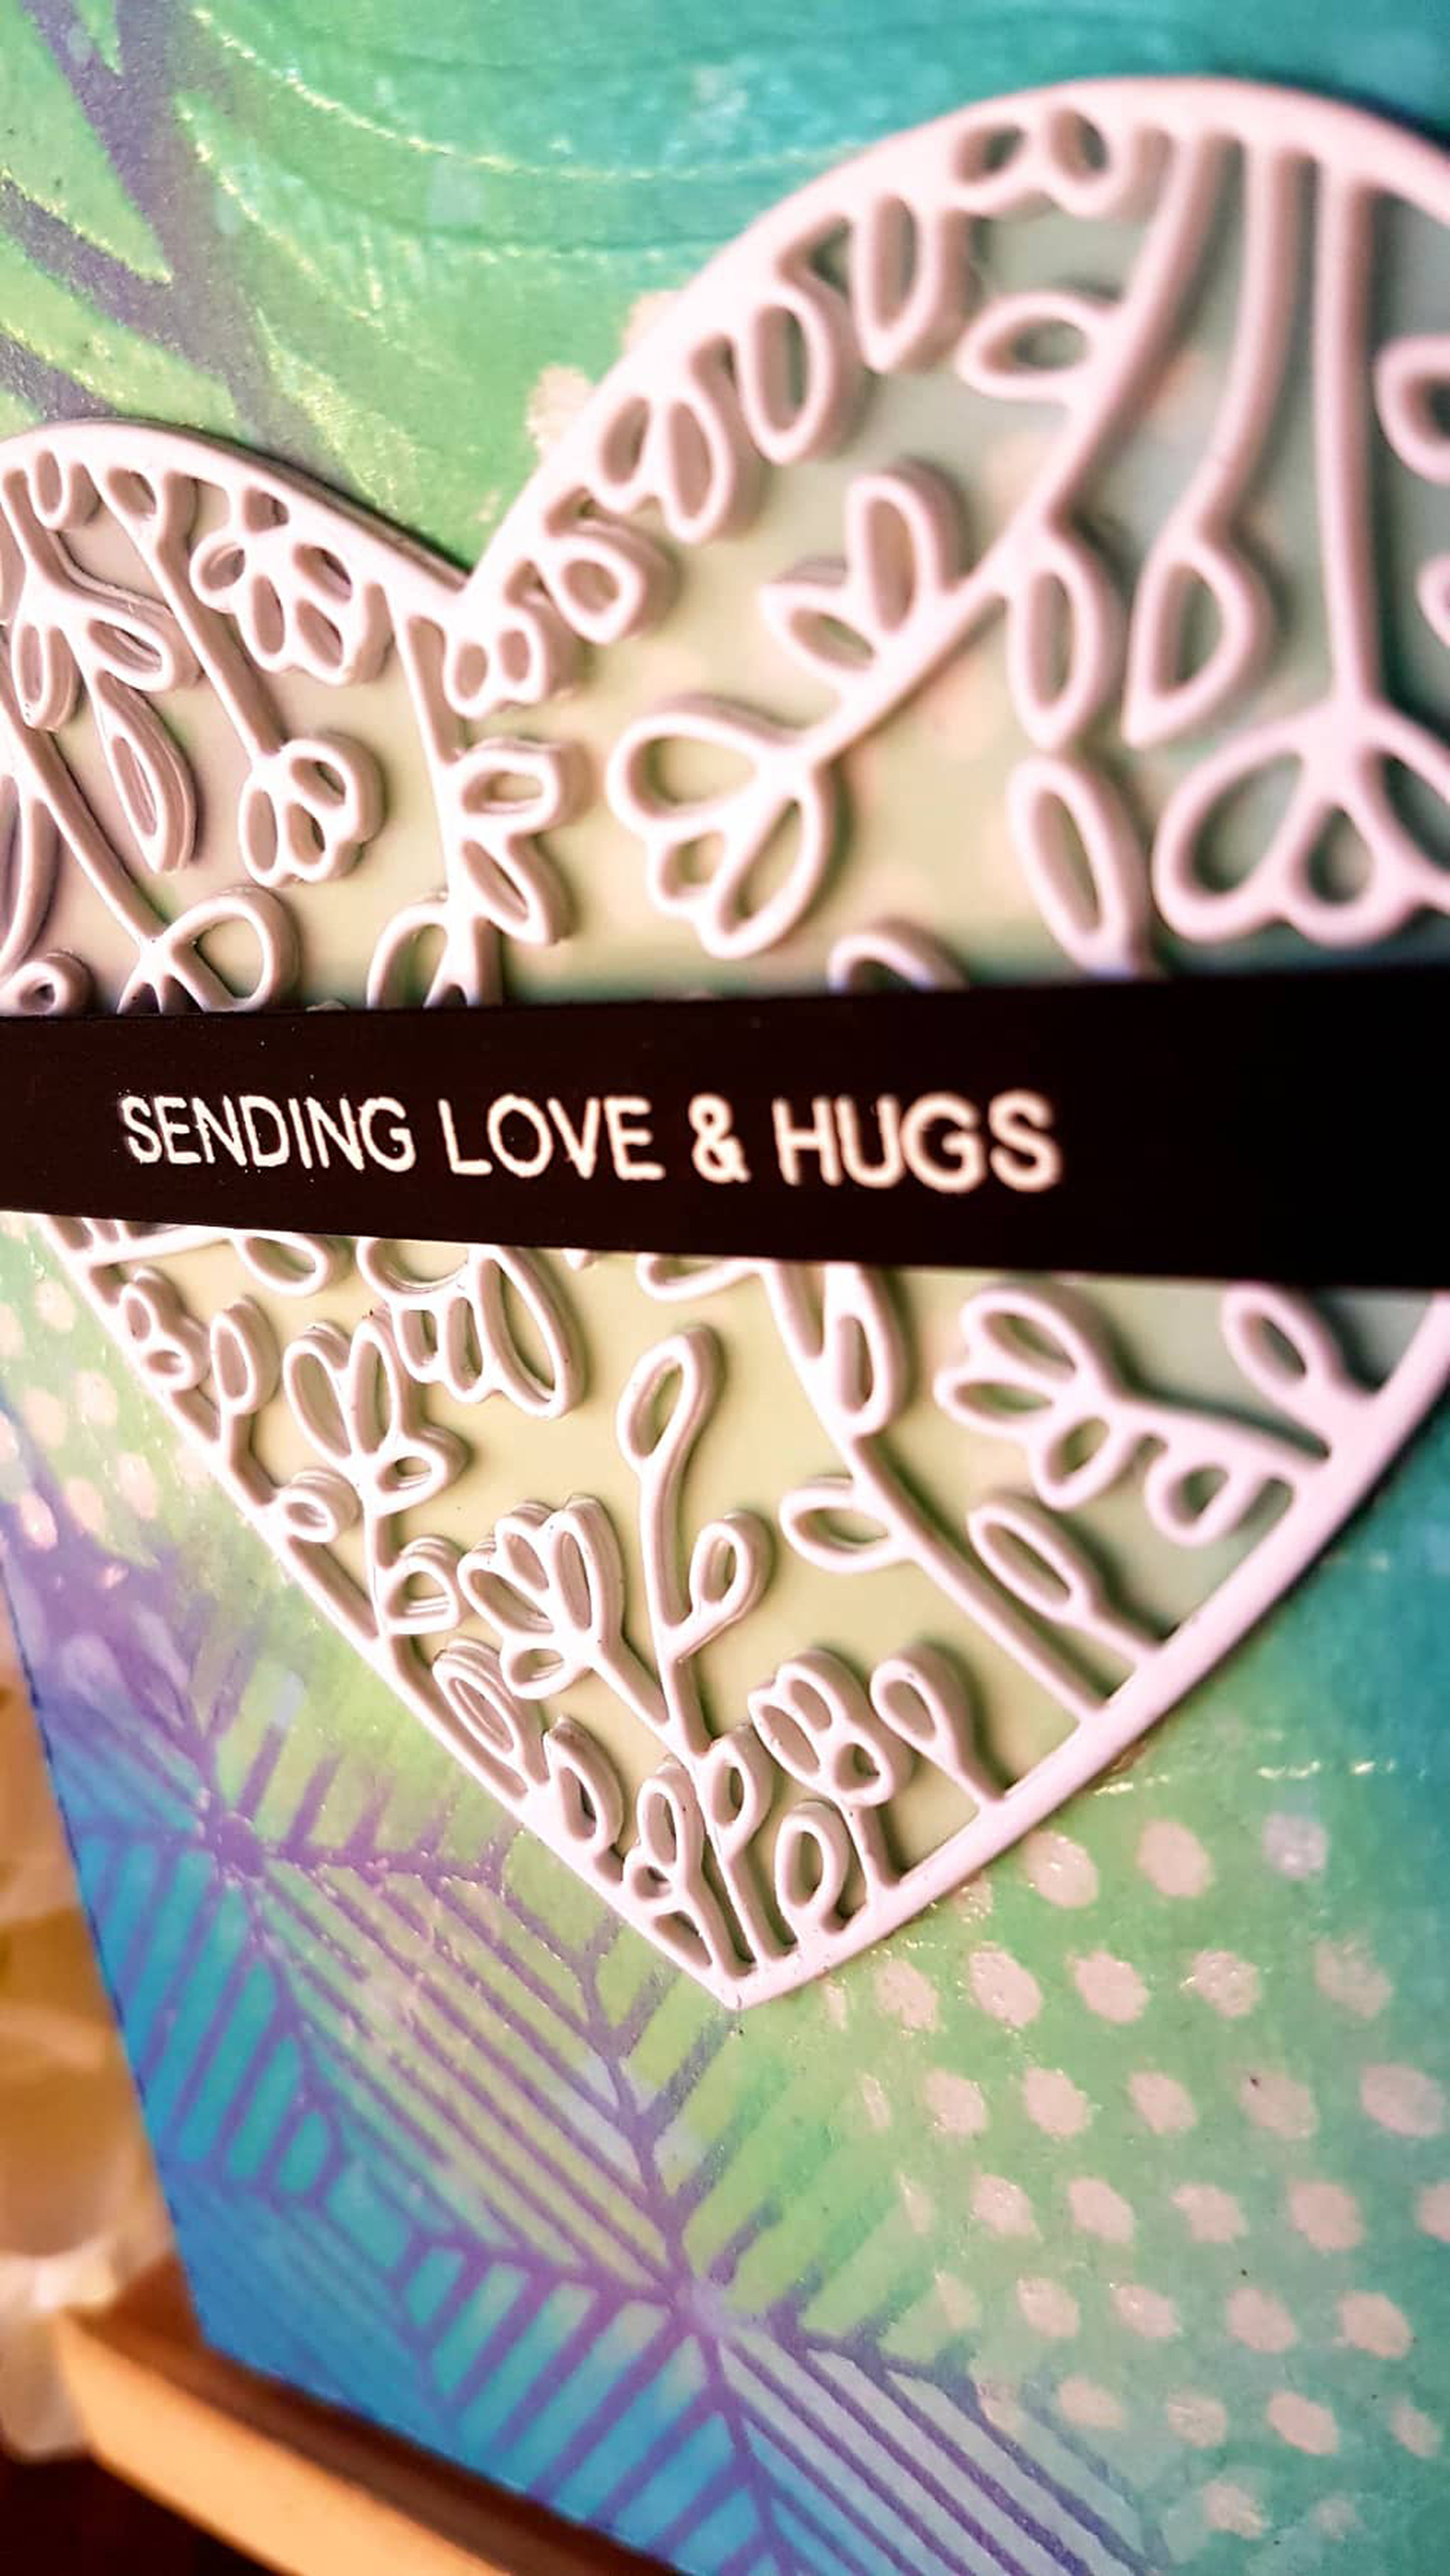
The intricate Altenew Flora Frame Die was die cut 4 times then adhered on top of each other. This was then pasted on vellum sheet to make it more sturdy. The vellum was cut out to follow the shape of the heart using scissors. The sentiment from the Adore You stamp set was stamped on black cardstock using Versamark Ink then heat embossed using Pure White Embossing Powder. The edges of the card front were distressed using the Tonic paper distresser then mounted on a top folding A2 card with foam sheet.
I APPRECIATE YOU AND I’M HERE FOR YOU CARDS
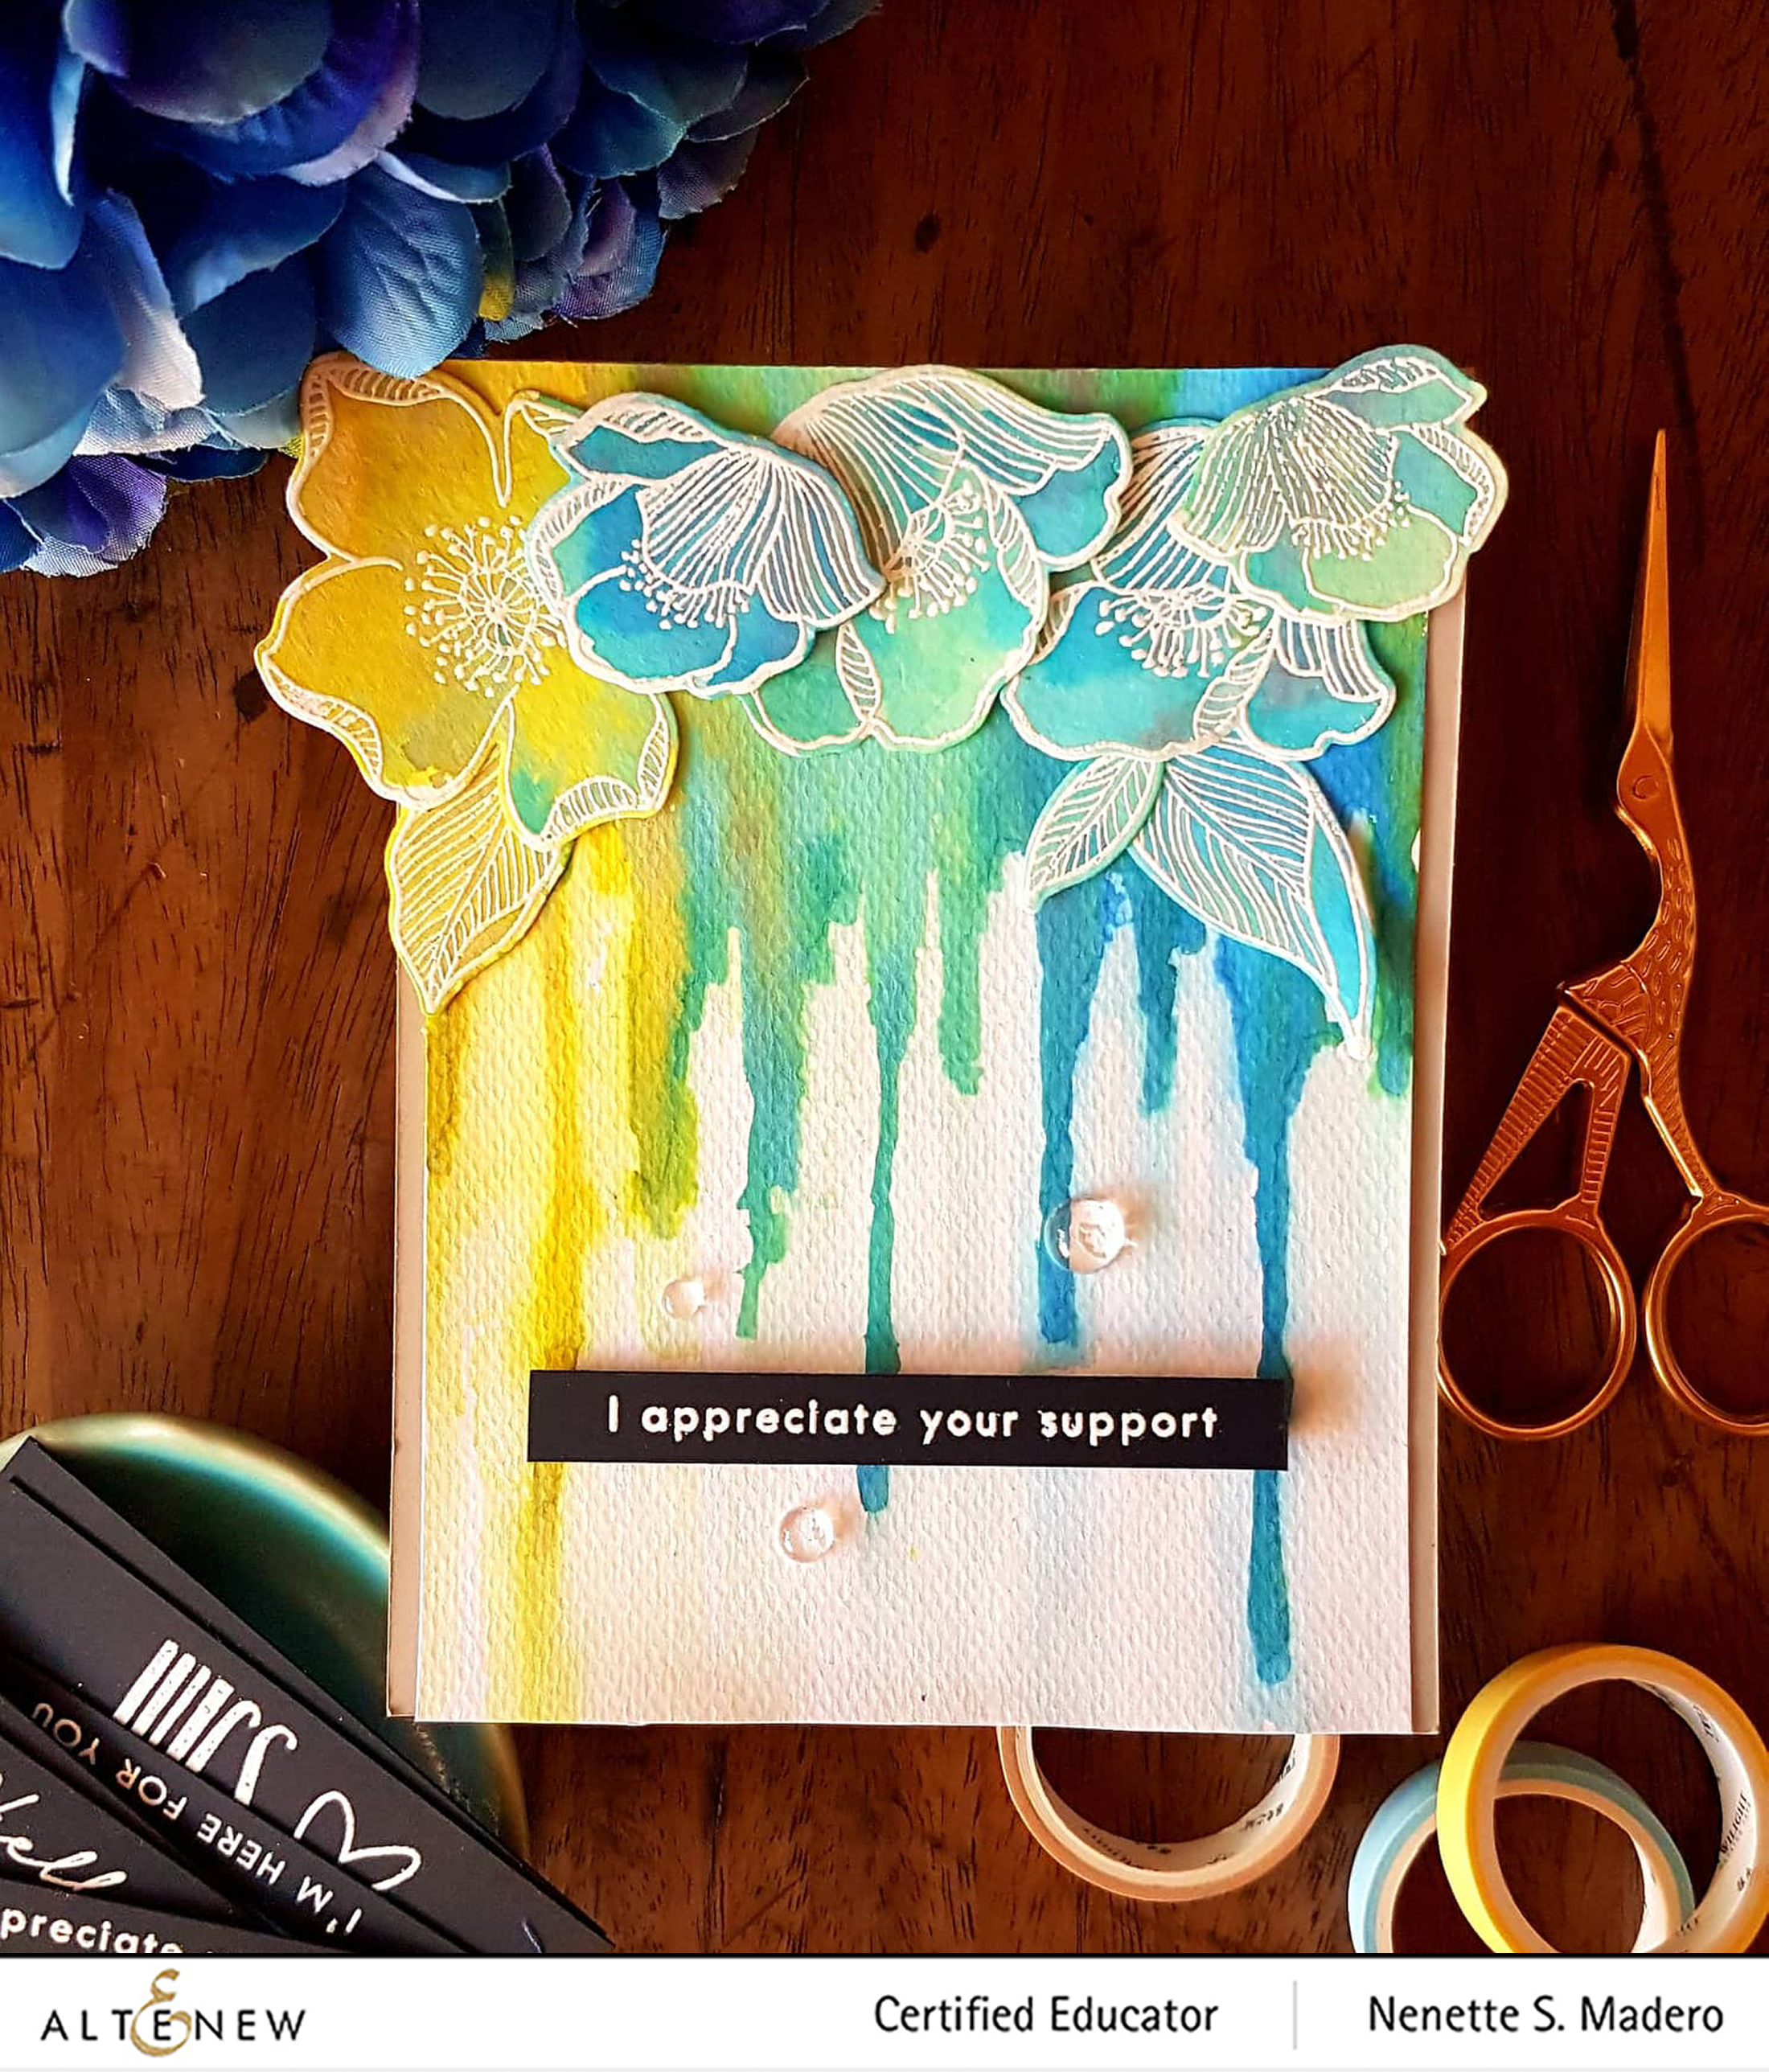
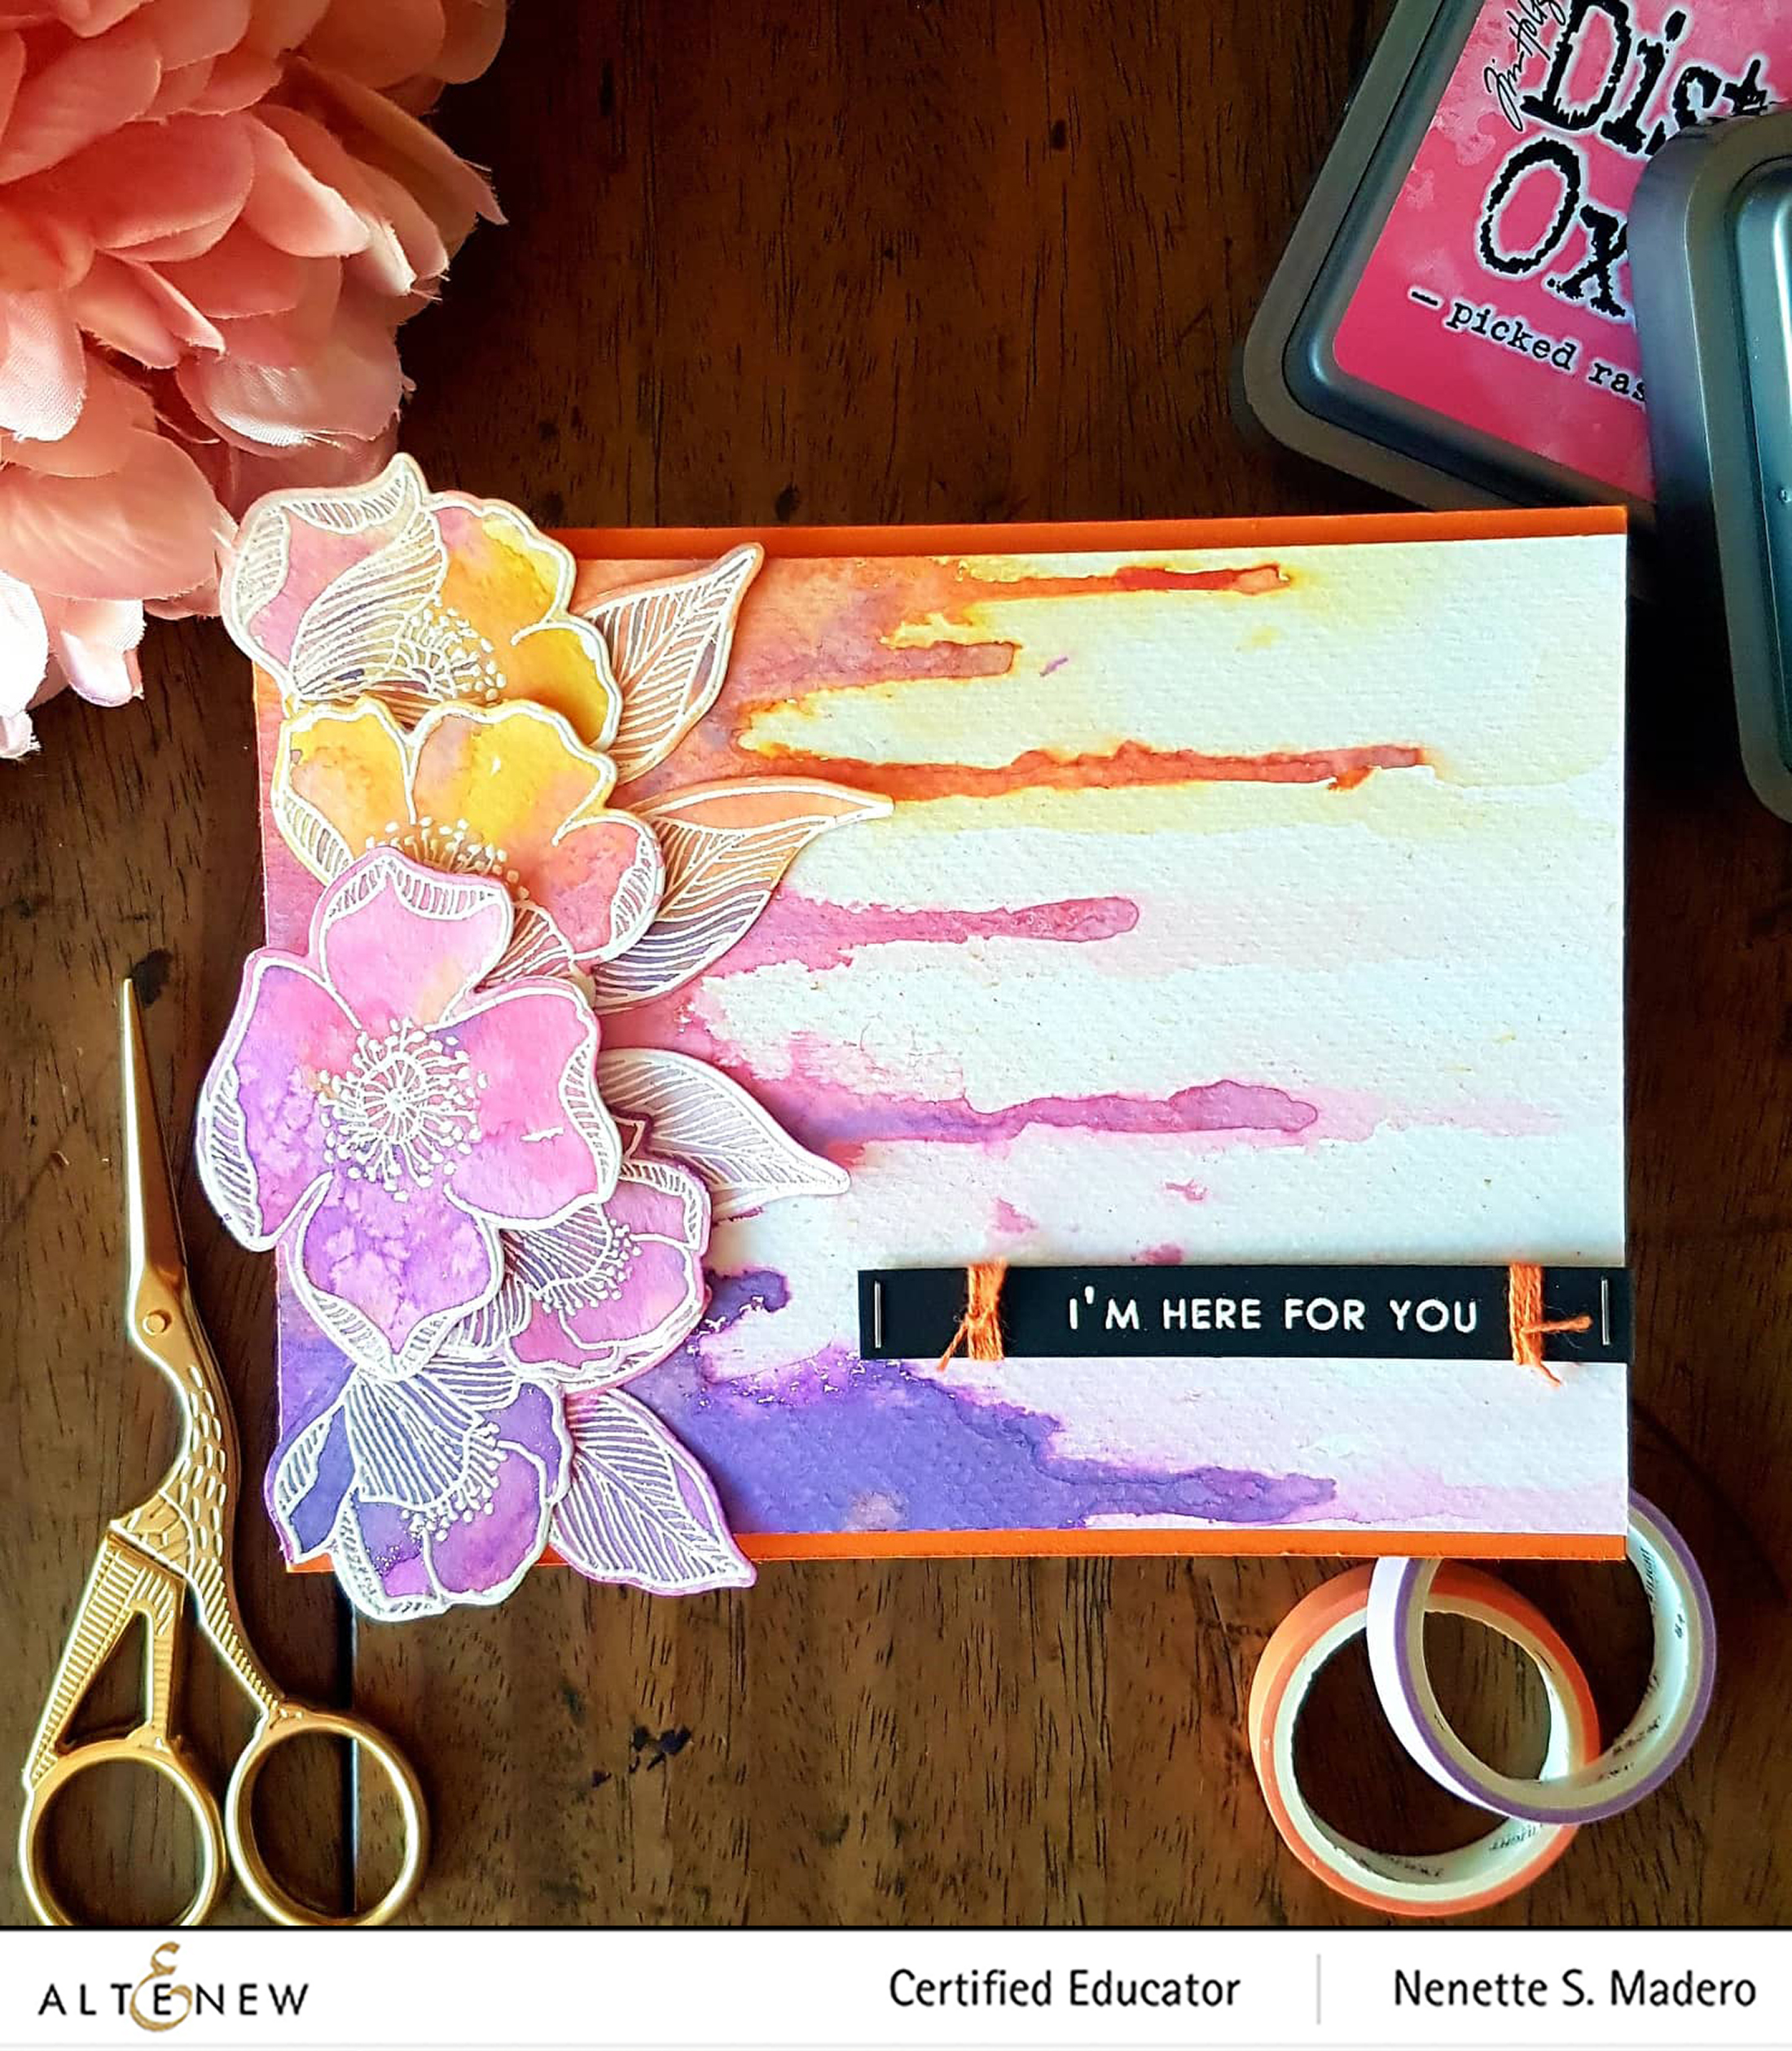
MATERIALS:
- I Adore You Stamp and Die set
- Wonderland Stamp and Forever and Always for sentiments
- Appreciate Your Support card- Fossilized Amber, Tumbled Glass, Salty Ocean and Picked Raspberry Distress Oxide Inks
- I’m Here For You card- Wilted Violet, Picked Raspberry and Ripe Persimmon Distress Oxide Inks
- Fabriano Watercolor cold press 200gsm
- Orange and Grey CS
- Scrapbook Adhesives foam squares
- Tombow Mono Multi Liquid
glue - Studio Katia Clear Round Drop mix
- Tim Holtz Ideology mini stapler
- Thread
I’ve been seeing layouts and card designs with
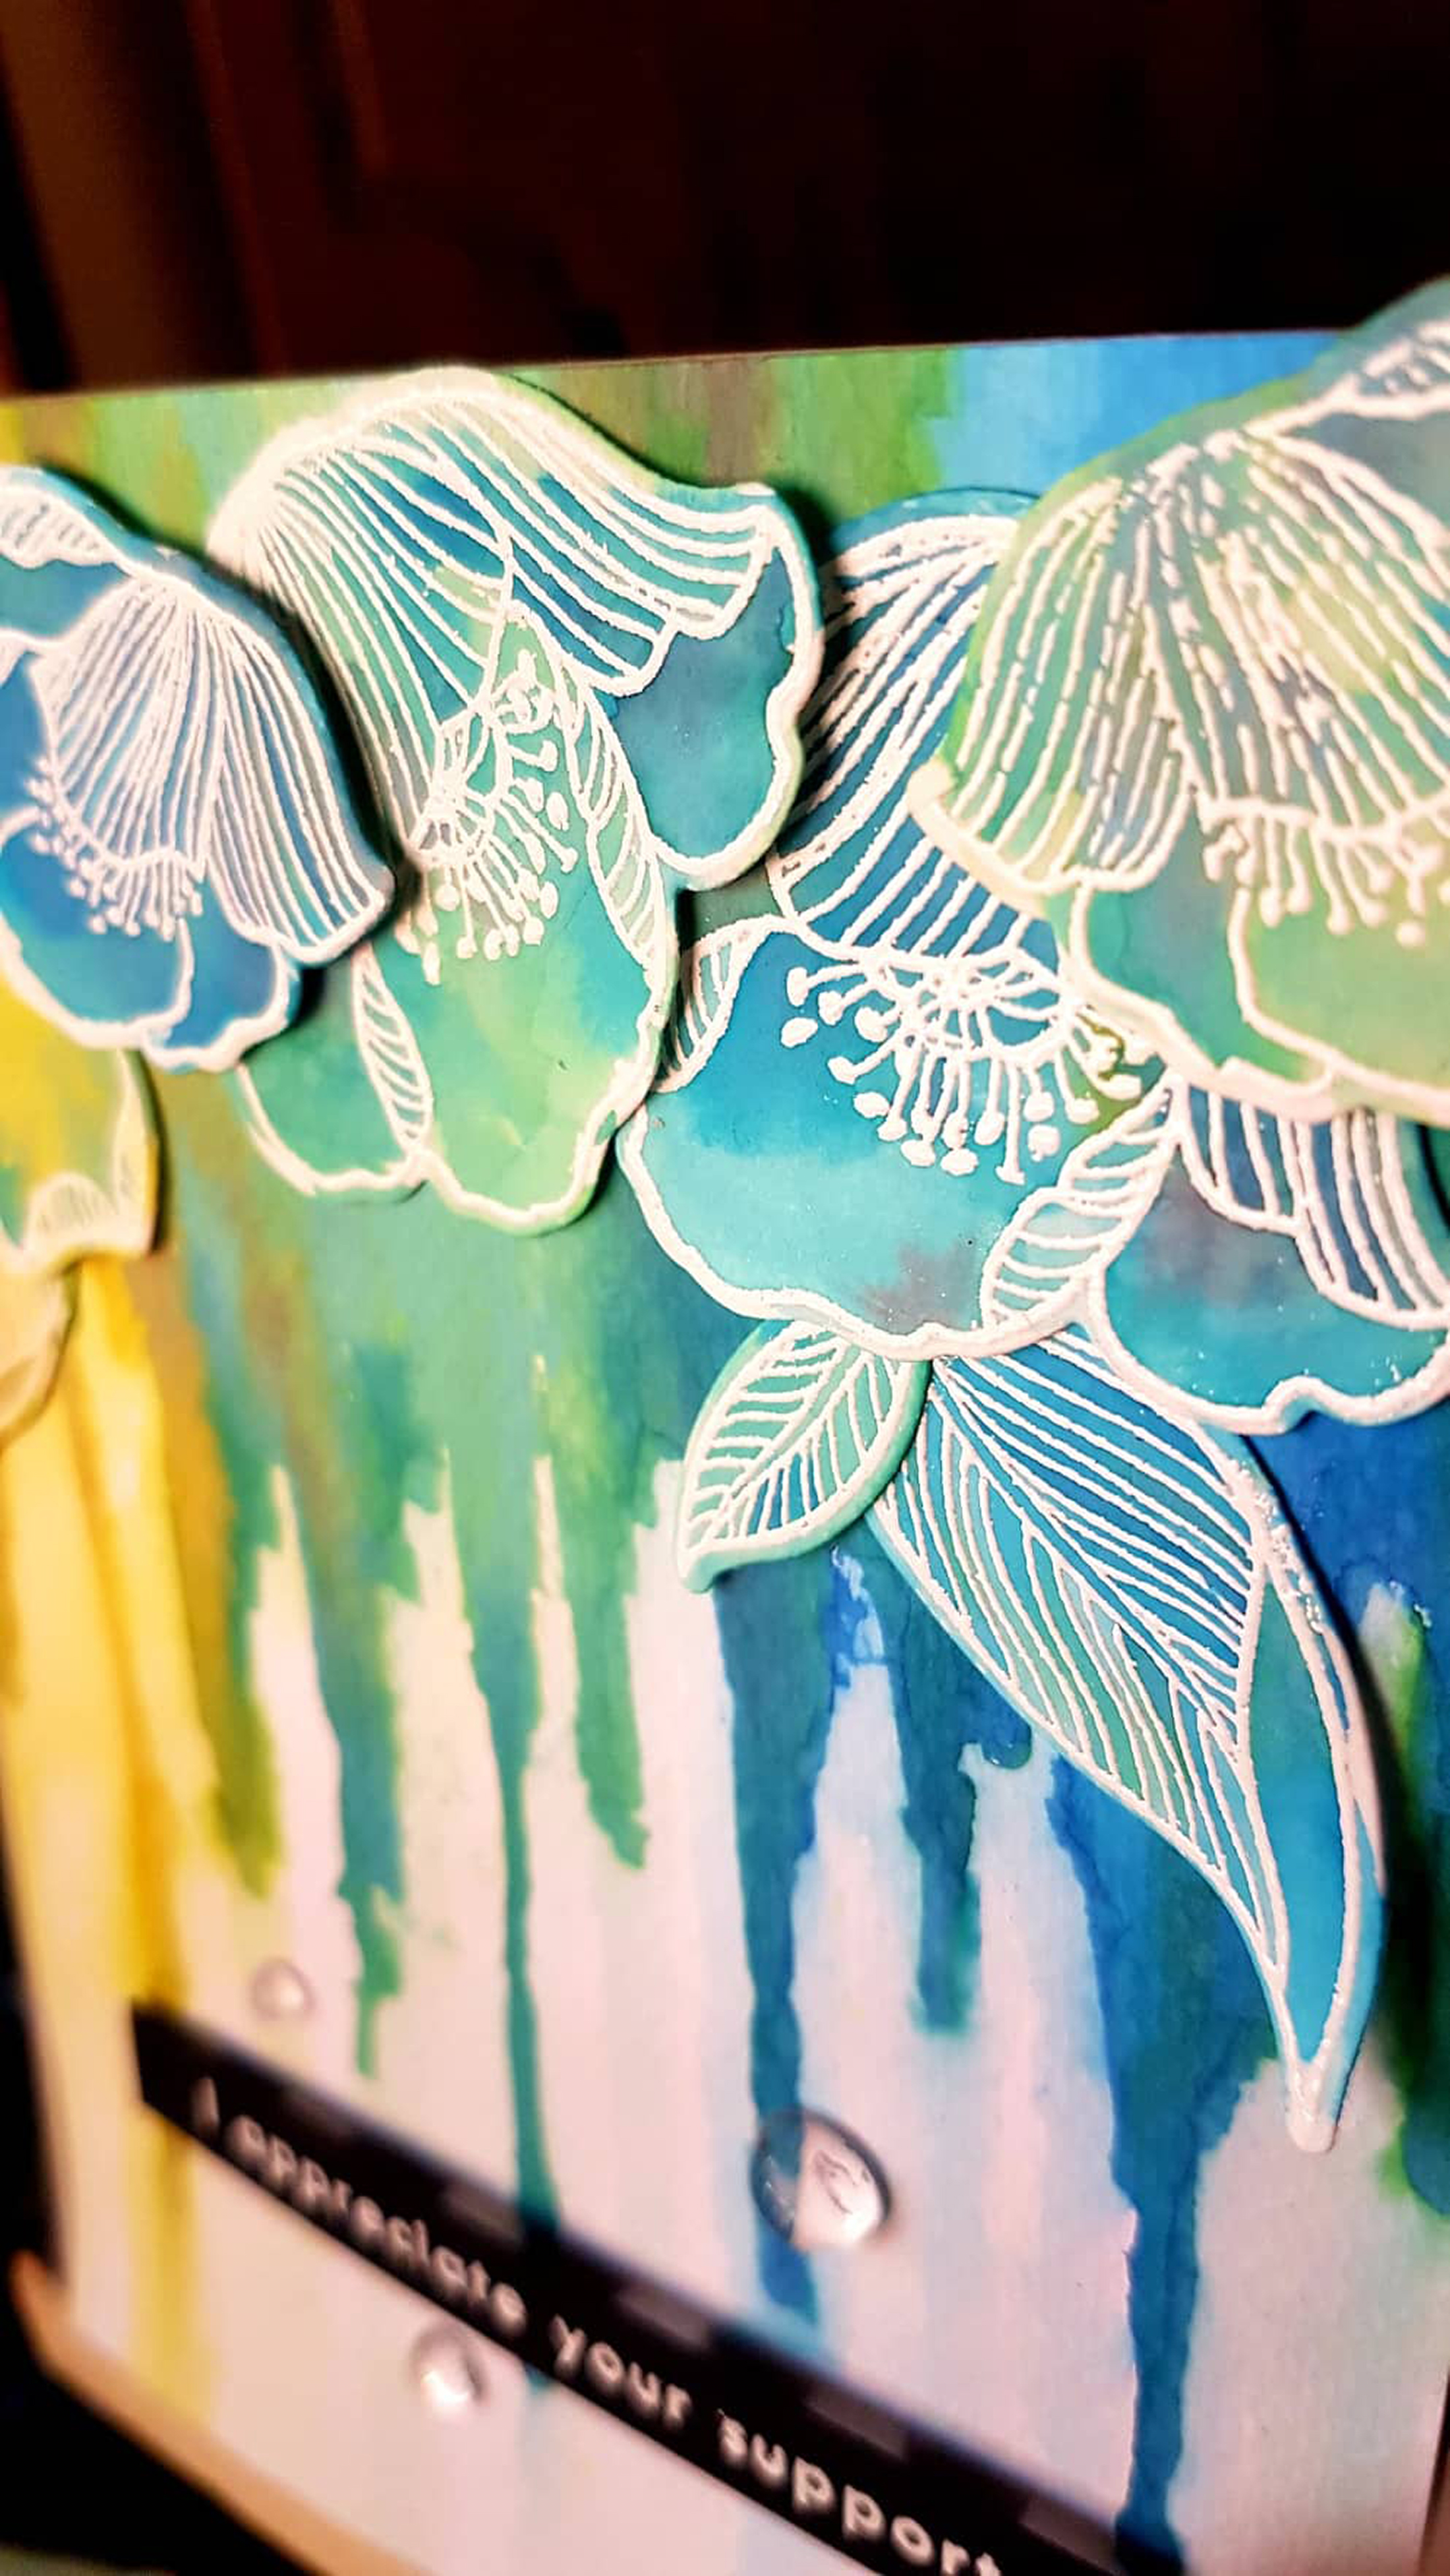
I started out by choosing 3
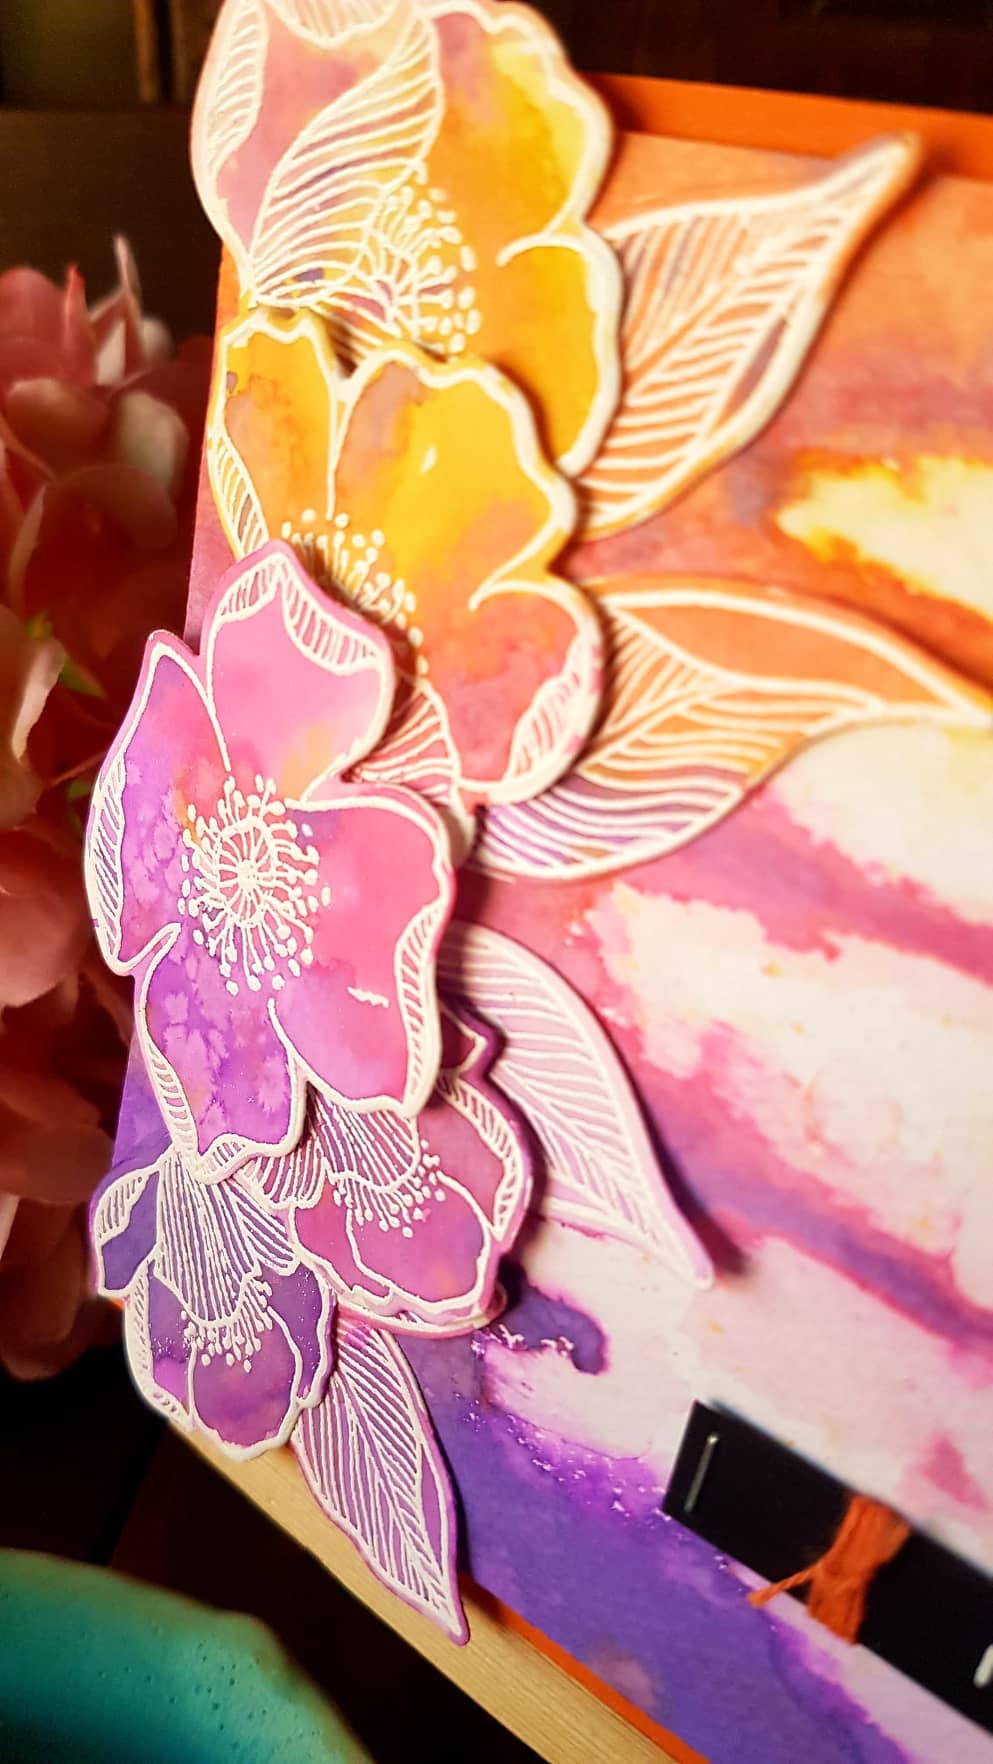
The images were then adhered using glue or foam squares. The sentiment was stamped using Versamark Ink and embossed using Pure White Embossing powder. Clear Round Drop embellishments were added to the cool
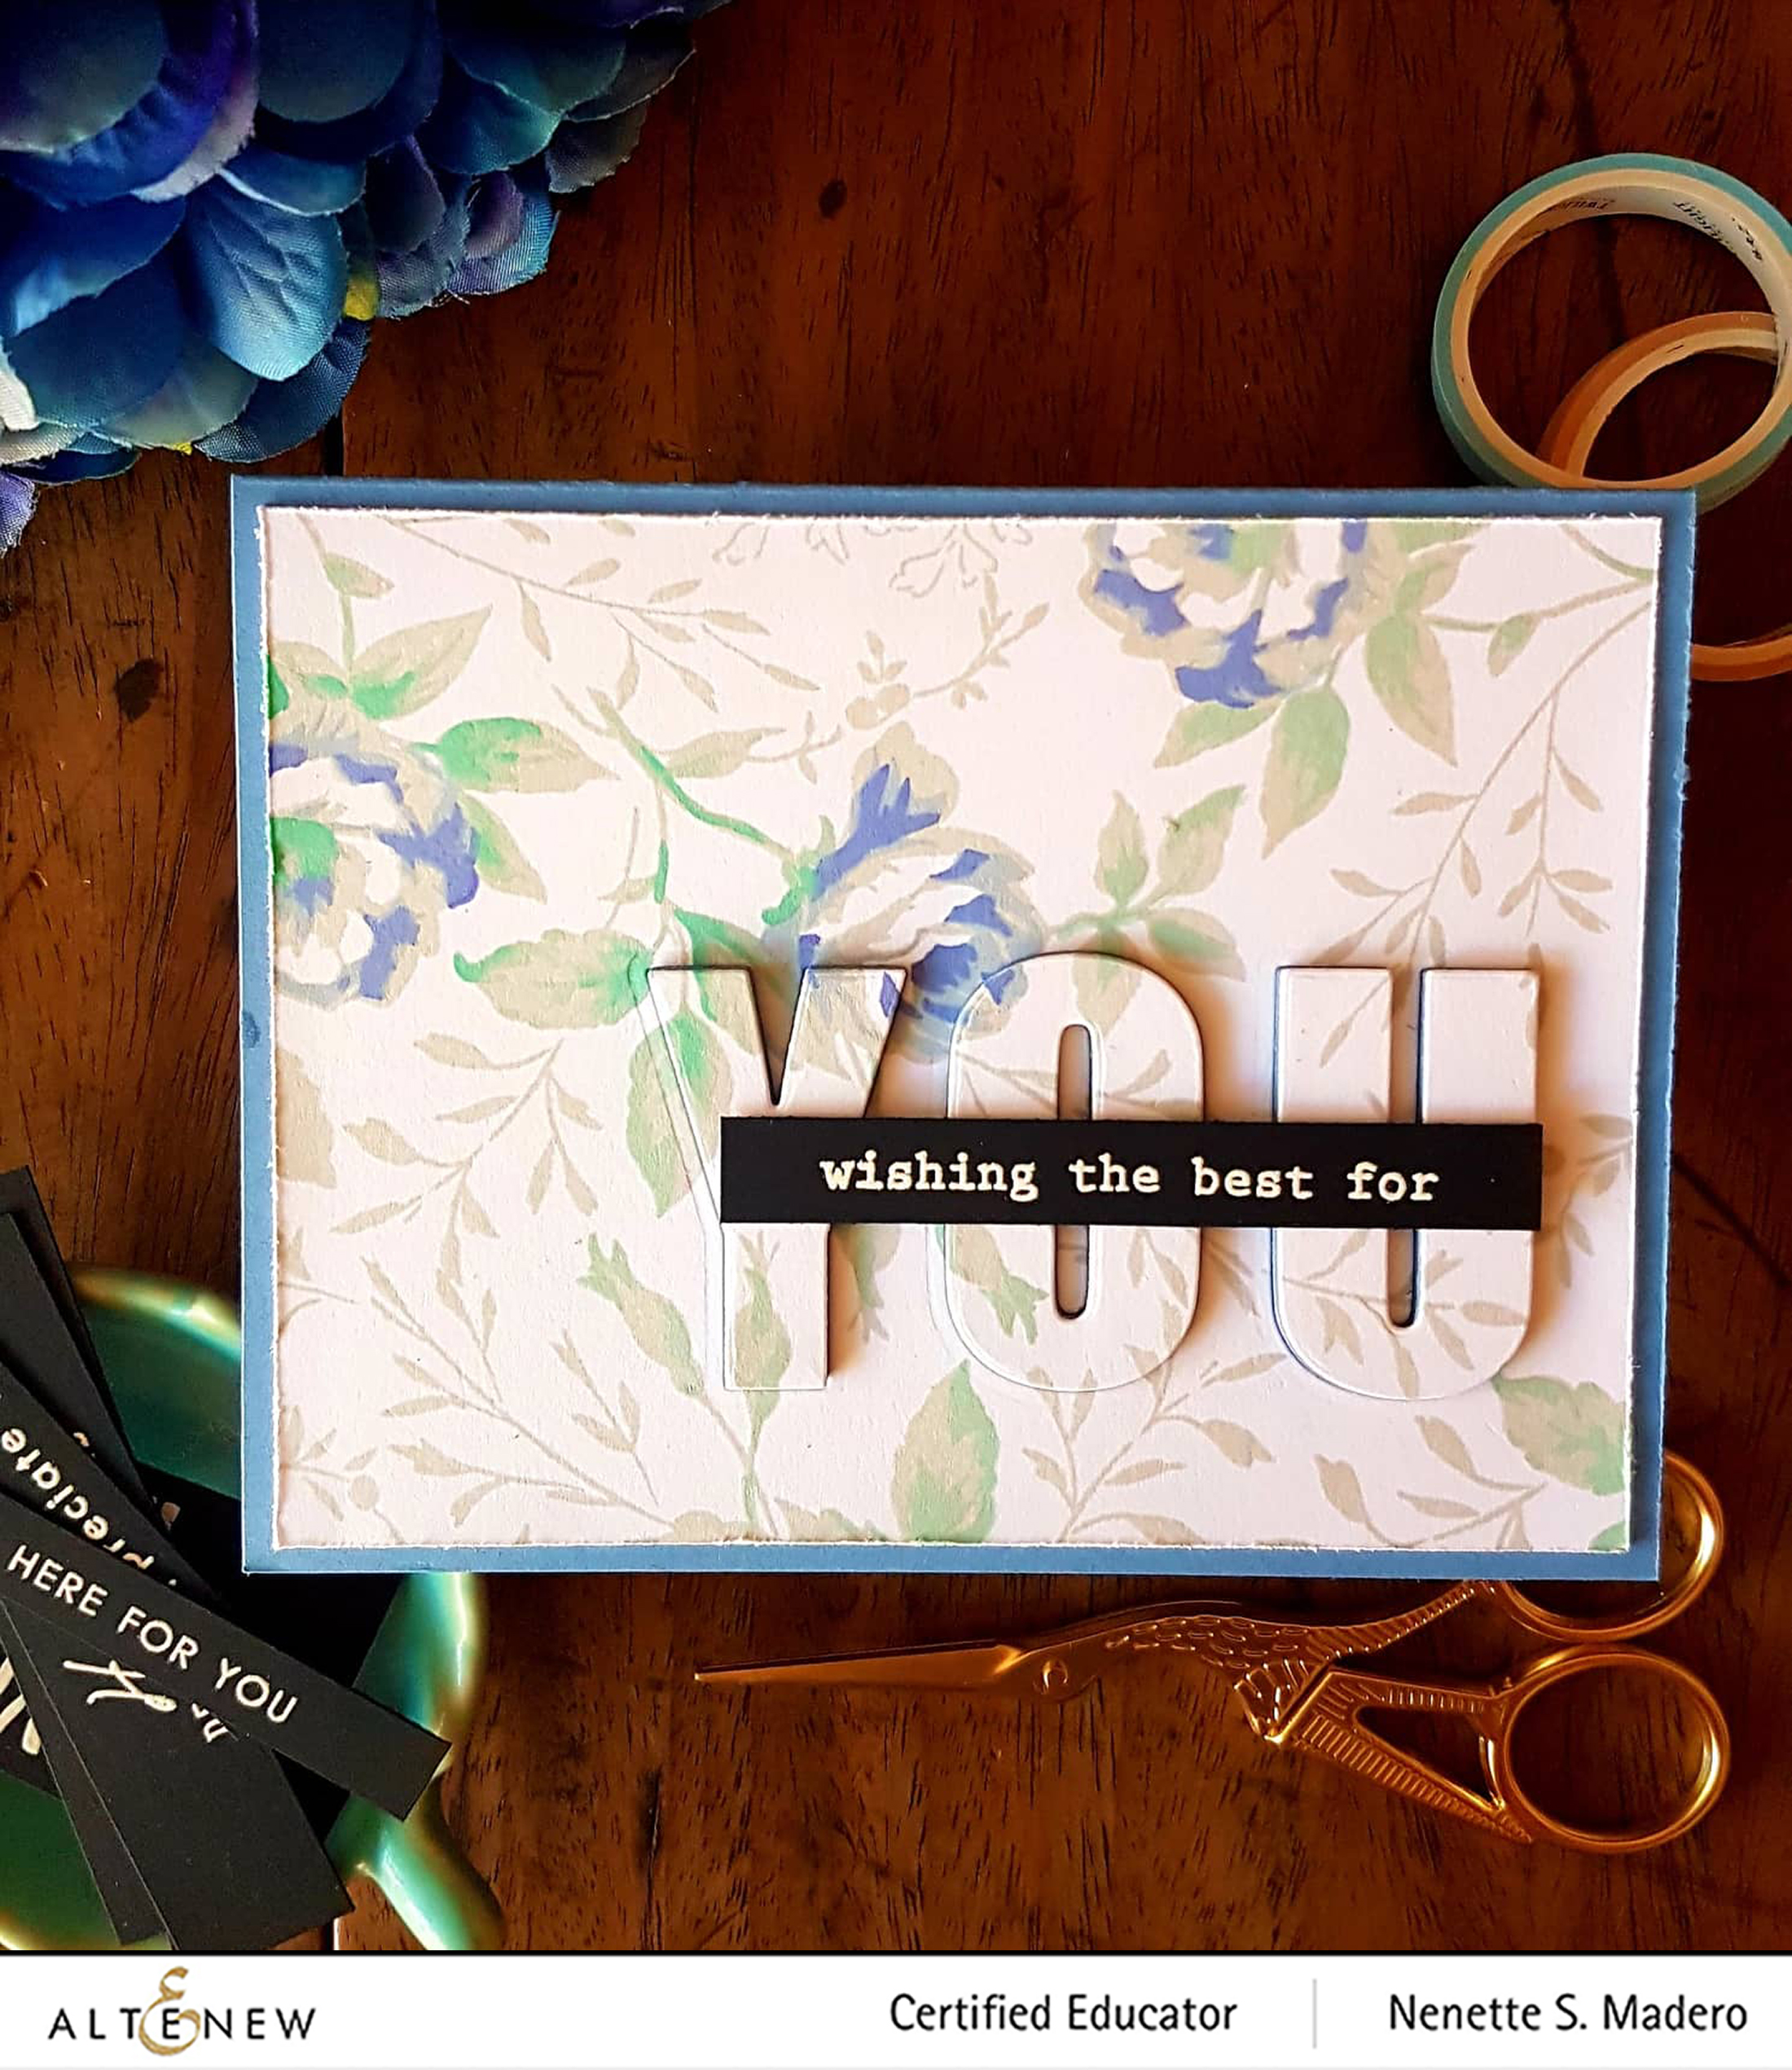
WISHING THE BEST FOR YOU CARD
MATERIALS:
- Altenew Dainty Bouquet stamp set
- Altenew Caps Bold Alpha Dies
- Altenew Limestone, Mountain Mist, Volcano Lake, Iceberg and Eastern Sky Crisp Dye Inks
- Neenah Solar white CS
- Blue CS
- Tomobow Mono Multi Liquid Glue
- Scrapbook Adhesives foam tape
This is another quick and easy card to create. I first created a background. This stamp set is so dainty and soft so I wanted to create a card that represents this stamp set. The images were stamped to cover the entire cardstock. For the shadow stamp, Limestone dye ink was used to keep it soft. The Mountain Mist and Volcano Lake were layered using the leaves and stem stamp sets then the Iceberg and Eastern Sky dye inks were used for the flowers.
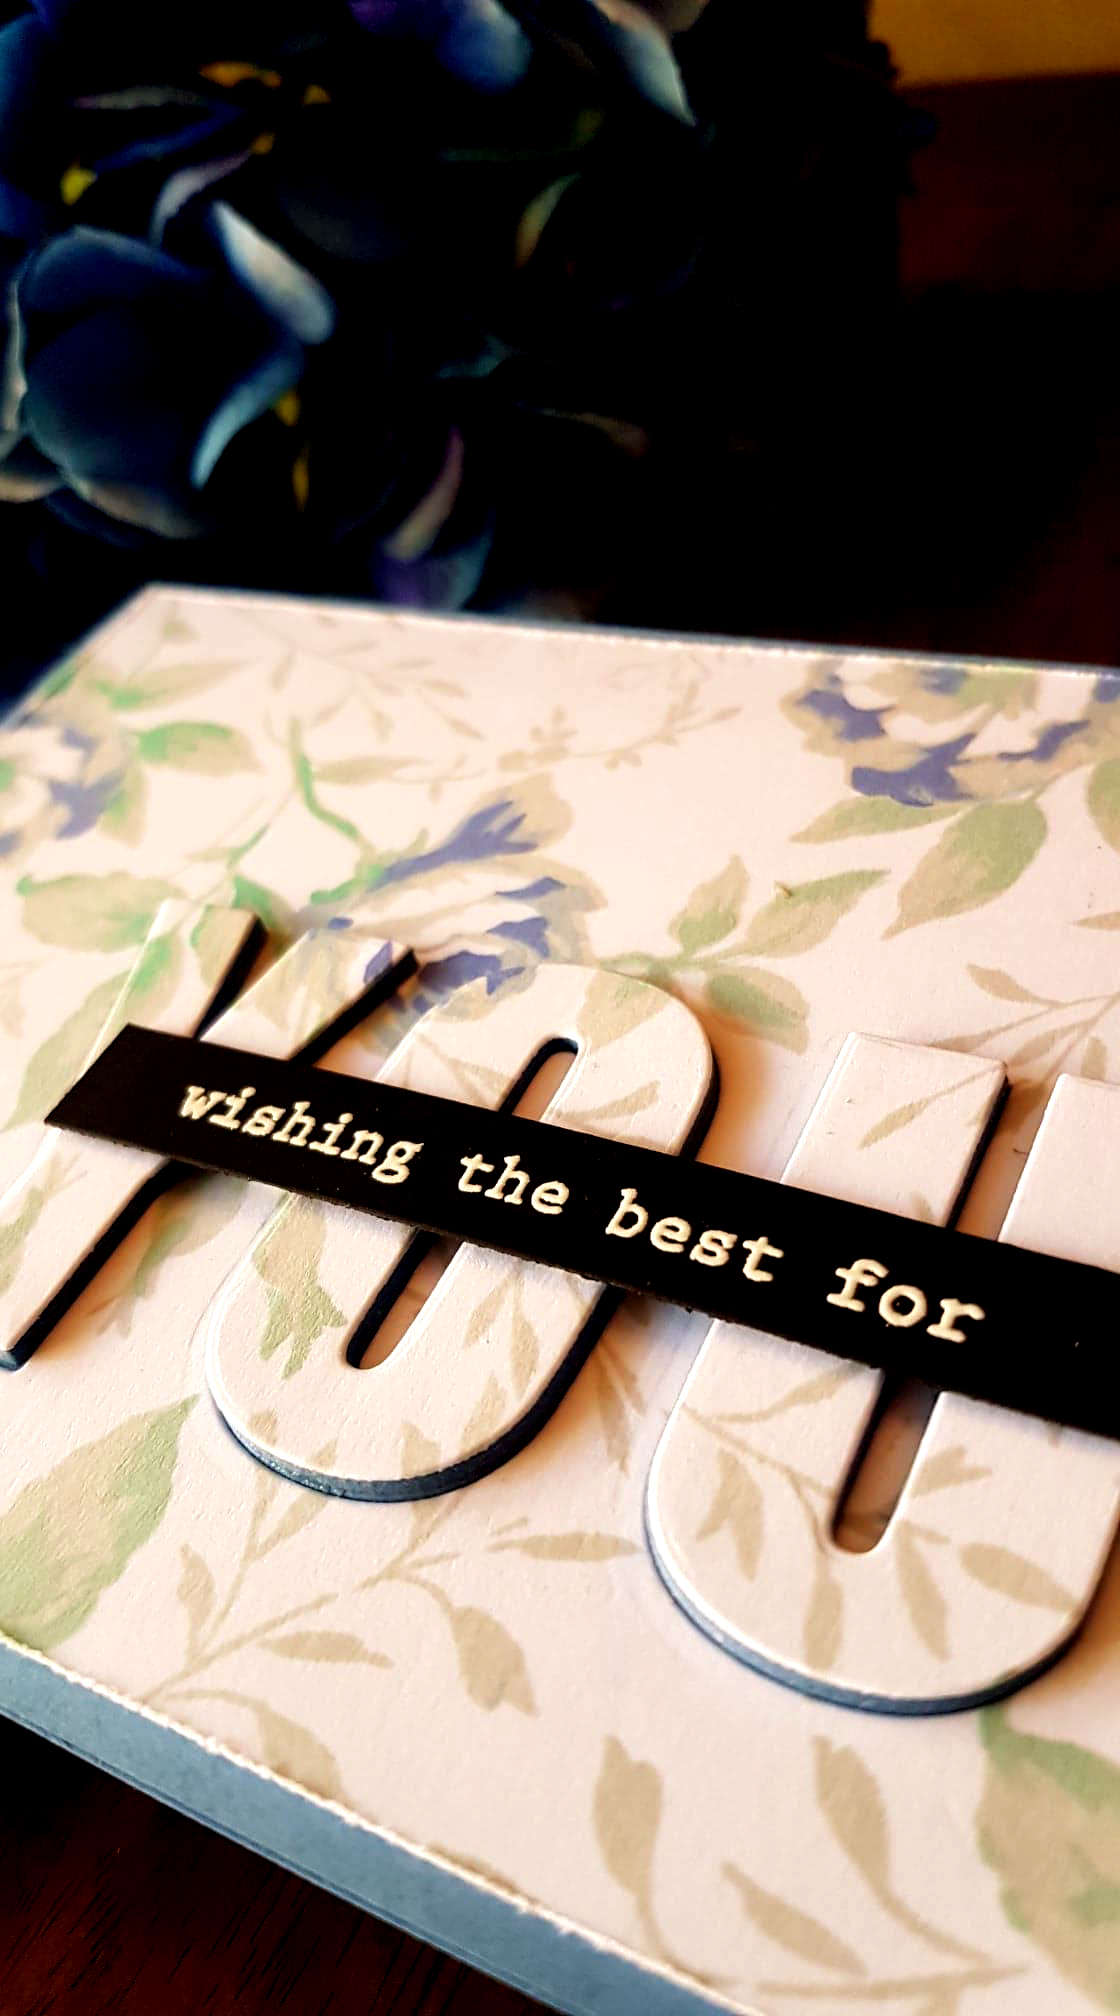
The letters Y, O and U from the Caps Bold Alpha was used to die cut the word on the lower right side of the card. Additional letters were die cut on plain CS and layered to add dimension. The sentiment from the You
DISCOUNTS AND PRIZES

To celebrate this blog hop and to encourage more people to join, Altenew is giving away
Altenew is giving away a $30 gift certificate to 3 lucky winners! Please leave a comment on the Altenew Blog by 7/26/2019 for a chance to win.
We’ll also draw a winner to receive a $15 gift certificate from the comments left on each designer’s blog on the blog hop list below. All winners will be announced on the Altenew blogs on 7/30/2019.
In case you are lost, here is the HOP ORDER:
- Altenew Card Blog
- Terri Marie Koszler
- Michelle Ochoa Murray
- Maryam Sharara
- Amber Rain Davis
- Irina Fonina
- Teri Wilson
- Francine Dodwell
- Patty Mello
- Nenette S. Madero <–YOU ARE HERE
- Vicki Finger
- Rosie Neustaedter
- Nandini Karmarkar
- Amy Hill
- Christine Pennington
- Erum Tasneem
If you liked these cards, I would appreciate it if you can subscribe to my blog and follow me on Instagram @mylittleatticstudio. <3 Do leave a comment below and get a chance to win some giveaway prizes!
Next stop is the talented Vicki Finger! Thanks again for dropping by! ❤️

