")

Hello, friends! Welcome to my blog! Thanks so much to my talented friend SathyaKala Sankaran for sending everybody over. For more information regarding this hop, make sure to drop by the Altenew Blog.
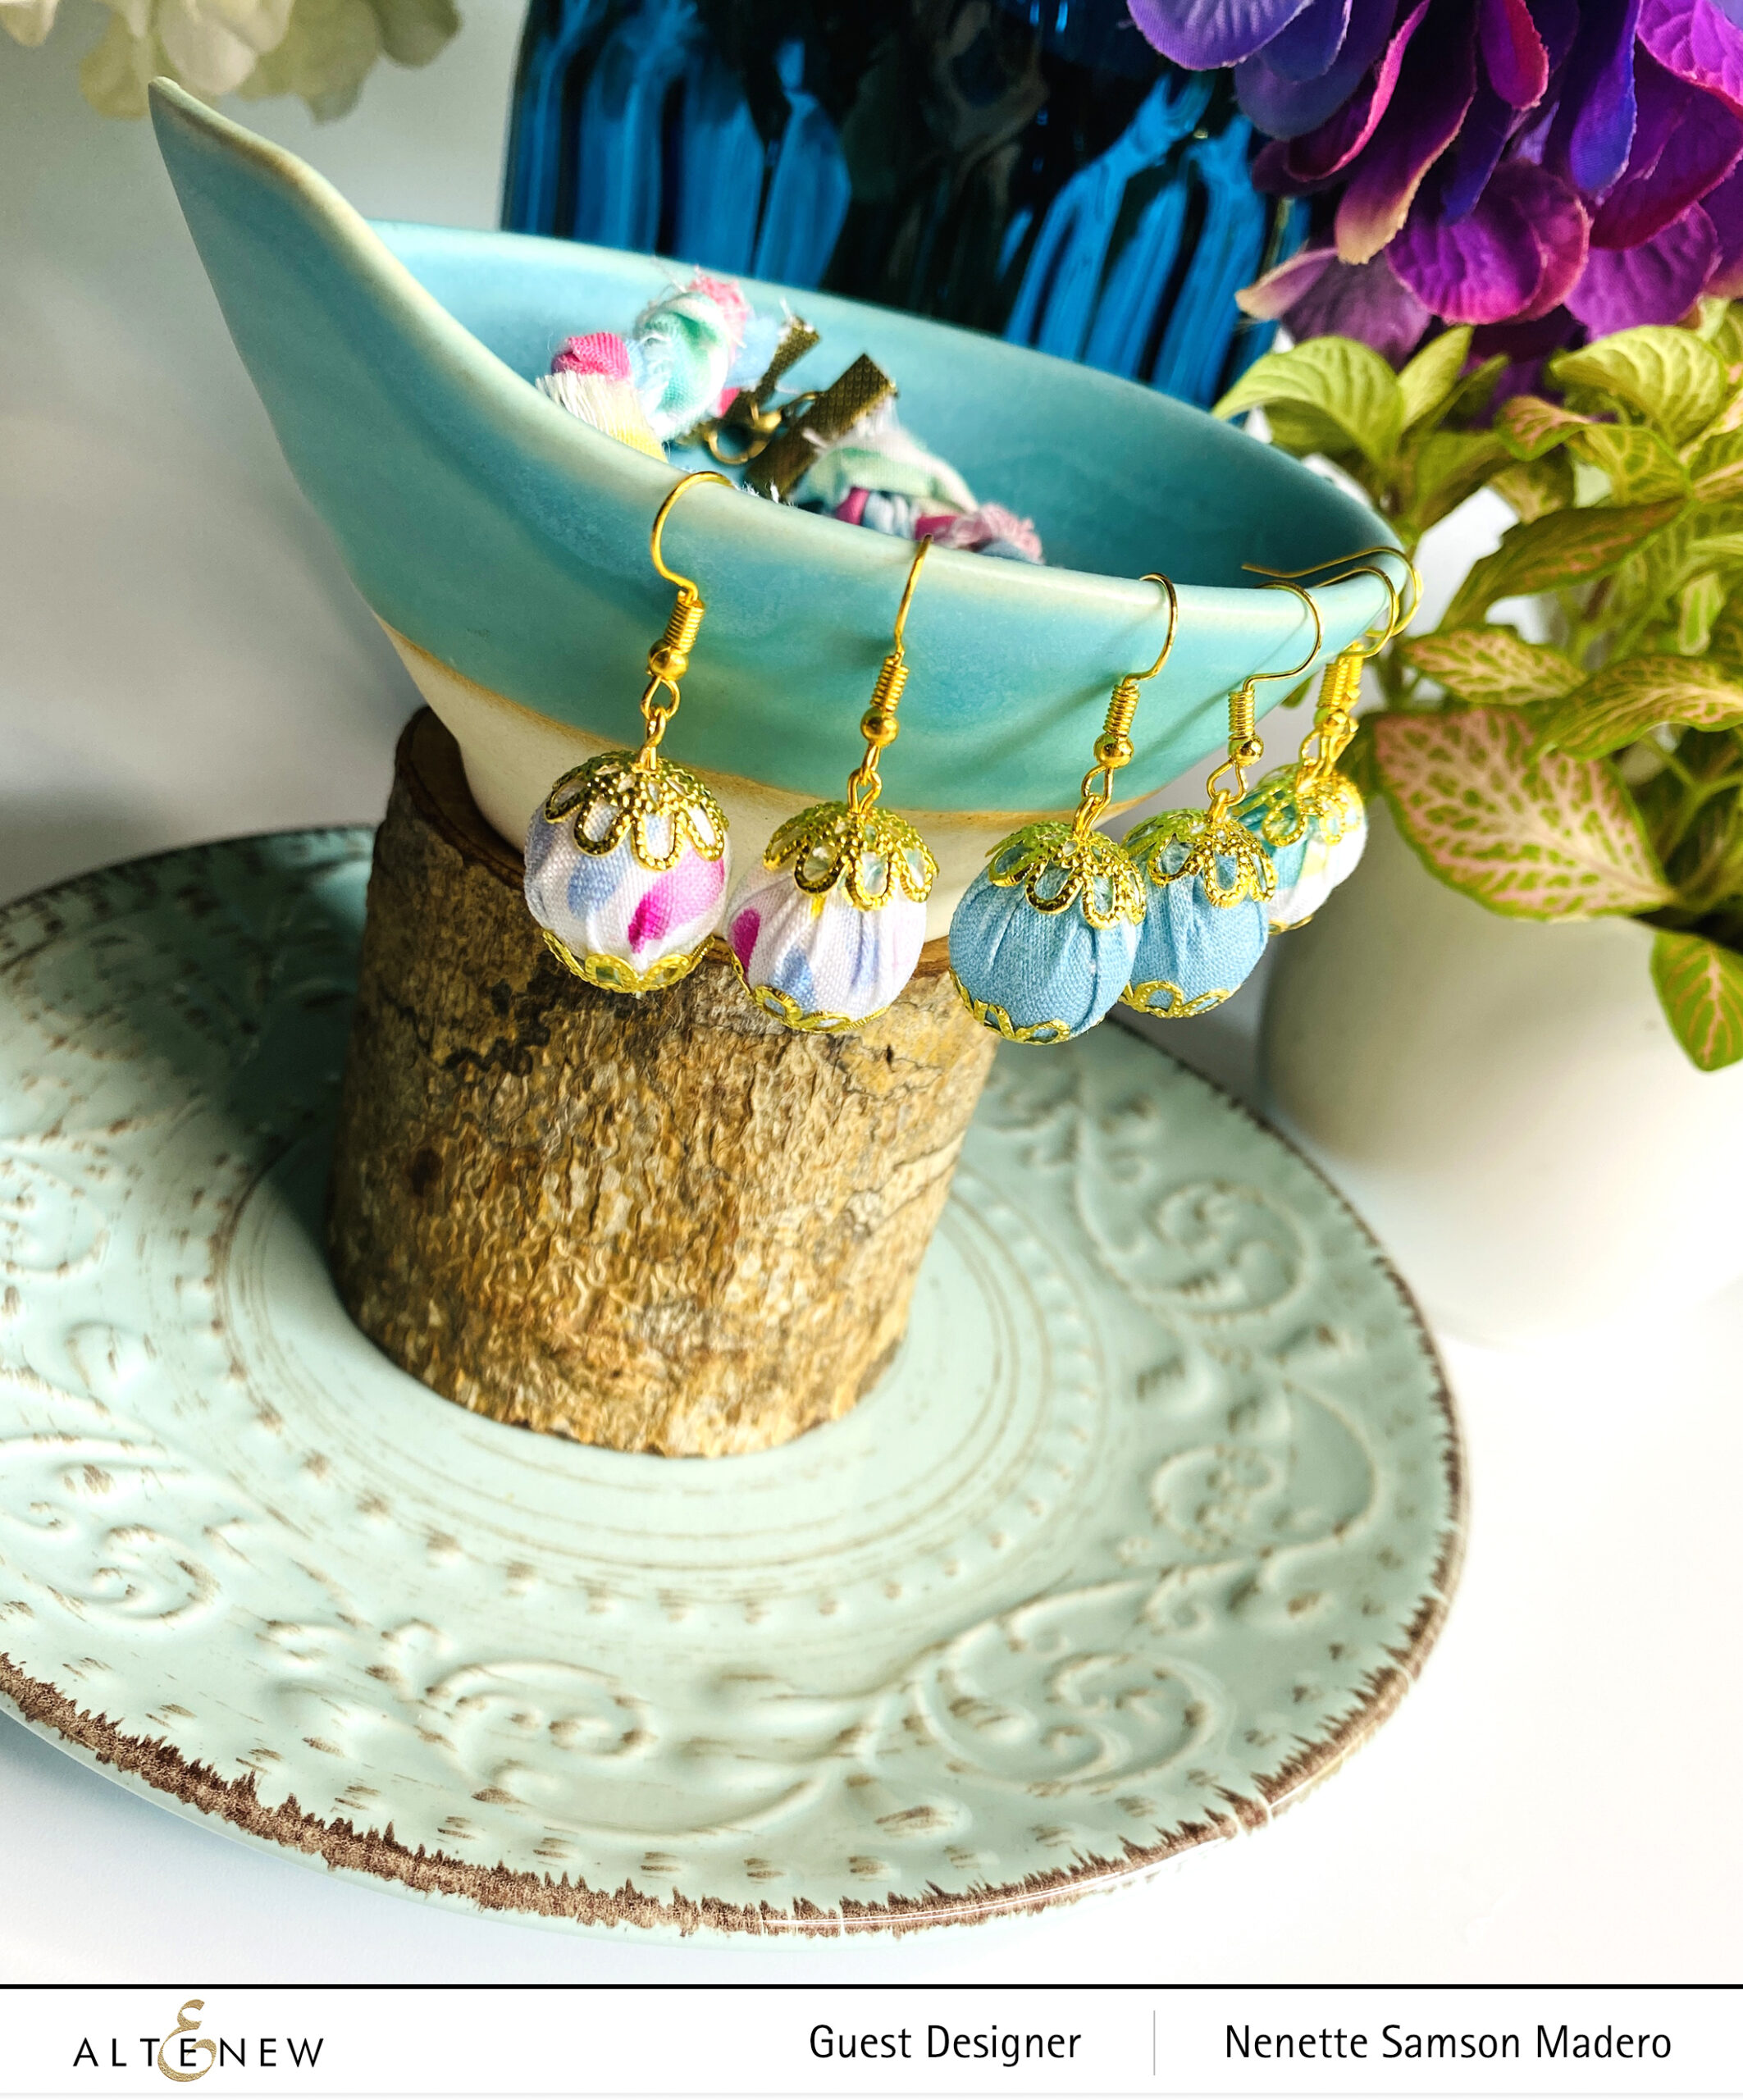
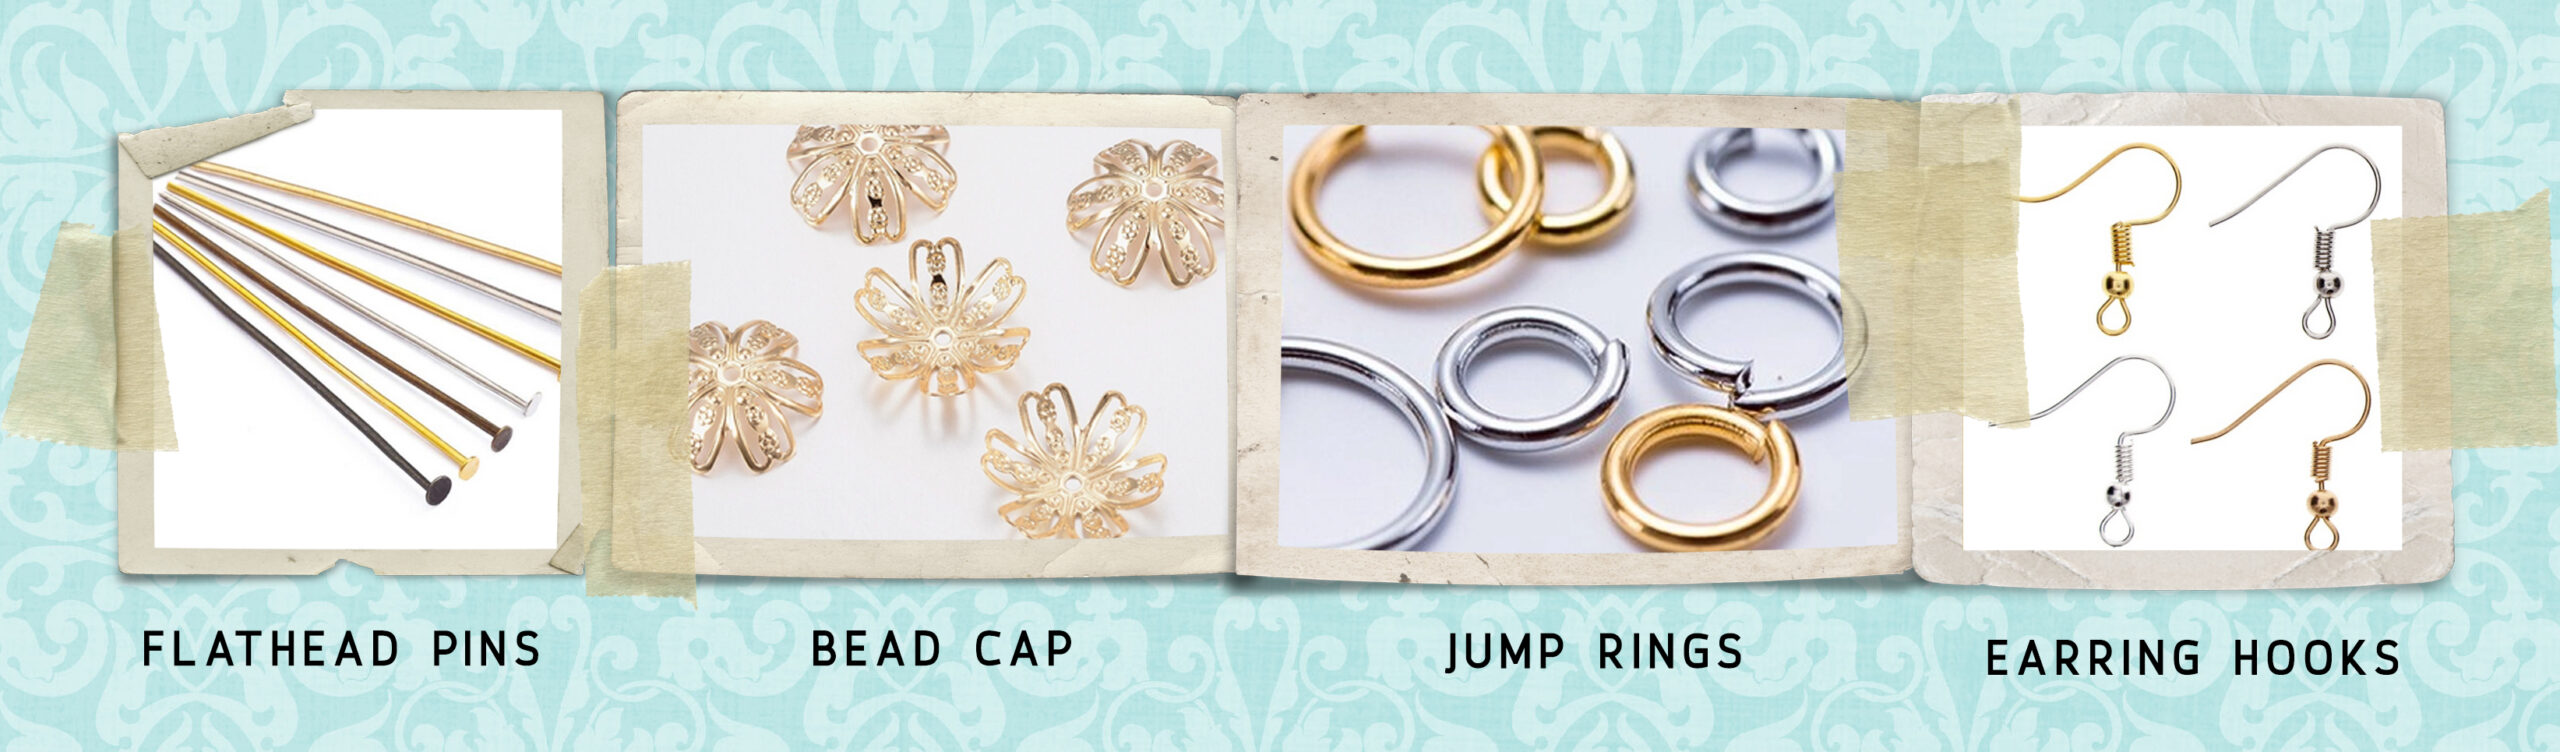
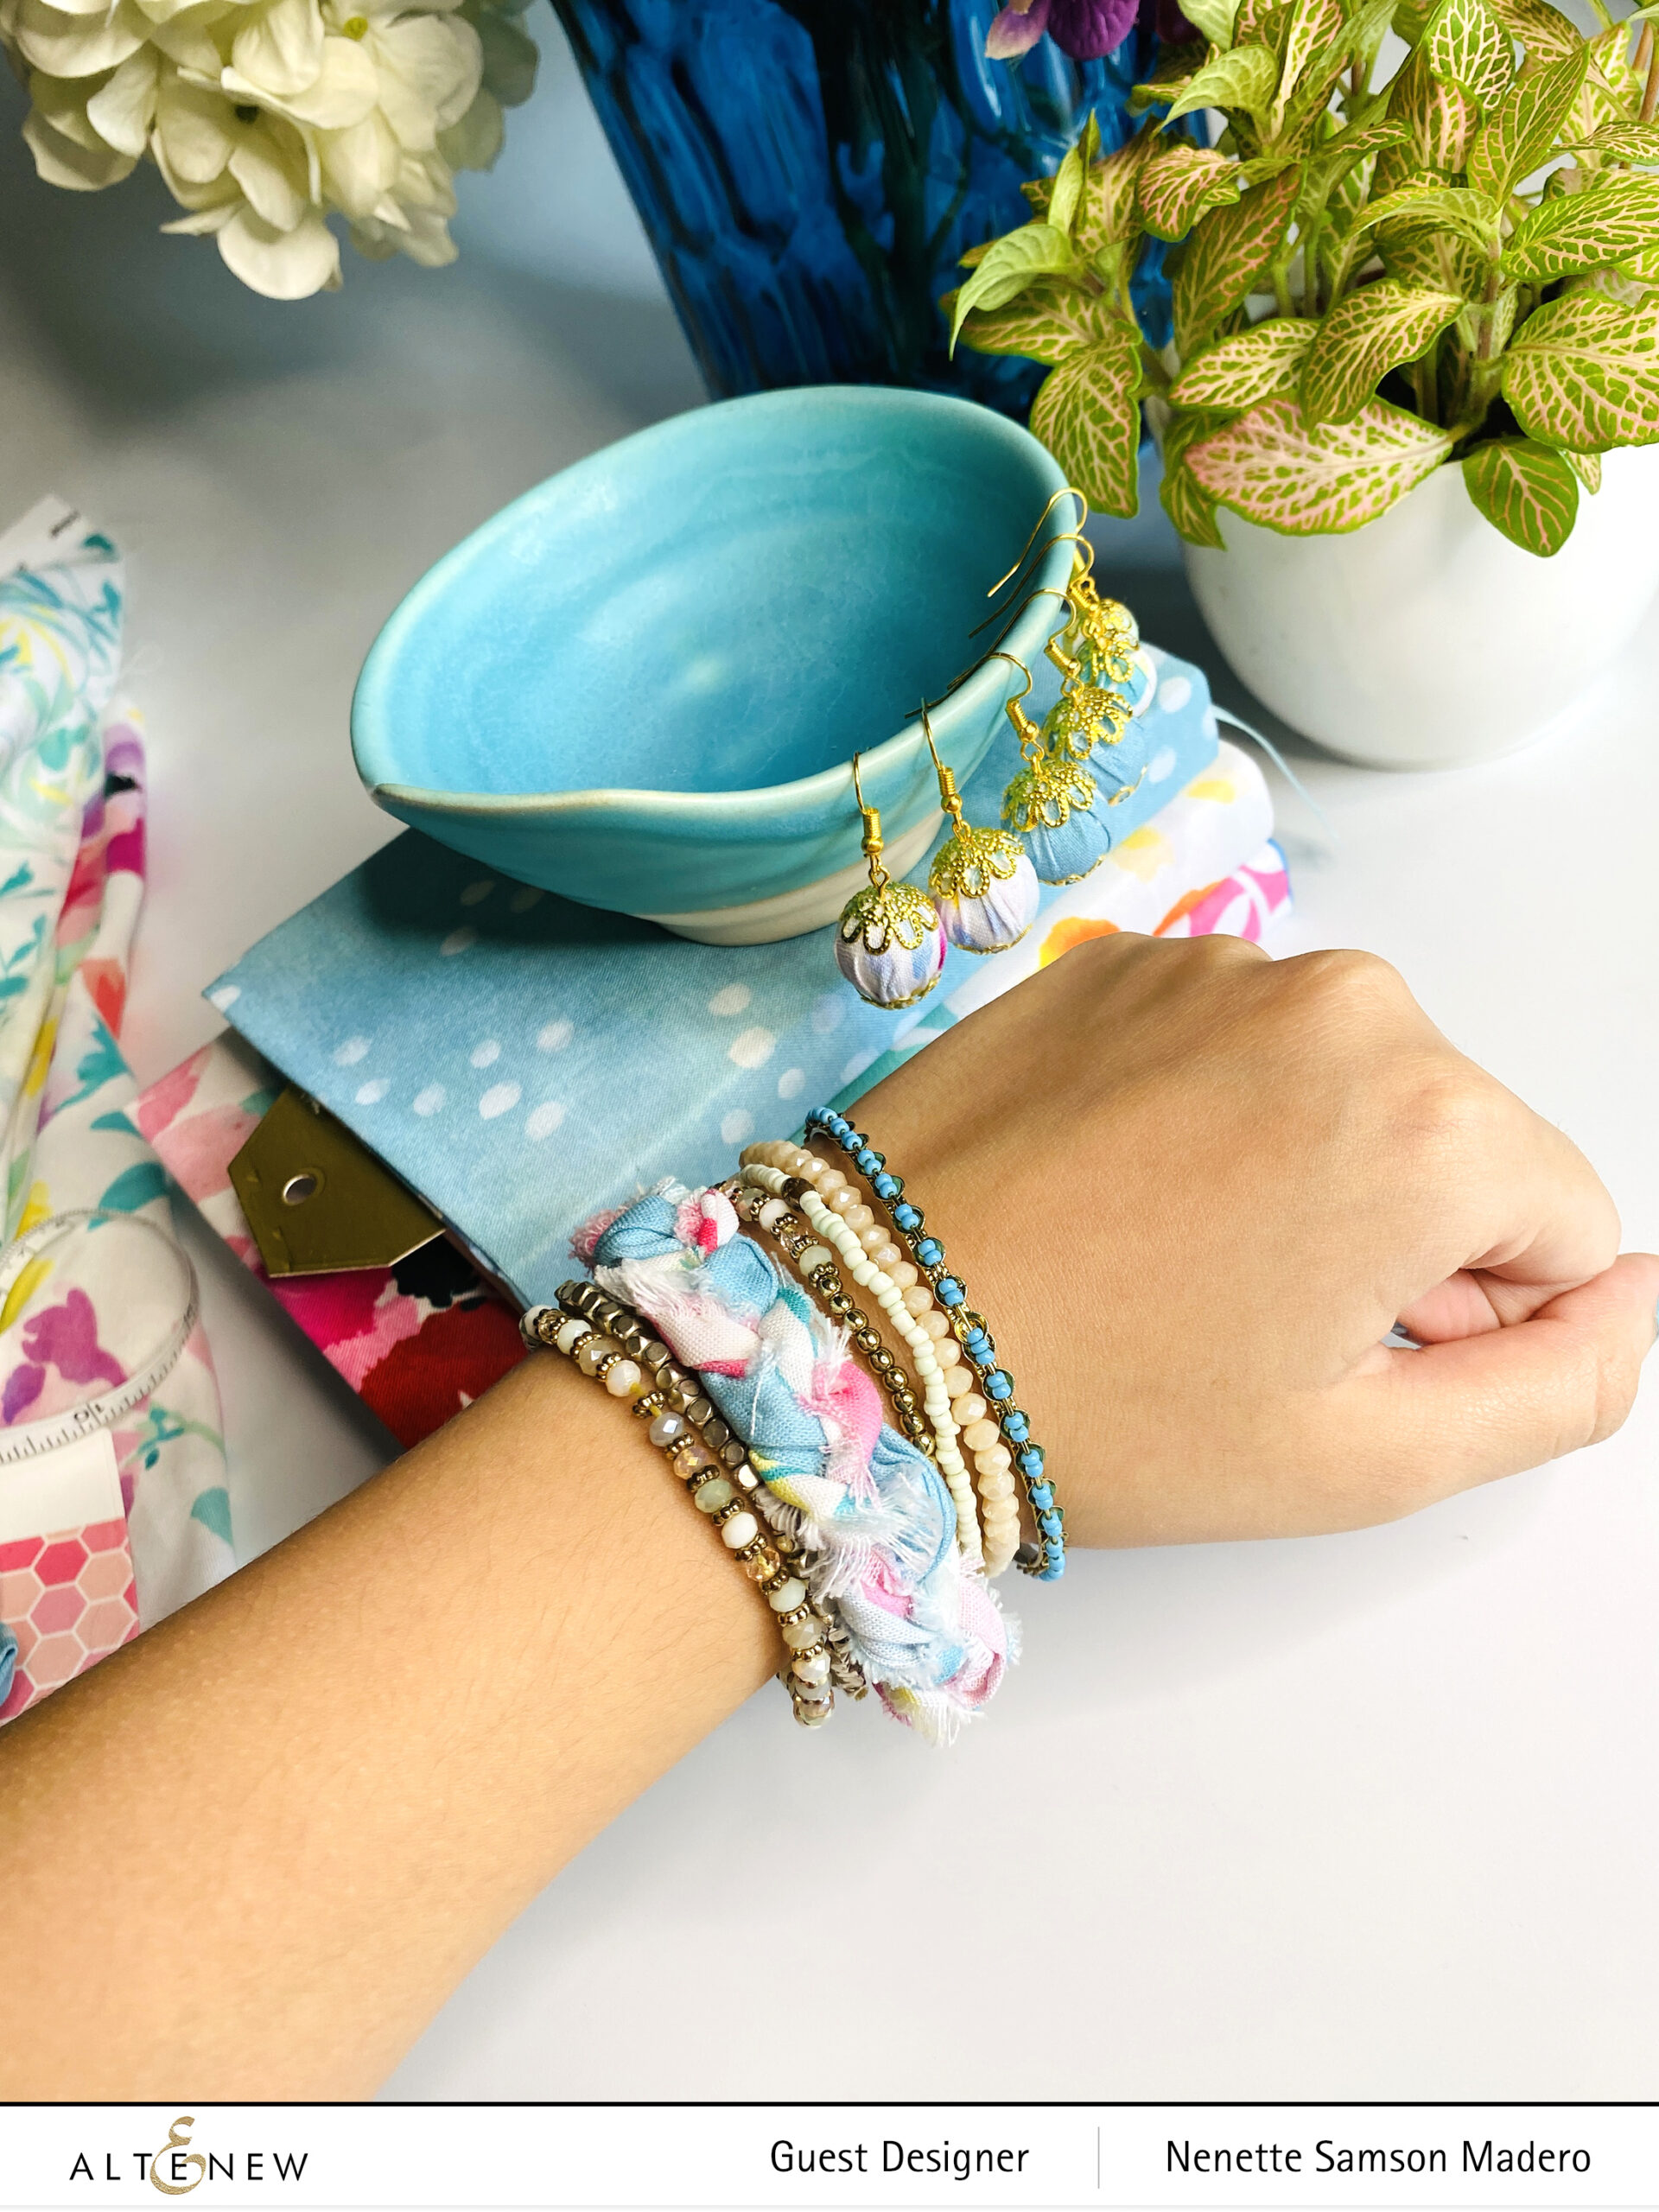
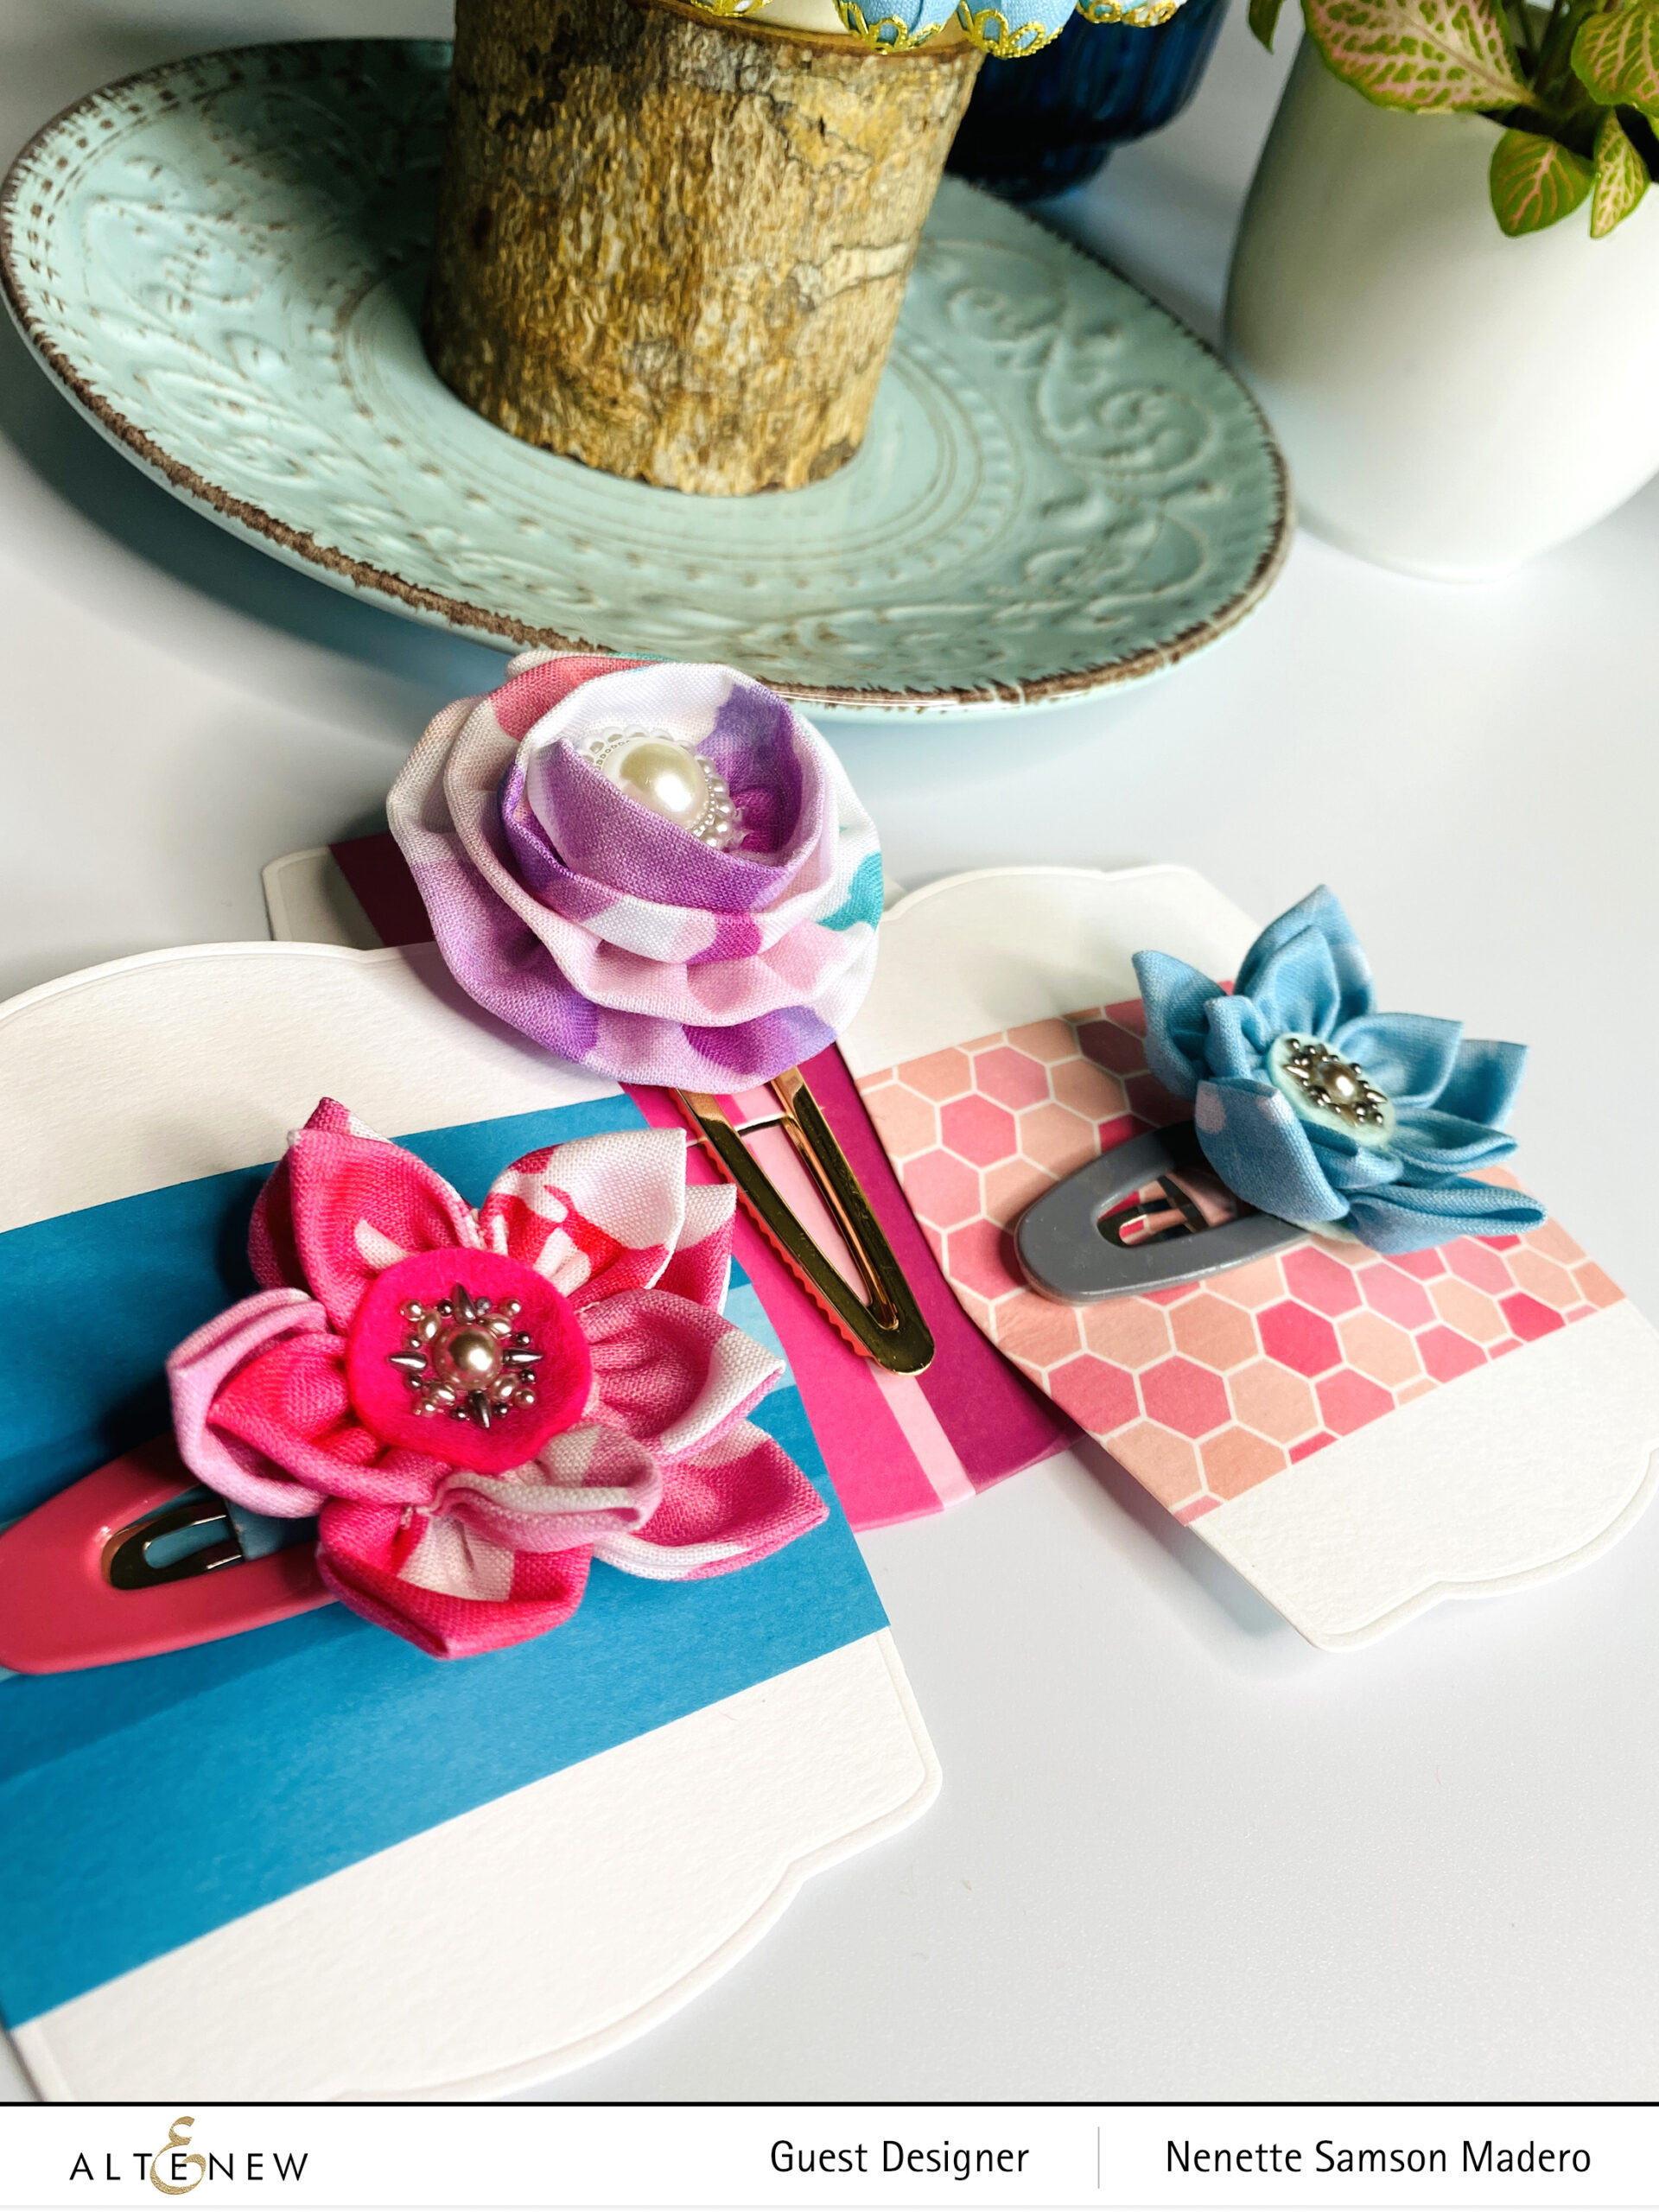
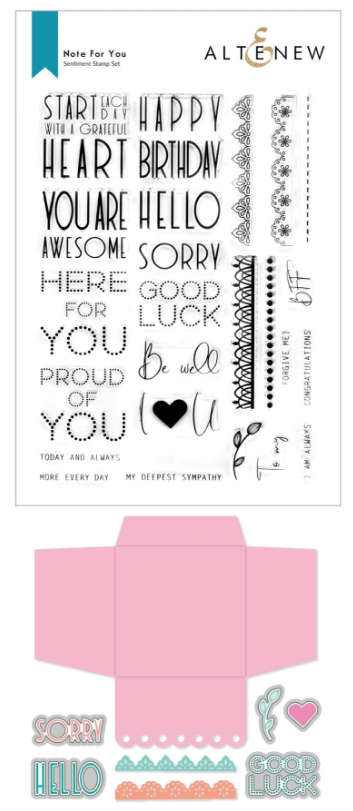
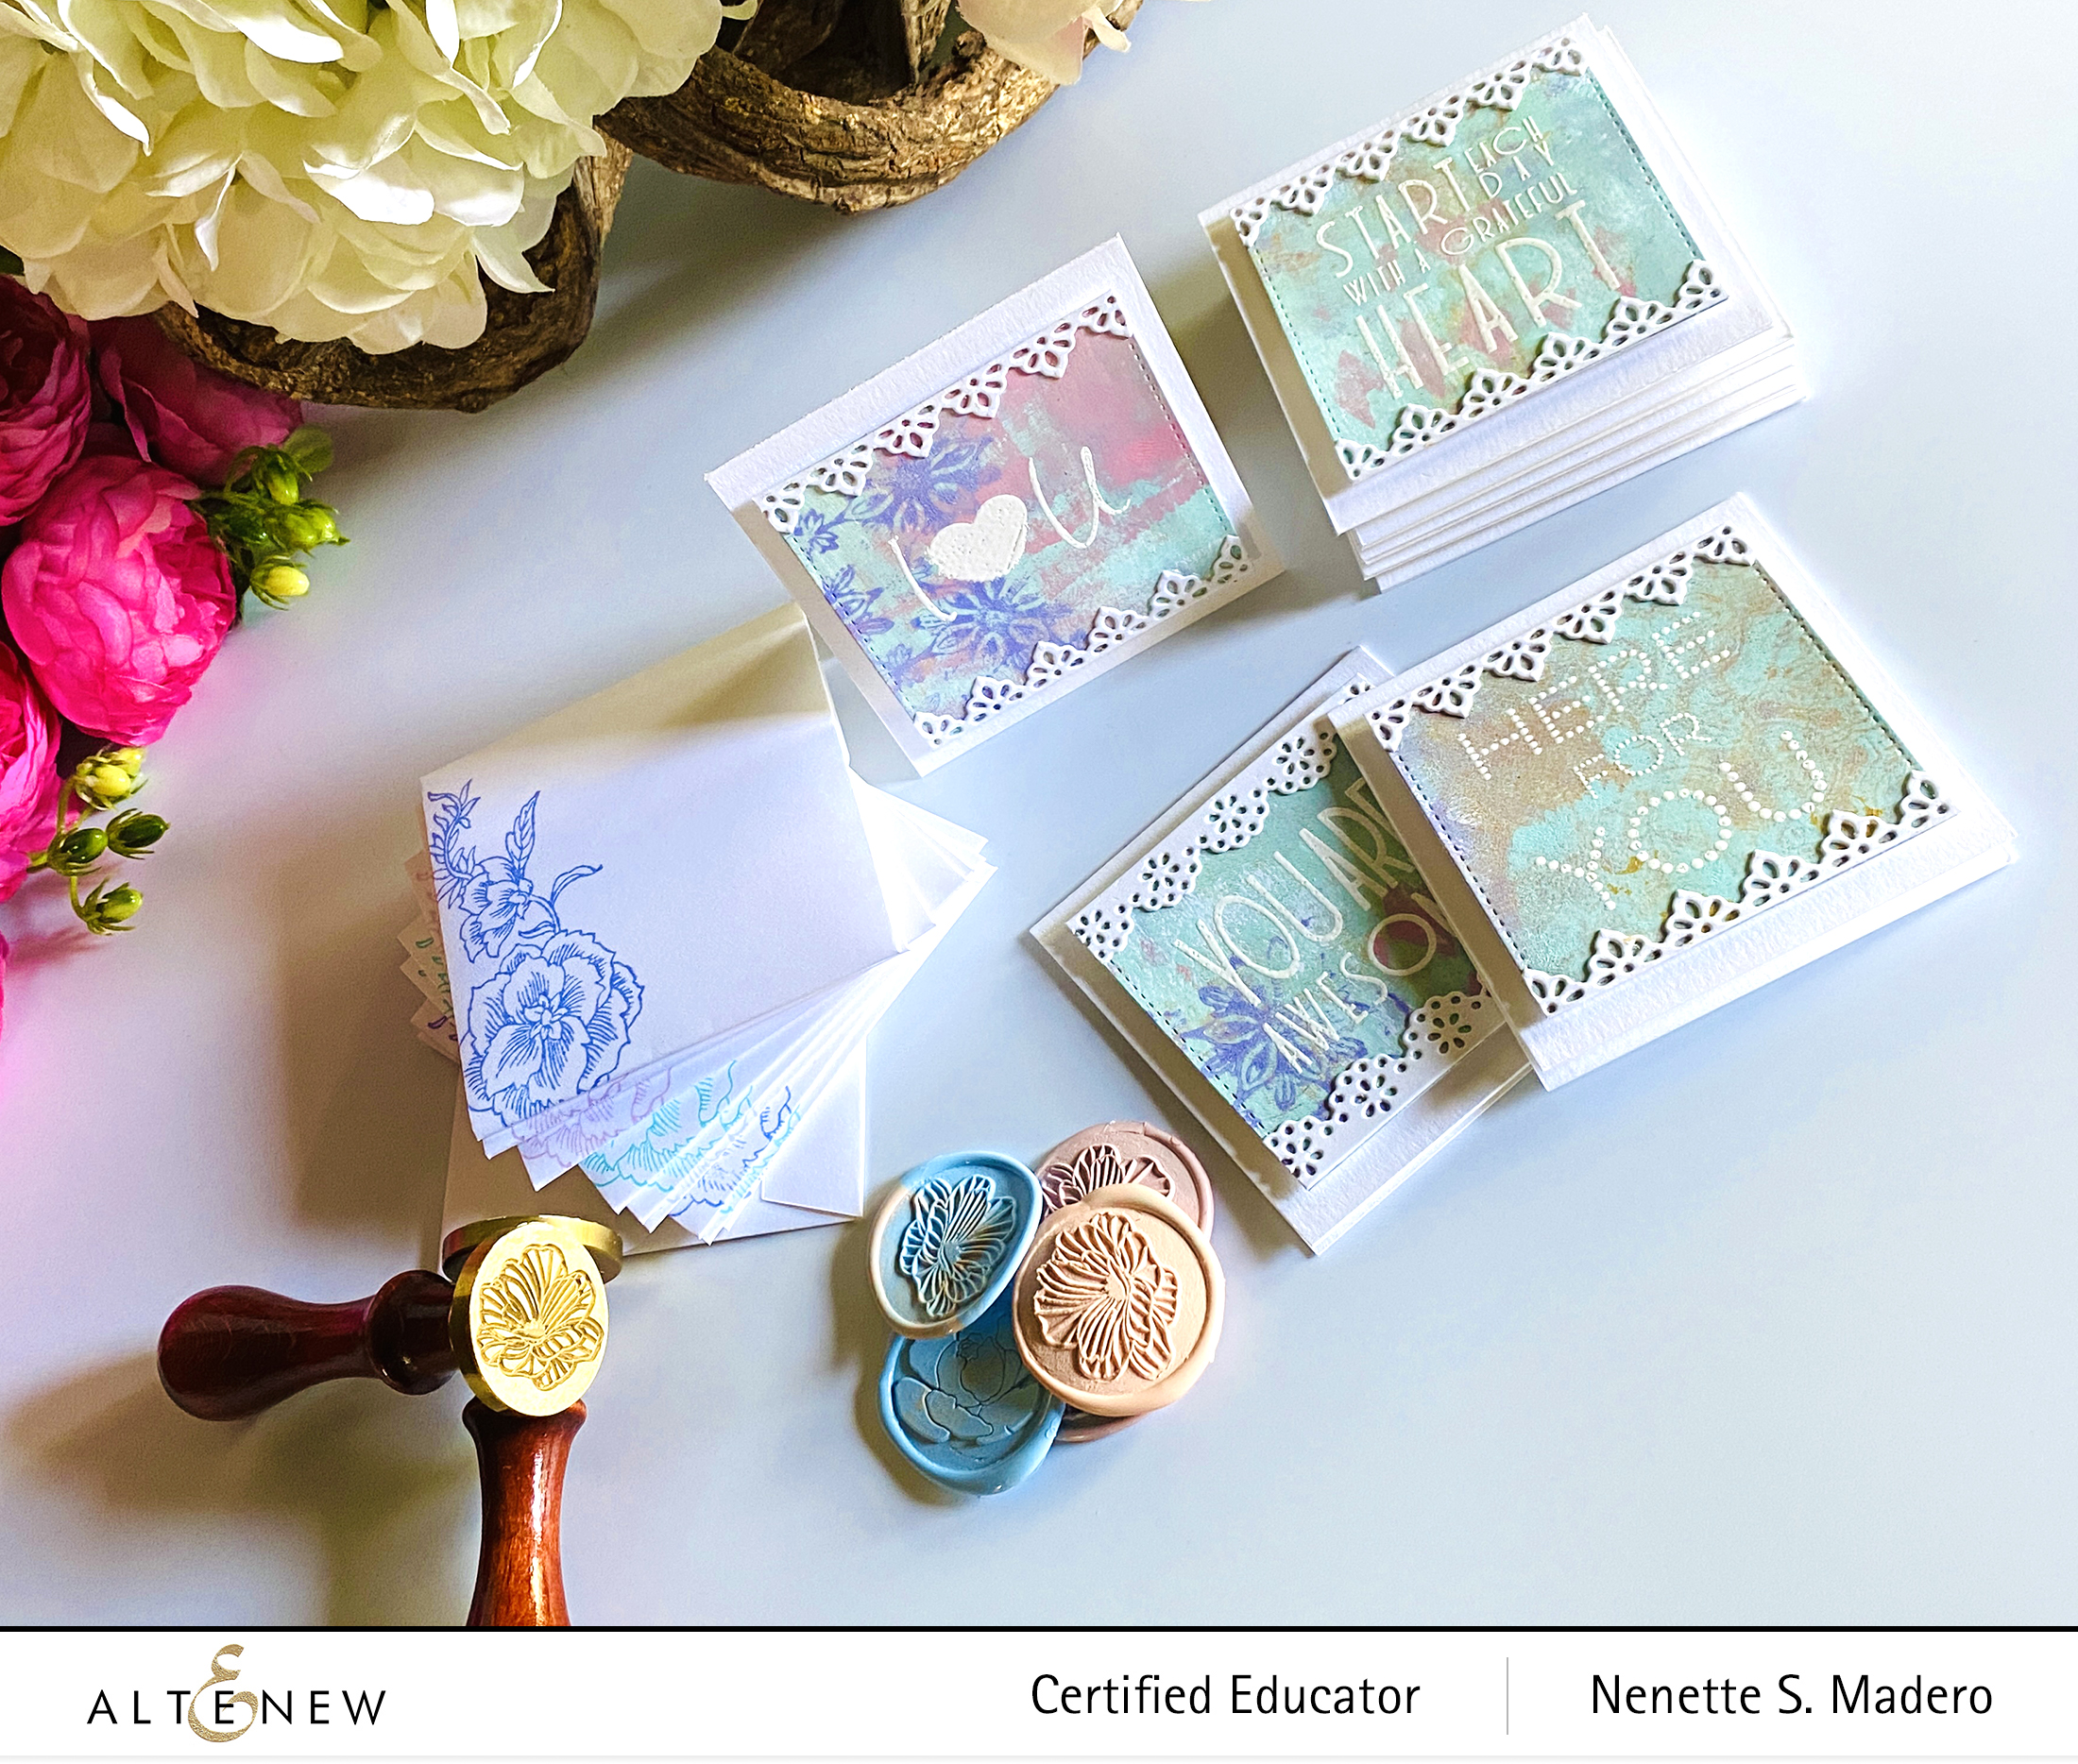
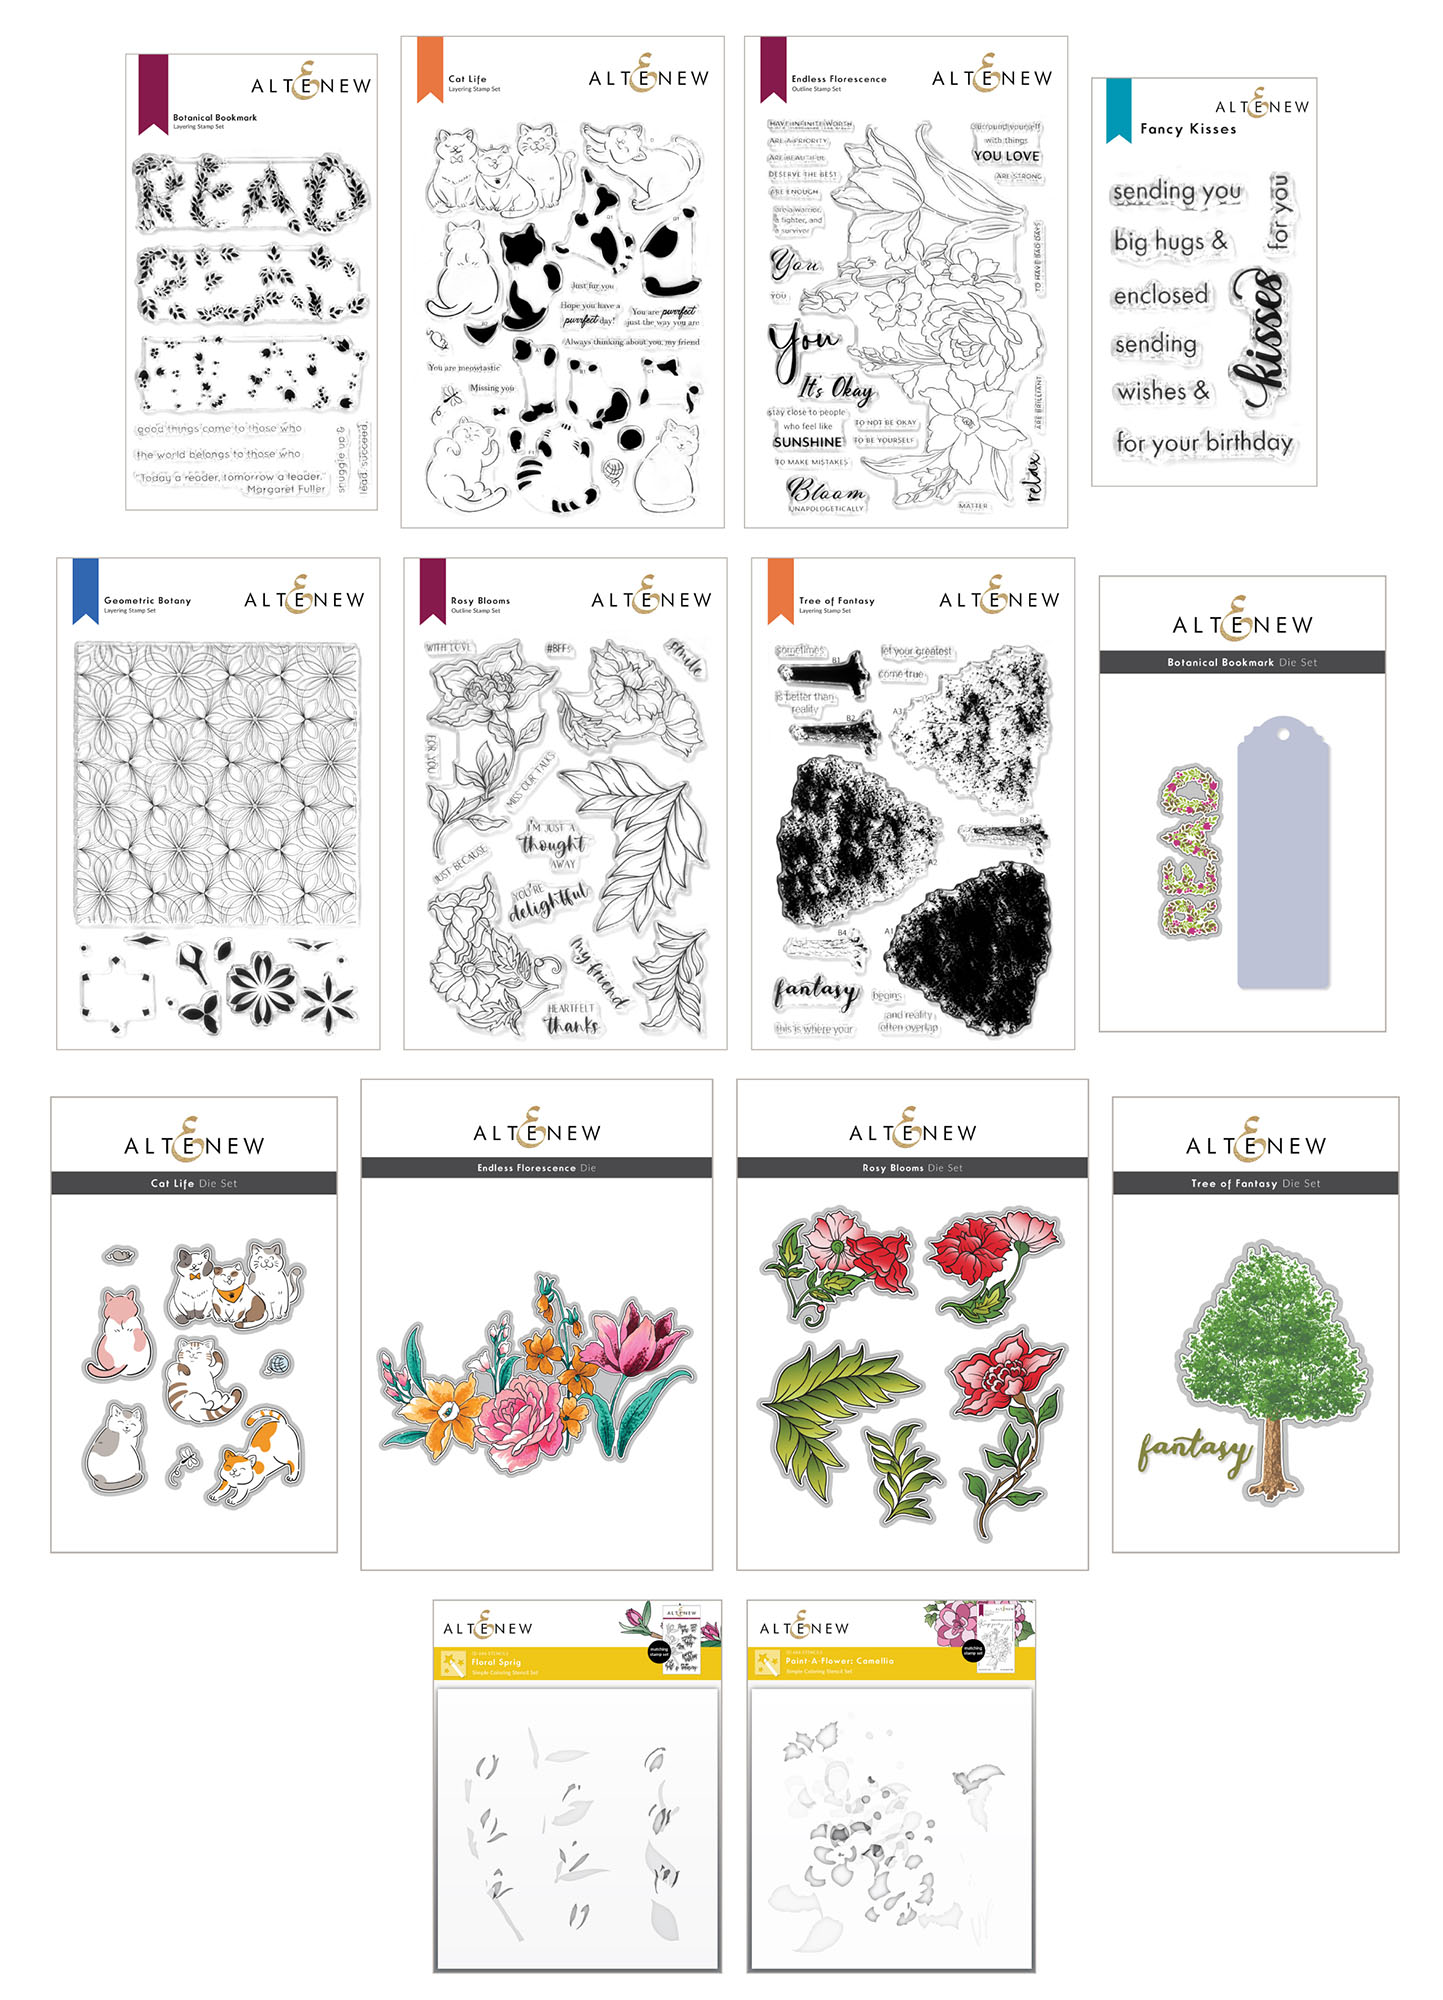
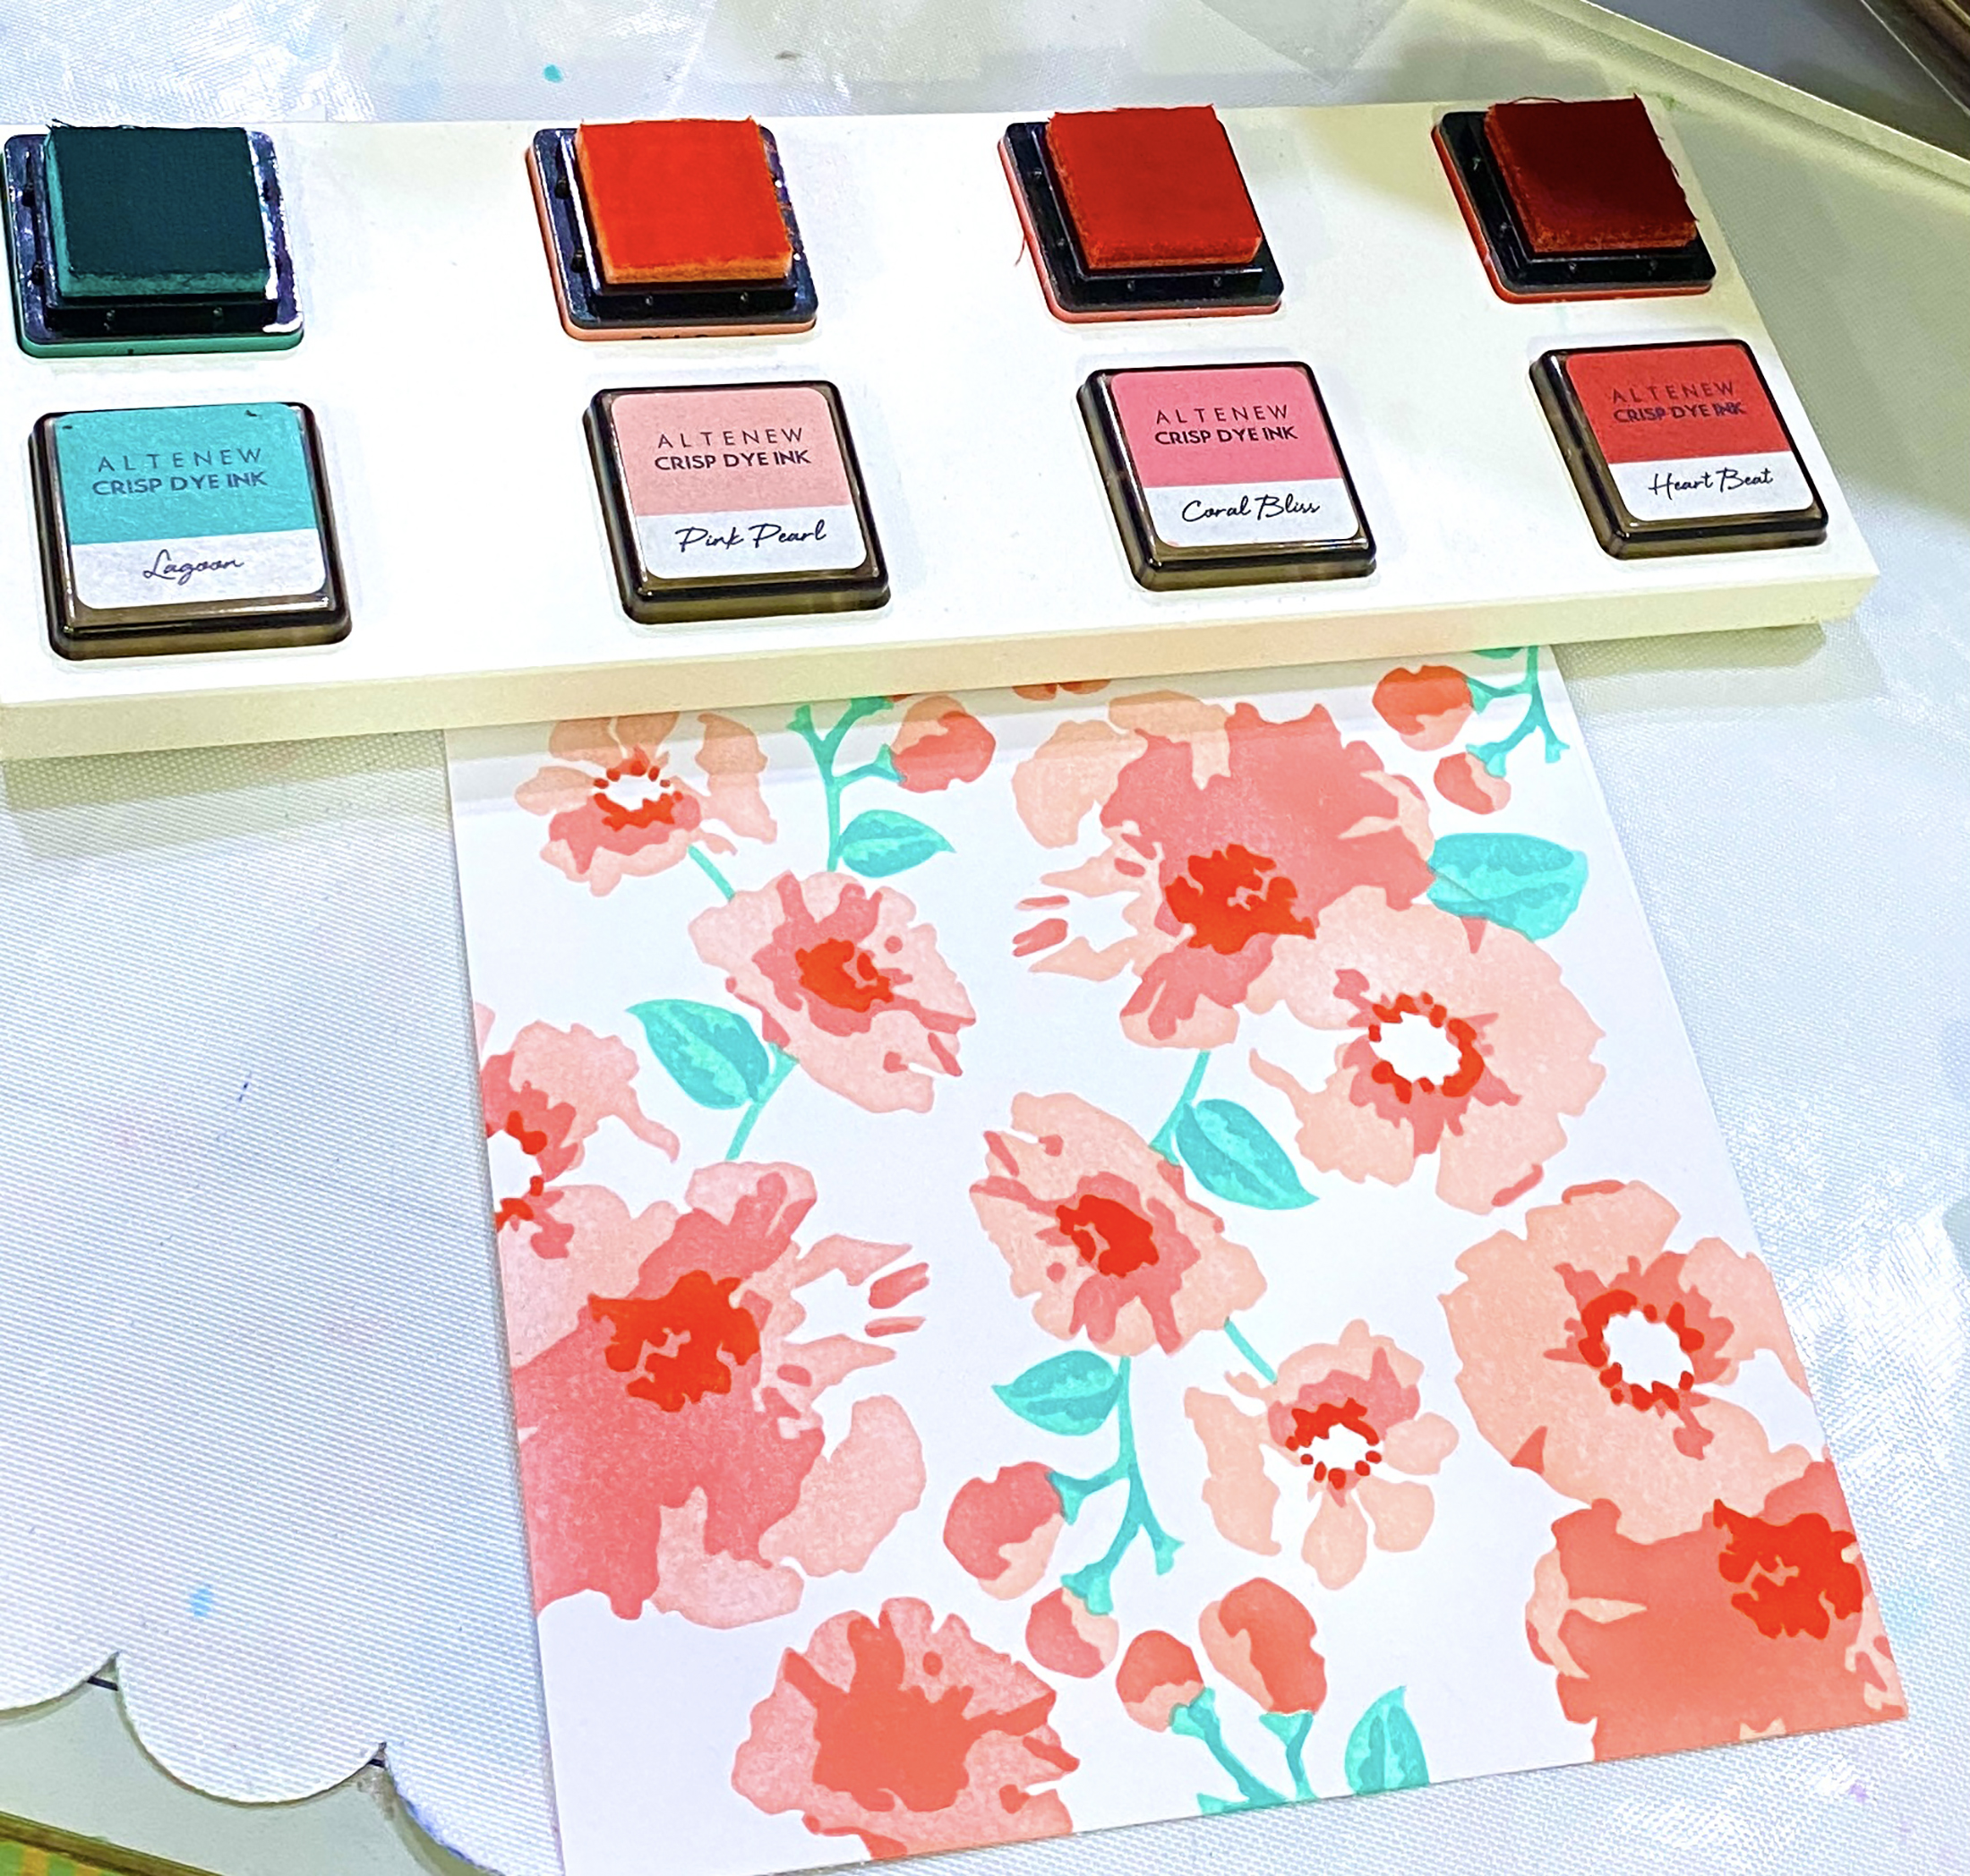
Take a look at this beautiful kit!!!
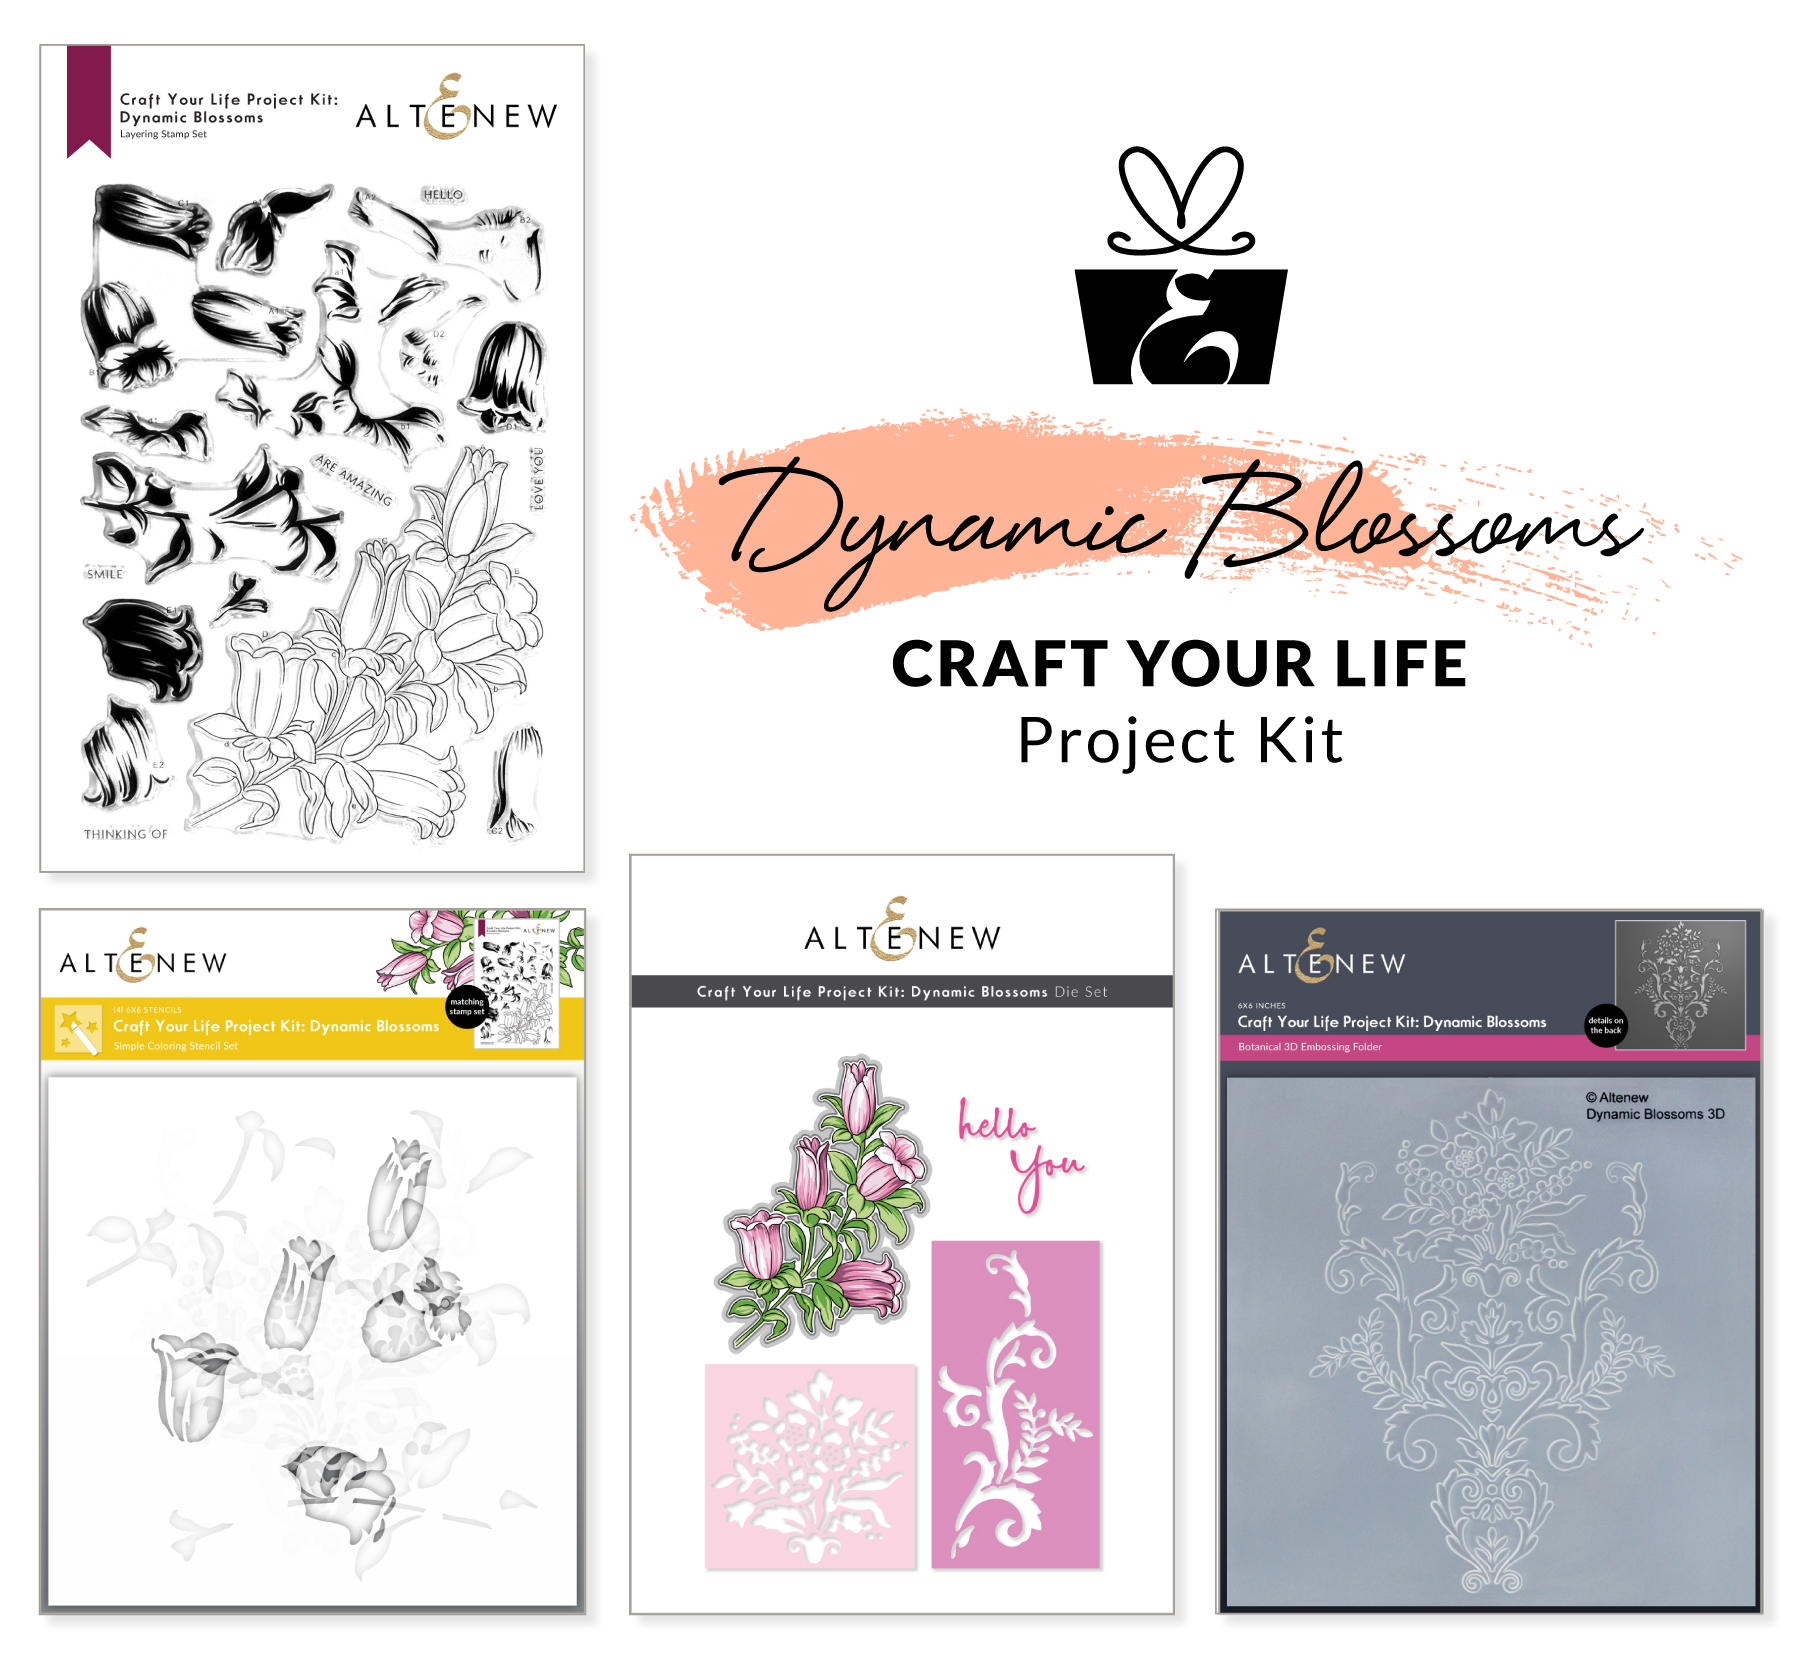
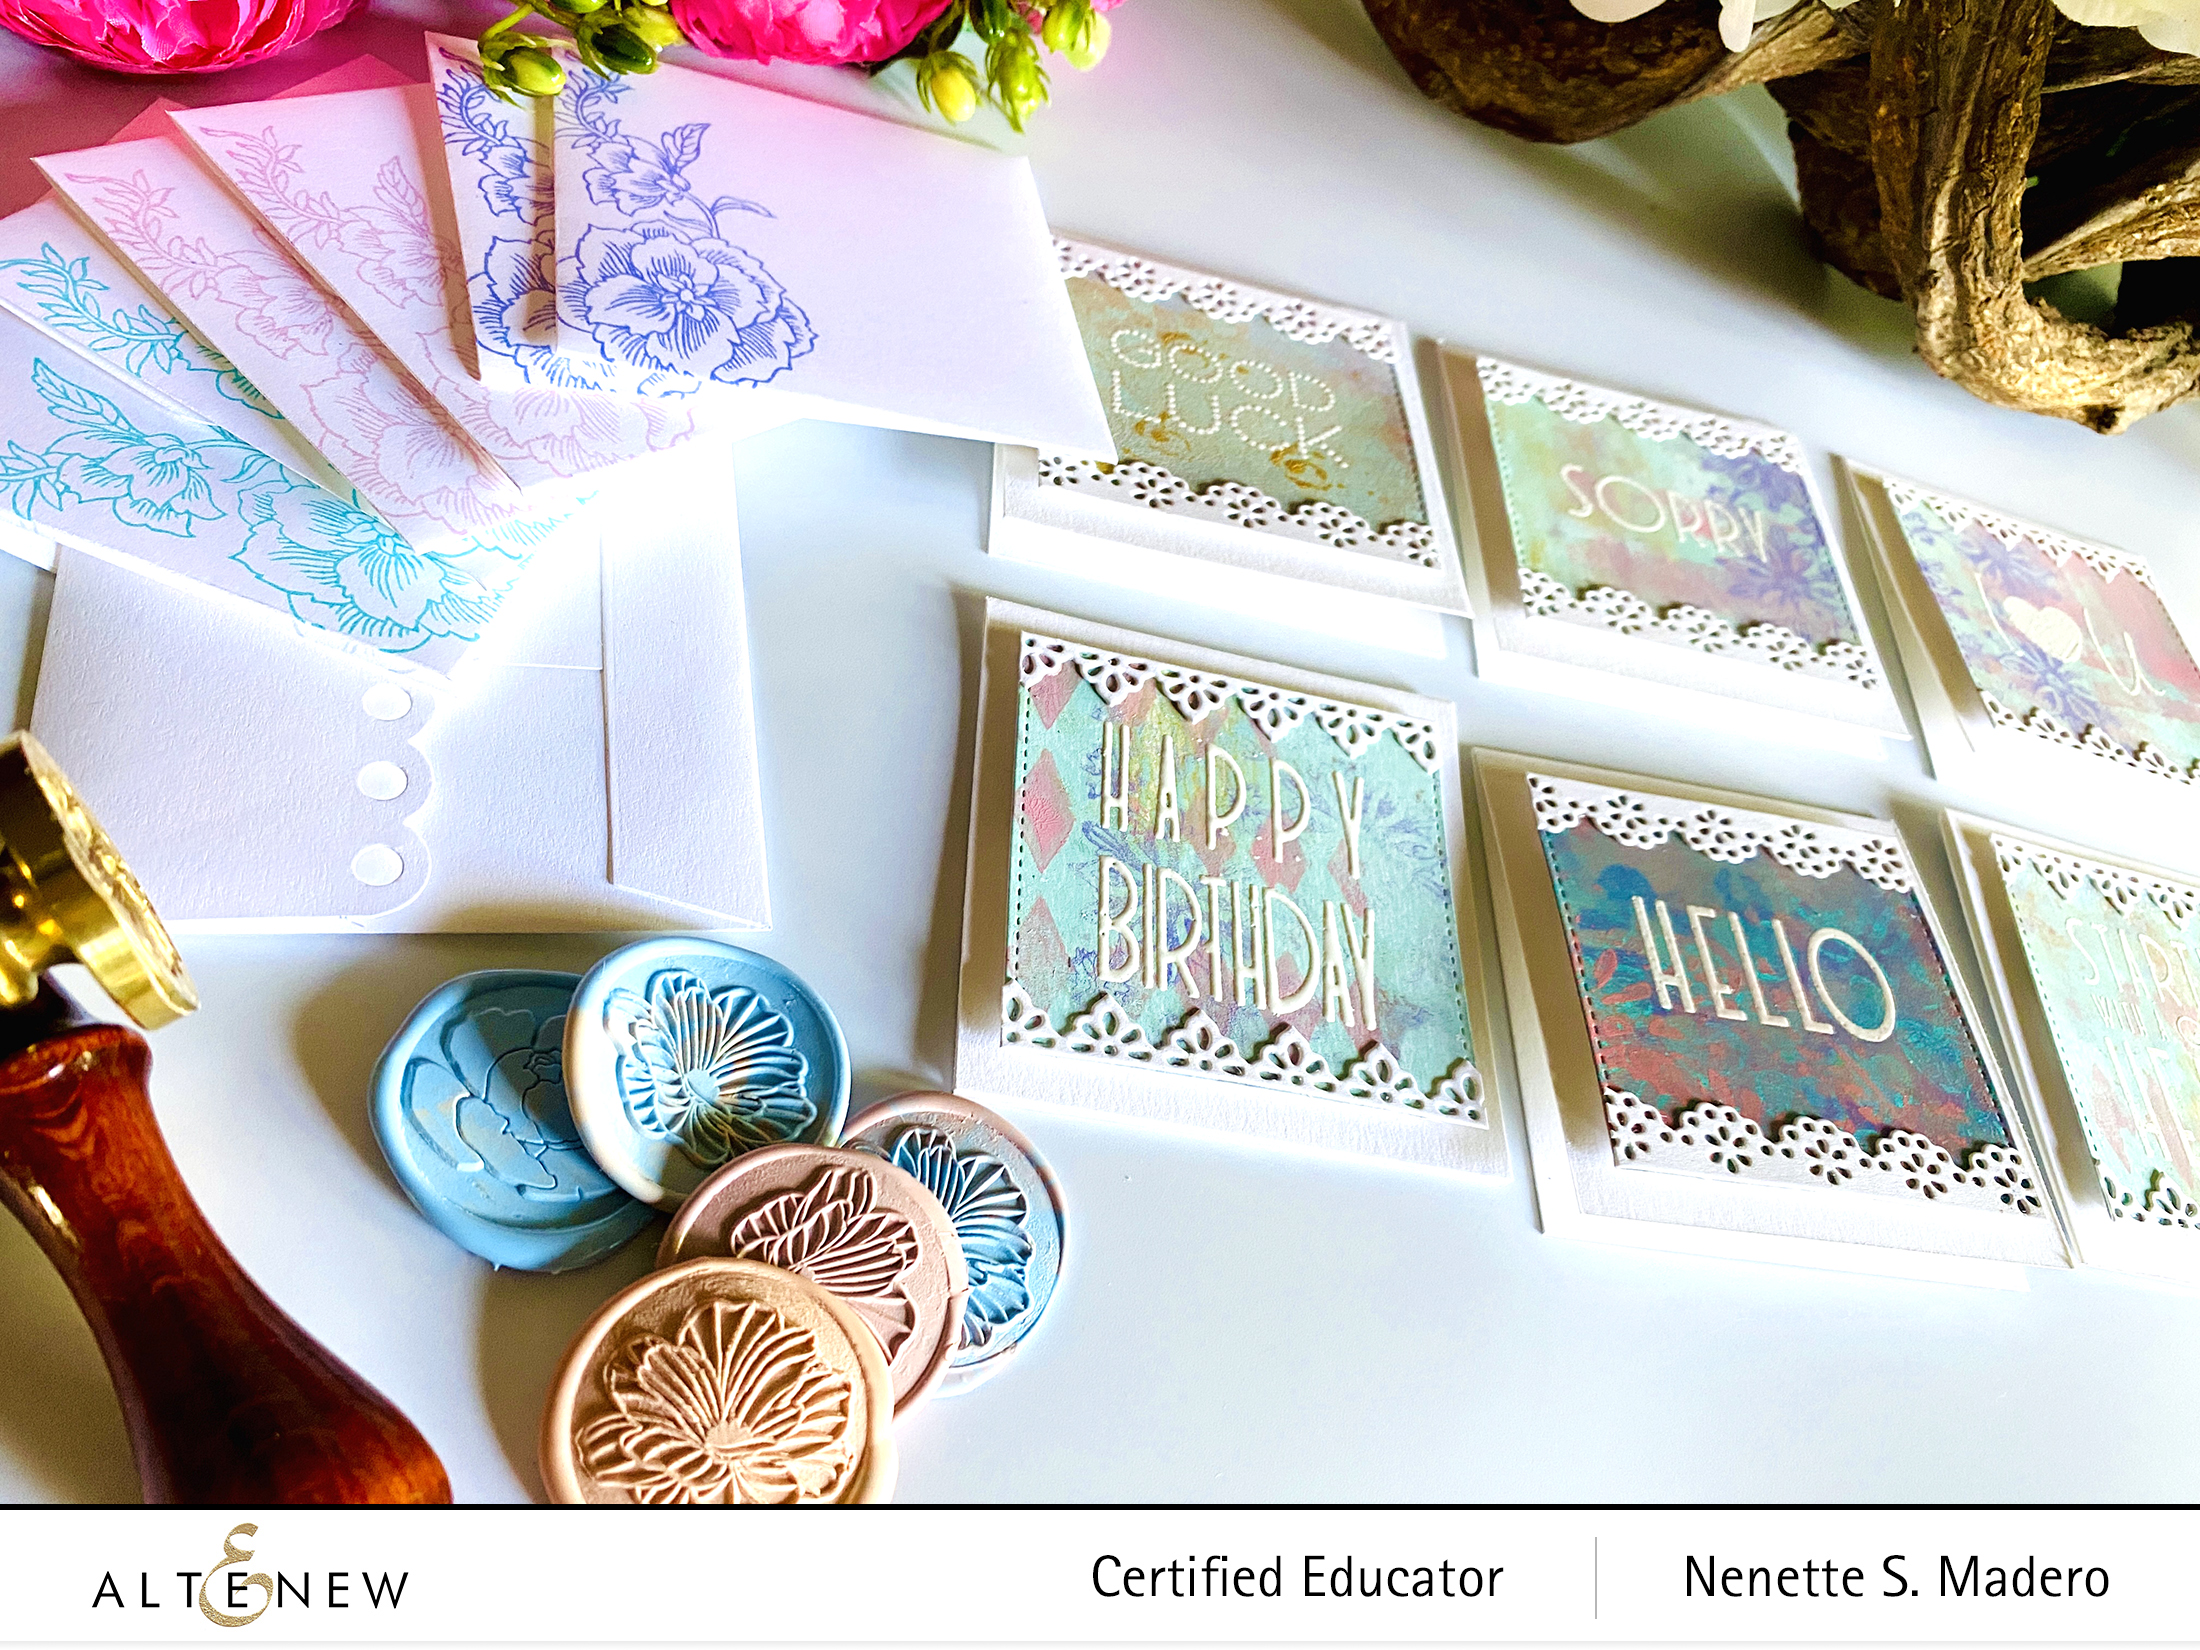
Here are the cards I came up with using this beautiful kit. I tried to stick a certain color scheme for this release. I hope you will find something that will inspire you!
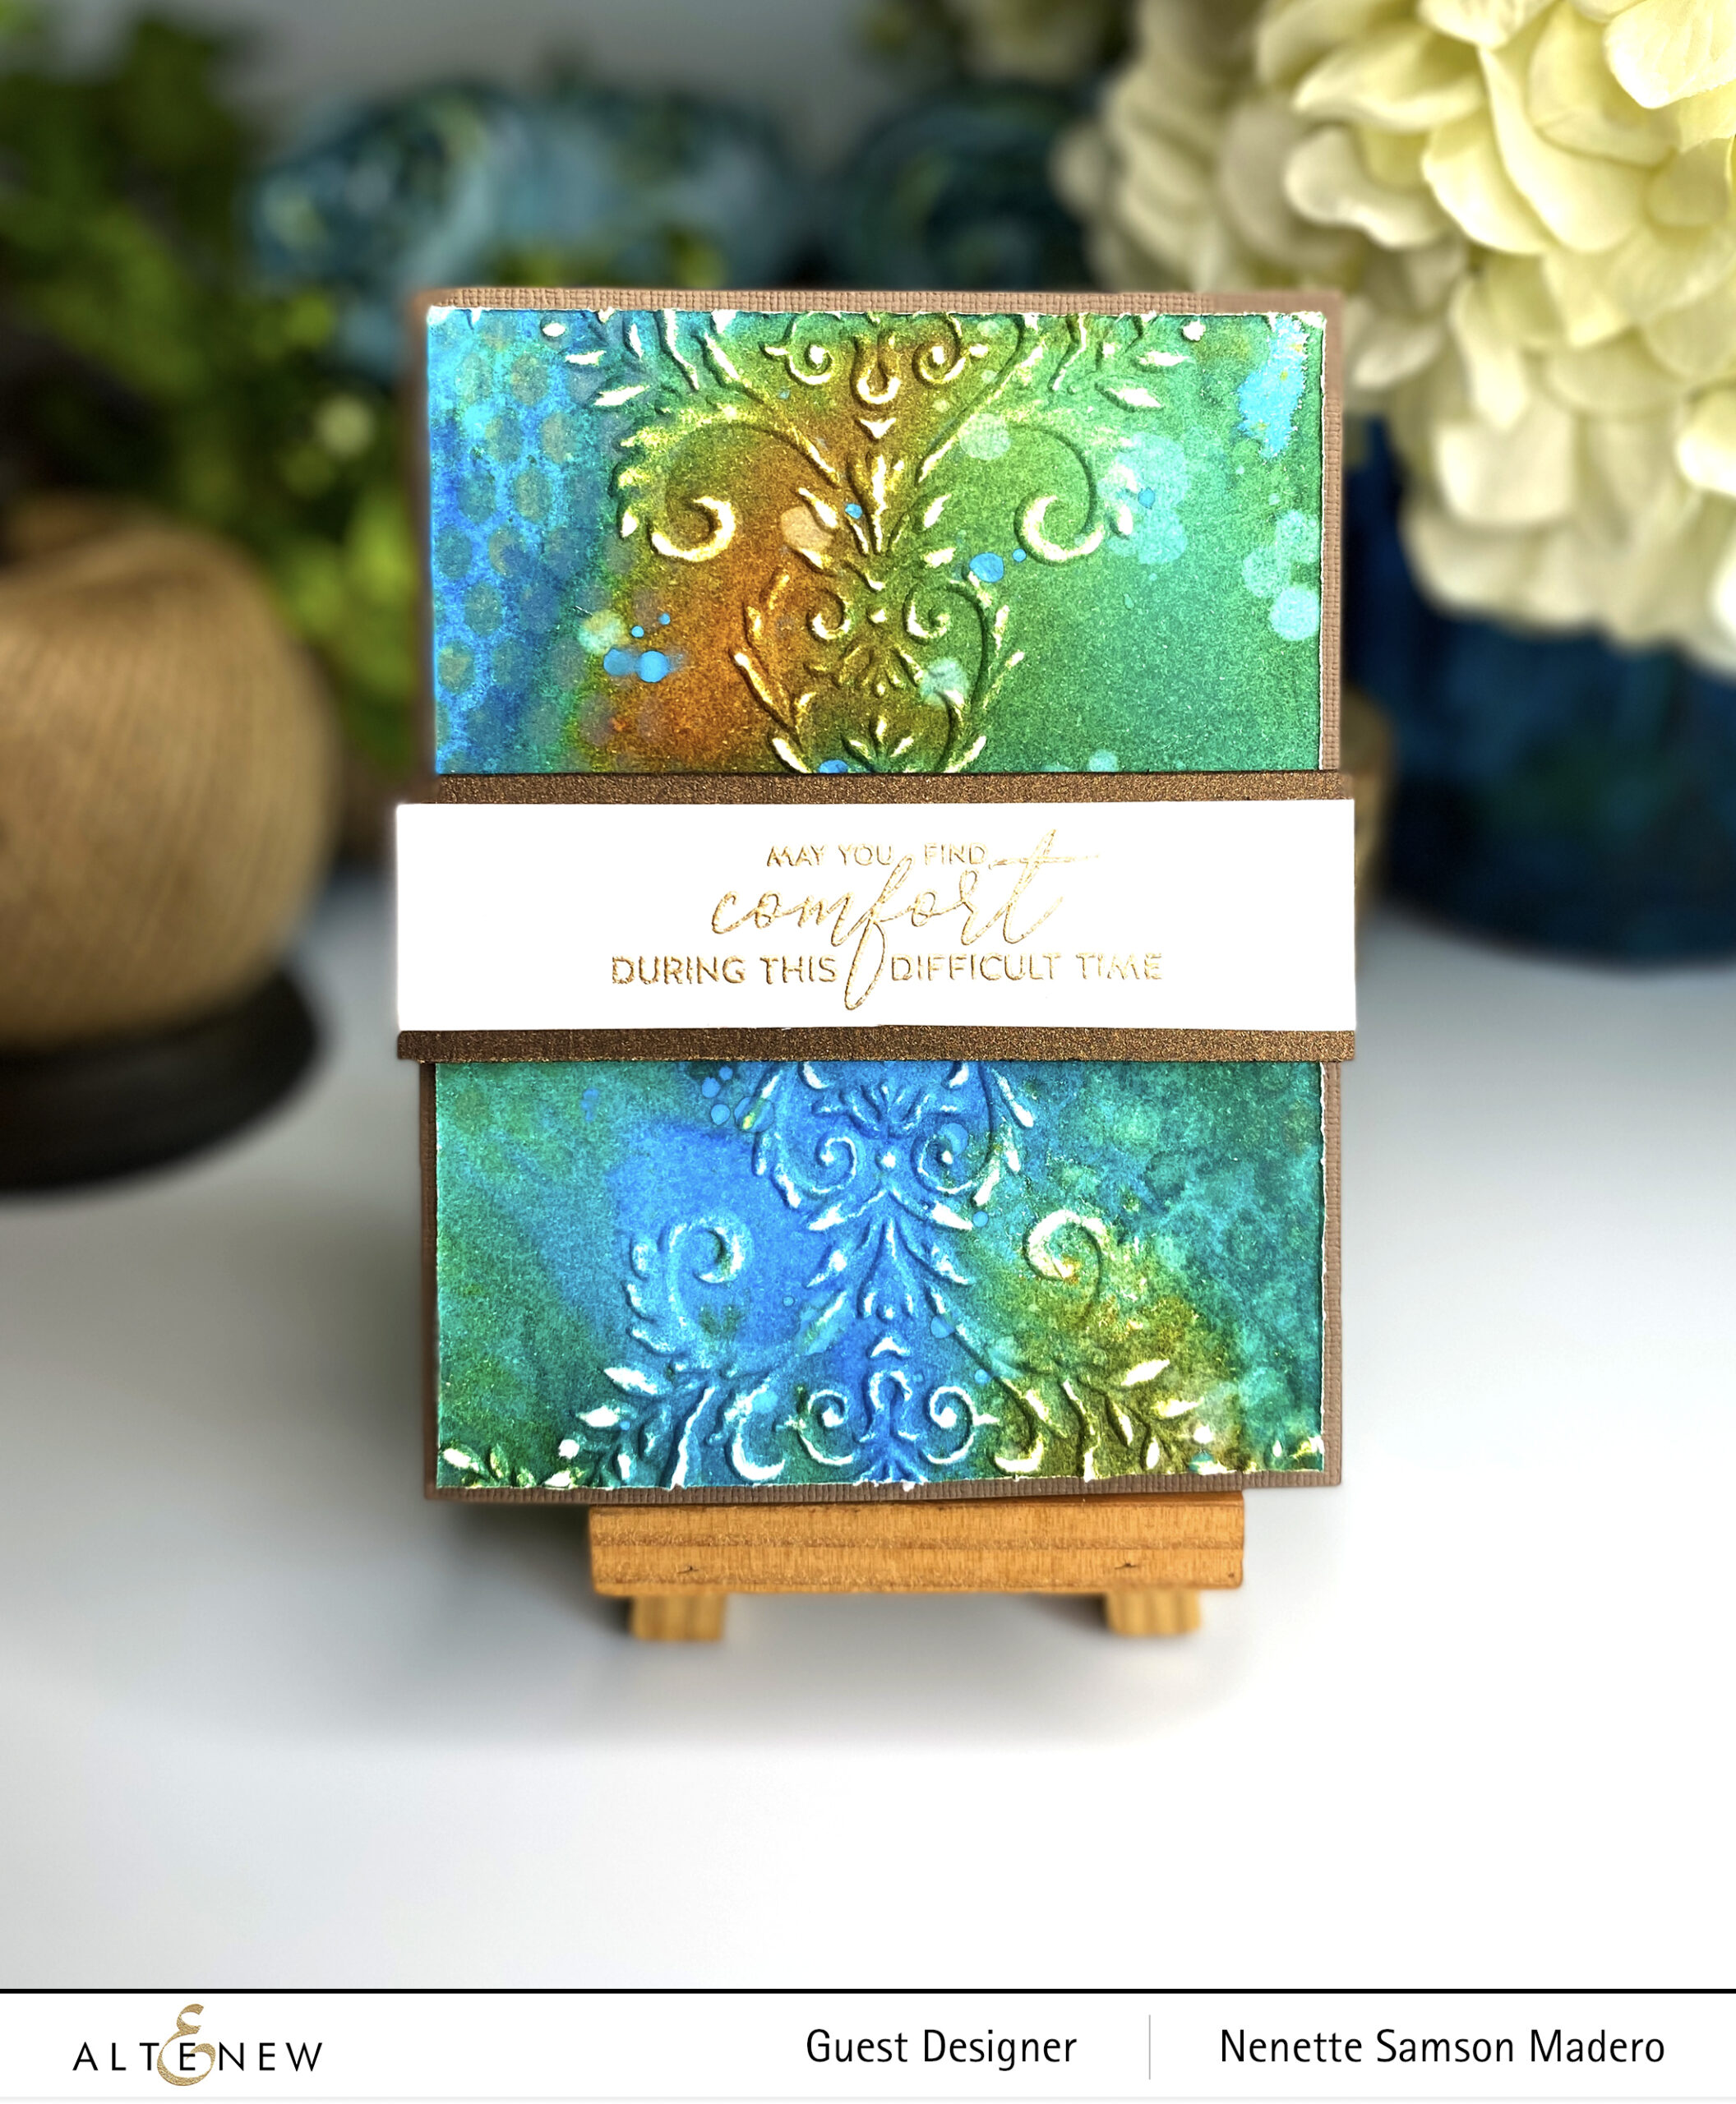
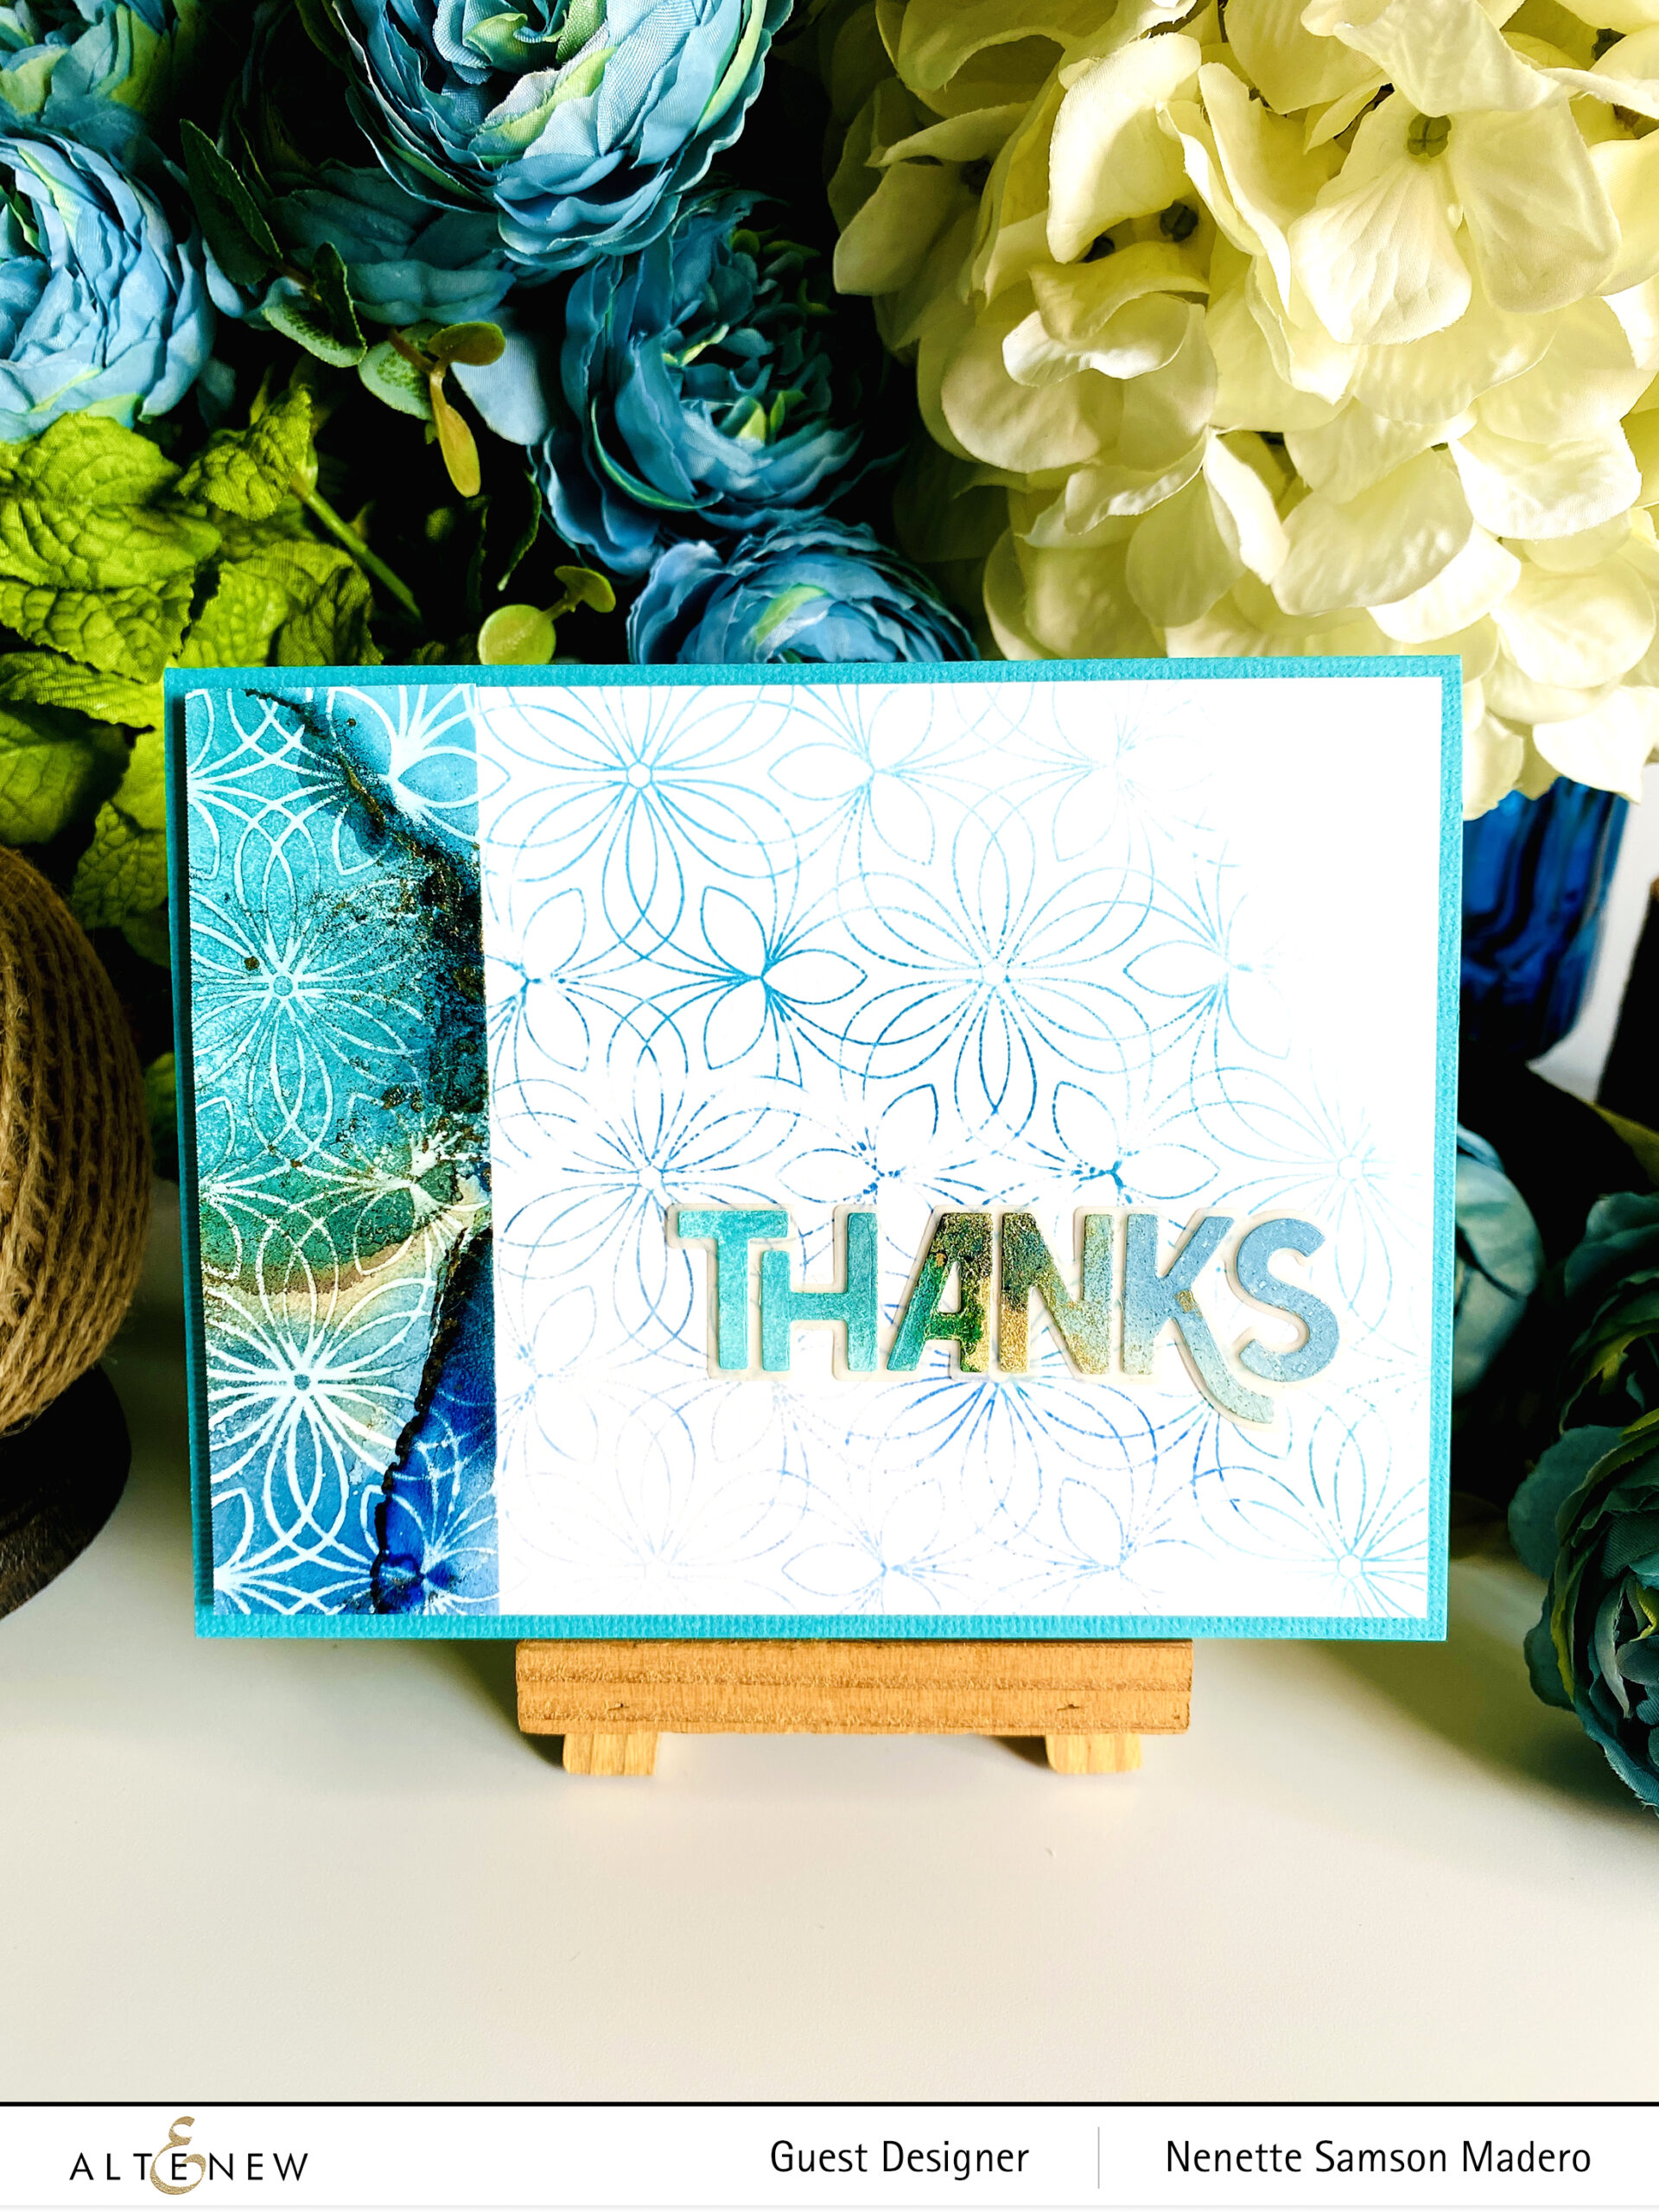
MAY YOU FIND COMFORT DURING THIS DIFFICULT TIME

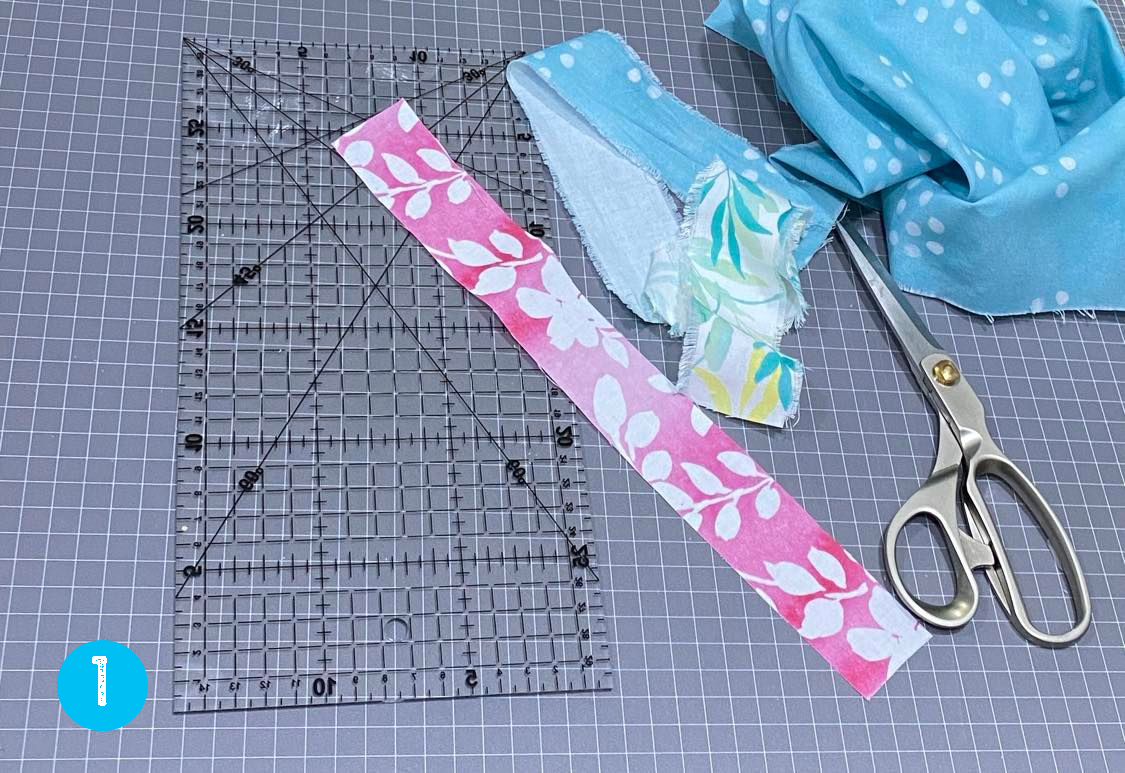
STEPS:
- Create a background using the following: Peacock Feathers Distress Oxide, Salty Ocean, Rusty Hinge Distress Sprays. Add splatters of water to help move the pigments.
- Use the Fine Tulle Stencil and the Beveled Squares Stencil with Frayed Burlap Distress Ink to add layers.
- Emboss the background using the Dynamic Blossoms 3D embossing folder.
- Use a fine sand paper to sand the embossed parts.
- Stamp the sentiment using Versamark Ink and emboss with Rose Gold embossing powder.
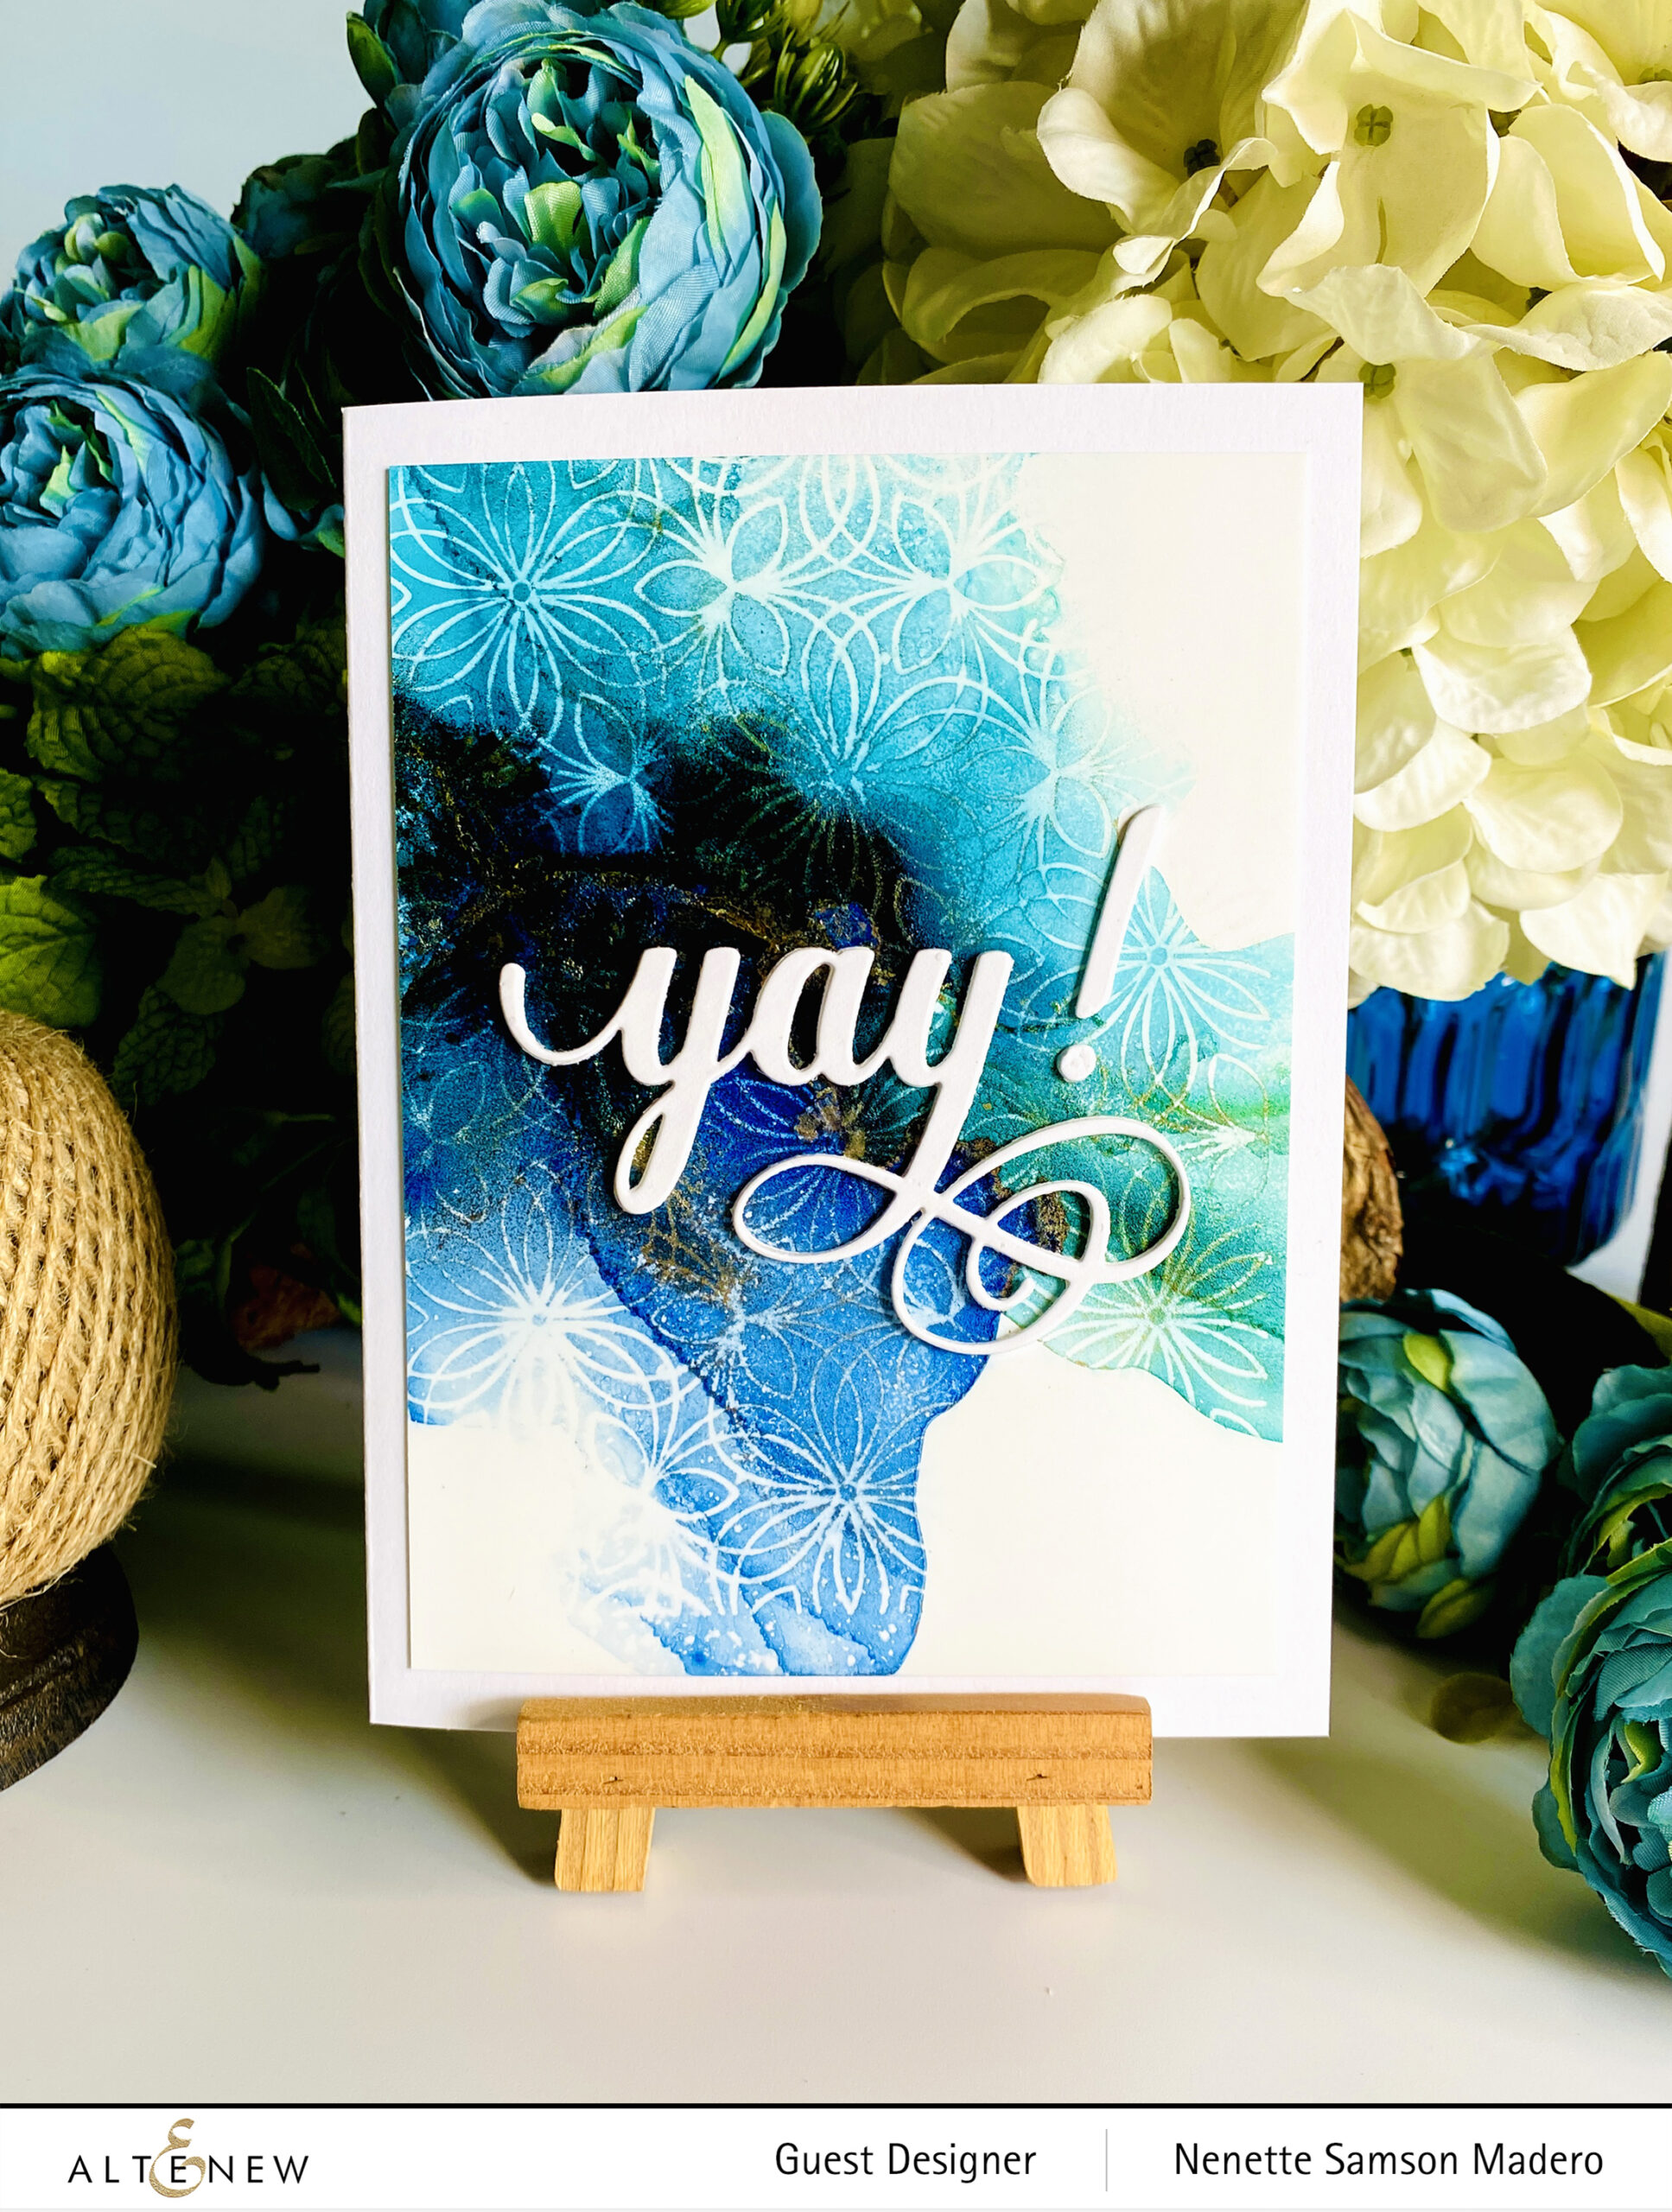
HAPPY BIRTHDAY
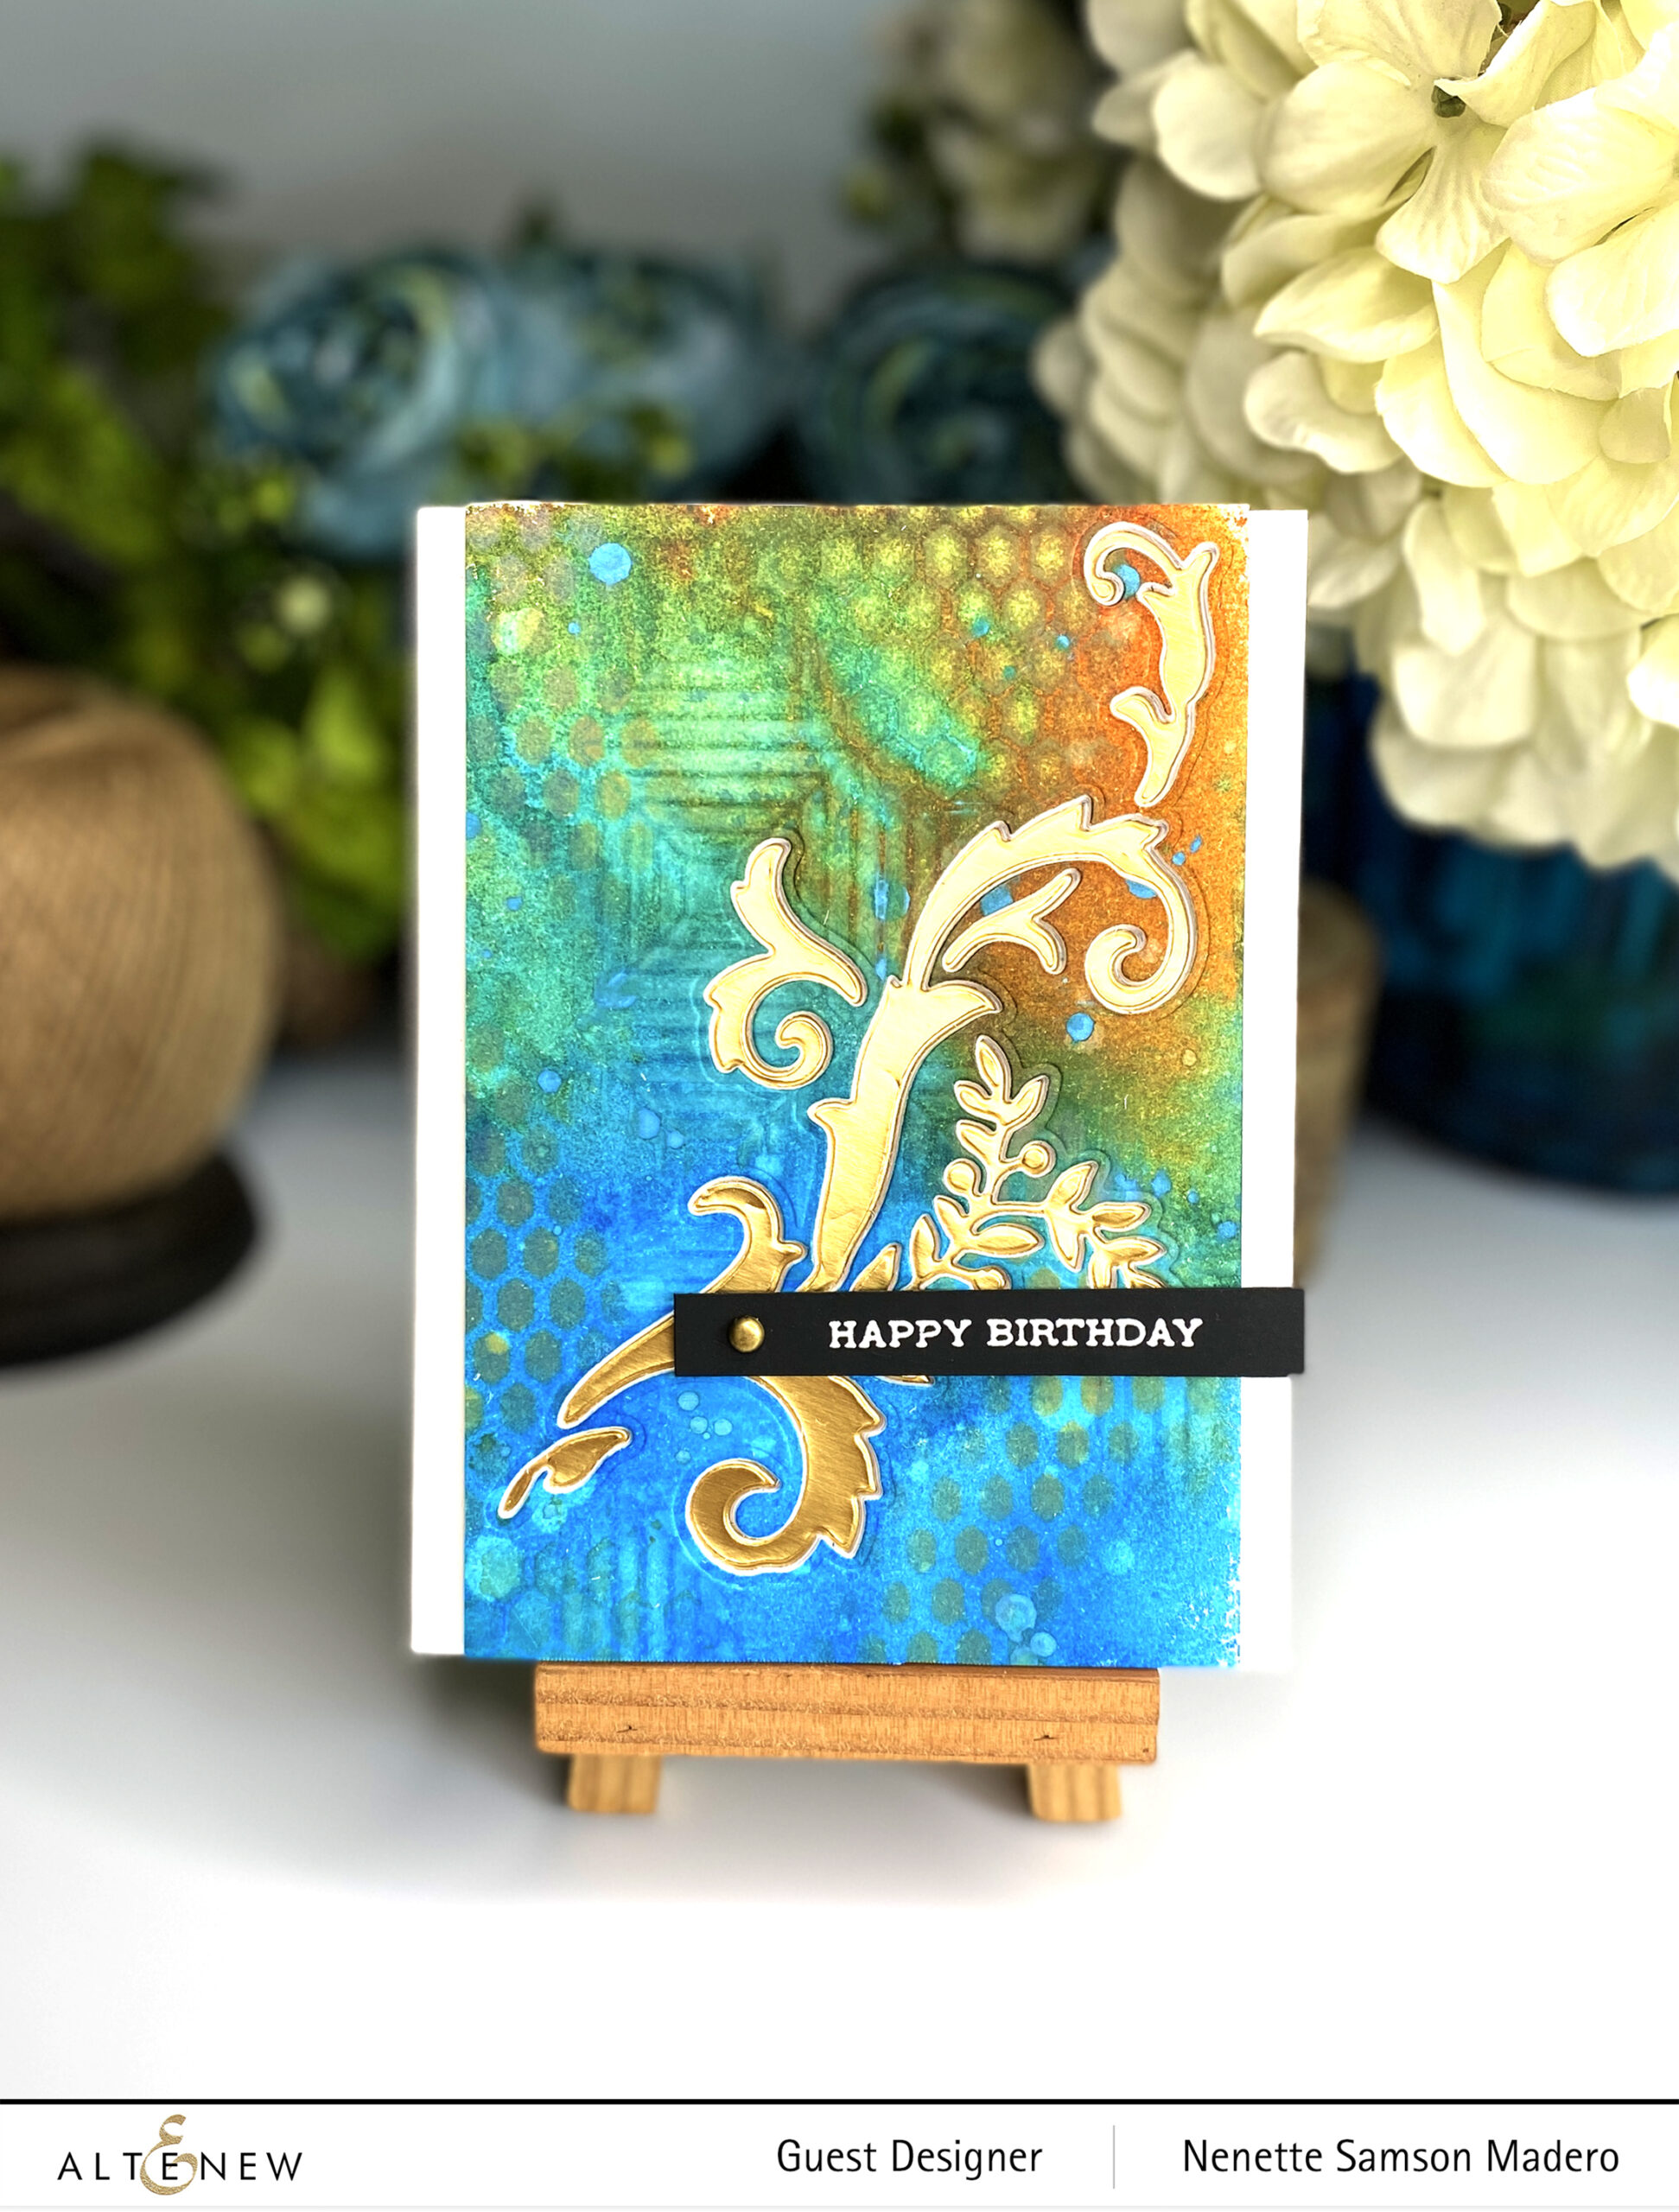
This is part of the same background I created for the 1st card. The Dynamic Blossoms die was used to die cut the image. I used the negative part of the die cut and added gold cardstock underneath.
TIP: Aside from adding color, you can also remove some pigments by using a baby wipe on top of the stencils.
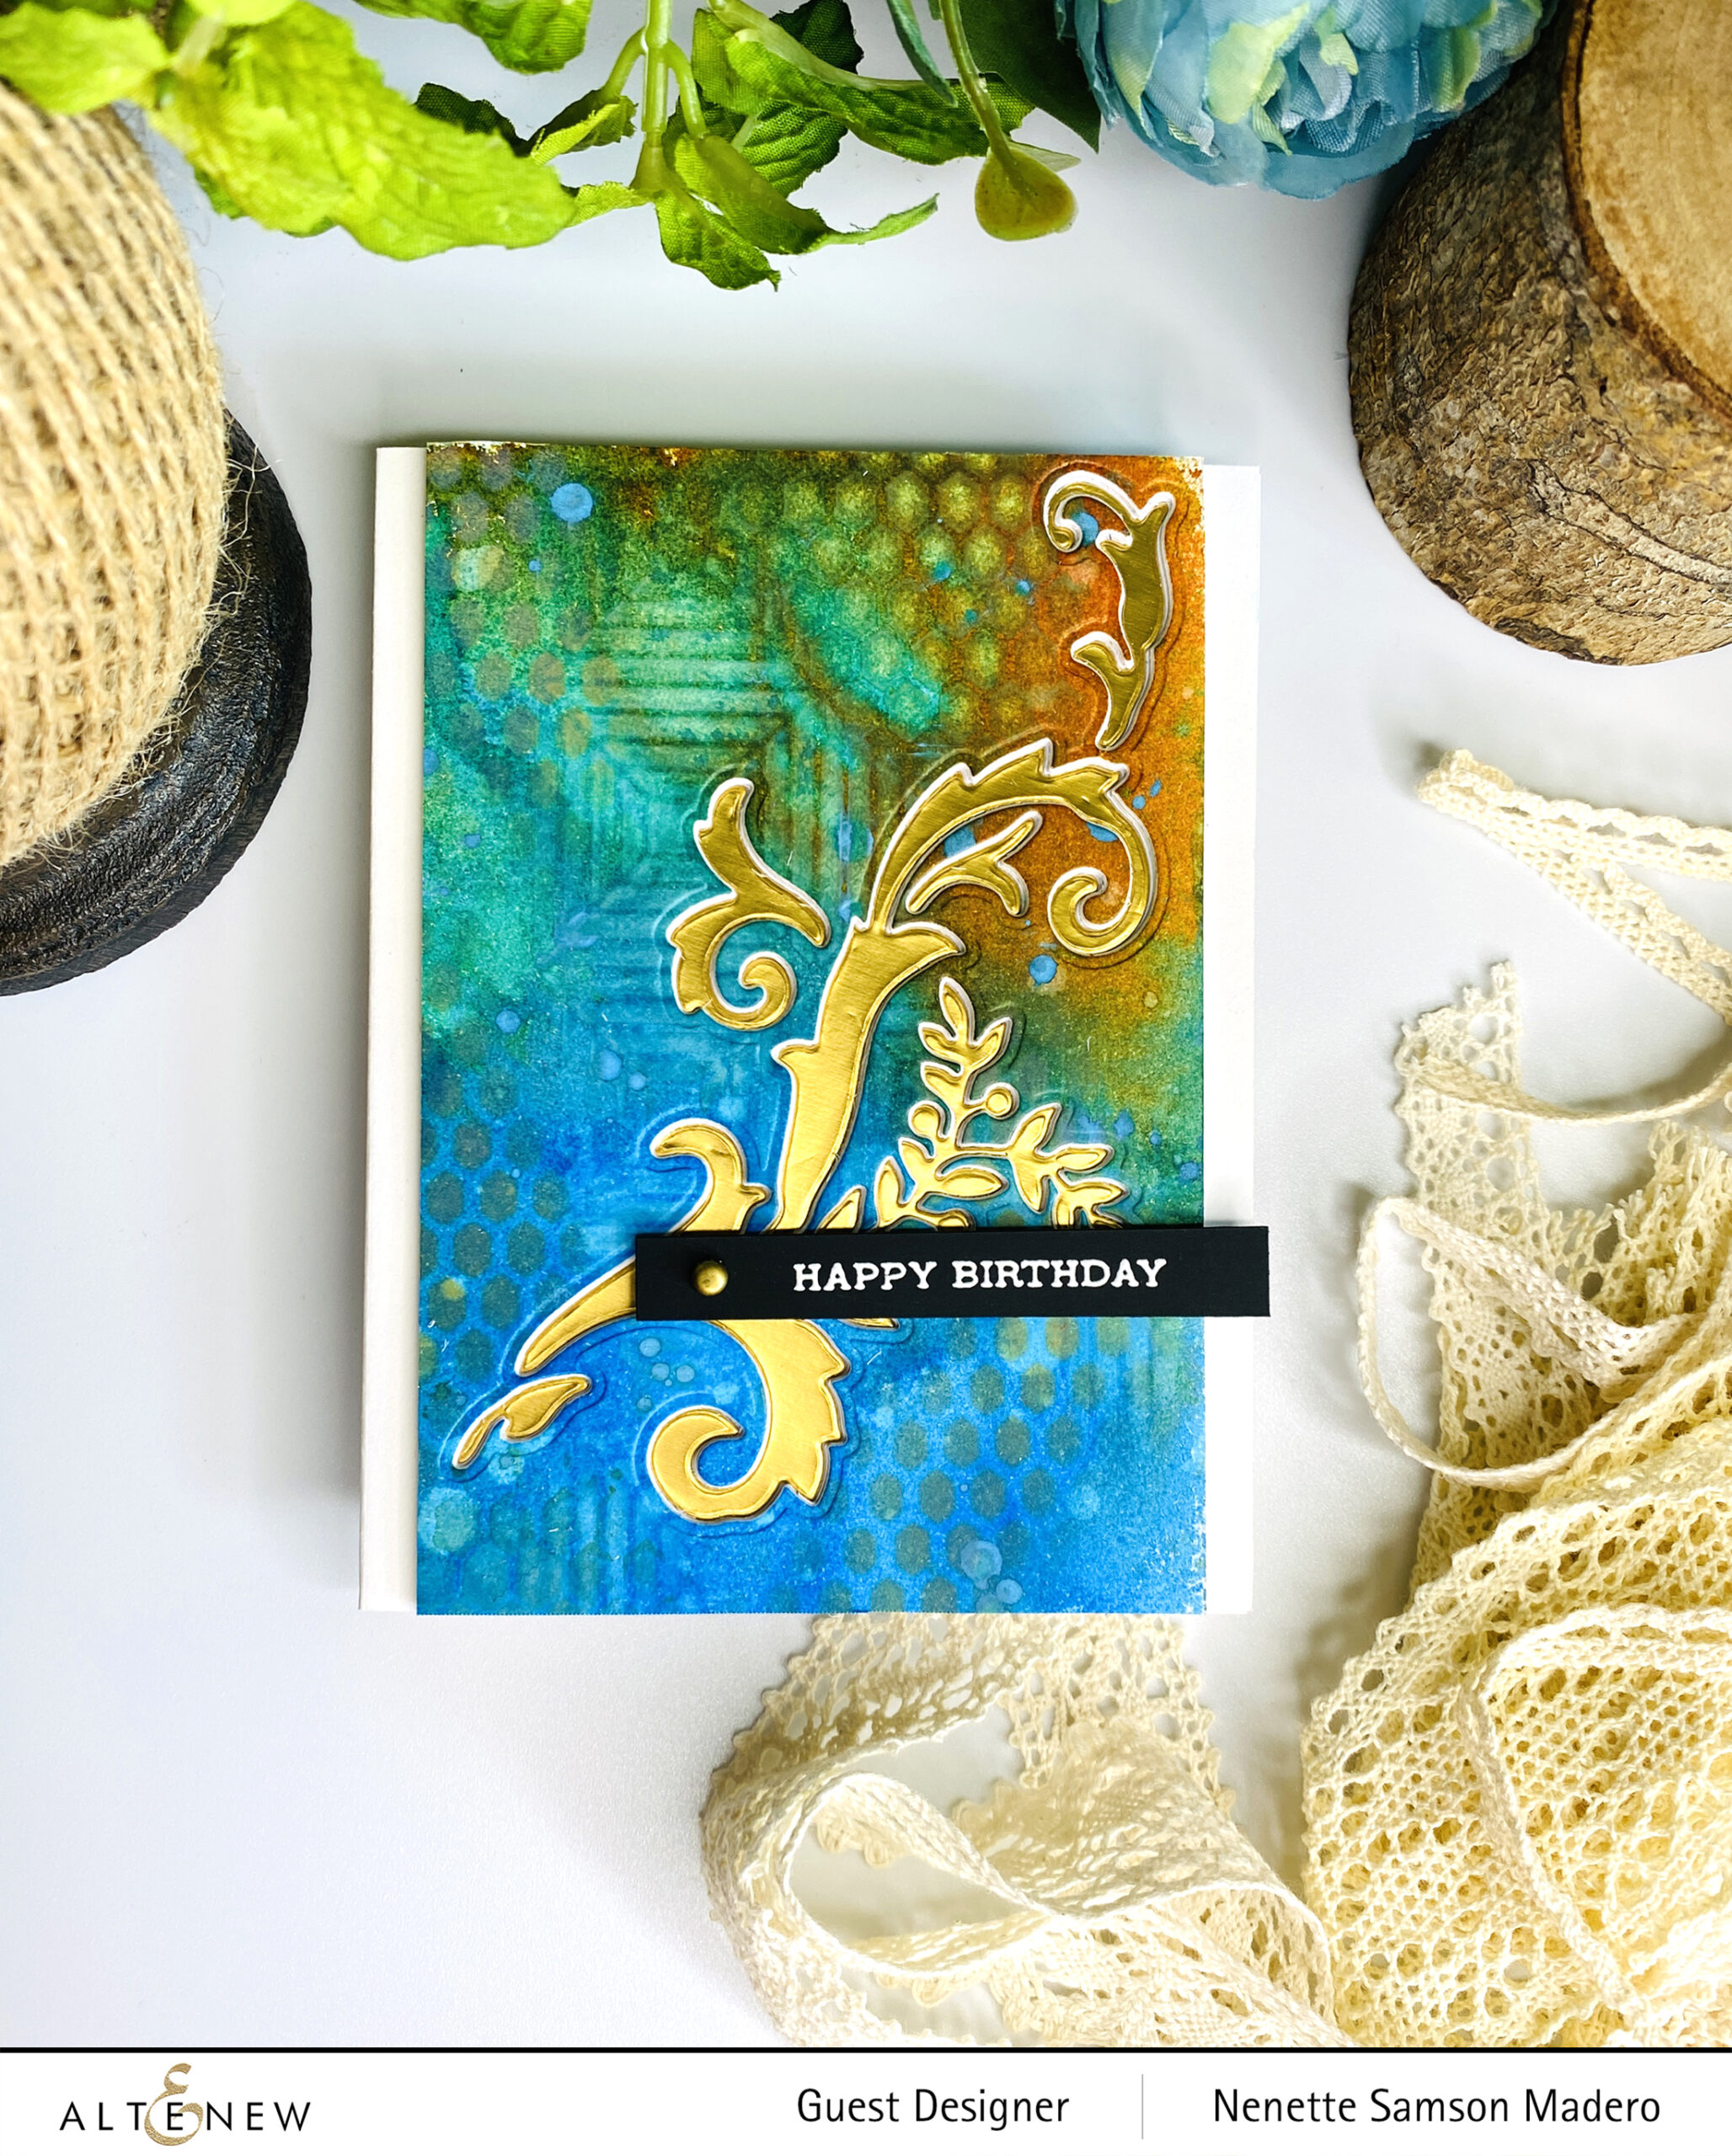
TIP: You can emboss the brad using Versamark Ink and an embossing powder to match your card. I didn’t have a gold brad so I just made one using my gold embossing powder.

The positive die cut was used on a 3rd card. I added gold using Craft Gilding glue and Pebeo mirror effects for a gold finish. Distress oxides were added to the background and images were stamped using Obsidian Ink.
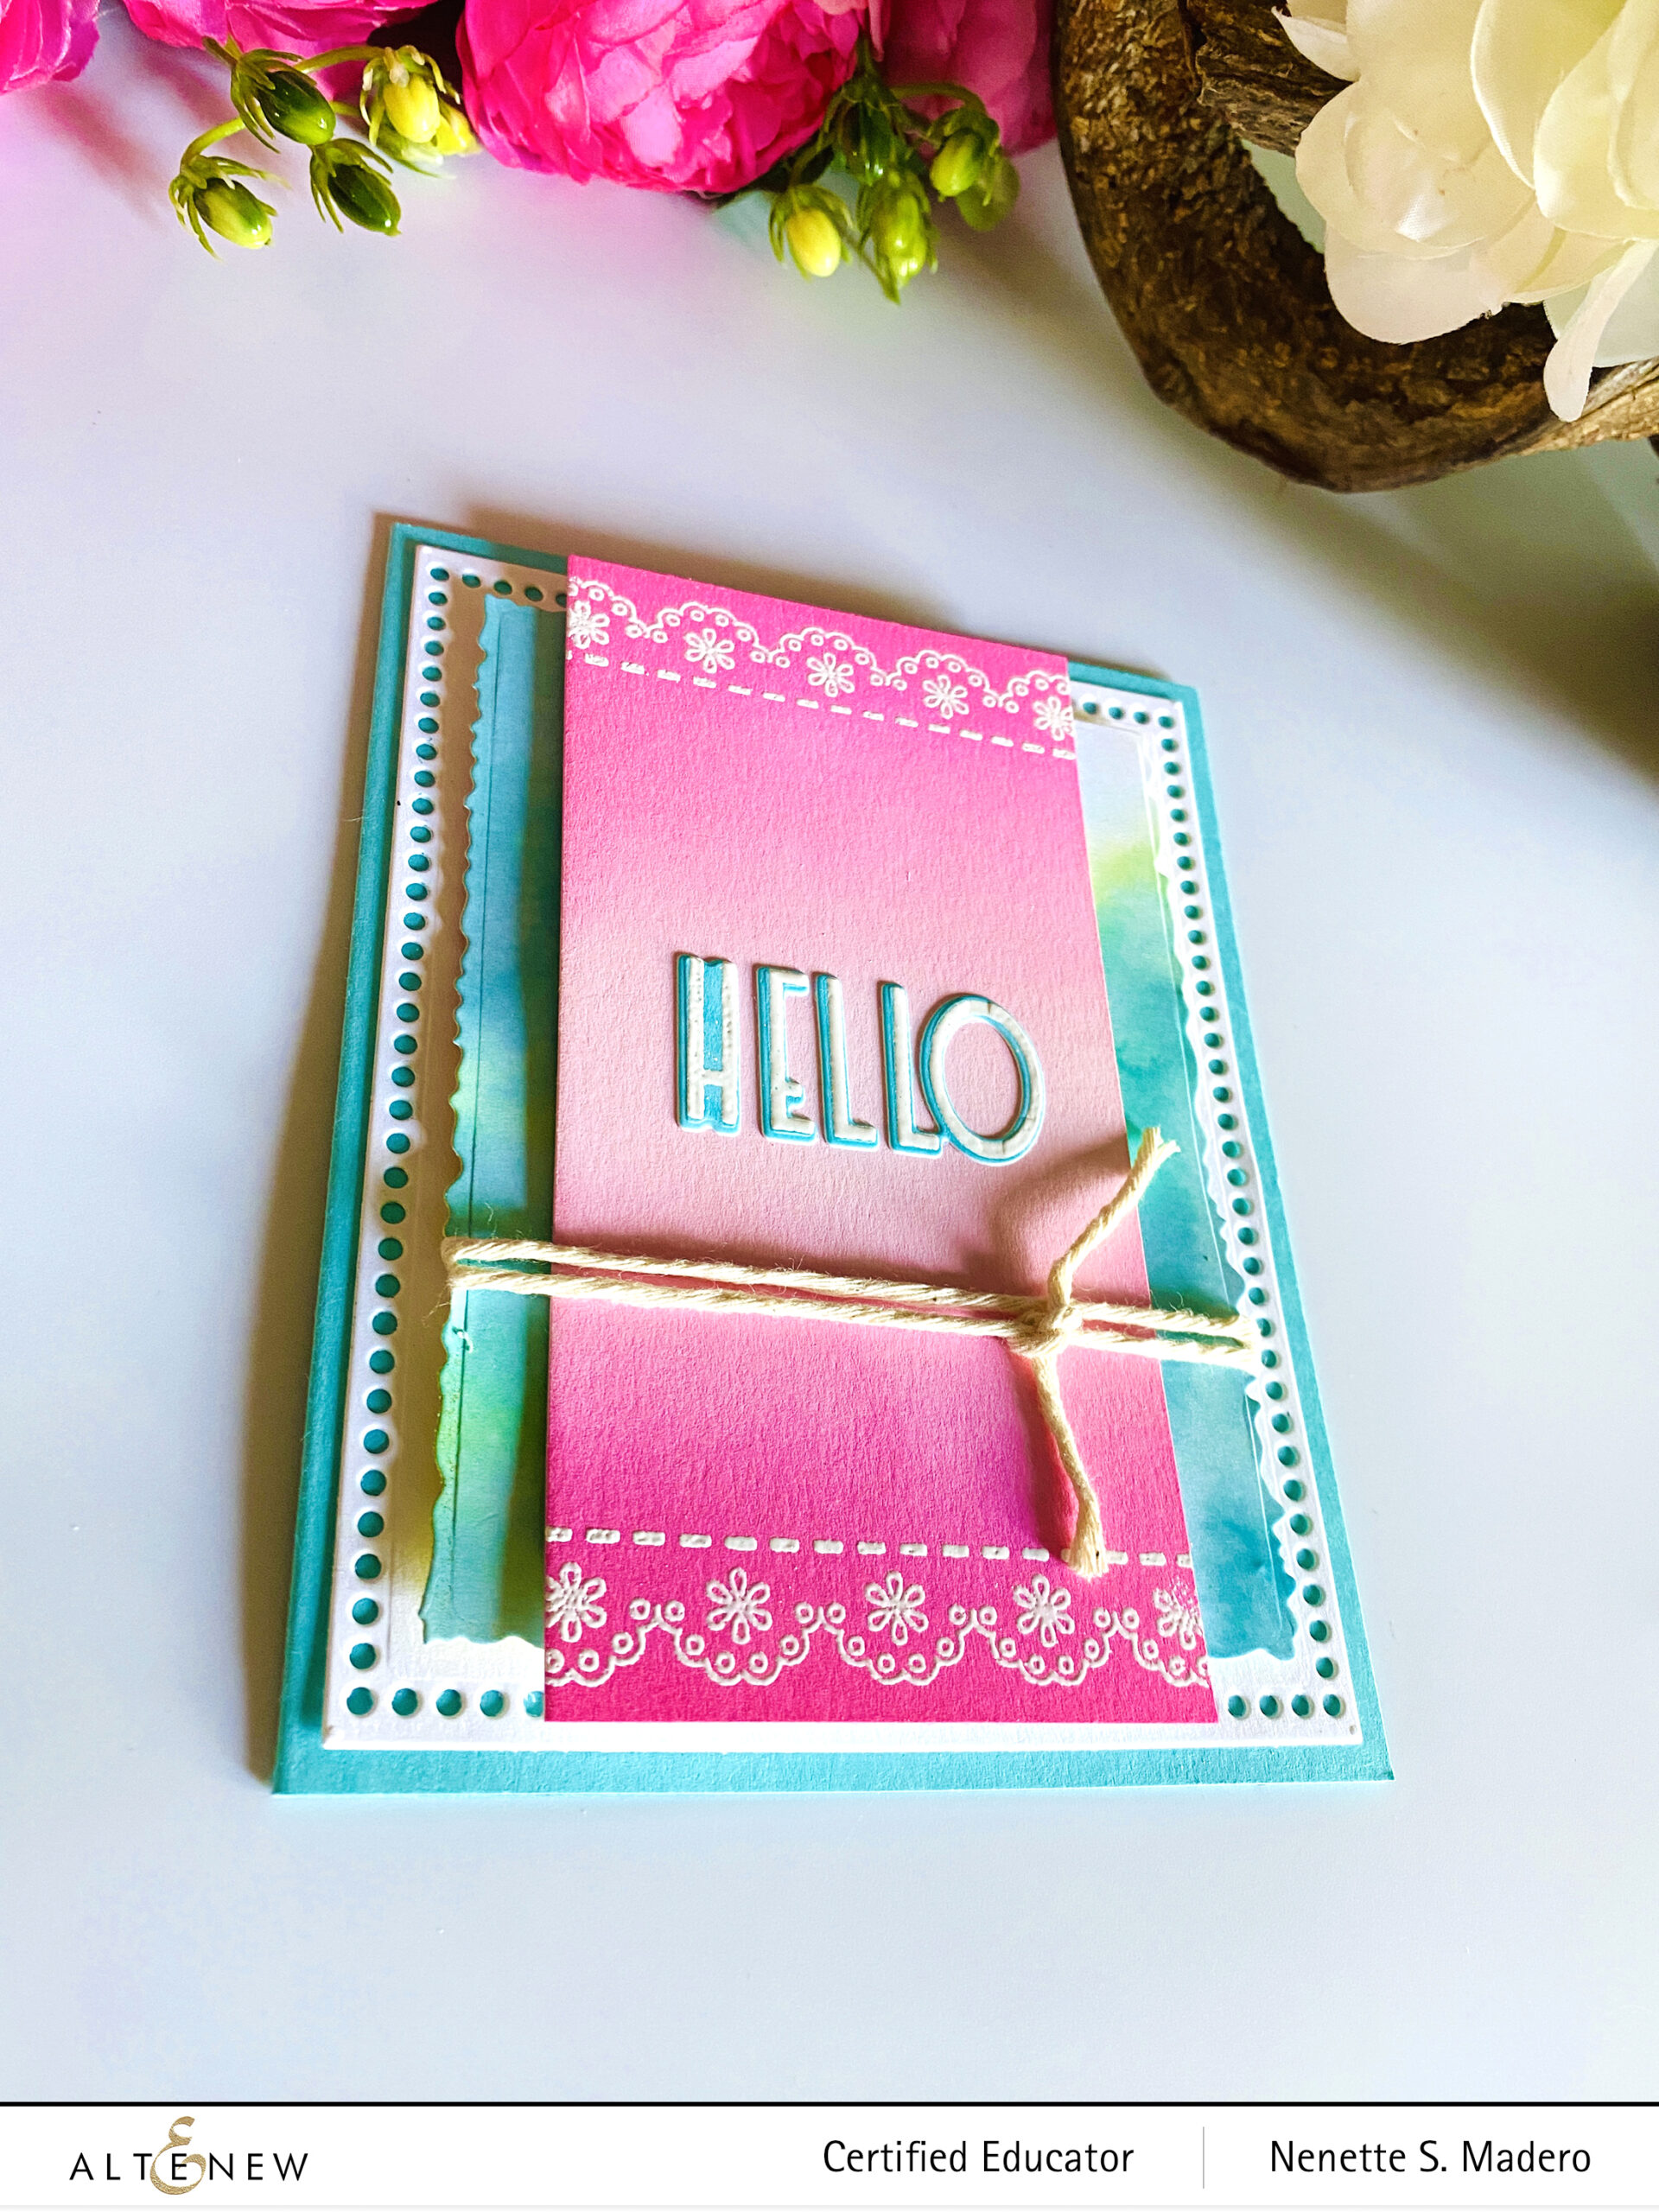
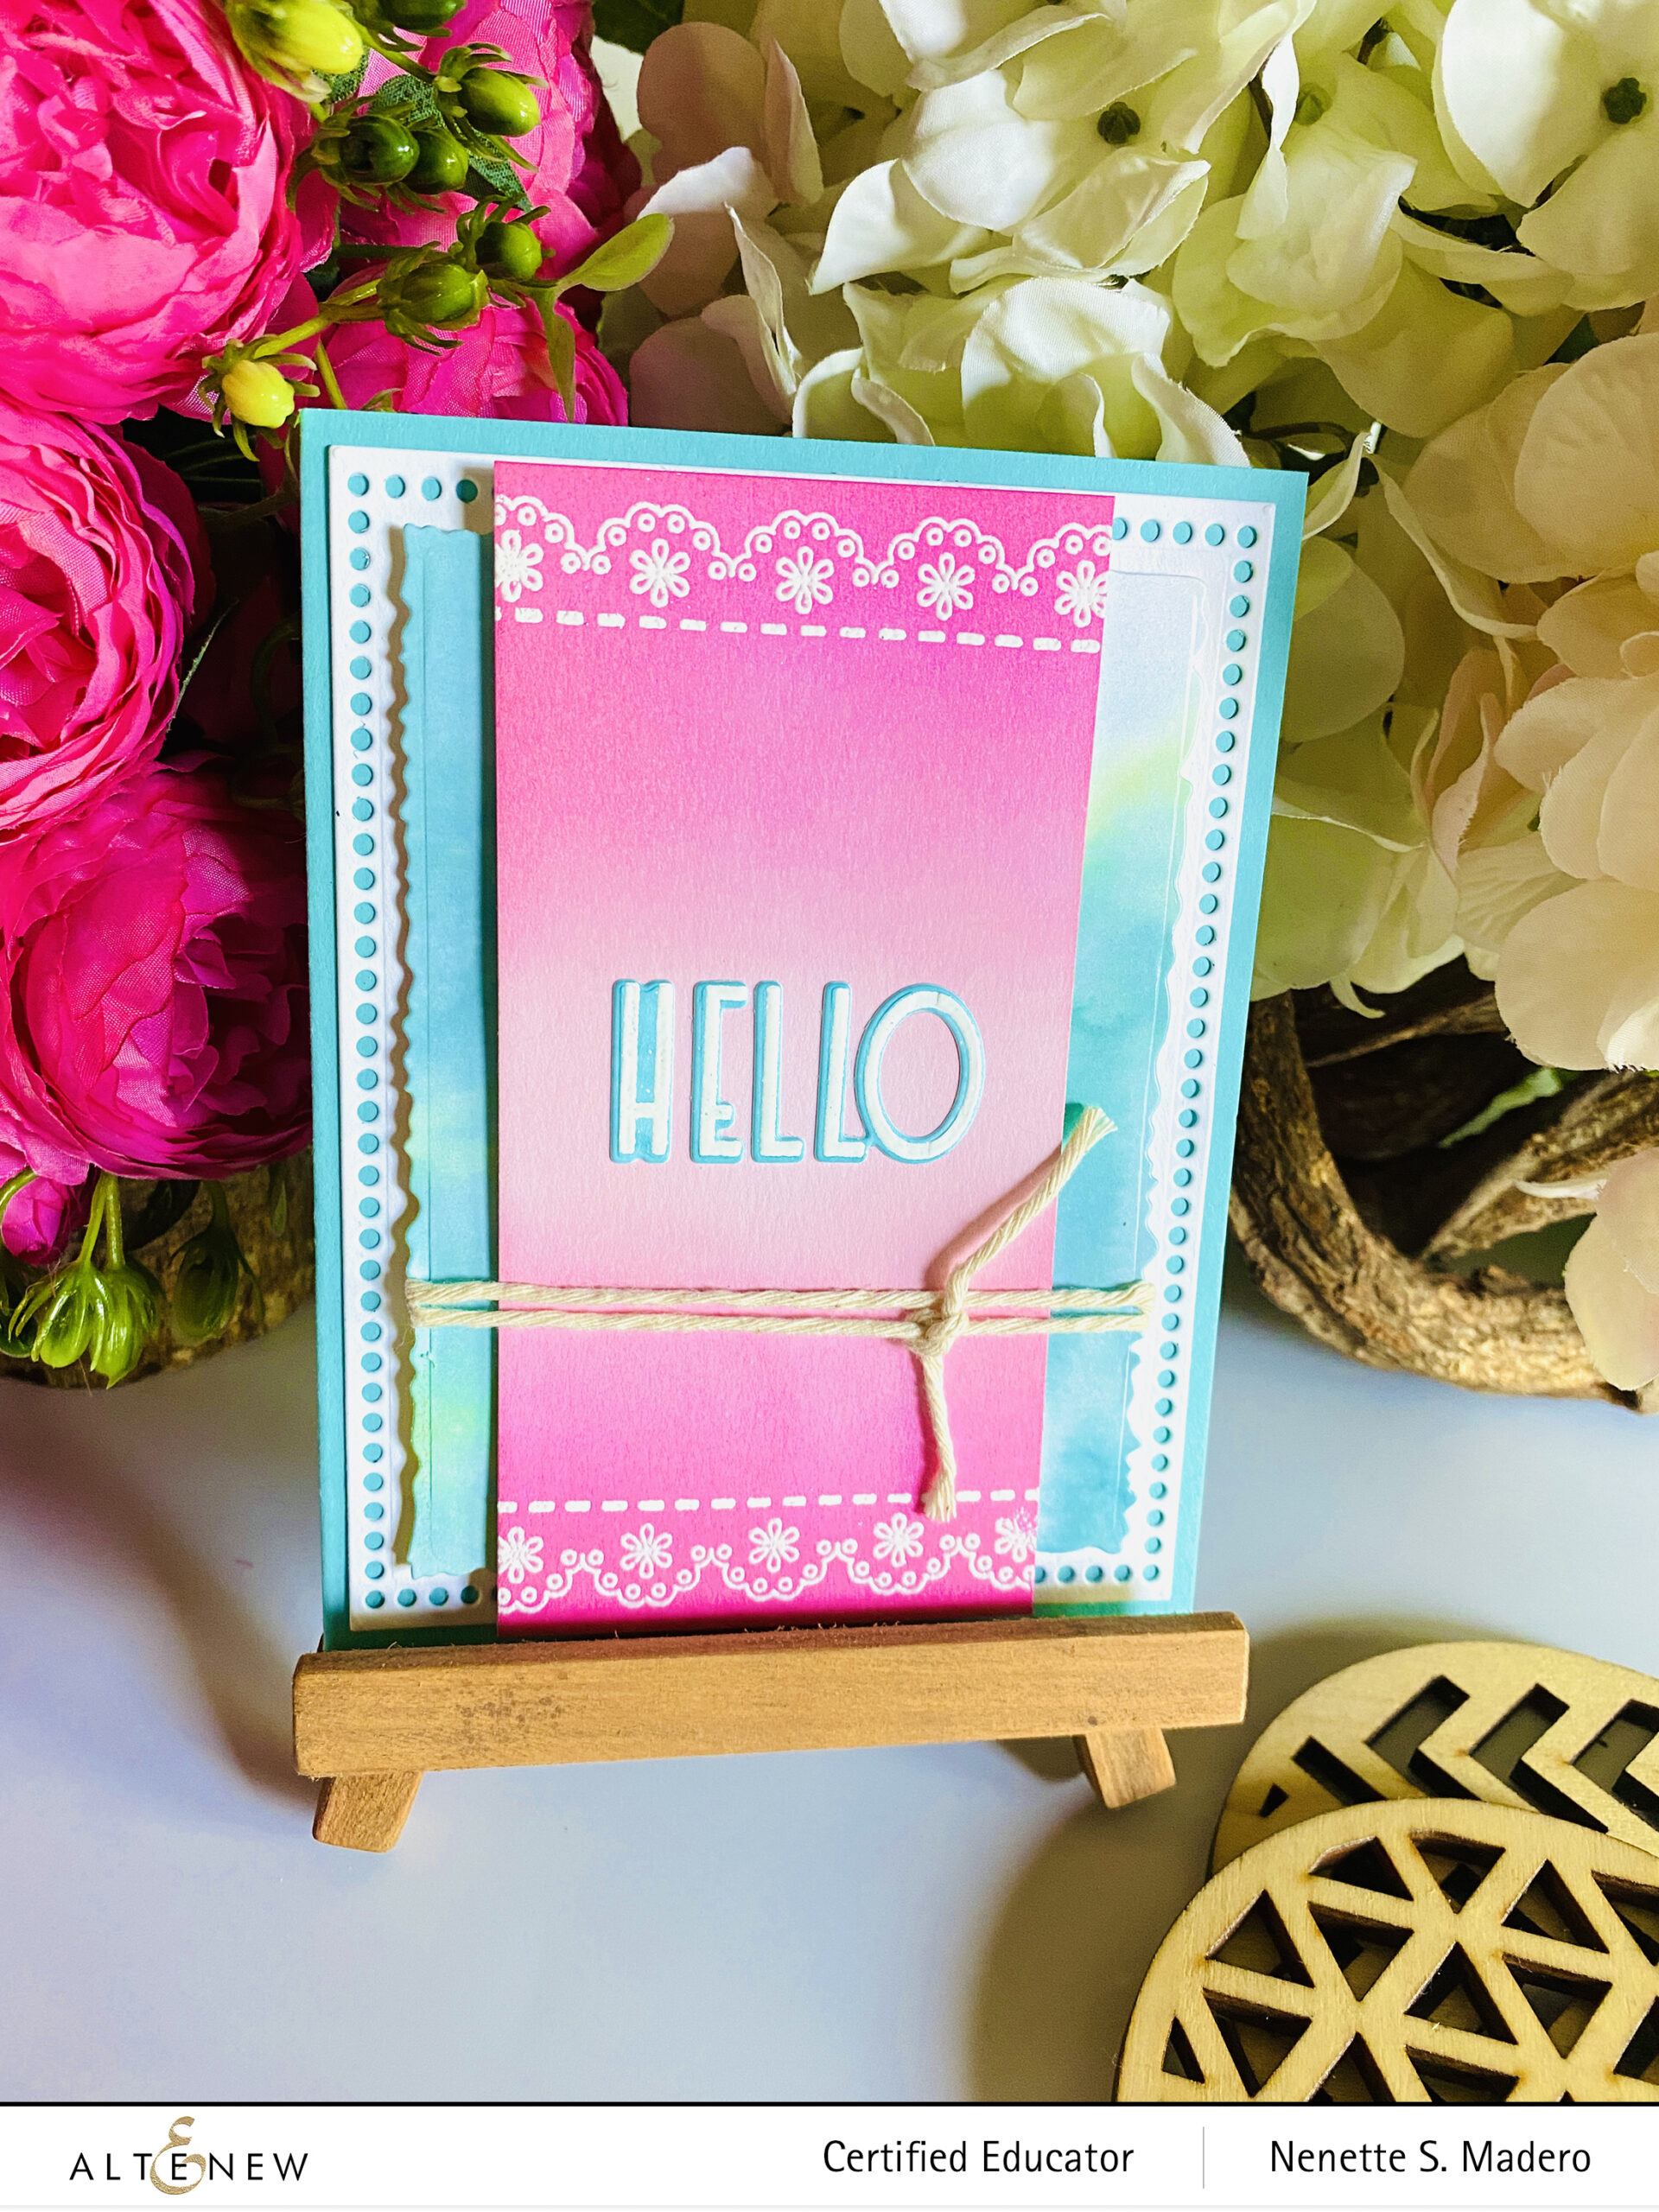
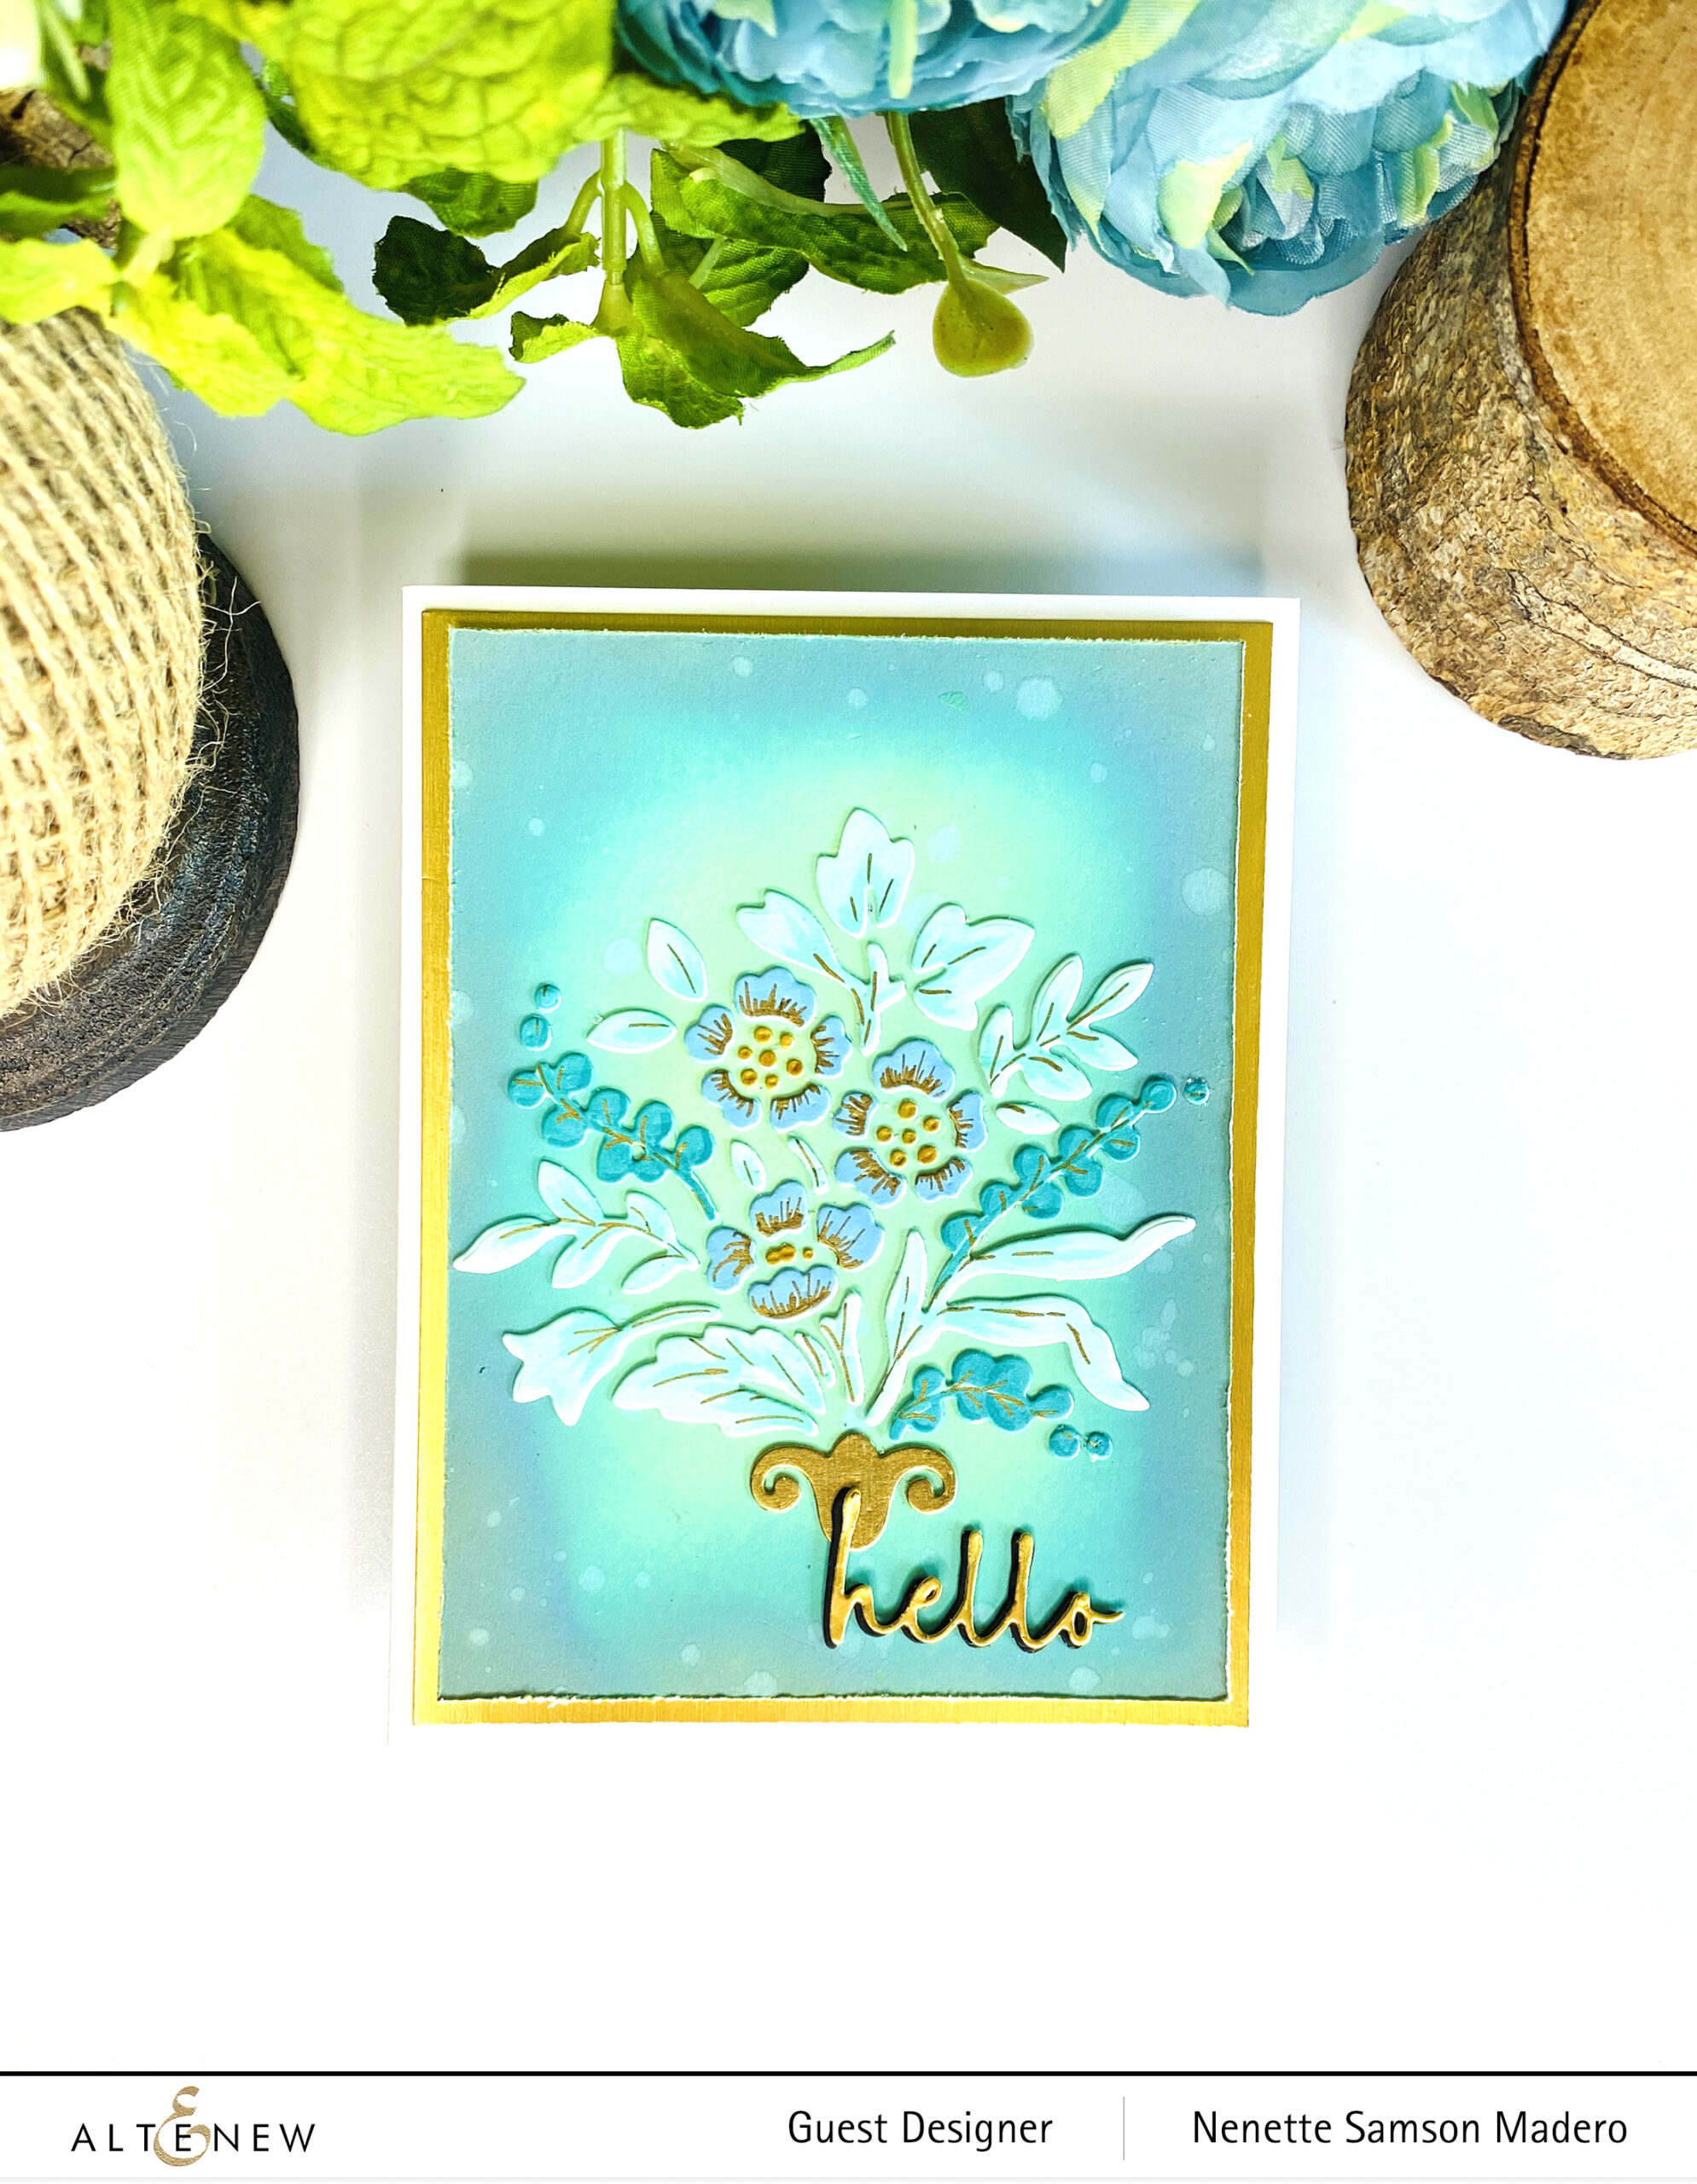
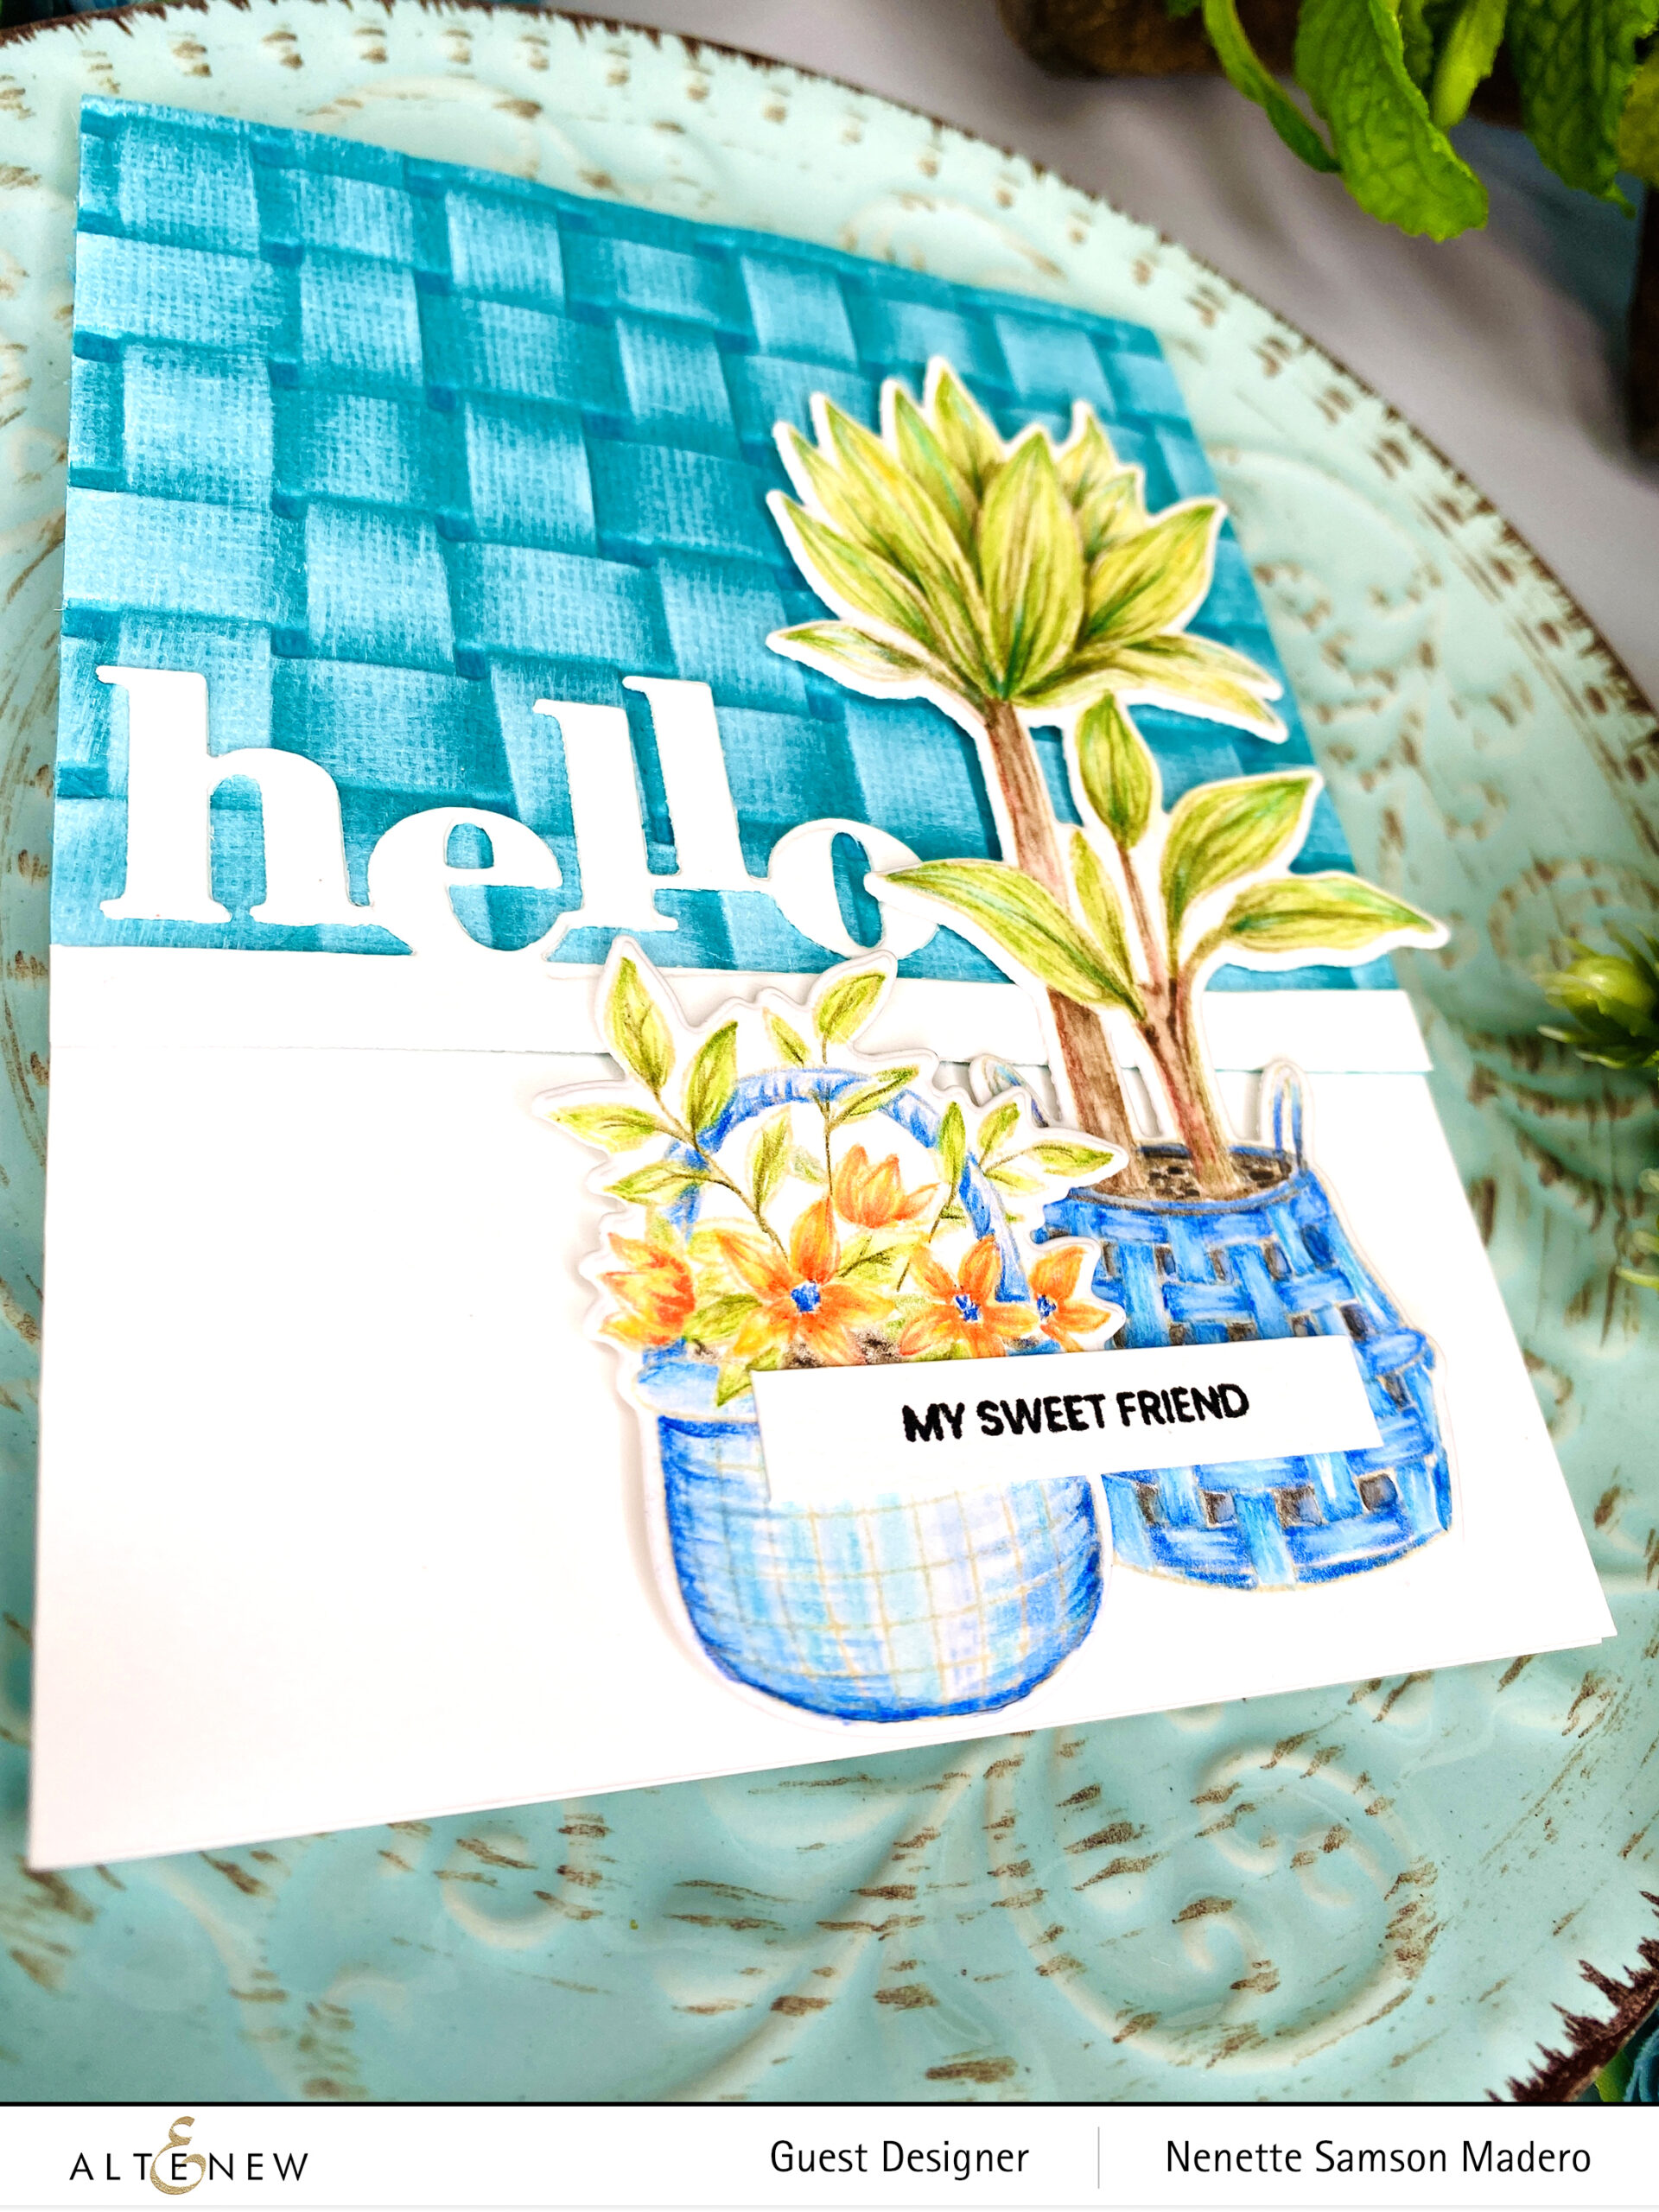
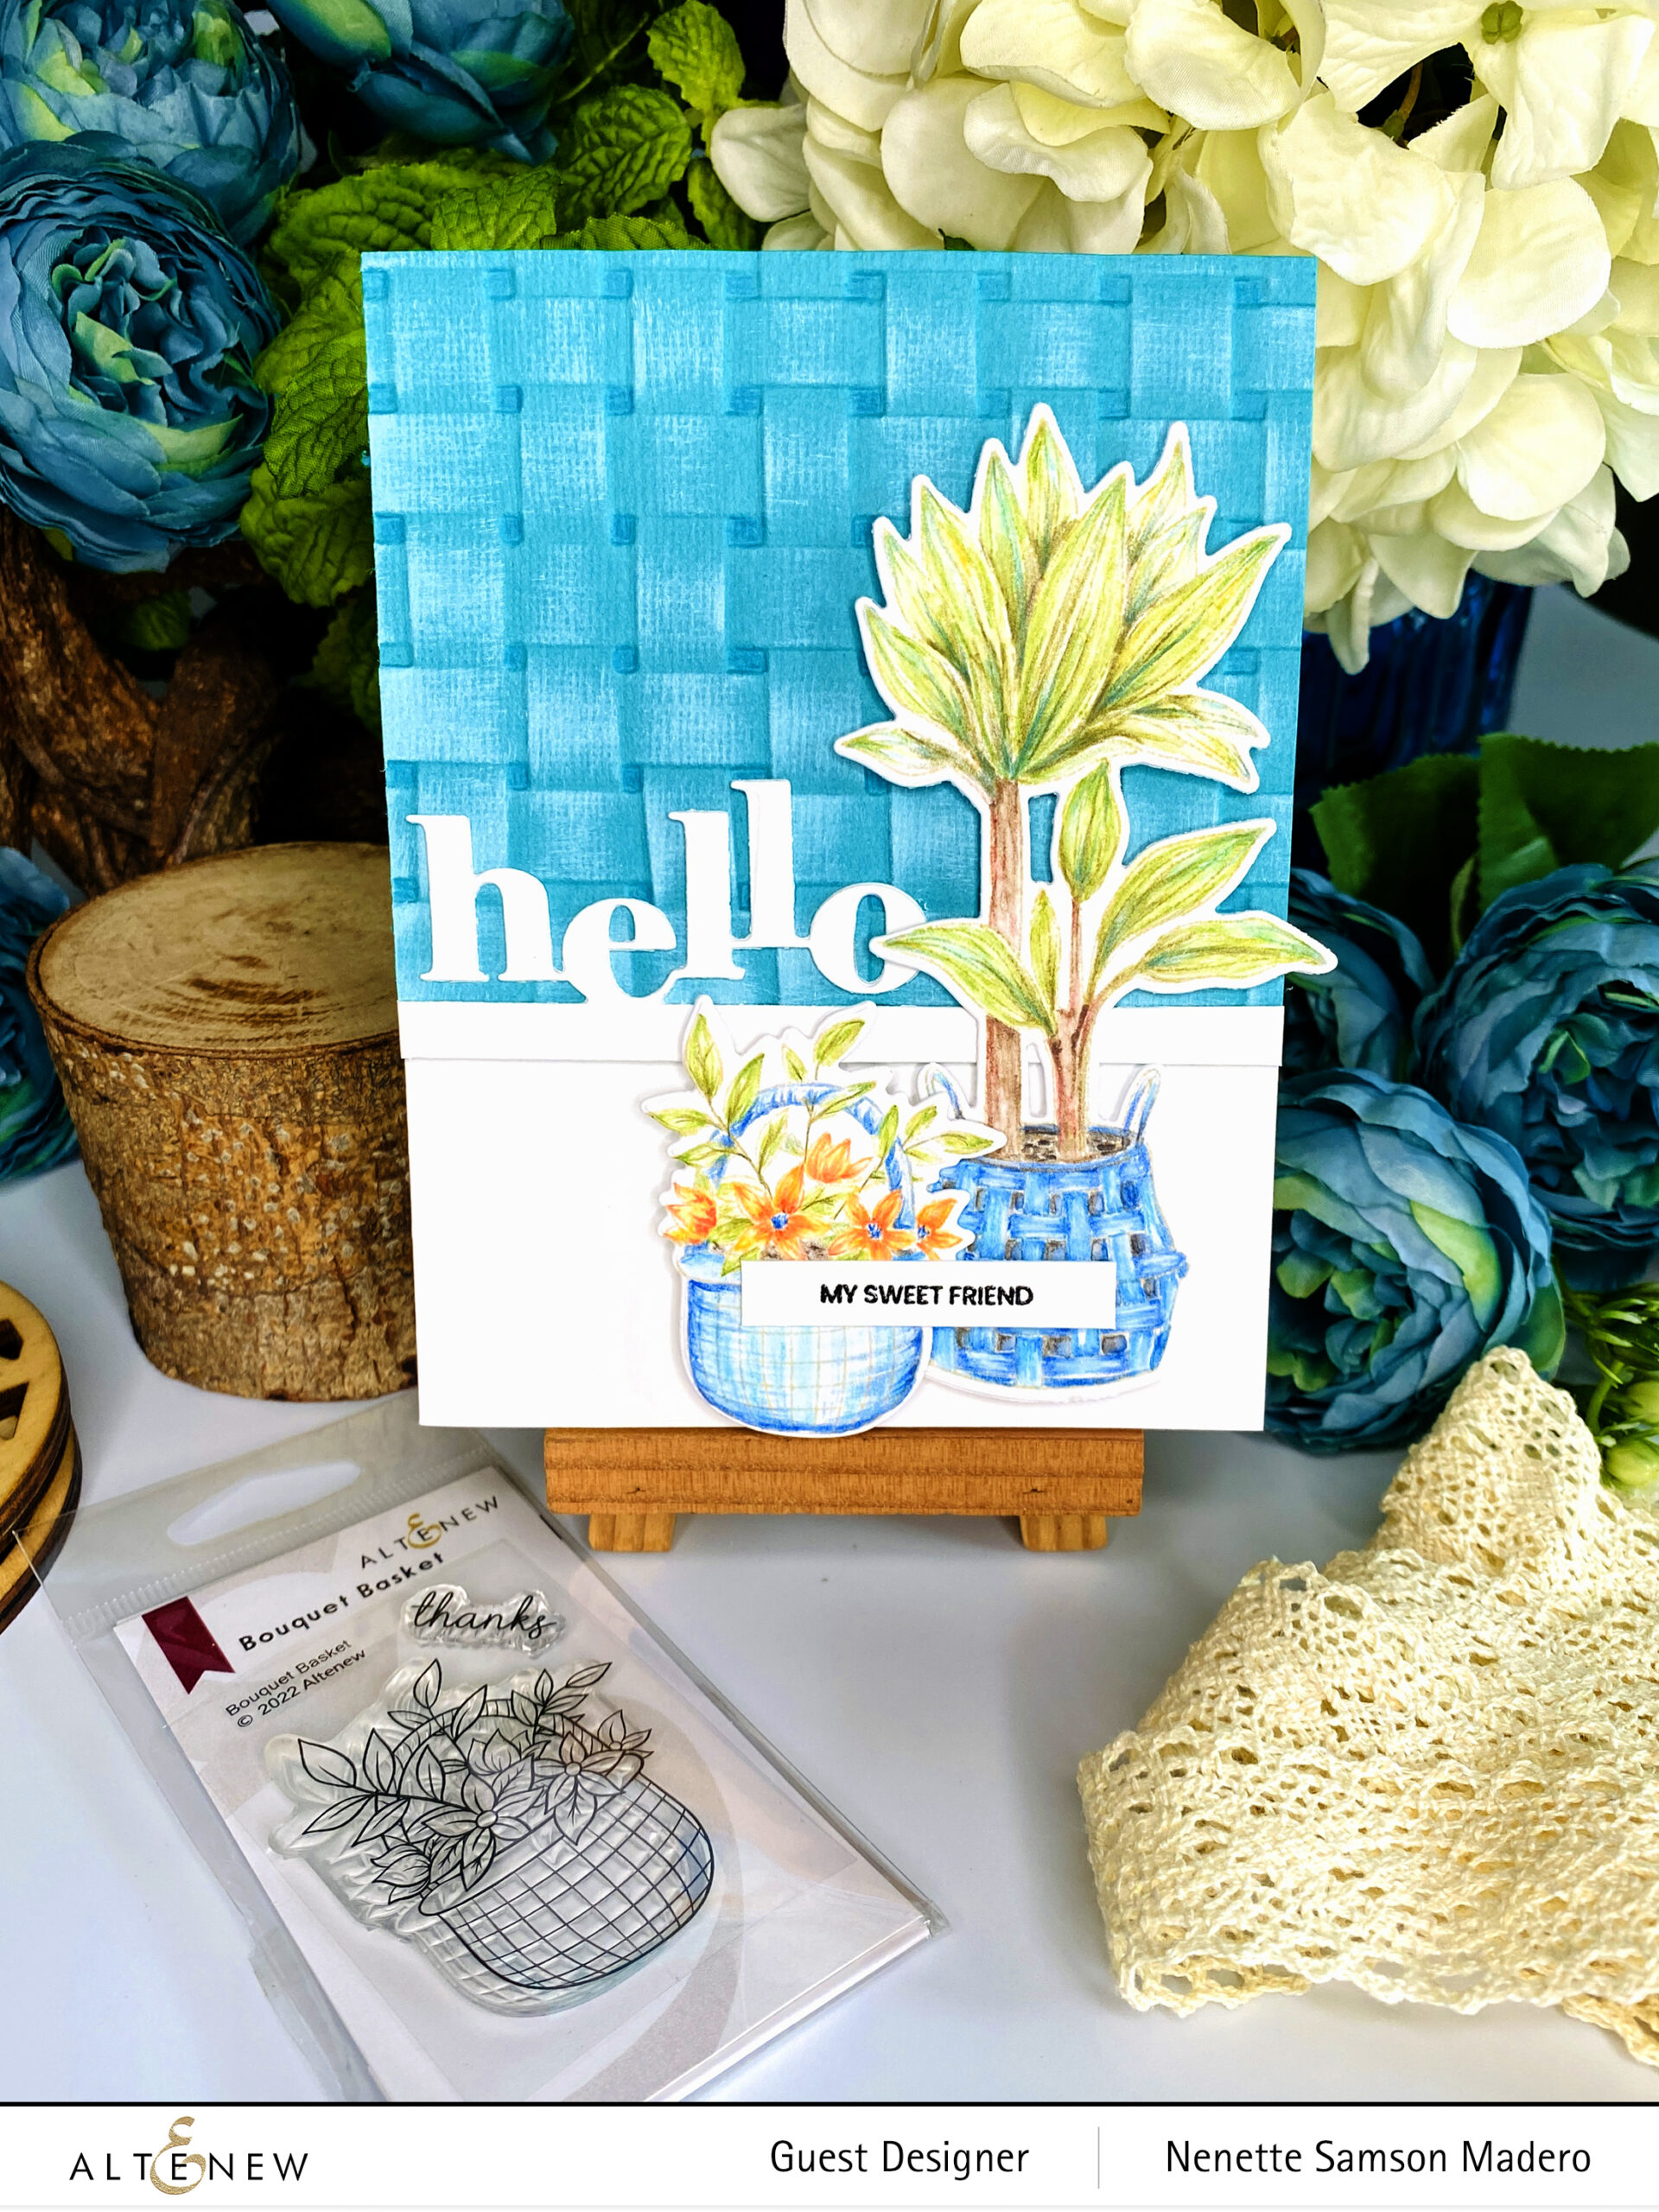
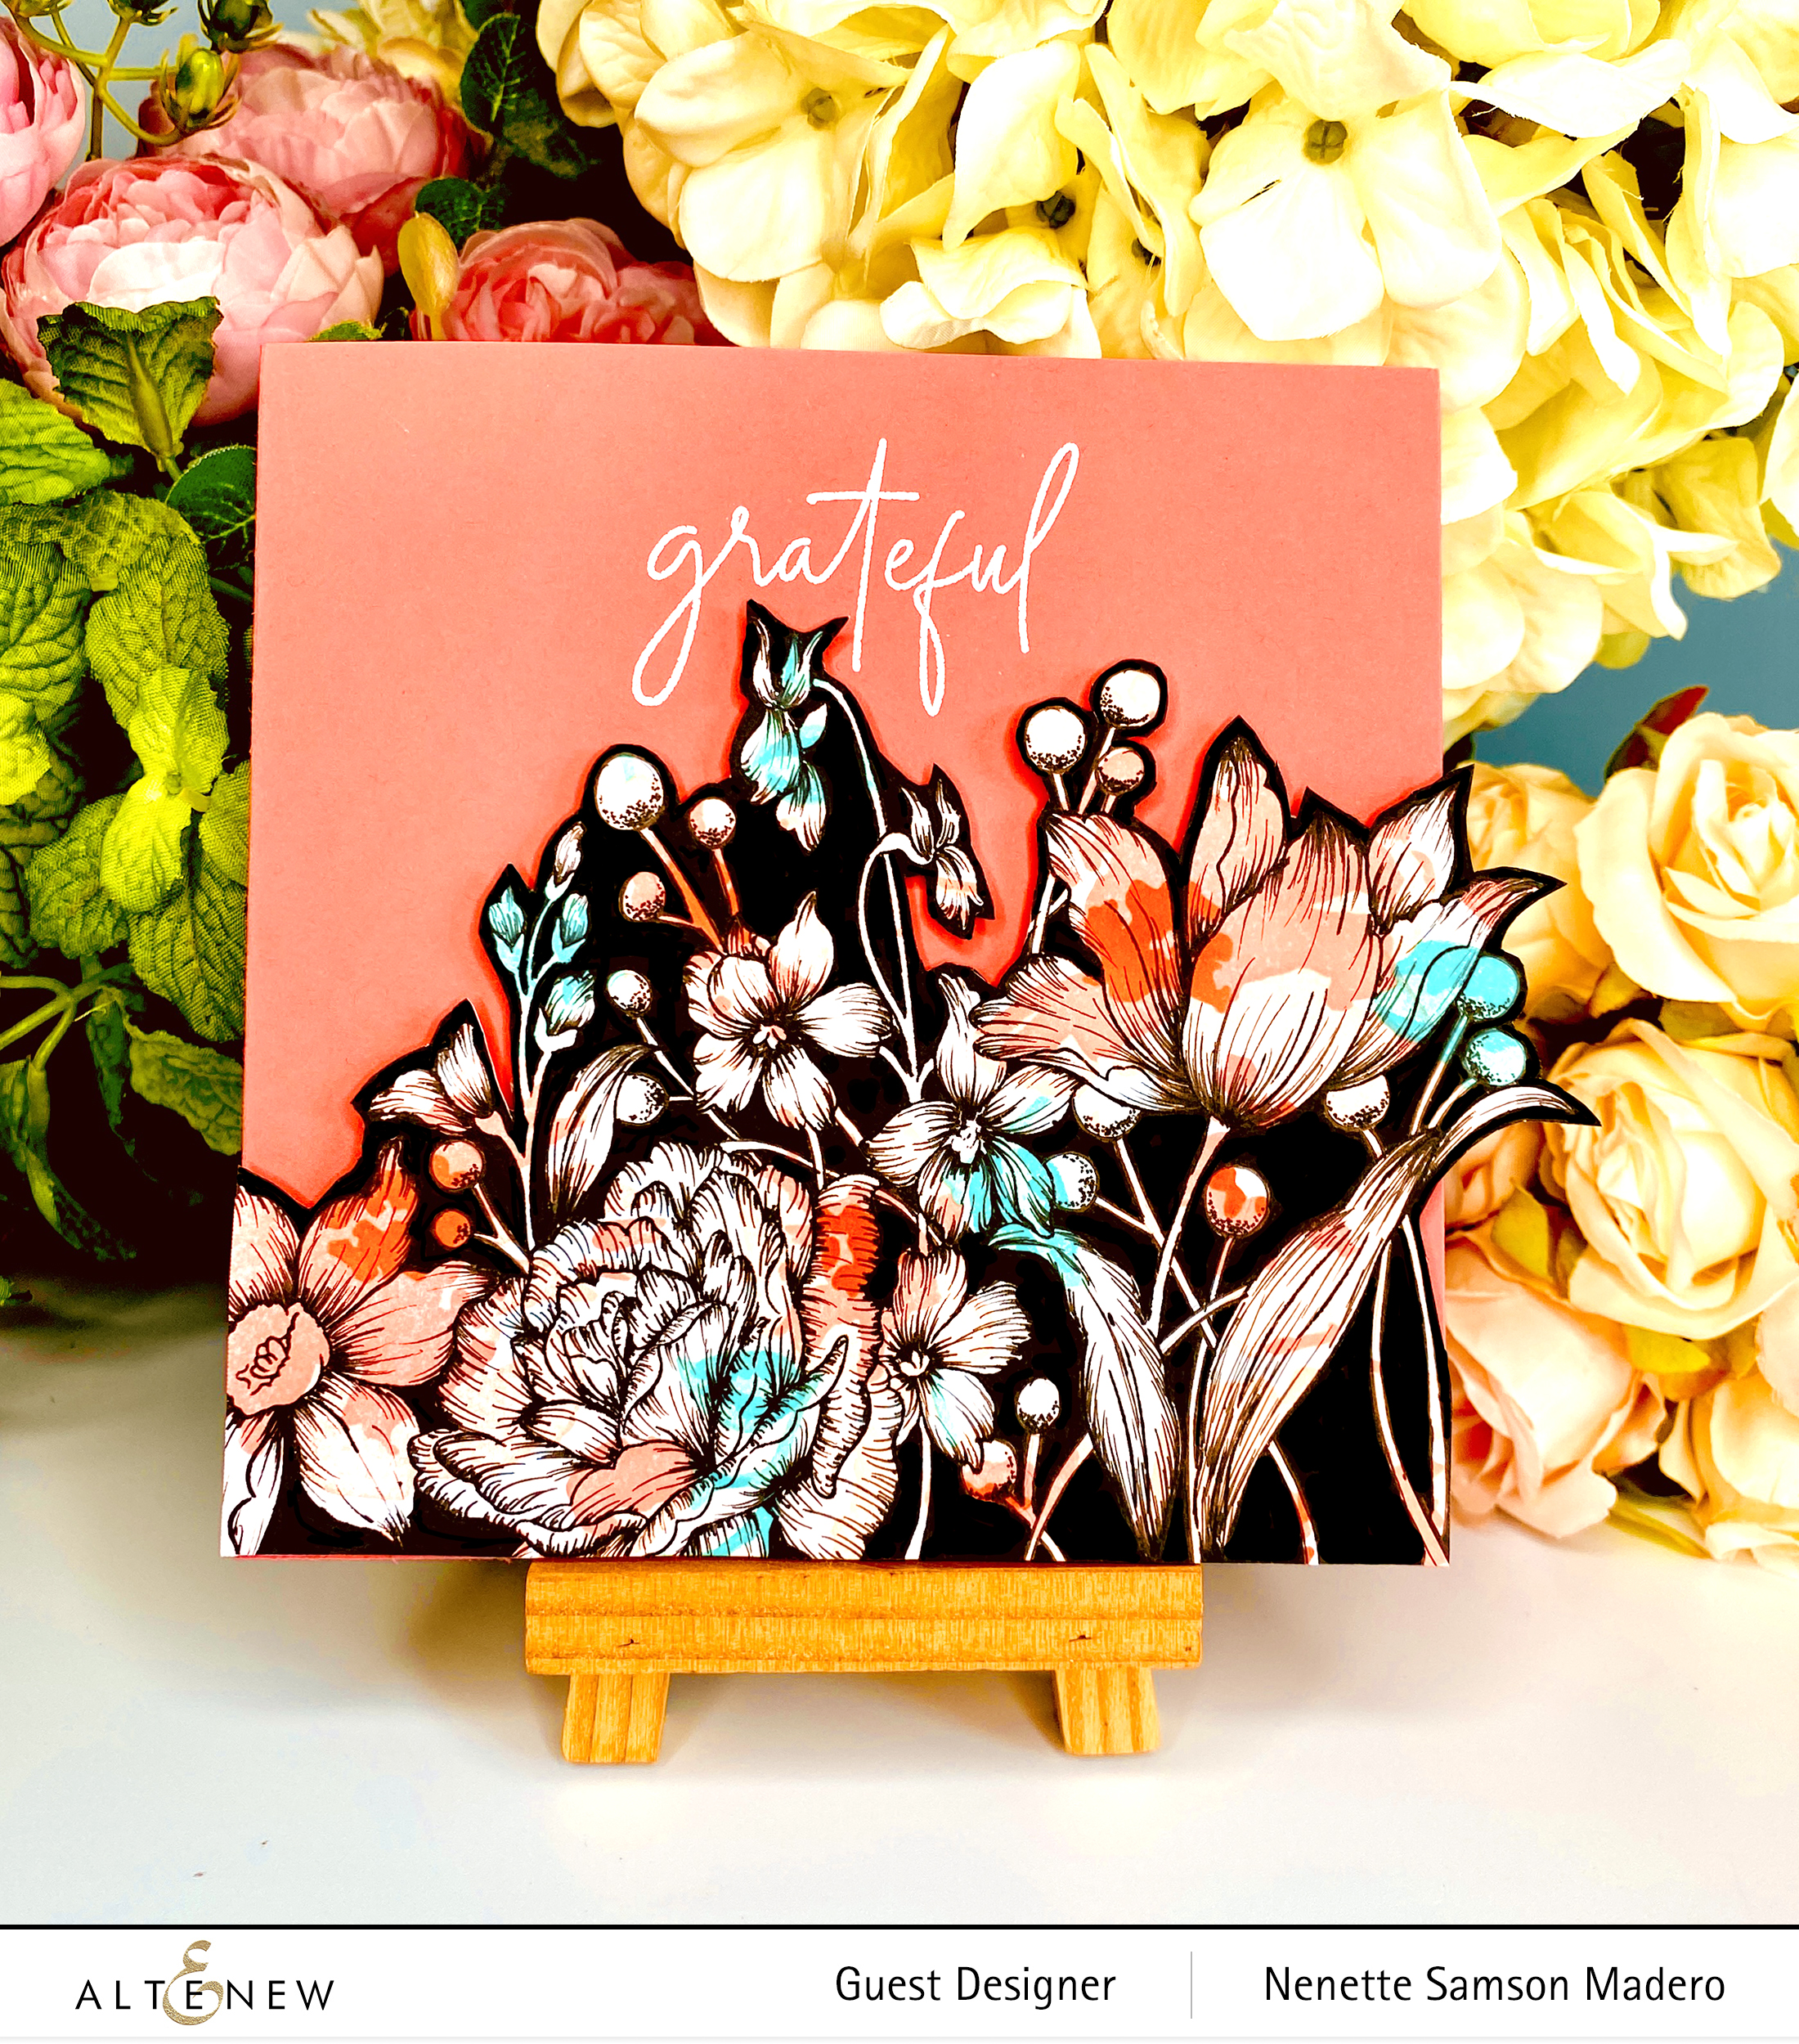
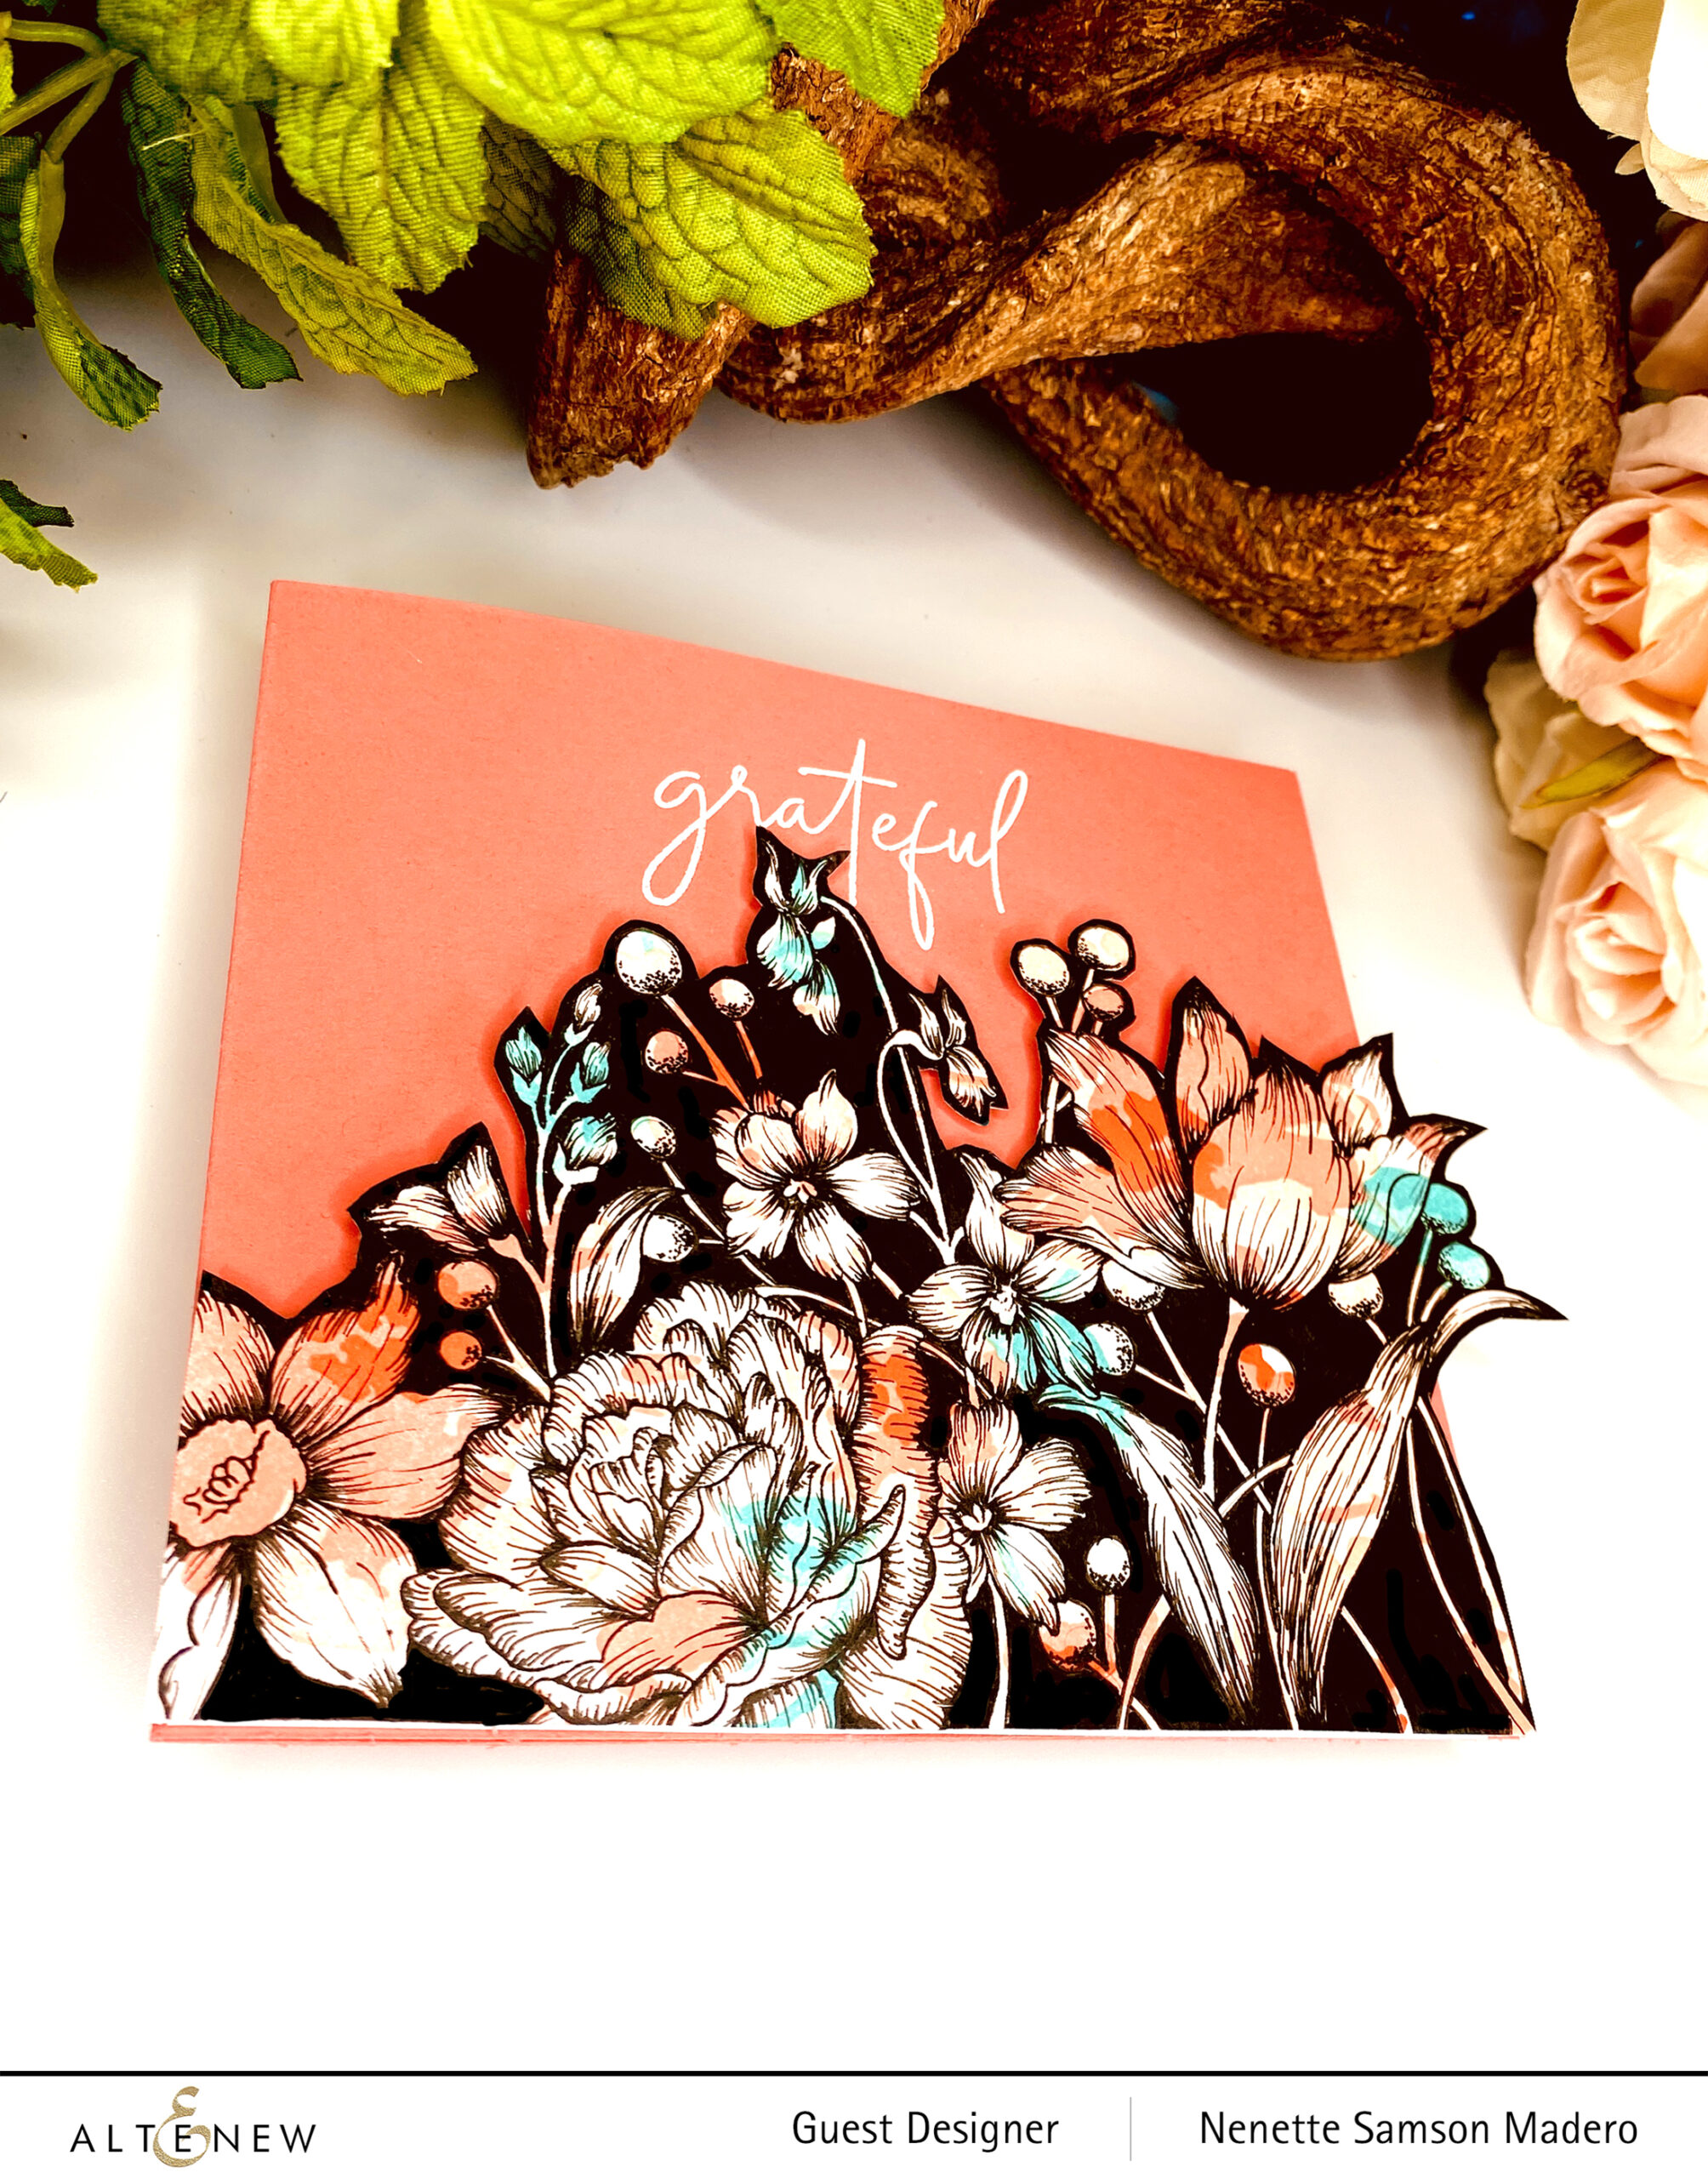
HELLO
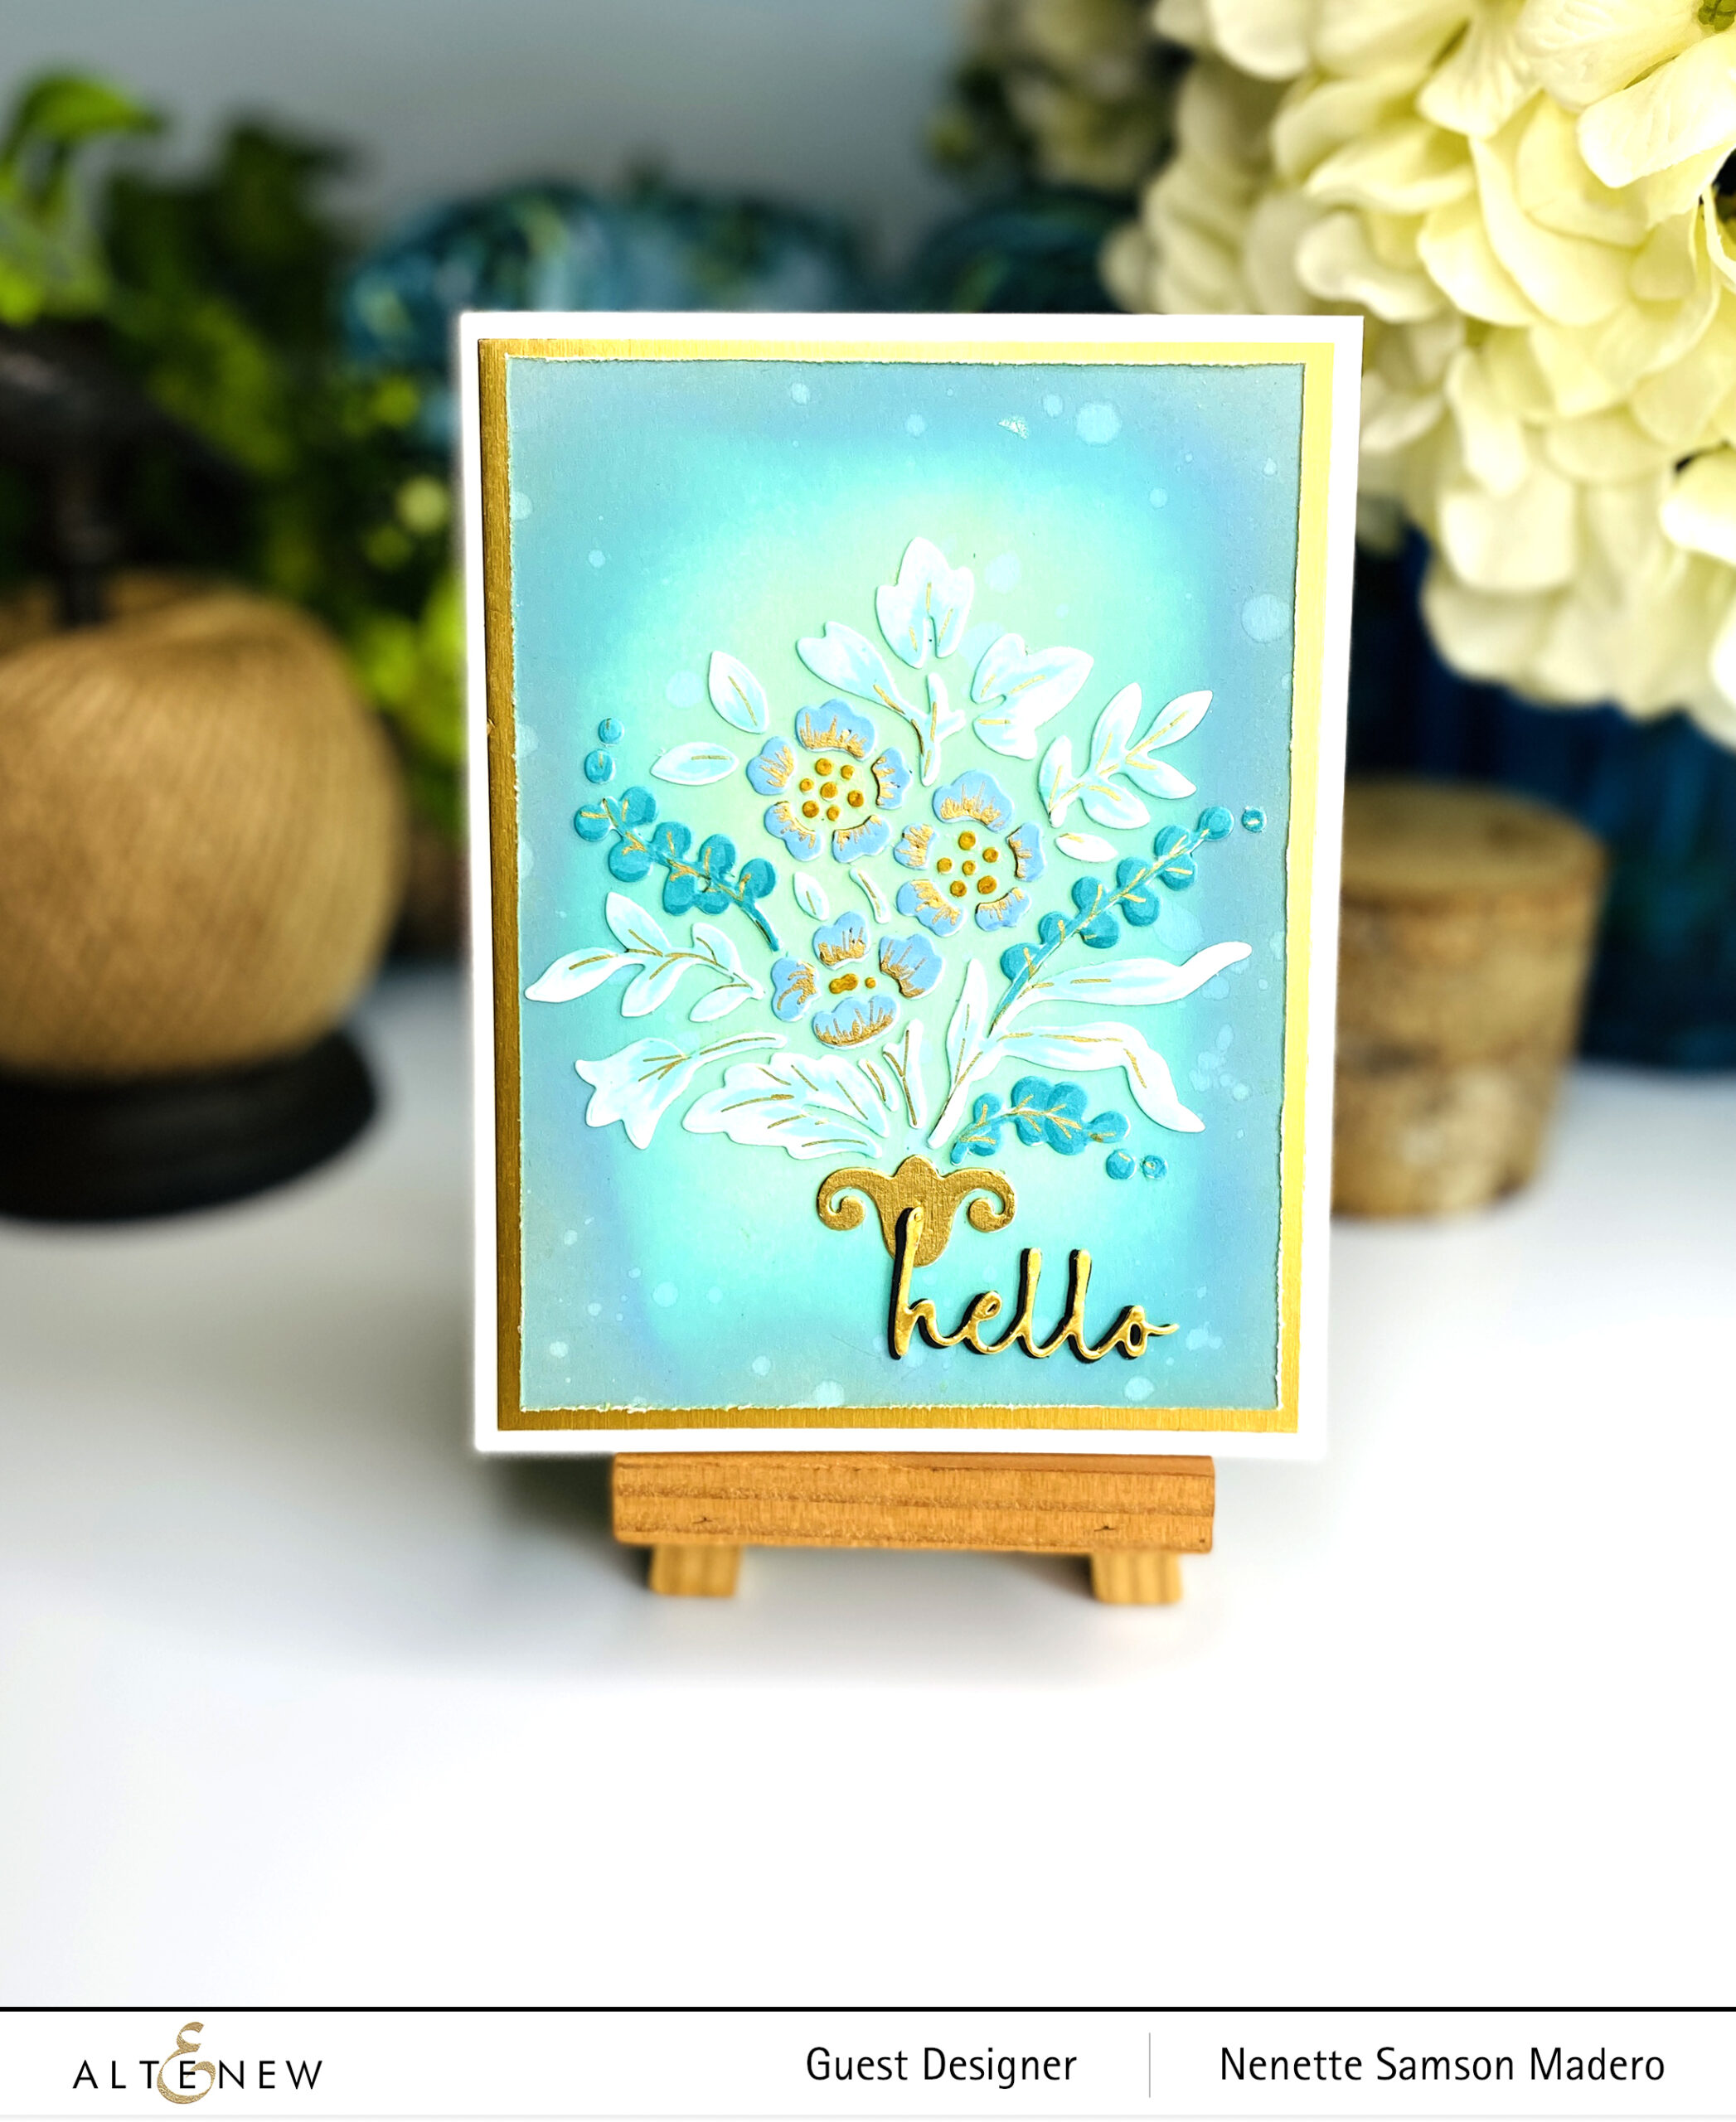
STEPS:
- Color the image using the Dynamic Blooms stencil and Distress Oxides Frayed burlap, Peacock Feathers, Cracked Pistachio. Color also using Artist Markers set C and Water Garden.
- Die cut the image.
- Add distress oxides to the card front and splatter water.
- Adhere the die cut pieces and add details using Sakura Pen Touch gold.
- Die cut the sentiment.
- Mat the colored card in gold and assemble the card with foam squares.
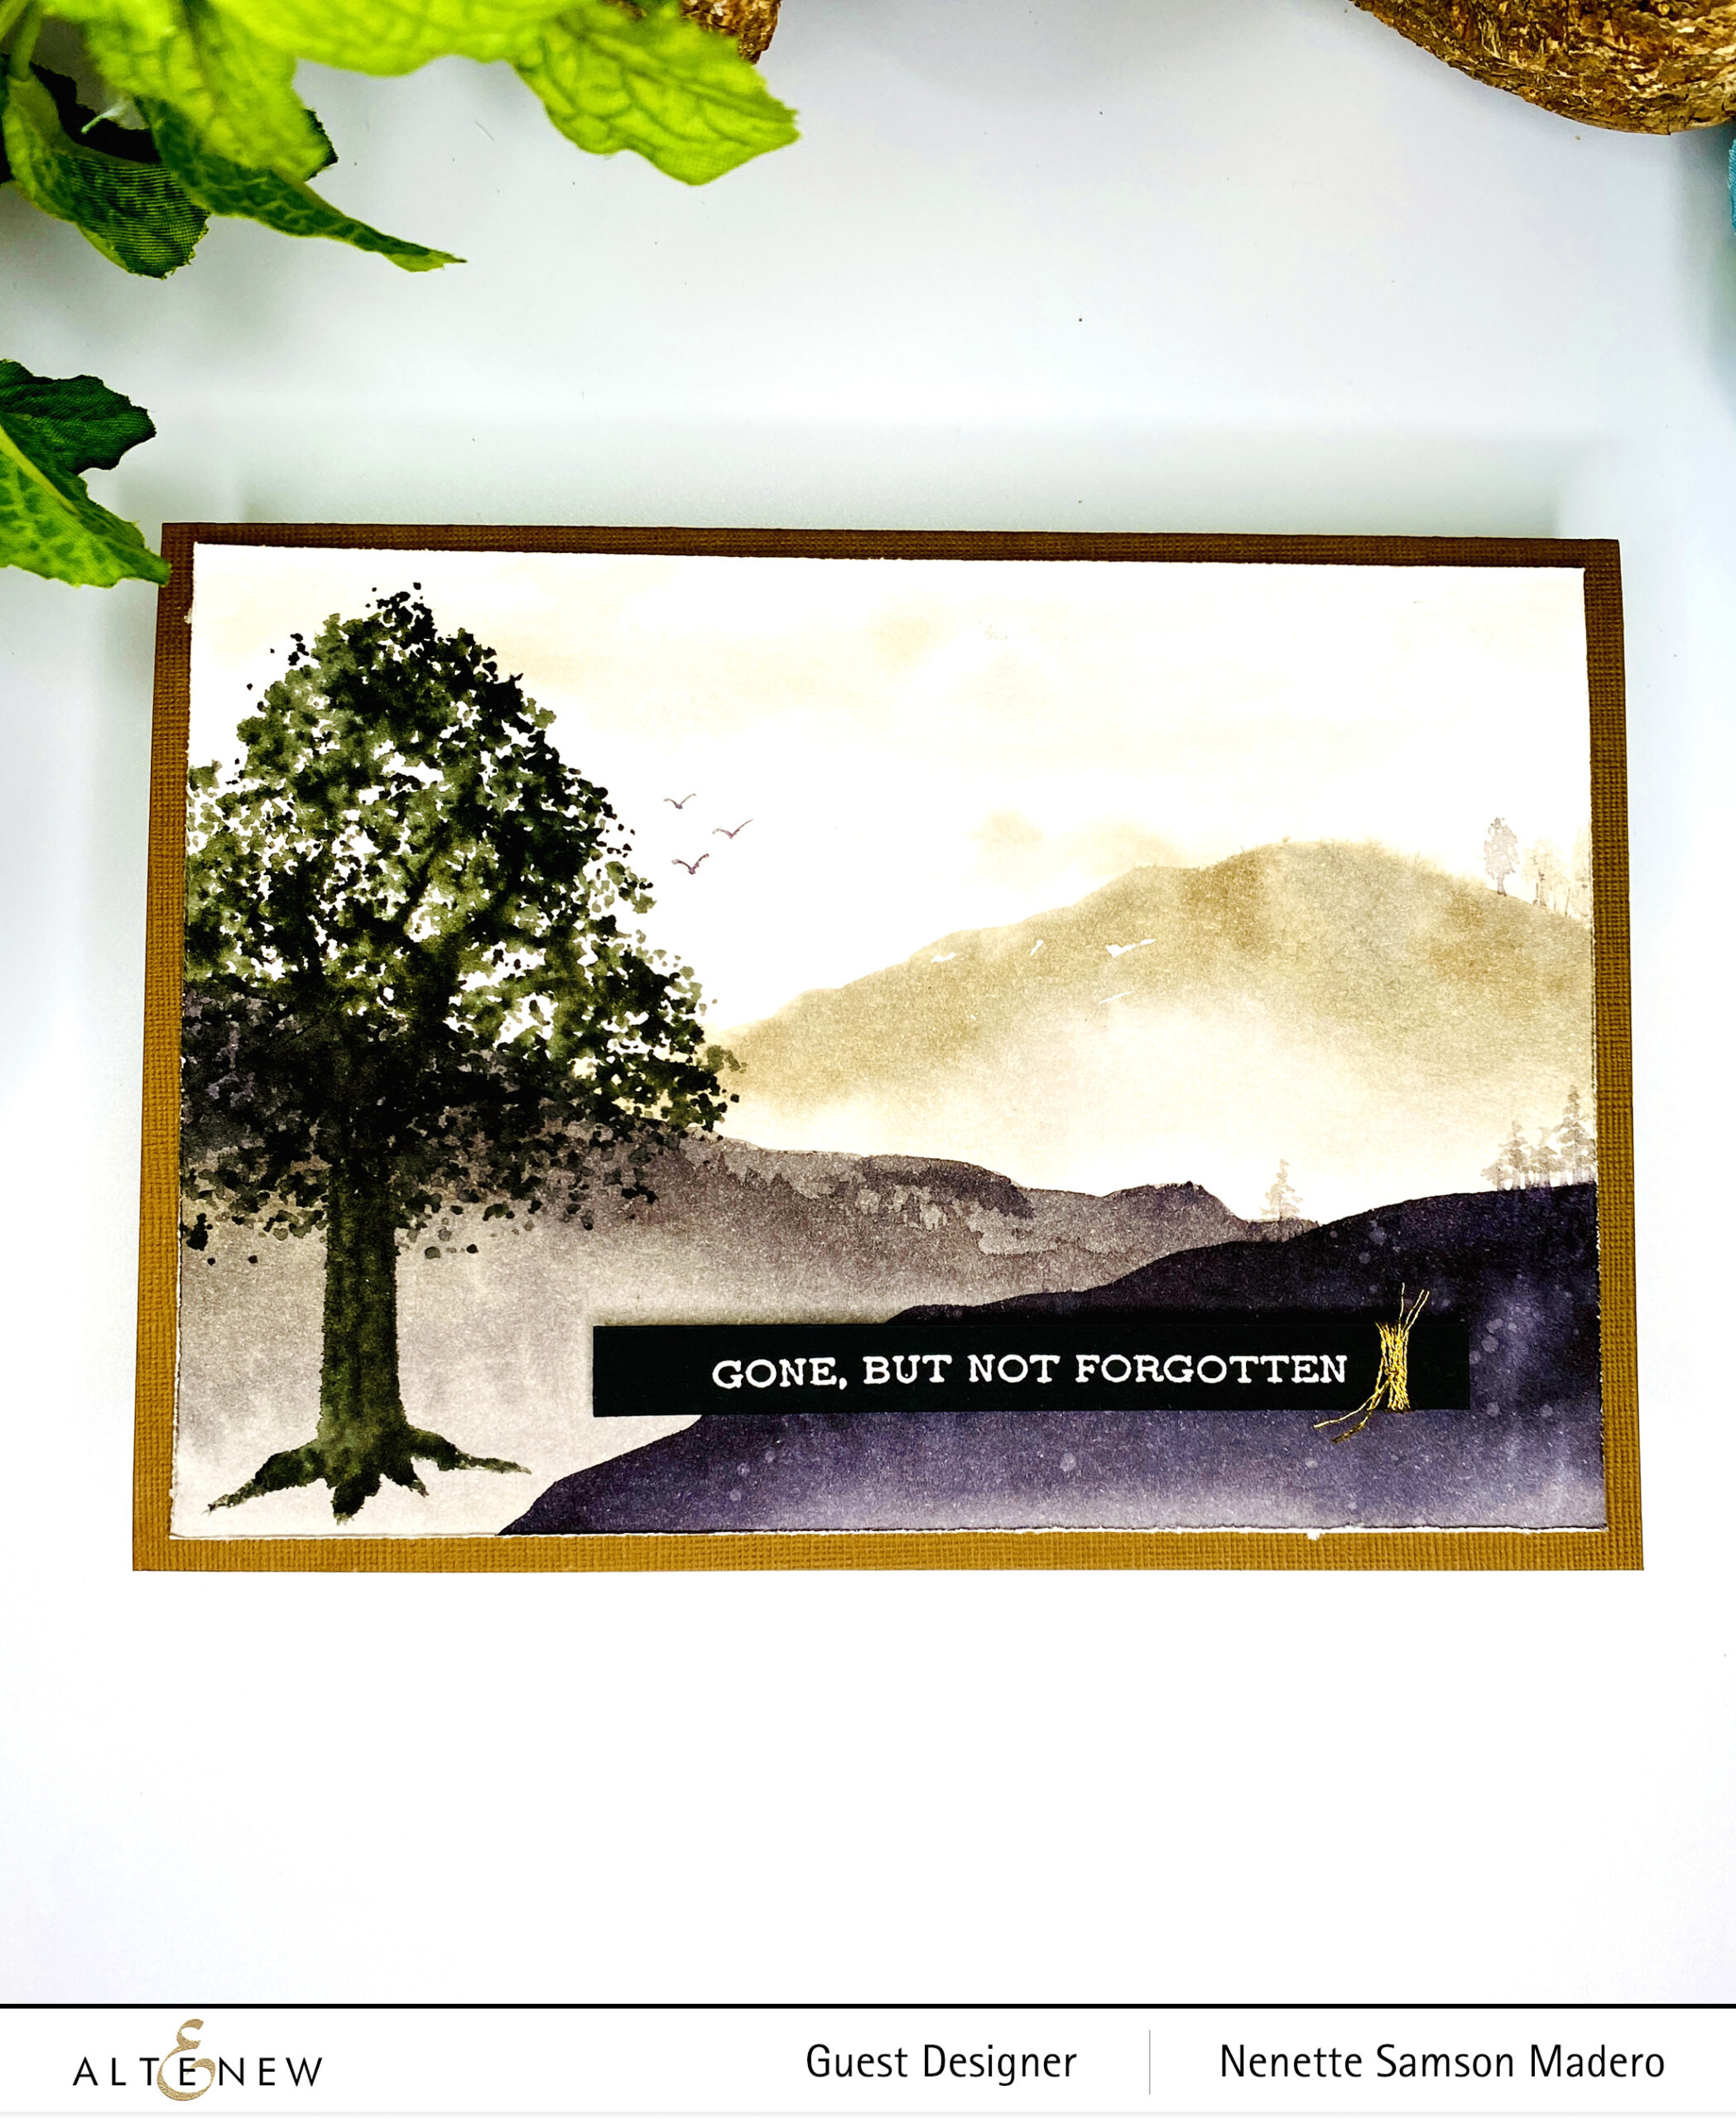
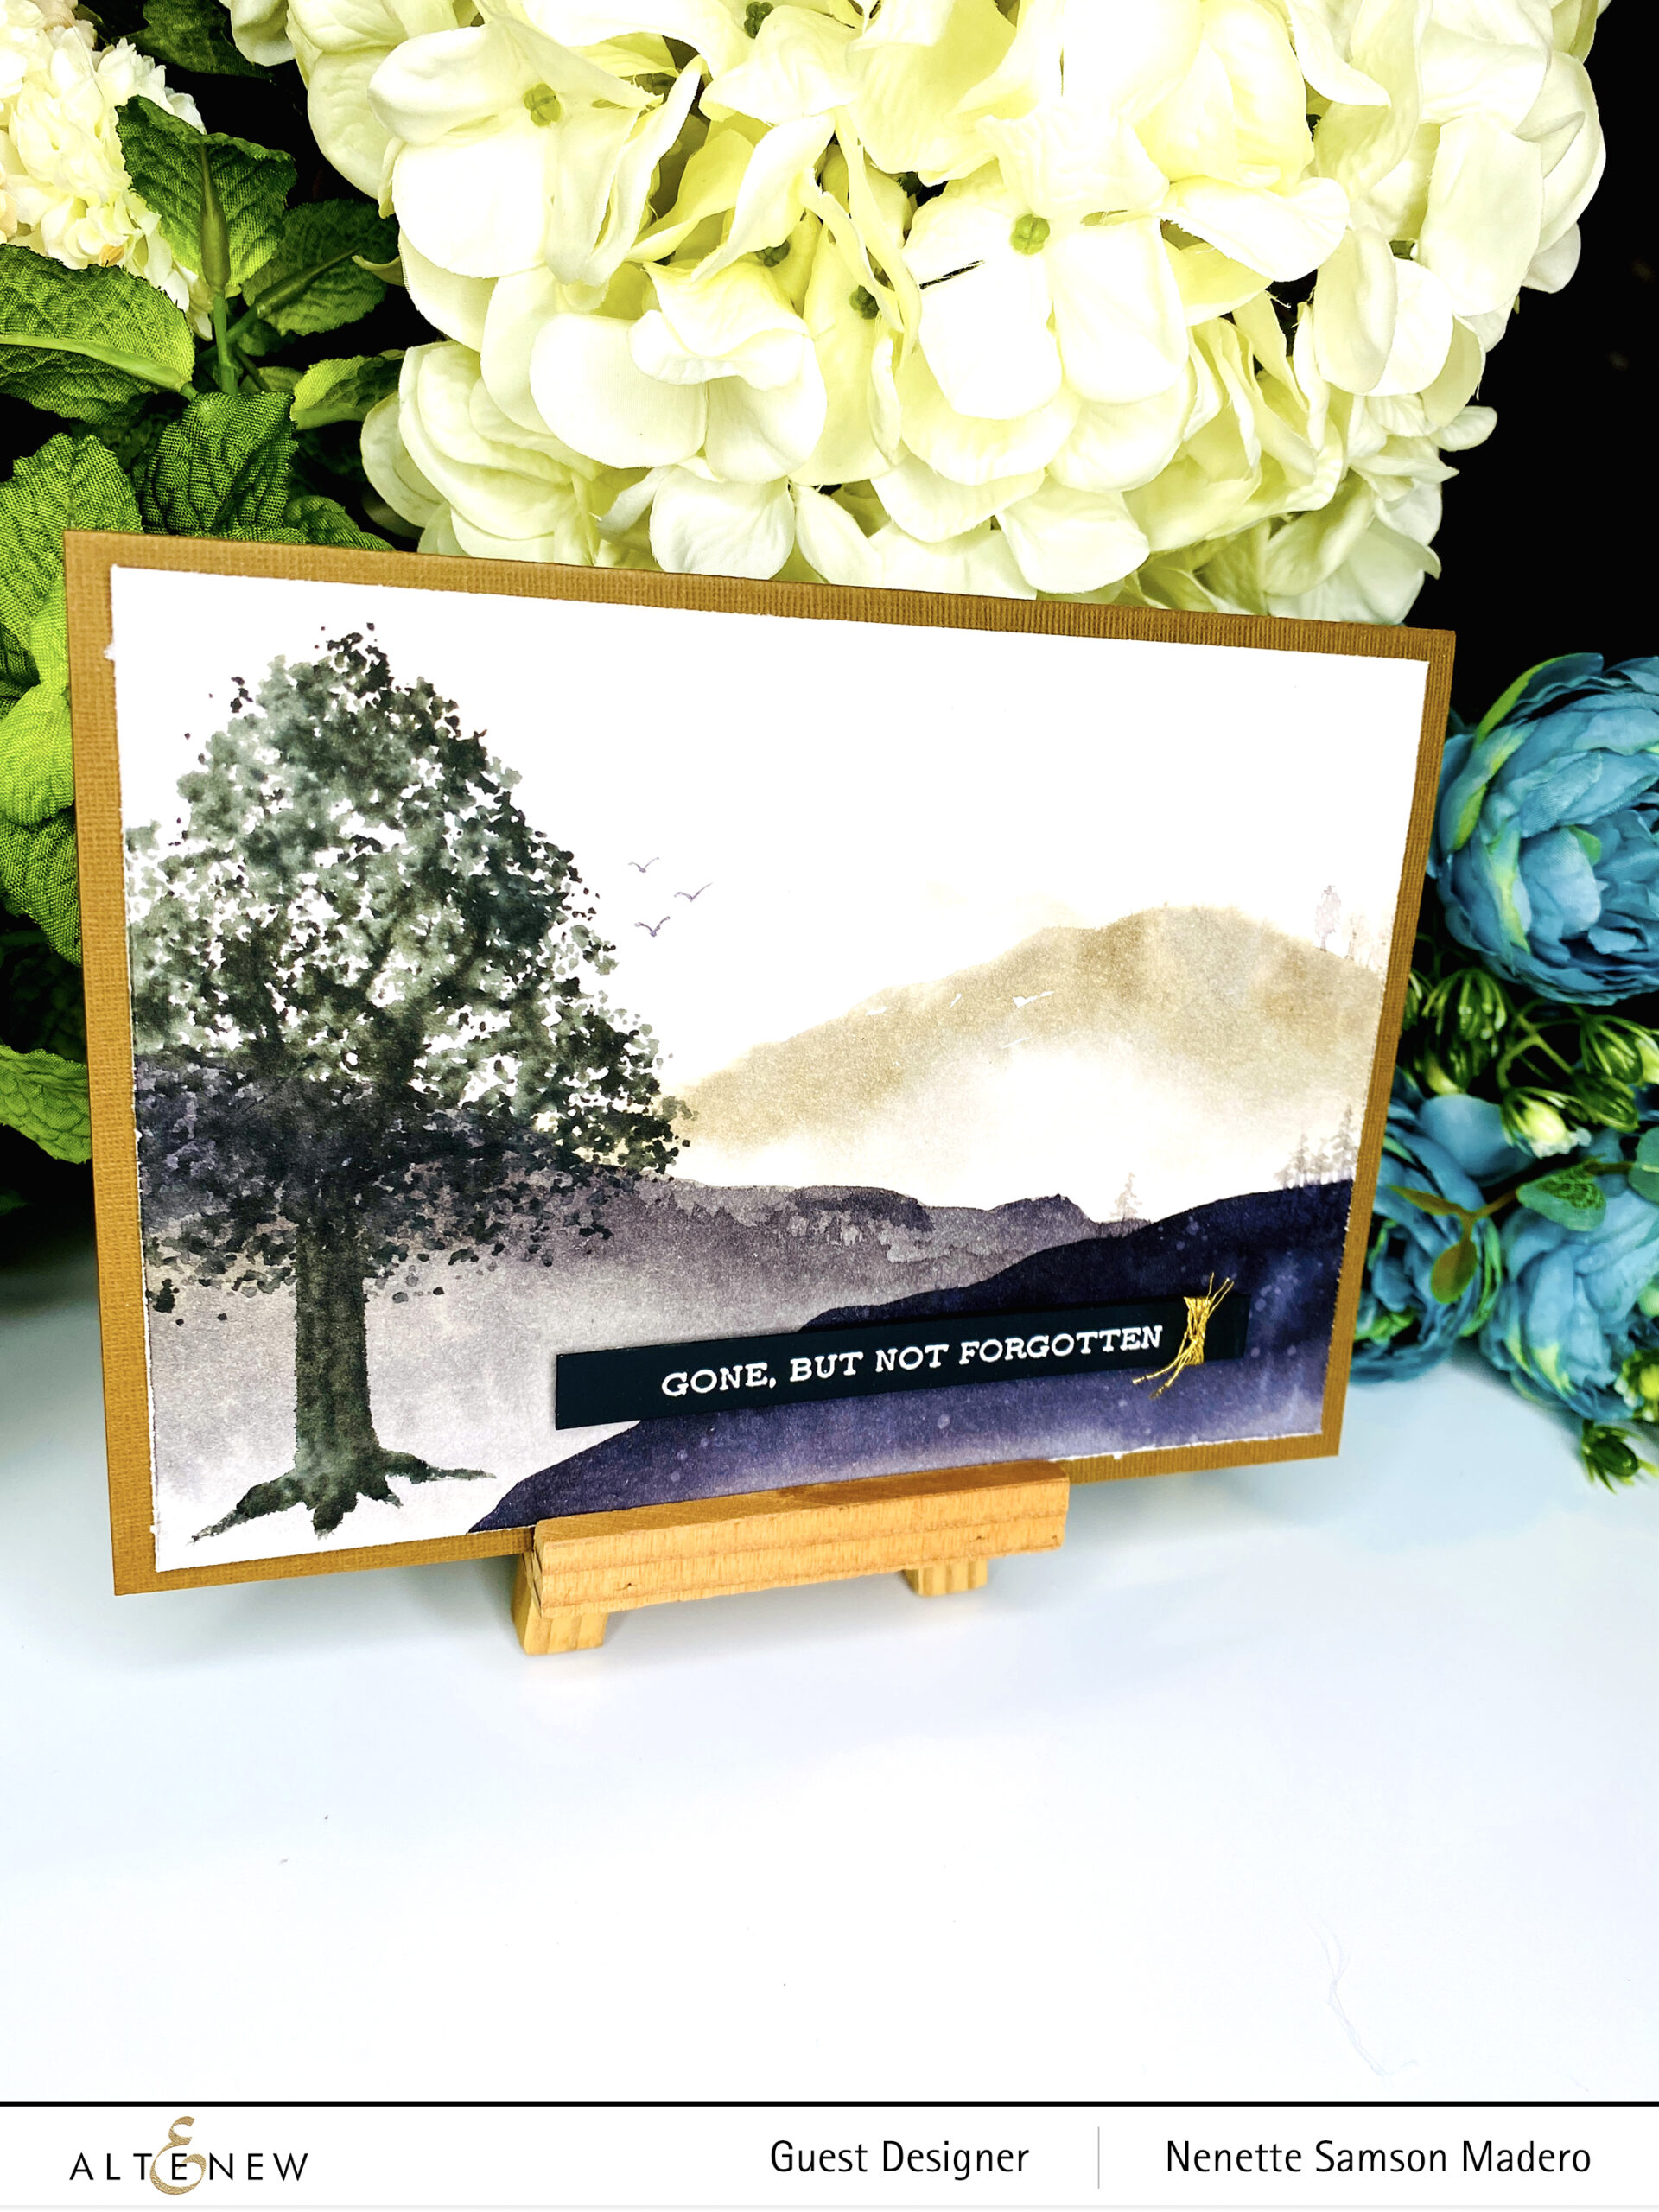
BE HAPPY
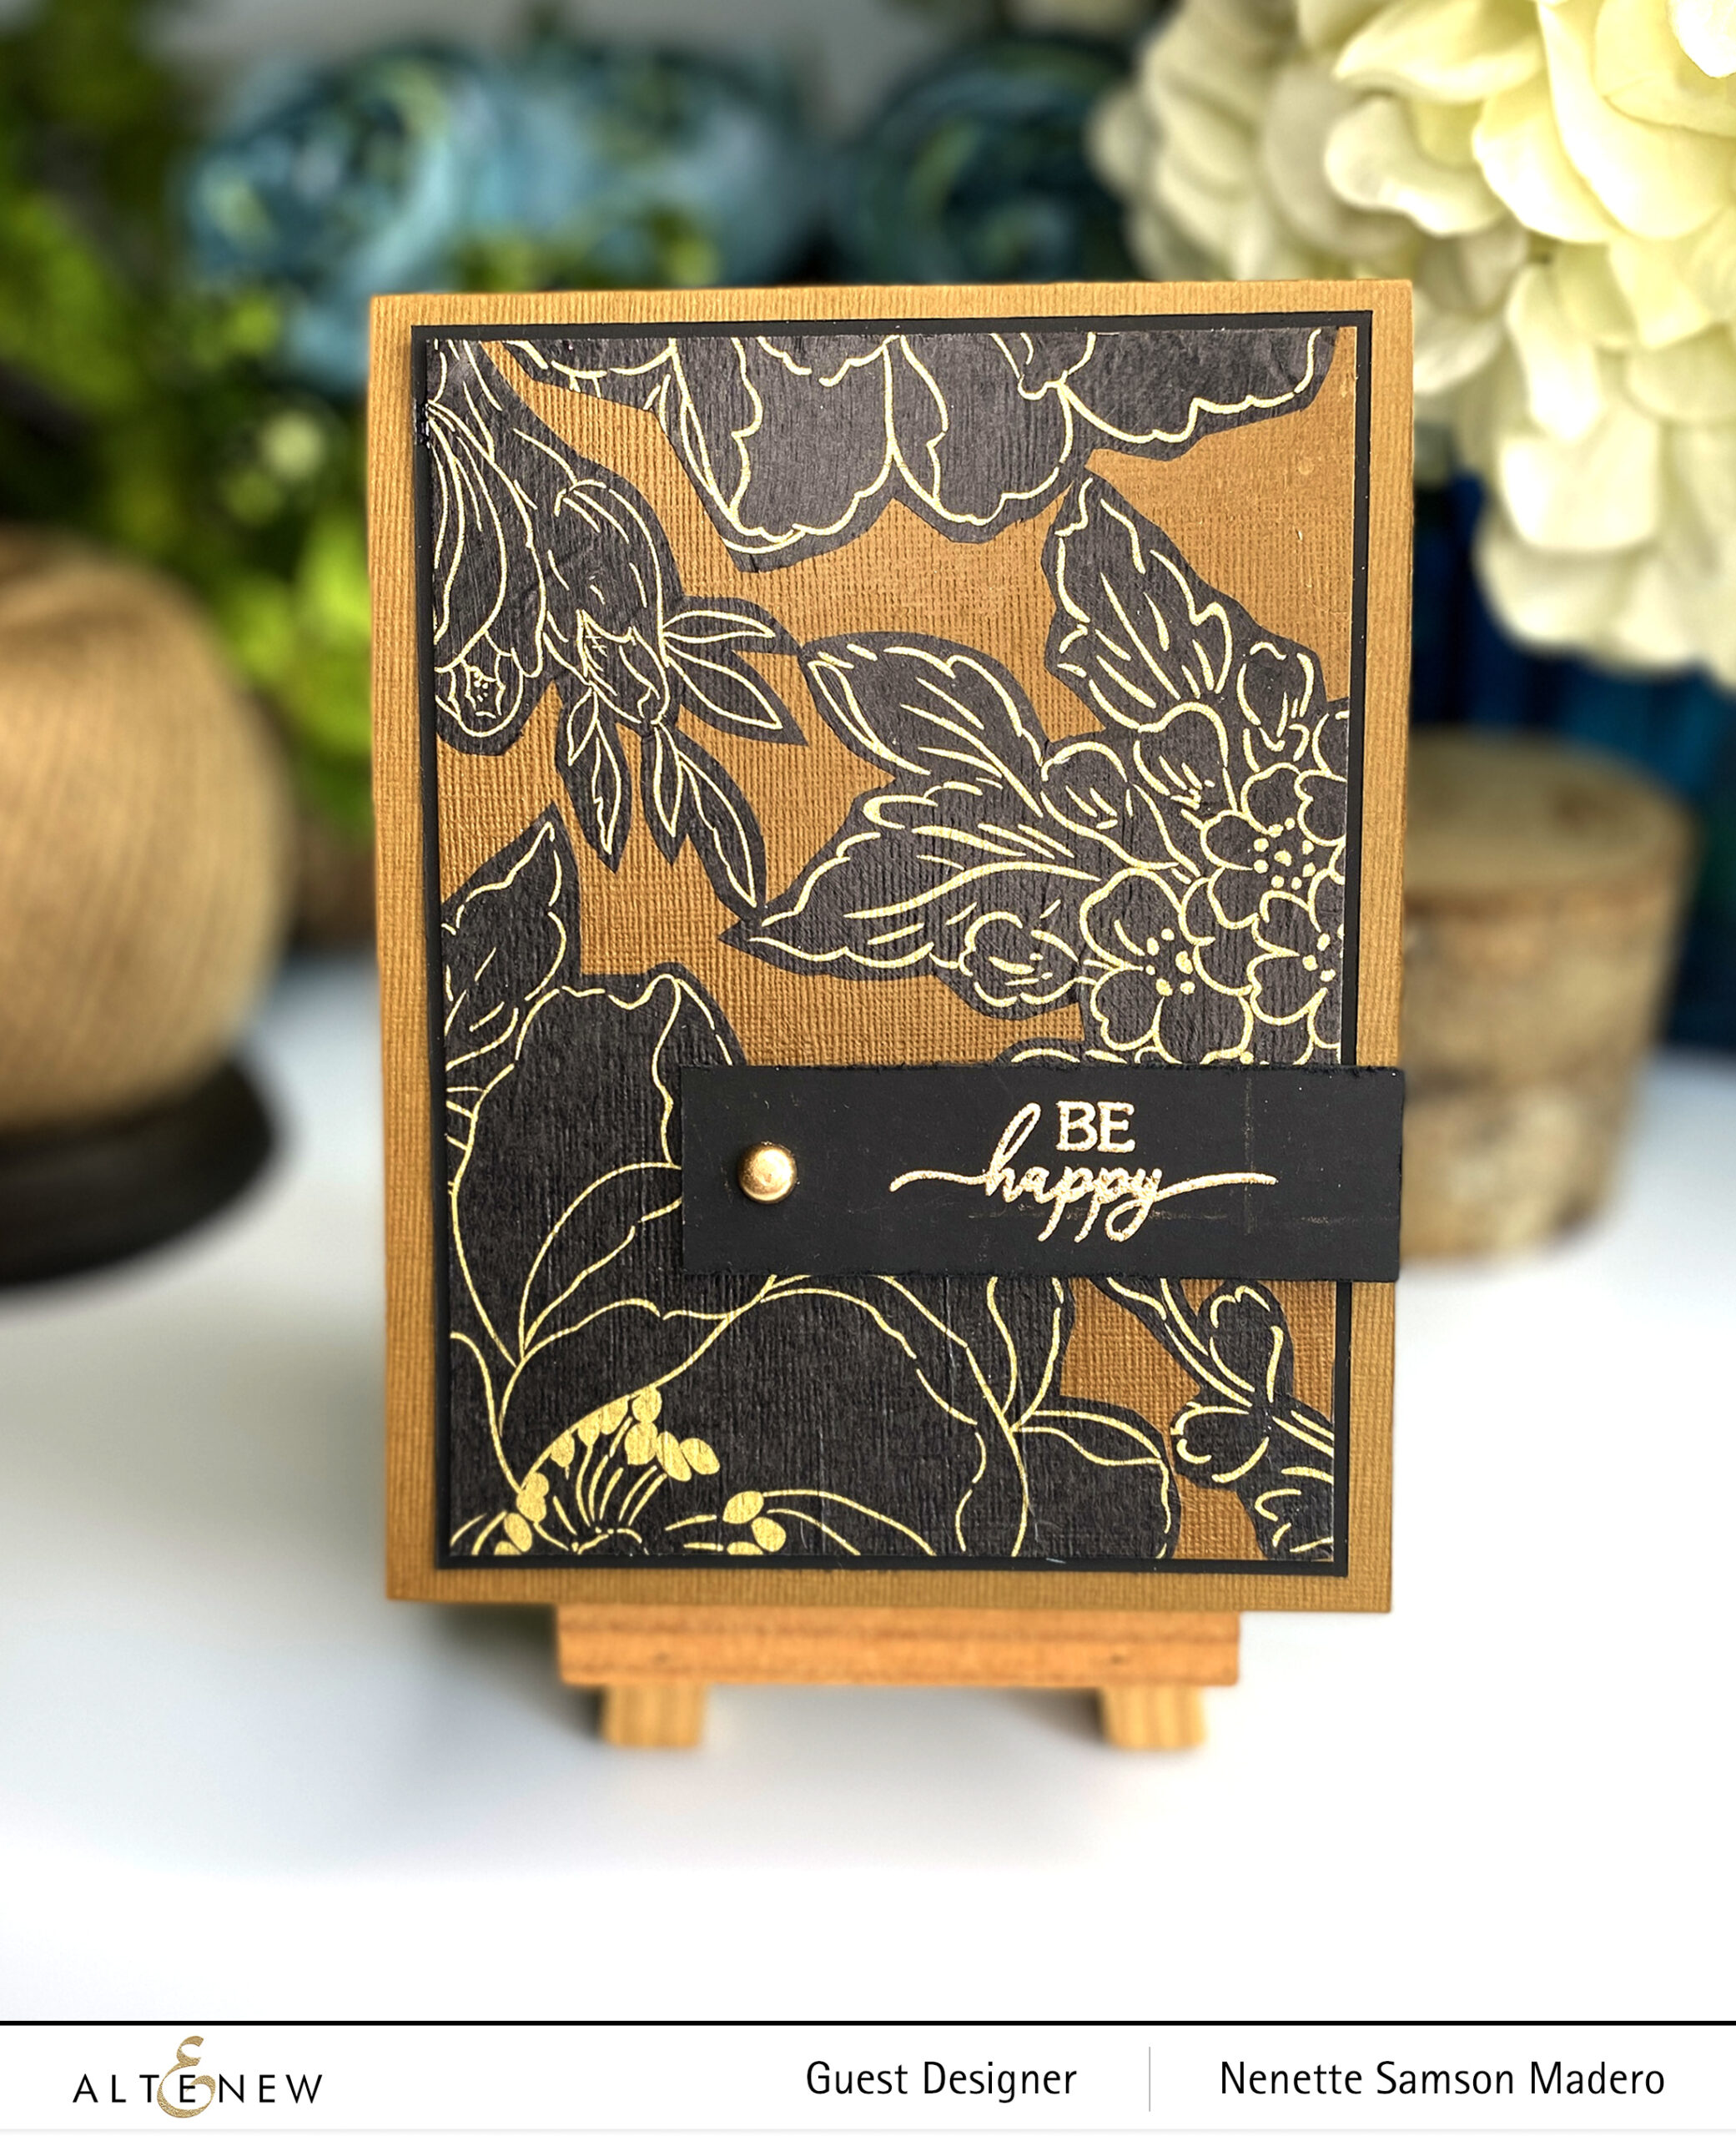
The packaging of the kit was too pretty to throw away so I created a card using the printed Japanese paper that came with the kit. Since I didn’t have a gold brad, I simply embossed the brad using Versamark Ink and Rose gold embossing powder to match my sentiment coming from the Pots and Plants Stamp set
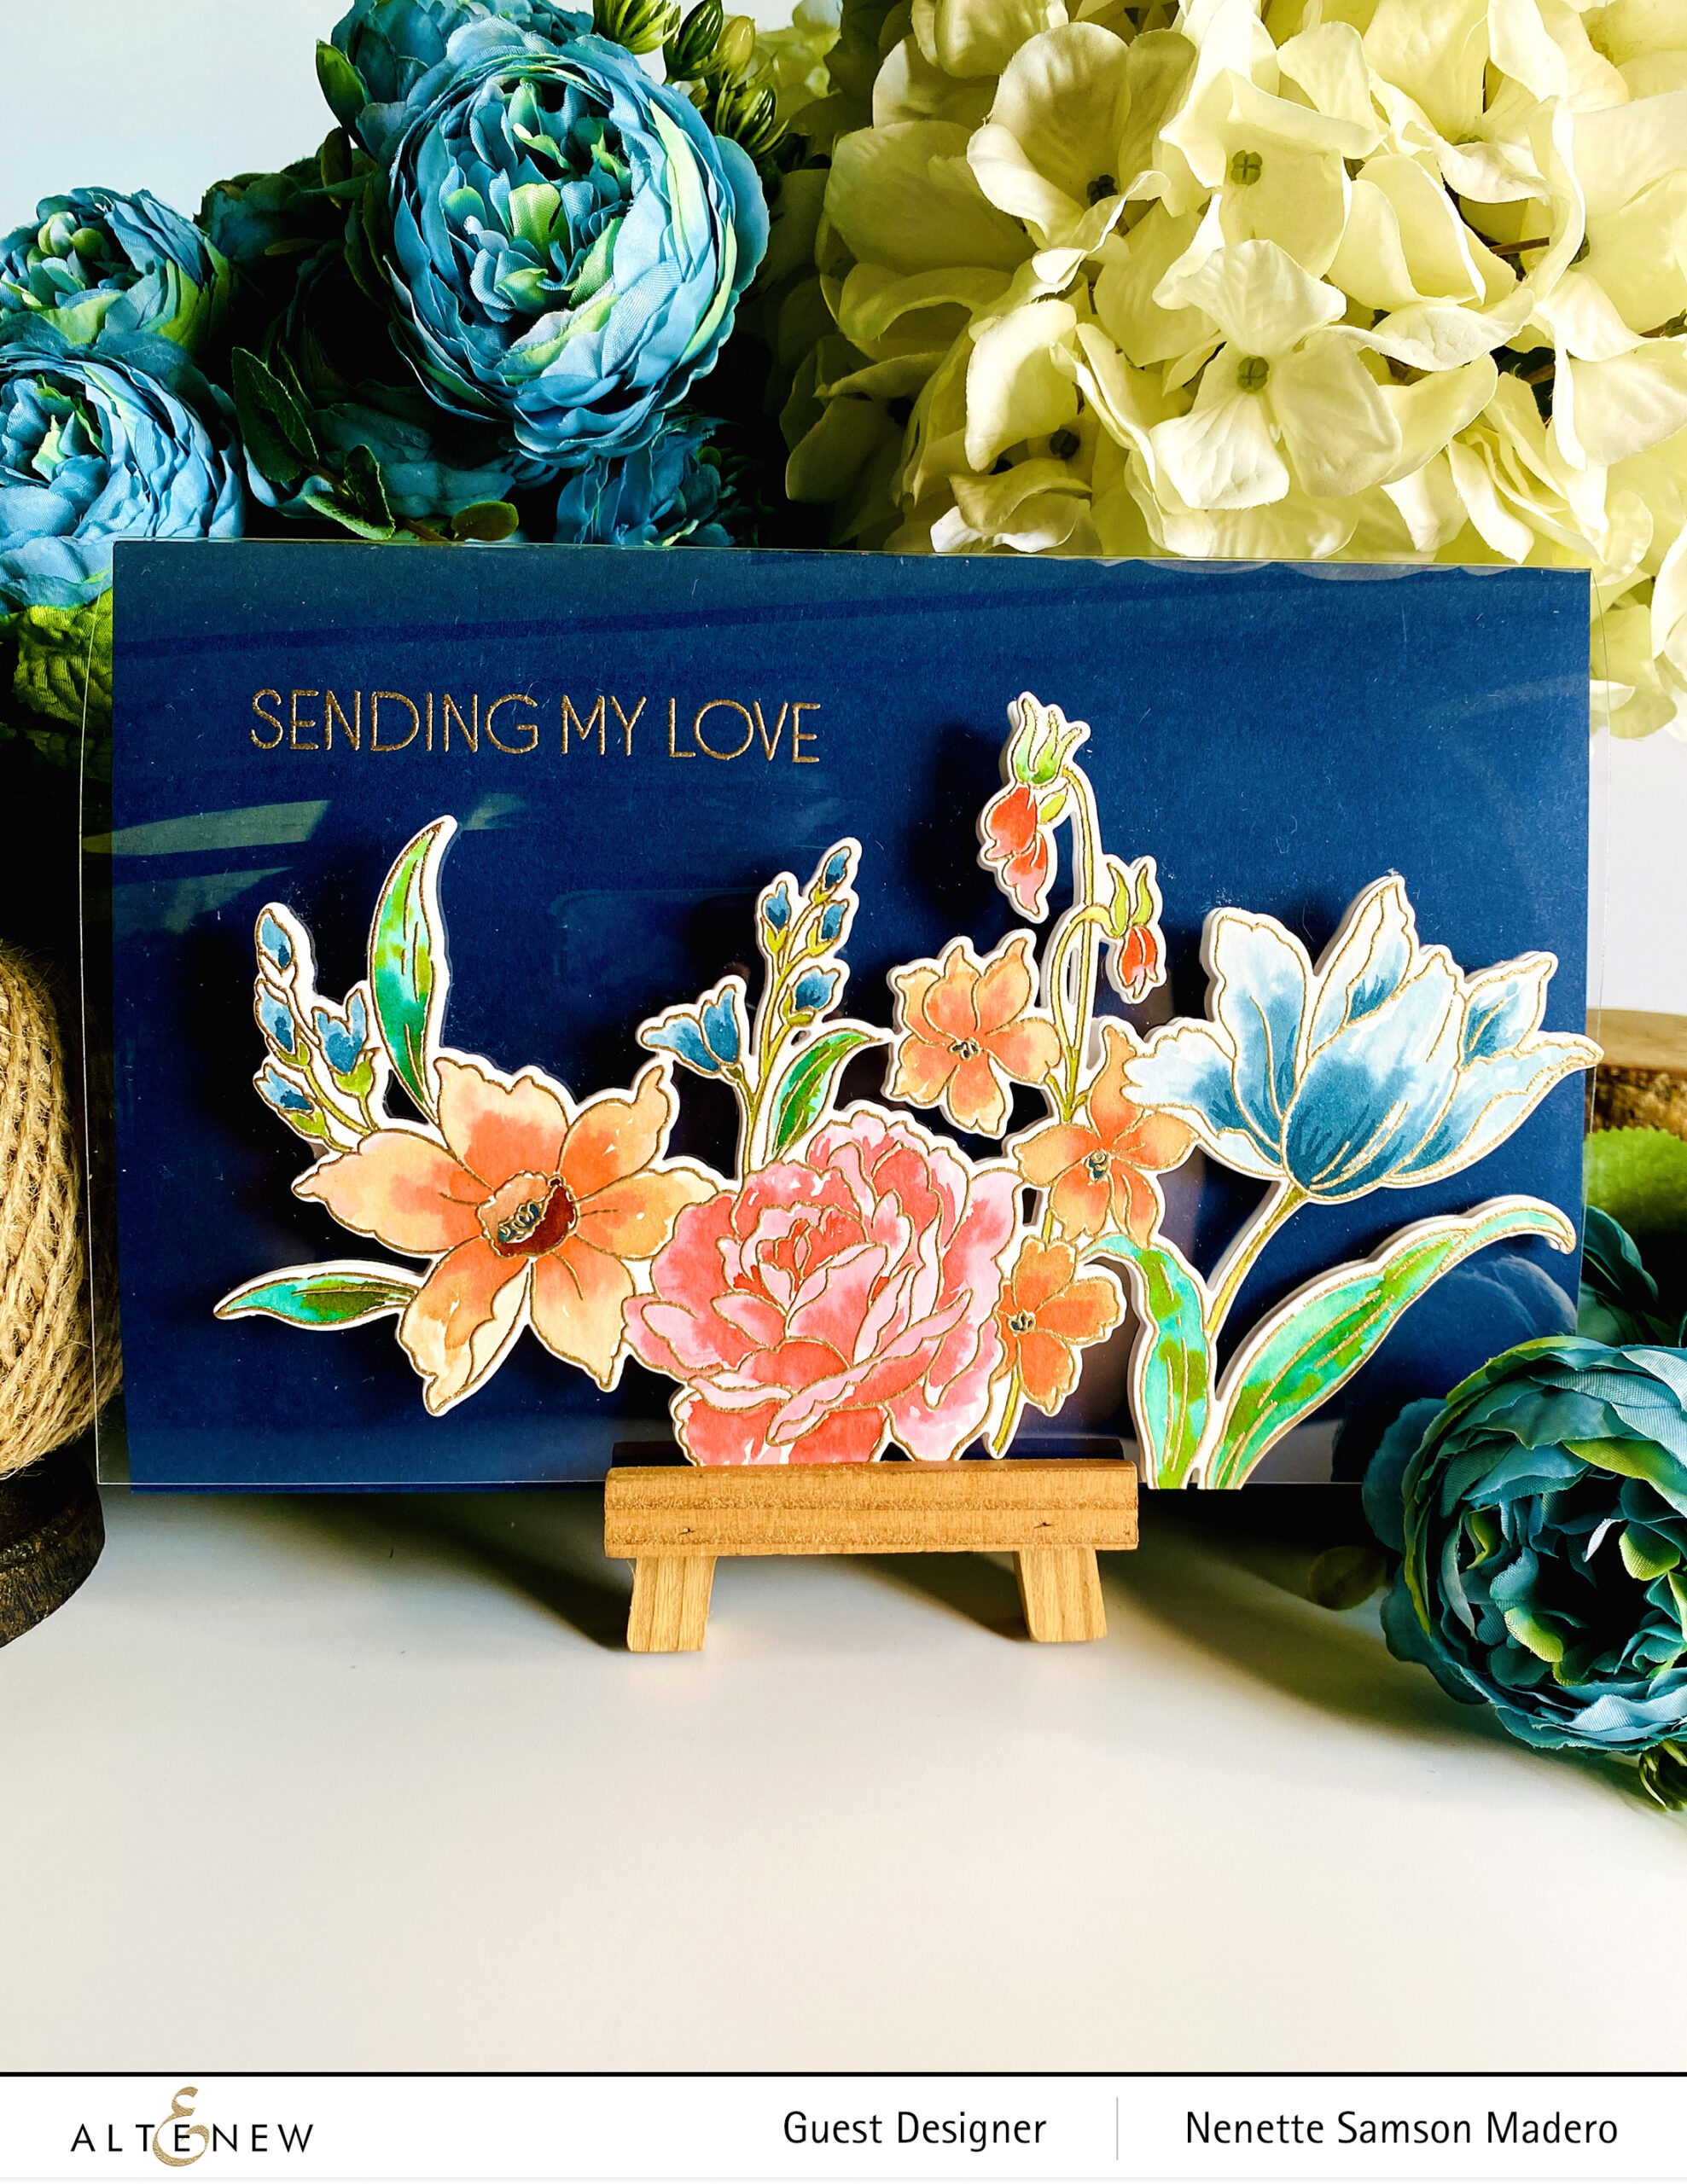
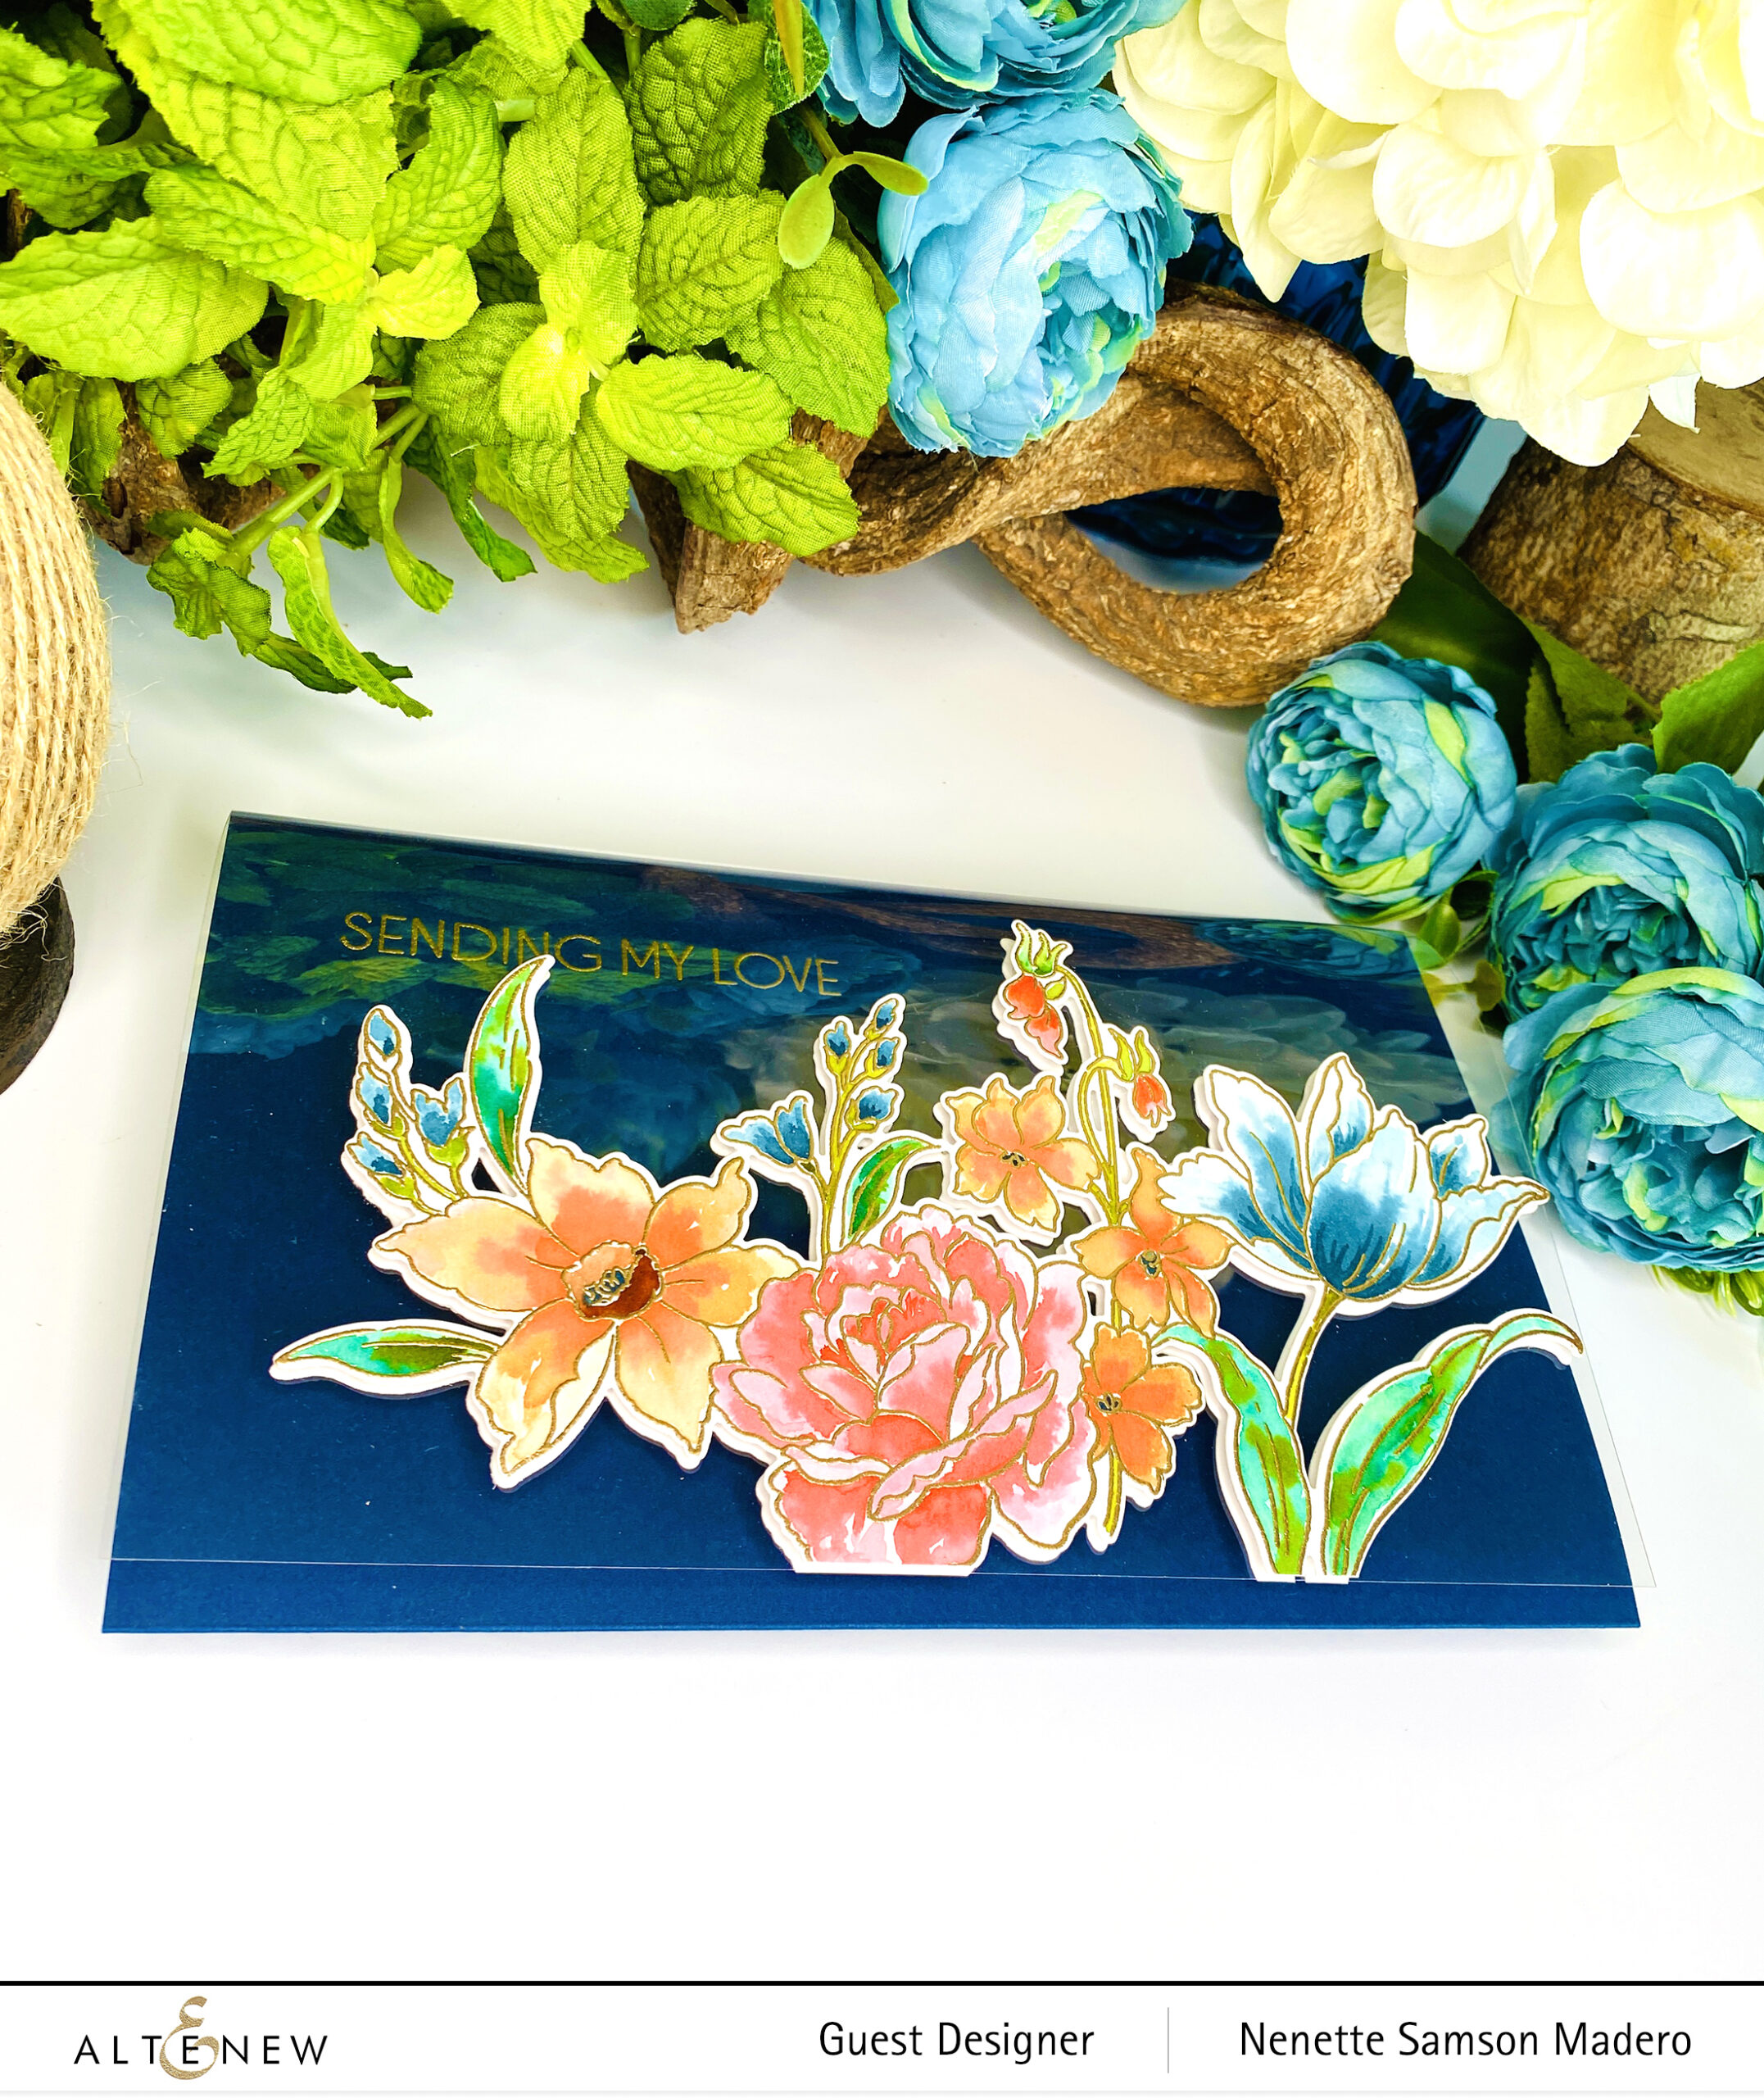
I’M ONLY A TEXT AWAY
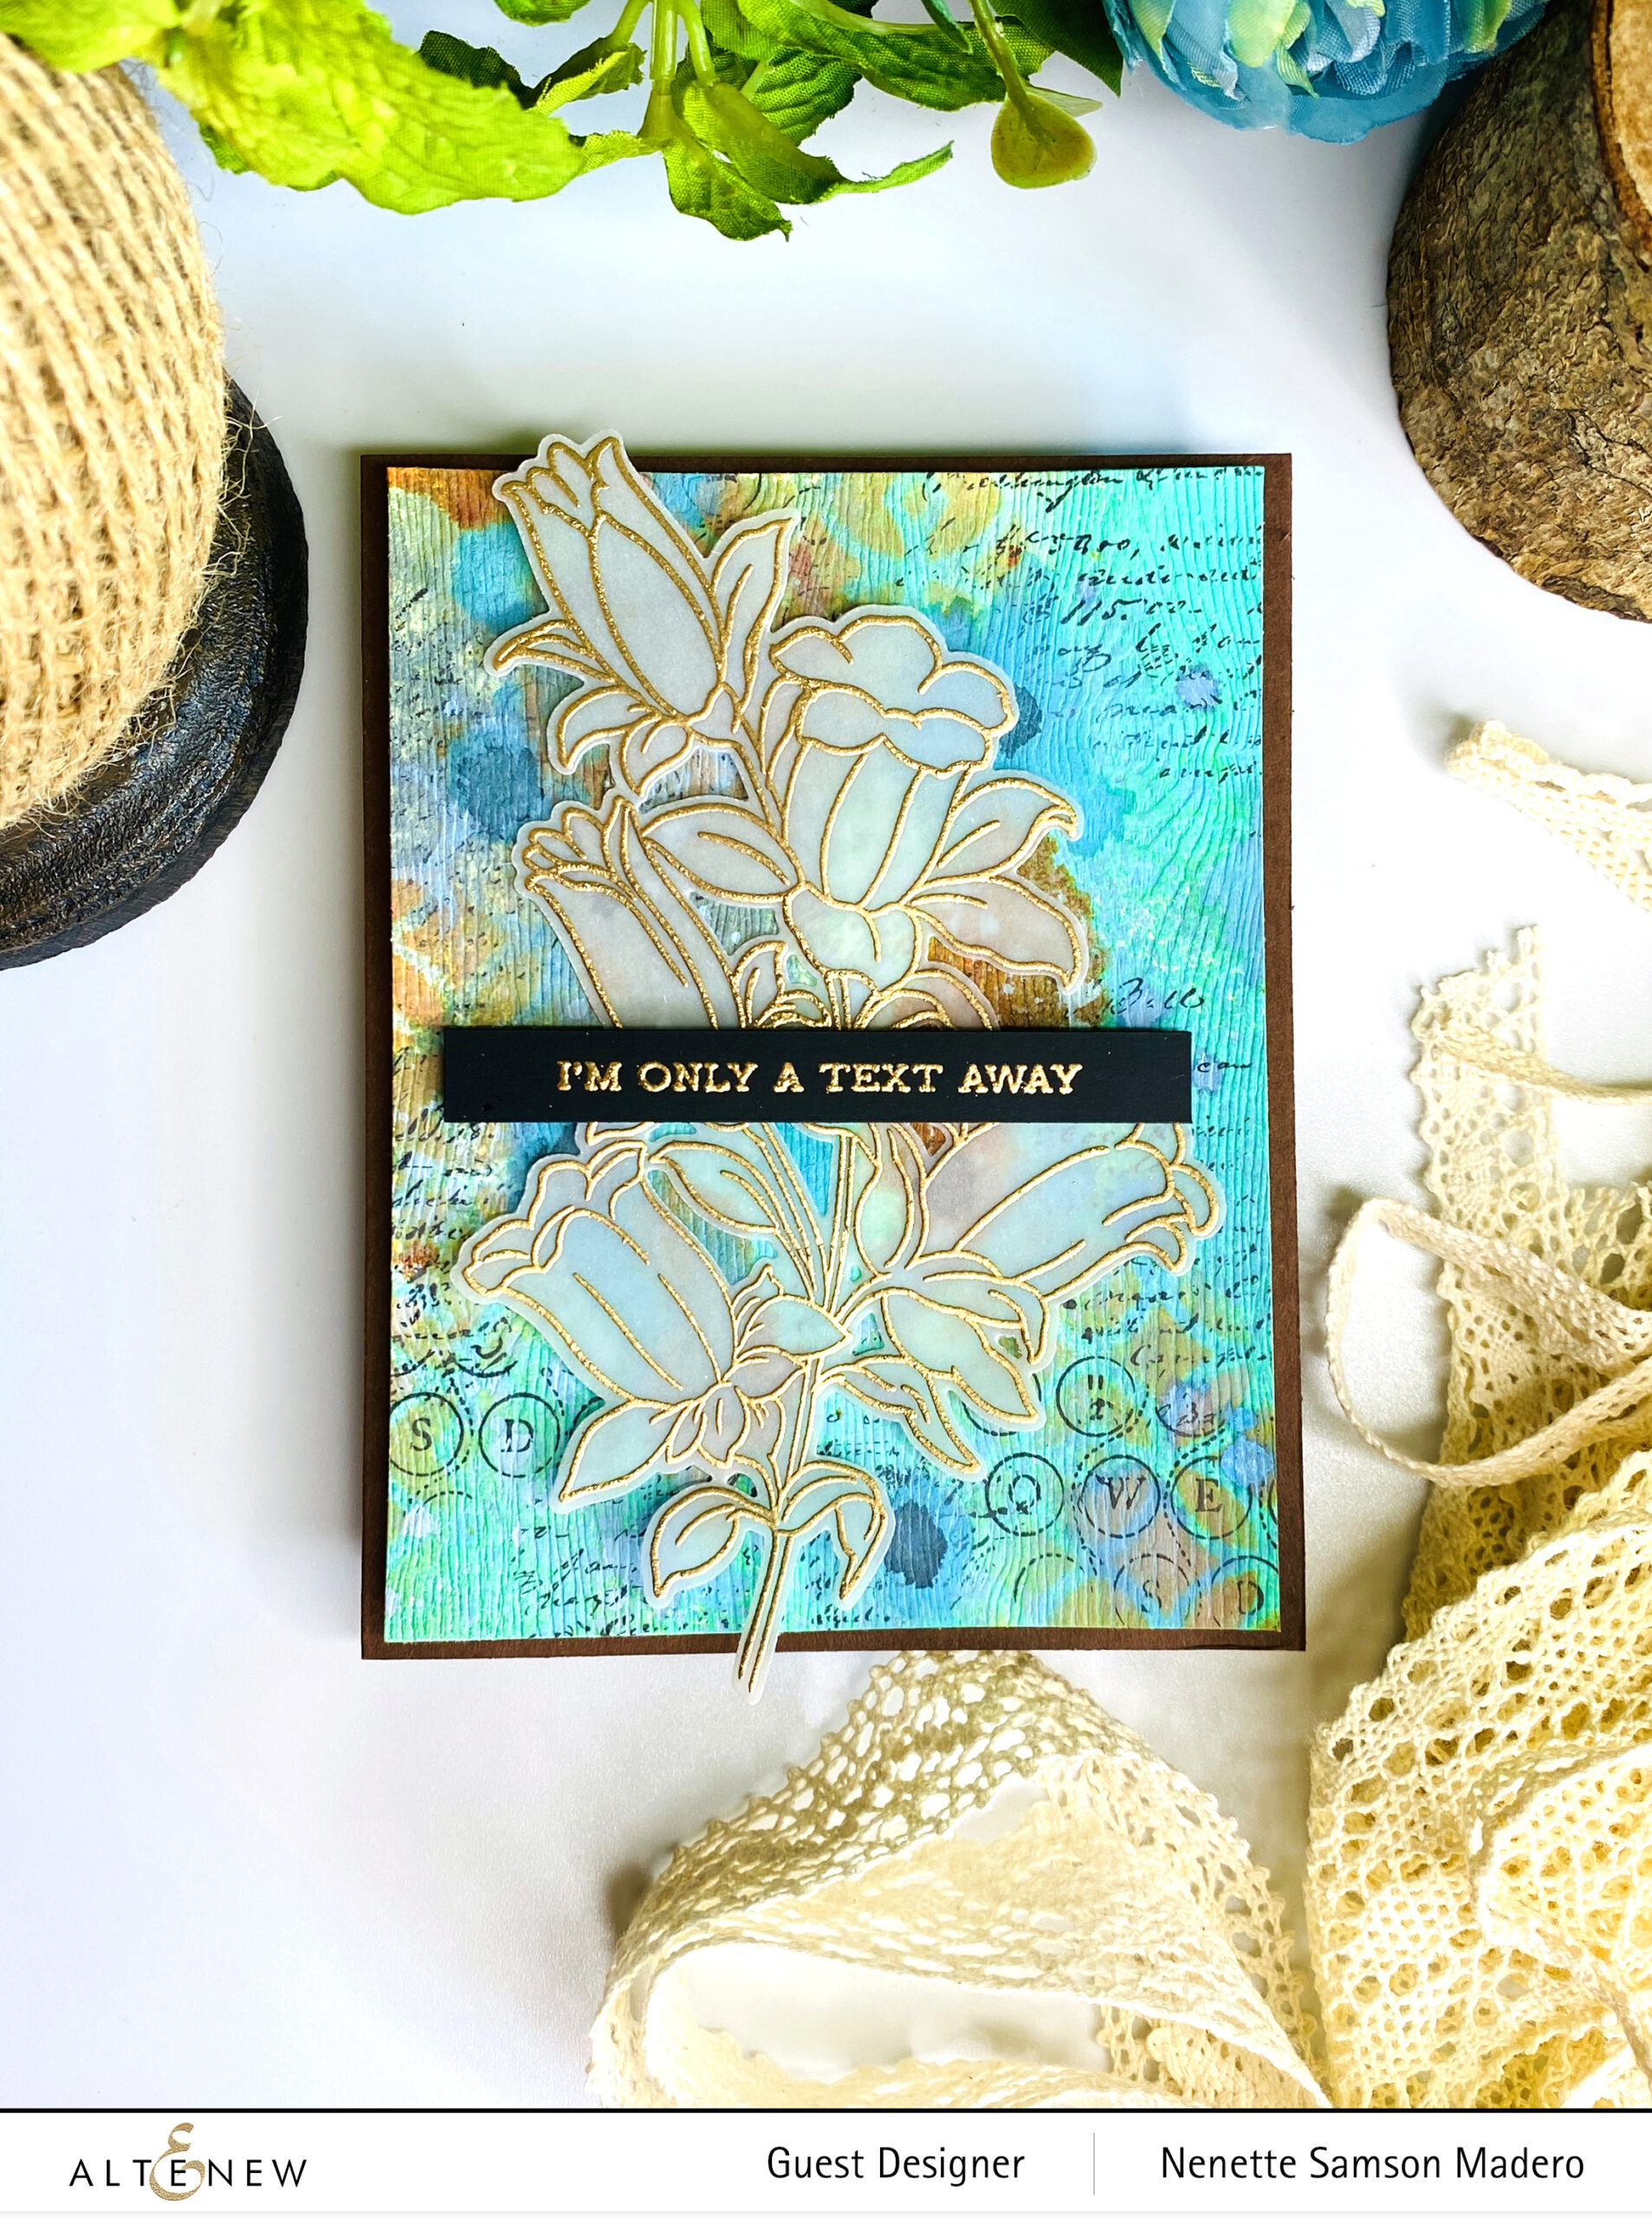
STEPS:
- Stamp the image from the Dynamic Blossoms Stamp into vellum using Versamark Ink and Rose Gold embossing powder.
- Create a background using Distress inks, script and number stamps and stencils.
- Stamp the sentiment from the Sentiment Strips 3 on black cardstock.
- Assemble the card.
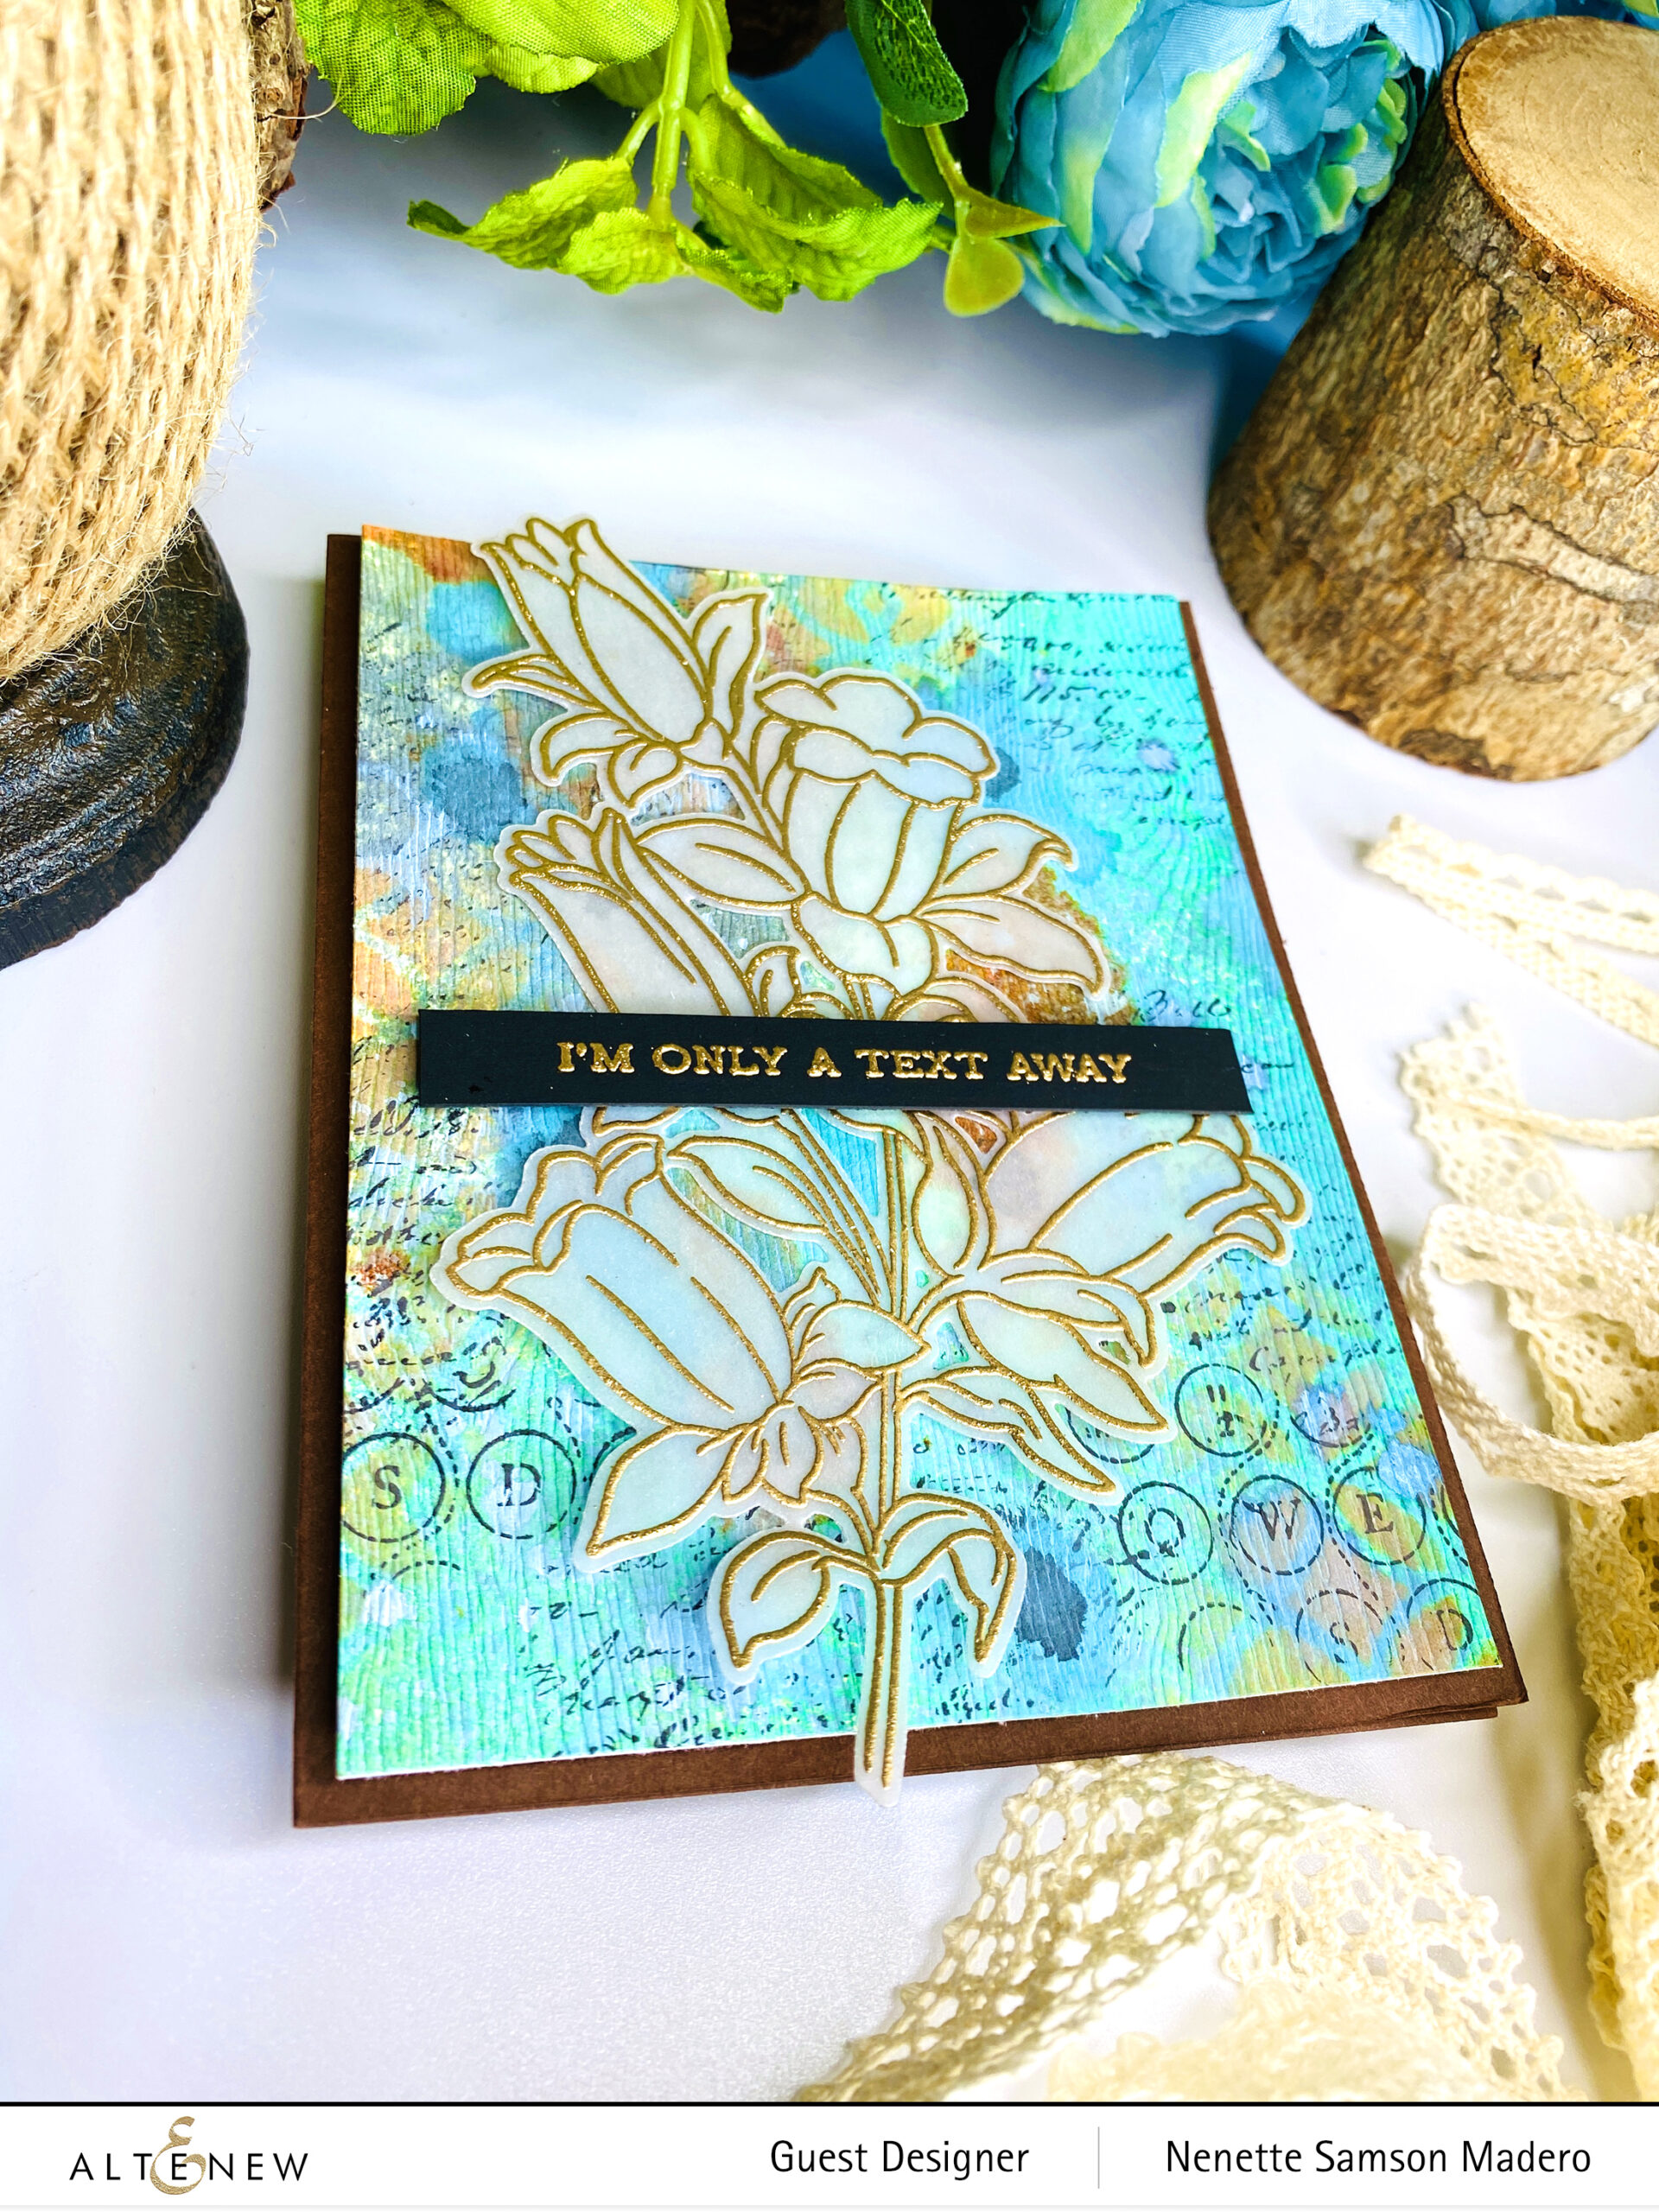
TIP: Make the stamped image simple and uncolored so that it will stand out more against the busy background. Stamping it on vellum will also allow some of the colors to shine through the paper.
GIVEAWAYS
$300 in total prizes! To celebrate this release, Altenew is giving away a $50 gift certificate to 2 lucky winners and a $ 25 gift certificate to 8 winners! Please leave a comment on the Altenew Card Blog and/or each designer’s blog post on the blog hop list below by 03/18/2022 for a chance to win. Altenew will draw 10 random winners from the comments left on each stop of this blog hop and announce the winners on the Altenew Winners Page on 03/20/2022.
Next up: Rosie Neustaedter. Thank you so much for reading through! I hope you liked the cards I created for this hop. Do let me know in the comment section below which one is your favorite! I’d love to know 🙂 Also, if you like what you see, hope you can follow me on Instagram (@mylittleatticstudio). Hope these cards will inspire you to create more. Stay safe everyone and happy crafting!


")


")