")

Hello, everyone! Welcome to Altenew’s Dreamy Bouquet Fabric Release blog hop!!! If you just came from Sande Woodson’s blog, then you’re on the right track. For the full details, make sure to visit the Altenew blog here. If you want to see the whole collection, here’s the link.
I was sooooo excited when I heard about this latest and newest product category!!! My mind started working way before the package arrived. I wanted to think of different ways to use these gorgeous fabrics. Full disclosure here– I don’t know how to use a sewing machine! 🙂 That being said, I nervously learned how to thread the machine and sew simple stitches for one of the projects below. The rest were only hand-stiched or glued. I have a number of projects to share with you so lets get started.

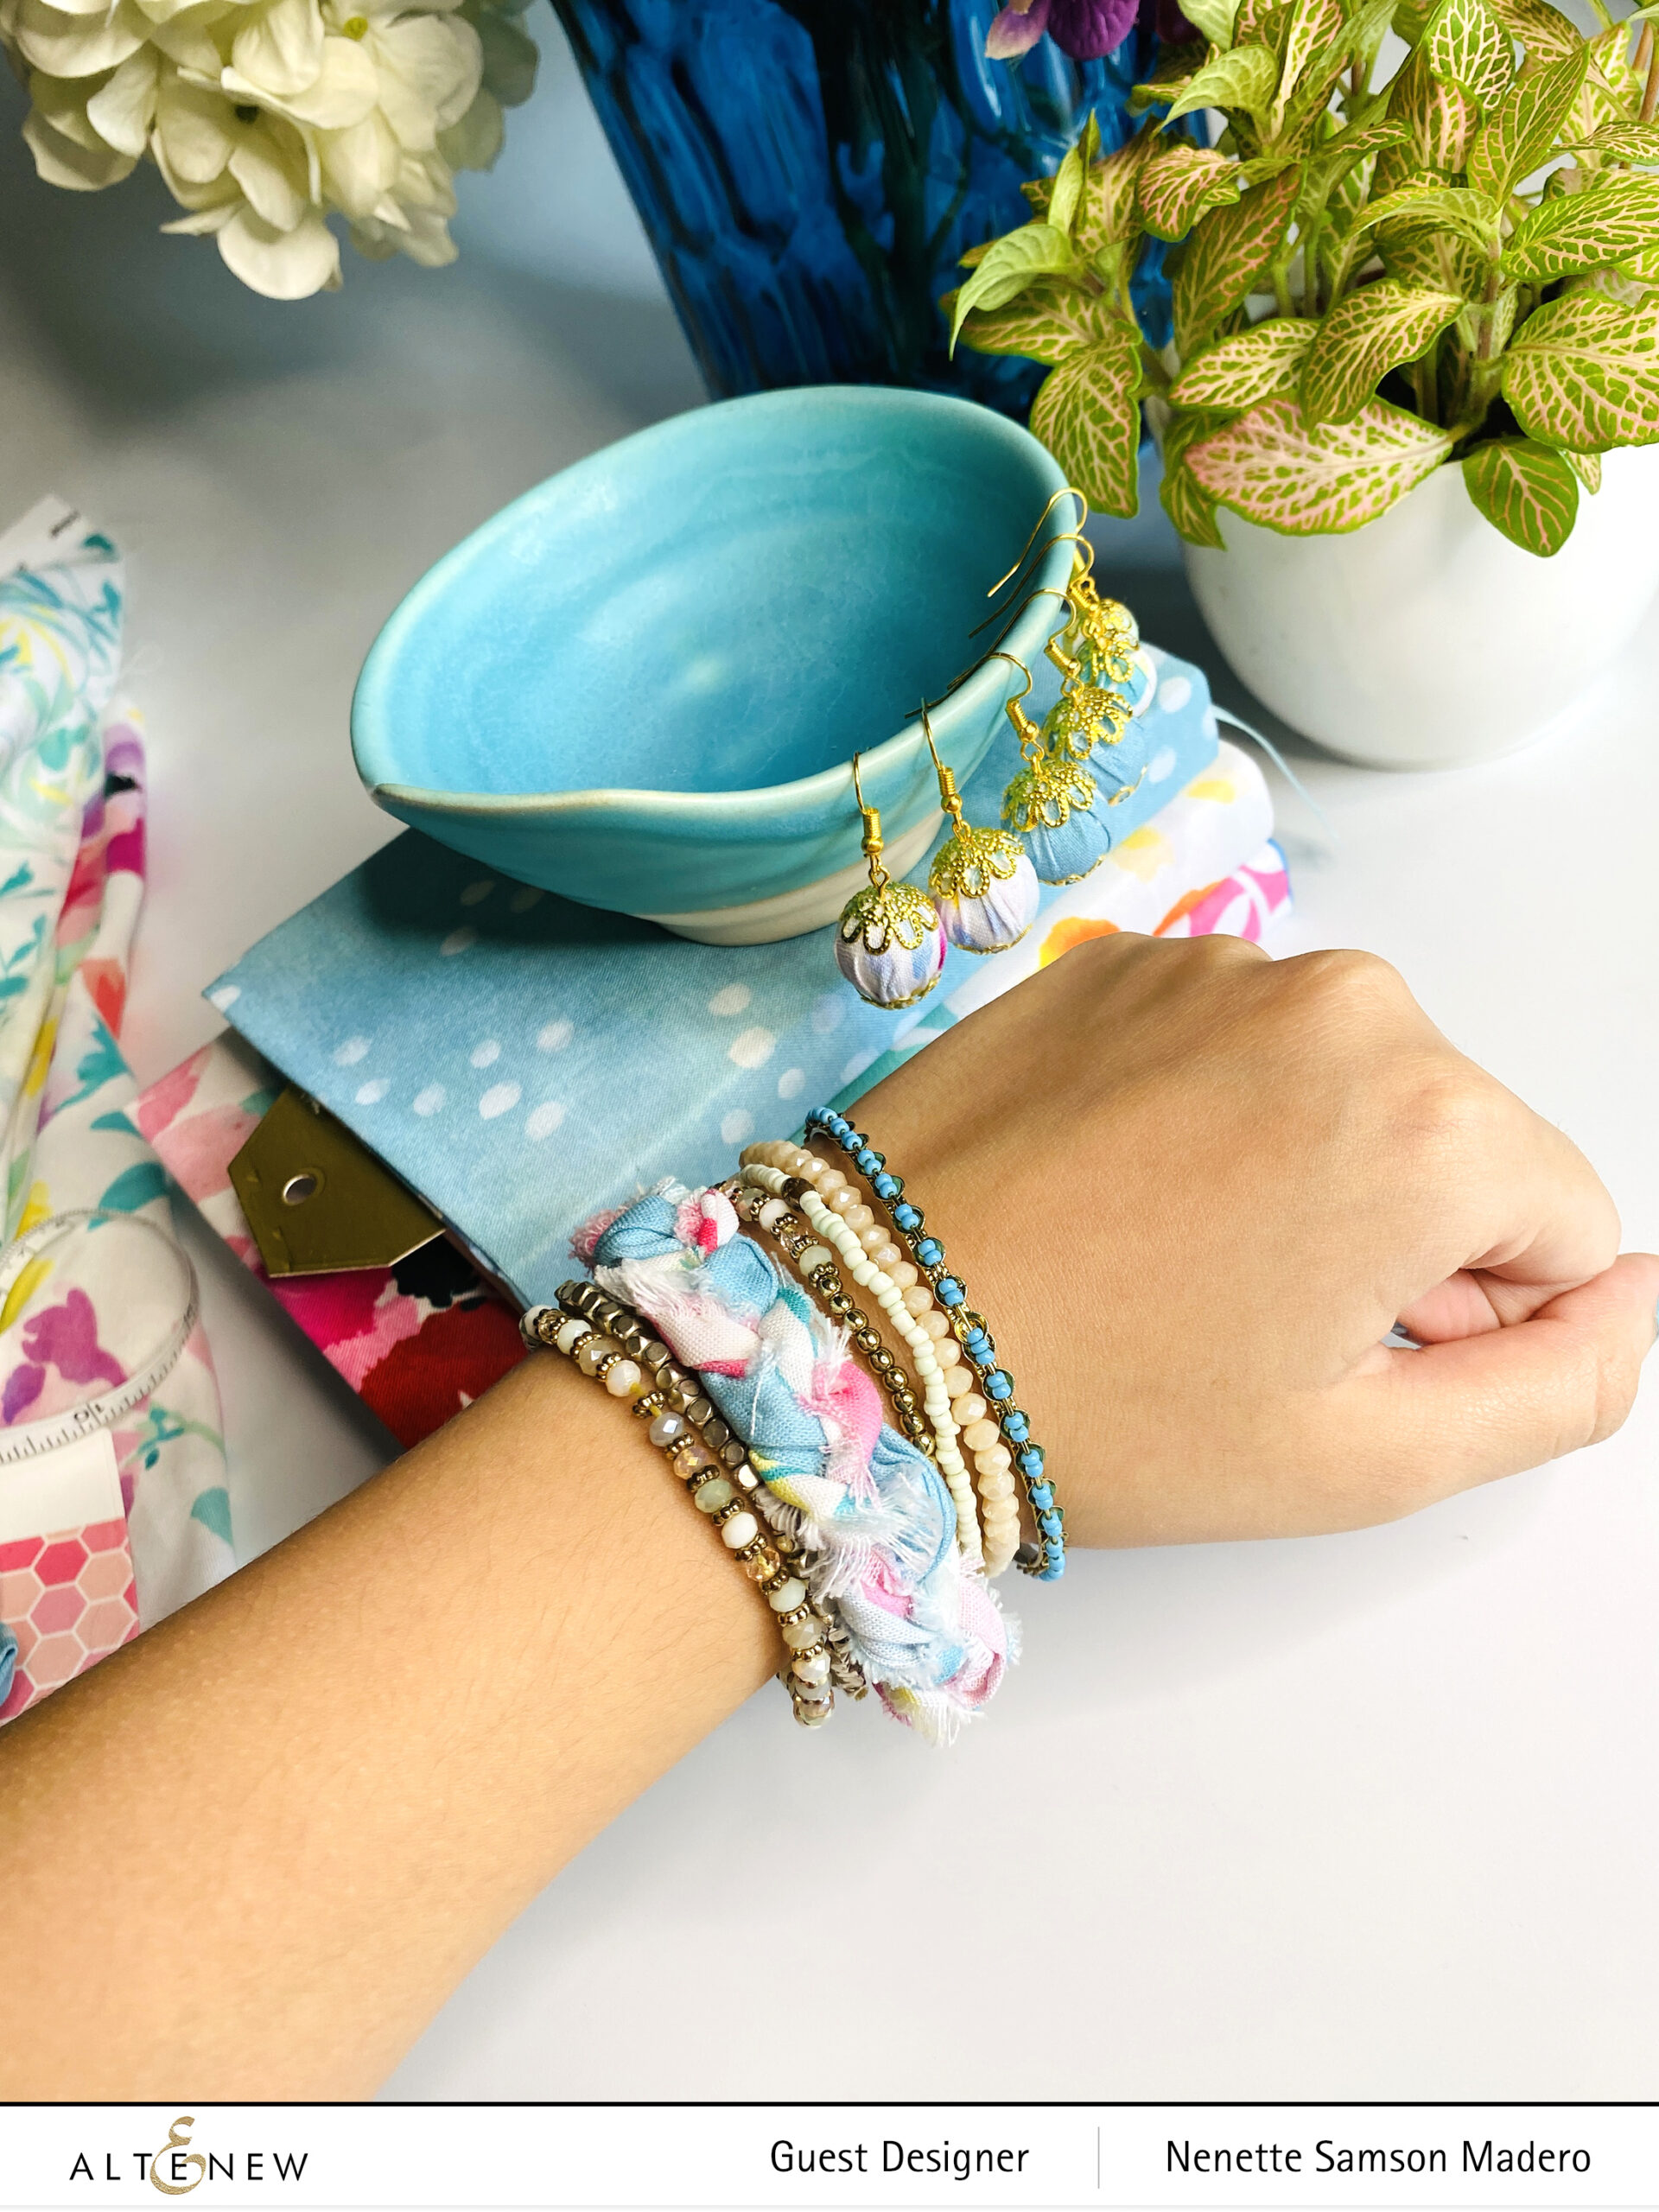
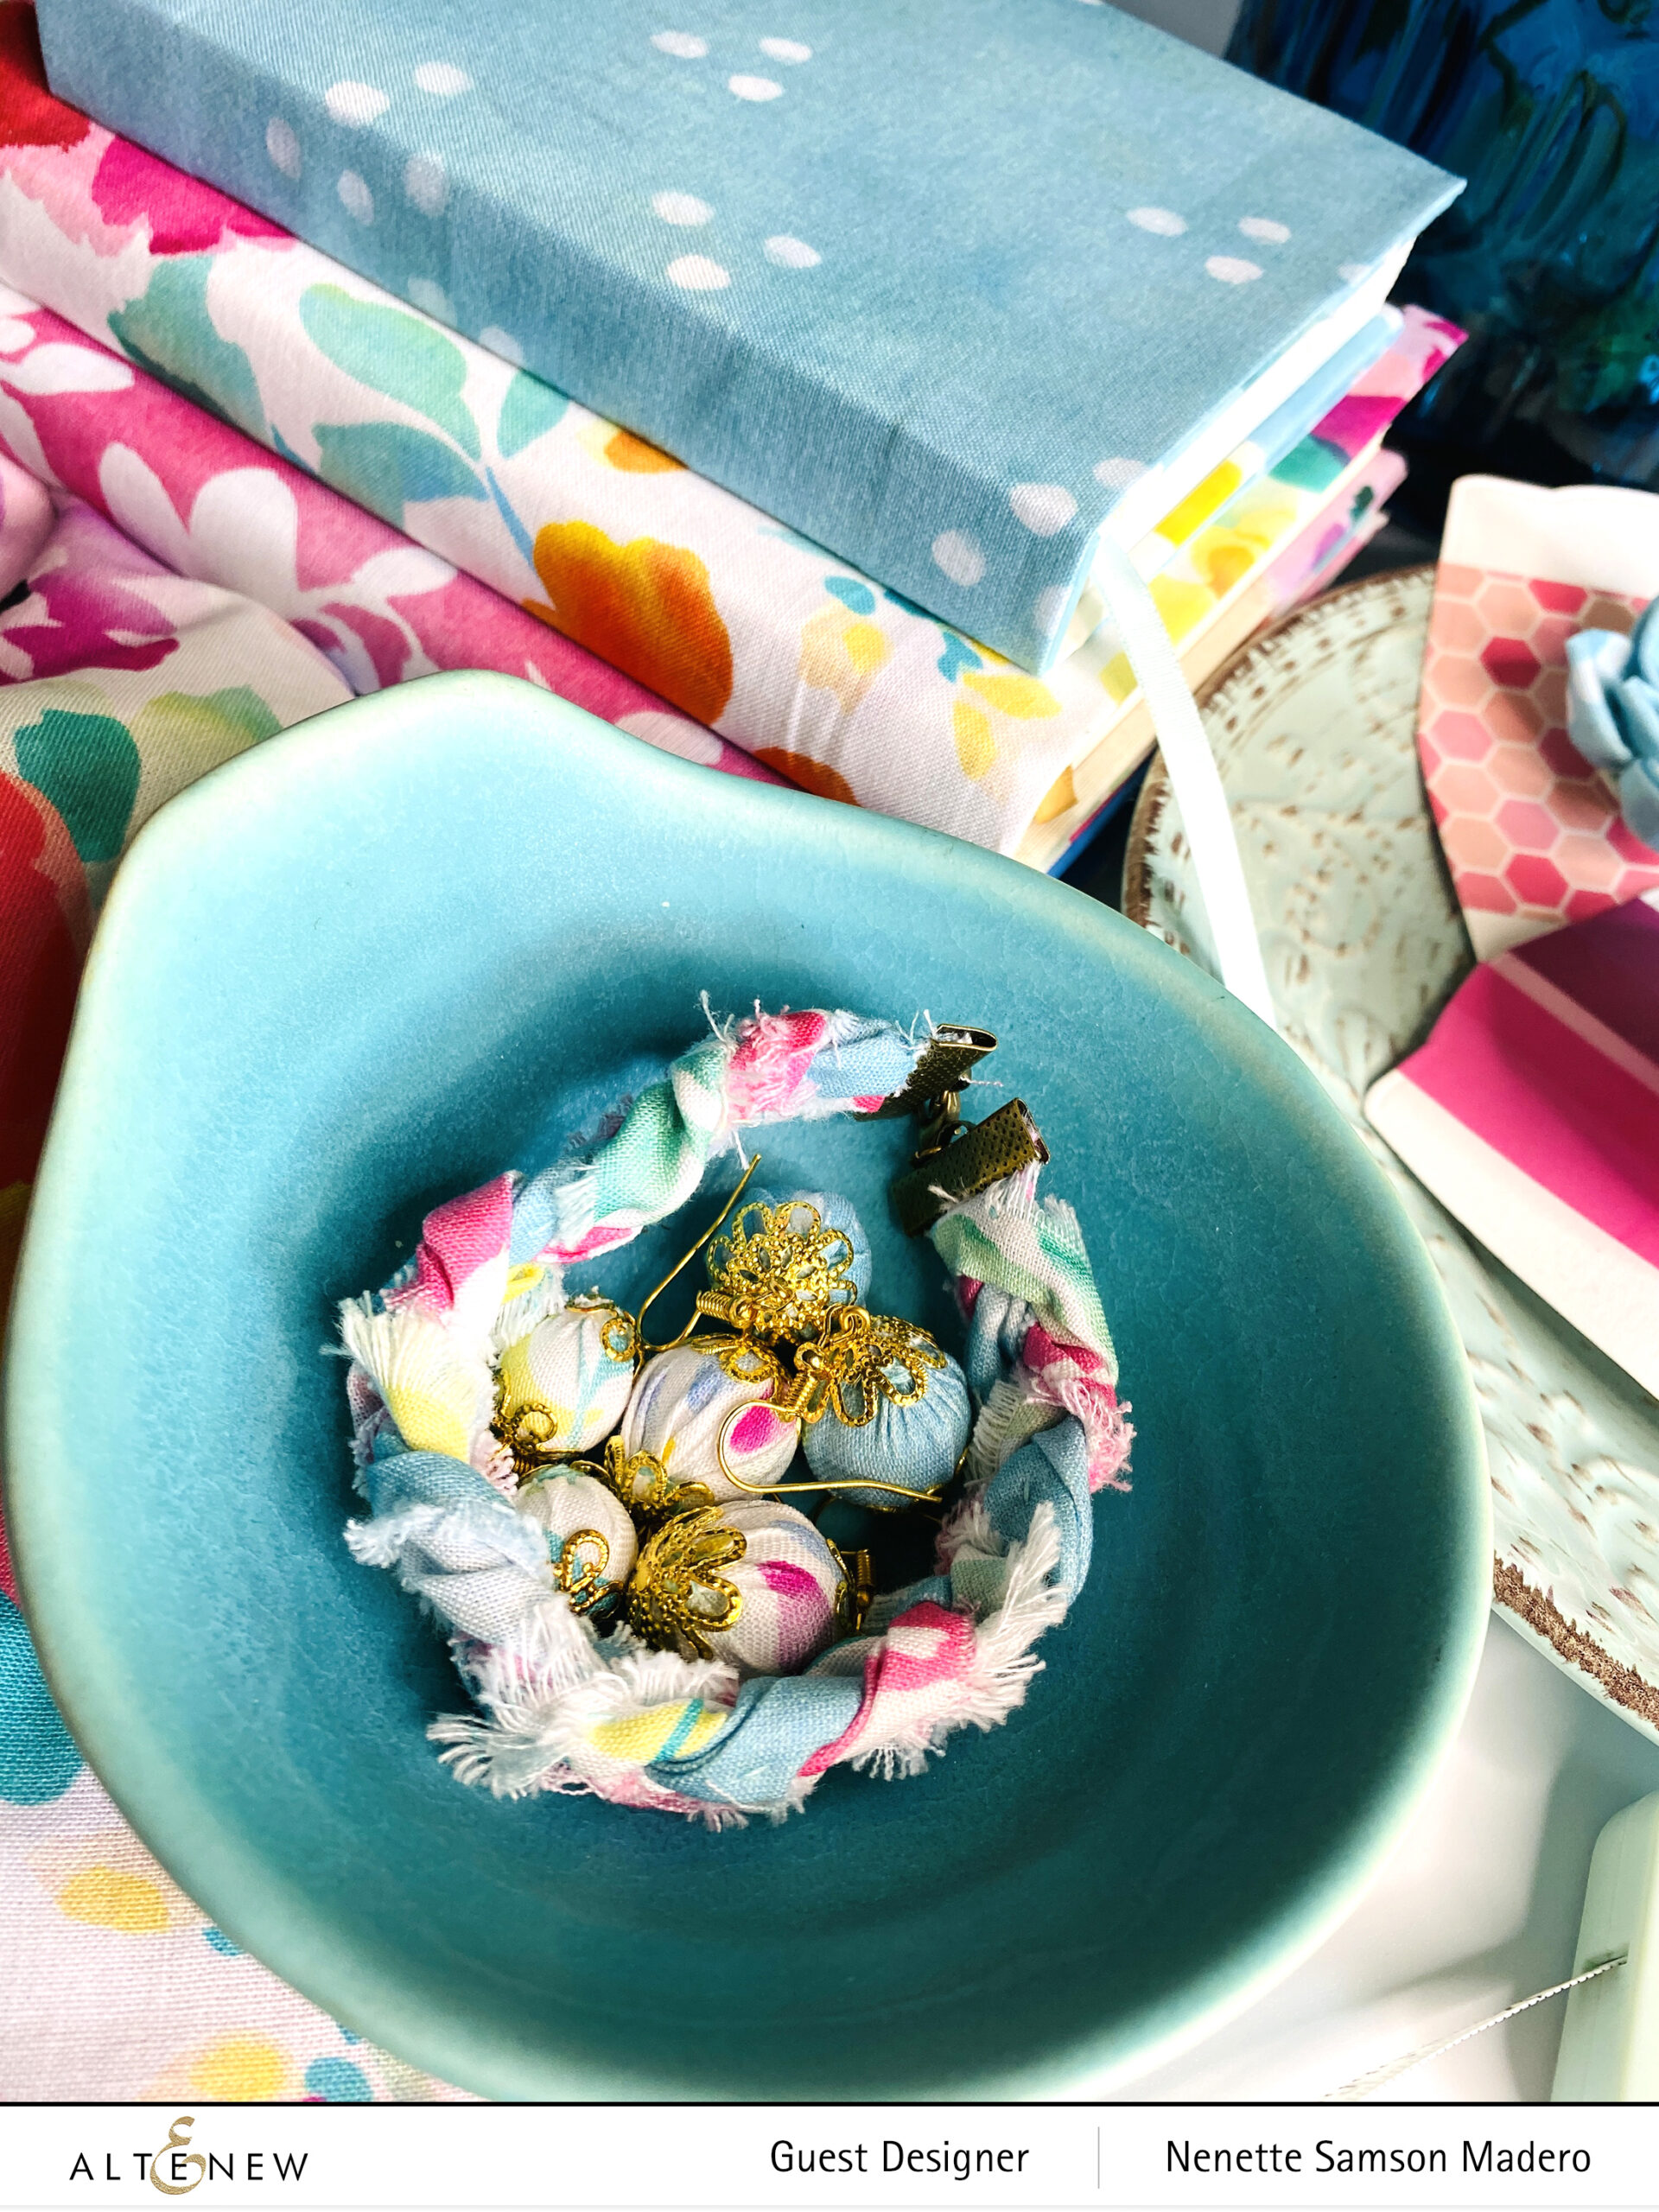
Look at the amazing colors and patterns of these fabrics!! As you can see, I made hair accessories, bracelets, earrings and book covers. Let’s go through them one by one.
FABRIC EARRINGS
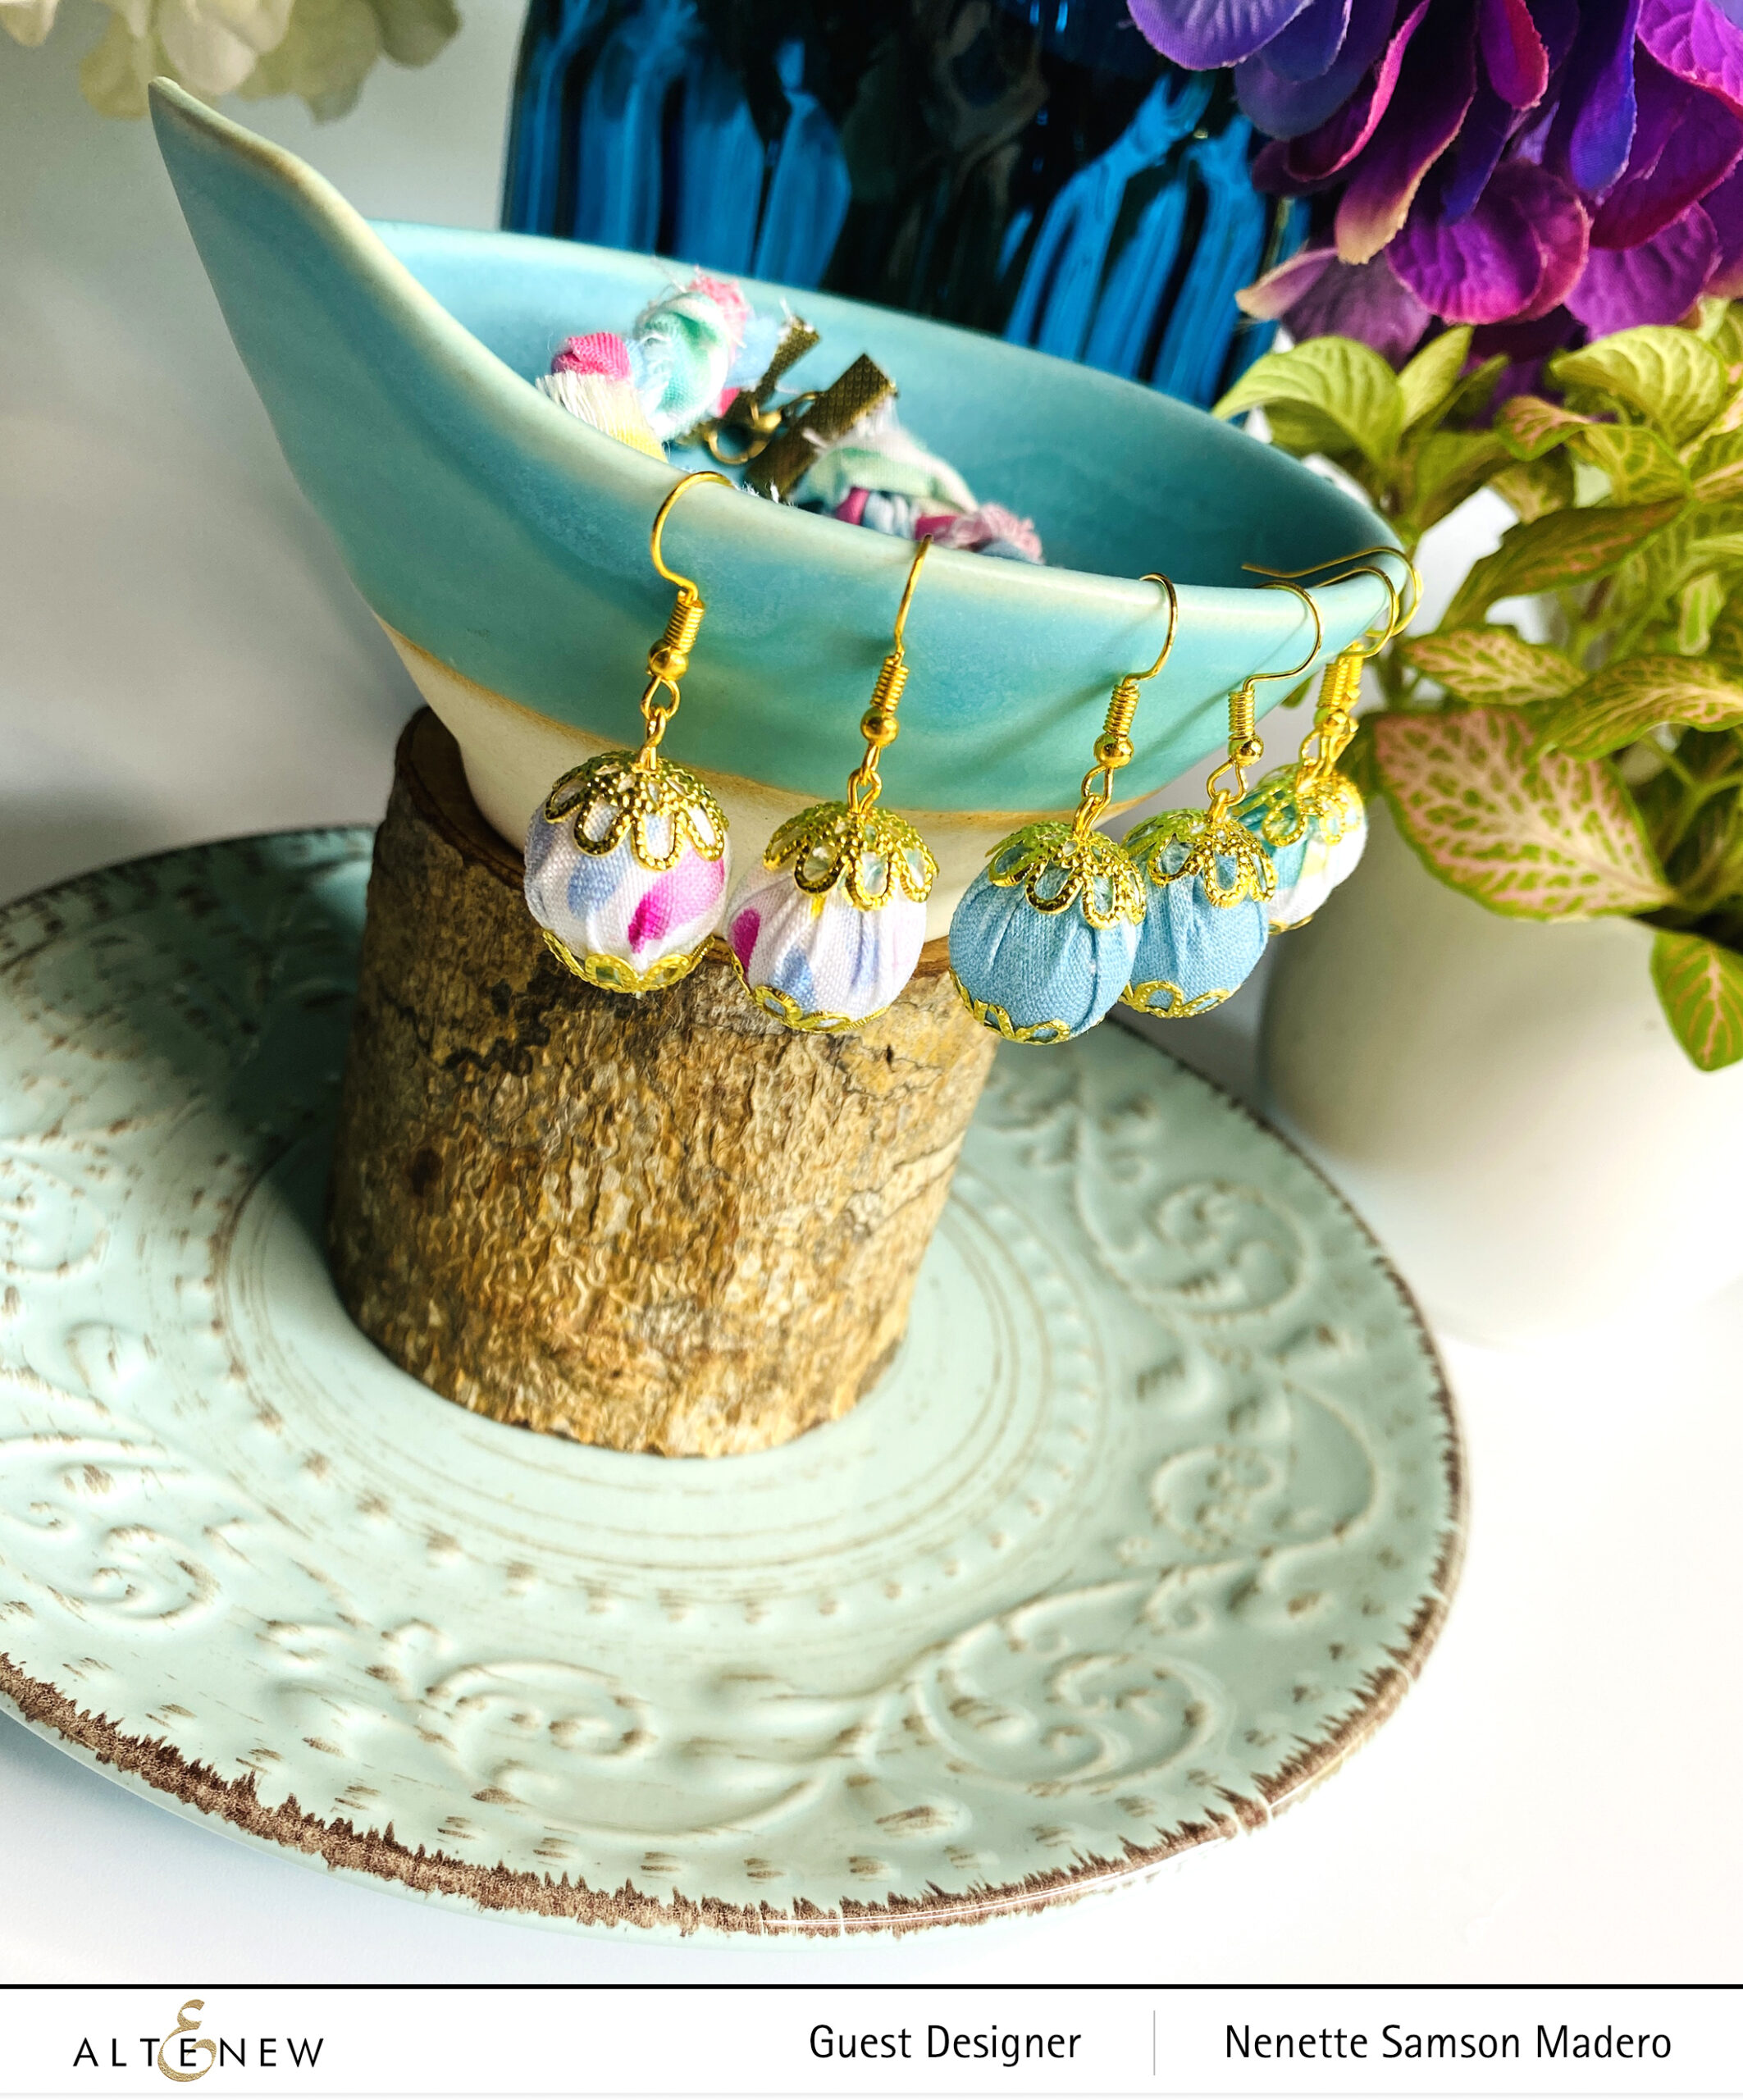
STEPS:
- Cut out the fabric into squares measuring 2.5″ x 2.5 “.
- Wrap the round bead with fabric making sure the hole of the bead is centered at the base.
- Twist the end tightly and start sewing around the fabric to hold it in place.
- Cut the excess fabric as close to the sewn thread as possible.
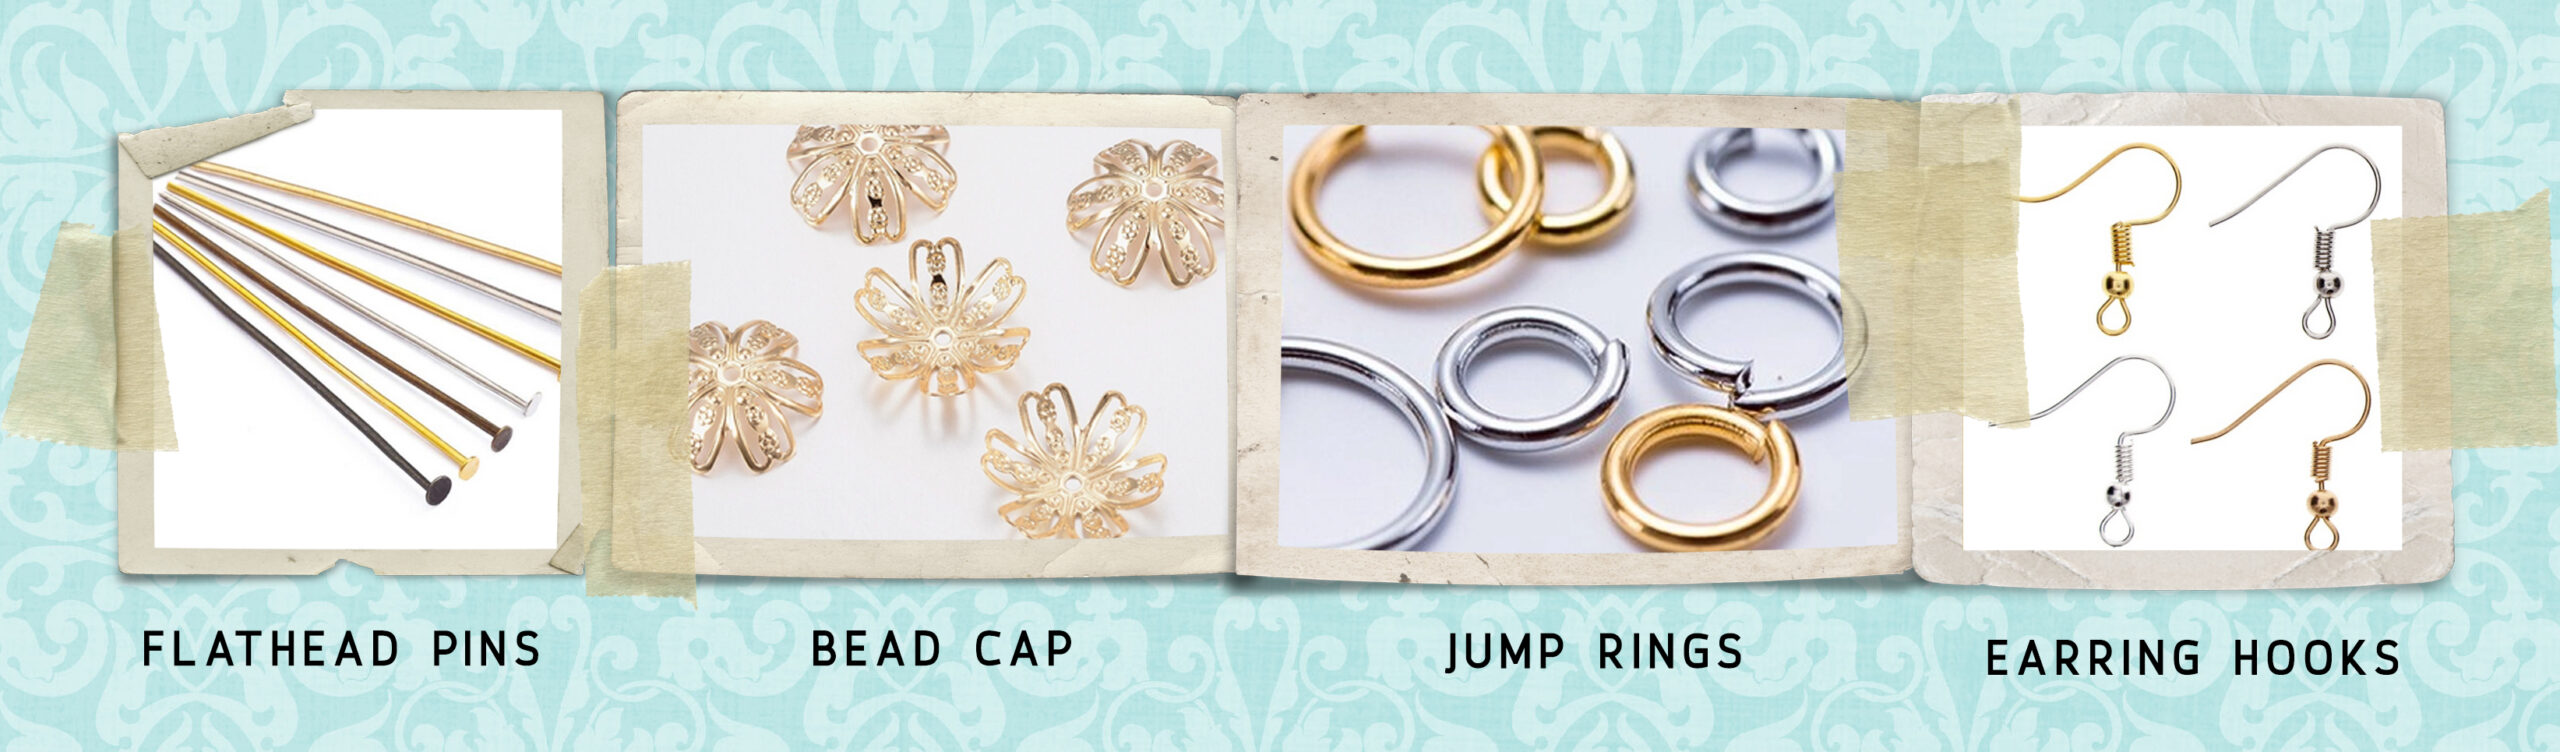
- Insert a flathead pin into the bead cap then insert it through the hole of the fabric-wrapped bead.
- Cover the other end with another bead cap and create a loop using a round pliers.
- Attach a jump ring then an earring hook to create the earring. Create another one to form a pair.
TIP: After you trim off the excess fabric, rub the end on a smooth table to round it off so that the end cap will fit nicely.
FABRIC BRACELETS


I created 2 types of bracelets– the first one did not require the sewing machine. Here’s how it’s done.
STEPS:
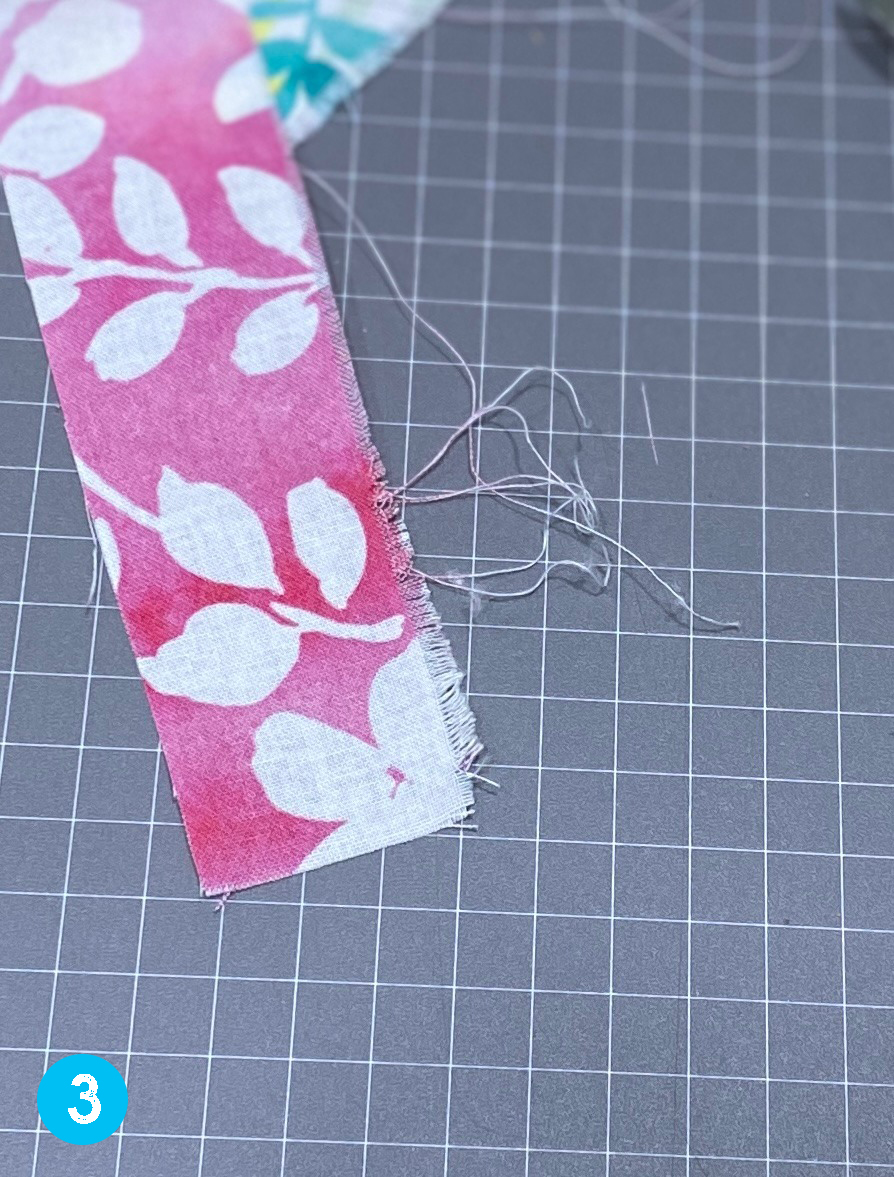
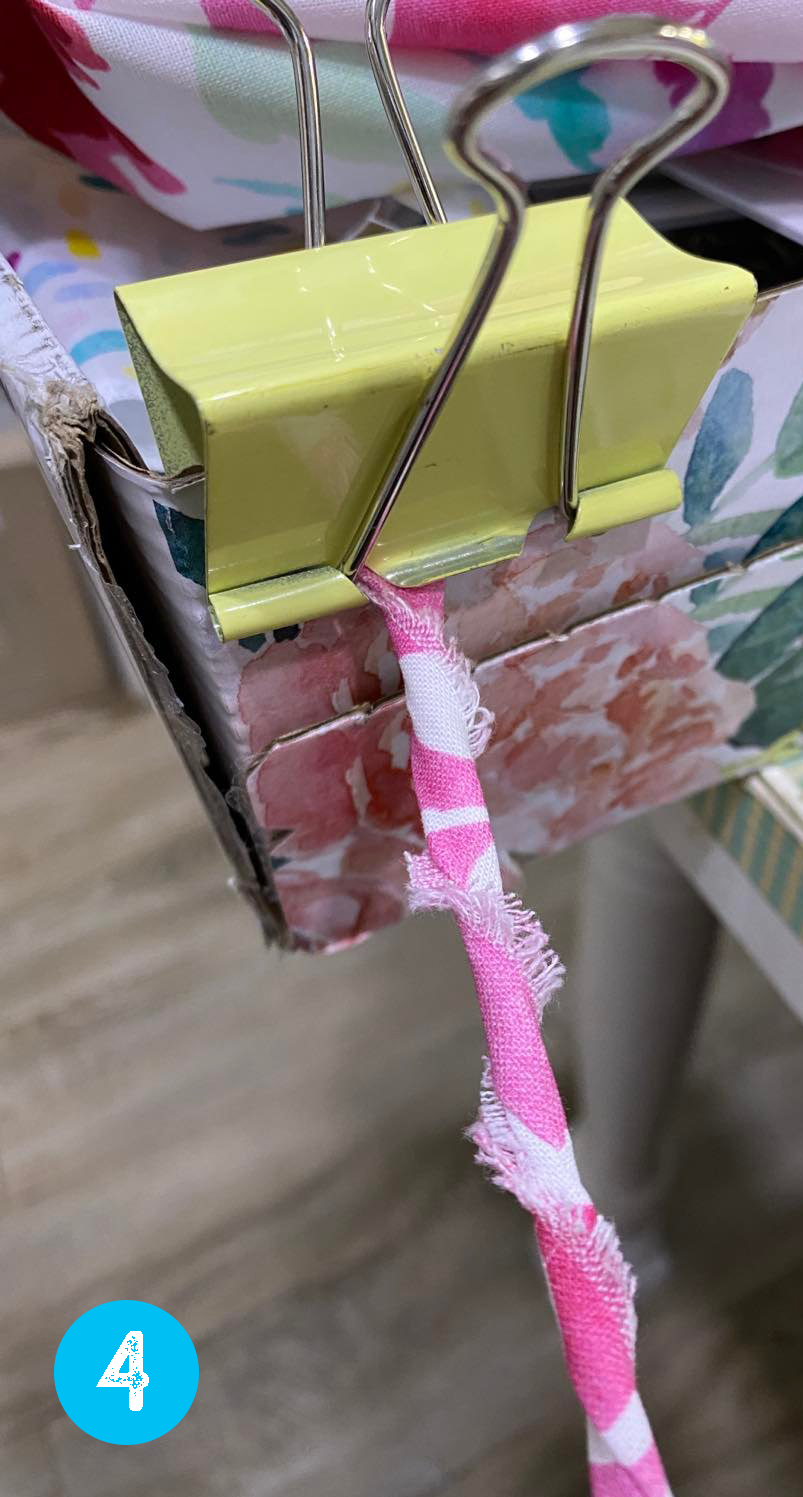
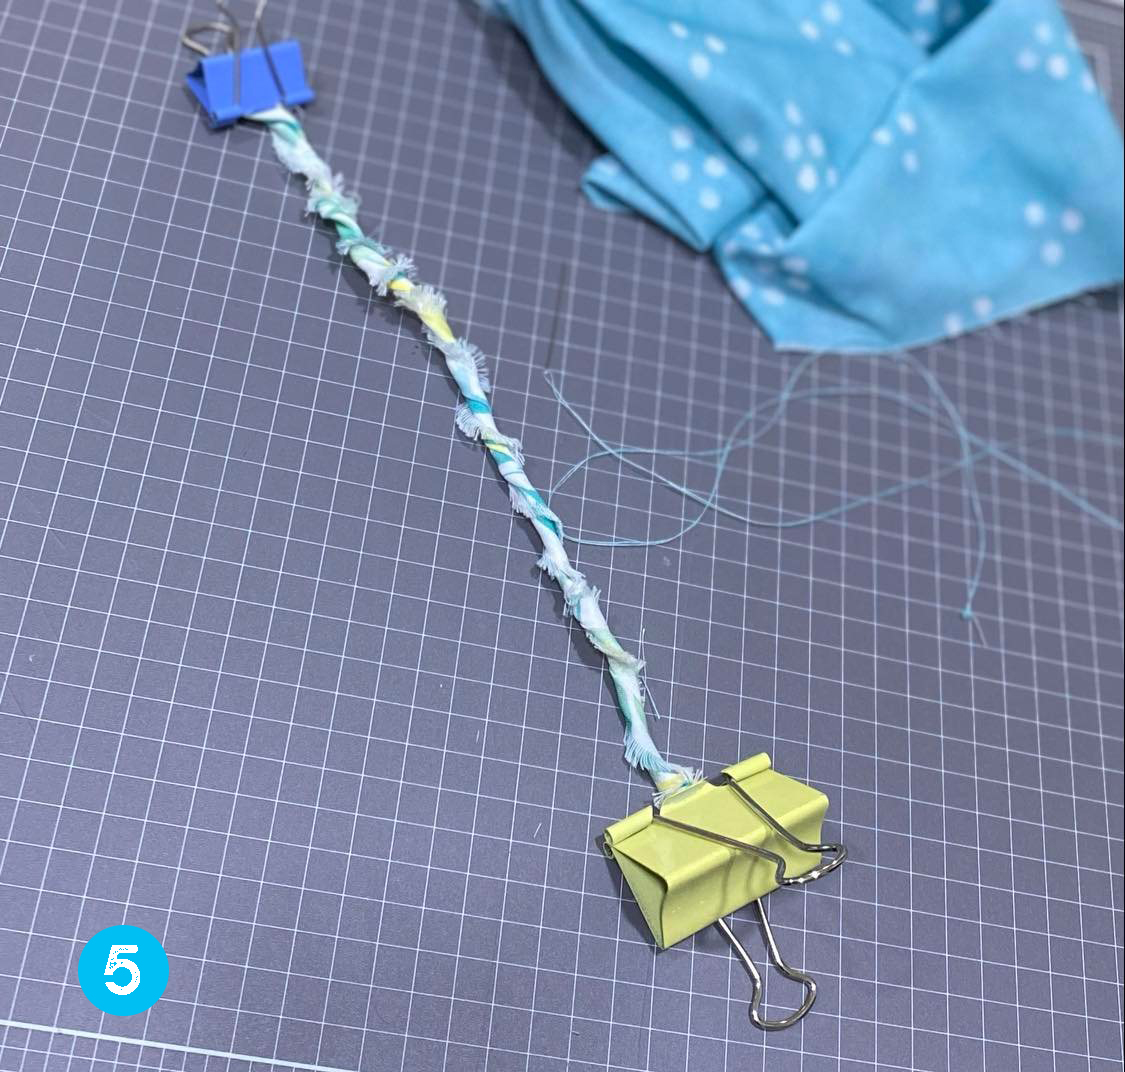
When you reach the end, clip the end and add a running stitch from end to end to hold the position of the fabric. Repeat for the other two strips of fabric. Braid the 3 twisted fabrics. Stitch the ends together. Add a ribbon clasp on both ends and finish with jump rings an a lobster clasp.

For this kind of bracelet, here are the steps.
STEPS:
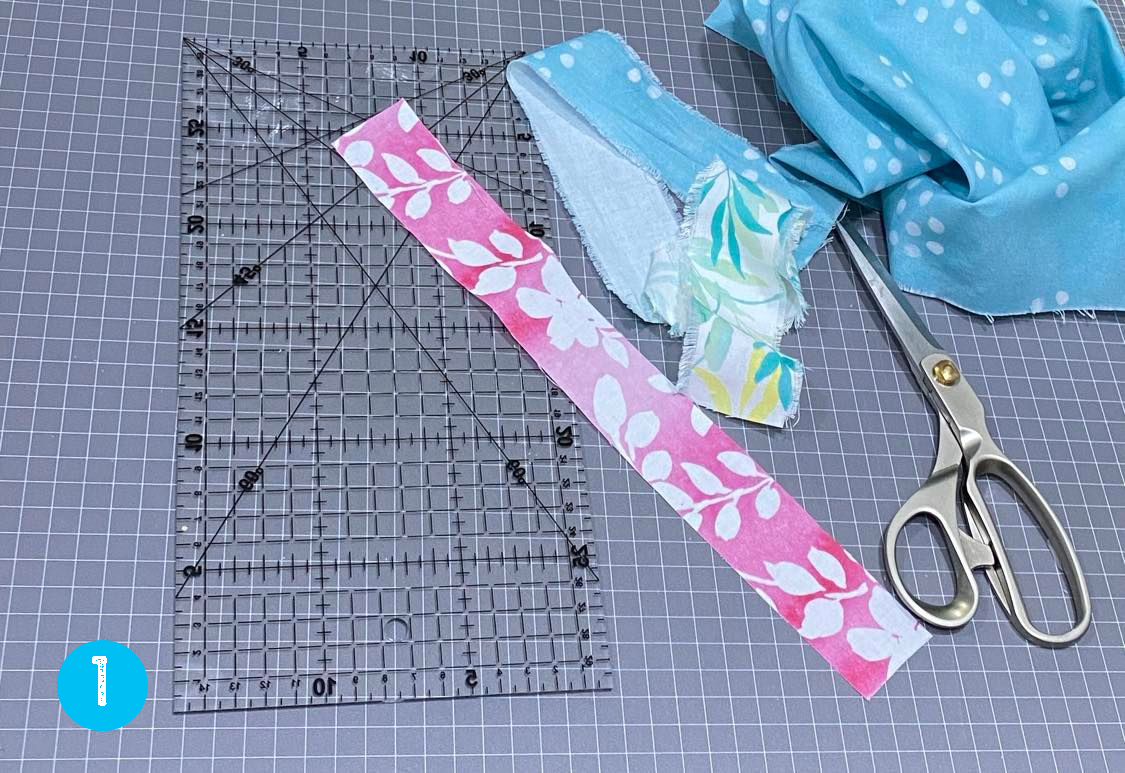
- Cut 6 strips of fabric measuring 3/4 inch x 12 inches.
- Fold the fabric lengthwise with the wrong side out and sew the edges together leaving approximately a 5mm seam allowance.

- 3. Trim off excess fabric so that it will be easier to reverse.
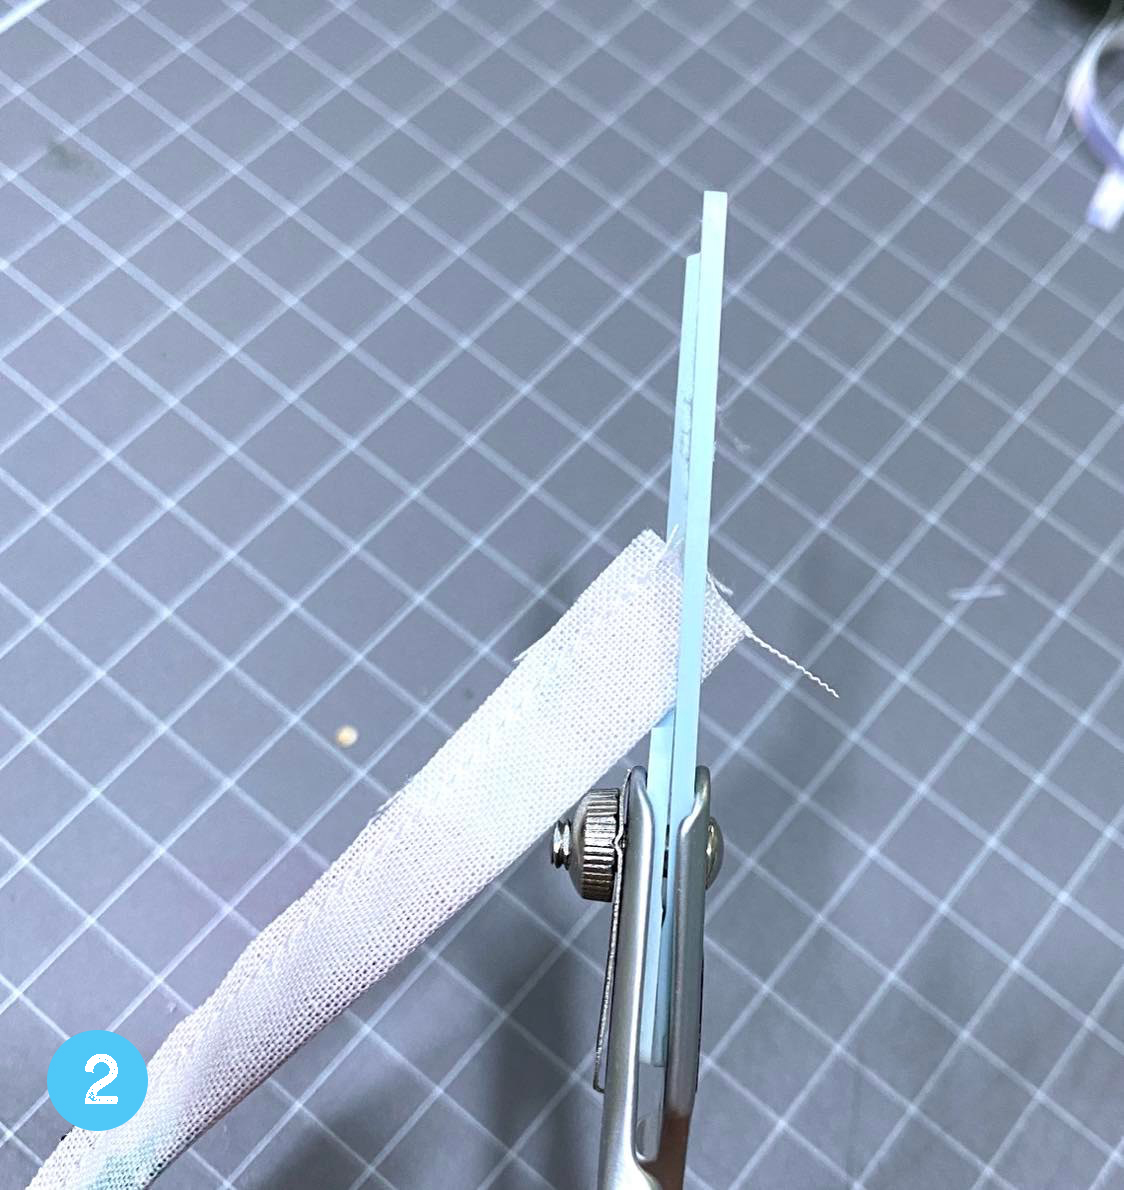
- 4. Cut an angled slit.
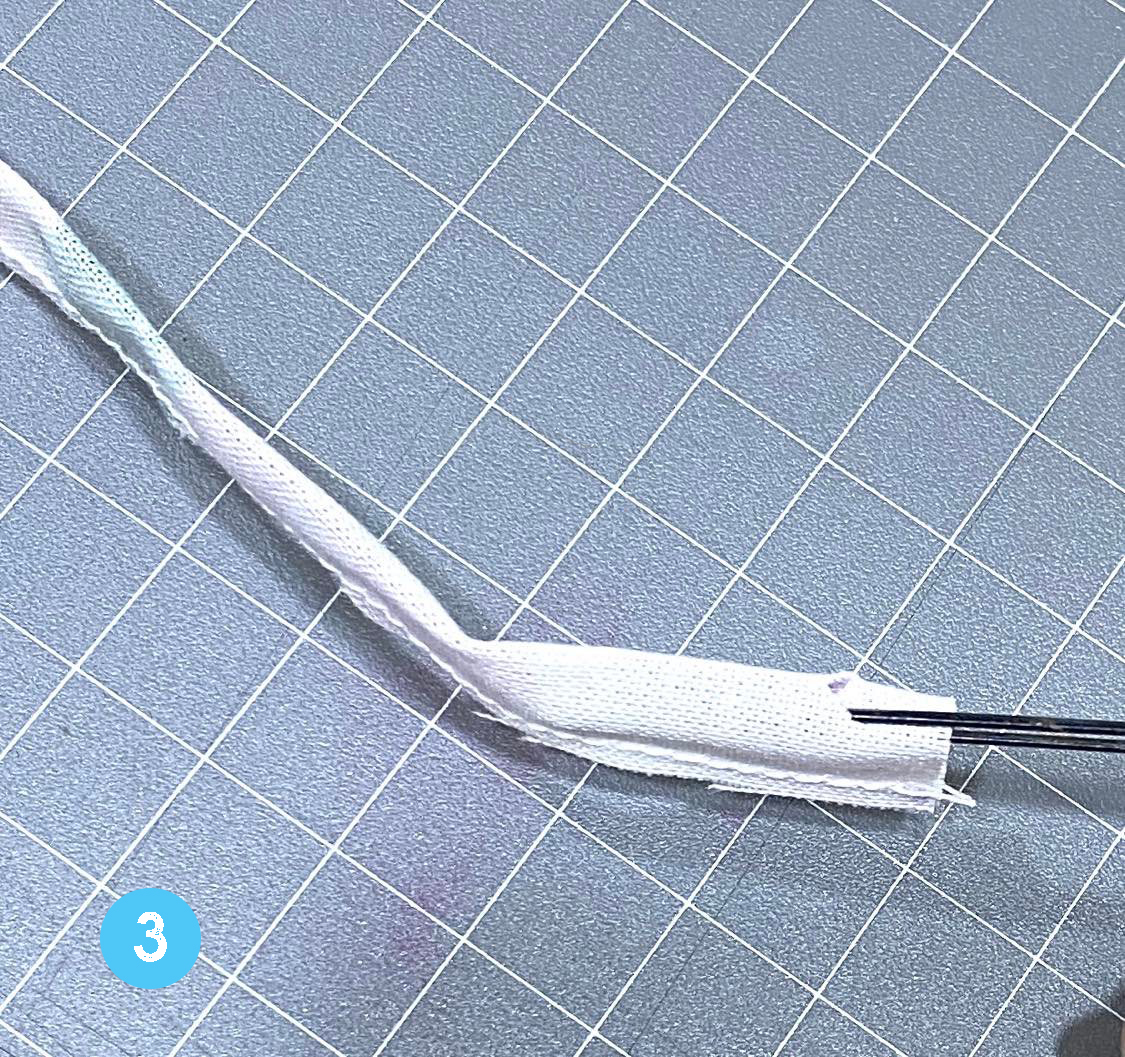
- 5. Insert the bottom part of the bobby pin inside the main tube and insert the top of the bobby pin into the slit. Gently pull the bobby pin through the tube to flip the fabric inside out.

- 6. Insert 4 strands of yarn using a bobby pin.
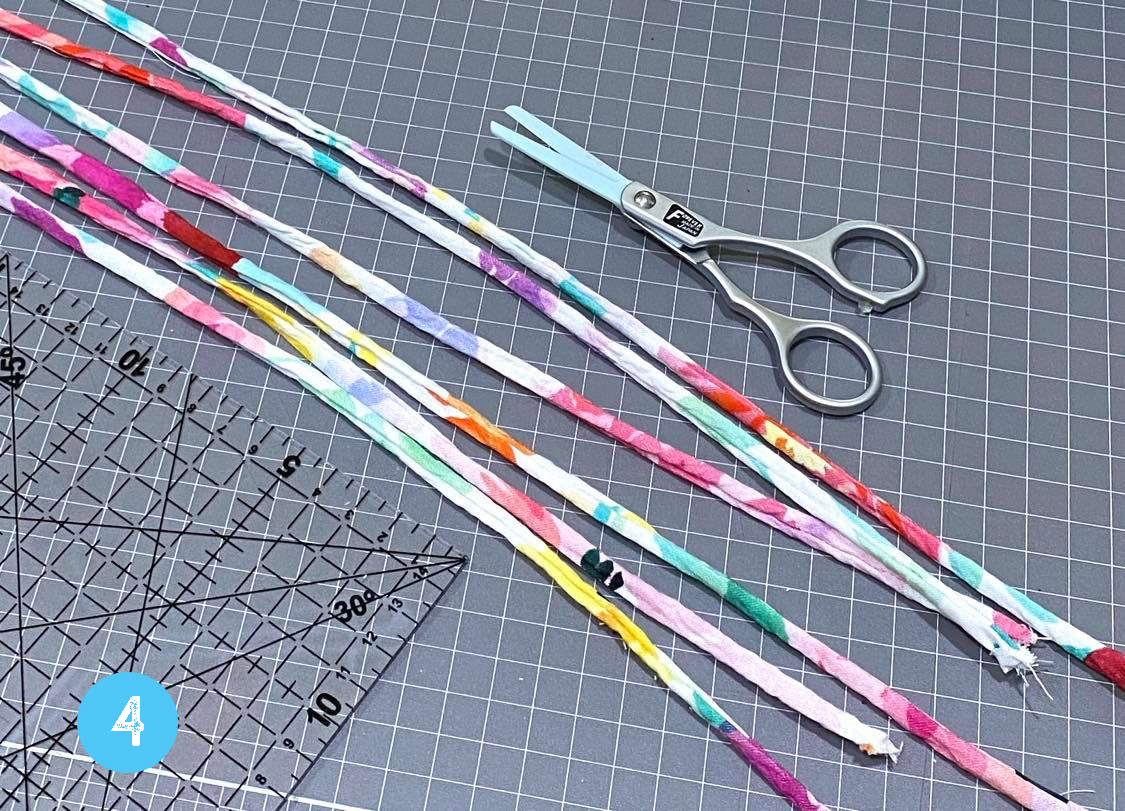
- 7. Clip the ends and create a 3 strand braid.
- 8. Measure the wrist. Mark the braided fabric and sew the strands together where the markings are.
- 9. Cut the excess fabric.
- 10. Attach a ribbon clasp on both ends and add jump rings and a lobster clasp.
The earrings and the bracelets were inspired by Red Blossoms Designs. They have amazing ideas on how to use fabric so do check them out.
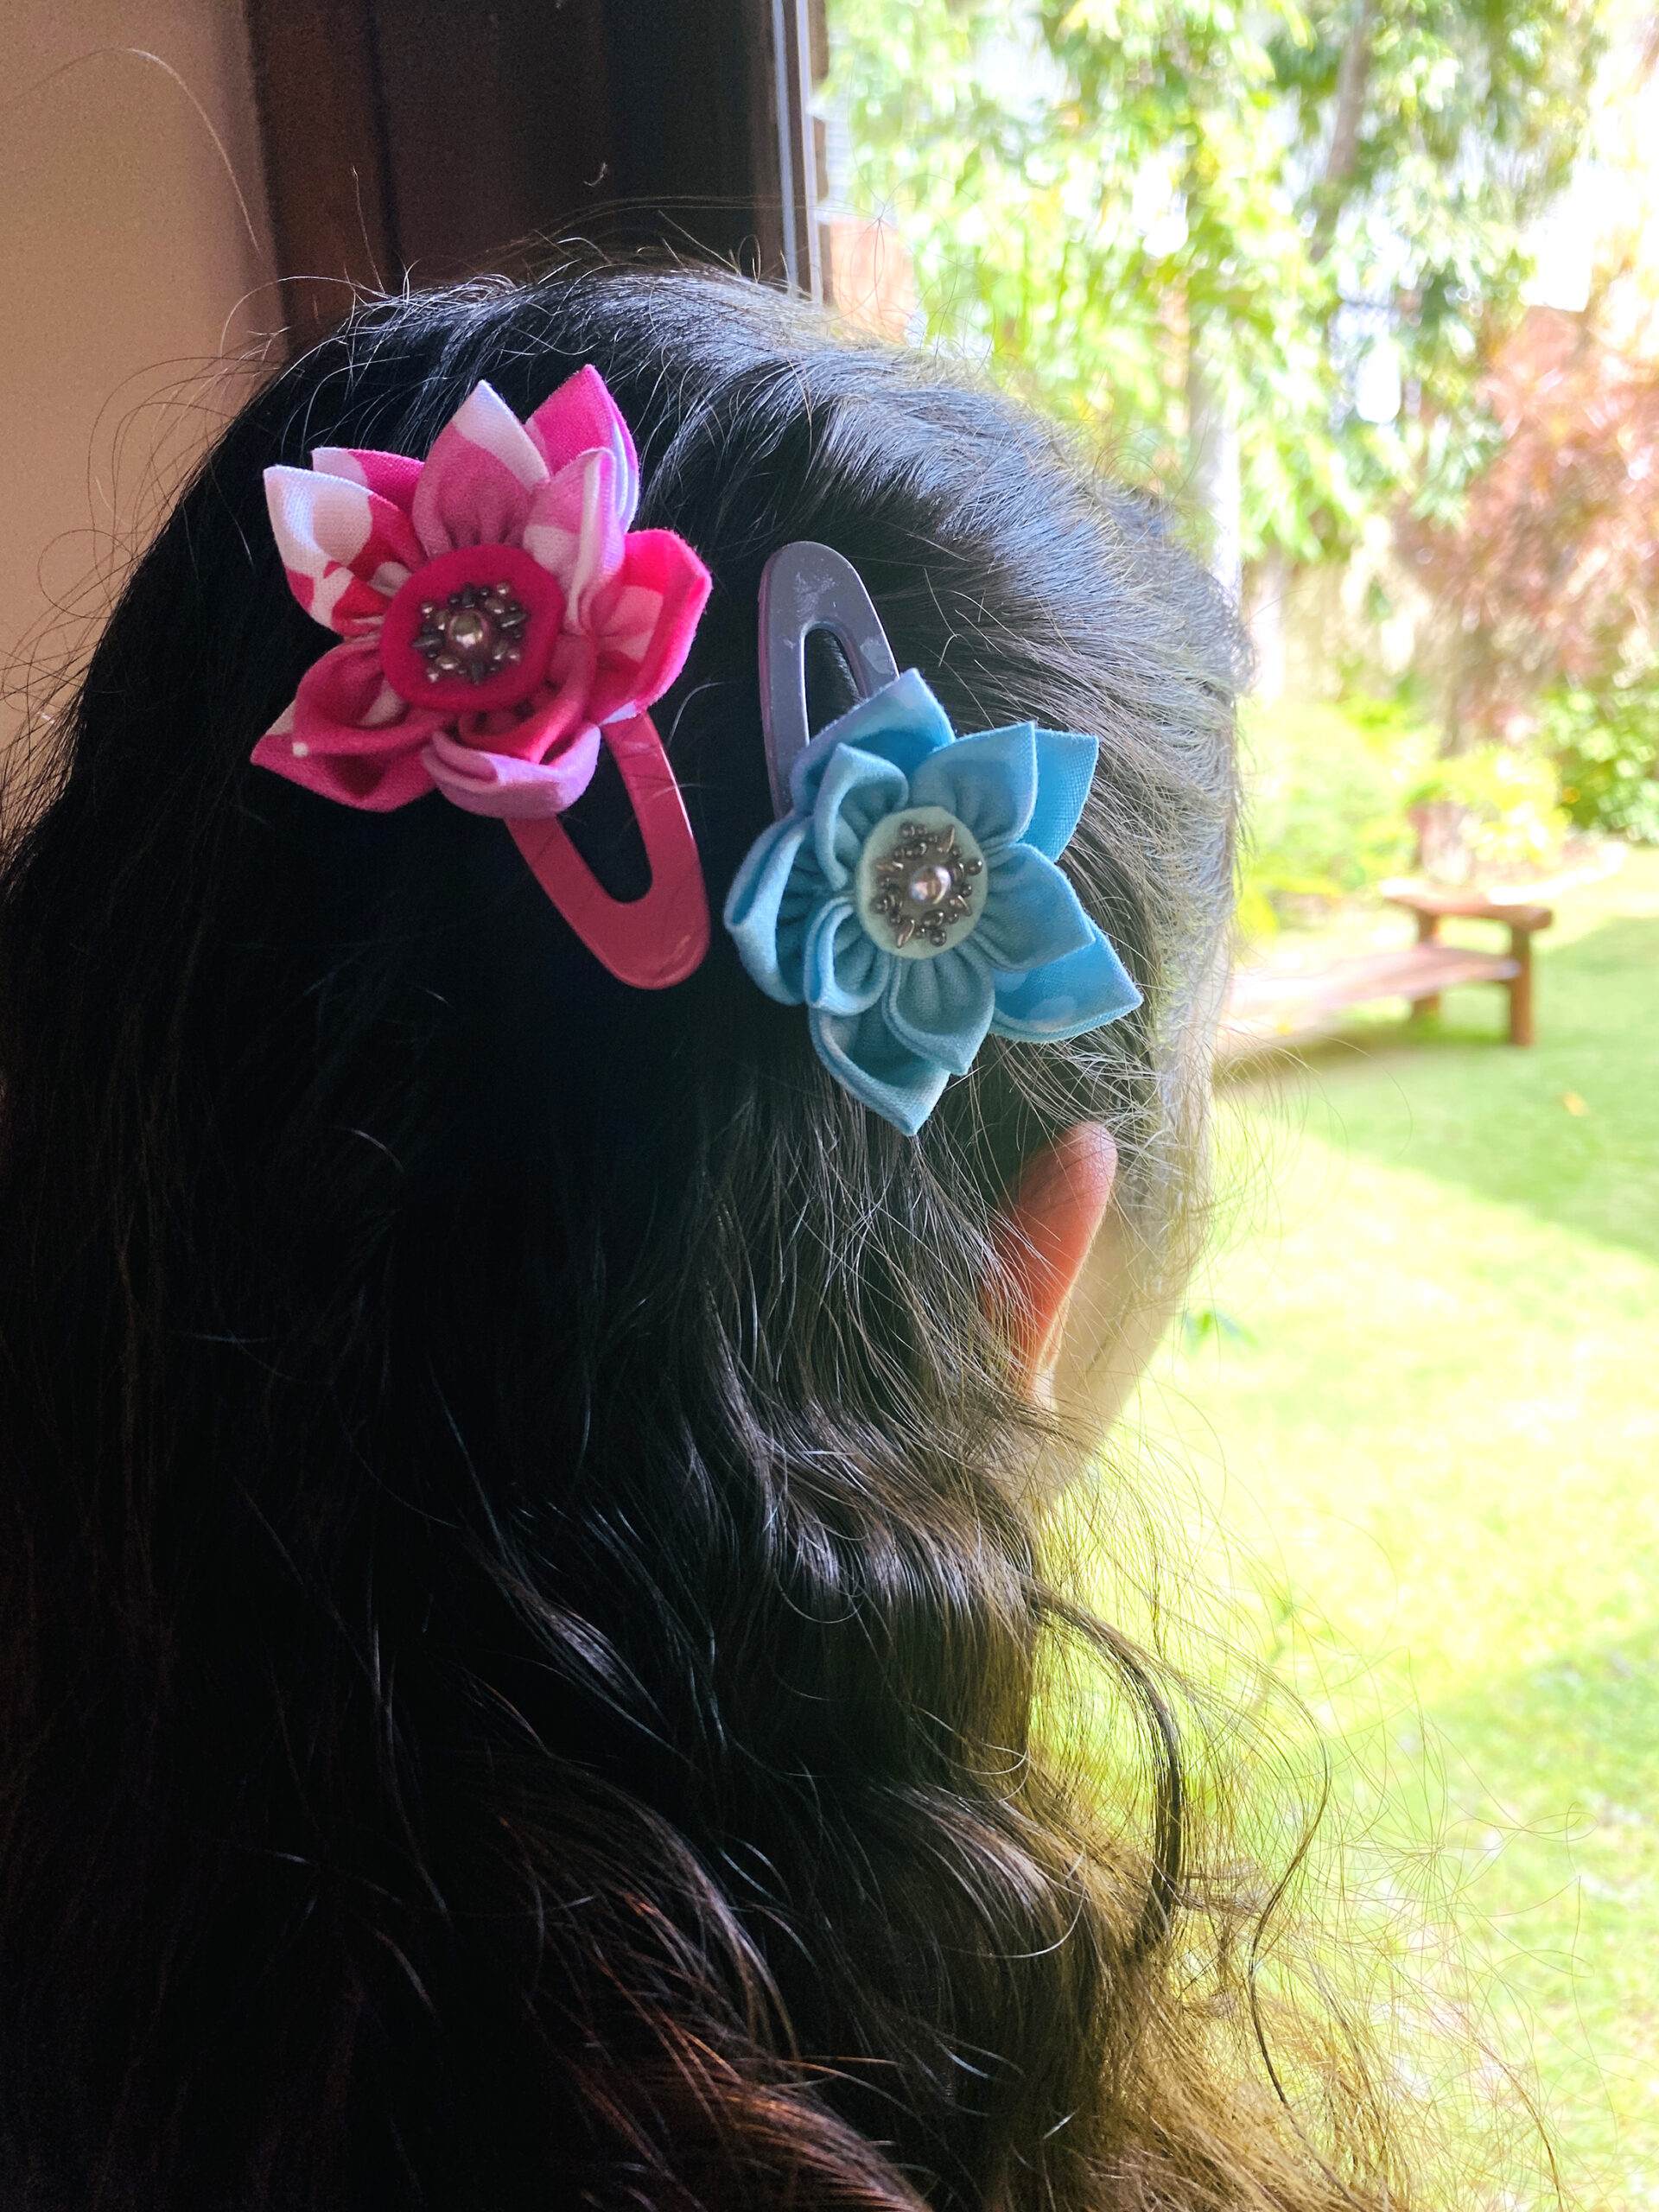
HAIR ACCESSORIES
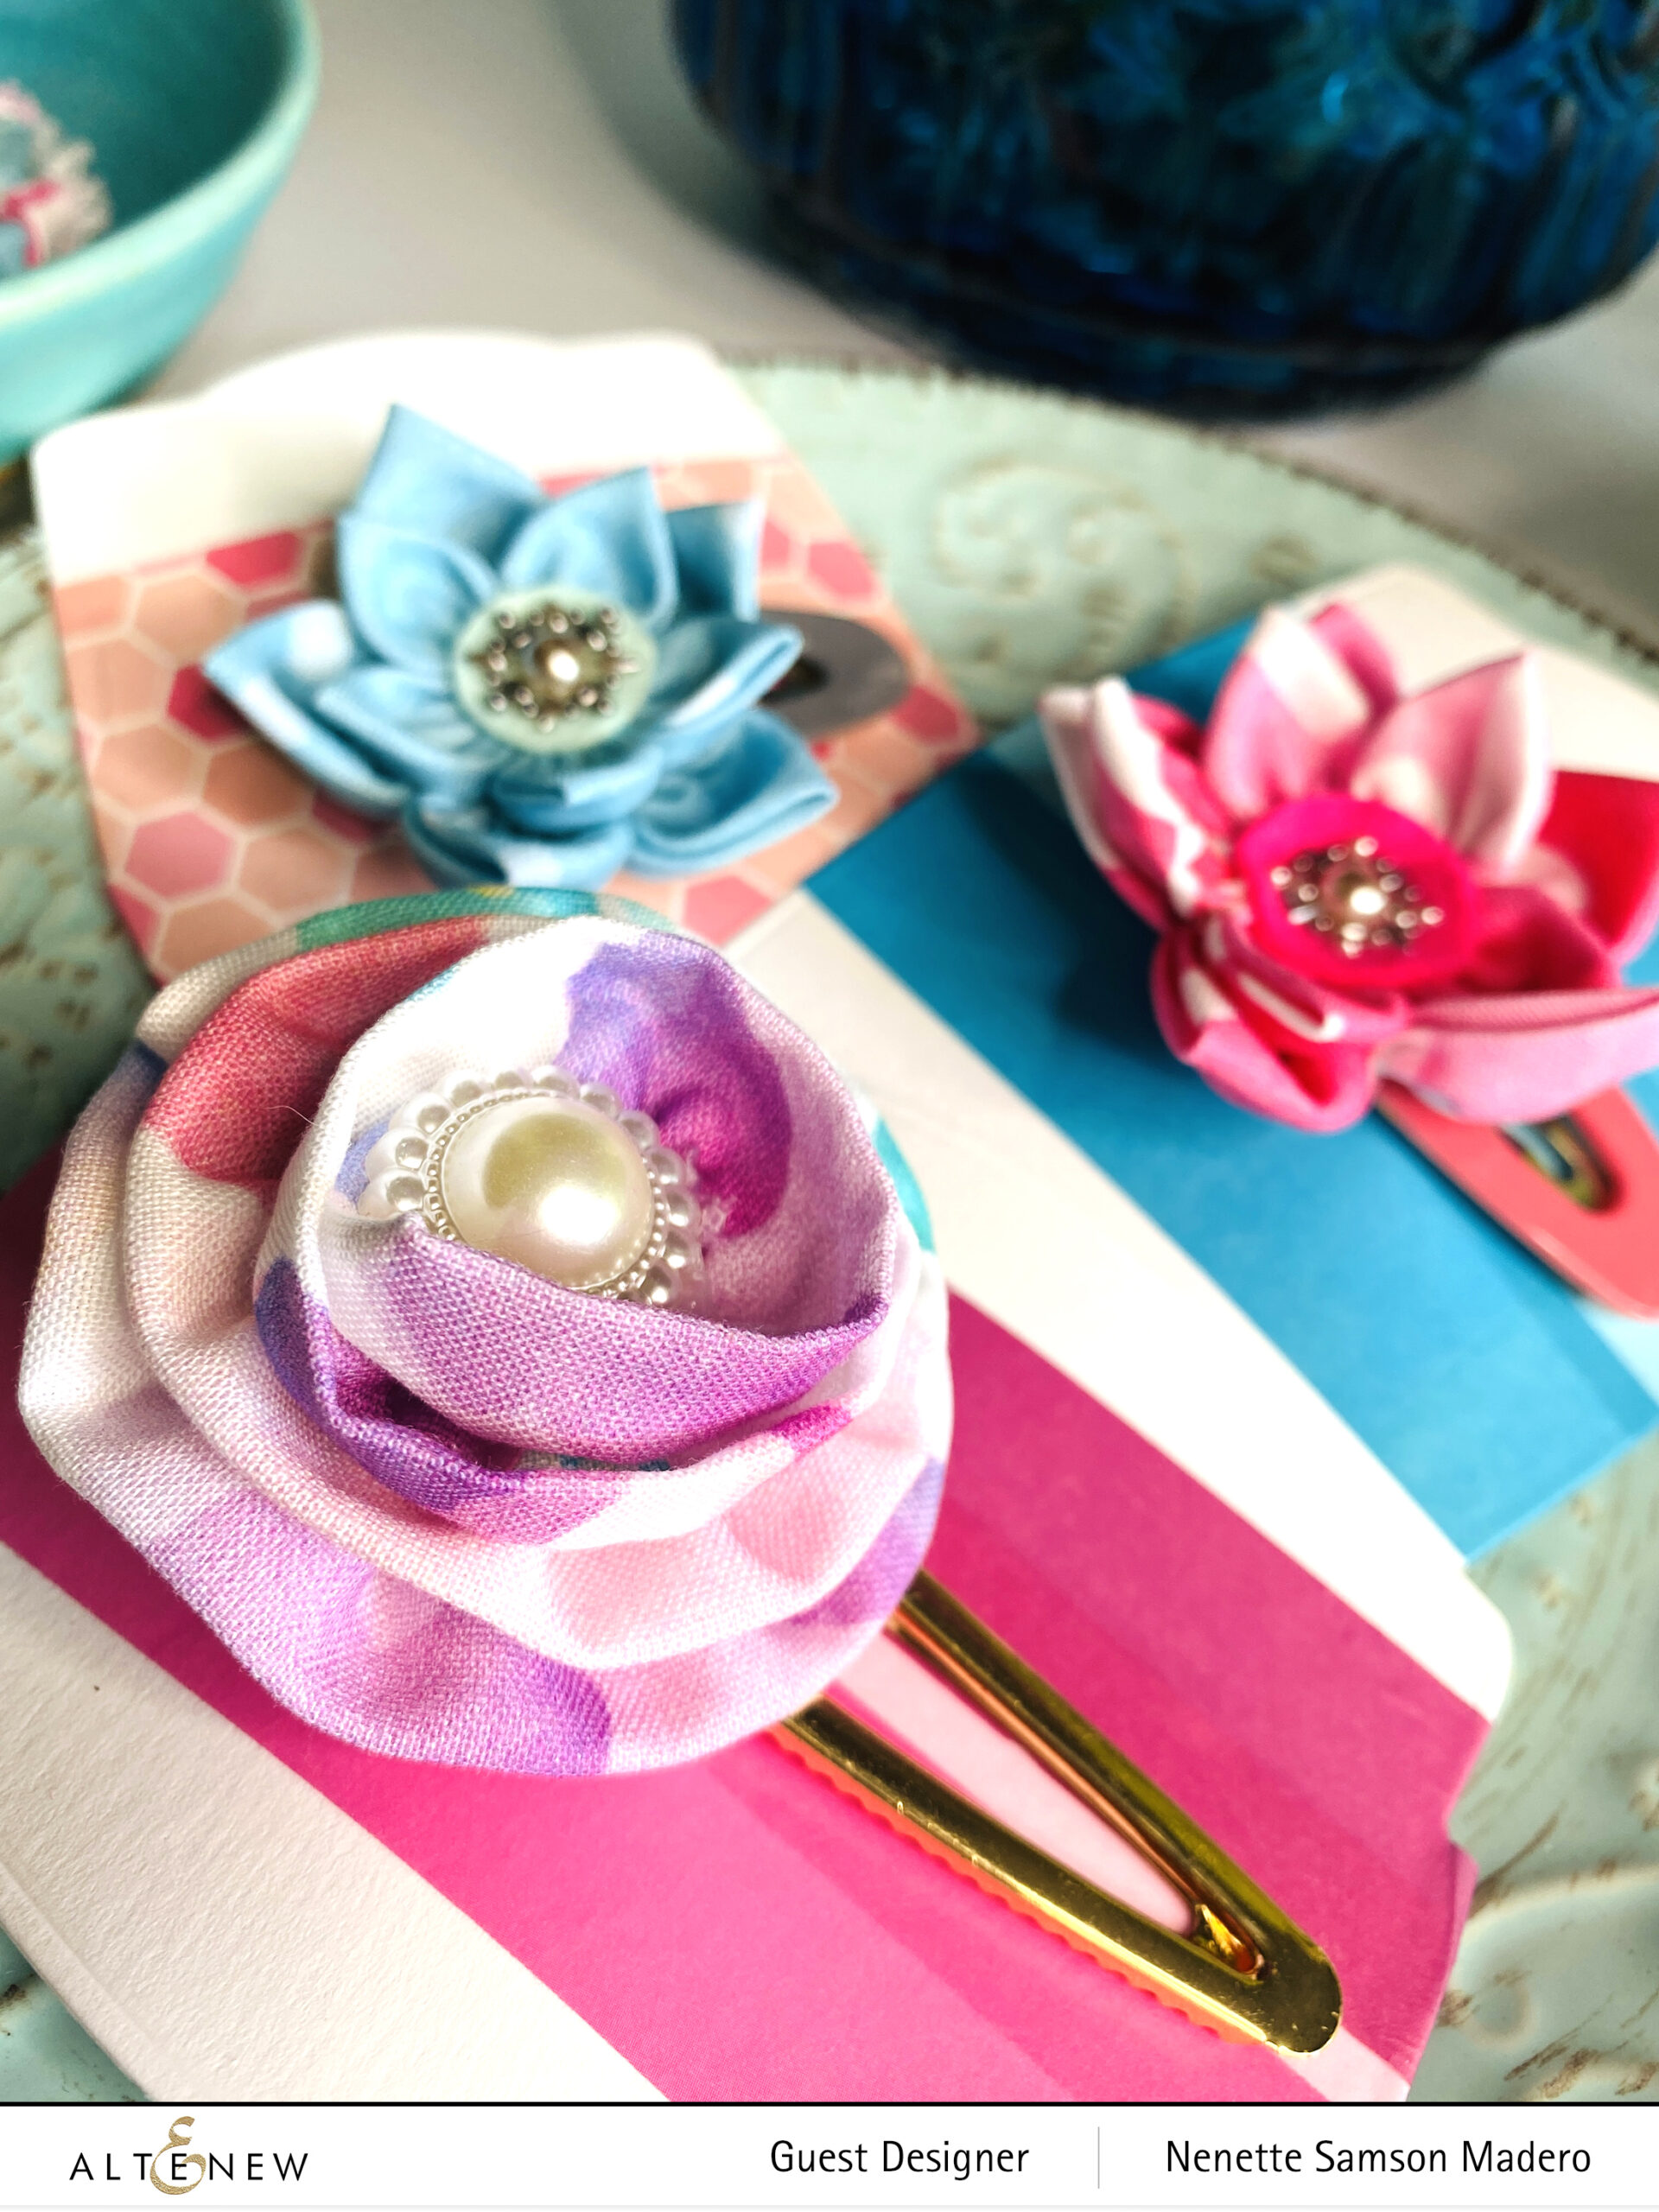
STEPS:
- Cut a strip of fabric to 2″ x 18″.
- Fold lengthwise and attach to each other using double sided tape.
- Die cut felt using a round die around 2 inches.
- Start adhering the strip of fabric with a glue gun. In a spiral manner, start gluing the fabric strip from the outside going in .
- Attach a pearl in the middle of the flower.
- Glue the flower to an alligator clip.
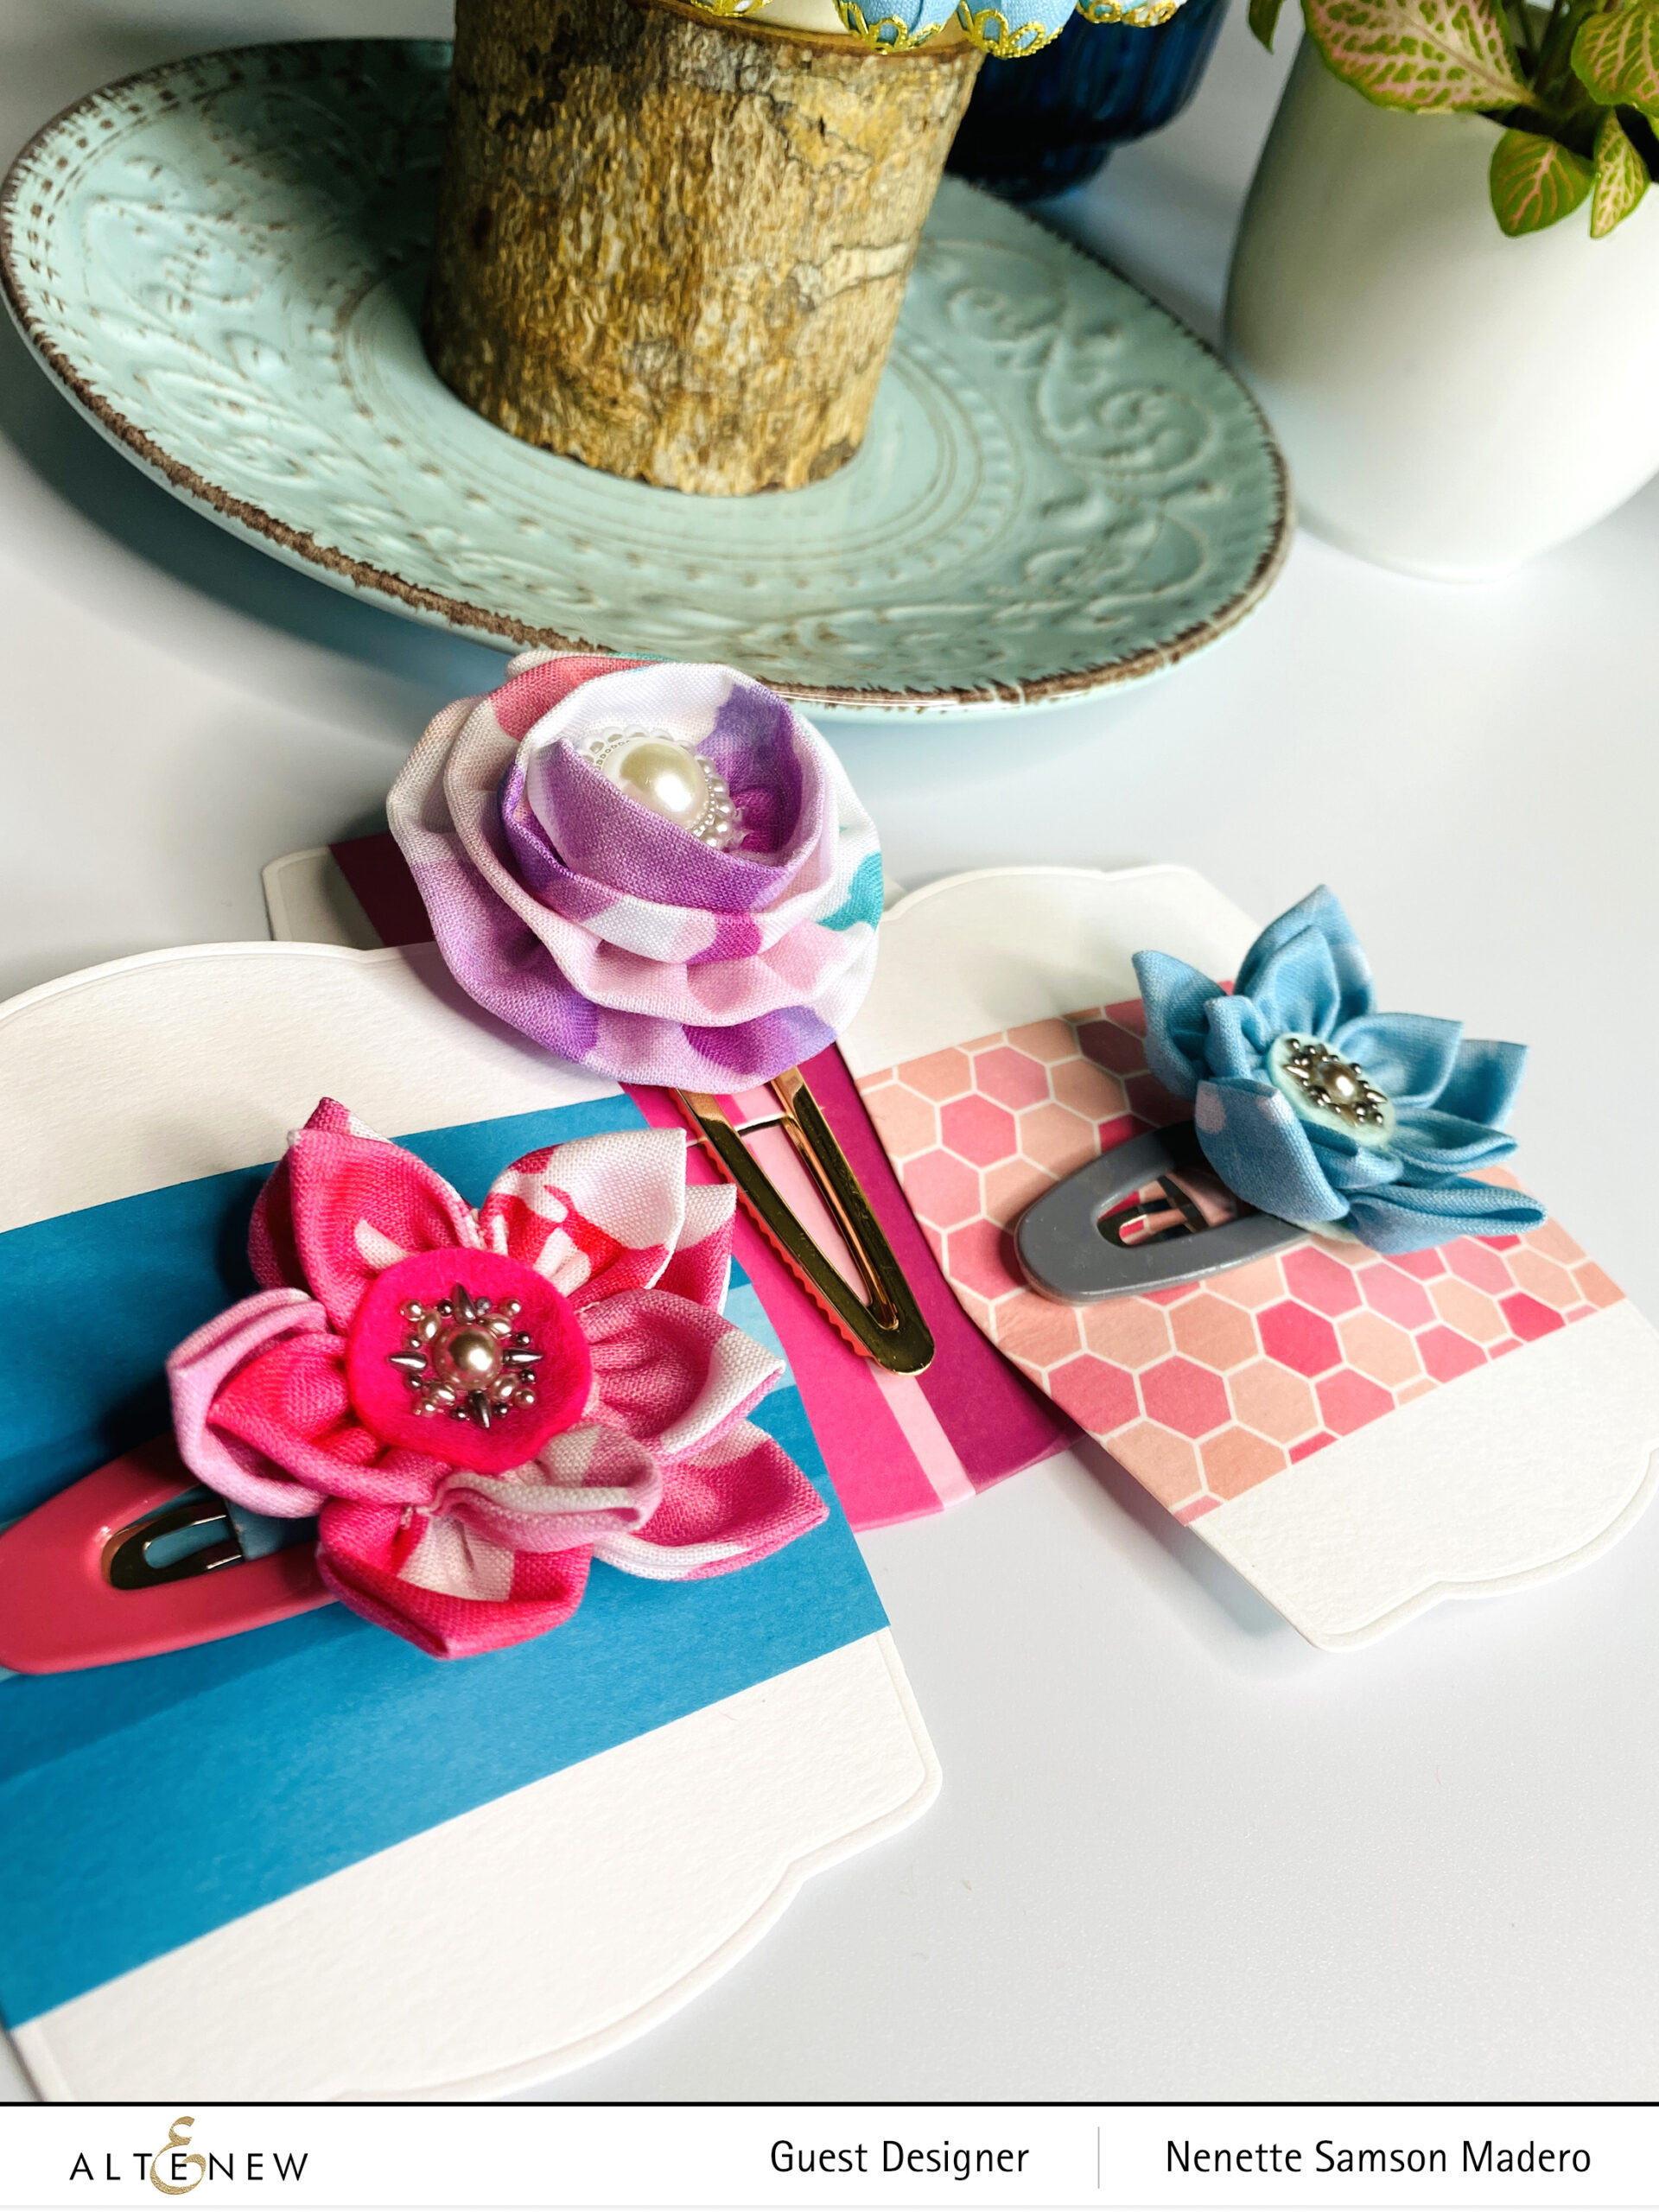
STEPS FOR FLOWER NO. 2:
- Die cut 5 circles from the fabric. (The bigger the circle, the bigger the flower will be.)
- Fold in half.
- Then fold again in half.
- Sew a running stitch along the base of triangles.
- Pull the thread to gather all the bases together to form a flower.
- Create a second flower using a smaller diameter of circle and layer on top of the first flower using glue gun.
- Cut out a matching felt and add bead embellishments to the center.
- Attach to felt base then adhere to a clip.


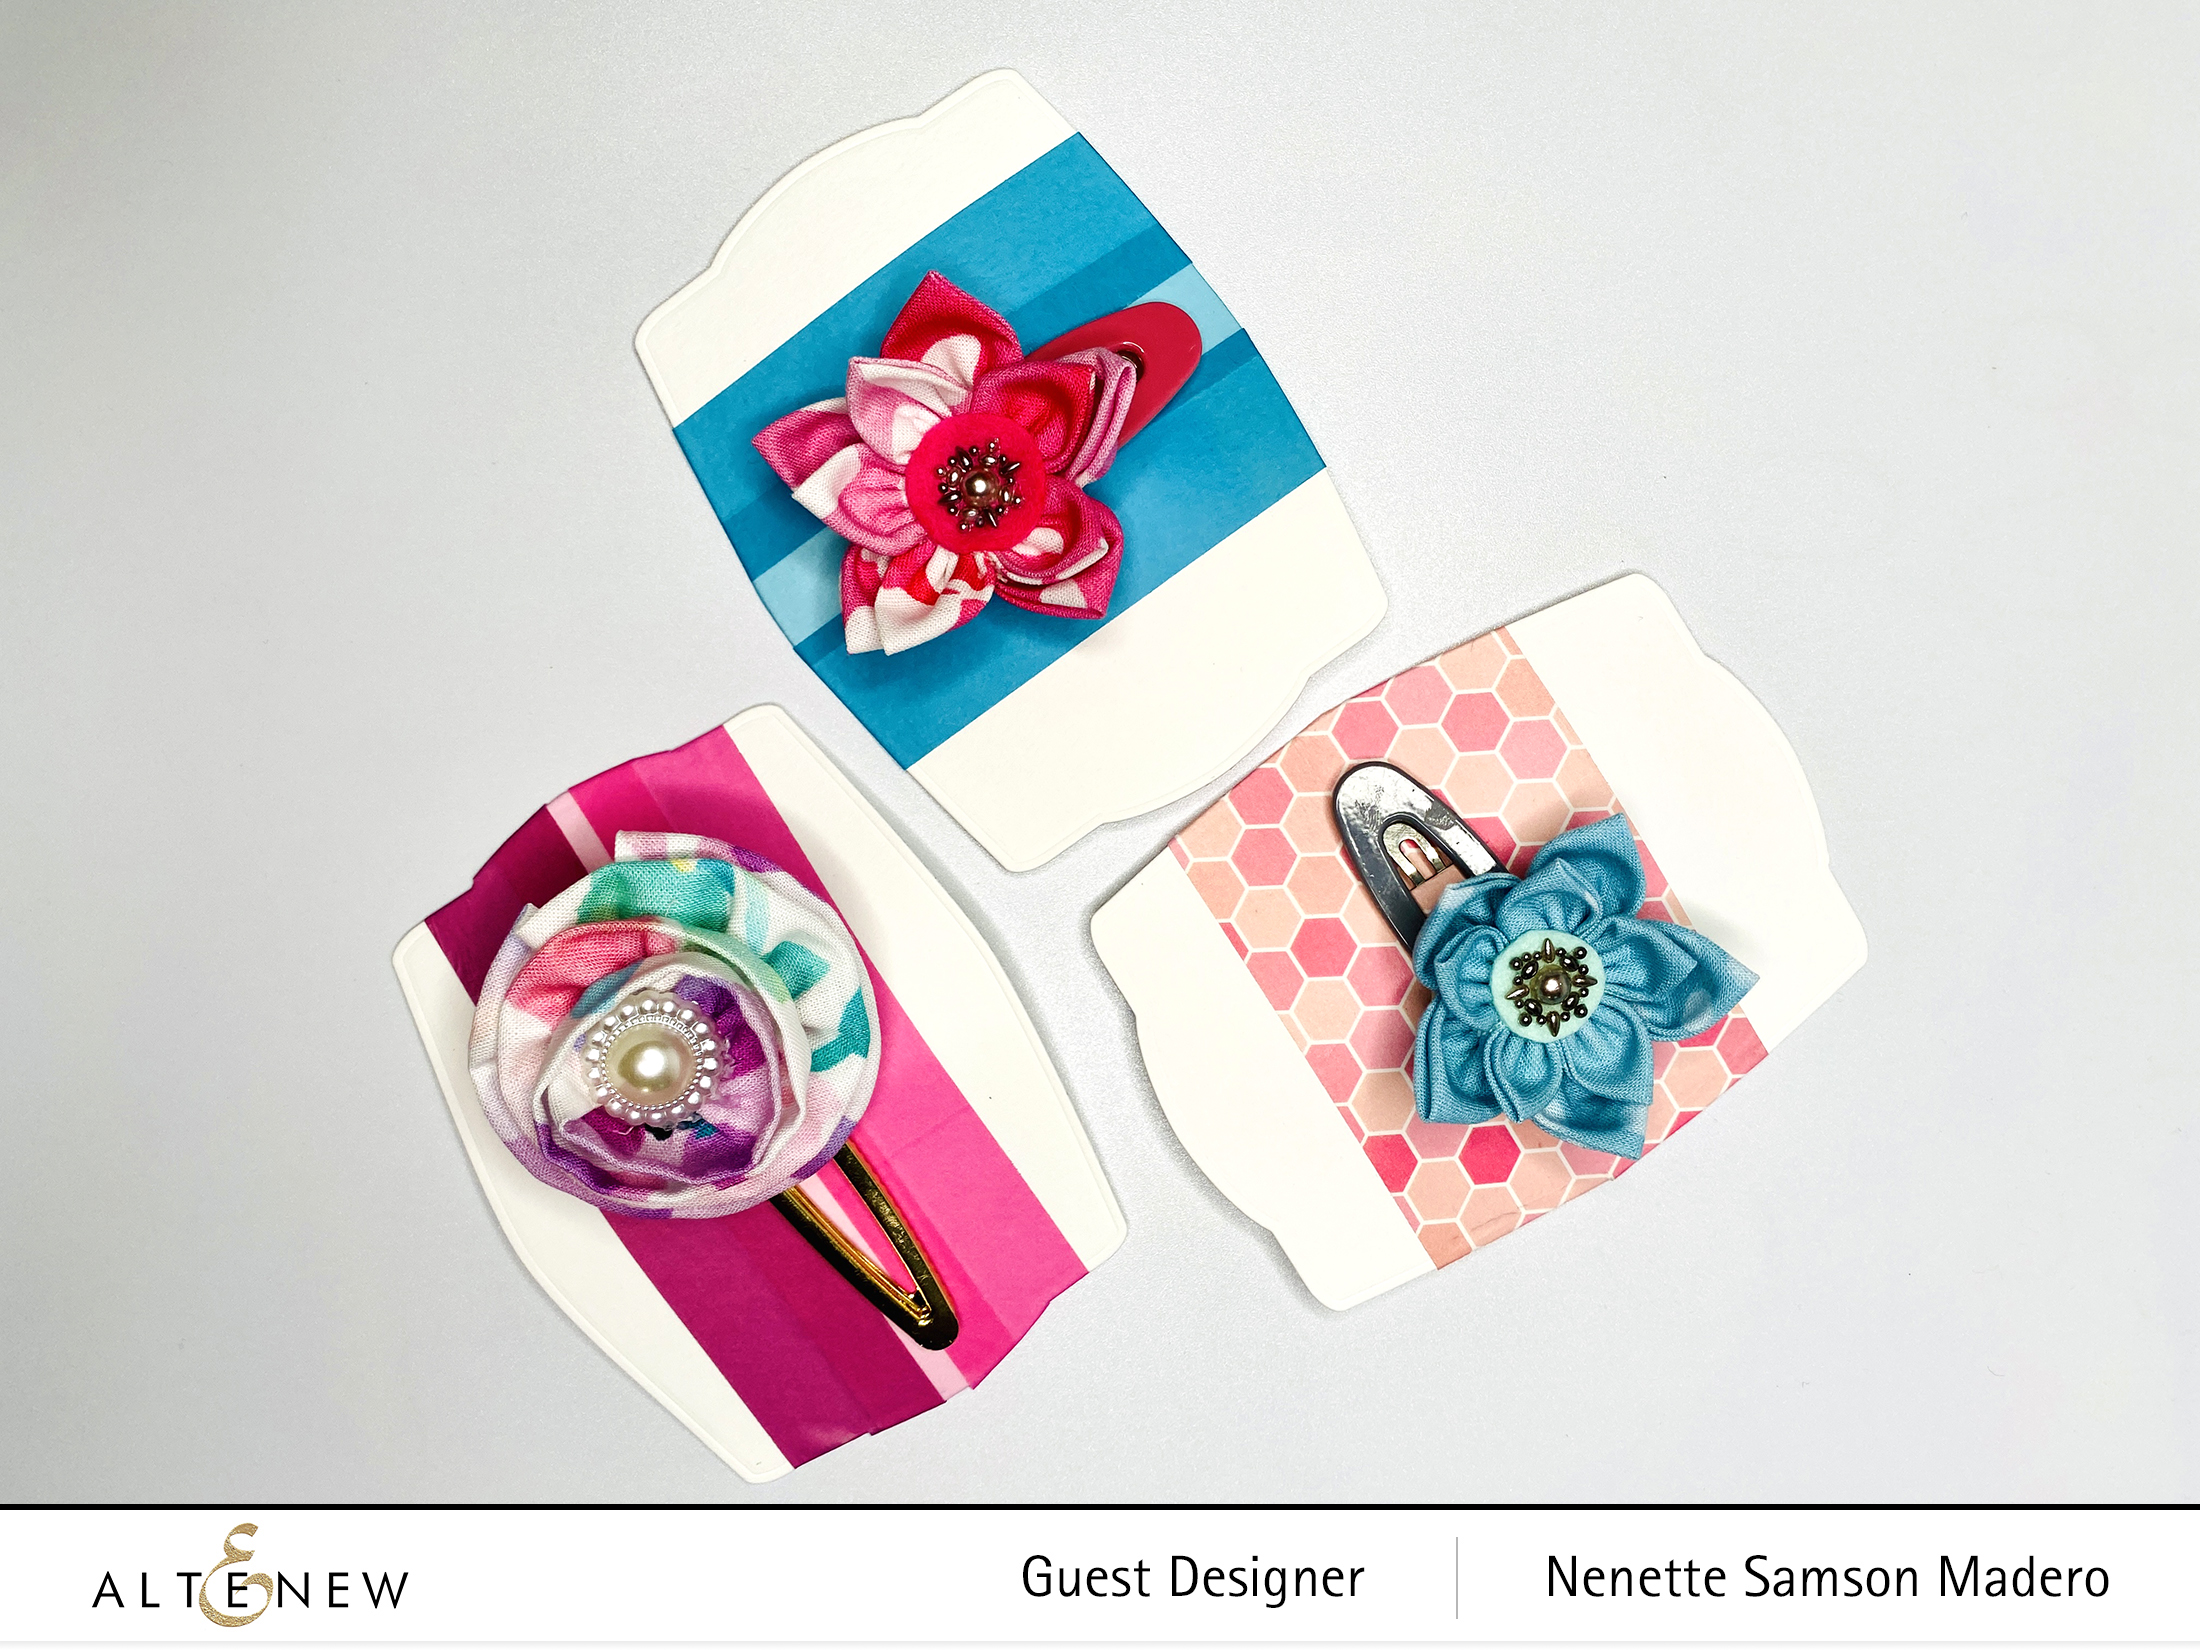
TIP: I used the Nesting Frame Dies and some washi tapes to create the backing for the clips. This would be a nice way to package them for gifts.
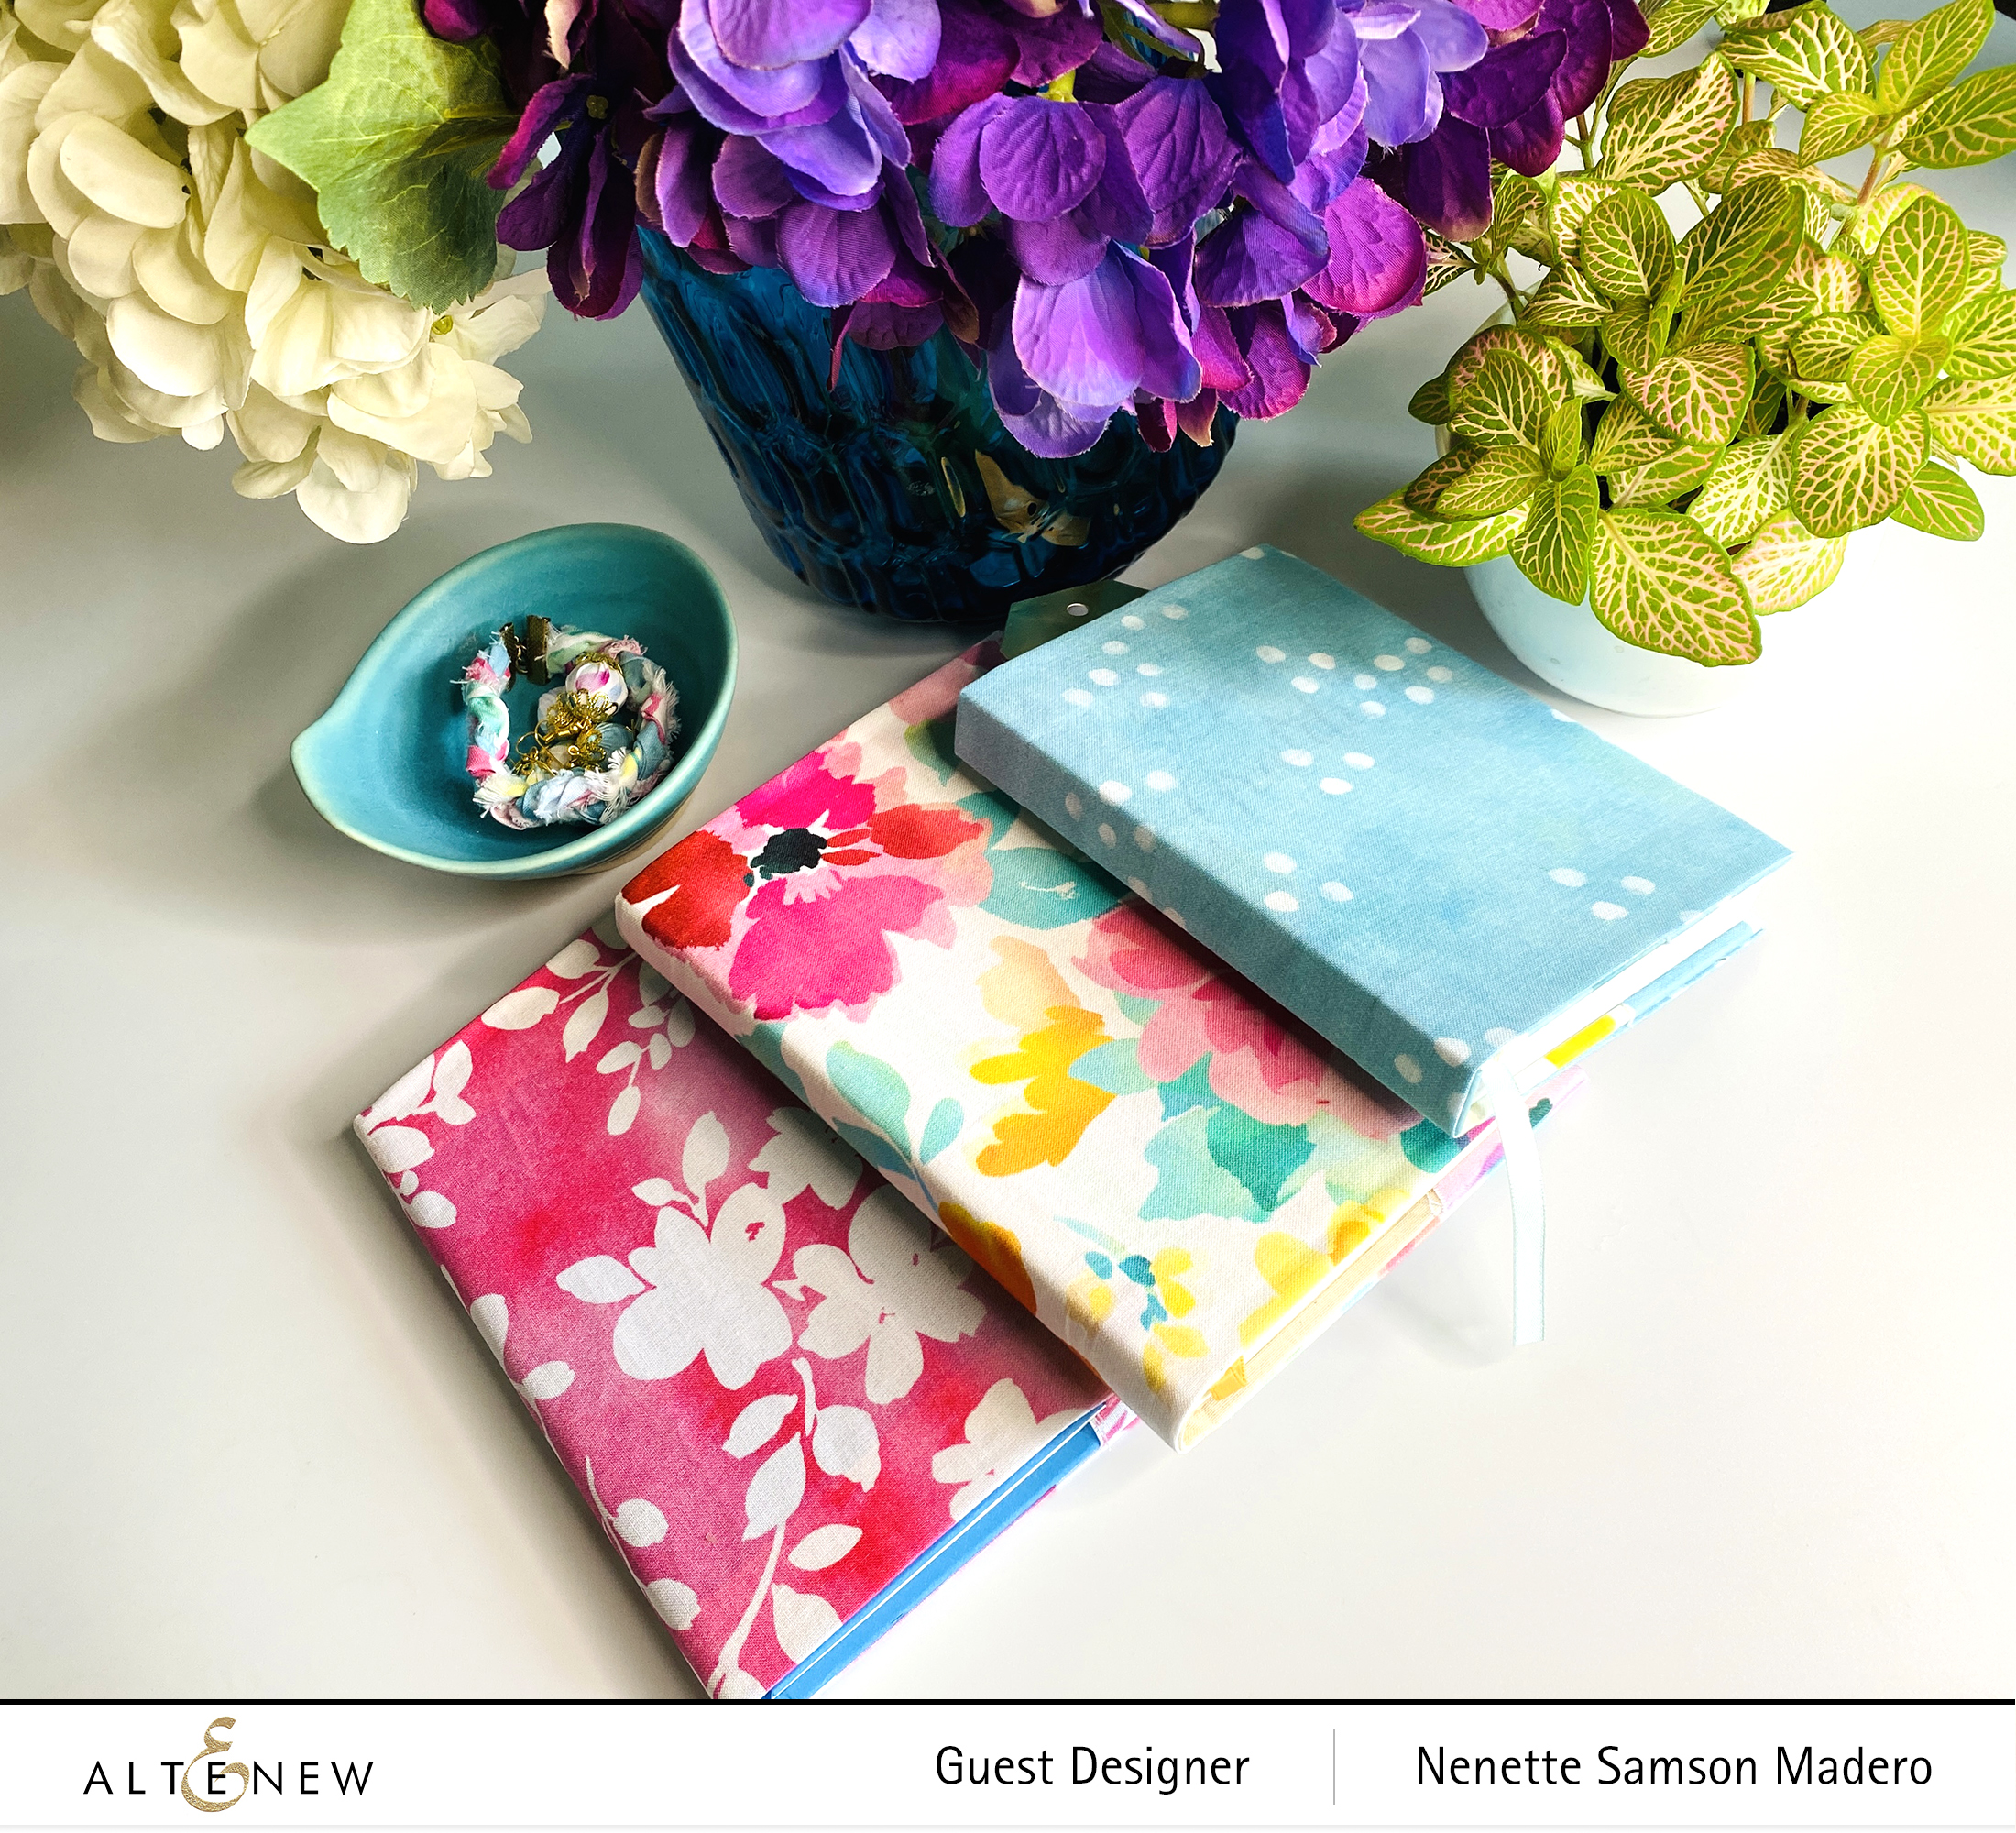
NO SEW FABRIC BOOK COVERINGS
STEPS:
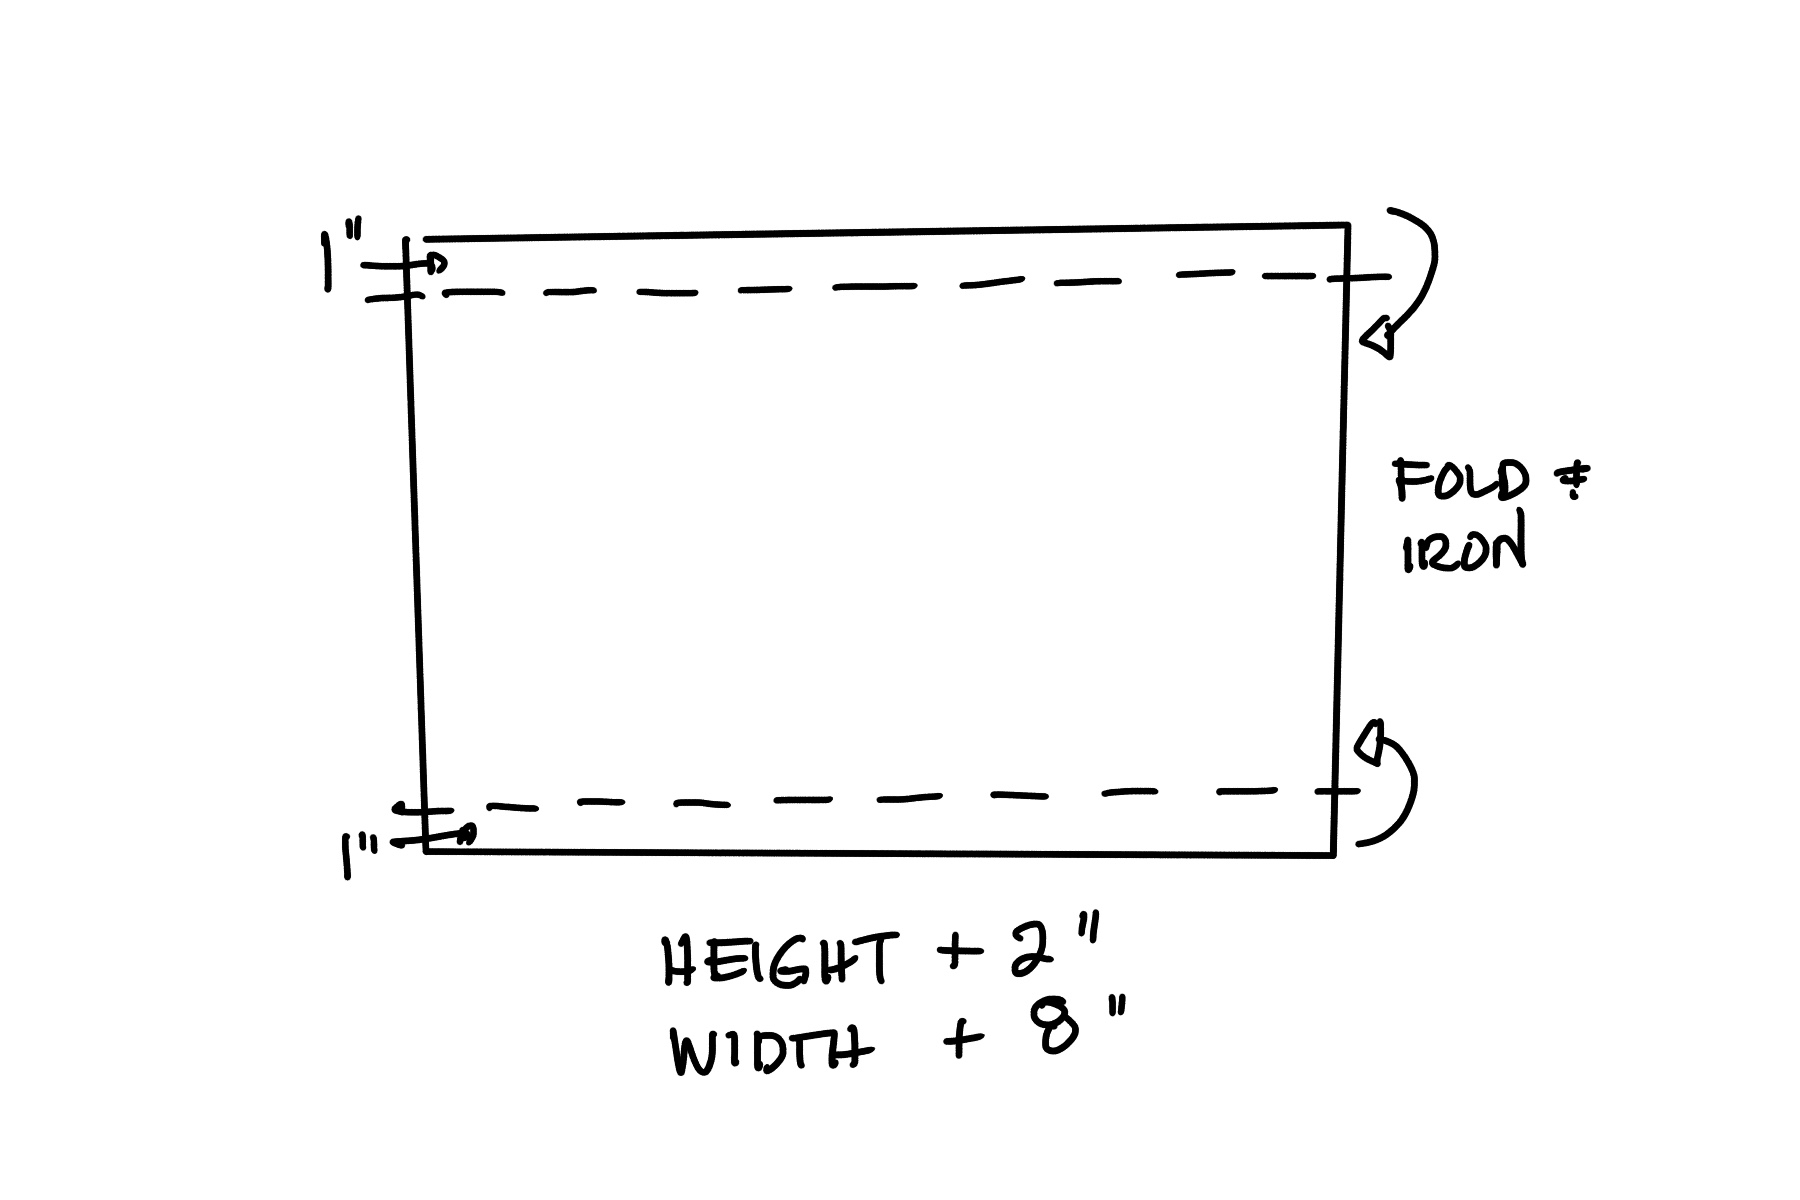
- Measure the height of the book and with the book closed, measure the wrap around width of the book.
- Cut the fabric but add 2″ to the height and 8 inches to the width.
- Iron out the fabric.
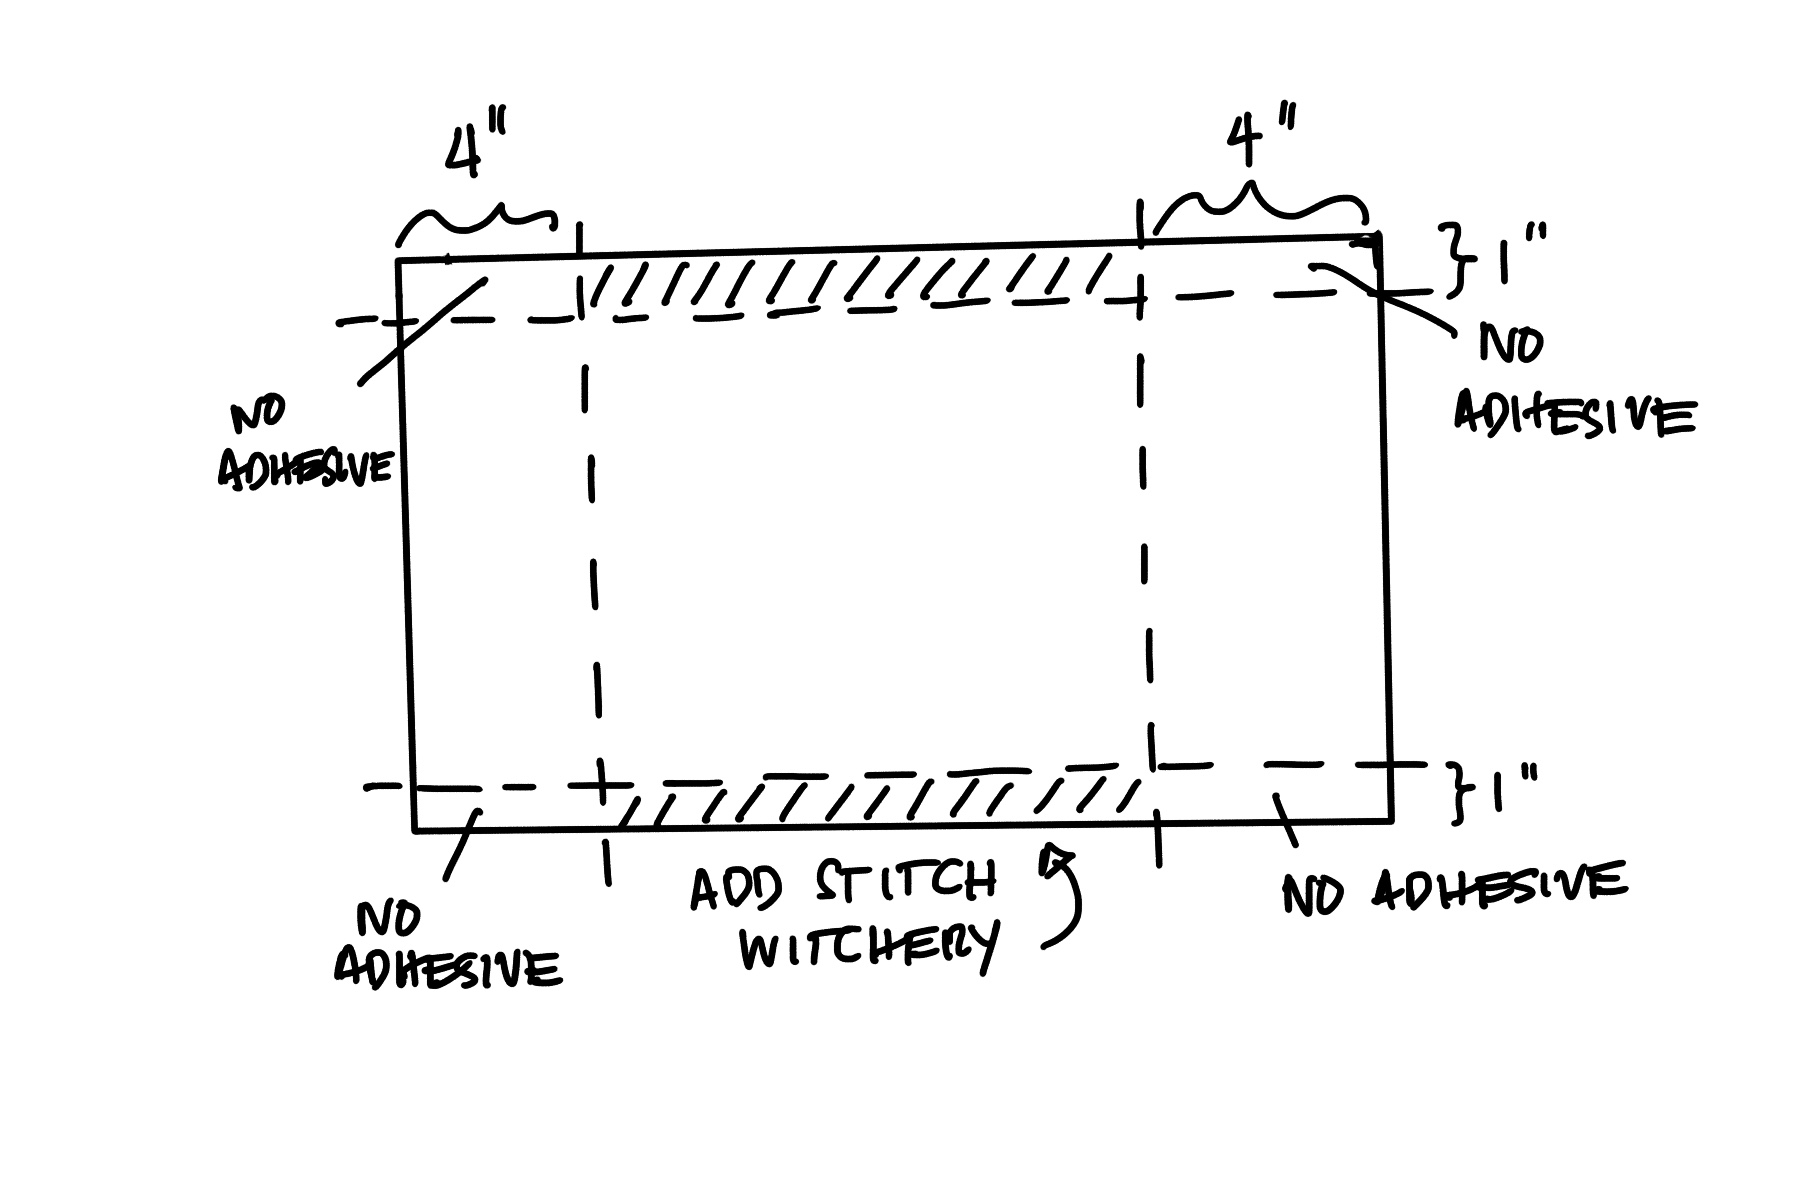
6. Fold your fabric over 4″ from the end and place a 4″ piece of Stitch Witchery inside the top fold. Bond the fabric using the same procedure as before. This will create pockets for the cover of the book.


GIVEAWAYS
$300 in total prizes! To celebrate this release, Altenew is giving away a $50 gift certificate to 2 lucky winners and a $25 gift certificate to 8 winners! Please leave a comment on the Altenew Card Blog and/or each designer’s blog post on the blog hop list below by 02/23/2022 for a chance to win.
Altenew will draw 10 random winners from the comments left on each stop of this blog hop and announce the winners on the Altenew Winners Page on 02/25/2022.
Last but not the least is the talented Teresa Litchfield. I hope you enjoyed looking through the projects I created using the fabrics from this release. Let me know in the comment section below which one is your favorite and you might get the chance to win a fab prize from Altenew. If you liked what you saw, I hope you can follow me on Instagram @mylittleatticstudio cause that’s where I post my latest projects. Thank you so much for dropping by. Until next time! Stay safe and happy crafting! <3