Hello everybody!!!
I am joining a fun INSTA hop where all of us Educators will be sharing our love for Altenew through our handmade goodness/creations! The IG hop starts from @altenewllc so make sure you start from the beginning! I thought of creating a blog post as well for those of you who would like to know how I created the cards.
For this hop, I thought of creating 2 cards using the same inks, embossing folders and or stamps to make 1 easy to create card (CAS) and 1 intermediate card with more techniques involved. Let’s get started!
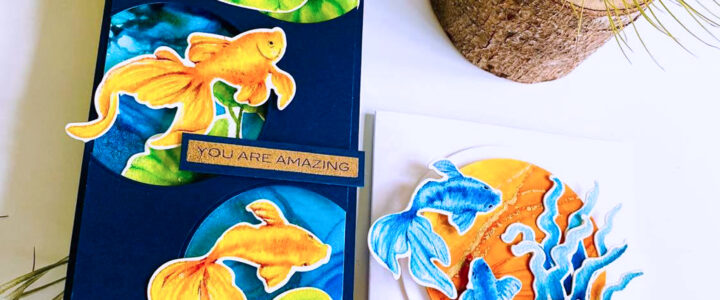
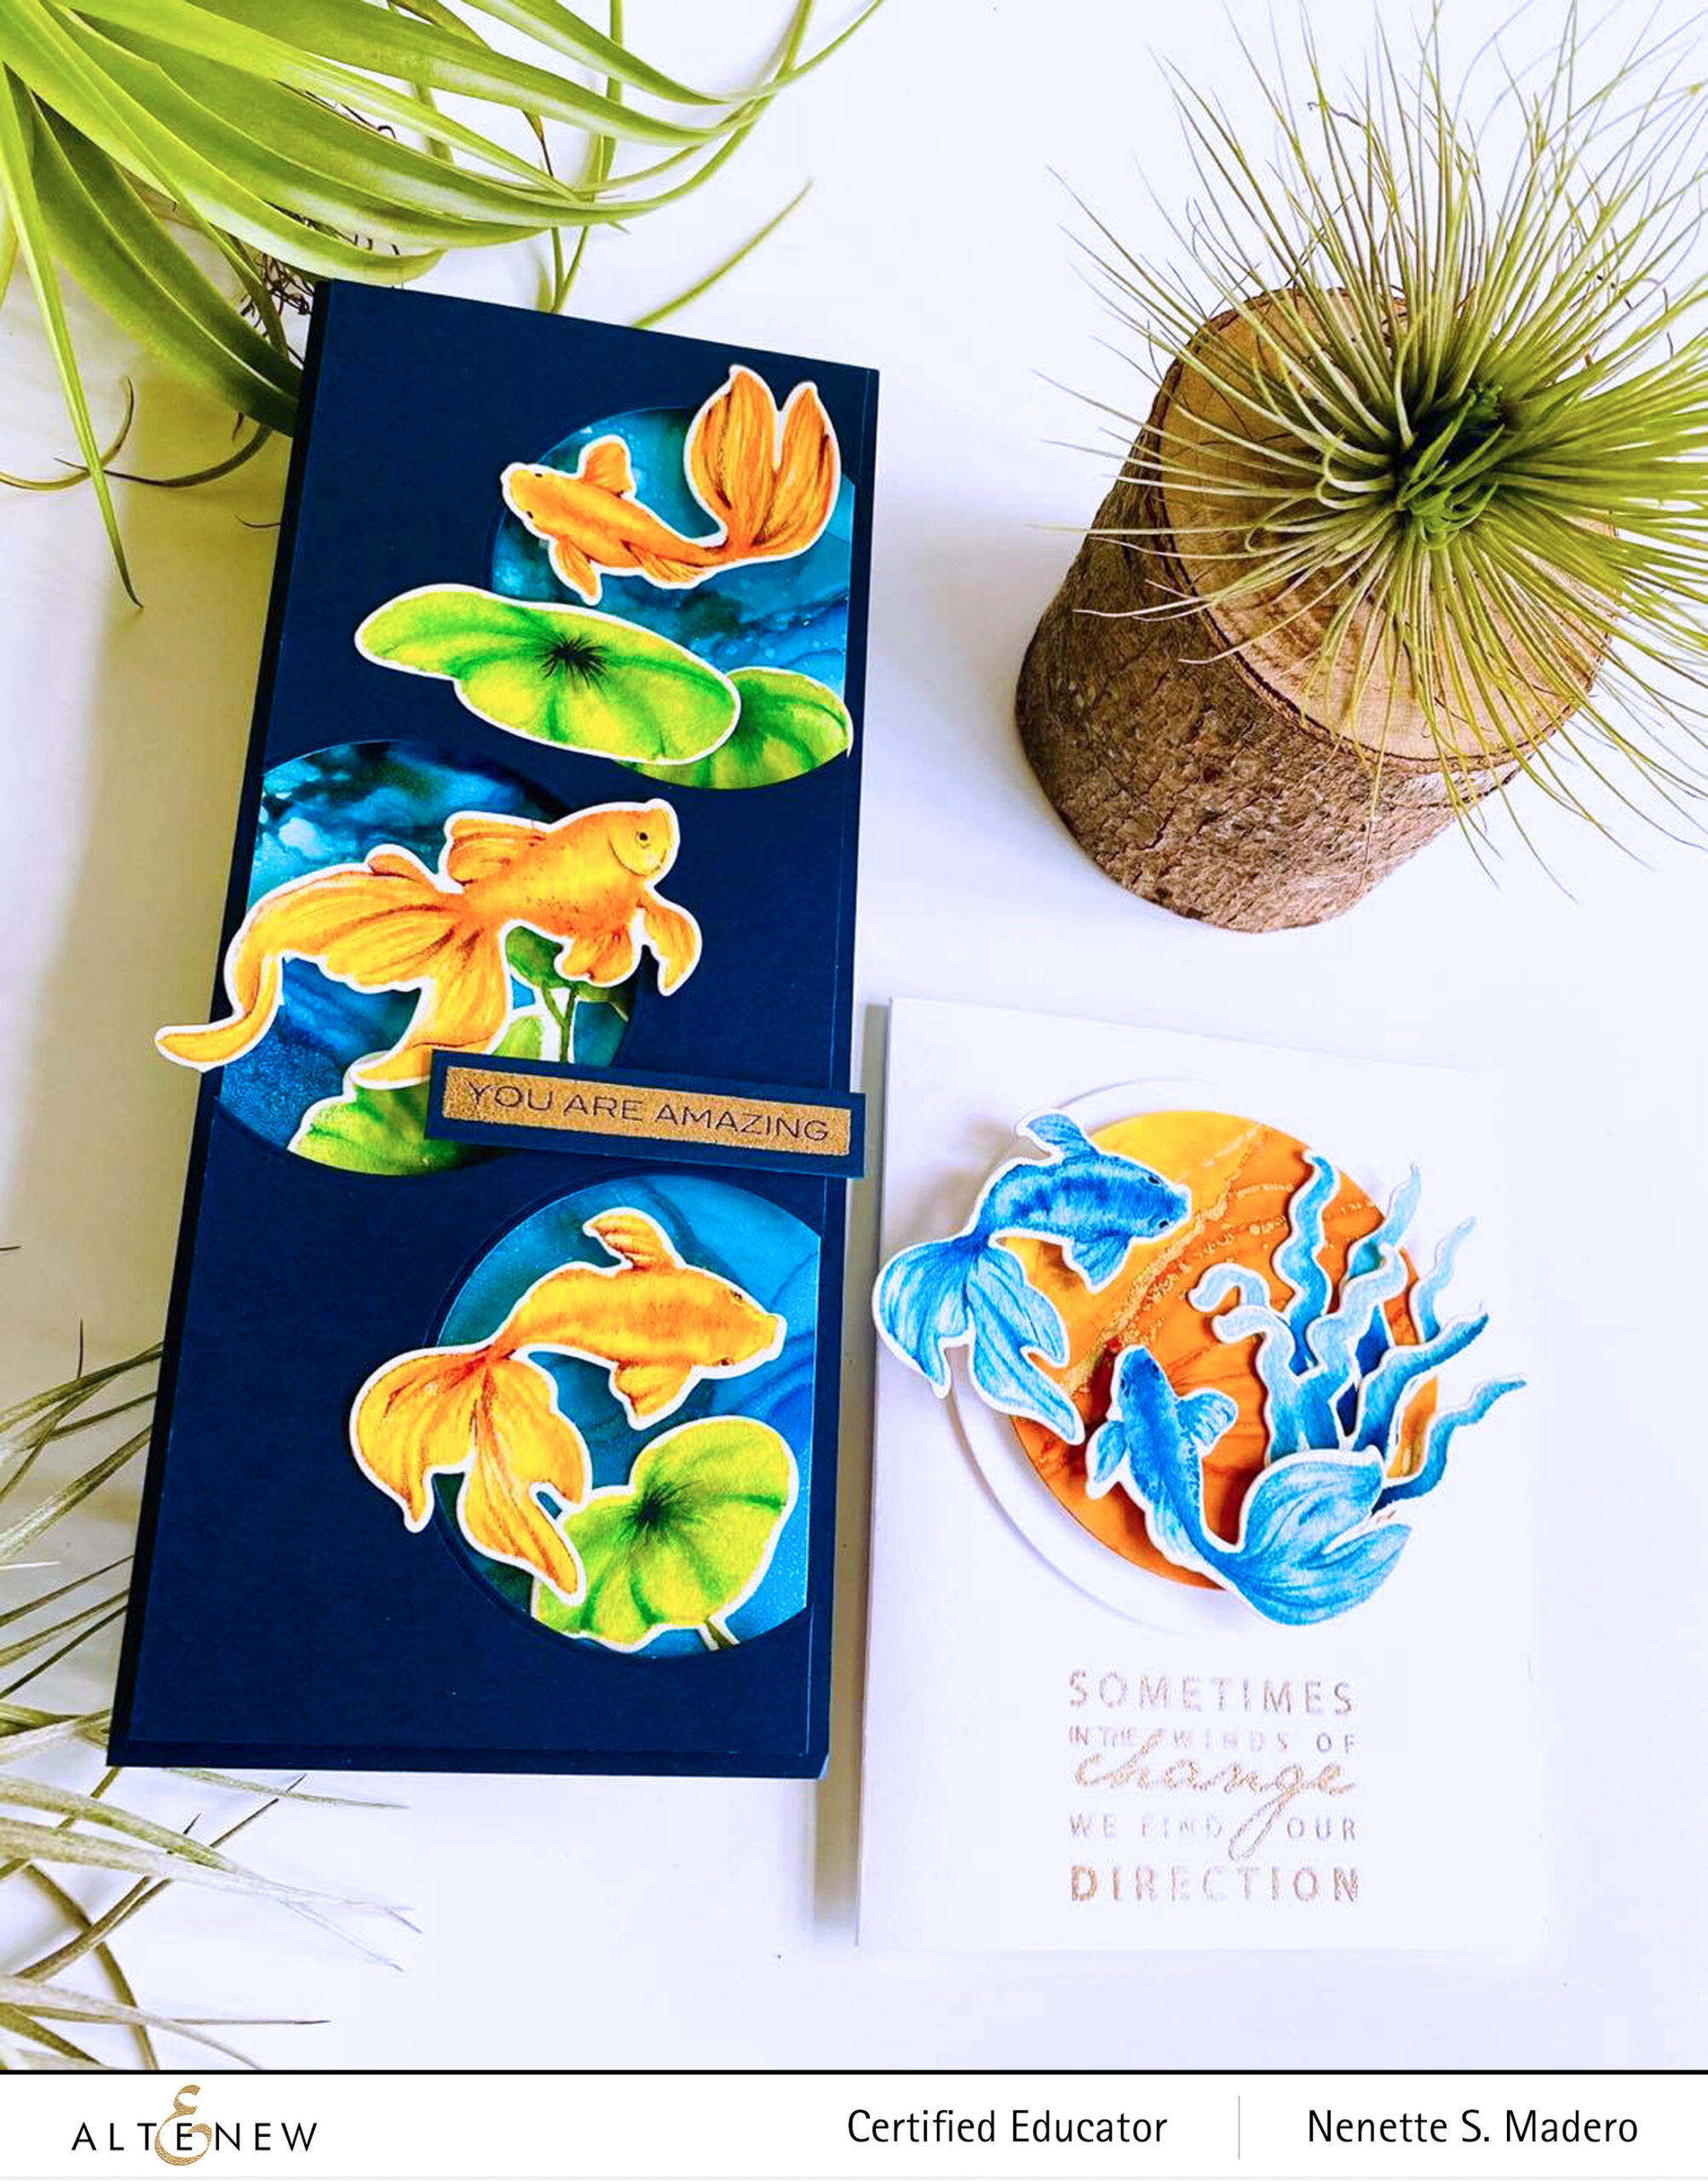
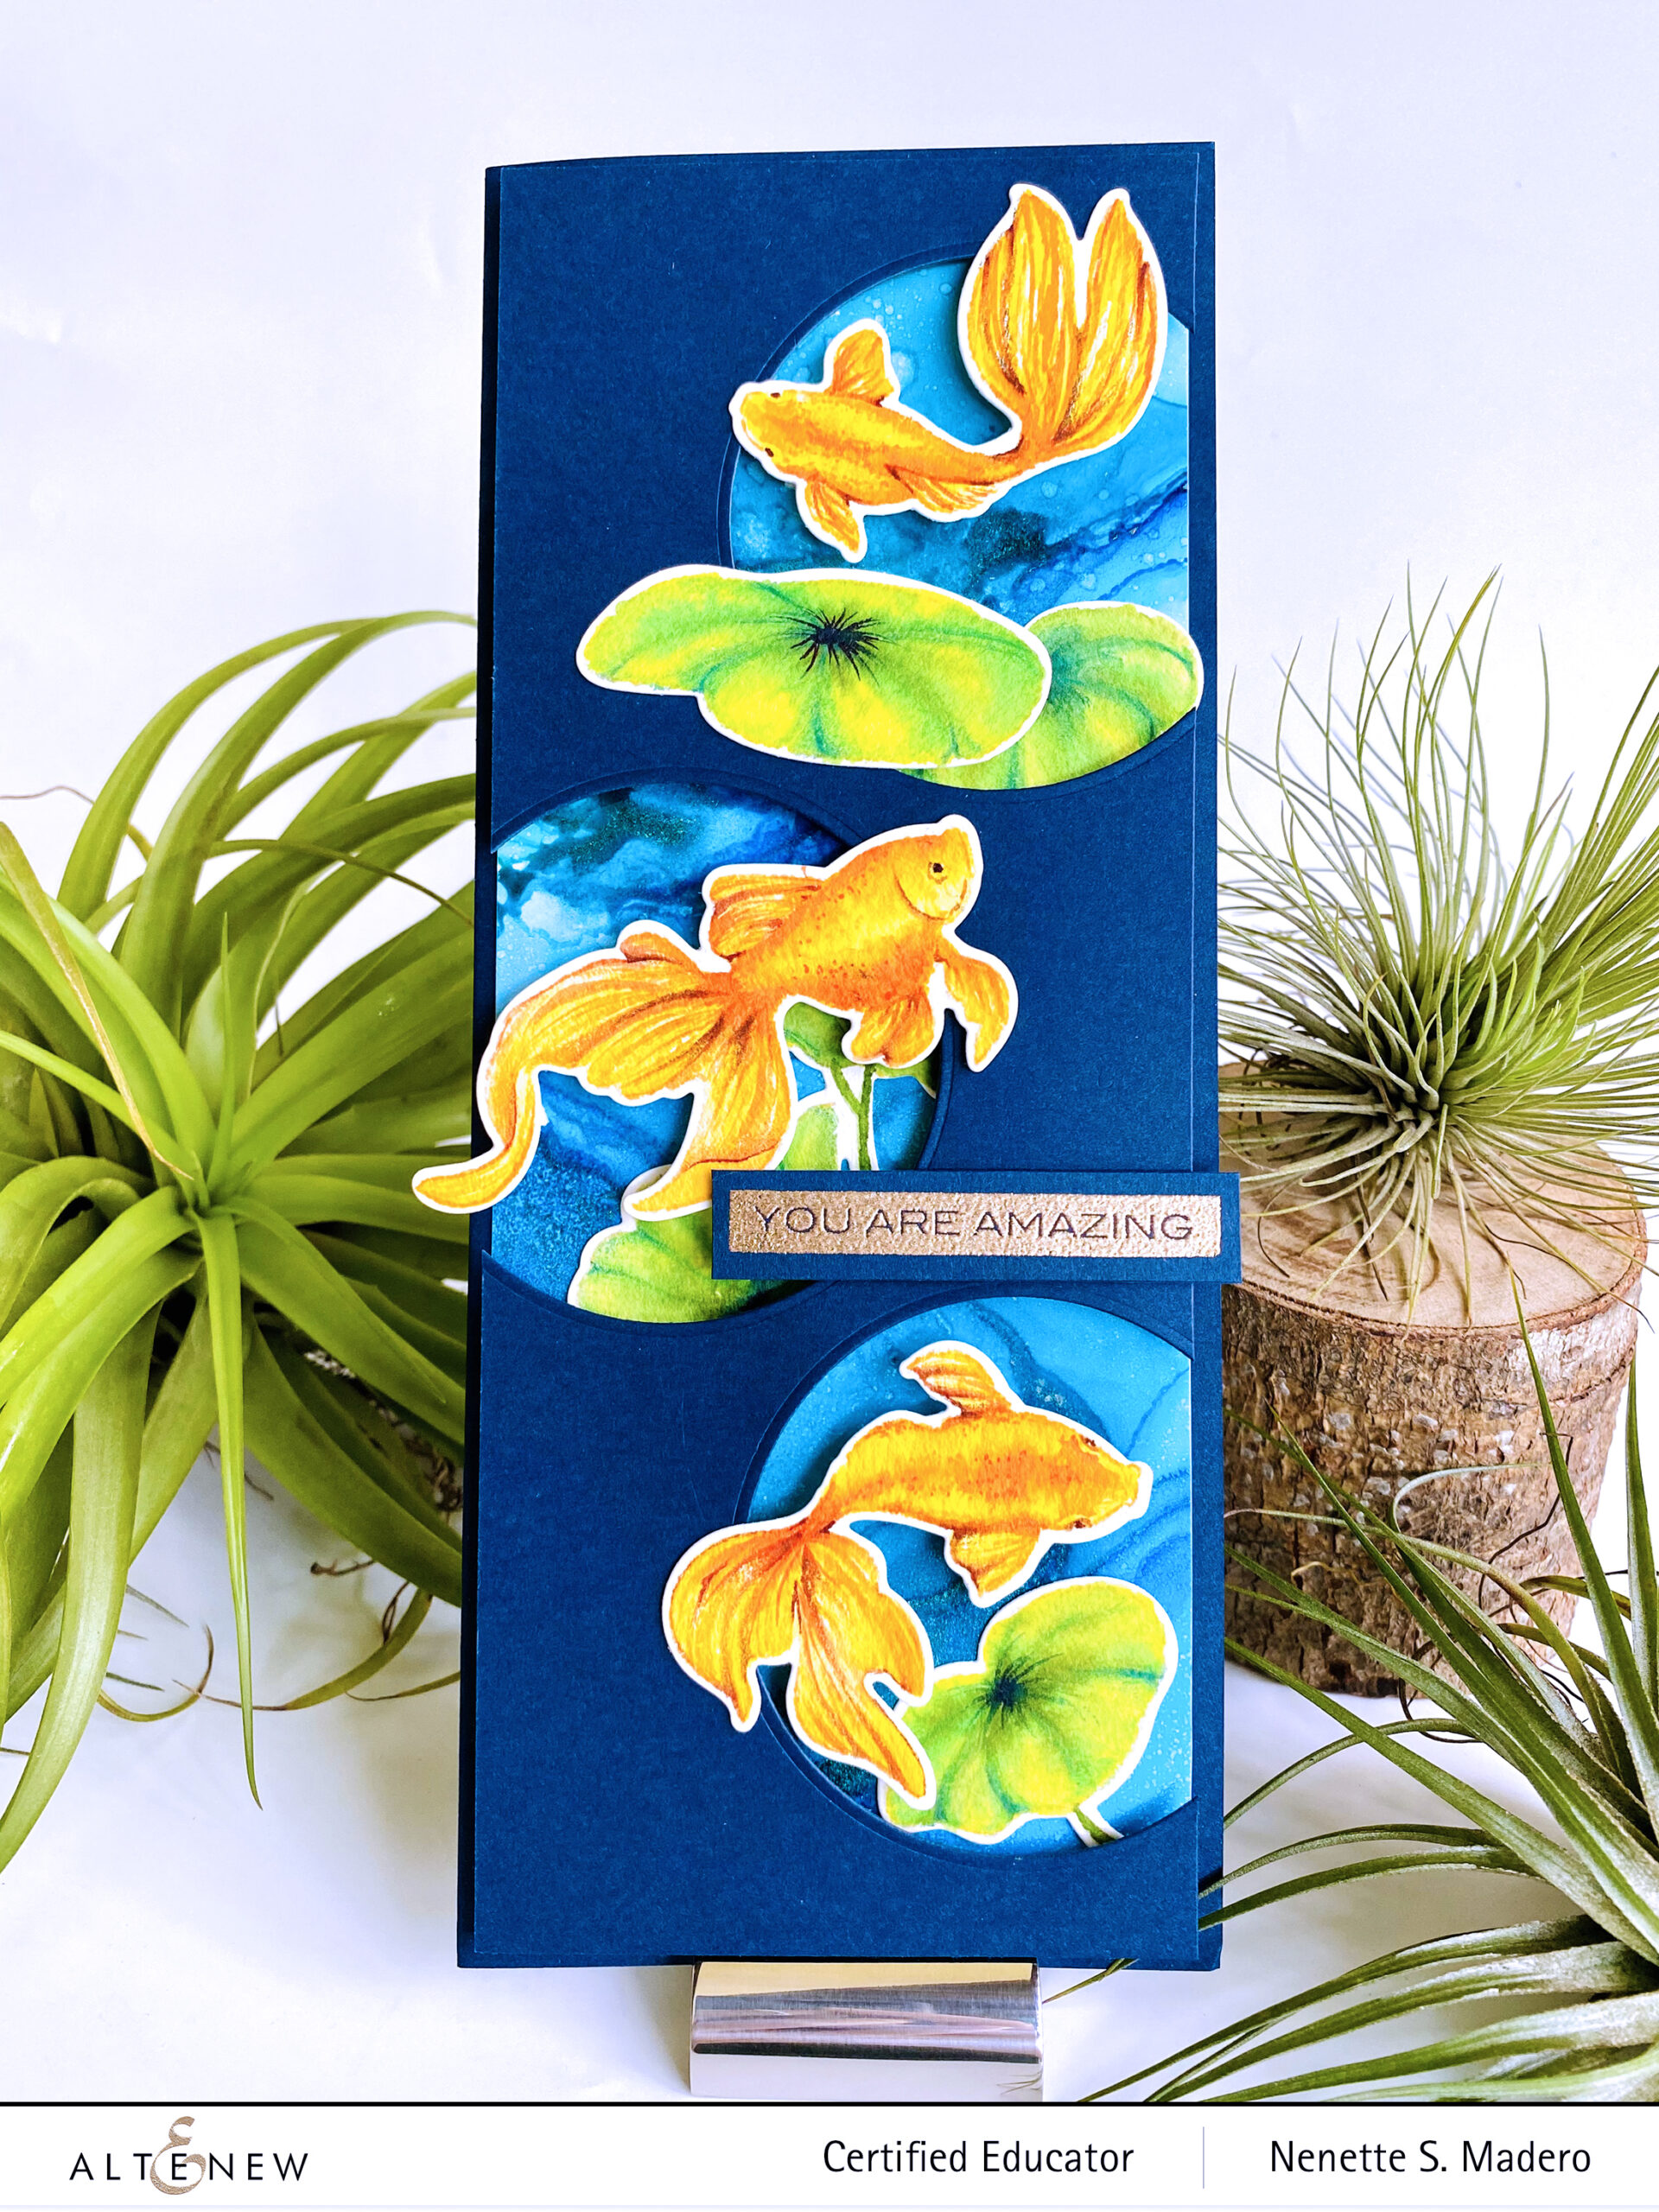
YOU ARE AMAZING/ SOMETIMES IN THE WINDS OF CHANGE…
MATERIALS:
- STAMPS/DIES: GOLDFISH POND STAMP AND DIE SET, BLOCK SENTIMENT STAMP SET
- ALCOHOL INKS: TURQUOISE, SAILBOAT BLUE, PATINA, PIÑATA BRASS
- WATERCOLORS: (FISH) WARM SUNSHINE, AUTUMN BLAZE, FRESH LEMON, ESPRESSO, PAPER BAG, (PLANTS) LIMEADE, EMERALD, MOSS, SWEET LEAF
- PAPER: NARA SYNTHETIC PAPER, ALTENEW NAVY CARDSTOCK, ARCHES WATERCOLOR PAPER 300GSM COLD PRESS
- EMBOSSING POWDER: ALTENEW ROSE GOLD
- OTHERS: 3L SCRAPBOOK FOAM SQUARES, 99% ISOPROPYL ALCOHOL, TOMOBOW MONO MULTI LIQUID GLUE, VERSAMARK INK, ANTIQUE LINEN DISTRESS INK, FABER CASTELL POLYCHROMOS COLORED PENCILS, CIRLE DIE
STEPS:
- Create a background to mimic the water by using different shades of blue and gold alcohol inks on Nara paper. Wet the surface of the paper with alcohol before dropping the alcohol inks. Move the colors using a hairdryer. The last step is to spray the background using a misting spray with alcohol to create the “bubbles”.
- For the goldfish, stamp the images onto watercolor paper using Antique linen distress ink or any light colored ink. Color the images using watercolor and colored pencils.
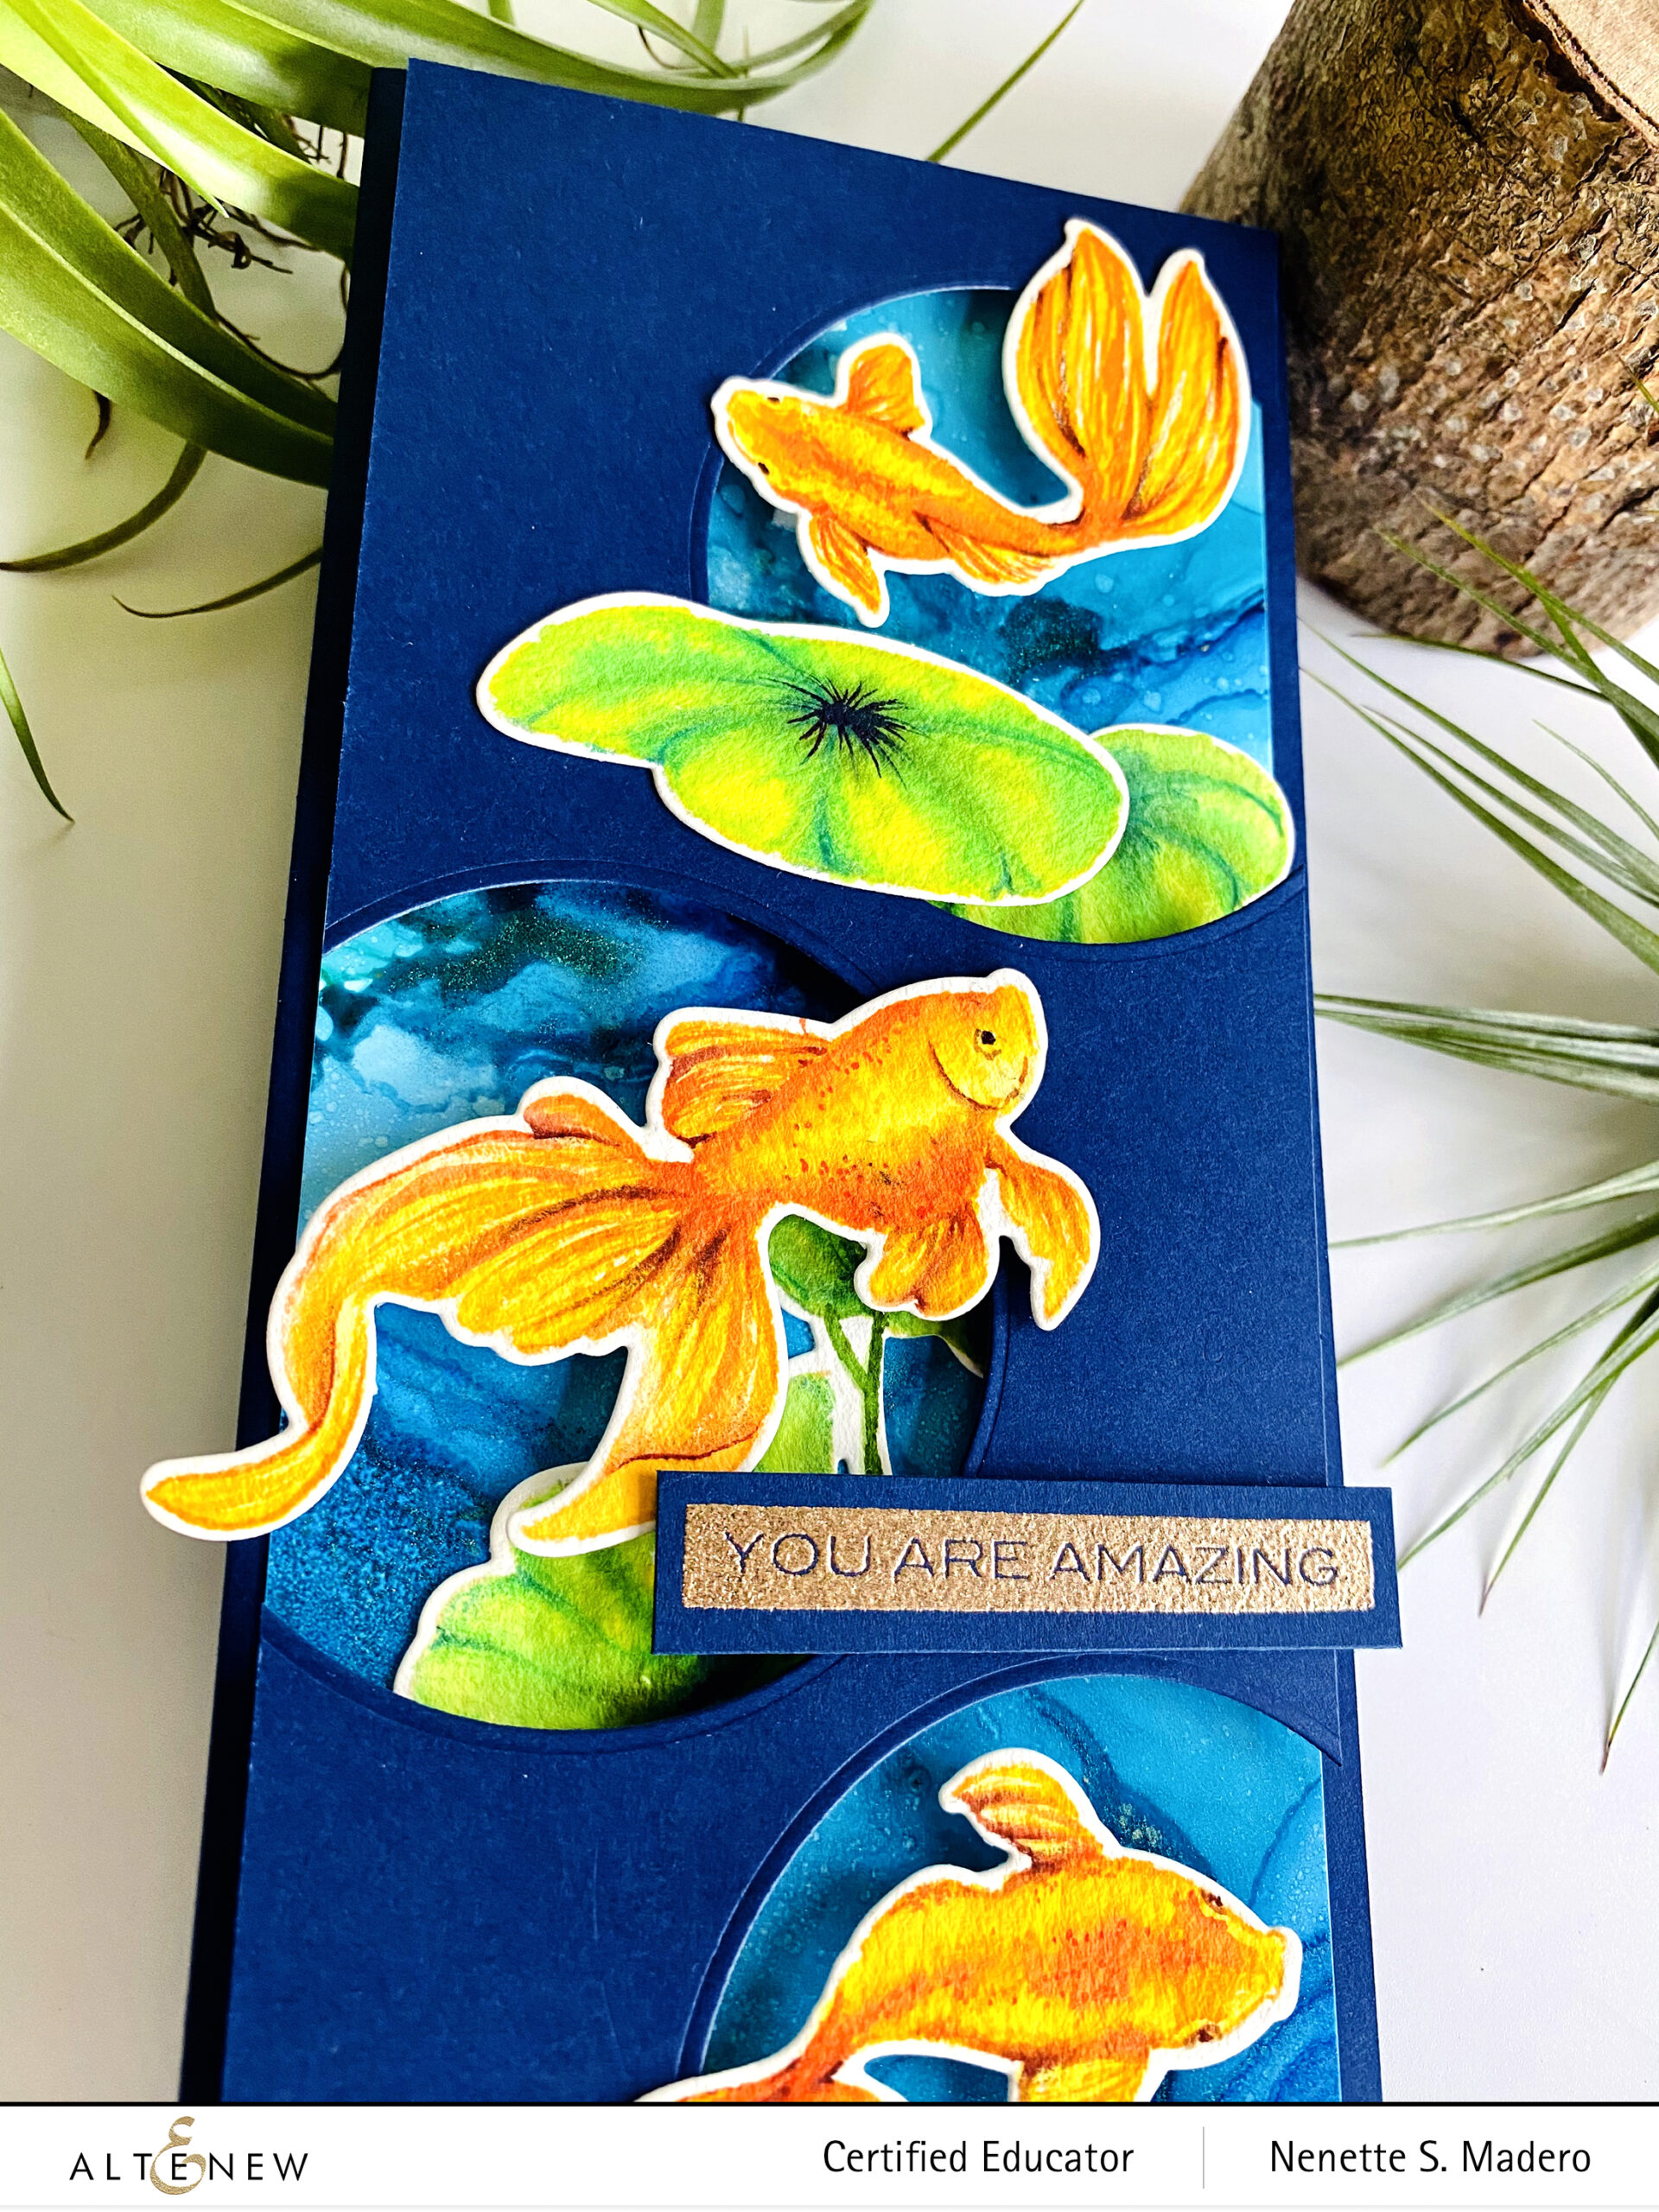
- Die-cut the images using the coordinating dies. Use a circle die for the card front to create windows.
- Stamp the sentient using Versamark Ink and emboss using Rose Gold embossing powder.
- Assemble the card using adhesive and foam squares.
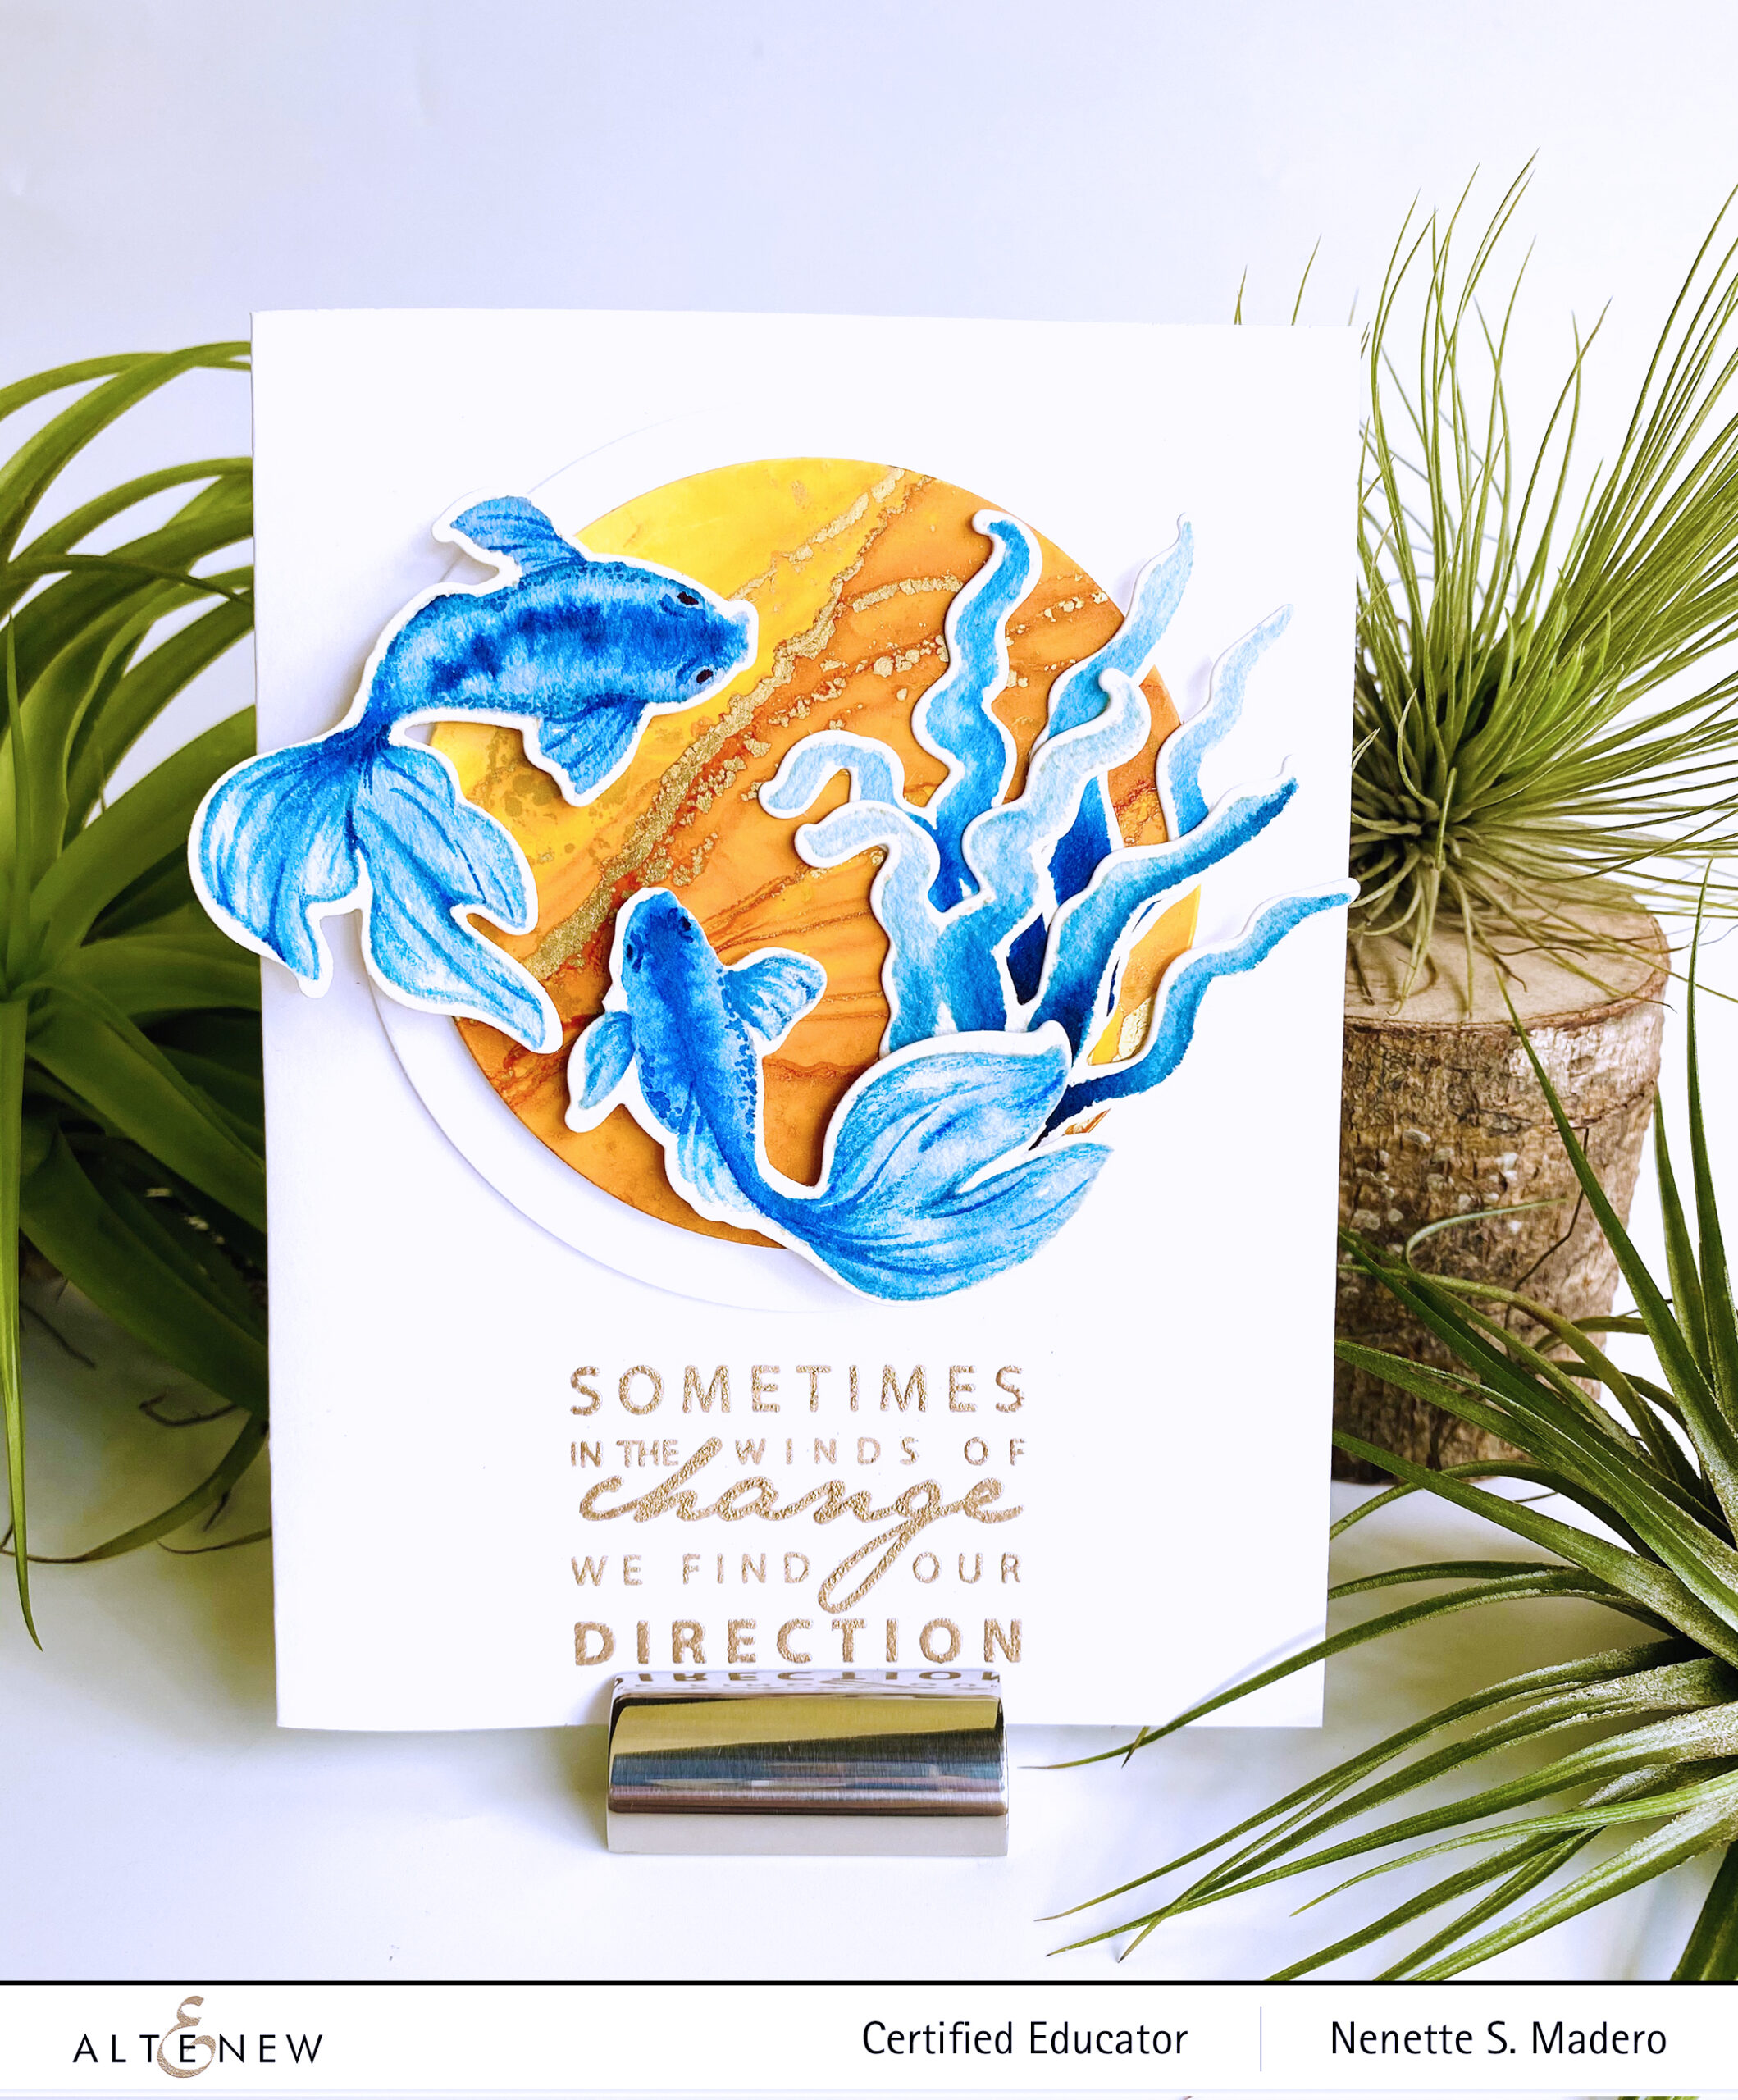
Here’s a CAS card using the same basic materials as the first card.
ADDITIONAL MATERIALS:
- ALCOHOL INK- ALTENEW ORANGE CREAM, RANGER SUNSHINE YELLOW, VALENCIA, GILDED ALLOY, PIÑATA CALABAZA ORANGE
- WATERCOLOR- ALTENEW SEA BREEZE, LAGOON & TURQUOISE
STEPS:
- Create the background using alcohol inks and the gold ink
- Color the images using watercolor and colored pencils
- Die-cut 2 circles as base for the fishes
- Stamp the sentiment using Versamark Ink and Rose Gold embossing powder
- Assemble the card with foam squares for added dimension.
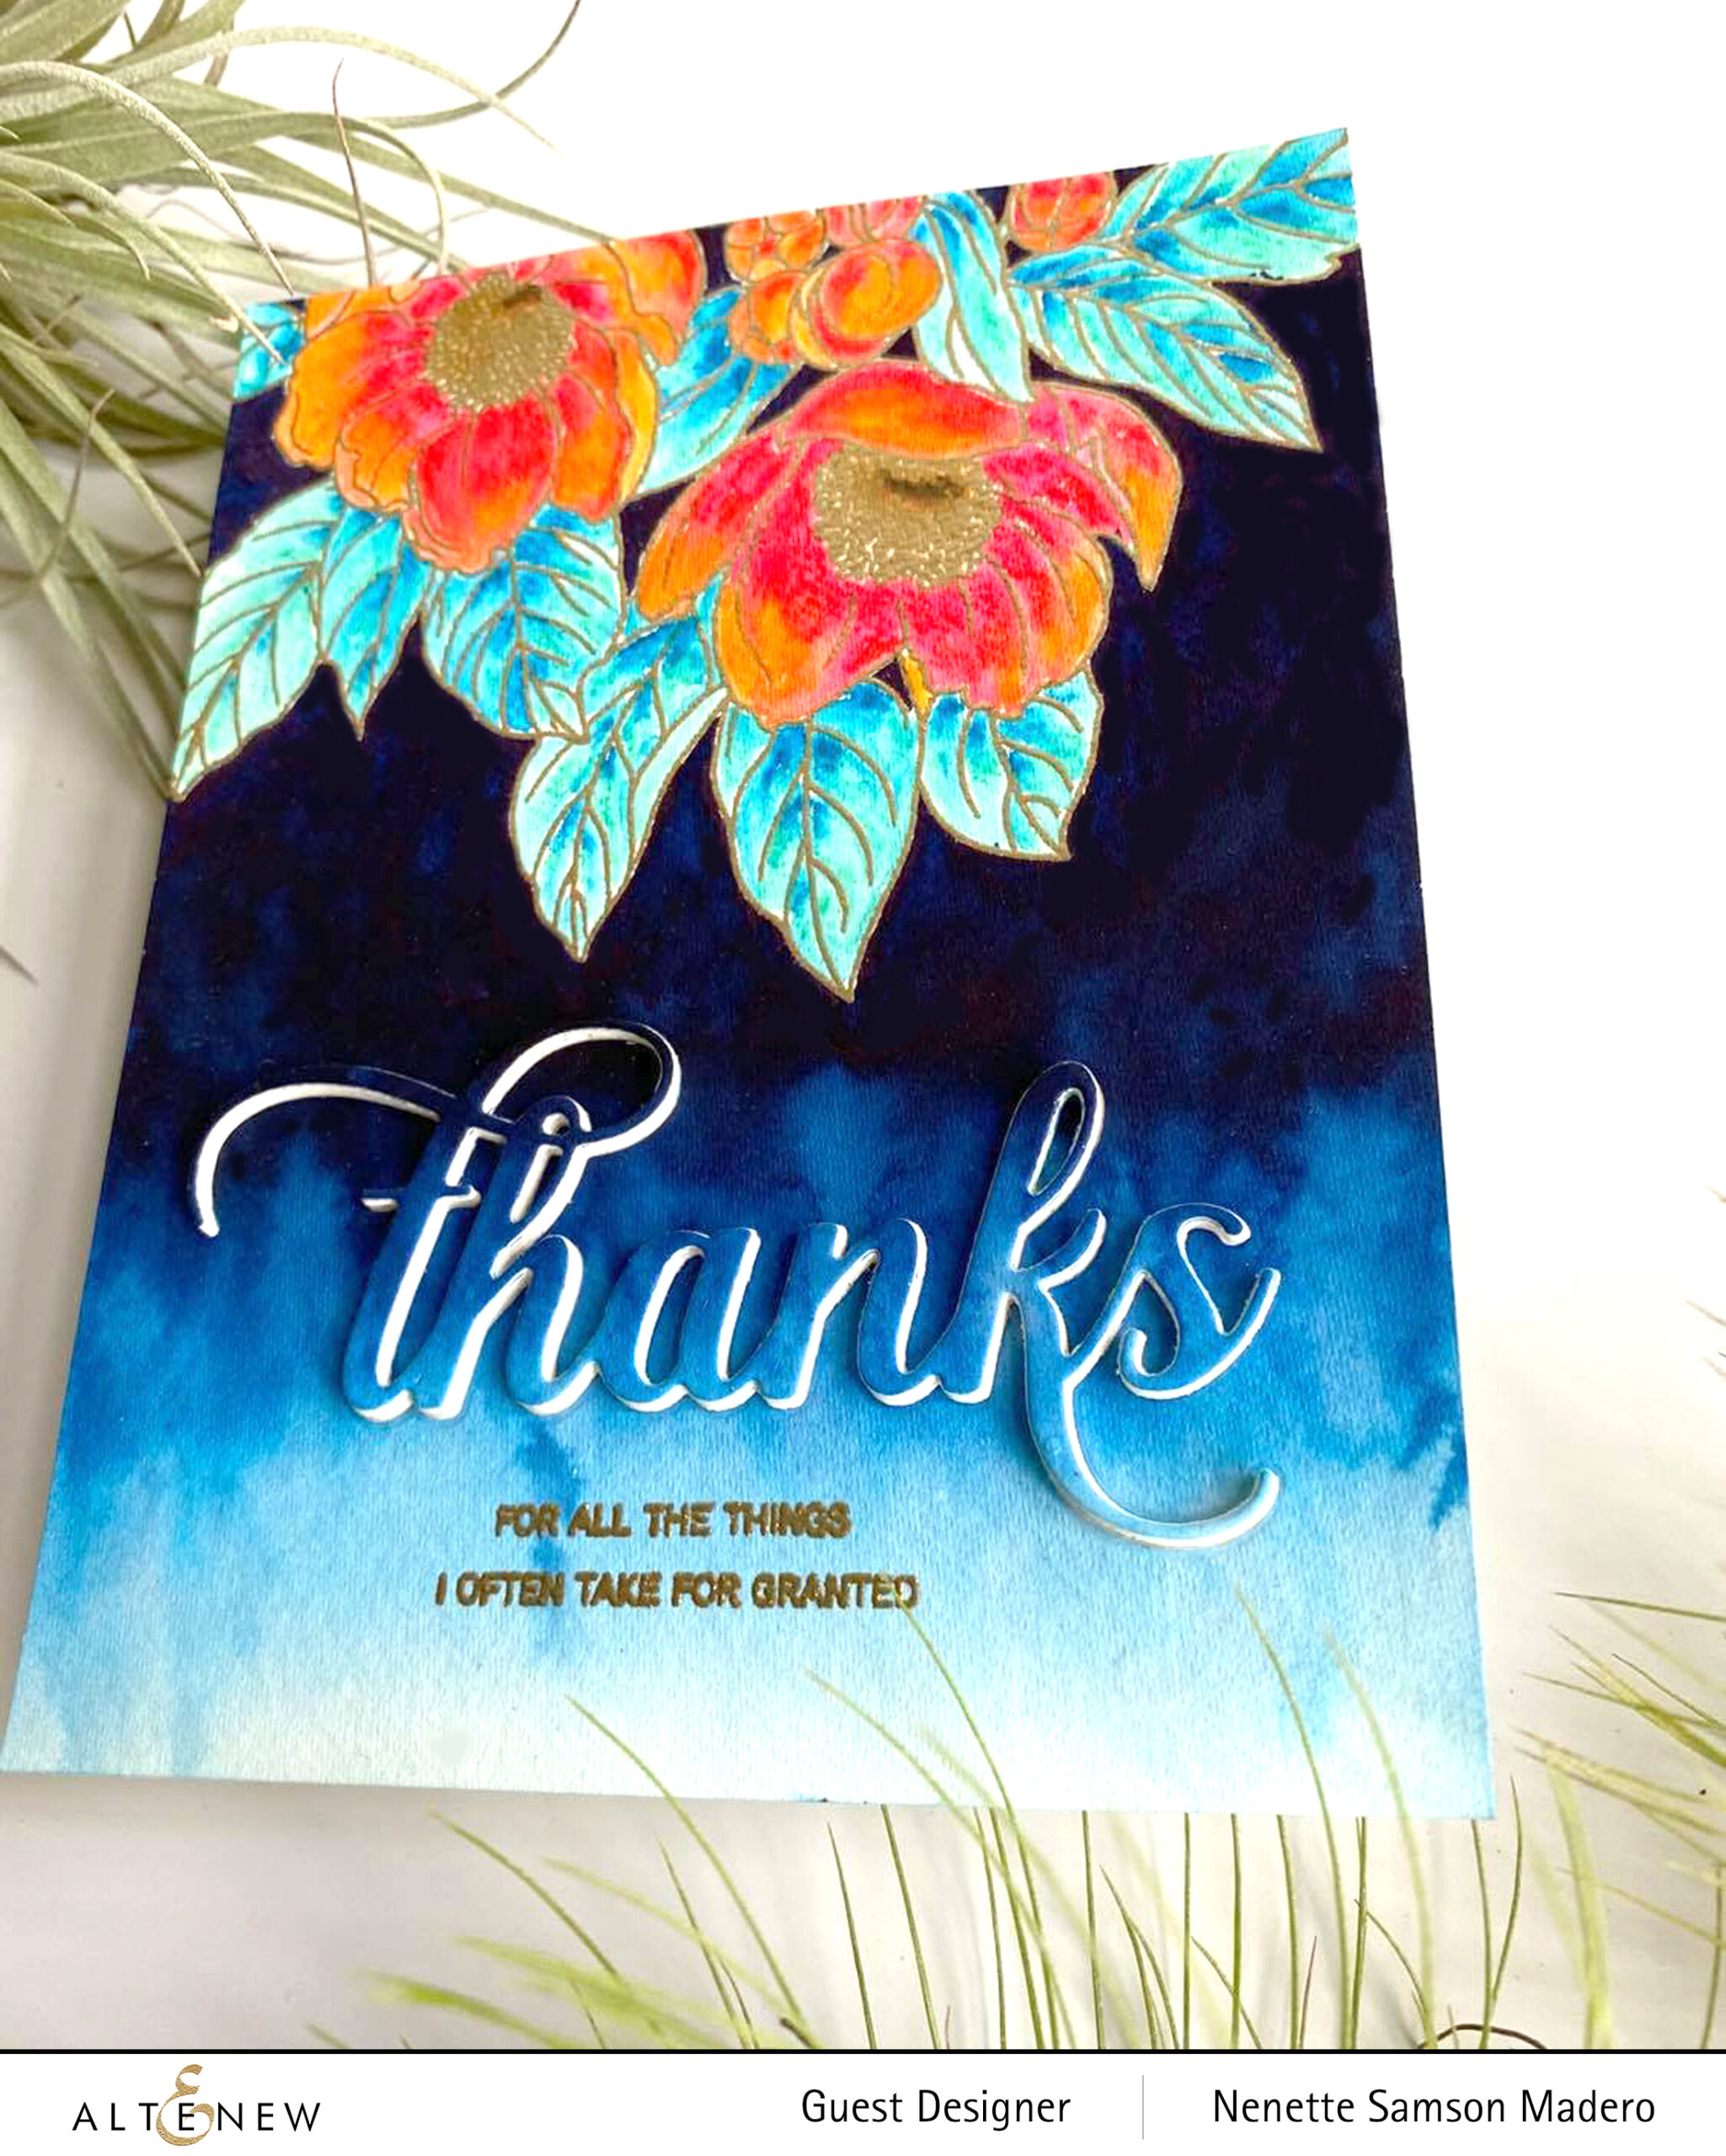
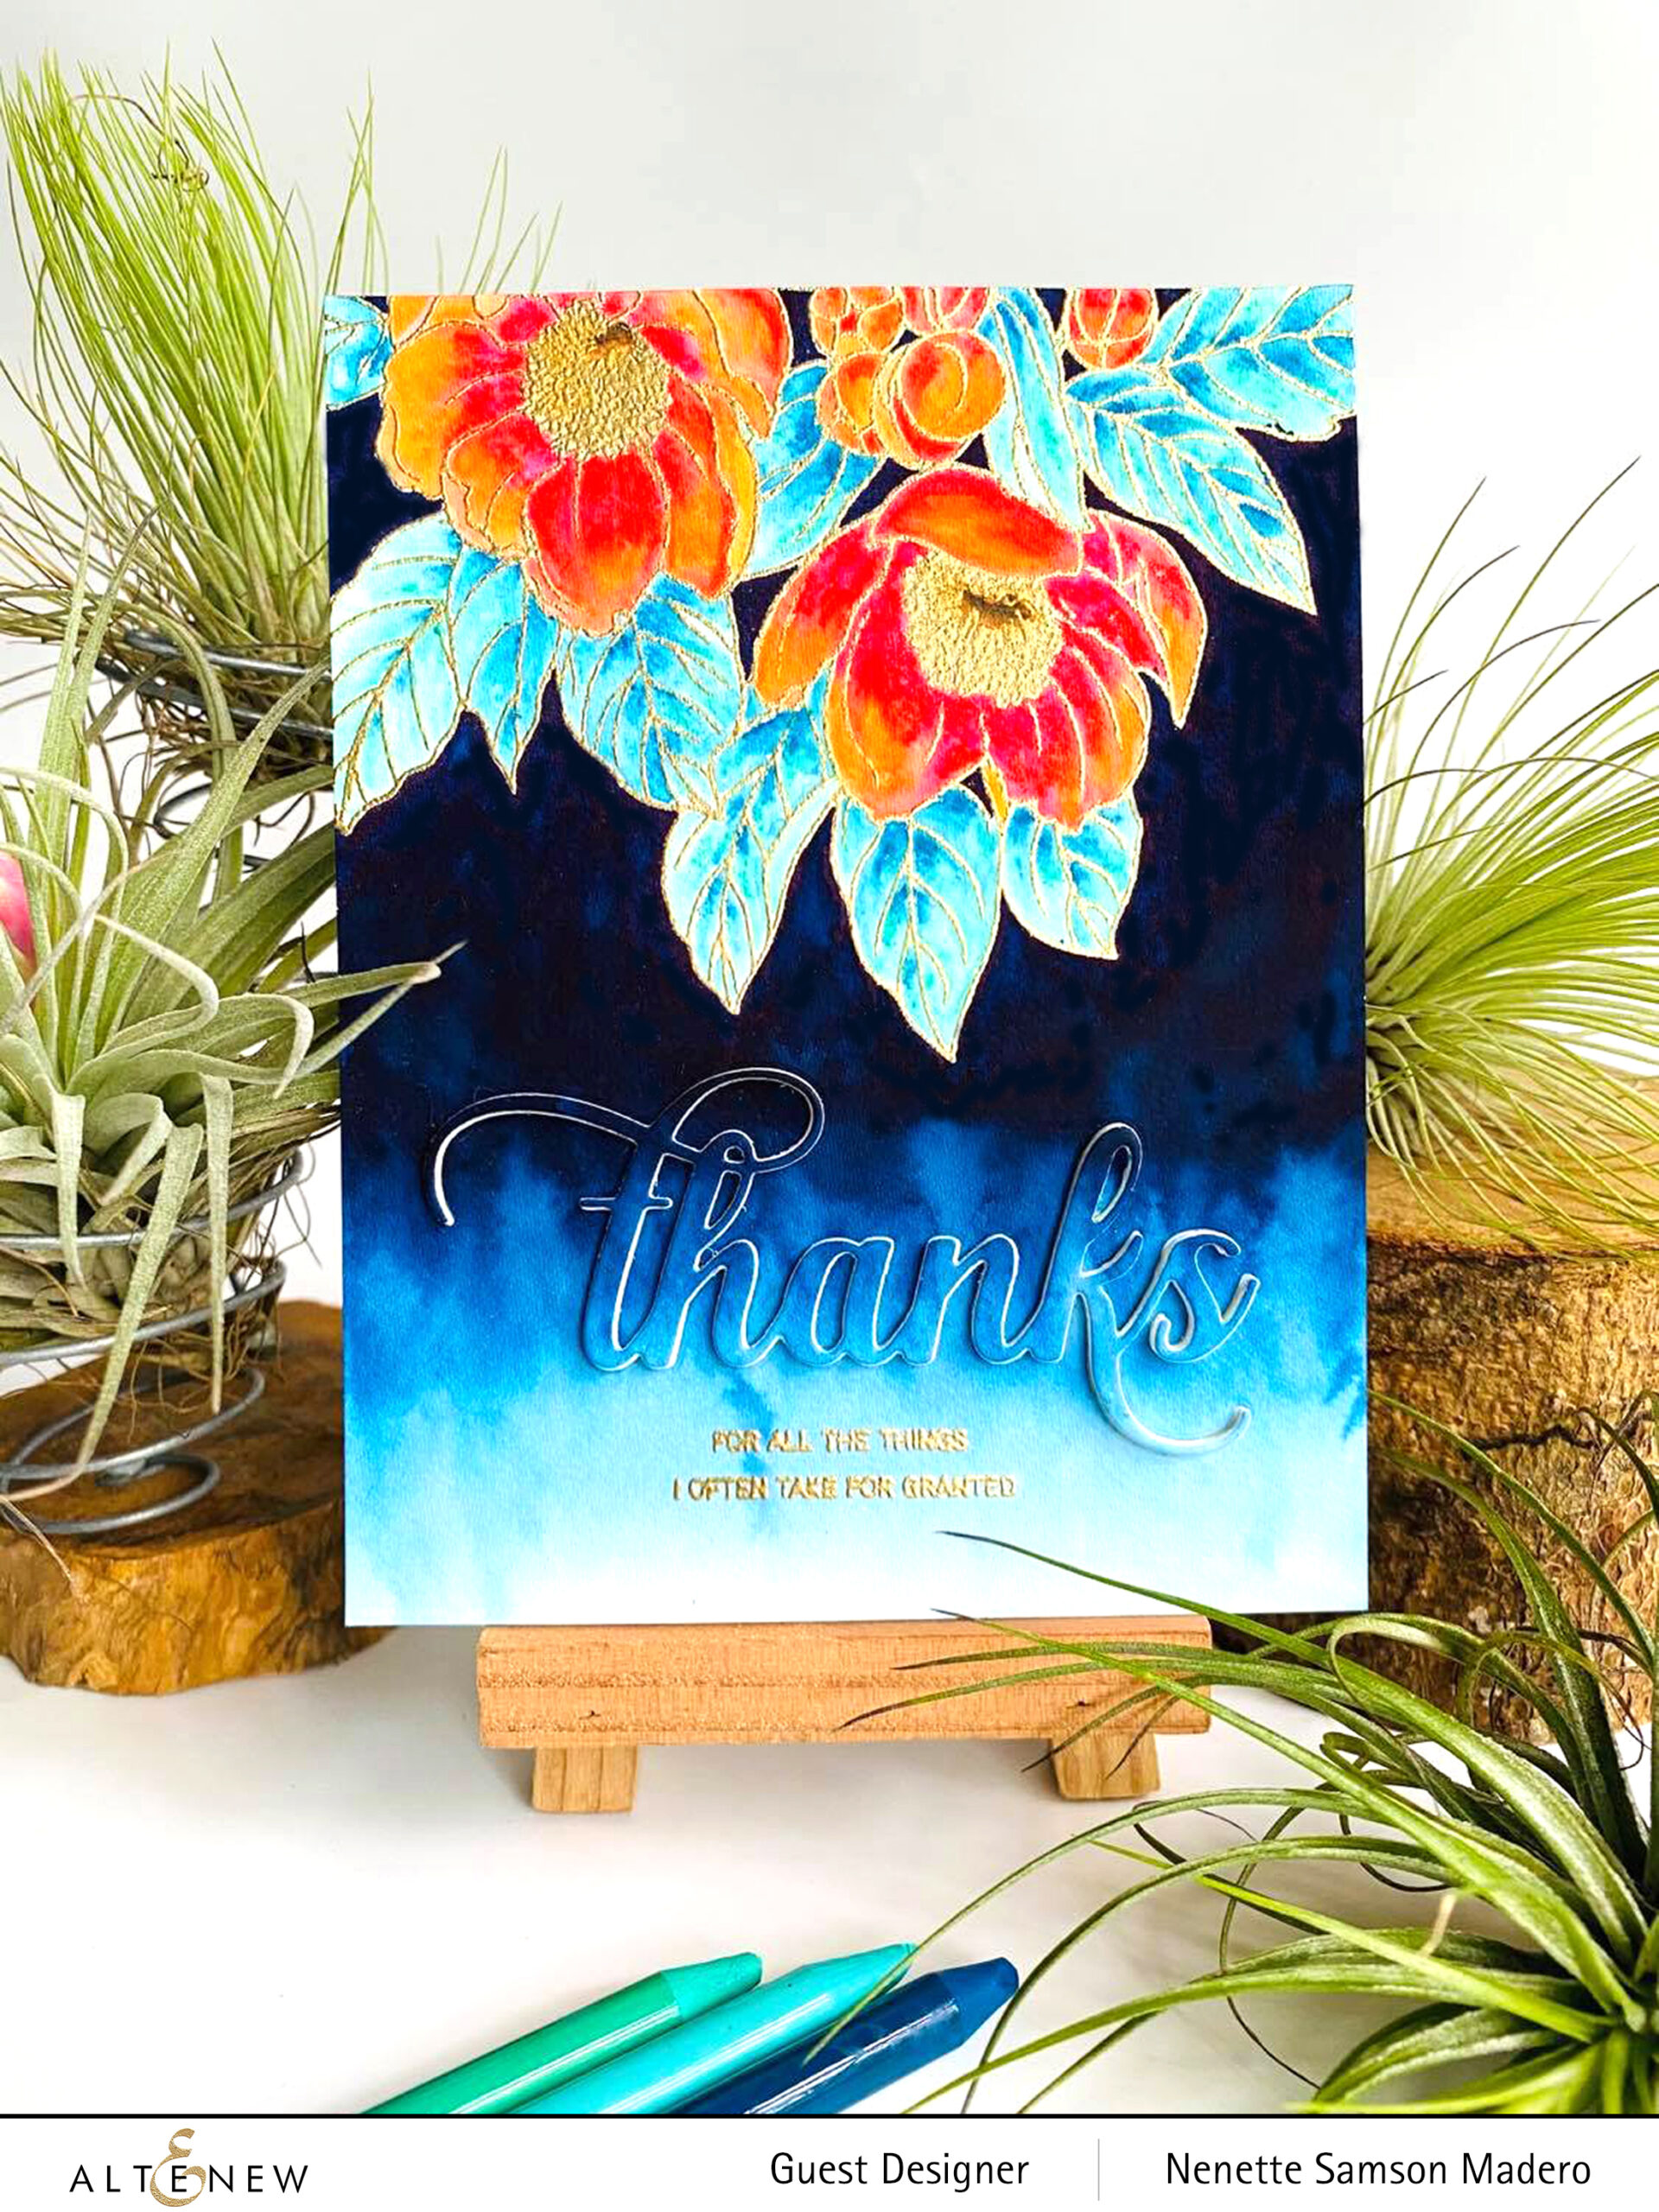
HAPPY BIRTHDAY
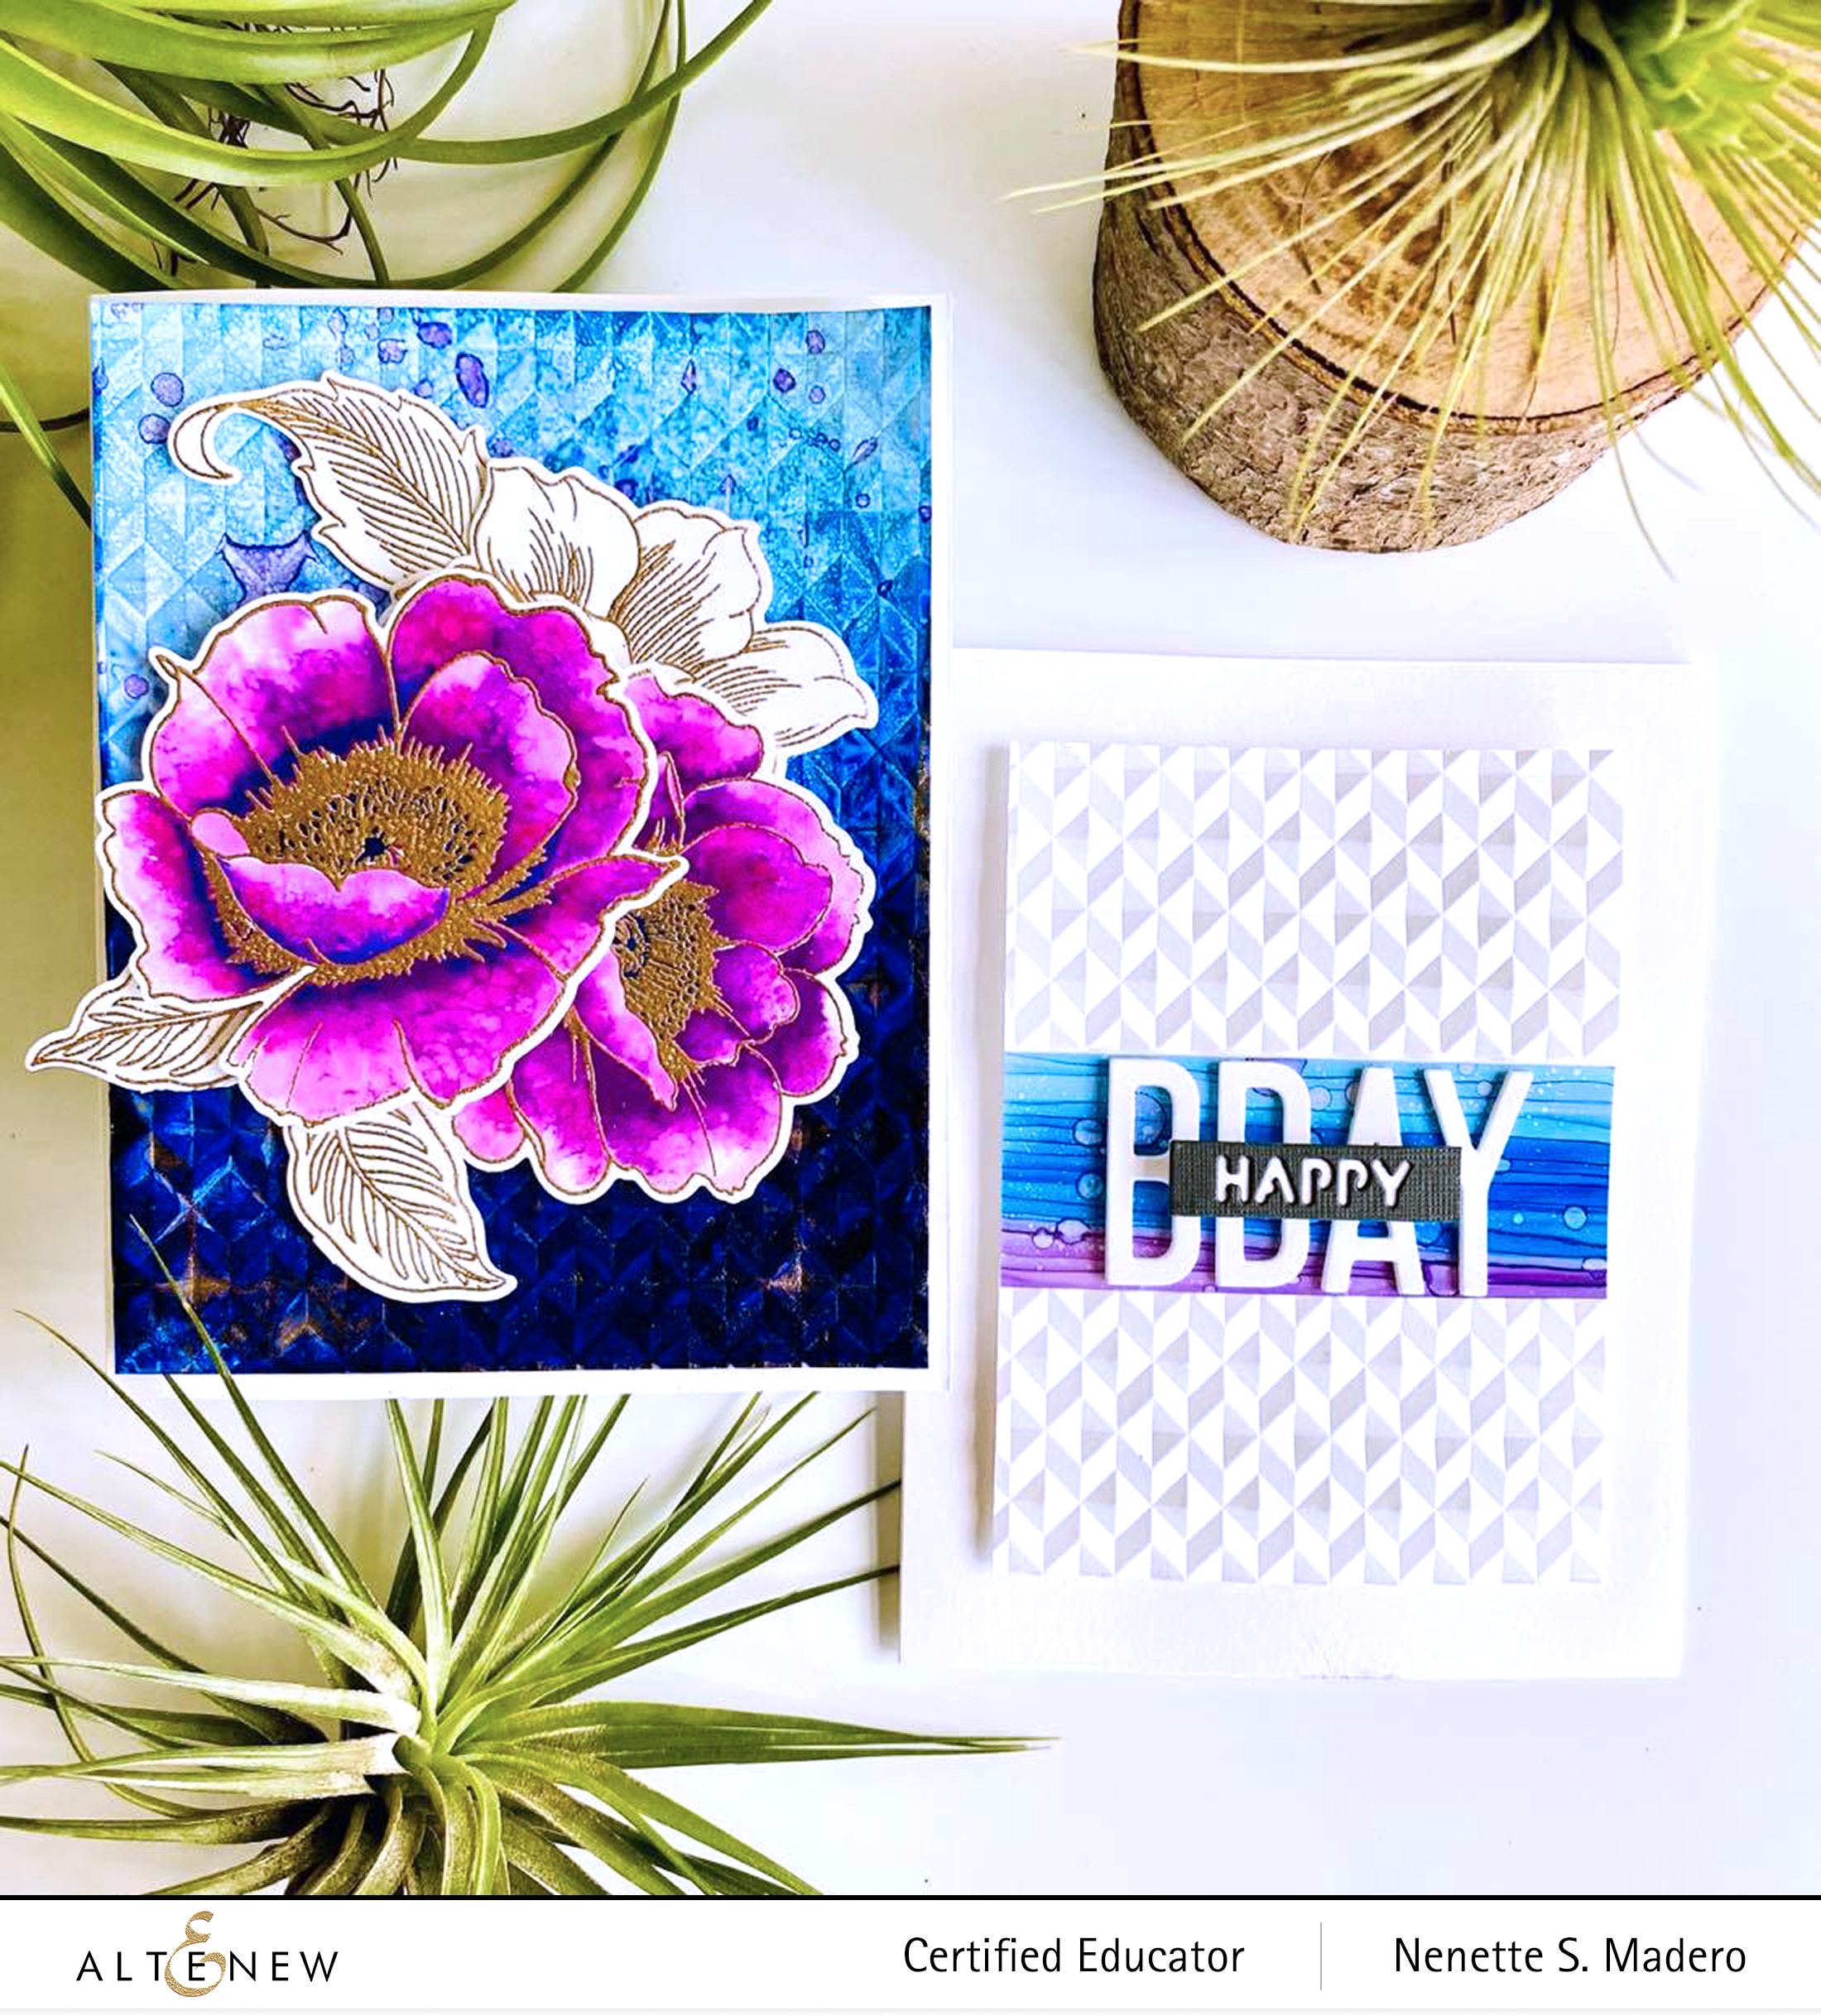
Here’s another pair of cards using the same materials to create two totally different cards.
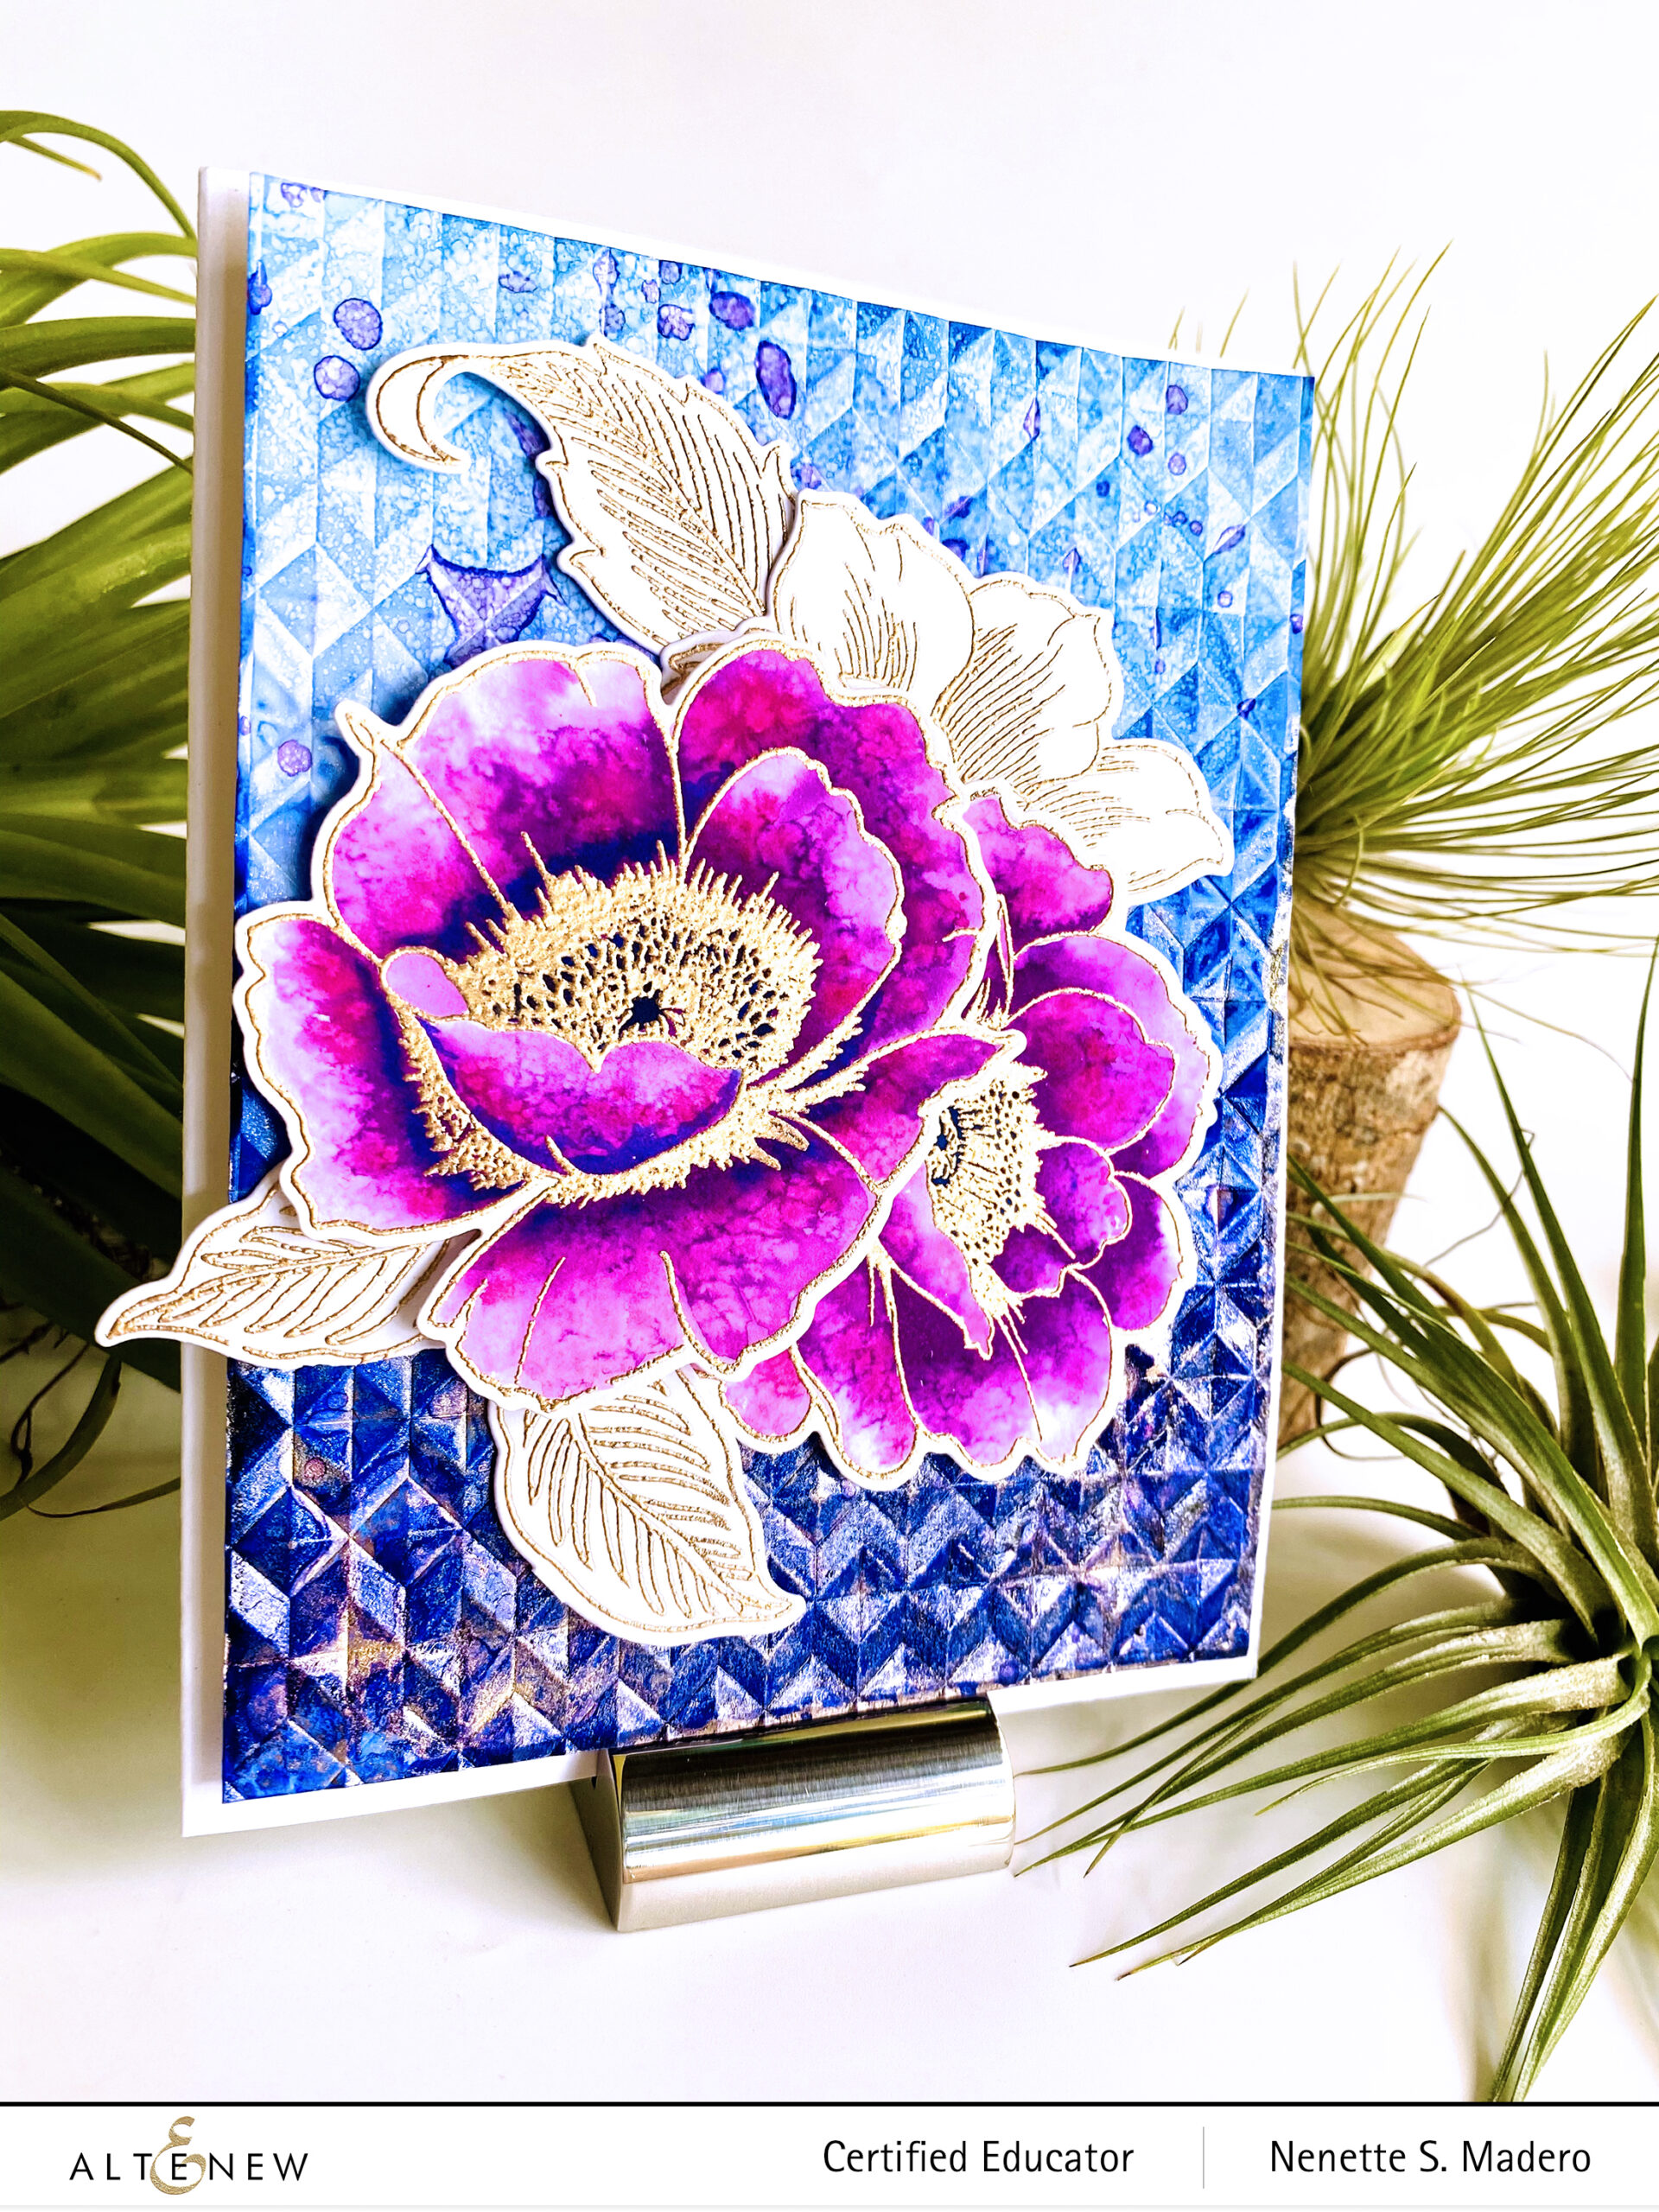
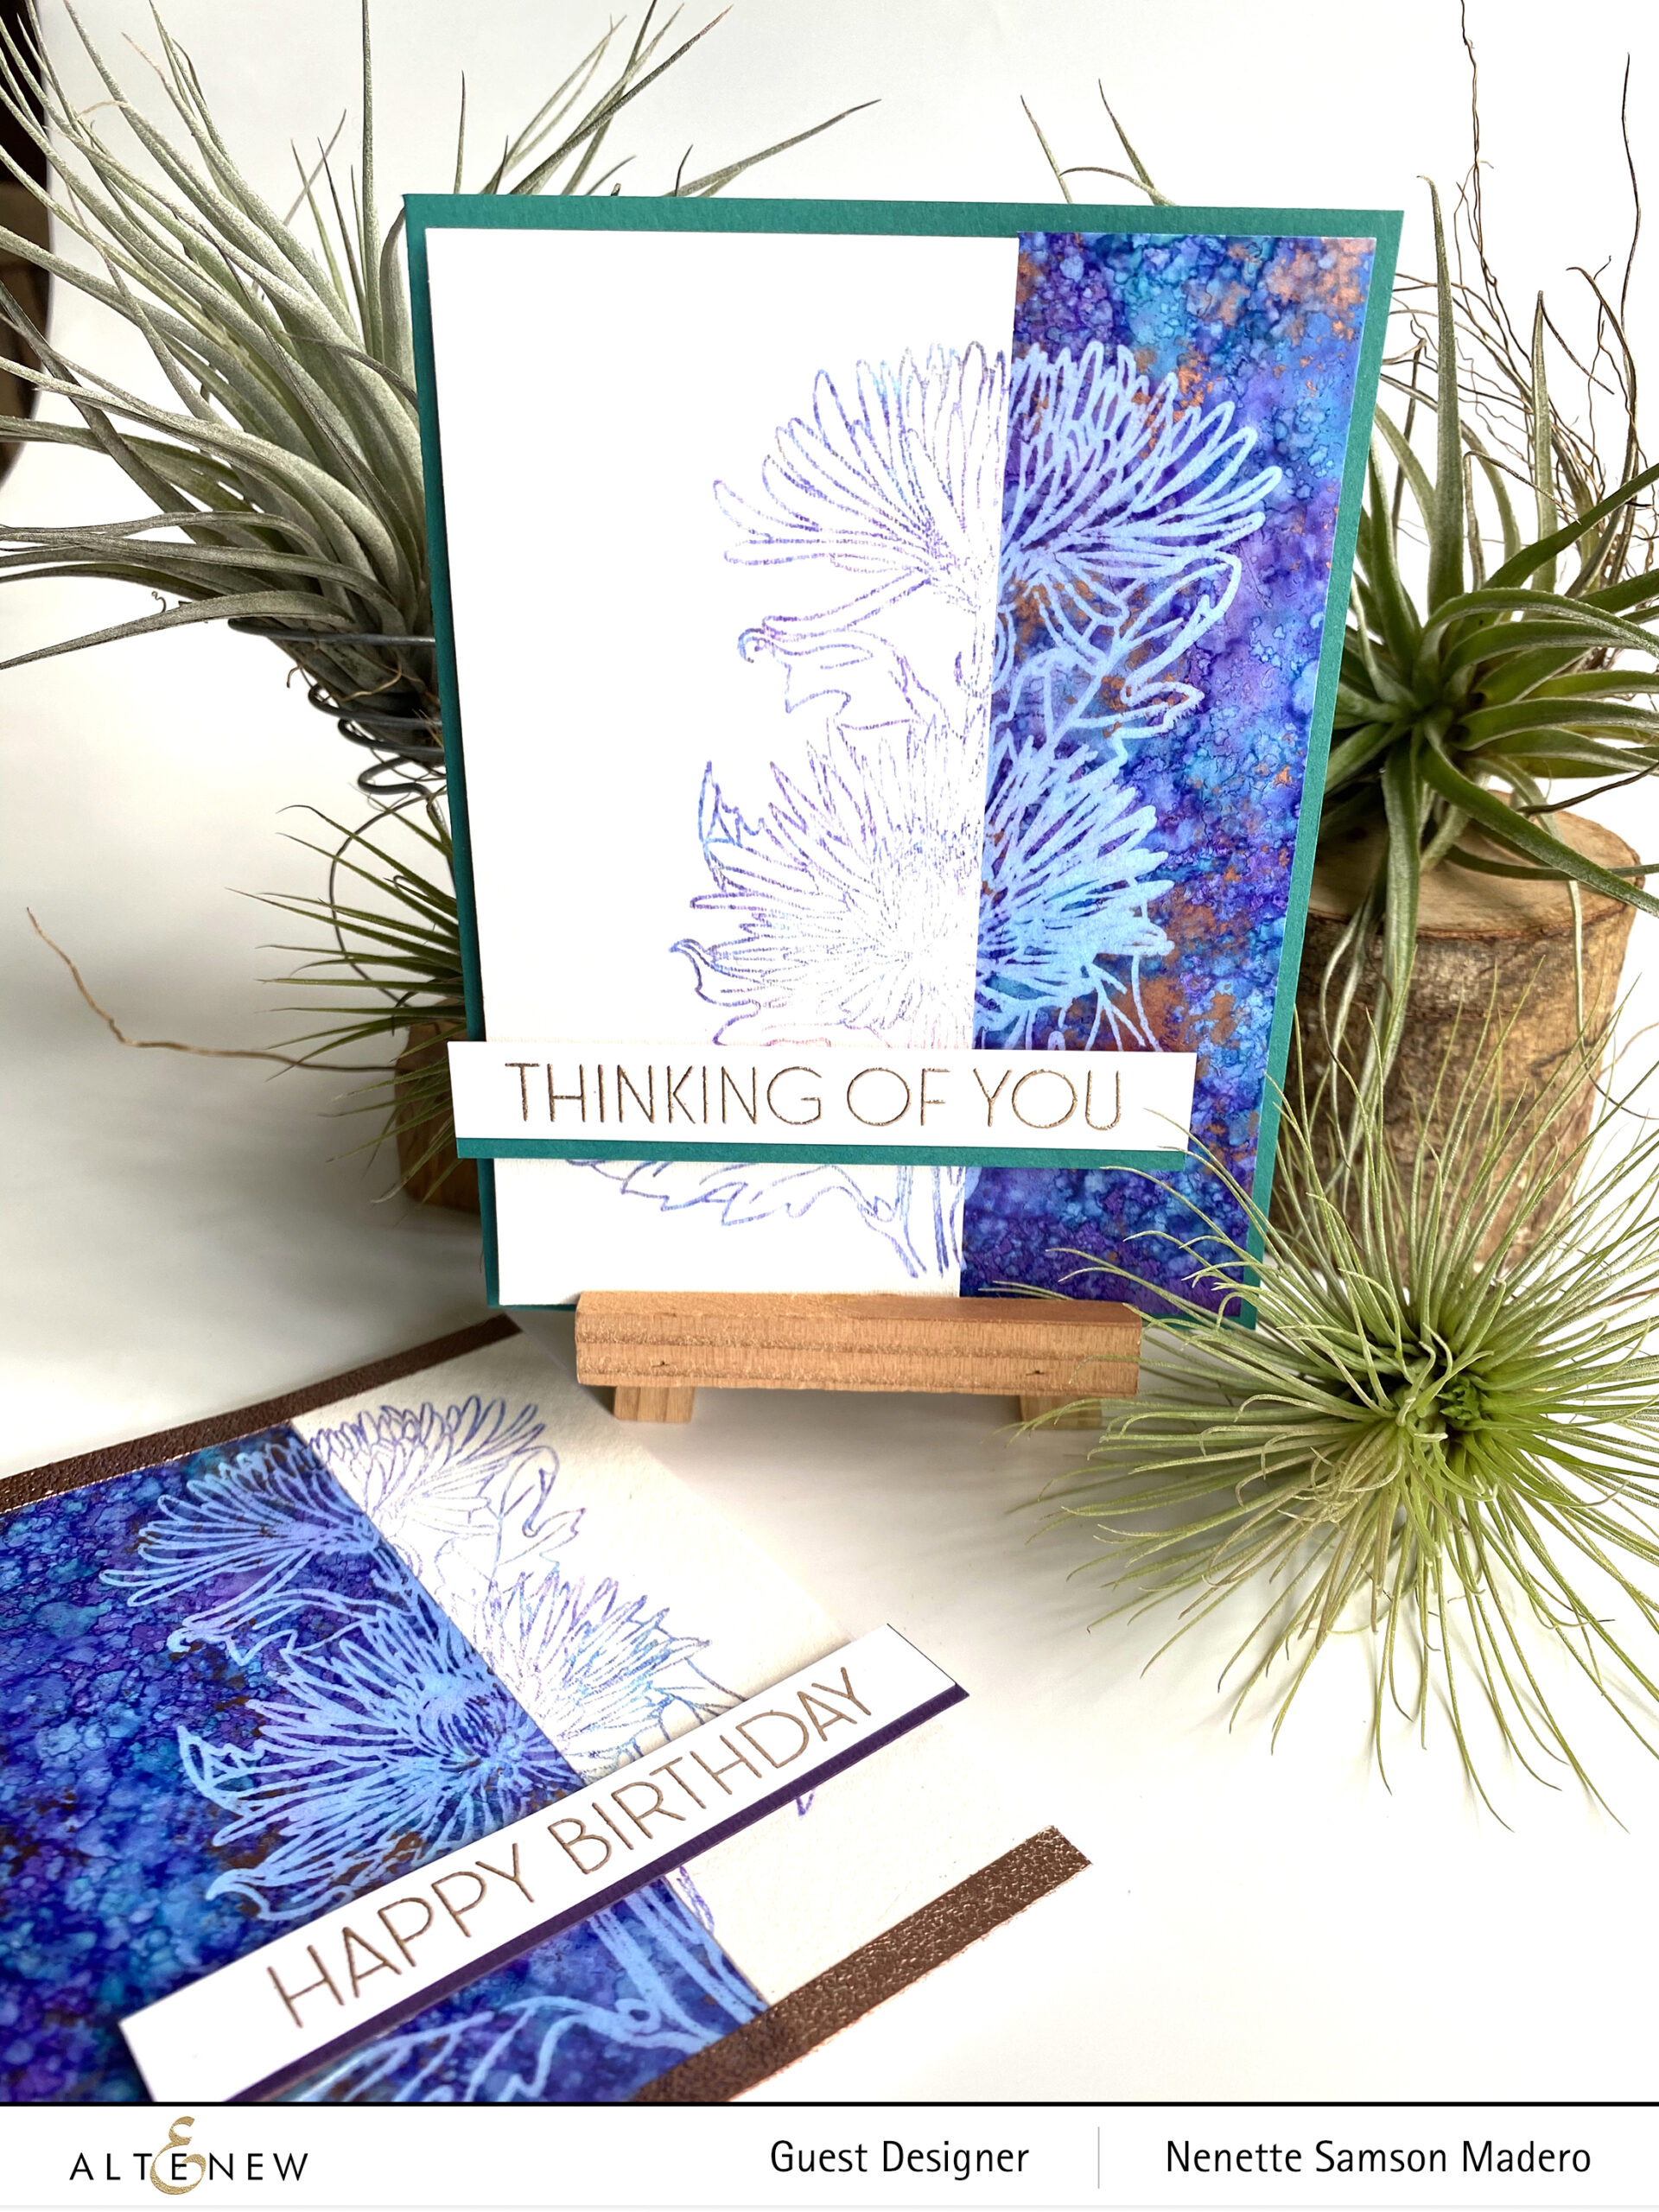
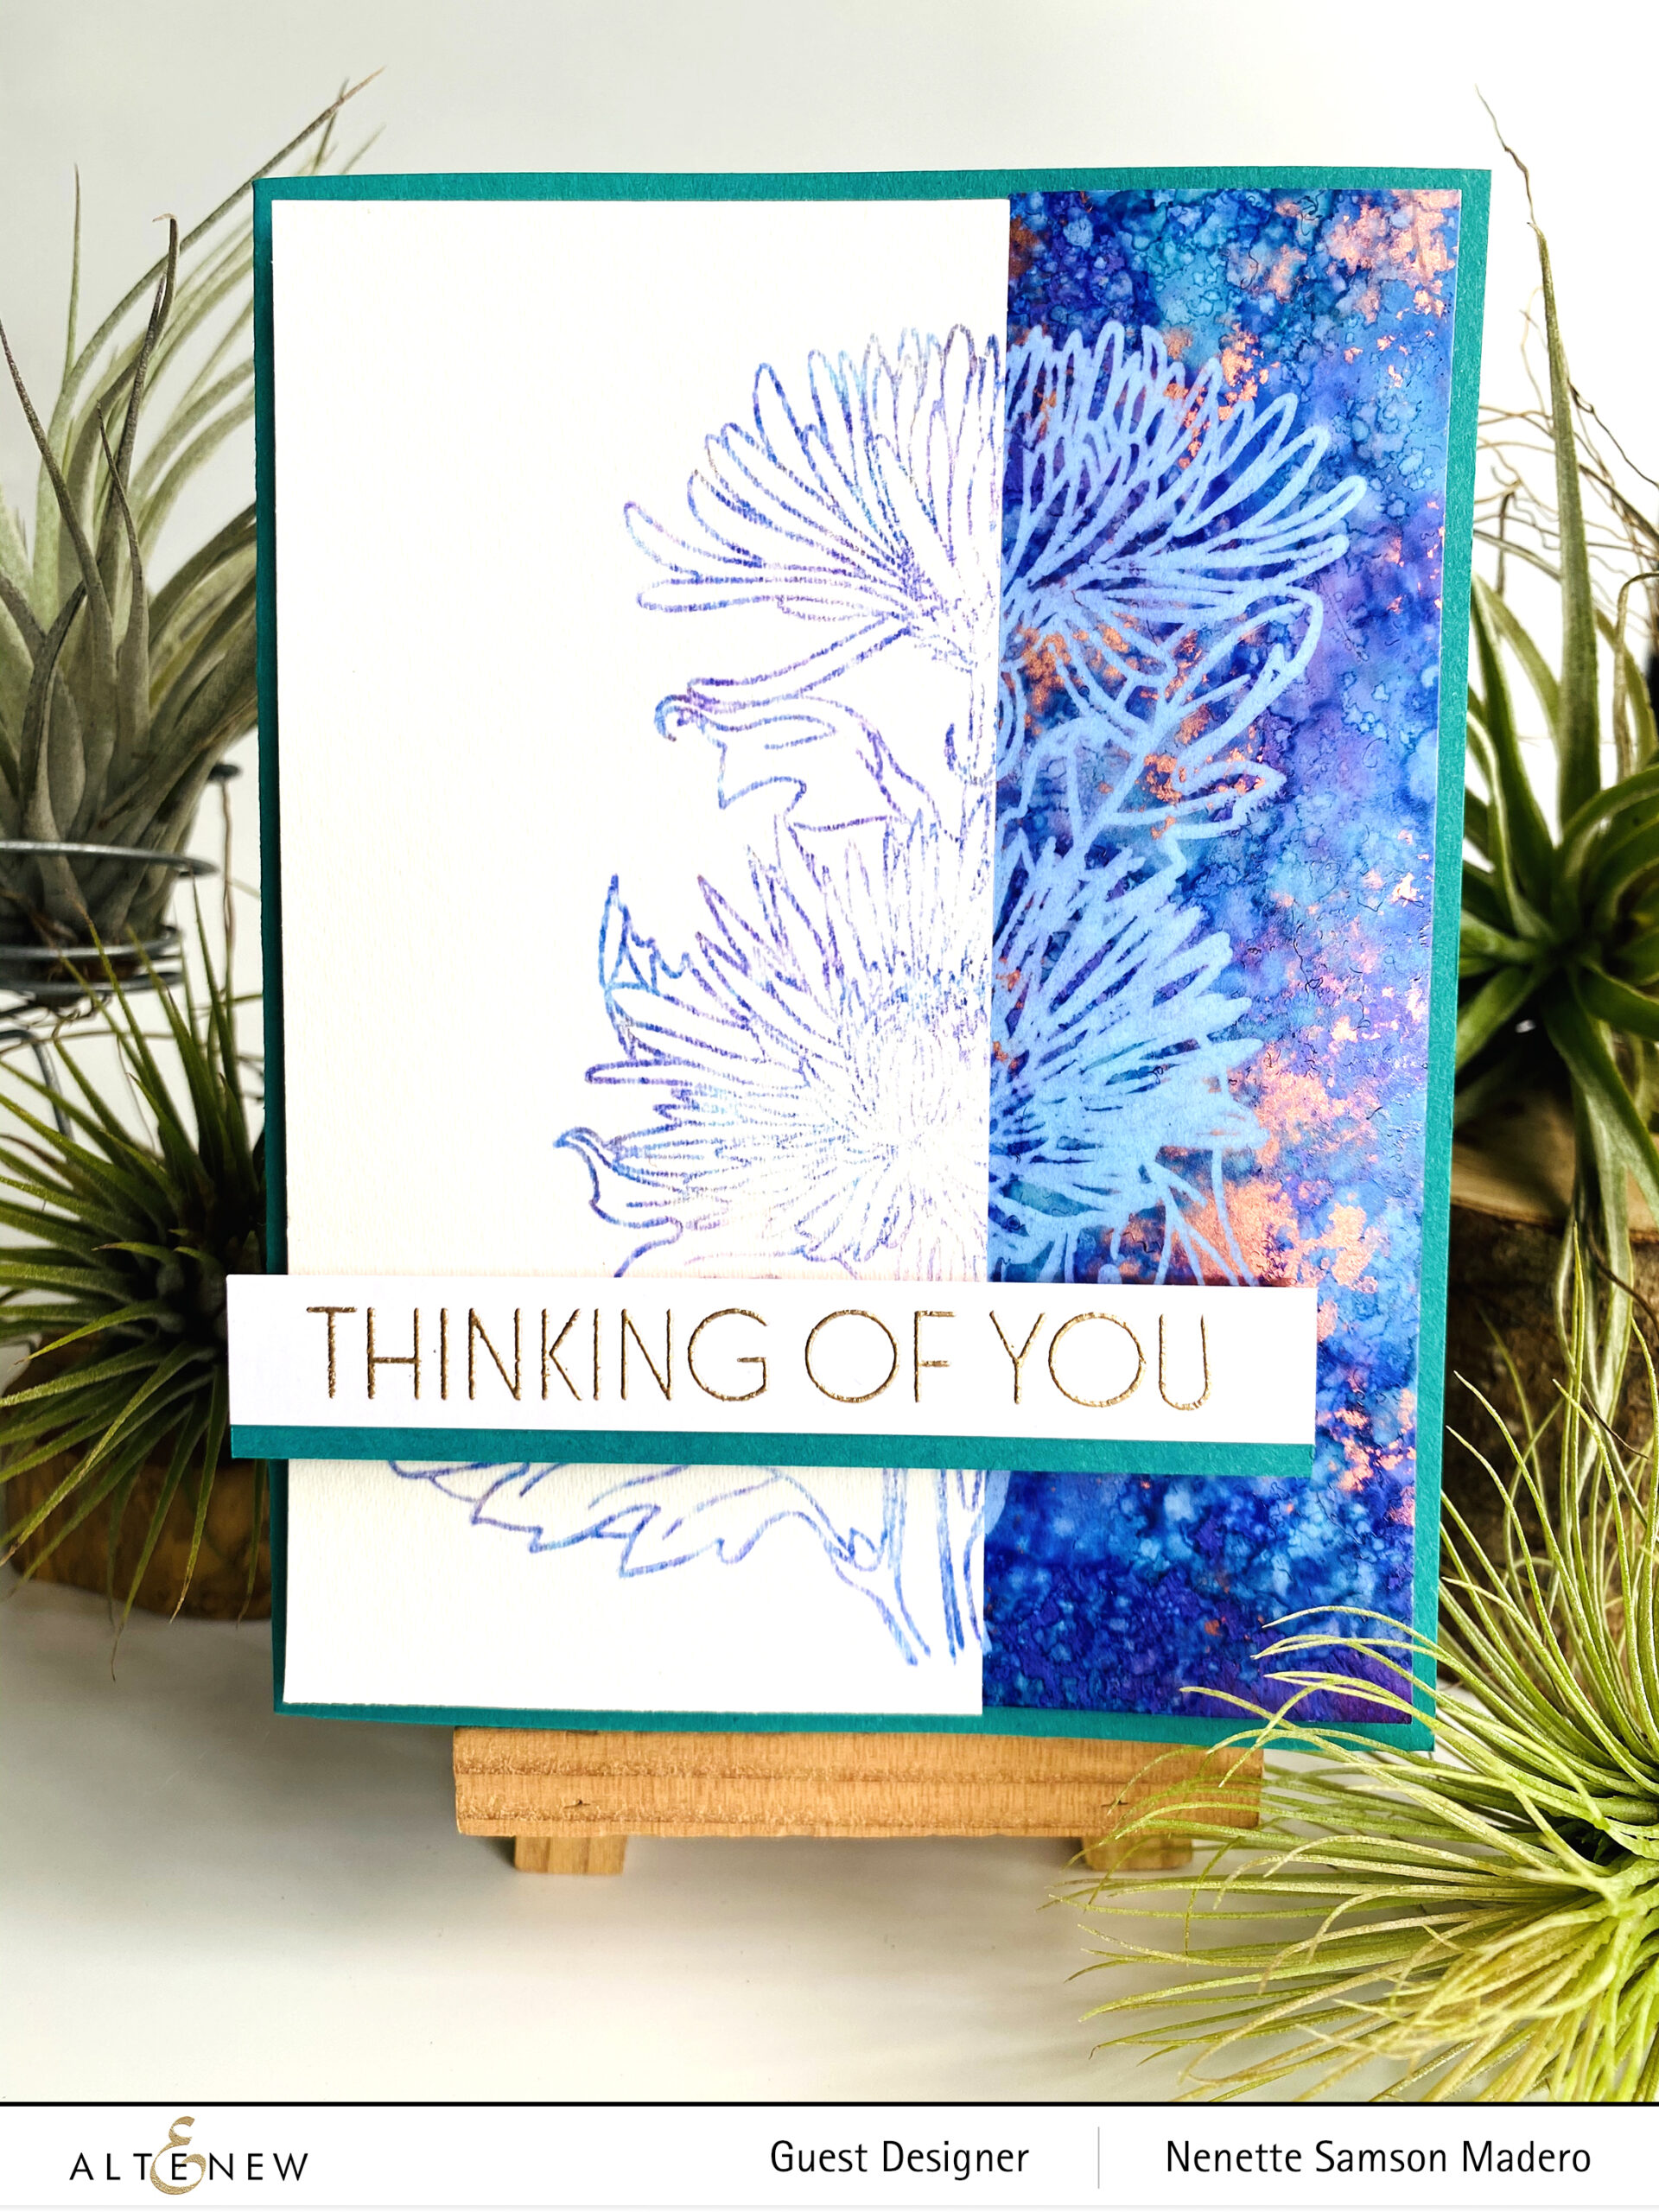
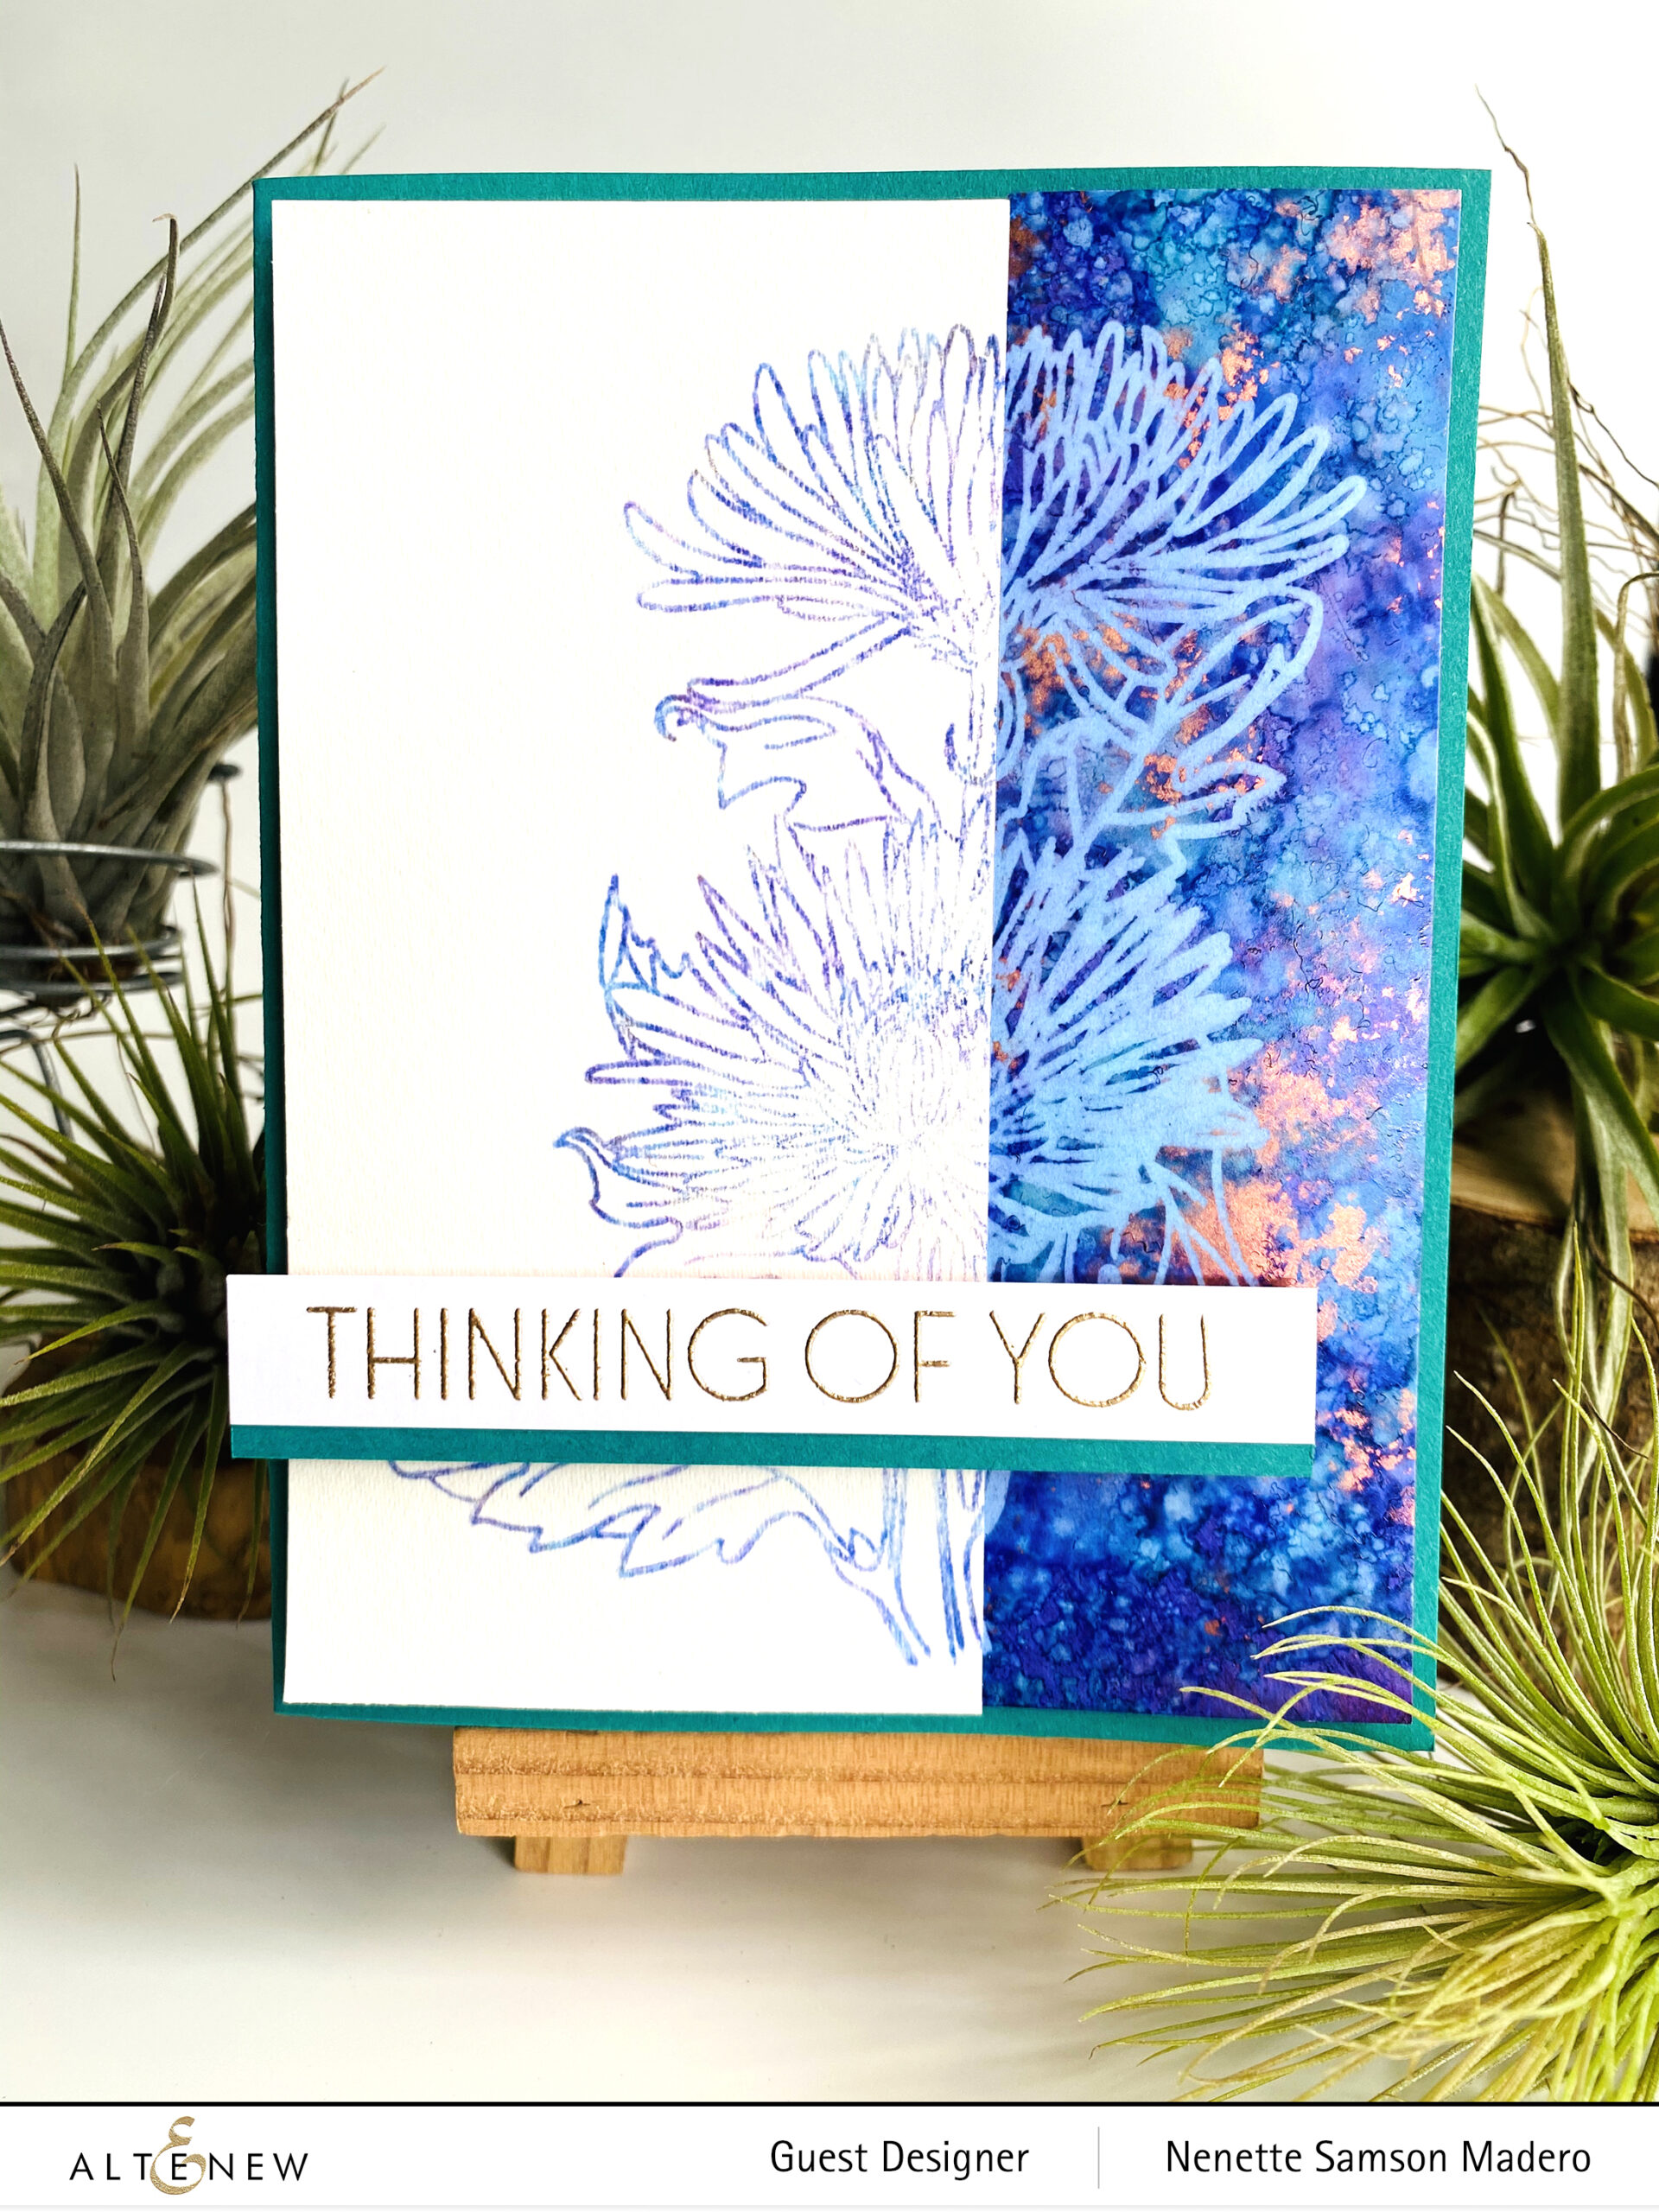
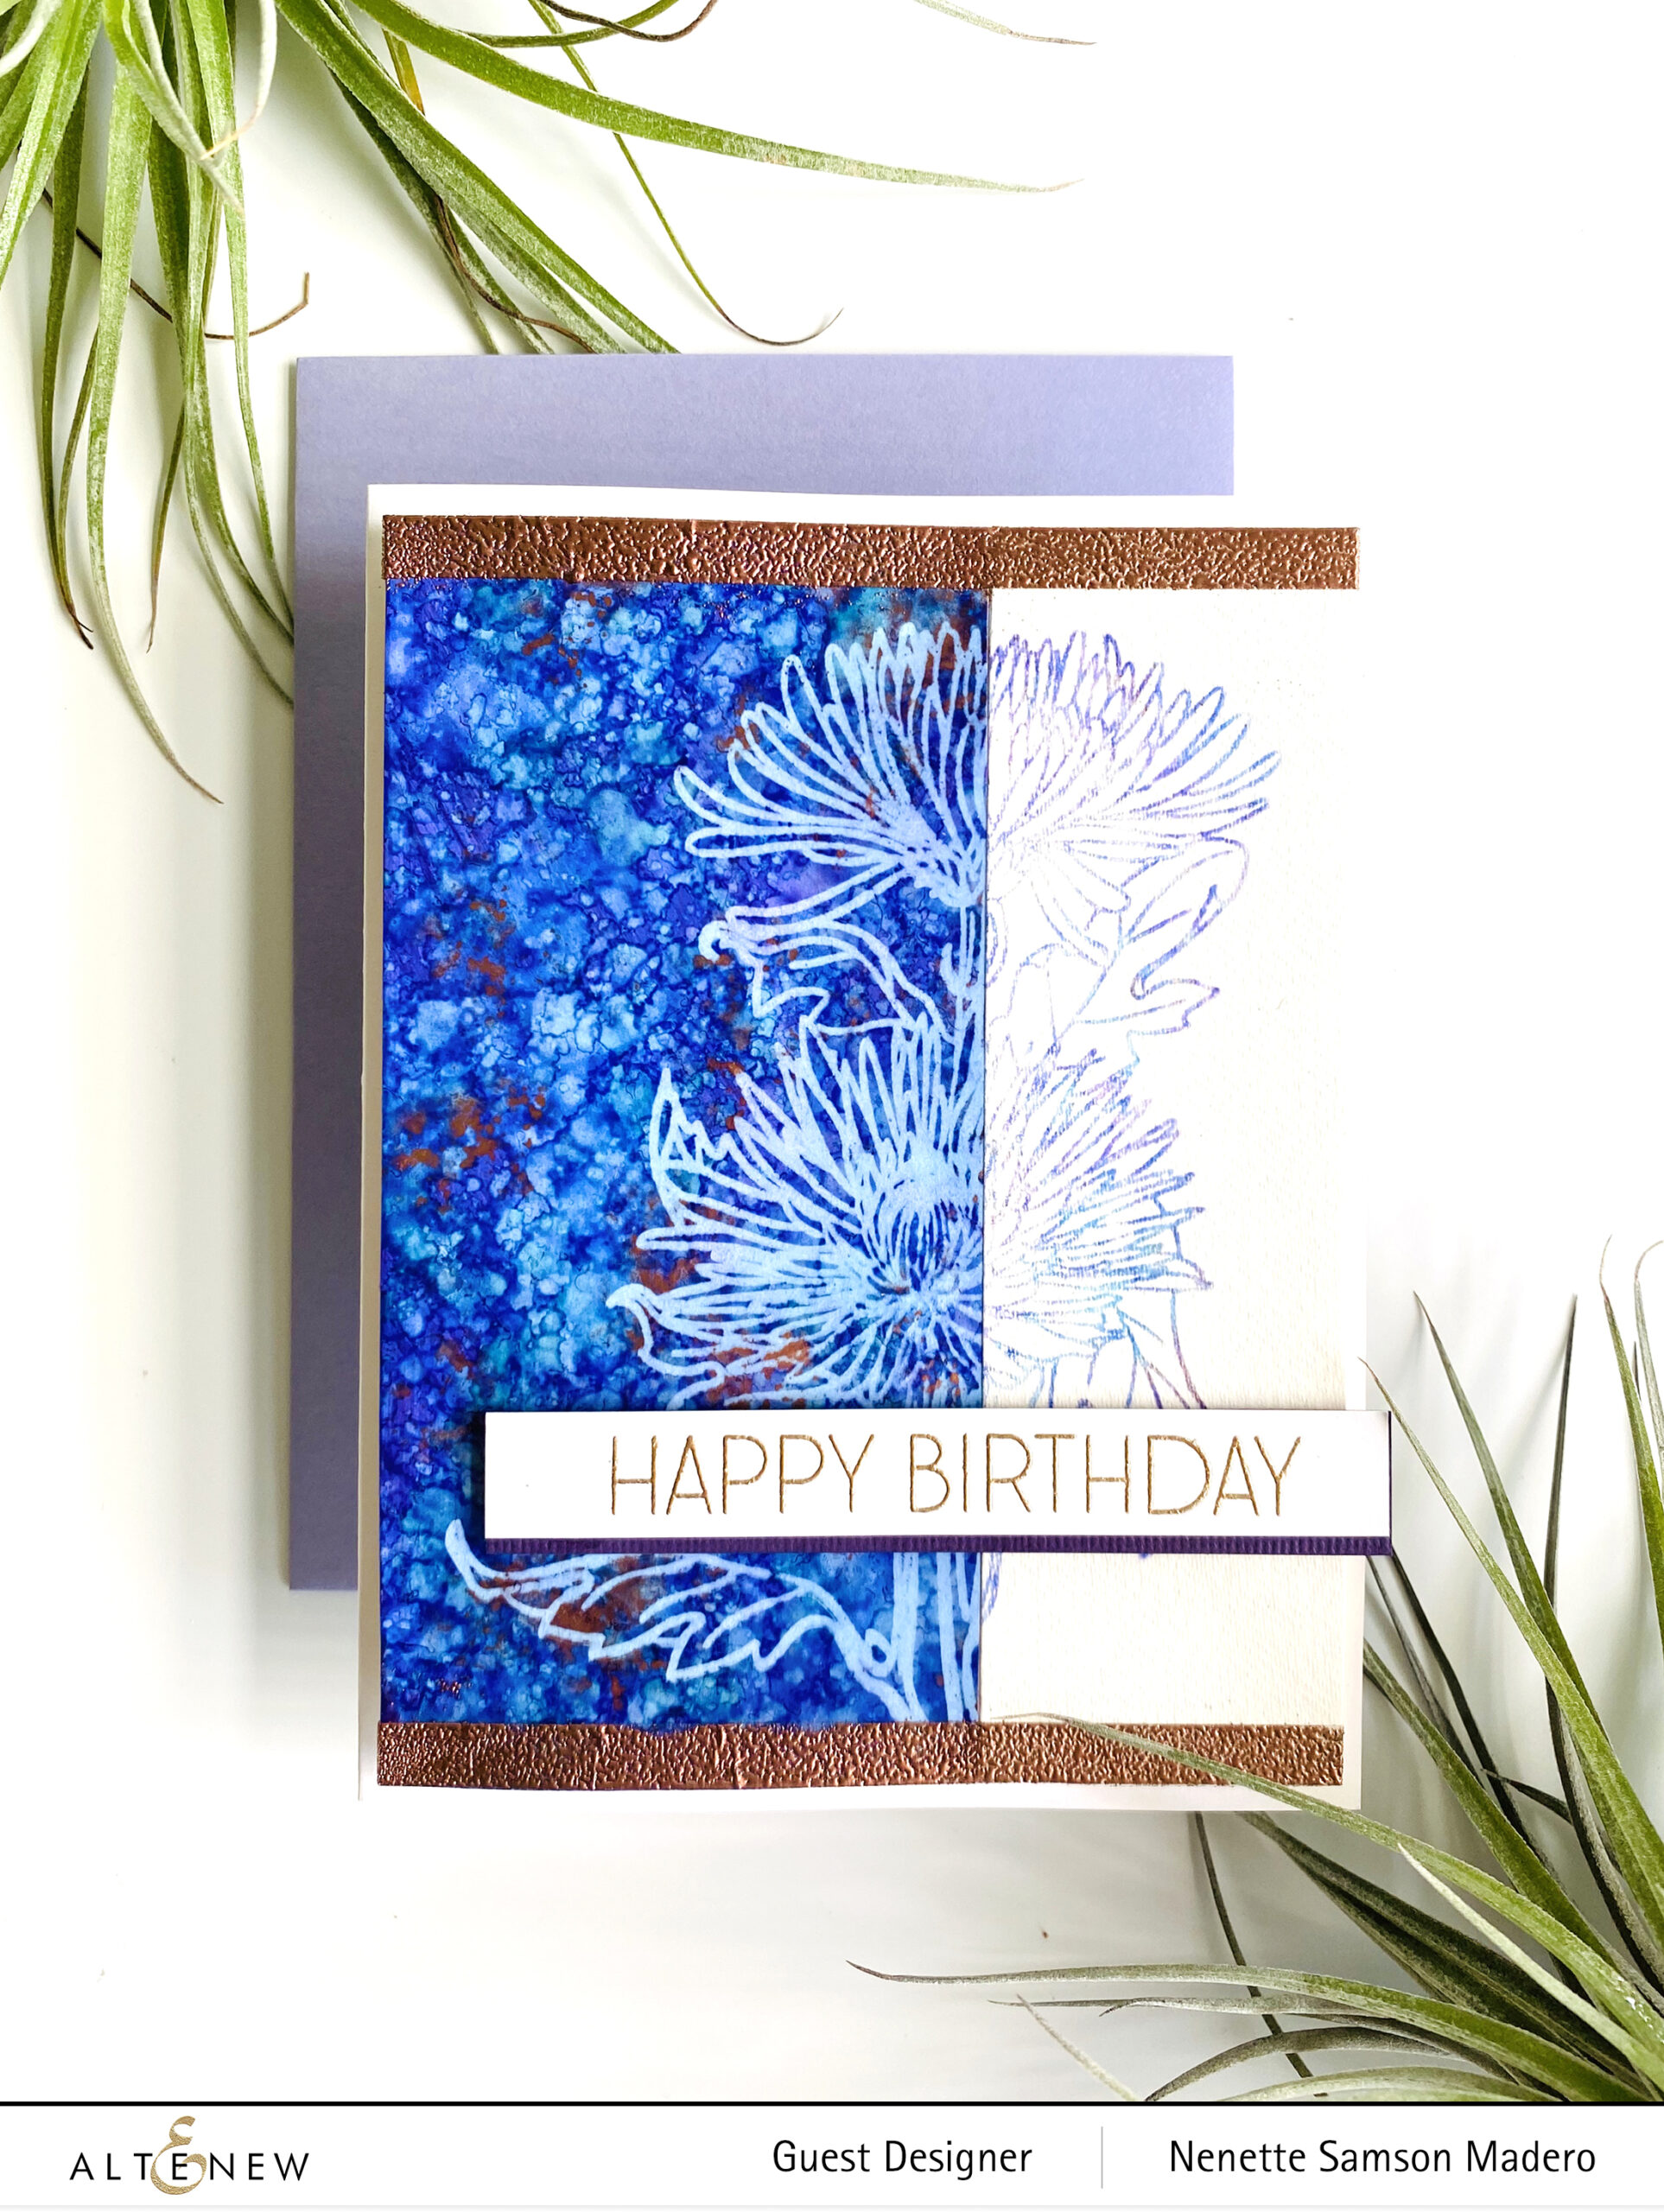
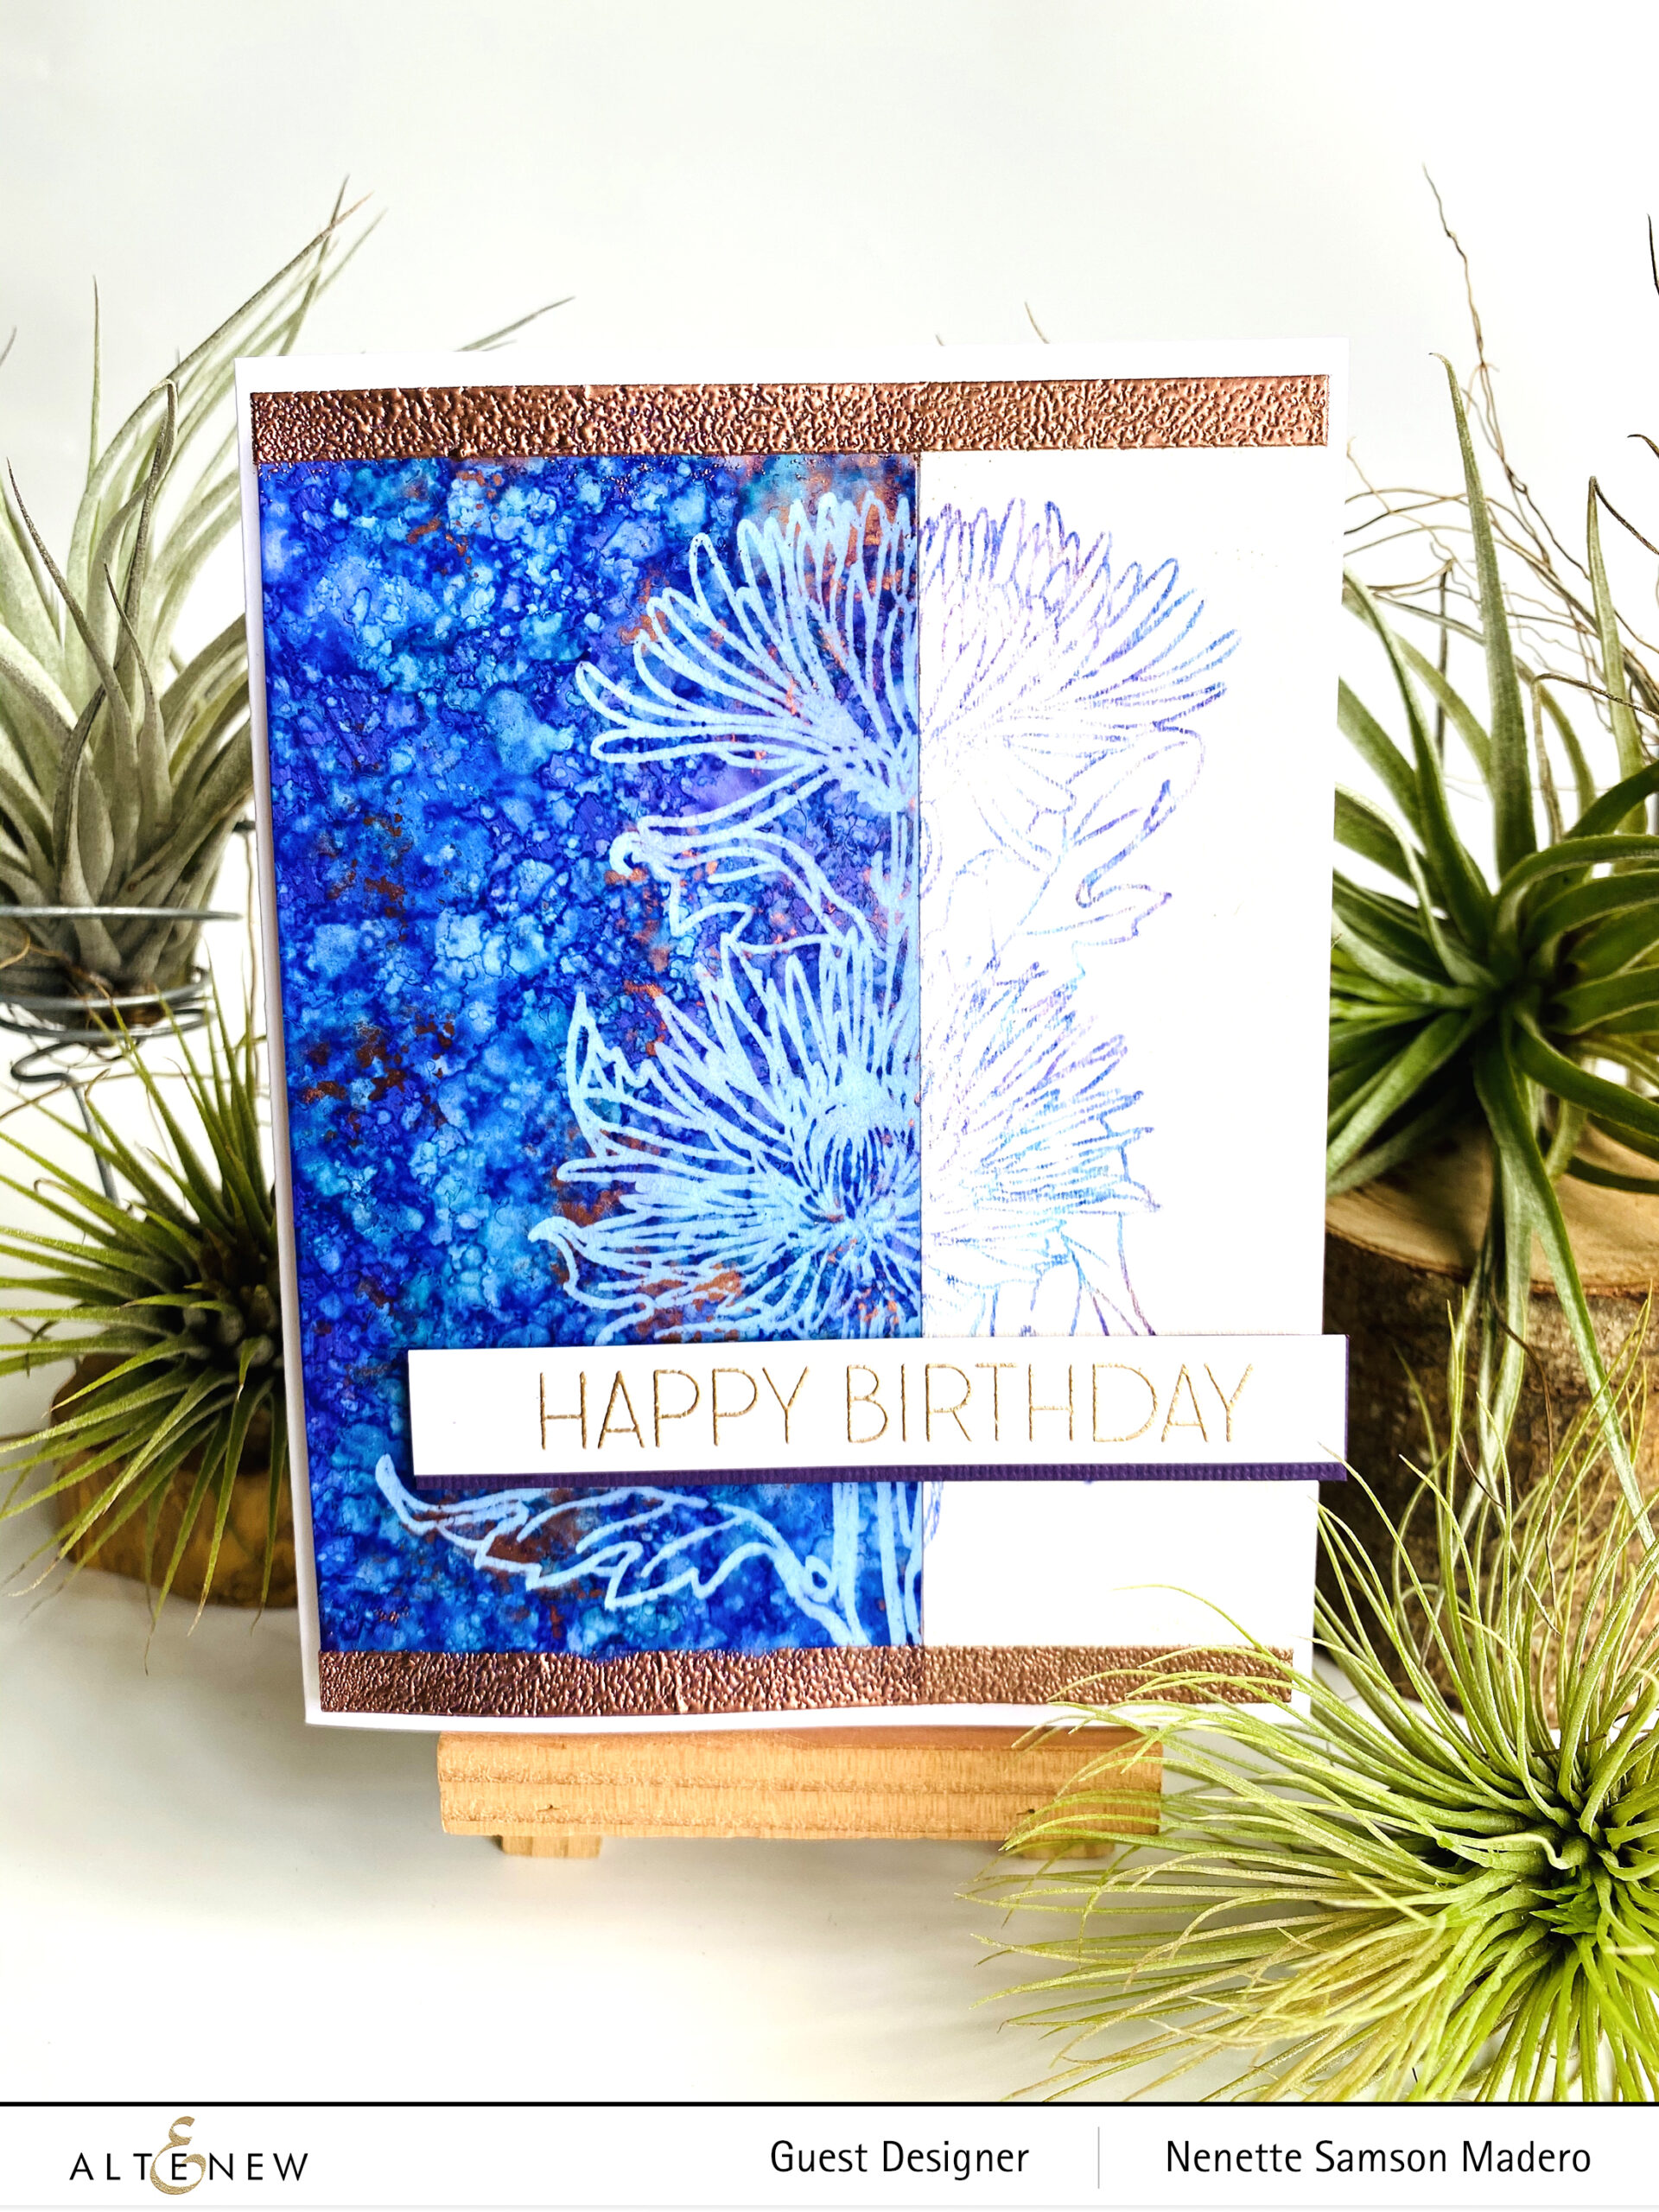
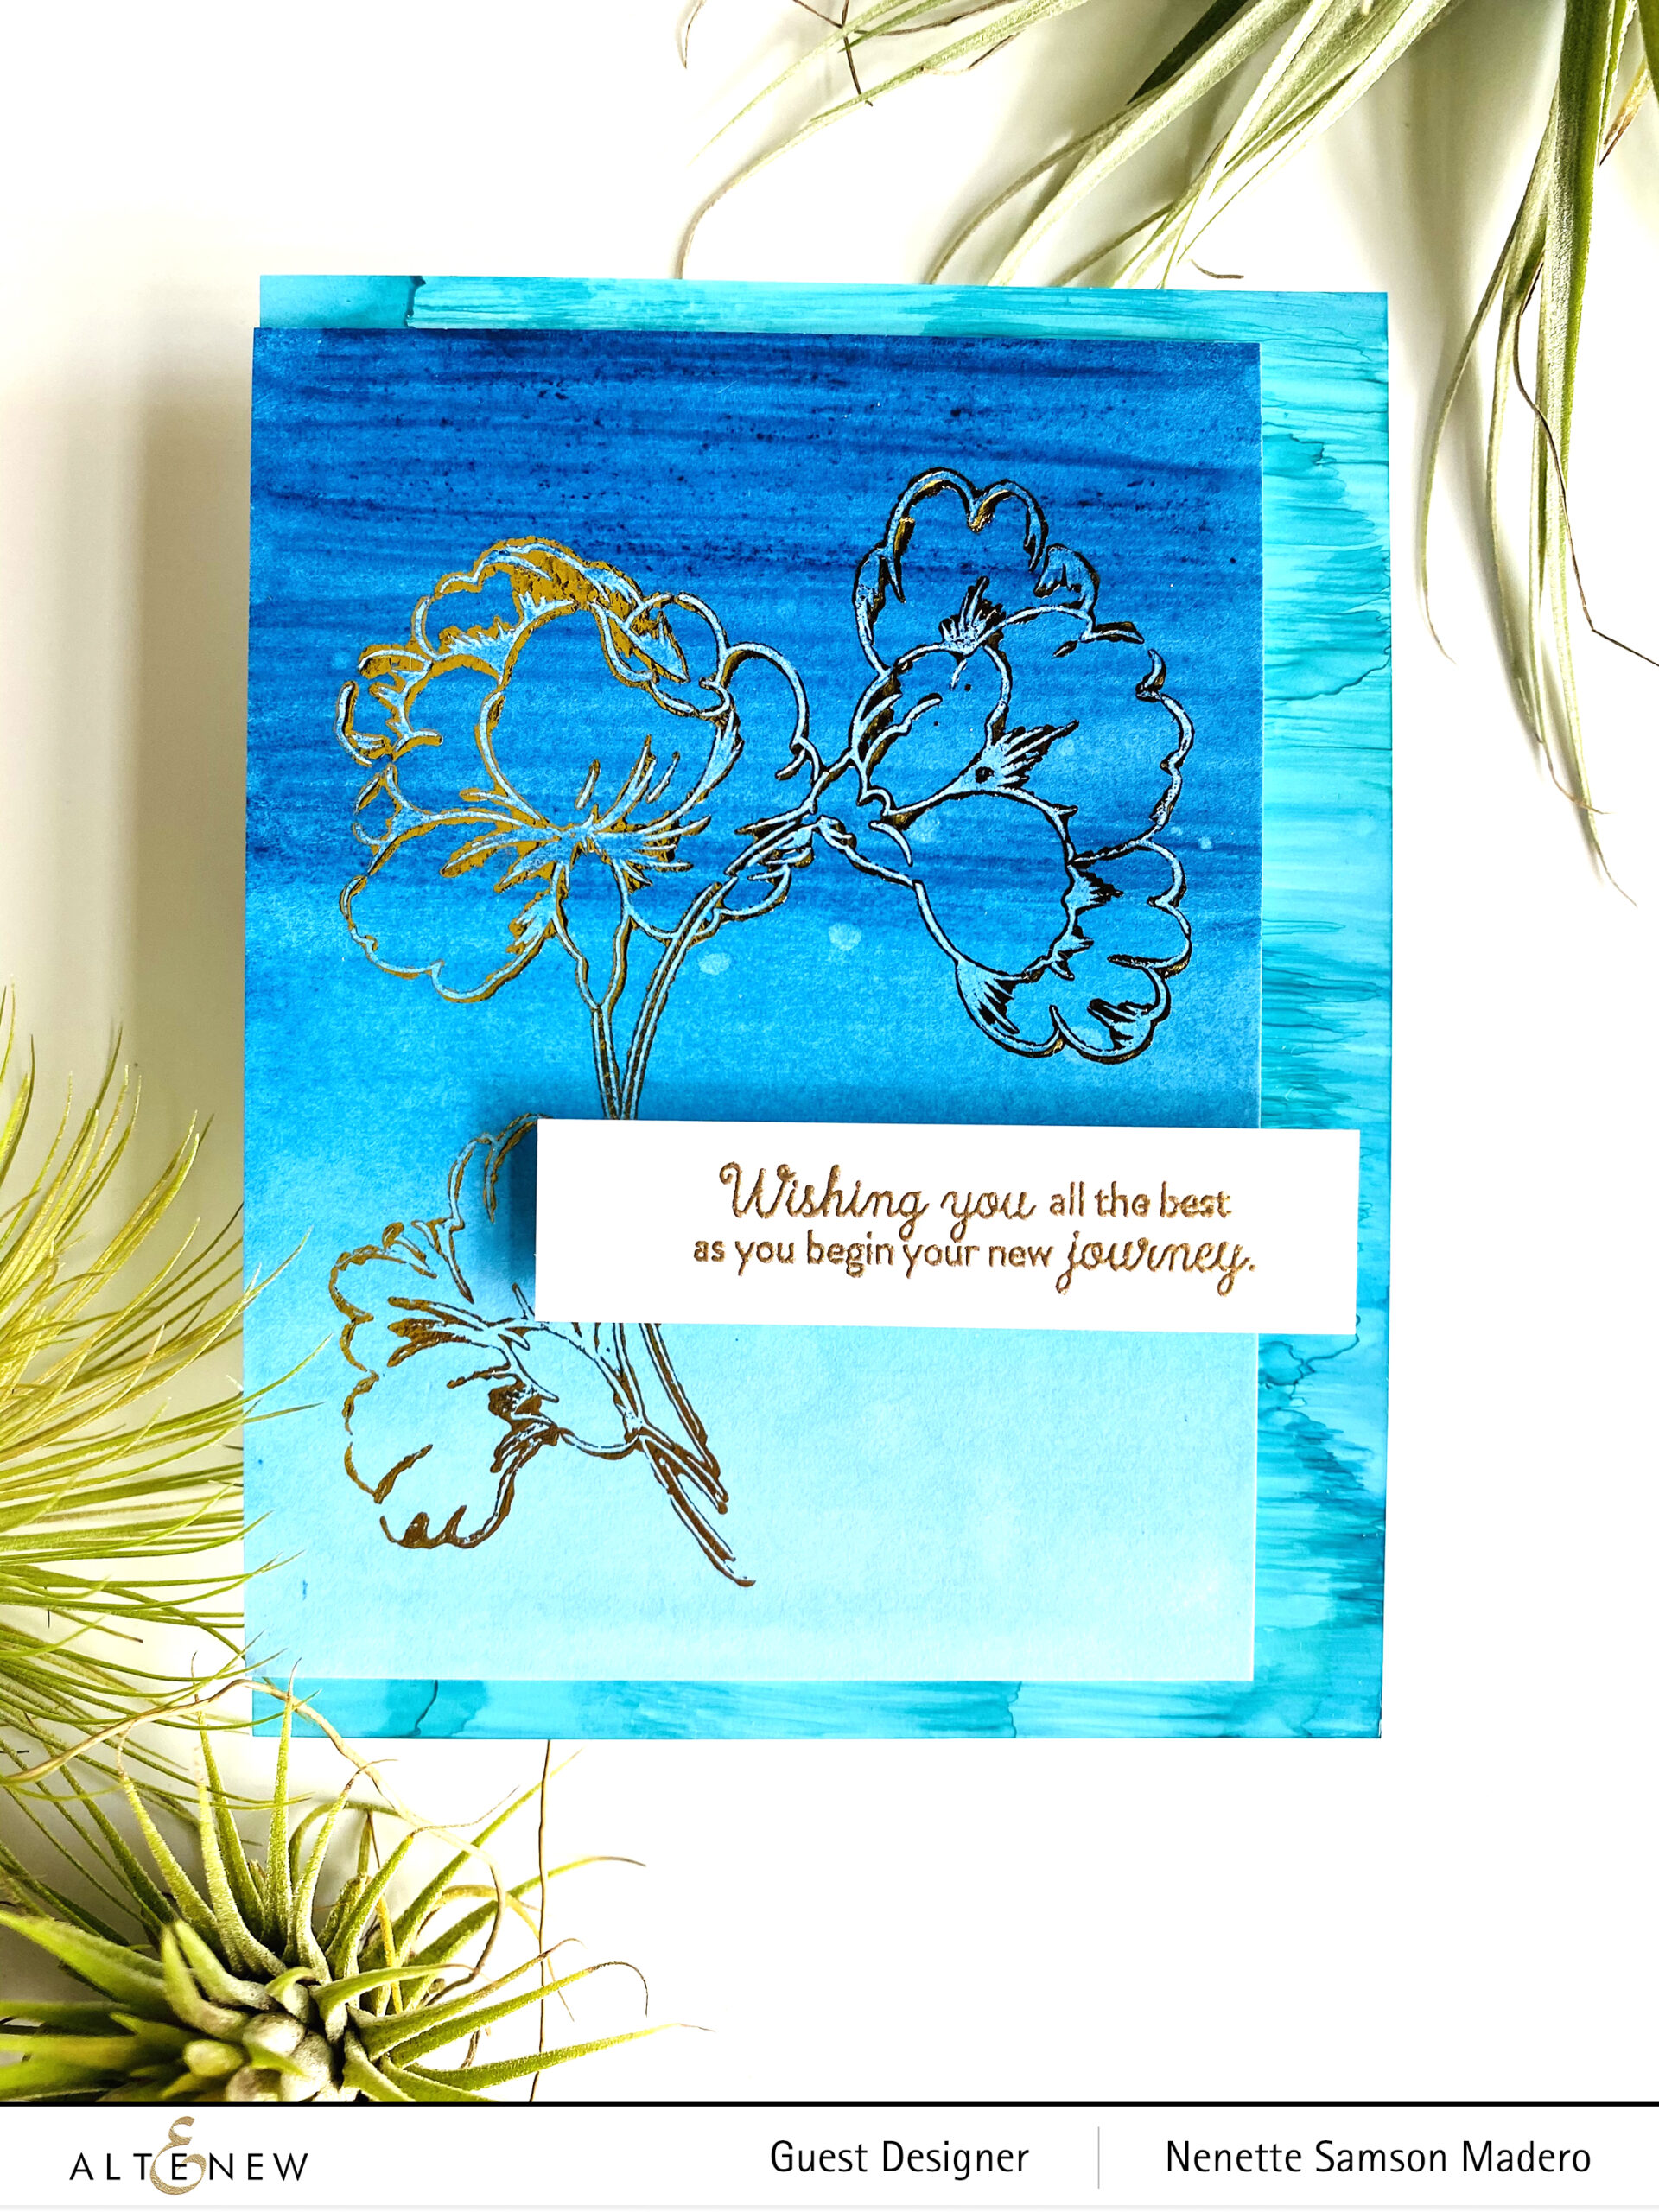
Again, I used alcohol inks to create this wonderful textured background as a base of my card. Below are the materials.
MATERIALS:
- STAMPS/DIES: ALTENEW WALLPAPER ART STAMP AND DIE SET, ENGRAVED FLOWERS STAMP AND DIE SET
- EMBOSSING FOLDER: ANGLED MOSAIC 3D EMBOSSING FOLDER
- ALCOHOL INKS: DESERT NIGHT, COTTON CANDY, MIDNIGHT VIOLET, PIÑATA BRASS
- WATERCOLOR INKS: RUBY RED, PURPLE WINE, MIDNIGHT VIOLET, PERSIAN BLUE, DUSK
- PAPER: ARCHES WATERCOLOR PAPER 300GSM COLD PRESS, NEENAH SOLAR WHITE, NARA SYNTHETIC PAPER
- OTHERS: 99% ISOPROPYL ALCOHOL, VERSAMARK INK, ROSE GOLD EMBOSSING POWDER, ROCK SALT, SCRAPBOOK ADHESIVESFOAM SQUARES
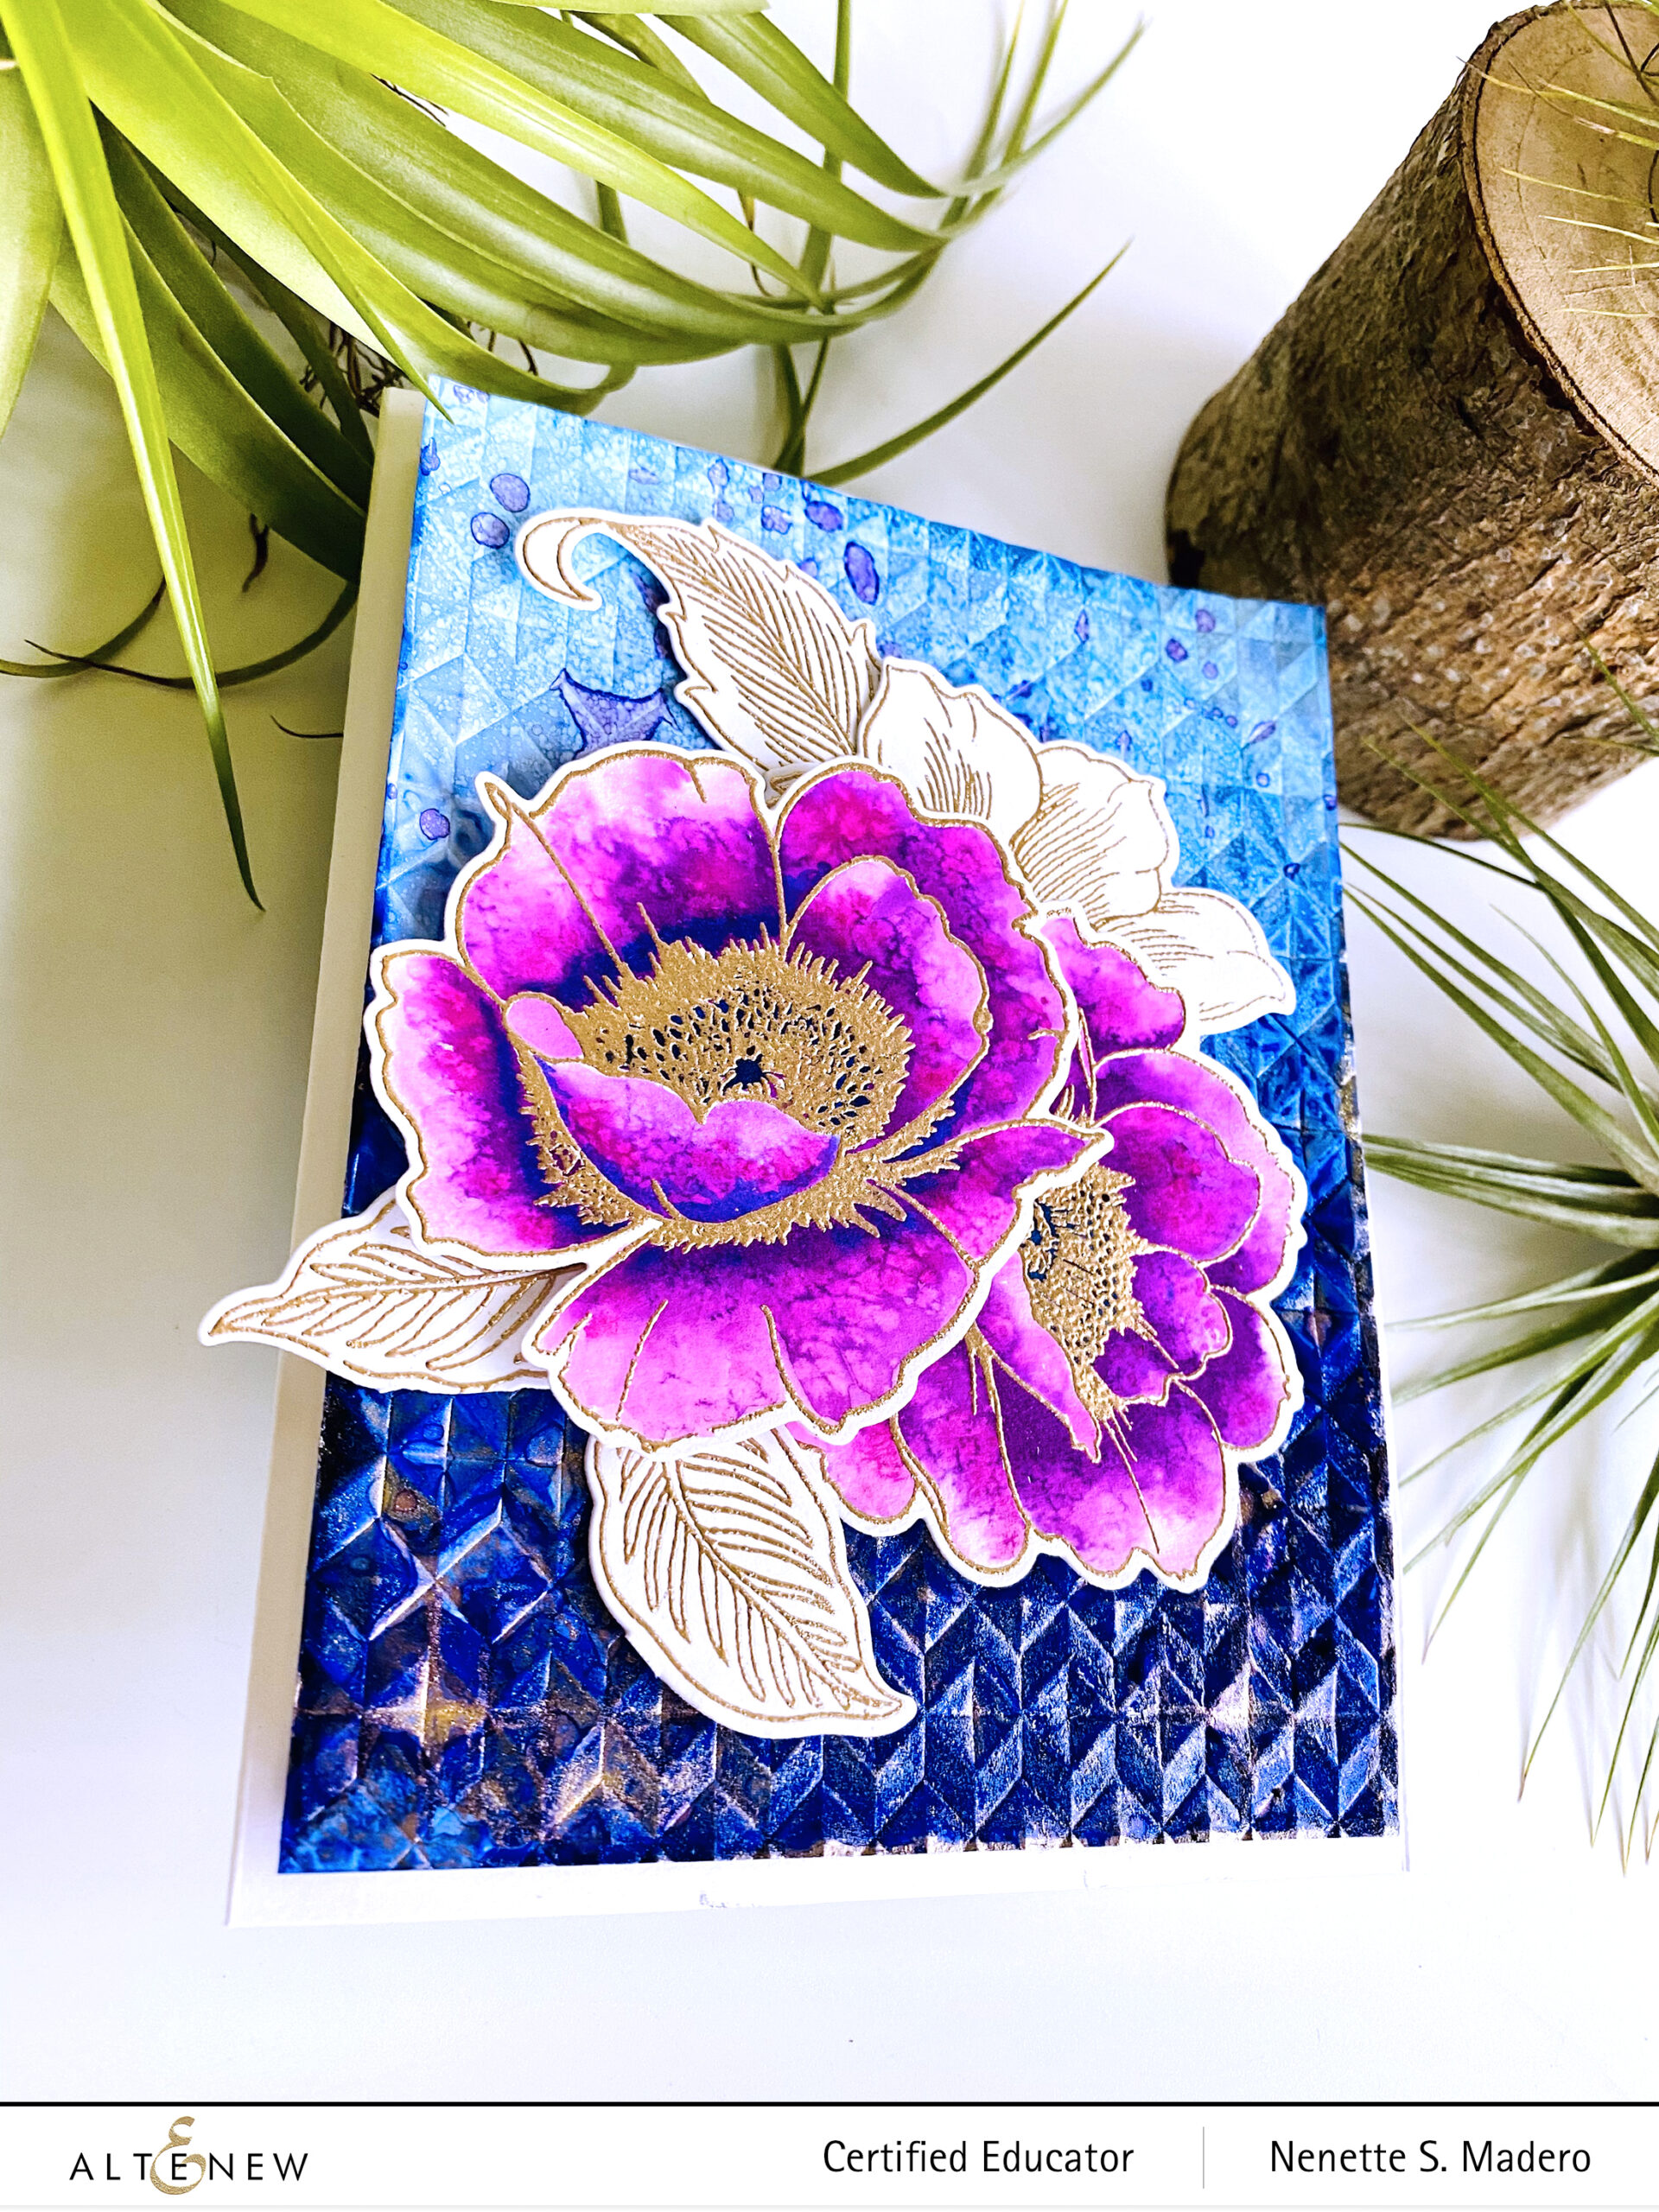
STEPS:
- Add alcohol to Nara paper then drop of alcohol ink to create an ombre background. Add Pinata brass while the surface is still wet. Use a dryer to dry the surface.
- Add droplets of diluted alcohol ink using the paintbrush to create added texture.
- Dry emboss the background with the Angled Mosaic 3D embossing folder and add more alcohol inks to darken certain areas.
- Stamp floral images on watercolor paper with Vesamark Ink and emboss using Rose Gold embossing powder.
- Watercolor the images. Add salt while the petal is still wet to create some texture.
- Assemble the card using foam squares and adhesive.
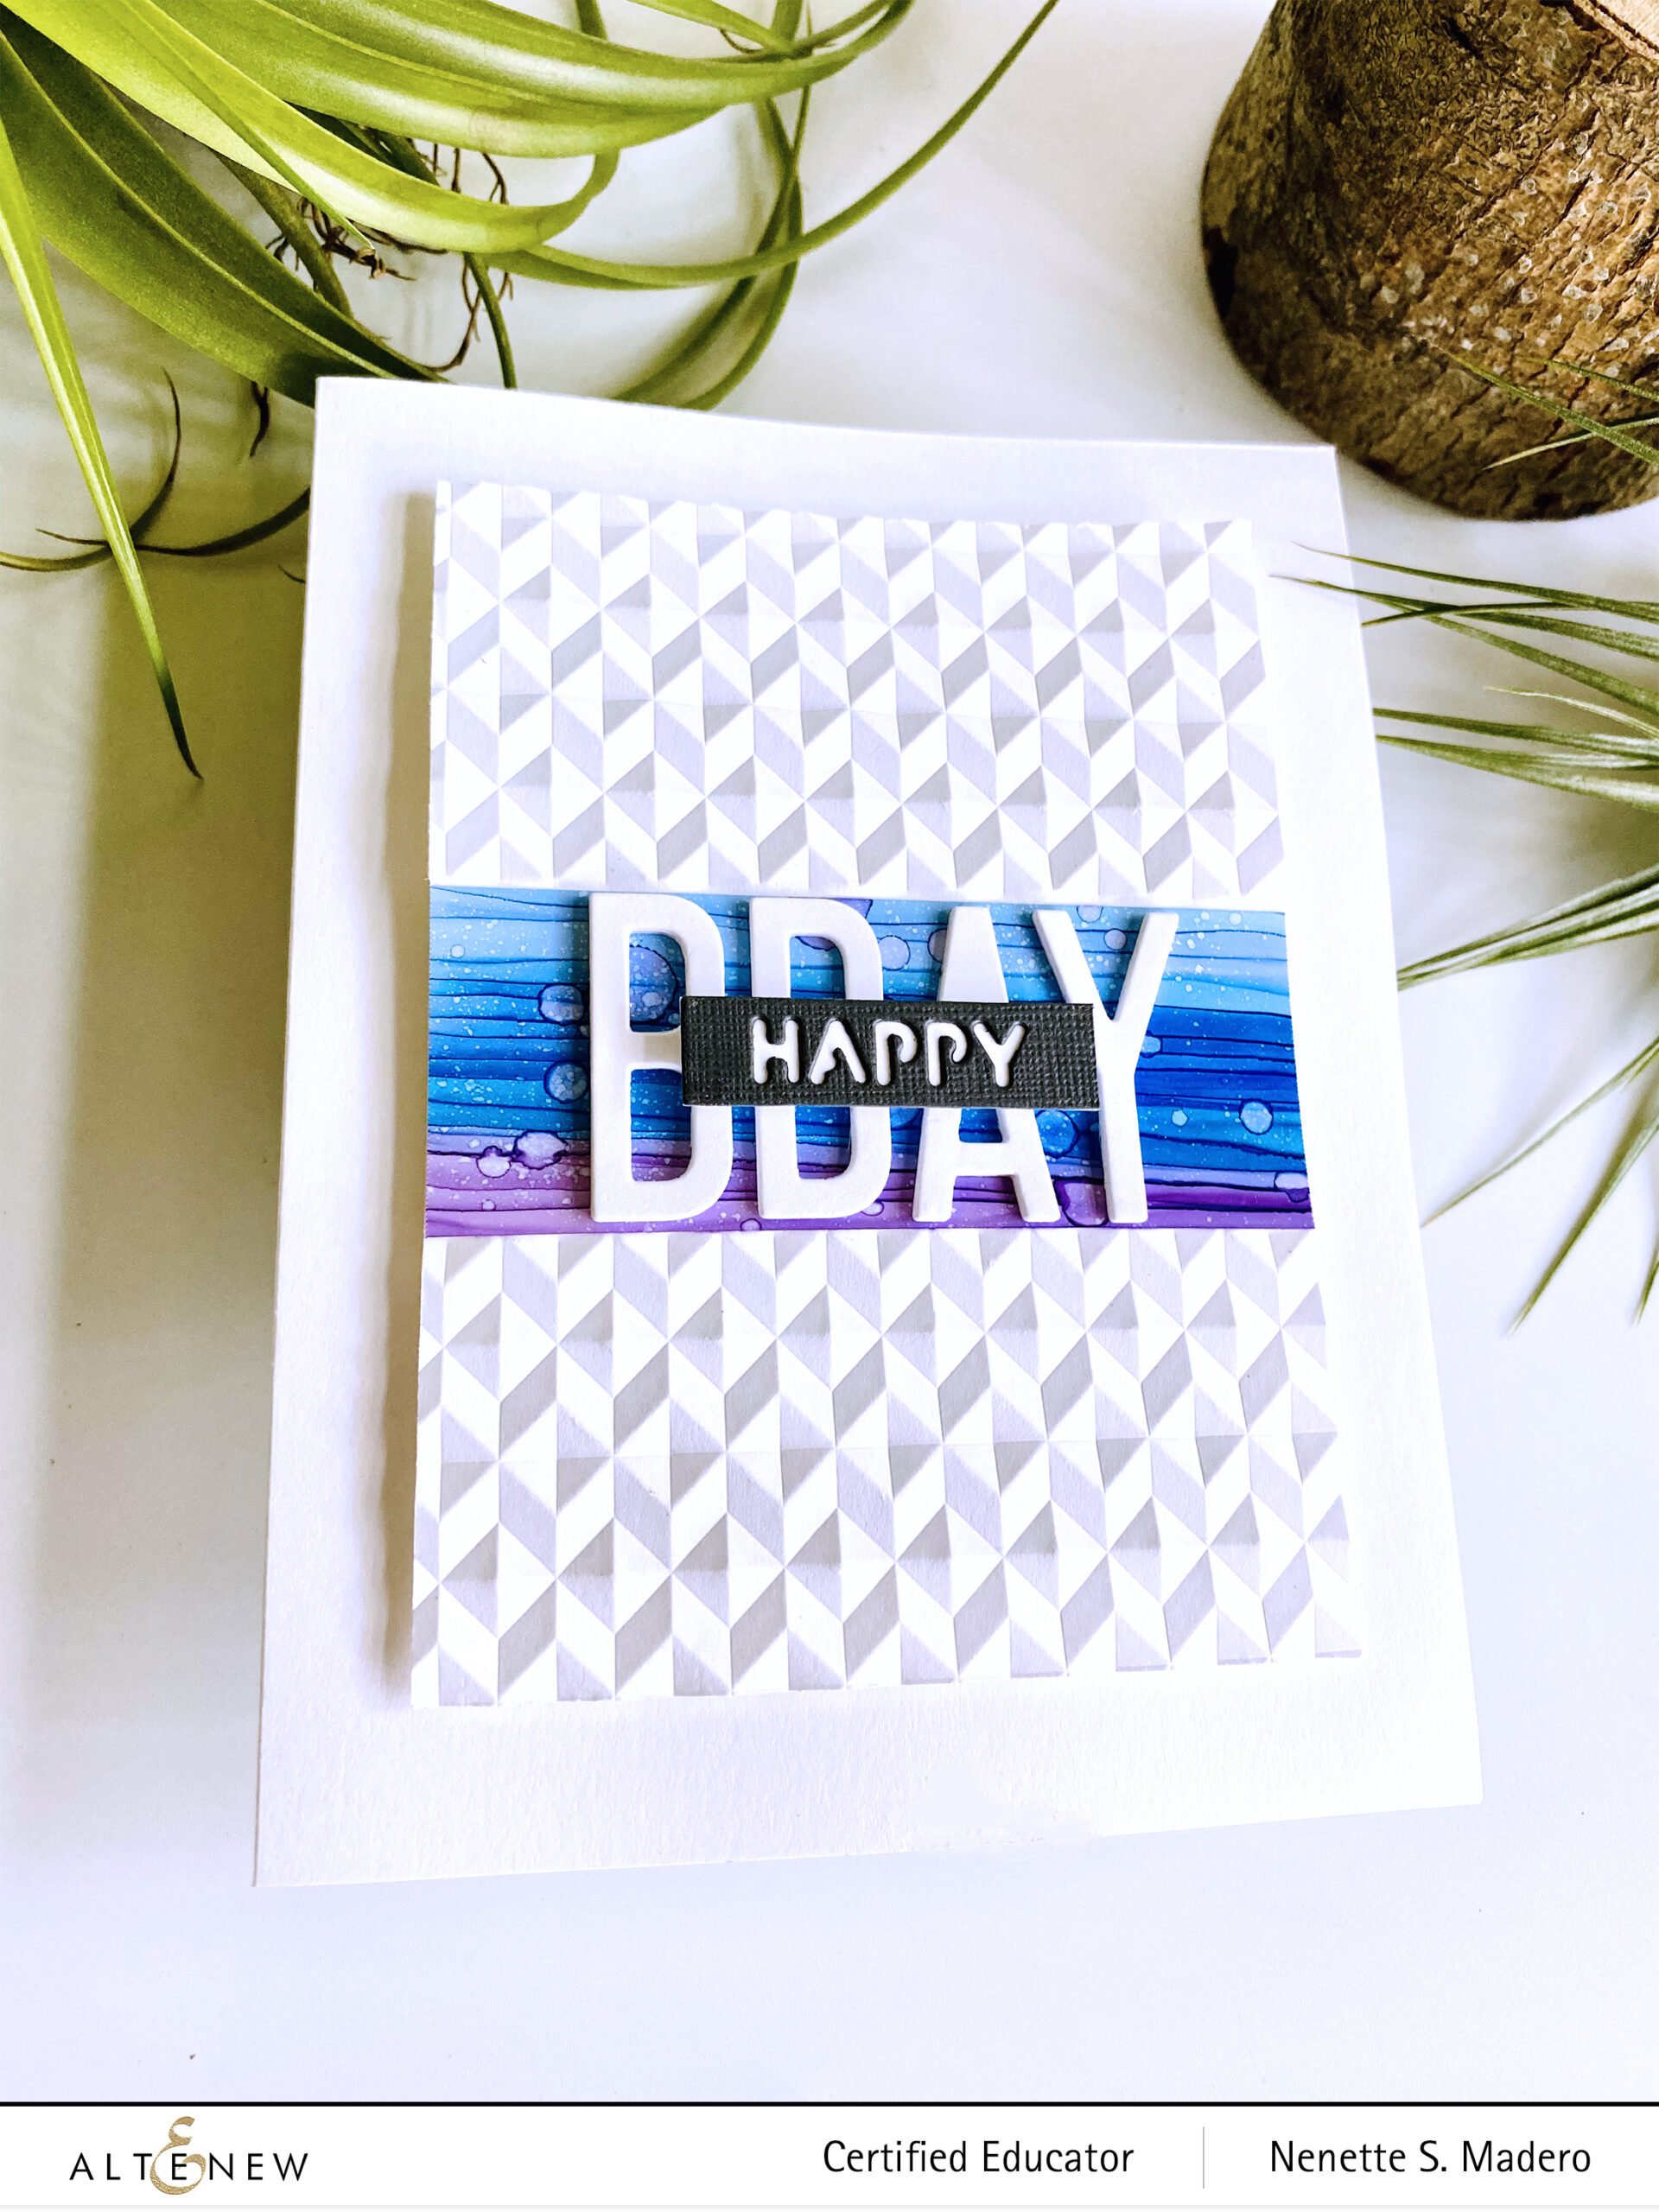
ADDITIONAL MATERIALS:
DIES: FINE ALPHABET DIE, ESSENTIAL SENTIMENT STRIPS DIE
STEPS:
- Cut a strip of Nara paper and paint lines using a brush and alcohol inks. Dilute the inks if necessary to create an ombre effect.
- Add drops of diluted inks and spray pure alcohol as well for added texture to the background.
- Die cut the letters and sentiment several times and adhere on top of each other.
- Emboss a plain white rectangular Cardstock using the Angled Mosaic 3D embossing folder leaving the center area flat.
- Assemble the card using foam squares and adhesive.
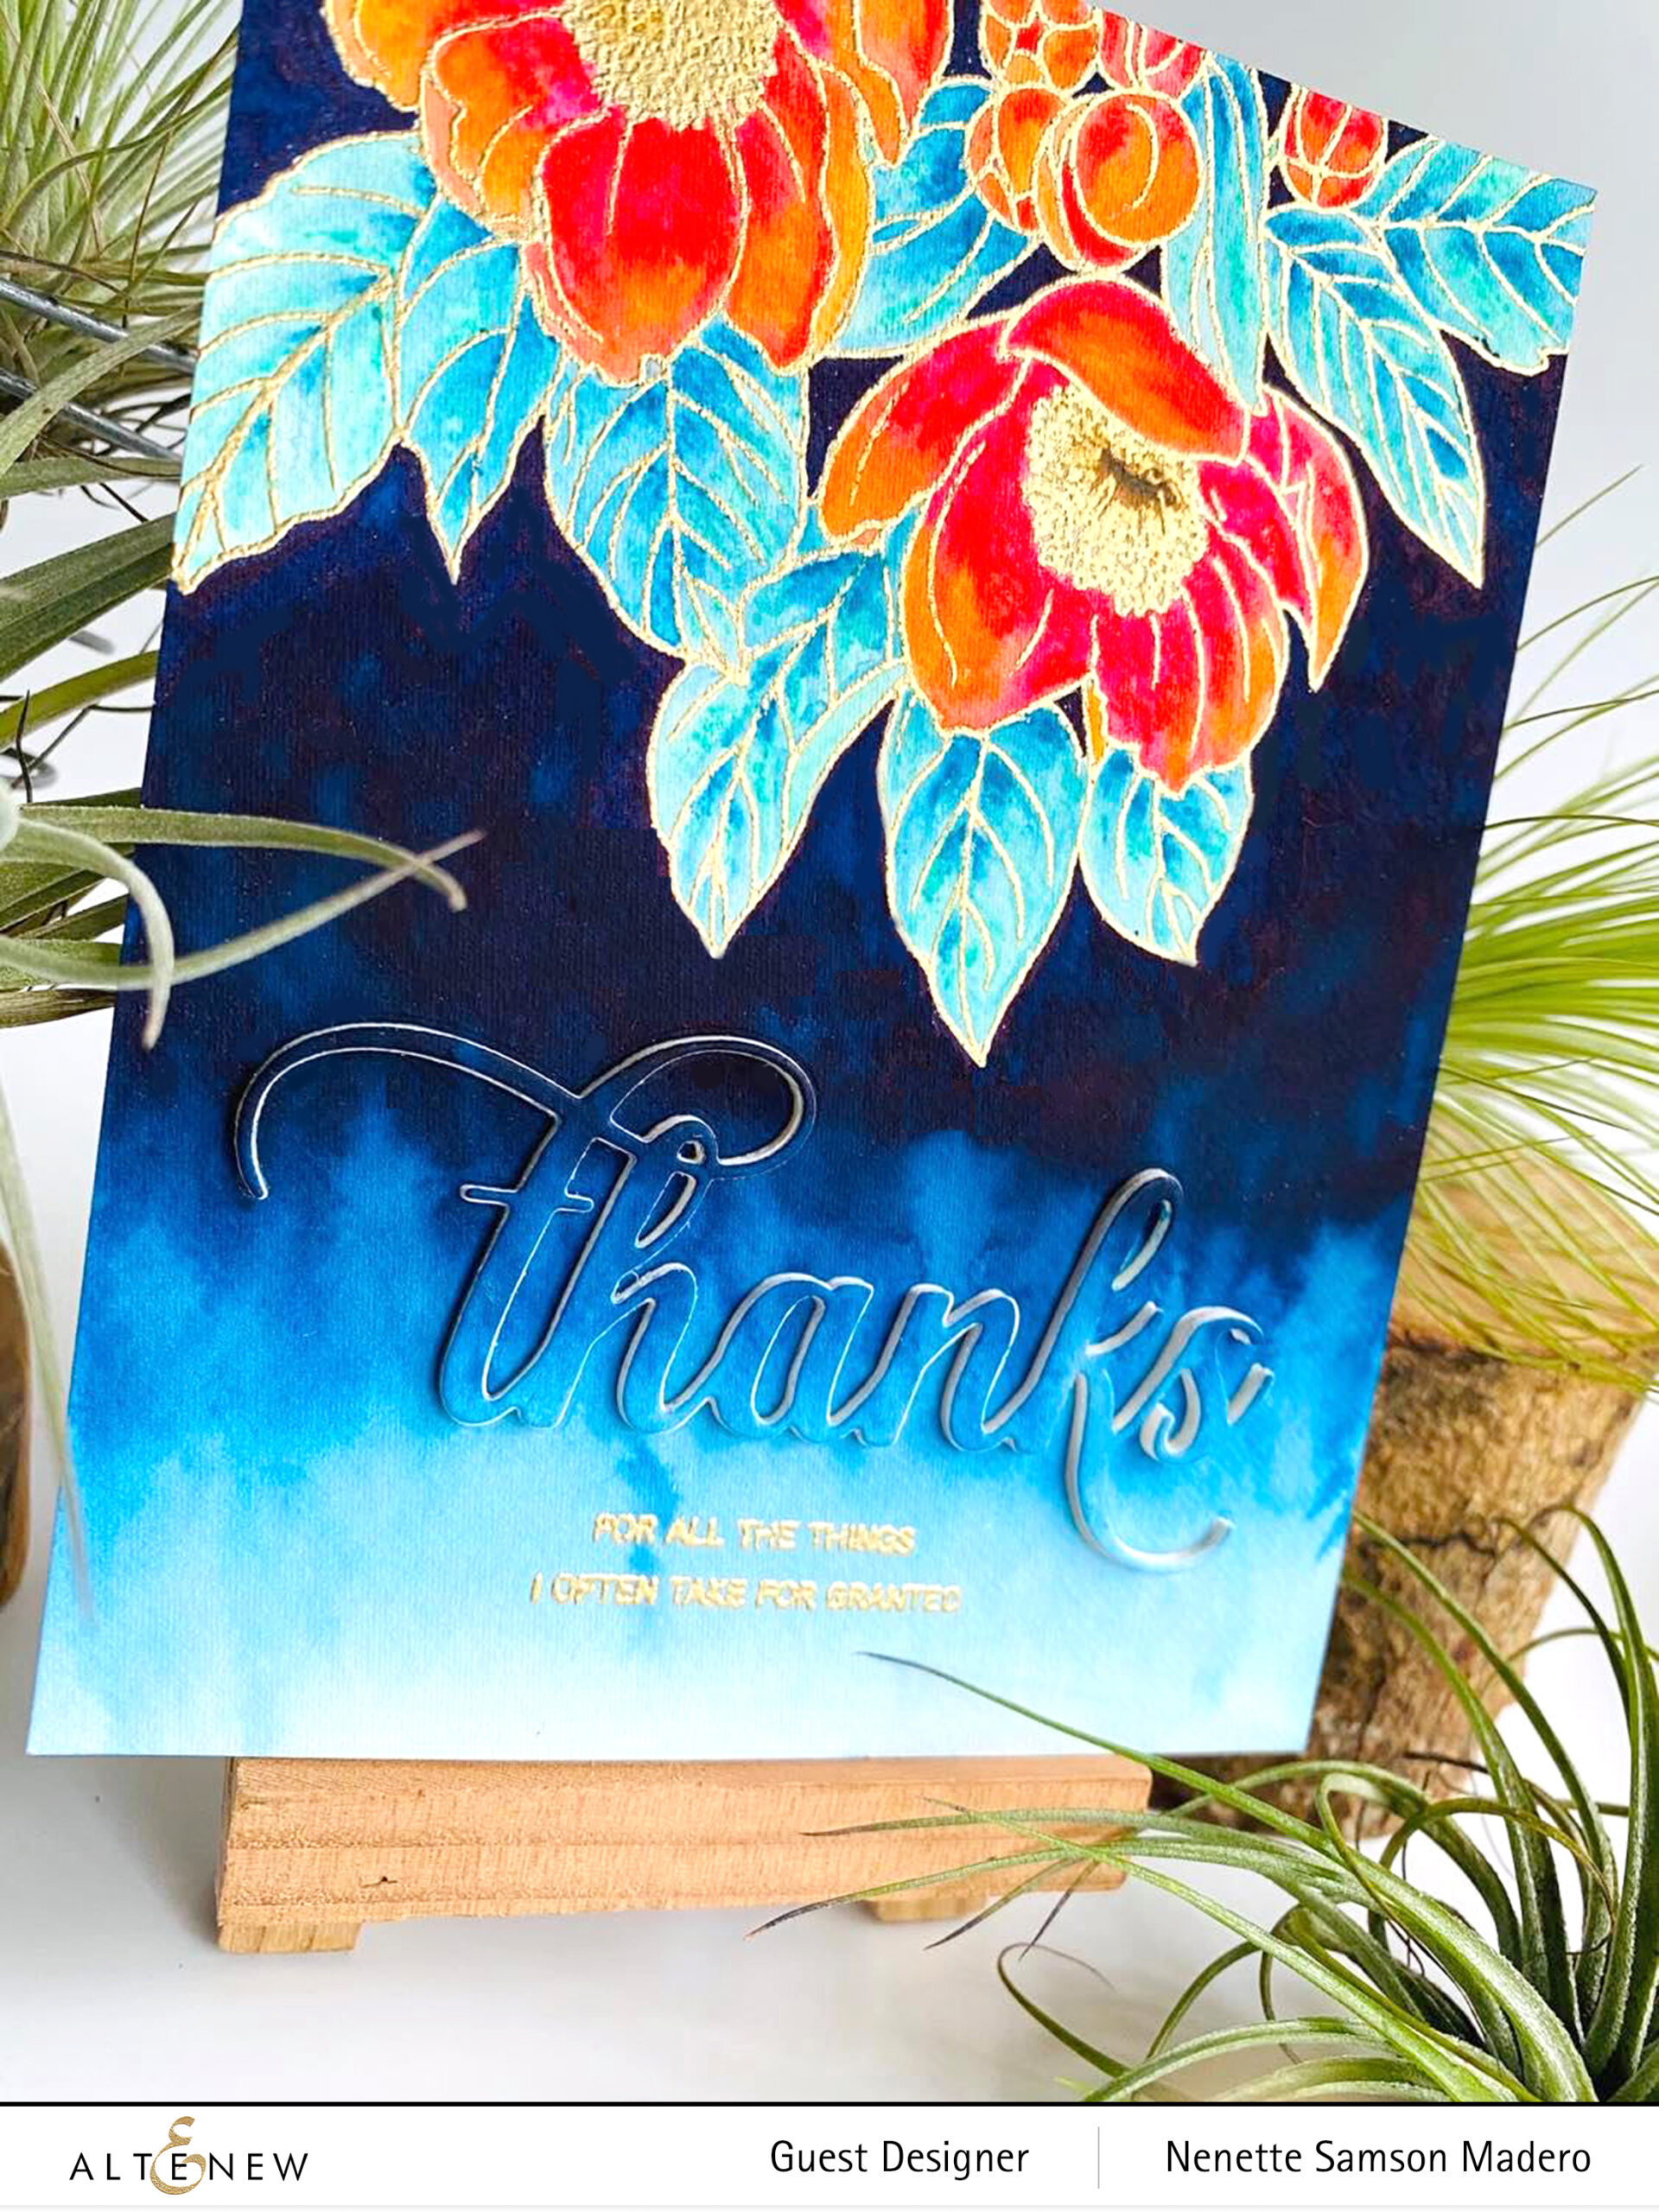
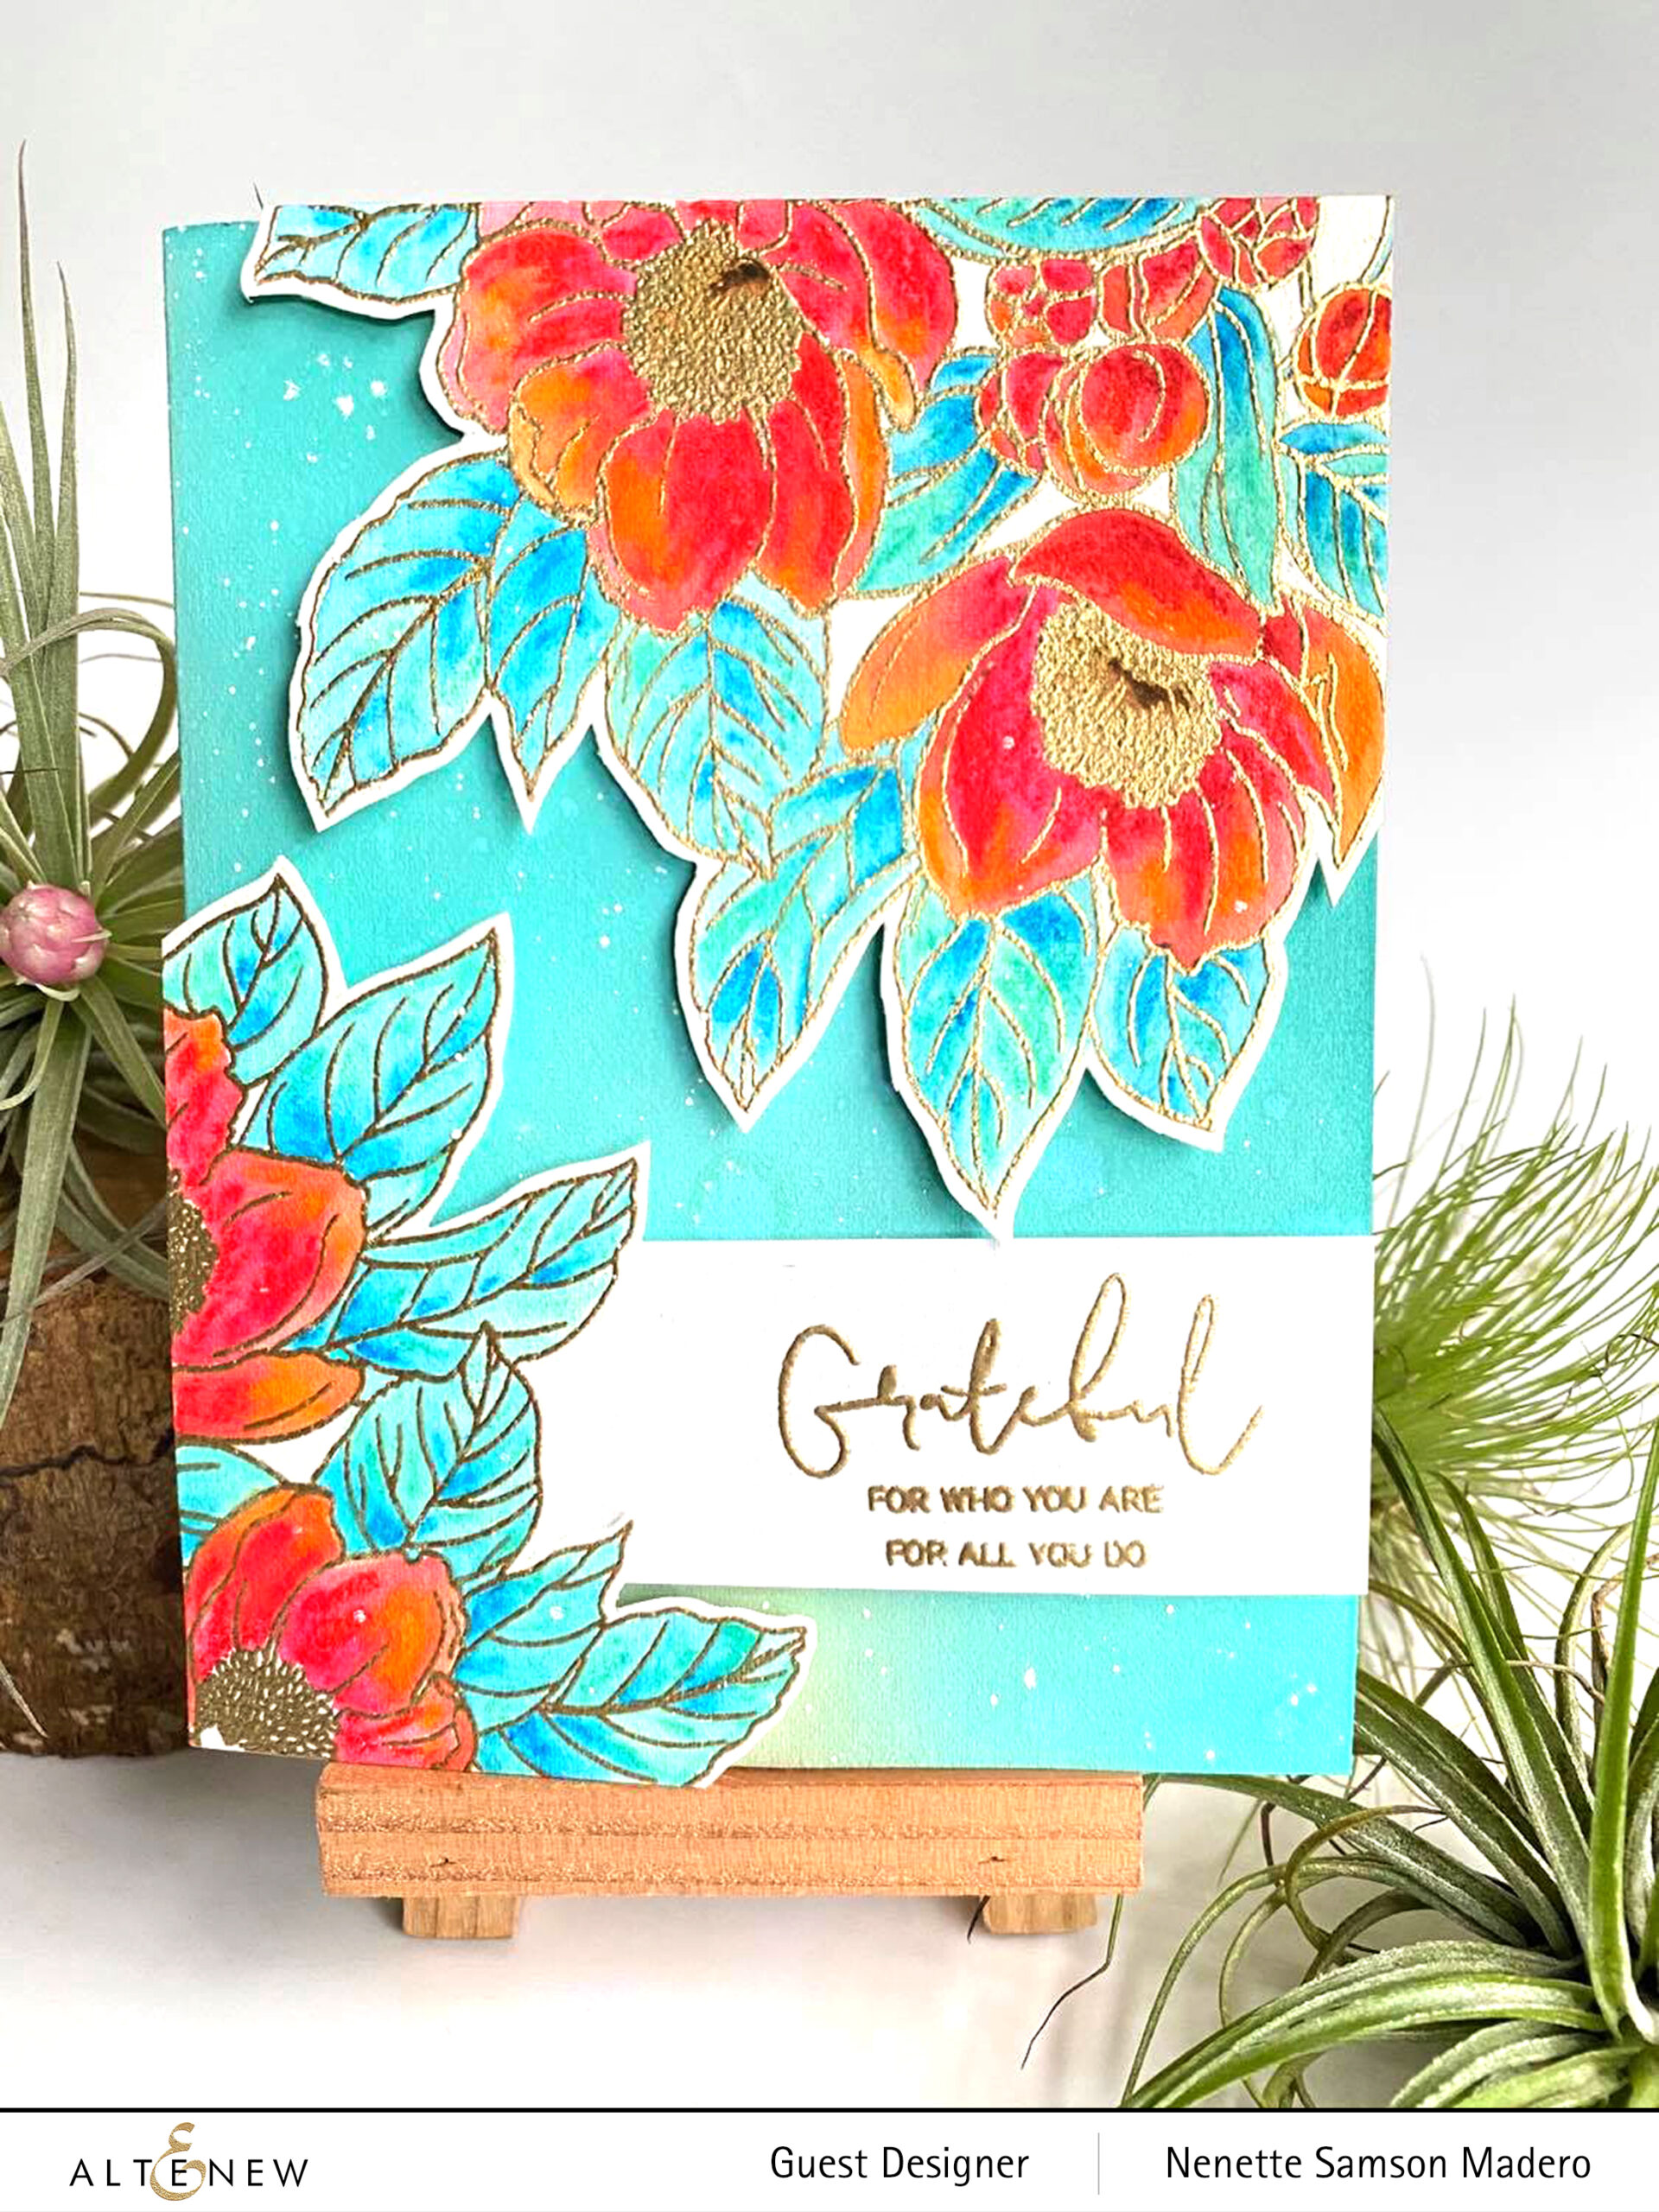
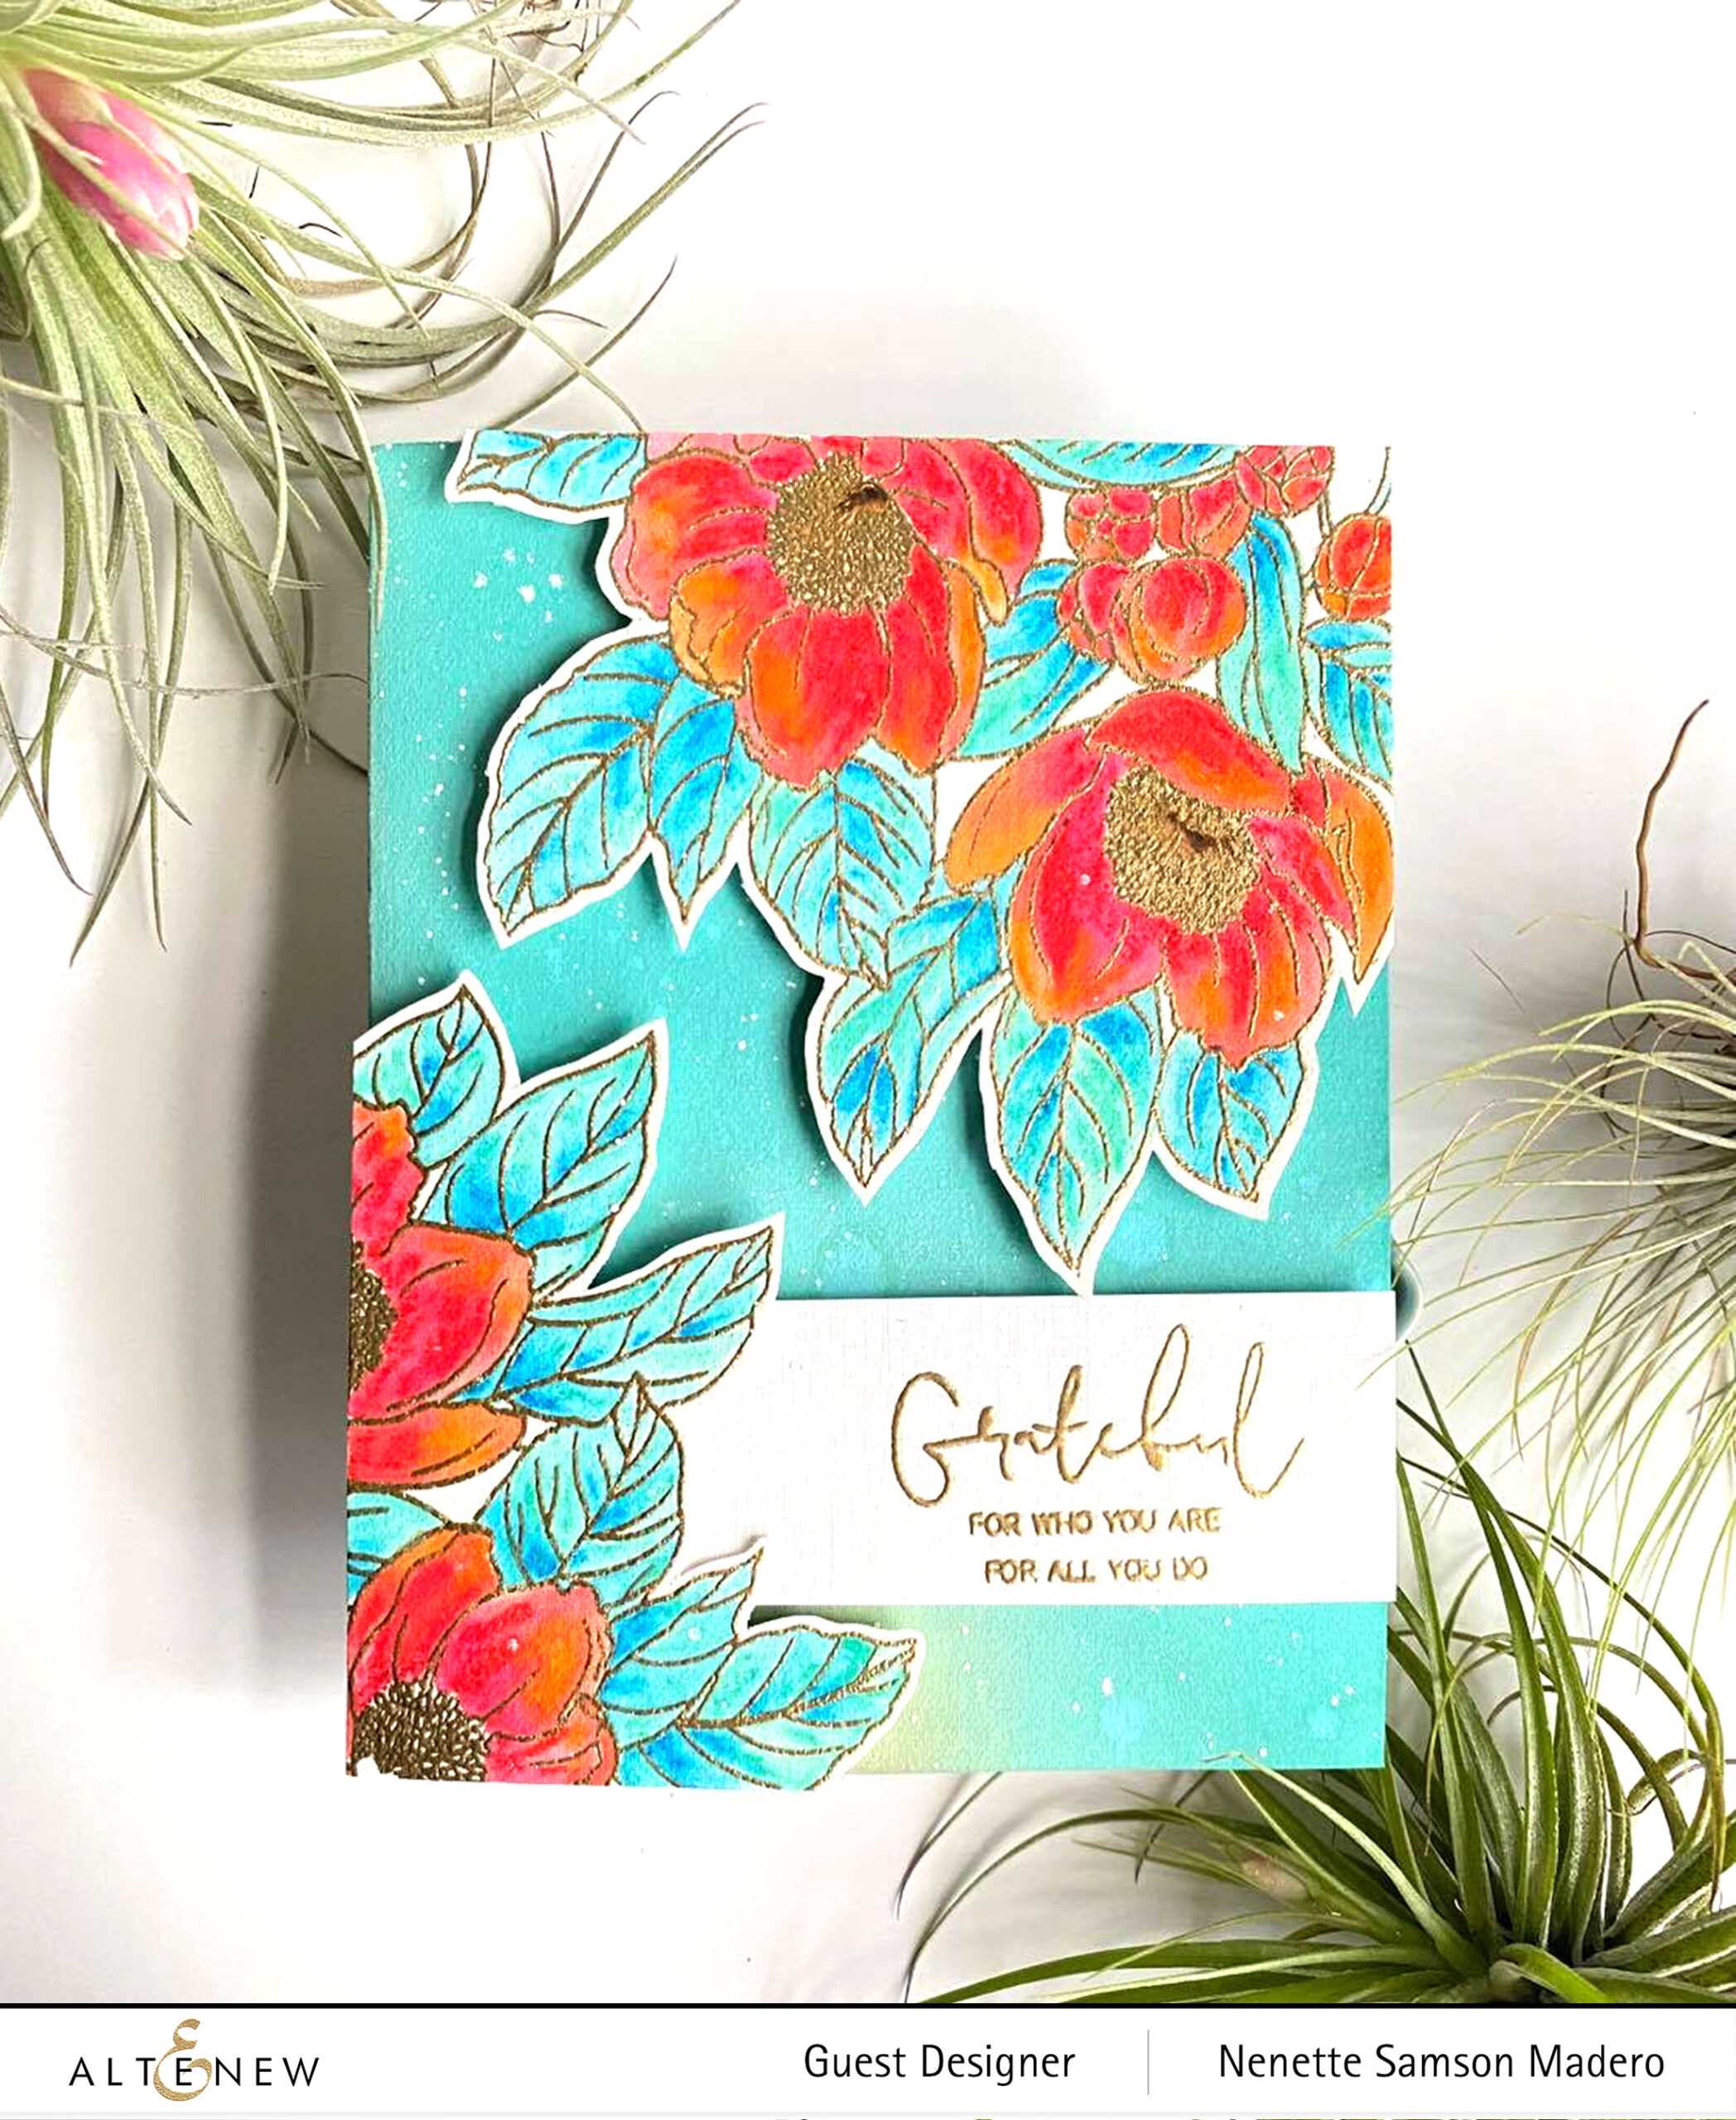
SO GRATEFUL/THANKS
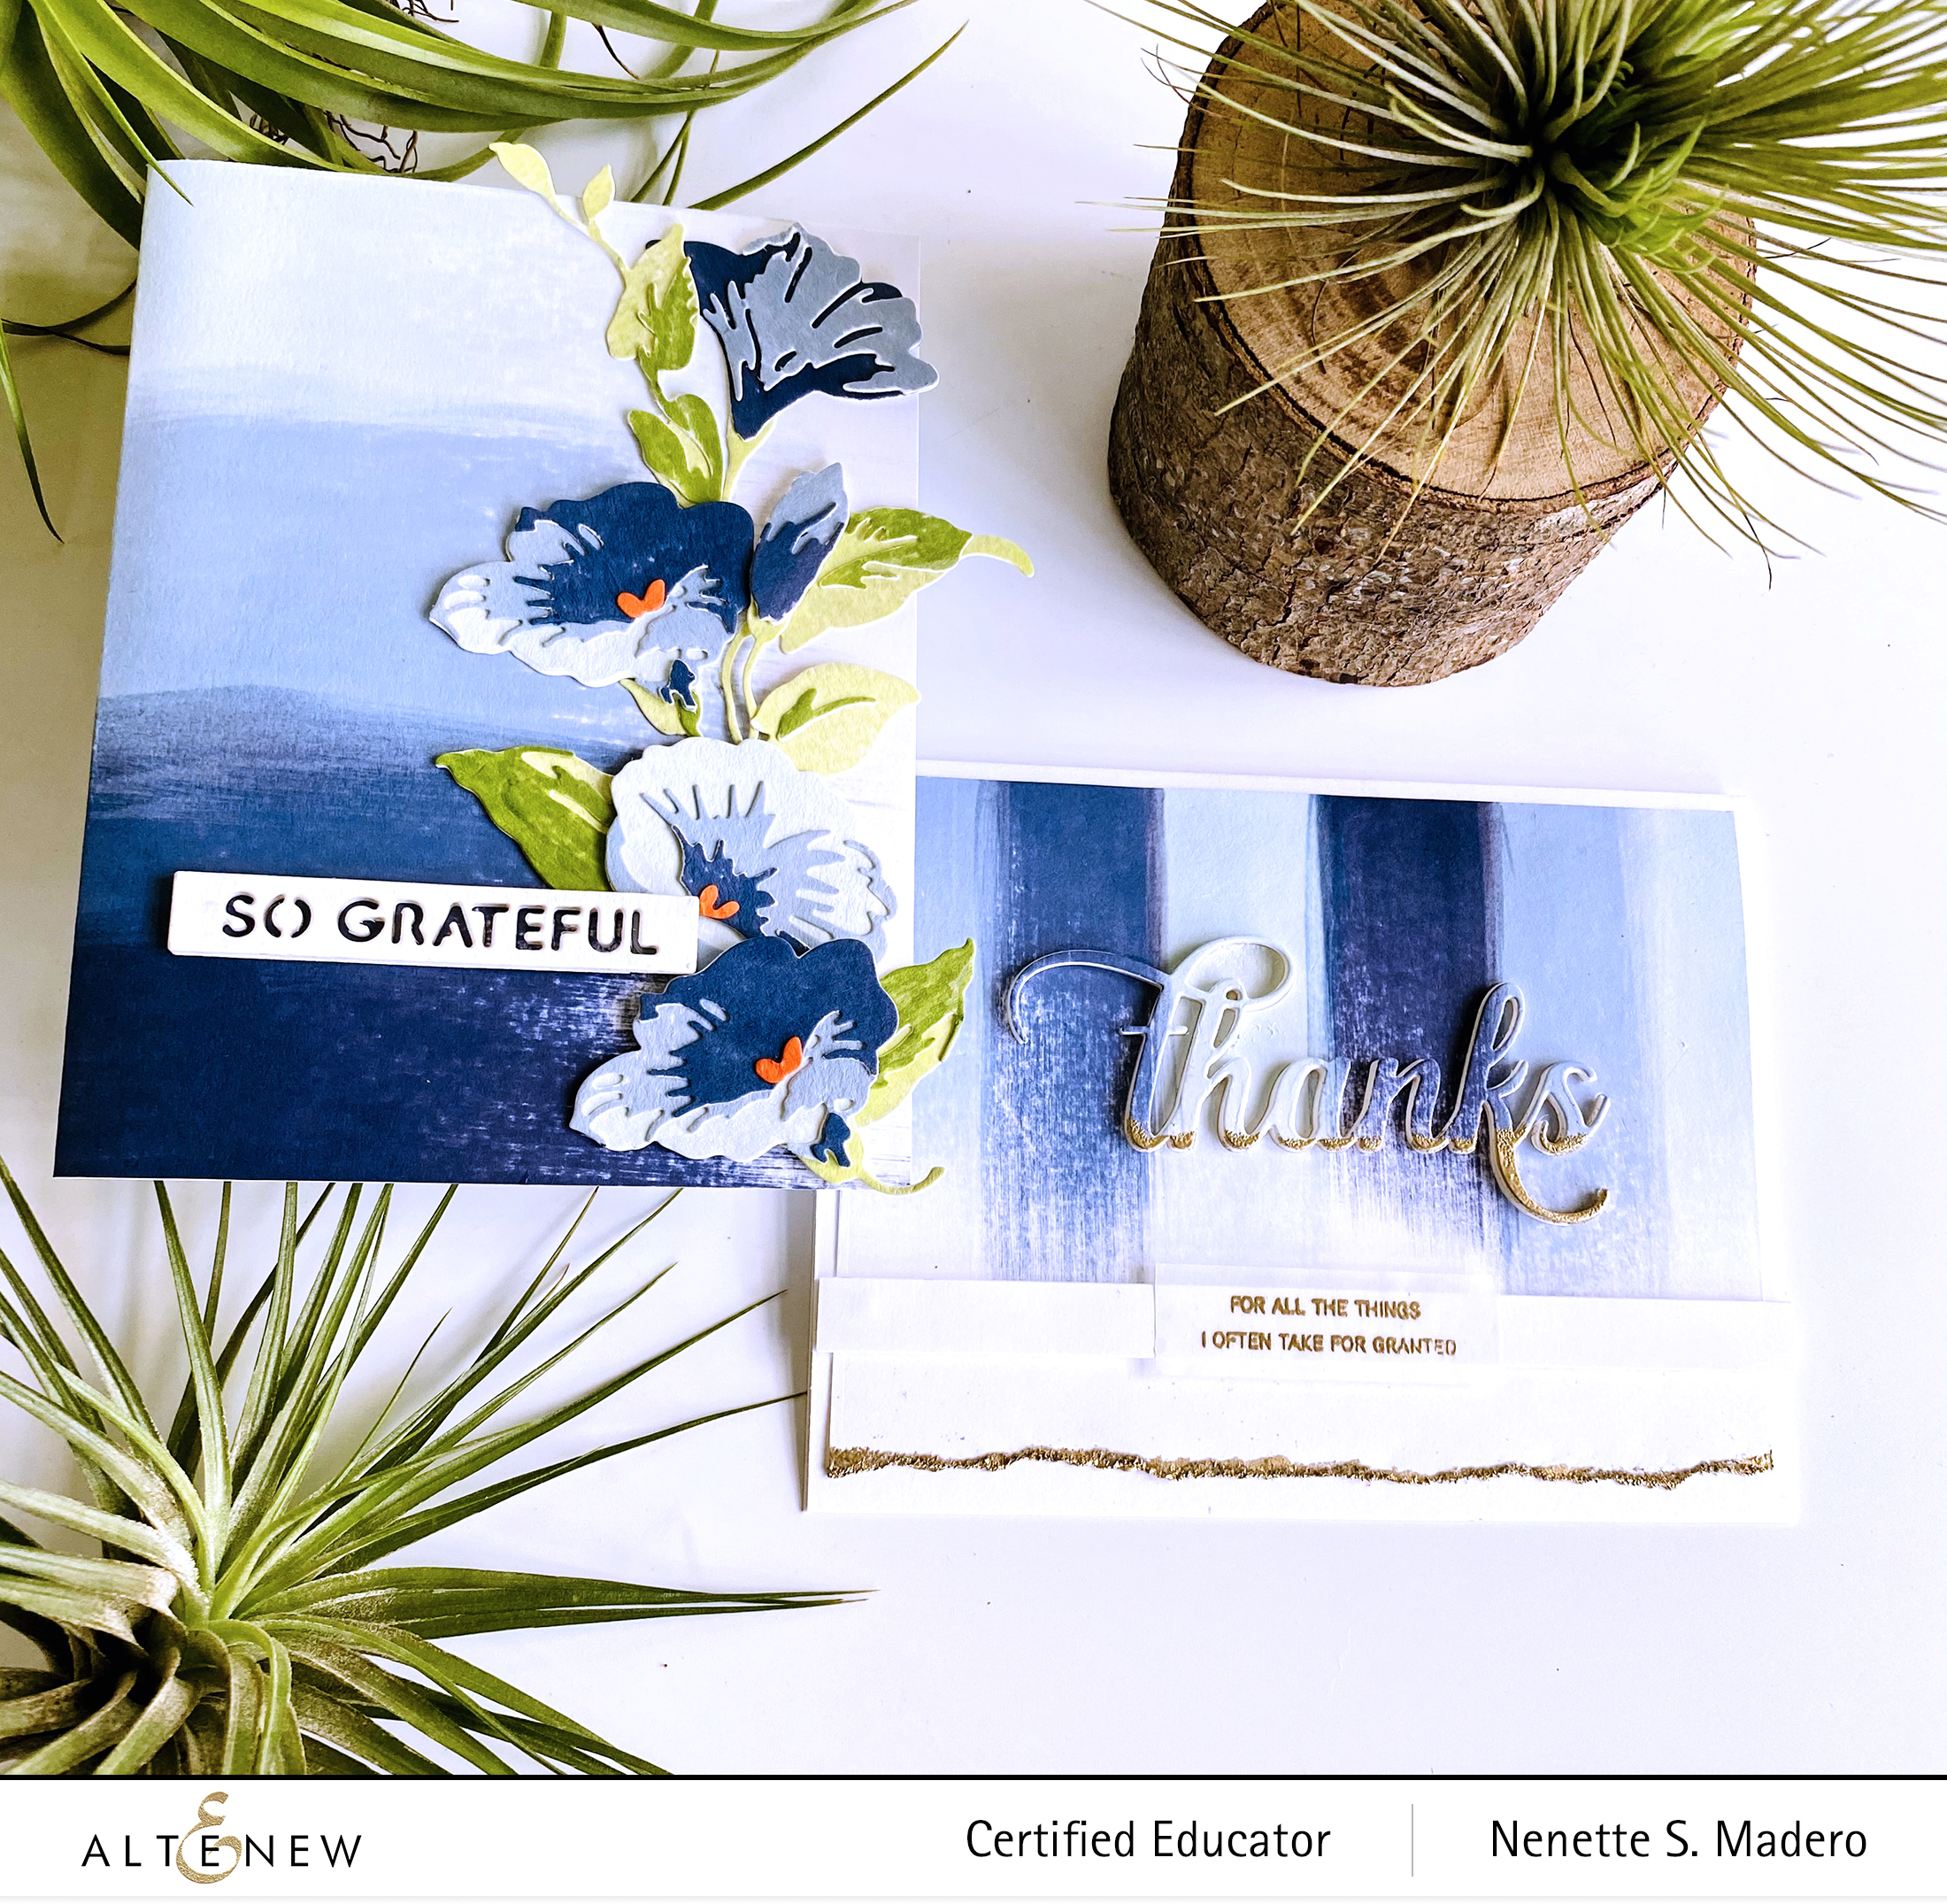
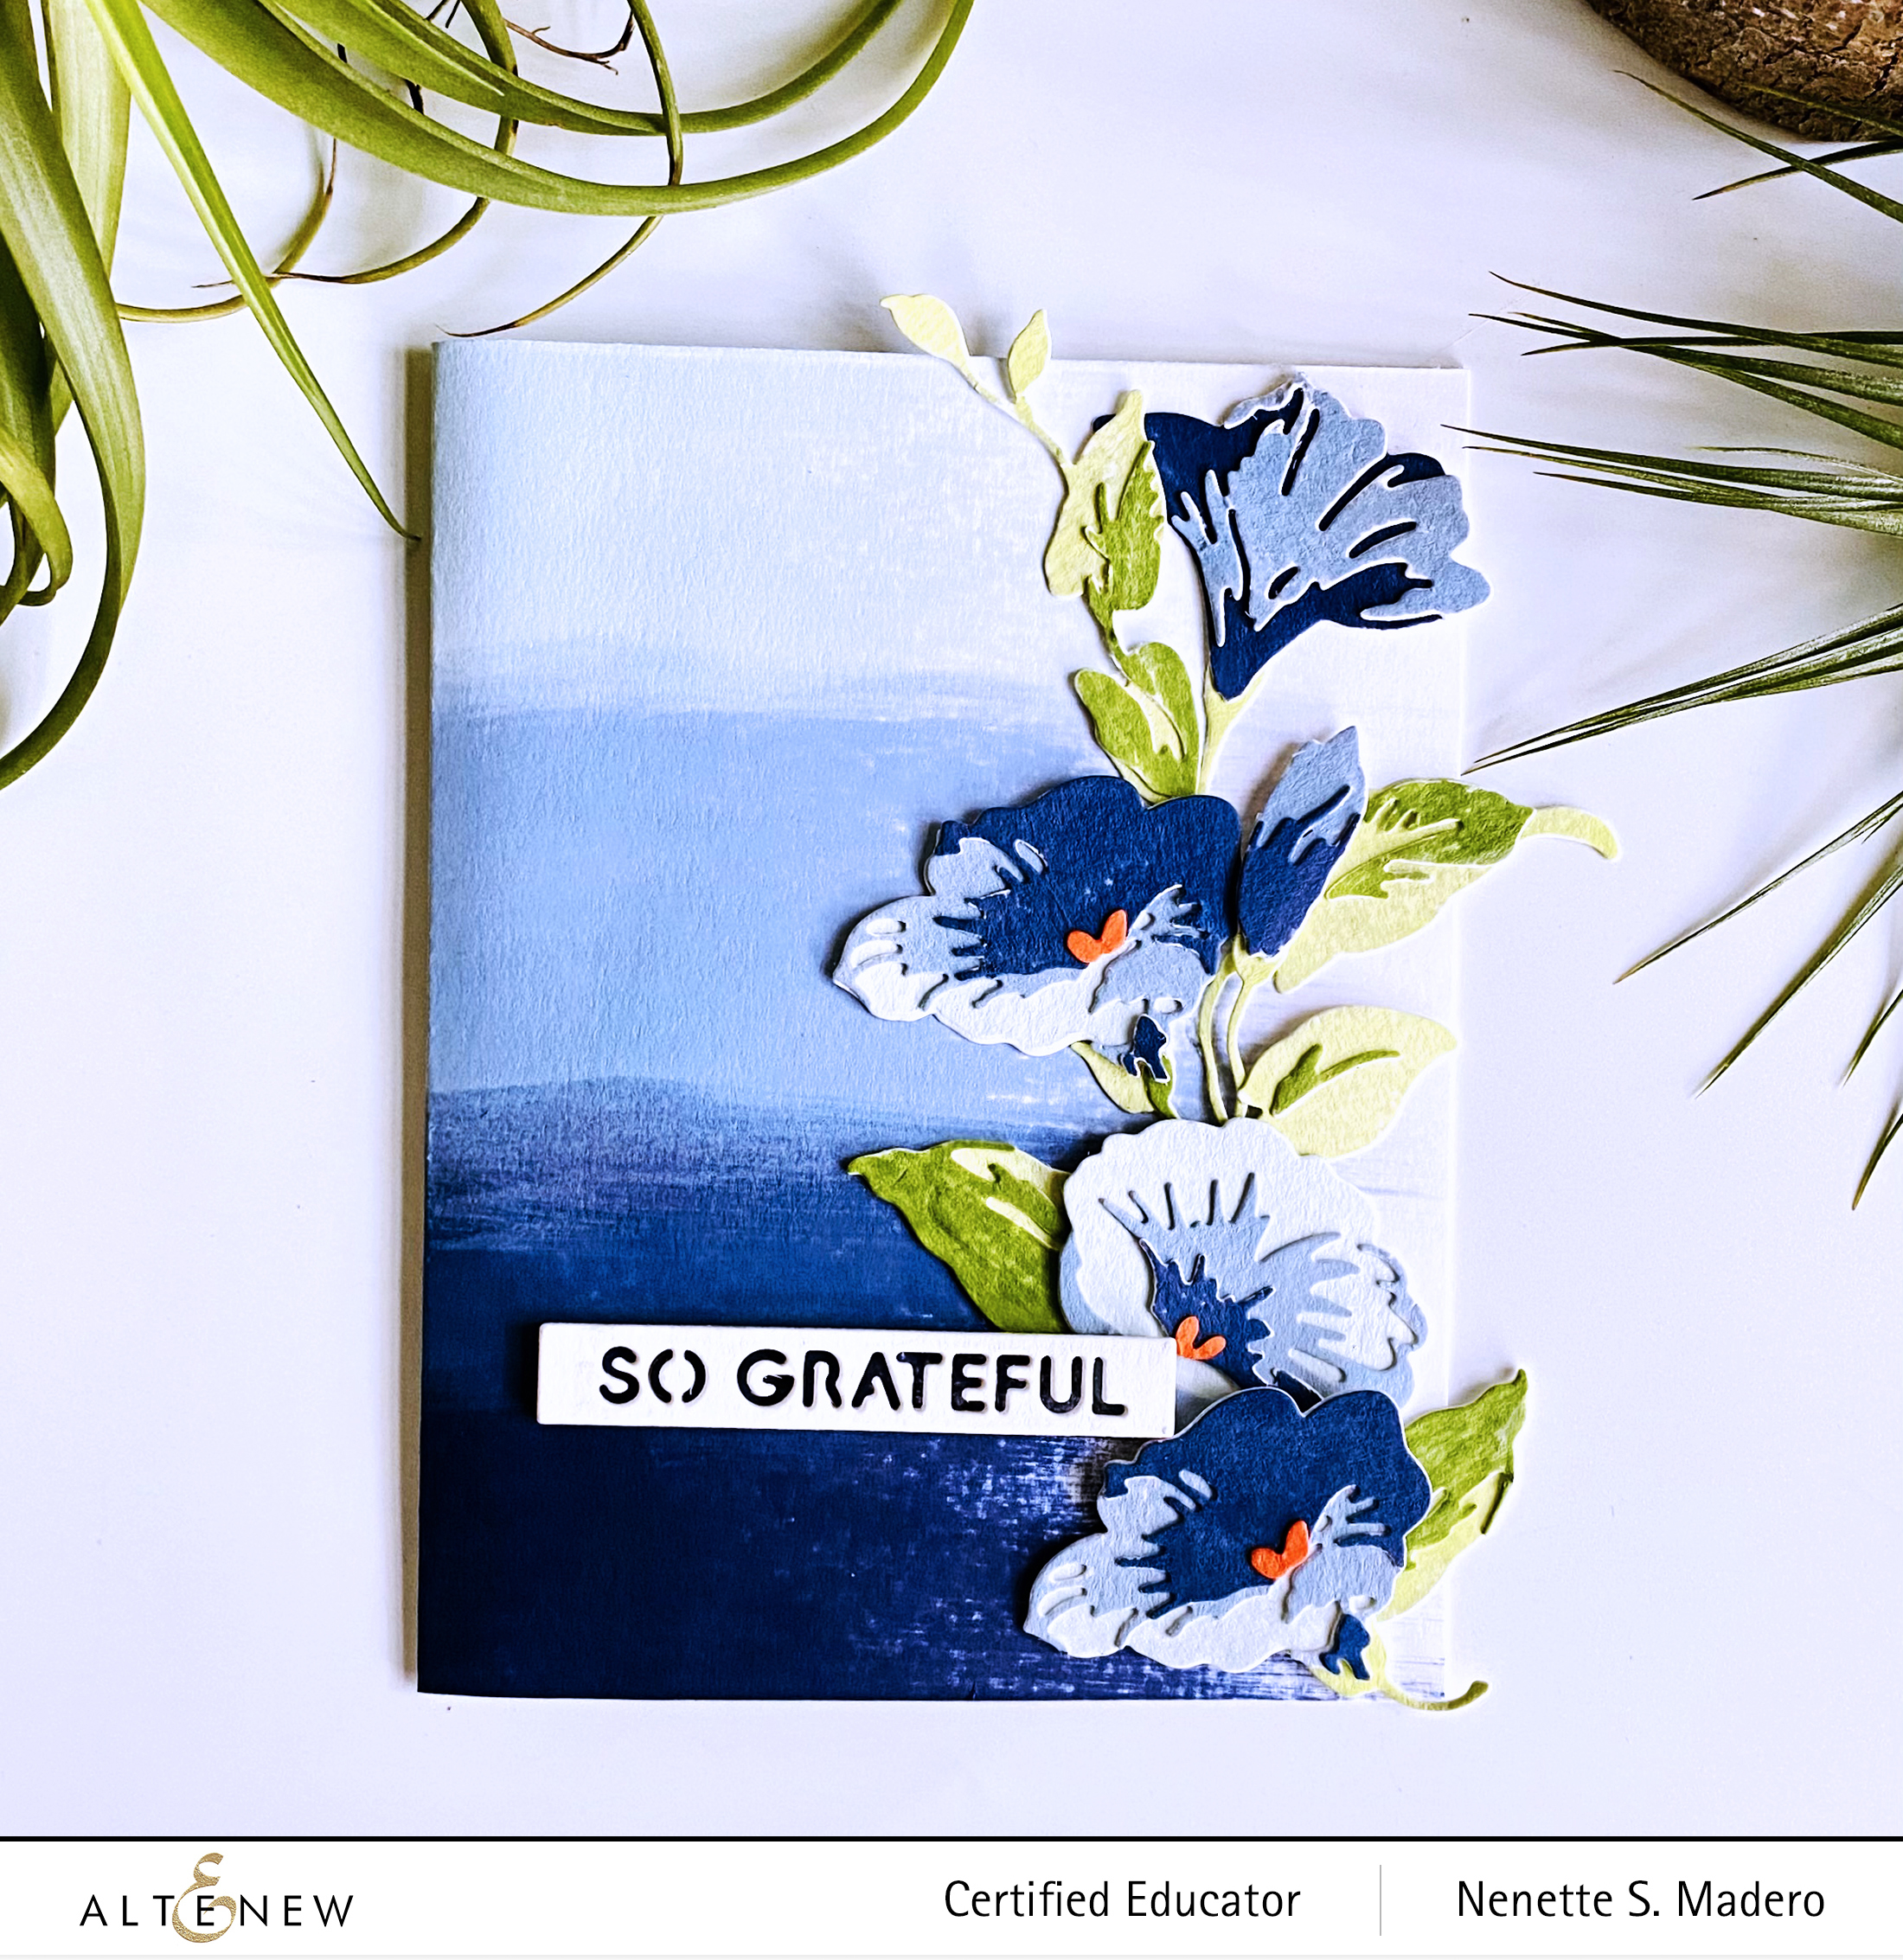
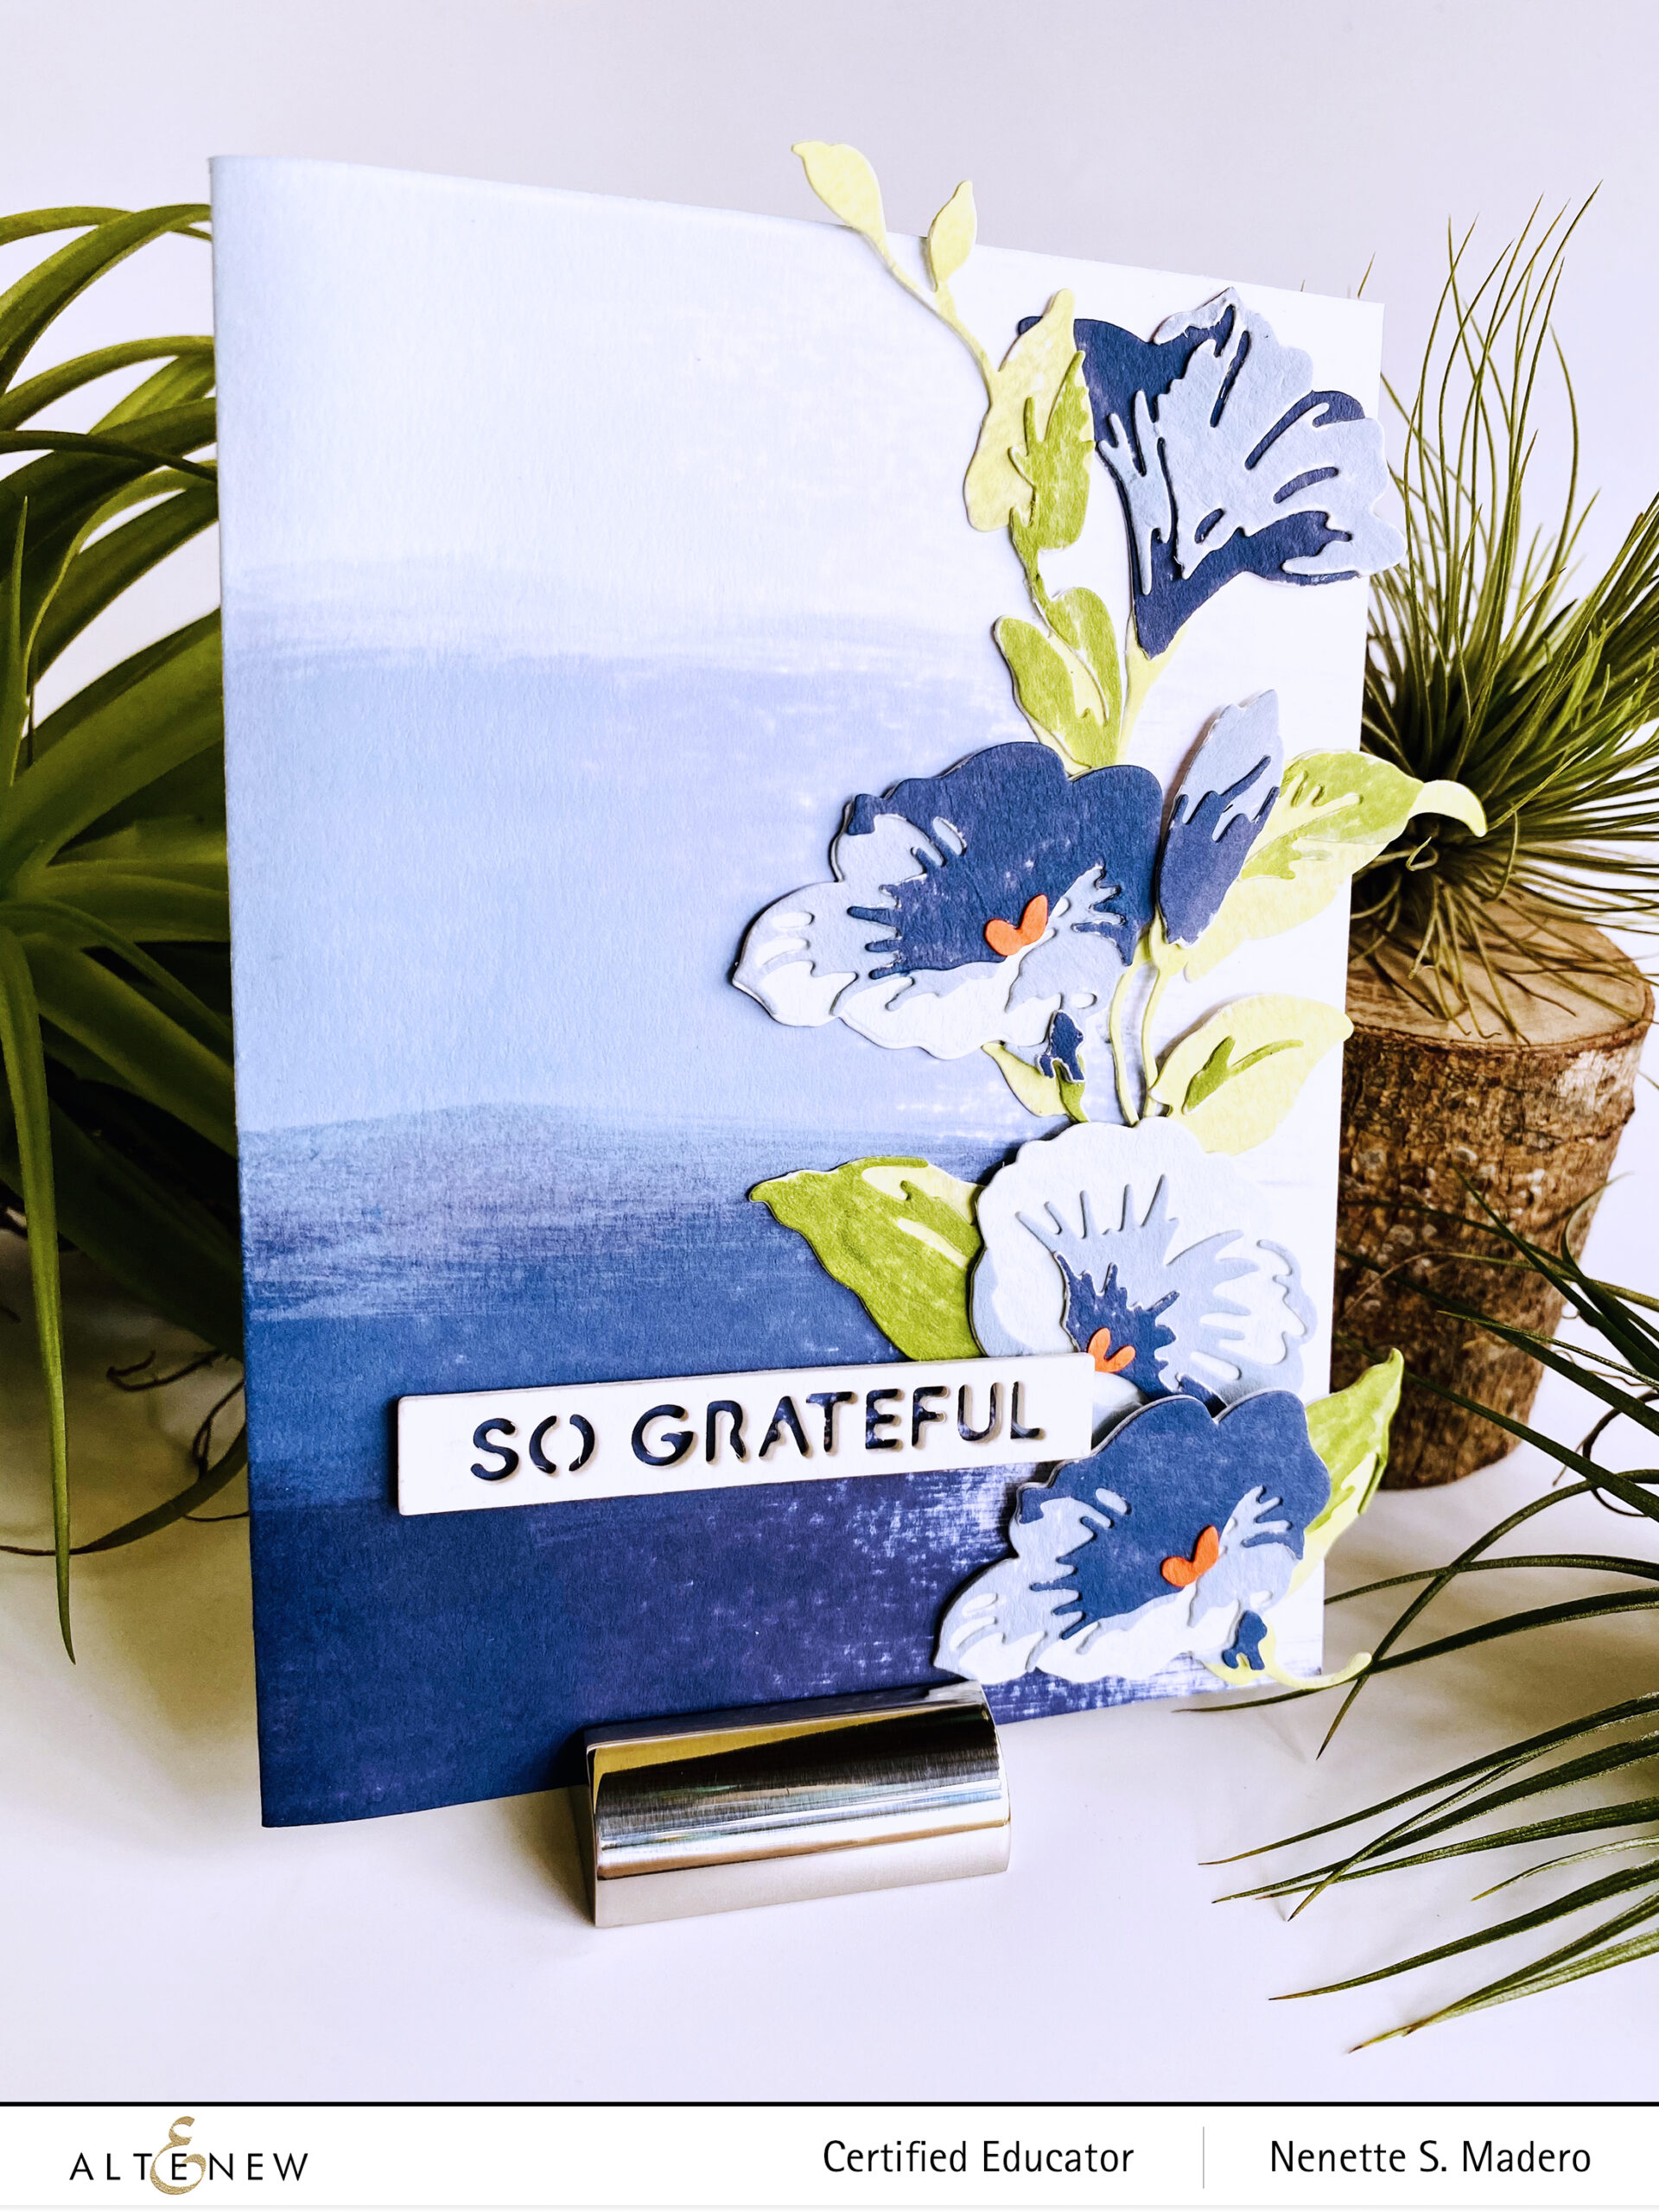
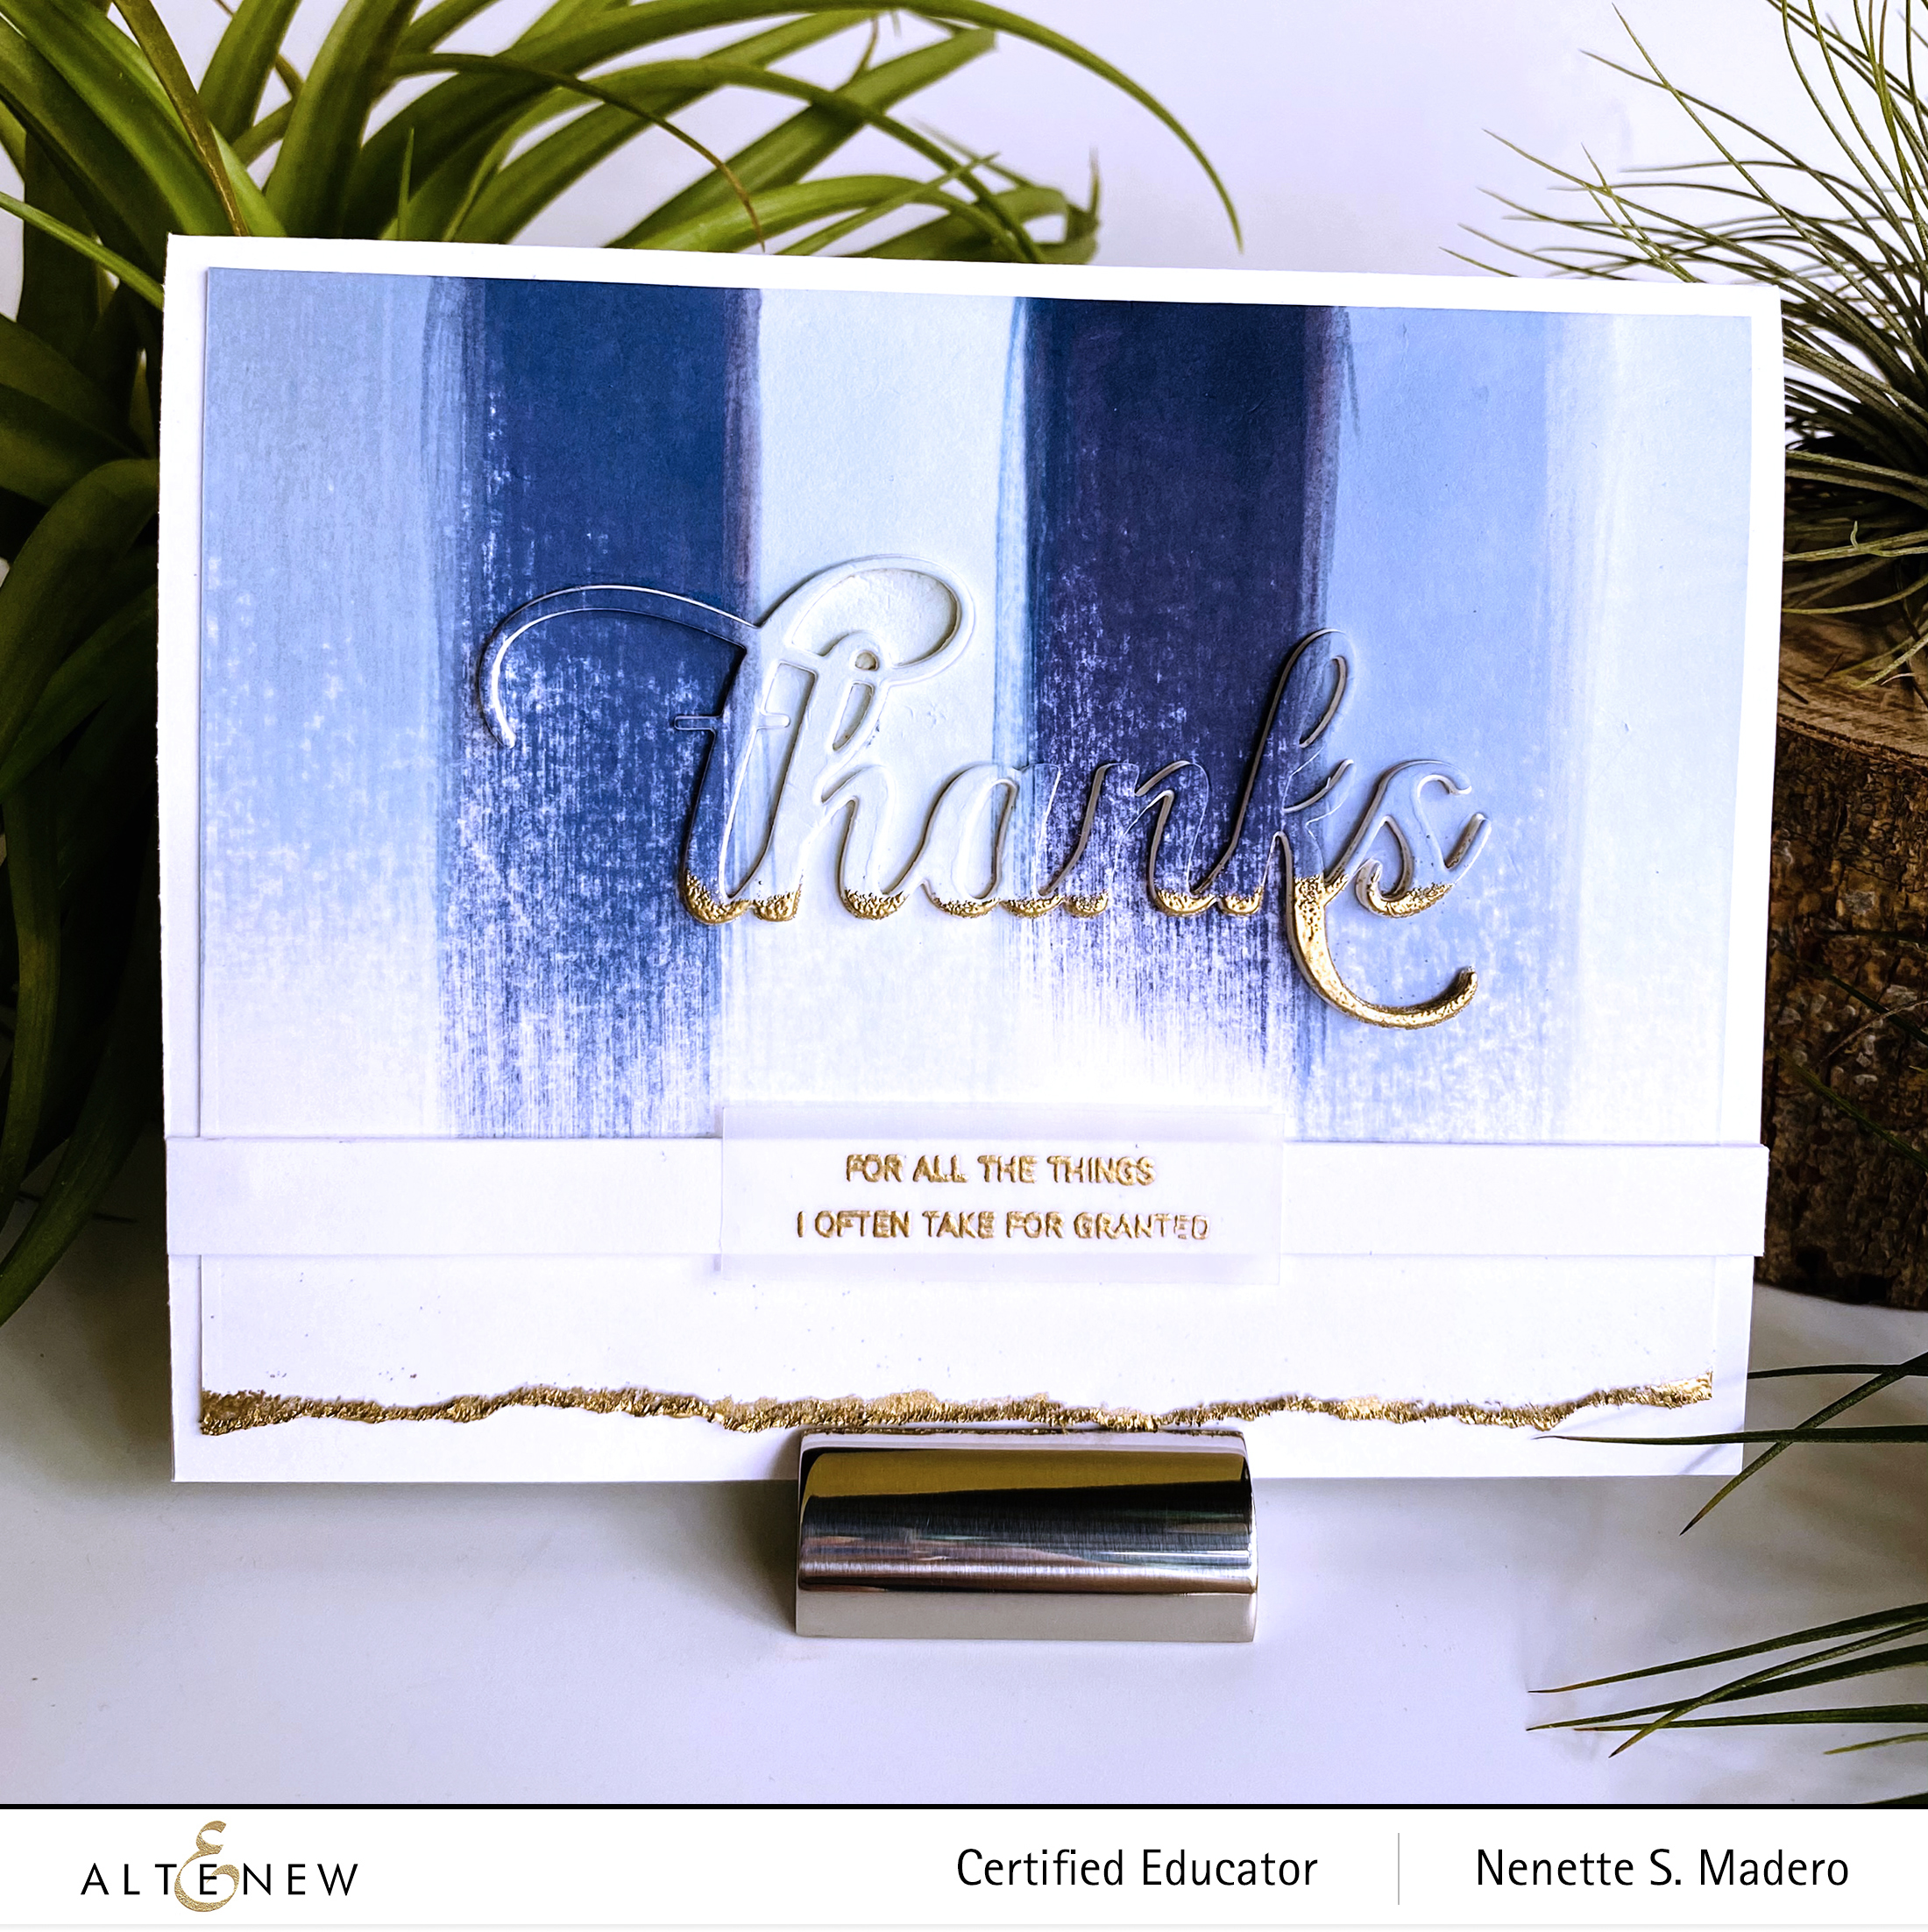
Here is the 3rd set of cards. I recently got the latest set of the Northern Shore mini dye inks and wanted to test the colors so I swiped the ink cube onto white cardstock. I loved the look so I went ahead and created these cards. 🙂 No colored cardstock to match the inks? No problem! Make your own colored cardstock using the ink cubes!
MATERIALS:
- DIE: ALTENEW CRAFT-A-FLOWER: MORNING GLORY DIE, ESSENTIAL SENTIMENT STRIPS DIE
- INKS: NORTHERN SHORE DYE INK SET, FRAYED LEAF, FOREST GLADES, AUTUMN BLAZE
- ARTIST MARKERS: G702 AND G715
- PAPER: NEENAH SOLAR WHITE CS, TEXTURED CARDSTOCK
- 0THERS: FOAM SQUARES, TOMBOW MONO MULTI LIQUID GLUE
STEPS:
- For the card base, swipe the mini ink cubes directly onto Neenah Solar white cardstock. Make sure they overlap and leave some white space.
- Die cut the Morning Glory die using textured cardstock and color using the ink cubes to match the background.
- Color the leaves using artist markers.
- Assemble the card using foam squares and adhesive.
ADDITIONAL MATERIALS:
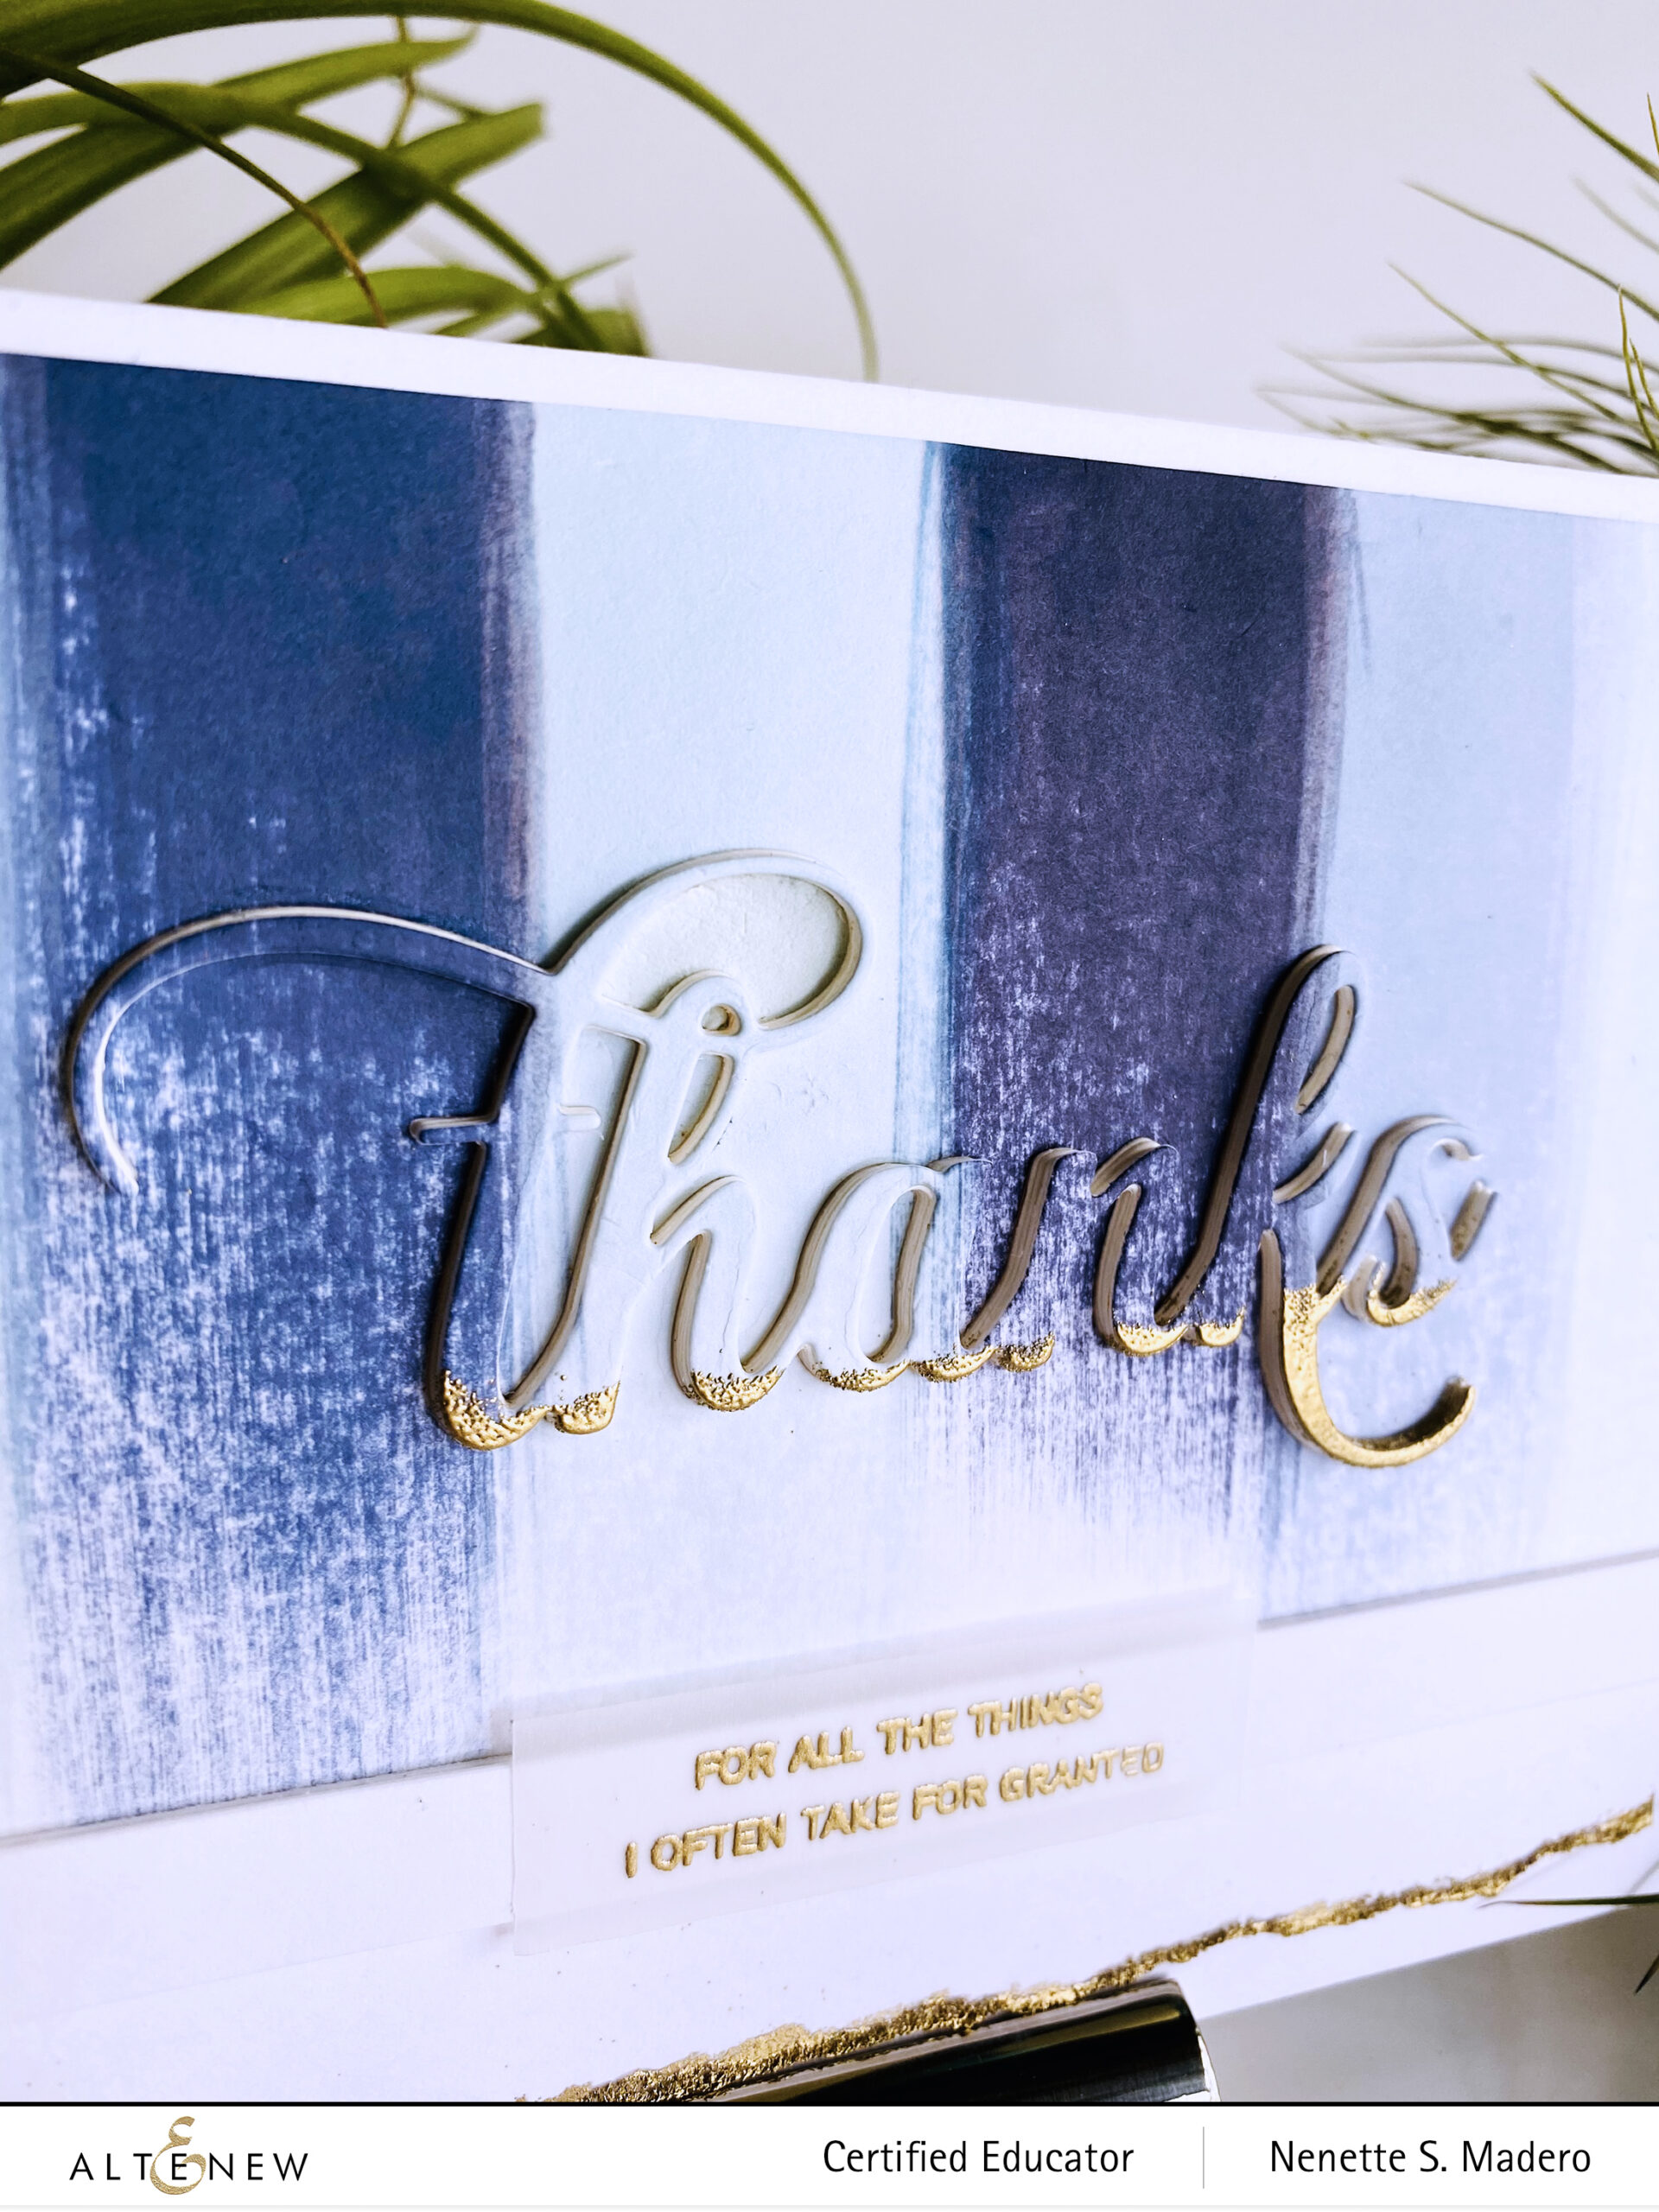
FANCY THANKS DIE, PAINT-A-FLOWER: CALLA LILY FOR THE SENTIMENT, ROSE GOLD EMBOSSING POWDER, VERSAMARK INK, VELLUM
STEPS:
- Swipe the dye inks on Neenah Solar White cardstock to create some stripes. Leave about 1/4 of the bottom white.
- Tear the edge and emboss using Rose Gold embossing powder and Versamark Ink.
- Die cut the Thanks from the card front and from scrap paper then adhere on top of each other for added thickness to the diecut.
- Ink the base of the word with Versamark Ink and emboss using Rose Gold embossing powder.
- Stamp the sentiment on vellum using Versamark Ink and emboss with Rose Gold embossing powder.
- Cut strips of white paper and adhere on top of each other to create a border.
- Assemble the card.
Altenew is giving away a $20 gift certificate to 5 lucky winners! For a chance to win, please follow @altenewllc and @mylittleatticstudio and leave a comment on IG to get a chance to win!!!
Altenew will draw 5 random winners from the comments left on each stop of this Instagram hop and announce the winners on Altenew’s Educator Instagram hop post on 03/05/2021.
Head over to your NEXT STOP: Eva Bussom — @evabussom. Make sure you follow all the other educators’ IG to see the wonderful creations! Below is the complete list.
Hop List:

@altenewllc
@rotejas_magic
@kariavan
@taniaahmed
@crown_focus
@irishrosecreations
@treasuresinletters
@sandespoema
@_michelleomurray
@terismailbox
@channellingmarthaau
@yesvirginialu
@notableink
@teresakim16
@altenew_planner_girl
@craftylemur
@karens_mini
@handmadebytasha13
@everyday_expressions
@pixelmavensretreat
@handmadebyteris
@sevenscrafts
@bridgetcaseydesigns
@mylittleatticstudio <– YOU ARE HERE
@evabussom
@irenemcbeatle
@cardrefinery
@jaycee.gaspar
@mes_cartes_a_moi
@auzztrinkletsncrafts
@rosieneust
@paperaddictpam
@tenianelson
I hope you liked the cards I created for this IG hop. Thank you so much for dropping by!!! Please don’t forget to leave a comment in IG to get a chance to win a prize! Stay safe everyone and happy crafting! ❤️

P.S. I changed the format of my post. Please let me know if the bullet points for the steps are easier to follow than writing them in paragraph form. Thanks everyone <3

