Hi everyone! It has been a while since I’ve posted! The past month has been very busy preparing card kits for the participants. A total of 8 projects were prepared and we had to finish them within 4 hours. I think some of the participants were a little stressed out! 🙂 Below are the cards/tag that they made.
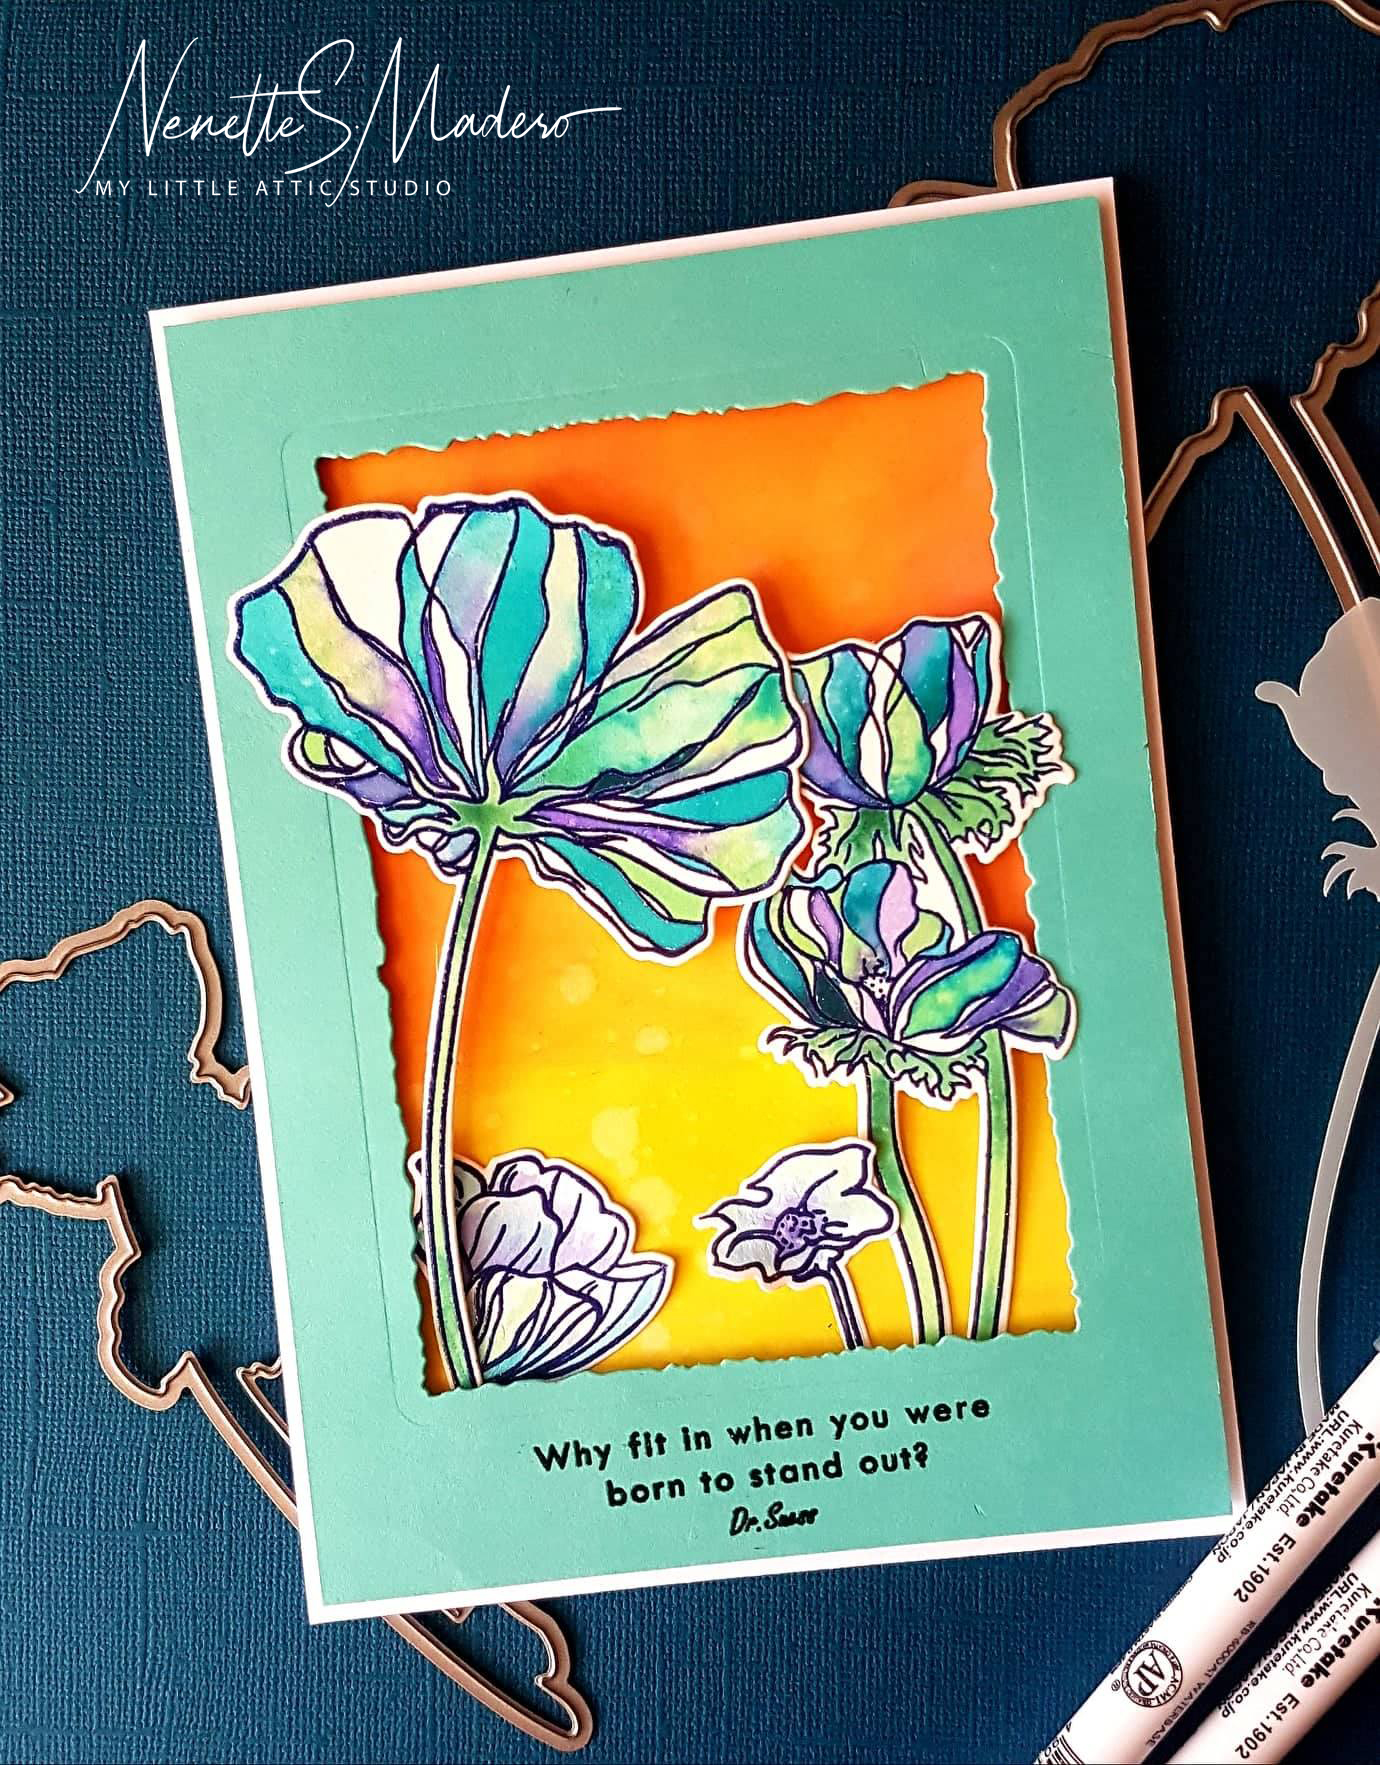
For the first card, the participants got to try out their own Wonderland stamp set and did stamping, embossing and die cutting of the flowers on watercolor paper. After that, they colored the petals using wet on wet technique and added some salt for more texture. The background was colored using distress oxide inks and splattered with water droplets.
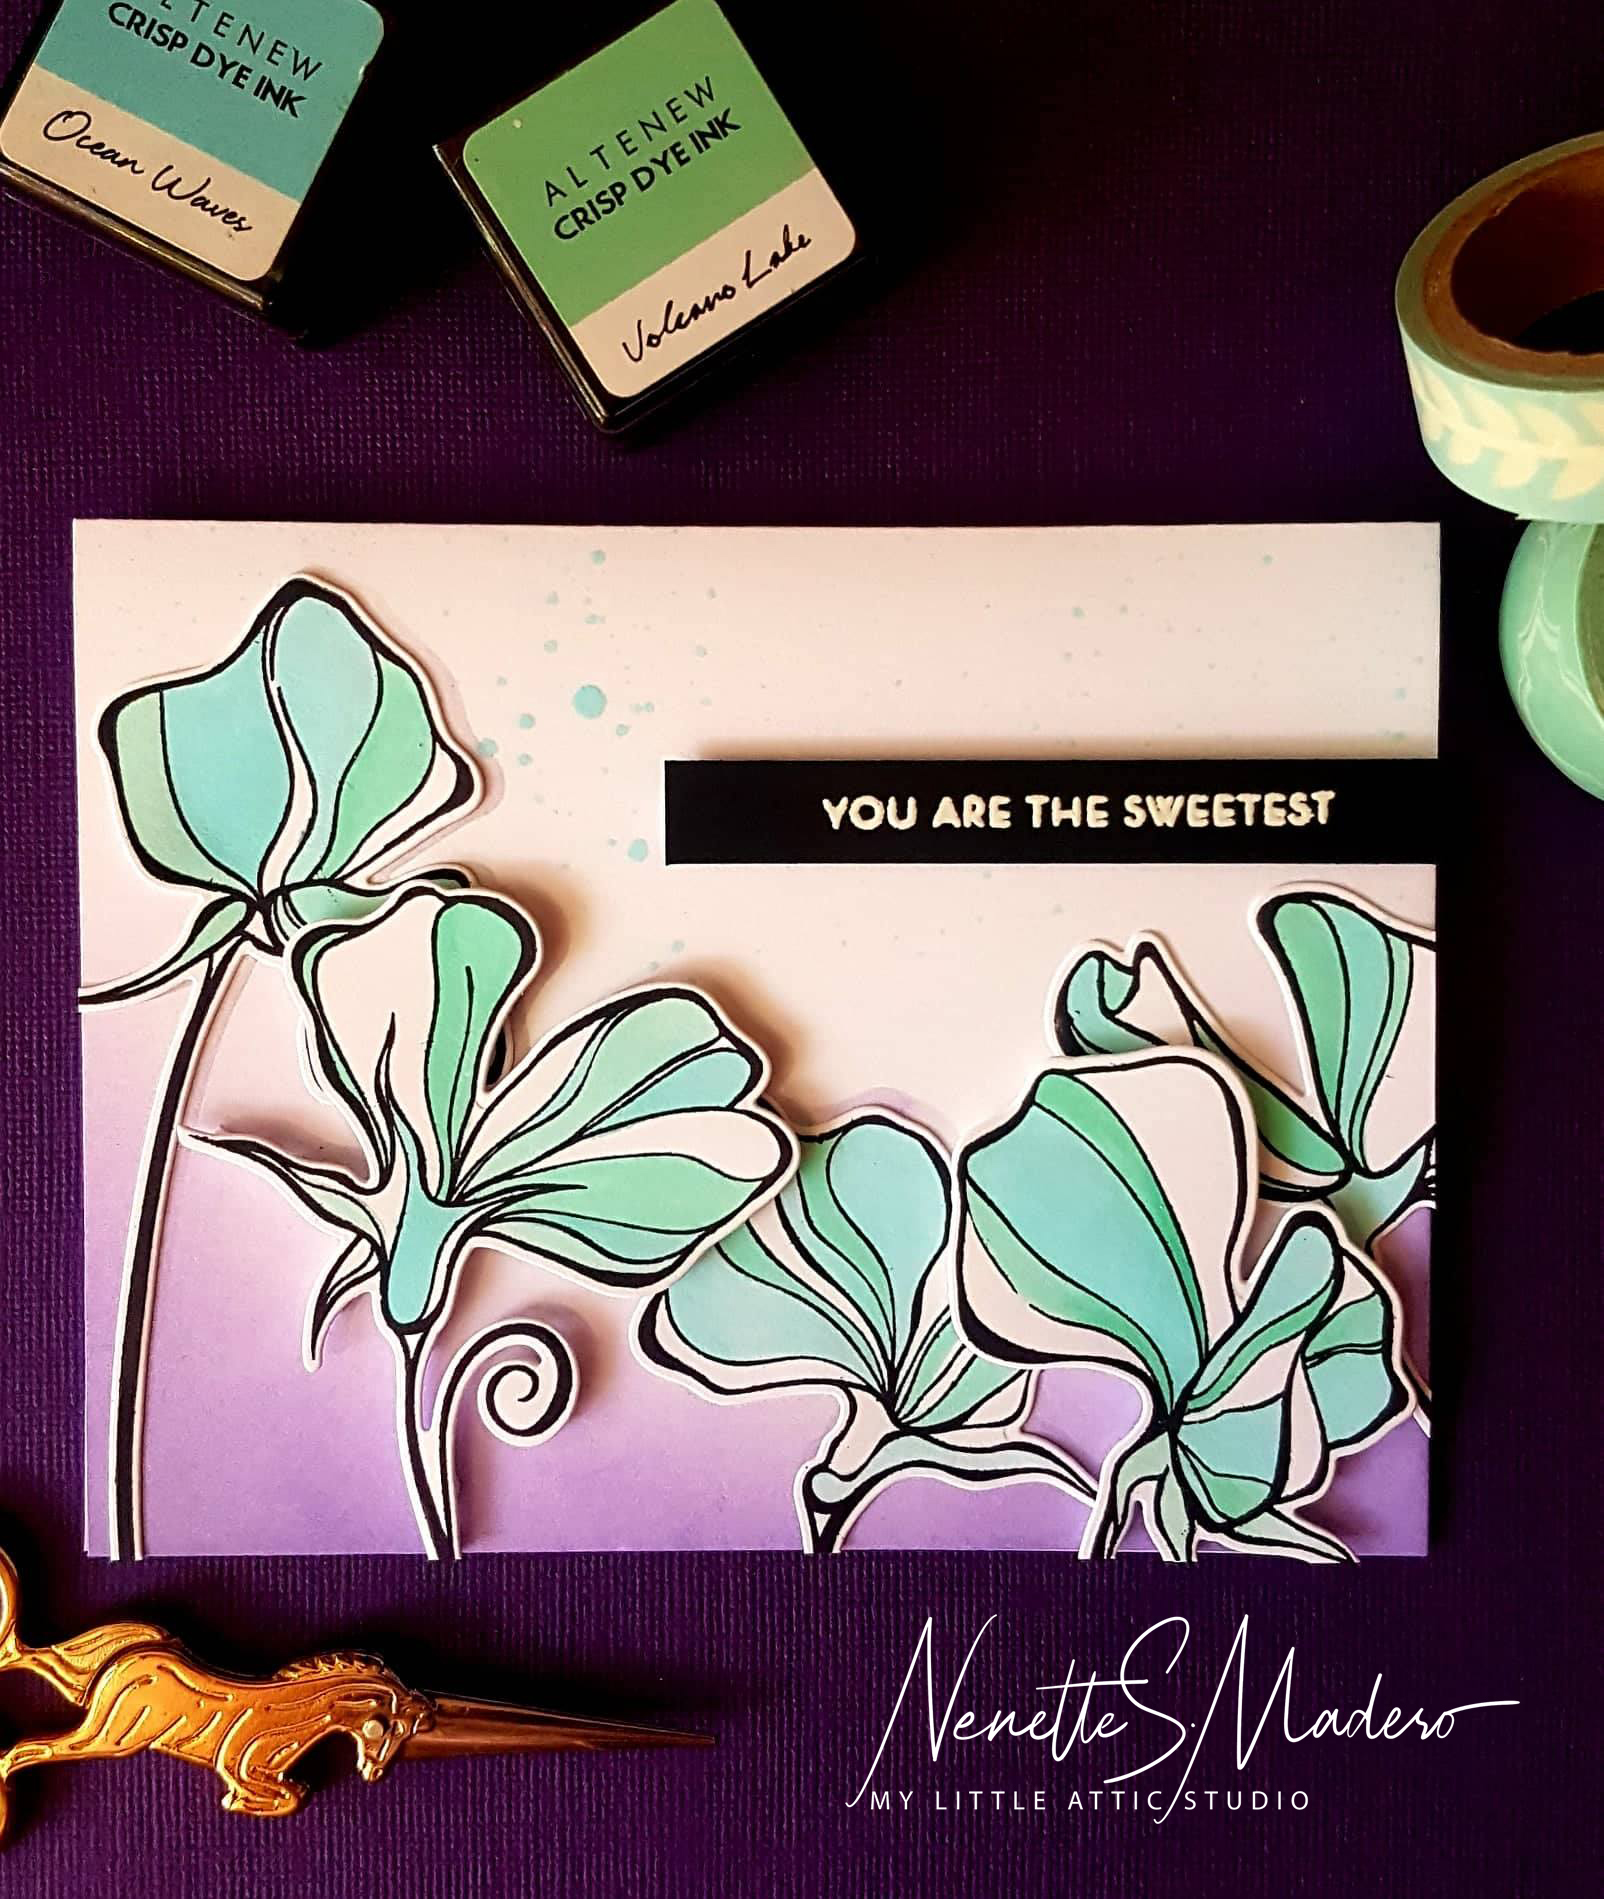
The next card was made using the Sweet Peas stamp set. This time, the participants got to use their masks to create shadows of the flowers. They used Zig clear color real brush pens to color in the petals. For this card, I used Altenew dye inks and was careful not to add too much water.
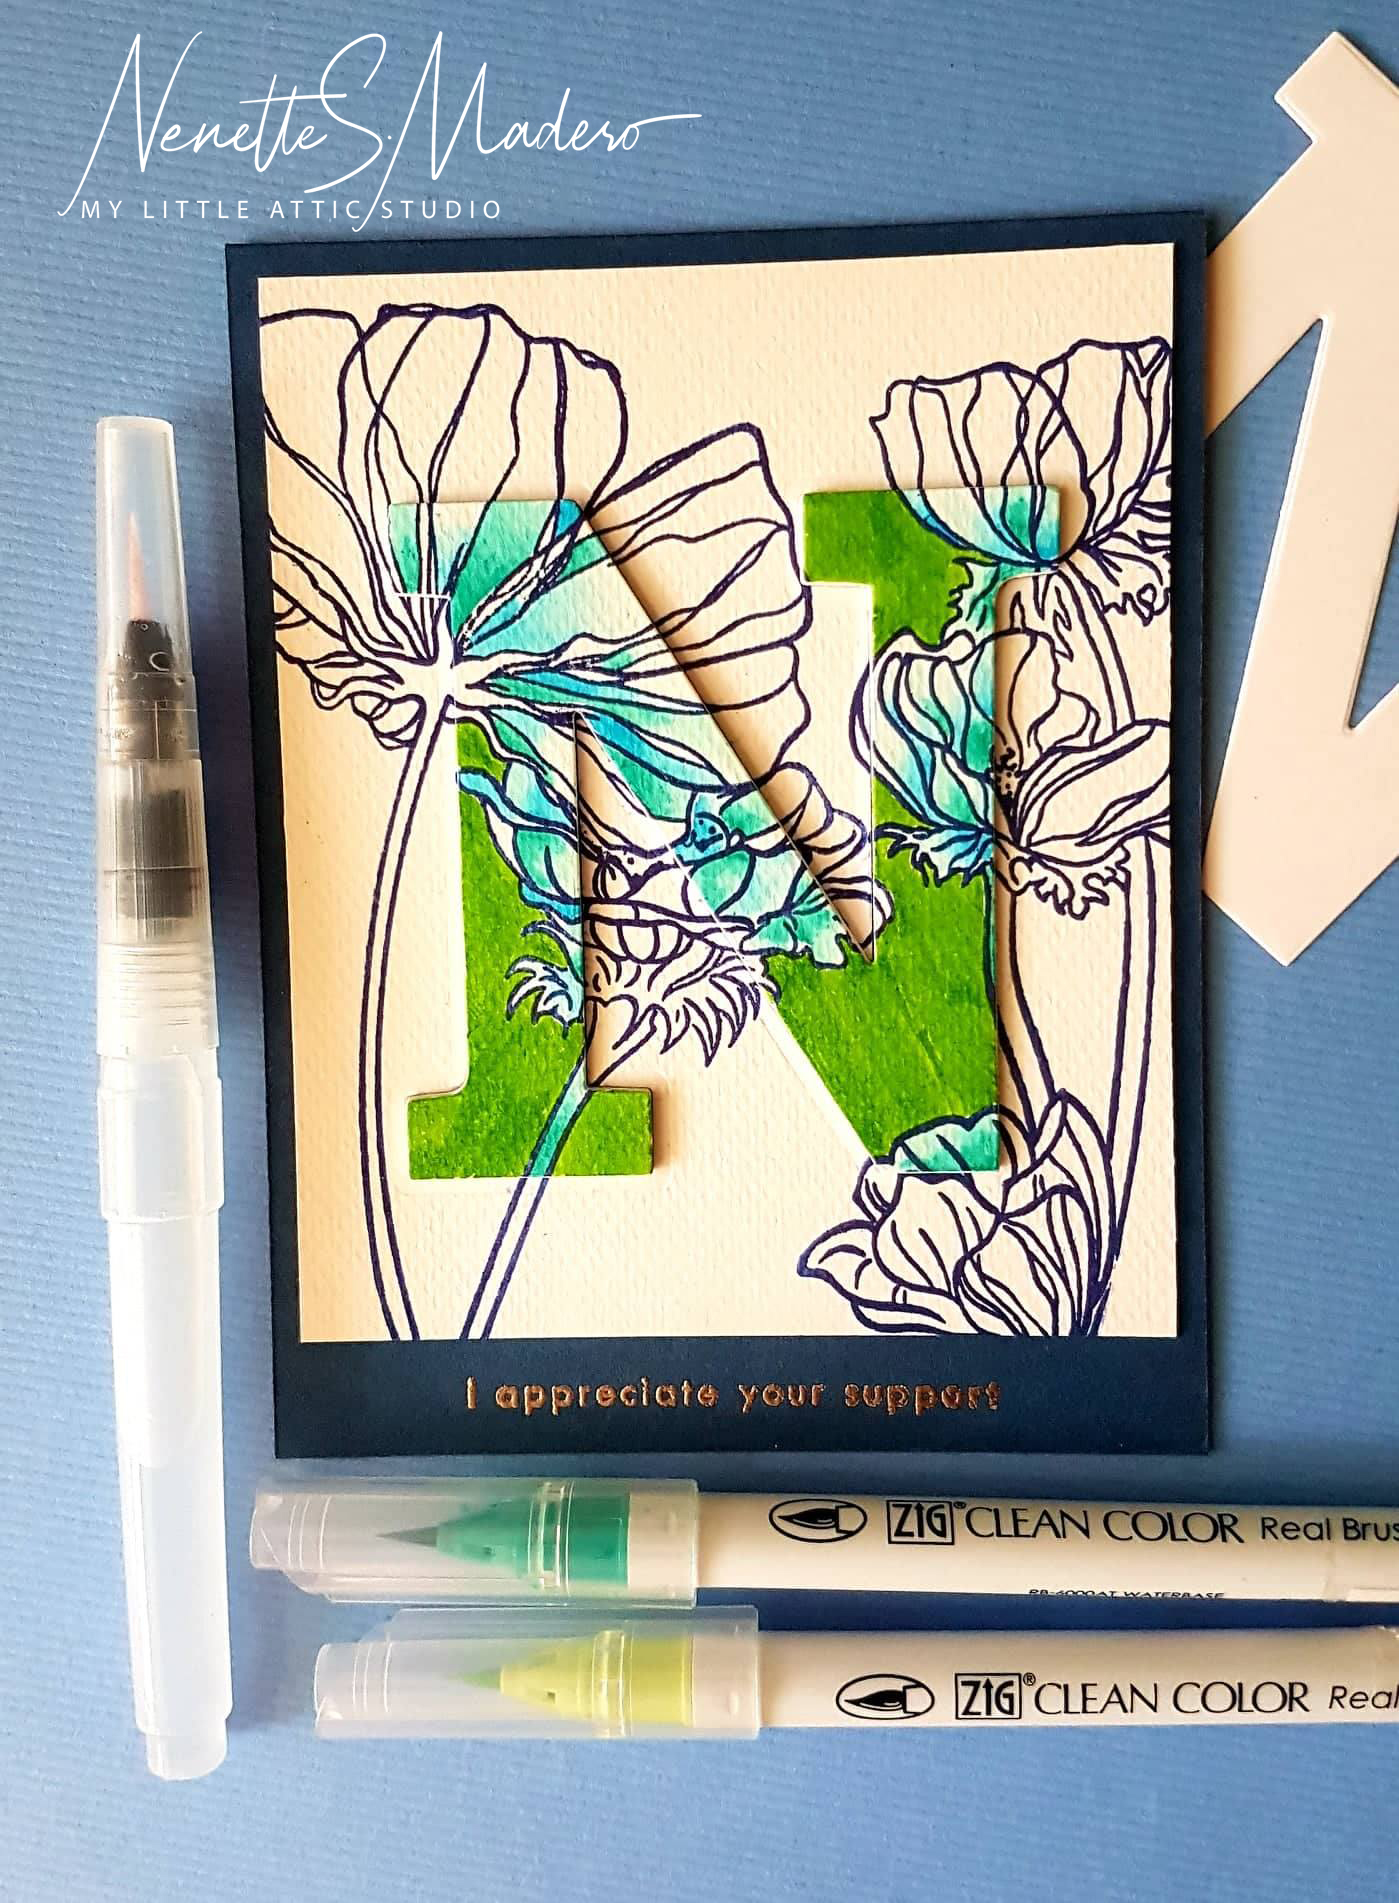
This card was made using the Woodland stamp and the coordinating masks. I just love how thin the masks are and how easy it is to create layering. Only the die cut letter was colored to make it pop out.
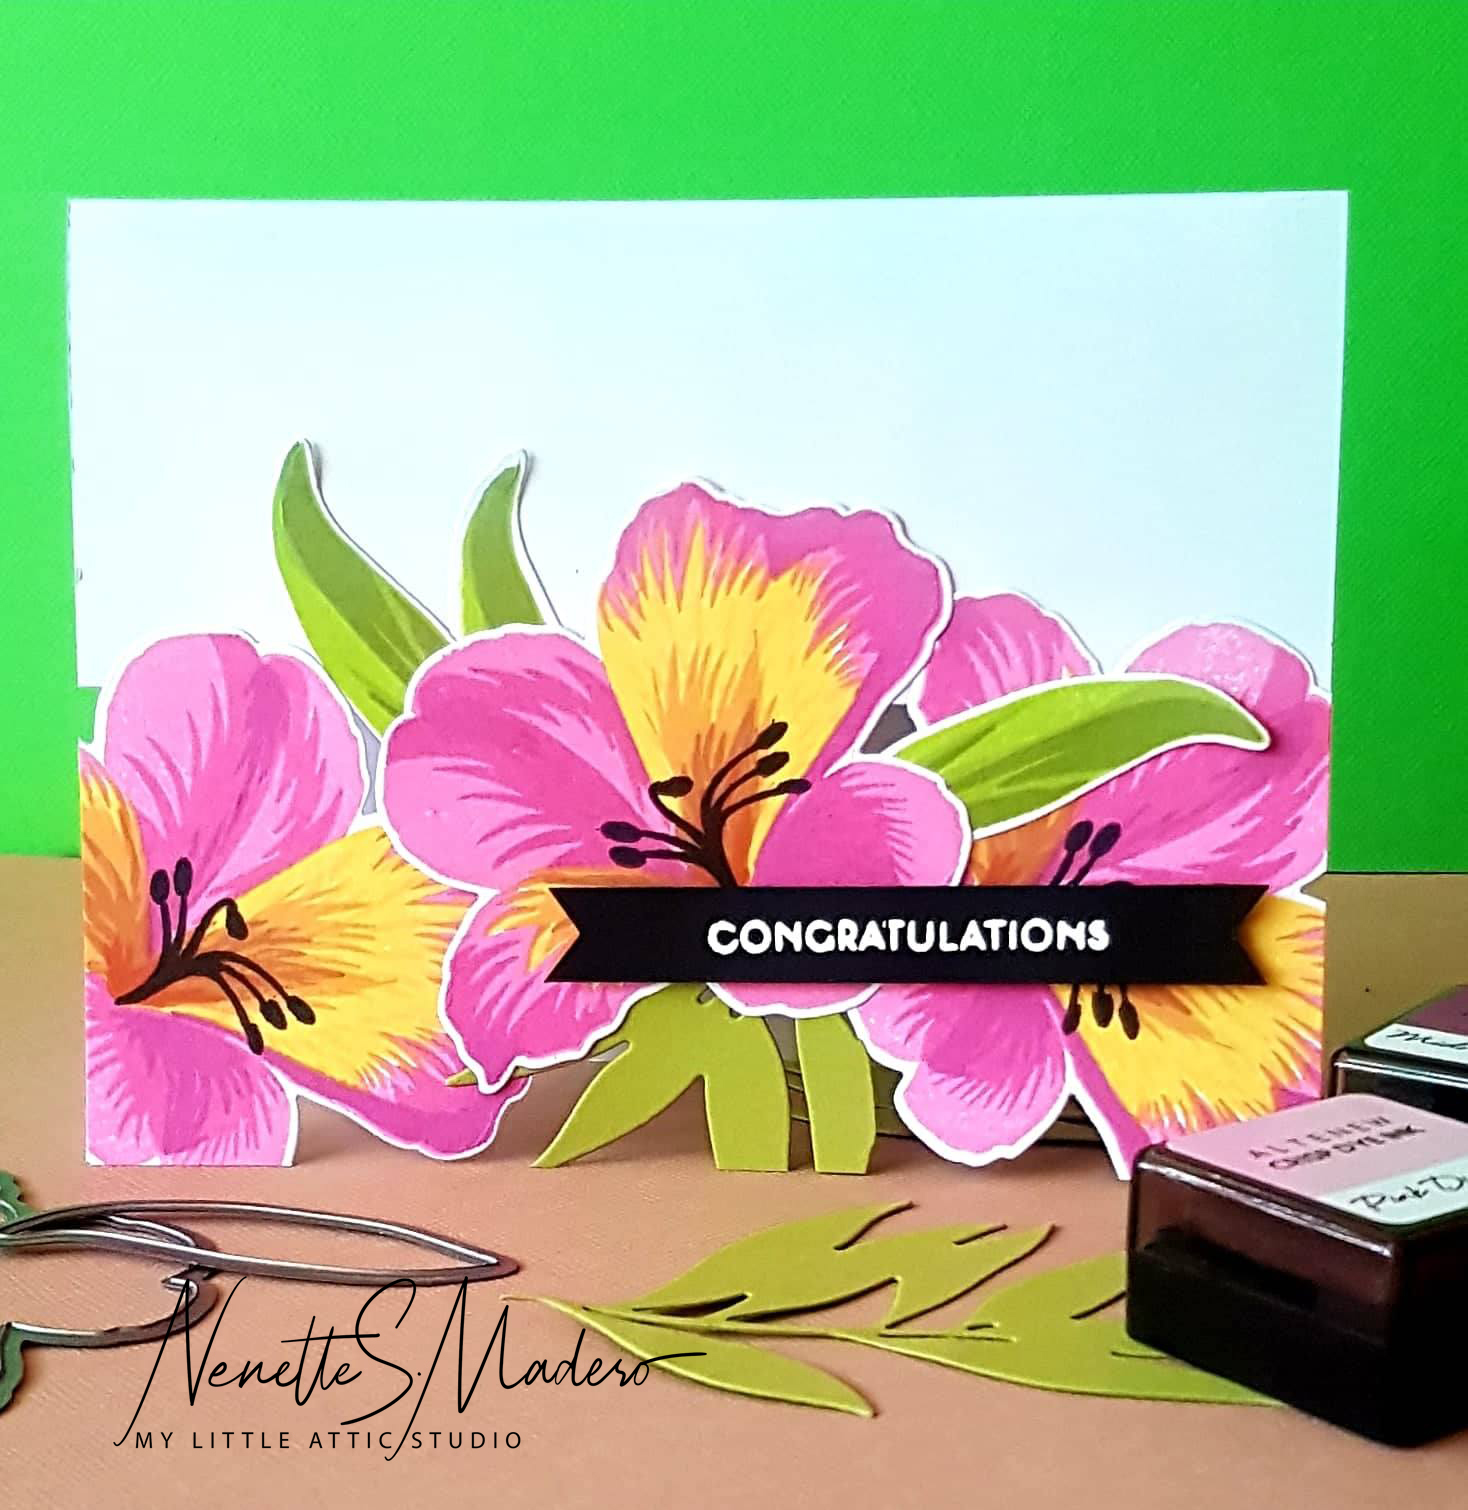
For the next card, I got inspiration from Jennifer Mcguire’s see through card but instead of doing the whole front, only half the card was see through 🙂 I love how these Peruvian Lily layers are so easy to line up. The students learned how to use the press and seal to pick up all the elements together while maintaining the positions. It’s a technique that will definitely be very useful in future cardmaking projects.
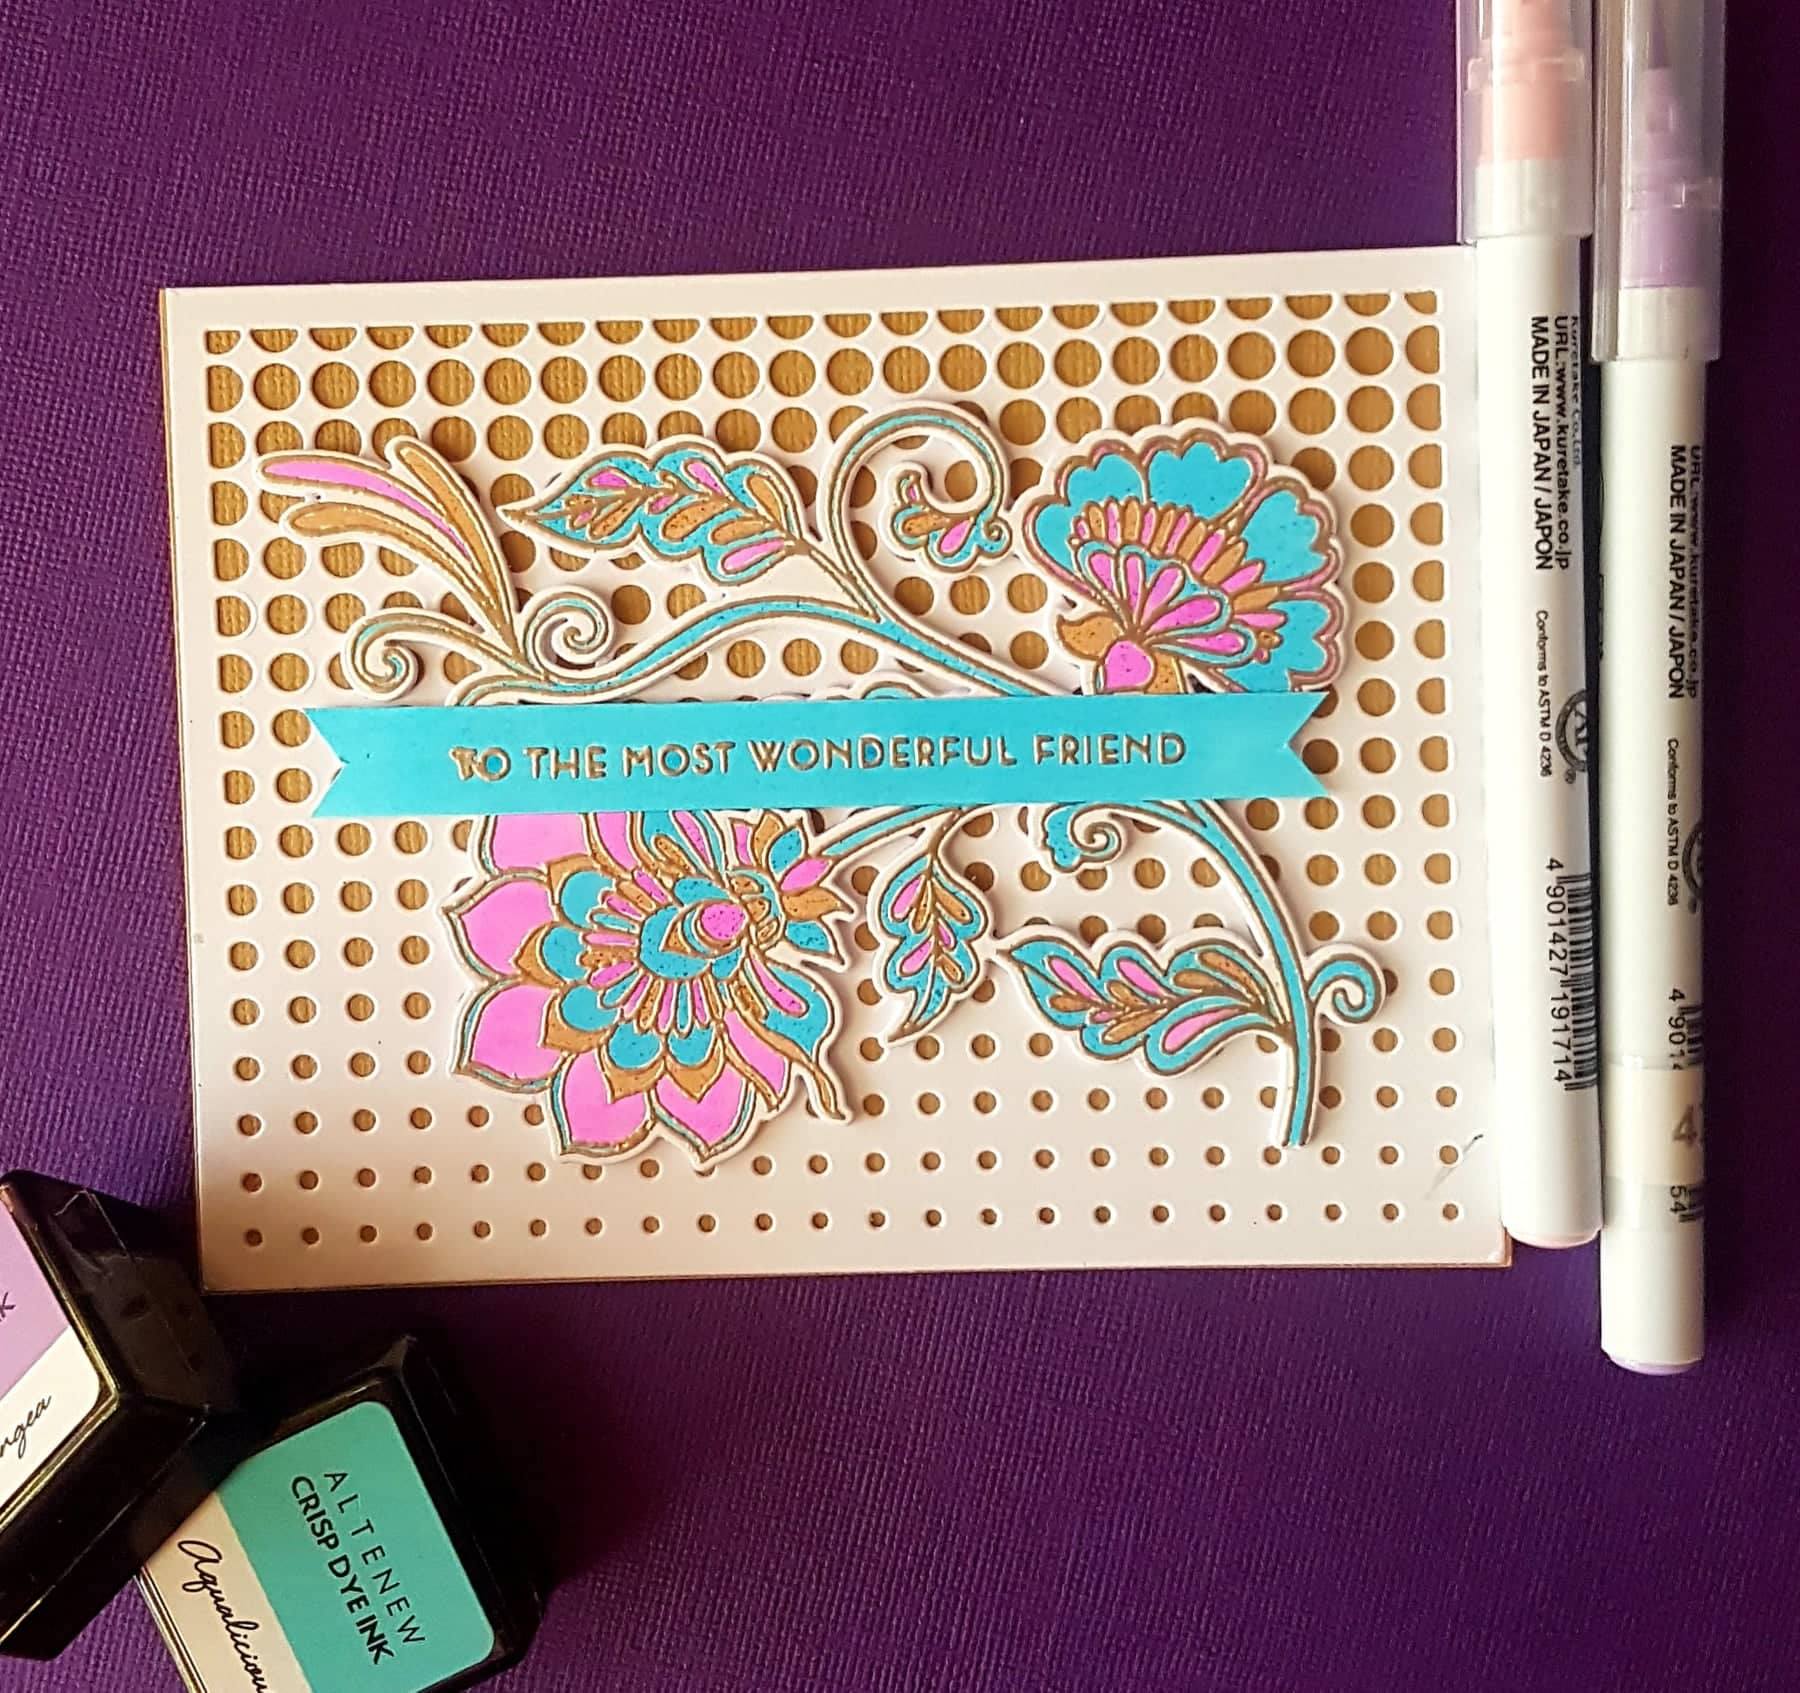
This card was pretty straight forward. All they had to do was color in the images and sentiment strip, stick together the images to create a thicker chipboard-like image and assemble the card.

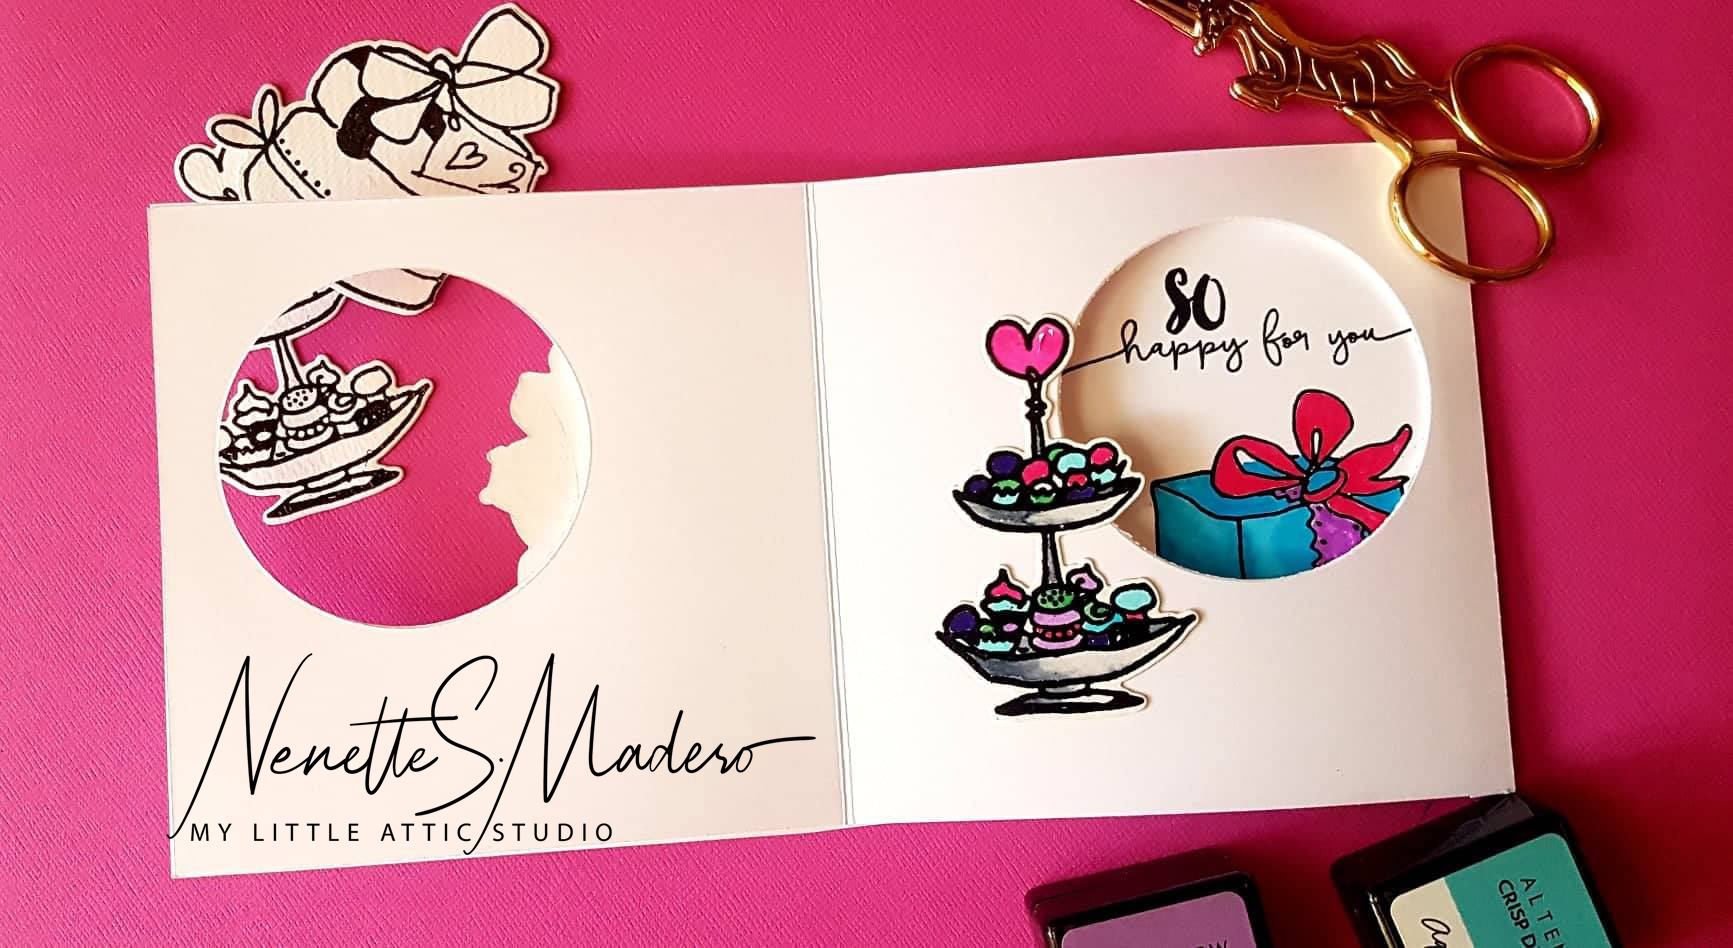
Another card inspired by Jennifer 🙂 This is a peek-a-boo card wherein the image changes as you open the card. All images are from the Celebrations stamp set. It is a bit tricky to assemble the card but once you get the hang of it, it’s pretty easy. The important thing is to make sure the windows line up when you die cut the circles.
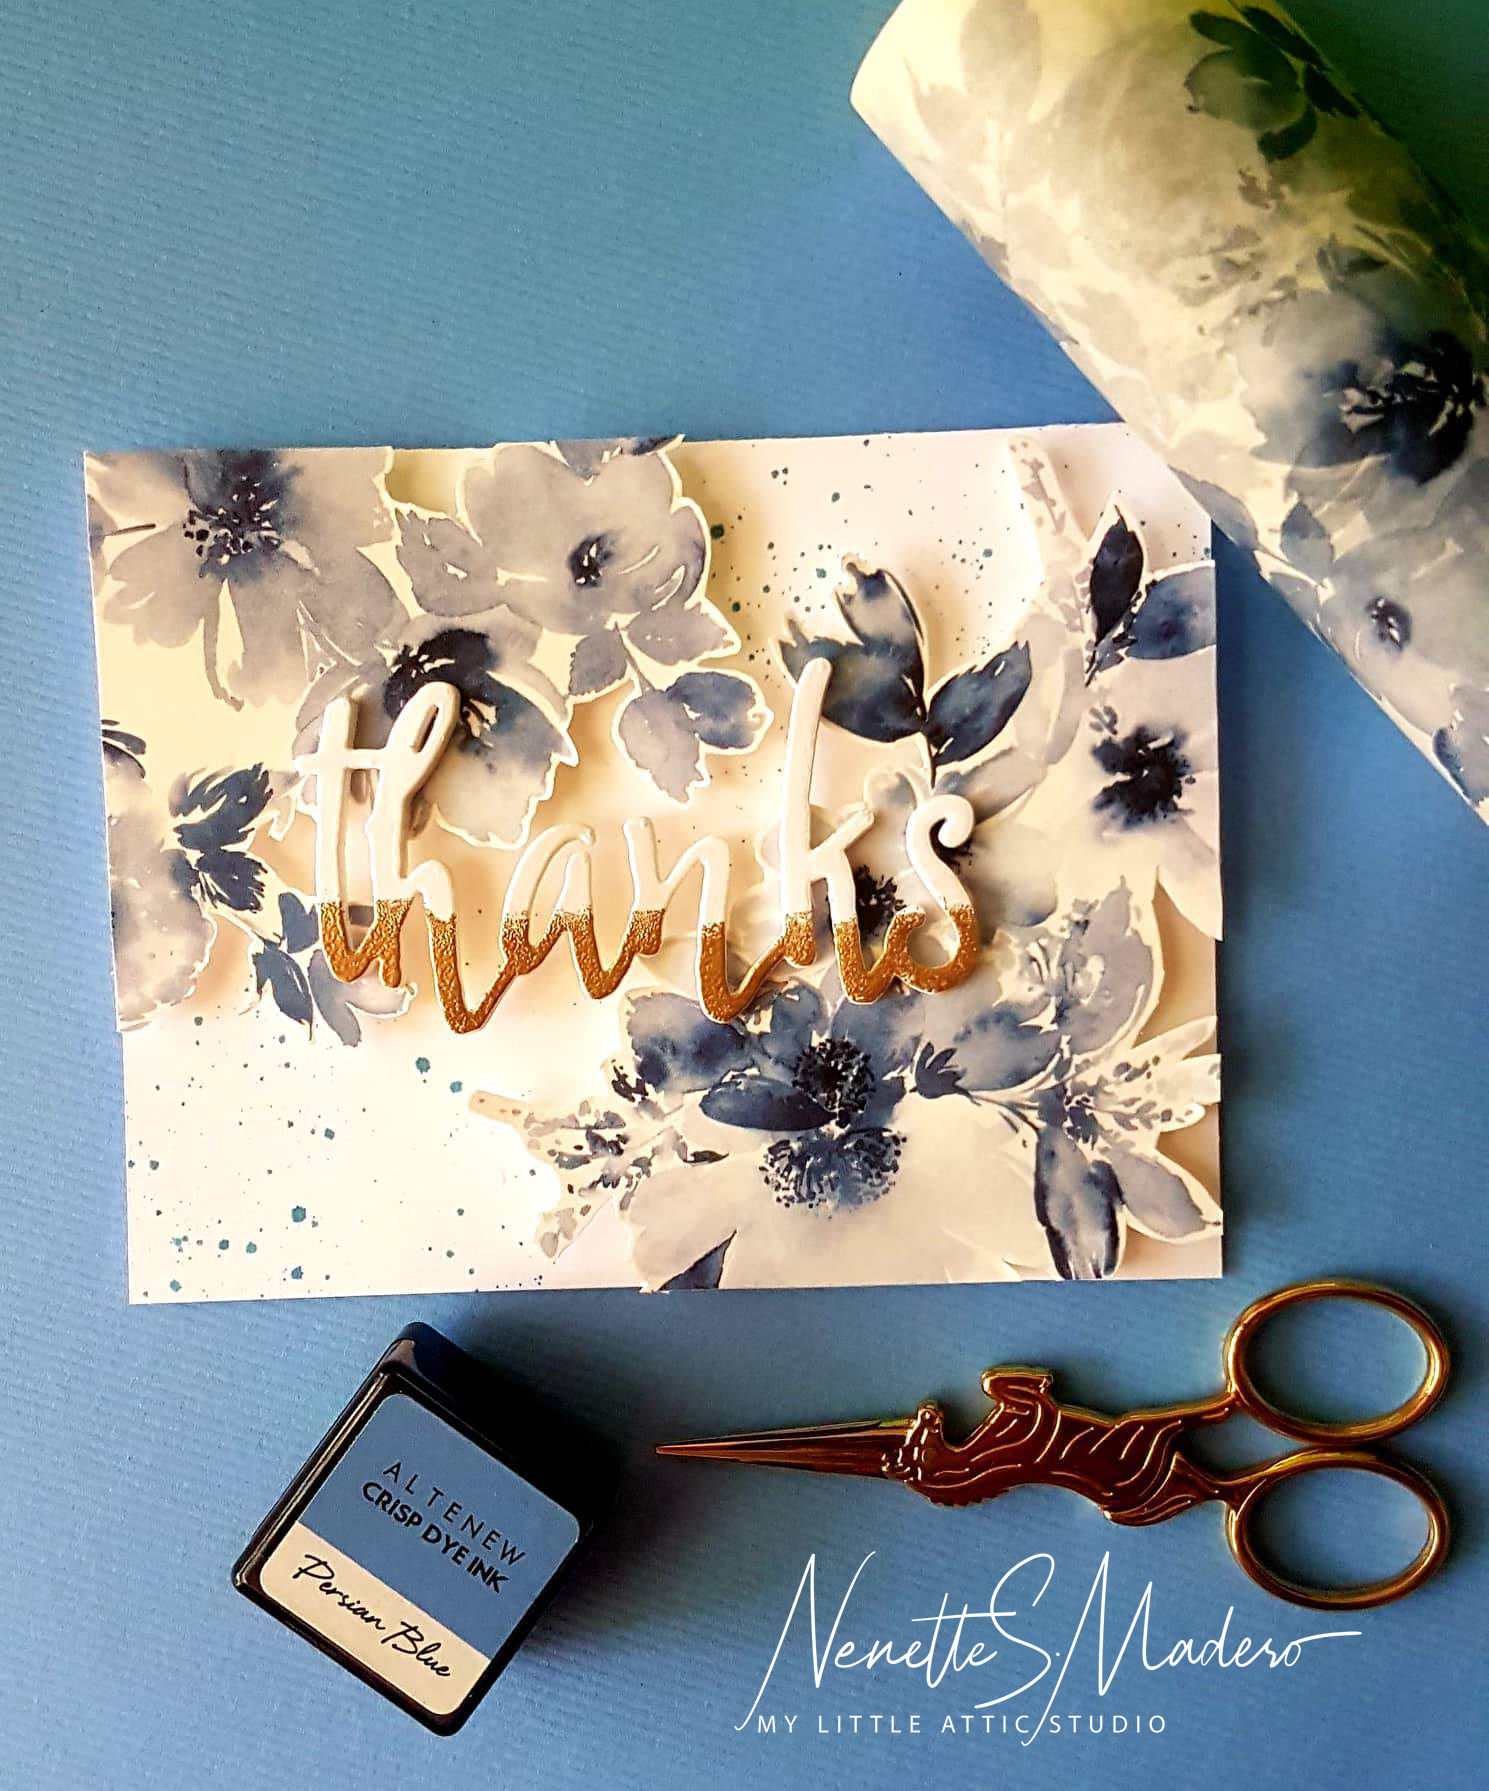
This card was so simple to make but the outcome was elegant. Washi tape was stuck to Neenah Solar white cardstock and the flower and leaves images were fussy cut. They were then adhered using foam tape. The thanks die cut was again layered and the lower part was heat embossed using my all time favorite gold embossing powder from Altenew– rose gold.
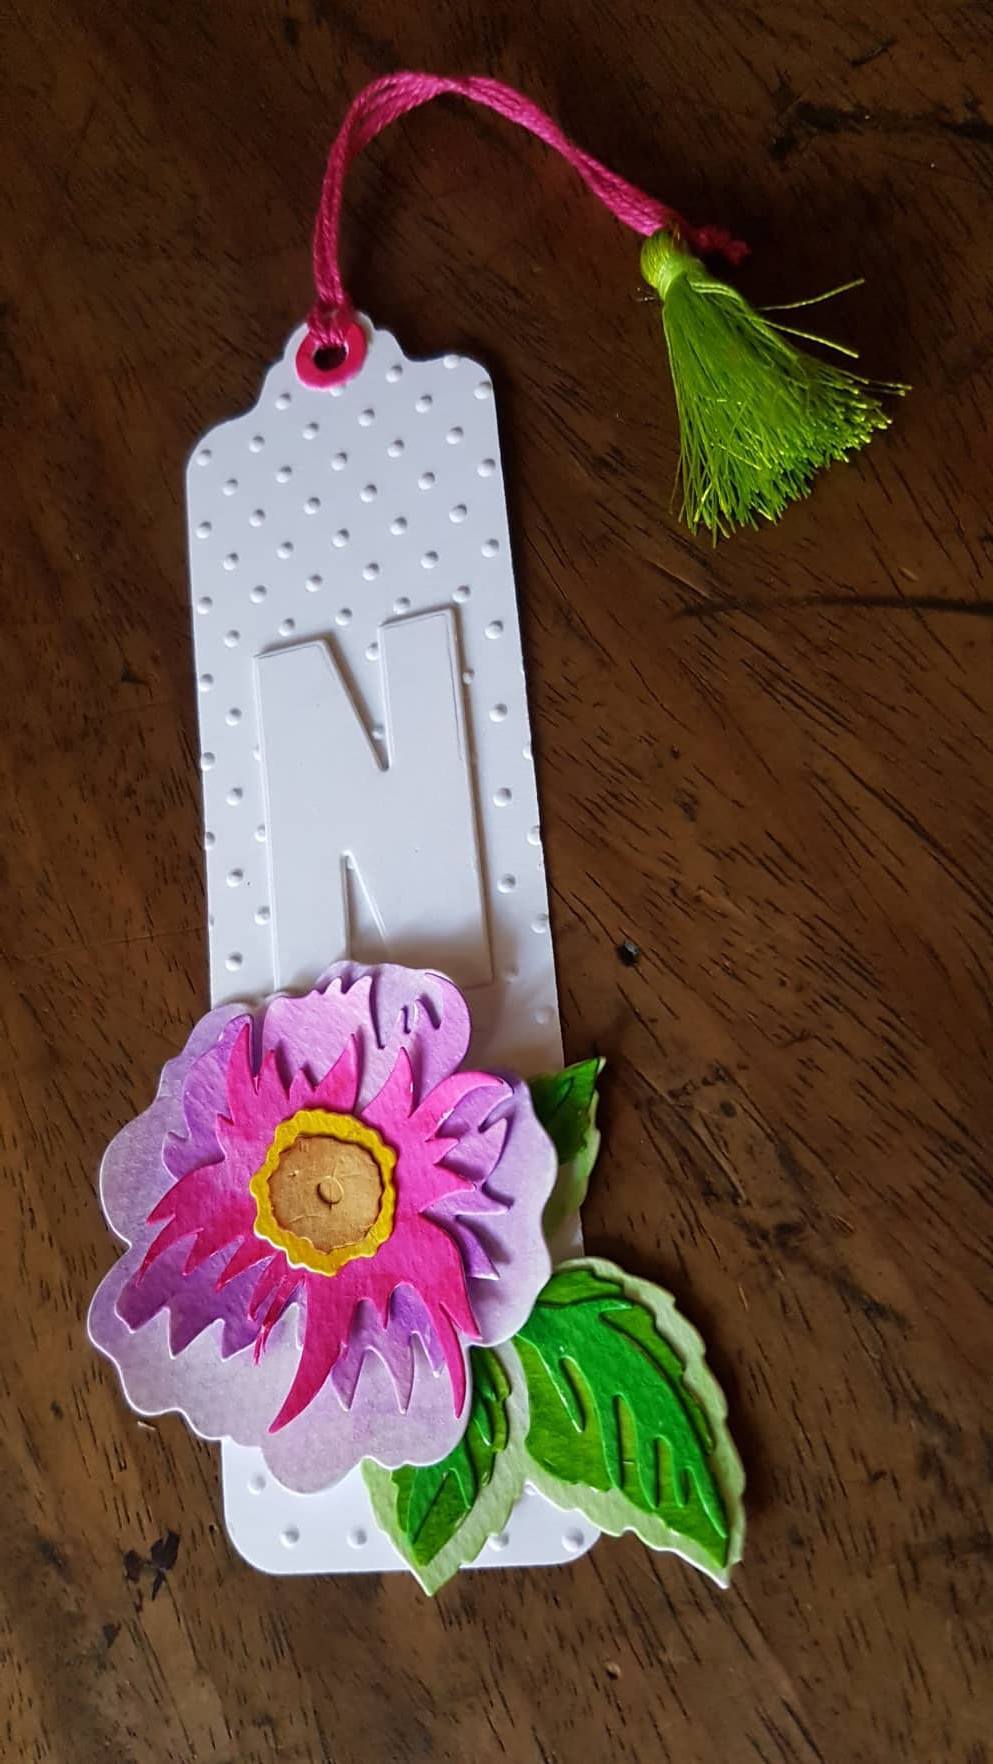
The last project was a tag using the Wild Rose 3D die. The separate petals were colored using monochromatic colors of Zig markers while the 2 center pieces were colored in using contrasting colors.
The class ended with some shopping and merienda. It was so nice to see everyone having an enjoyable time learning, getting to know new crafty friends and having fun creating cards. I look forward to seeing you again for the next Altenew workshop. Stay tuned! <3

I always enjoyed your workshop. It had given me new ideas and techniques. Thank you so much. God bless everyone…
Sorry I just saw this Analisa!!! I appreciate your continued support!!! Hope to see you in future workshops. Thank you very much!
I love the cards that we made. They were absolutely gorgeous! 💕 My only feedback was that we were pressed for time in making it. I hope that in the next workshop, we’ll be able to finish making the cards. Can’t wait for the next one! 💕
Hi Marie! Thank you for your feedback. Next workshop I’ll make sure to do better on time management. 🙂 Glad you enjoyed the workshop!
So many beautiful cards! I think my favorite is the One Day at a Time/Dainty Blooms, but they are all just lovely.
What a gorgeous collection of cards, Nanette! I love your creative use of the Star pop up dies.