
")

Hello, everyone! Welcome to my blog. Thanks, Emily Midgett, for sending everyone over. For the complete details of this hop, make sure to drop by the Altenew Card Blog. You can find the new collection here.
This is an excellent mix of dies, hot foil plates, coordinating stencils, and embossing folders. The following are eight cards I made using some of the latest releases.
SENDING BIRTHDAY HUGS
STEPS:
- Hot foil the Delightful Flowers image with Polished Brass on light blue cardstock. Fussy cut.
- Emboss a peach cardstock using the Dotted Swirls Debossing Cover die.
- Emboss the white card base using the MOD Squares 3D Embossing Folder.
- Stamp and emboss the sentiment.
- Assemble the card with foam squares and adhesive.
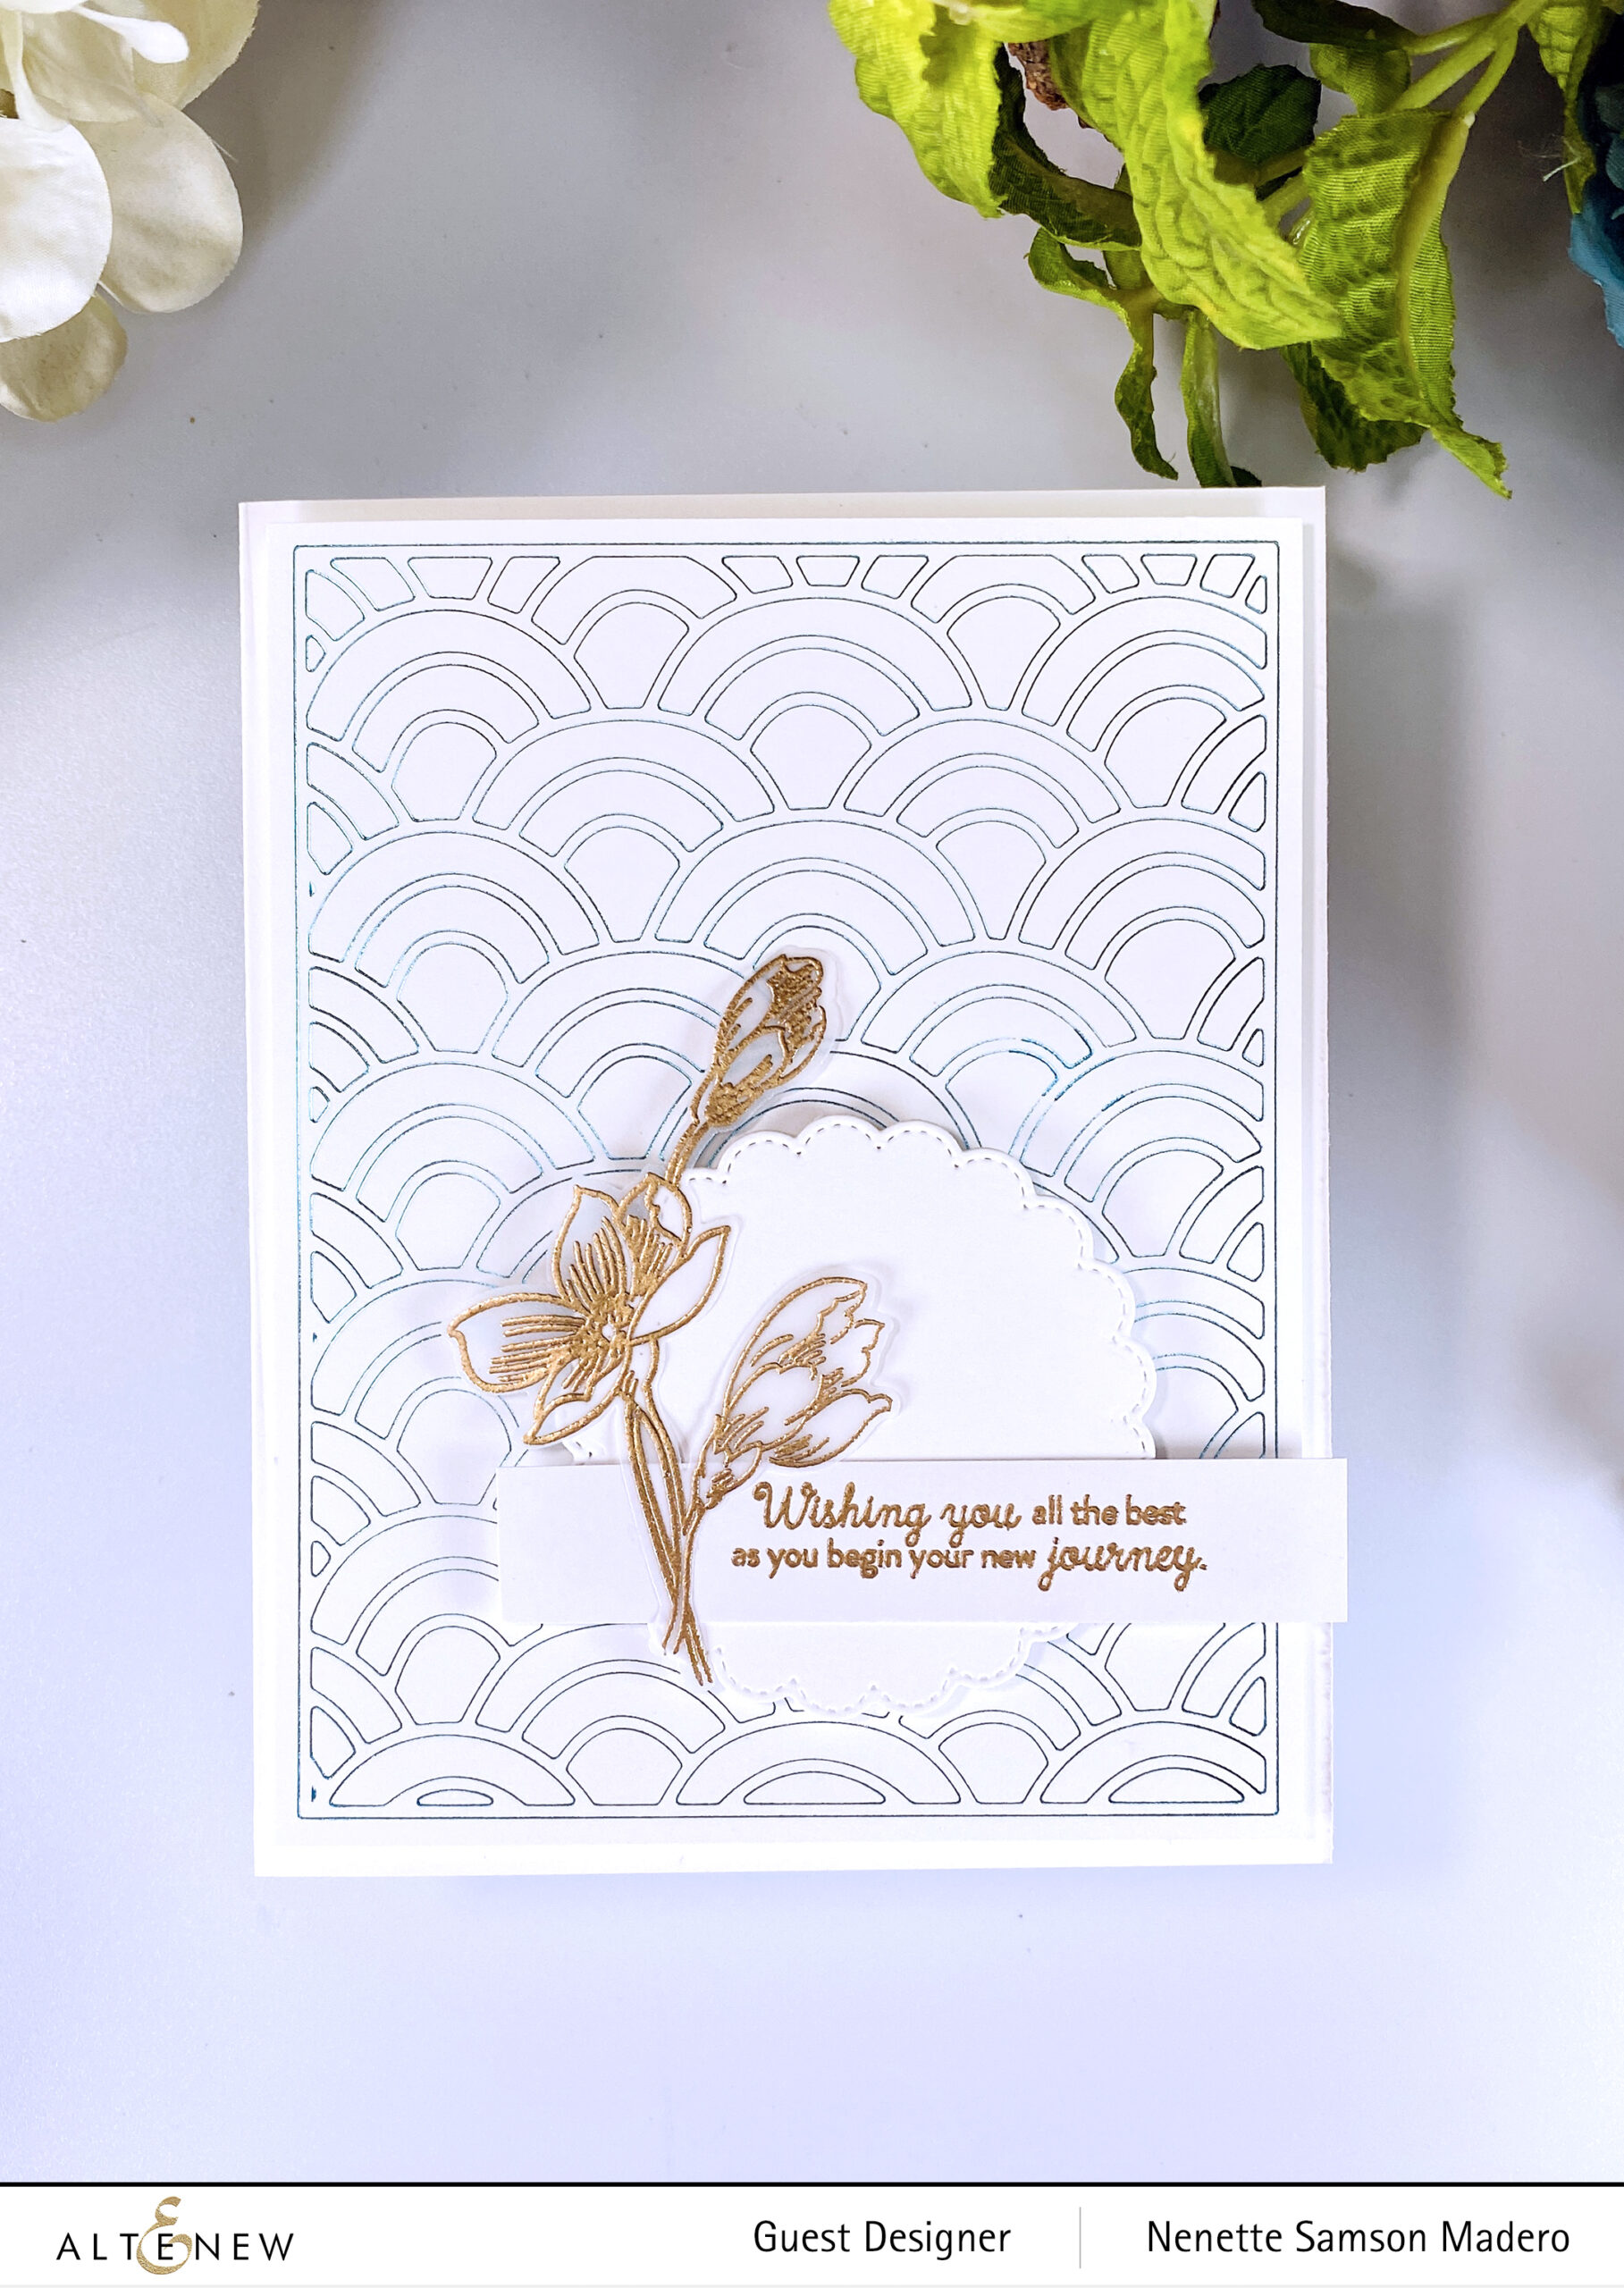
WISHING YOU ALL THE BEST AS YOU BEGIN YOUR NEW JOURNEY
STEPS:
- Use the Scallops Cover Die to add foil to the card front.
- Die-cut white cardstock using the Stitched Scalloped Circle die.
- Stamp and emboss the sentiment using Rose Gold embossing powder.
- Stamp and emboss the flowers on vellum using the Pen Sketched Flowers stamp. Die-cut the image using the coordinating die.
- Assemble the card using foam squares and adhesive.
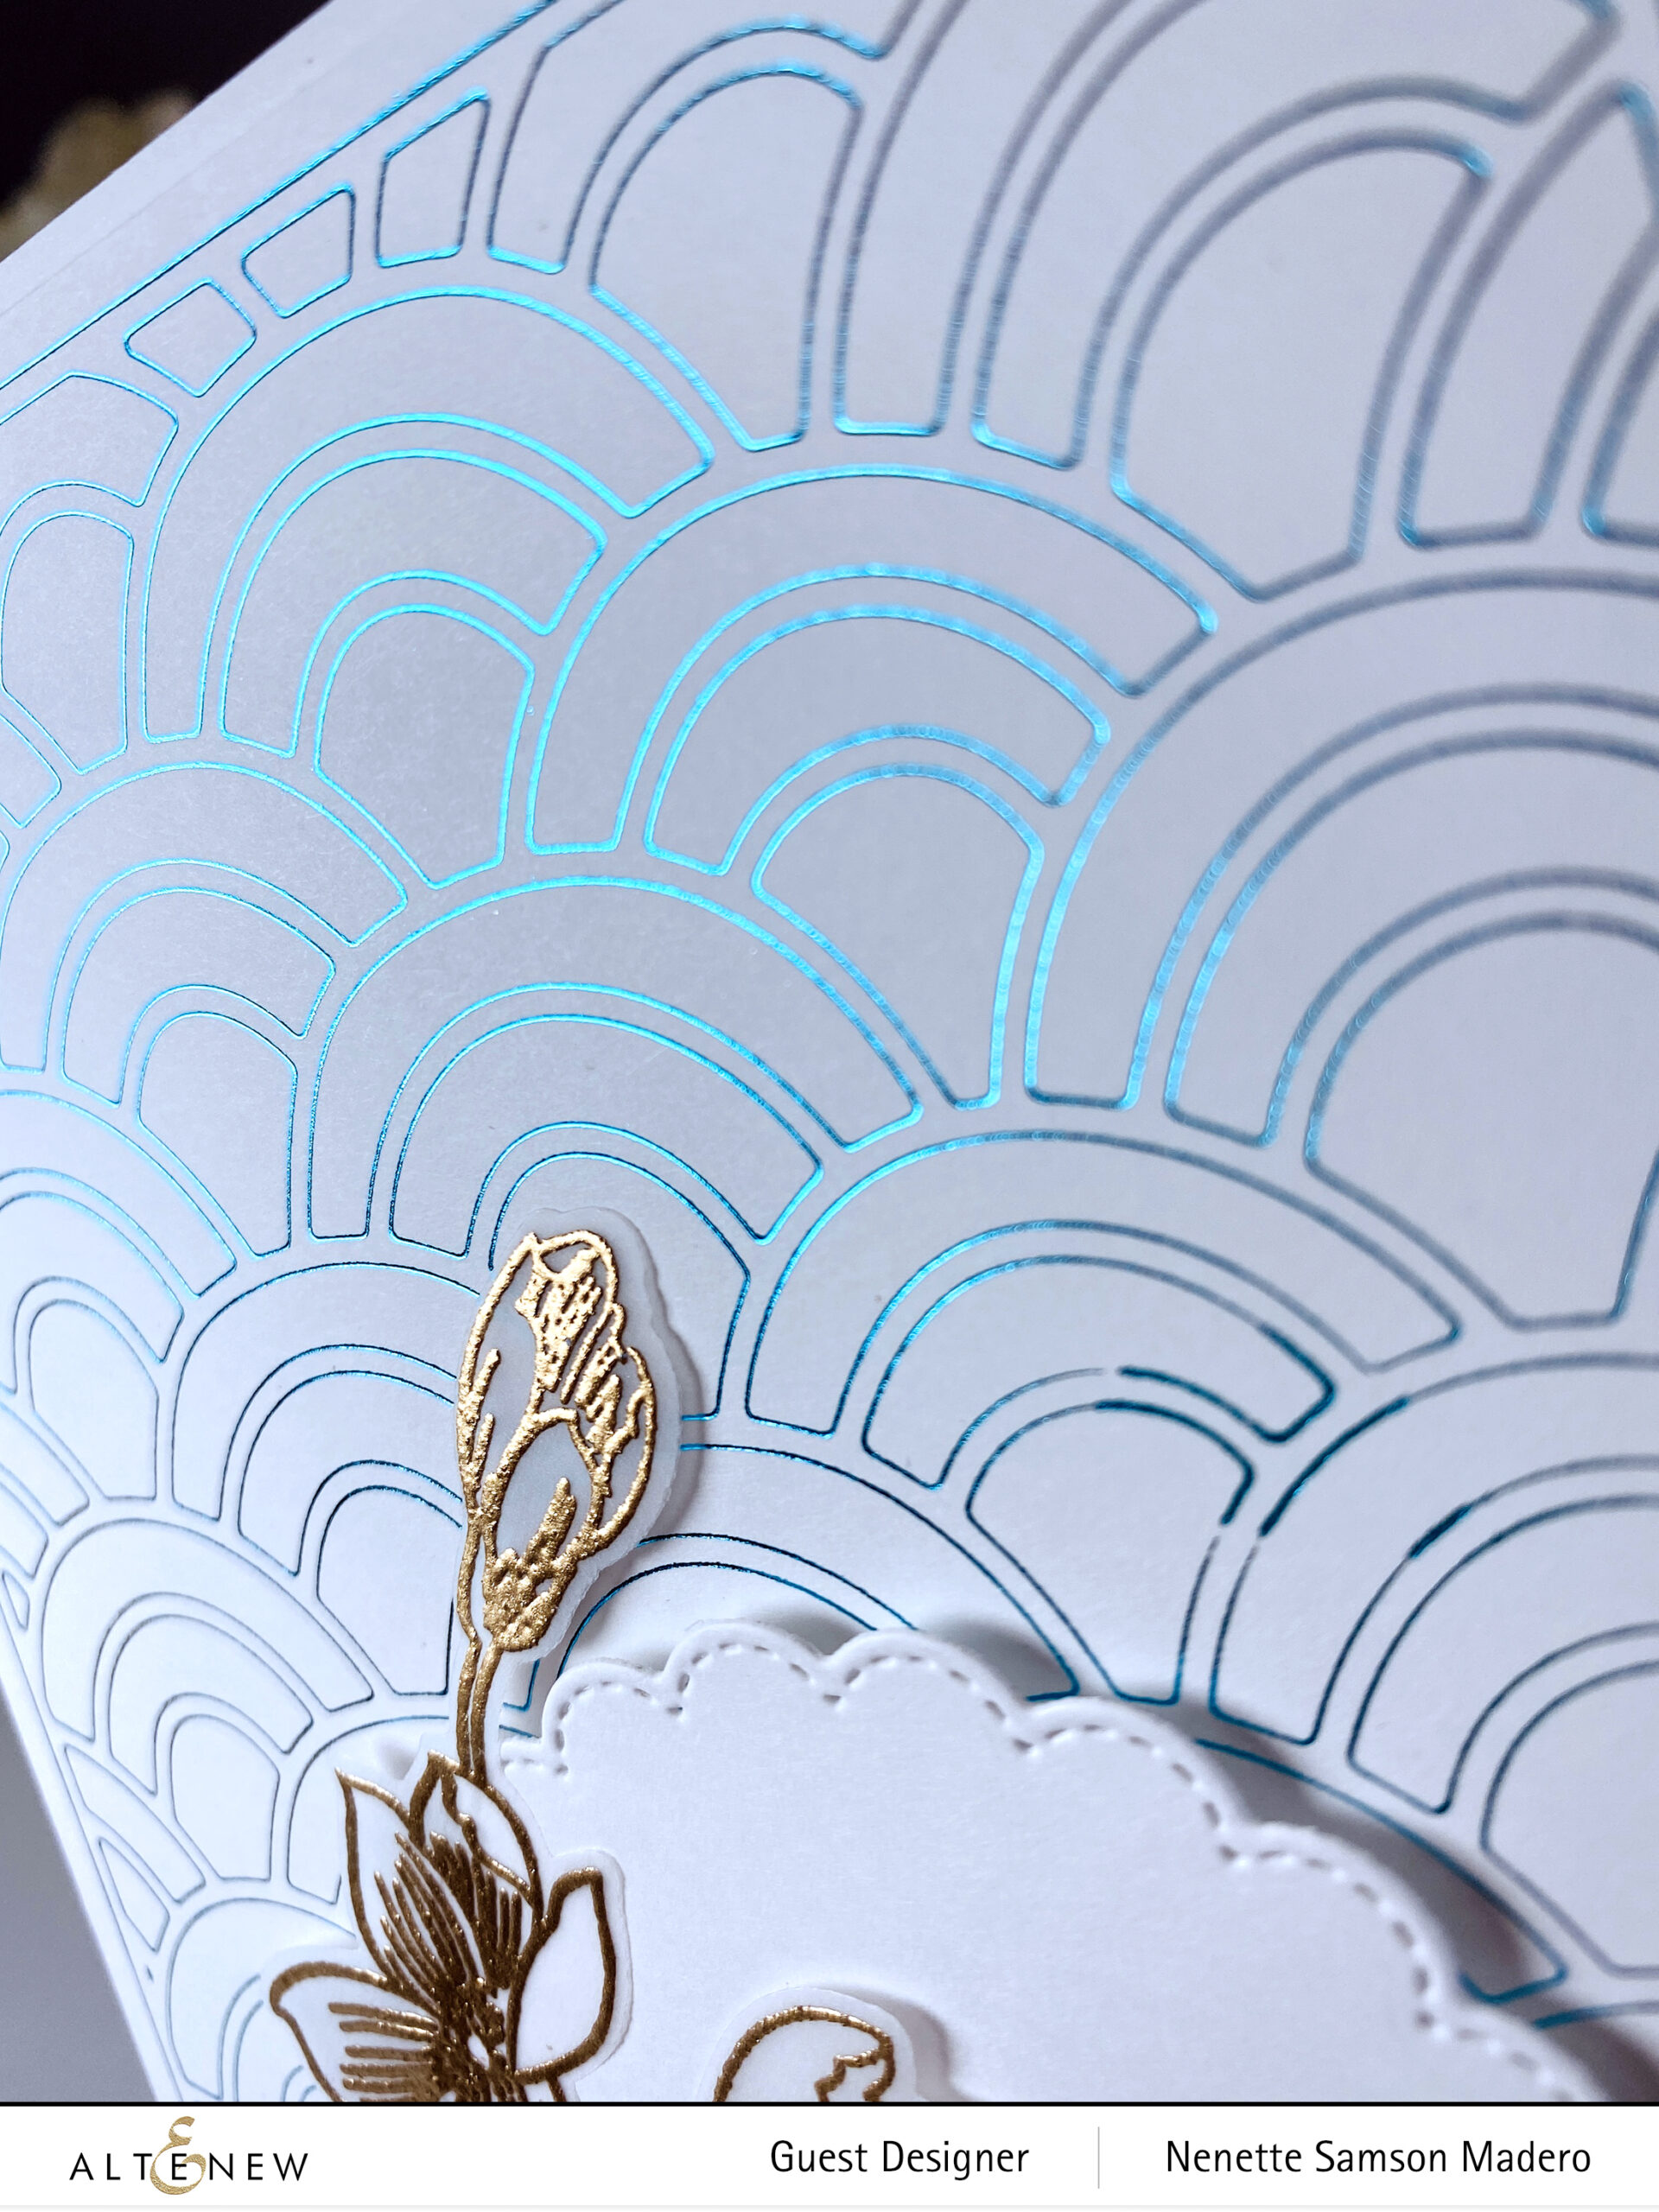
It’s pretty tricky to photograph the shimmer of the hot foil, so here’s a closer look. Knowing that I can use a regular thin die to hot foil the image has made me so excited!!! I wanted to keep this card simple to allow the shiny elements to take the spotlight.
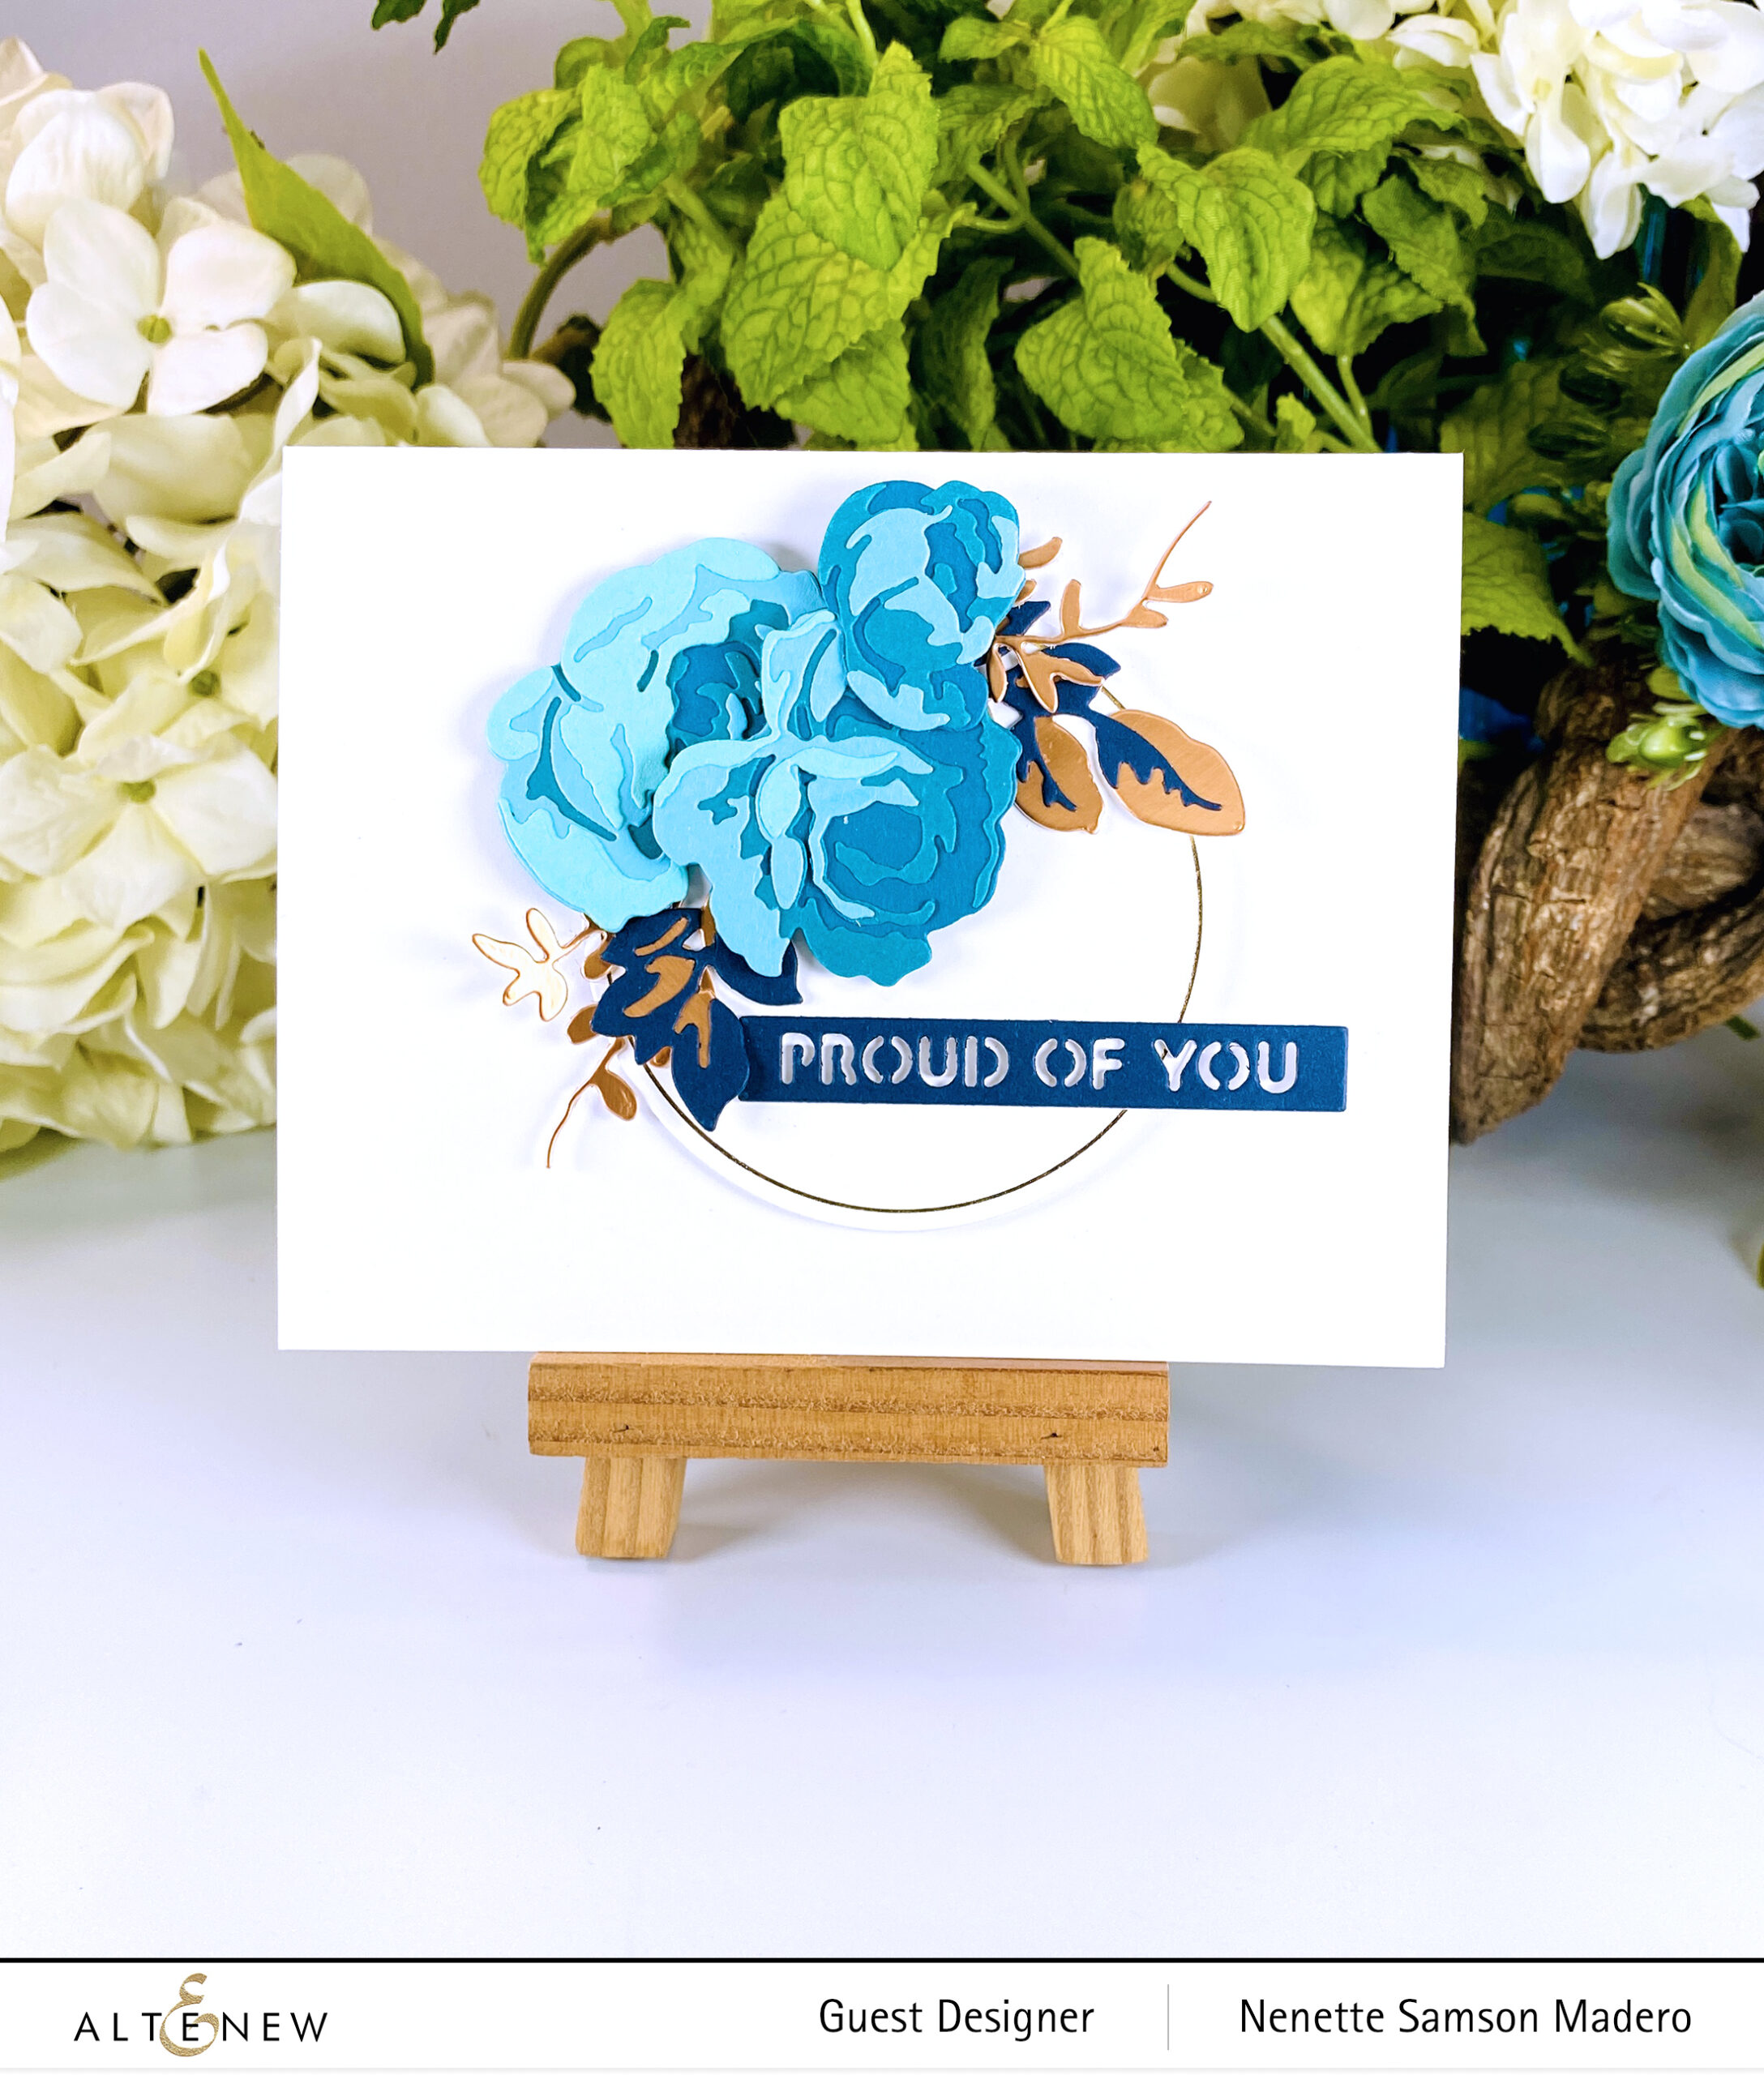
PROUD OF YOU
STEPS:
- Hot foil and die cut the circle using the Fine Rings Circles Hotfoil Plate and the coordinating die.
- Die-cut the Charming Folliage Dies layers using Sea Shore Gradient Cardstocks, Brushed Cooper Metallic, and Navy Cardstocks. Assemble the flowers.
- Die-cut the sentiment from the Essential Sentiment Strips die set.
- Assemble card using foam squares and adhesive.

I love that all the elements from this card were from dies. The thin gold circle gives it a classy look. I also kept the white space all over to emphasize the floral arrangement.
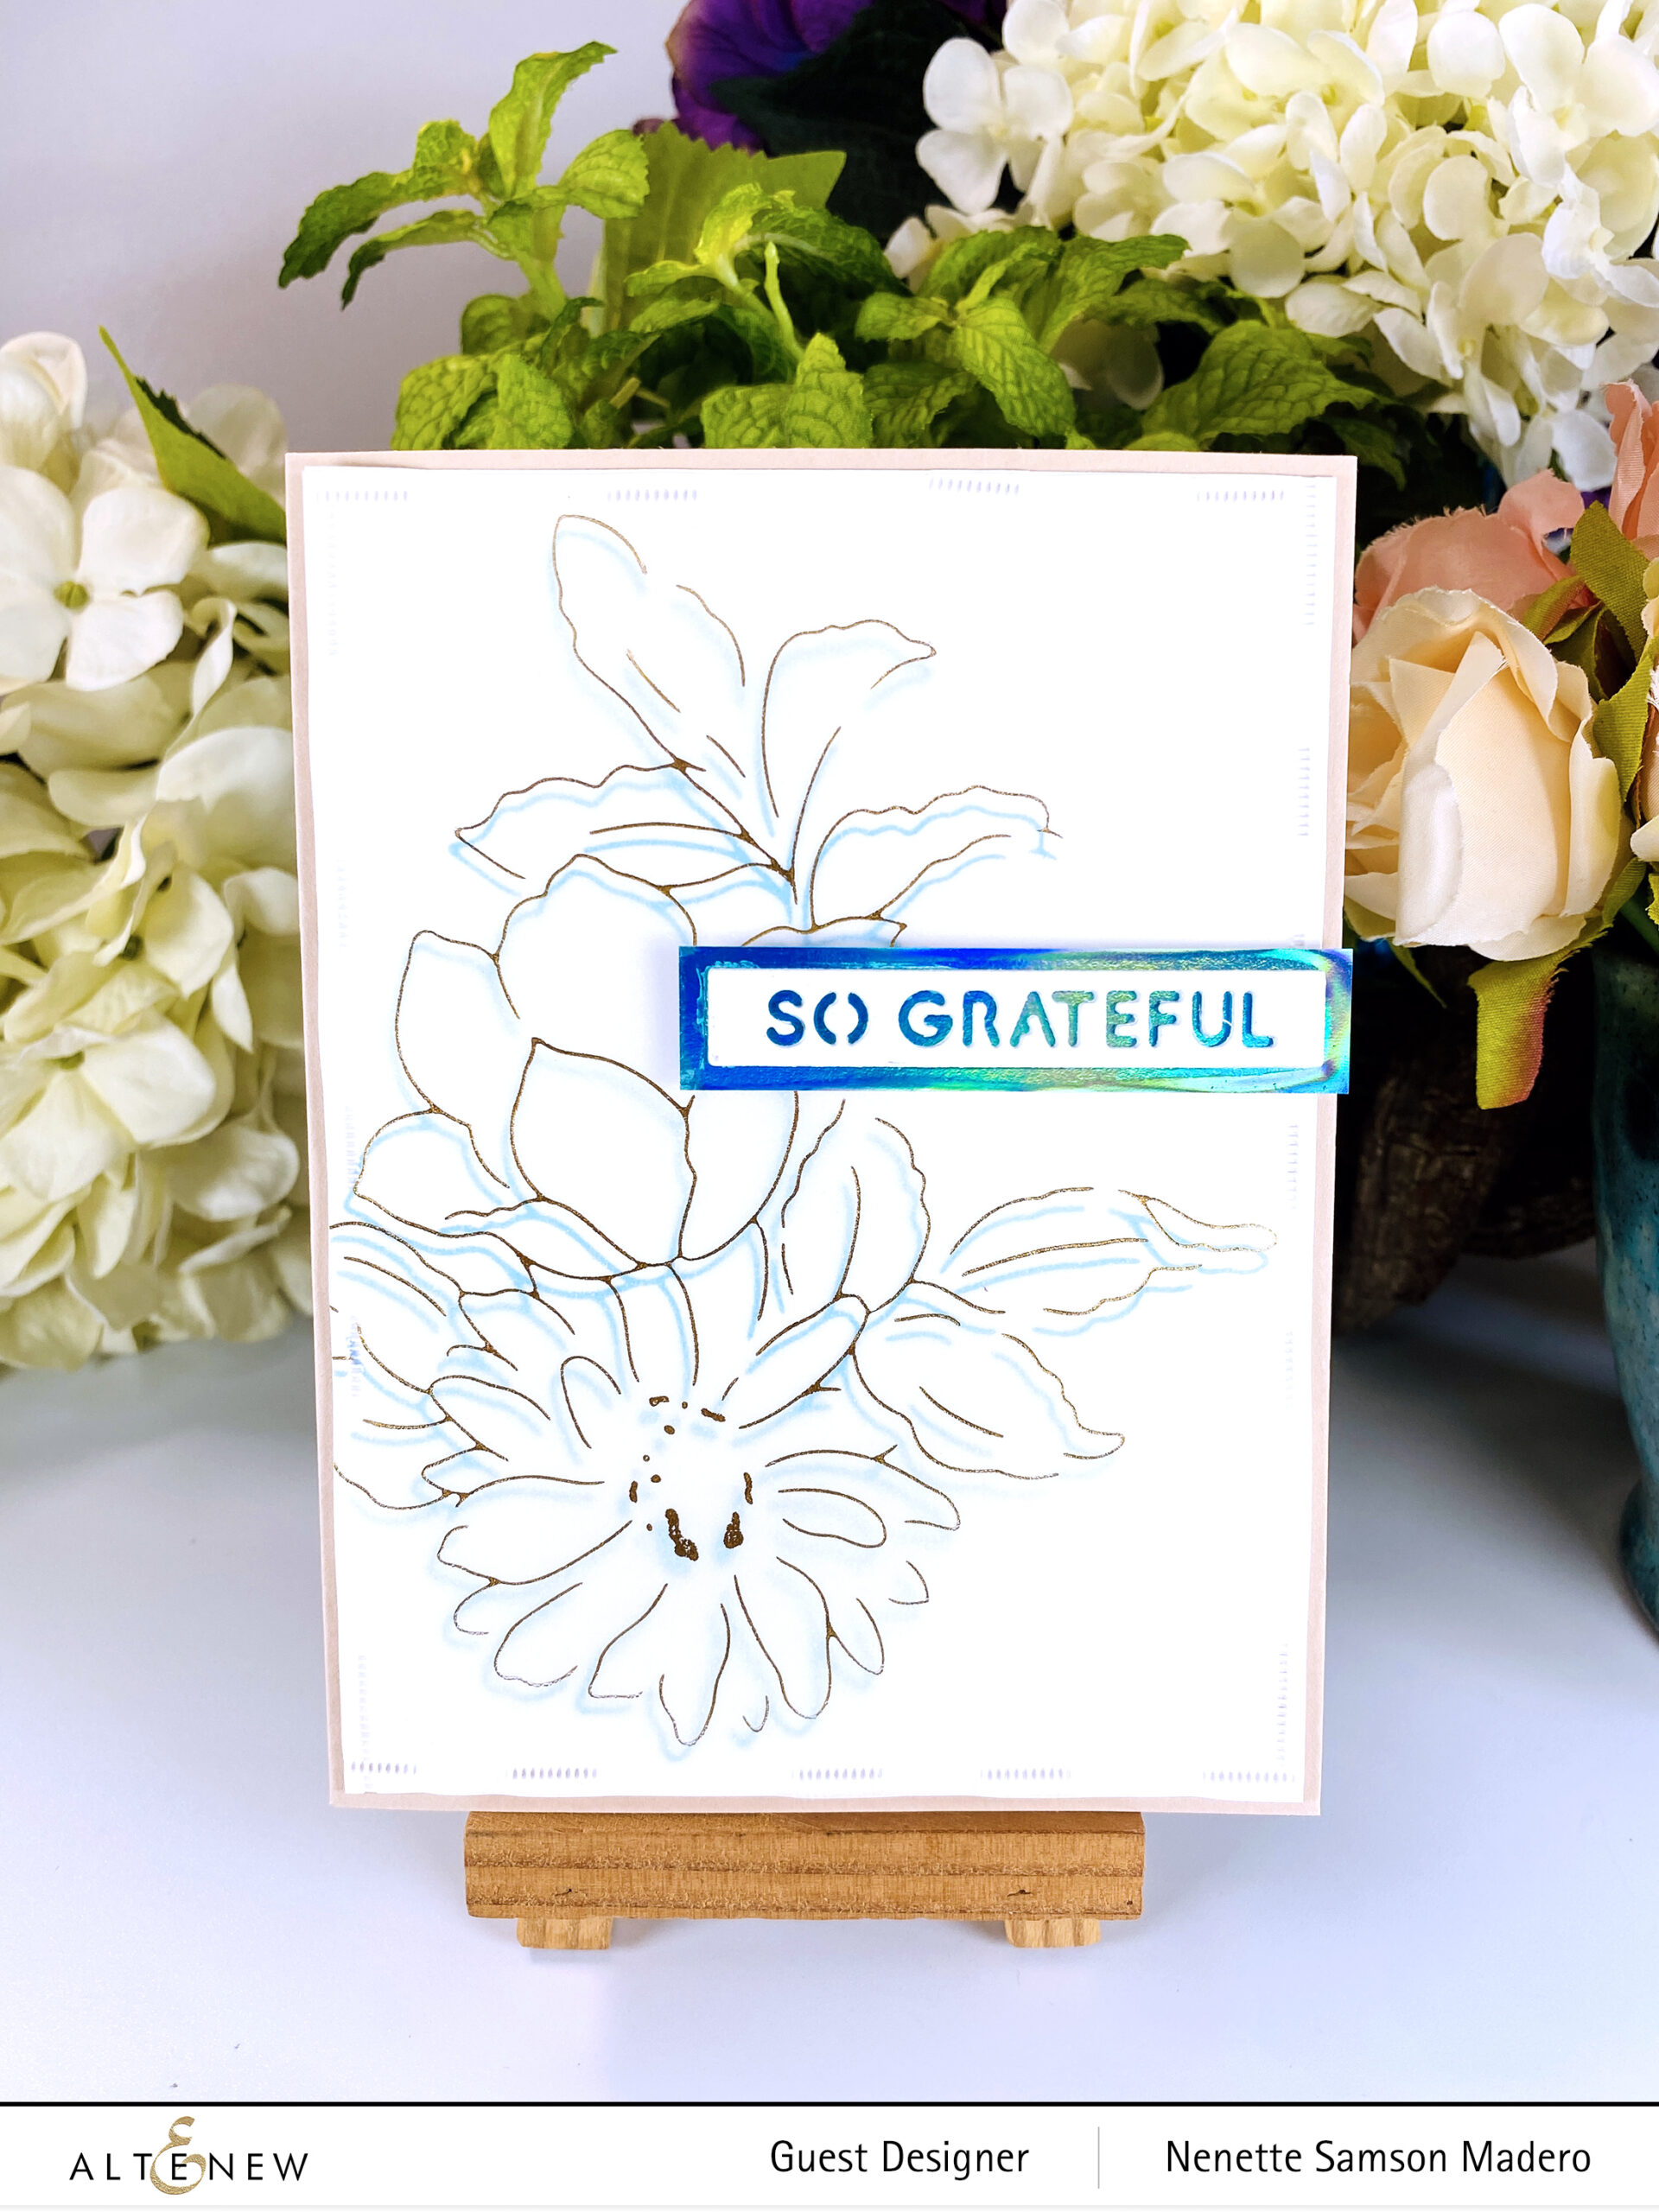
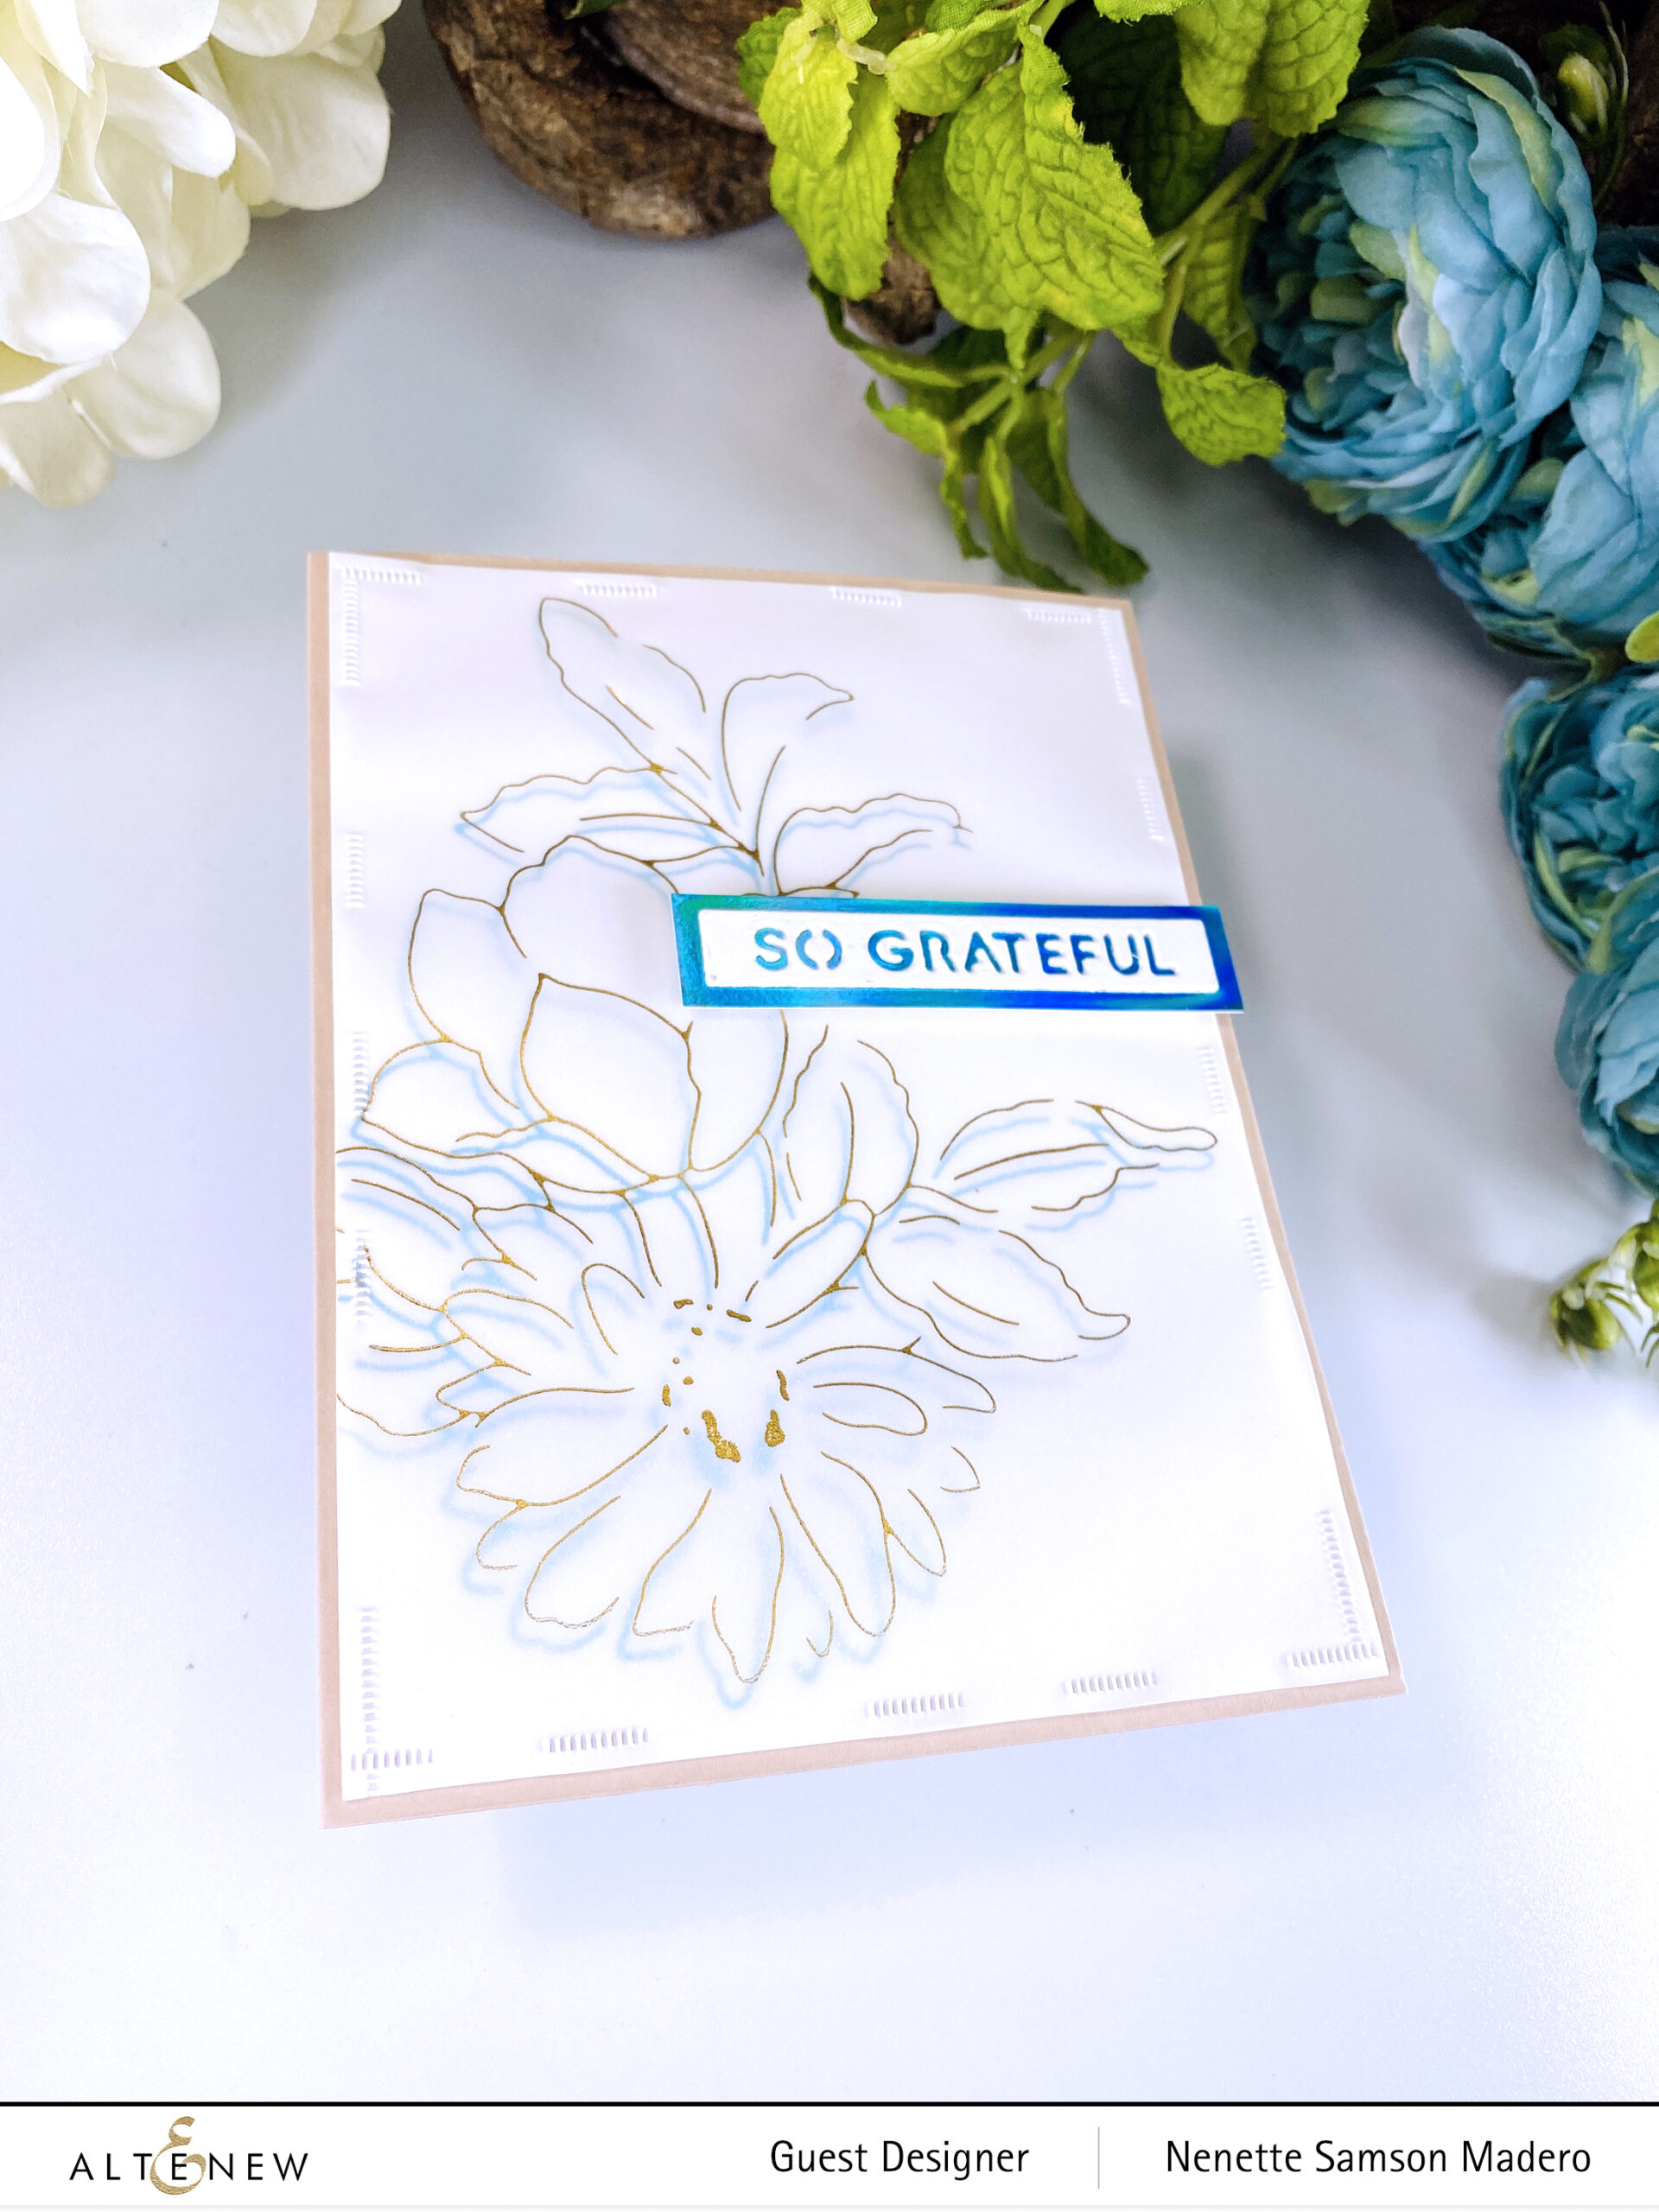
SO GRATEFUL
STEPS:
- Hot foil the image from the Delightful Flowers Hot Foil Plate on white cardstock using Teal foil.
- Hot foil the same image using Gold on vellum.
- Layer the vellum on top of the cardstock but slightly offset the images.
- Bind the two layers using a stapleless stapler.
- Hot foil a solid color on white cardstock.
- Die-cut the sentiment from the Essential Sentiment Strips die and use the sold hot foil as a matting.
- Assemble the card.
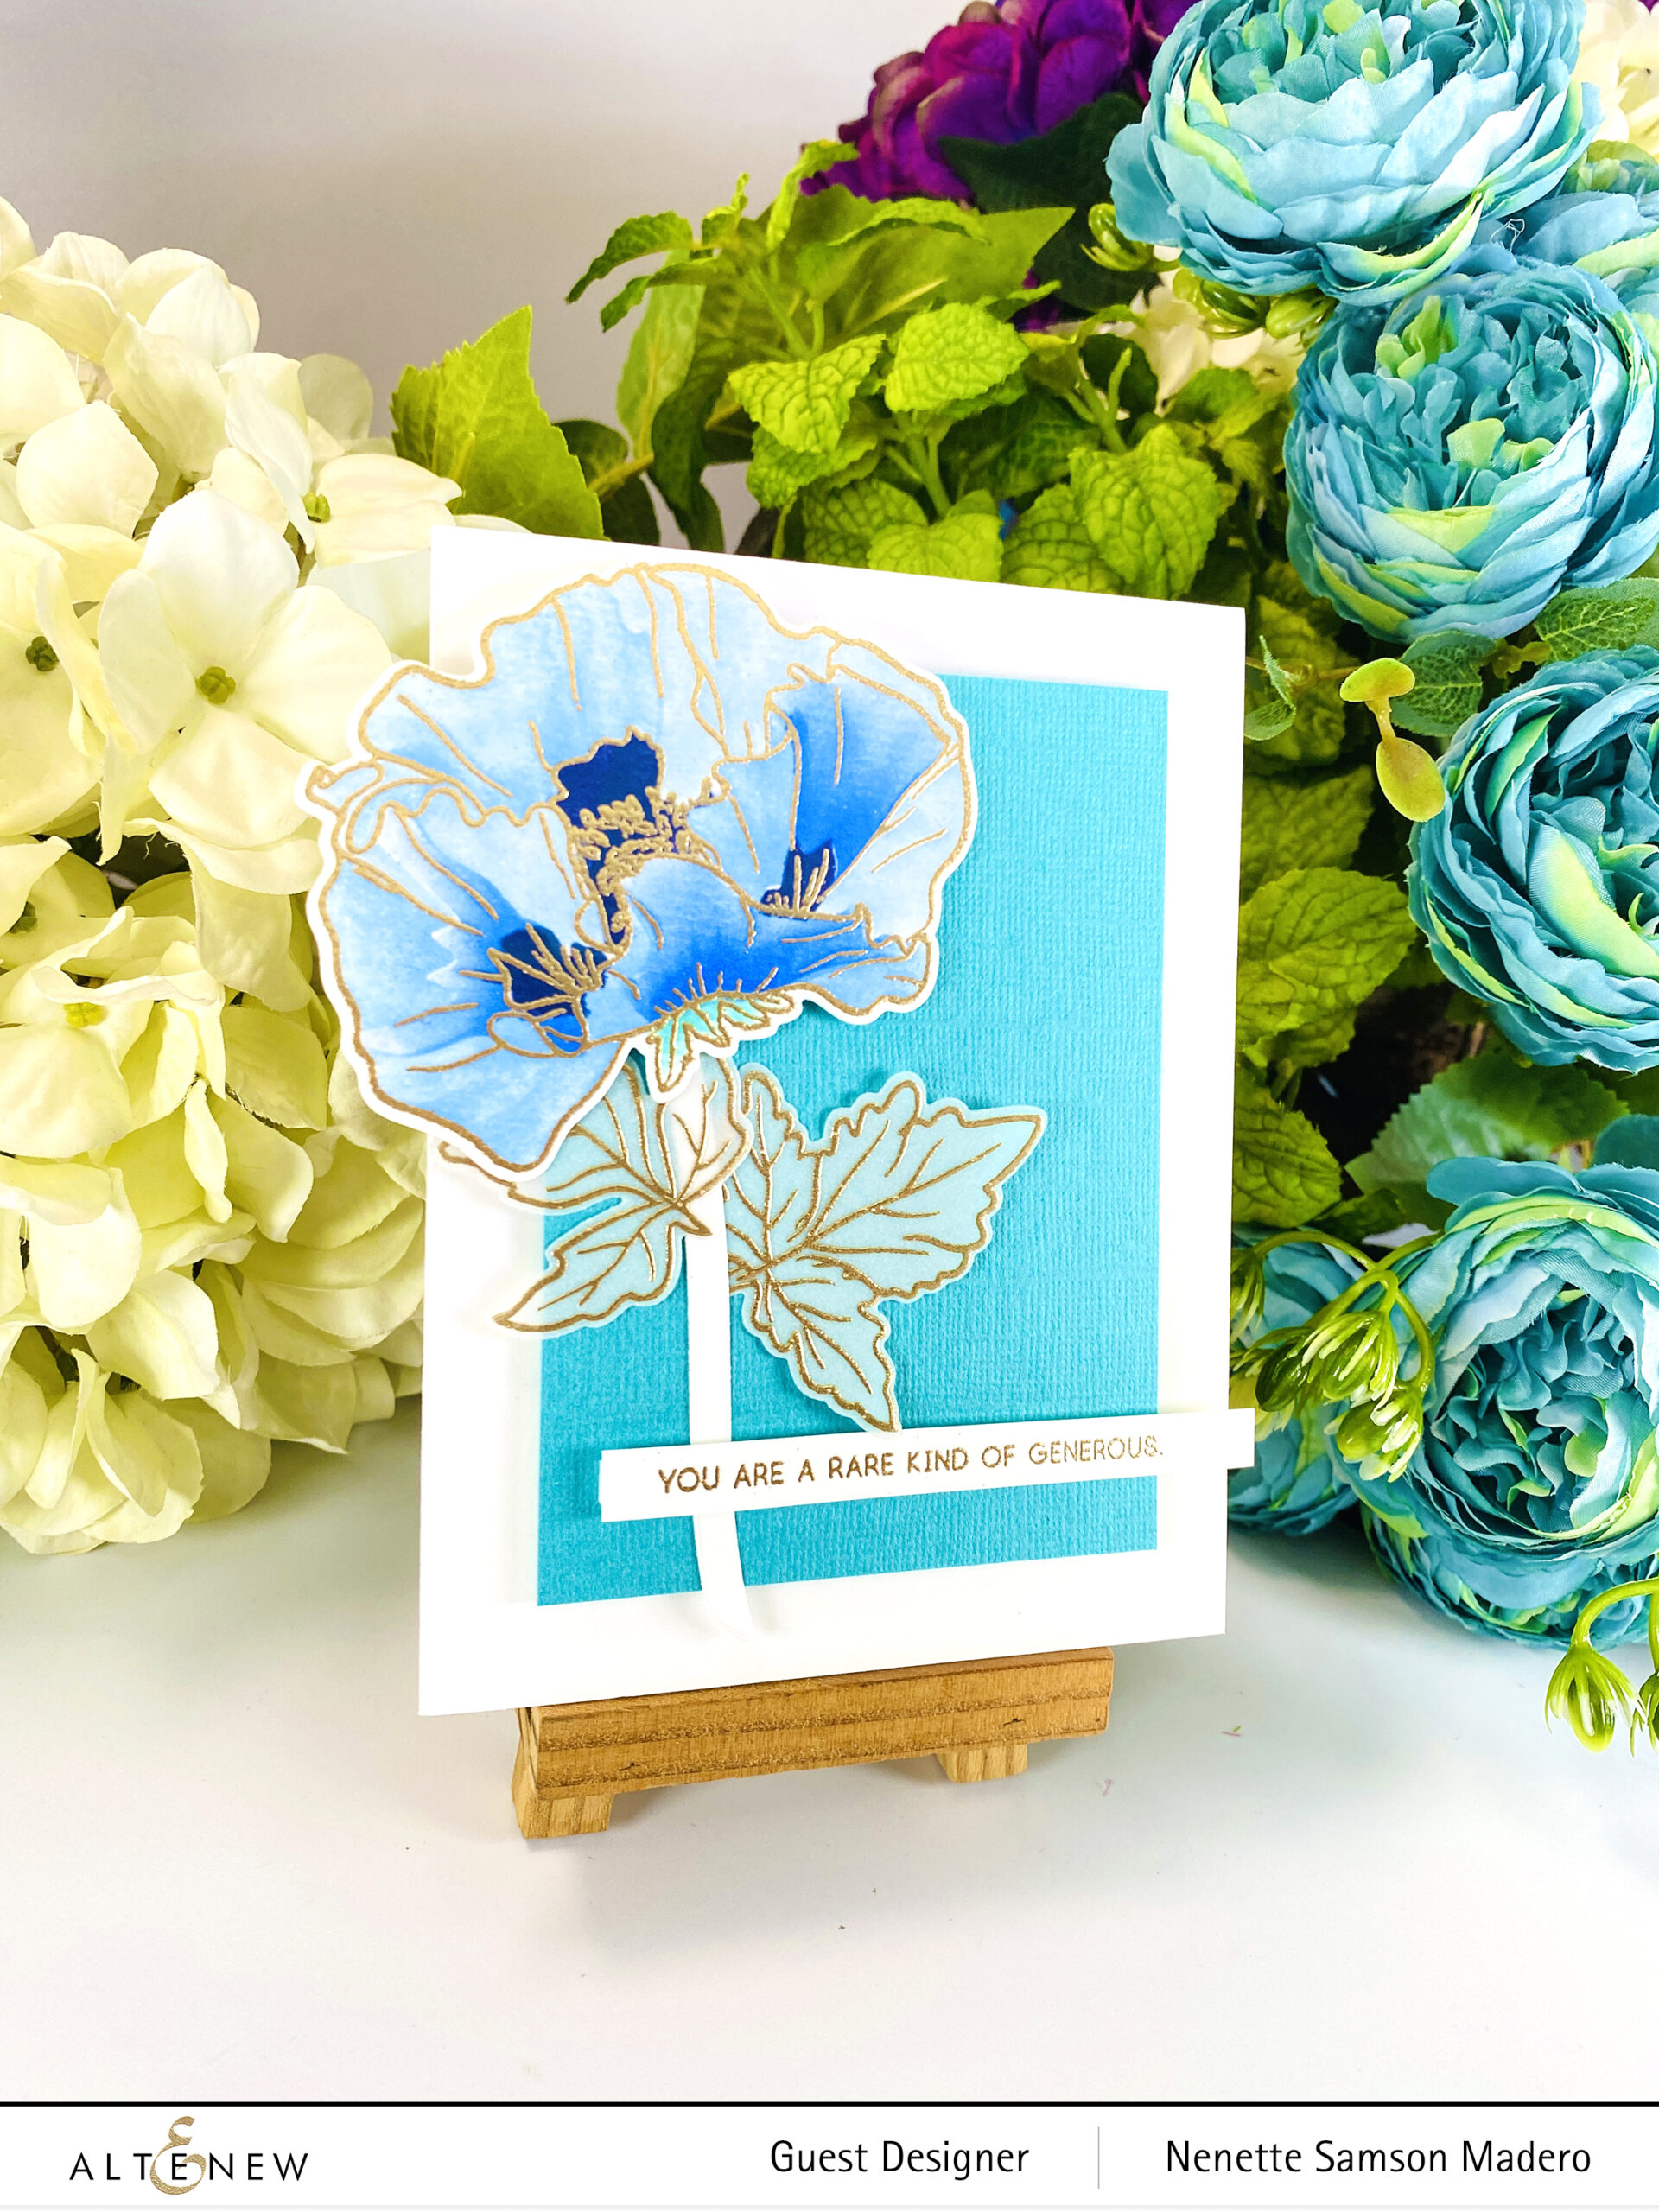
YOU ARE A RARE KIND OF GENEROUS.
STEPS:
- Stamp and emboss the image from the Oriental Poppy stamp set.
- Use the coordinating stencil set with a detailed blender brush to add colors from the Sea Shore, Glacier Caves, Lapis Lazuli, and Northern Shore dye inks sets.
- Die-cut the flower.
- Emboss the leaves with Rose Gold embossing powder.
- Cut a small panel using teal cardstock.
- Stamp and emboss the sentiment.
- Assemble the card.
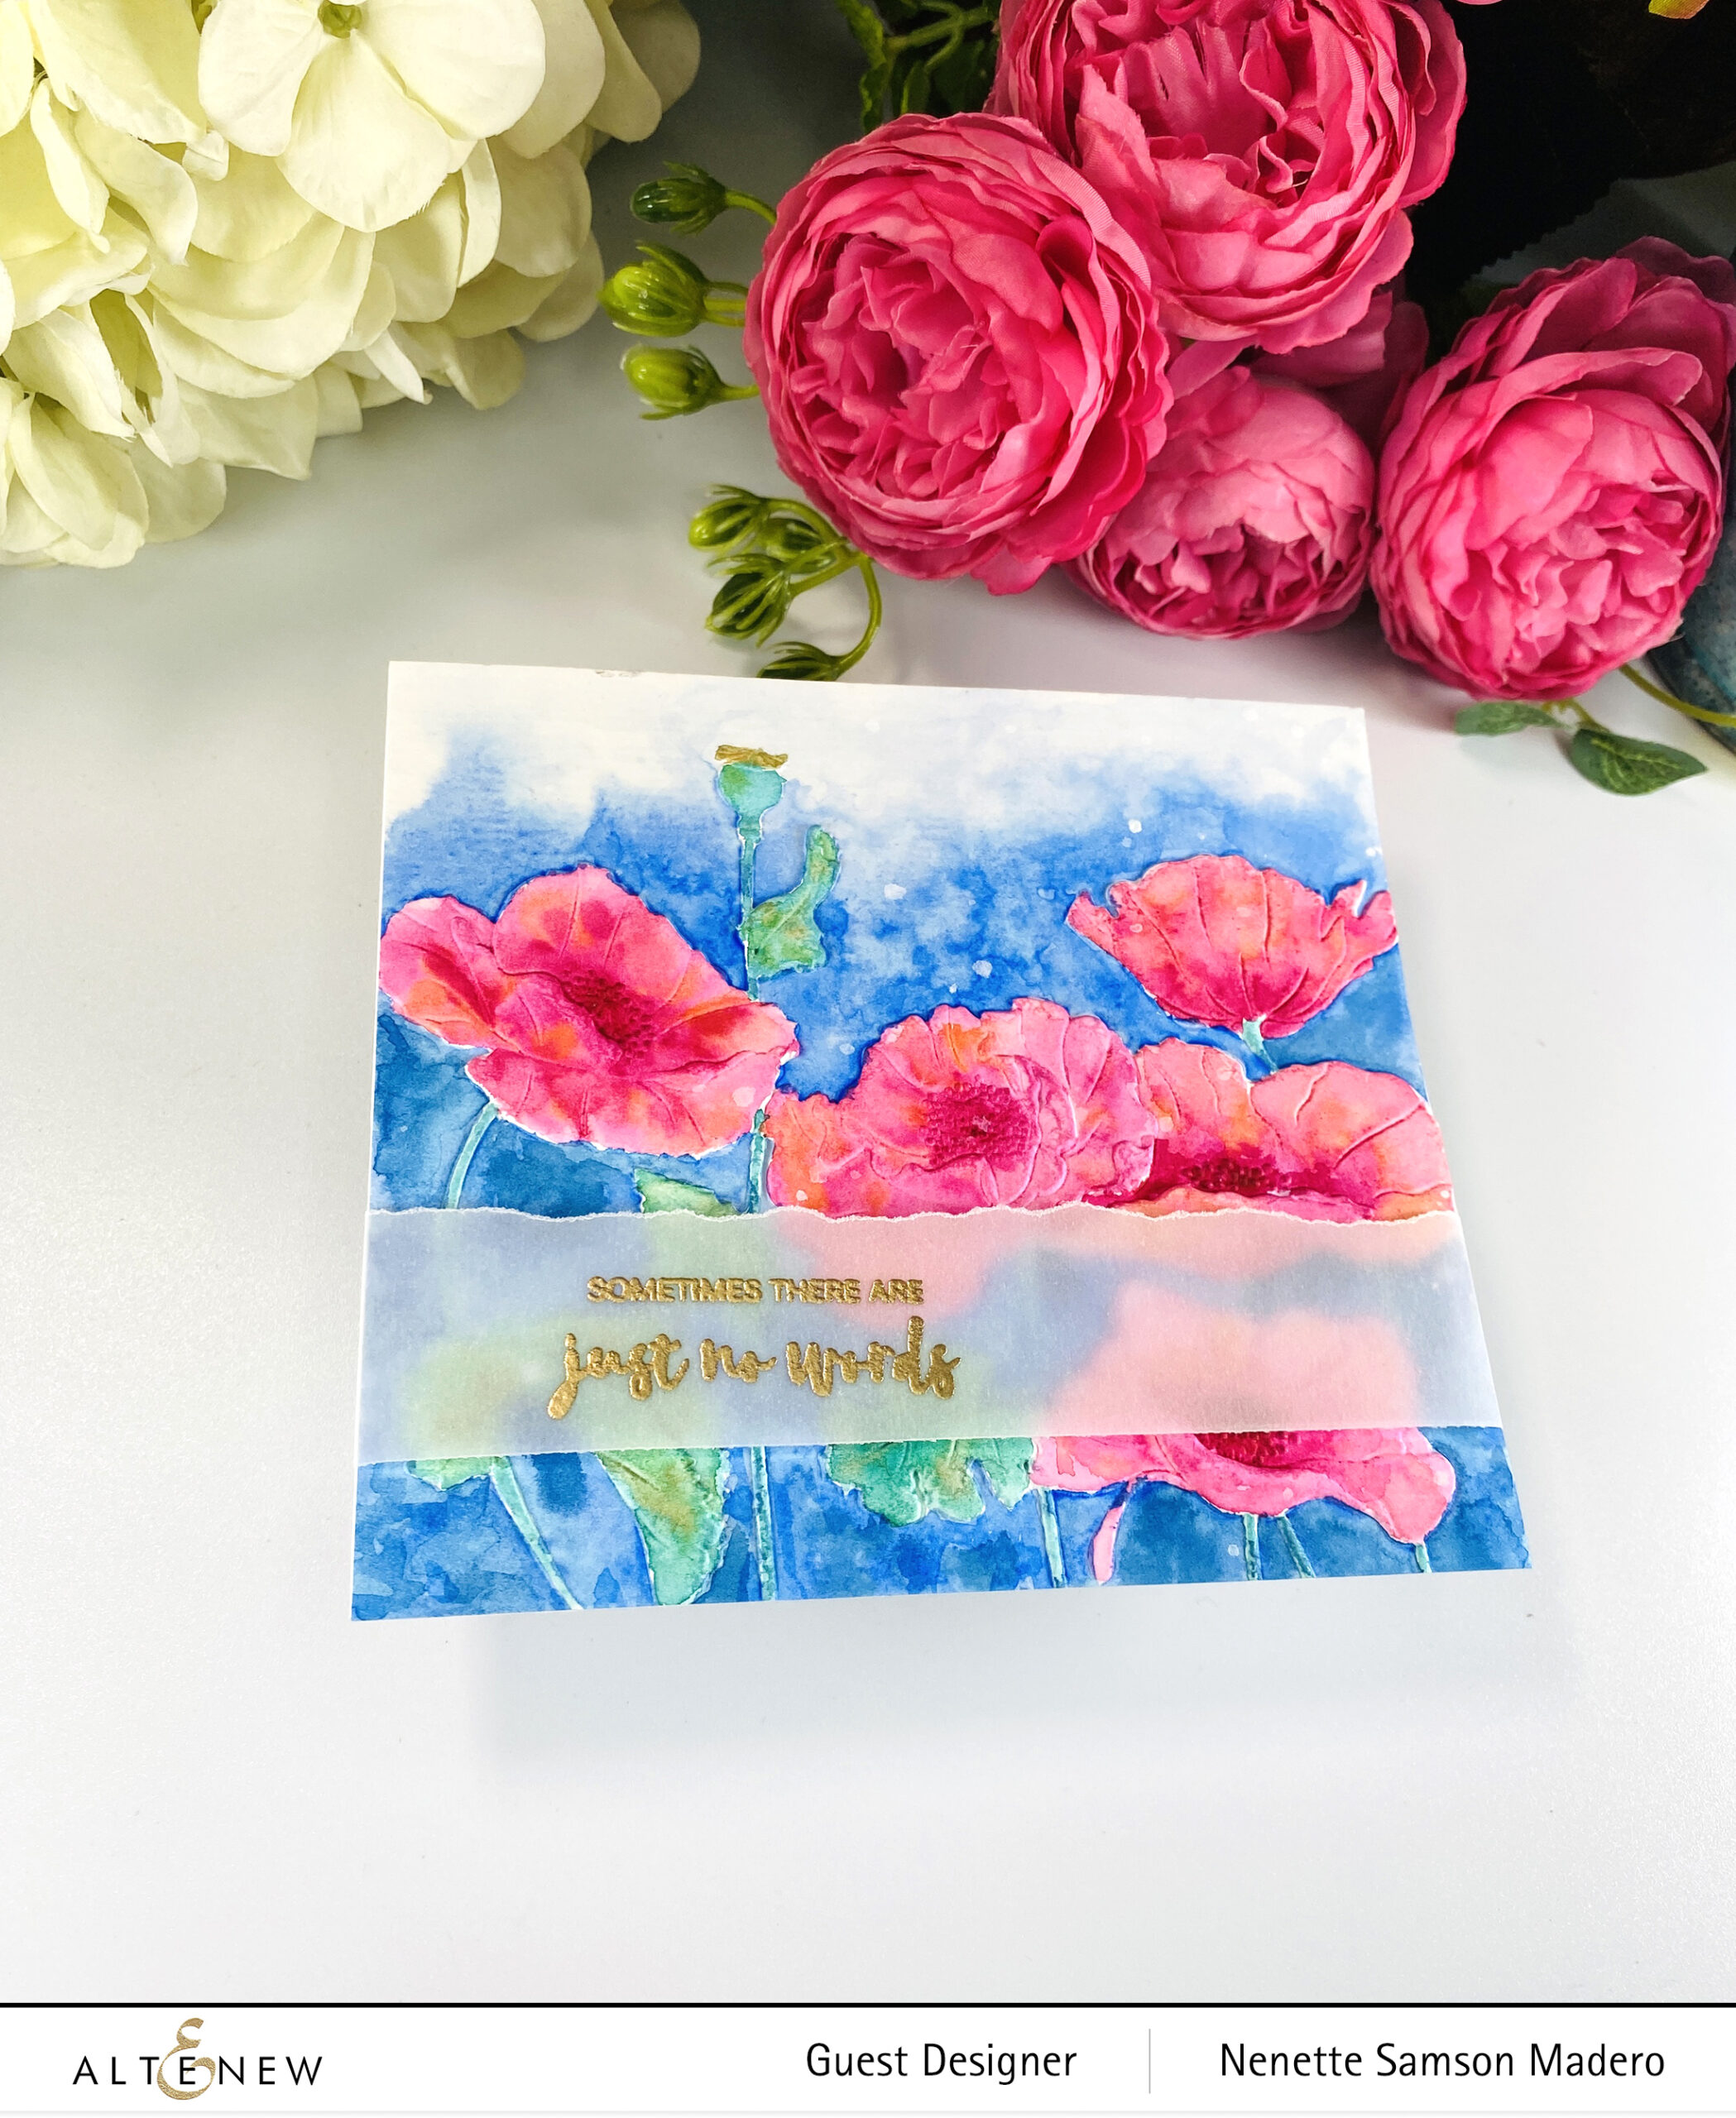
SOMETIMES THERE ARE JUST NO WORDS
STEPS:
- Spray the watercolor paper with water and emboss using the Peaceful Poppies 3D embossing folder.
- Watercolor the panel using the Artist Watercolor 24 pan set.
- Stamp and emboss the sentiment on vellum with Rose Gold embossing powder.
- Add splatters using white acrylic paint.
- Assemble the card.
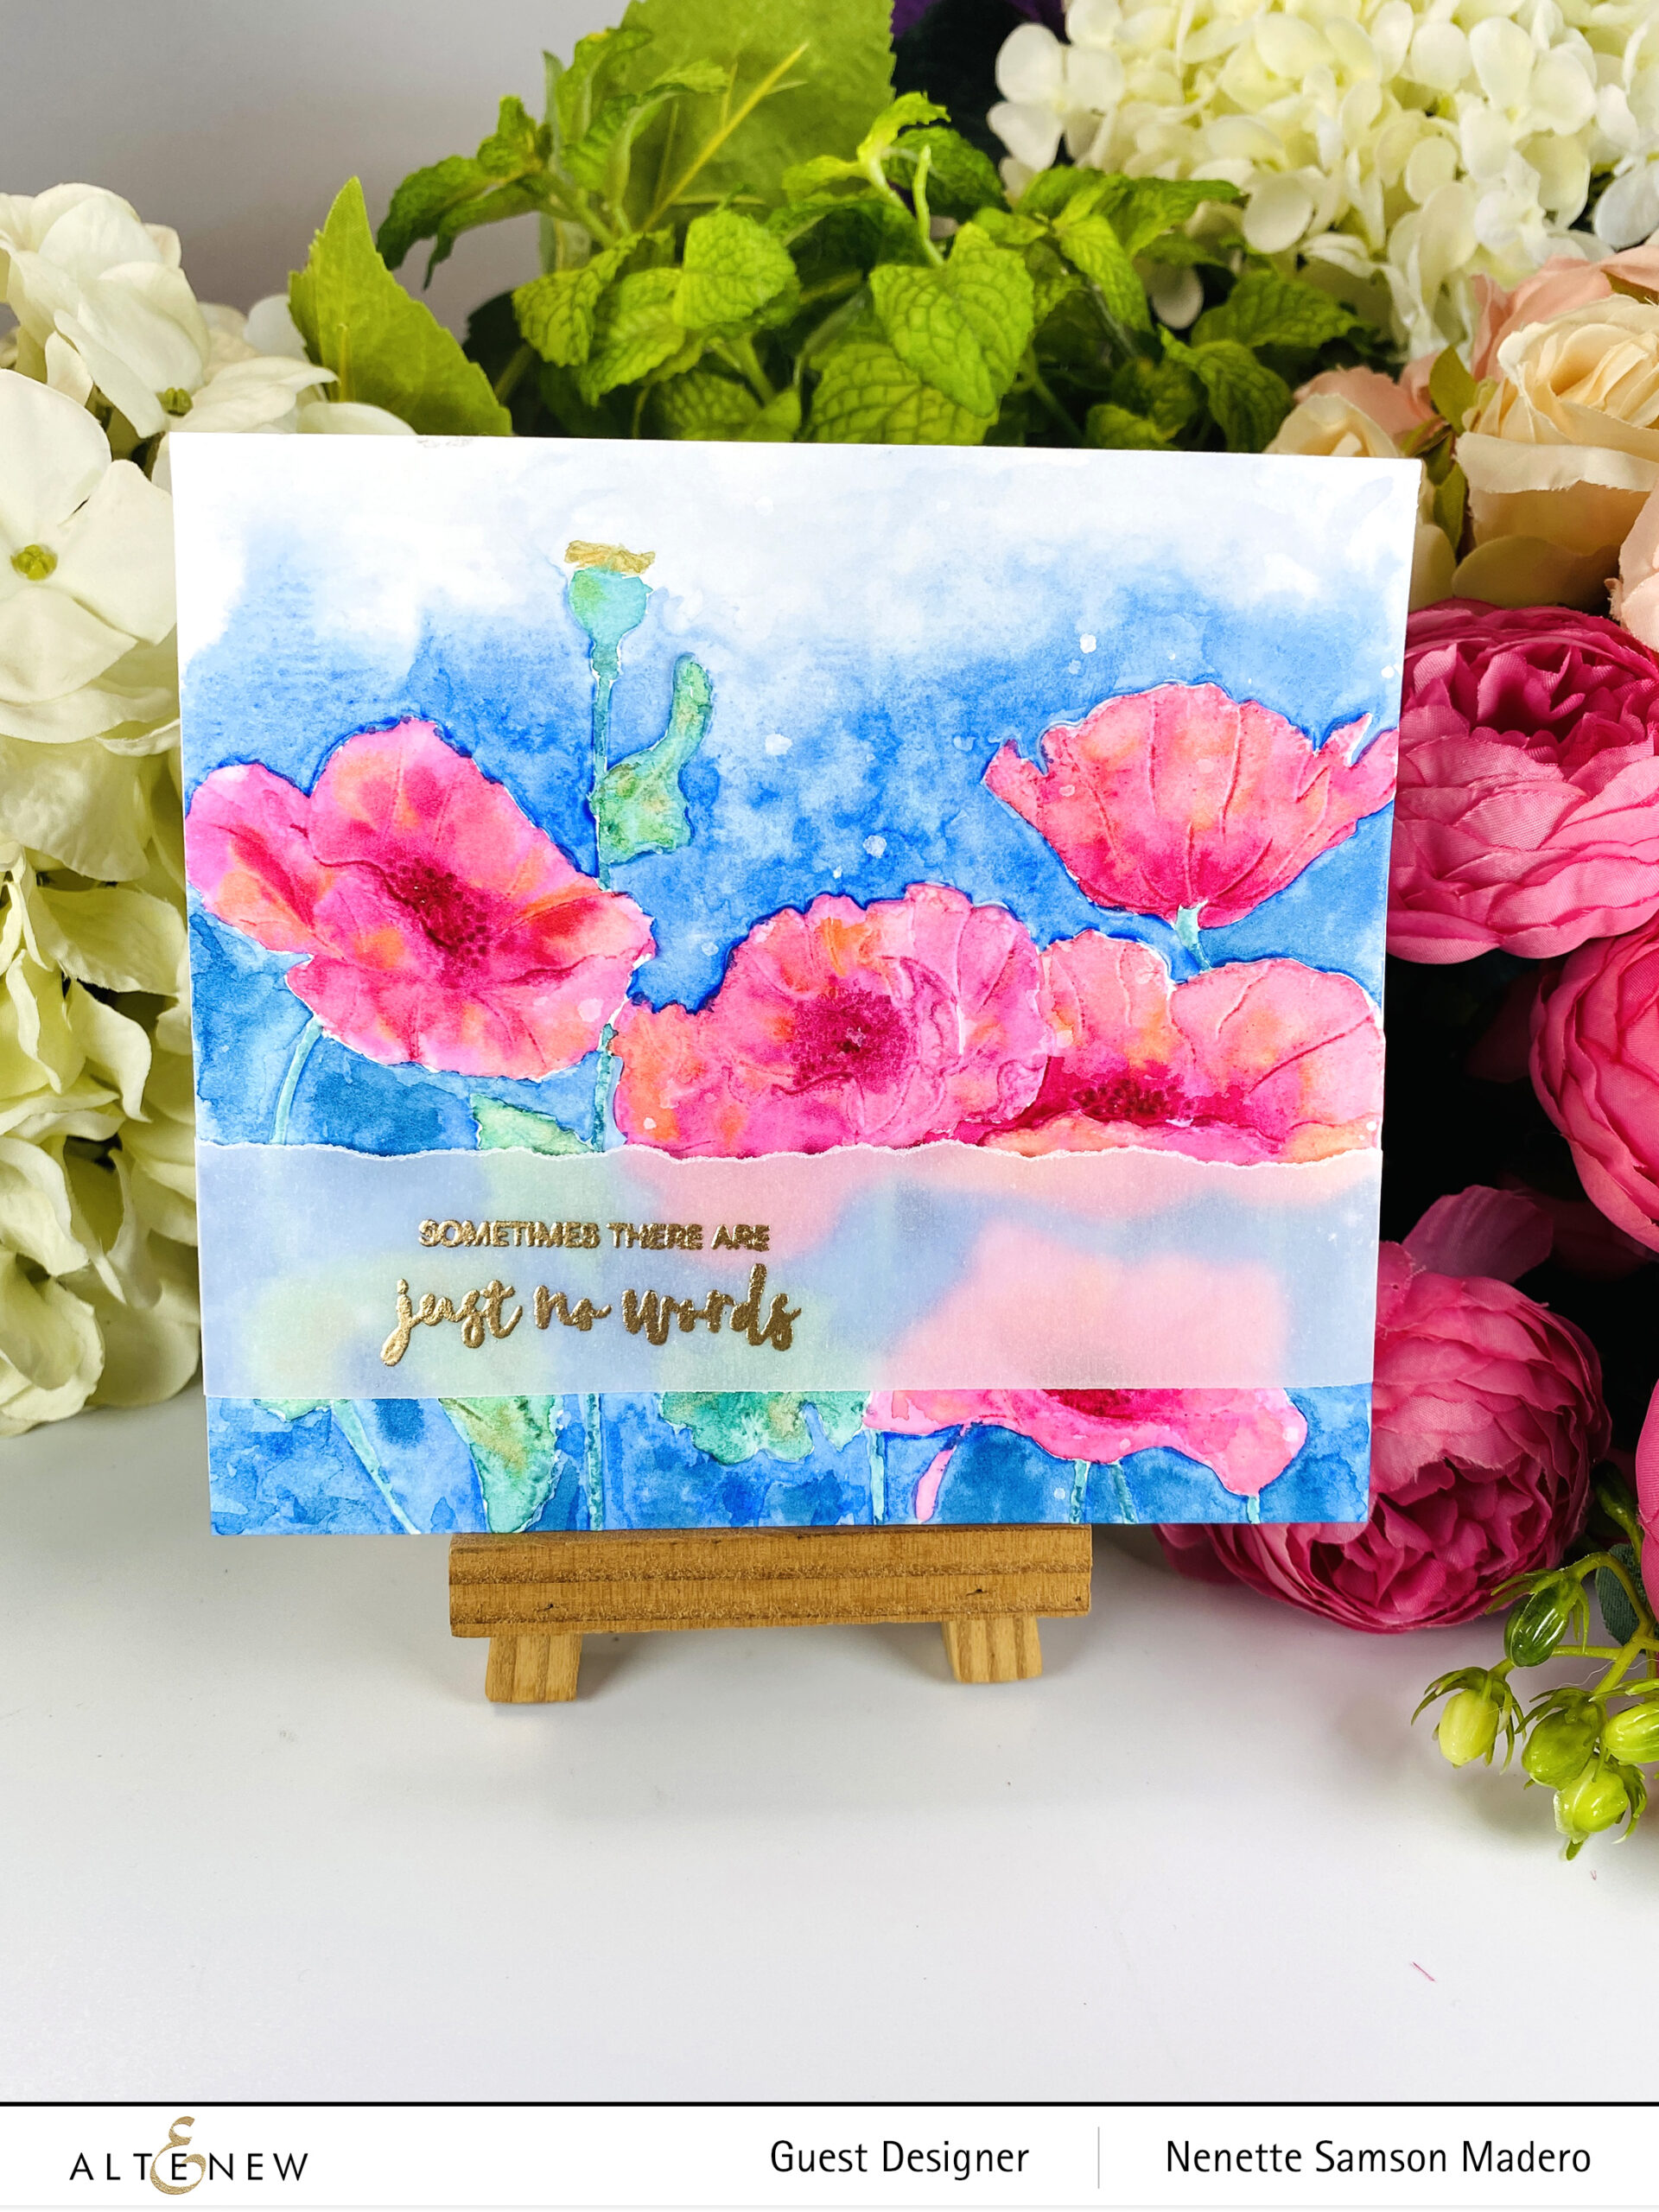
I used the embossed images as a guide on where to add the color. But since I wanted it to be a loosely colored panel, I didn’t mind if the edges were not as crisp or if the colors merged. Just make sure to mist the watercolor paper before embossing. Misting the paper will prevent cracking and give it a more crisp look.
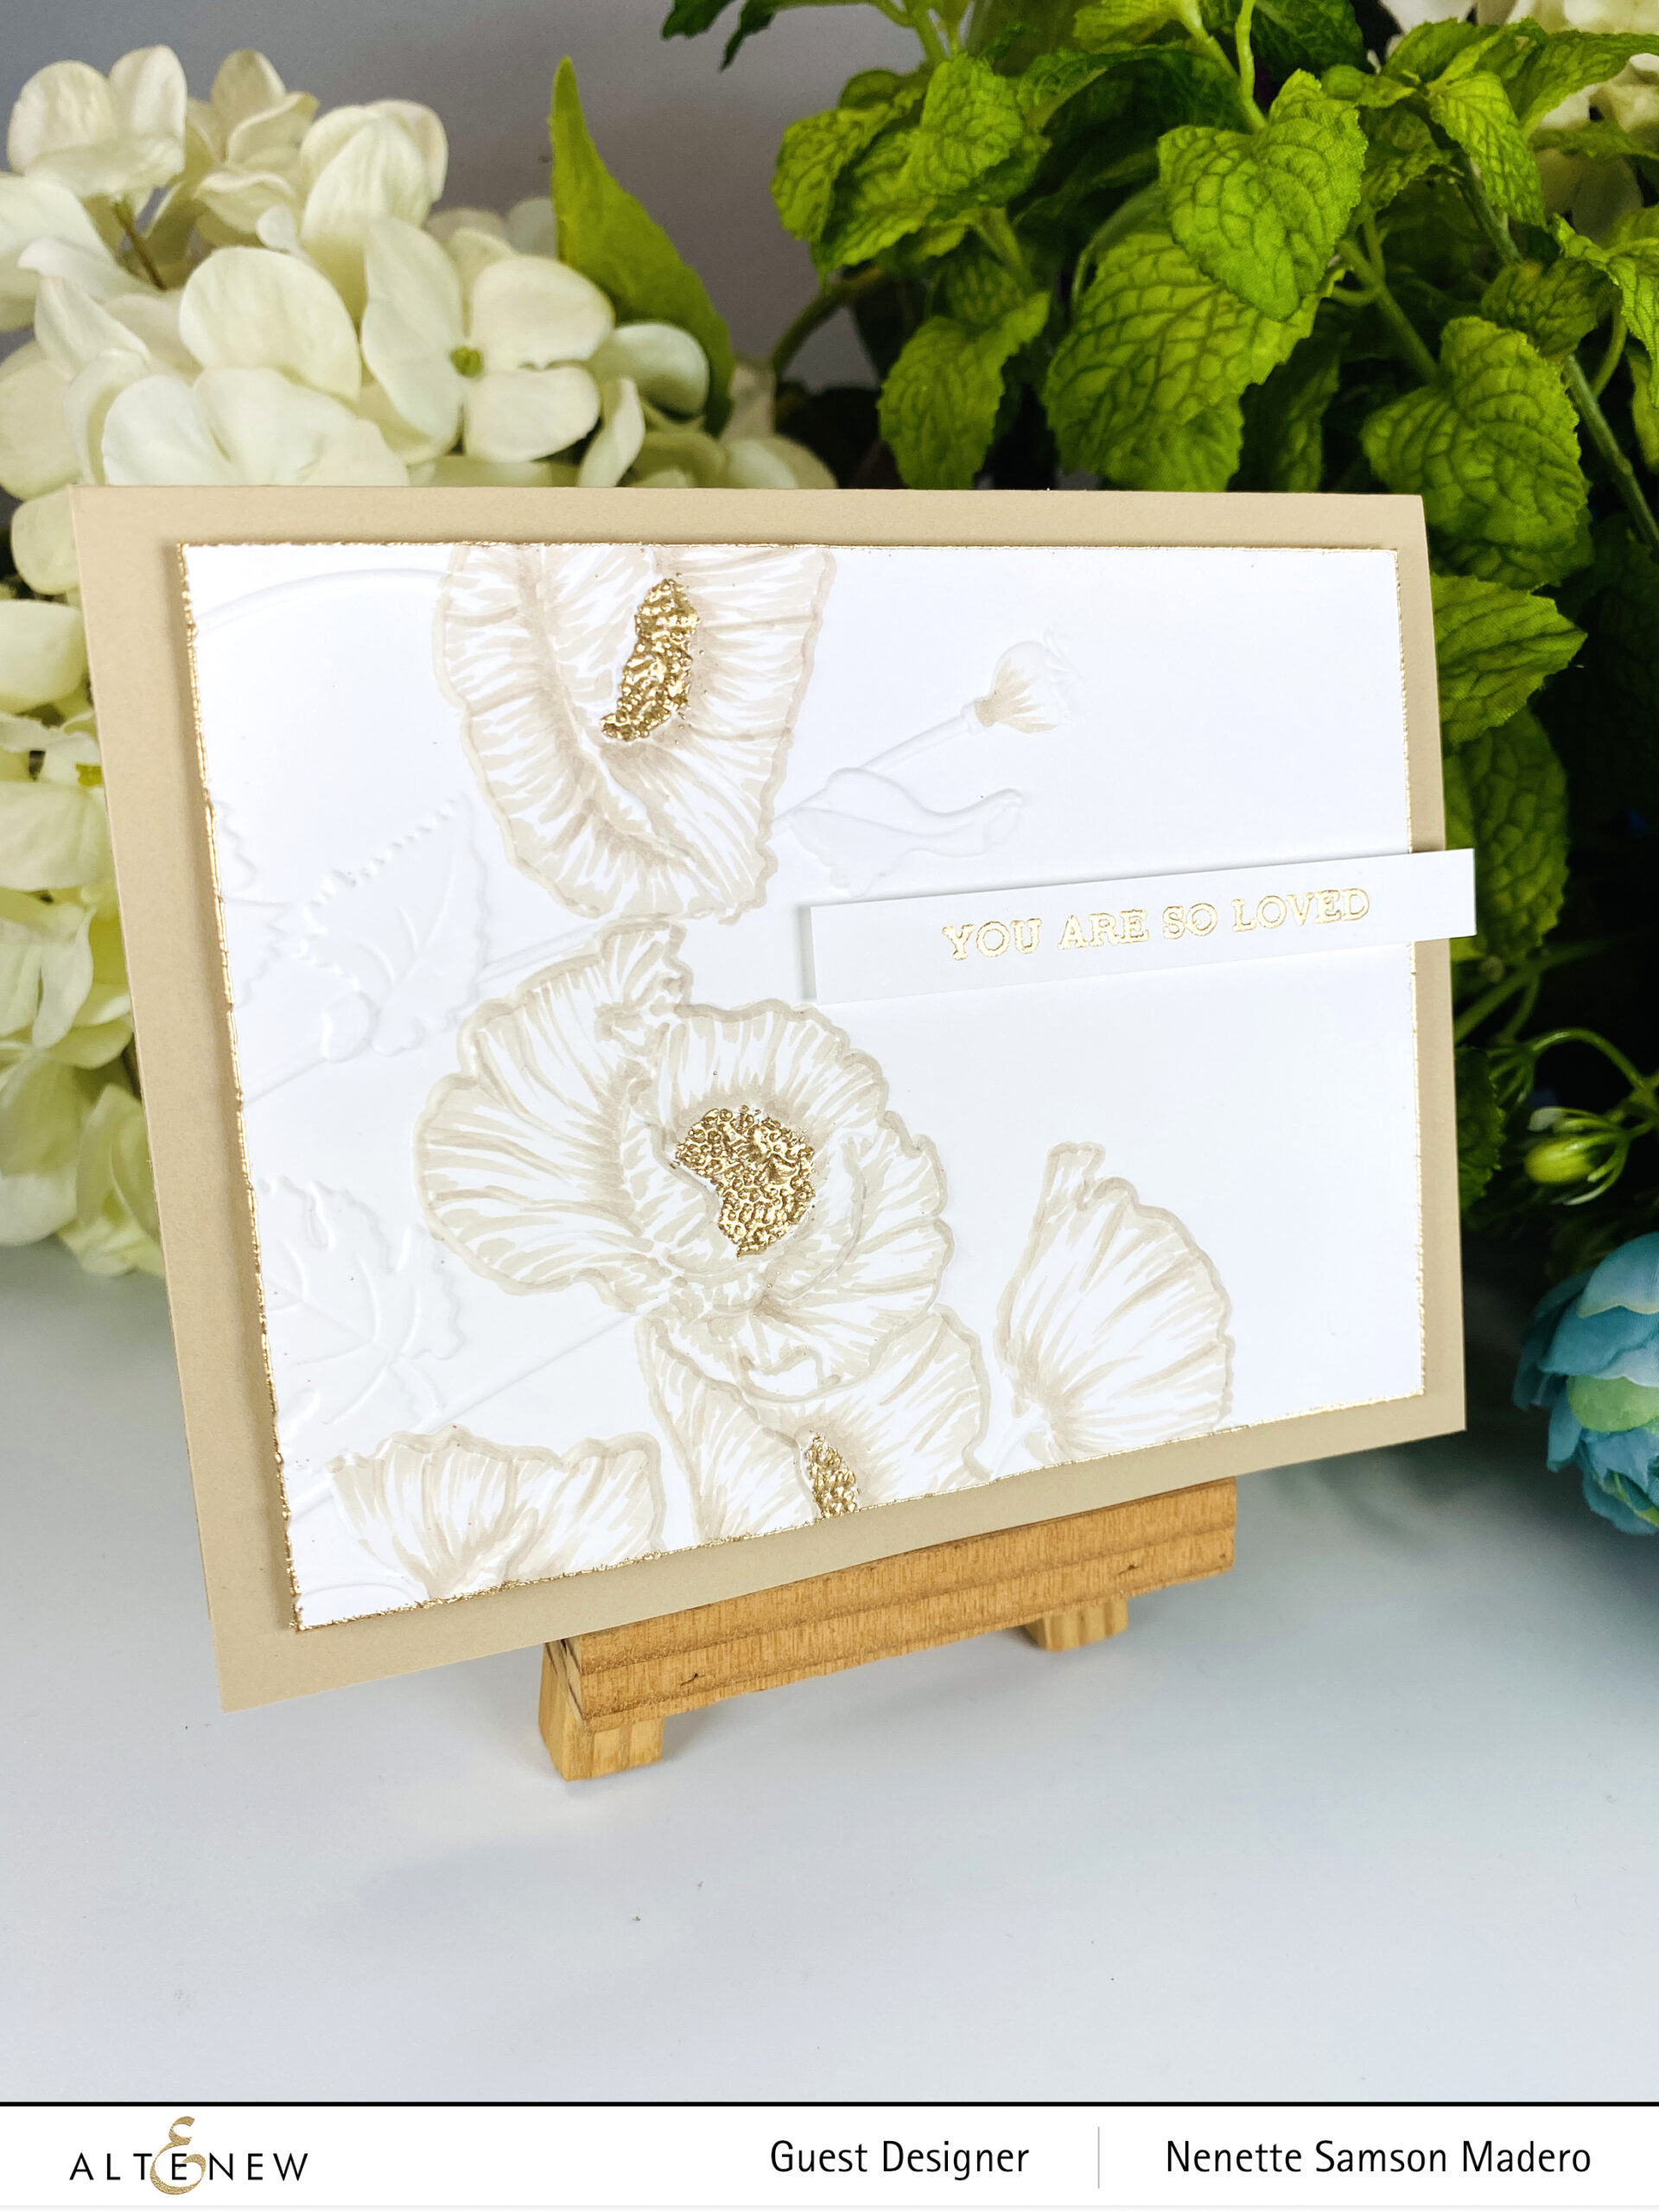
YOU ARE SO LOVED
STEPS:
- Mist the paper and emboss it with the Peaceful Poppies 3D embossing folder.
- Color the petals with Morning Frost alcohol marker.
- Emboss the sentiment, centers, and edges using Rose gold embossing powder.
- Assemble card with foam squares.
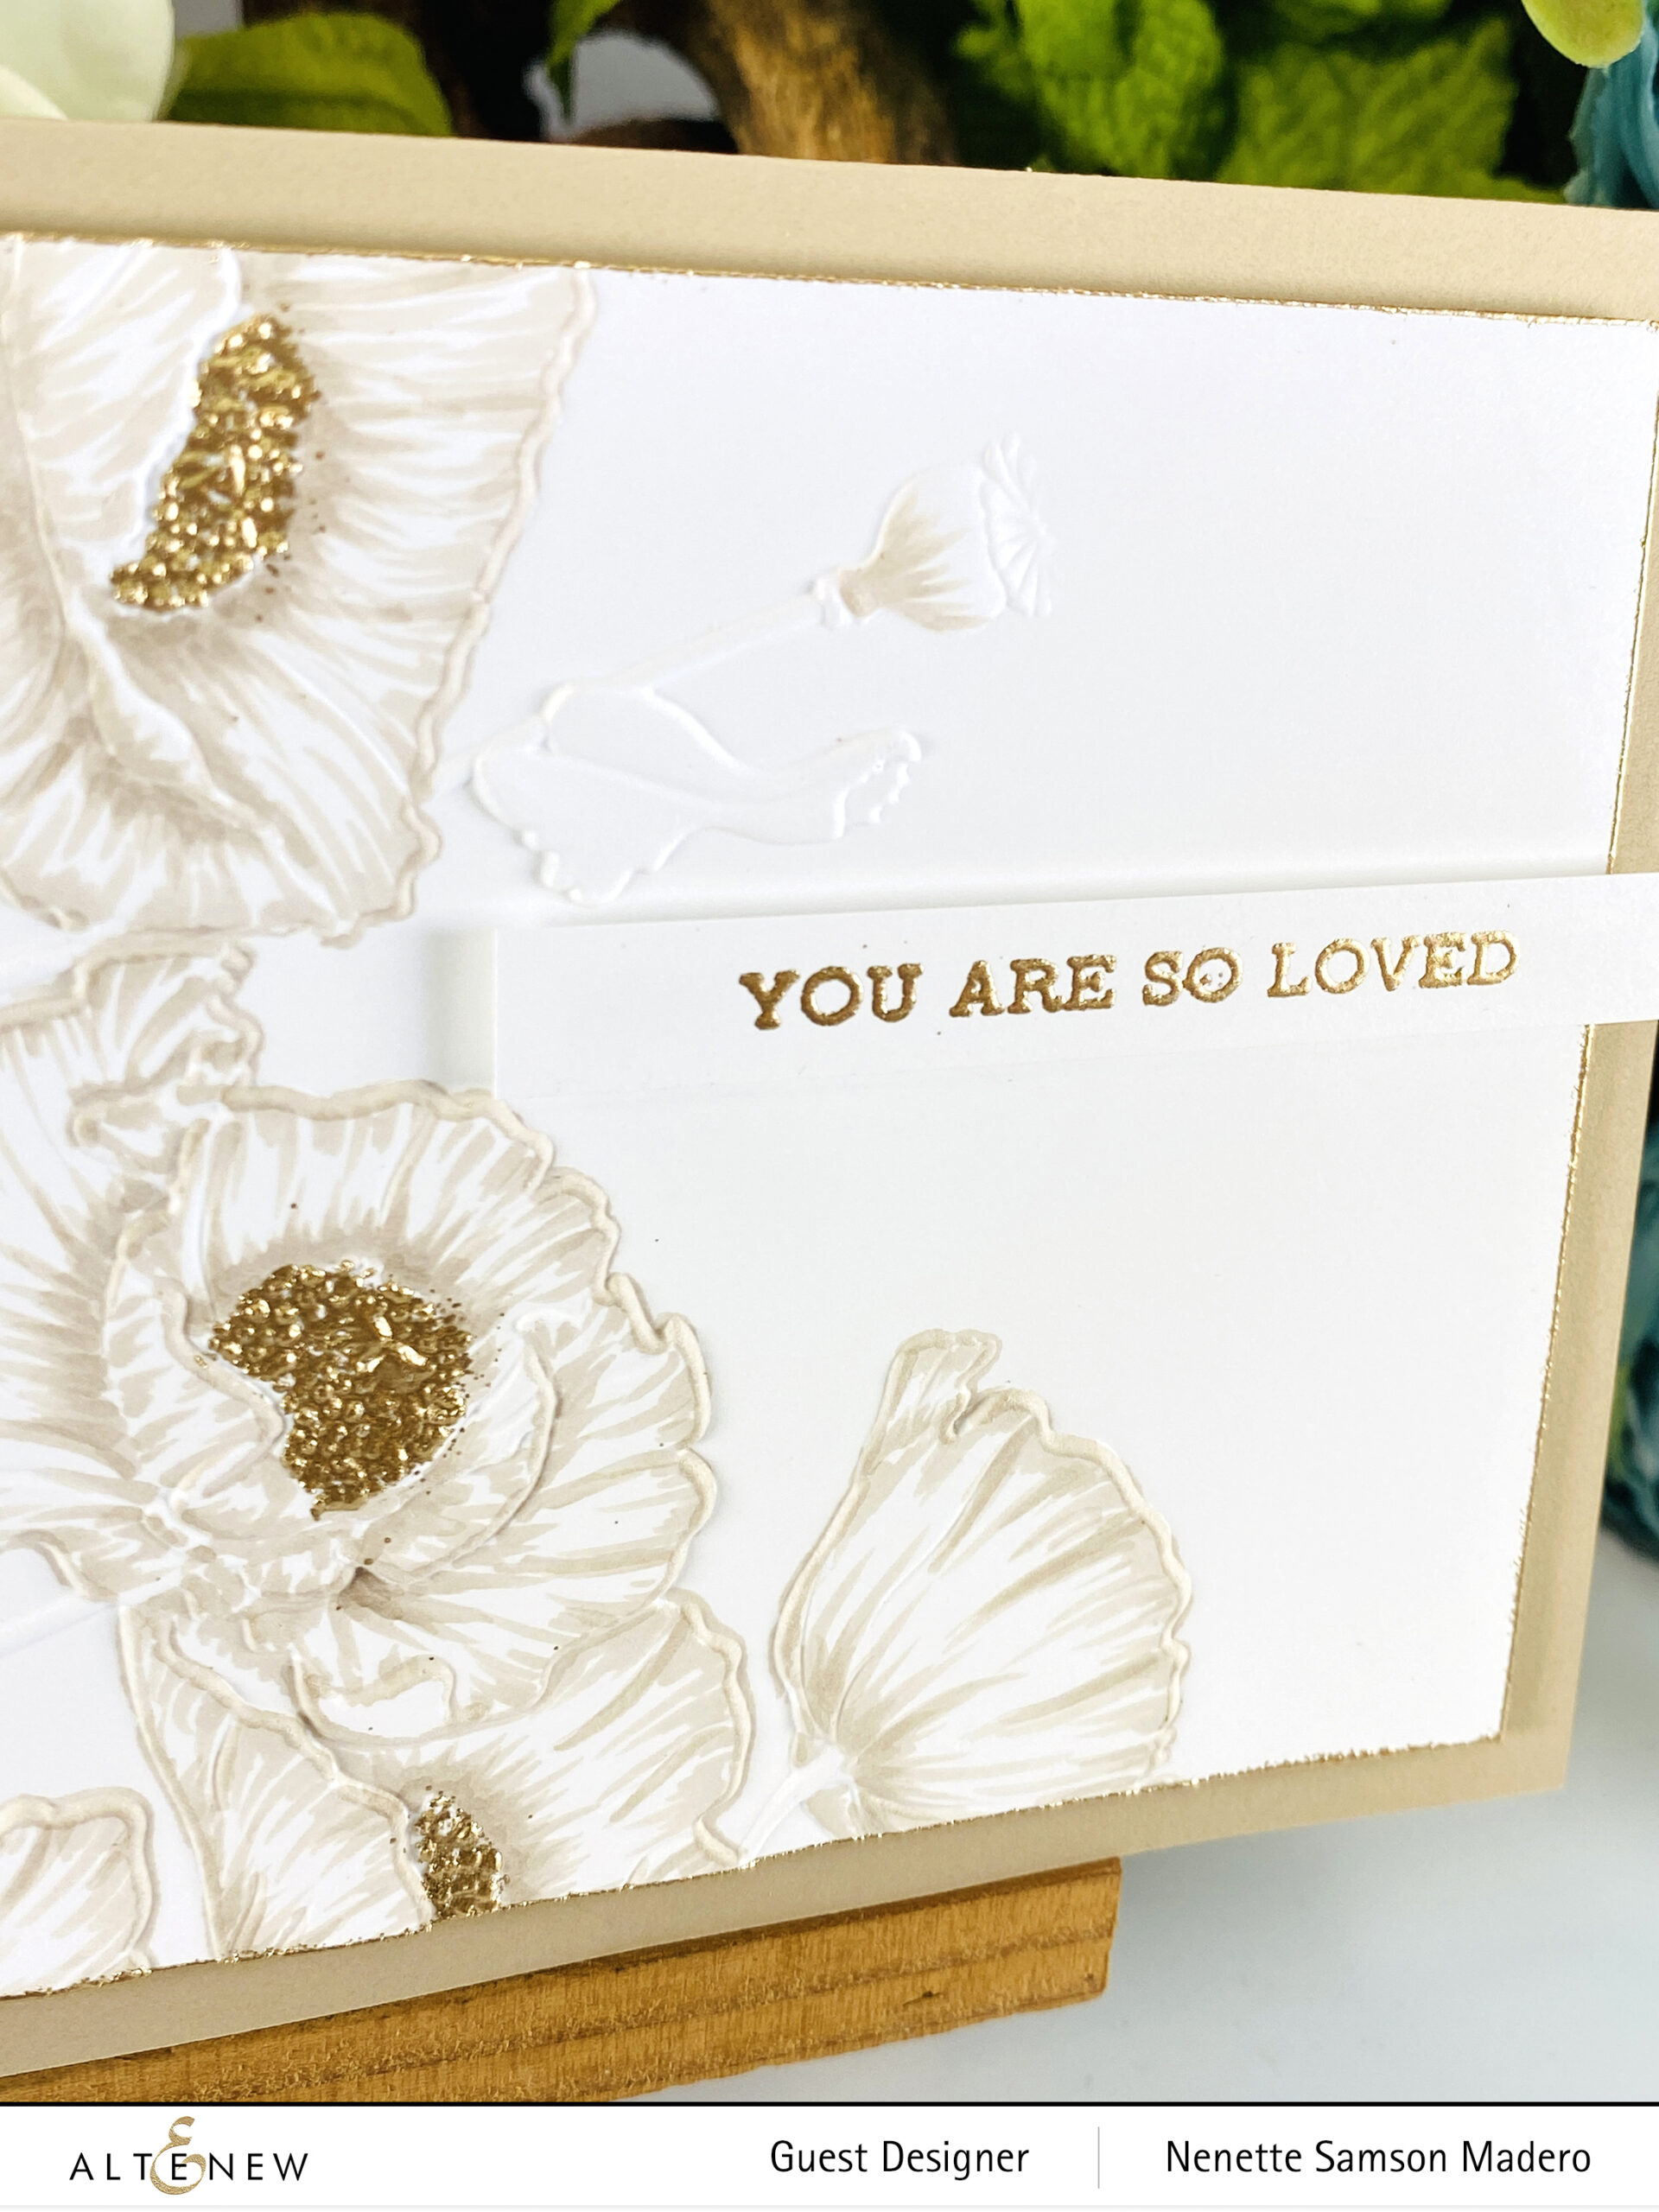
I wanted to create a CAS card using this beautiful Peaceful Poppies 3D embossing folder and keep the coloring simple and muted. The embossed centers give the card a nice contrast.
YOU’RE IN MY HEART

STEPS:
- Hot foil white cardstock using the Fine Rings Circles Hot Foil Plate.
- Die-cut using the smaller circle from the Fine Rings Circle Dies to create a window.
- Stamp and emboss the images from the Persian Motifs stamp set using Rose Gold embossing powder.
- Color the images using watercolor and alcohol markers.
- Die-cut the images with the Persian Motif coordinating dies.
- Assemble the card with foam squares and adhesive.
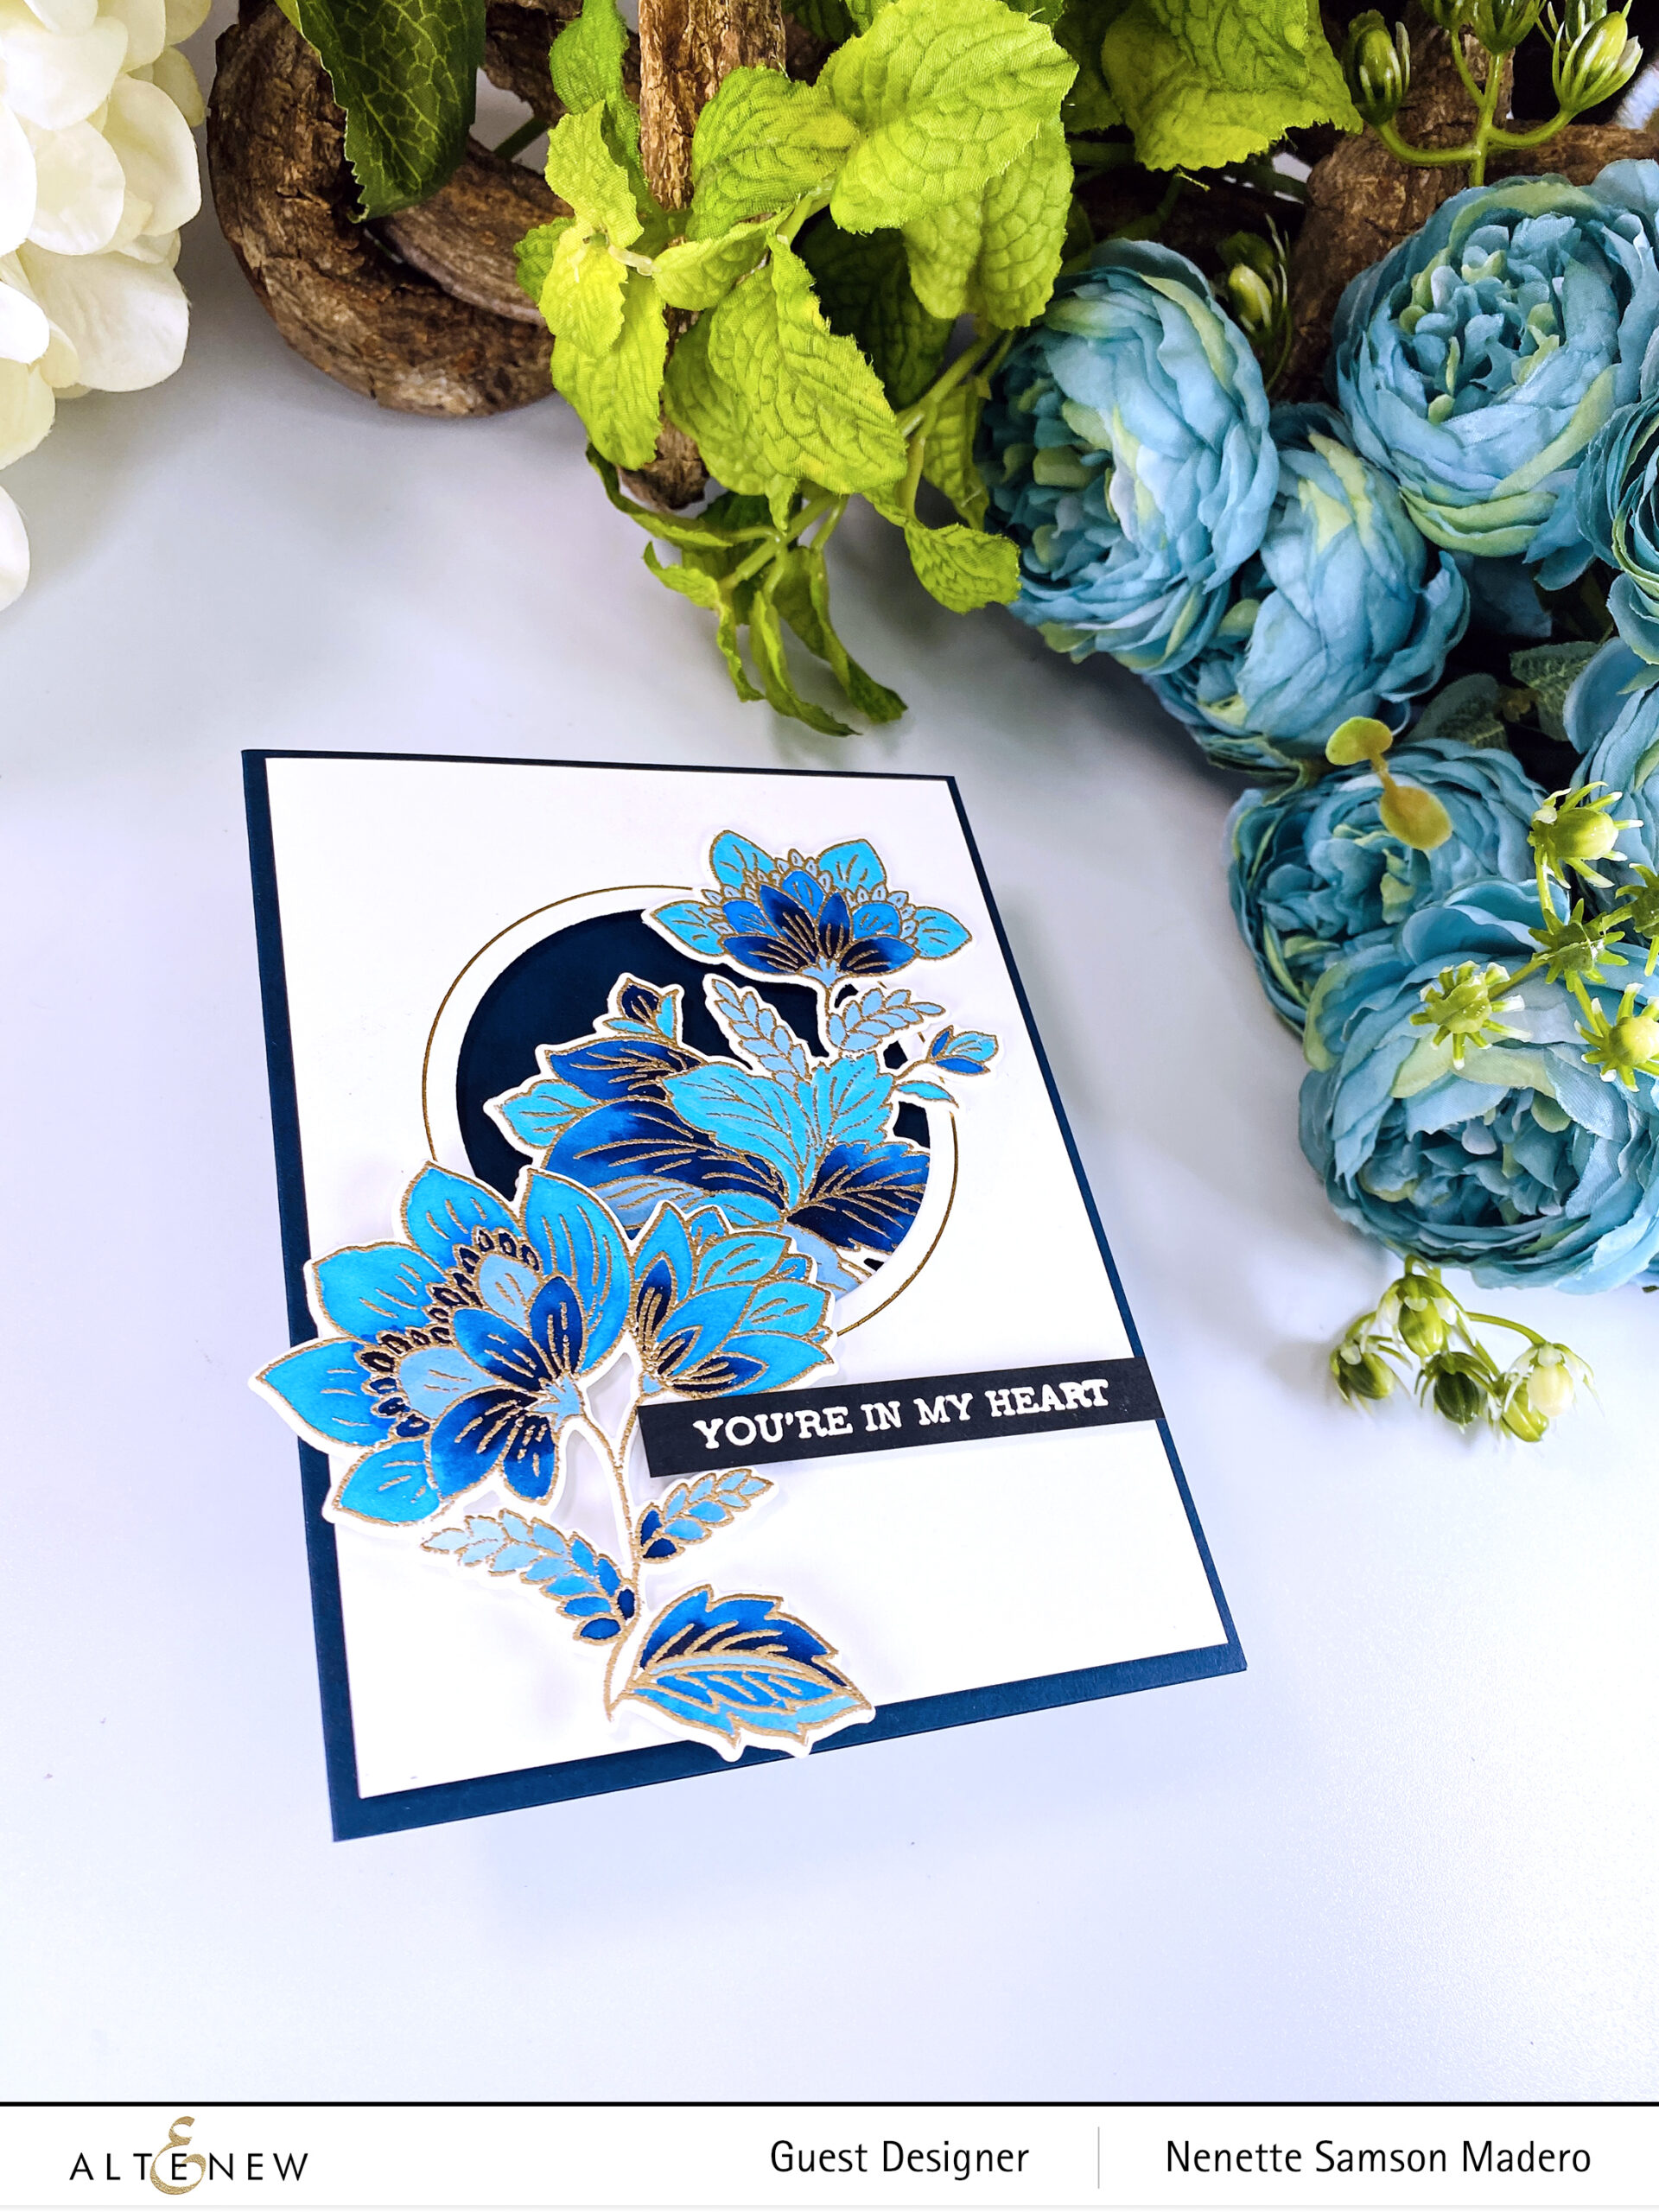
The Persian Motifs Stamp is one of my all-time favorite stamp sets. I love how beautiful the images are and how many different ways you can color them! The circle hot foil plate gives the card an elegant finish.
I have a newfound appreciation for white space. It draws attention to where it’s needed most and adds a visual rest. White space doesn’t necessarily have to be white– it can be any color or pattern as long as there’s nothing on it. (Thanks for this info, Cathy Z.!)
GIVEAWAYS

$300 in total prizes! To celebrate this release, Altenew is giving away a $50 gift certificate to 2 lucky winners and a $25 gift certificate to 8 winners! Please leave a comment on the Altenew Card Blog and/or each designer’s blog post on the blog hop list below by 06/27/2022 for a chance to win.
Altenew will draw ten random winners from the comments left on each stop of this blog hop and announce the winners on the Altenew Winners Page on 06/29/2022.
Next up: Reiko Tsuchida. (Due to strict restrictions in Japan, you might not be able to leave comments on her blog.) Thank you so much for dropping by! Please don’t forget to leave a comment to get a chance to win a prize from Altenew. If you liked what you saw, I hope you can give me a follow on my Youtube and Instagram channels (links are located below). Thanks for dropping by, and happy crafting! 💕
