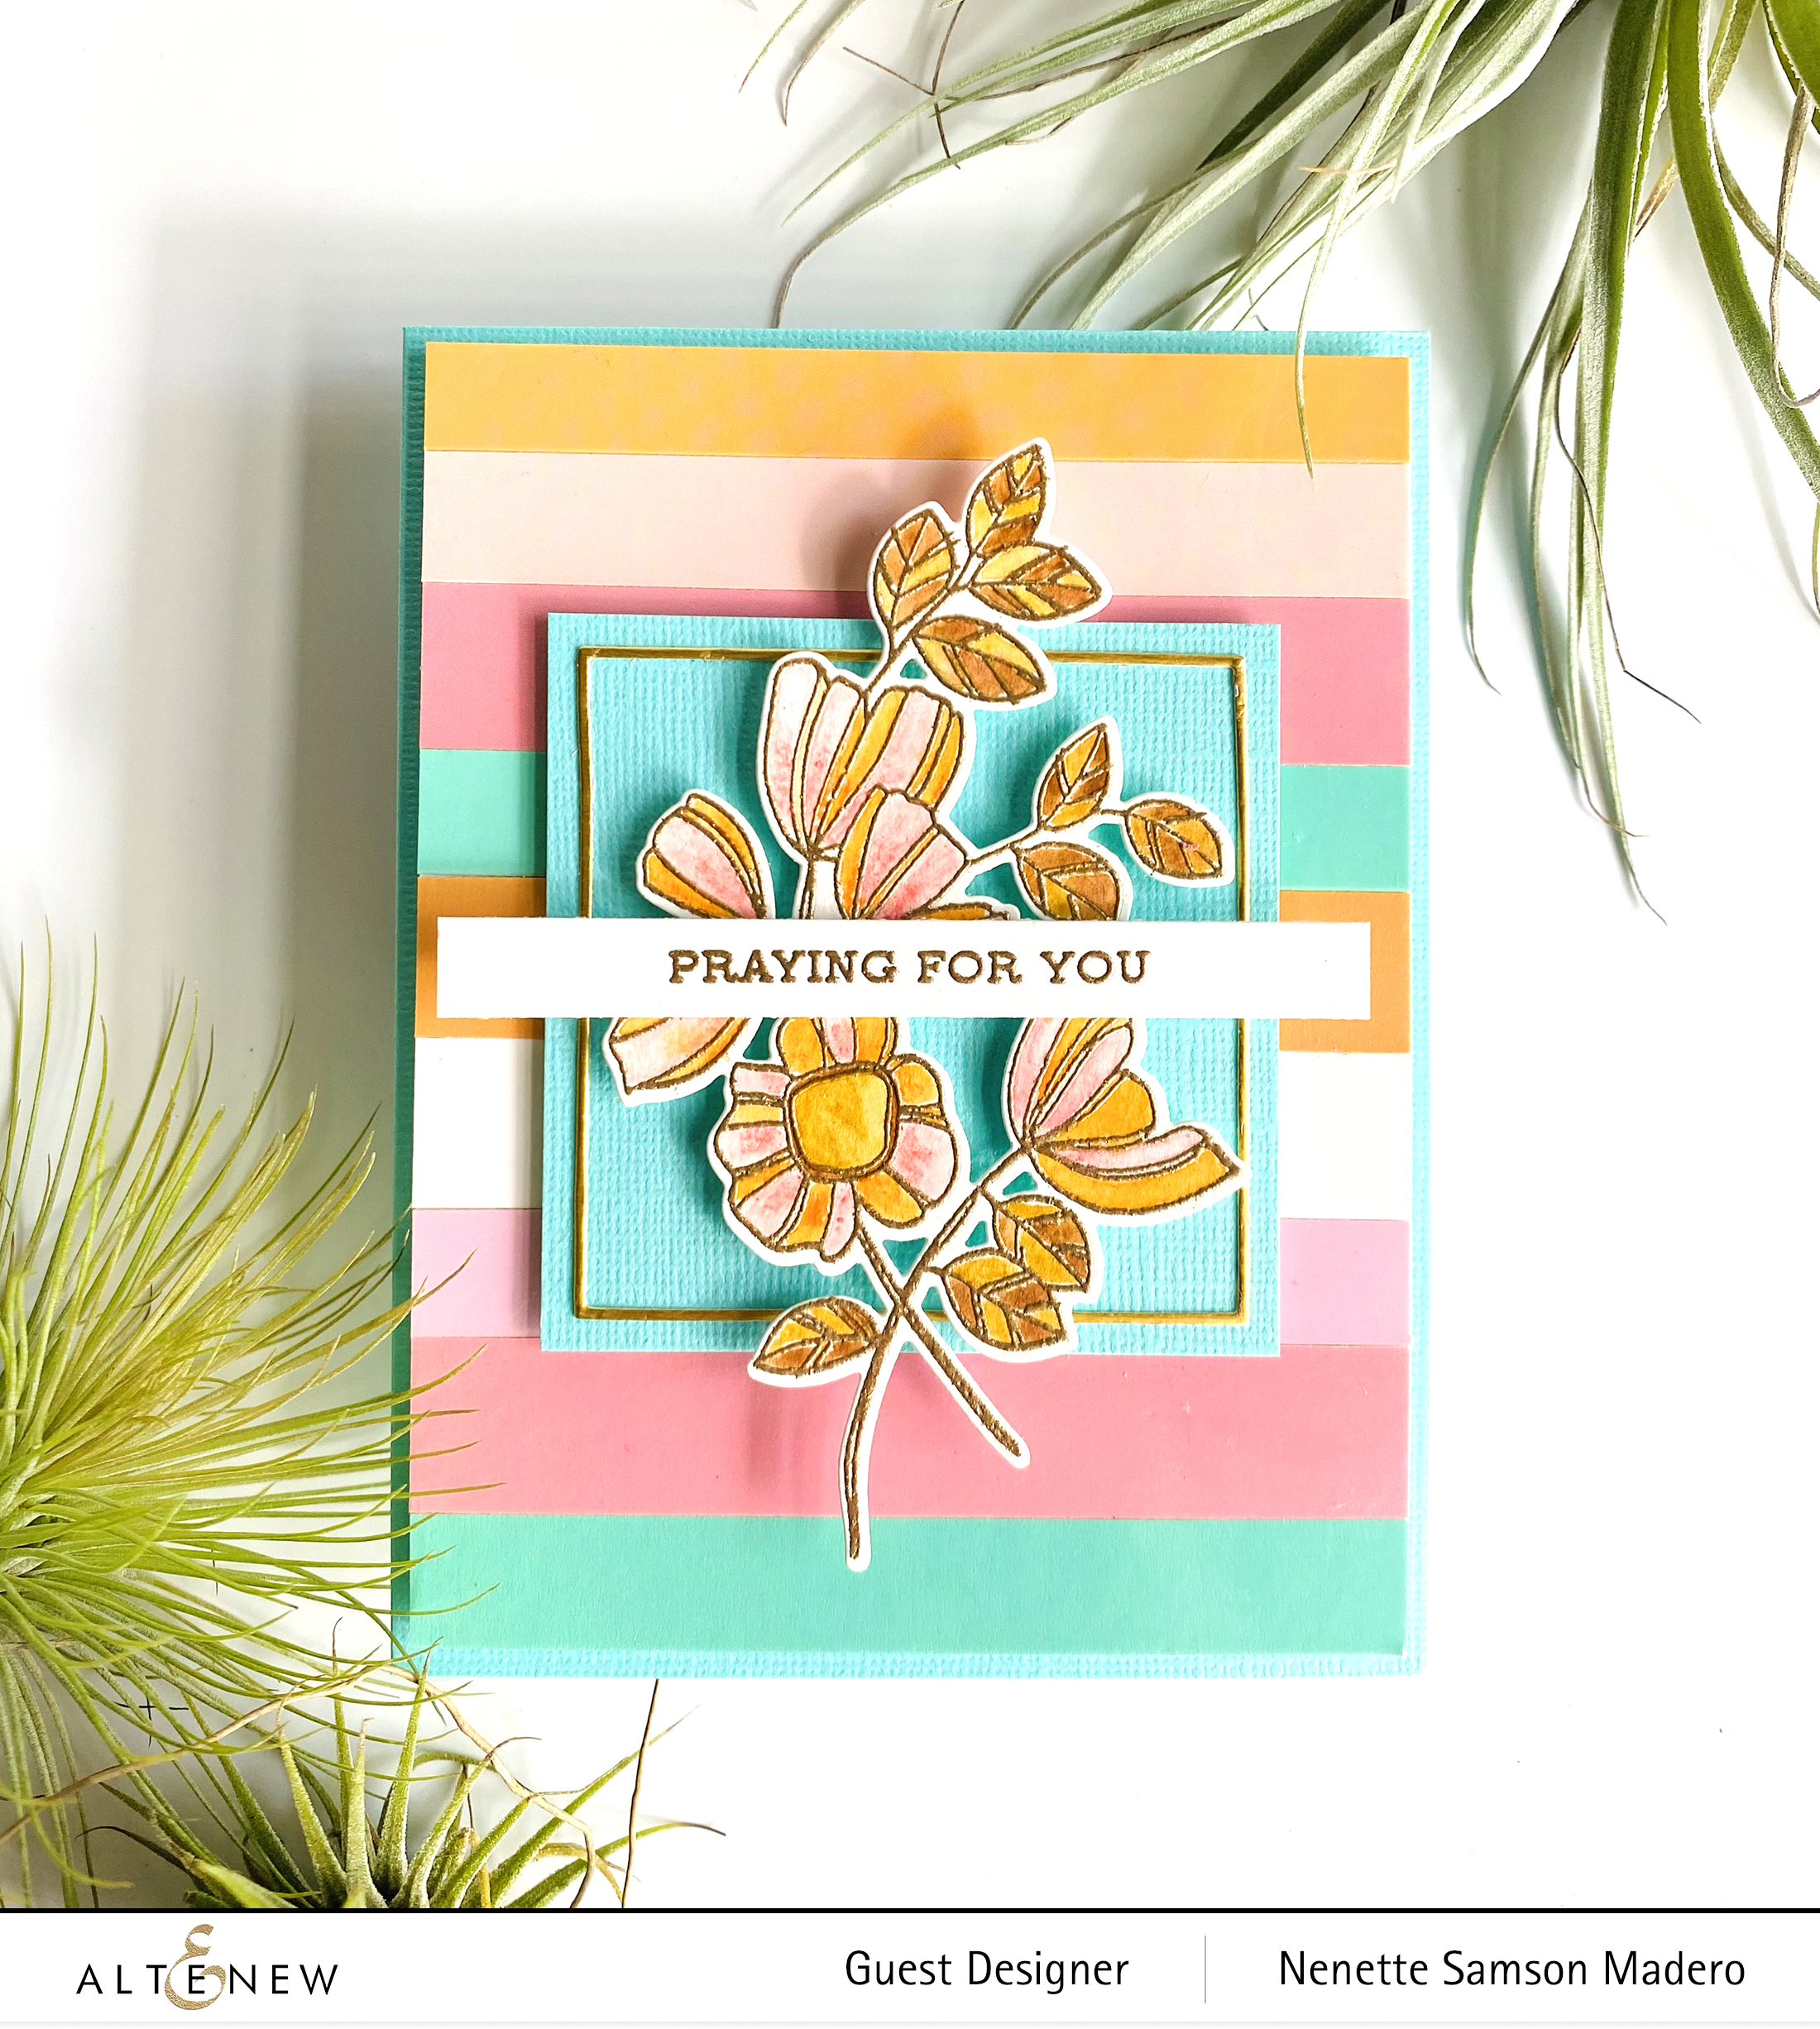
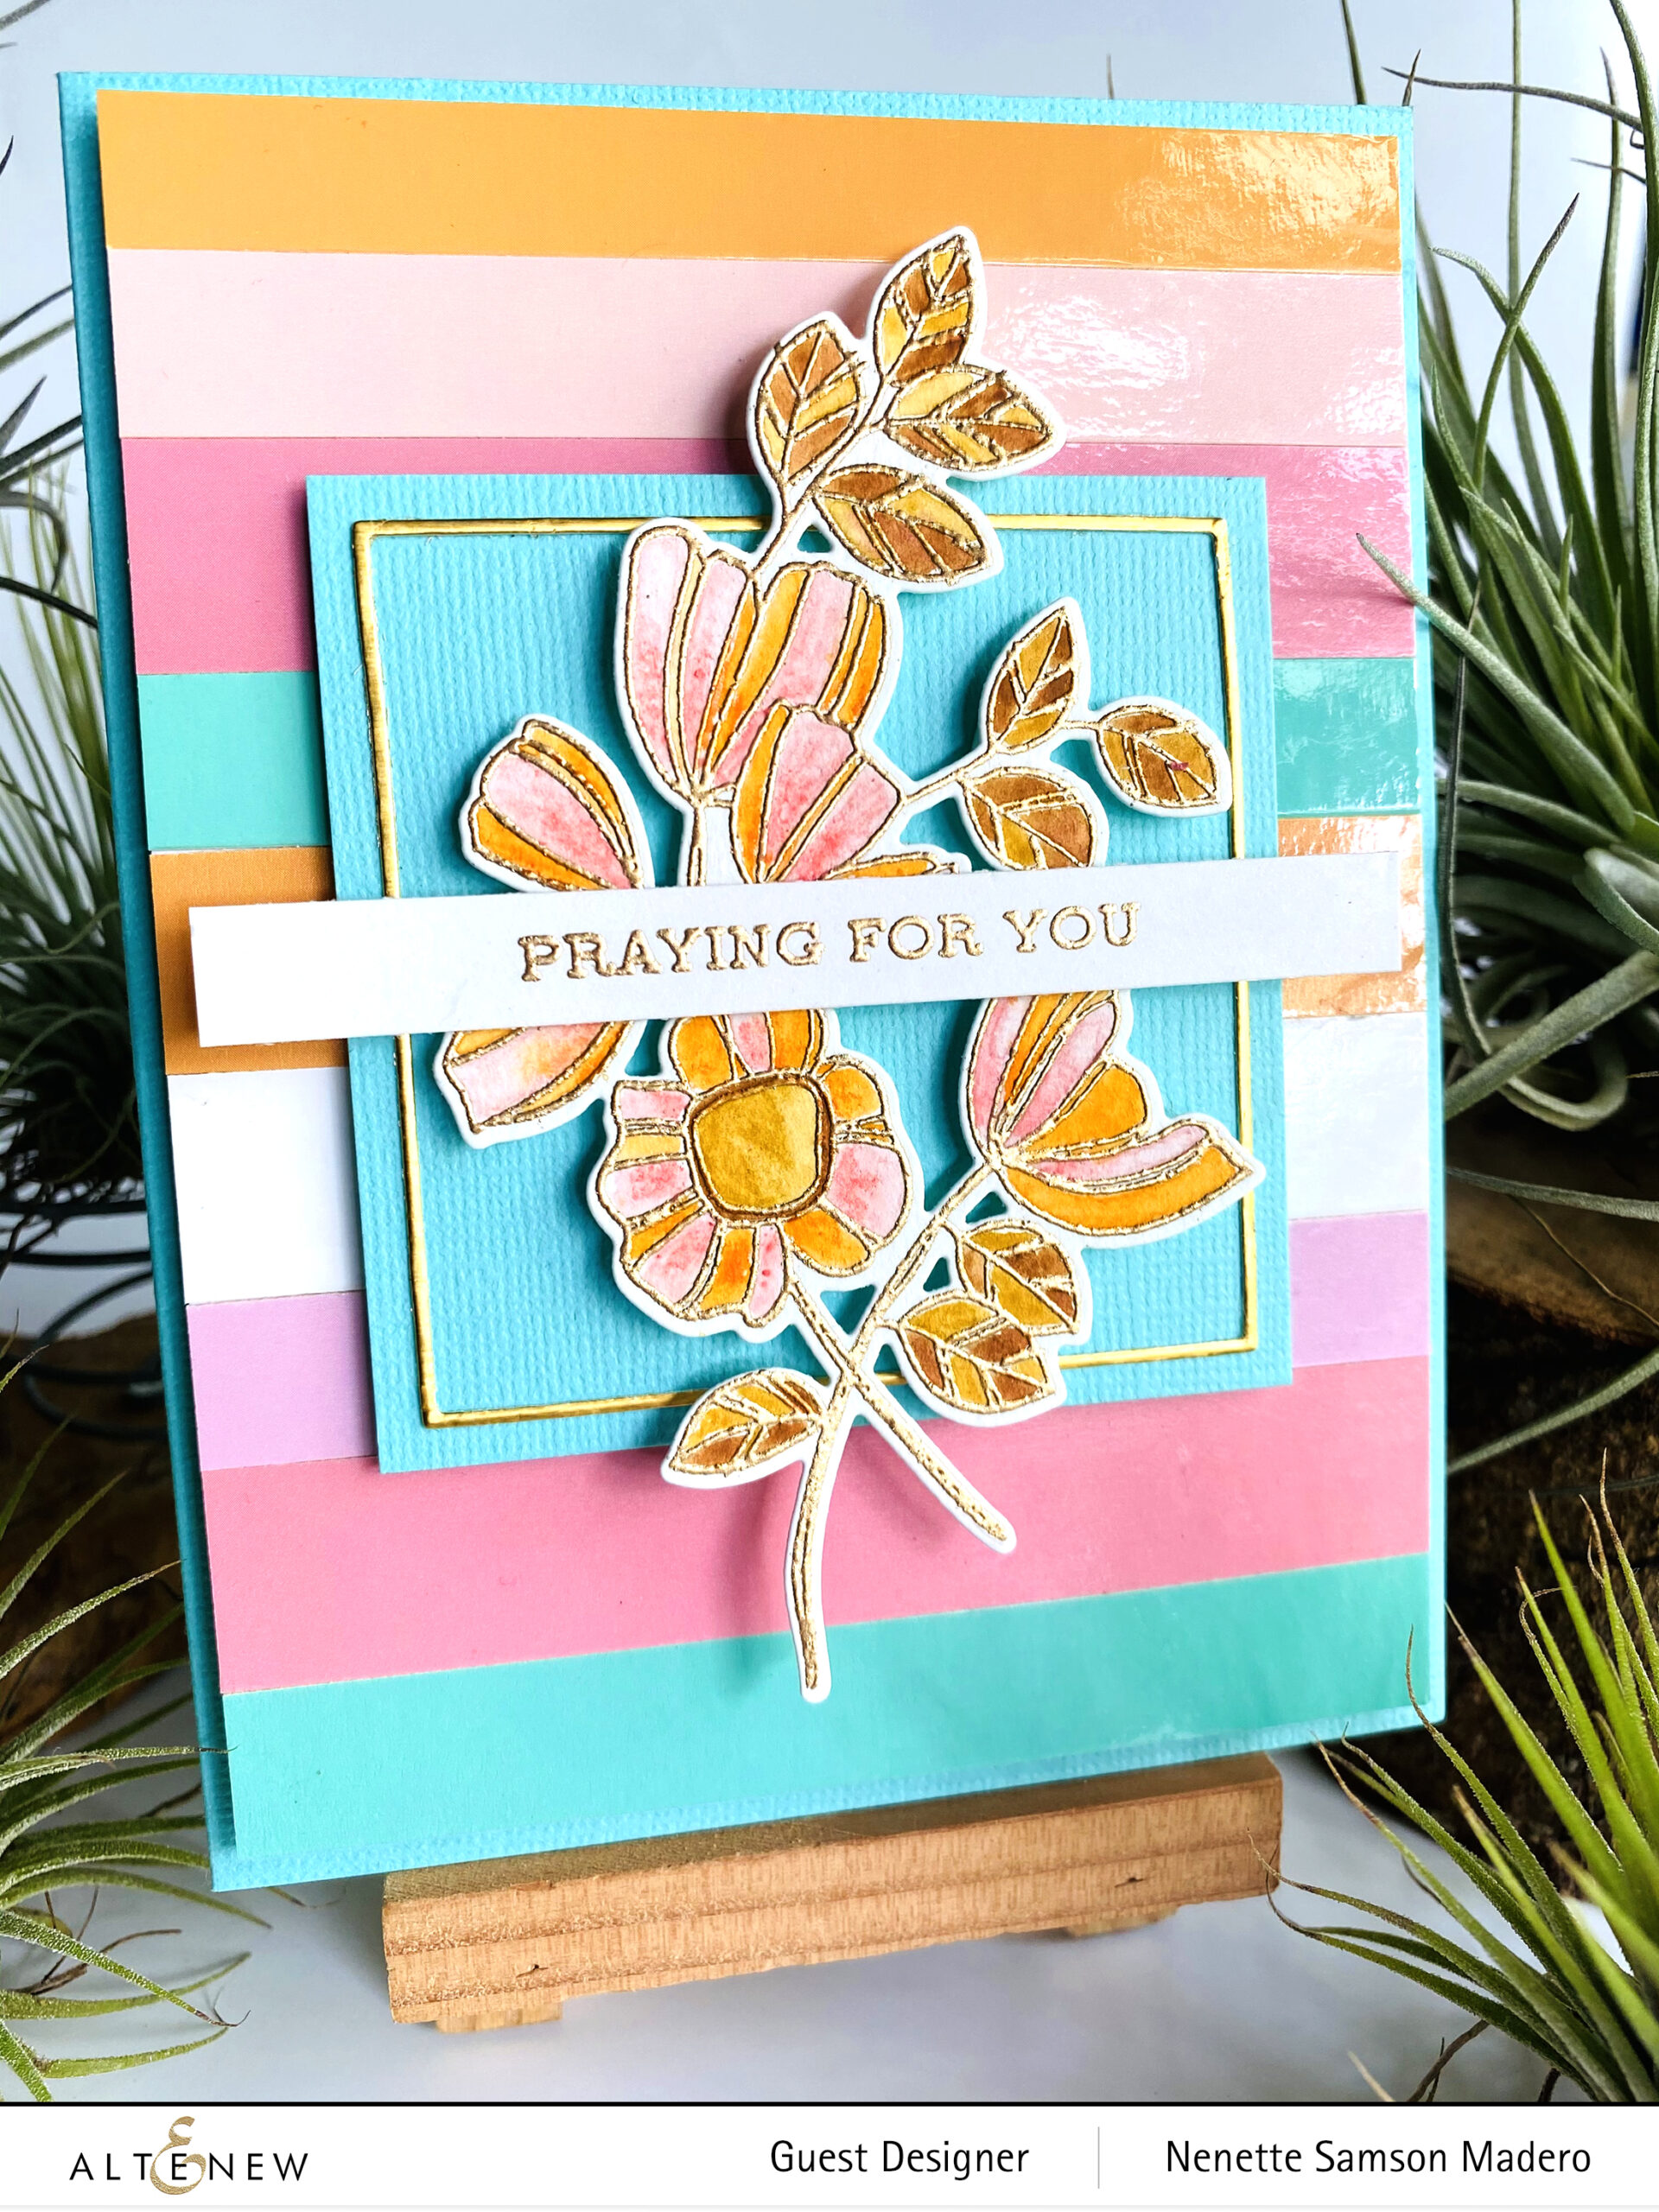
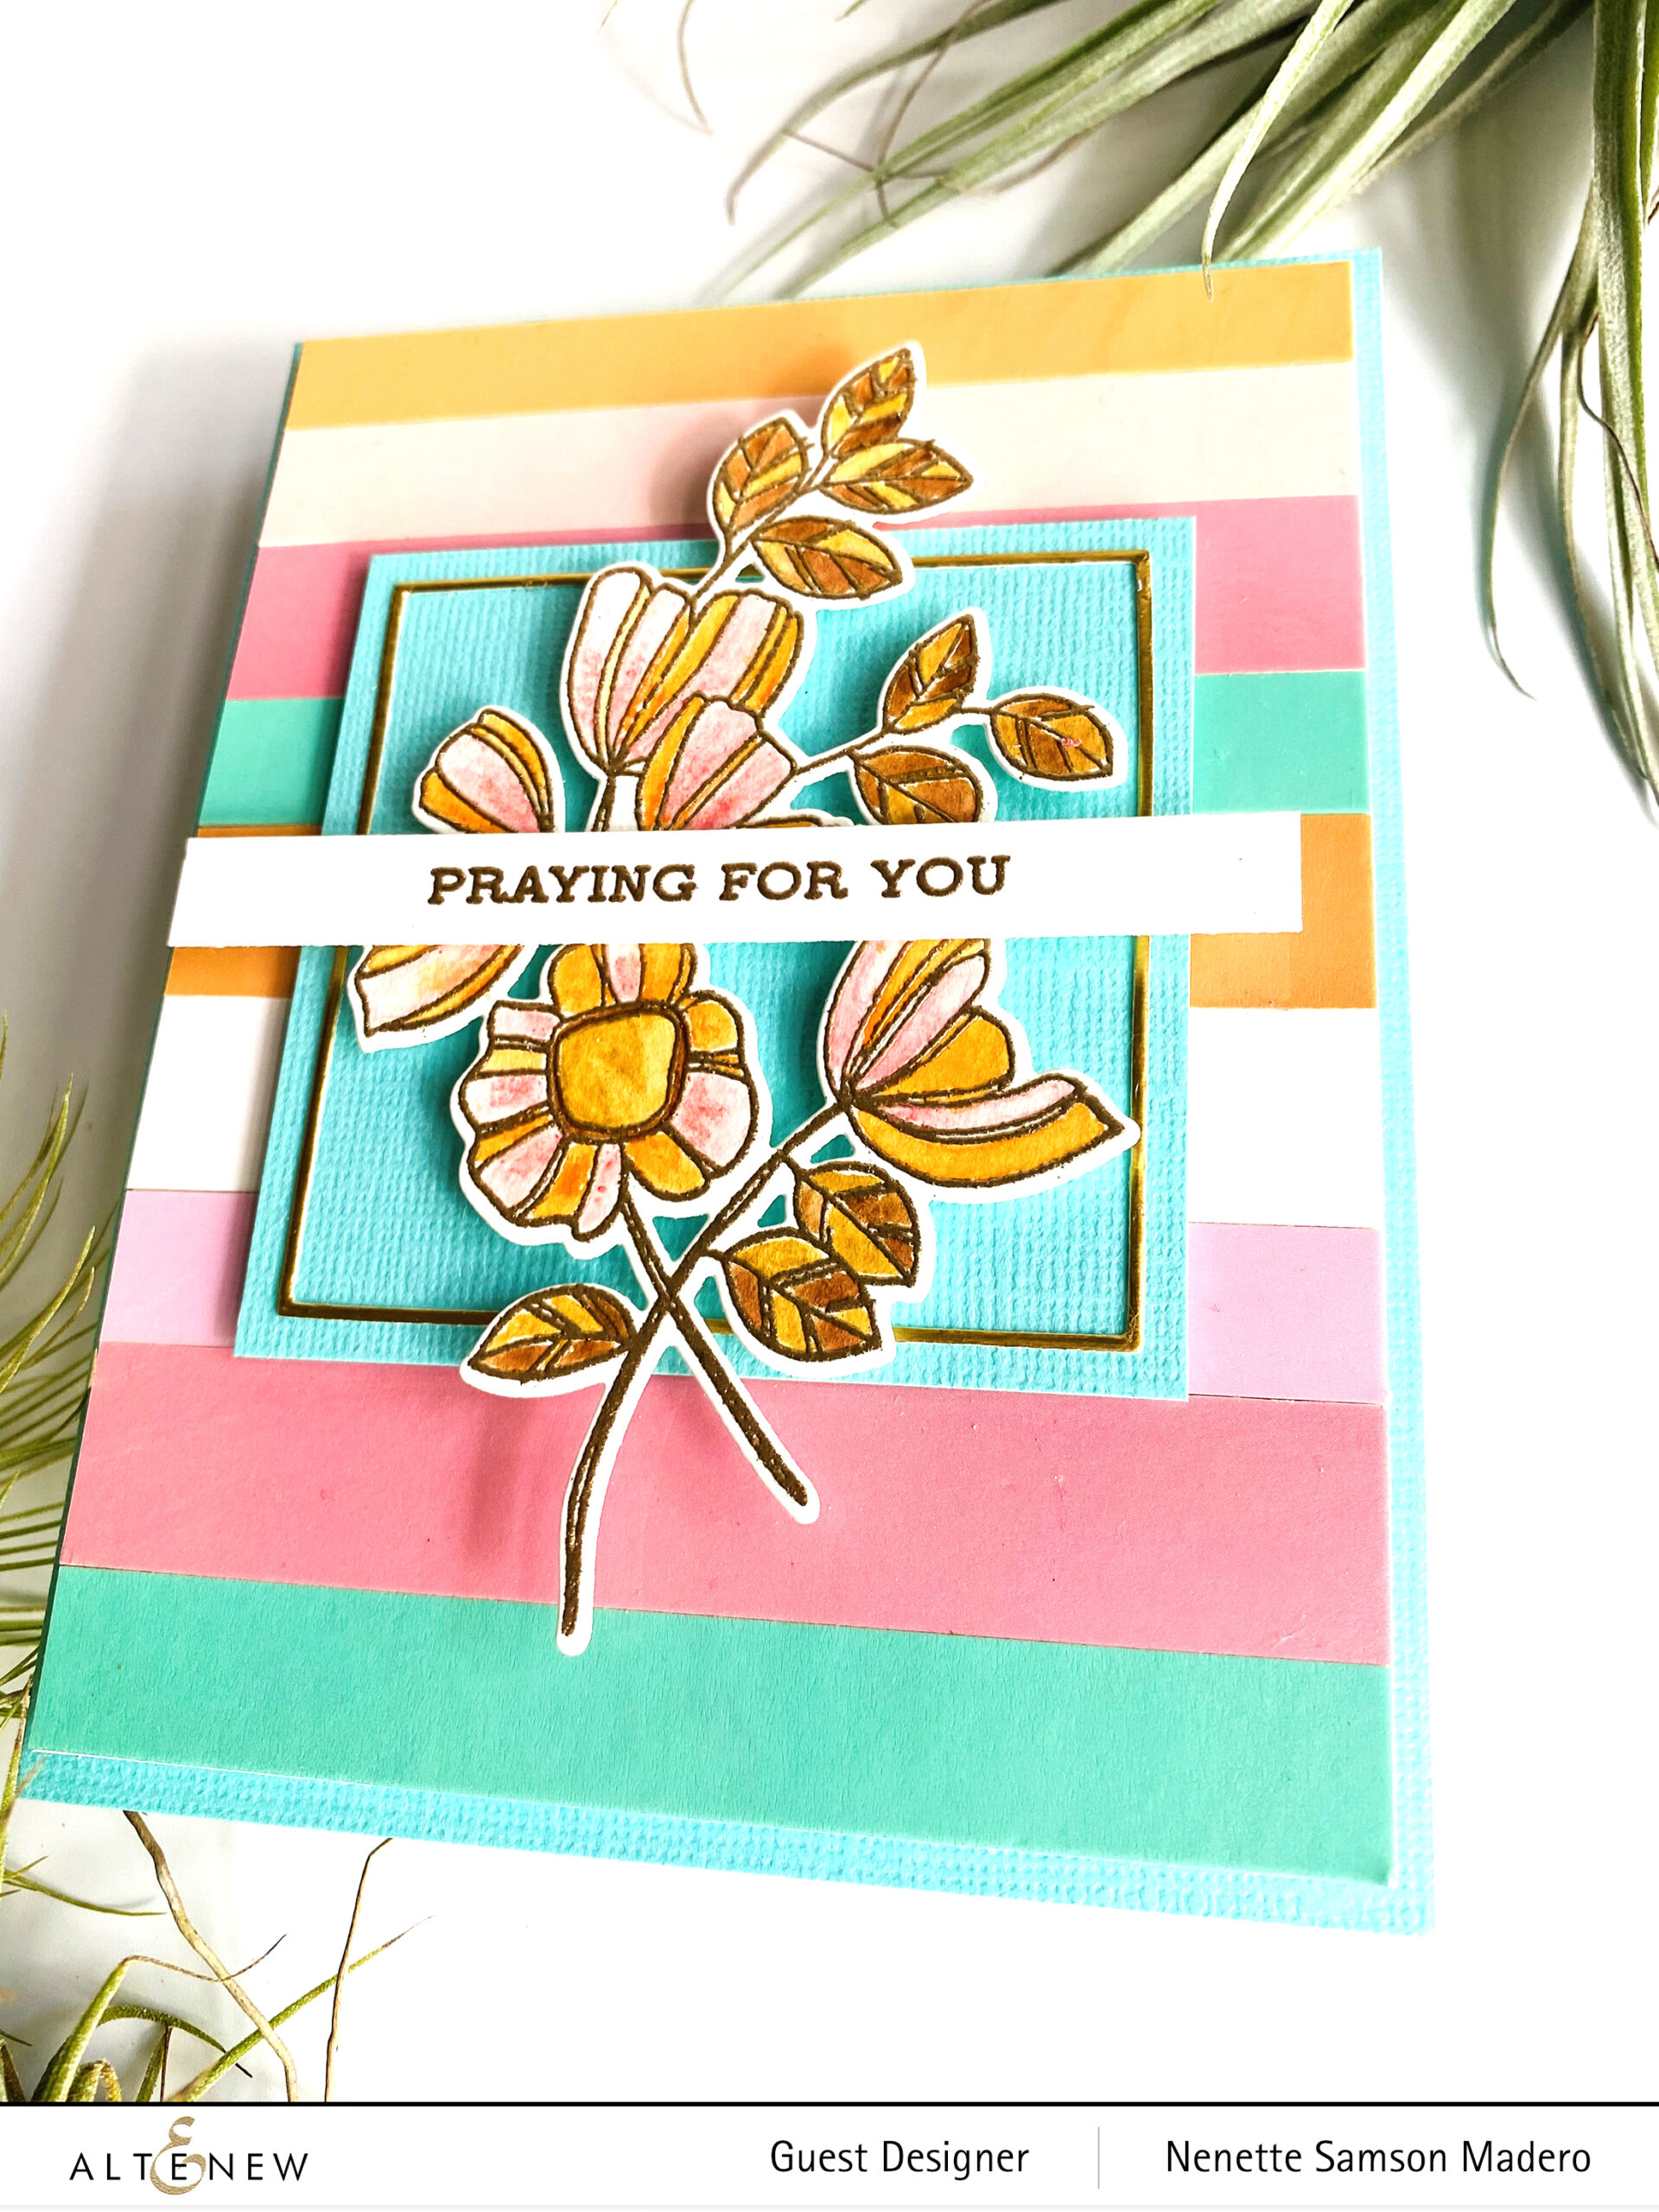
Hello friends! Short post here. Every year, Easter reminds us that life never ends and love never dies. May this Easter season fill you with renewed hope, fervent light and endless patience for one day, this storm shall pass. Here are some cards I made to give to loved ones and friends. All are from The Greetery’s Easter Jubilee Gathering Kit.
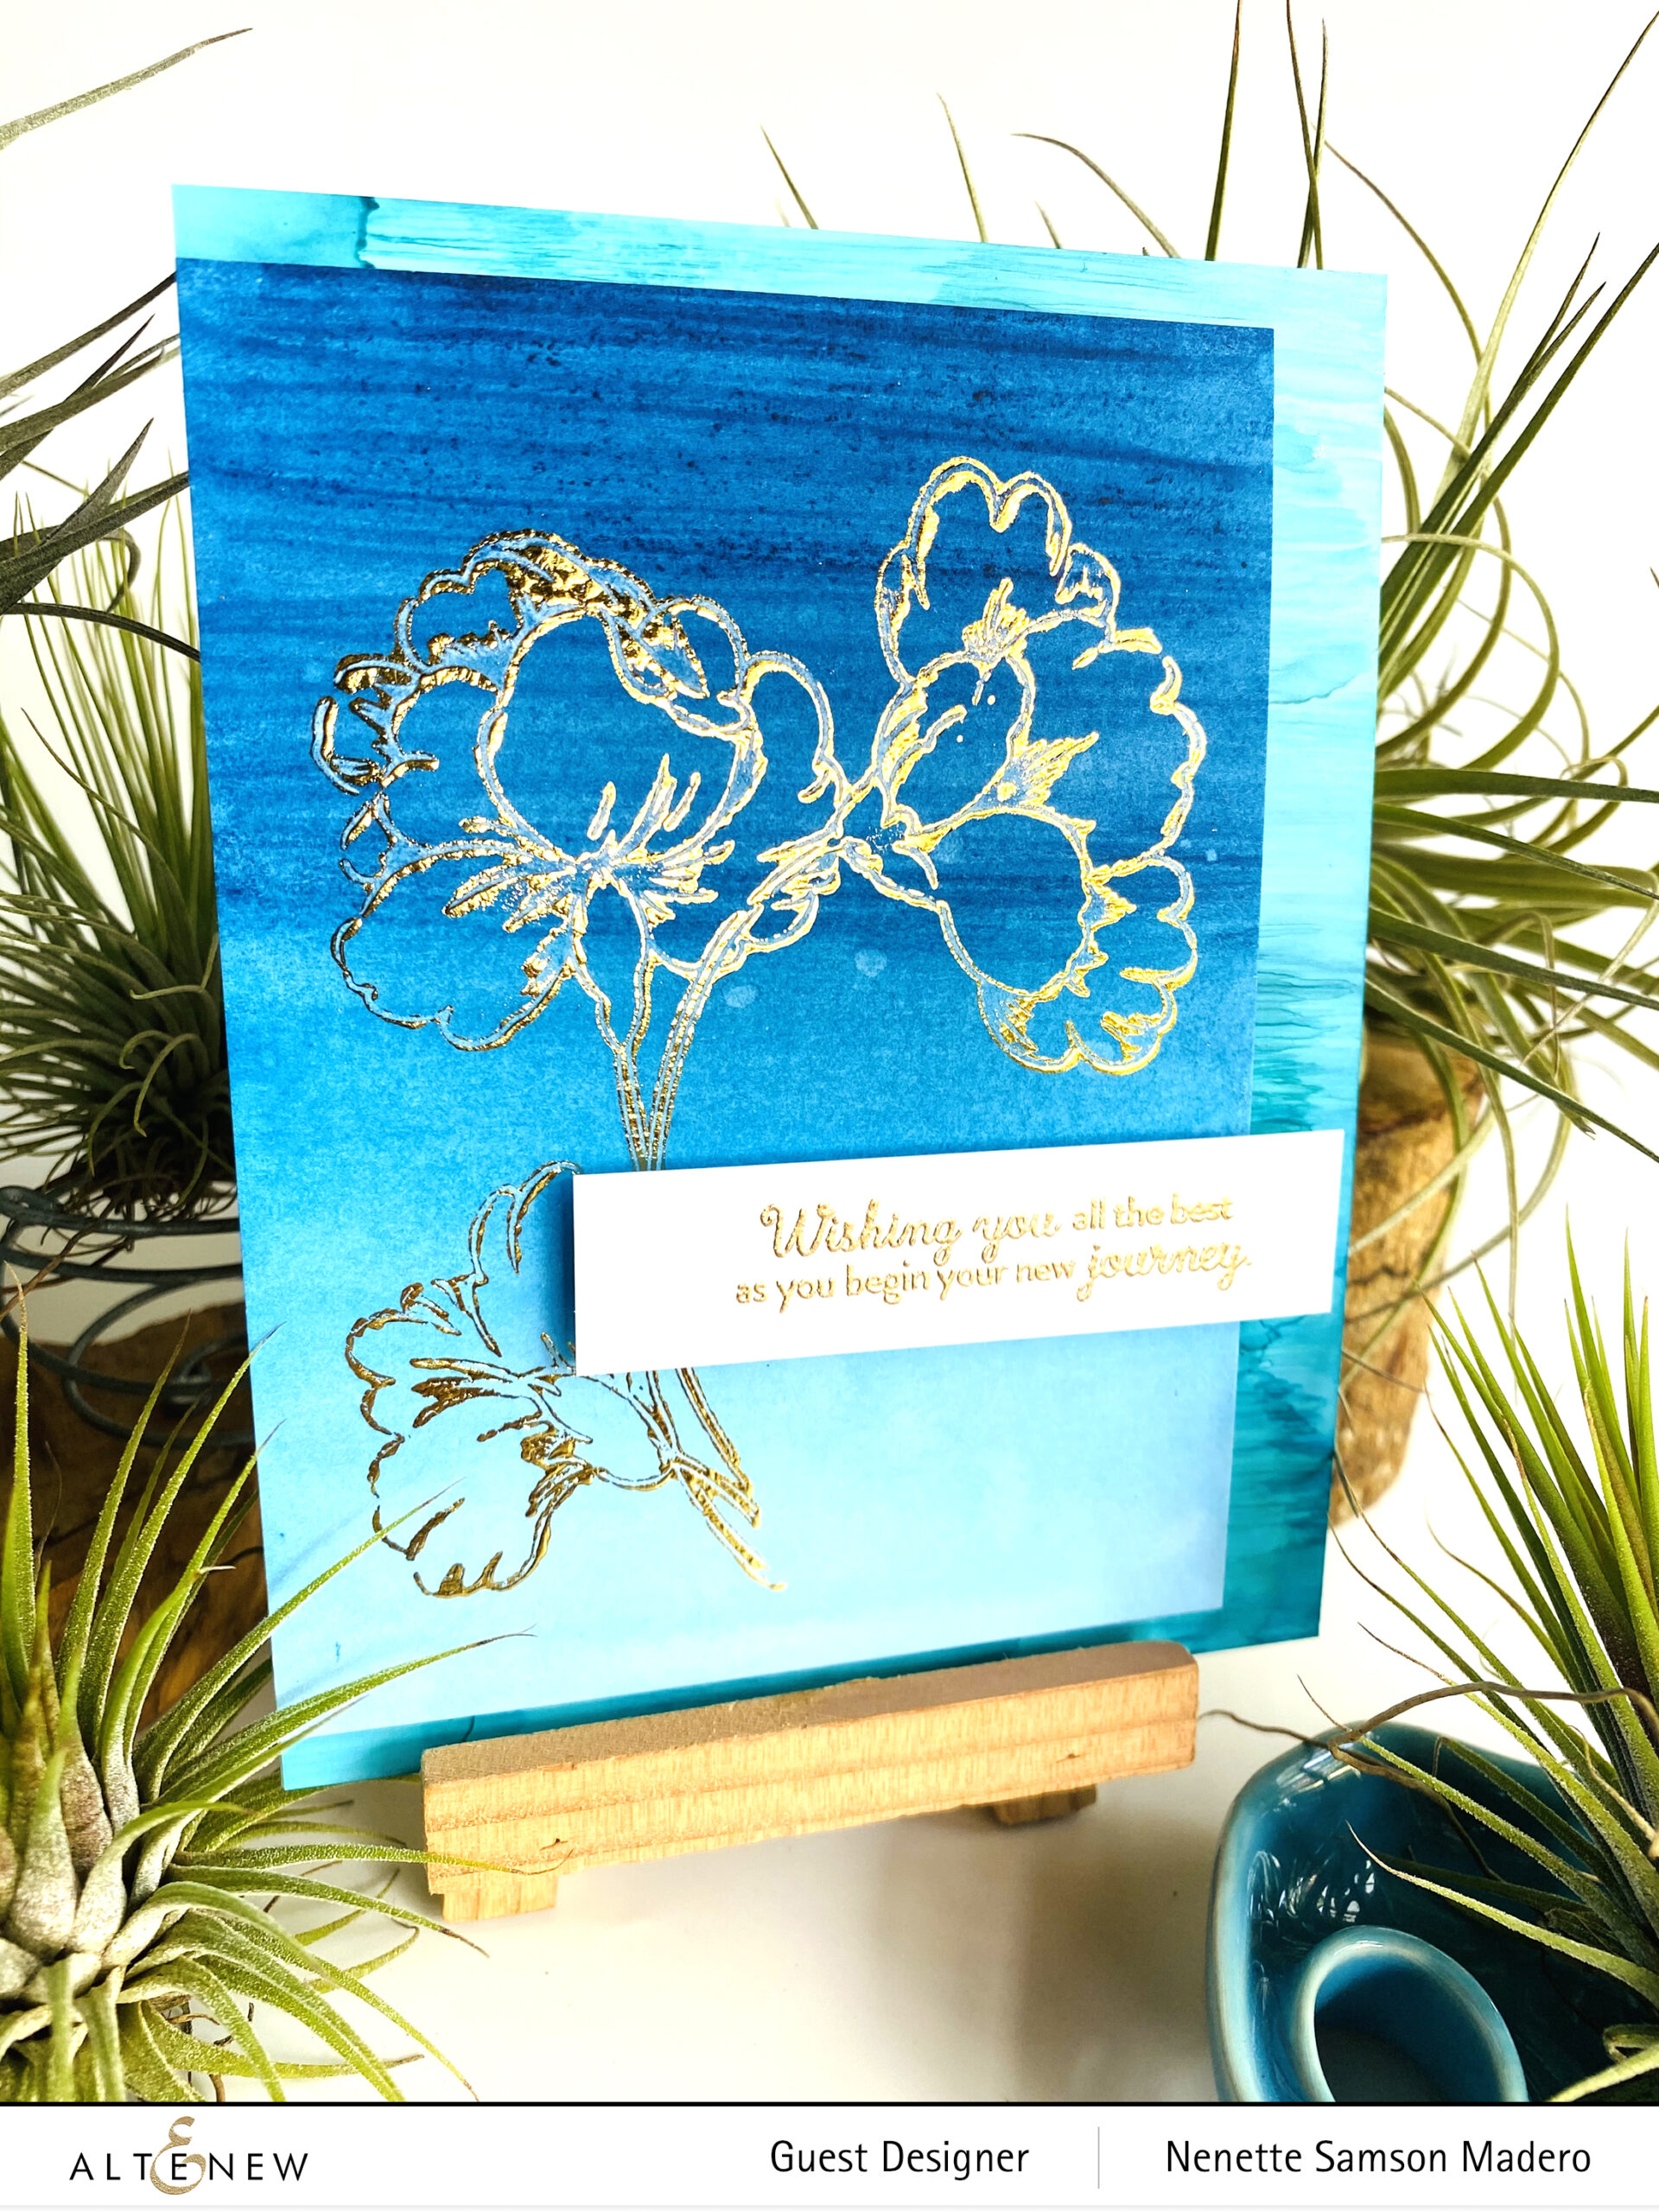
Don’t throw away the negative parts of the die cuts!!! Here I made CAS cards by just doing an ombre background and layering the negative parts of the die cut.
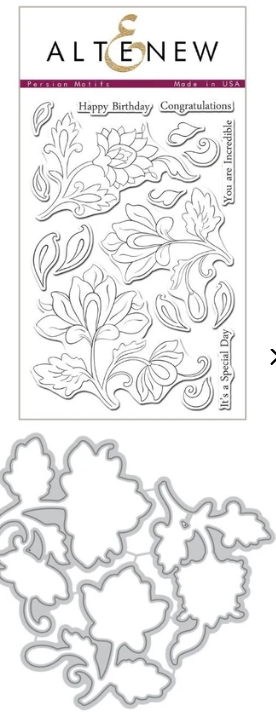
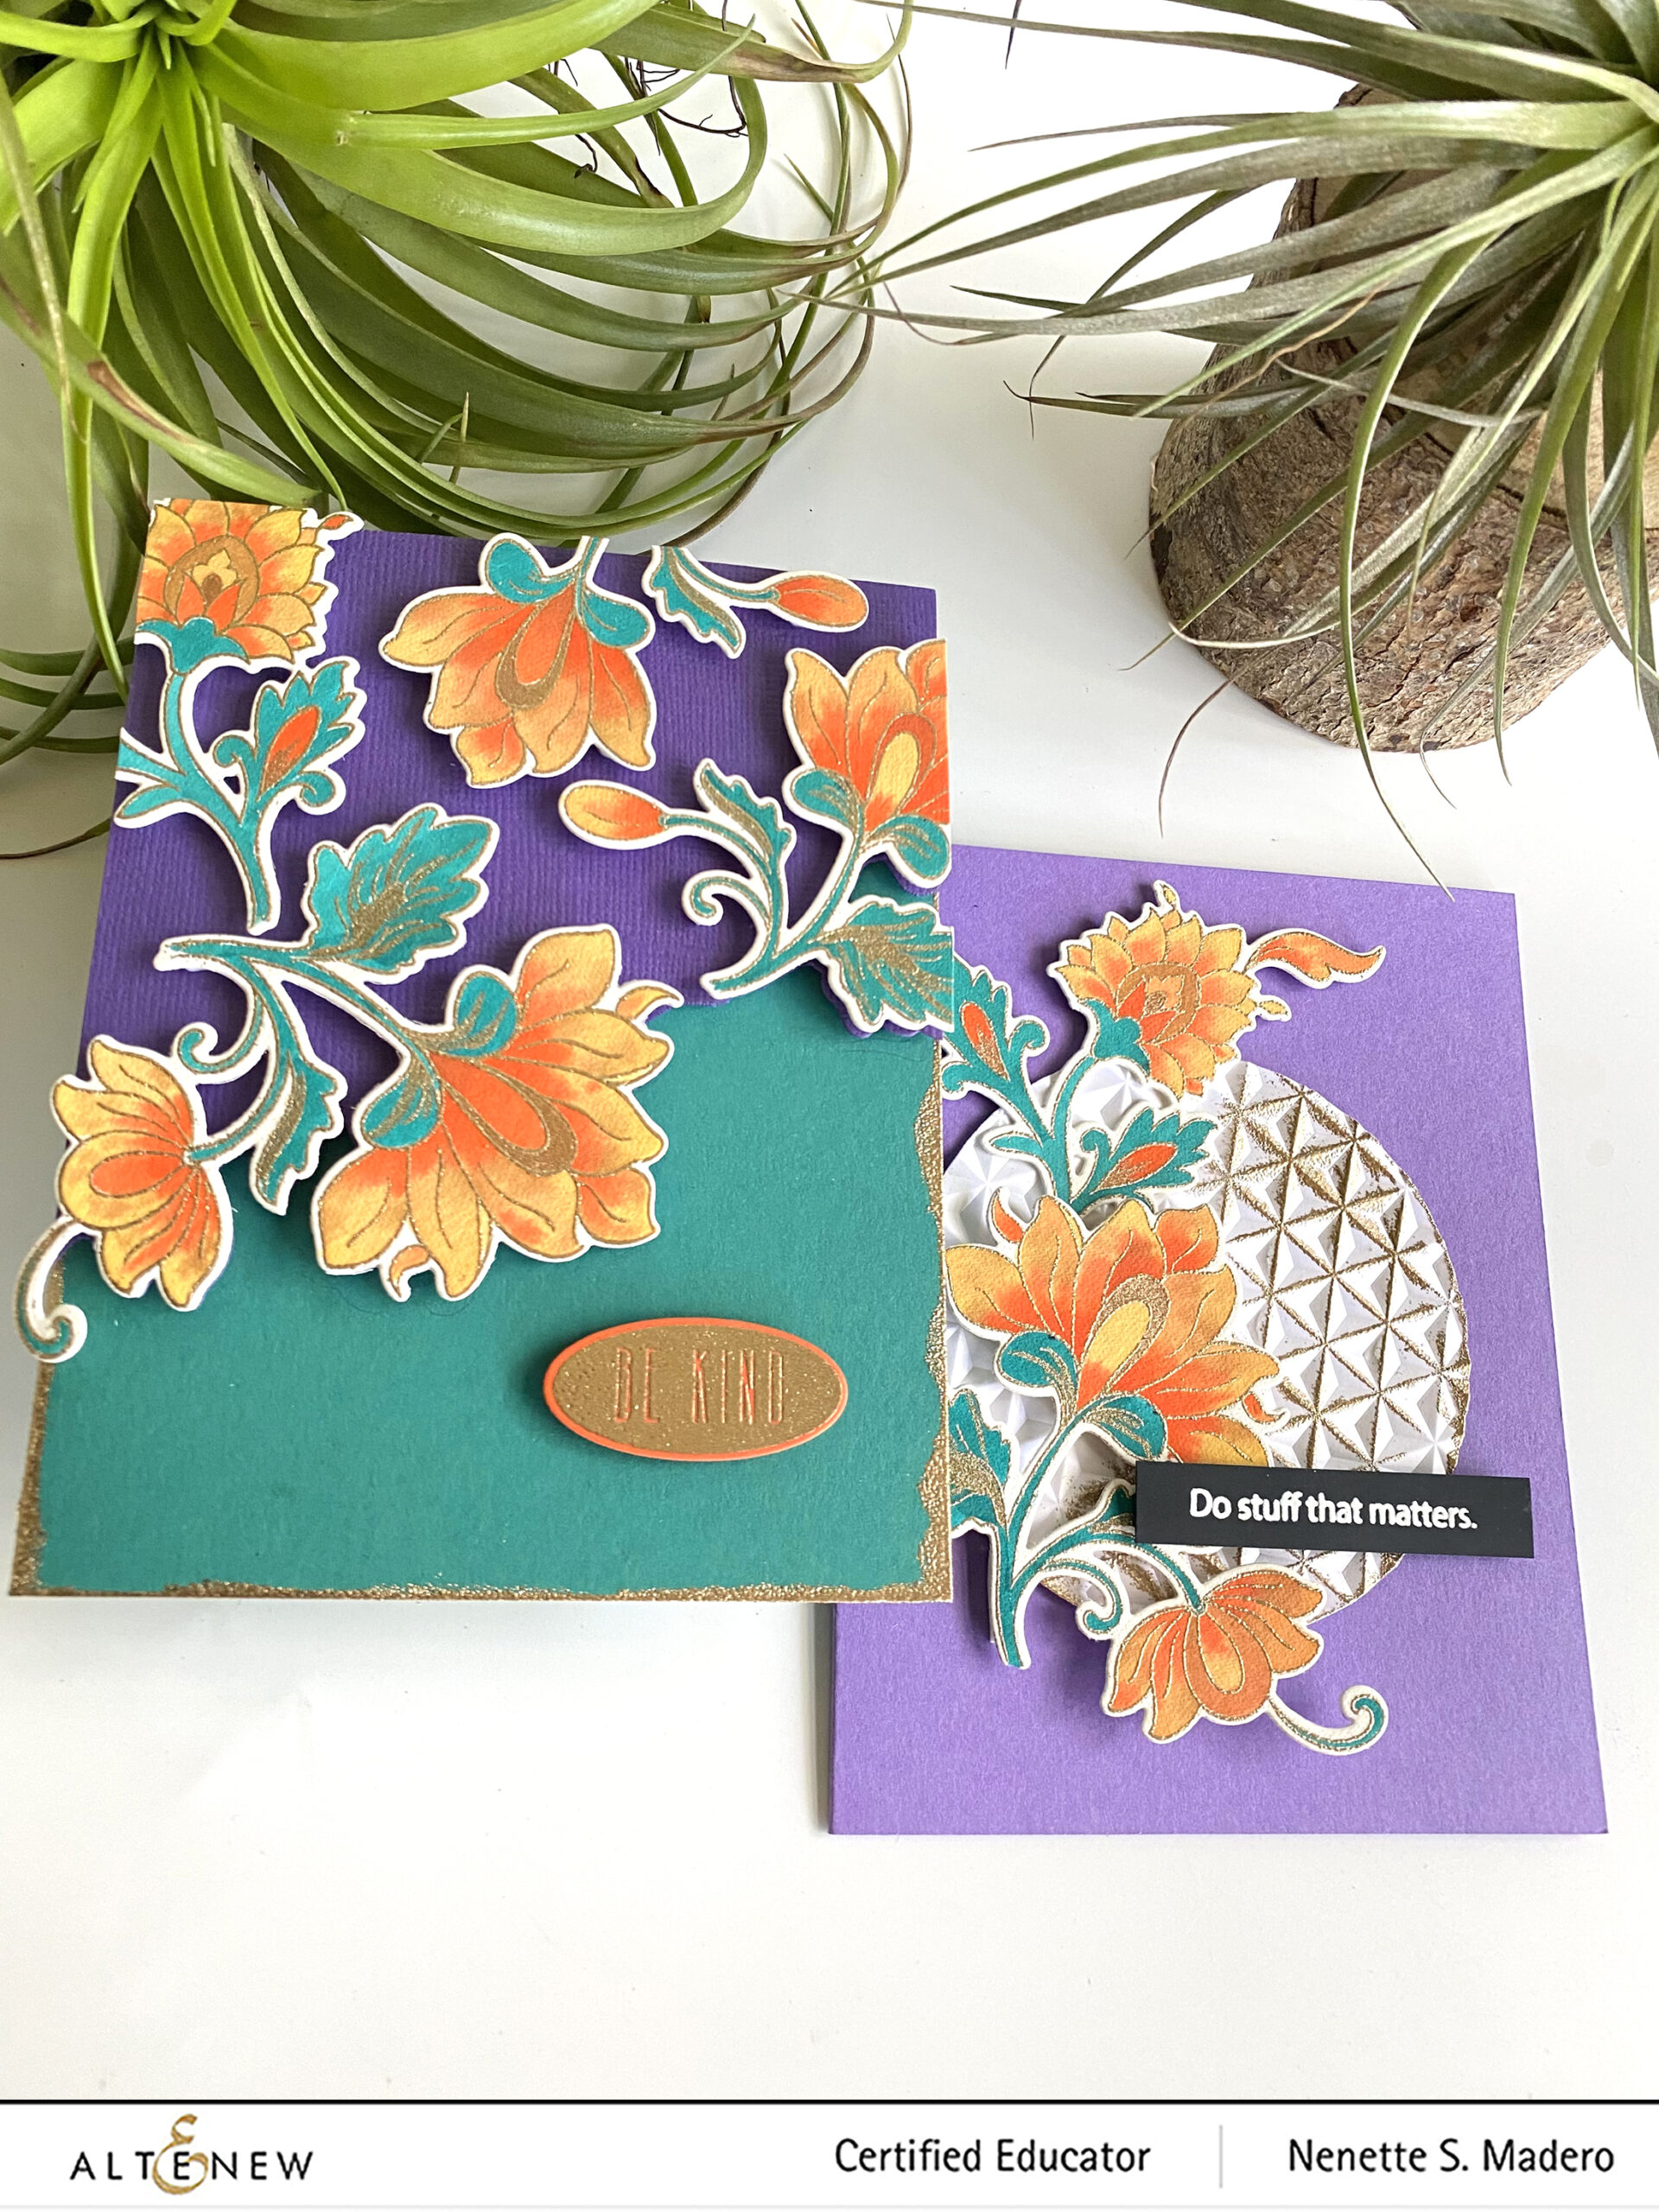
Hello friends! Welcome to Altenew’s Educators “Favorite Old/New Altenew Stamp blog hop! If you just came from Vicki Finger’s blog, then you’re on the right track. We were assigned to choose a favorite stamp set from our old or new stash and highlight it in this post. I decided to create from an old AND a new stamp. It wasn’t easy to pick a favorite… I have too many!!! Anyway, for the old stamp set, I chose one of my all-time favorites– the Persian Motifs Stamp and die set.
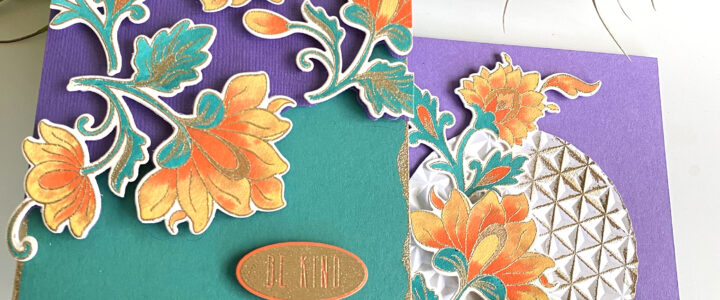
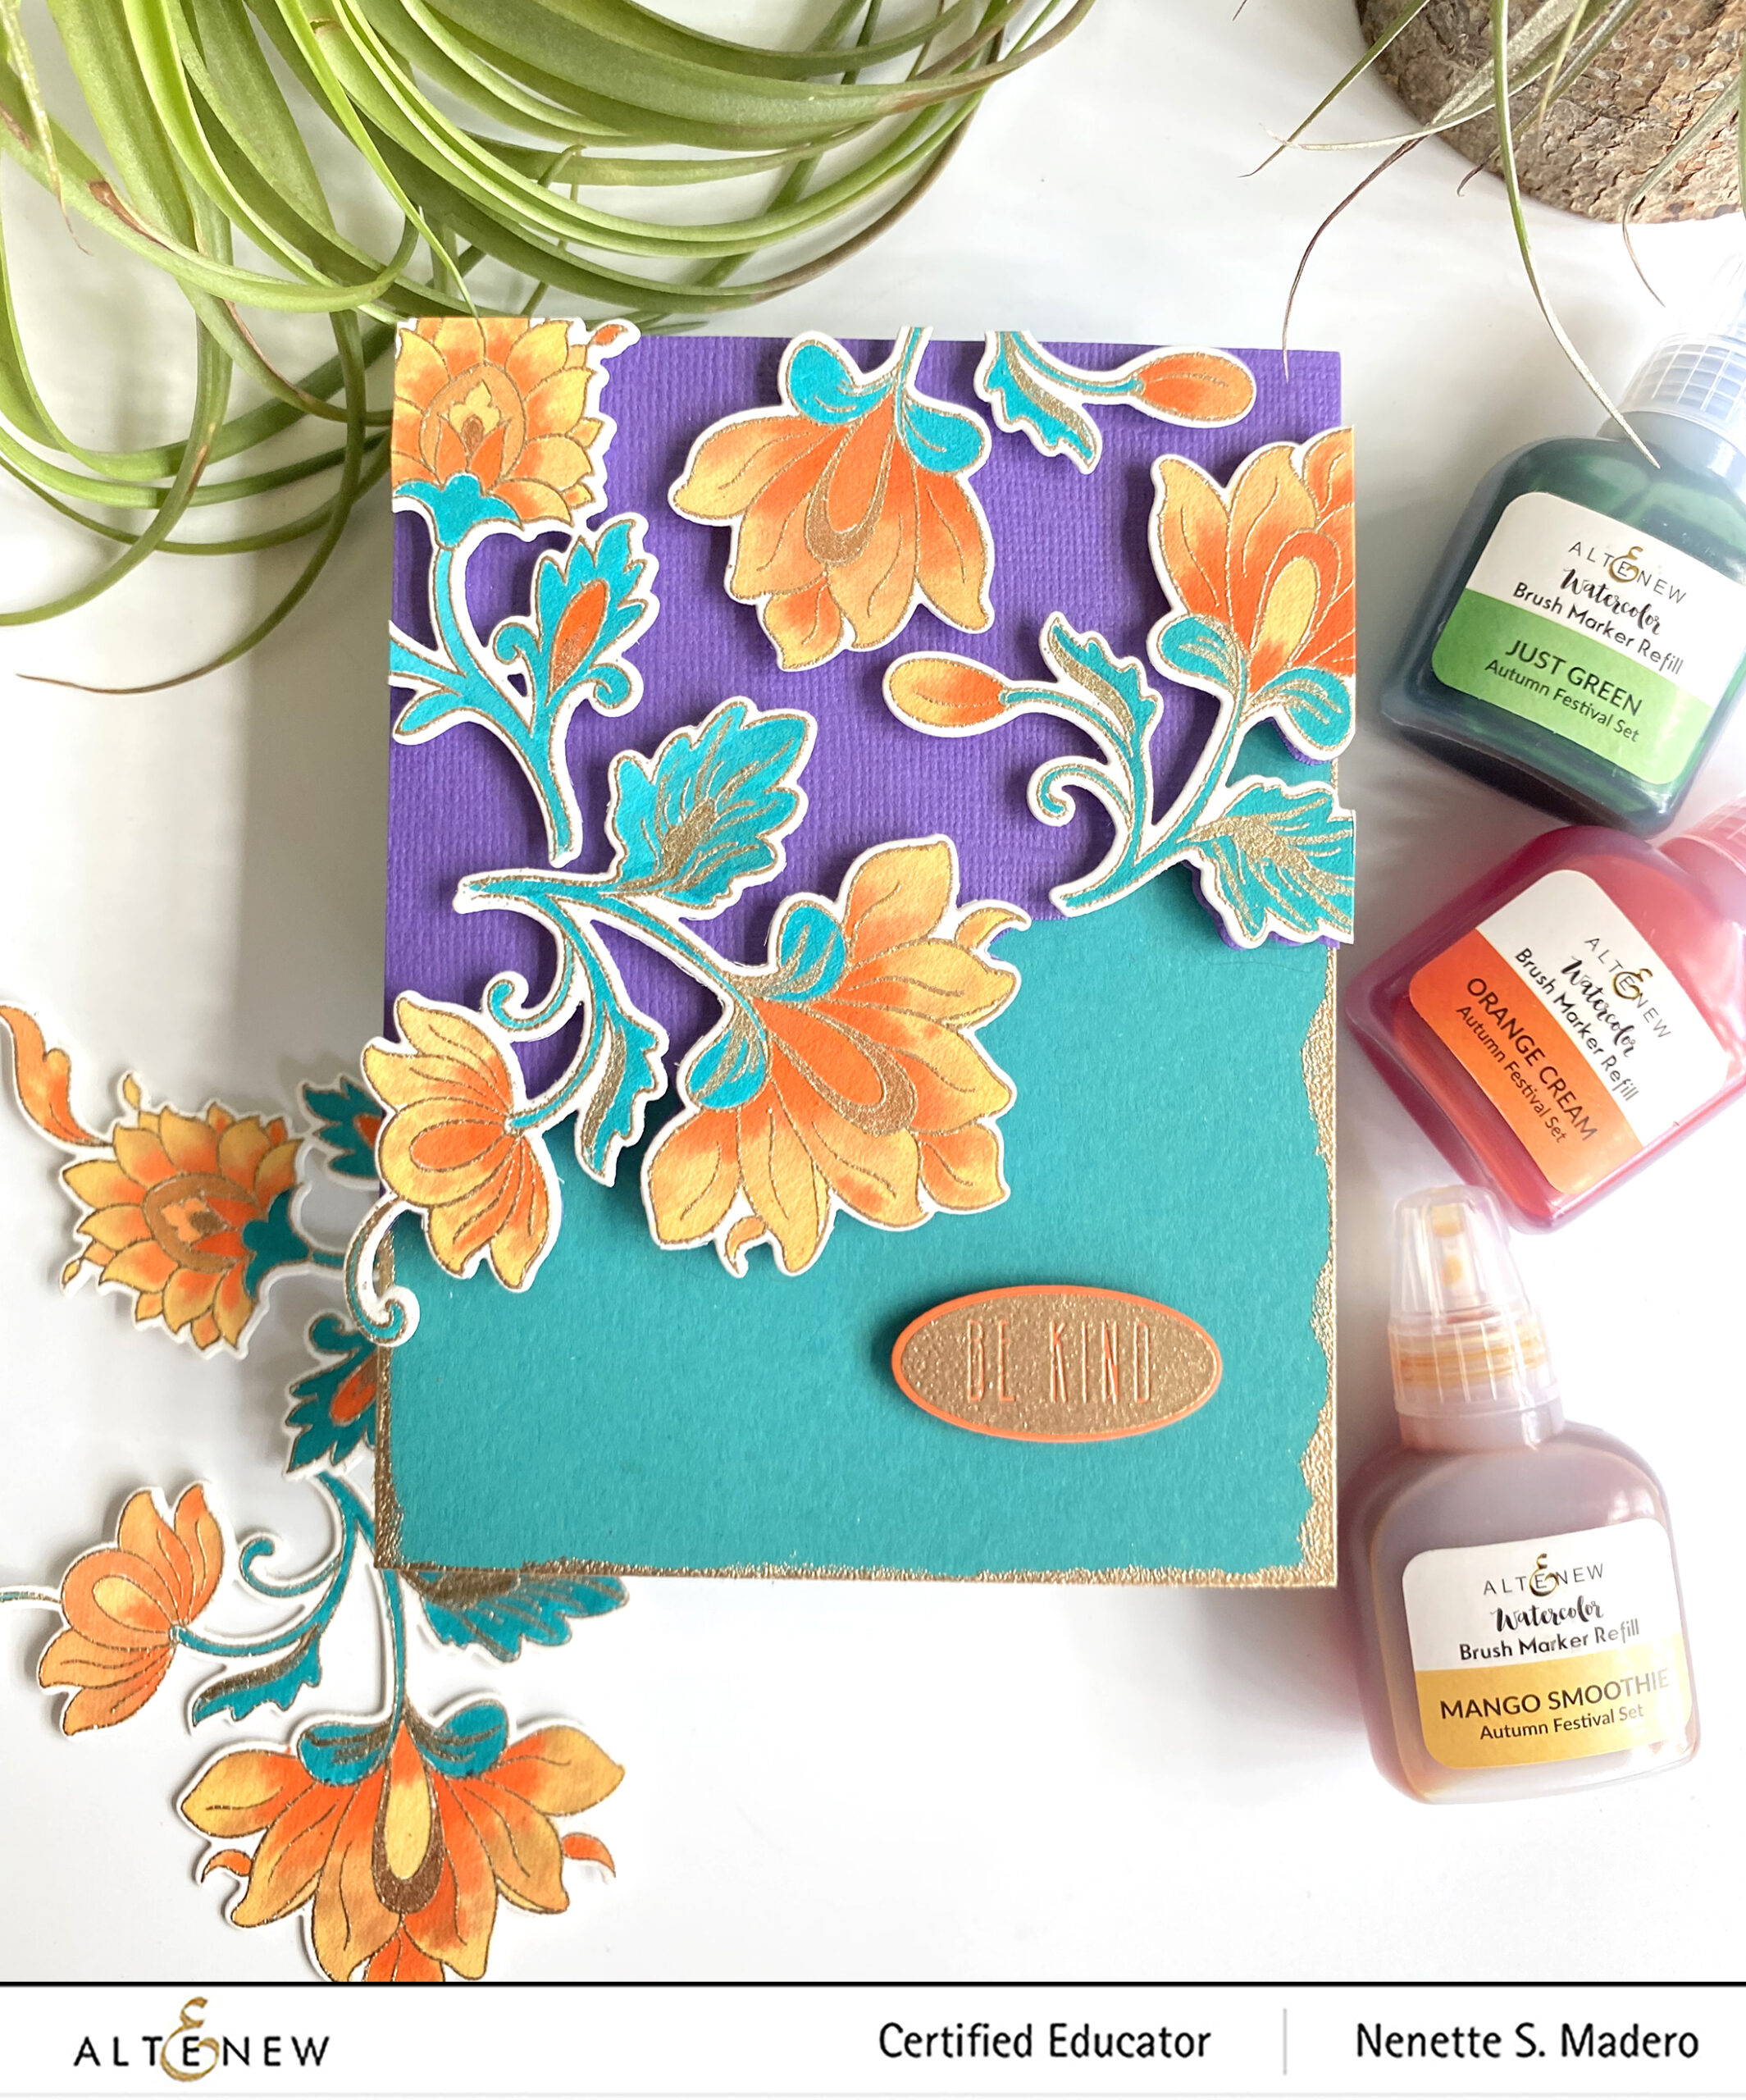
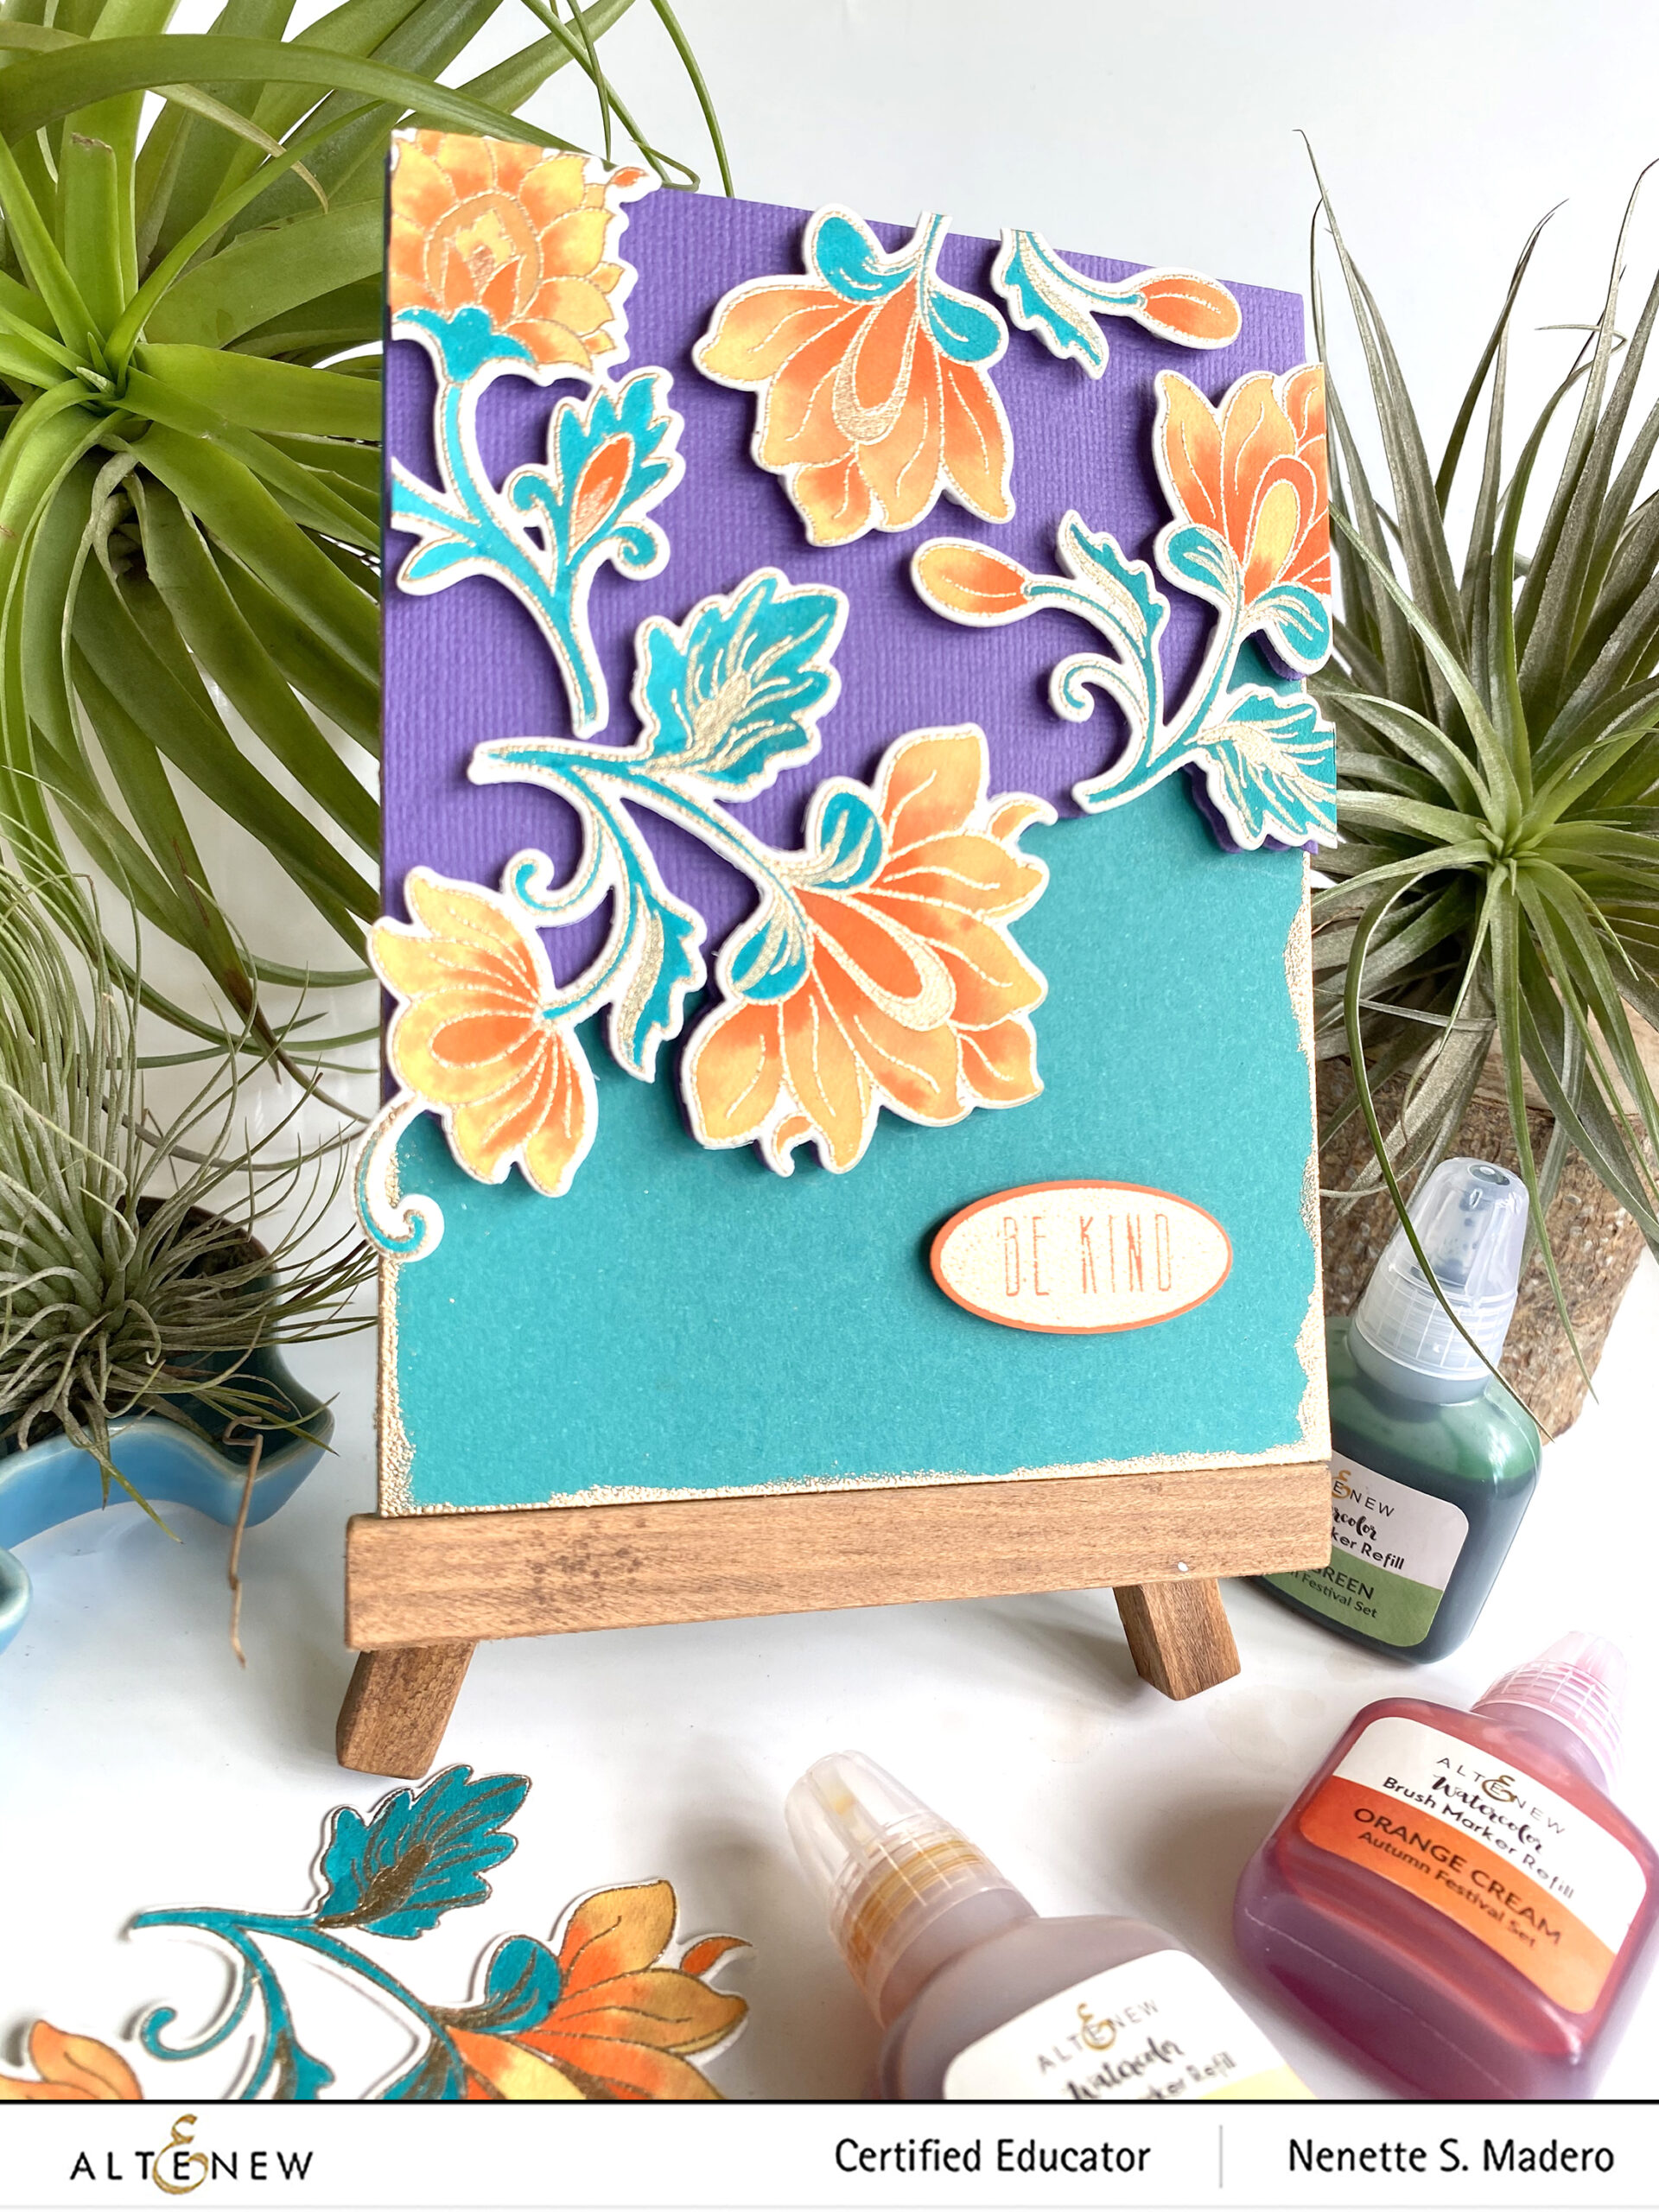
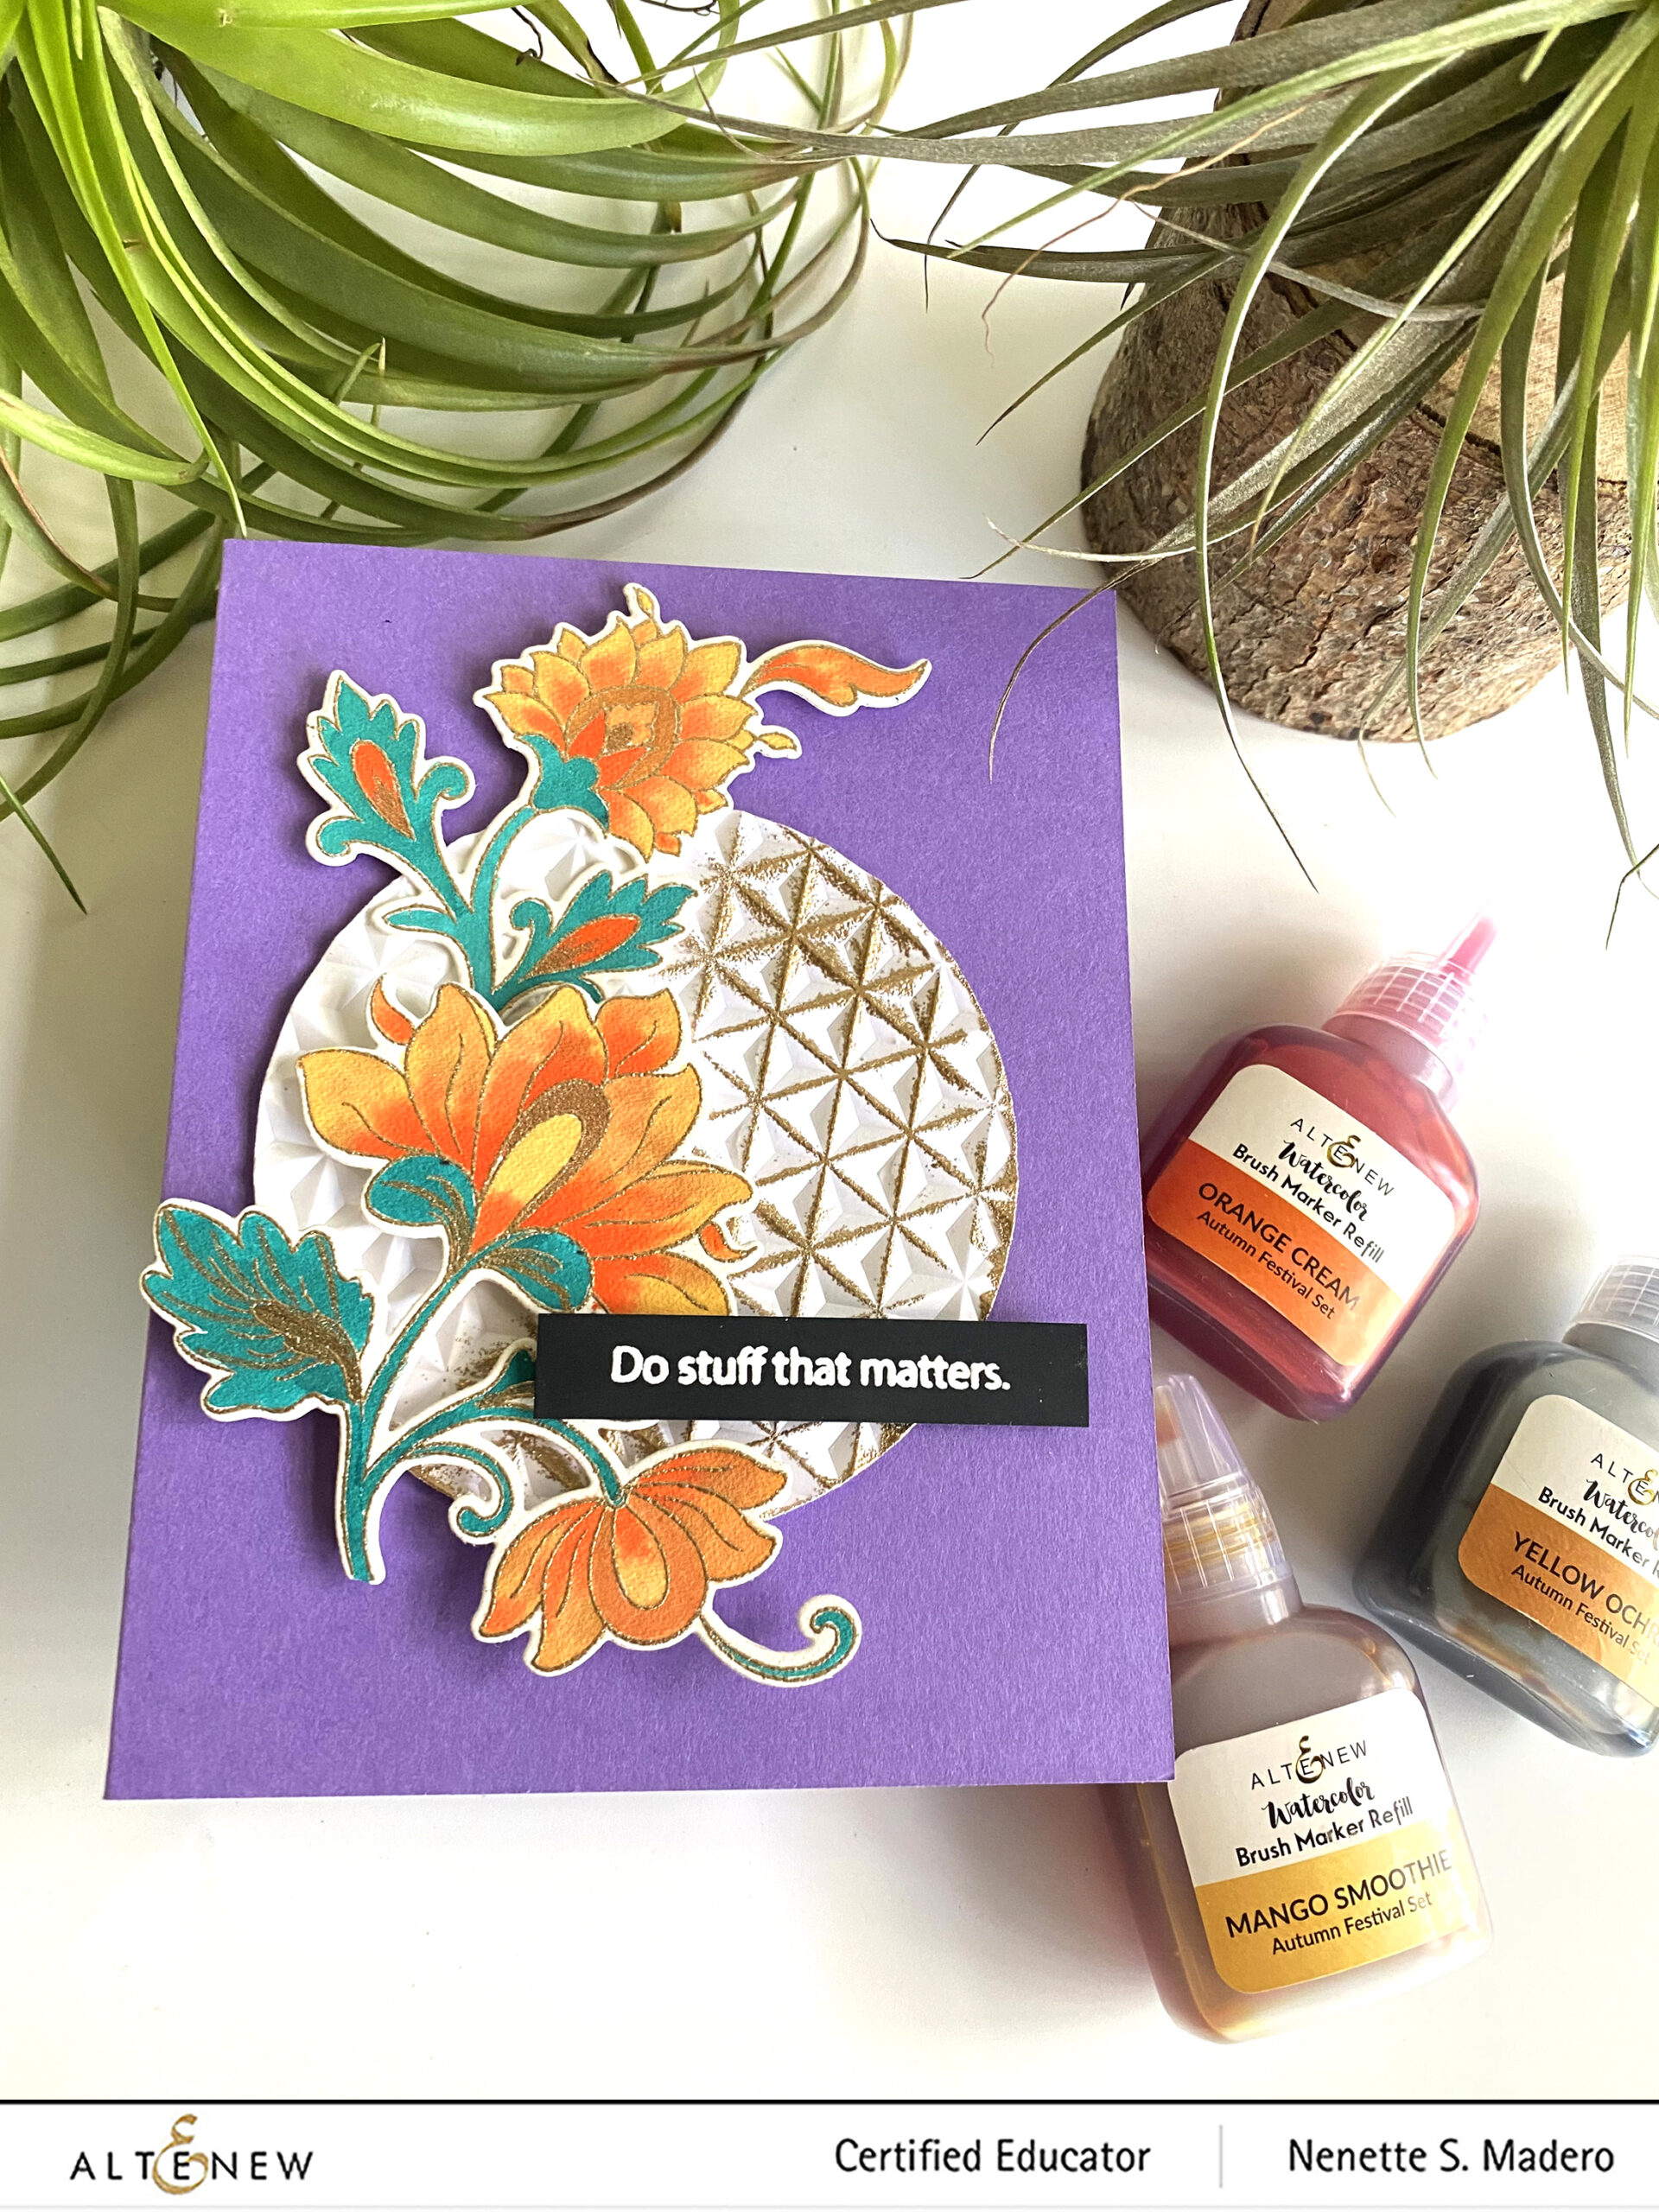
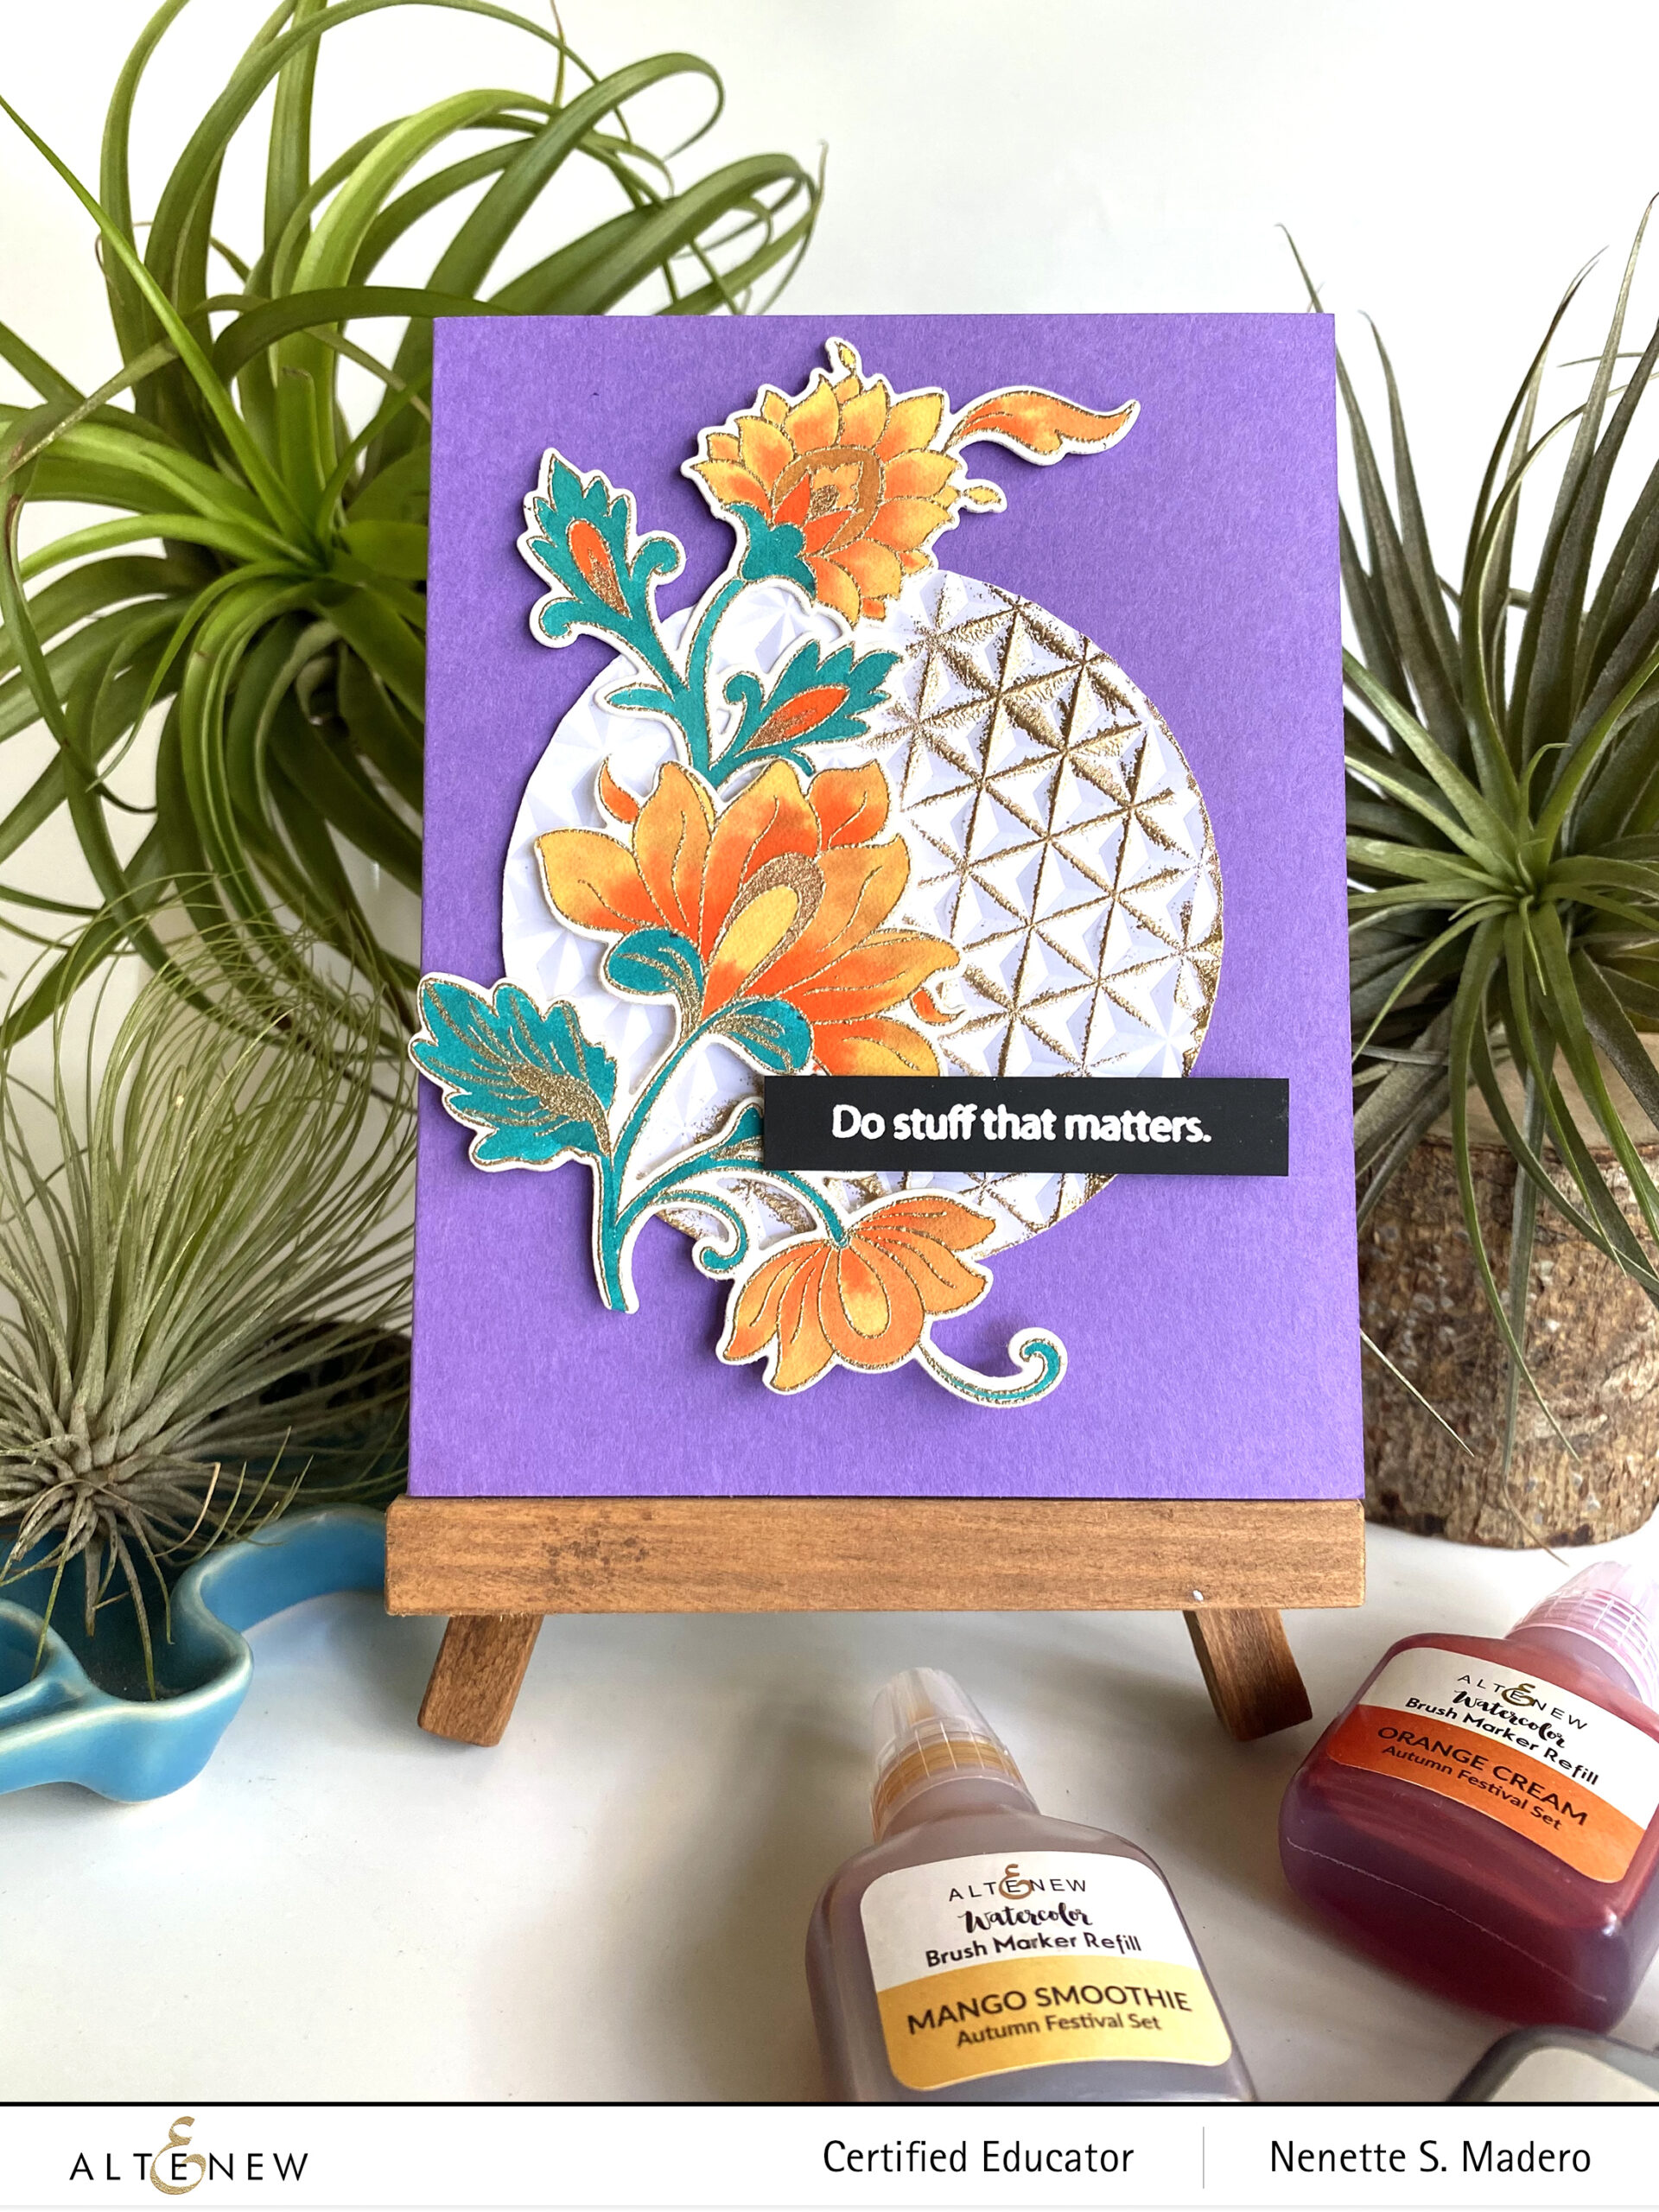
I have always loved the vintage Indian woodblock designs and this stamp set reminds me of that. I created two cards using the Persian Motifs stamp and die set.
Now, more than ever, we should remind ourselves, daily, to be kind to one another. Sadly, there is so much hatred and injustice around the world. I’ve been listening to a podcast by Fr. Mike Schmitz and this message struck me. We have to remember that we are all part of one world and that it’s not a battle between race or ethnicities. Even in the midst of all the brokenness, we can still find peace and be united if we just BE KIND to one another.
STEPS:
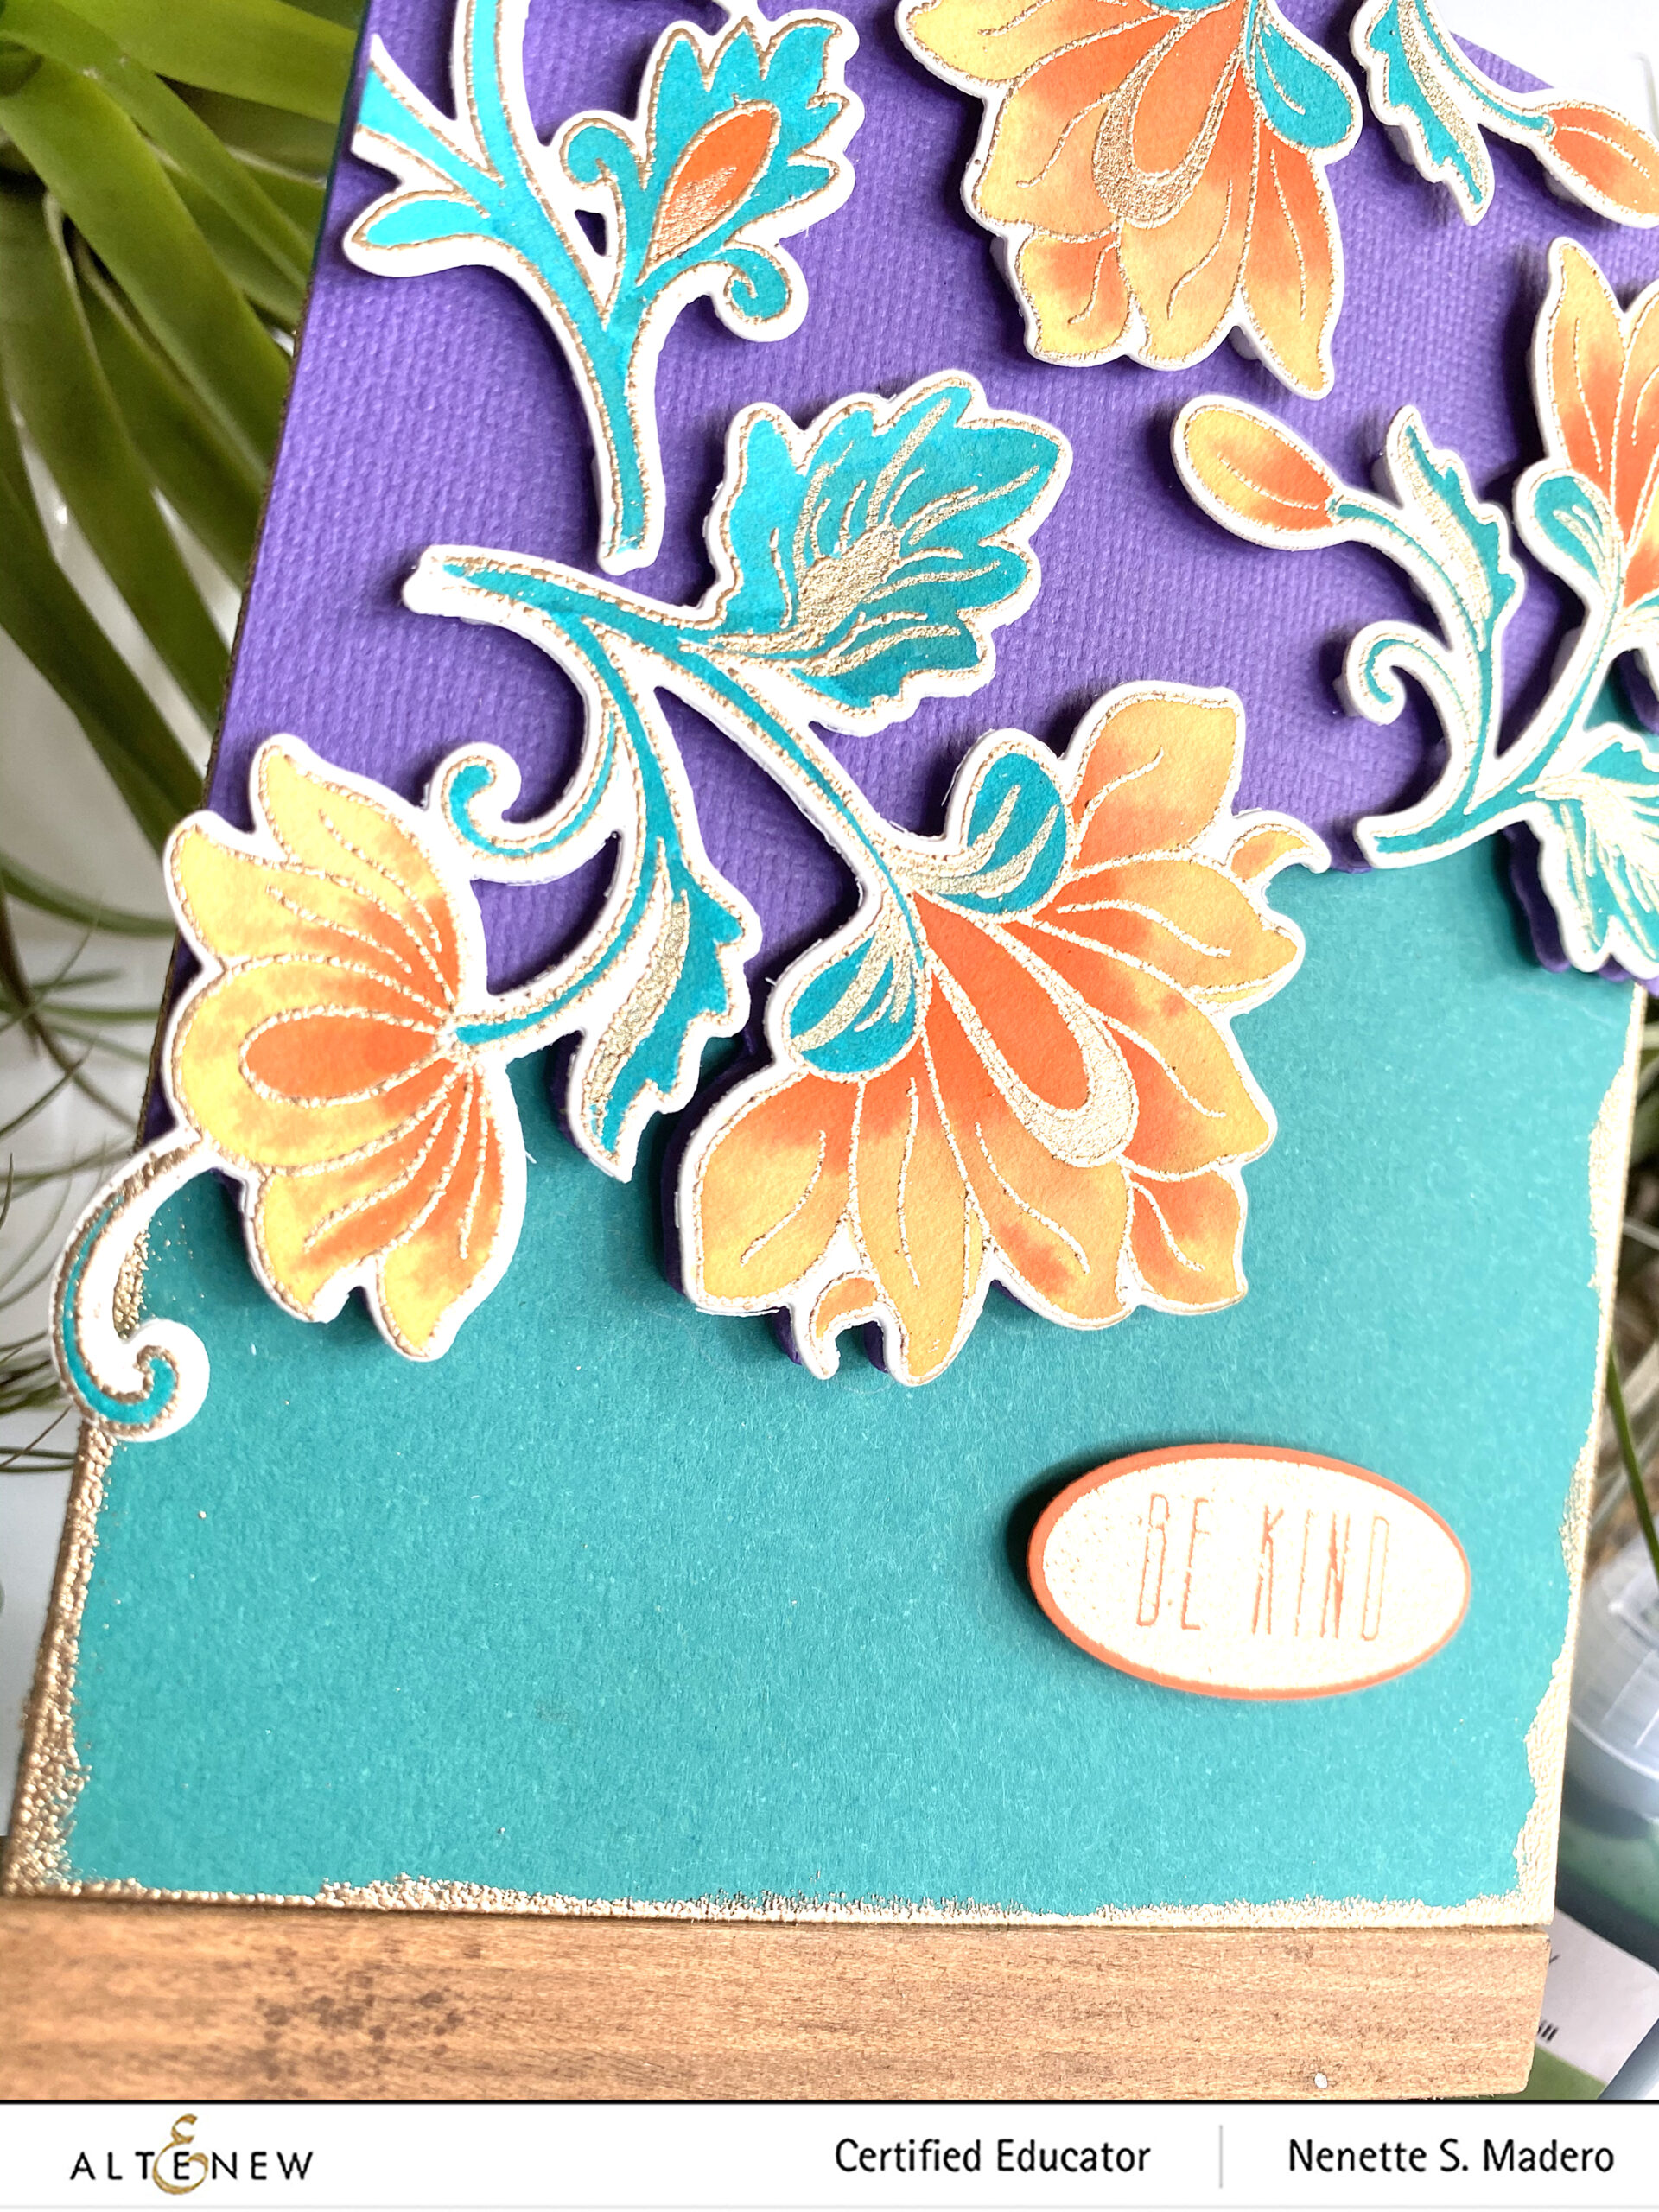
Prep the paper with antistatic tool and stamp images on watercolor paper with Versamark ink and emboss with Rose Gold embossing powder.
Color images using watercolor brush markers.
Add metallic details using the metallic watercolor pan set.
Arrange the images temporarily on purple cardstock. Mark with pencil the edges of the flowers.
Arrange the dies for partial die cutting to remove the lower part of the purple cardstock.
Add embossed gold edges to the lower part of the card front using Versamark ink and Rose Gold embossing powder.
Add foam sheet to the back of the purple cardstock and foam squares to the floral images for added dimension.
Emboss the sentiment with Rose Gold embossing powder then die cut.
Assemble the card.
More often than not, I usually stamp, emboss and watercolor more than what I need. Since I had extras, I decided to create a second CAS card using the same stamp set.
Prep the paper with the antistatic tool then stamp and emboss the images from the Persian Motifs Stamp.
Add more details using the Metallic Watercolor pan set.
Emboss white cardstock using the Diamond Stars embossing folder.
Add Versamark Ink to the embossed parts and emboss with Rose Gold embossing powder.
Stamp the sentiment from the Hello Hydrangea stamp set with Versamark ink and emboss with Pure White embossing powder.
Assemble the card using foam squares for added dimension.
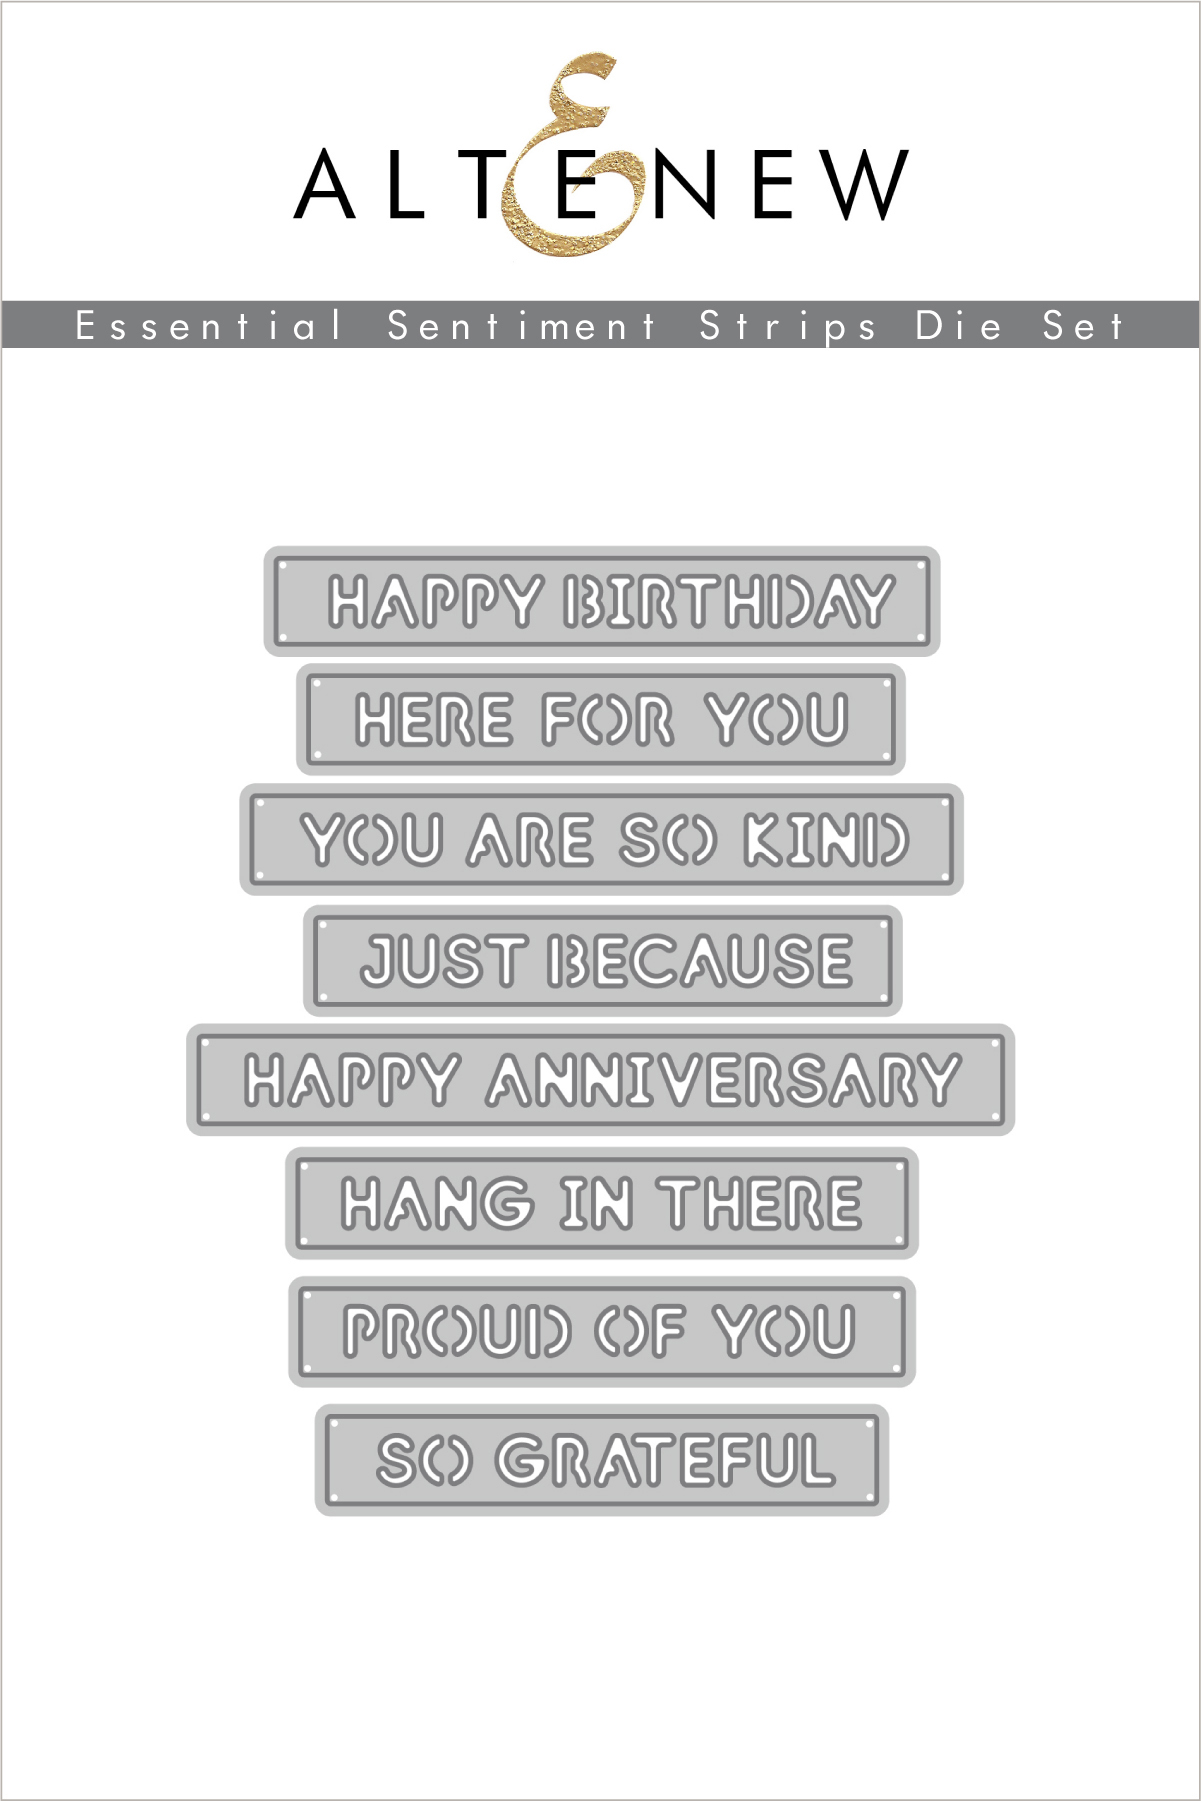
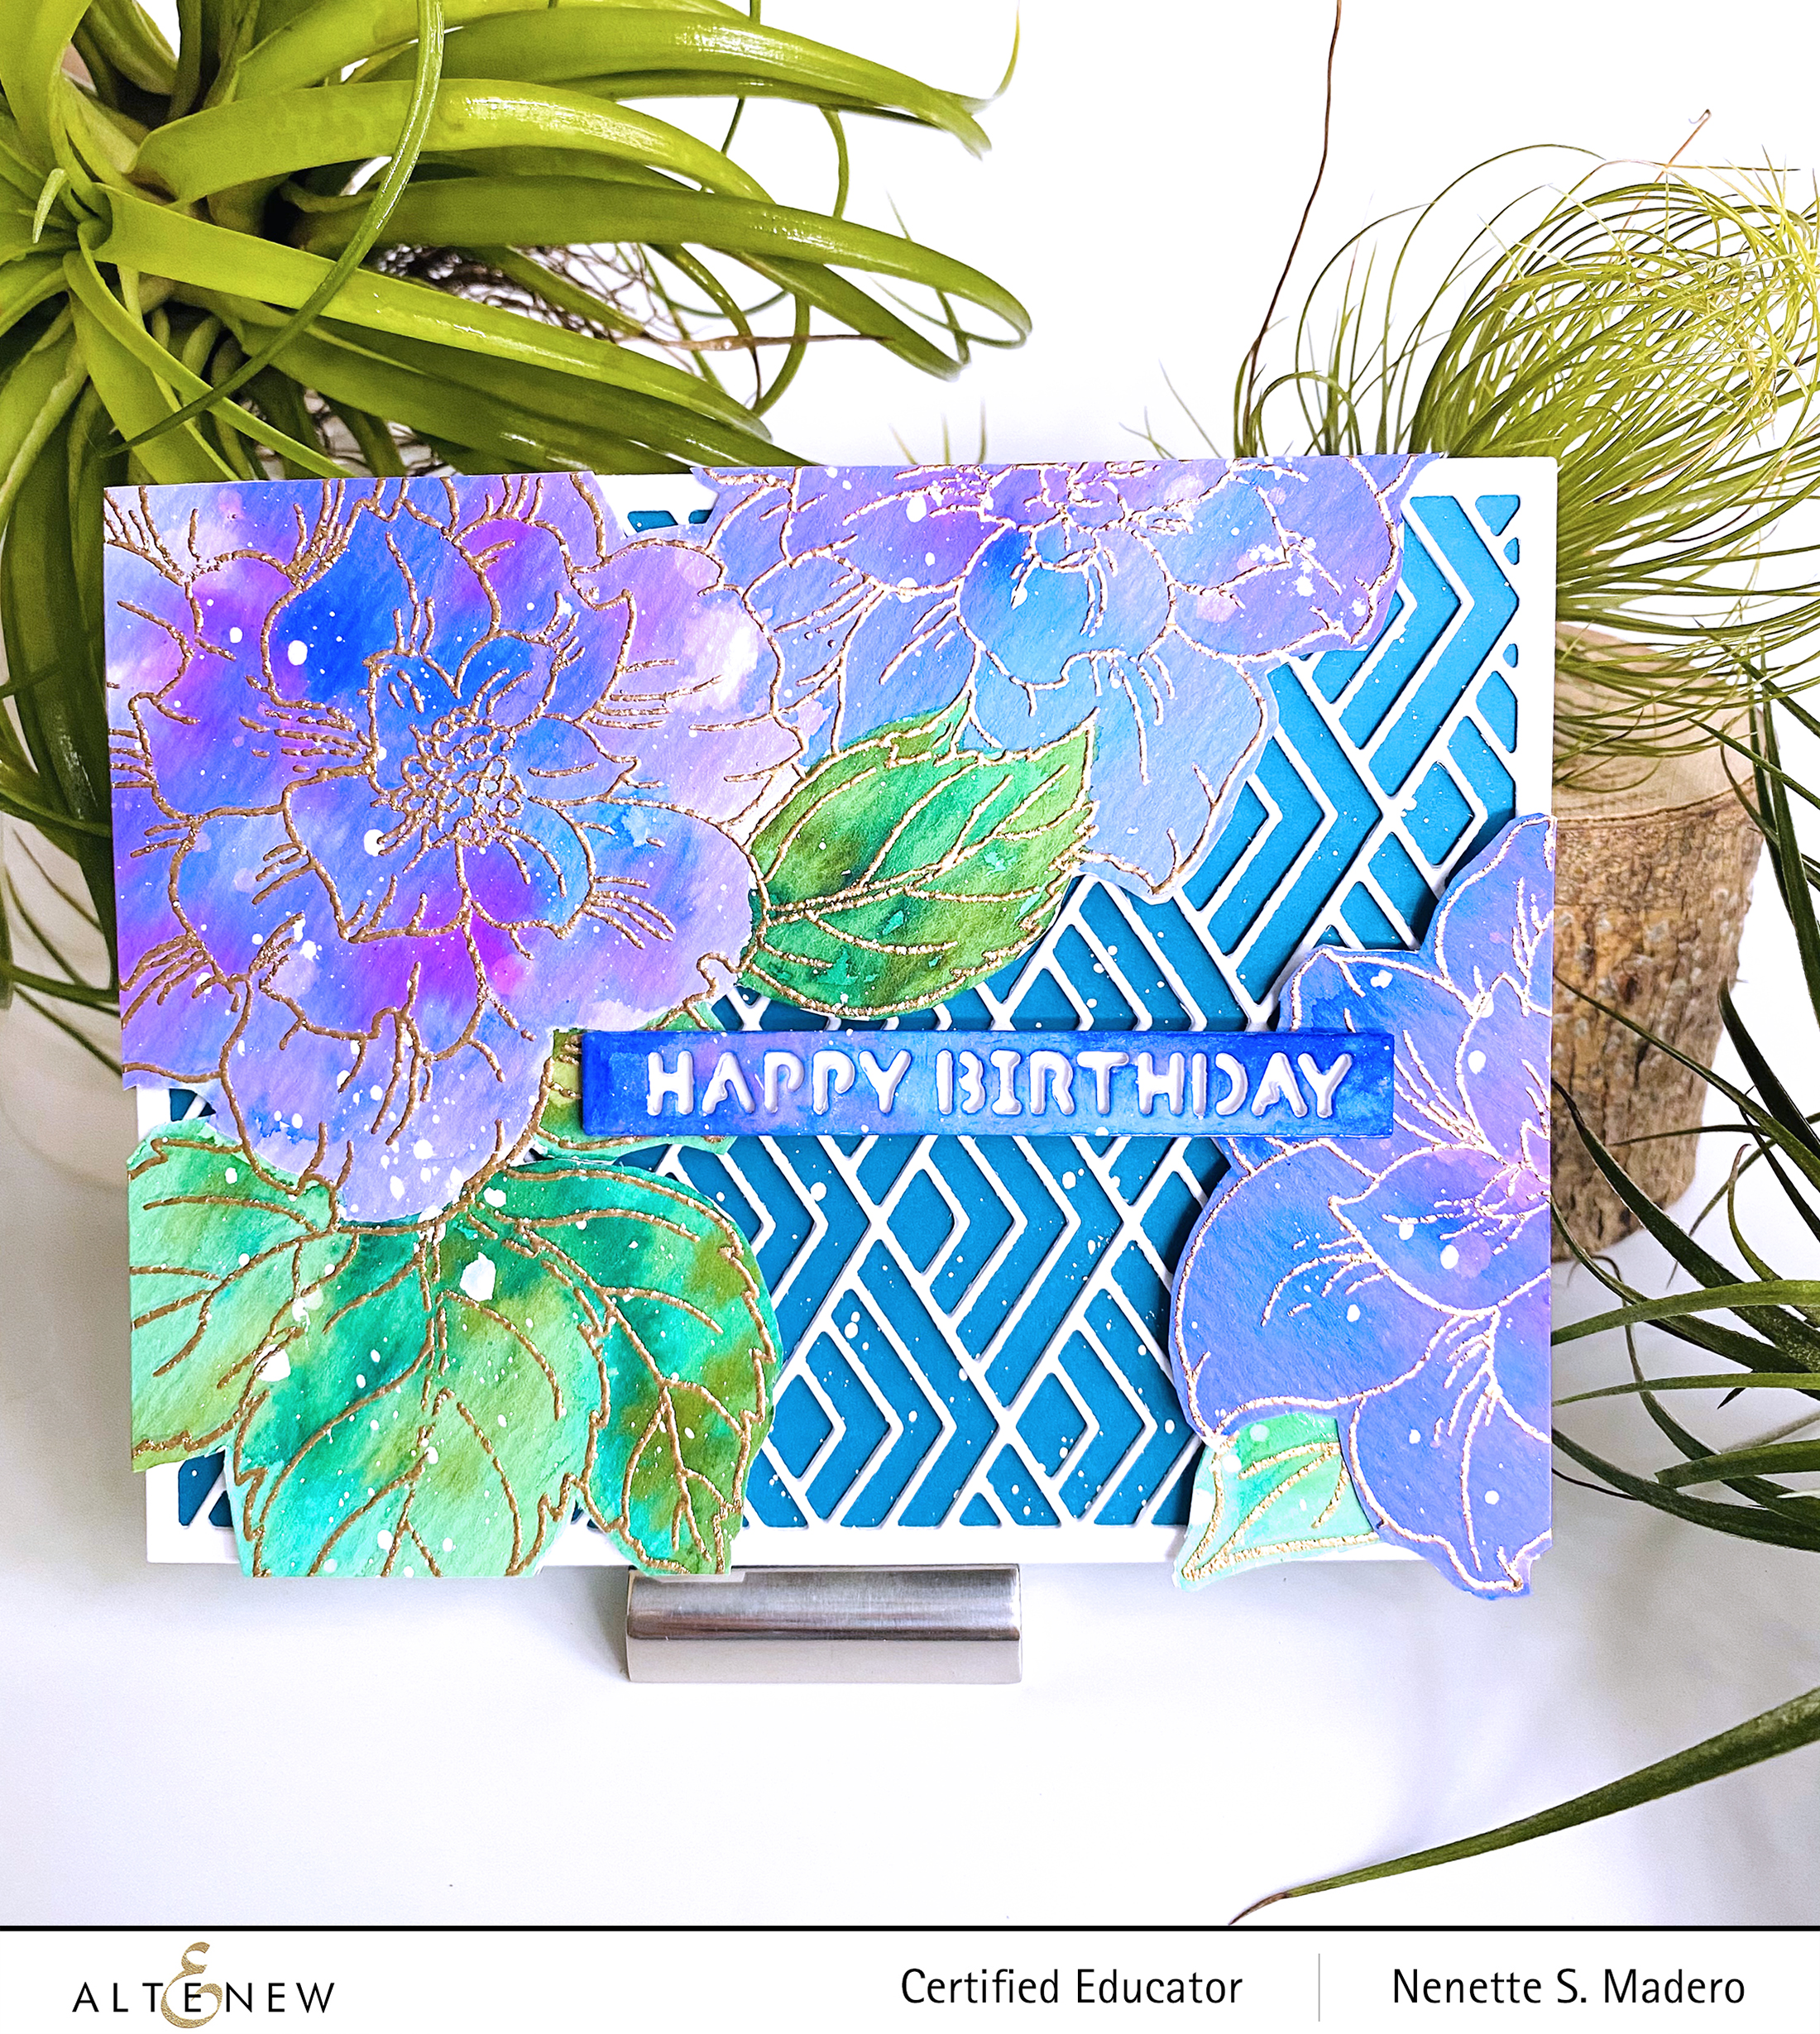
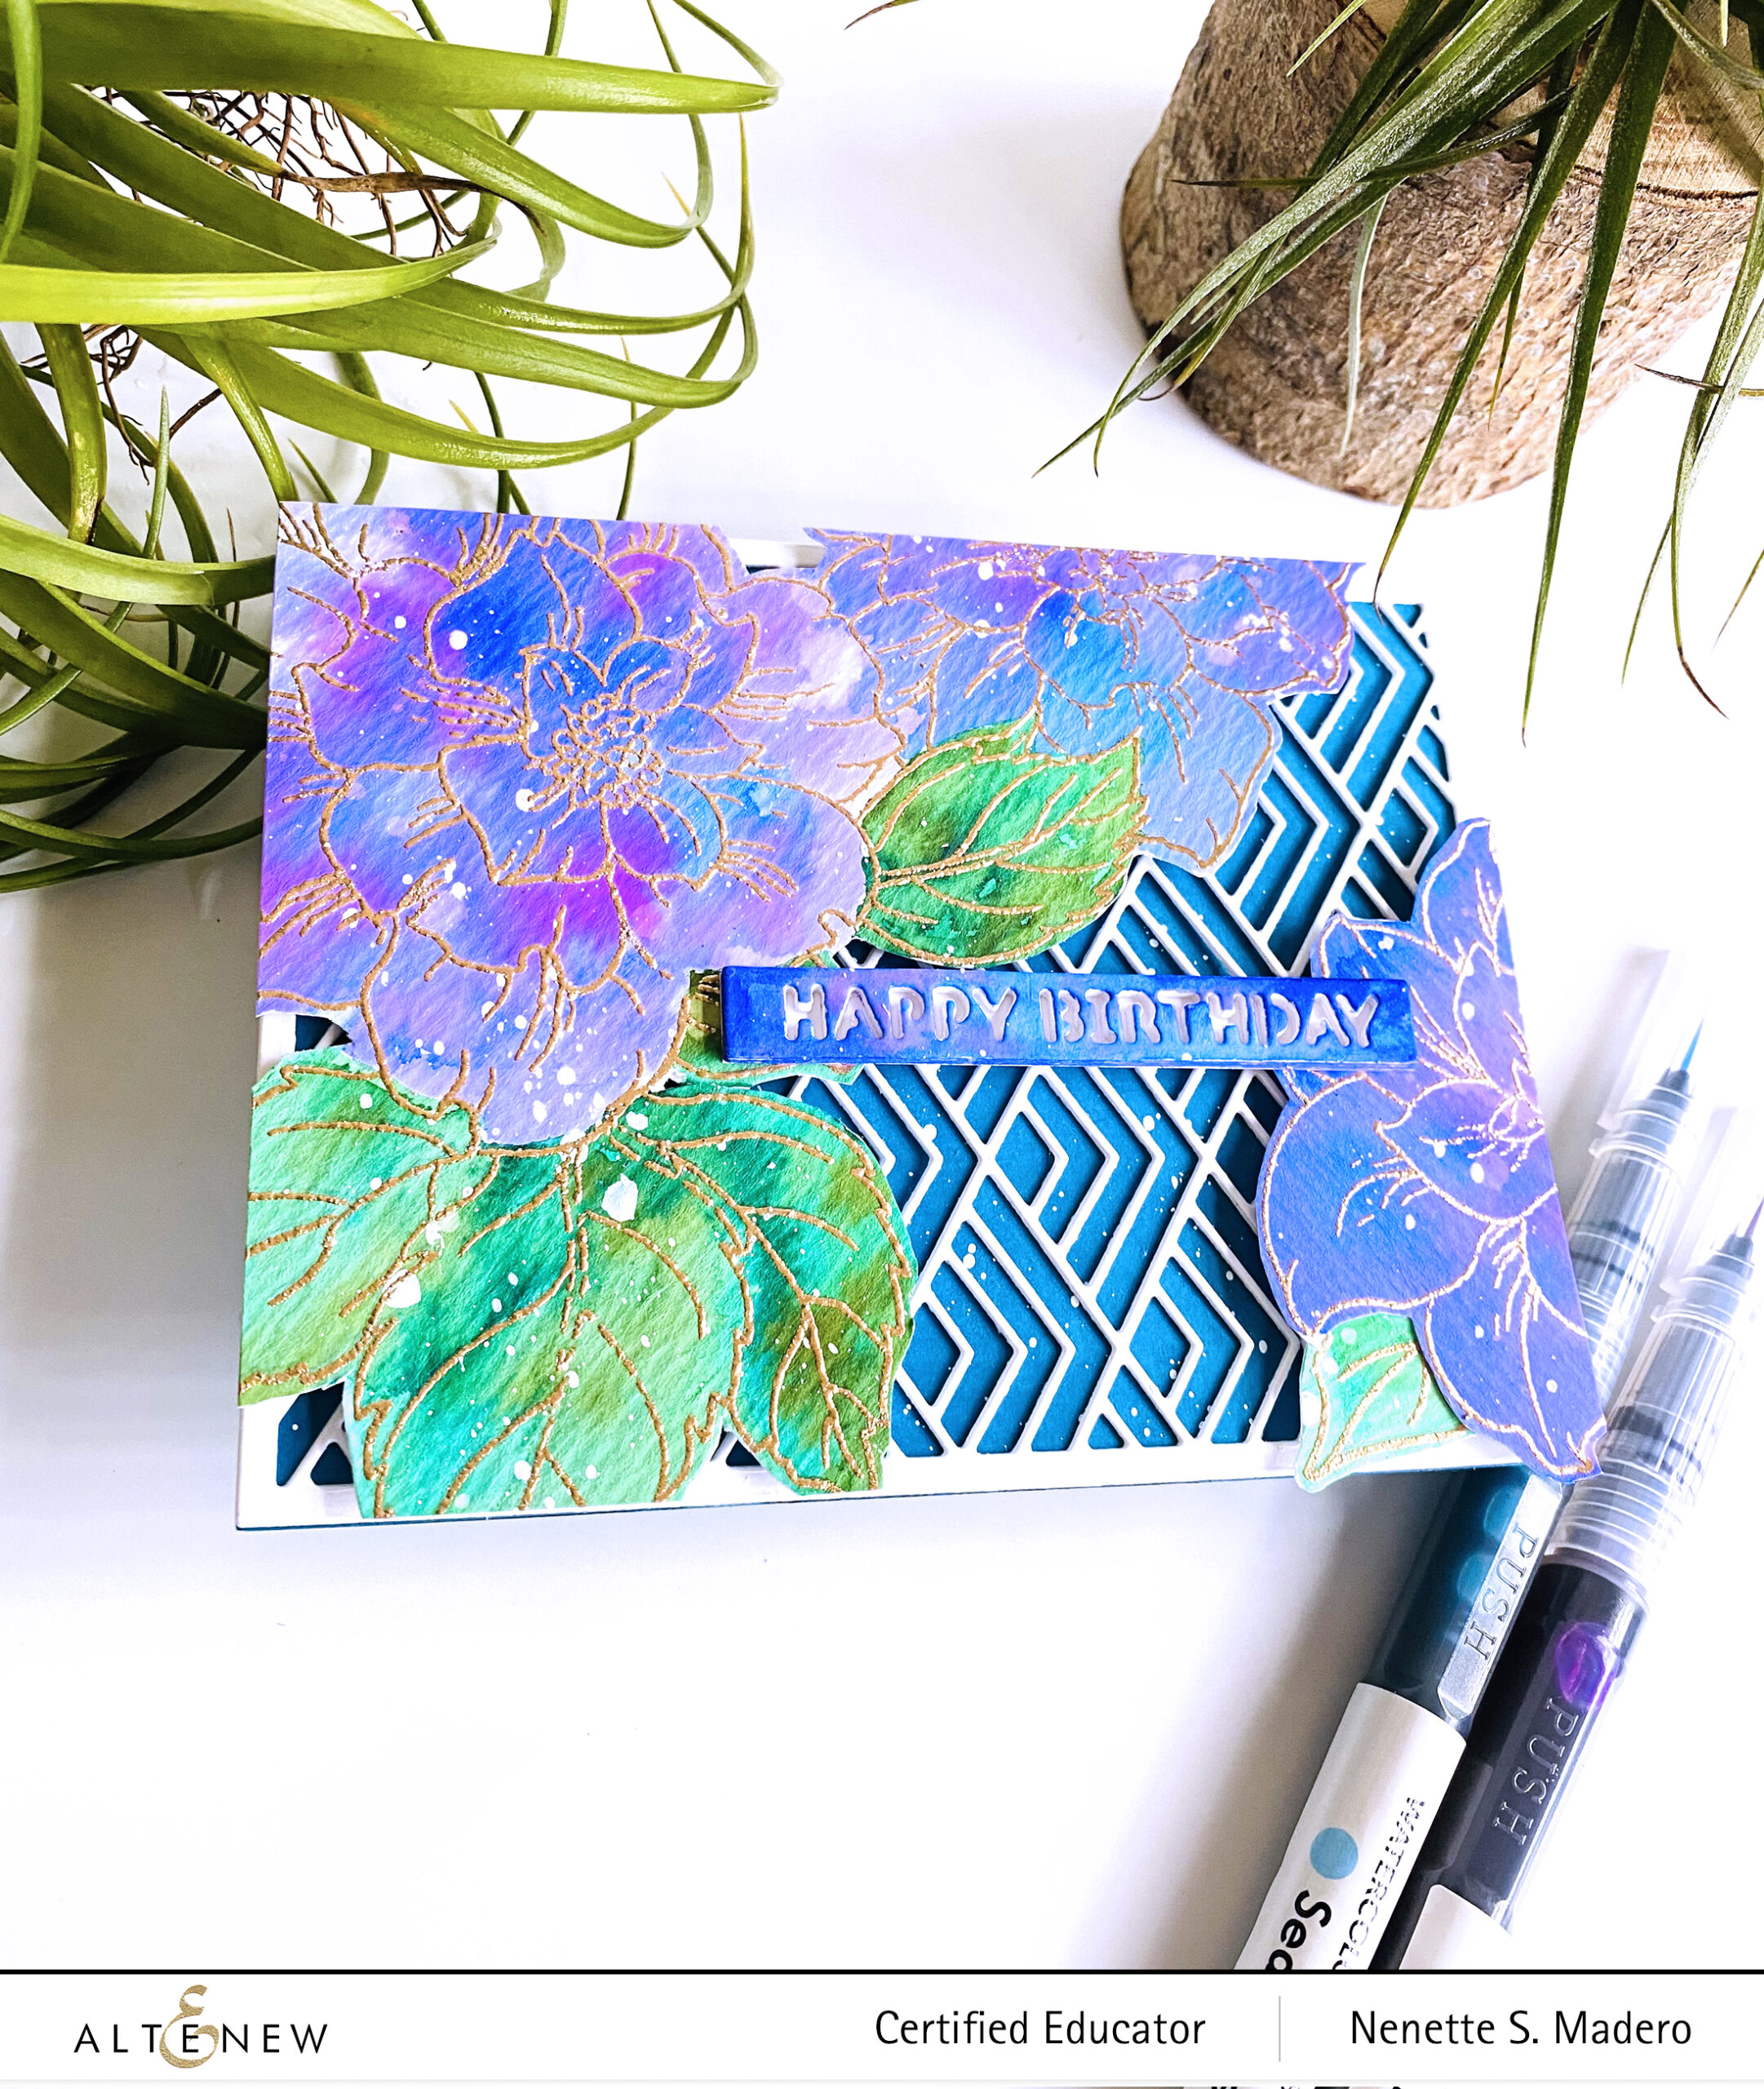
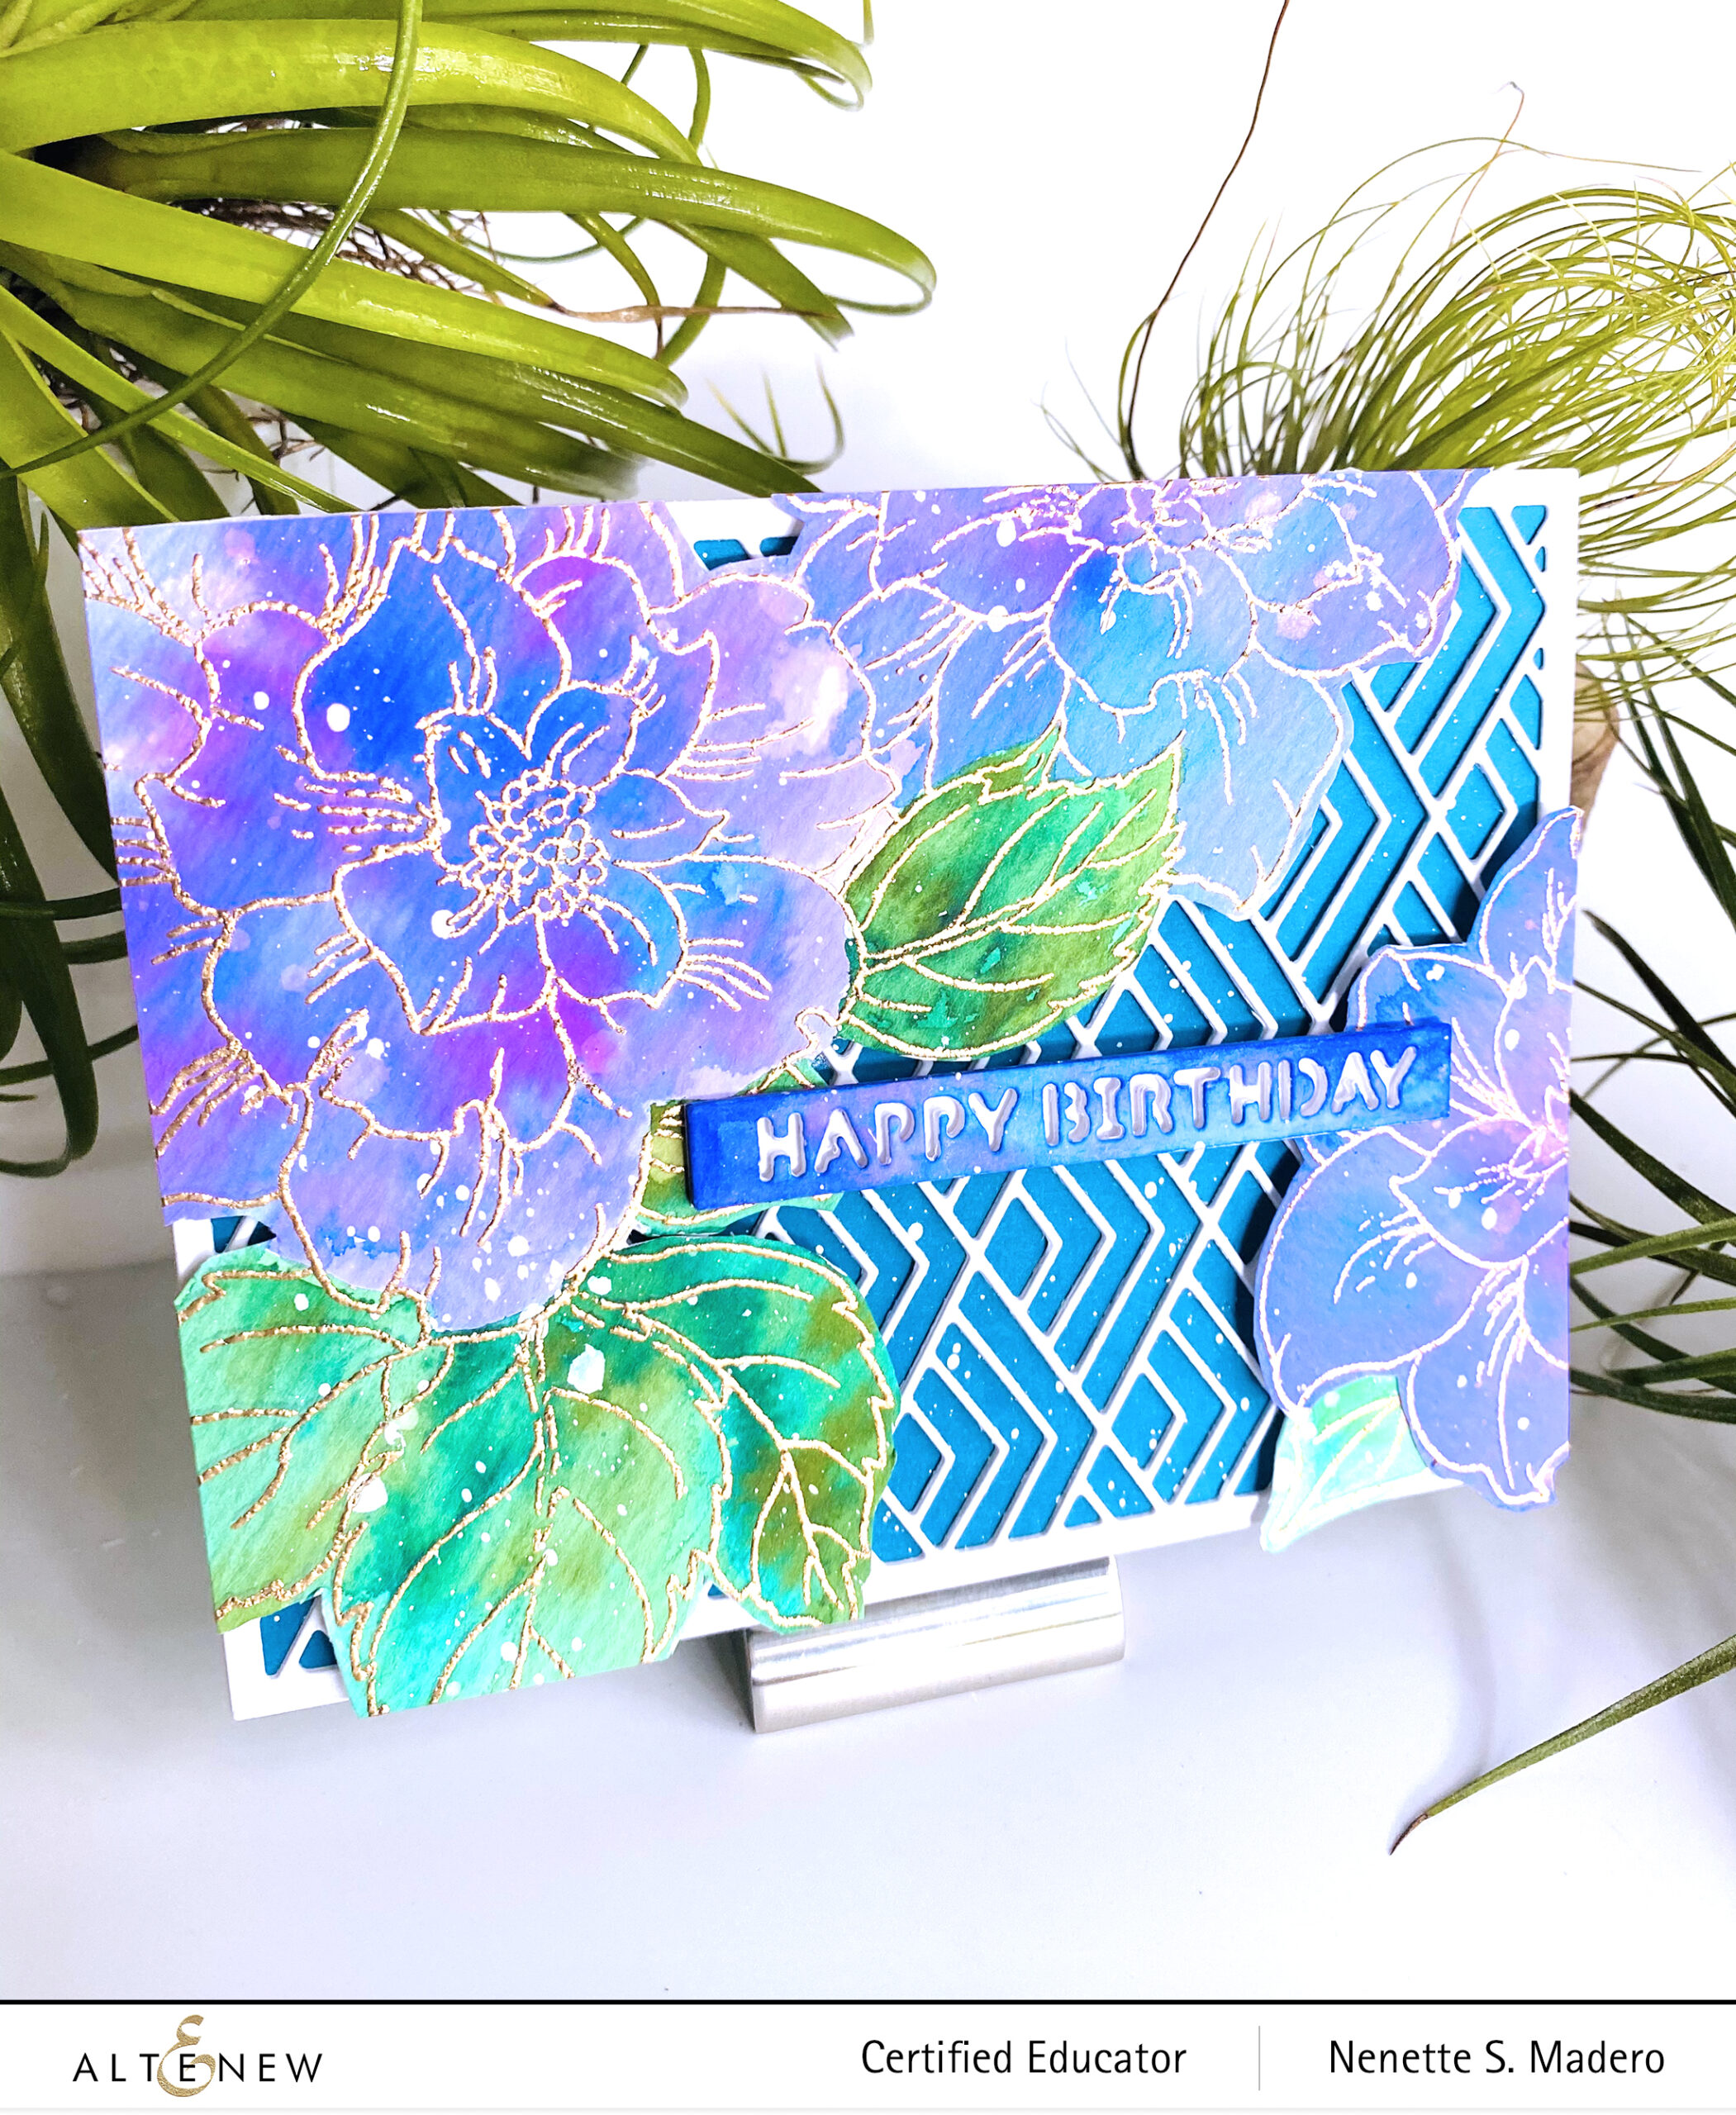
For the new stamp, I chose two of my favorites– the Courageous You Stamp set which was released sometime in July 2020. I love the huge image that can cover the whole card front! Another favorite of mine is the Essential Sentiment Strips die– the easiest way to add a dimensional sentiment to your card. <3
Stamp the image onto watercolor paper using very light dye ink. (I used a Misti and didn’t move the watercolor paper after stamping.)
Loosely paint over the entire flowers going over the outlines using Turquoise, Ultraviolet, Midnight violet, Sea Breeze and Ultramarine for the flowers and Emerald, Sweet Leaf and Moss for the leaves.
After the watercolor dries, add spatters of water and allow to sit for 10 seconds. Dry with a paper towel to remove some ink to create texture.
When the image is dry, prep the paper with the antistatic tool then re-stamp again the outline image with Versamark Ink and emboss with Rose Gold embossing powder. (Remember, I left the image inside the Misti so that I can restamp again.)
Die-cut the image as well as the Stacked Diamonds cover die.
Die-cut the sentiment die 4 times and watercolor the 1st layer using the leftover inks.
Add white cardstock to the back of the sentiment strip die cut.
Adhere the cover die onto the card front and attach the flowers and sentiment with foam squares.
Add white gouache splatters.
Add the sentiment strip die cut using foam squares.
PRIZES
Altenew is giving away a $20 gift certificate to 5 lucky winners! Please leave a comment on the Altenew Card Blog by 4/4/2021 for a chance to win.
Altenew will also draw a winner to receive a $15 Altenew gift certificate from the comments left on each designer’s blog on the blog hop list below. All winners will be announced on theAltenew Winners Page on 4/6/2021.
There’s MORE! What’s a hop without YOU?! We have included an Inlinkz at the Altenew blog for you to enter your gorgeous Altenew “Old/New Favorite Altenew Stamp” creations. Altenew will pick 2 of our favorite handmade creations from those who joined the linky party and they will each receive a $15 Altenew gift certificate!
Next up is the amazing Teri Wilson. Hope you liked the cards I made using old and new stamp and die sets. I’m sure you have your own favorite Altenew stamps as well. I’d love to know which one is yours! Leave a comment below to get a chance to win some fabulous prizes from Altenew. Hope we can be friends on IG as well (@mylittleatticstudio). This is where I post my latest creations, too. Thank you so much for dropping by and stay safe always. Happy crafting!!
I am joining a fun INSTA hop where all of us Educators will be sharing our love for Altenew through our handmade goodness/creations! The IG hop starts from @altenewllc so make sure you start from the beginning! I thought of creating a blog post as well for those of you who would like to know how I created the cards.
For this hop, I thought of creating 2 cards using the same inks, embossing folders and or stamps to make 1 easy to create card (CAS) and 1 intermediate card with more techniques involved. Let’s get started!
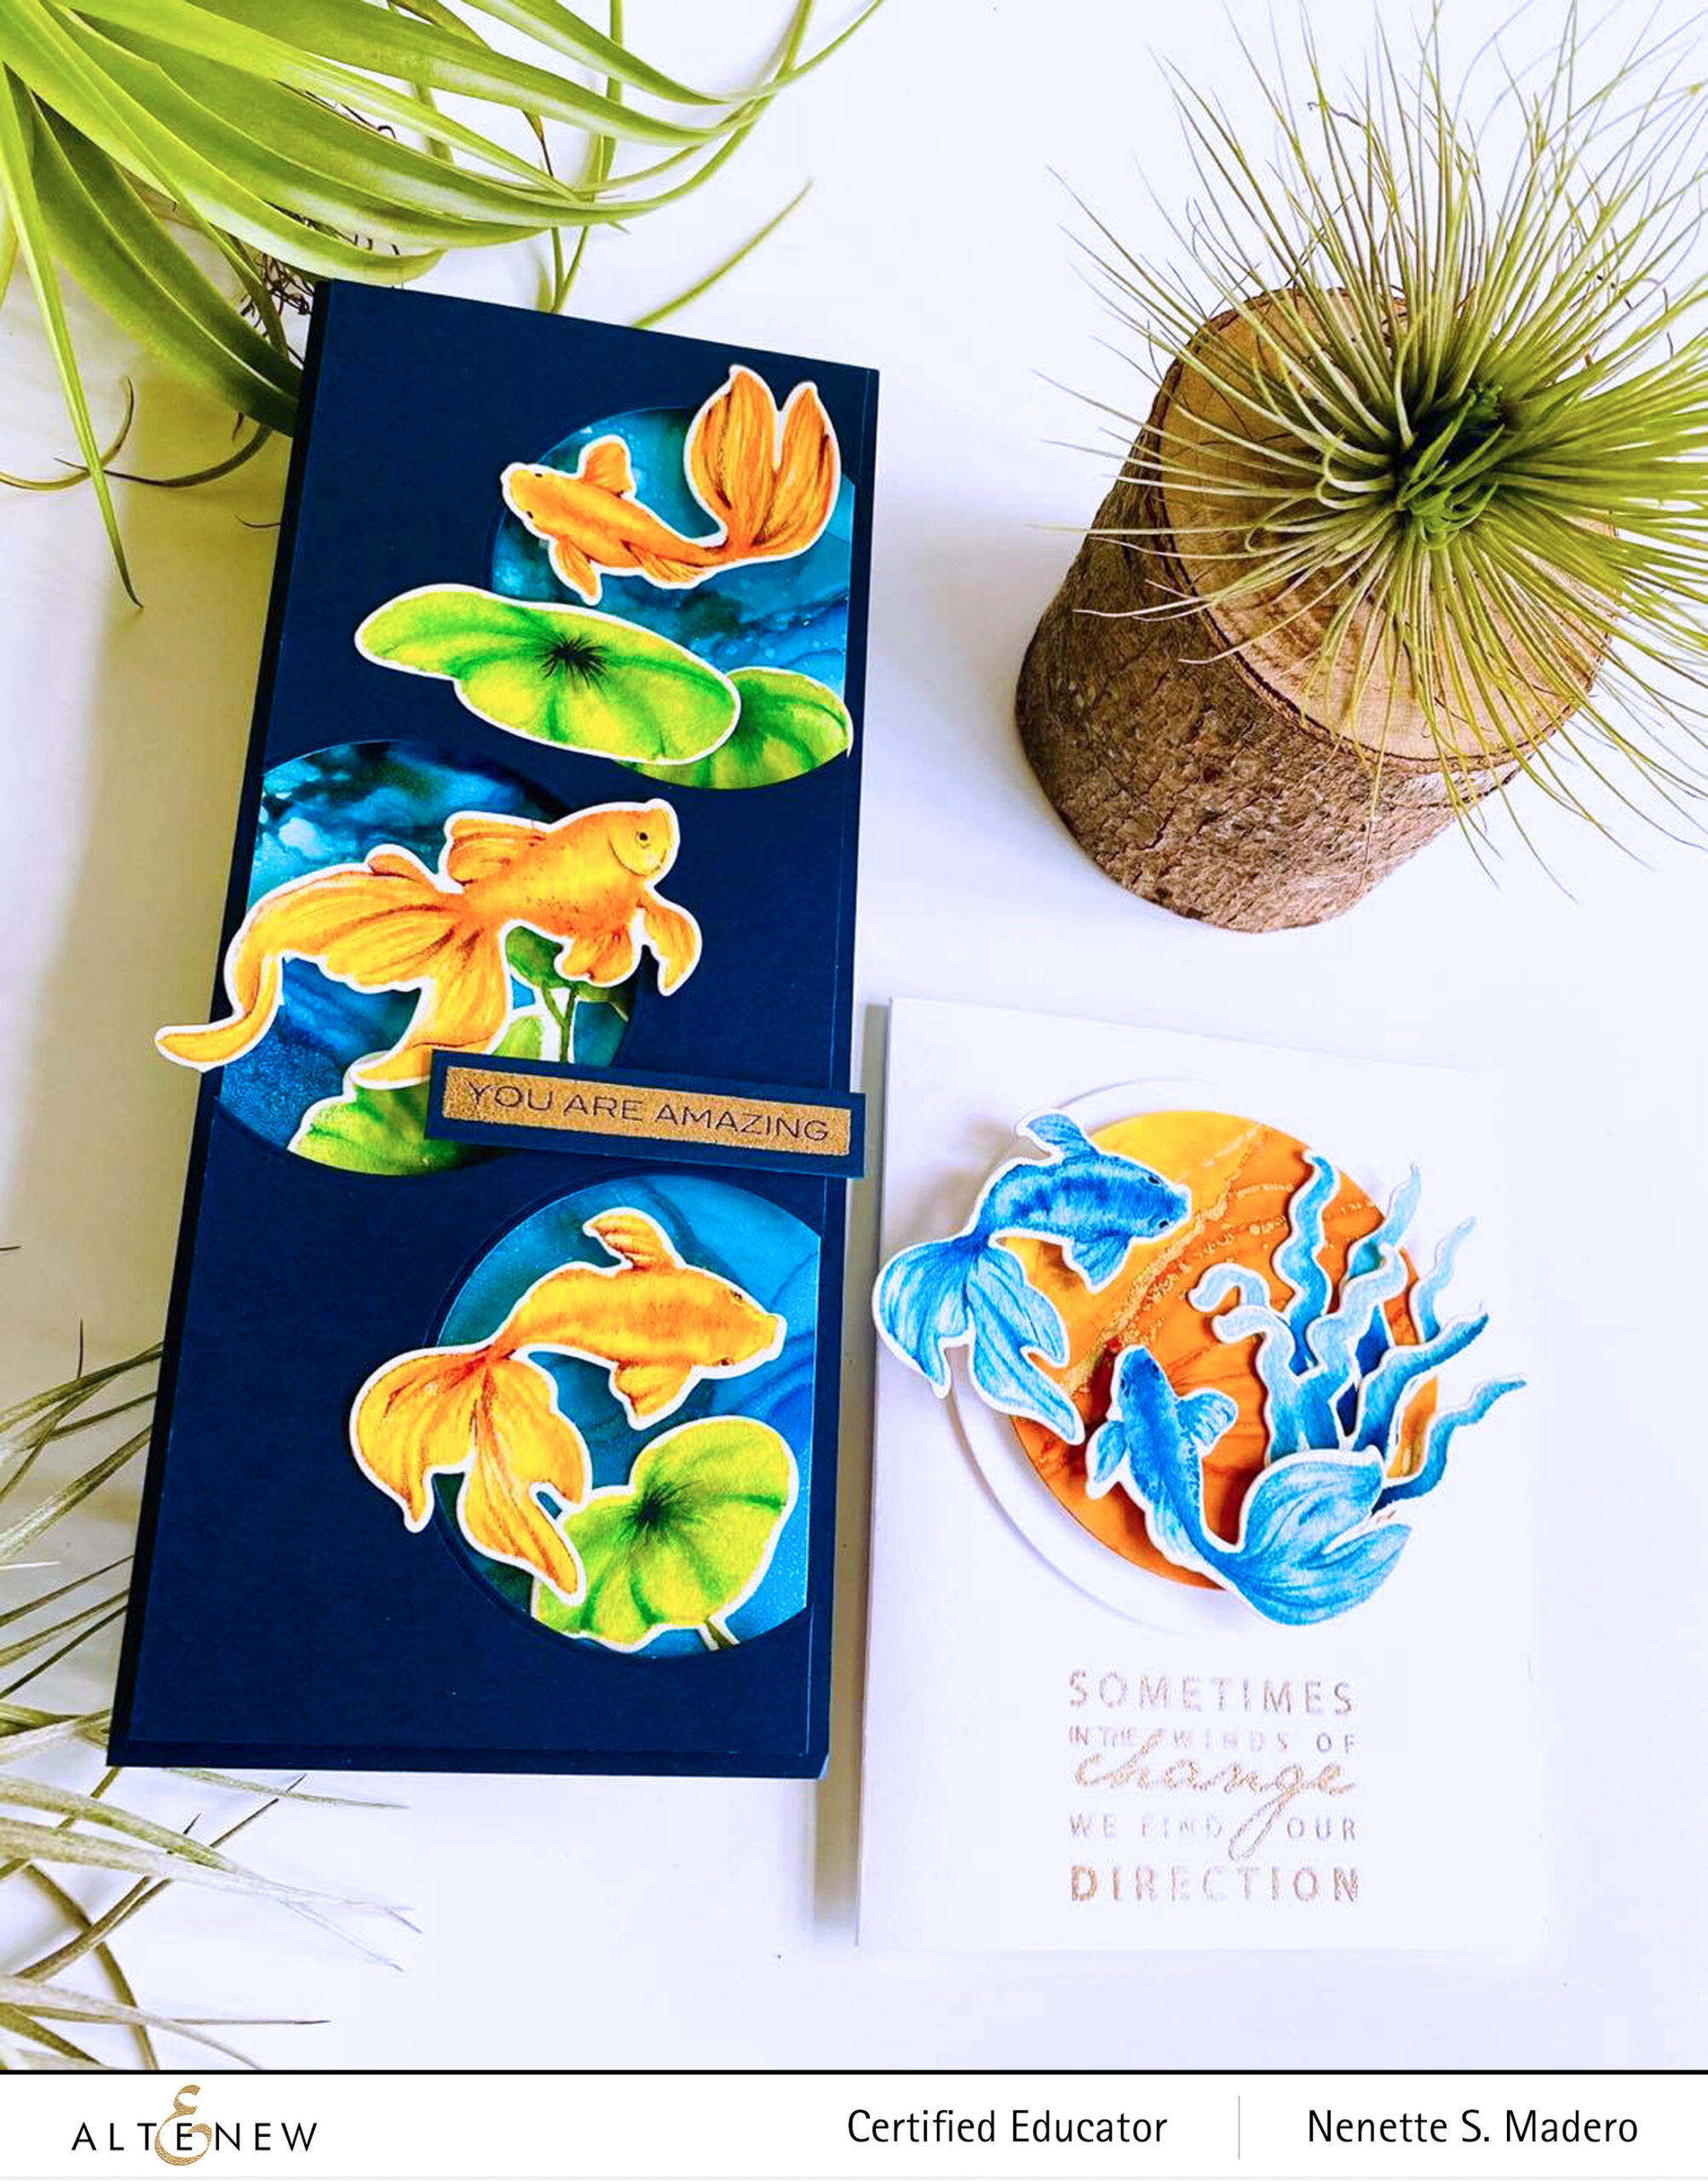
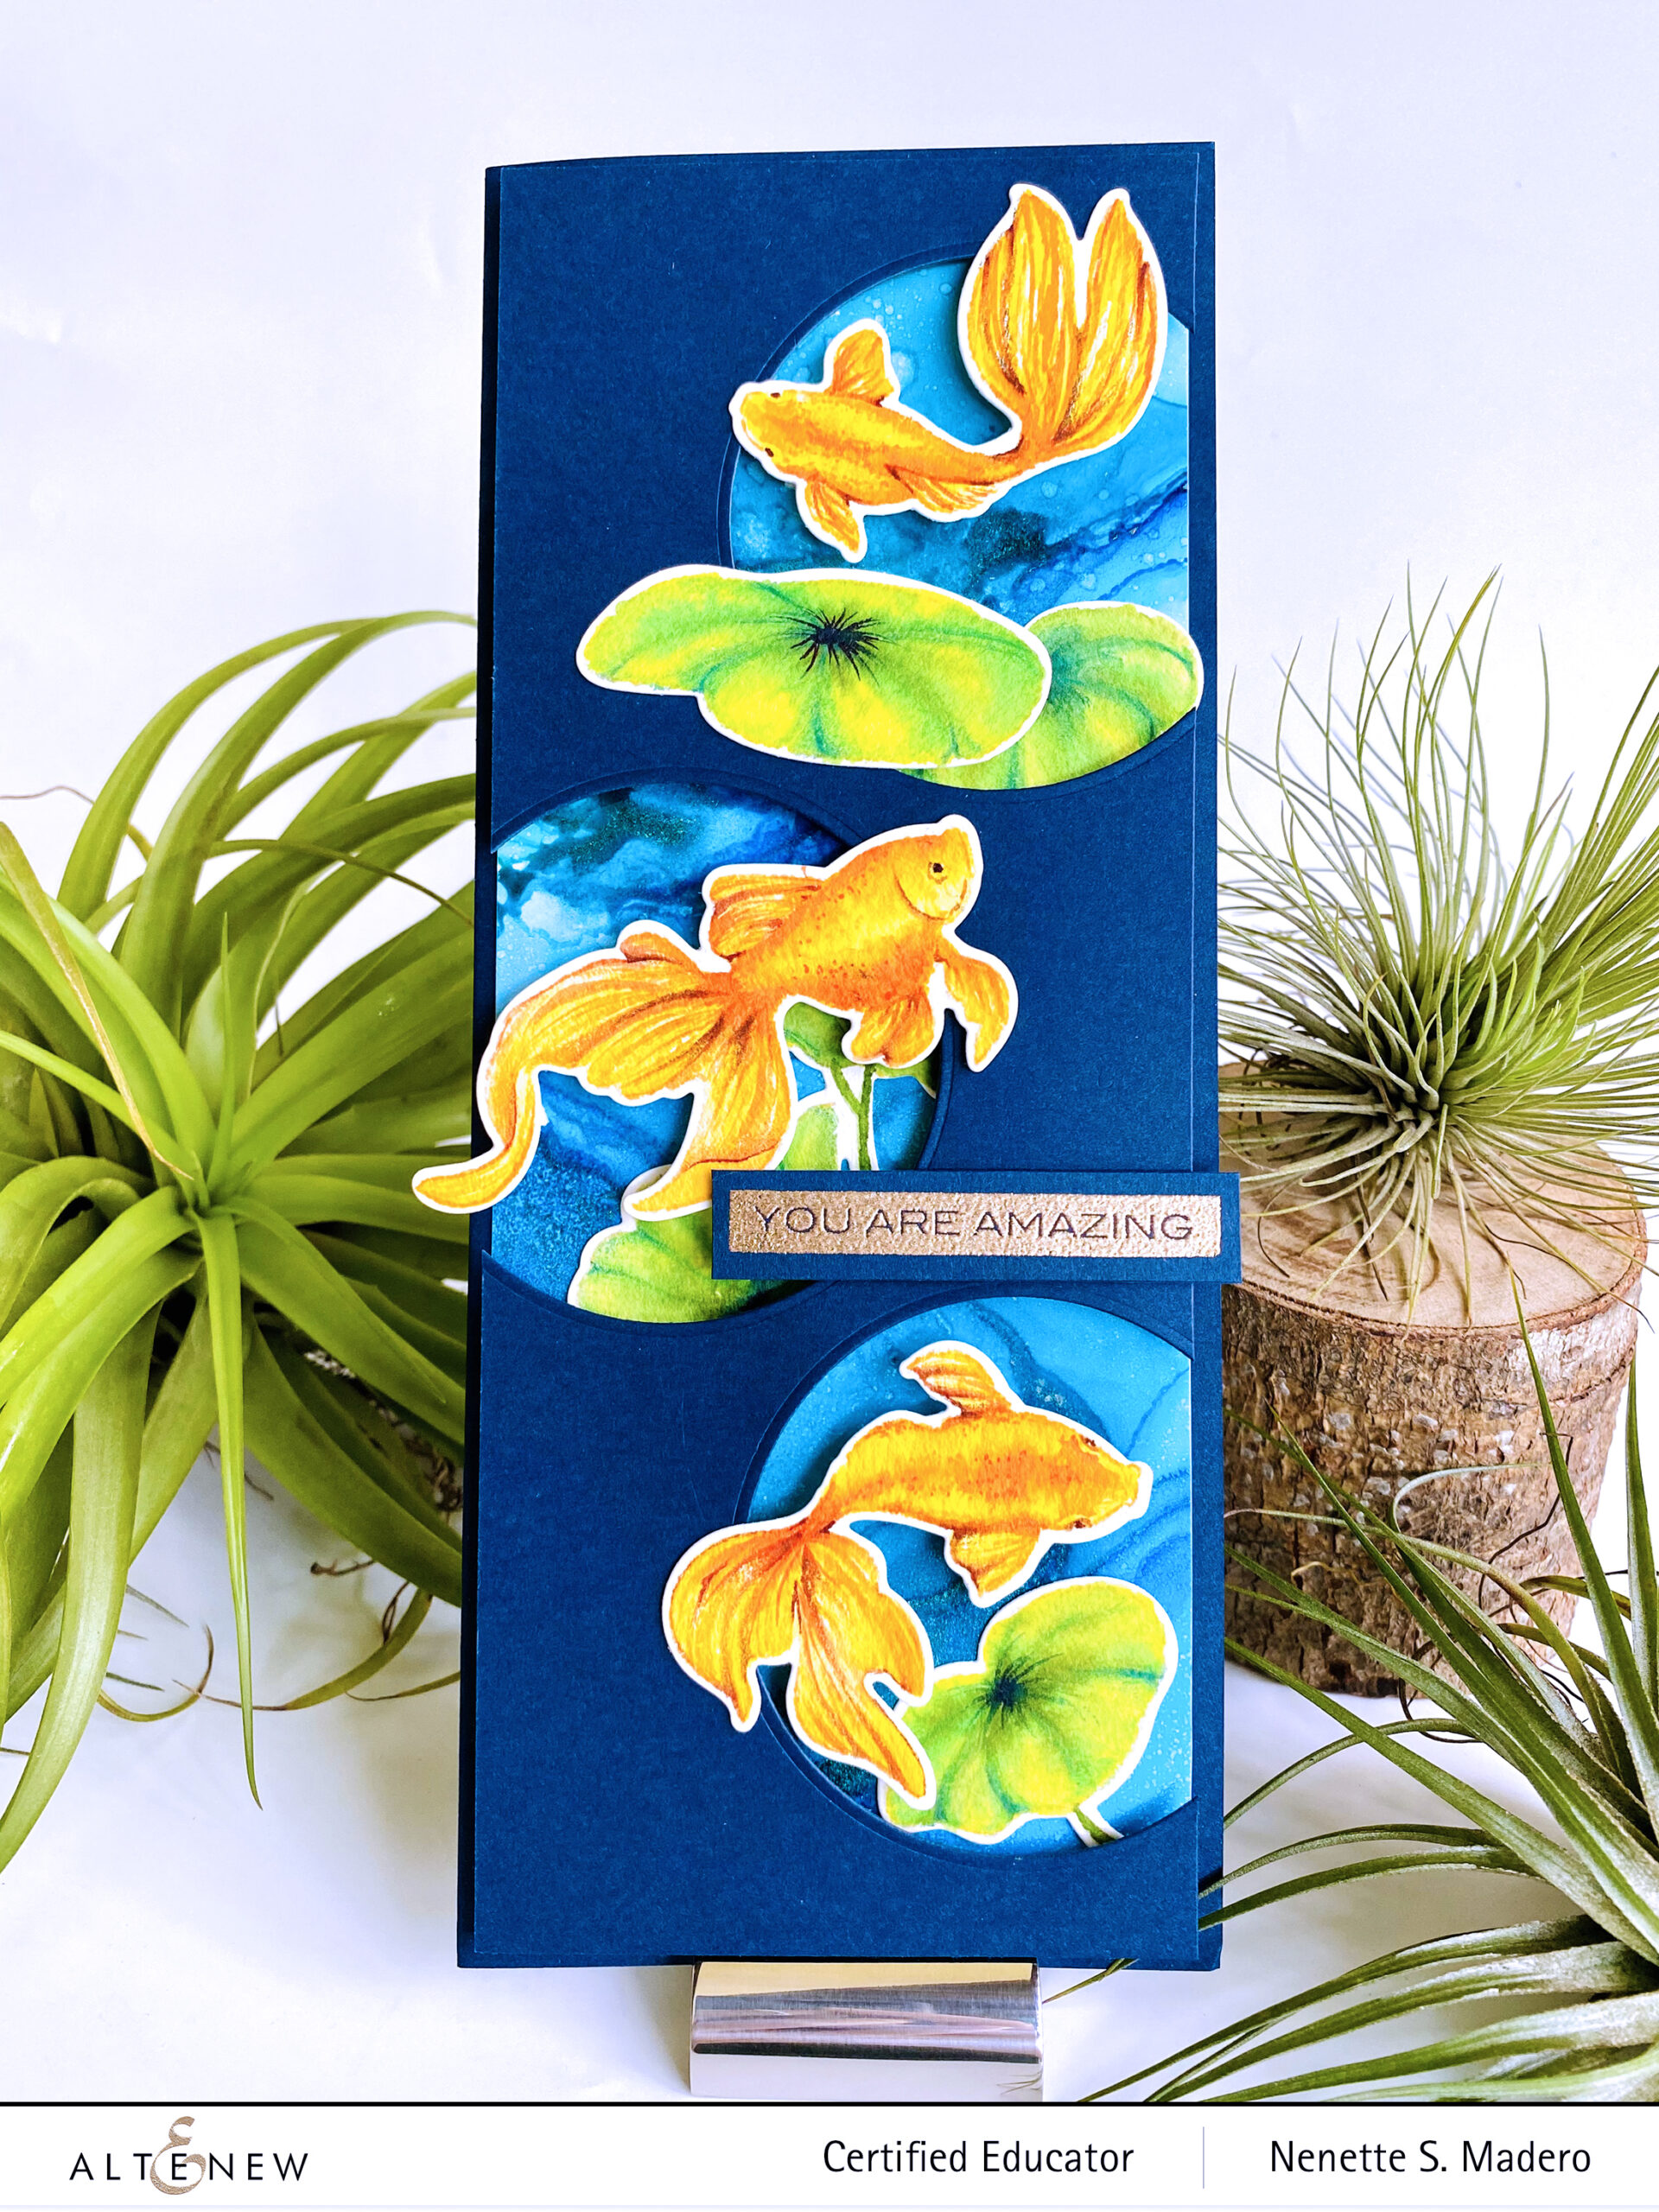
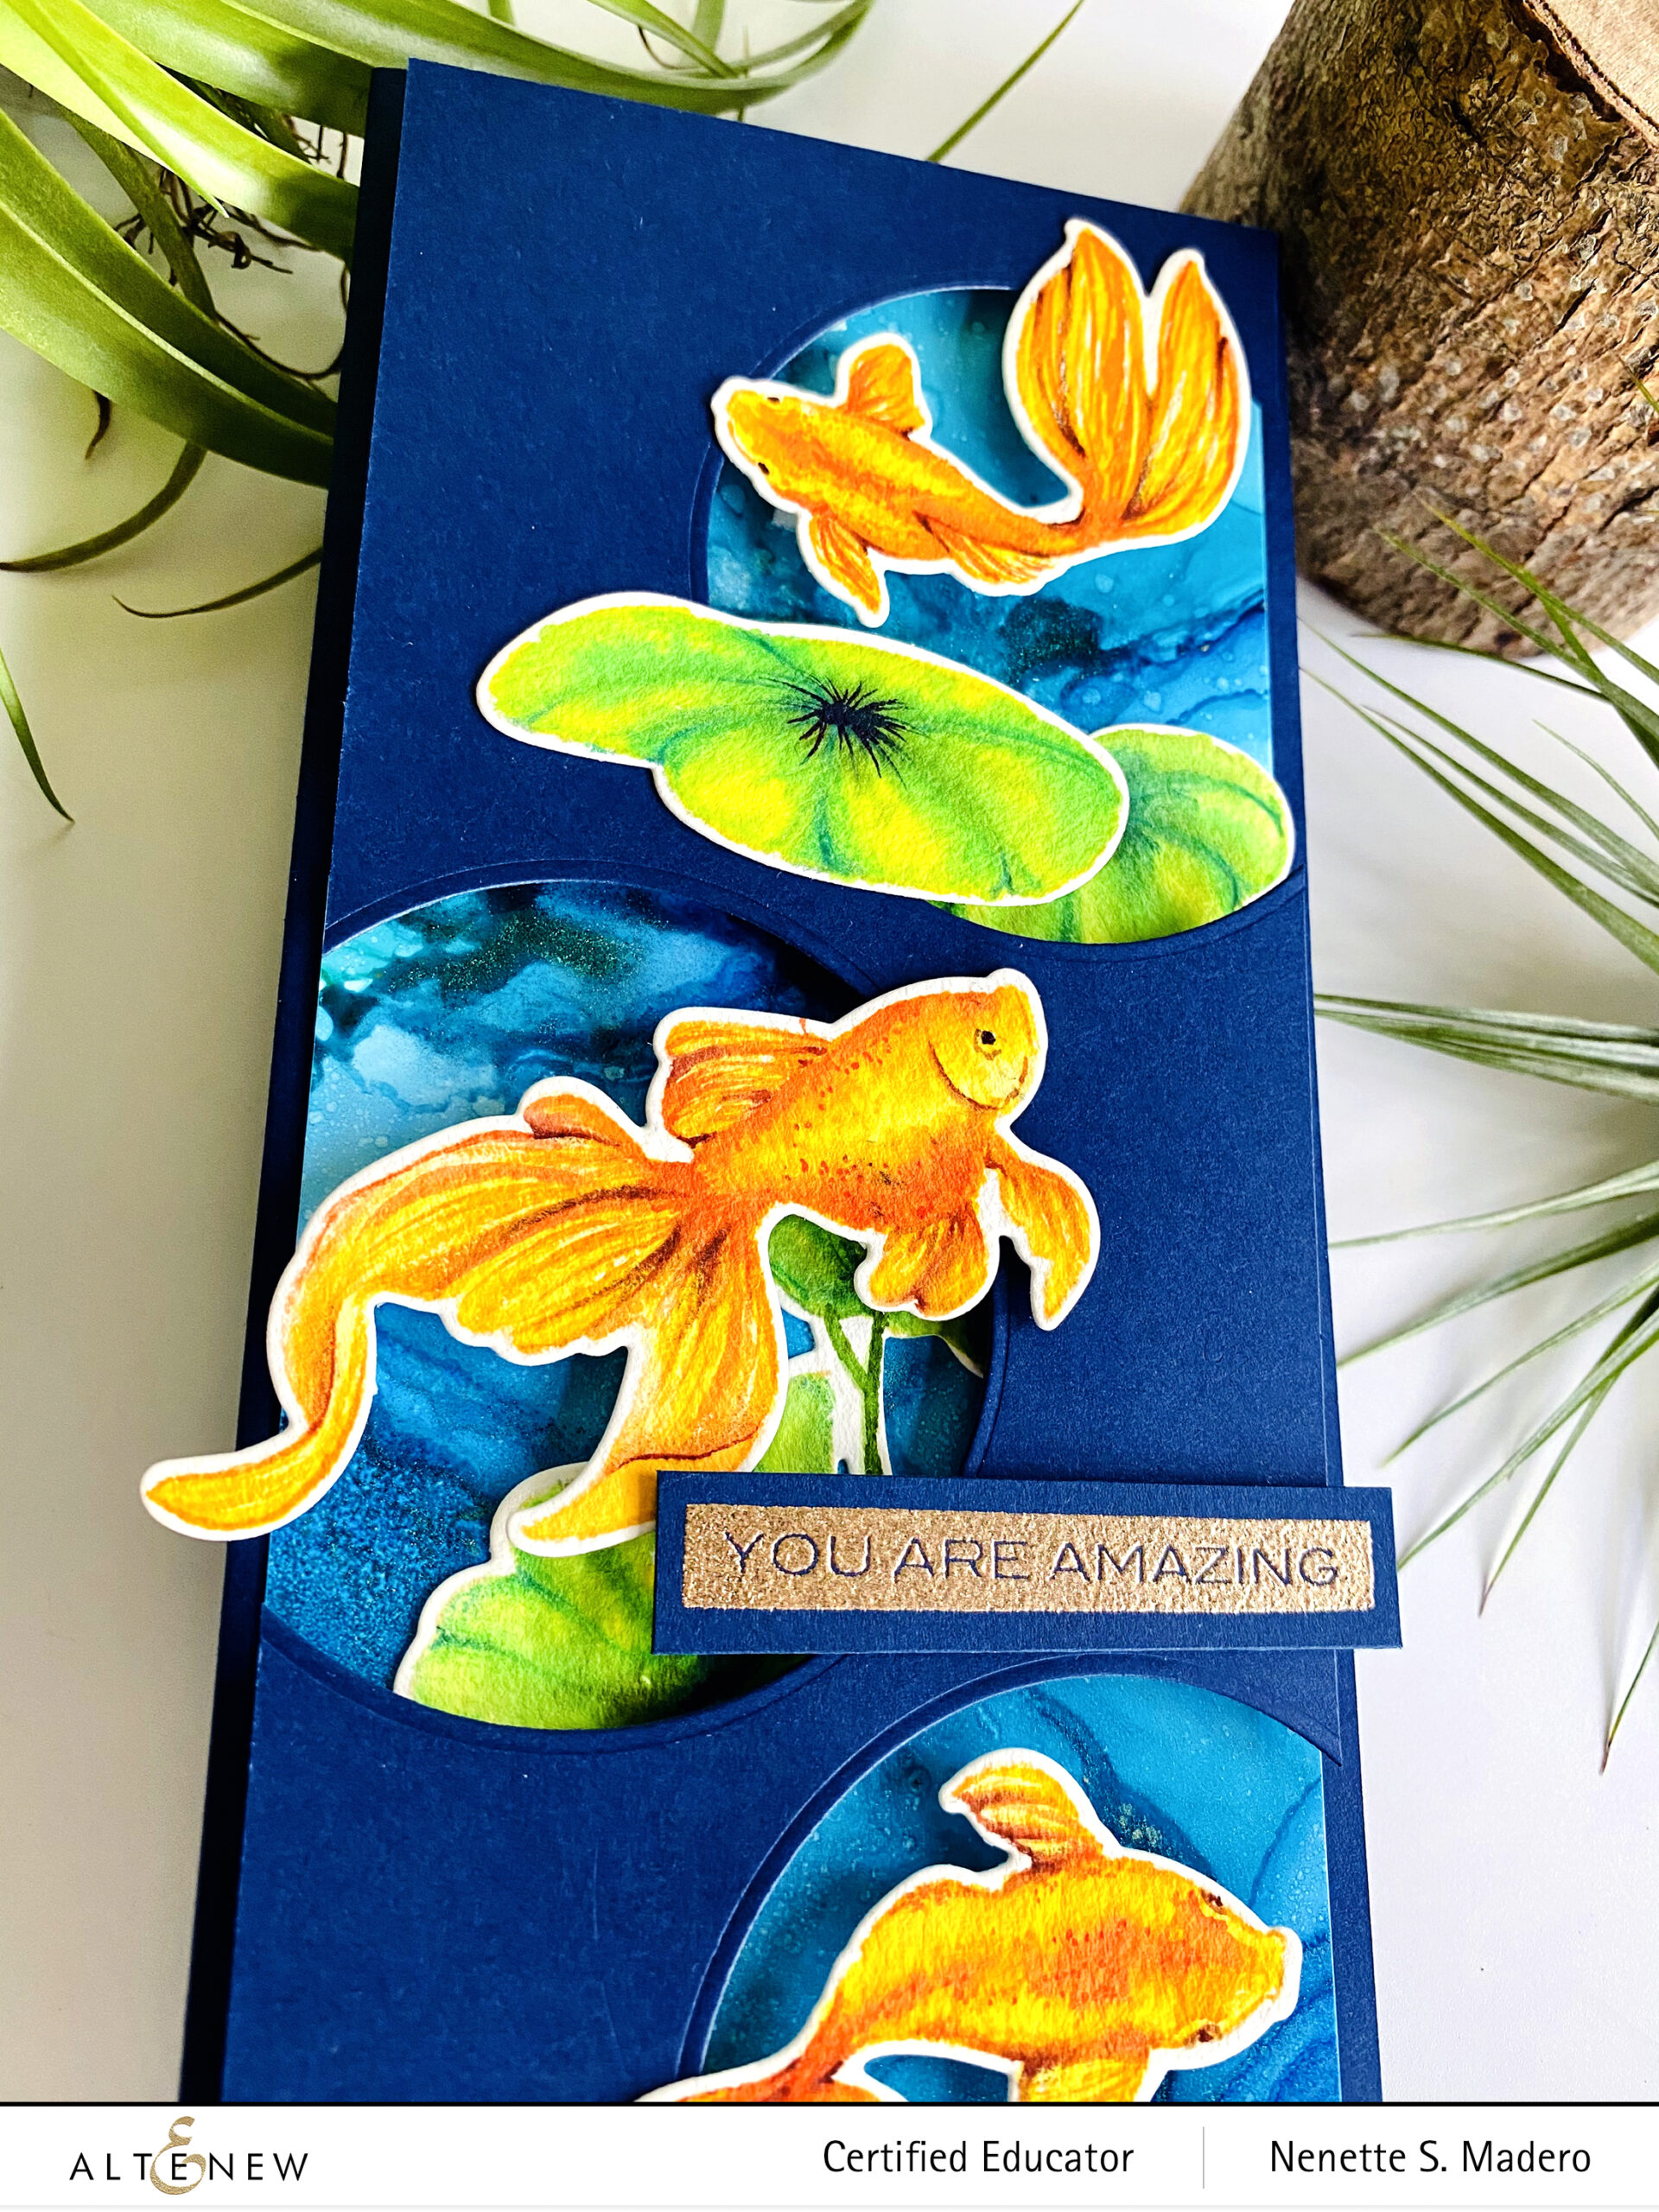
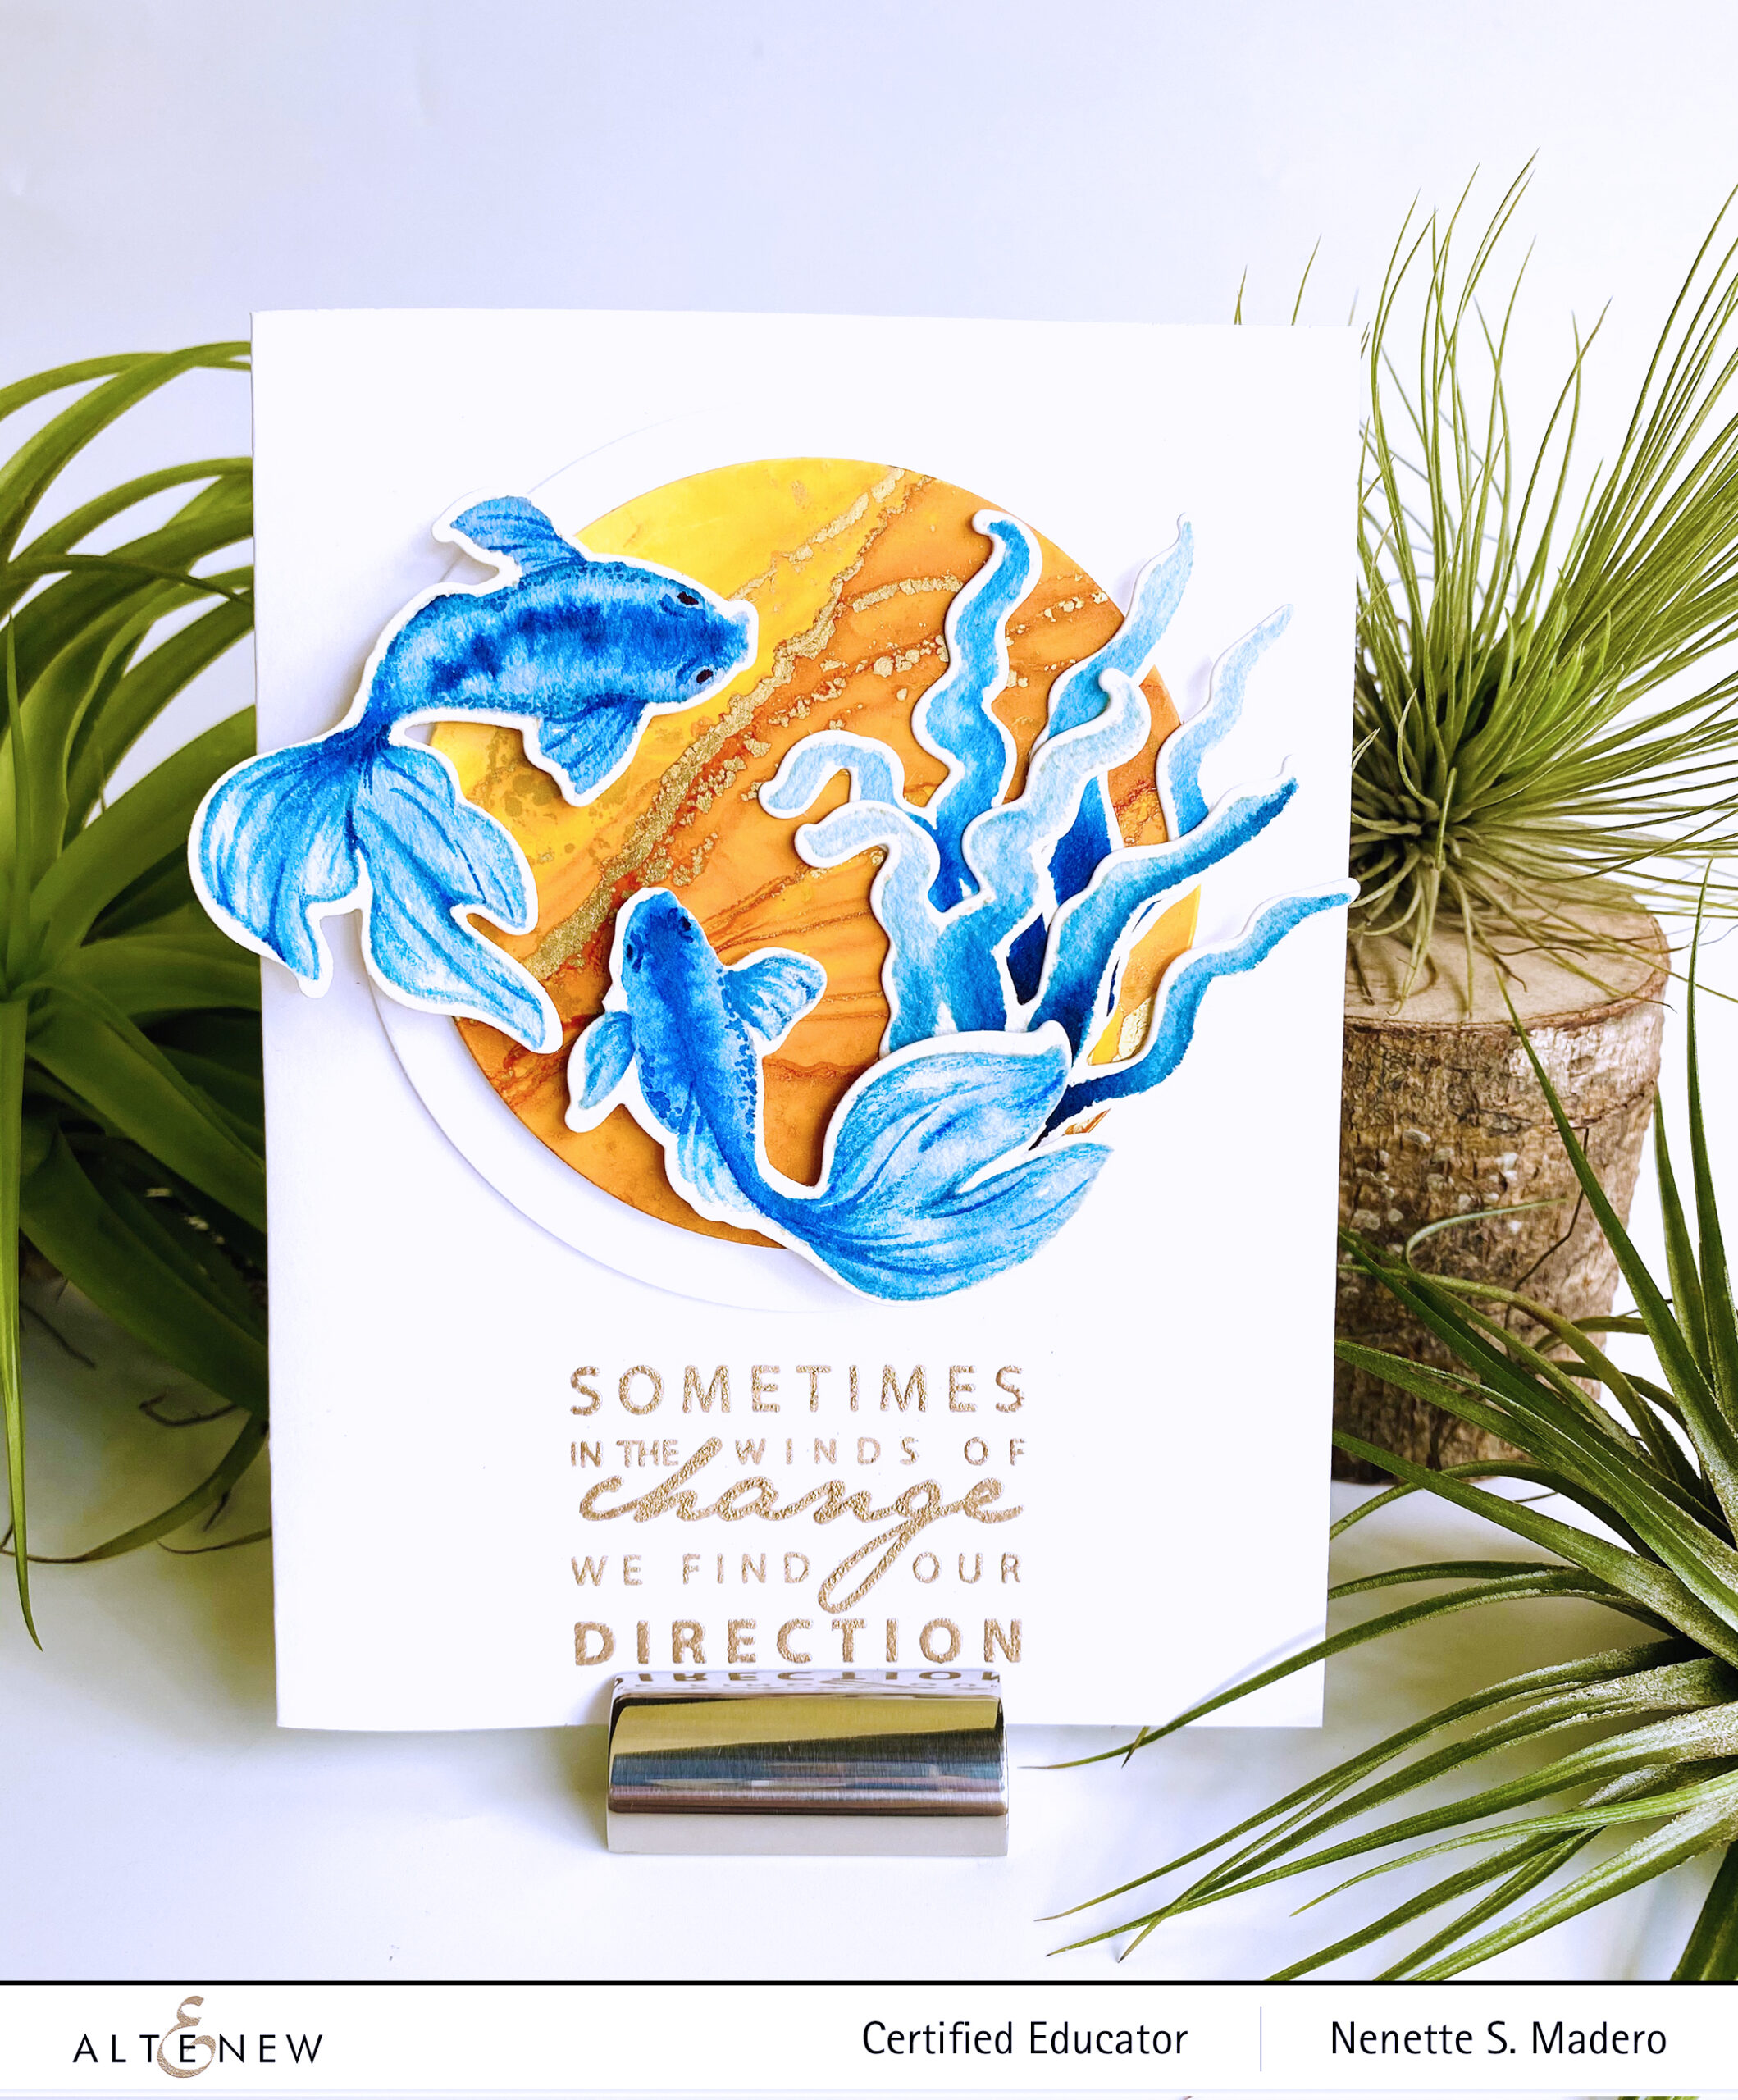
YOU ARE AMAZING/ SOMETIMES IN THE WINDS OF CHANGE…
Create a background to mimic the water by using different shades of blue and gold alcohol inks on Nara paper. Wet the surface of the paper with alcohol before dropping the alcohol inks. Move the colors using a hairdryer. The last step is to spray the background using a misting spray with alcohol to create the “bubbles”.
For the goldfish, stamp the images onto watercolor paper using Antique linen distress ink or any light colored ink. Color the images using watercolor and colored pencils.
Die-cut the images using the coordinating dies. Use a circle die for the card front to create windows.
Stamp the sentient using Versamark Ink and emboss using Rose Gold embossing powder.
Assemble the card using adhesive and foam squares.
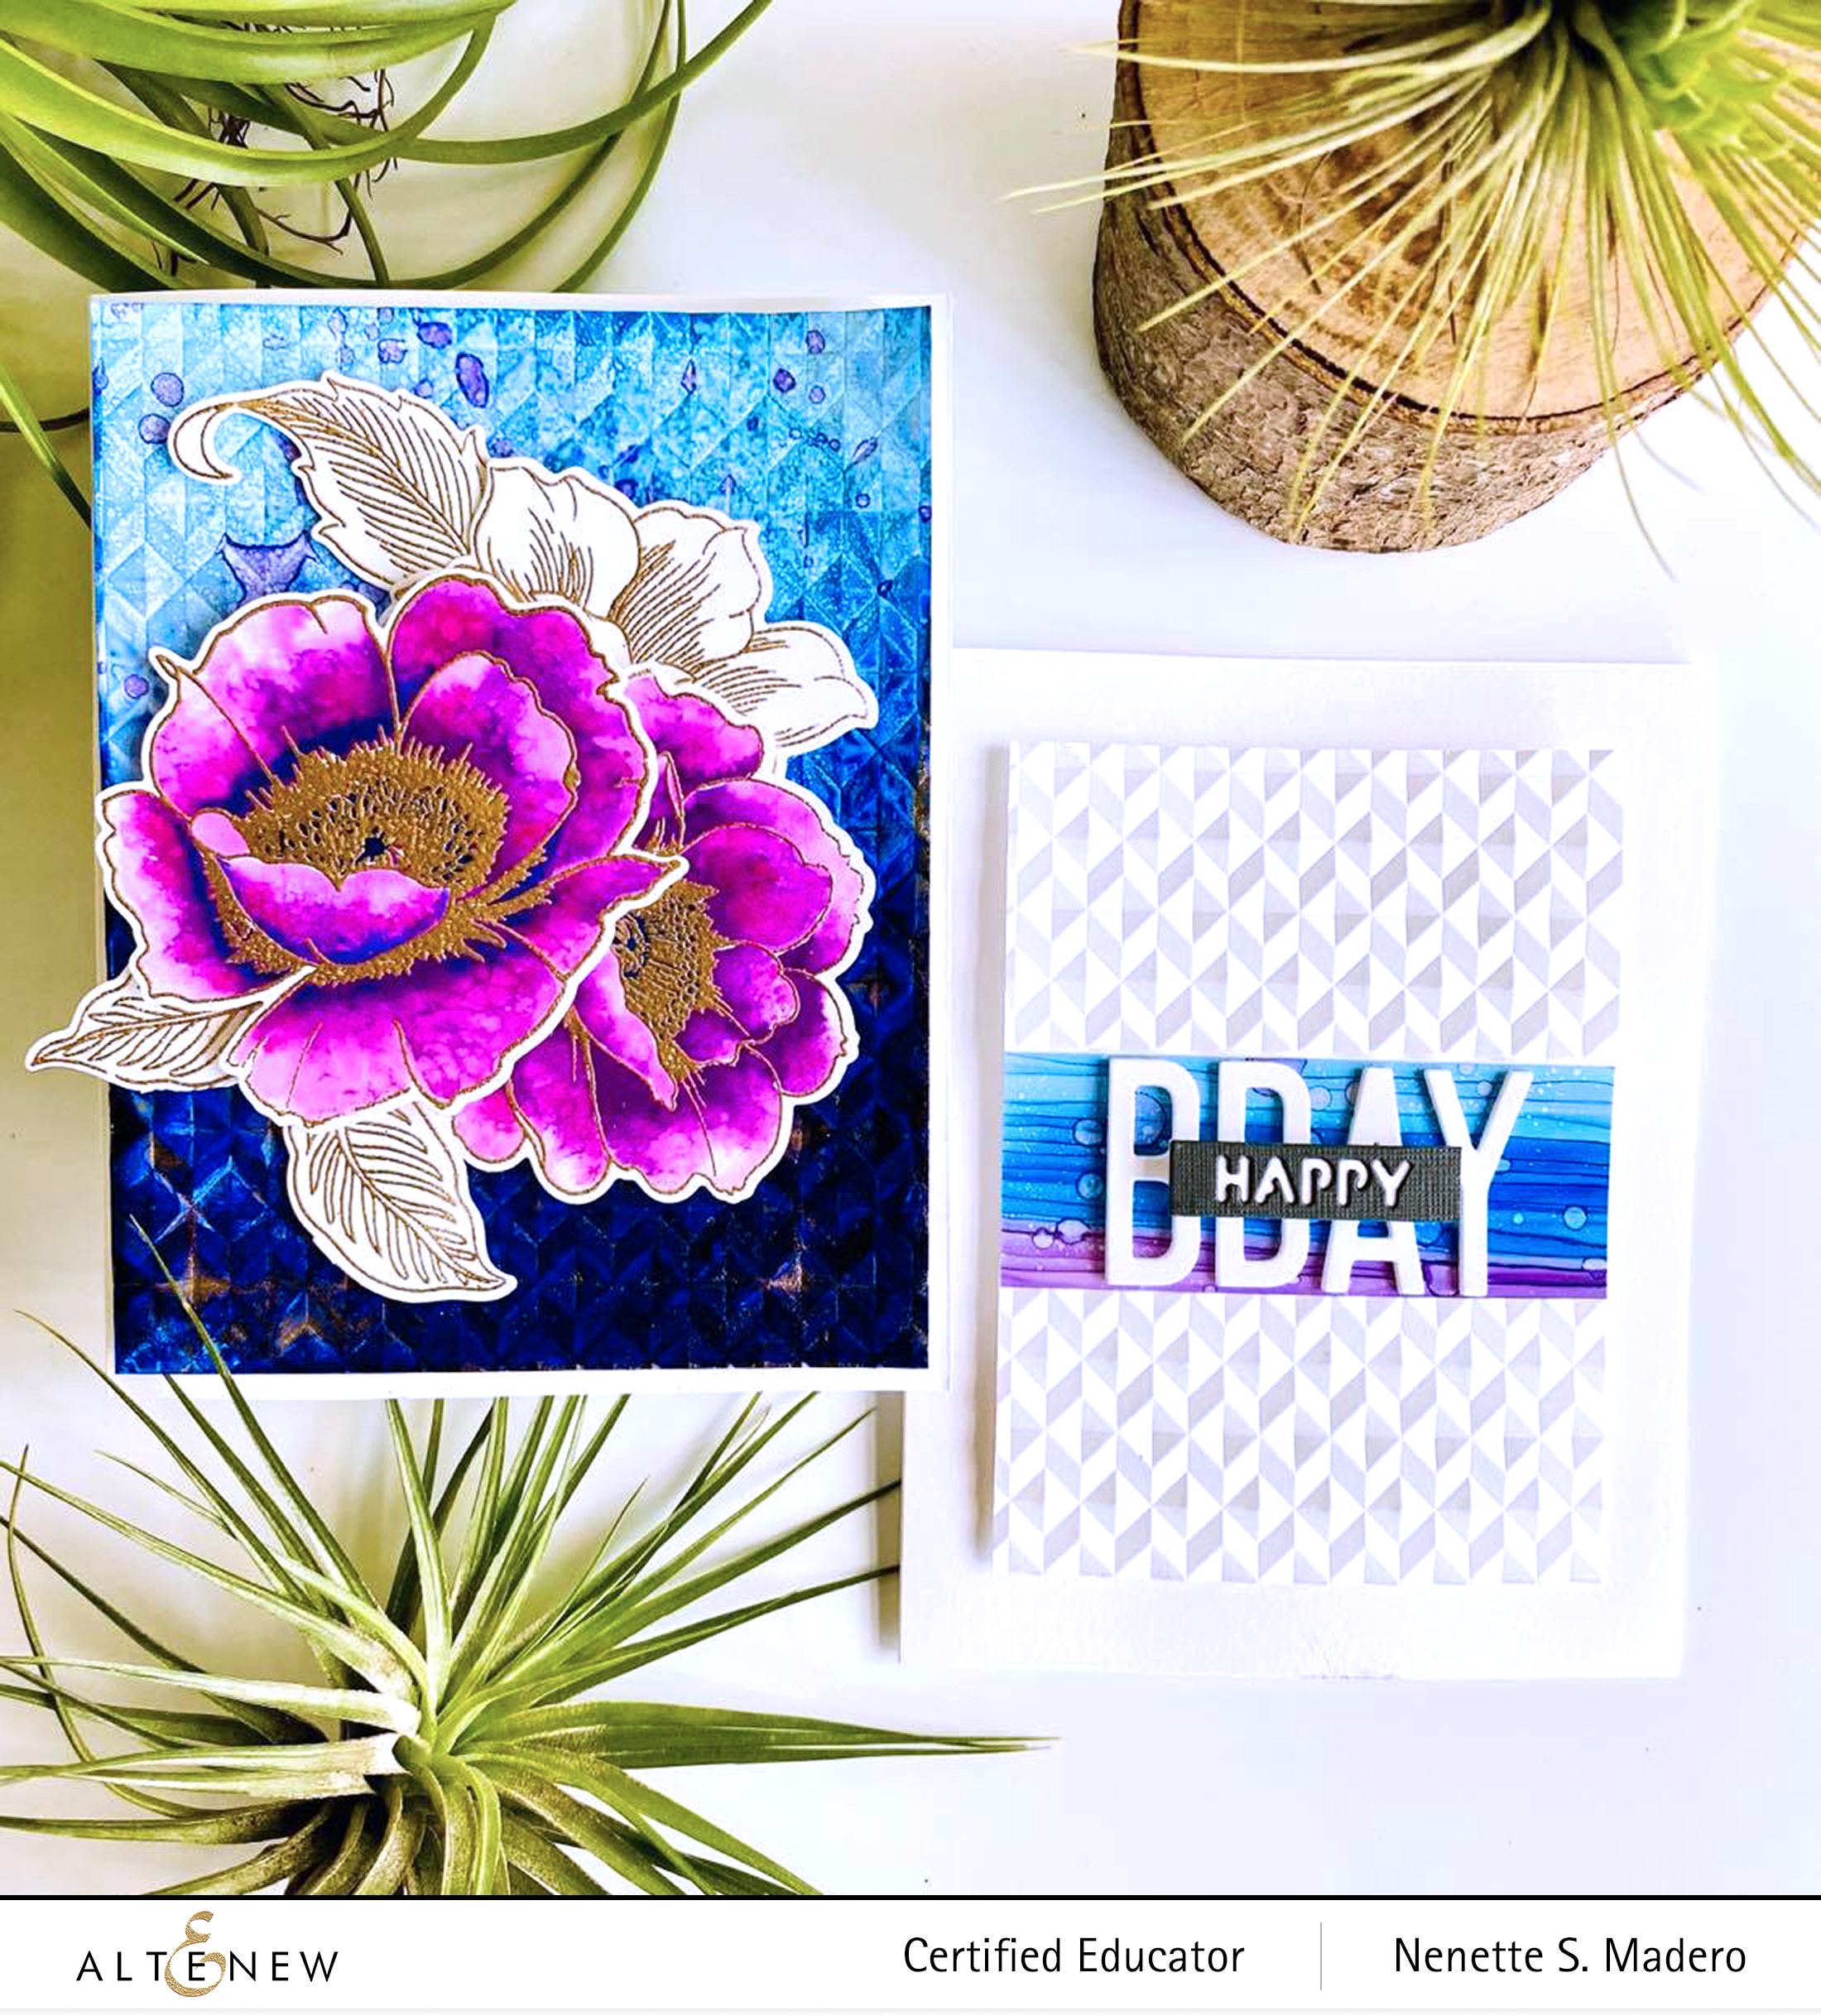
Here’s a CAS card using the same basic materials as the first card.
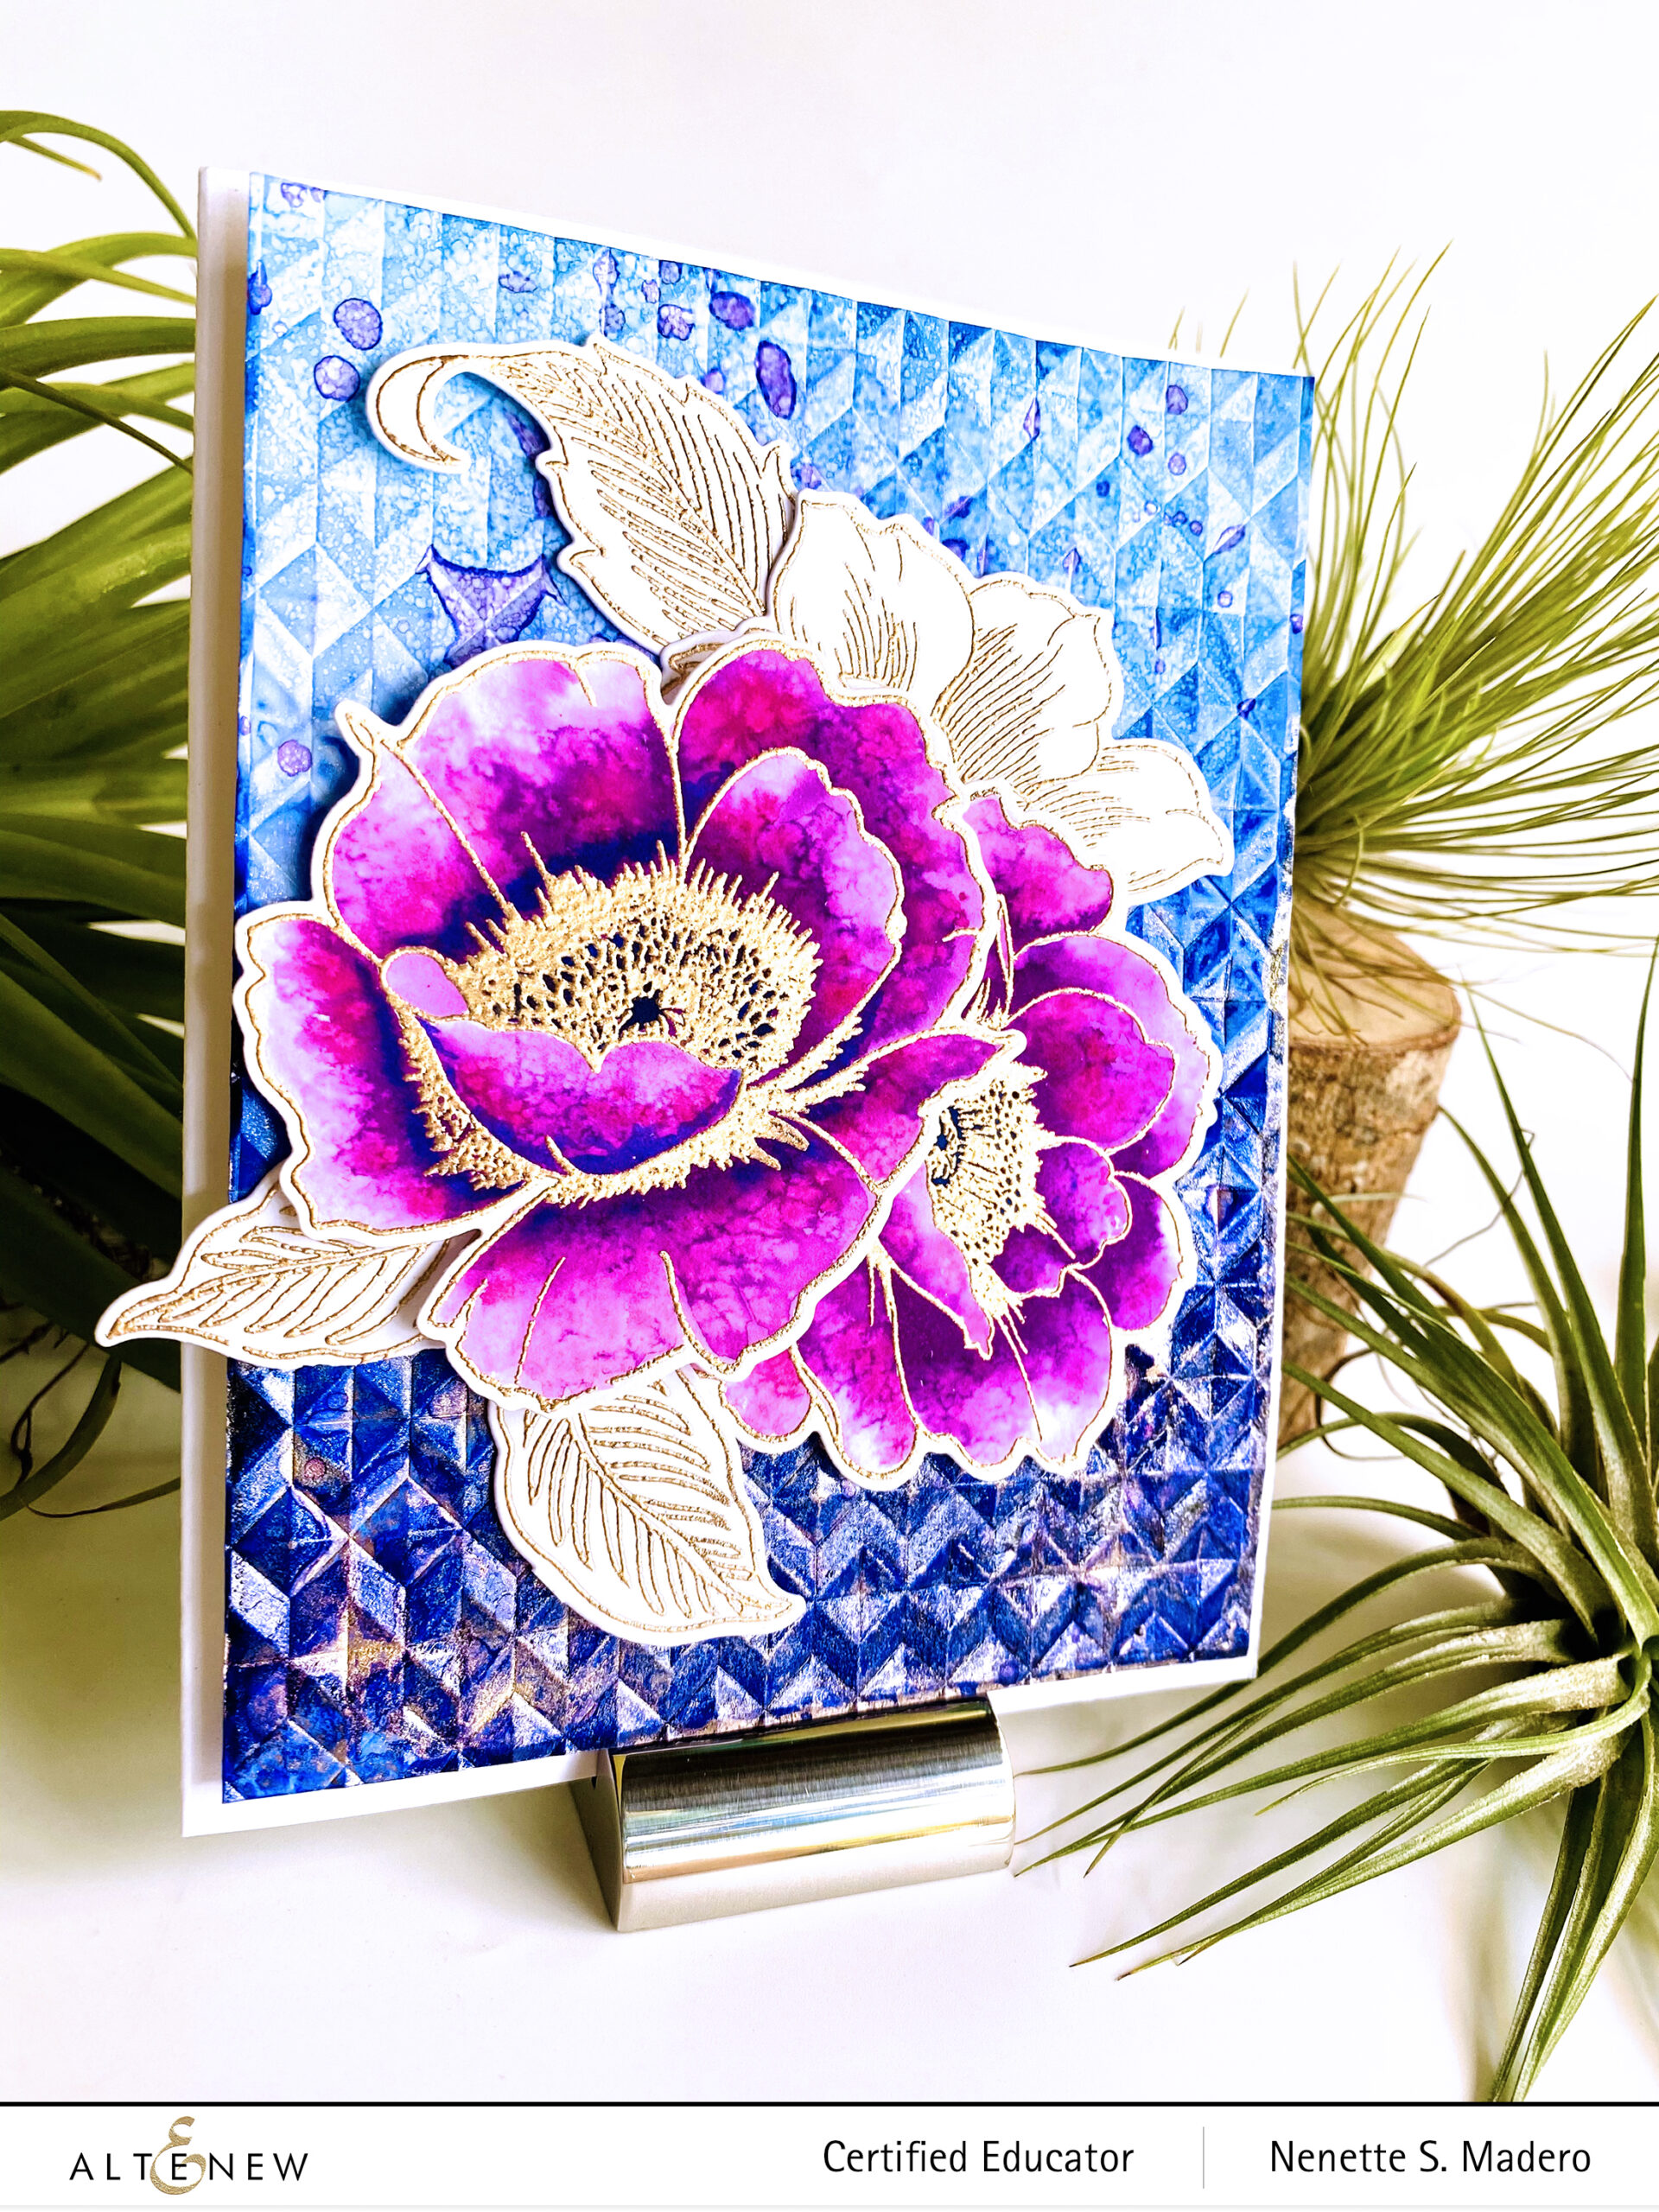
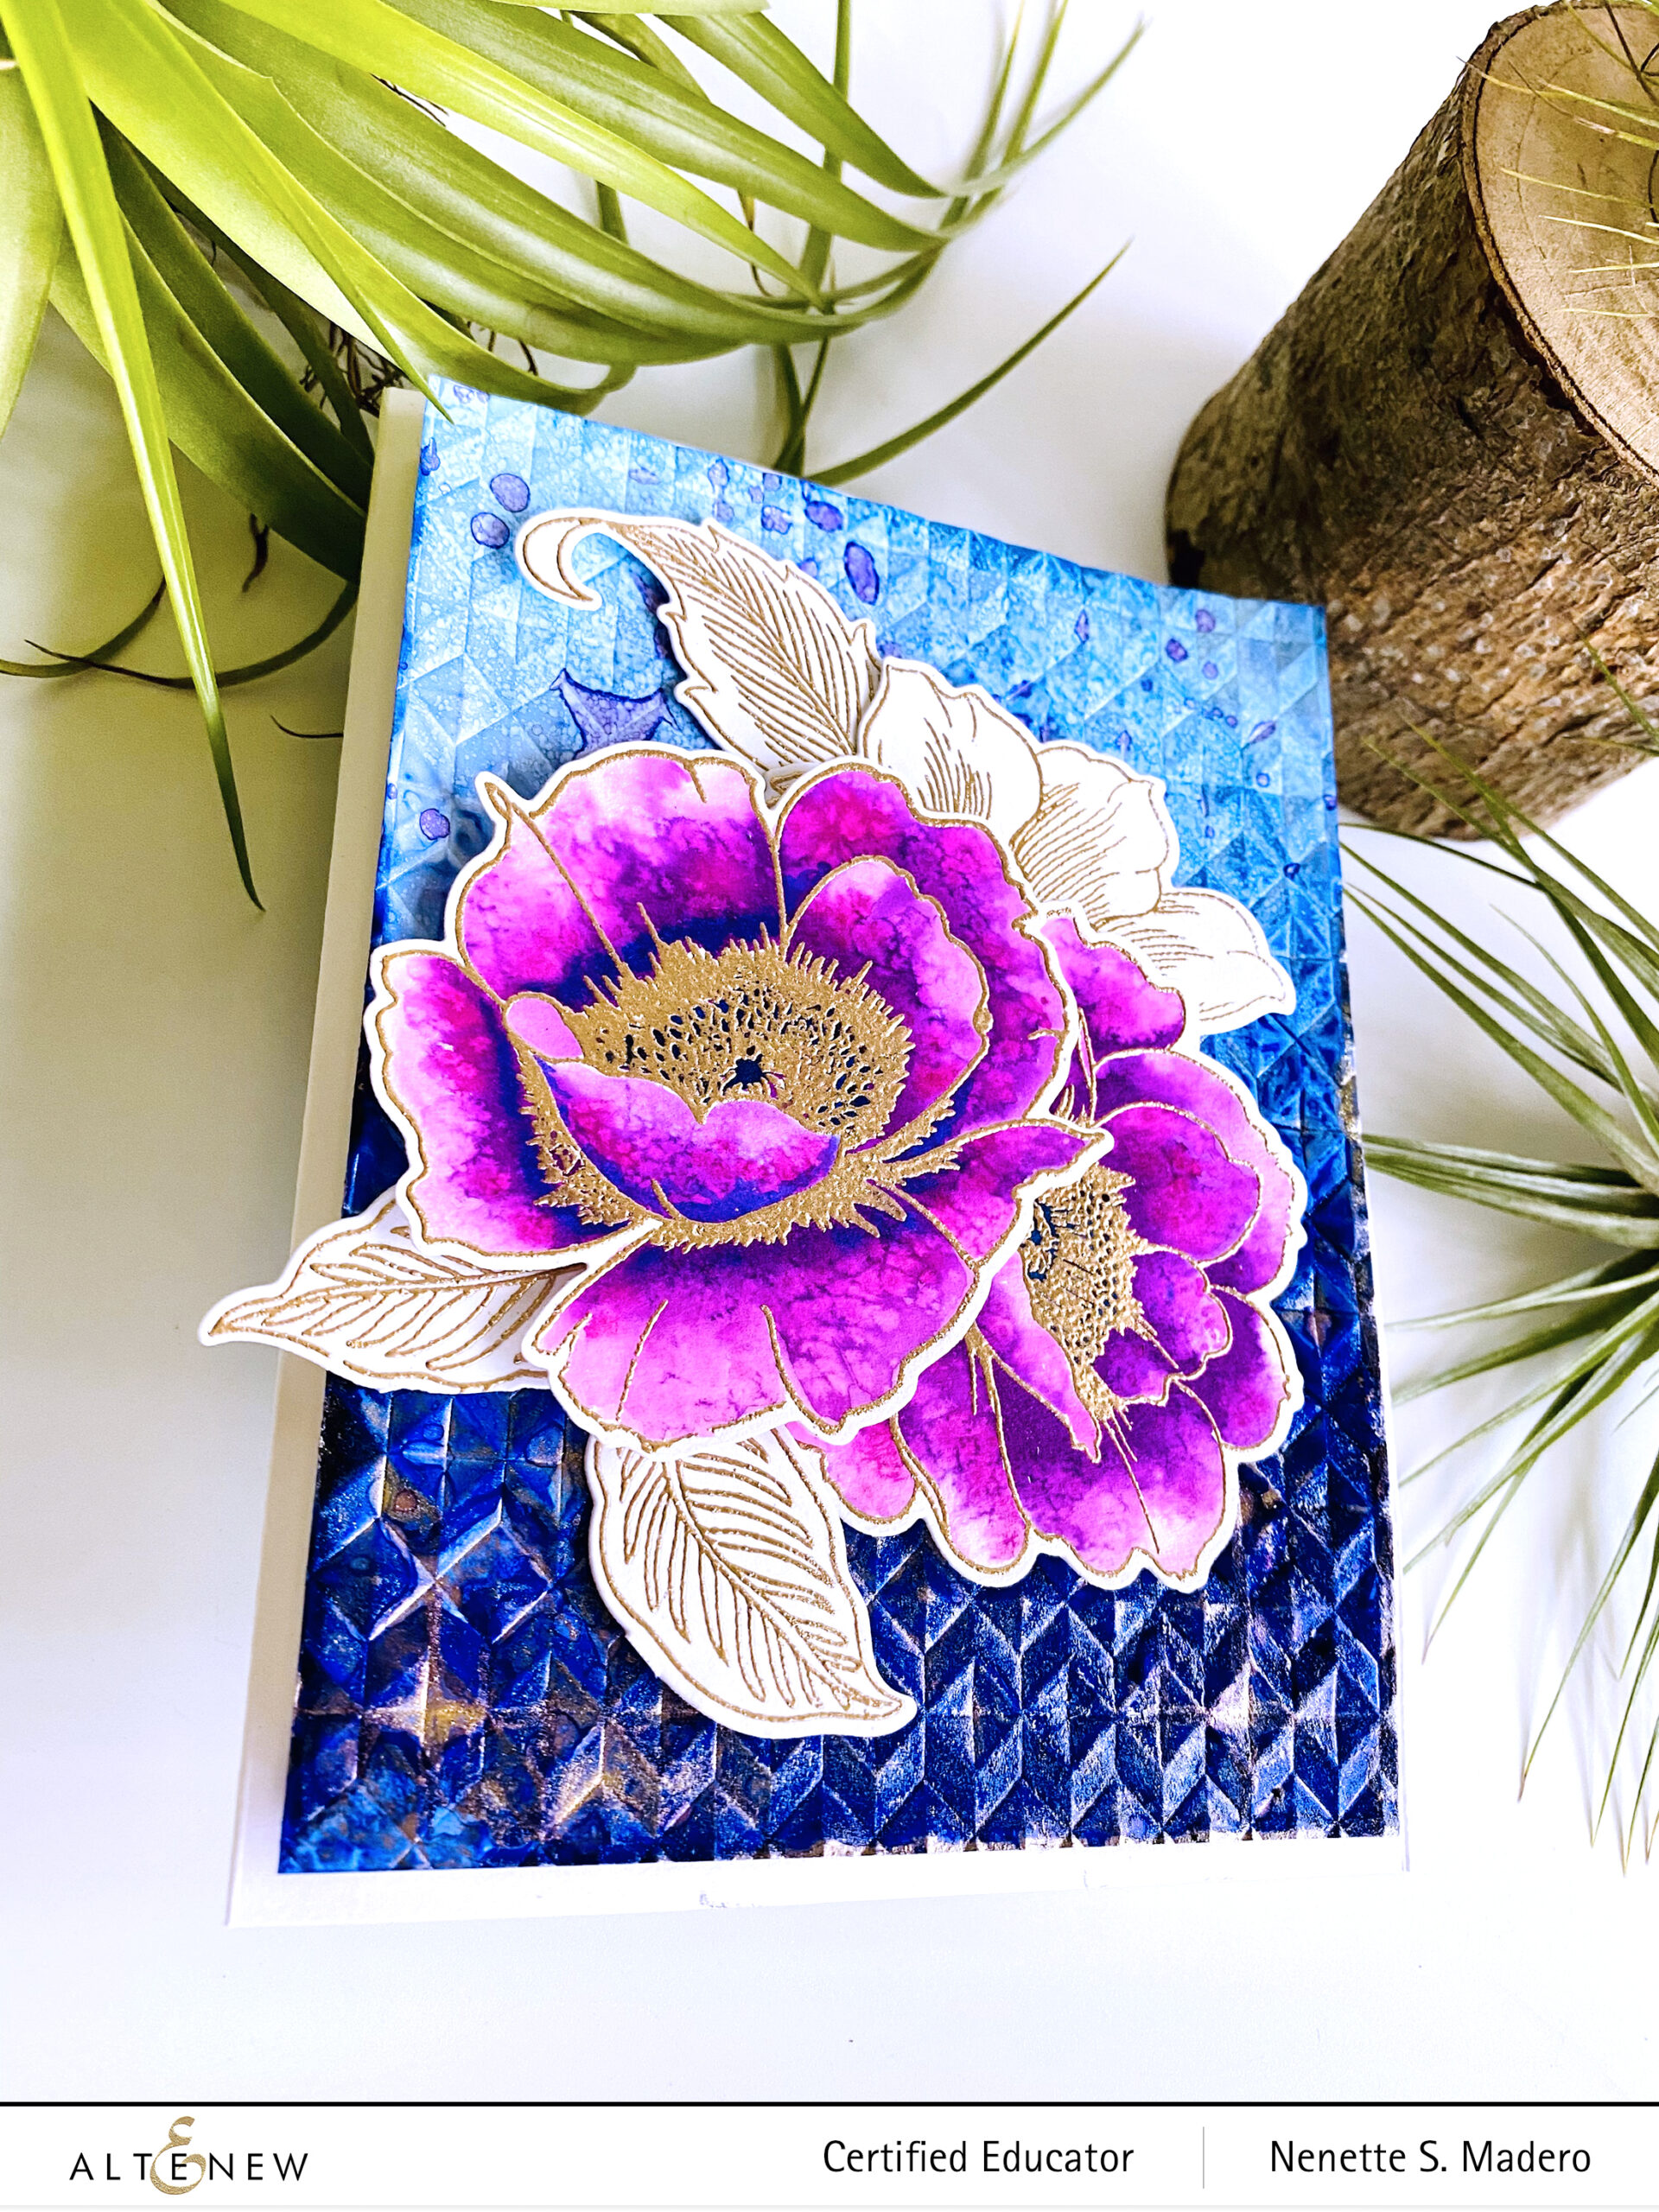
Add alcohol to Nara paper then drop of alcohol ink to create an ombre background. Add Pinata brass while the surface is still wet. Use a dryer to dry the surface.
Add droplets of diluted alcohol ink using the paintbrush to create added texture.
Dry emboss the background with the Angled Mosaic 3D embossing folder and add more alcohol inks to darken certain areas.
Stamp floral images on watercolor paper with Vesamark Ink and emboss using Rose Gold embossing powder.
Watercolor the images. Add salt while the petal is still wet to create some texture.
Assemble the card using foam squares and adhesive.
ADDITIONAL MATERIALS:
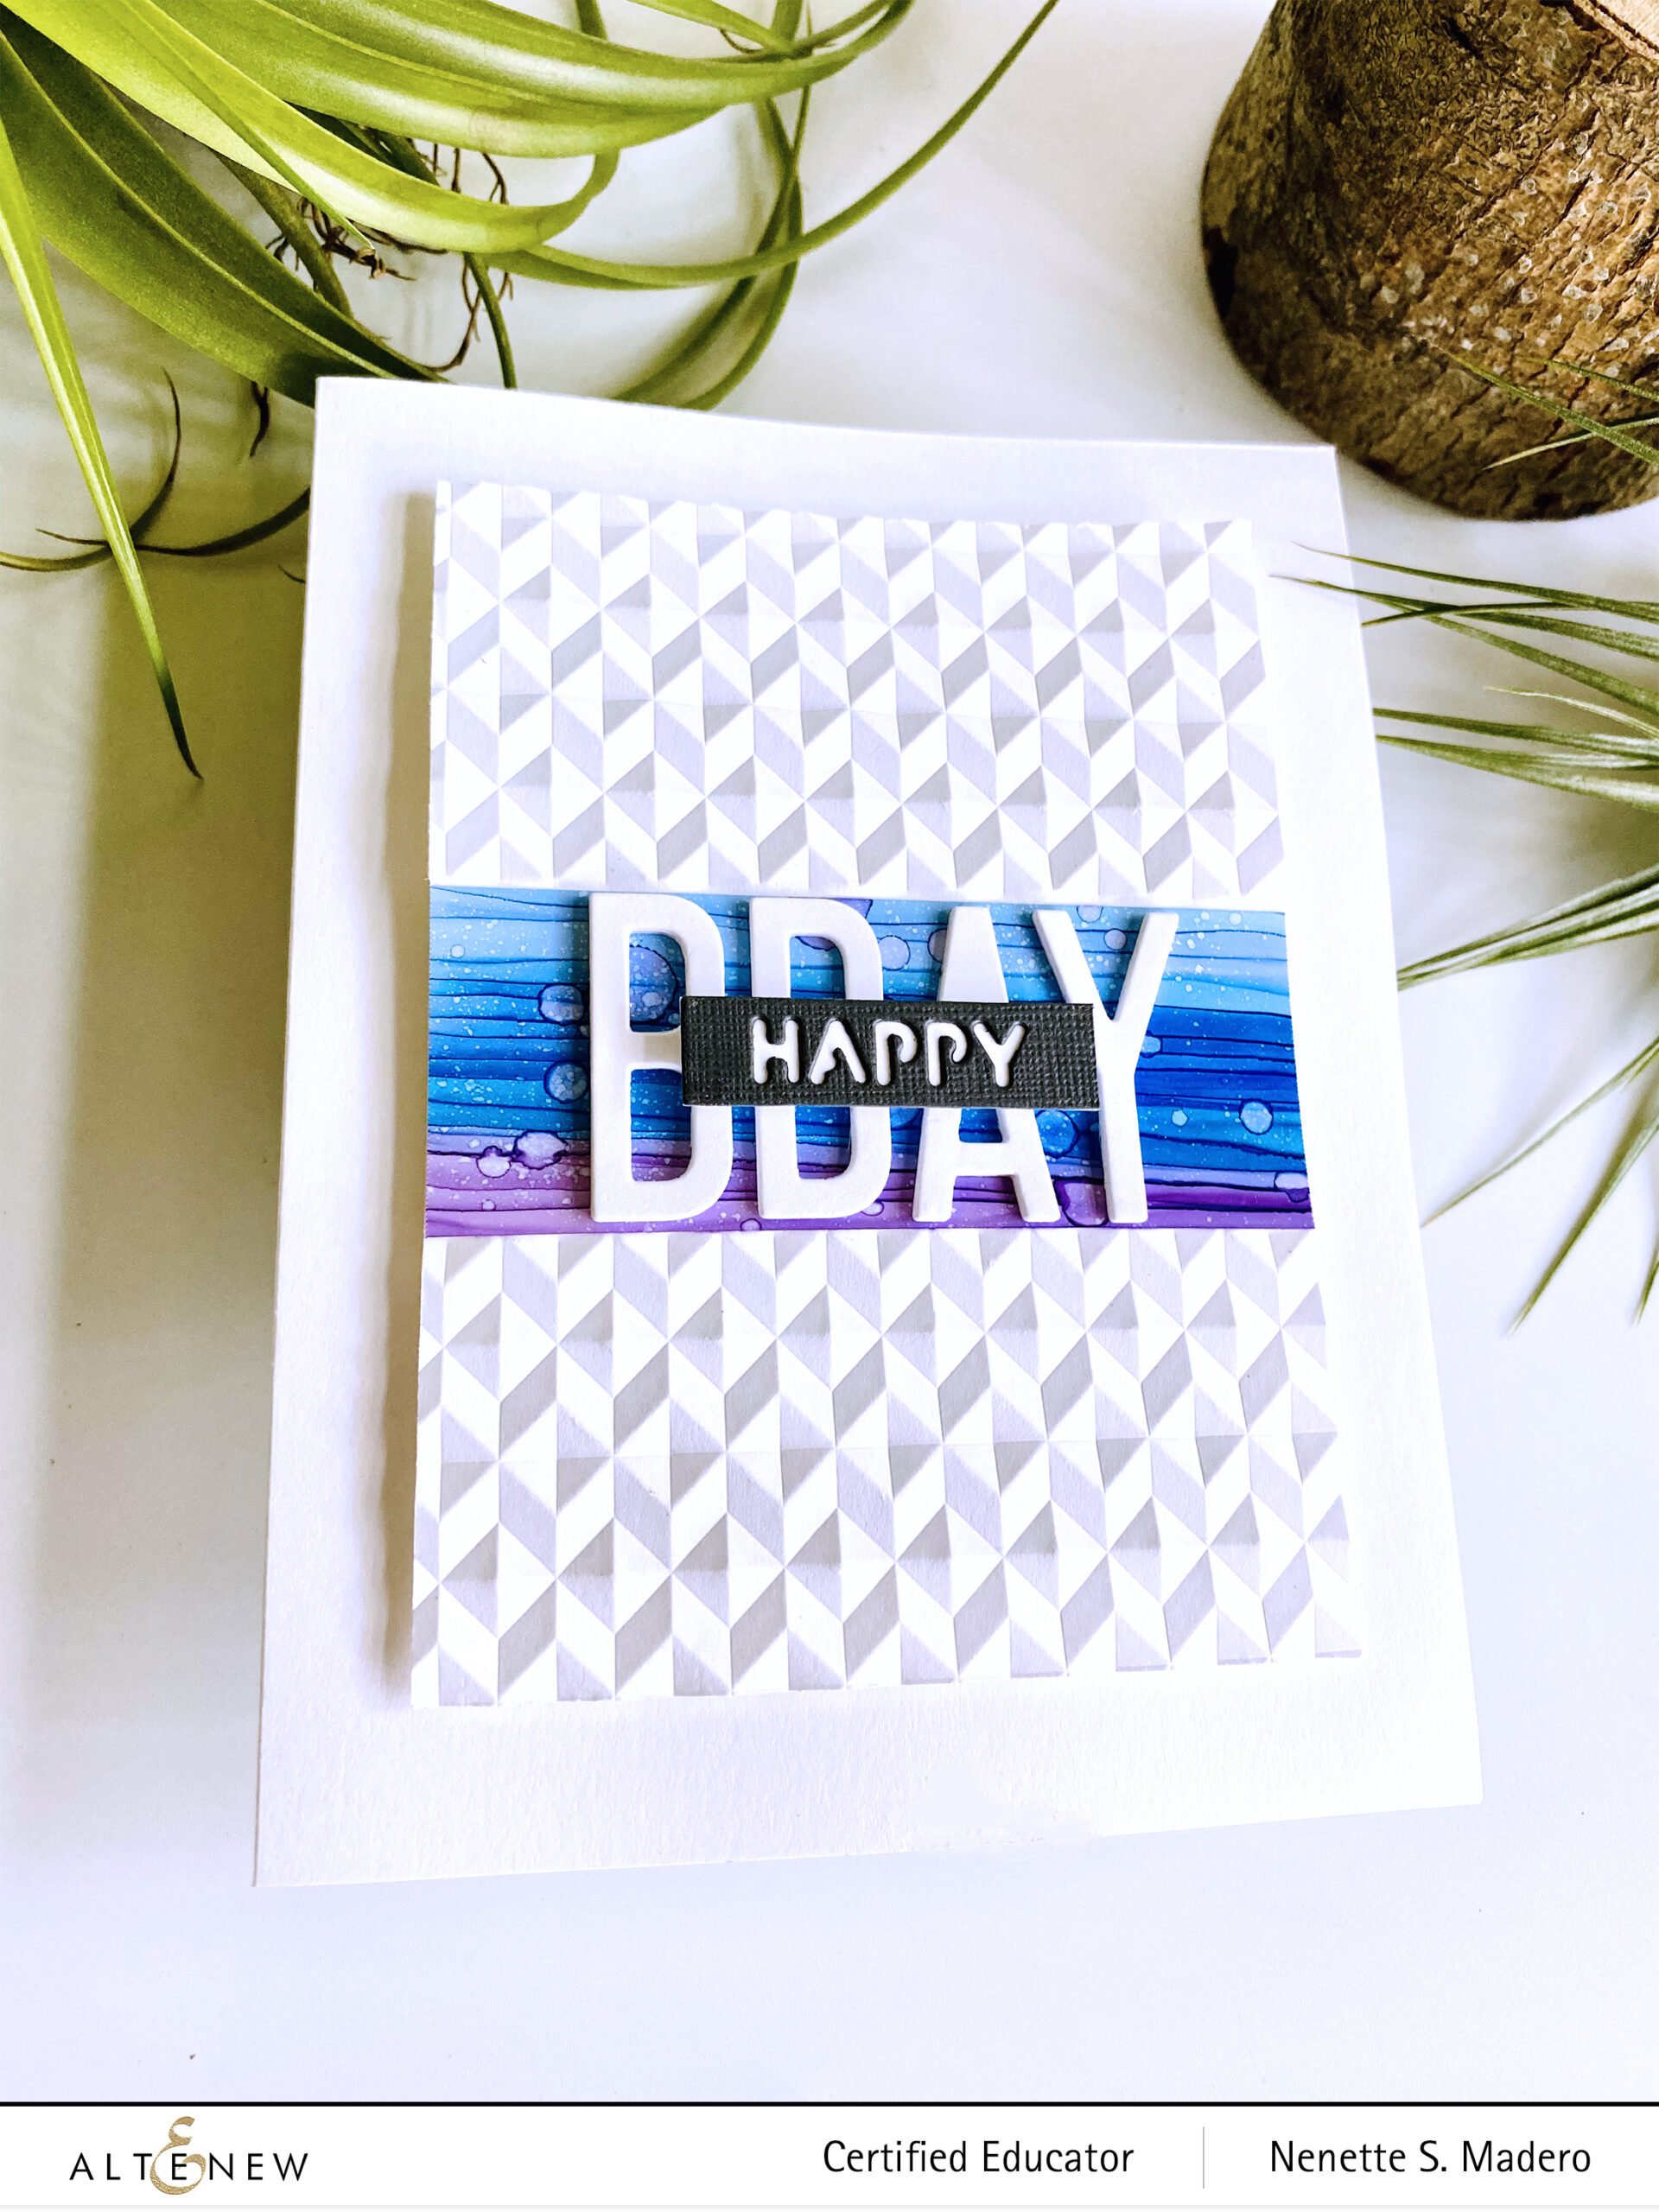
DIES: FINE ALPHABET DIE, ESSENTIAL SENTIMENT STRIPS DIE
STEPS:
Cut a strip of Nara paper and paint lines using a brush and alcohol inks. Dilute the inks if necessary to create an ombre effect.
Add drops of diluted inks and spray pure alcohol as well for added texture to the background.
Die cut the letters and sentiment several times and adhere on top of each other.
Emboss a plain white rectangular Cardstock using the Angled Mosaic 3D embossing folder leaving the center area flat.
Assemble the card using foam squares and adhesive.
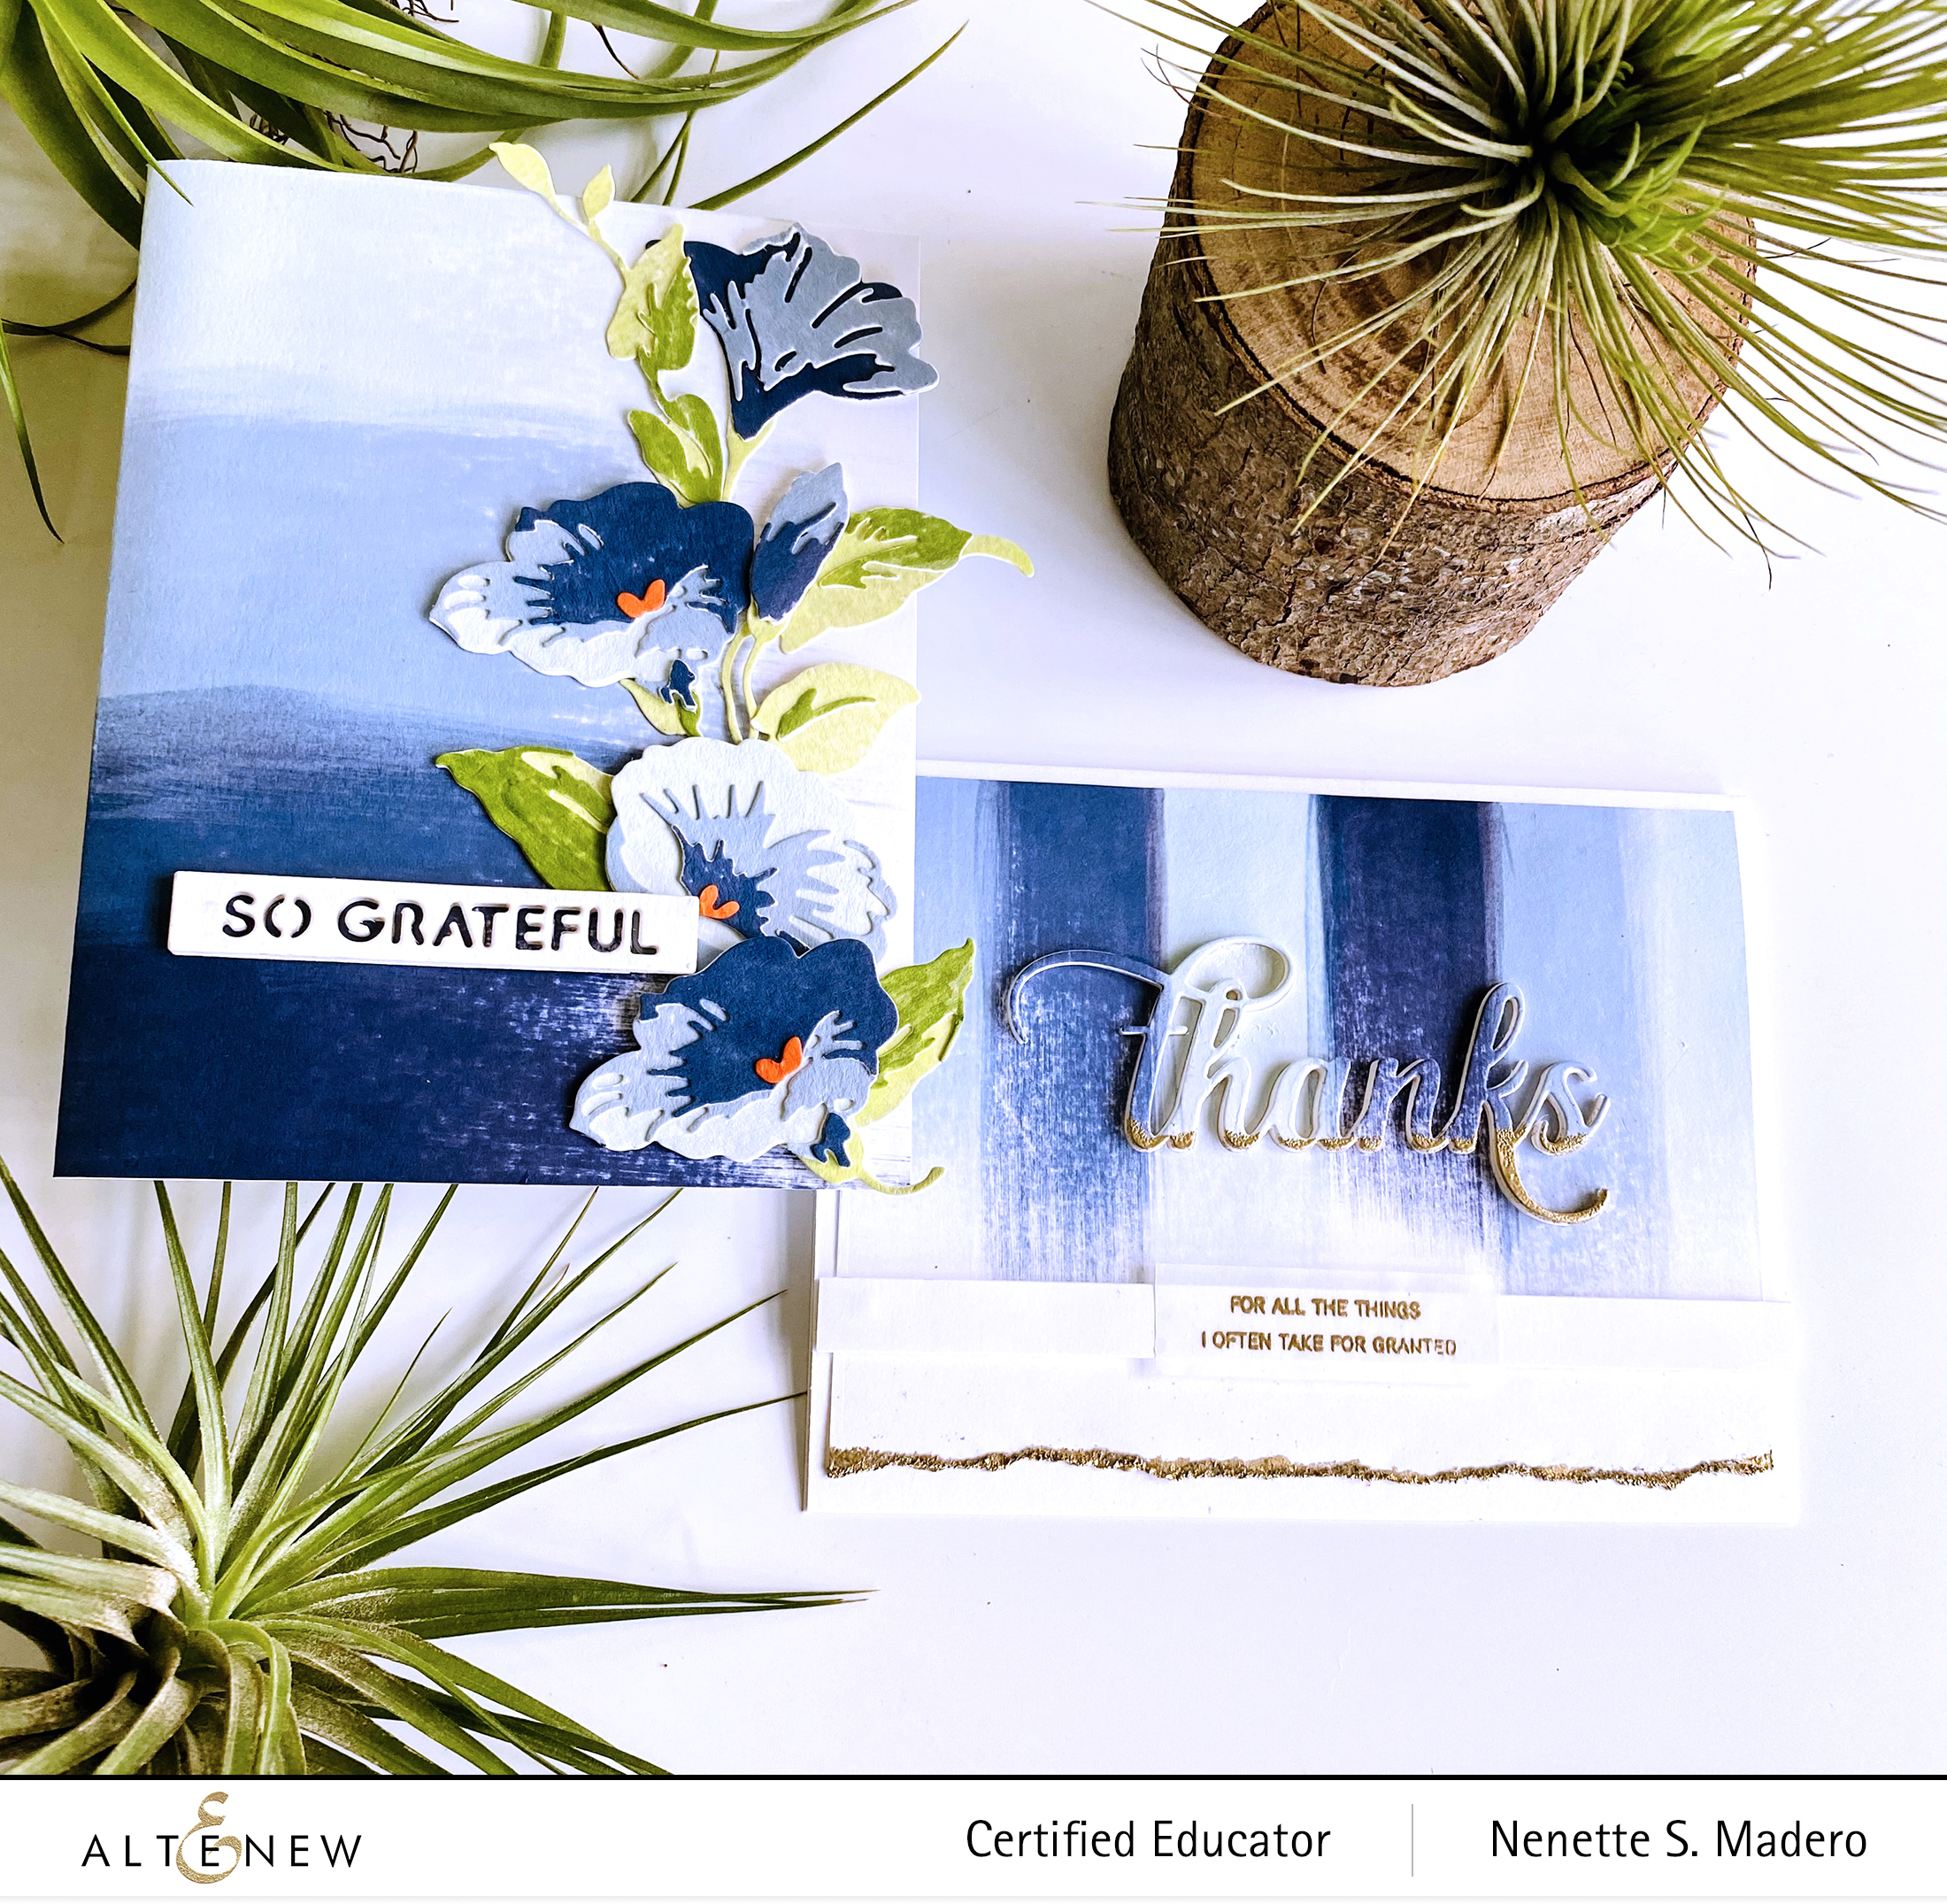
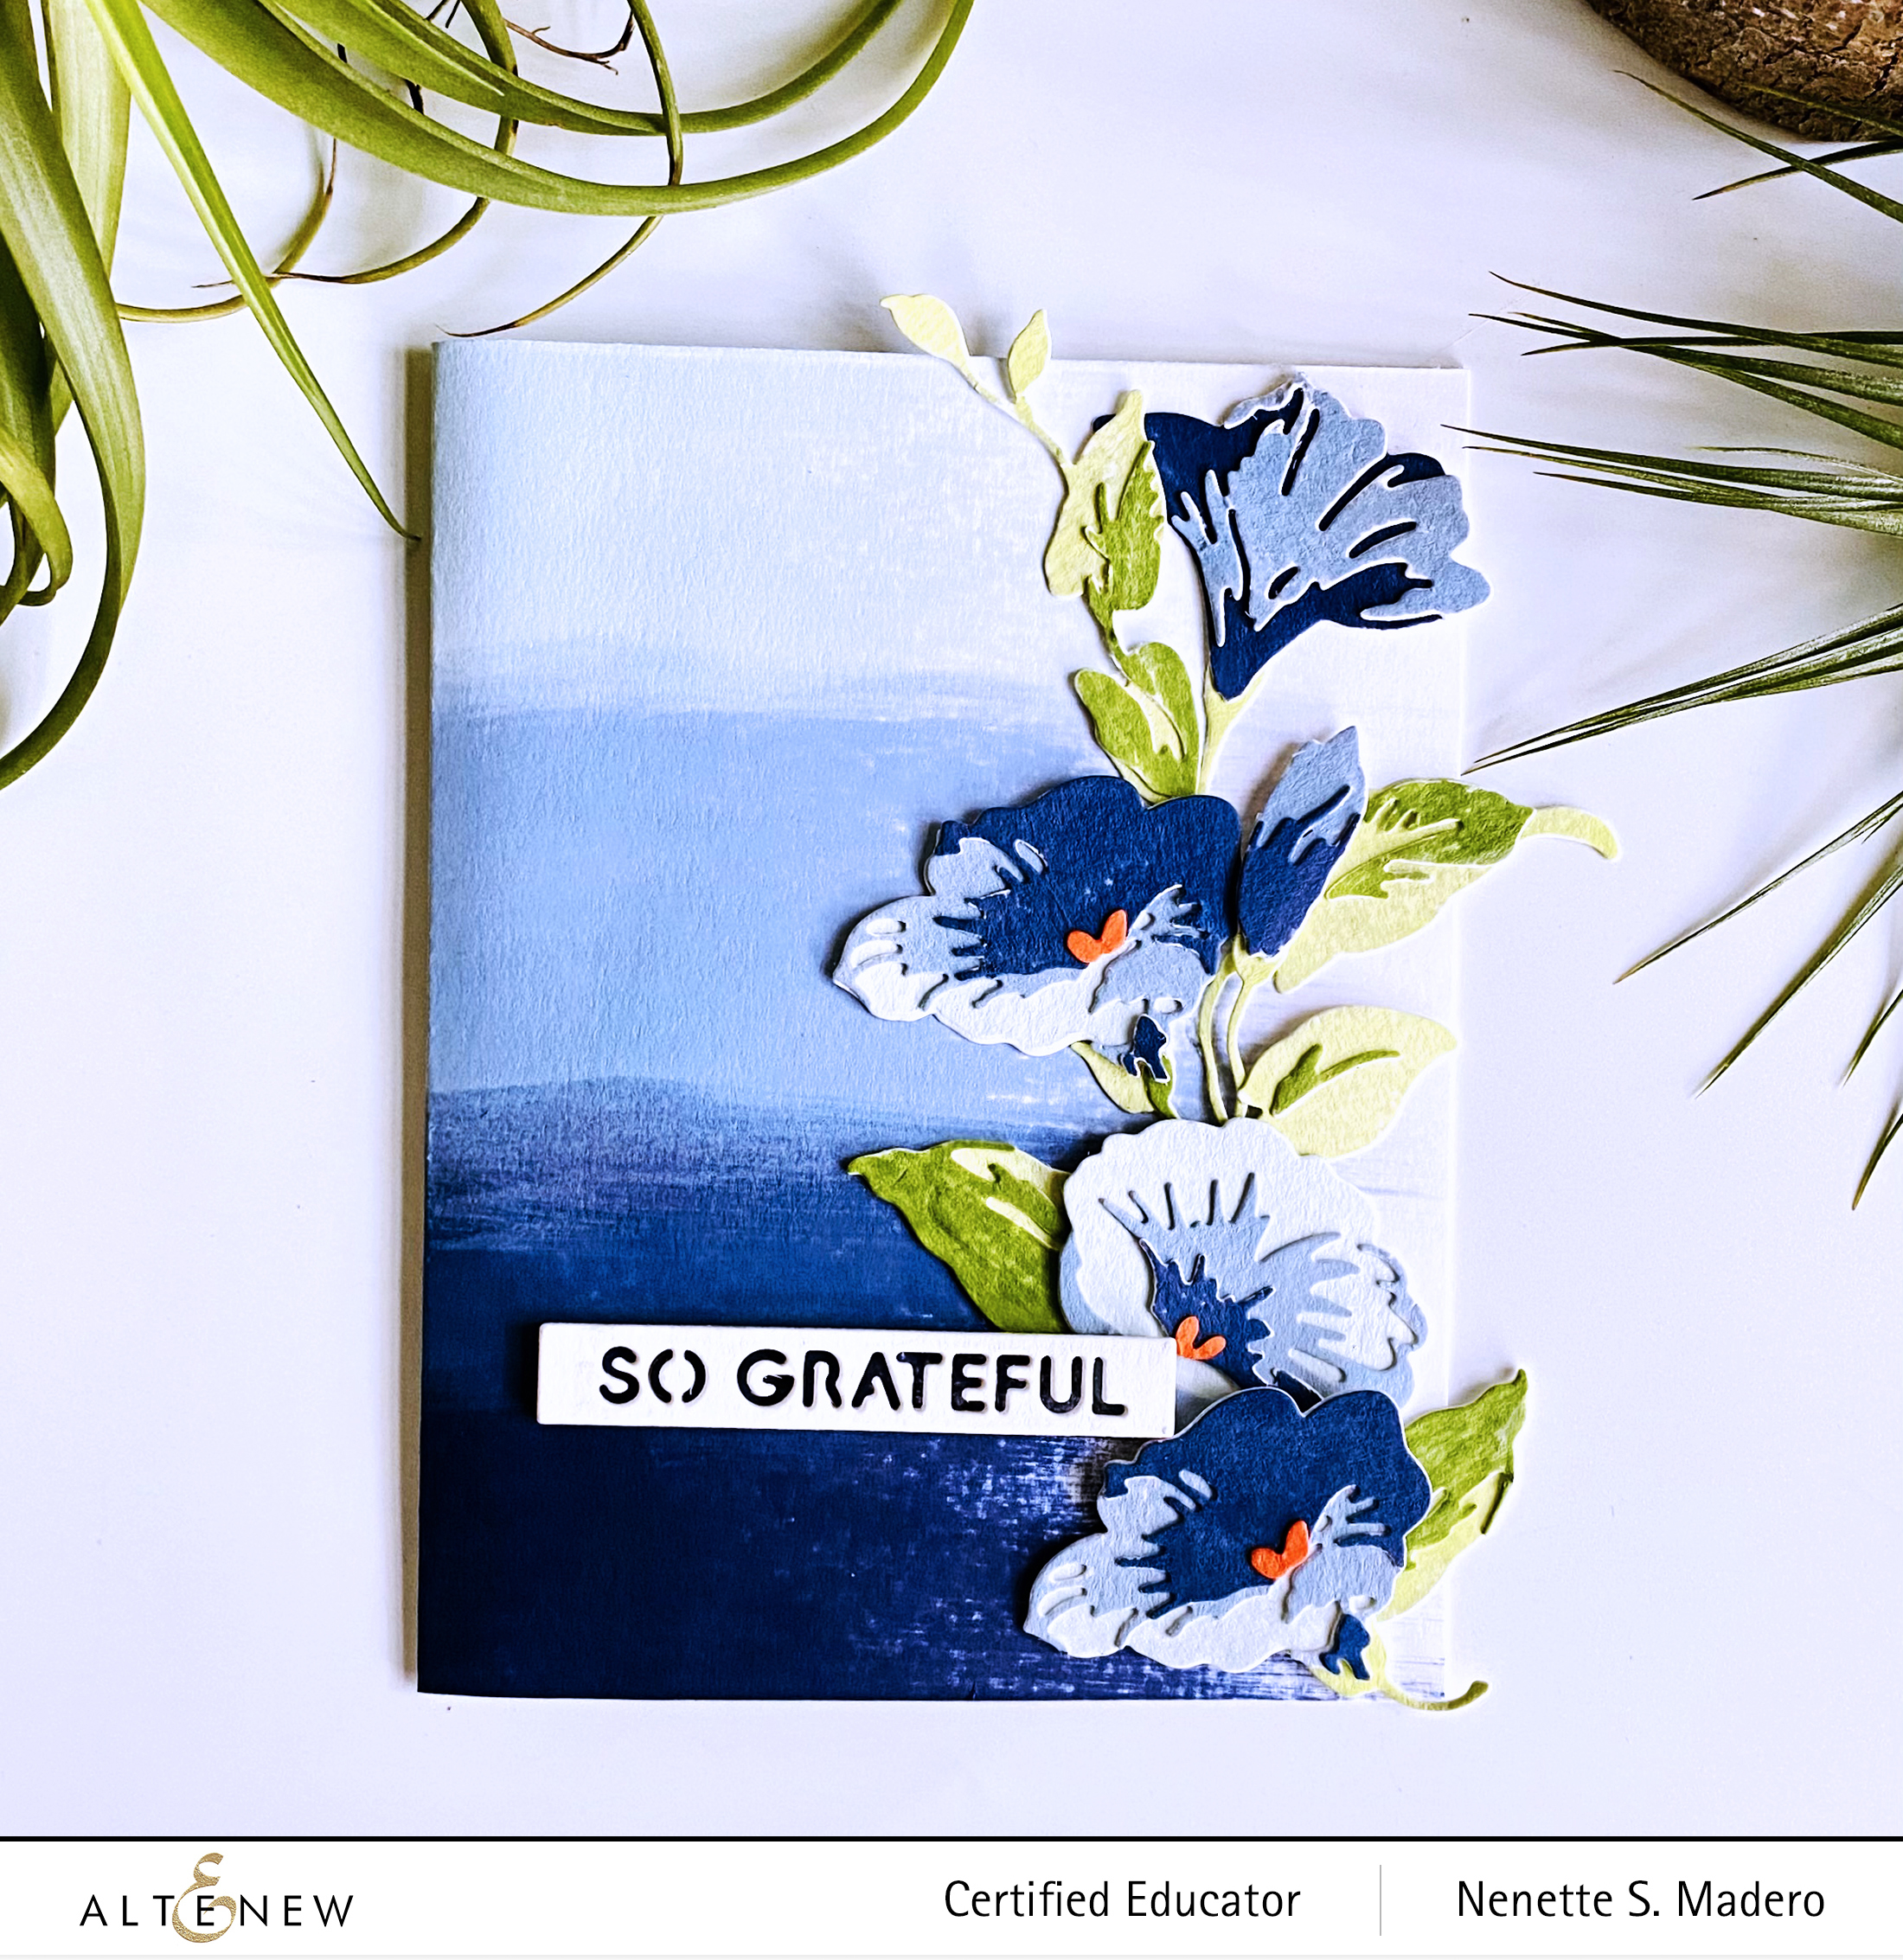
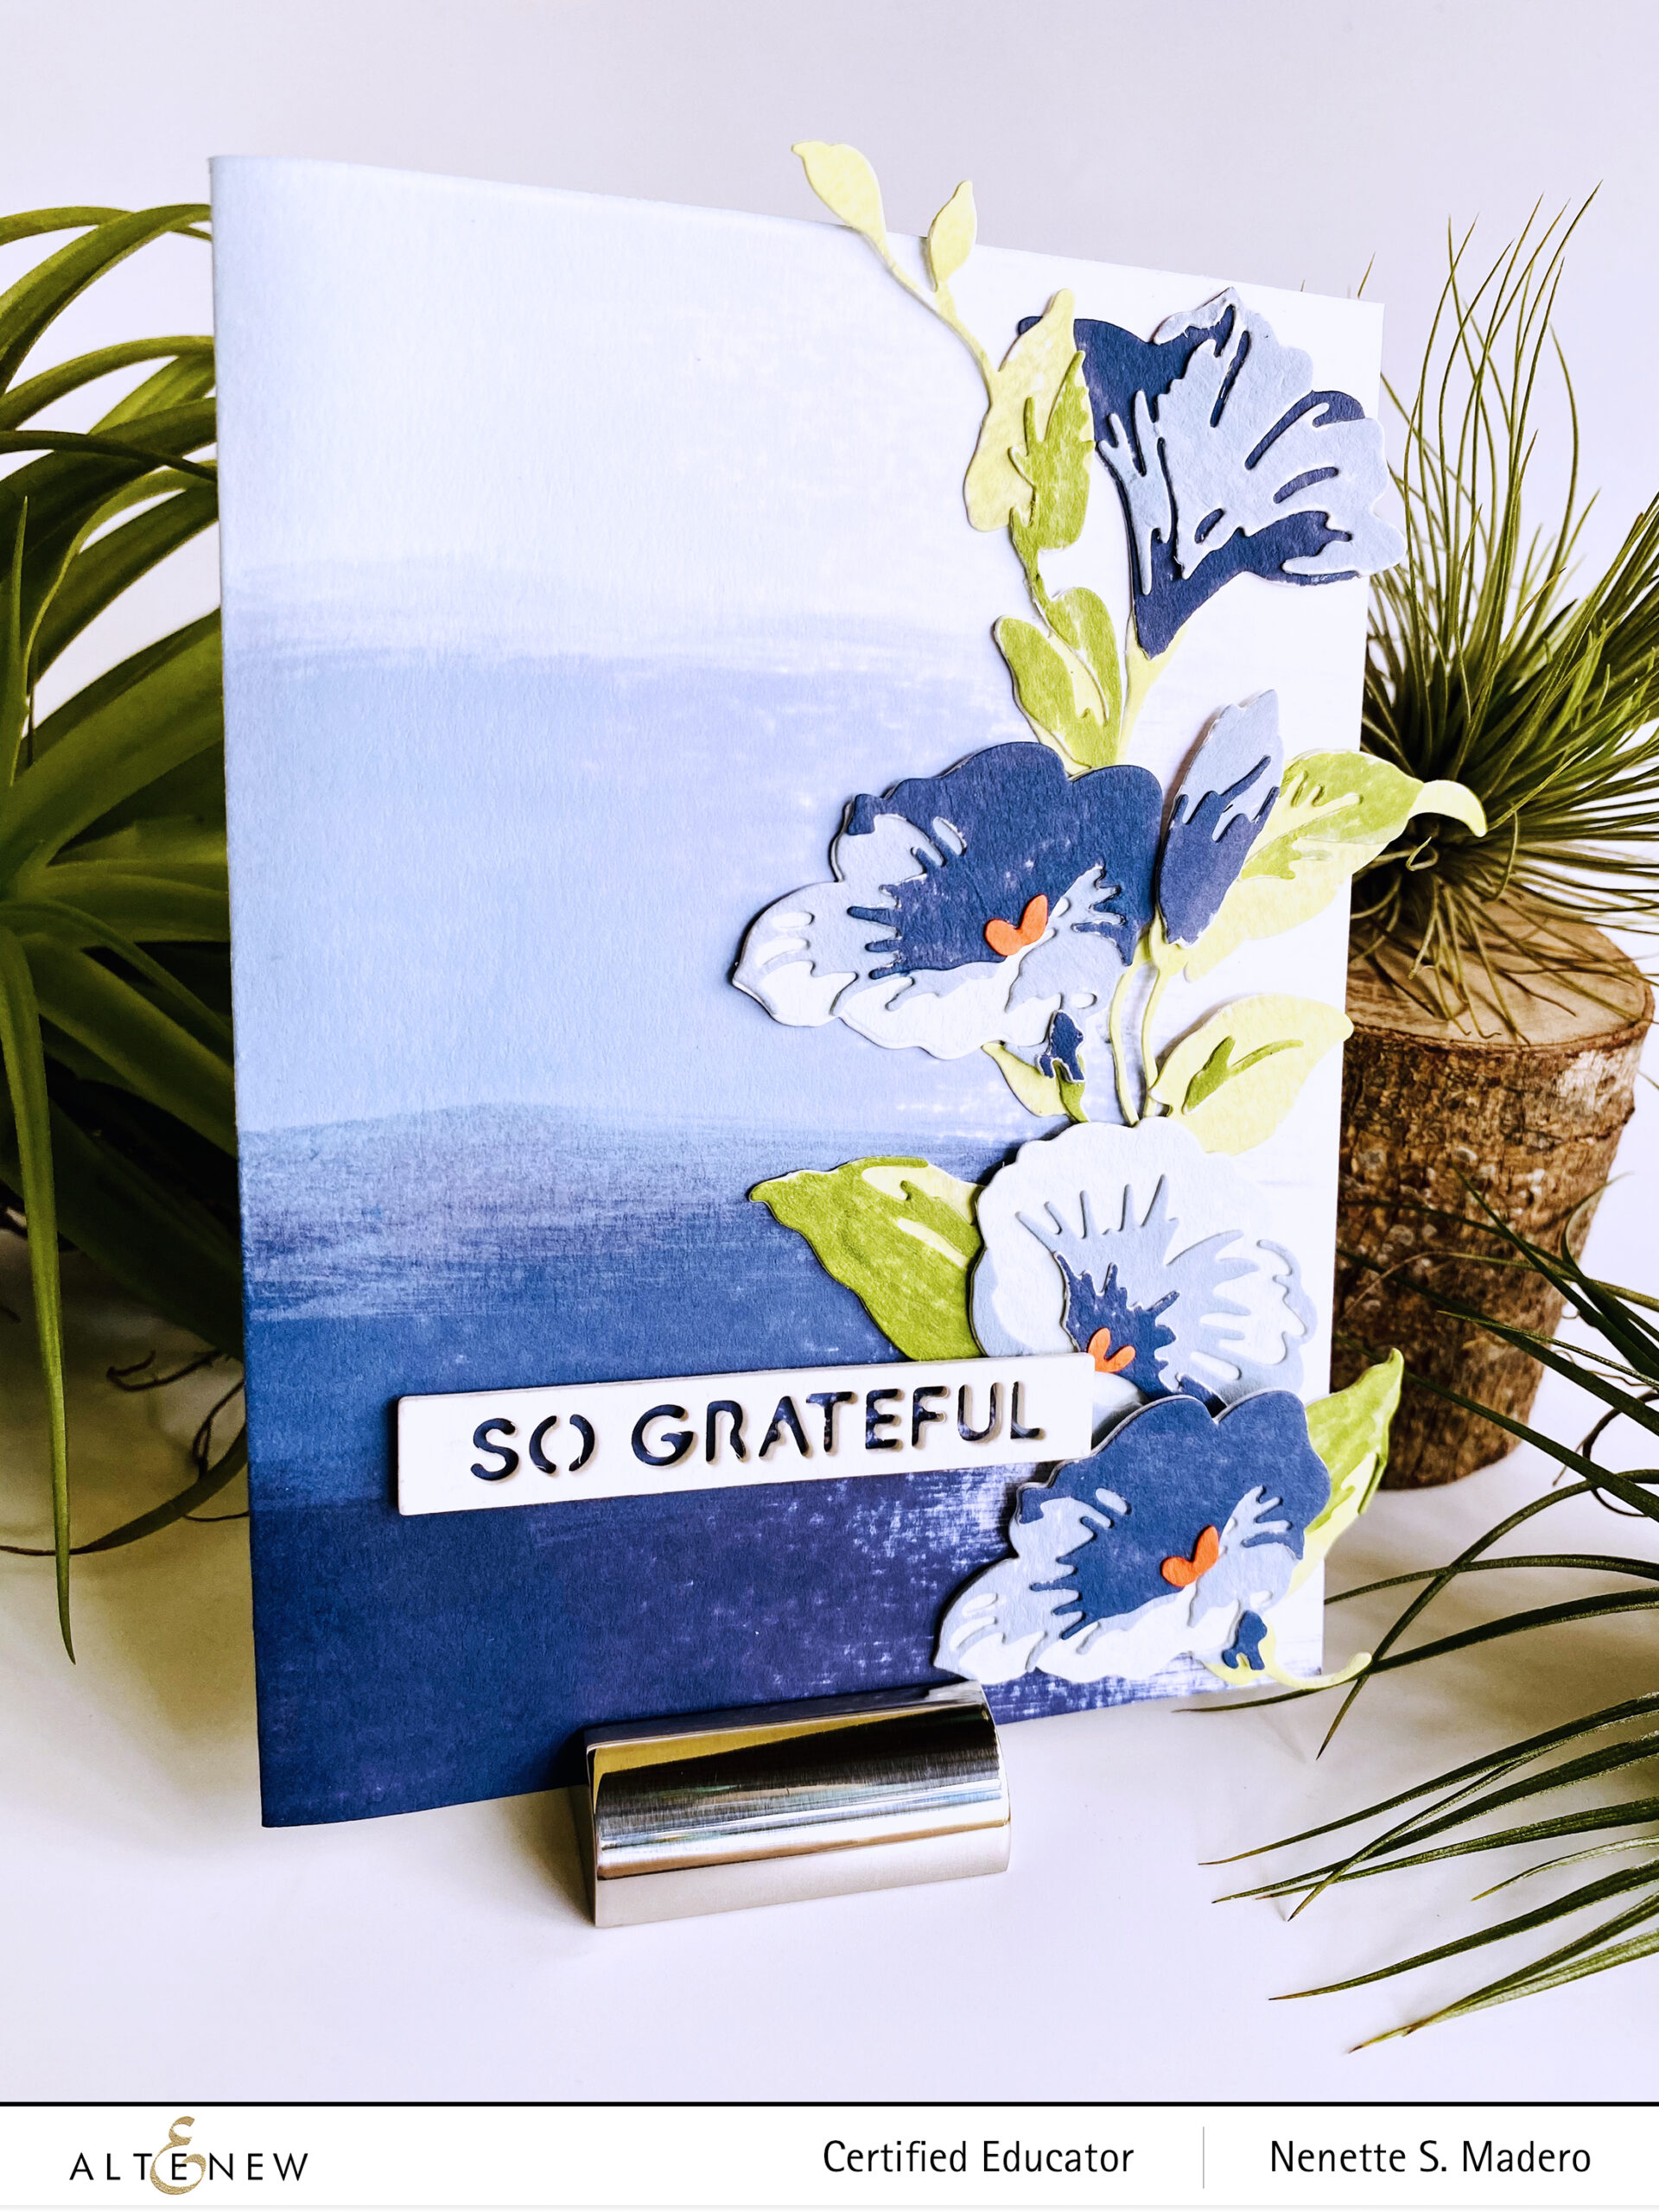
SO GRATEFUL/THANKS
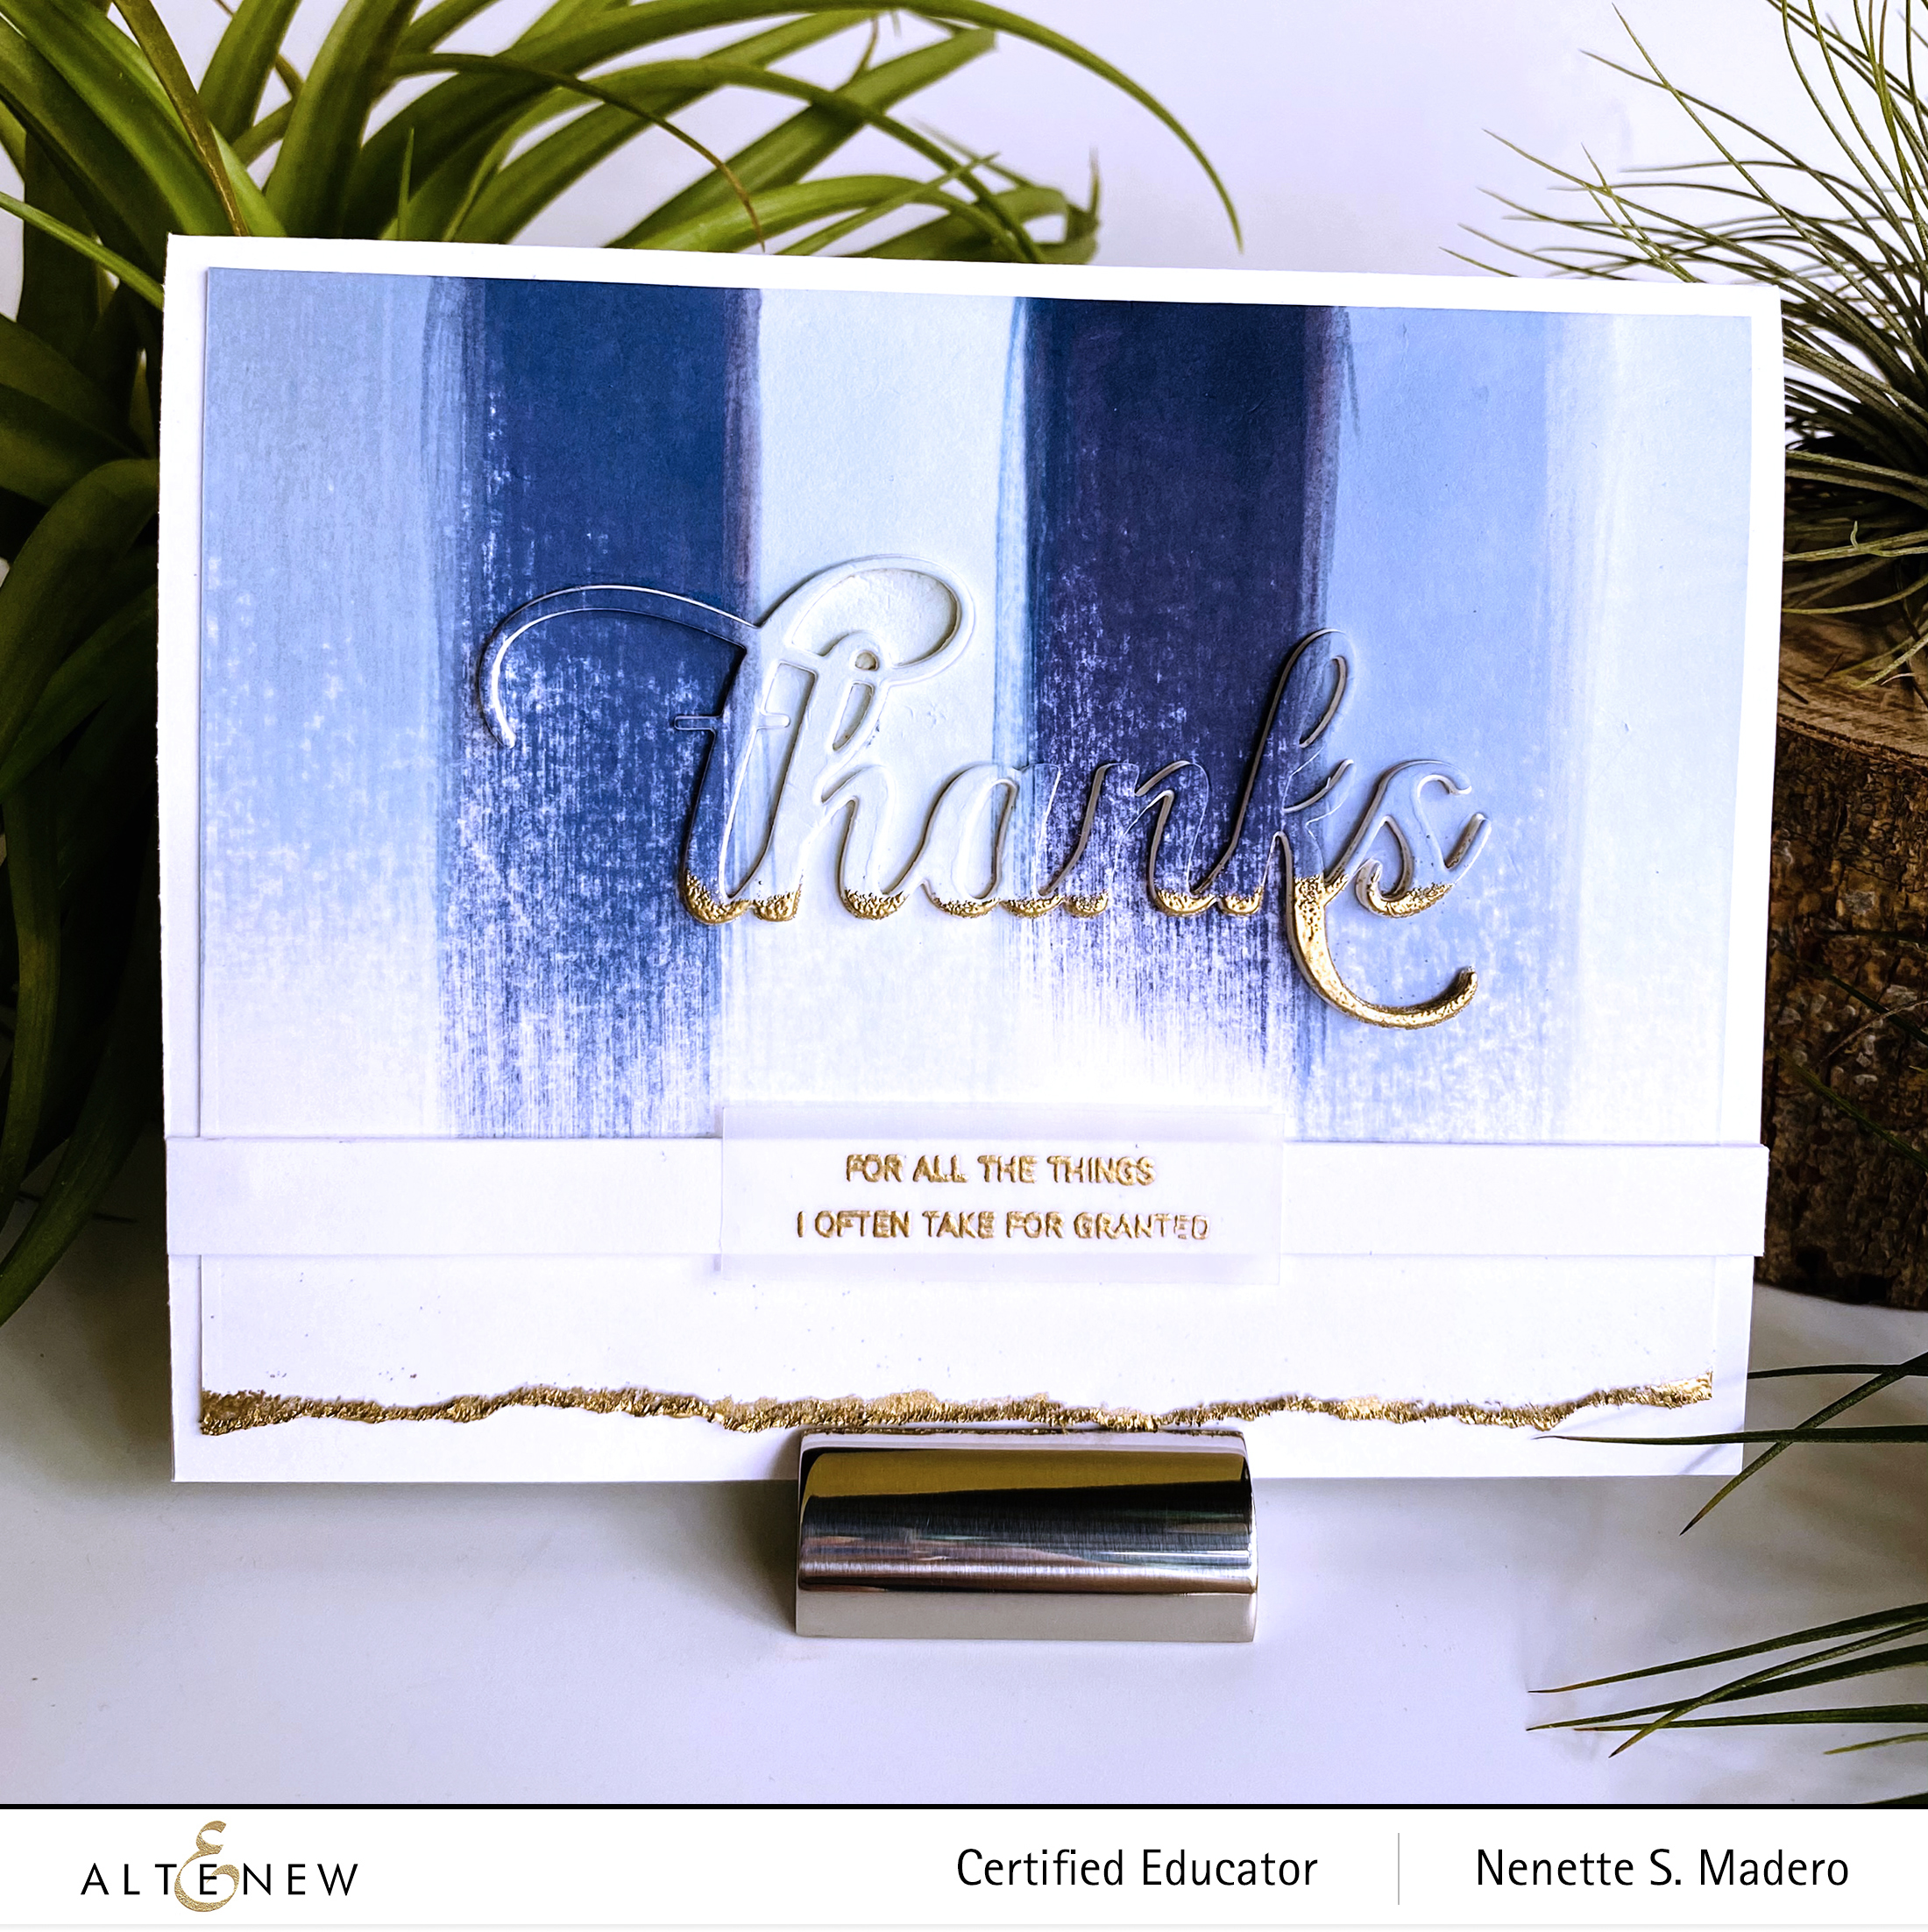
Here is the 3rd set of cards. I recently got the latest set of the Northern Shore mini dye inks and wanted to test the colors so I swiped the ink cube onto white cardstock. I loved the look so I went ahead and created these cards. 🙂 No colored cardstock to match the inks? No problem! Make your own colored cardstock using the ink cubes!
Swipe the dye inks on Neenah Solar White cardstock to create some stripes. Leave about 1/4 of the bottom white.
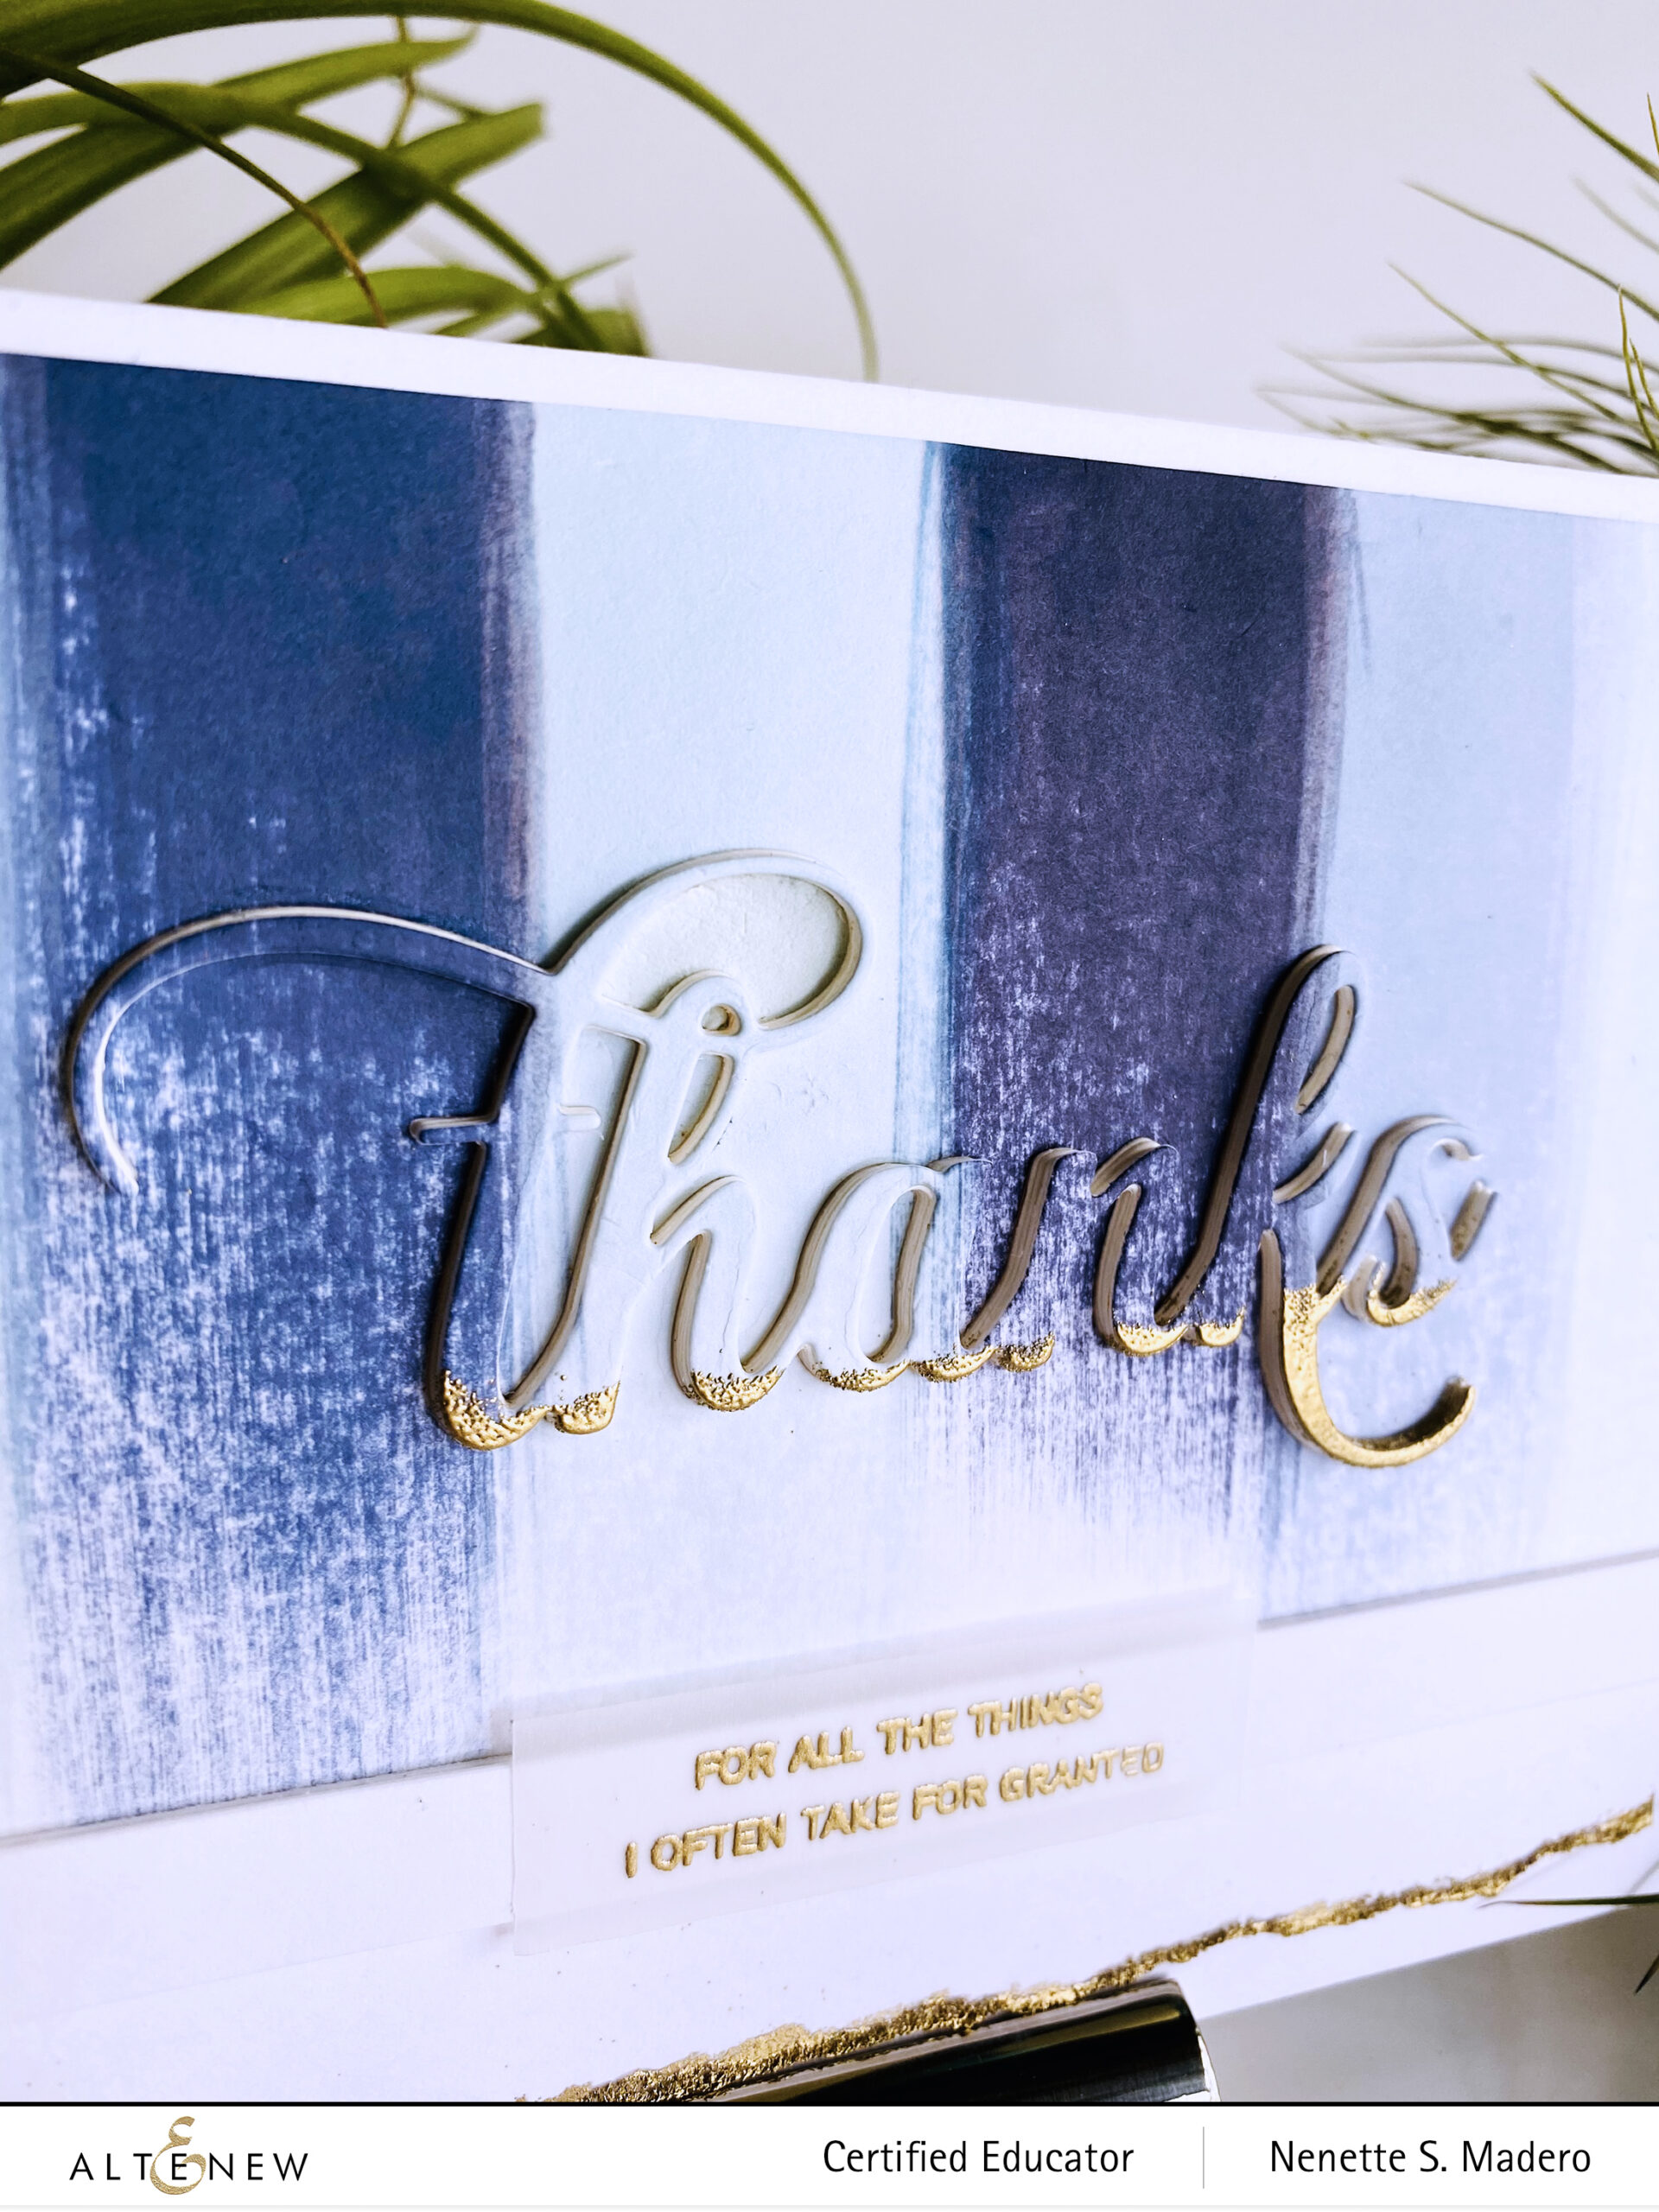
Tear the edge and emboss using Rose Gold embossing powder and Versamark Ink.
Die cut the Thanks from the card front and from scrap paper then adhere on top of each other for added thickness to the diecut.
Ink the base of the word with Versamark Ink and emboss using Rose Gold embossing powder.
Stamp the sentiment on vellum using Versamark Ink and emboss with Rose Gold embossing powder.
Cut strips of white paper and adhere on top of each other to create a border.
Assemble the card.
Altenew is giving away a $20 gift certificate to 5 lucky winners! For a chance to win, please follow @altenewllc and @mylittleatticstudio and leave a comment on IG to get a chance to win!!!
Altenew will draw 5 random winners from the comments left on each stop of this Instagram hop and announce the winners on Altenew’s Educator Instagram hop post on 03/05/2021.
Head over to your NEXT STOP: Eva Bussom — @evabussom. Make sure you follow all the other educators’ IG to see the wonderful creations! Below is the complete list.
I hope you liked the cards I created for this IG hop. Thank you so much for dropping by!!! Please don’t forget to leave a comment in IG to get a chance to win a prize! Stay safe everyone and happy crafting! ❤️
P.S. I changed the format of my post. Please let me know if the bullet points for the steps are easier to follow than writing them in paragraph form. Thanks everyone <3
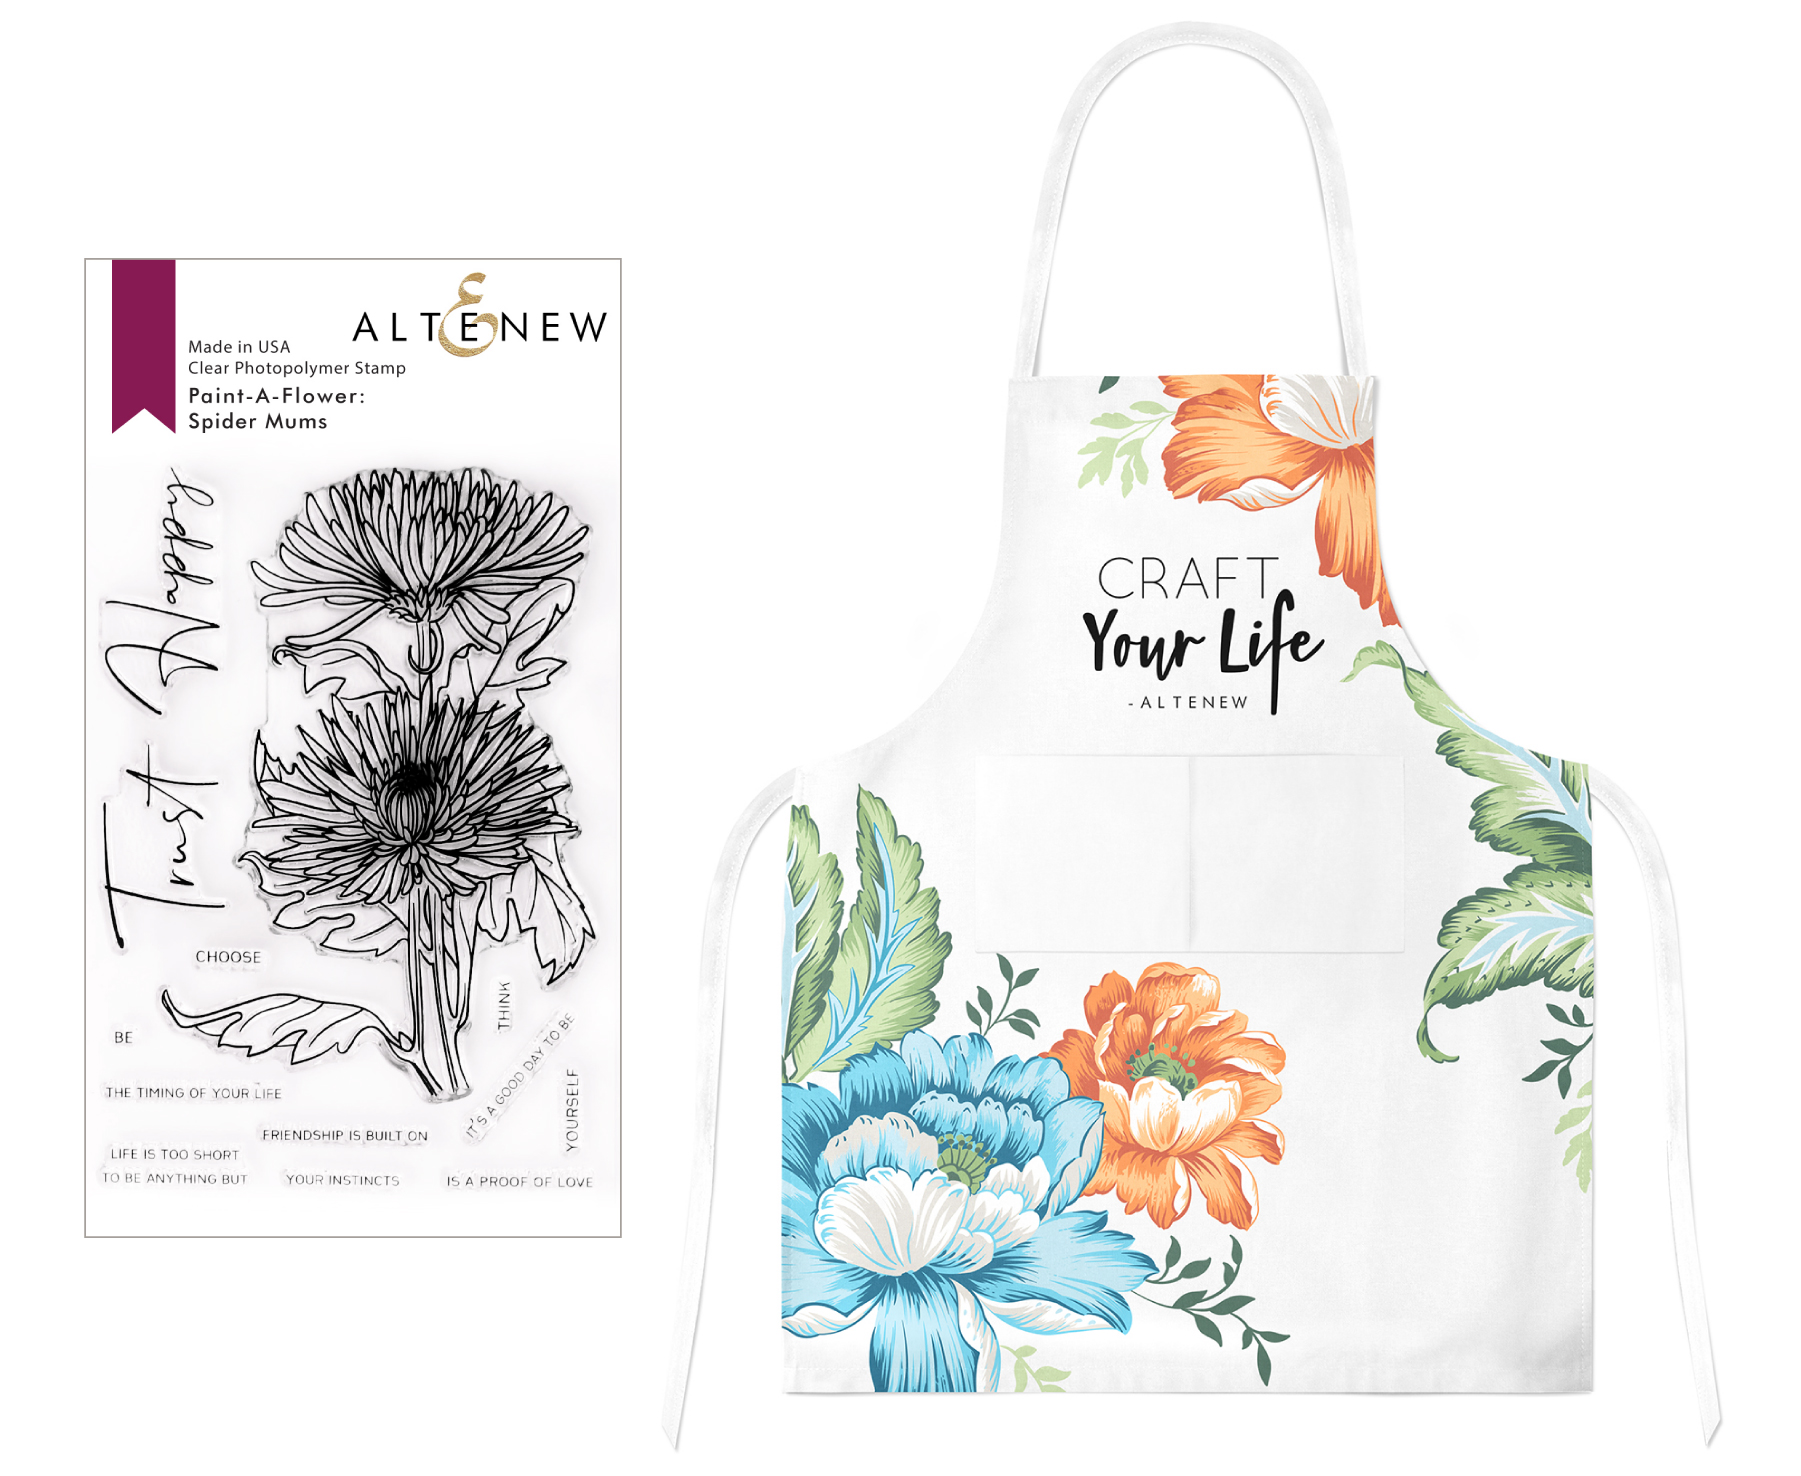
Welcome to Altenew Paint-A-Flower: Spider Mums & Craft Your Life Apron Release Blog Hop + Giveaway! If you just came from the talented Tenia Nelson, then you’re on the right track. For complete details about this hop, make sure to drop by the Altenew Blog. Take a look at the latest release from Altenew ❤️ Aren’t they beautiful?!?! Included in the stamp set are a lot of wonderful sentiments, too.
Below are a few ways you can use this wonderful stamp set. Let me know which one you like best!
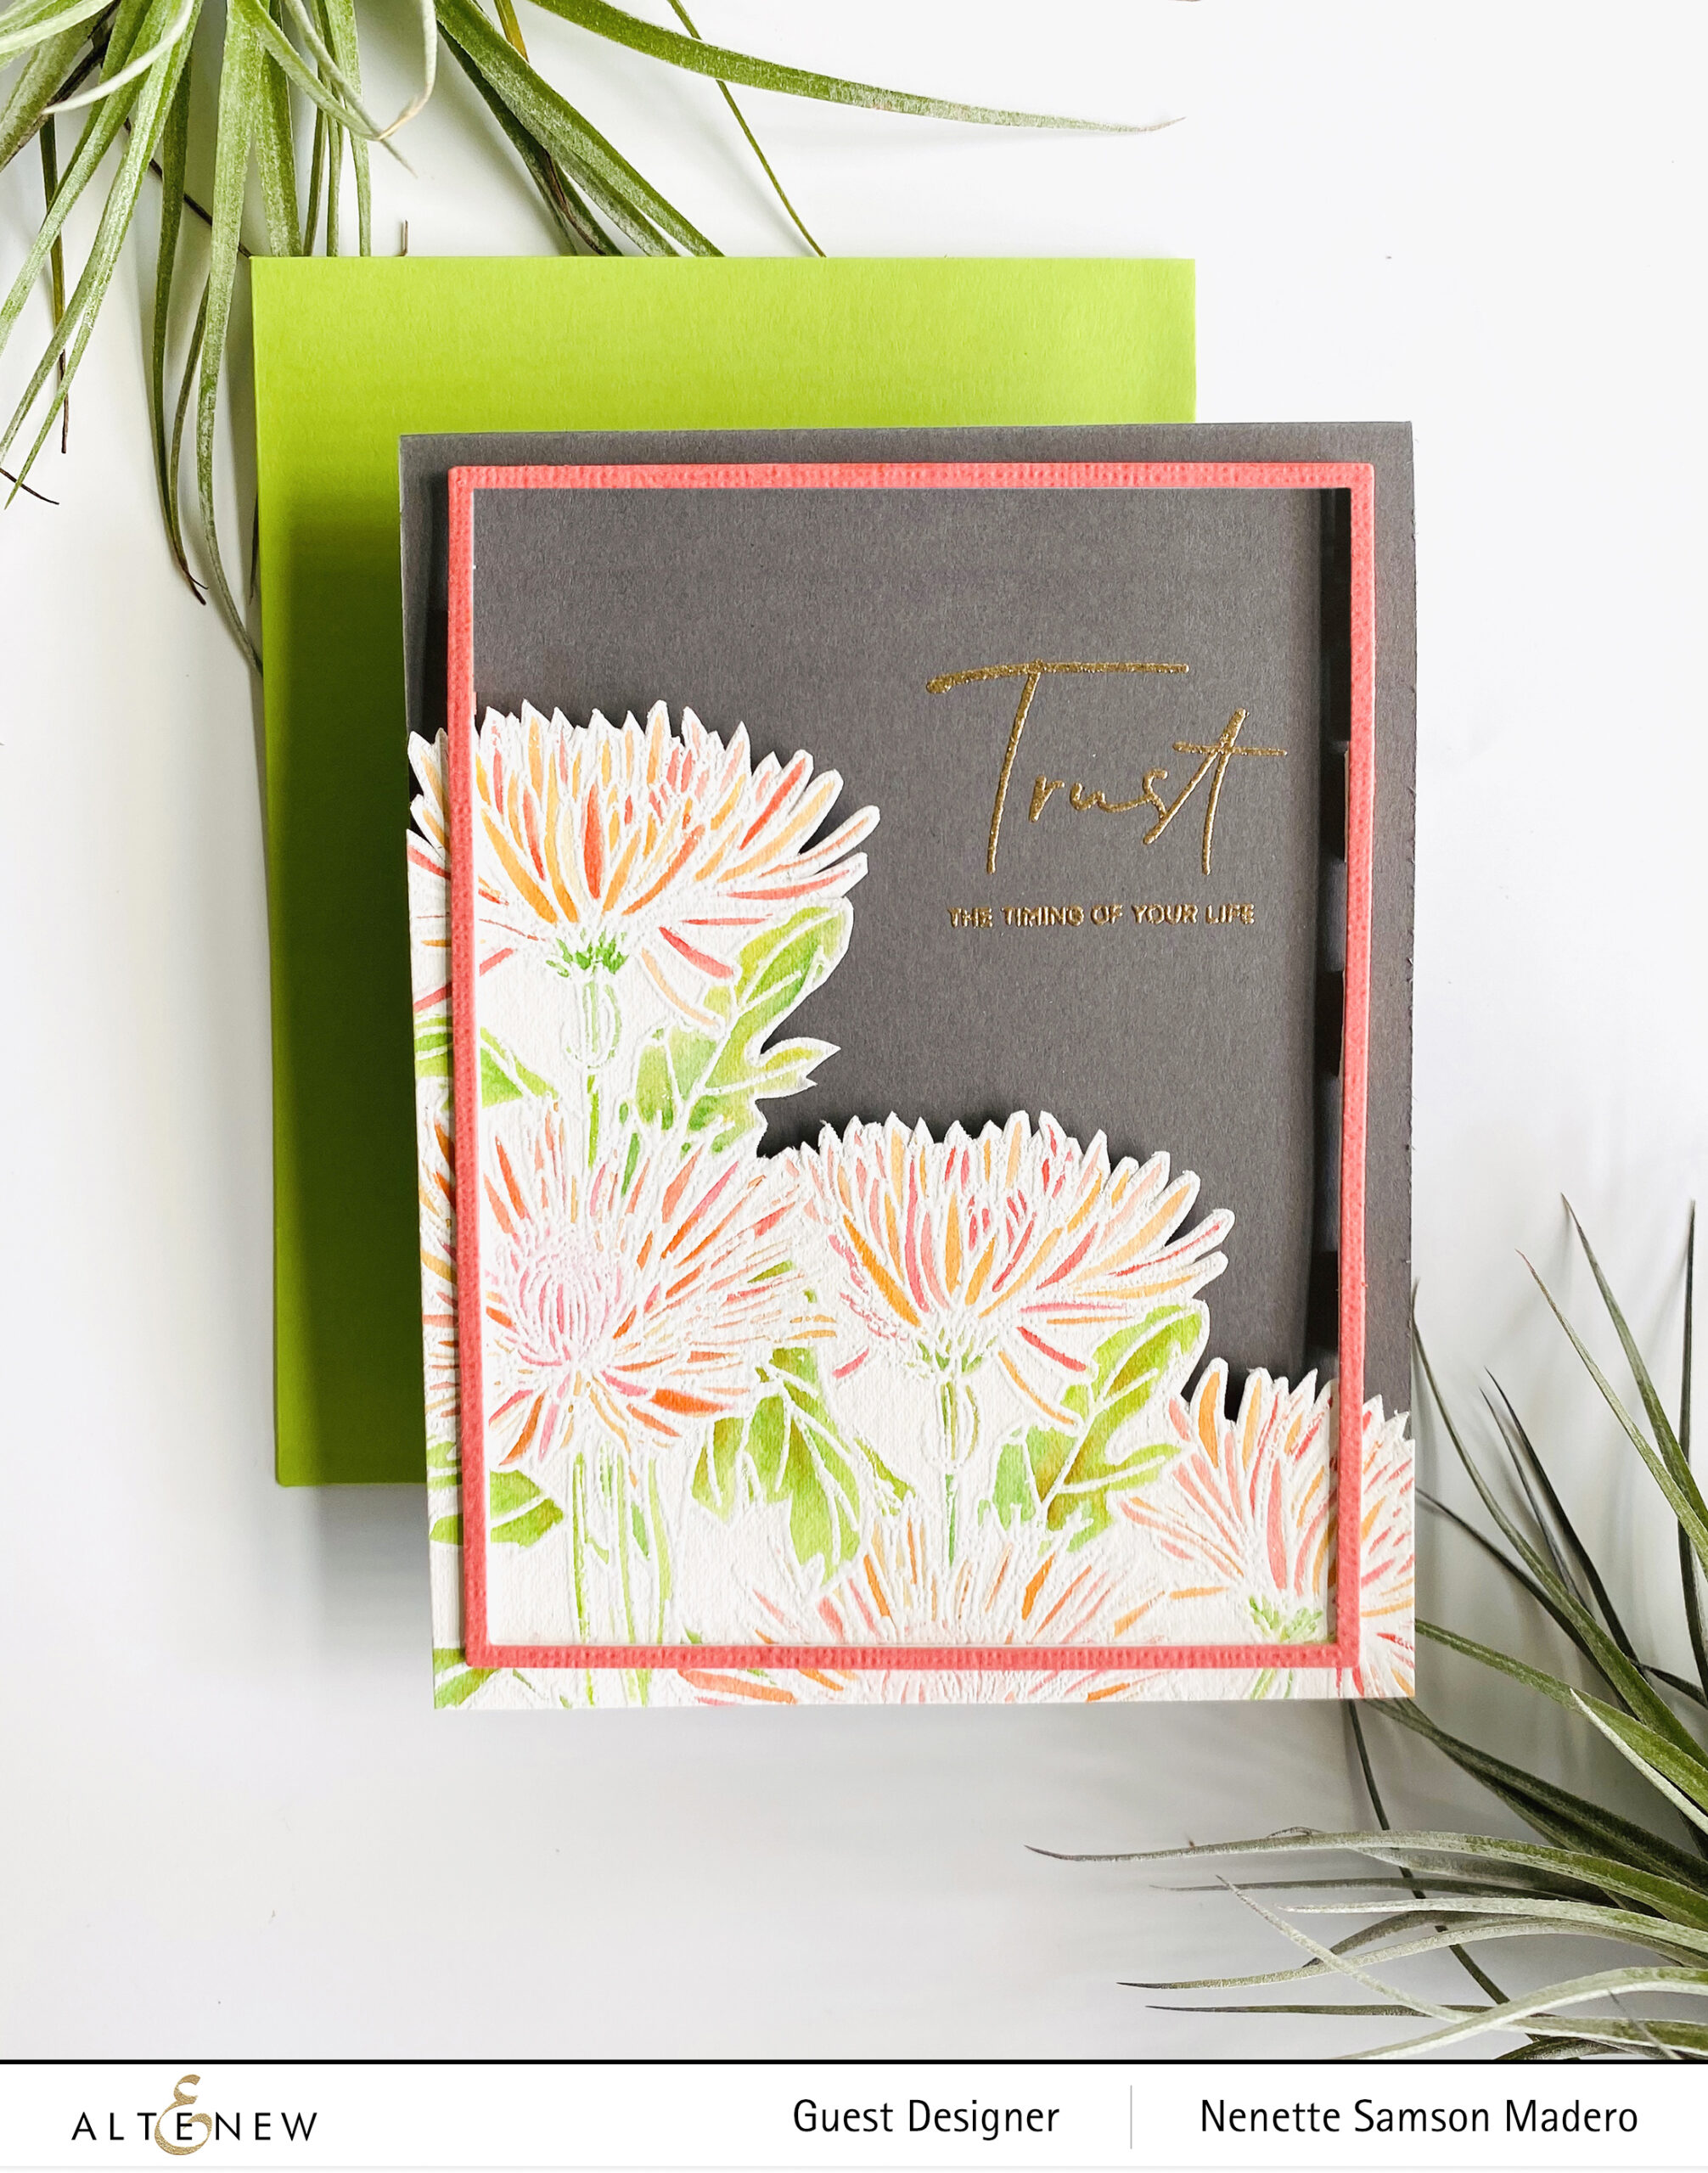
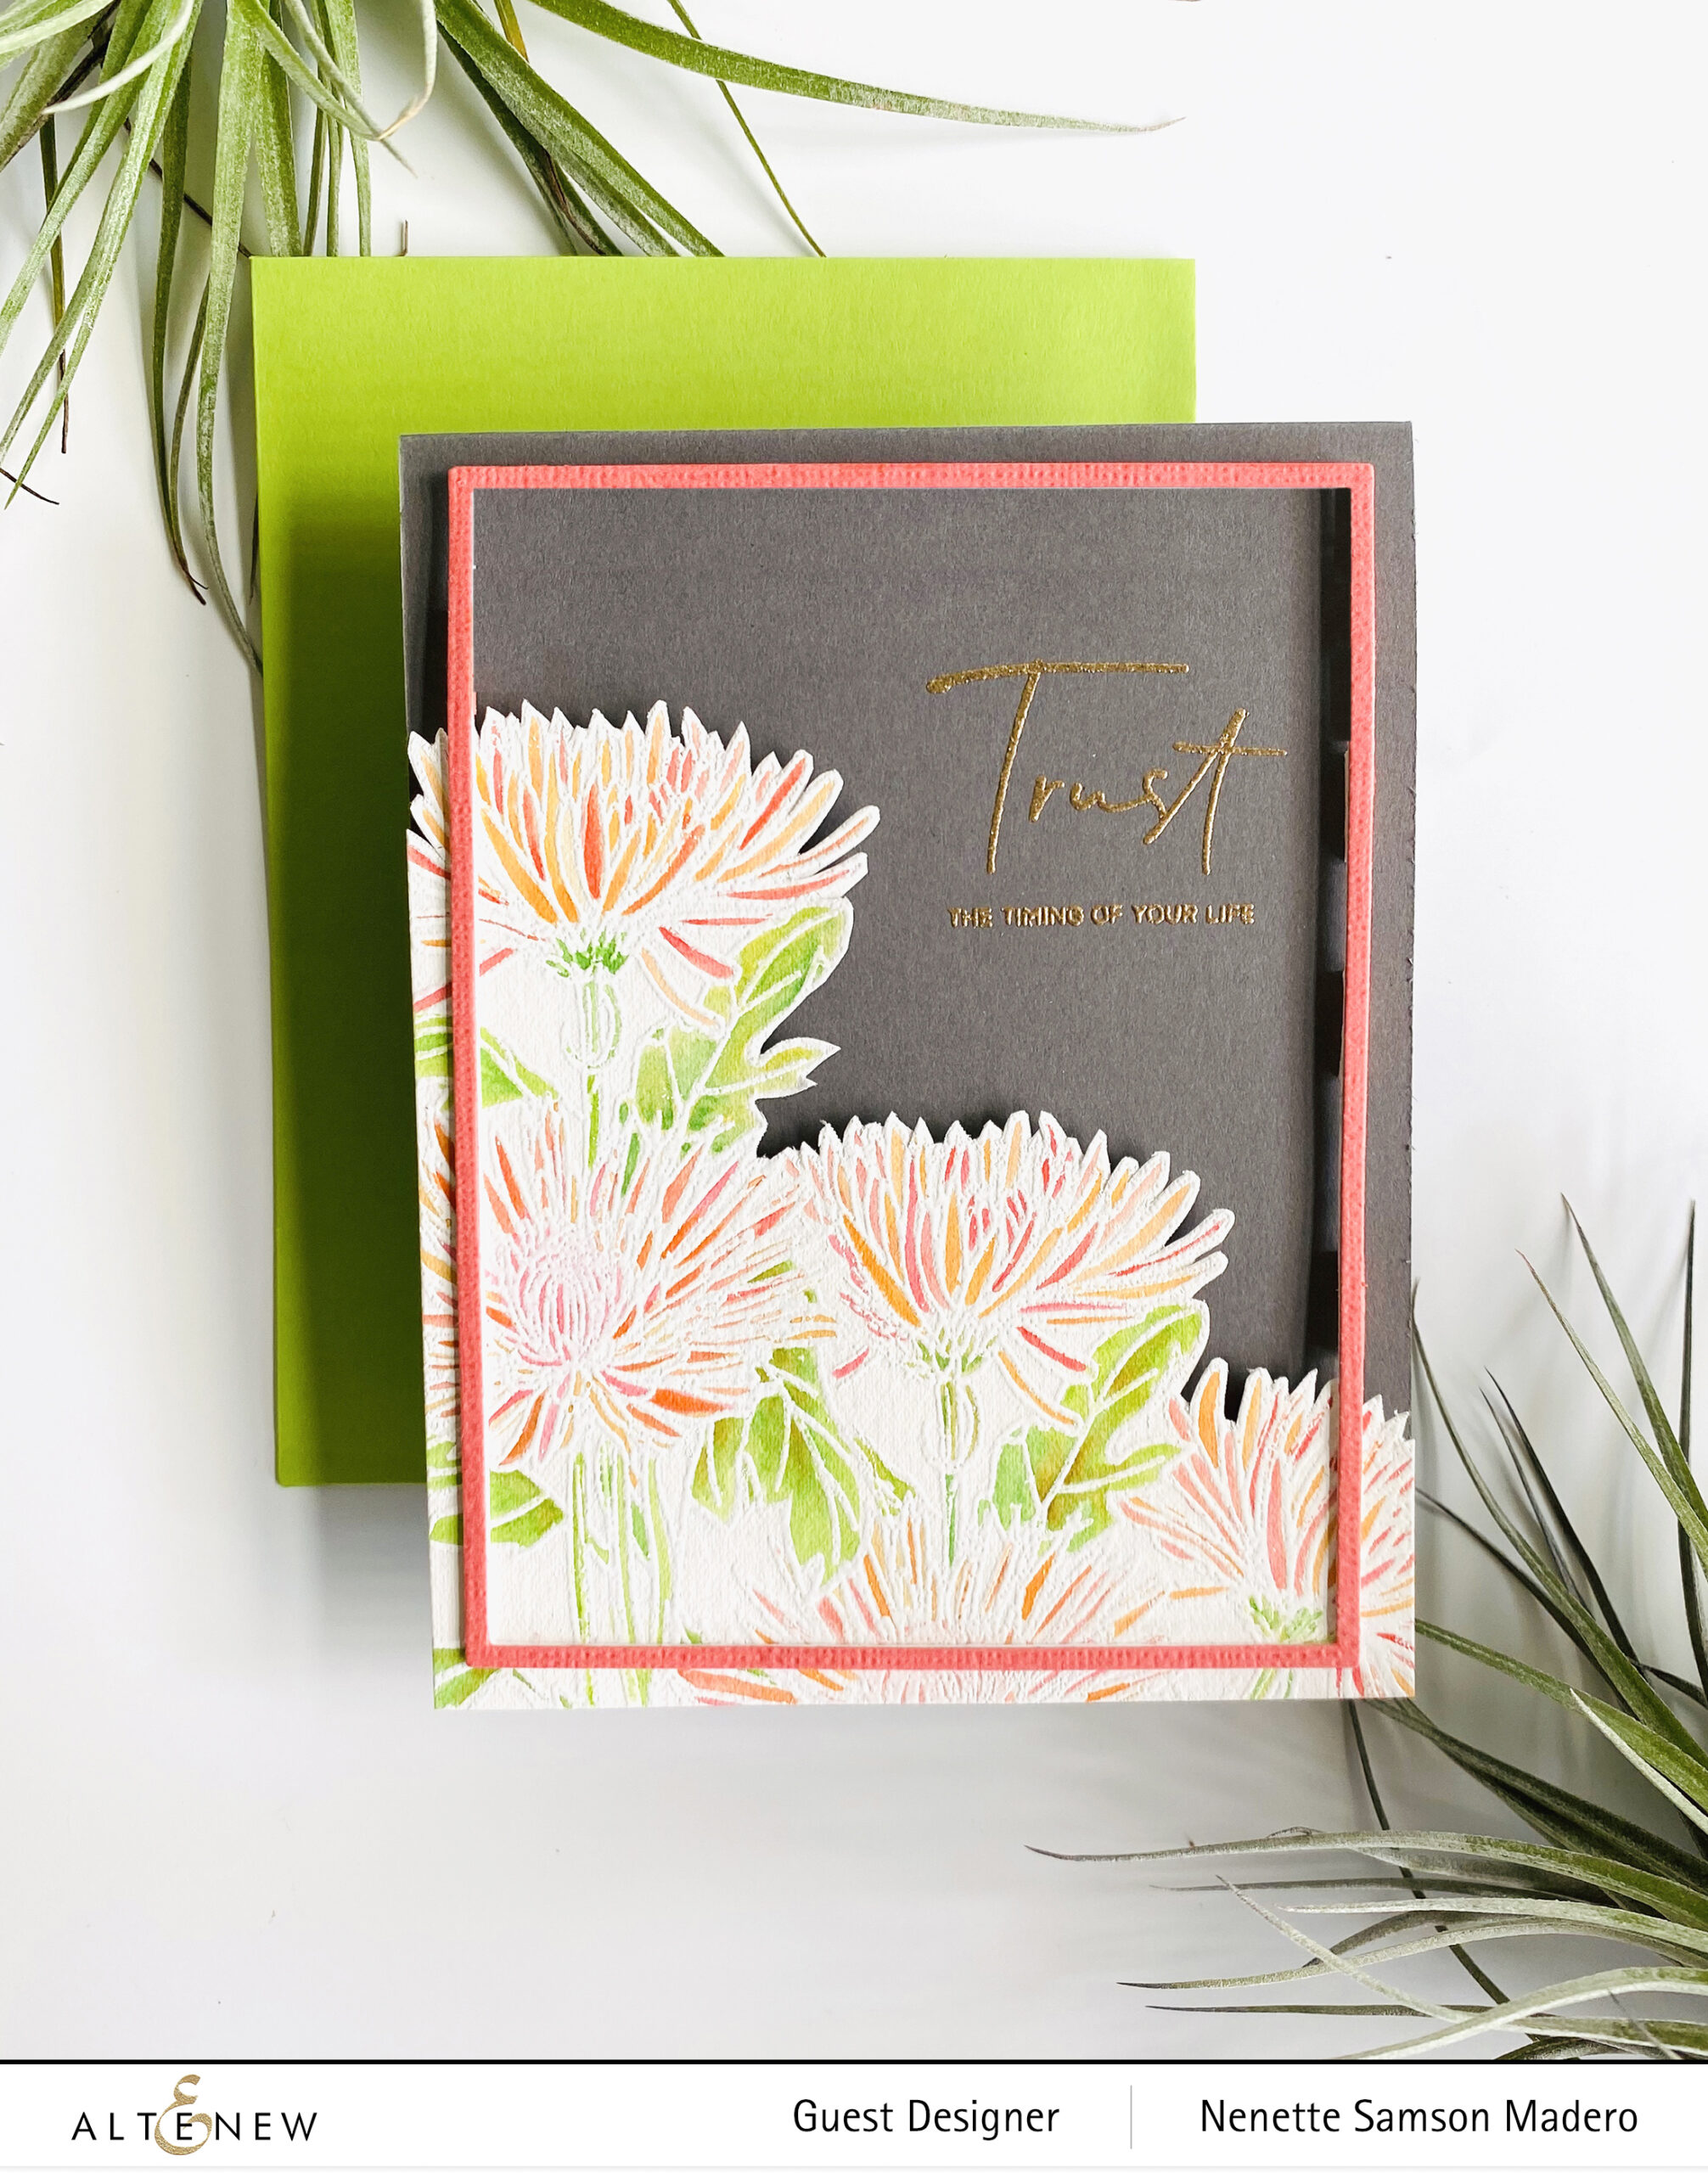
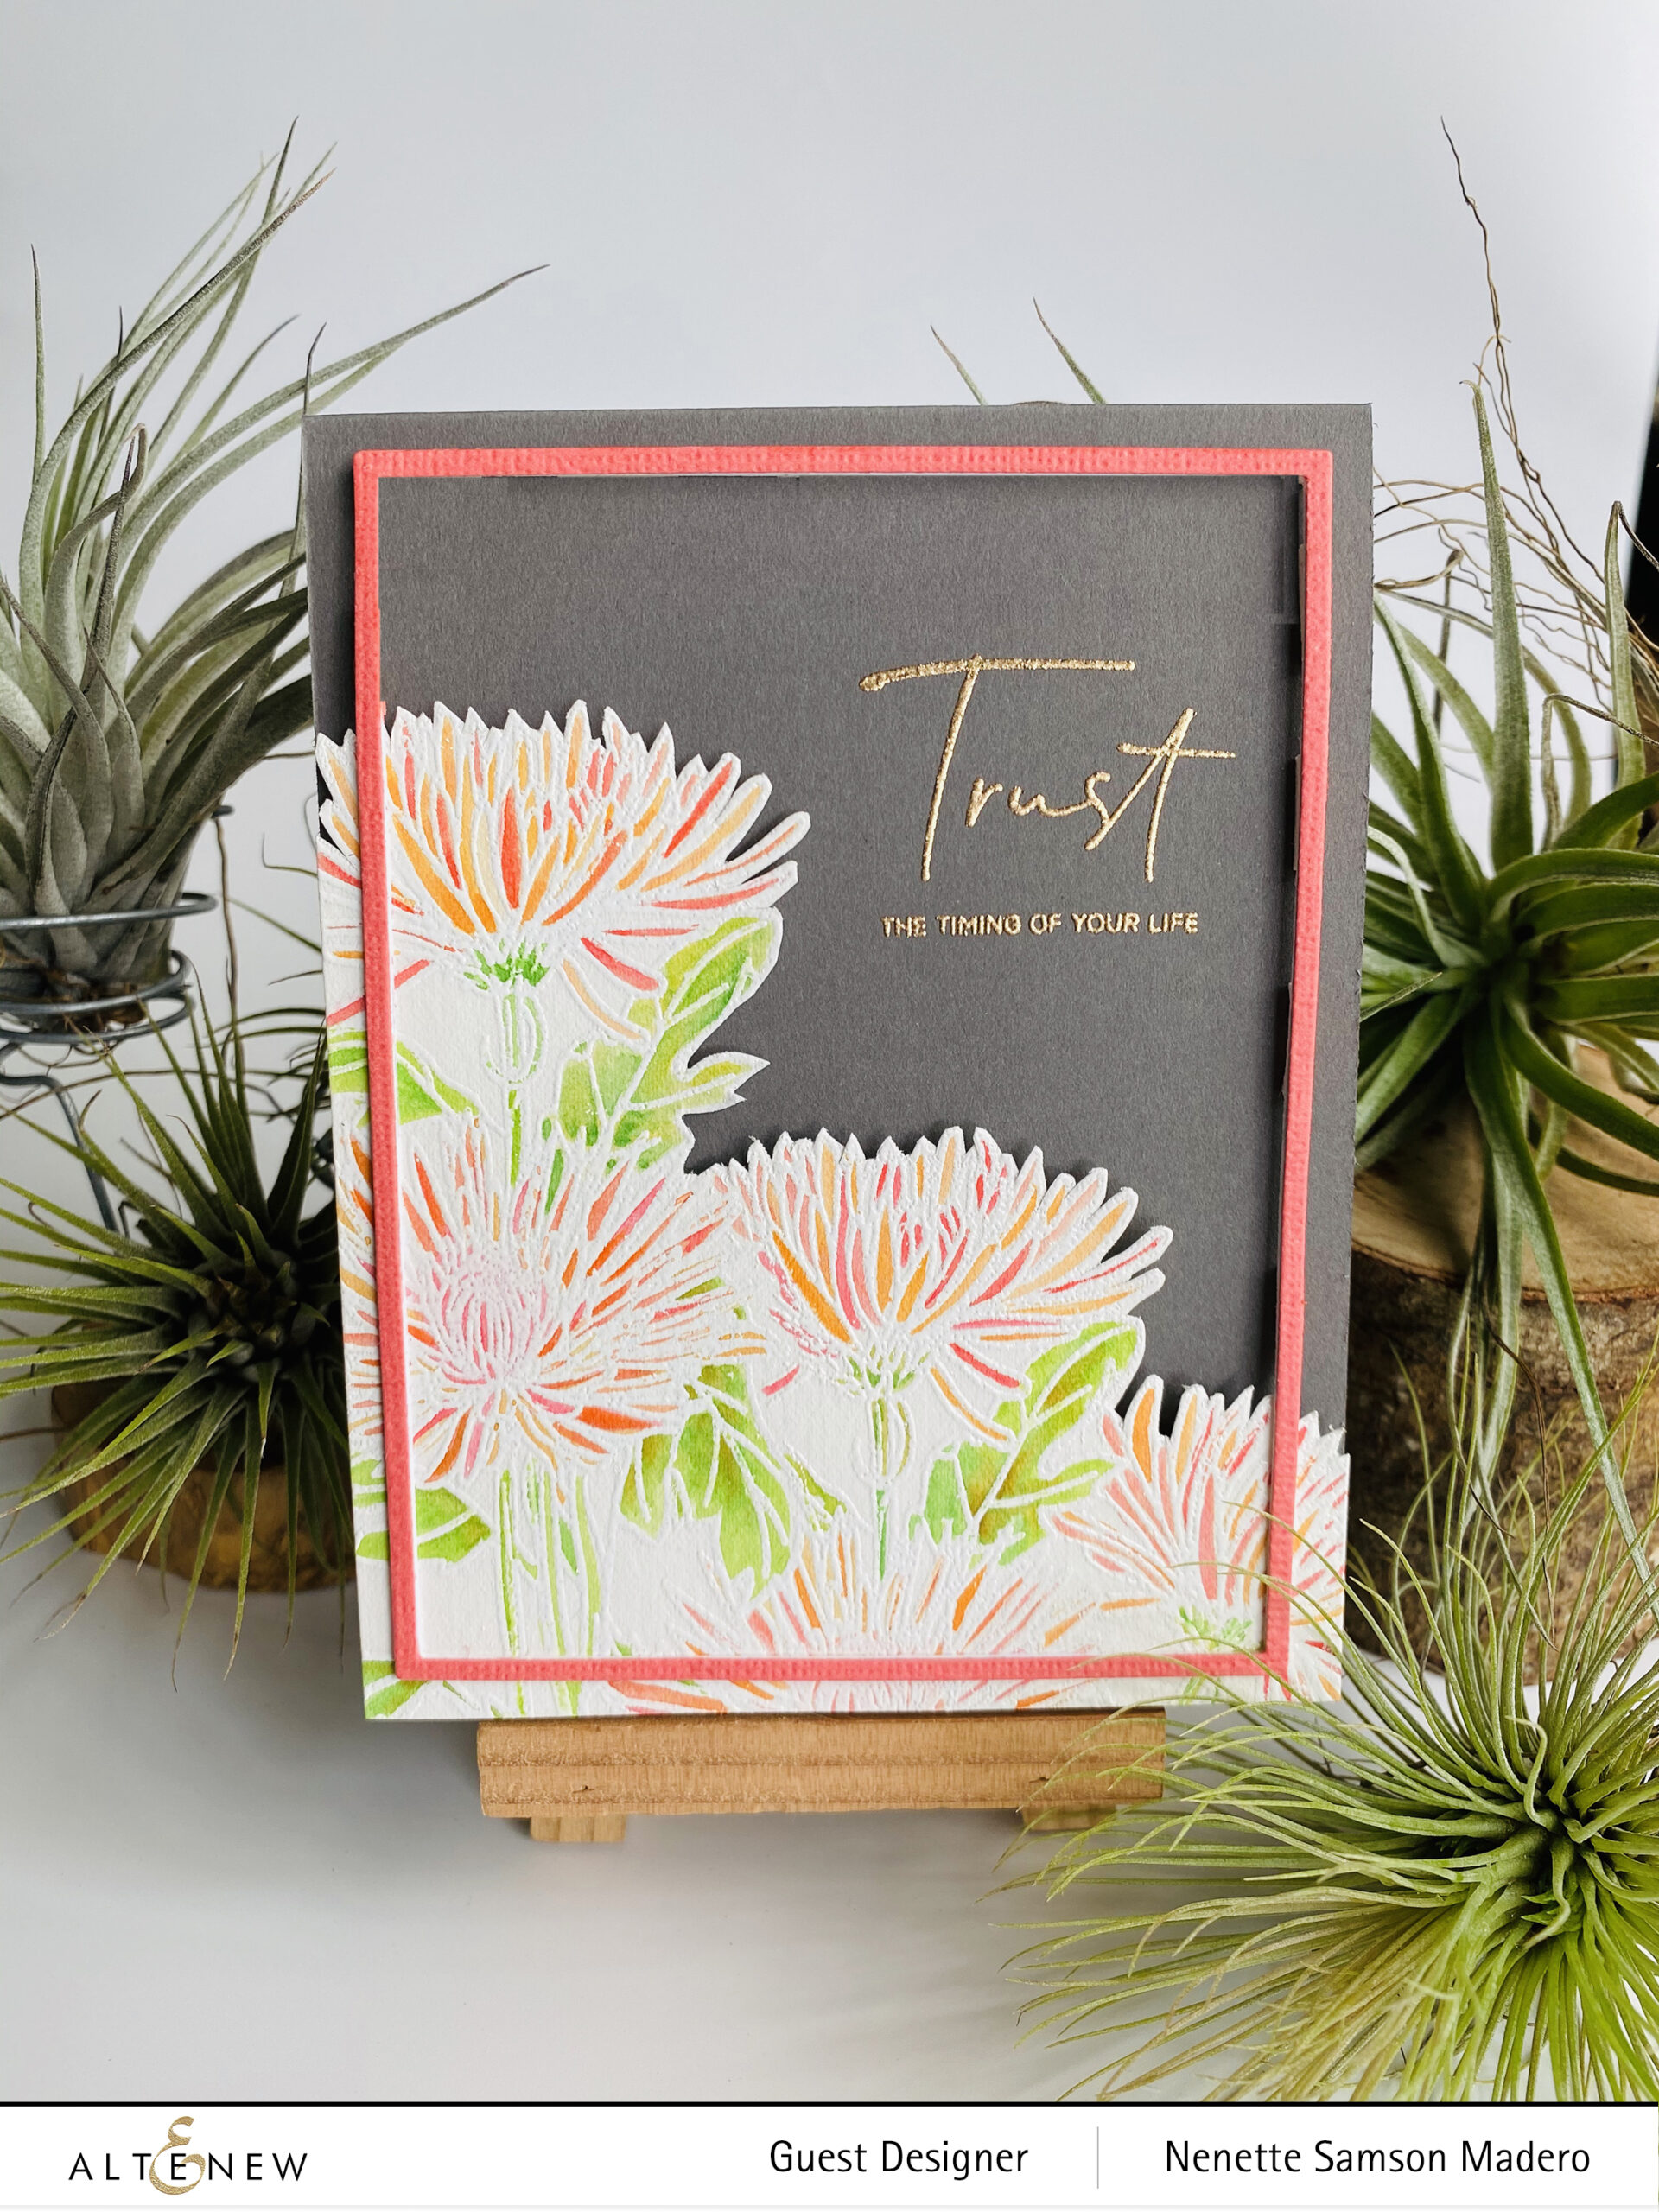
I love the sentiment on the card. Now that our lives are somewhat put on hold, I know in my heart that 2020 will hopefully make us realize what truly matters and make us better people so continue to trust, have faith and be hopeful.
For this card, I stamped the image using Versamark ink onto watercolor paper then heat embossed it using Pure White embossing powder. The image was then colored using the Woodless Watercolor Pencils. I fussy cut the top portion of the flowers and trimmed the left and bottom edges to fit on a top folding A2 sized card. The sentiment was stamped using Rose Gold embossing powder. Both the floral image and the Fine Frames cover die were adhered to the card front using foam squares.
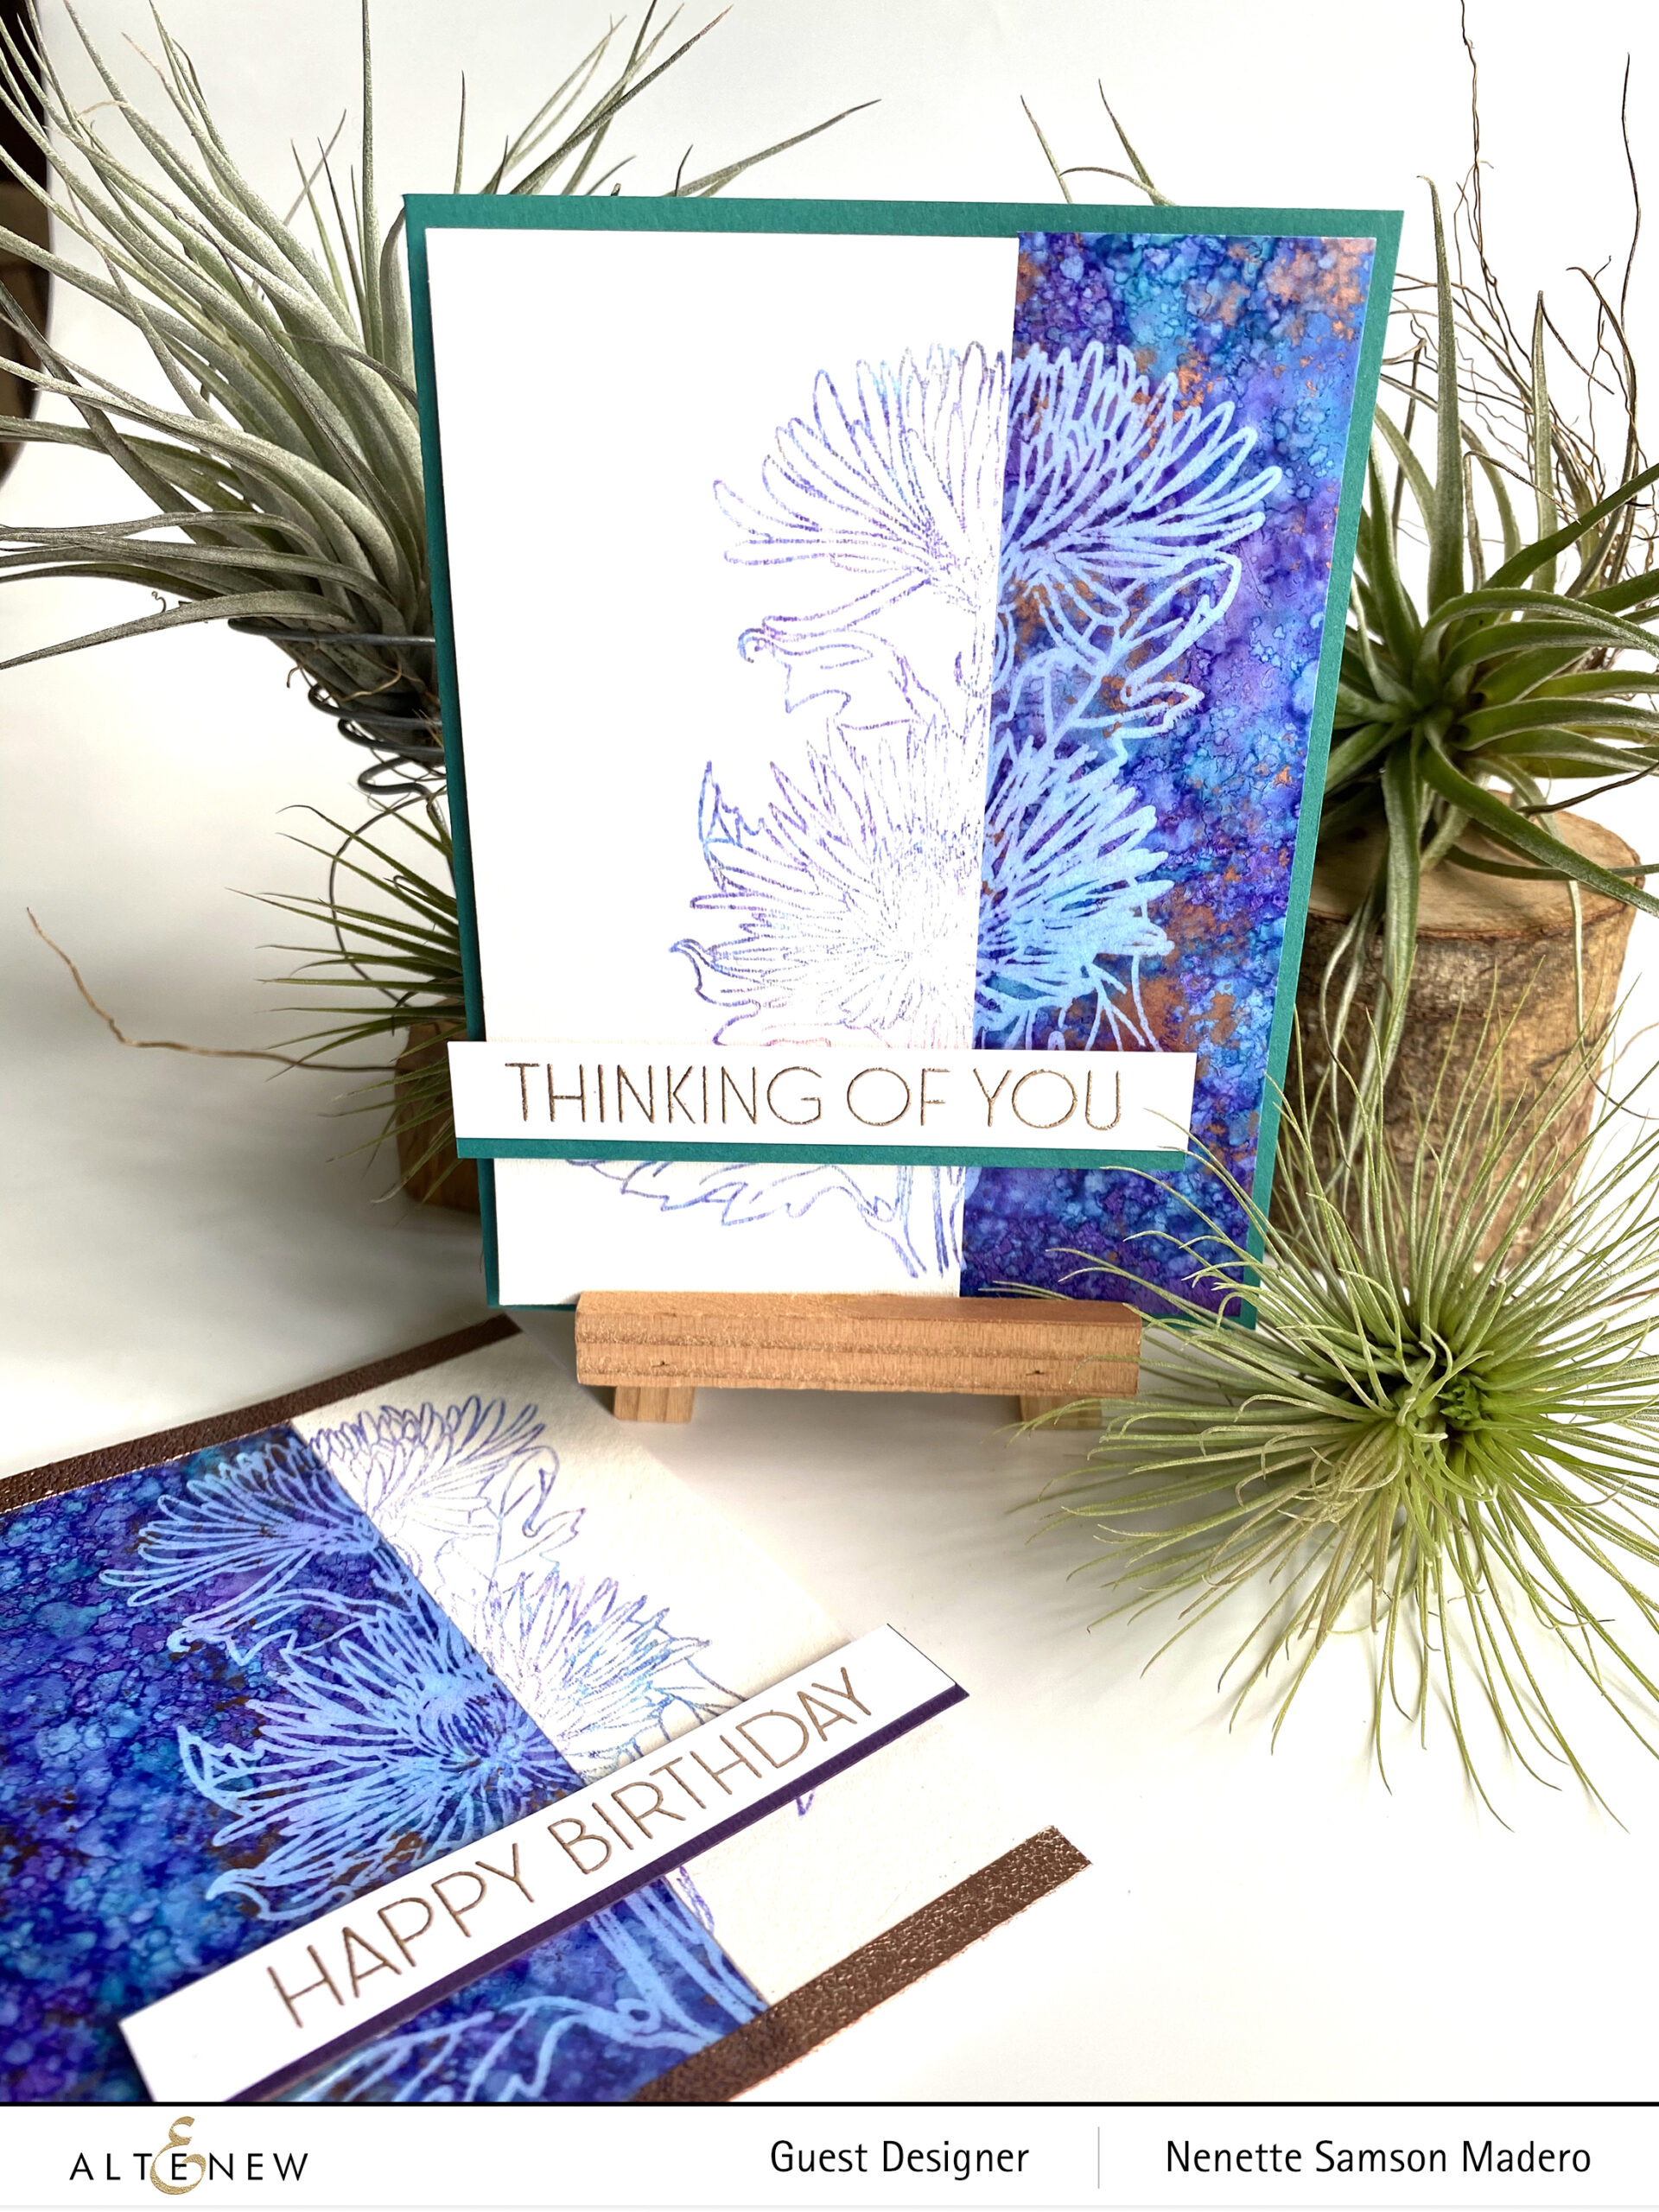
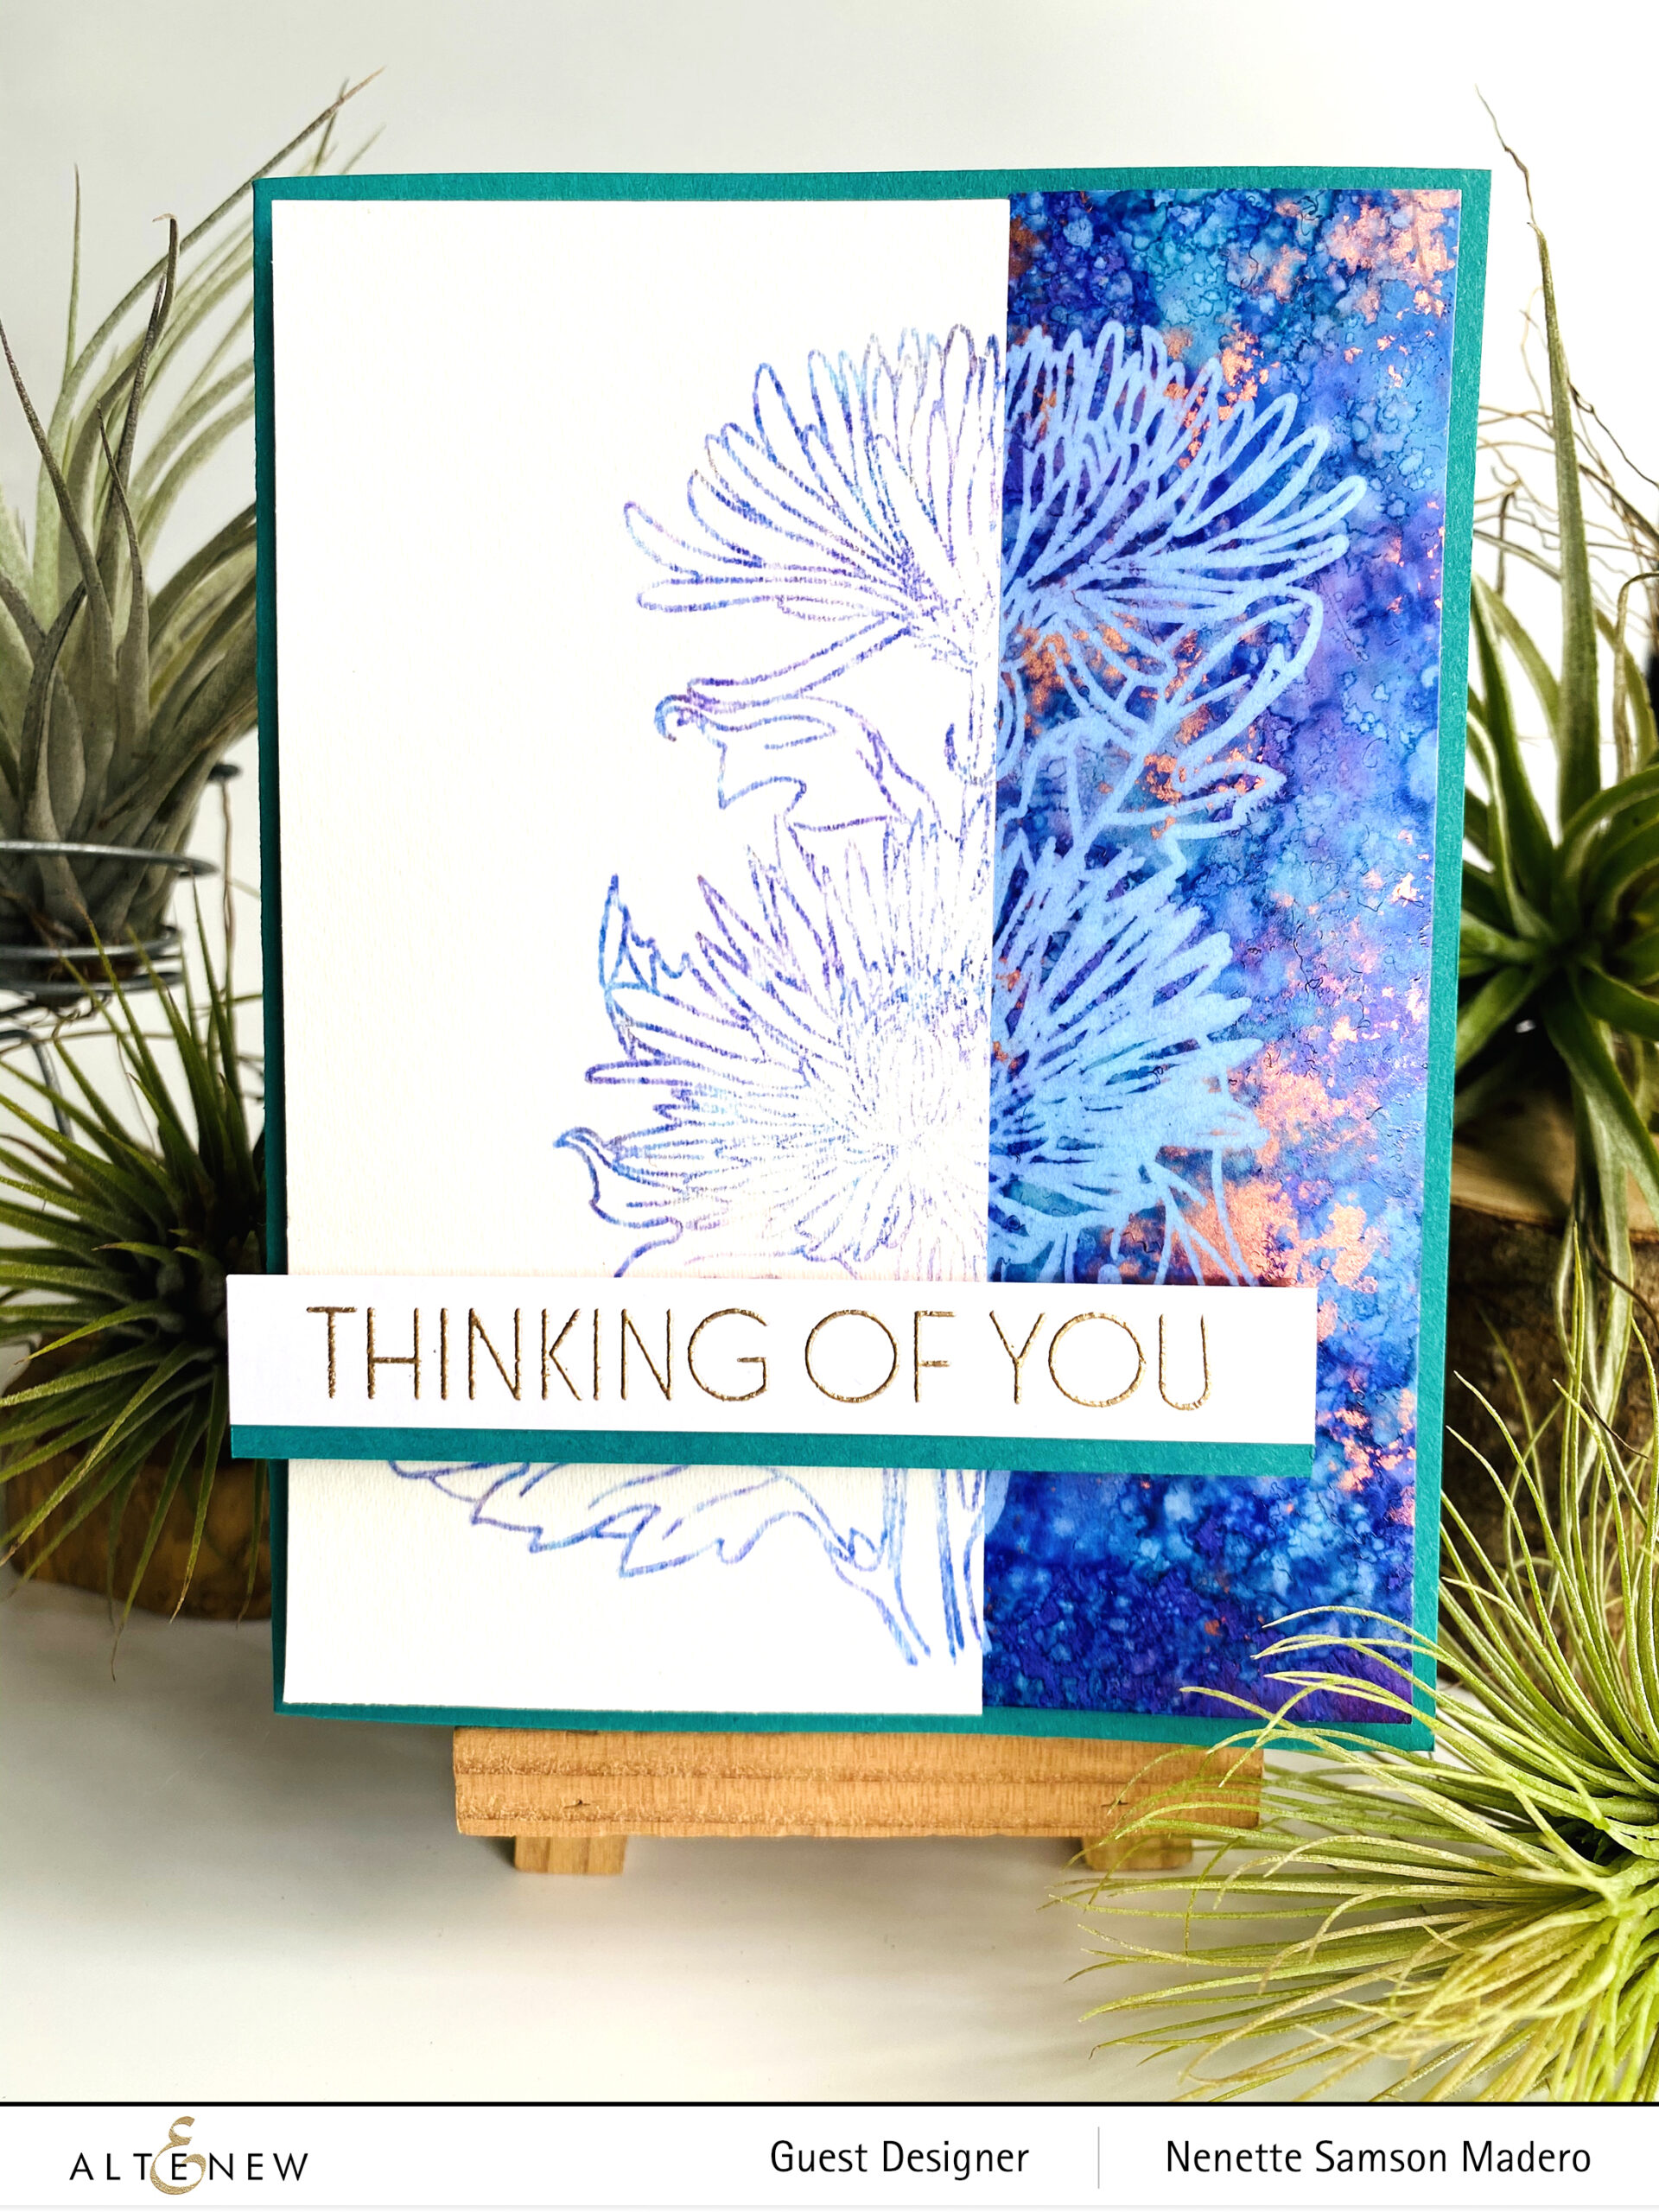
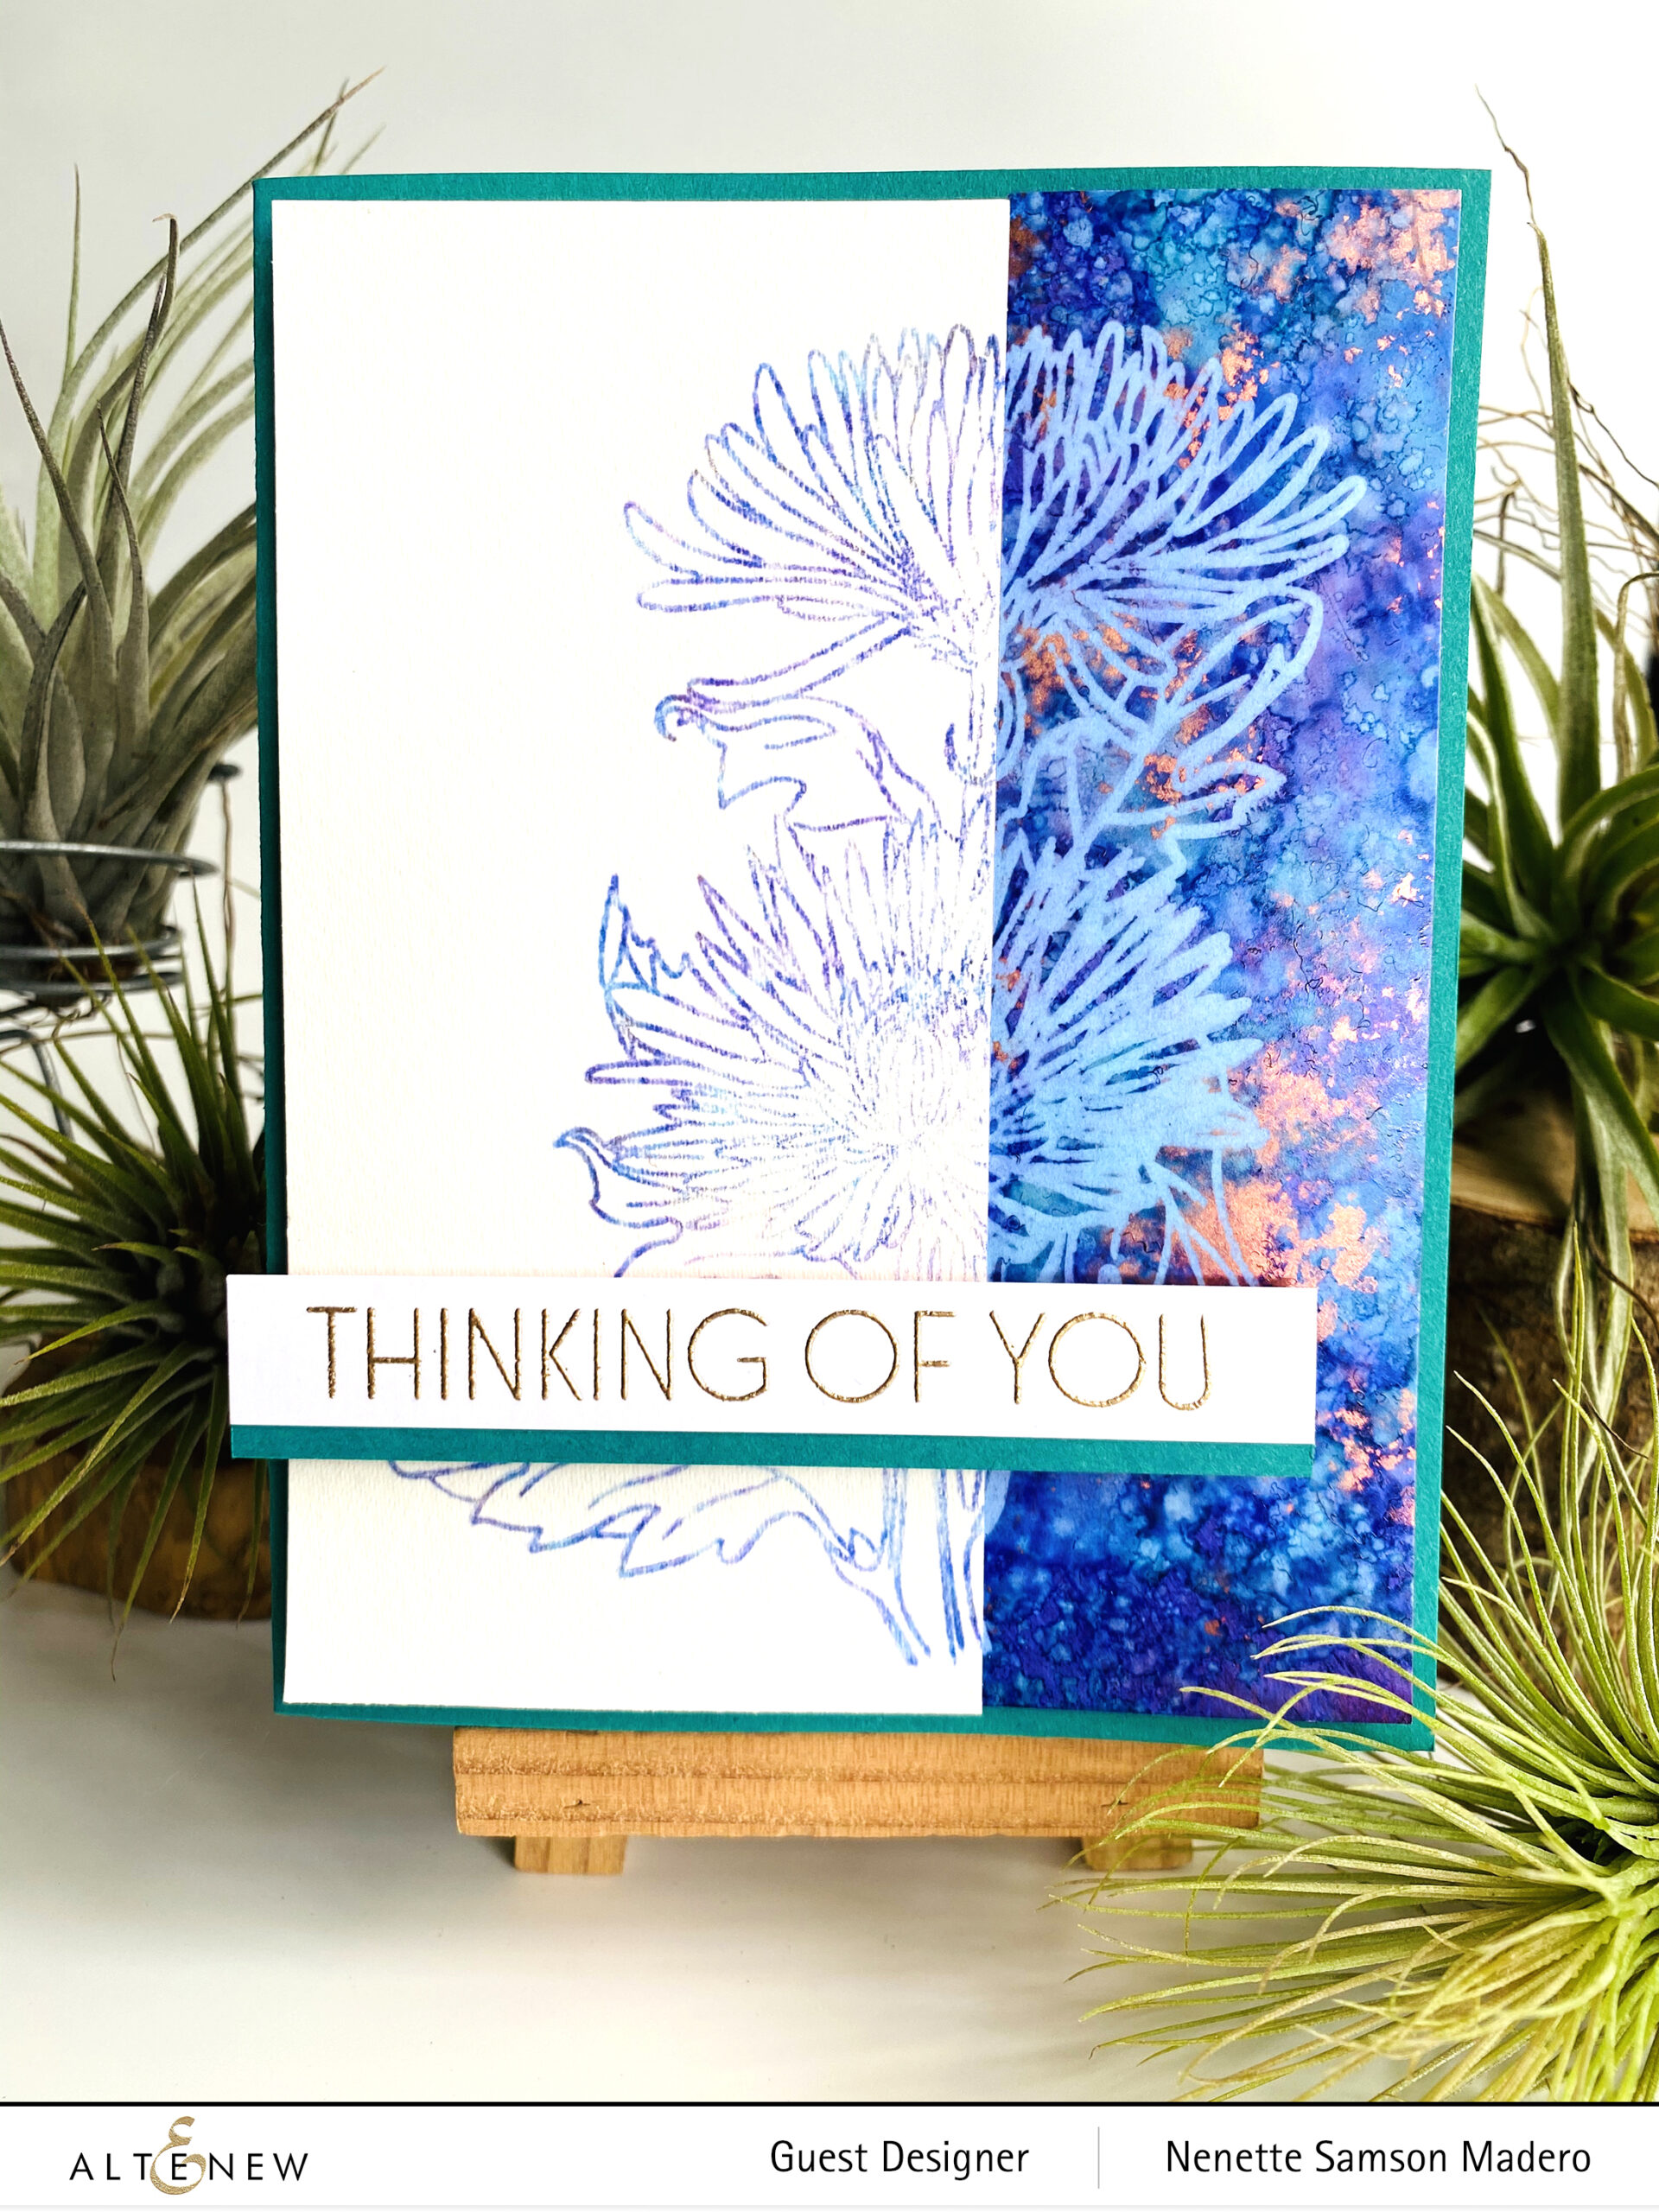
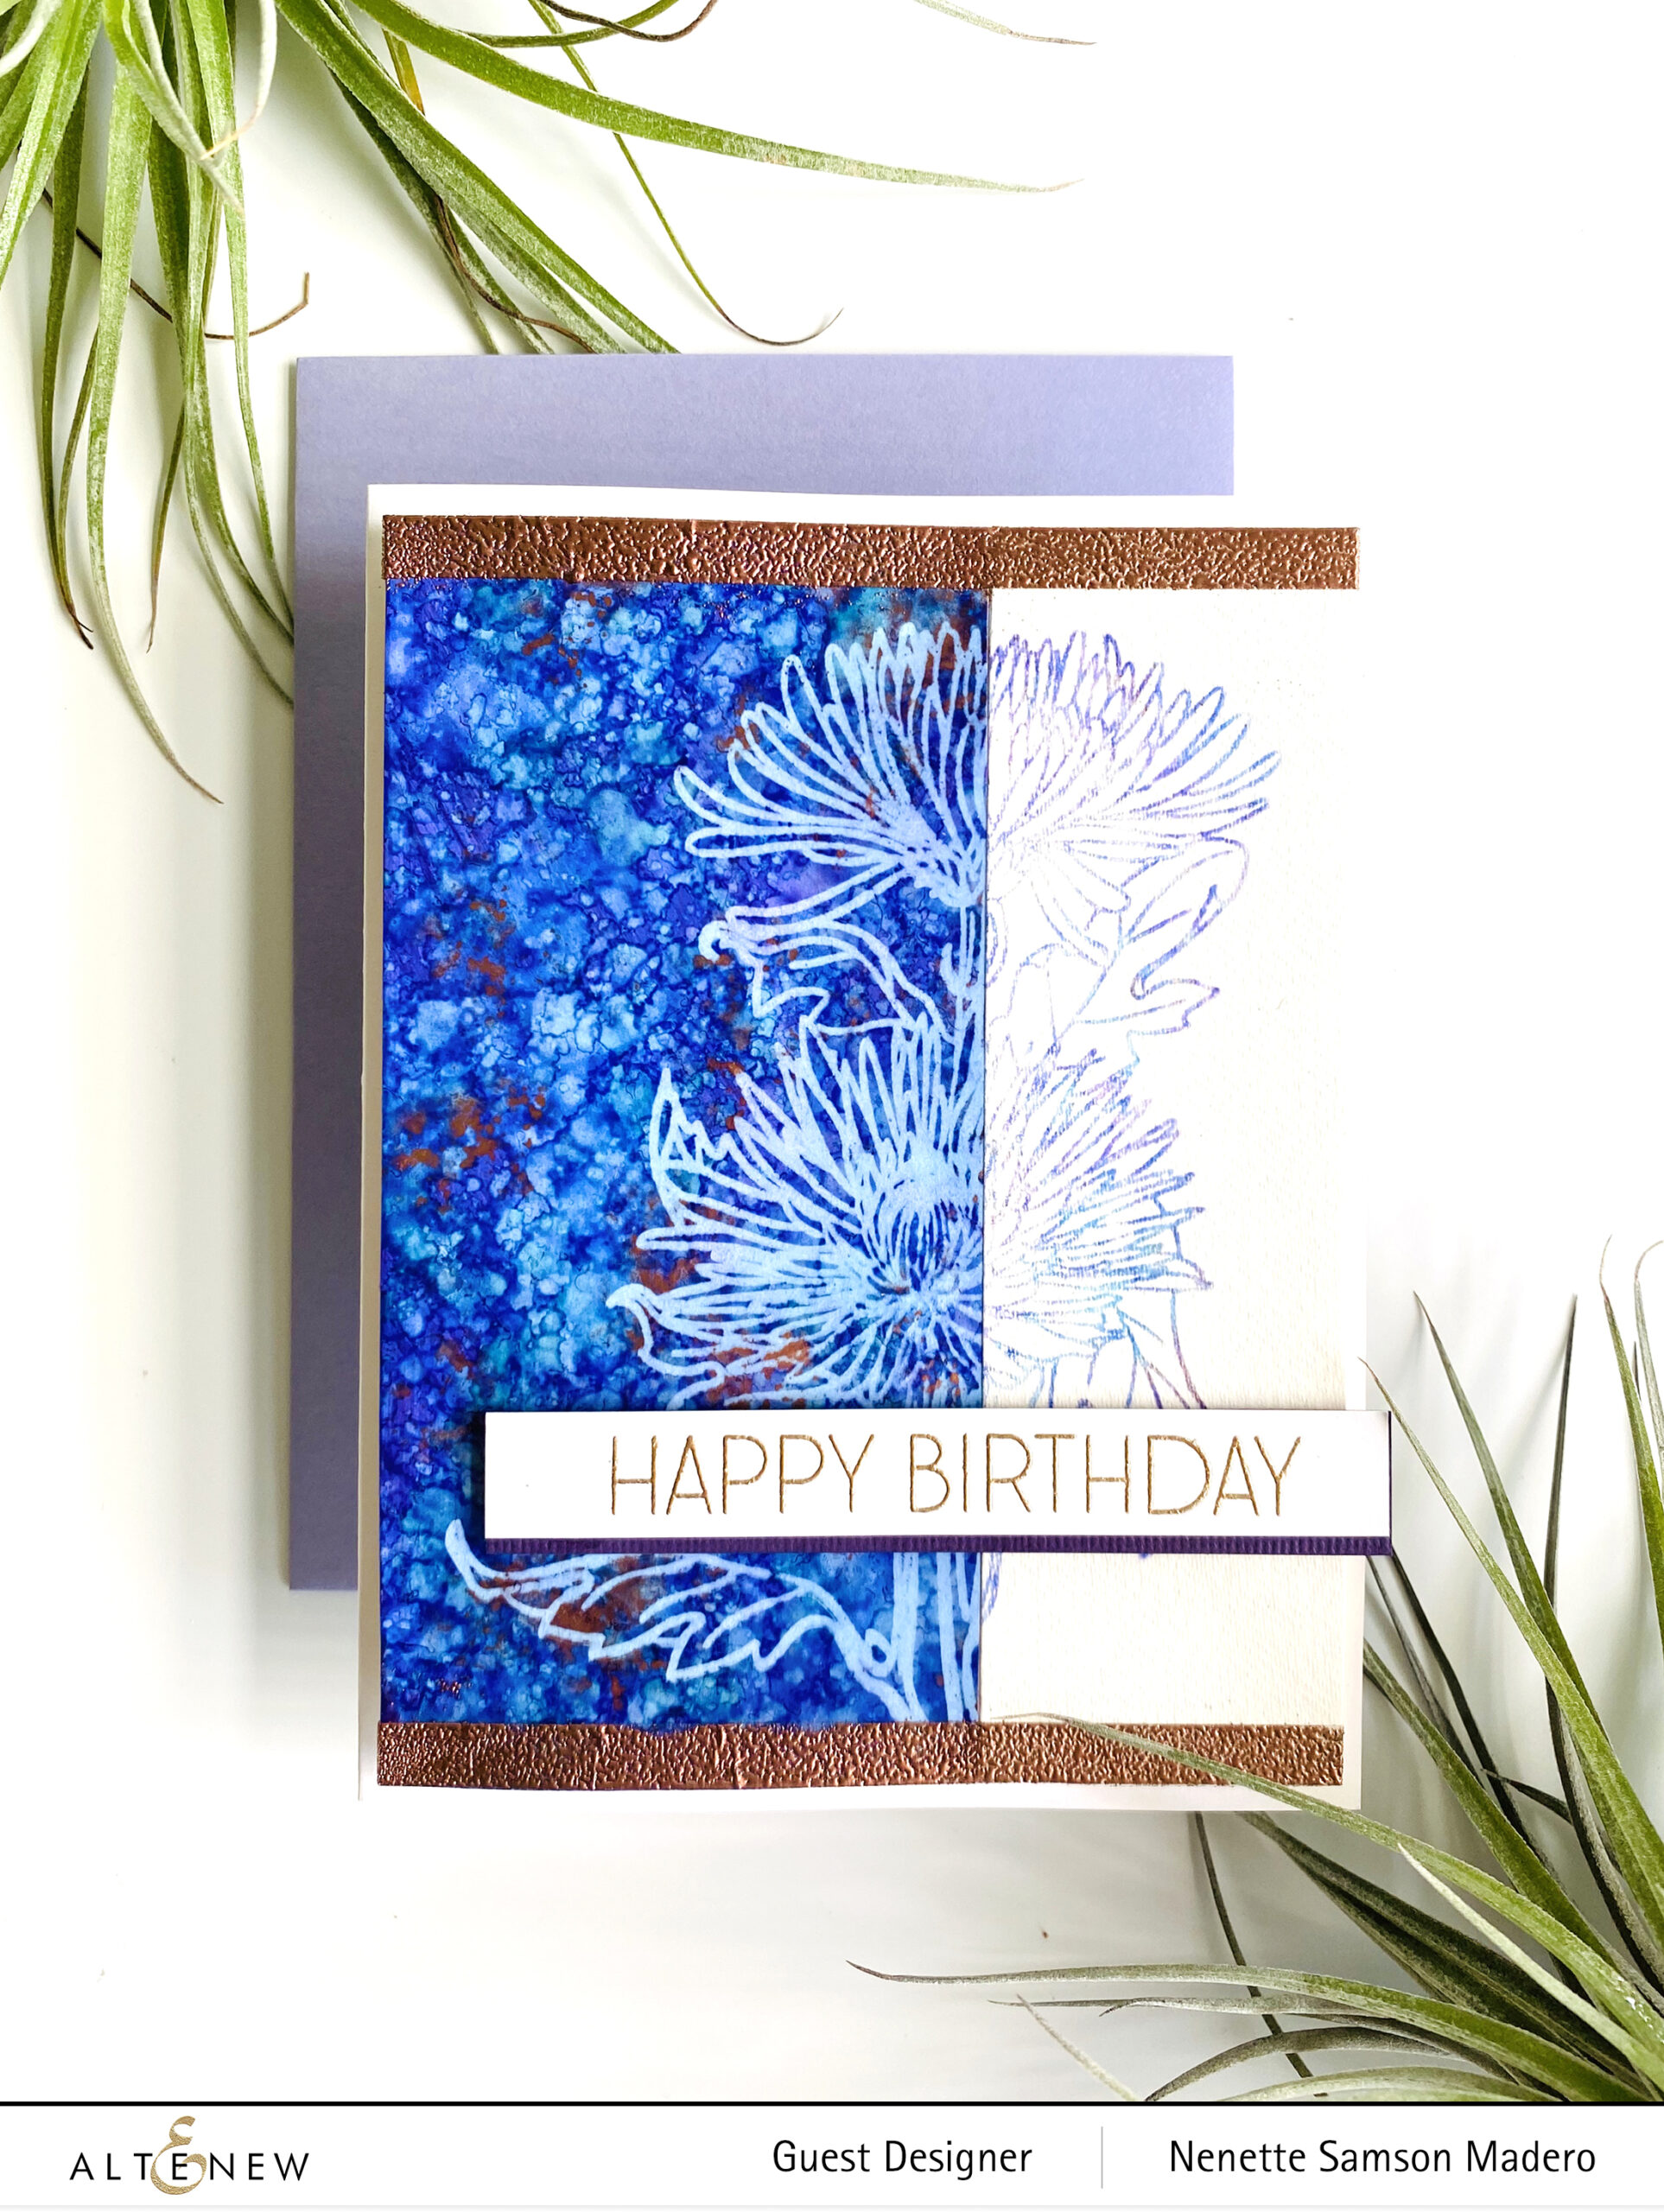
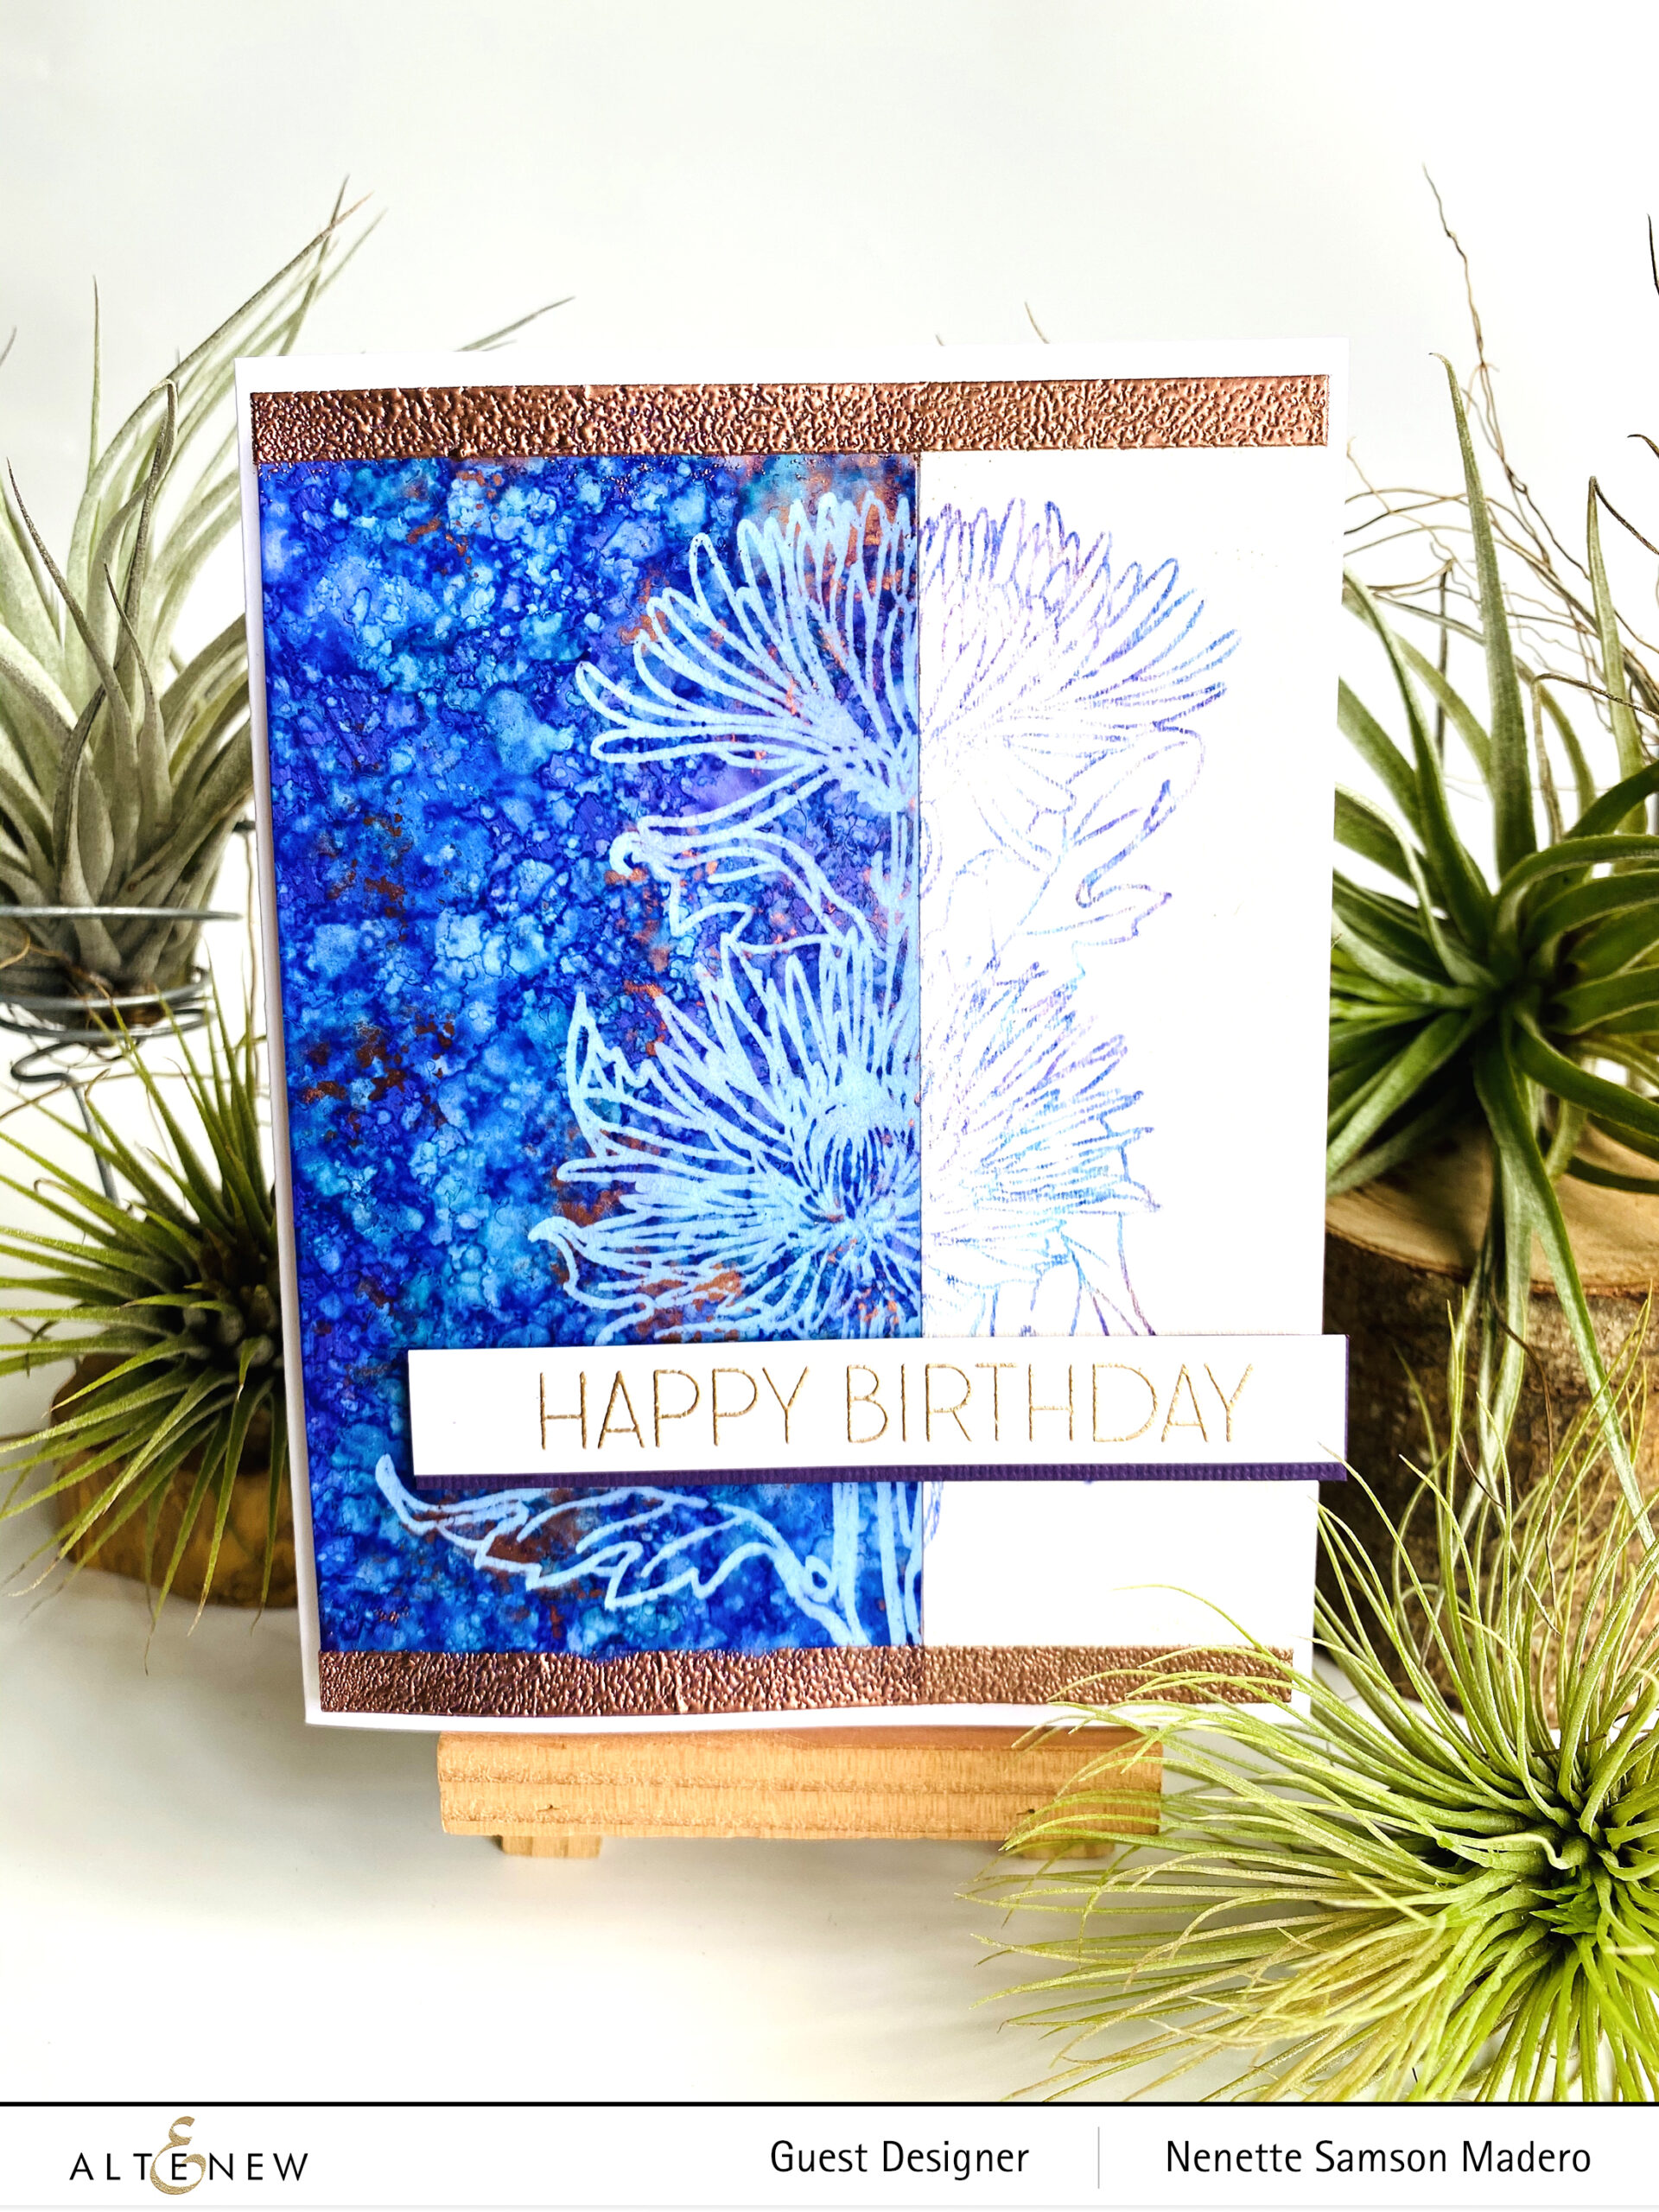
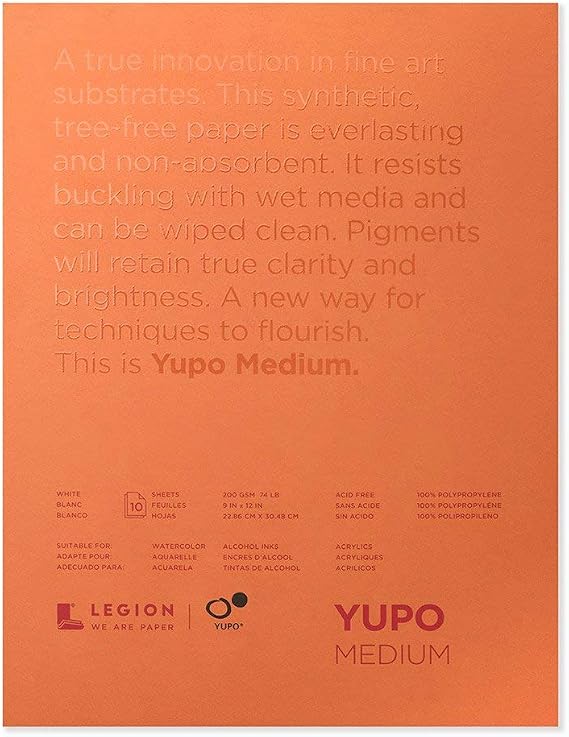
Here are two cards using the same technique. I learned this from Tim Holtz. First, I created the alcohol inked background. I added some alcohol to the Yupo paper, dropped 3 different shades of blue then allowed it to dry. I added more colors using an alcohol ink applicator tool and some blending solution. I added the copper mixative this way, too. When I was happy with the outcome, I used the Alcohol Lift Ink to remove the ink. I made sure to use a Misti for this step so that I can ago back and lift more ink. After lifting, I stamped the lifted ink onto watercolor paper (made sure to position the watercolor paper in the Misti the same position as the background). The stamp was cleaned before reinking again withe the Alcohol lift ink. I did this 4 times. After that, I dabbed the image with dry cloth to remove the excess Alcohol lift ink on the background then used a clean cloth to buff the image. This will make the image stand out more.
I then cut both pieces and then interchanged them to create 2 cards. Remember, lifting and stamping them using a Misti is a must for this technique to work.
HAPPY BIRTHDAY
This is the 2nd card created from the alcohol inked background. For this card, I added an embossed border using the Copper Embossing powder and double sided tape. Sentiment is from the Ornamental Bliss Stamp set.
GIVEAWAYS
To celebrate this release, Altenew is giving away a $30 gift certificate to 2 lucky winners! Please leave a comment on the Altenew Card Blog by 11/28/2020 for a chance to win. We’ll also draw a winner to receive a $15 gift certificate from the comments left on each designer’s blog on the blog hop list below. All winners will be announced on the Altenew Winners Page on 11/30/2020.
Next stop is my talented friend, Terri Koszler.Thank you so much for dropping by my blog. Your visit means so much to me! Don’t forget to leave a message– I truly enjoy reading all your wonderful comments! If you like my creations, it would be wonderful if you can follow me on Instagram @mylittleatticstudio. Stay well and inspired! Happy crafting!
SUPPLY LIST
Affiliate links are used
ALTENEW ROSE GOLD CRISP EMBOSSING POWDER Shop at: ALT | MLA
ALTENEW PURE WHITE CRISP EMBOSSING POWDER Shop at: ALT | MLA
Hello everyone!!! I’m so honored to be a part of this Watercolor Therapy Blog Hop! If you just came from Jessie Banks‘ blog, then you’re at the last stop of the hop!
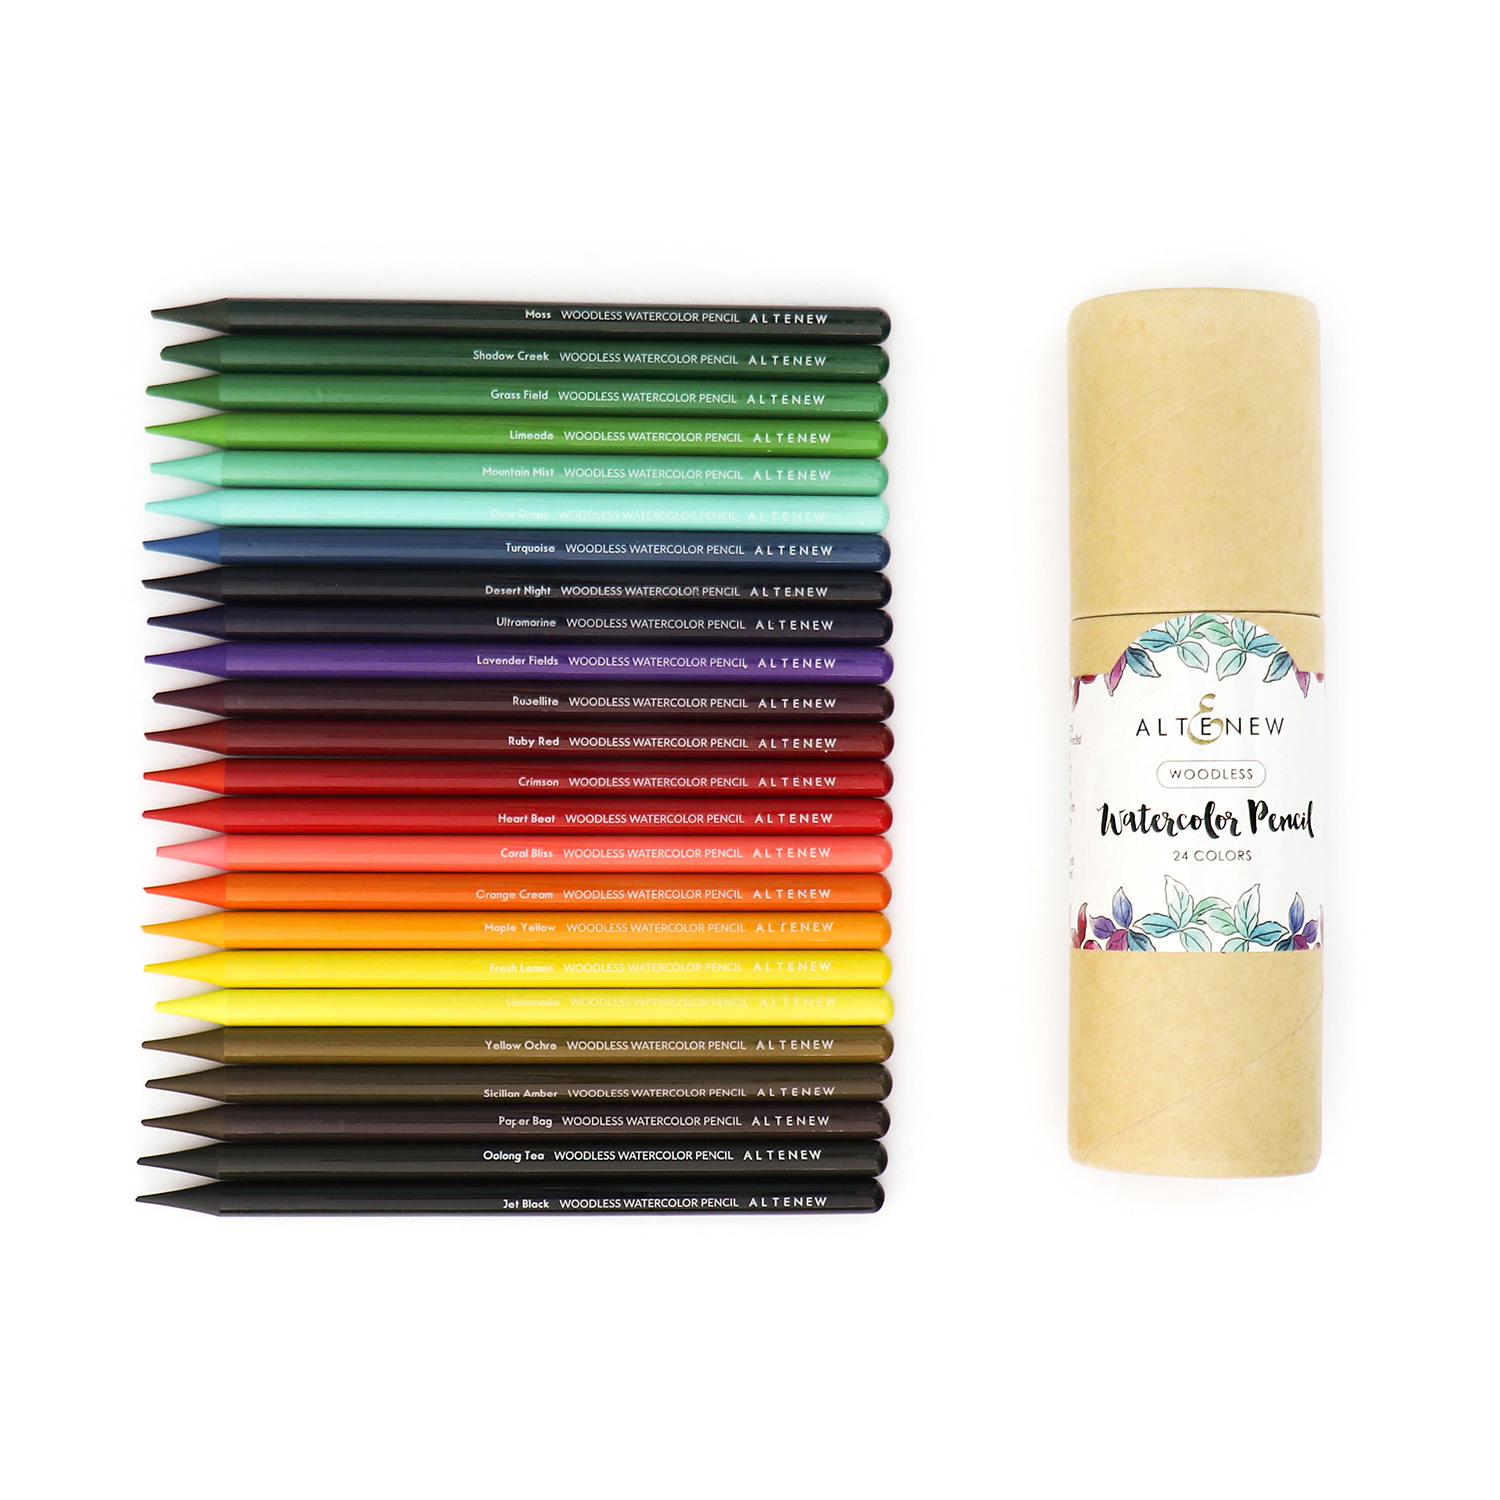
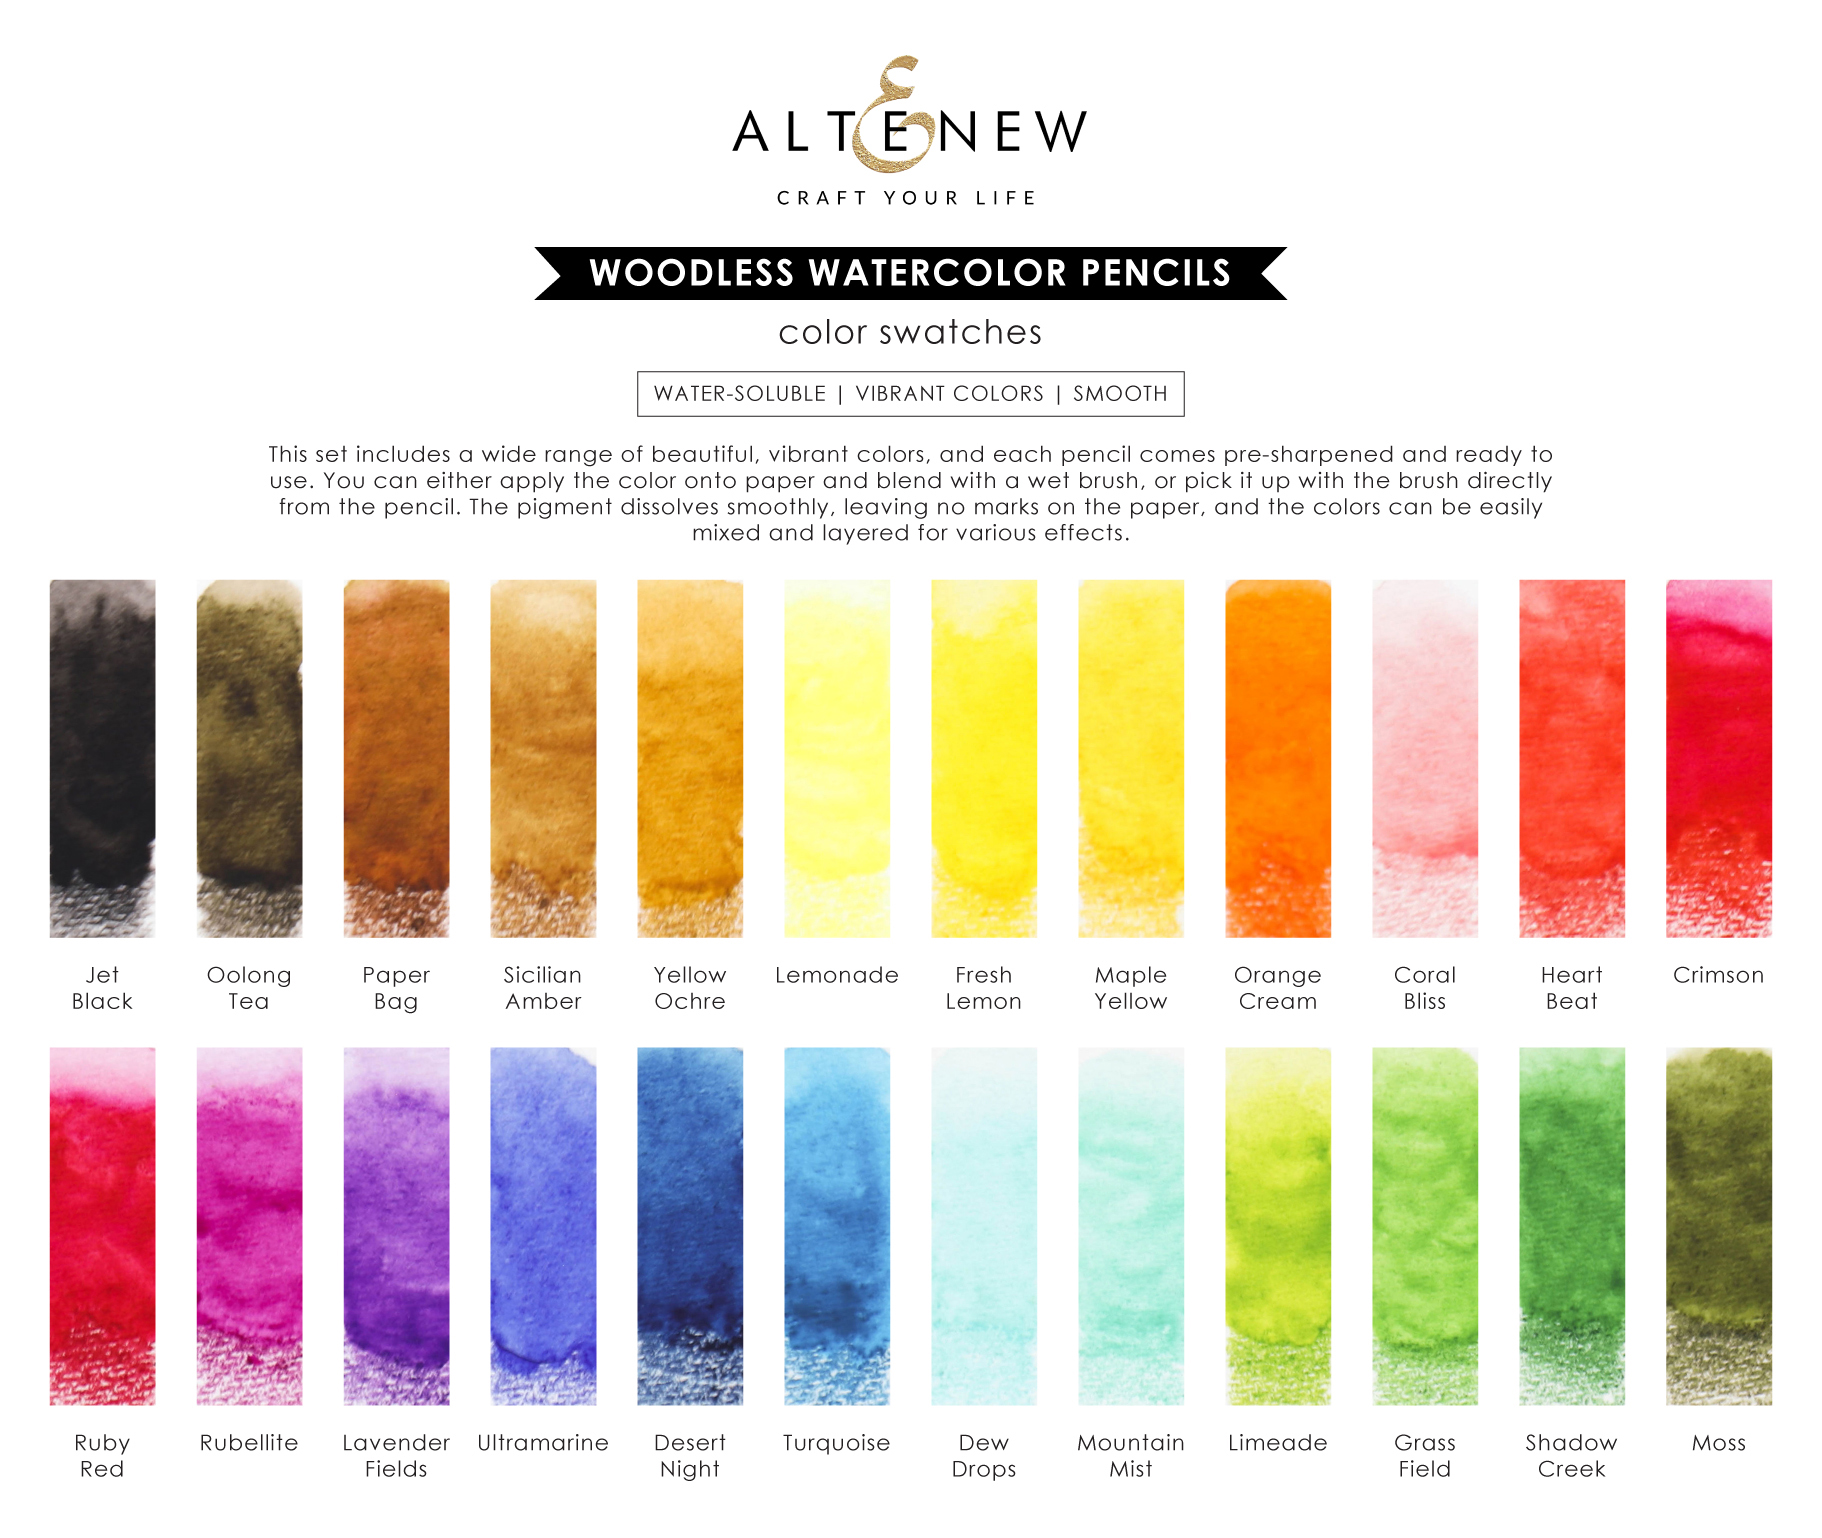
Altenew is collaborating with the amazing Kathy Racoosin from The Daily Marker to inspire crafters to find joy through coloring especially now. Kathy is celebrating her 18th Coloring Challenge until 11/22/2020. I hope you can join the fun and participate in the Coloring Challenge by coloring something and share it on social media using the hashtag #thedailymarker30day. The Coloring Challenge is a good excuse to find some YOU time. Kathy’s blog will have more info on the challenge. For this hop, I am featuring the Woodless Watercolor Pencil set that Altenew just released. Full details of the hop will be at the Altenew blog.
Aren’t these colors so gorgeous and vibrant? Below are some cards I made using these watercolor pencils.
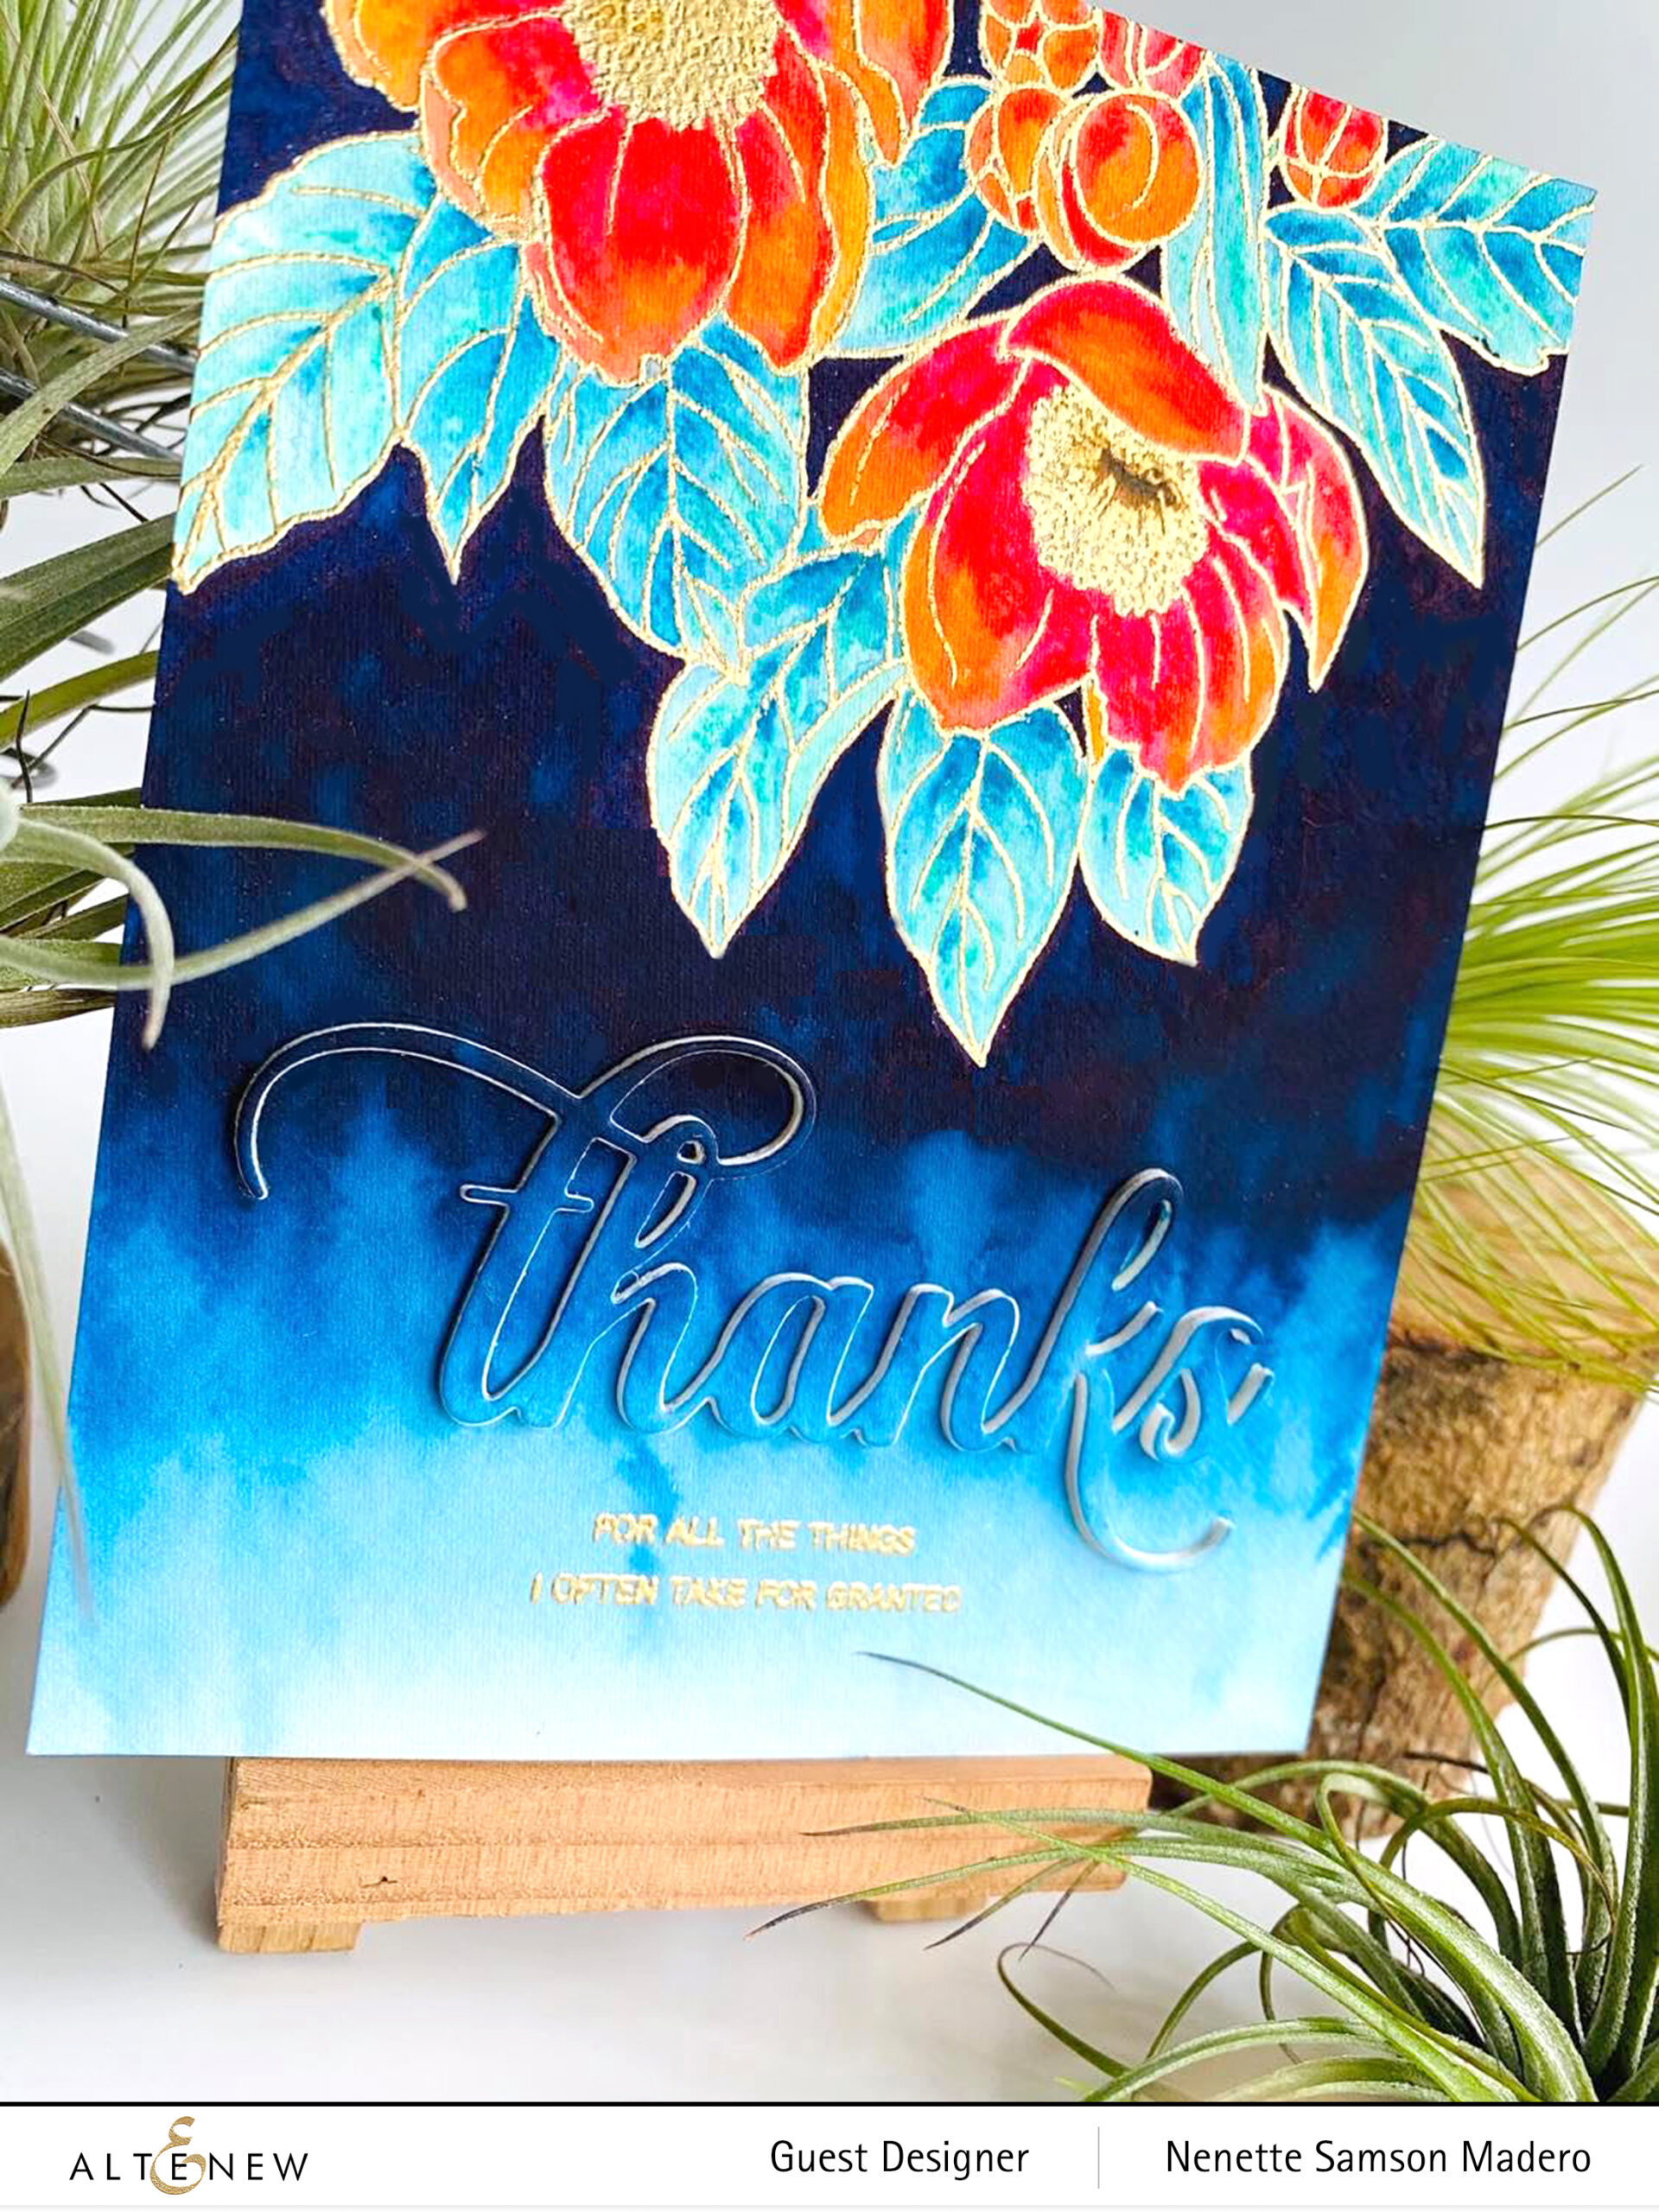
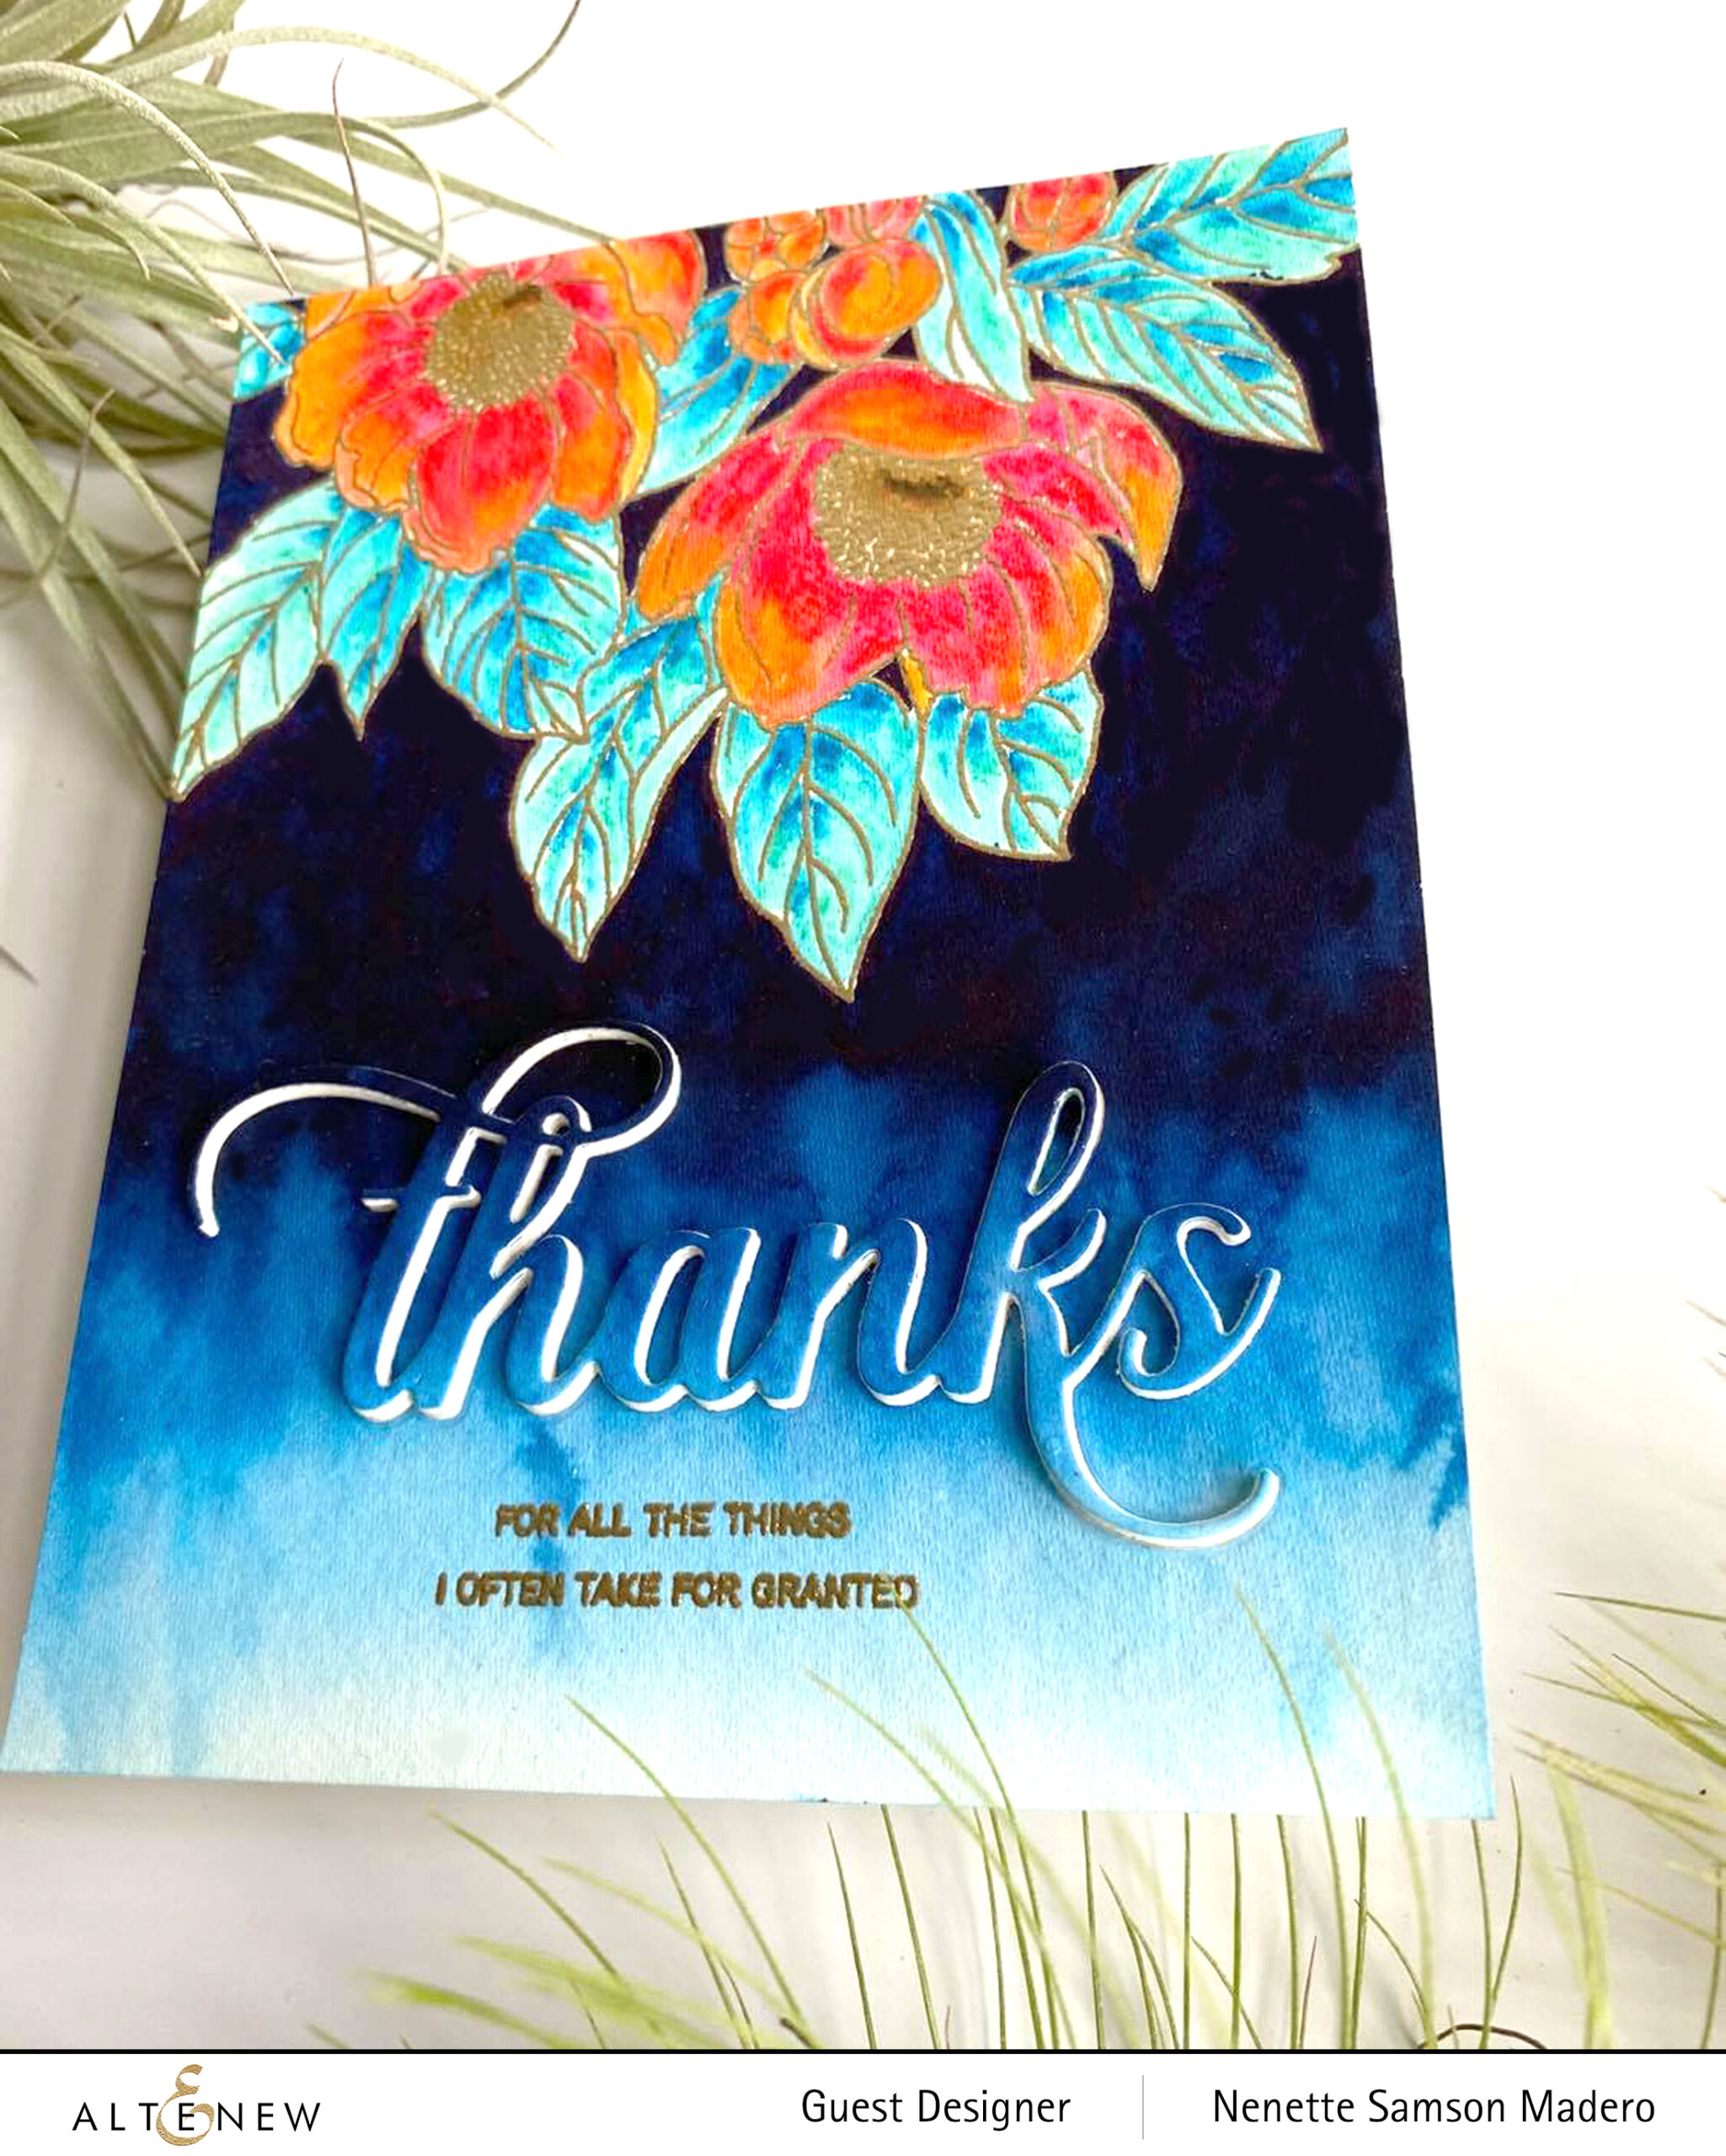
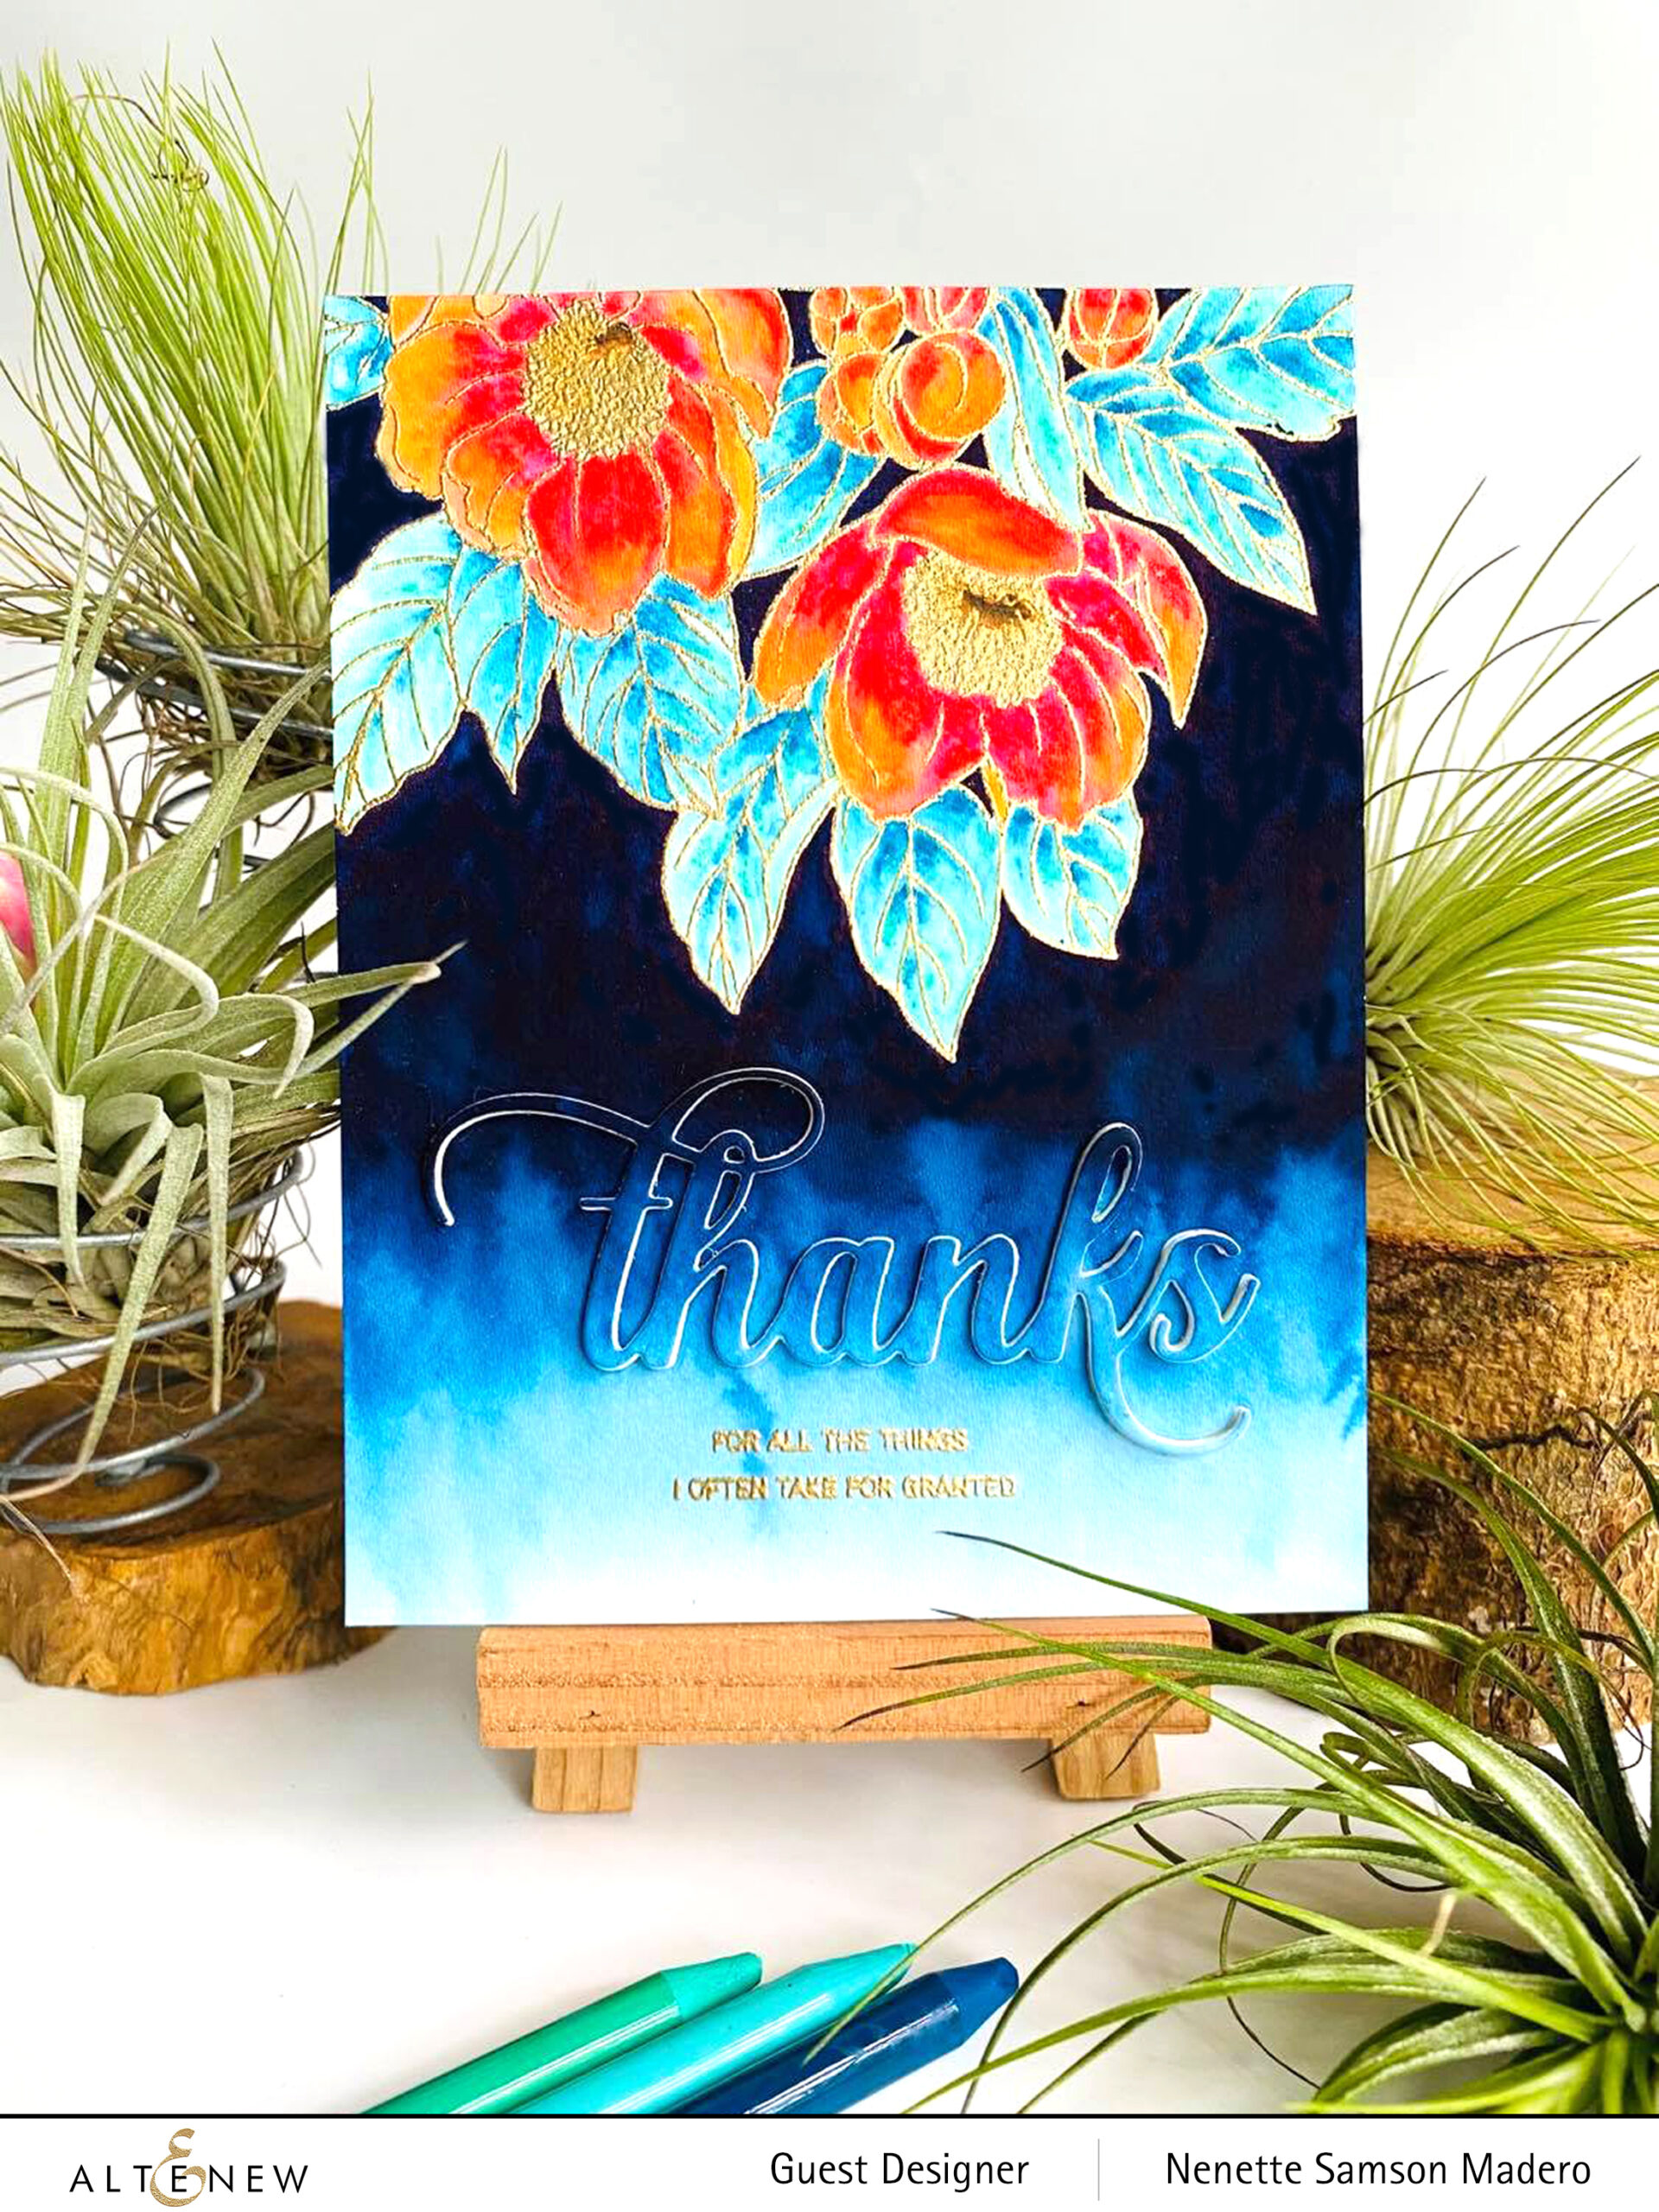
THANKS FOR ALL THE THINGS I OFTEN TAKE FOR GRANTED
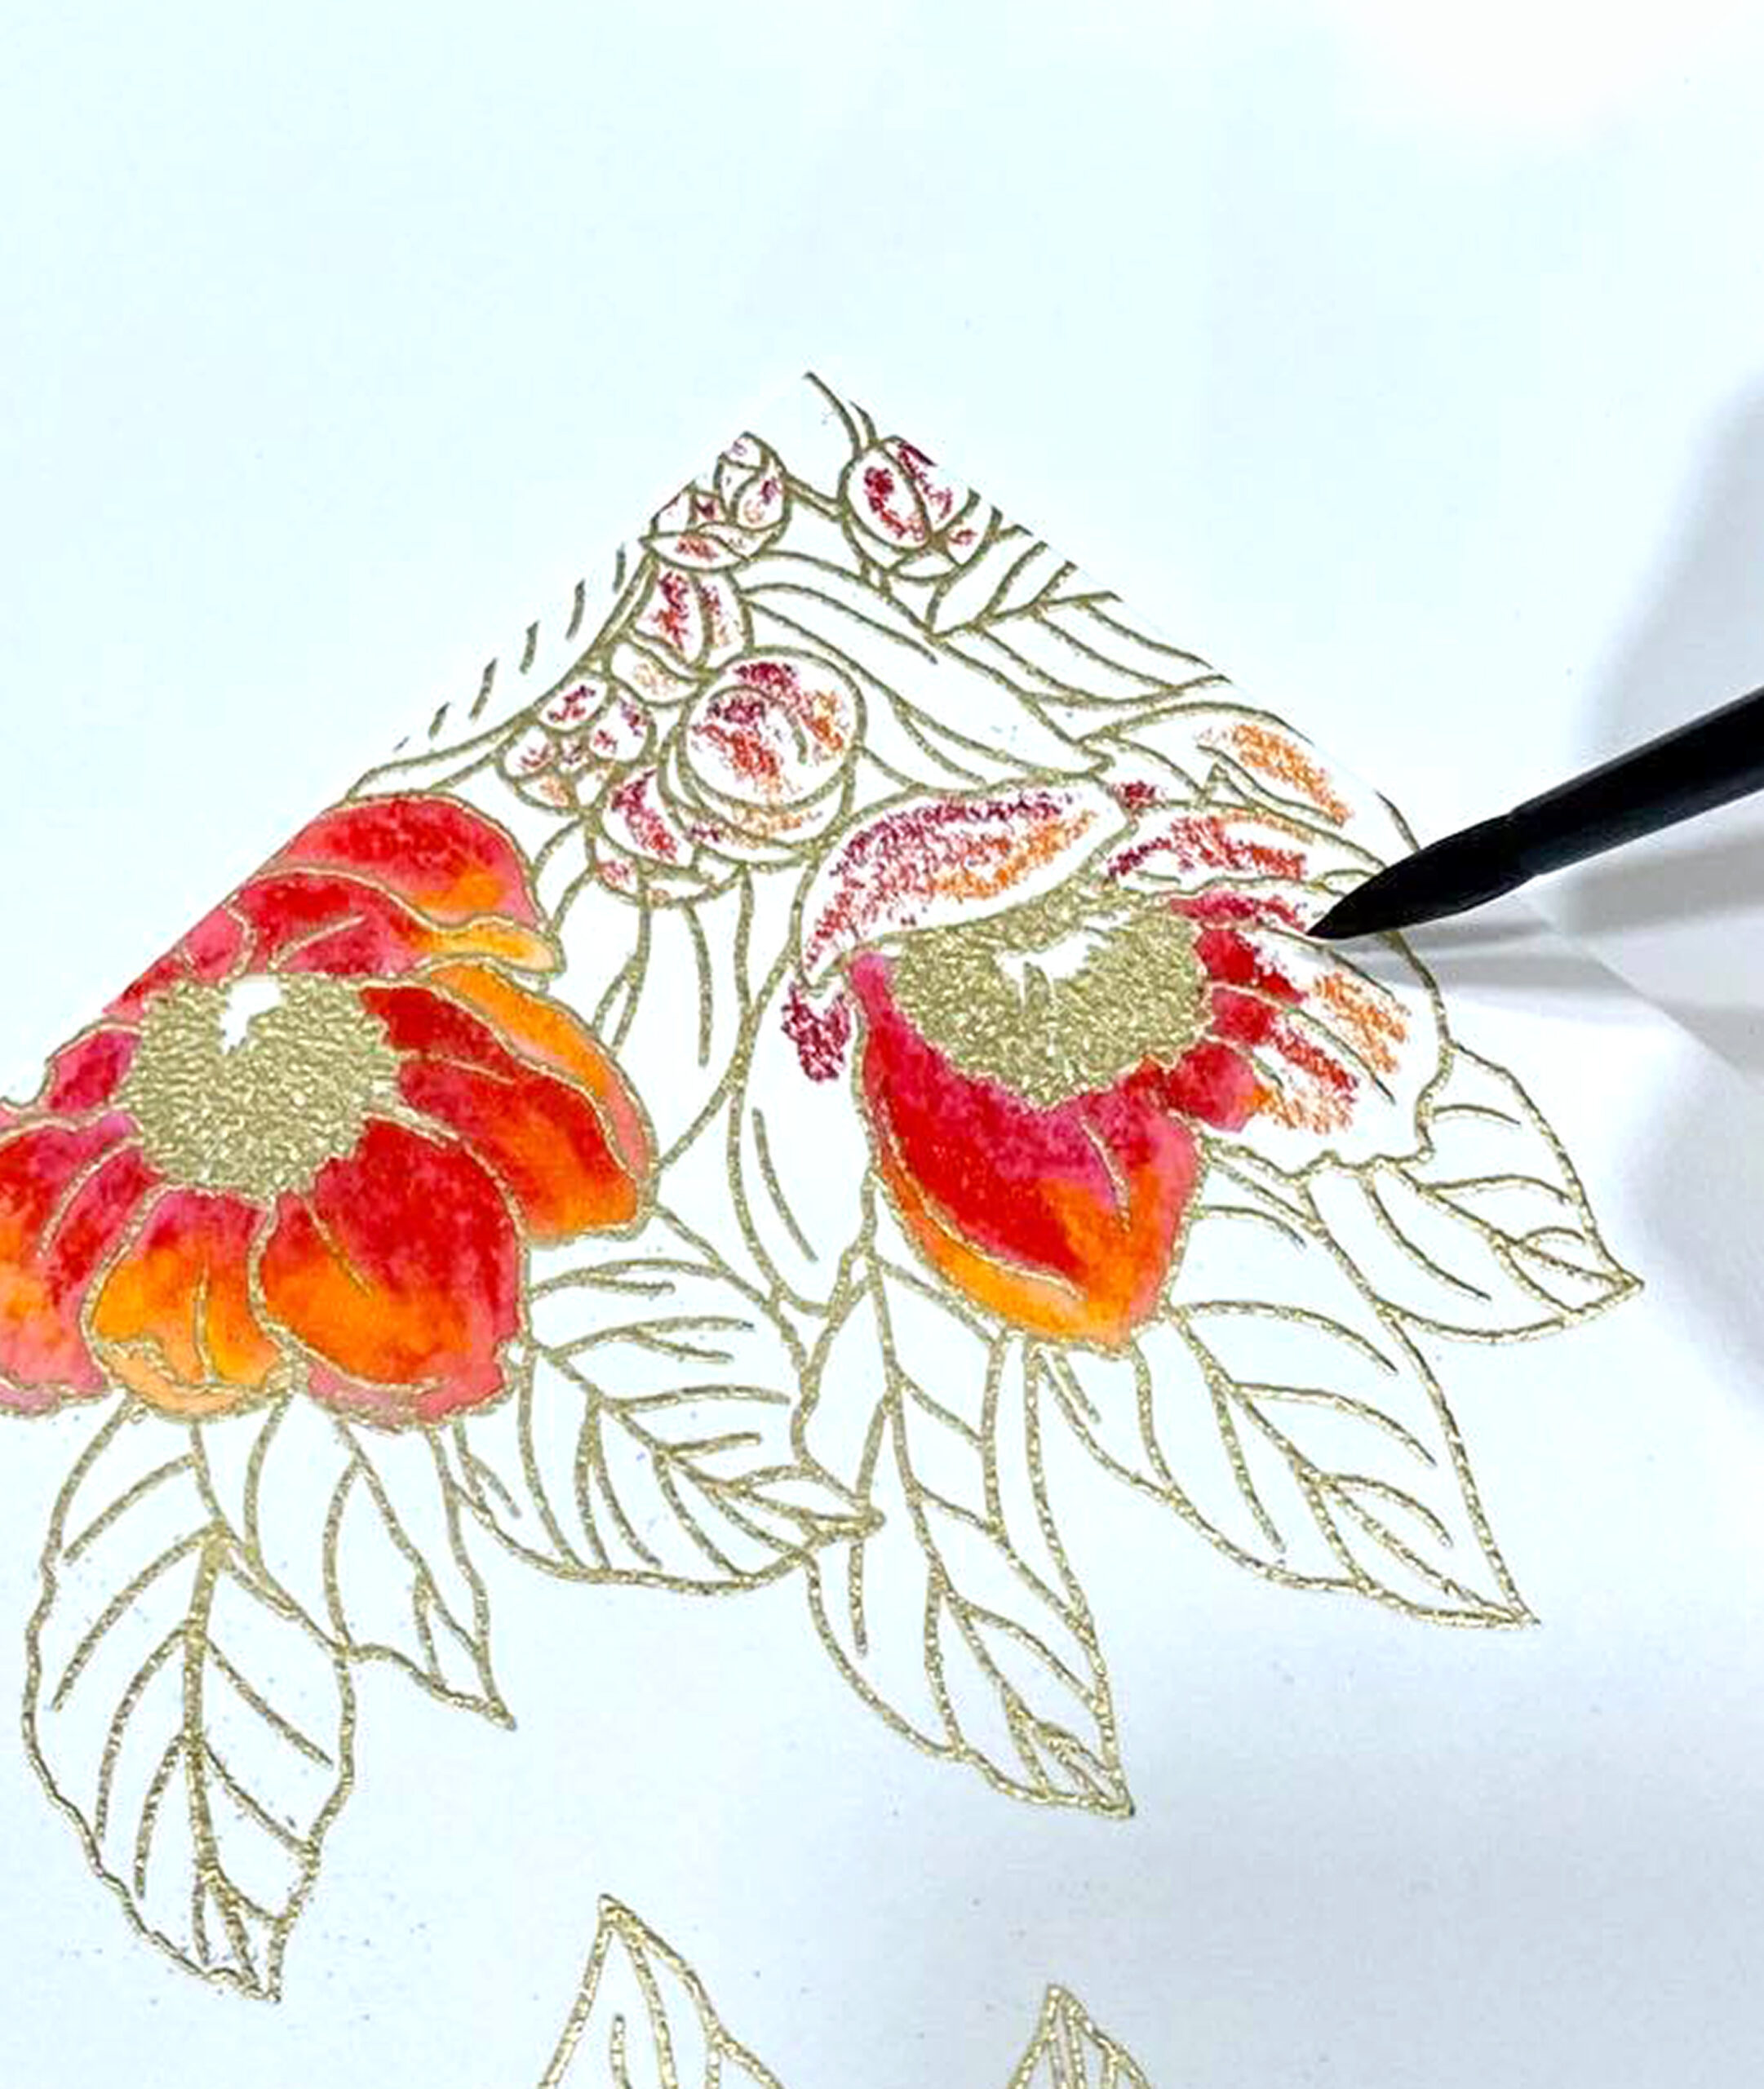
I’ve been wanting to use the Paint-a-Flower: Paeonia Japonica floral image for a while now. I created 2 cards using the image and I was quite surprised how easy it was to color using the Woodless Watercolor Pencils. Embossing the image makes it easier. I used the Antique gold embossing powder and Versamark ink to emboss the images on watercolor paper. Then, I colored the images directly with the pencils using different shades of blues and oranges.
With a wet brush, I activated the pigments starting from the darkest part first. I made sure to rinse the brush in between colors otherwise, the dark colors will dominate the whole petal. I did the same for the leaves.
Because the core of watercolor pencils usually are oil or wax based mixed with the pigments and binding agents, the pigments in watercolor pencils do not flow easily. You will need to pull or push the pigments to where you want the colors to go. For those of you who are beginning to appreciate watercolor, this might be easier for you cause there’s more control as to where the colors will go. For the background, I used the Dessert Night watercolor brush marker from the Tropical Fiesta Watercolor Brush Marker set. I love how the deep blue color made the image stand out more. I created an ombre effect for the cardfront.
Lastly, I die cut the Fancy Thanks onto the card front then made 5 more to layer on top of each other. The sentiment from The Paint-A-Flower: Calla Lily was stamped using Versamark Ink and embossed with Antique Gold embossing powder.
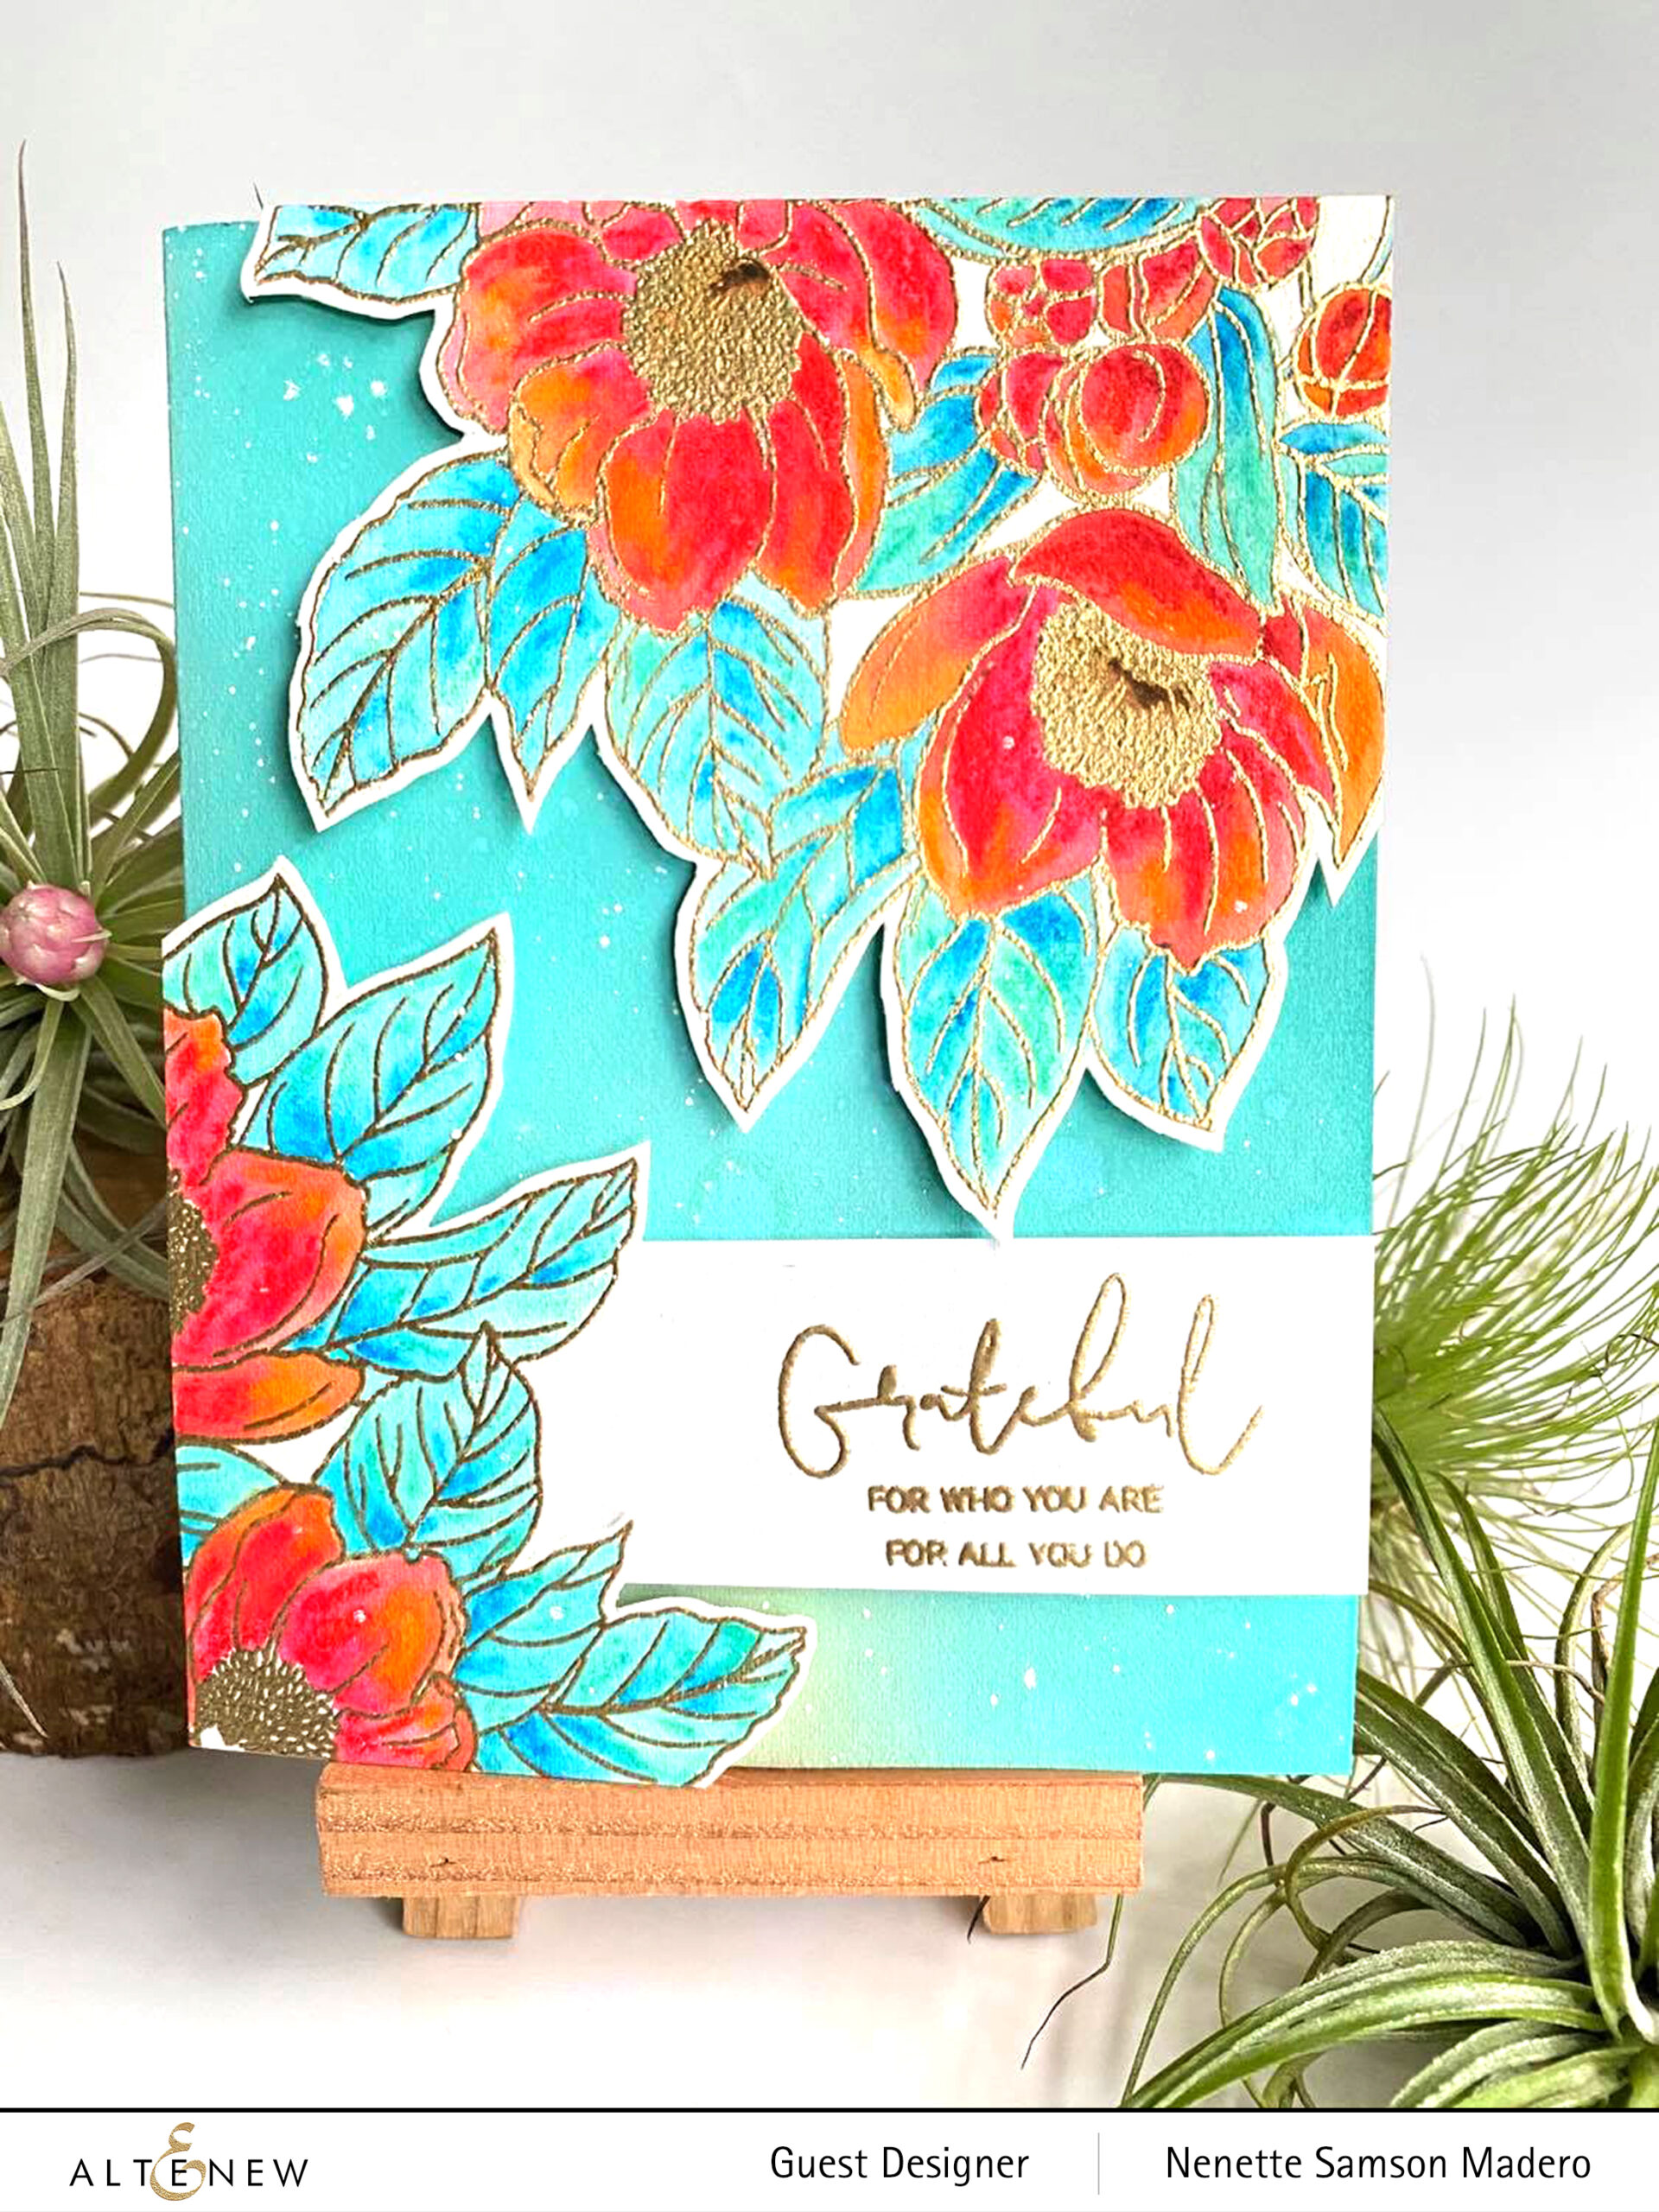
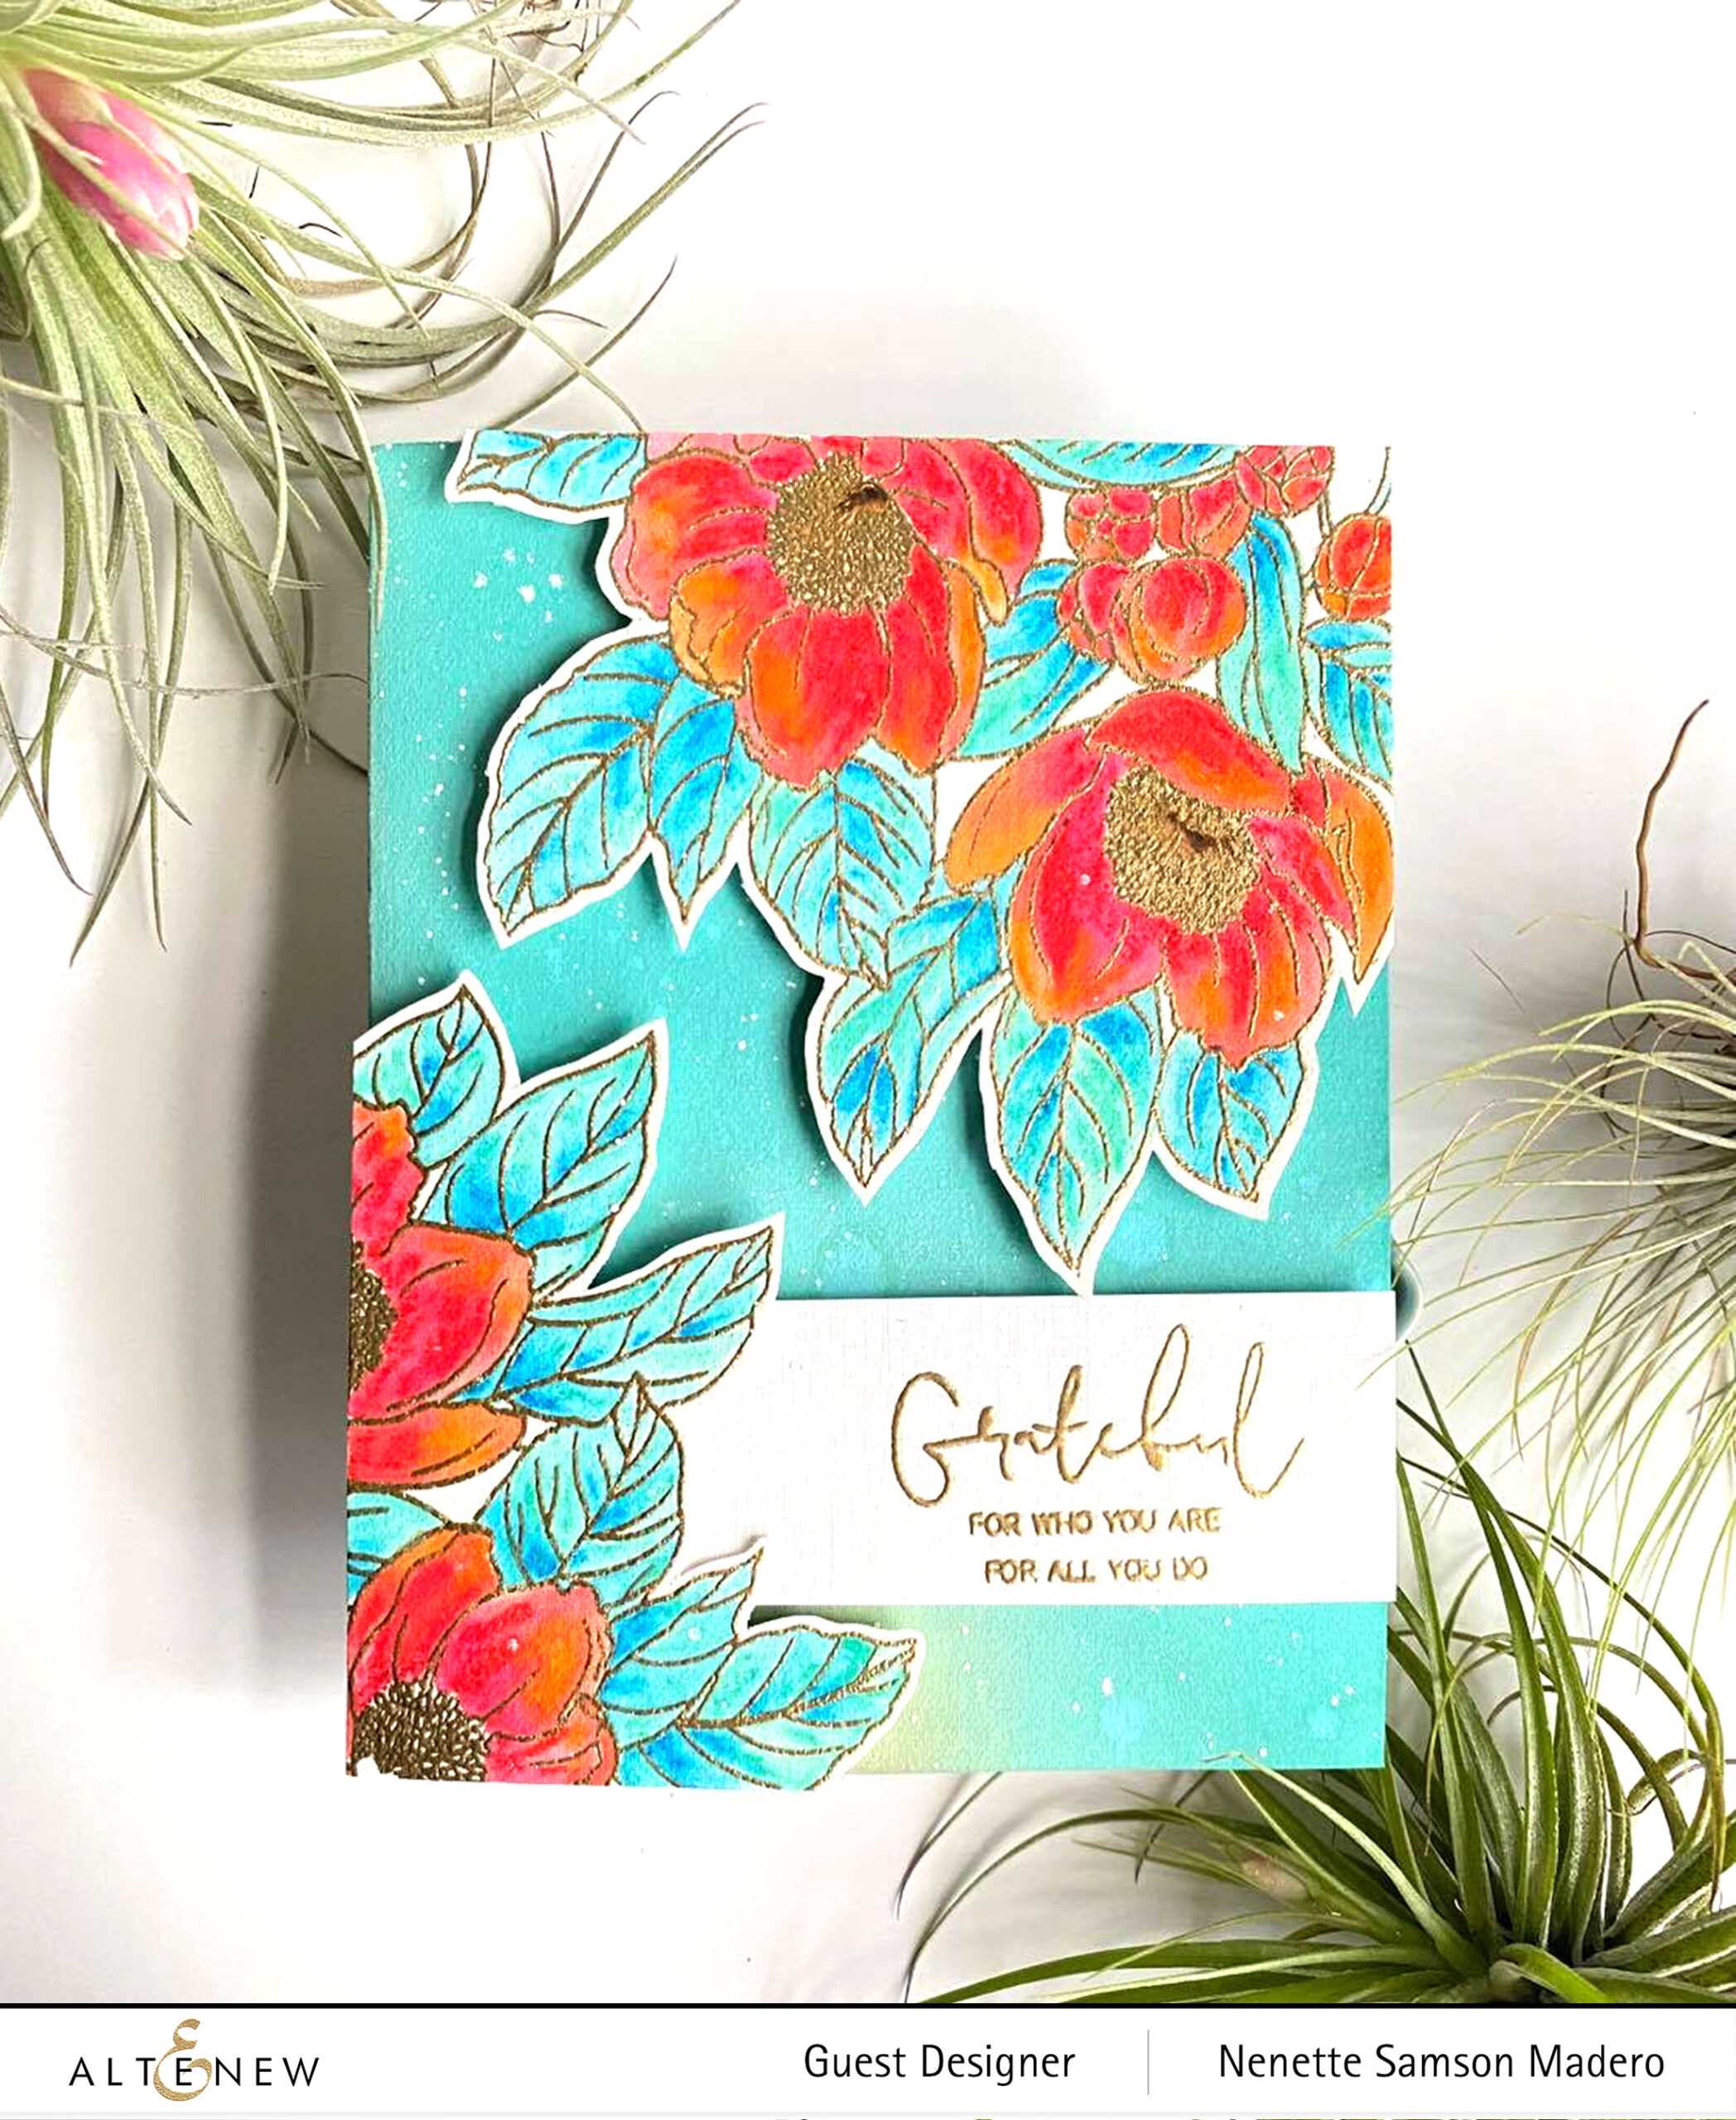
Here’s another card I made using the same coloring process but this time I chose a light colored background. The card front was colored using the following Distress Oxide inks– Tumbled Glass, Peacock Feathers and Tea Dye. I used a water sprayer to add droplets of water then added splatters of white gouache paint for added texture.
I made a boo boo stamping directly on the cardfront without checking if the distress inks were already dry. Even if I used an antistatic tool, the embossing powder was all over the place! Lesson learned…. next time make sure that the inked surface is completely dry before stamping. To correct the mistake, I just added a sentiment strip. I think it worked better cause it made the sentiment stand out more. I fussy cut the images and adhered them and the sentiment strip to the card front using foam squares.
For this card, I stamped the image from the Woodland Doodles stamp set onto watercolor paper then embossed it with Rose Gold embossing powder. I used the pinks and oranges and browns to color the image.
I was organizing my stamps last weekend. The containers were narrower than the dividers so I had to trim the edges of the dividers to fit. The background of this card was made using the leftover laminated cardstocks from the dividers. Didn’t want them to go to waste! 😊
I die cut a thin gold frame using the Fine Frame die and adhered it on top of a cardstock that matched the card base. . The watercolored image was added on top of the frame using foam squares then the sentiment was layerd on top.
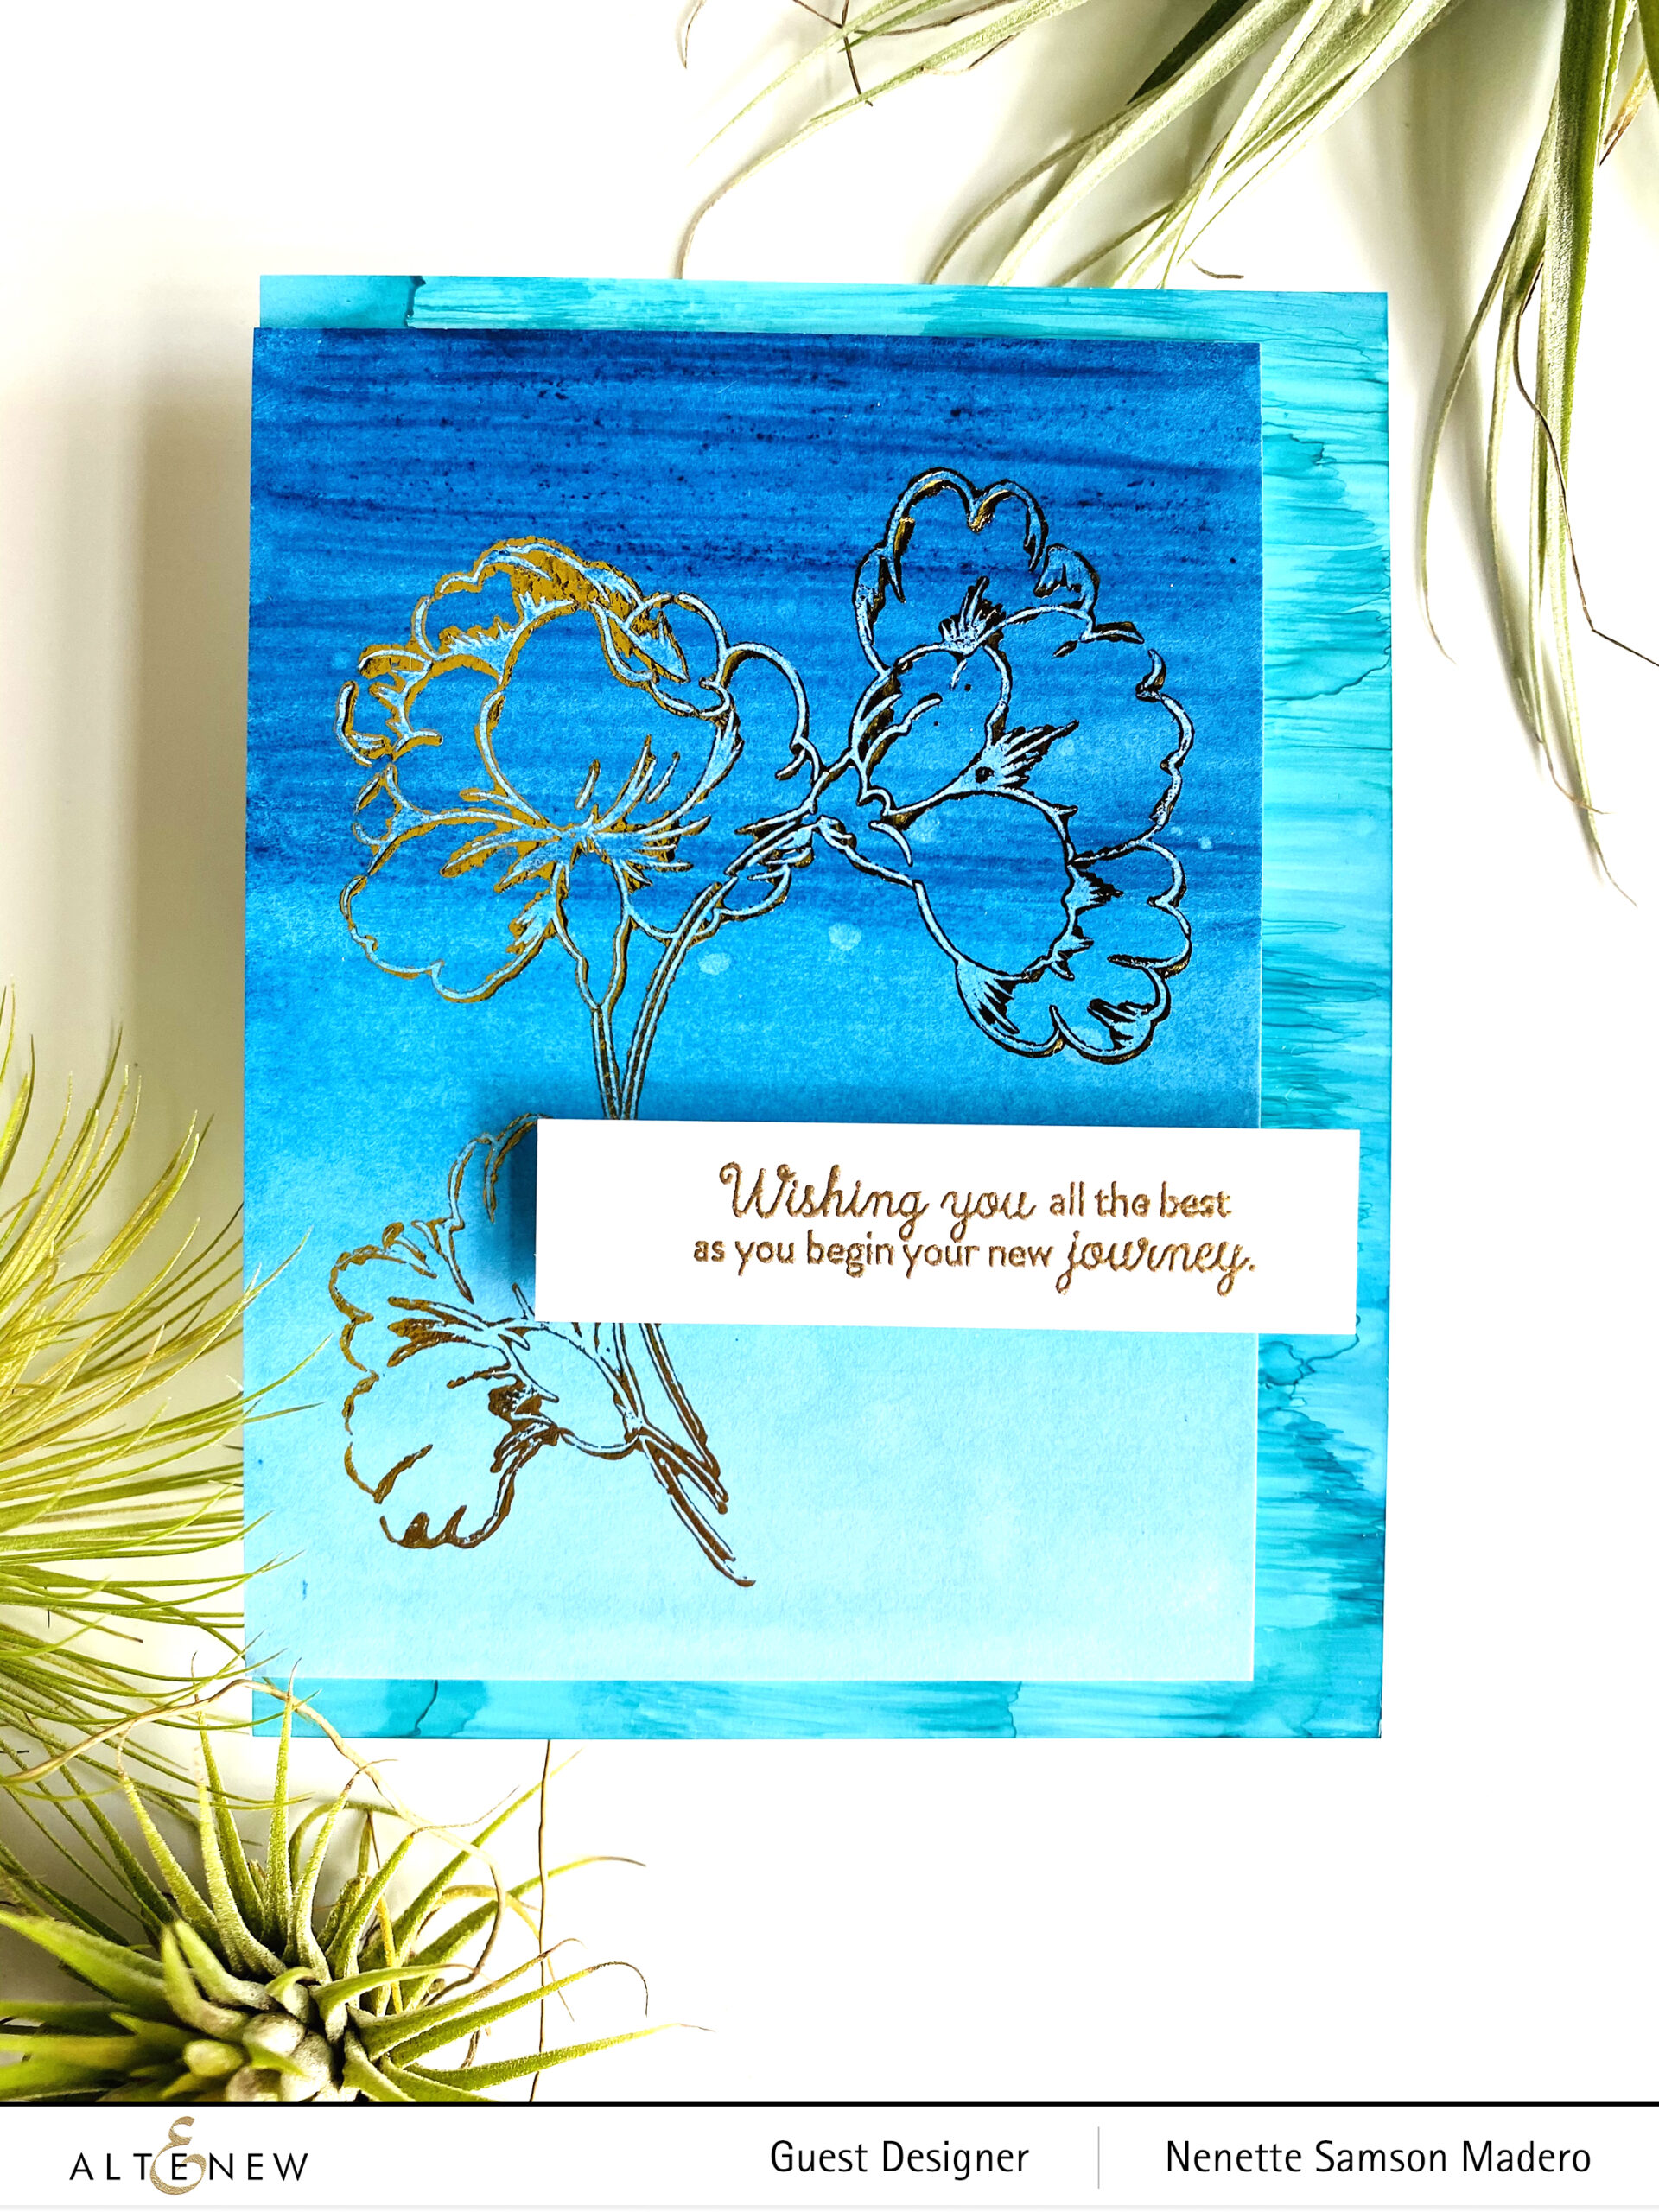
Here’s a quick CAS card. I scribbled 2 shades of blue on watercolor paper then with a wet flat brush, I spread the pigments from top to bottom to create an ombre effect. Water splatters were added before it dried. While waiting for it to dry, I used a distress tool to add alcohol ink onto Yupo paper for the card base. After the watercolored paper was dry, I then stamped the floral image using Decofoil Transfer Gel. I used a mini blending tool to add the gel to the stamp set. A Misti was used to make sure that I can re-stamp the image again. The stamp was cleaned right away to make sure that the gel does not harden on the stamp surface. After the gel dried (around 15 mins), foil was added using a Minc machine.
The stamped image and the sentiment were layered on top of the alcohol ink panel using foam sheets for added dimension.
PRIZES AND GIVEAWAYS
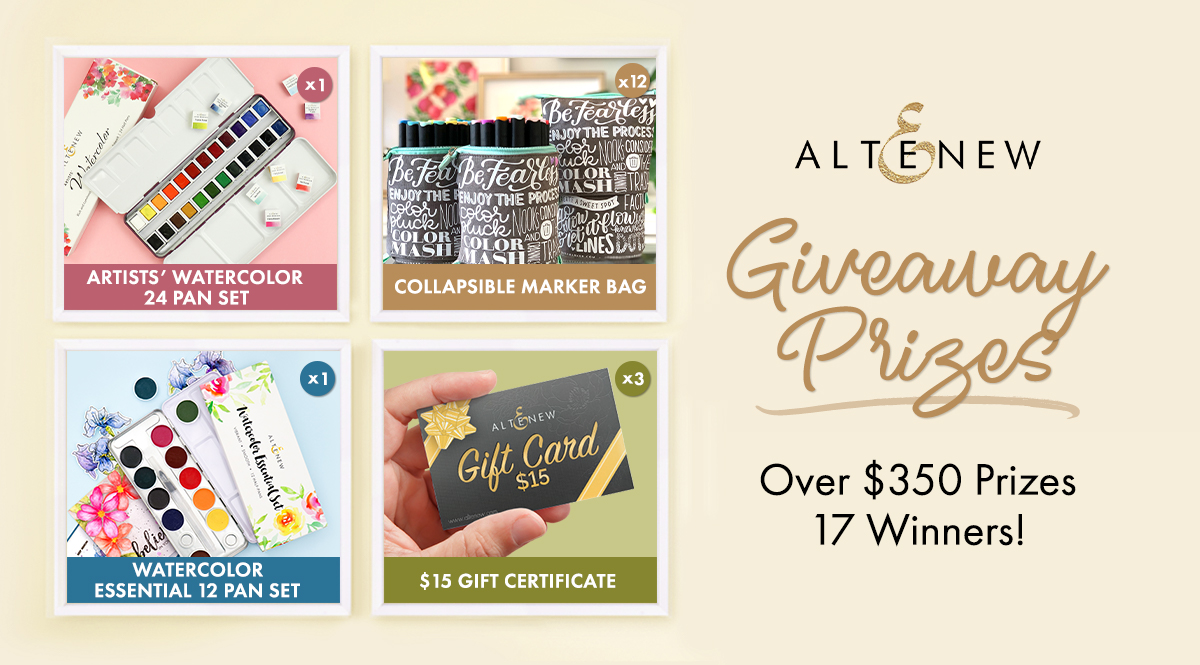
Altenew and Kathy from The Daily Maker are giving away over $350 prizes to 17 lucky winners.
Please leave a comment on the Altenew Card Blog and each designer’s blog on the blog hop list below for a chance to win by 11/24/2020. All winners will be announced on the Altenew Winners Page on 11/30/2020.
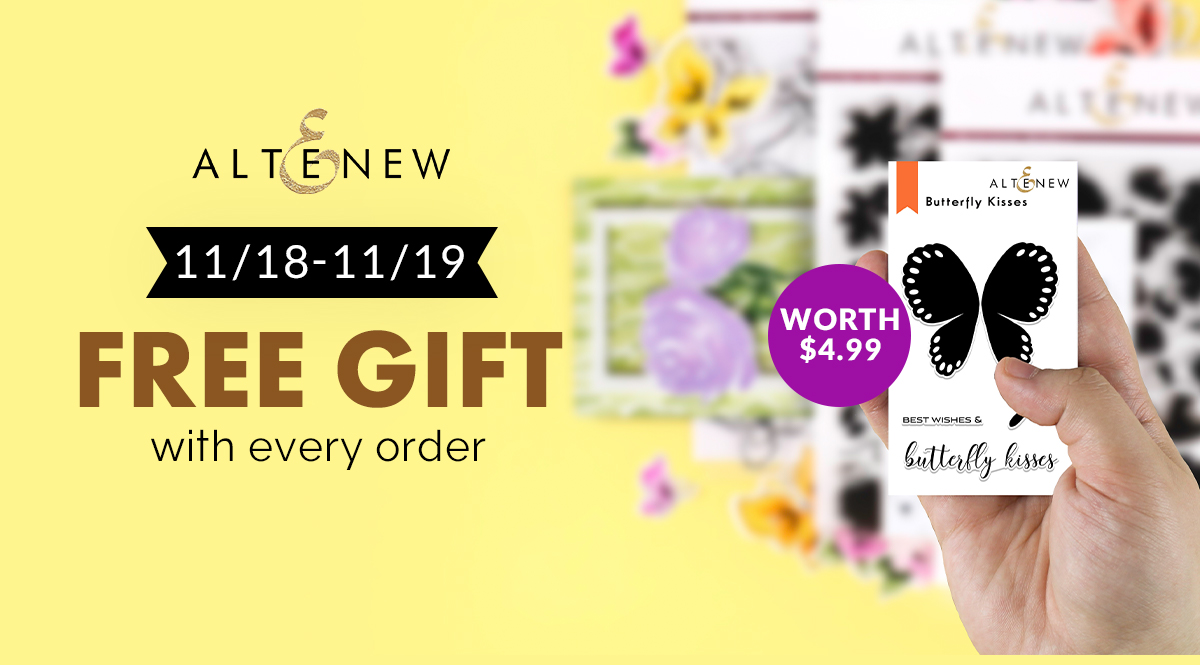
Receive a FREE brand NEW Butterfly Kisses($4.99 value) with *every order from 11/18/2020 at 12:01 am EST until 11/19/2020 at 11:59 pm EST or while supplies last. The free gift will be added to cart automatically. Shop here -> https://altenew.com/collections/all-altenew-products *Not valid on online class, workshop, print media orders.
Thank you so much for dropping by. I hope you were inspired by the amazing cards by all the designers. Don’t forget to leave a comment below to get a chance to win amazing prizes! I always look forward to reading all your wonderful comments. Let me know which card you like. Hop you’ll subscribe and follow me on IG @mylittleatticstudio for my latest creations. Stay safe everyone and happy crafting!