Altenew October 2025 Release Blog Hop and Giveaway

Altenew October 2025 Release Blog Hop and Giveaway

Hello Altenew friends!

I’m so excited to be a part of this amazing blog hop celebrating the October 2025 release of Altenew. There’s so much inspiration waiting for you along the way, so be sure to check out the full list of participants below and hop along!
It’s been a while since I was a guest designer, so when I got the invitation, I was absolutely over the moon! That excitement inspired me to create 11 cards from this release. Make sure to visit the Altenew blog for complete details. You can check out the October release here.

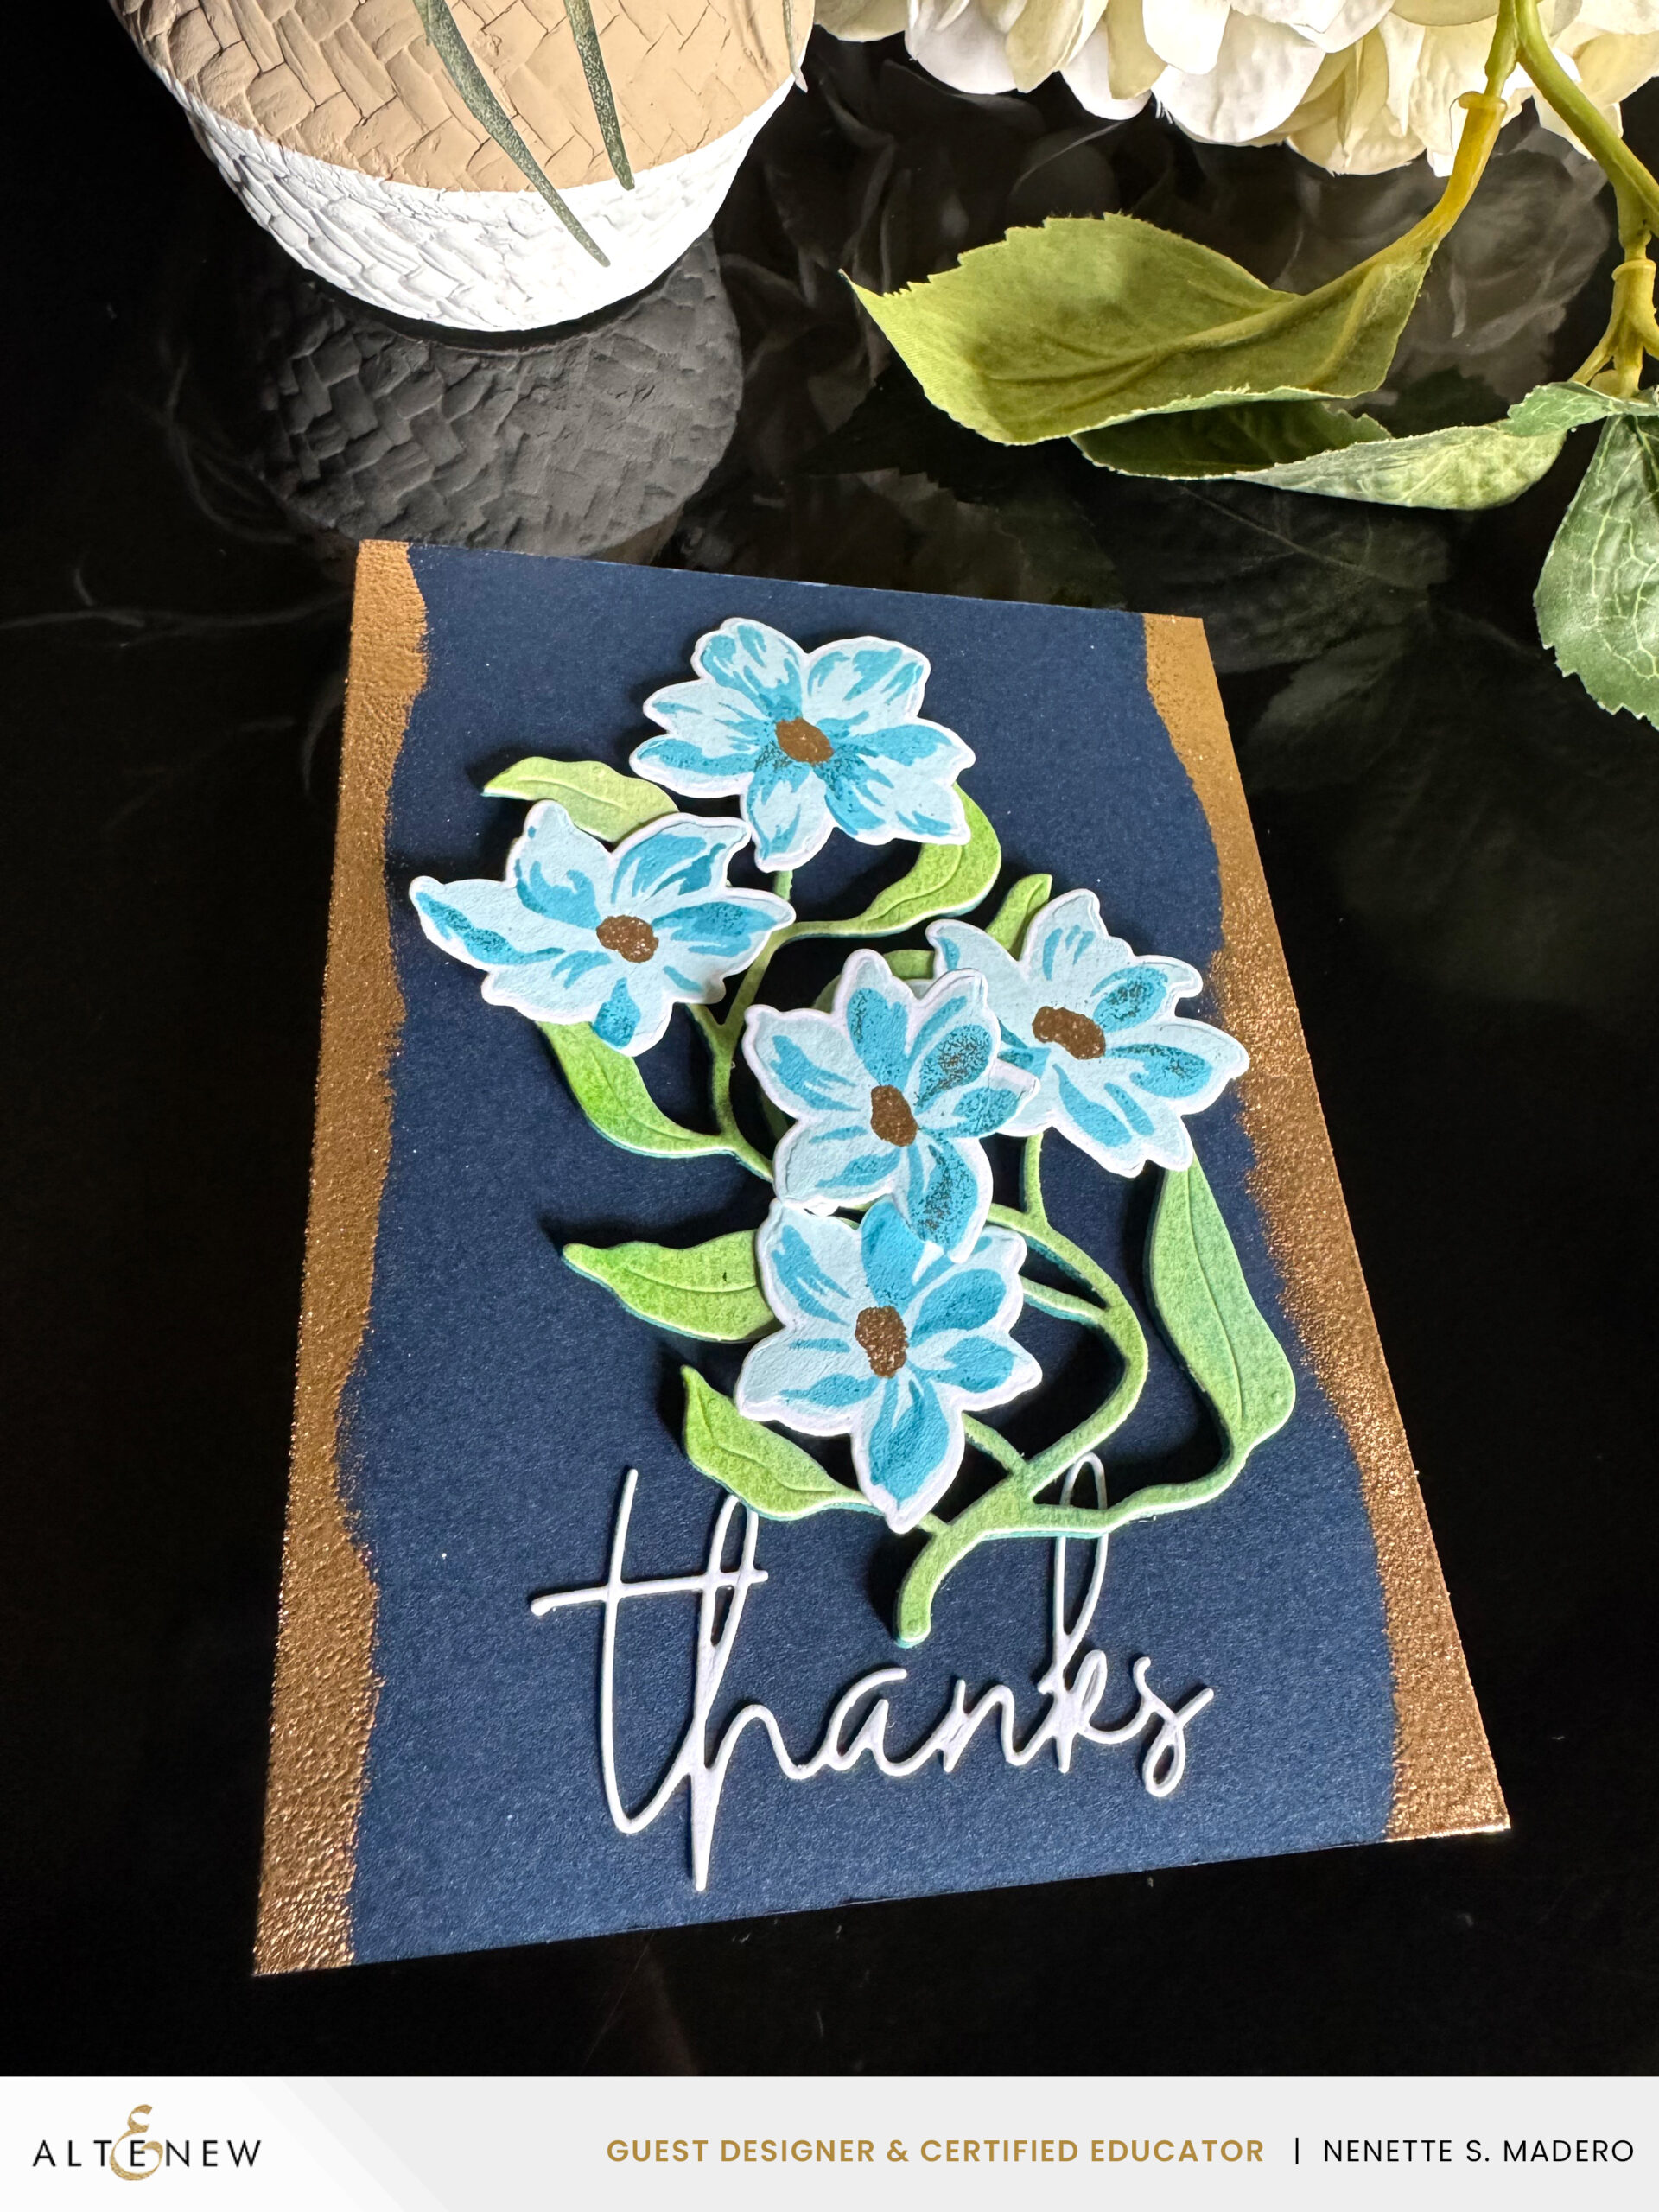
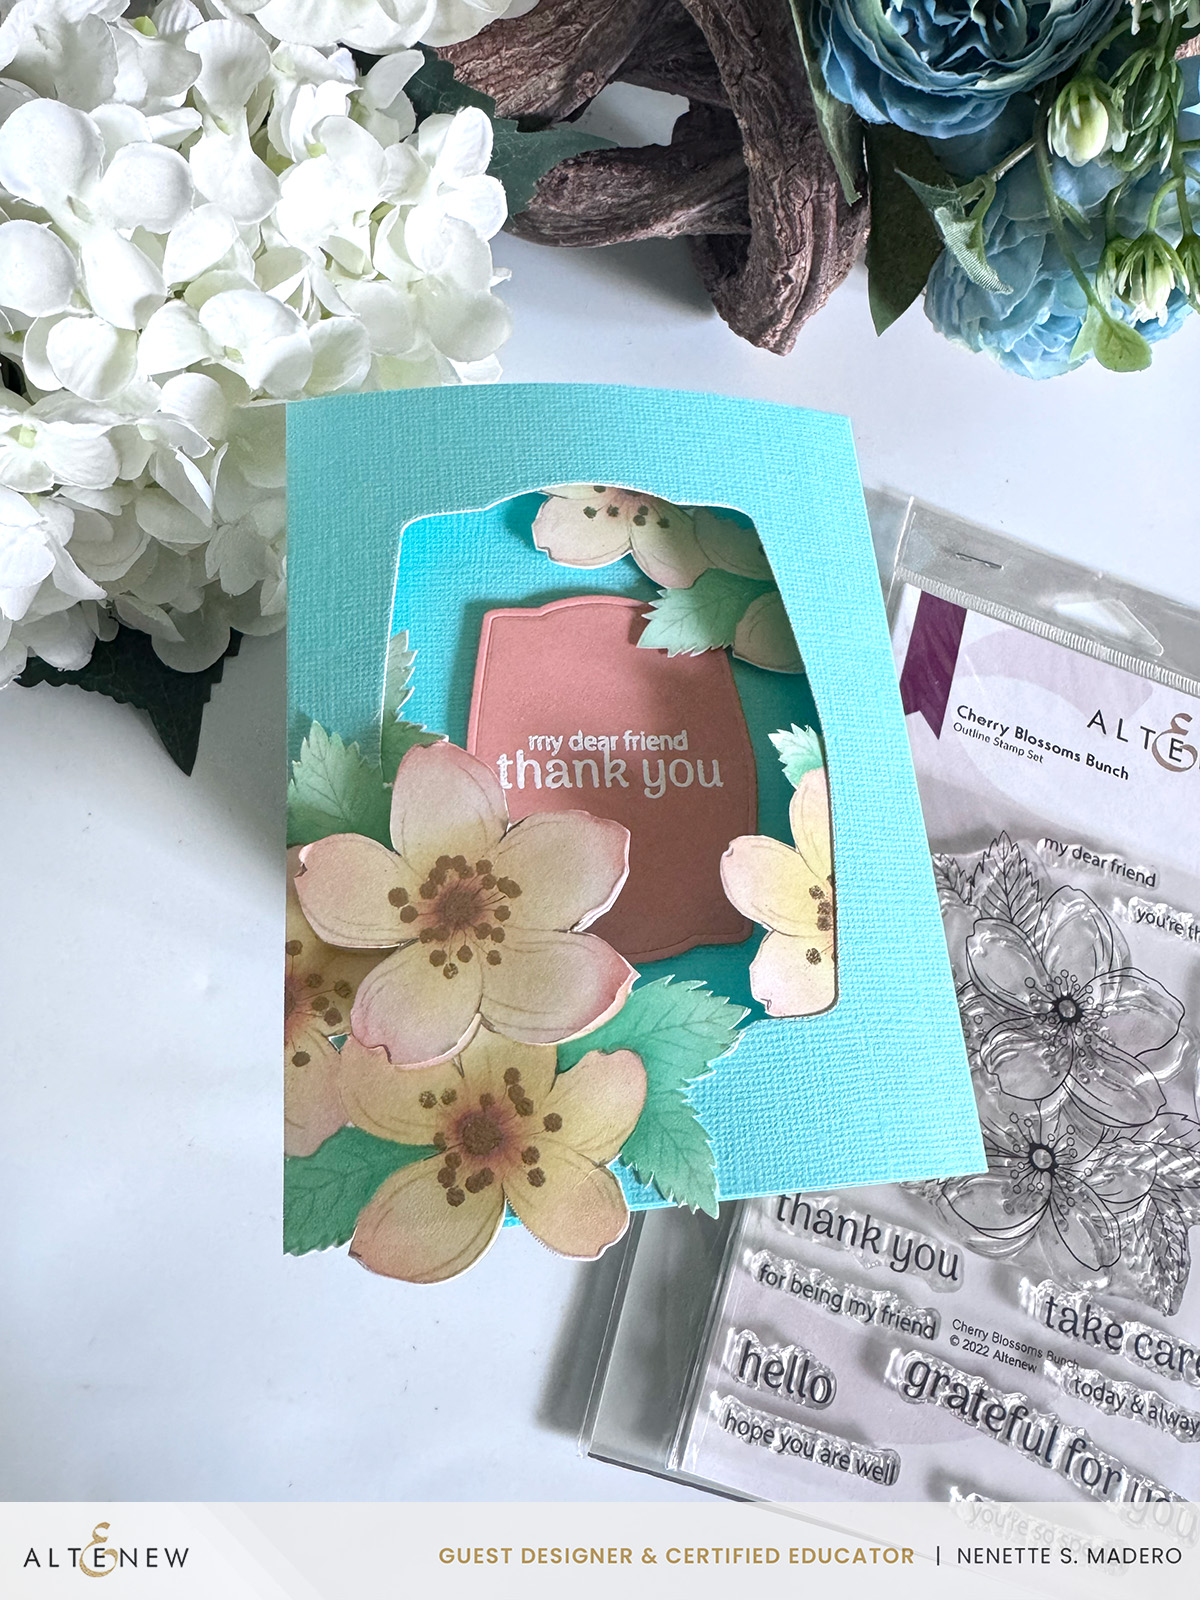
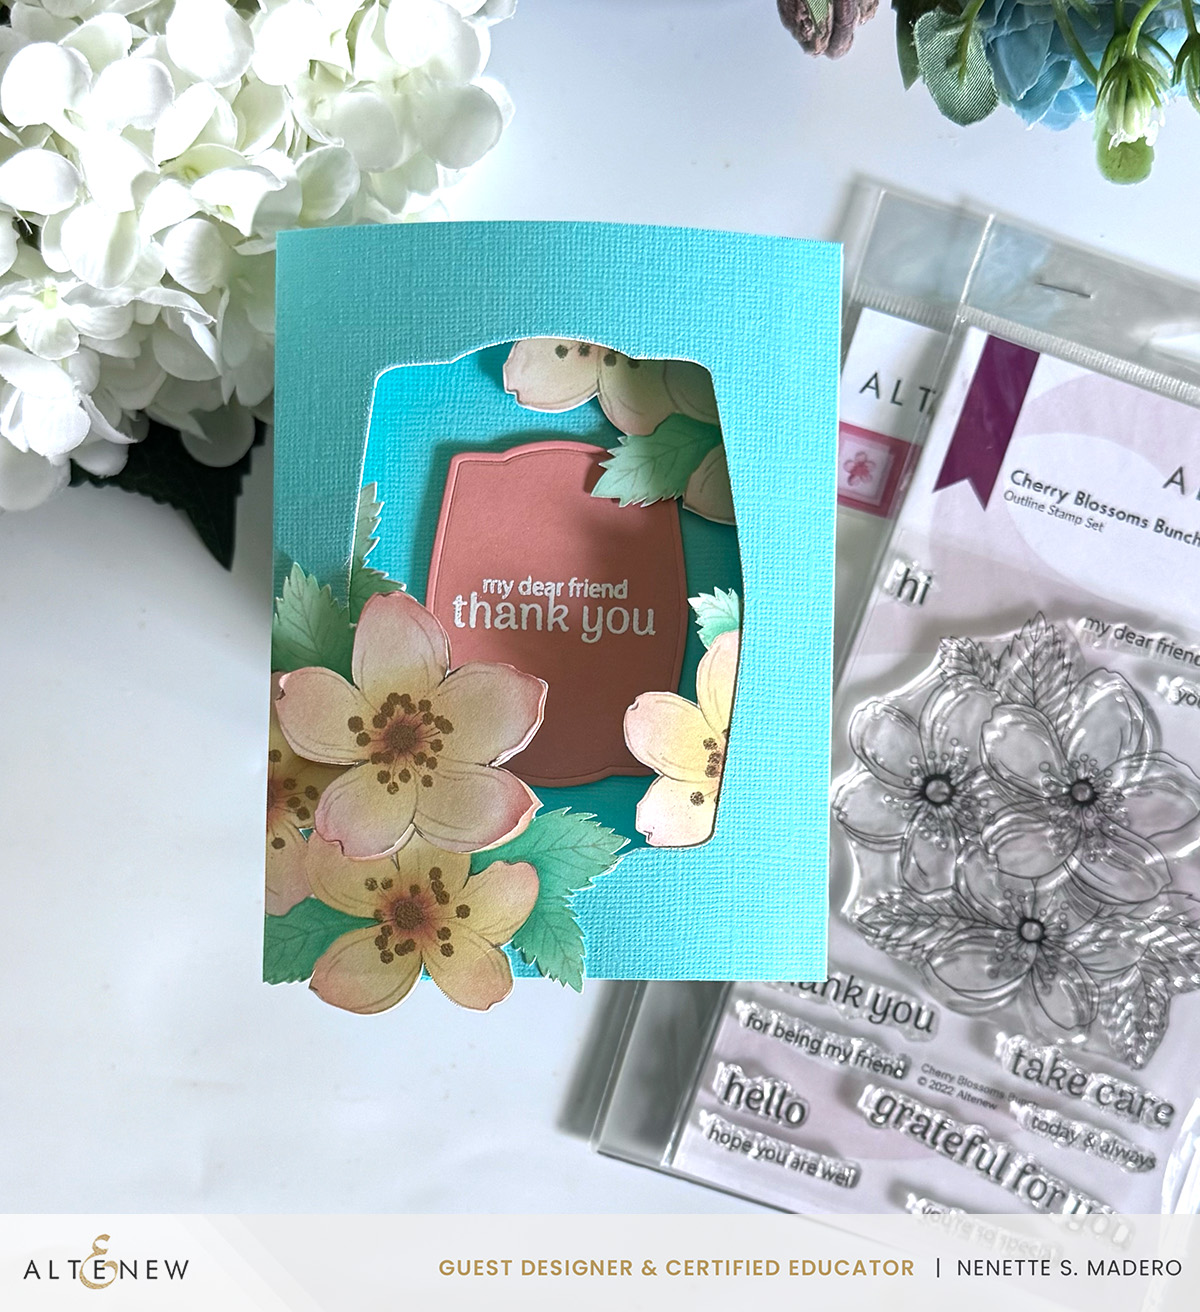
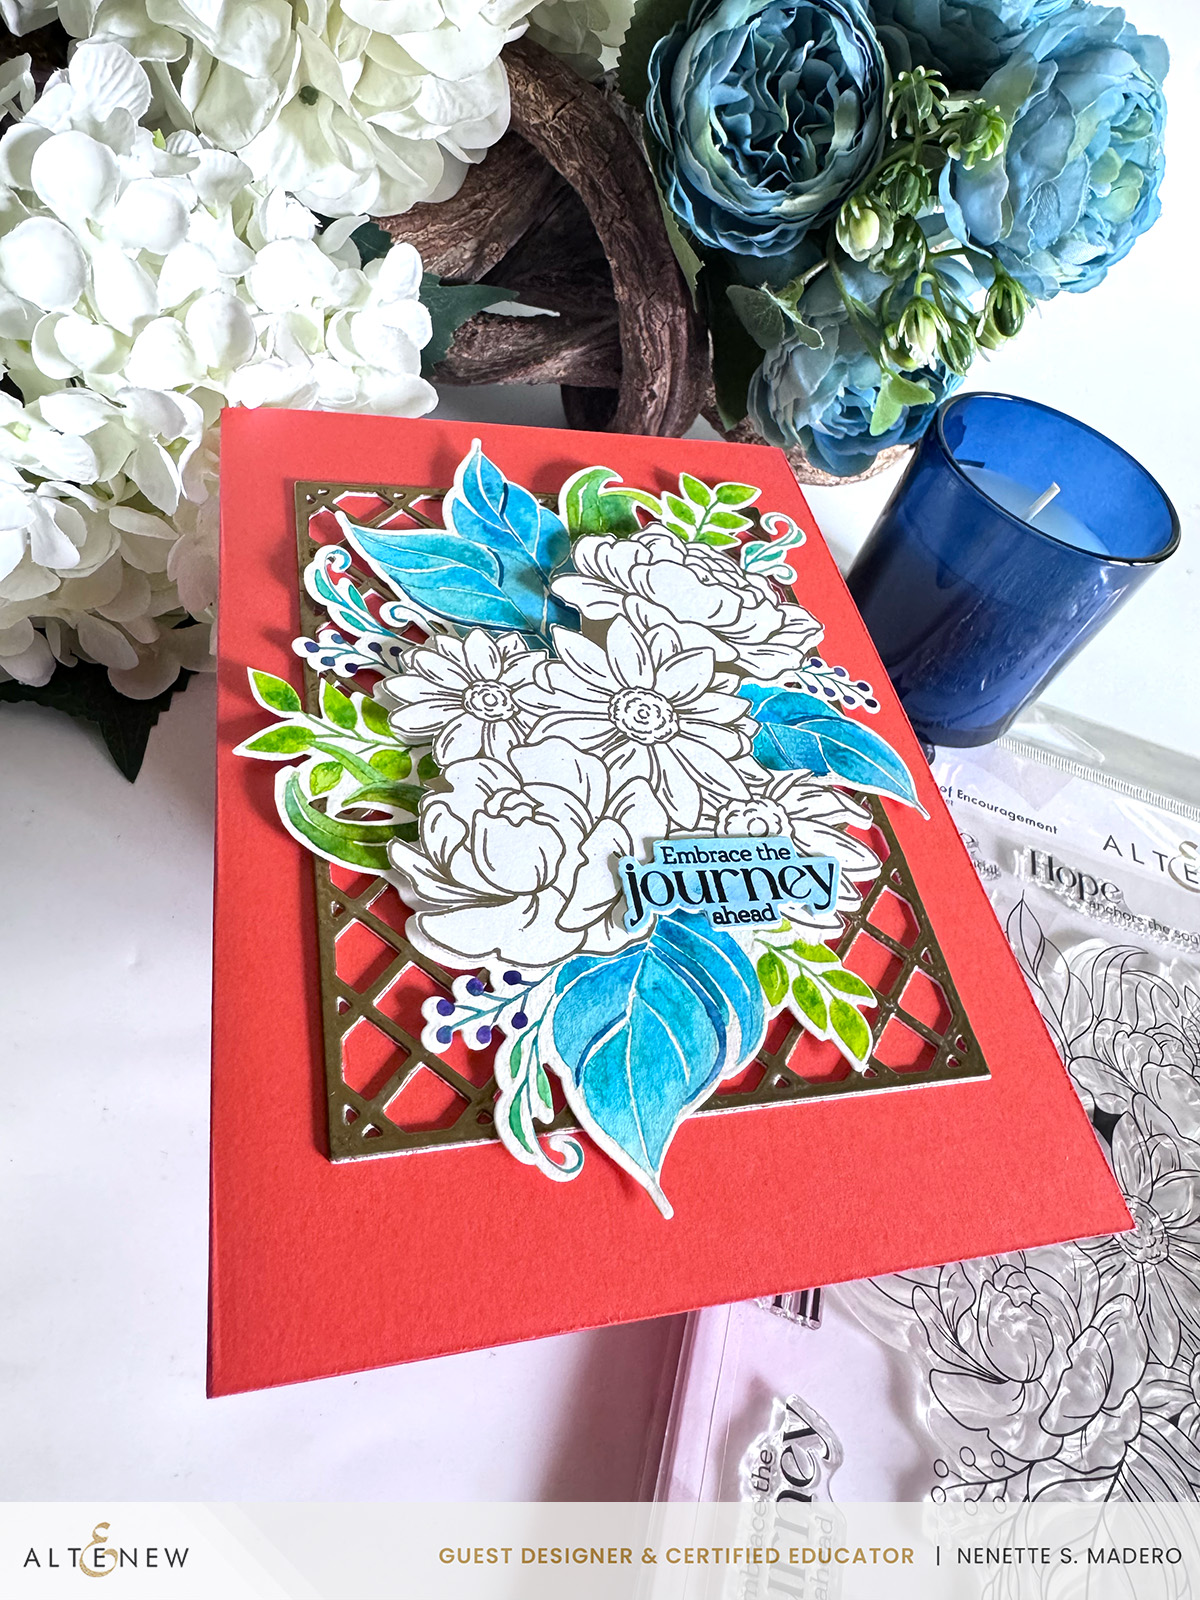
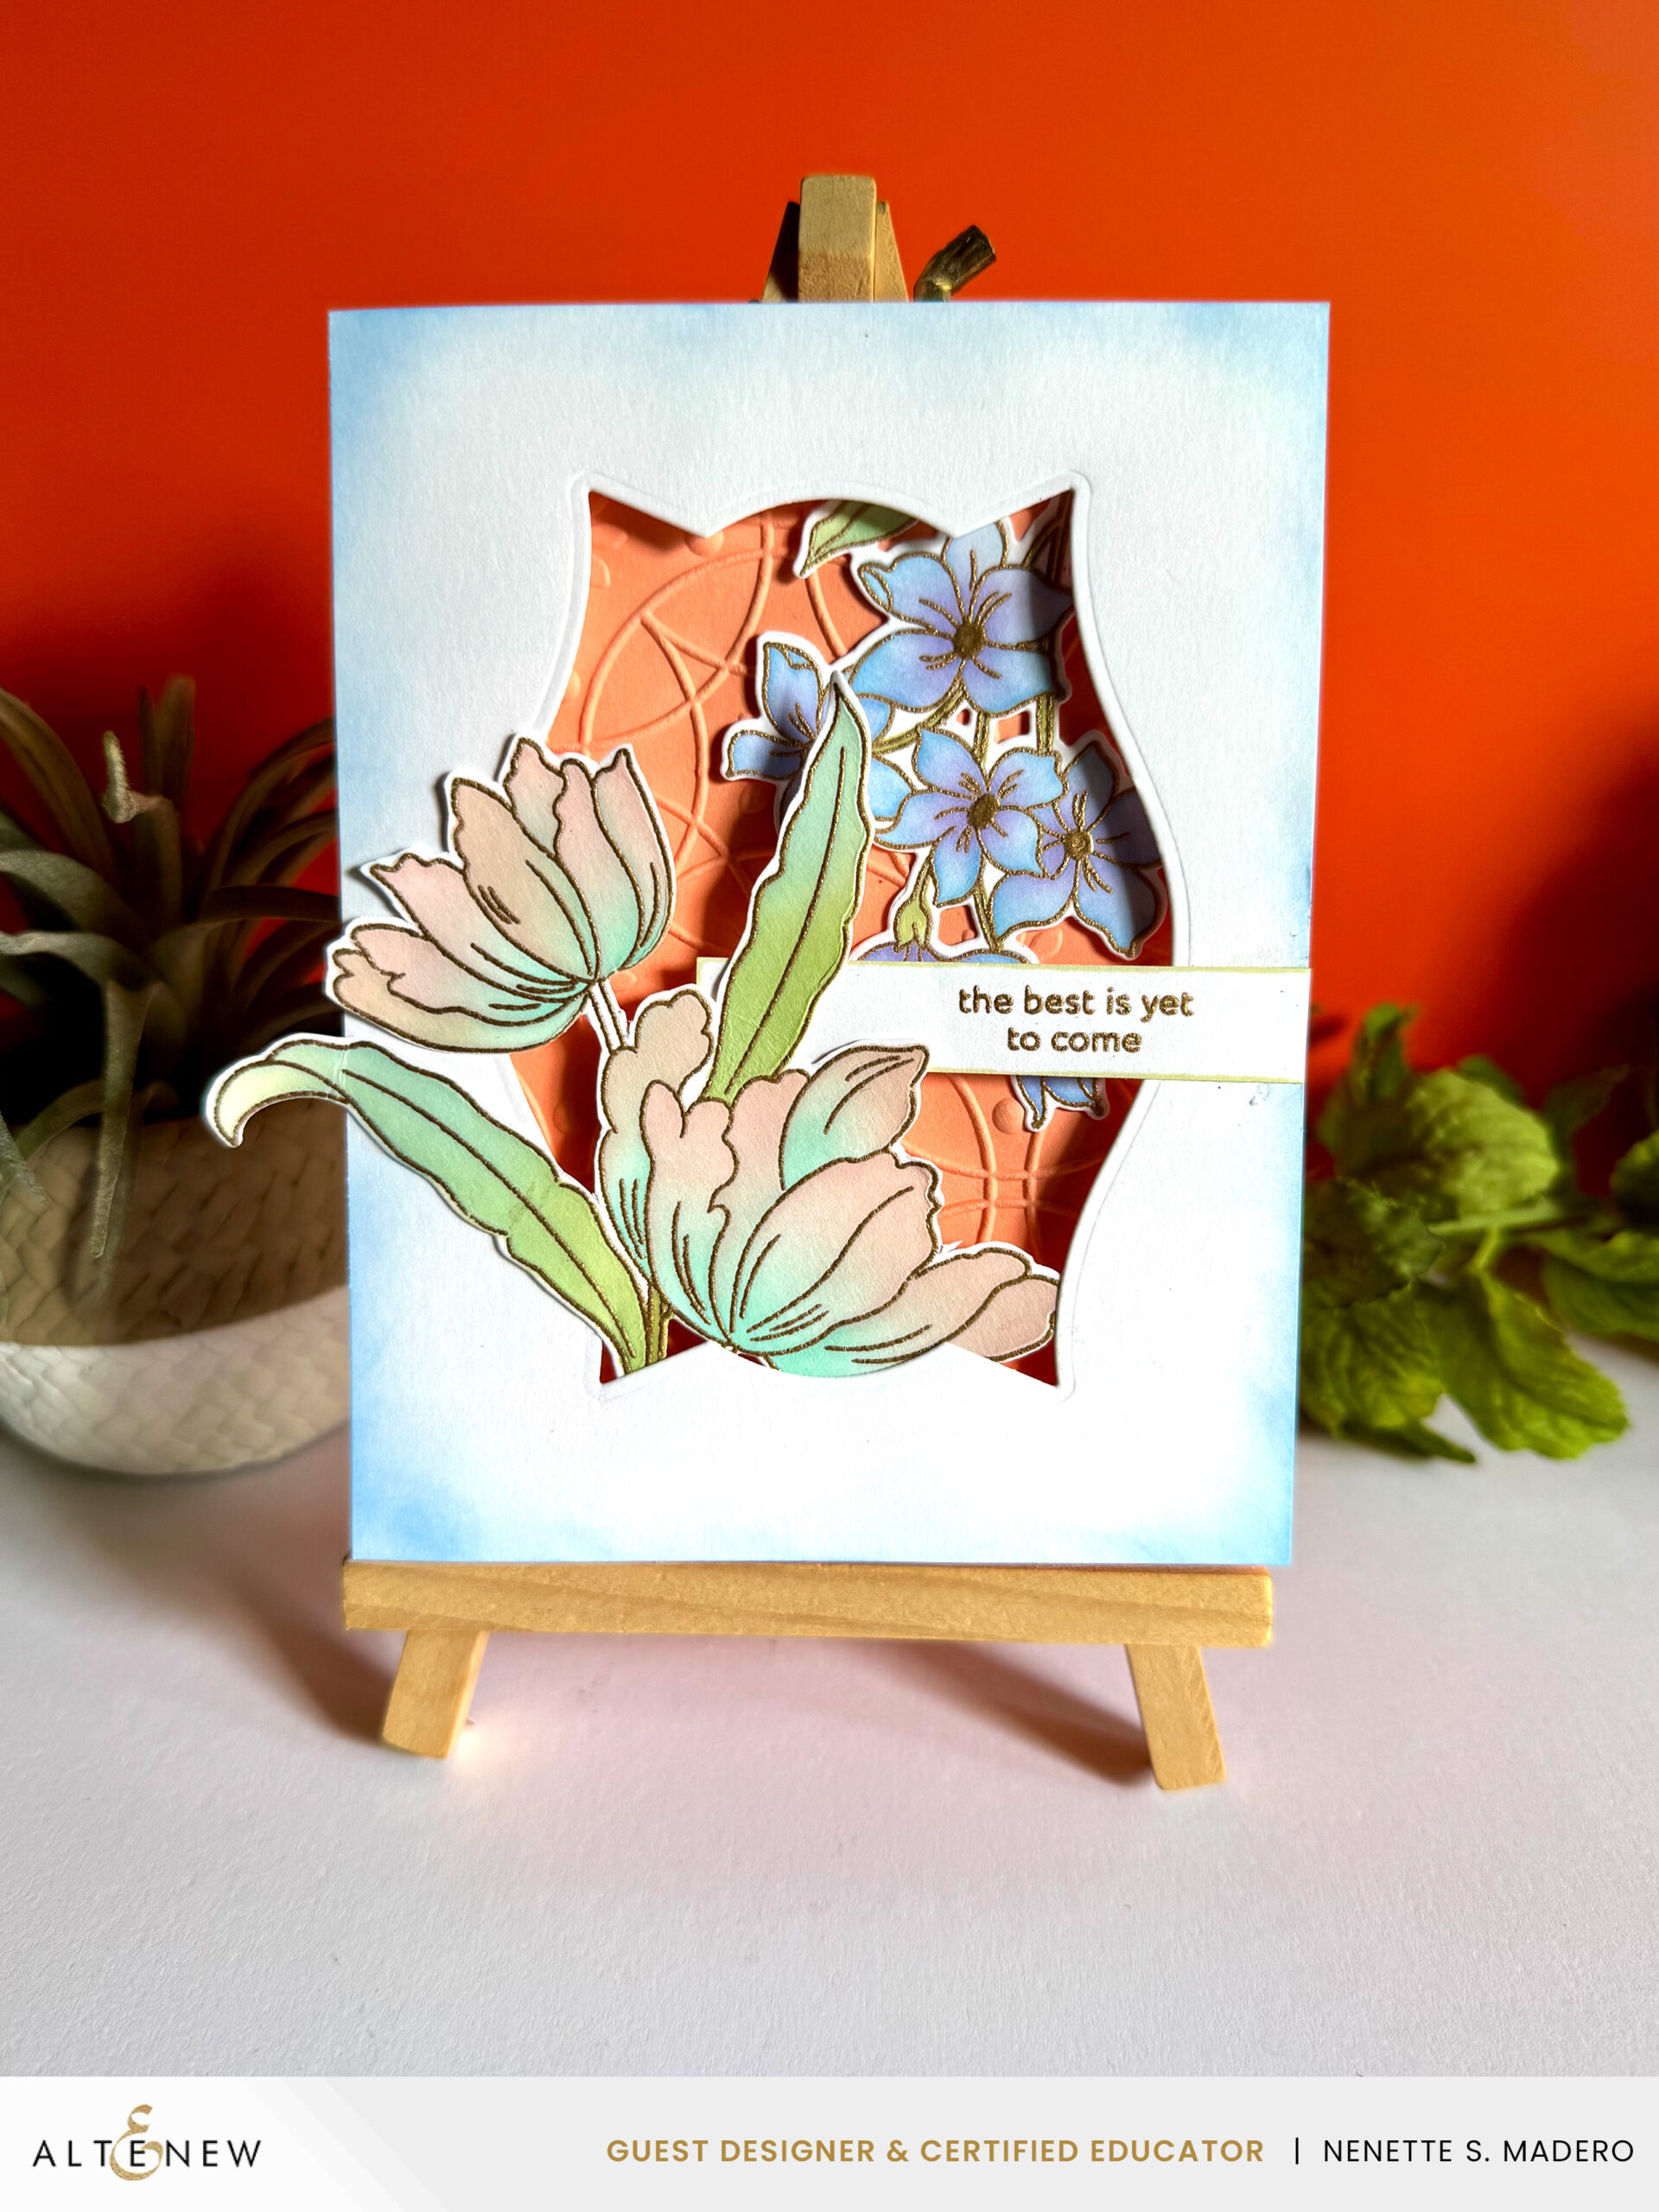
THE BEST IS YET TO COME
MATERIALS:

STEPS:

  • 1. Stamp images with Versamark Ink and emboss using Rose Gold embossing powder.
  • 2. Color the images using stencils and dye inks.
  • 3. Die cut window and ink the edges.
  • 4. Die cut the florals.
  • 5. Emboss the card front using Botanical Rails.
  • 6. Assemble card using foam squares.


I absolutely love that this stamp set includes two different types of flowers you can mix and match—it opens up so many creative possibilities! I’ve made two other cards using the same set, and I’m saving my favorite one for last.

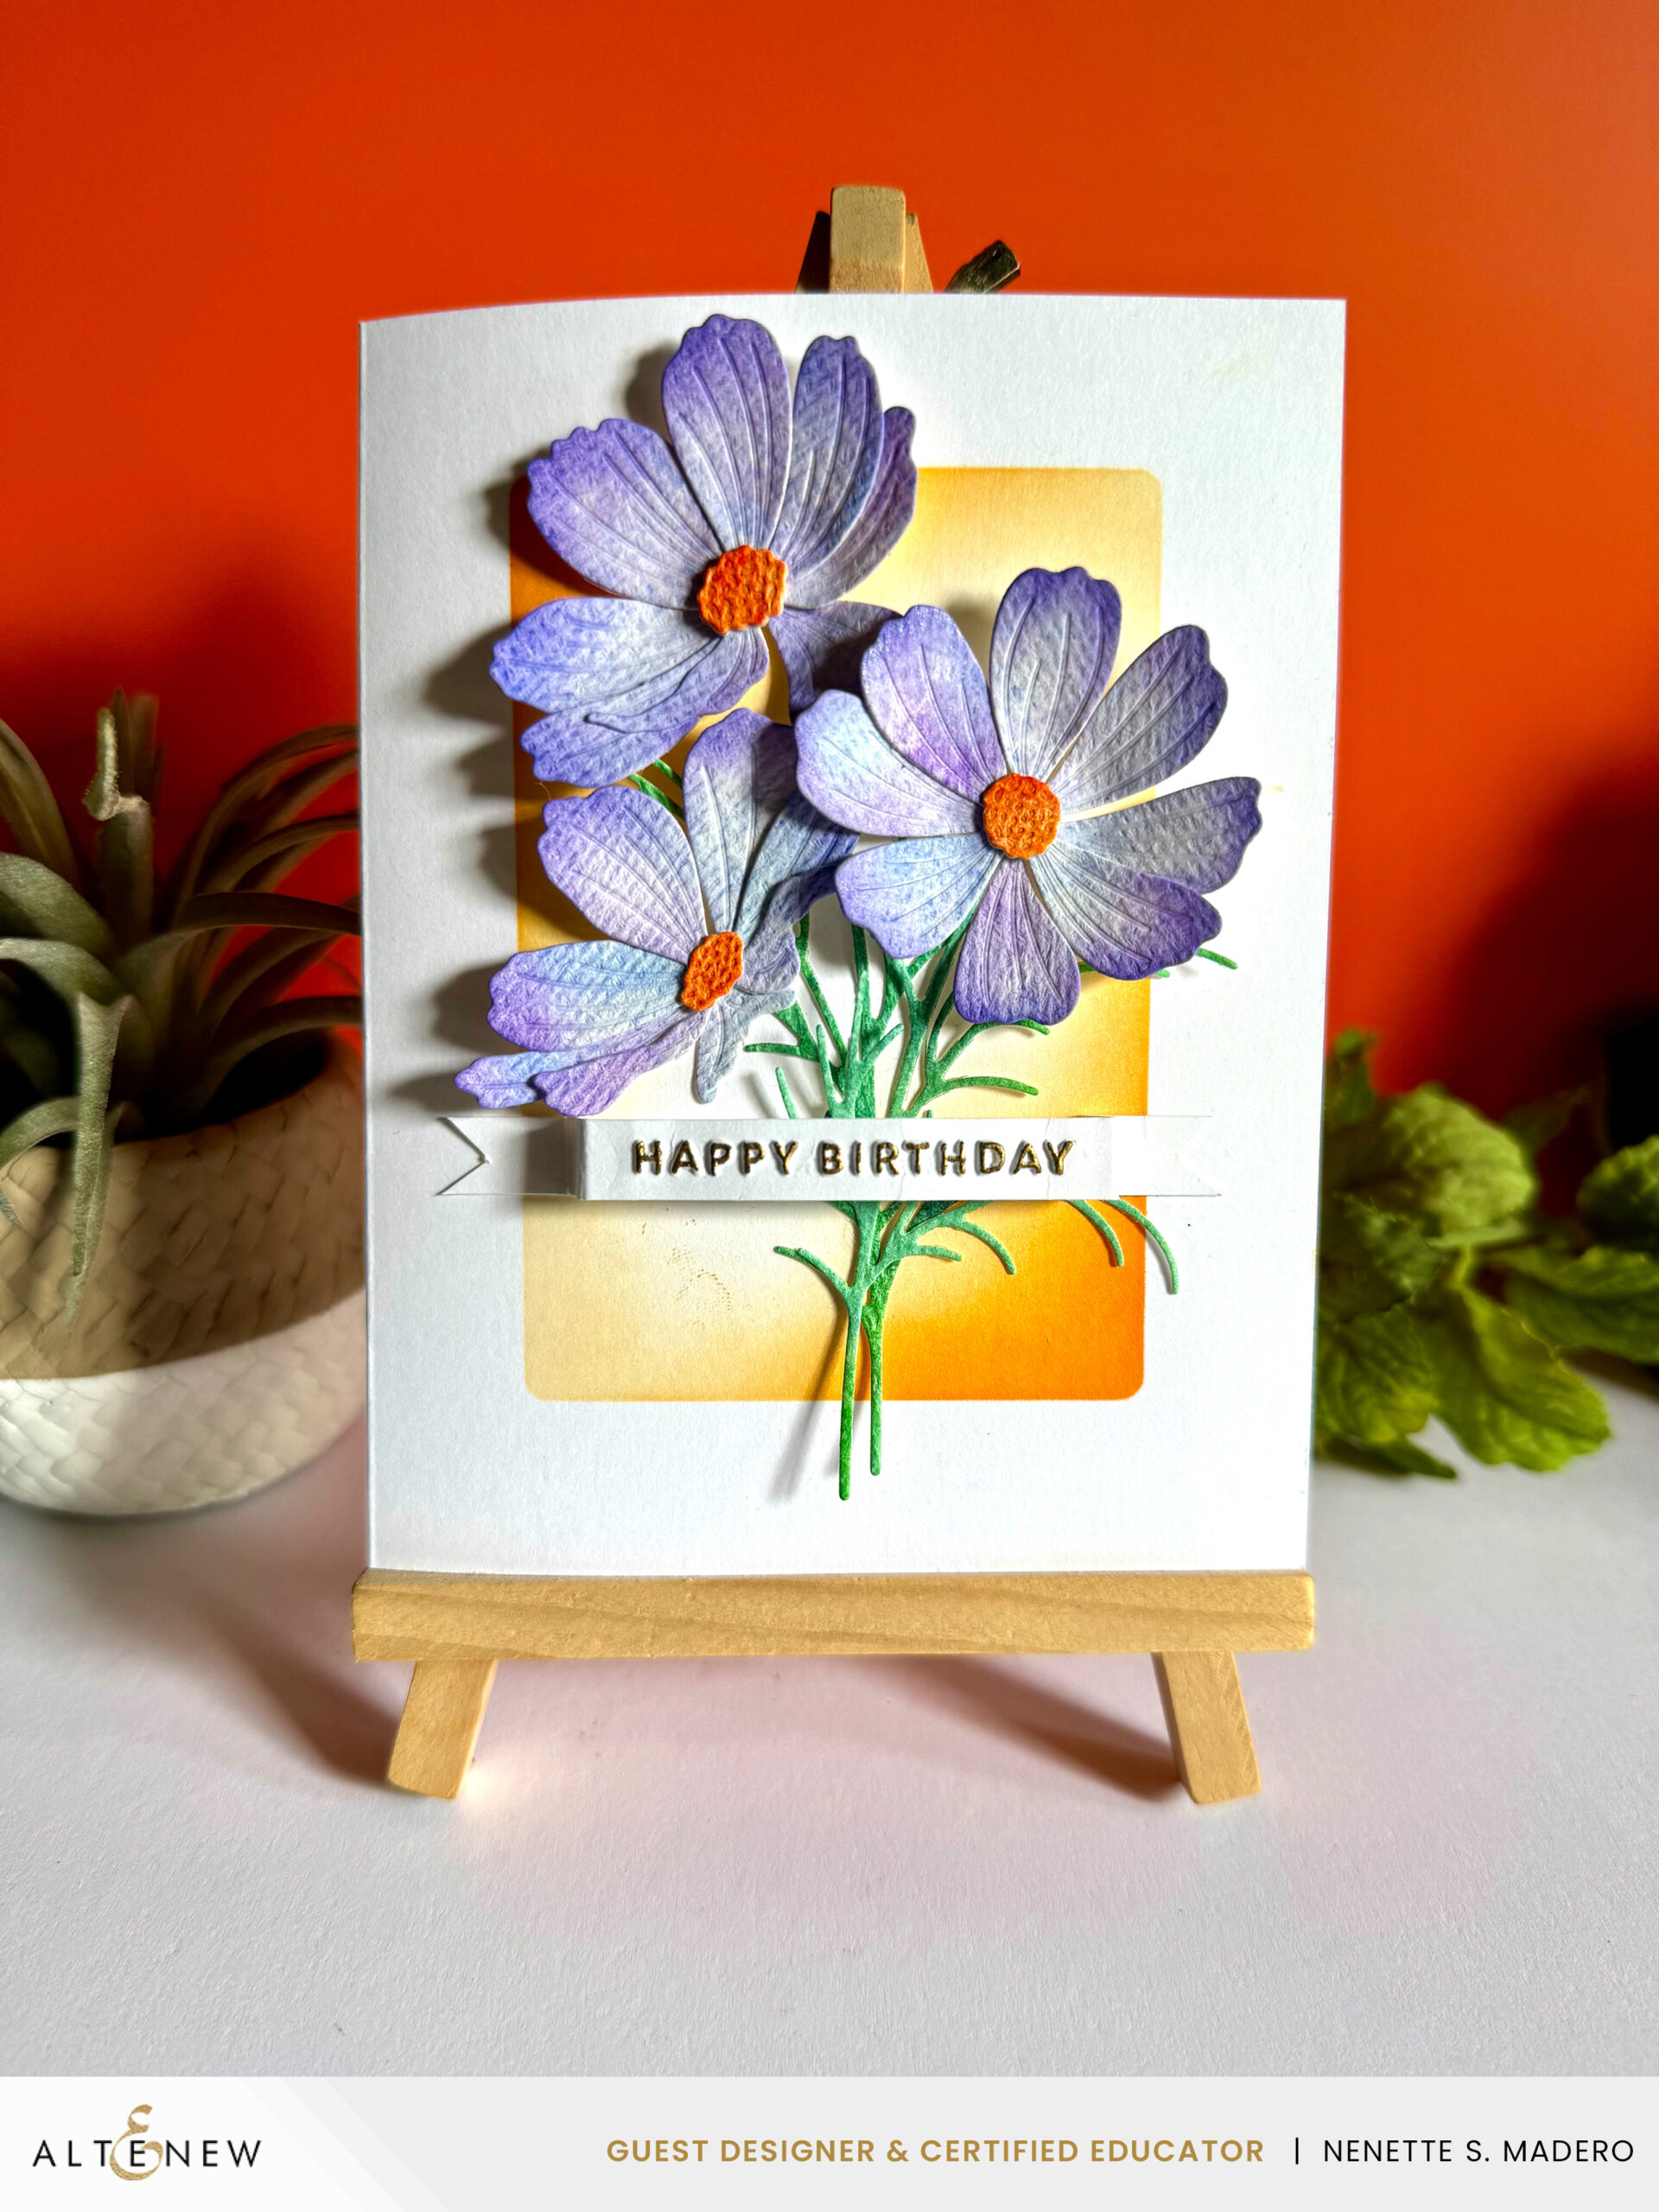
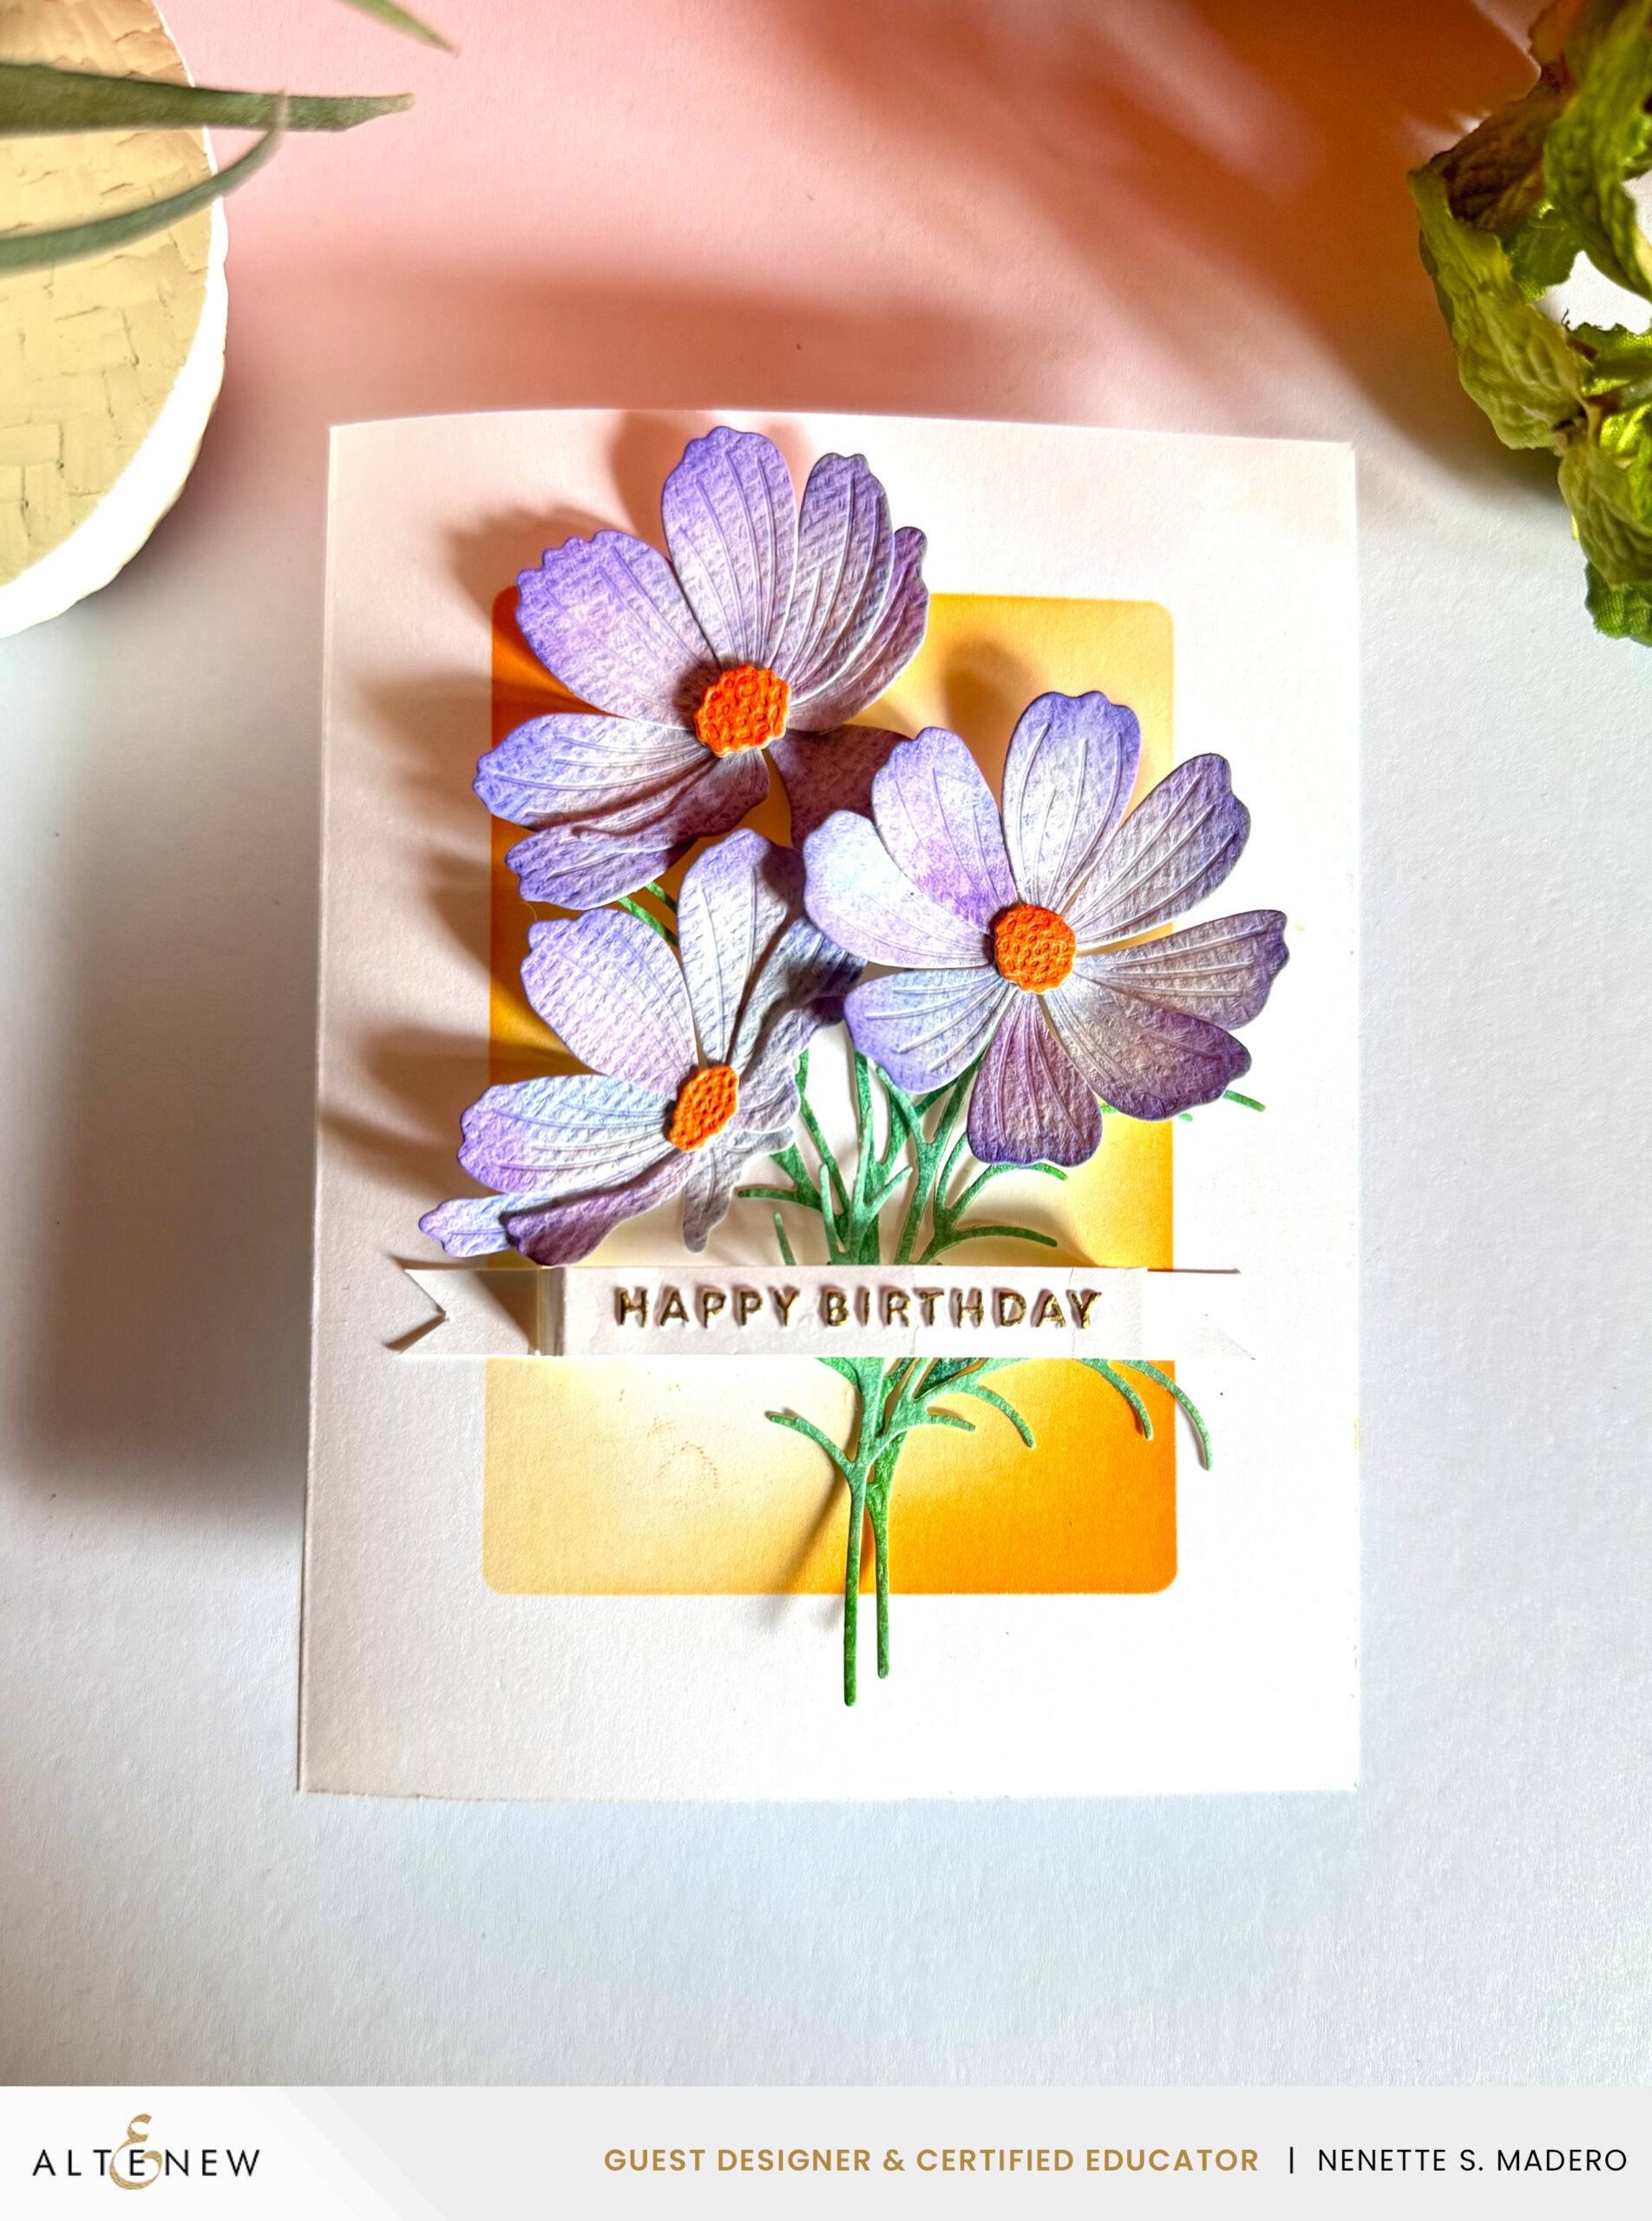
HAPPY BIRTHDAY
MATERIALS:

STEPS:

  • 1. Create a background using watercolor paper, blending shades of purple, lapis lazuli, and deep blue for the flowers.
  • 2. For the centers of the flowers, I used the colors Warm and Cozy, Fiery Sunset, and Summer Afternoon.
  • 3. The colors Seashore, green meadows, and Green hills were used for the leaves.
  • 4. Die cut the flowers, center, and leaves. Blend a darker shade of purple to the tips of the petals. Use a paper sculpting kit to add dimension to the petals.
  • 5.Emboss the sentiment, trim and score to create a banner.
  • 6. Use the Rounded Rectangles to create an ombre frame.
  • 7. Assemble the card using glue and foam squares.

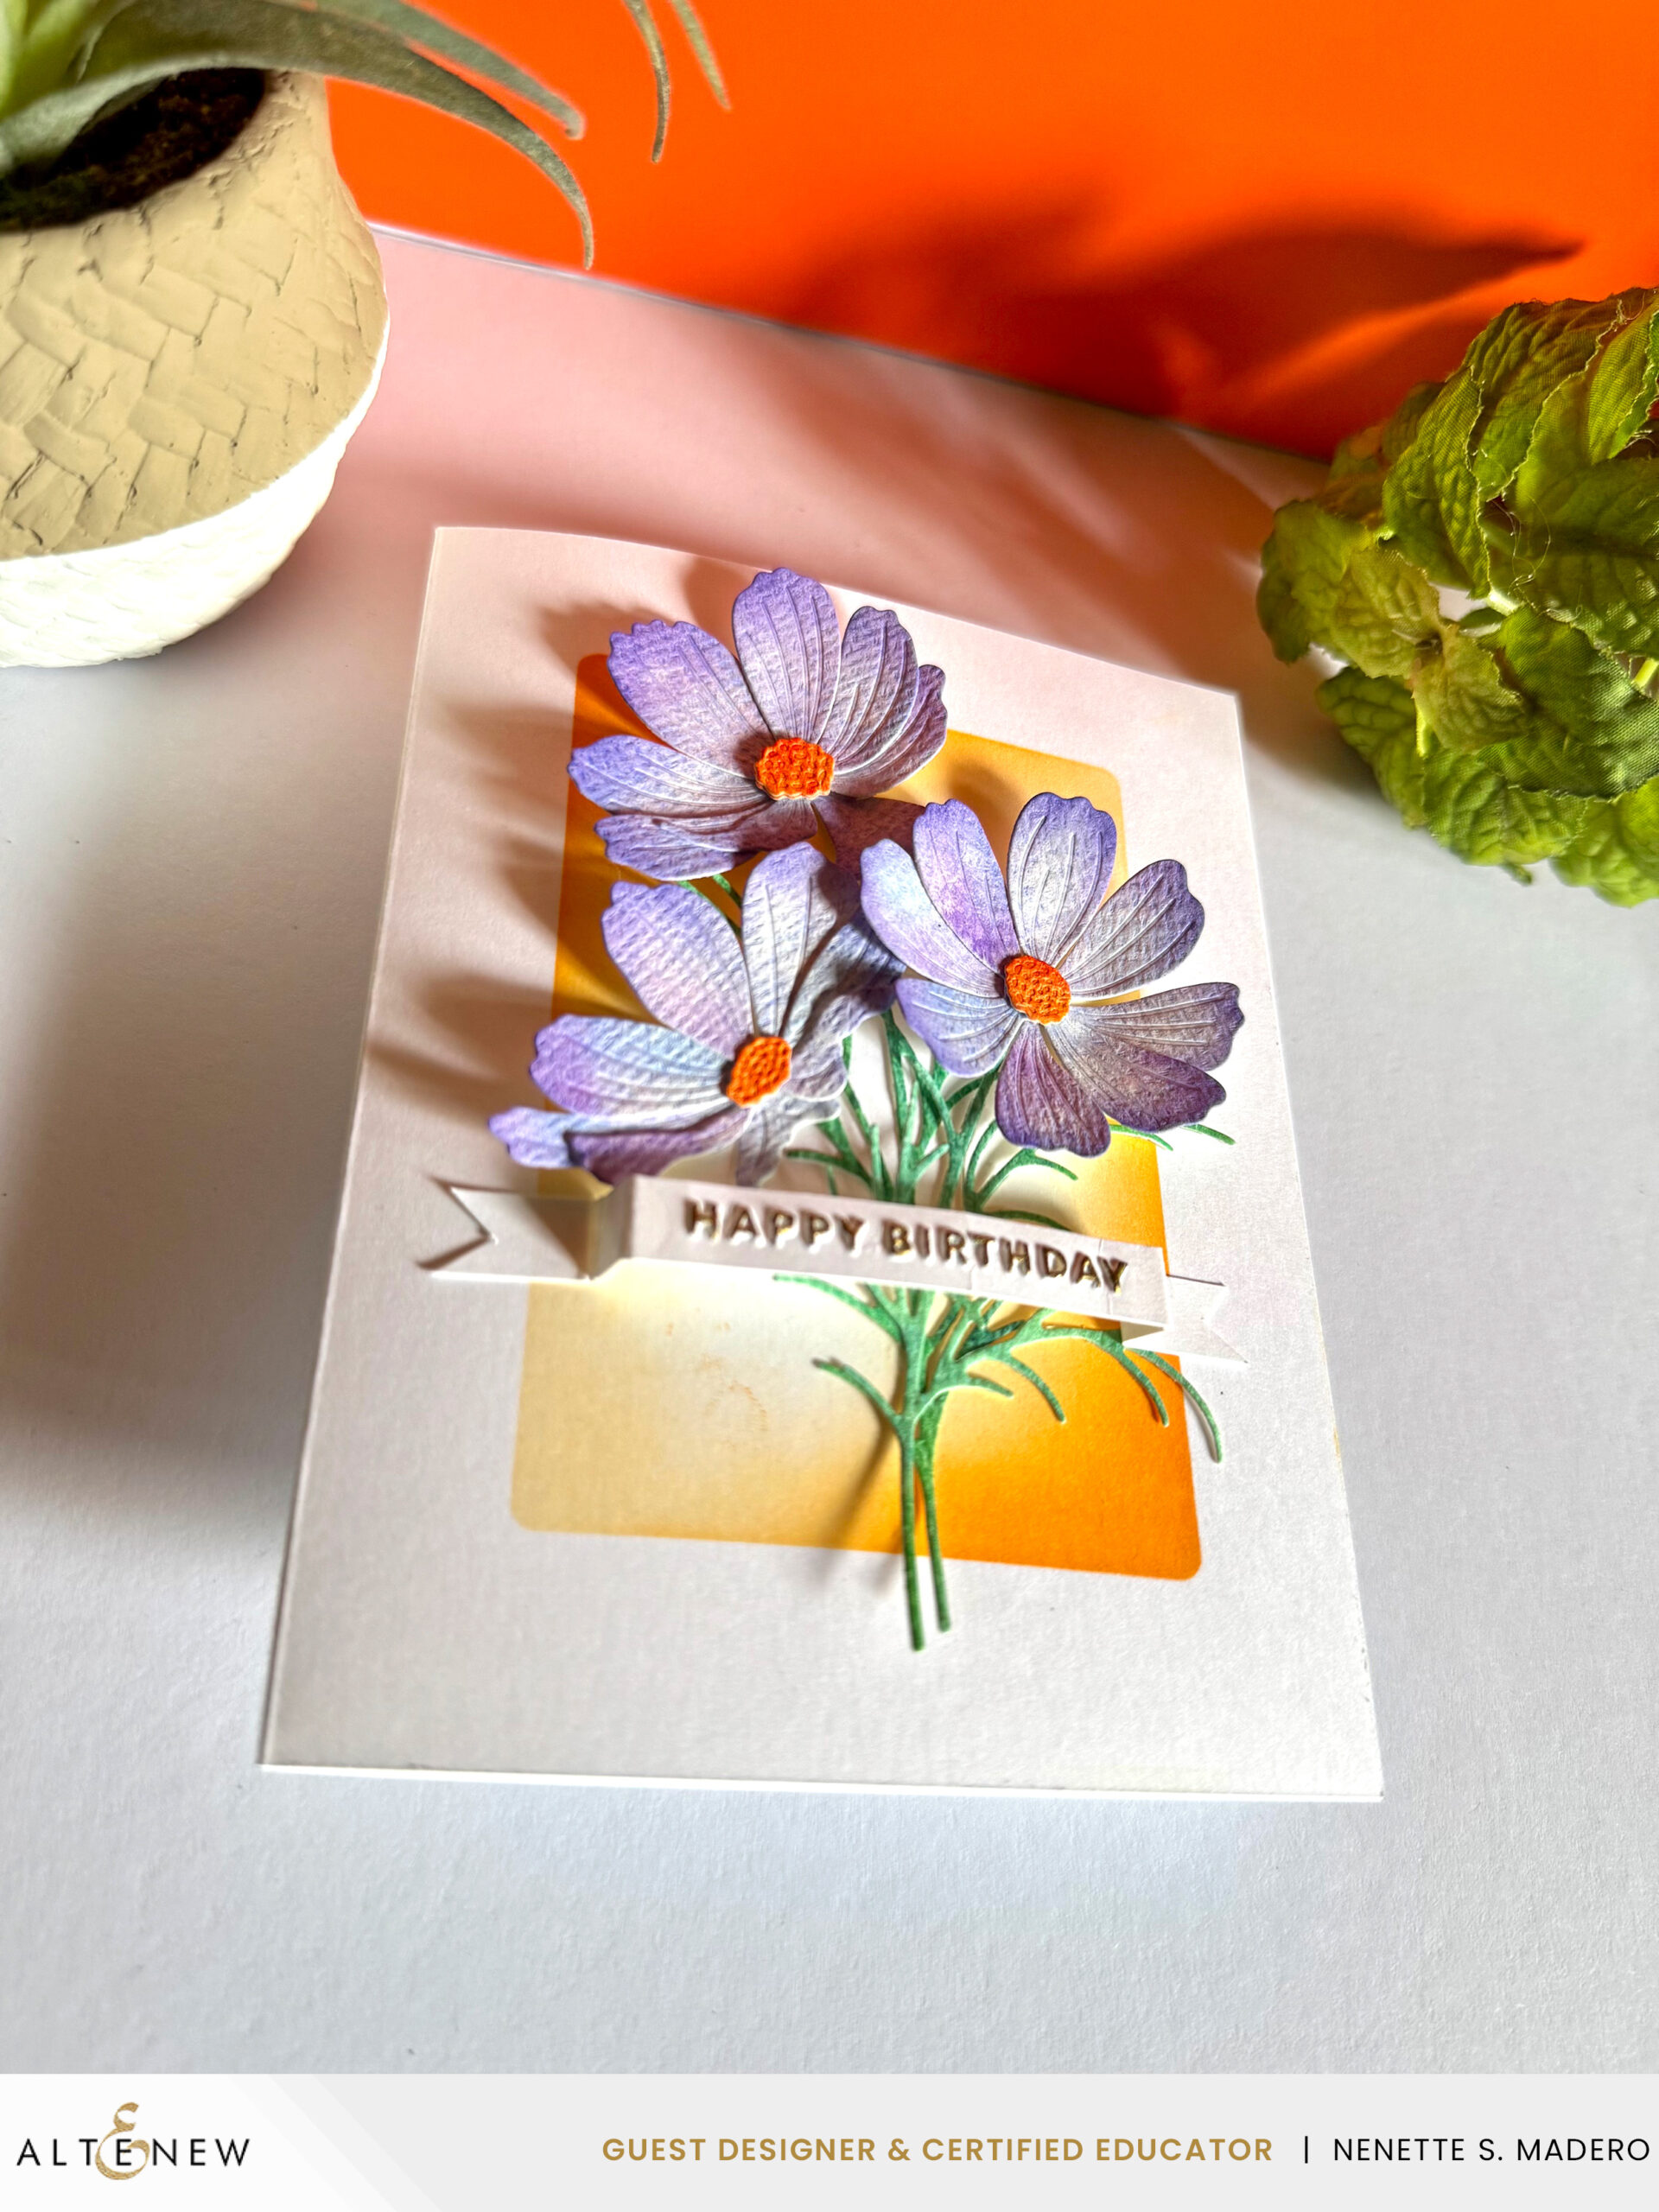
I let the different shades of watercolor blend naturally, creating beautiful variations of color on the petals and leaves that add depth and character to the flowers. To enhance the dimension further, I also applied darker shading to the tips of the petals.
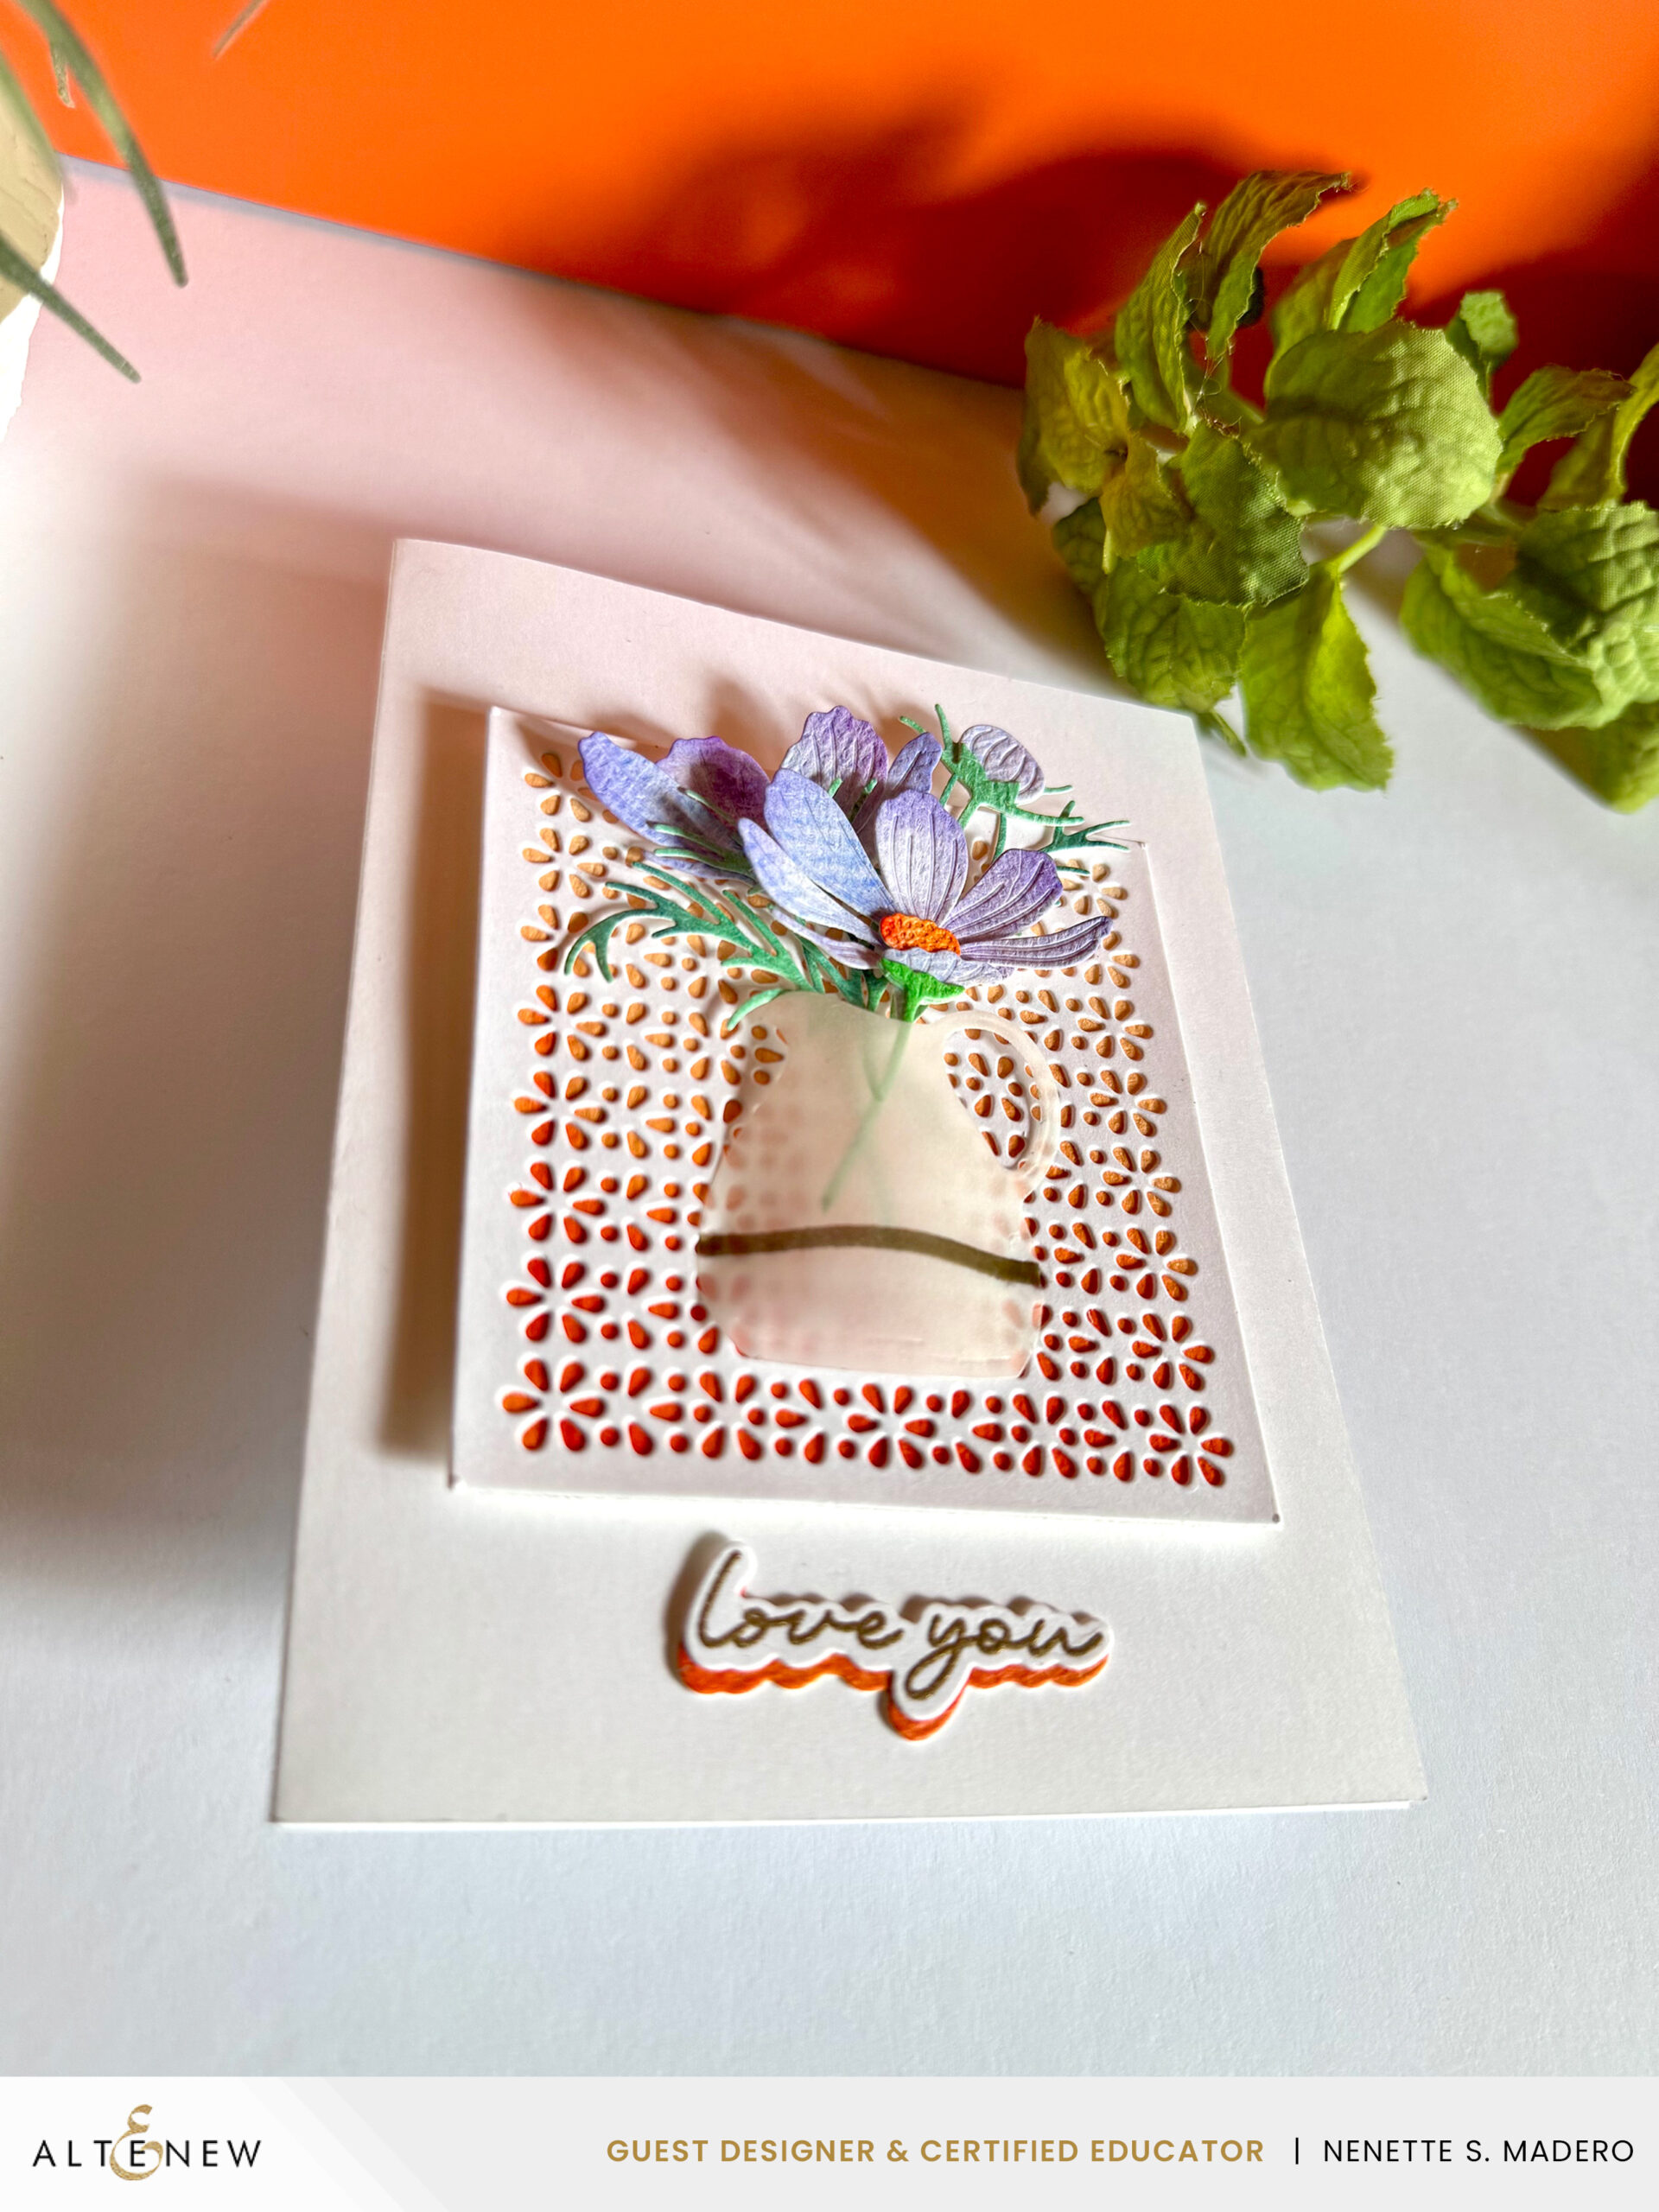
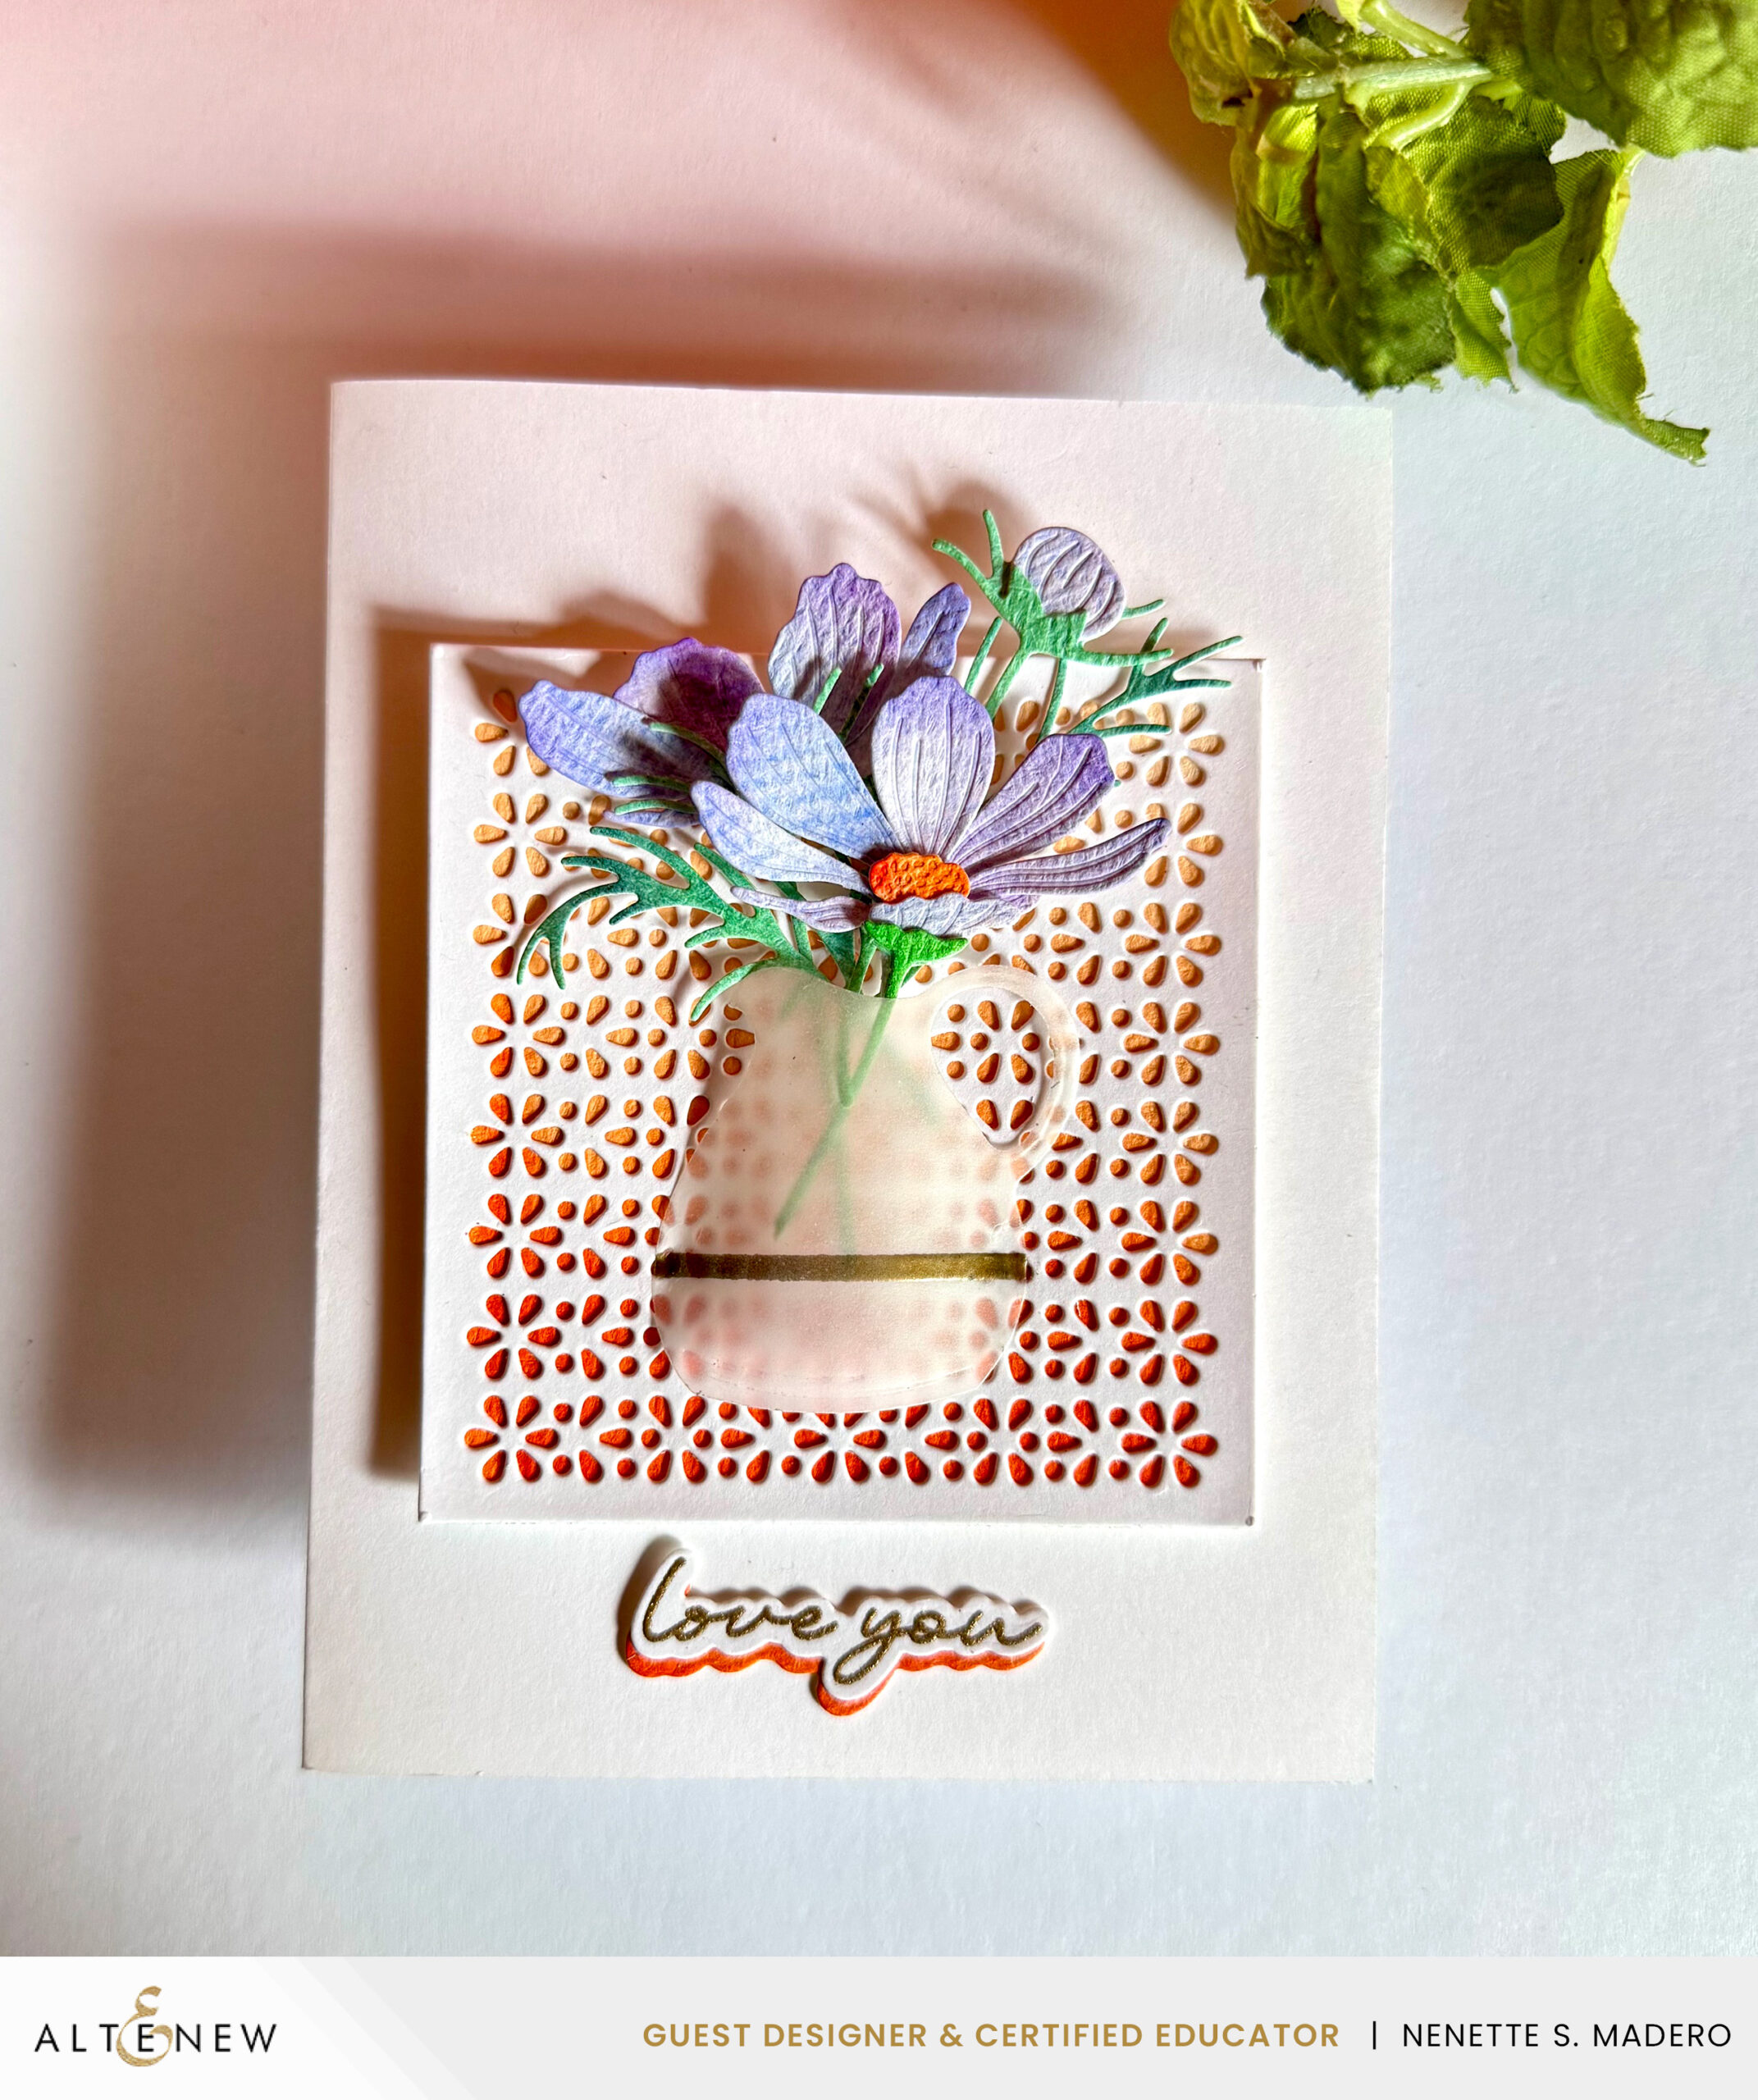
LOVE YOU
MATERIALS:

STEPS:

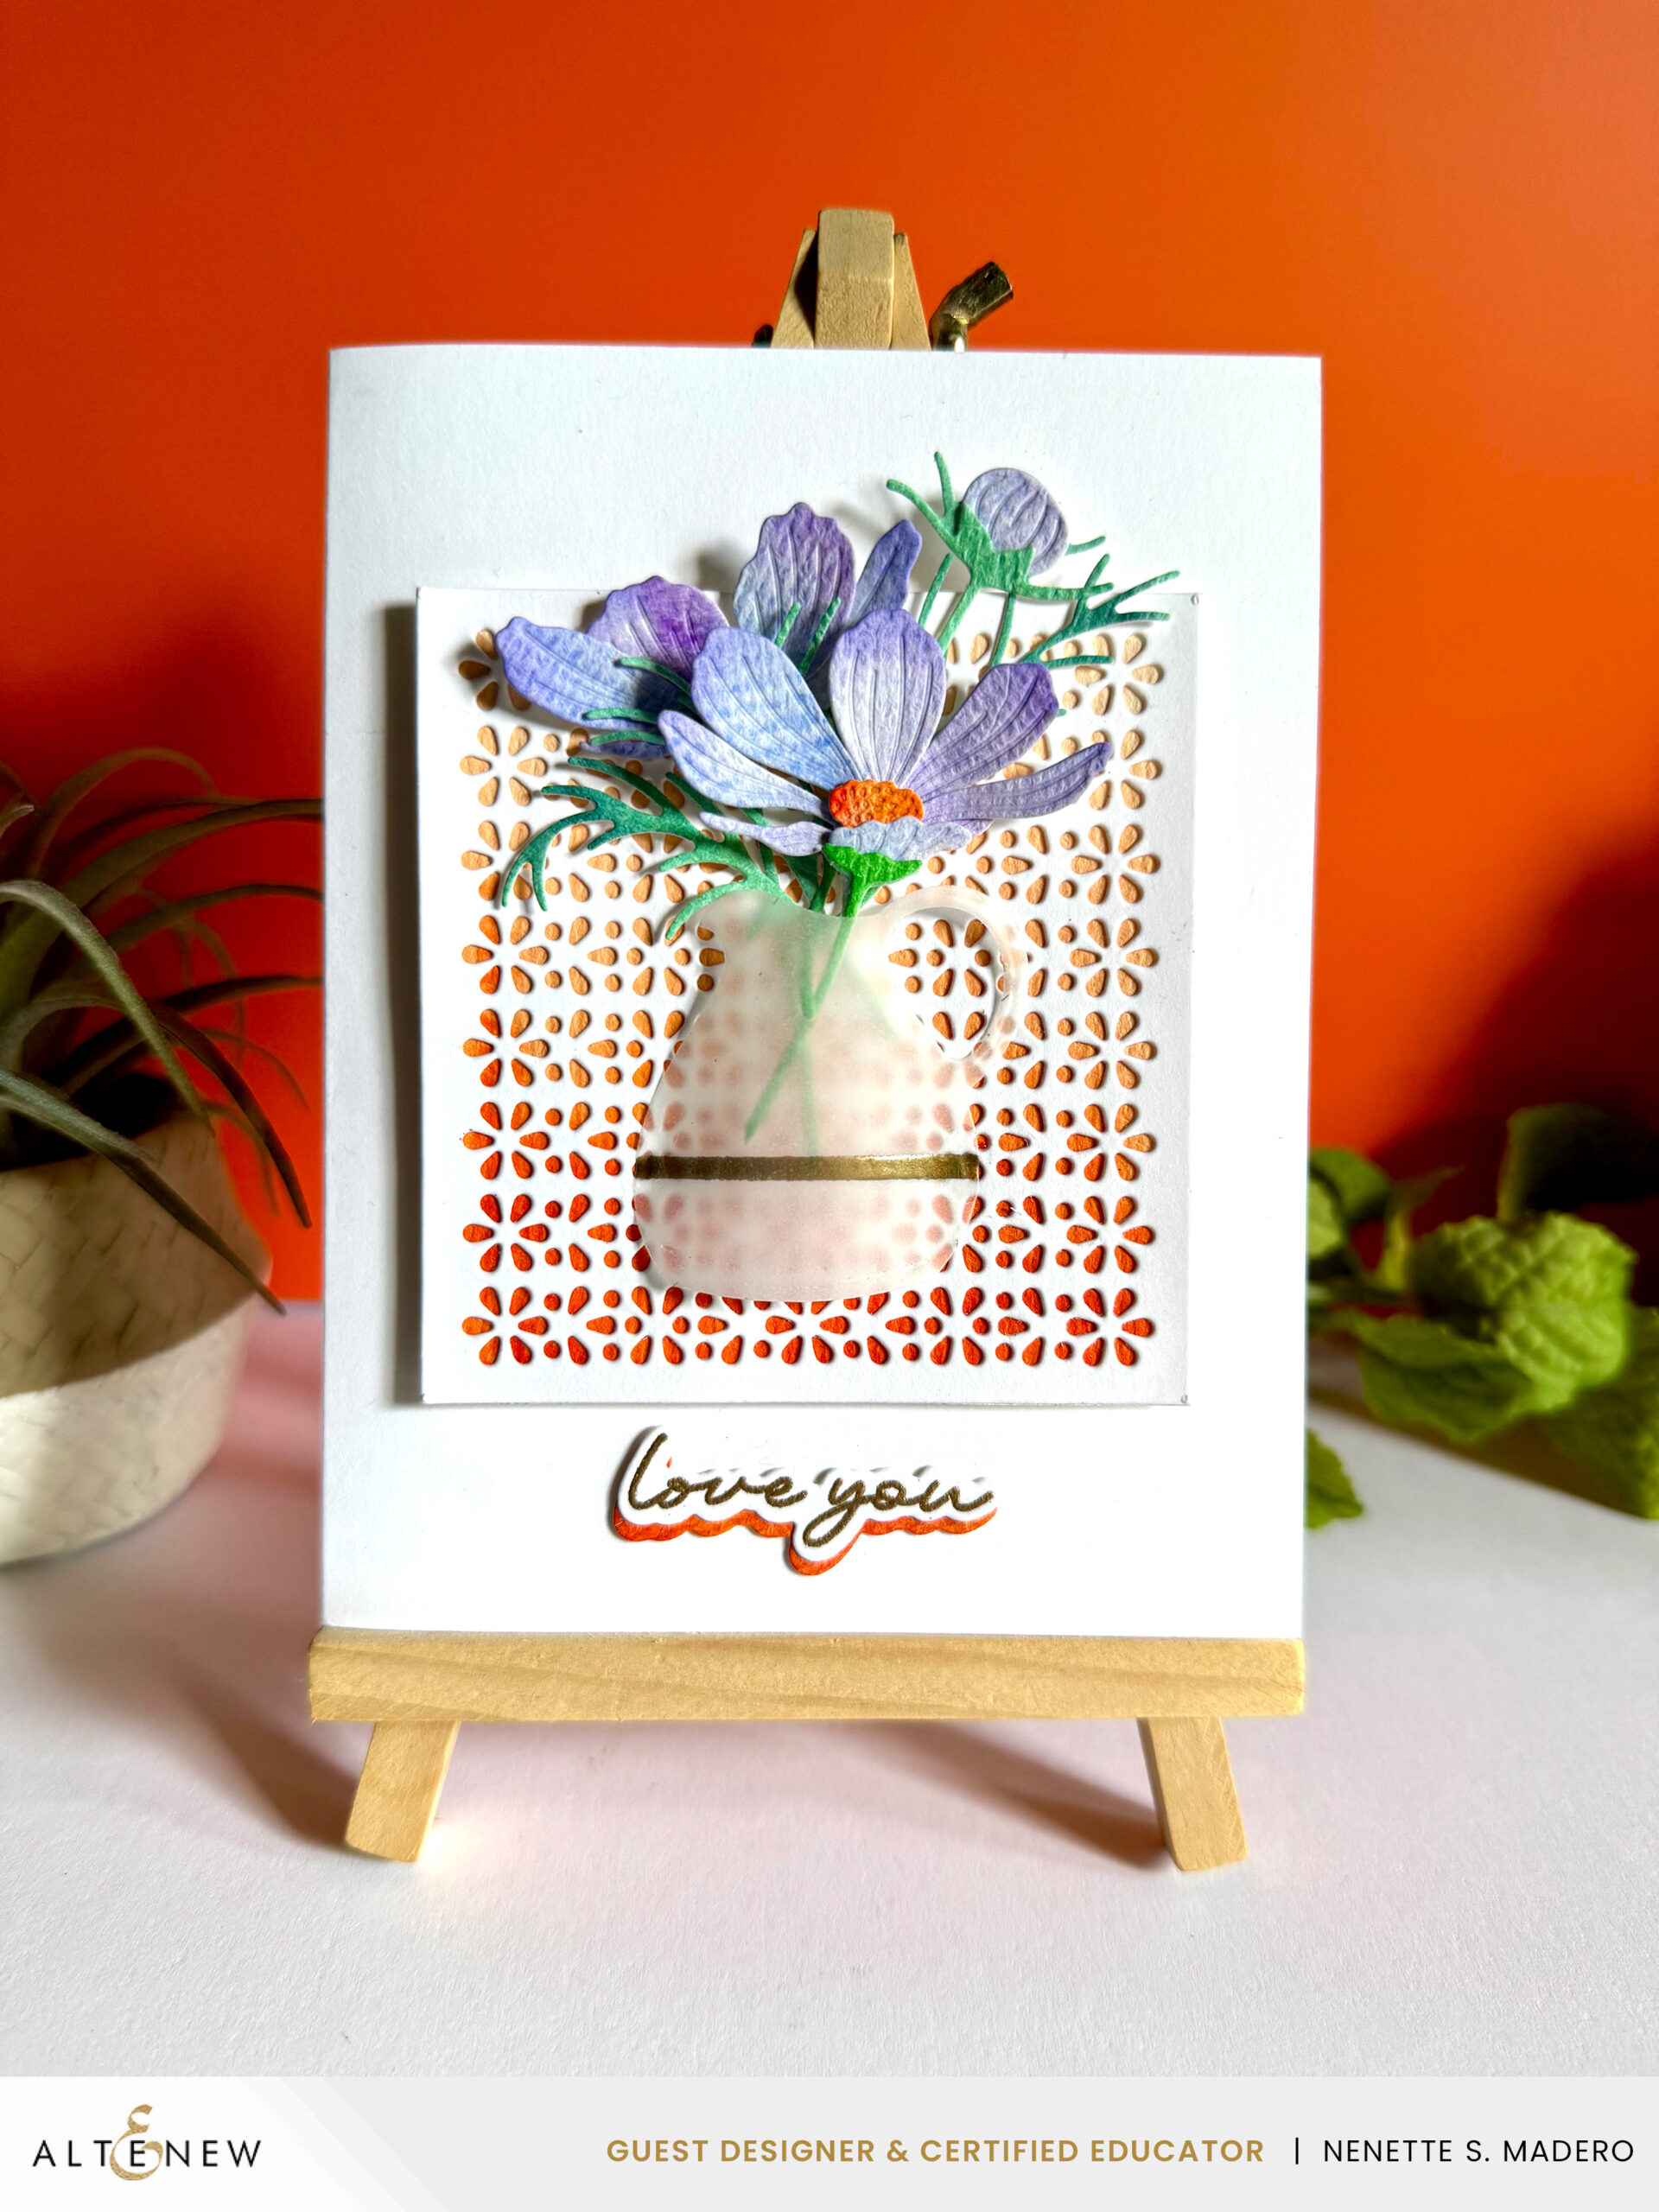
  • 1. Create a watercolored background using shades of oranges and a mix of pruples and blues.
  • 2. Die cut flowers using the Garden Cosmos Layering Die Set and ink blend the edges for added contrast.
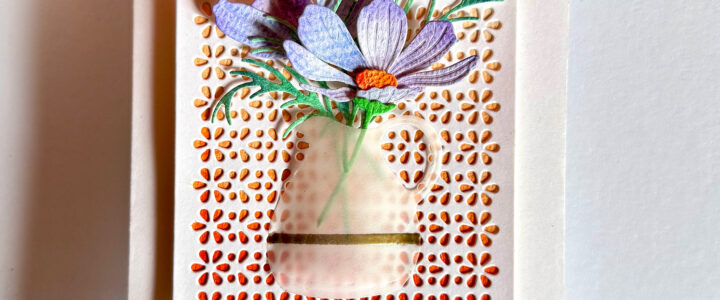
  • 3. Die cut the vase using vellum. Using washi tape, create a strip and emboss using Gold embossing powder.
  • 4. Adhere a die-cut using Lacy Panel over an ombre orange watercolor background.
  • 5. Stamp and emboss the sentiment.
  • 6. Assemble card using adhesive and foam squares.

These flowers were actually extras from the previous card. I didn’t want them to go to waste, so this vase was the perfect way to showcase them. The vase was gently bent and the edges adhered to create a 3D effect. Adding the gold strip to the vase enhances the vase with decor and texture.
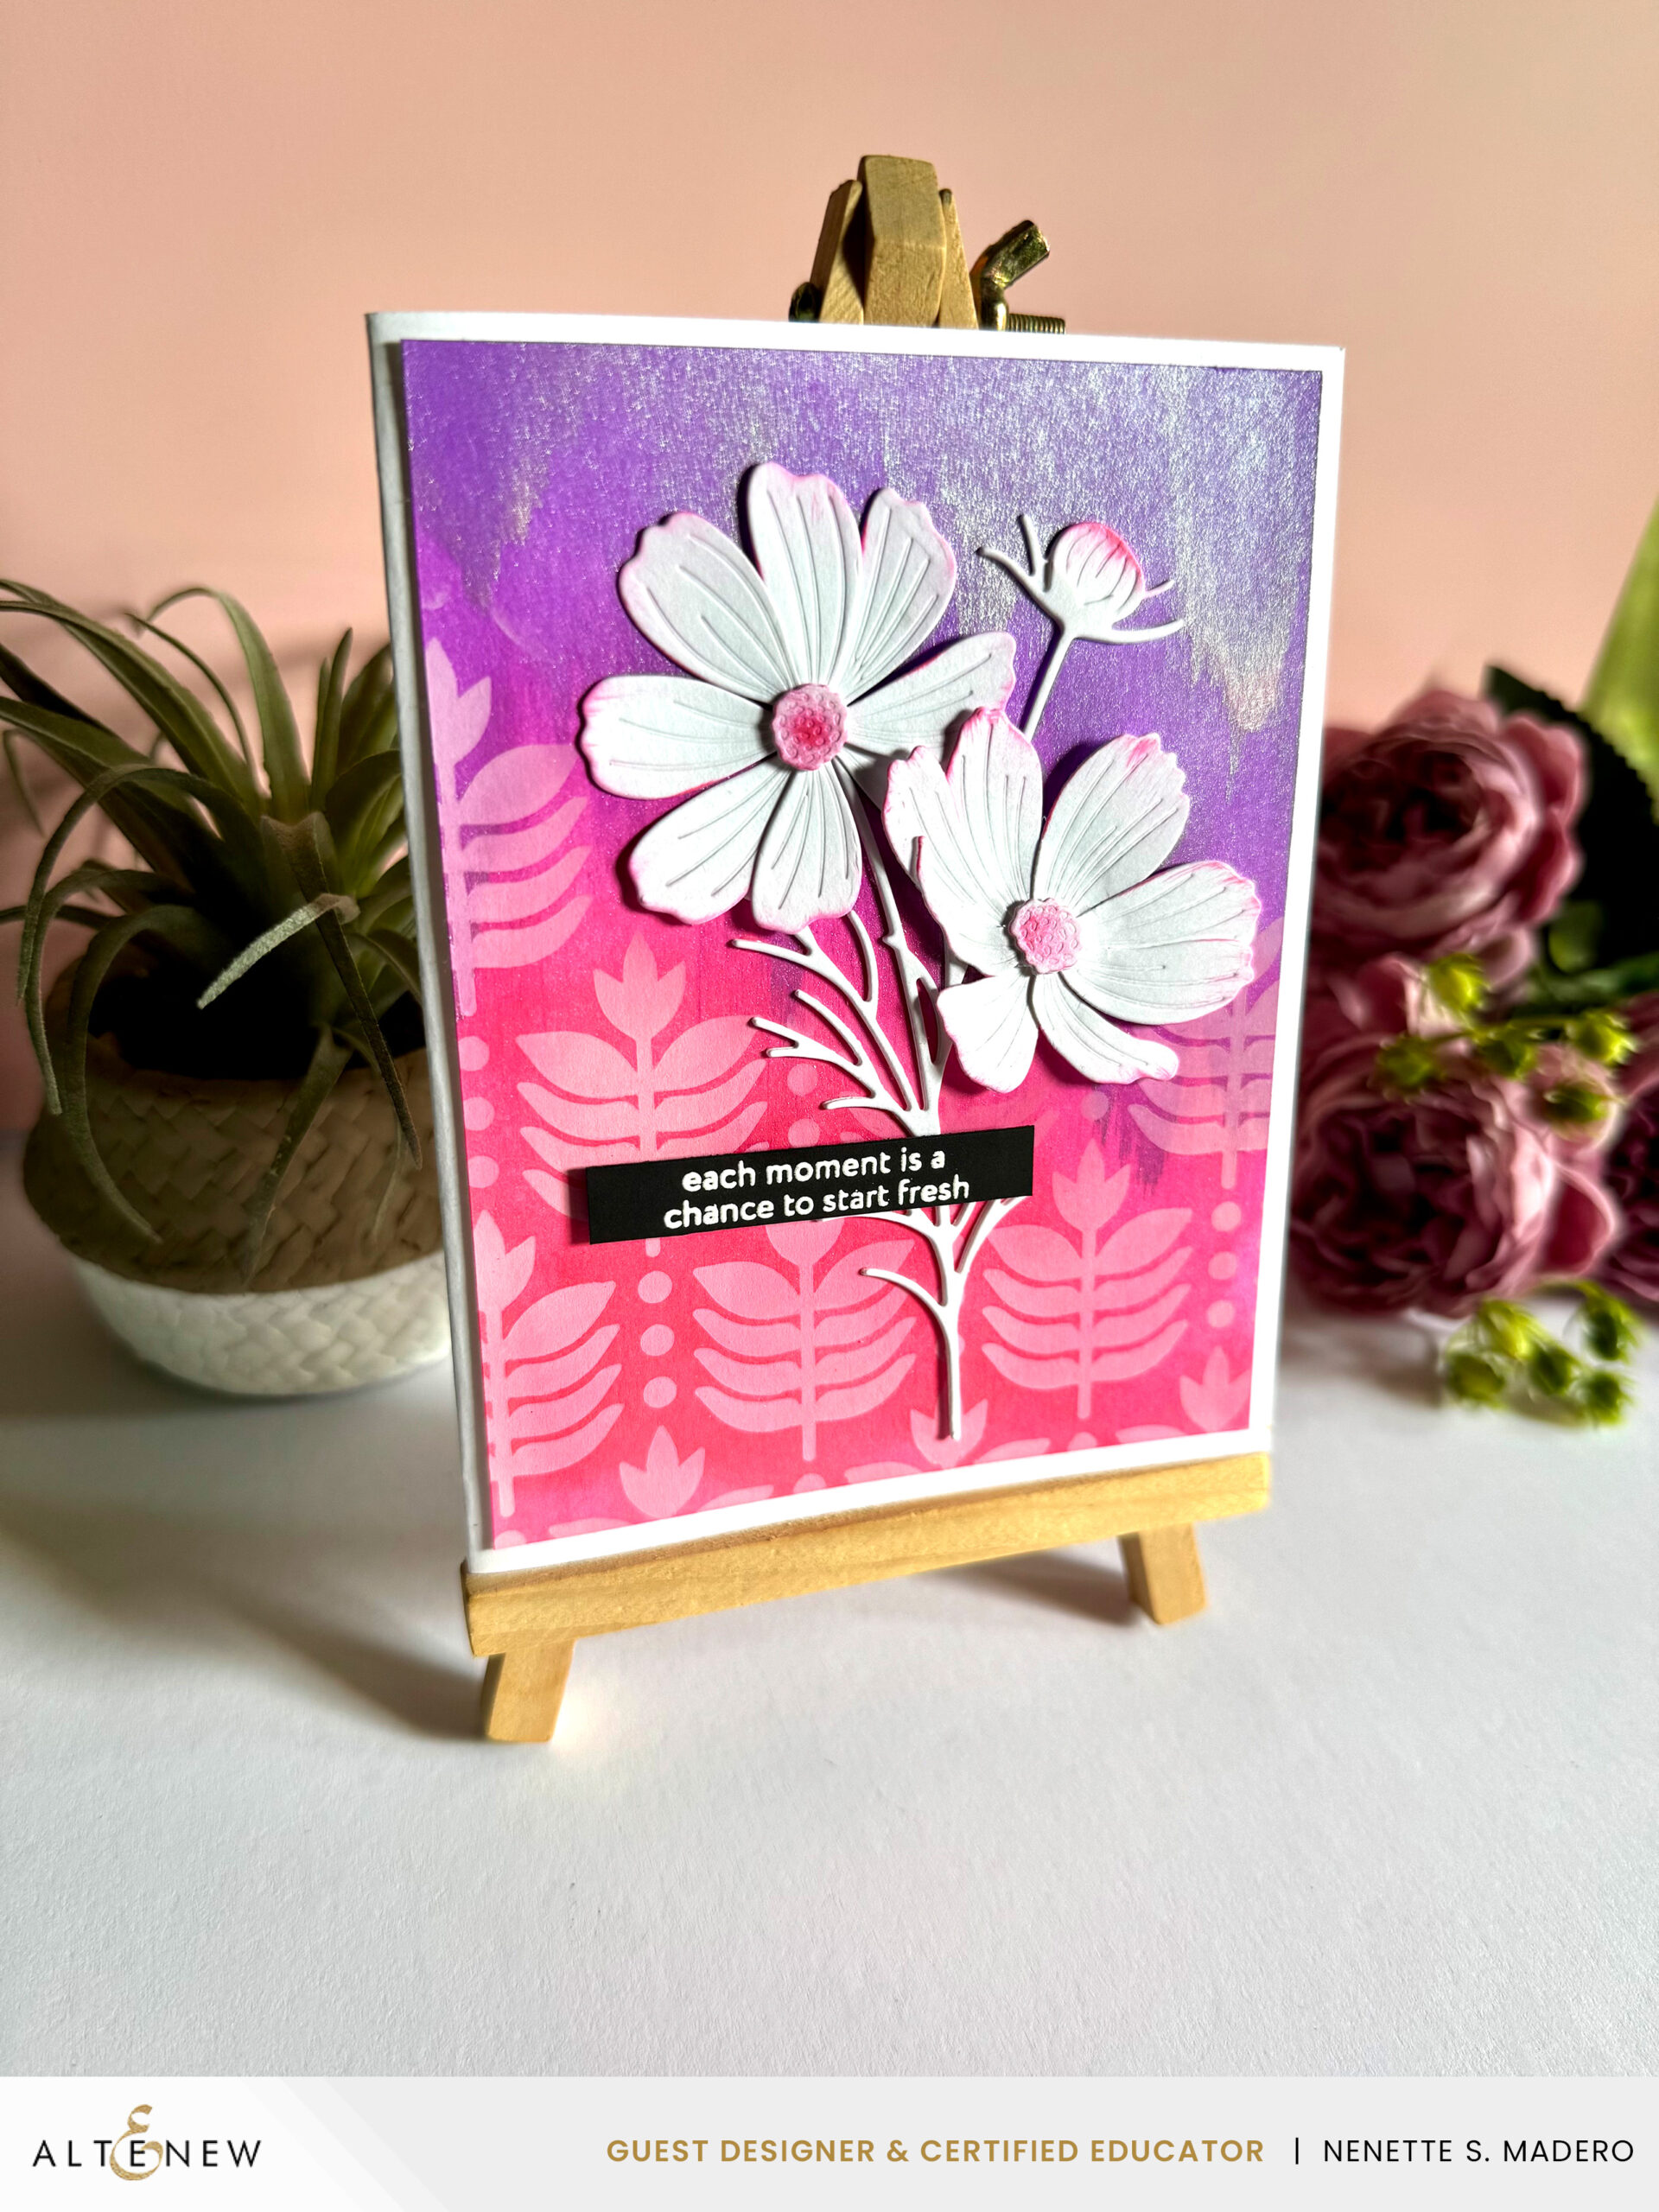
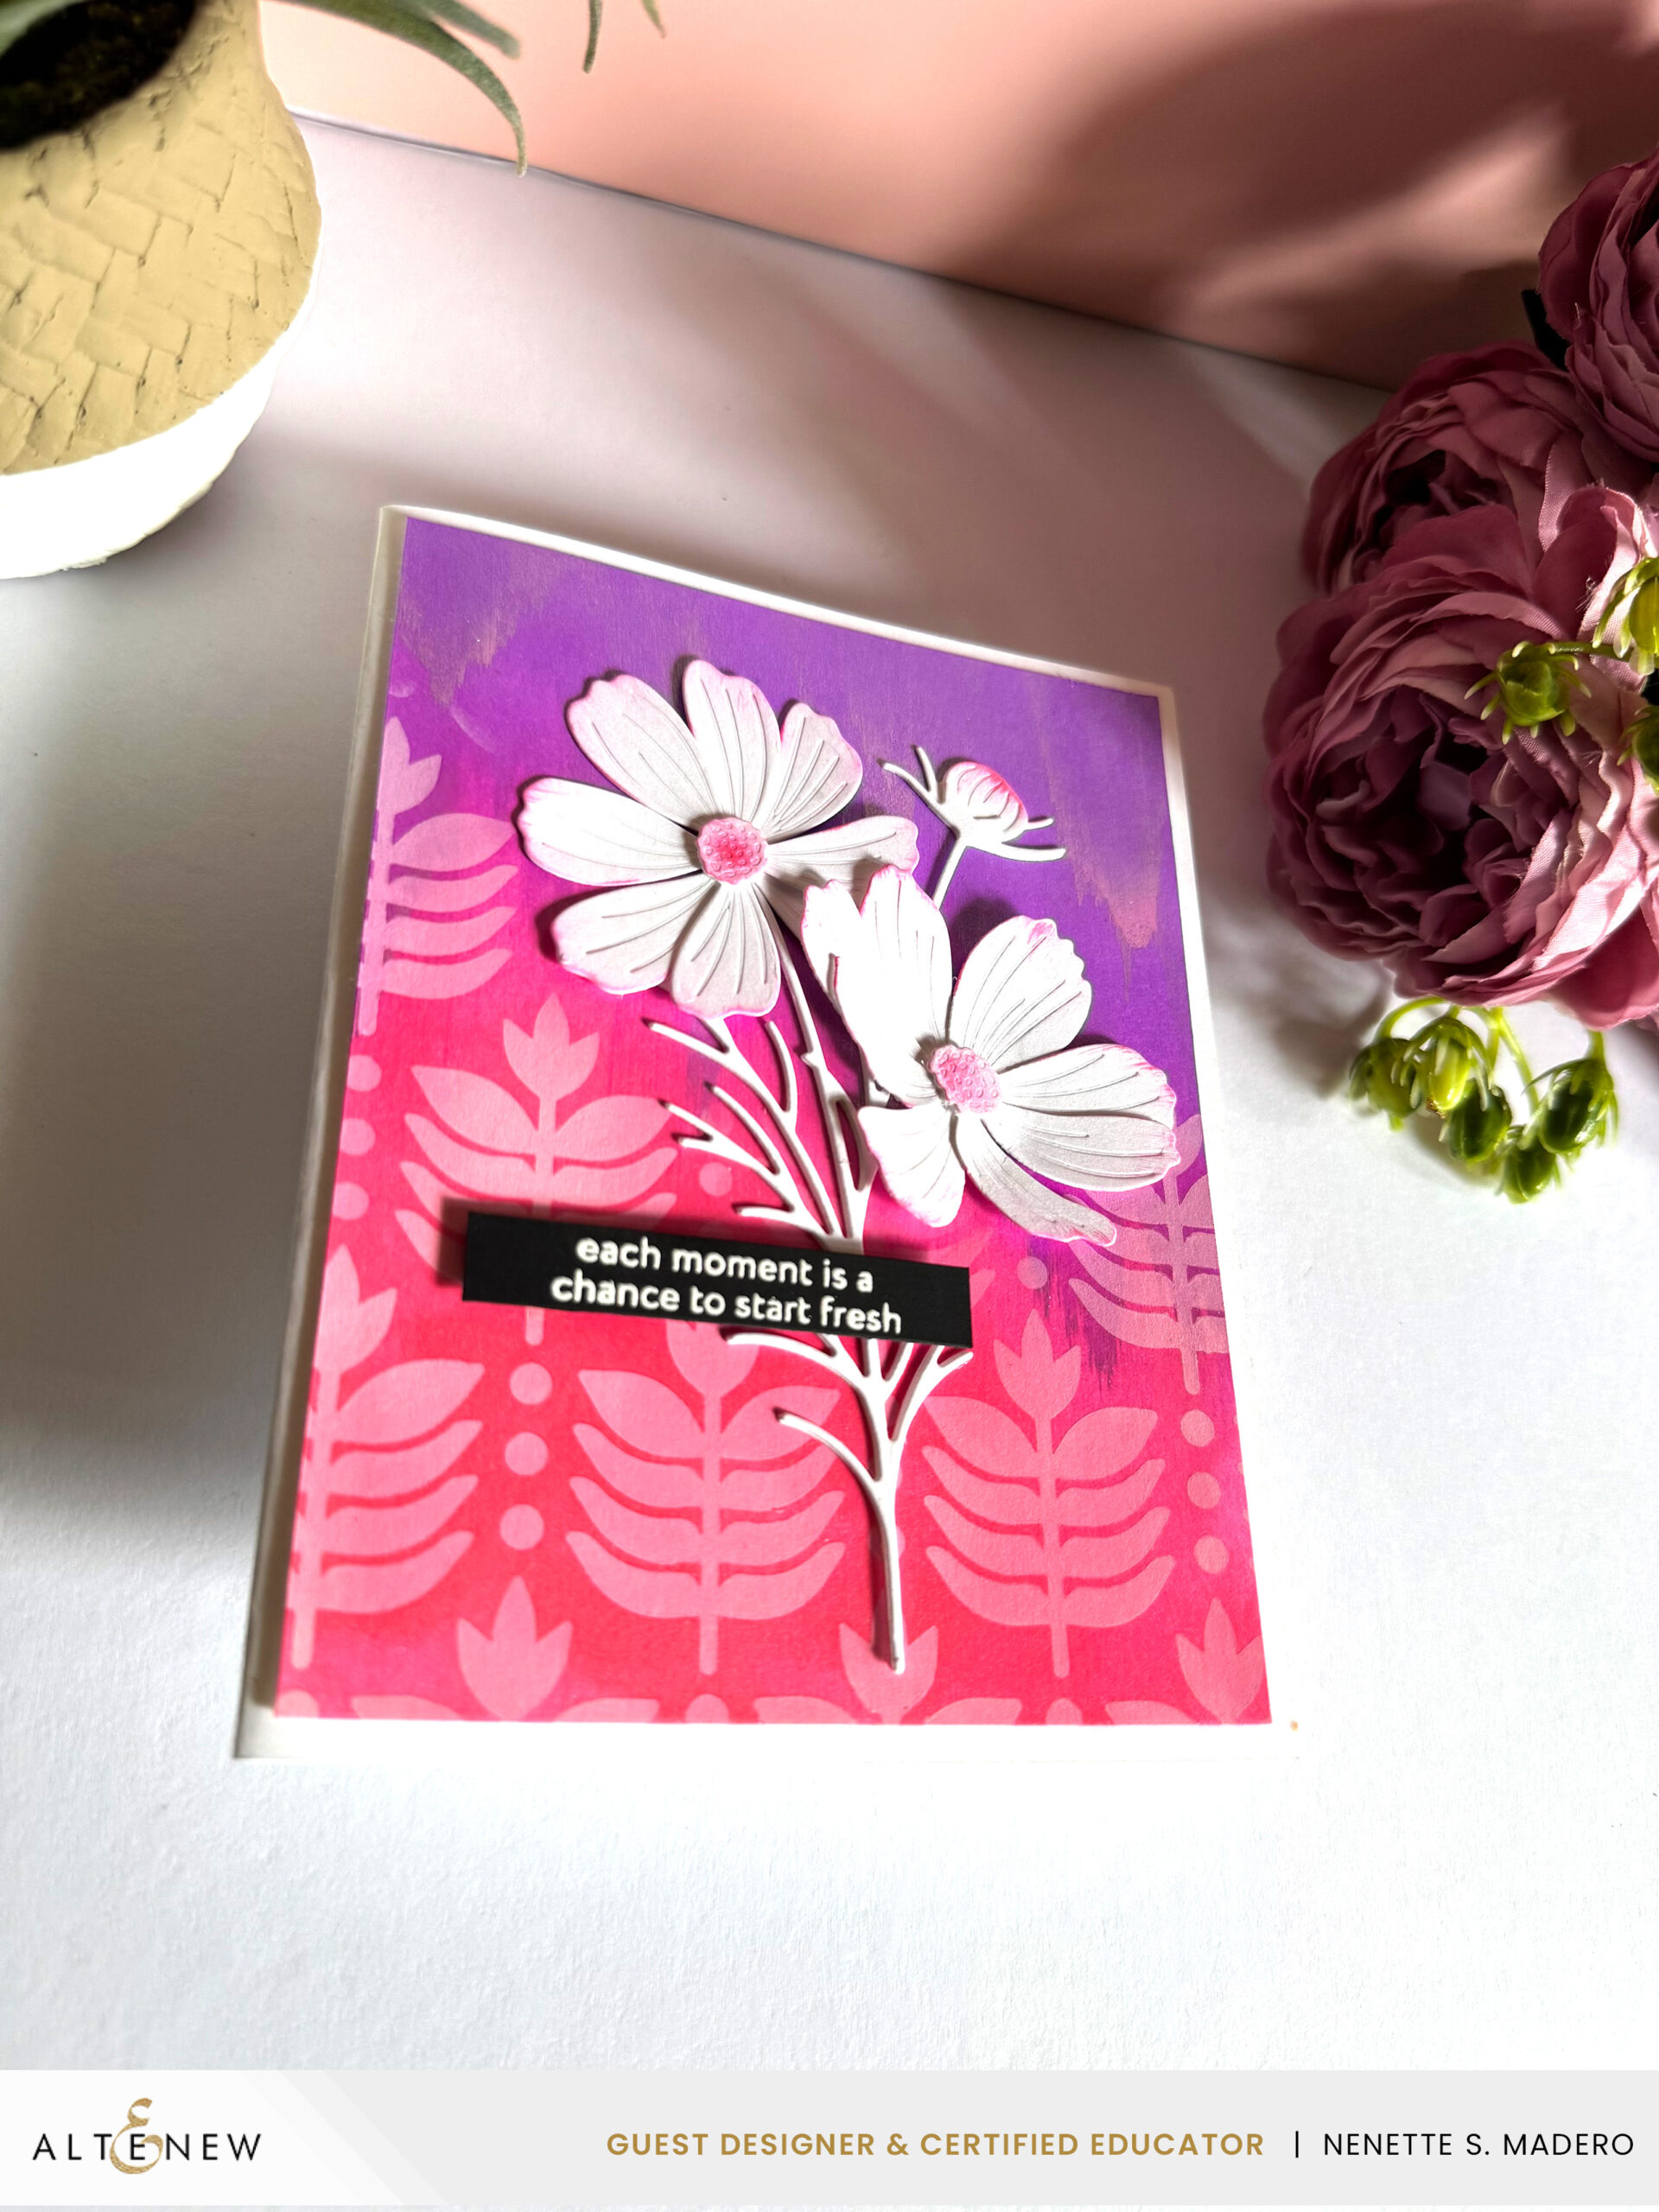
EACH MOMENT IS A CHANCE TO START FRESH
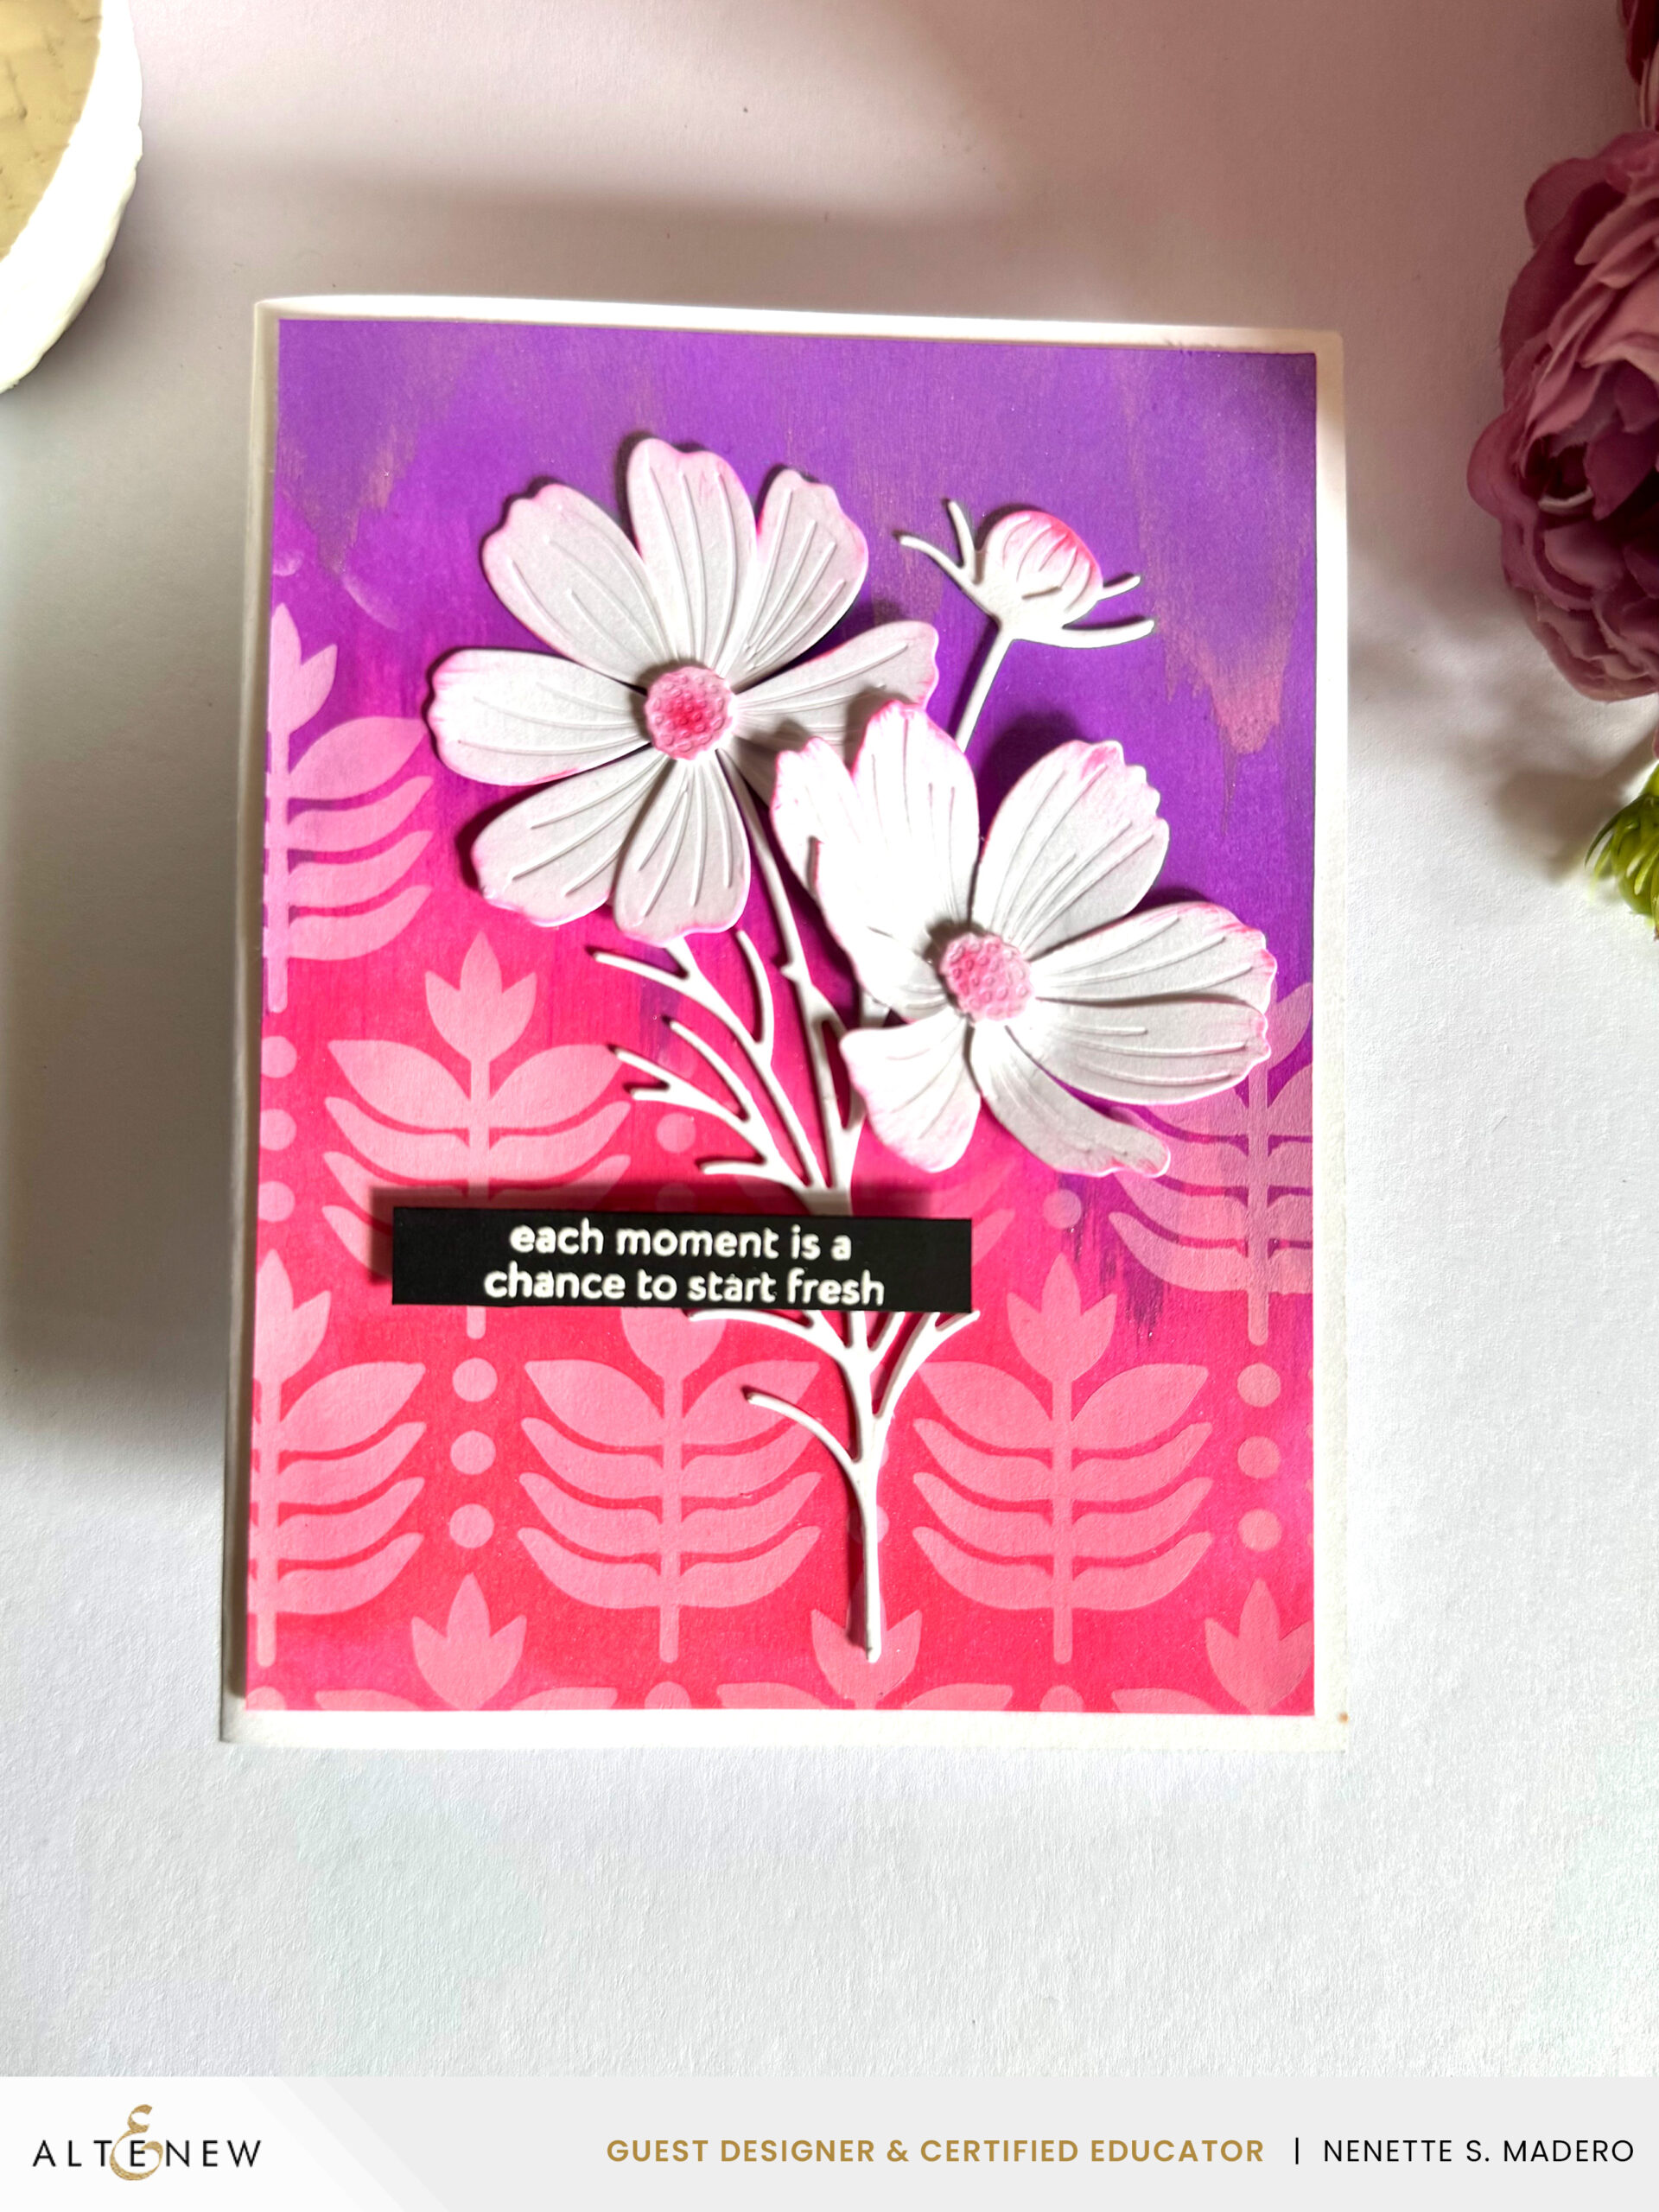
MATERIALS:

STEPS:

  • 1. Color the background using the dye/pigment ink blending the colors.
  • 2. Using the Deco Leaves stencil, lightly apply white pigment ink to partially imprint the design onto the card front.
  • 3. Die-cut white cardstock using the Garden Cosmos die, then gently blend ink along the edges of the petals.
  • 4. Use the paper sculpting kit to add dimension to the petals.
  • 5. Assemble the card.

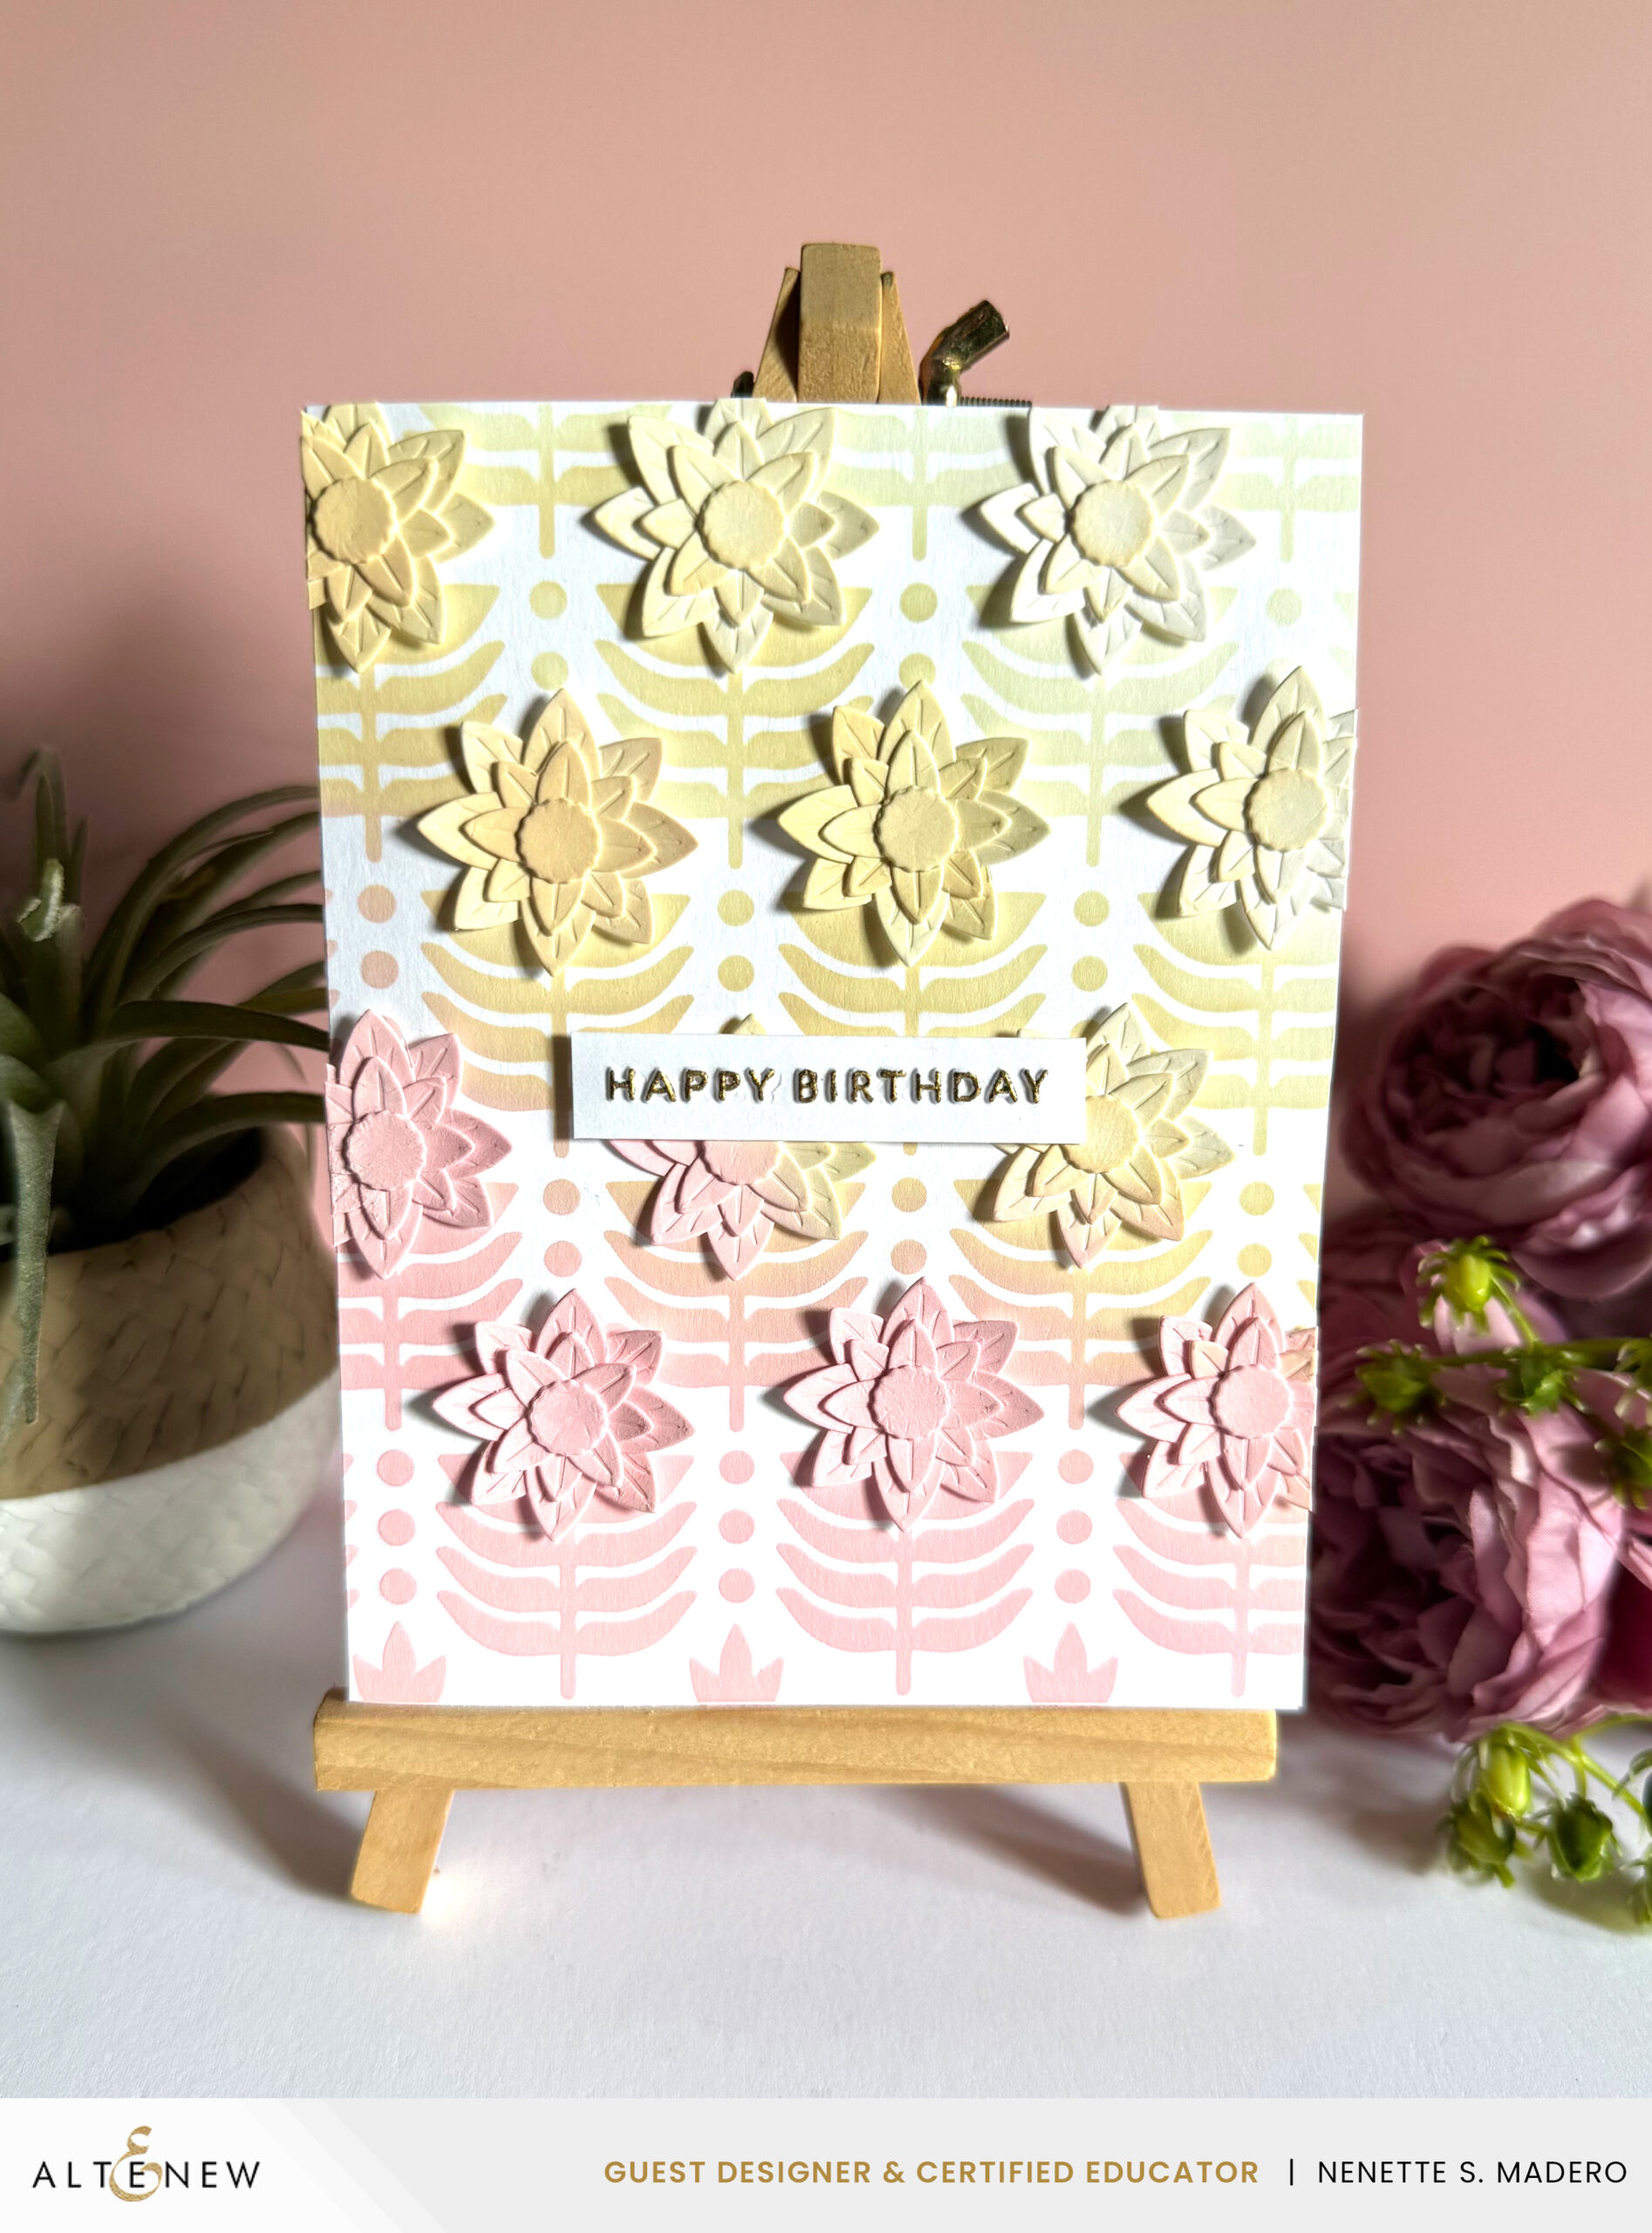
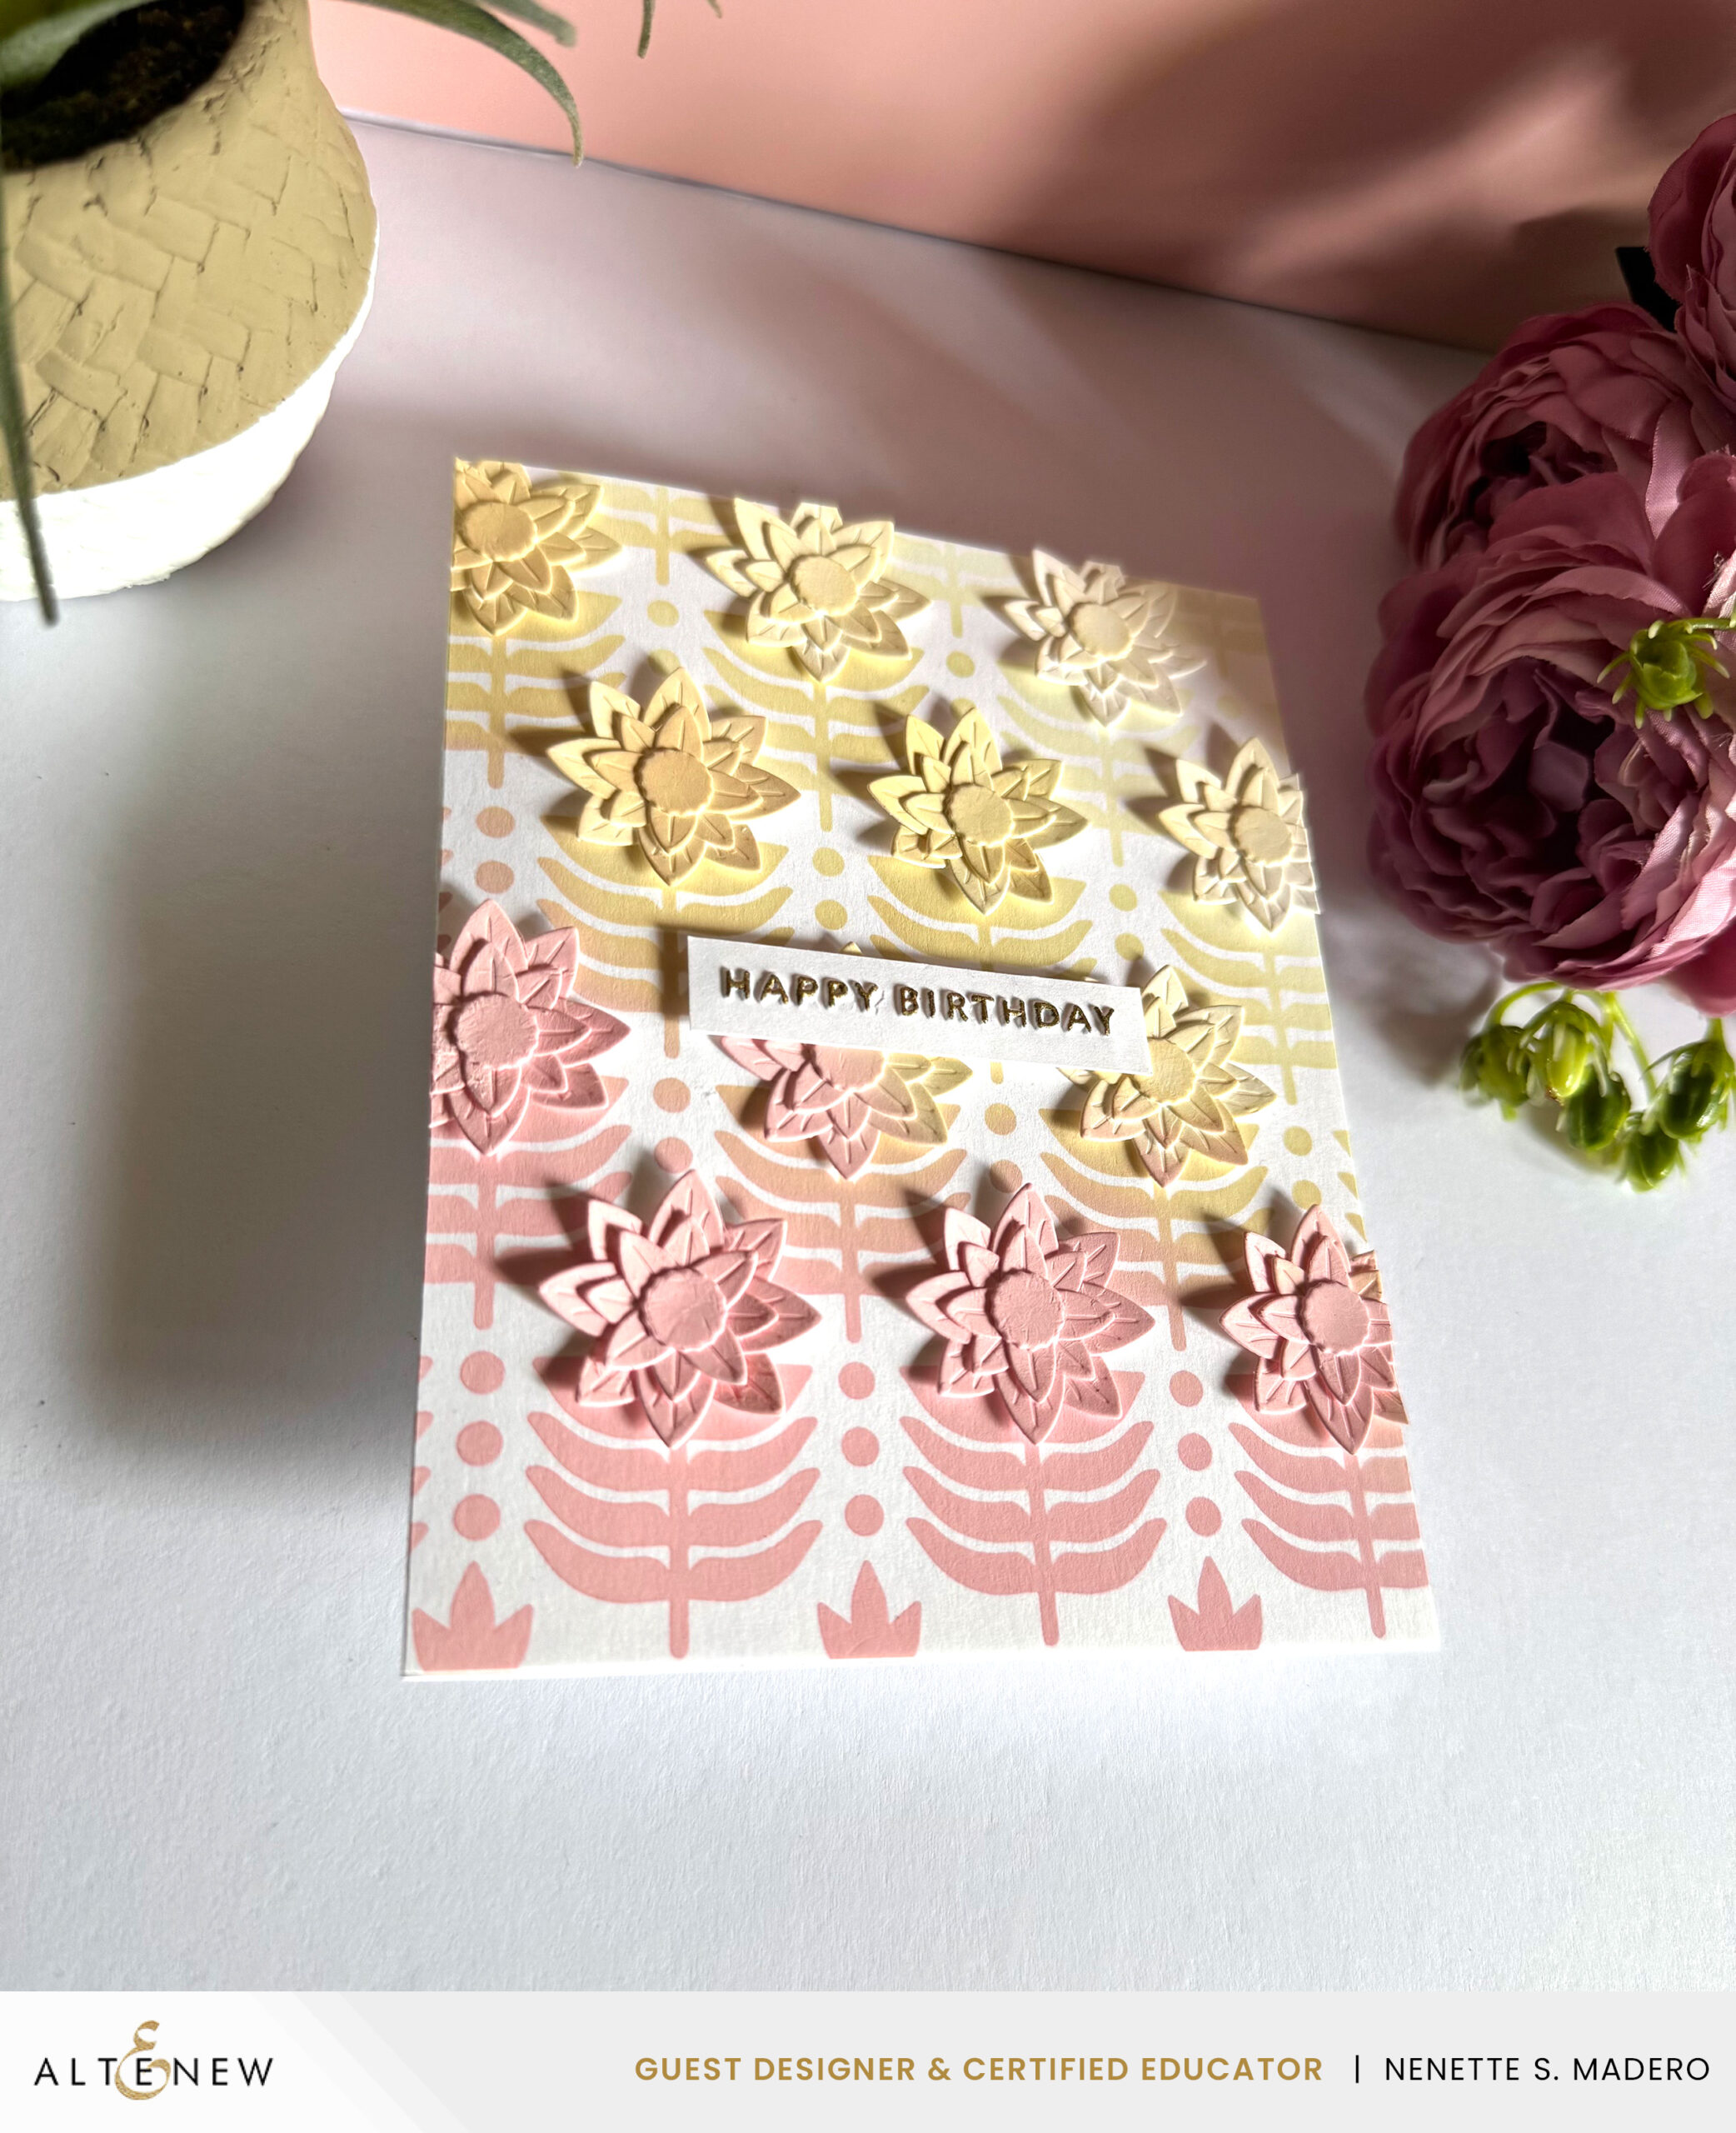
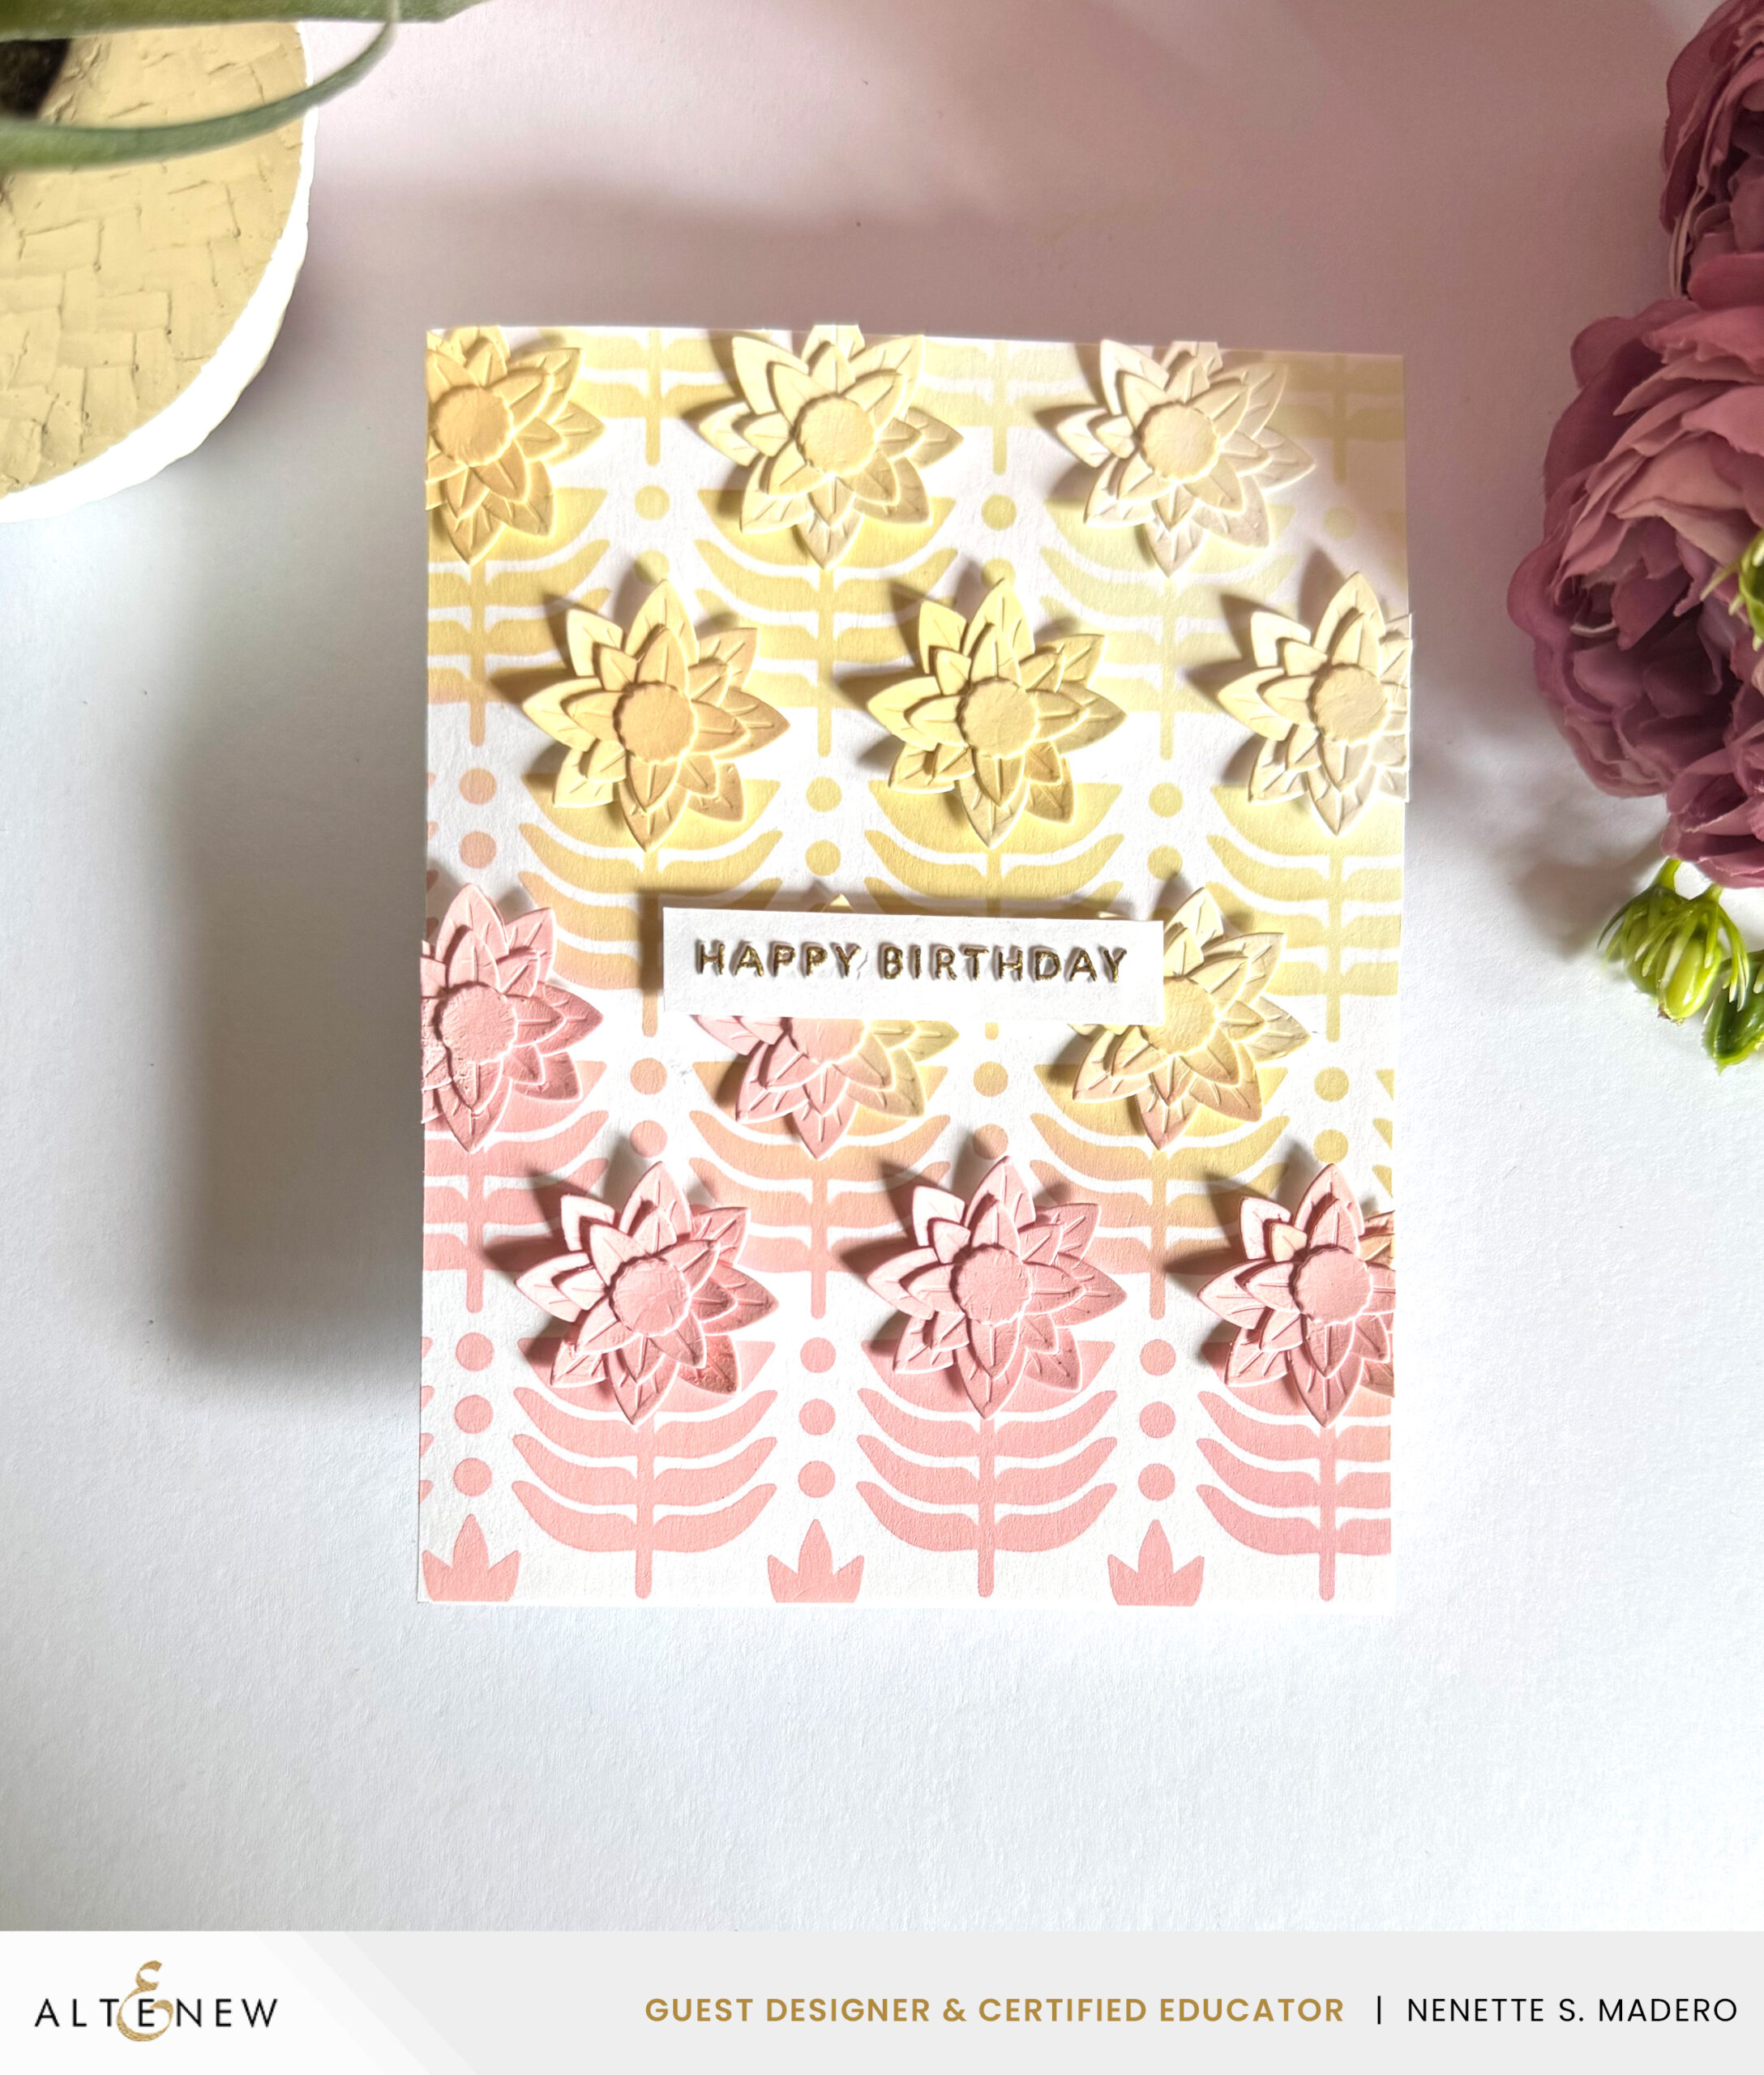
HAPPY BIRTHDAY

MATERIALS:

  • DIES: Petal Craft Layering Die Set
  • STENCILS: Deco Leaves
  • EMBOSSING FOLDER: Mini Sentiments
  • INKS: Distress Oxide Inks
  • OTHERS: Gold marker

STEPS:

  • 1. Create a background by blending distress oxide inks, starting with pinks and transitioning into yellow, then finishing with light yellow to achieve a smooth ombre effect from dark to light.
  • 2. Die cut and layer flowers using the Petal Craft Layering Die set.
  • 3. Color the flowers with Distress Oxide matching it with the background.
  • 4. Emboss the sentiment and color the raised parts with a gold marker.
  • 5. Assemble card.

I thought the Petal Craft Layering Die would pair perfectly with the Deco Leaves Stencil. I absolutely love the dimension it adds to this card!
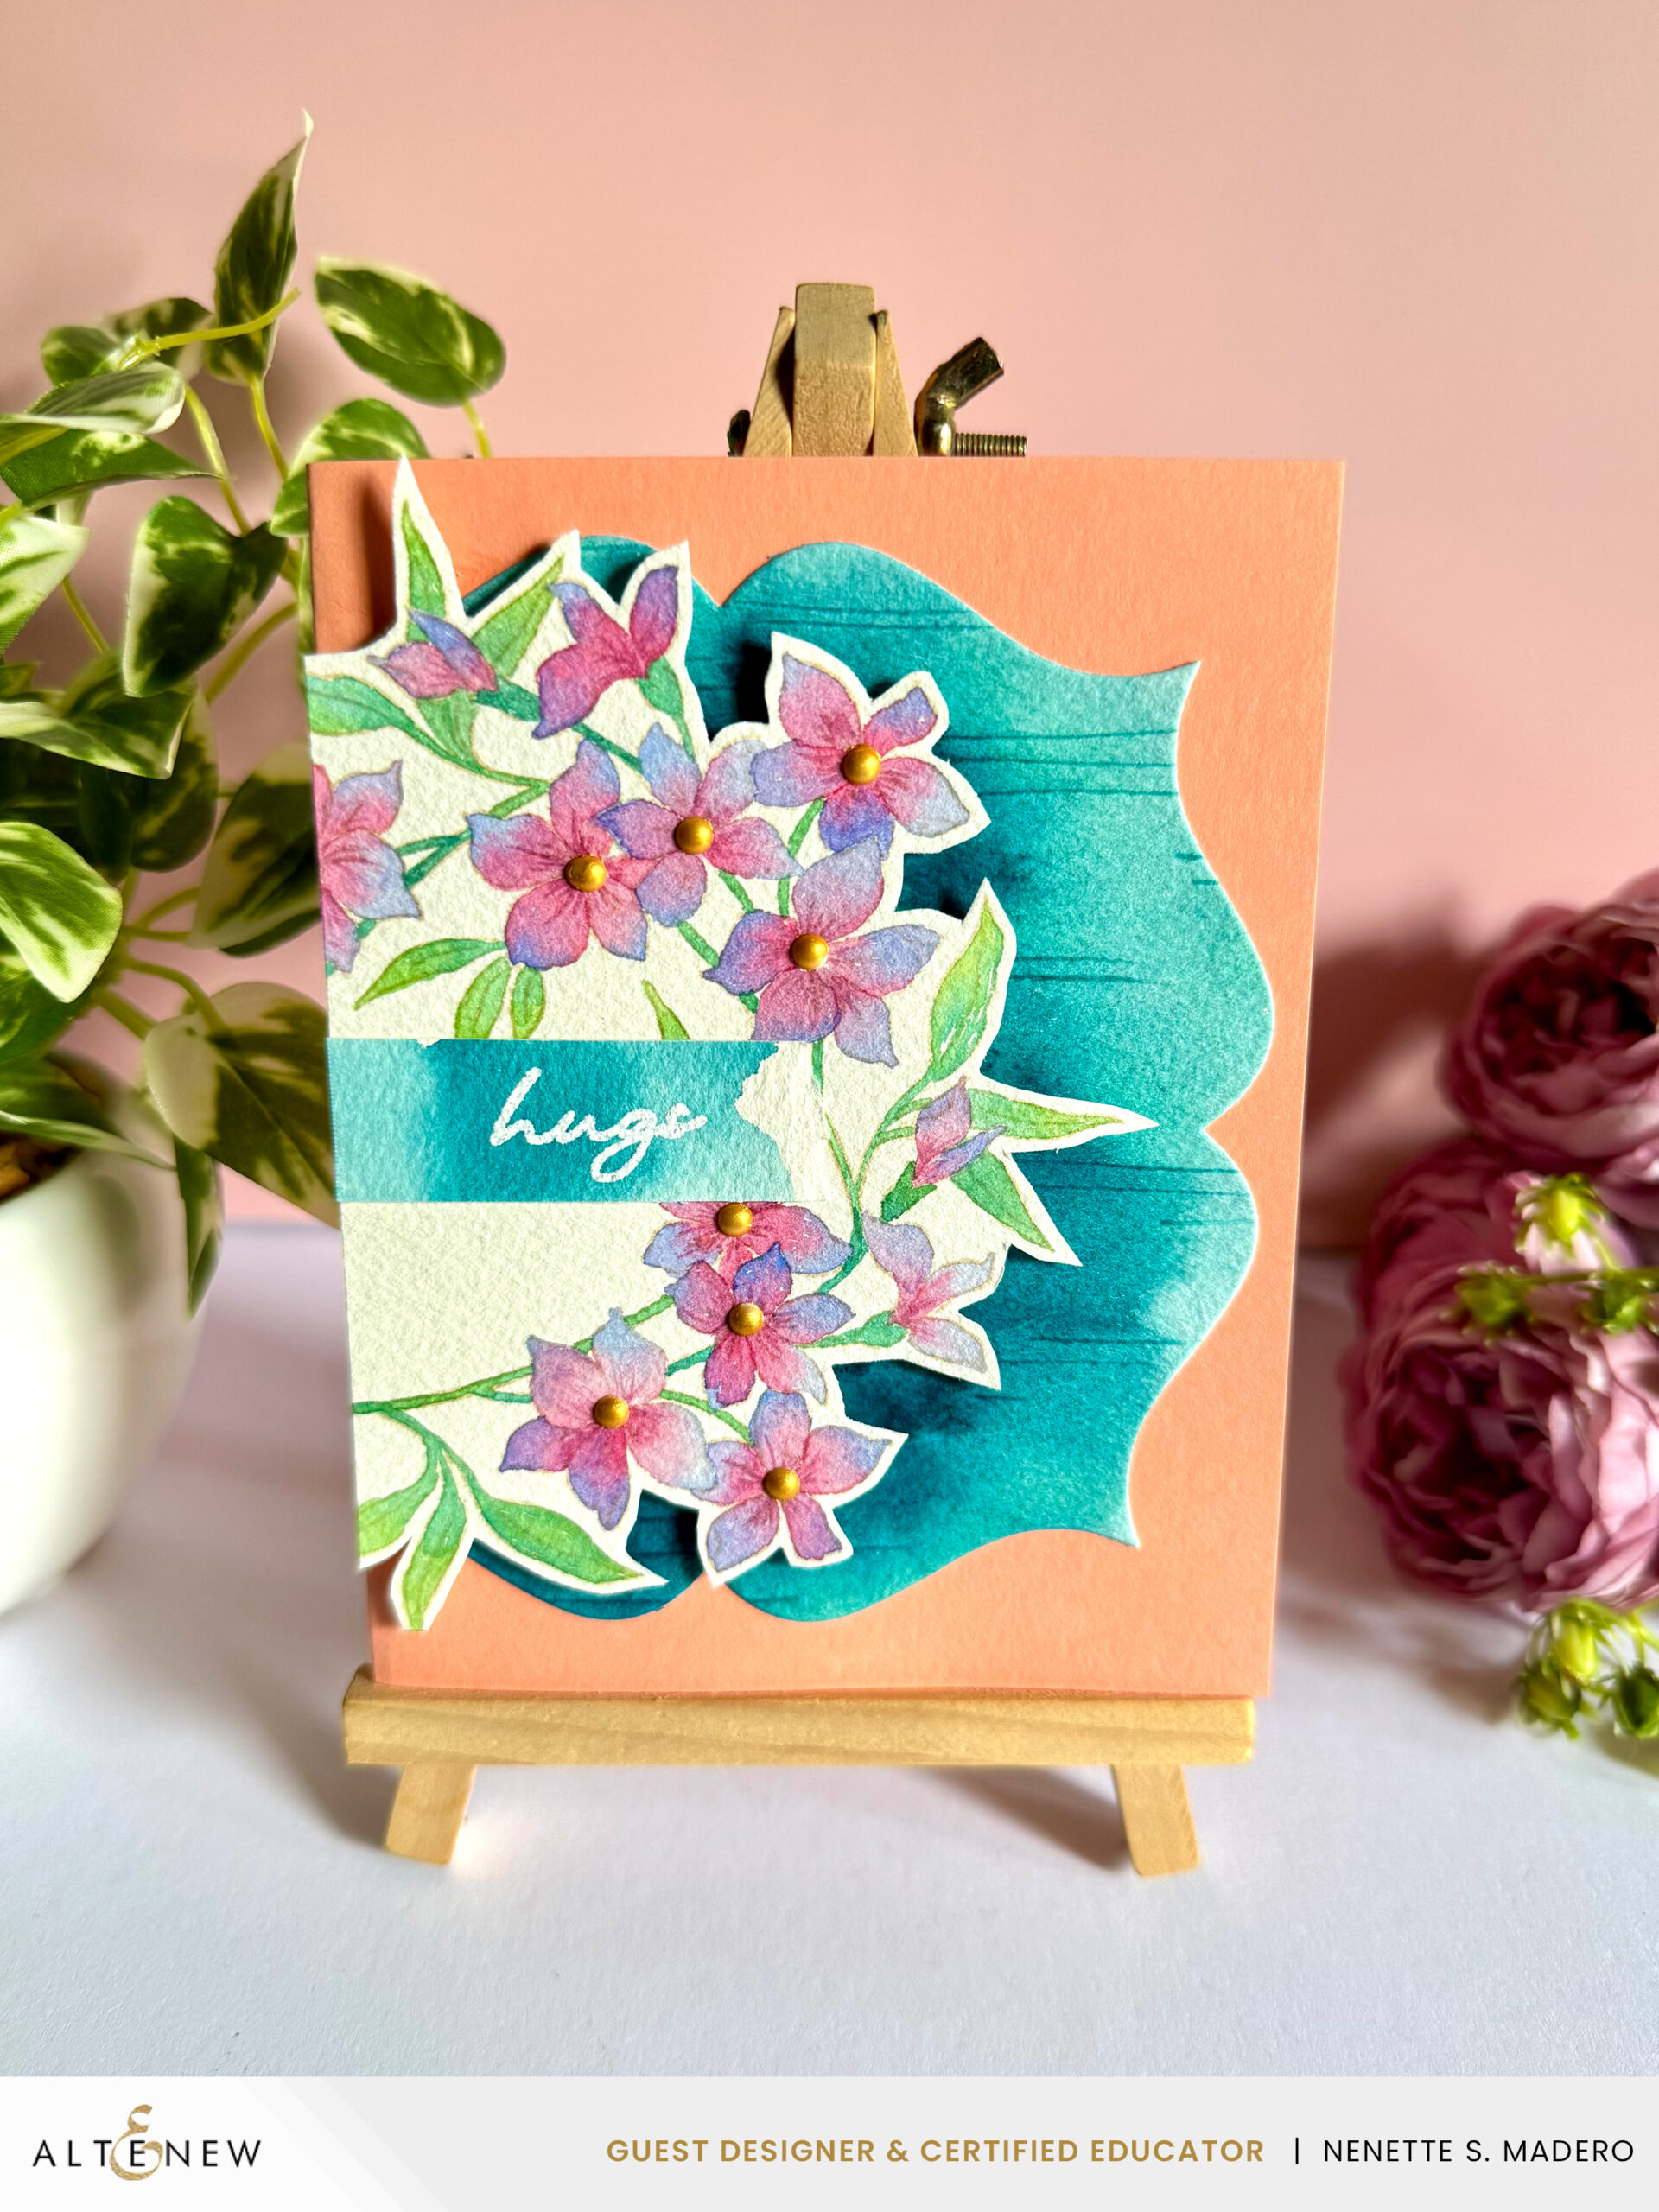
HUGS
MATERIALS:

STEPS:

  • 1. Stamp image using Sand Dunes Dye ink forming a wreath-like shape.
  • 2. Watercolor the images. Use colored pencil to add more details to the center of the flowers.
  • 3. Fussy cut the outer edges.
  • 4. Paint the background. Use the tip of the paintbrush to draw lines on the wet background for added texture. Die cut.
  • 5. Emboss the sentiment using white embossing powder.
  • 6. Add the enamel dots and carfully color them gold using acrylic ink.
  • 7. Assemble card using foam squares and adhesive for added dimension.
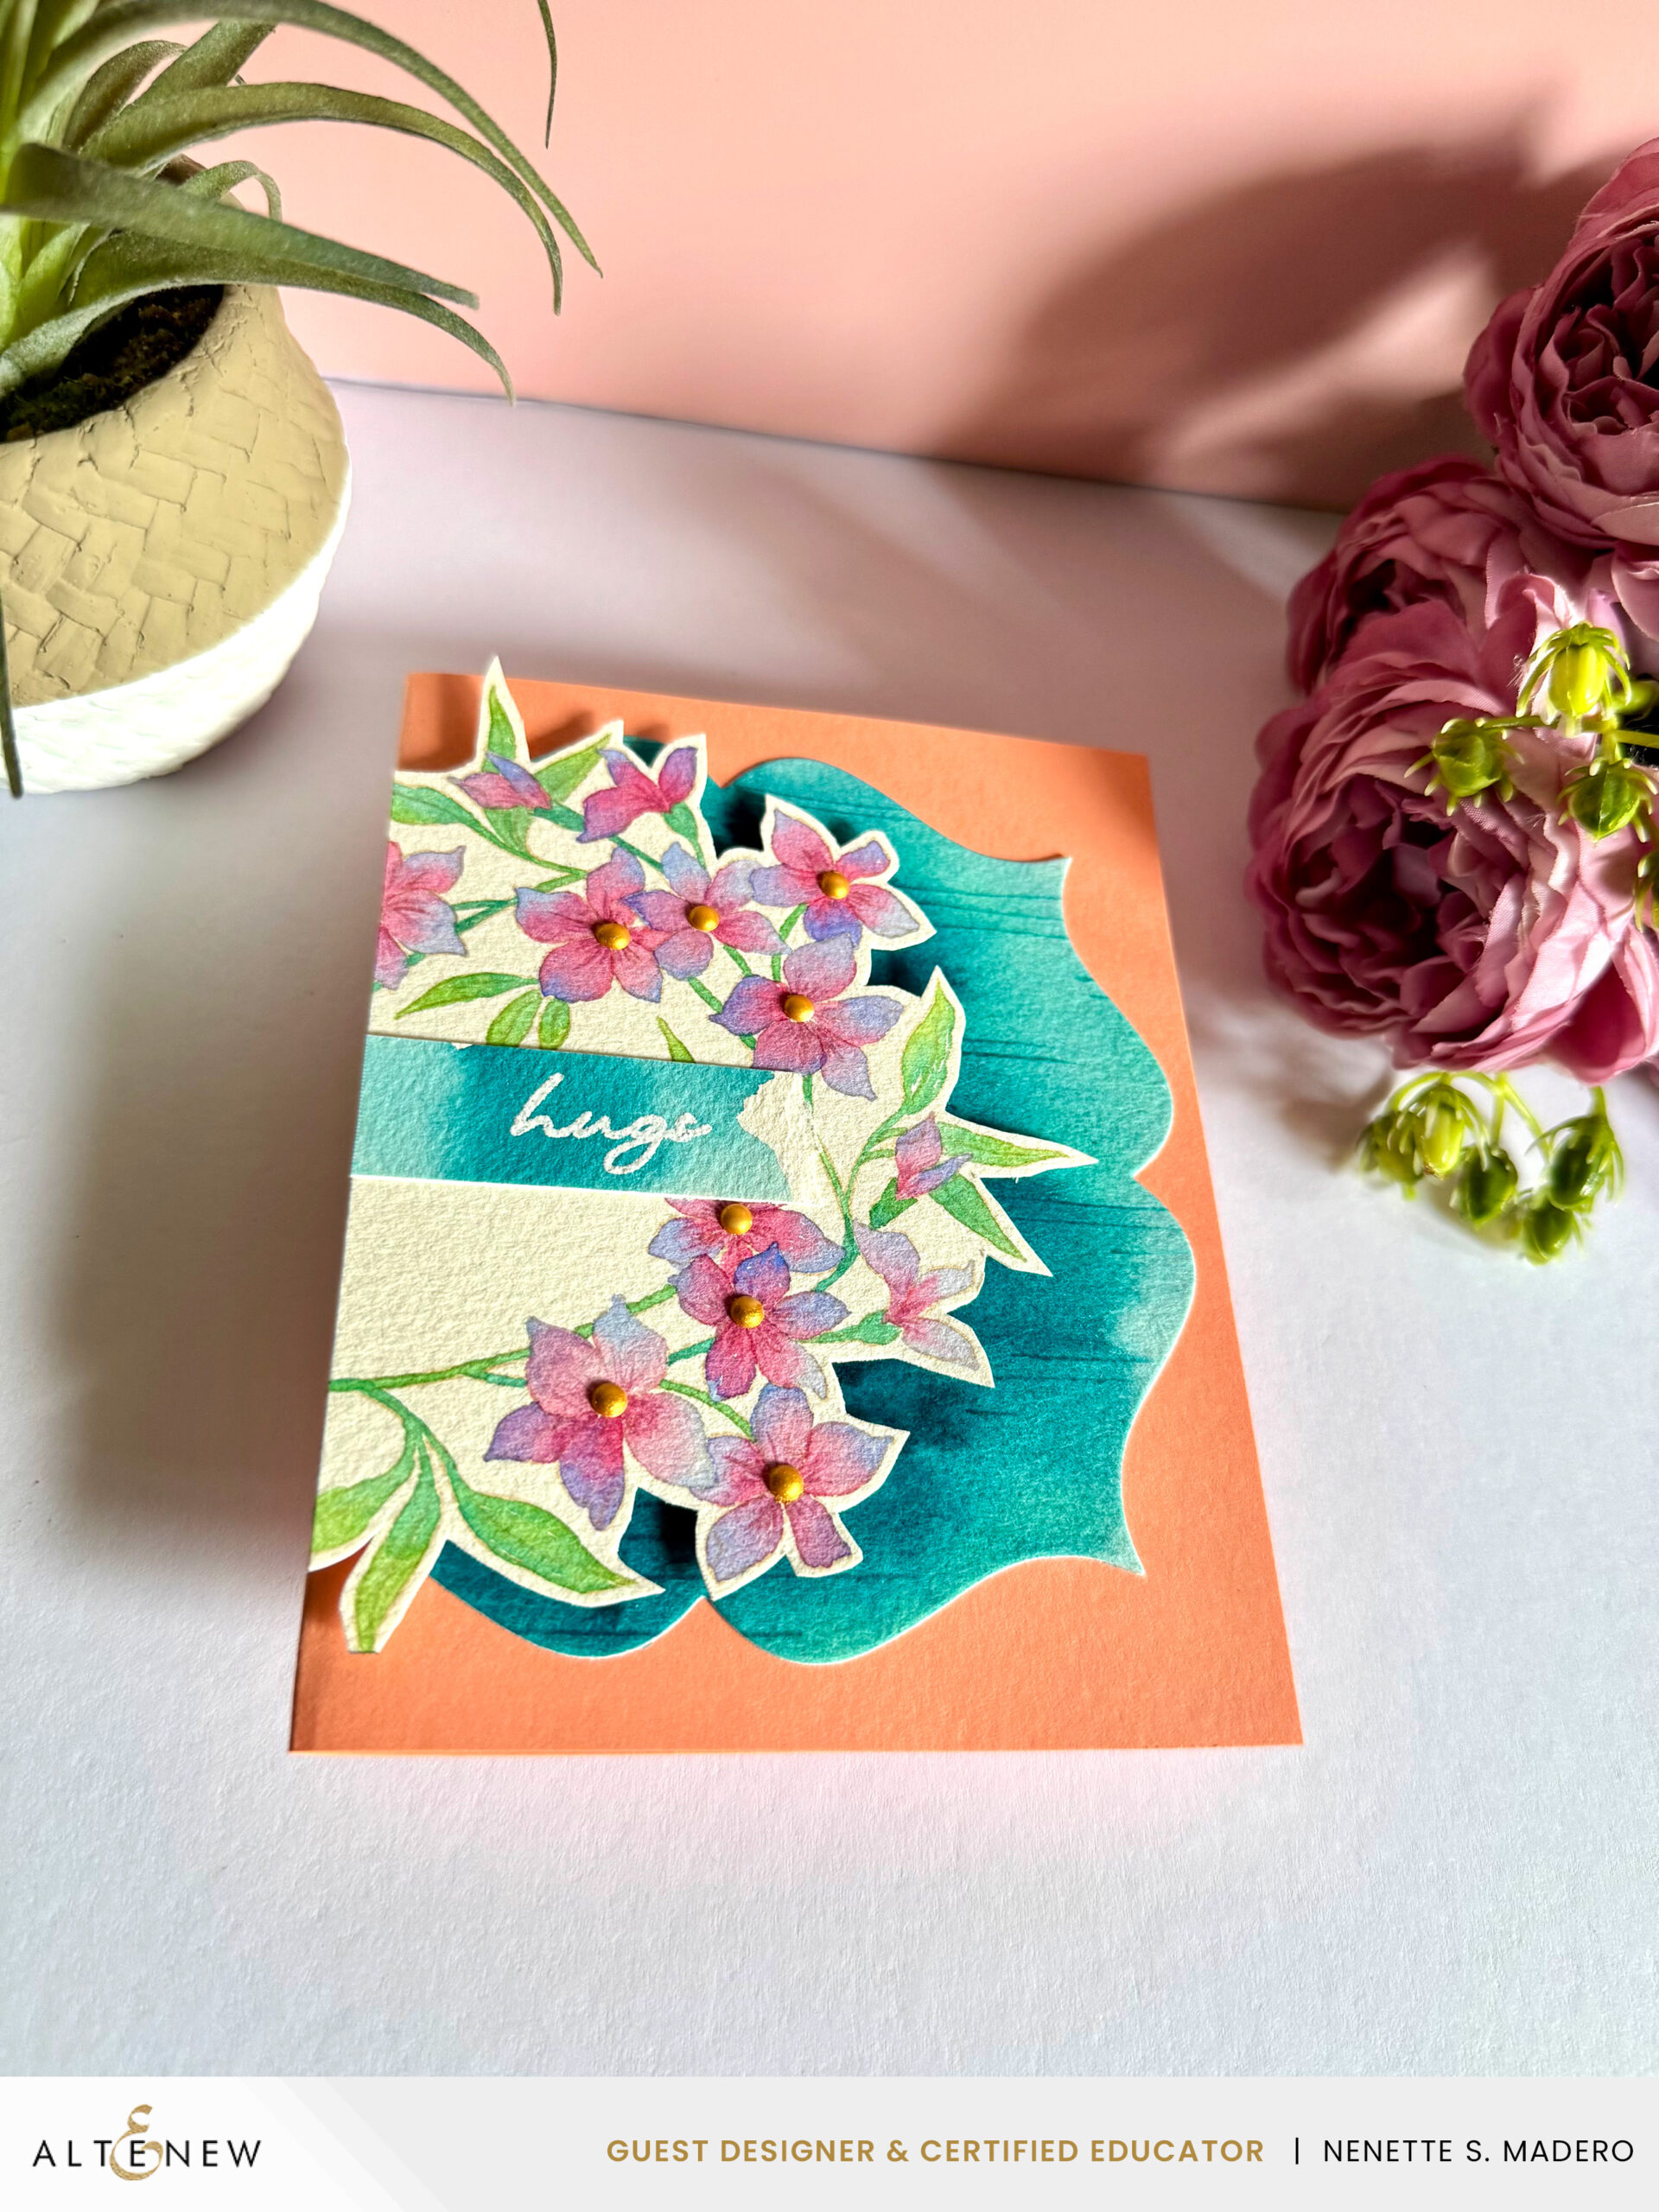
Using the Sand Dunes dye ink to stamp the images is perfect for no-line watercoloring since it is a very light shade. Make sure to make your markings on wet watercolor paper for added contrast.

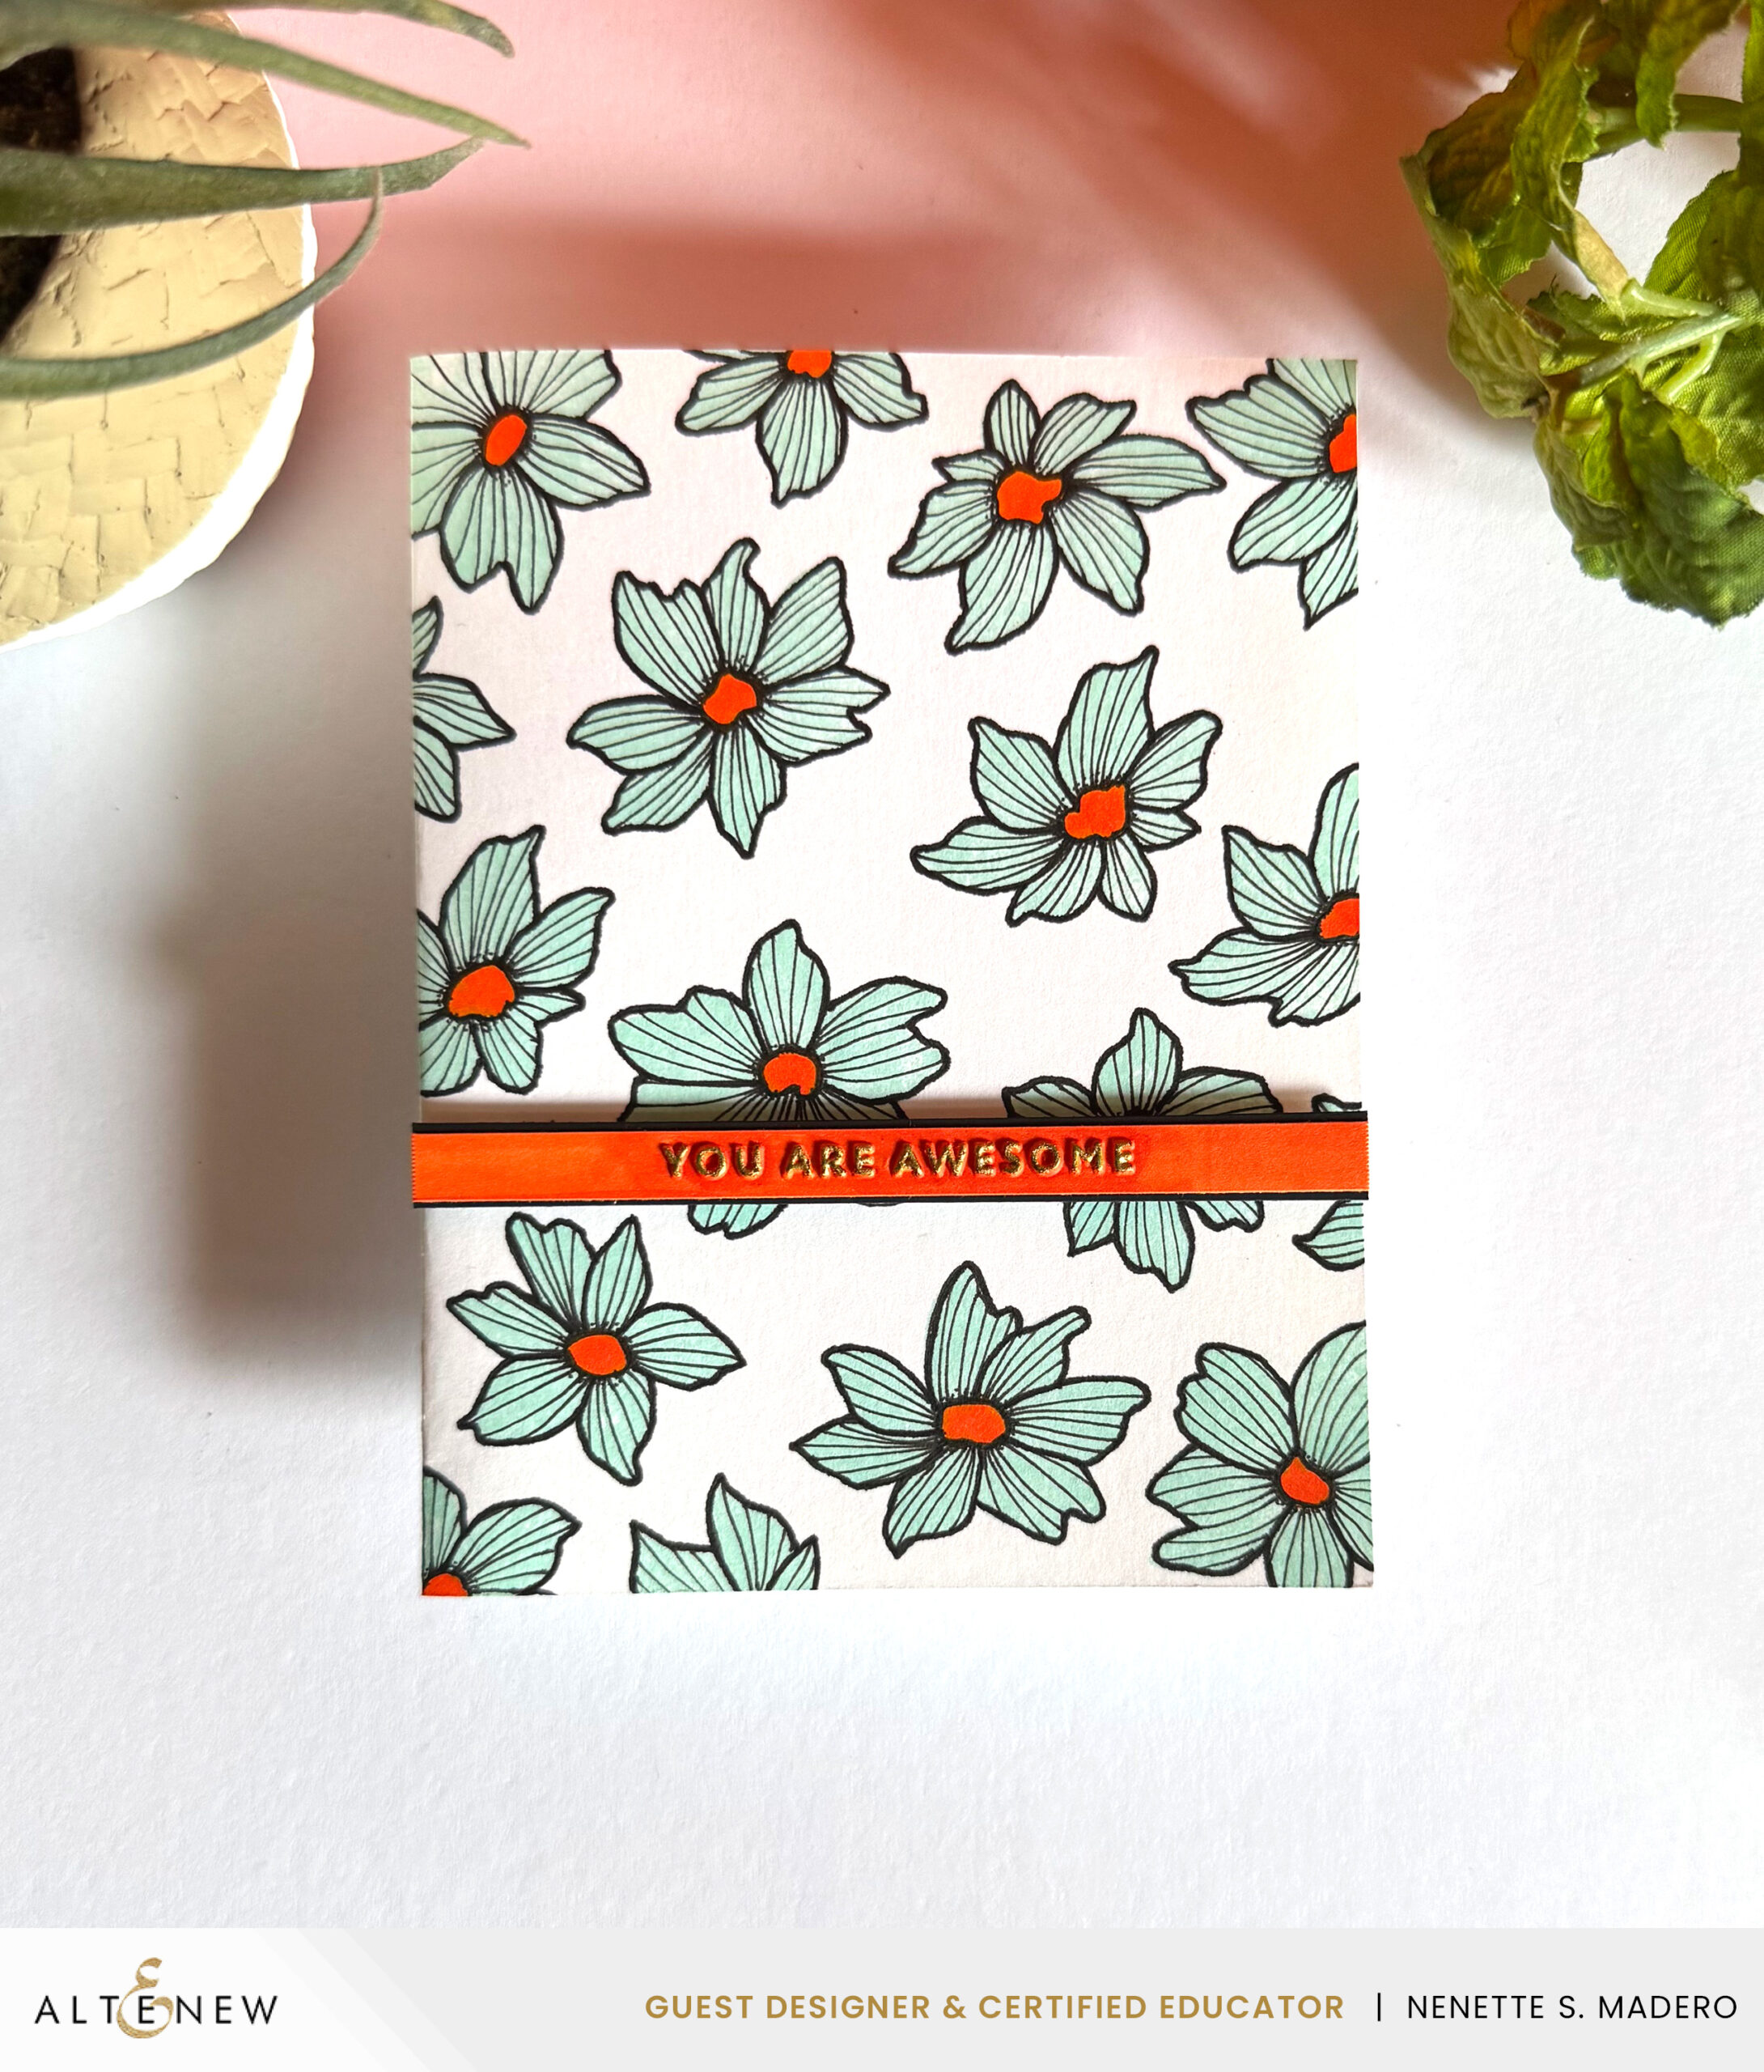
YOU ARE AWESOME
MATERIALS:

  • STAMP: Ethereal Blooms (1st layer of flowers only-A1, B1, C1 AND D1)
  • INKS: Dew Drops Dye Ink, C019 Artist Marker orange, .1 and .5 fine pen, Pilot Gold Marker
  • EMBOSSING FOLDER: Mini Sentiments

STEPS:

  • 1. Randomly stamp the base layers of the flowers onto the cardfront using Dew Drops dye ink.
  • 2. Loosely draw the outline of the petals using .5mm tip then draw thin lines on the petals using a .1mm fine tip pen. Color the center using the C019 artist marker.
  • 3. Emboss the sentiment and color the top with gold marker.
  • 4. Matt the sentiment with black cardstock and mount with foap tape for added dimension.
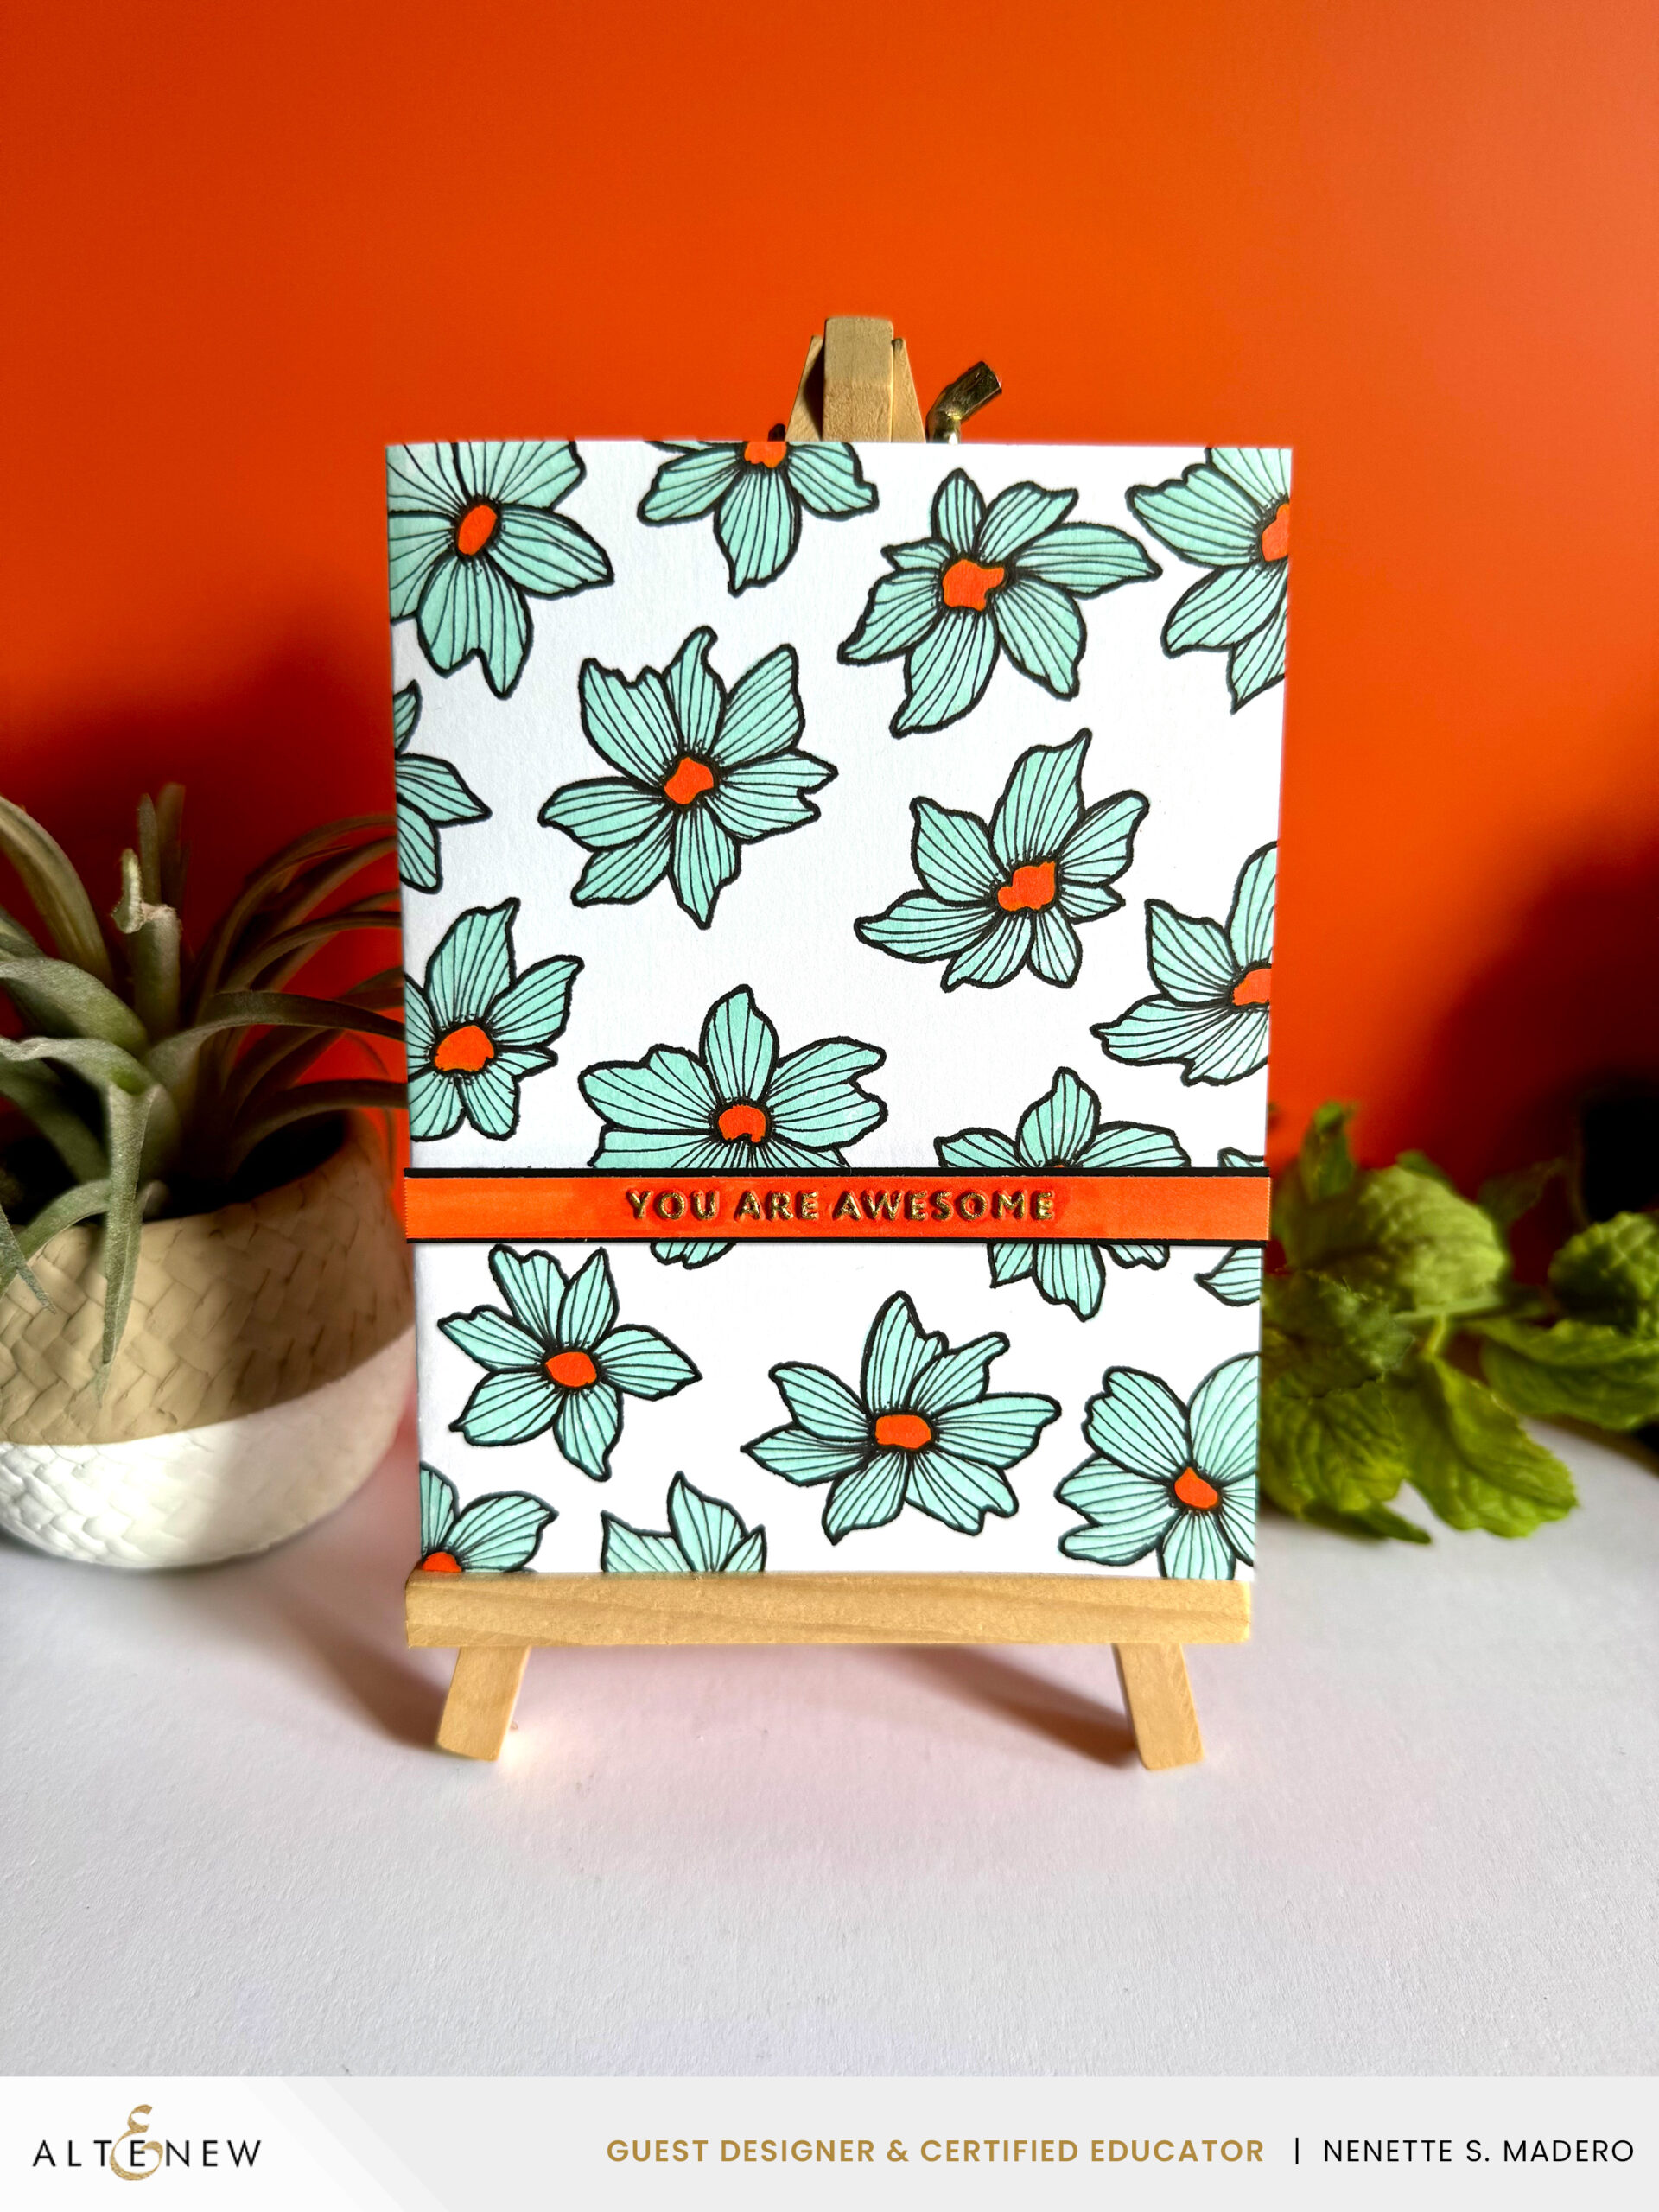
This is an alternative and simple way to use the stamp set. You don’t need to layer the stamps… just use the base layer then draw the outlines to create the flower.

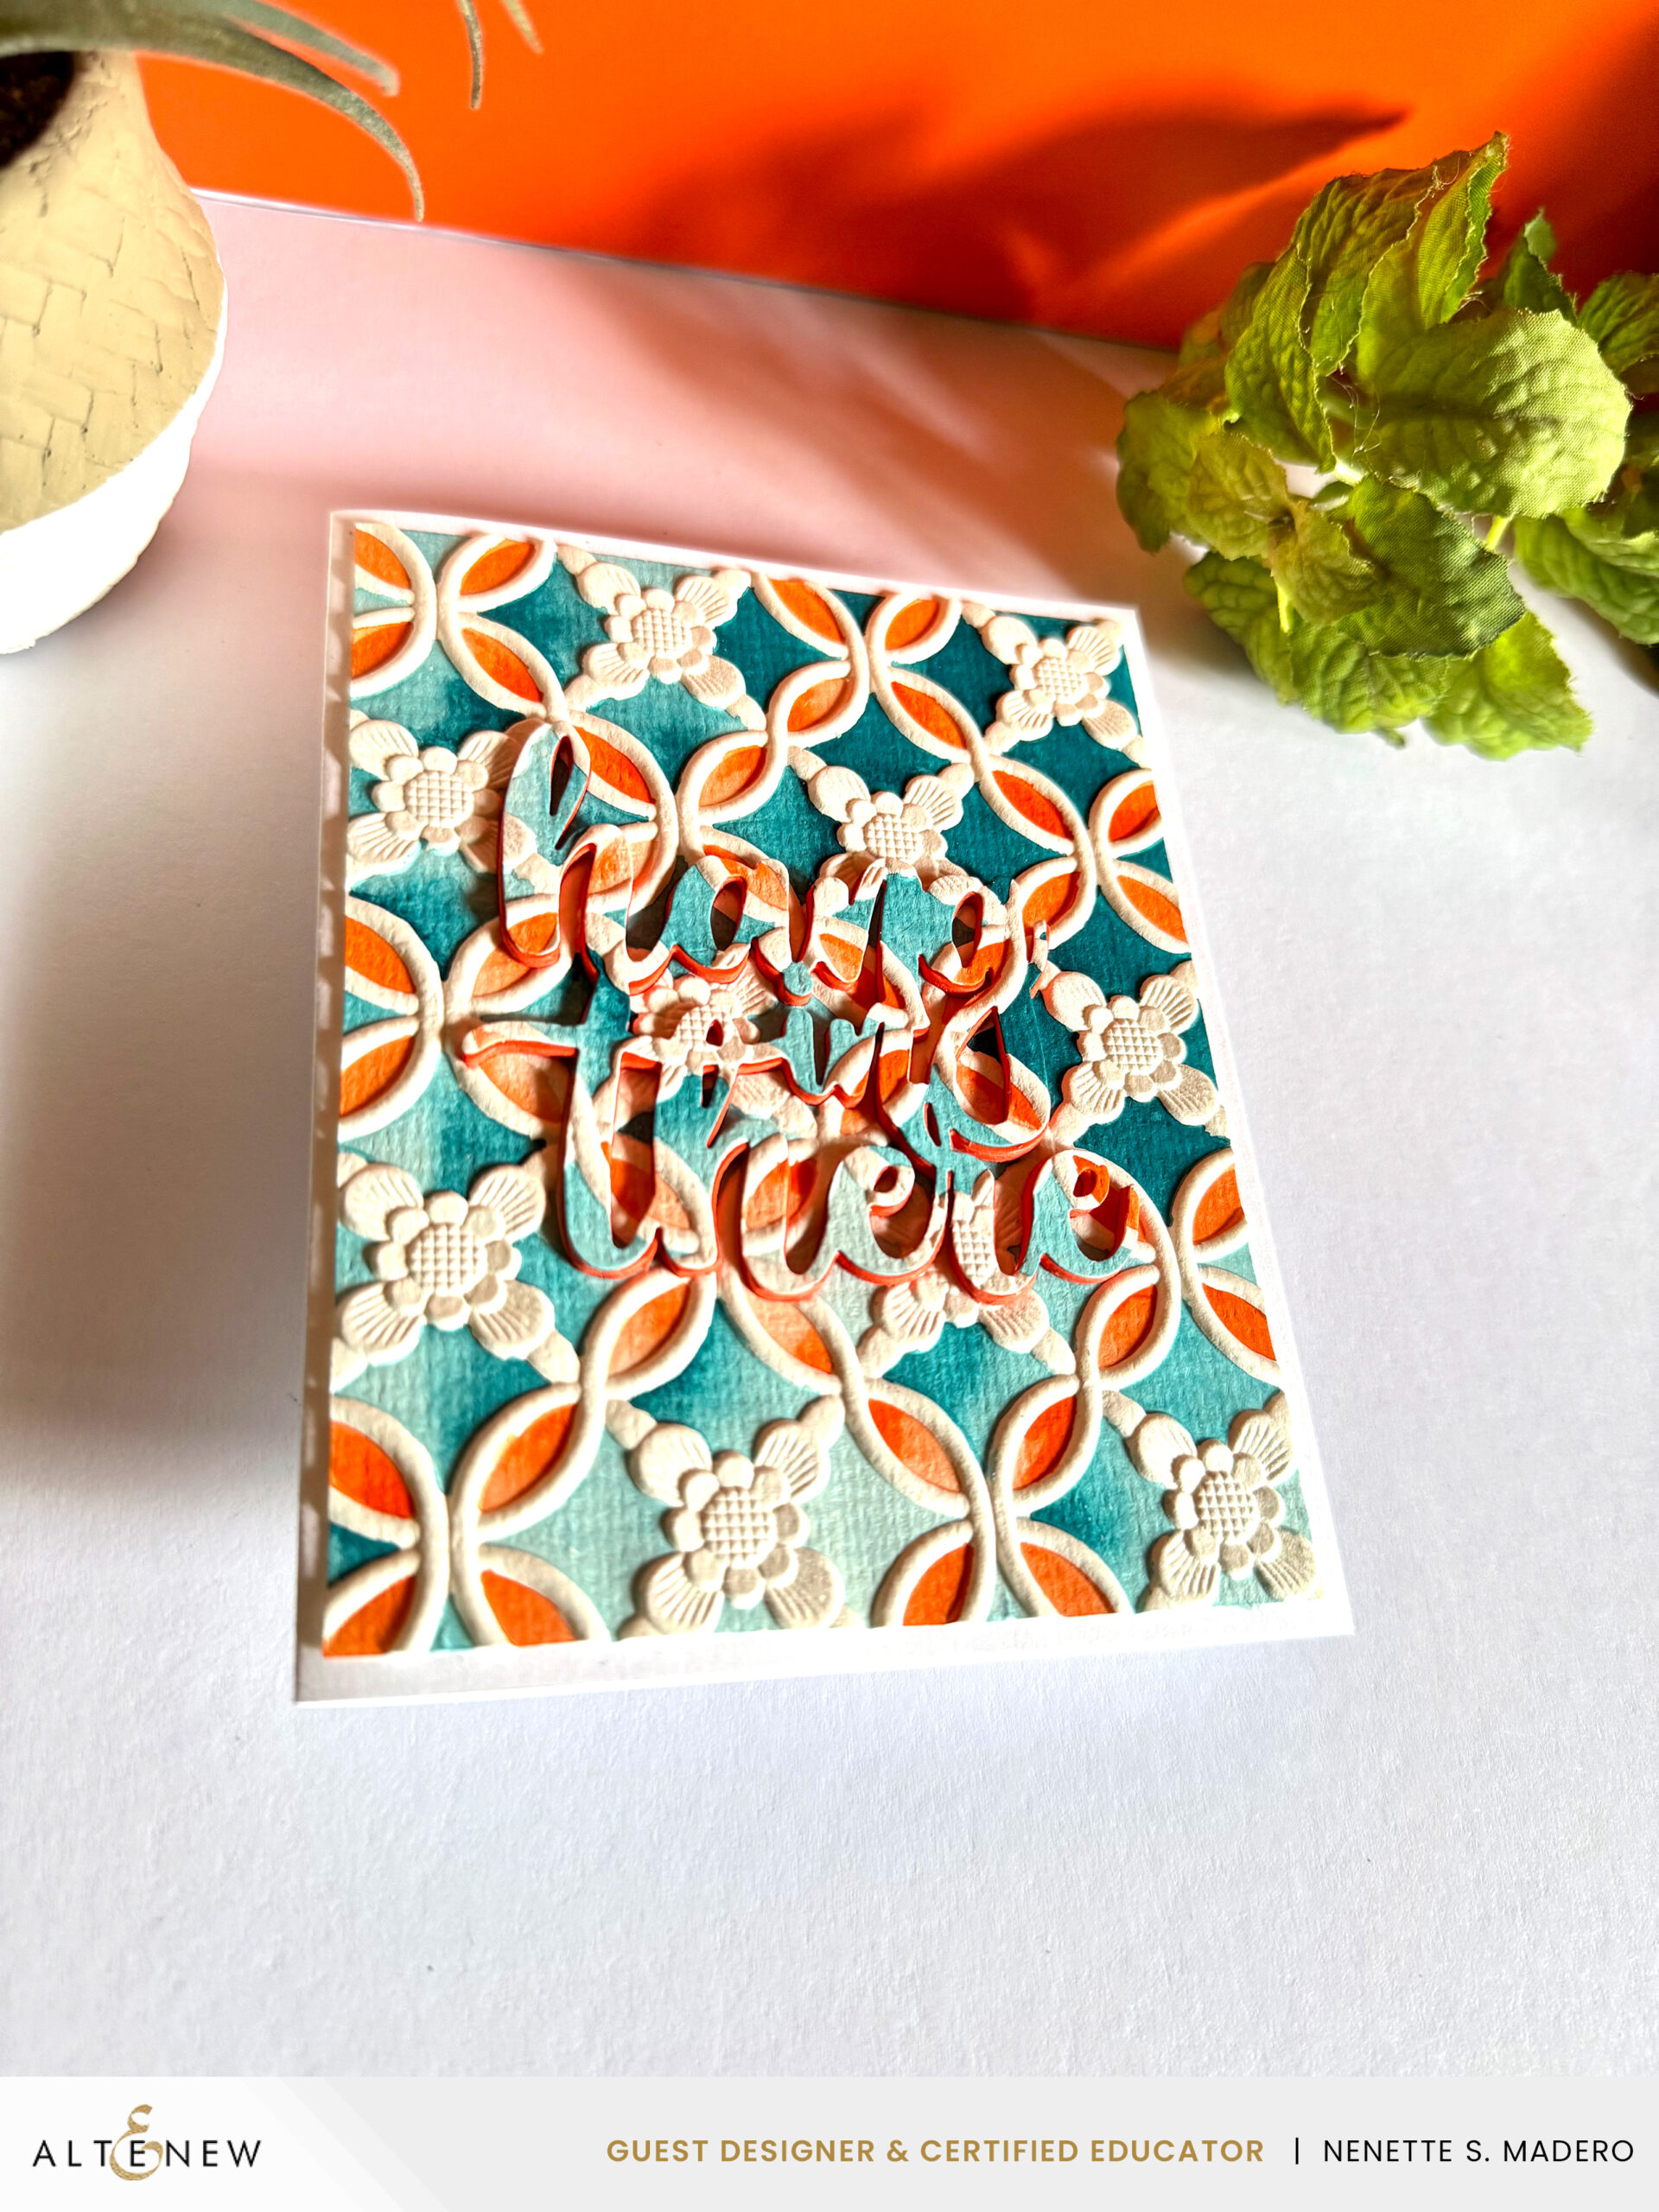
HANG IN THERE
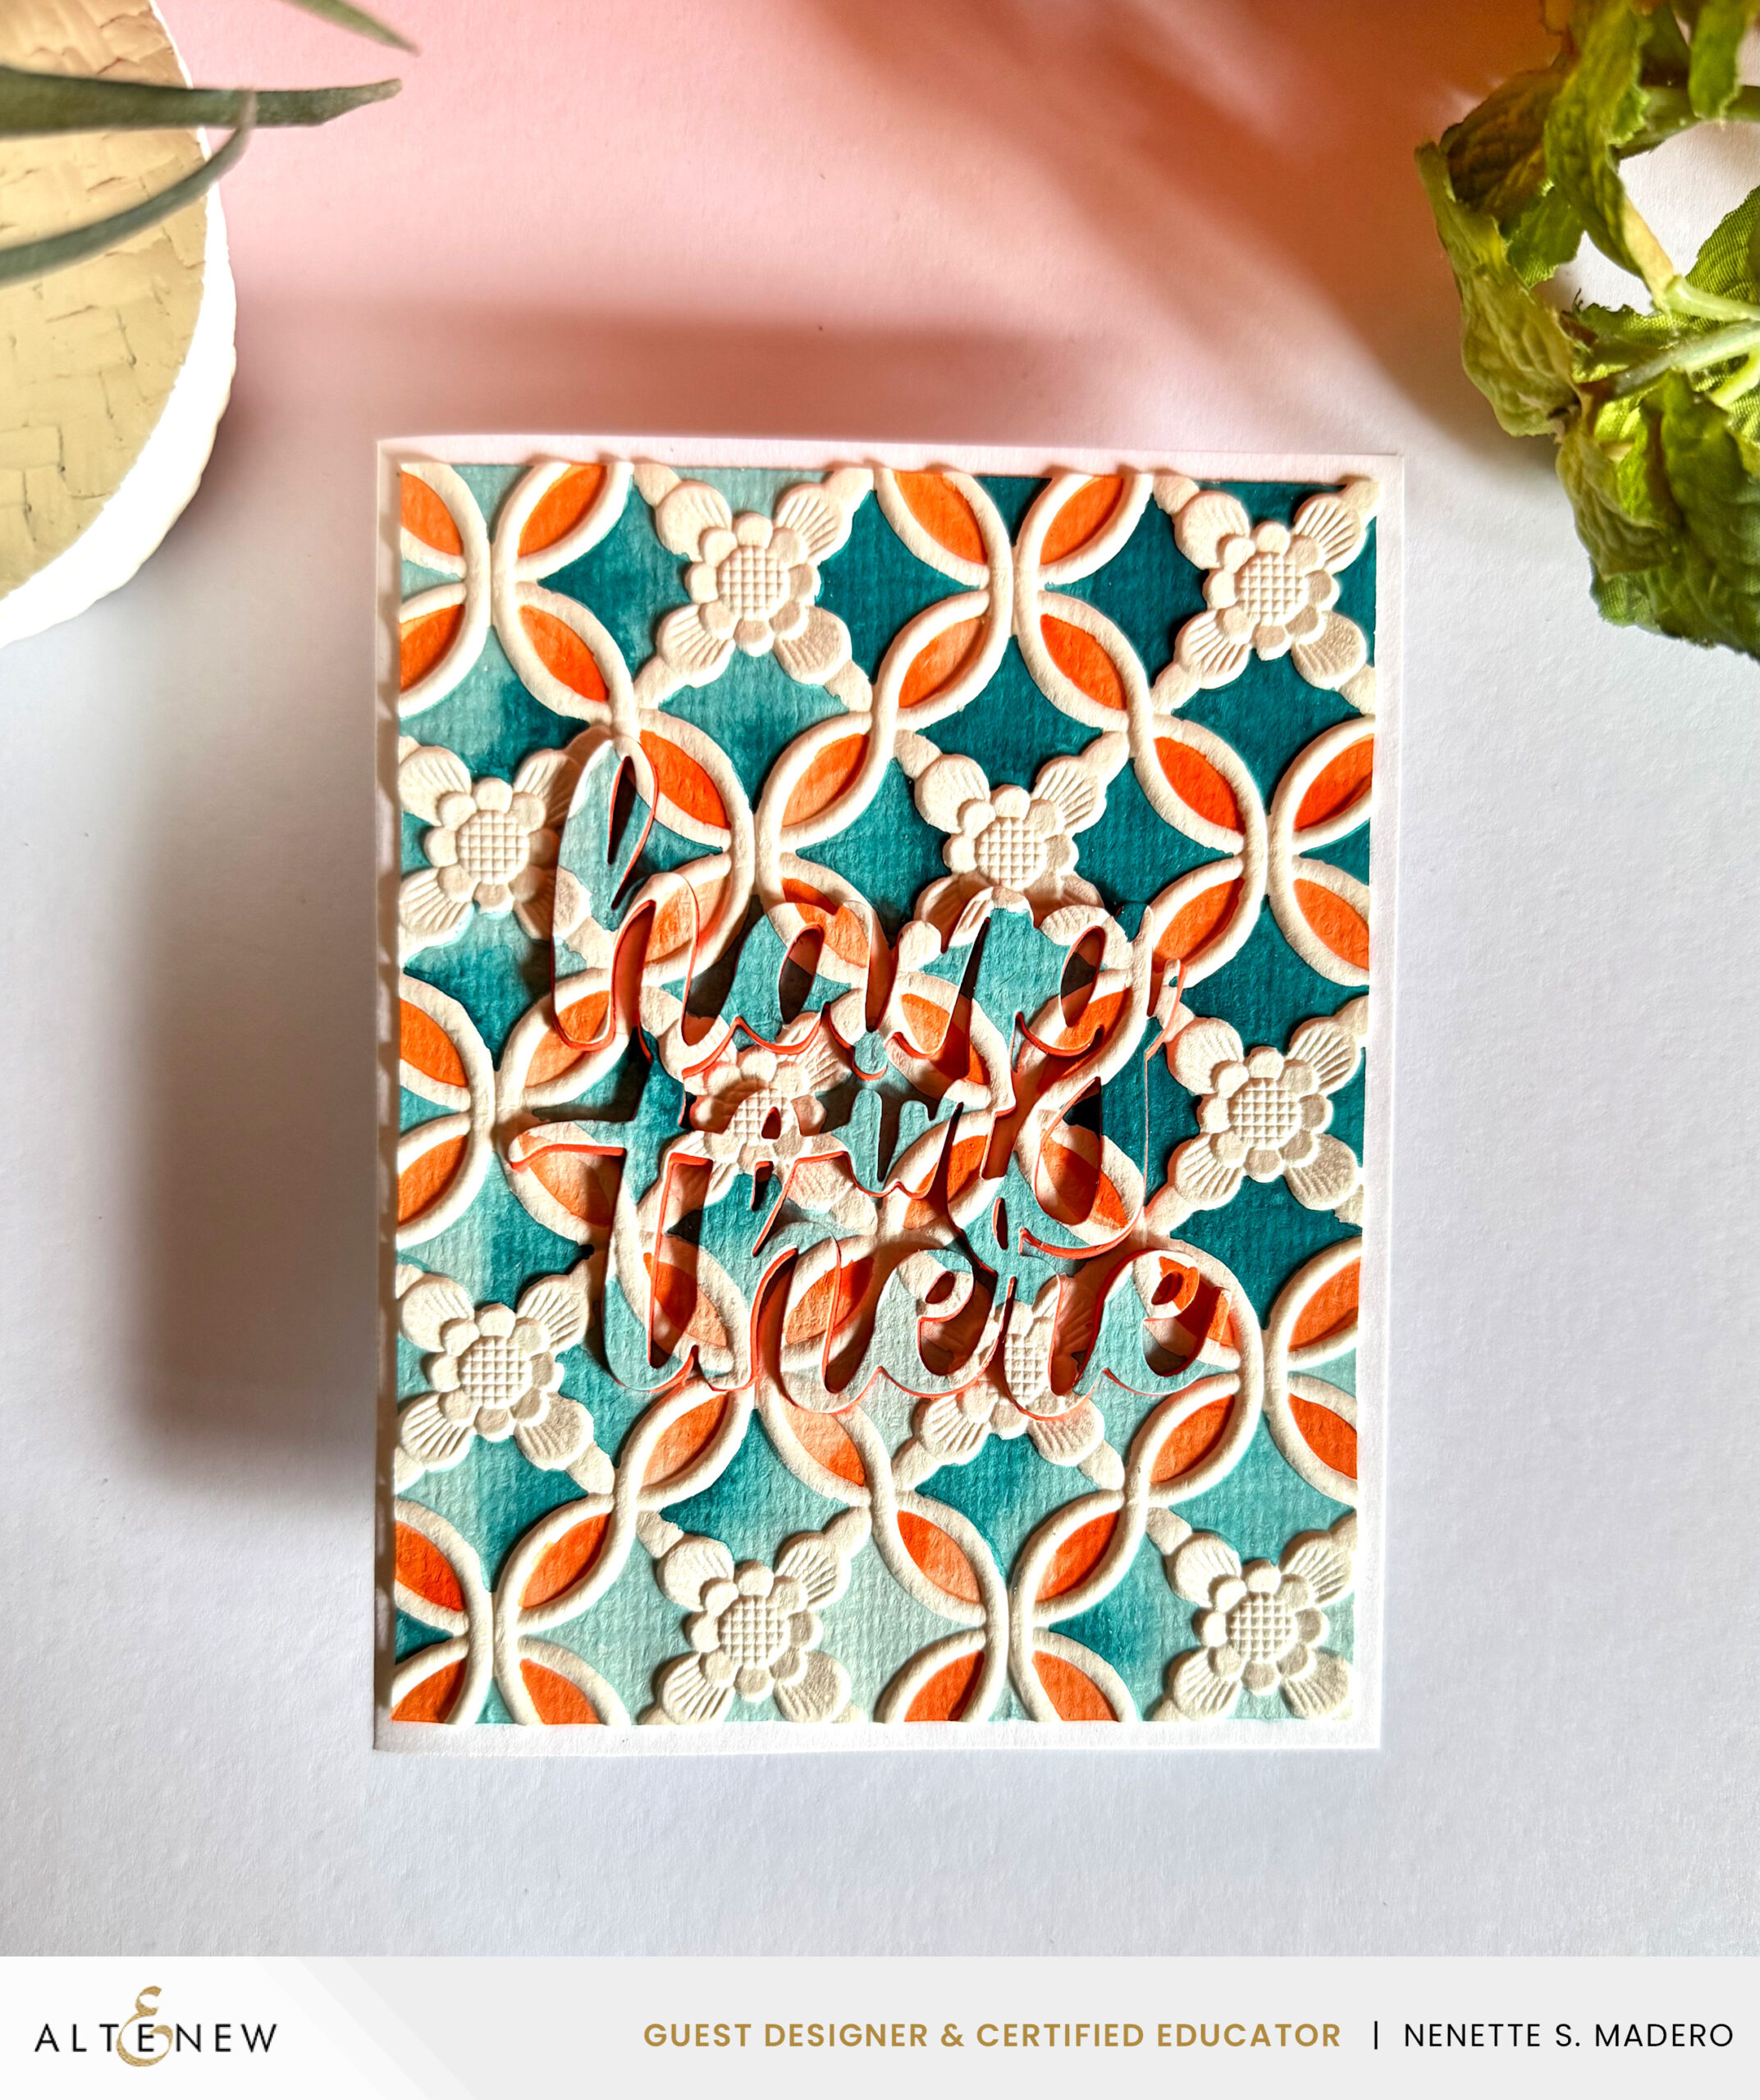
MATERIALS:

STEPS:

  • 1. Die cut the sentiment on white cardstock.
  • 2. Reattach the die-cut words to the die-cut base and secure the pieces by adding washi tape to the back.
  • 3. Emboss the whole panel.
  • 4. Watercolor certain areas of the embossed panel using orange and blue. Vary the concentration for added interest.
  • 5. Die cut 4 extra words and adhere on top of each other.
  • 6. Assemble the card.


I used orange cardstock to enhance the contrast of the sentiment, making it more visible and easier to read.
SENDING HAPPY THOUGHTS
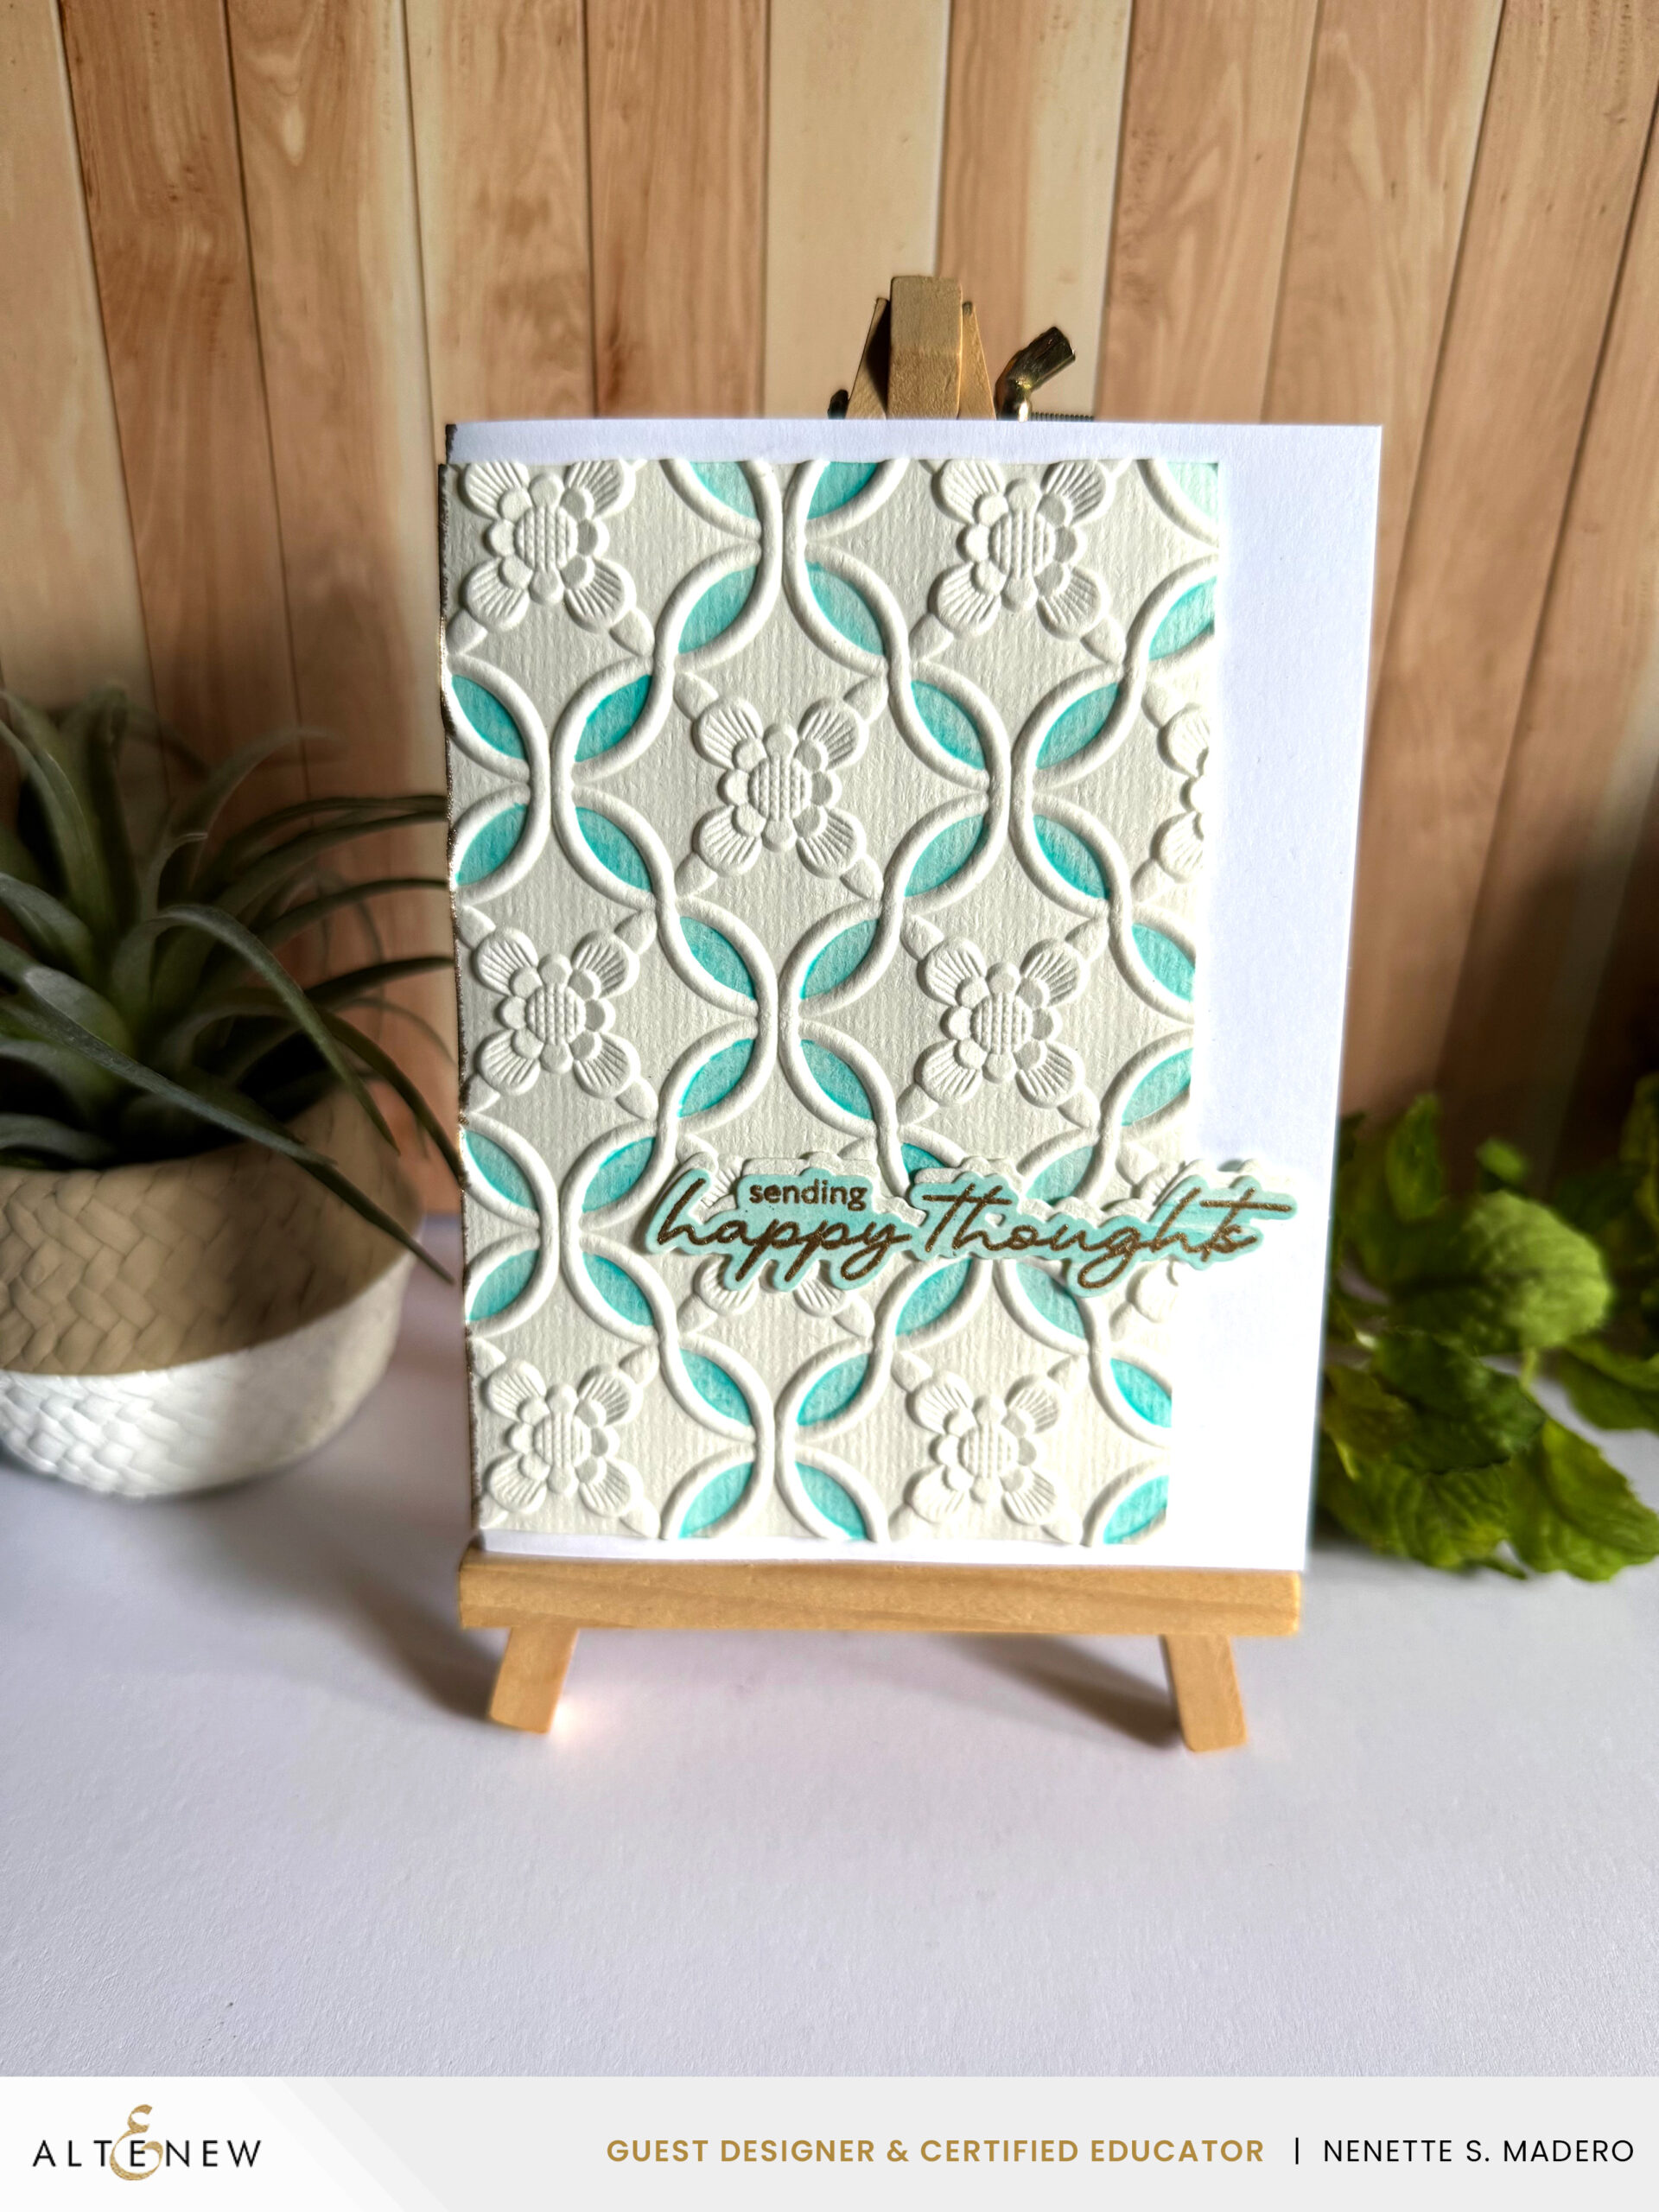
MATERIALS:

STEPS:

  • 1. Emboss image on watercolor paper.
  • 2. Watercolor certain areas only.
  • 3. Stamp and emboss the sentiment on watercolored panel.
  • 4. Assemble card with foam tape and add en embossed gold margin for added interest.
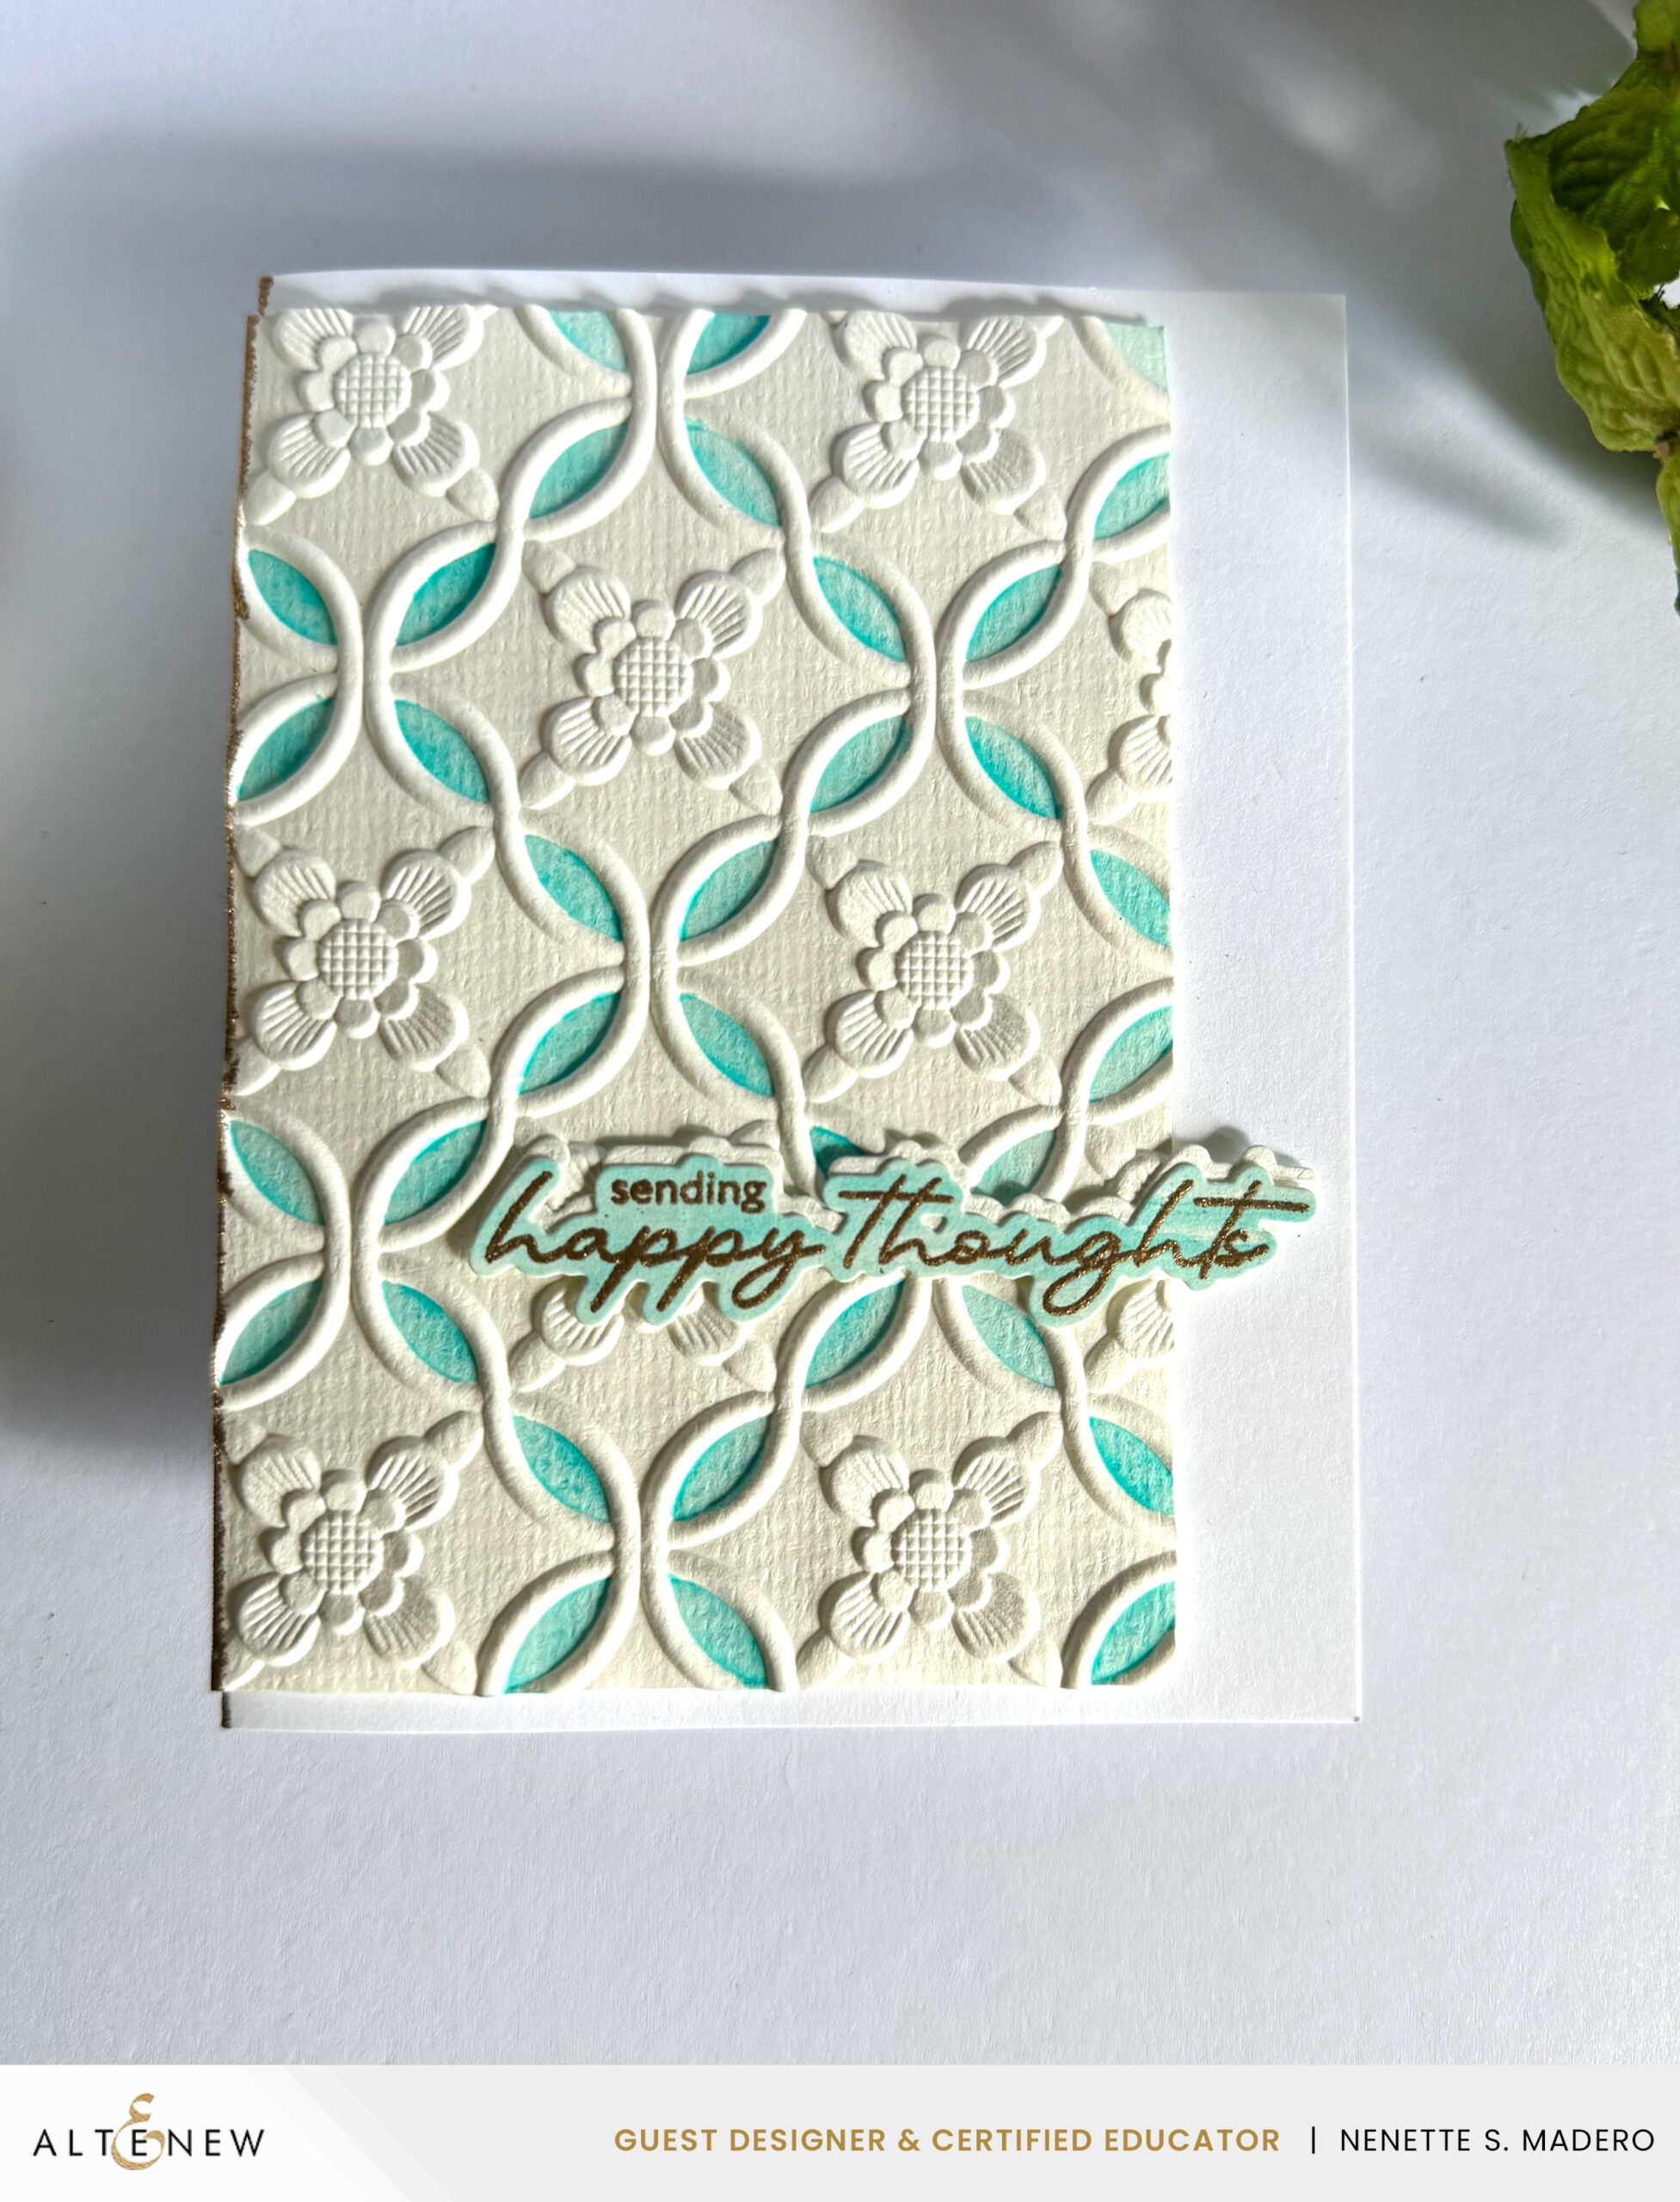
This is a more simplified version using the Botanical Rails. Although the design itself is intricate, it can also be used to make a clean and simple card.

MATERIALS:

STEPS:

  • 1. Watercolor a watercolor panel using shades of greens
  • 2. Die cut using Whimsical Flower Vine leaves.
  • 3. Stamp flowers from Ethereal Blooms using Sea Glass, Turquoise, Dusk and emboss the center using Versamark Ink and Rose gold embossing powder.
  • 4. Die cut the sentiment using the die from Seasonal Blooms set.
  • 5. Emboss the edges and assemble the card.
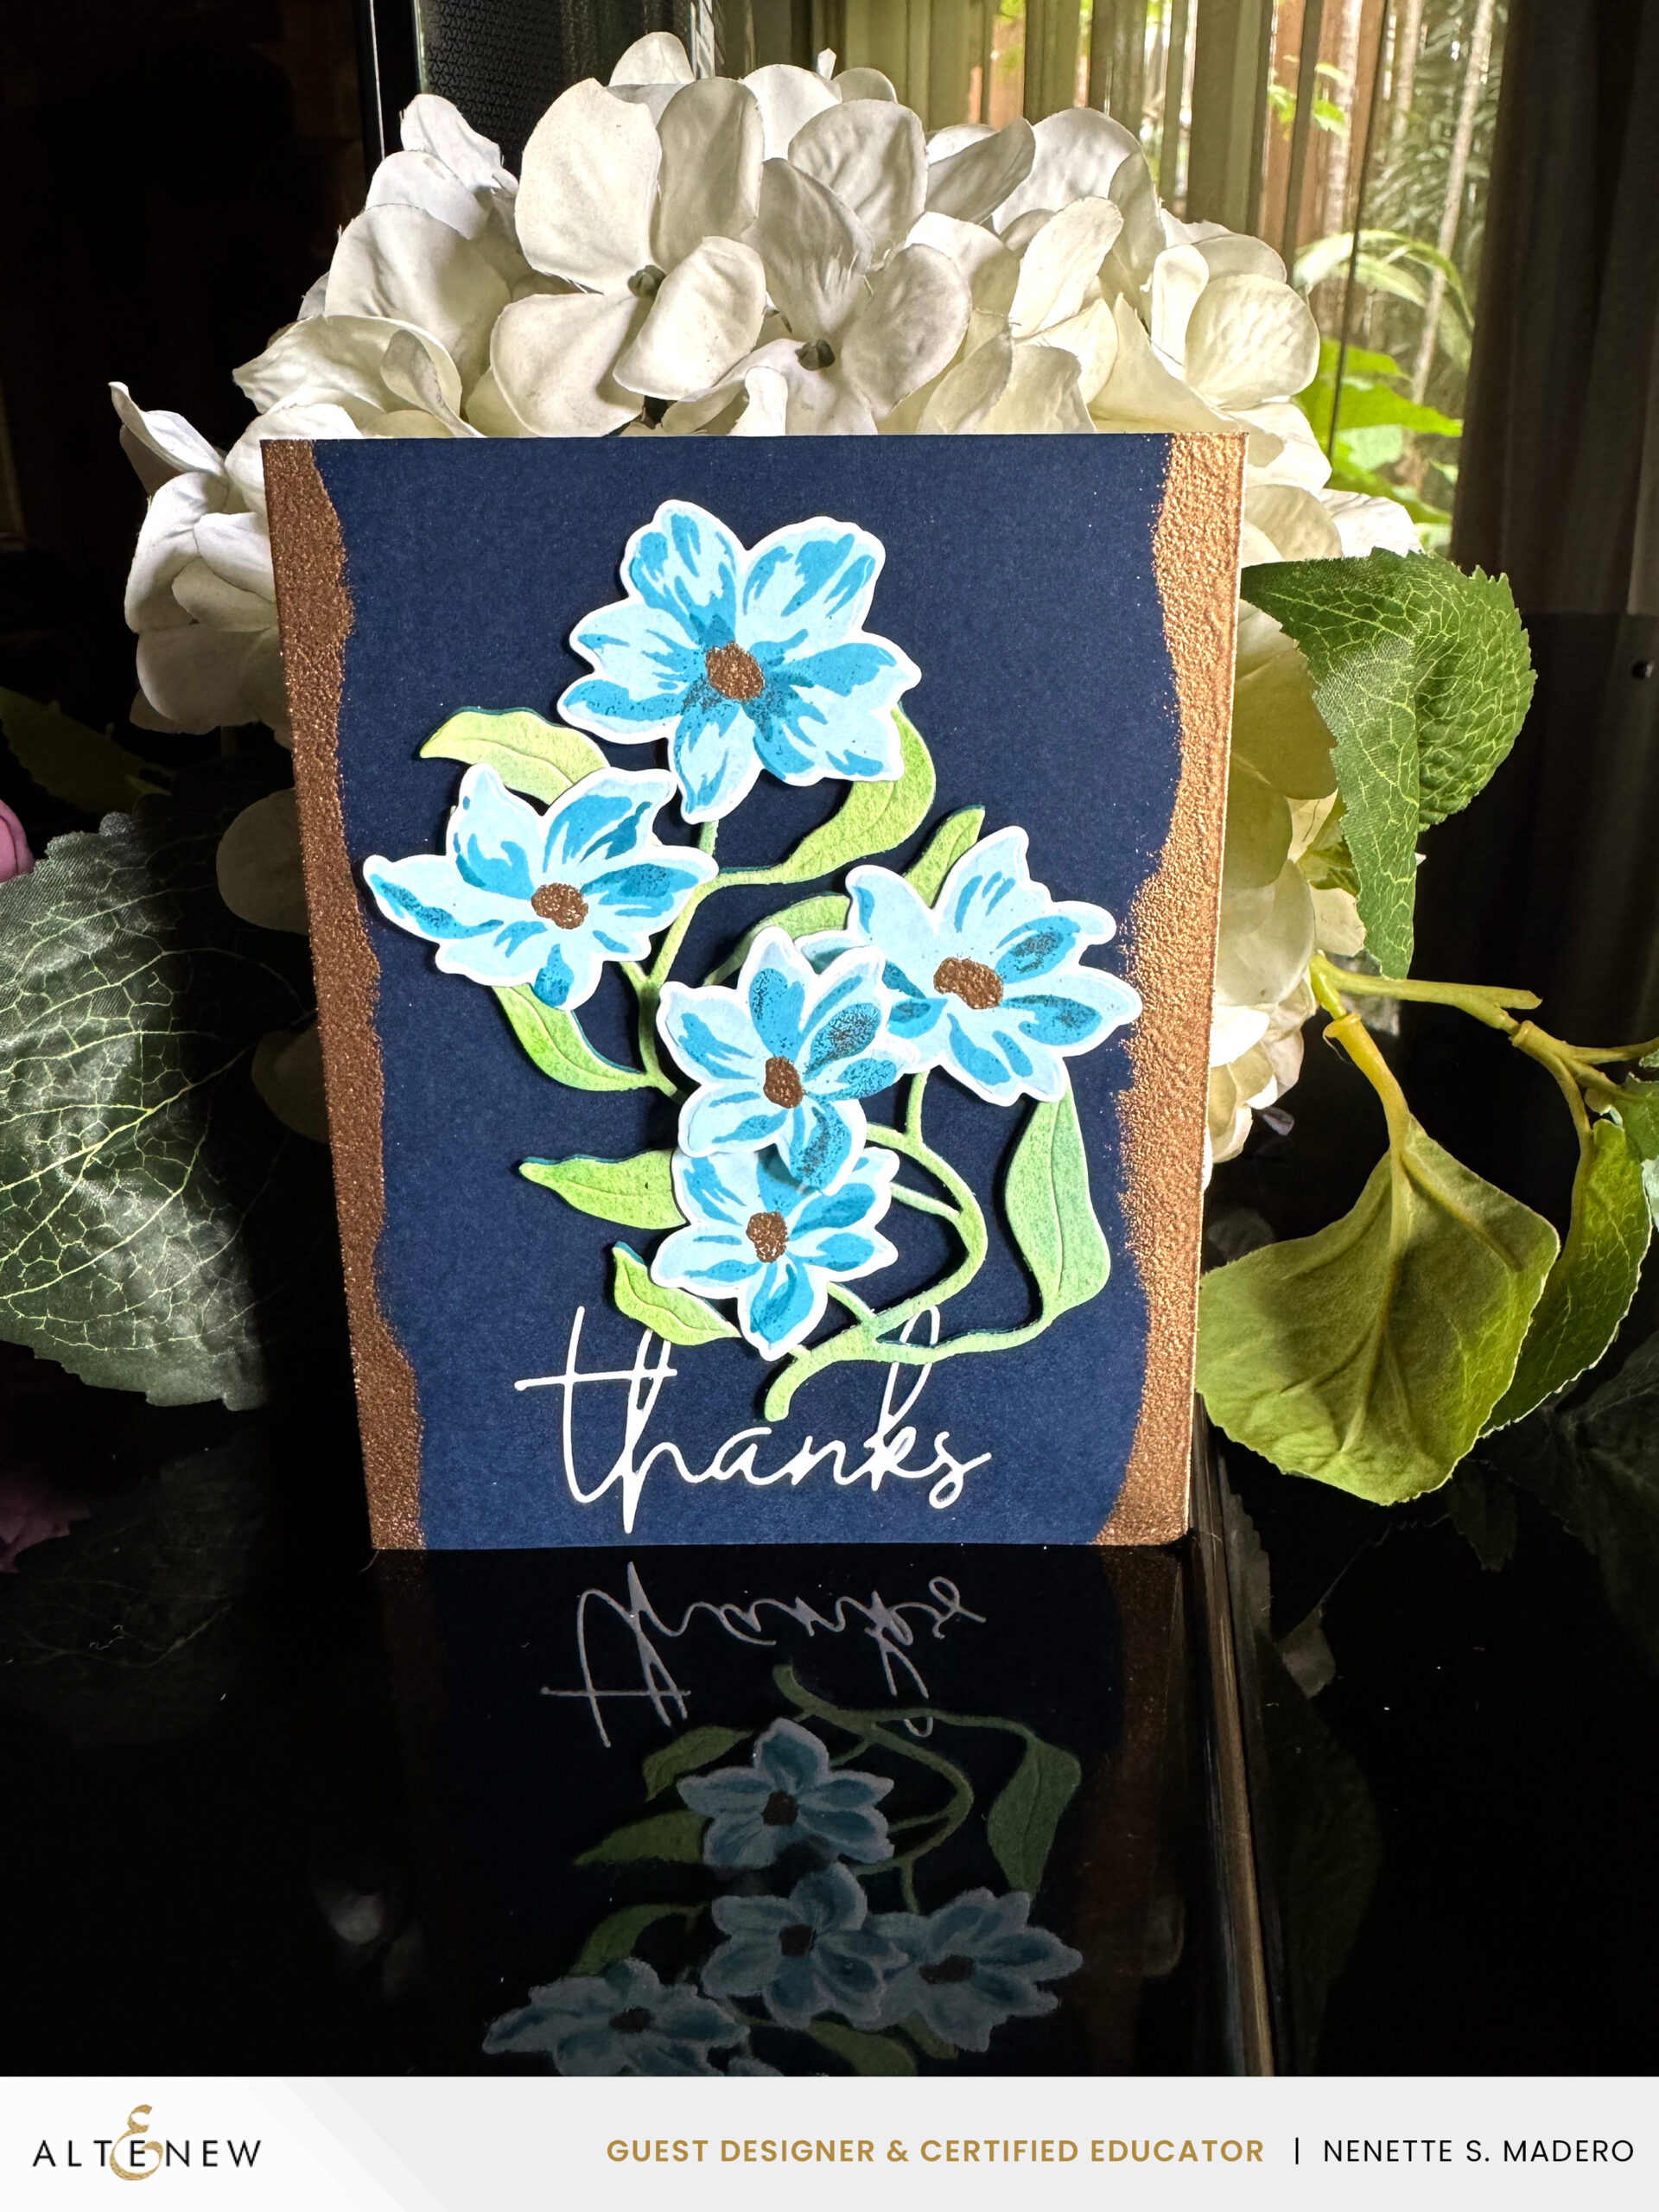

Feel free to experiment by mixing and matching your stamps and dies. While tidying up my workspace, I noticed the Whimsical Flower Vine dies and realized I could utilize just the leaf portion alongside the flowers from the Ethereal Blooms set to create this card.

This floral die is so versatile and can be used for either CAS cards or more elaborate ones.

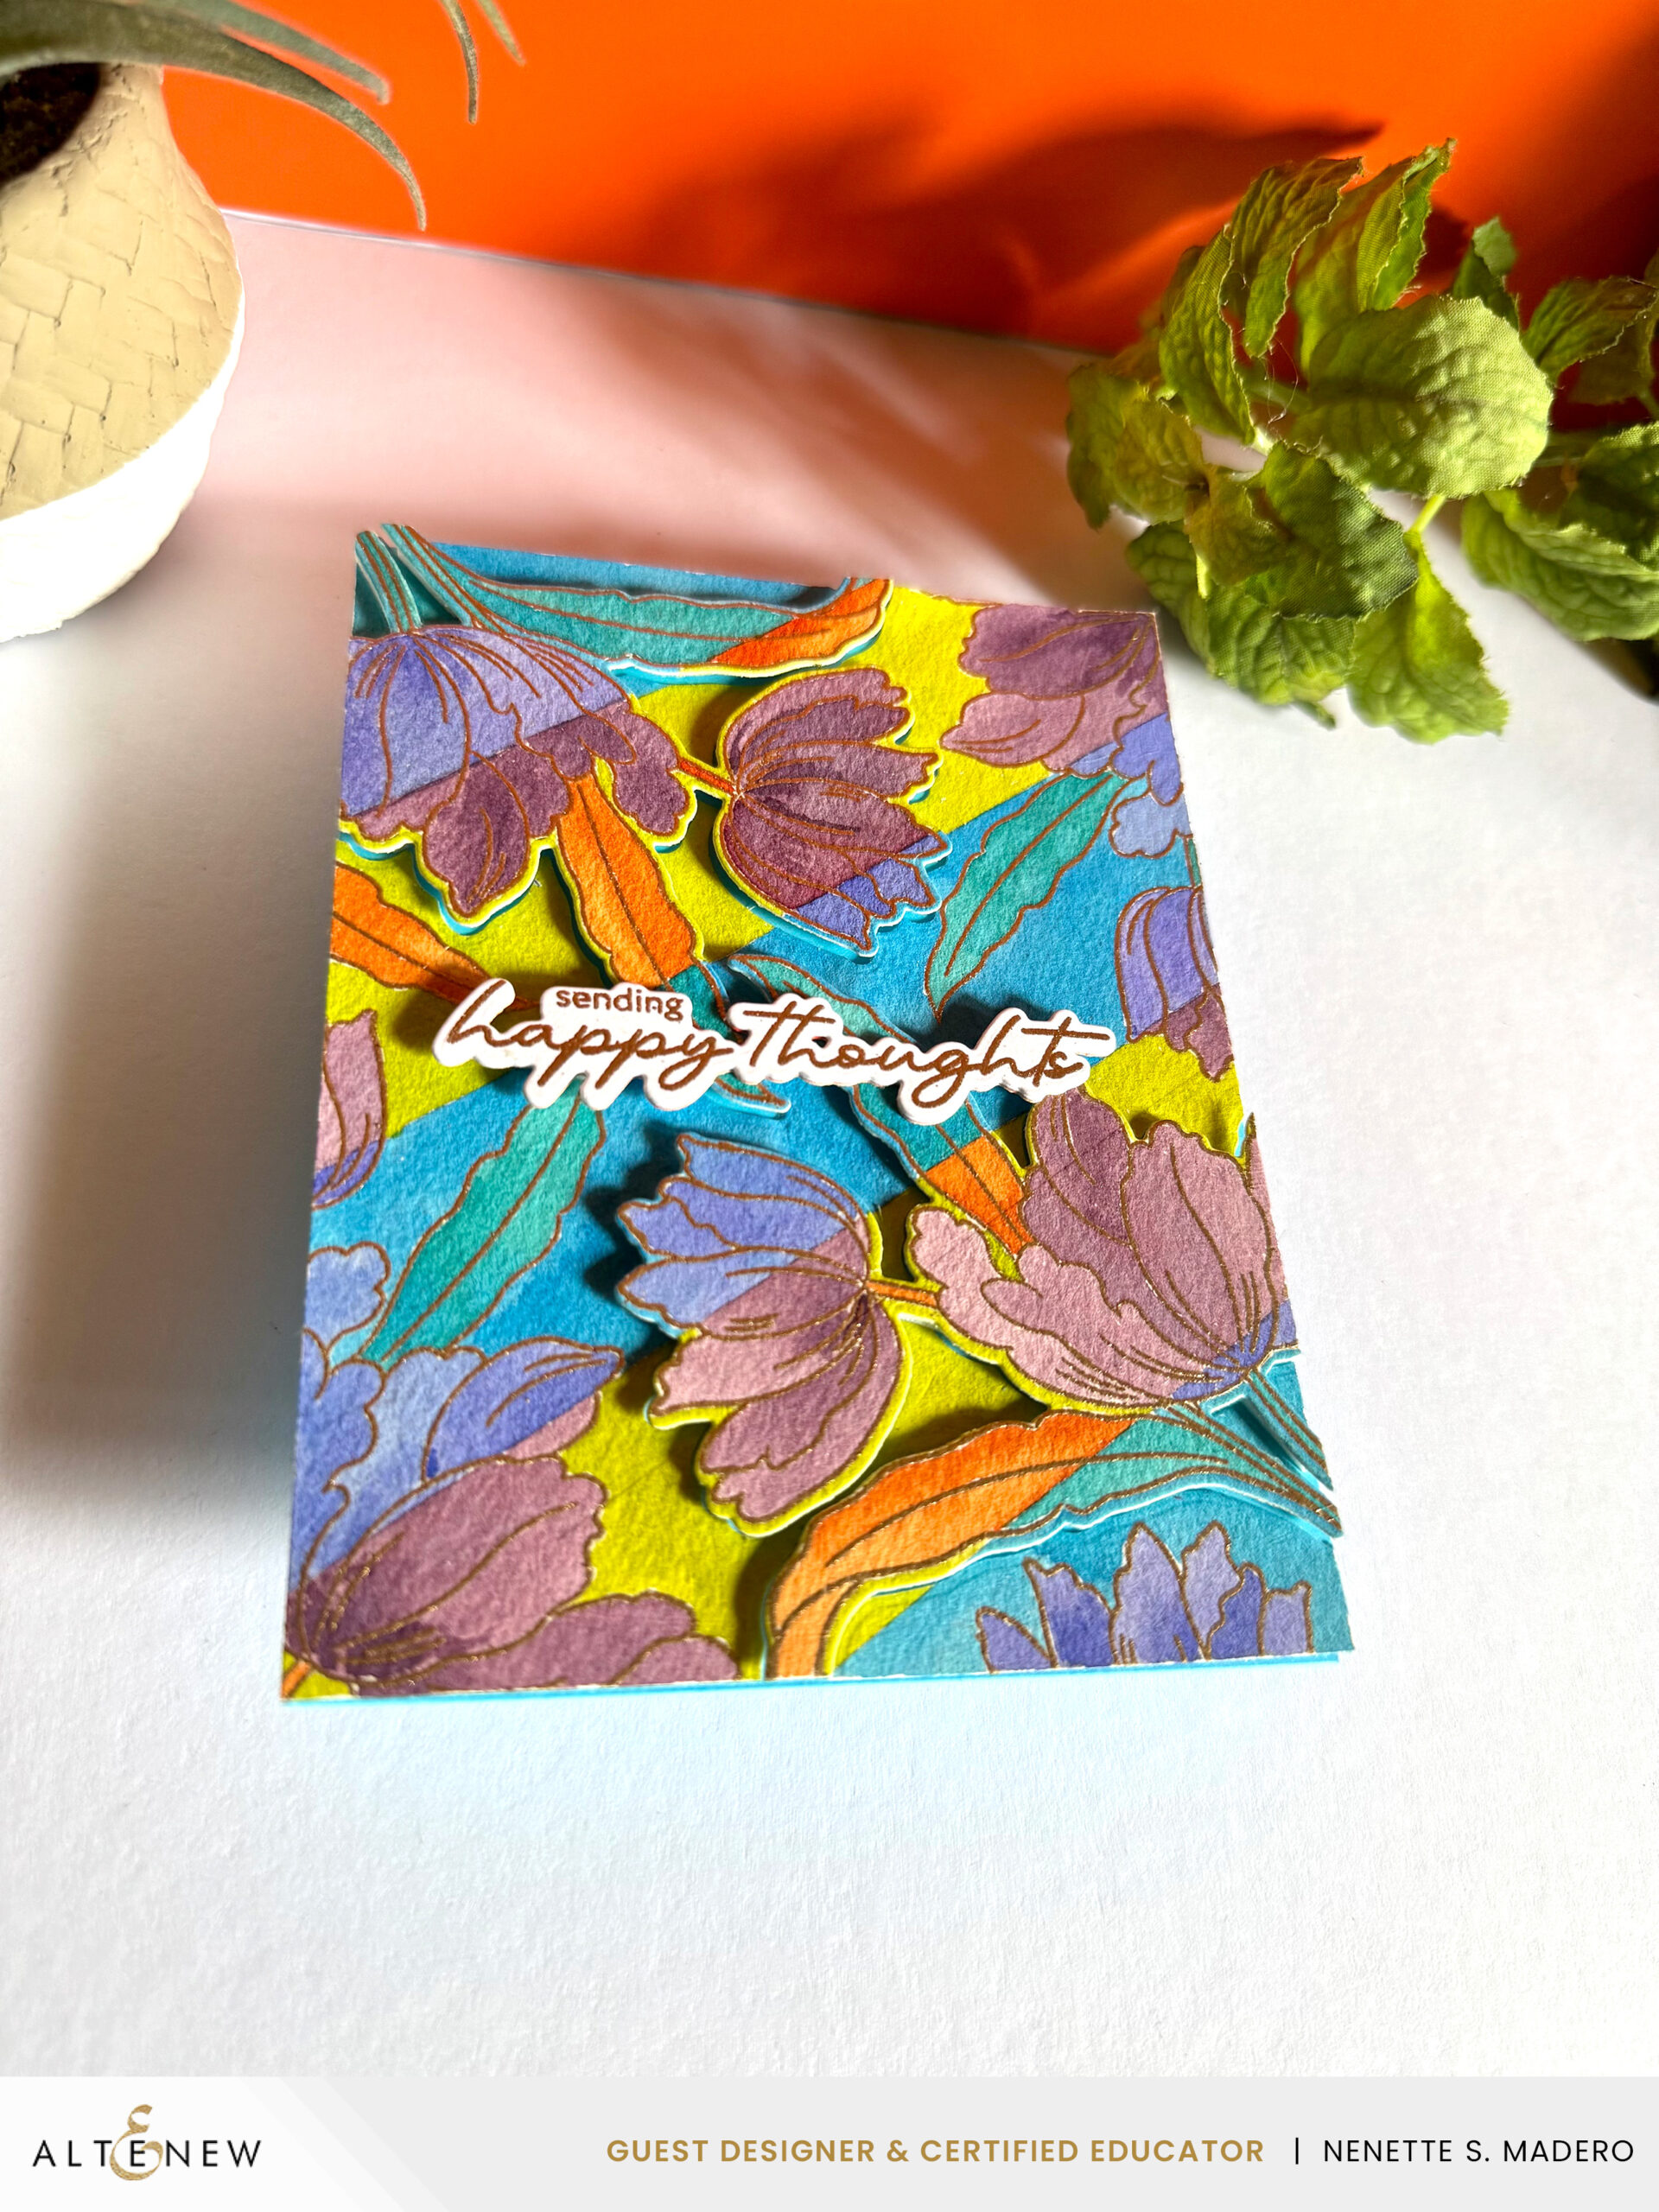
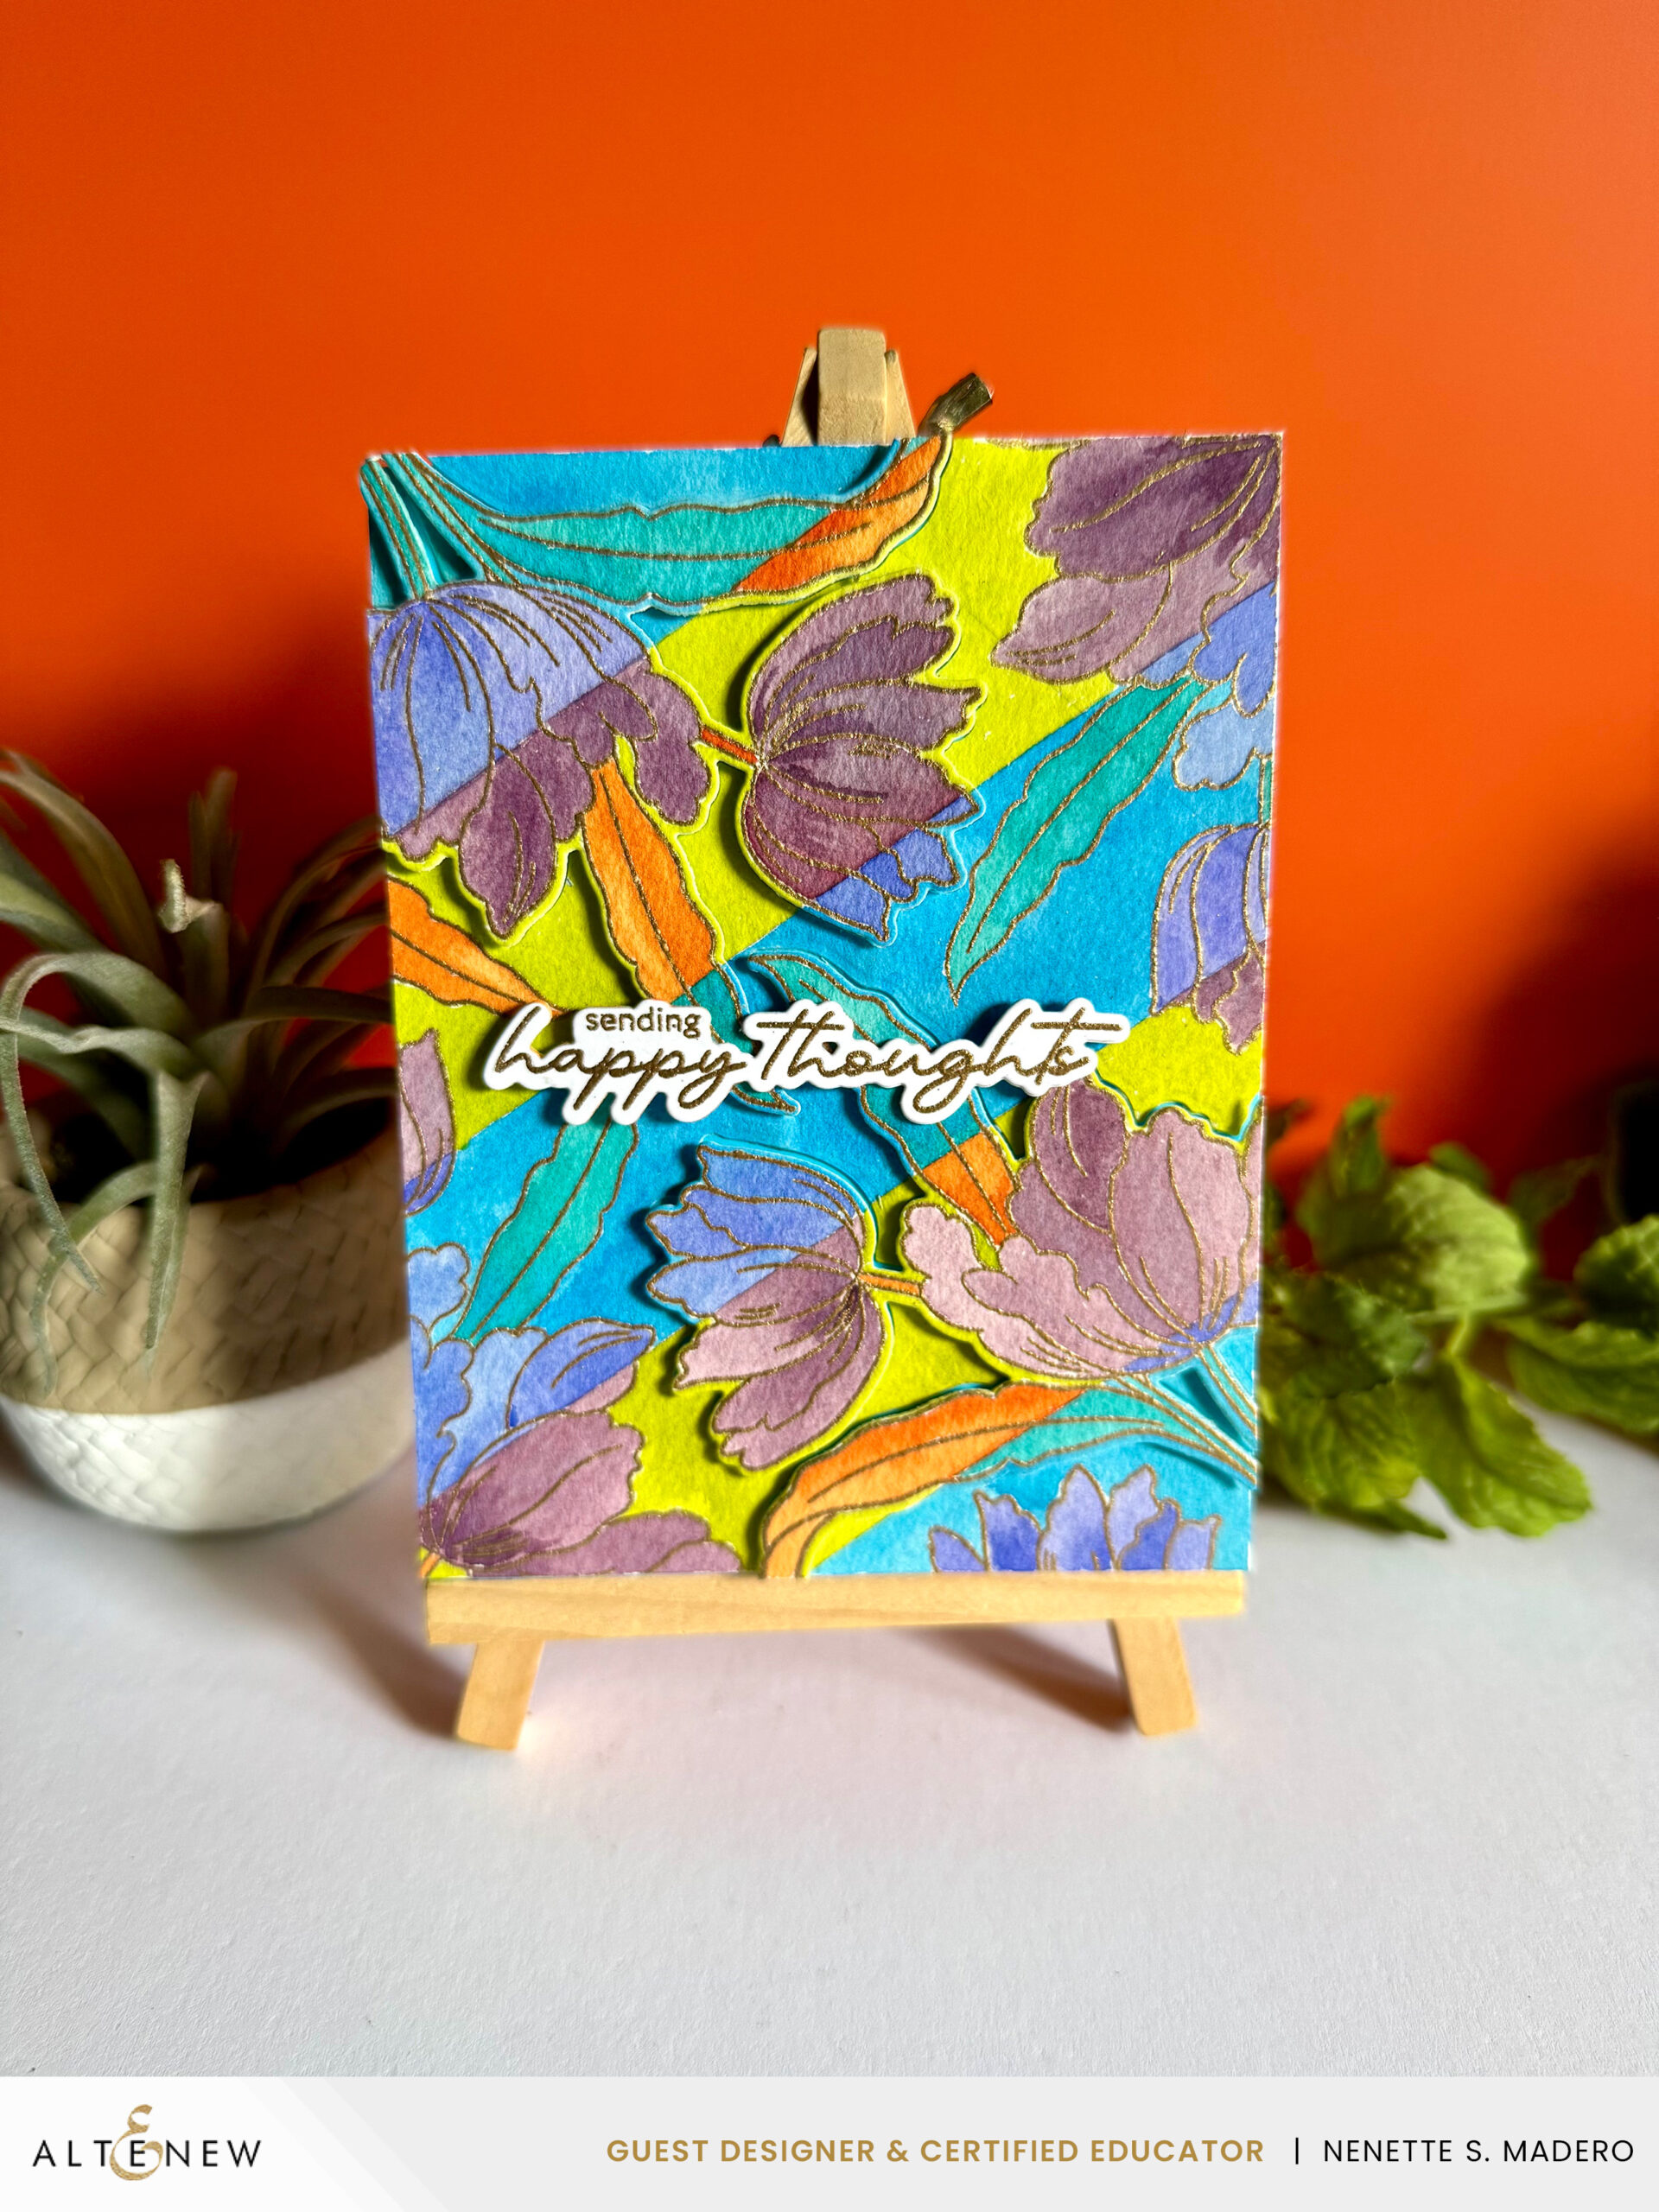
SENDING HAPPY THOUGHTS
MATERIALS:

STEPS:

  • 1. Stamp and emboss floral image multiple times to fill up the card front.
  • 2. Lightly sketch diagonal lines with a pencil, then alternately paint the resulting sections using an analogous and triadic color scheme.
  • 3. Die-cut the floral images on the top left and bottom right corners of the card panel. Attach the negative die-cut piece to the card front, then adhere the floral images back in place using foam squares for added dimension.
  • 4. Stamp and emboss the sentiment.
  • 5. Assemble the card.


This concept of using different color schemes to color an image was inspired by my friend Mayang of @swathe.manila on Instagram. She shared some of her students’ work, which deeply inspired me to try it myself. The best approach is to start by coloring all the analogous-themed images first, as this helps prevent confusion. As this was a new concept for me, I was pleasantly surprised by the outcome. I look forward to trying this technique again in the future.

  • $300 in total prizes! To celebrate this release, Altenew is giving away a $100 gift certificate to 1 lucky winner and a $50 gift certificate to 4 winners! Please leave a comment on the Altenew Blog and/or each designer’s blog post on the blog hop list below by October 19th for a chance to win. Altenew will draw 5 random winners from the comments left on each stop of this blog hop and announce the winners on the Altenew’s Blog Hop Post on October 21st, 2025.
  • The winner of the $100 gift certificate will be chosen from comments left on the Altenew blog. 

I had so much fun creating these cards for this release, and I hope they inspire you to get crafty, too! I’d love to know– which card is your favorite? Let me know in the comments below. Hearing from you truly makes my day!

As a heads up, this post contains clickable affiliate links. If you decide to make a purchase through them, I may earn a small commission– at no extra cost to you. Thank you so much for supporting my work and helping me continue to share what I love. <3

Thanks again for stopping by! Be sure to keep hopping for more gorgeous creations and tons of inspiration. You won’t want to miss a single stop! Here’s the full blog hop list so you can hop along.

You are invited to the Inlinkz link party!

Click here to enter

Happy hopping and happy crafting!

Warmest regards,
Altenew 11th Anniversary Blog Hop Day 1 + Giveaway (over $3,600 in Total Prizes)

Altenew 11th Anniversary Blog Hop Day 1 + Giveaway (over $3,600 in Total Prizes)

Hello, crafty friends! It is truly an honor to be a part of this blog hop celebrating the 11th Anniversary of Altenew! Since its inception in 2014, Altenew has captivated crafters with an exquisite array of layering floral stamp sets that have transformed the card-making world. Over the past eleven years, it has been inspiring to witness the brand’s remarkable journey– from the introduction of the innovative Stamp Wheel and vibrant watercolor and gouache paints to the creation of the One and Go series and the user-friendly key-hole system that streamlines the card making process for crafters like myself. I want to express my sincere wishes to the Altenew team for your continued growth and success. You are a constant source of inspiration for many in the crafting community, and your contributions are truly valued.

Thank you, Oleksandr Azarov, for sending them over to my blog! For complete details for this anniversary hop, please drop by the Altenew blog, here.

To celebrate this special occasion, I crafted nine cards, including stamps, dies, and embossing folders designed by my talented daughter, Isabela. I couldn’t be prouder!
MATERIALS:

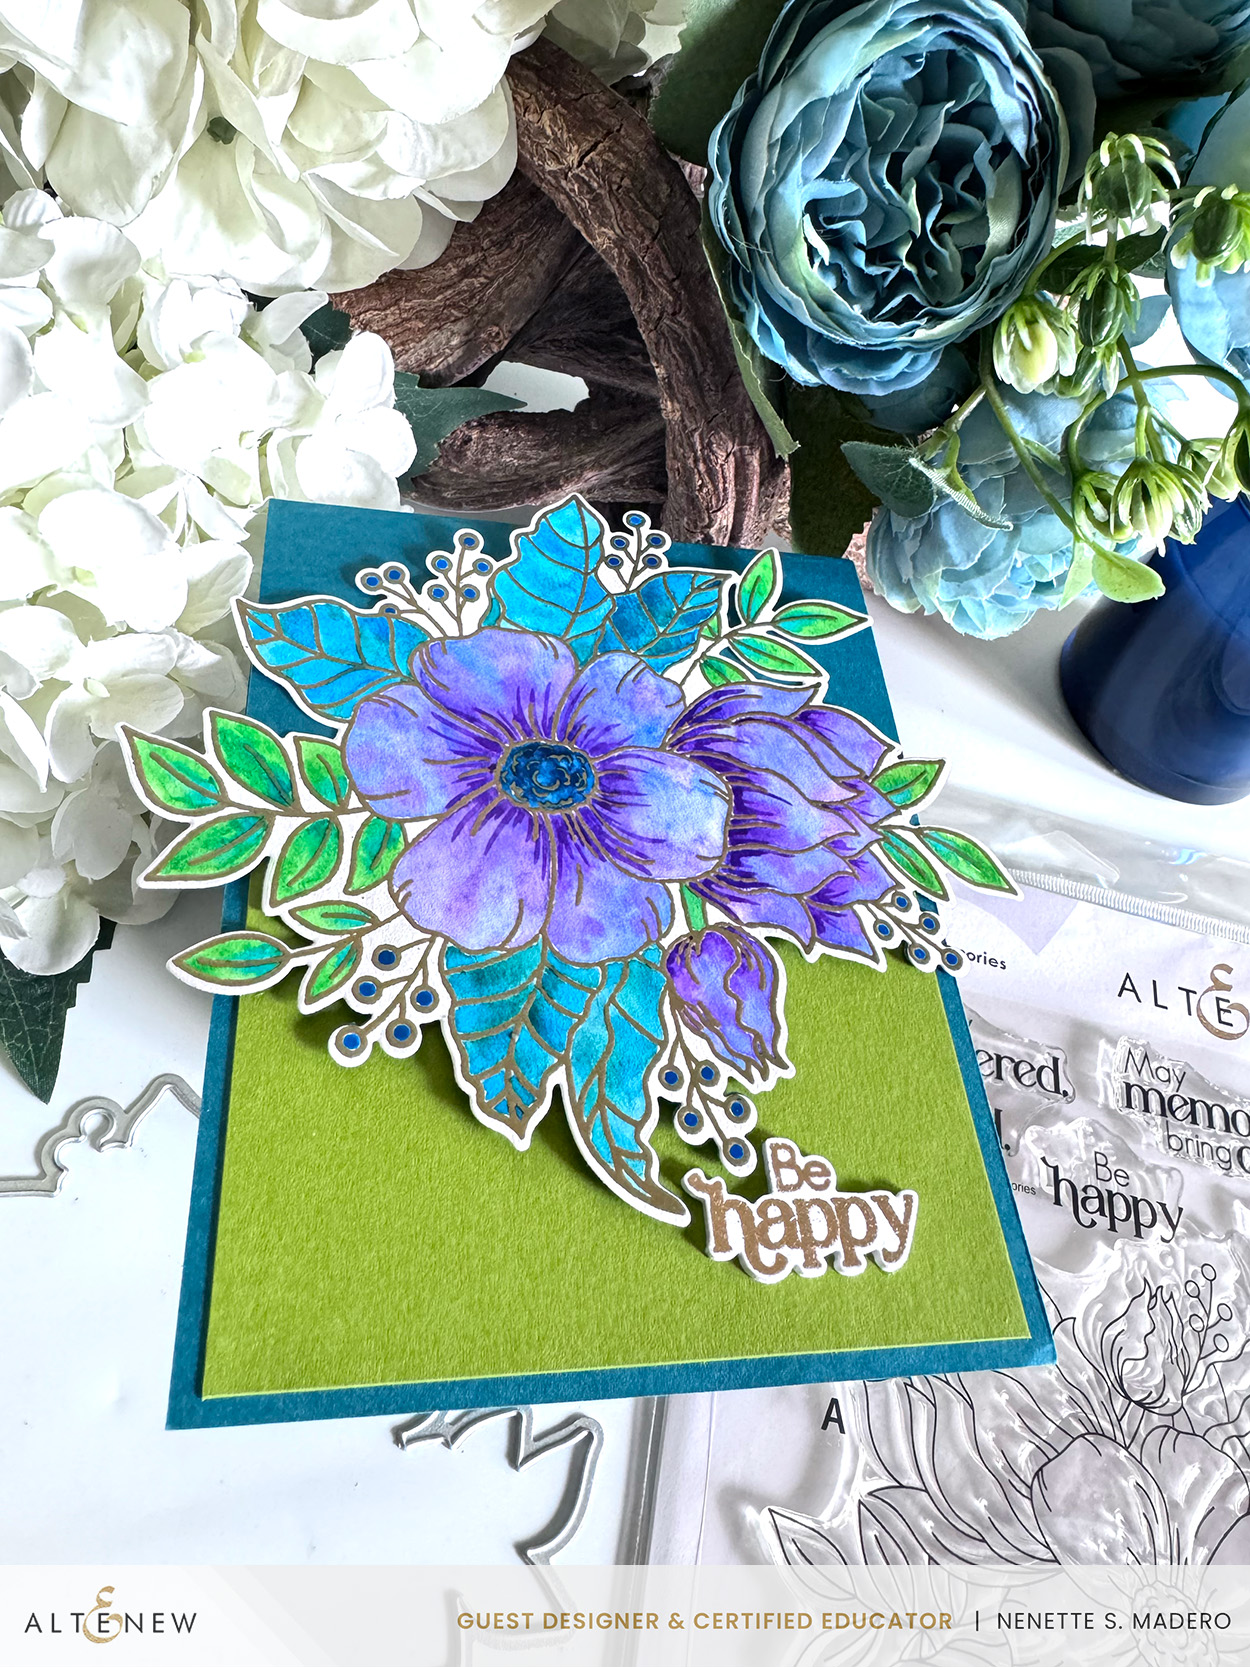
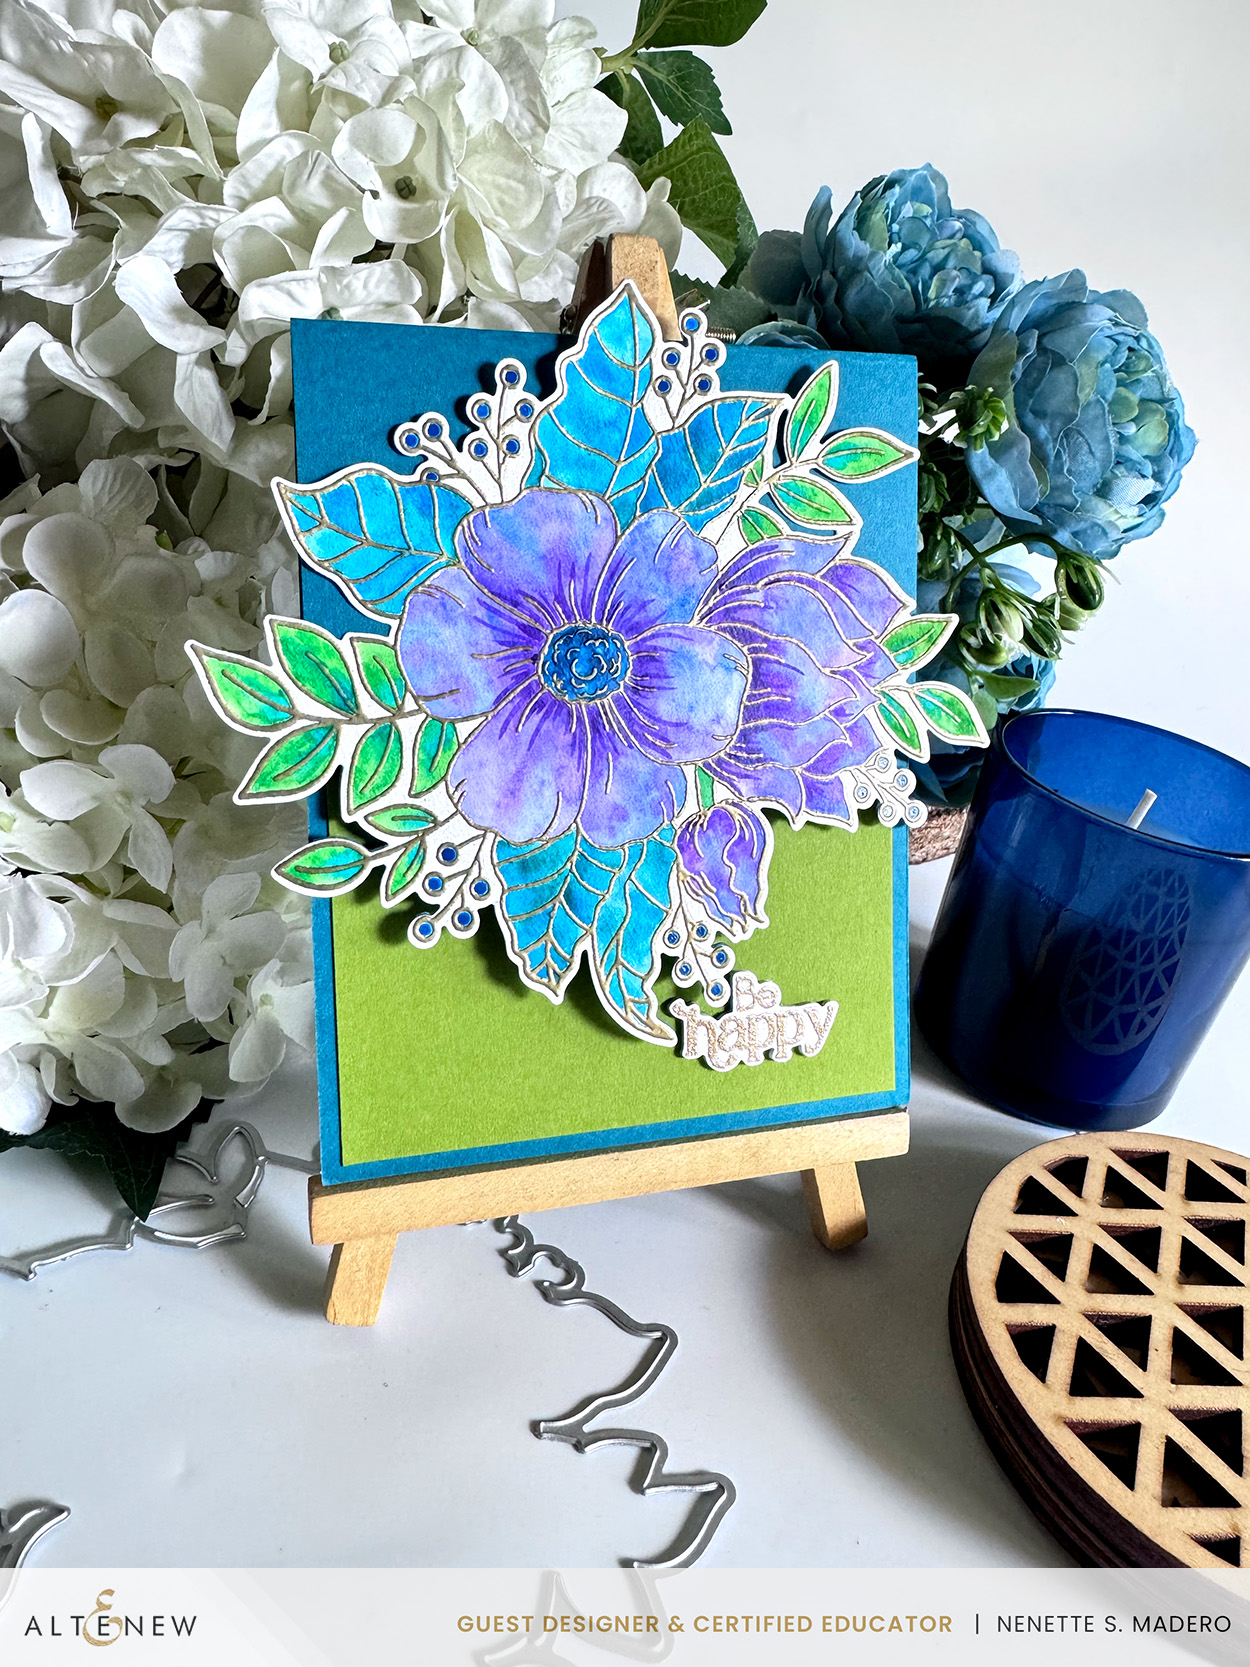
This large, beautiful stamp image is a joy to watercolor! I made sure to stick to analogous colors, mixing blues with greens for the leaves, and purples with blues for the flowers. The front panel was die-cut halfway using the coordinating die, and I adhered green cardstock to the inside of the card to add contrast.

MATERIALS:


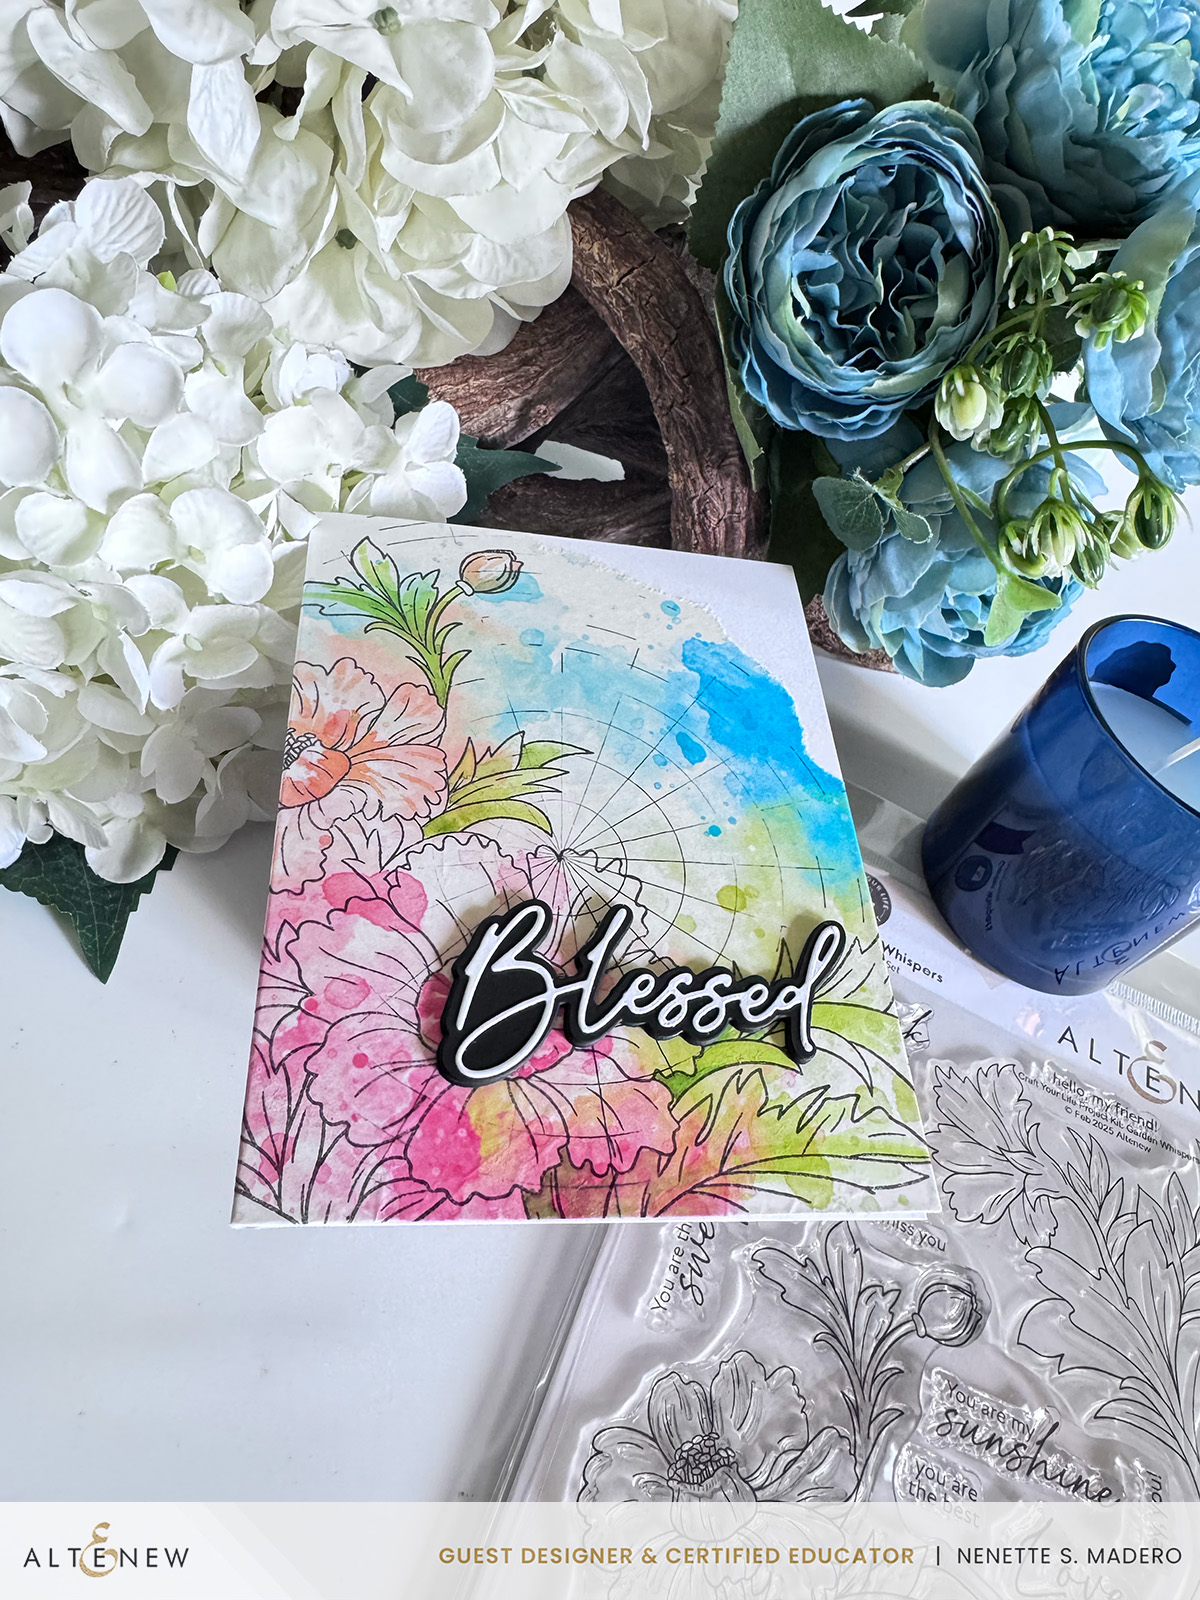
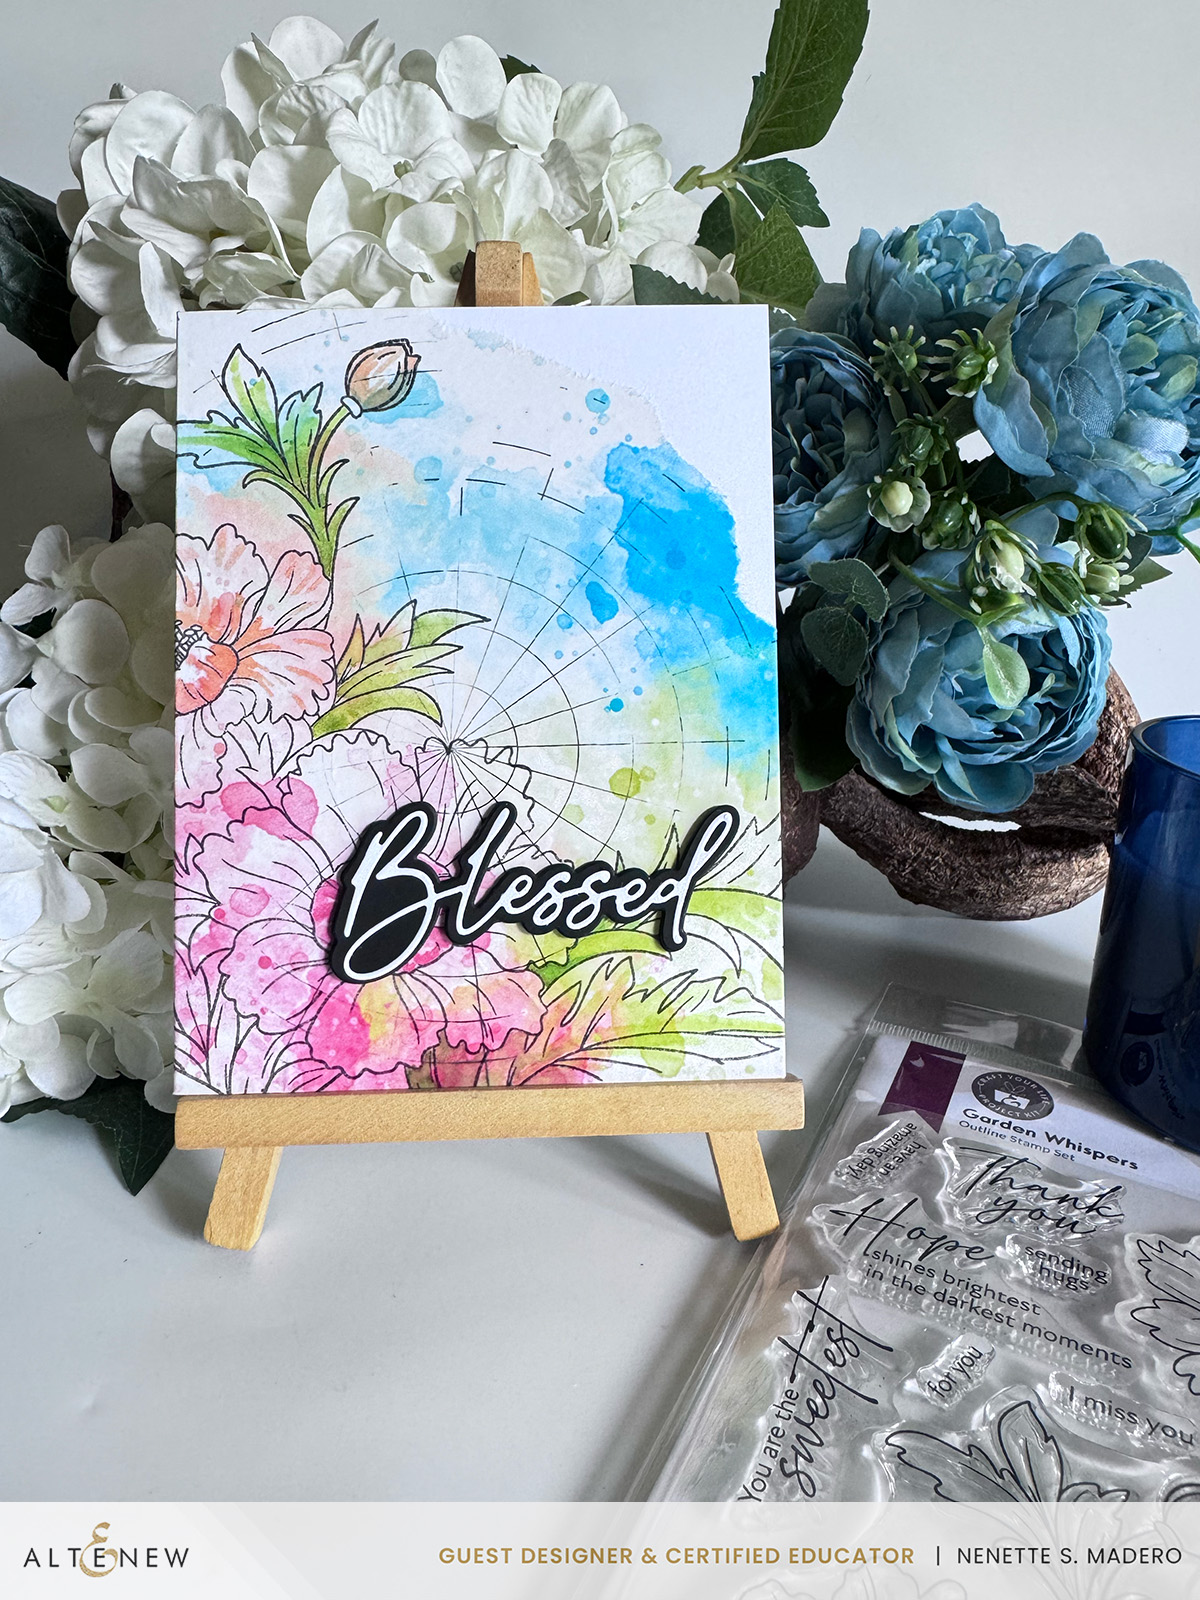
I printed the Kaleidoscope background onto plain washi paper, then stamped the image from the Garden Whispers stamp set using Obsidian Ink. The floral image from the Garden Whispers Stamp set was then embossed with Crystal Clear embossing powder. Next, the washi paper was carefully torn and adhered to the white card front for a textured effect. To enhance the design, paints were mixed to match the background colors closely, and select areas of the flowers, leaves, and stems were painted. Finally, I die-cut the word “Blessed” from white and black cardstock and positioned the sentiment on the card front.

MATERIALS:


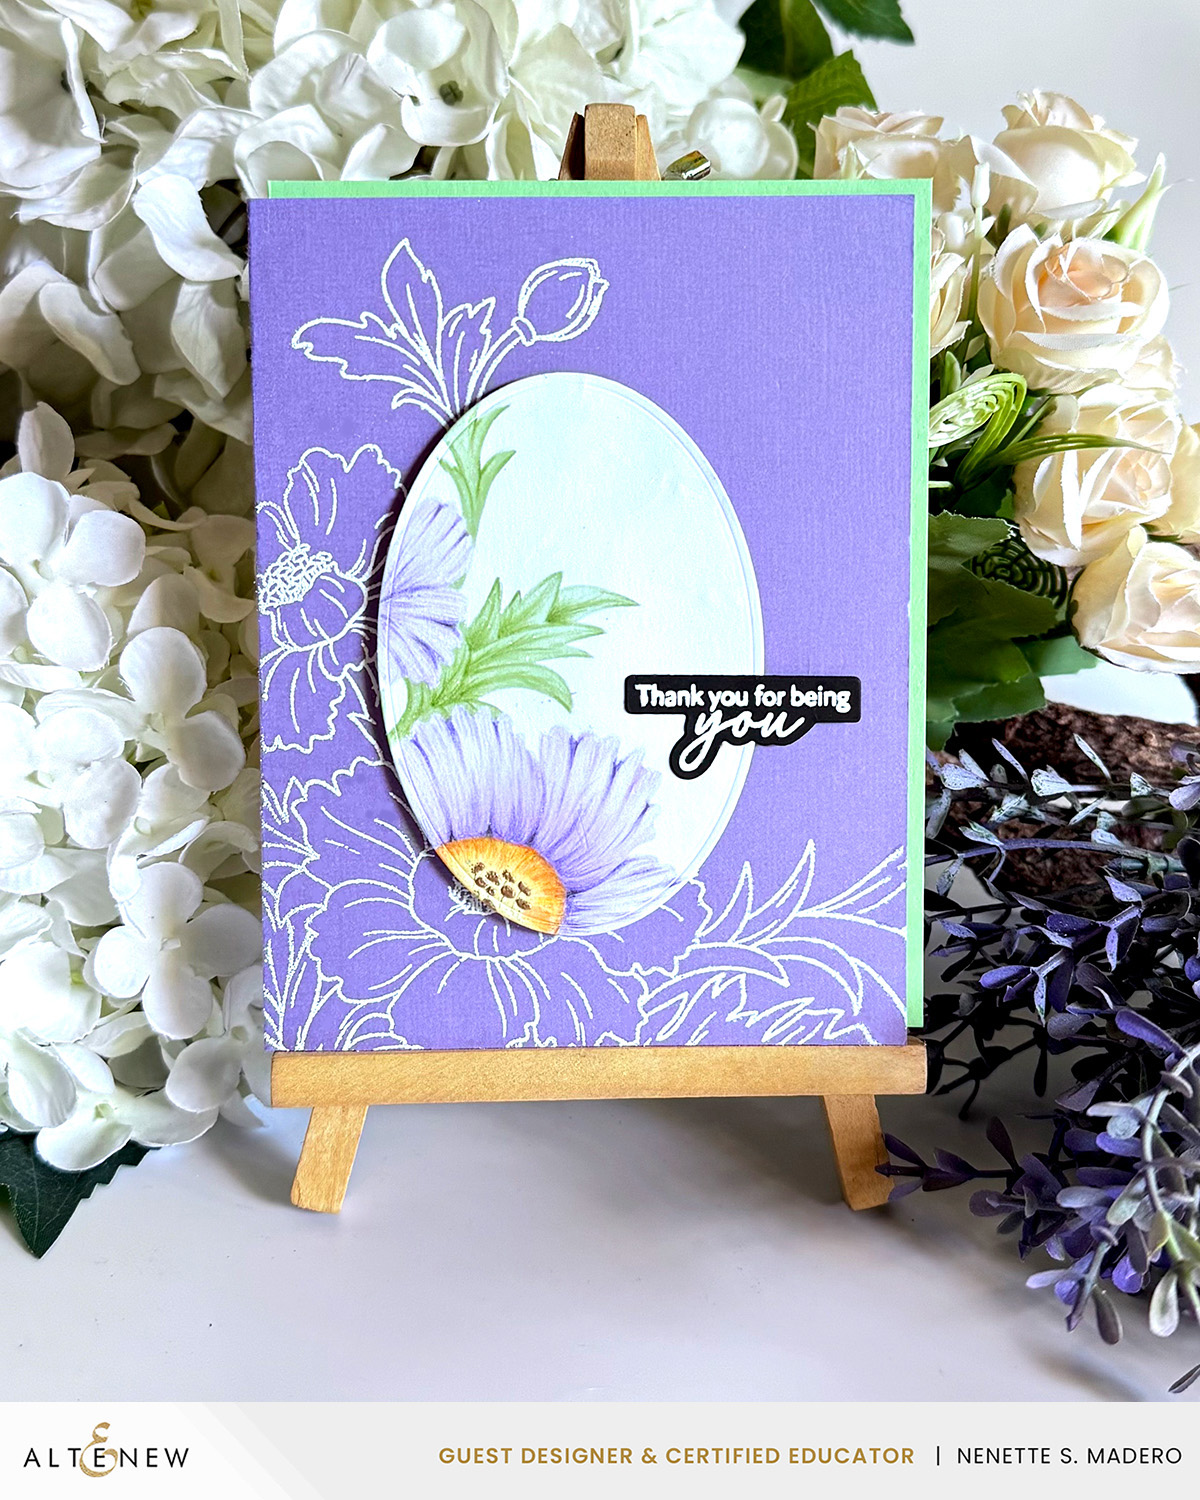
This spotlight card is one way to create a quick card with minimal coloring. A stamping tool was used to imprint the image onto purple cardstock with Versamark ink; then, the image was embossed with Pure White embossing powder. Next, an oval tag was die-cut and placed at the center of the card front. To protect the card front, I covered it with bond paper before stamping the image onto the tag. Blending brushes were used with the coordinating stencil to blend the colors seamlessly. Depth and dimension were added by incorporating shadows with coloring pencils. The stamens were embossed with rose gold embossing powder. The colored tag was positioned to match the image on the card front and was mounted with foam tape. Green cardstock was added at the back of the card front for color and interest.

MATERIALS:


Jennifer McGuire’s pop-up cards inspired me to make one. The image was stamped twice with a light dye ink to create a soft base. Using the coordinating stencils, colors were gently applied to the image with blending brushes for a gradient effect. For the flower stamens, I used an embossing pen to draw them in, then embossed them with rose gold embossing powder. For added visual tension, subtle pencil markings were drawn at the corners and tips of the flowers. After fussy cutting the images, the Nesting Frames dies created a window on the card’s front panel. A smaller tag was die-cut for the sentiment. The sentiment was stamped and embossed using white embossing powder. Finally, I assembled the card using foam squares and glue for added dimension and stability.

MATERIALS:


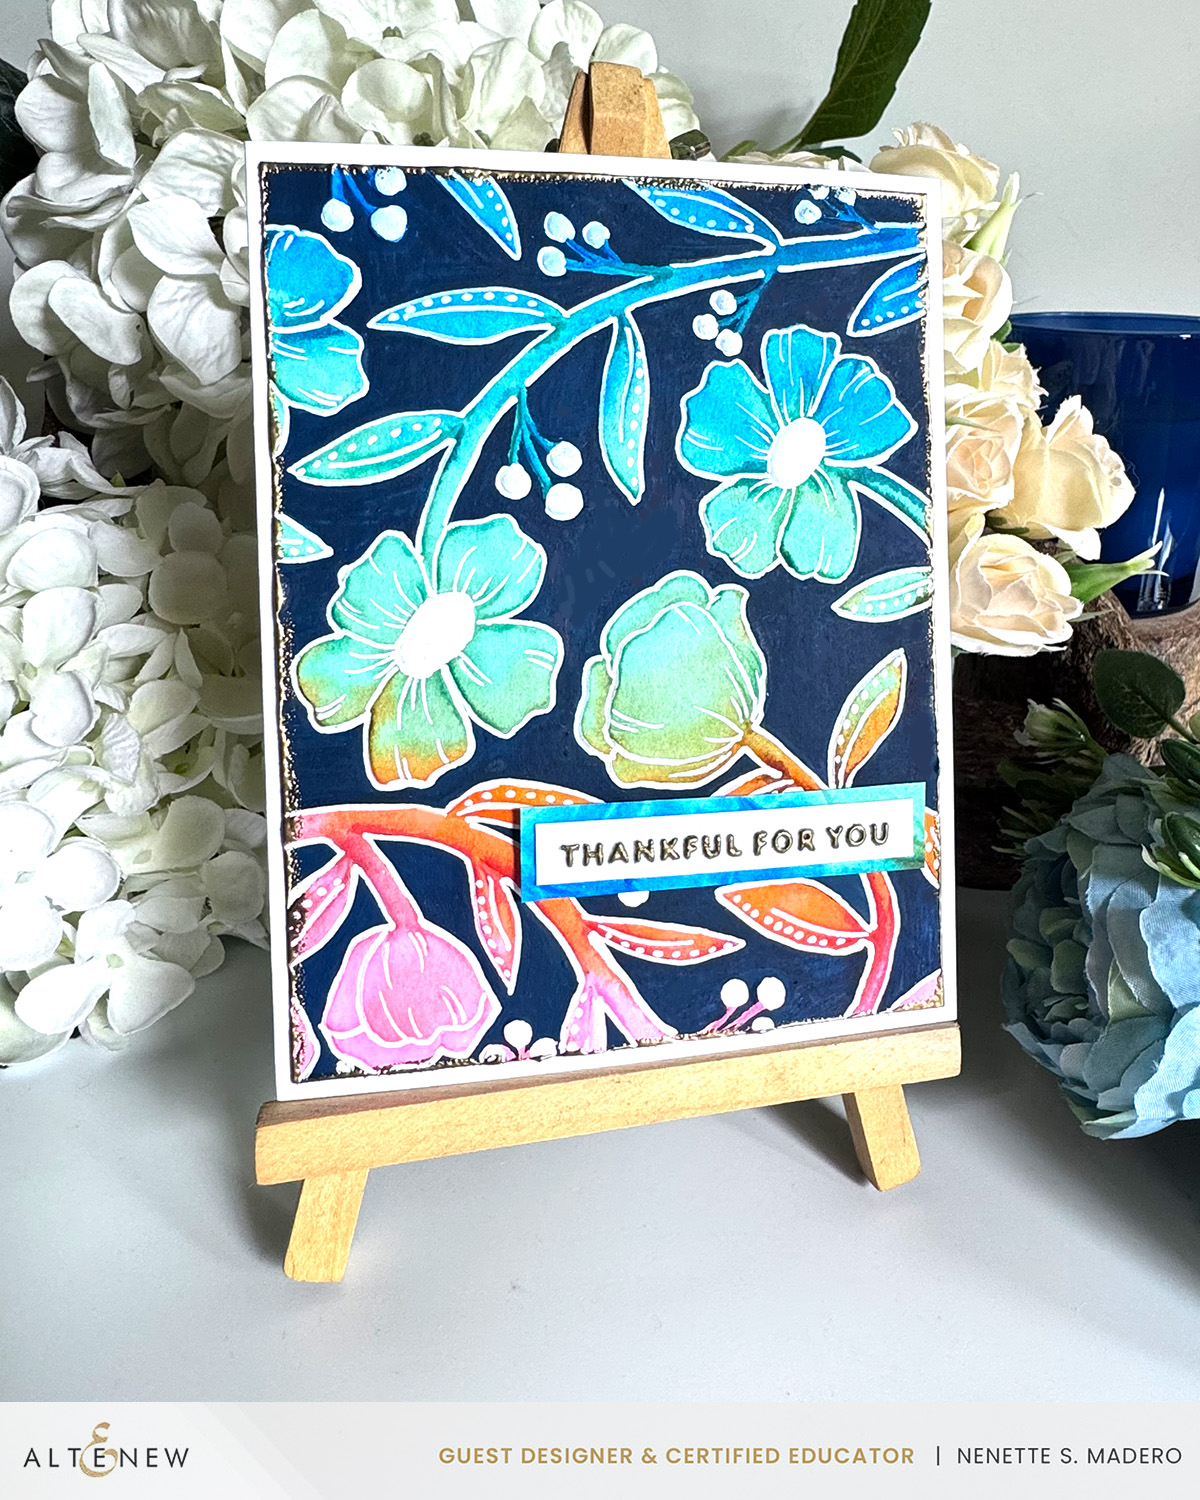
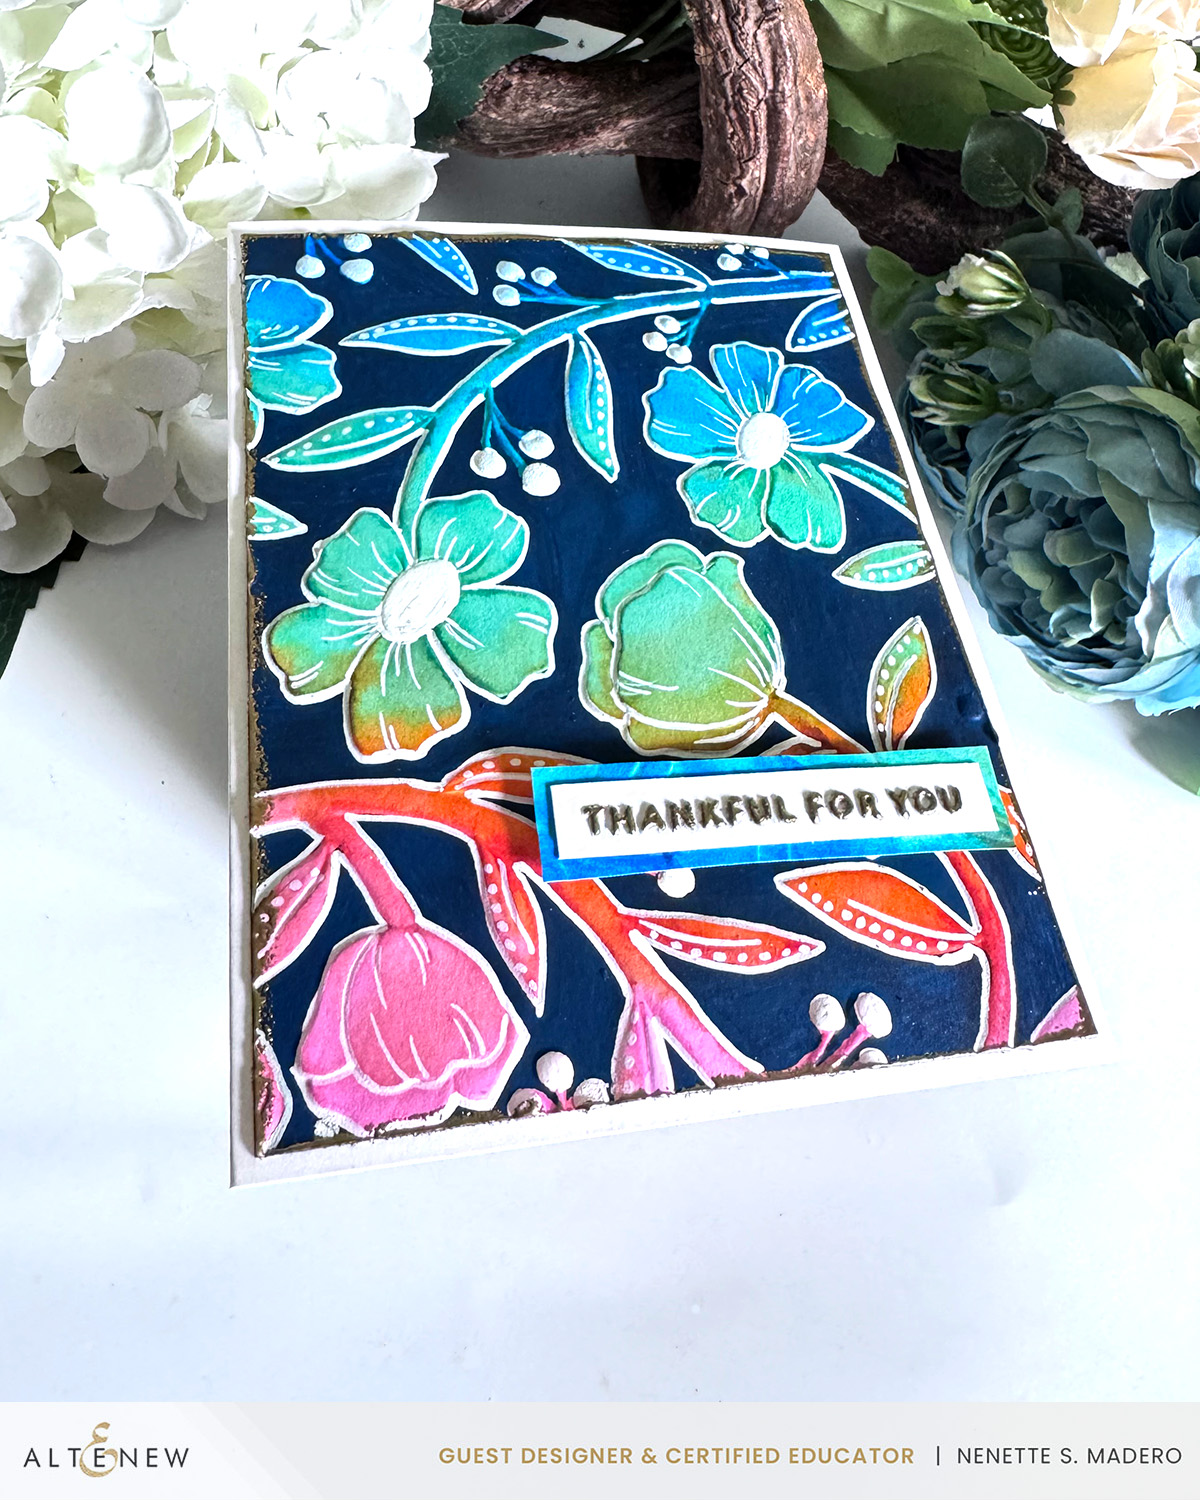
I only used 3D embossing folders for this card–no stamps or die cuts. Inspired by a card made by my uber-talented friend Enna (@ritzyhag on IG), I sprayed distress stains onto mixed media paper and let it dry completely. Next, the card panel was embossed using the Loving You 3D embossing folder, adding a beautiful texture. The background was colored using a Navy acrylic paint marker. The embossed images were outlined with a white acrylic marker to enhance the visibility. The edges of the panel were embossed with gold embossing powder. For the sentiment, I used the Raised Sentiments Embossing folder and carefully applied clear embossing liquid over the letters with an embossing pen before adding gold embossing powder to create a shiny finish. Finally, I repurposed the leftover embossed and colored paper as a matting for the sentiment, tying the entire design together.

MATERIALS:


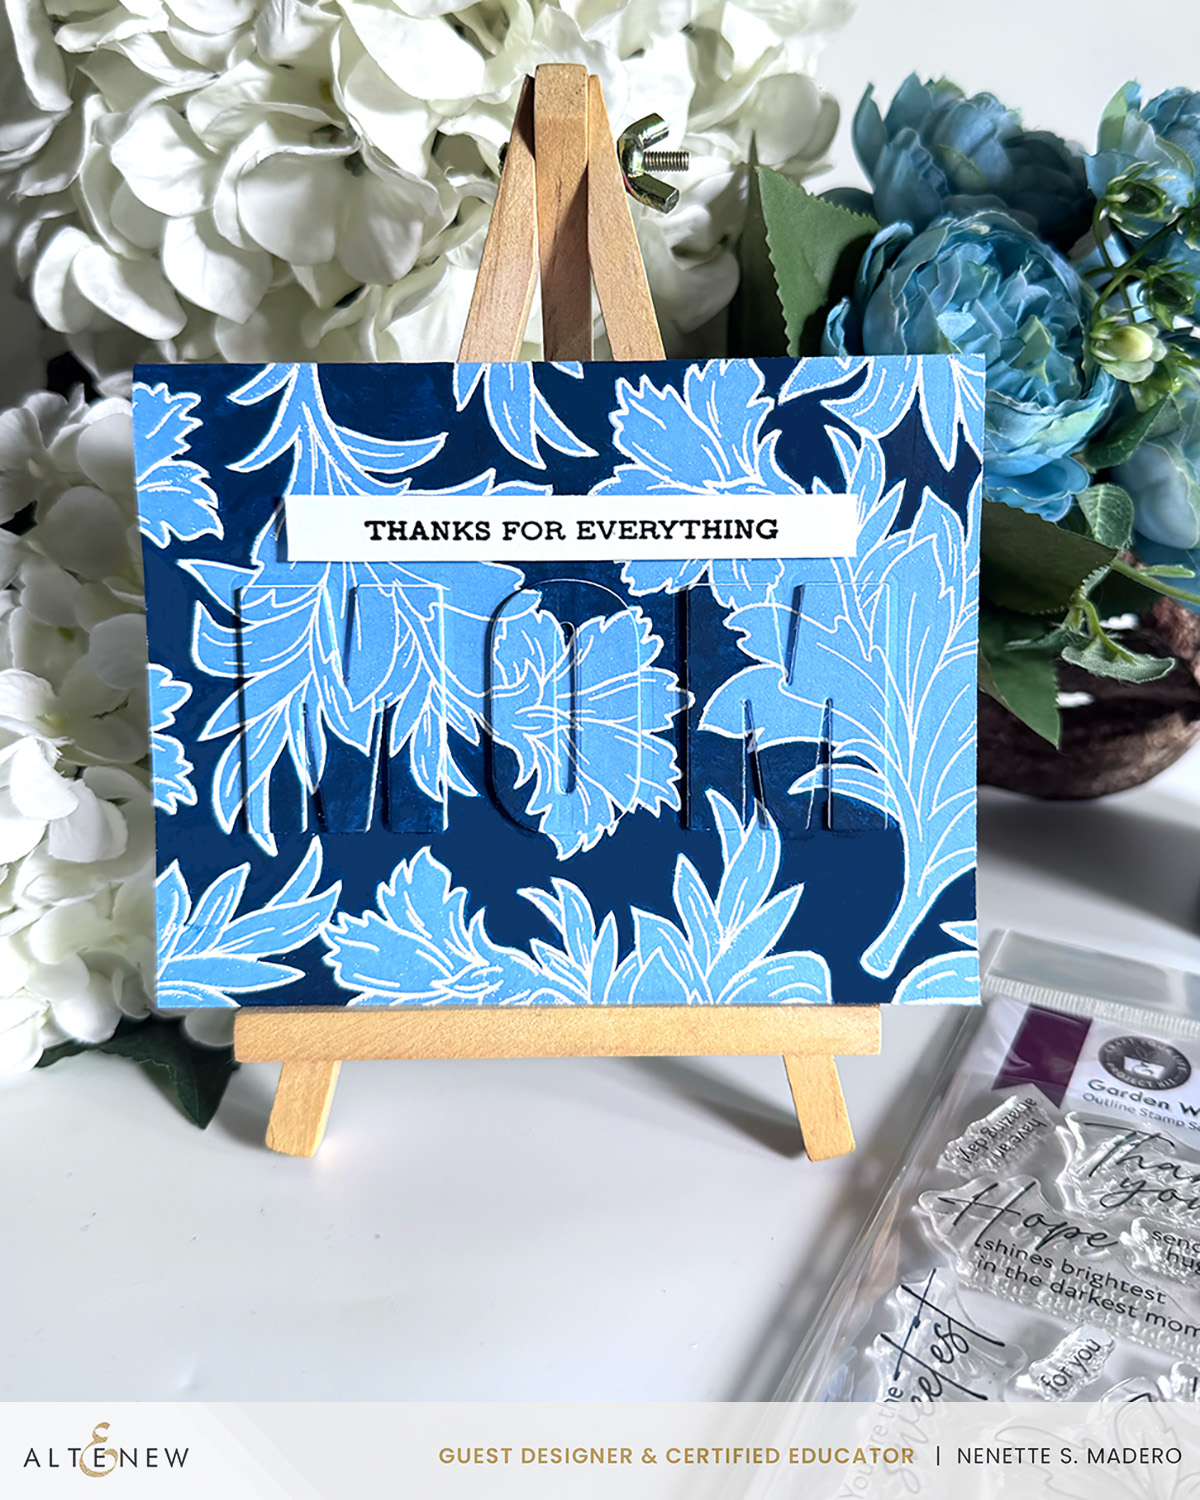
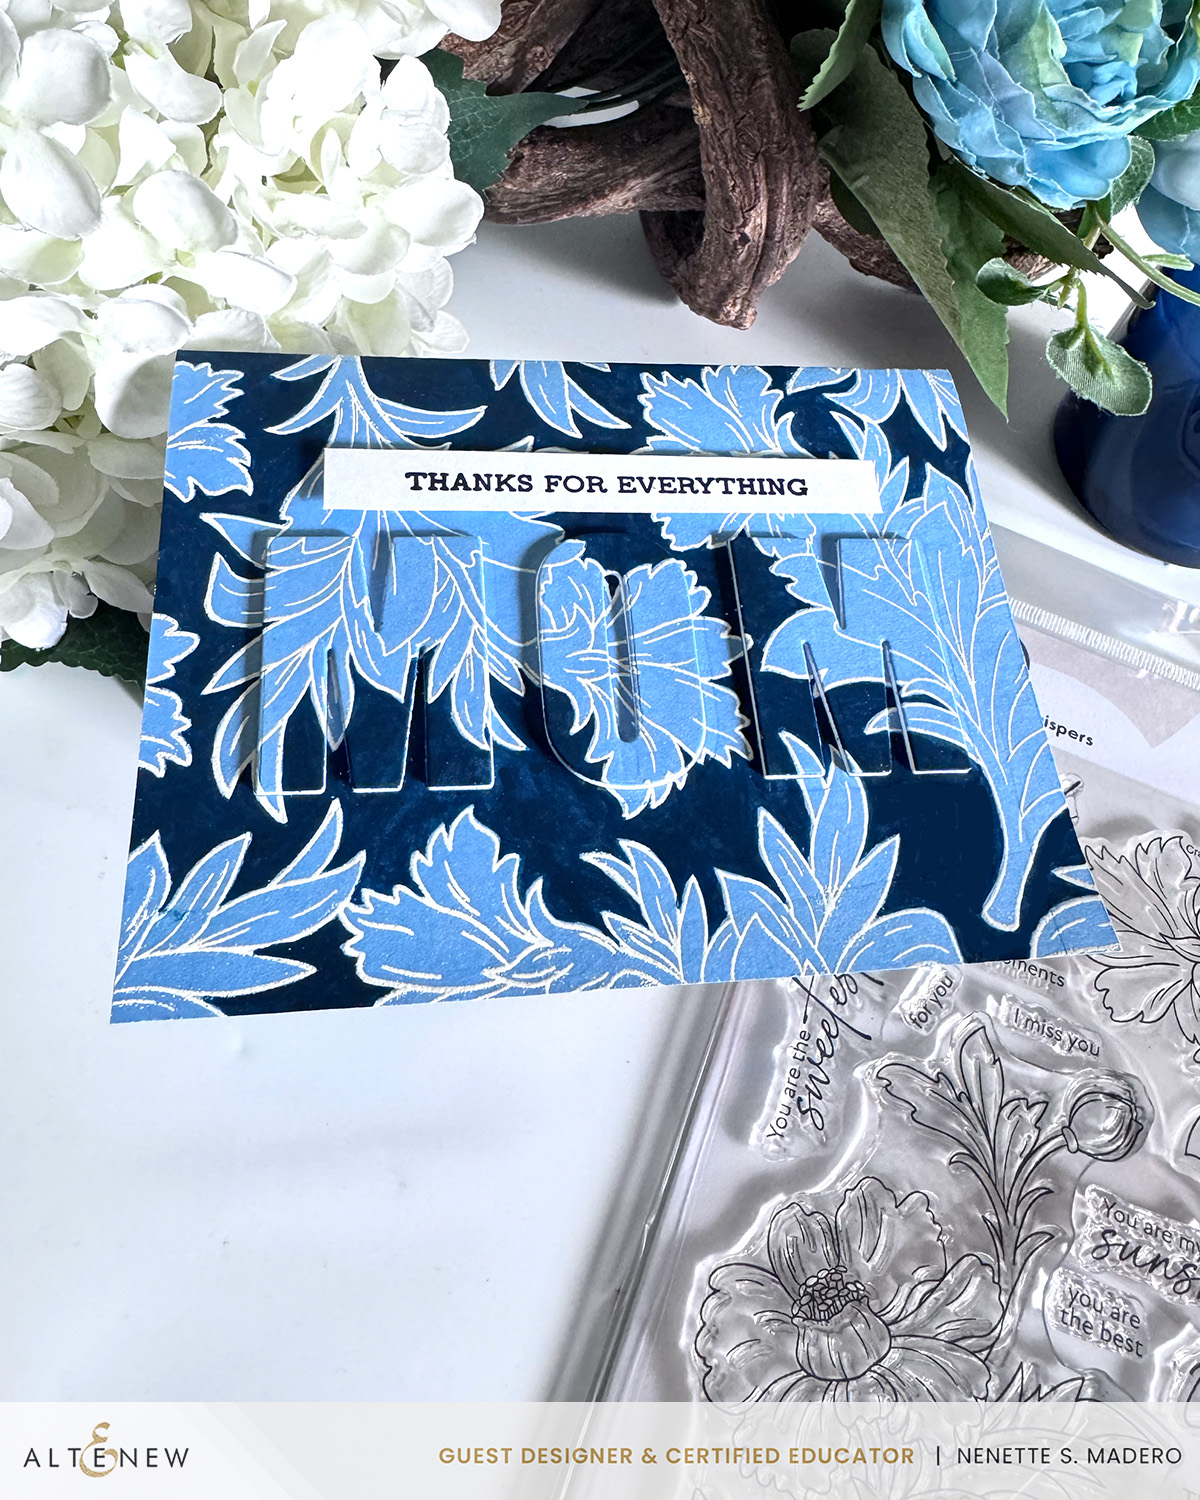
Mother’s Day is coming up, so I decided to make a Mother’s Day card ahead of time. The small floral image was repeatedly stamped using Versamark ink on a light blue cardstock and was then embossed with white embossing powder. The spaces were filled with petals and leaves for a cohesive look. The background was then colored with a navy acrylic marker, providing a striking contrast. The word “MOM” was die-cut and layered with four additional cuts to add dimension. Finally, the sentiment was stamped on white cardstock using Obsidian ink and embossed with clear embossing powder.

MATERIALS:


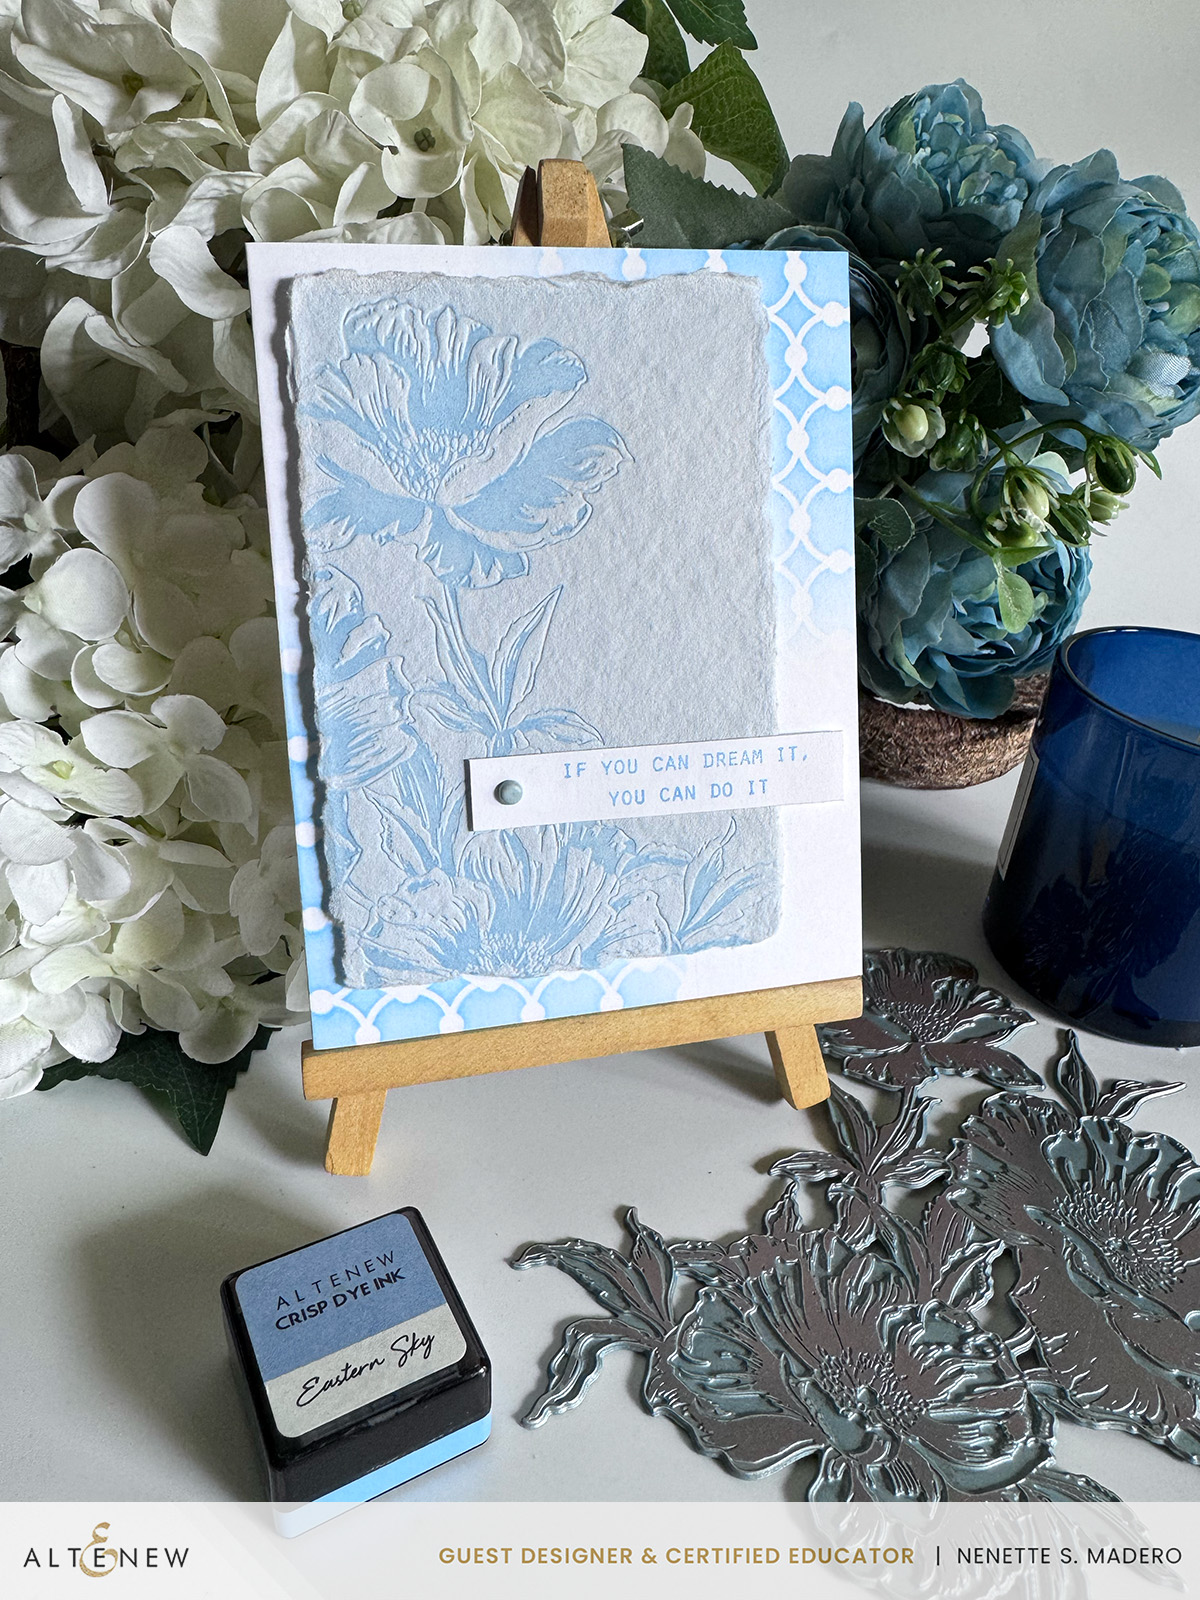
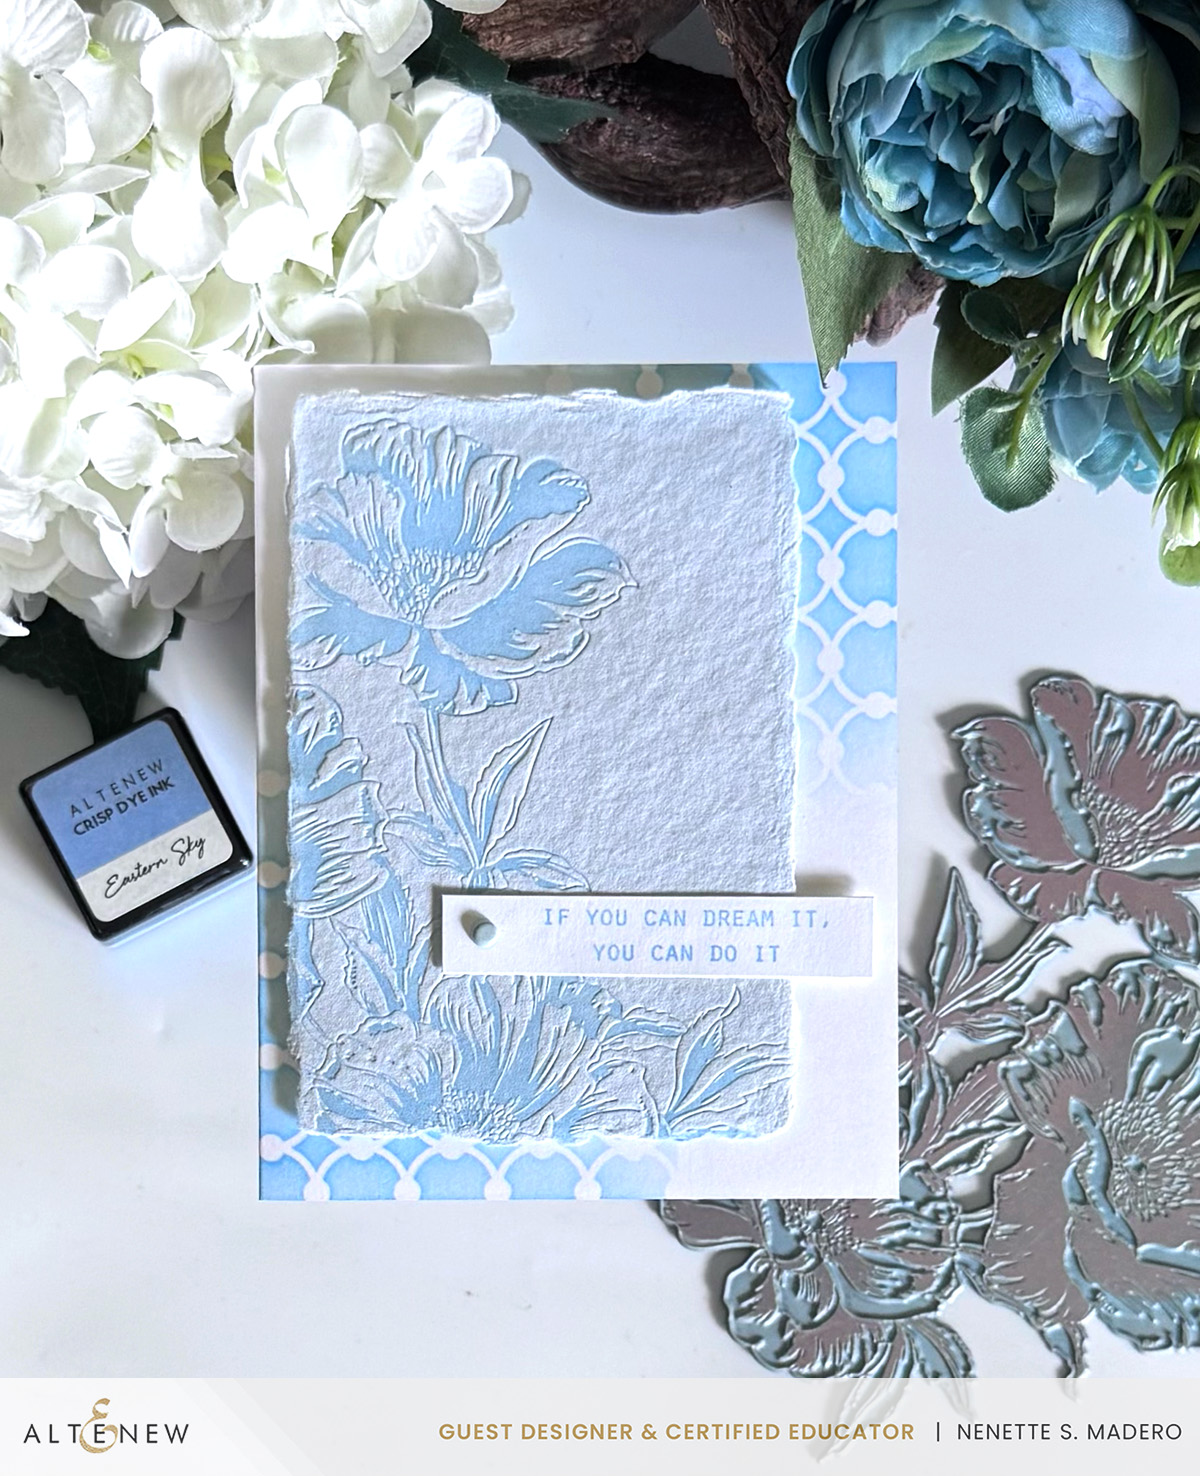
This creation is referred to as my “5-Minute Card.” I appreciate the simplicity of this CAS design– simple yet elegant. One of my favorite tools is the BetterPress System; it’s incredibly user-friendly, yet the results are stunningly detailed. For this card, the Inked Poppies Press Plate was inked with Eastern Sky dye ink. I ran it through my die-cutting machine, producing a beautiful floral impression on 100% cotton paper. To enhance the card front, I used the Linked Spots and Dots Stencil and dye ink to add subtle imagery. The pressed floral image was mounted with foam tape to create some dimension. The sentiment was stamped in the same dye ink on white cardstock. A light blue brad was added for more dimension. I opted for a monochromatic color scheme to maintain the card’s simplicity.

MATERIALS:

I want to be completely transparent about my creative process for this card. I began by watercoloring the leaves and was happy with it. Then, I mistakenly chose a flower color that was too similar to the leaves, which caused the flowers to blend in rather than stand out. However, I loved how the colors of the leaves turned out, so I decided to keep it and stamp the image again, emboss it, and fussy cut just the flowers. This allowed me to place them over the painted leaves using foam squares, effectively covering my initial mistake. To add depth, five die cuts were cut using The Garden Trellis Cover die and layered on top of each other. The corners were finished by inking and embossing them with gold embossing powder for some shine. The sentiment was stamped using Obsidian Ink and then embossed with Clear embossing powder. I used the same watercolor paint to color the sentiment’s background to match the leaves.

MATERIALS


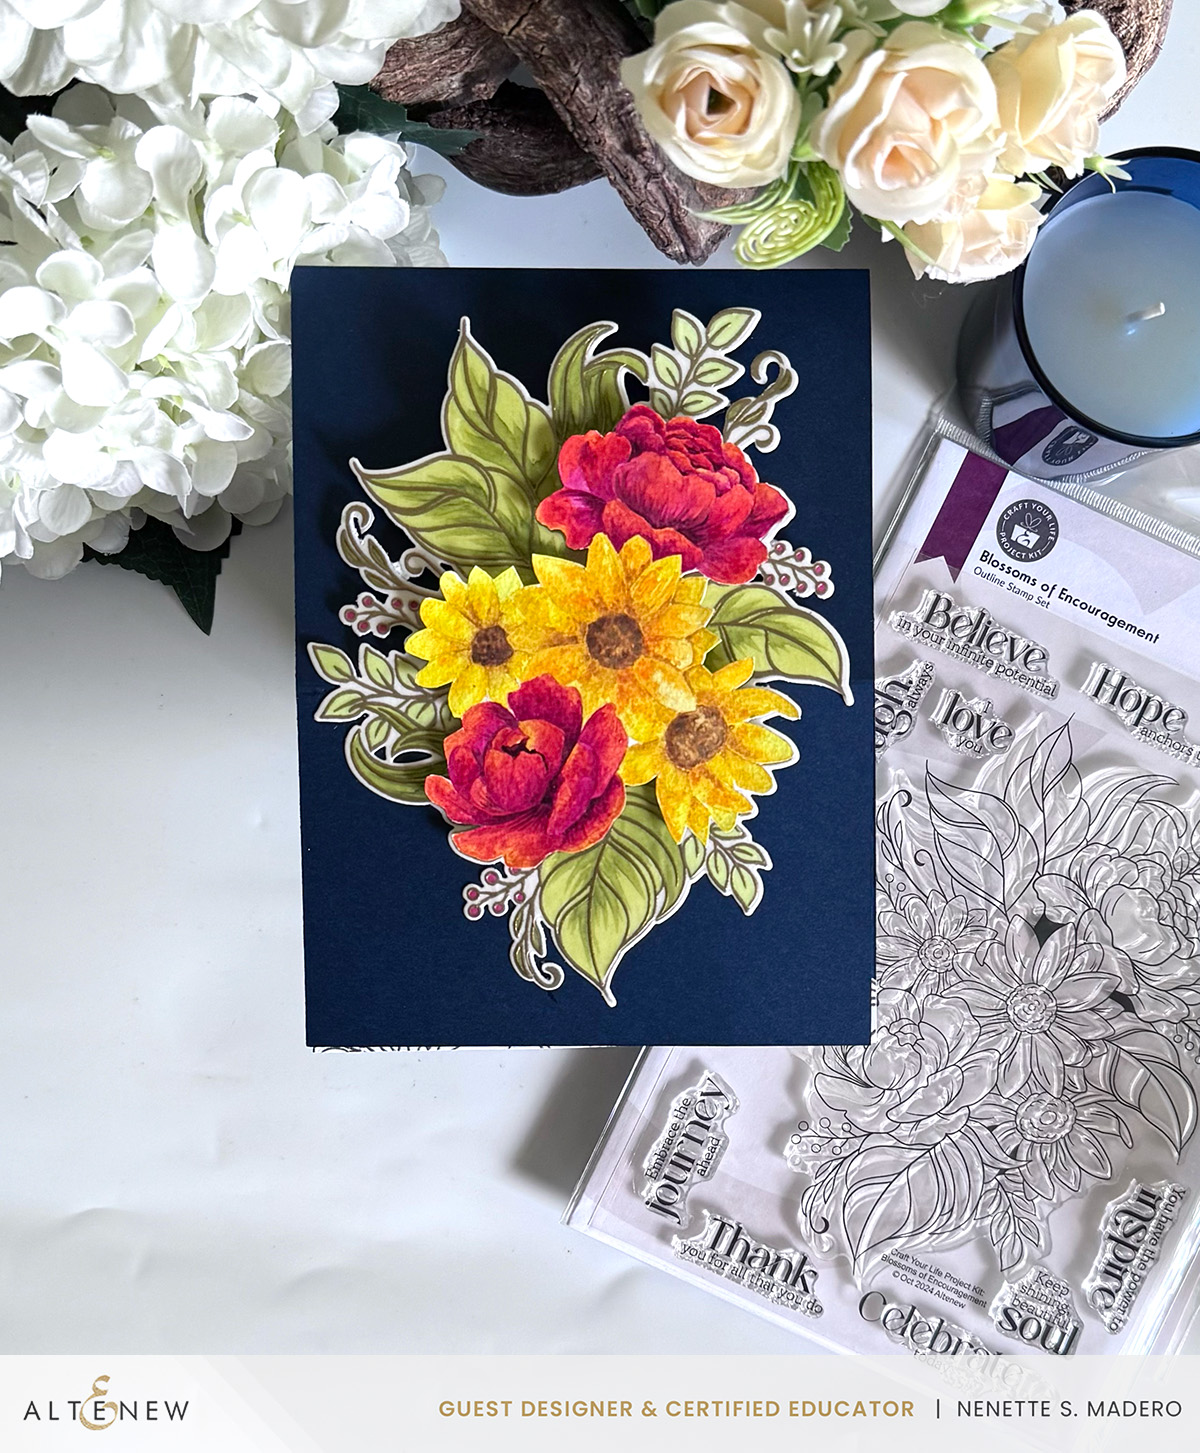
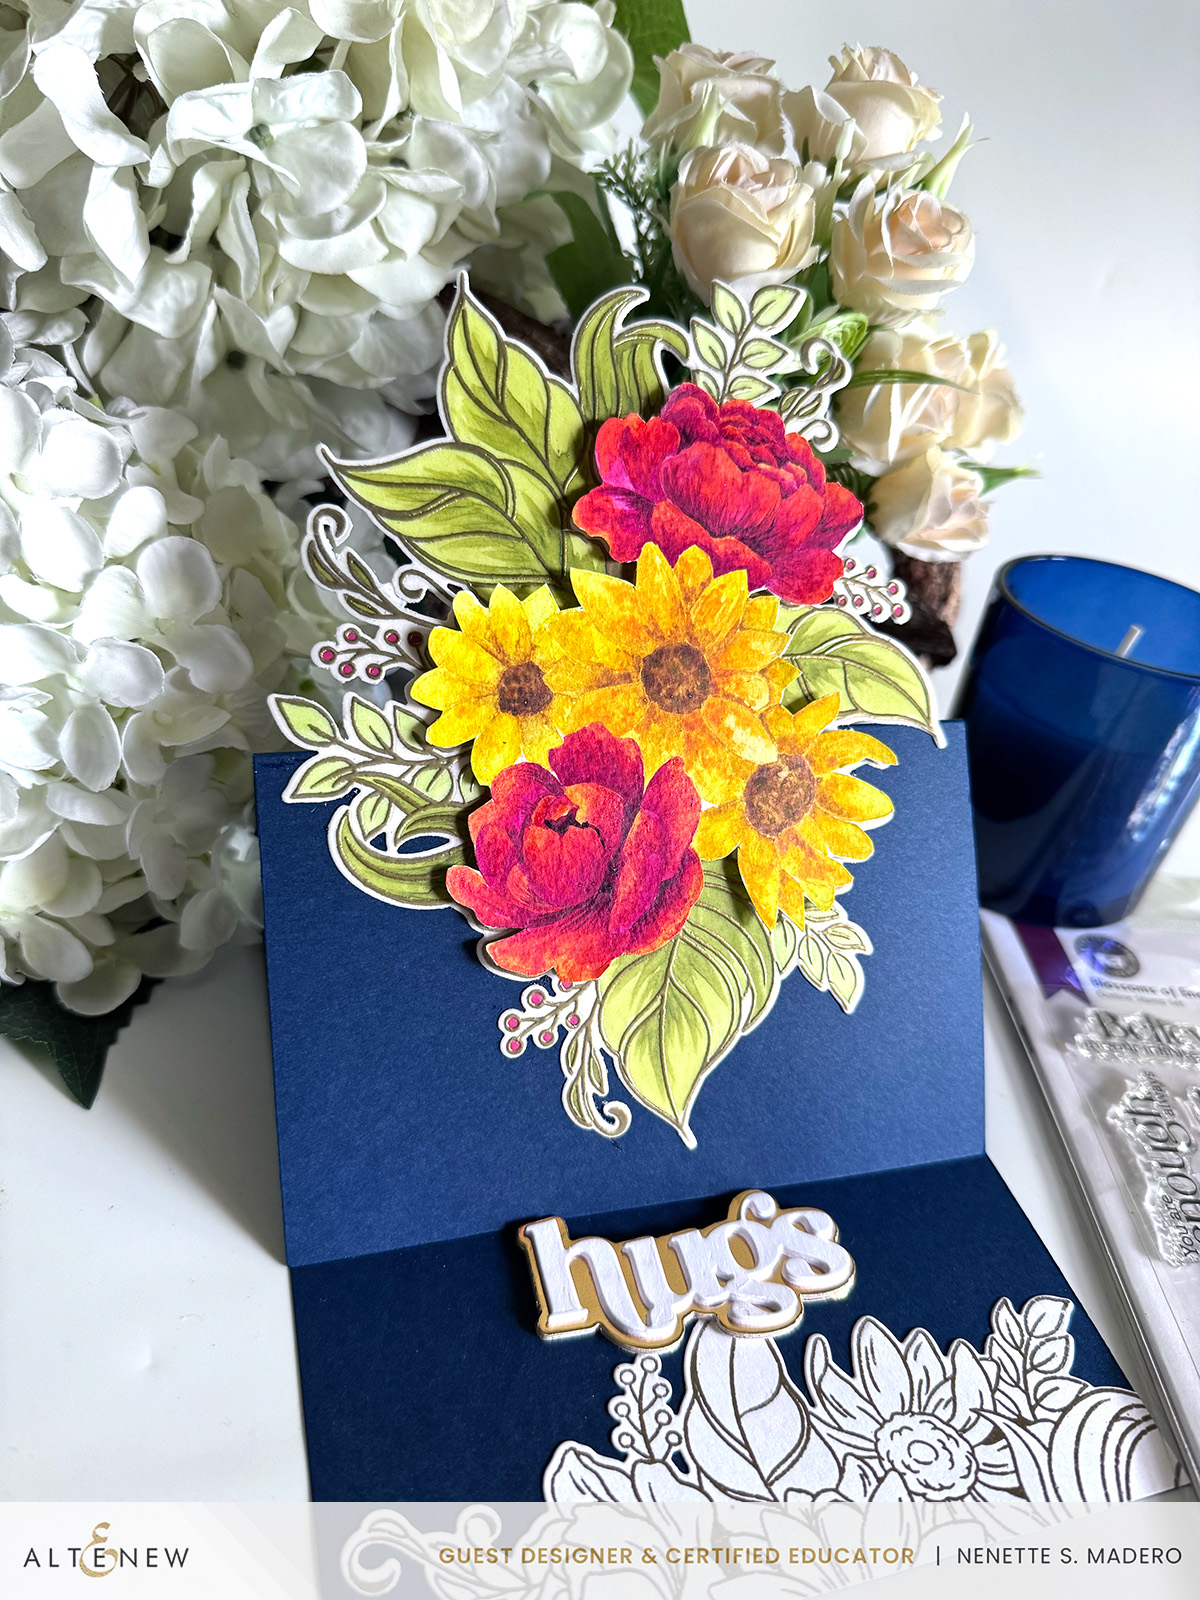
My last card required more time, especially while watercoloring the floral image. The image was stamped and embossed on watercolor paper (for the flowers) and vellum paper (for the leaves). The flowers were watercolored, and then the leaves were colored from the back of the vellum with alcohol markers for a subtle effect. This was then adhered to white cardstock using the double-sided tape sheet. The image was die-cut. The flowers were meticulously fussy cut and layered on top of the embossed and colored leaves using foam tape for added dimension. I chose an easel fold for this card, with the “hugs” sentiment serving as a stopper to keep the card front upright.

Over $3,600 in total prizes! Altenew is giving away a $50 gift certificate to 11 lucky winners. There are also 35 awesome companies/crafty friends who are celebrating with us, and they are offering the following prizes:

Altenew: 11 x $50 Gift Certificate

Altenew Academy: 17 x Online Card Class ($39.99 value each)

Artistry by Altenew: 5x $20 Gift Certificate

Glassboard Studio: 3 x $50 Gift Certificate

Creative Scrapbooker Magazine: 3 x Creative Scrapbooker Magazine 1-Year Subscription ($44.9 value each)

Stamp-n-Storage: 1 Ink Pad Carousel for Altenew Fresh Dye Inks ($129.75 value)

Online Card Classes: 5 x Online Card Class ($25+ value each)

Gina K. Designs: $100 Gift Certificate

Lawn Fawn: $100 Gift Certificate

Honey Bee Stamps: $100 Gift Certificate

Pink and Main: $100 Gift Certificate

Brutus Monroe: $100 Gift Certificate

Scrapbook & Cards Today Magazine: $100 Gift Certificate

My Favorite Things: $100 Gift Certificate

Jennifer McGuire Ink: 1 Share Handemade Kindness Goodies Bag

Amy Tangerine: 1 Sticker Assortment Pack ($75 value)

Ranger Industries: $75 Gift Certificate

Michelle’s Cards & Stamps: AUD $100 Gift Certificate

LDRS Creative: 2x $30 Gift Certificate

MarkerPop: 2x $25 Gift Certificate

Trinity Stamps: $50 Gift Certificate

A Cherry On Top: $50 Gift Certificate

Simon Says Stamp: $50 Gift Certificate

Alex Syberia Designs: $50 Gift Certificate

Newton’s Nook Designs: $50 Gift Certificate

Pretty Pink Posh: $50 Gift Certificate

My Craft Room: $50 Gift Certificate

Krafters Cart: $50 Gift Certificate

Concord & 9th: $50 Gift Certificate

Scrapbook.com: $50 Gift Certificate

Pinkfresh Studio: $50 Gift Certificate

Bumbleberry Papercrafts: ÂŁ25 Gift Certificate

Picket Fence Studios: $25 Gift Certificate

Ink Blot Shop: $25 Discount Code

Creative Chick Co.: $25 Gift Certificate

Auzz Trinklets N Krafts: AUD $25 Gift Certificate

Be sure to leave comments by April 29, 2025 for a chance to win one of 76 prizes! To make the hop more exciting, start your comment with “Hi from (city or country where you’re from)!” 76 winners will be chosen at random from the comments left on any of the blogs listed below and will be announced on the Altenew Blog on May 4, 2025. 

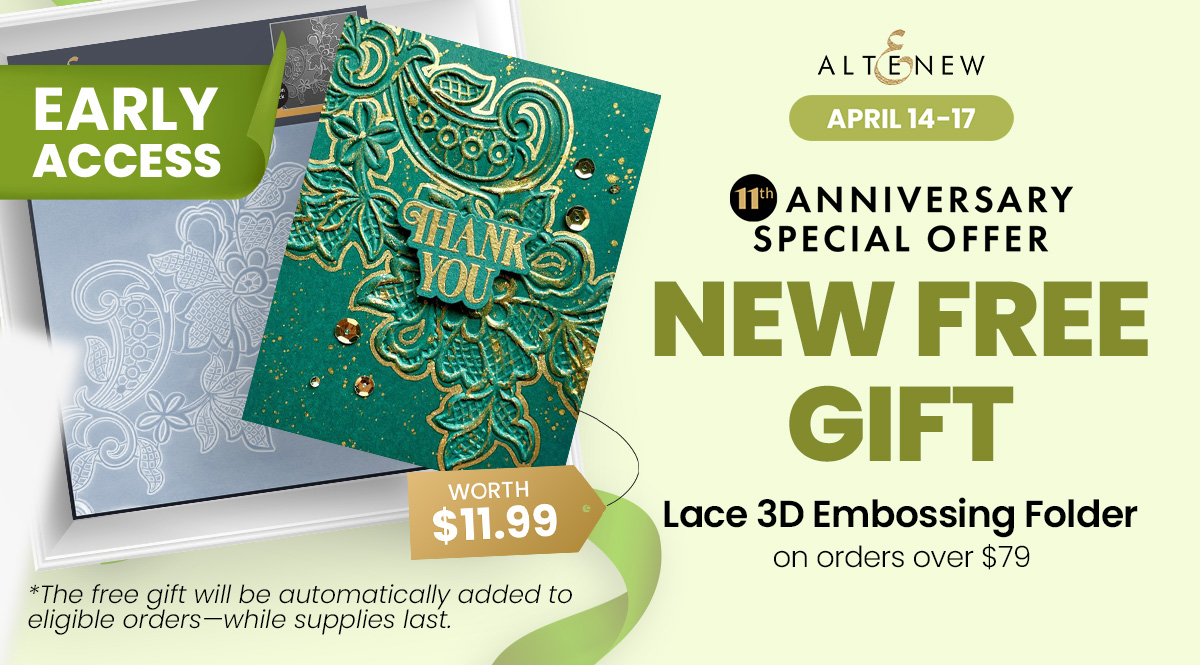
04/14/2025 – 04/17/2025: Get a FREE brand-new Lace 3D Embossing Folder (worth $11.99) on orders over $89 from 04/14/2025 at 12:01 AM EDT until 04/17/2025 at 11:59 PM EDT. The free gift will be automatically added to eligible orders—while supplies last. Shop here: https://altenew.com/collections/all-altenew-products 

04/14/2025 – 04/18/2025: Get FREE U.S. Shipping on orders over $29 (no code needed) or $10 off International Shipping with code ALTENEW@11 at checkout from 04/14/2025 at 12:01 AM EDT until 04/18/2025 at 11:59 PM EDT. Shop here: https://altenew.com/collections/all-altenew-products

To follow along, click this link for the blog hop list or click this link to go to Debbie Frank’s blog.


Thank you for taking the time to explore the cards I created for this hop! I would love to hear which one you liked the most, so please share your favorite in the comment section below. If you want to see more of my projects, I invite you to follow, like, and subscribe to my Instagram, YouTube channel, Facebook, and blog for more inspiration. Your support means a lot!

Again, congratulations to the whole Altenew team!!!! Wishing you continued success always!

Warm regards to all and thanks for dropping by,

Altenew Celebrating Watercolors Blog Hop + Giveaway ($300 in Total Prizes!)

Altenew Celebrating Watercolors Blog Hop + Giveaway ($300 in Total Prizes!)

Hello, friends! Welcome to my blog! If you just came from Hussena Calcuttawala, you’re on the right track. I’m honored to be invited to be a part of Altenew’s Watercolors Blog Hop. This is the end of the hop list, so I hope you were inspired by all the projects the designers came up with. Full details can be found on Altenew’s blog.

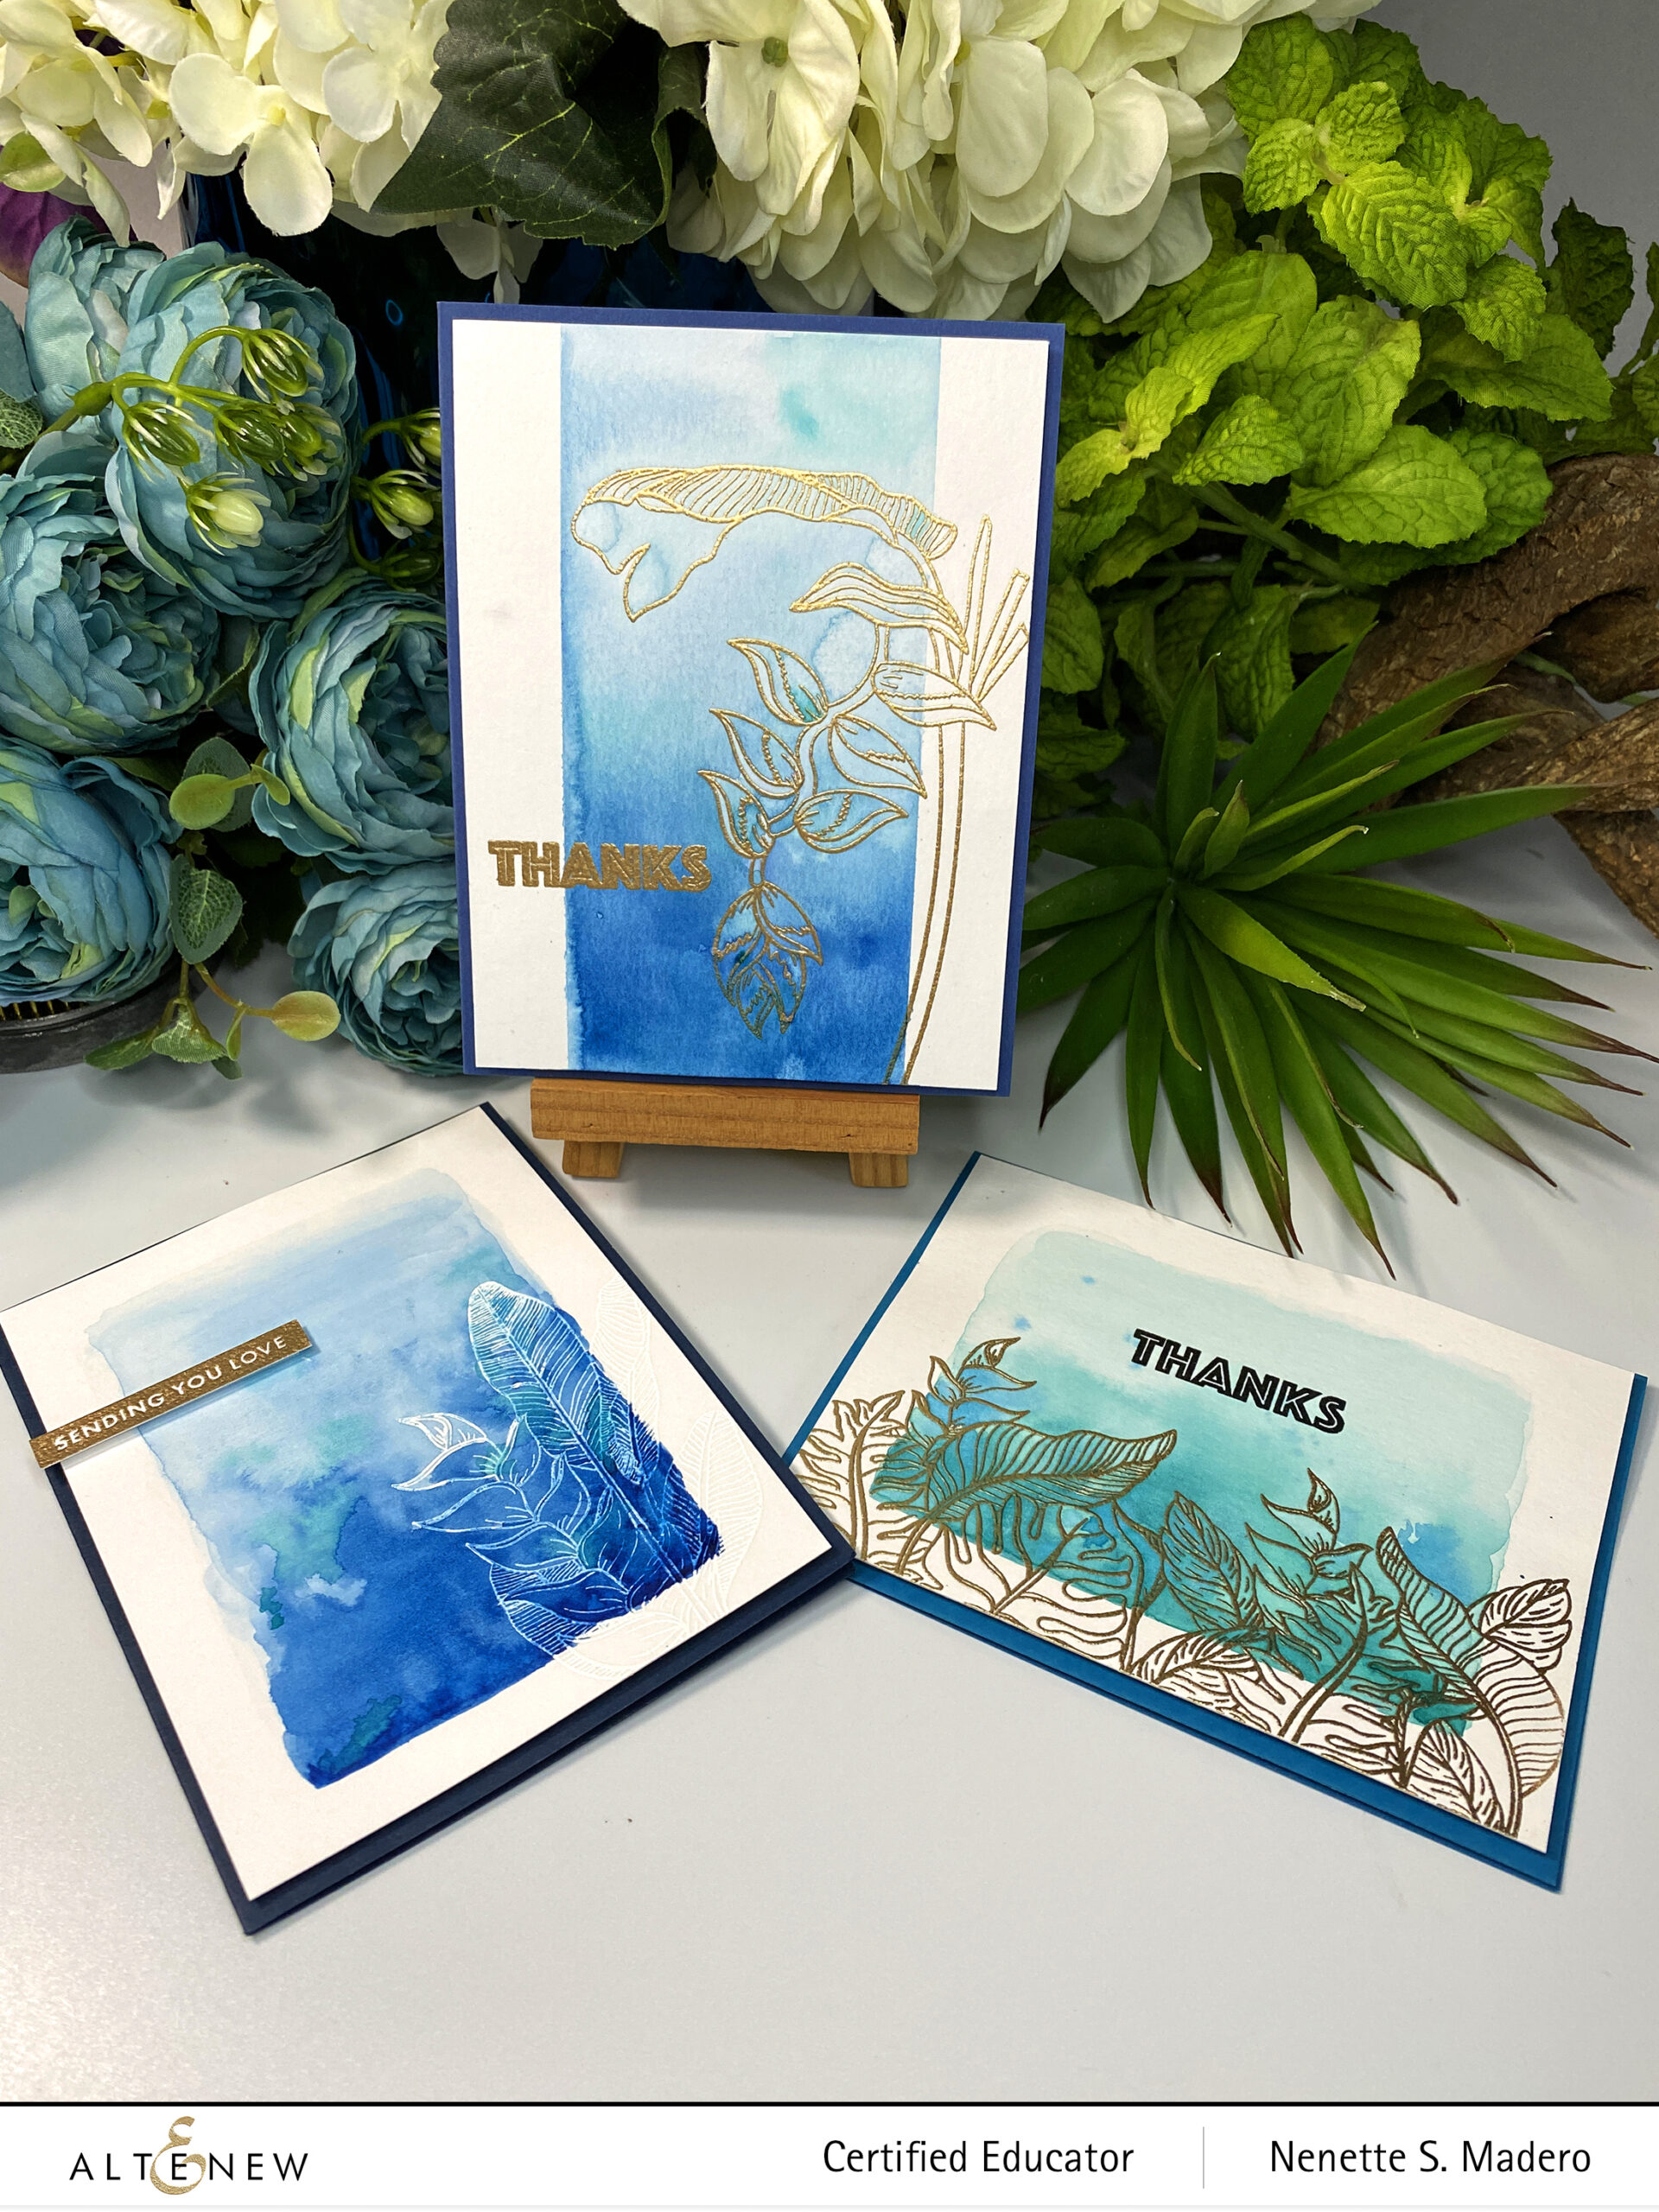
I fell in love with watercoloring several years ago and enjoy using them with my cards. Altenew has watercolor pans and liquid brush markers to choose from. You can find them here. I created a couple of cards using the Artist Watercolor Pan set, but I also included other older scrapbooking projects using Altenew’s Watercolor Brush markers. Here are the cards using the Artist Watercolor Pan set.

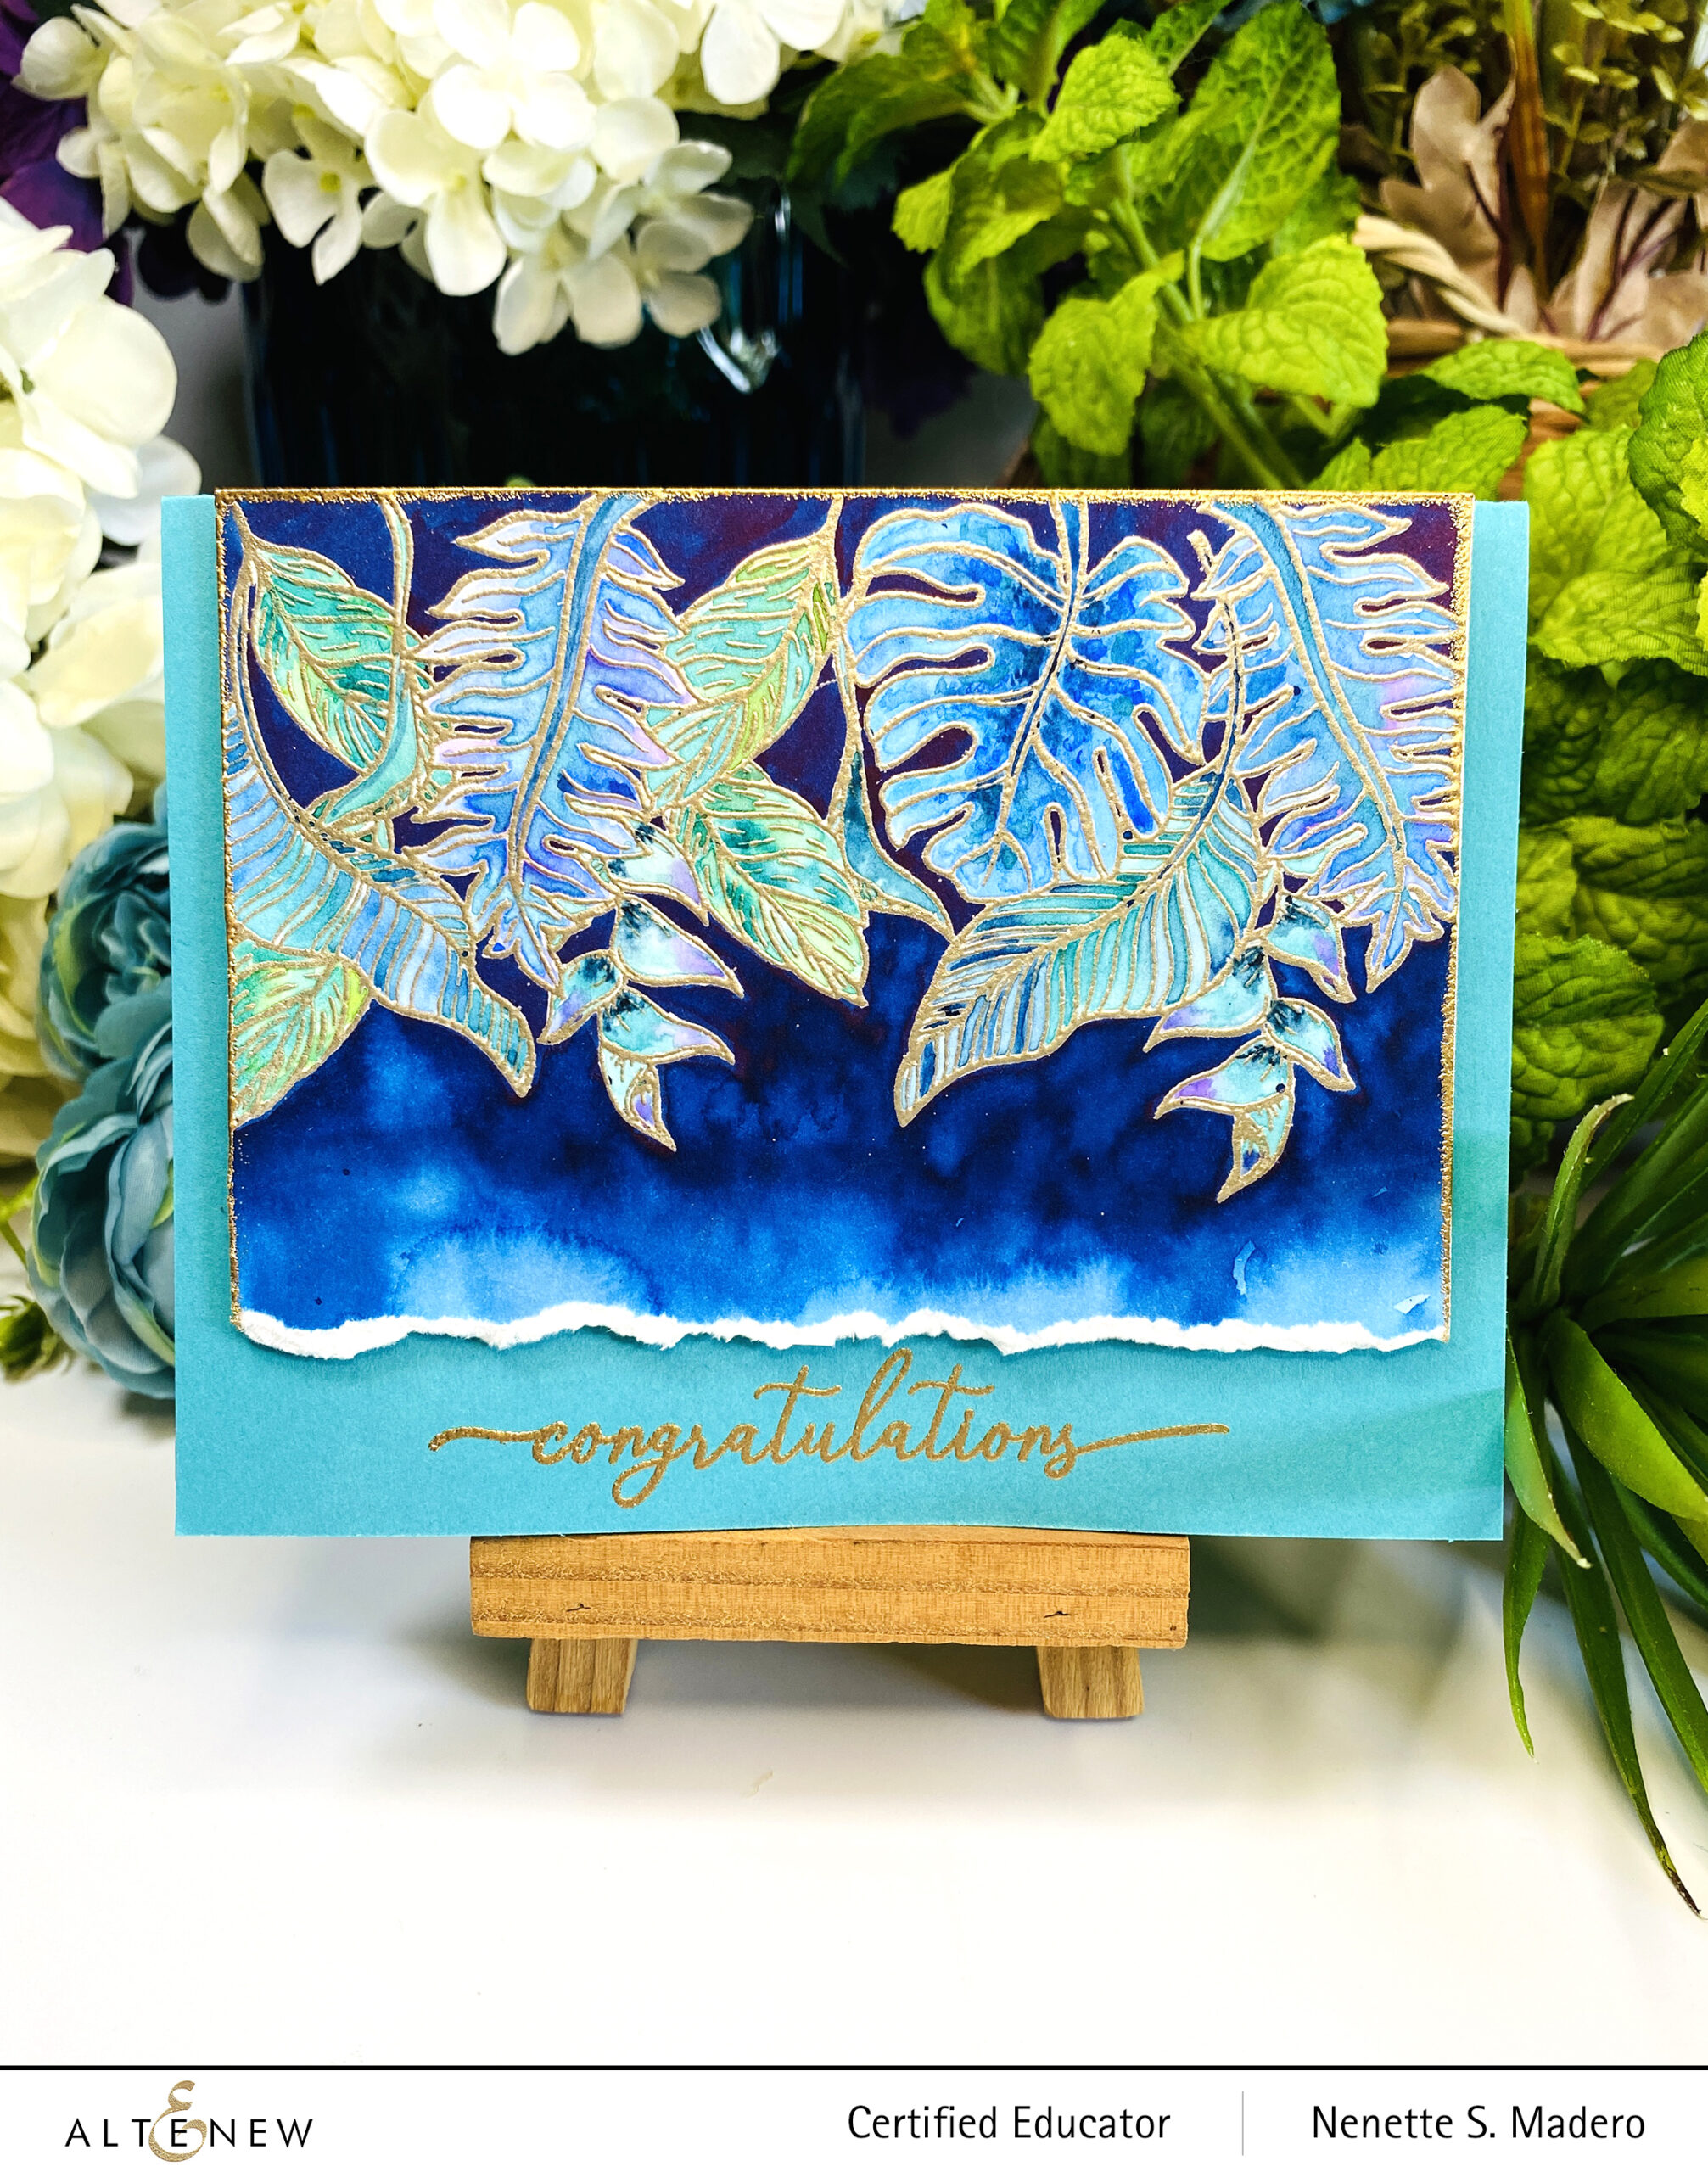
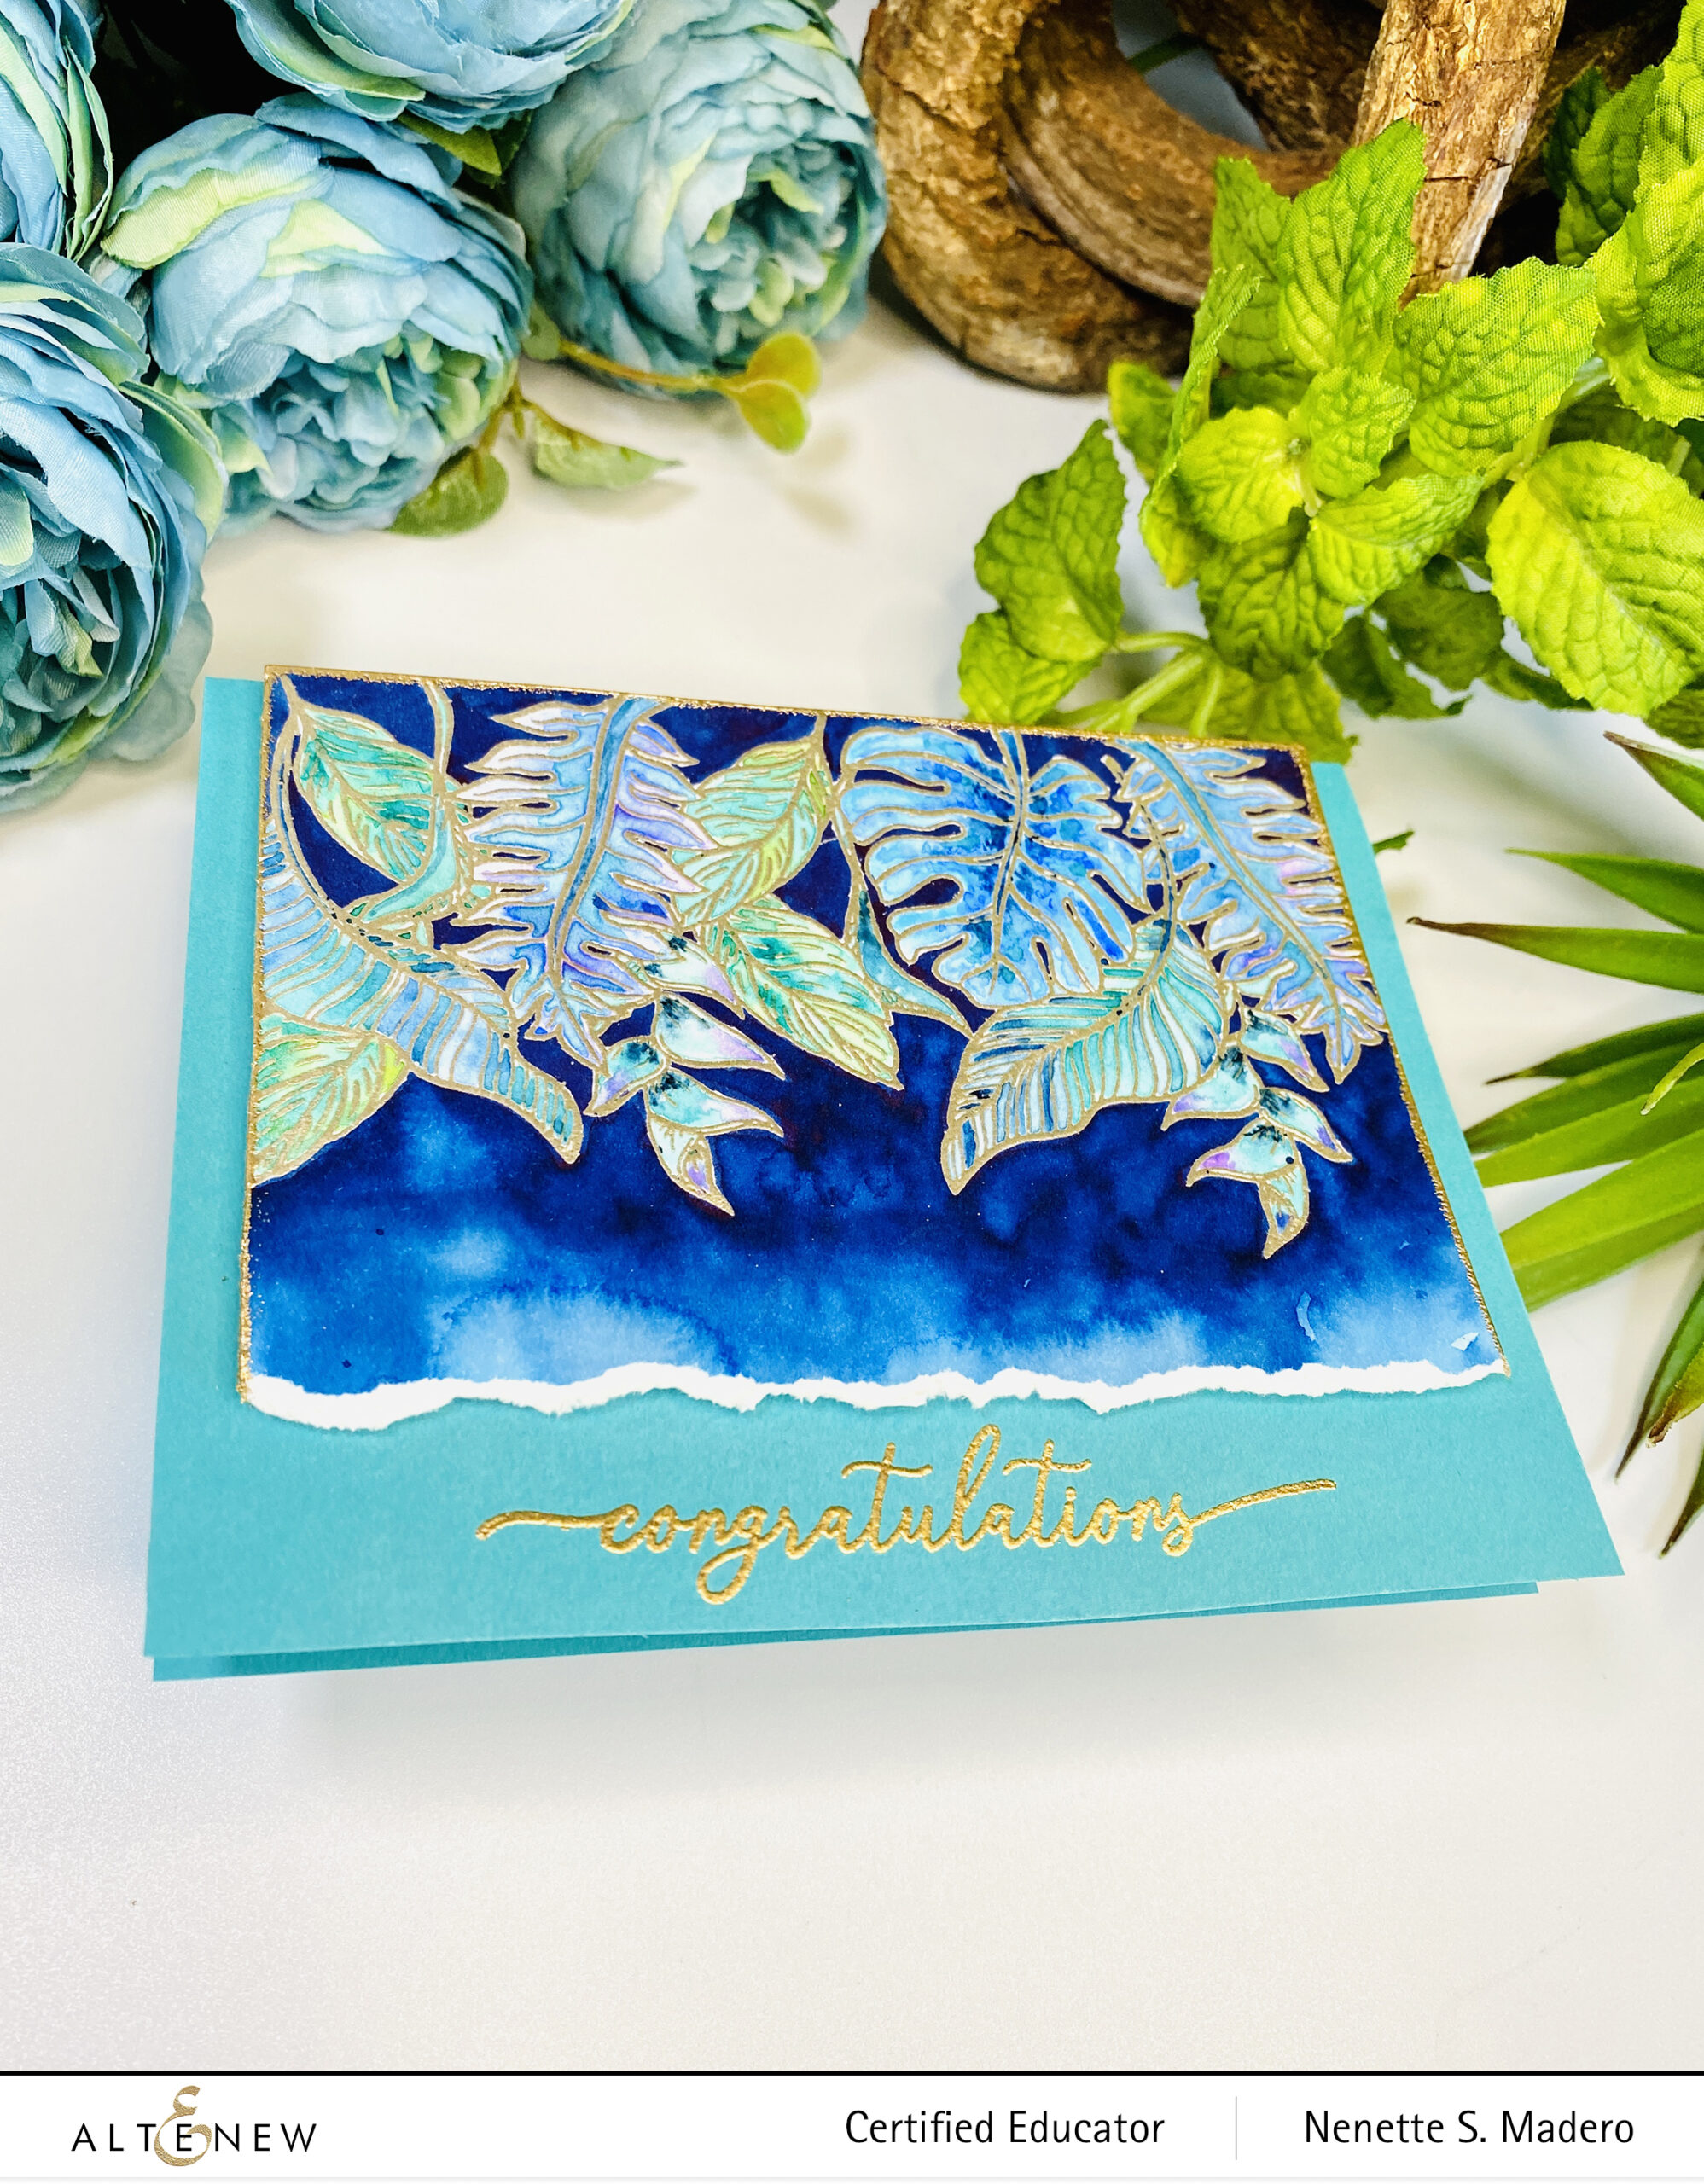
CONGRATULATIONS

STEPS:

  1. Stamp the Tropical Jungle Stamp and Die Set and emboss using Rose Gold Embossing powder.
  2. Watercolor the image using the Artists’ Watercolor Pan set.
  3. Color the background with the Altenew Liquid Brush marker (dusk).
  4. Emboss the edges with Rose Gold Embossing powder and tear the edge.
  5. Stamp the sentiment from the Pots and Plants stamp set.
  6. Assemble card using foam sheet.

I became interested in plants when the Pandemic began, and taking care of them is pretty therapeutic! So for this set of cards, I used plant images in all of them. I chose cool colors for this card because, for me, plants evoke peace and serenity.
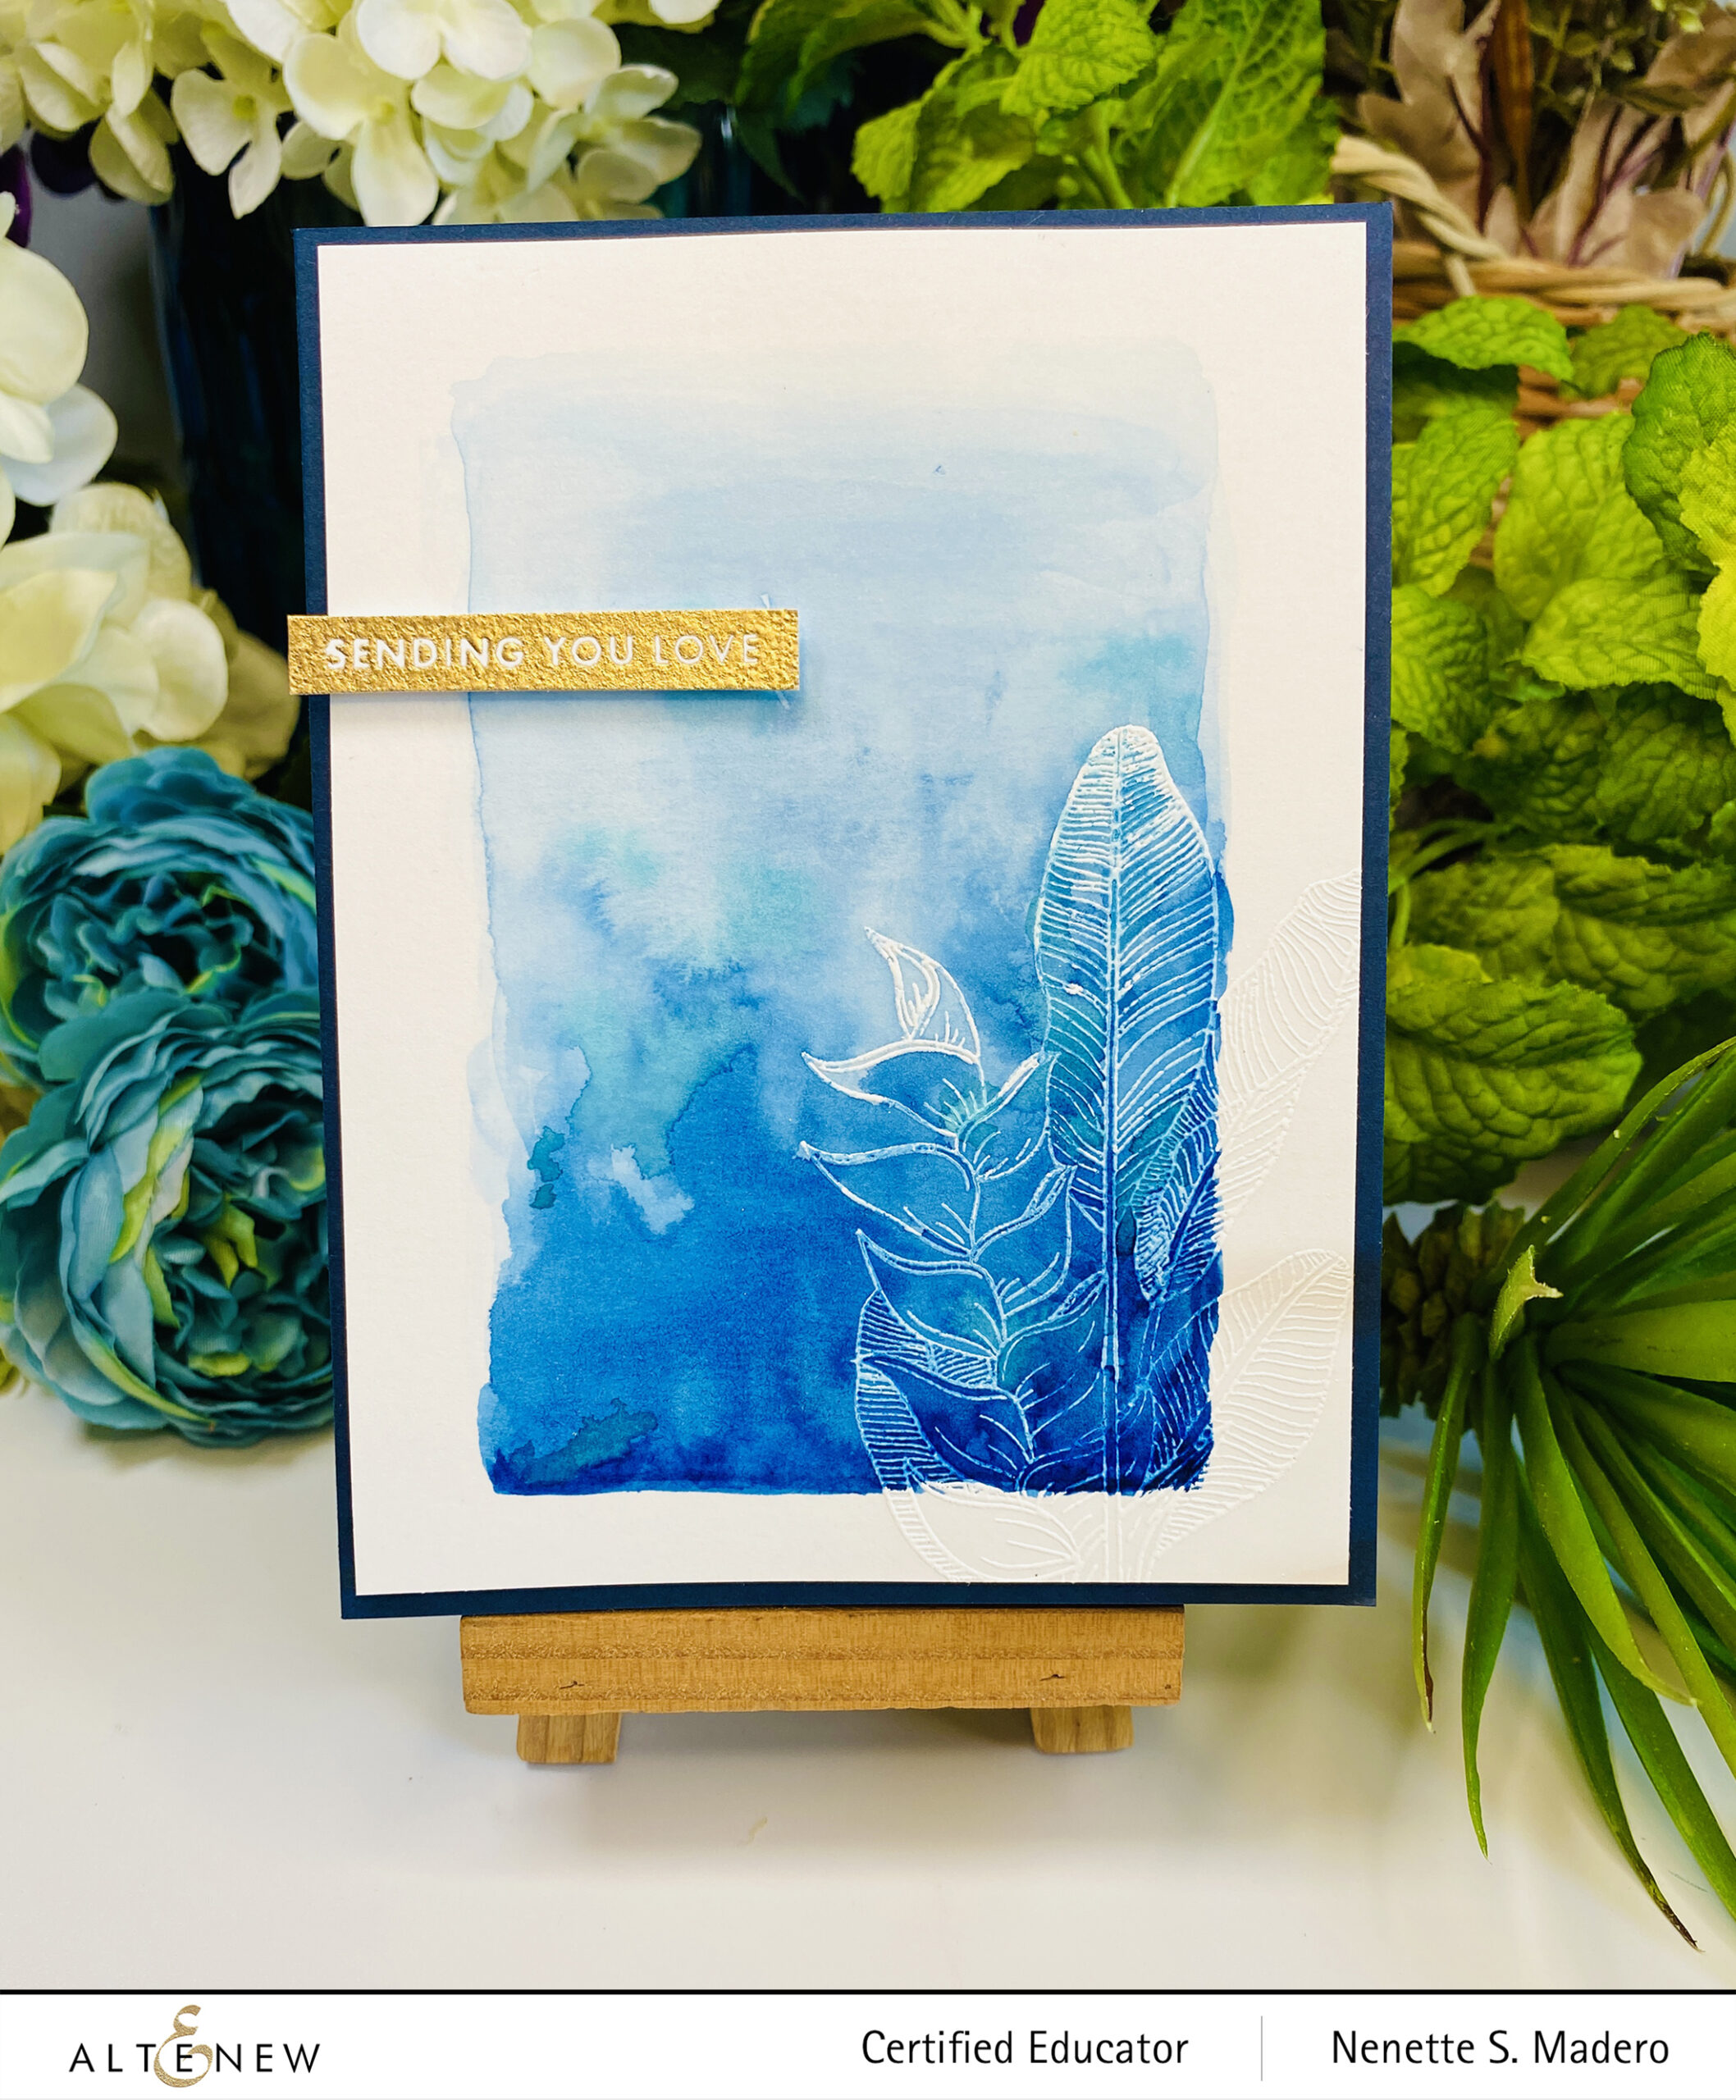
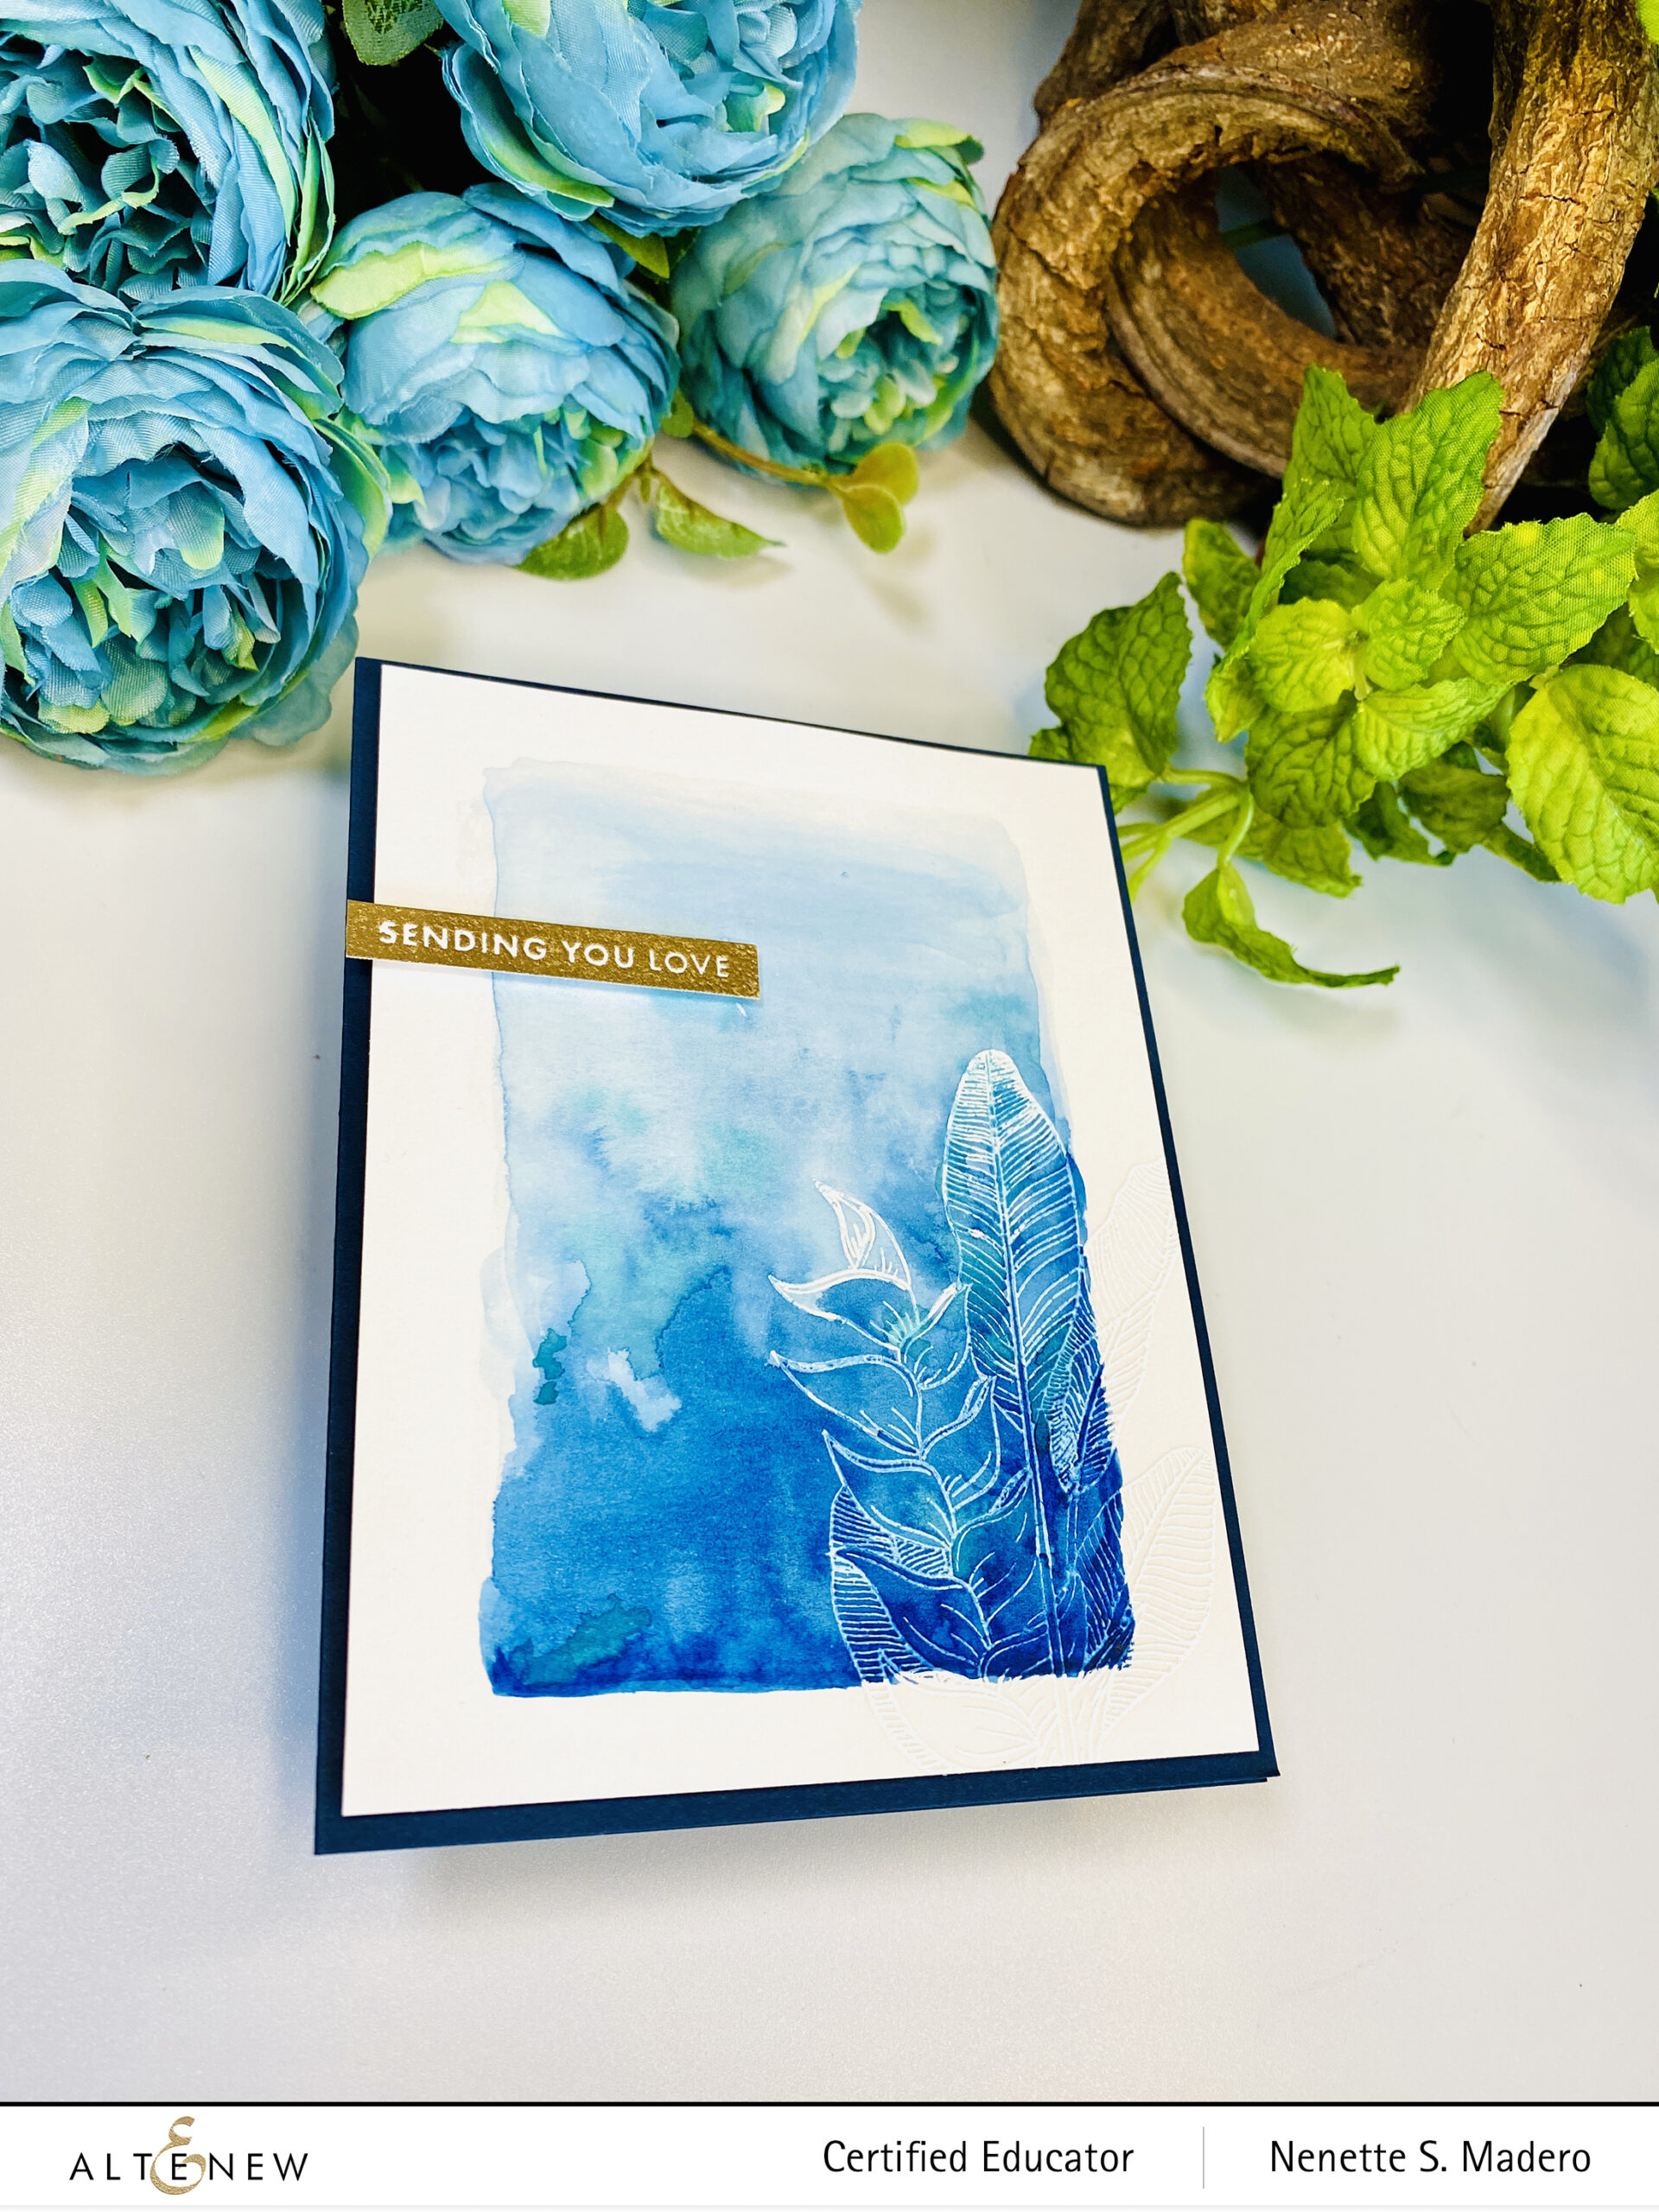
SENDING YOU LOVE

STEPS:

  1. Stamp and emboss the image from the Tropical Jungle Stamp set on the lower right corner of the watercolor paper.
  2. Loosley create an ombre frame and partially color the stamped image with the Artists’ Watercolor Pan set.
  3. Stamp the sentiment from the Bold Sentiments Stamp set and emboss with Rose Gold Embossing powder.
  4. Assemble card using foam squares.

I love the simplicity of this CAS card. And it’s so easy to make!!!

Here are more samples of the simple watercolored background cards using the Tropical Jungle Stamp set.

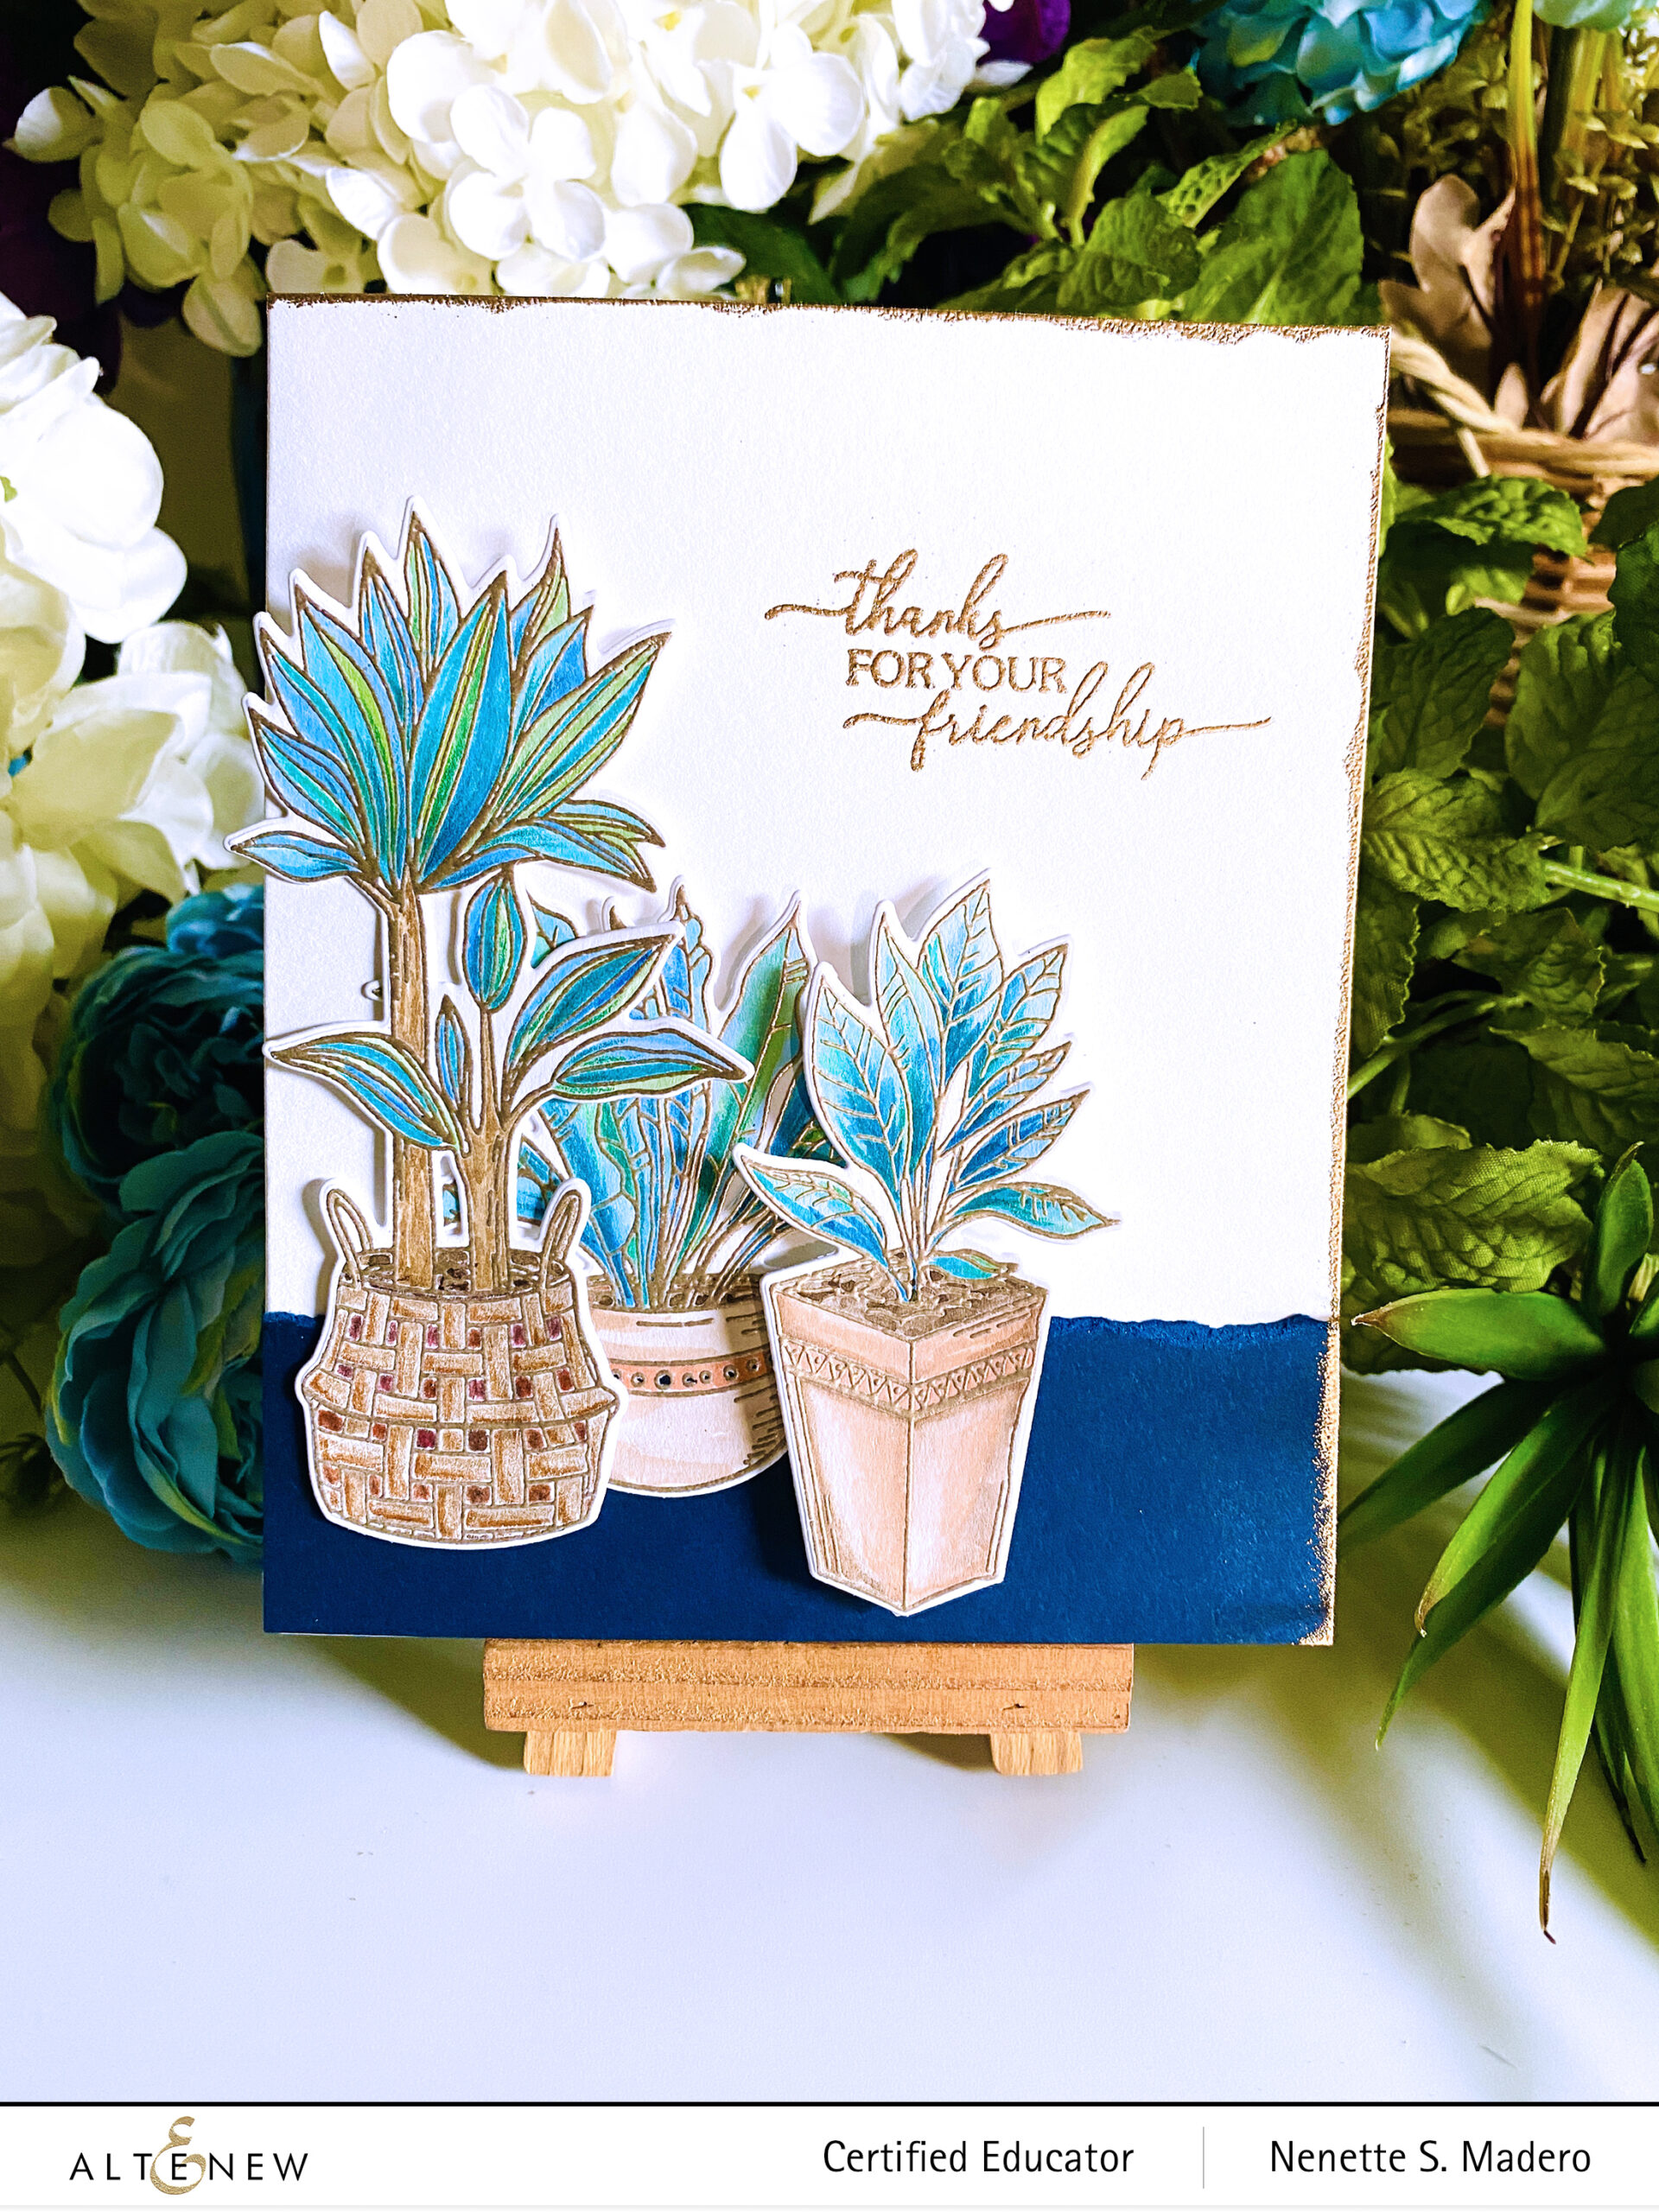
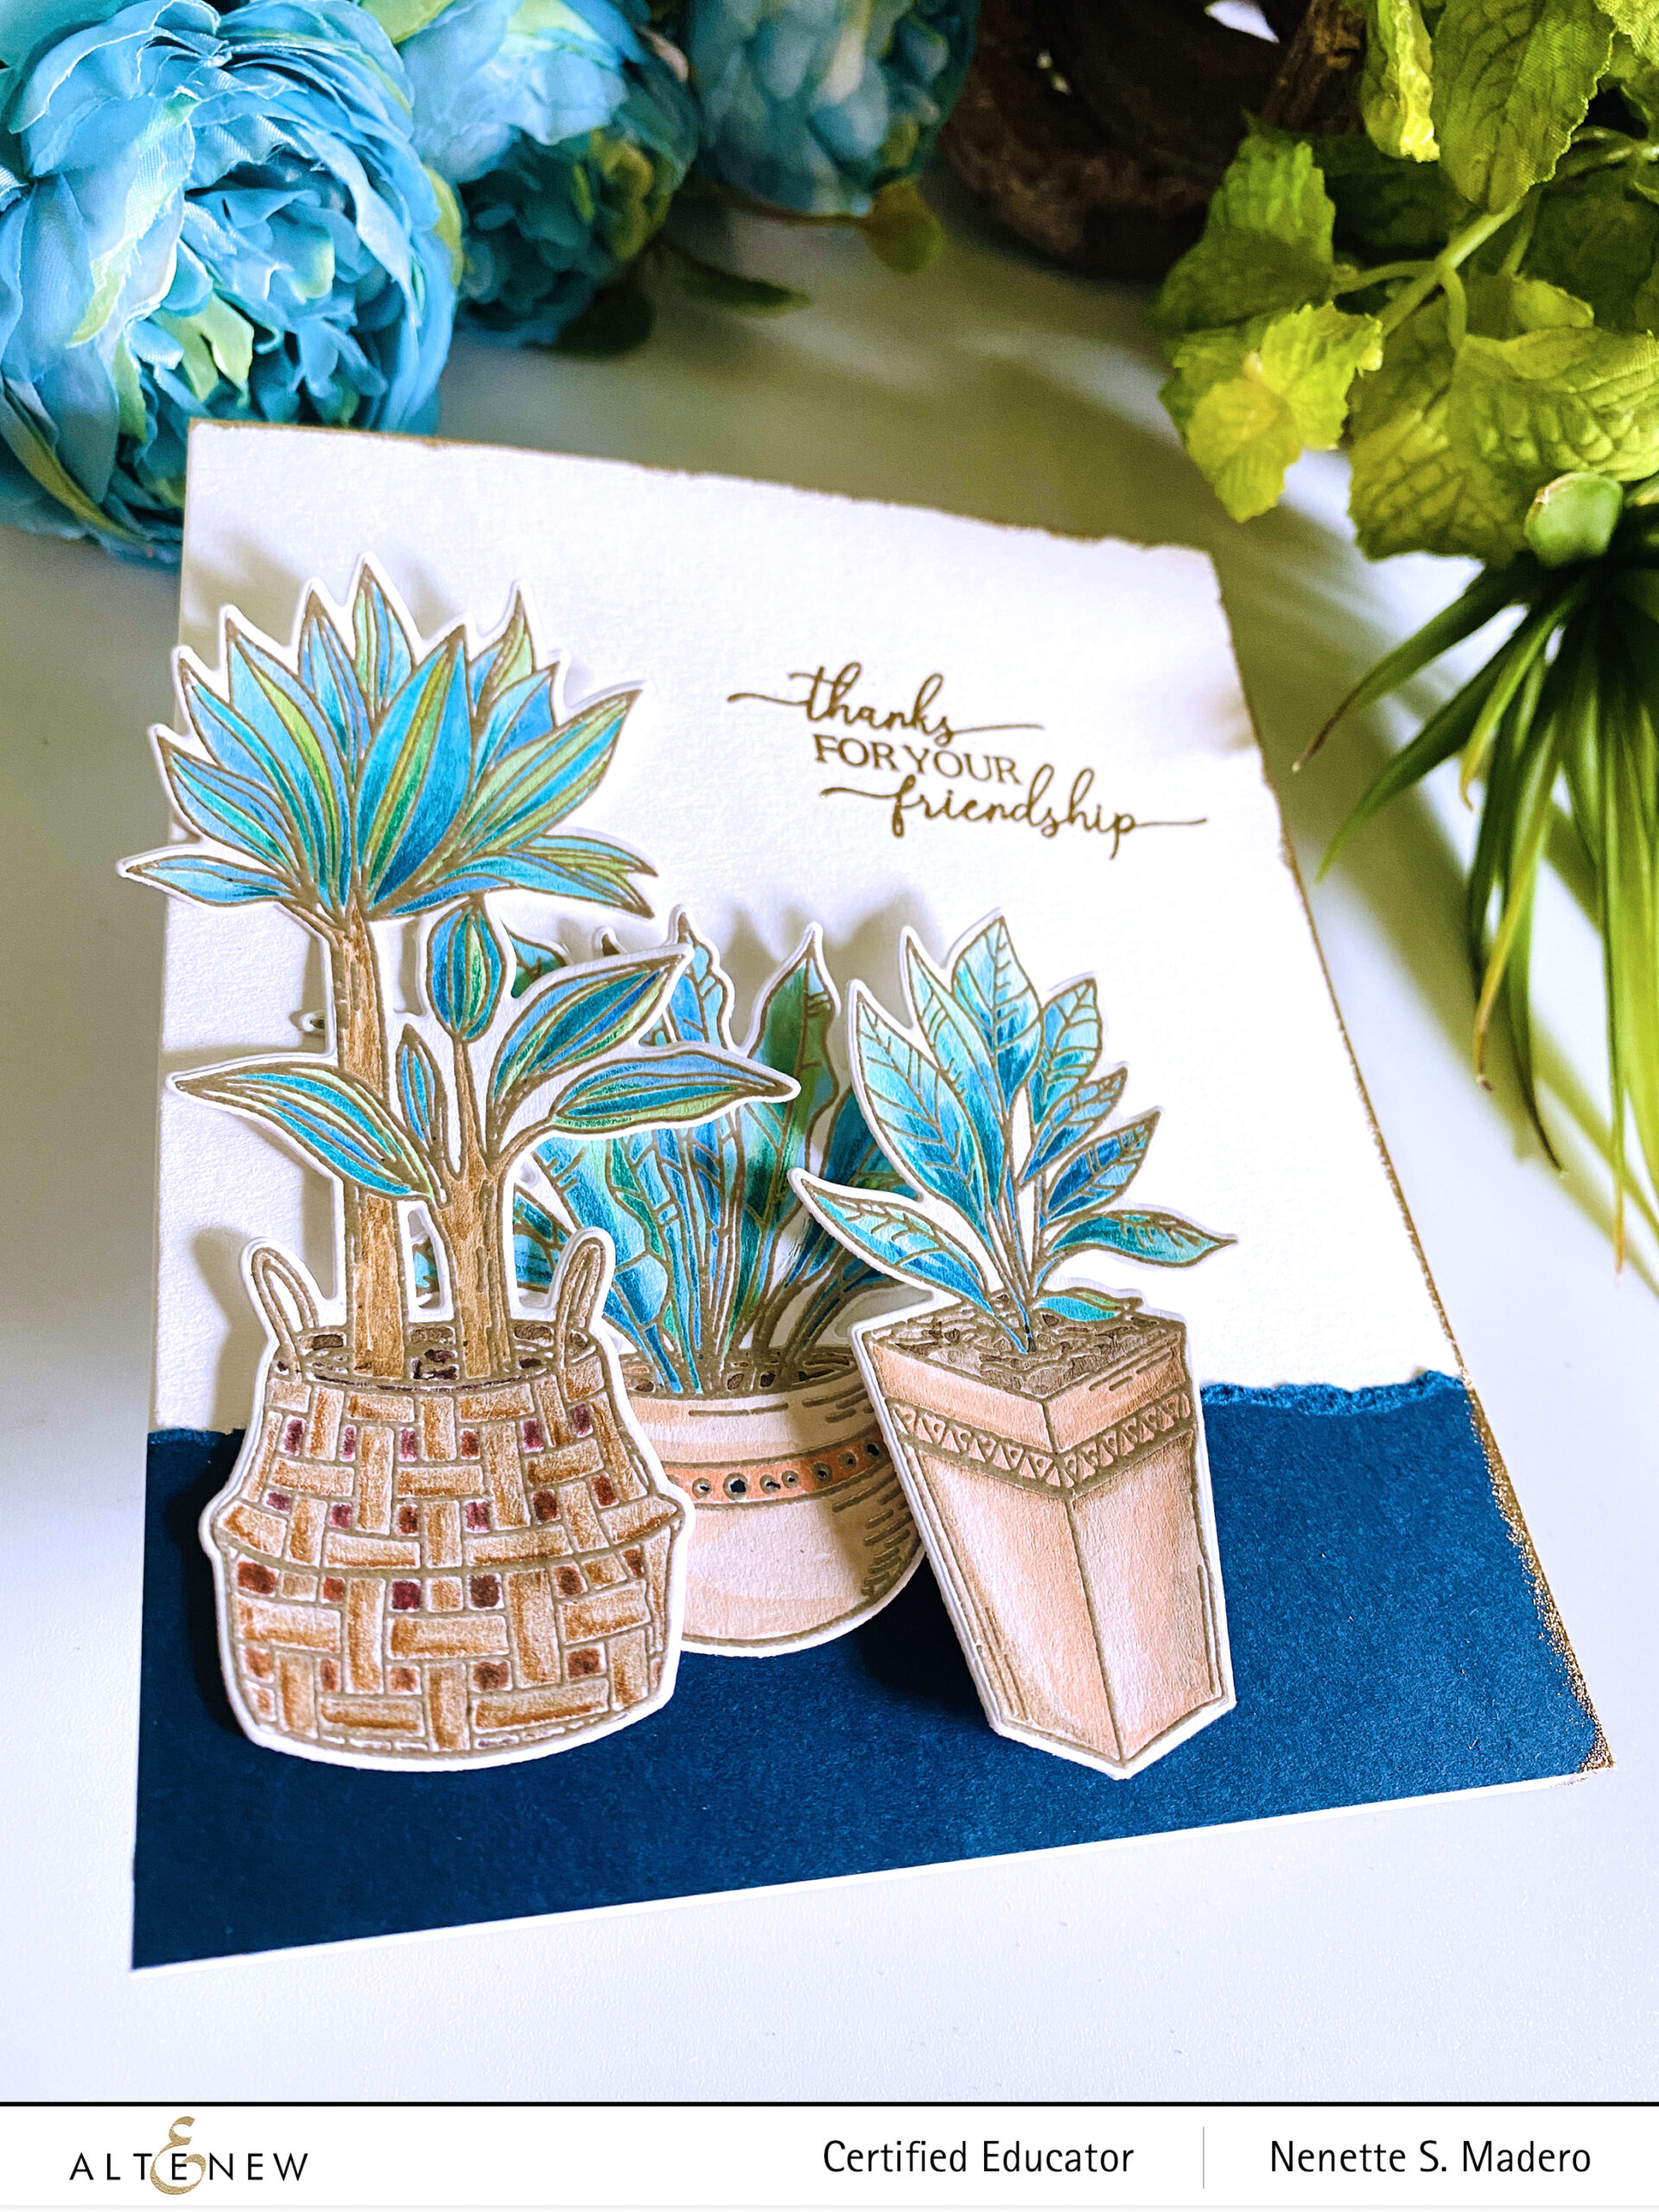
THANKS FOR YOUR FRIENDSHIP

STEPS:

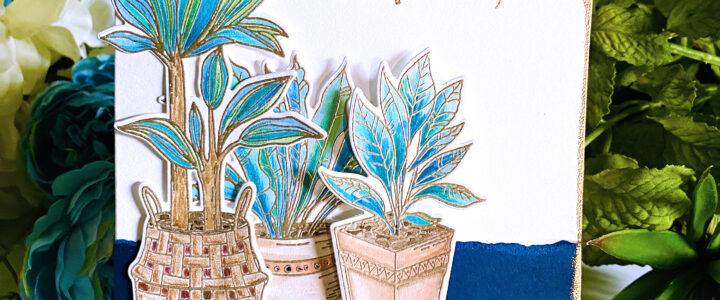
  1. Stamp the image from the Pots and Plants stamp set and emboss it with Rose Gold Embossing powder.
  2. Watercolor using the Artists’ Watercolor Pan set.
  3. Create a “floor” using Altenew’s Navy cardstock.
  4. Stamp the sentiment and emboss with Rose Gold Embossing powder.
  5. Add contrast using coloring pencils.
  6. Create a gold border by embossing 2 of the edges.
  7. Assemble card with foam squares.

I enjoyed coloring these beautiful plant images! Arranging them in different levels also created depth.

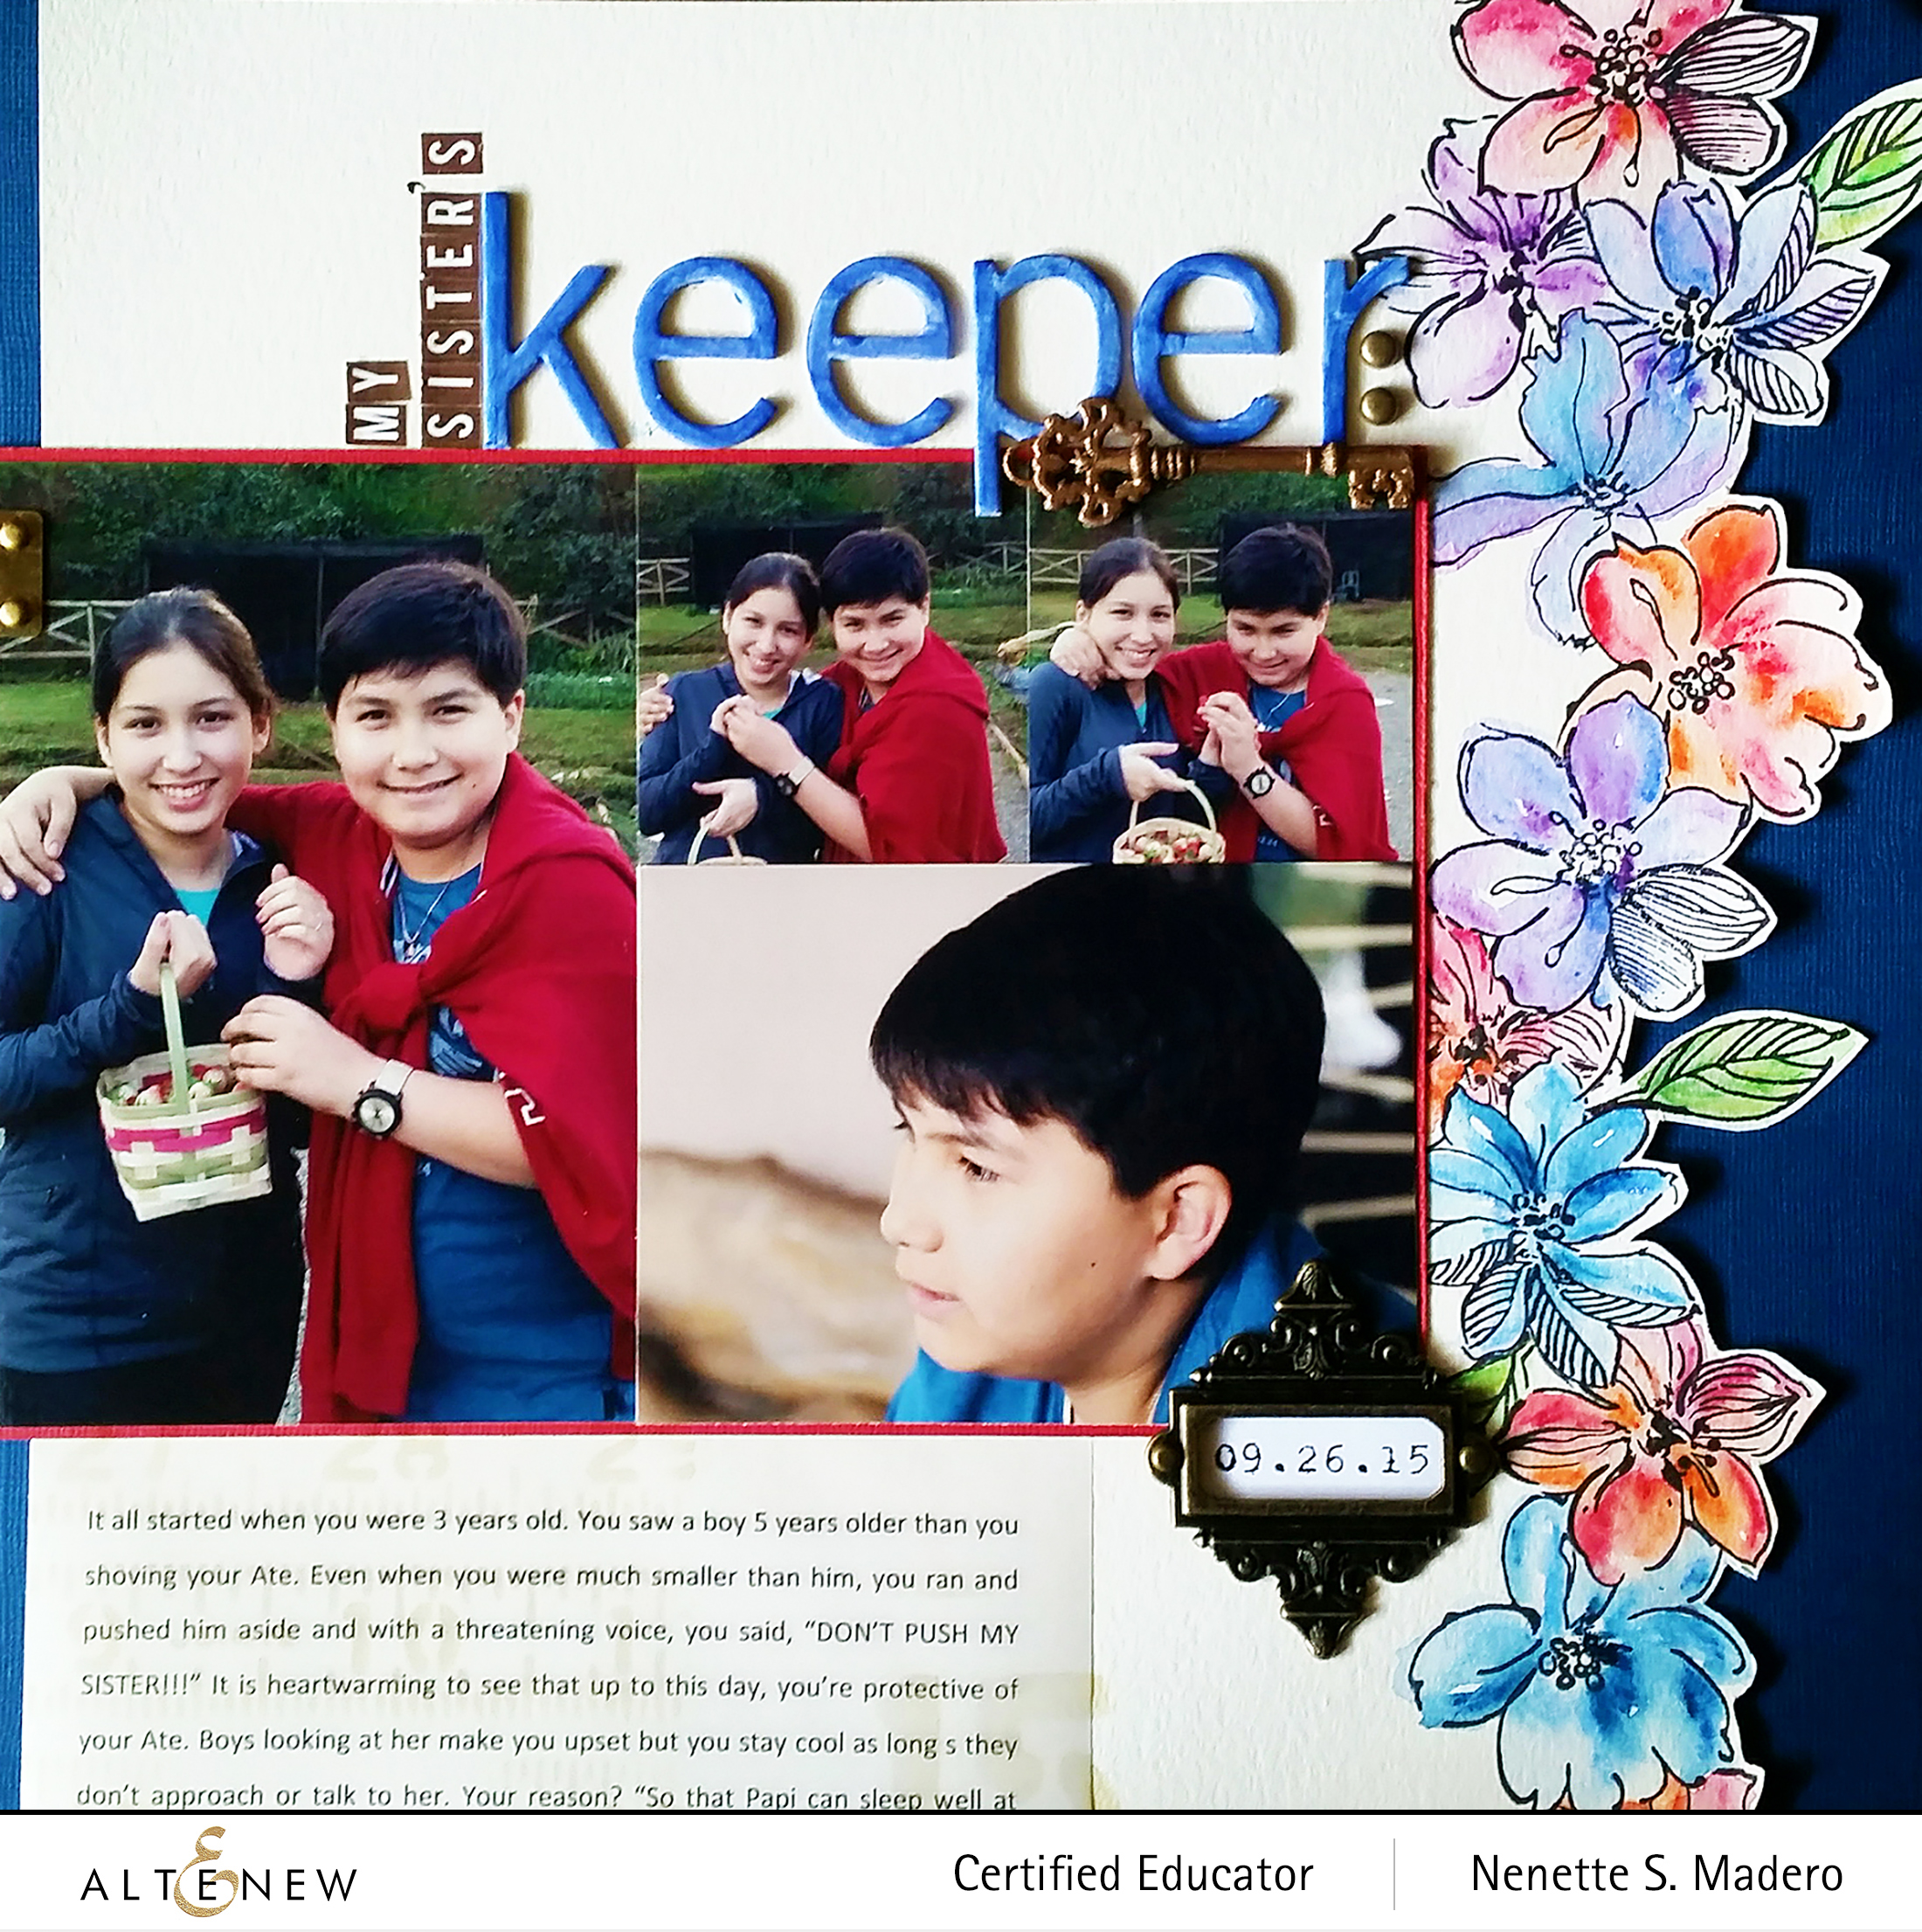
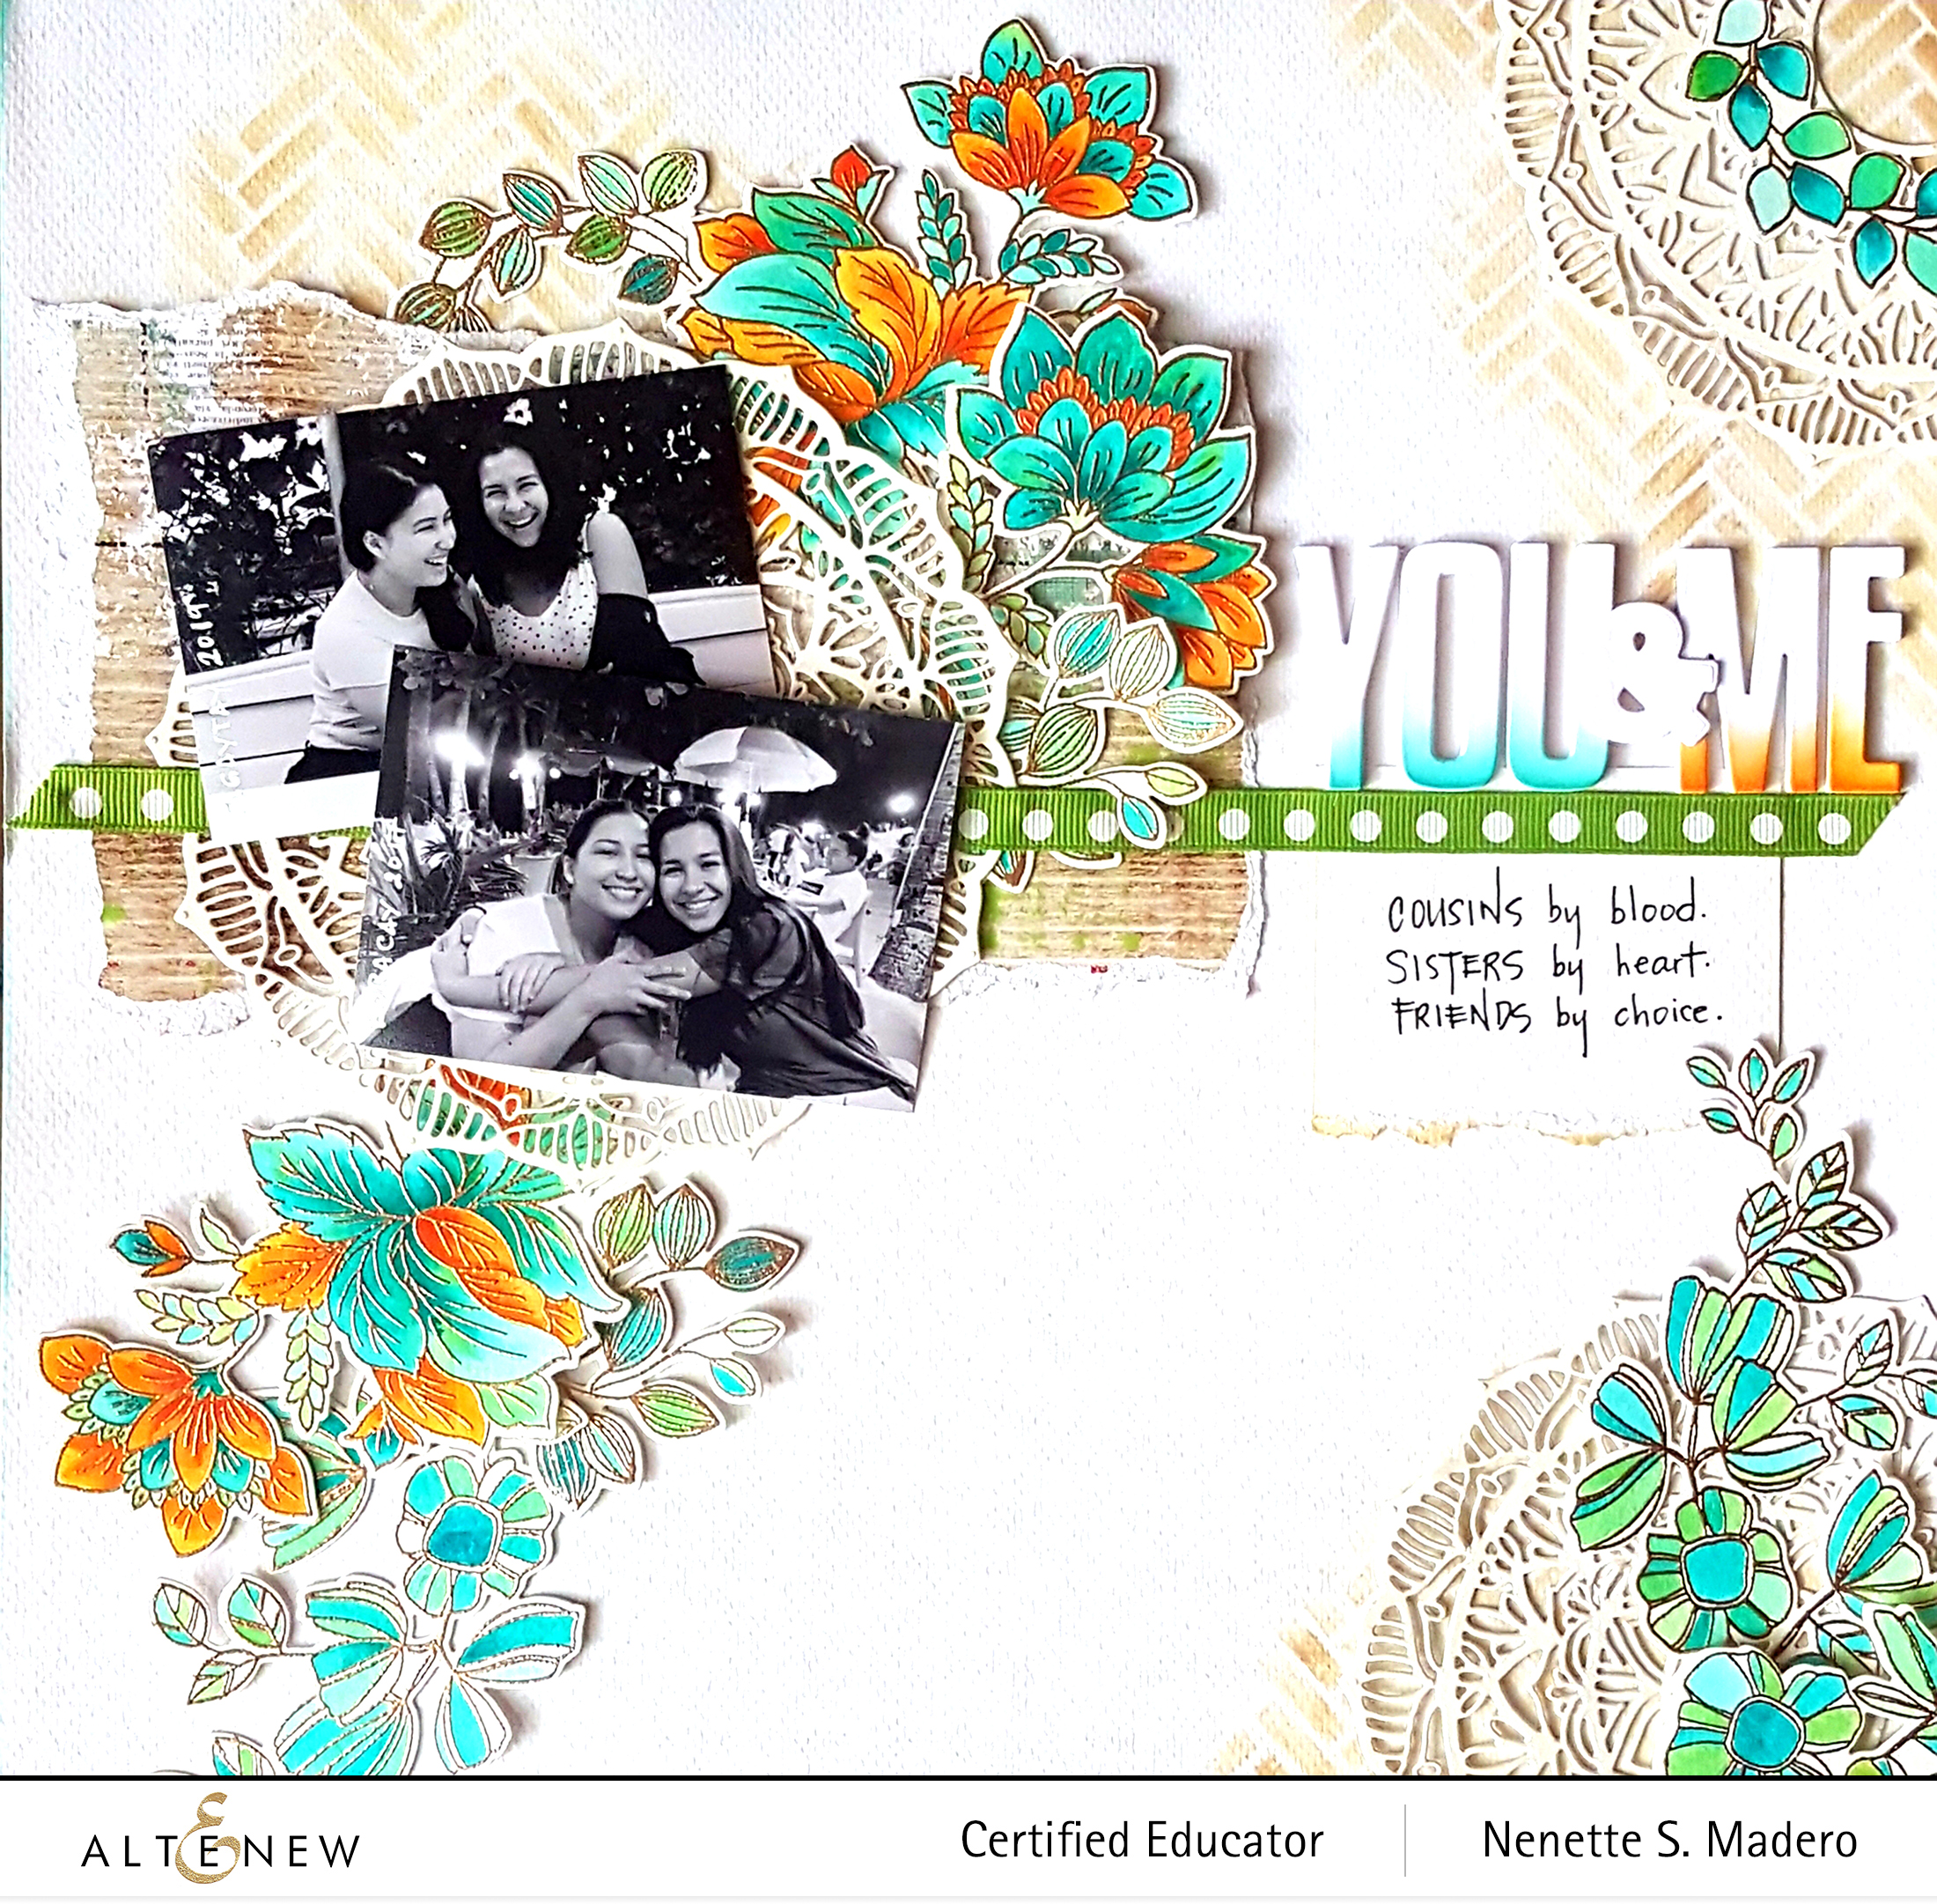
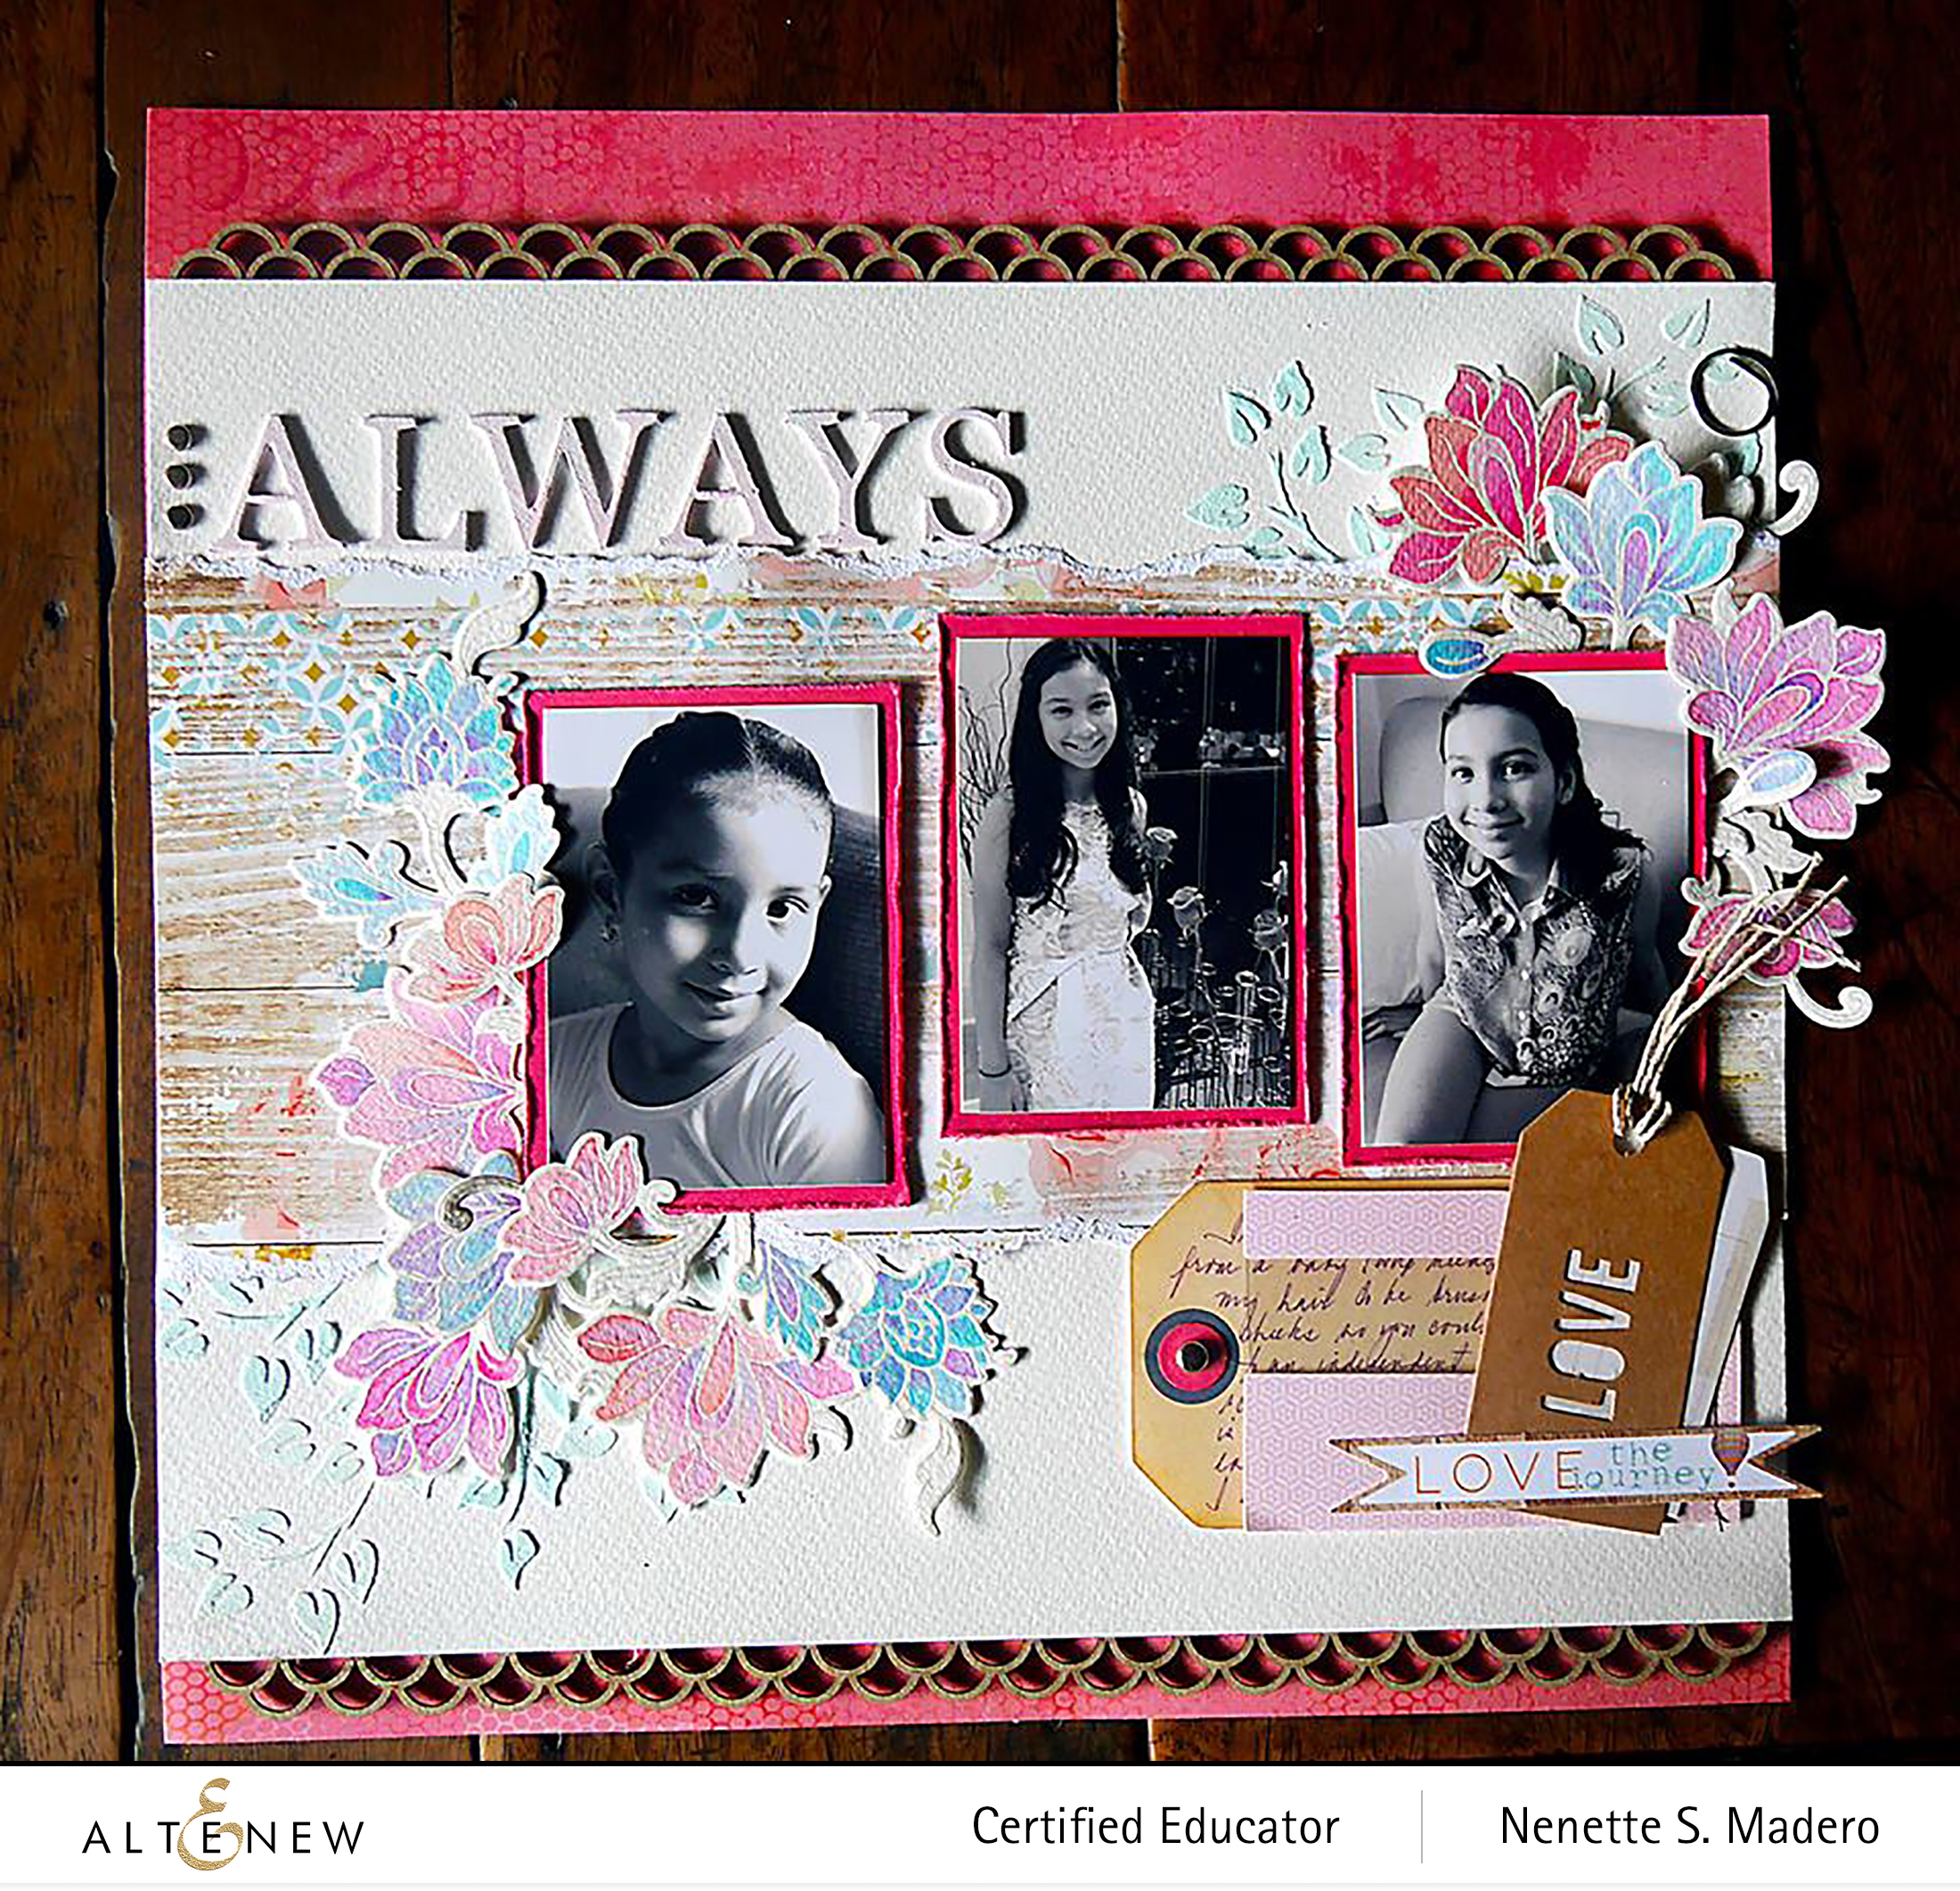
Below are some scrapbooking layouts I previously created using Altenew stamps, stenchils and watercolors. I love how Altenew stamps have become my go-to embellishments for scrapbook pages.

MATERIALS: ORNATE FOLIAGE STAMP AND DIE, WEEKEND DOODLES STAMP AND DIE, DELICATE MANDALA DIE, BROKEN CHEVRONS STENCIL, WATERCOLOR BRUSH MARKERS
PERSIAN MOTIF STAMP AND DIE, EMBOSSING PASTE, WATERCOLOR BRUSH MARKERS, PURE WHITE EMBOSSING POWDER
GIVEAWAYS

$300 in total prizes! To celebrate this special blog hop, Altenew is giving away a $50 gift certificate to 2 lucky winners and a $25 gift certificate to 8 winners! Please comment on the Altenew Card Blog and/or each designer’s blog post on the blog hop list below by 08/05/2022 for a chance to win. Altenew will draw 10 random winners from the comments left on each stop of this blog hop and announce the winners on the Altenew Winners Page on 08/09/2022.

If you haven’t visited the Altenew blog, this is where you start. I’m sure my uber-talented friend, Erum Tasnim, will mesmerize you with her fantastic talent.

I hope you liked the projects I made for this hop. If you want to see my other creations, please follow me on Instagram. I also share video tutorials on Youtube. All the links are found below. Thank you so much, and happy crafting! <3

Altenew Educators’ “Clean and Simple” Blog Hop and Linky Party + Giveaway

Altenew Educators’ “Clean and Simple” Blog Hop and Linky Party + Giveaway

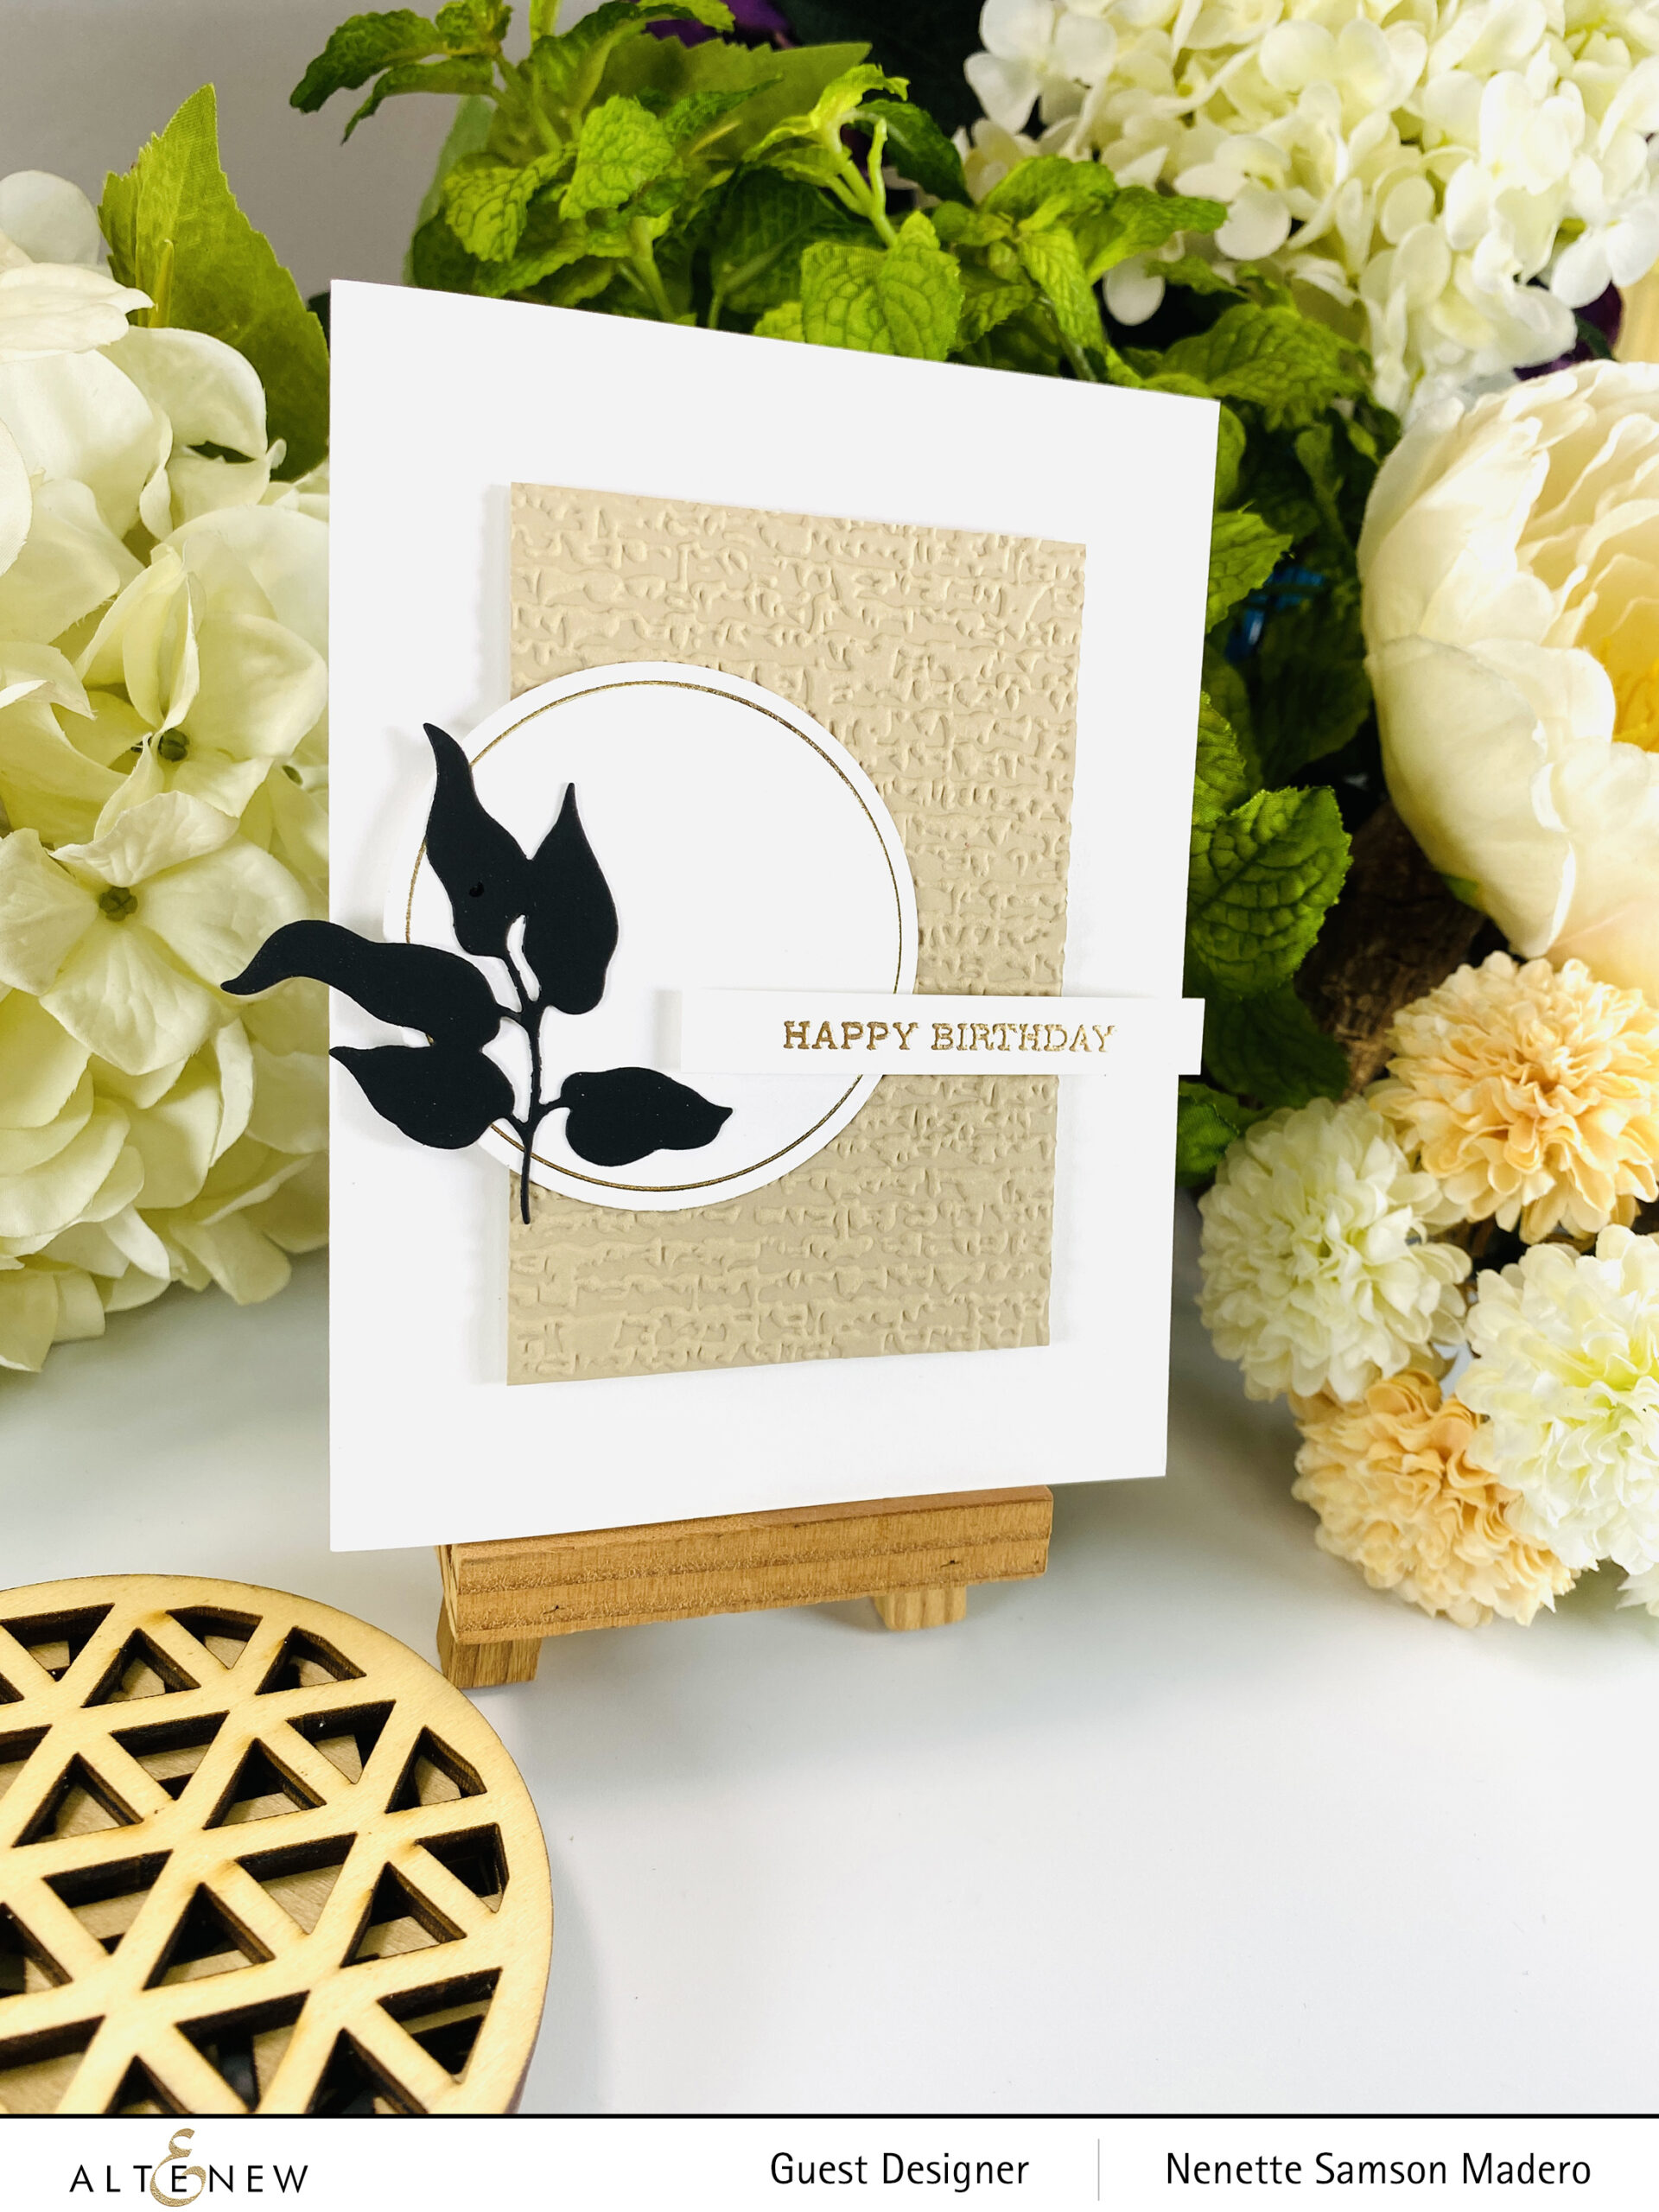
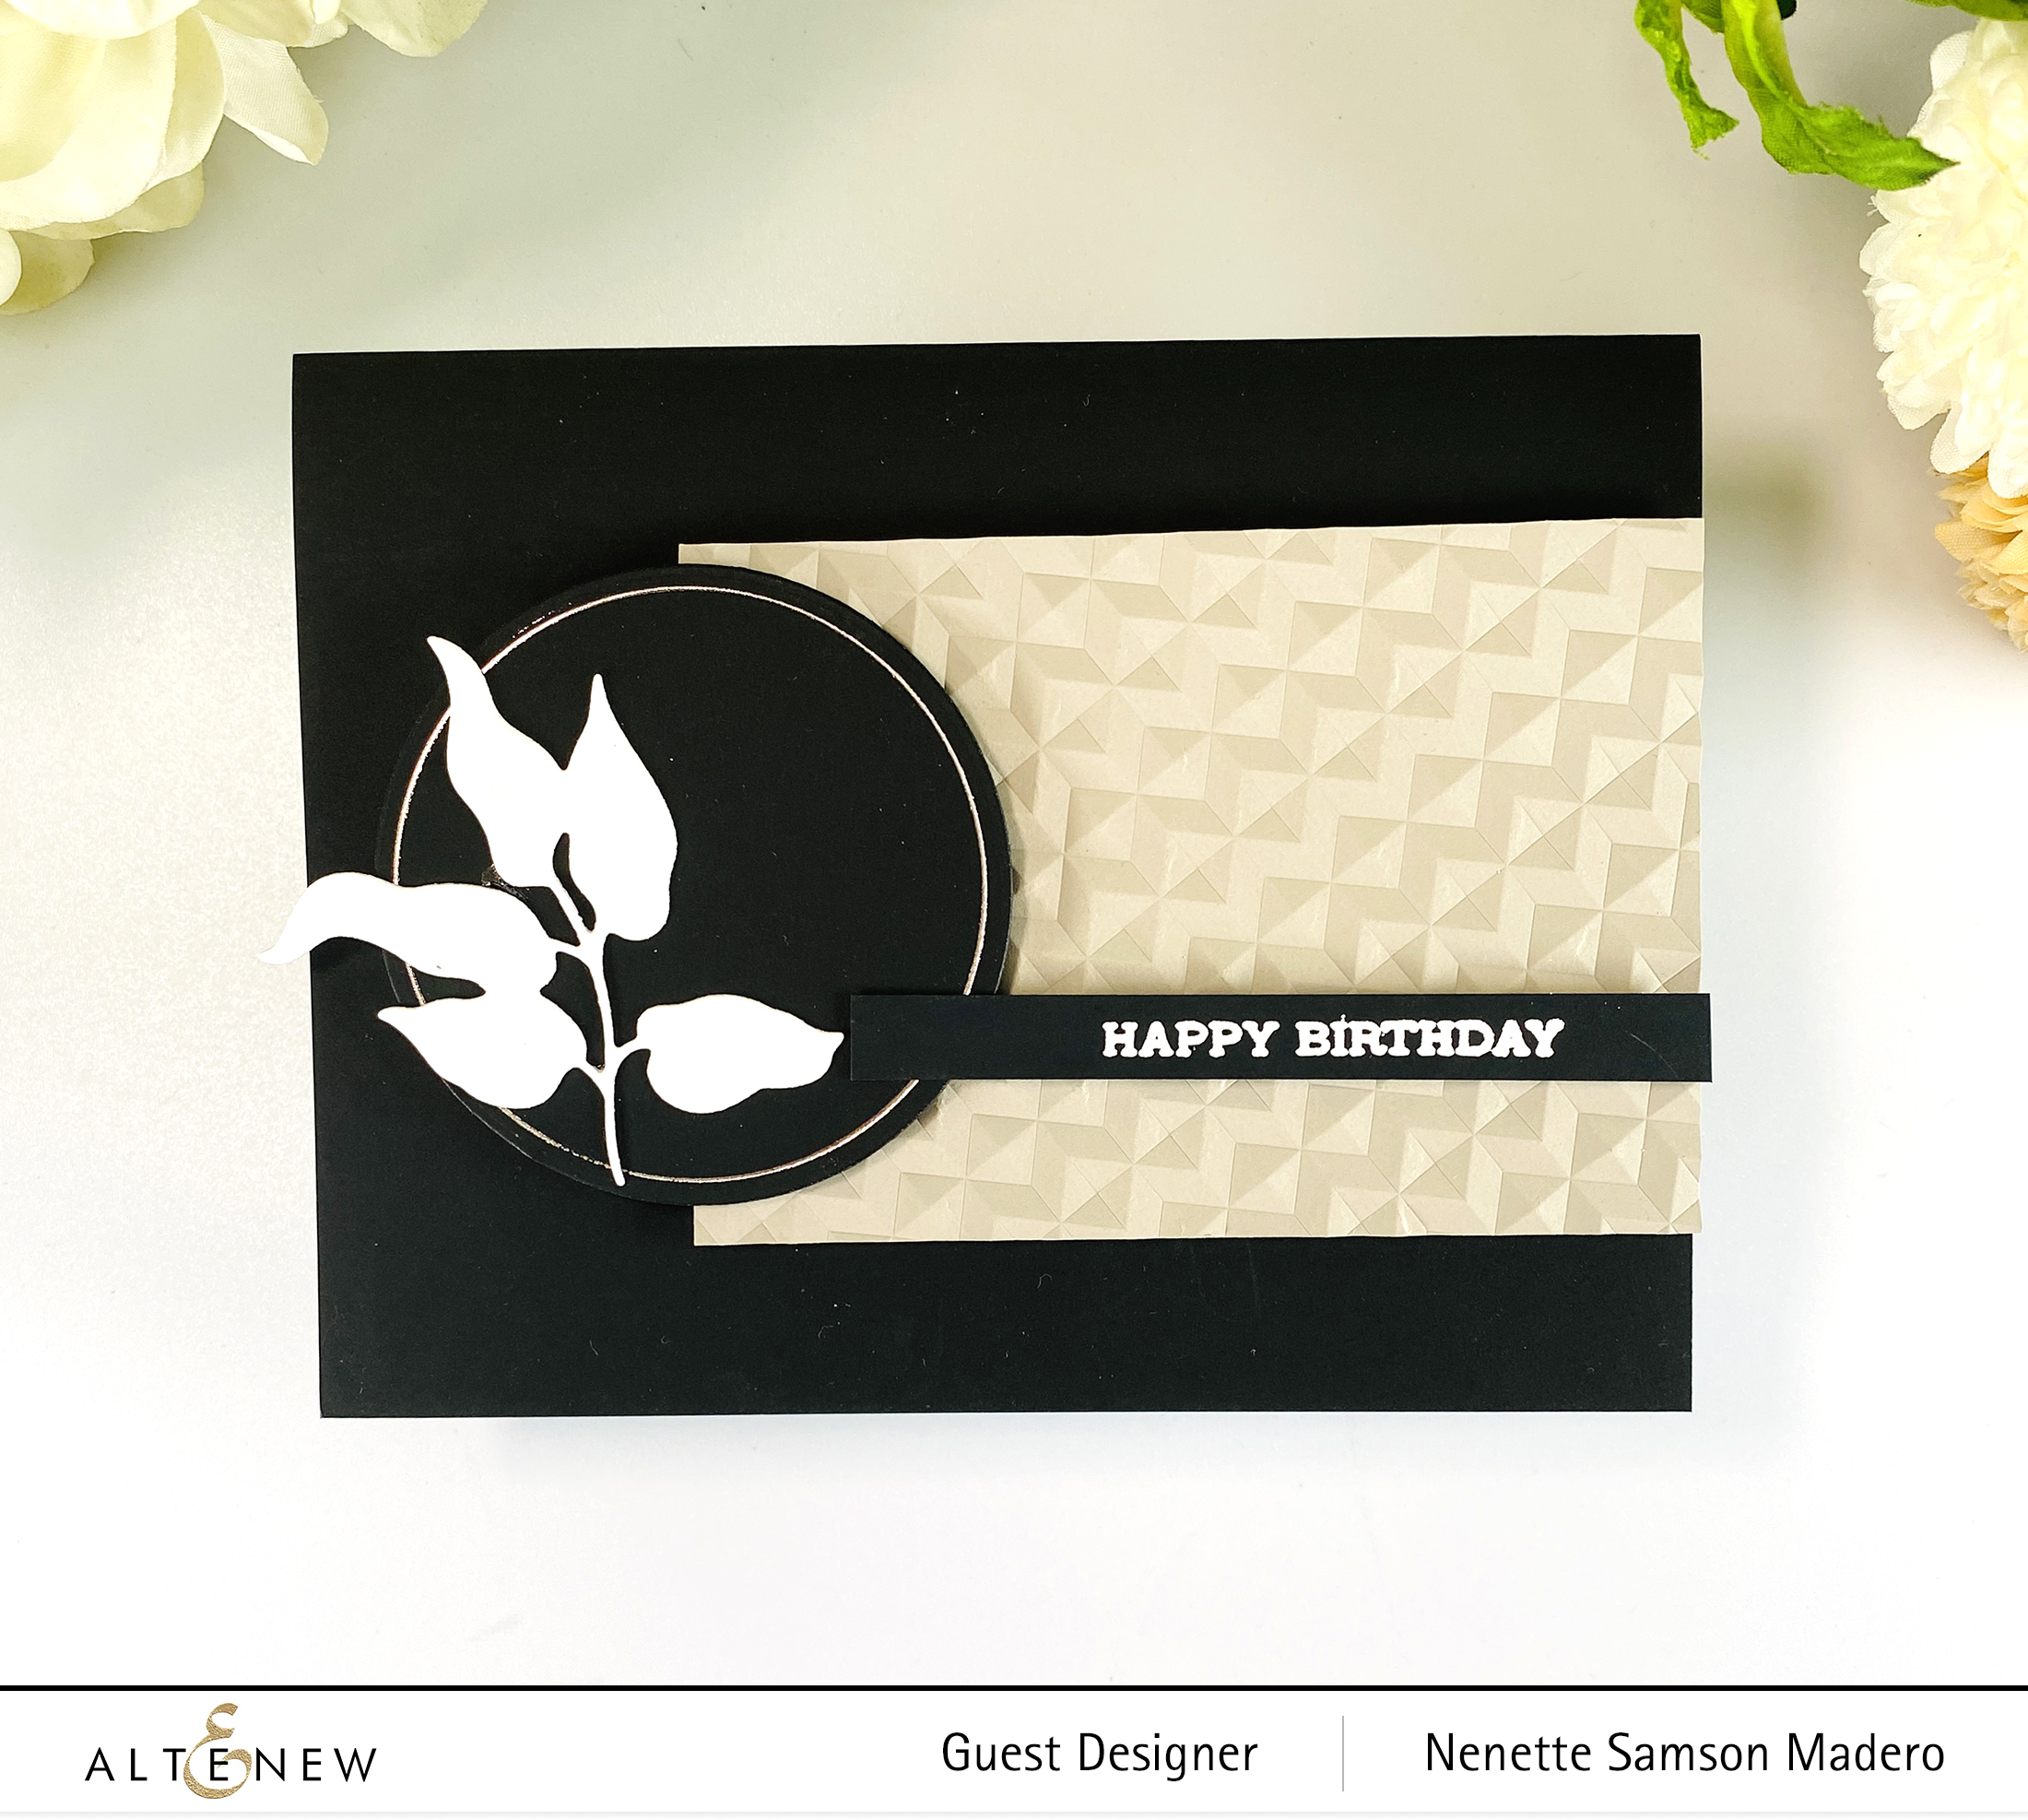
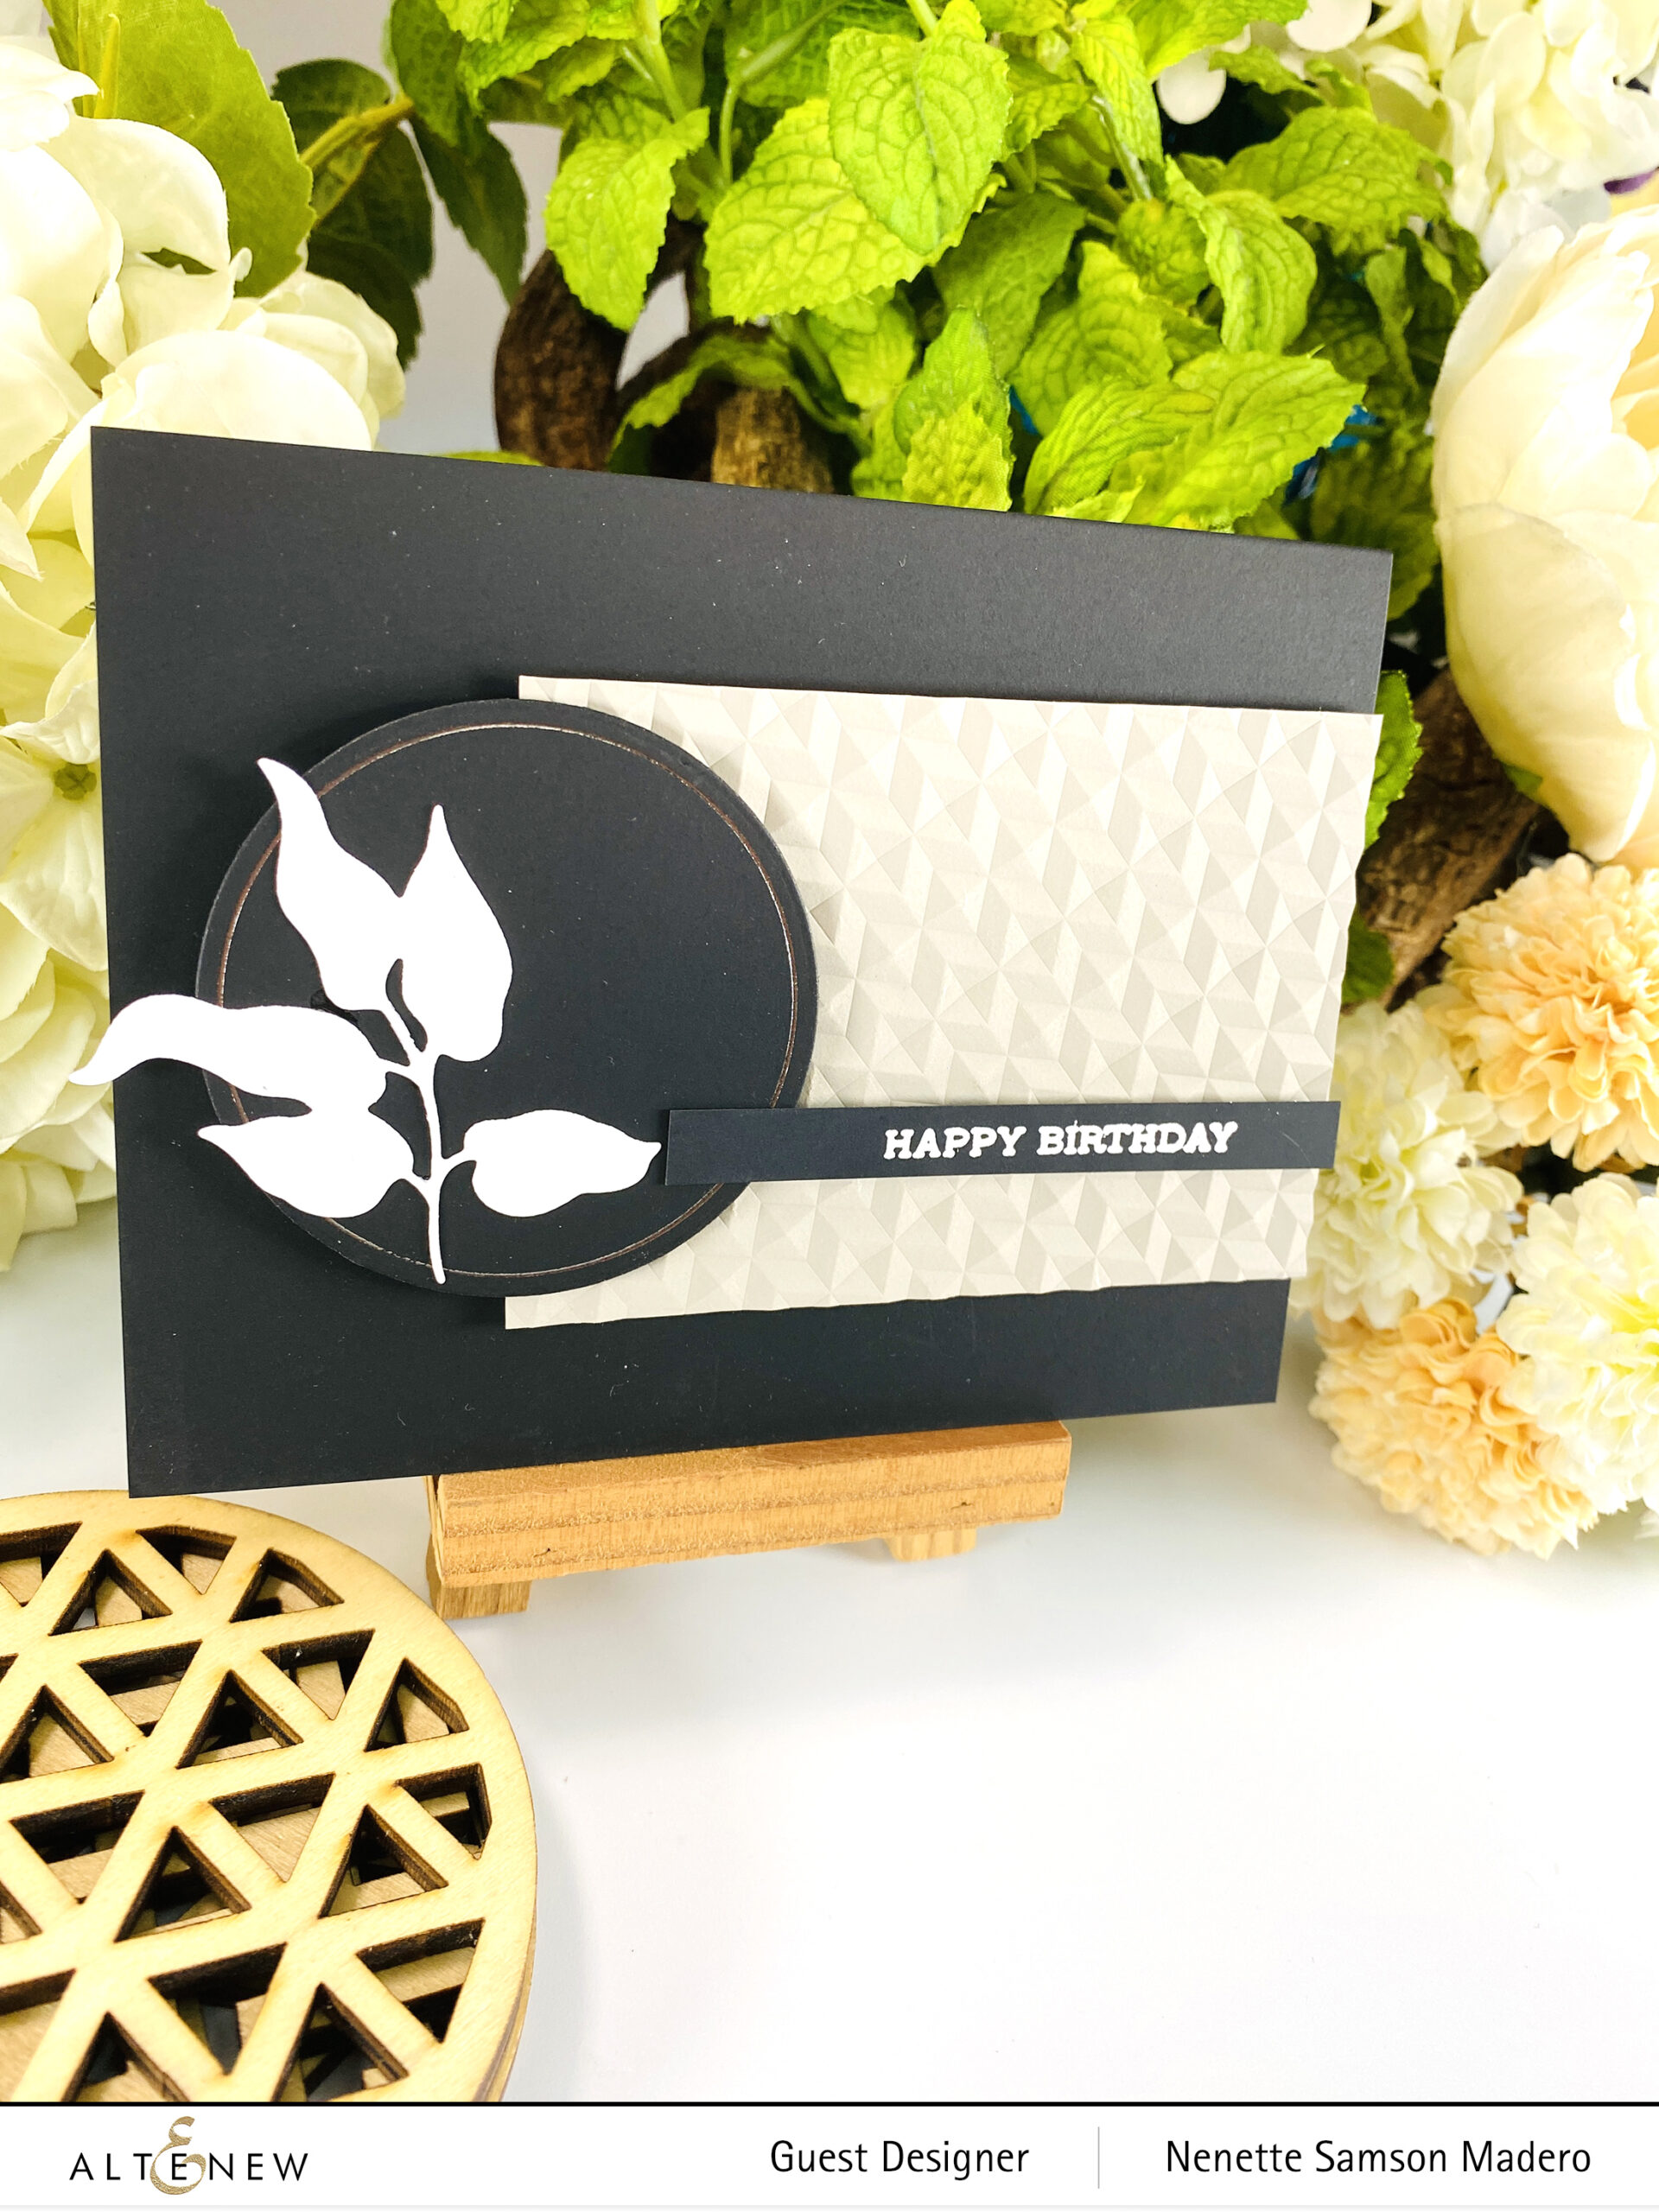
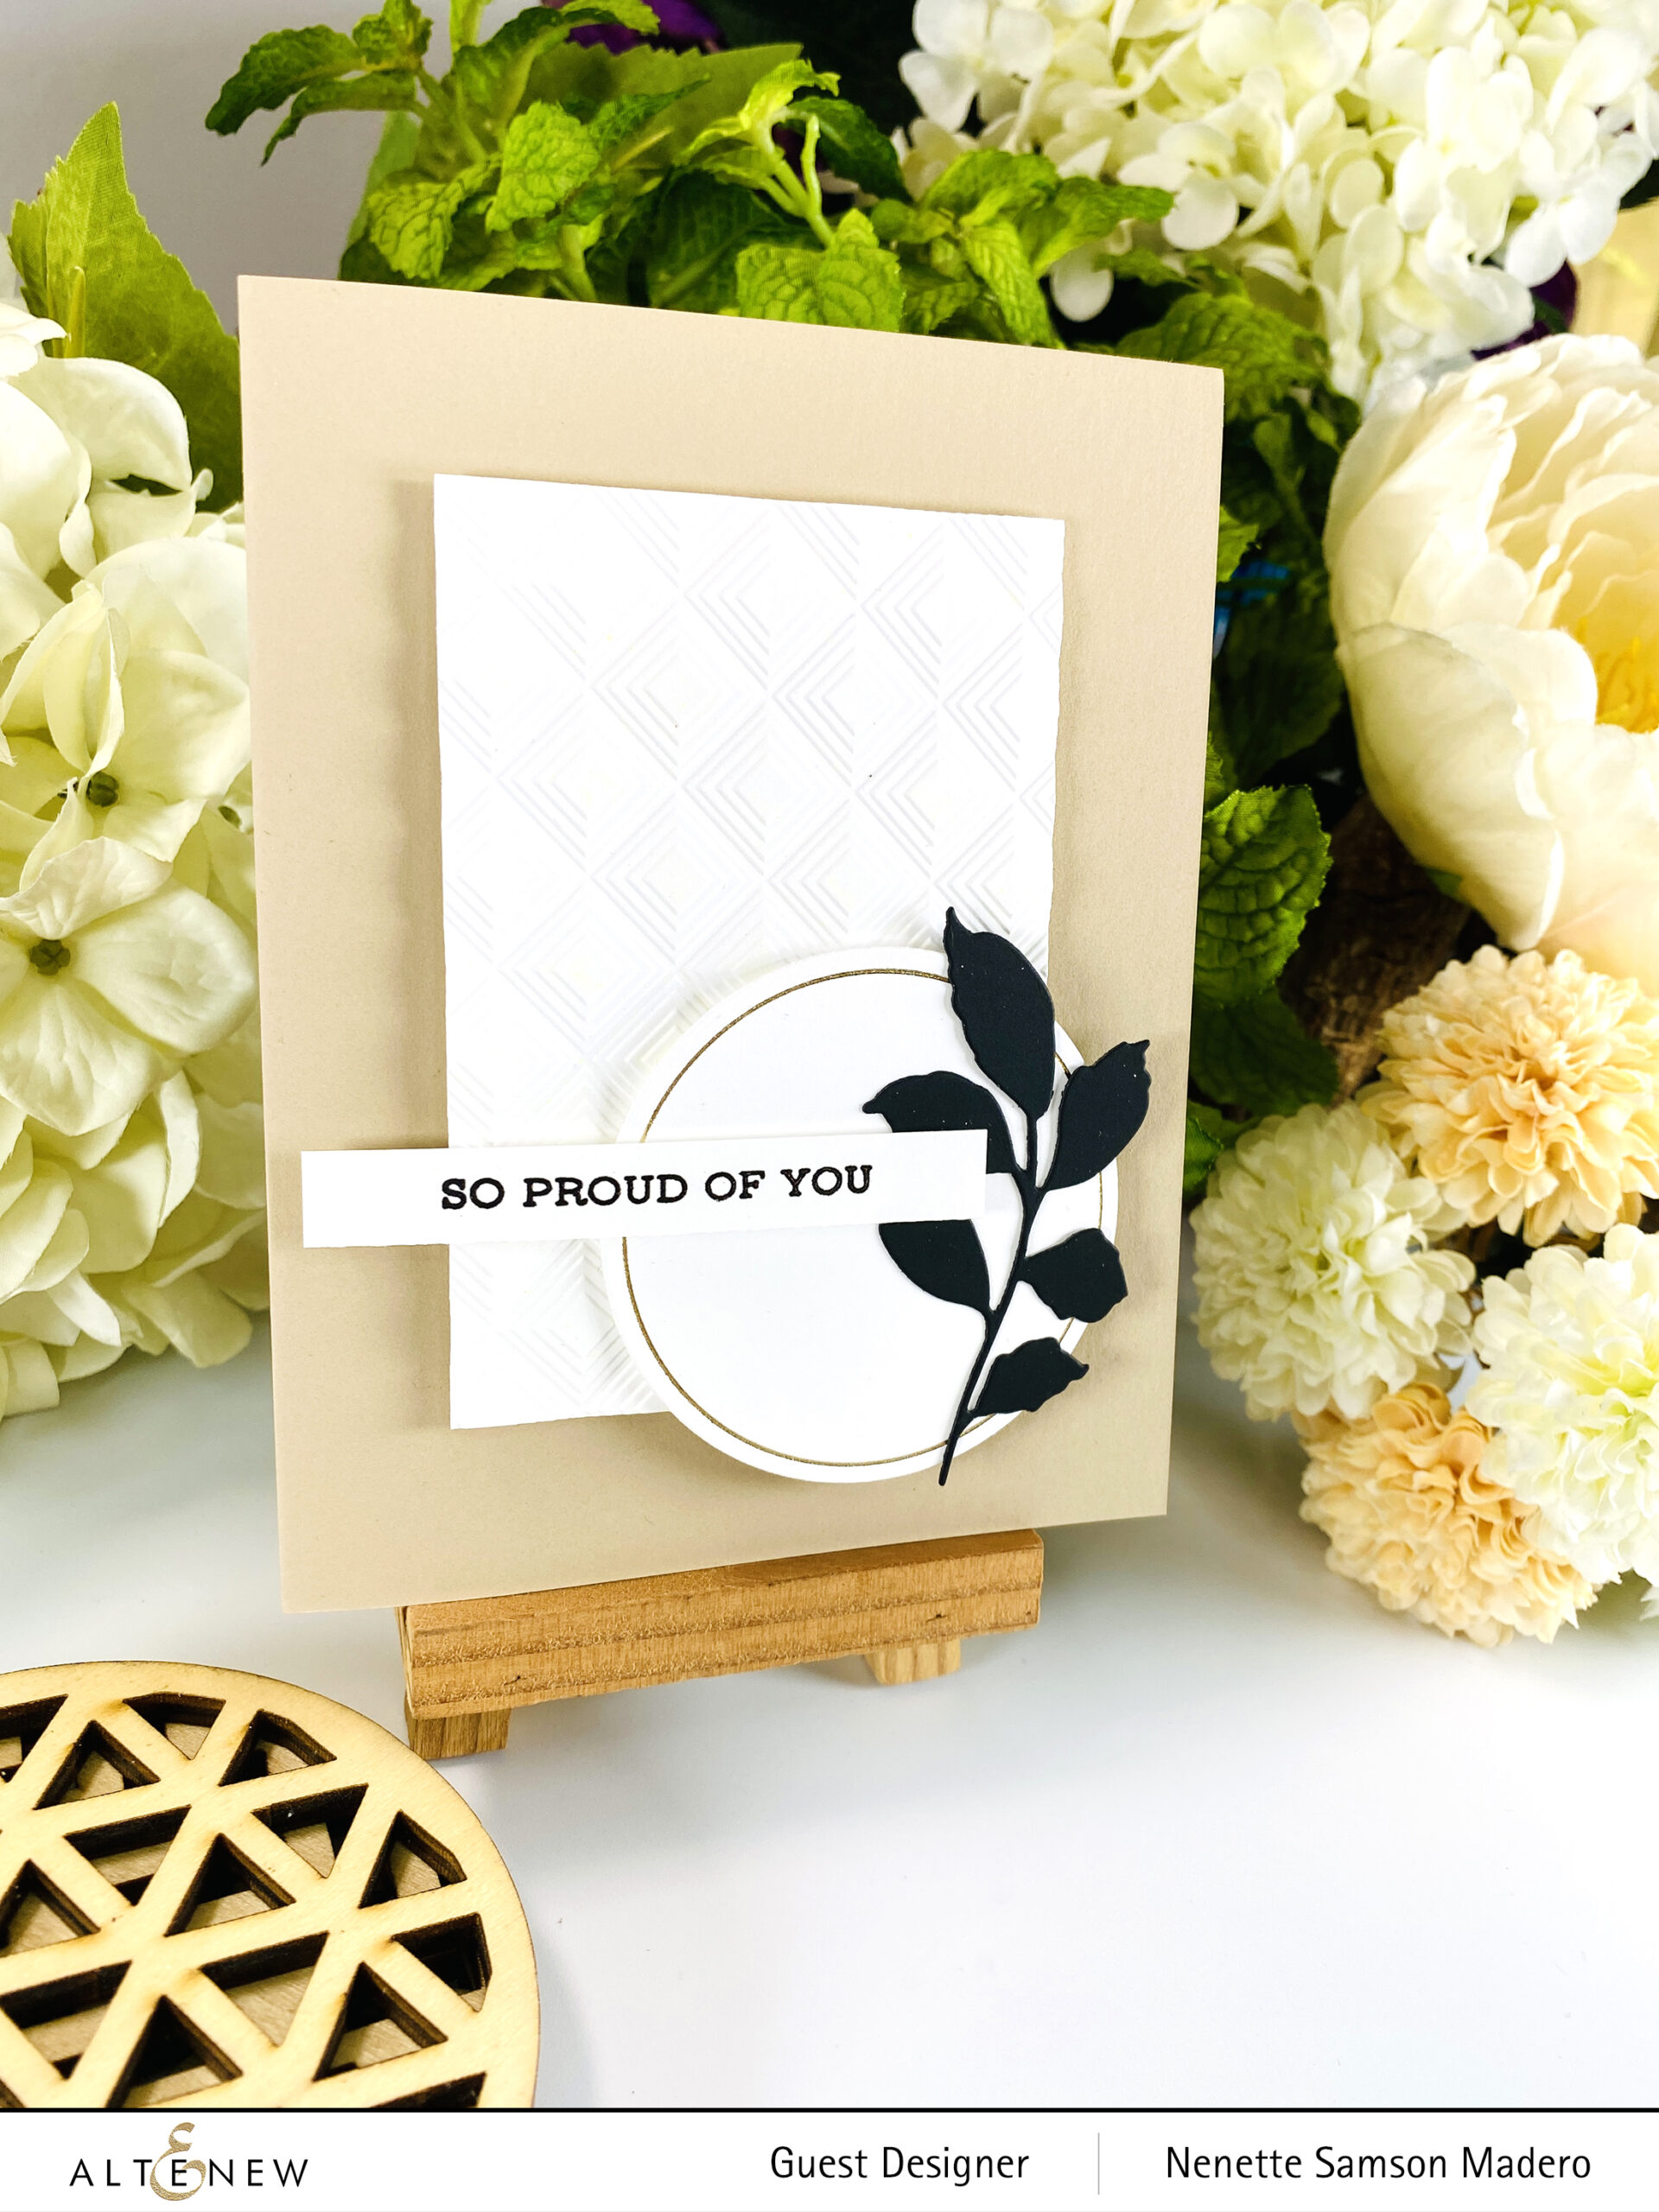
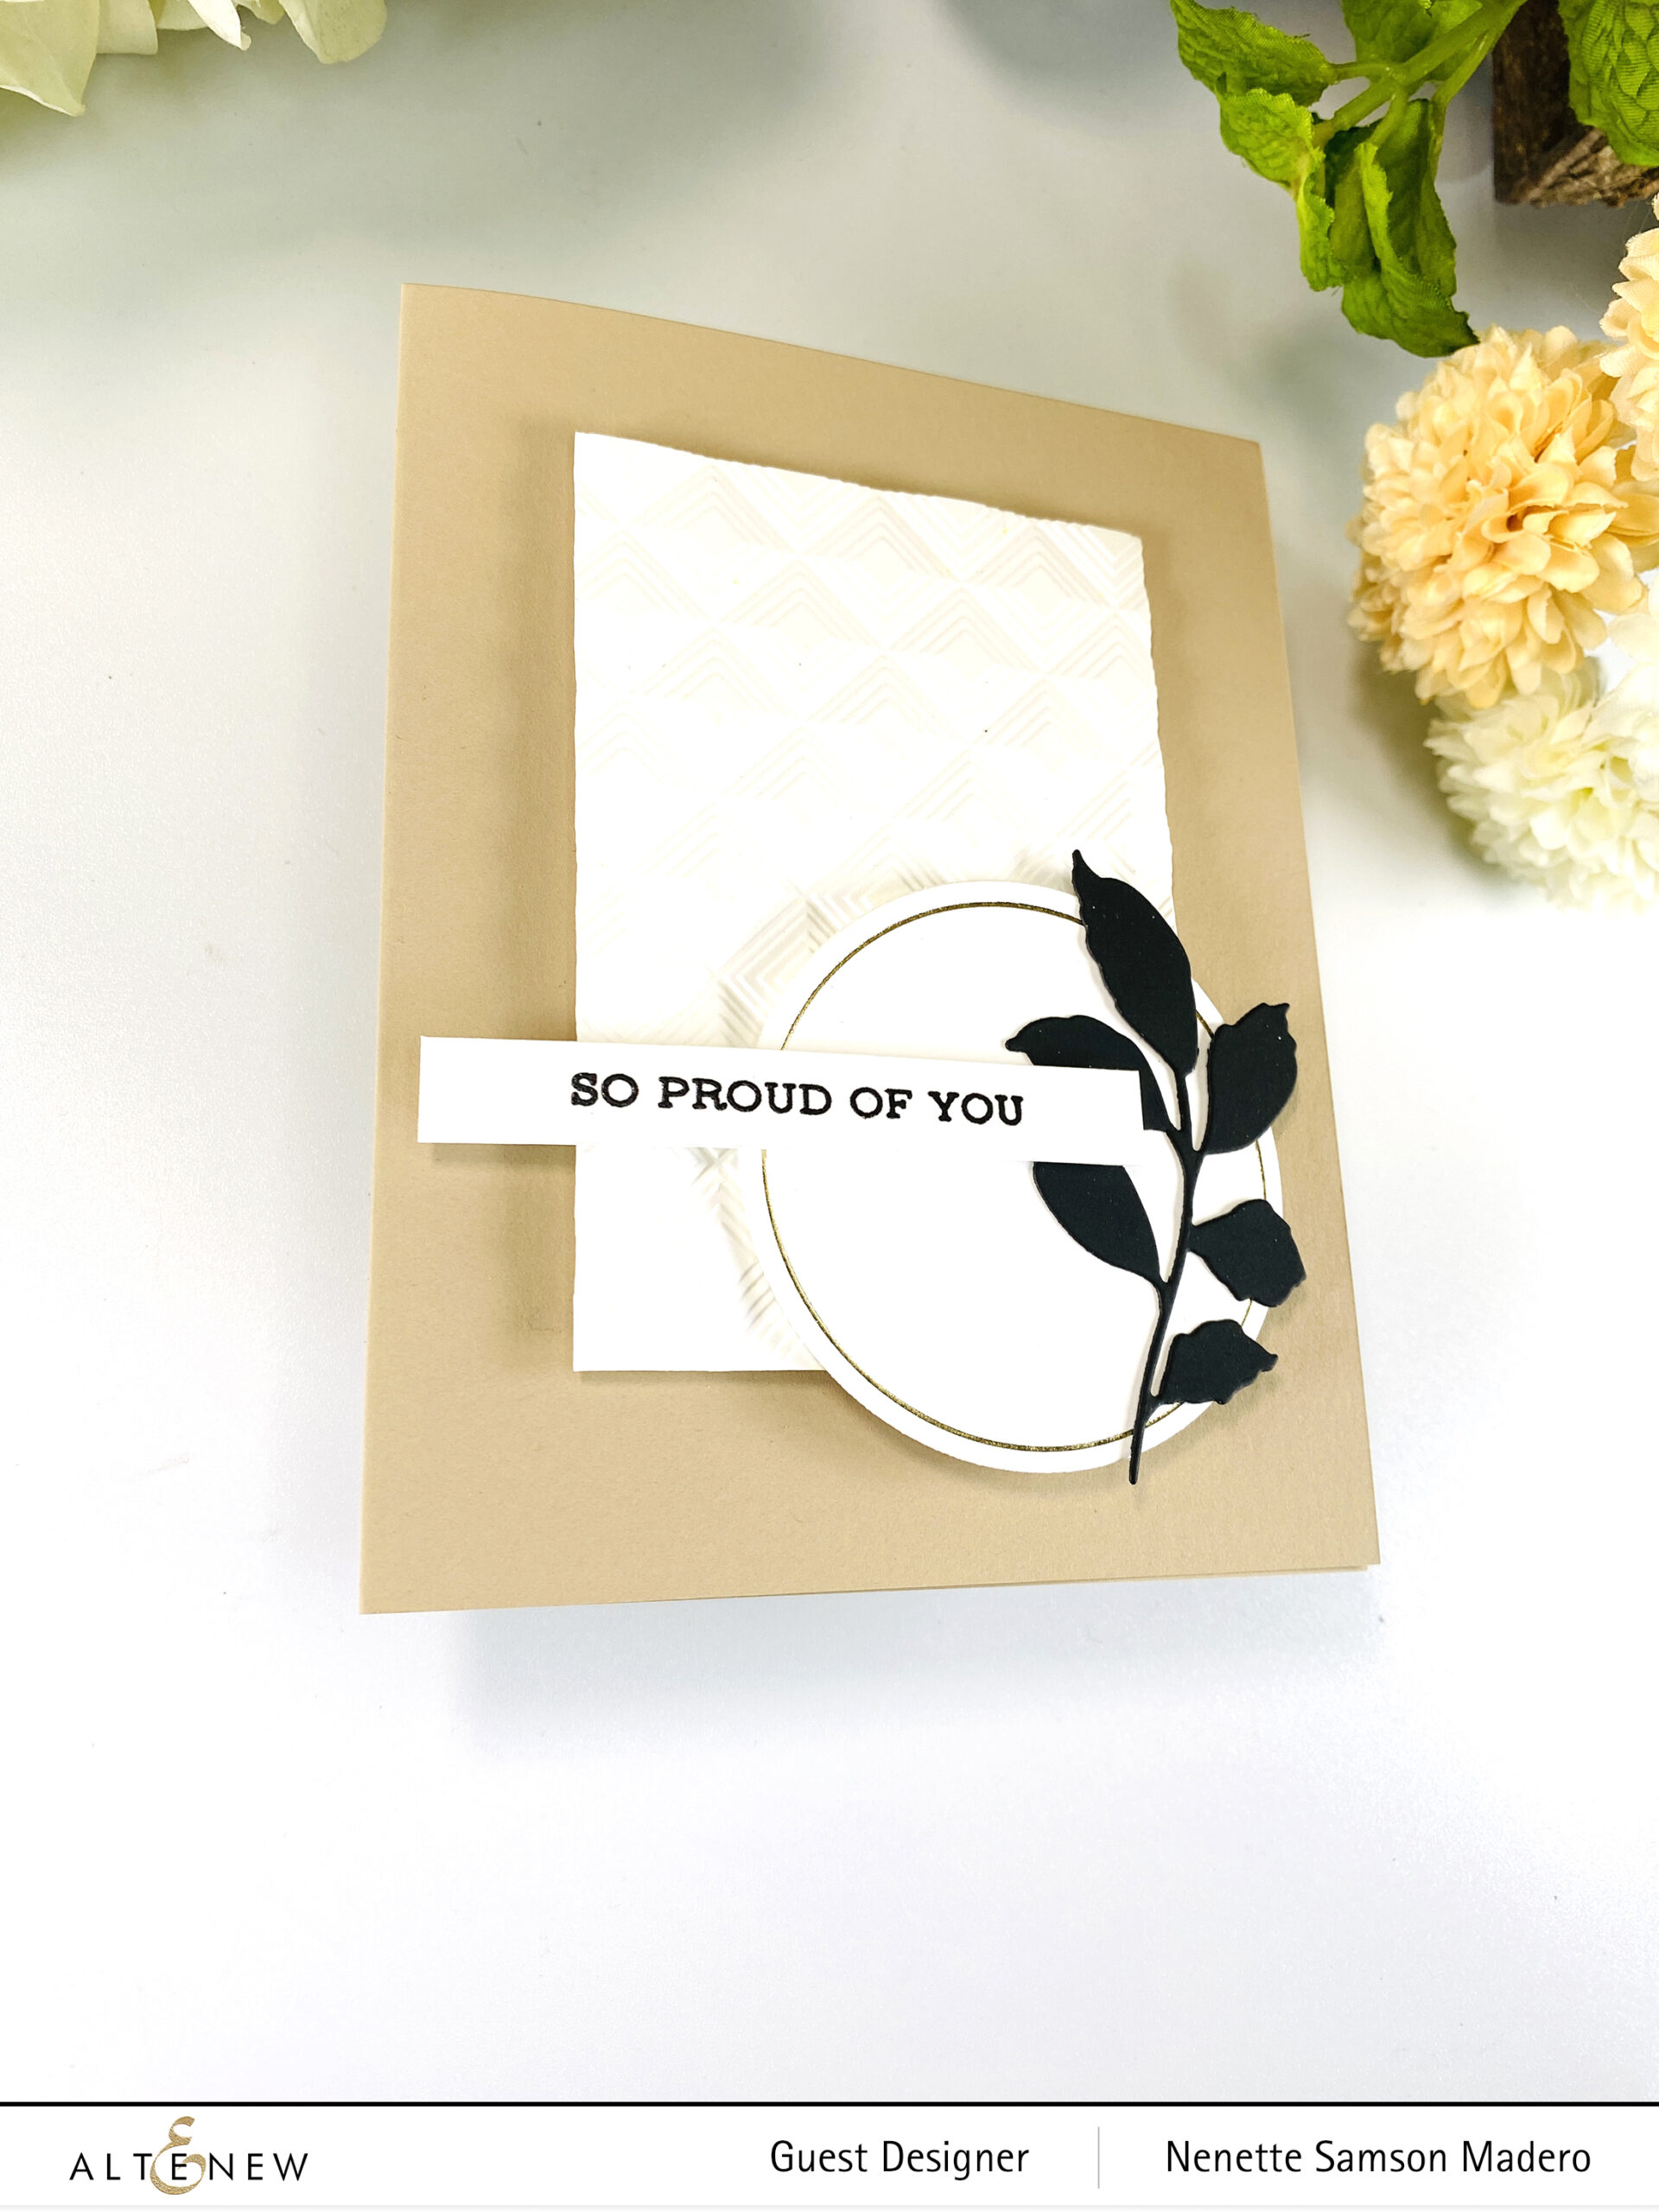
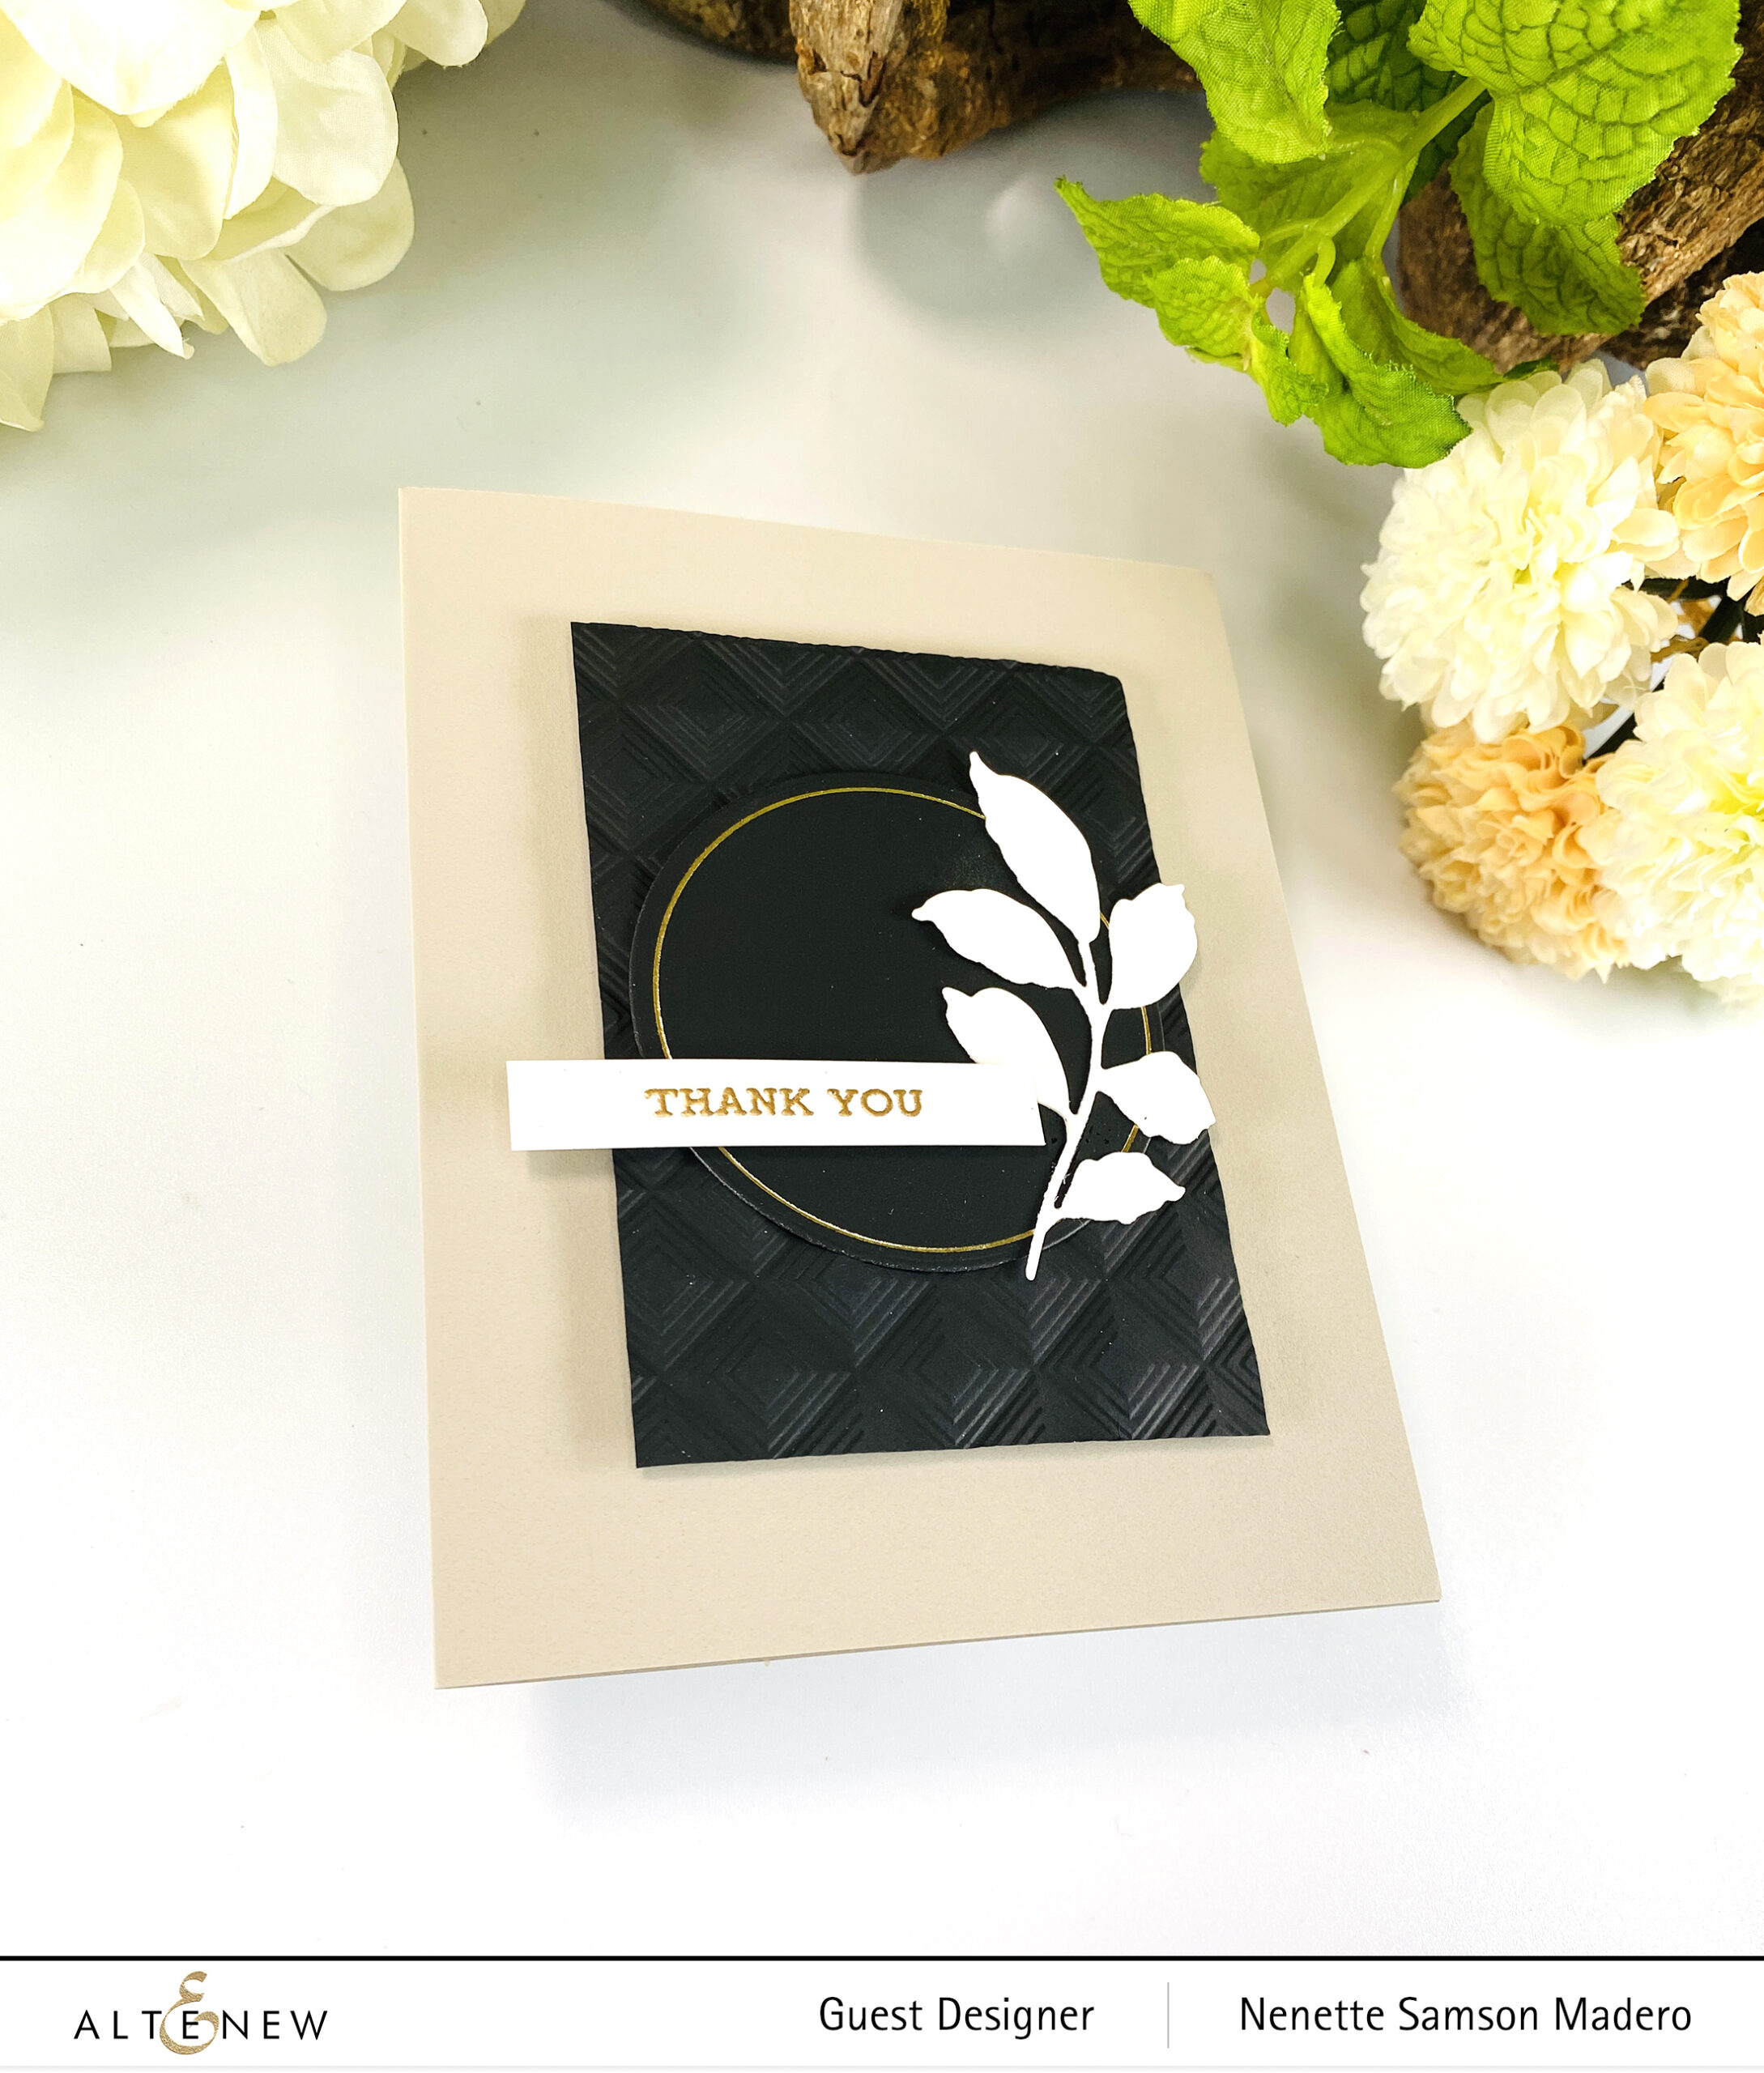
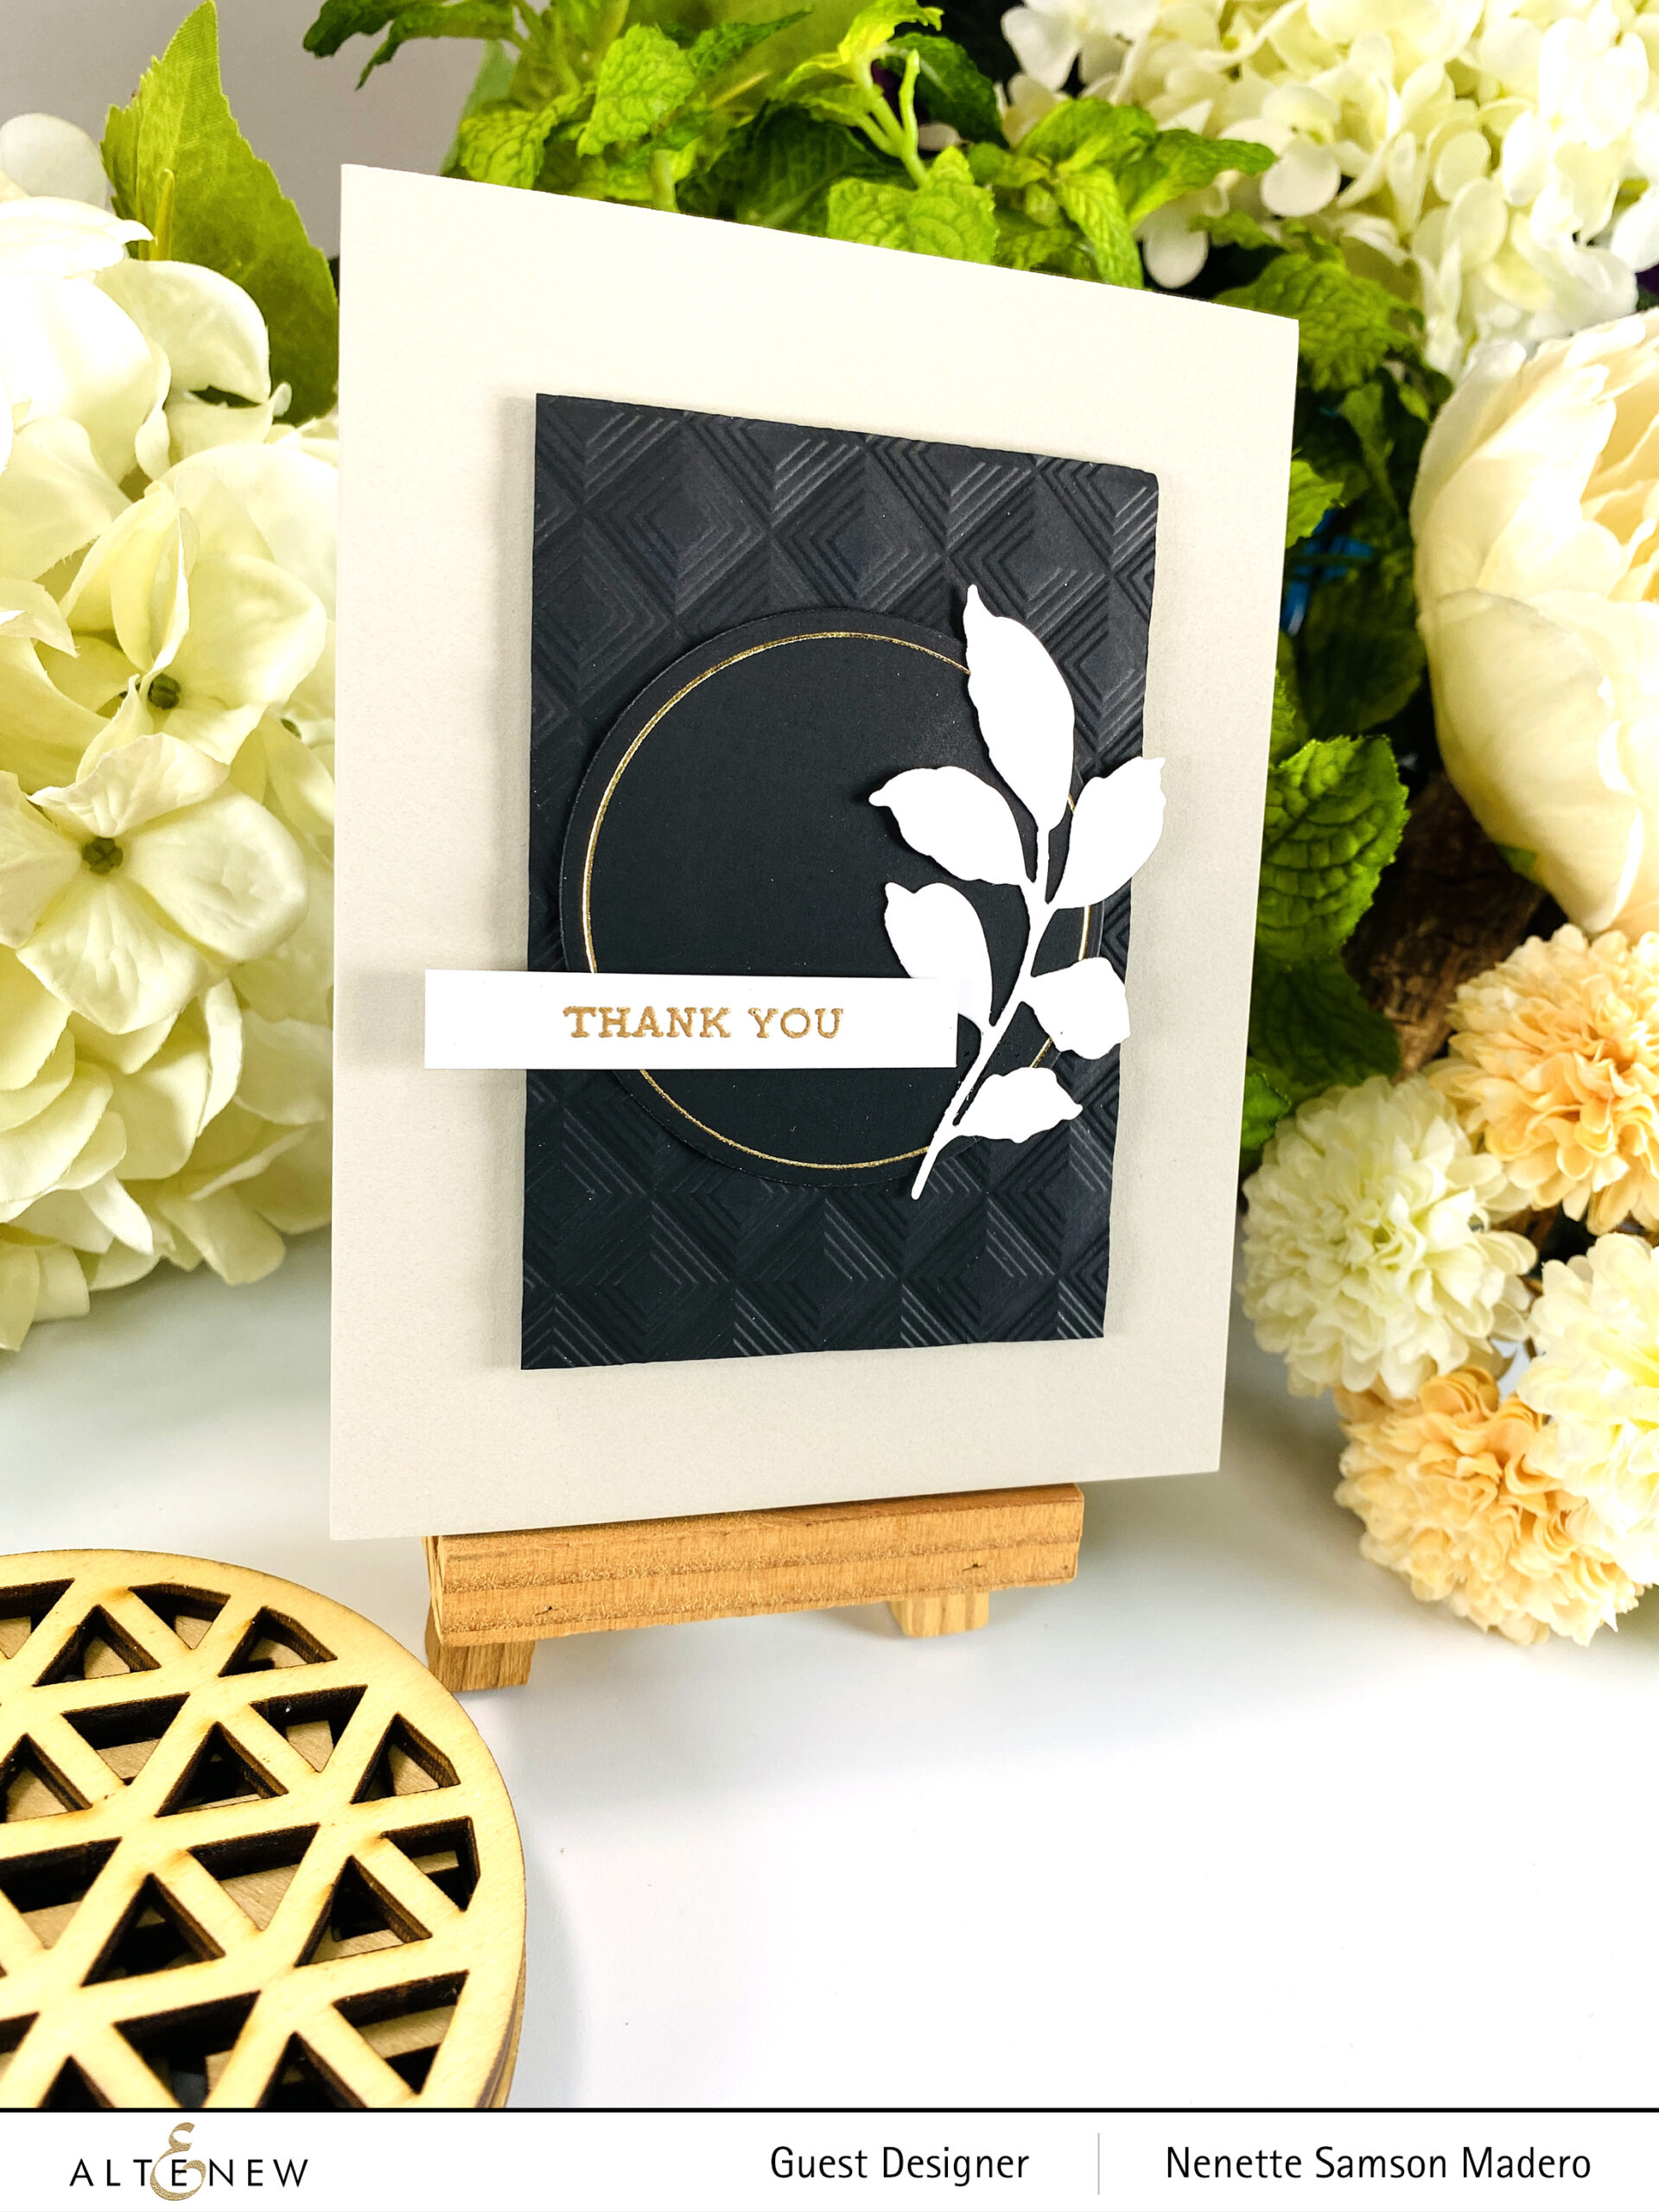
Hello, crafty friends! Welcome to my blog! Thanks so much, Susan Busada, for sending everyone over! For the complete details of this hop, make sure to drop by the Altenew blog. The Altenew Educators were asked to create clean and simple cards for this hop. Below are some samples I made for this theme using white, beige, and black colors only. I just changed the design of the 3D embossing folder and repositioned the hot foiled circle and leaf die-cut to create the different focal points for these CAS cards.

HAPPY BIRTHDAY

MATERIALS: FINE RINGS CIRCLES HOT FOIL, SENTIMENT STRIPS 3 STAMP, ORGANIC LINEN 3D EMBOSSING FOLDER, ROSE GOLD EMBOSSING POWDER, LEAVES DIE

MATERIALS: DIAMOND STARS 3D EMBOSSING FOLDER, JUST LEAVES DIE, PURE WHITE EMBOSSING POWDER, FINE RINGS CIRCLES HOT FOIL

SO PROUD OF YOU

MATERIALS: MOD SQUARES 3D EMBOSSING POWDER, FINE RINGS CIRCLES HOT FOIL, SENTIMENT STRIPS

THANK YOU

I still struggle creating CAS cards (the constant urge to add more embellishments is real :-), but I love how quick and easy it is to mass-produce cards like these. Do any of you struggle creating CAS cards, too?
GIVEAWAYS

$130 in total prizes! Altenew is giving away a $20 gift certificate to 3 lucky winners and a $15 gift certificate to 4 winners! To win, please comment on the Altenew Card Blog and/or each designer’s blog post on the blog hop list below by 07/03/2022. 

There’s MORE! Join our party! We have included an Inlinkz at the Altenew blog for you to enter your beautiful, Altenew “Clean and Simple” creations. 

We will pick one of our favorite handmade creations from those who joined the linky party, and they will receive a $10 Altenew gift certificate!

Altenew will draw five random winners from the comments left on each blog hop stop and announce the winners on the Altenew Winners Page on 07/04/2022.

Next up: Irina Fonina. Make sure to leave a comment below to get a chance to win a prize from Altenew! If you like what you see, I would greatly appreciate it if you could follow me on Instagram and YouTube. Links are posted below. Thanks so much for dropping by, and happy crafting!

Altenew June 2022 Fine & Dandy Collection Release Blog Hop + Giveaway ($300 in total prizes)

Altenew June 2022 Fine & Dandy Collection Release Blog Hop + Giveaway ($300 in total prizes)

Hello, everyone! Welcome to my blog. Thanks, Emily Midgett, for sending everyone over. For the complete details of this hop, make sure to drop by the Altenew Card Blog. You can find the new collection here.
This is an excellent mix of dies, hot foil plates, coordinating stencils, and embossing folders. The following are eight cards I made using some of the latest releases.

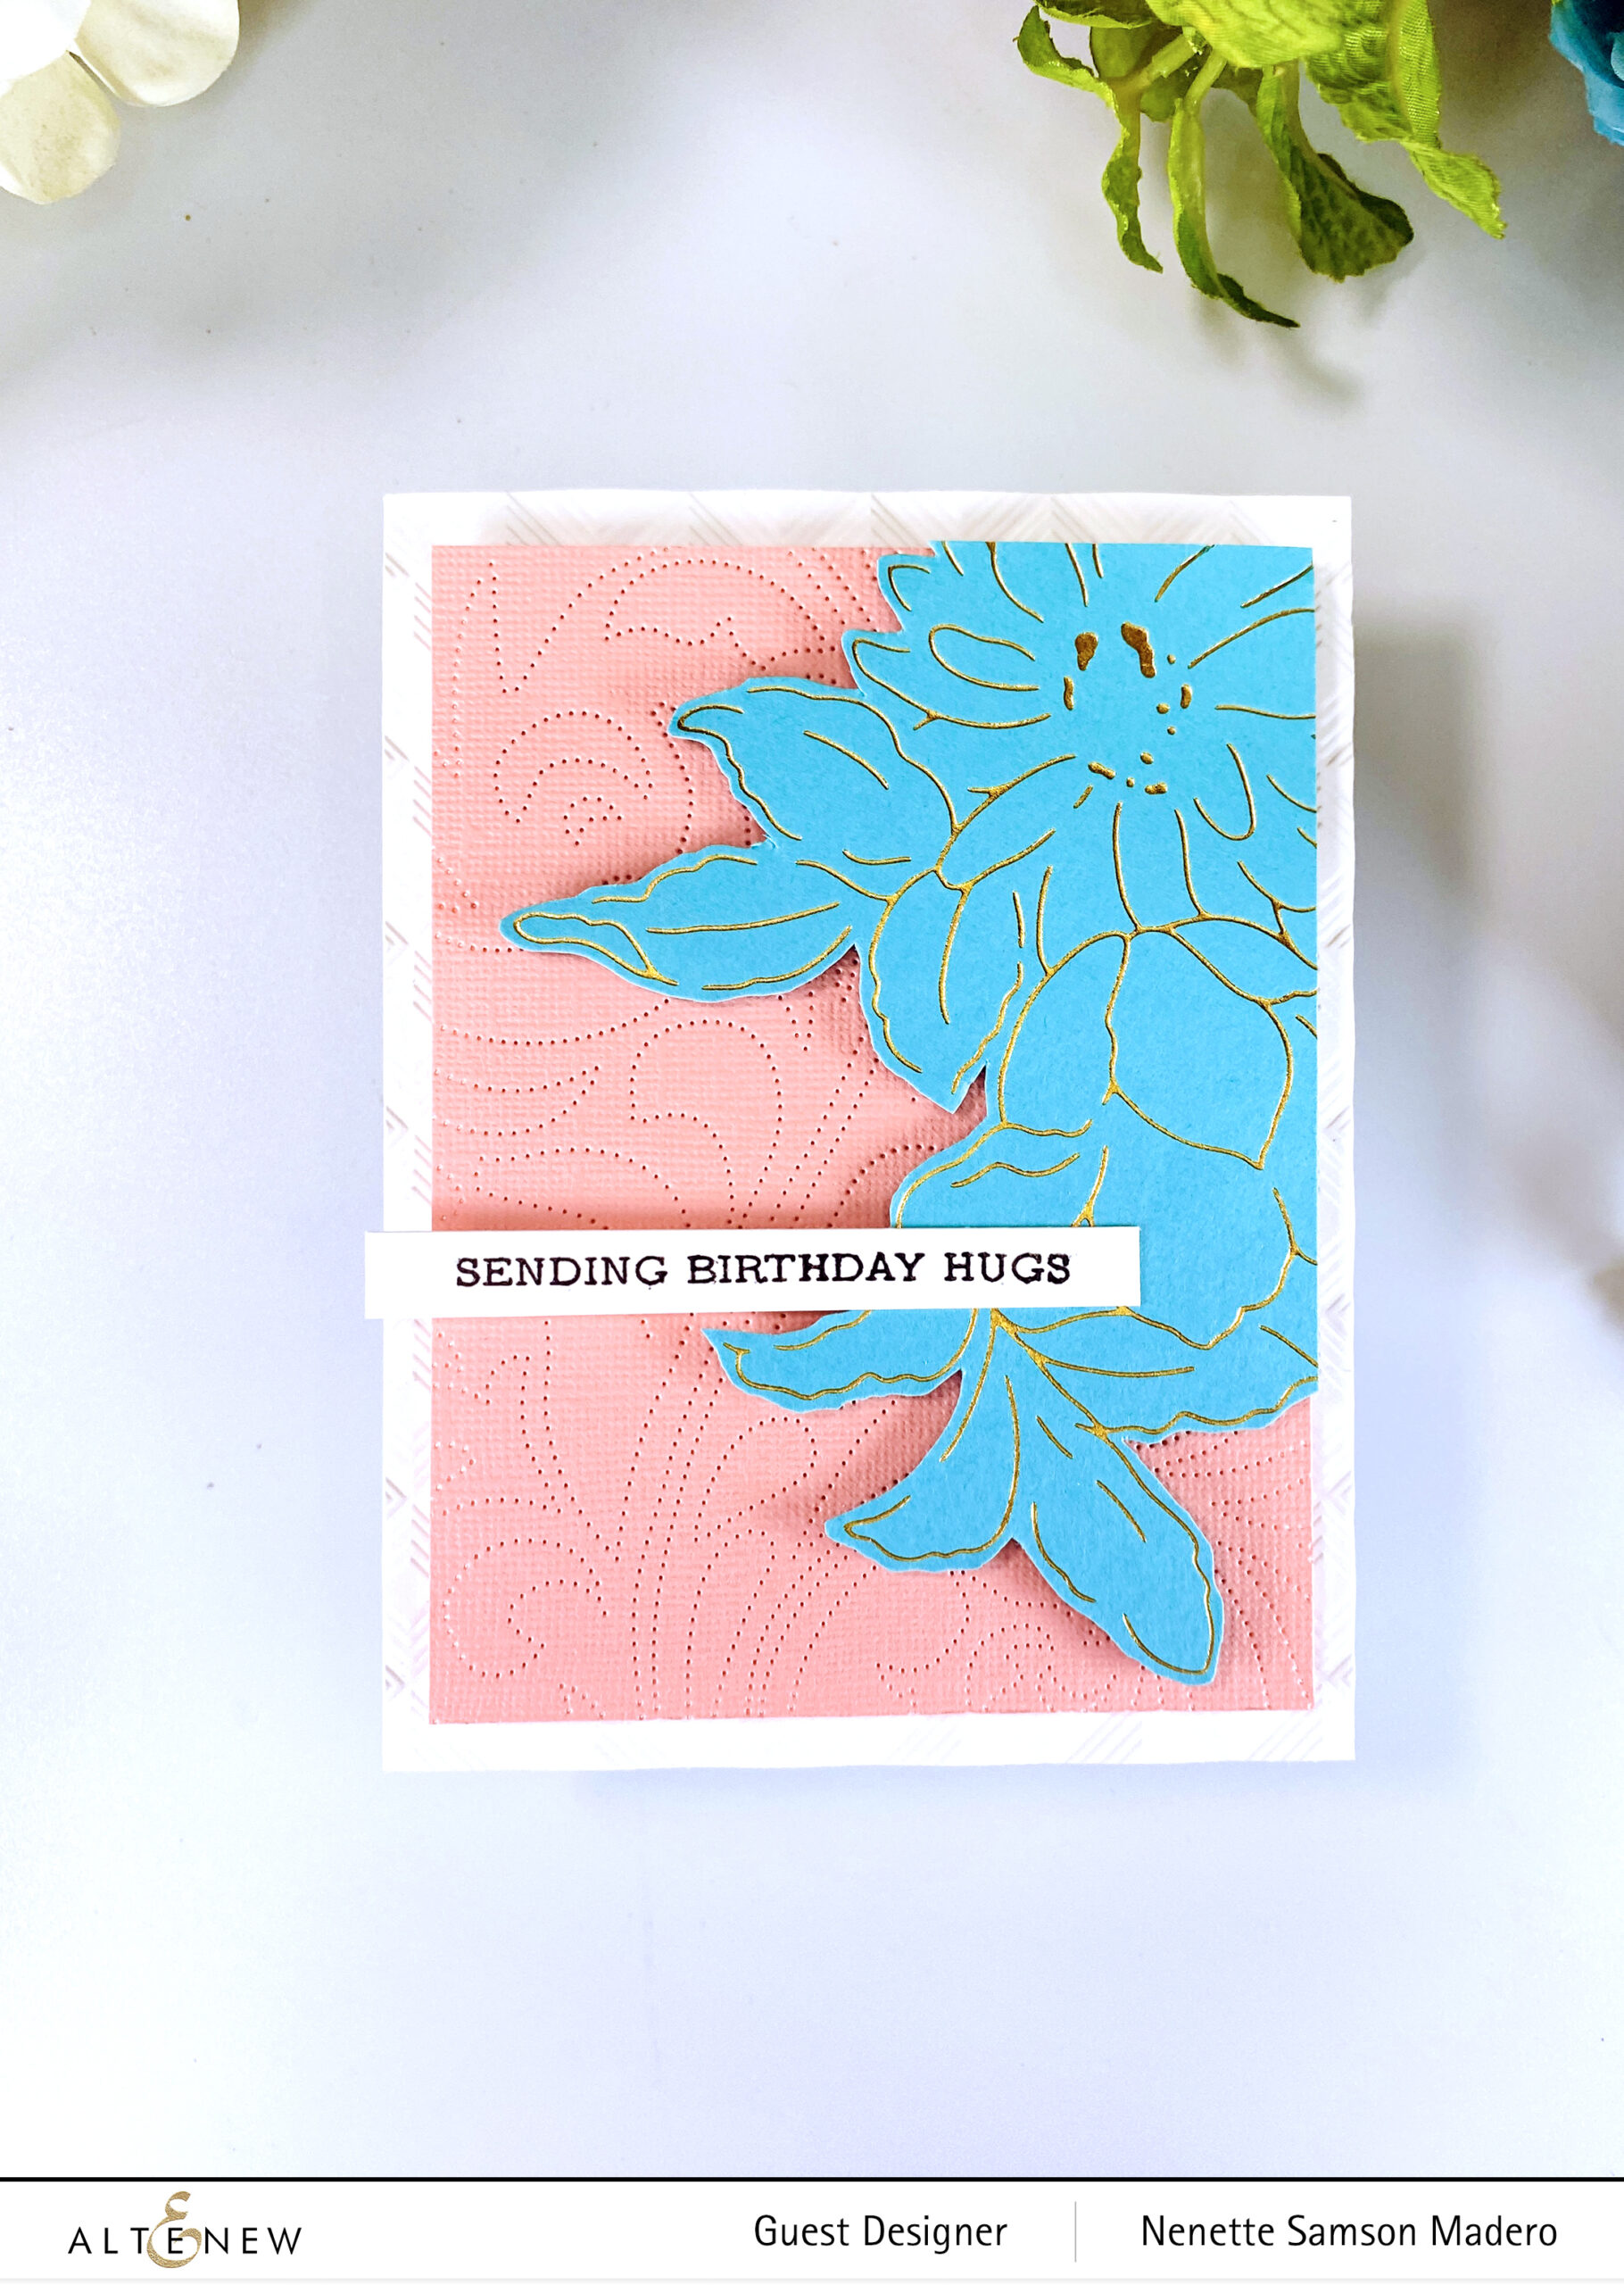
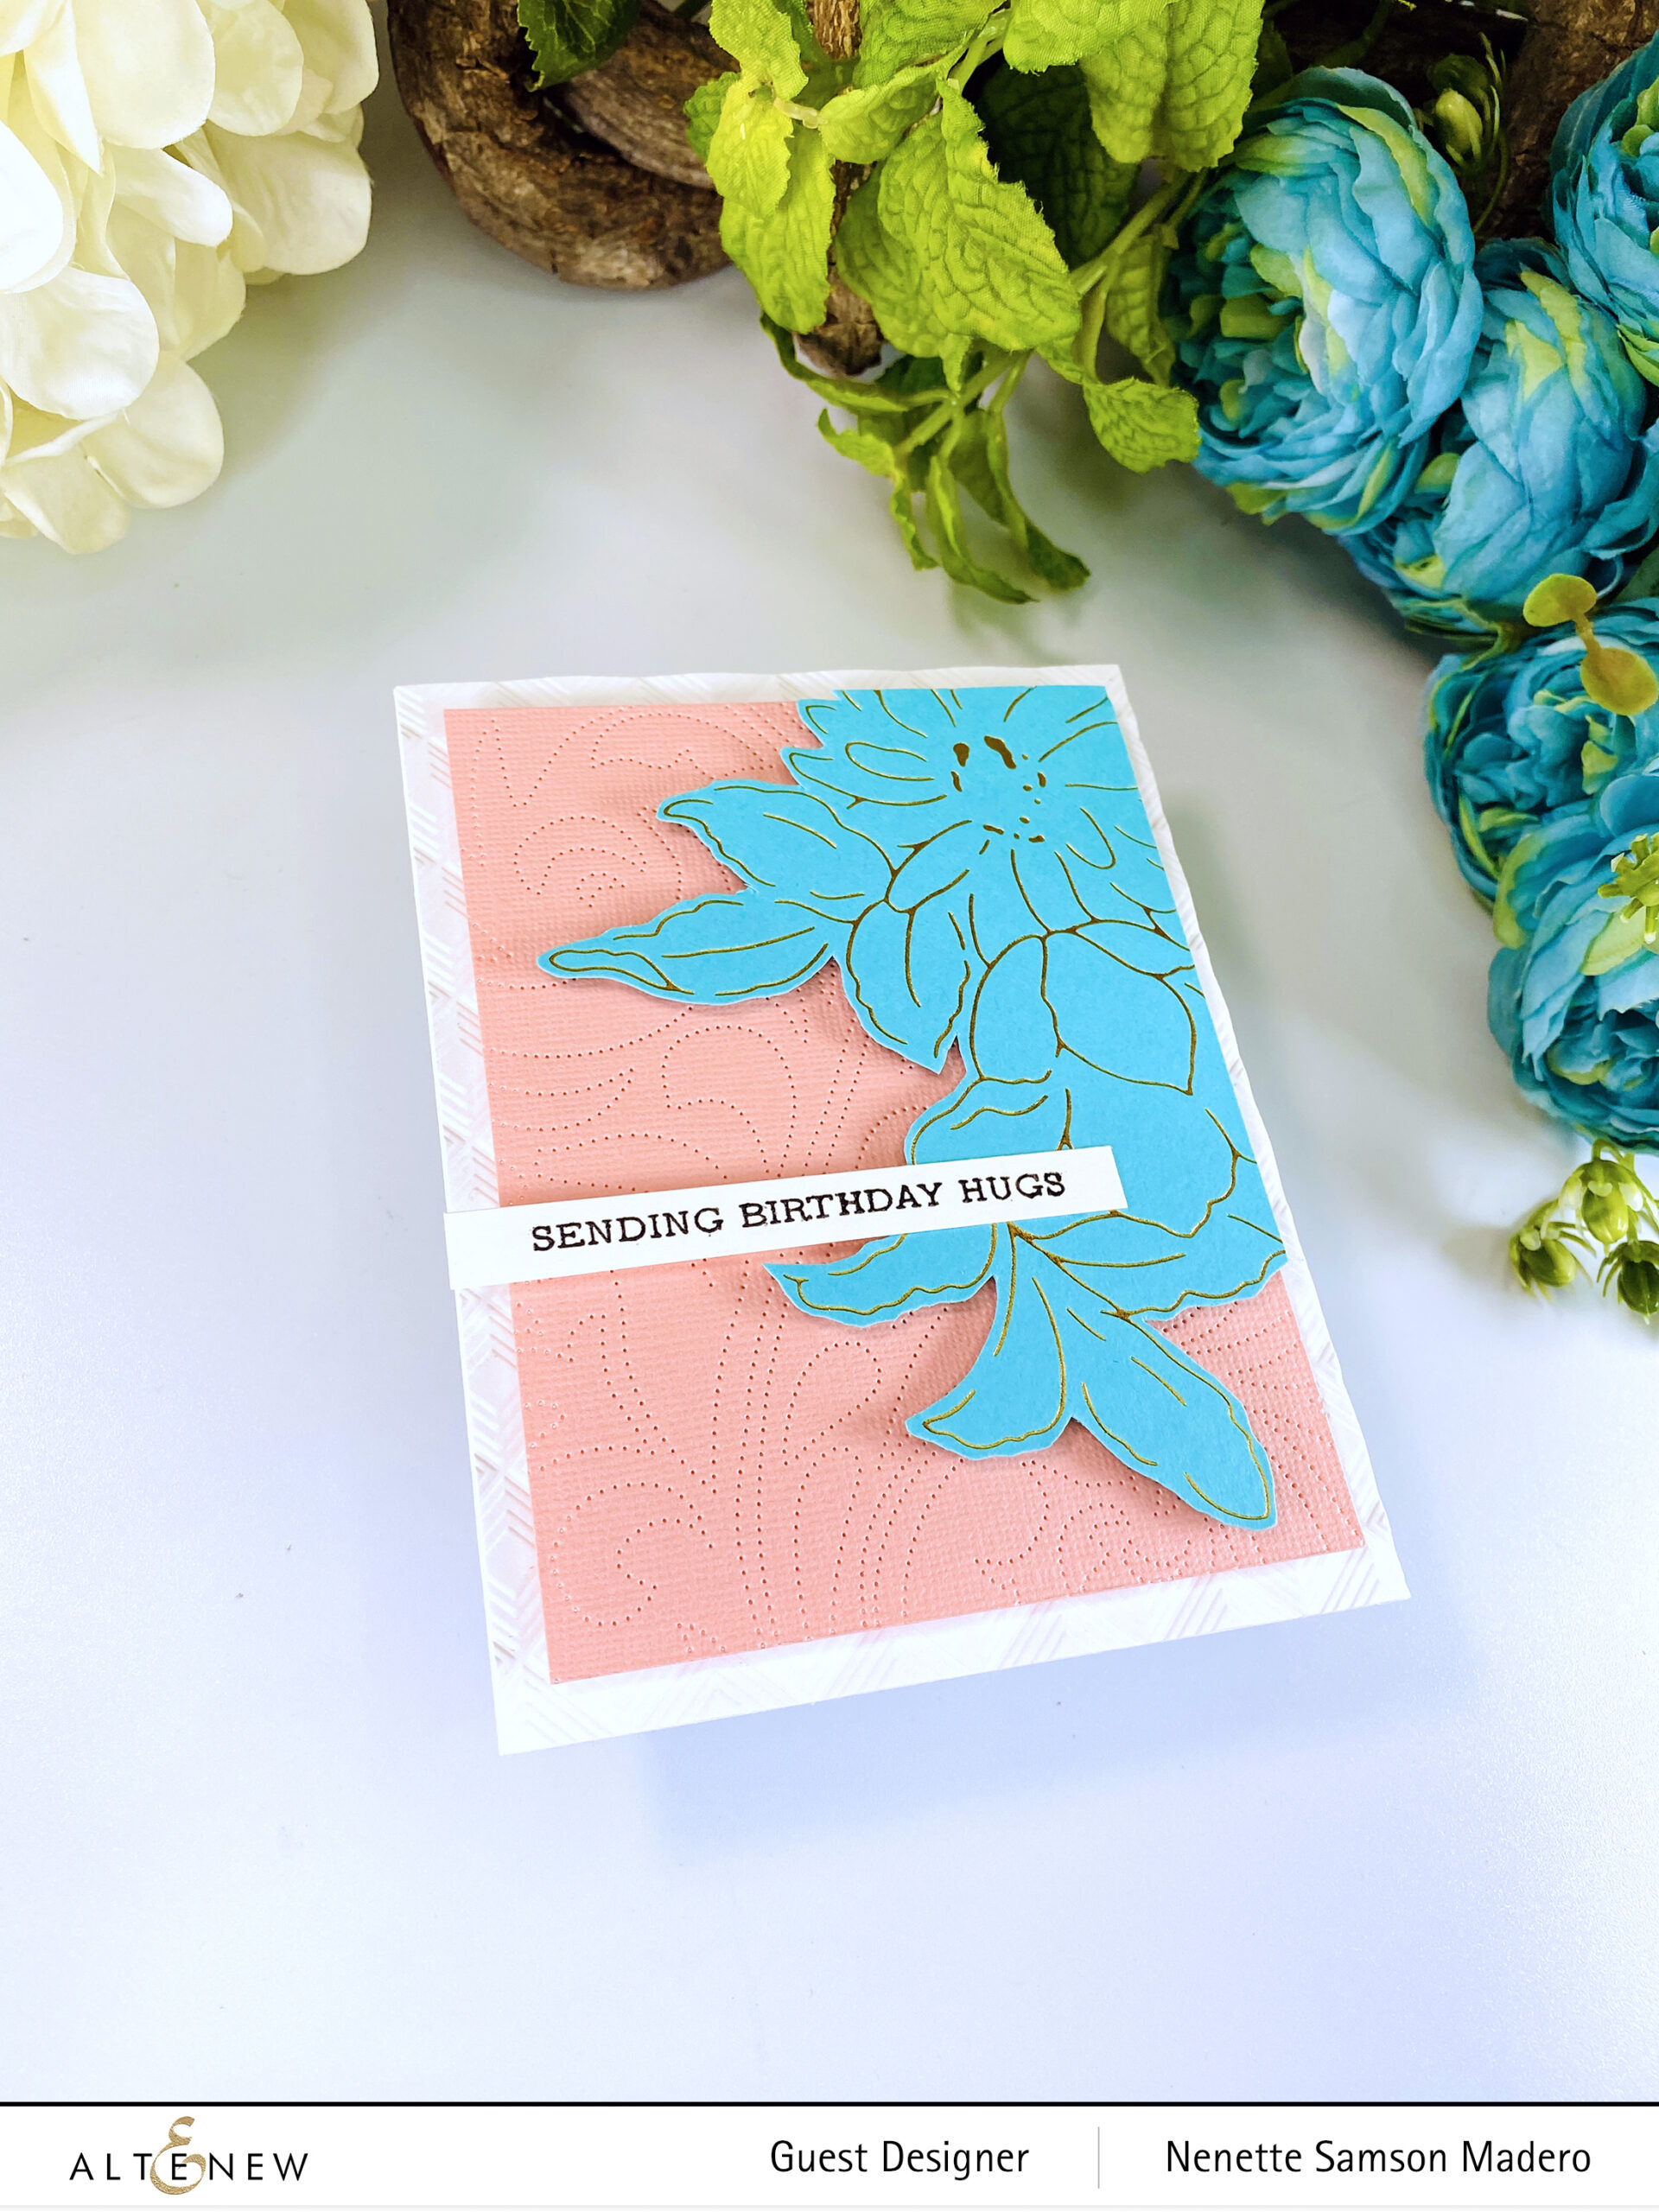
SENDING BIRTHDAY HUGS

STEPS:

  1. Hot foil the Delightful Flowers image with Polished Brass on light blue cardstock. Fussy cut.
  2. Emboss a peach cardstock using the Dotted Swirls Debossing Cover die.
  3. Emboss the white card base using the MOD Squares 3D Embossing Folder.
  4. Stamp and emboss the sentiment.
  5. Assemble the card with foam squares and adhesive.
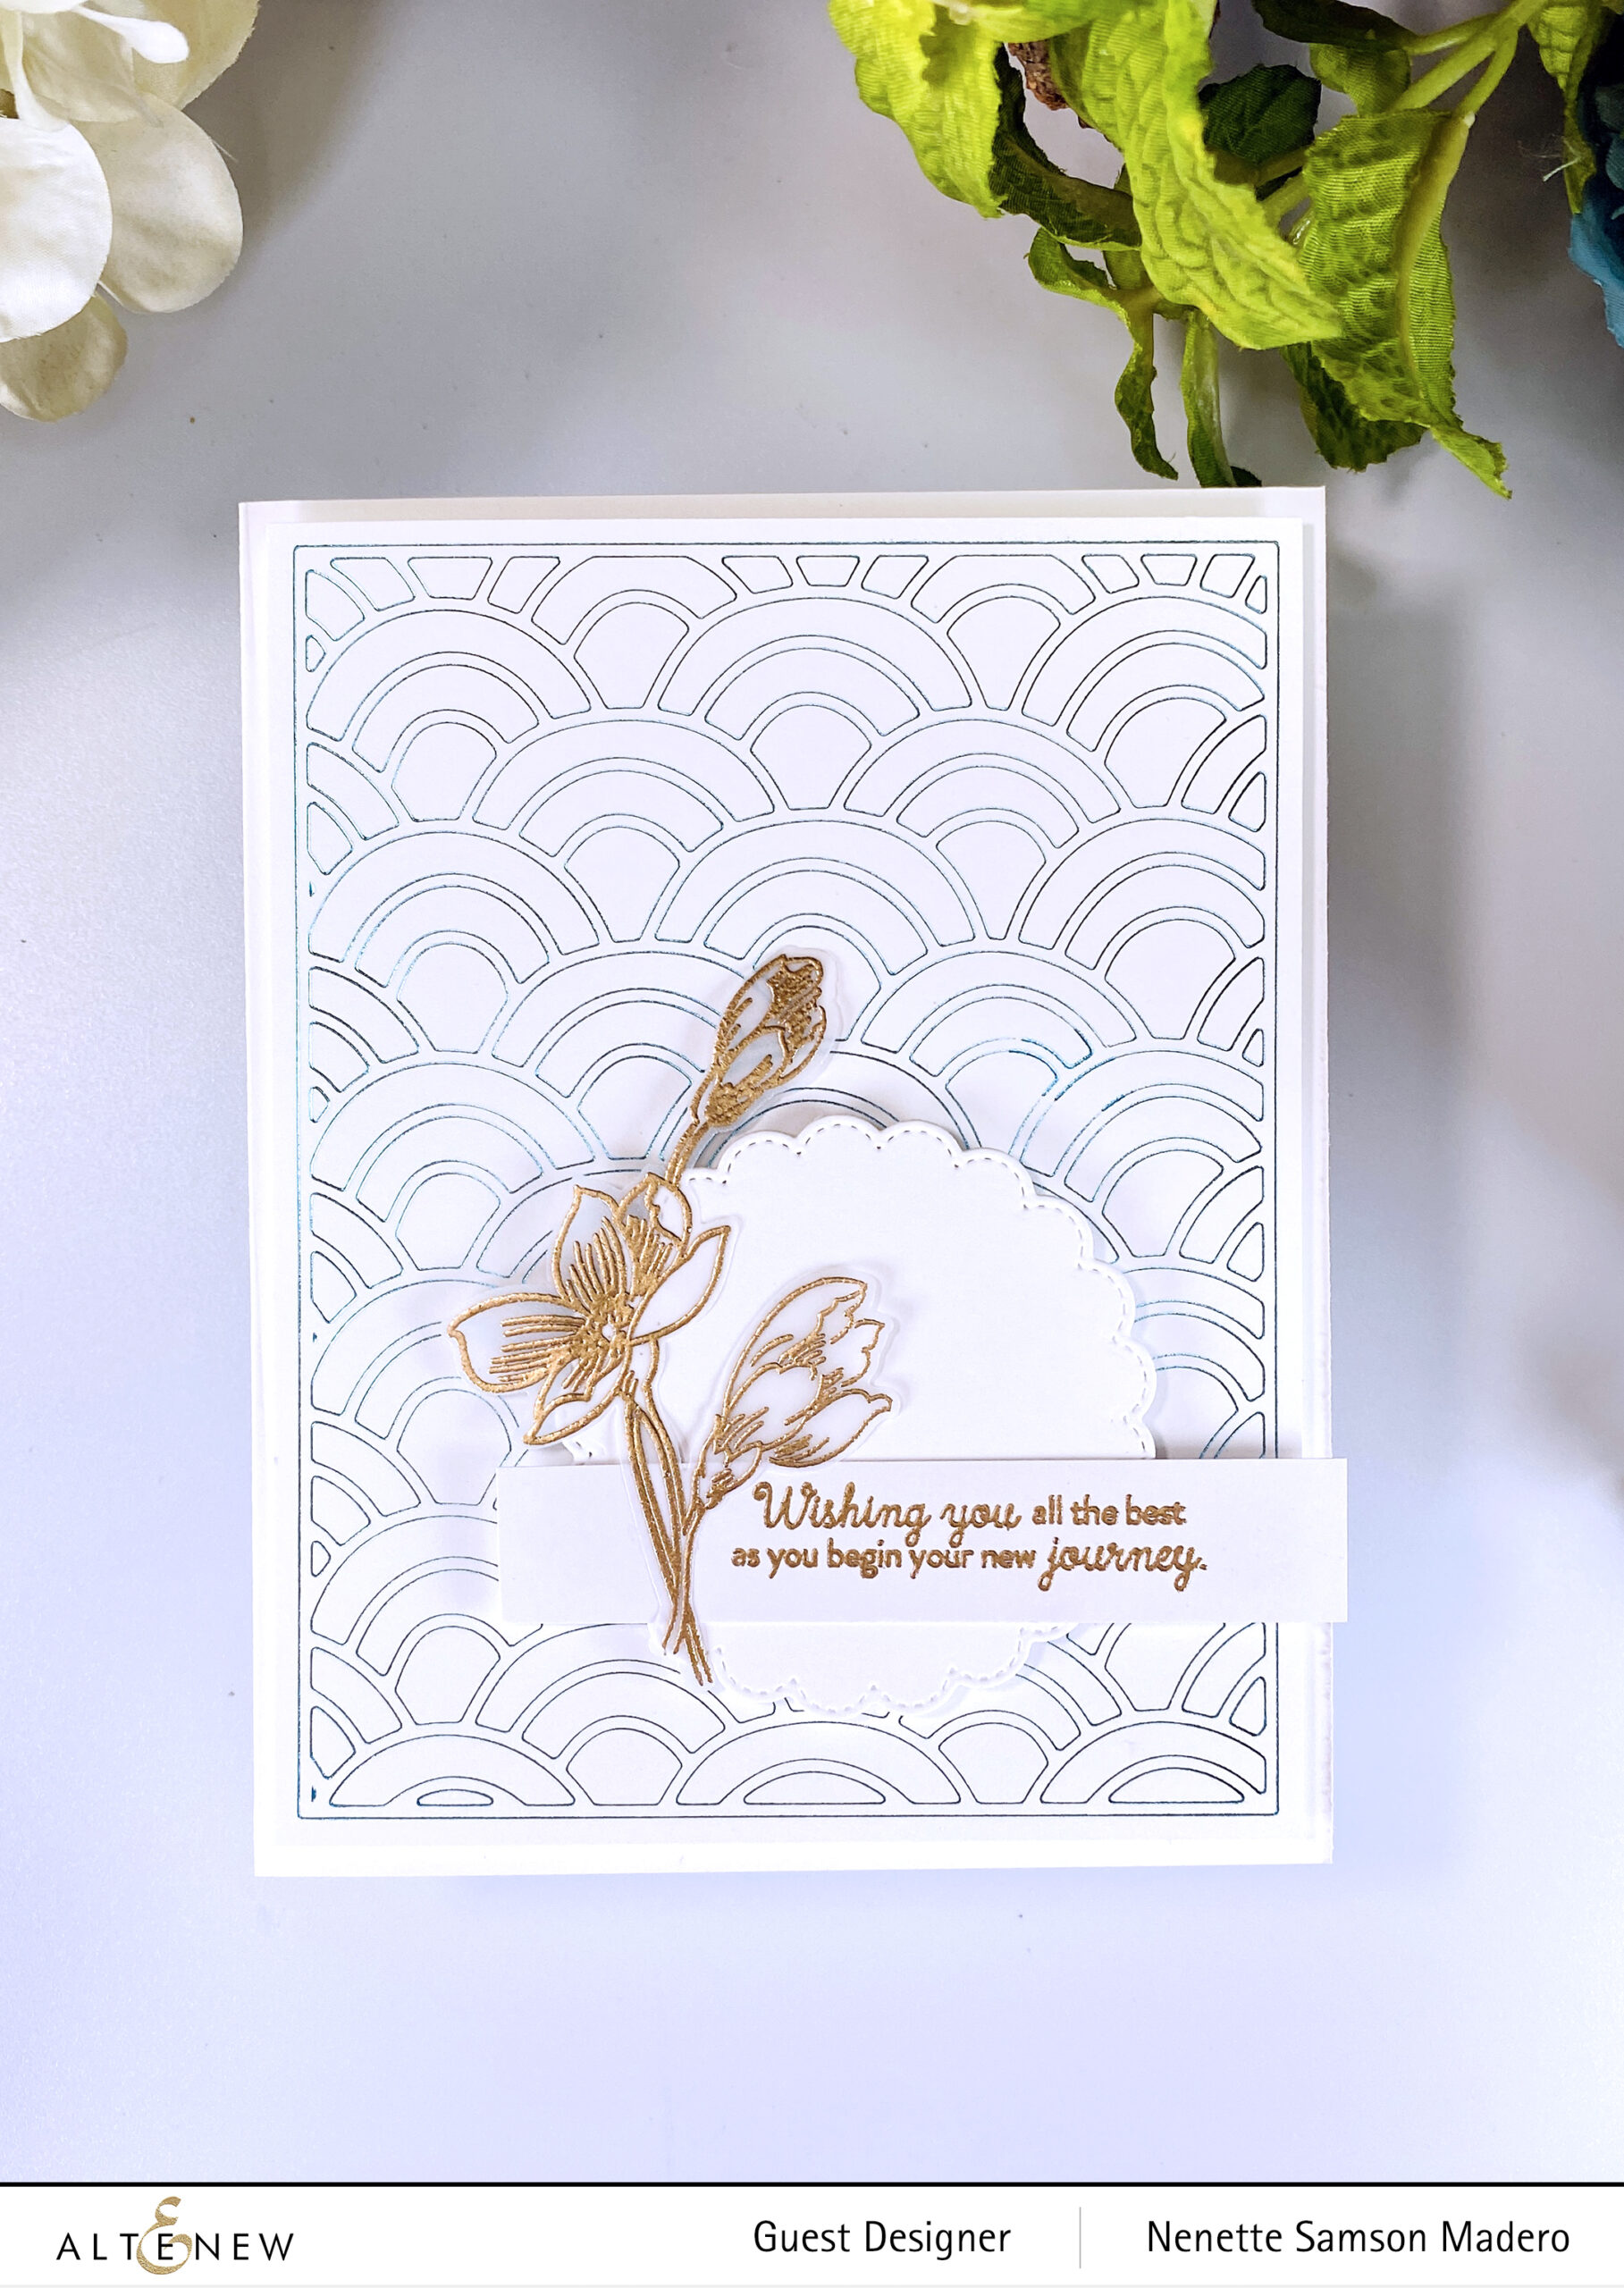
WISHING YOU ALL THE BEST AS YOU BEGIN YOUR NEW JOURNEY

STEPS:

  1. Use the Scallops Cover Die to add foil to the card front.
  2. Die-cut white cardstock using the Stitched Scalloped Circle die.
  3. Stamp and emboss the sentiment using Rose Gold embossing powder.
  4. Stamp and emboss the flowers on vellum using the Pen Sketched Flowers stamp. Die-cut the image using the coordinating die.
  5. Assemble the card using foam squares and adhesive.

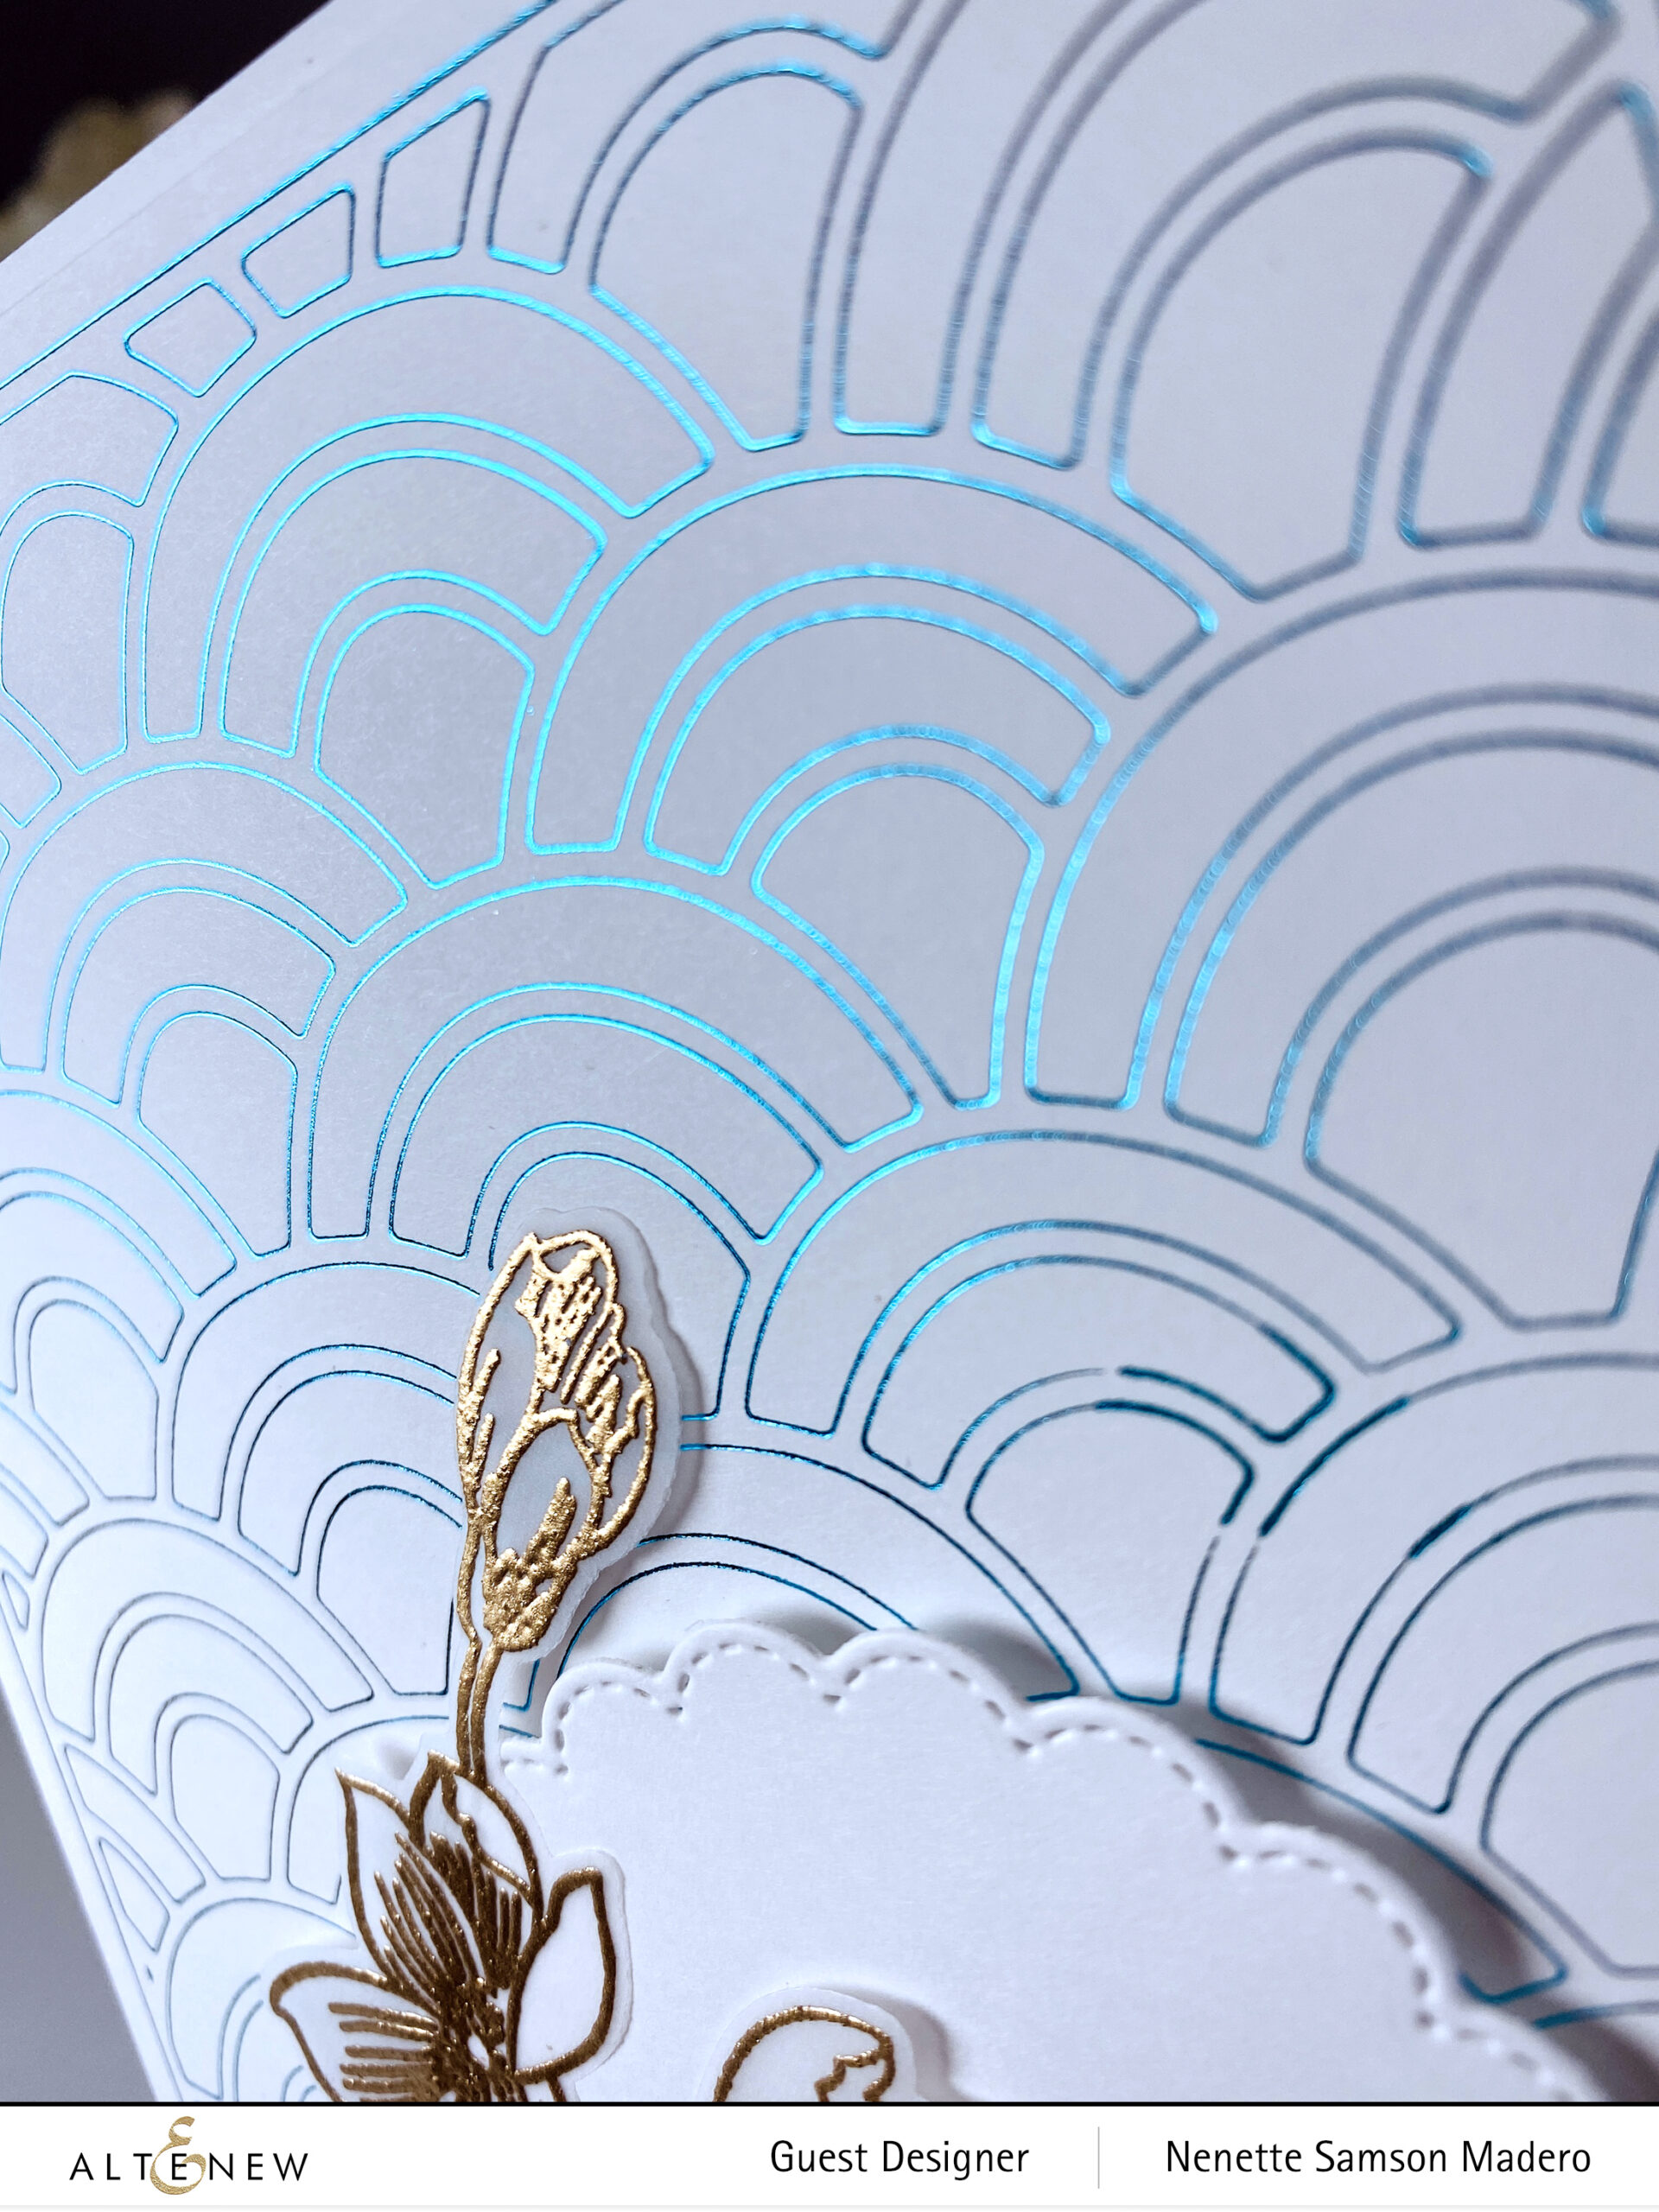
It’s pretty tricky to photograph the shimmer of the hot foil, so here’s a closer look. Knowing that I can use a regular thin die to hot foil the image has made me so excited!!! I wanted to keep this card simple to allow the shiny elements to take the spotlight.

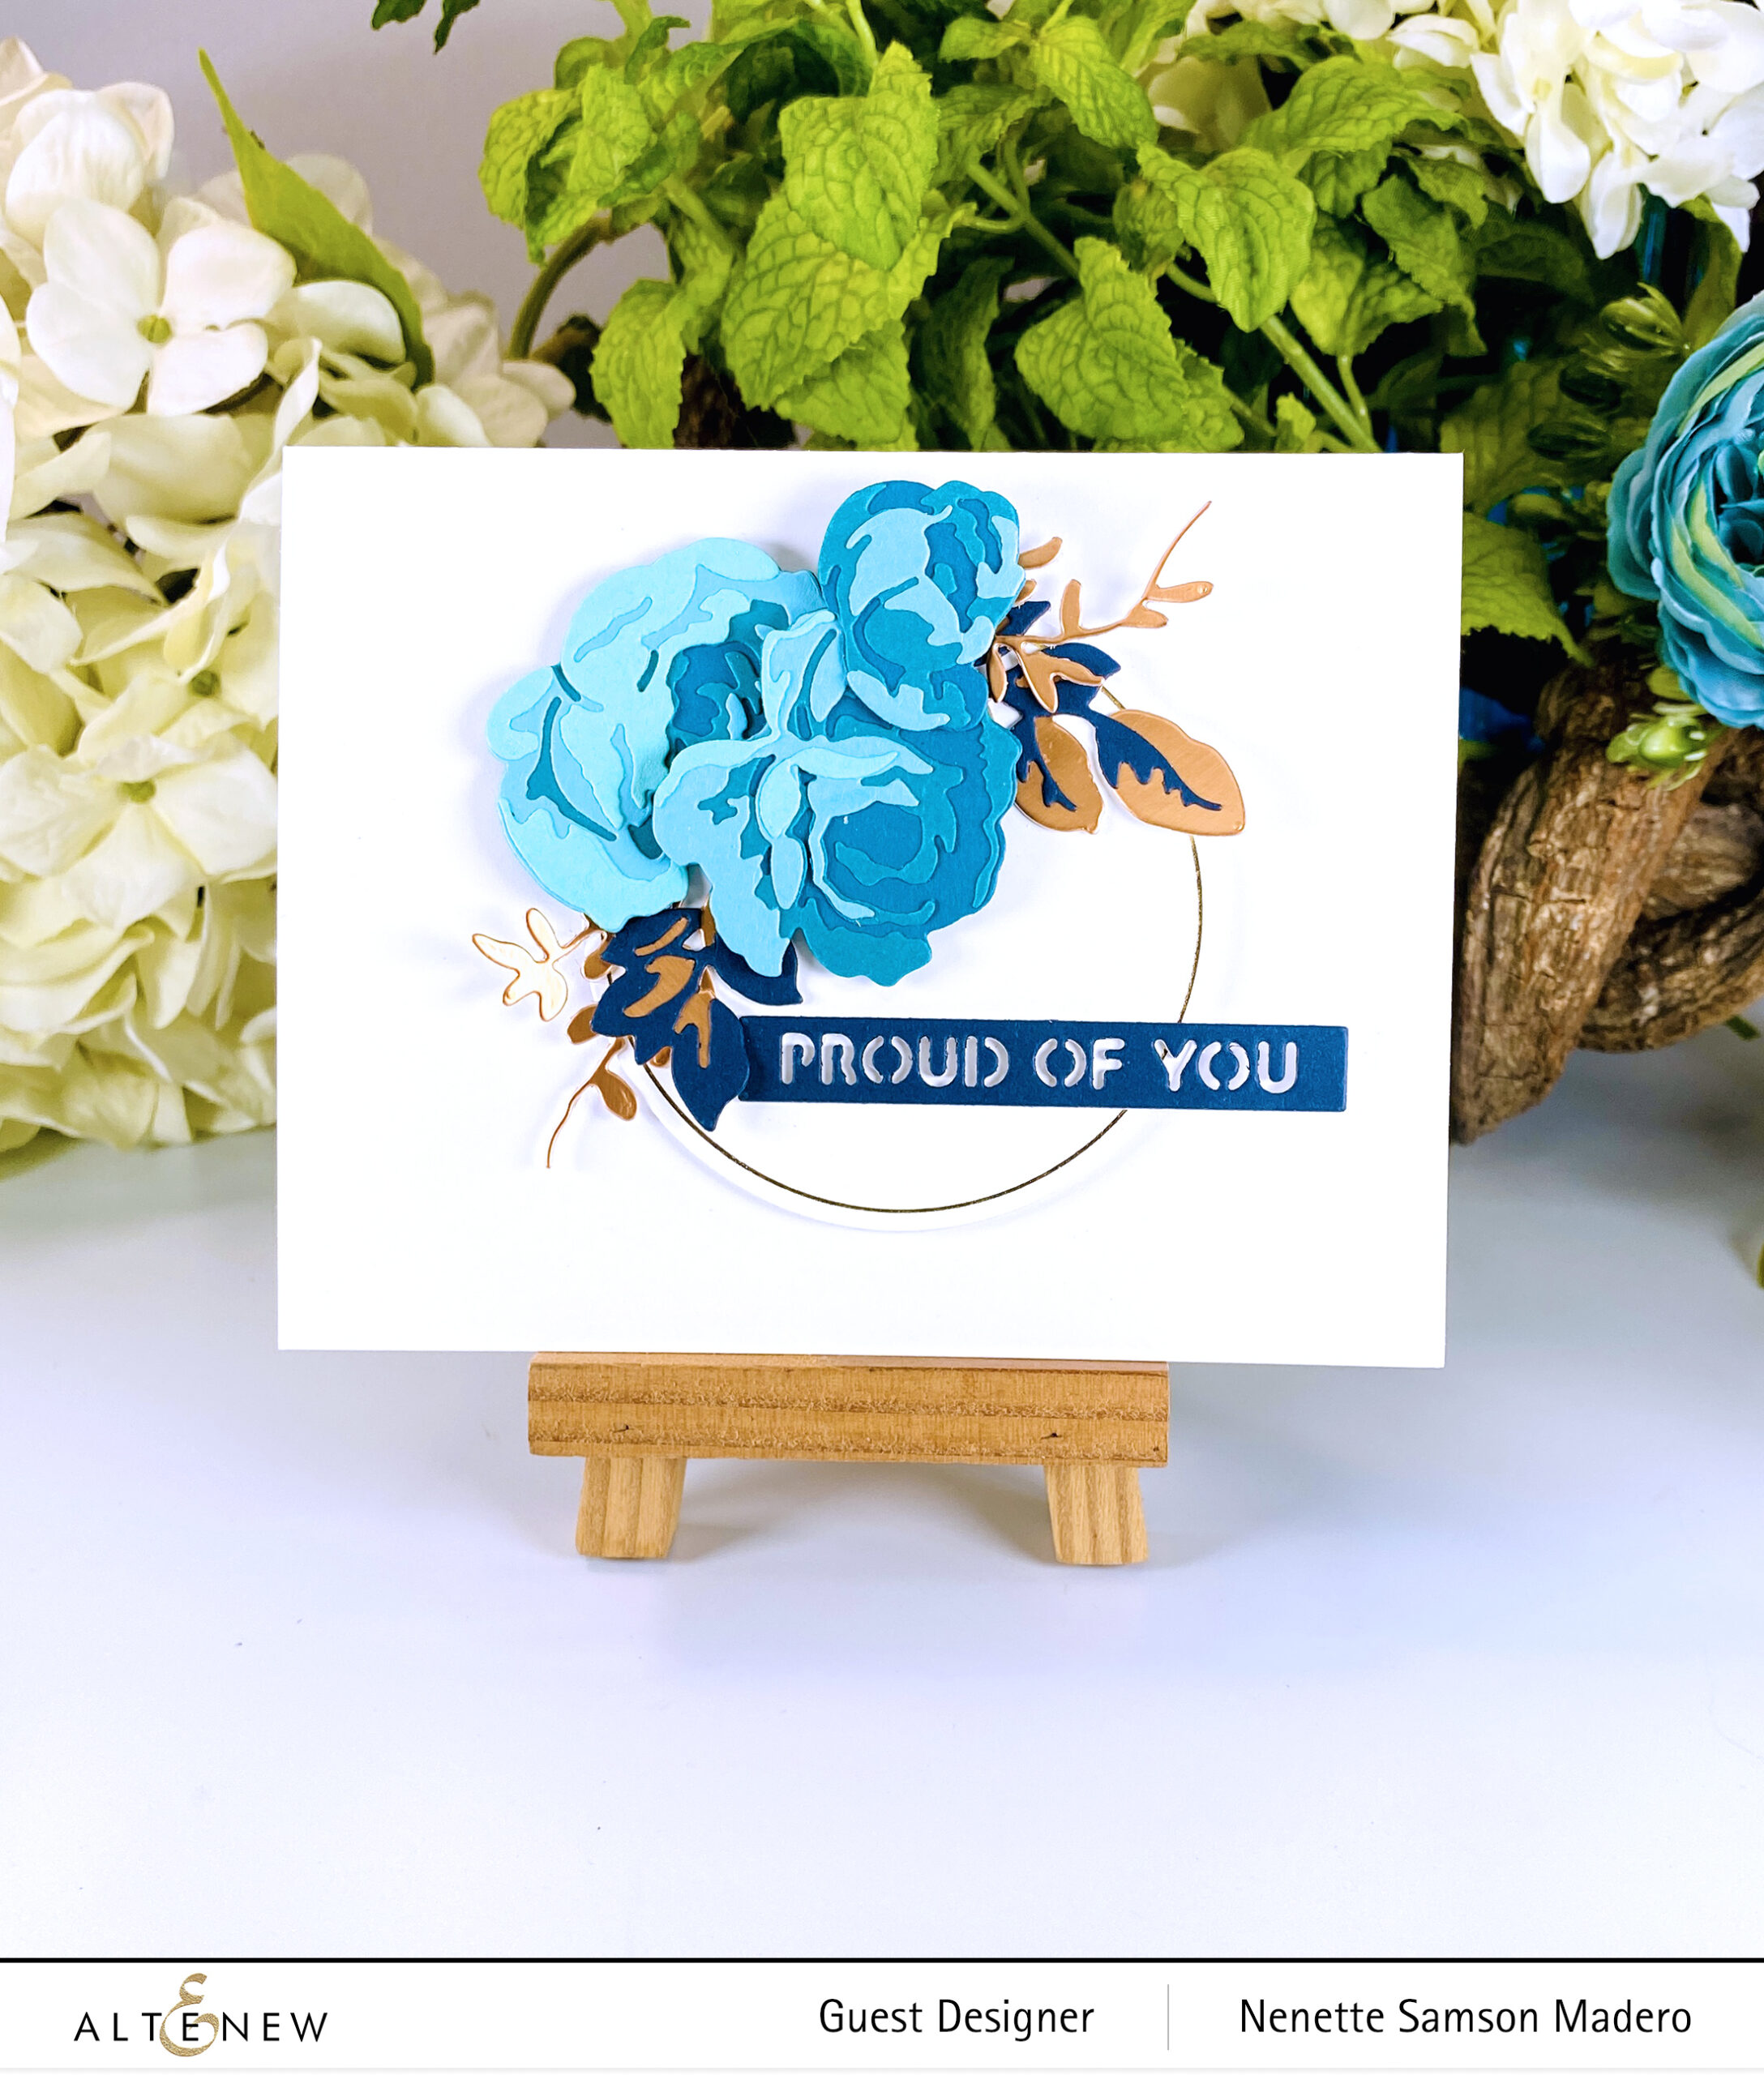
PROUD OF YOU

STEPS:

  1. Hot foil and die cut the circle using the Fine Rings Circles Hotfoil Plate and the coordinating die.
  2. Die-cut the Charming Folliage Dies layers using Sea Shore Gradient Cardstocks, Brushed Cooper Metallic, and Navy Cardstocks. Assemble the flowers.
  3. Die-cut the sentiment from the Essential Sentiment Strips die set.
  4. Assemble card using foam squares and adhesive.

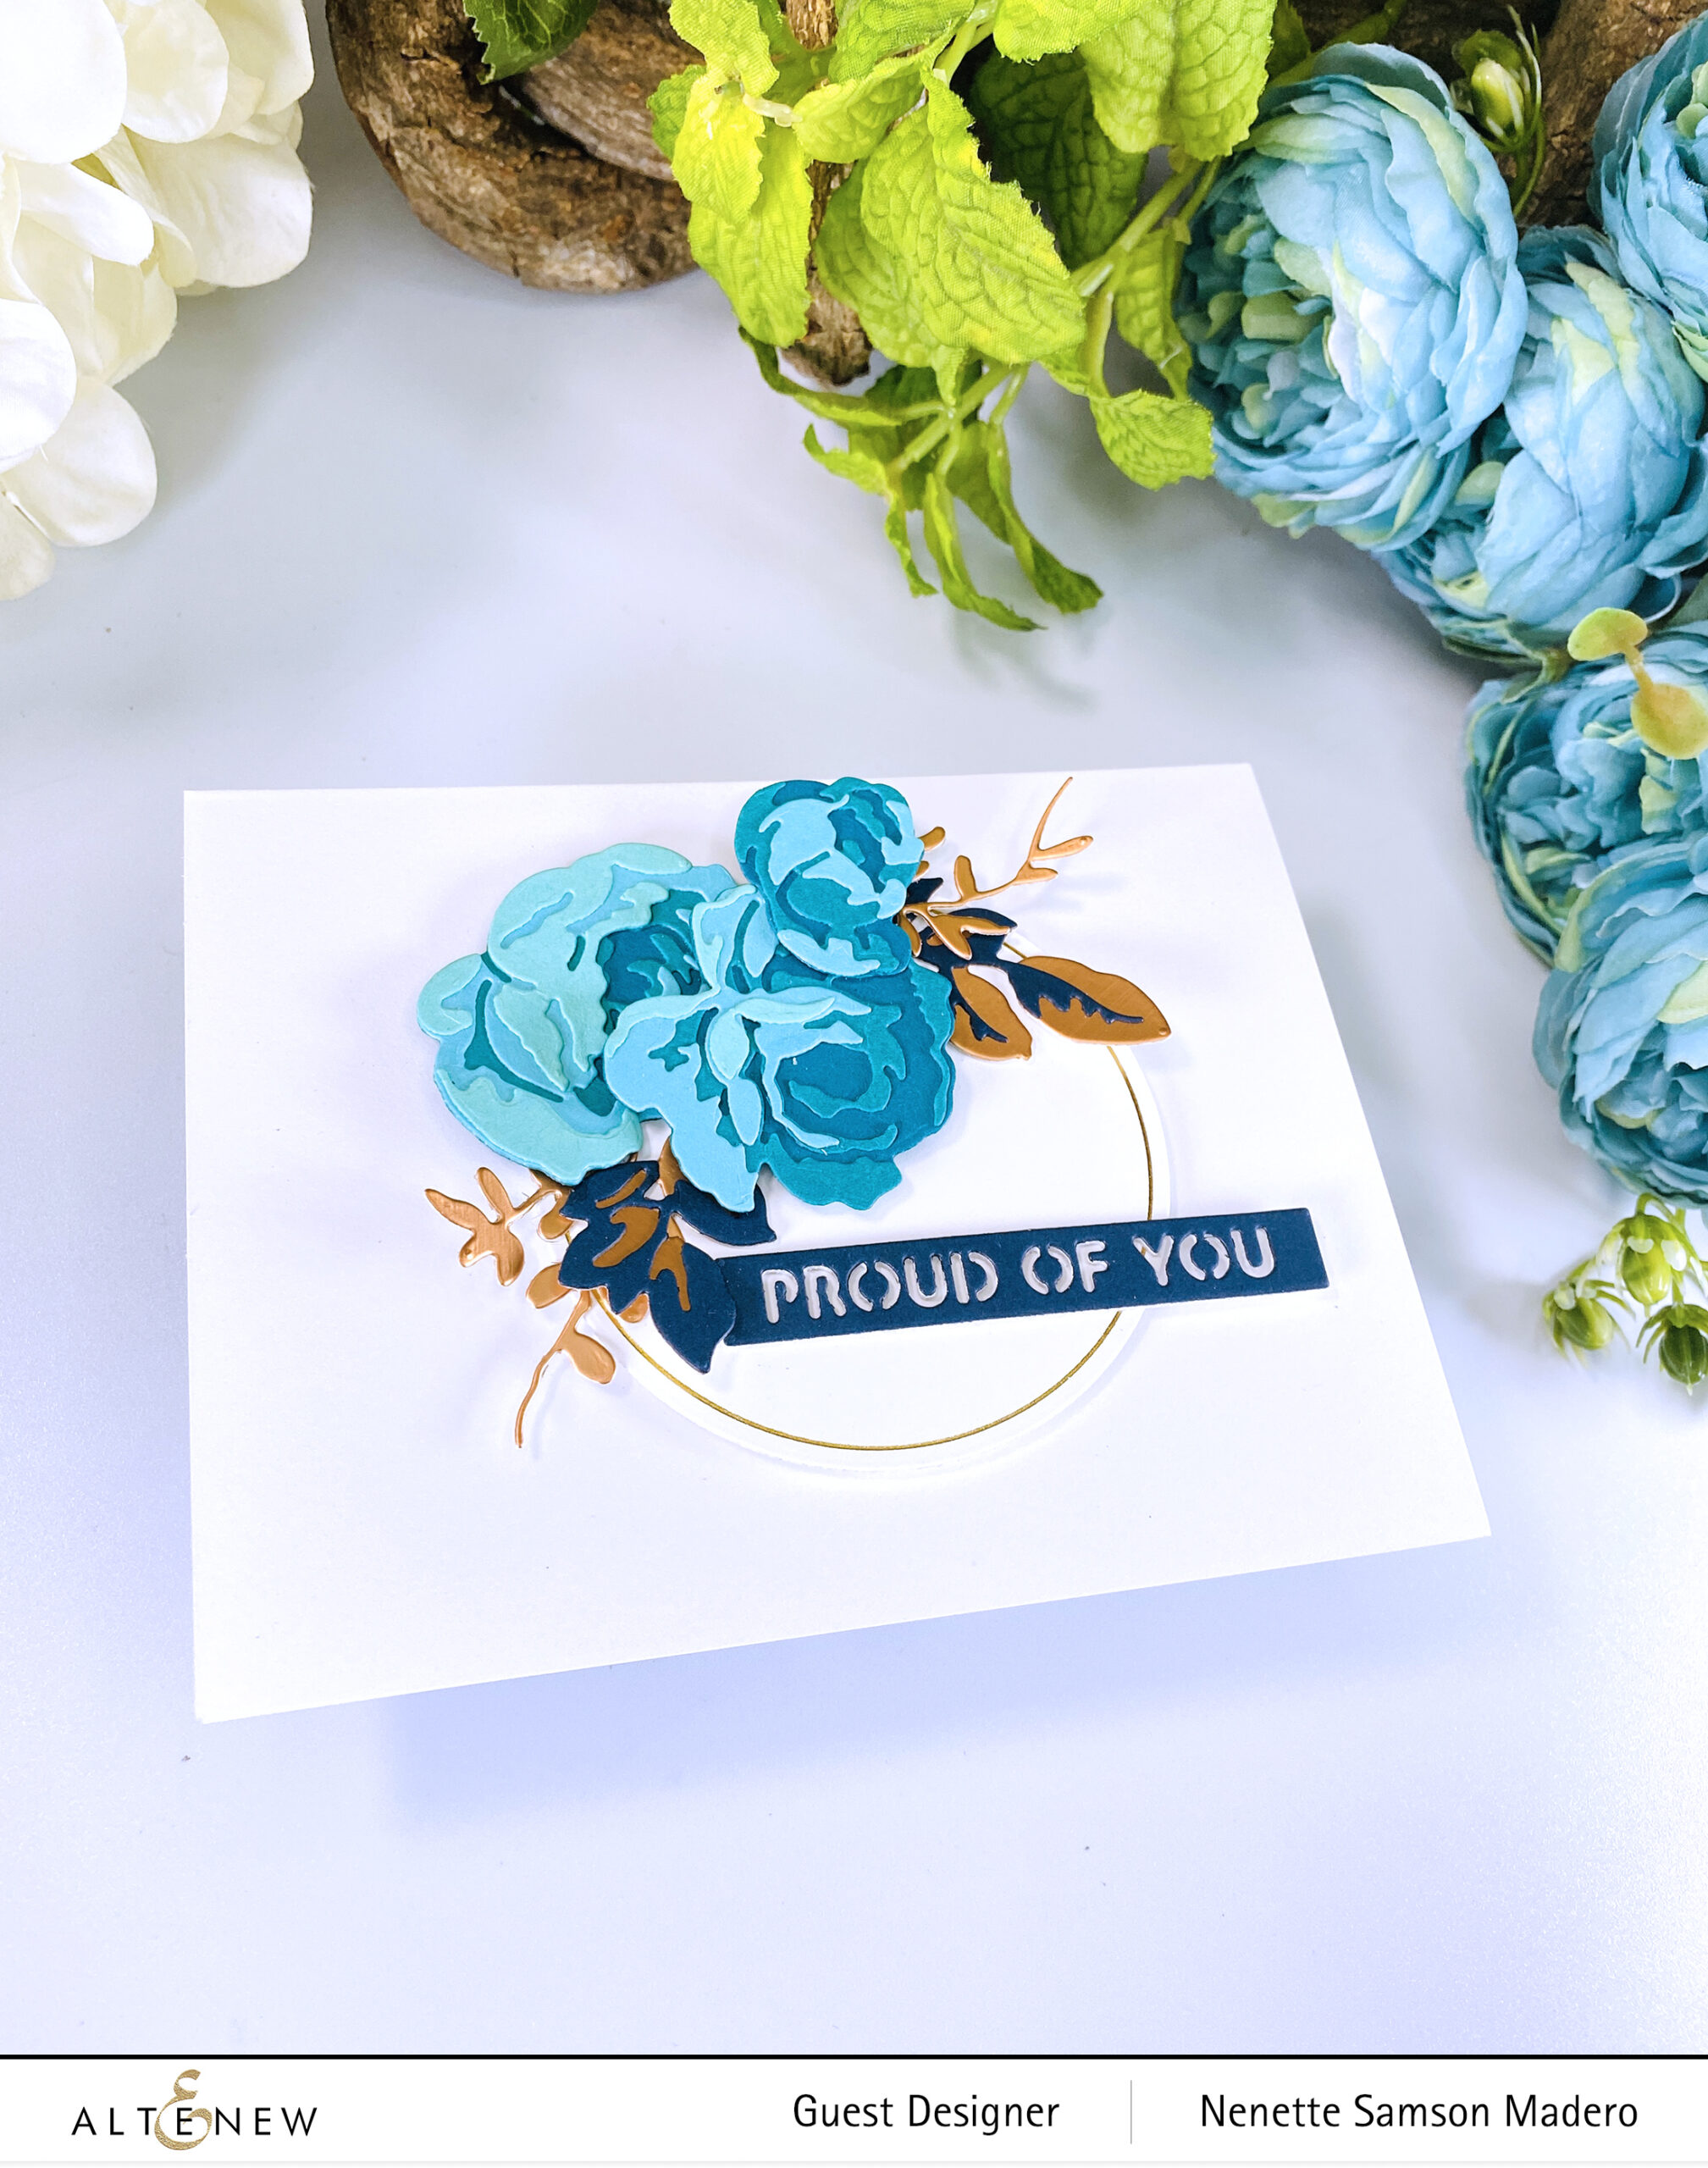
I love that all the elements from this card were from dies. The thin gold circle gives it a classy look. I also kept the white space all over to emphasize the floral arrangement.

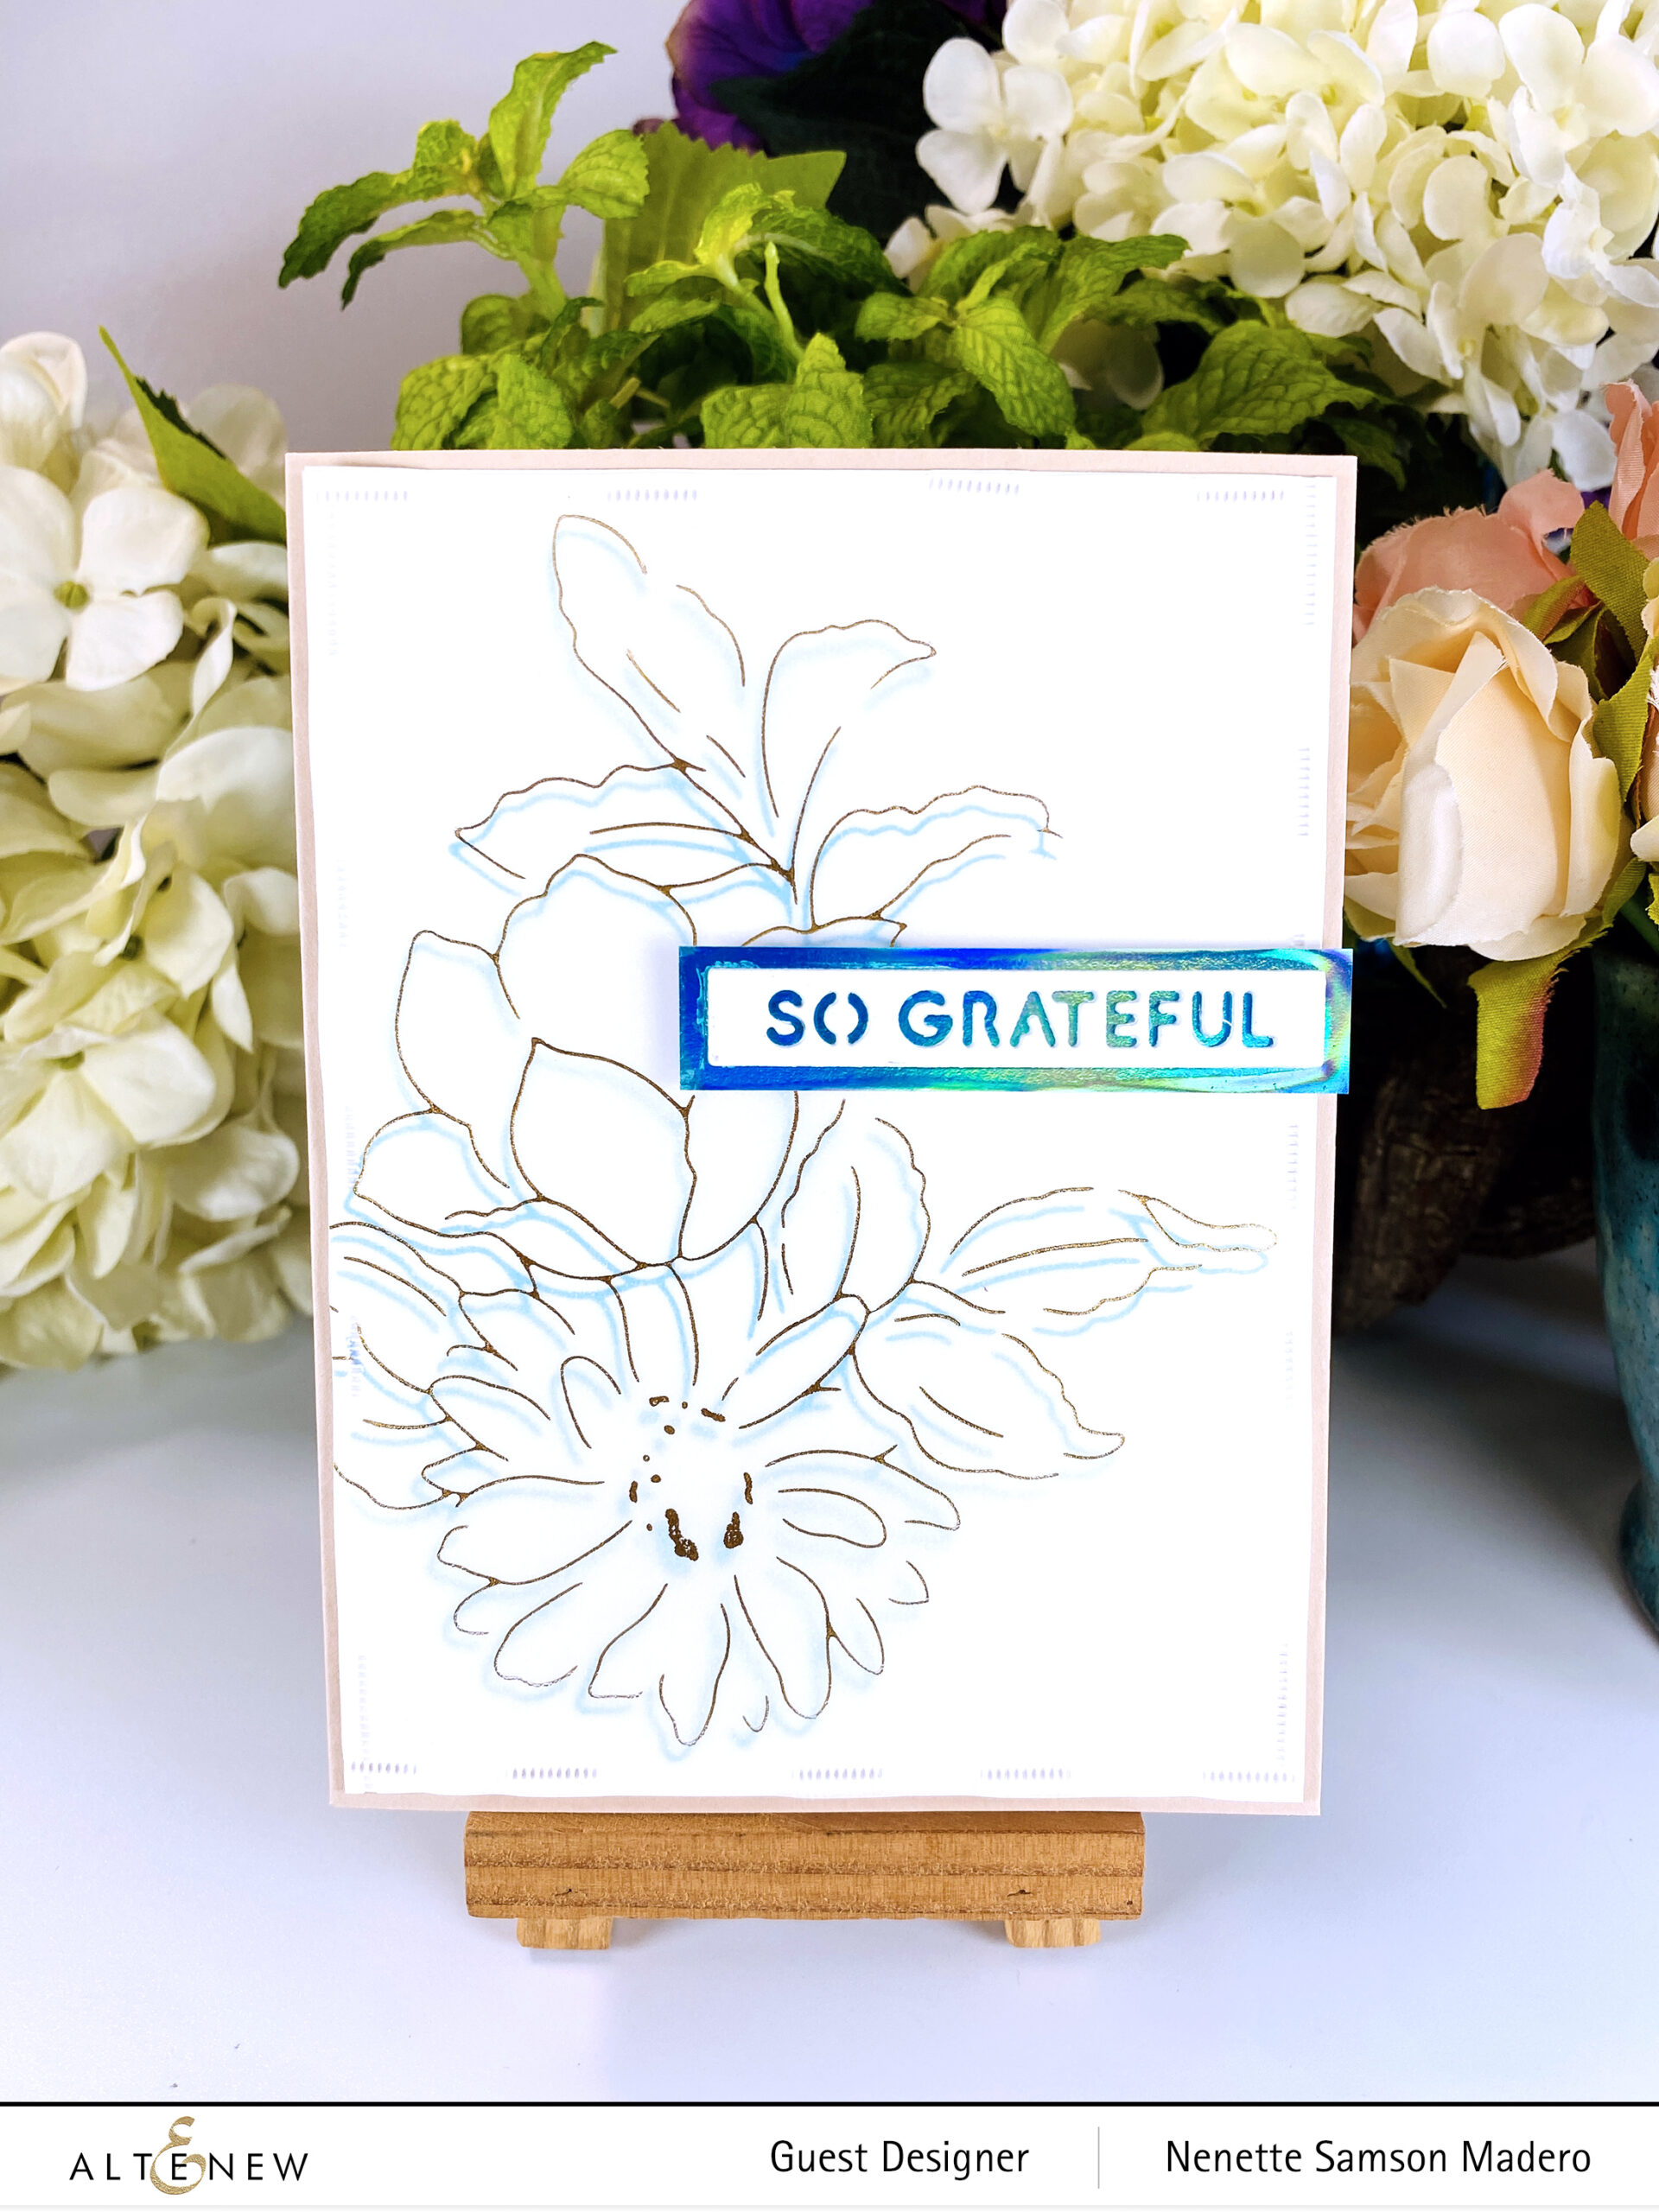
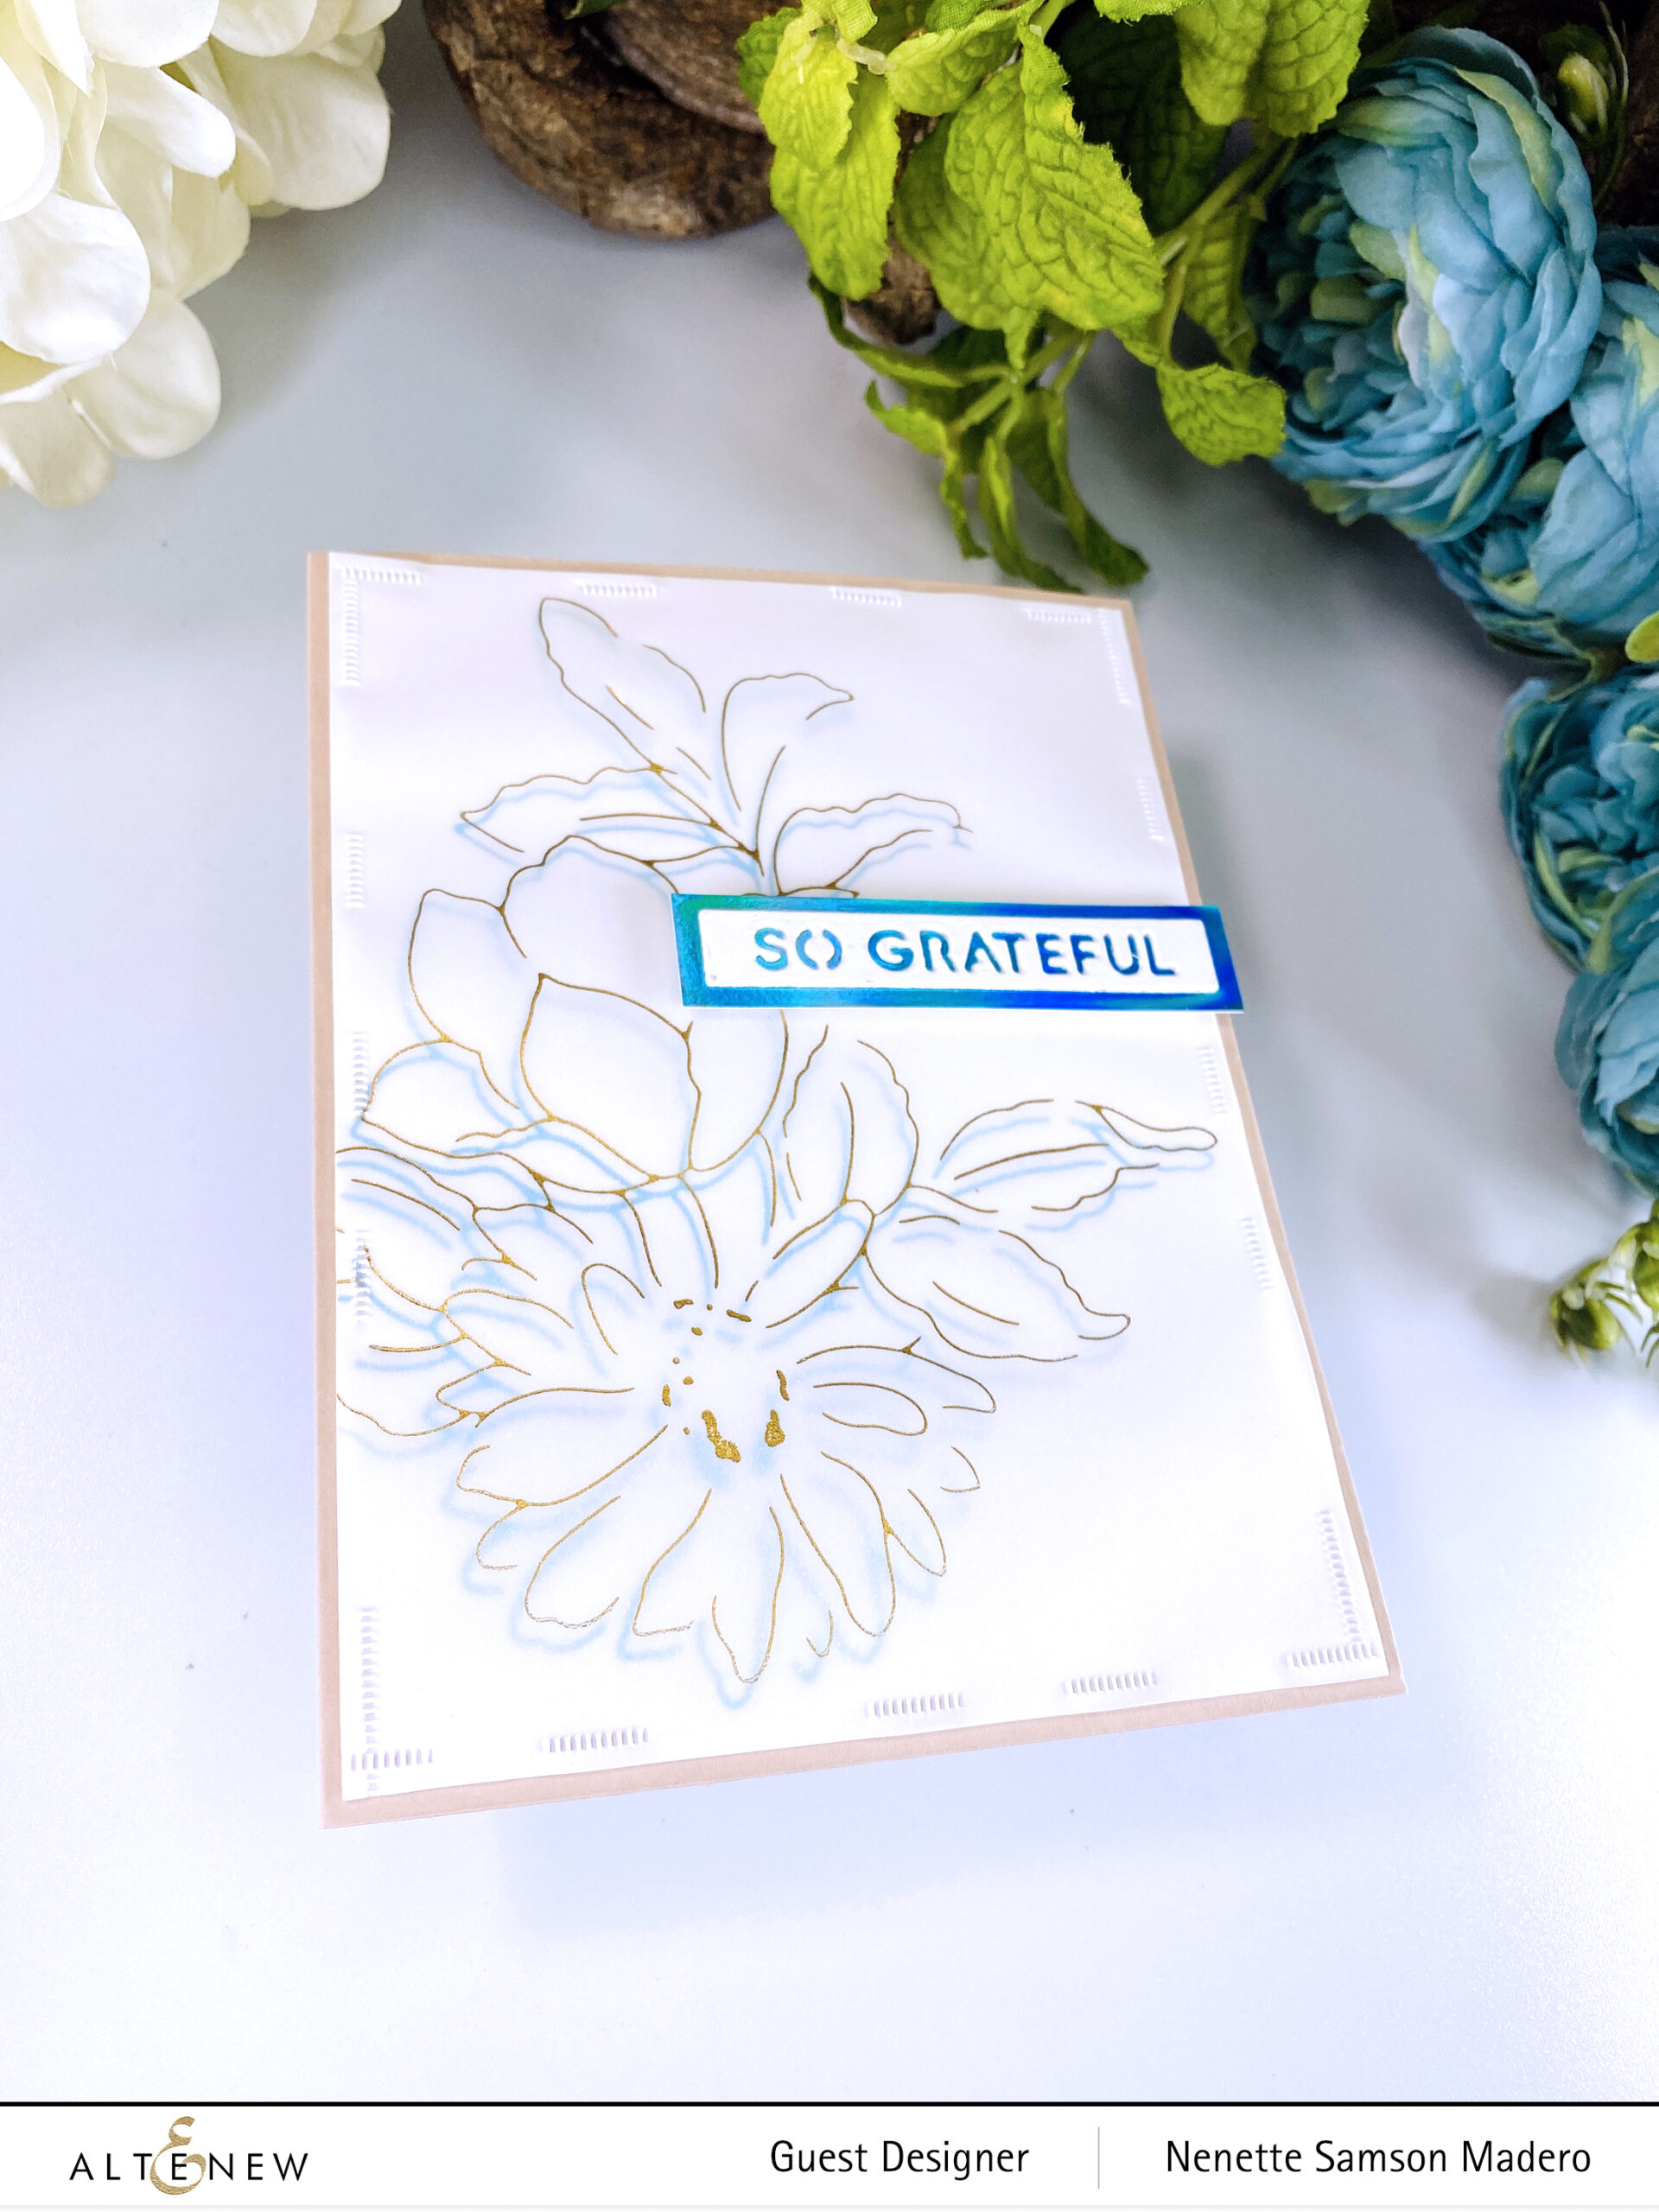
SO GRATEFUL

STEPS:

  1. Hot foil the image from the Delightful Flowers Hot Foil Plate on white cardstock using Teal foil.
  2. Hot foil the same image using Gold on vellum.
  3. Layer the vellum on top of the cardstock but slightly offset the images.
  4. Bind the two layers using a stapleless stapler.
  5. Hot foil a solid color on white cardstock.
  6. Die-cut the sentiment from the Essential Sentiment Strips die and use the sold hot foil as a matting.
  7. Assemble the card.
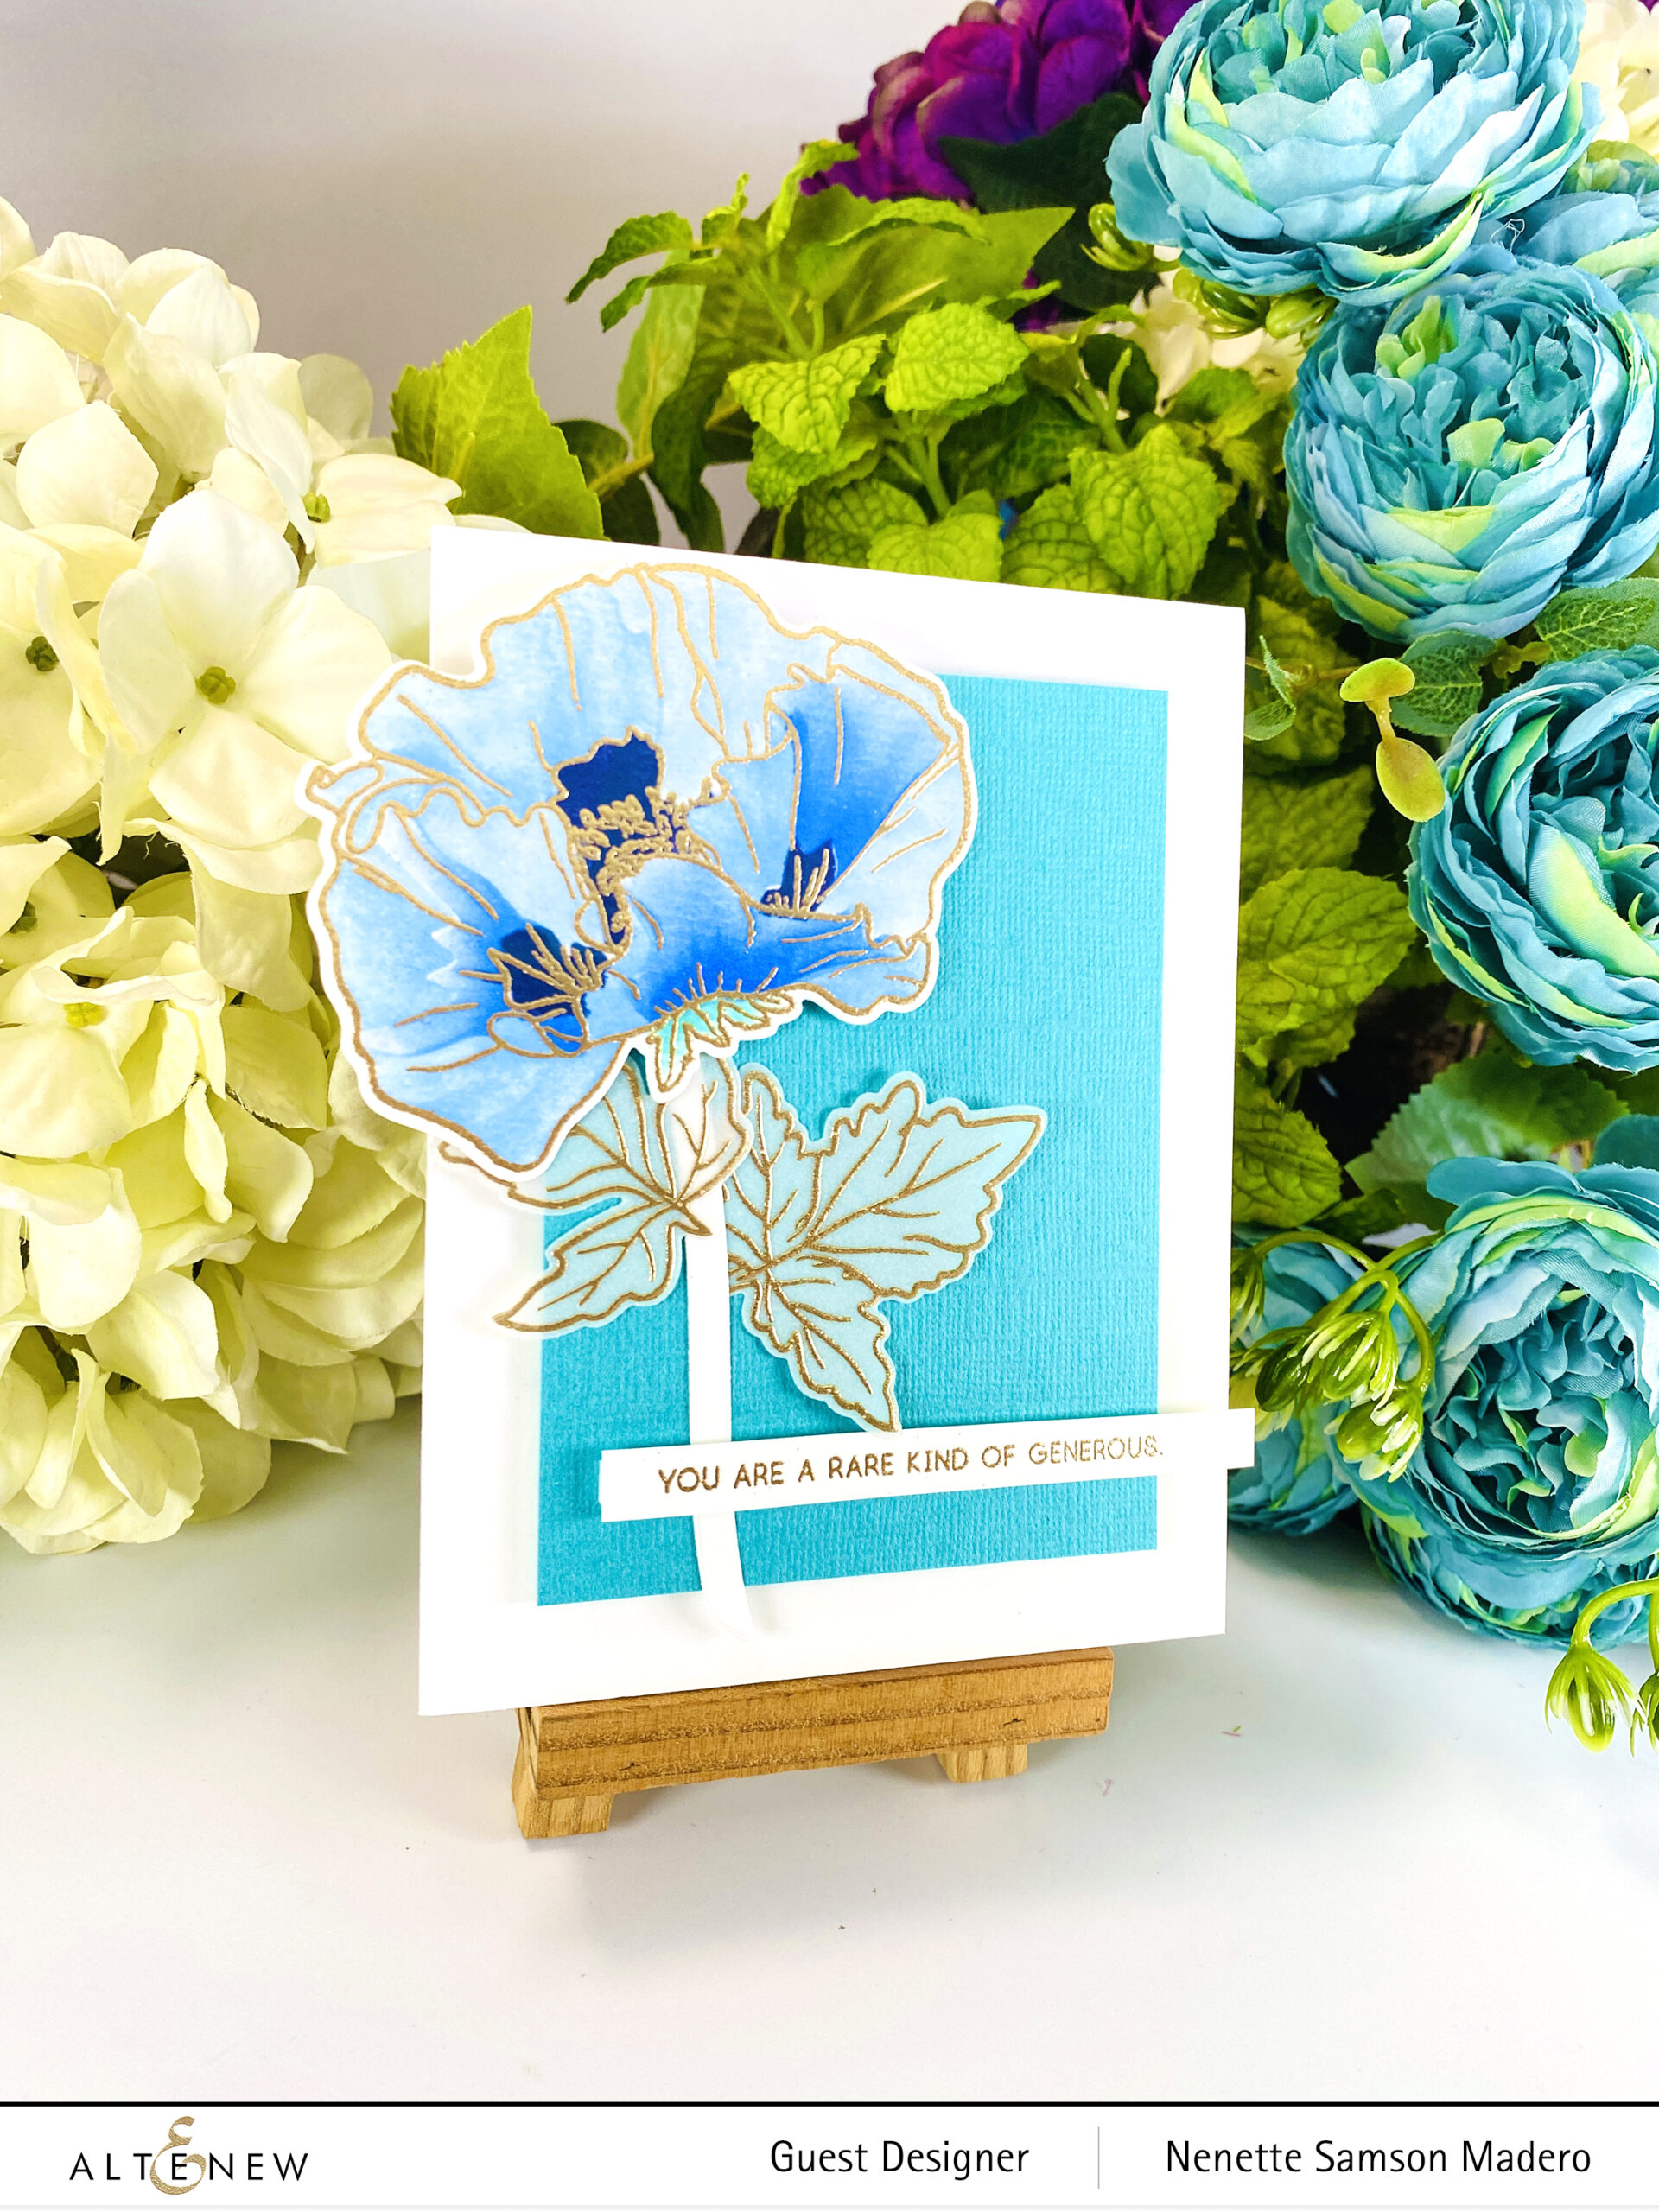
YOU ARE A RARE KIND OF GENEROUS.

STEPS:

  1. Stamp and emboss the image from the Oriental Poppy stamp set.
  2. Use the coordinating stencil set with a detailed blender brush to add colors from the Sea Shore, Glacier Caves, Lapis Lazuli, and Northern Shore dye inks sets.
  3. Die-cut the flower.
  4. Emboss the leaves with Rose Gold embossing powder.
  5. Cut a small panel using teal cardstock.
  6. Stamp and emboss the sentiment.
  7. Assemble the card.
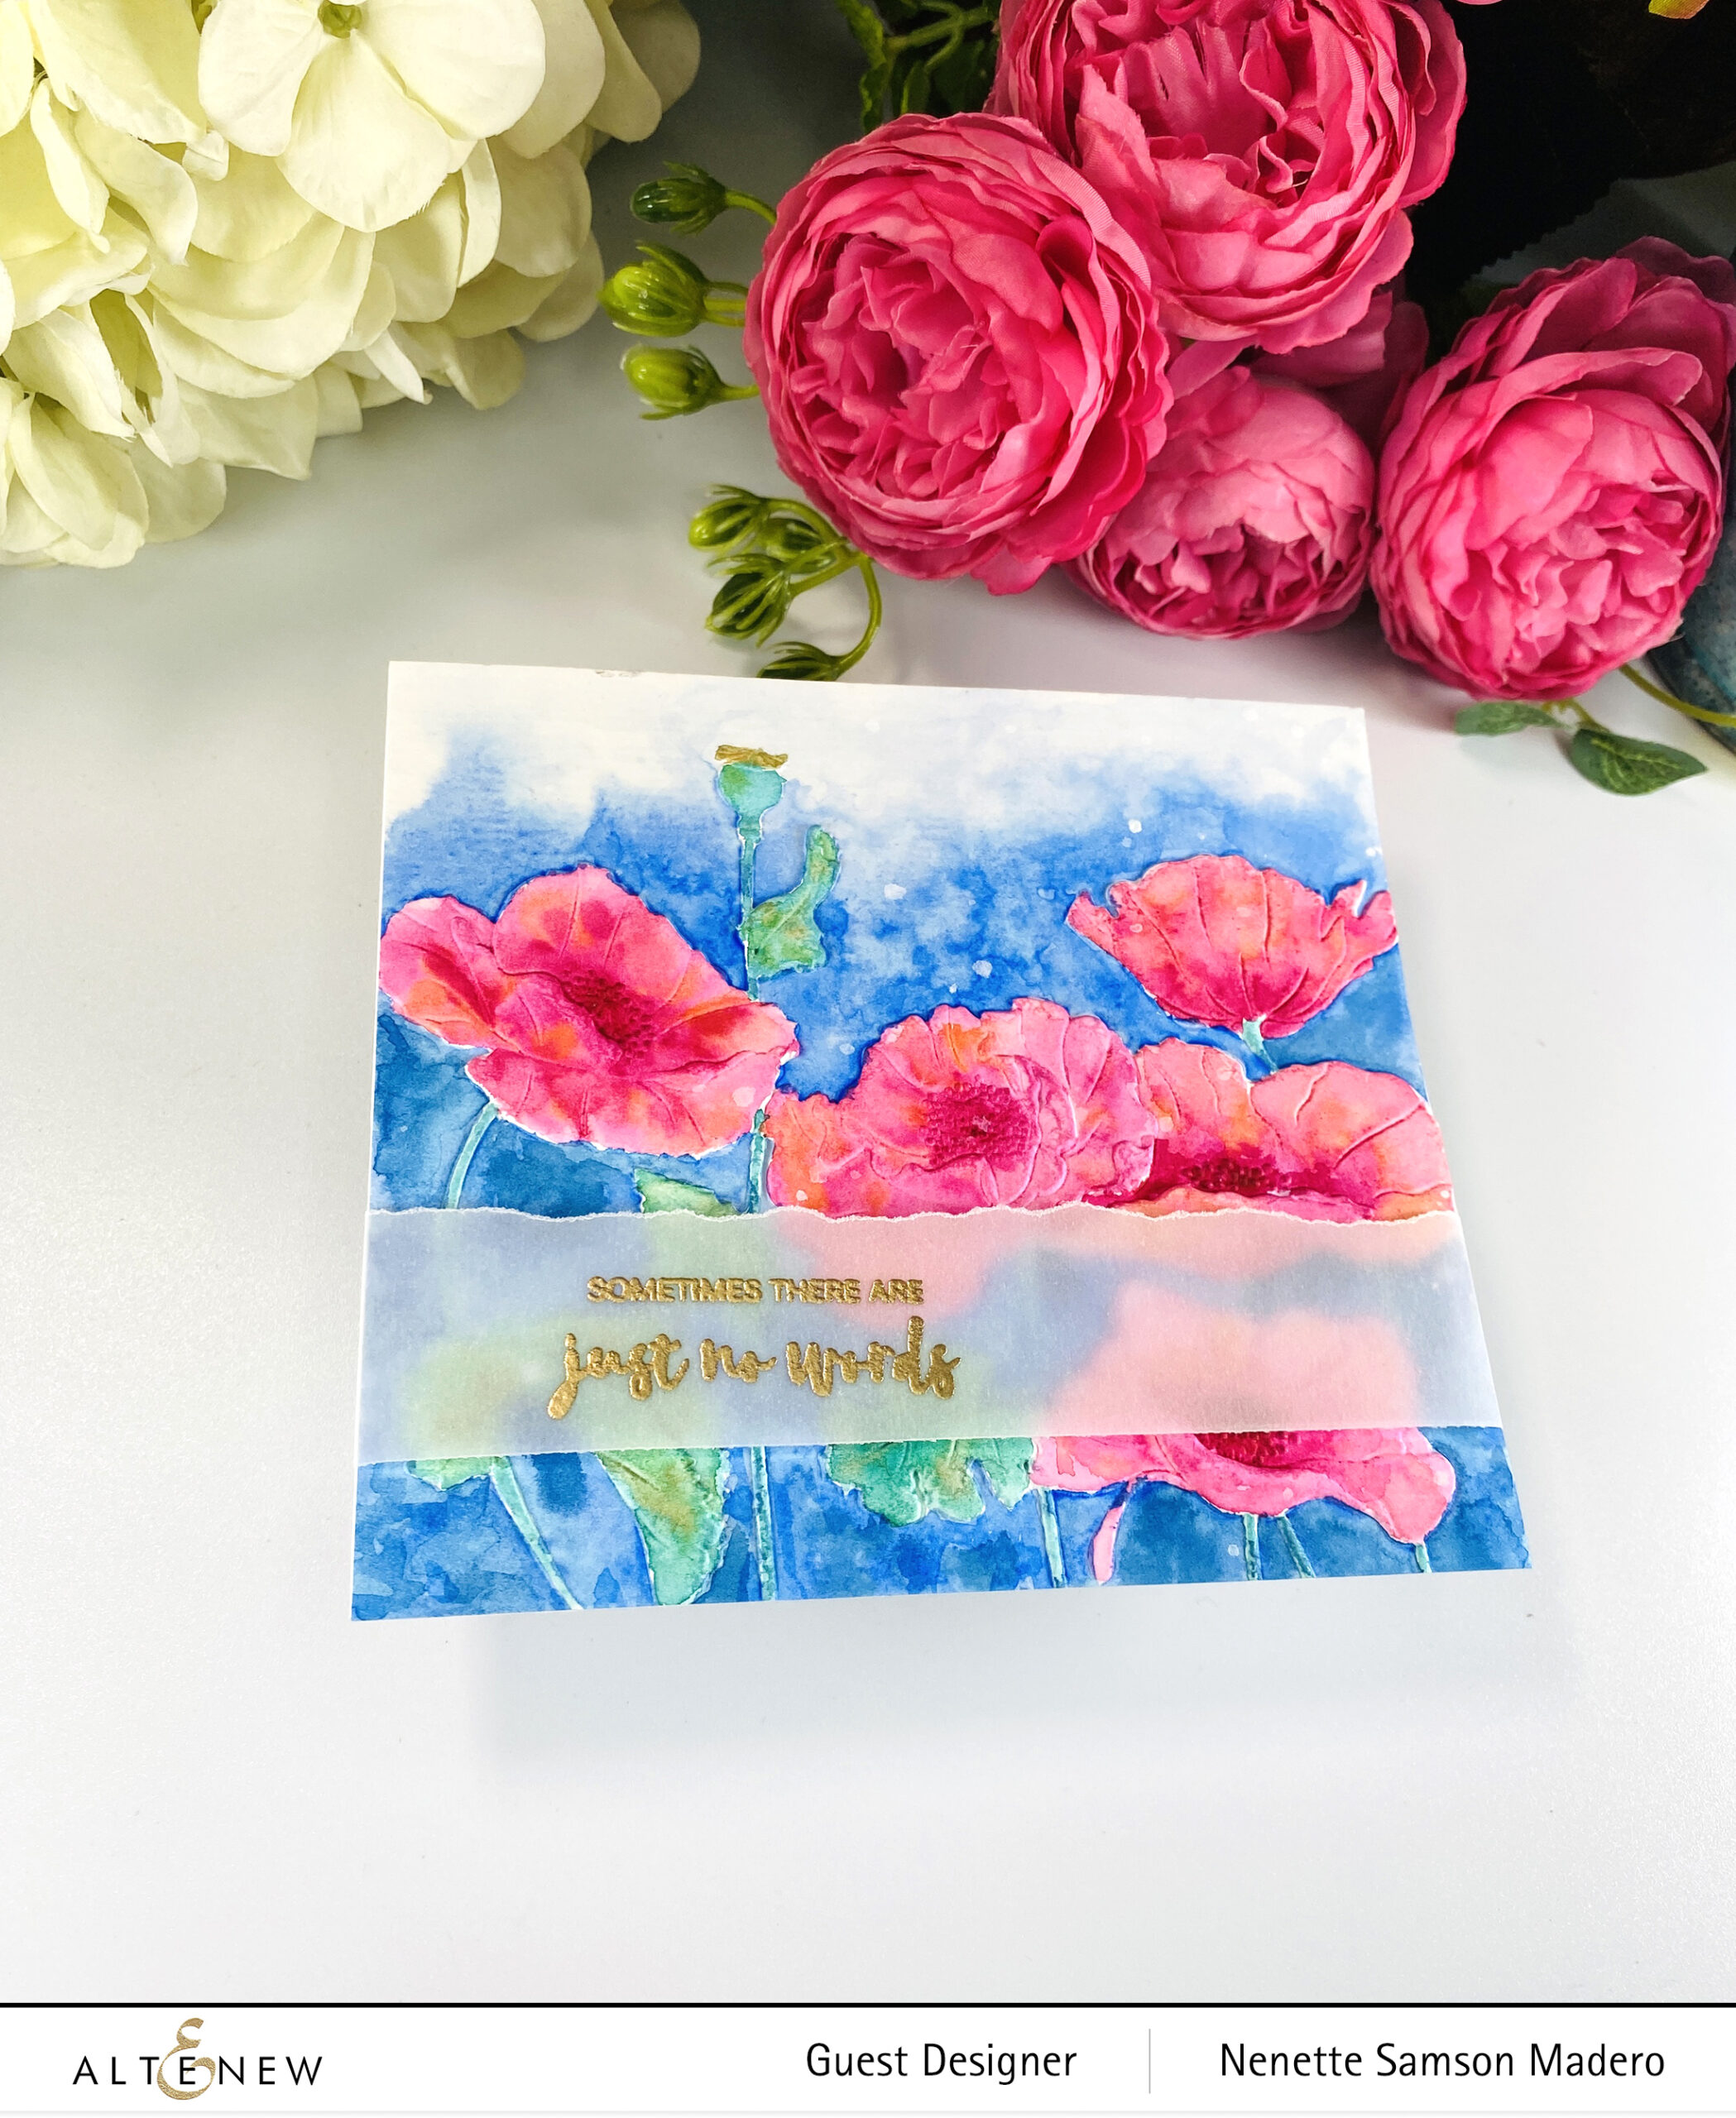
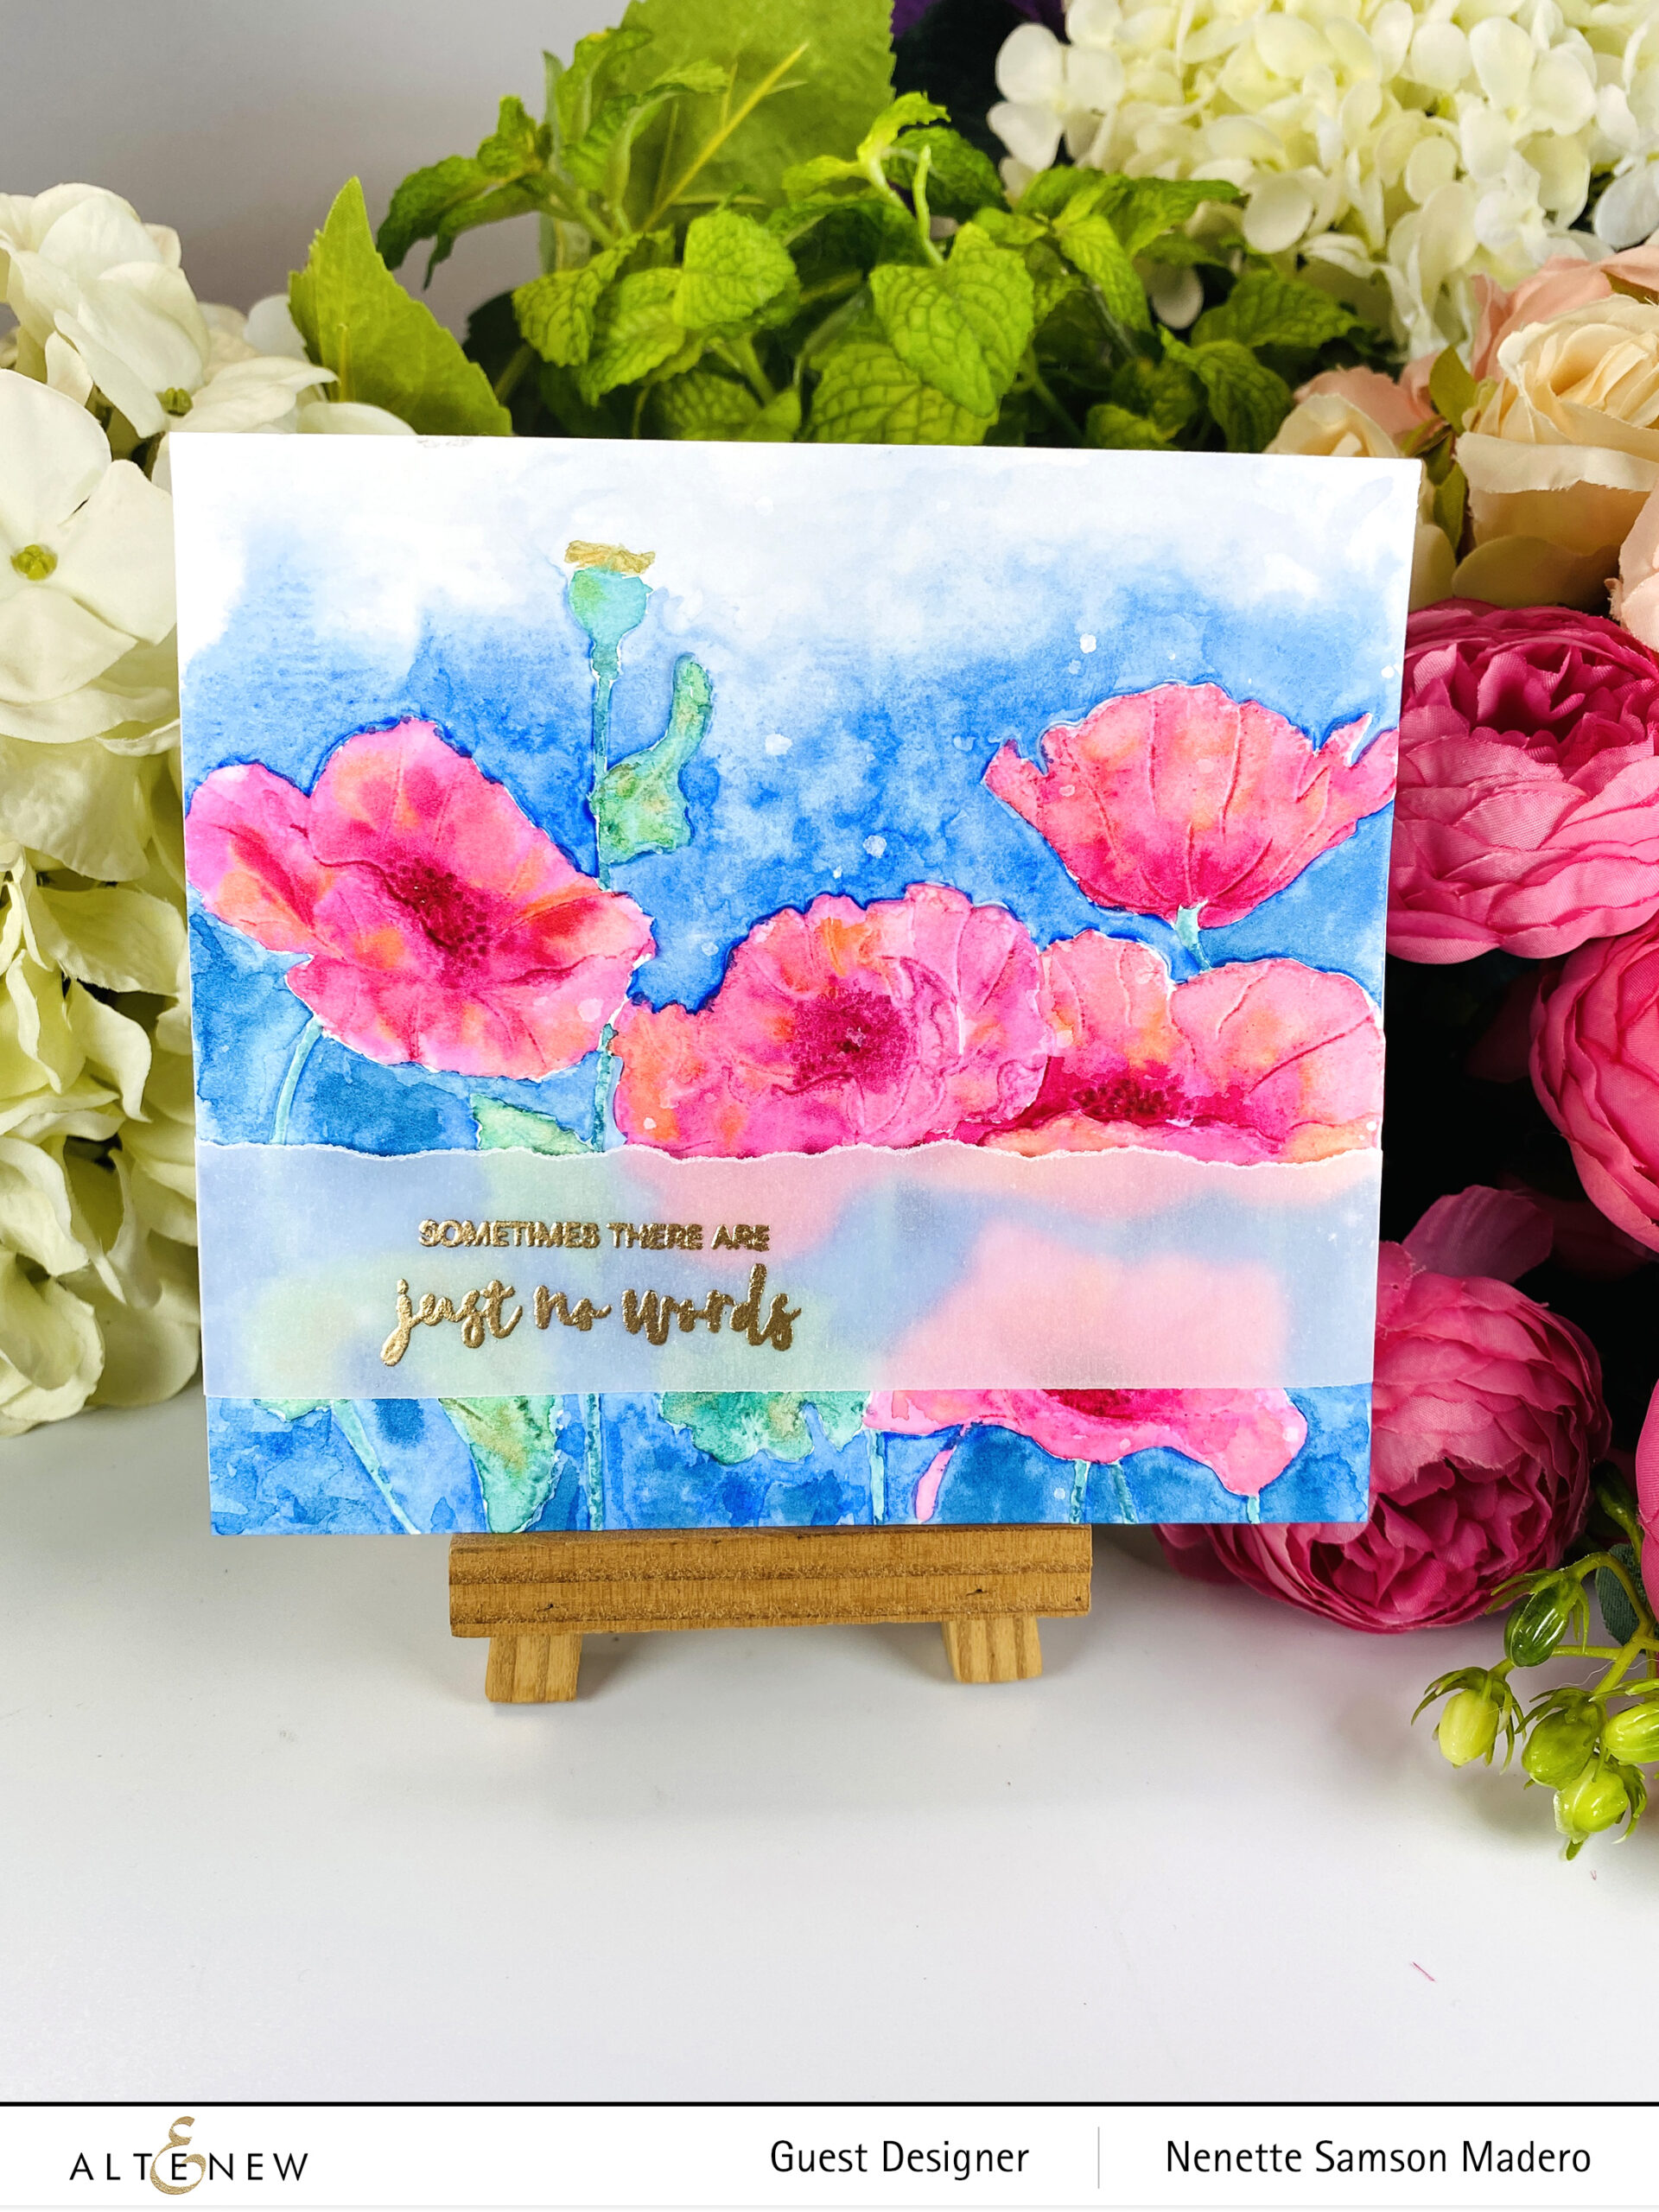
SOMETIMES THERE ARE JUST NO WORDS

STEPS:

  1. Spray the watercolor paper with water and emboss using the Peaceful Poppies 3D embossing folder.
  2. Watercolor the panel using the Artist Watercolor 24 pan set.
  3. Stamp and emboss the sentiment on vellum with Rose Gold embossing powder.
  4. Add splatters using white acrylic paint.
  5. Assemble the card.

I used the embossed images as a guide on where to add the color. But since I wanted it to be a loosely colored panel, I didn’t mind if the edges were not as crisp or if the colors merged. Just make sure to mist the watercolor paper before embossing. Misting the paper will prevent cracking and give it a more crisp look.

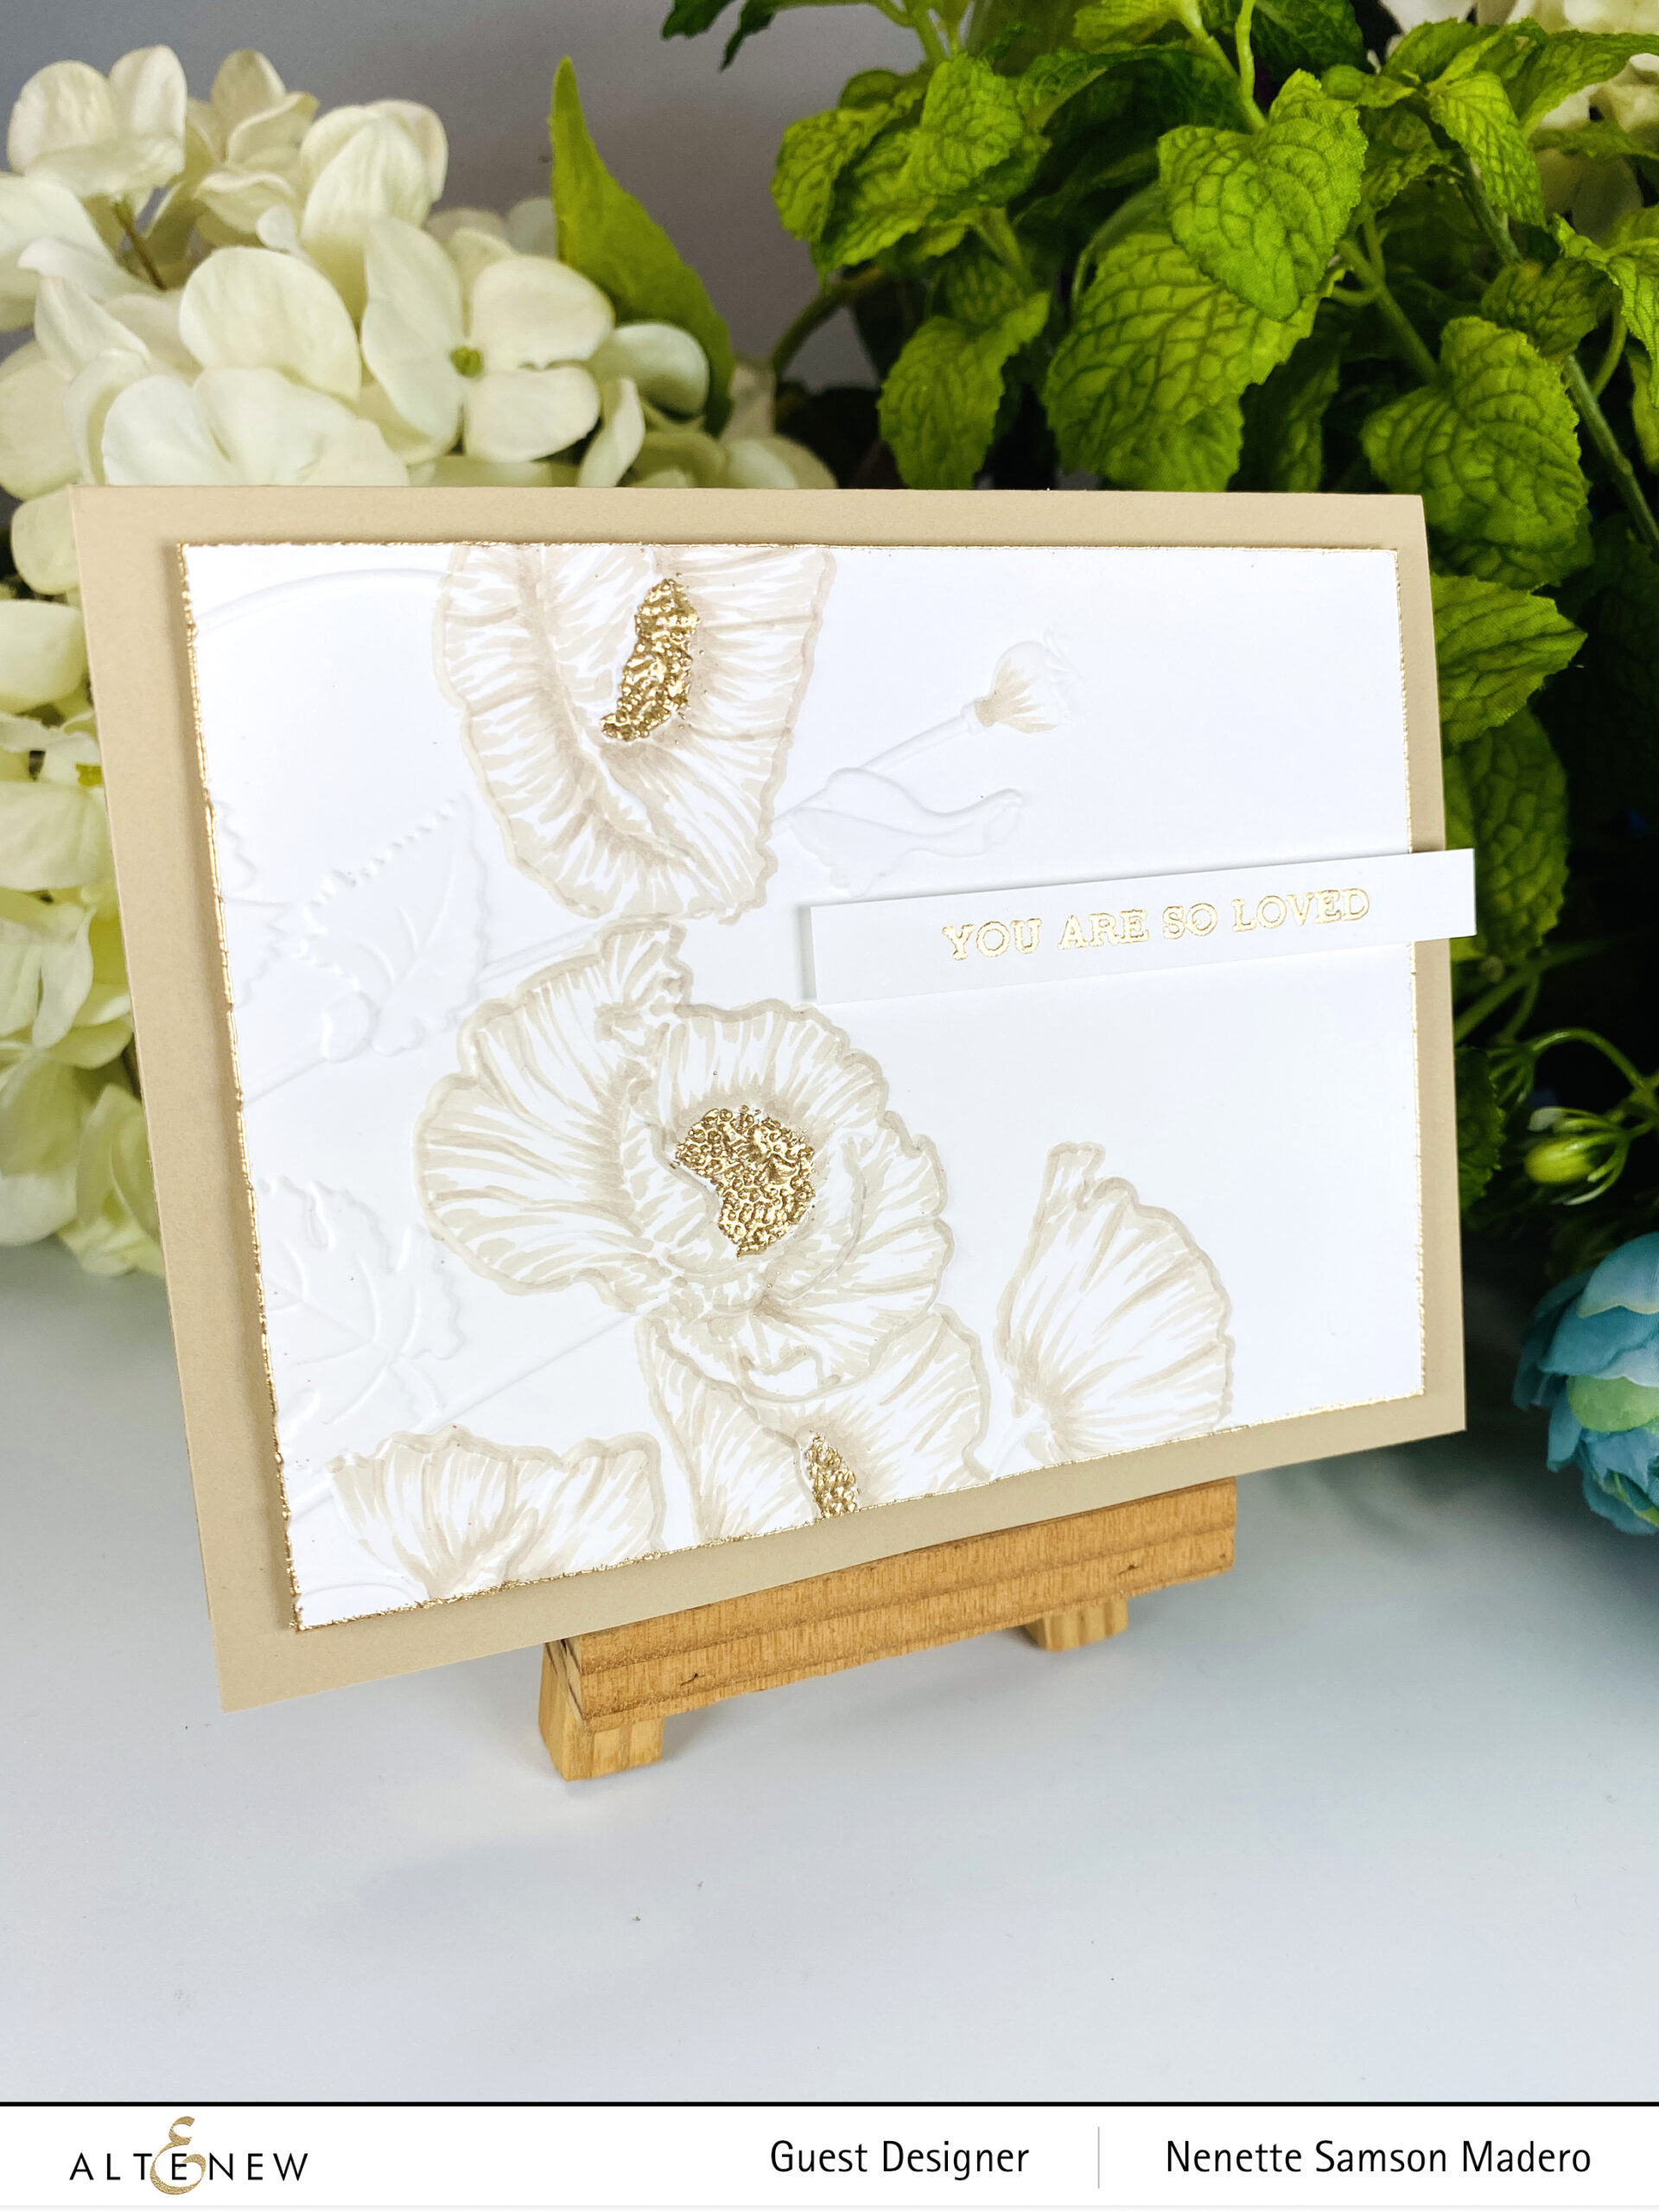
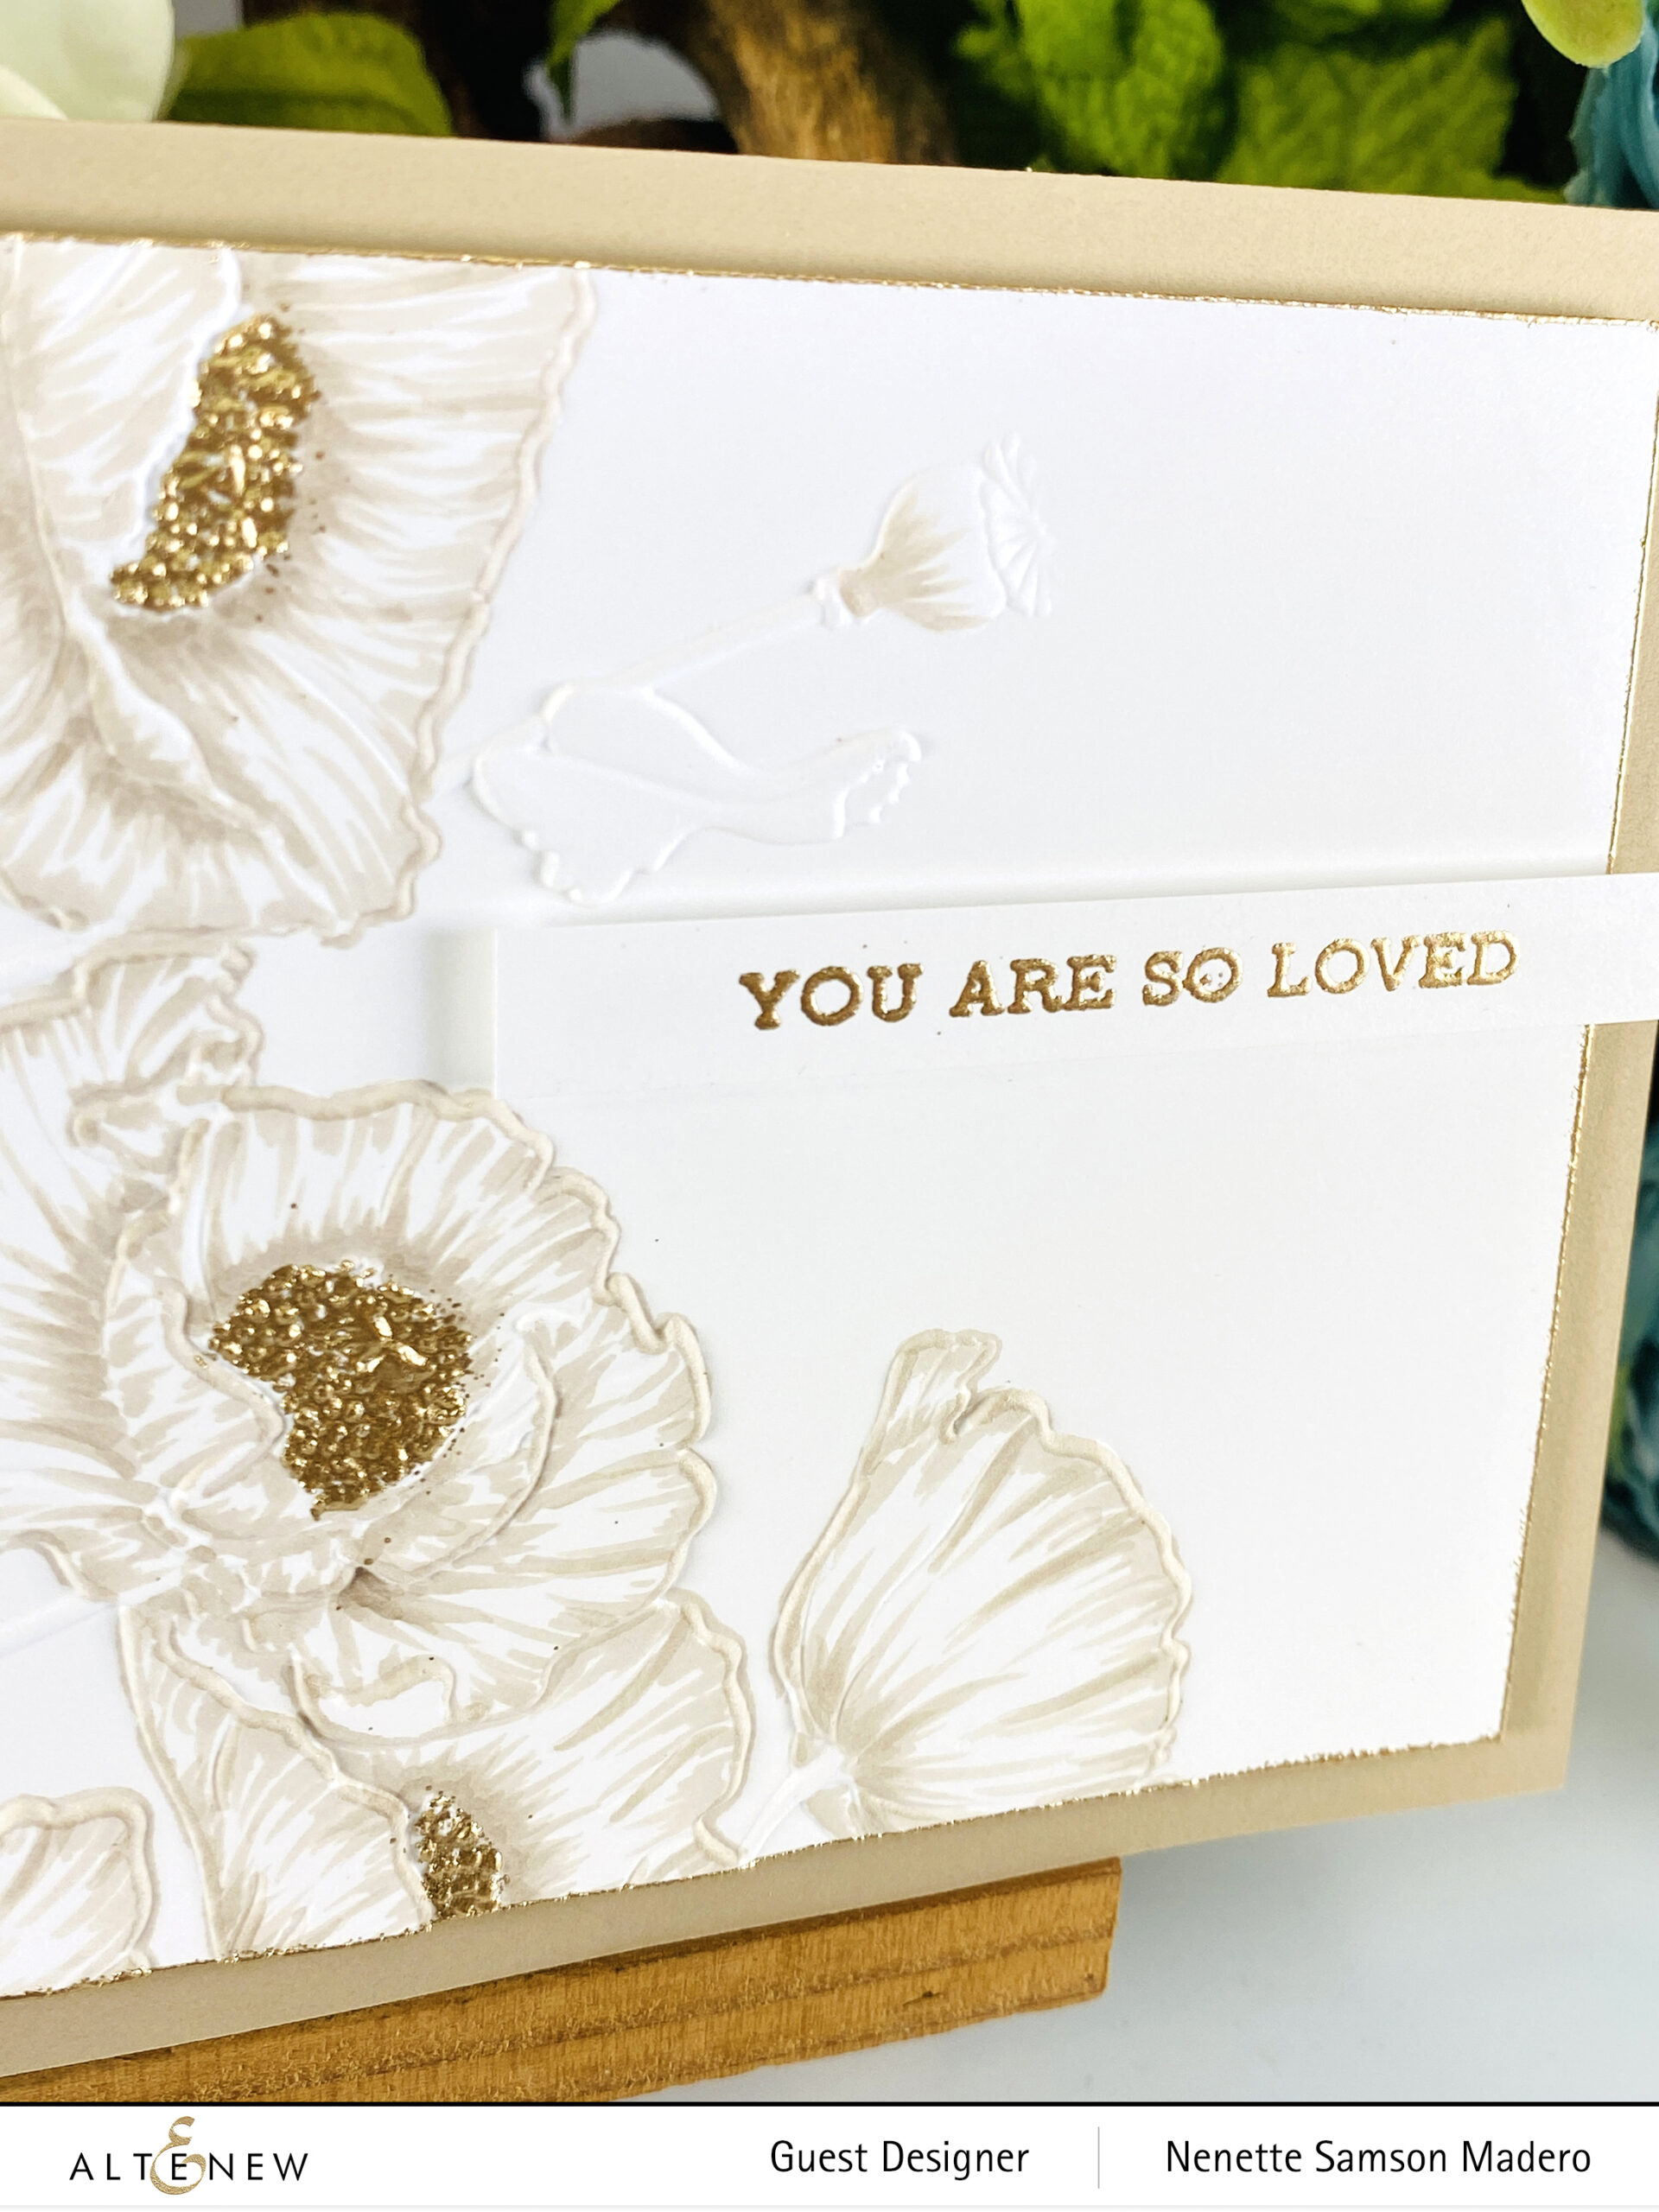
YOU ARE SO LOVED

STEPS:

  1. Mist the paper and emboss it with the Peaceful Poppies 3D embossing folder.
  2. Color the petals with Morning Frost alcohol marker.
  3. Emboss the sentiment, centers, and edges using Rose gold embossing powder.
  4. Assemble card with foam squares.

I wanted to create a CAS card using this beautiful Peaceful Poppies 3D embossing folder and keep the coloring simple and muted. The embossed centers give the card a nice contrast.

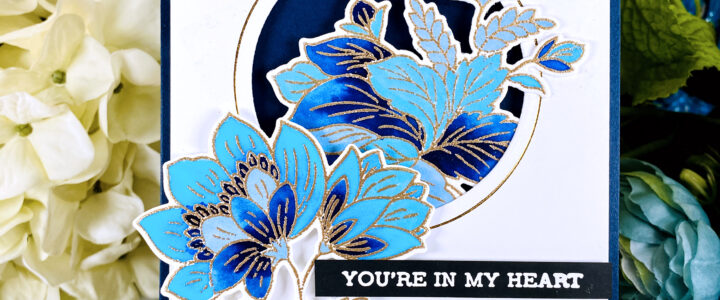
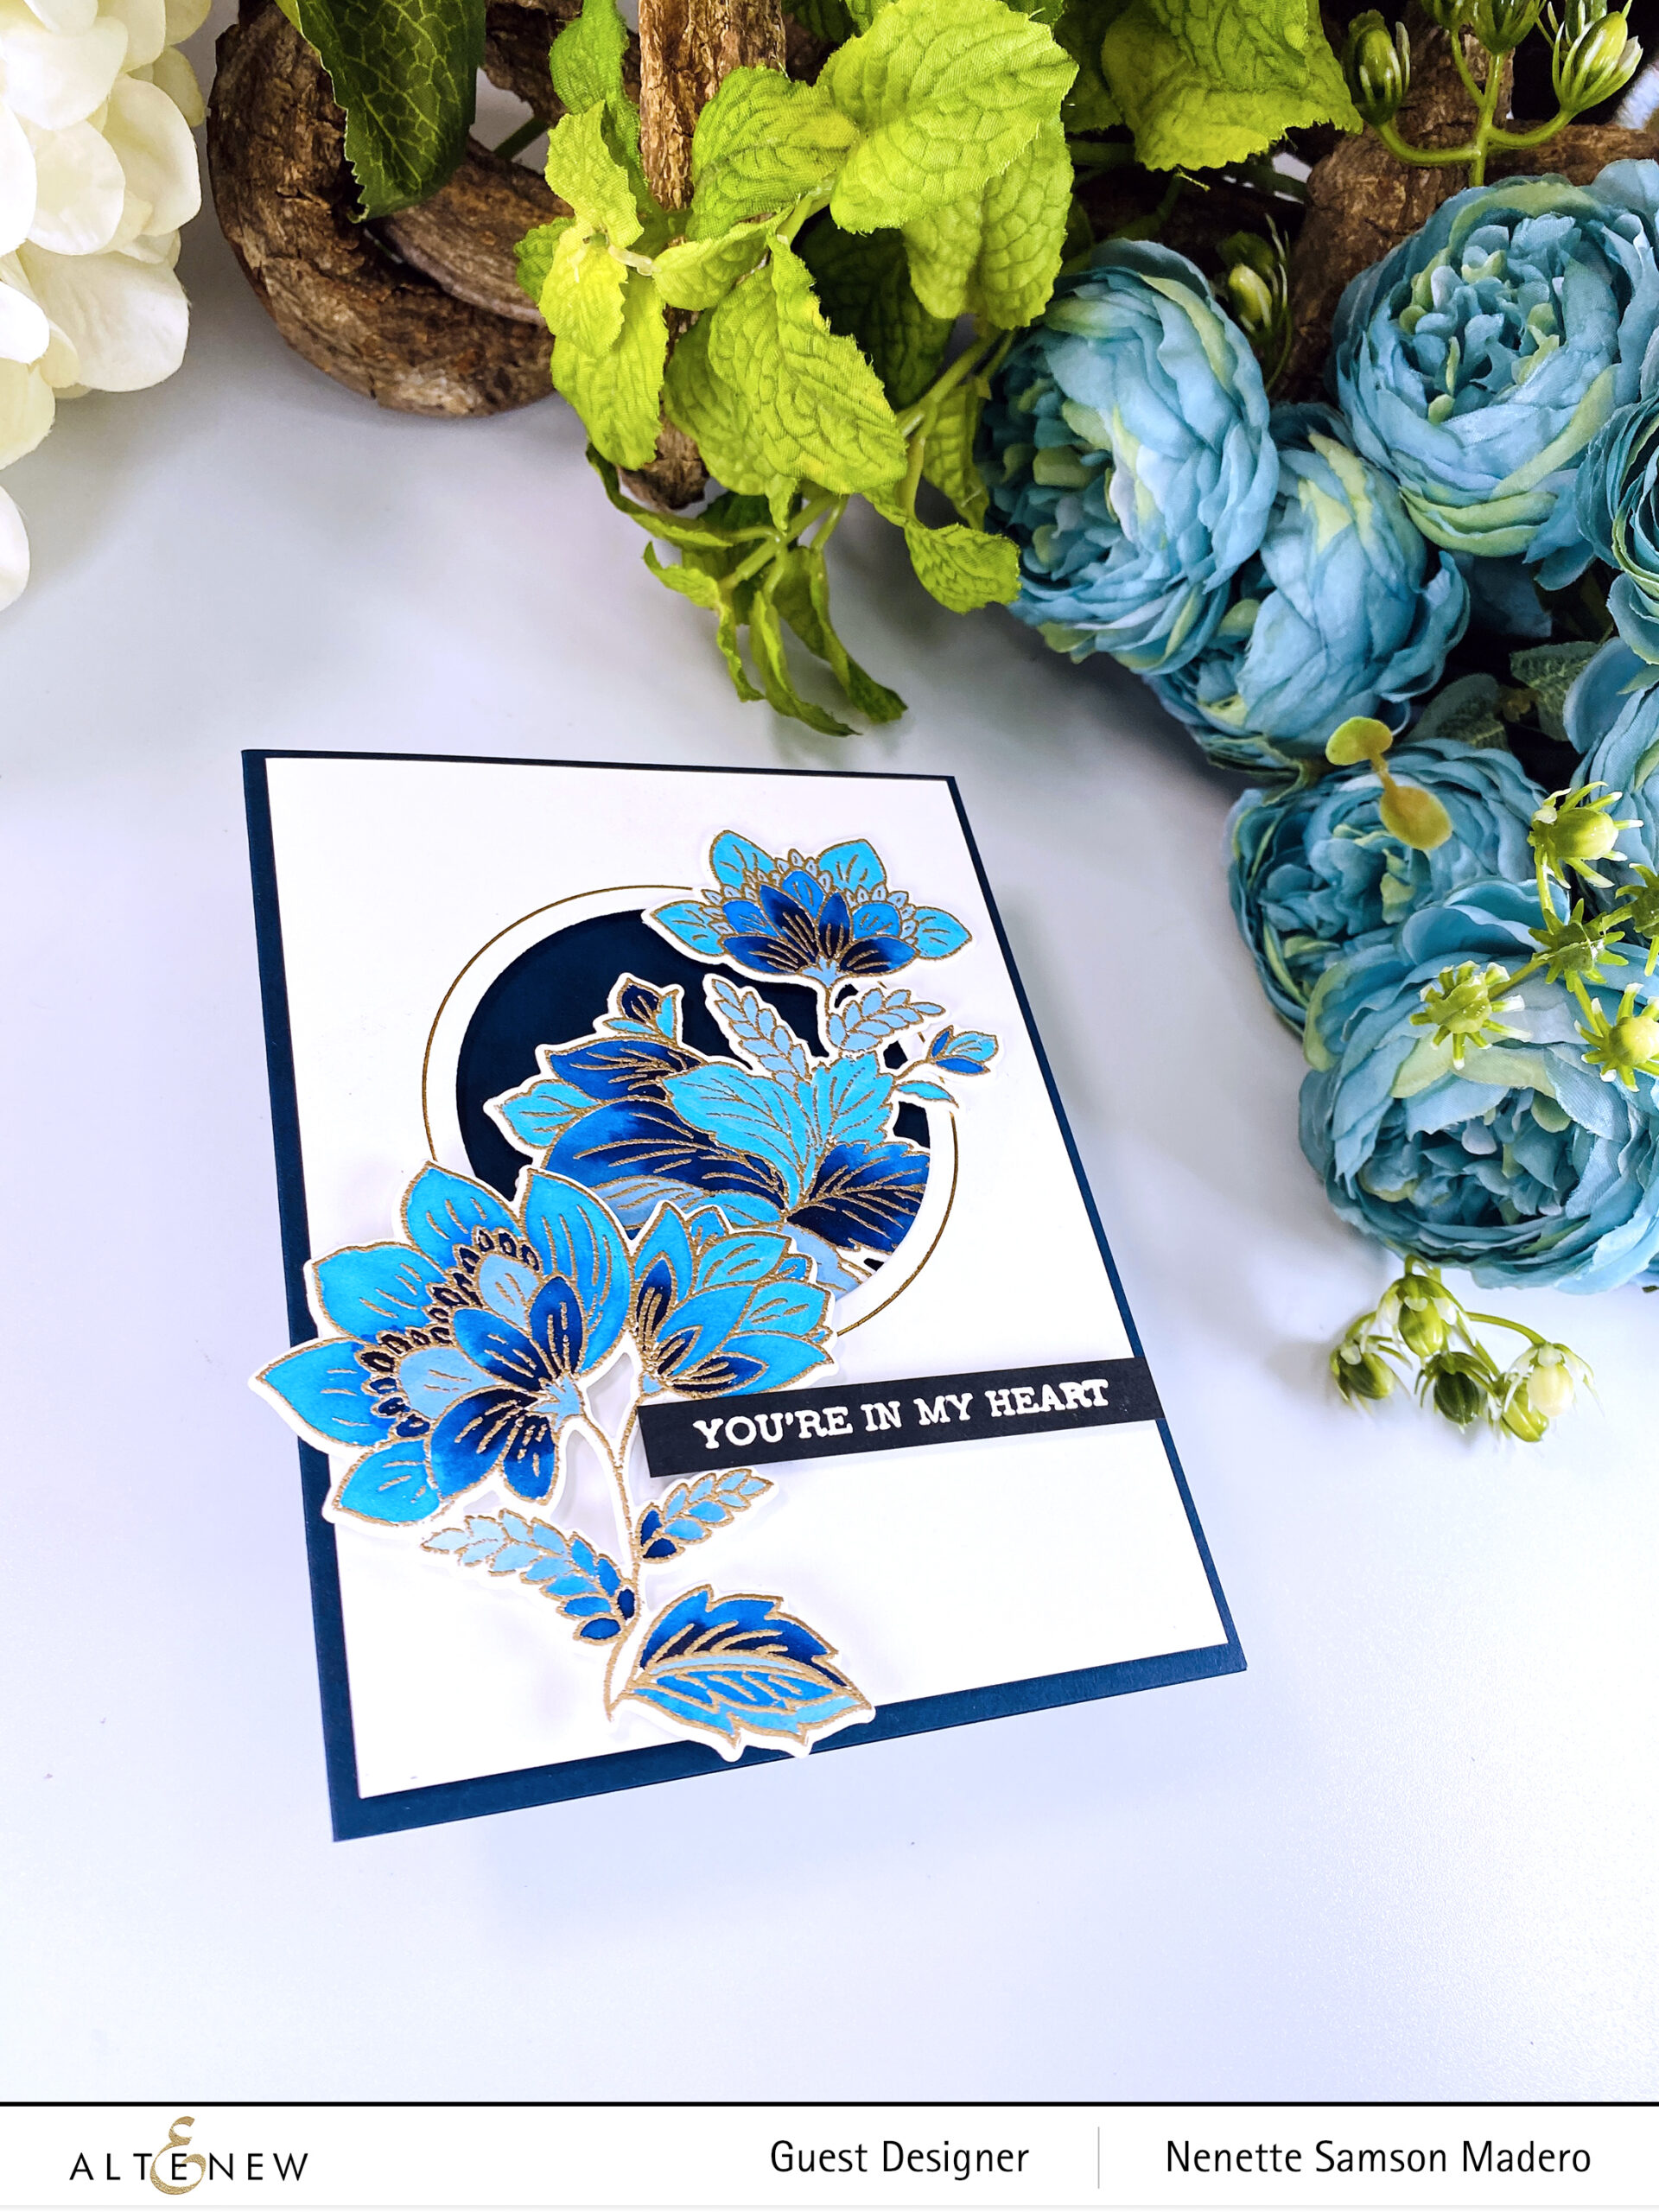
YOU’RE IN MY HEART

STEPS:

  1. Hot foil white cardstock using the Fine Rings Circles Hot Foil Plate.
  2. Die-cut using the smaller circle from the Fine Rings Circle Dies to create a window.
  3. Stamp and emboss the images from the Persian Motifs stamp set using Rose Gold embossing powder.
  4. Color the images using watercolor and alcohol markers.
  5. Die-cut the images with the Persian Motif coordinating dies.
  6. Assemble the card with foam squares and adhesive.

The Persian Motifs Stamp is one of my all-time favorite stamp sets. I love how beautiful the images are and how many different ways you can color them! The circle hot foil plate gives the card an elegant finish.

I have a newfound appreciation for white space. It draws attention to where it’s needed most and adds a visual rest. White space doesn’t necessarily have to be white– it can be any color or pattern as long as there’s nothing on it. (Thanks for this info, Cathy Z.!)

GIVEAWAYS

$300 in total prizes! To celebrate this release, Altenew is giving away a $50 gift certificate to 2 lucky winners and a $25 gift certificate to 8 winners! Please leave a comment on the Altenew Card Blog and/or each designer’s blog post on the blog hop list below by 06/27/2022 for a chance to win. 

Altenew will draw ten random winners from the comments left on each stop of this blog hop and announce the winners on the Altenew Winners Page on 06/29/2022.

Next up: Reiko Tsuchida. (Due to strict restrictions in Japan, you might not be able to leave comments on her blog.) Thank you so much for dropping by! Please don’t forget to leave a comment to get a chance to win a prize from Altenew. If you liked what you saw, I hope you can give me a follow on my Youtube and Instagram channels (links are located below). Thanks for dropping by, and happy crafting! đź’•