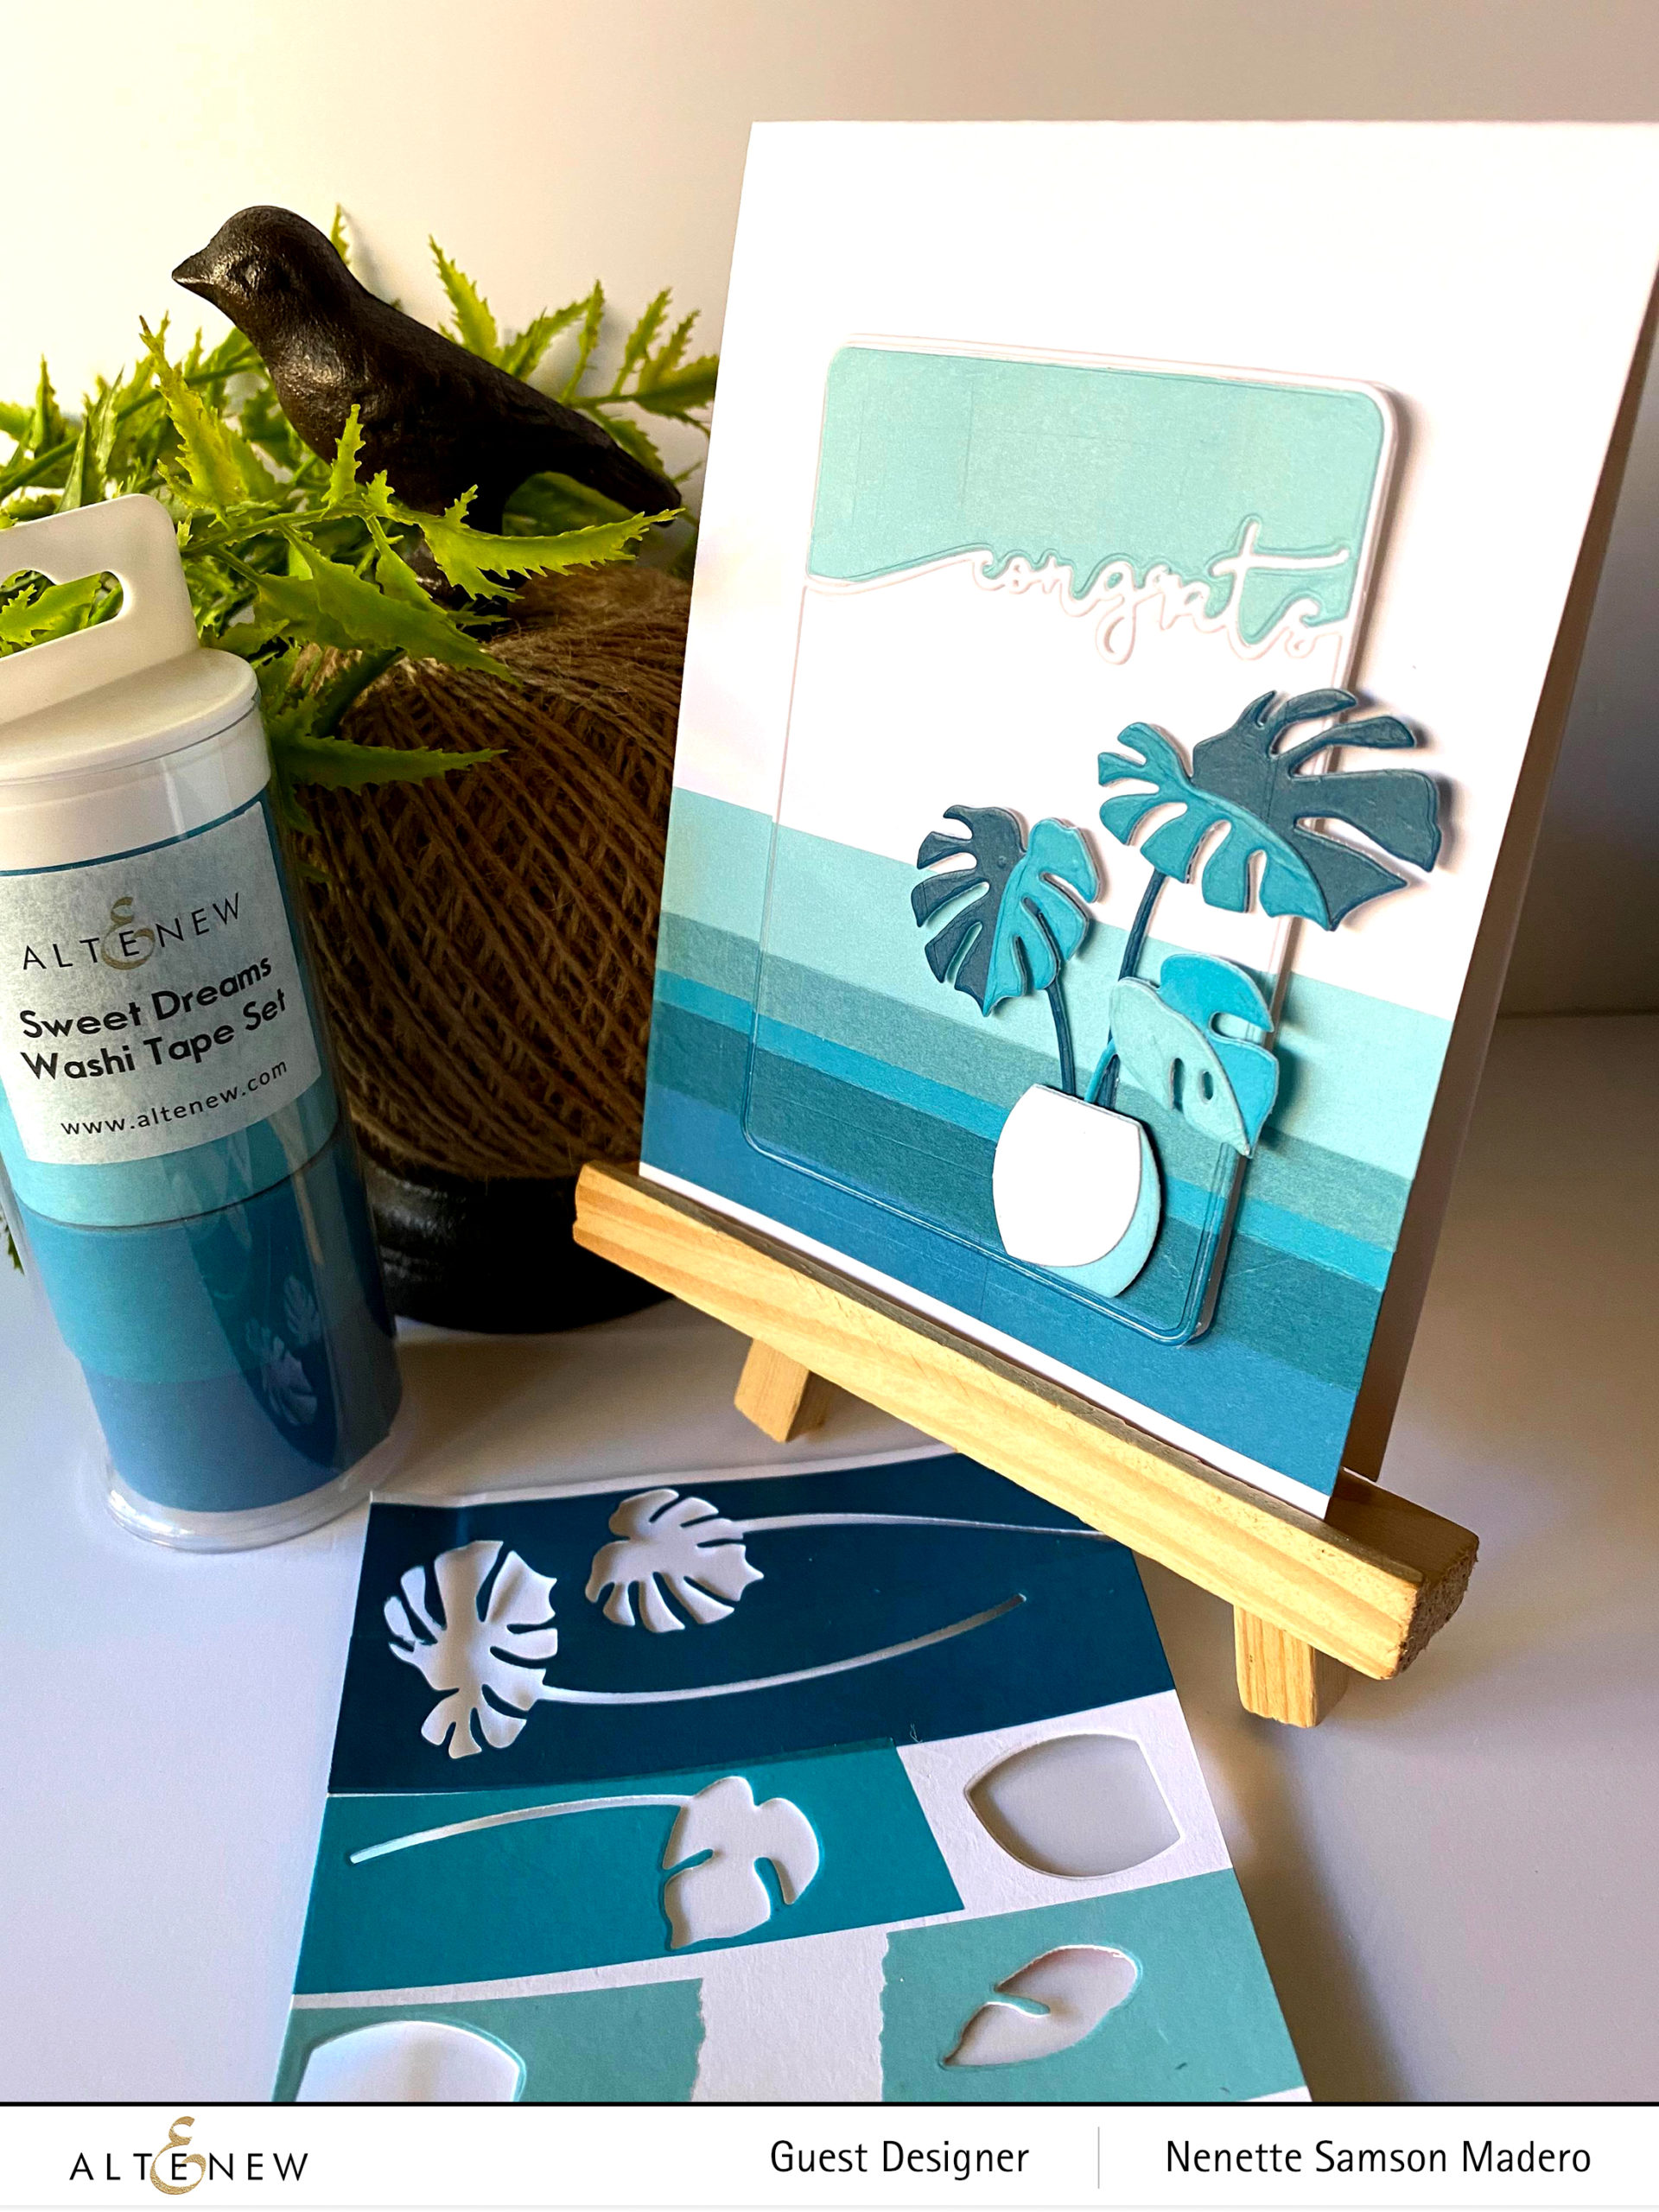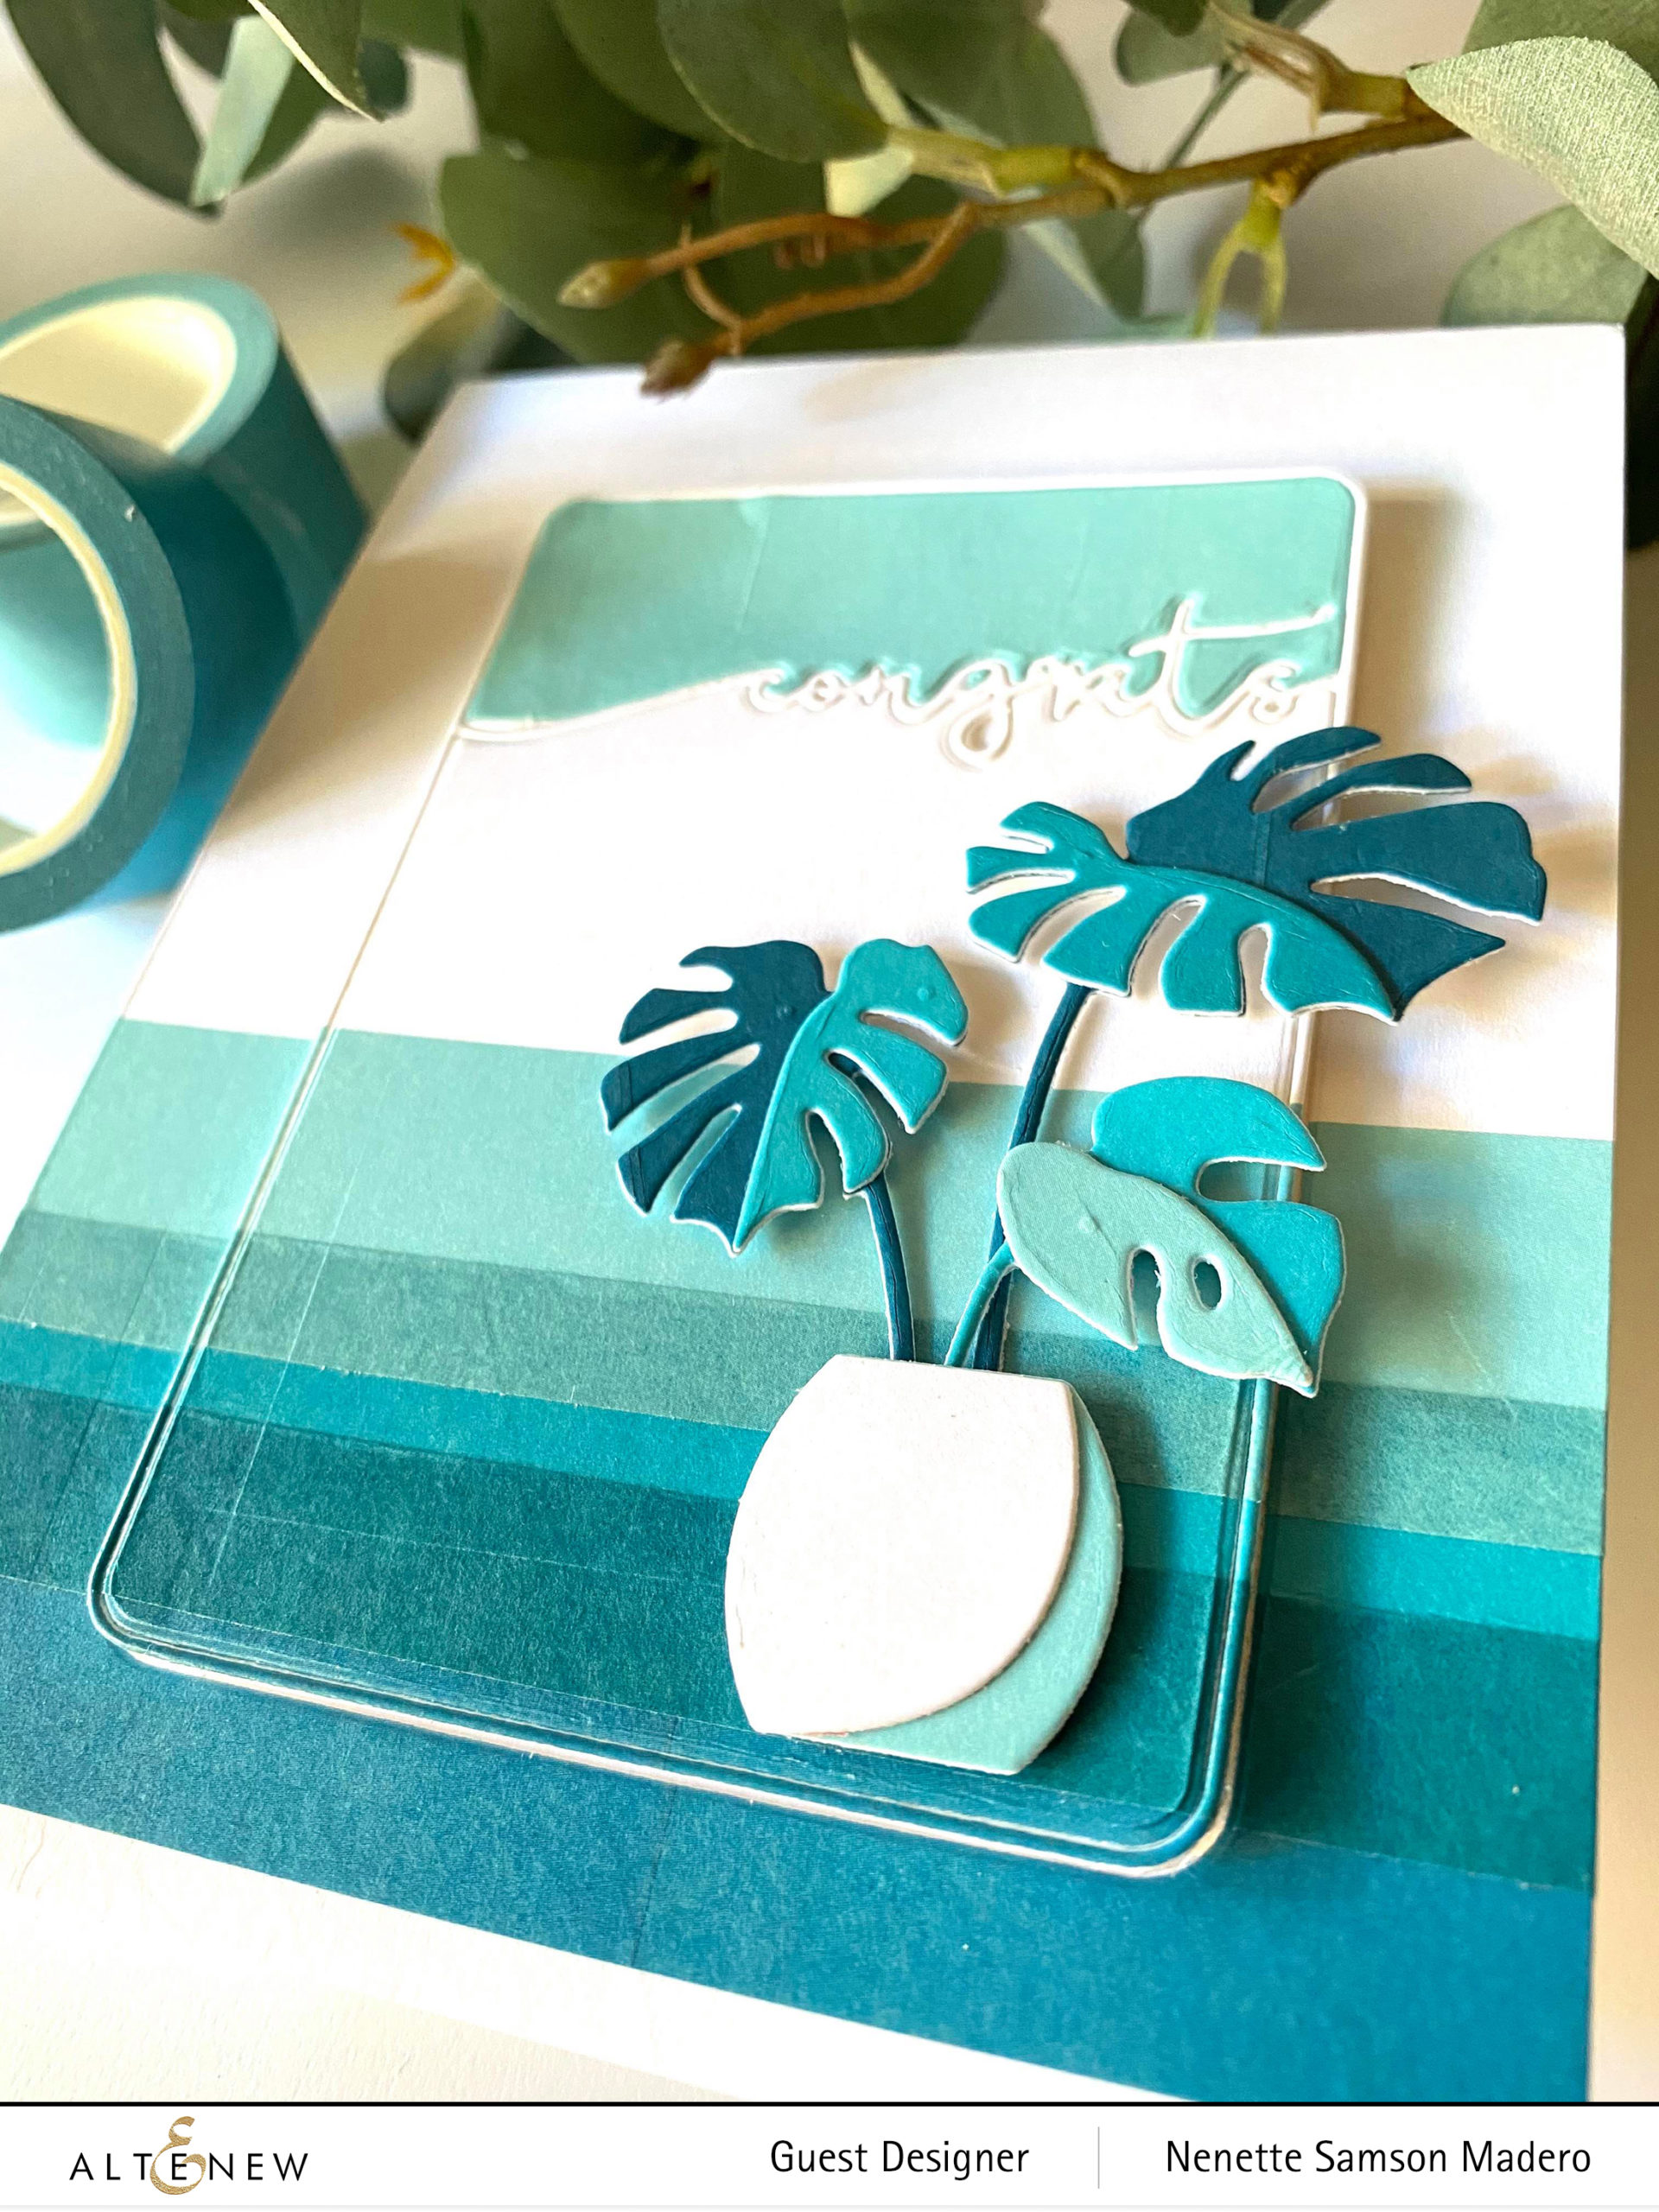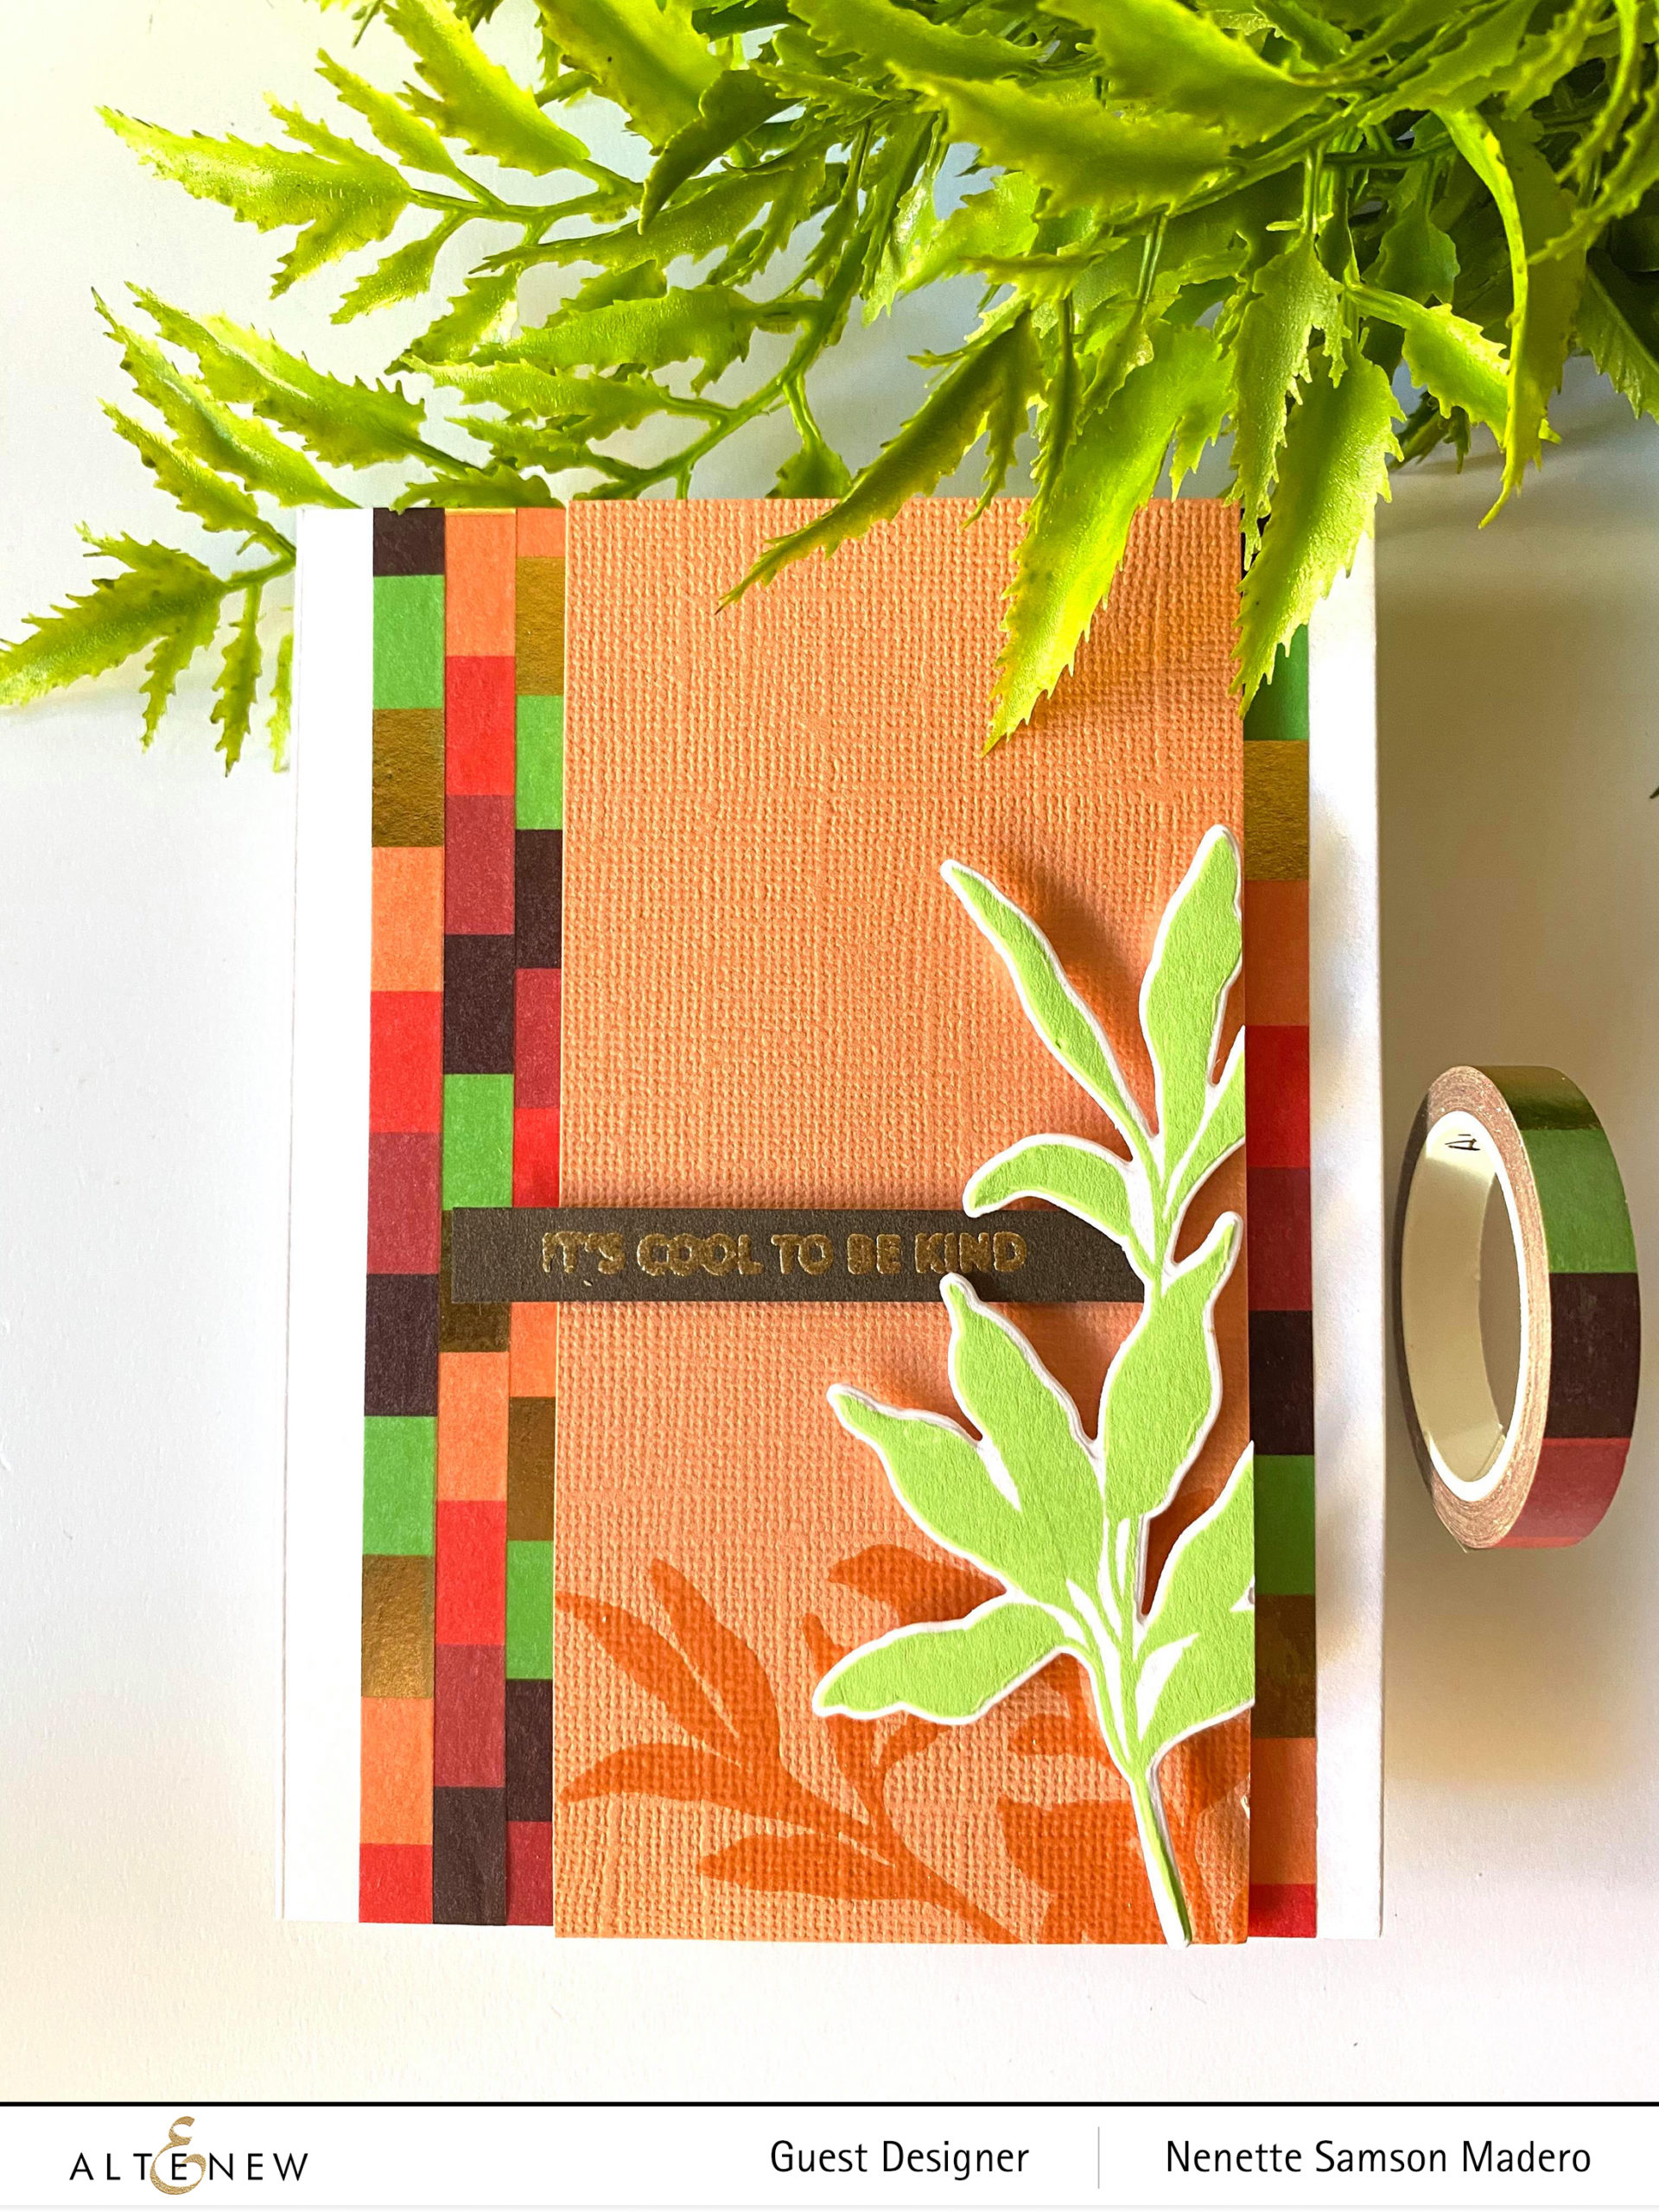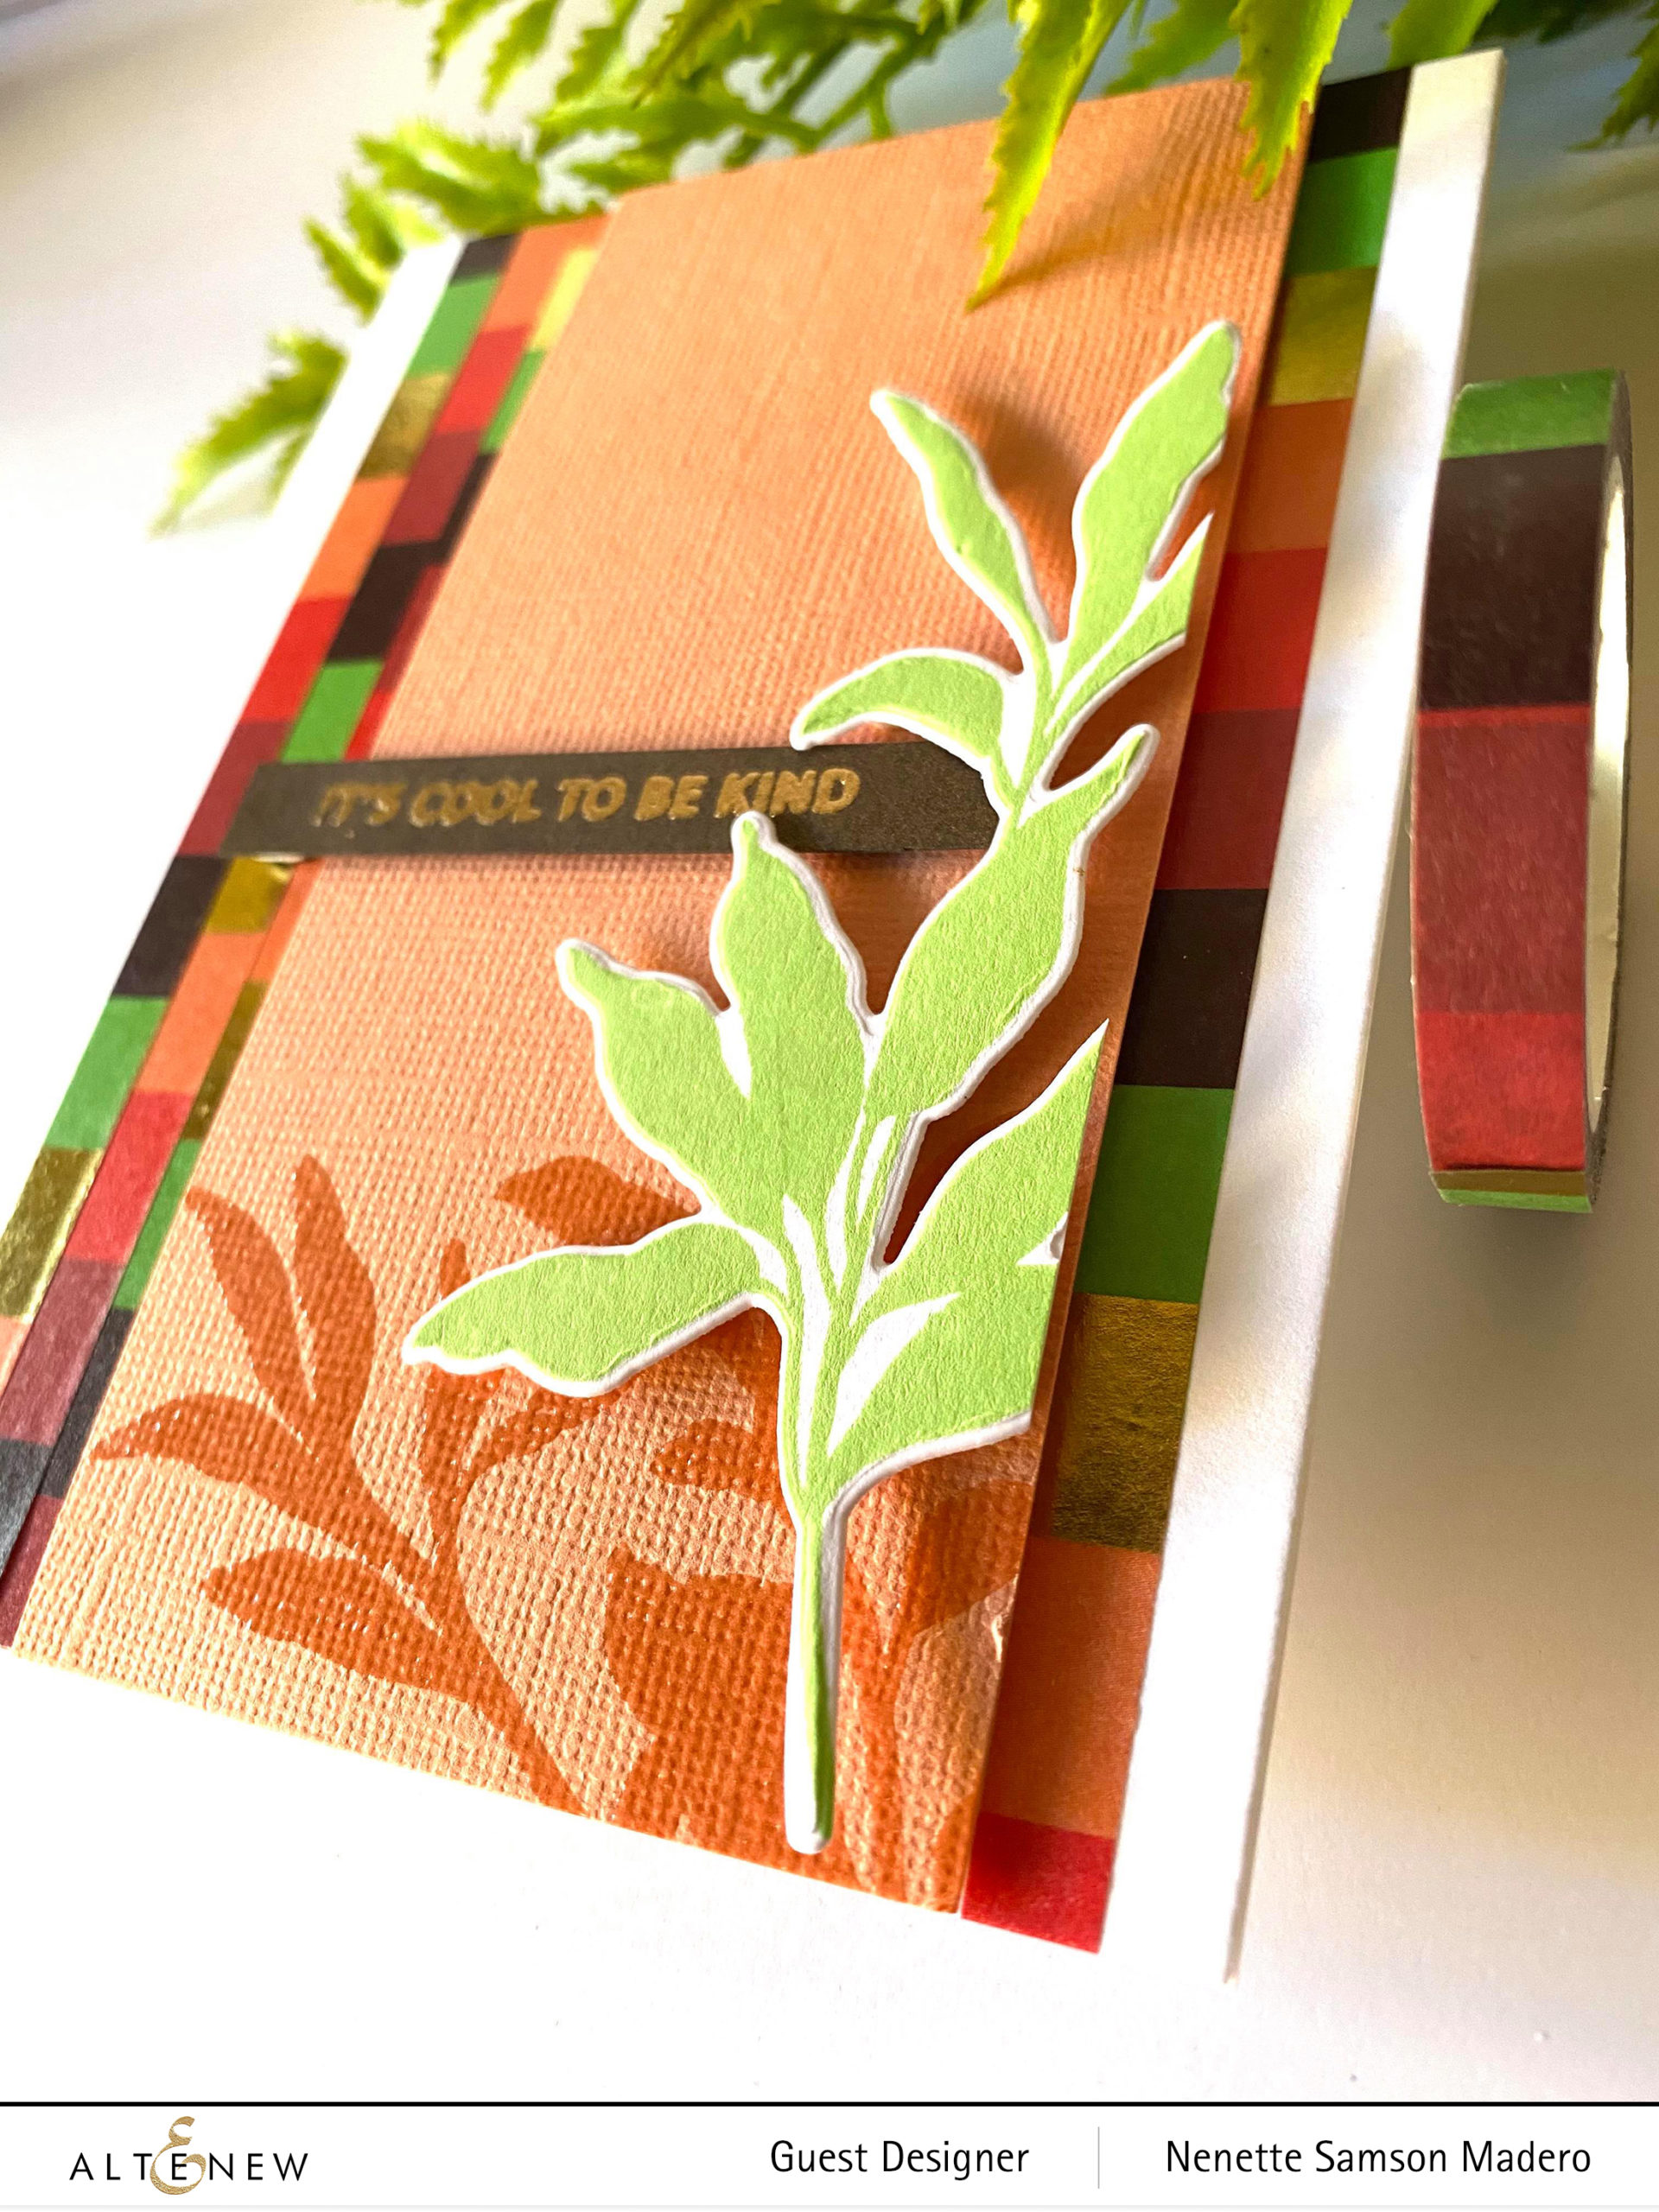
Hello Altenew friends!
I’m so excited to be a part of this amazing blog hop celebrating the October 2025 release of Altenew. There’s so much inspiration waiting for you along the way, so be sure to check out the full list of participants below and hop along!
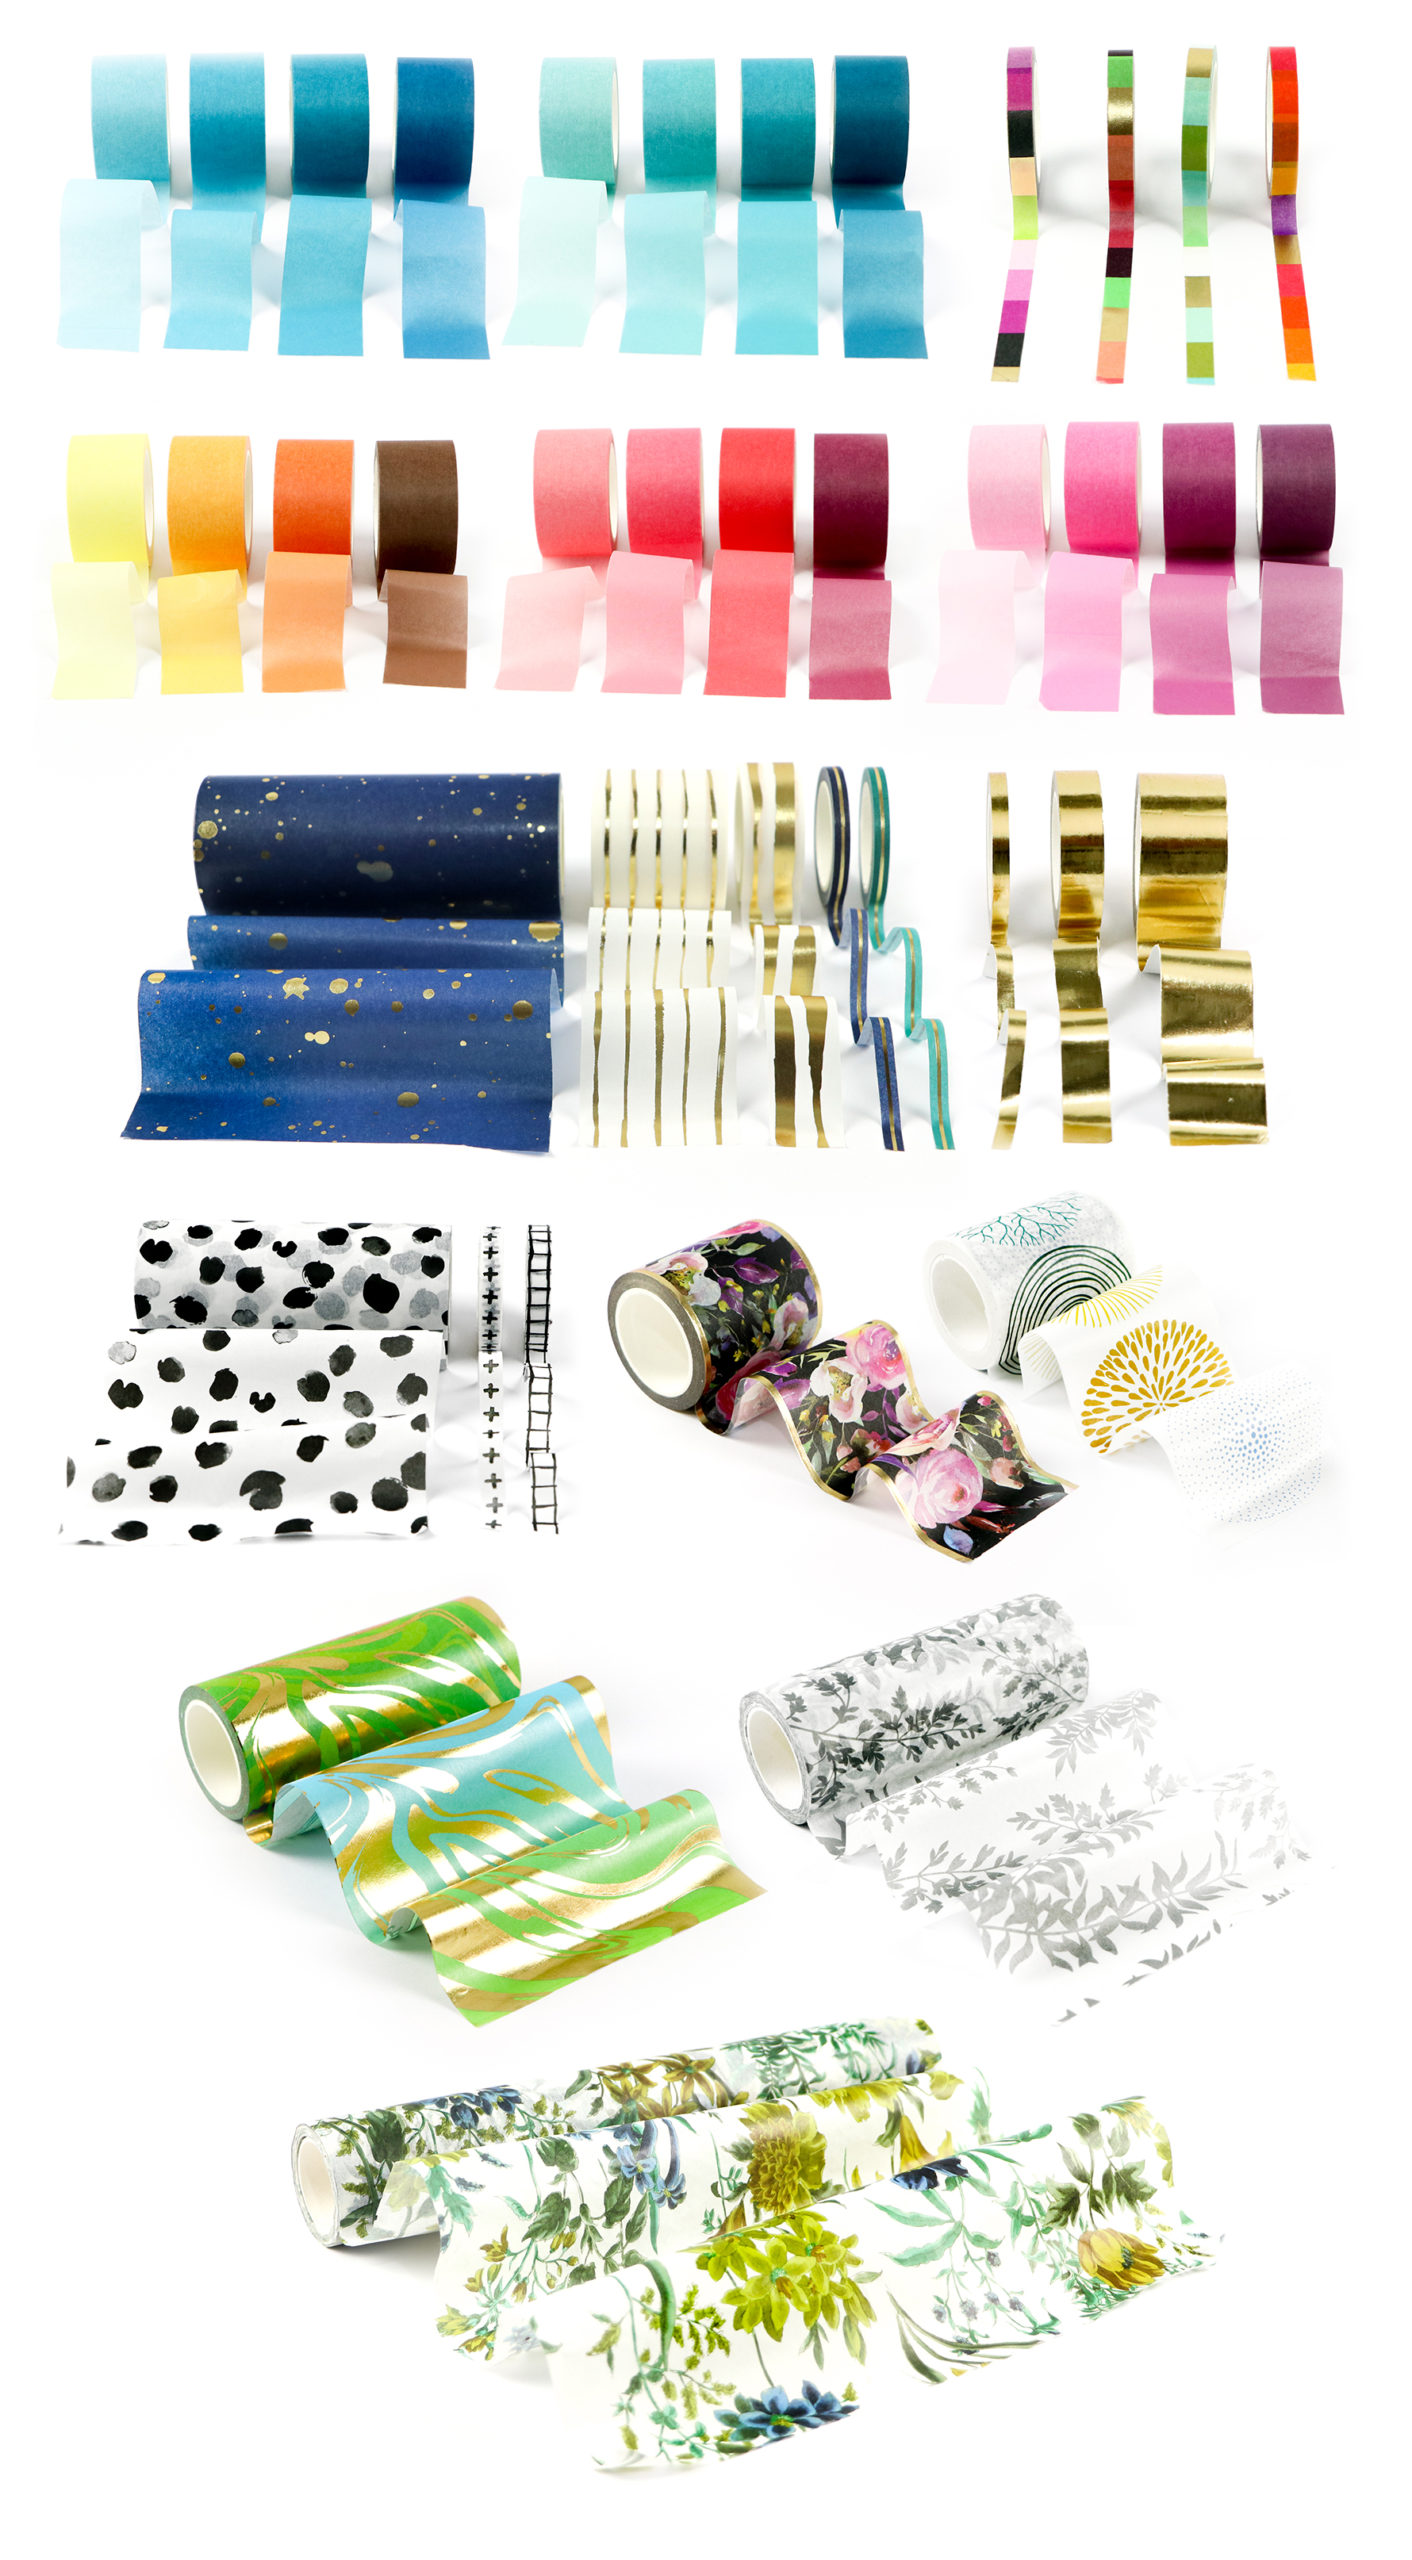
It’s been a while since I was a guest designer, so when I got the invitation, I was absolutely over the moon! That excitement inspired me to create 11 cards from this release. Make sure to visit the Altenew blog for complete details. You can check out the October release here.
THE BEST IS YET TO COME
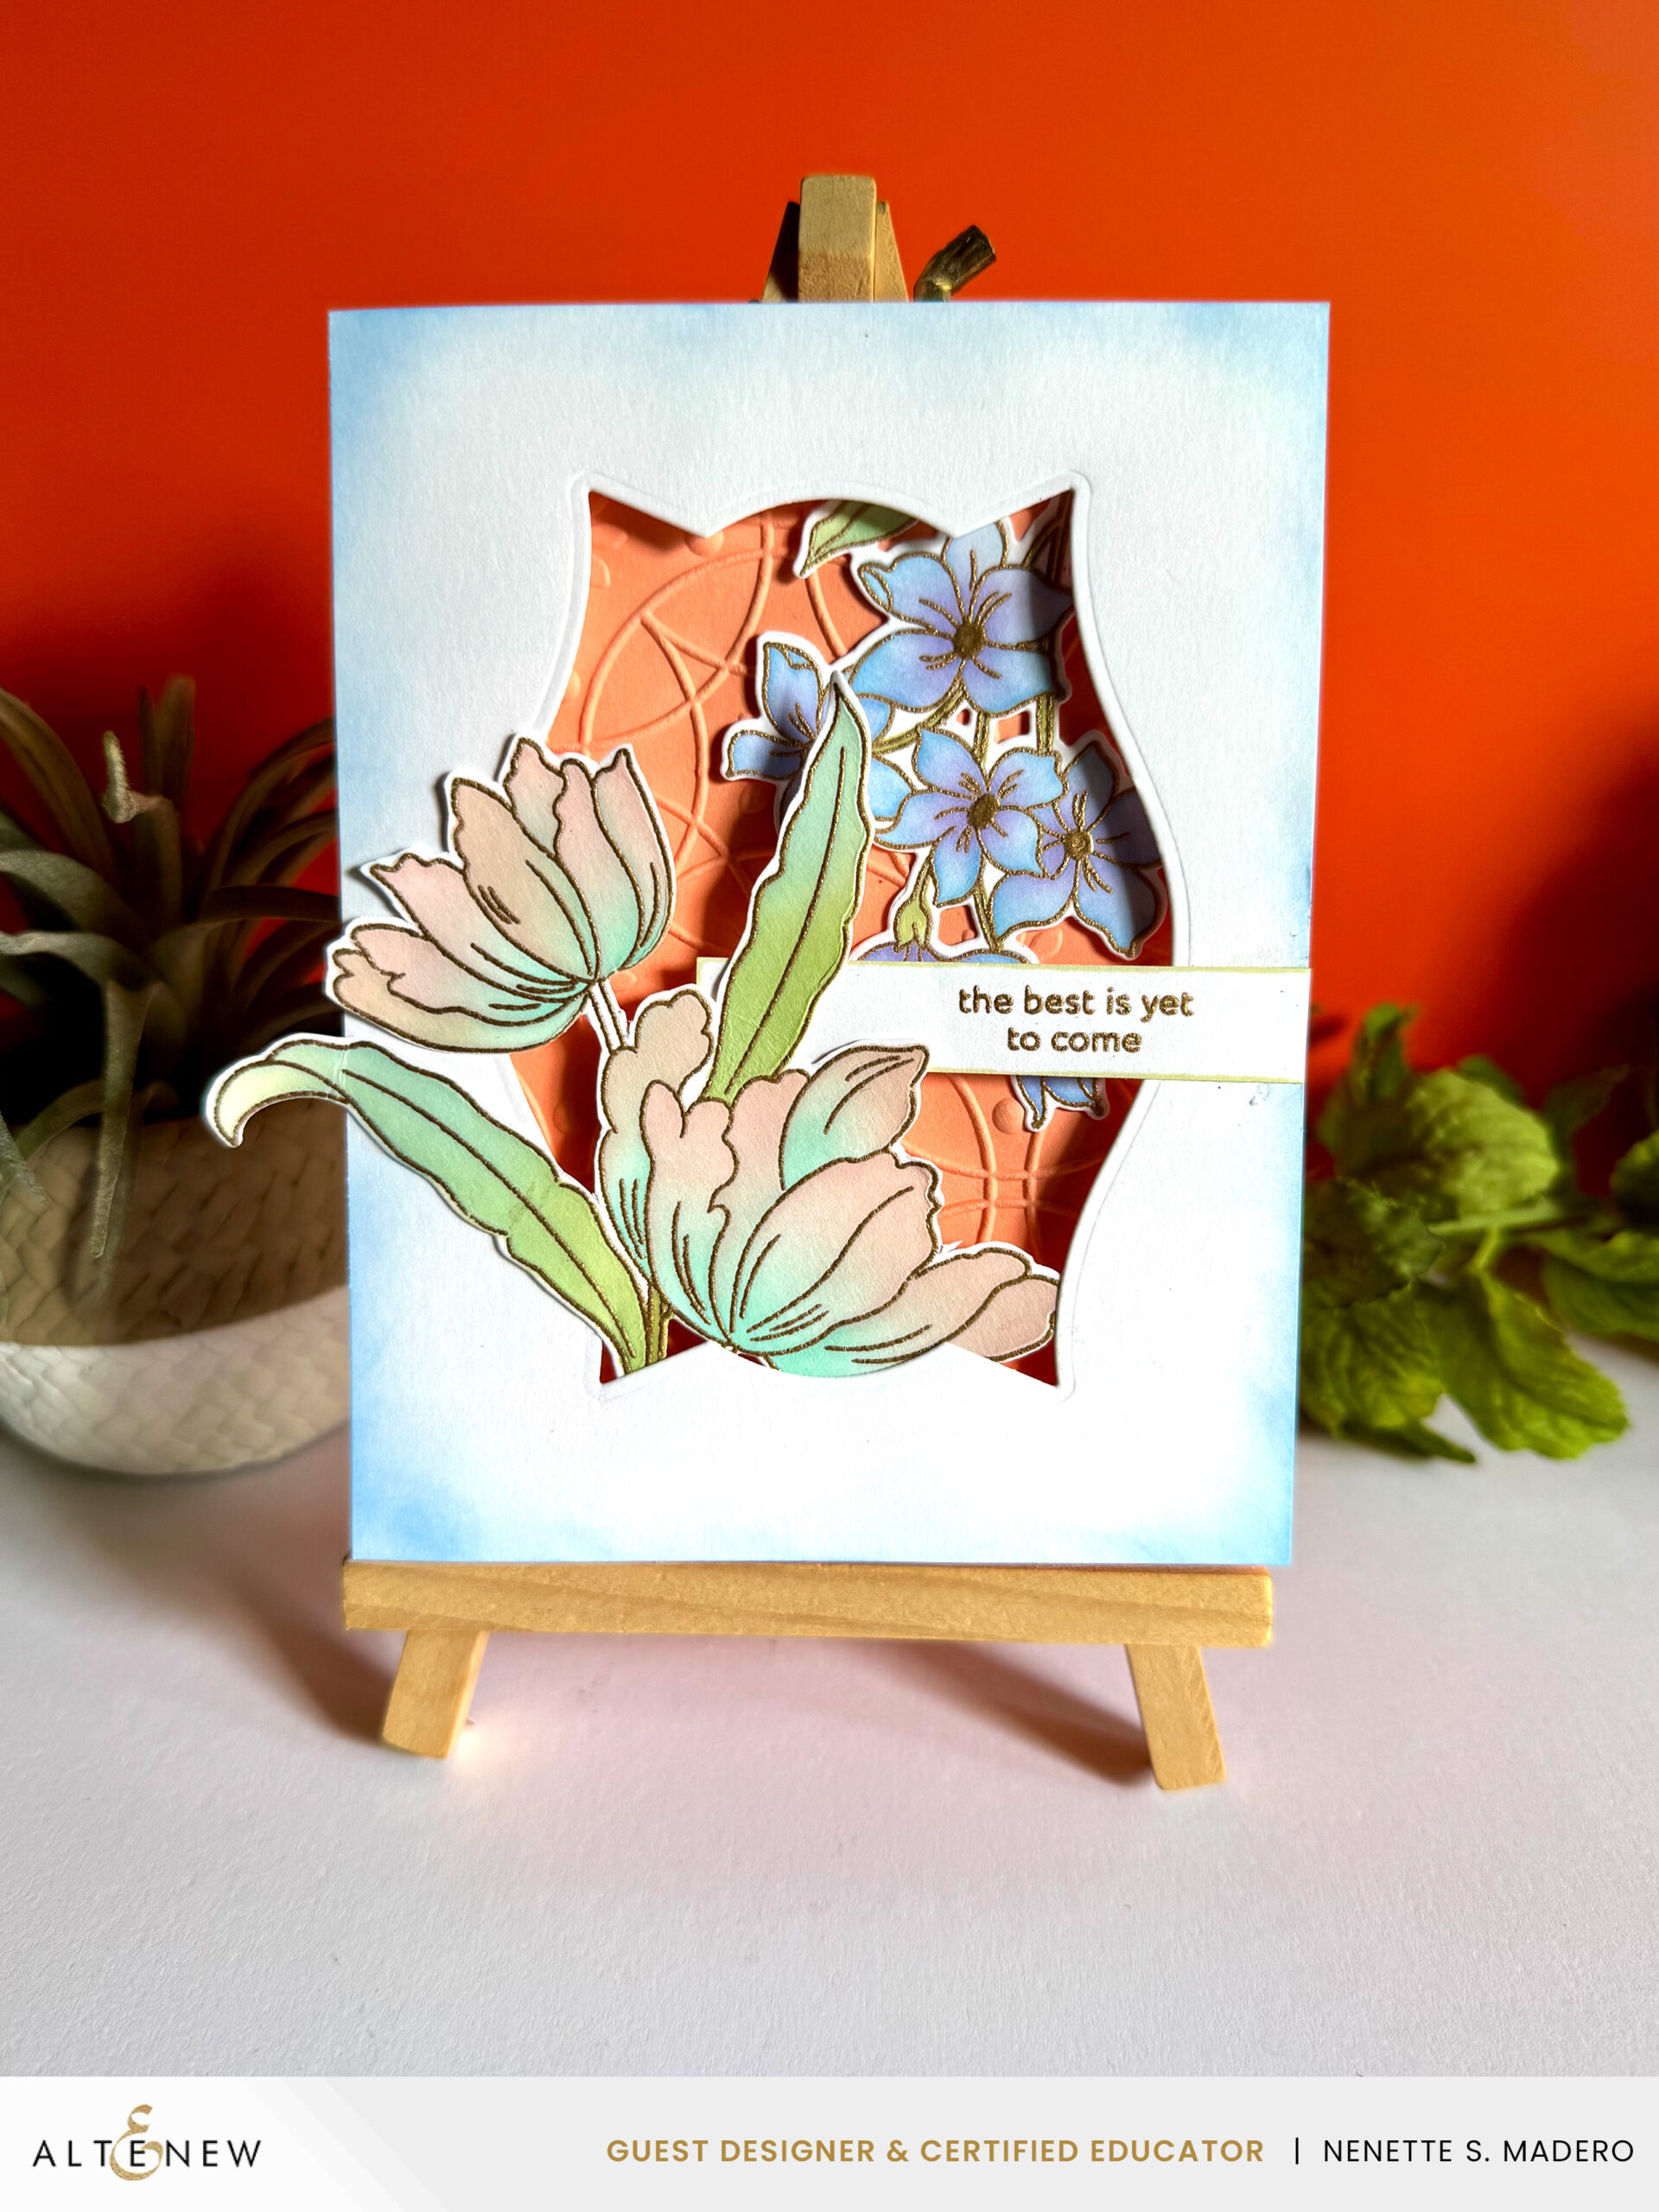
MATERIALS:
- STAMP AND DIE SET: Serene Blooms
- DIES: Nesting Labels
- DYE INKS: Blush, Pistachio, Misty Sage, Dew Drops, Eastern Sky, Lavender Fields, Versamark Ink
- EMBOSSING POWDER: Rose Gold
- EMBOSSING FOLDER: Botanical Rails
STEPS:
- 1. Stamp images with Versamark Ink and emboss using Rose Gold embossing powder.
- 2. Color the images using stencils and dye inks.
- 3. Die cut window and ink the edges.
- 4. Die cut the florals.
- 5. Emboss the card front using Botanical Rails.
- 6. Assemble card using foam squares.
I absolutely love that this stamp set includes two different types of flowers you can mix and match—it opens up so many creative possibilities! I’ve made two other cards using the same set, and I’m saving my favorite one for last.
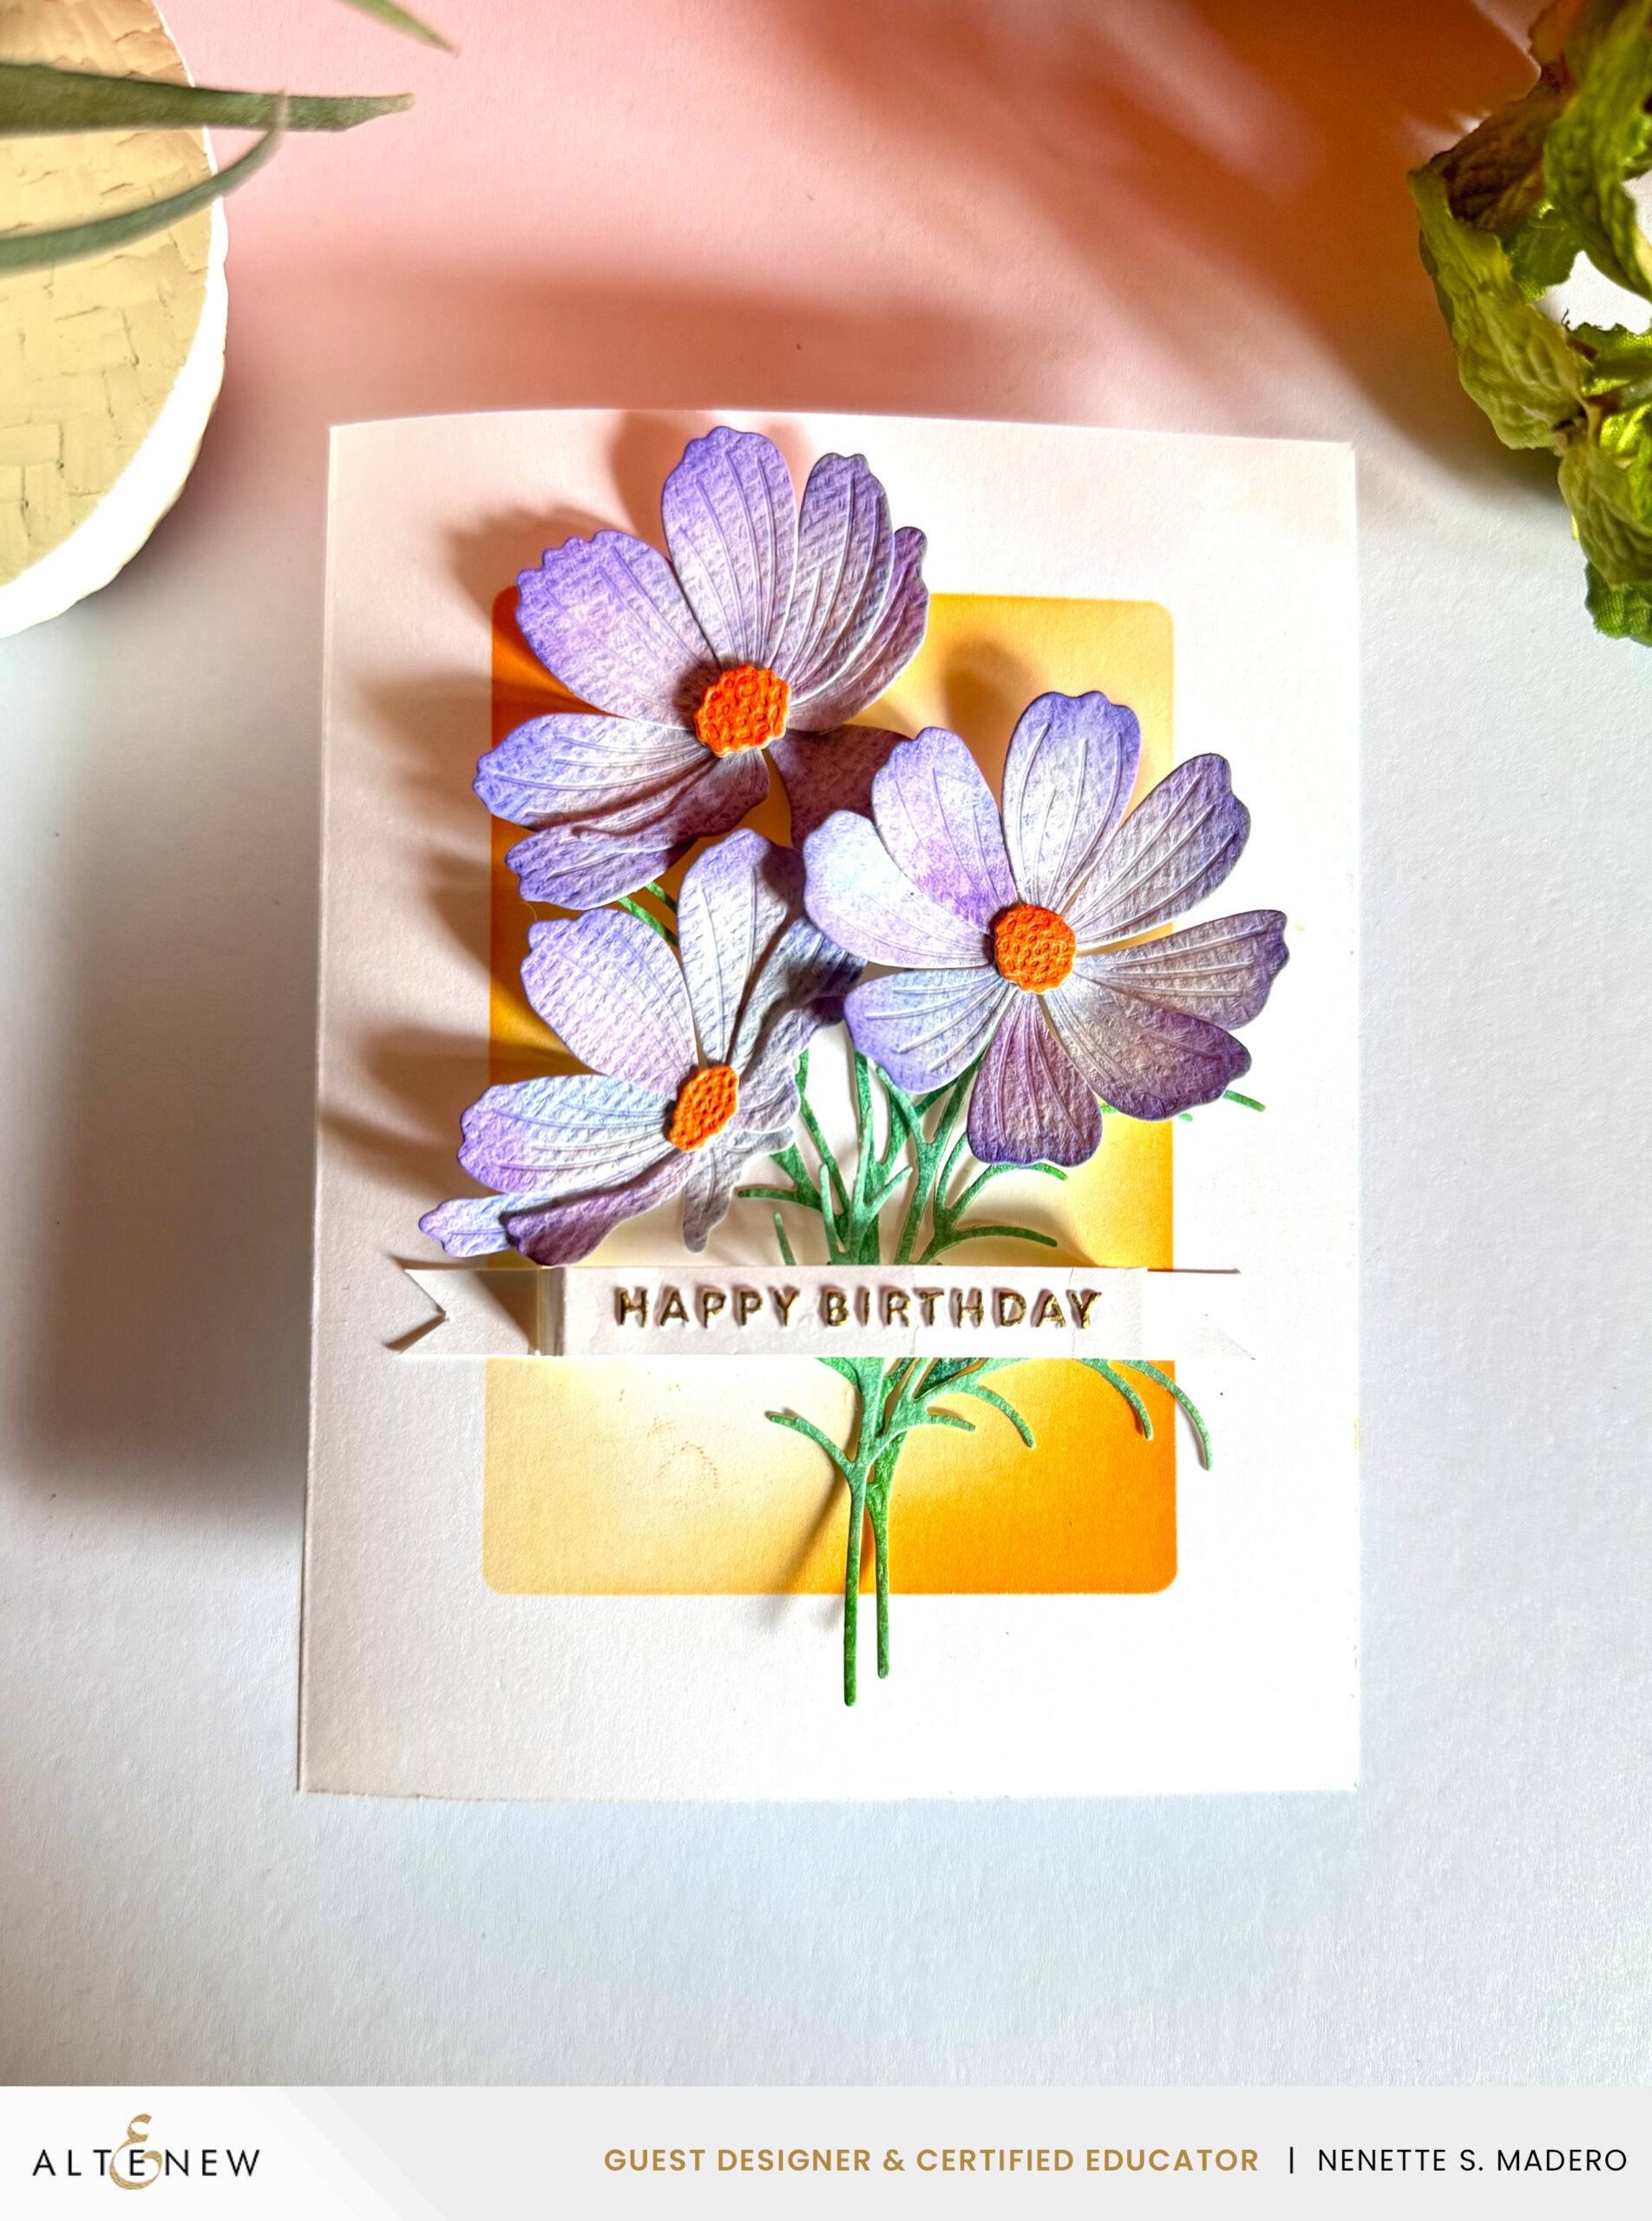
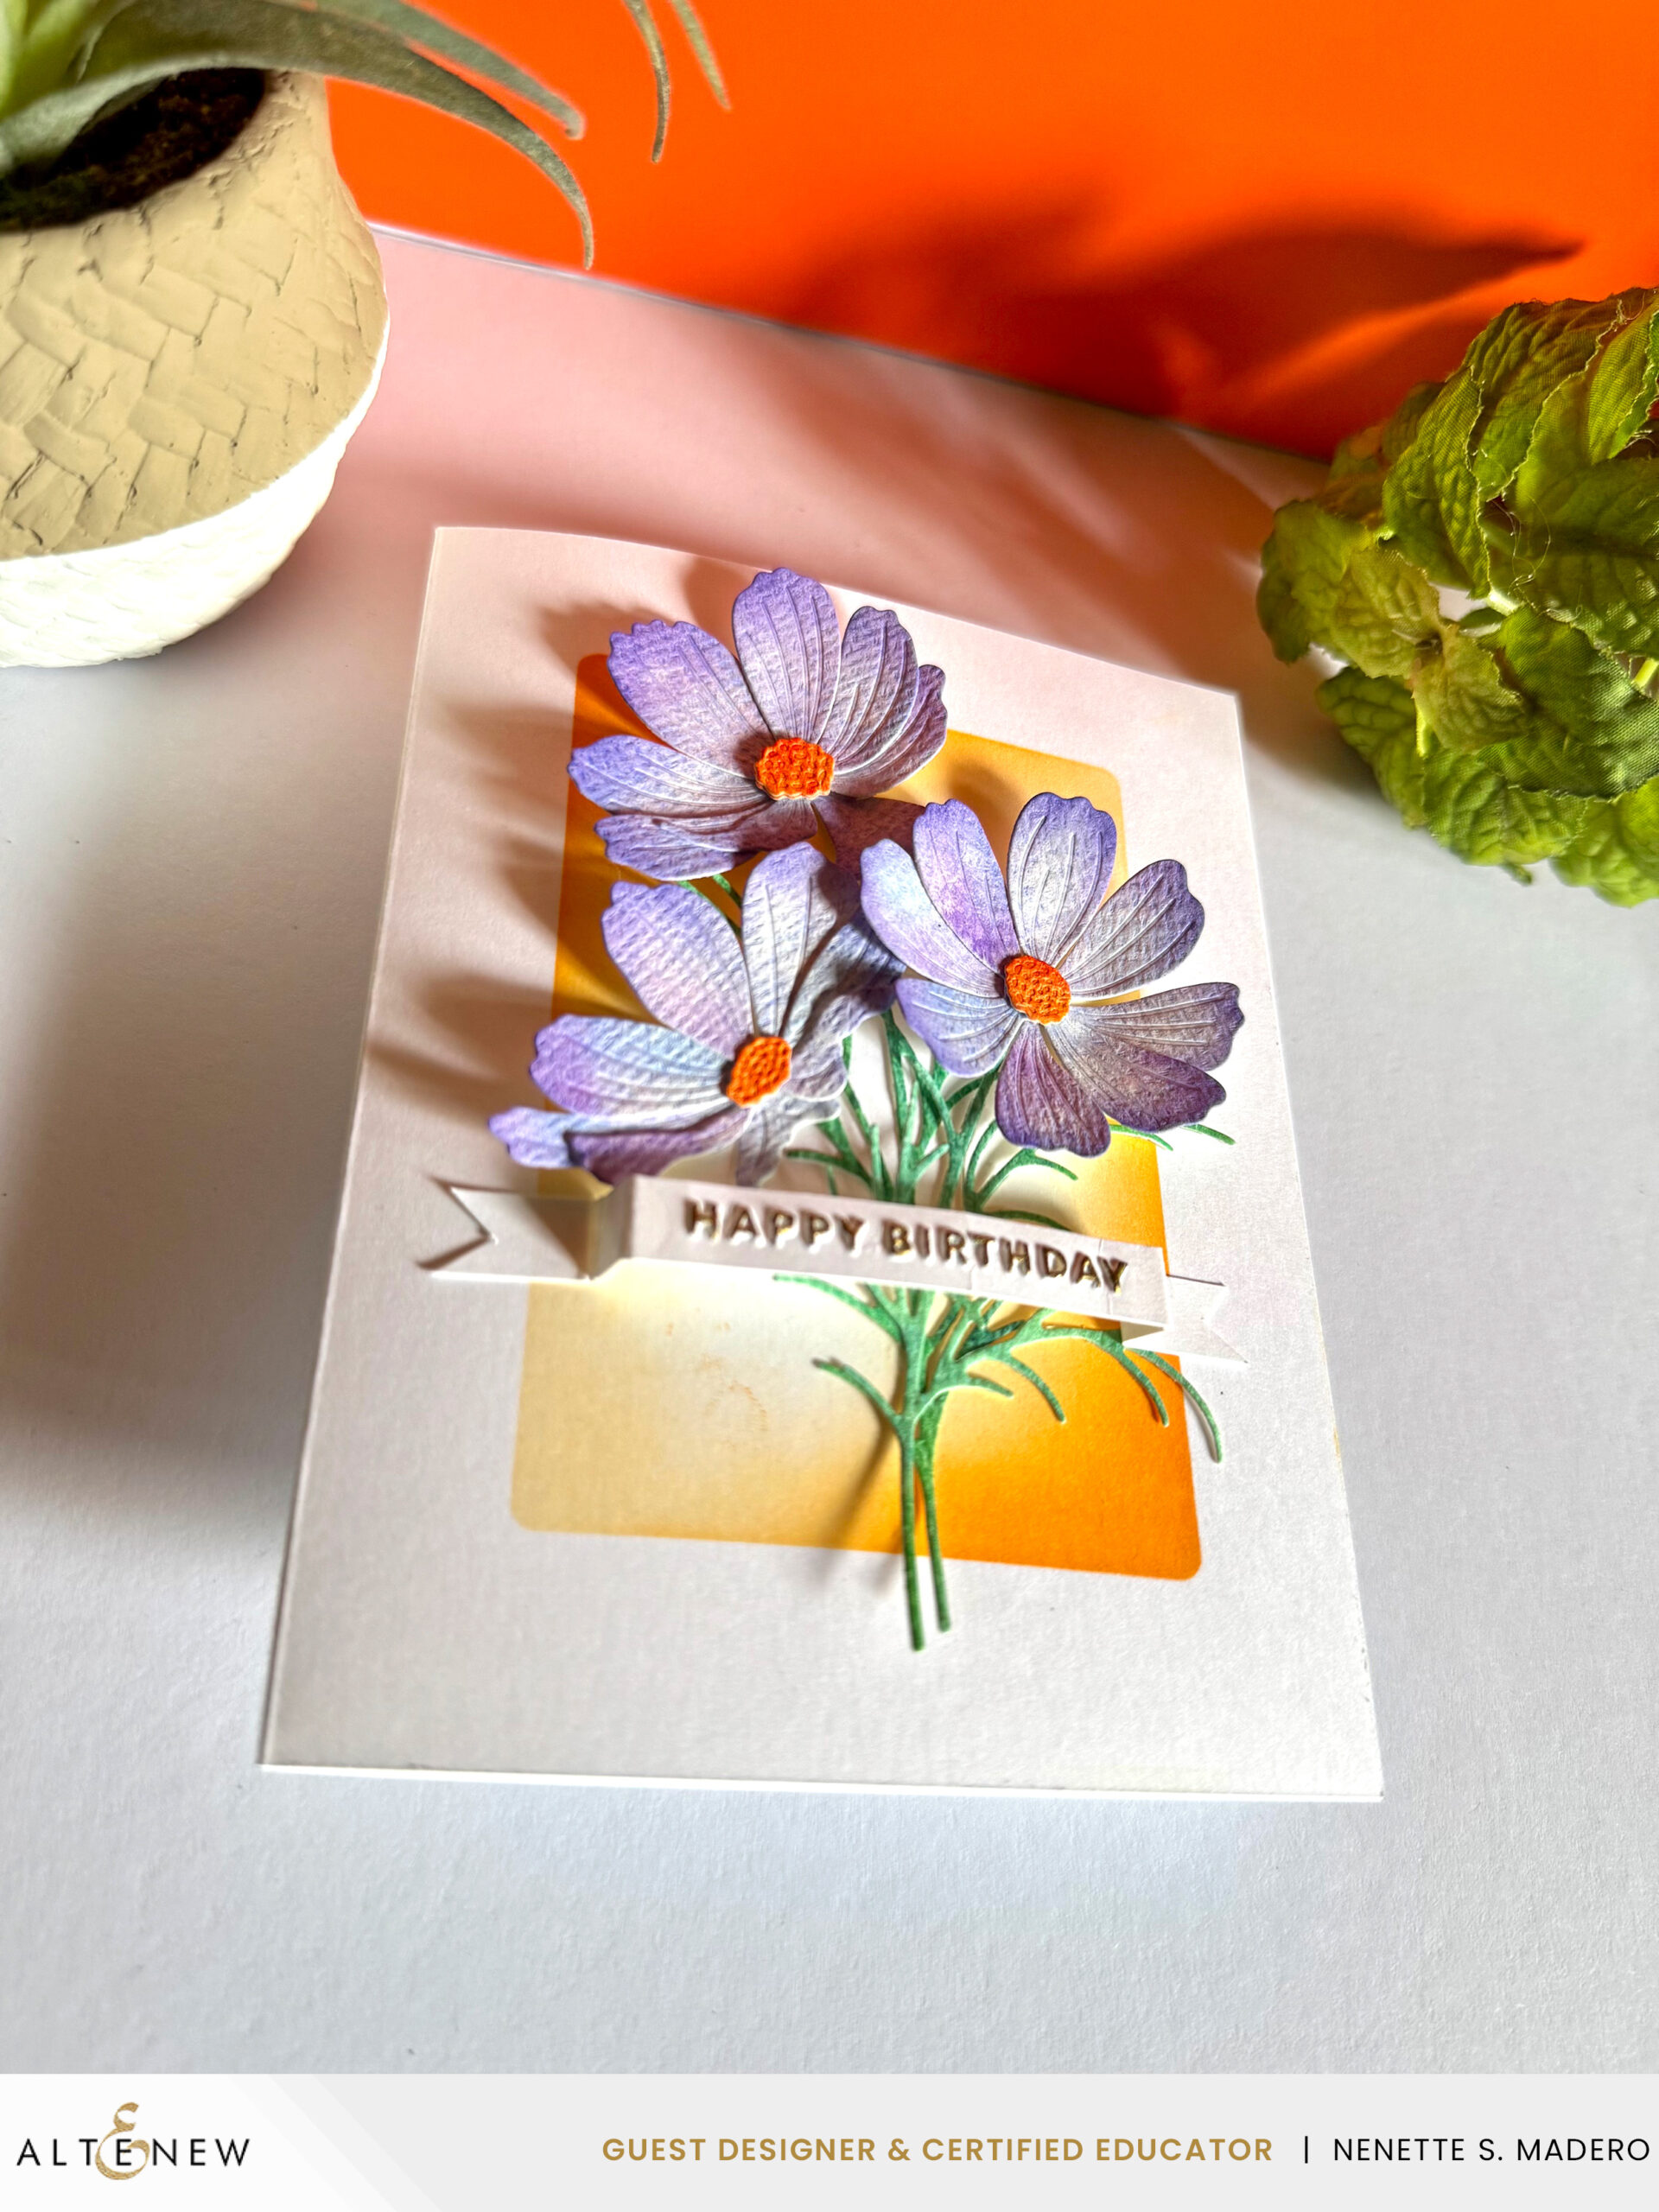
HAPPY BIRTHDAY
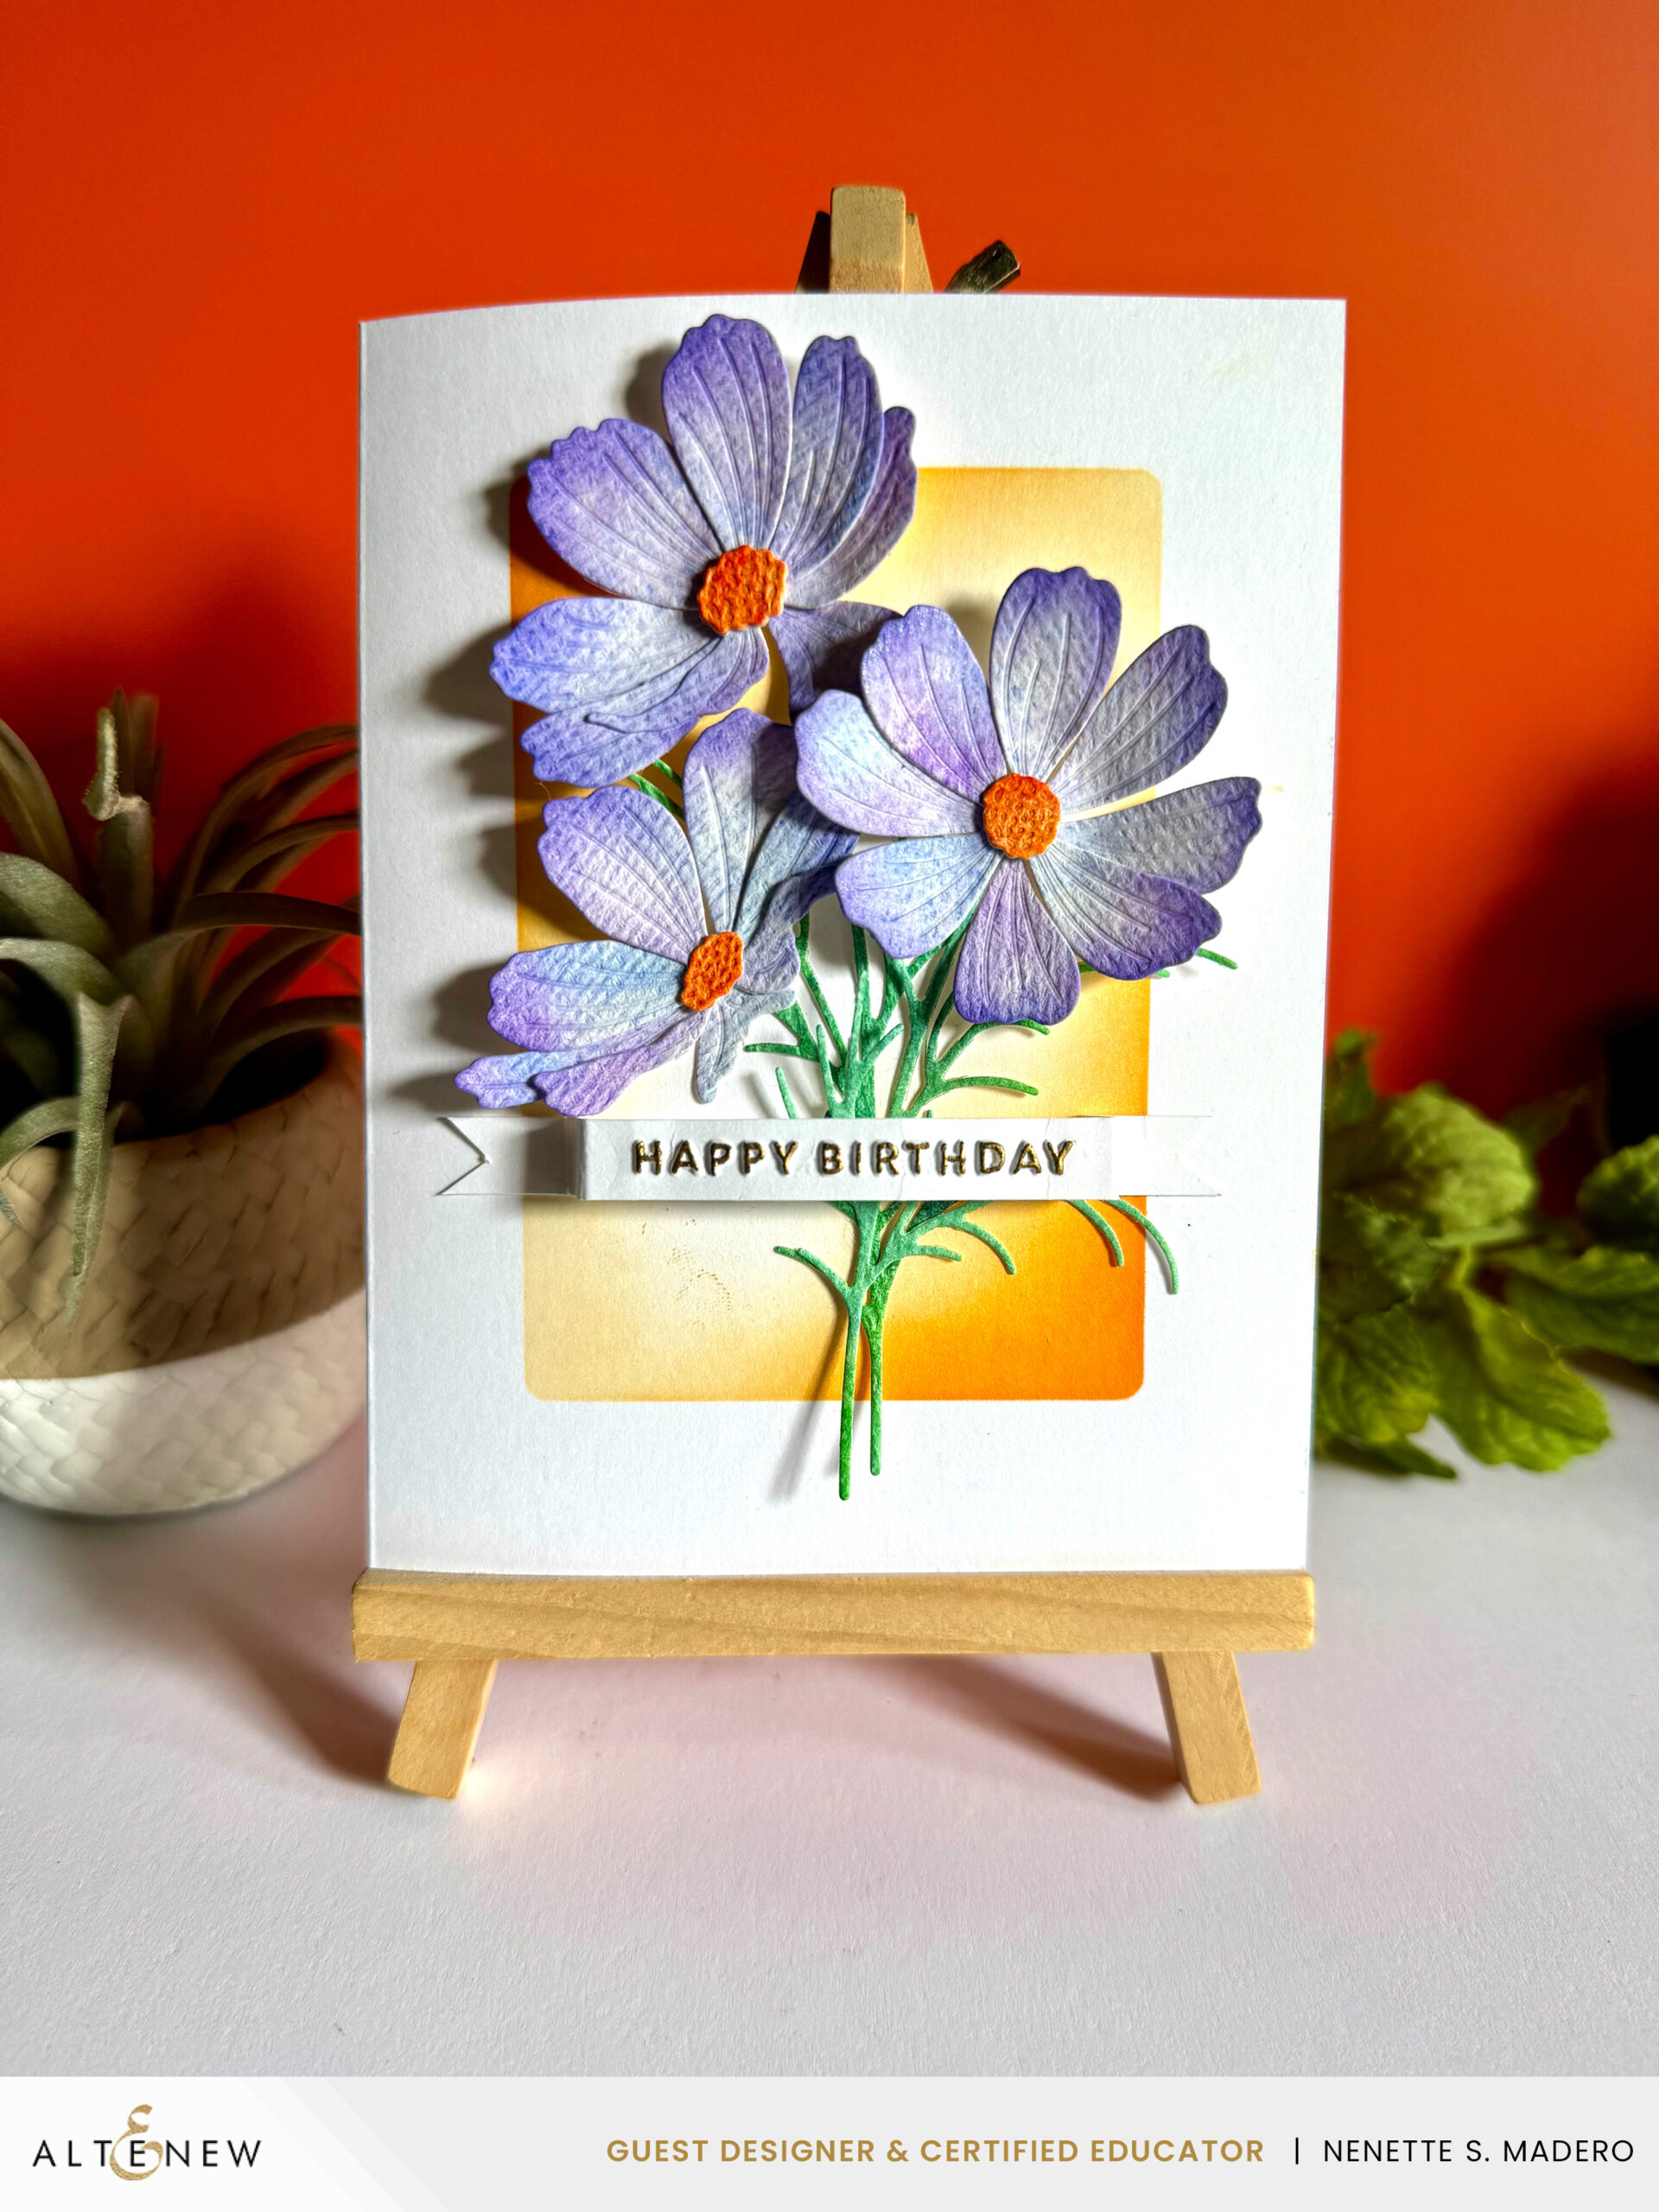
MATERIALS:
- DIES: Garden Cosmos Layering Die Set
- STENCILS: Rounded Rectangles
- INKS: Watercolor Pan Set; Amber blaze dye ink
- EMBOSSING FOLDER: Mini Sentiments
- PEN: Gold marker
STEPS:
- 1. Create a background using watercolor paper, blending shades of purple, lapis lazuli, and deep blue for the flowers.
- 2. For the centers of the flowers, I used the colors Warm and Cozy, Fiery Sunset, and Summer Afternoon.
- 3. The colors Seashore, green meadows, and Green hills were used for the leaves.
- 4. Die cut the flowers, center, and leaves. Blend a darker shade of purple to the tips of the petals. Use a paper sculpting kit to add dimension to the petals.
- 5.Emboss the sentiment, trim and score to create a banner.
- 6. Use the Rounded Rectangles to create an ombre frame.
- 7. Assemble the card using glue and foam squares.
I let the different shades of watercolor blend naturally, creating beautiful variations of color on the petals and leaves that add depth and character to the flowers. To enhance the dimension further, I also applied darker shading to the tips of the petals.
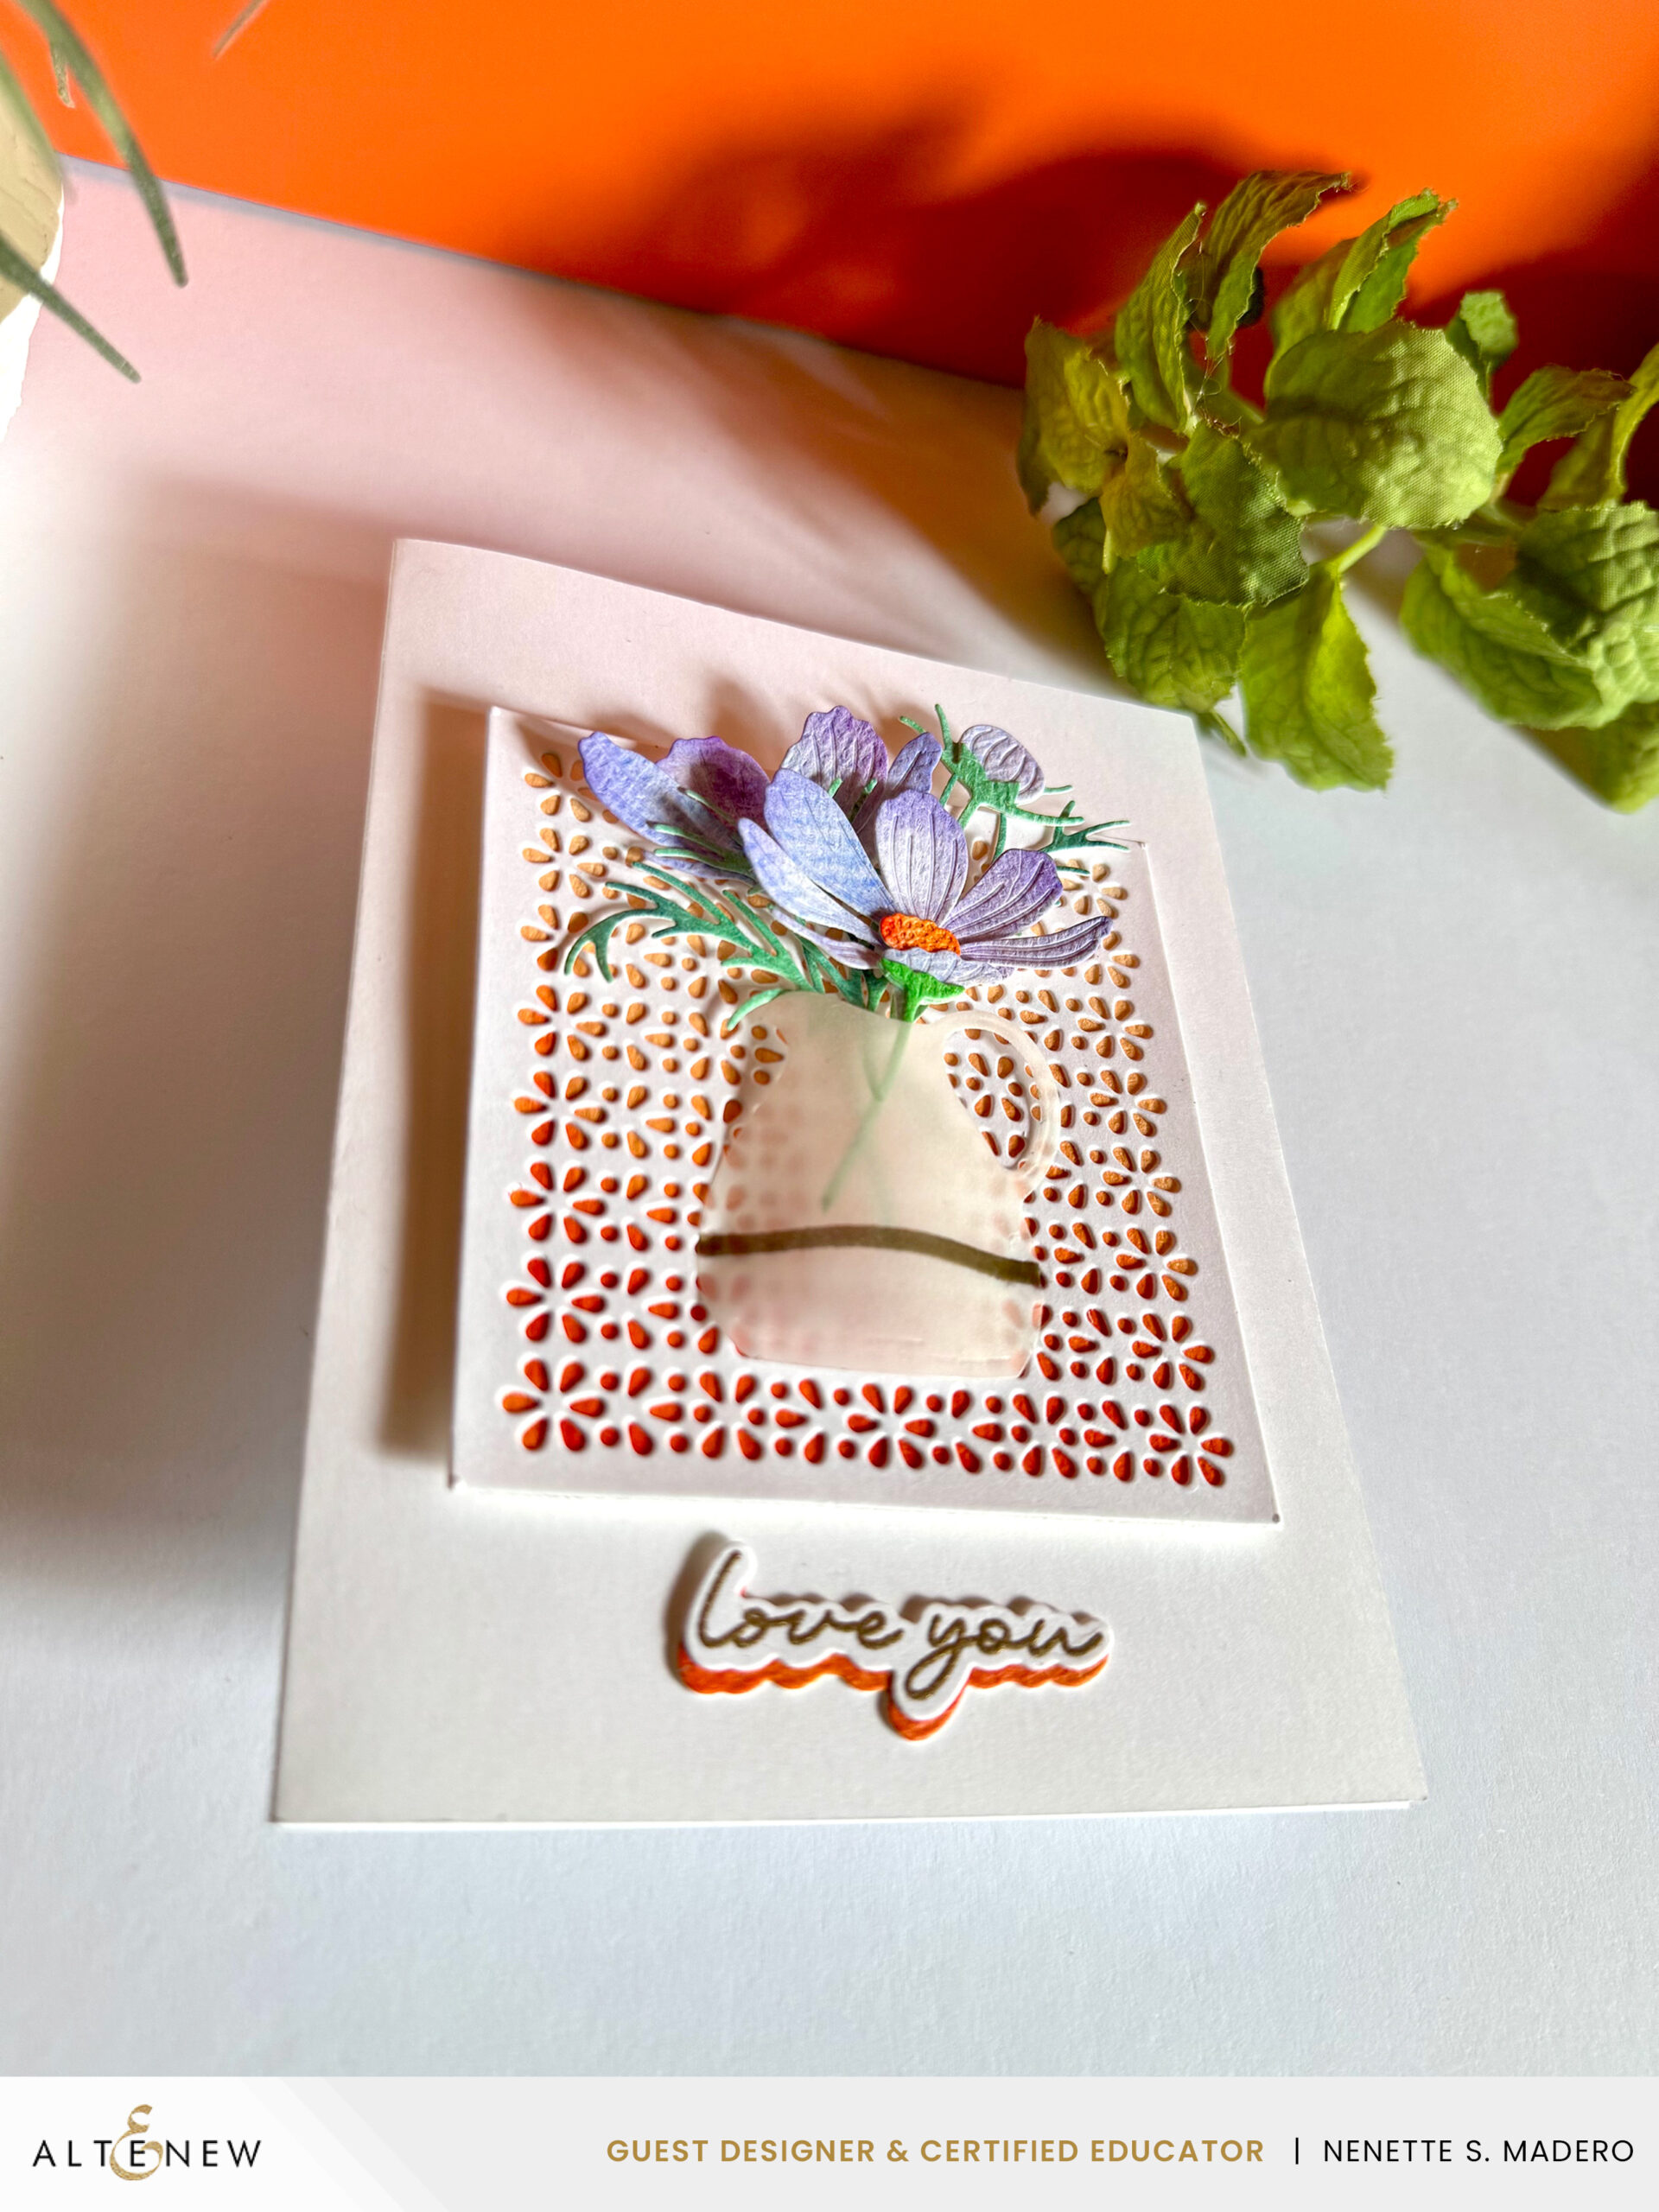
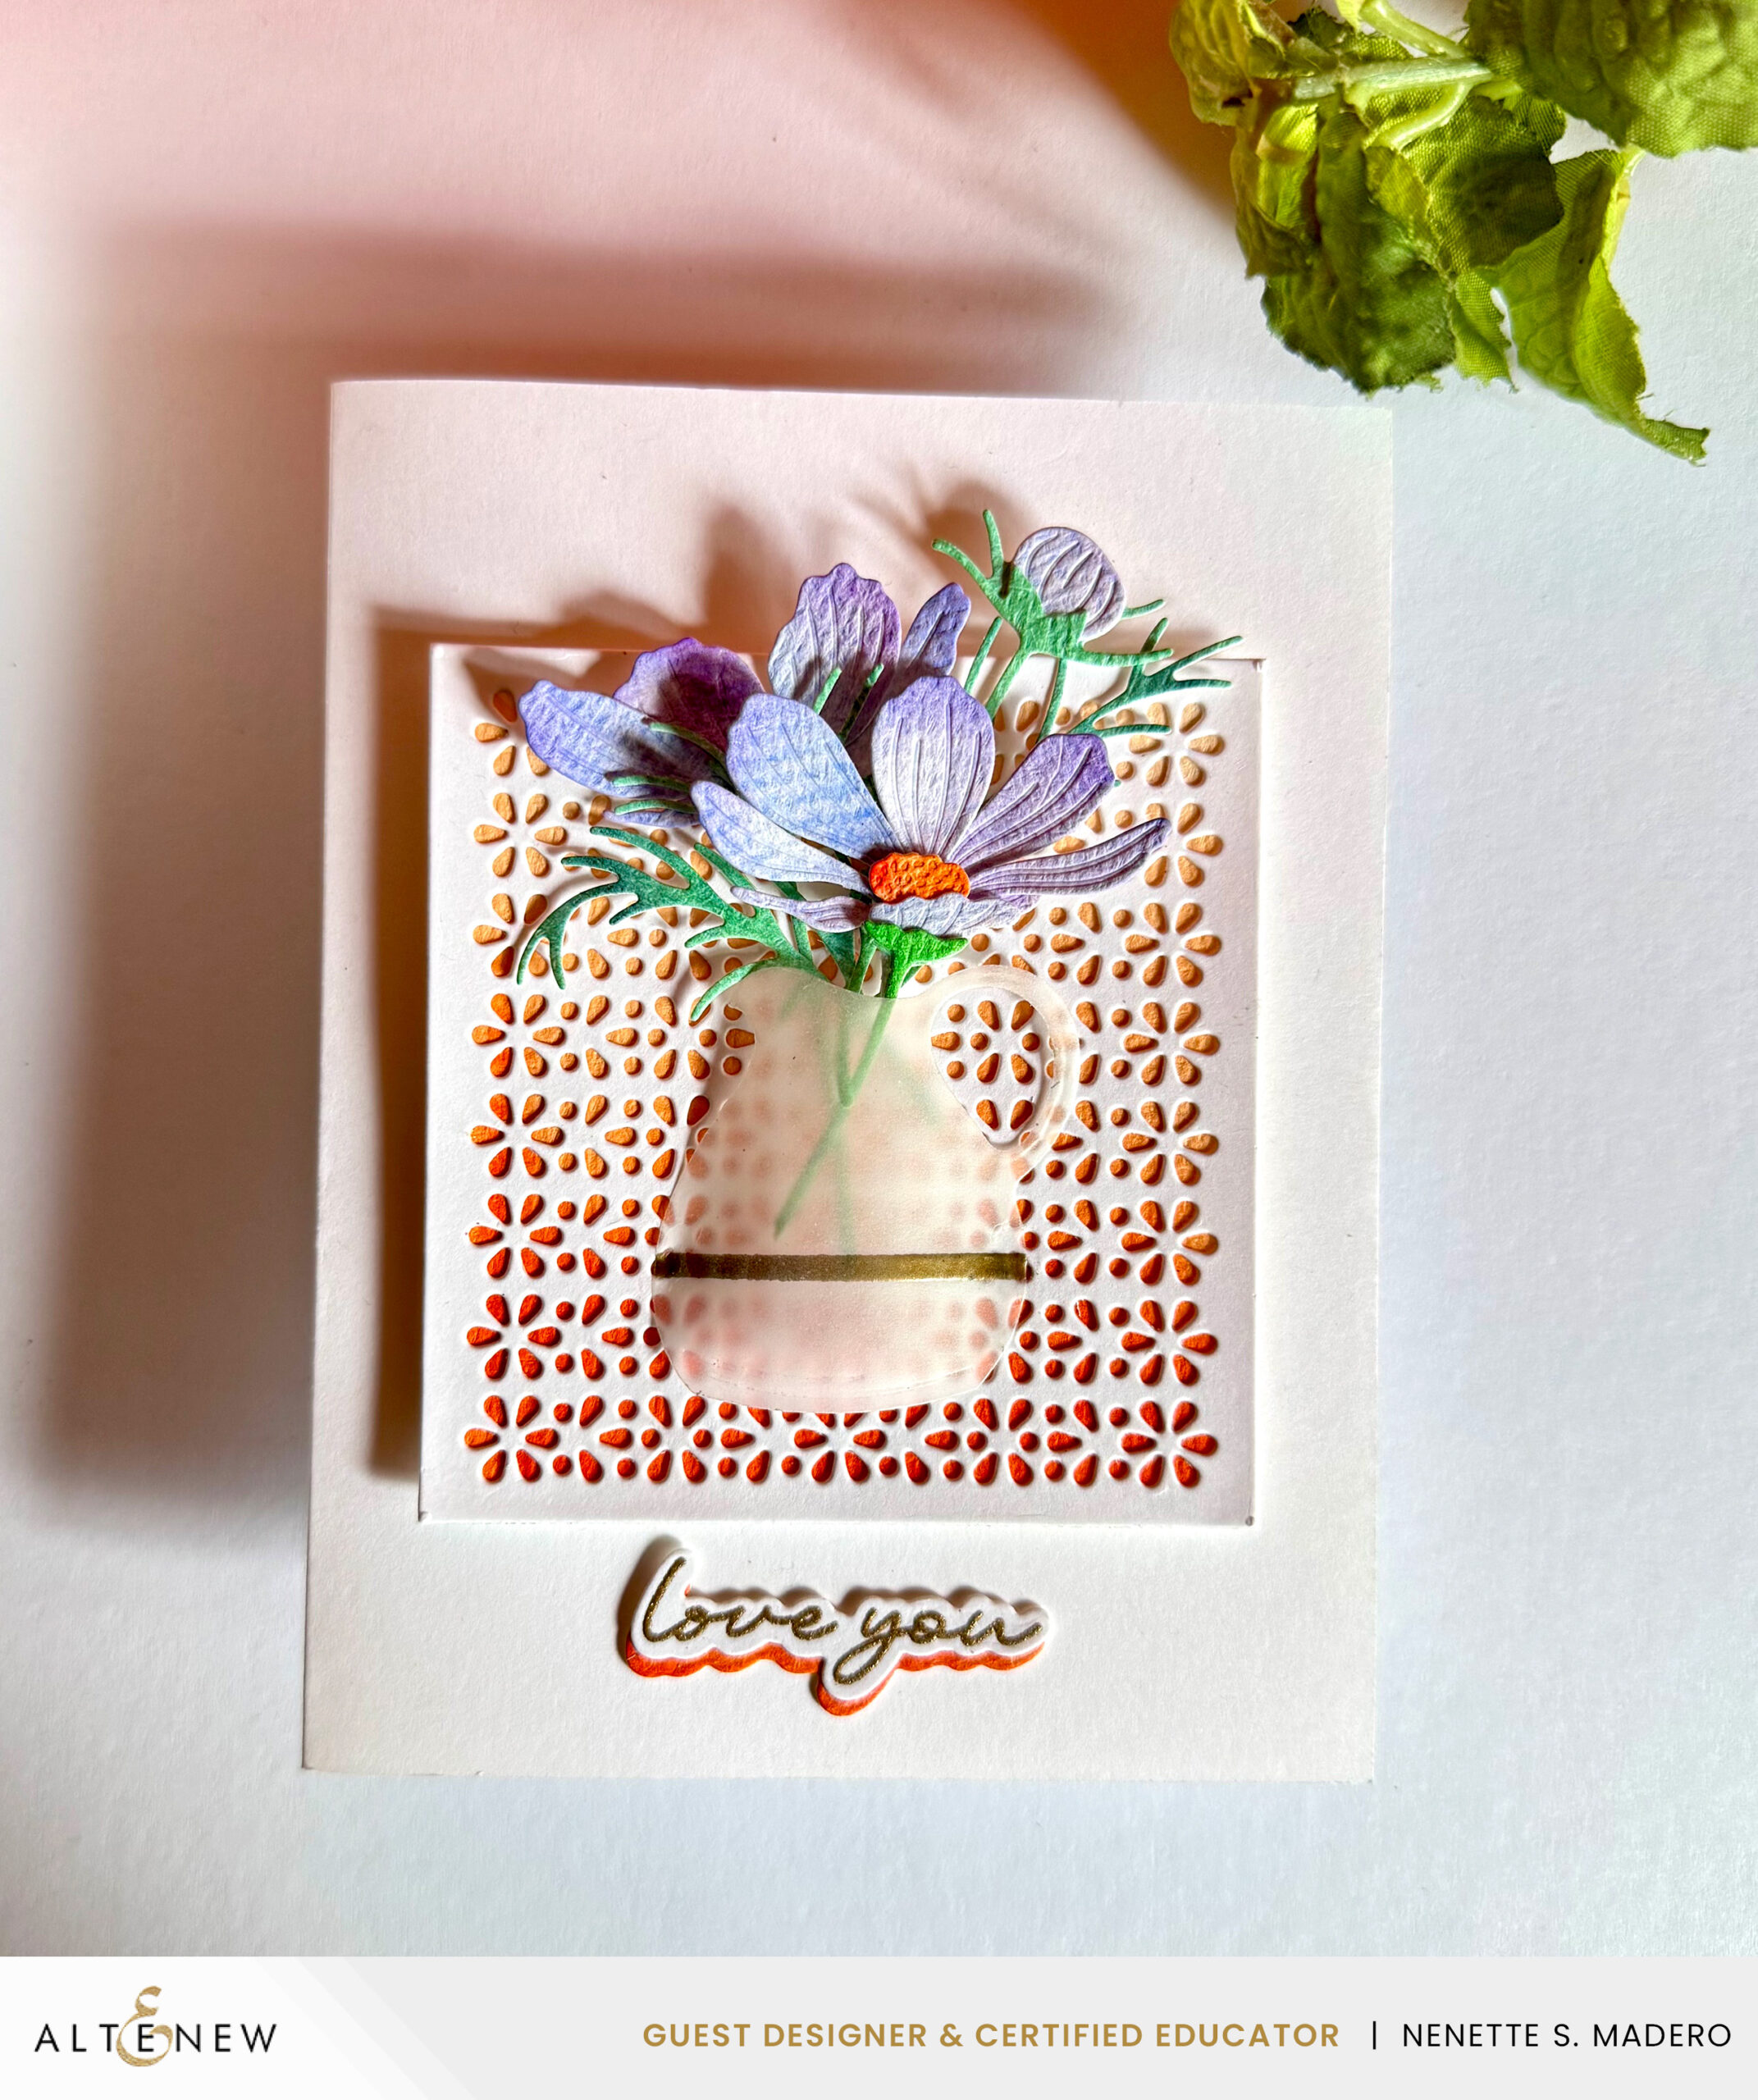
LOVE YOU
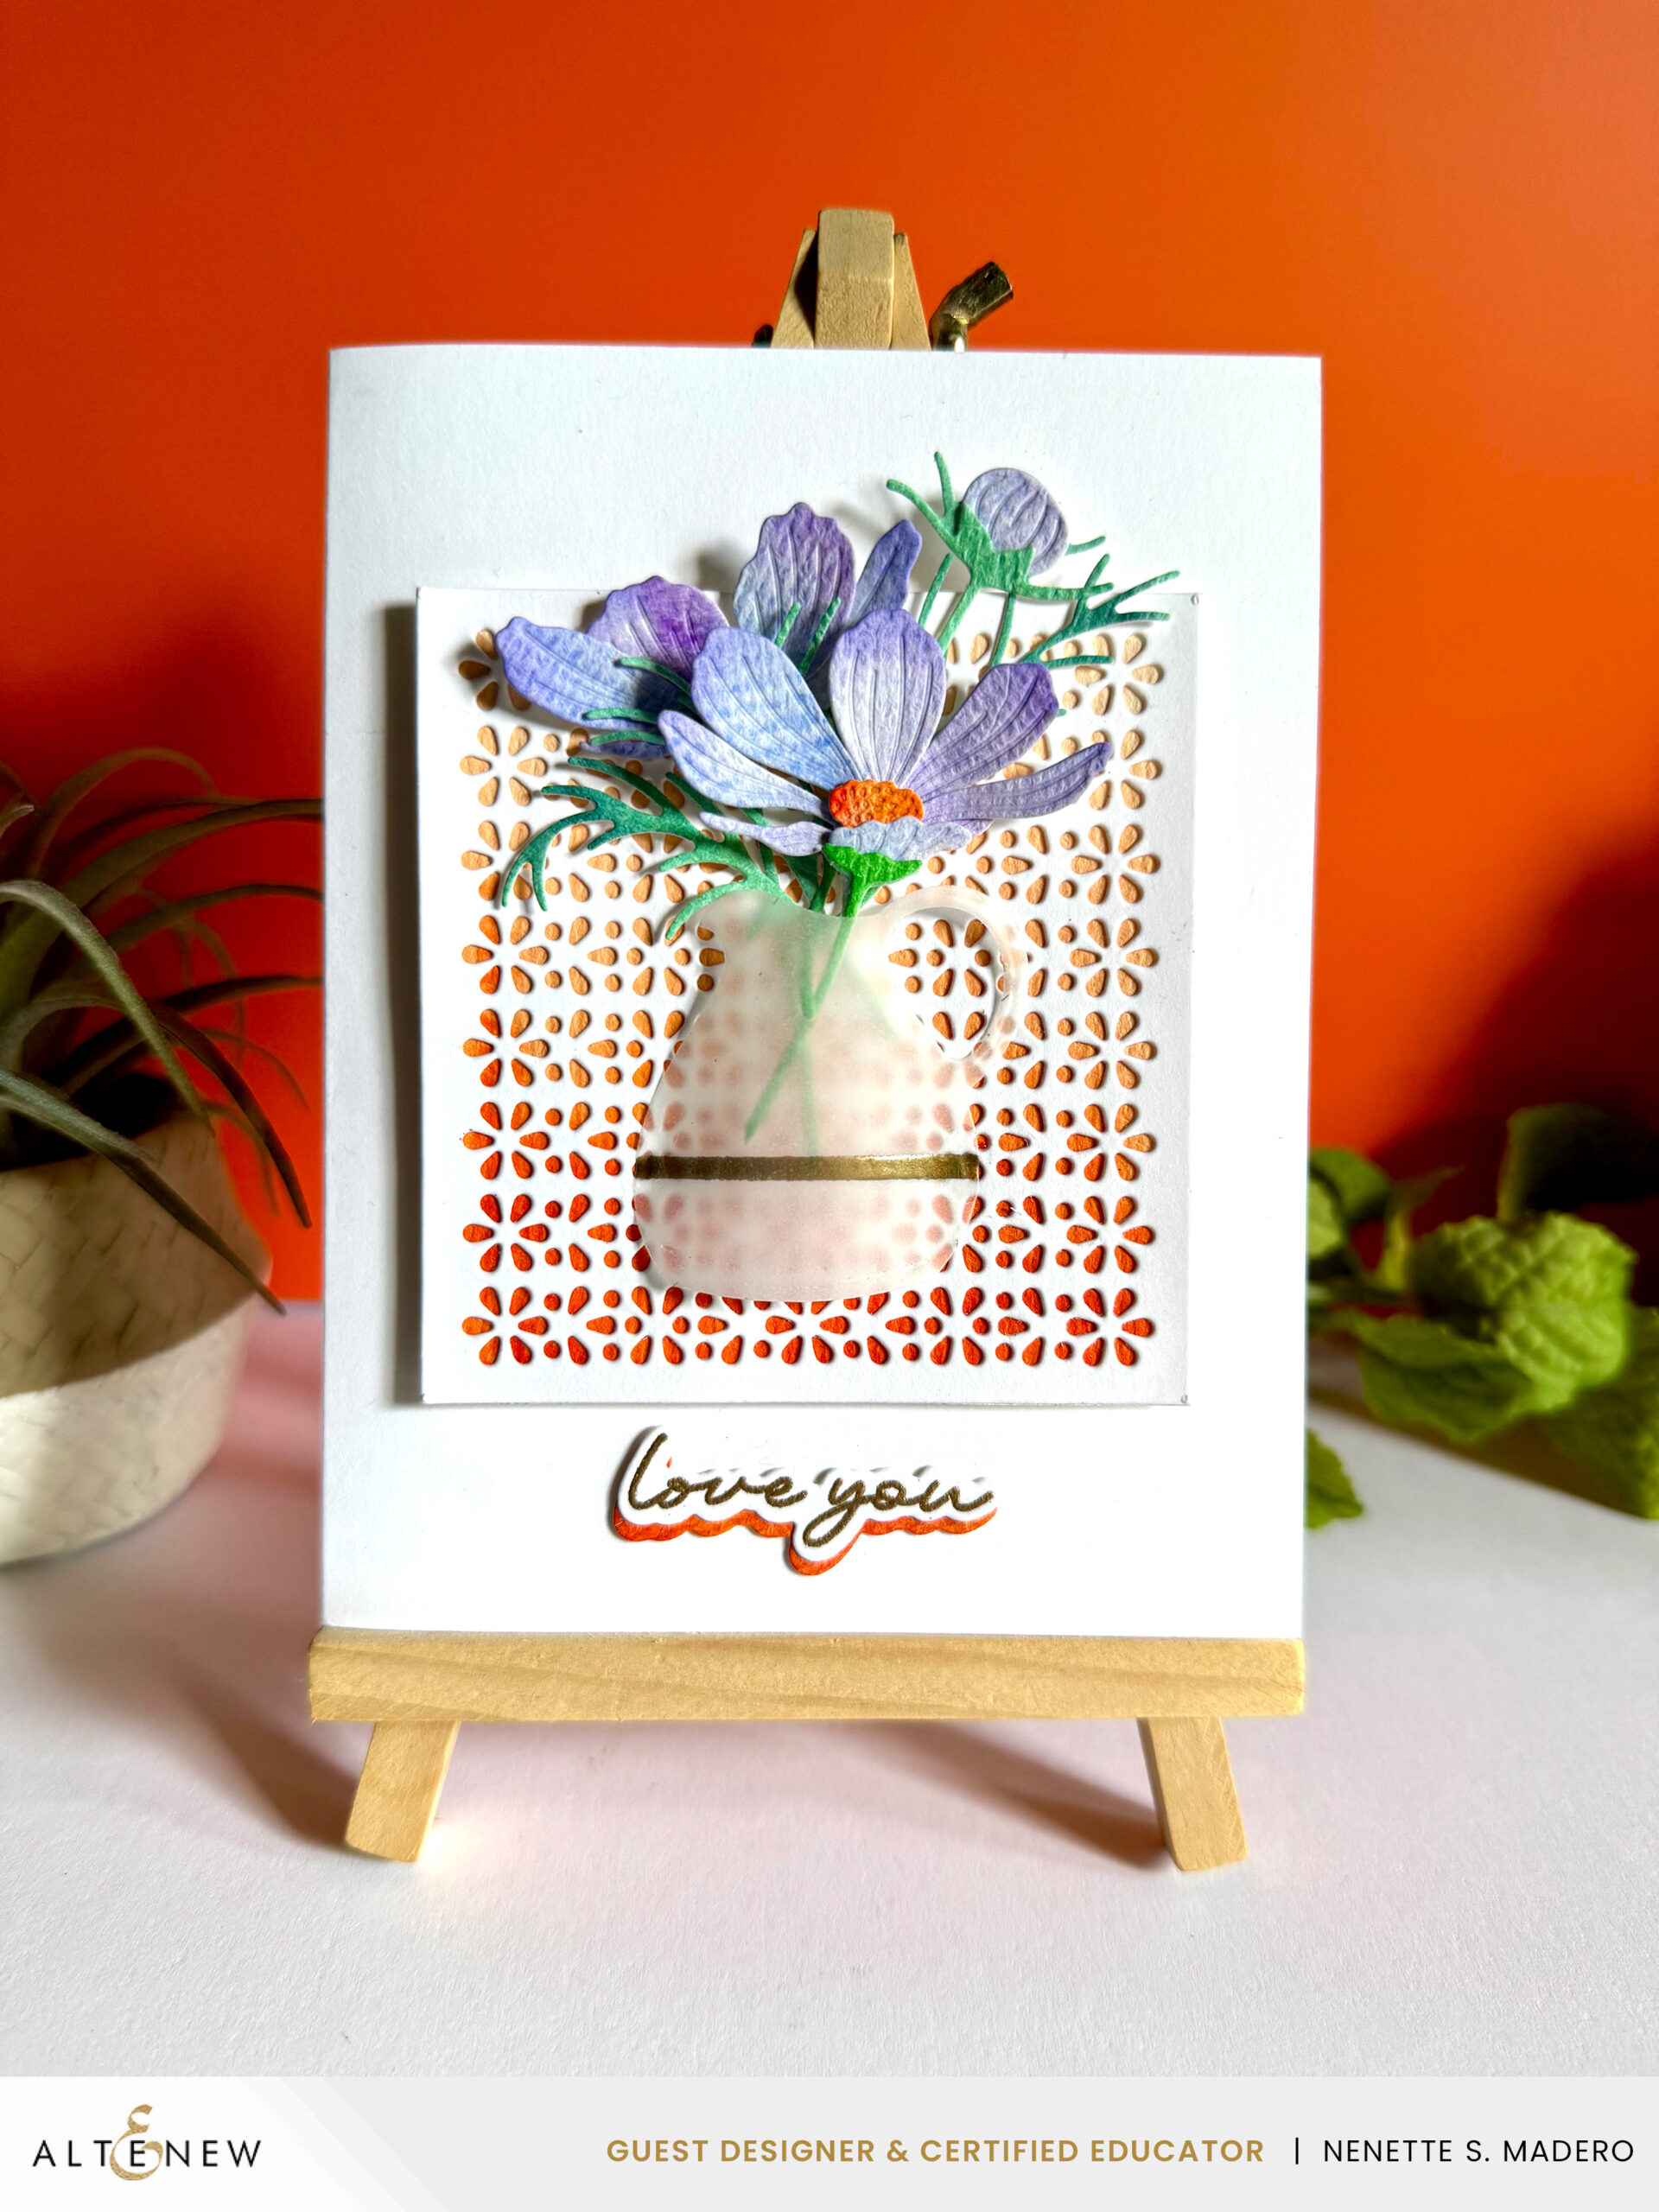
MATERIALS:
- STAMP and DIE SET: Serene Blooms Stamp Set
- DIES: Garden Cosmos Layering Die set, Serene Blooms and Lacy Panel
- INKS: Watercolor Pan Set, Versamark Ink
- EMBOSSING POWDER: Rose Gold
STEPS:
- 1. Create a watercolored background using shades of oranges and a mix of pruples and blues.
- 2. Die cut flowers using the Garden Cosmos Layering Die Set and ink blend the edges for added contrast.
- 3. Die cut the vase using vellum. Using washi tape, create a strip and emboss using Gold embossing powder.
- 4. Adhere a die-cut using Lacy Panel over an ombre orange watercolor background.
- 5. Stamp and emboss the sentiment.
- 6. Assemble card using adhesive and foam squares.
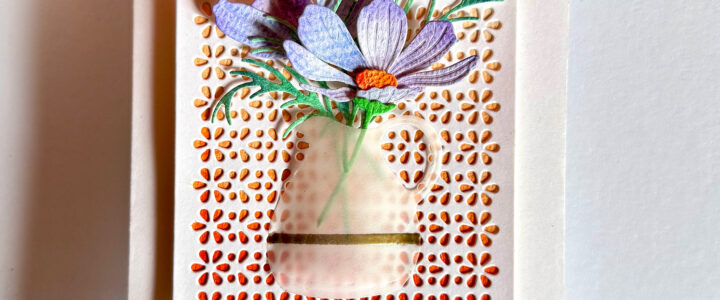
These flowers were actually extras from the previous card. I didn’t want them to go to waste, so this vase was the perfect way to showcase them. The vase was gently bent and the edges adhered to create a 3D effect. Adding the gold strip to the vase enhances the vase with decor and texture.
EACH MOMENT IS A CHANCE TO START FRESH
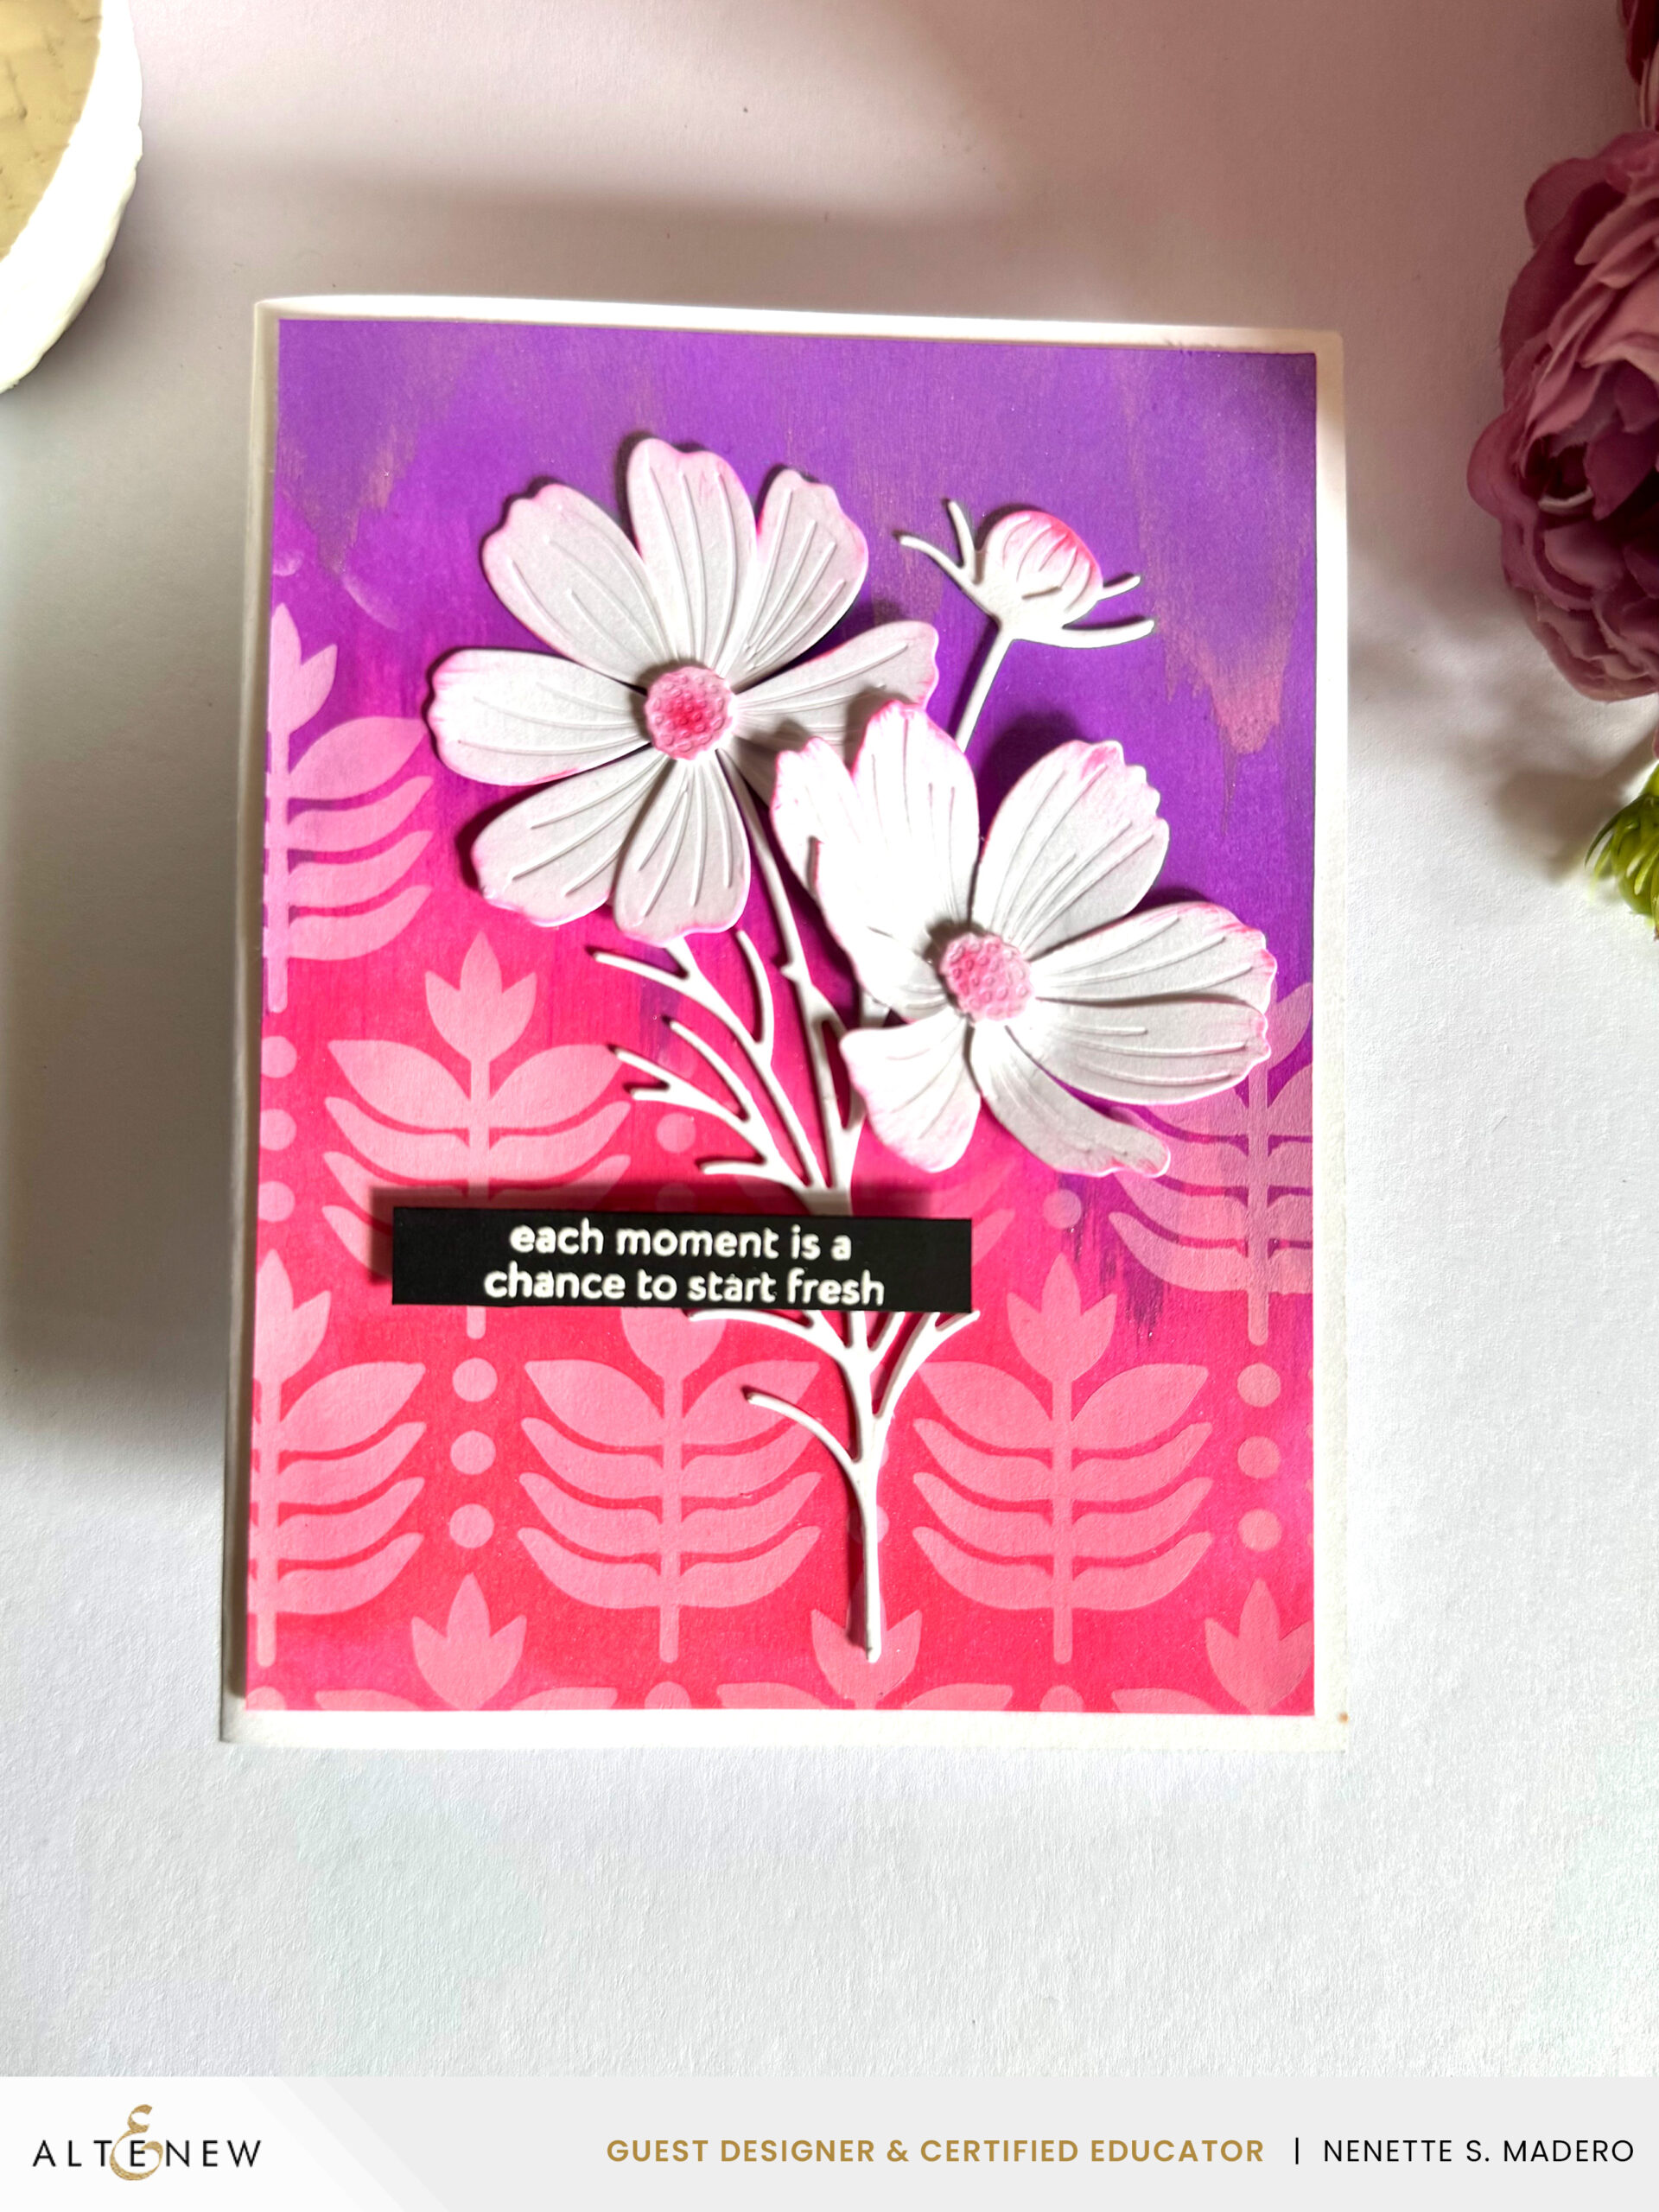
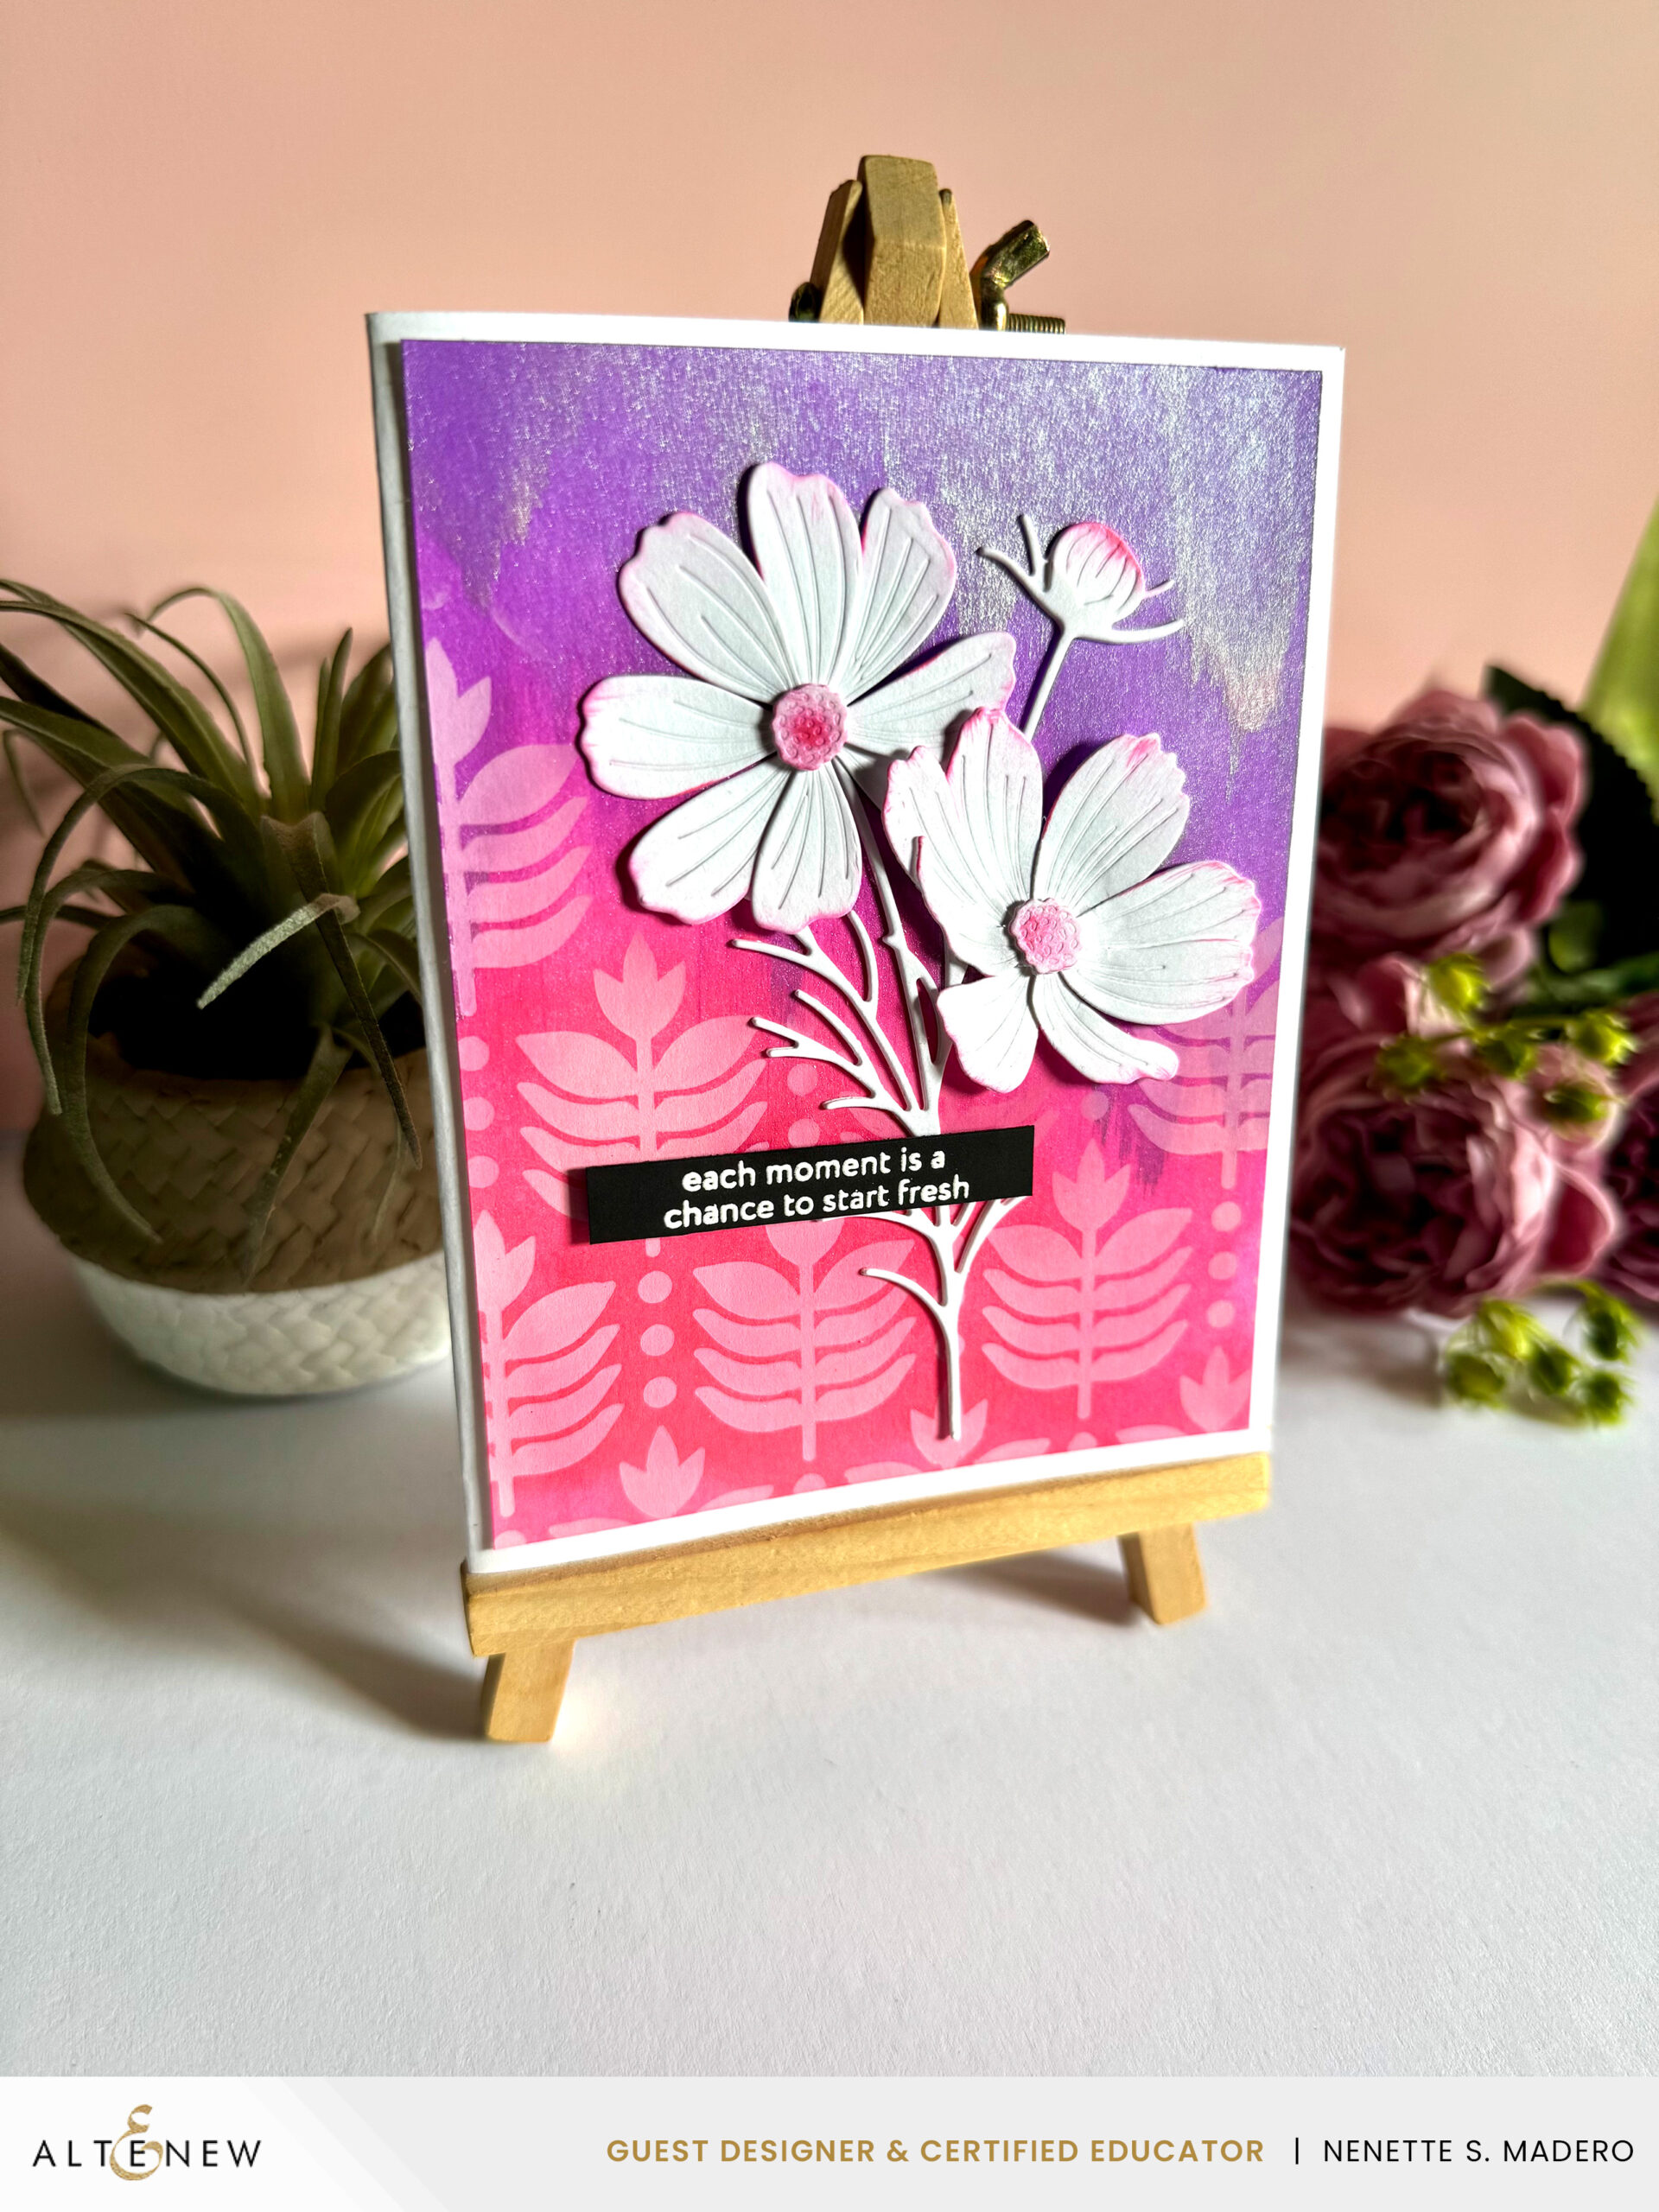
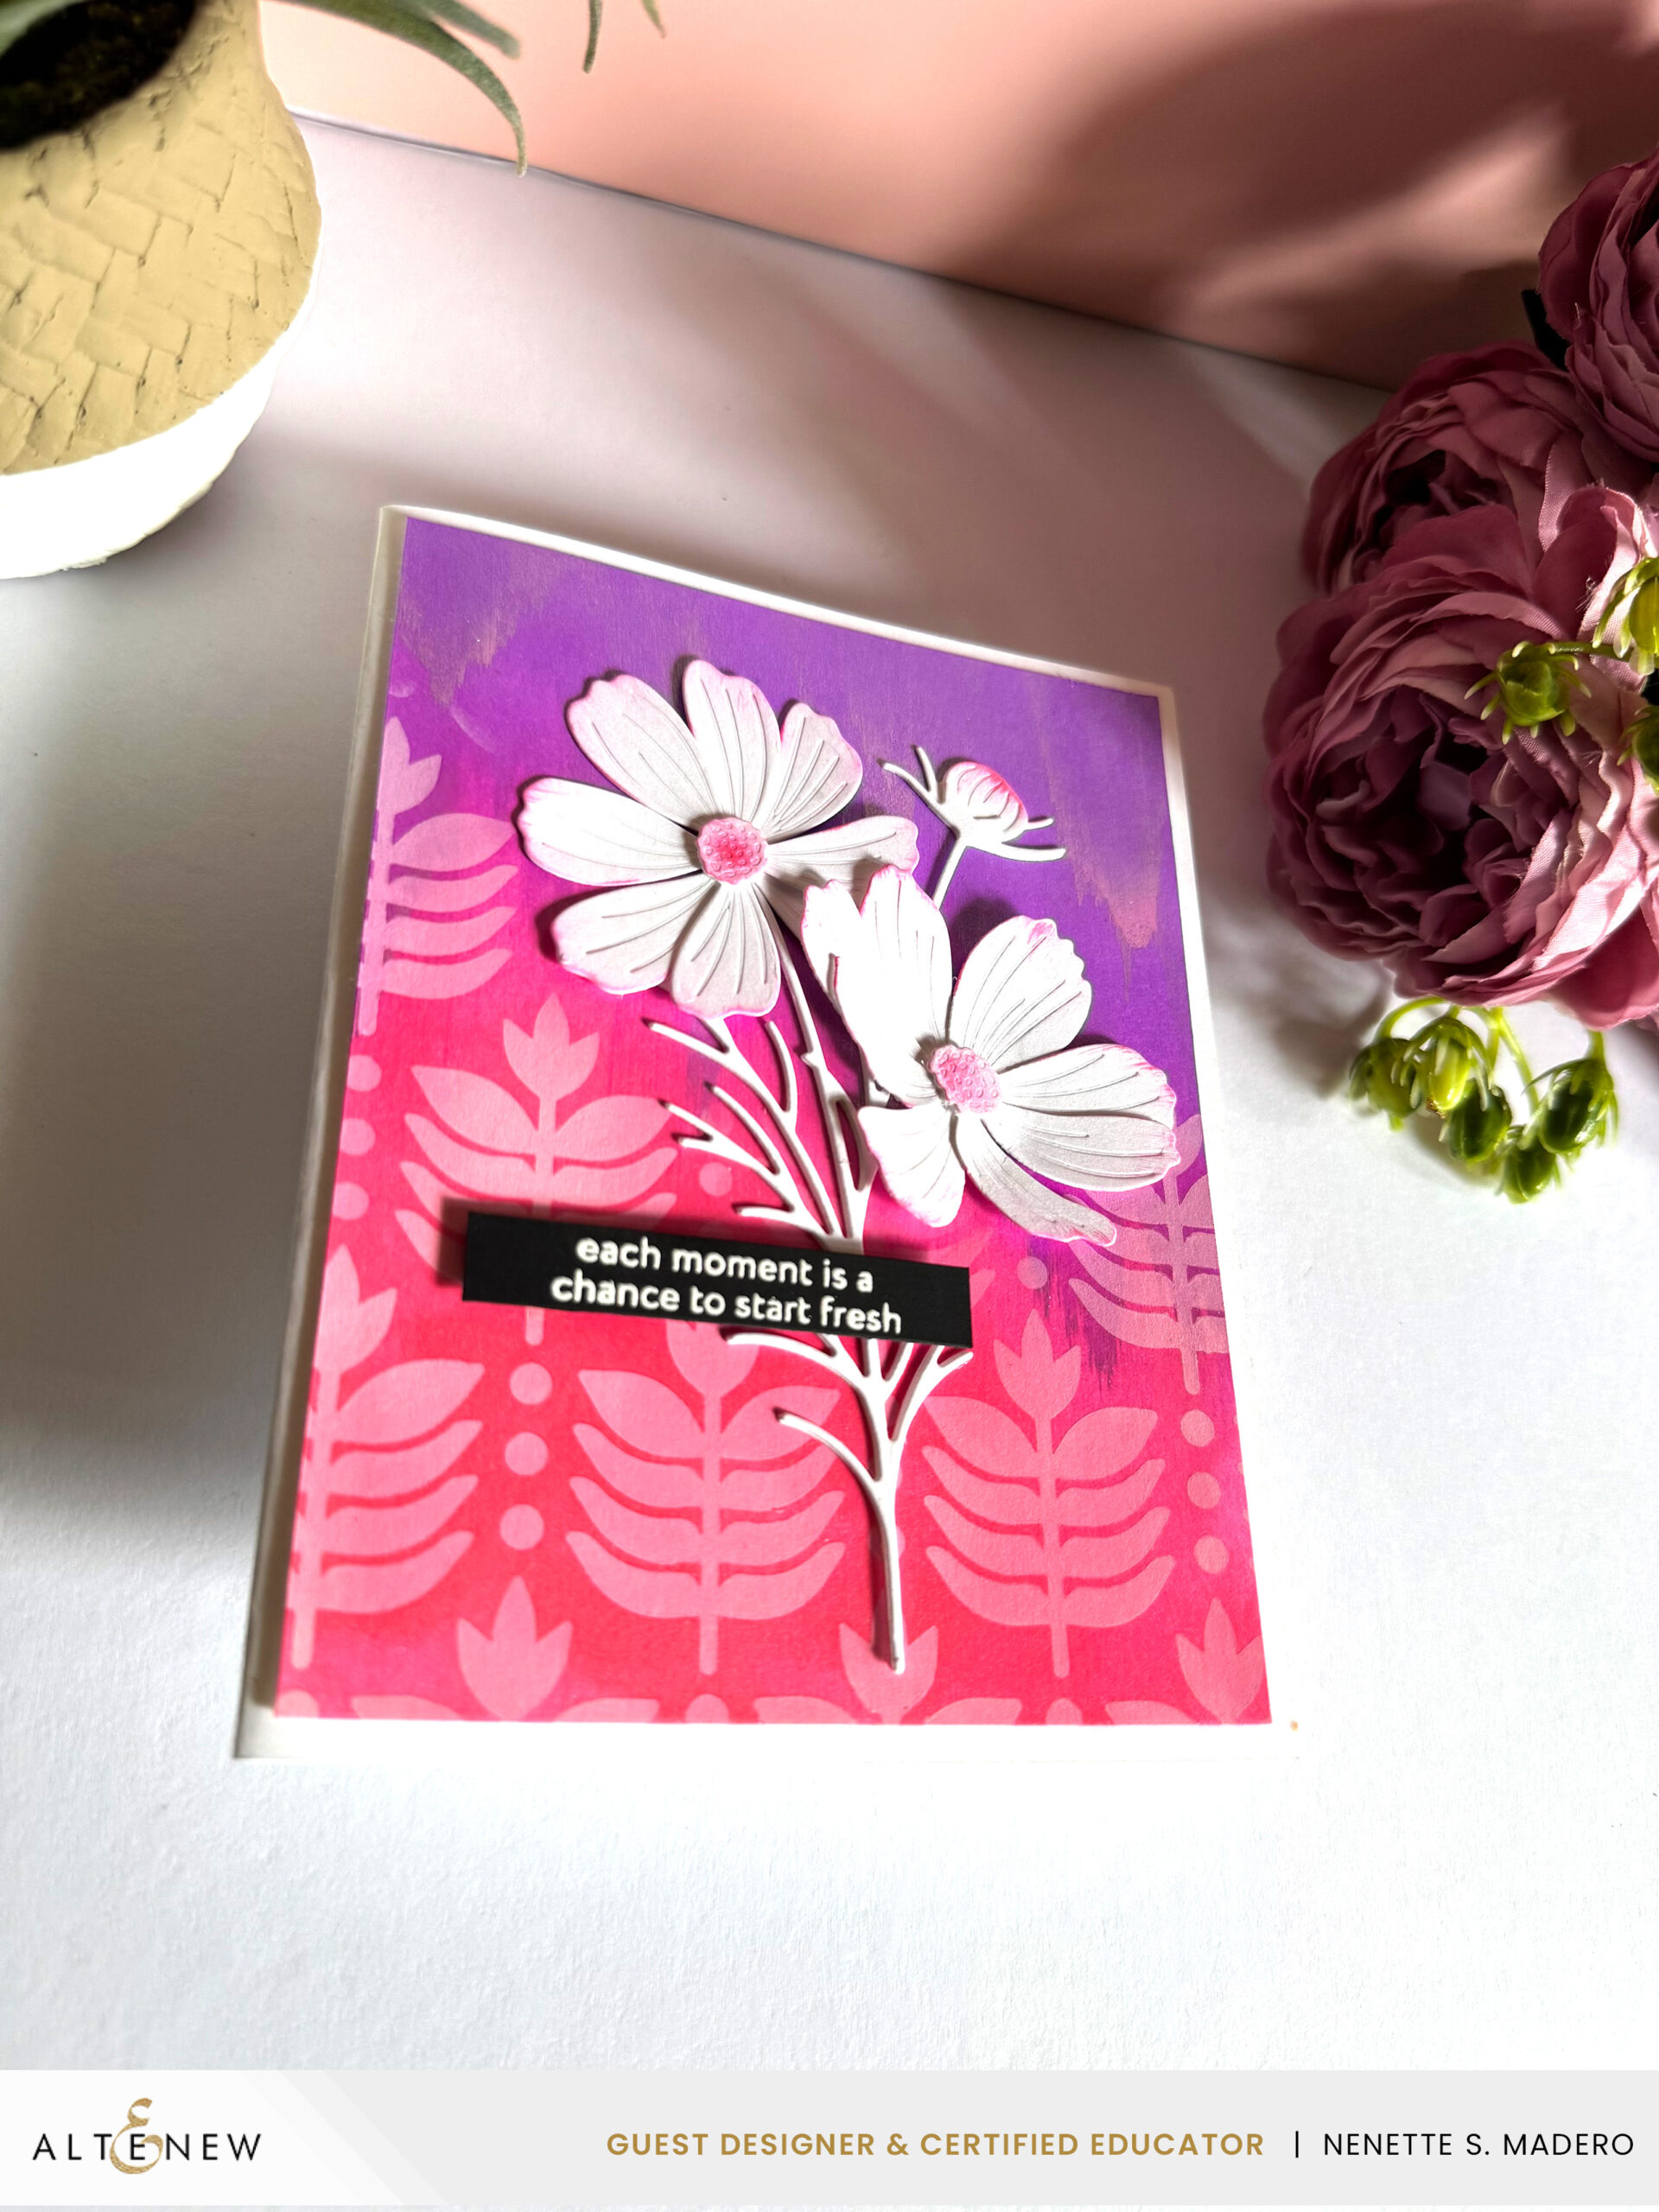
MATERIALS:
- STAMP: Serene Blooms
- DIES: Garden Cosmos
- STENCILS: Deco Leaves
- INKS: Cloud 9 Interference Inks; Dye Inks
- TOOLS: Paper Sculpting Kit
STEPS:
- 1. Color the background using the dye/pigment ink blending the colors.
- 2. Using the Deco Leaves stencil, lightly apply white pigment ink to partially imprint the design onto the card front.
- 3. Die-cut white cardstock using the Garden Cosmos die, then gently blend ink along the edges of the petals.
- 4. Use the paper sculpting kit to add dimension to the petals.
- 5. Assemble the card.
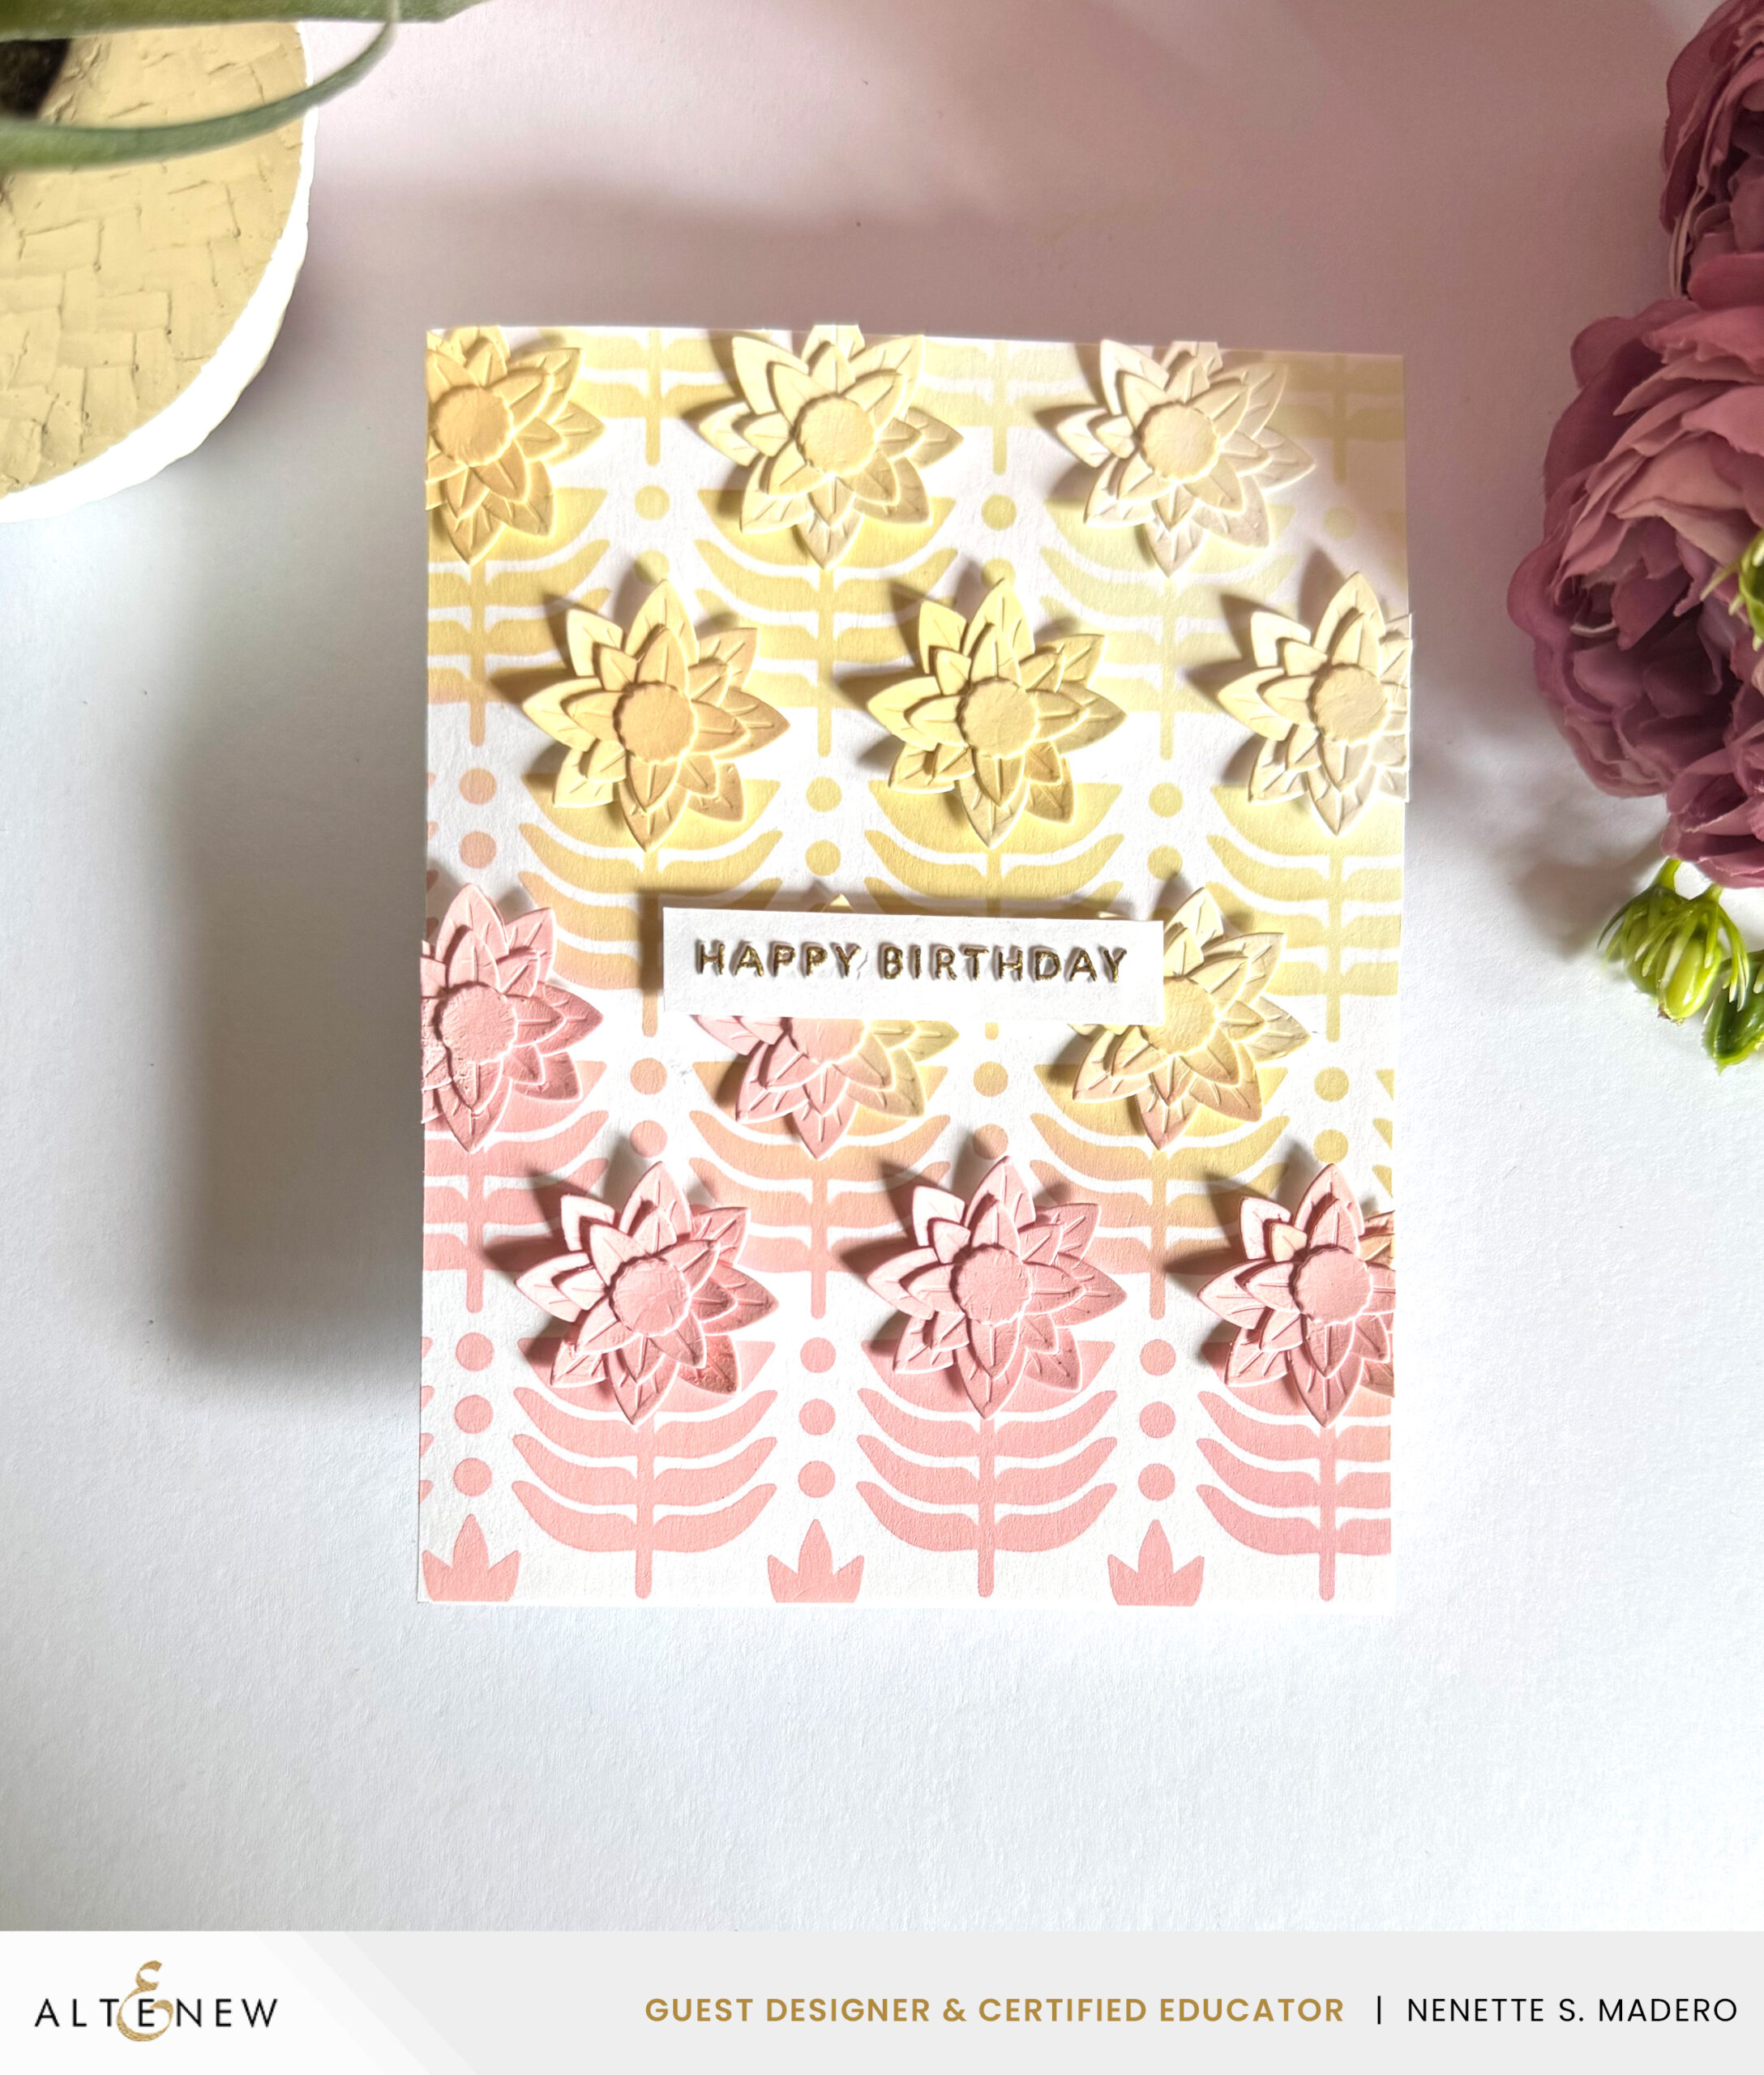
HAPPY BIRTHDAY
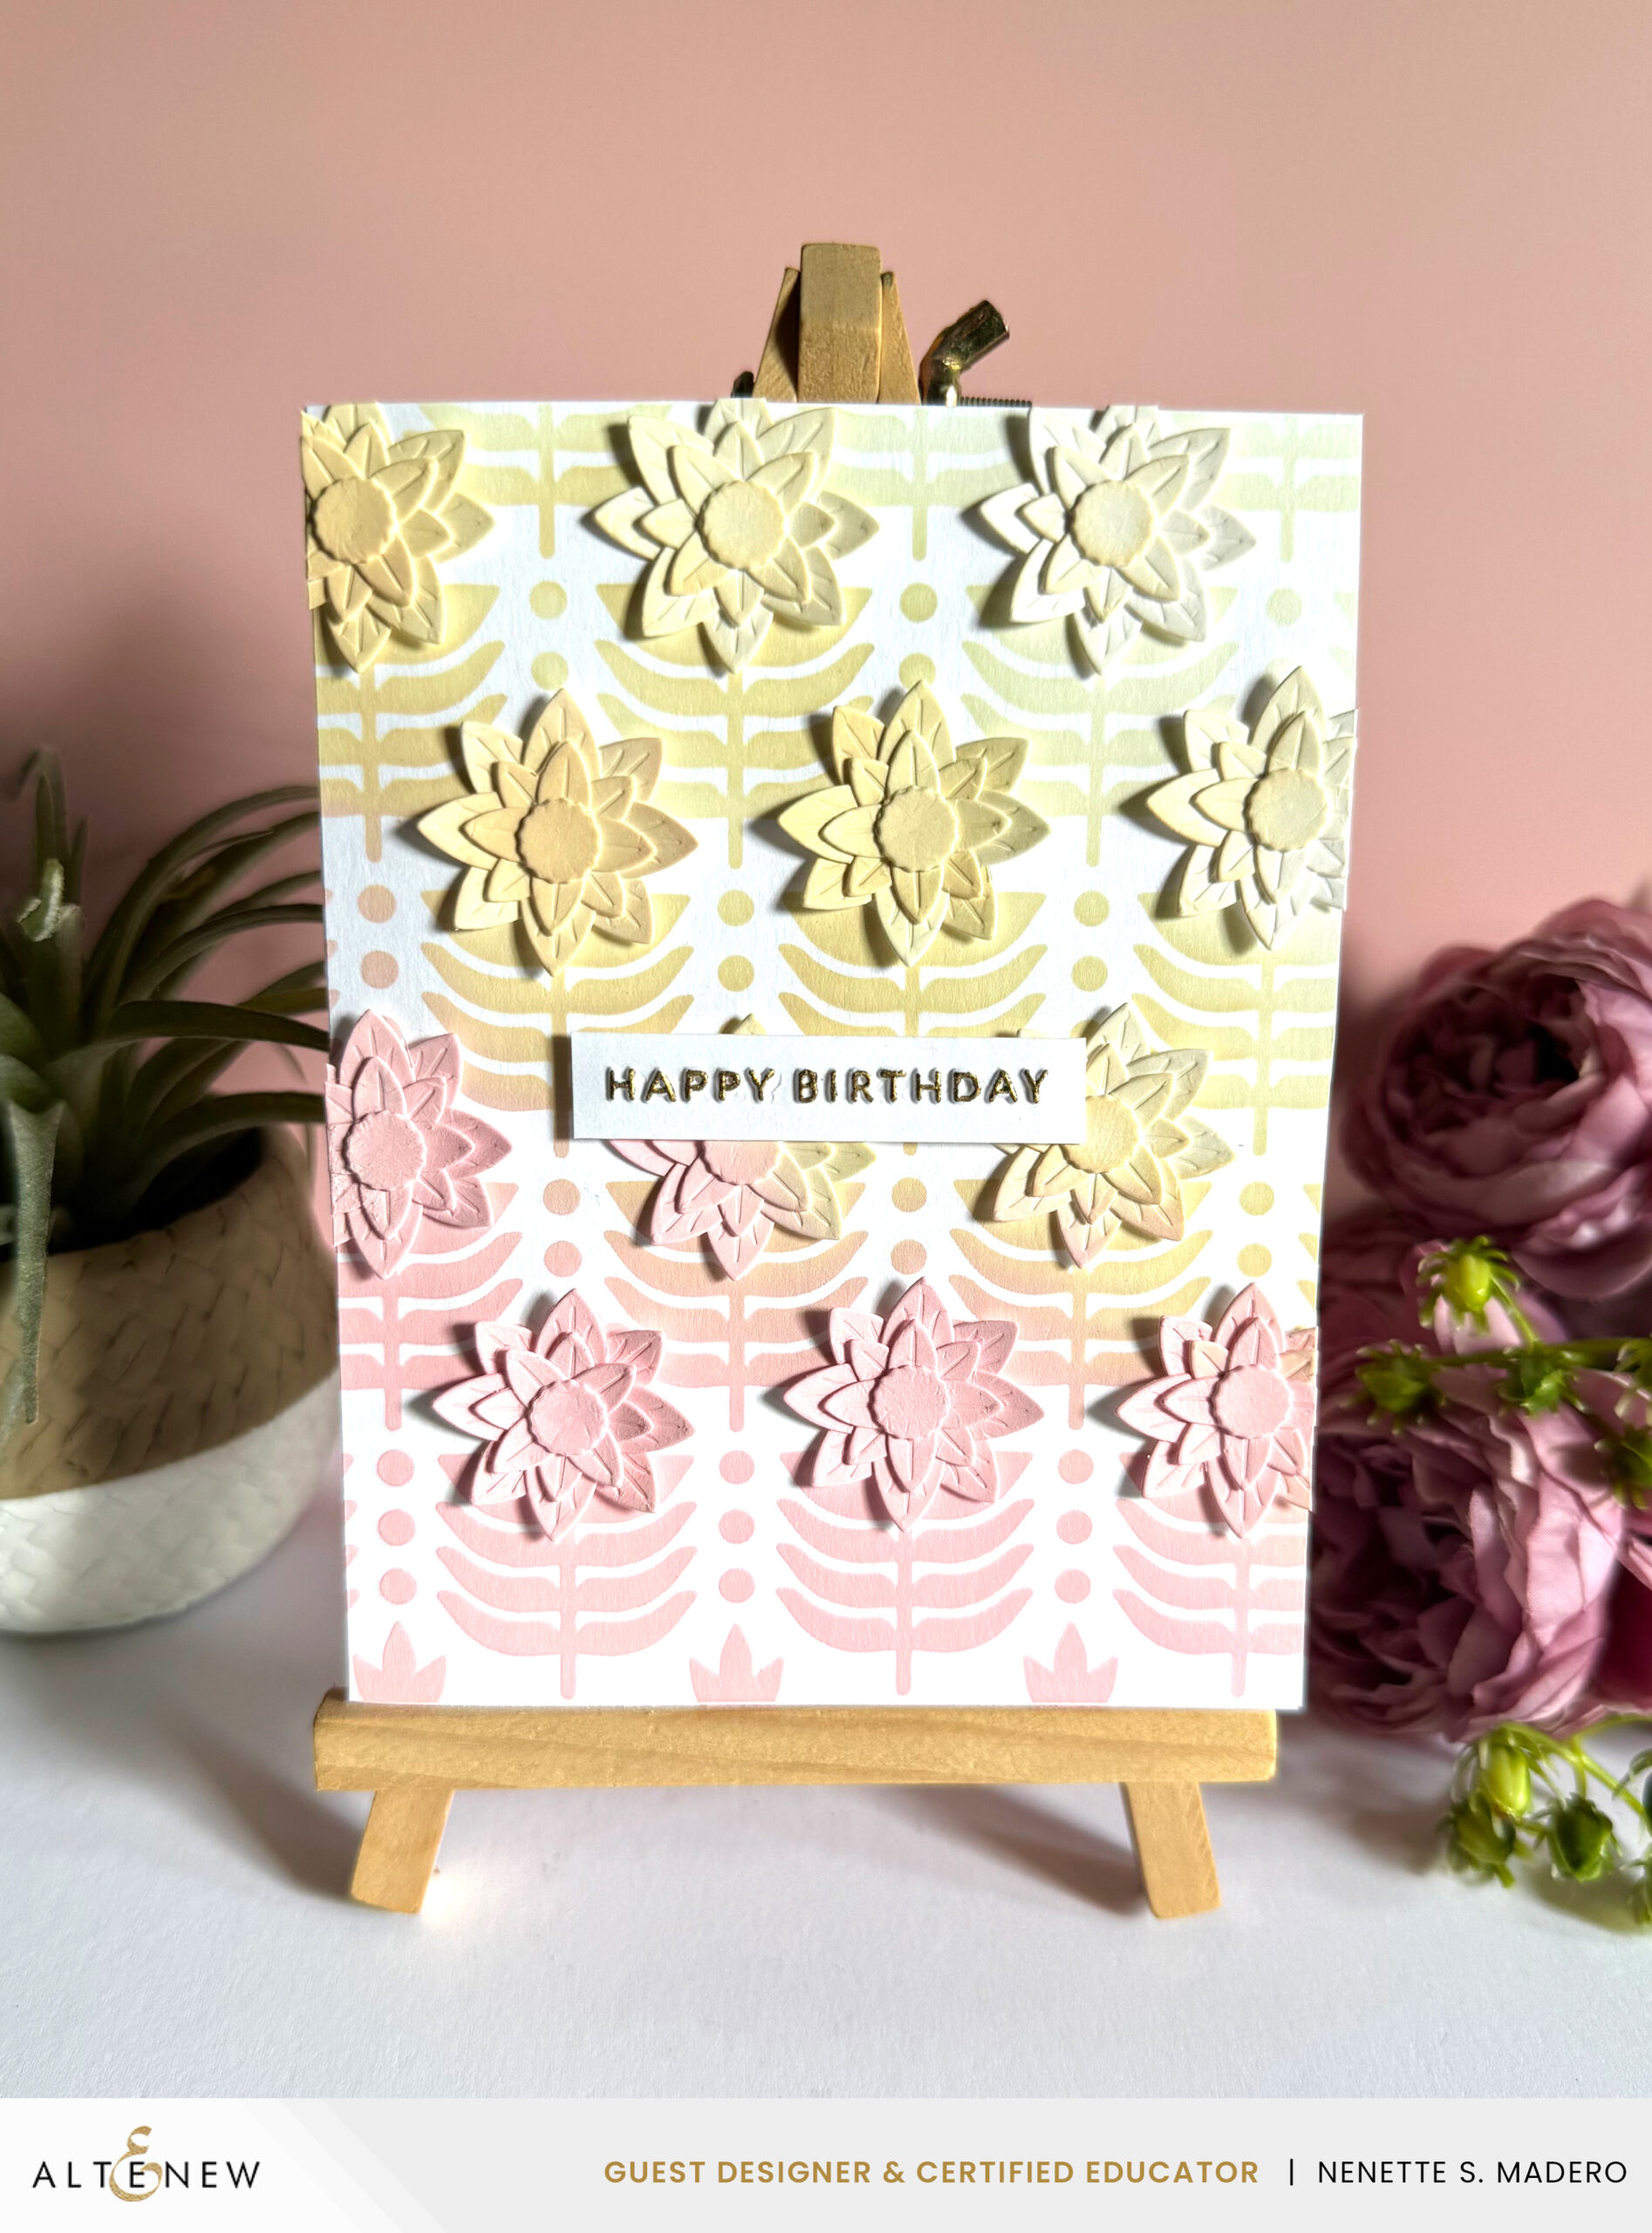
MATERIALS:
- DIES: Petal Craft Layering Die Set
- STENCILS: Deco Leaves
- EMBOSSING FOLDER: Mini Sentiments
- INKS: Distress Oxide Inks
- OTHERS: Gold marker
STEPS:
- 1. Create a background by blending distress oxide inks, starting with pinks and transitioning into yellow, then finishing with light yellow to achieve a smooth ombre effect from dark to light.
- 2. Die cut and layer flowers using the Petal Craft Layering Die set.
- 3. Color the flowers with Distress Oxide matching it with the background.
- 4. Emboss the sentiment and color the raised parts with a gold marker.
- 5. Assemble card.
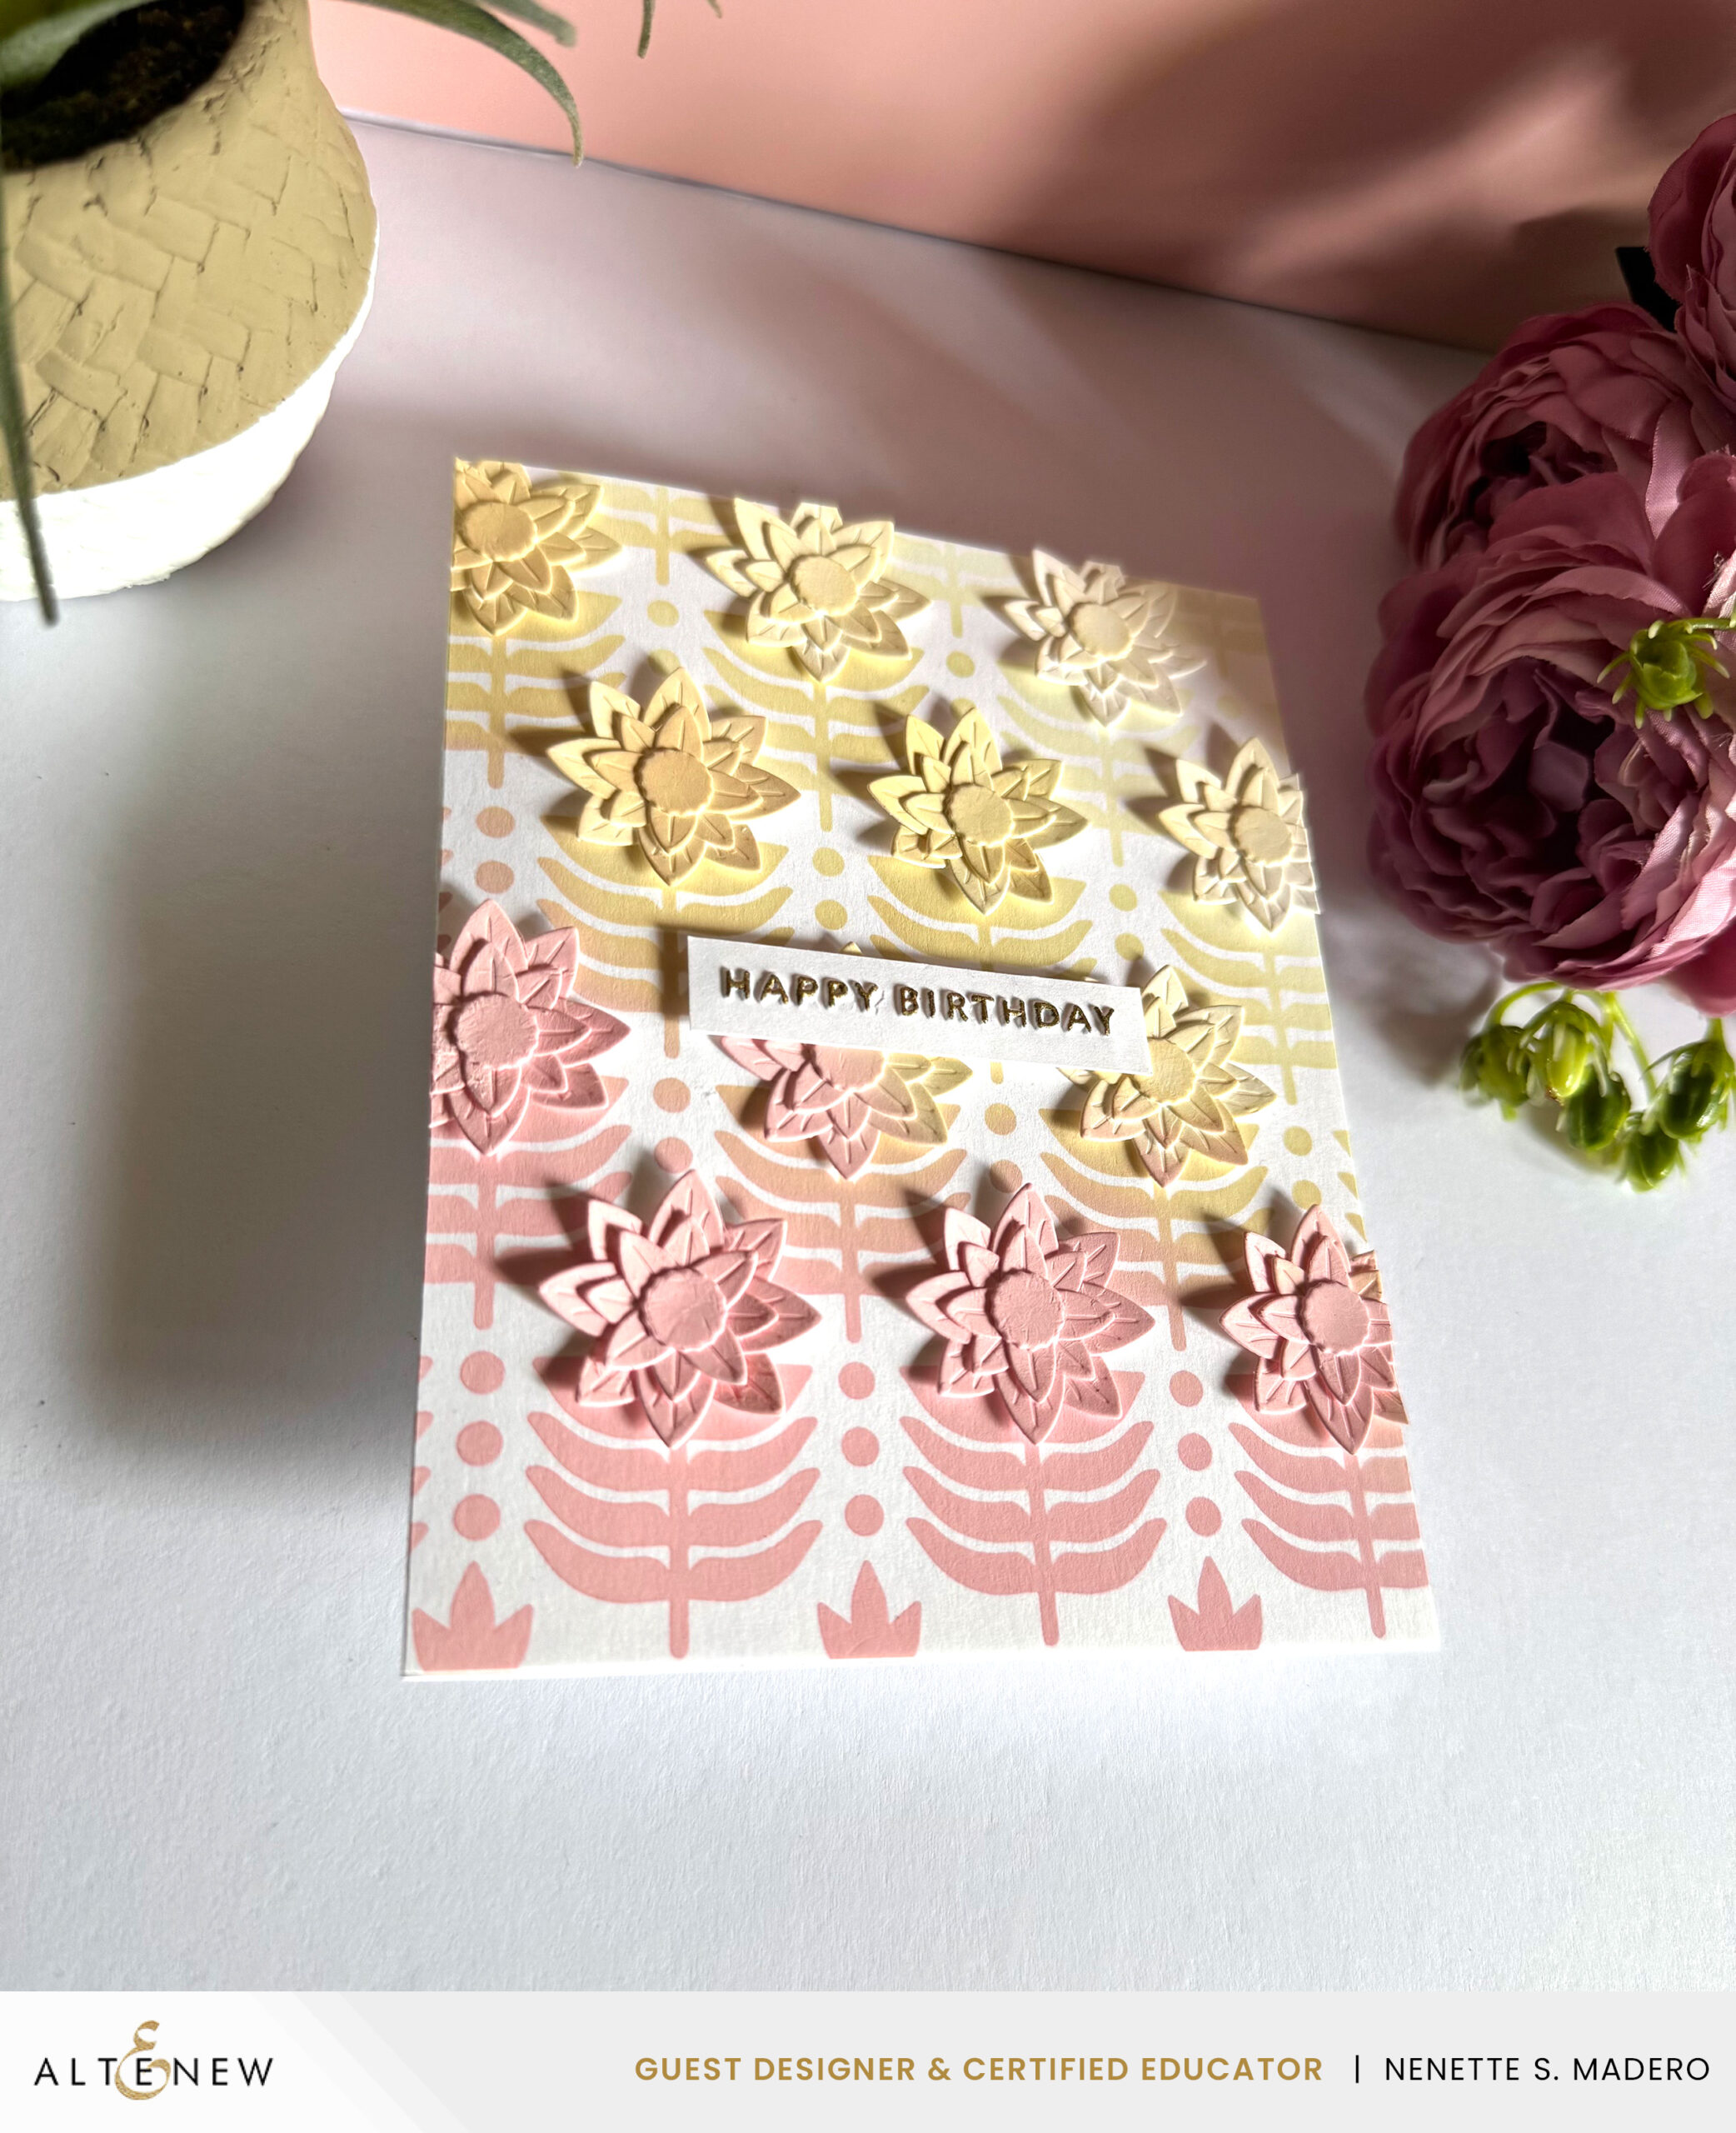
I thought the Petal Craft Layering Die would pair perfectly with the Deco Leaves Stencil. I absolutely love the dimension it adds to this card!
HUGS
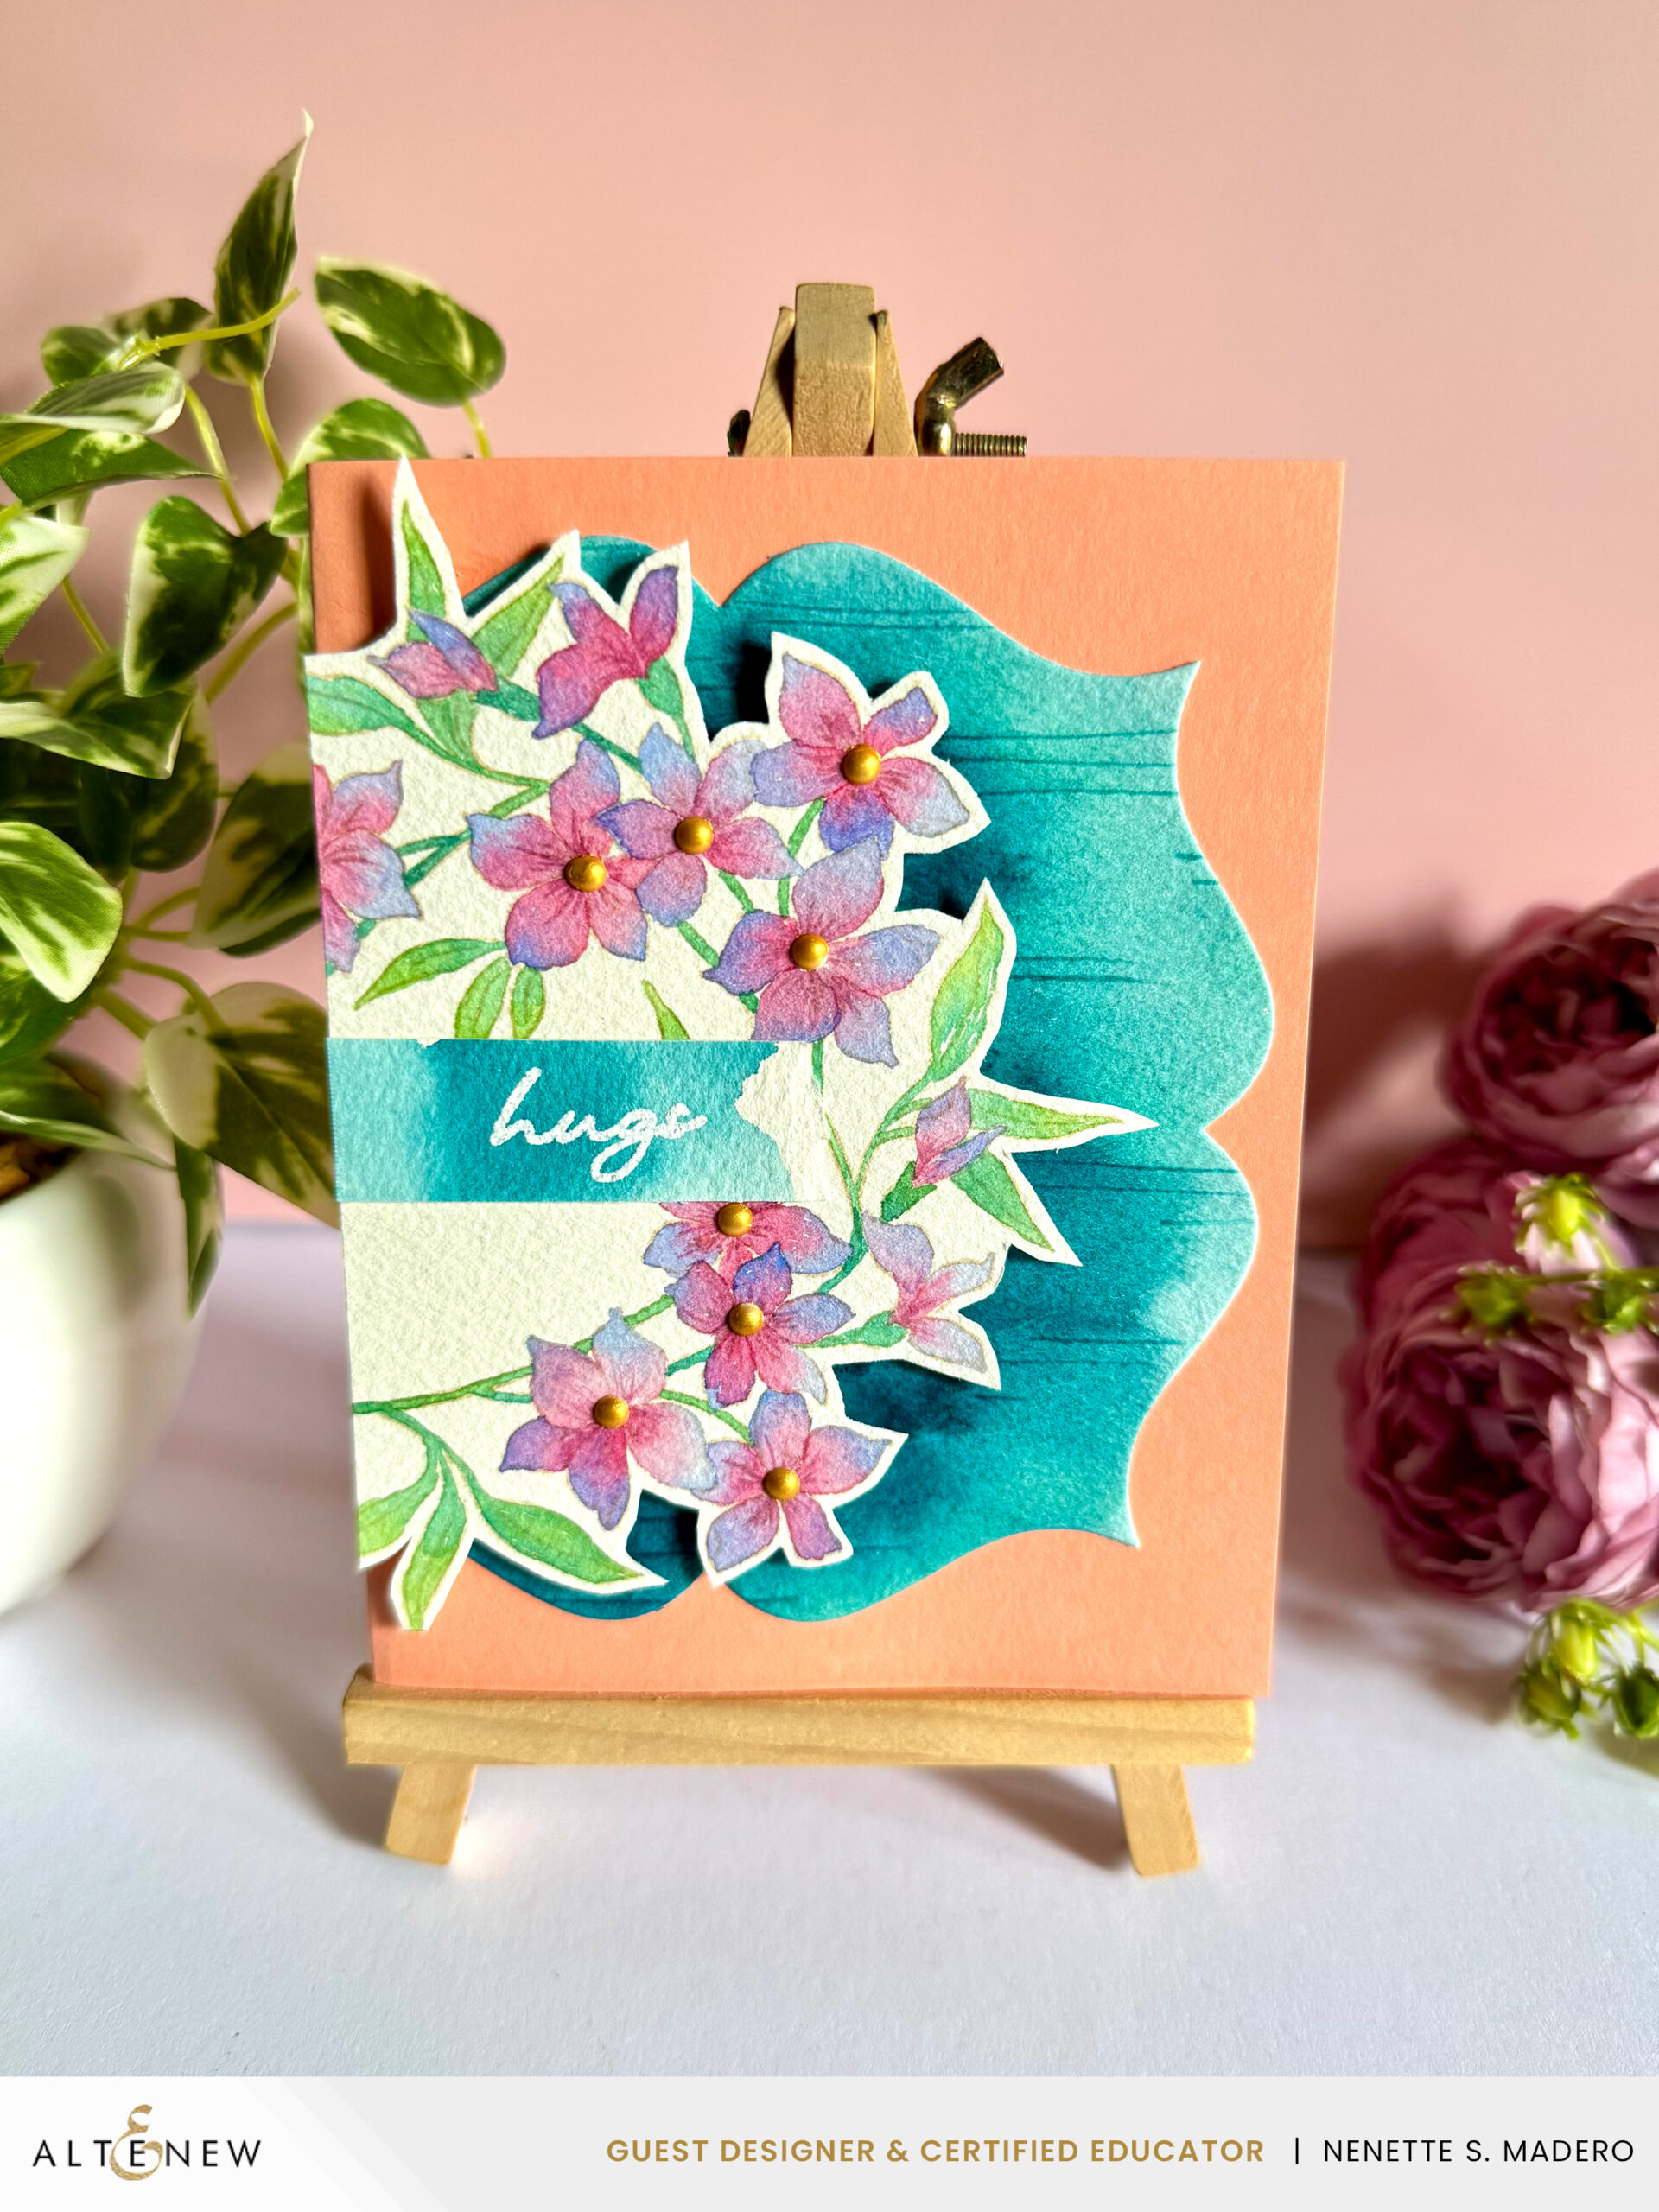
MATERIALS:
- STAMP: Serene Blooms
- INKS: Watercolor Pan Set, Sand Dunes Dye Ink, Iridescent bright Gold Acrylic Ink, Versamark Ink
- EMBOSSING POWDER: Pure White
- OTHERS: Beige Enamel Dots, Colored pencil
STEPS:
- 1. Stamp image using Sand Dunes Dye ink forming a wreath-like shape.
- 2. Watercolor the images. Use colored pencil to add more details to the center of the flowers.
- 3. Fussy cut the outer edges.
- 4. Paint the background. Use the tip of the paintbrush to draw lines on the wet background for added texture. Die cut.
- 5. Emboss the sentiment using white embossing powder.
- 6. Add the enamel dots and carfully color them gold using acrylic ink.
- 7. Assemble card using foam squares and adhesive for added dimension.
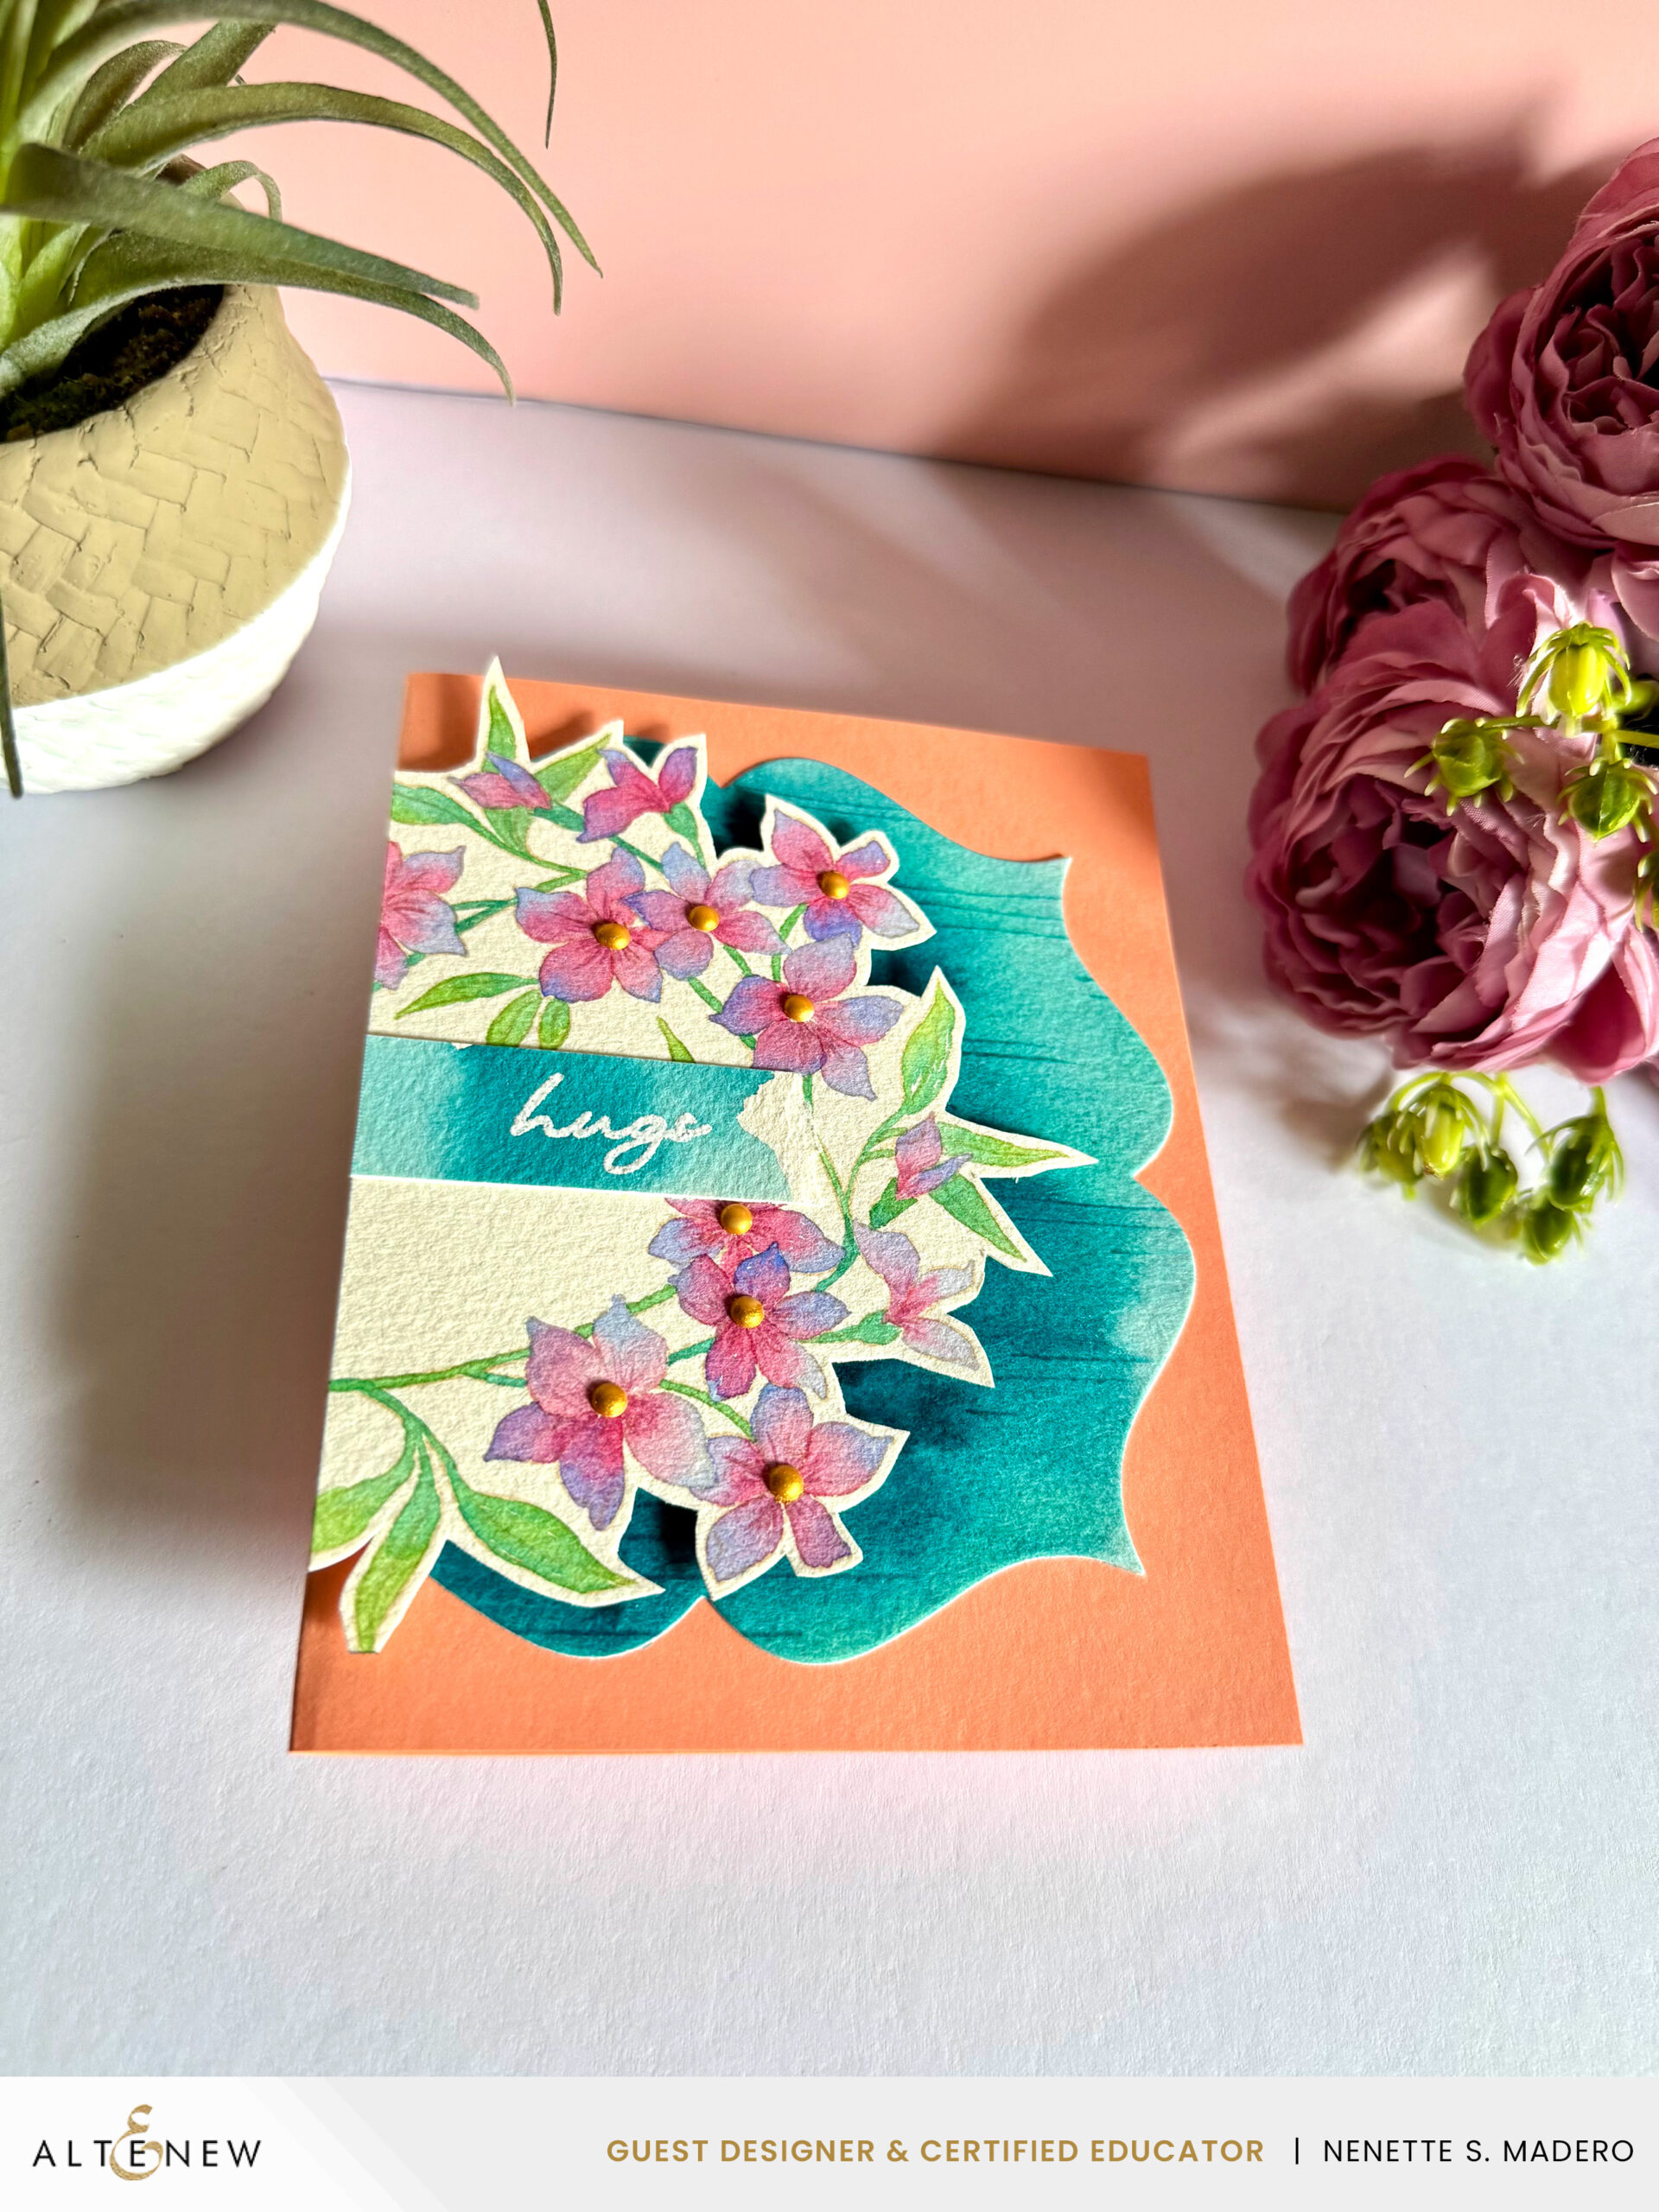
Using the Sand Dunes dye ink to stamp the images is perfect for no-line watercoloring since it is a very light shade. Make sure to make your markings on wet watercolor paper for added contrast.
YOU ARE AWESOME
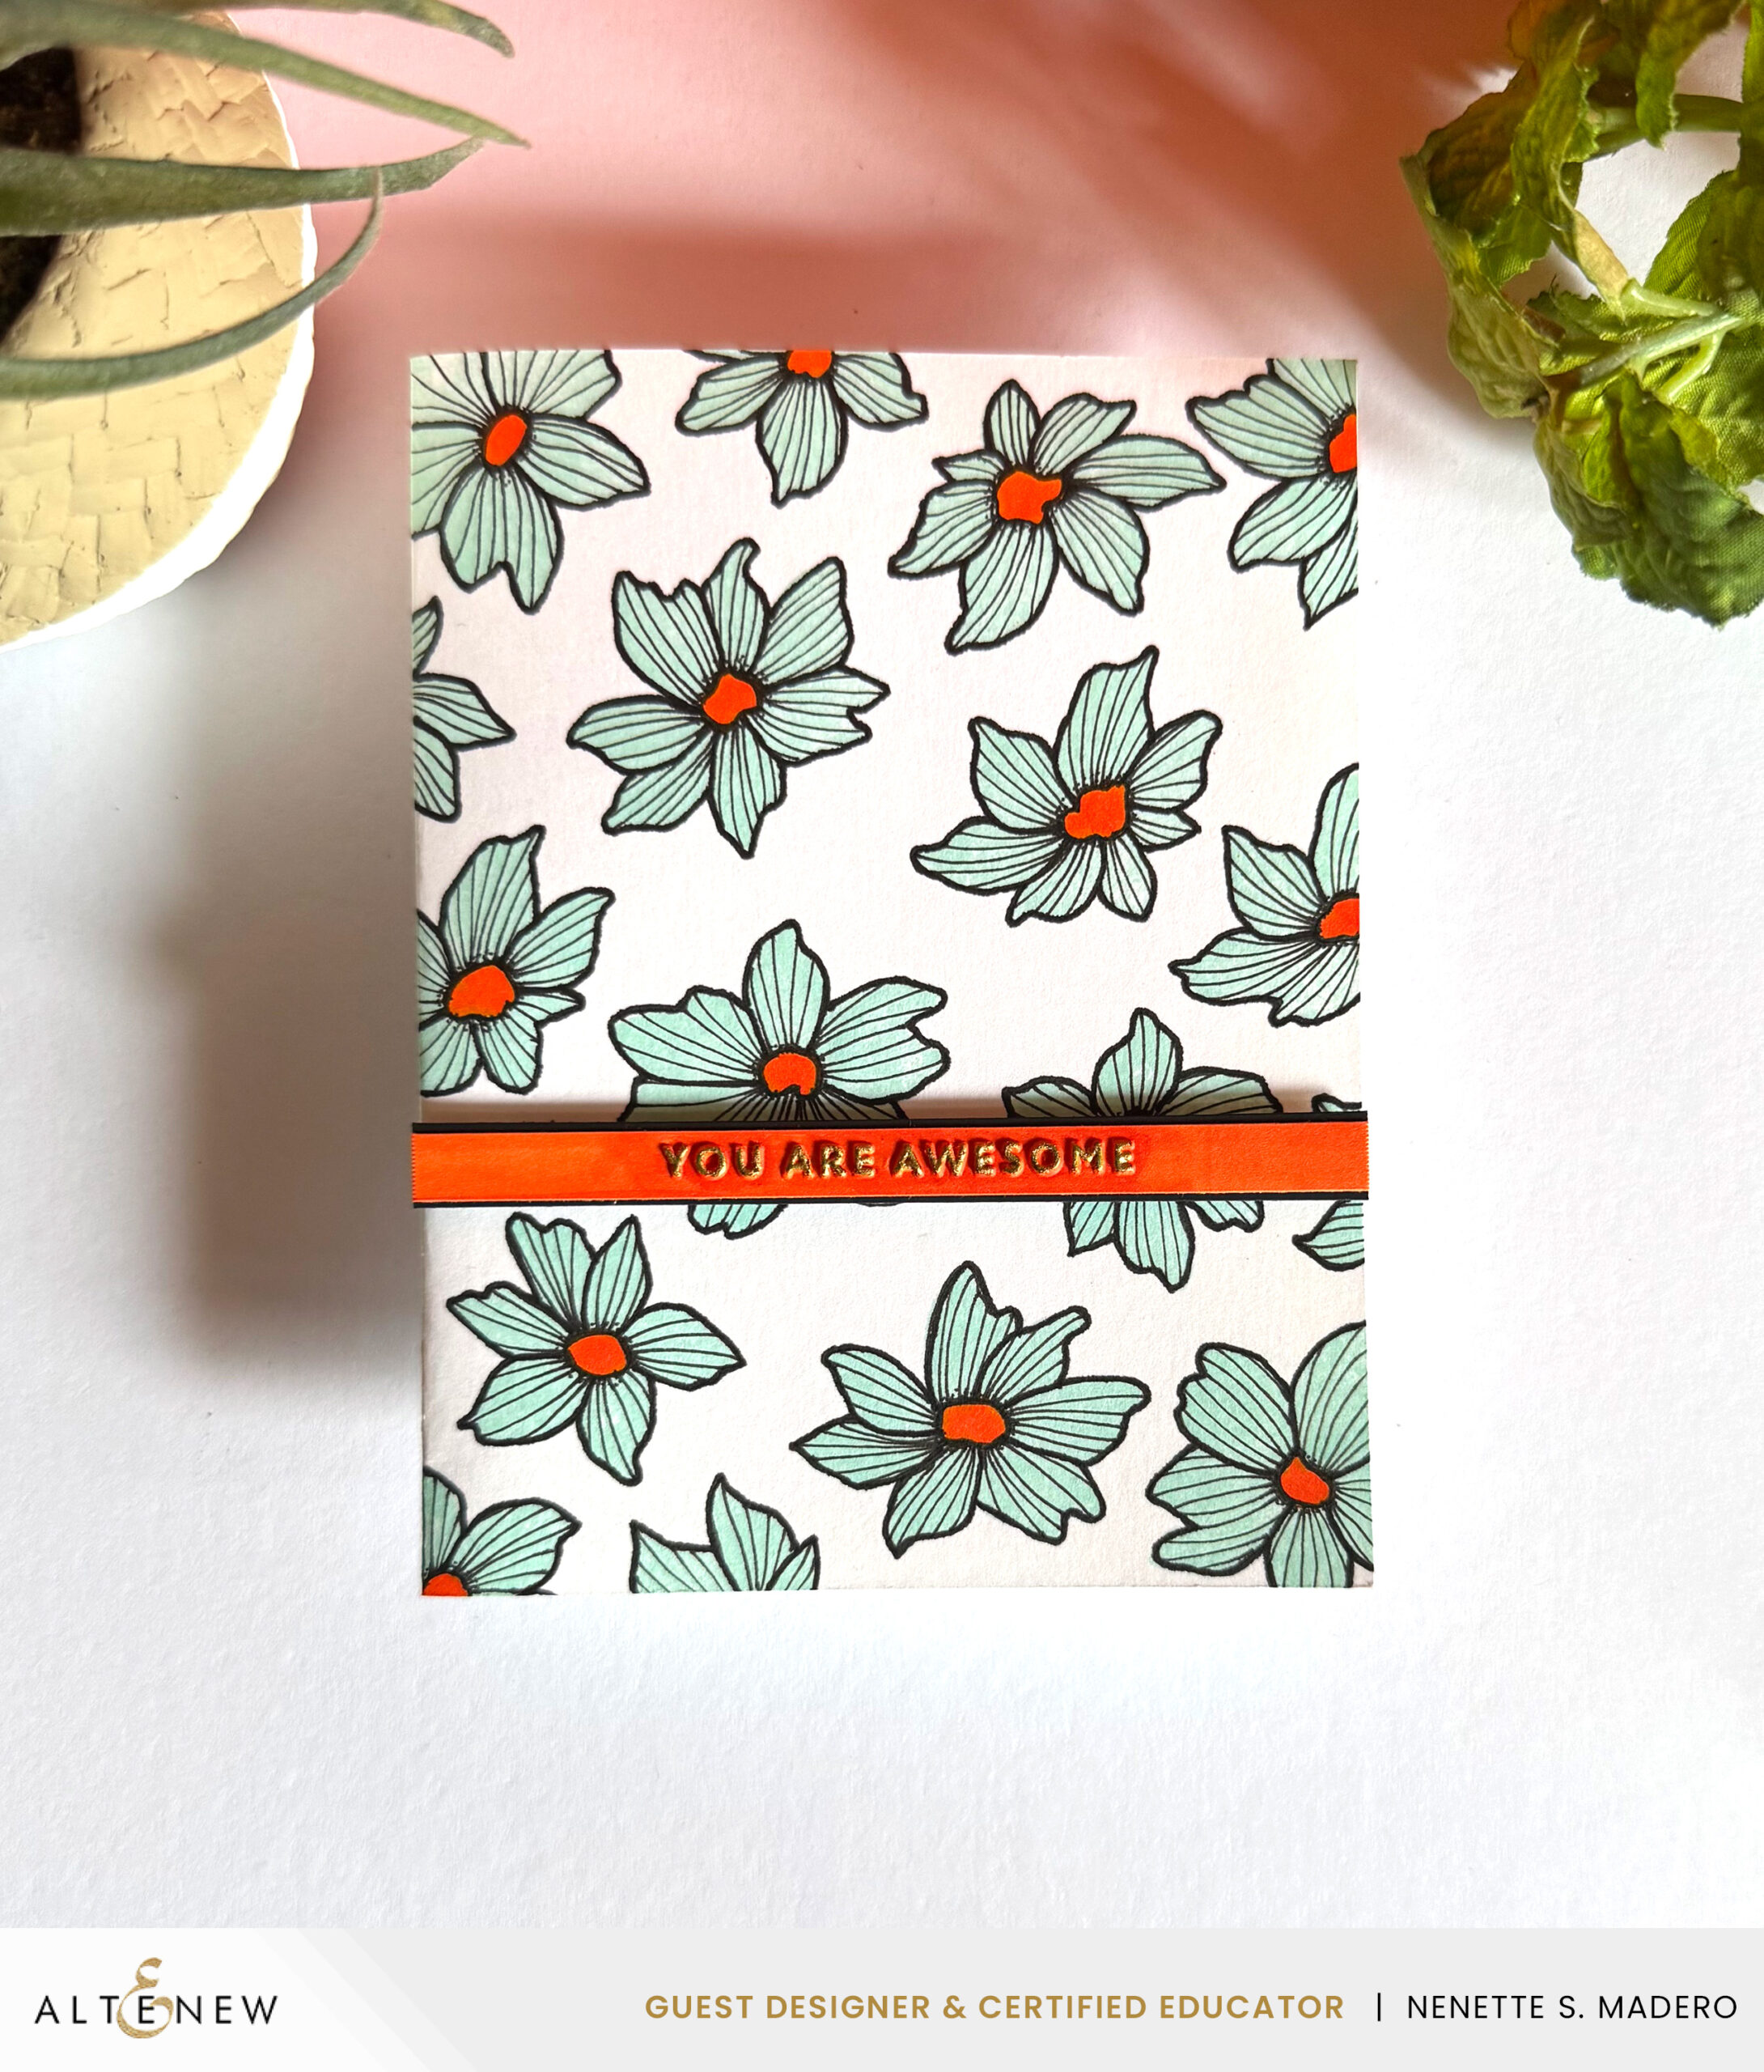
MATERIALS:
- STAMP: Ethereal Blooms (1st layer of flowers only-A1, B1, C1 AND D1)
- INKS: Dew Drops Dye Ink, C019 Artist Marker orange, .1 and .5 fine pen, Pilot Gold Marker
- EMBOSSING FOLDER: Mini Sentiments
STEPS:
- 1. Randomly stamp the base layers of the flowers onto the cardfront using Dew Drops dye ink.
- 2. Loosely draw the outline of the petals using .5mm tip then draw thin lines on the petals using a .1mm fine tip pen. Color the center using the C019 artist marker.
- 3. Emboss the sentiment and color the top with gold marker.
- 4. Matt the sentiment with black cardstock and mount with foap tape for added dimension.
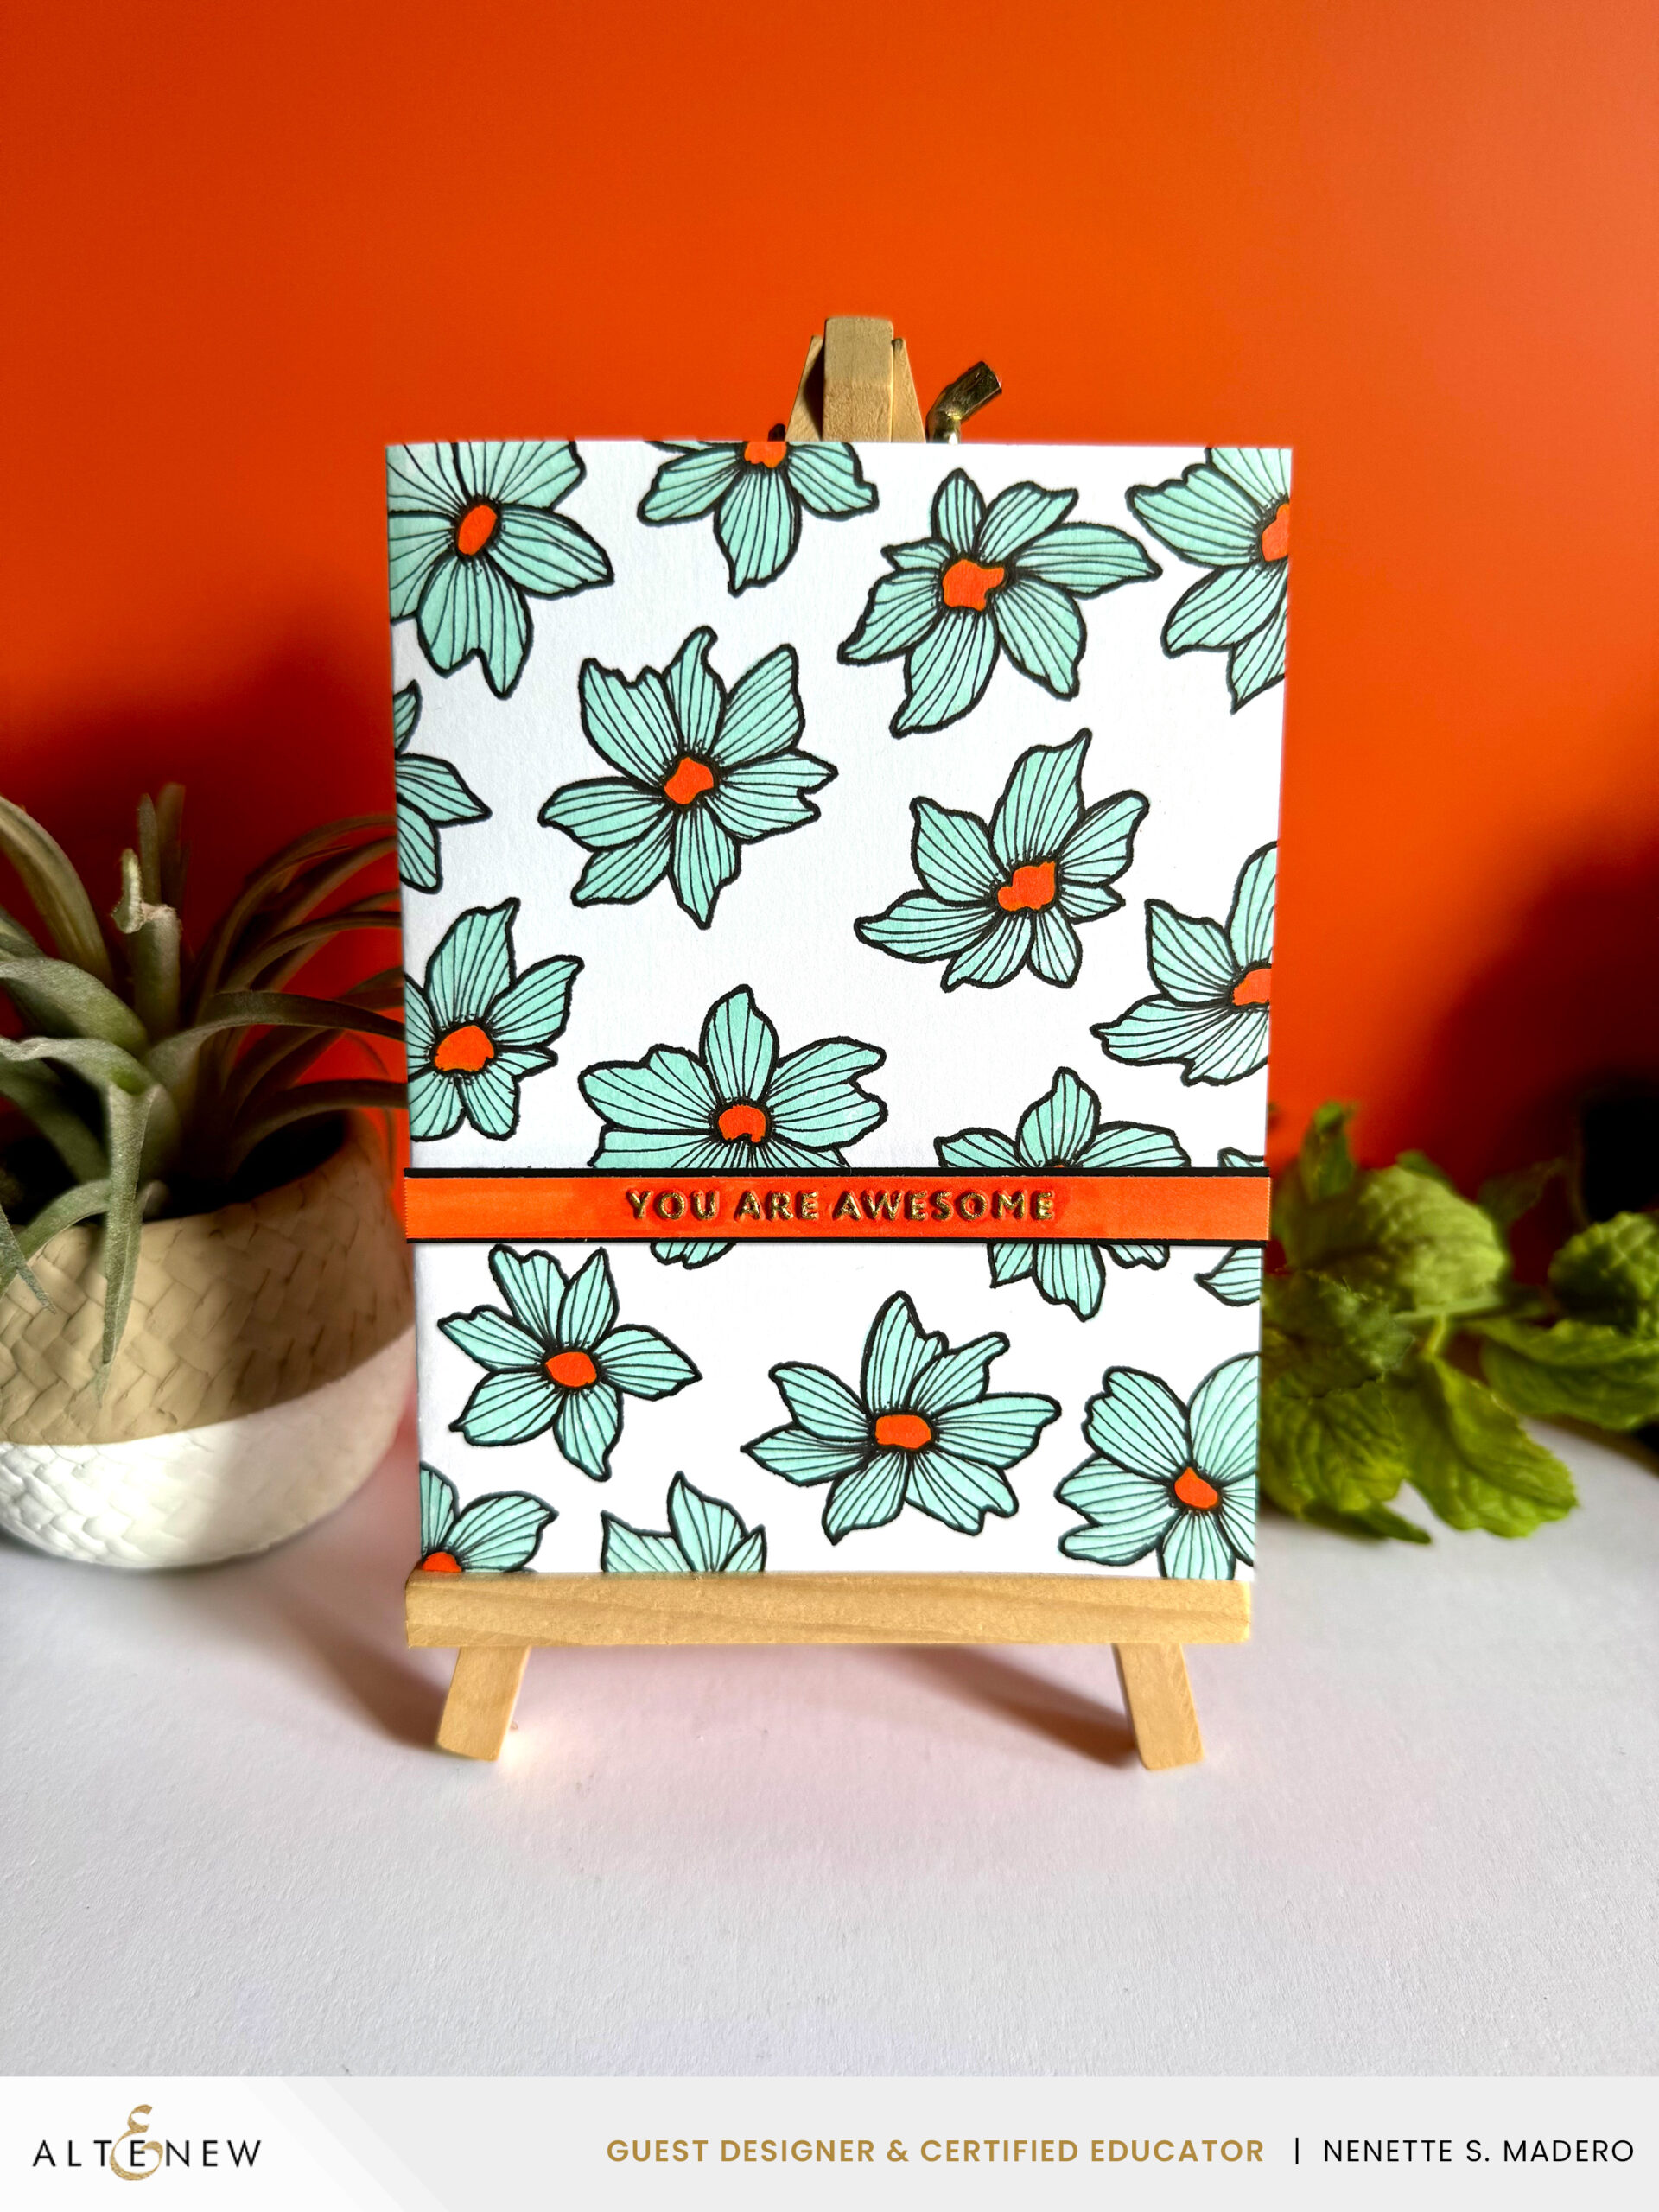
This is an alternative and simple way to use the stamp set. You don’t need to layer the stamps… just use the base layer then draw the outlines to create the flower.
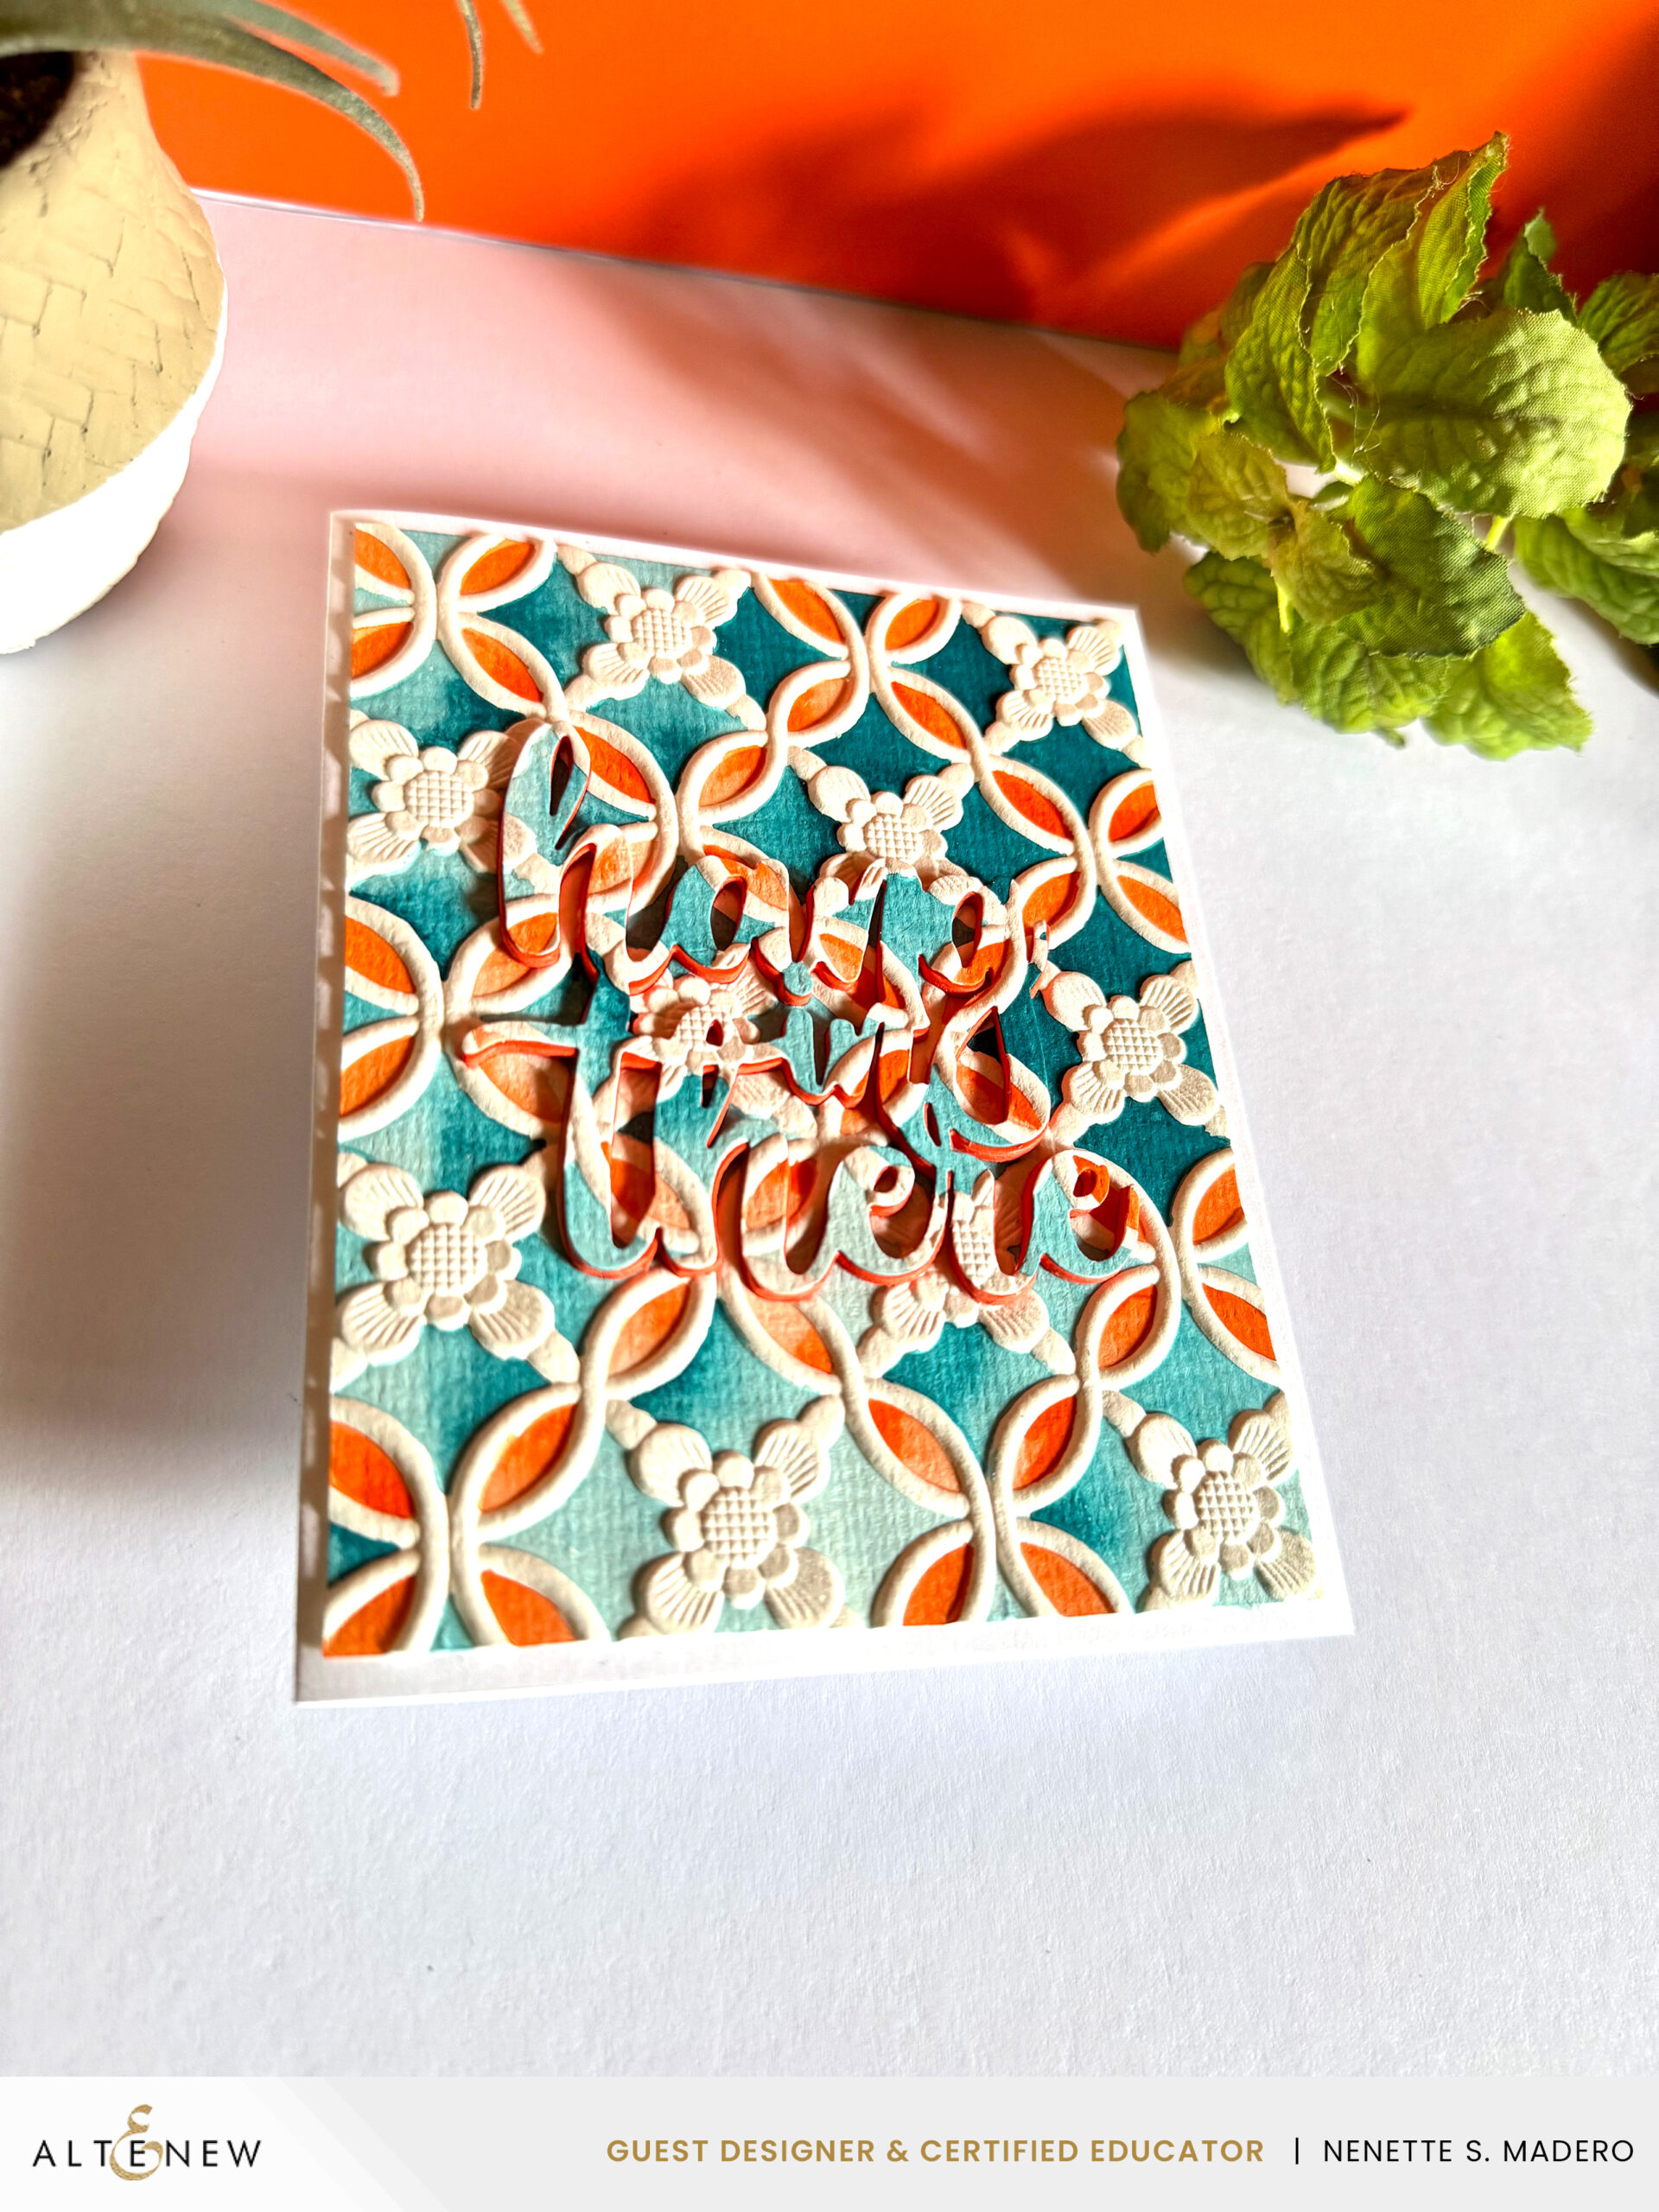
HANG IN THERE
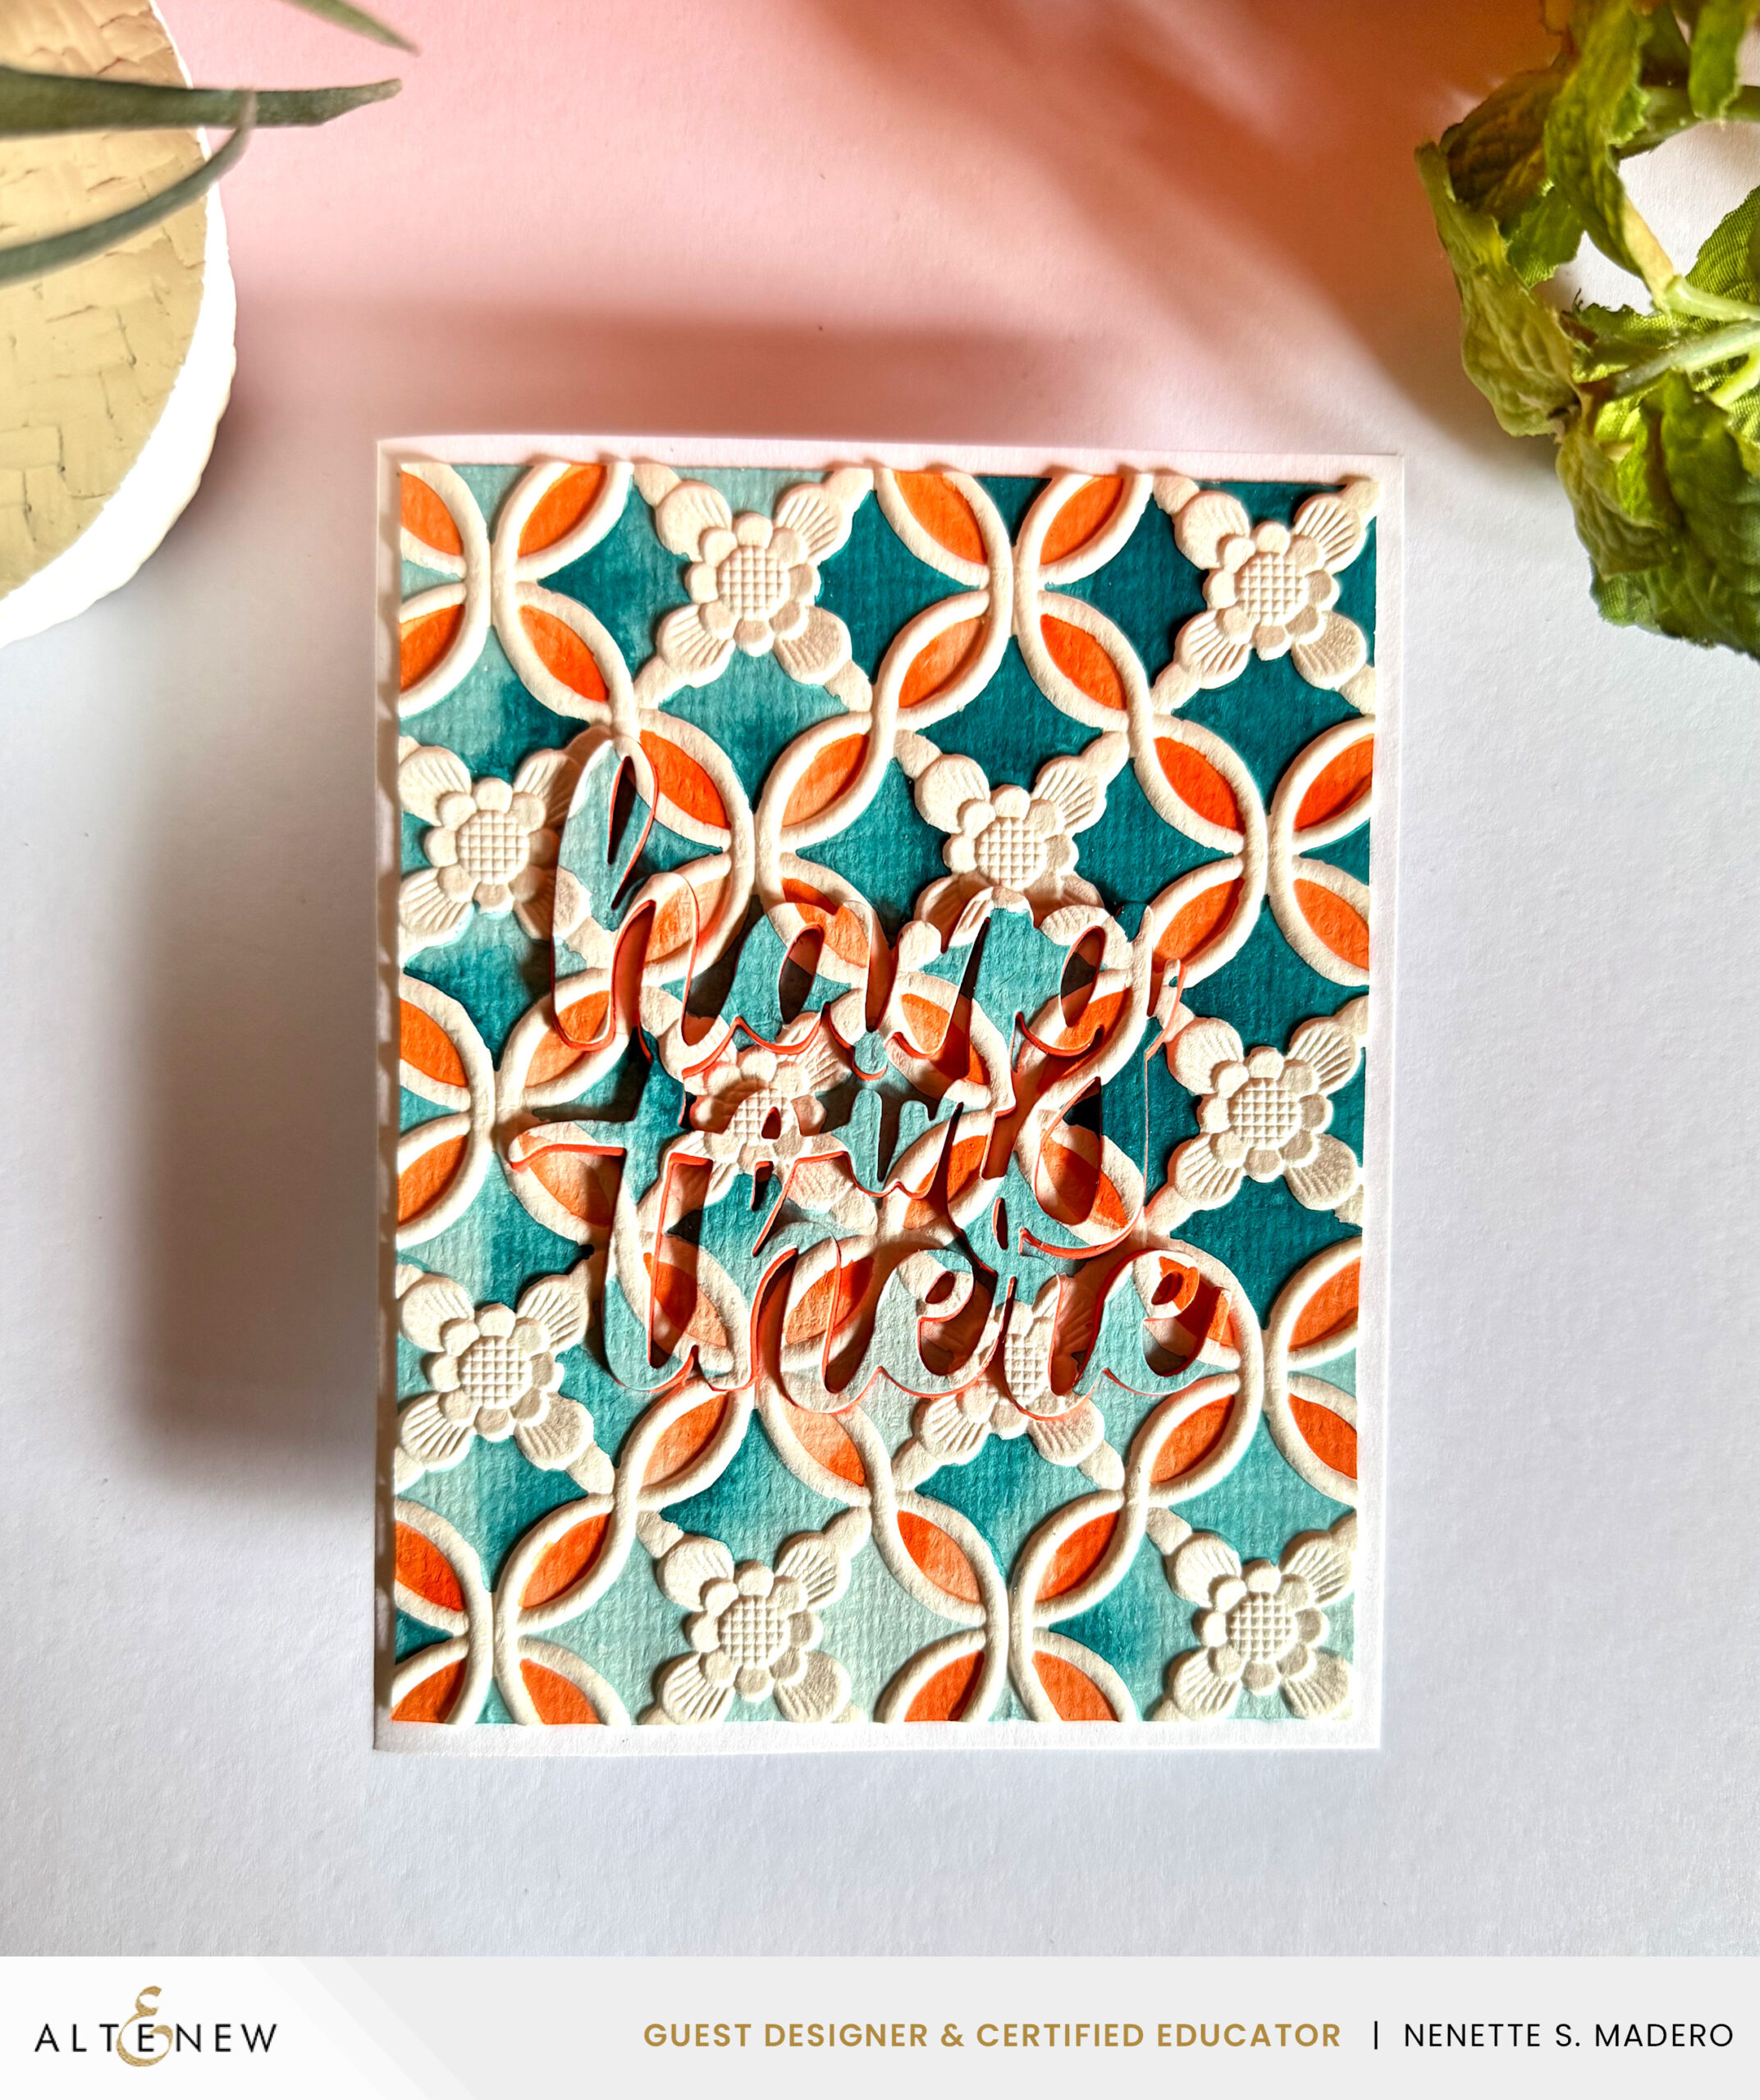
MATERIALS:
- INKS: Watercolor Pan Set
- EMBOSSING FOLDER: Botanical Rails
- DIE: Hang In There
STEPS:
- 1. Die cut the sentiment on white cardstock.
- 2. Reattach the die-cut words to the die-cut base and secure the pieces by adding washi tape to the back.
- 3. Emboss the whole panel.
- 4. Watercolor certain areas of the embossed panel using orange and blue. Vary the concentration for added interest.
- 5. Die cut 4 extra words and adhere on top of each other.
- 6. Assemble the card.
I used orange cardstock to enhance the contrast of the sentiment, making it more visible and easier to read.
SENDING HAPPY THOUGHTS
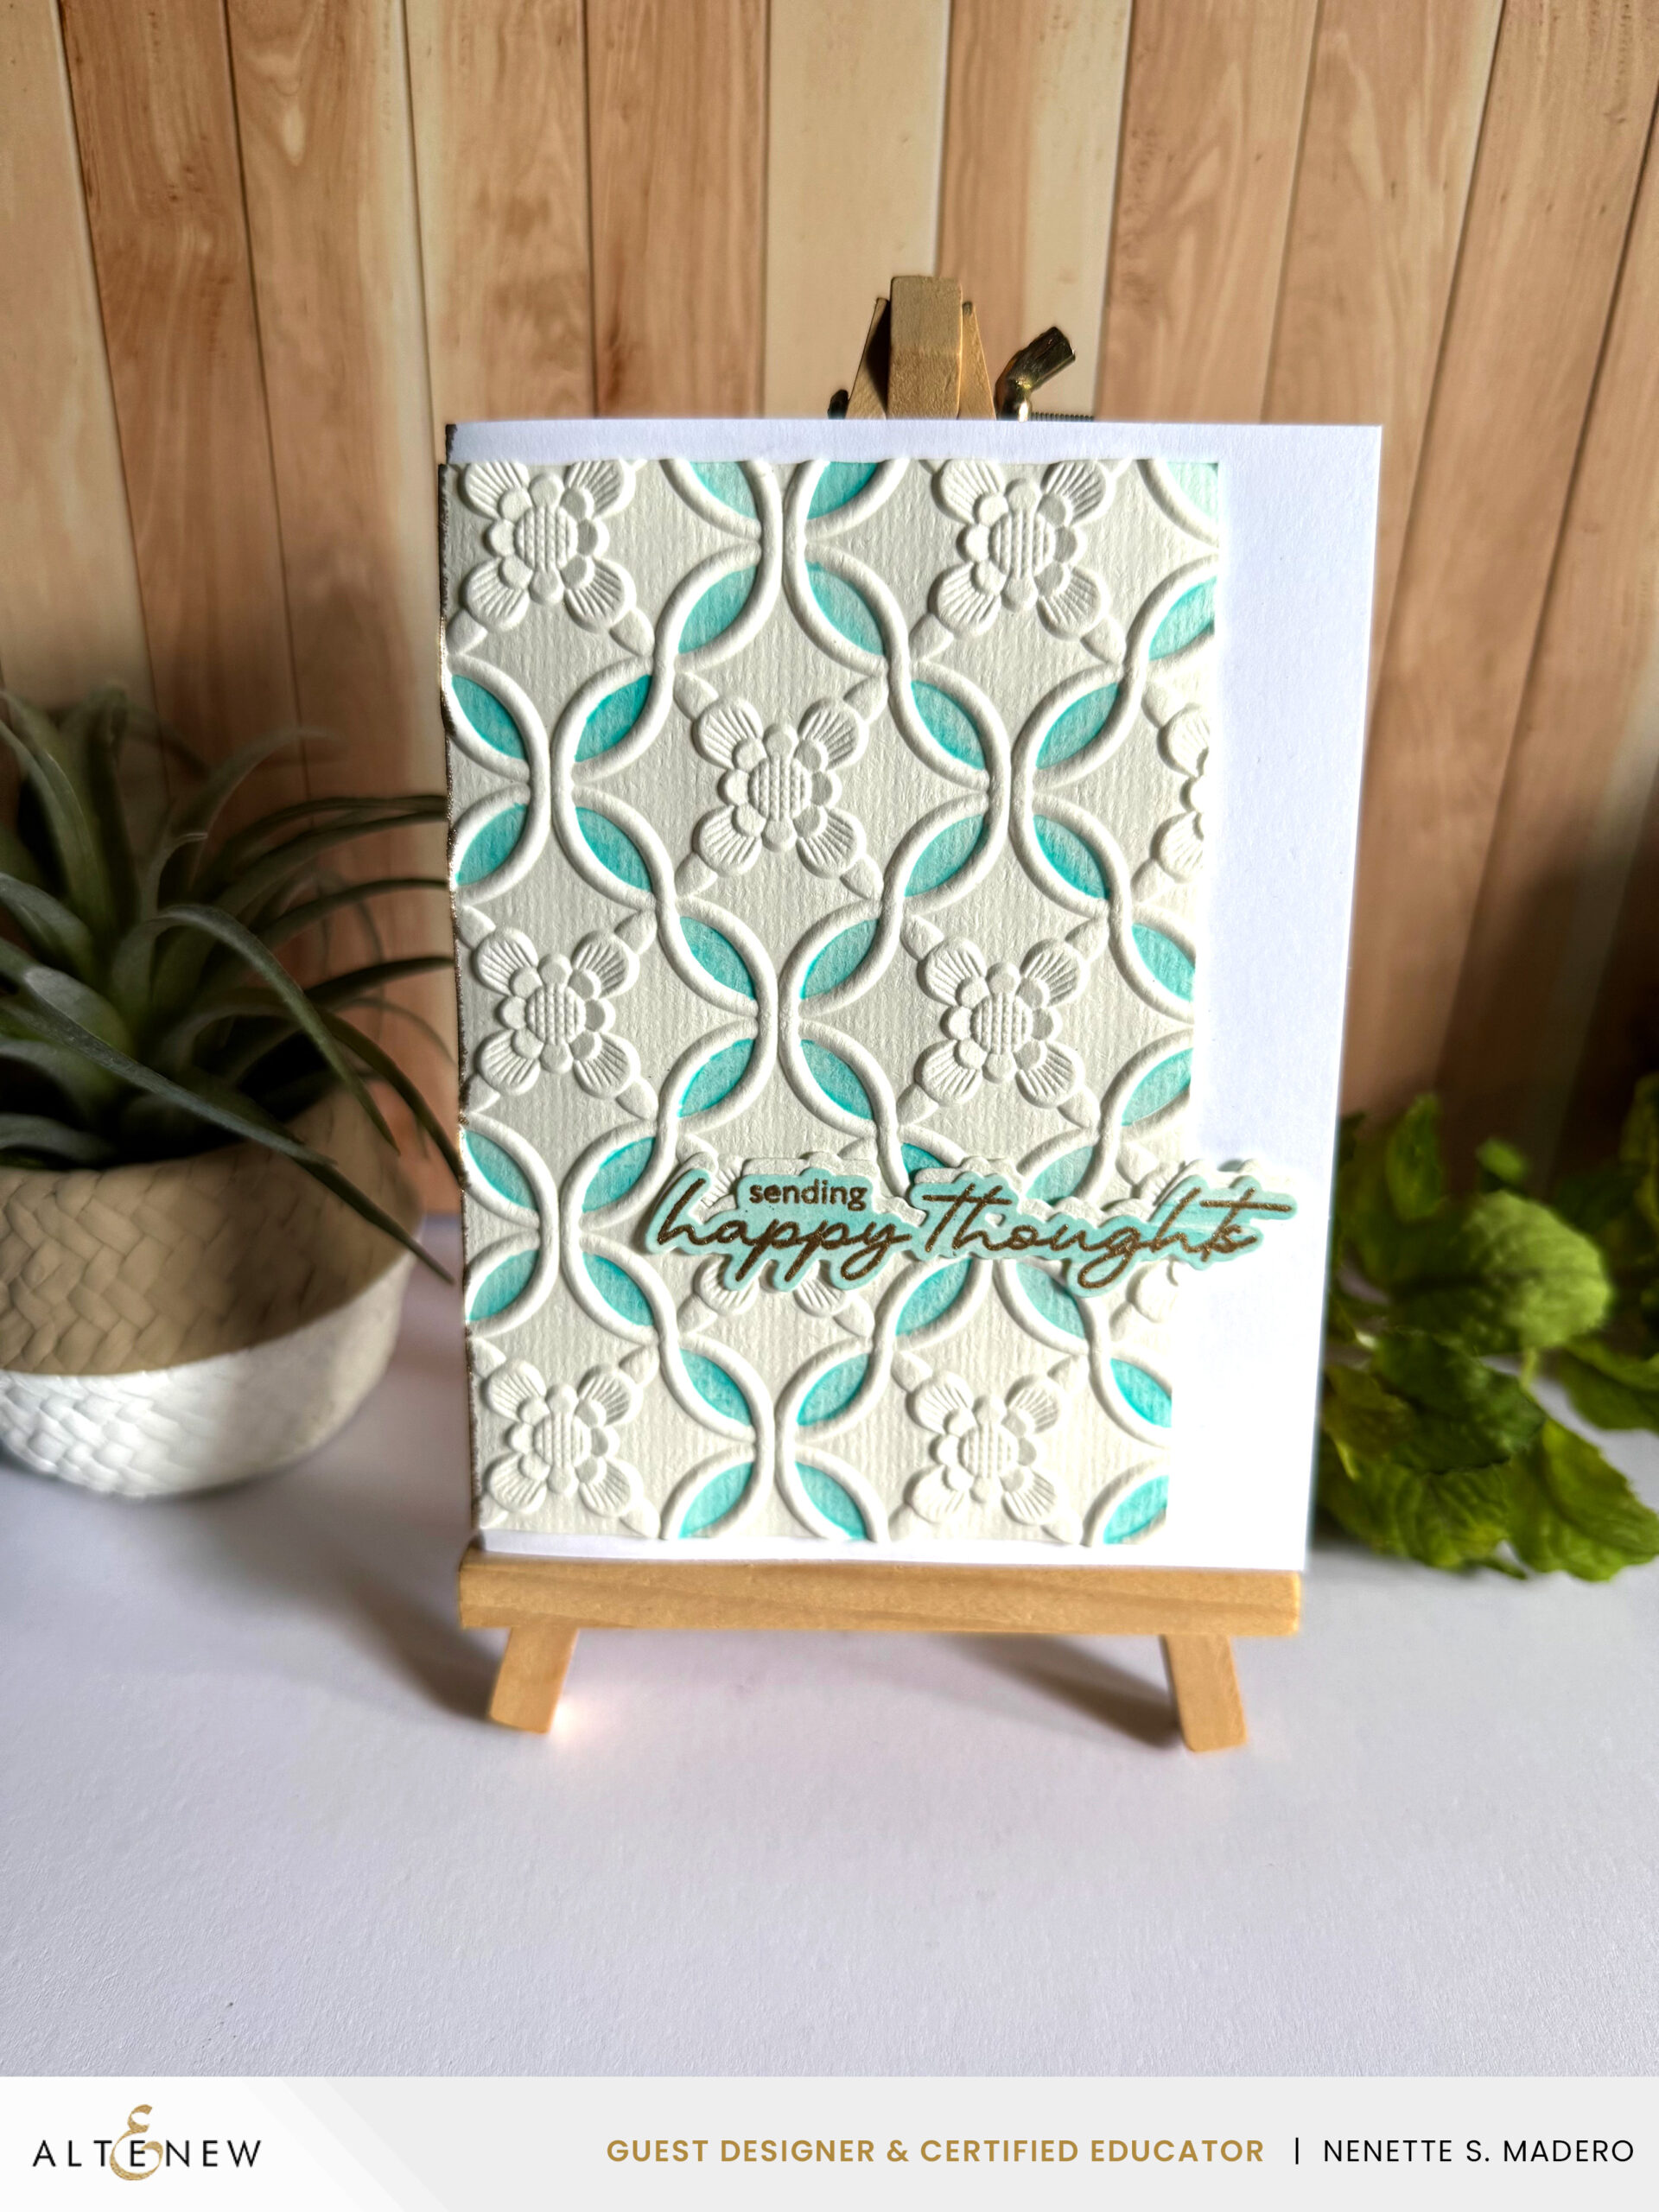
MATERIALS:
- STAMP and DIE: Serene Blooms
- INKS: Watercolor Pan Set, Versamark Ink
- EMBOSSING FOLDER: Botanical Rails
- EMBOSSING POWDER: Rose Gold
STEPS:
- 1. Emboss image on watercolor paper.
- 2. Watercolor certain areas only.
- 3. Stamp and emboss the sentiment on watercolored panel.
- 4. Assemble card with foam tape and add en embossed gold margin for added interest.
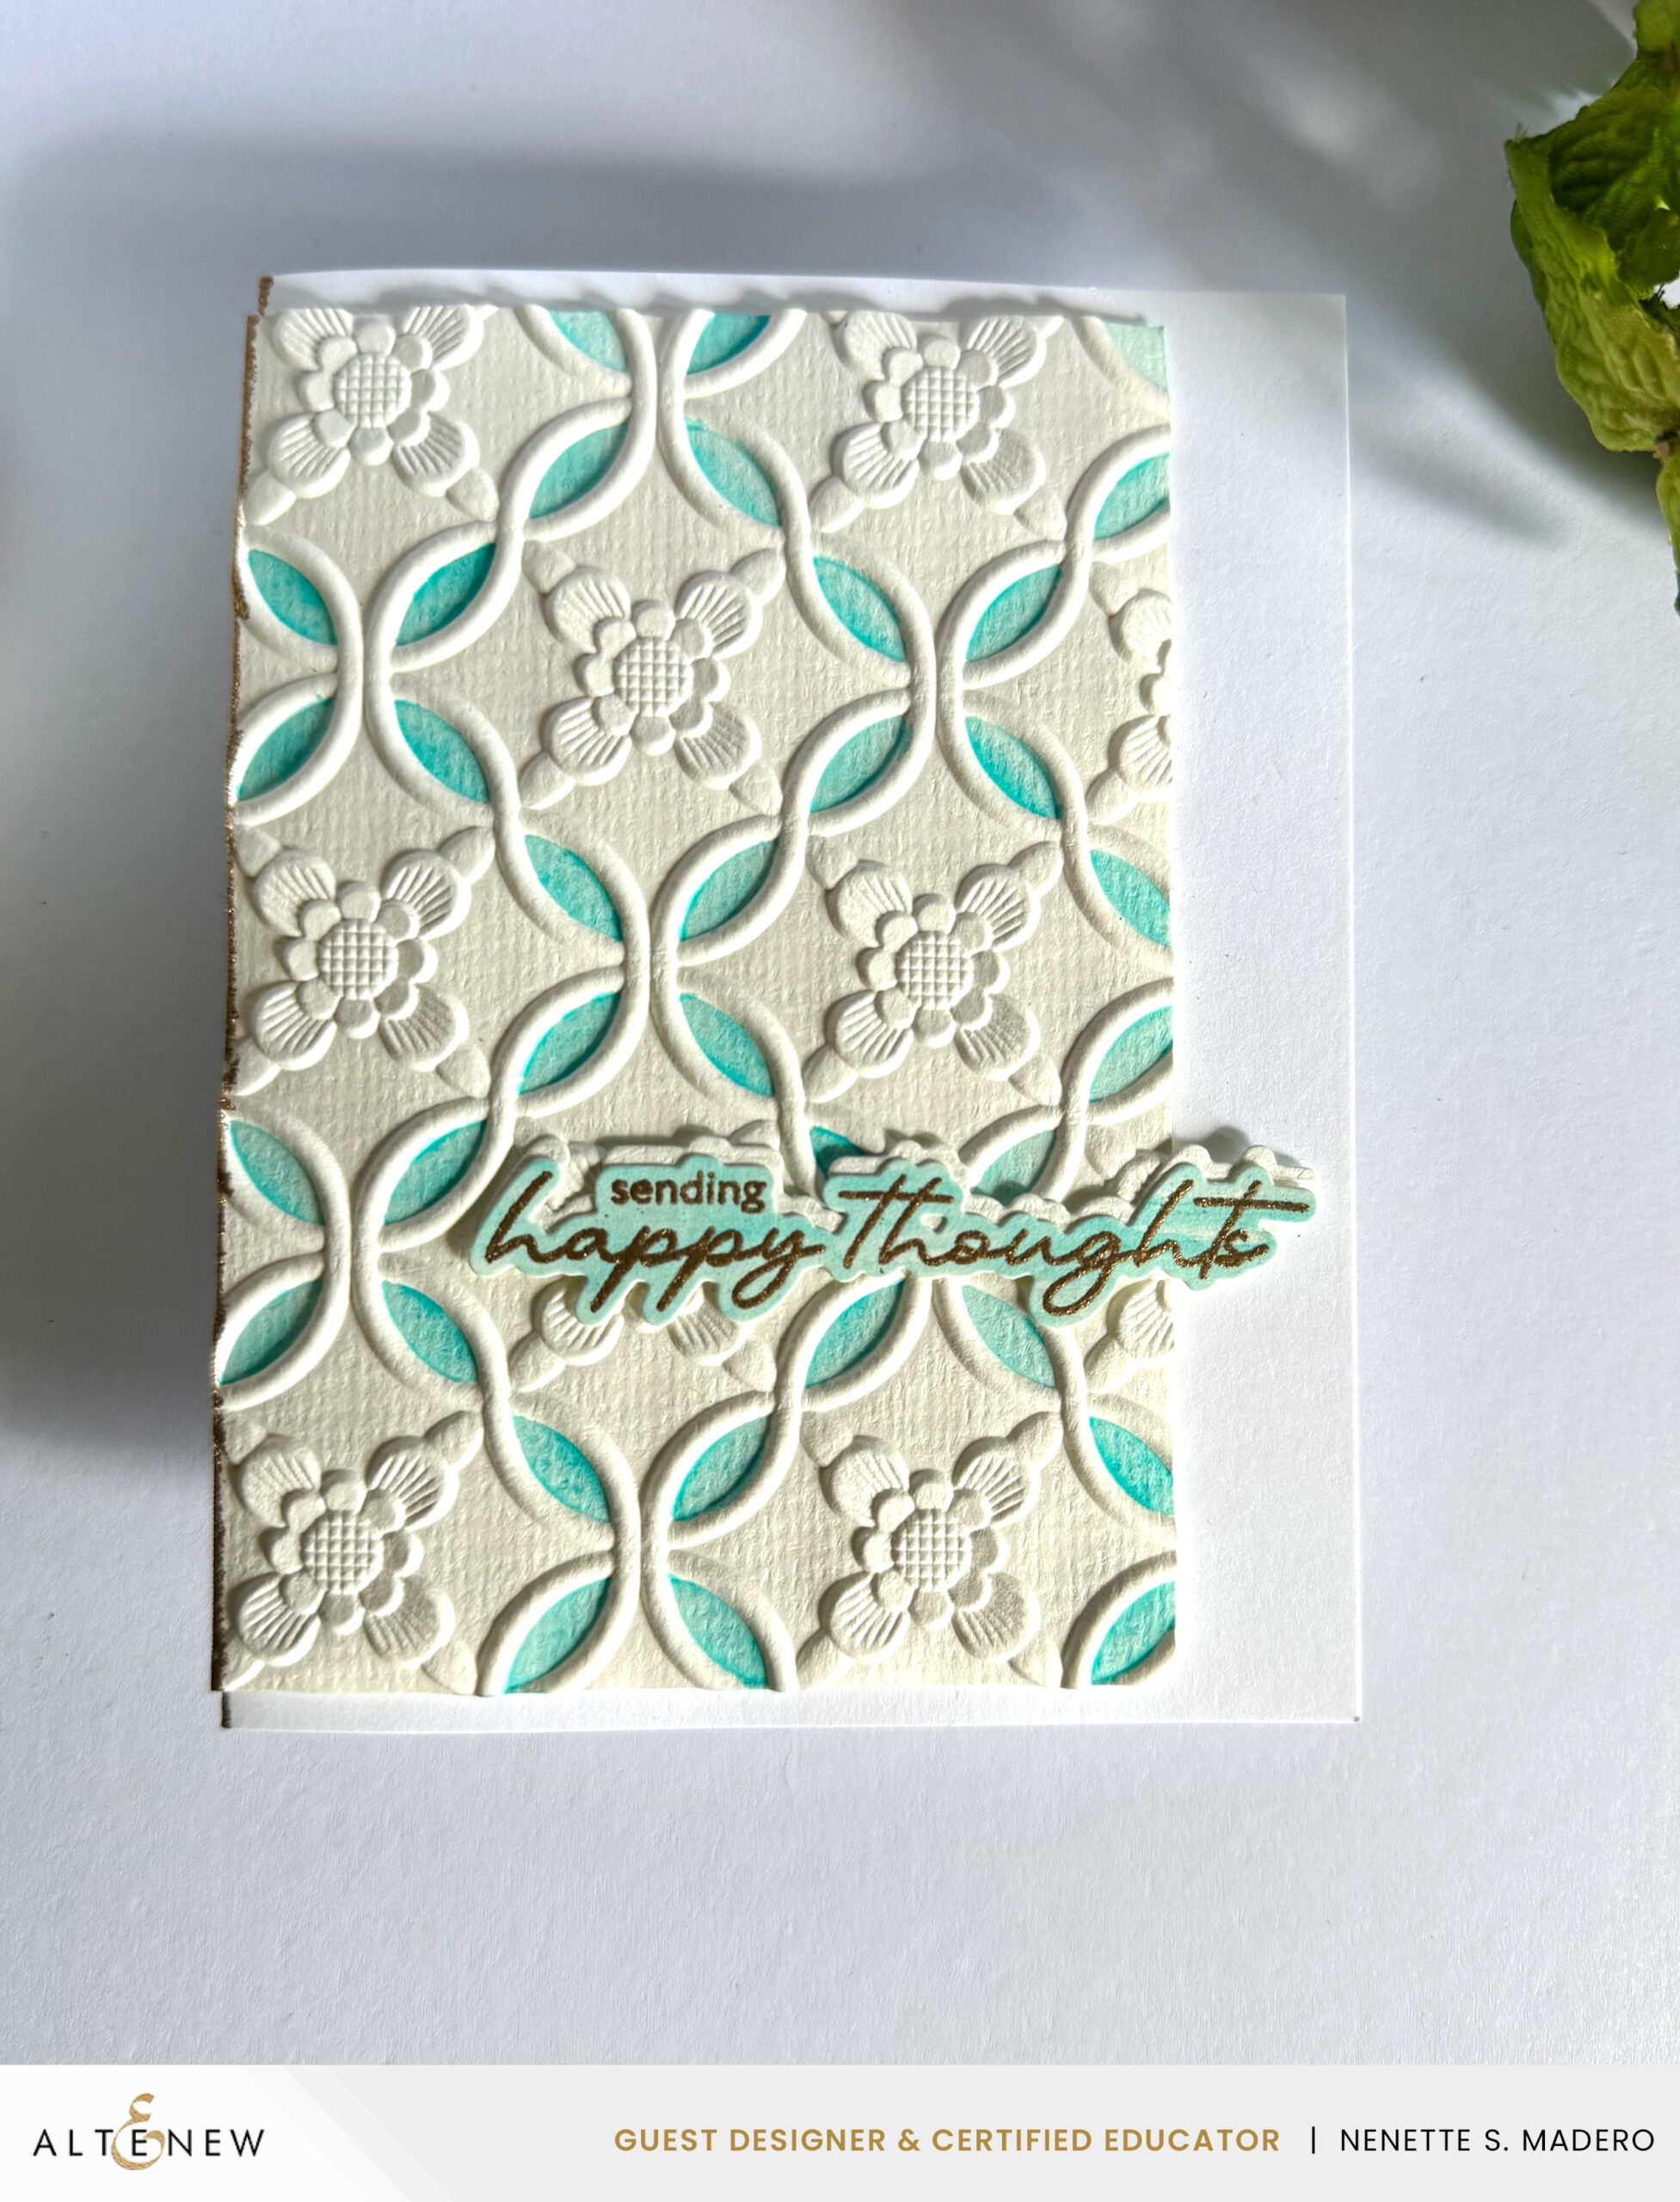
This is a more simplified version using the Botanical Rails. Although the design itself is intricate, it can also be used to make a clean and simple card.
THANKS
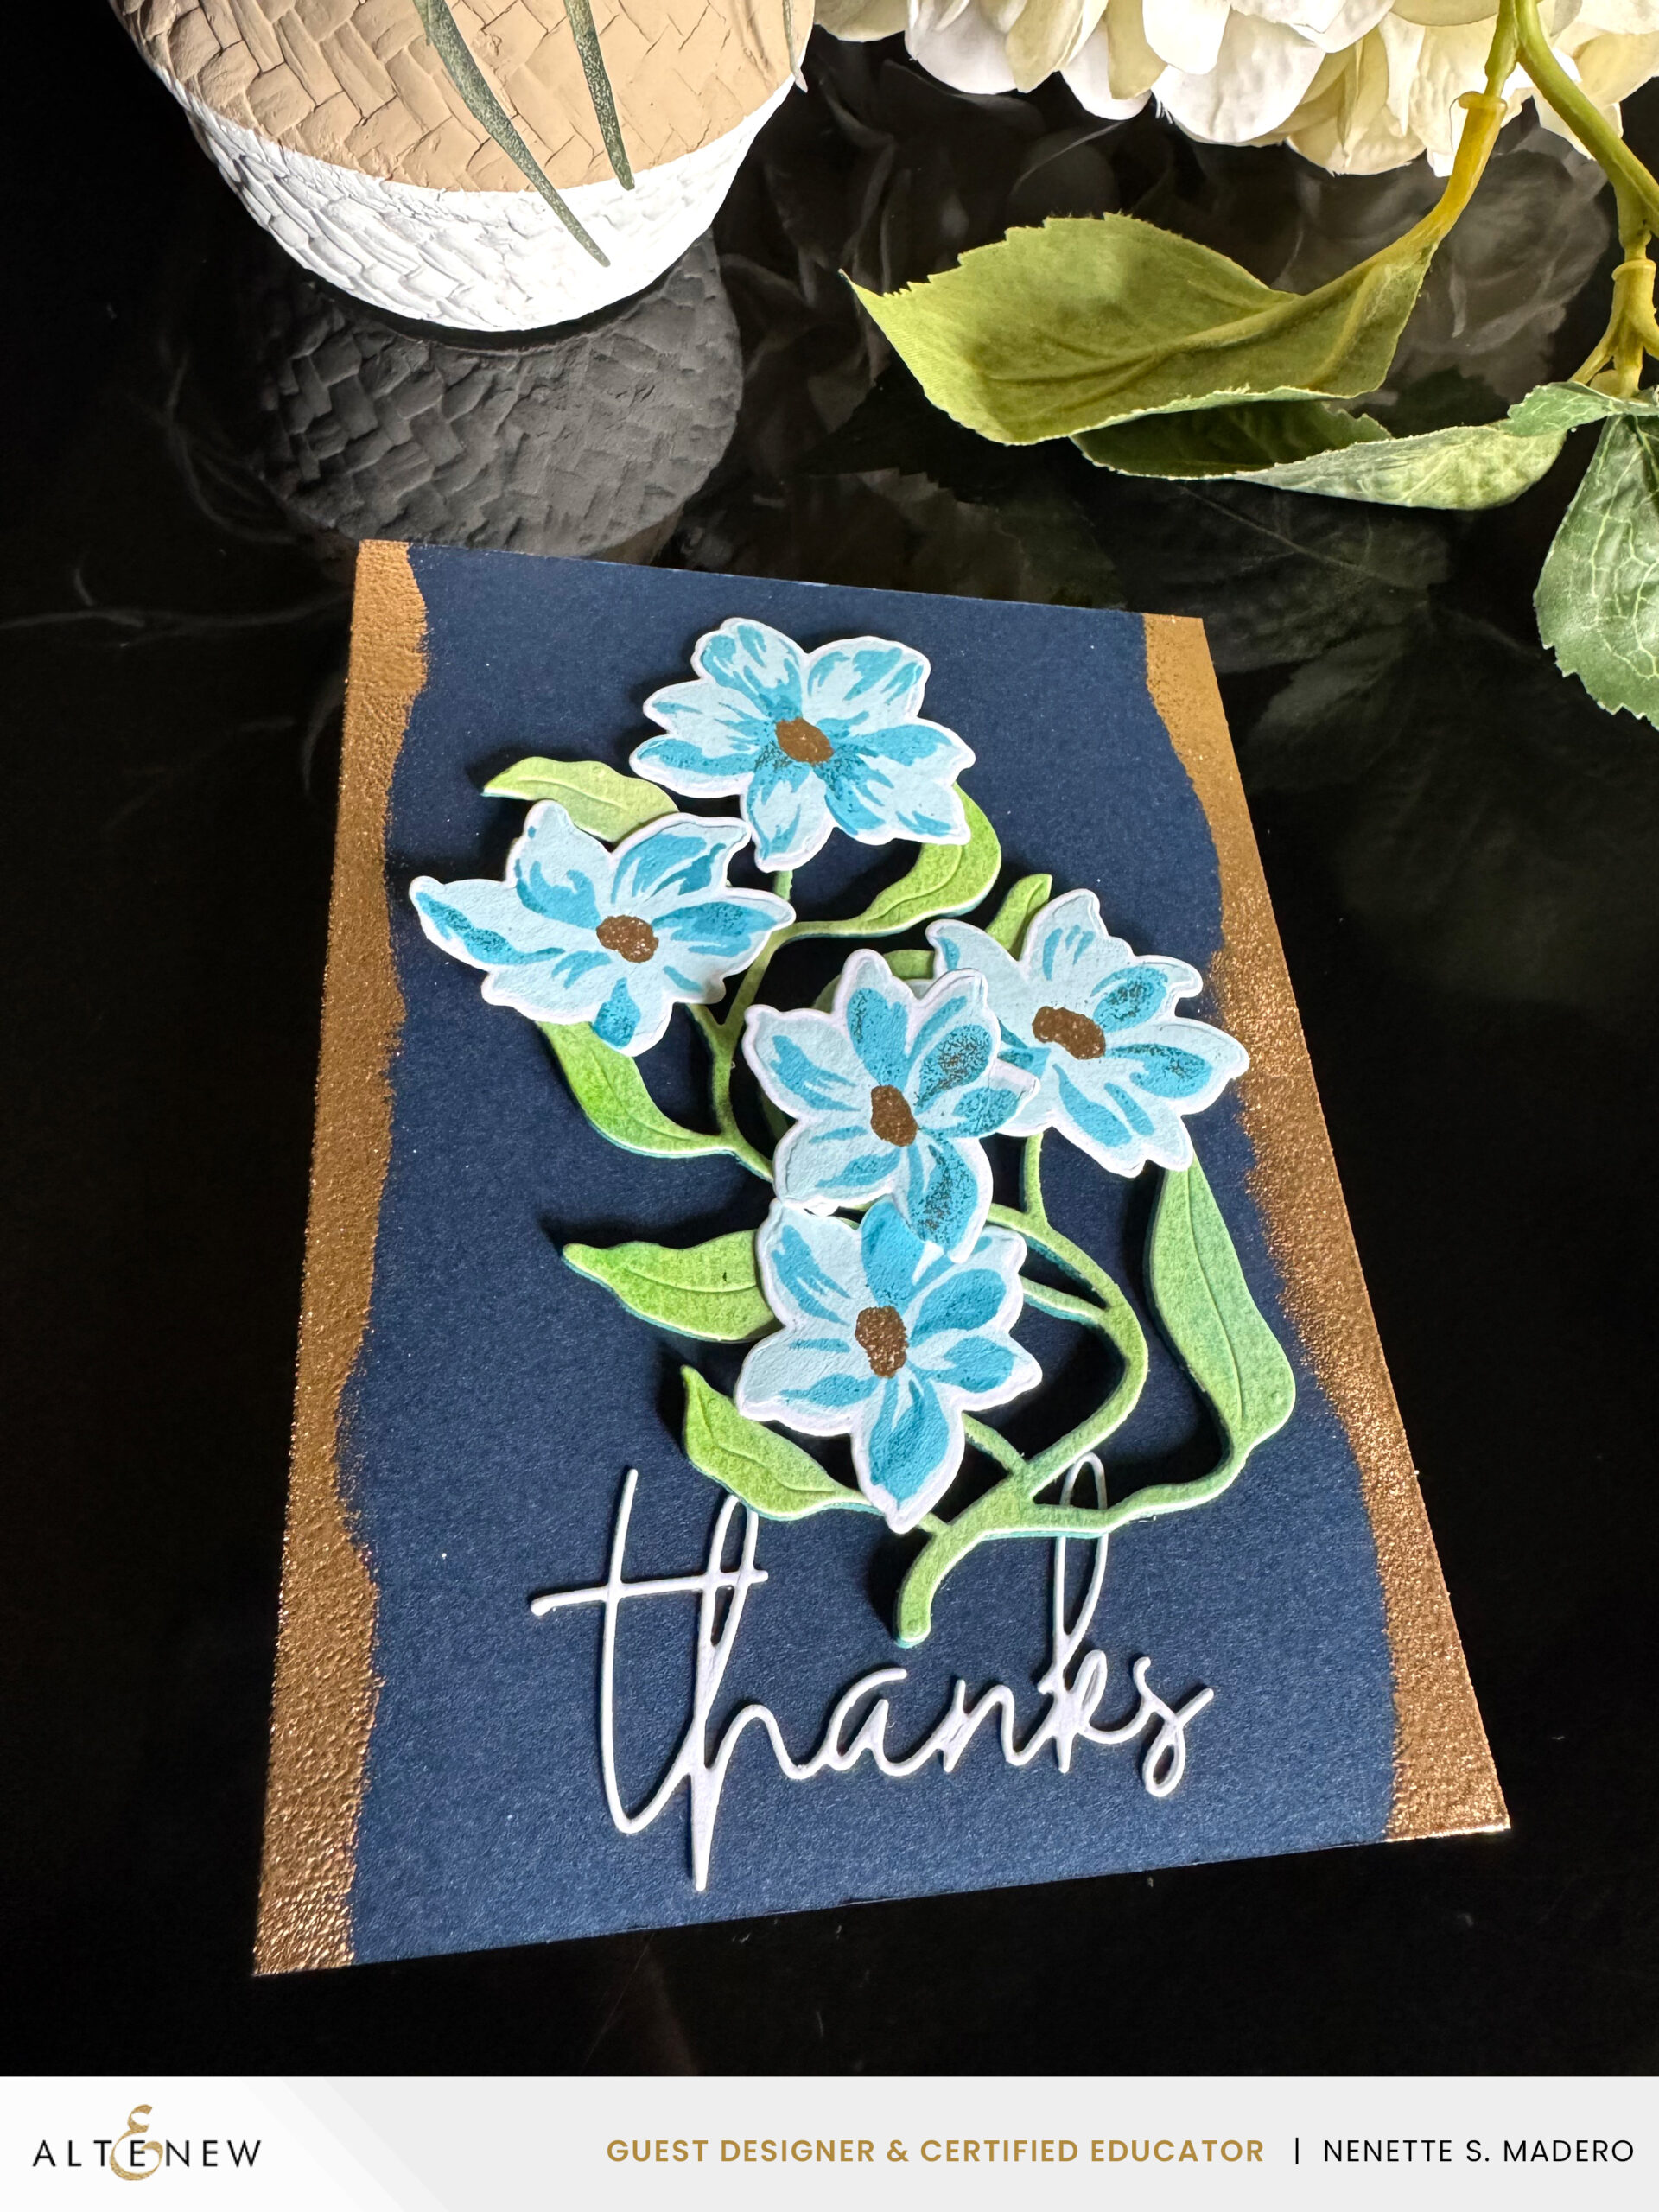
MATERIALS:
- STAMP AND DIE: Ethereal Blooms
- DIES: Whimsical Flower Vine, Seasonal Blooms Thanks die
- INKS: Sea Glass, Turquoise, Dusk ; Watercolor Pan Set; Versamark Ink
- EMBOSSING POWDER: Rose Gold
STEPS:
- 1. Watercolor a watercolor panel using shades of greens
- 2. Die cut using Whimsical Flower Vine leaves.
- 3. Stamp flowers from Ethereal Blooms using Sea Glass, Turquoise, Dusk and emboss the center using Versamark Ink and Rose gold embossing powder.
- 4. Die cut the sentiment using the die from Seasonal Blooms set.
- 5. Emboss the edges and assemble the card.
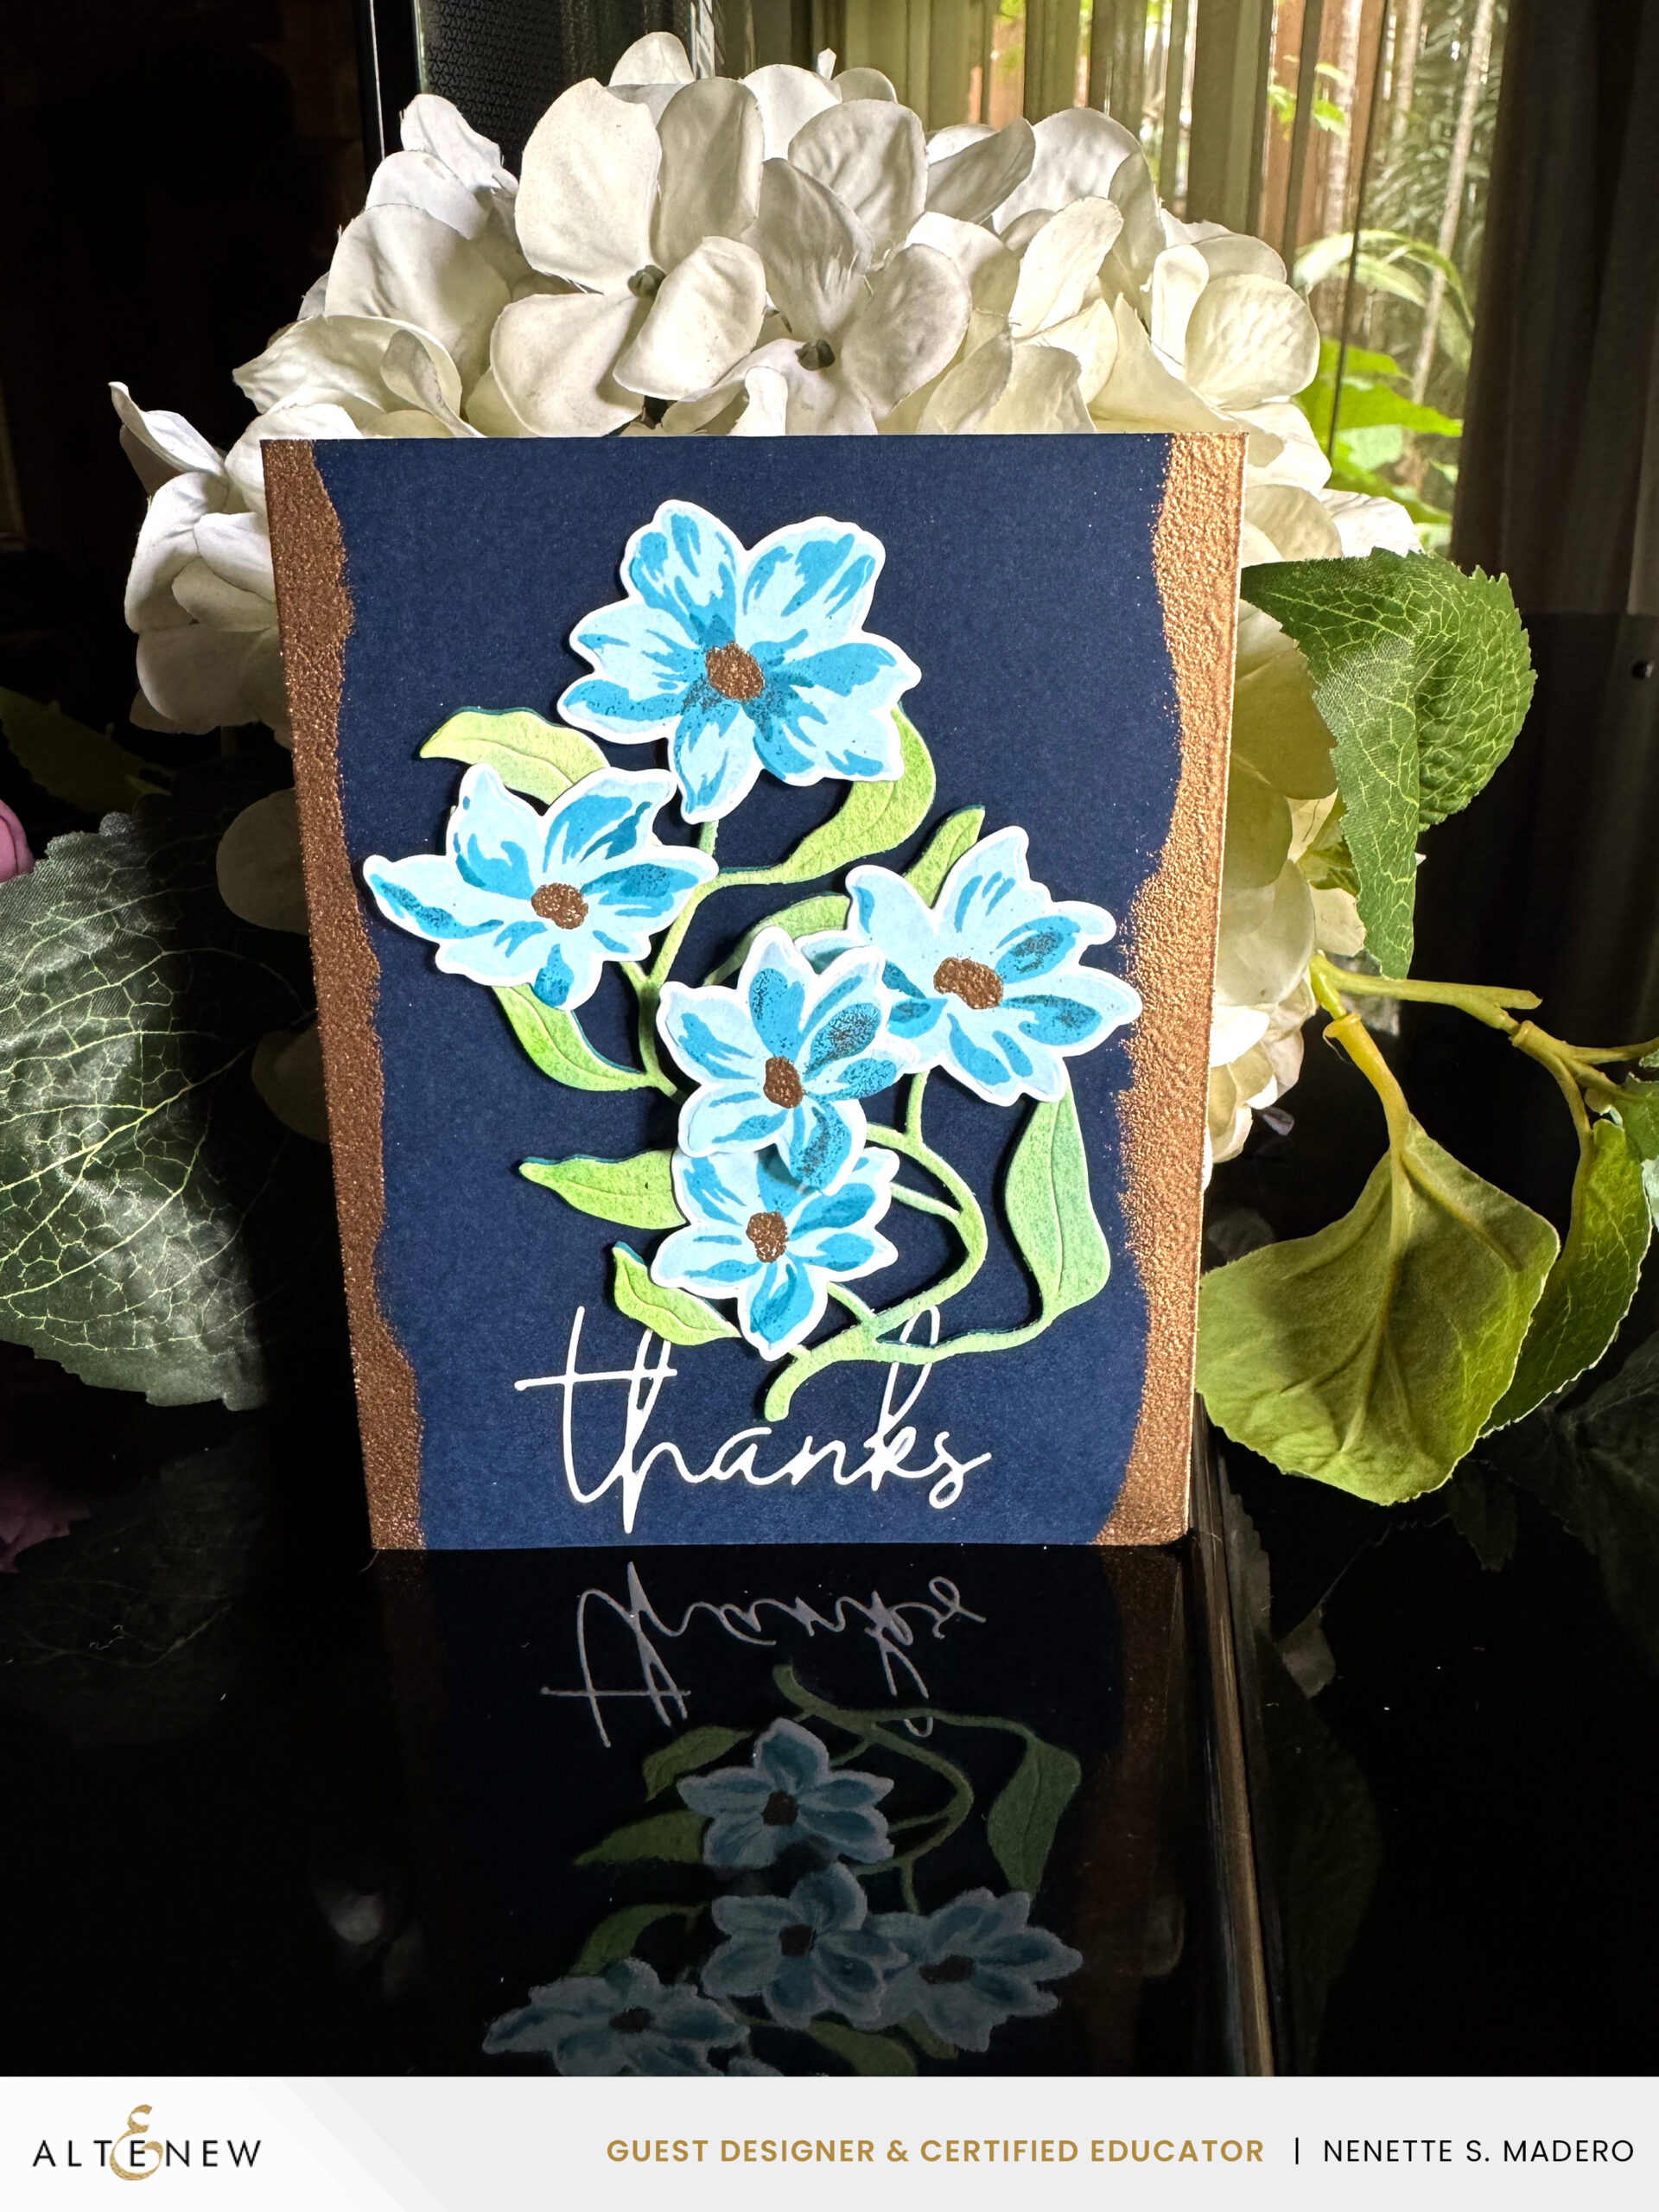
Feel free to experiment by mixing and matching your stamps and dies. While tidying up my workspace, I noticed the Whimsical Flower Vine dies and realized I could utilize just the leaf portion alongside the flowers from the Ethereal Blooms set to create this card.
This floral die is so versatile and can be used for either CAS cards or more elaborate ones.
SENDING HAPPY THOUGHTS
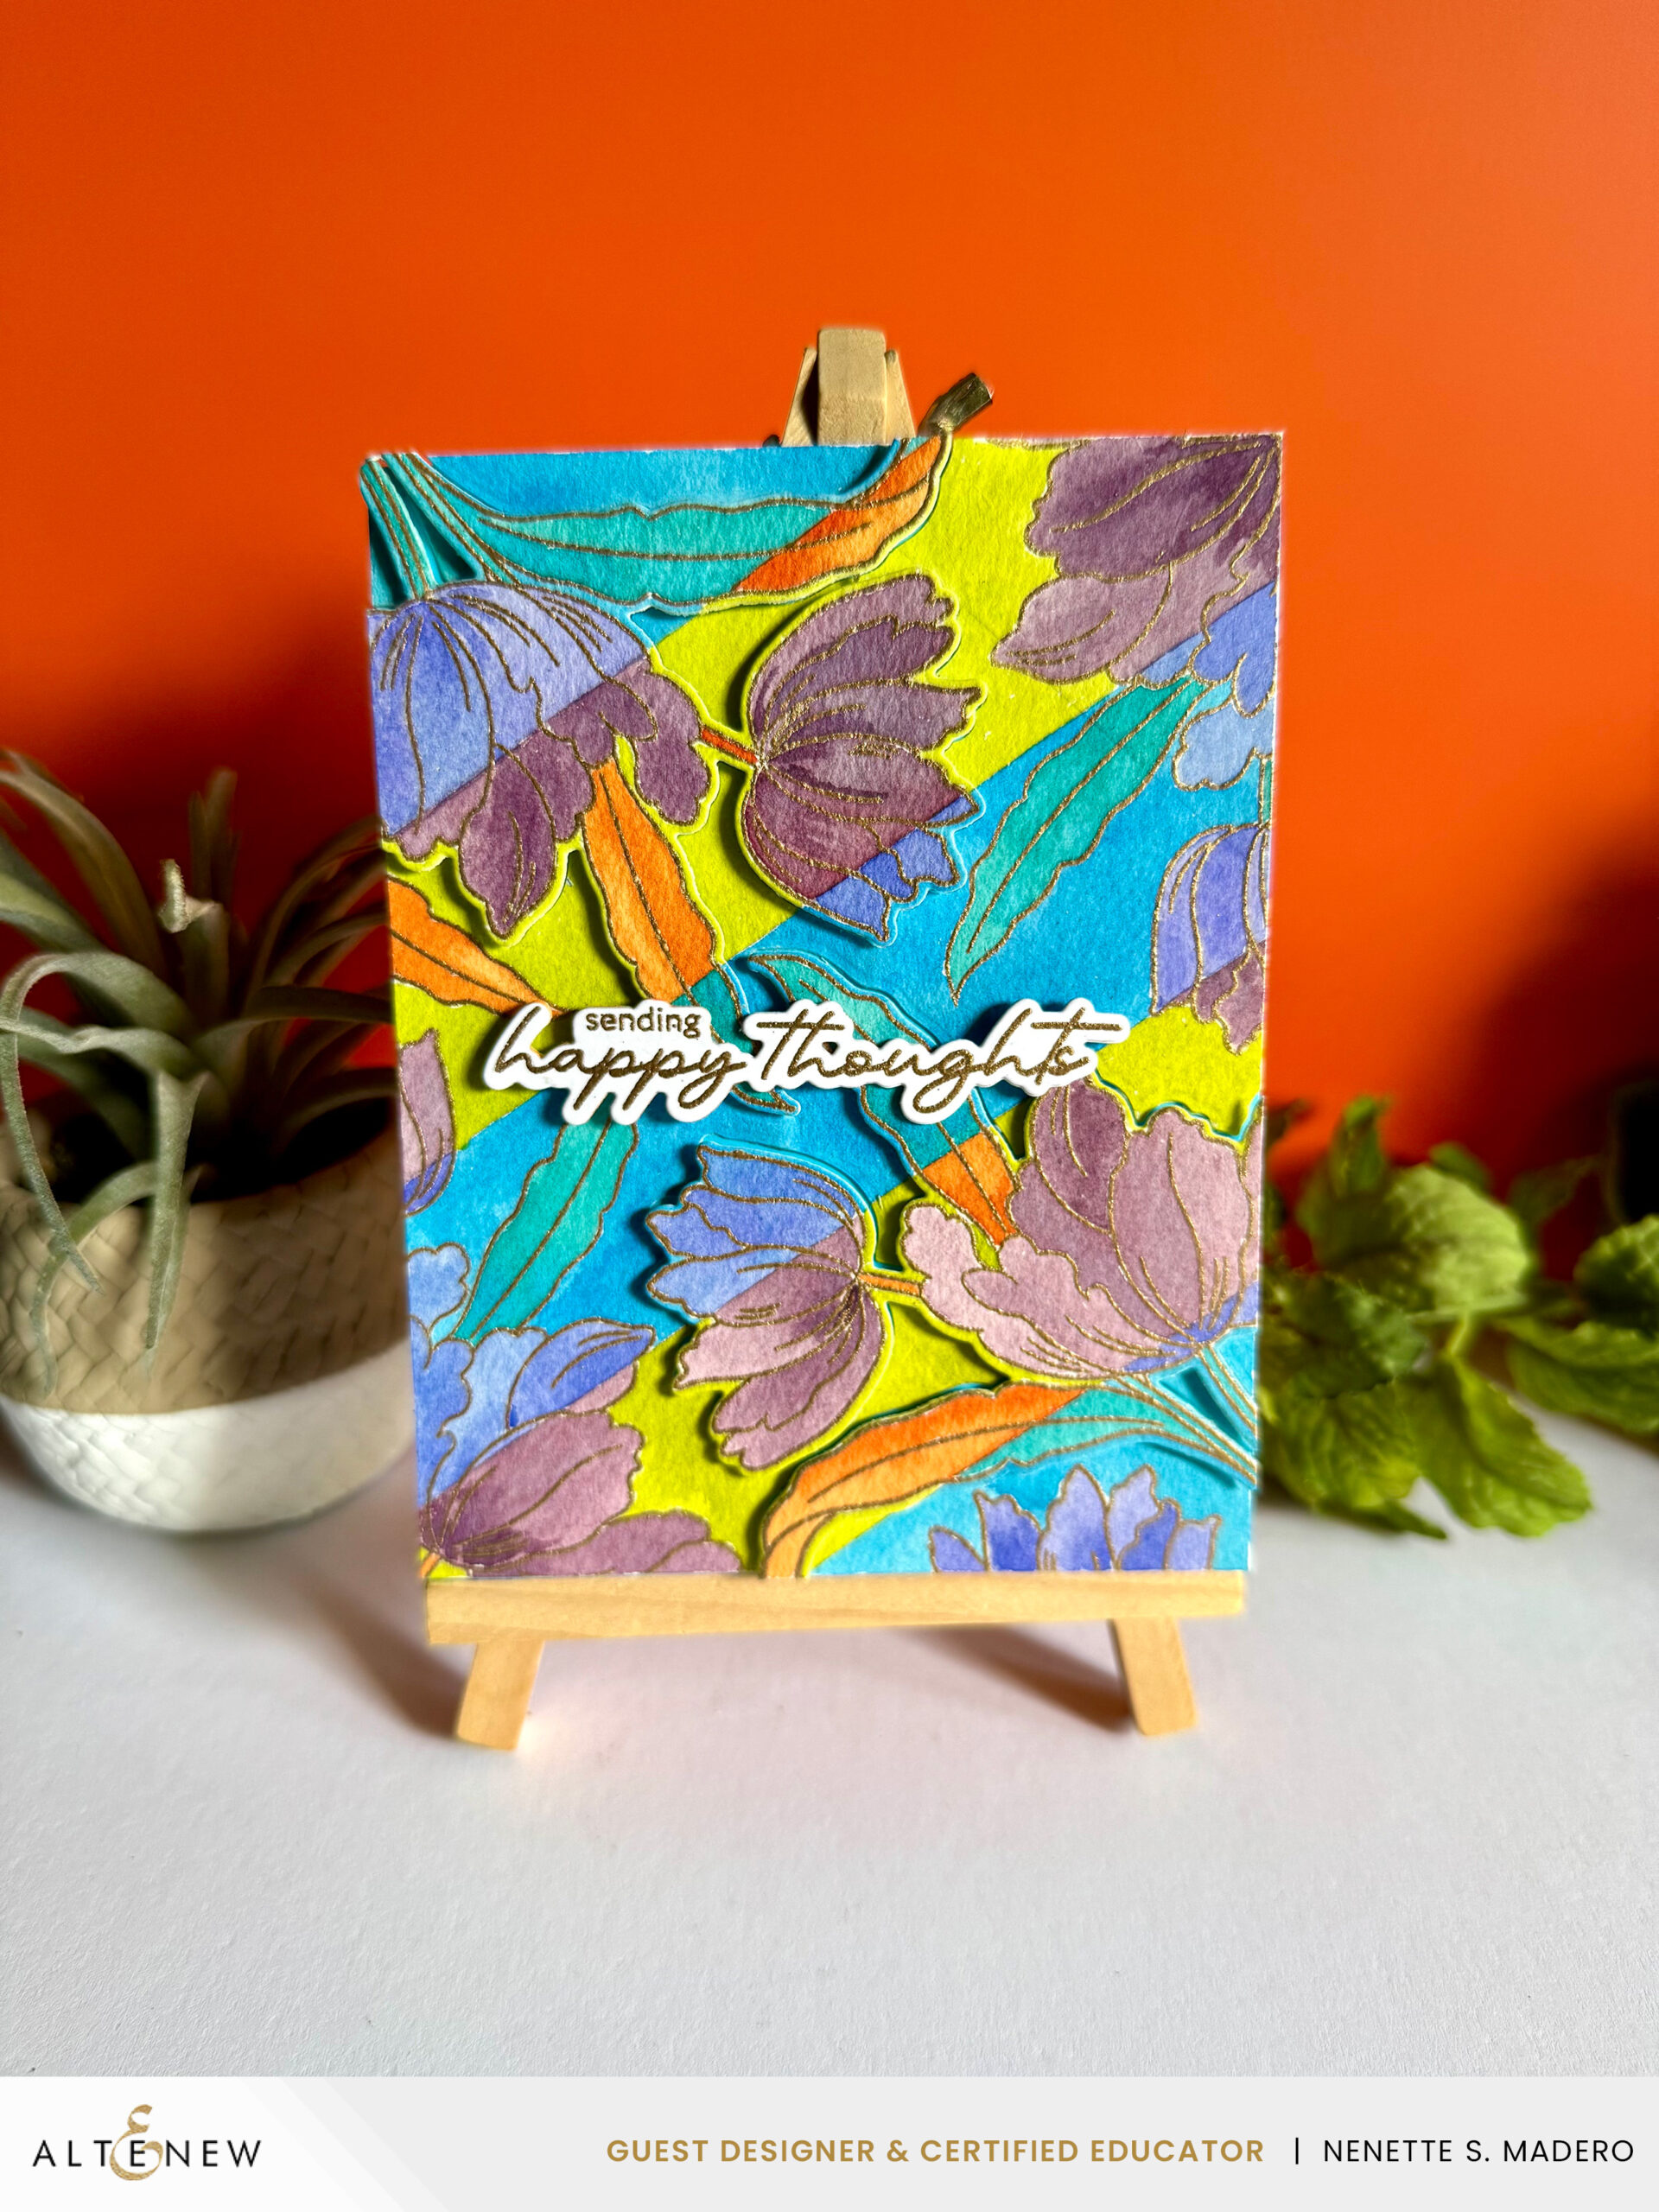
MATERIALS:
- STAMP and DIE: Serene Blooms
- INKS: Watercolor Pan Set, Gansai Tambi set, Versamark
- EMBOSSING POWDER: Rose Gold
STEPS:
- 1. Stamp and emboss floral image multiple times to fill up the card front.
- 2. Lightly sketch diagonal lines with a pencil, then alternately paint the resulting sections using an analogous and triadic color scheme.
- 3. Die-cut the floral images on the top left and bottom right corners of the card panel. Attach the negative die-cut piece to the card front, then adhere the floral images back in place using foam squares for added dimension.
- 4. Stamp and emboss the sentiment.
- 5. Assemble the card.
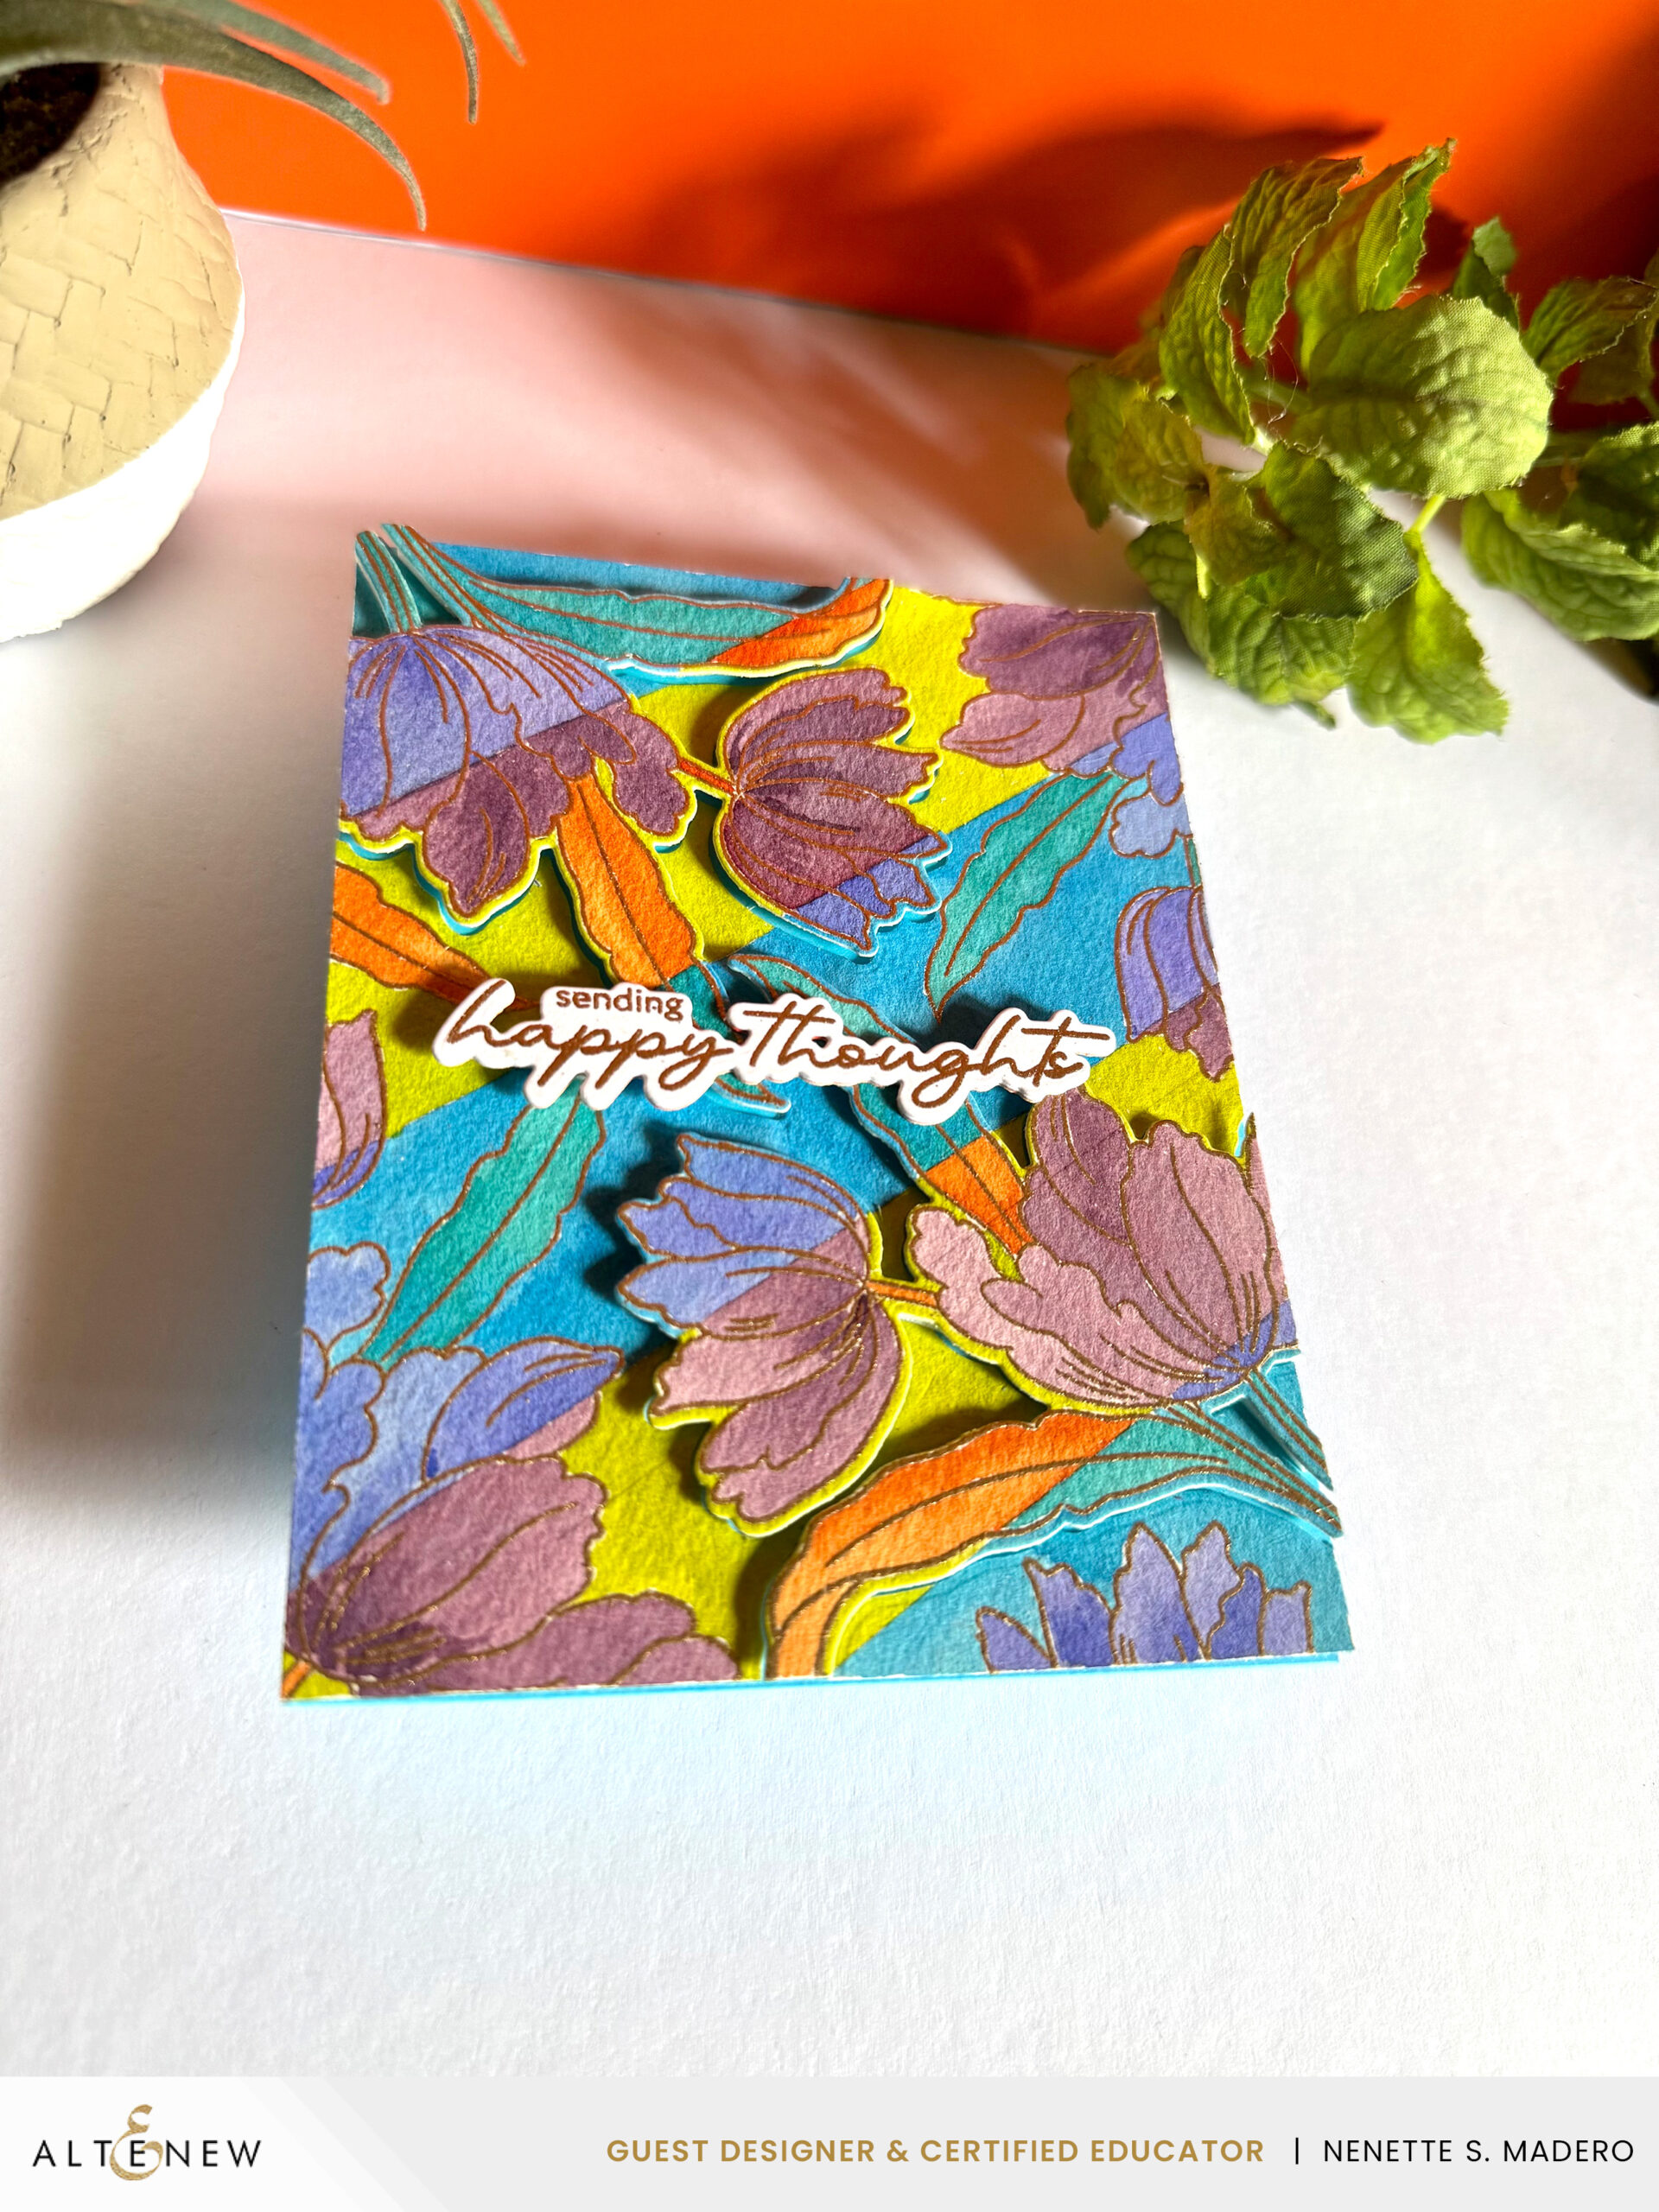
This concept of using different color schemes to color an image was inspired by my friend Mayang of @swathe.manila on Instagram. She shared some of her students’ work, which deeply inspired me to try it myself. The best approach is to start by coloring all the analogous-themed images first, as this helps prevent confusion. As this was a new concept for me, I was pleasantly surprised by the outcome. I look forward to trying this technique again in the future.

- $300 in total prizes! To celebrate this release, Altenew is giving away a $100 gift certificate to 1 lucky winner and a $50 gift certificate to 4 winners! Please leave a comment on the Altenew Blog and/or each designer’s blog post on the blog hop list below by October 19th for a chance to win. Altenew will draw 5 random winners from the comments left on each stop of this blog hop and announce the winners on the Altenew’s Blog Hop Post on October 21st, 2025.
- The winner of the $100 gift certificate will be chosen from comments left on the Altenew blog.
I had so much fun creating these cards for this release, and I hope they inspire you to get crafty, too! I’d love to know– which card is your favorite? Let me know in the comments below. Hearing from you truly makes my day!
As a heads up, this post contains clickable affiliate links. If you decide to make a purchase through them, I may earn a small commission– at no extra cost to you. Thank you so much for supporting my work and helping me continue to share what I love. <3
Thanks again for stopping by! Be sure to keep hopping for more gorgeous creations and tons of inspiration. You won’t want to miss a single stop! Here’s the full blog hop list so you can hop along.
Happy hopping and happy crafting!
Warmest regards,