
Hello, crafty friends! It is truly an honor to be a part of this blog hop celebrating the 11th Anniversary of Altenew! Since its inception in 2014, Altenew has captivated crafters with an exquisite array of layering floral stamp sets that have transformed the card-making world. Over the past eleven years, it has been inspiring to witness the brand’s remarkable journey– from the introduction of the innovative Stamp Wheel and vibrant watercolor and gouache paints to the creation of the One and Go series and the user-friendly key-hole system that streamlines the card making process for crafters like myself. I want to express my sincere wishes to the Altenew team for your continued growth and success. You are a constant source of inspiration for many in the crafting community, and your contributions are truly valued.
Thank you, Oleksandr Azarov, for sending them over to my blog! For complete details for this anniversary hop, please drop by the Altenew blog, here.
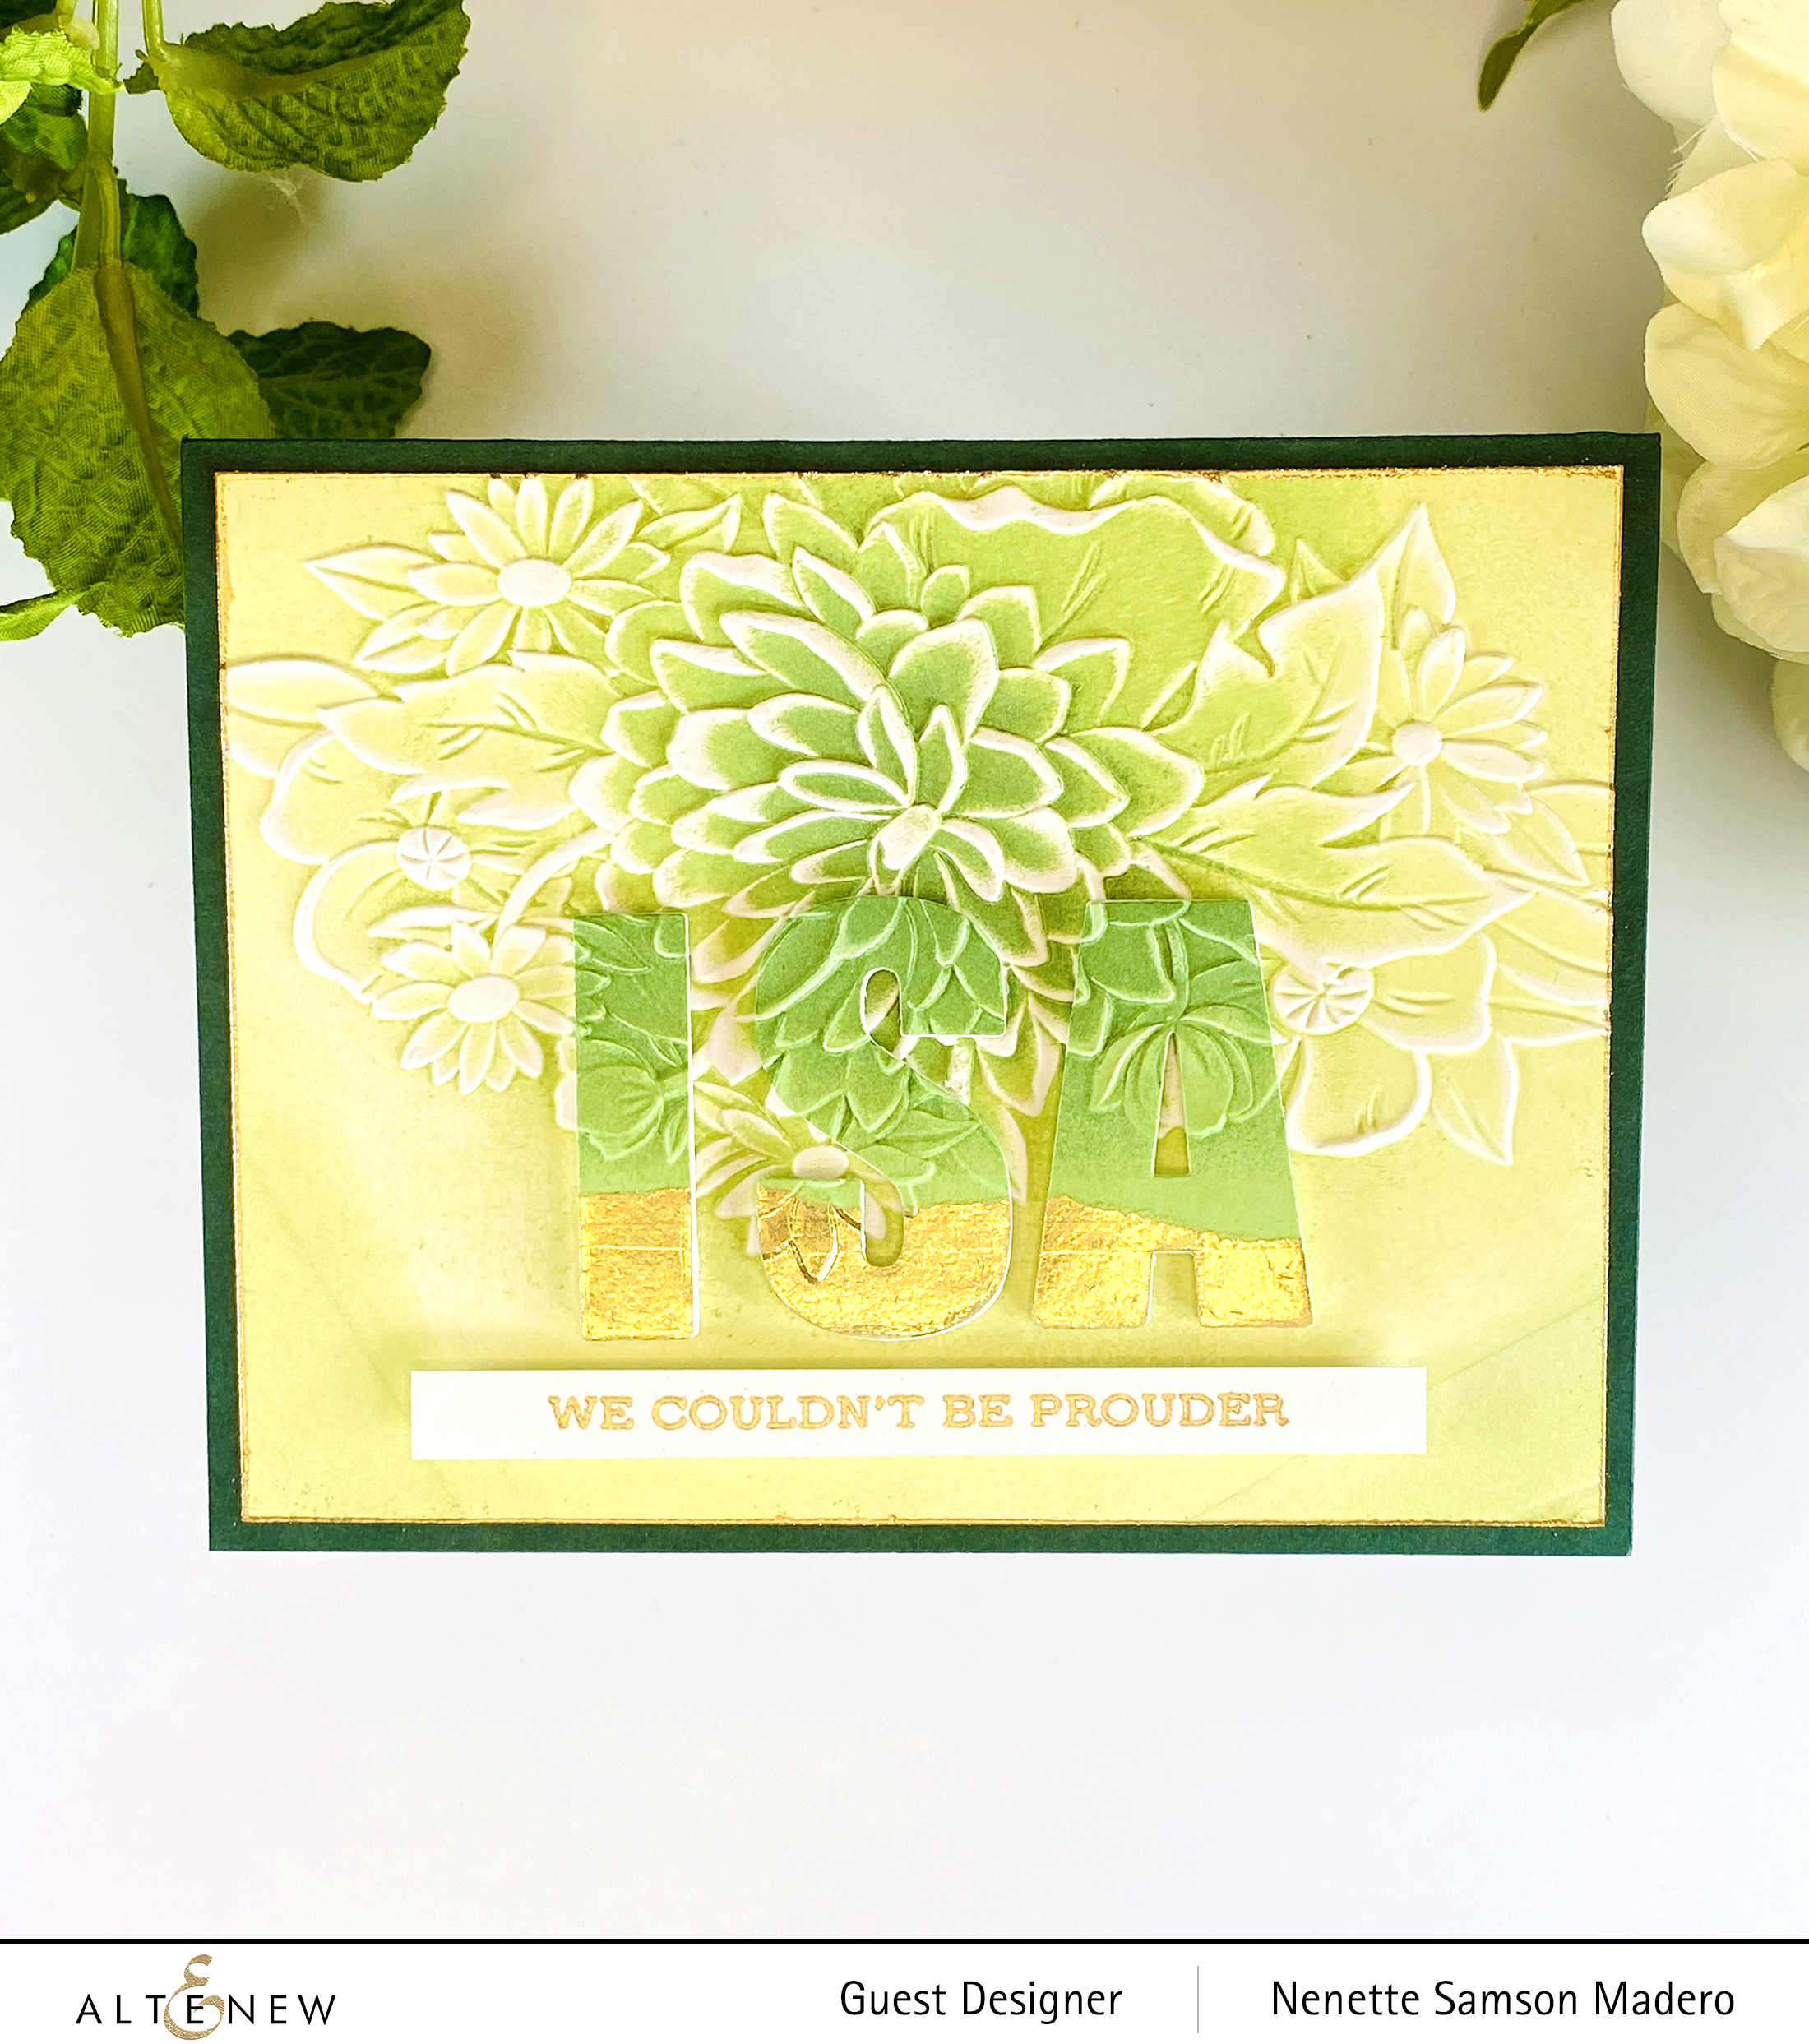
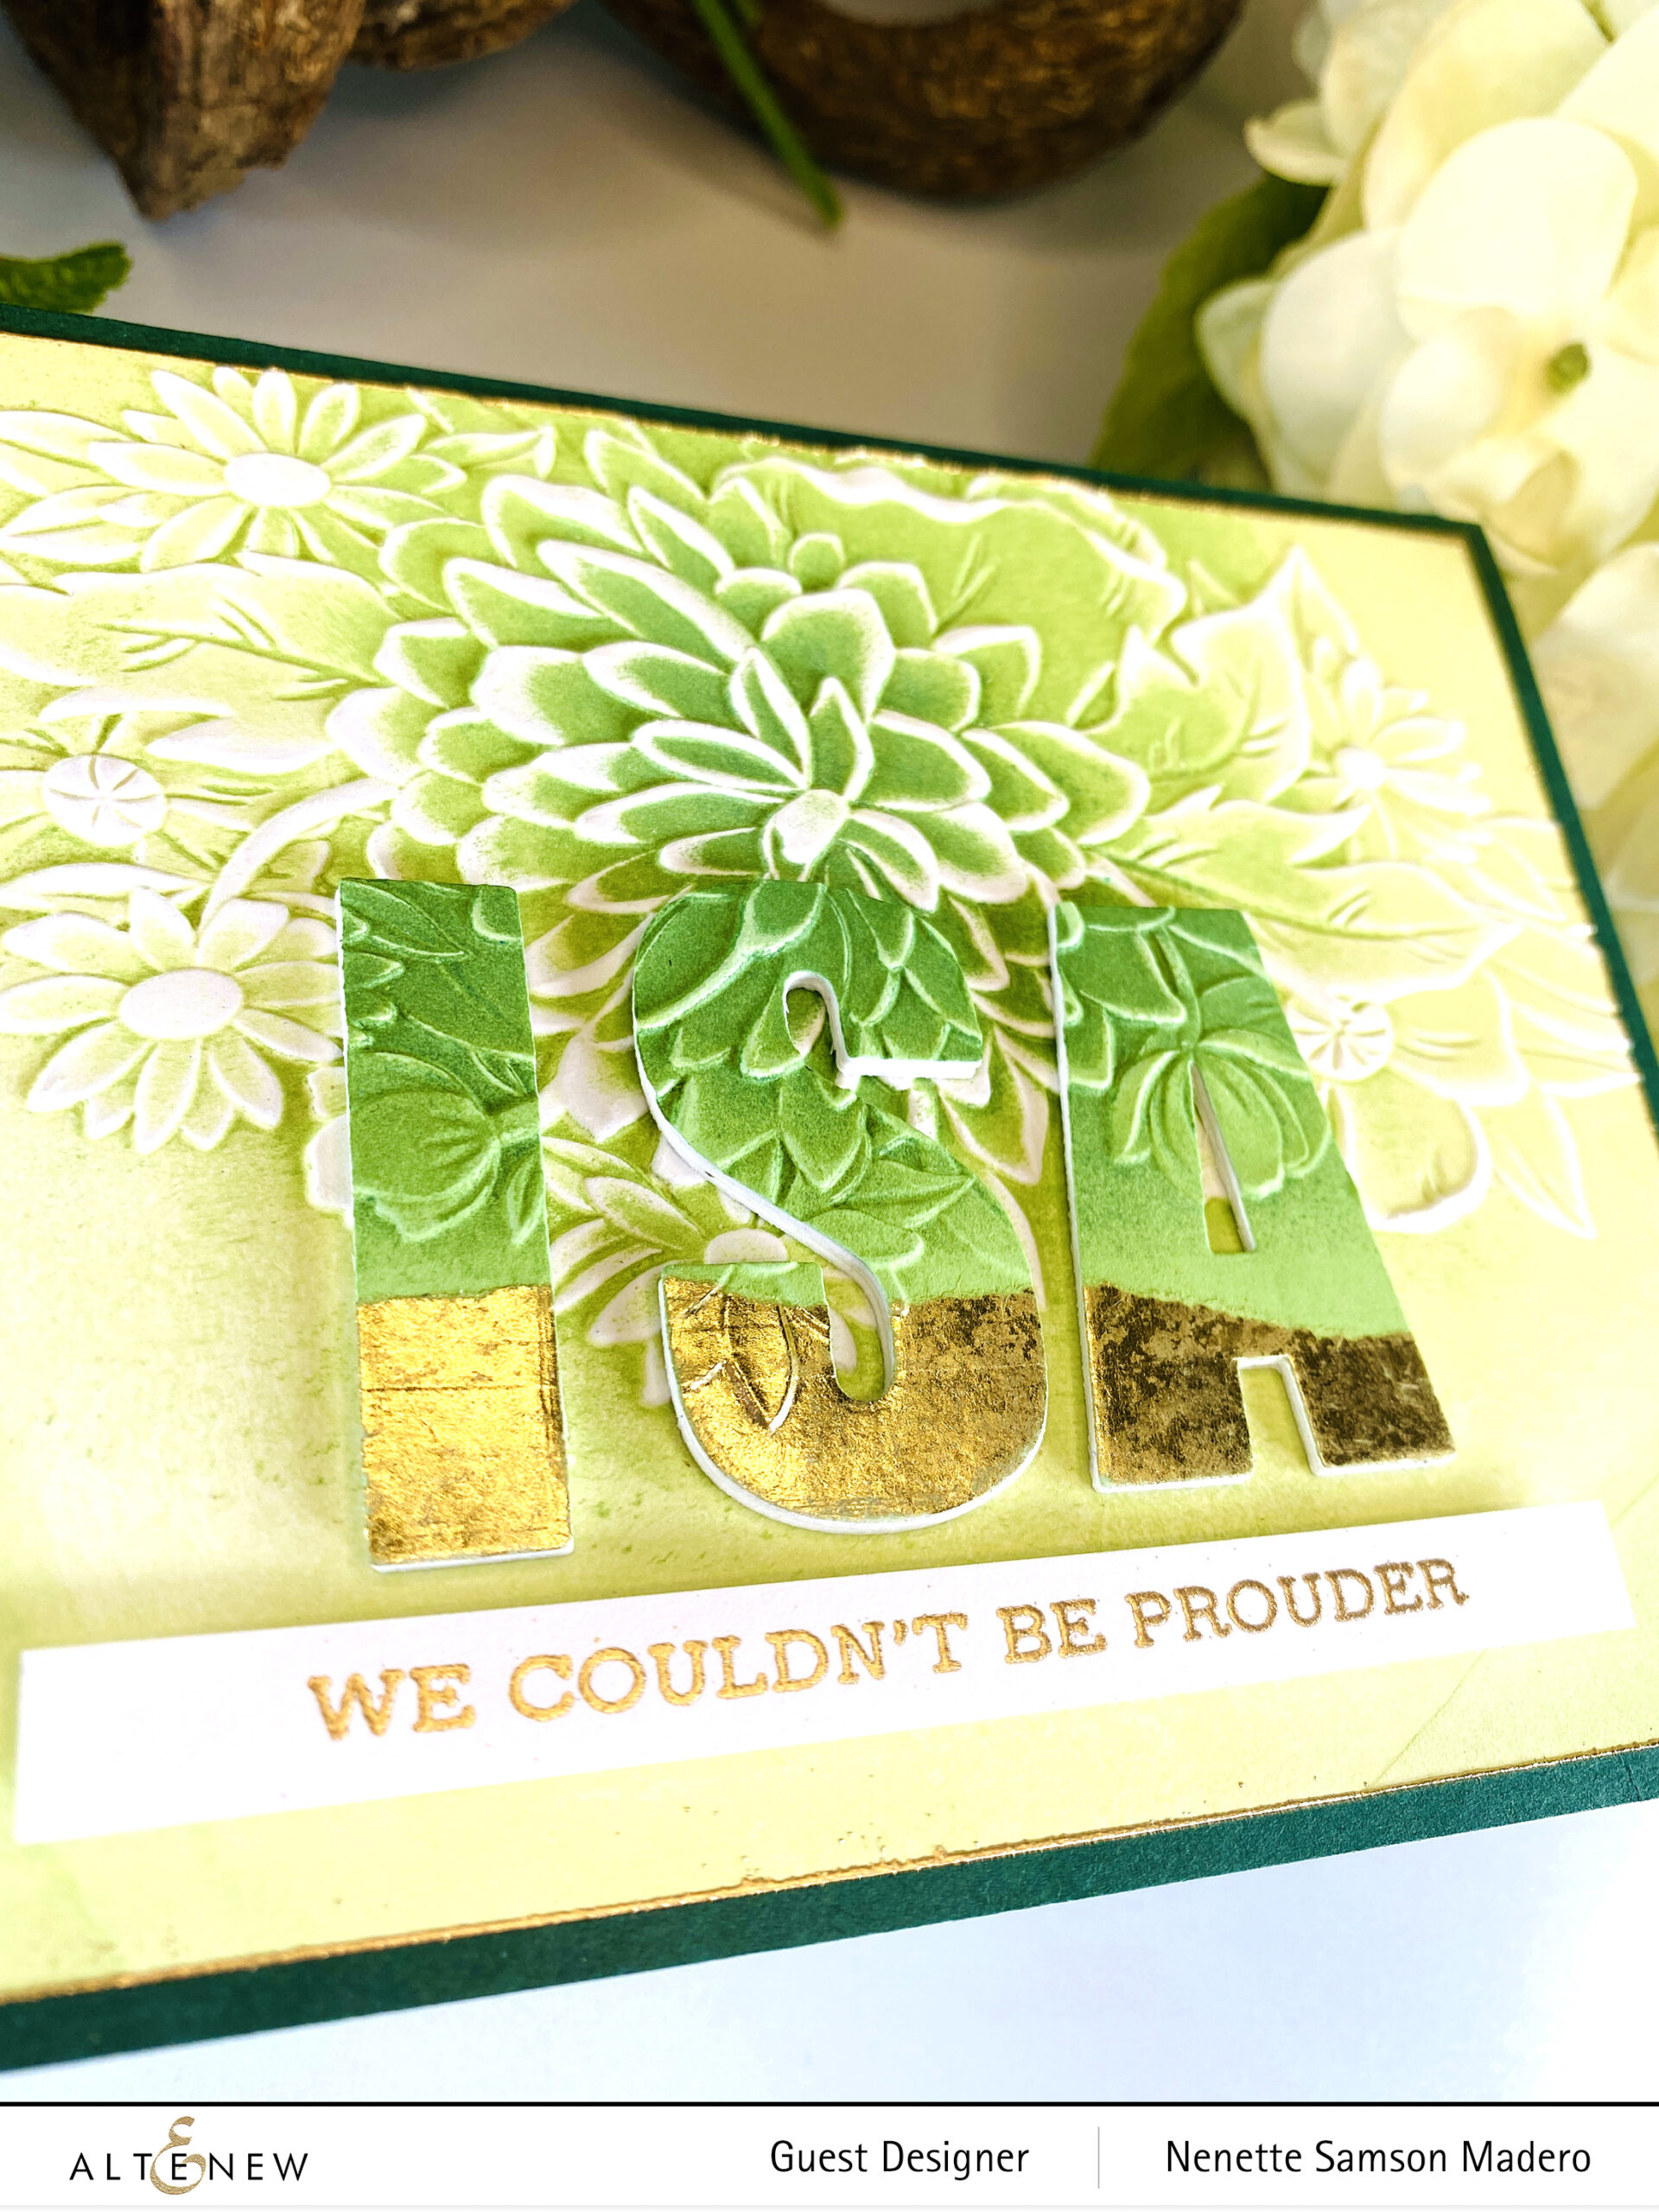
To celebrate this special occasion, I crafted nine cards, including stamps, dies, and embossing folders designed by my talented daughter, Isabela. I couldn’t be prouder!
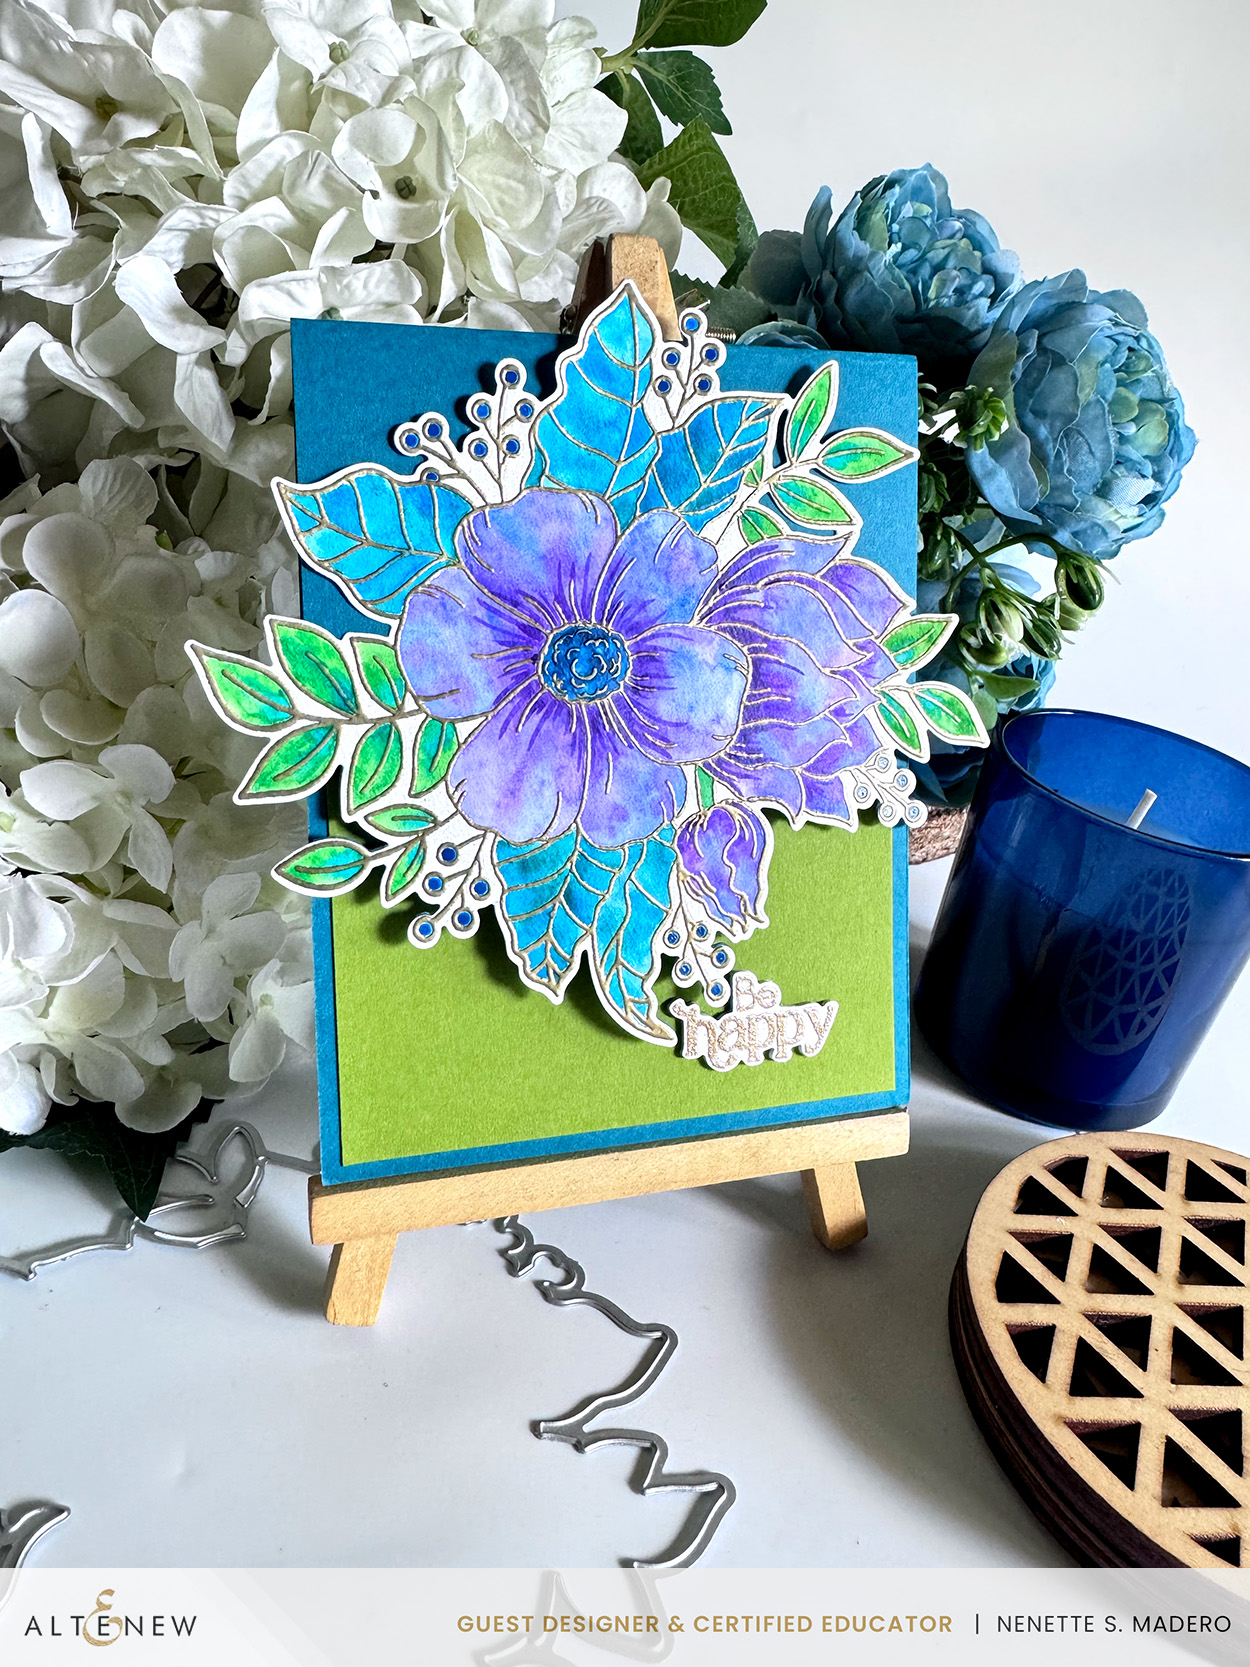
BE HAPPY
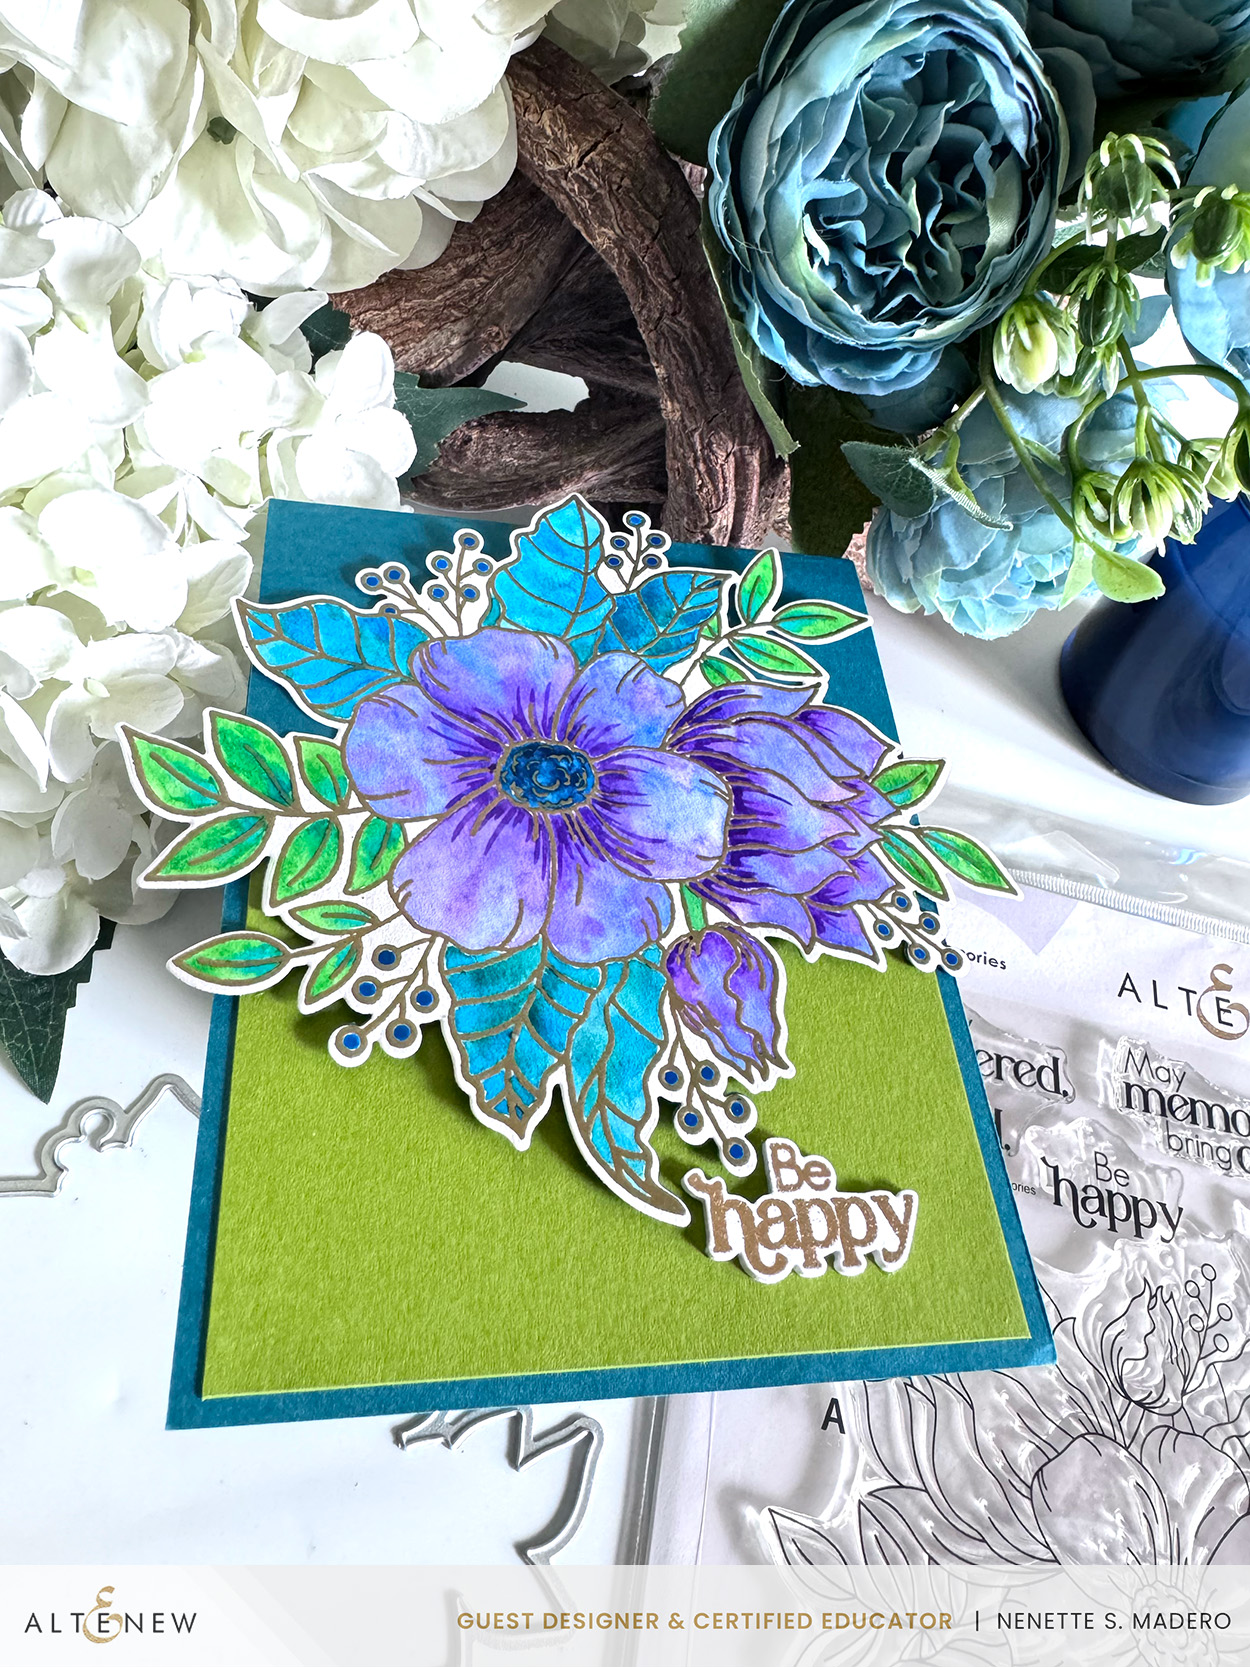
MATERIALS:
- Craft your Life Project Kit: Treasured Memories Stamp and Die
- Rose Gold Embossing Powder
- Artist Watercolor Pan Set
- Versamark Ink
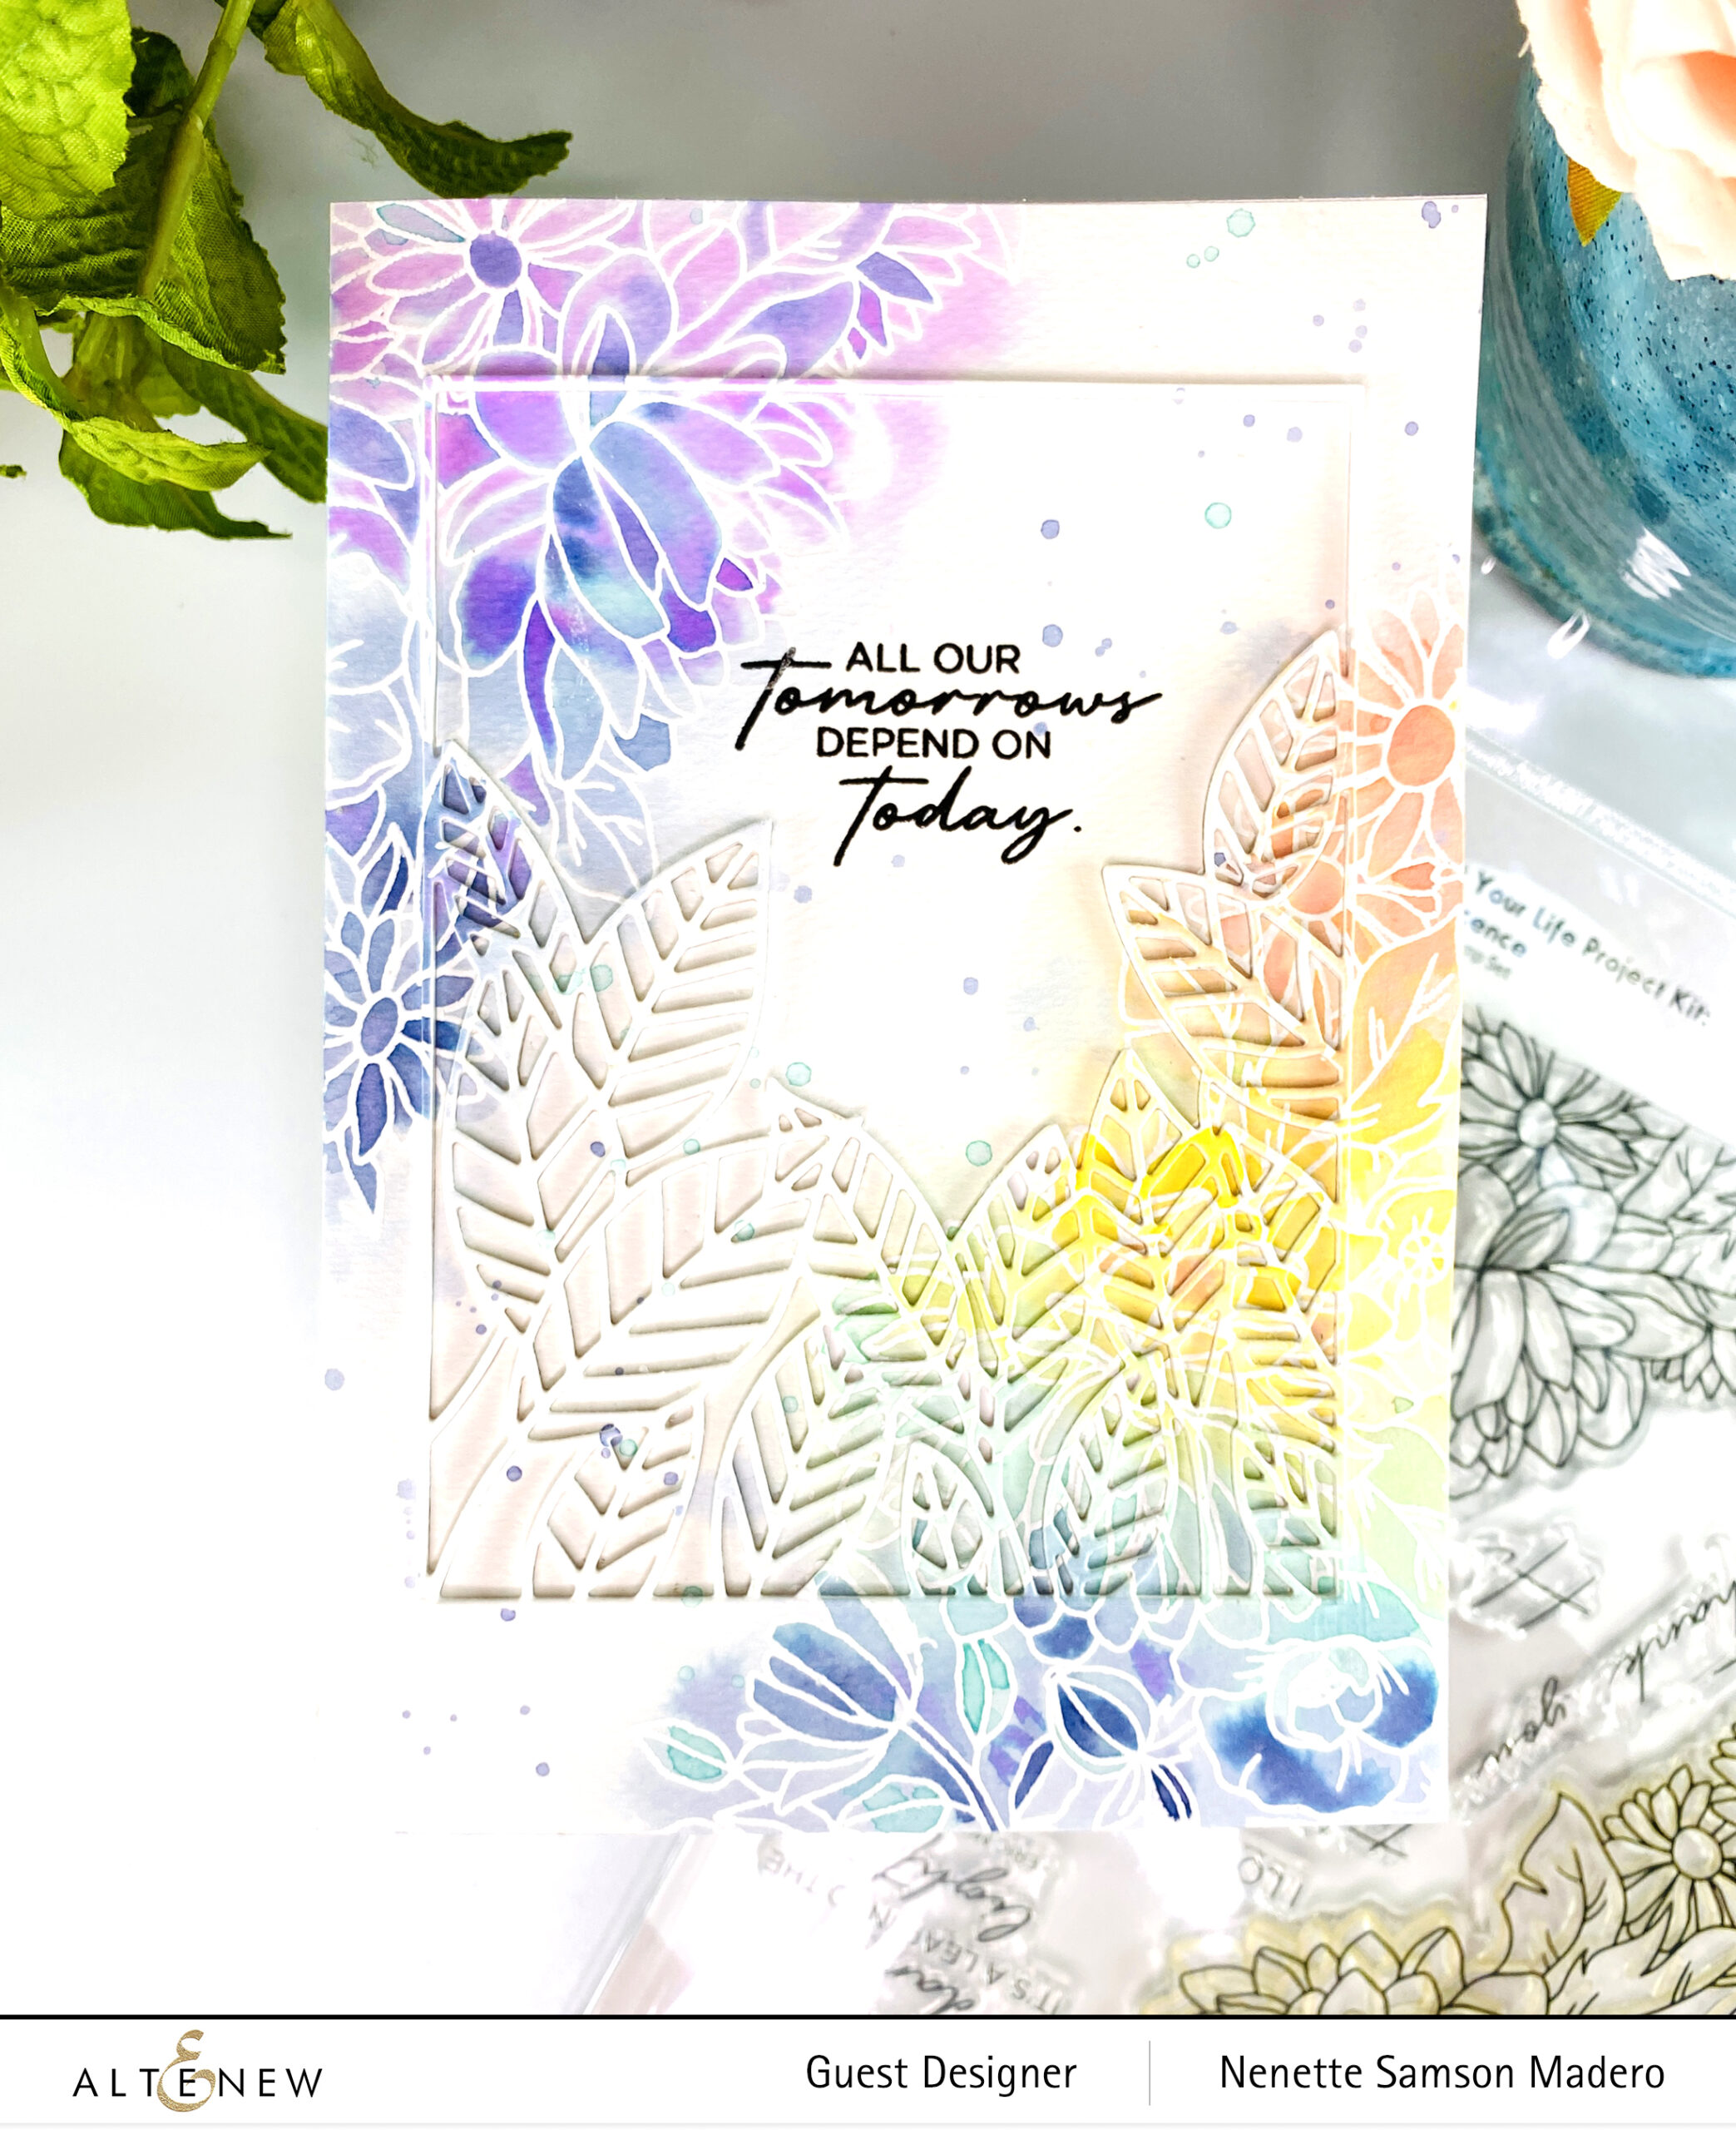
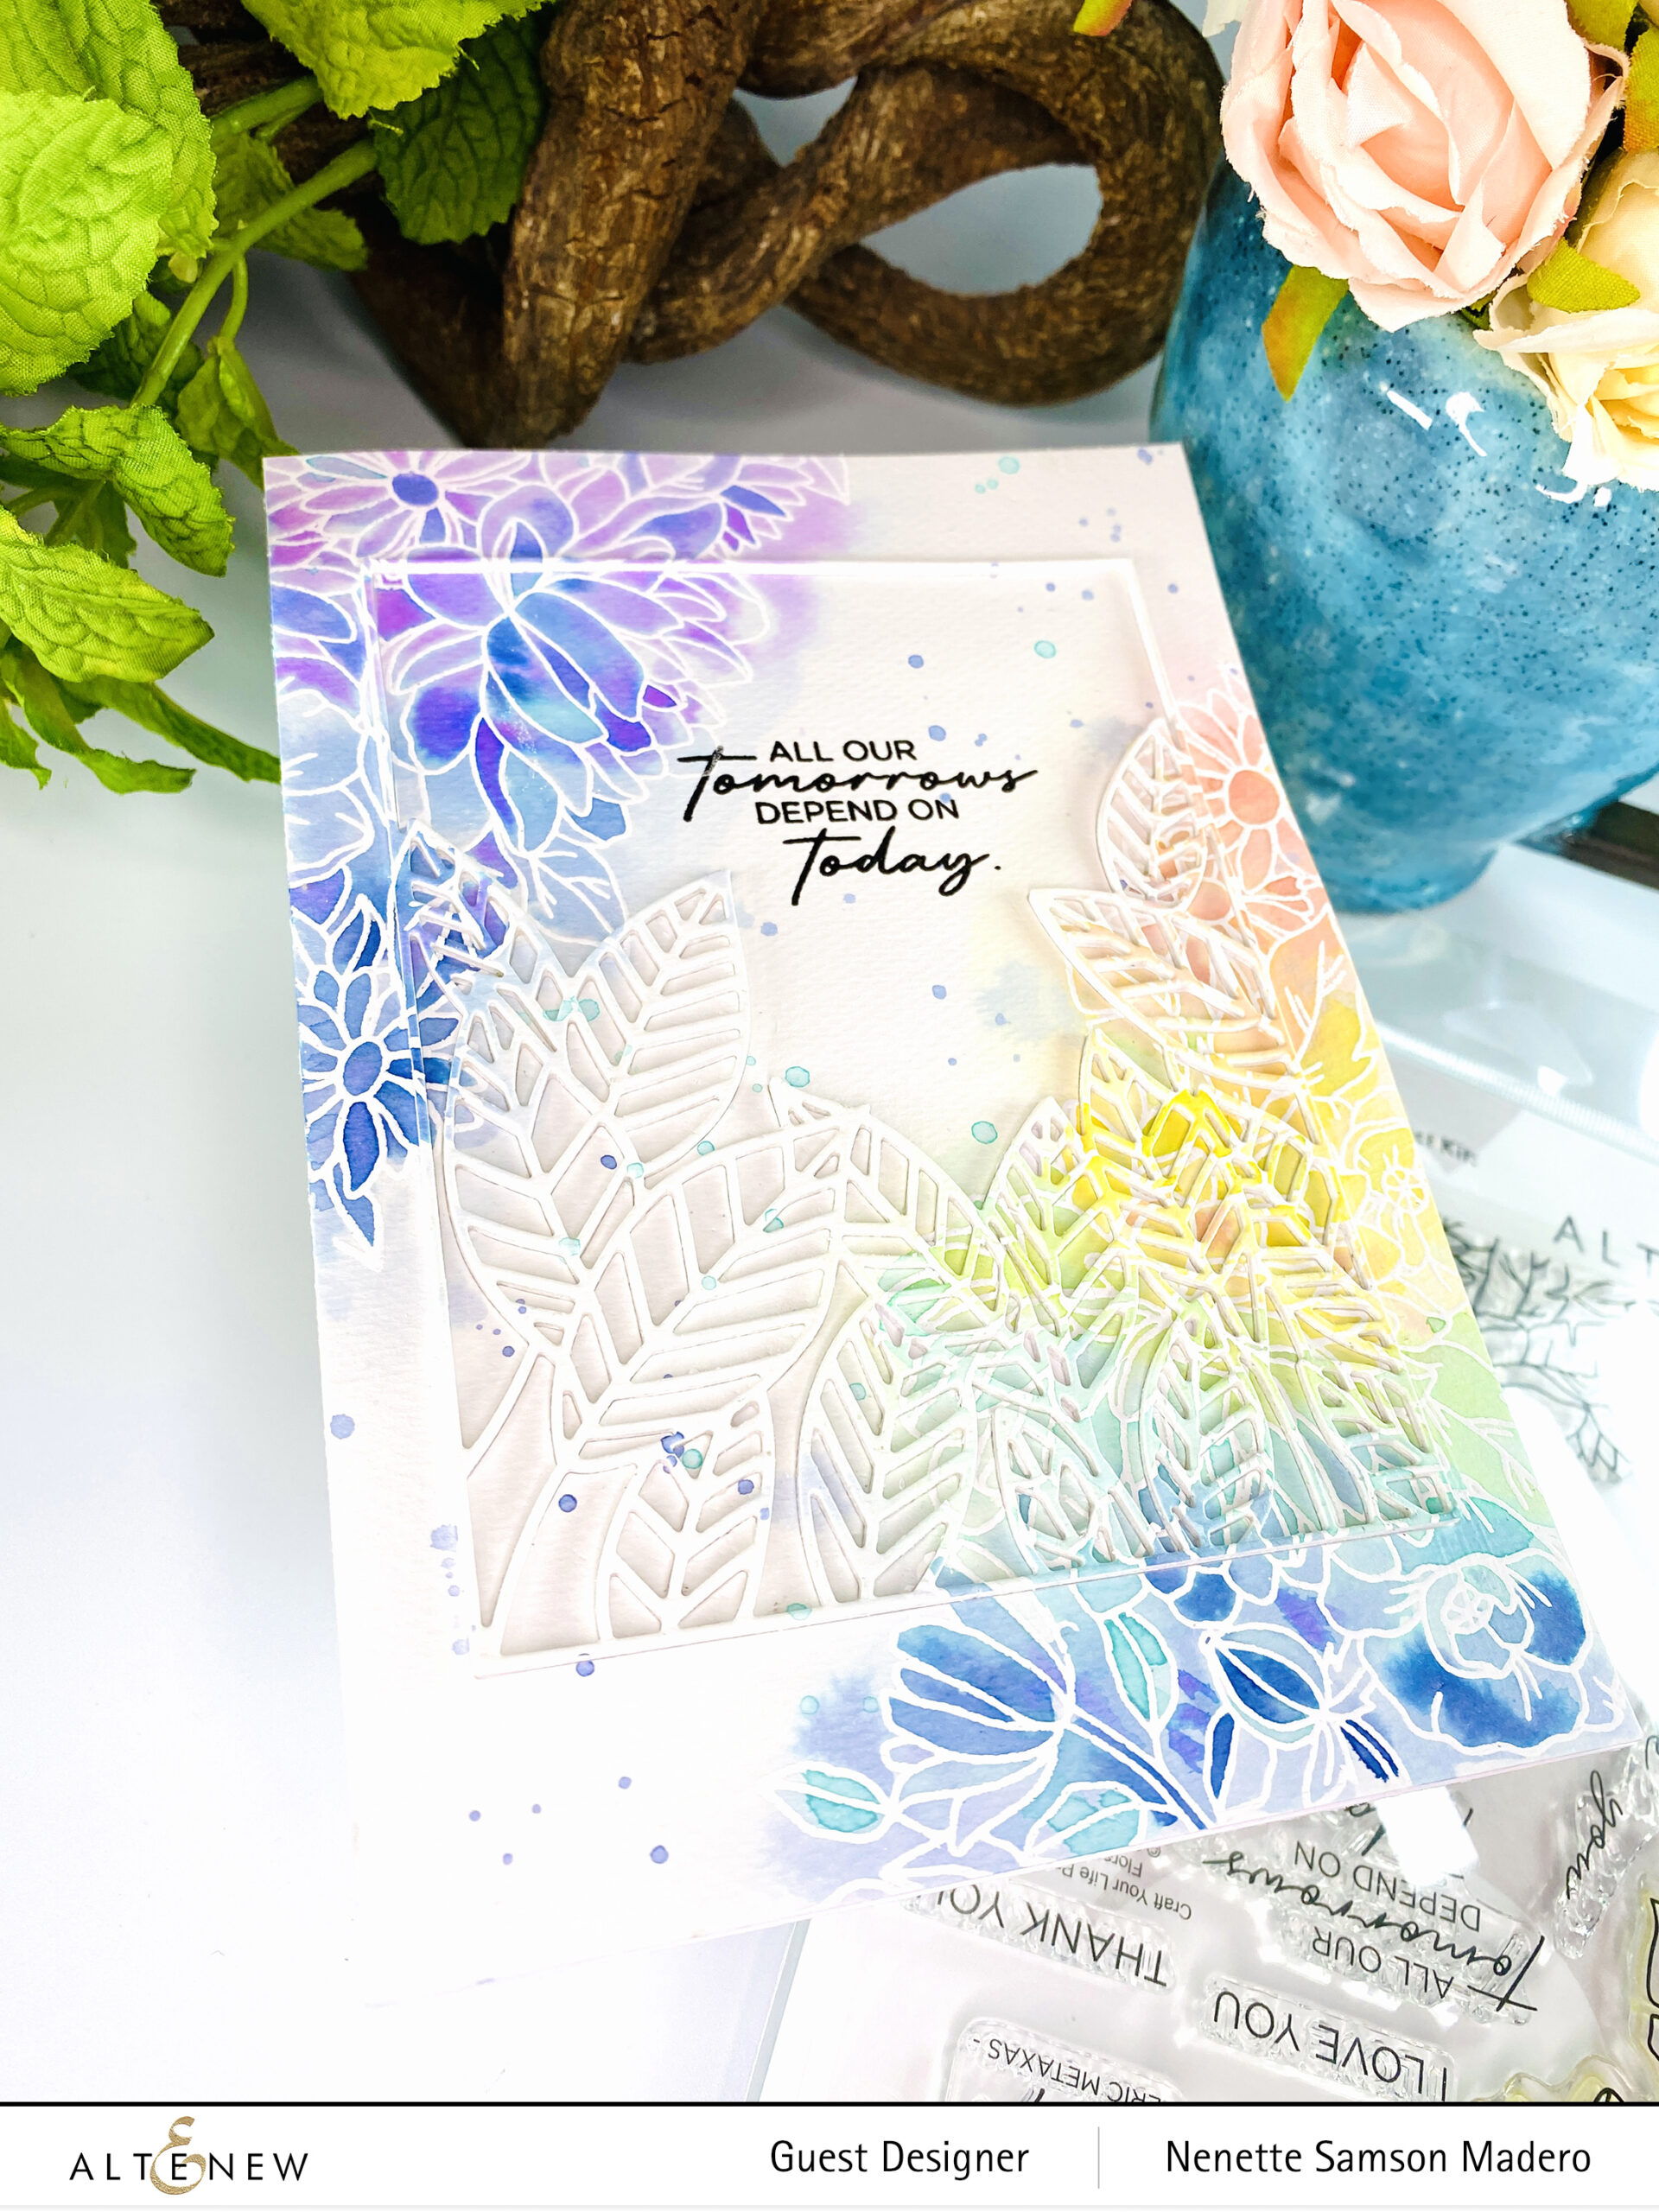
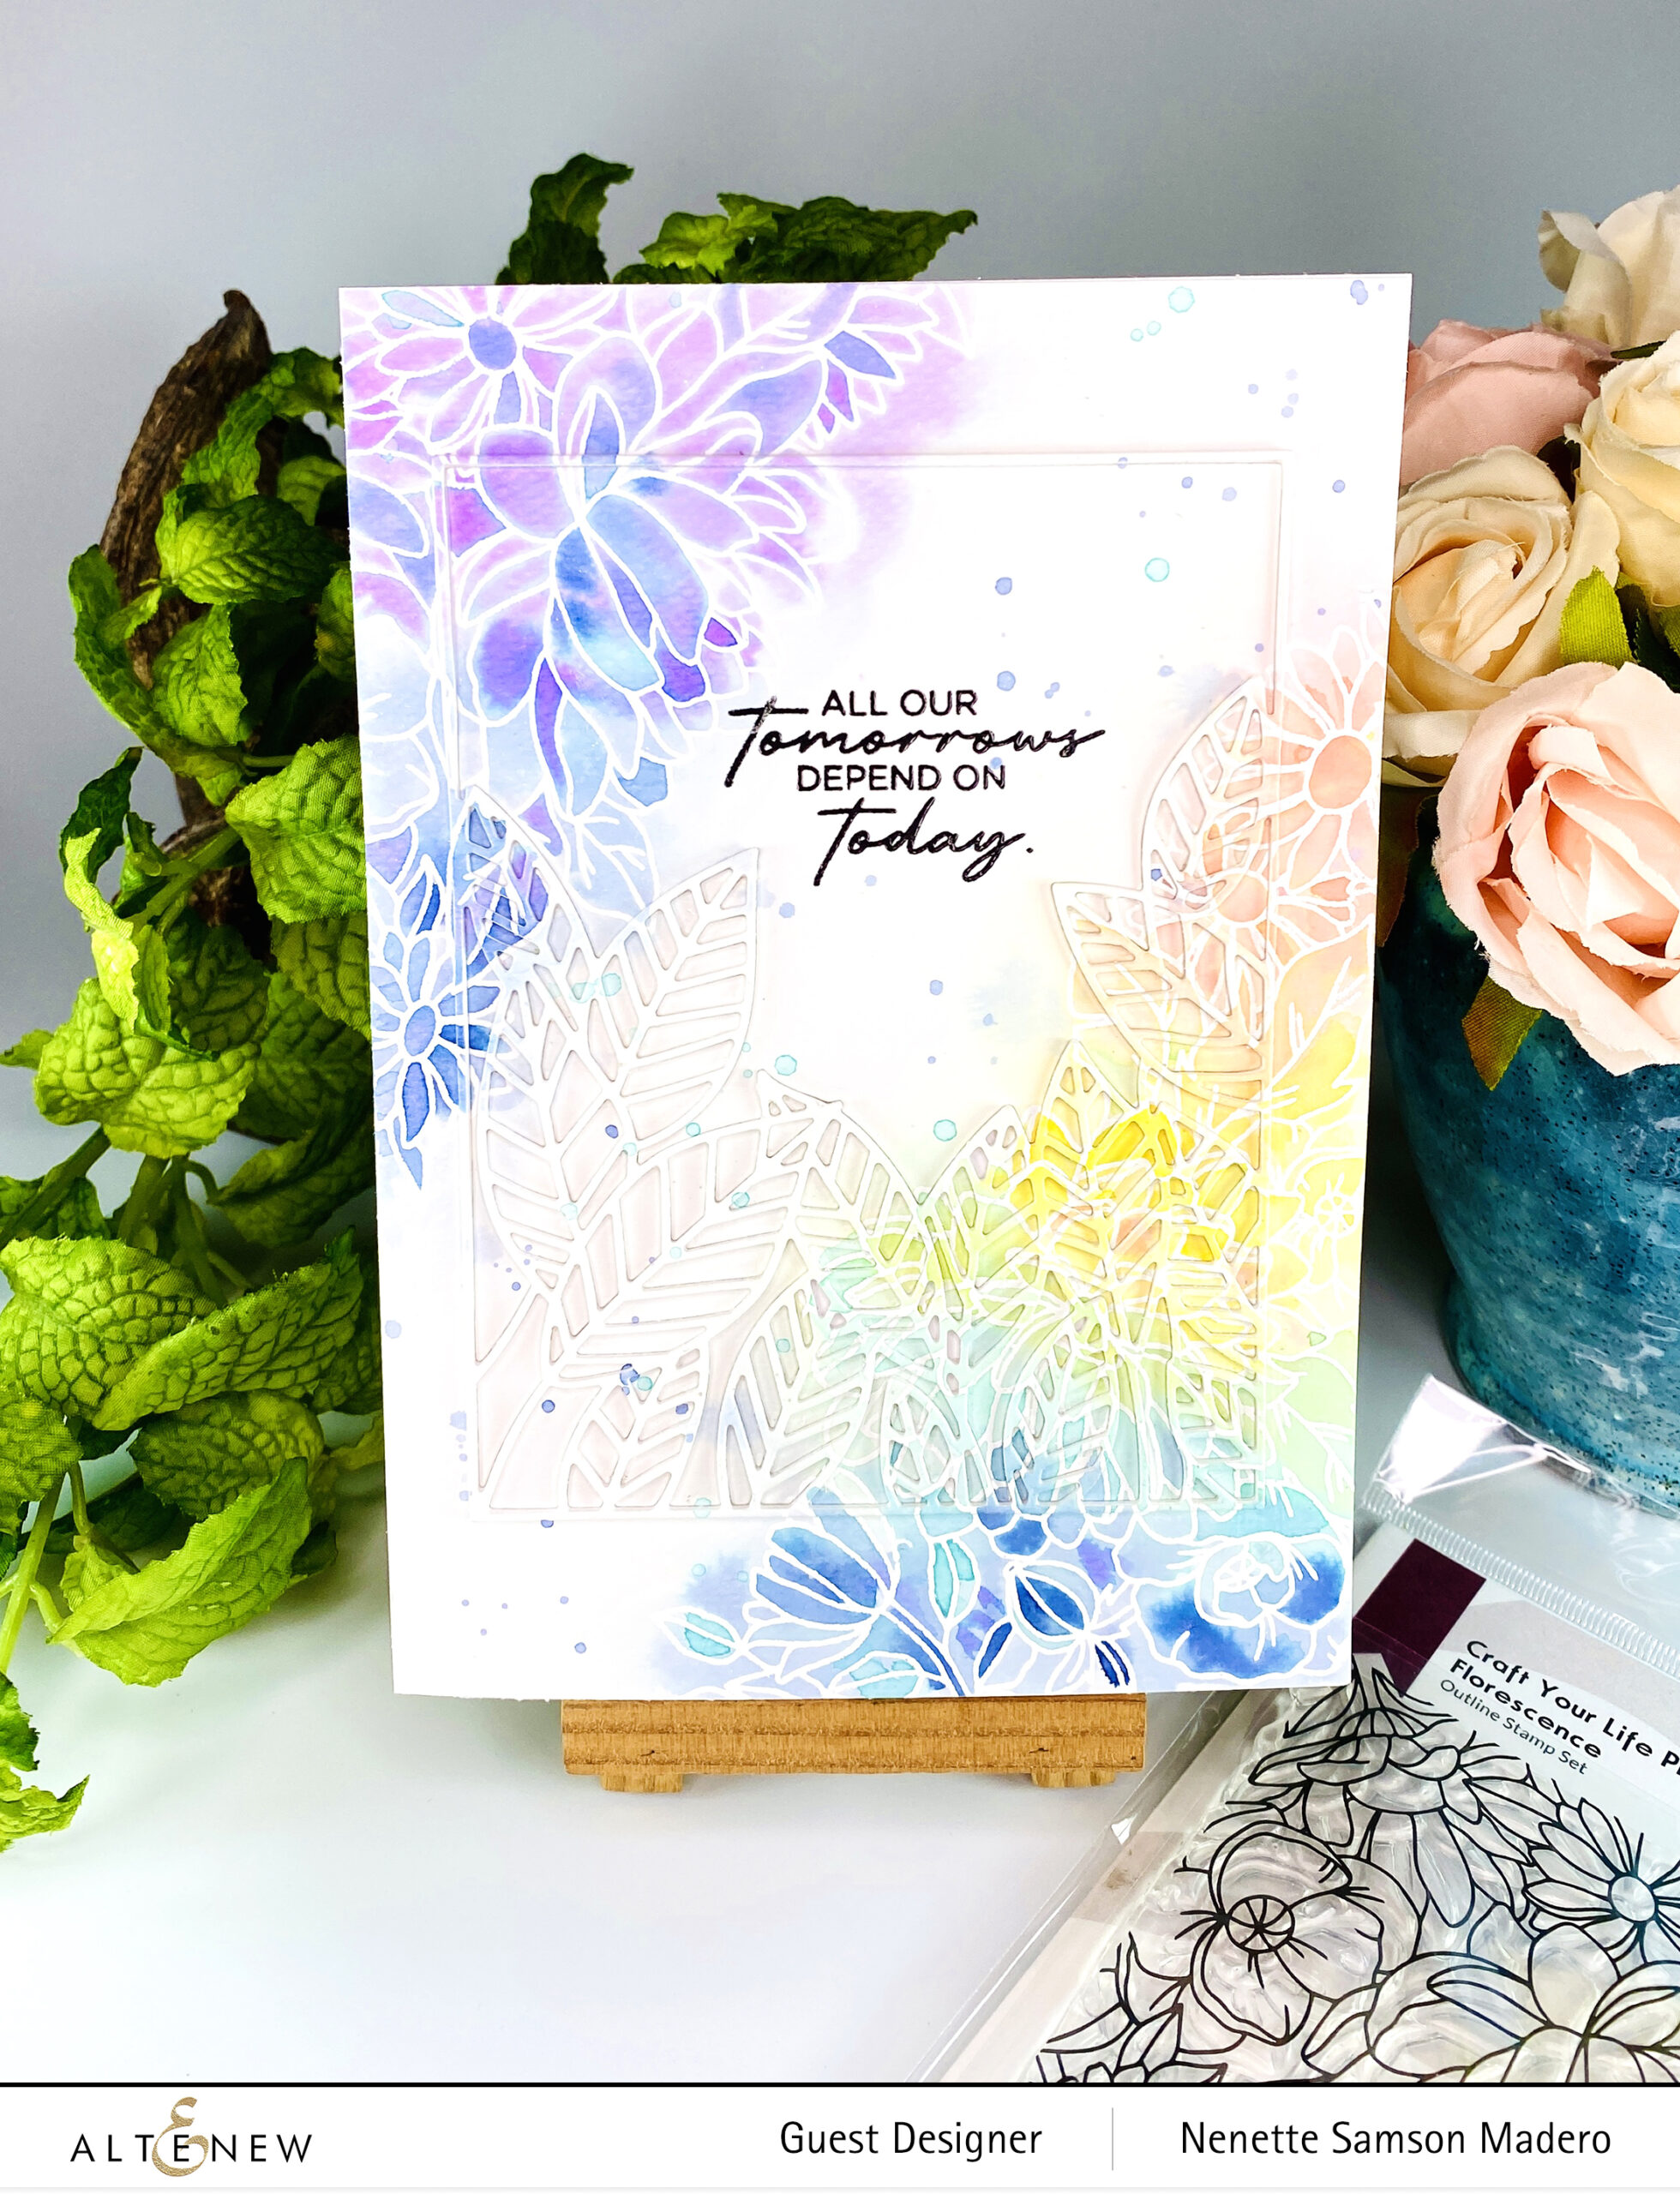
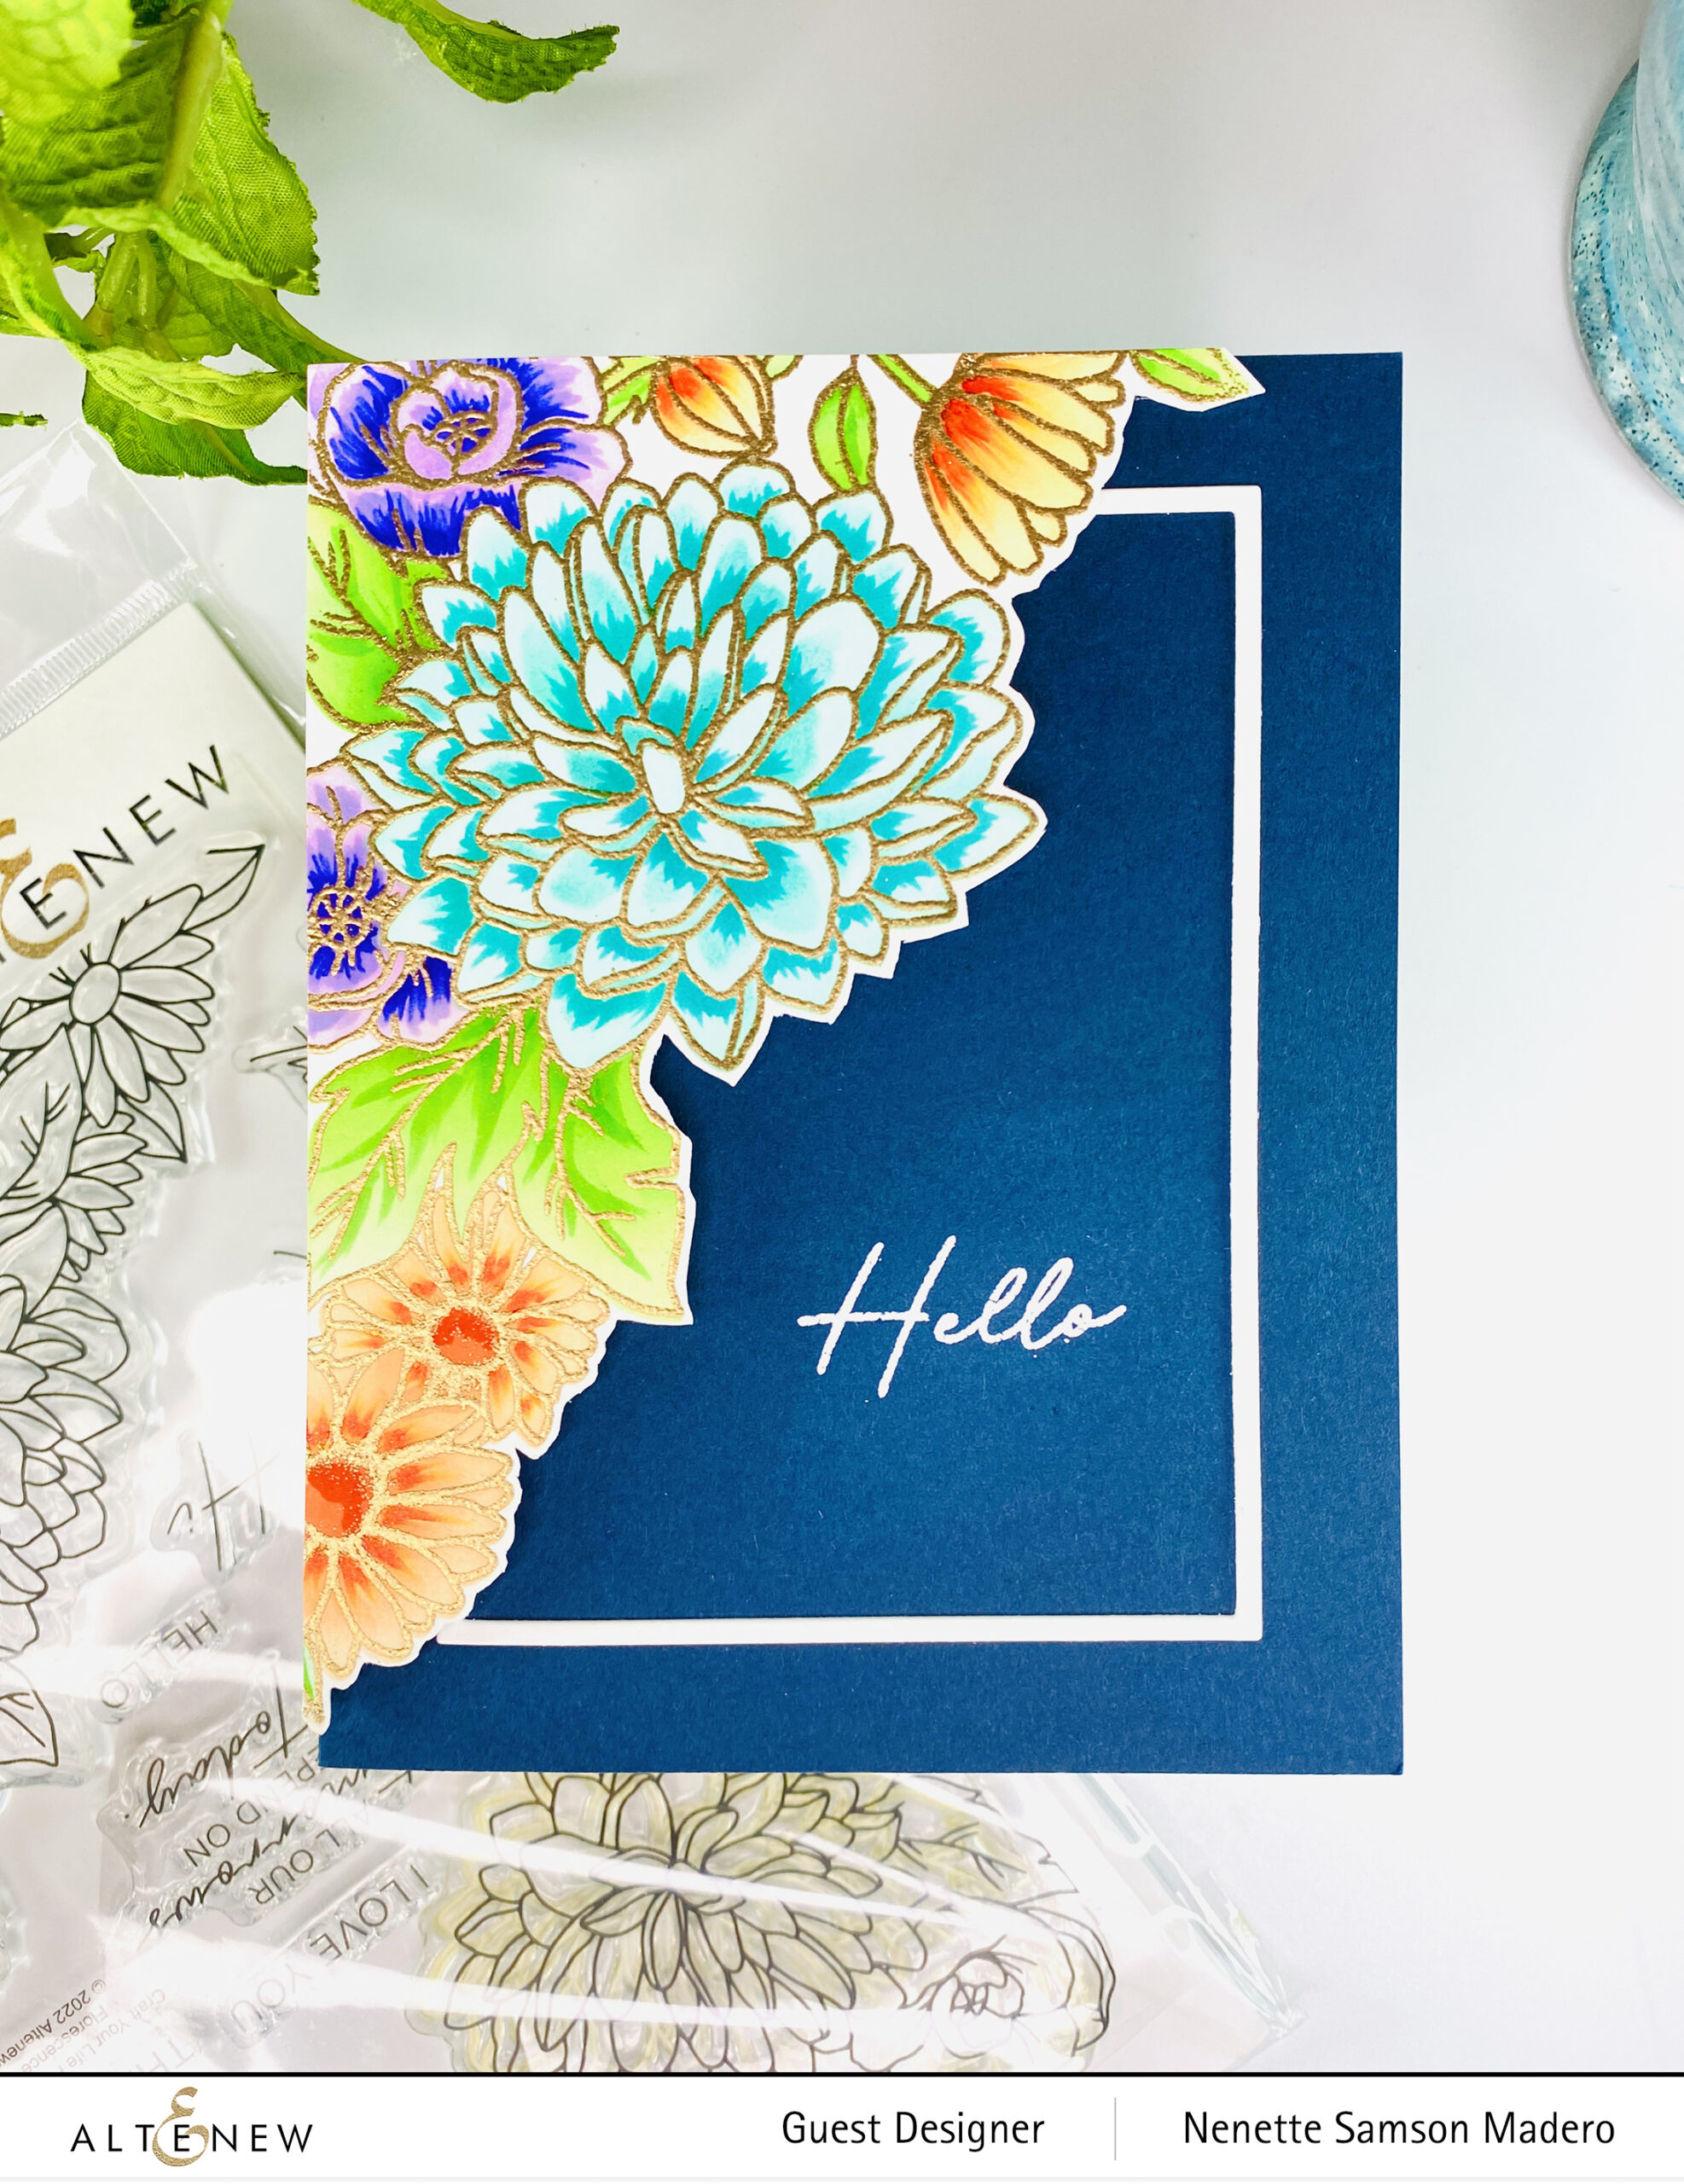
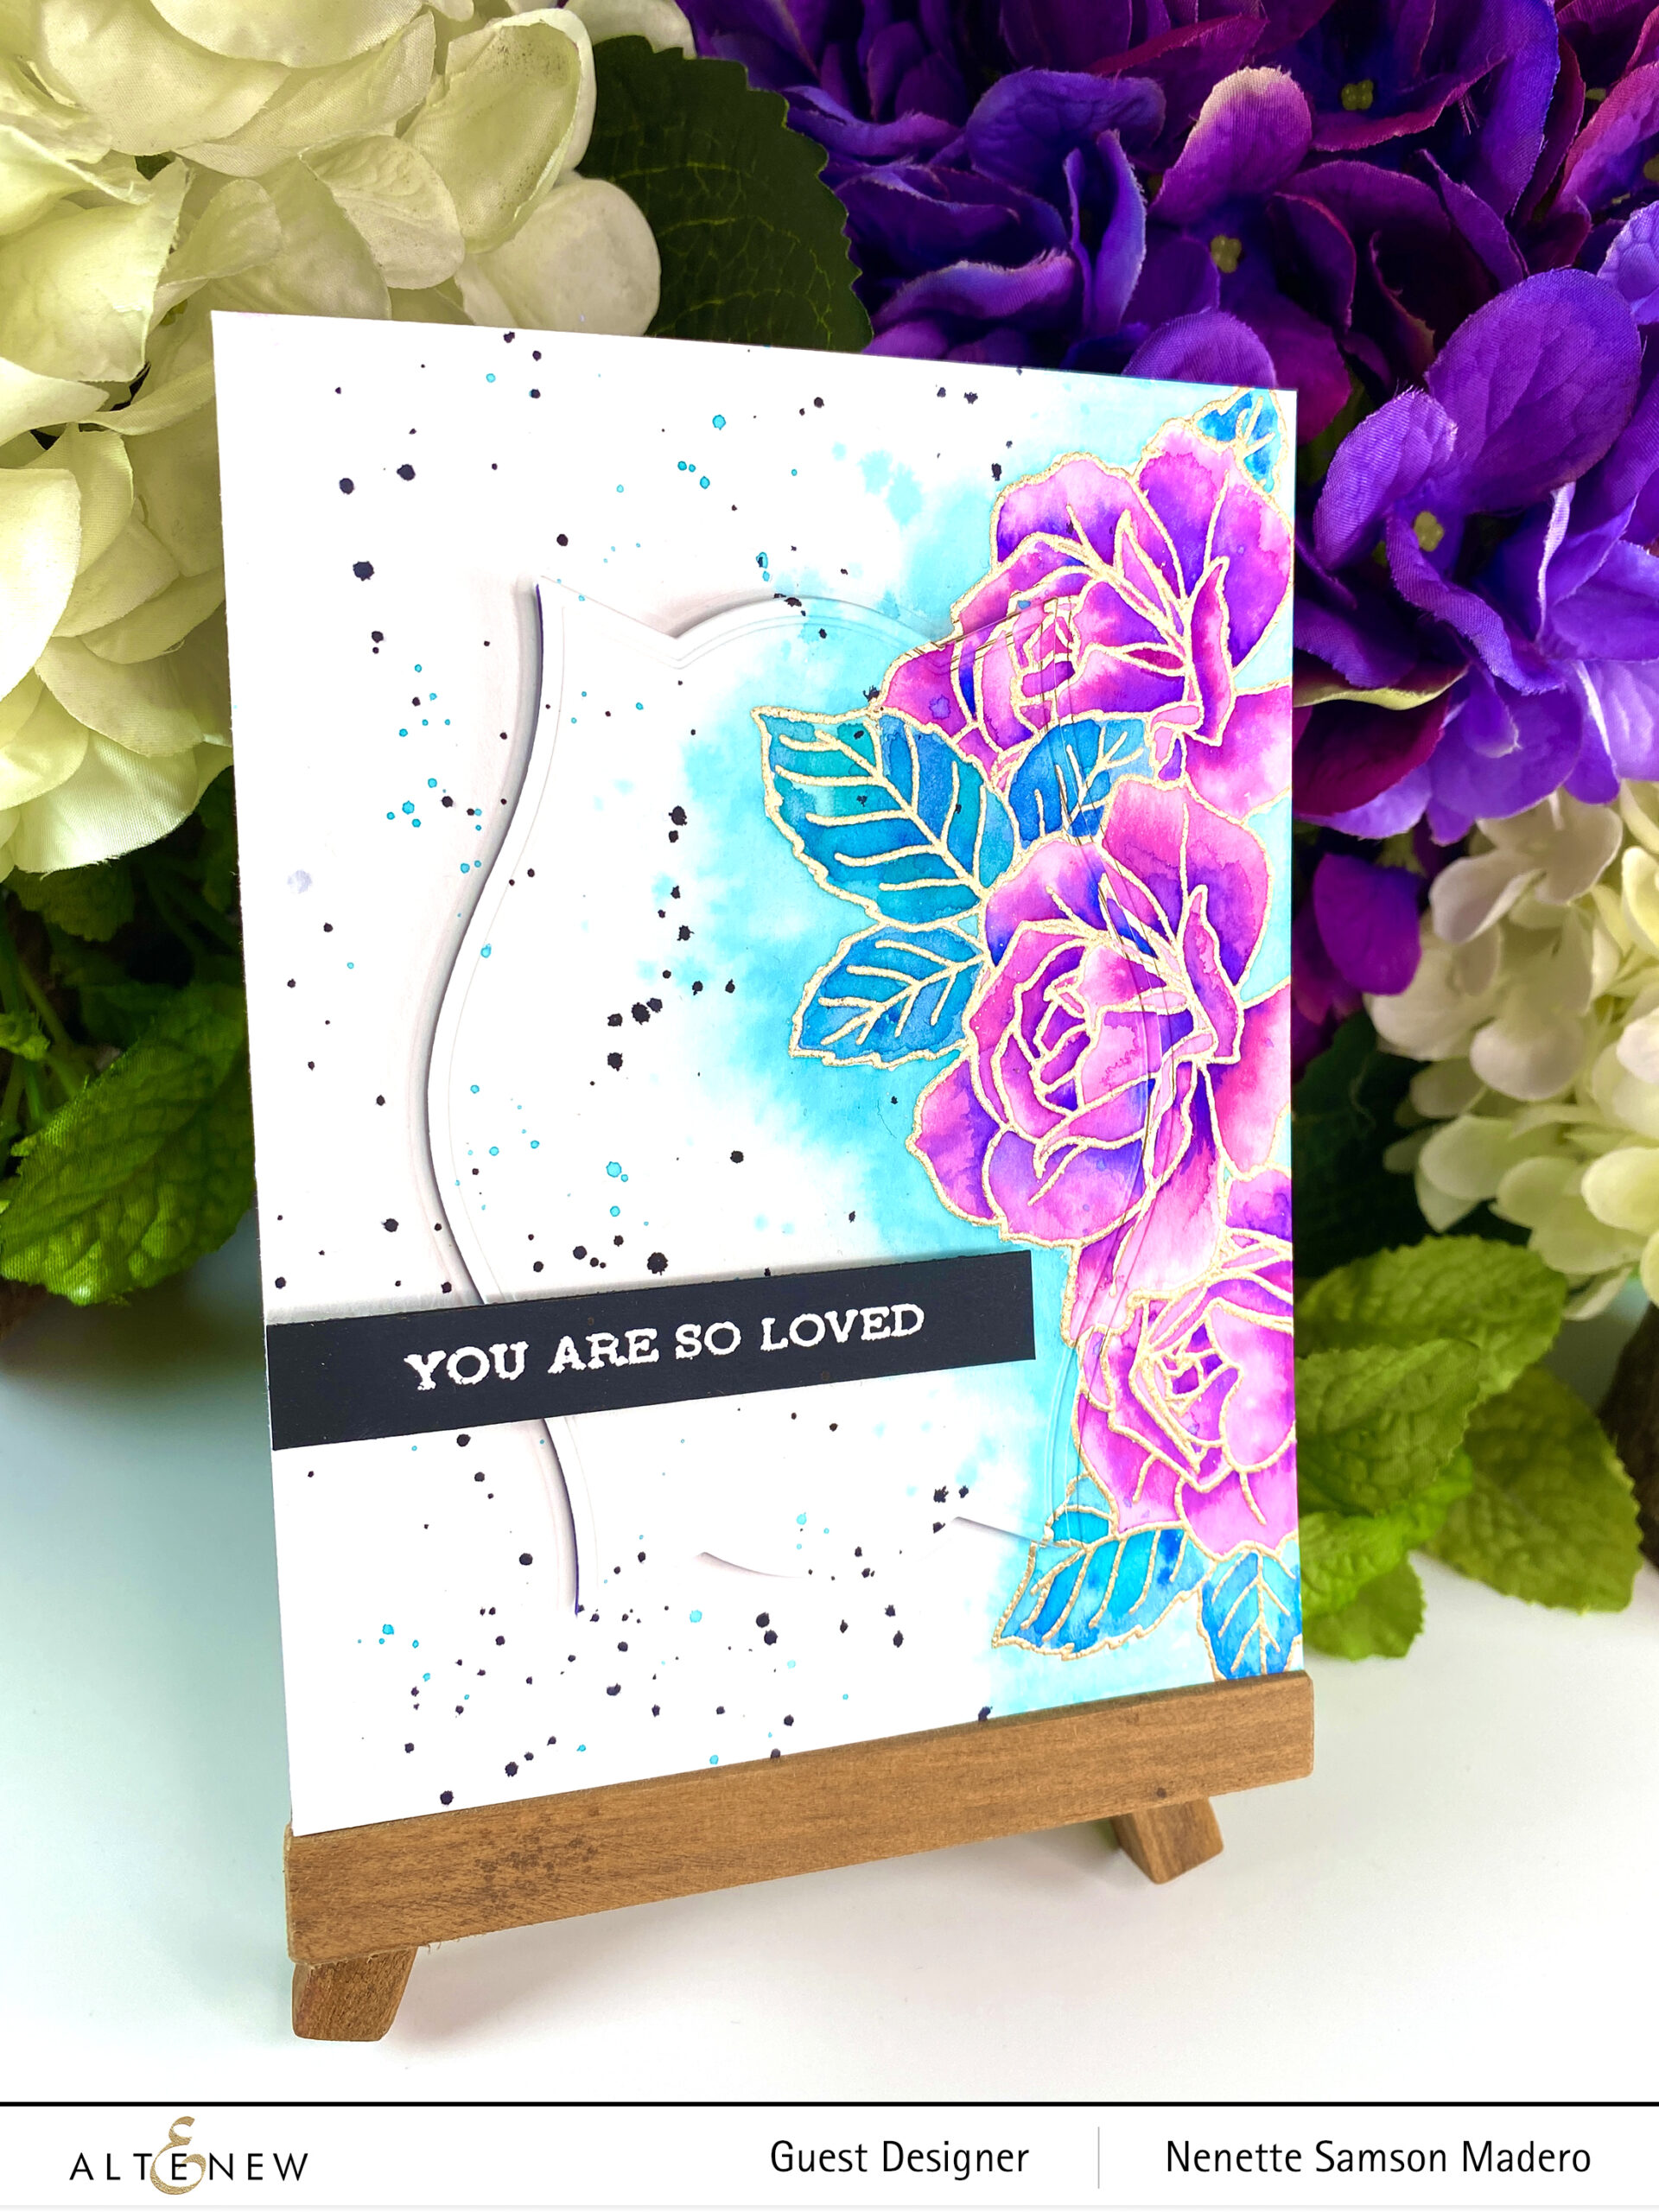
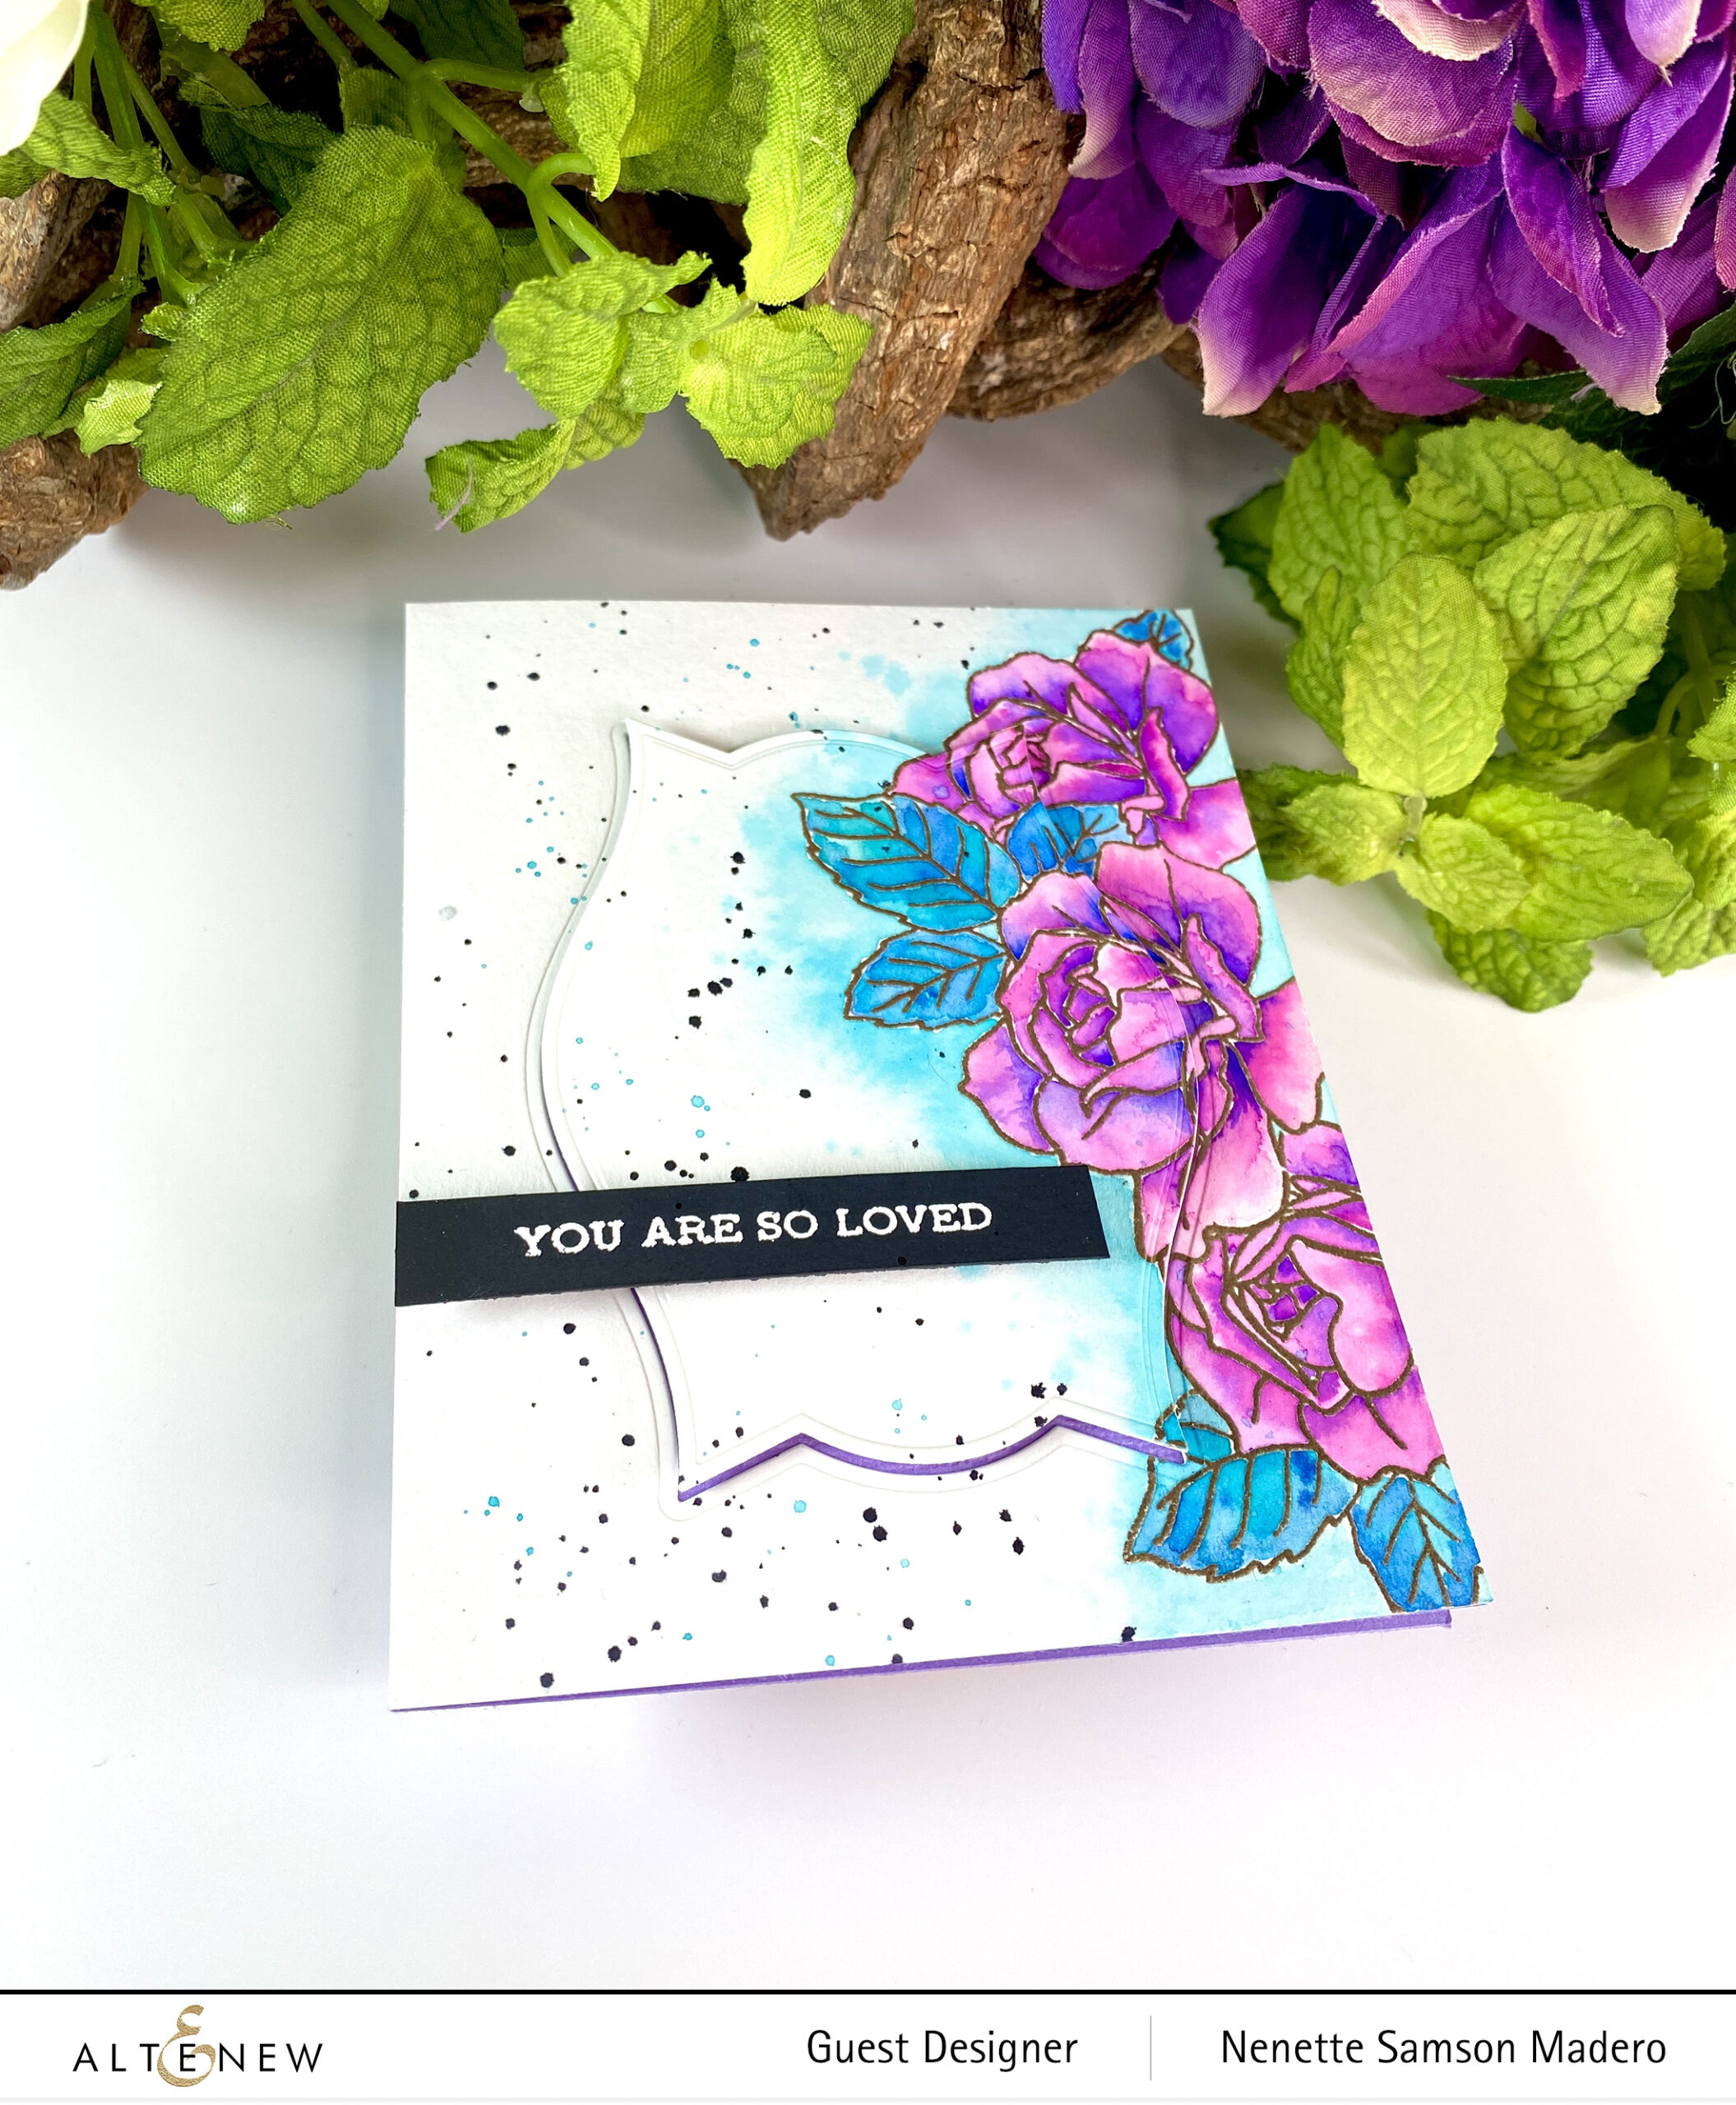
This large, beautiful stamp image is a joy to watercolor! I made sure to stick to analogous colors, mixing blues with greens for the leaves, and purples with blues for the flowers. The front panel was die-cut halfway using the coordinating die, and I adhered green cardstock to the inside of the card to add contrast.
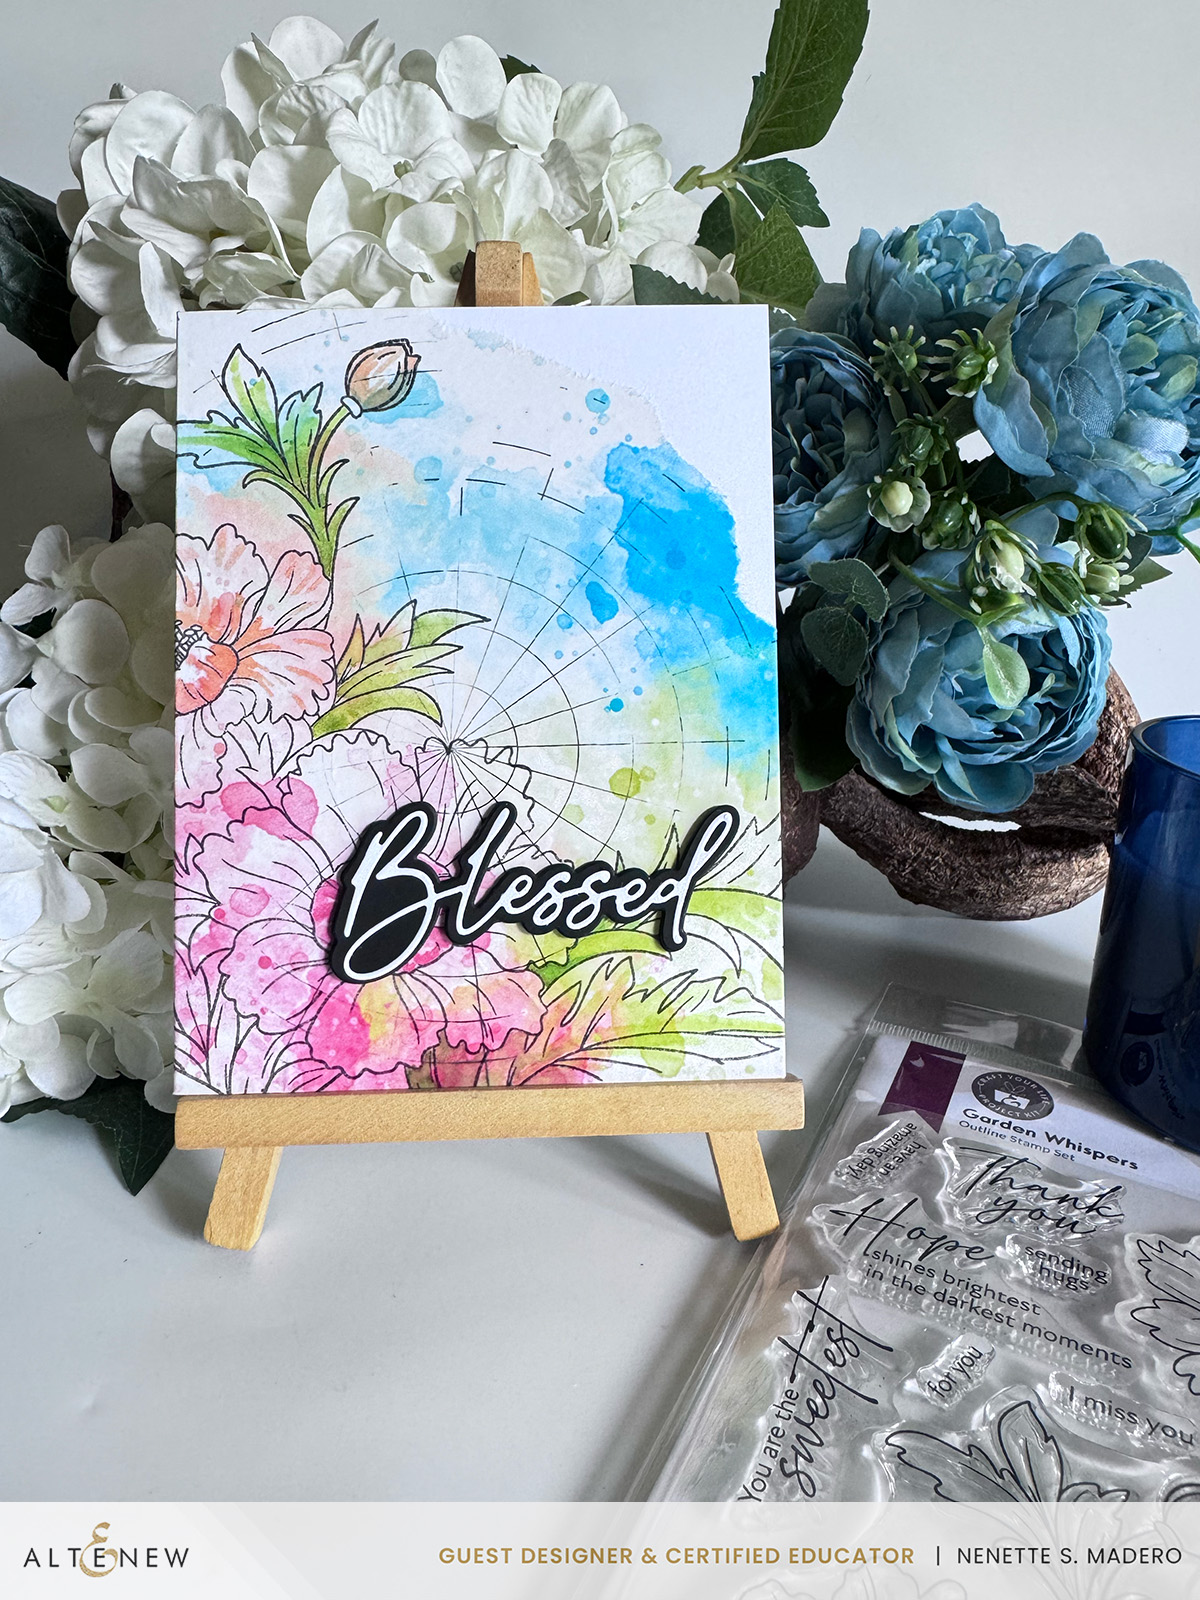
BLESSED
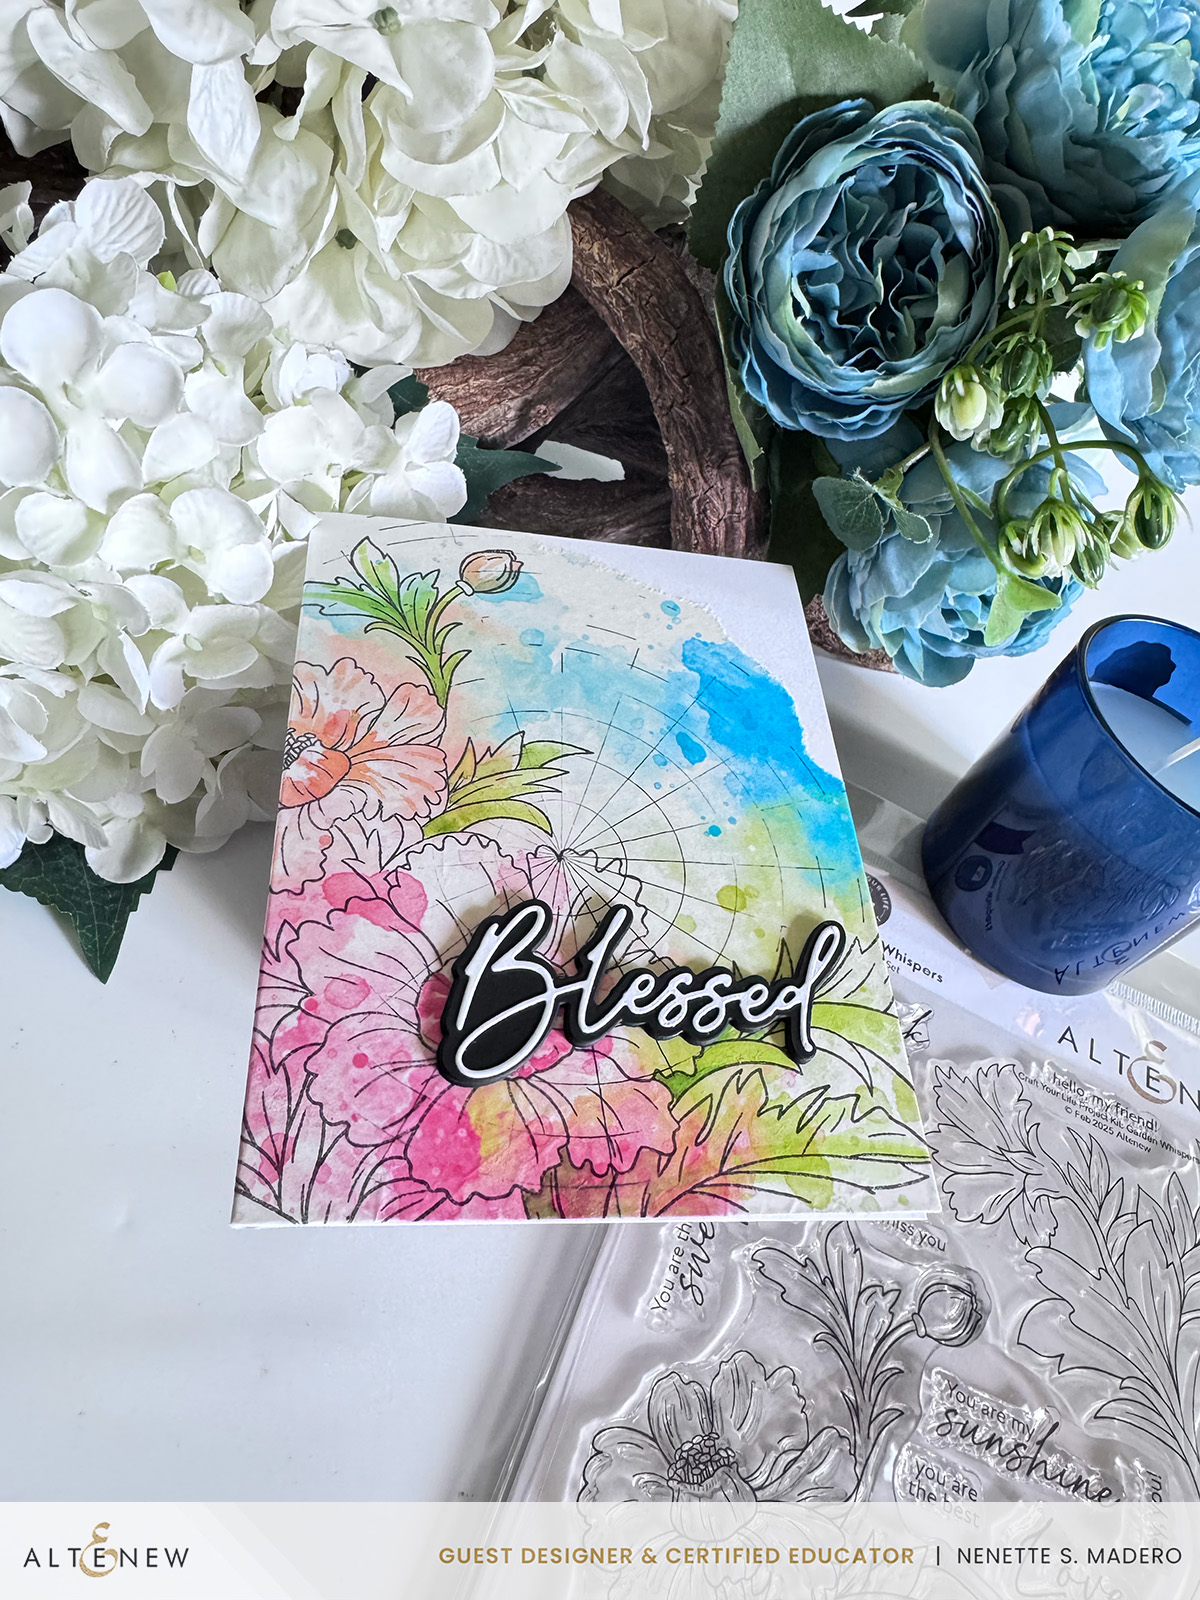
MATERIALS:
- Craft Your Life Project Kit-Garden Whispers Stamp and Die
- Obsidian Ink
- Crystal Clear Embossing Powder
- Artist Watercolor Pan Set
- Katie Pertiet Designs Kaleidsocope Essential Transfers 03
- Blank Washi Paper
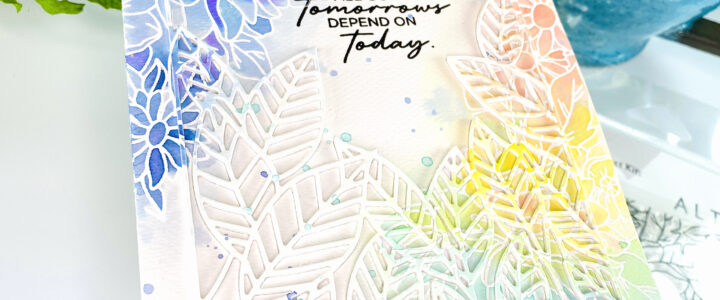
I printed the Kaleidoscope background onto plain washi paper, then stamped the image from the Garden Whispers stamp set using Obsidian Ink. The floral image from the Garden Whispers Stamp set was then embossed with Crystal Clear embossing powder. Next, the washi paper was carefully torn and adhered to the white card front for a textured effect. To enhance the design, paints were mixed to match the background colors closely, and select areas of the flowers, leaves, and stems were painted. Finally, I die-cut the word “Blessed” from white and black cardstock and positioned the sentiment on the card front.
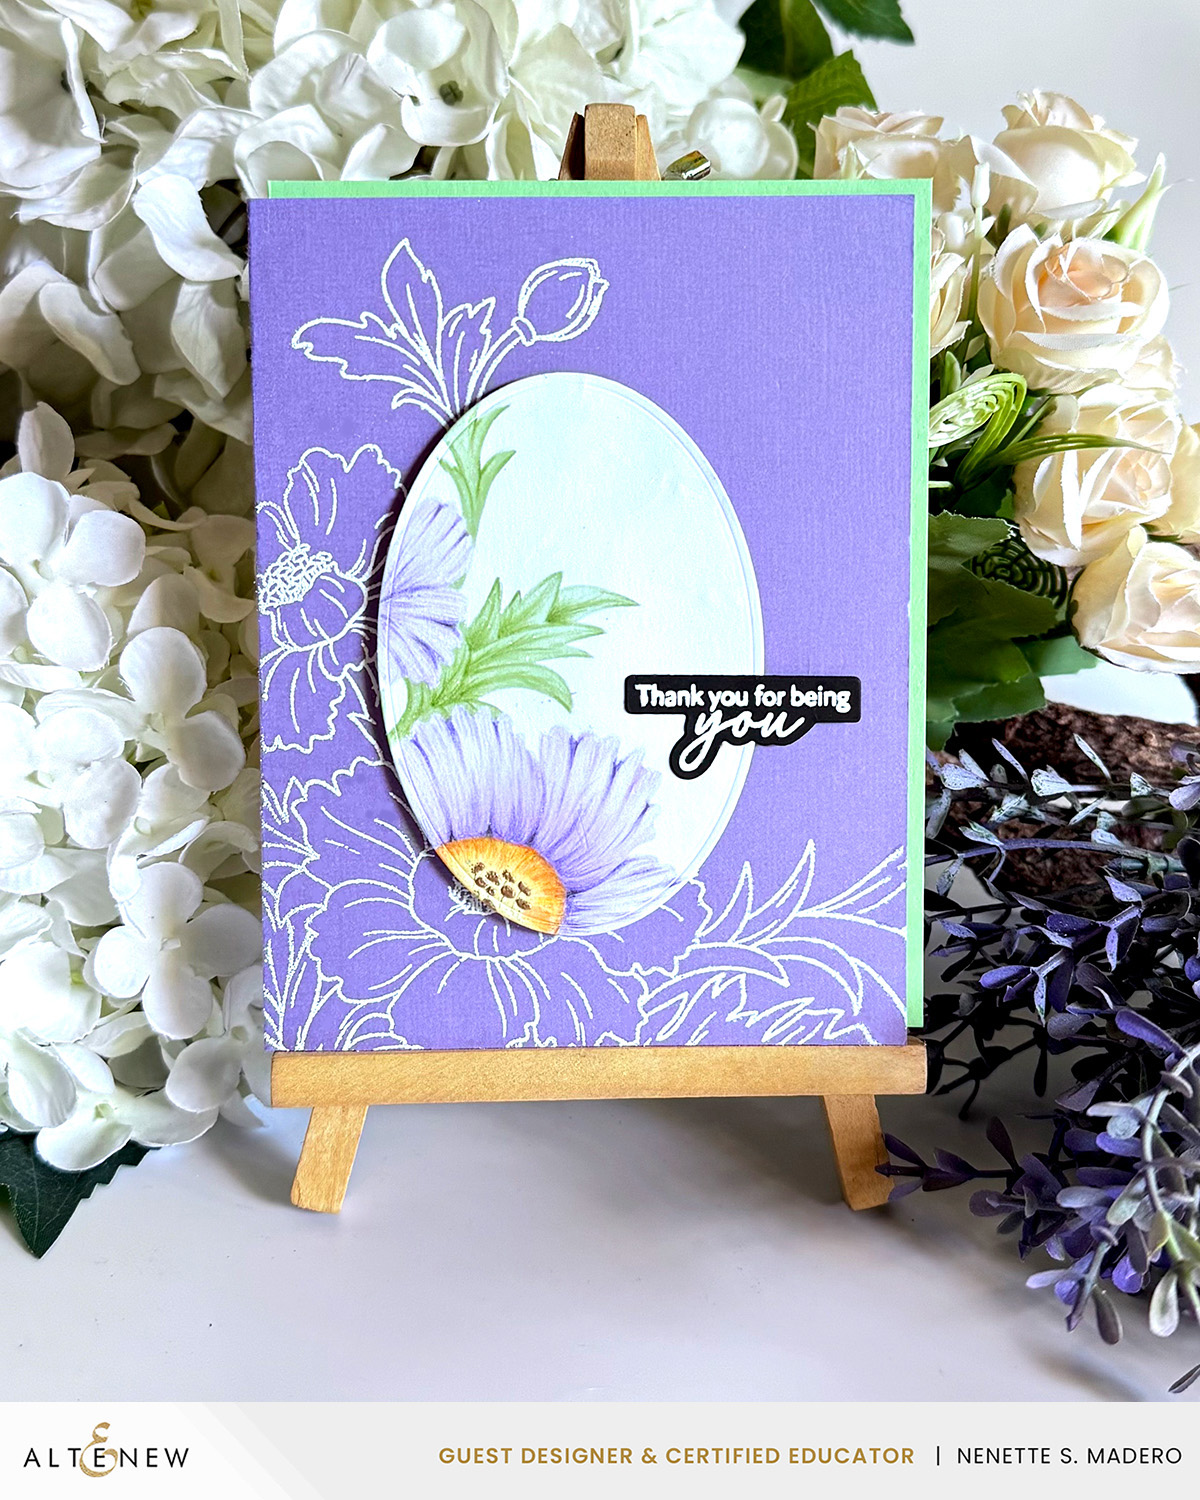
THANK YOU FOR BEING YOU
MATERIALS:
- Craft Your Life Project Kit: Garden Whispers Stamp and Stencil
- Nesting Ovals Die set
- Dye inks- Limestone, Frayed Leaf, Forest Glades, Soft Lilac, Wisteria
- Coloring Pencils
- Pure White Embossing Powder
- Rose Gold Embossing Powder
- Versamark Ink
This spotlight card is one way to create a quick card with minimal coloring. A stamping tool was used to imprint the image onto purple cardstock with Versamark ink; then, the image was embossed with Pure White embossing powder. Next, an oval tag was die-cut and placed at the center of the card front. To protect the card front, I covered it with bond paper before stamping the image onto the tag. Blending brushes were used with the coordinating stencil to blend the colors seamlessly. Depth and dimension were added by incorporating shadows with coloring pencils. The stamens were embossed with rose gold embossing powder. The colored tag was positioned to match the image on the card front and was mounted with foam tape. Green cardstock was added at the back of the card front for color and interest.

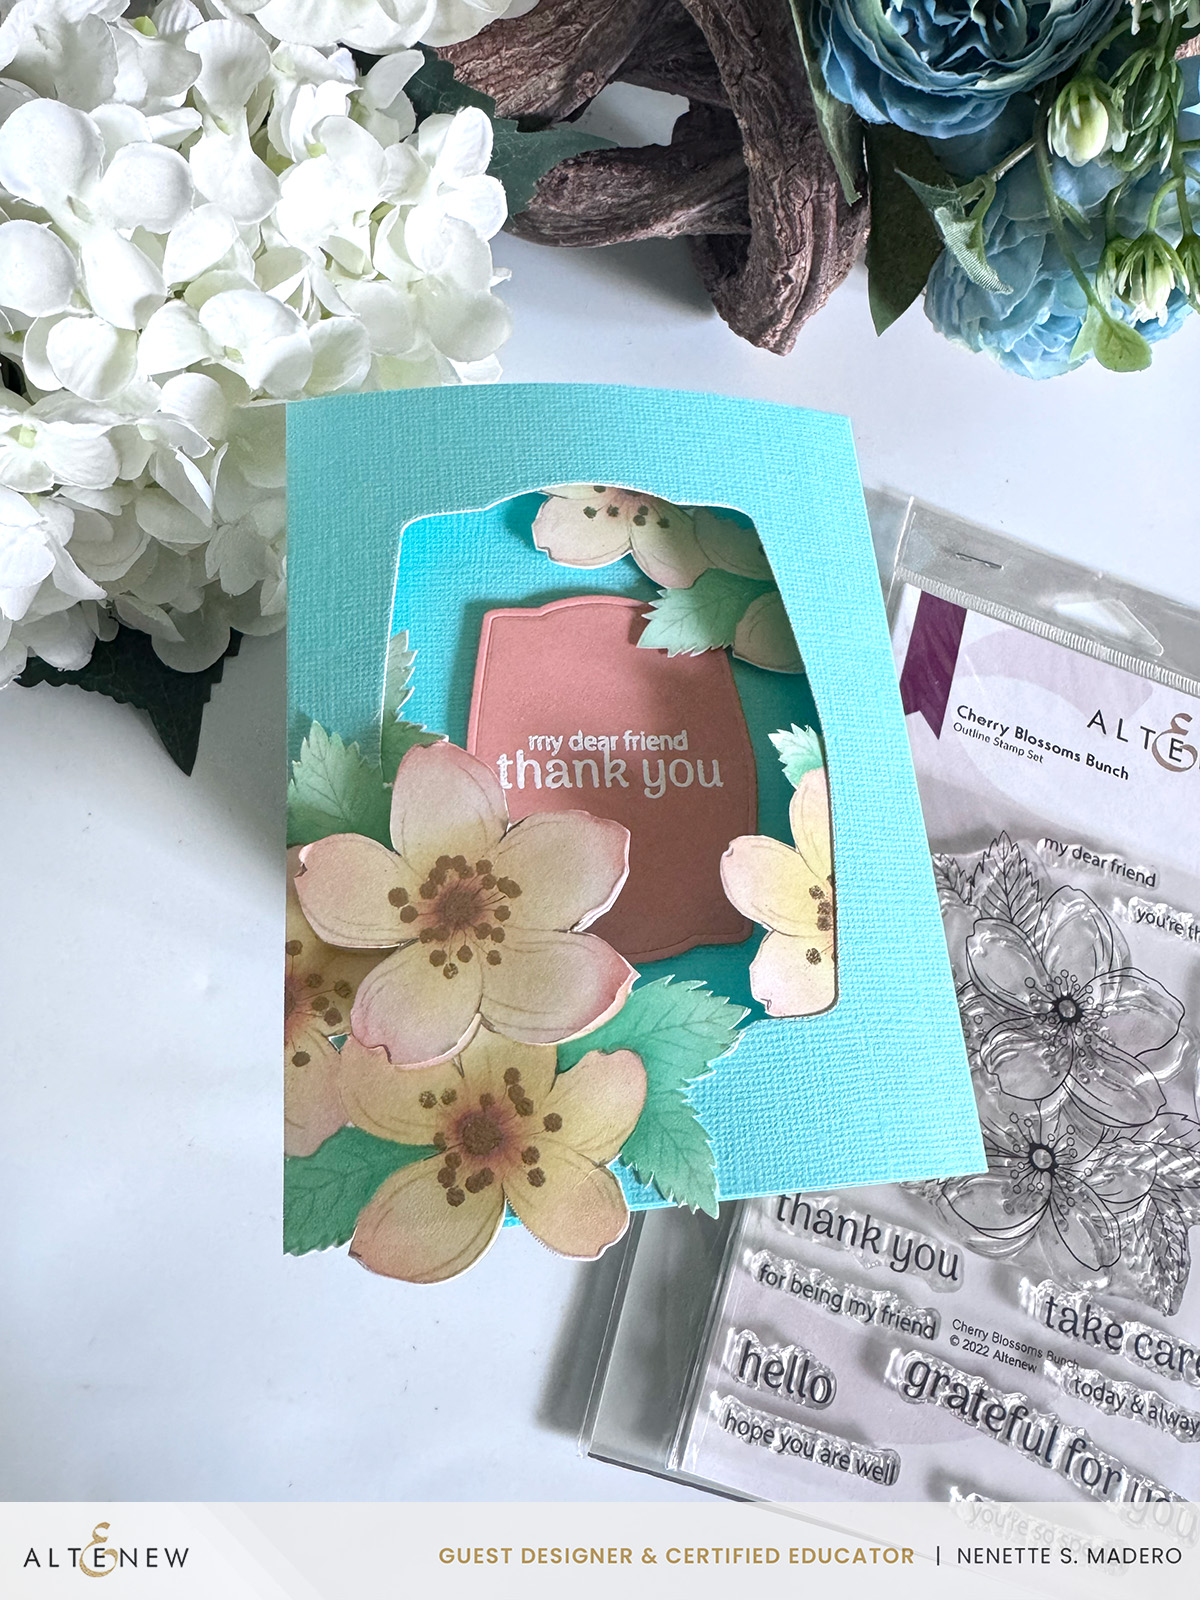
MY DEAR FRIEND THANK YOU
MATERIALS:
- Cherry Blossoms Bunch Stamp and Die Set
- Nesting Frames Die set
- Butternut, Pastel Sunrise, Rouge, Mountain Mist, Volcano Lake Dye Inks
- Pure White and Rose Gold Embossing Powders
- Versamark Ink
- Embossing pen
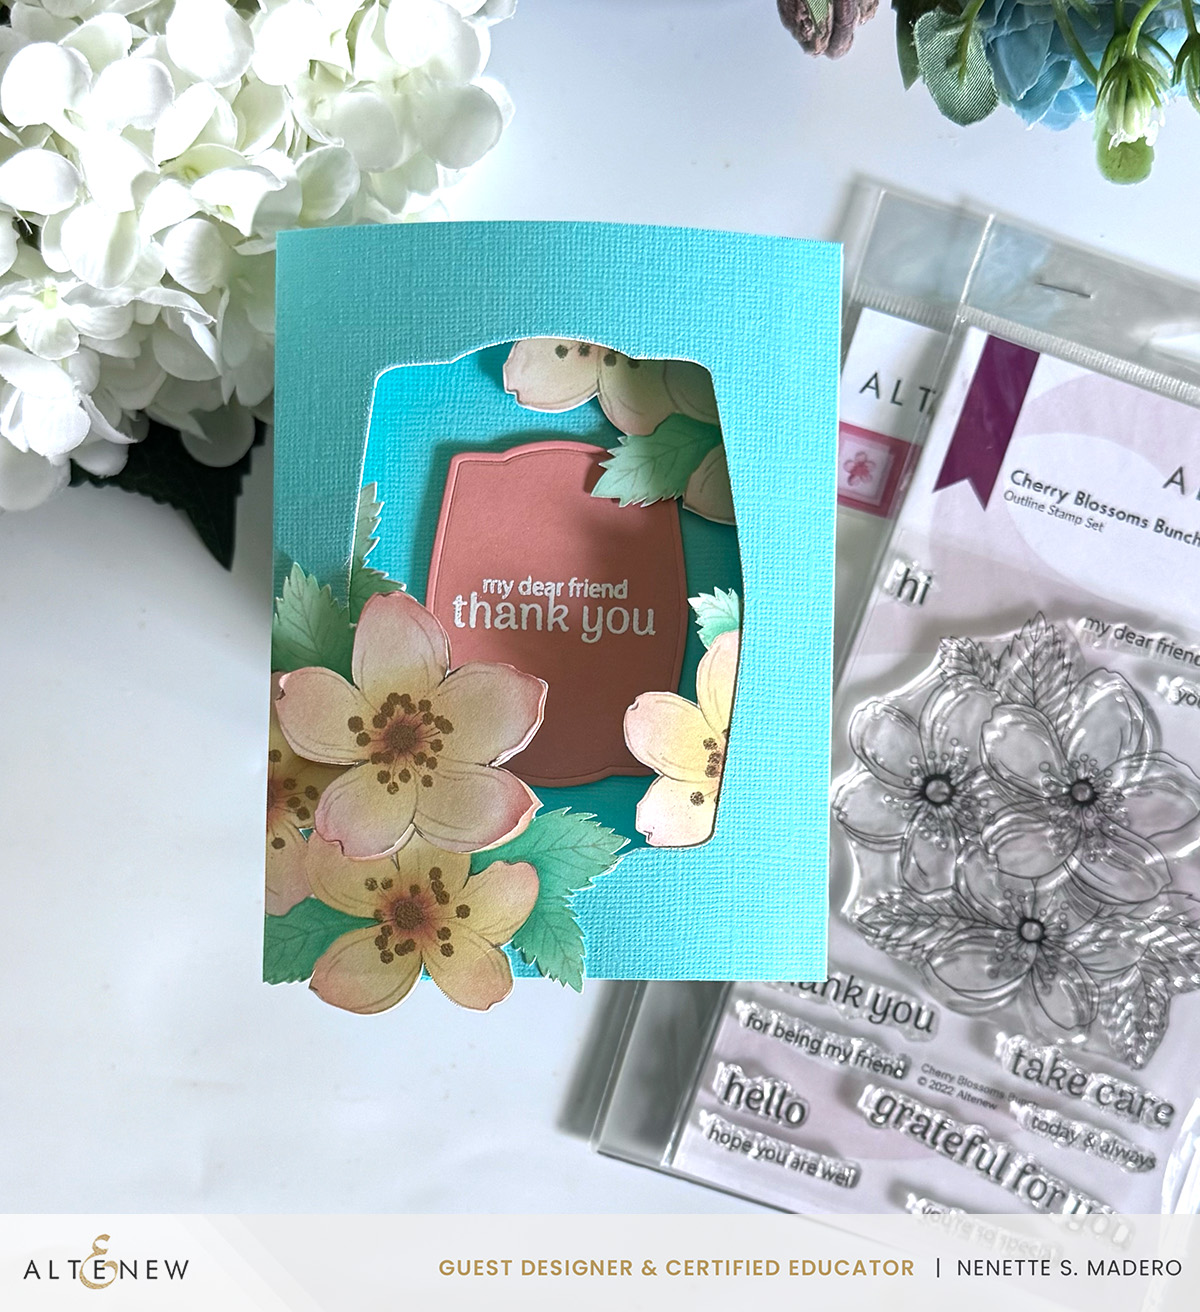
Jennifer McGuire’s pop-up cards inspired me to make one. The image was stamped twice with a light dye ink to create a soft base. Using the coordinating stencils, colors were gently applied to the image with blending brushes for a gradient effect. For the flower stamens, I used an embossing pen to draw them in, then embossed them with rose gold embossing powder. For added visual tension, subtle pencil markings were drawn at the corners and tips of the flowers. After fussy cutting the images, the Nesting Frames dies created a window on the card’s front panel. A smaller tag was die-cut for the sentiment. The sentiment was stamped and embossed using white embossing powder. Finally, I assembled the card using foam squares and glue for added dimension and stability.
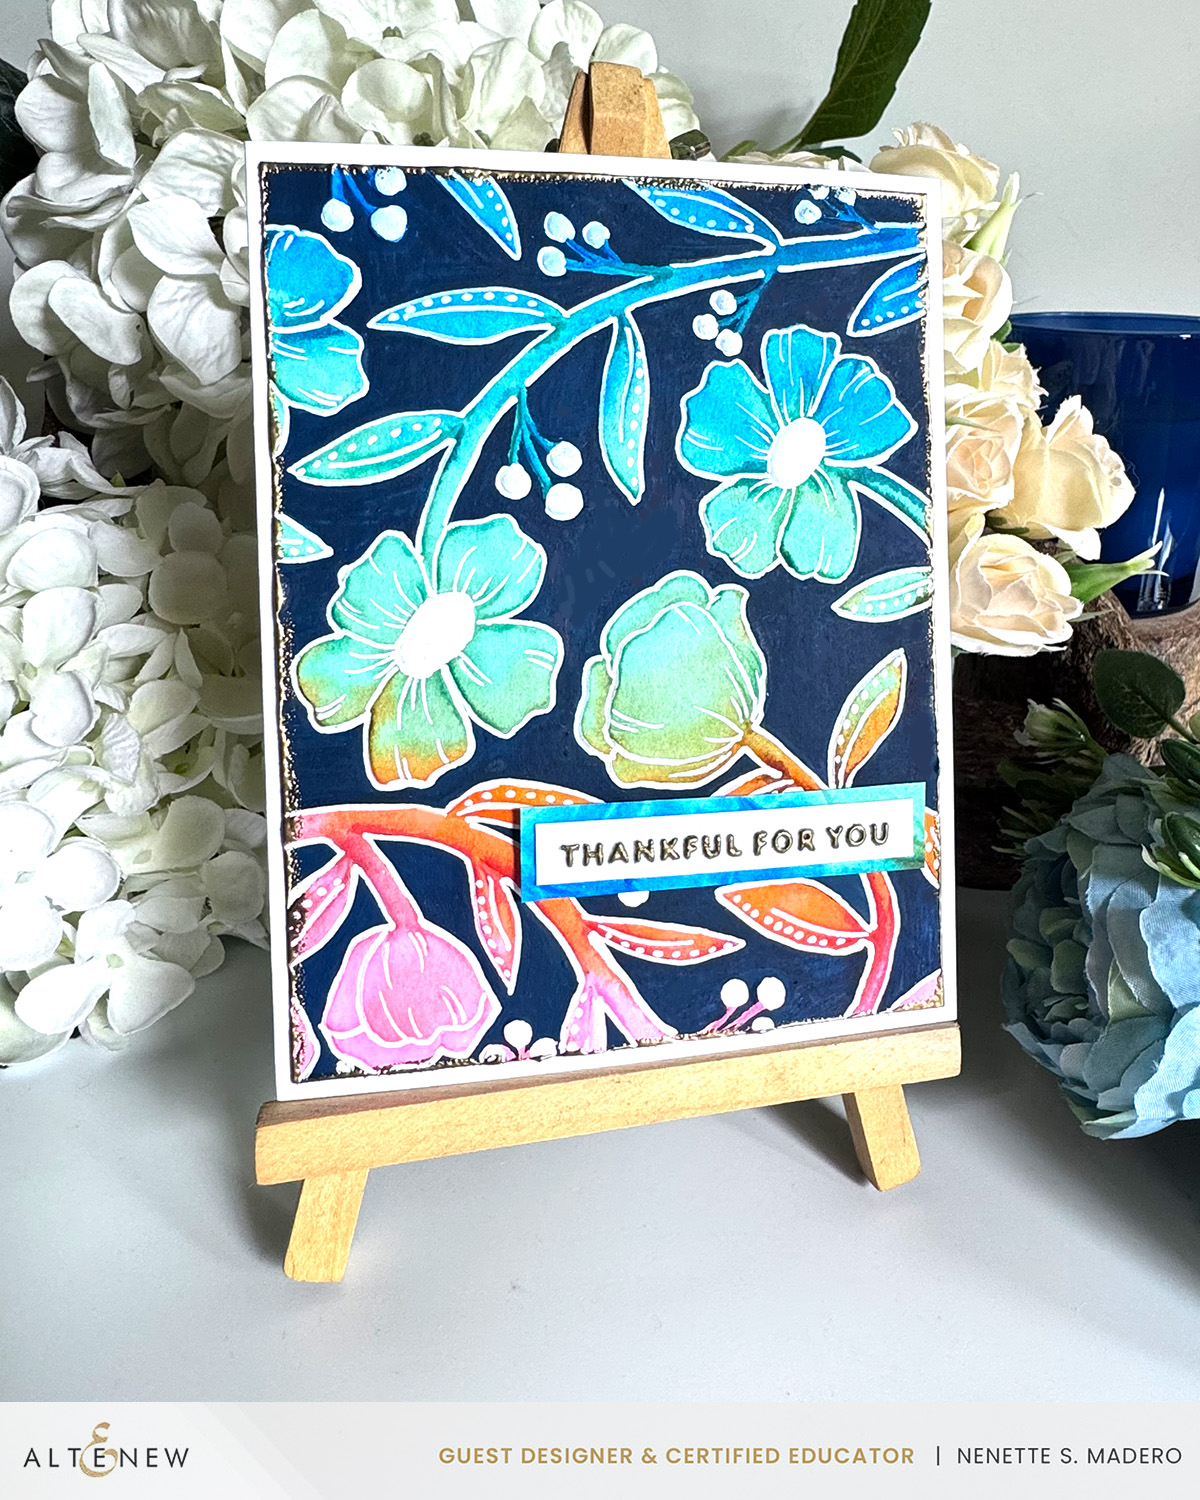
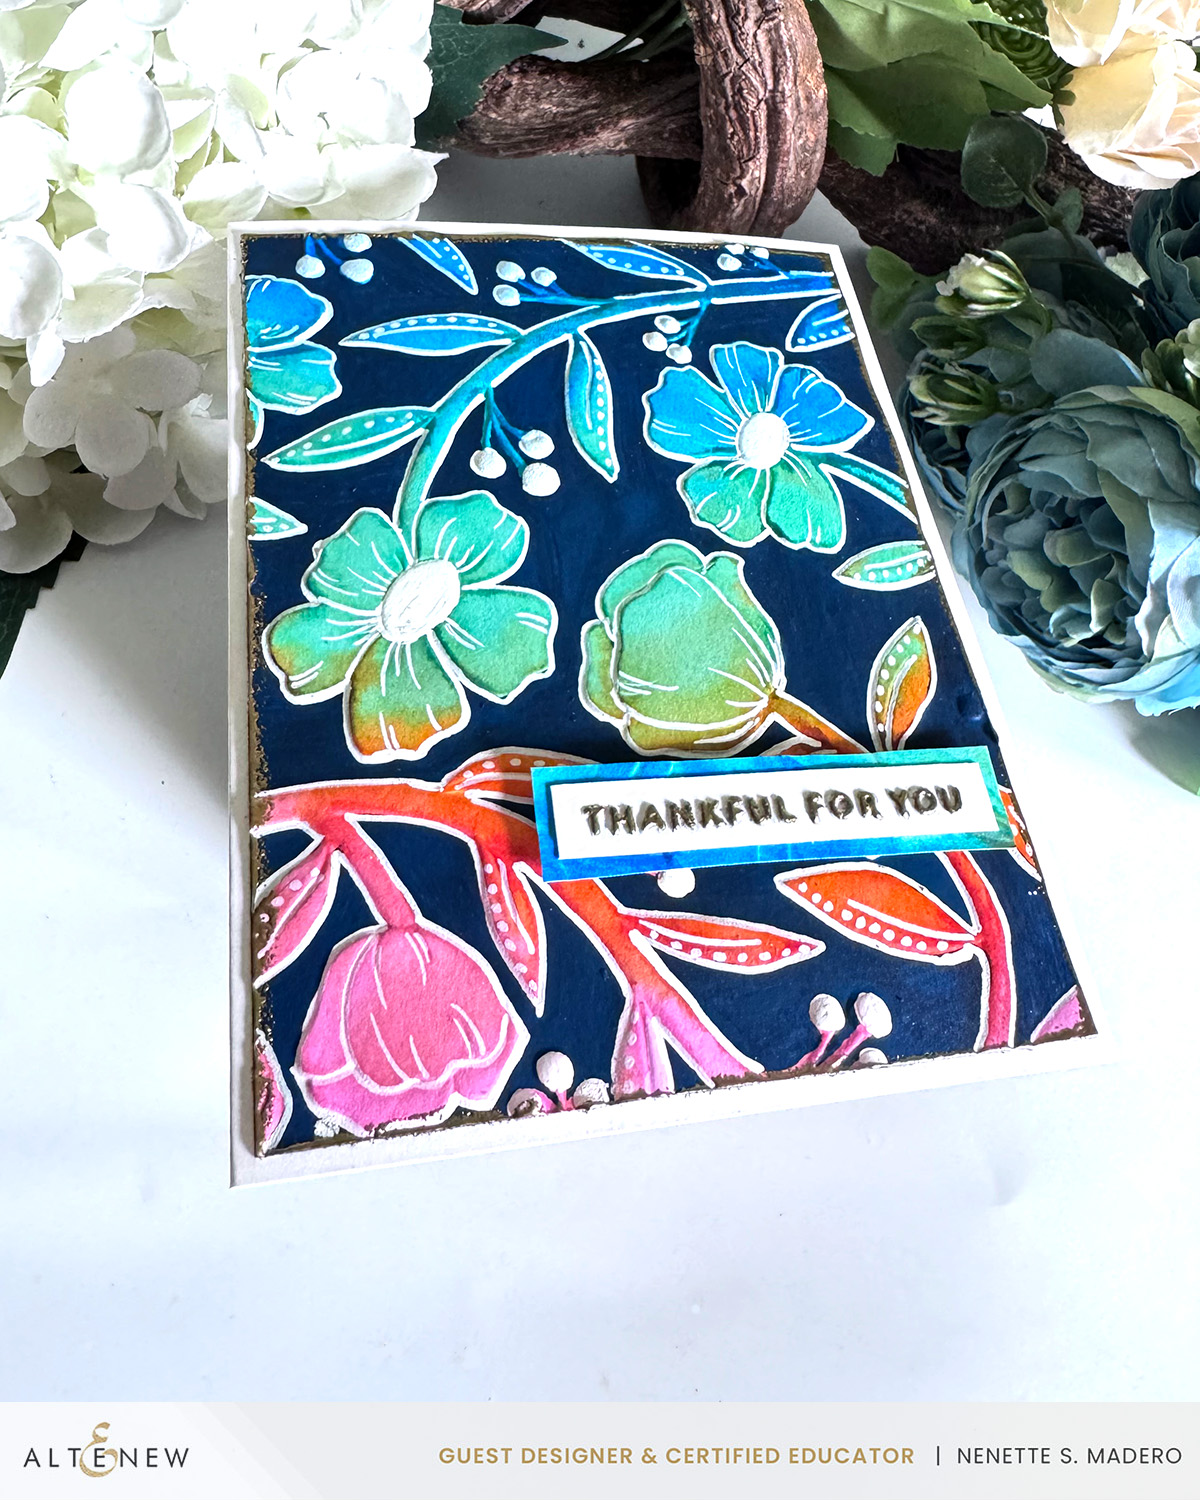
THANKFUL FOR YOU
MATERIALS:
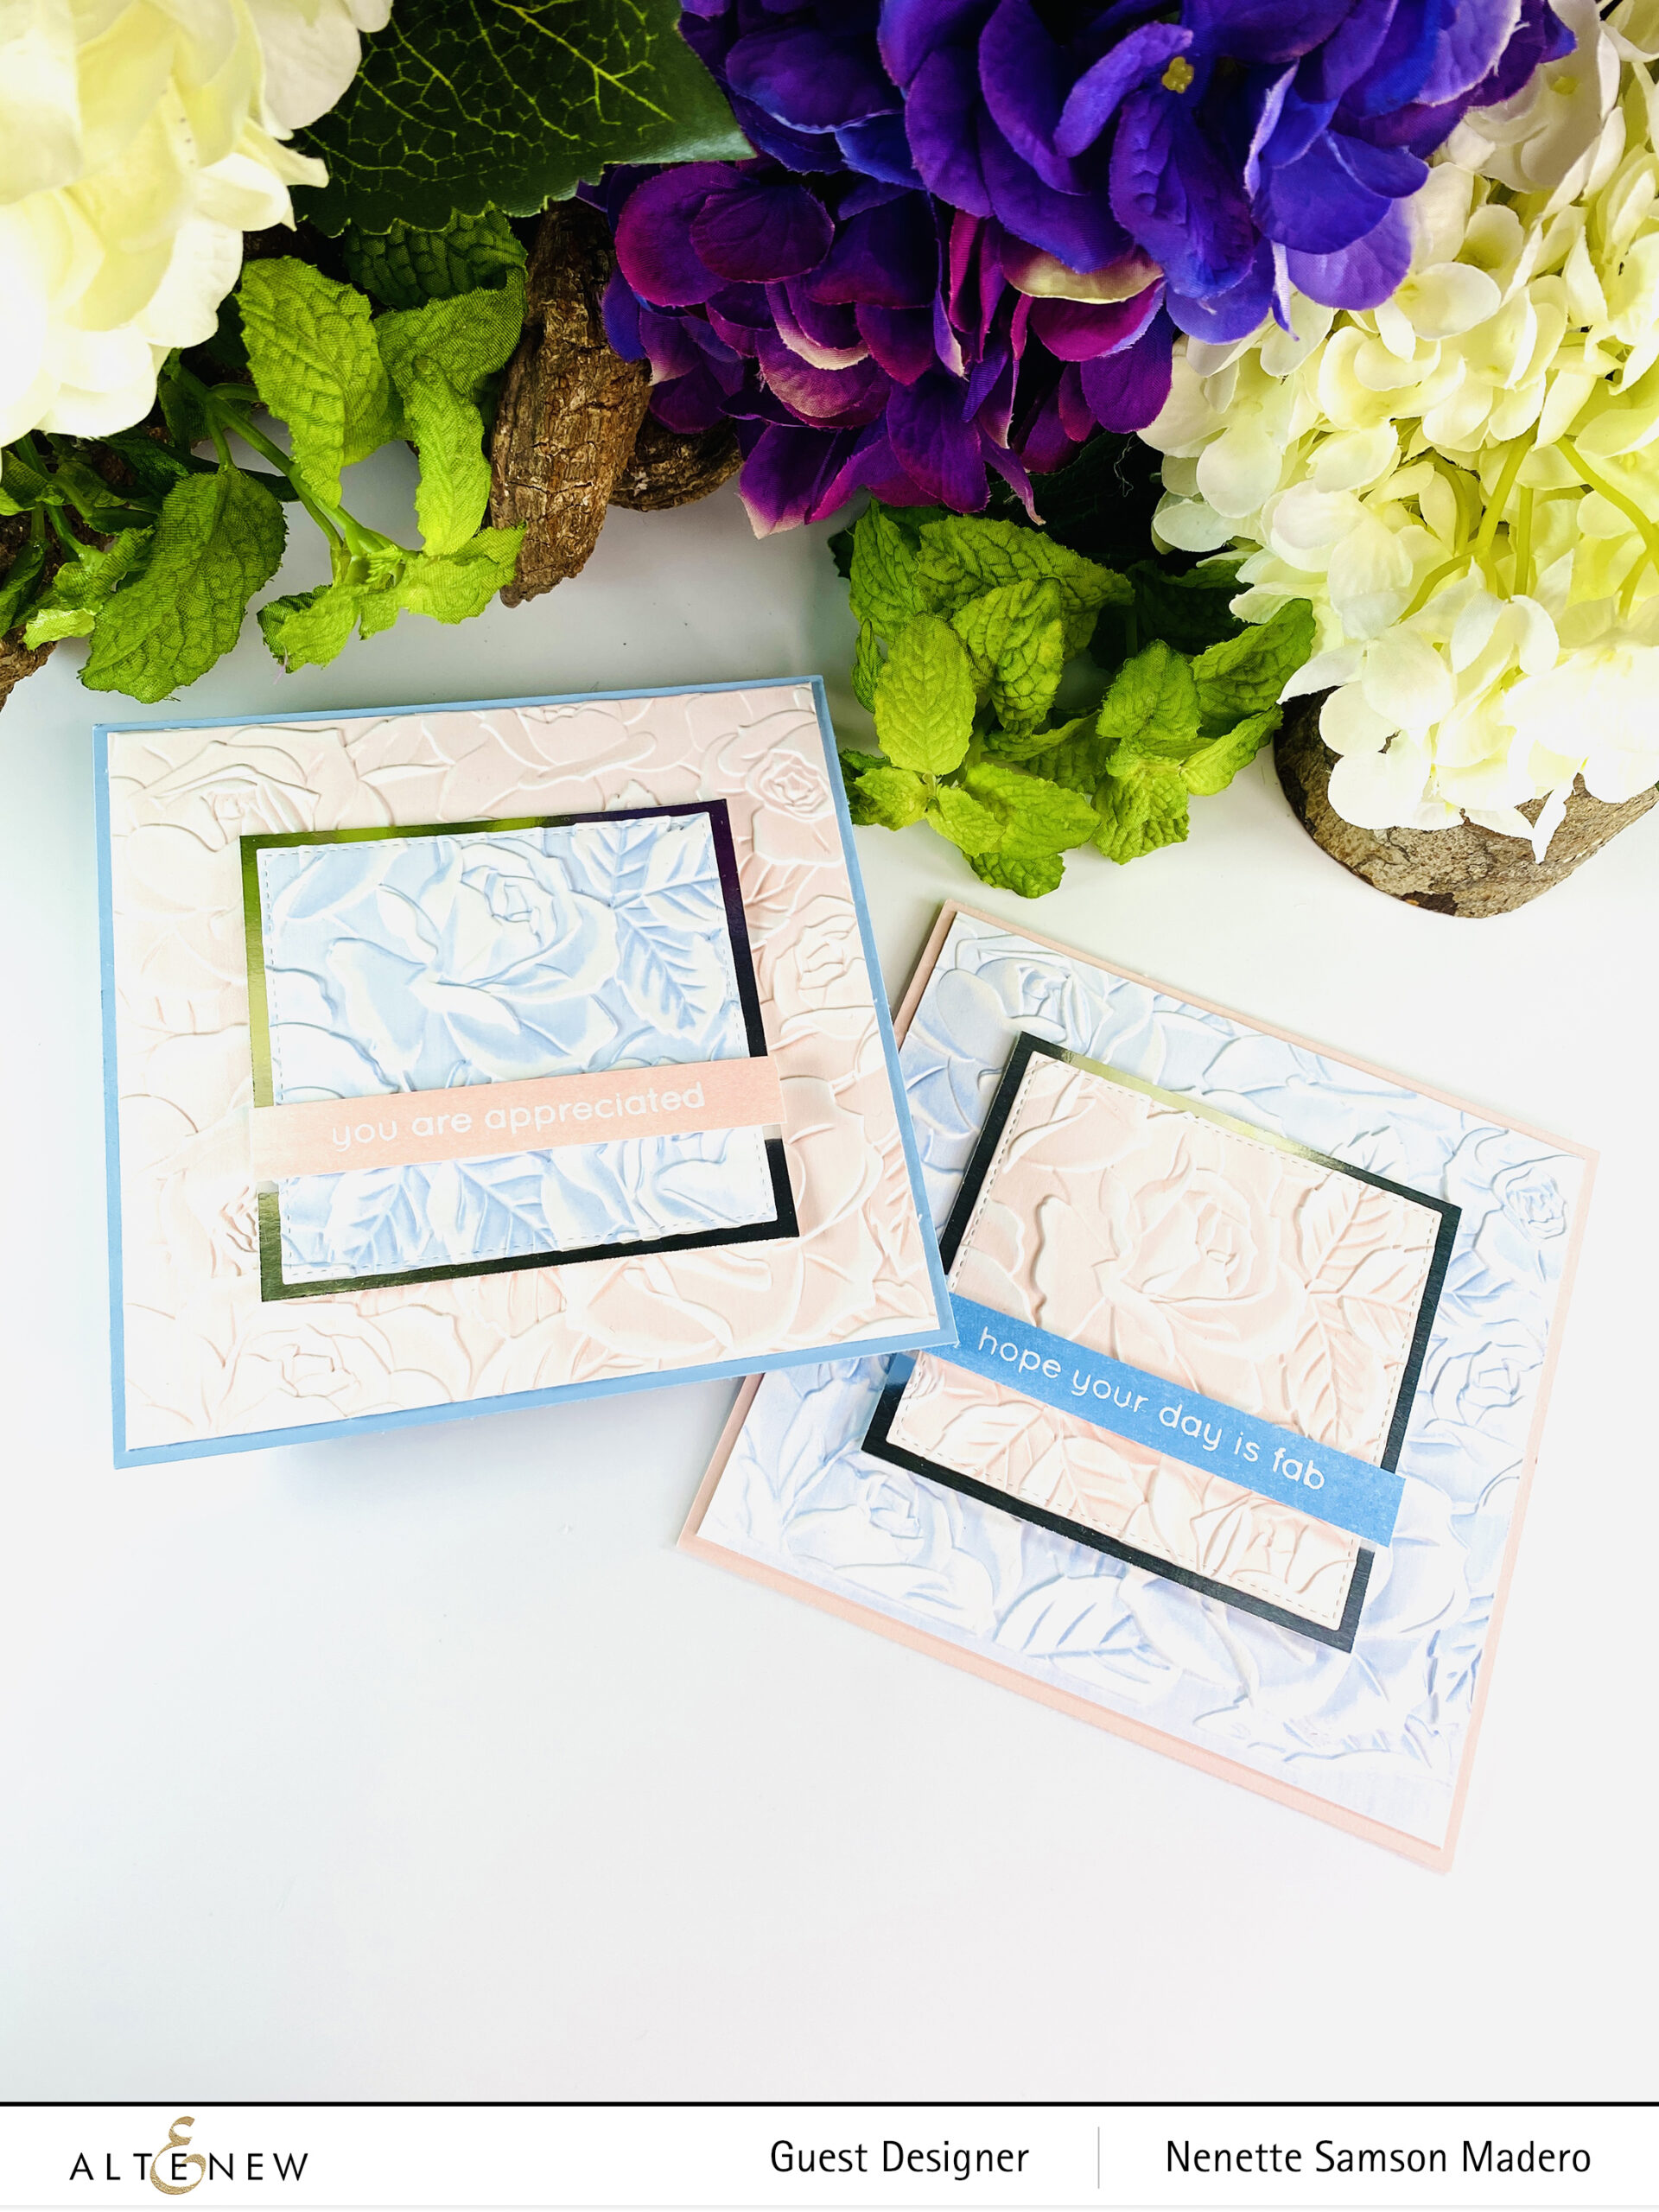
- Loving You 3D embossing folder from the Craft Your Life Project Kit: Loving You
- Raised Sentiments 3D Embossing Folder
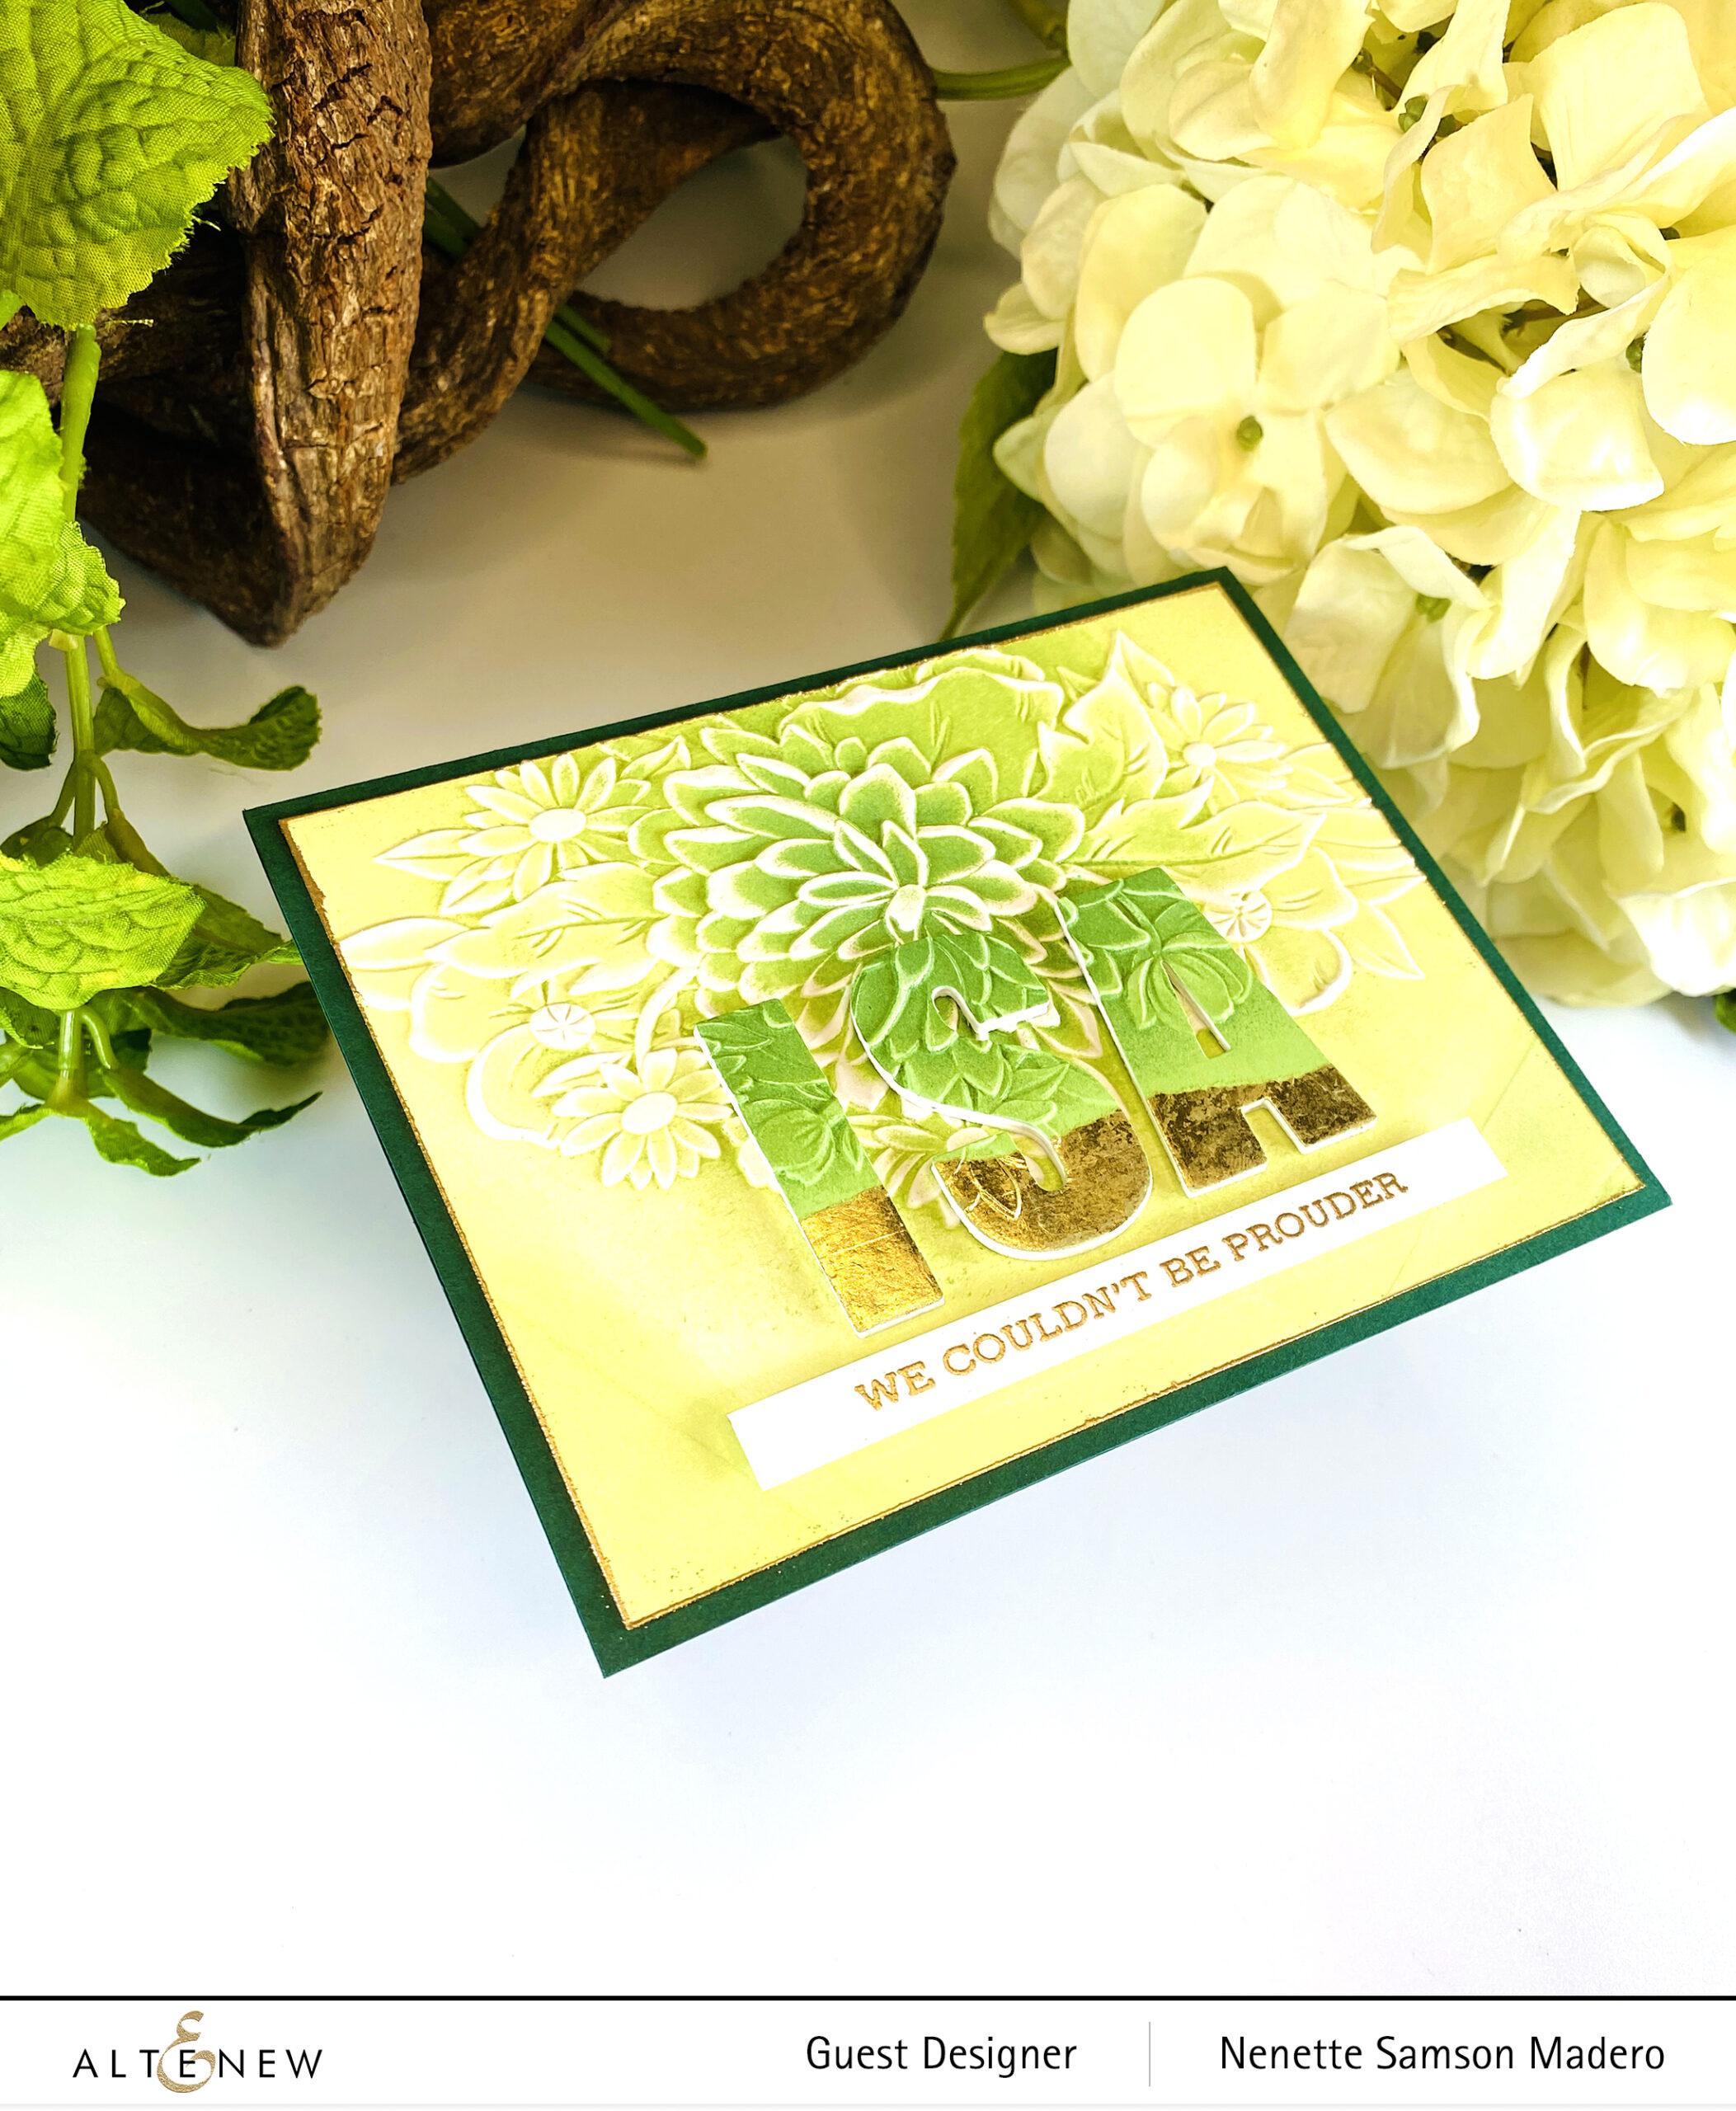
I only used 3D embossing folders for this card–no stamps or die cuts. Inspired by a card made by my uber-talented friend Enna (@ritzyhag on IG), I sprayed distress stains onto mixed media paper and let it dry completely. Next, the card panel was embossed using the Loving You 3D embossing folder, adding a beautiful texture. The background was colored using a Navy acrylic paint marker. The embossed images were outlined with a white acrylic marker to enhance the visibility. The edges of the panel were embossed with gold embossing powder. For the sentiment, I used the Raised Sentiments Embossing folder and carefully applied clear embossing liquid over the letters with an embossing pen before adding gold embossing powder to create a shiny finish. Finally, I repurposed the leftover embossed and colored paper as a matting for the sentiment, tying the entire design together.
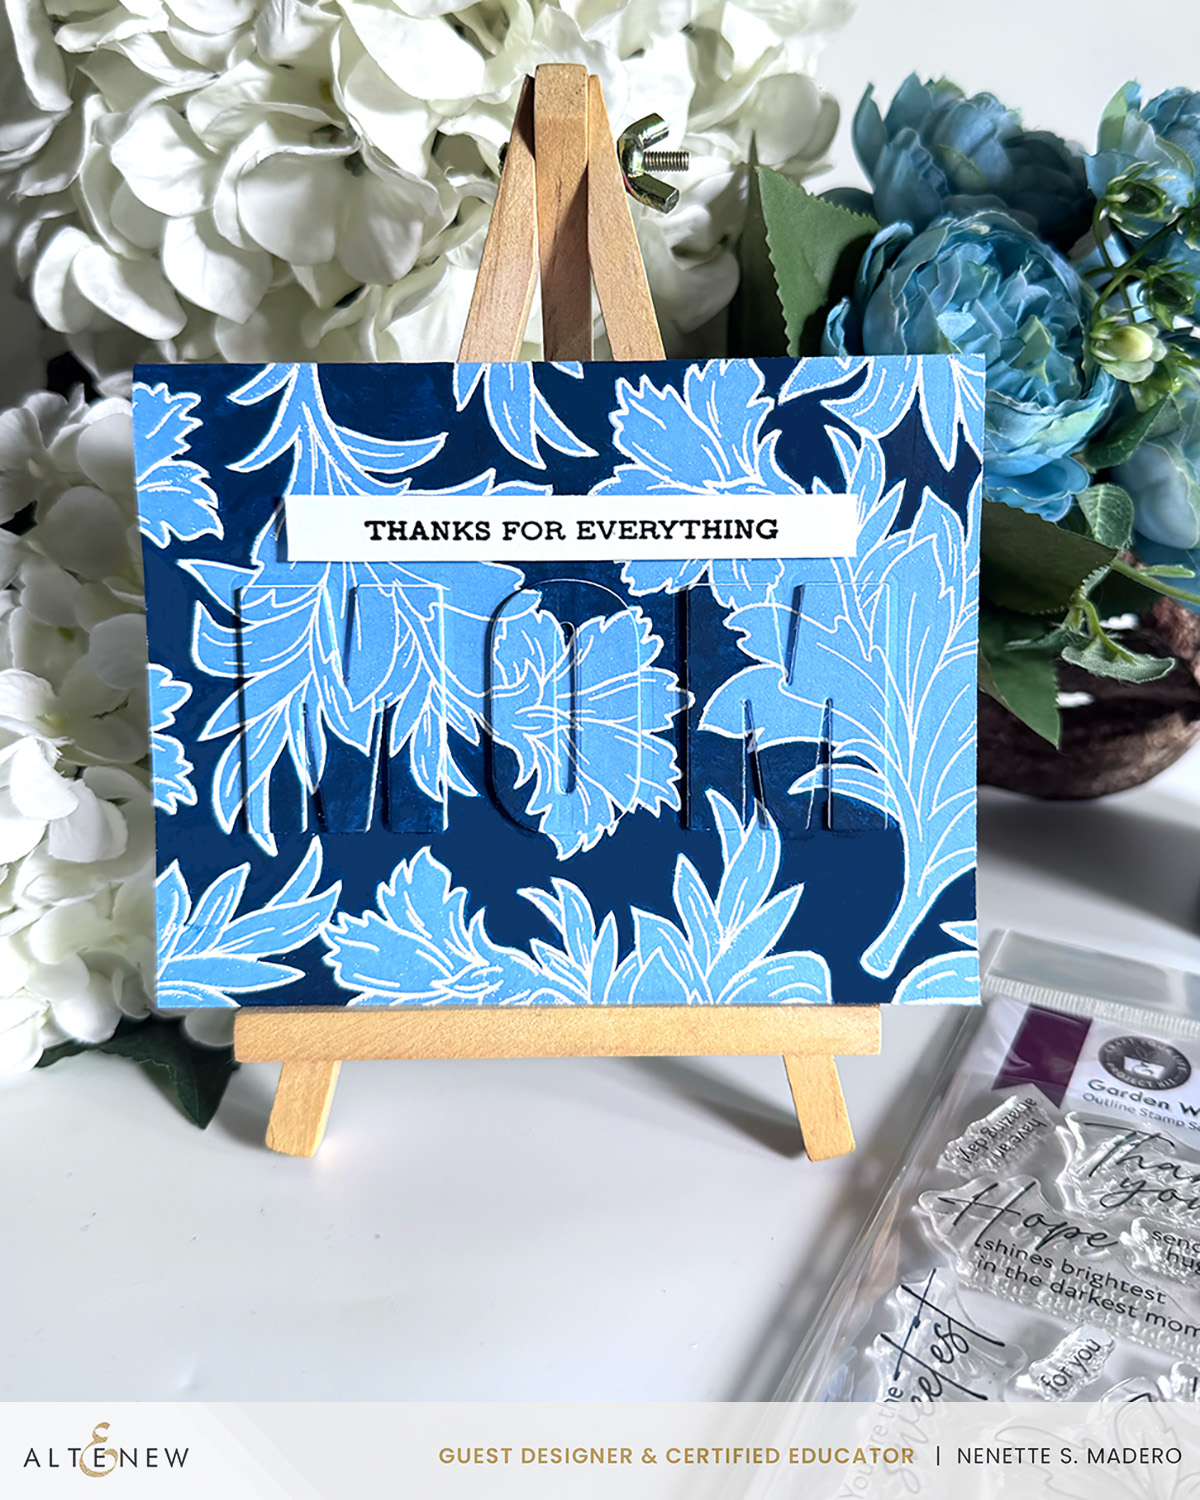
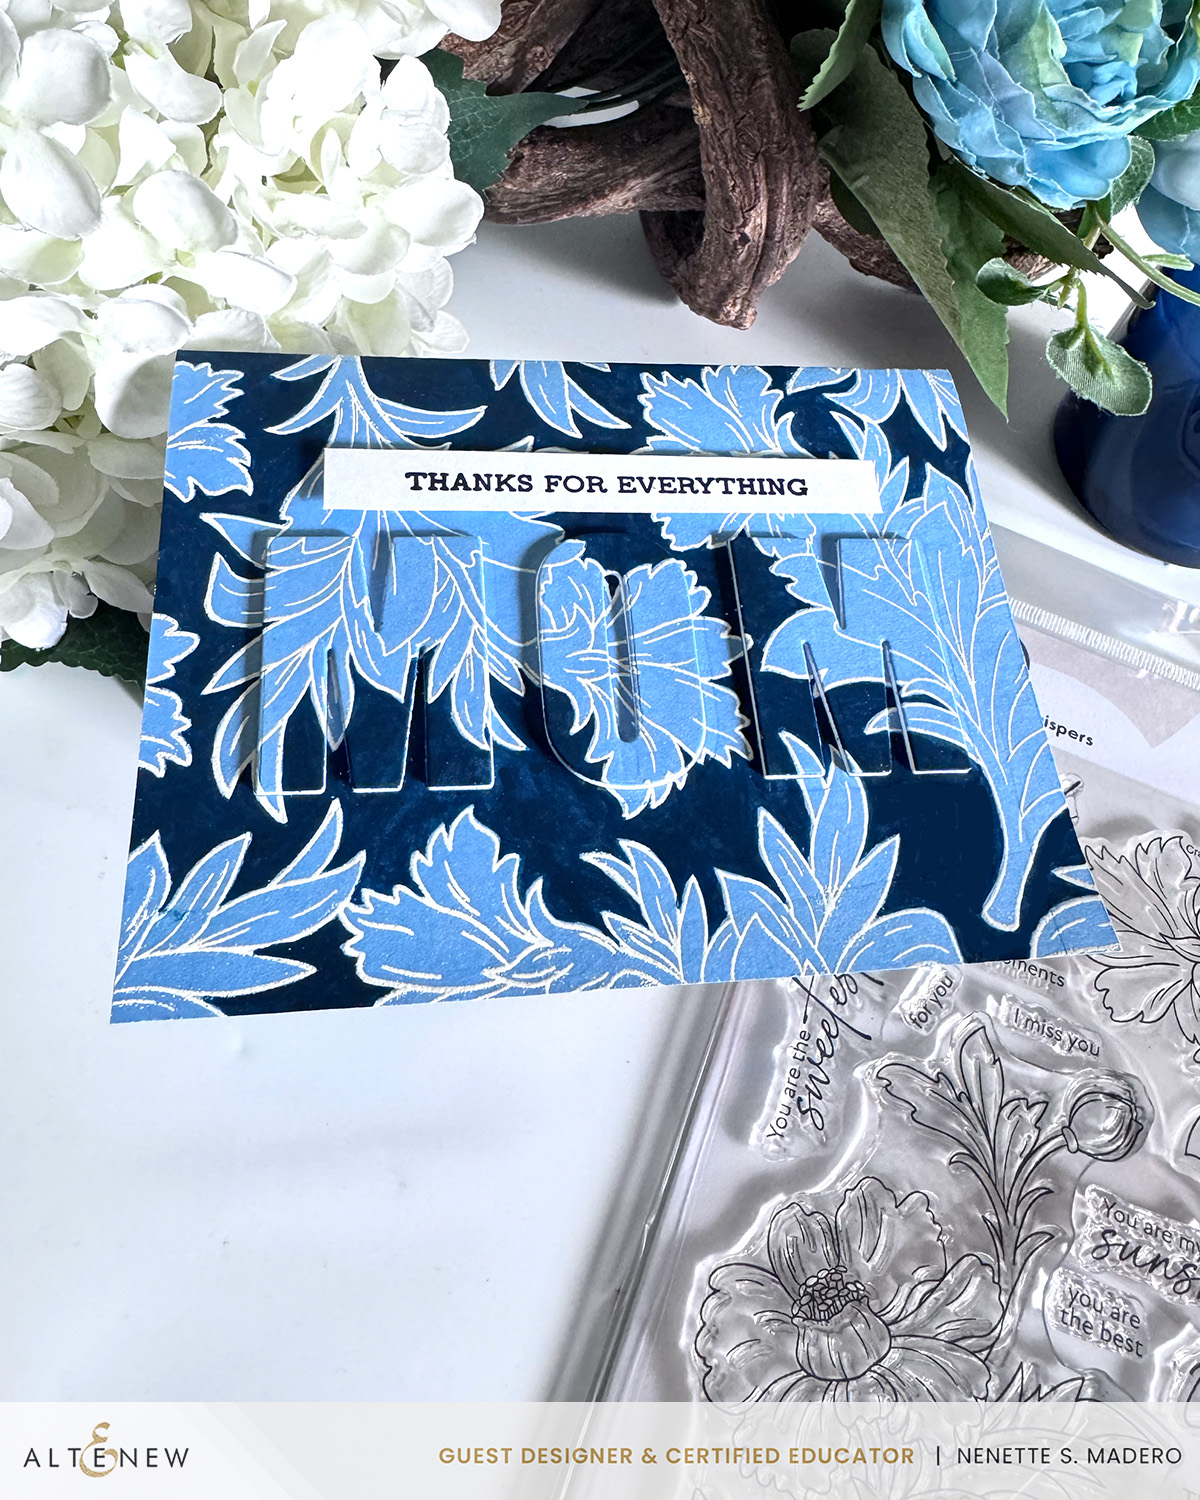
THANKS FOR EVERYTHING MOM
MATERIALS:
- Craft Your Life Project Kit- Garden Whispers Stamp
- Caps Bold Alphabet Die Set
- Sentiment Strips Stamp
- Obsidian Ink
- Crystal Clear and Pure White Embossing Powders
- Navy Posca Acrylic Marker
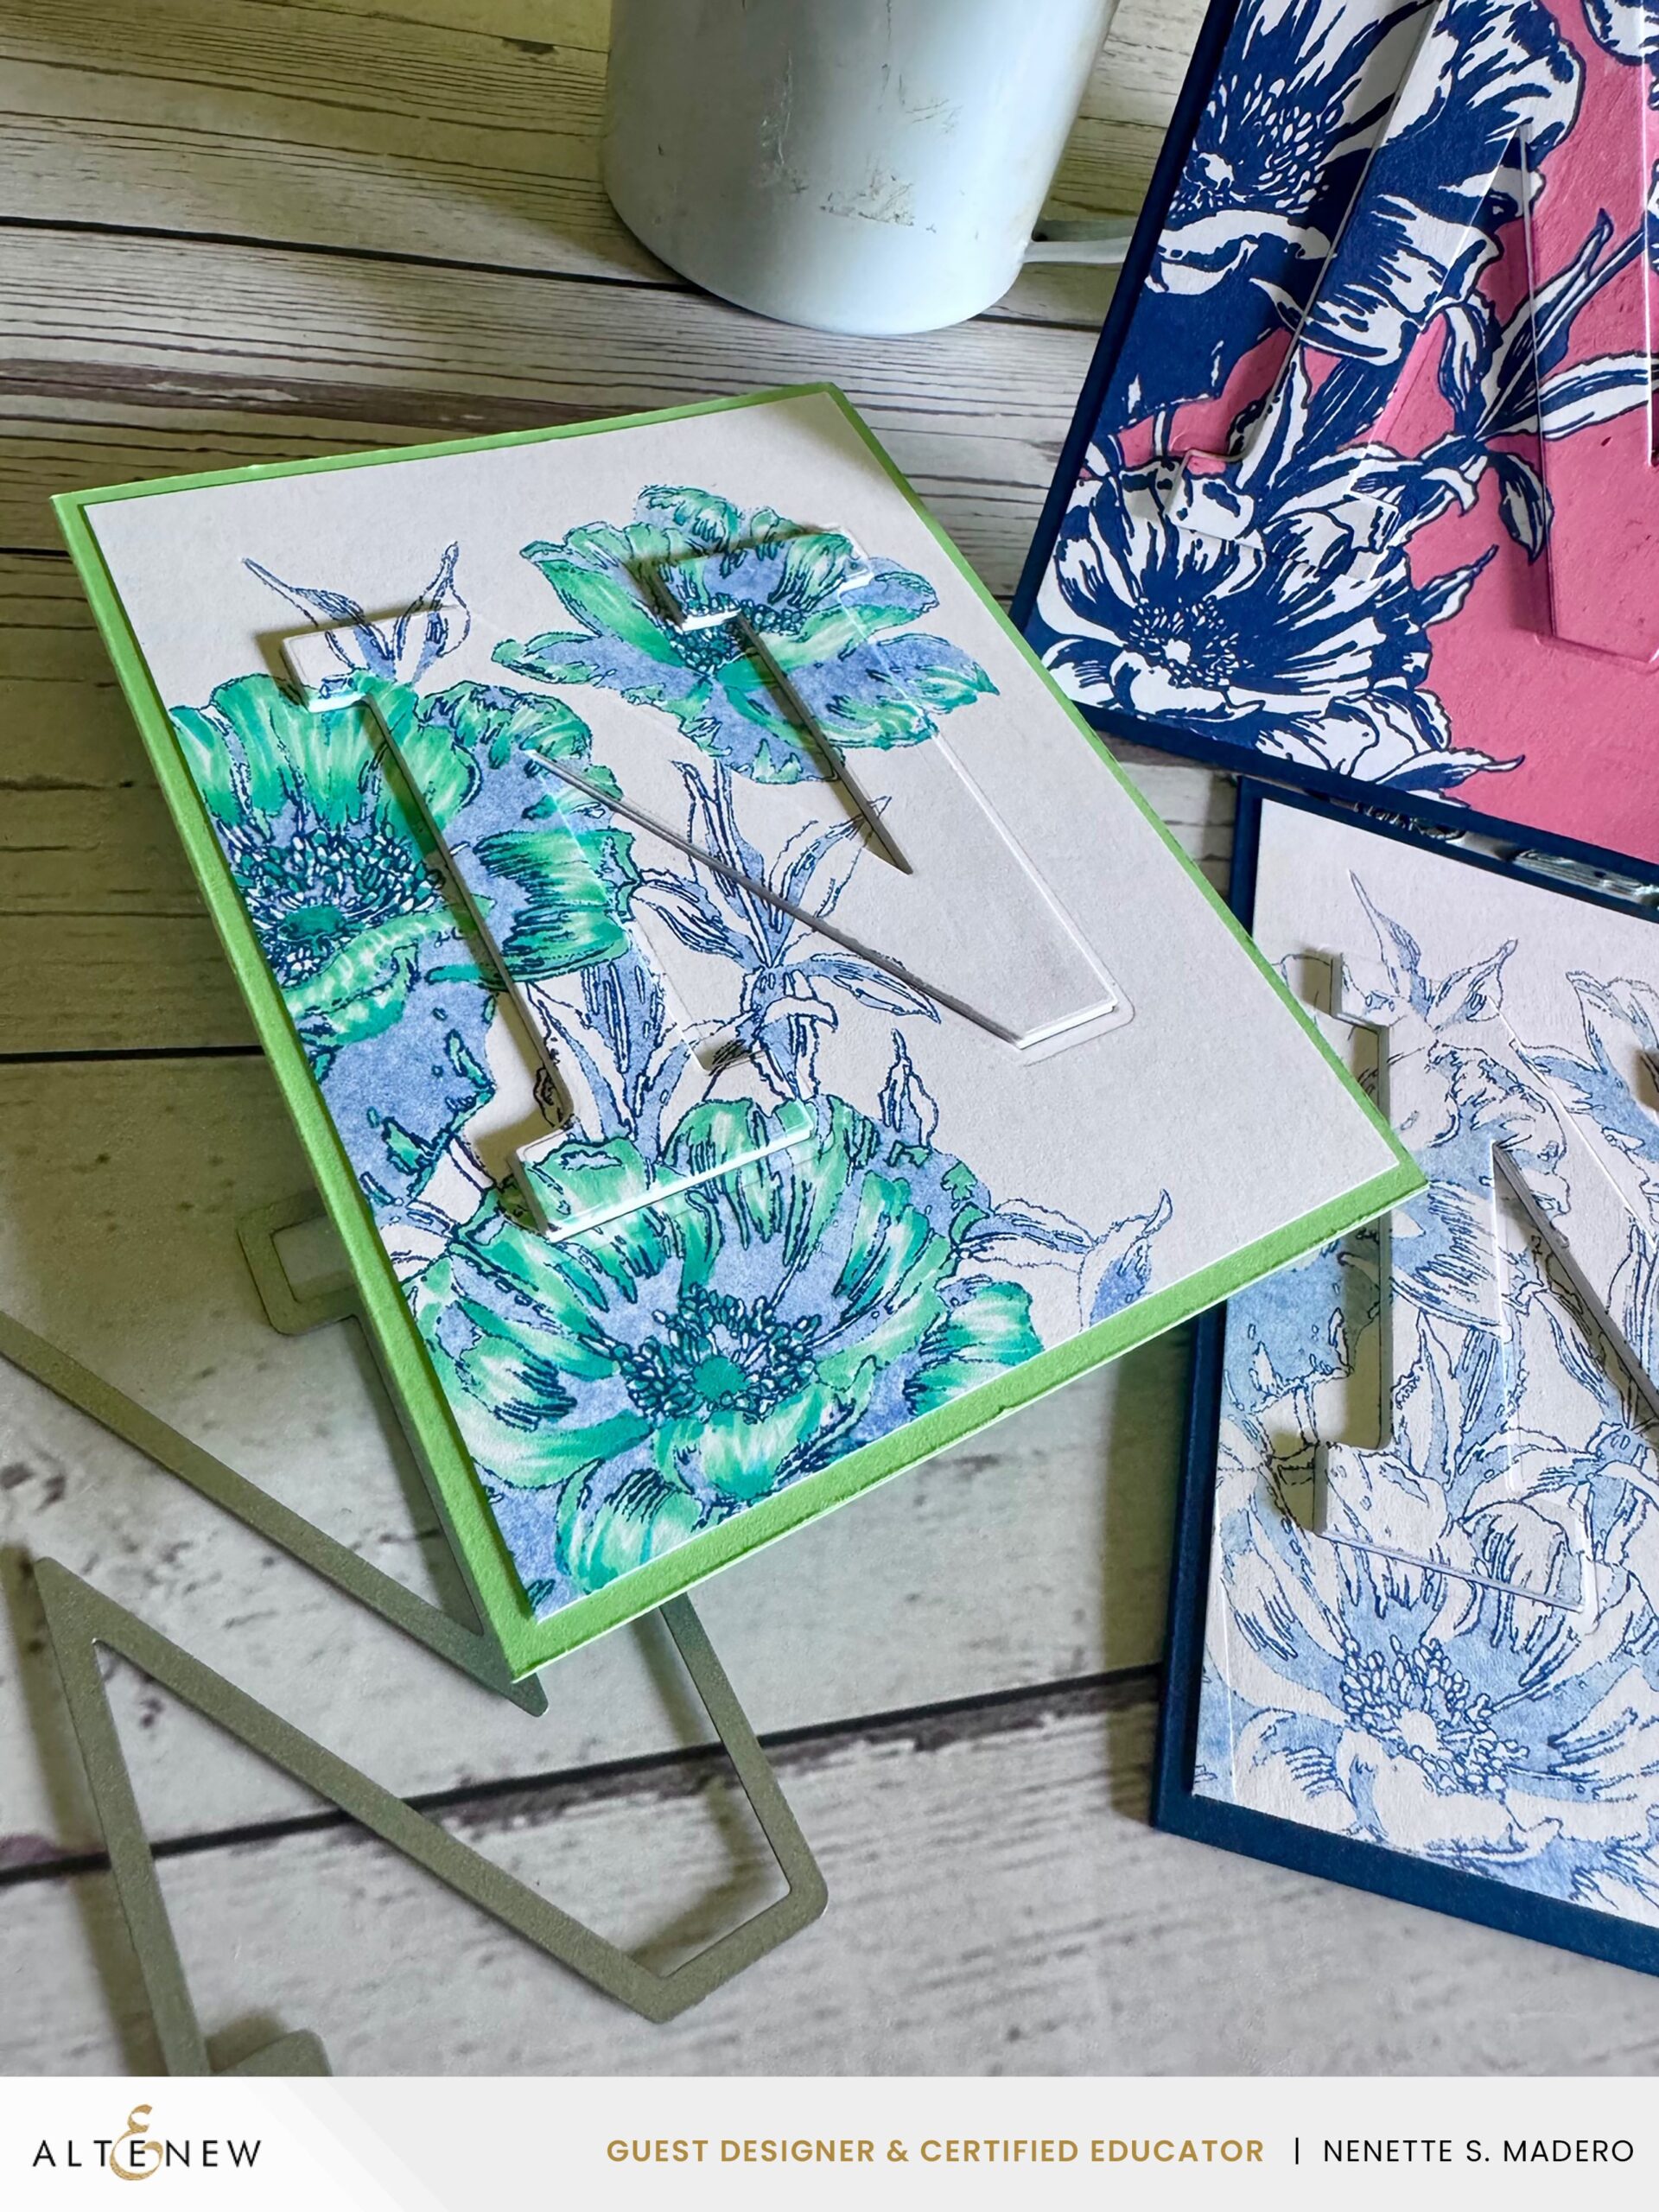
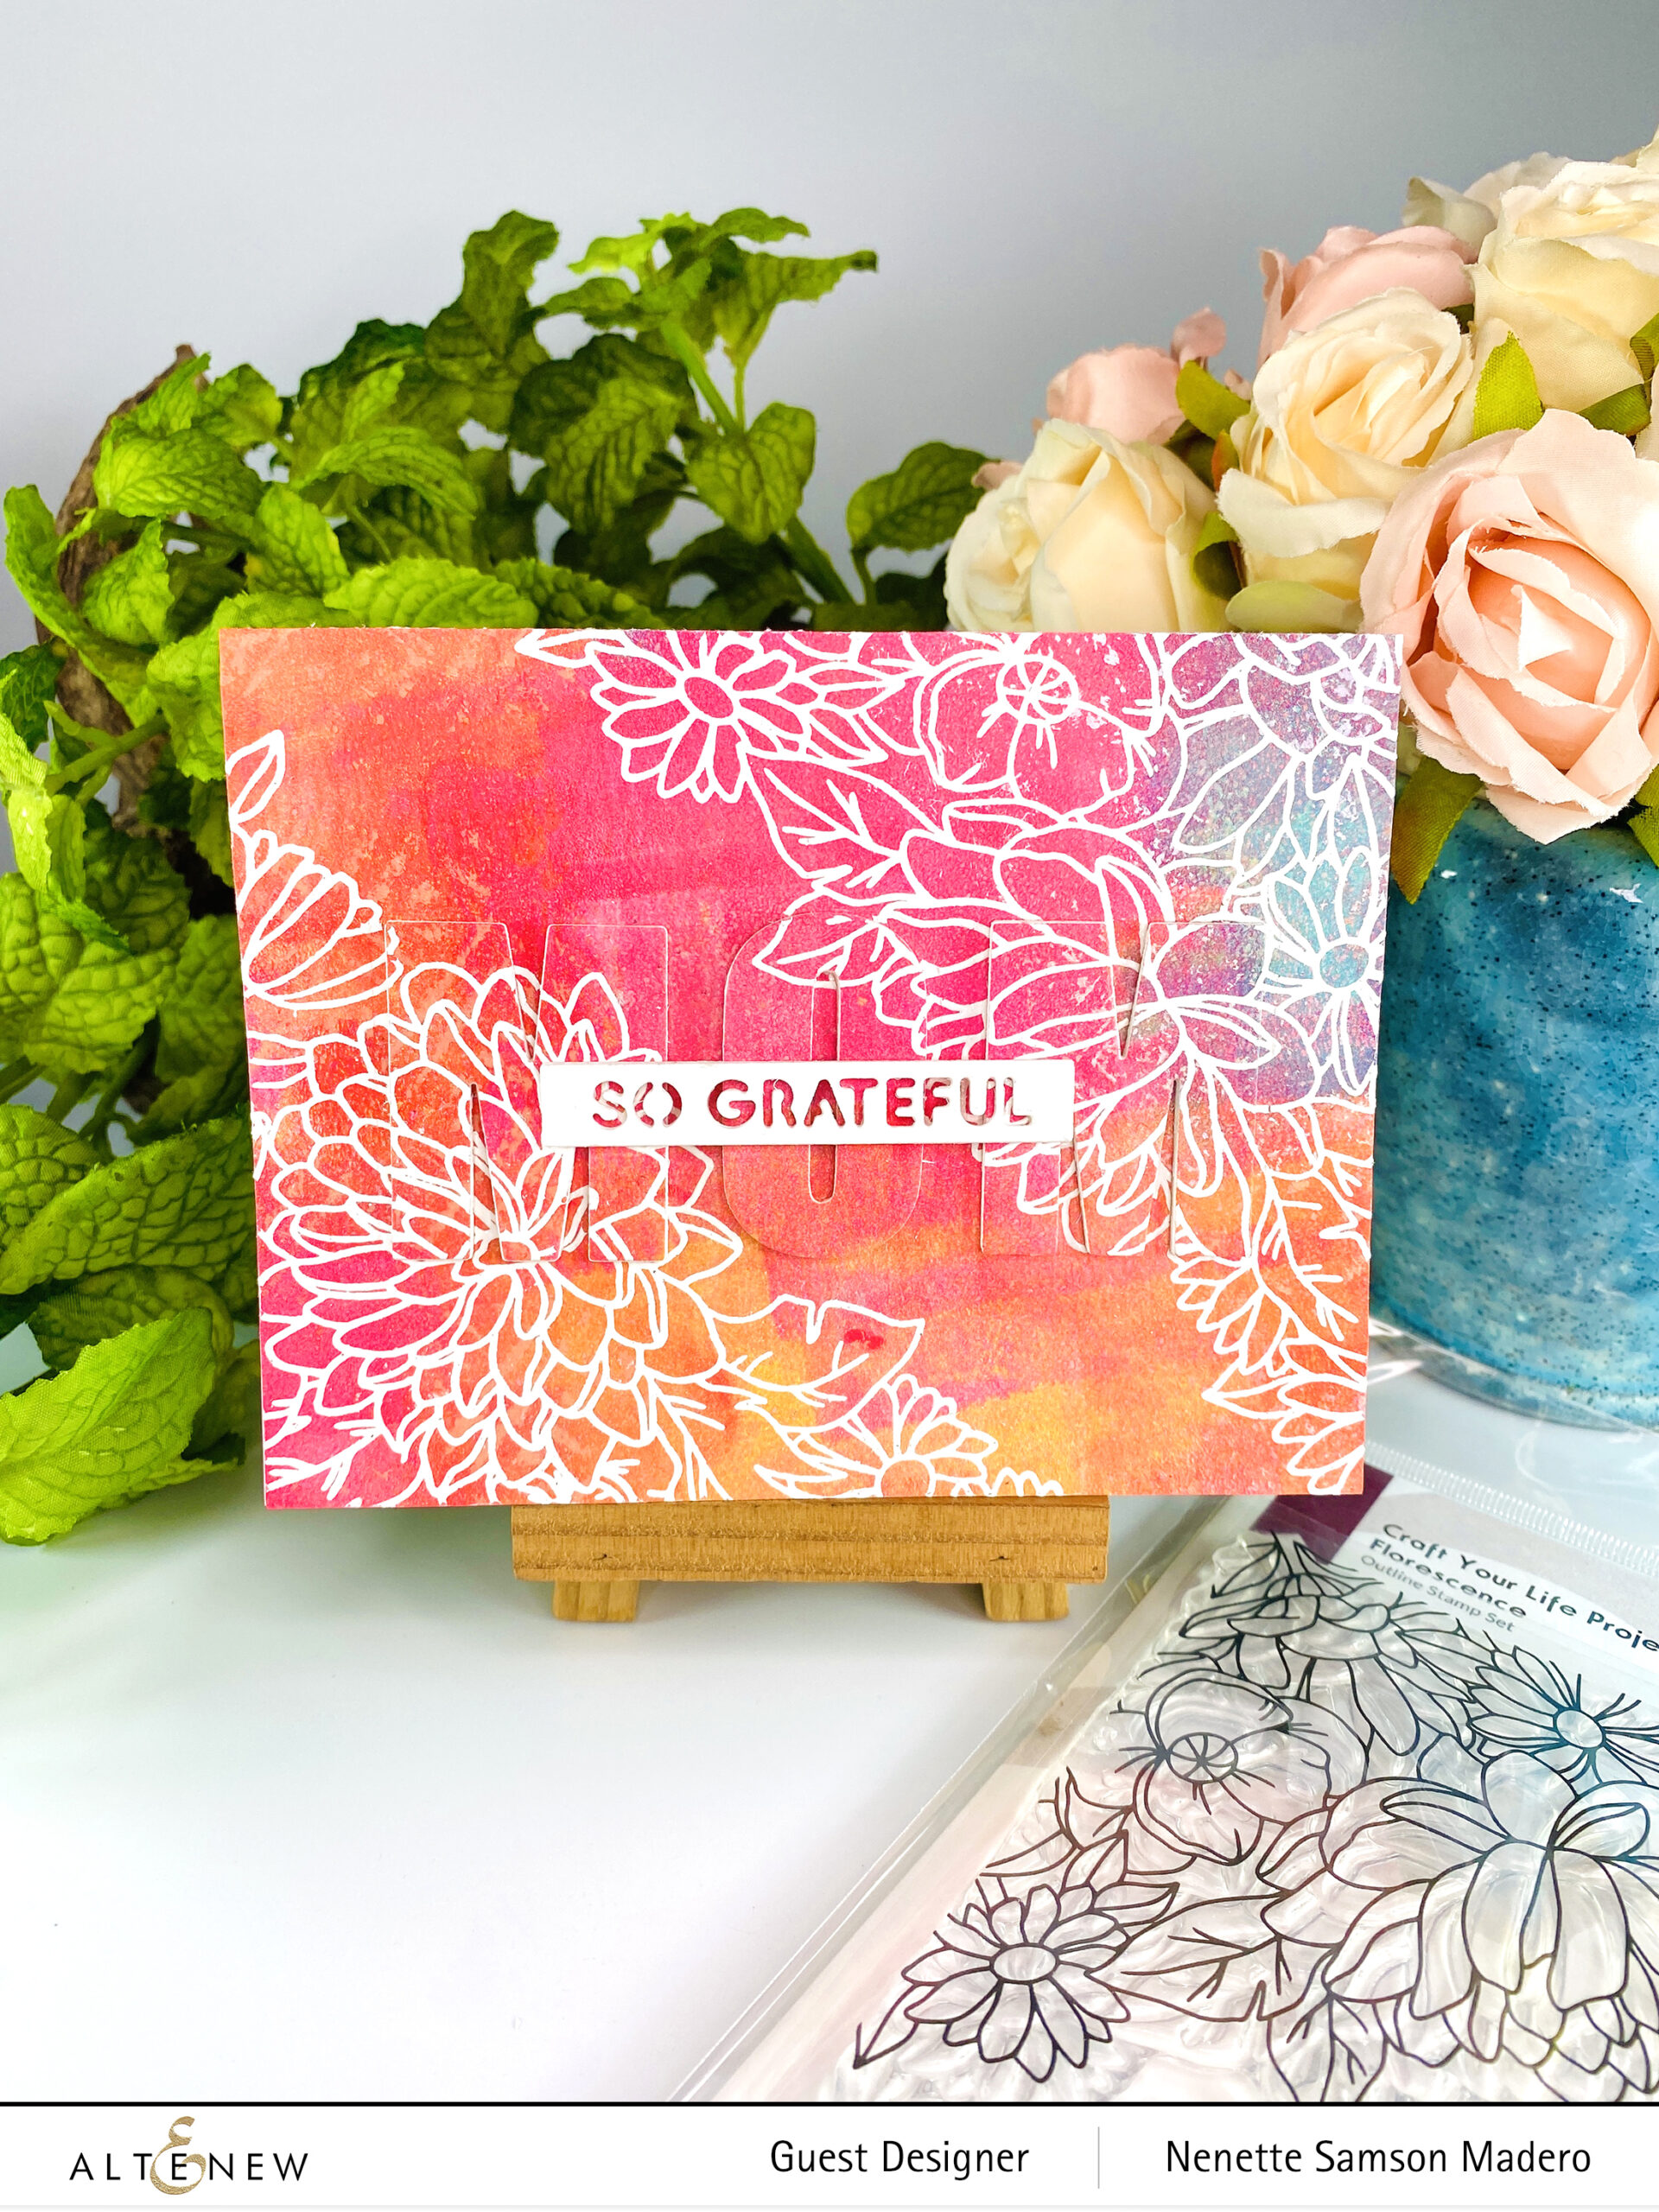
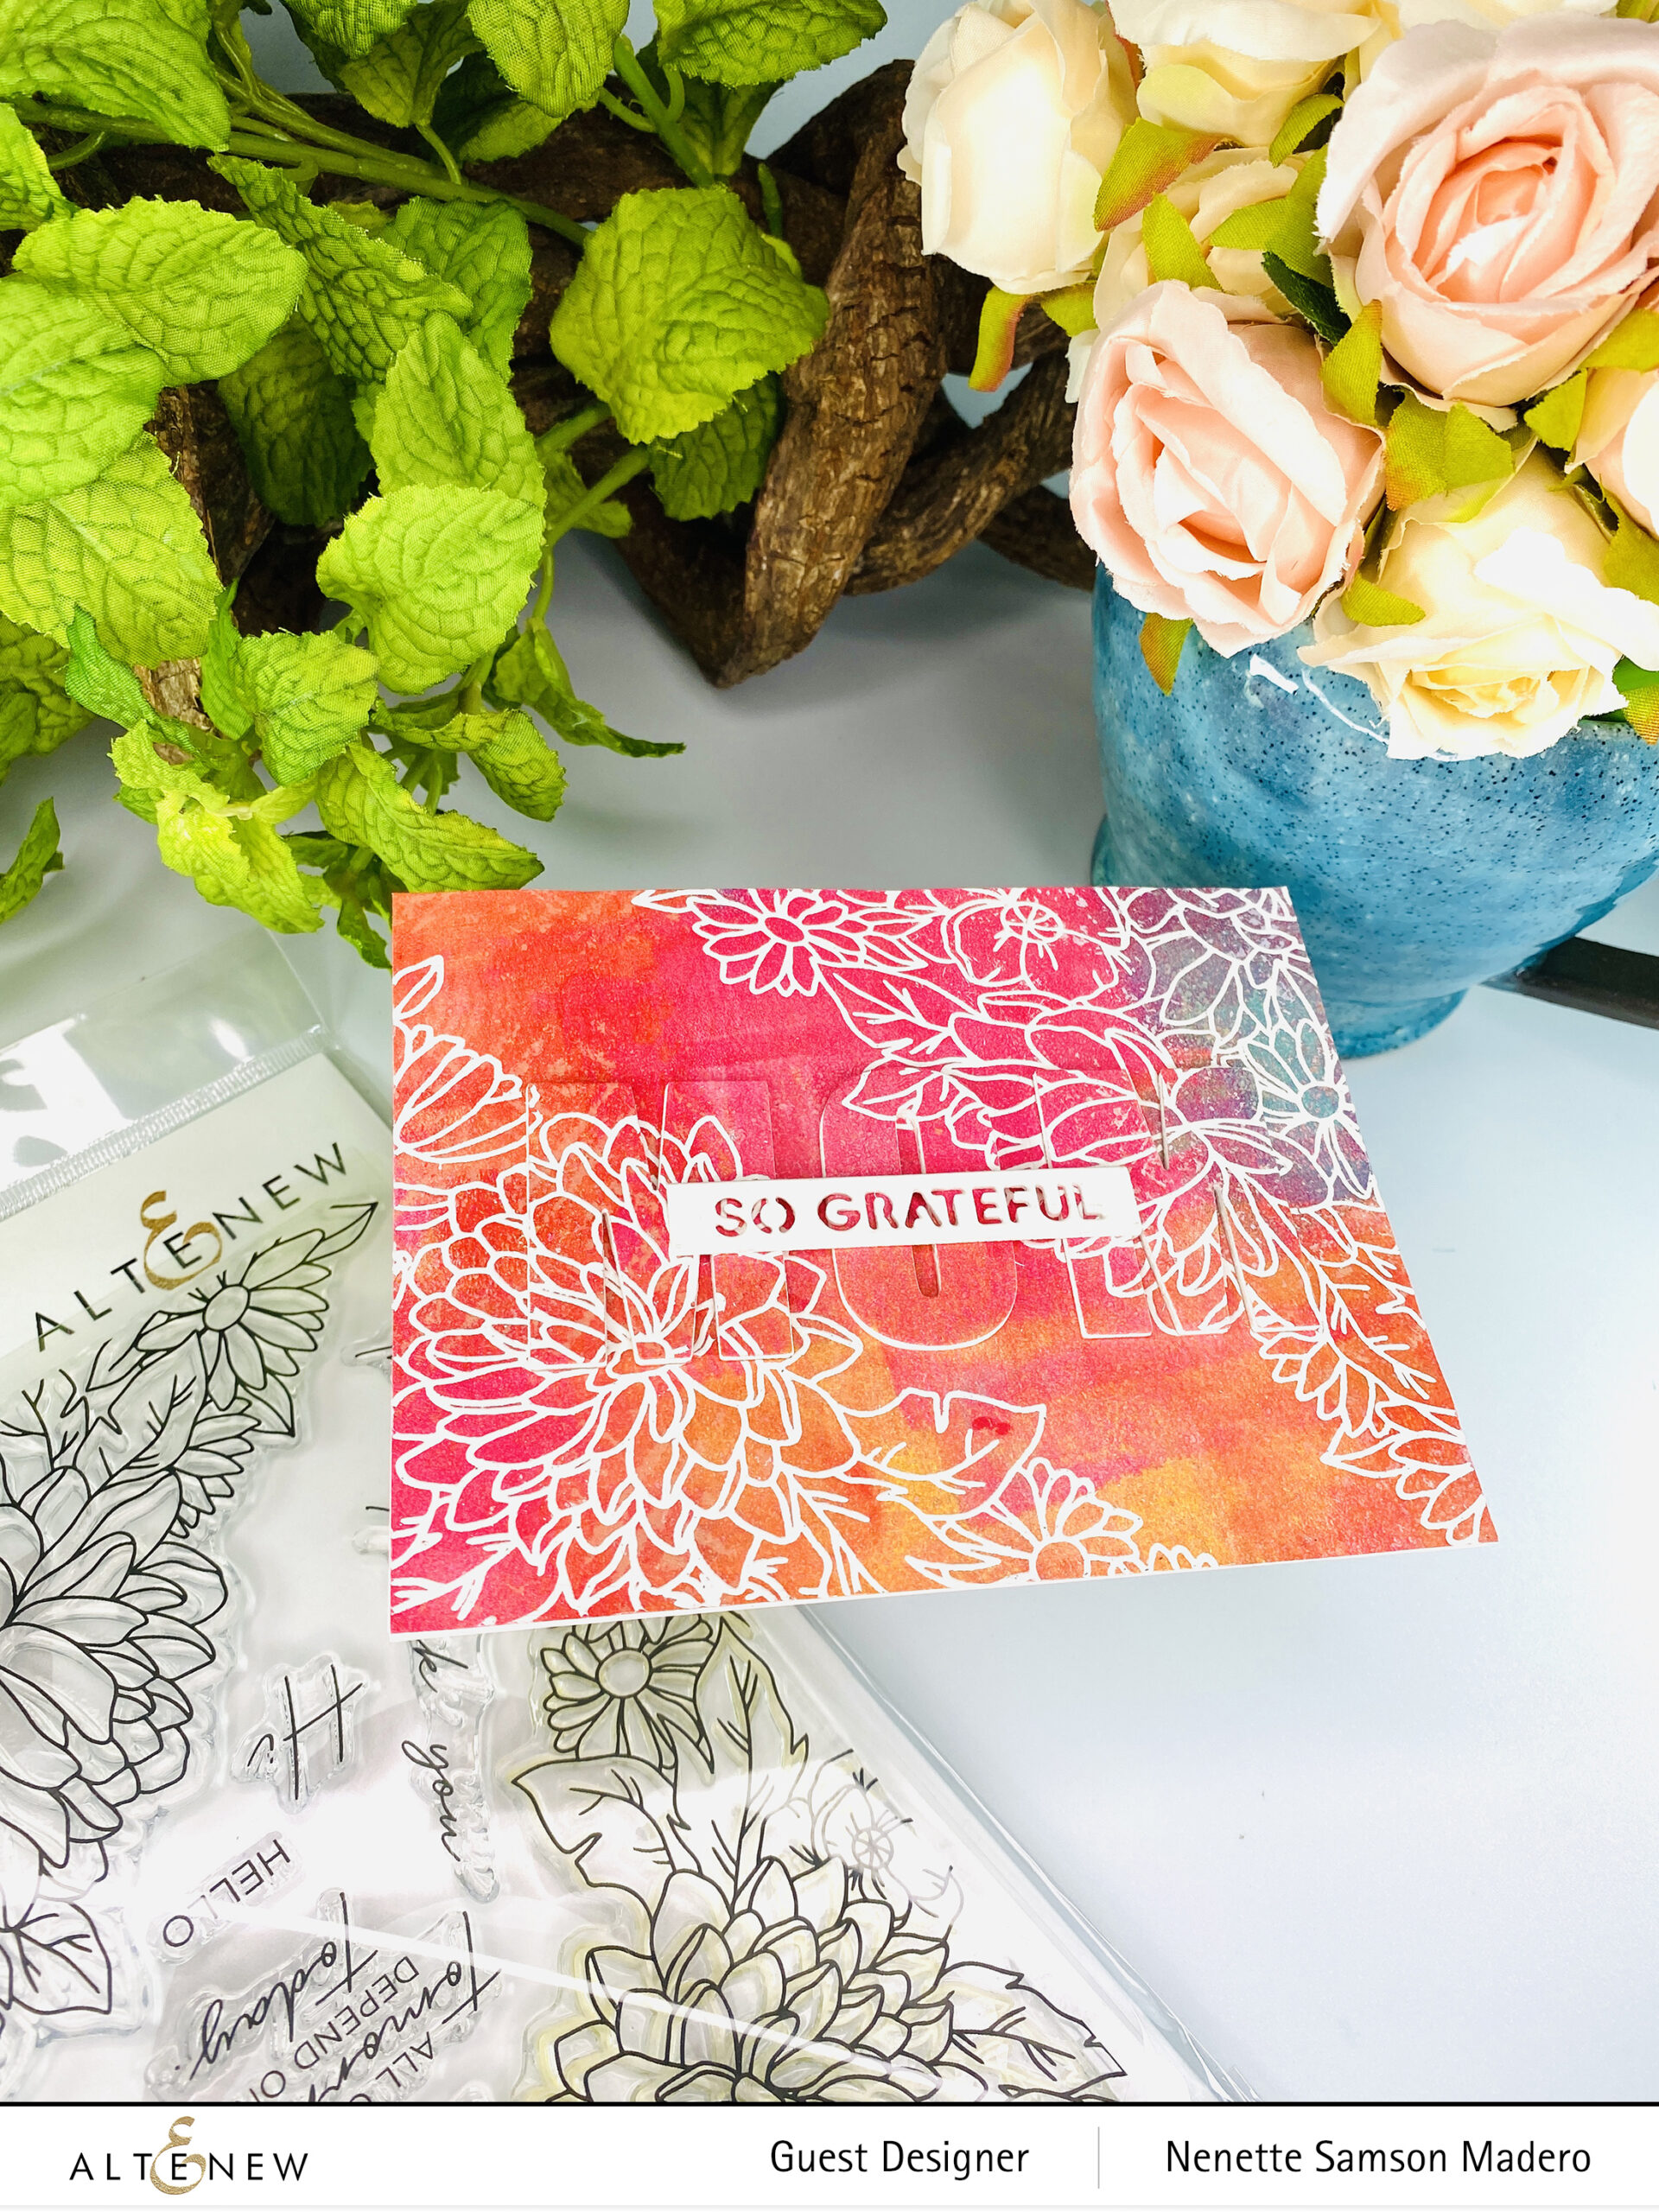
Mother’s Day is coming up, so I decided to make a Mother’s Day card ahead of time. The small floral image was repeatedly stamped using Versamark ink on a light blue cardstock and was then embossed with white embossing powder. The spaces were filled with petals and leaves for a cohesive look. The background was then colored with a navy acrylic marker, providing a striking contrast. The word “MOM” was die-cut and layered with four additional cuts to add dimension. Finally, the sentiment was stamped on white cardstock using Obsidian ink and embossed with clear embossing powder.
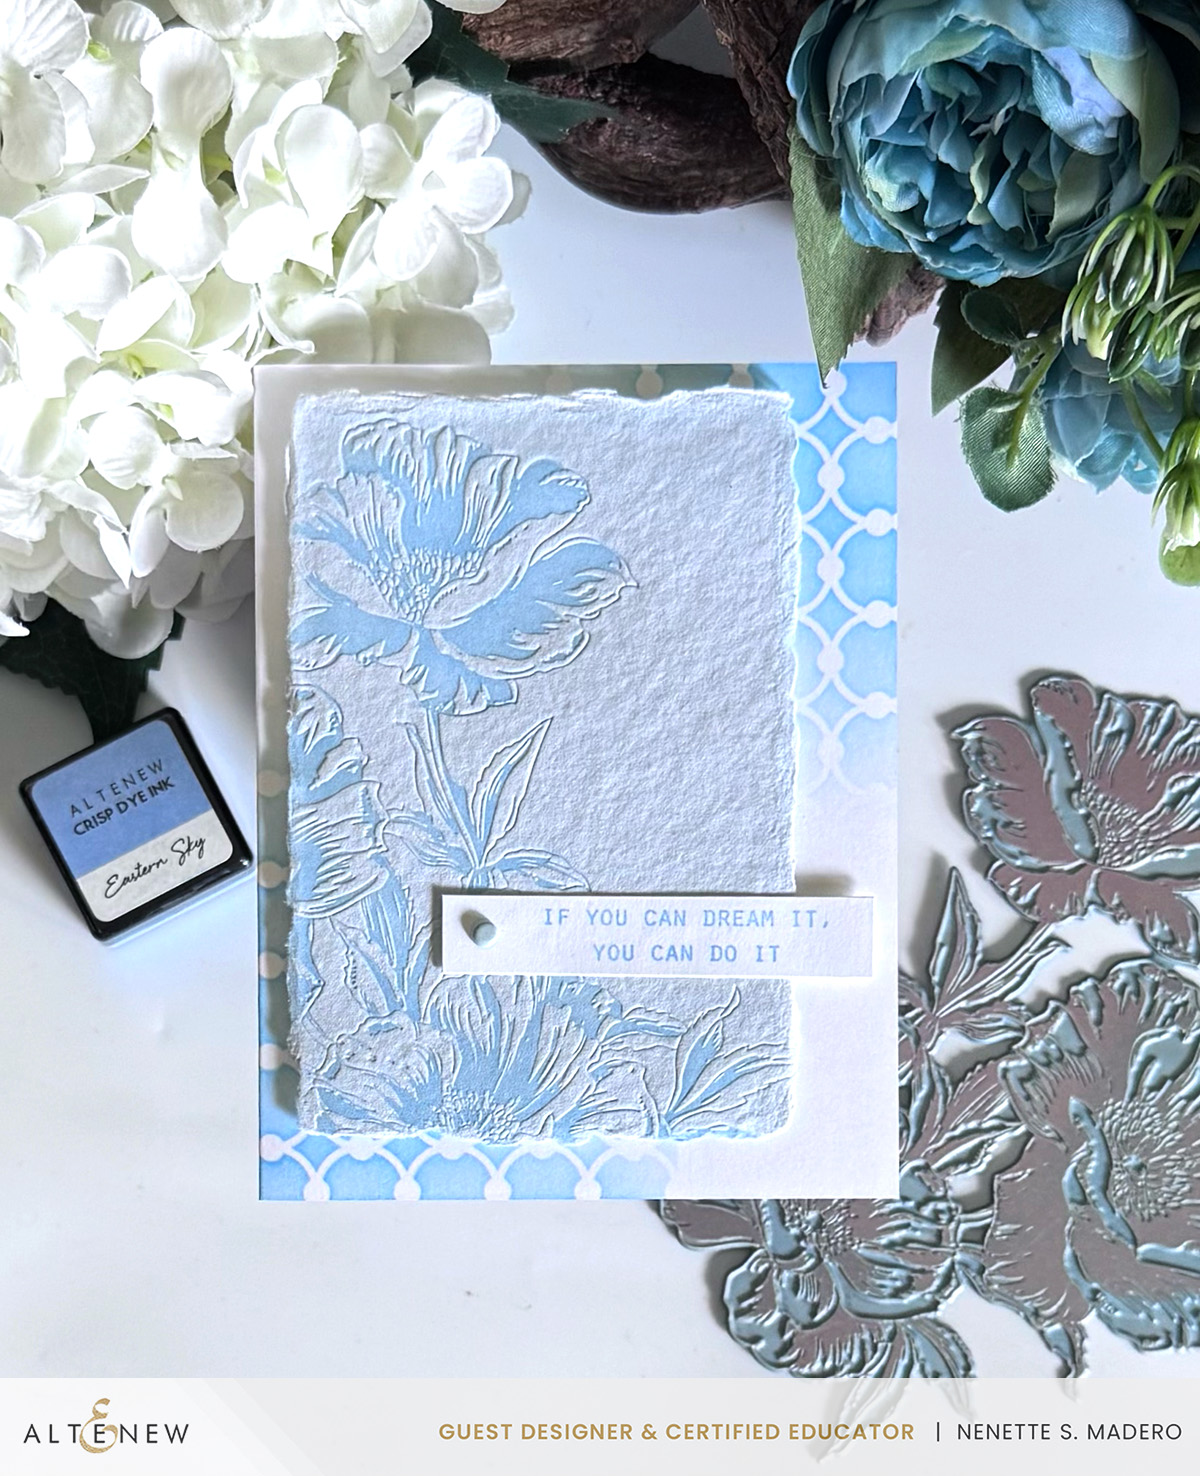
IF YOU CAN DREAM IT, YOU CAN DO IT
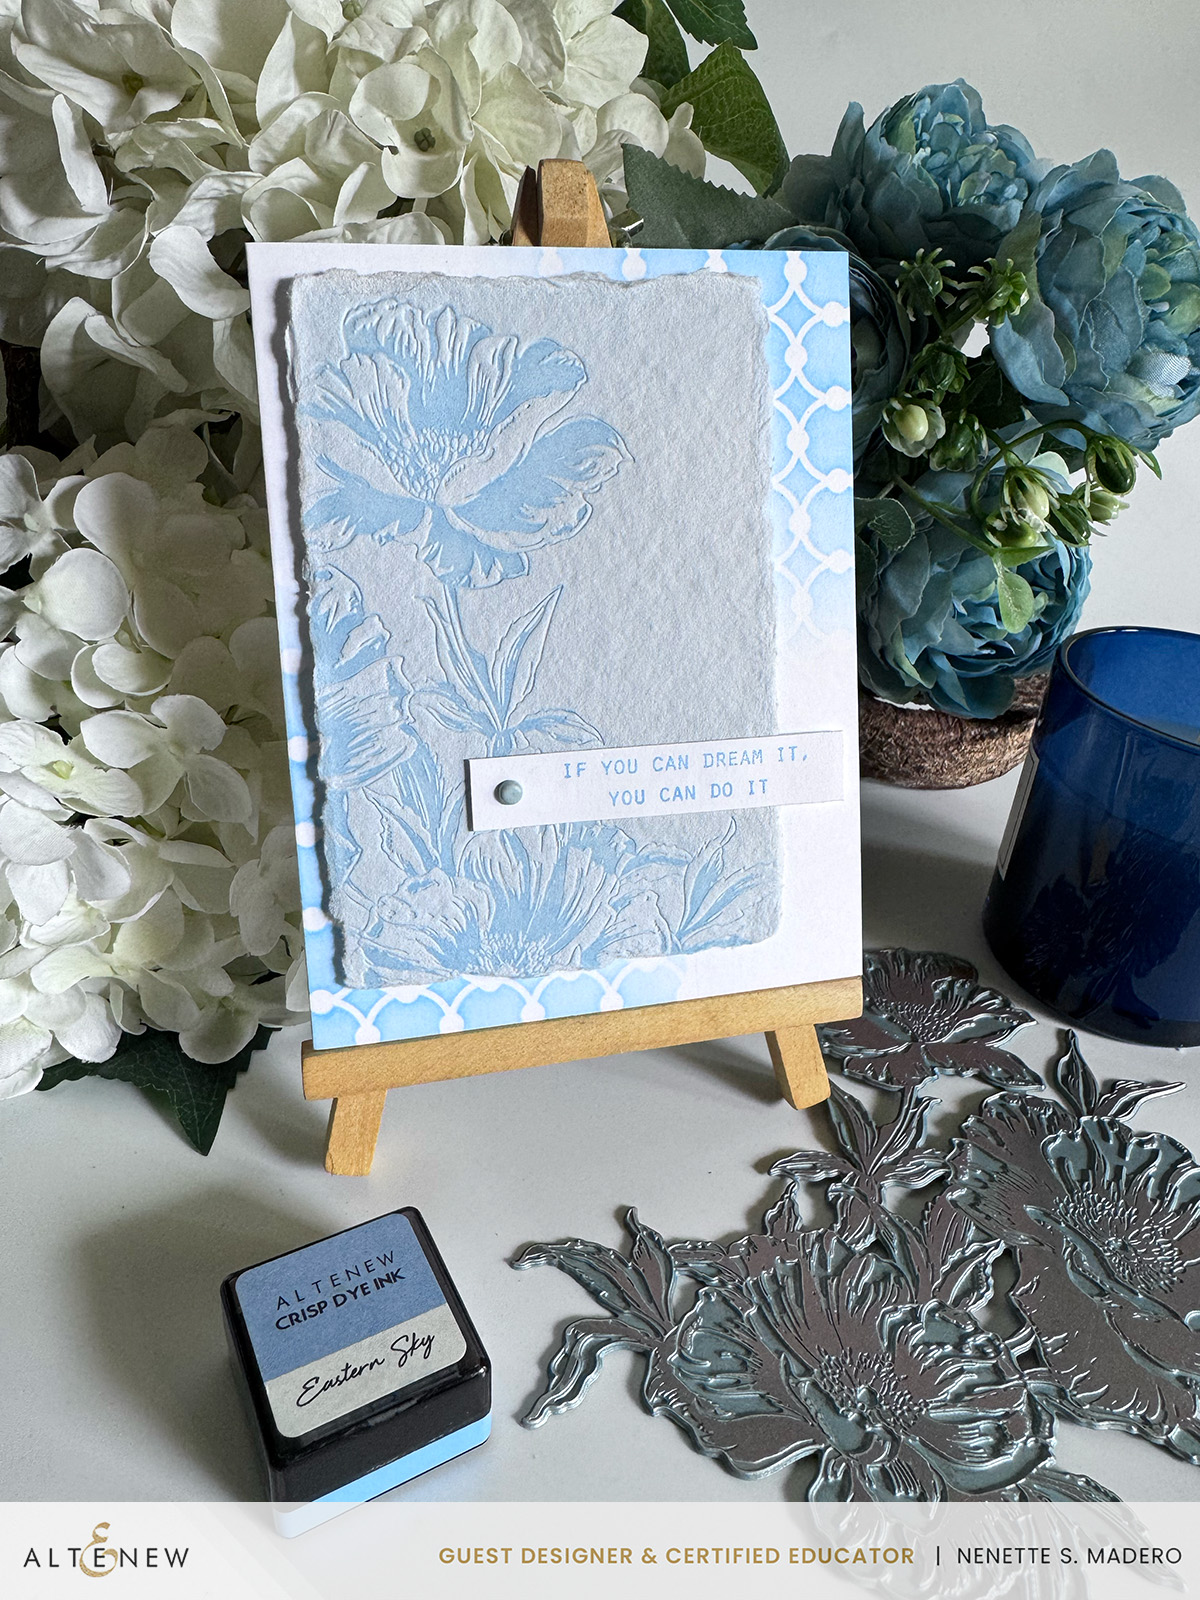
MATERIALS:
- Inked Poppies Press Plate
- Stone Mosaic Stamp Set
- Linked Spots and Dots Stencil
- Eastern Sky Dye Ink
- 100% cotton rag cold press paper
- brad
This creation is referred to as my “5-Minute Card.” I appreciate the simplicity of this CAS design– simple yet elegant. One of my favorite tools is the BetterPress System; it’s incredibly user-friendly, yet the results are stunningly detailed. For this card, the Inked Poppies Press Plate was inked with Eastern Sky dye ink. I ran it through my die-cutting machine, producing a beautiful floral impression on 100% cotton paper. To enhance the card front, I used the Linked Spots and Dots Stencil and dye ink to add subtle imagery. The pressed floral image was mounted with foam tape to create some dimension. The sentiment was stamped in the same dye ink on white cardstock. A light blue brad was added for more dimension. I opted for a monochromatic color scheme to maintain the card’s simplicity.
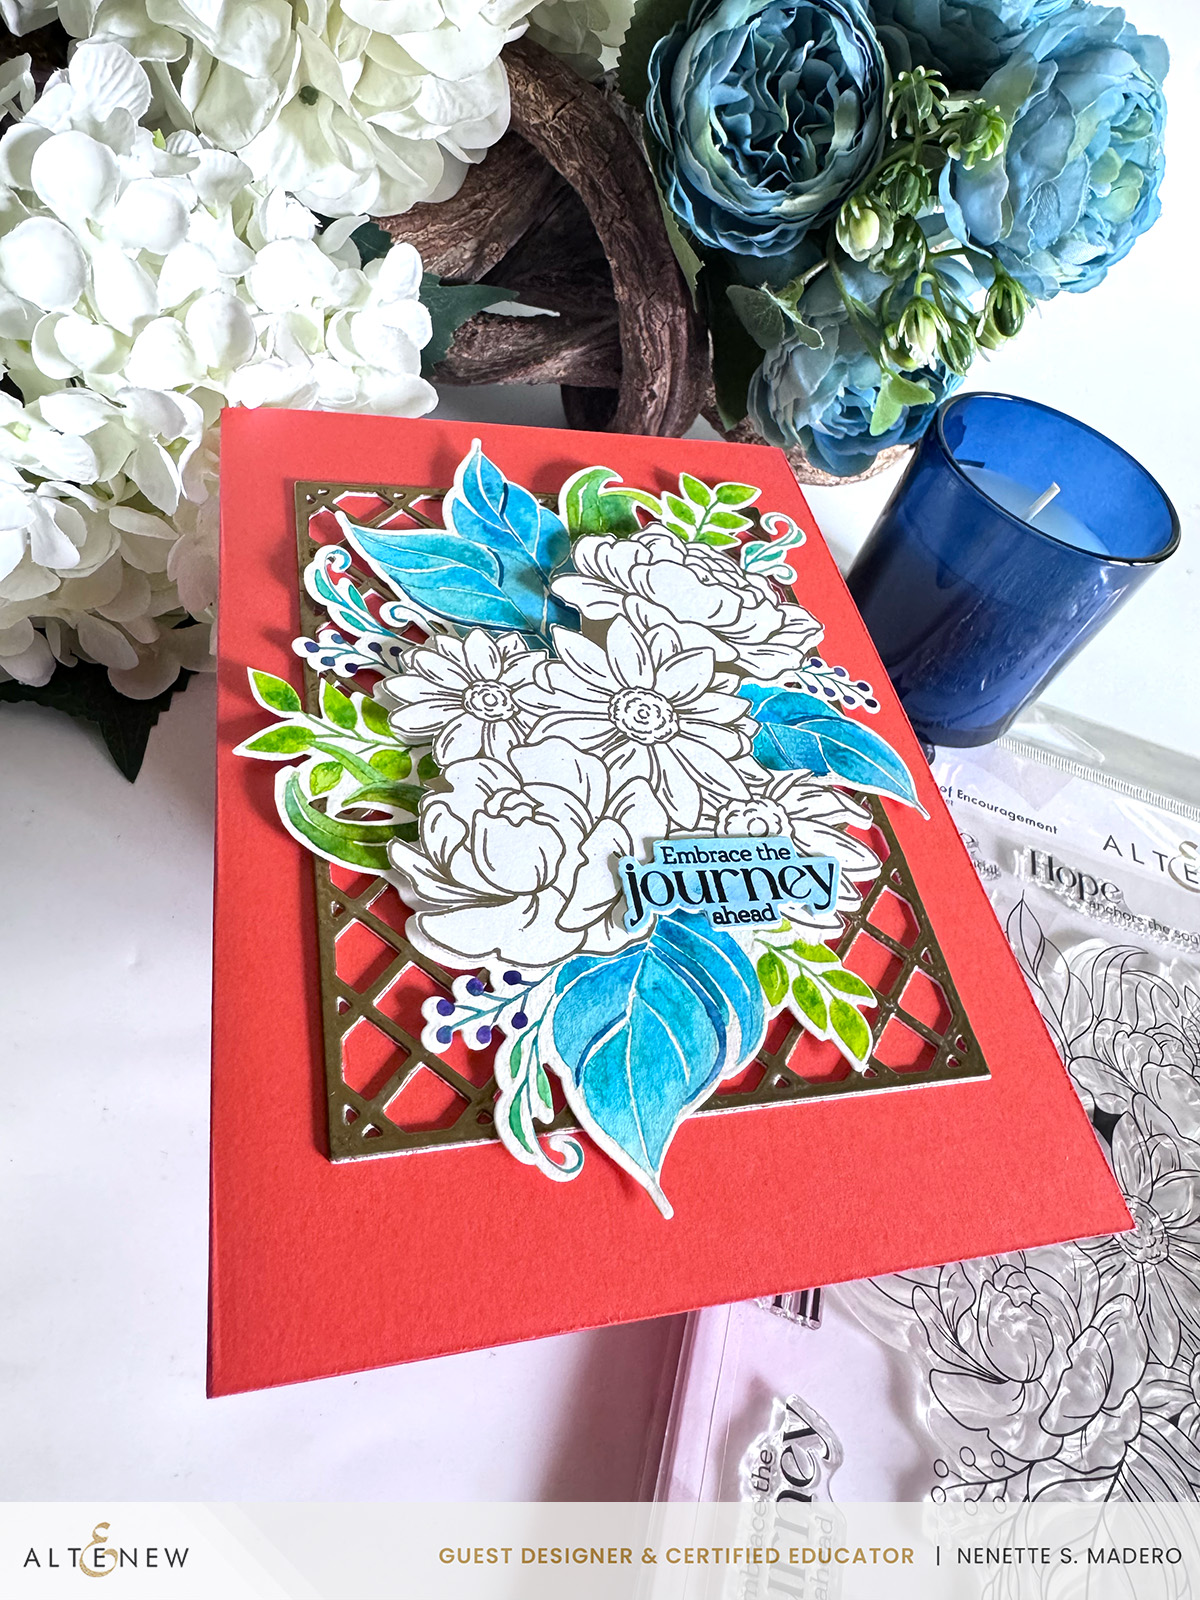
EMBRACE THE JOURNEY AHEAD

MATERIALS:
- Craft Your Life Project Kit- Blossoms of Encouragement Stamp and Die
- Artist Watercolor Pan Set
- Rose Gold Embossing Powder
- Garden Trellis Cover Die
- Gold embossing powder
- Obsidian Ink
- Versamark Ink
- Watercolor Paper
I want to be completely transparent about my creative process for this card. I began by watercoloring the leaves and was happy with it. Then, I mistakenly chose a flower color that was too similar to the leaves, which caused the flowers to blend in rather than stand out. However, I loved how the colors of the leaves turned out, so I decided to keep it and stamp the image again, emboss it, and fussy cut just the flowers. This allowed me to place them over the painted leaves using foam squares, effectively covering my initial mistake. To add depth, five die cuts were cut using The Garden Trellis Cover die and layered on top of each other. The corners were finished by inking and embossing them with gold embossing powder for some shine. The sentiment was stamped using Obsidian Ink and then embossed with Clear embossing powder. I used the same watercolor paint to color the sentiment’s background to match the leaves.
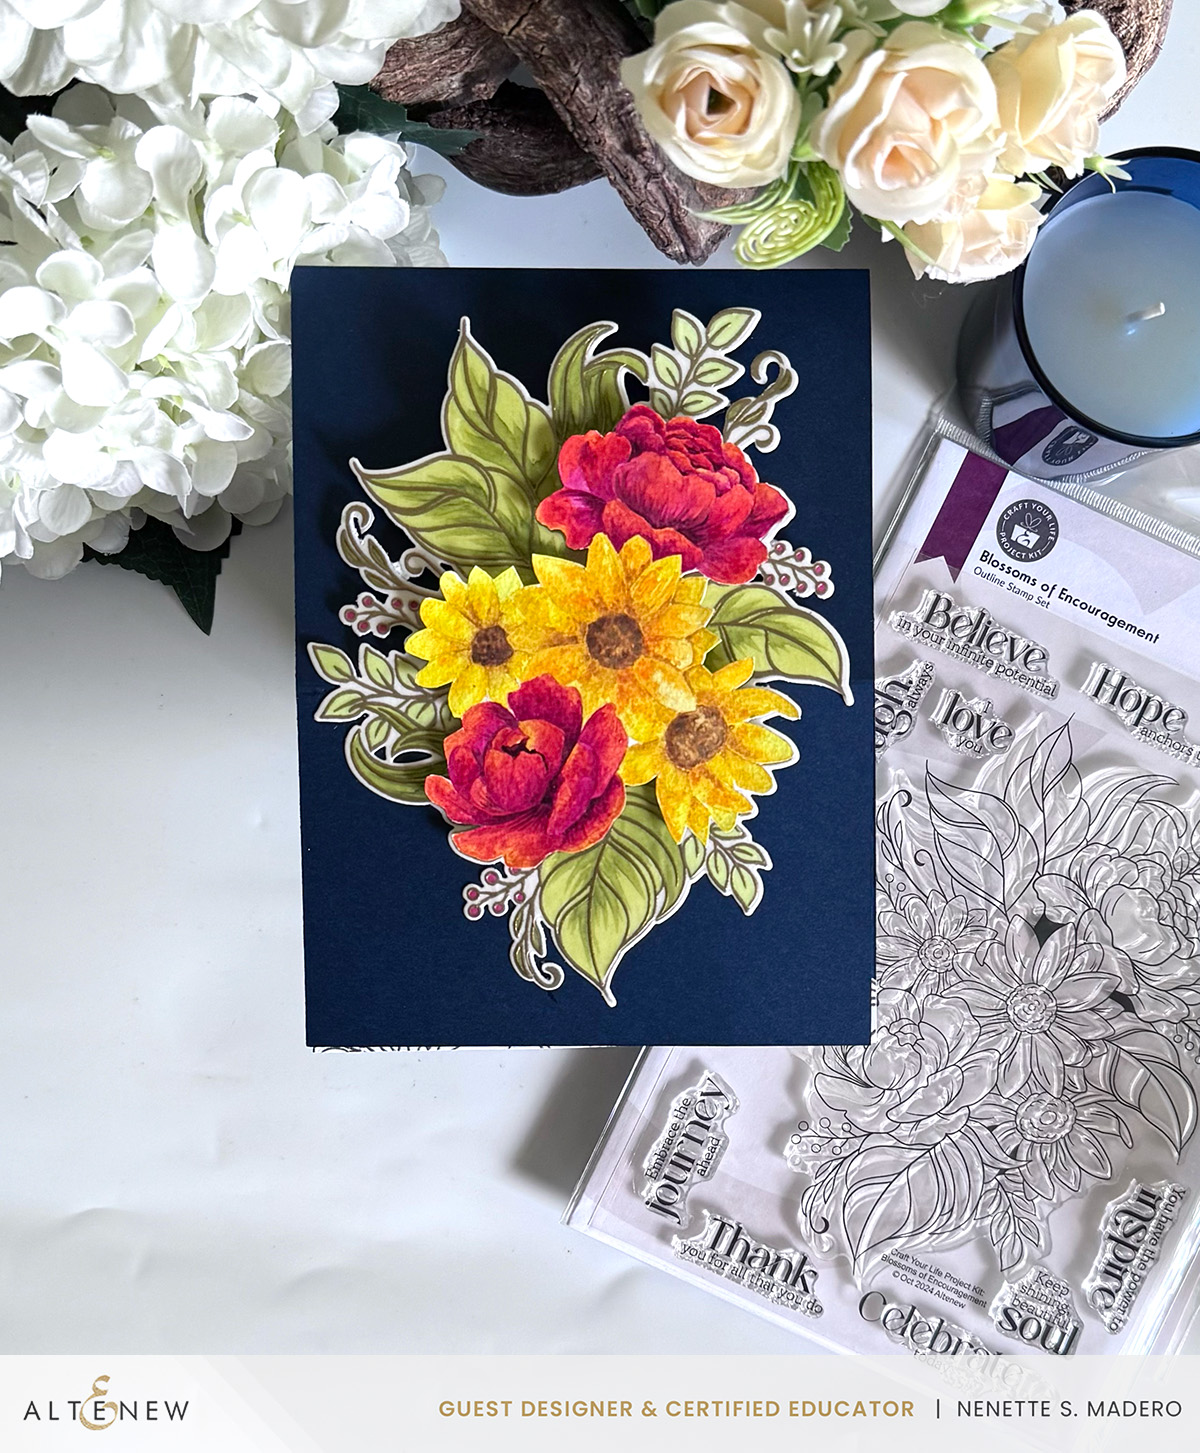
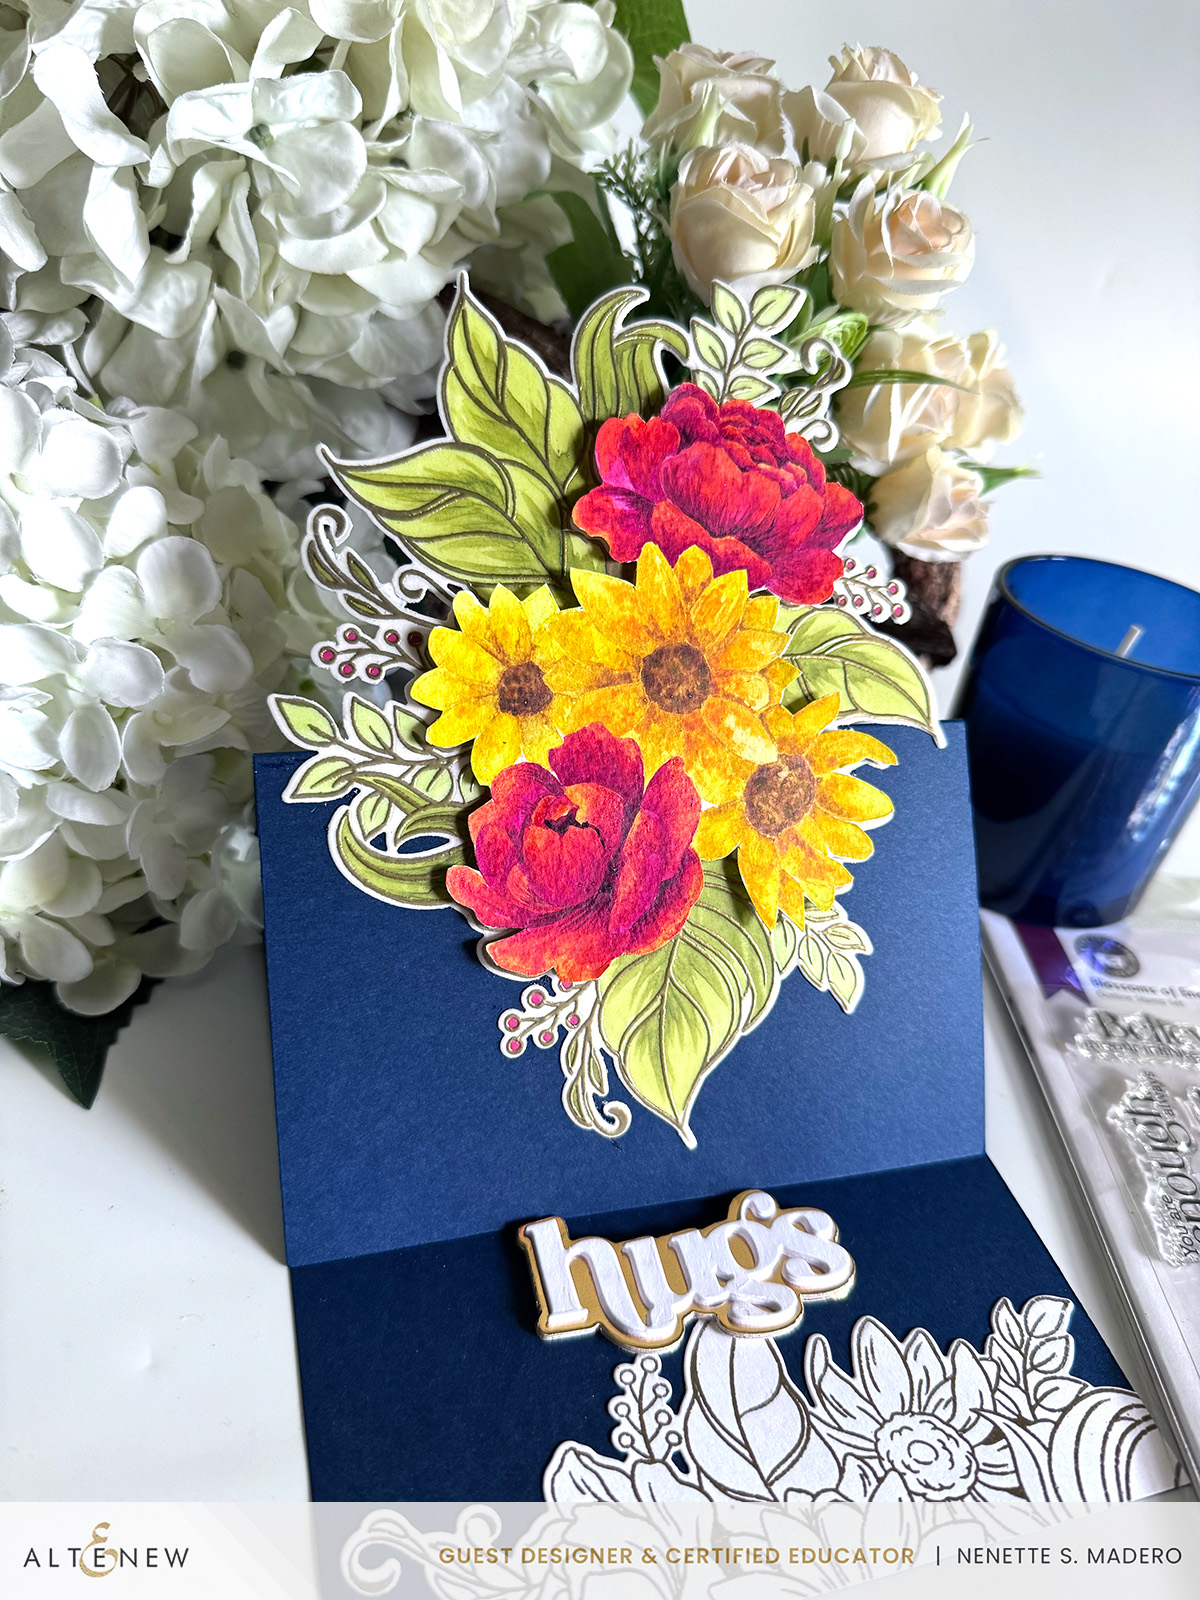
HUGS
MATERIALS
- Craft Your Life Project Kit- Blossoms of Encouragement Stamp and Die
- Artist Watercolor Pan Set
- Gold Embossing Powder
- Alcohol Markers Set E- G804, G915, G825, G935
- Timeless Sentiments Die
My last card required more time, especially while watercoloring the floral image. The image was stamped and embossed on watercolor paper (for the flowers) and vellum paper (for the leaves). The flowers were watercolored, and then the leaves were colored from the back of the vellum with alcohol markers for a subtle effect. This was then adhered to white cardstock using the double-sided tape sheet. The image was die-cut. The flowers were meticulously fussy cut and layered on top of the embossed and colored leaves using foam tape for added dimension. I chose an easel fold for this card, with the “hugs” sentiment serving as a stopper to keep the card front upright.
GIVEAWAYS

Over $3,600 in total prizes! Altenew is giving away a $50 gift certificate to 11 lucky winners. There are also 35 awesome companies/crafty friends who are celebrating with us, and they are offering the following prizes:
Altenew: 11 x $50 Gift Certificate
Altenew Academy: 17 x Online Card Class ($39.99 value each)
Artistry by Altenew: 5x $20 Gift Certificate
Glassboard Studio: 3 x $50 Gift Certificate
Creative Scrapbooker Magazine: 3 x Creative Scrapbooker Magazine 1-Year Subscription ($44.9 value each)
Stamp-n-Storage: 1 Ink Pad Carousel for Altenew Fresh Dye Inks ($129.75 value)
Online Card Classes: 5 x Online Card Class ($25+ value each)
Gina K. Designs: $100 Gift Certificate
Lawn Fawn: $100 Gift Certificate
Honey Bee Stamps: $100 Gift Certificate
Pink and Main: $100 Gift Certificate
Brutus Monroe: $100 Gift Certificate
Scrapbook & Cards Today Magazine: $100 Gift Certificate
My Favorite Things: $100 Gift Certificate
Jennifer McGuire Ink: 1 Share Handemade Kindness Goodies Bag
Amy Tangerine: 1 Sticker Assortment Pack ($75 value)
Ranger Industries: $75 Gift Certificate
Michelle’s Cards & Stamps: AUD $100 Gift Certificate
LDRS Creative: 2x $30 Gift Certificate
MarkerPop: 2x $25 Gift Certificate
Trinity Stamps: $50 Gift Certificate
A Cherry On Top: $50 Gift Certificate
Simon Says Stamp: $50 Gift Certificate
Alex Syberia Designs: $50 Gift Certificate
Newton’s Nook Designs: $50 Gift Certificate
Pretty Pink Posh: $50 Gift Certificate
My Craft Room: $50 Gift Certificate
Krafters Cart: $50 Gift Certificate
Concord & 9th: $50 Gift Certificate
Scrapbook.com: $50 Gift Certificate
Pinkfresh Studio: $50 Gift Certificate
Bumbleberry Papercrafts: £25 Gift Certificate
Picket Fence Studios: $25 Gift Certificate
Ink Blot Shop: $25 Discount Code
Creative Chick Co.: $25 Gift Certificate
Auzz Trinklets N Krafts: AUD $25 Gift Certificate
Be sure to leave comments by April 29, 2025 for a chance to win one of 76 prizes! To make the hop more exciting, start your comment with “Hi from (city or country where you’re from)!” 76 winners will be chosen at random from the comments left on any of the blogs listed below and will be announced on the Altenew Blog on May 4, 2025.
ANNIVERSARY SPECIAL OFFERS
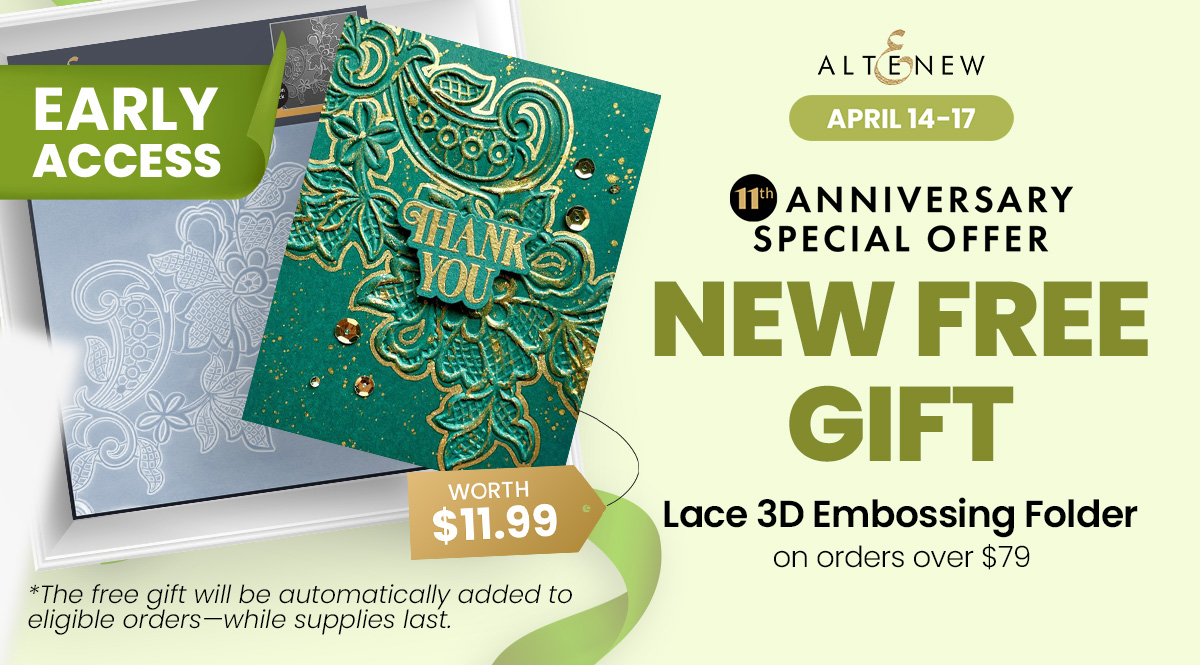
04/14/2025 – 04/17/2025: Get a FREE brand-new Lace 3D Embossing Folder (worth $11.99) on orders over $89 from 04/14/2025 at 12:01 AM EDT until 04/17/2025 at 11:59 PM EDT. The free gift will be automatically added to eligible orders—while supplies last. Shop here: https://altenew.com/collections/all-altenew-products
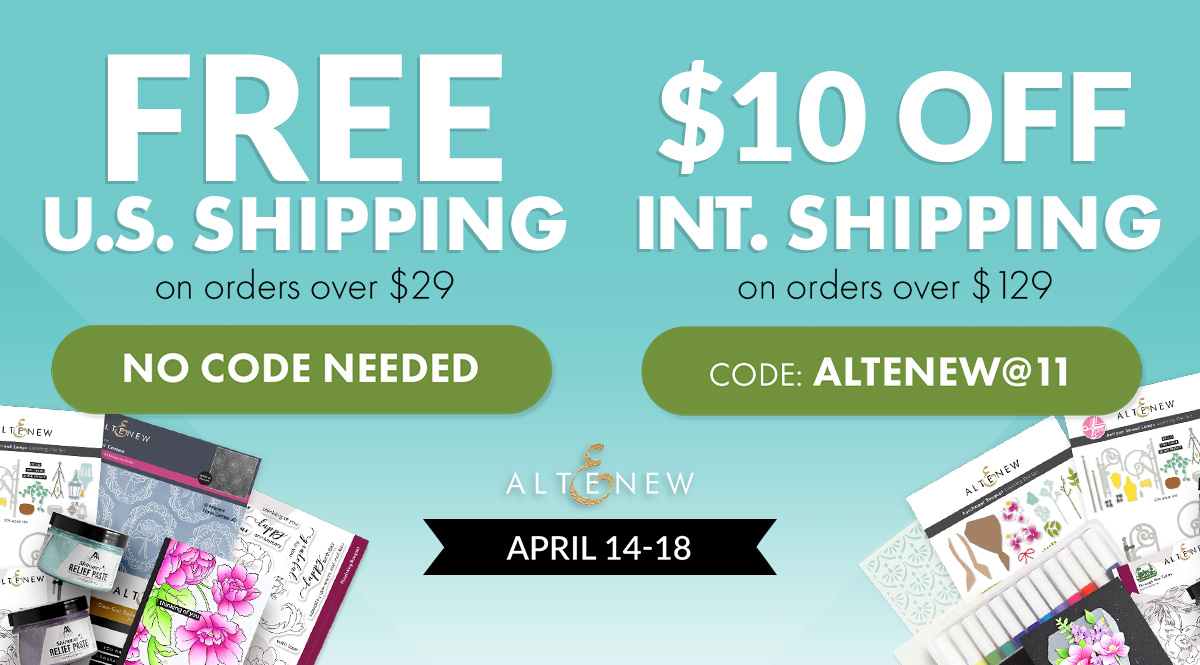
04/14/2025 – 04/18/2025: Get FREE U.S. Shipping on orders over $29 (no code needed) or $10 off International Shipping with code ALTENEW@11 at checkout from 04/14/2025 at 12:01 AM EDT until 04/18/2025 at 11:59 PM EDT. Shop here: https://altenew.com/collections/all-altenew-products
To follow along, click this link for the blog hop list or click this link to go to Debbie Frank’s blog.
Thank you for taking the time to explore the cards I created for this hop! I would love to hear which one you liked the most, so please share your favorite in the comment section below. If you want to see more of my projects, I invite you to follow, like, and subscribe to my Instagram, YouTube channel, Facebook, and blog for more inspiration. Your support means a lot!
Again, congratulations to the whole Altenew team!!!! Wishing you continued success always!
Warm regards to all and thanks for dropping by,