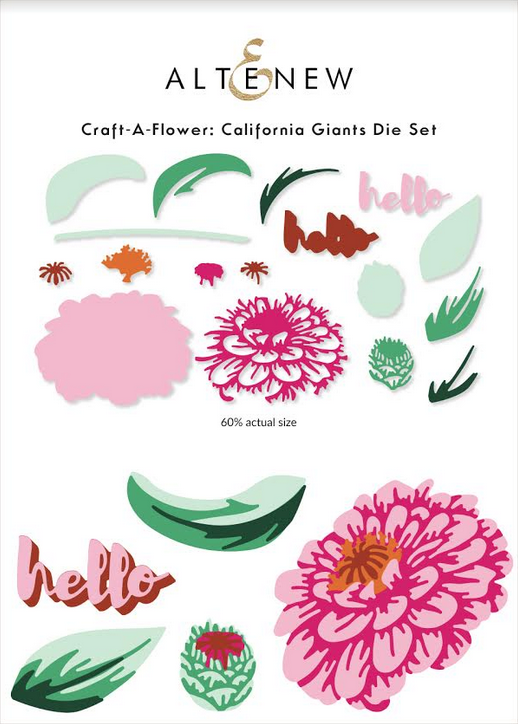
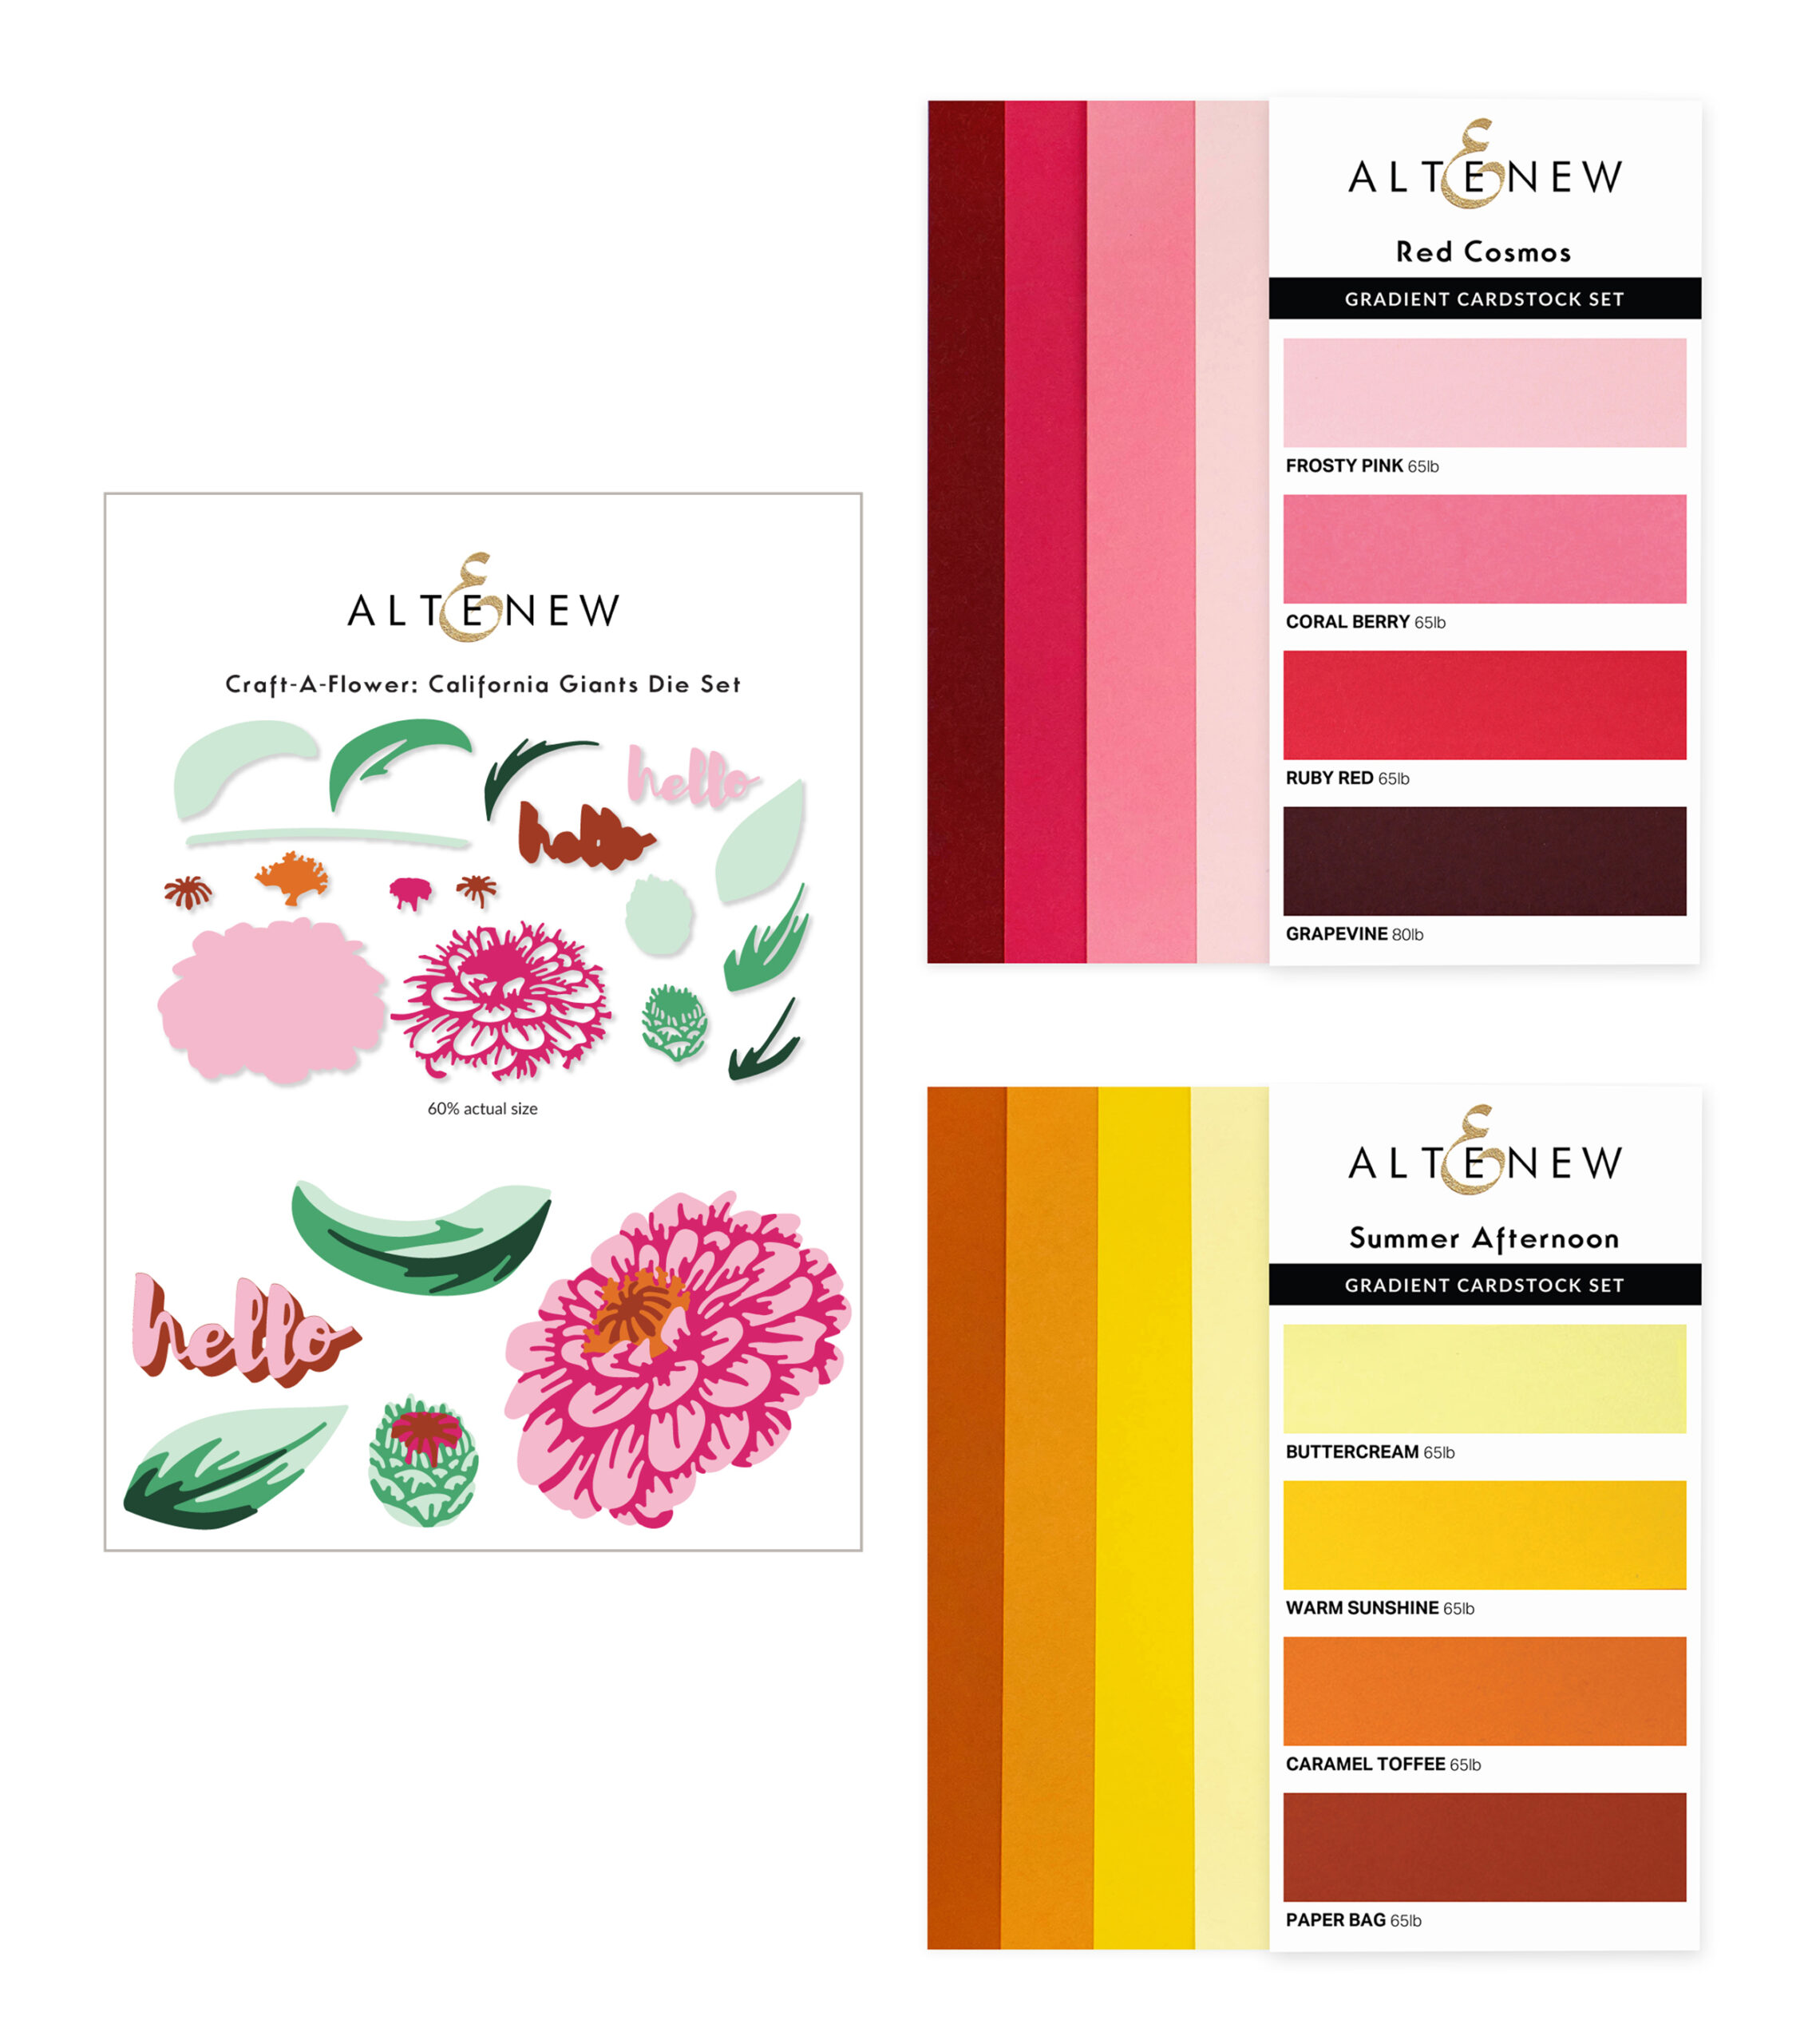
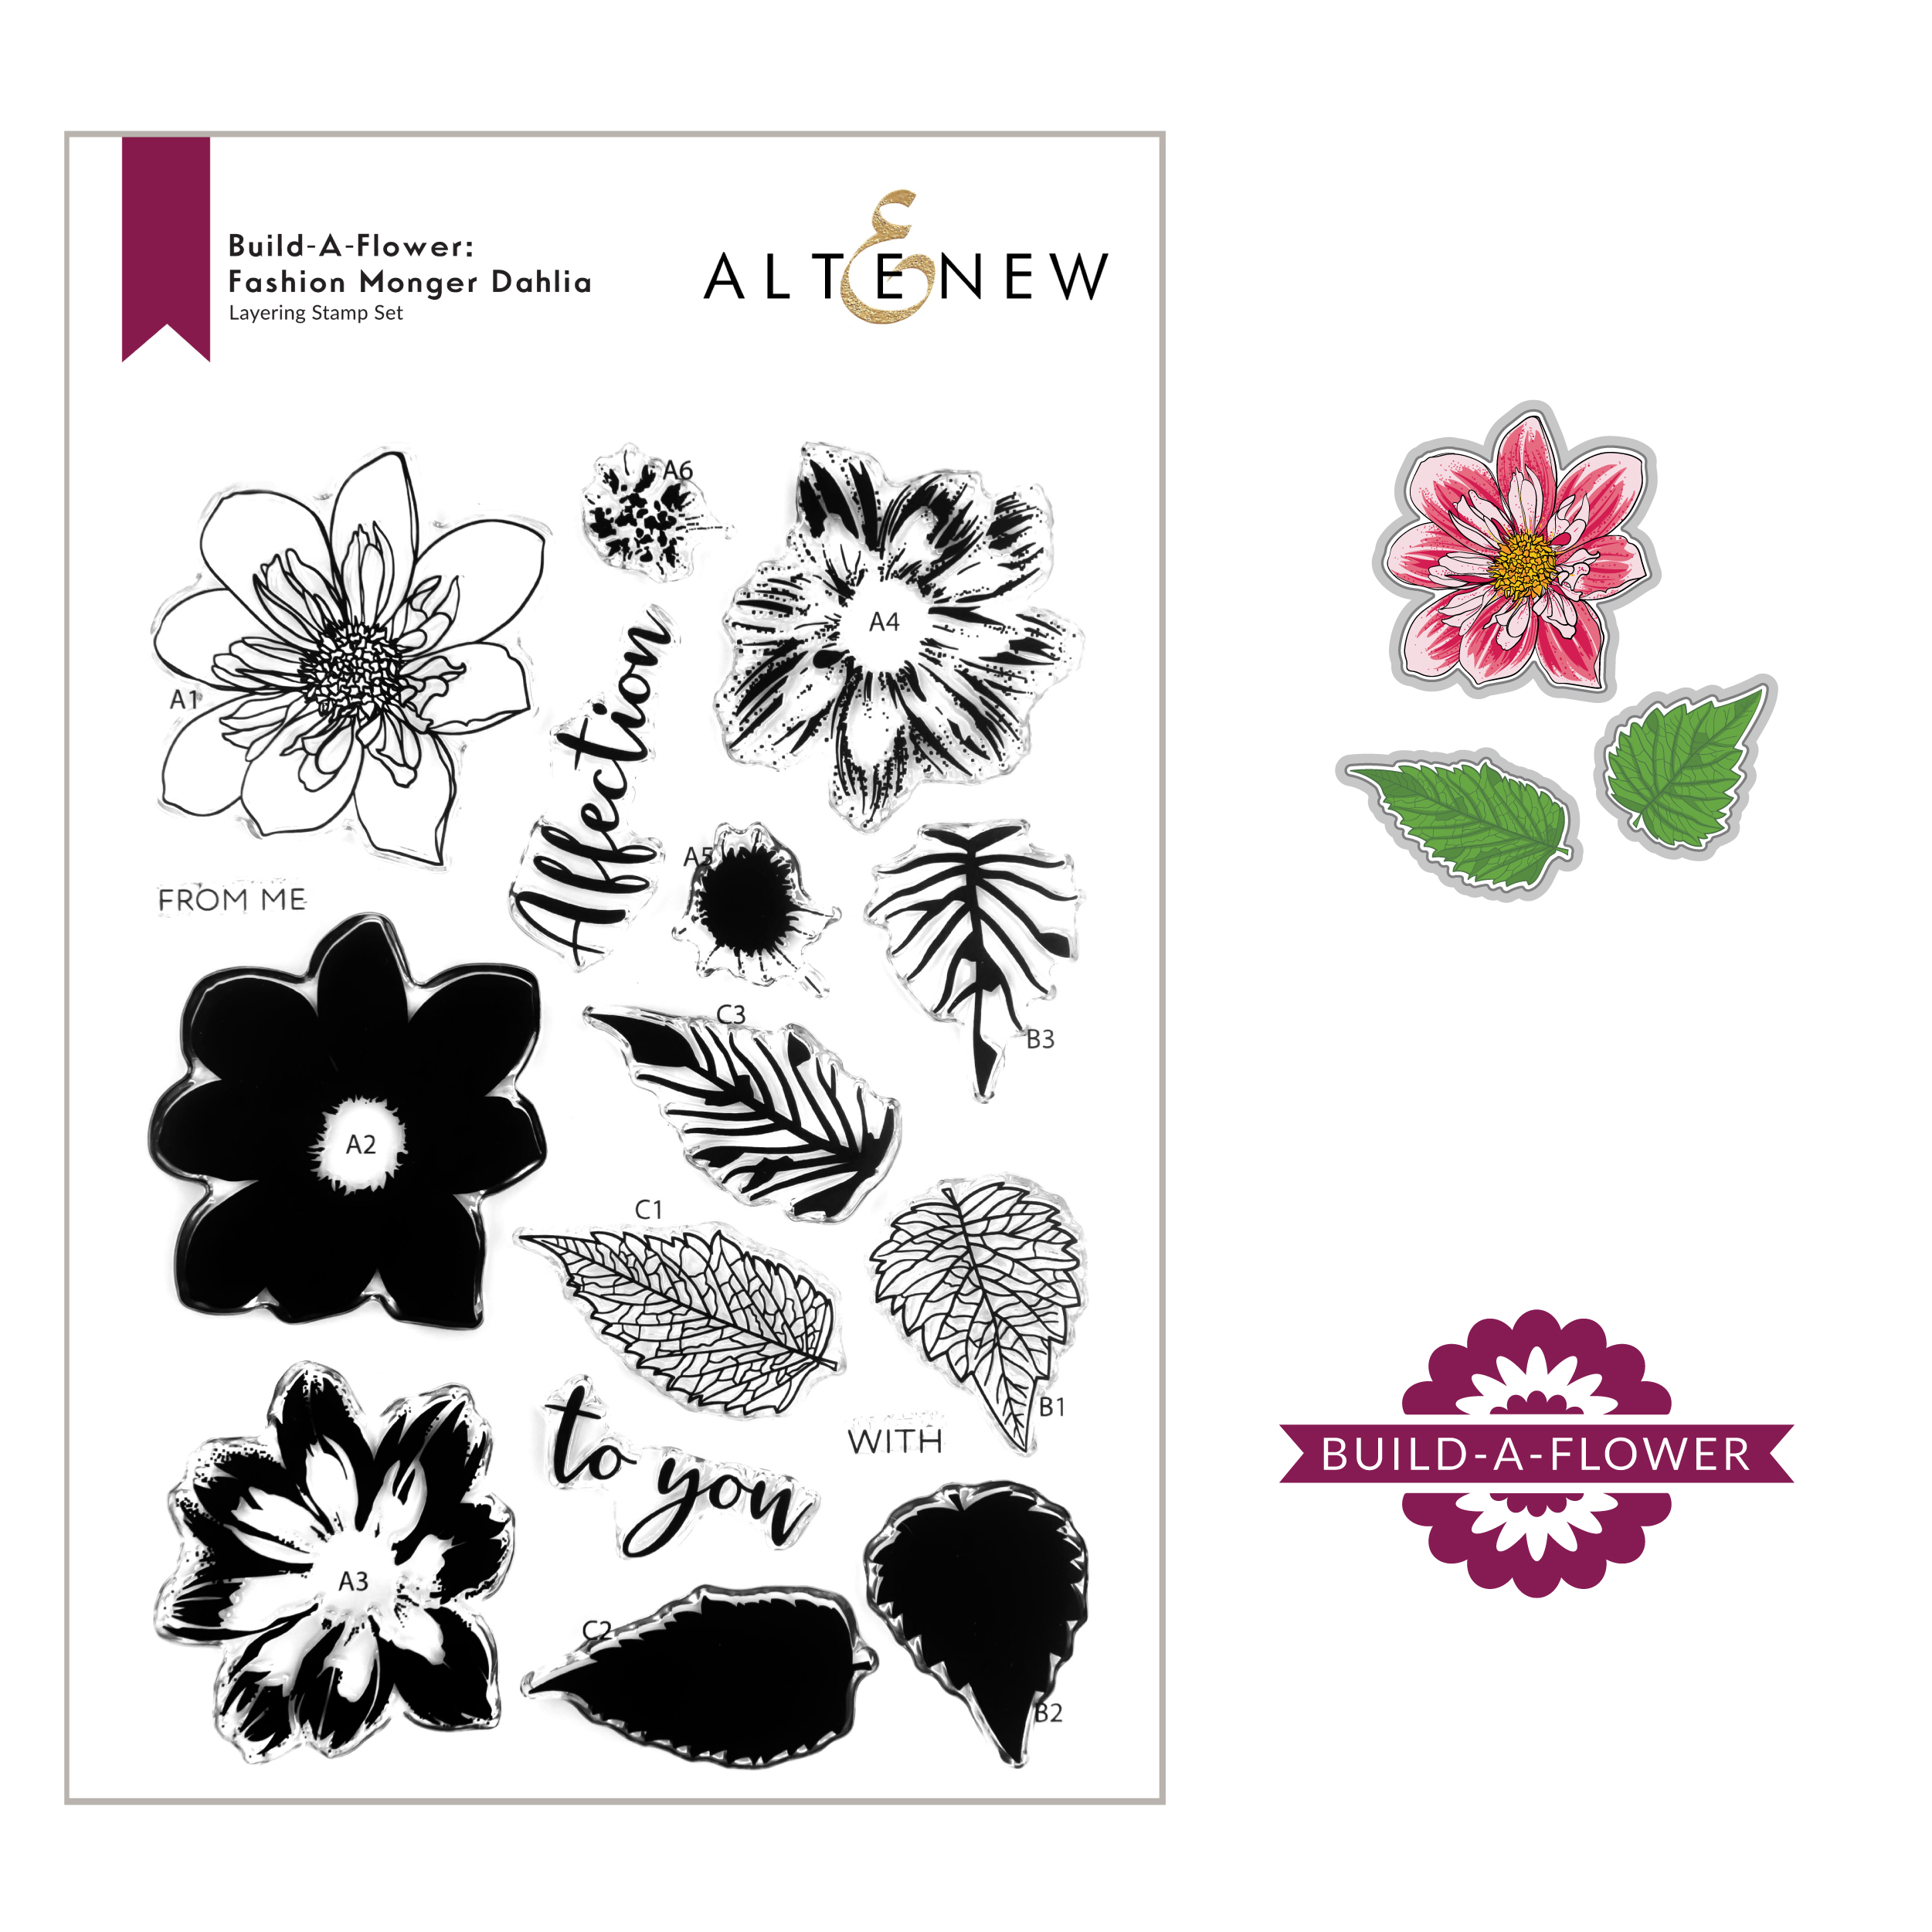
Hello, crafty friends! Welcome to my blog! If you just came from Joy Baldwin, then you’re on the right track. For the complete hop list, go to the Altenew Blog. Take a look at this beautiful craft-a-flower die set!
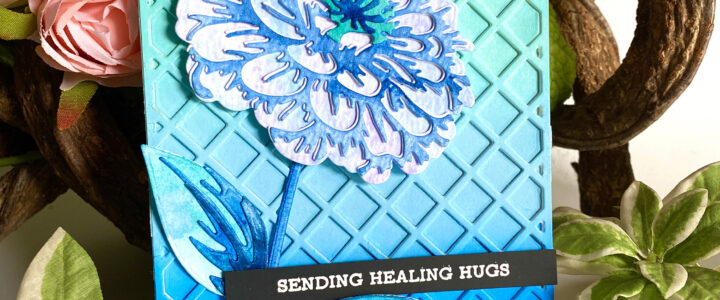
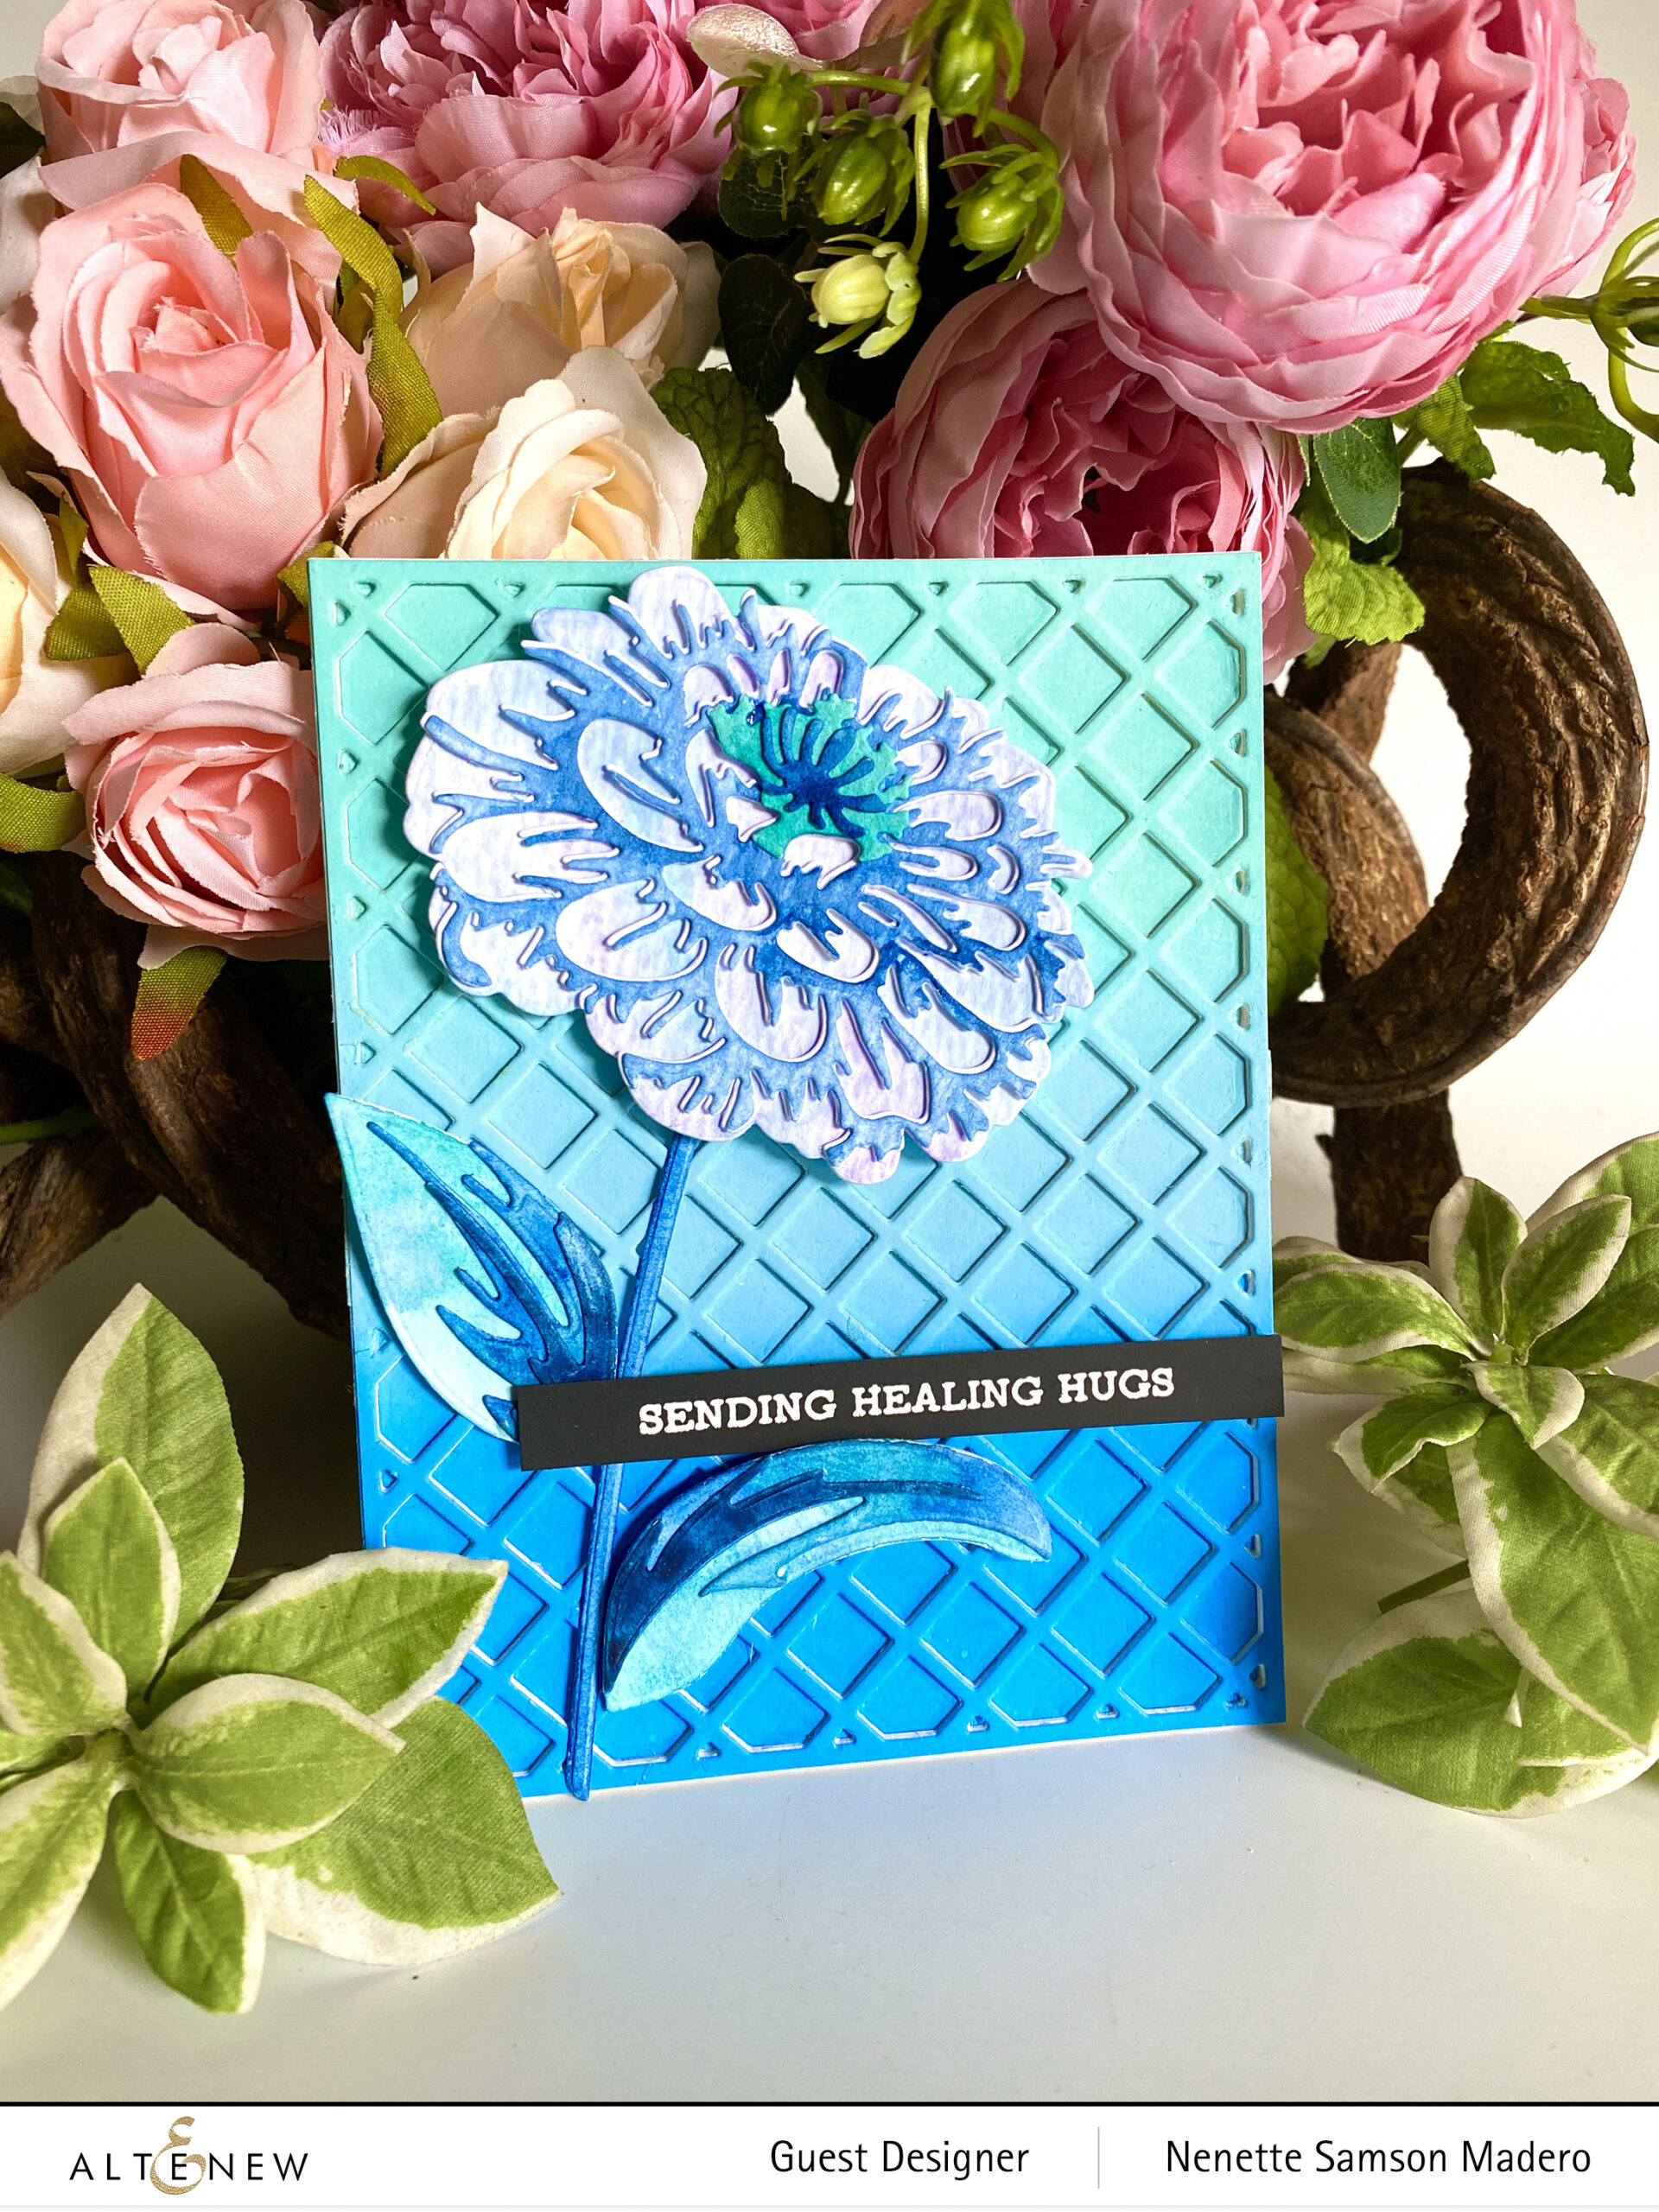
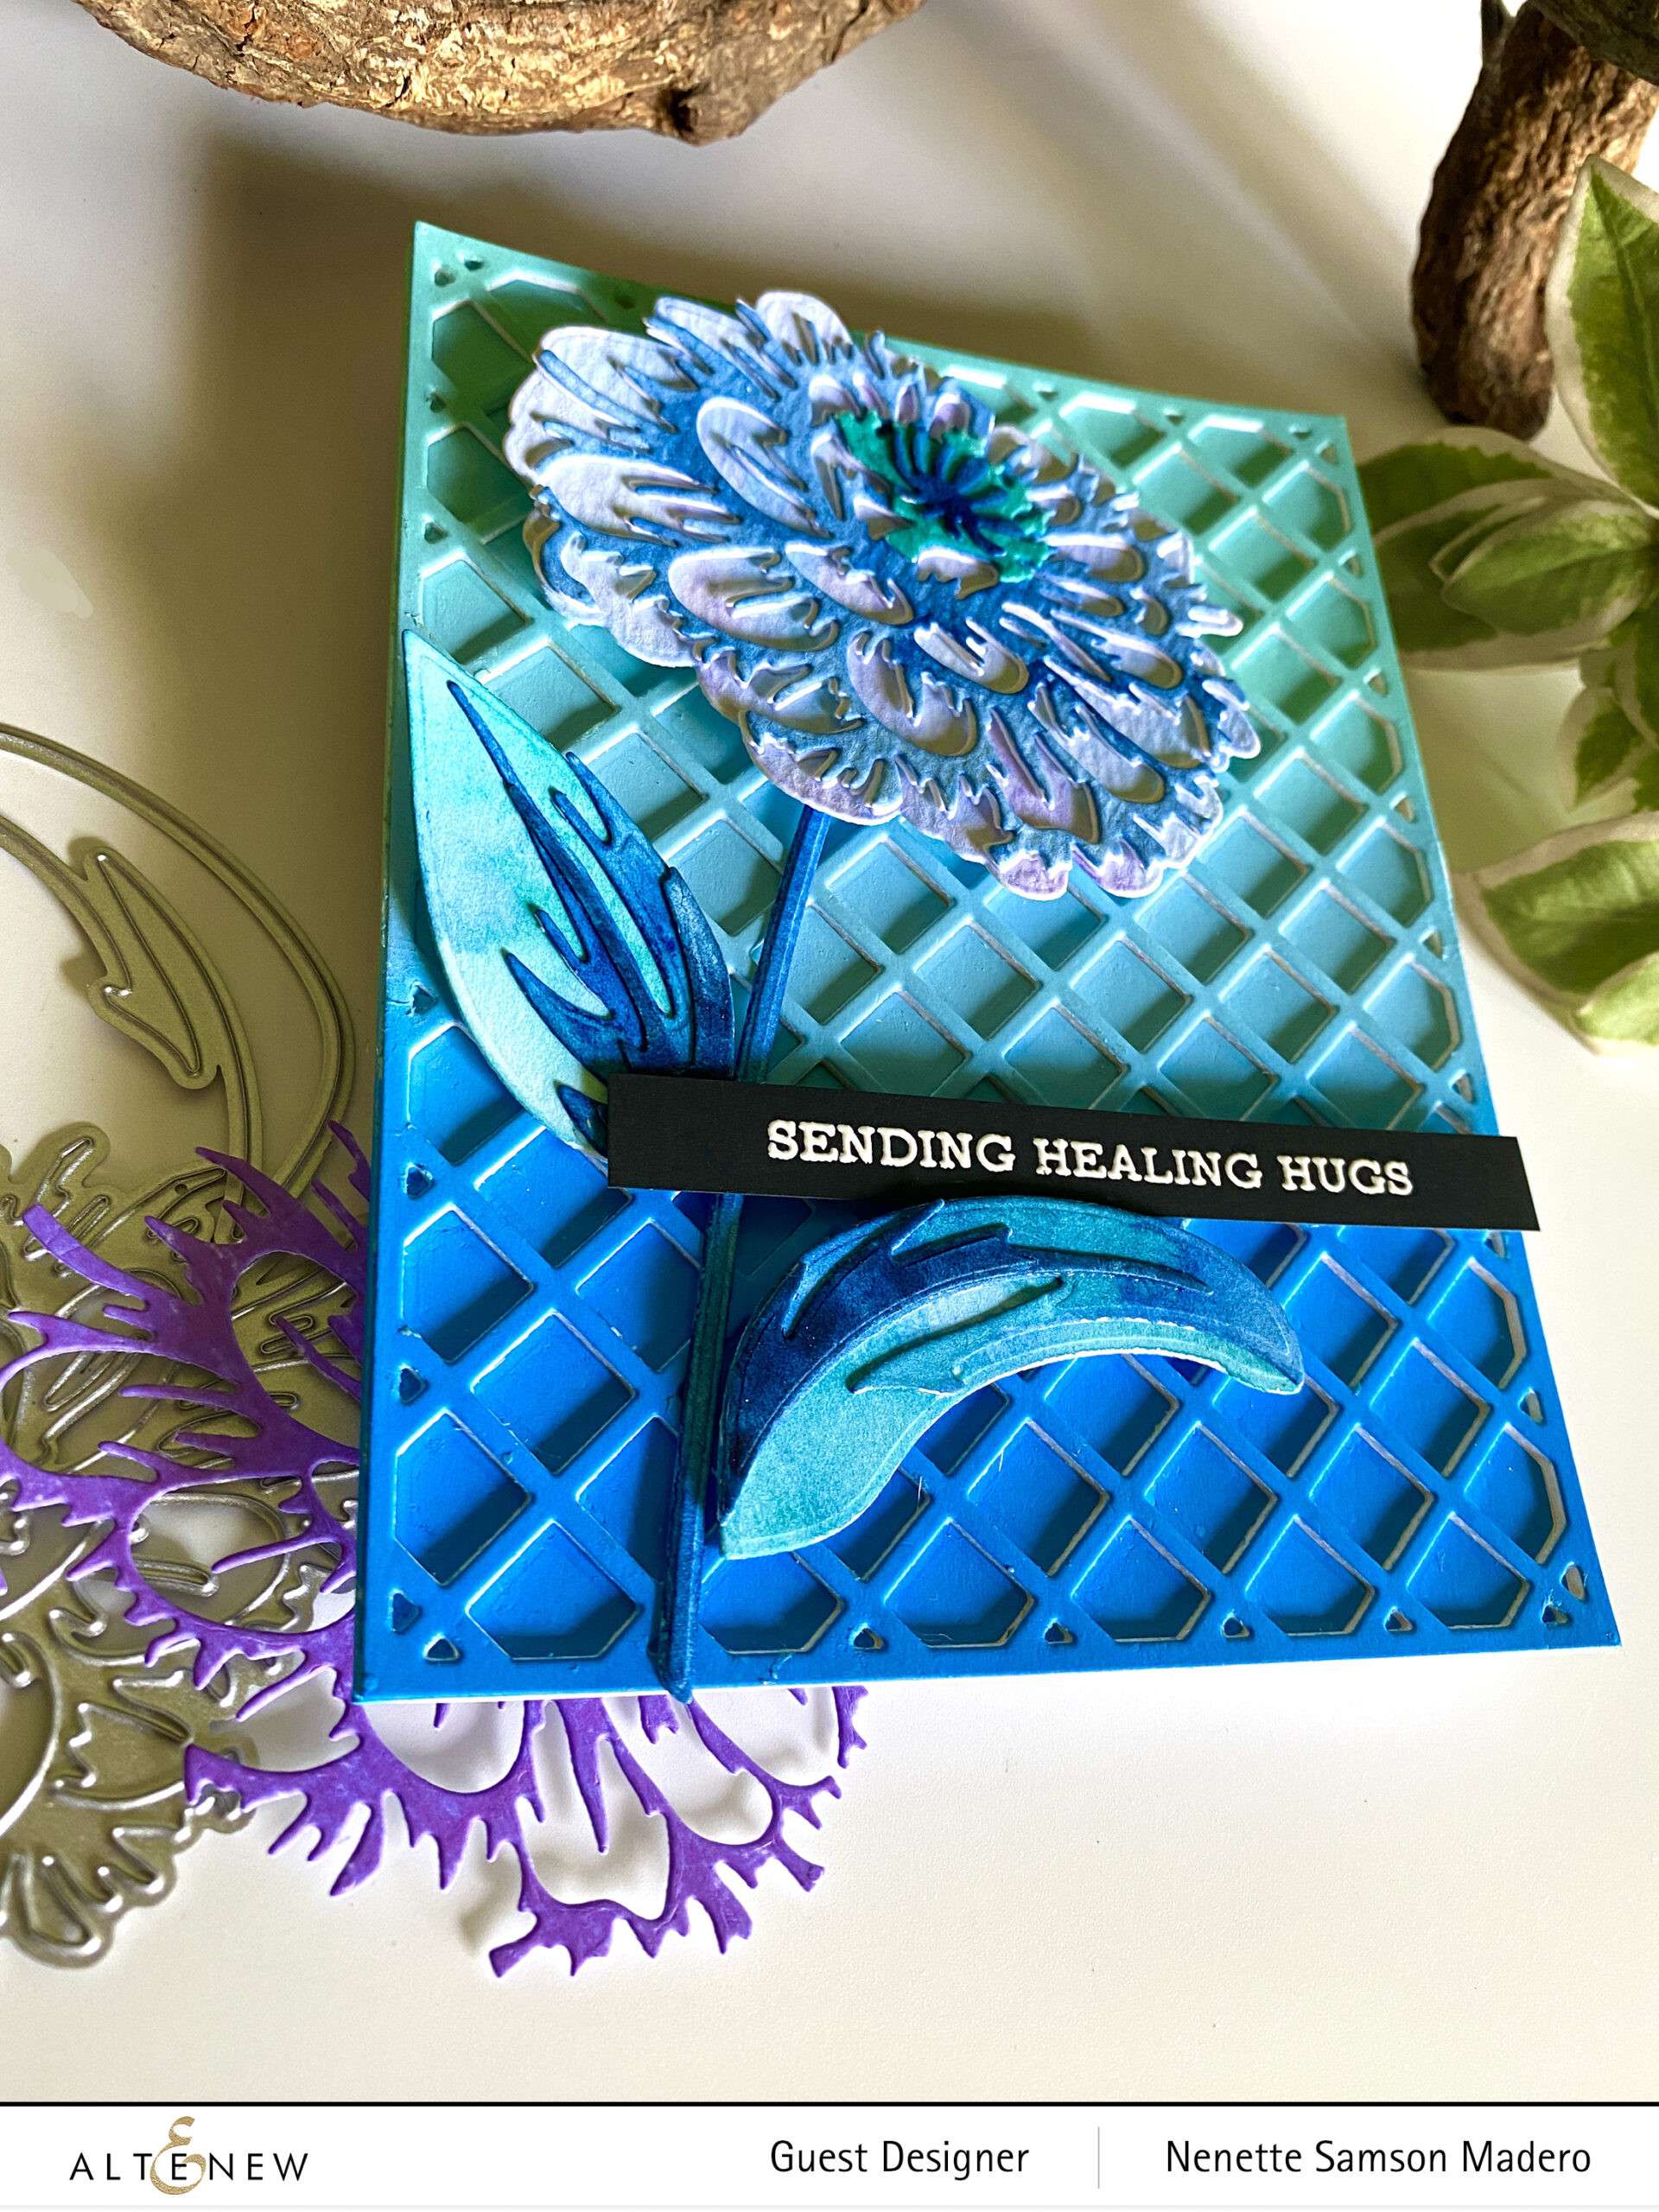
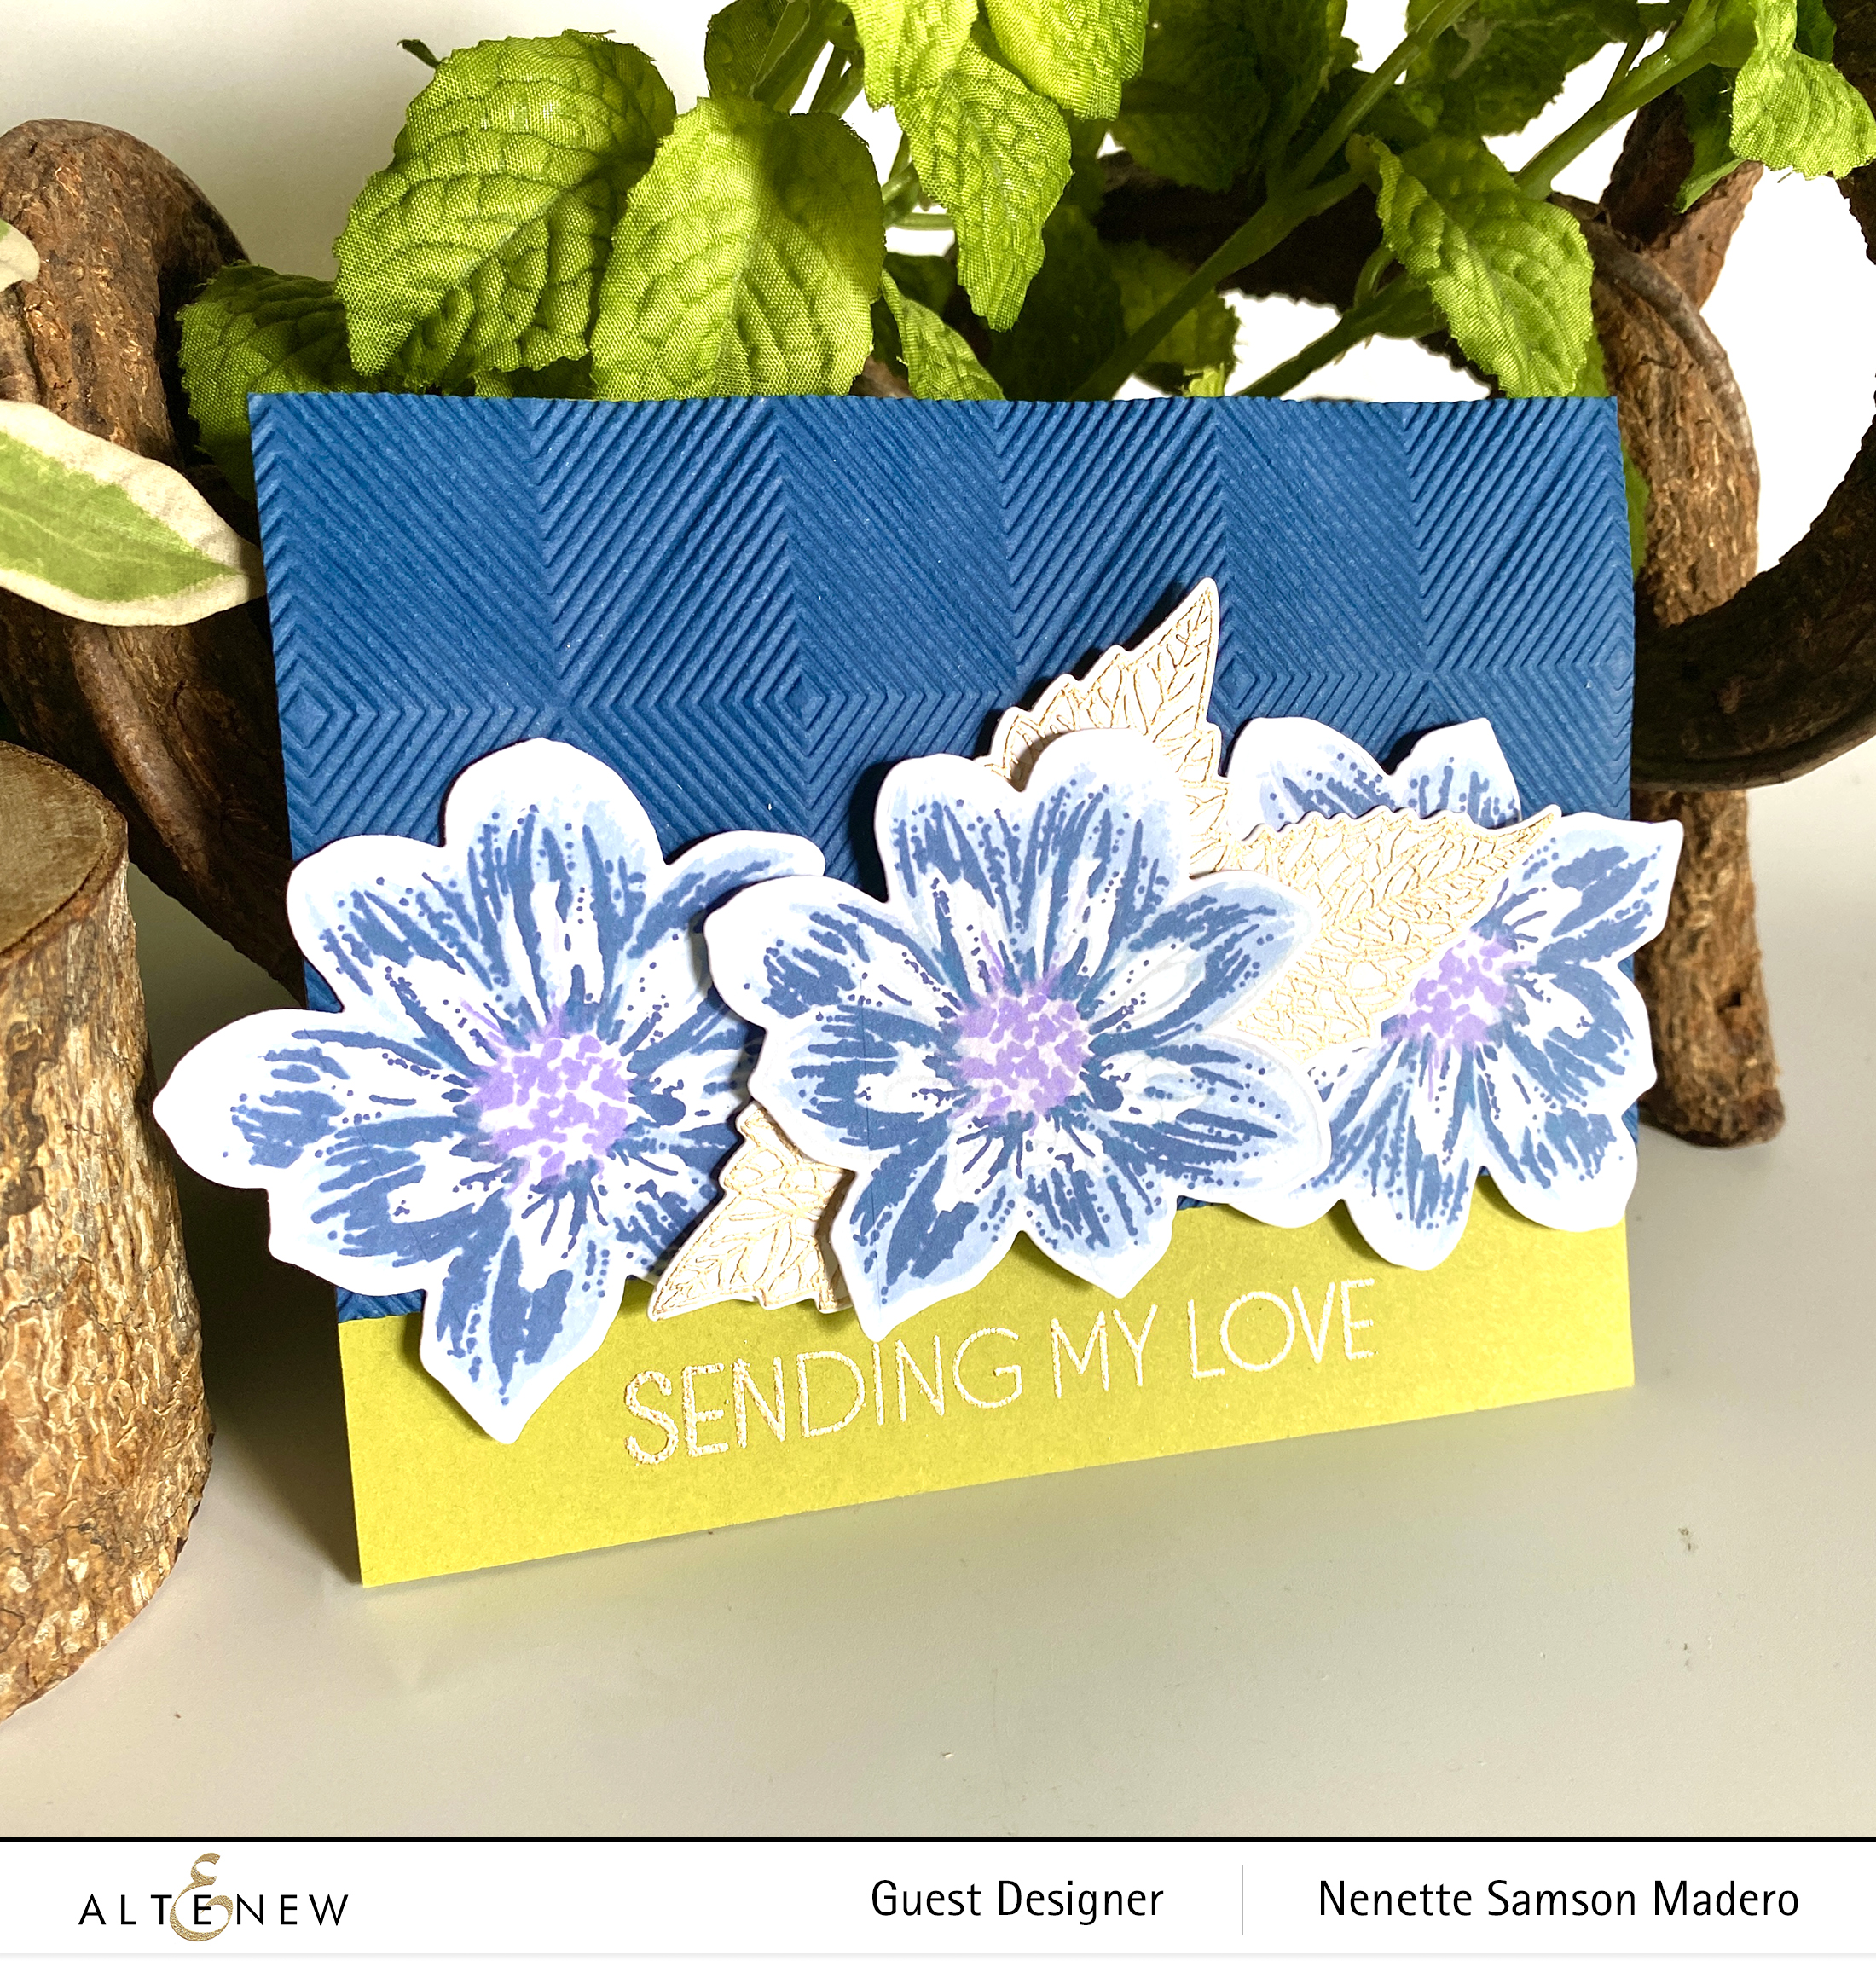
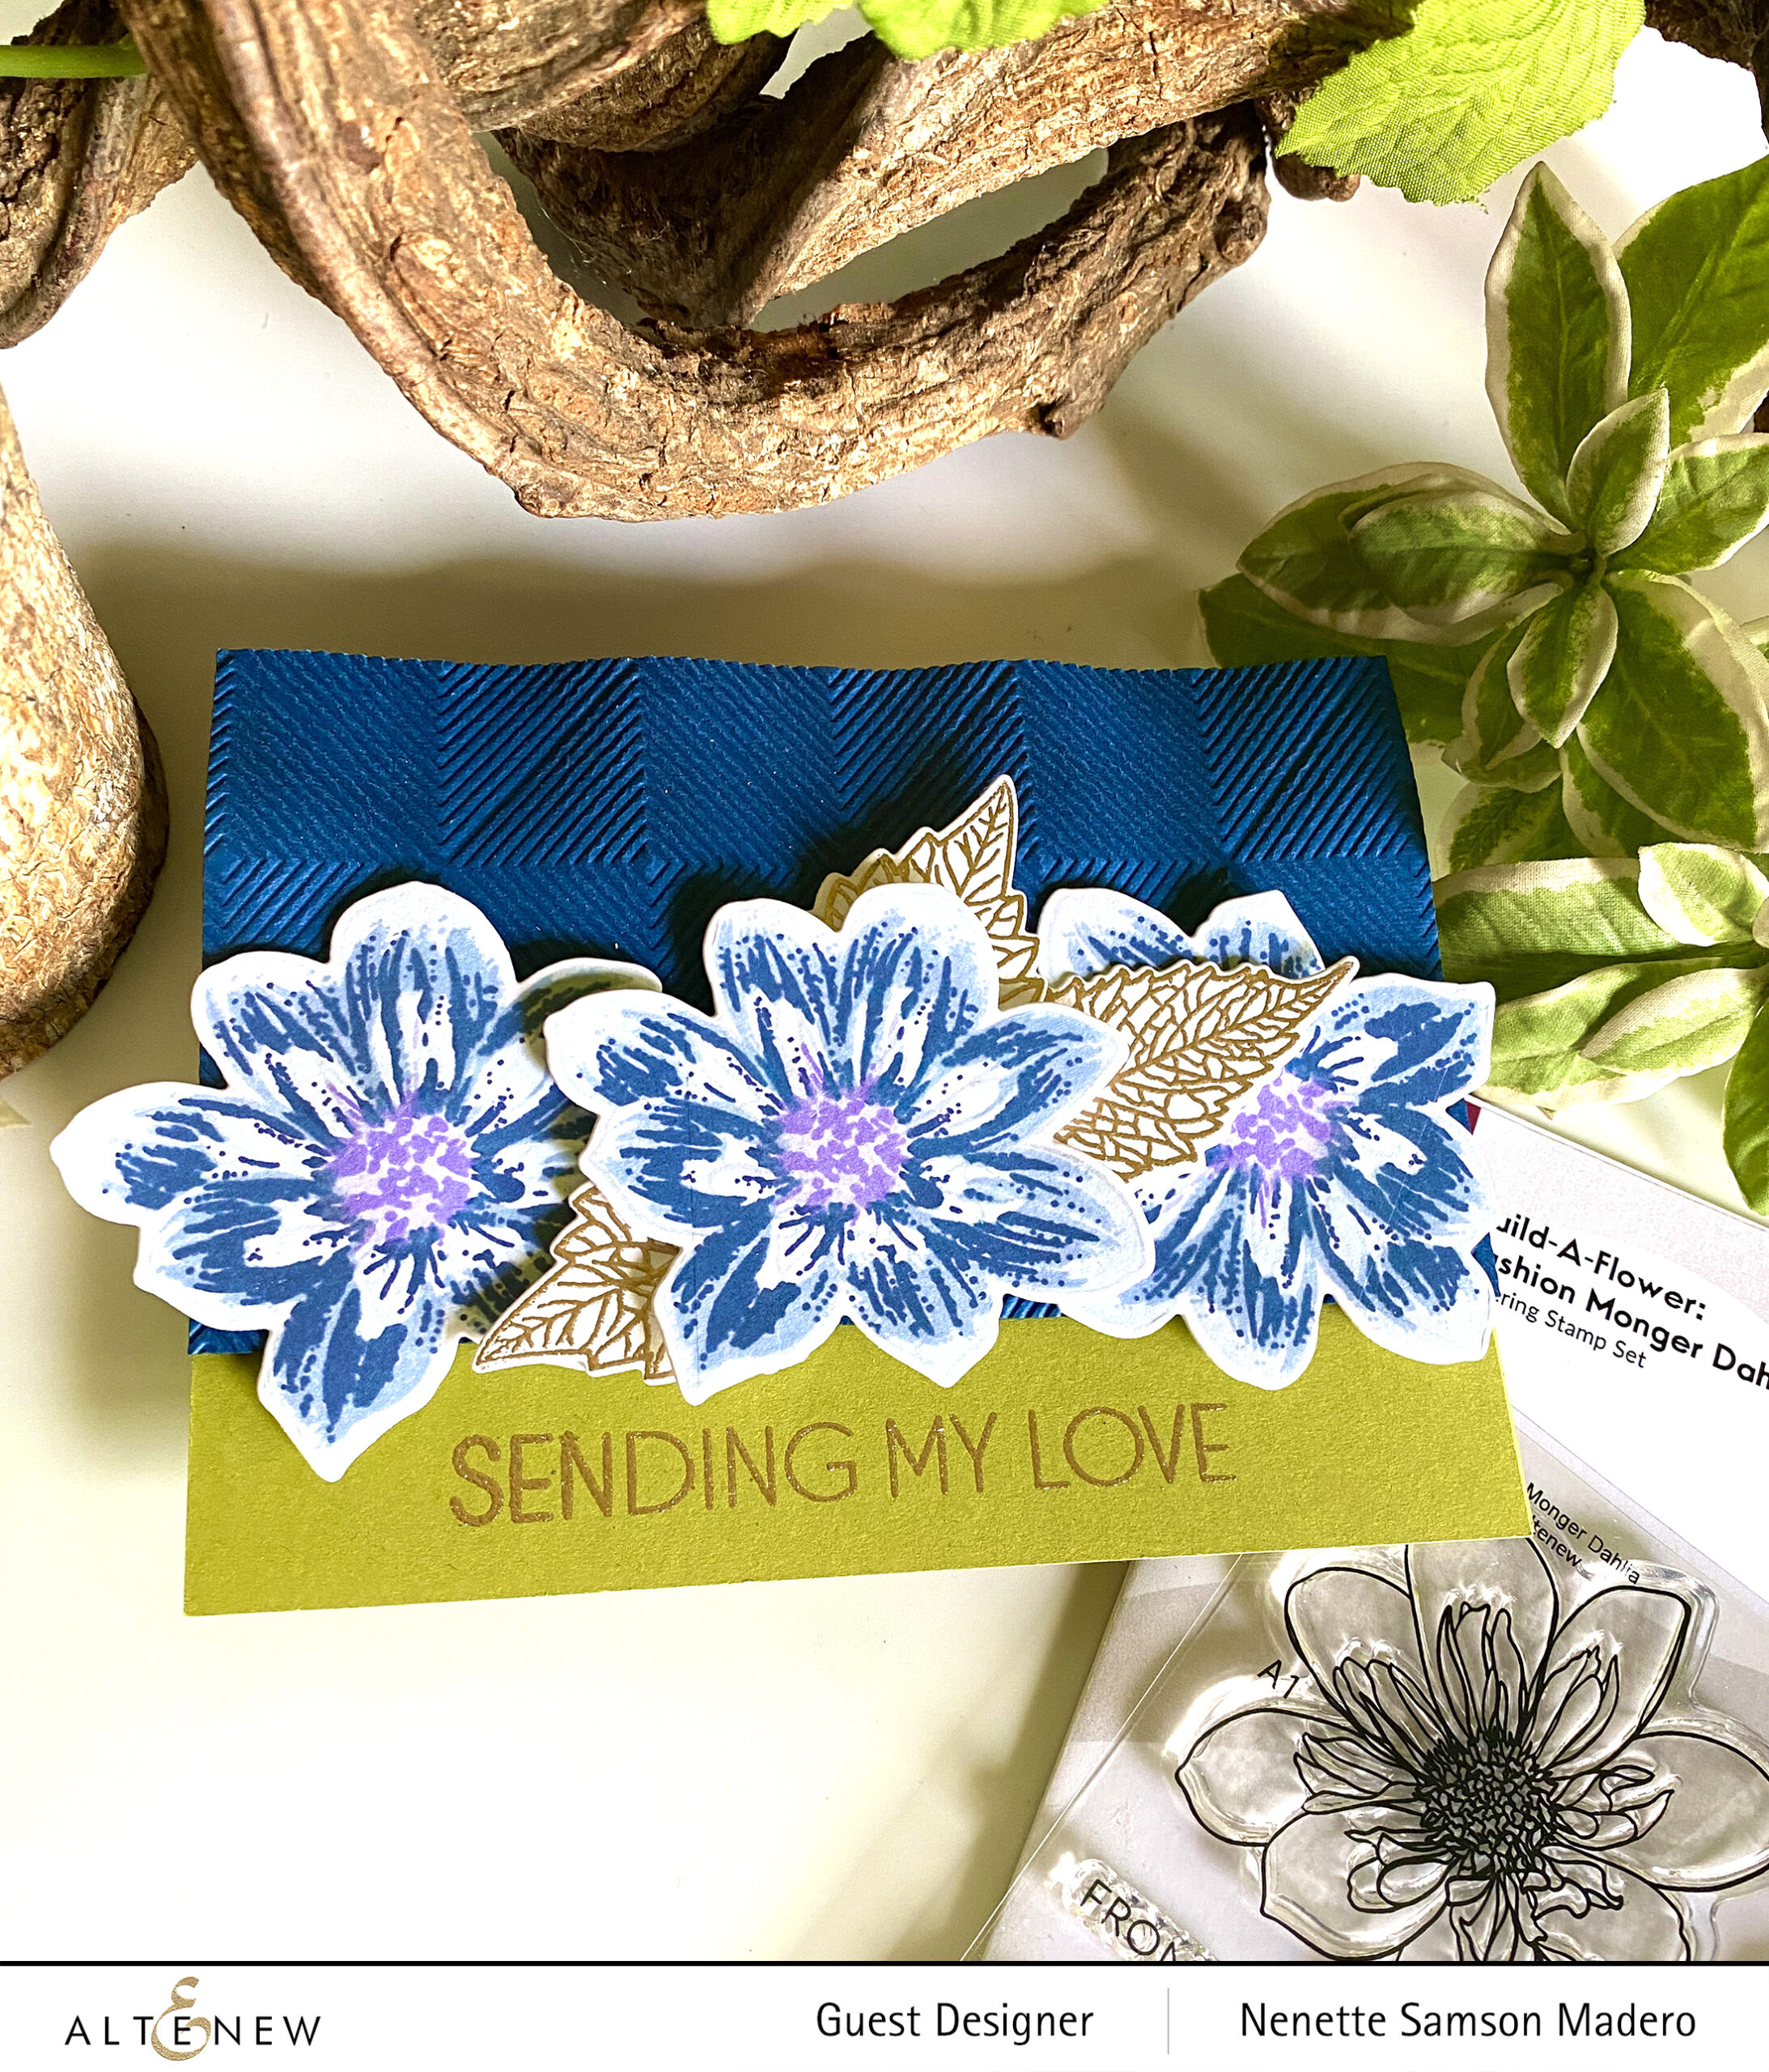
I used watercolor paper to create this flower so that I can play with monochromatic shades of blue. The ombre background was created using Distress oxide inks Tumbled Glass, Salvaged Patina and Salty Ocean. The Garden Trellis Cover die added more texture to the background. To finish off this card, I embossed the sentiment from the Sentiment Strips 2 stamp set. I used cool colors for this card so that everything will blend well together.
You get a 5% discount when purchasing this bundle!
GIVEAWAY PRIZES
$200 in total prizes! To celebrate this release, Altenew is giving away a $50 gift certificate to 2 lucky winners and a $20 gift certificate to 5 winners! Please leave a comment on theAltenew Card Blog and/or each designer’s blog post on the blog hop list below by 8/13/2021 for a chance to win. Altenew will draw 7 random winners from the comments left on each stop of this blog hop and announce the winners on the Altenew Winners Page on 08/15/2021.
I hope you liked this card that I created for the CAF series. Next up is Preeti Chandran. Thanks so much for dropping by! I truly appreciate all your wonderful comments. <3 Take care and stay safe!
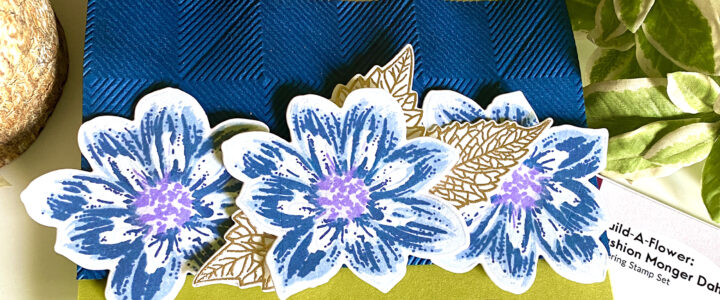
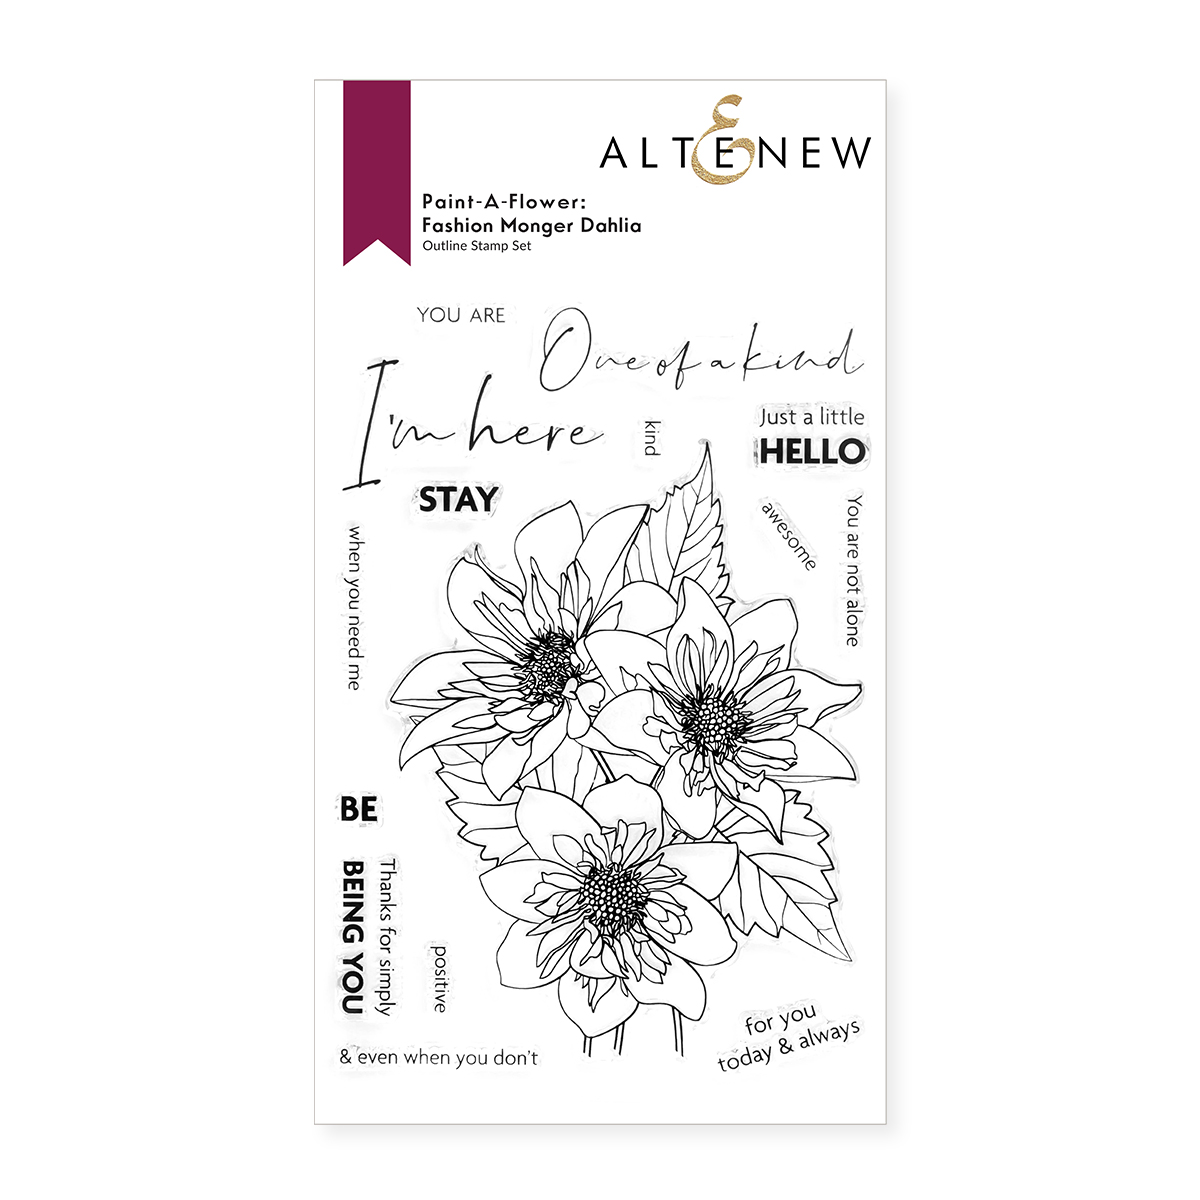
Welcome, everyone! If you just came from Joylita Dsouza blog, then you’re on the right track. For the full list of the hop, do drop by the Altenew Card Blog. Want to make a bold statement on your handmade cards? The Fashion Monger Dahlia is the flower for you! This set features one six-layer flower and two three-layer leaves. The leaves have a delicate and lacy feel to them to help you achieve a richer look on your projects. The included sentiments feature a gorgeous pairing of fonts to accompany your floral creations. Gorgeous, right?
Below are a 2 samples of cards I made using the stamp set.
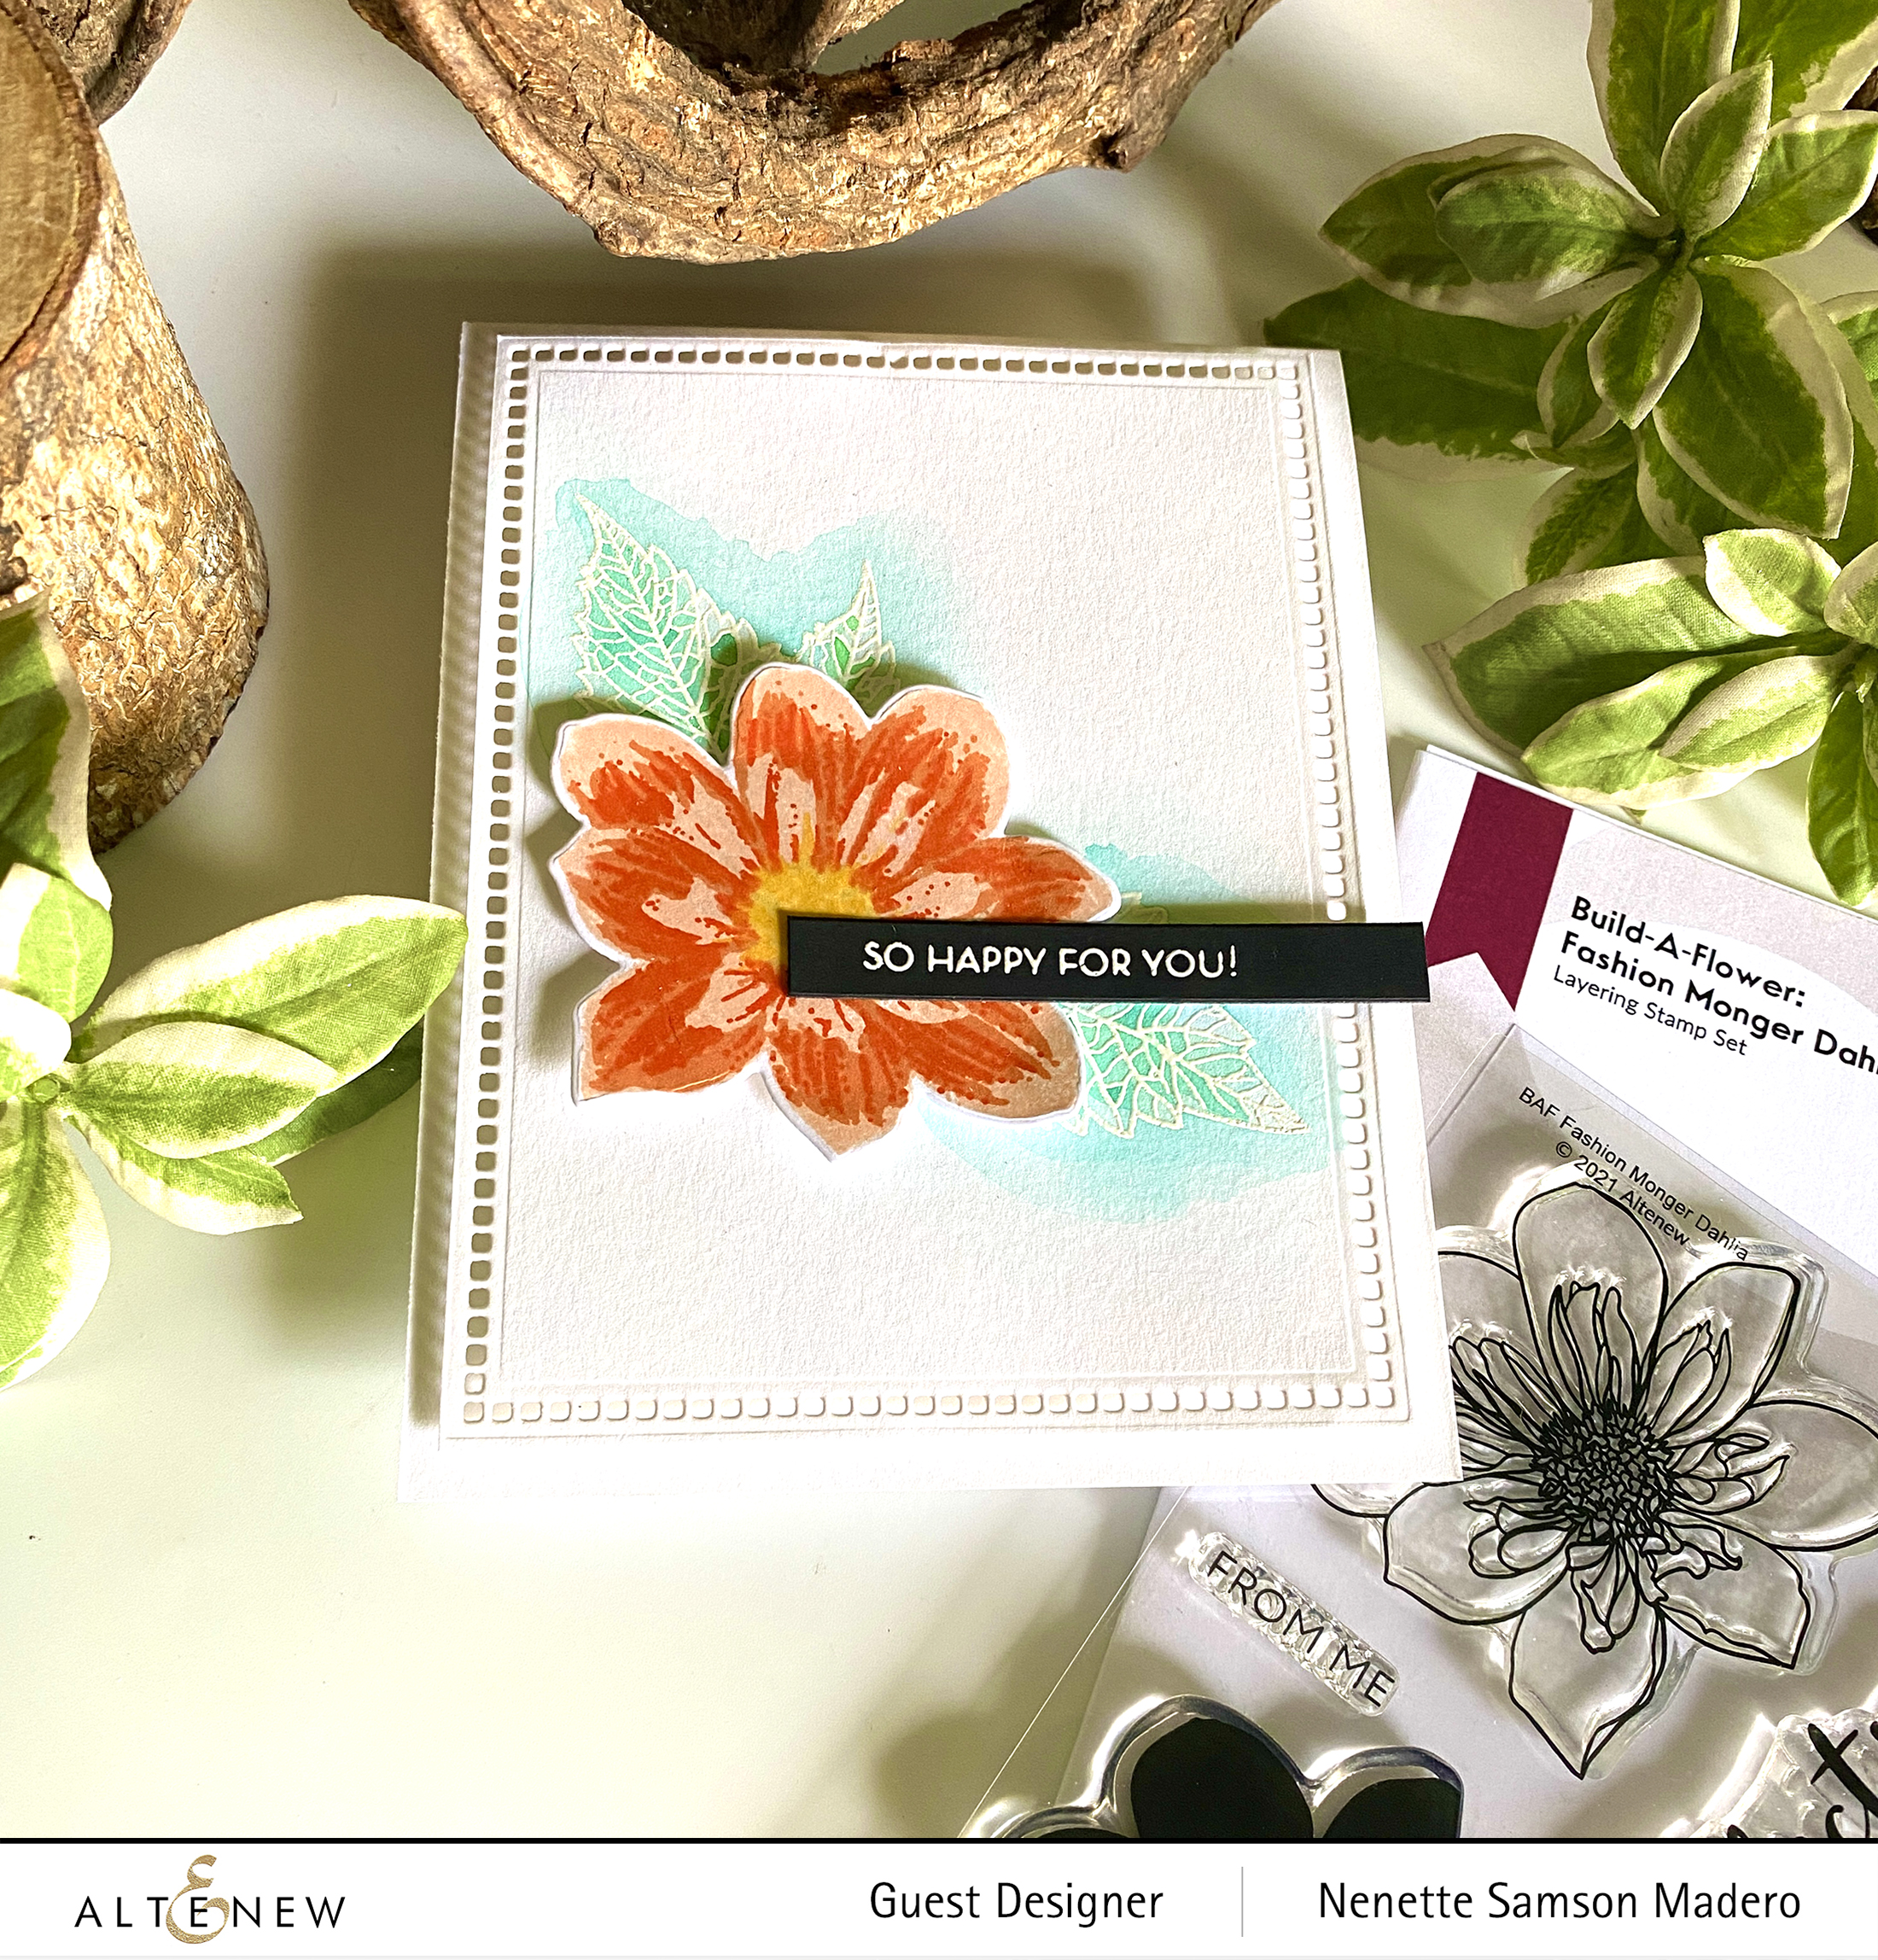
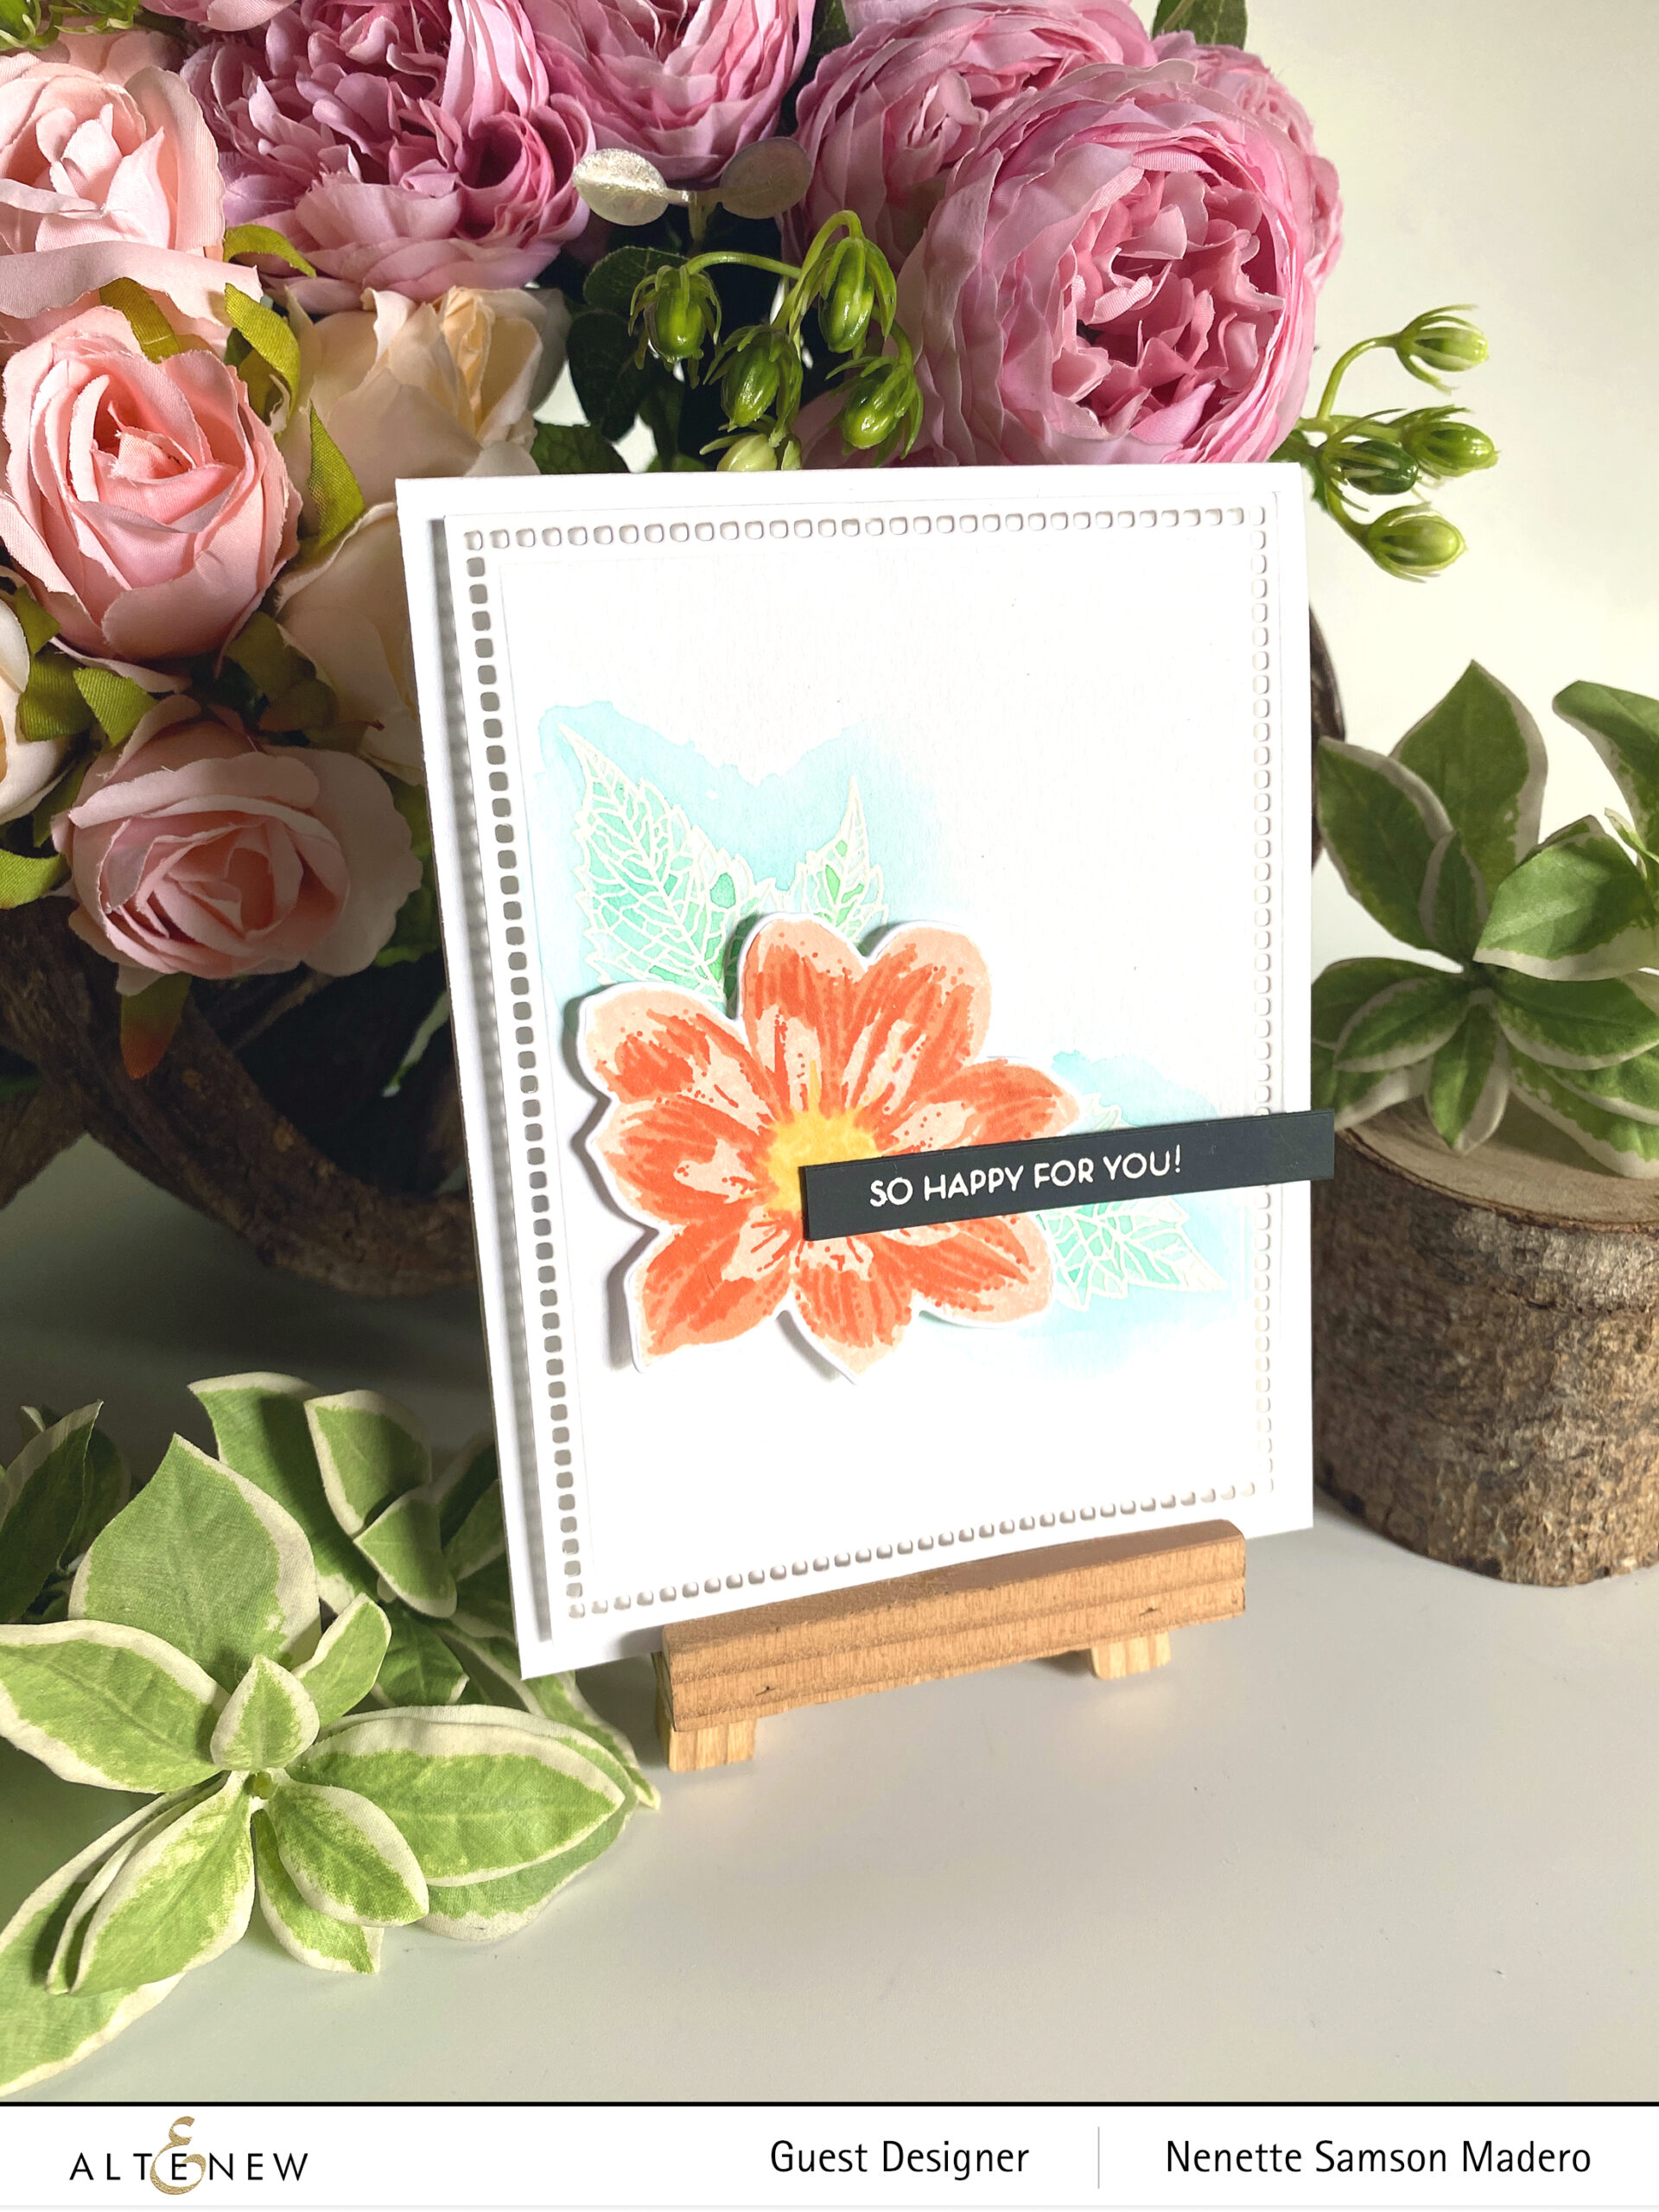
Here’s a simple card I made using this stamp set. I made sure there was a lot of white space to give more emphasis to the flower itself. The leaves were directly stamped on the card front with Versamark Ink then embossed using Pure White embossing powder. Artist watercolor markers were used to color the leaves. The Fashion Monger Dahlia was colored using the following dye inks–Pastel Sunrise, Canyon Clay, Burnt Red, Sunray and Chamomile then cut using the coordinating die cut. The sentiment was stamped on black cardstock then embossed using Pure White embossing powder.
If you don’t want to miss any of the Build-A-Flower series, you can avail of the subscription plan at a discounted rate.
$200 in total prizes! To celebrate this release, Altenew is giving away a $50 gift certificate to 2 lucky winners and a $20 gift certificate to 5 winners! Please leave a comment on the Altenew Card Blog and/or each designer’s blog post on the blog hop list below by 08/07/2021 for a chance to win. Altenew will draw 7 random winners from the comments left on each stop of this blog hop and announce the winners on the Altenew Winners Page on 08/09/2021.
Next up is the talented Natasha Davies. Don’t forget to leave a comment below to get a chance to win a prize from Altenew! Thank you all for dropping by. I love hearing from all of you and hope we can be friends on IG as well (@mylittleatticstudio). Stay safe and happy crafting!!!
Welcome to my blog, friends! Today is the release of Altenew’s Paint-a-Flower: Fashion Monger Dahlia! Thanks so much, Daniel Diaz for relaying everyone over to my blog. For the complete list, you may start at Altenew’s card blog.
PAINT A FLOWER: FASHION MONGER DAHLIA STAMP AND DIE SET CAN BE FOUND HERE
Sometimes, the images from a stamp set have a lot of details that it seems a bit complicated to color because of the intricate designs. Below, I will show you 3 ways to easily color detailed stamp images.
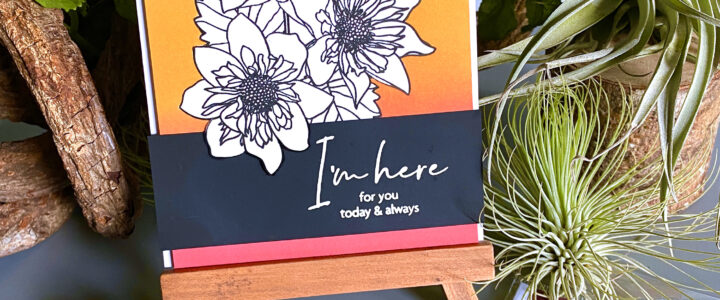
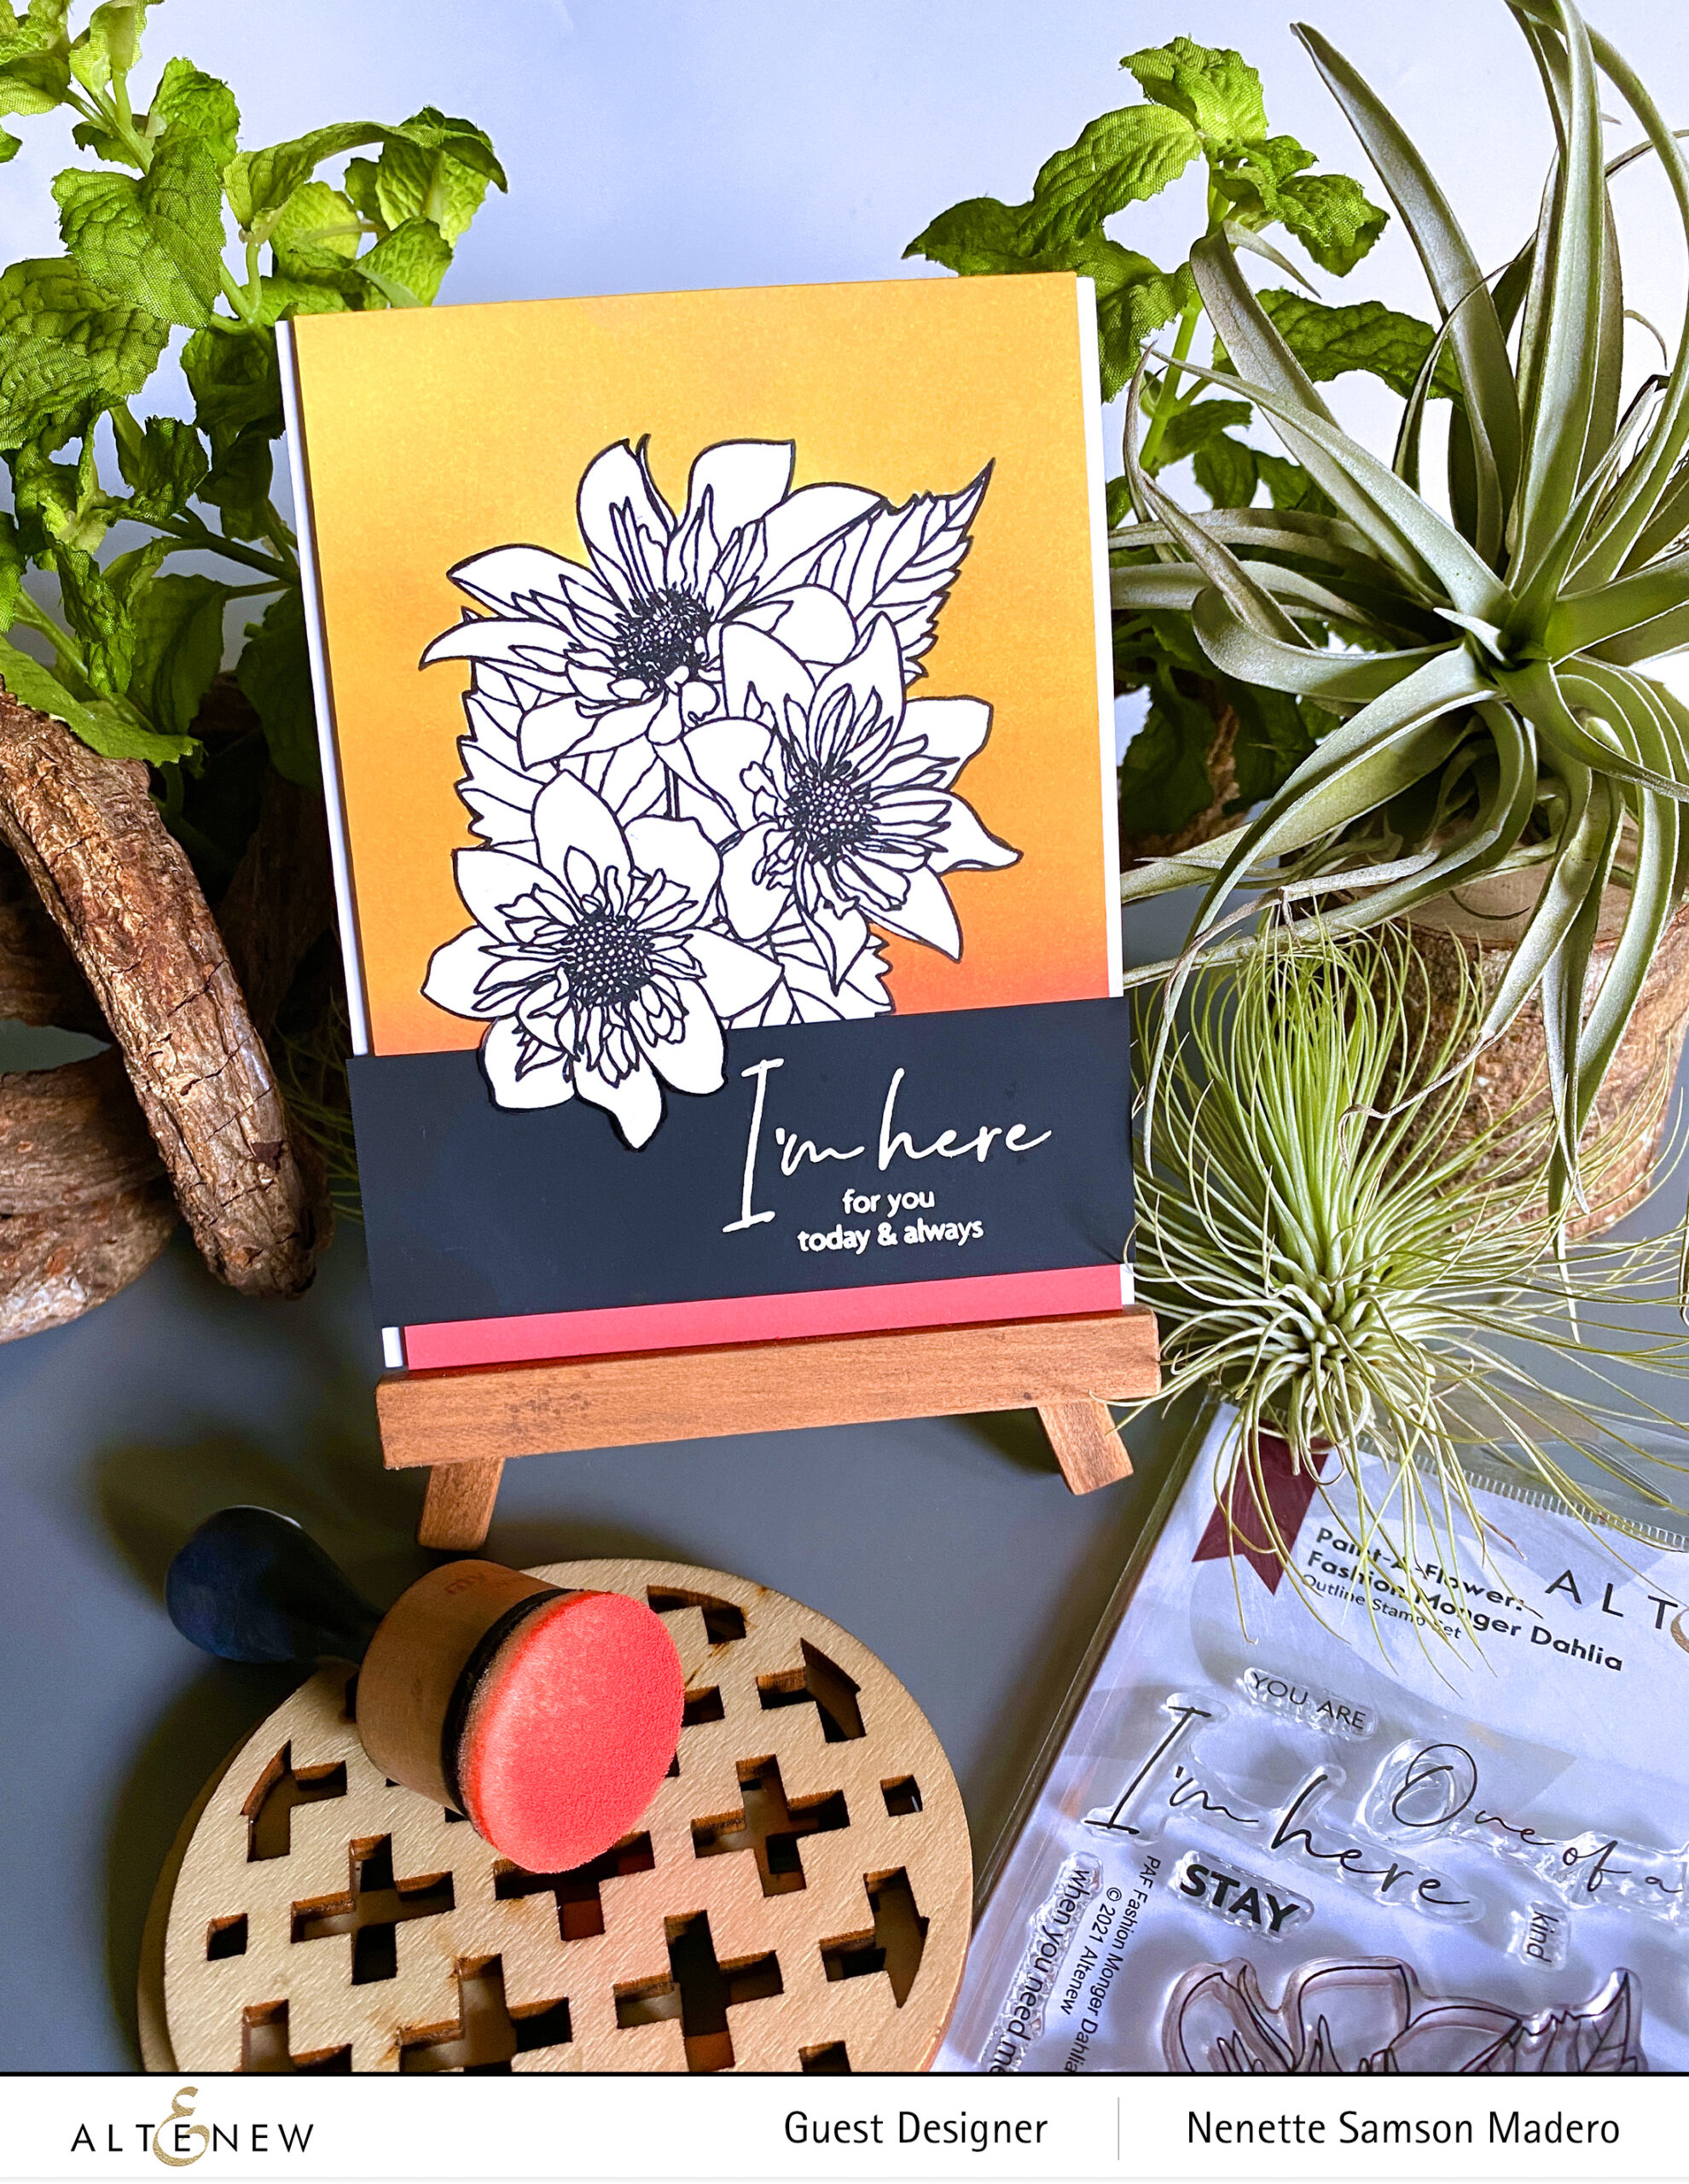
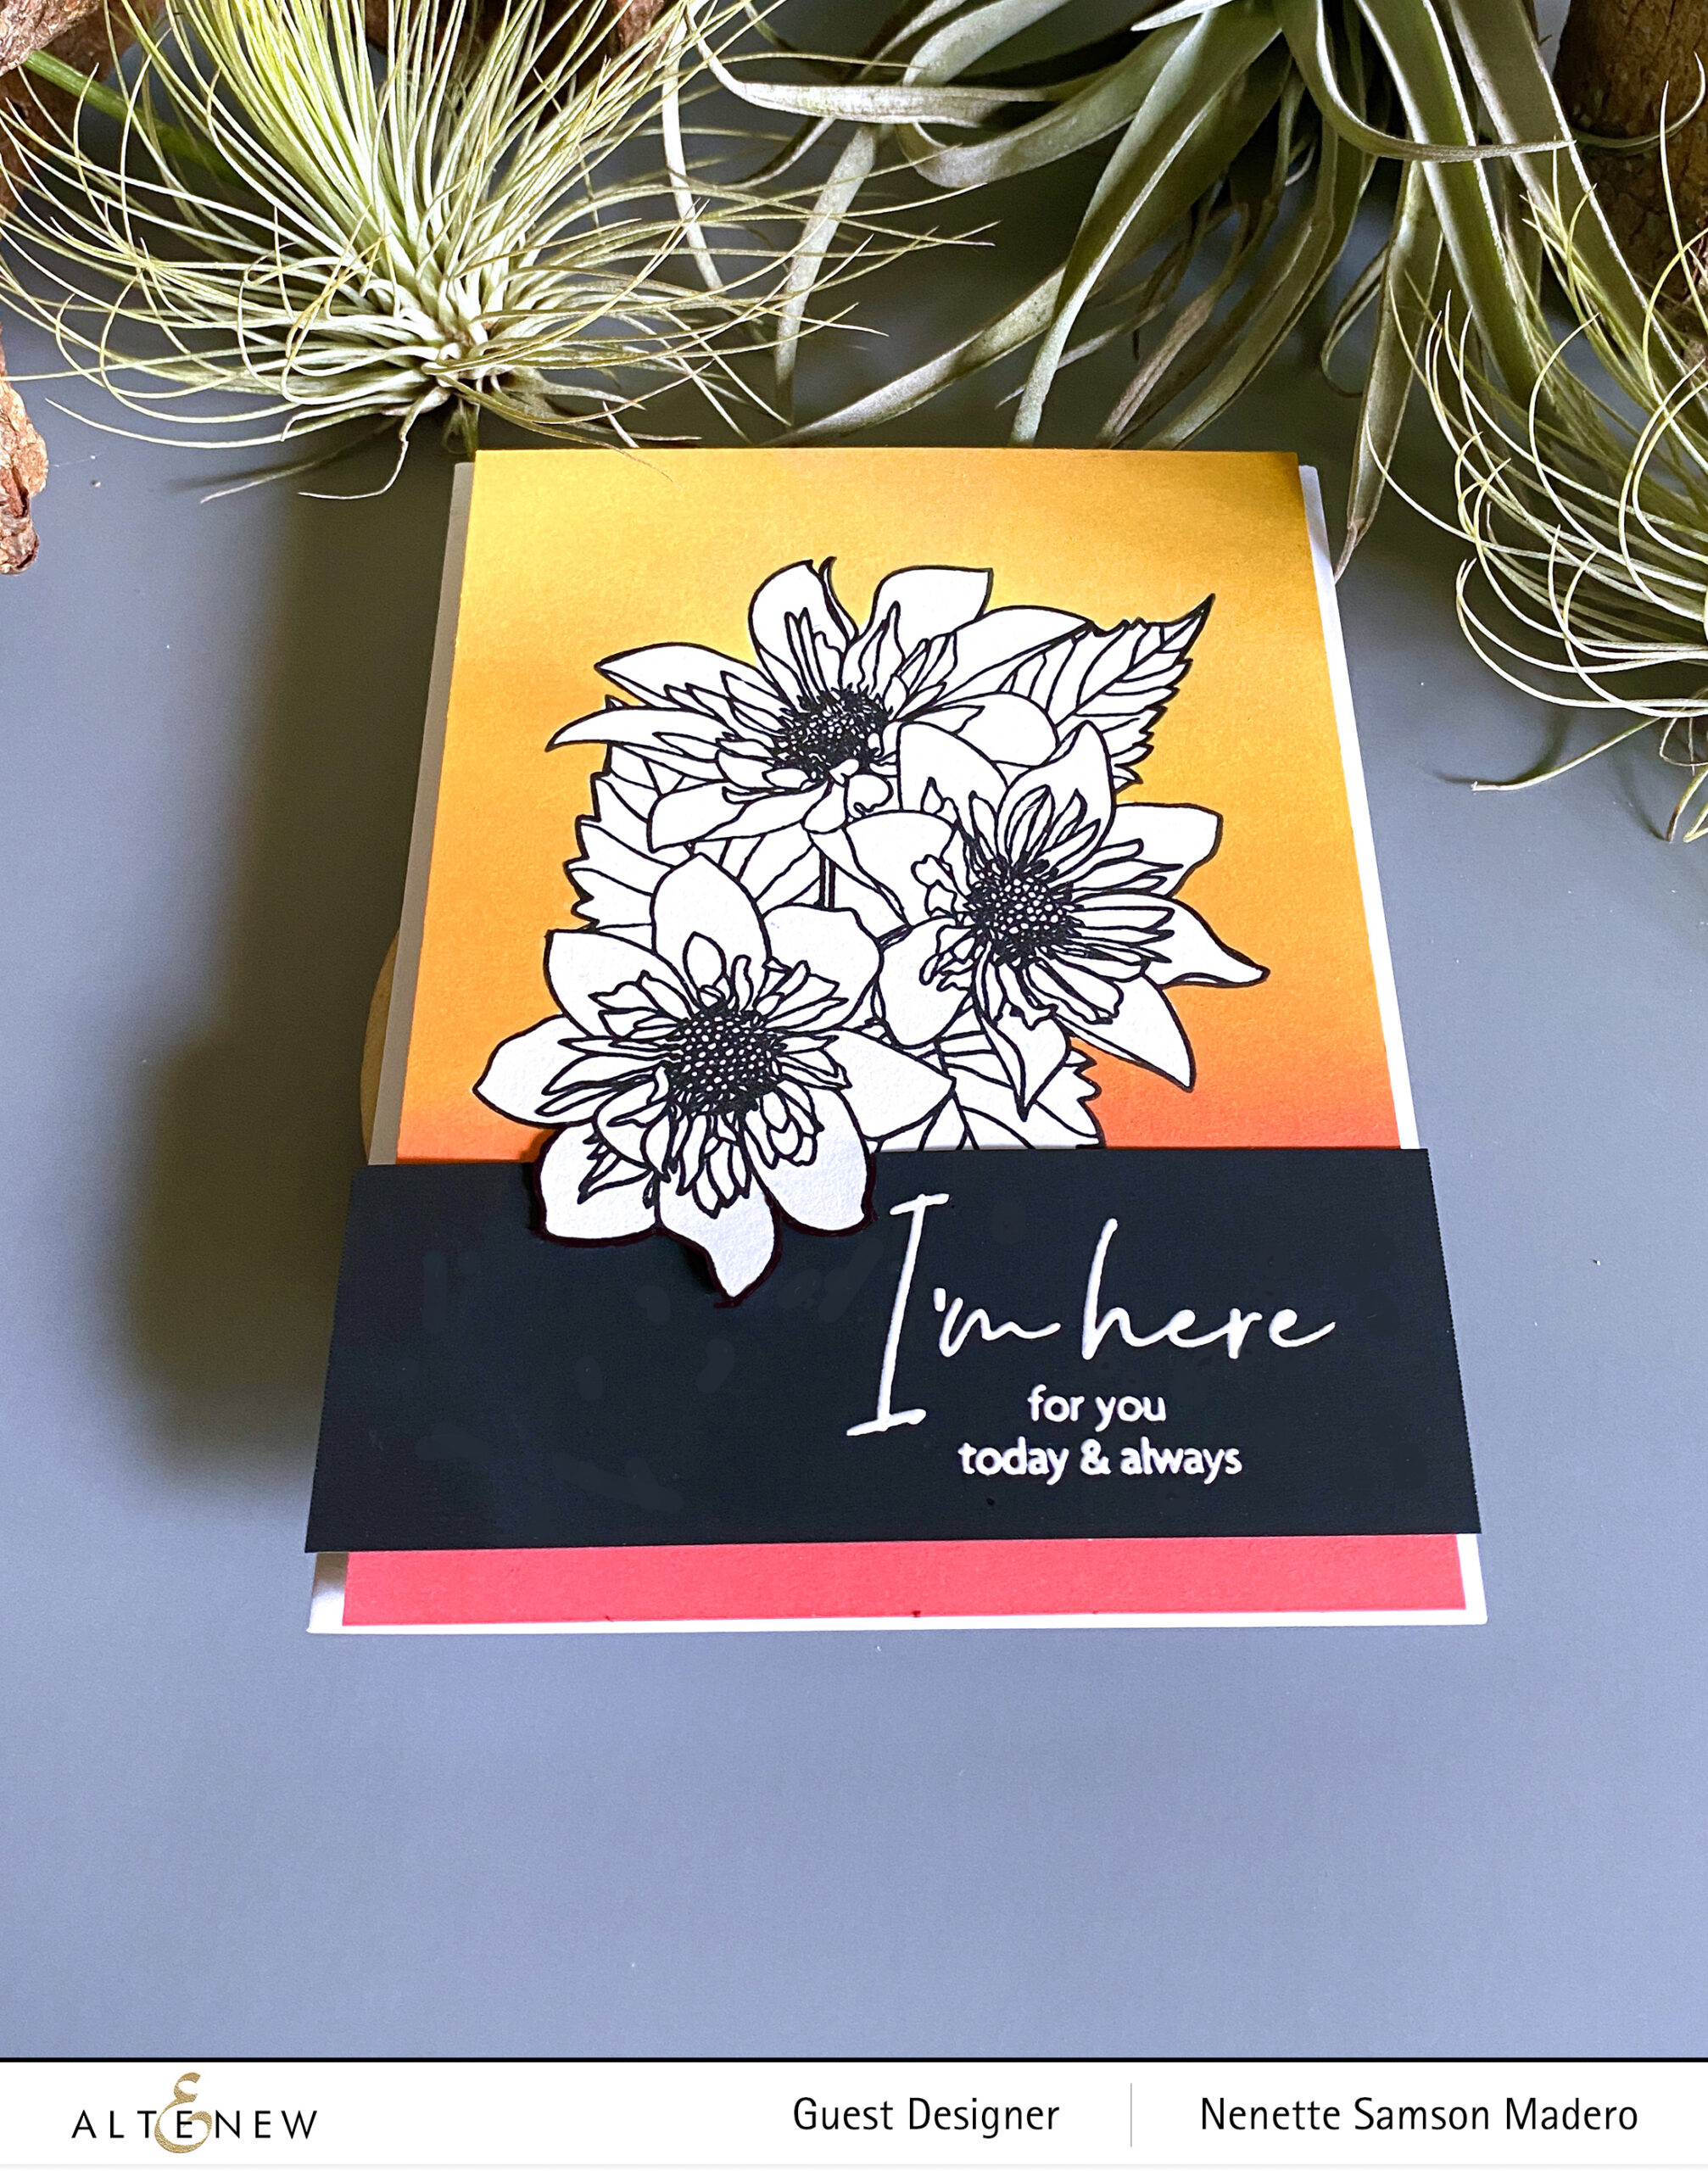
I’M HERE FOR YOU TODAY & ALWAYS
MATERIALS: PAF: FASHION MONGER DAHLIA, PURE WHITE EMBOSSING POWDER, OBSIDIAN INK, VERSAMARK INK, MASKING PAPER,DISTRESS OXIDE INKS- BARN DOOR, WILD HONEY, CARVED PUMPKIN, NEENAH SOLAR WHITE CARDSTOCK, BLACK CARDSTOCK, FOAM SQUARES AND ADHESIVE, EXACTO KNIFE
STEPS:
Stamp the image onto Neenah Solar white cardstock using Obsidian Ink
Stamp the image on masking paper and fussy cut the outline of the whole image
Line up the mask then add color to the background. Blend the oxide inks well
Stamp the sentiment using Versamark Ink on black cardstock then emboss with white embossing powder
With an Exacto knife, cut a portion of the outline of the flower so that you can tuck the sentiment underneath it for added interest
Assemble the card
Sometimes, when an image seems to be complicated to color, you can always choose to color the background and keep the image black and white. This way, the image stands out more. Since I love layering in my cards, I cut out a portion of the stamped image so that I can tuck in the sentiment strip underneath the petal. It just gives the card a different twist than just adding the sentiment on top of the image.
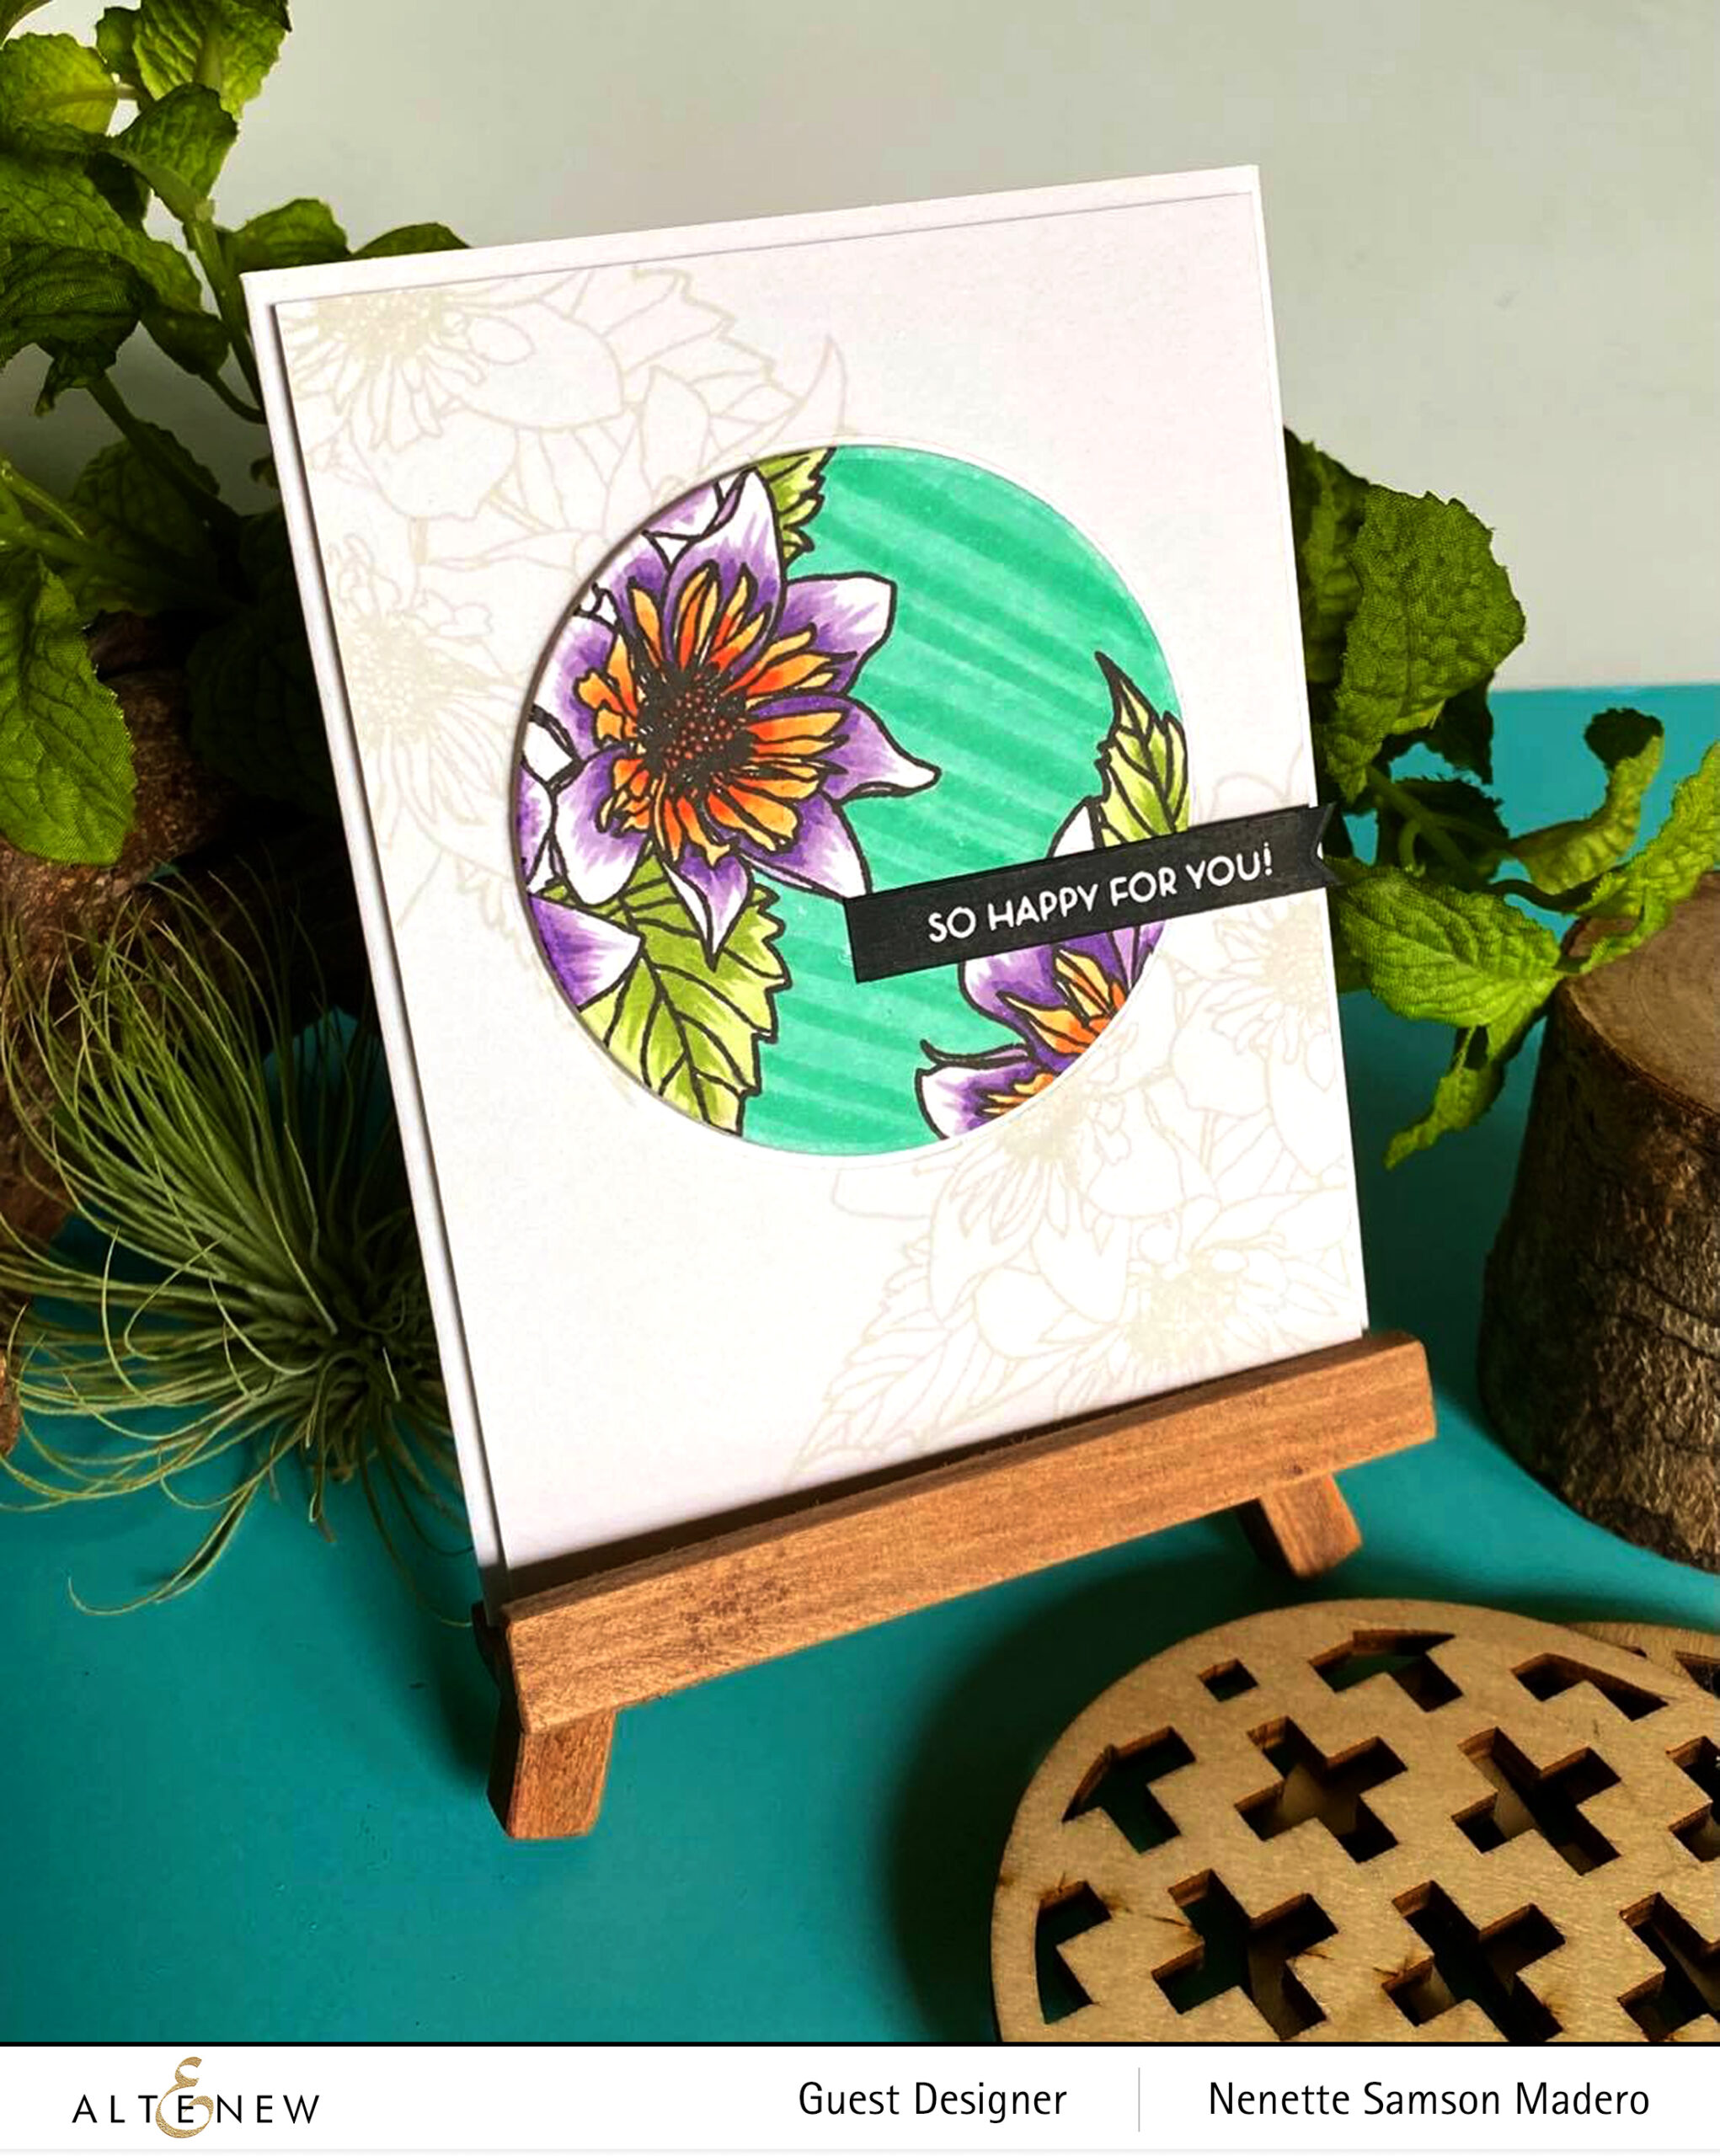
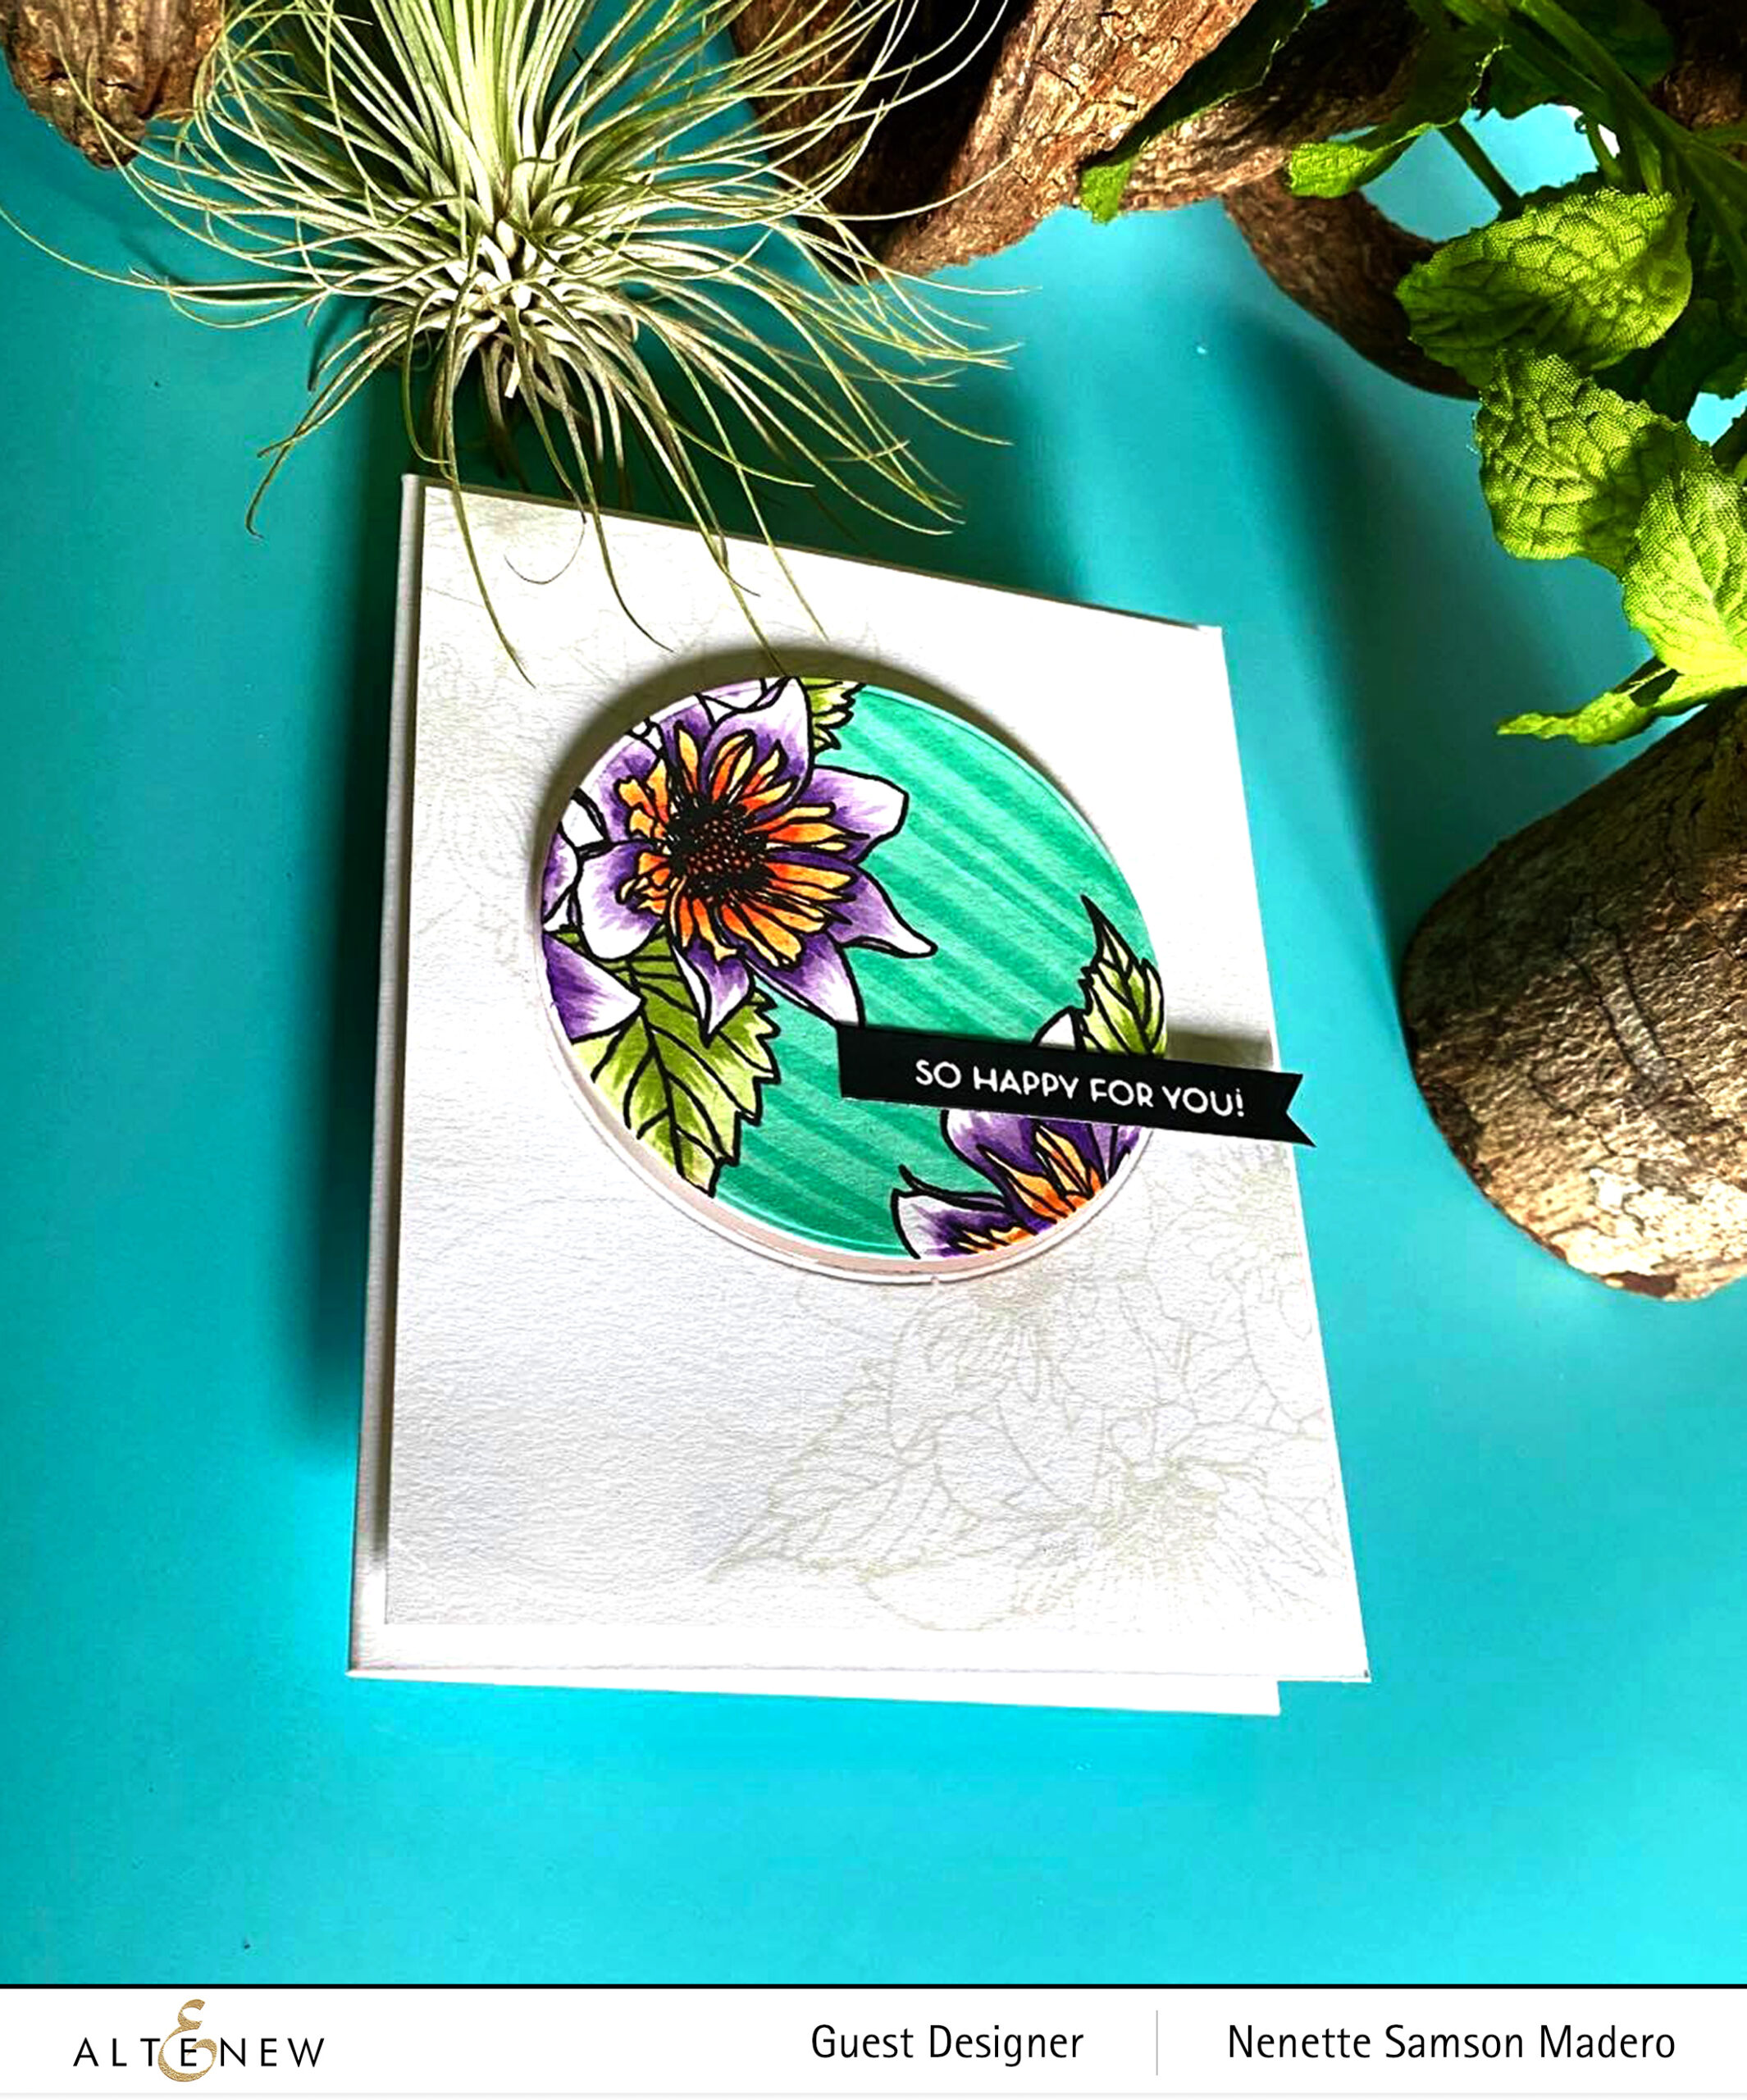
SO HAPPY FOR YOU
MATERIALS: PAF: FASHION MONGER DAHILIA, ALCOHOL MARKERS B815, R 702, R823, R705, G702, G715, KARIN BRUSH MARKERS PALE ORANGE 357, AMBER 195 AND OMBRE RED 051, NO LINE INK, OBSIDIAN INK, PURE WHITE EMBOSSING POWDER, CIRCLE DIE , NEENAH SOLAR WHITE CARDSTOCK, FOAM SQUARES AND VERSAMARK INK
STEPS:
Using a Misti, stamp the image on Neenah Solar White cardstock using Obsidian Ink. Allow to dry
Align the paper using the Misti and stamp the image on Neenah Solar White cardstock using no line ink
Die-cut the circle from the stamped image using Obsidian ink
Color using Alcohol Ink markers
Stamp the sentiment with Versamark ink and emboss with Pure White embossing powder
Assemble the card by lining up the colored image with the background image and adhere using foam squares. Add the sentiment
A second way of coloring a very detailed image is spotlight colorcoloring… choose an area to spotlight and color that part only. Leave the rest of the image uncolored. This way, you only have small portion to color instead of coloring the whole image!
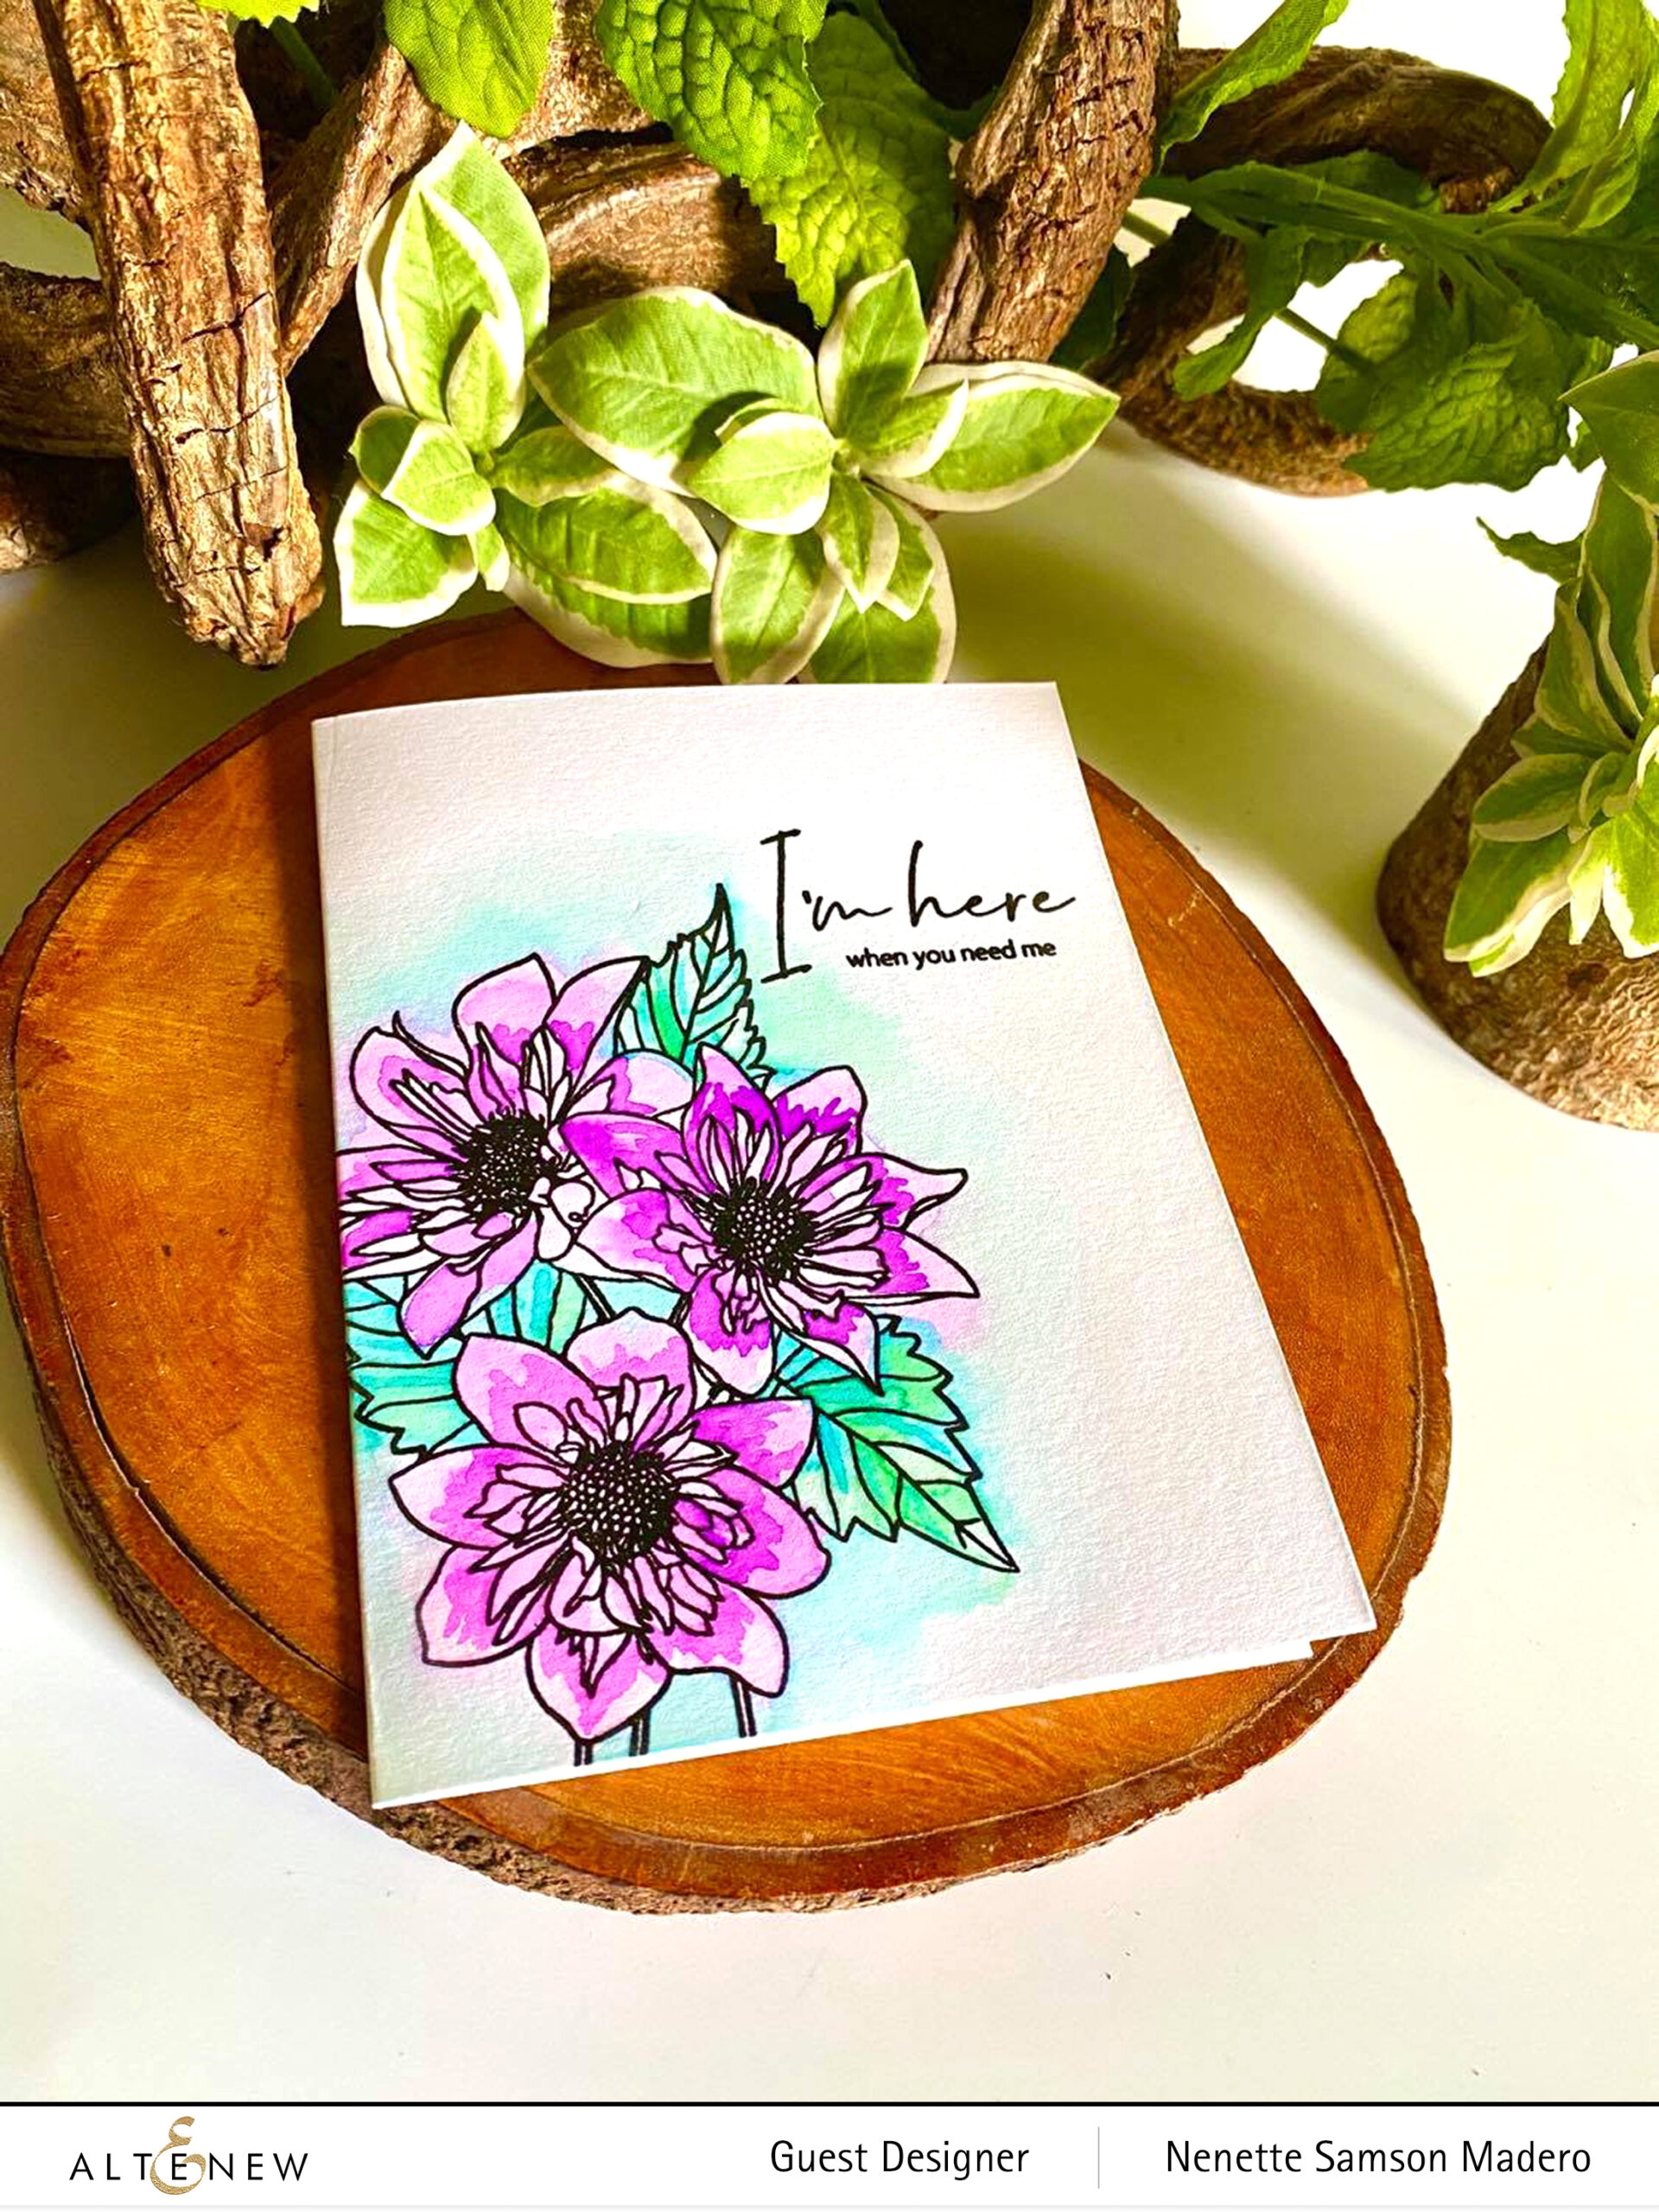
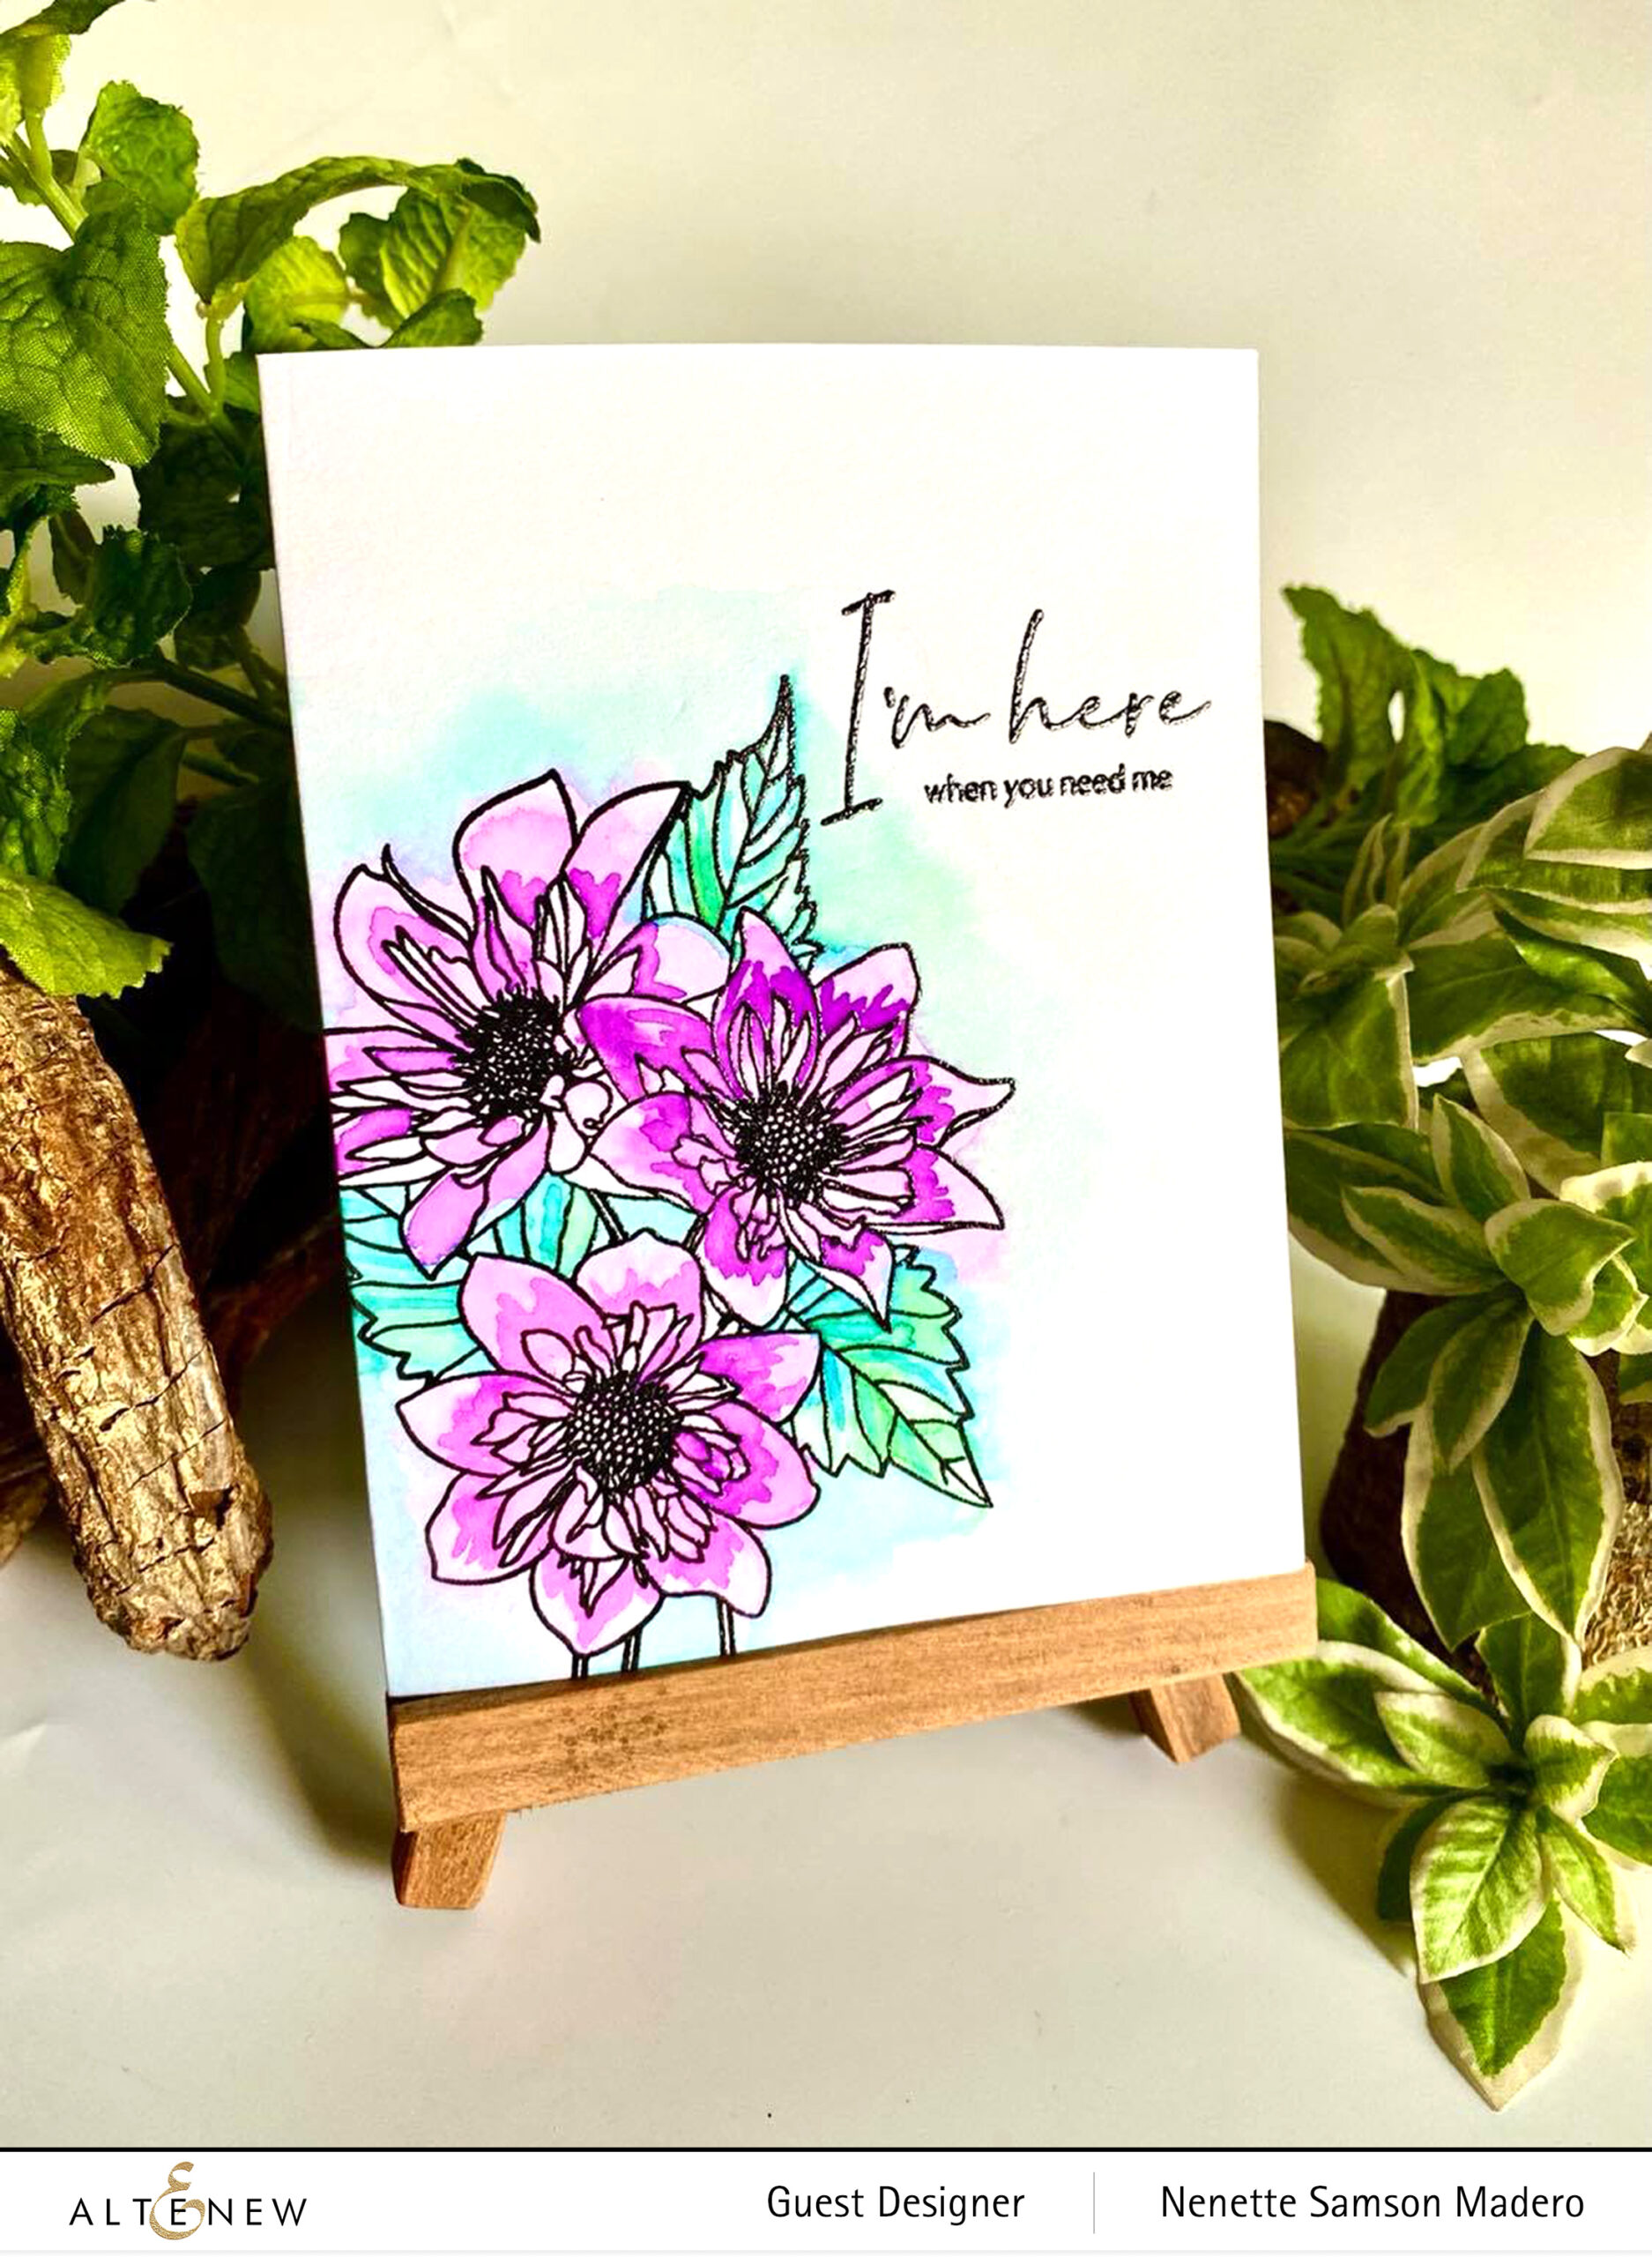
Stamp the image and sentiment with Obsidian ink and emboss using clear embossing powder
Loosely color the images with a light wash of pinks, greens and blues using the wet on wet technique
Allow to dry then color with a more pigmented wash of darker shades to add texture
Loose watercolor technique is when you intentionally leave out the details and allow the water to move the pigments more freely… no need to worry about staying within the lines for this type of coloring. The only time you have to pay attention is when you are adding the second layer which is the highly pigmented watercolor.
If you don’t want to miss any of the BAF releases, you can subscribe monthly and get a 14% off discount!
GIVEAWAYS
$200 in total prizes! To celebrate this release, Altenew is giving away a $50 gift certificate to 2 lucky winners and a $20 gift certificate to 5 winners! Please leave a comment on the Altenew Card Blog and/or each designer’s blog post on the blog hop list below by 07/28/2021 for a chance to win.
Altenew will draw 7 random winners from the comments left on each stop of this blog hop and announce the winners on the Altenew Winners Page on 07/30/2021.
I hope you learned a thing or two on how to color detailed images easily. Let me know which technique you’d like to try next time you create a card with a very detailed stamp image. The next stop is the talented Bridget Casey. Please don’t forget to leave a comment to get a chance to win a prize from Altenew. Hope you can follow me on Instagram as well @mylittleatticstudio cause that’s where I post all my works. Enjoy the rest of the week! Stay safe and happy crafting!
Hello, everyone! Welcome to Altenew’s Build-a-Flower: Bearded Iris Release blog hop + giveaway!!! I’m so thrilled to be joining the designers for this hop! If you just came from Linda Westfall‘s blog, then you almost made it to the finish line!!! You will find the complete blog hop list on the Altenew card blog.
Take a look at this beautiful layering set! For my samples, I made one using only the outline layer and the other using all the layers.
All Altenew products are linked to Altenew’s online store so that it’s easy for you to find them. These are not affiliate links… I just want it to be easier for you to find the items in the store. 😊
Stamp with Versamark ink and emboss the outline image using Rose Gold embossing powder.
Color the image using the Water Garden Artist Alcohol Markers set G
Die-cut Neenah solar white using the Nesting frames die then deboss with the Dotted Starburst debossing die
Stamp the sentiment on black cardstock using Versarmark ink and emboss with Pure white embossing powder.
Create an ombre background using distress oxide inks.
Distress the edges of the background with a paper distresser.
Assemble the card with foam squares for added dimension.
Because the vellum is a non-porous surface, it it’s easier to move and blend the the pigments. With paper, the ink will seep into the fibers very quickly. It wasn’t difficult to create the texture on the flowers by using different shades of the same color.
For this card, I used both the outline stamp set and the layering stamps.
Stamp Neenah solar white cardstock using the outline stamp and Ink on 3 no line coloring ink.
Layer the stamp layers to create a flower using the Warm and Cozy dye ink set. Stamp the leaves using Nature’s Wonders ink set.
Stamp the outline image on making paper then cut out the image to create a mask.
Cover the layered flower with the cut out masking paper and stamp the outline image using Versafine Onyx black.
Create a scalloped edge using the die.
Mat with gold cardstock.
Die-cut the sentiment 5 times. Add Versamark Ink to the lower part of the die-cut and emboss using Rose Gold embossing powder.
Assemble the card with foam squares.
PRIZES
$200 in total prizes! To celebrate this release, Altenew is giving away a $50 gift certificate to 2 lucky winners and a $20 gift certificate to 5 winners! Please leave a comment on the Altenew Card Blog and/or each designer’s blog post on the blog hop list below by 07/07/2021 for a chance to win. Altenew will draw 7 random winners from the comments left on each stop of this blog hop and announce the winners on the Altenew Winners Page on 07/09/2021.
Next up is Svitlana Shayevich I hope you liked the cards I made for this hop. Don’t forget to leave a comment to get a chance to win some prizes from Altenew! Thanks so much for dropping by and stay safe, everyone!!!
Hello everyone! Welcome to the Altenew Educators’ Certificate Program IG hop! I decided to create a blog post for this as well so that I can share the process with all of you. We were asked to choose a favorite class that we draw inspiration from. I chose the Creative Coloring with Erum — Advanced Techniques workshop because I have been a huge fan of Erum’s coloring skills and I knew that it will be packed with tons of tips and techniques. I was not disappointed. Erum is immensely talented and is always so generous in sharing her creative process. Thank you so much, Erum!!! You can check out her blog here and her youtube channel here.
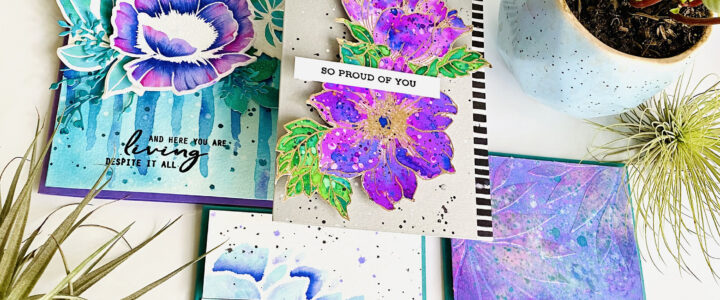
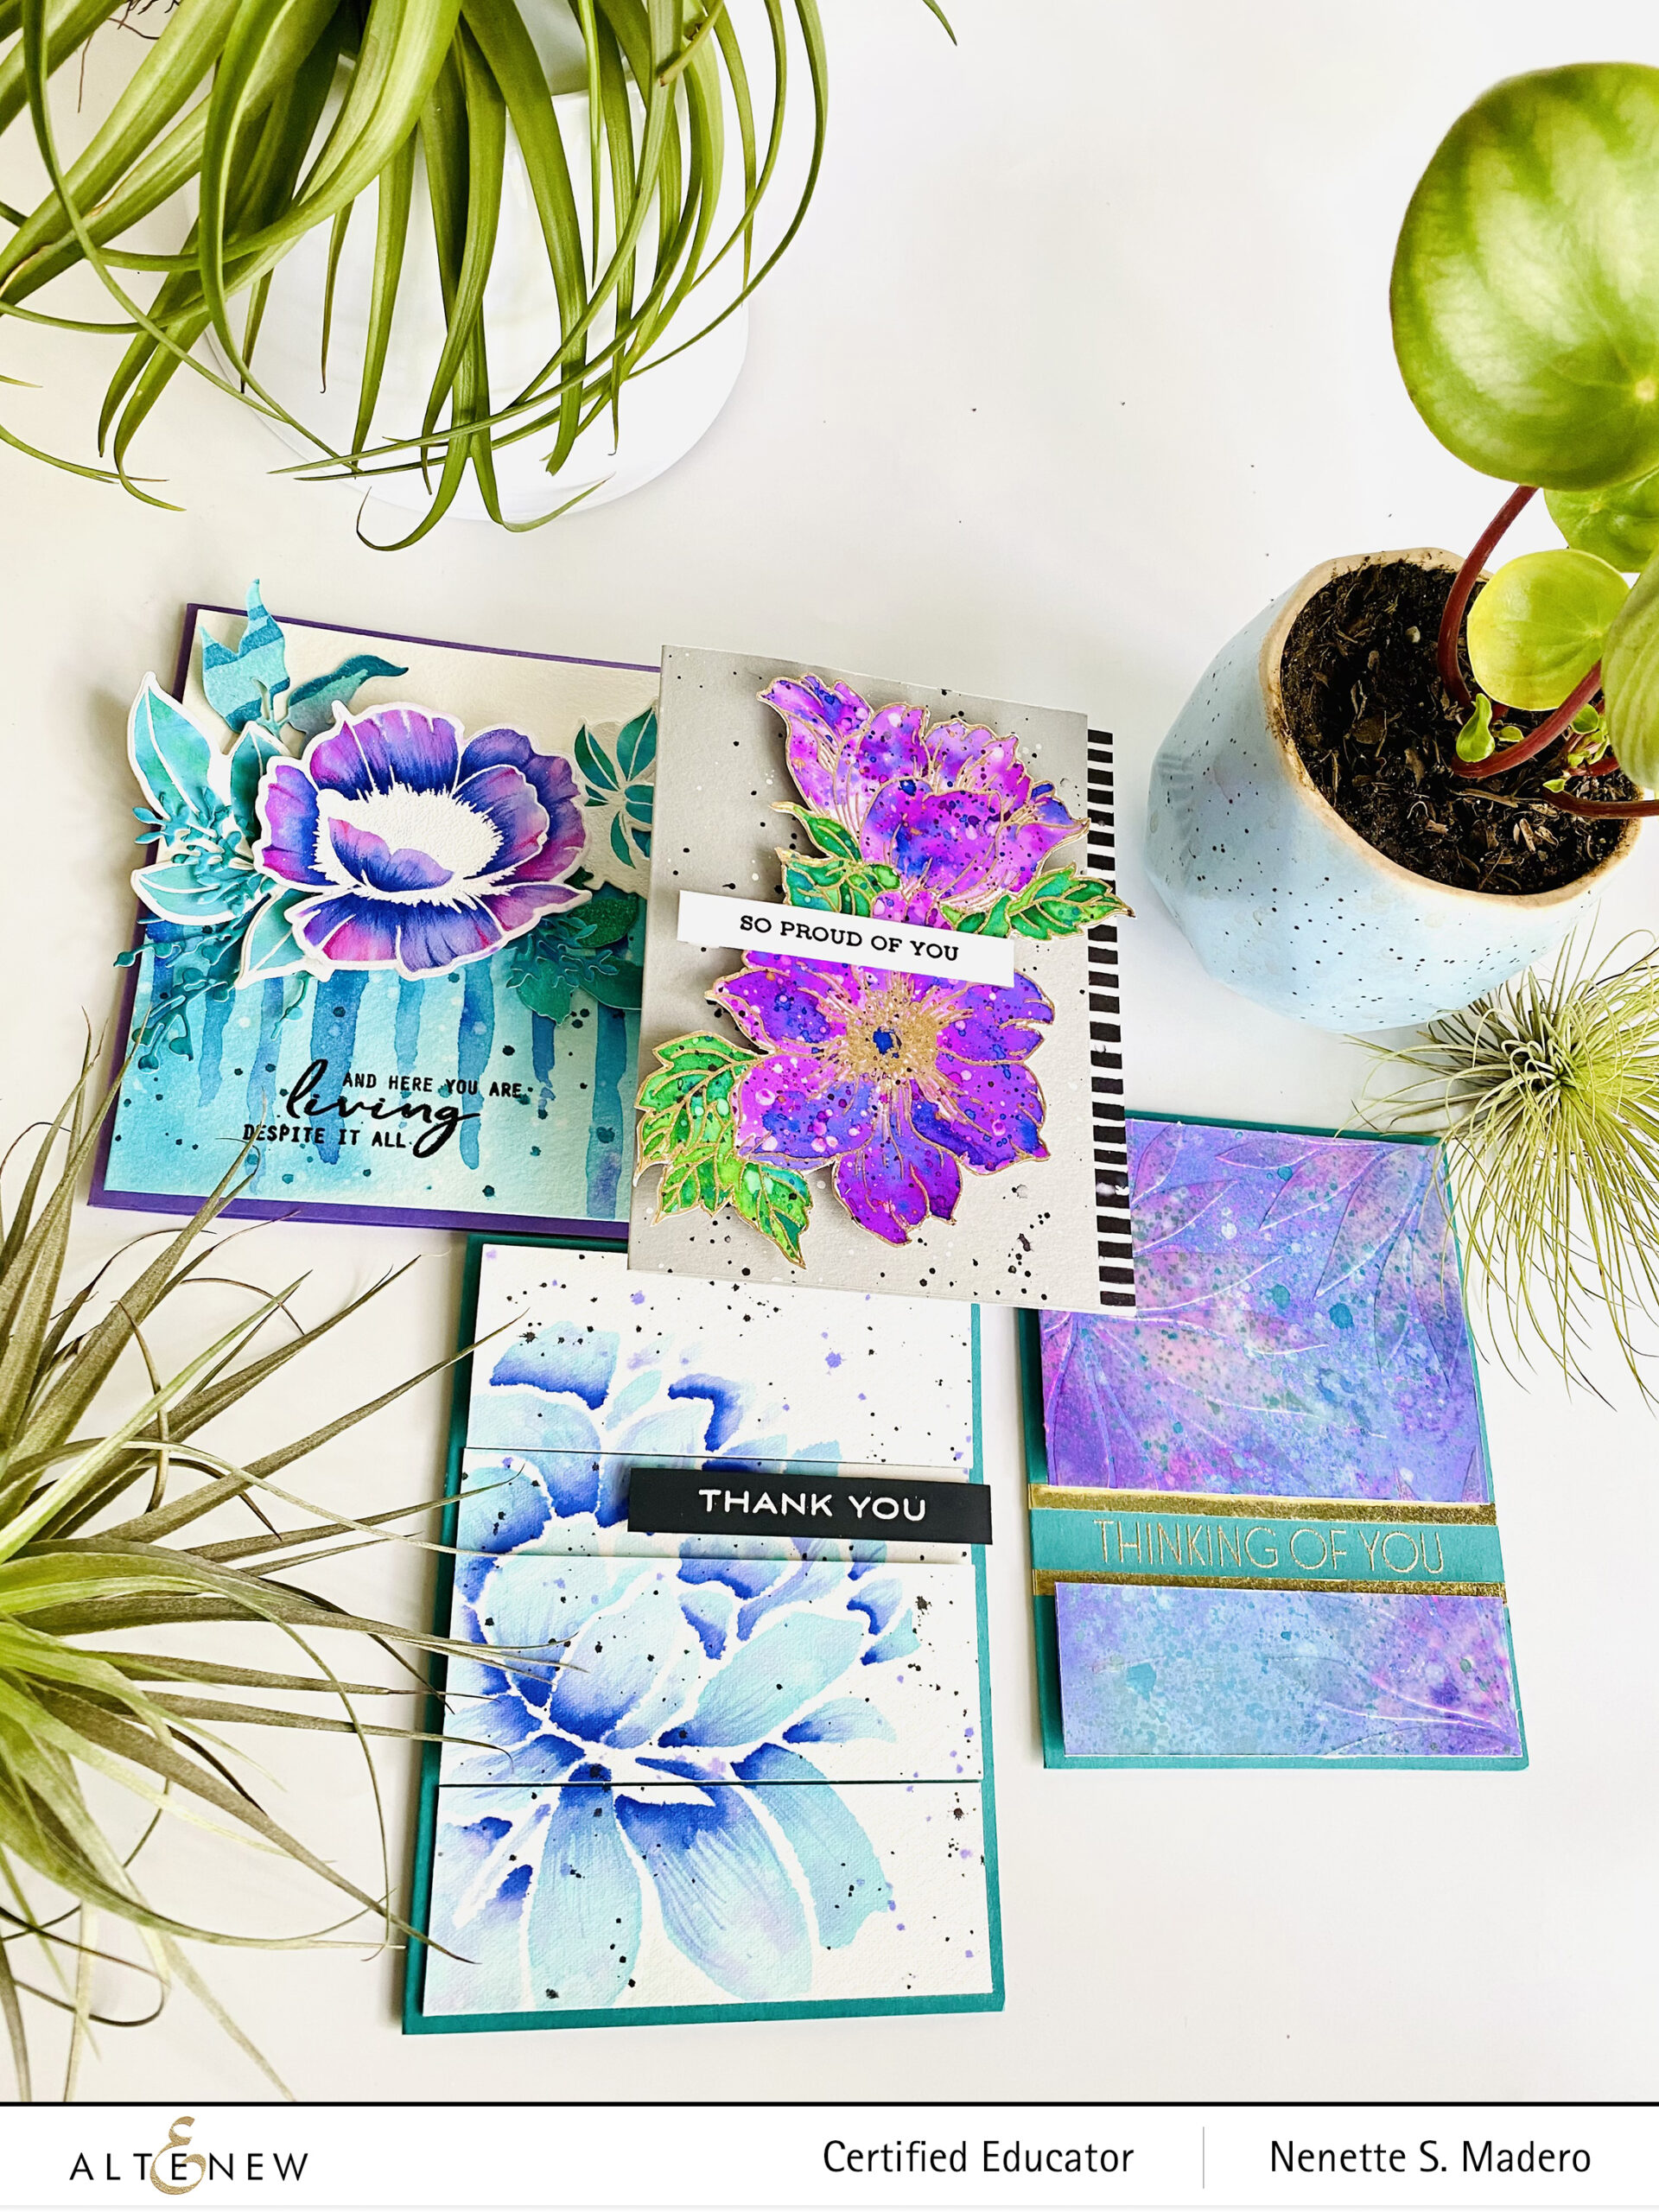
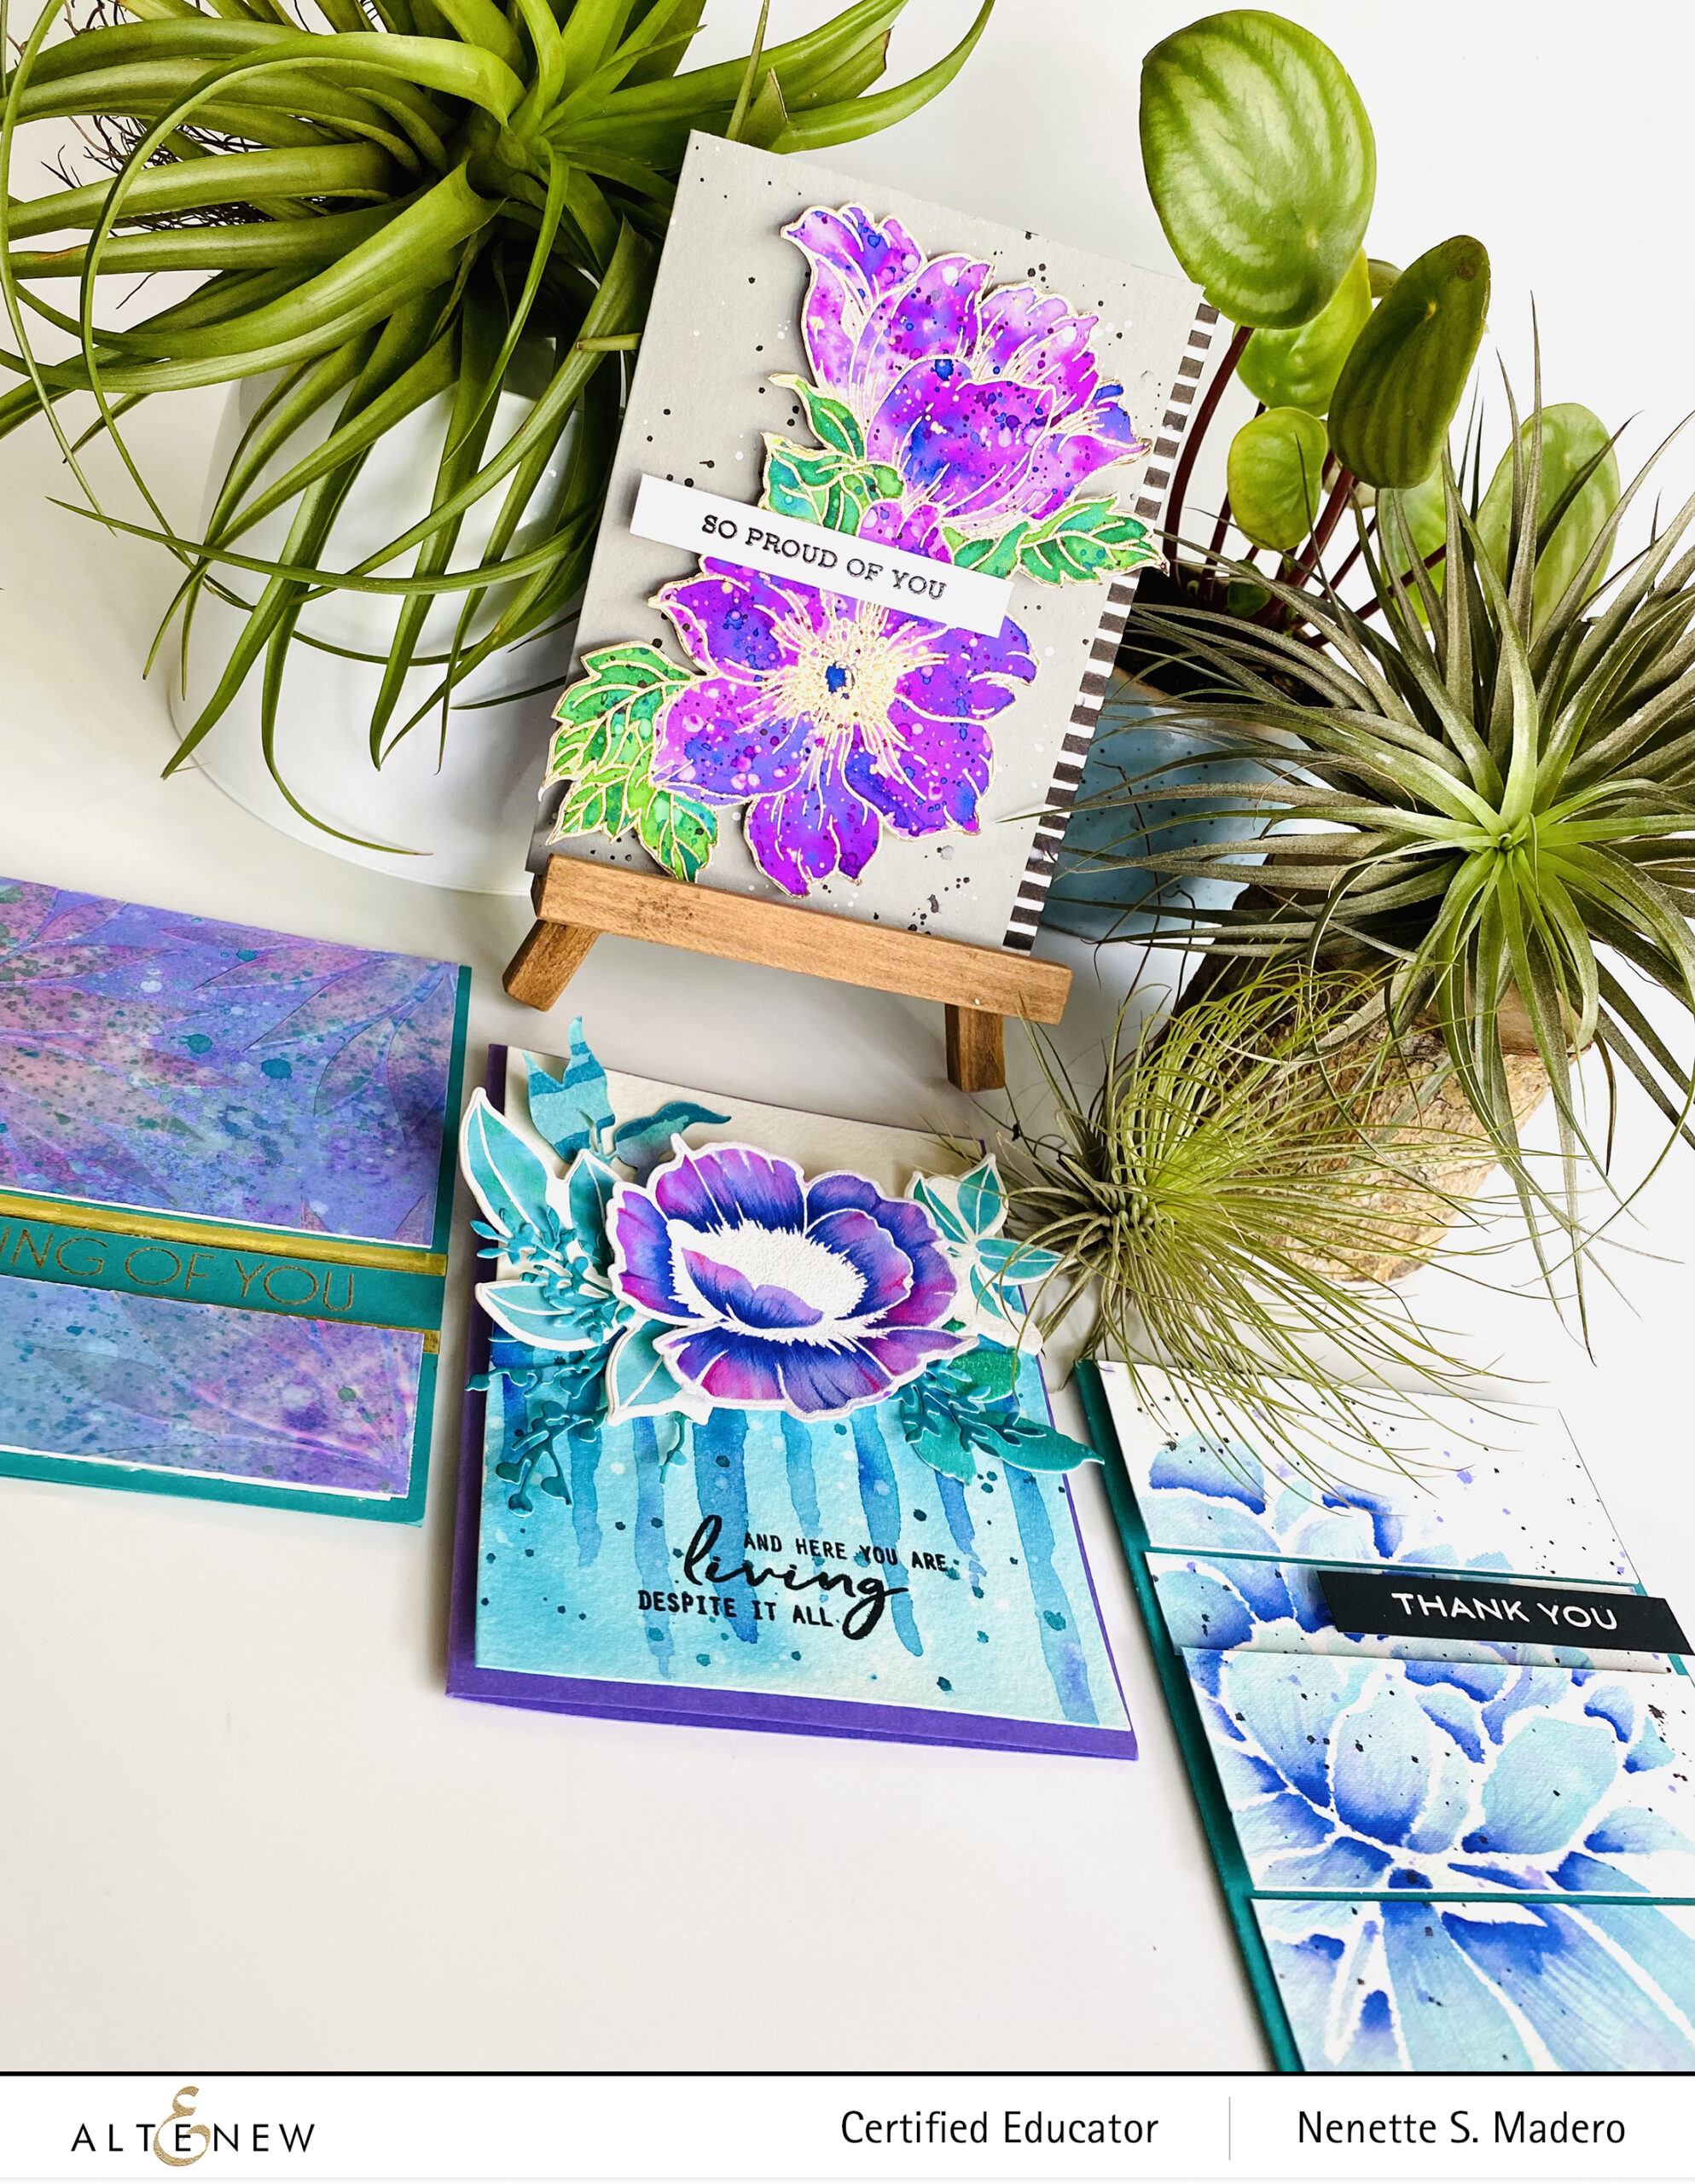
Here are the cards I made which were all inspired by her creations. Do let me know which one is your favorite on the comment section, ok?
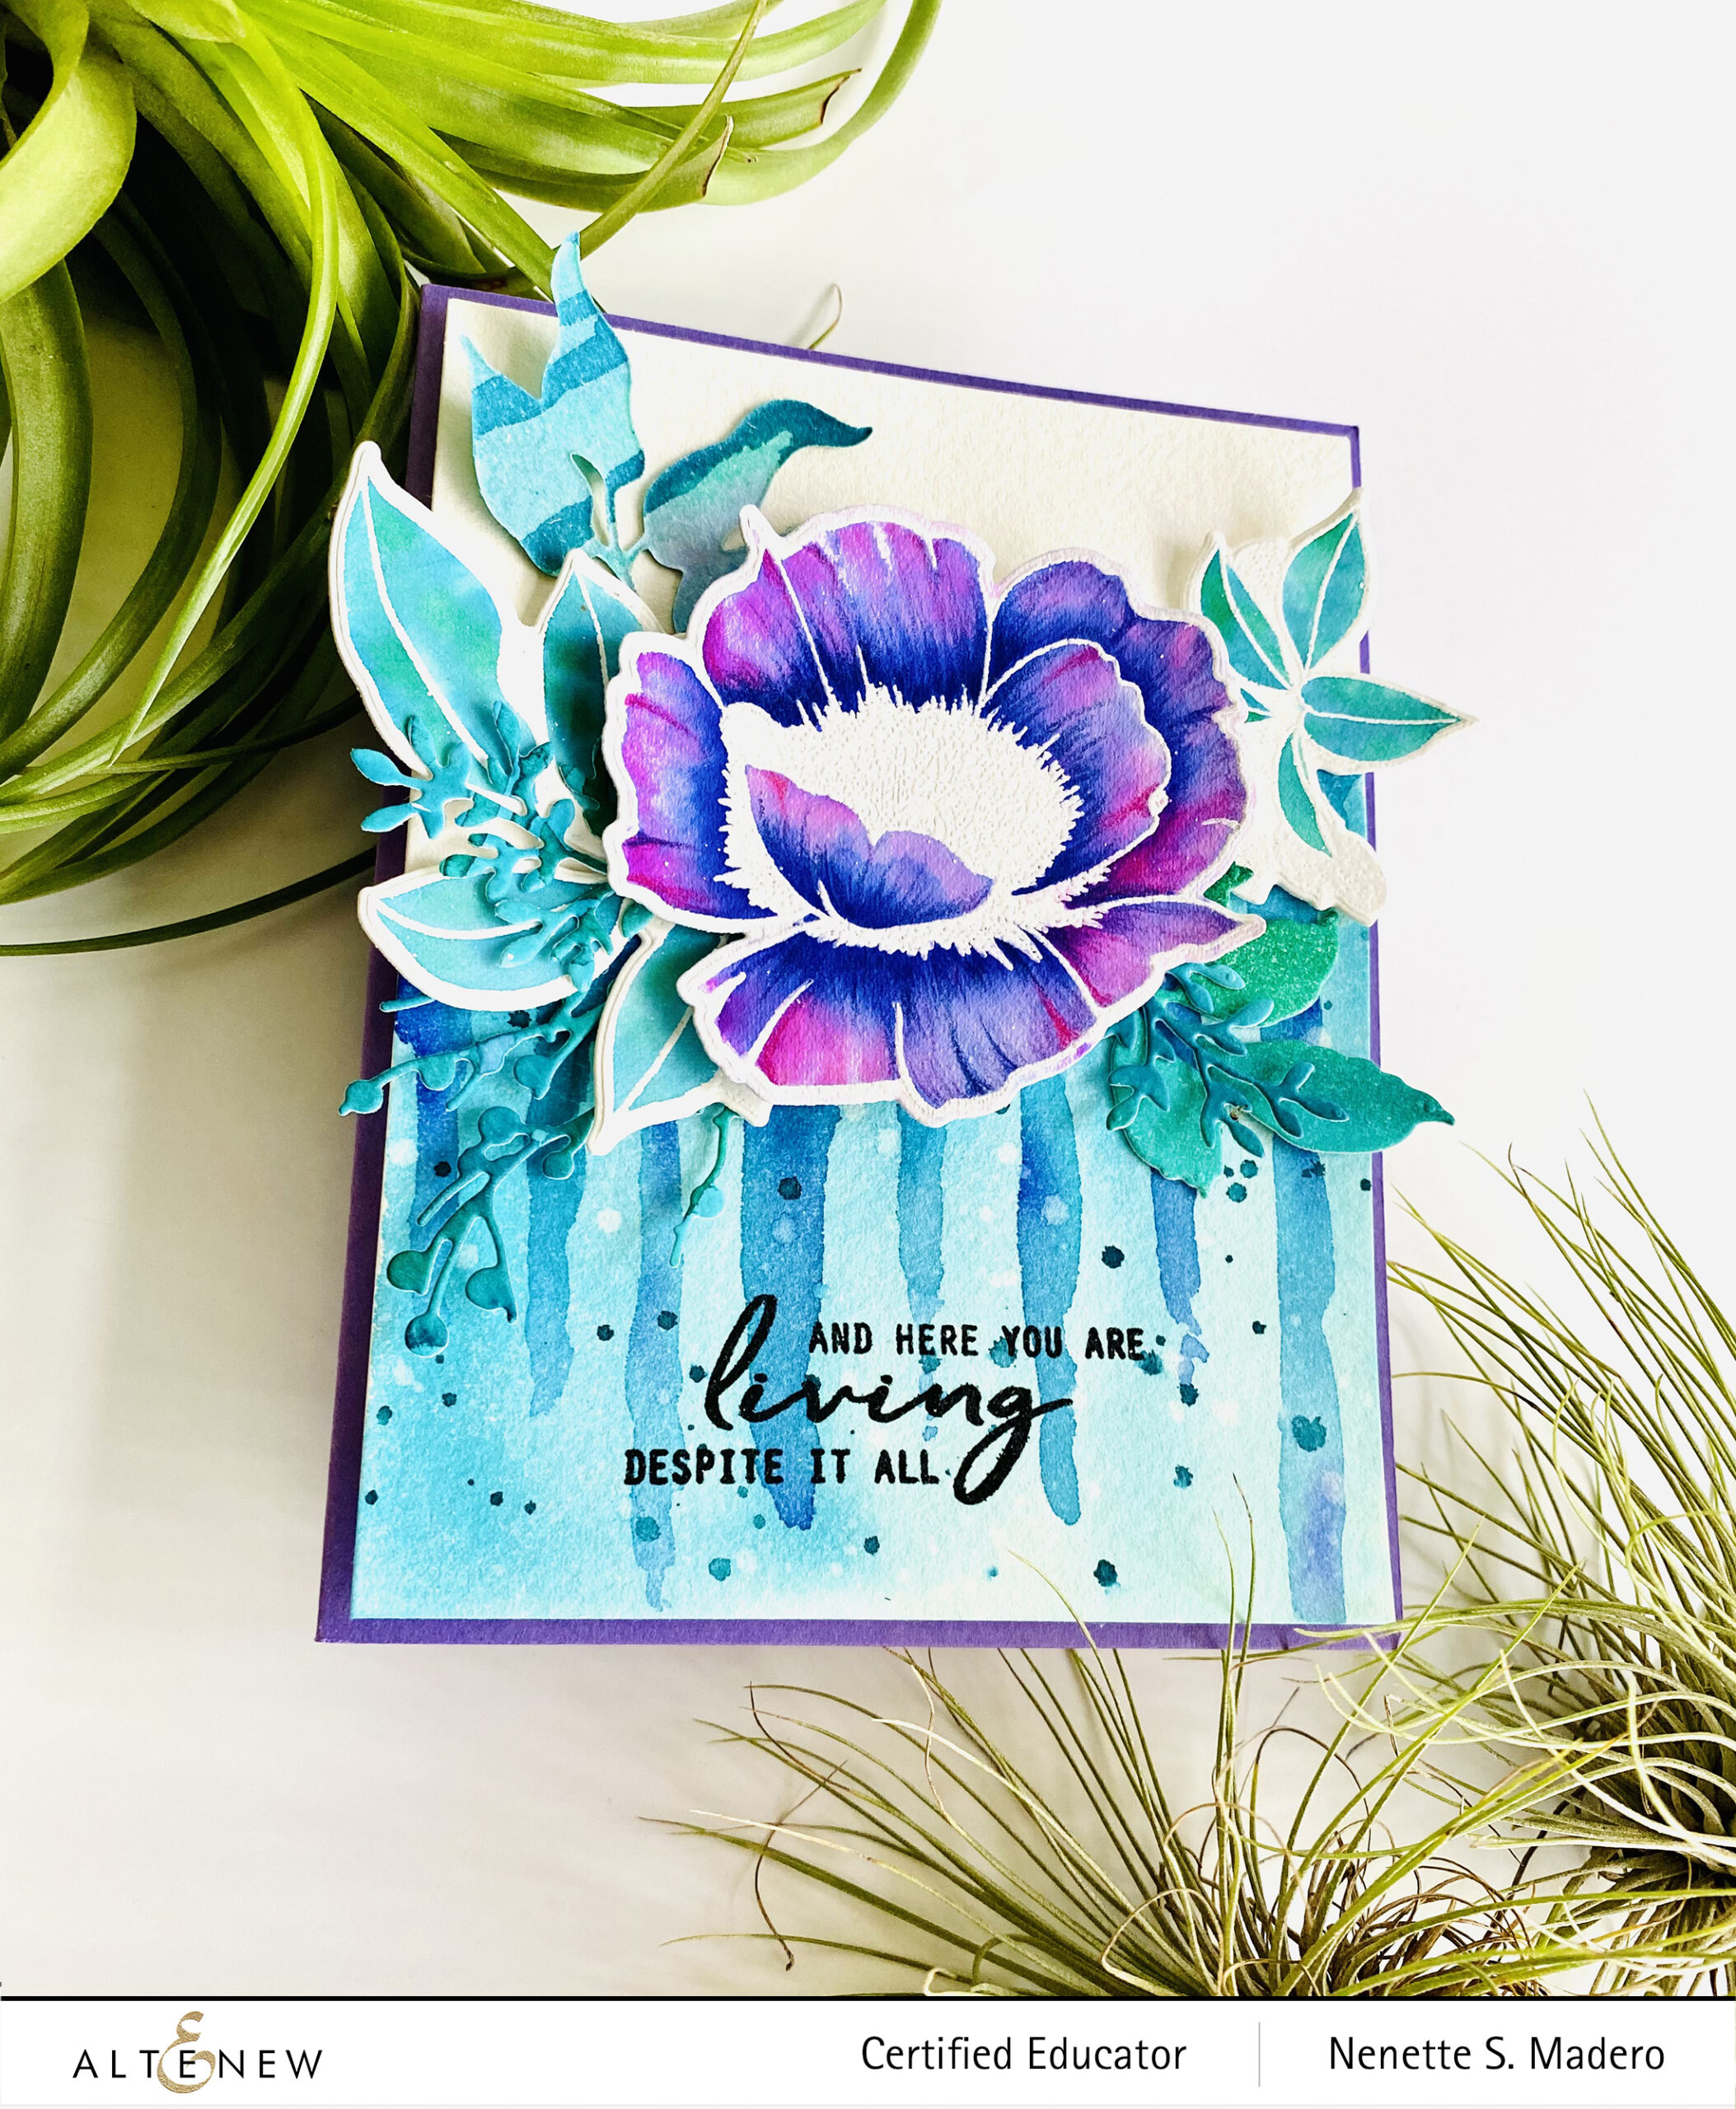
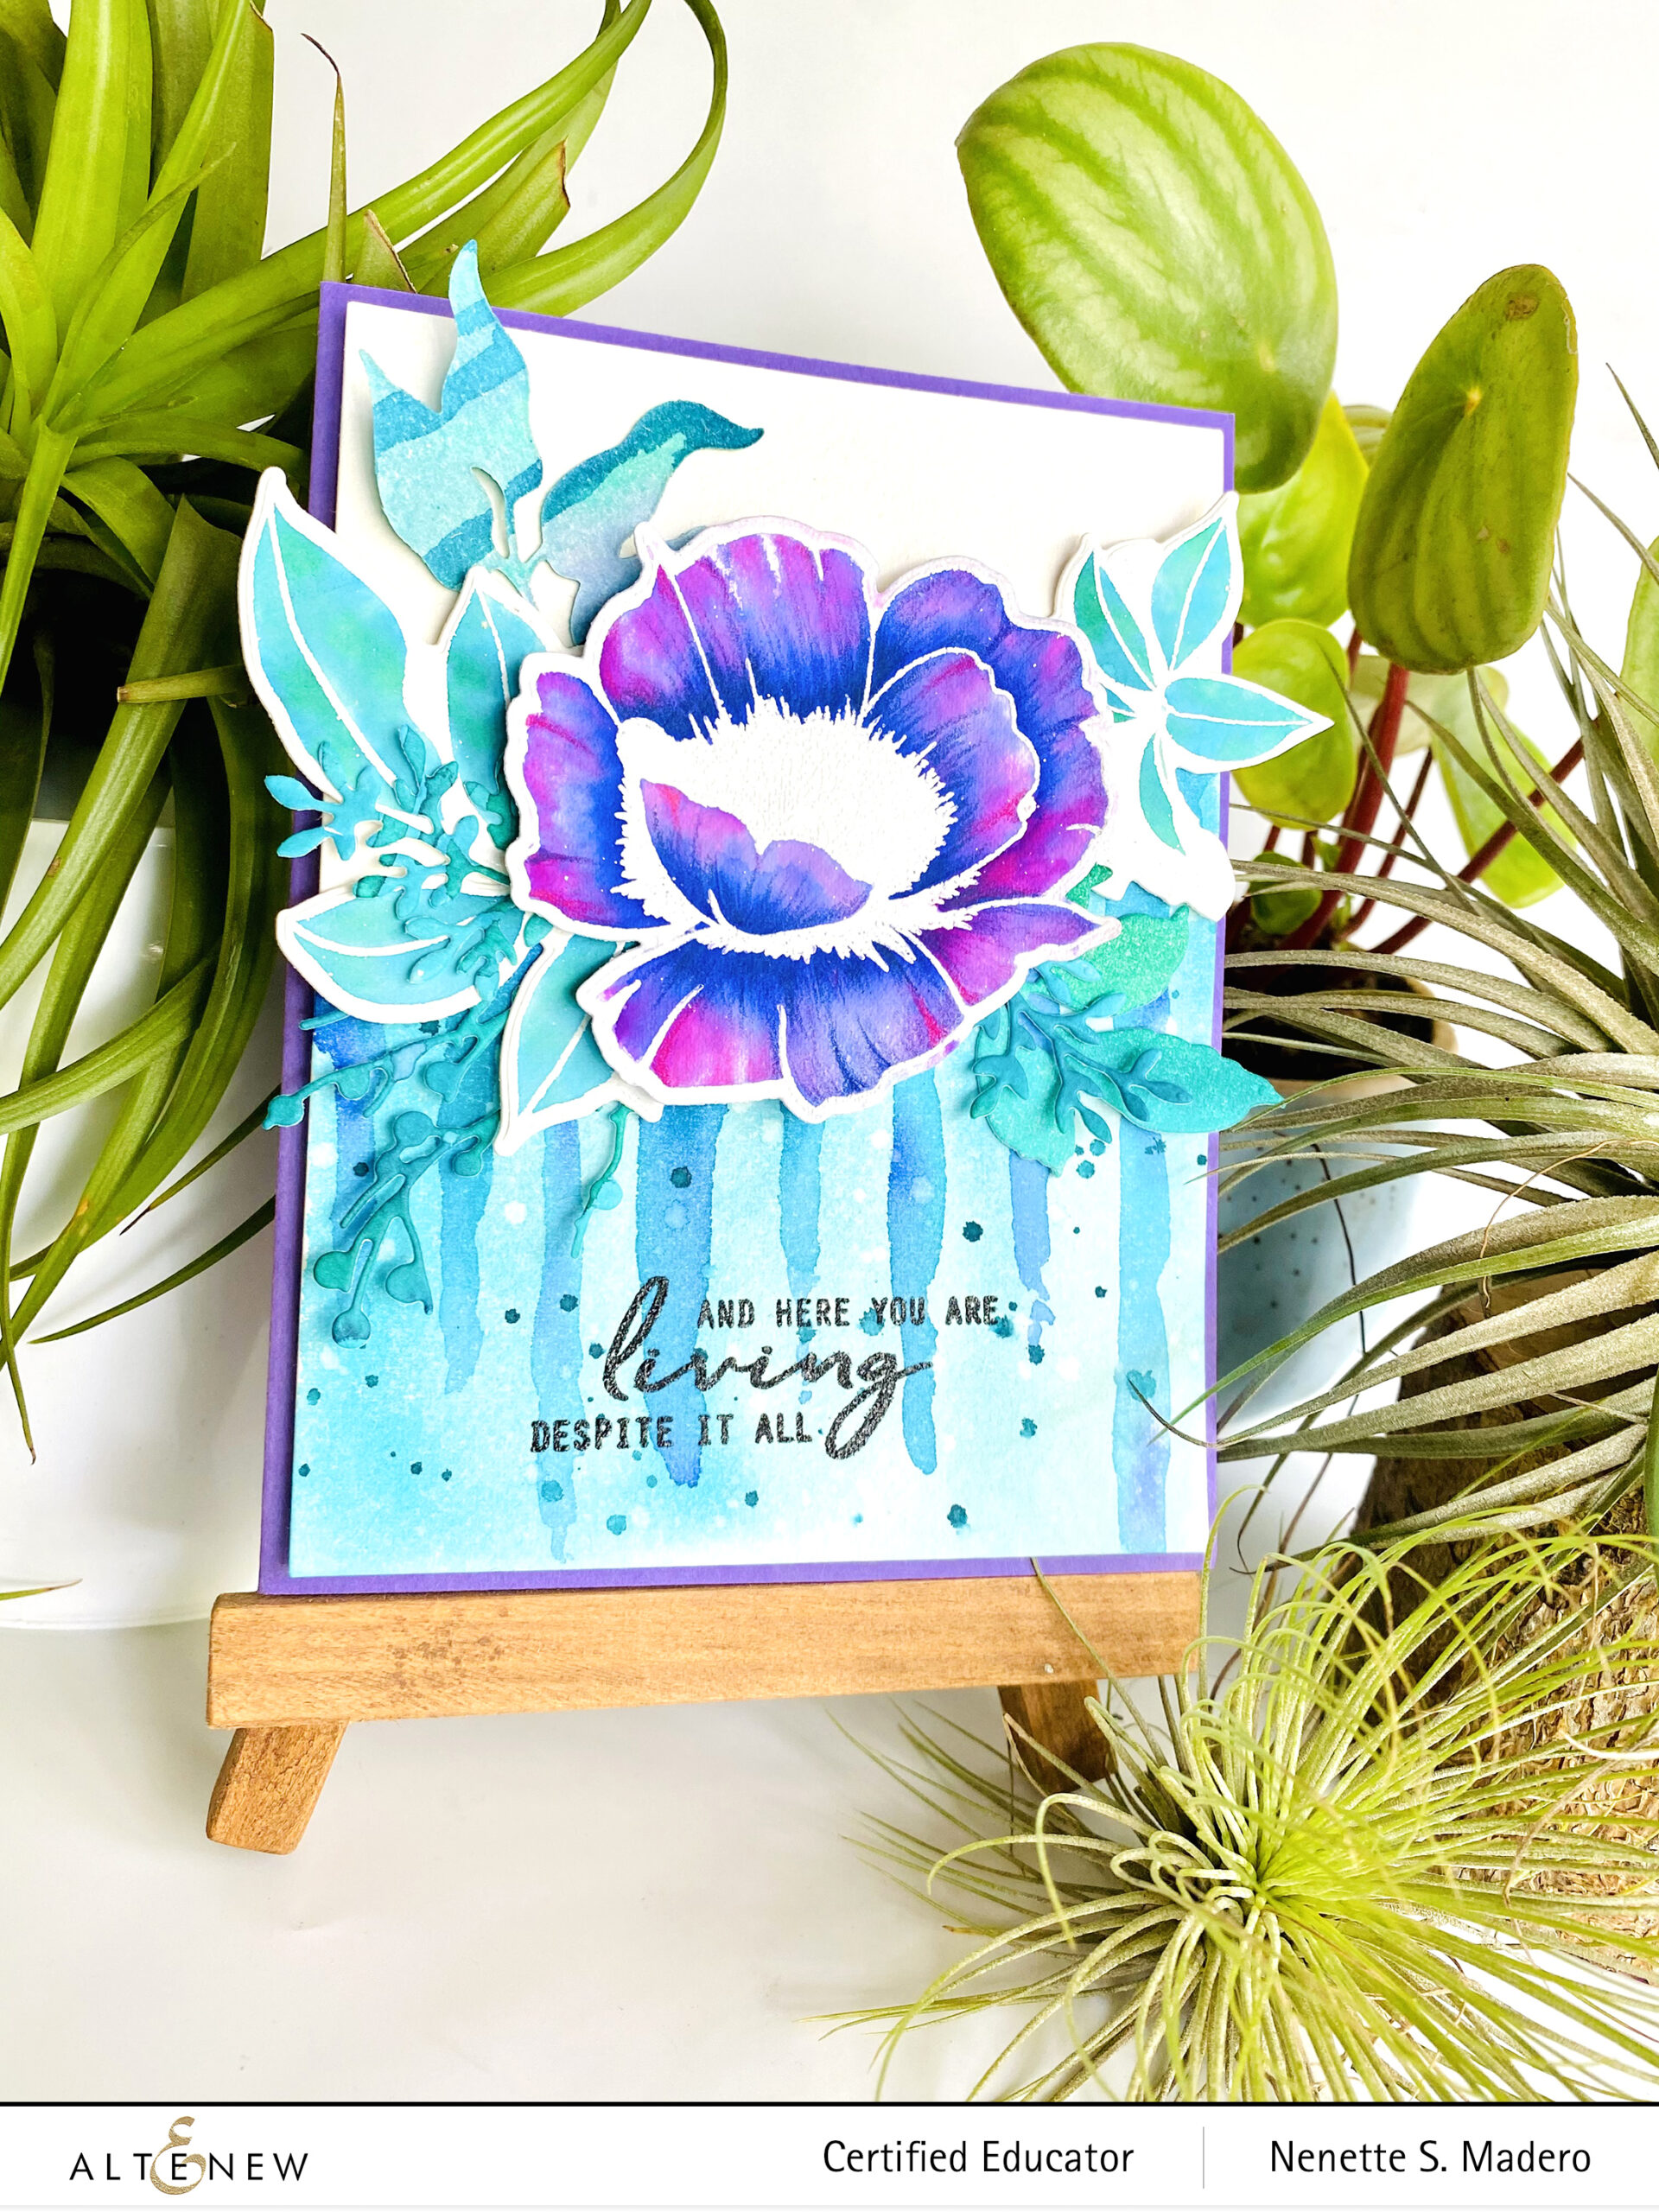
The first card is based on her watercolor drip class.
Add details using Faber Castell polychromos colored pencils.
On a scrap of watercolor paper, do a wash of Lagoon and Emerald. After the inks have dried, die cut the leaves from Branches and Berries dies and the Just Leaves dies.
For the background, wet half of the surface with water and add a light wash using the leftover inks on the palate.
Add more concentrated ink drips by tilting the paper and allow the pool of water to drip down.
When the panel has dried, add spatters of water. After 10 seconds, pat dry with a tissue to remove the ink.
Add spatters of lagoon.
Assemble the card using adhesive and foam squares.
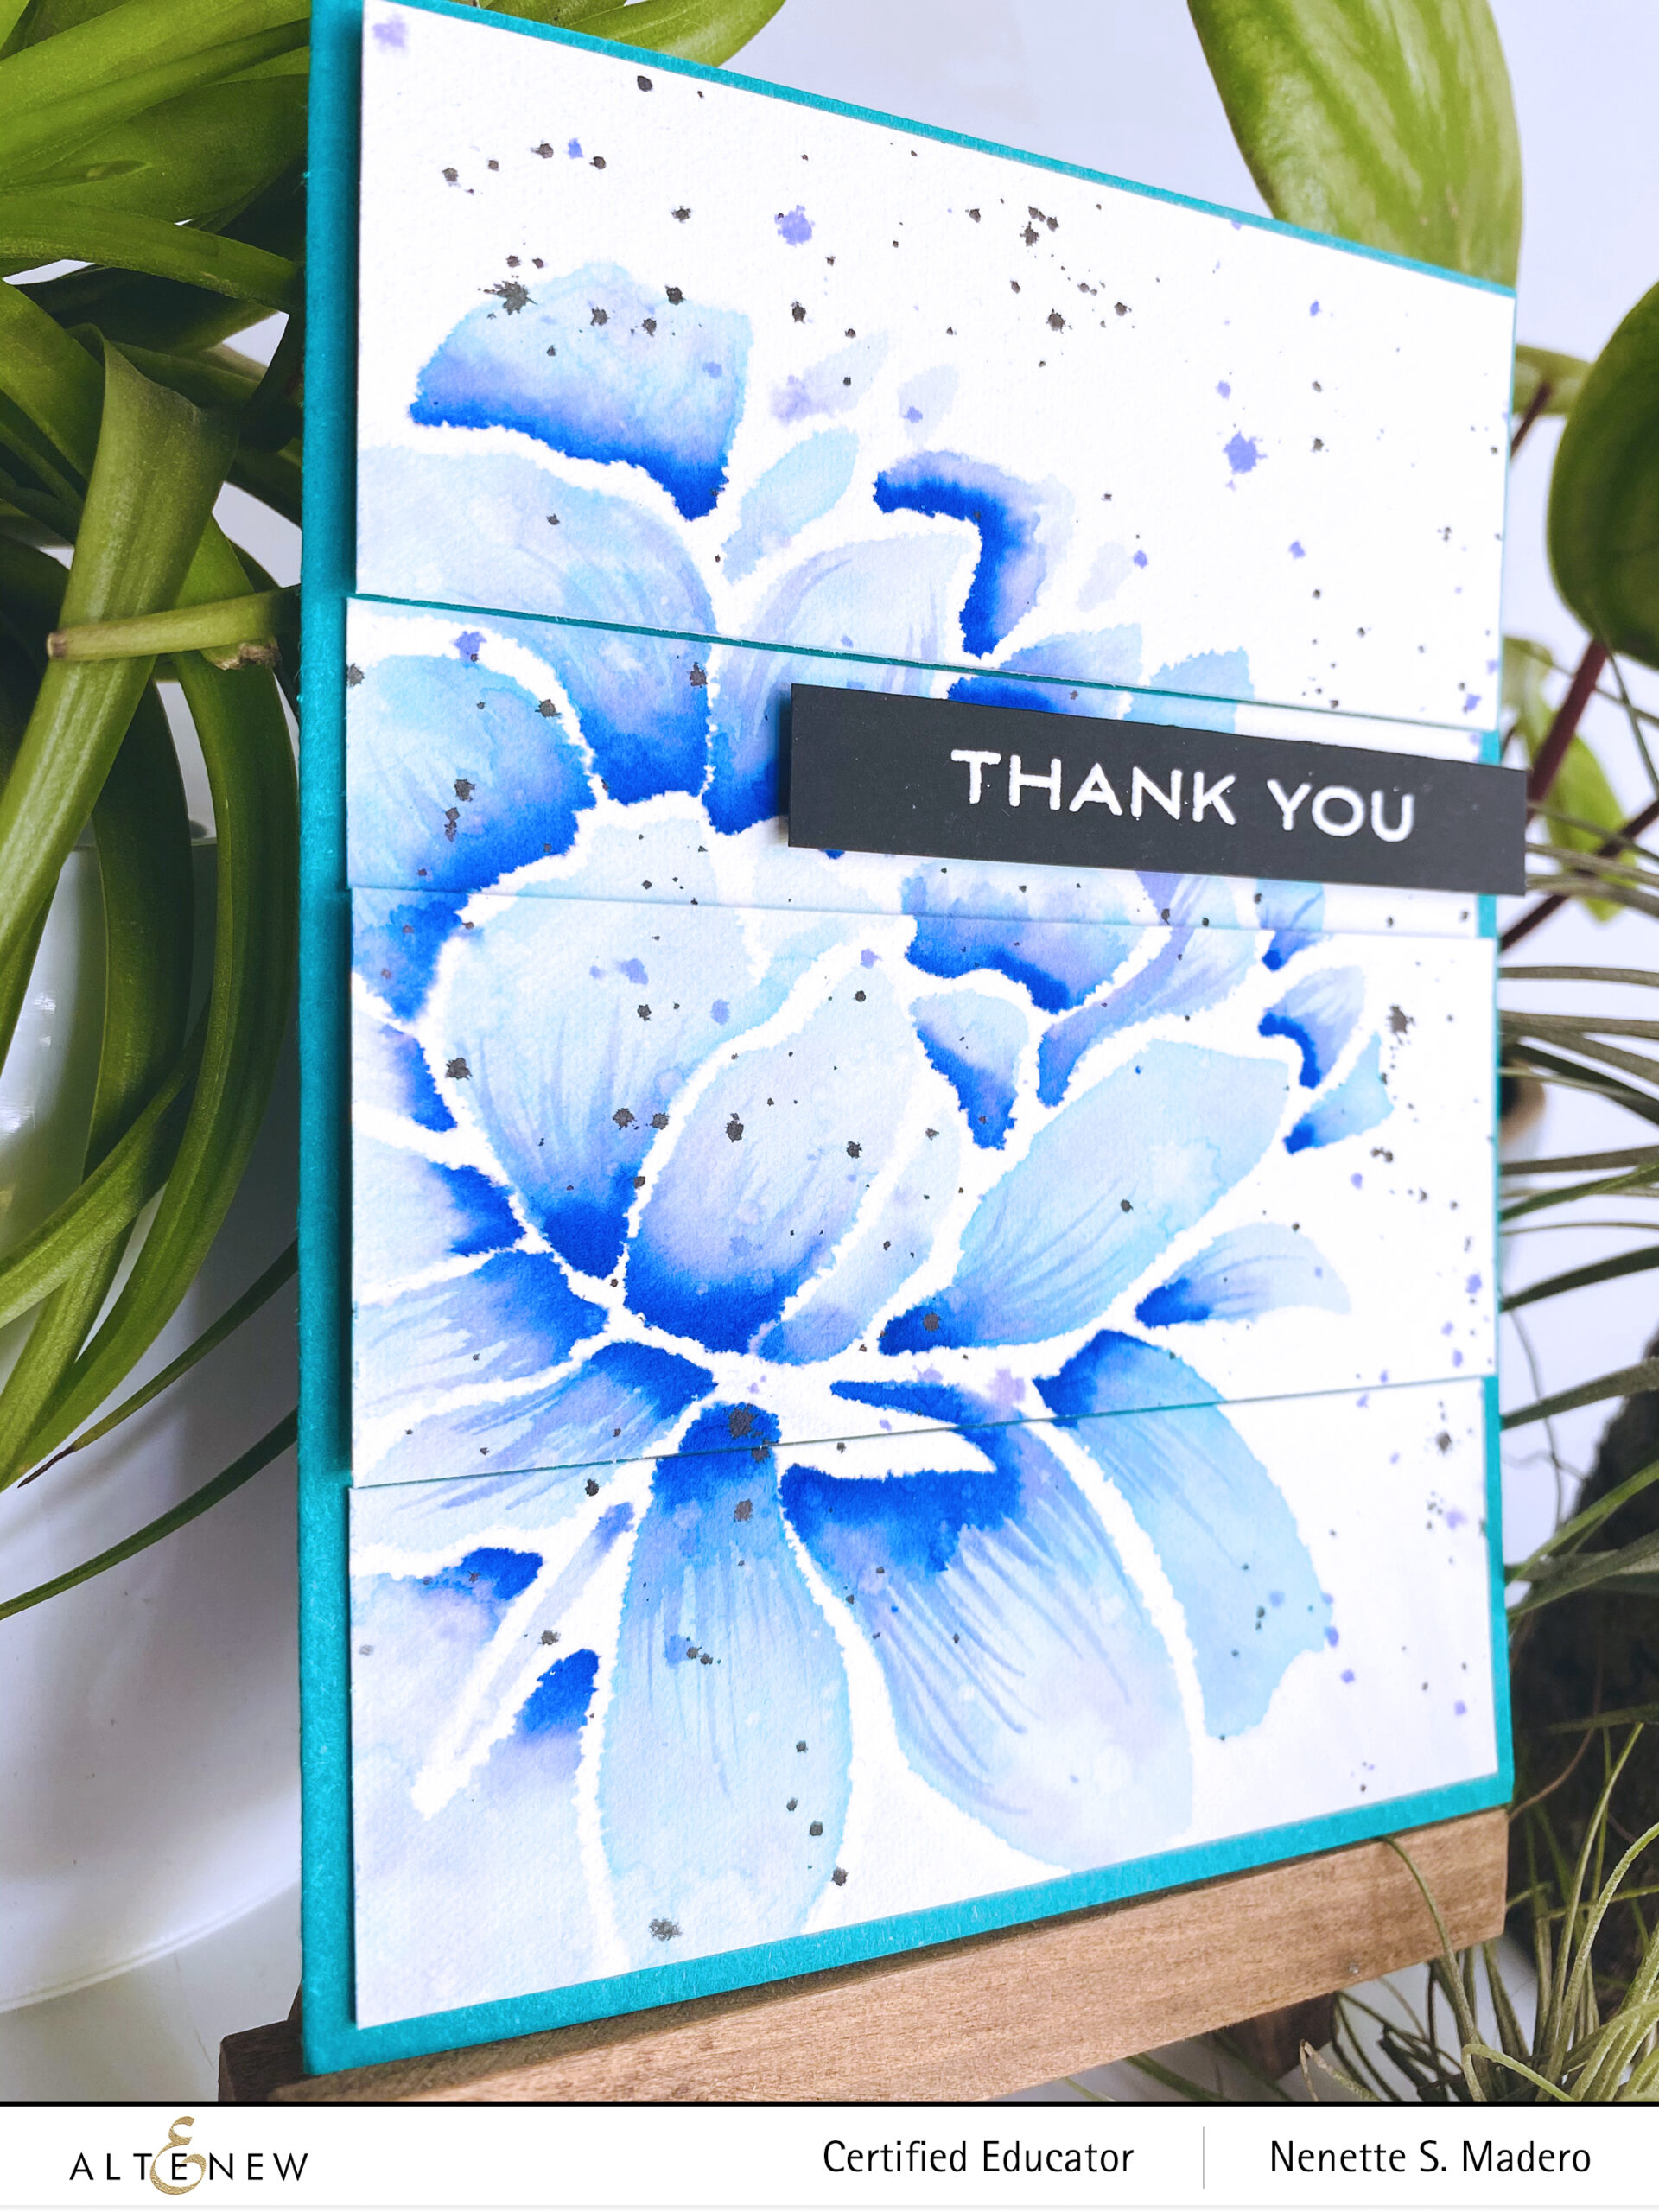
This next card was inspired by the use of watercolor and stencils.
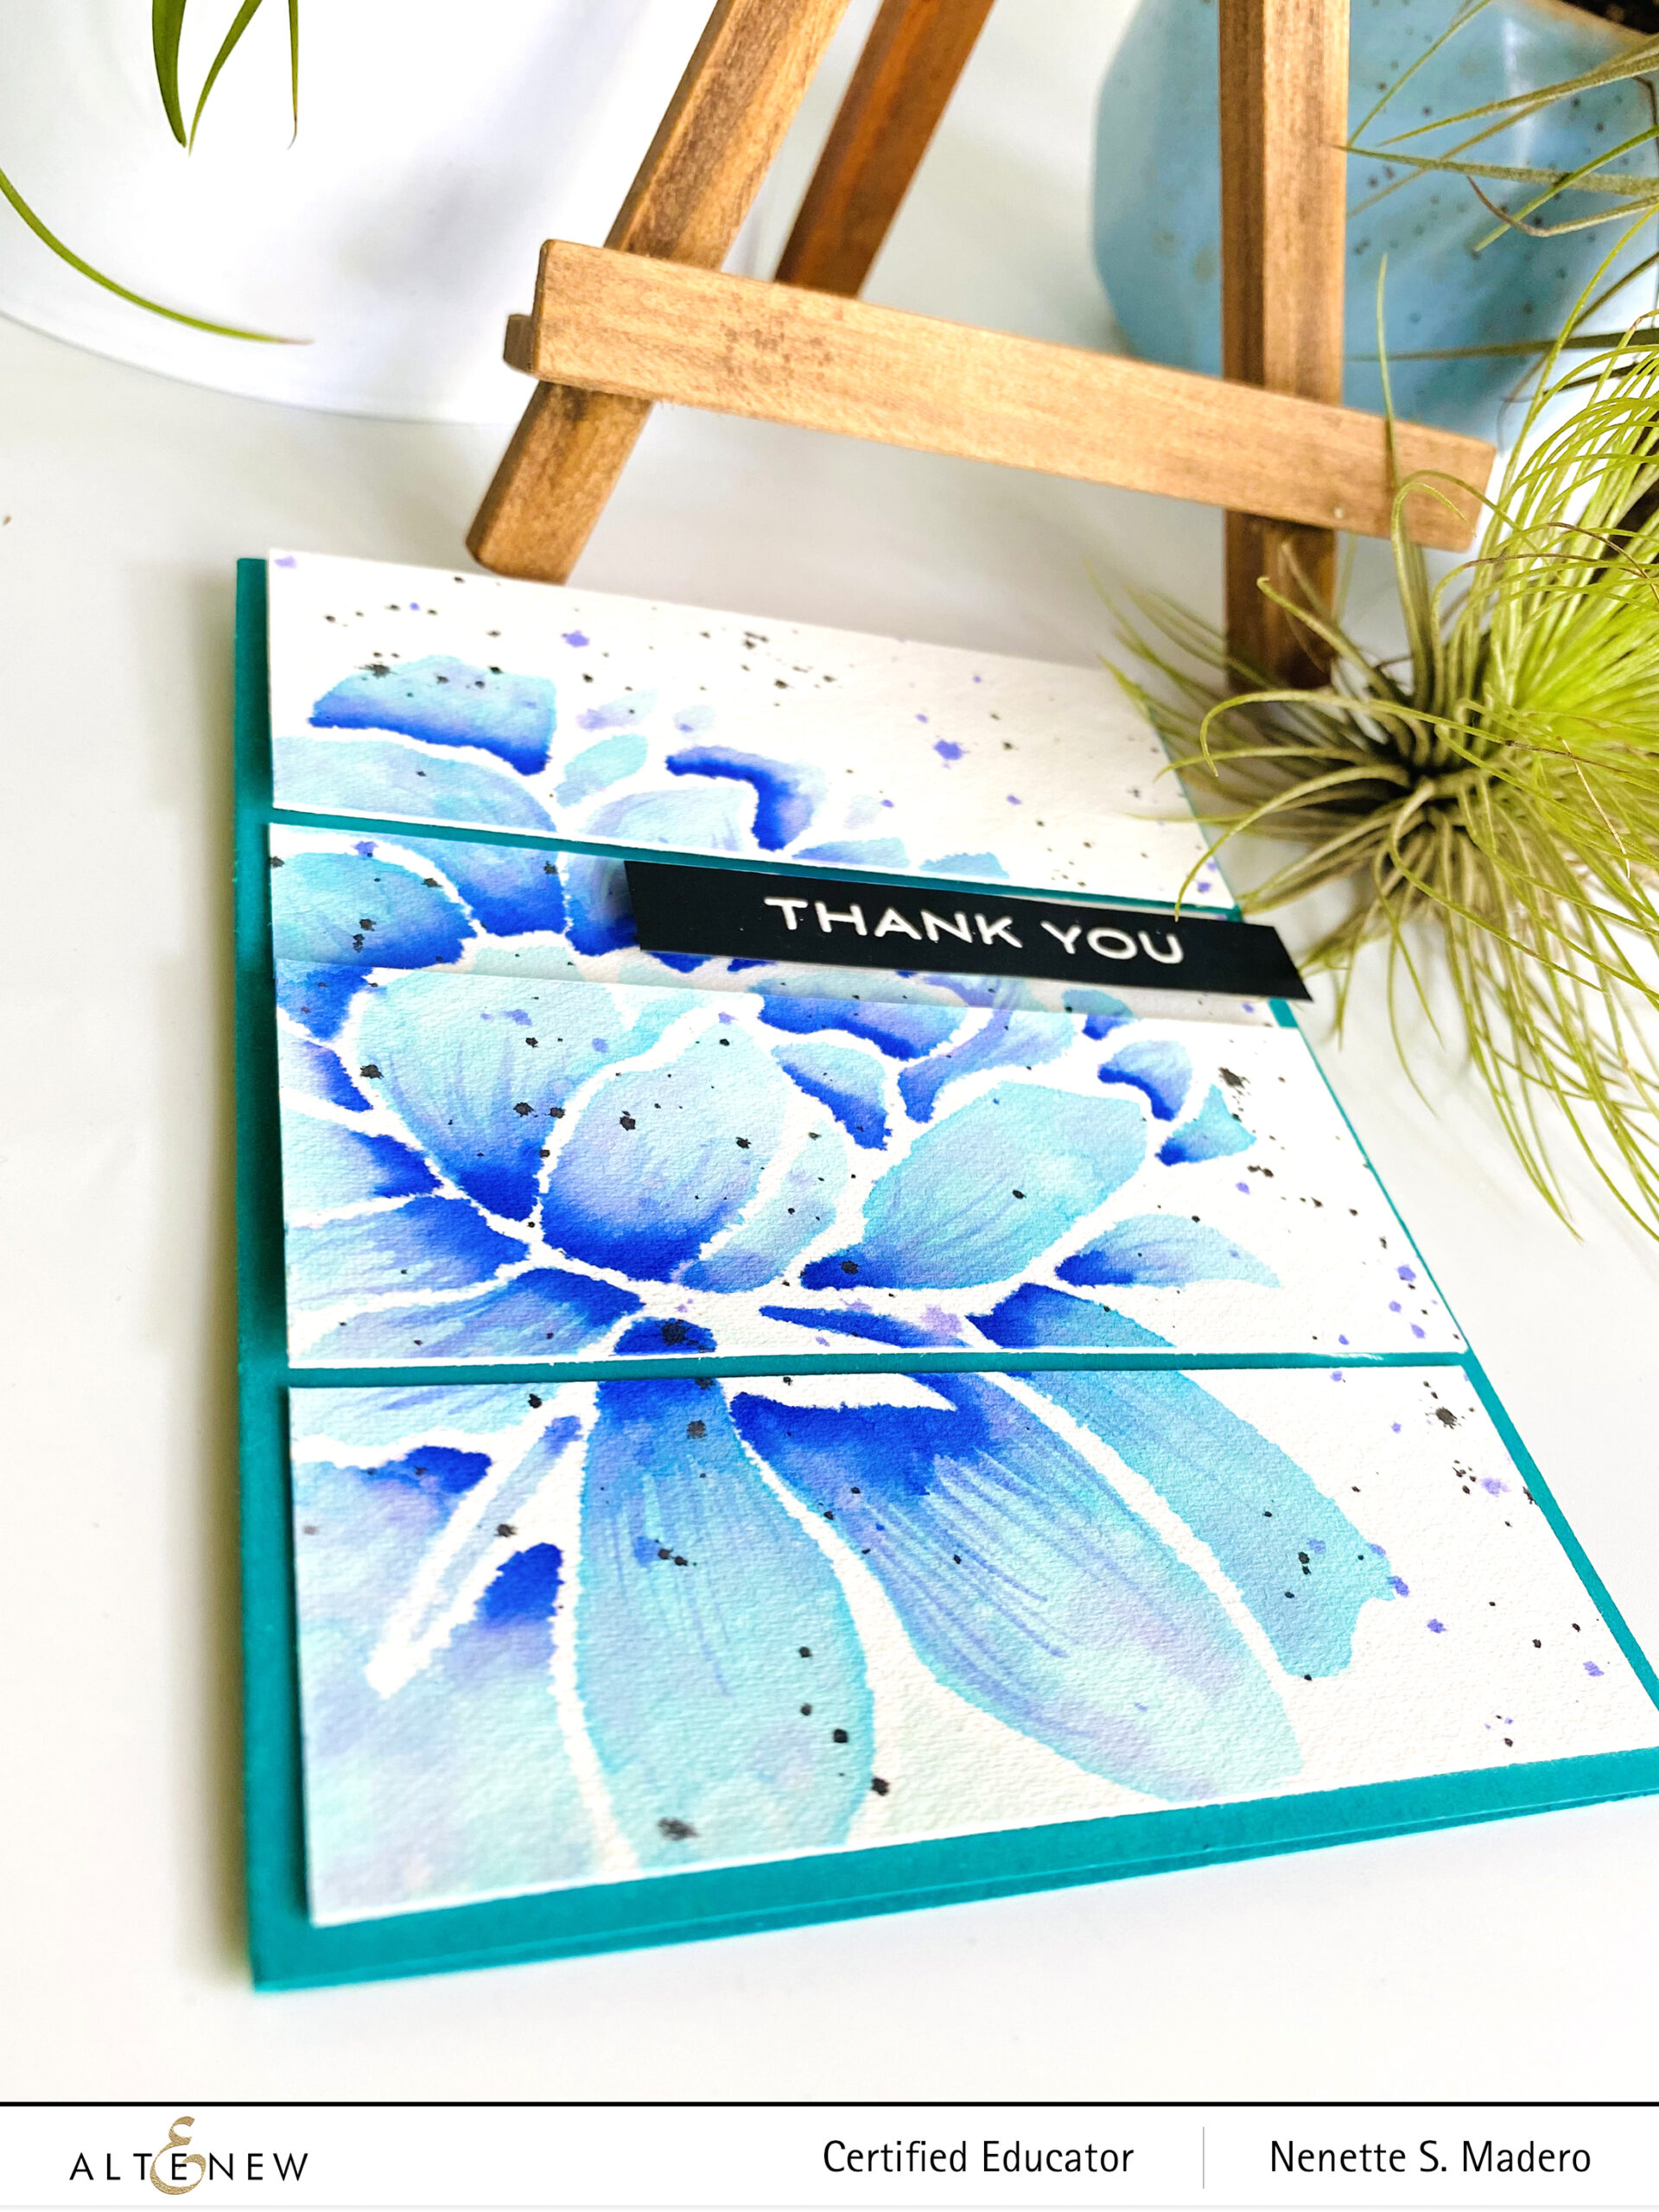
THANK YOU
STEPS:
Using the Mega Bloom stencil, add color using a blending brush and the Dew Drops crisp dye ink on watercolor paper.
Using the wet on wet technique, mix the Lagoon and Mountain Mist watercolor brush markers and the Persian Blue to add shadows to the petals.
Once the flower is dry, add splatters of purple and black.
Cut the panel into 4 pieces and mount the 1st and 3rd panel with foam squares to add dimension to the card.
There were some bleeds at the edges of the petals. I think it’s because I did not heat set the dye ink before I painted the watercolor. 🙁 But I think the roughness of the edges added more character to the flower so I just went ahead and colored the rest of the petals. Cutting the painted card front into panels and adhering some panels using foam tape added more interest to the card.
The third card was inspired by Erum’s splatter watercolor class. Such a fun technique!!!
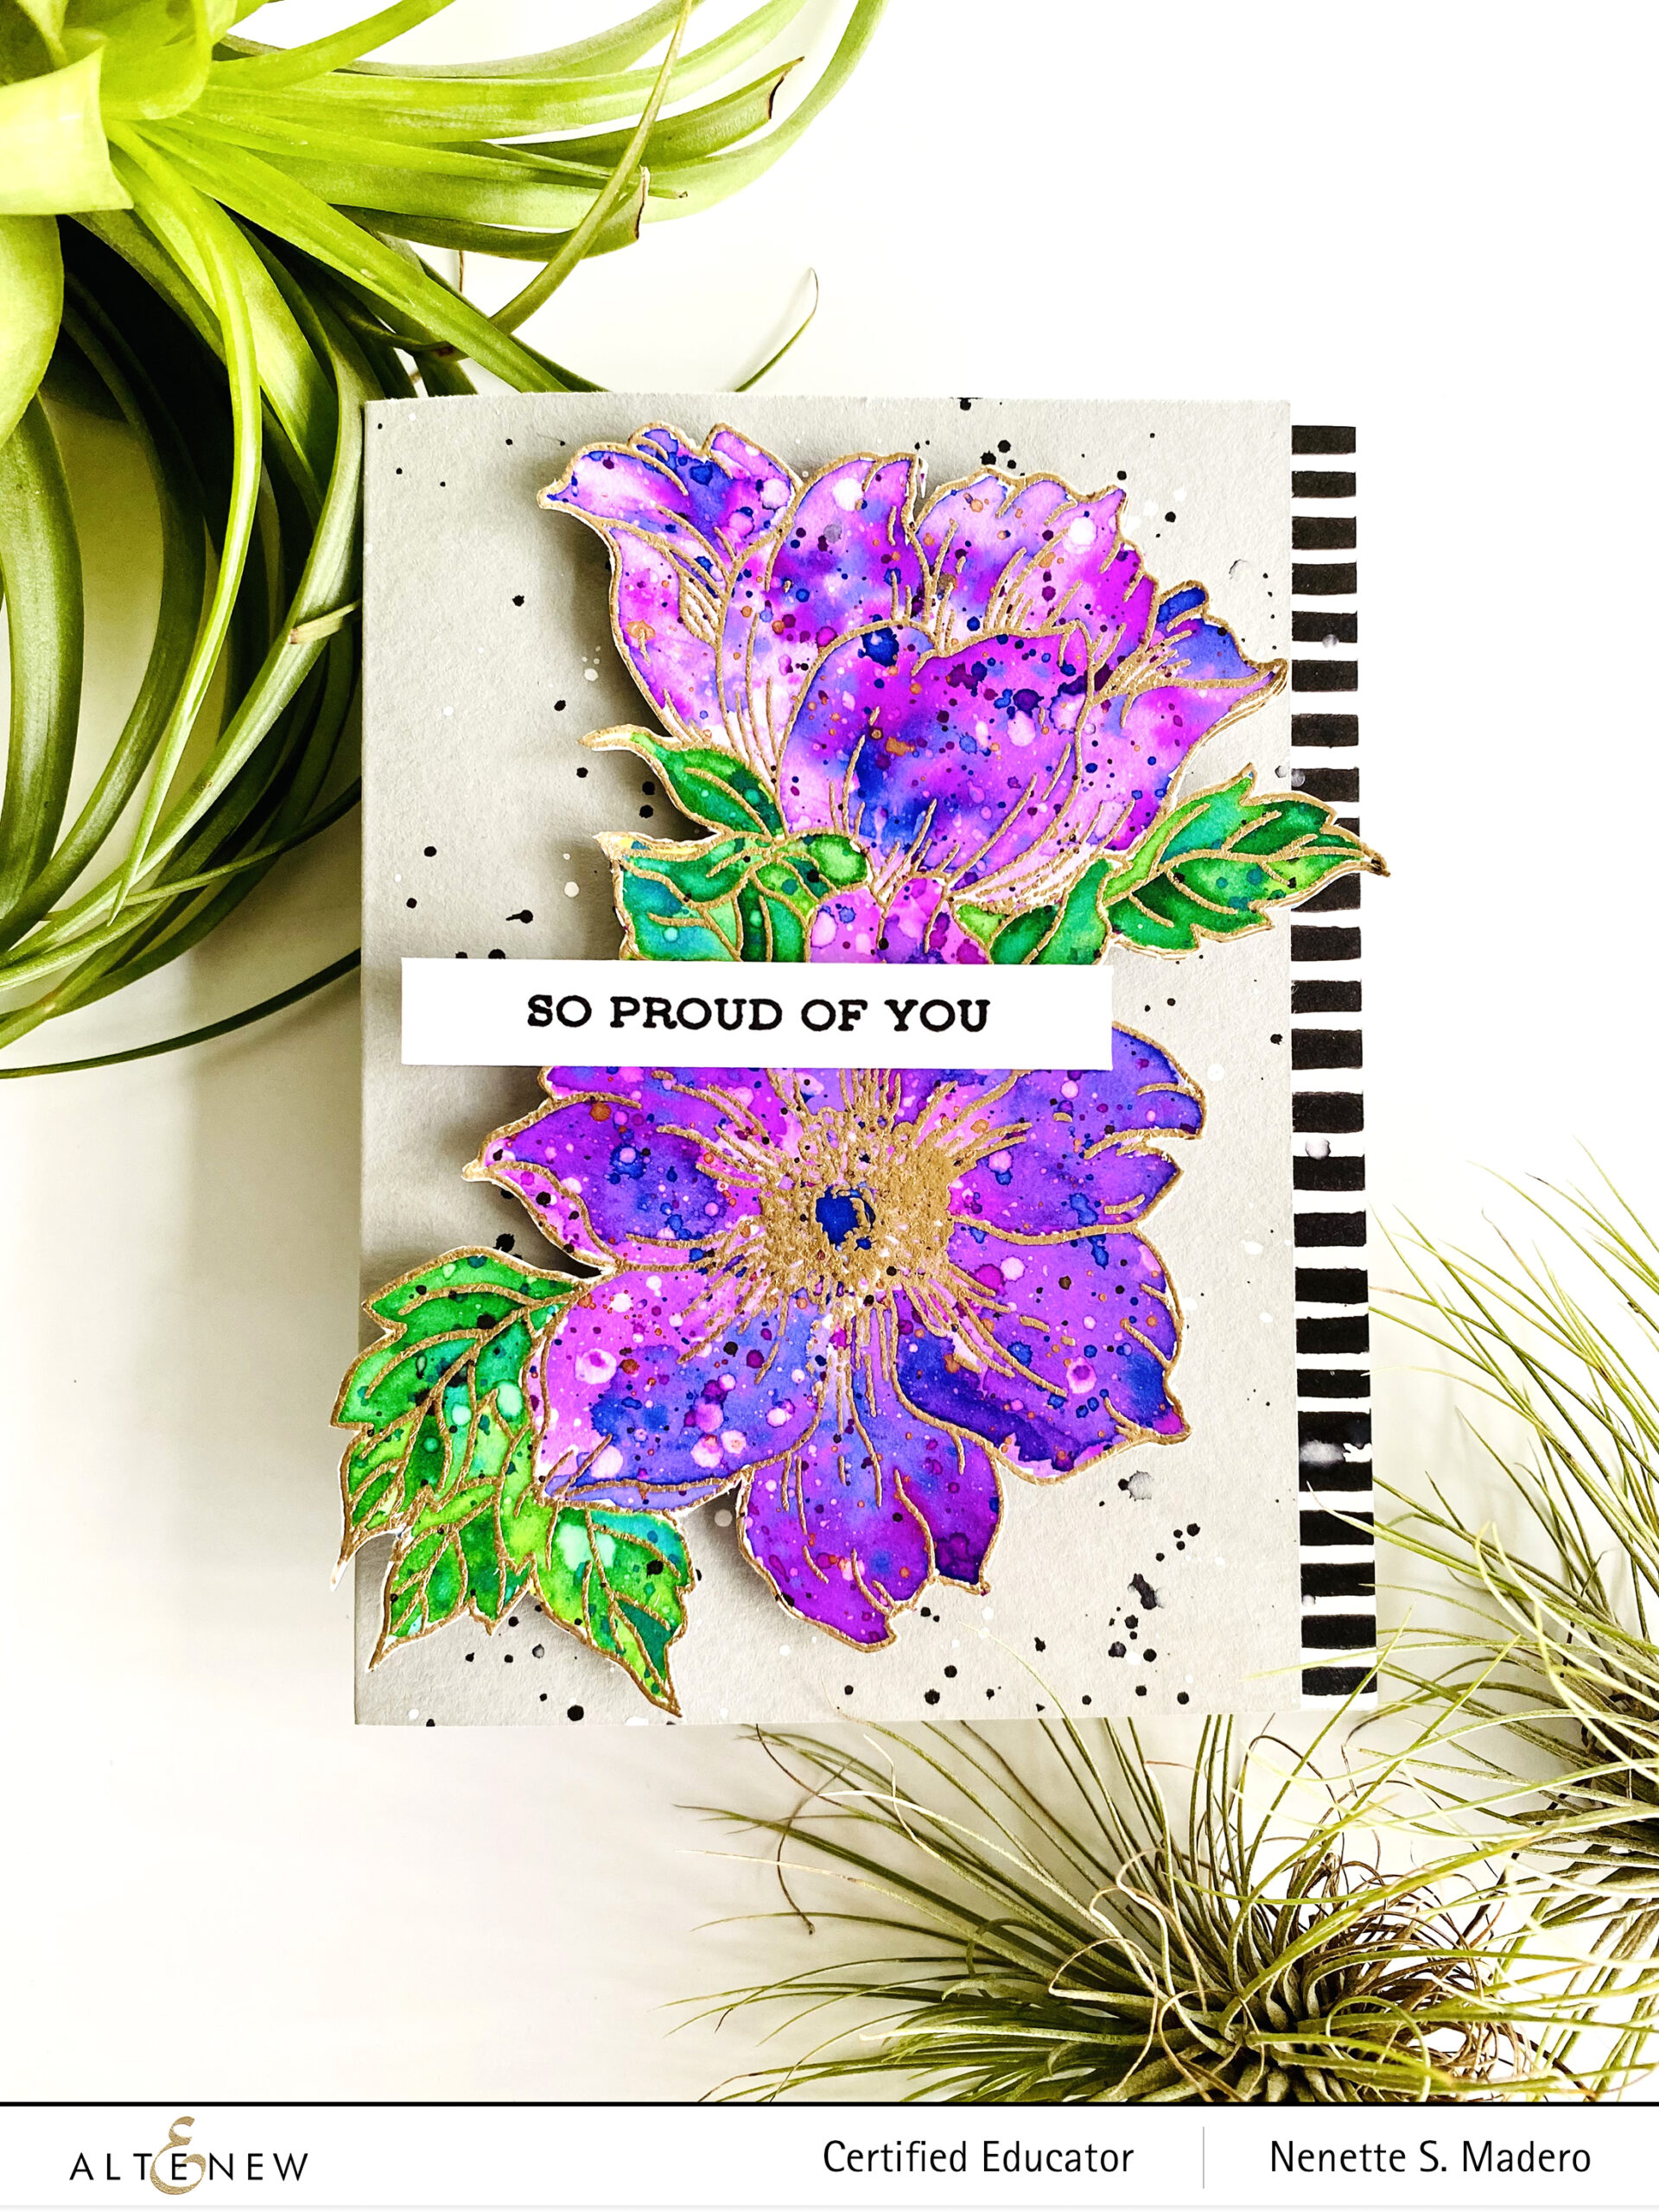
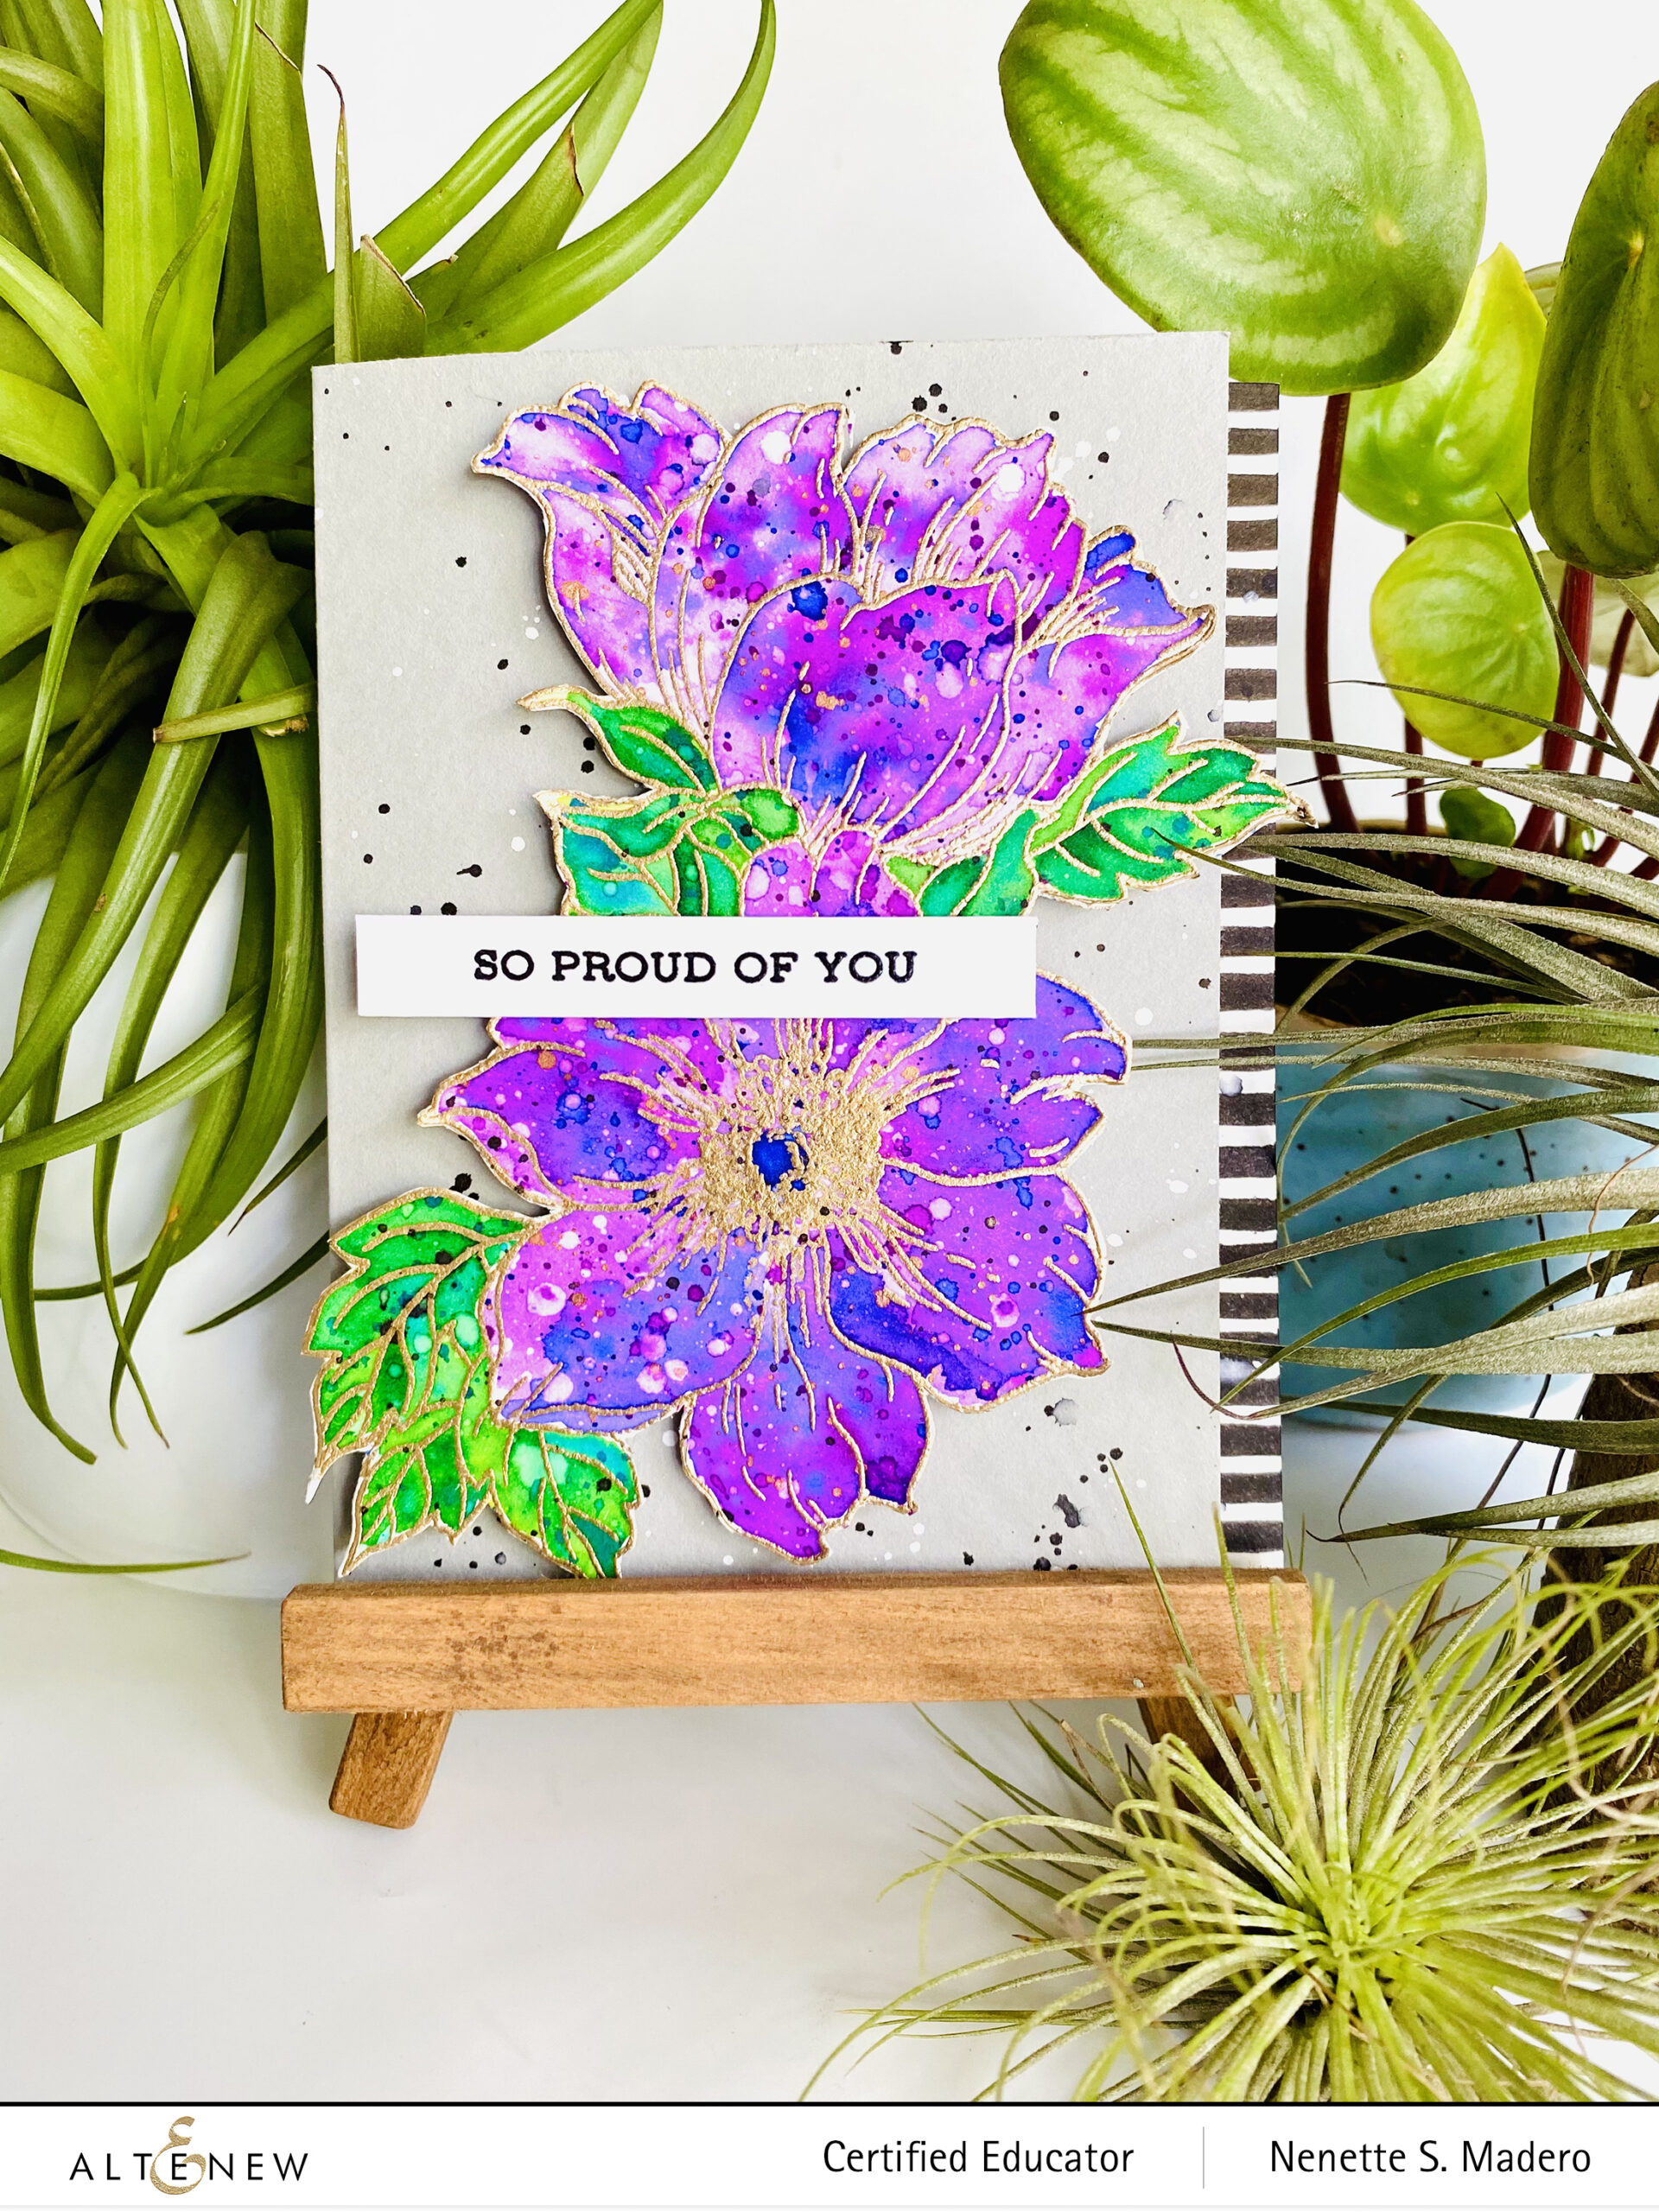
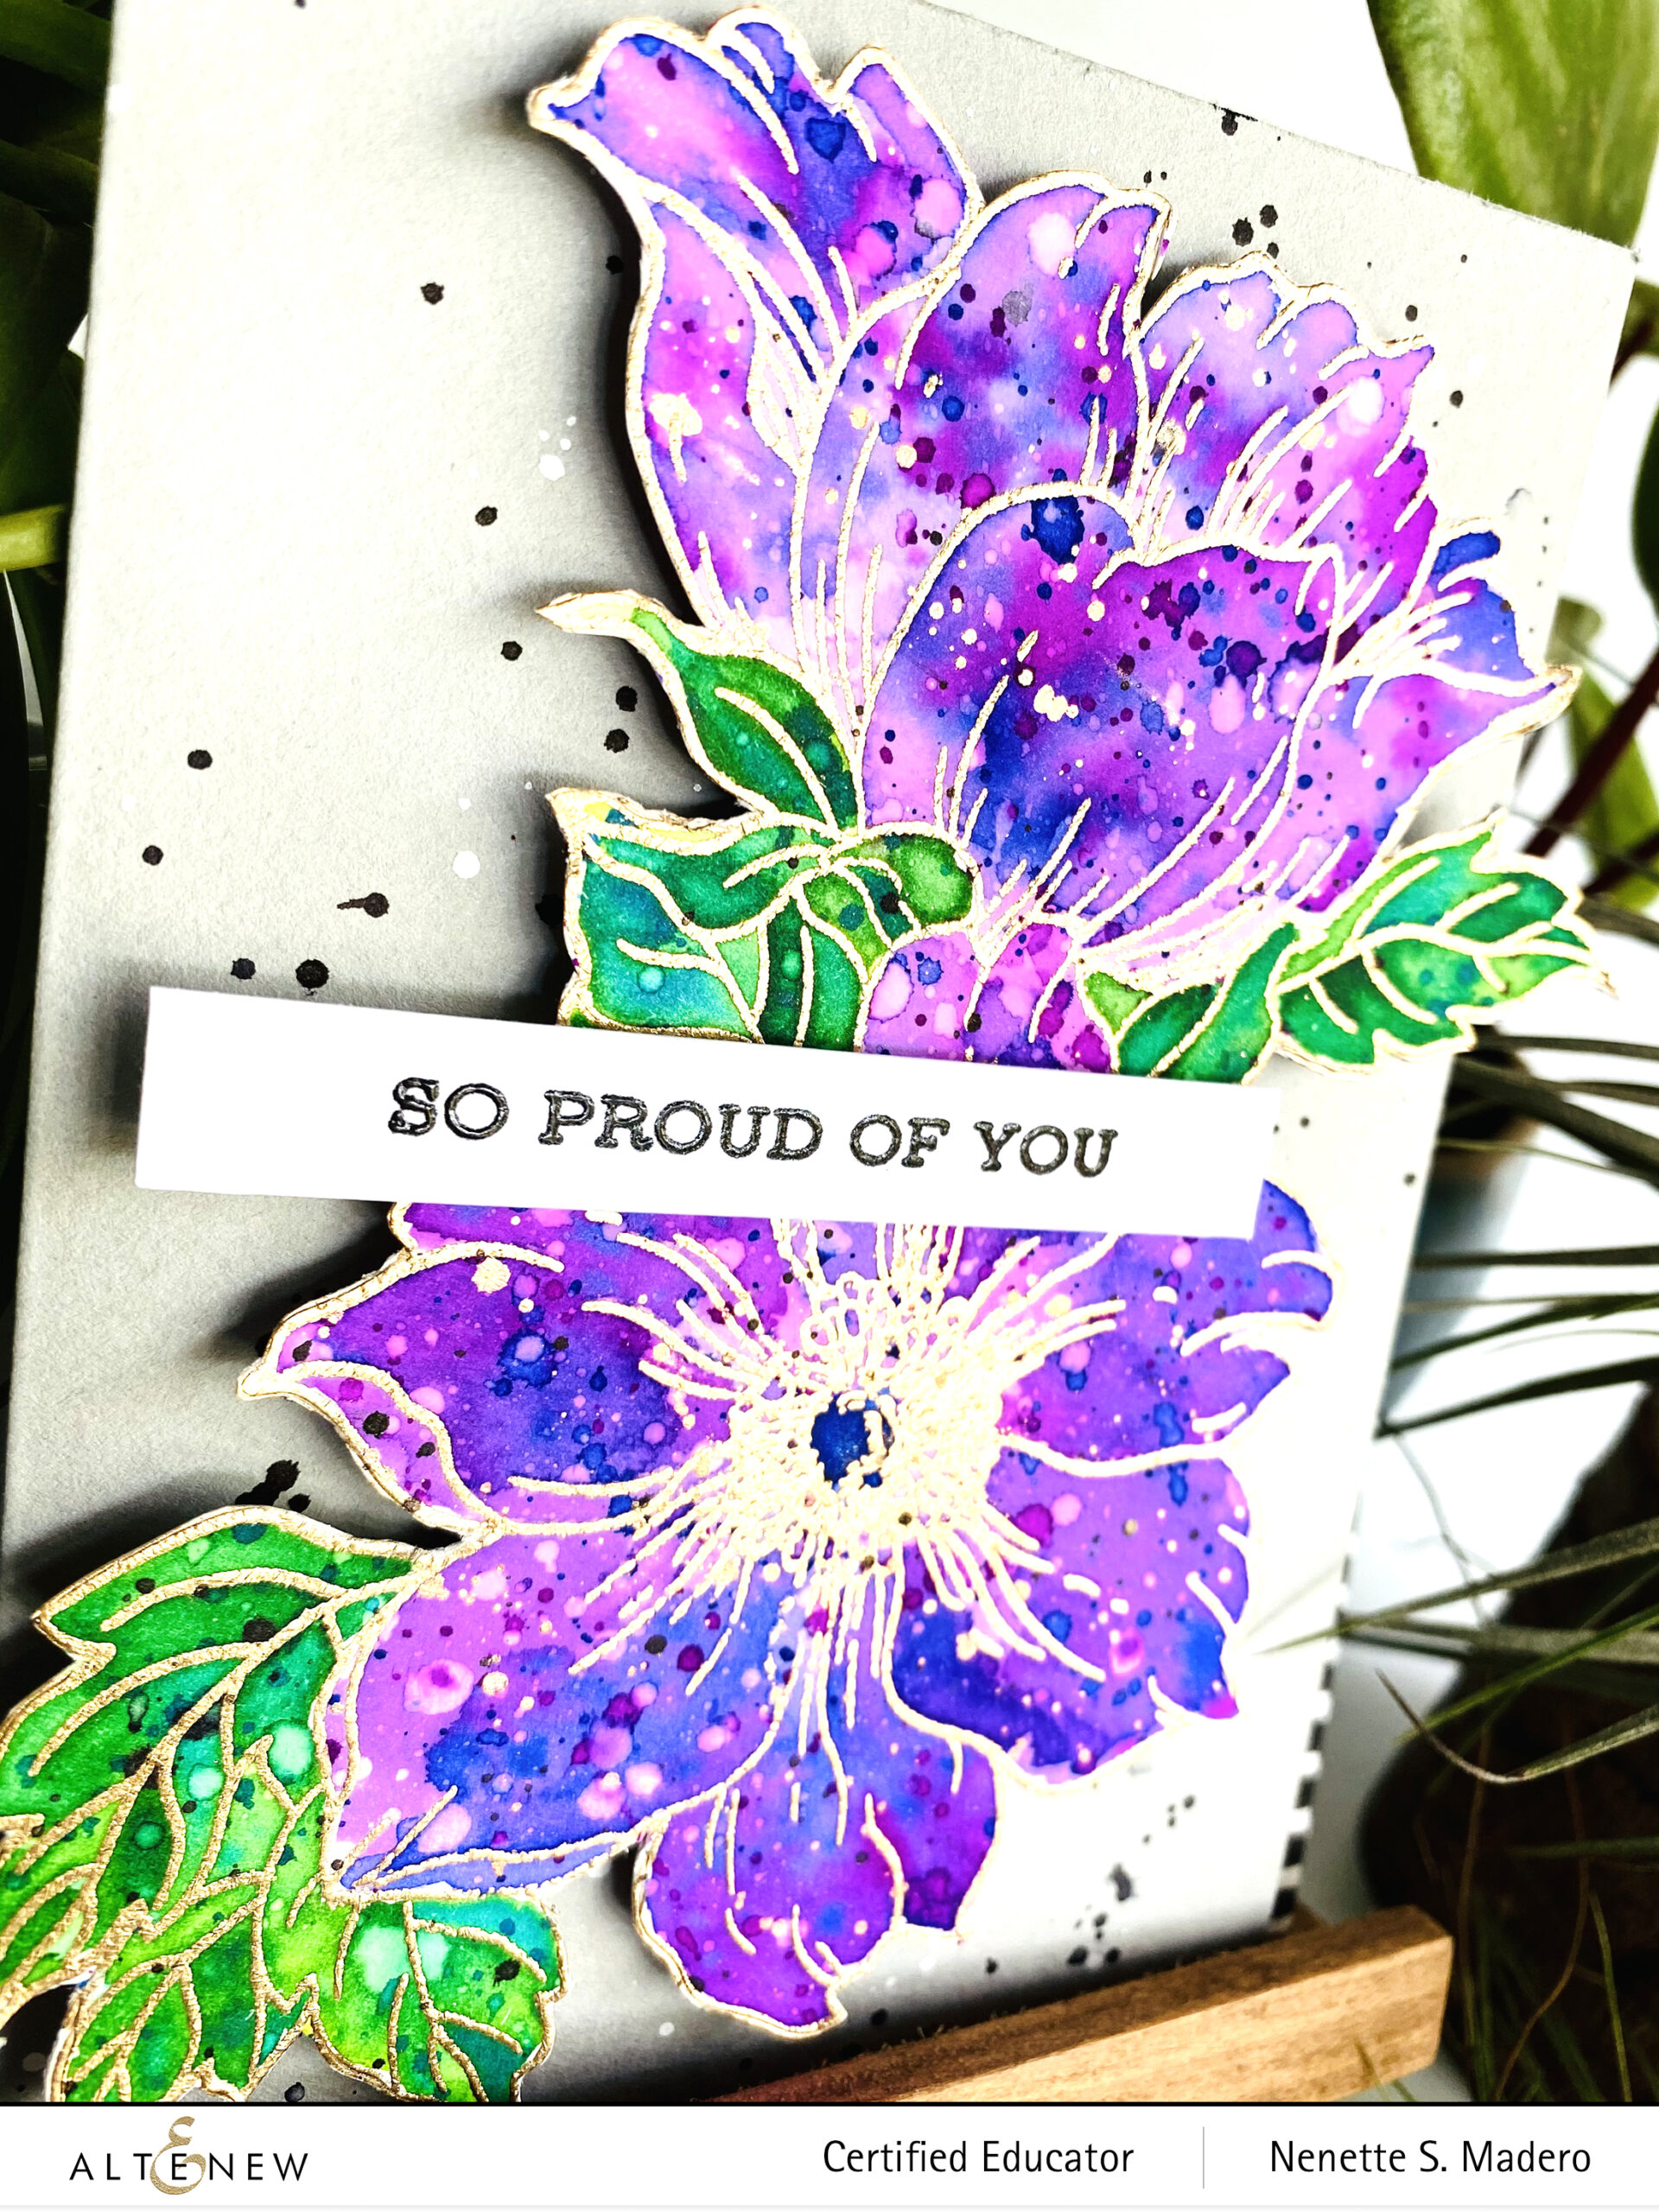
SO PROUD OF YOU
STEPS:
Stamp the image from the Statement Flowers stamp set with Versamark in and embossing with Rose Gold embossing powder.
Wet the surface of the petals with water and then add splatters of watercolor from Midnight Violet and Persian Blue brush markers.
Allow the petals to dry and add more spatters.
Spray the flowers with water and lift the colors for added texture.
Color the leaves using the same technique with Emerald, Limeade and highlight with a little bit of Sea Breeze.
Cut out a mask then trim out the leaves. Cover the flowers to protect them from the green spatters.
Add green and blue splatters to the leaves.
With the Jet Black ink, customize black and white stripes patterned paper.
Add black and white splatters to the Real Grey card base.
I really enjoyed making this card. Just make sure to turn your panel when creating spatters for a variety of direction. Adding water droplets to lift some color added more texture to the petals. I loved this technique because it didn’t take a lot of time to create yet it seems to be complicated to make. I also didn’t have black and white striped paper so I just created my own using a black marker. The freehand lines made the card more organic looking.
This fourth card was inspired by Erum’s Playing with Texture class.
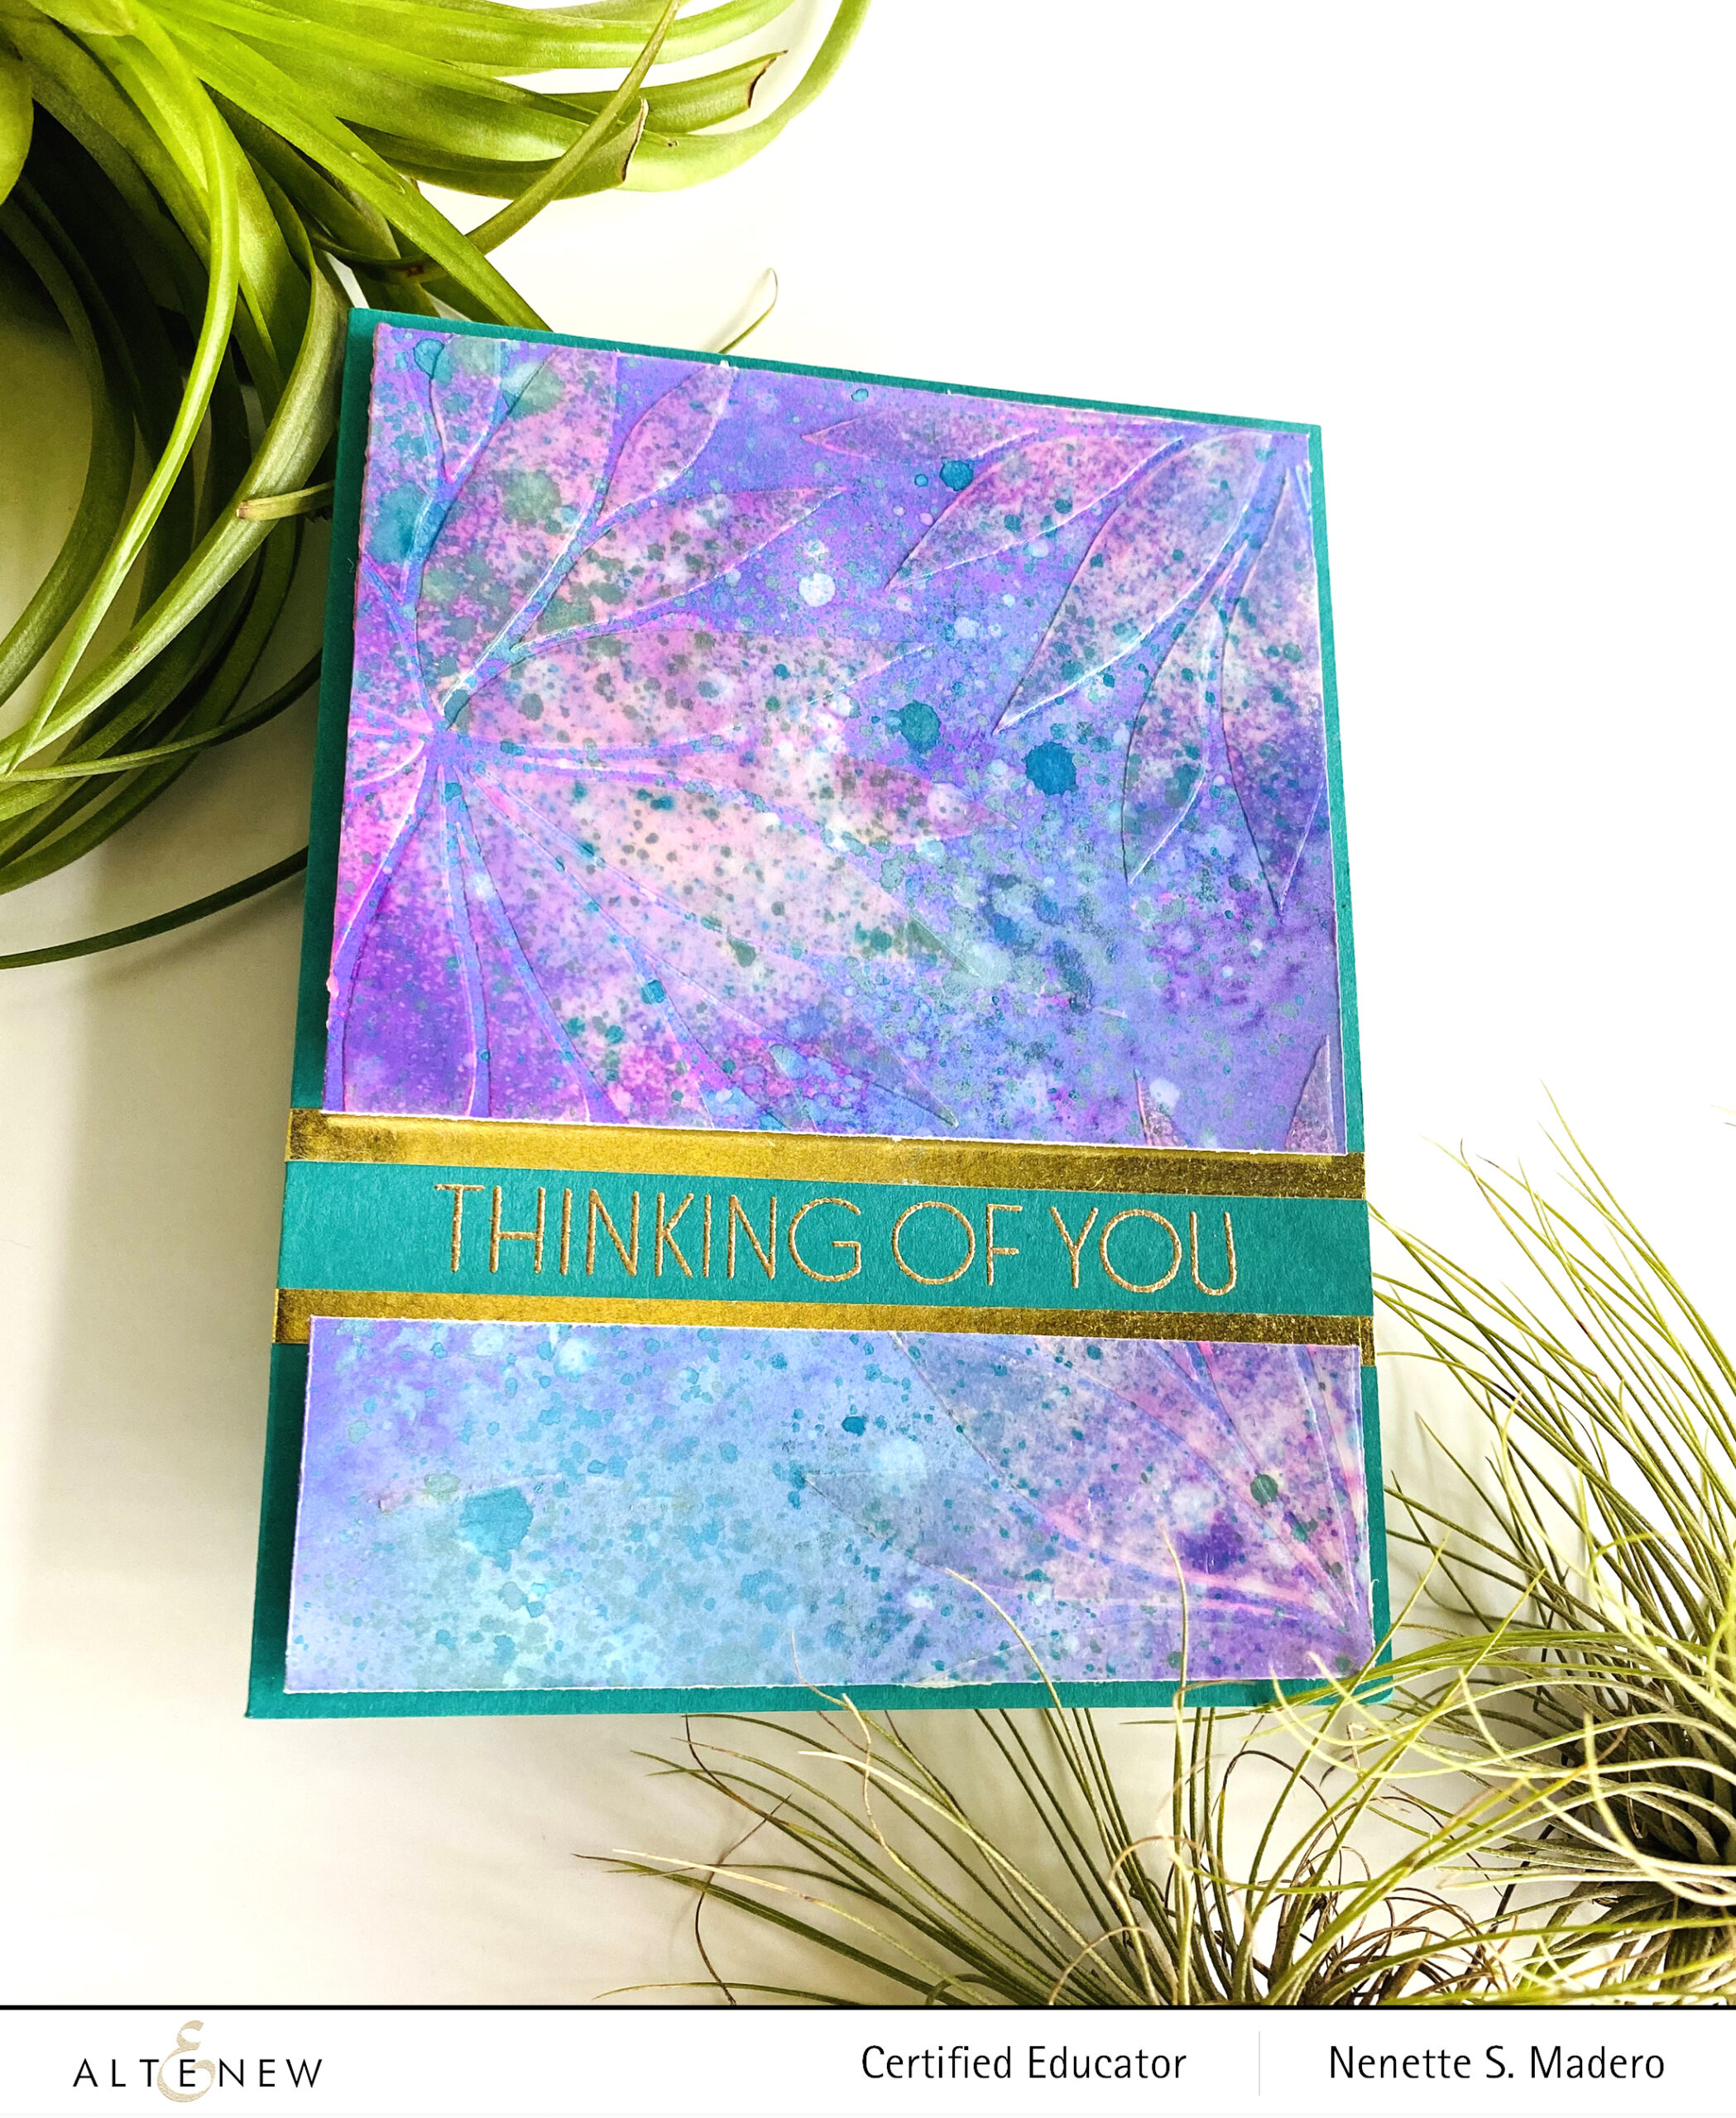
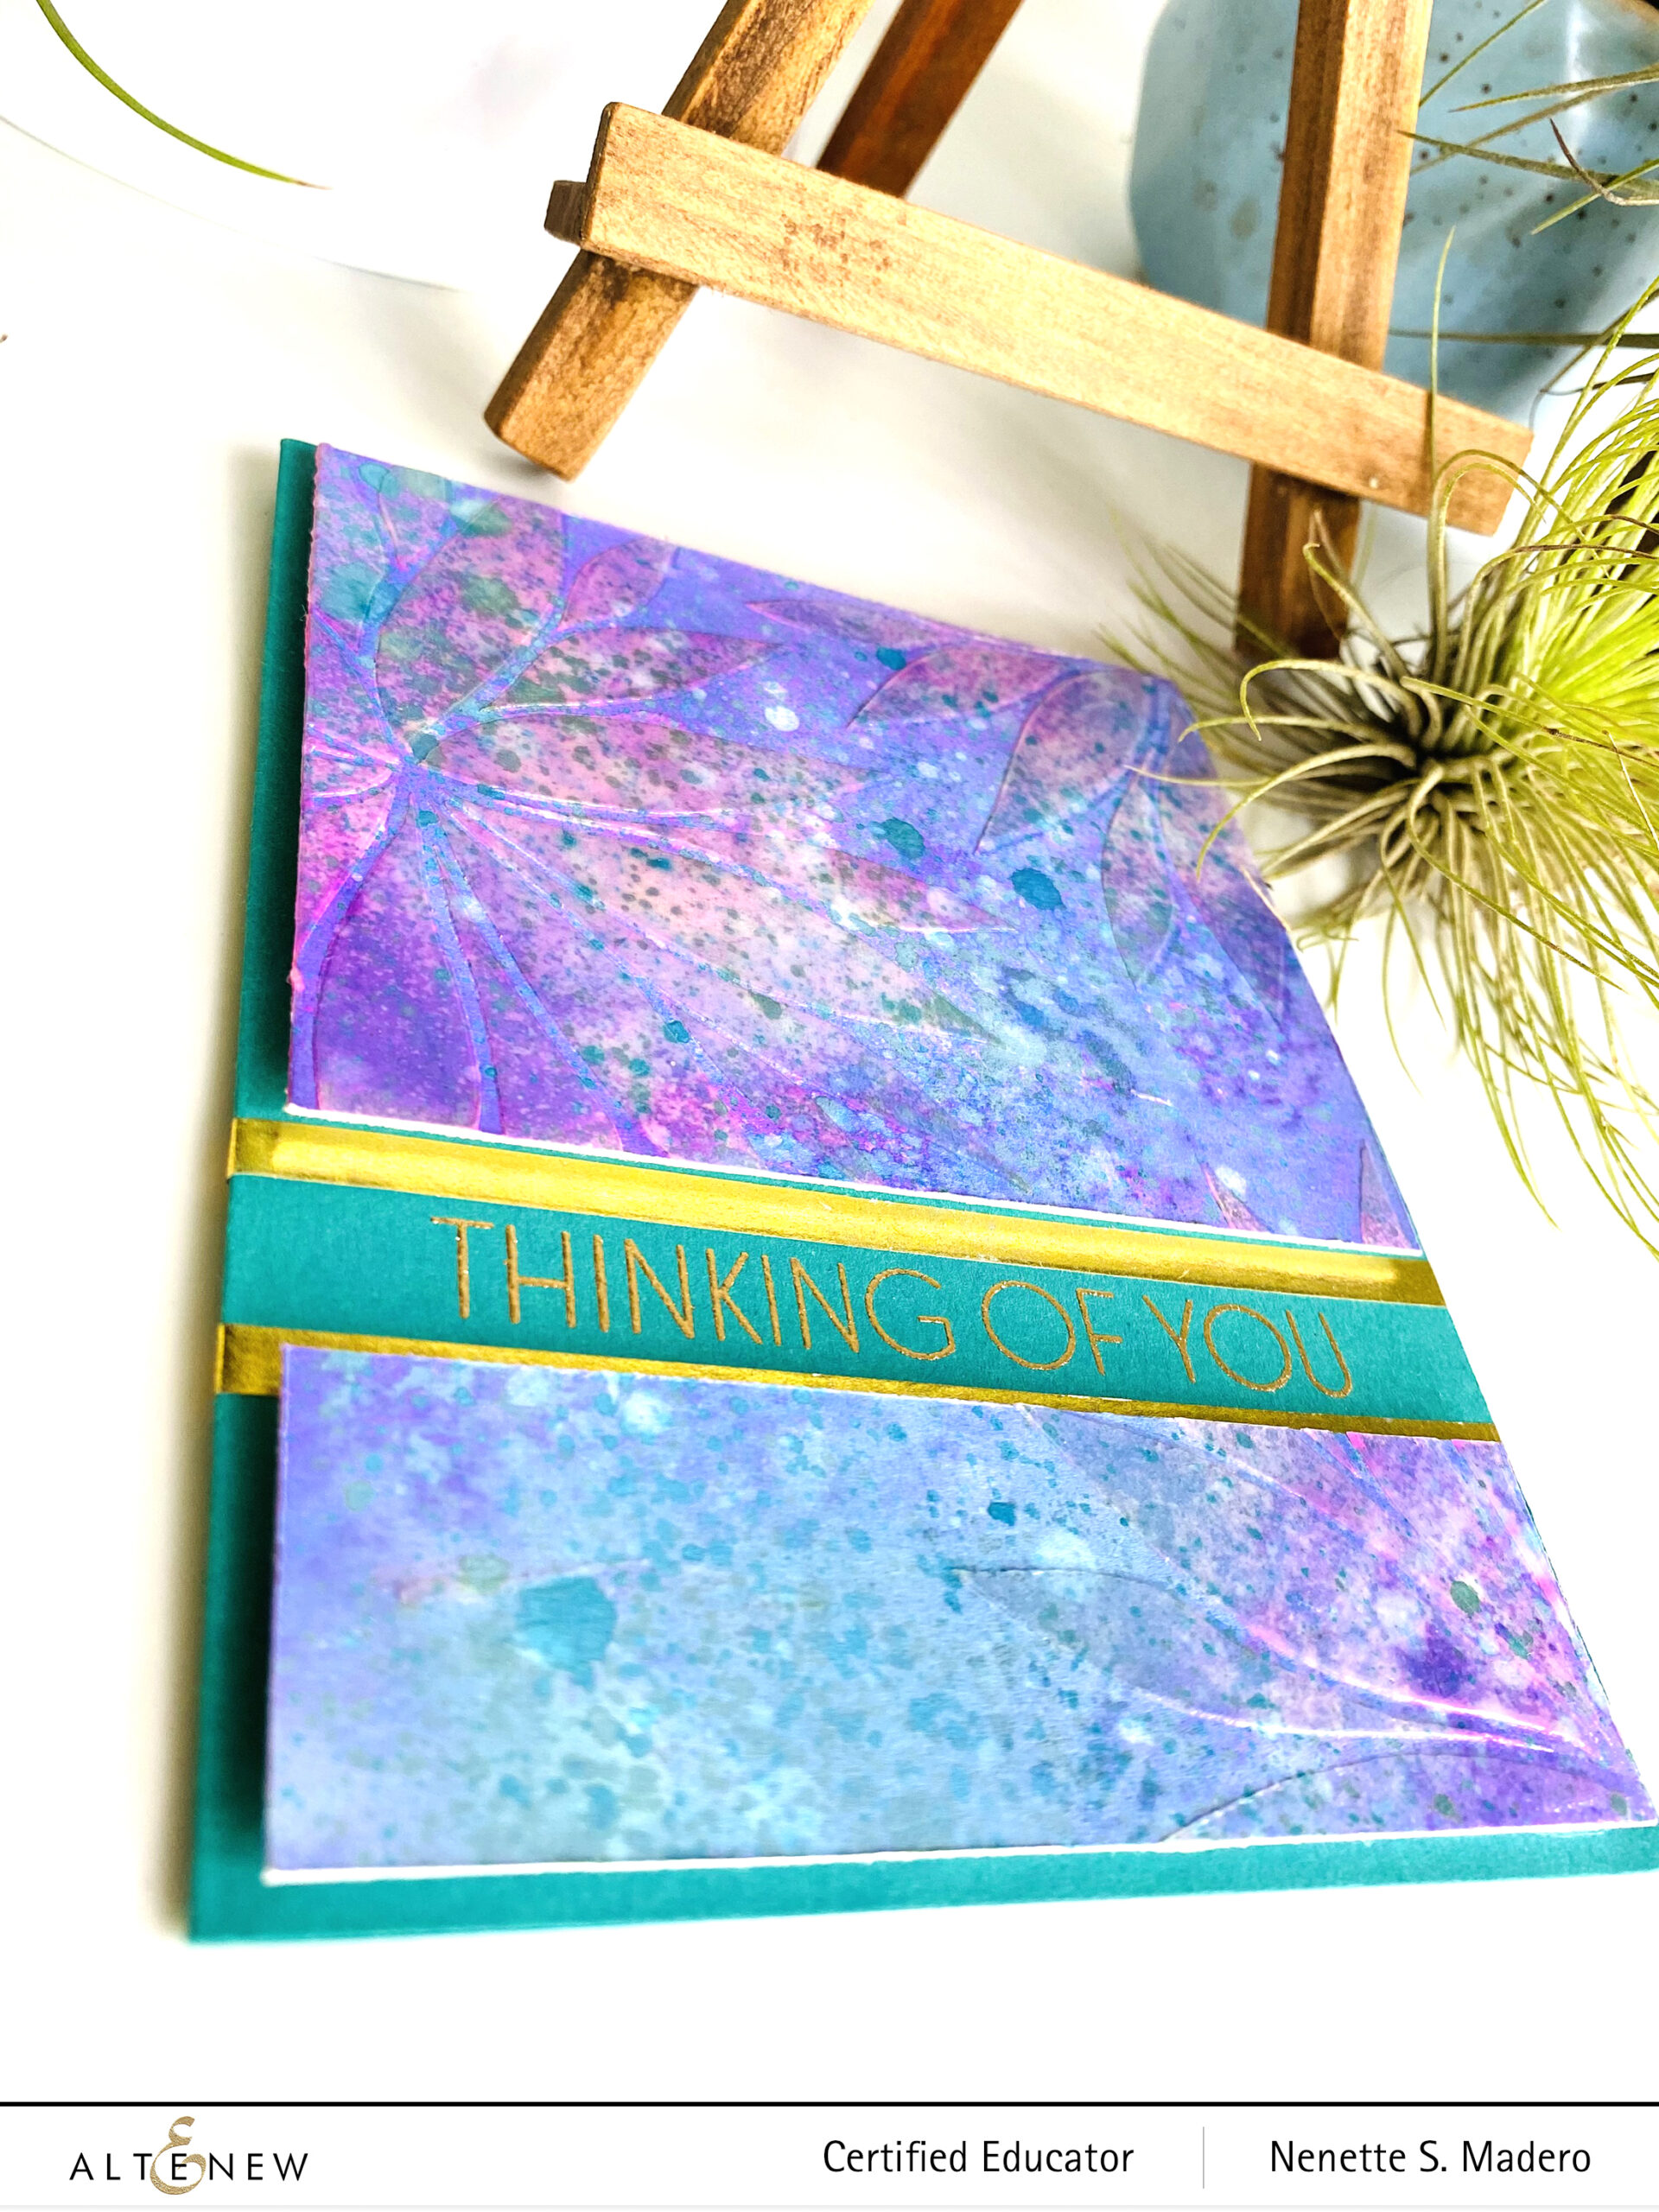
THINKING OF YOU
STEPS:
Create a background using distress sprays, distress oxides and distress inks. Make sure to dry between sprays.
Add water splatters and after 10 seconds, lift the colors using a paper napkin.
With the Mega Blooms Stencil, create transparent flowers using the transparent texture paste. Allow it to dry.
This was a quick card to make. It only took longer because of the drying time of the transparent texture paste. I love the subtle texture the clear texture paste gives yet it allows the background design to show through.
I hope you liked the 4 cards I made based on Erum’s Creative coloring class. I highly recommend it. She also included tons of other project ideas that you can get inspiration from.
Do stop and say hello on Instagram where I post my latest creations and giveaway announcements. You can also subscribe to this blog if you want to receive email notifications of my posts.
Again, thank you so much for taking the time to drop by! Don’t forget to leave a comment to get a chance to win a prize! I truly appreciate your kind comments and always look forward to hearing from you. 😊 Please stay safe and happy crafting!