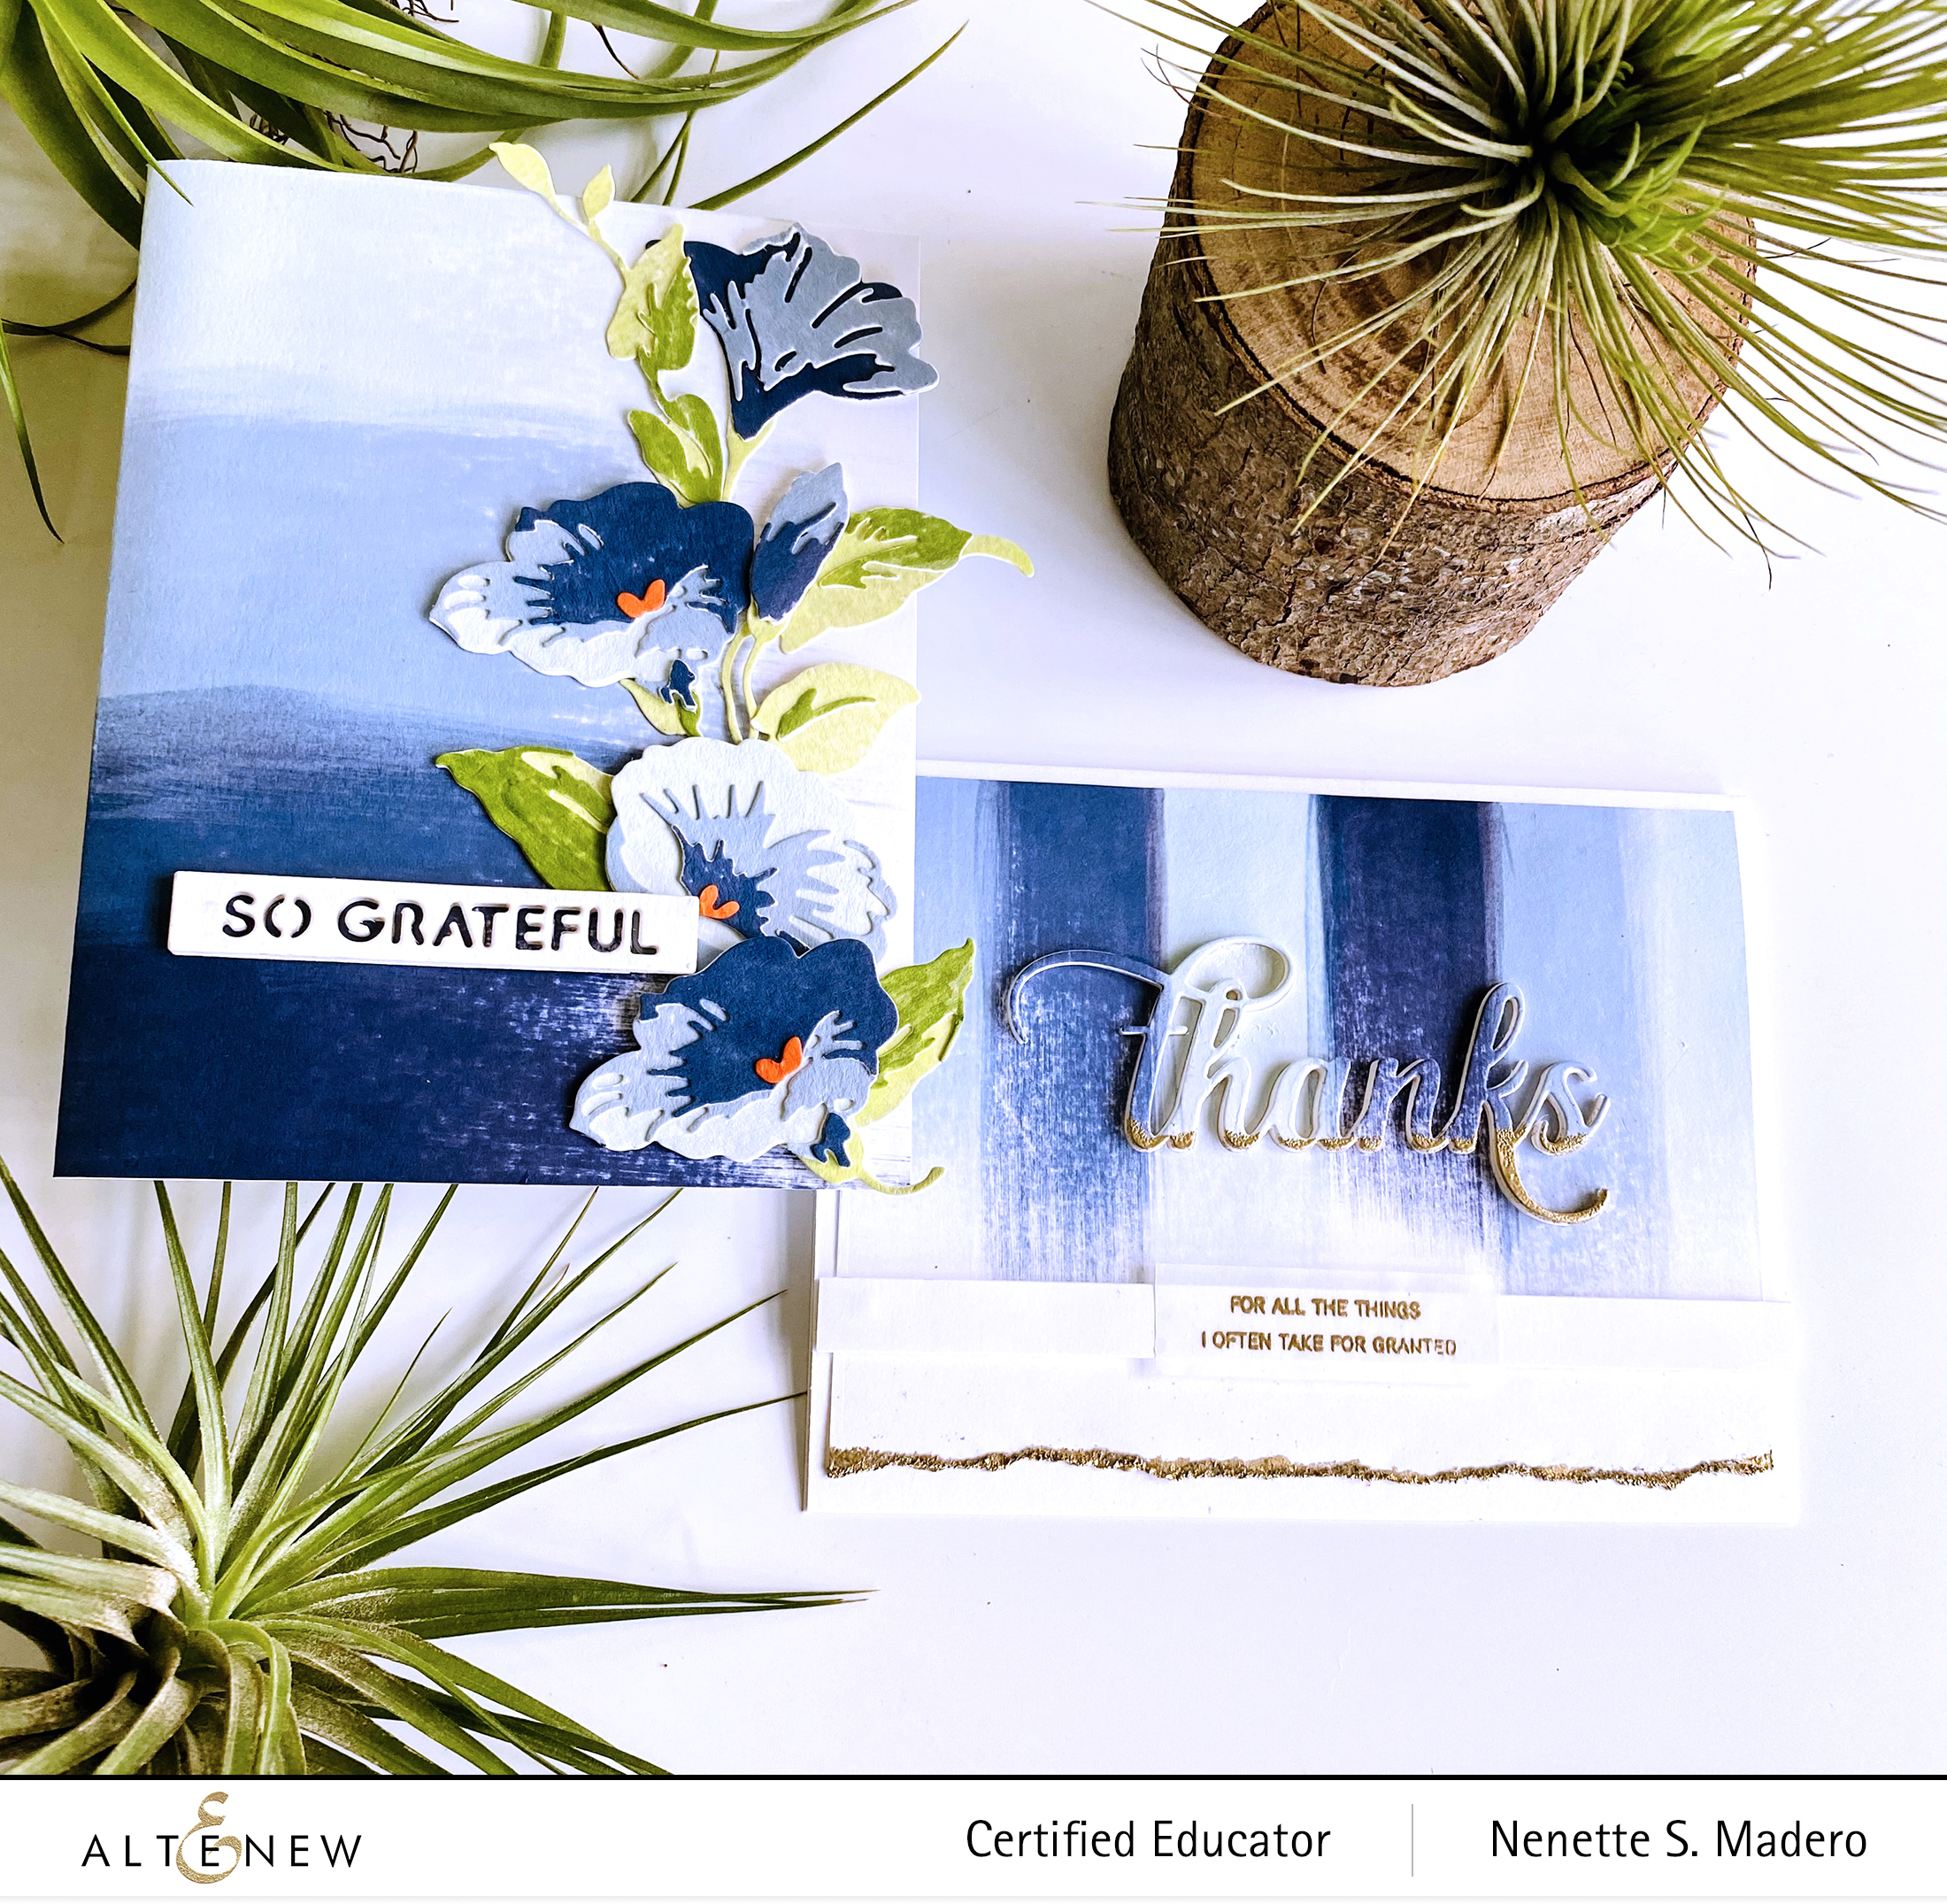
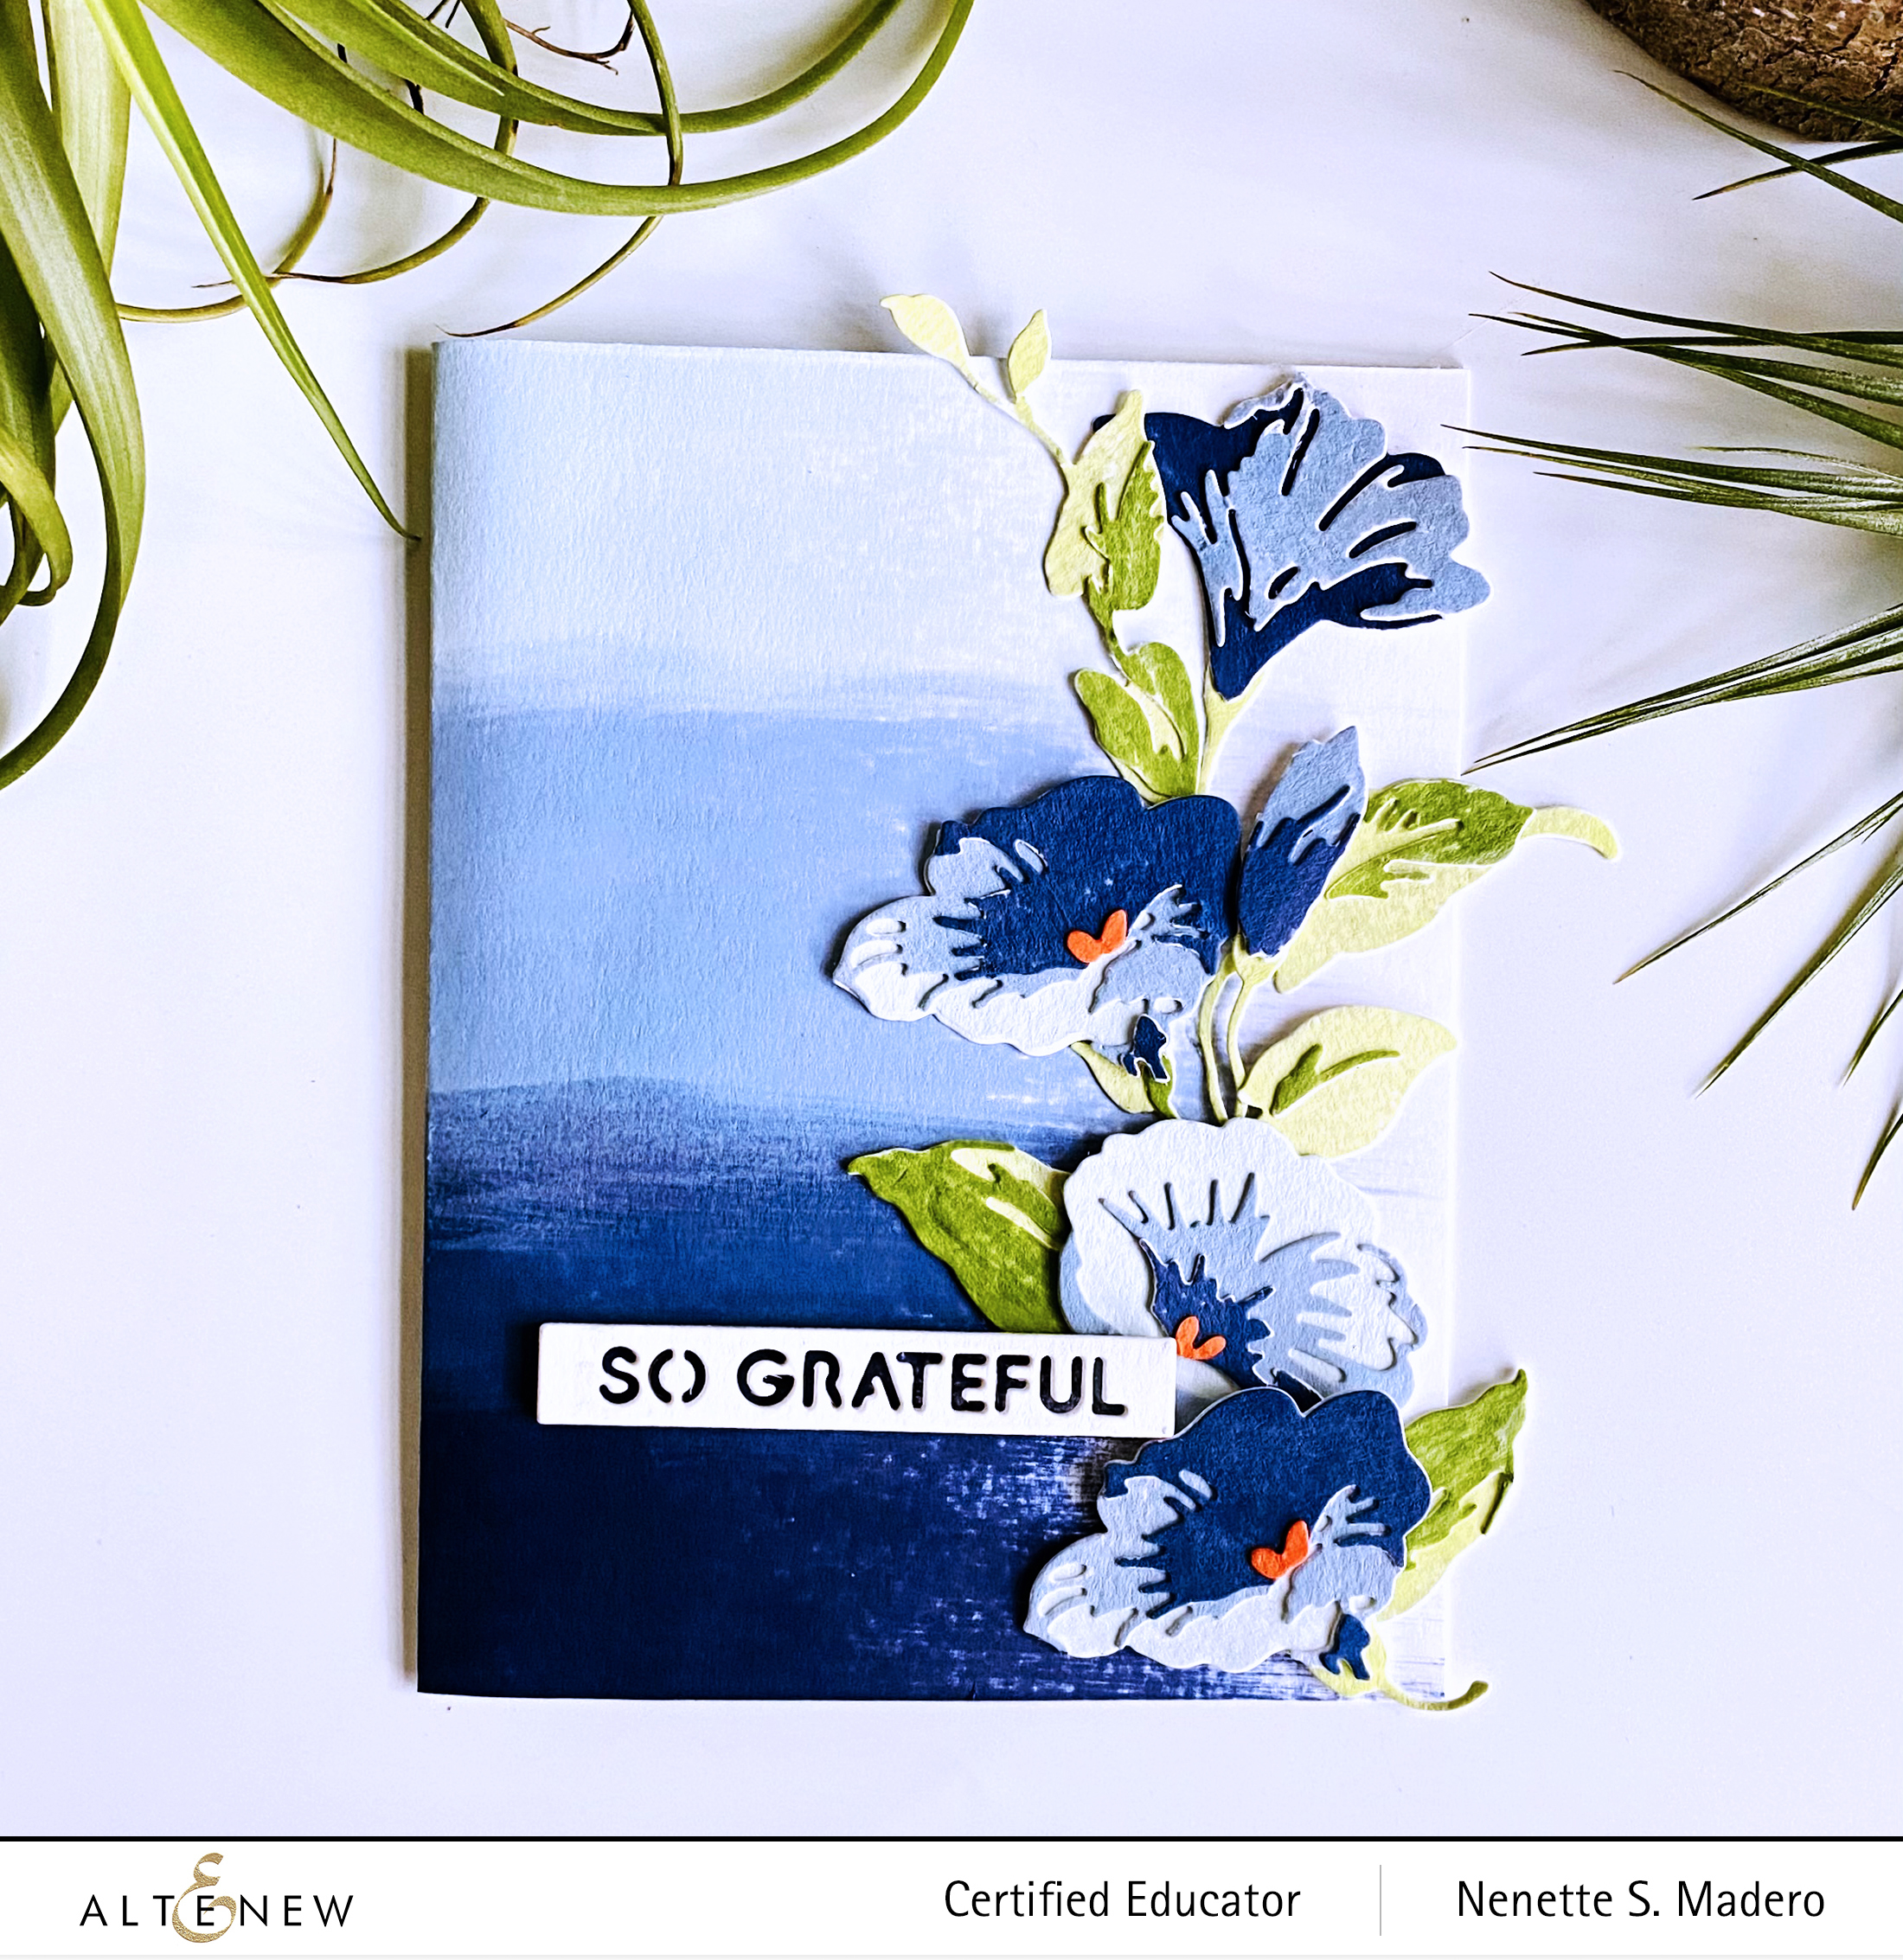
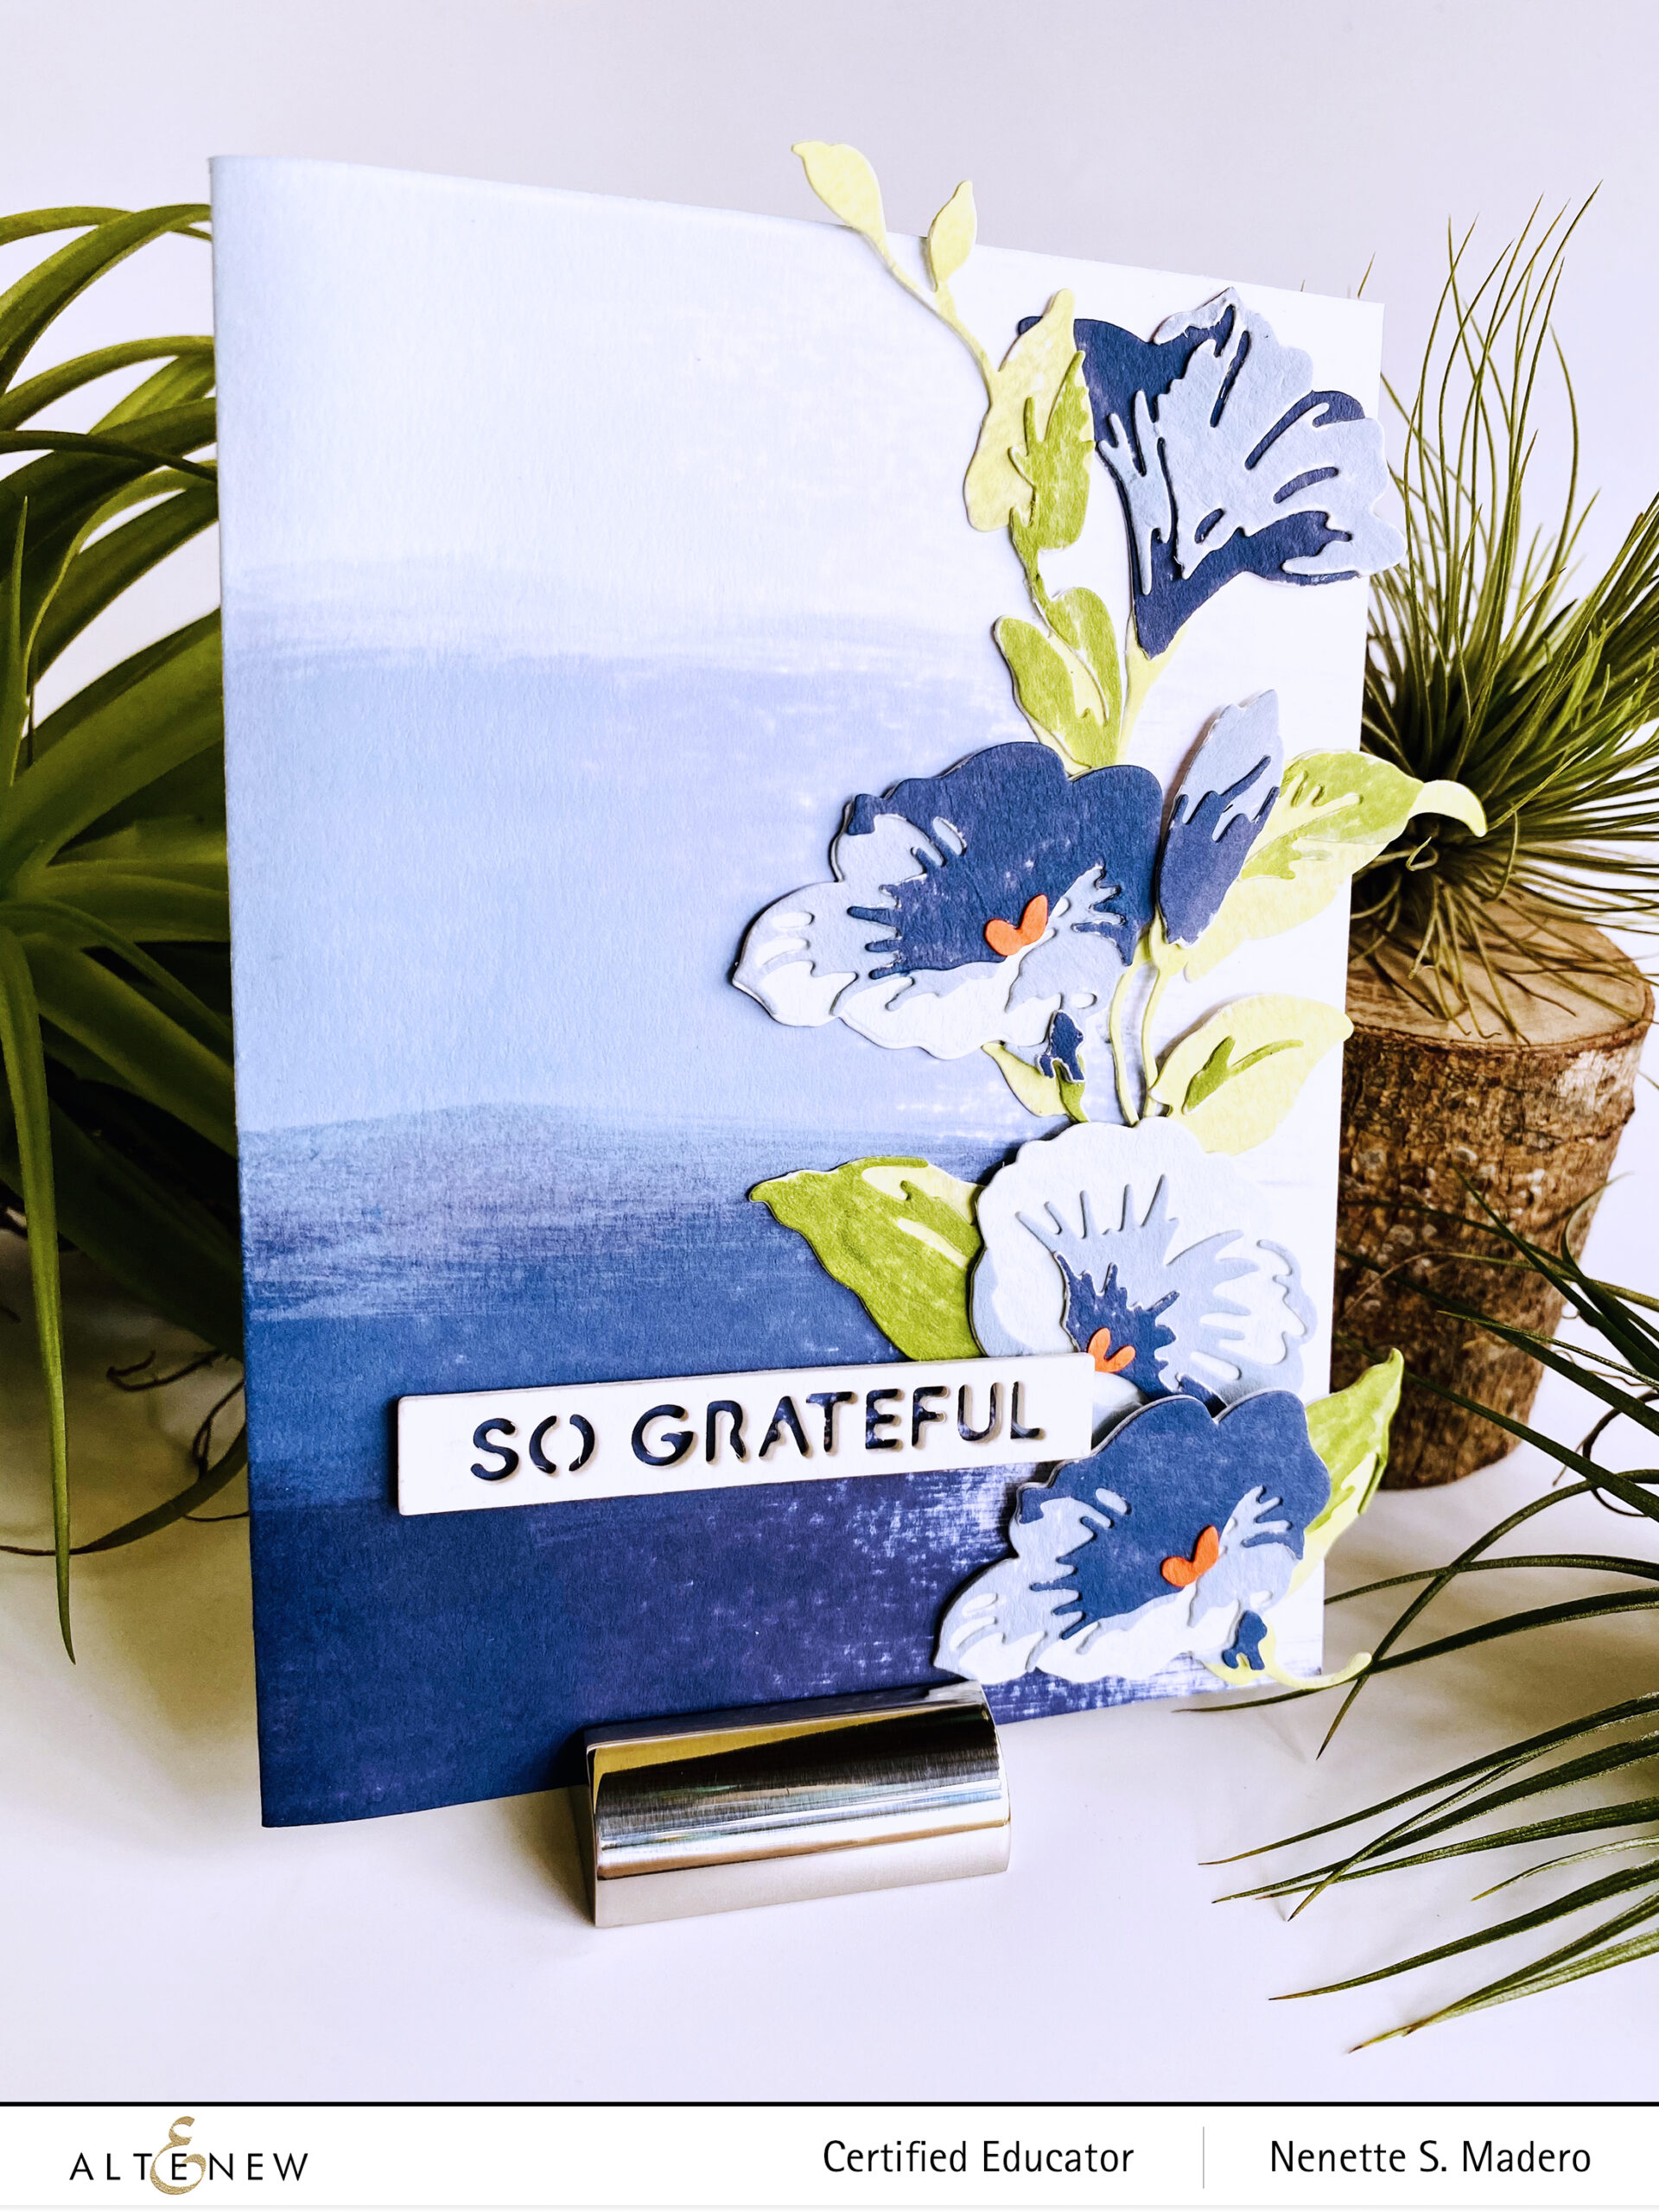
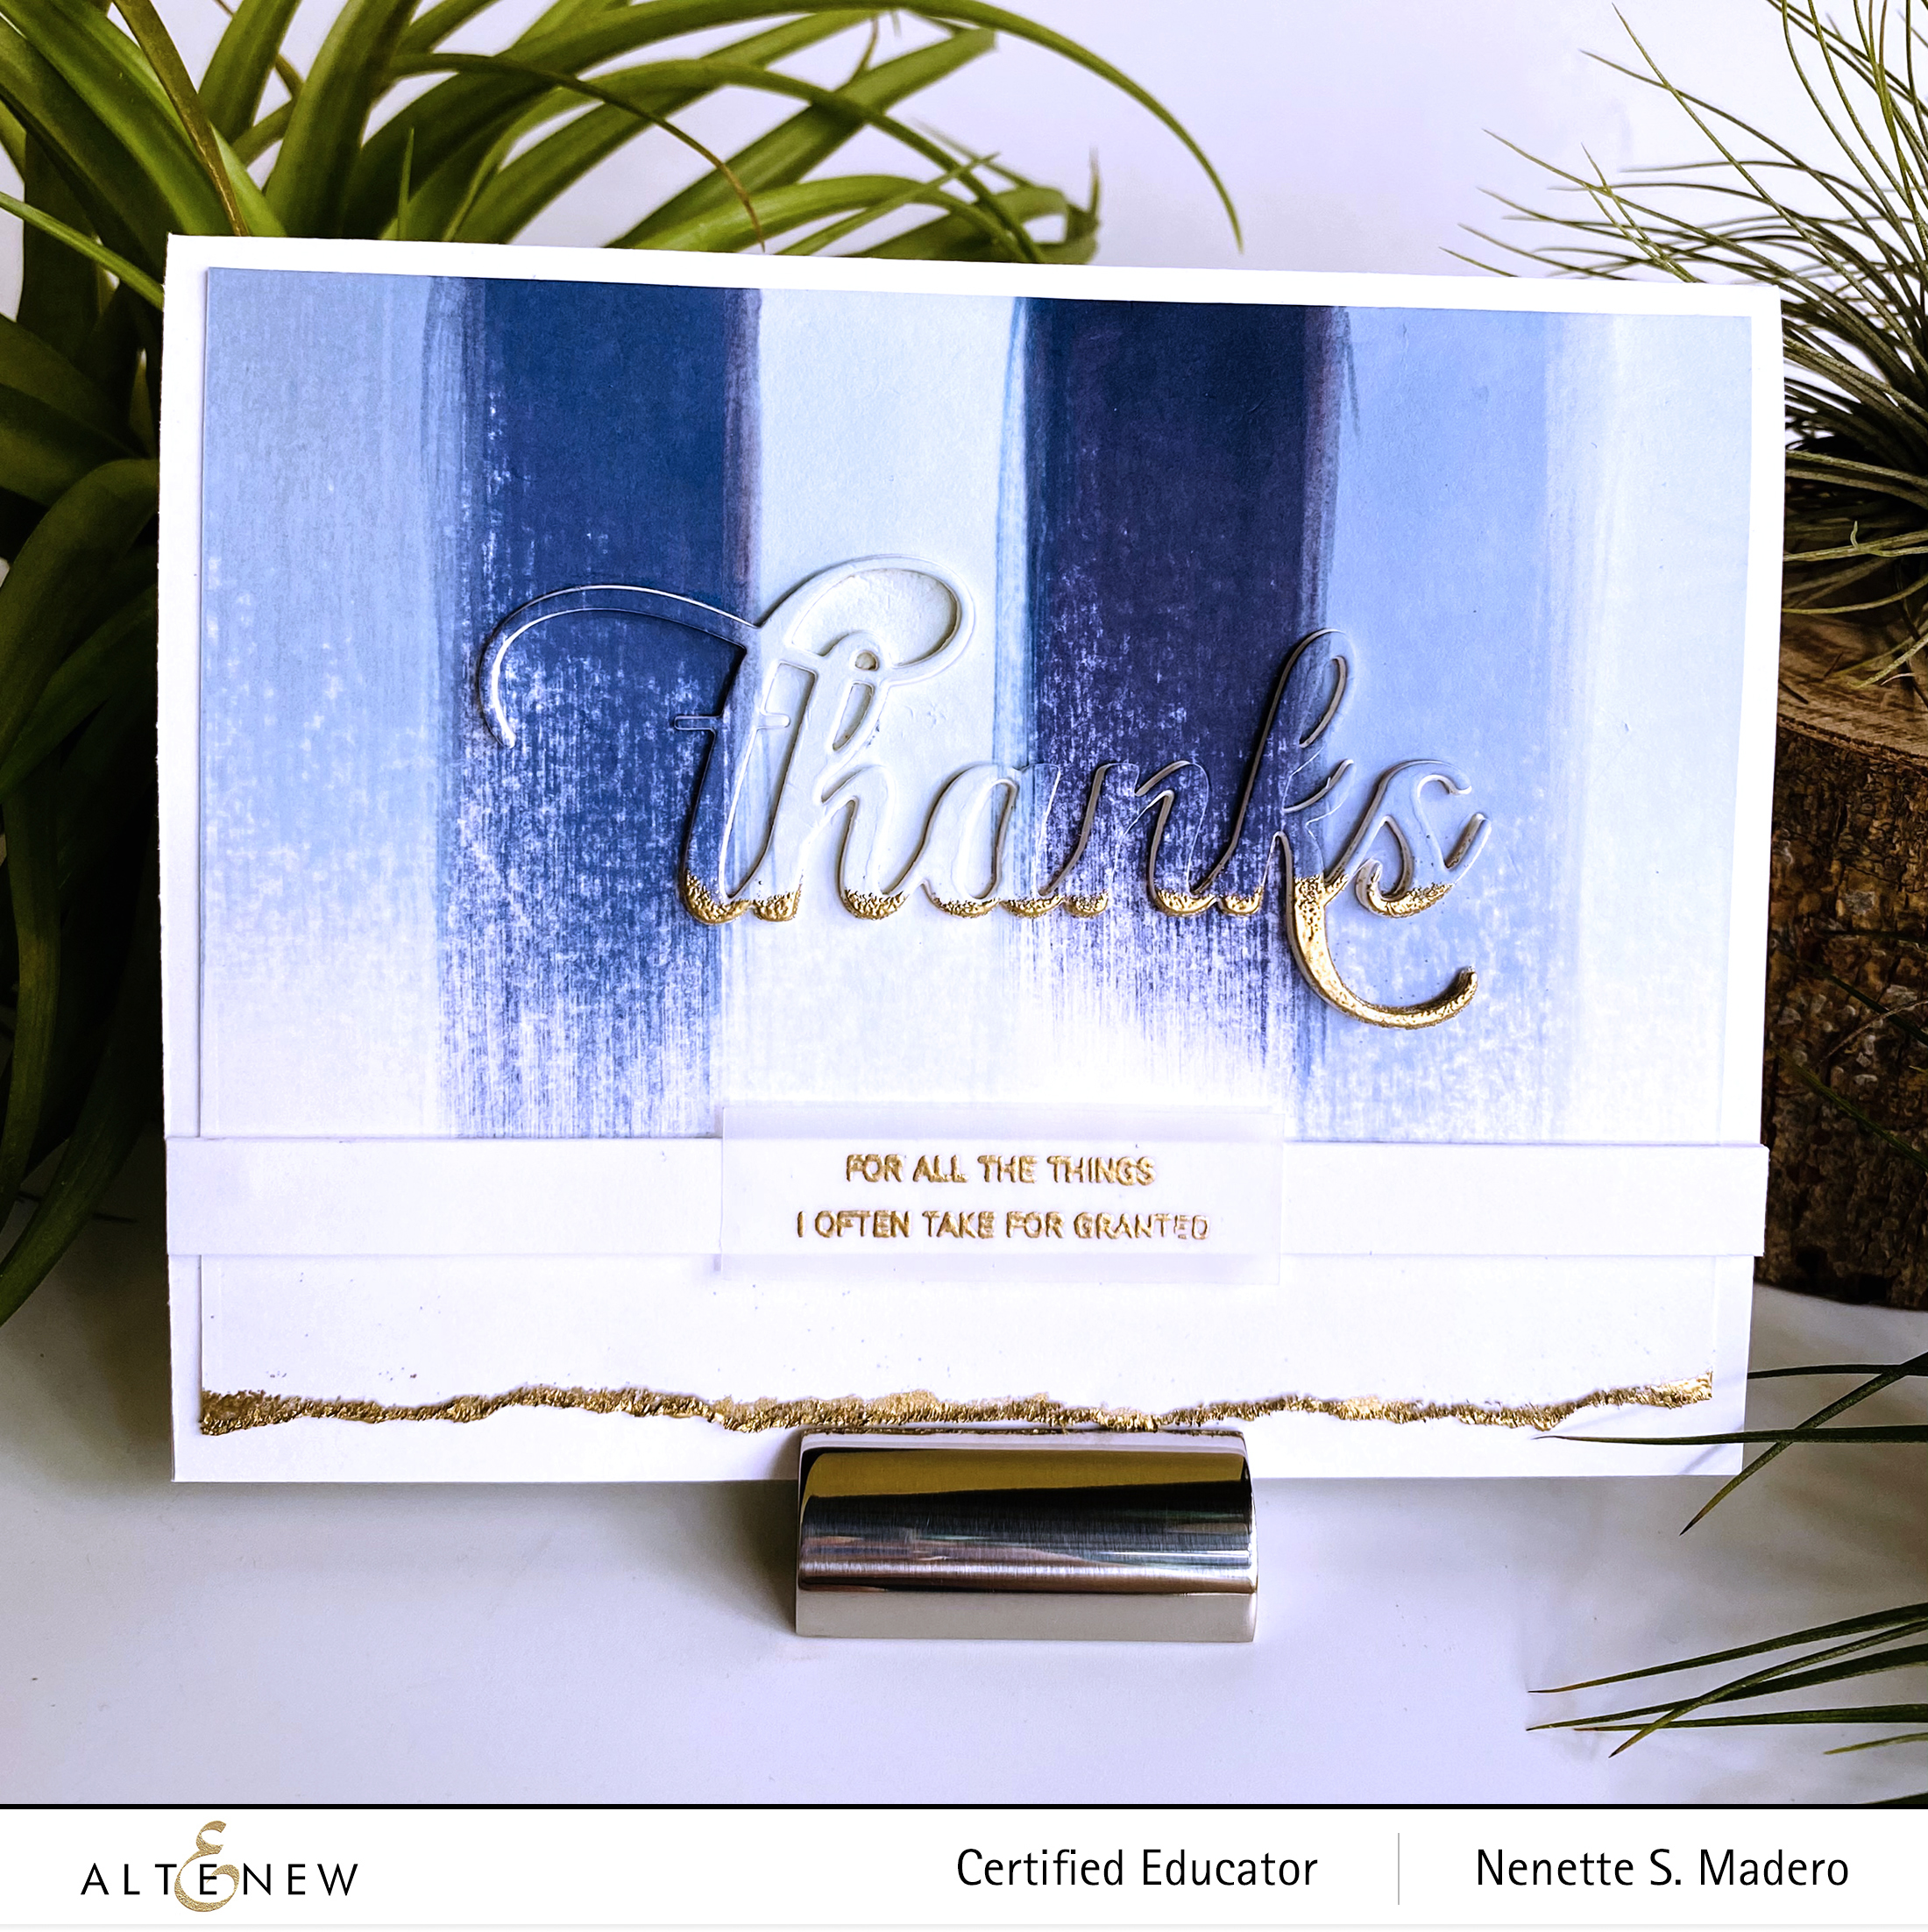
Hello friends! Short post here. Every year, Easter reminds us that life never ends and love never dies. May this Easter season fill you with renewed hope, fervent light and endless patience for one day, this storm shall pass. Here are some cards I made to give to loved ones and friends. All are from The Greetery’s Easter Jubilee Gathering Kit.
Don’t throw away the negative parts of the die cuts!!! Here I made CAS cards by just doing an ombre background and layering the negative parts of the die cut.
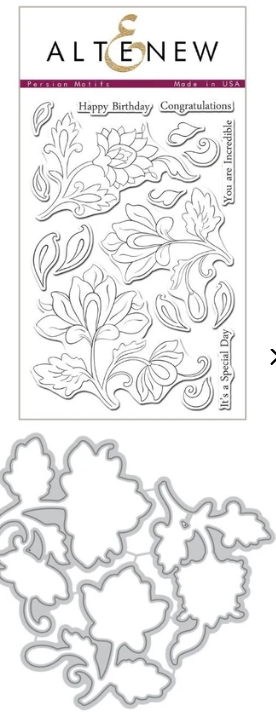
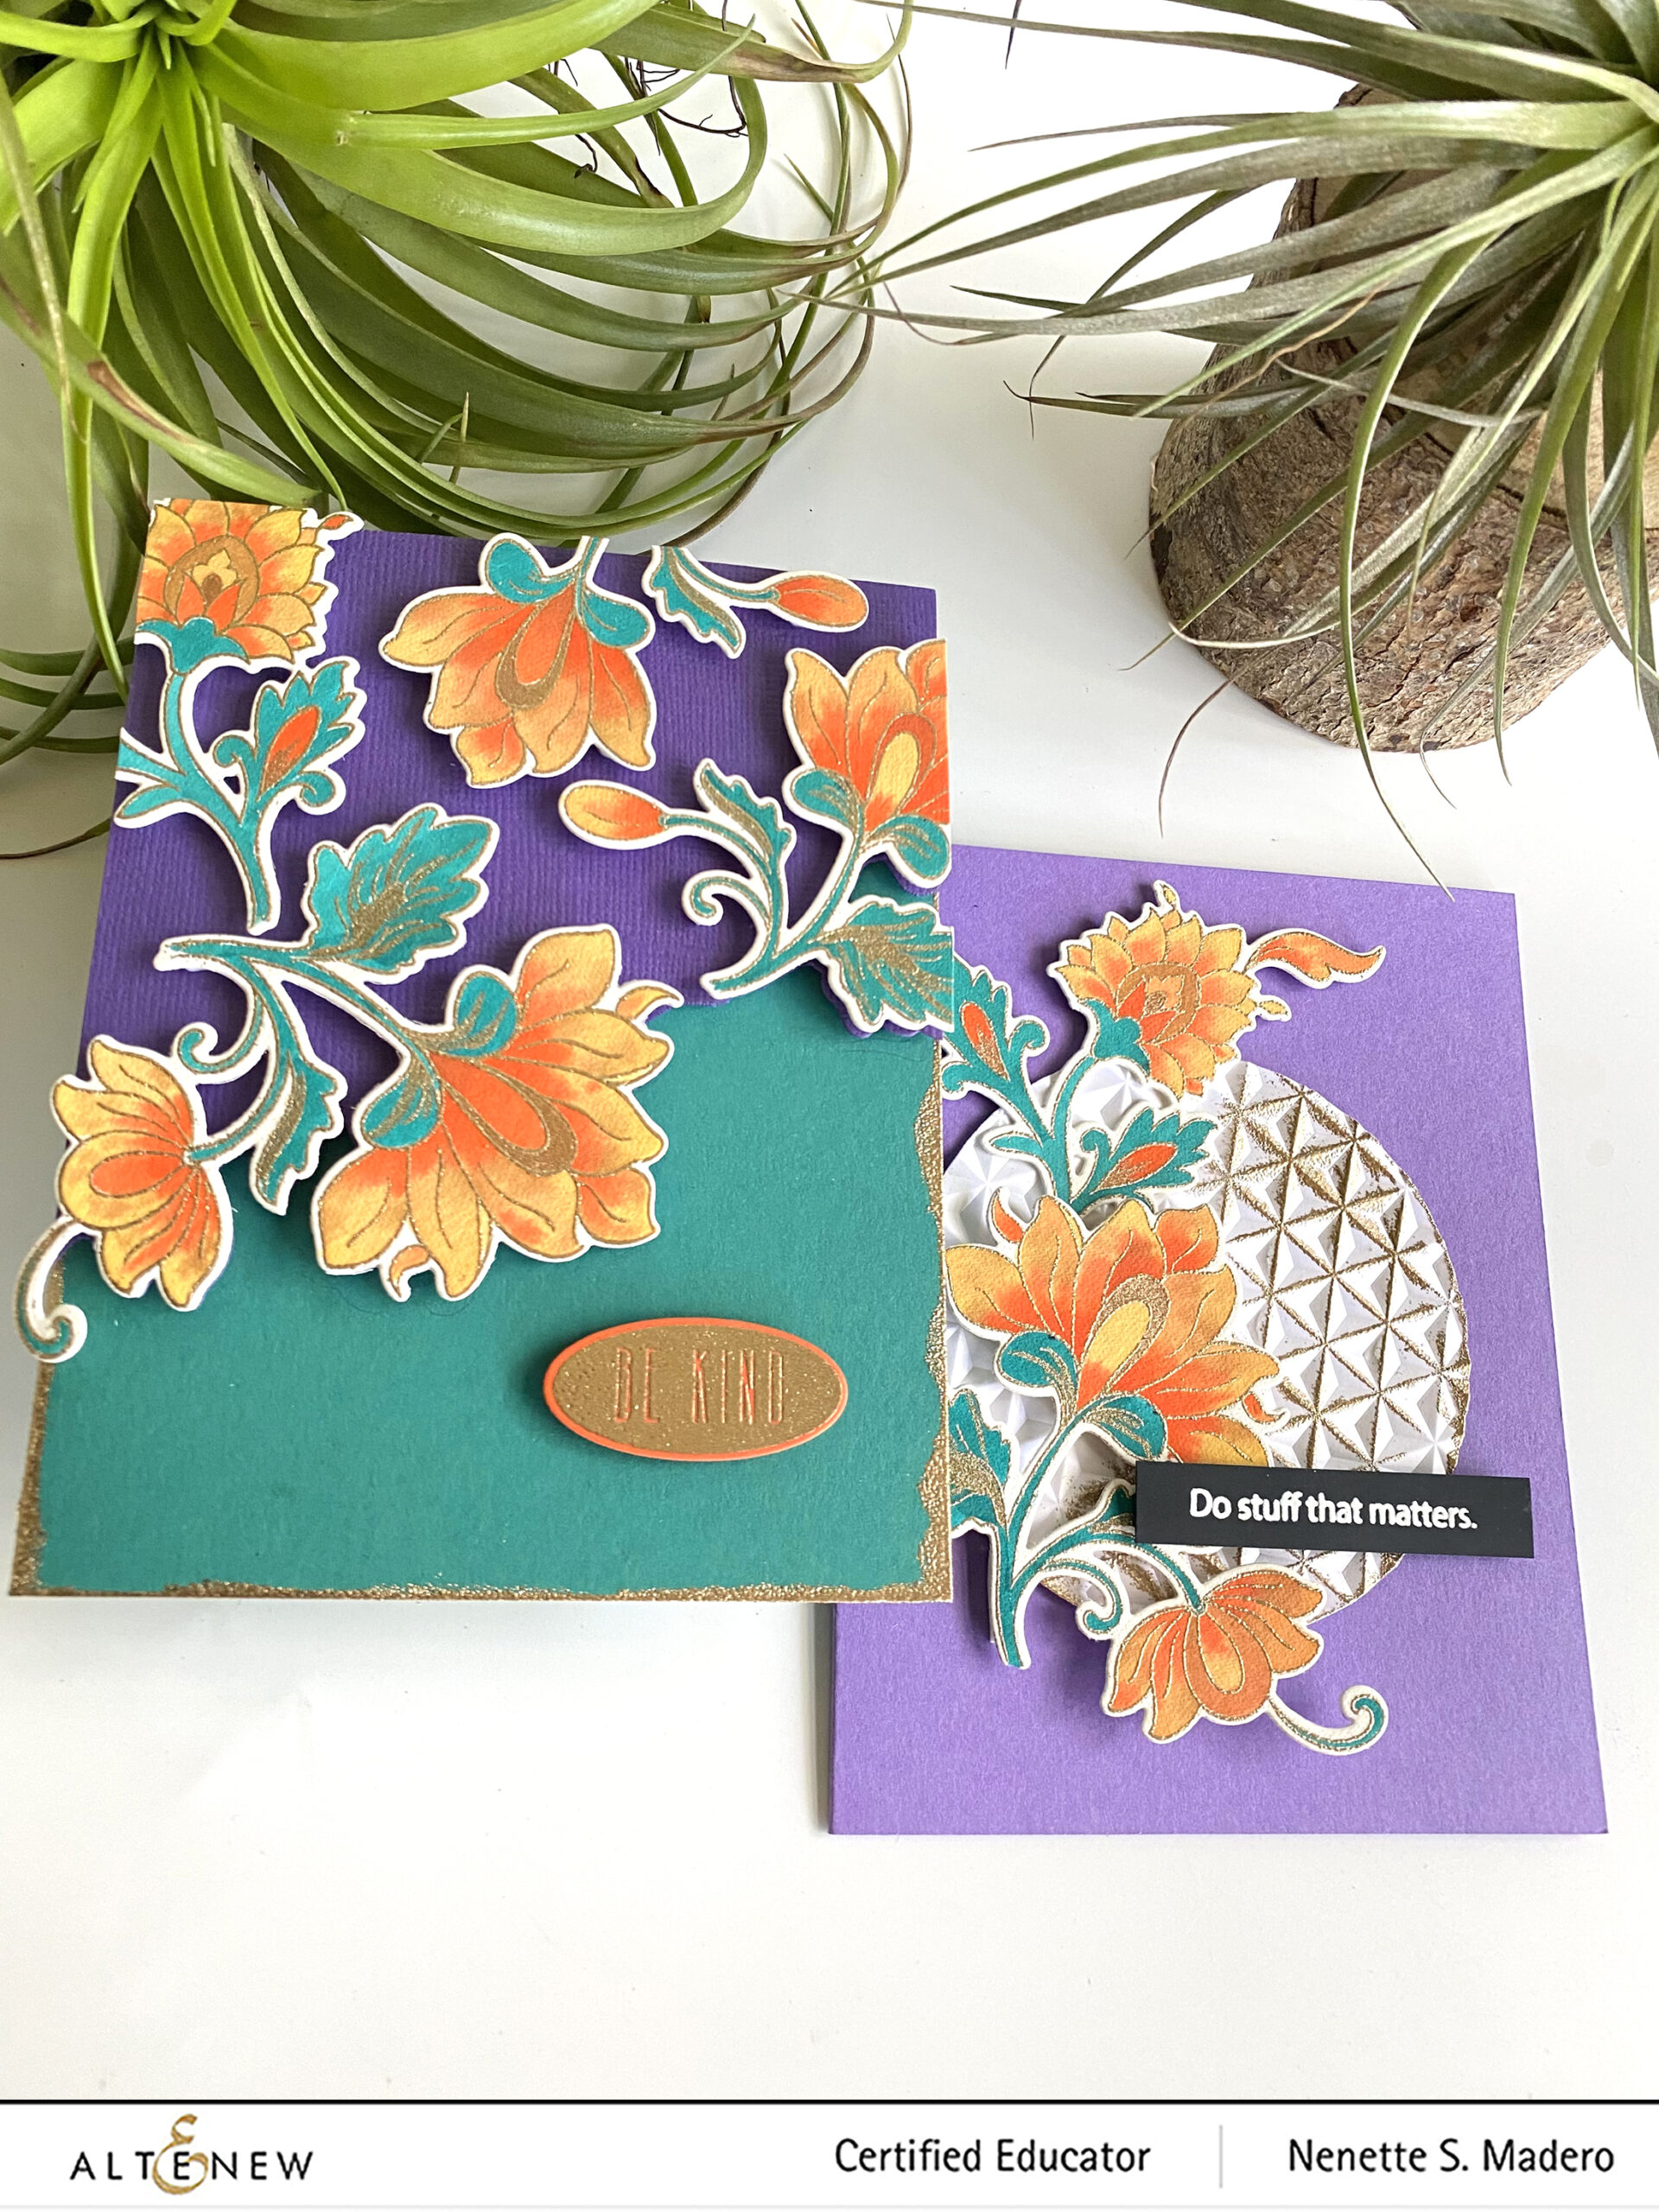
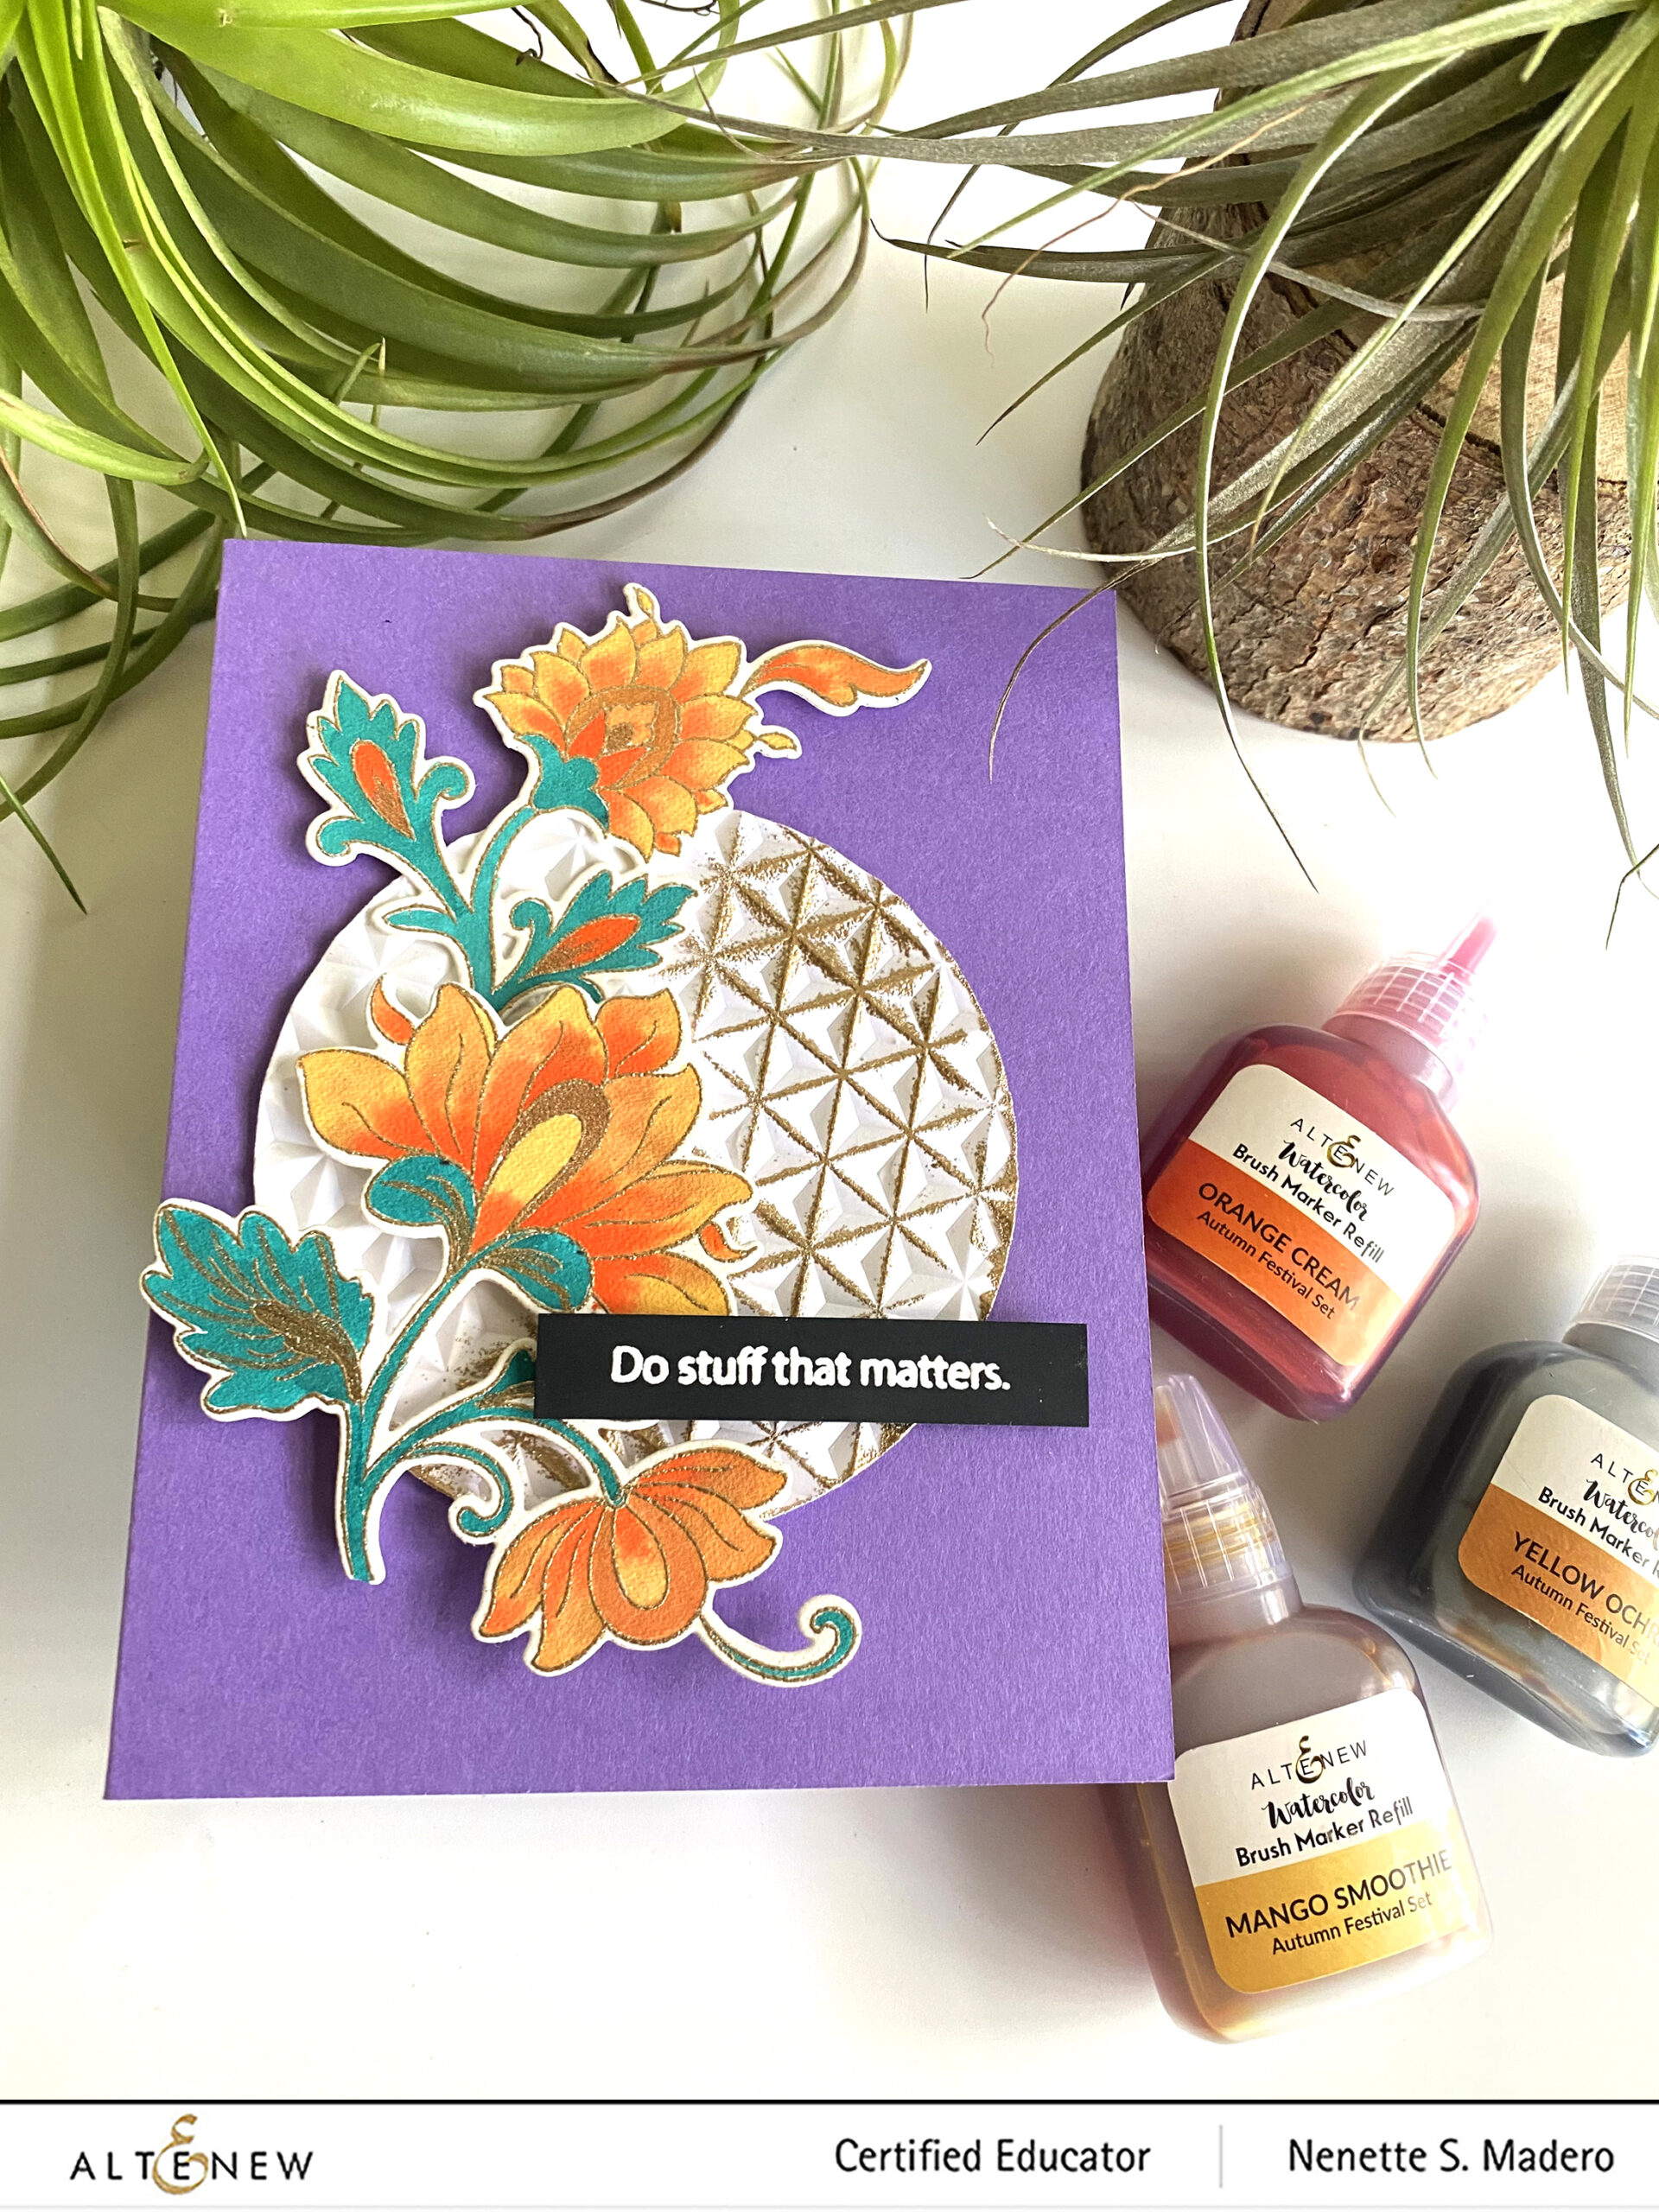
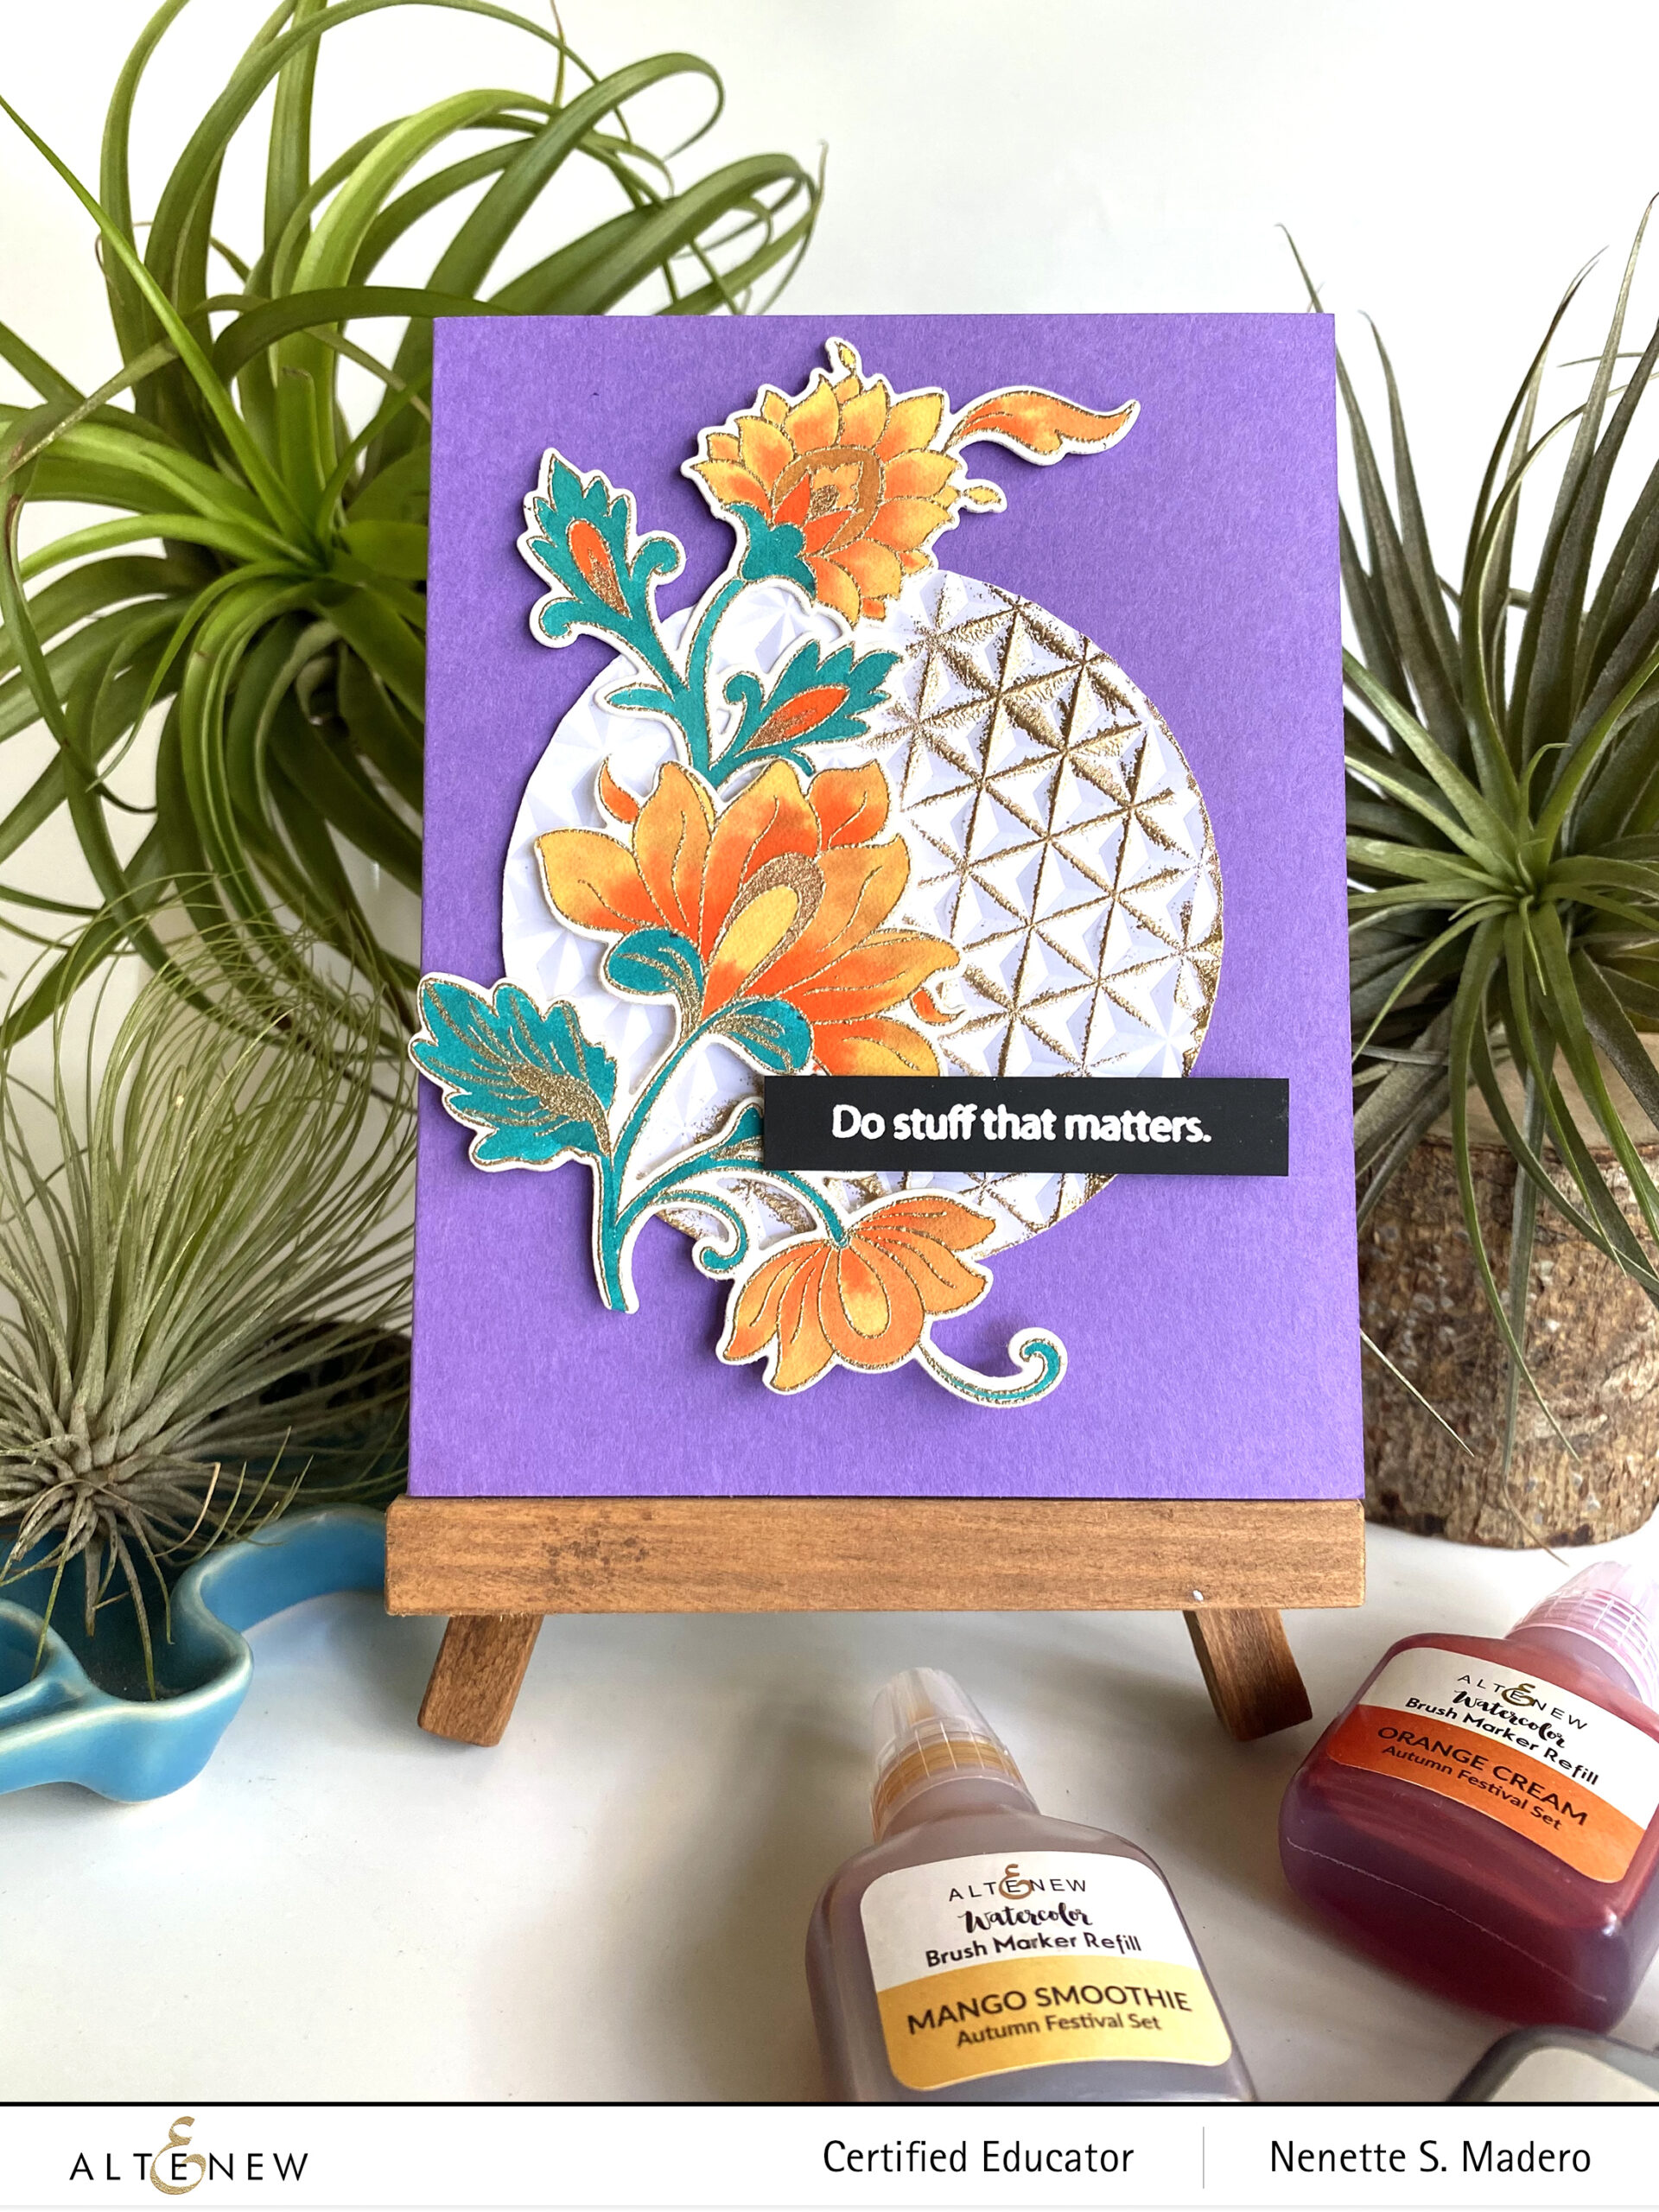
Hello friends! Welcome to Altenew’s Educators “Favorite Old/New Altenew Stamp blog hop! If you just came from Vicki Finger’s blog, then you’re on the right track. We were assigned to choose a favorite stamp set from our old or new stash and highlight it in this post. I decided to create from an old AND a new stamp. It wasn’t easy to pick a favorite… I have too many!!! Anyway, for the old stamp set, I chose one of my all-time favorites– the Persian Motifs Stamp and die set.
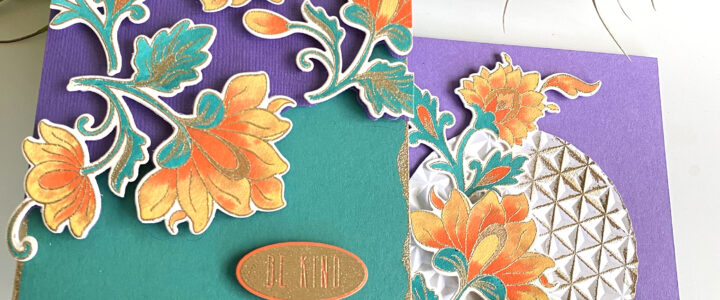
I have always loved the vintage Indian woodblock designs and this stamp set reminds me of that. I created two cards using the Persian Motifs stamp and die set.
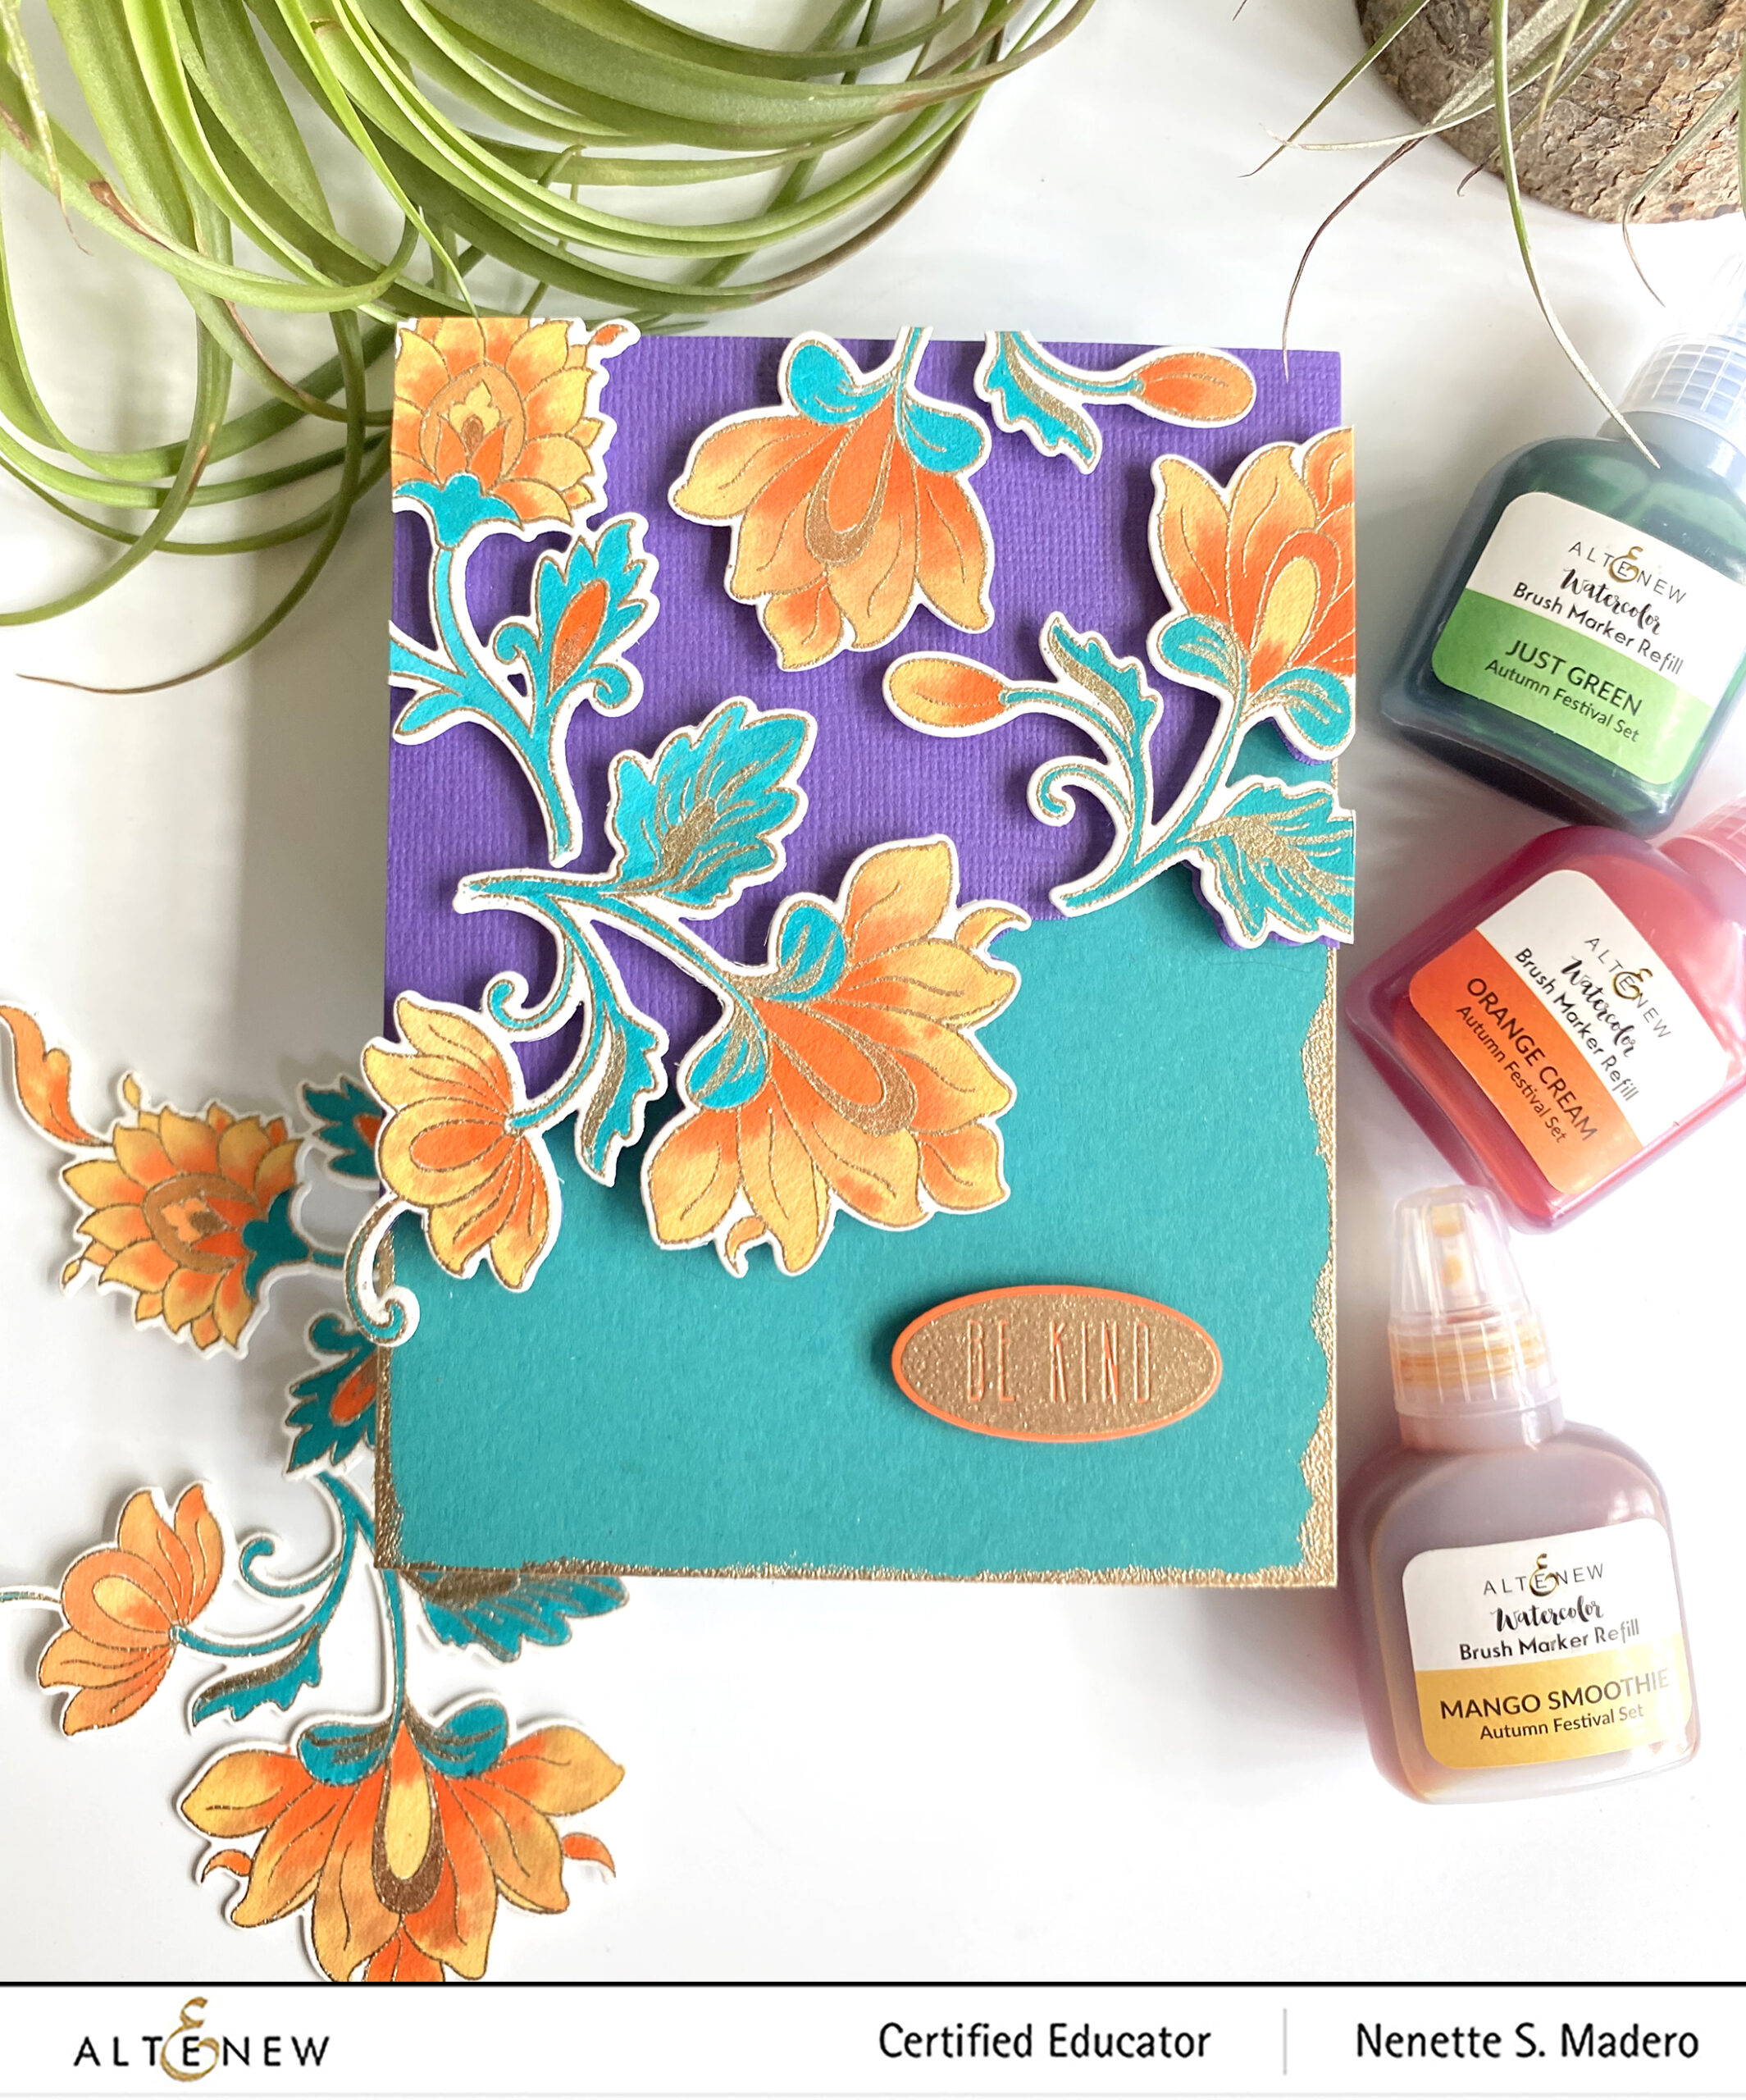
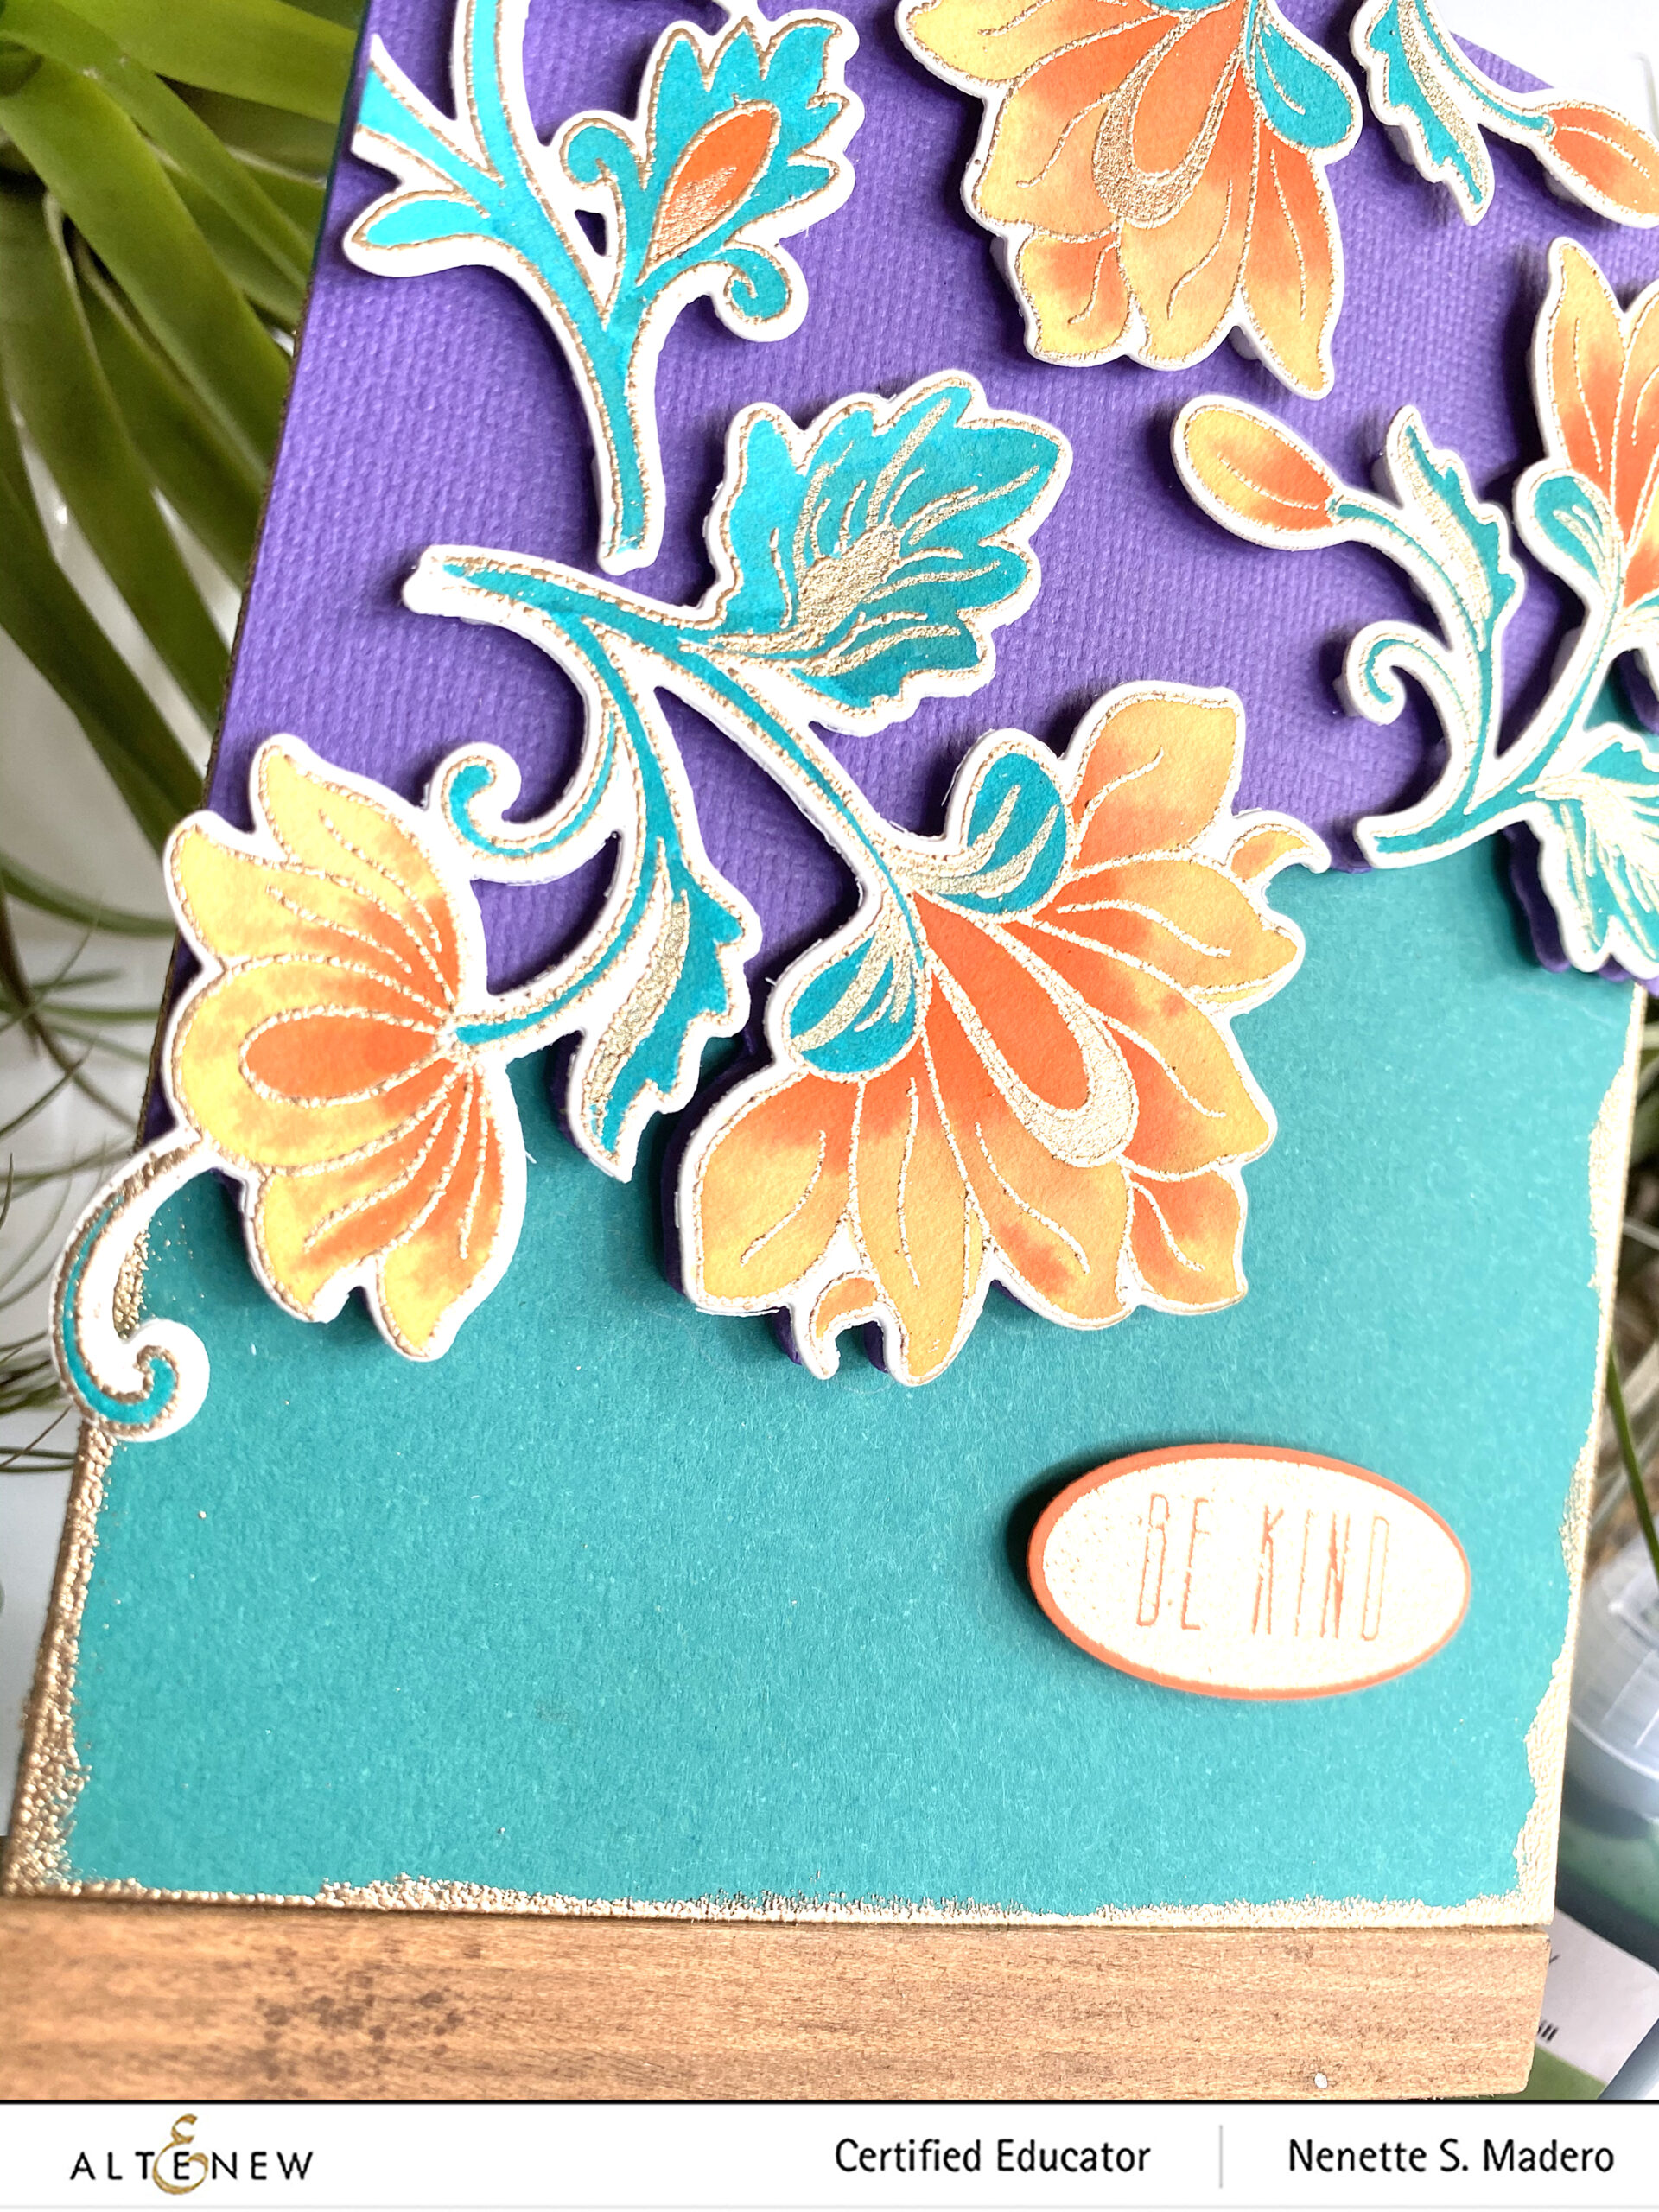
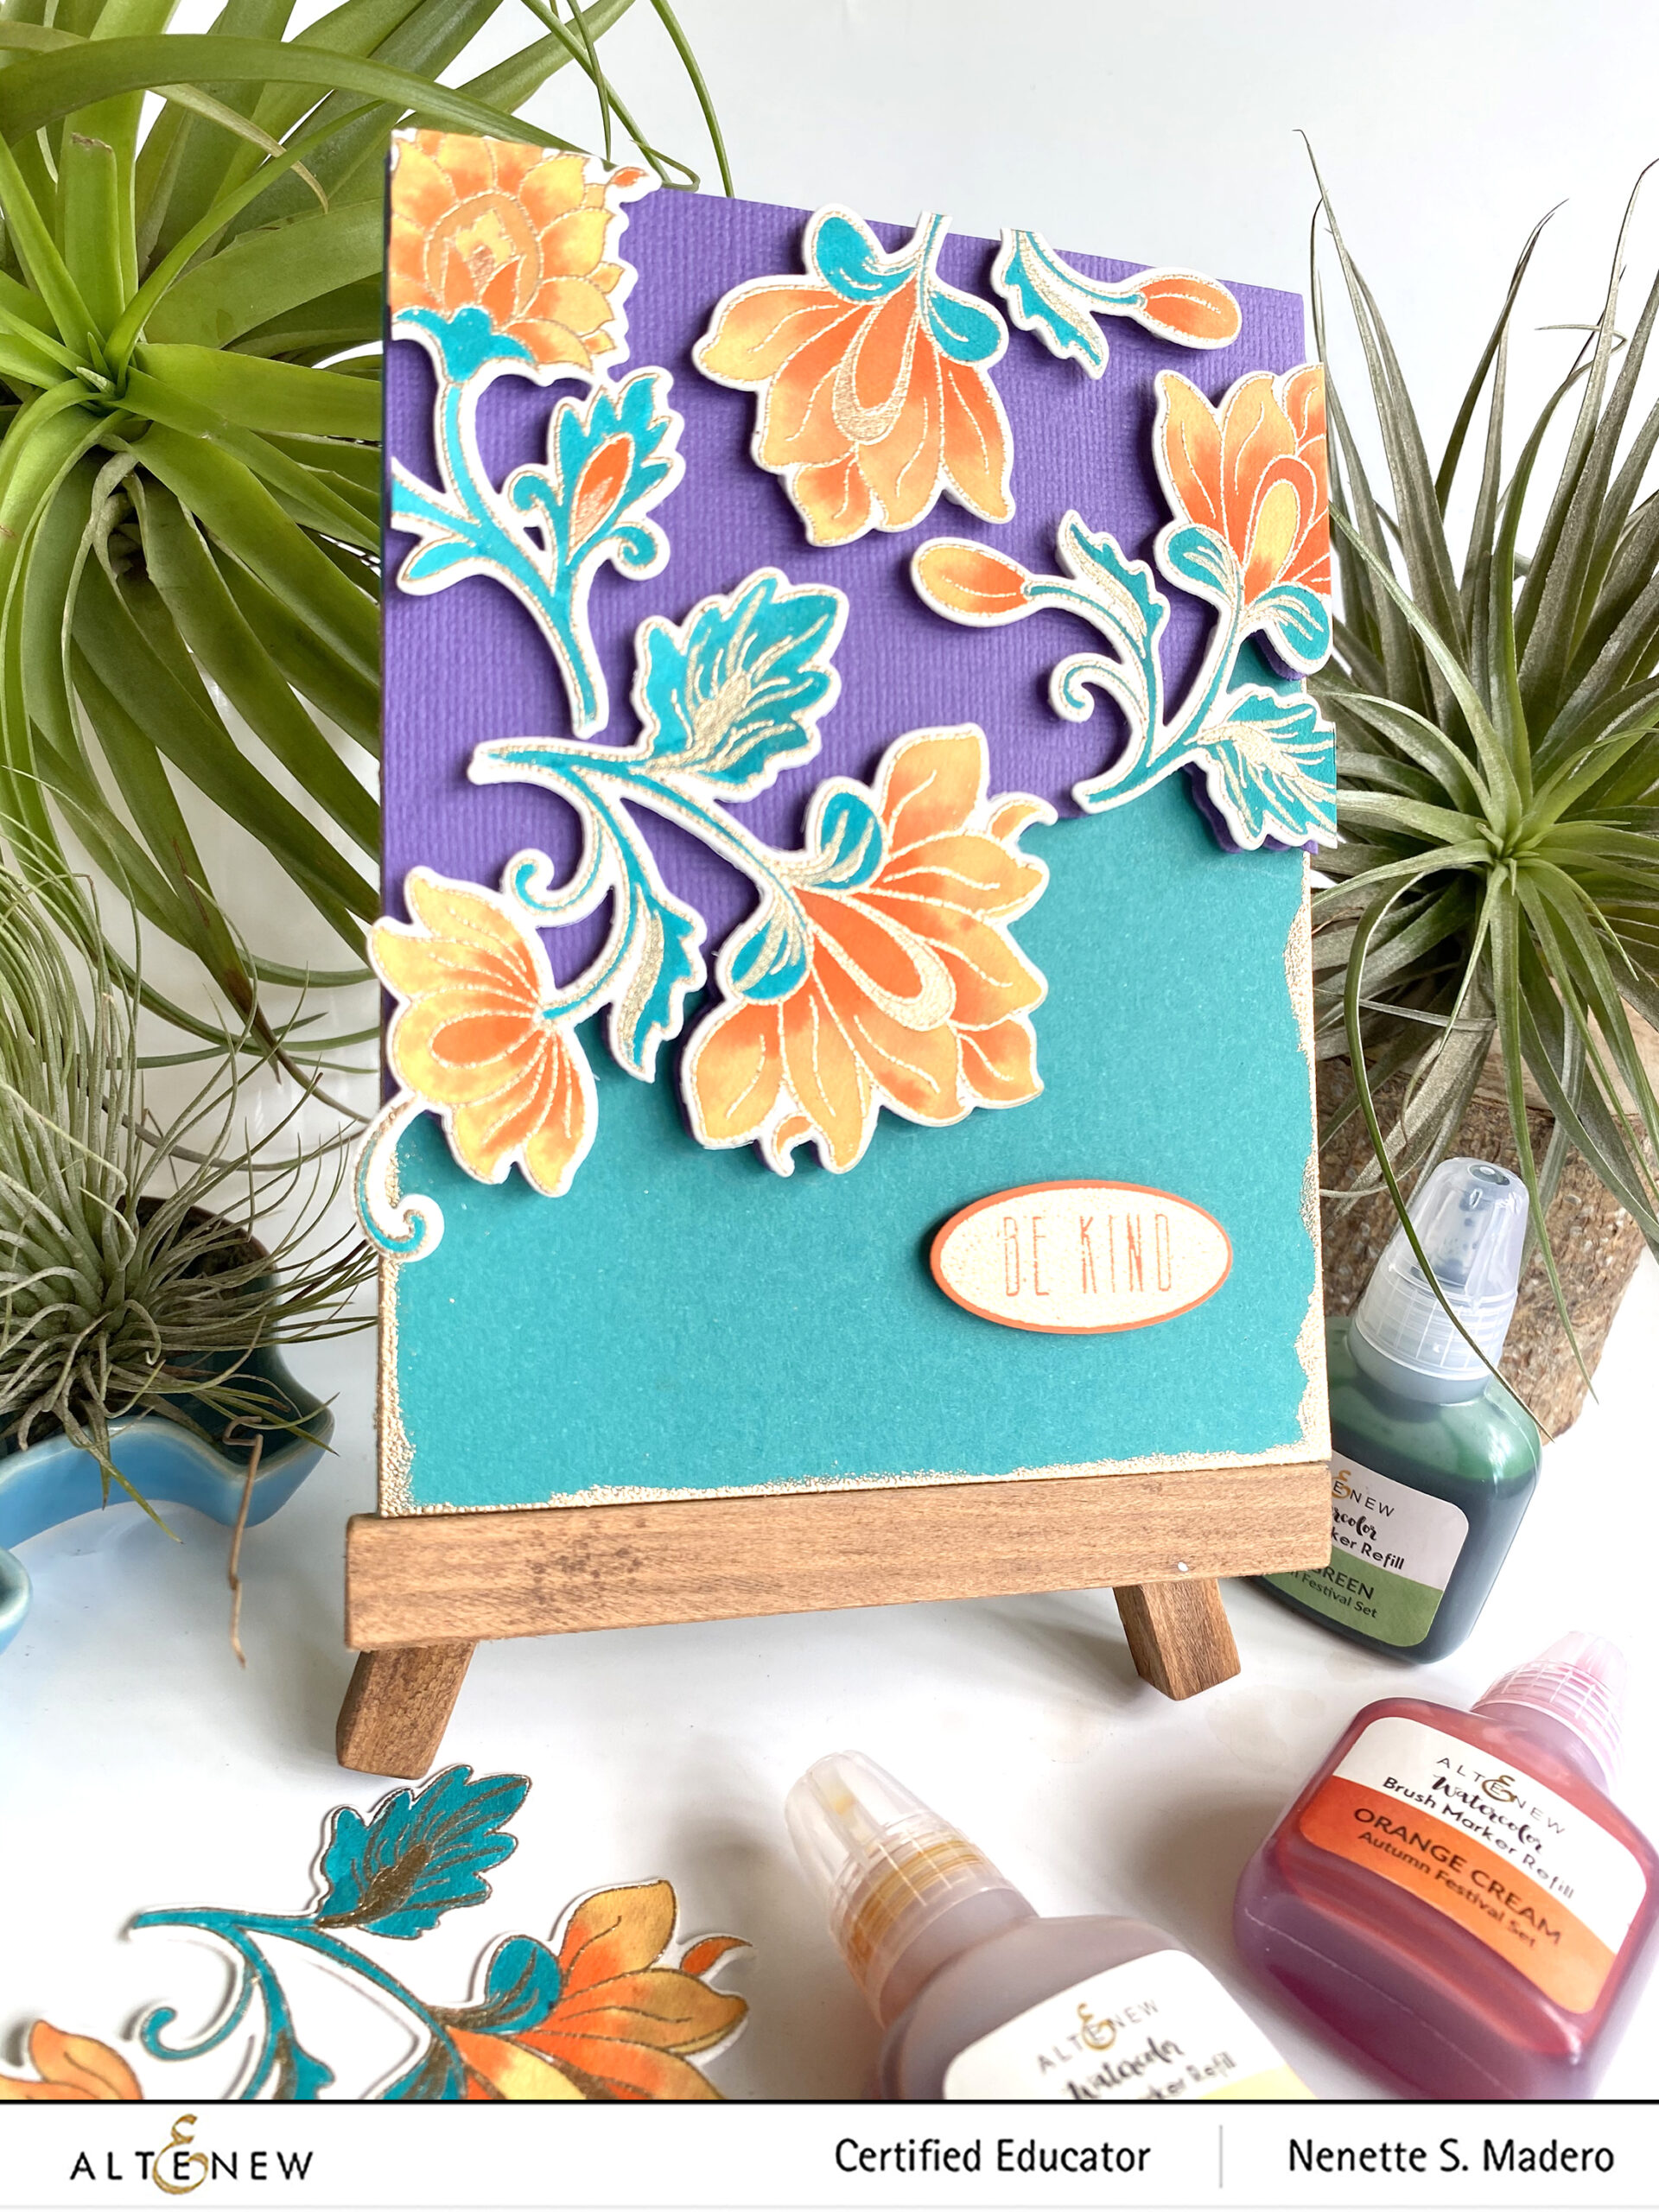
Now, more than ever, we should remind ourselves, daily, to be kind to one another. Sadly, there is so much hatred and injustice around the world. I’ve been listening to a podcast by Fr. Mike Schmitz and this message struck me. We have to remember that we are all part of one world and that it’s not a battle between race or ethnicities. Even in the midst of all the brokenness, we can still find peace and be united if we just BE KIND to one another.
STEPS:
Prep the paper with antistatic tool and stamp images on watercolor paper with Versamark ink and emboss with Rose Gold embossing powder.
Color images using watercolor brush markers.
Add metallic details using the metallic watercolor pan set.
Arrange the images temporarily on purple cardstock. Mark with pencil the edges of the flowers.
Arrange the dies for partial die cutting to remove the lower part of the purple cardstock.
Add embossed gold edges to the lower part of the card front using Versamark ink and Rose Gold embossing powder.
Add foam sheet to the back of the purple cardstock and foam squares to the floral images for added dimension.
Emboss the sentiment with Rose Gold embossing powder then die cut.
Assemble the card.
More often than not, I usually stamp, emboss and watercolor more than what I need. Since I had extras, I decided to create a second CAS card using the same stamp set.
Prep the paper with the antistatic tool then stamp and emboss the images from the Persian Motifs Stamp.
Add more details using the Metallic Watercolor pan set.
Emboss white cardstock using the Diamond Stars embossing folder.
Add Versamark Ink to the embossed parts and emboss with Rose Gold embossing powder.
Stamp the sentiment from the Hello Hydrangea stamp set with Versamark ink and emboss with Pure White embossing powder.
Assemble the card using foam squares for added dimension.
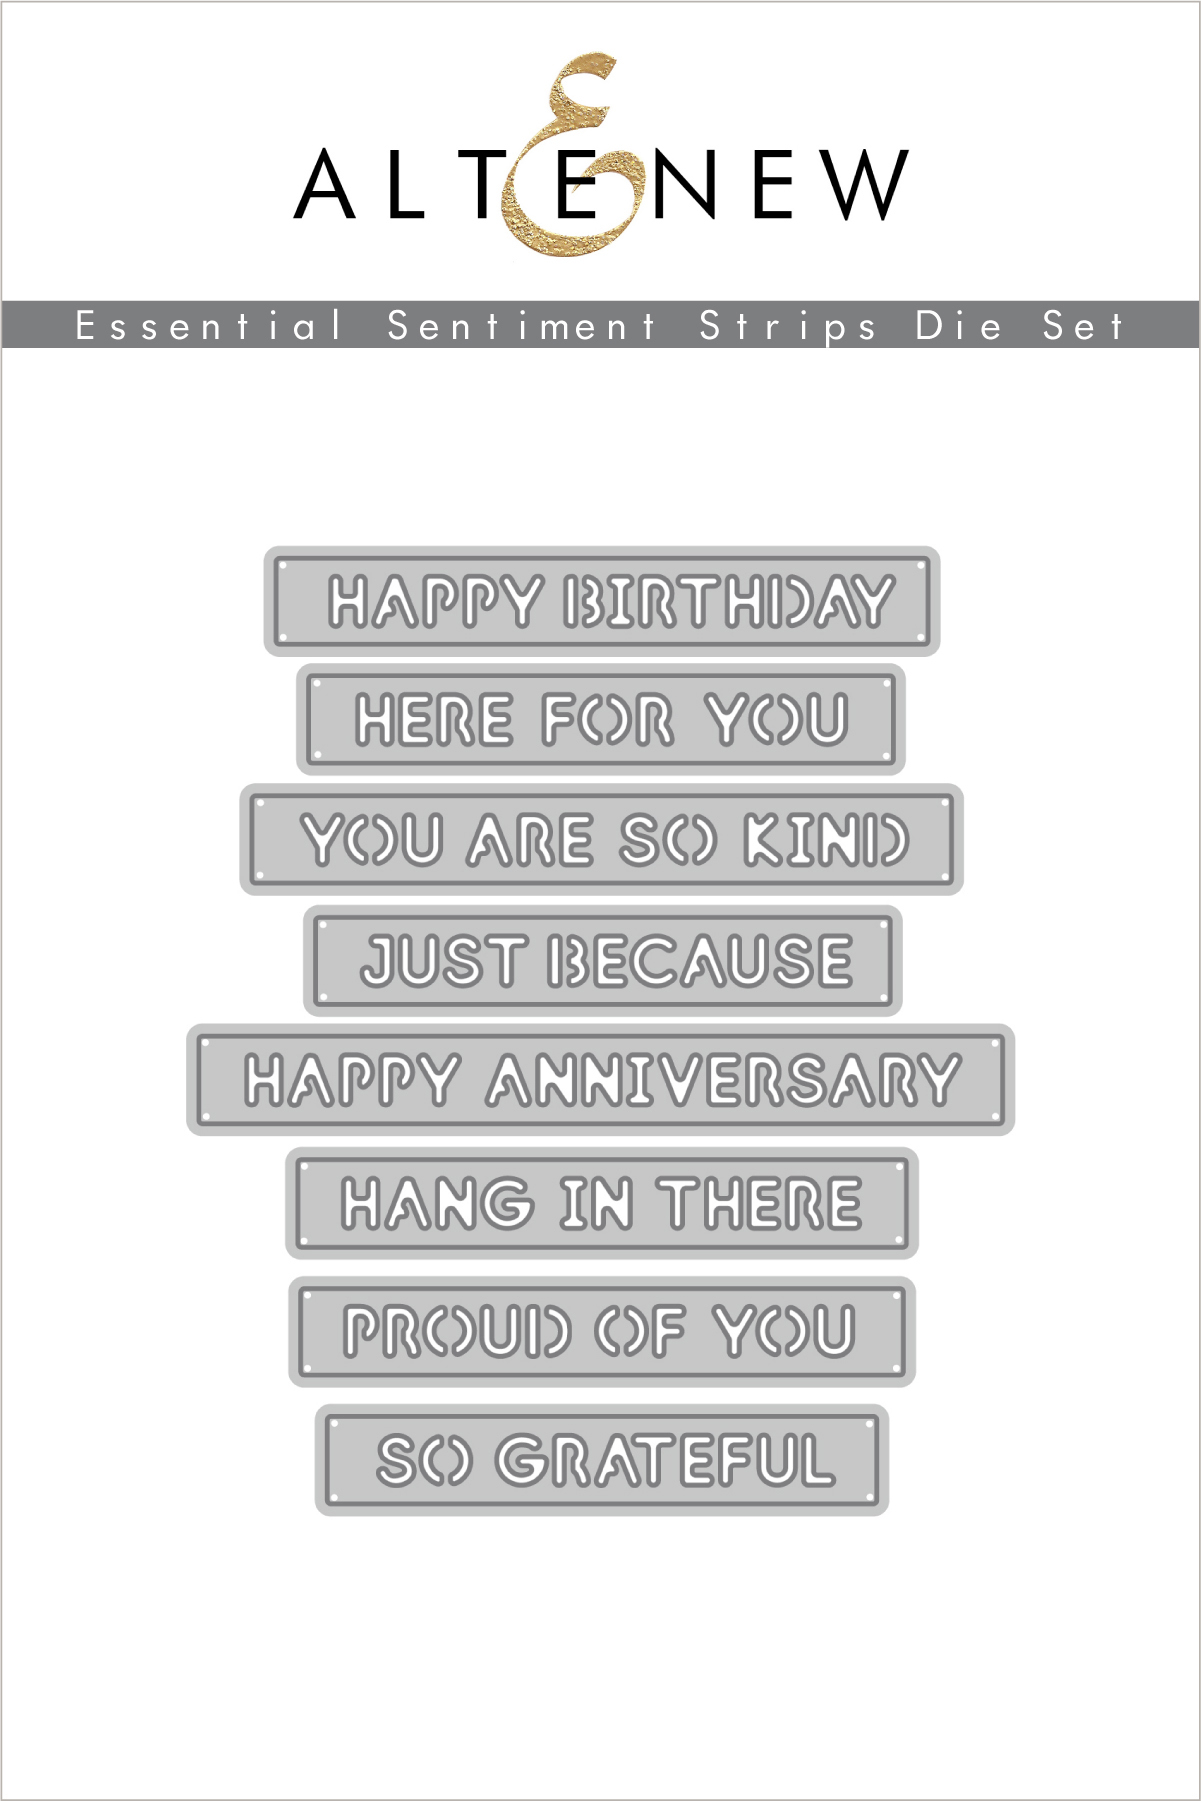
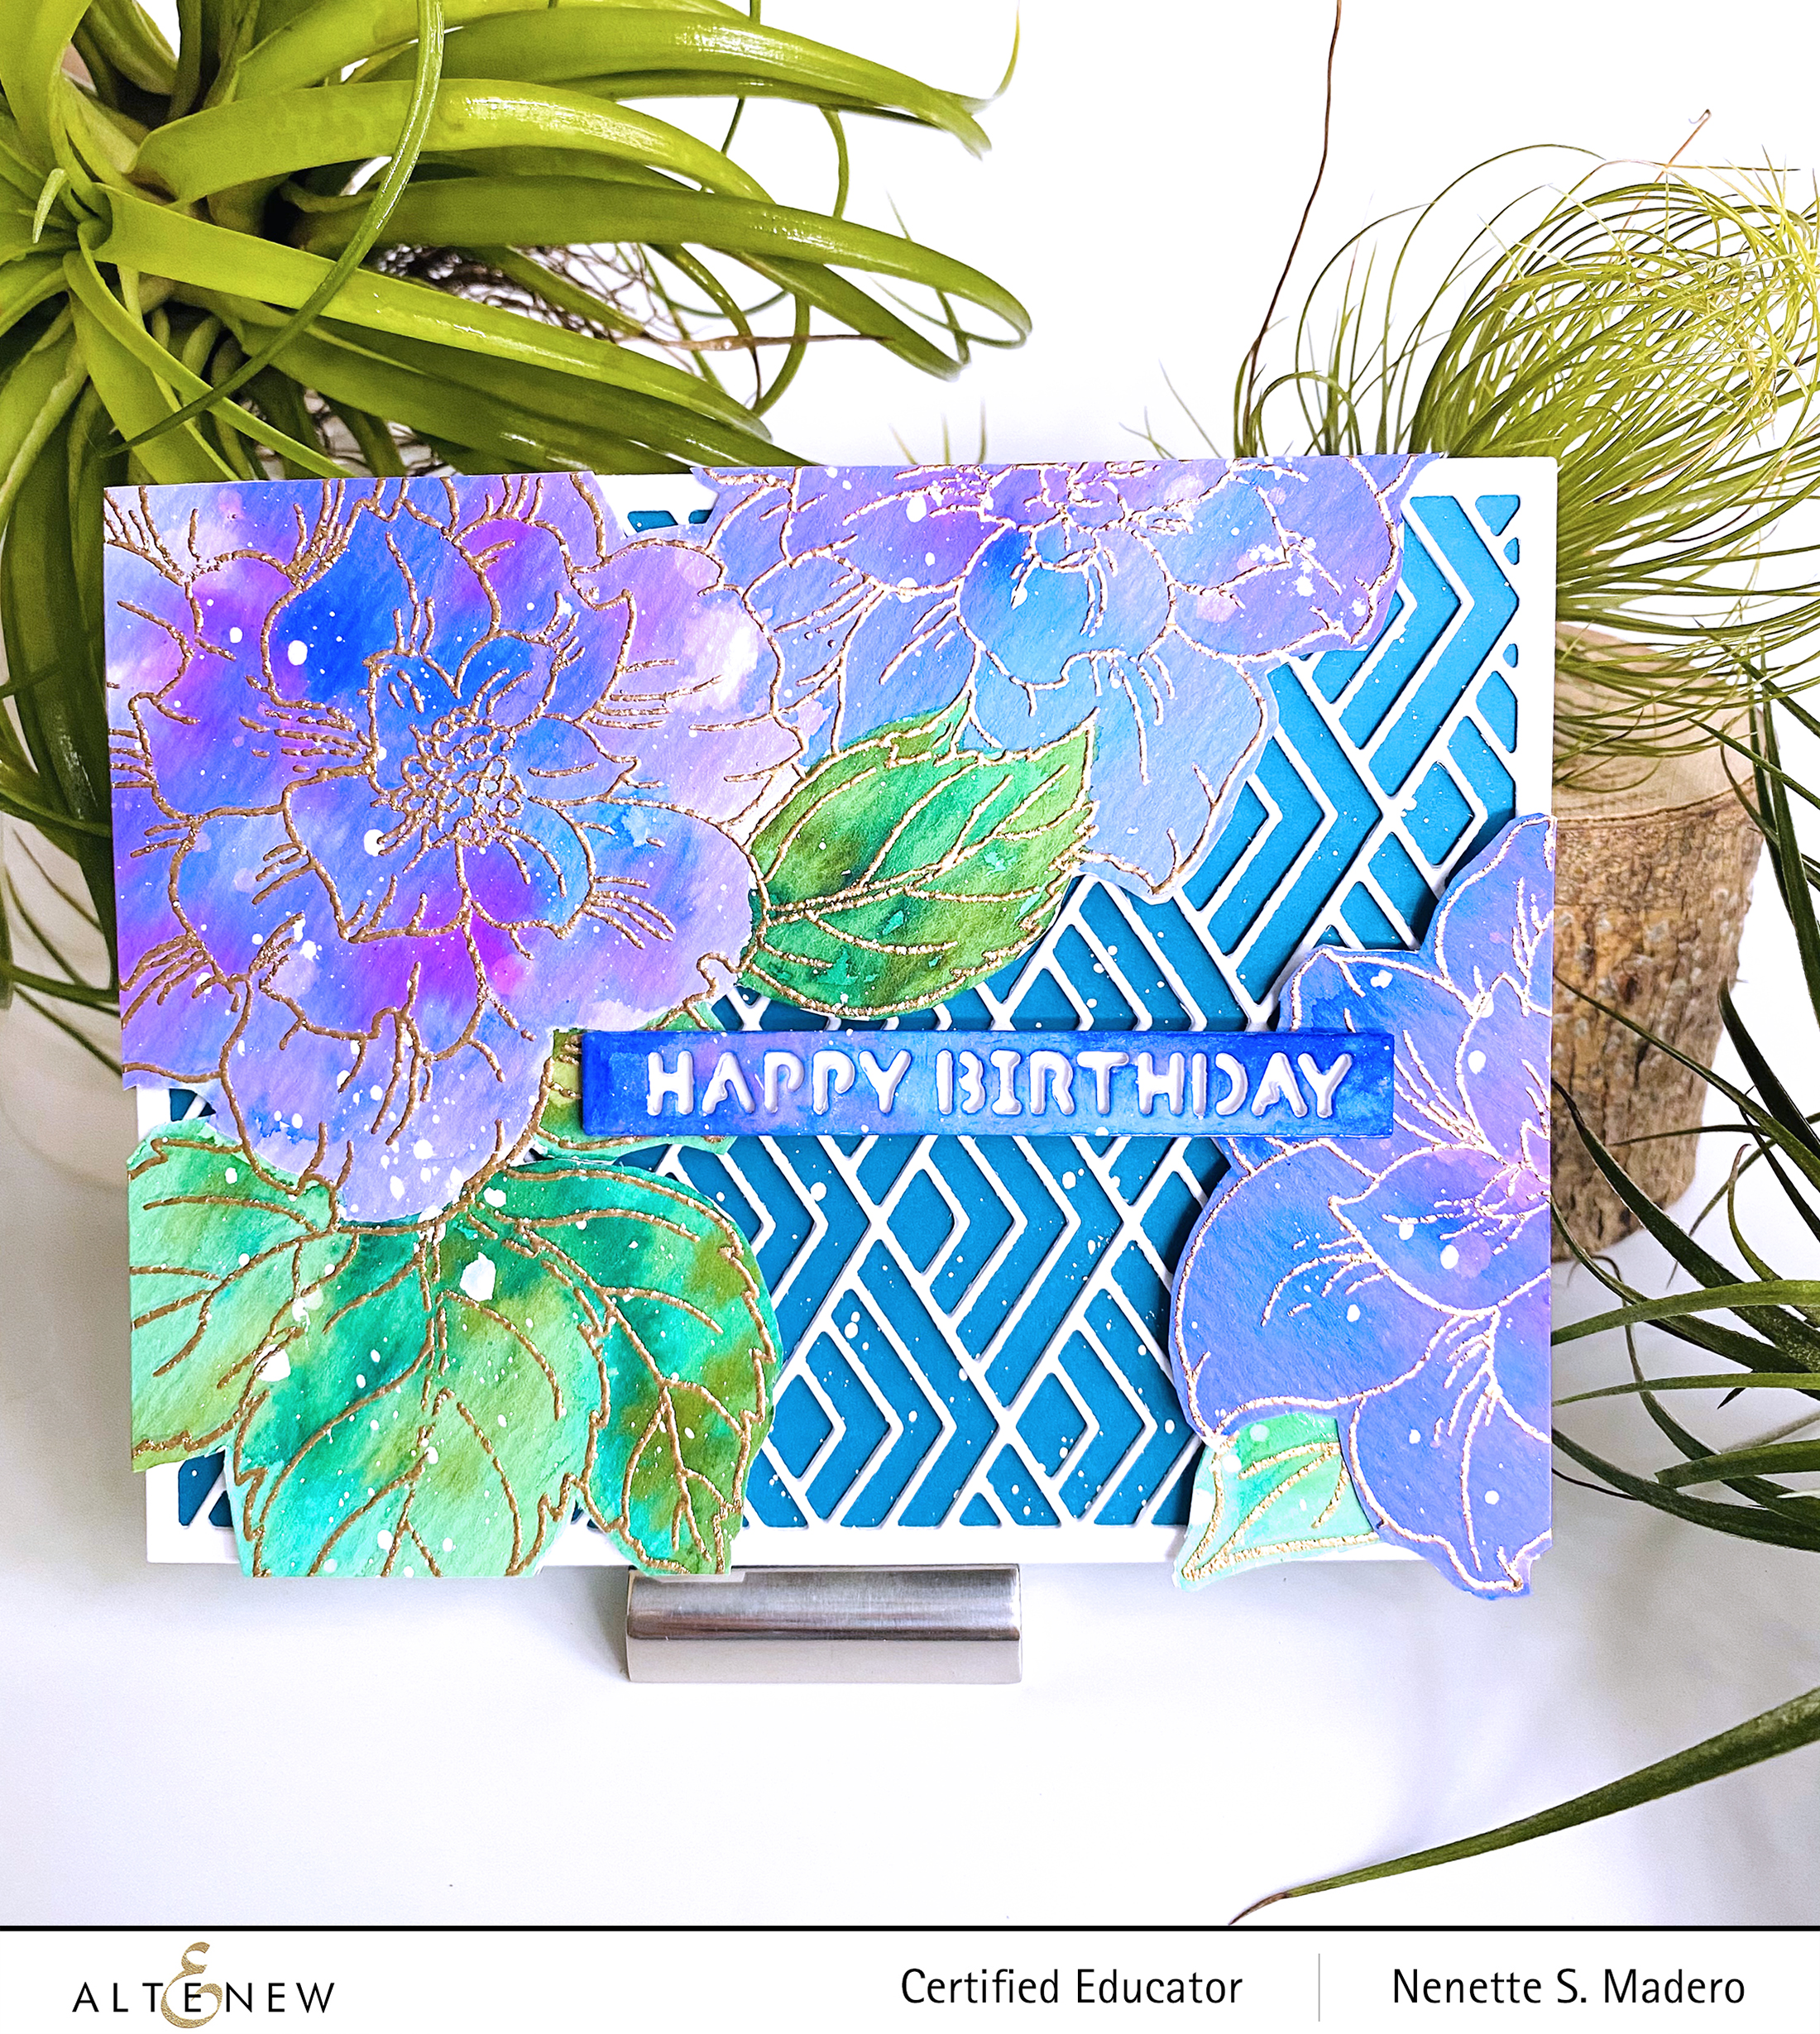
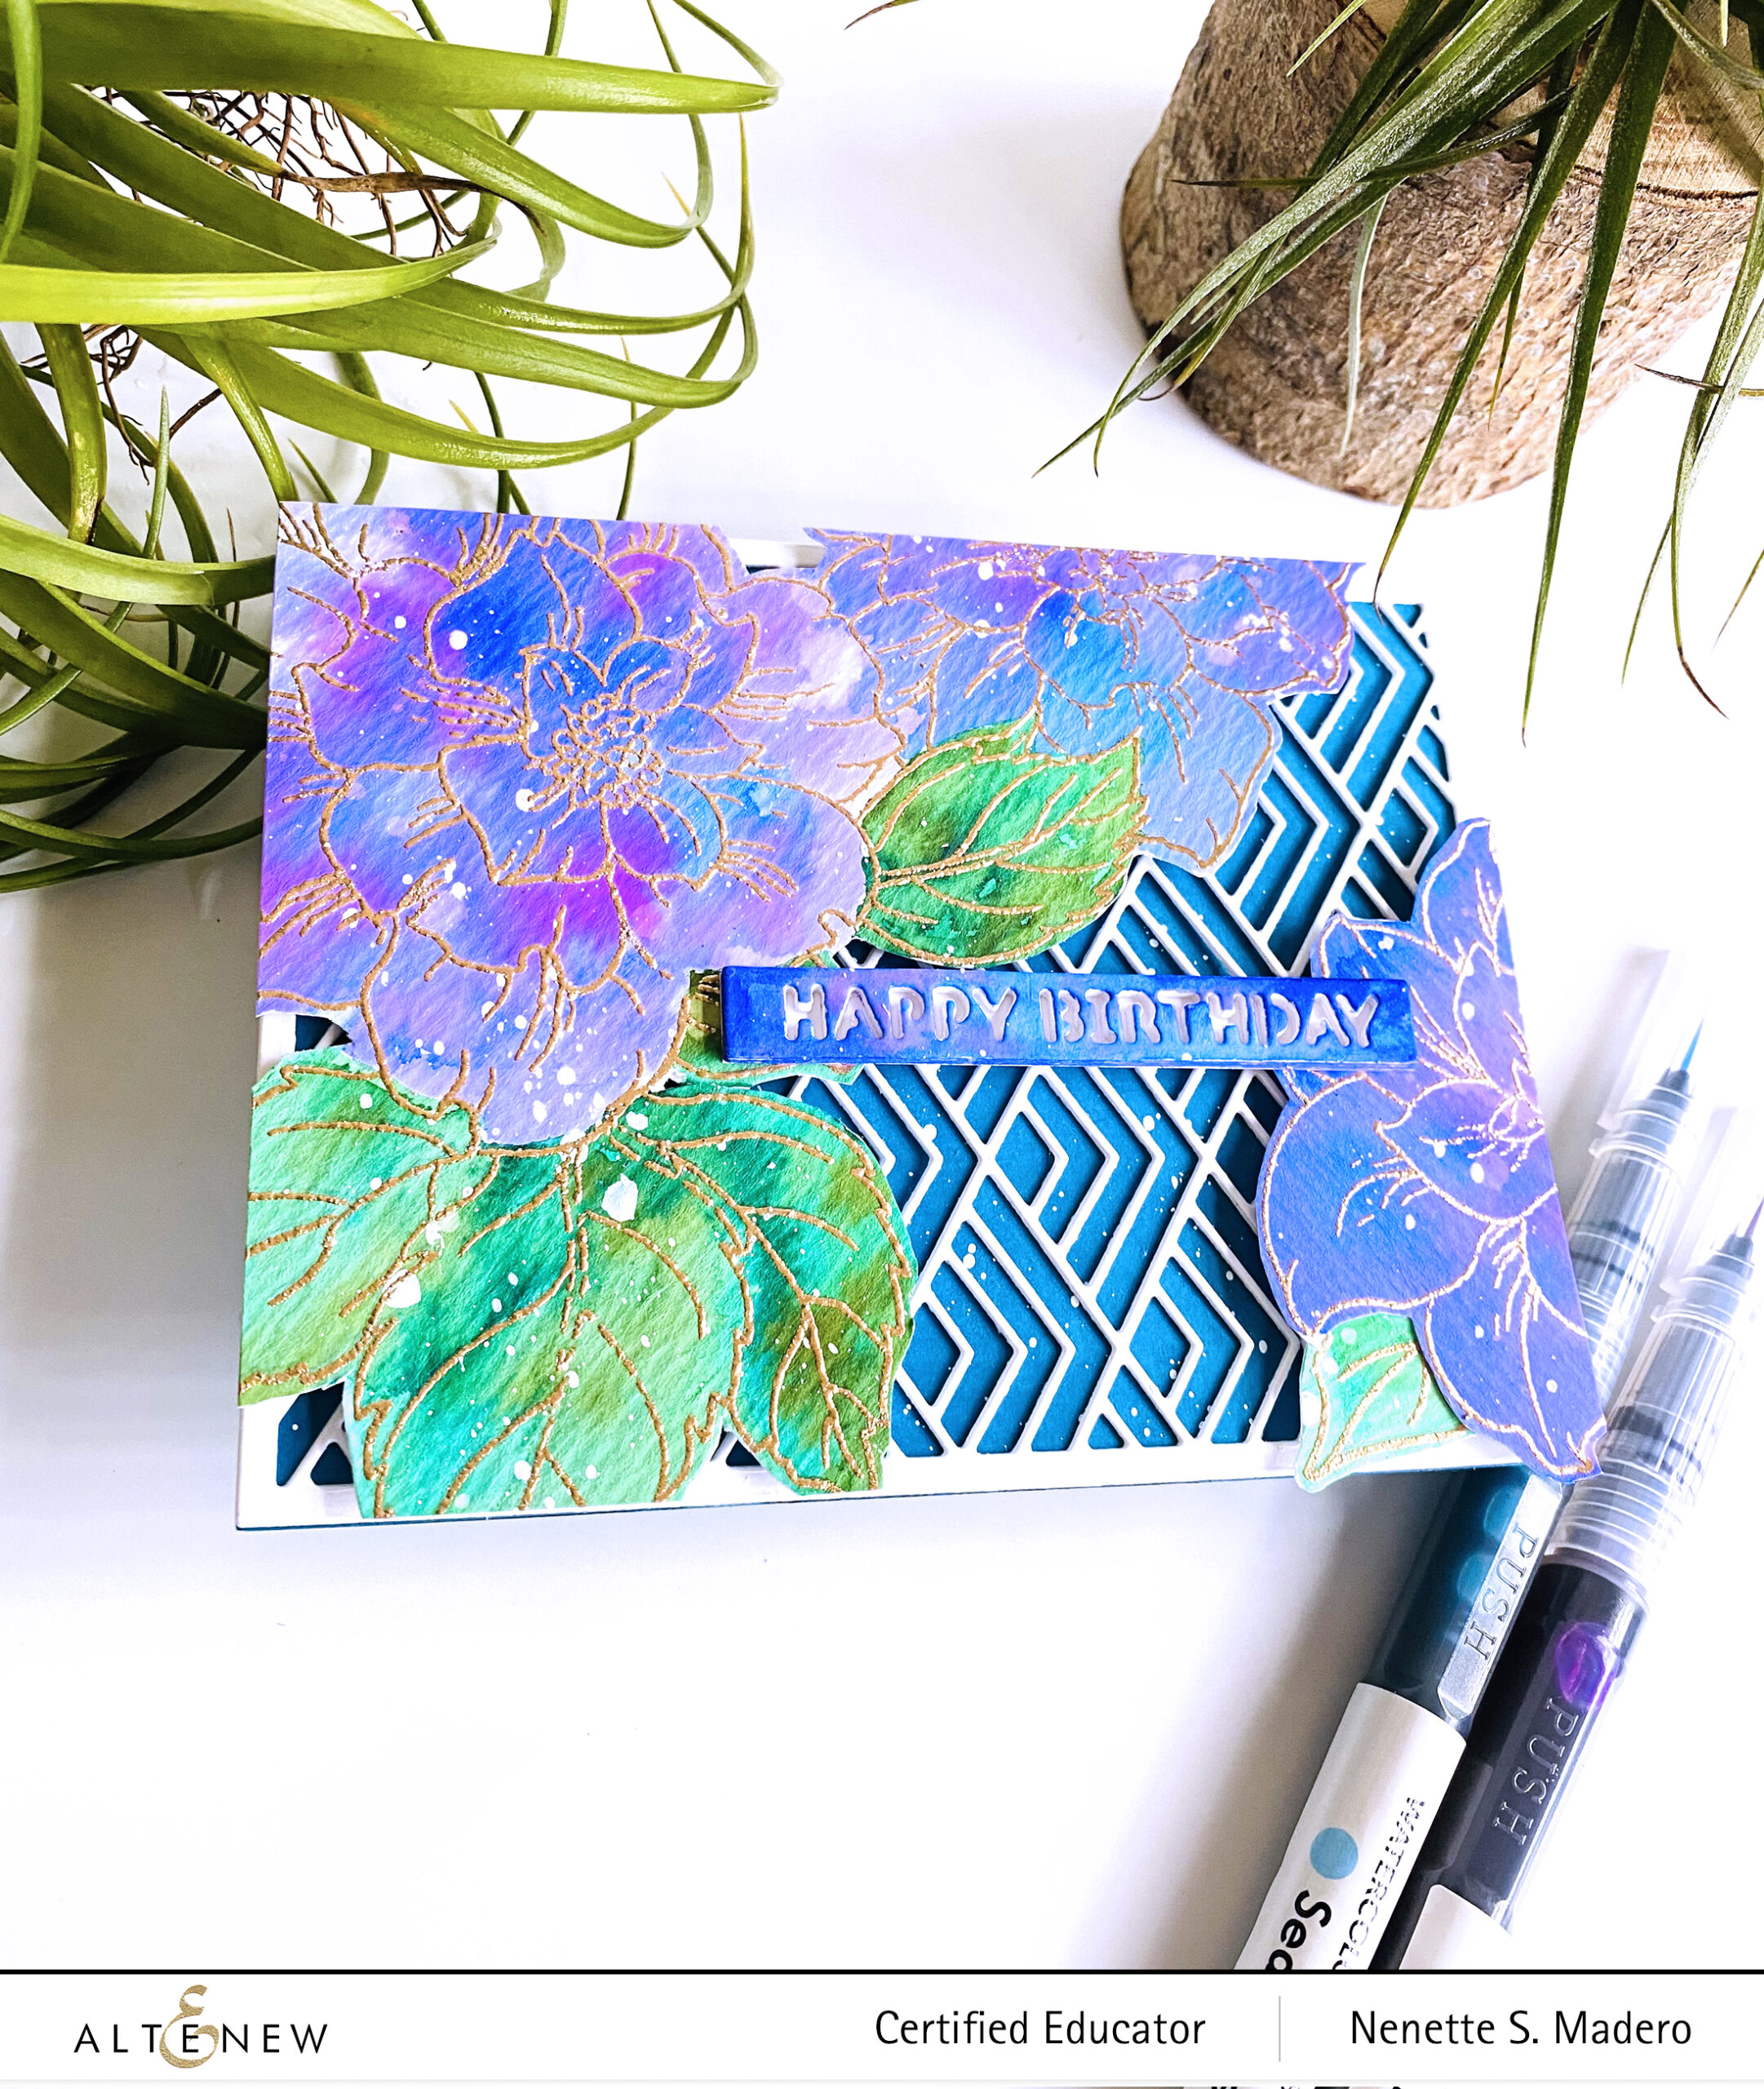
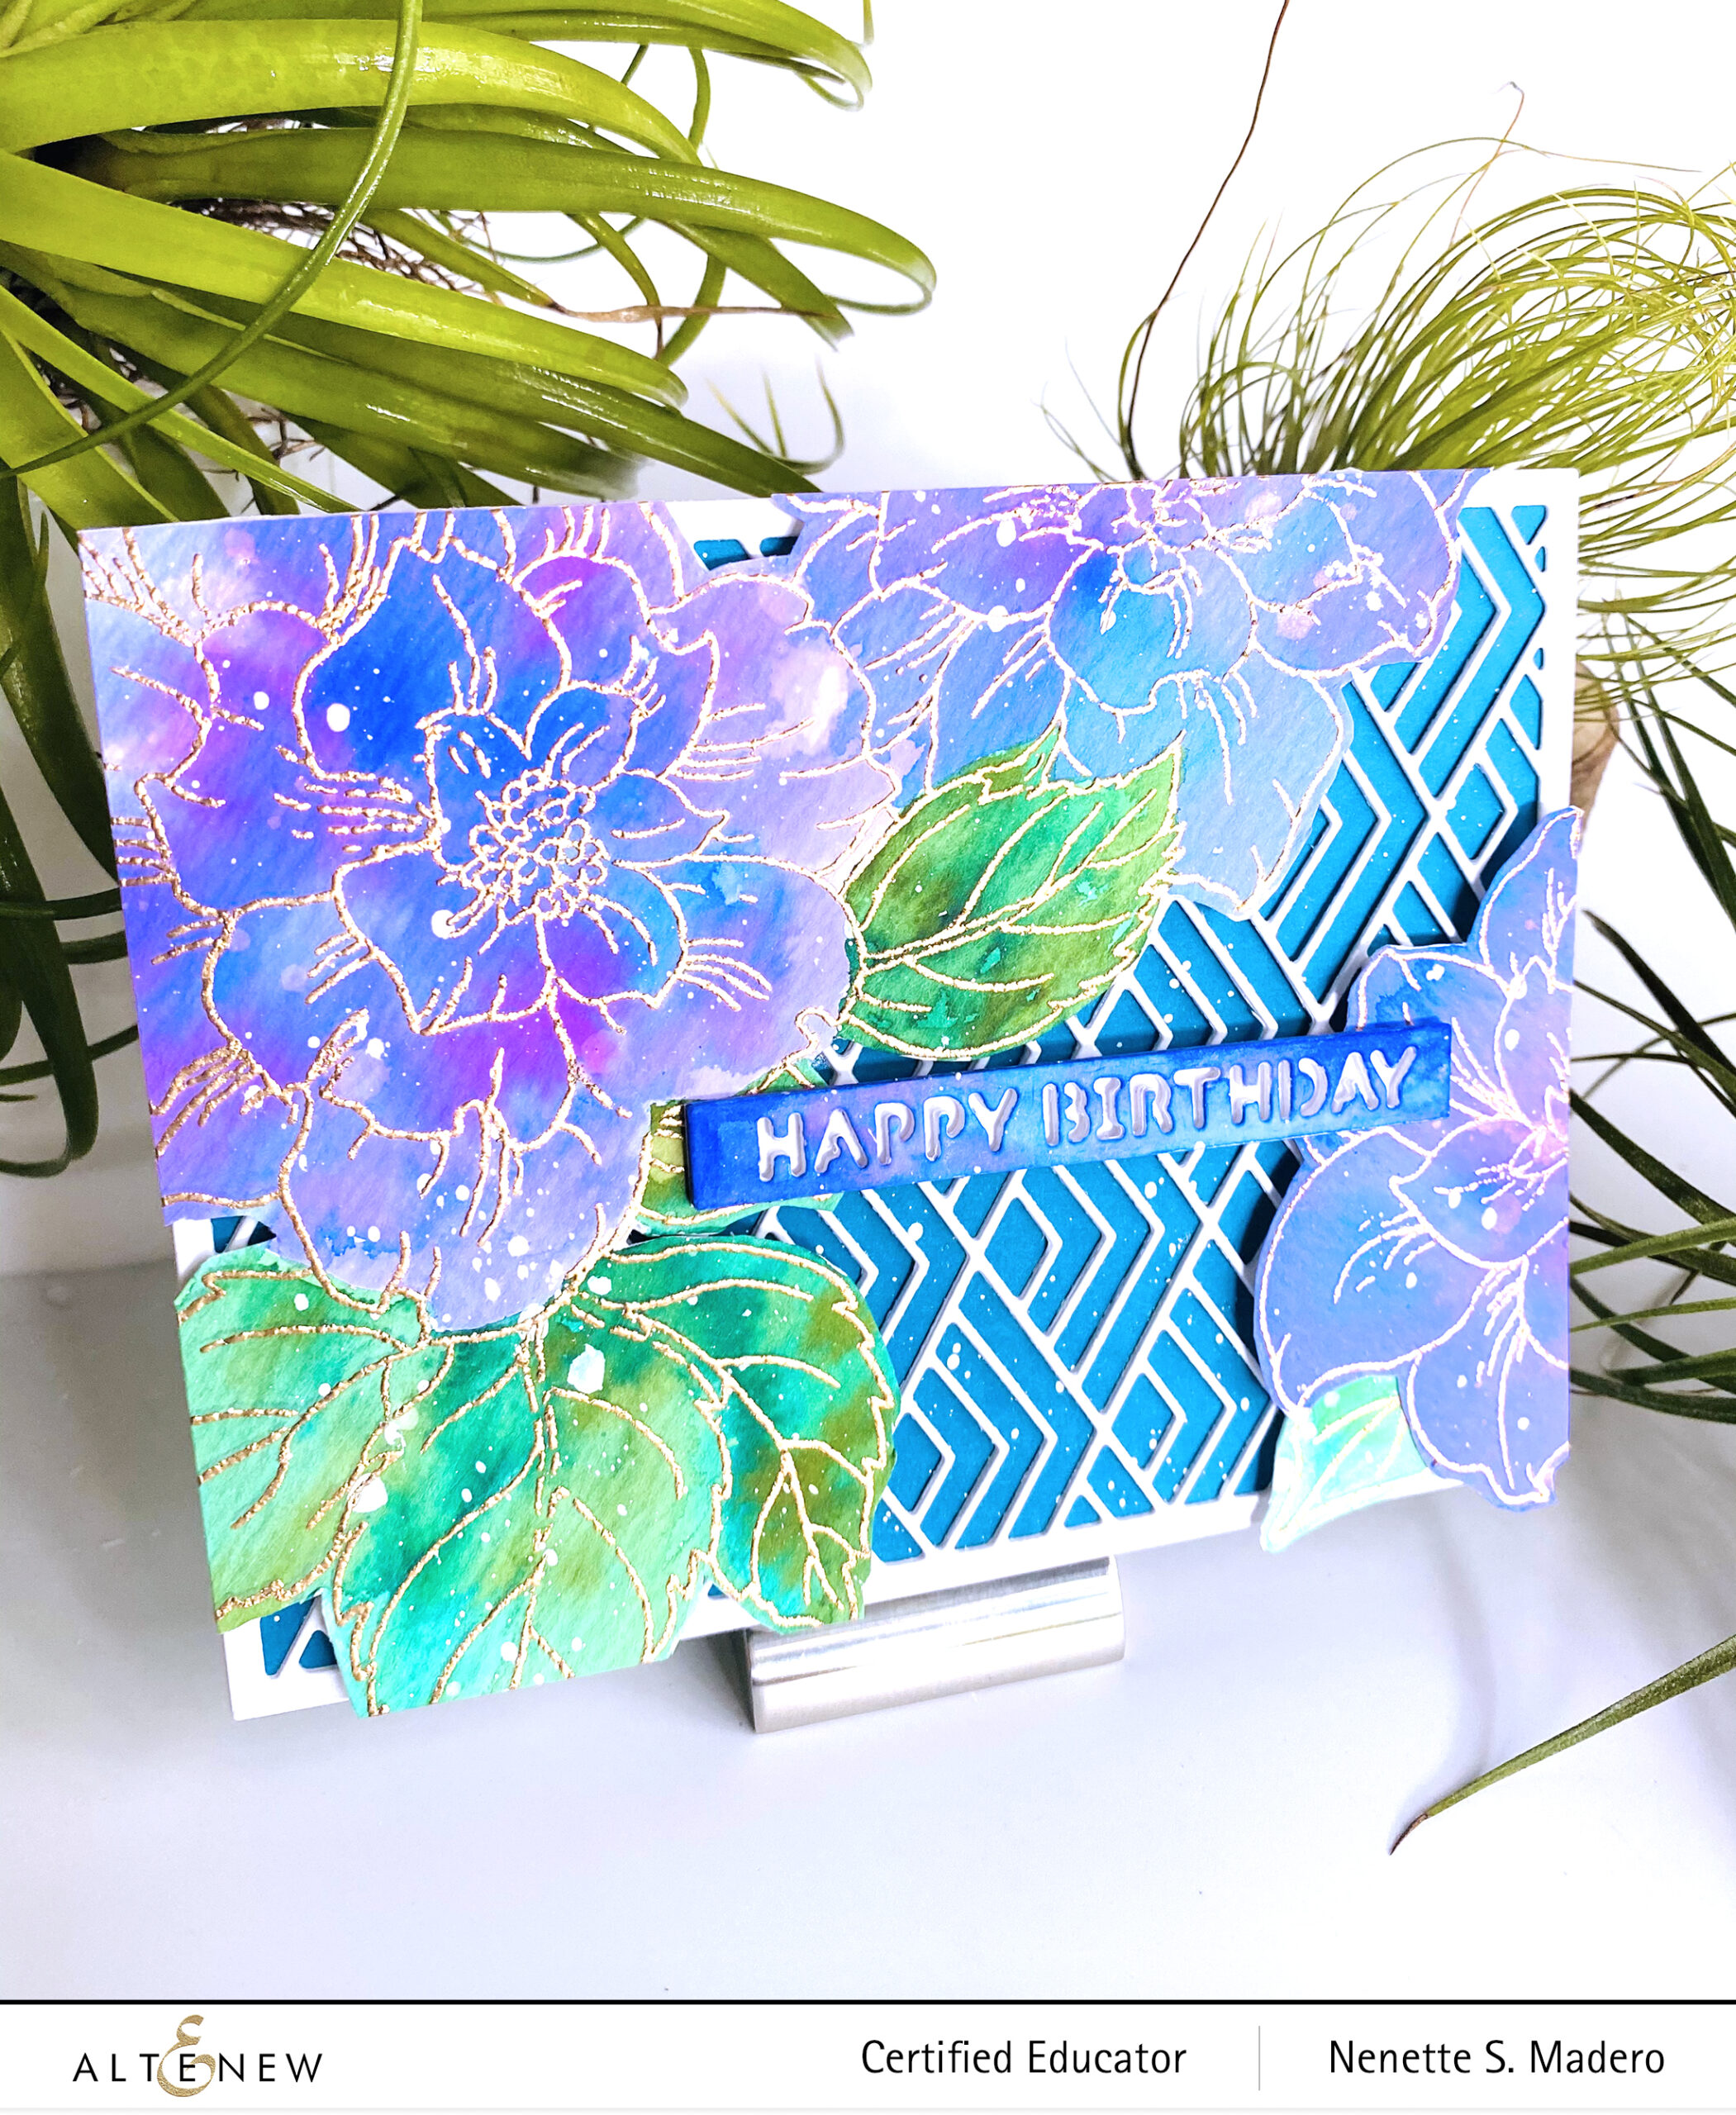
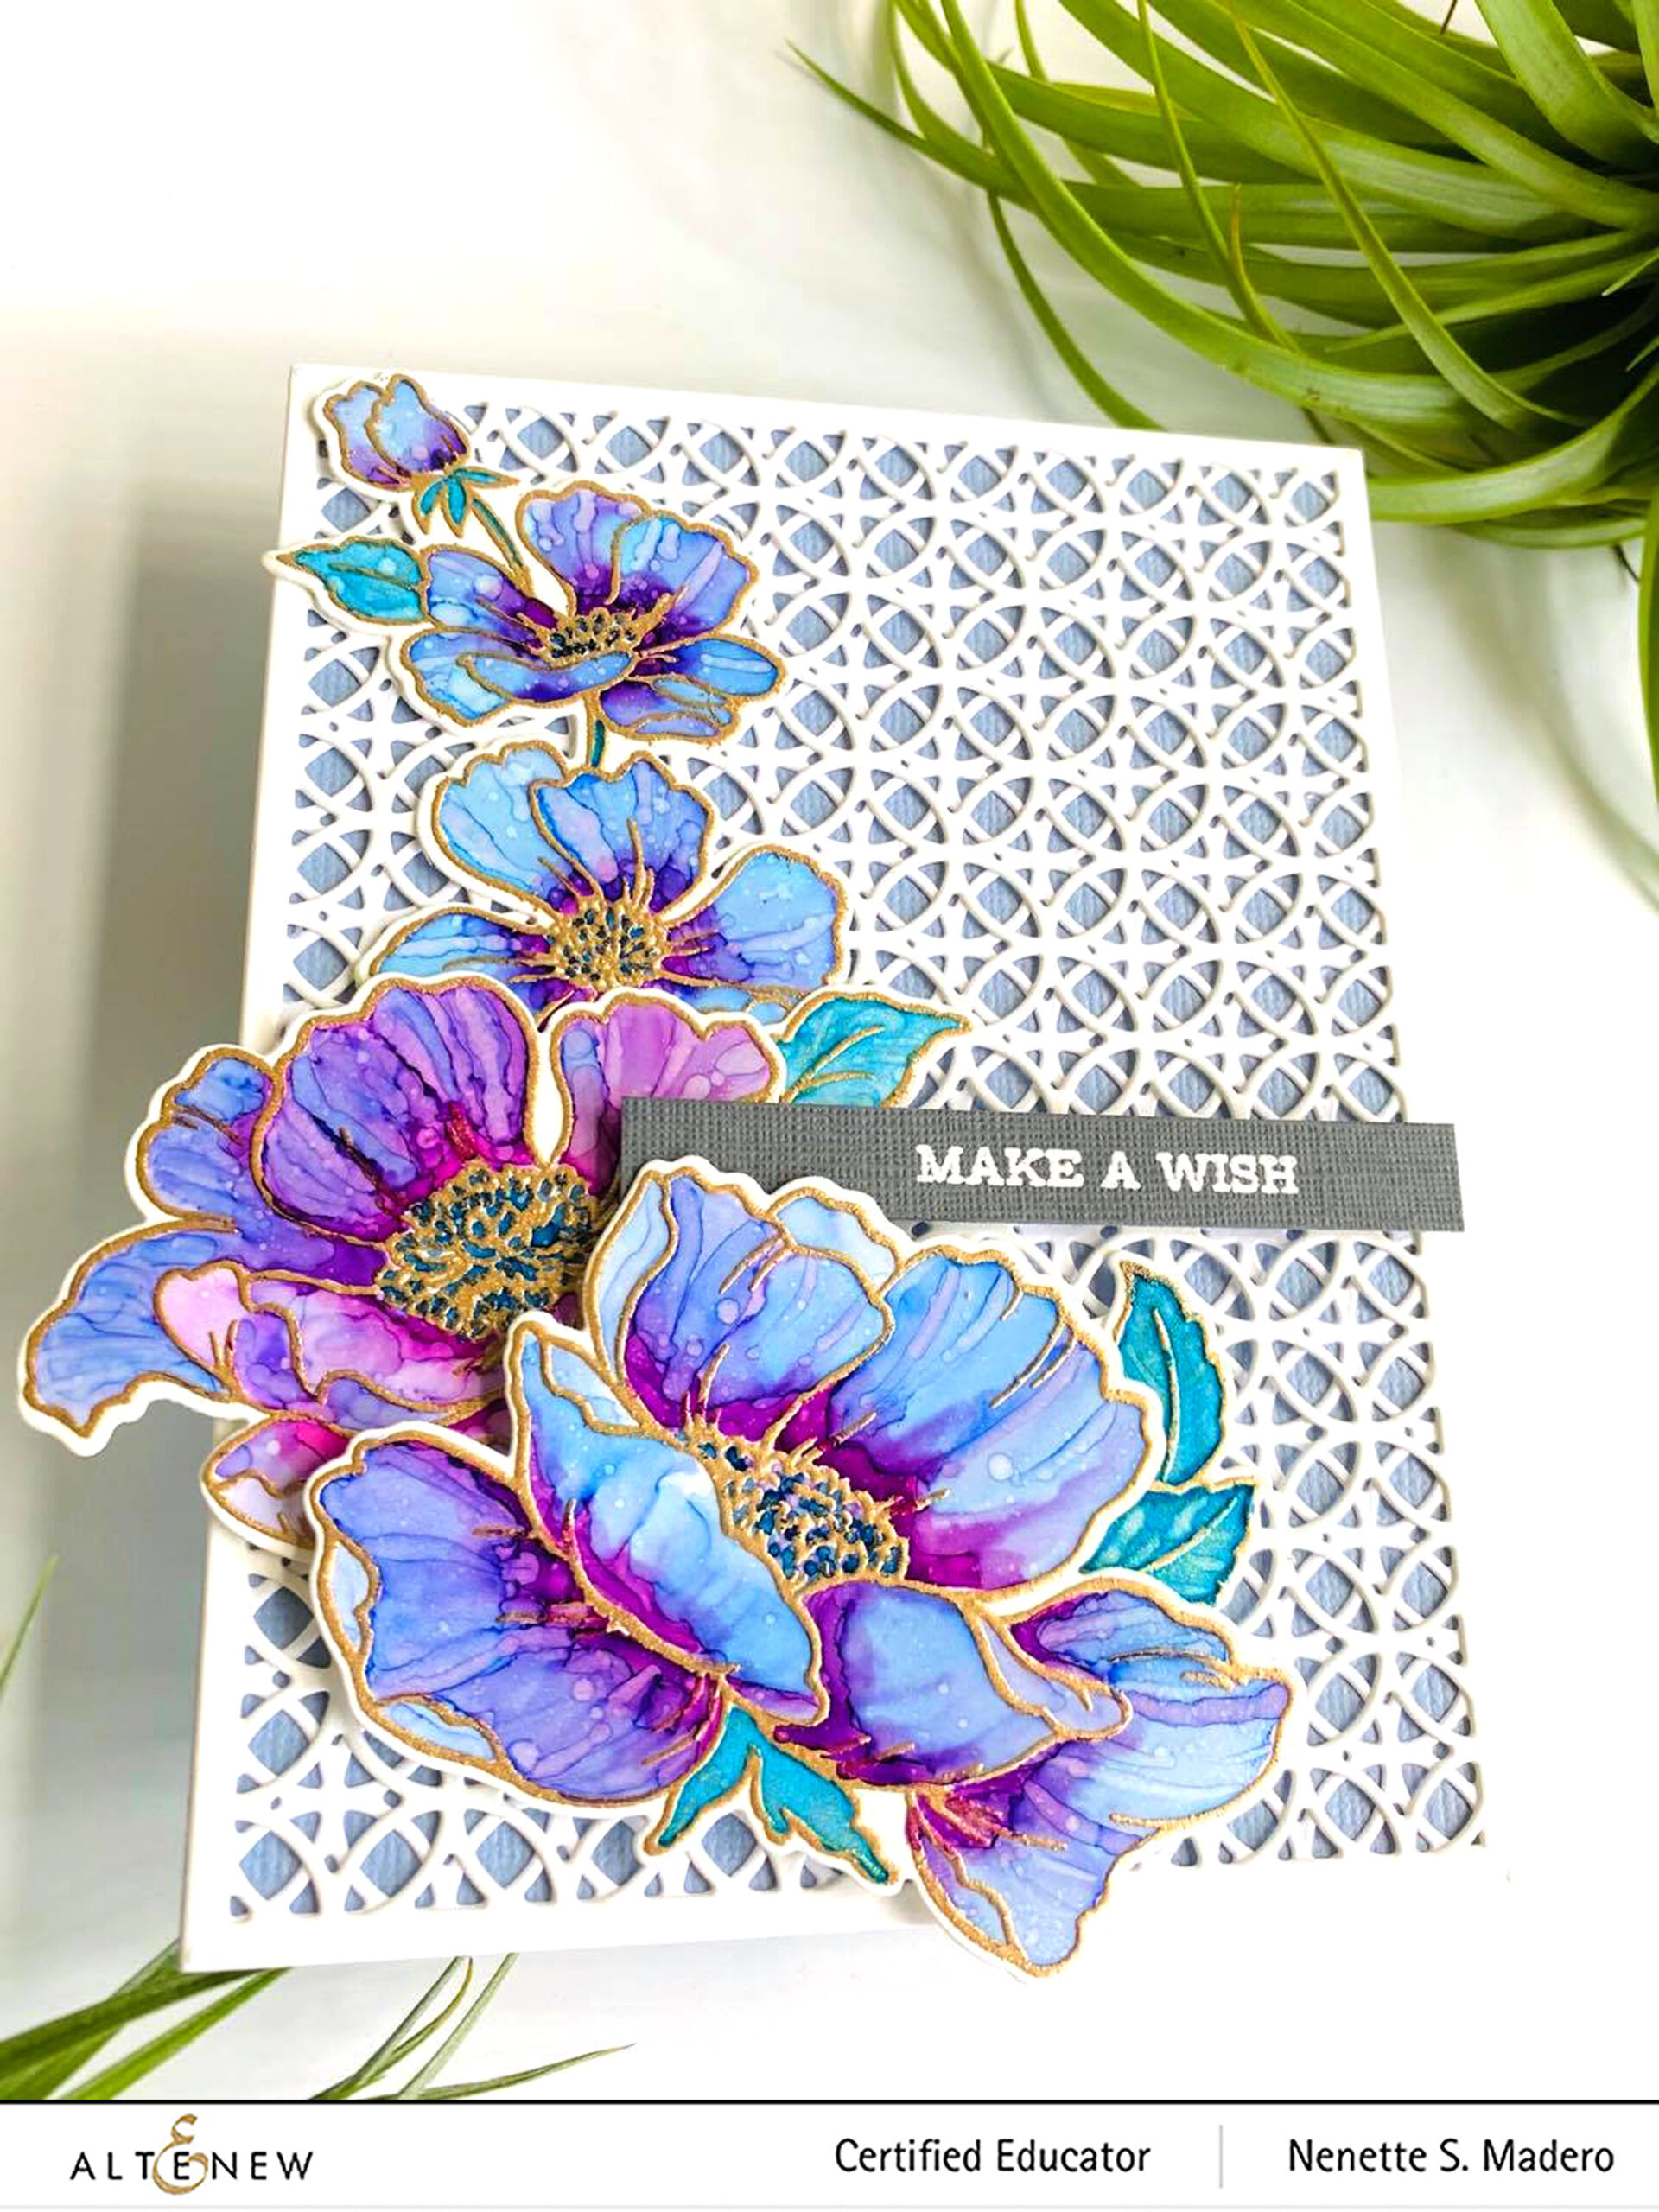
For the new stamp, I chose two of my favorites– the Courageous You Stamp set which was released sometime in July 2020. I love the huge image that can cover the whole card front! Another favorite of mine is the Essential Sentiment Strips die– the easiest way to add a dimensional sentiment to your card. <3
Stamp the image onto watercolor paper using very light dye ink. (I used a Misti and didn’t move the watercolor paper after stamping.)
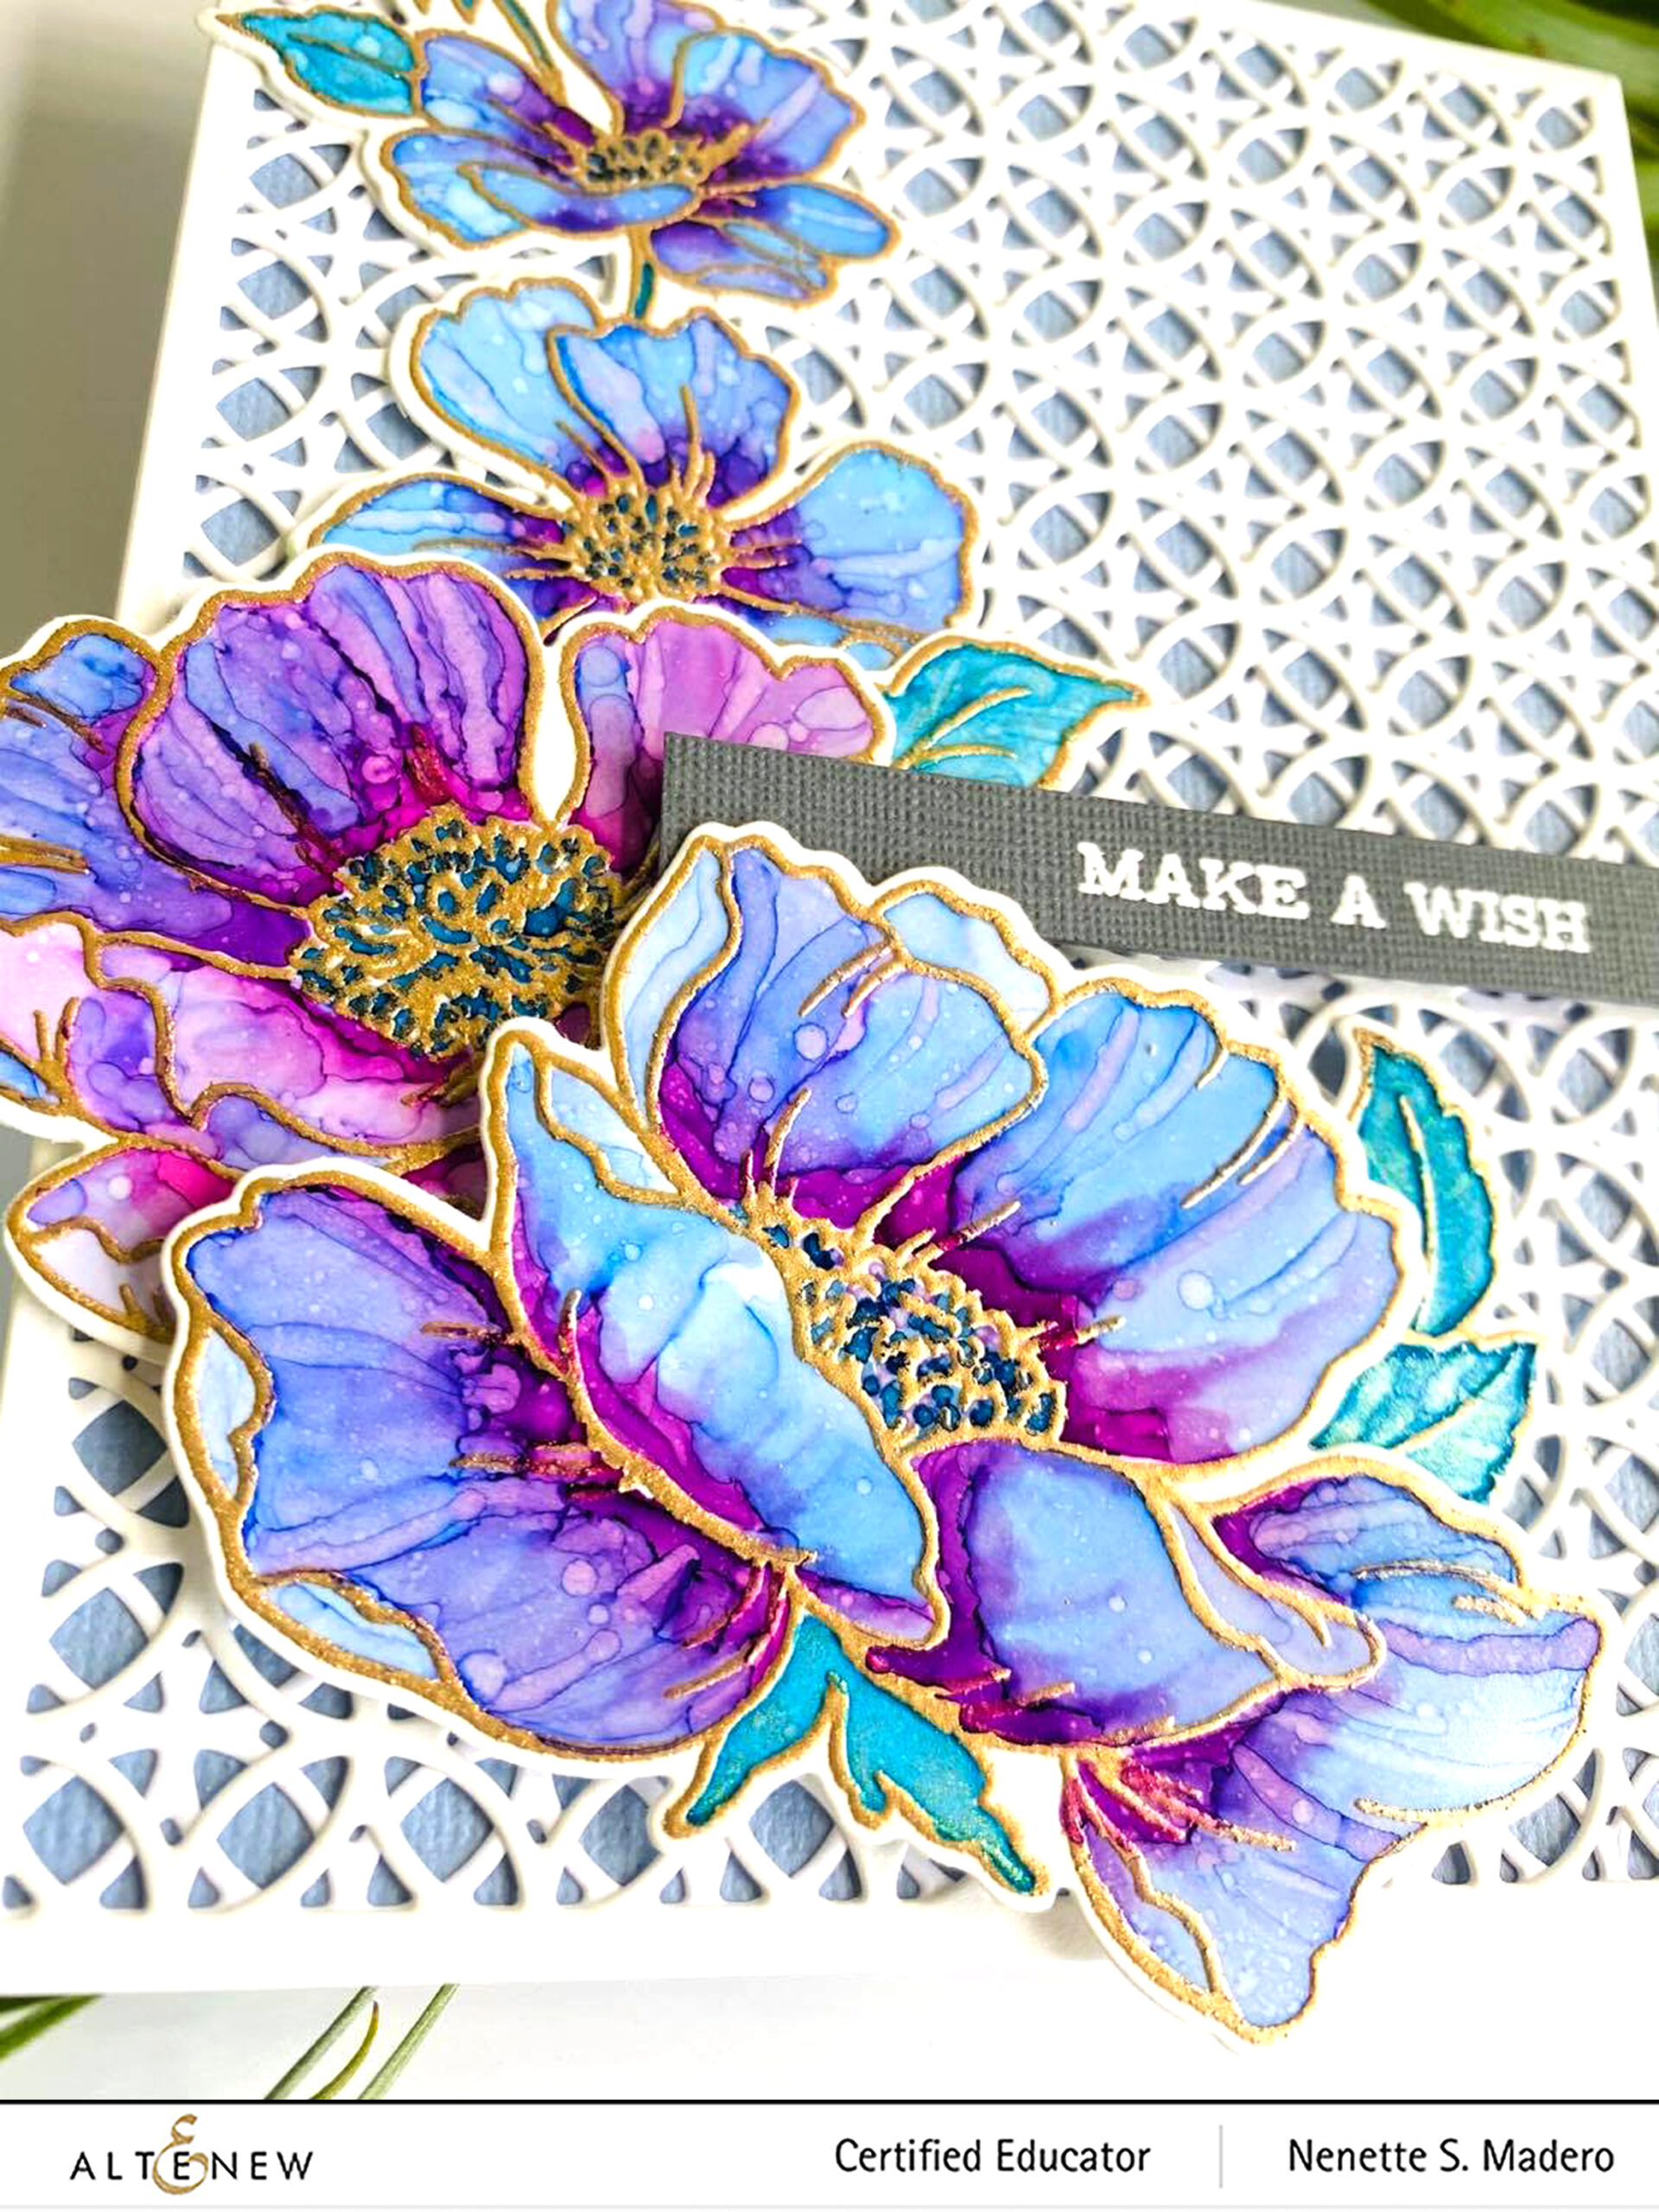
Loosely paint over the entire flowers going over the outlines using Turquoise, Ultraviolet, Midnight violet, Sea Breeze and Ultramarine for the flowers and Emerald, Sweet Leaf and Moss for the leaves.
After the watercolor dries, add spatters of water and allow to sit for 10 seconds. Dry with a paper towel to remove some ink to create texture.
When the image is dry, prep the paper with the antistatic tool then re-stamp again the outline image with Versamark Ink and emboss with Rose Gold embossing powder. (Remember, I left the image inside the Misti so that I can restamp again.)
Die-cut the image as well as the Stacked Diamonds cover die.
Die-cut the sentiment die 4 times and watercolor the 1st layer using the leftover inks.
Add white cardstock to the back of the sentiment strip die cut.
Adhere the cover die onto the card front and attach the flowers and sentiment with foam squares.
Add white gouache splatters.
Add the sentiment strip die cut using foam squares.
PRIZES
Altenew is giving away a $20 gift certificate to 5 lucky winners! Please leave a comment on the Altenew Card Blog by 4/4/2021 for a chance to win.
Altenew will also draw a winner to receive a $15 Altenew gift certificate from the comments left on each designer’s blog on the blog hop list below. All winners will be announced on theAltenew Winners Page on 4/6/2021.
There’s MORE! What’s a hop without YOU?! We have included an Inlinkz at the Altenew blog for you to enter your gorgeous Altenew “Old/New Favorite Altenew Stamp” creations. Altenew will pick 2 of our favorite handmade creations from those who joined the linky party and they will each receive a $15 Altenew gift certificate!
Next up is the amazing Teri Wilson. Hope you liked the cards I made using old and new stamp and die sets. I’m sure you have your own favorite Altenew stamps as well. I’d love to know which one is yours! Leave a comment below to get a chance to win some fabulous prizes from Altenew. Hope we can be friends on IG as well (@mylittleatticstudio). This is where I post my latest creations, too. Thank you so much for dropping by and stay safe always. Happy crafting!!
I am joining a fun INSTA hop where all of us Educators will be sharing our love for Altenew through our handmade goodness/creations! The IG hop starts from @altenewllc so make sure you start from the beginning! I thought of creating a blog post as well for those of you who would like to know how I created the cards.
For this hop, I thought of creating 2 cards using the same inks, embossing folders and or stamps to make 1 easy to create card (CAS) and 1 intermediate card with more techniques involved. Let’s get started!
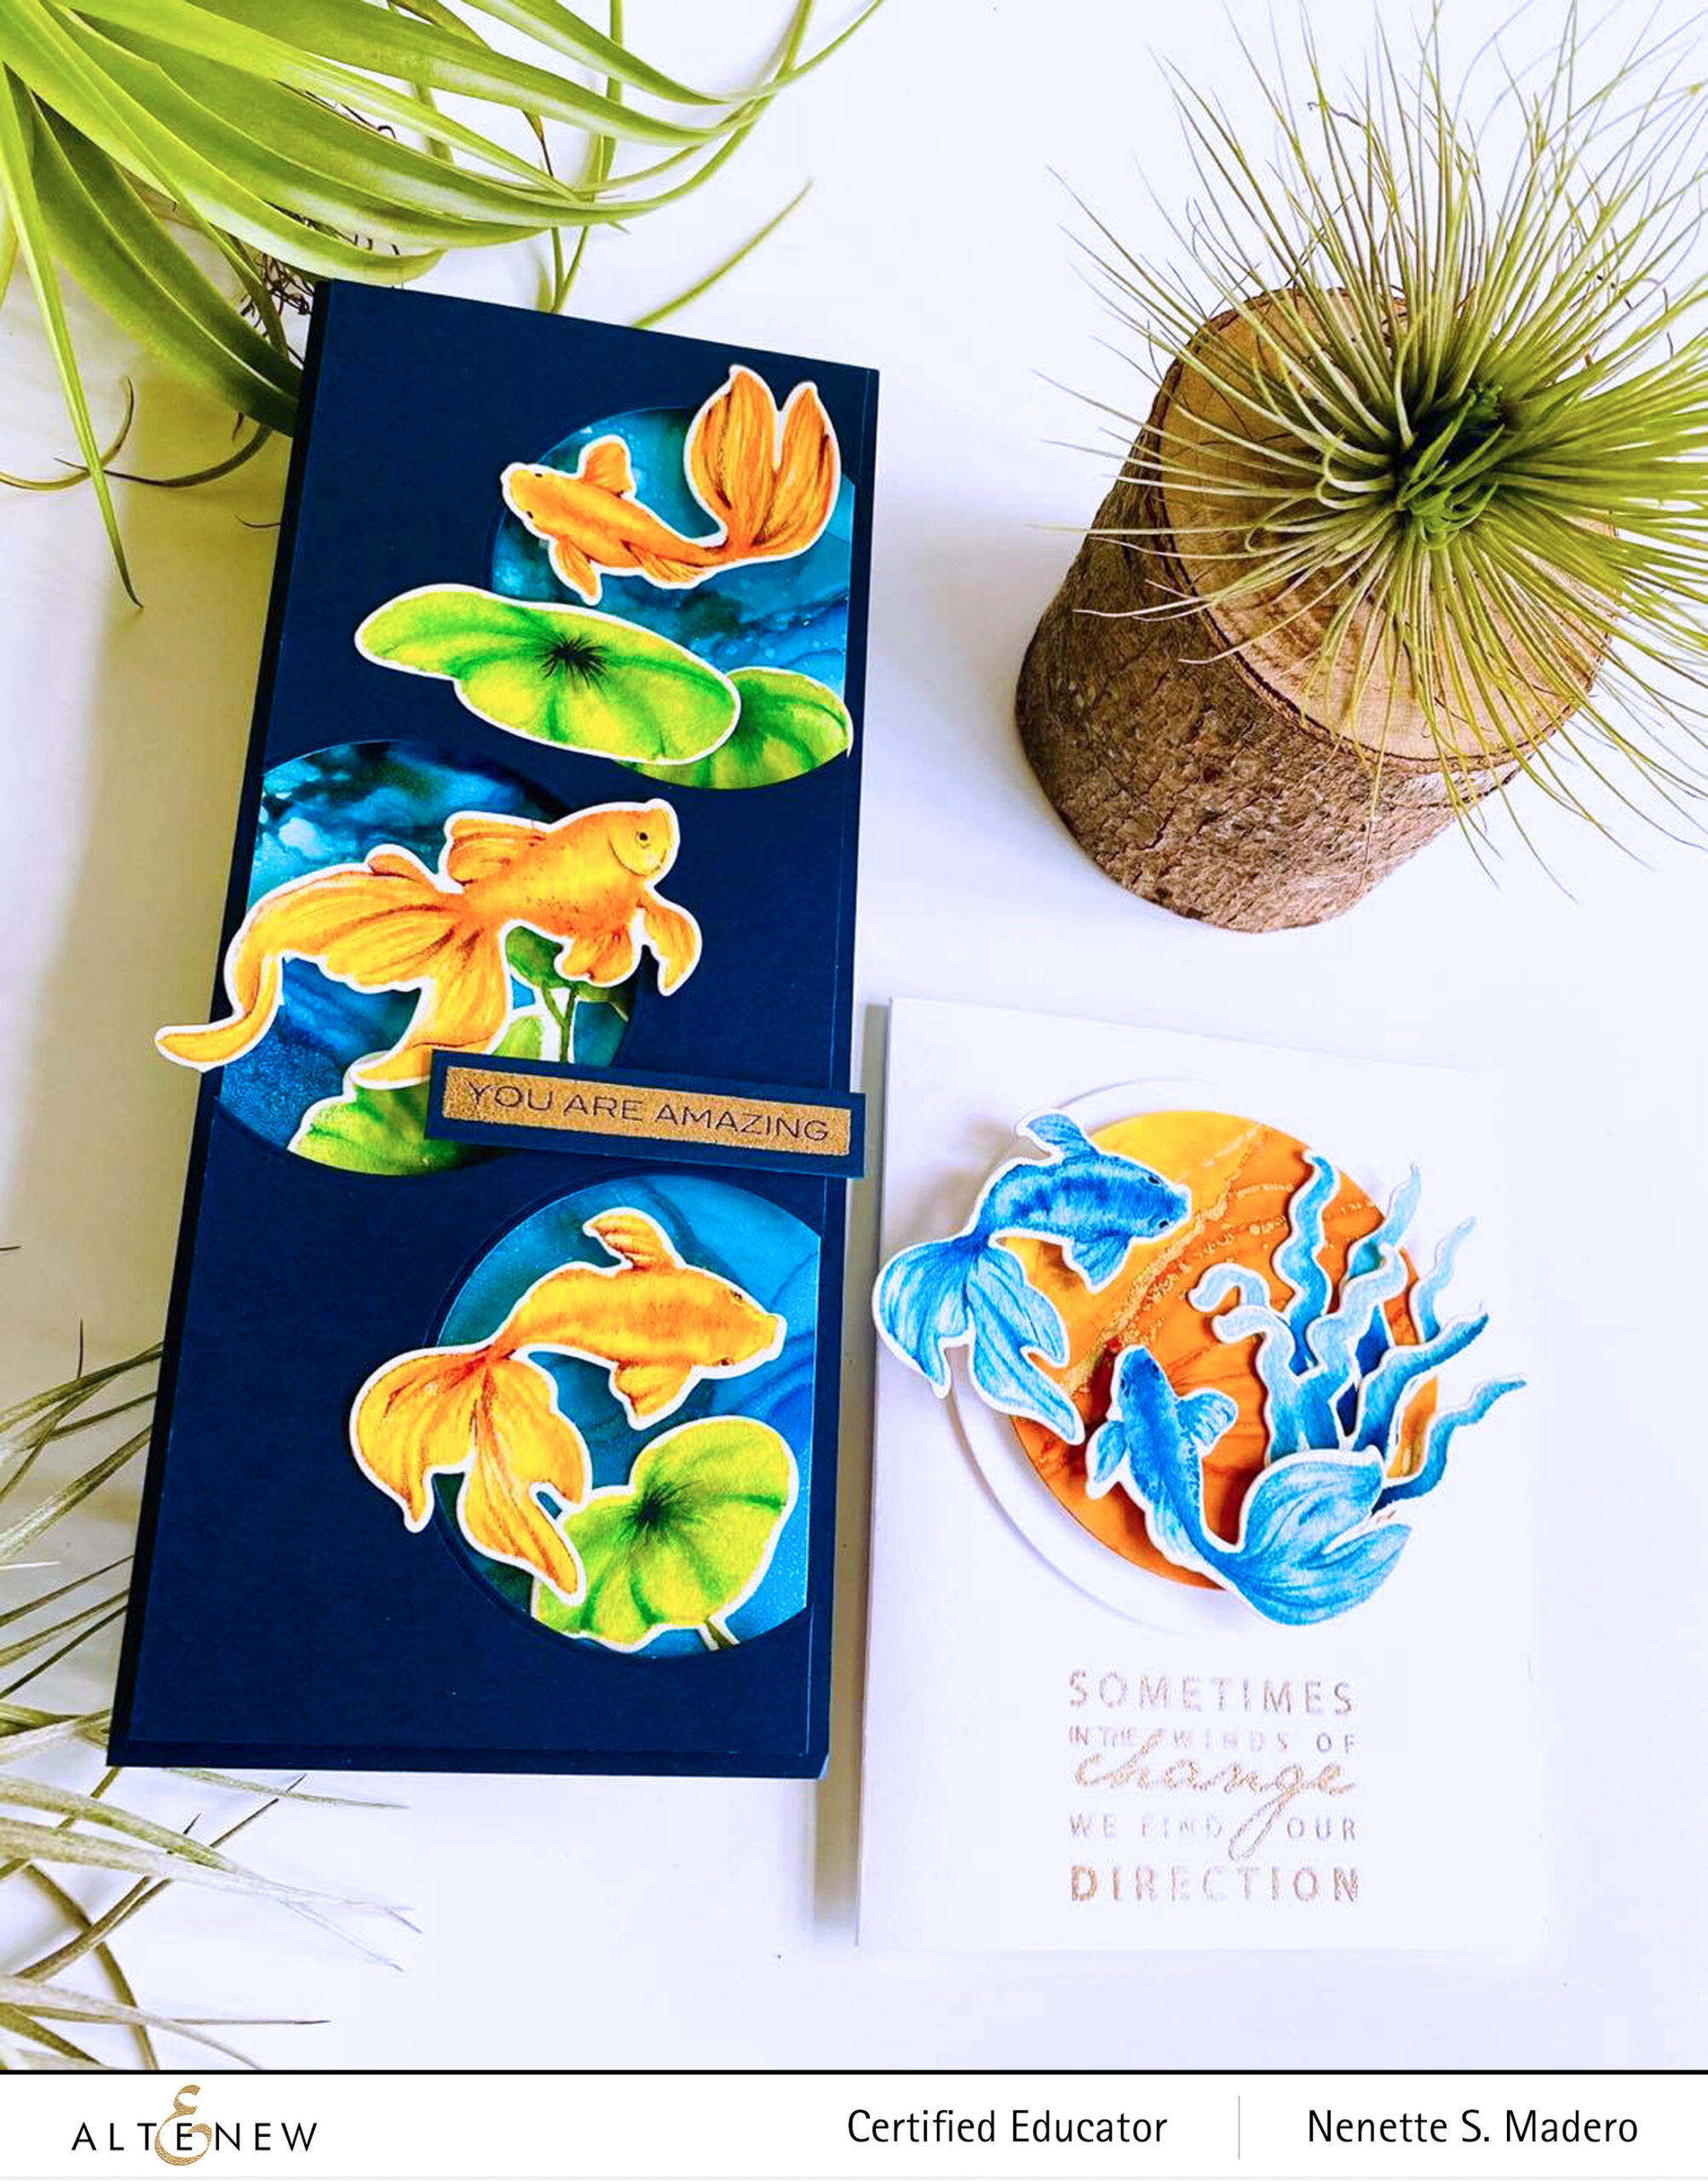
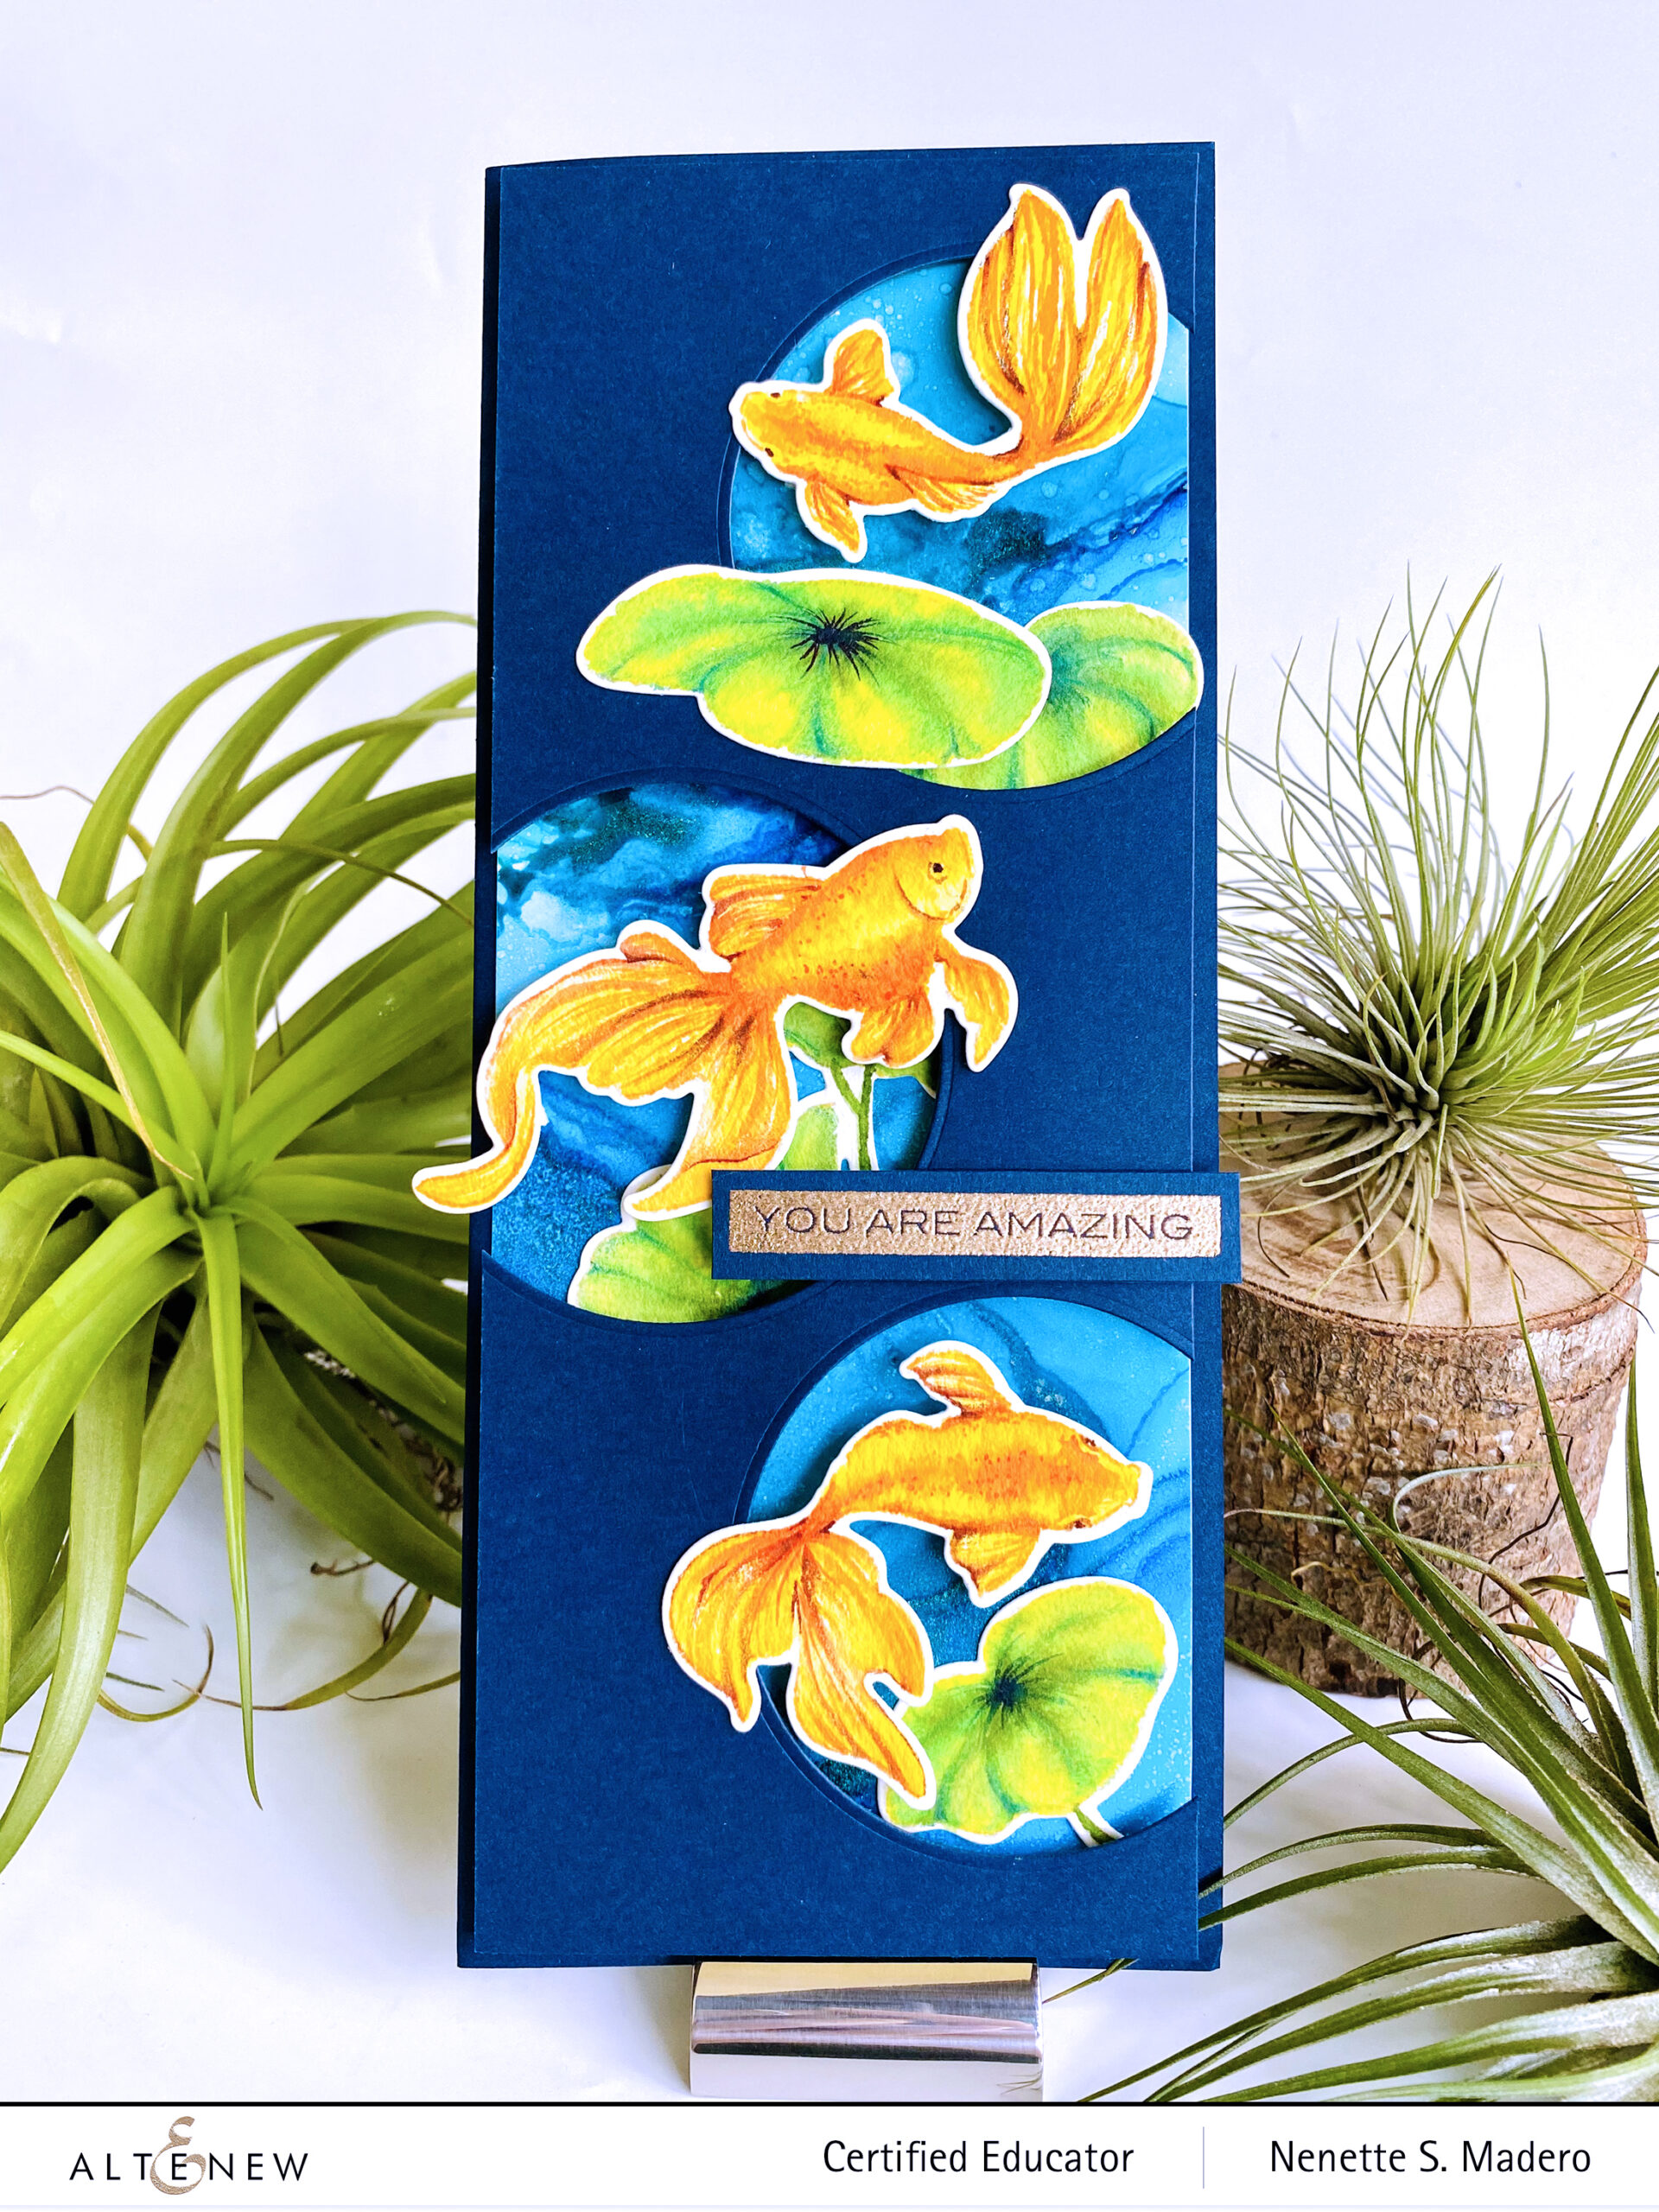
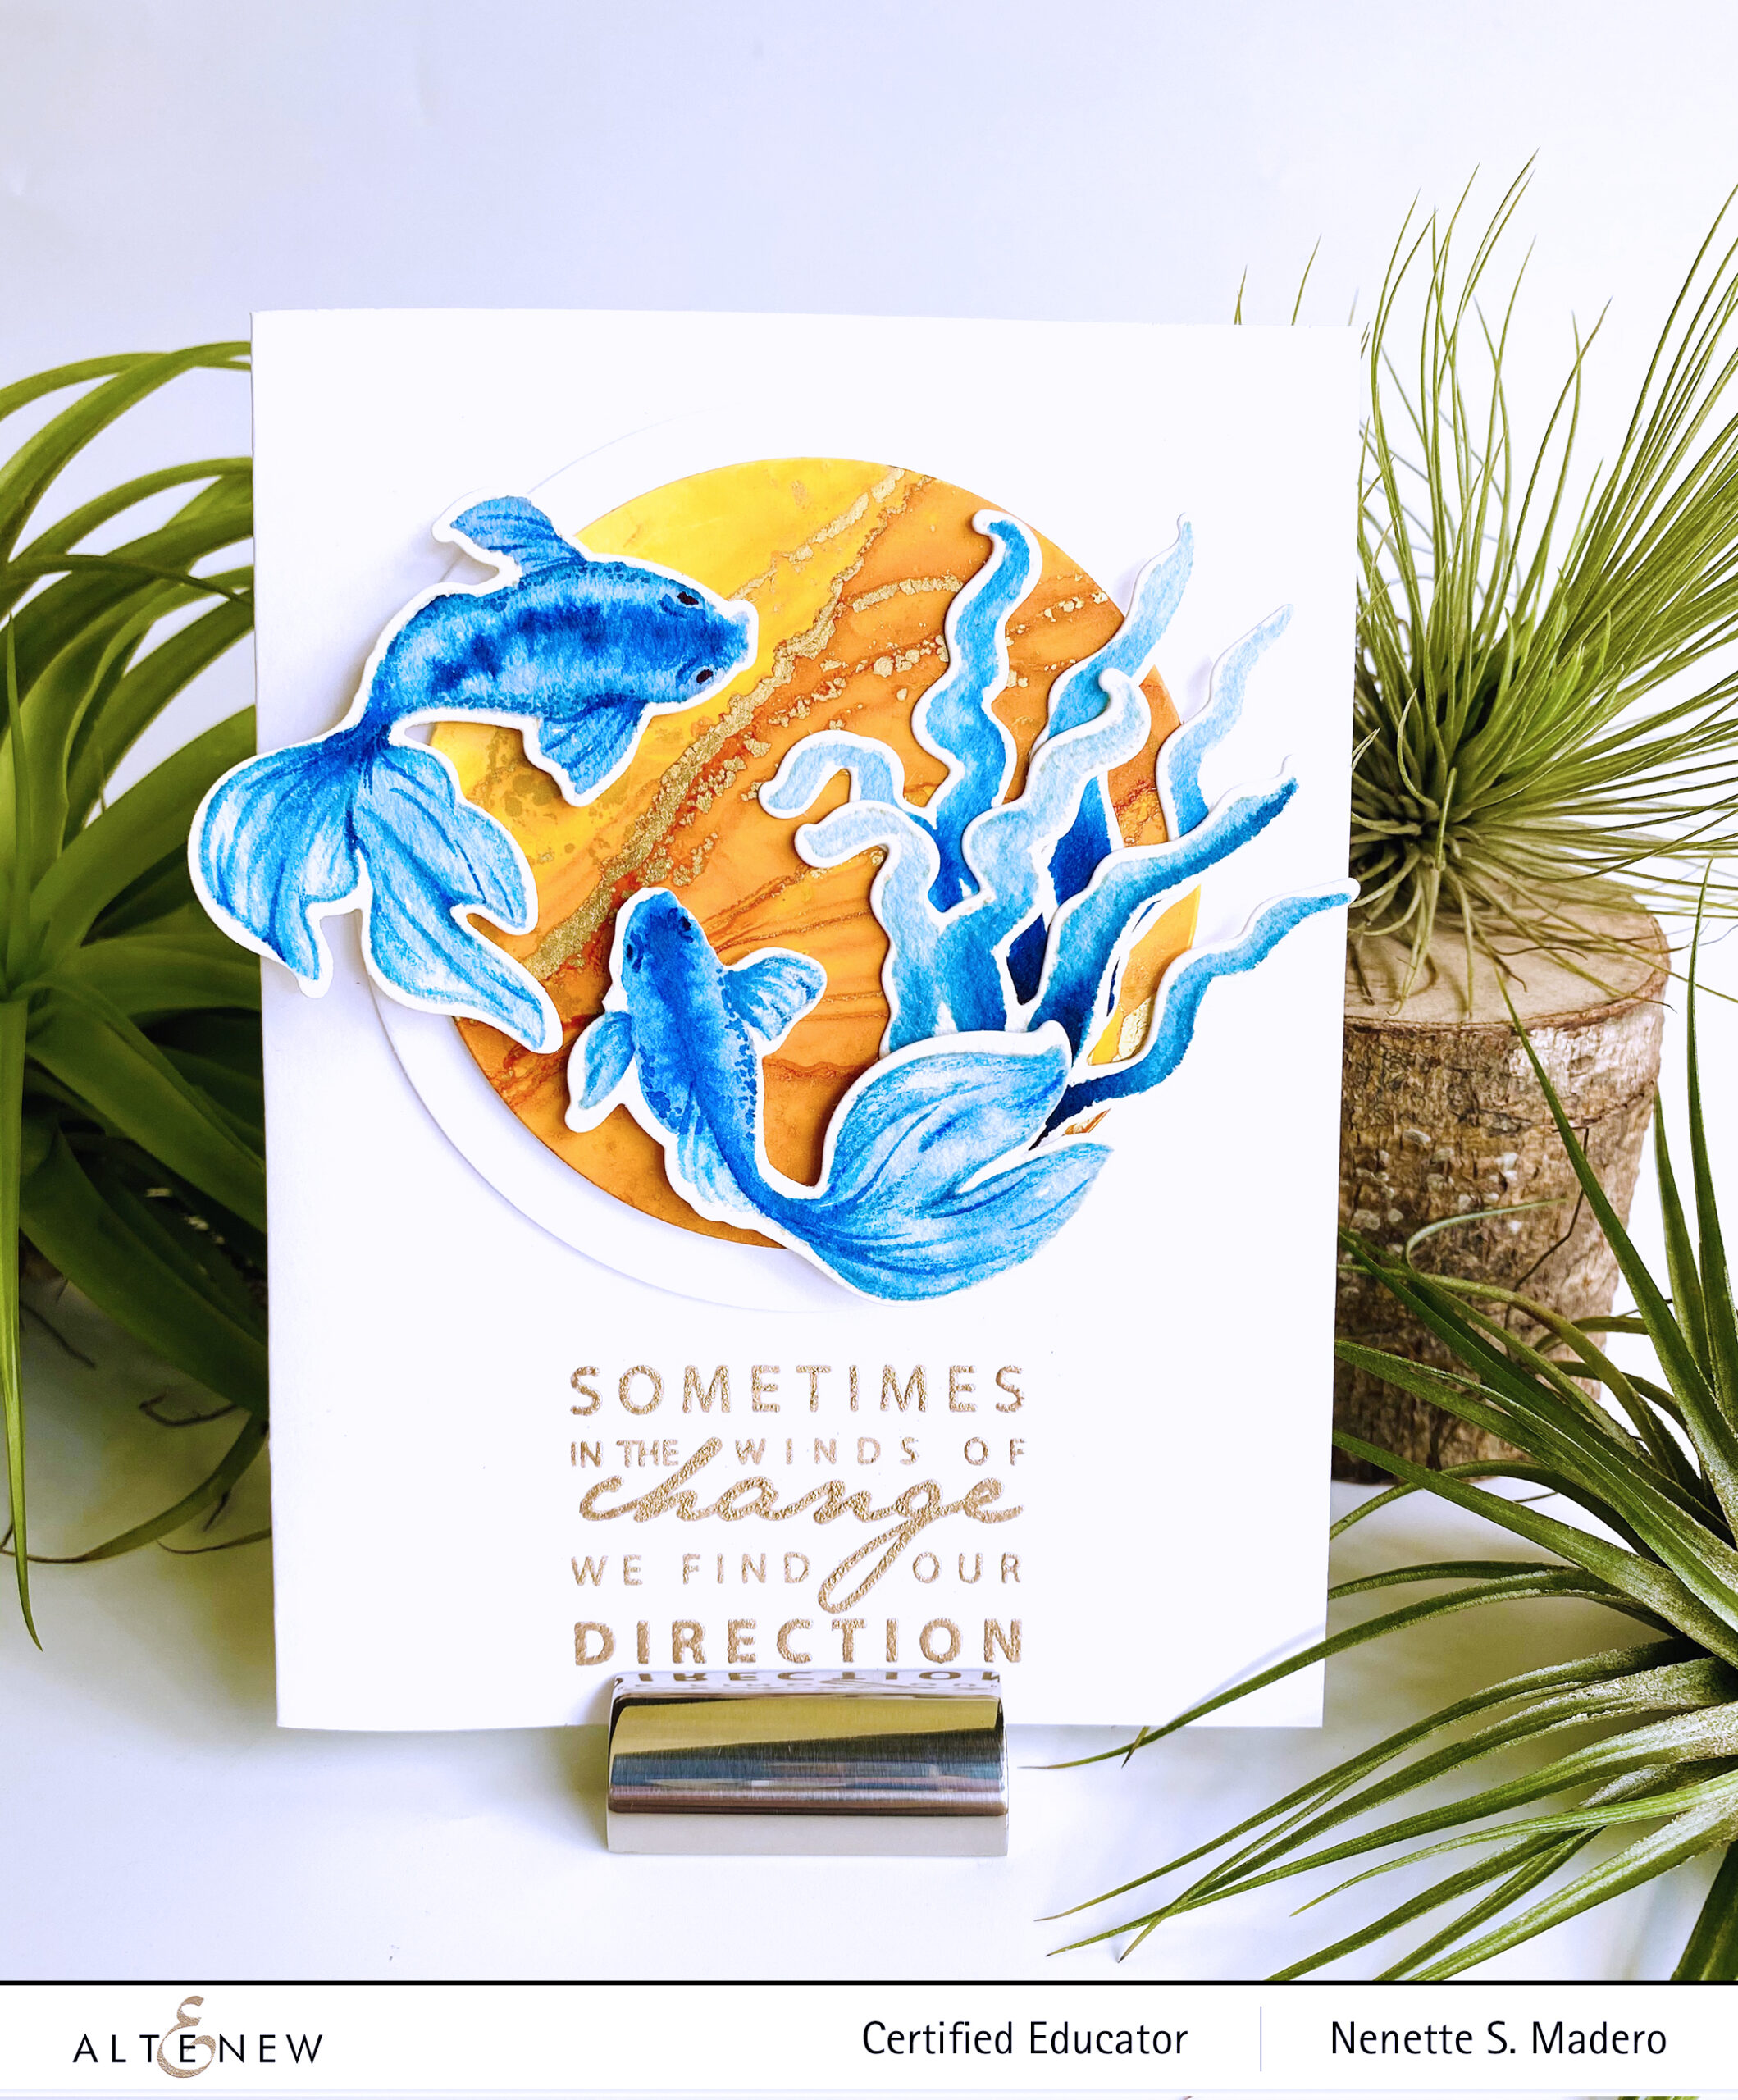
YOU ARE AMAZING/ SOMETIMES IN THE WINDS OF CHANGE…
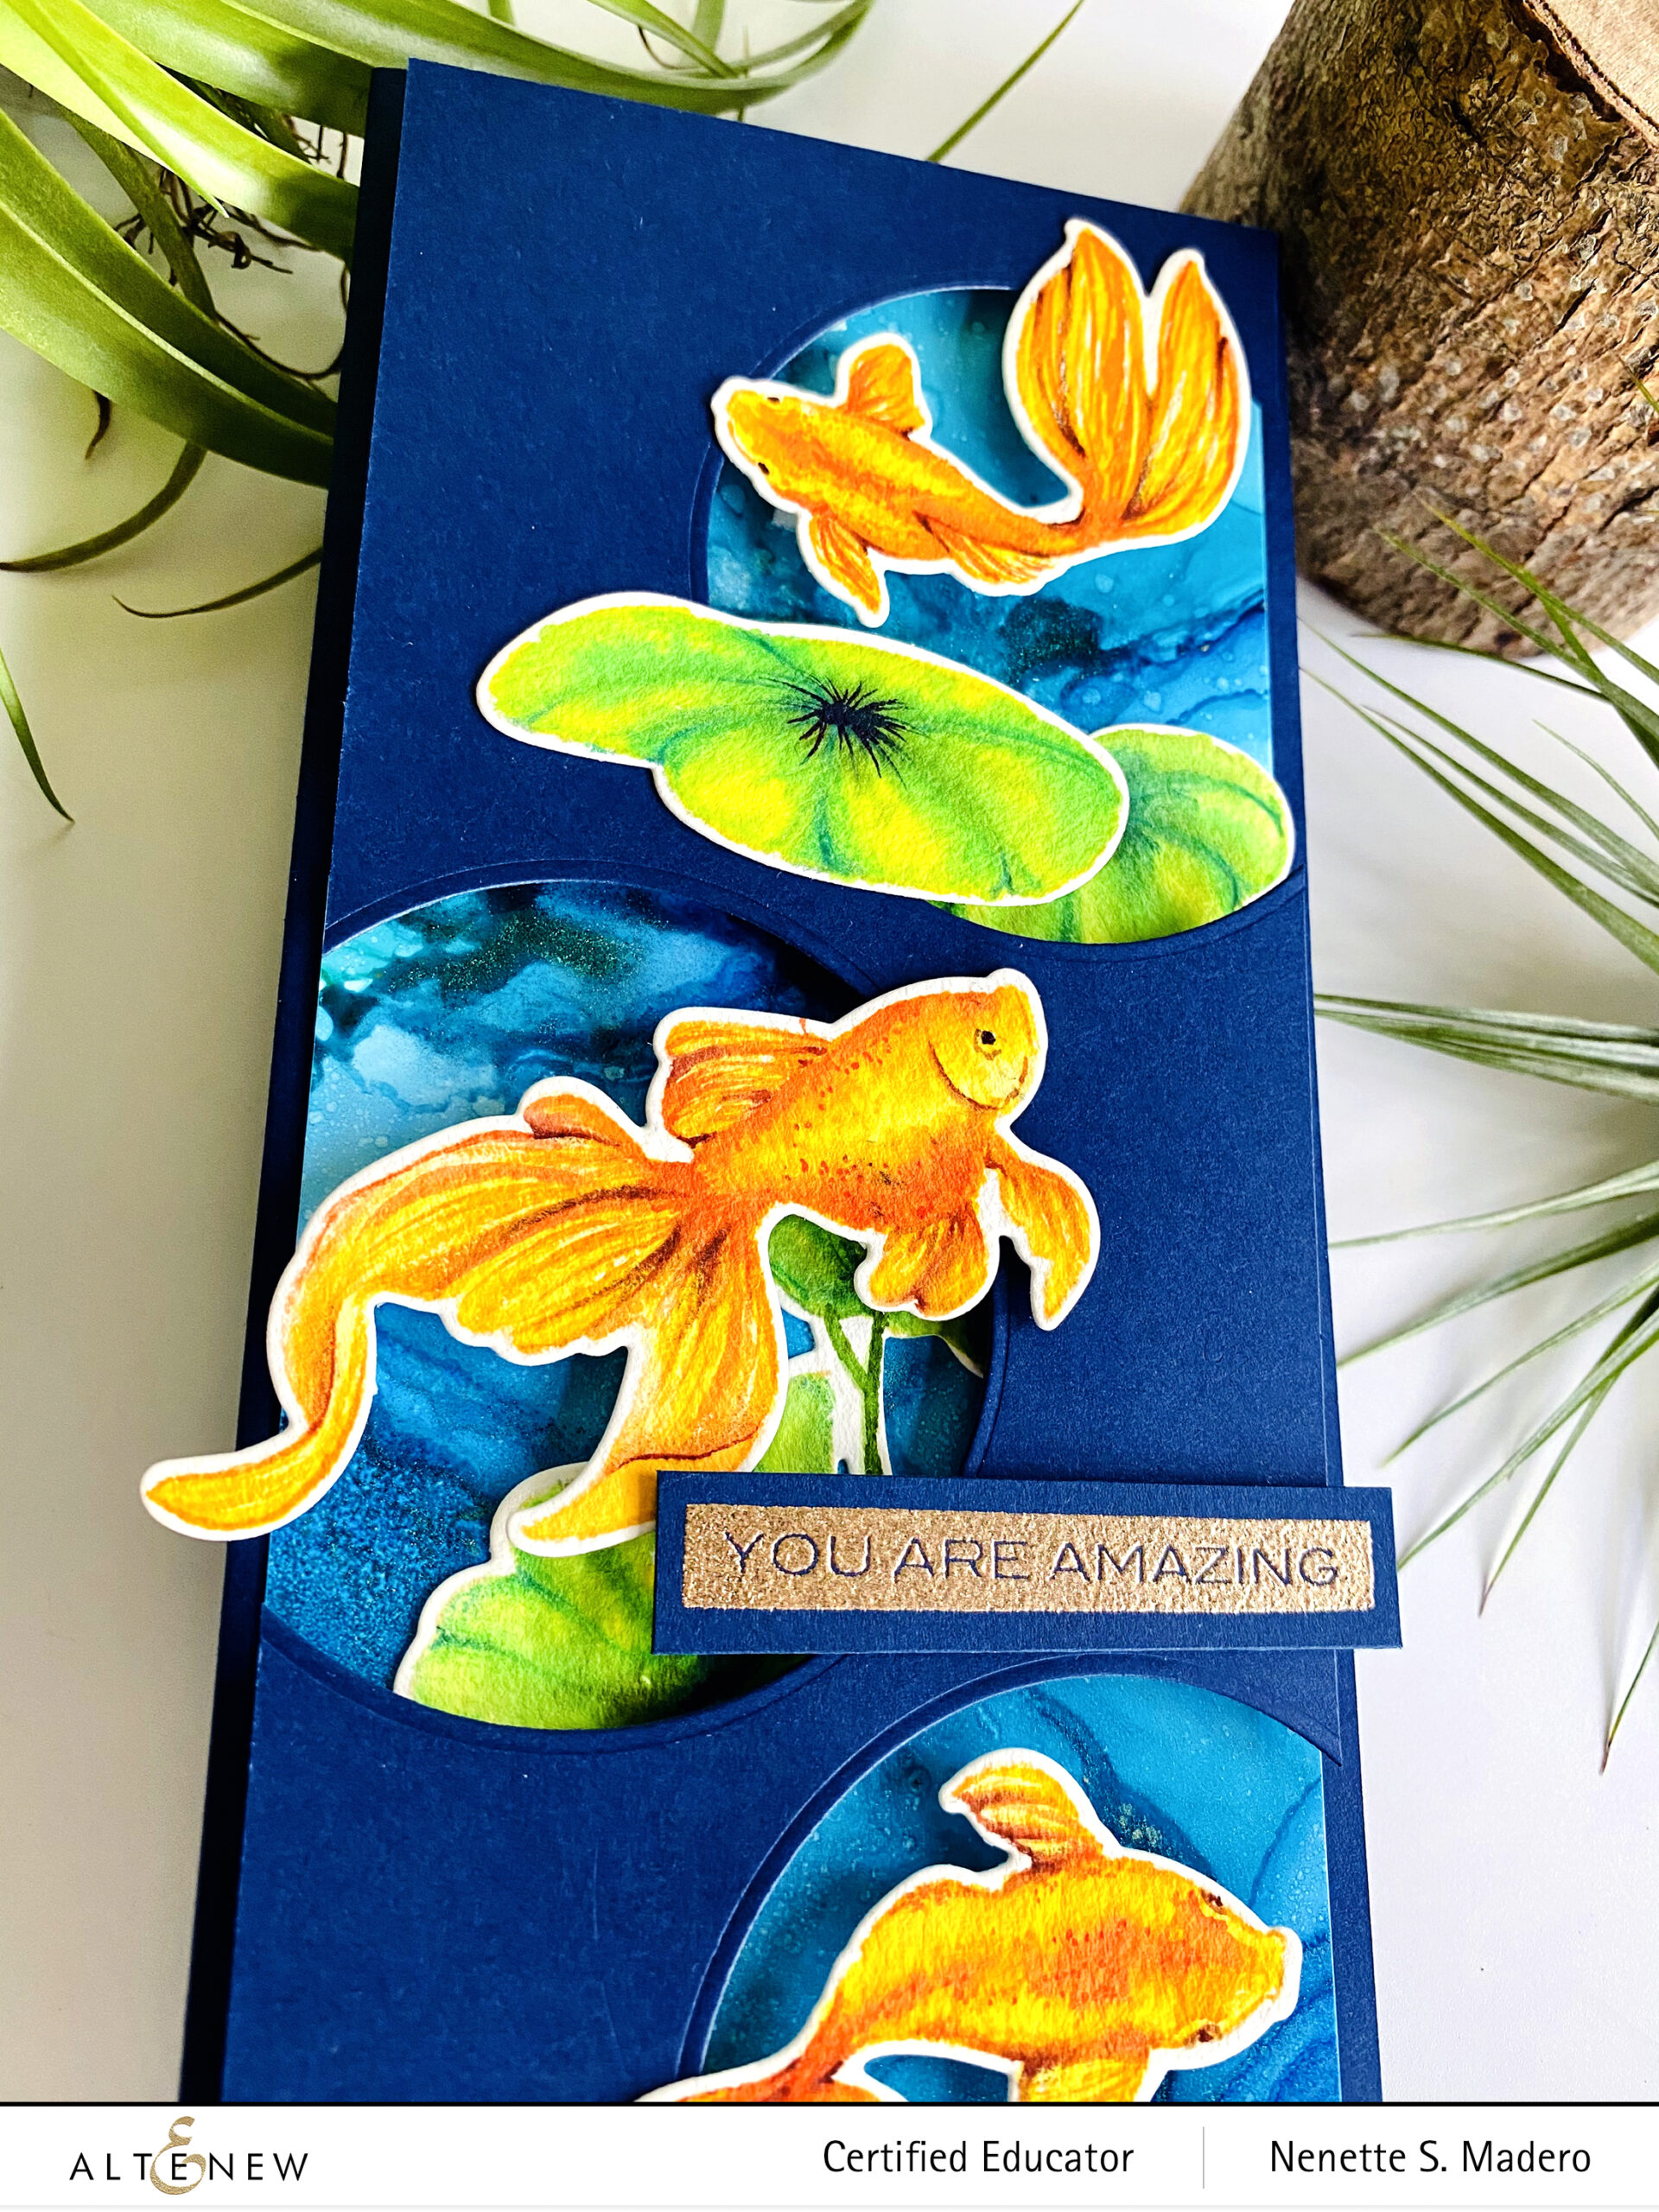
Create a background to mimic the water by using different shades of blue and gold alcohol inks on Nara paper. Wet the surface of the paper with alcohol before dropping the alcohol inks. Move the colors using a hairdryer. The last step is to spray the background using a misting spray with alcohol to create the “bubbles”.
For the goldfish, stamp the images onto watercolor paper using Antique linen distress ink or any light colored ink. Color the images using watercolor and colored pencils.
Die-cut the images using the coordinating dies. Use a circle die for the card front to create windows.
Stamp the sentient using Versamark Ink and emboss using Rose Gold embossing powder.
Assemble the card using adhesive and foam squares.
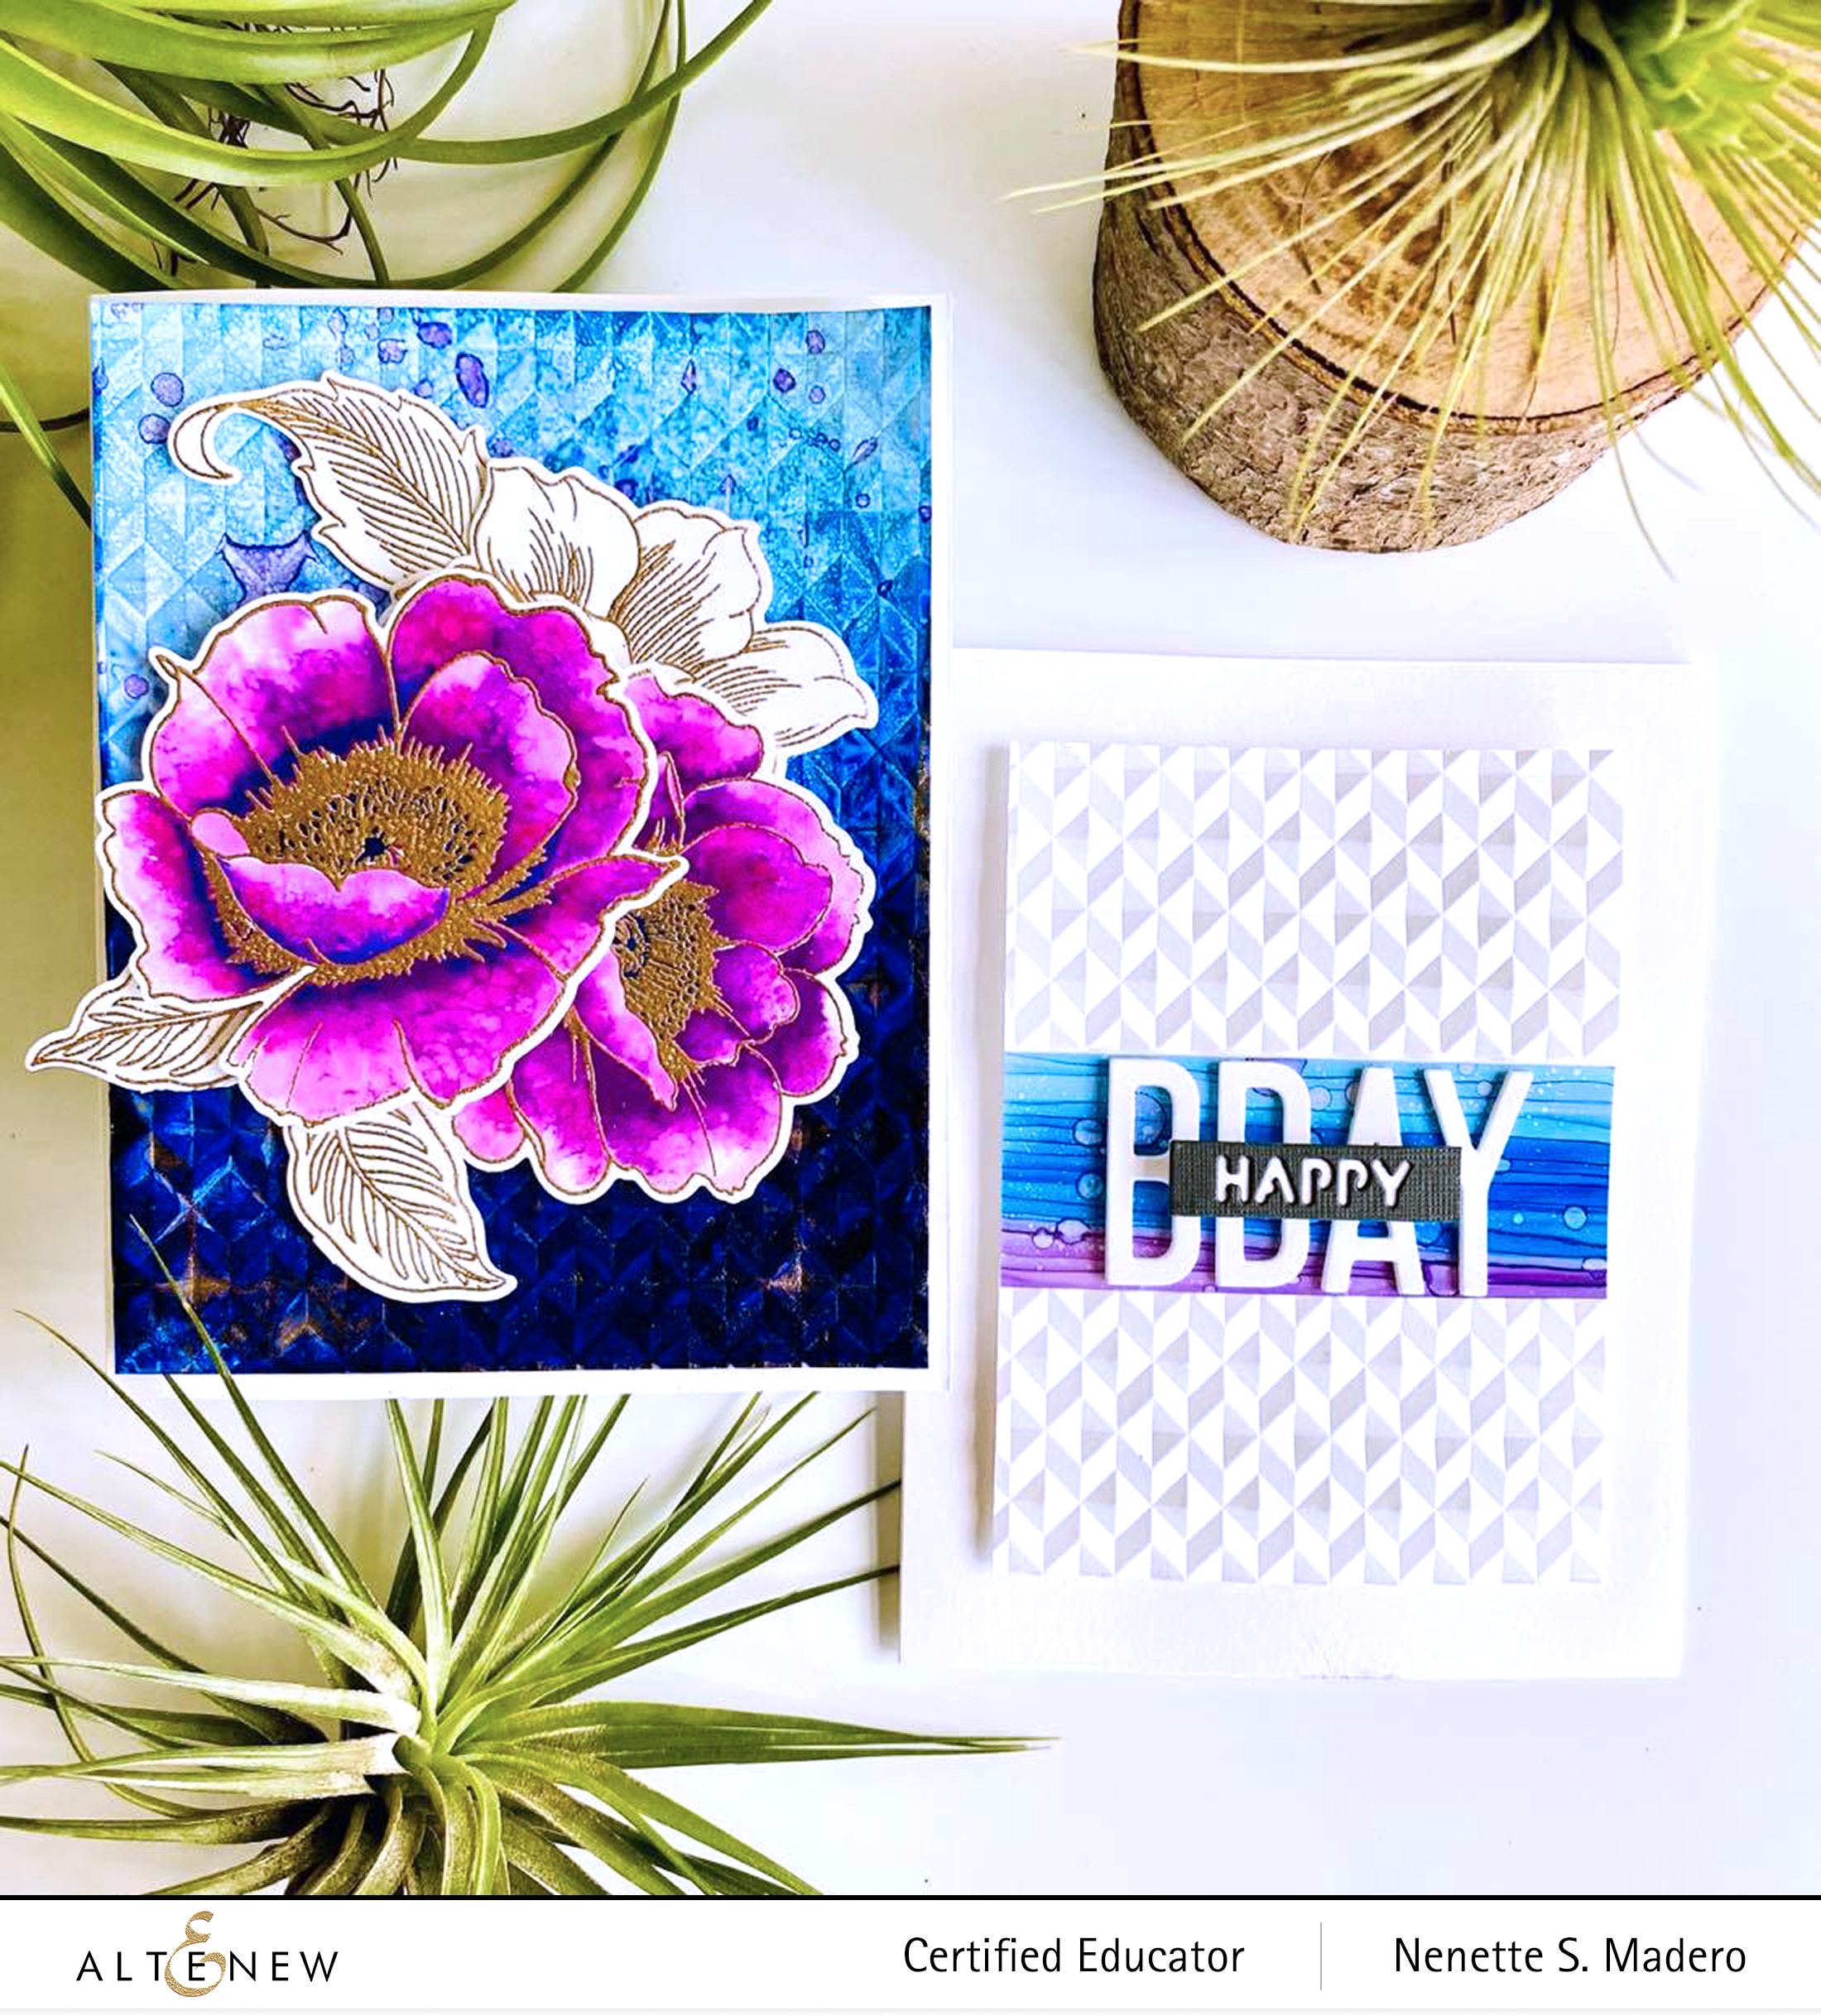
Here’s a CAS card using the same basic materials as the first card.
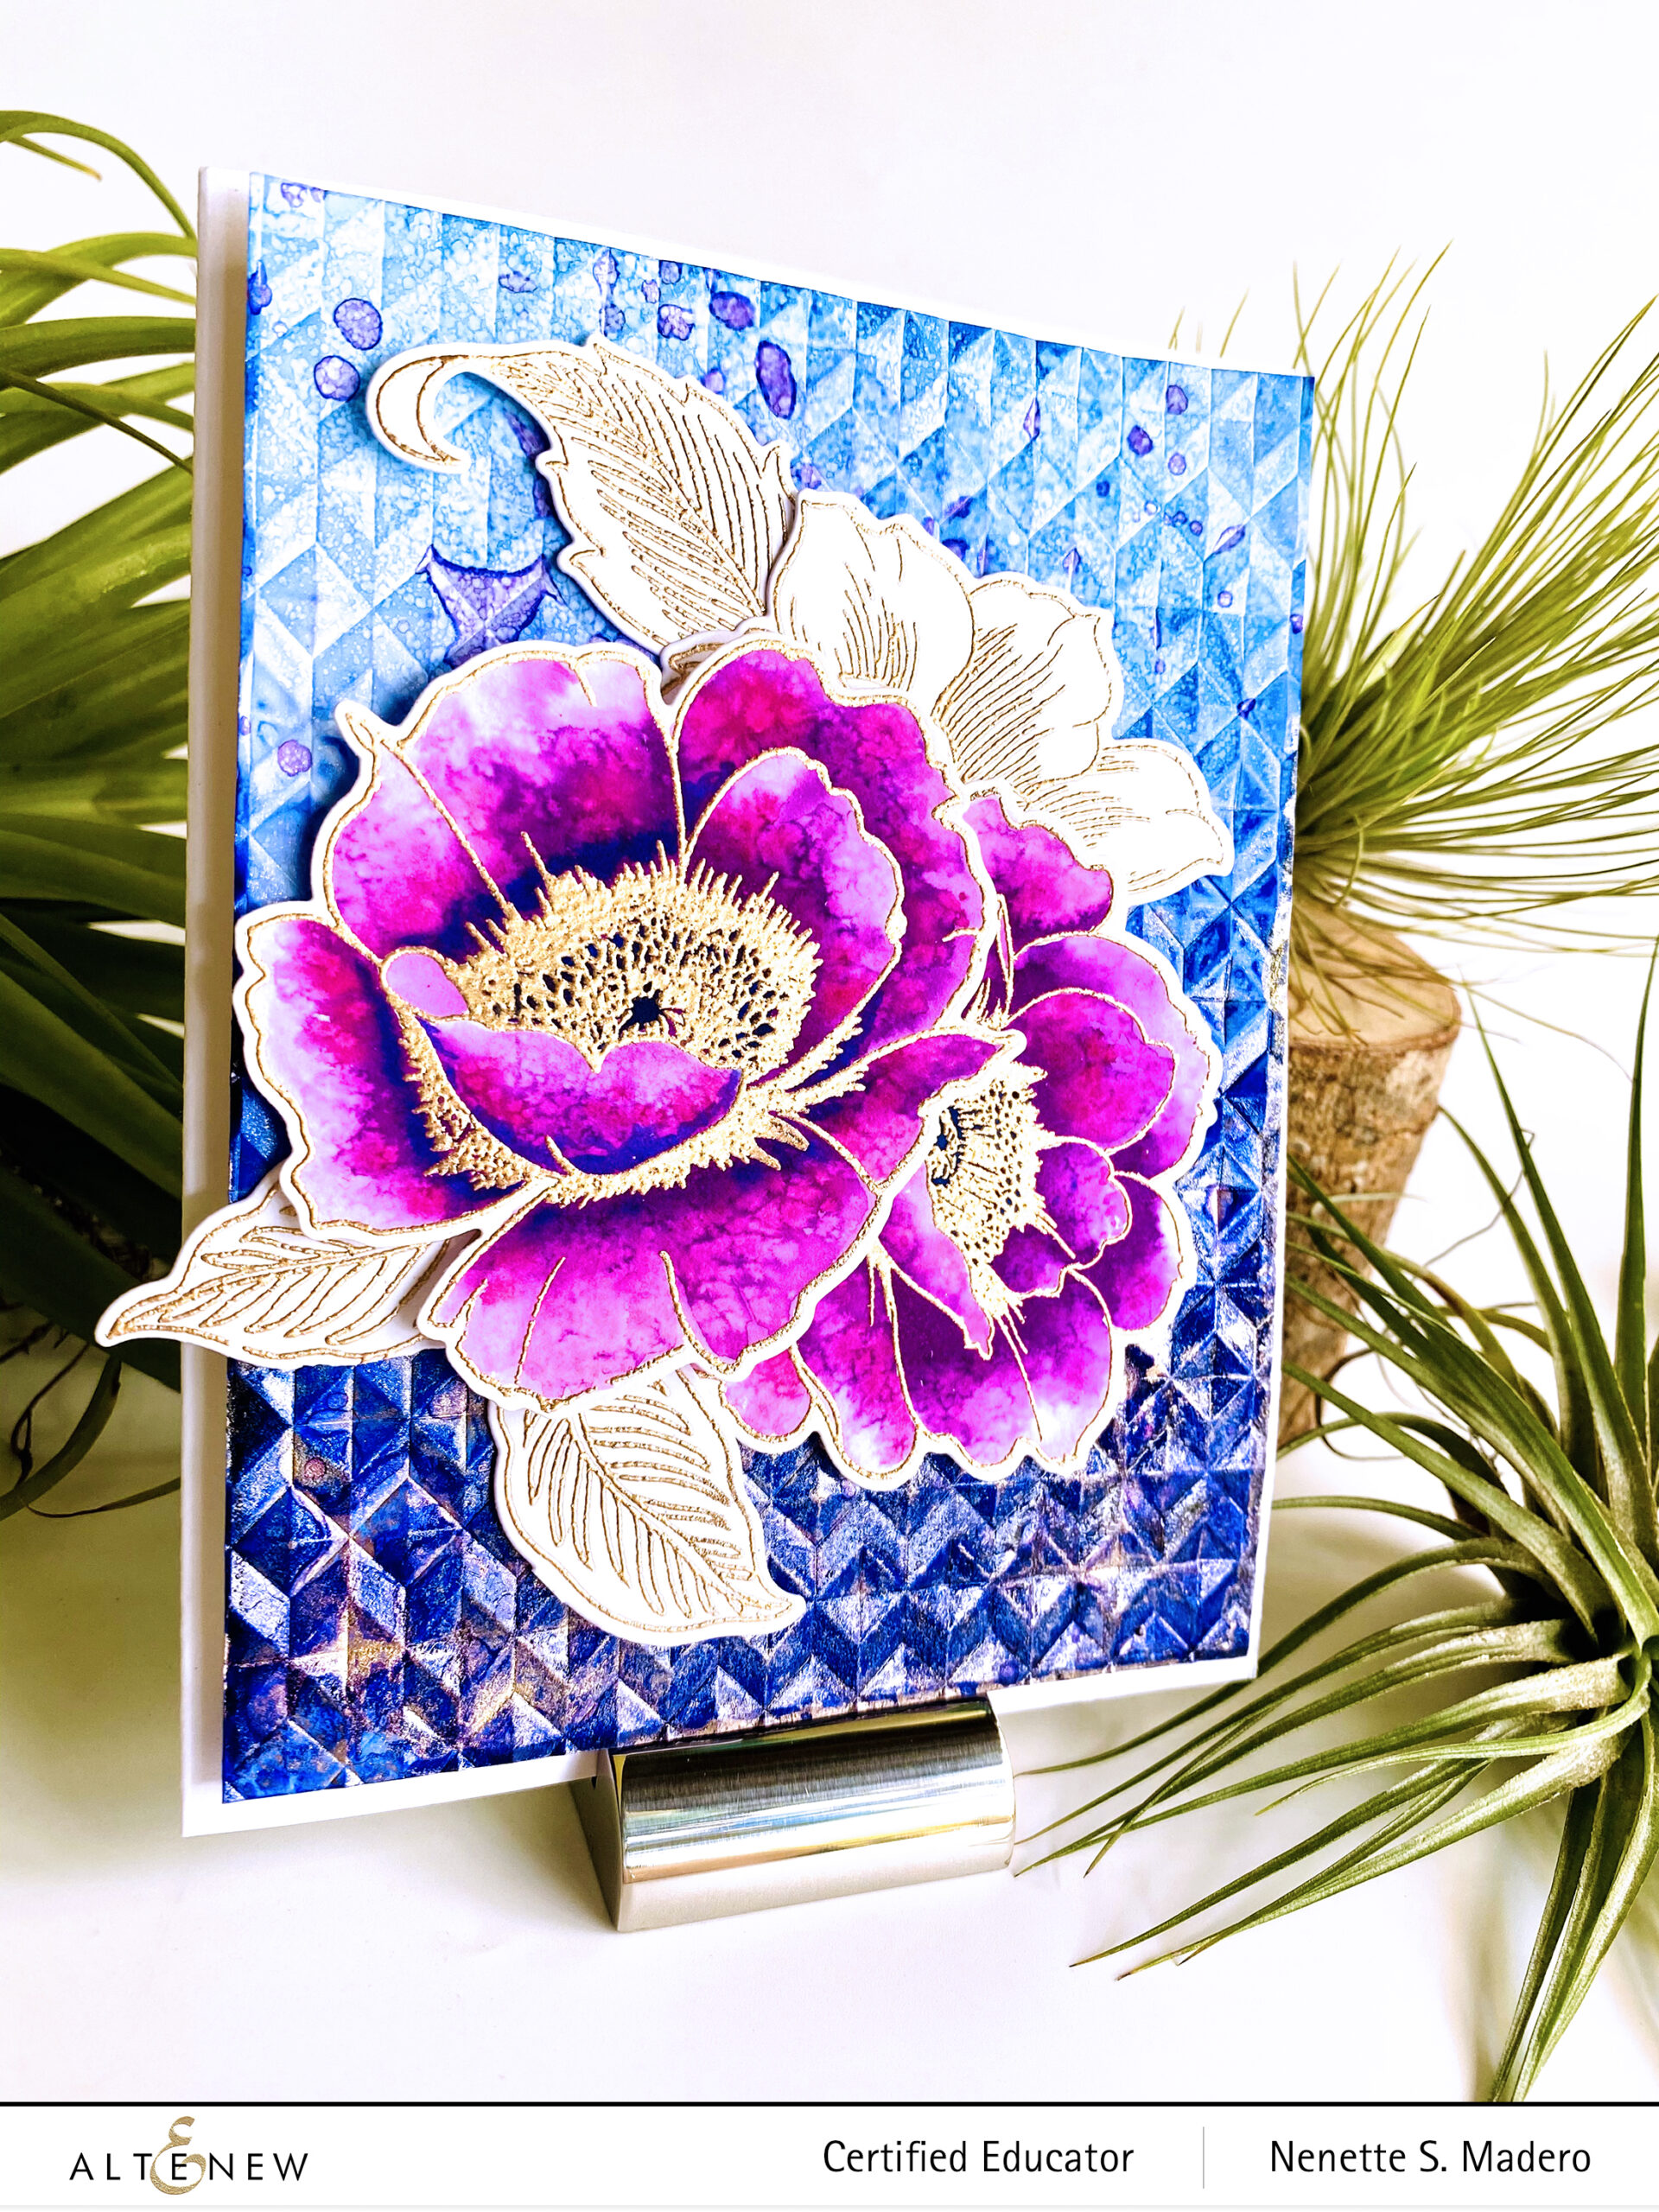
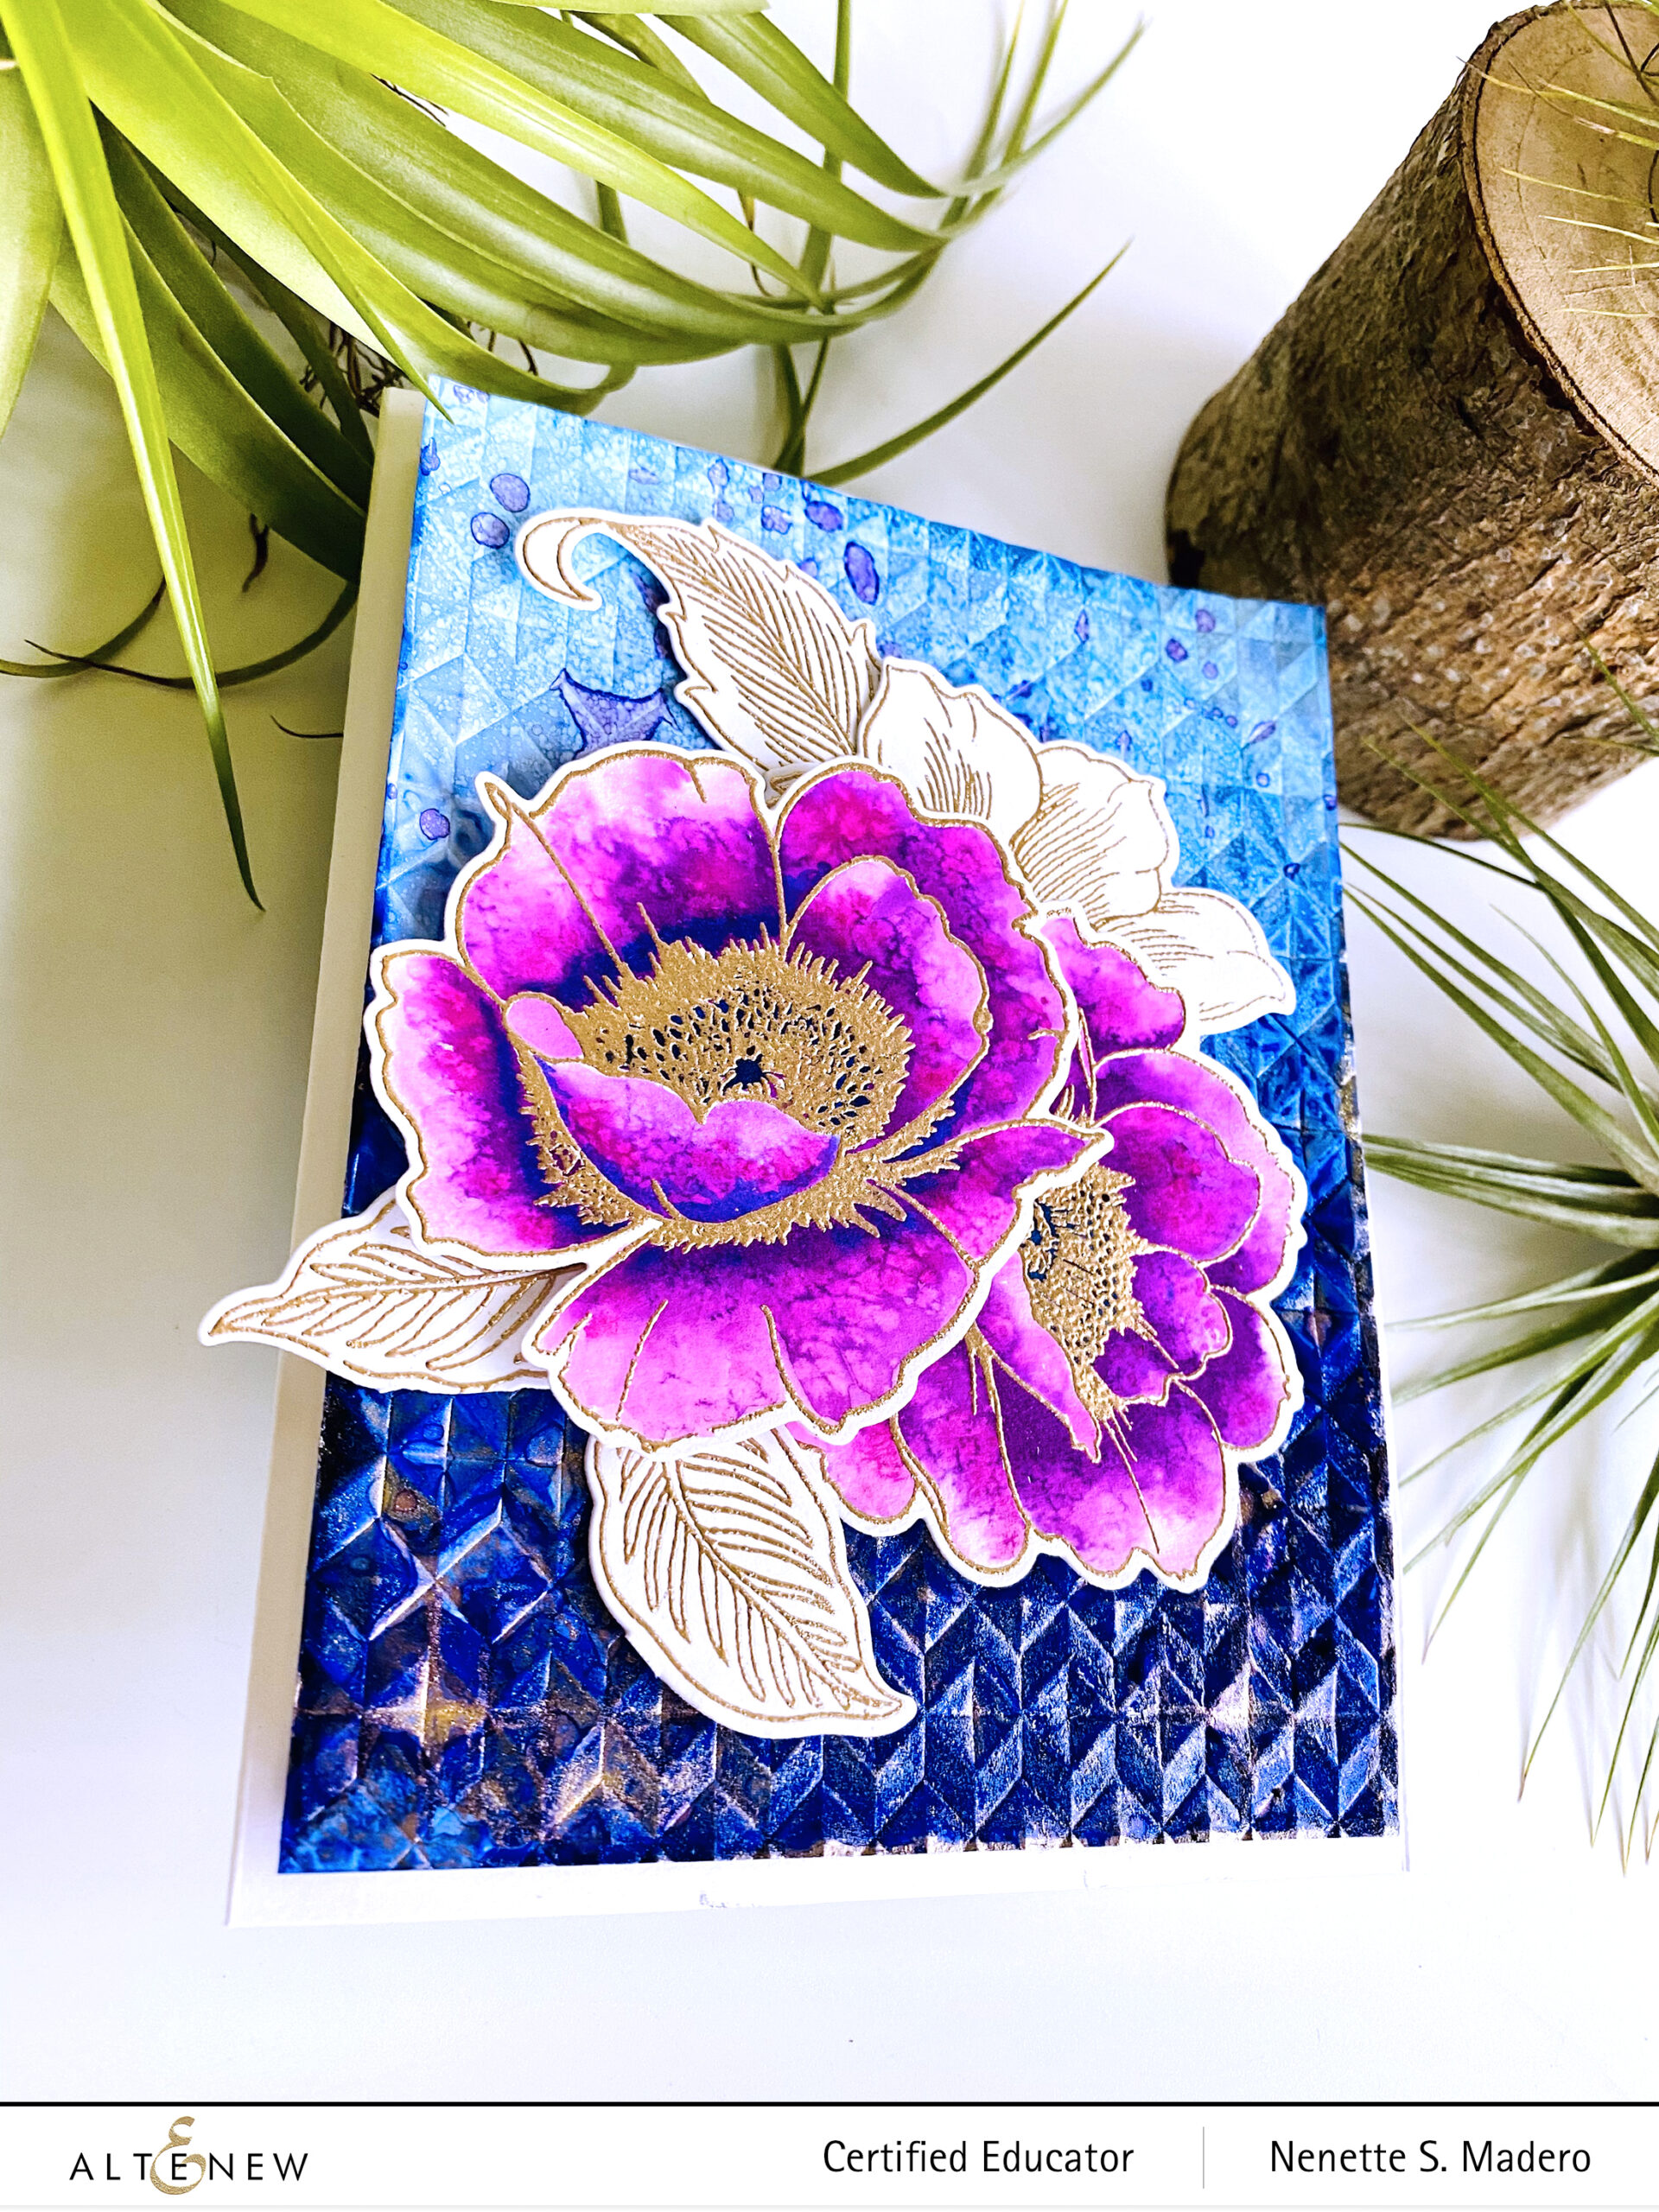
Add alcohol to Nara paper then drop of alcohol ink to create an ombre background. Add Pinata brass while the surface is still wet. Use a dryer to dry the surface.
Add droplets of diluted alcohol ink using the paintbrush to create added texture.
Dry emboss the background with the Angled Mosaic 3D embossing folder and add more alcohol inks to darken certain areas.
Stamp floral images on watercolor paper with Vesamark Ink and emboss using Rose Gold embossing powder.
Watercolor the images. Add salt while the petal is still wet to create some texture.
Assemble the card using foam squares and adhesive.
ADDITIONAL MATERIALS:
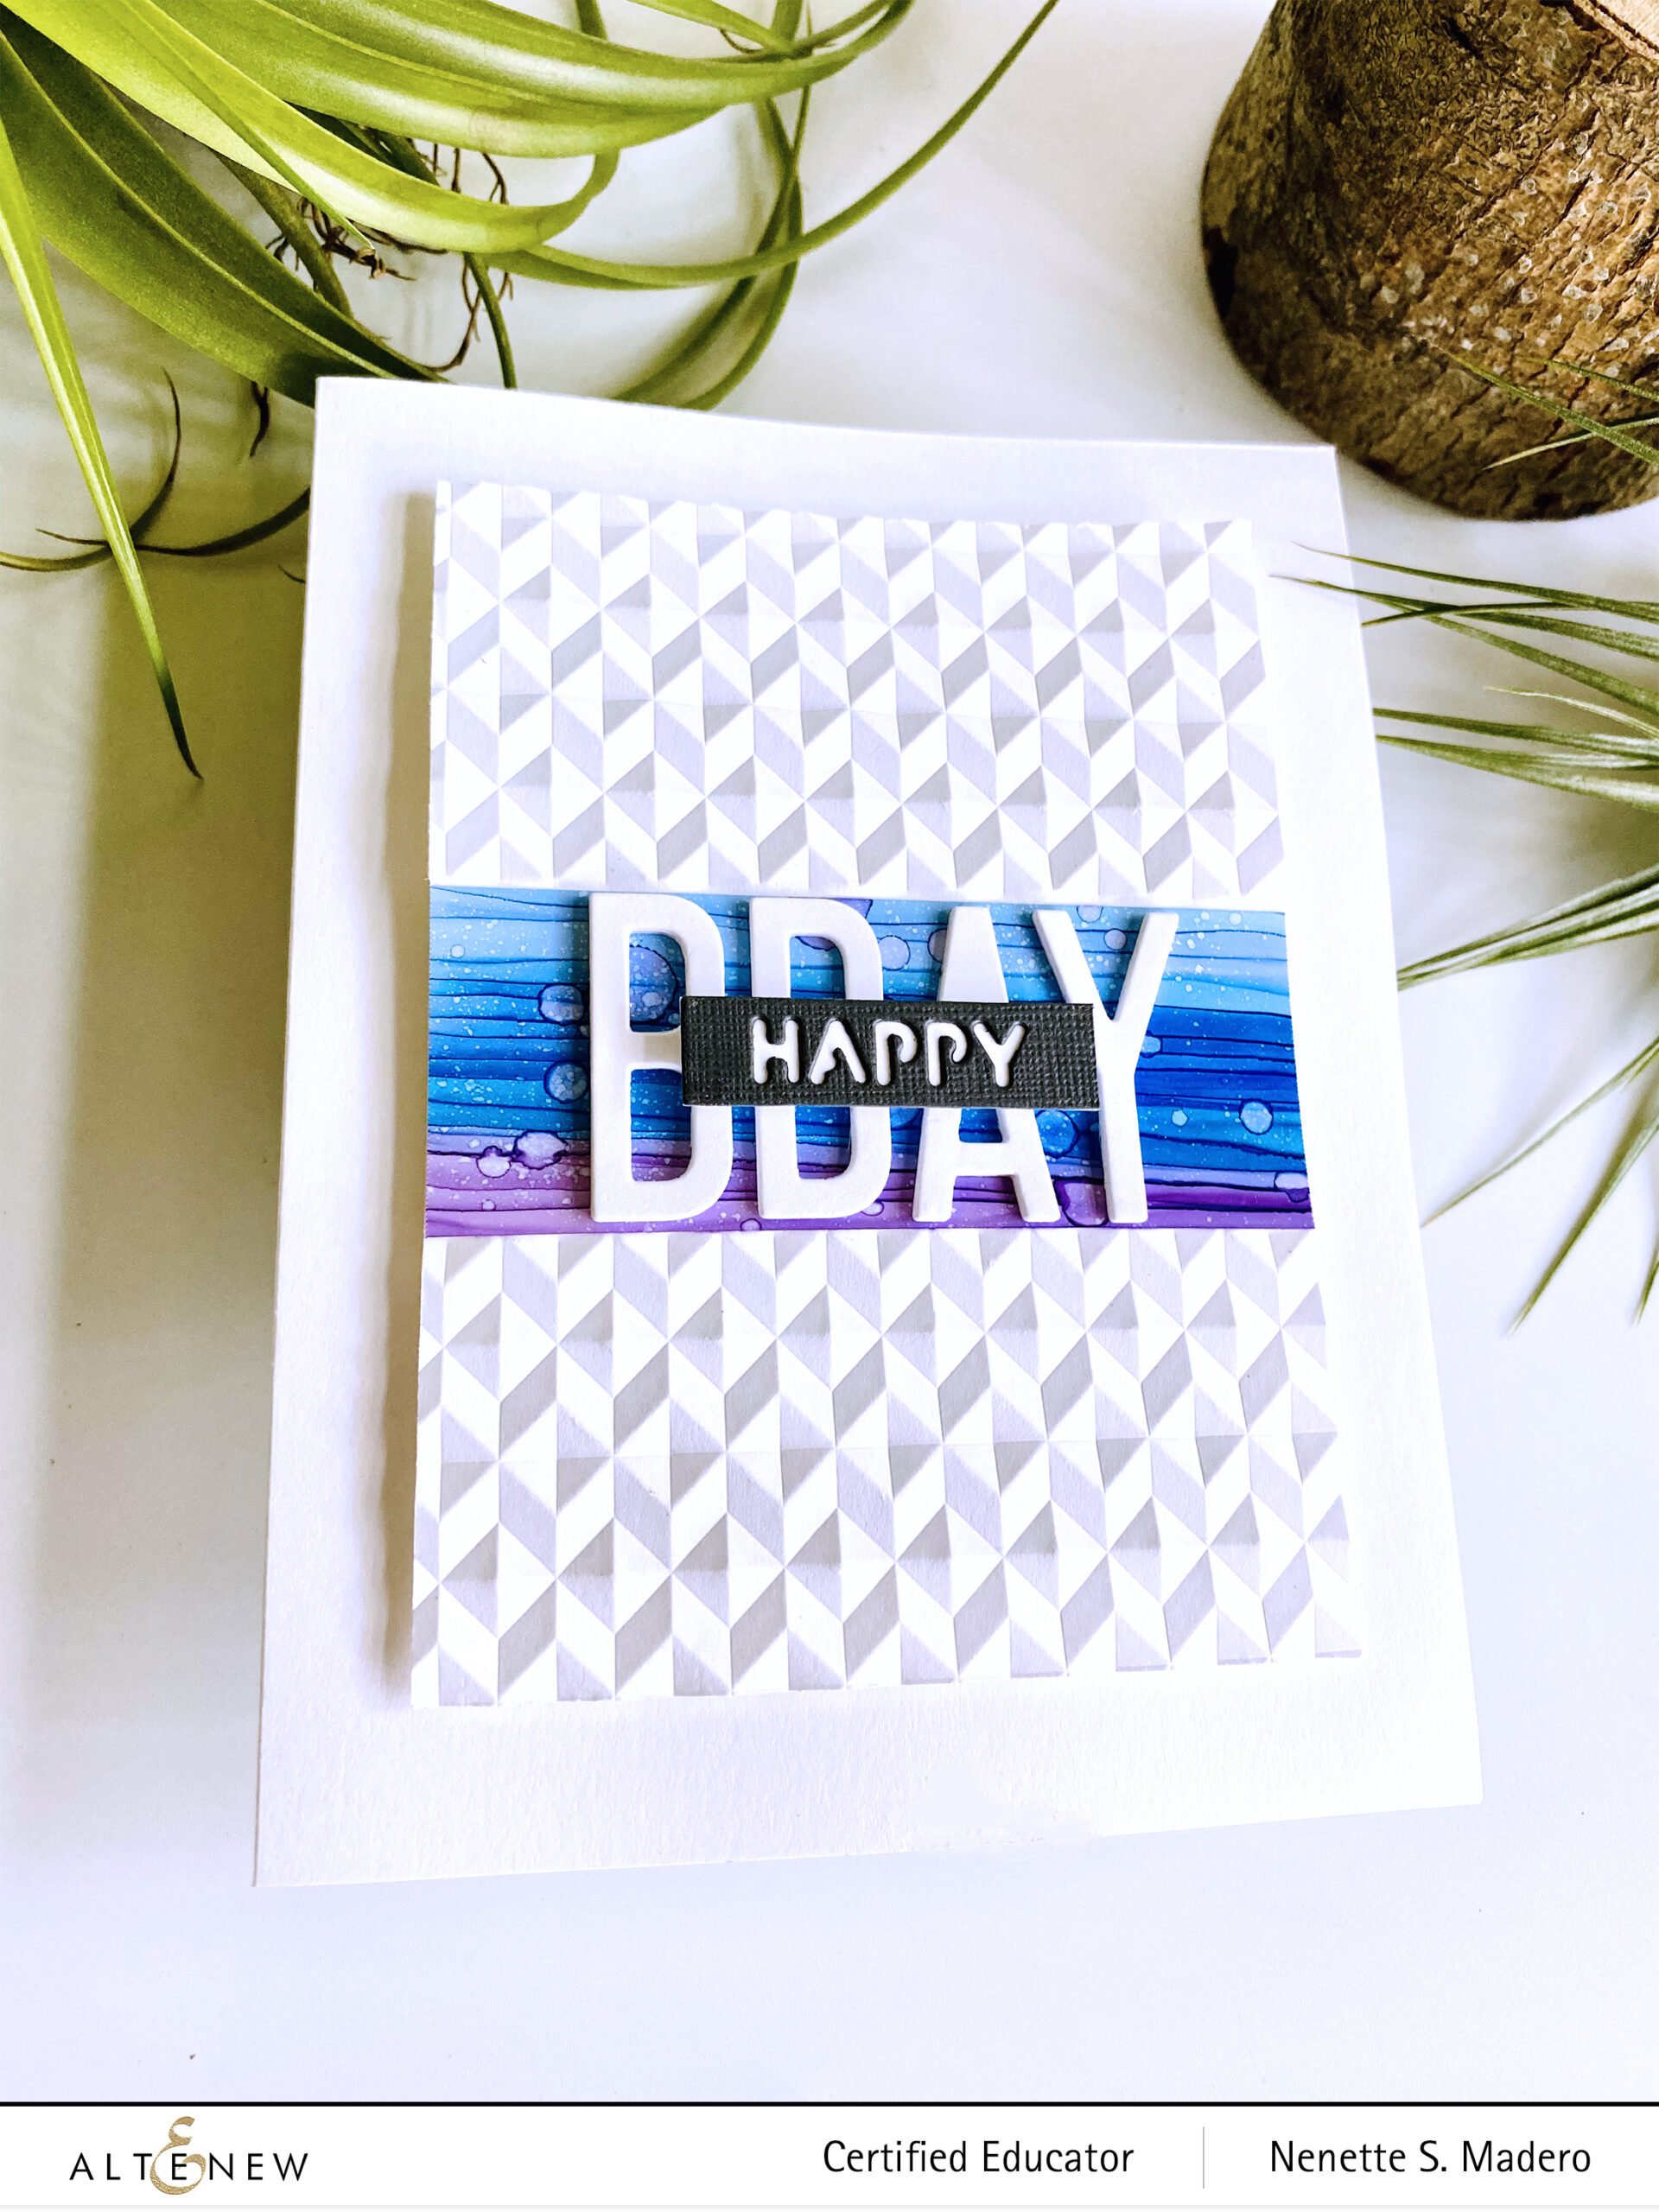
DIES: FINE ALPHABET DIE, ESSENTIAL SENTIMENT STRIPS DIE
STEPS:
Cut a strip of Nara paper and paint lines using a brush and alcohol inks. Dilute the inks if necessary to create an ombre effect.
Add drops of diluted inks and spray pure alcohol as well for added texture to the background.
Die cut the letters and sentiment several times and adhere on top of each other.
Emboss a plain white rectangular Cardstock using the Angled Mosaic 3D embossing folder leaving the center area flat.
Assemble the card using foam squares and adhesive.
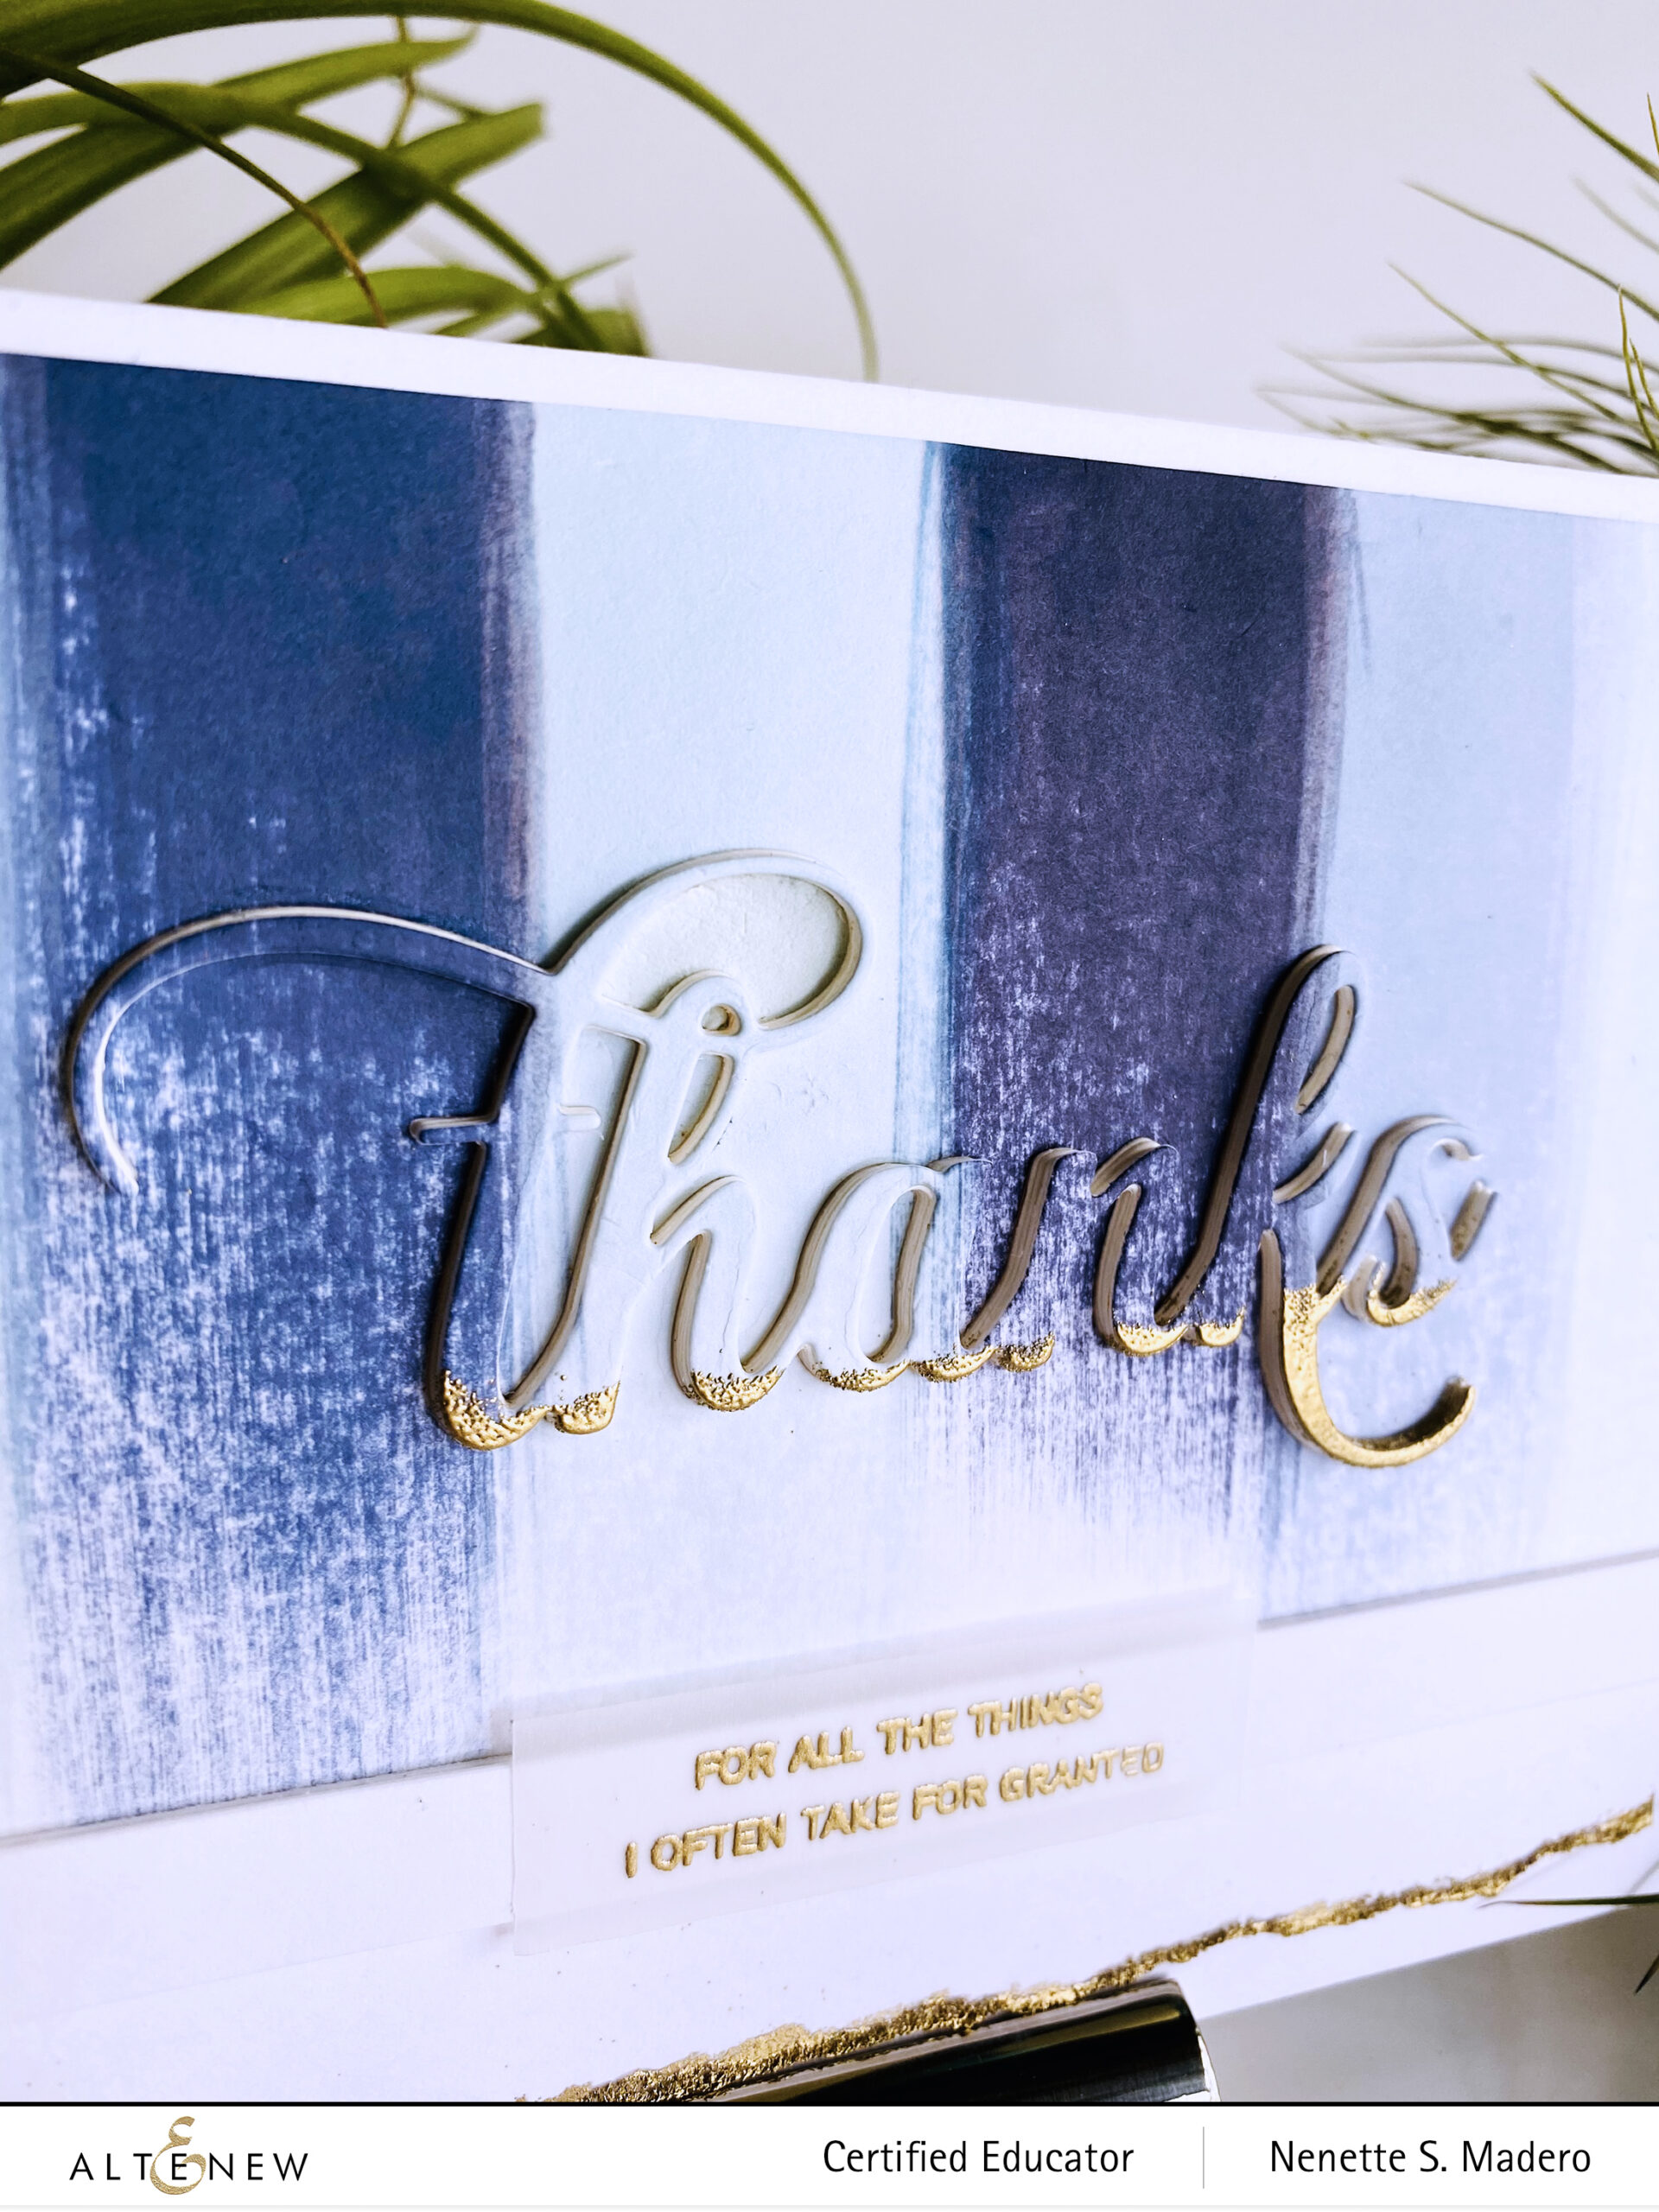
SO GRATEFUL/THANKS
Here is the 3rd set of cards. I recently got the latest set of the Northern Shore mini dye inks and wanted to test the colors so I swiped the ink cube onto white cardstock. I loved the look so I went ahead and created these cards. 🙂 No colored cardstock to match the inks? No problem! Make your own colored cardstock using the ink cubes!
Swipe the dye inks on Neenah Solar White cardstock to create some stripes. Leave about 1/4 of the bottom white.
Tear the edge and emboss using Rose Gold embossing powder and Versamark Ink.
Die cut the Thanks from the card front and from scrap paper then adhere on top of each other for added thickness to the diecut.
Ink the base of the word with Versamark Ink and emboss using Rose Gold embossing powder.
Stamp the sentiment on vellum using Versamark Ink and emboss with Rose Gold embossing powder.
Cut strips of white paper and adhere on top of each other to create a border.
Assemble the card.
Altenew is giving away a $20 gift certificate to 5 lucky winners! For a chance to win, please follow @altenewllc and @mylittleatticstudio and leave a comment on IG to get a chance to win!!!
Altenew will draw 5 random winners from the comments left on each stop of this Instagram hop and announce the winners on Altenew’s Educator Instagram hop post on 03/05/2021.
Head over to your NEXT STOP: Eva Bussom — @evabussom. Make sure you follow all the other educators’ IG to see the wonderful creations! Below is the complete list.
I hope you liked the cards I created for this IG hop. Thank you so much for dropping by!!! Please don’t forget to leave a comment in IG to get a chance to win a prize! Stay safe everyone and happy crafting! ❤️
P.S. I changed the format of my post. Please let me know if the bullet points for the steps are easier to follow than writing them in paragraph form. Thanks everyone <3
Hello everyone!!! Welcome to the Altenew Educators’ Floral with Geometric Elements Blog Hop and giveaway! If you just came from the Altenew blog, I’d like to welcome all of you to mine!!! It is truly a thrill to be sharing this blog hop with my co-educators. We have all completed an amazing creative journey through the Altenew Educator Certification Program and each of us has definitely learned so many wonderful tips and techniques through all the amazing classes the program offers. During my time, it was Virginia Lu and Nicole Picadura who were heading the program and were so helpful and encouraging. Now, the talented Erum Tasneem has joined the group. Big, big thanks to these lovely ladies for everything that they do for the educators!!!
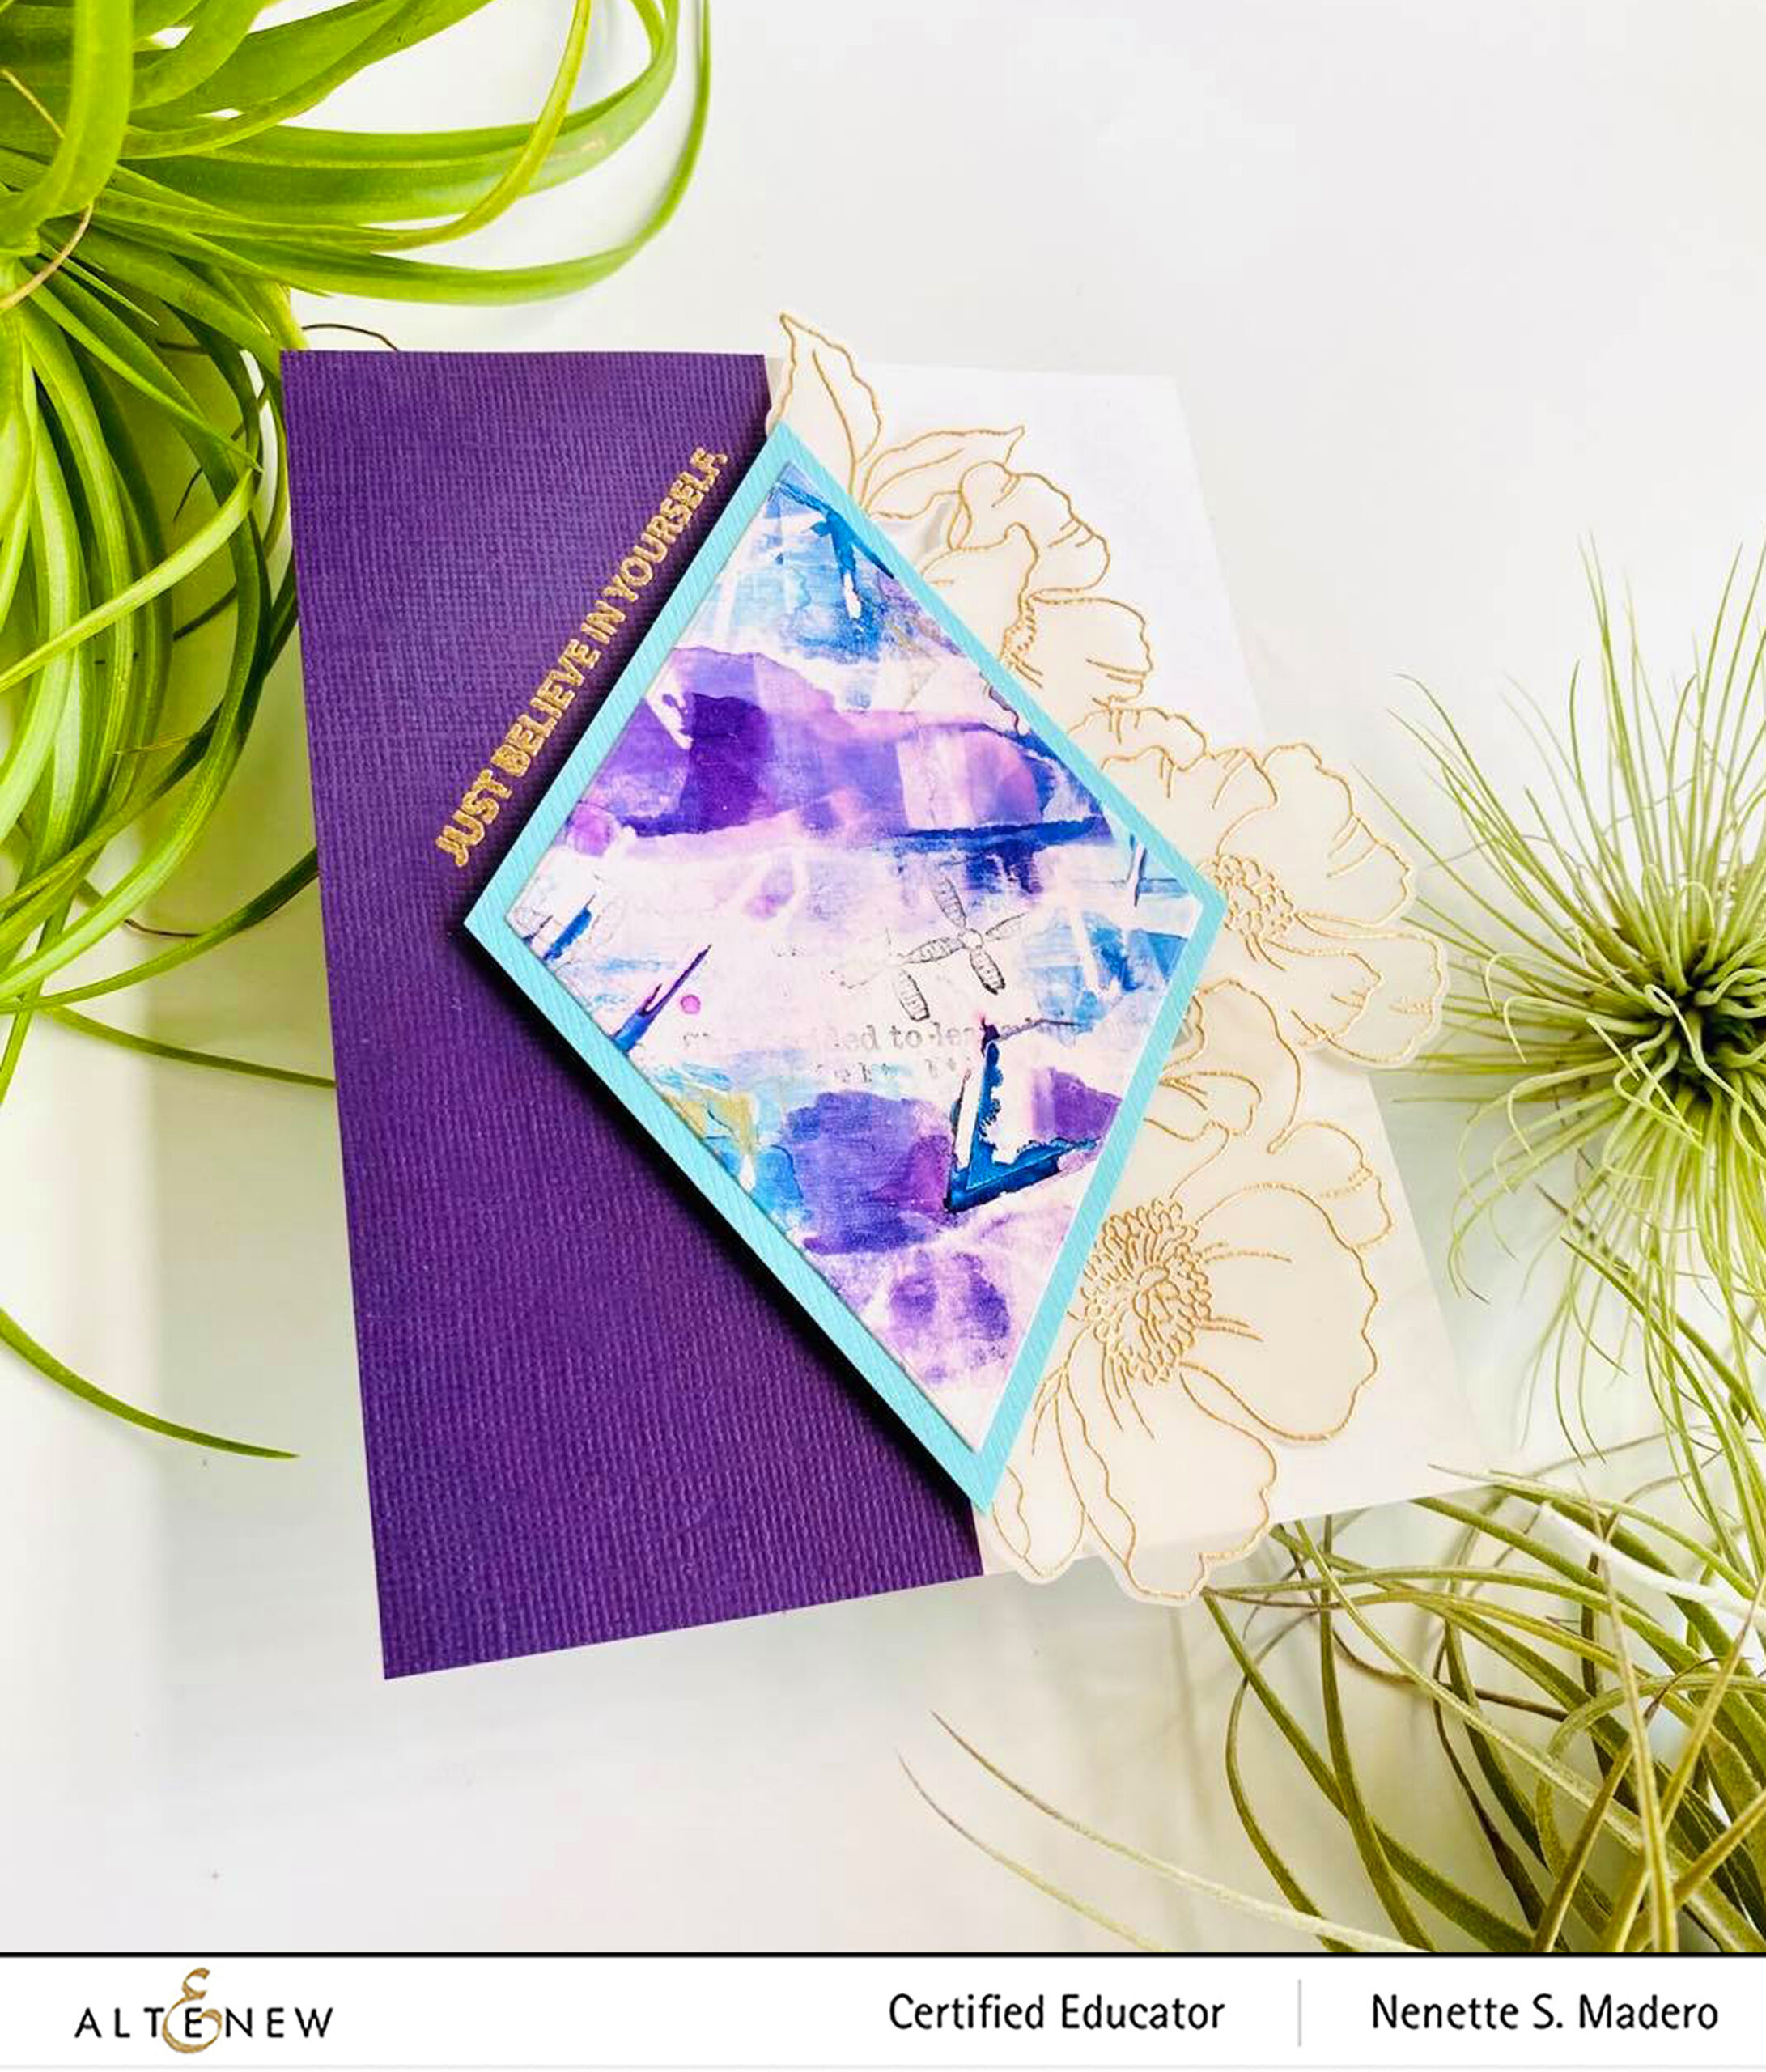
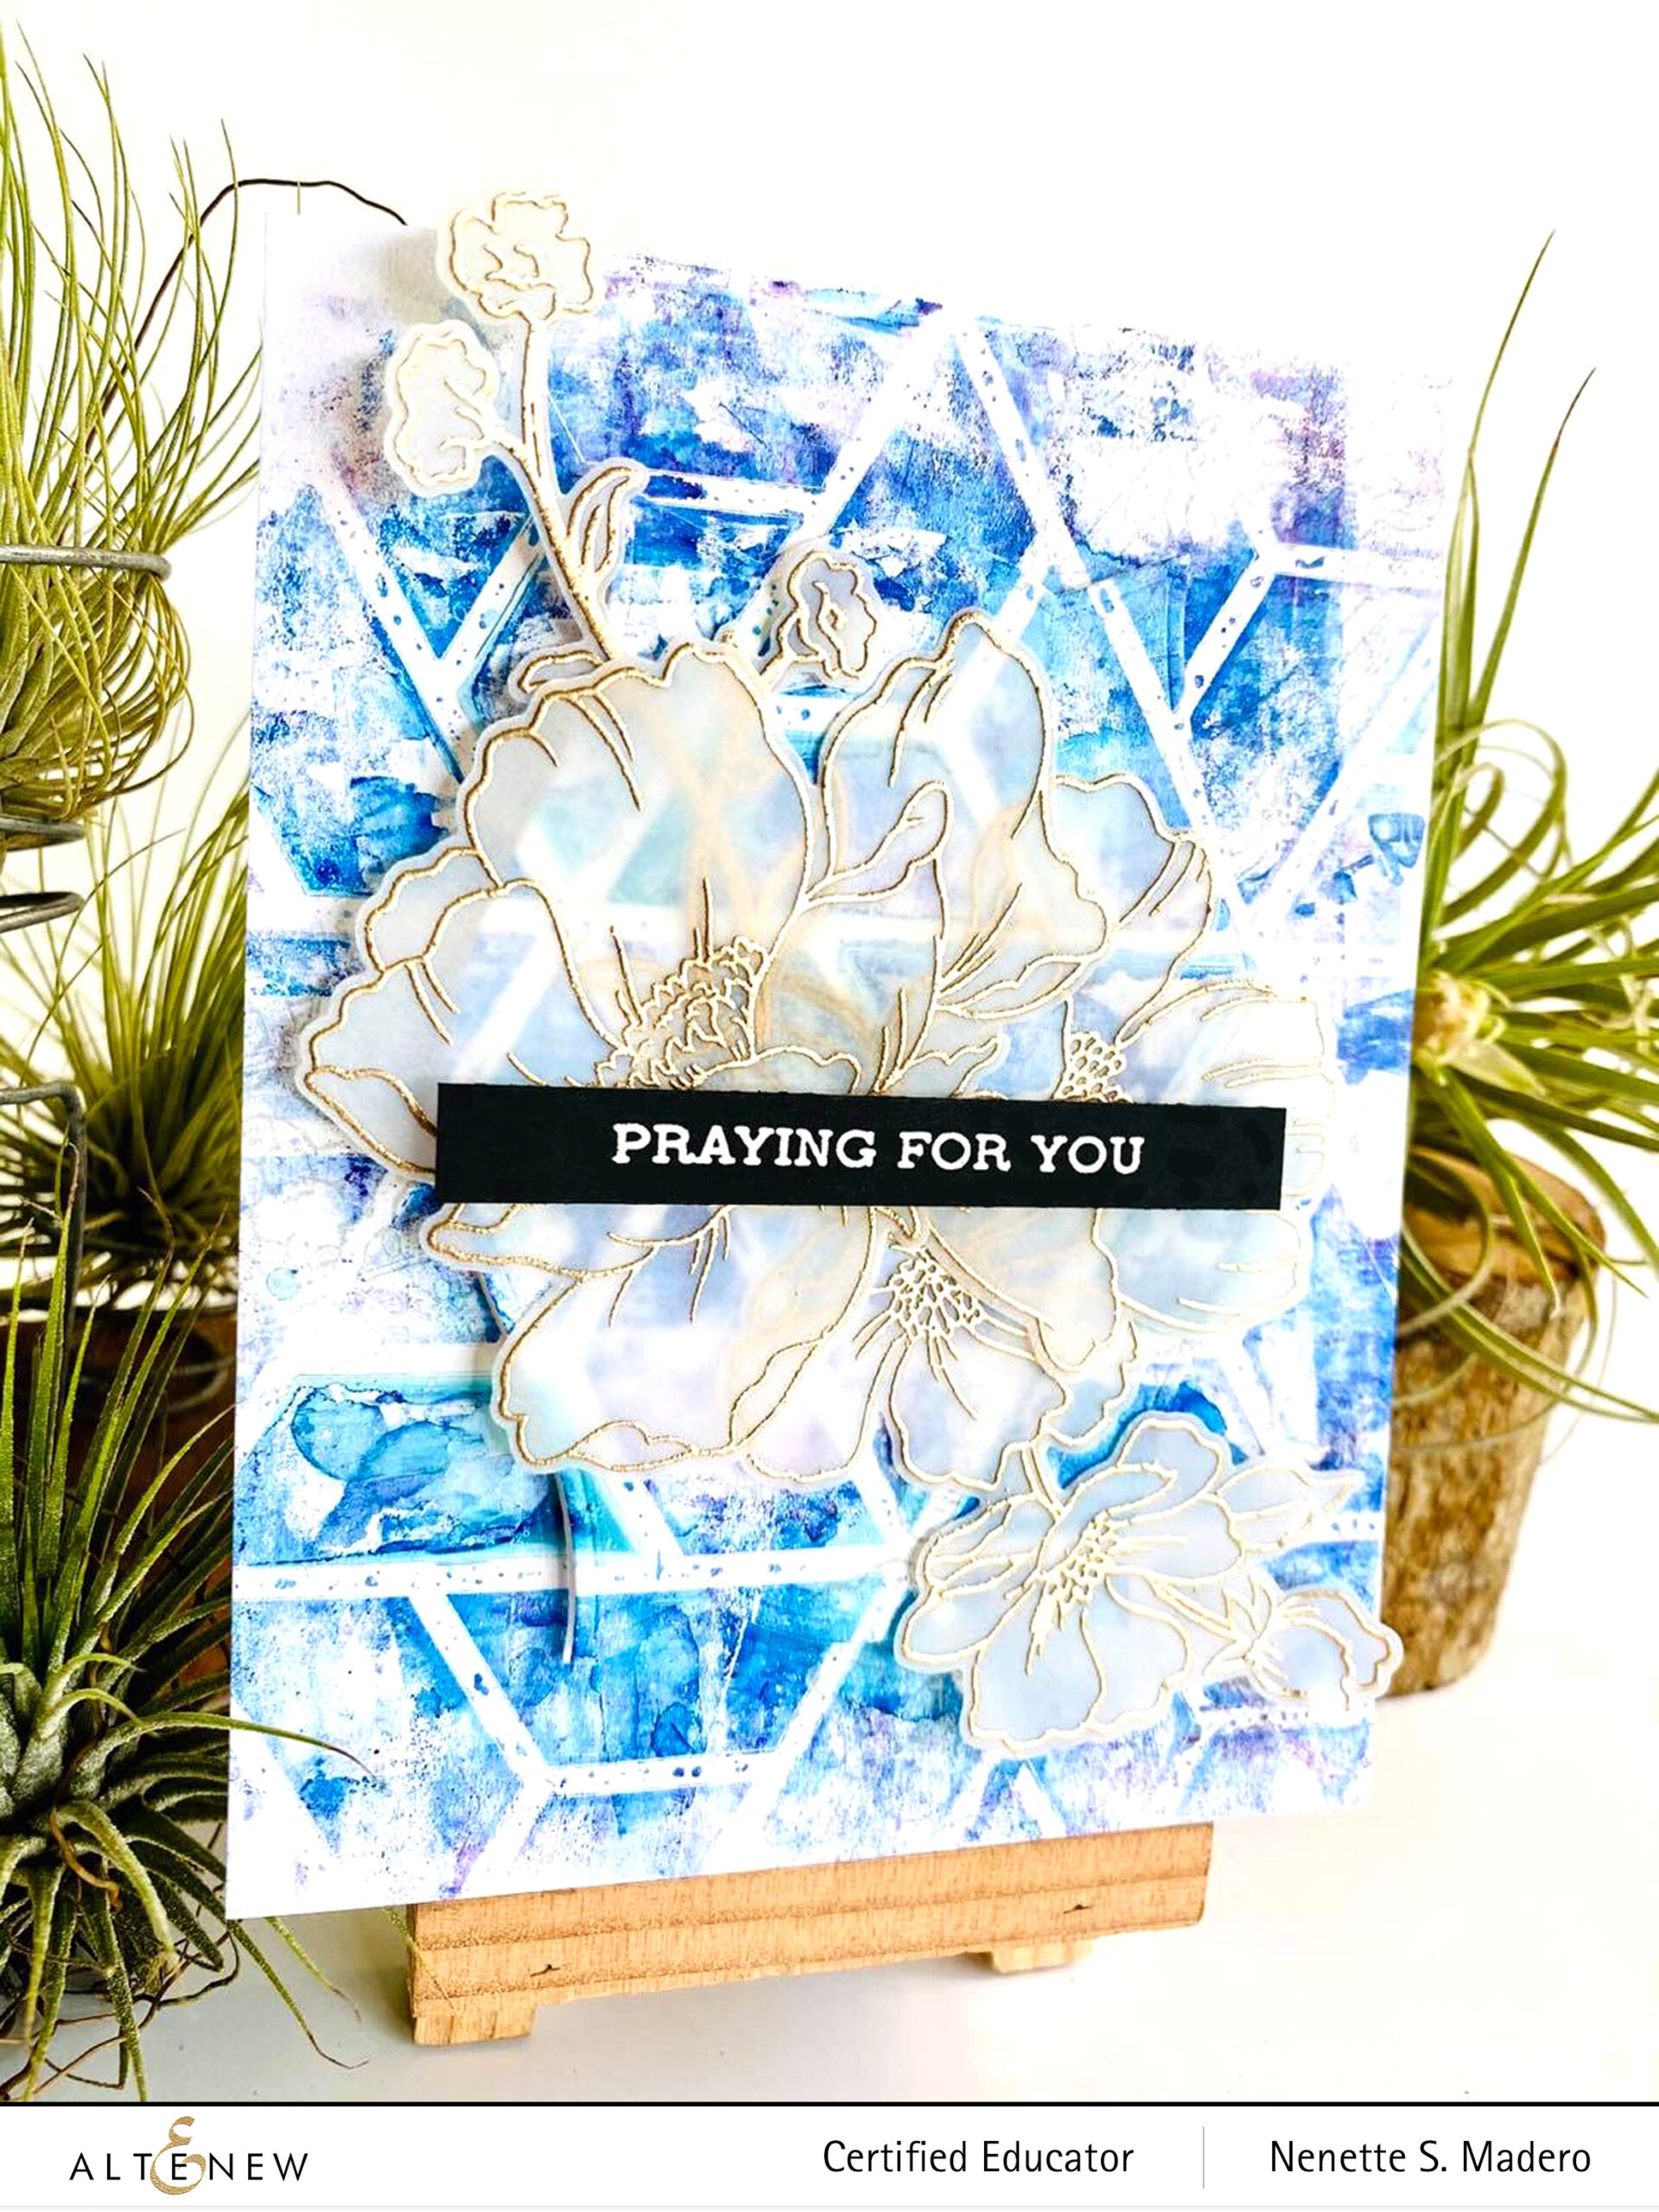
I have a number of cards to share so let’s get started! A few weeks back, I was in a creative rut… no inspiration at all. Some of my friends suggested to organize my craft room, learn a new technique, change my workspace etc. but what actually worked for me was making backgrounds using the Gelli plate! I love how unplanned the process is. All I had to do was make sure the colors complemented each other. And it worked! The idea to create backgrounds came from Bridgit Koopsen, an amazing mixed media artist. I had a number of backgrounds to play with and below are some of the cards that I made using the backgrounds I created using some Altenew stencils as my geometric element.
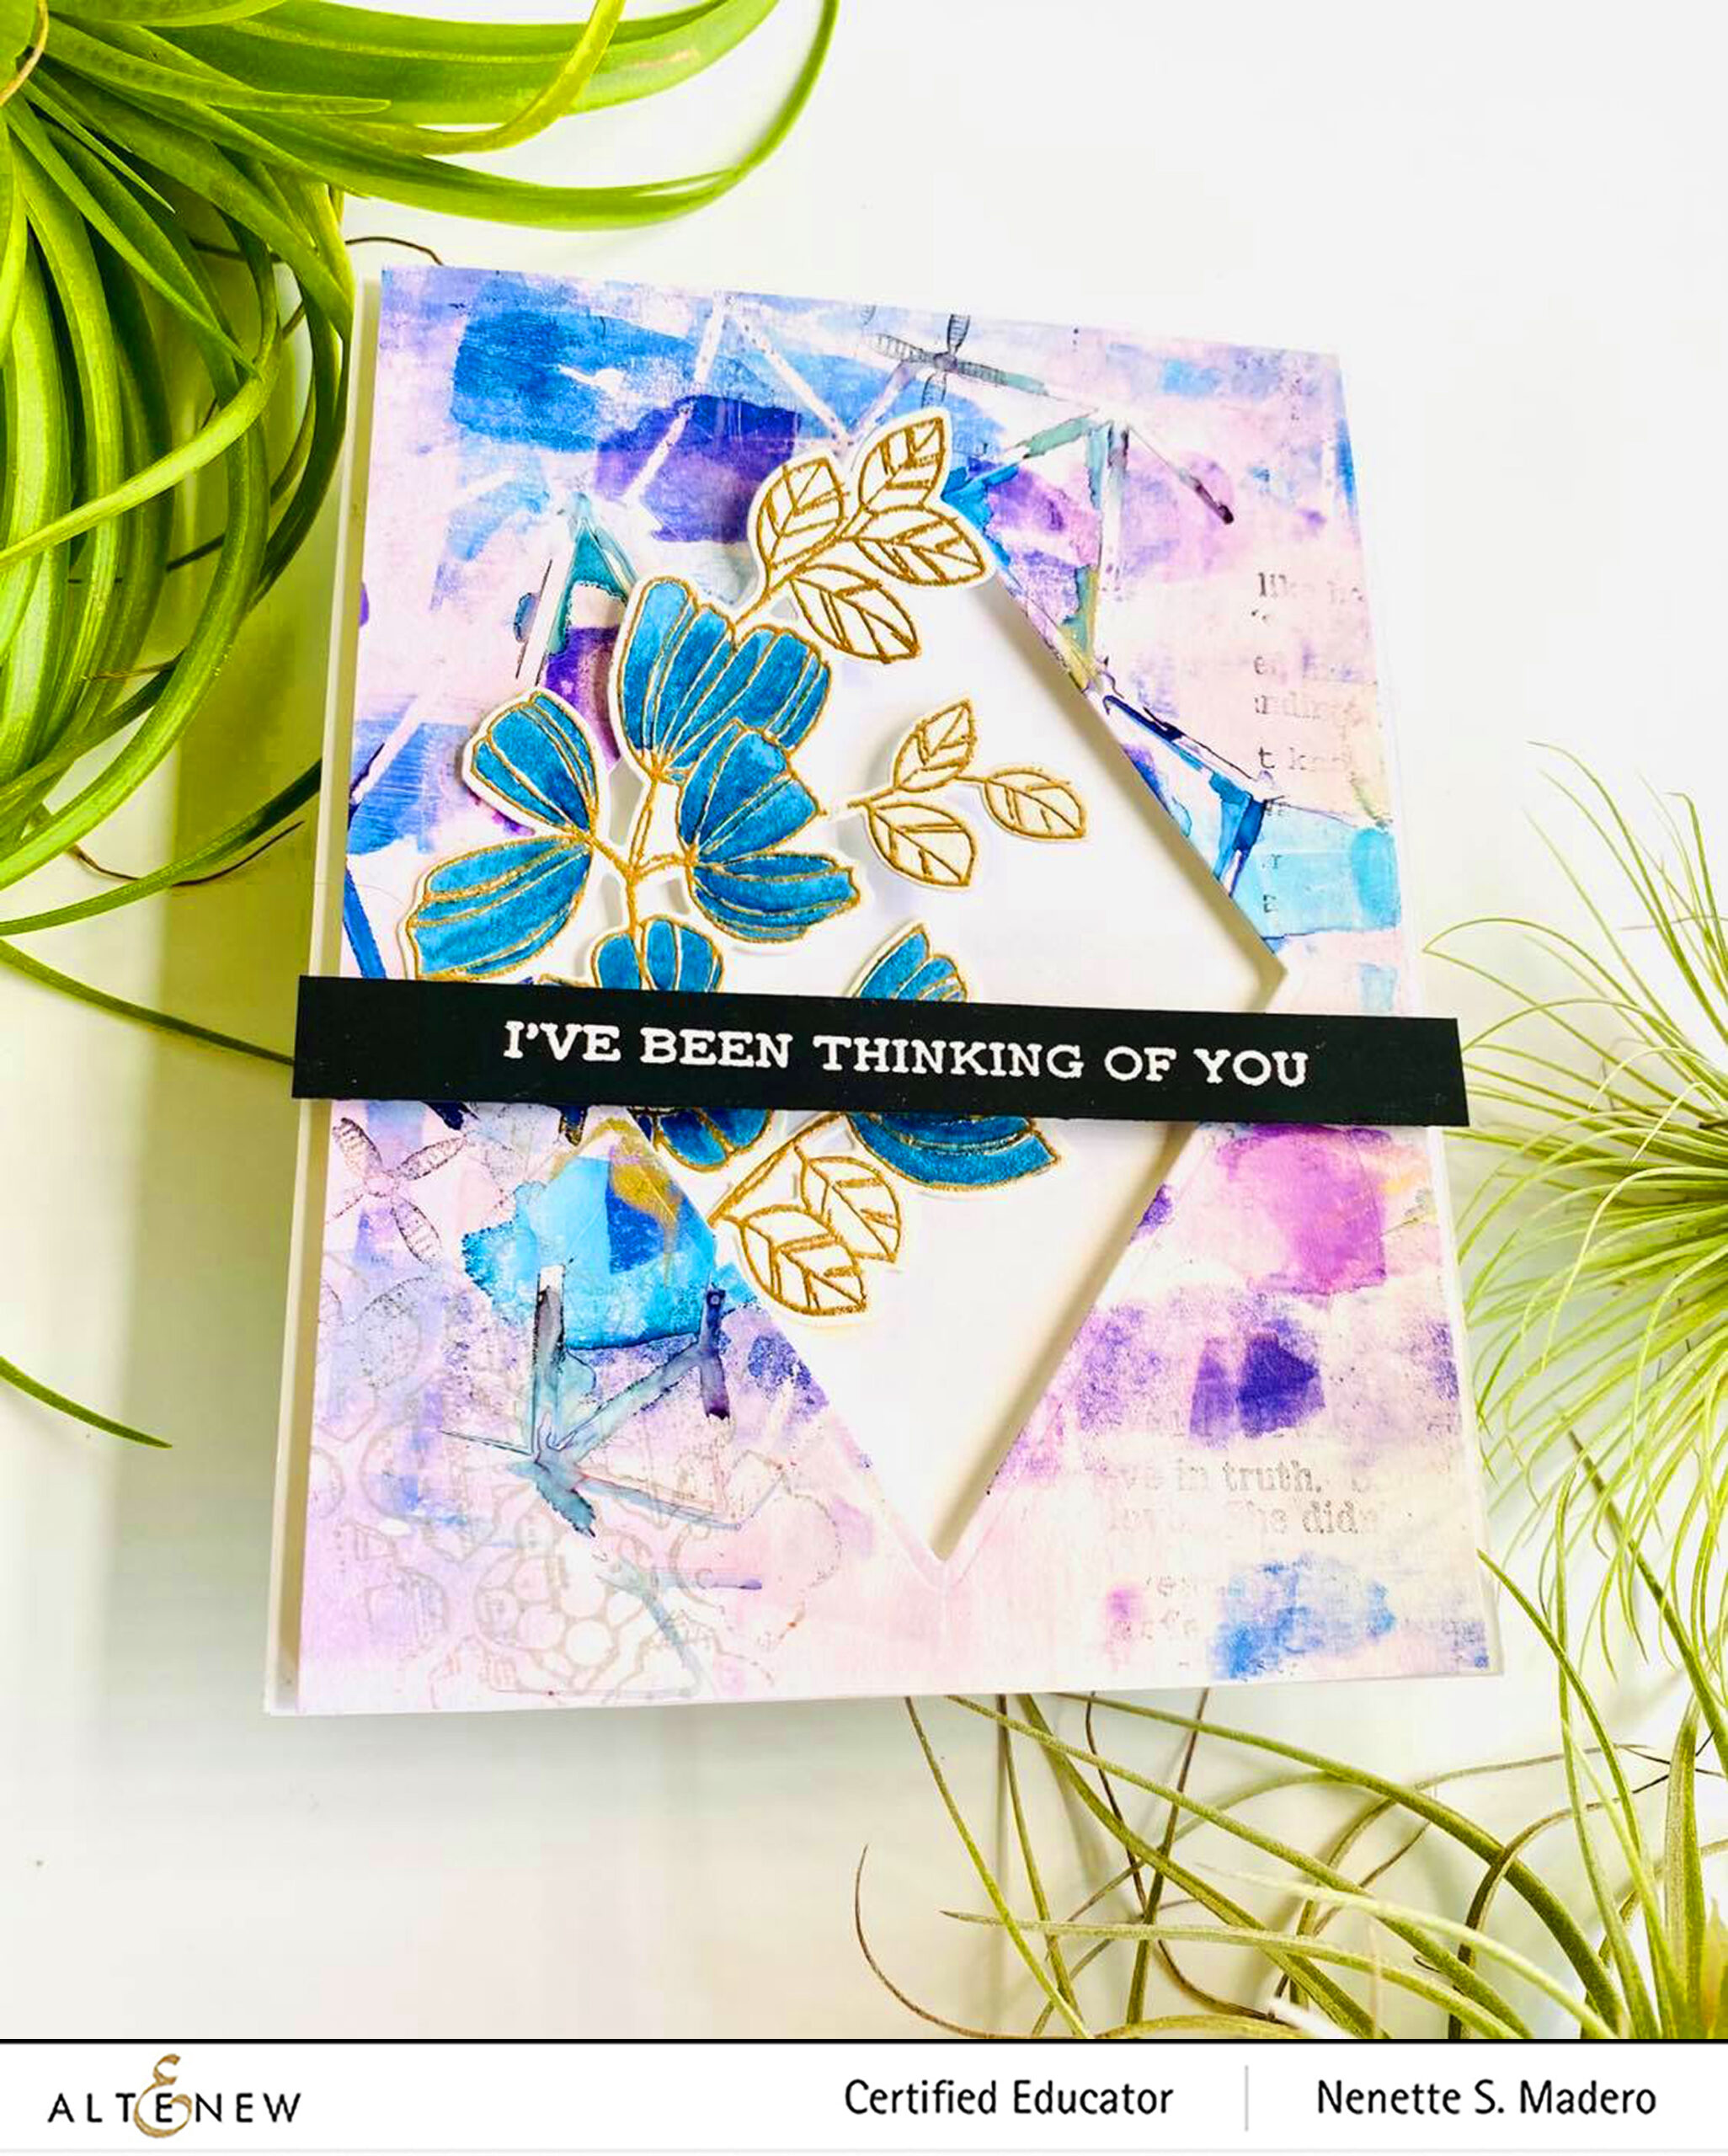
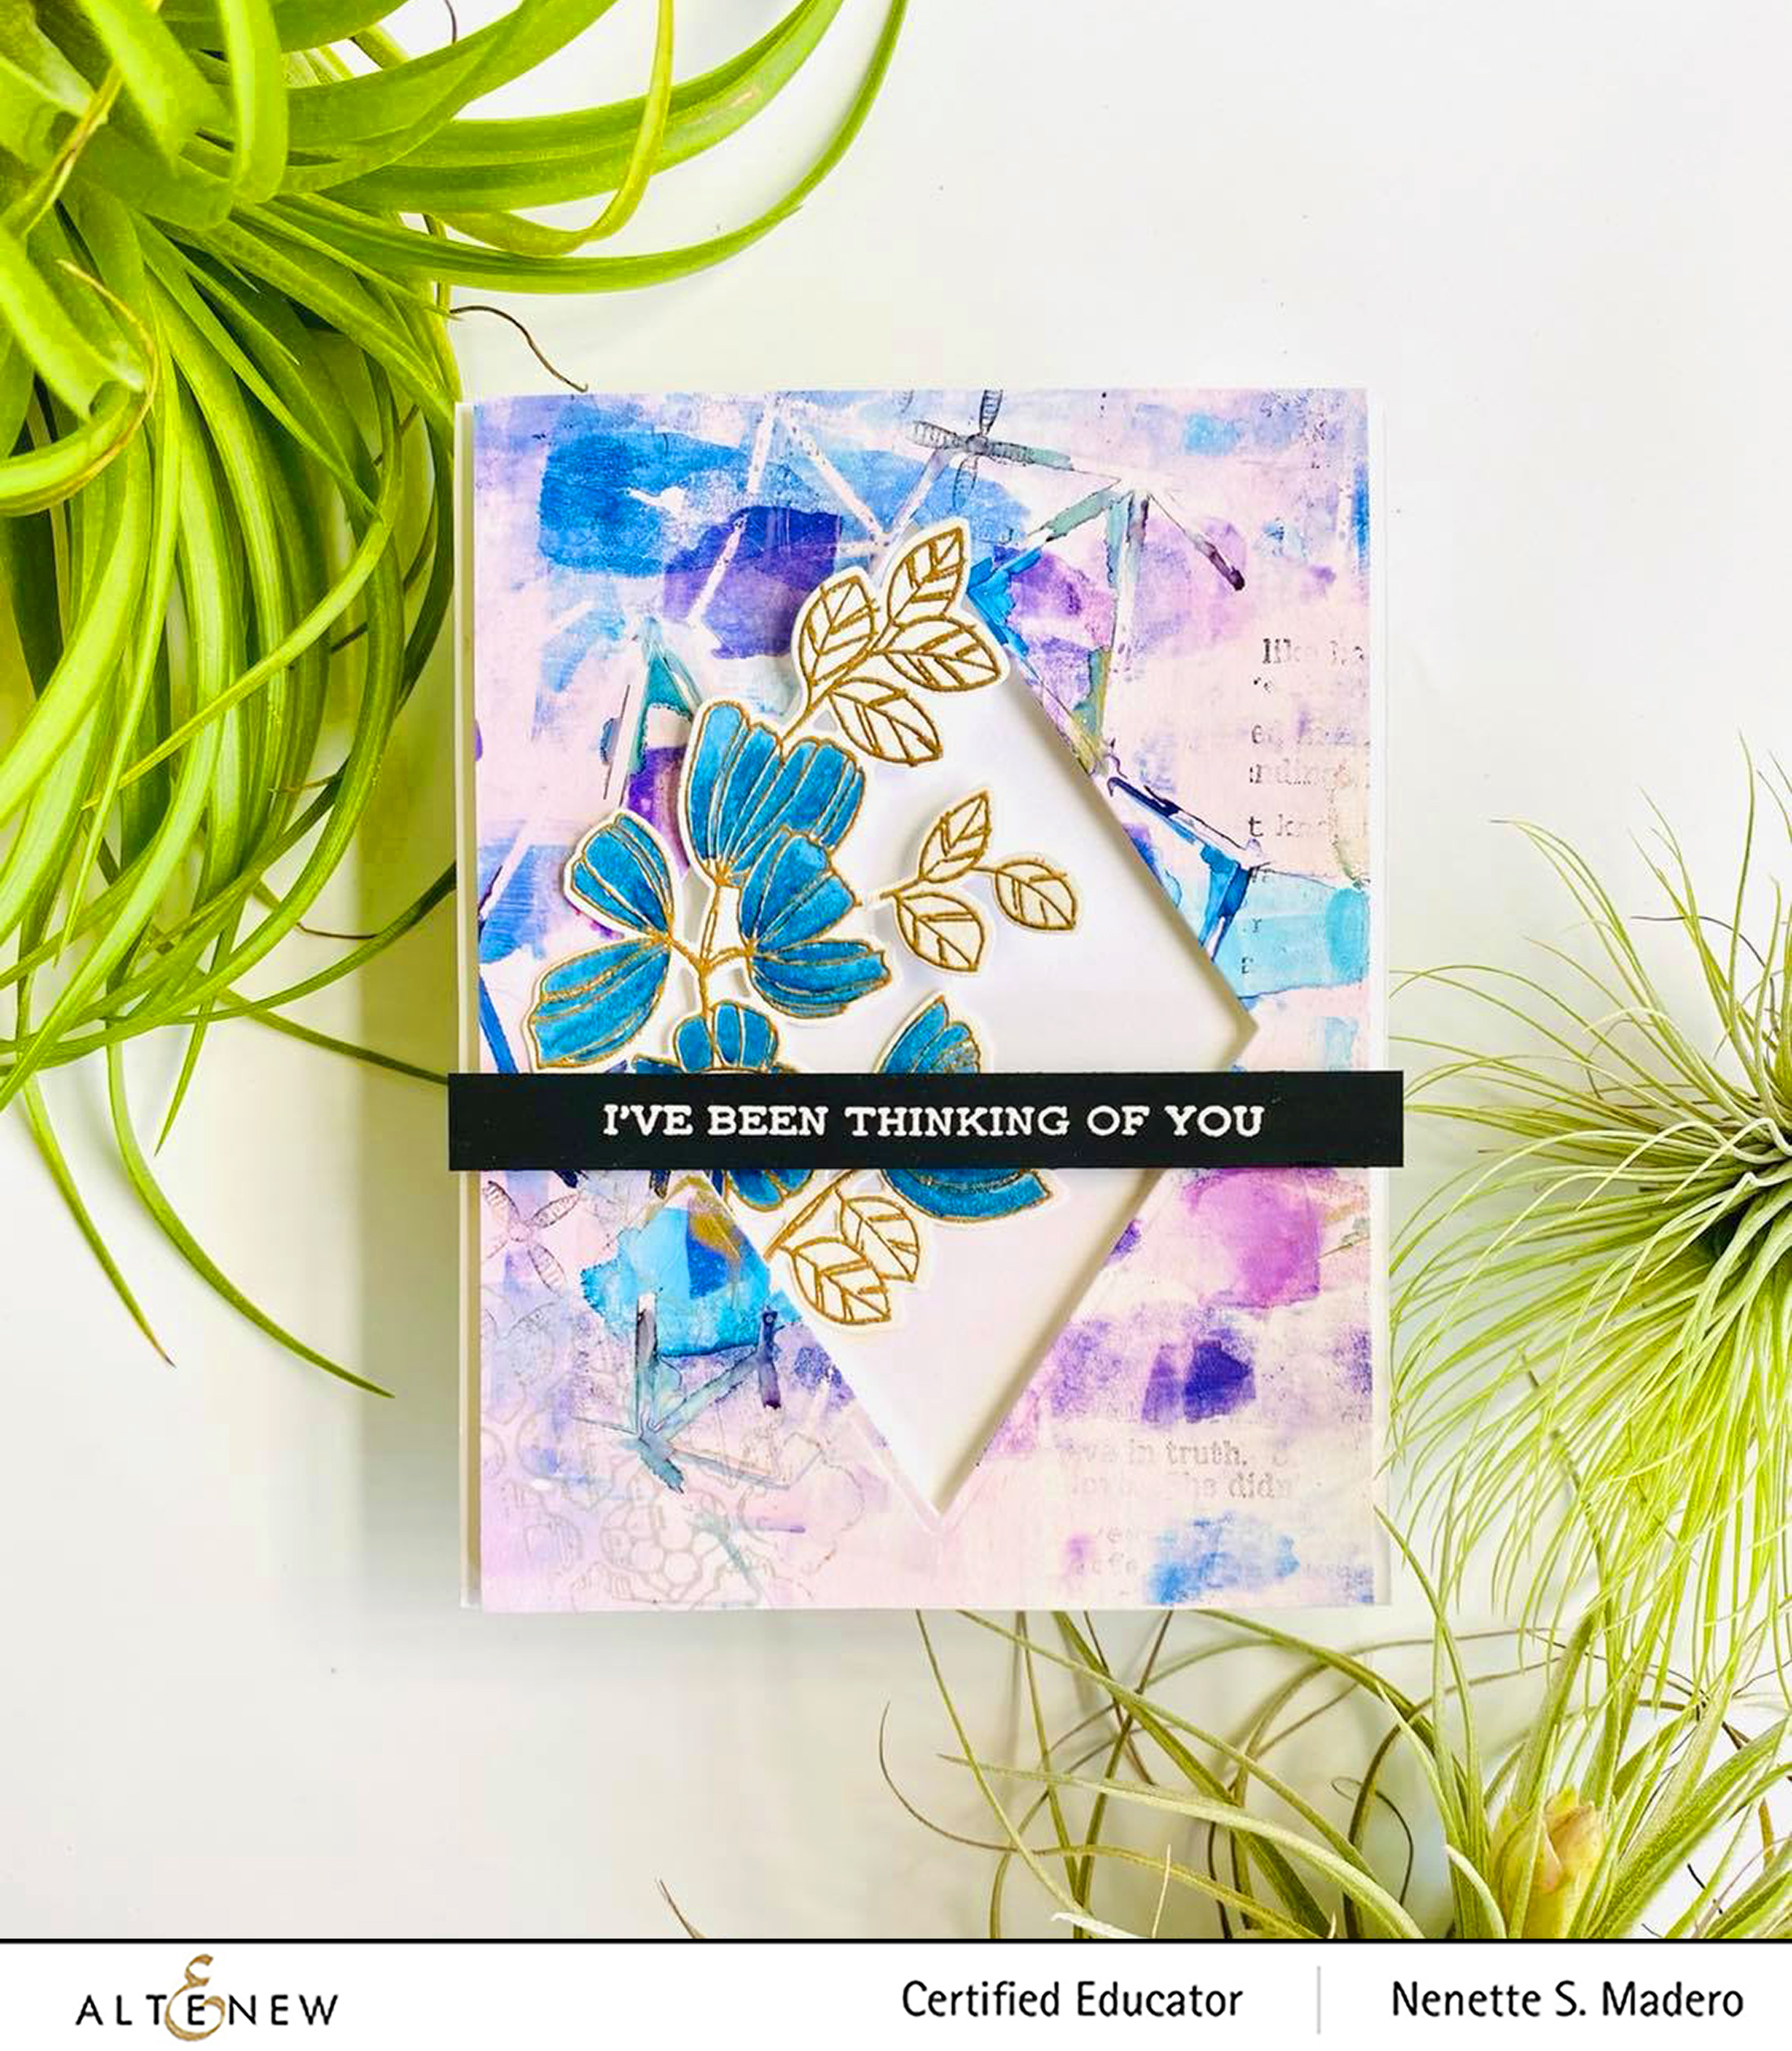
JUST BELIEVE IN YOURSELF/I’VE BEEN THINKING OF YOU
These are what I call my Yin and Yang cards wherein I switch the die cut parts to create two cards. For the background, I dropped alcohol inks on a Gelli plate and used a brayer to spread the inks. I let the first coat dry then placed the stencil on top and dropped a second layer of inks. When the inks were dry to touch, I removed the Geometric Landscape stencil then covered the entire surface with a thin coat of white acrylic paint. Neenah solar white cardstock was placed on top of the paint and I used a brayer to go through the entire surface. A print was then pulled from the gelli pate. It’s amazing how fun this technique was… I really couldn’t tell what the outcome would be. Random images were then stamped using black or grey for added texture.
For the “I’ve been thinking of you card”, I die cut the diamond from the center of the printed image and saved the die cut part. Working with the negative part, I adhered it to a top folding A2 card using foam squares and inserted a die cut, embossed and watercolored floral image from the Weekend Doodles stamp set. The sentiment was stamped on black cardstock and embossed using white embossing powder.
For the “Just Believe in Yourself” card, I adhered a purple cardstock on half of the card front. I added embossed floral images from the Poppy Garden Stamp set to the matted diamond die-cut and added this in the middle of the card with foam squares. I love how the weight of the flowers balanced the dark colored cardstock. The diamond at the center also serves as a geometric element.
Here’s another card using the background I made. Same procedure as the cards above but this time using the Color Block Triangle Stencil for the geometric element. I die cut the center using the Nesting label die and popped it up with foam sheets so that the images from the Poppy Garden stamped on vellum will stand out more. I love the elegant look of the embossed gold on vellum. Just make sure to heat up your heat tool and heat the image from the back of the vellum to prevent warping.
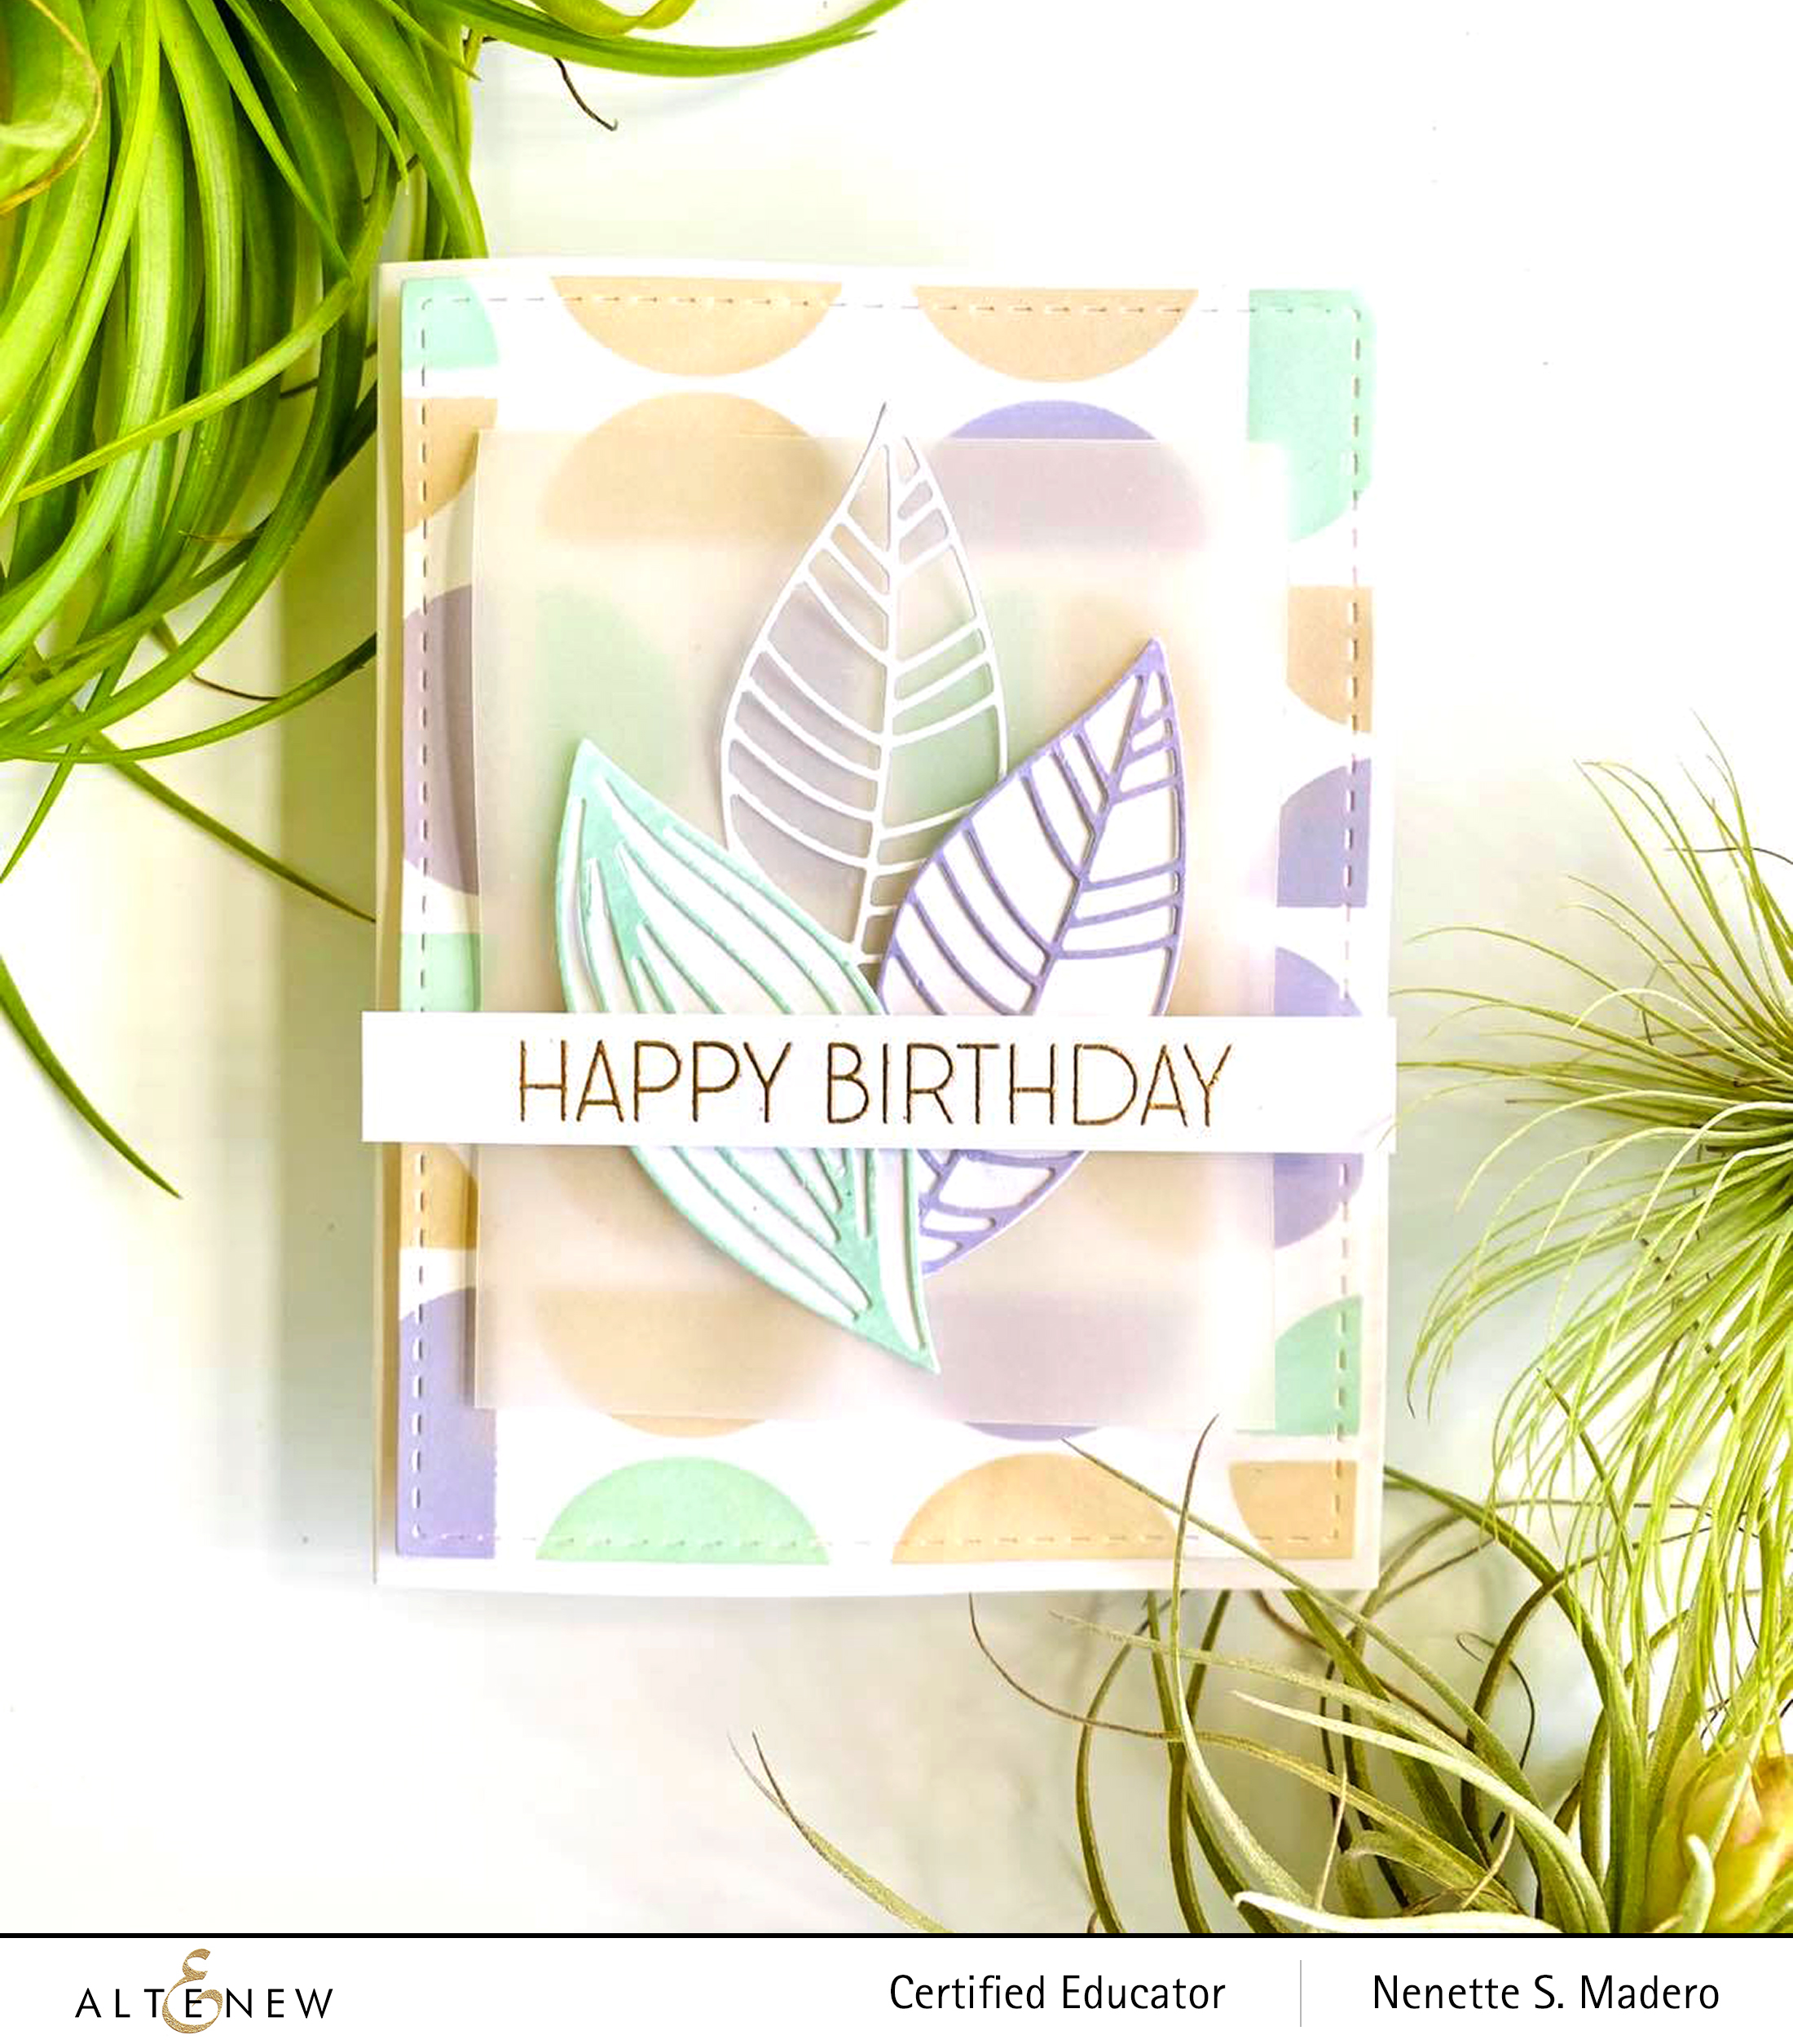
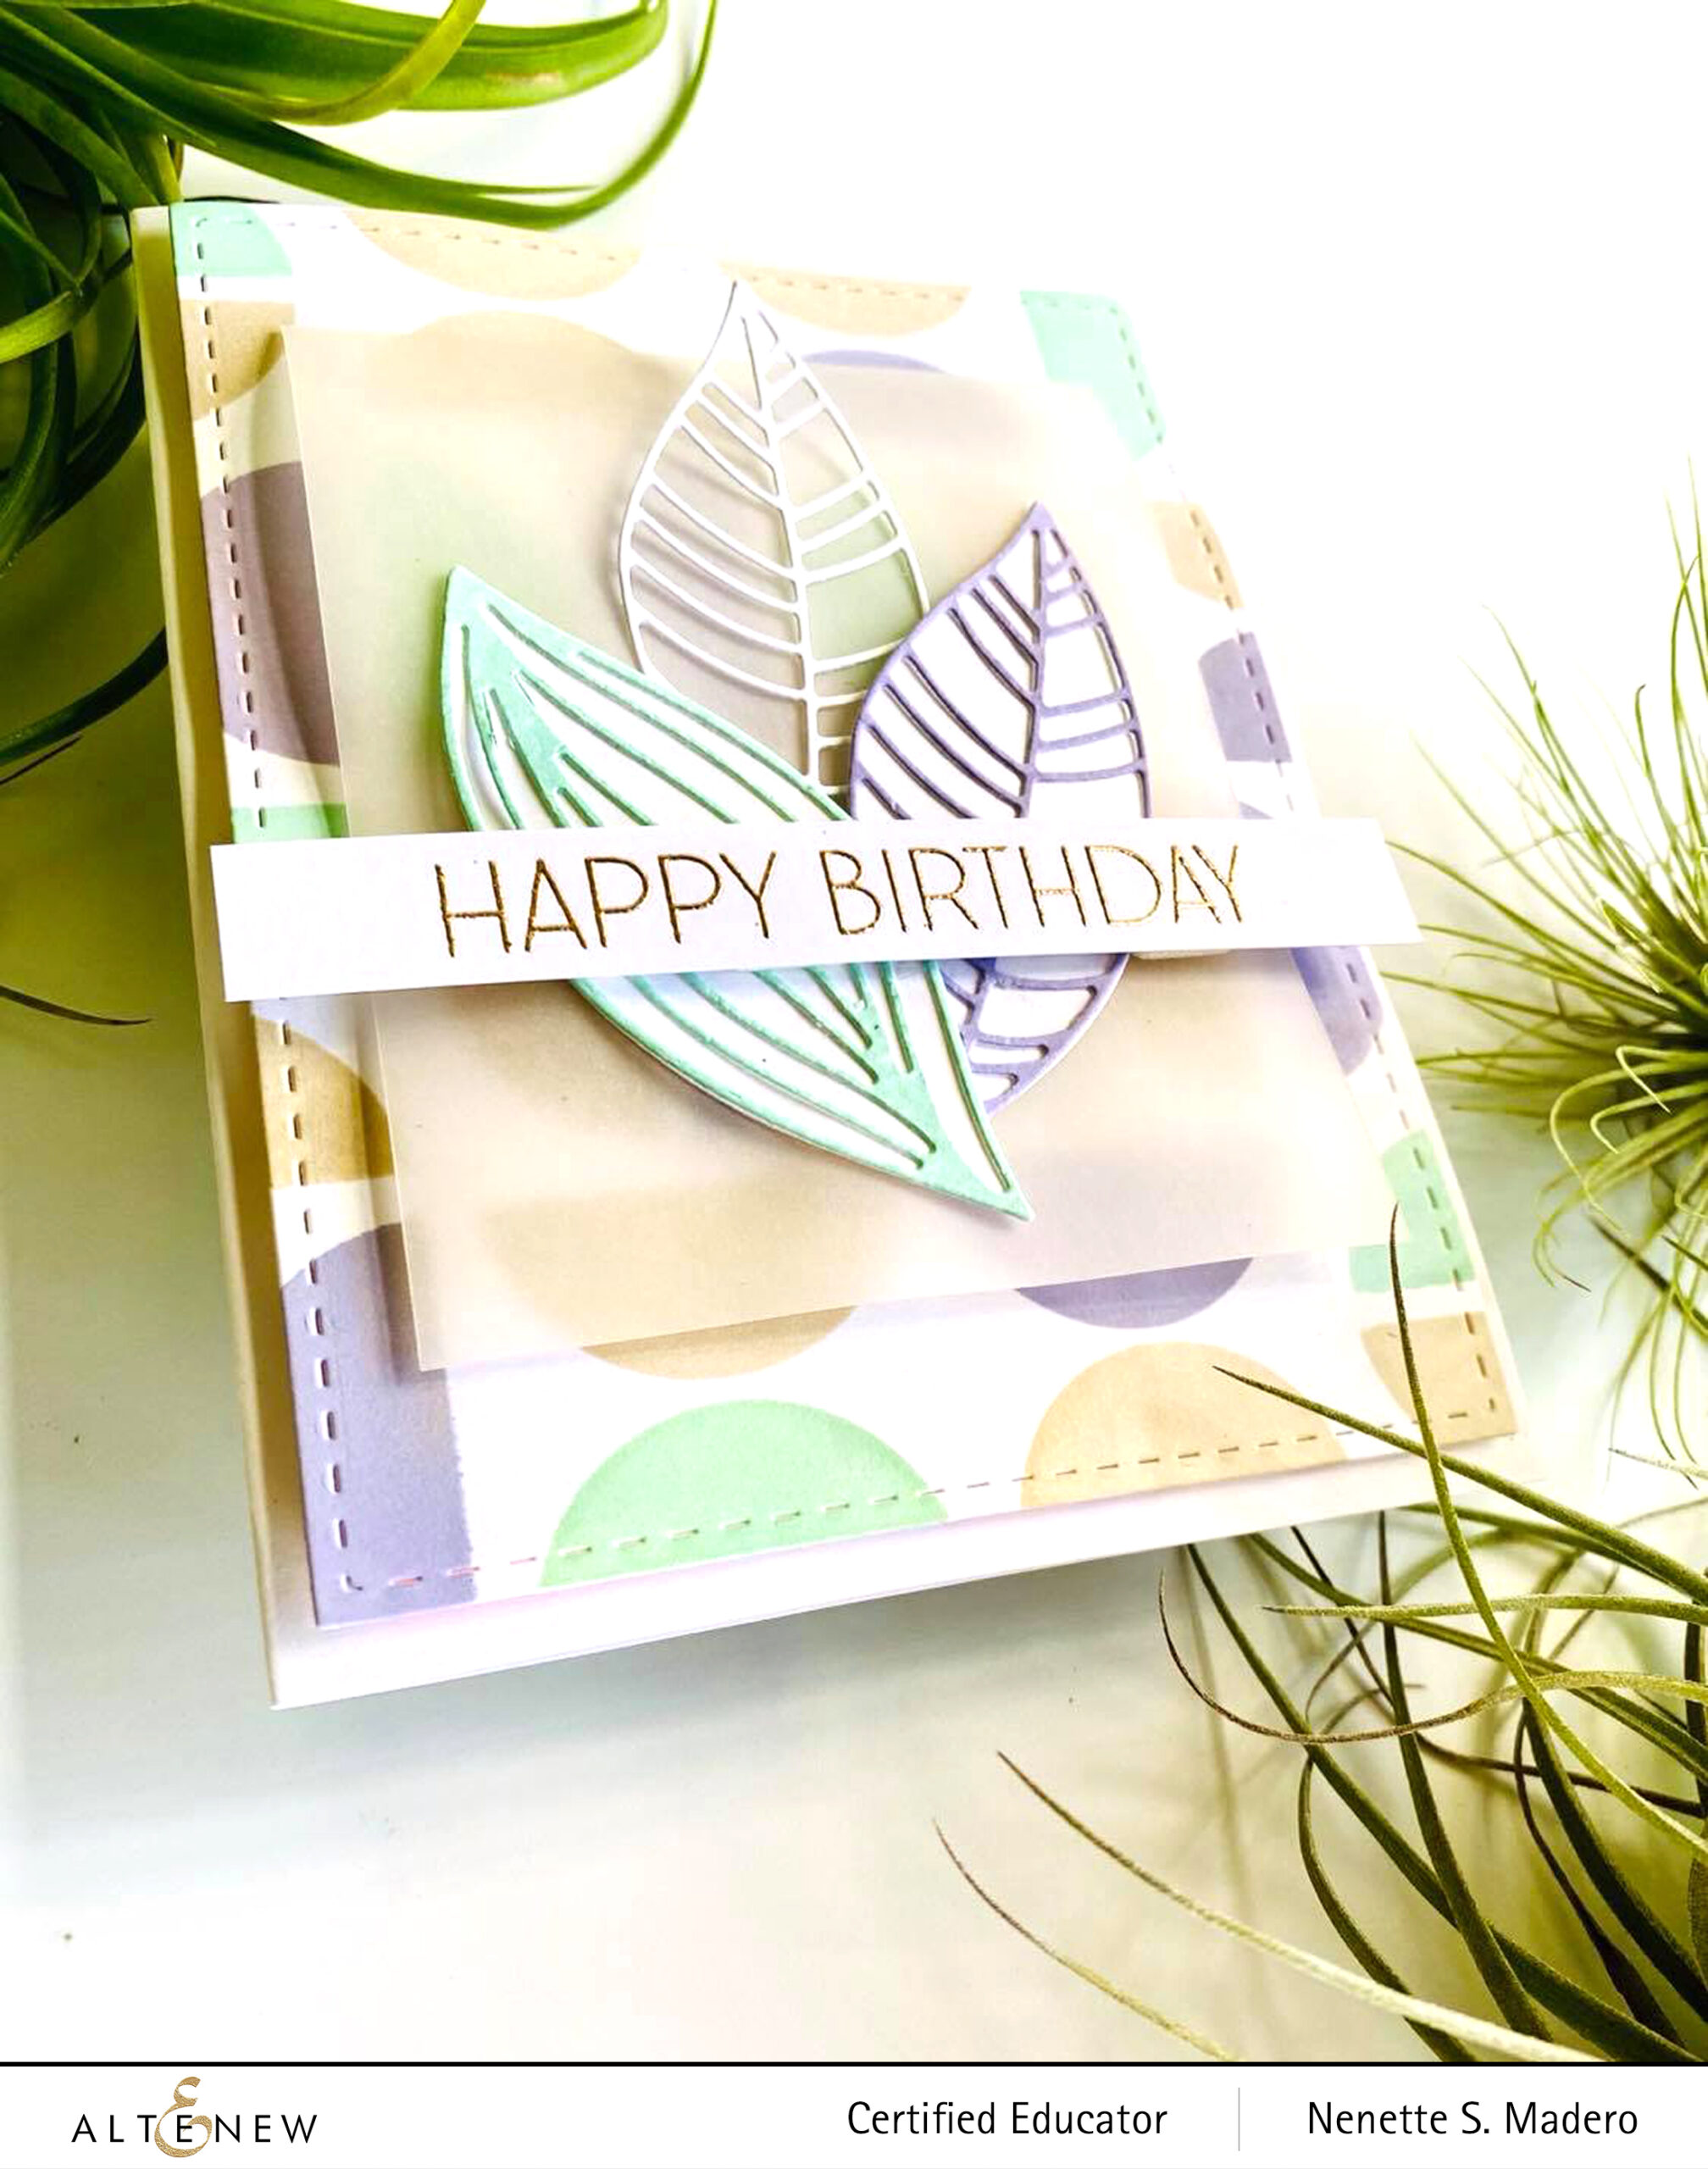
For this card, I wanted to use the Modern Circles Stencil as the geometric element. I chose 3 colors and used a distress tool to add color to the card front. The stencil was rotated and more colors added to fill up the spaces. For the leaves, I just swiped the mini ink cubes directly on the white cardstock then die cut the leaves. These were then arranged on top of vellum and layered to the card front using foam squares.
I made sure to use the same colors from the background to match the leaves. This is such a sweet birthday card and the vellum adds some softness to the card. The sentiment from the Ornamental Bliss stamp set was used for this card and embossed with Rose Gold embossing powder .
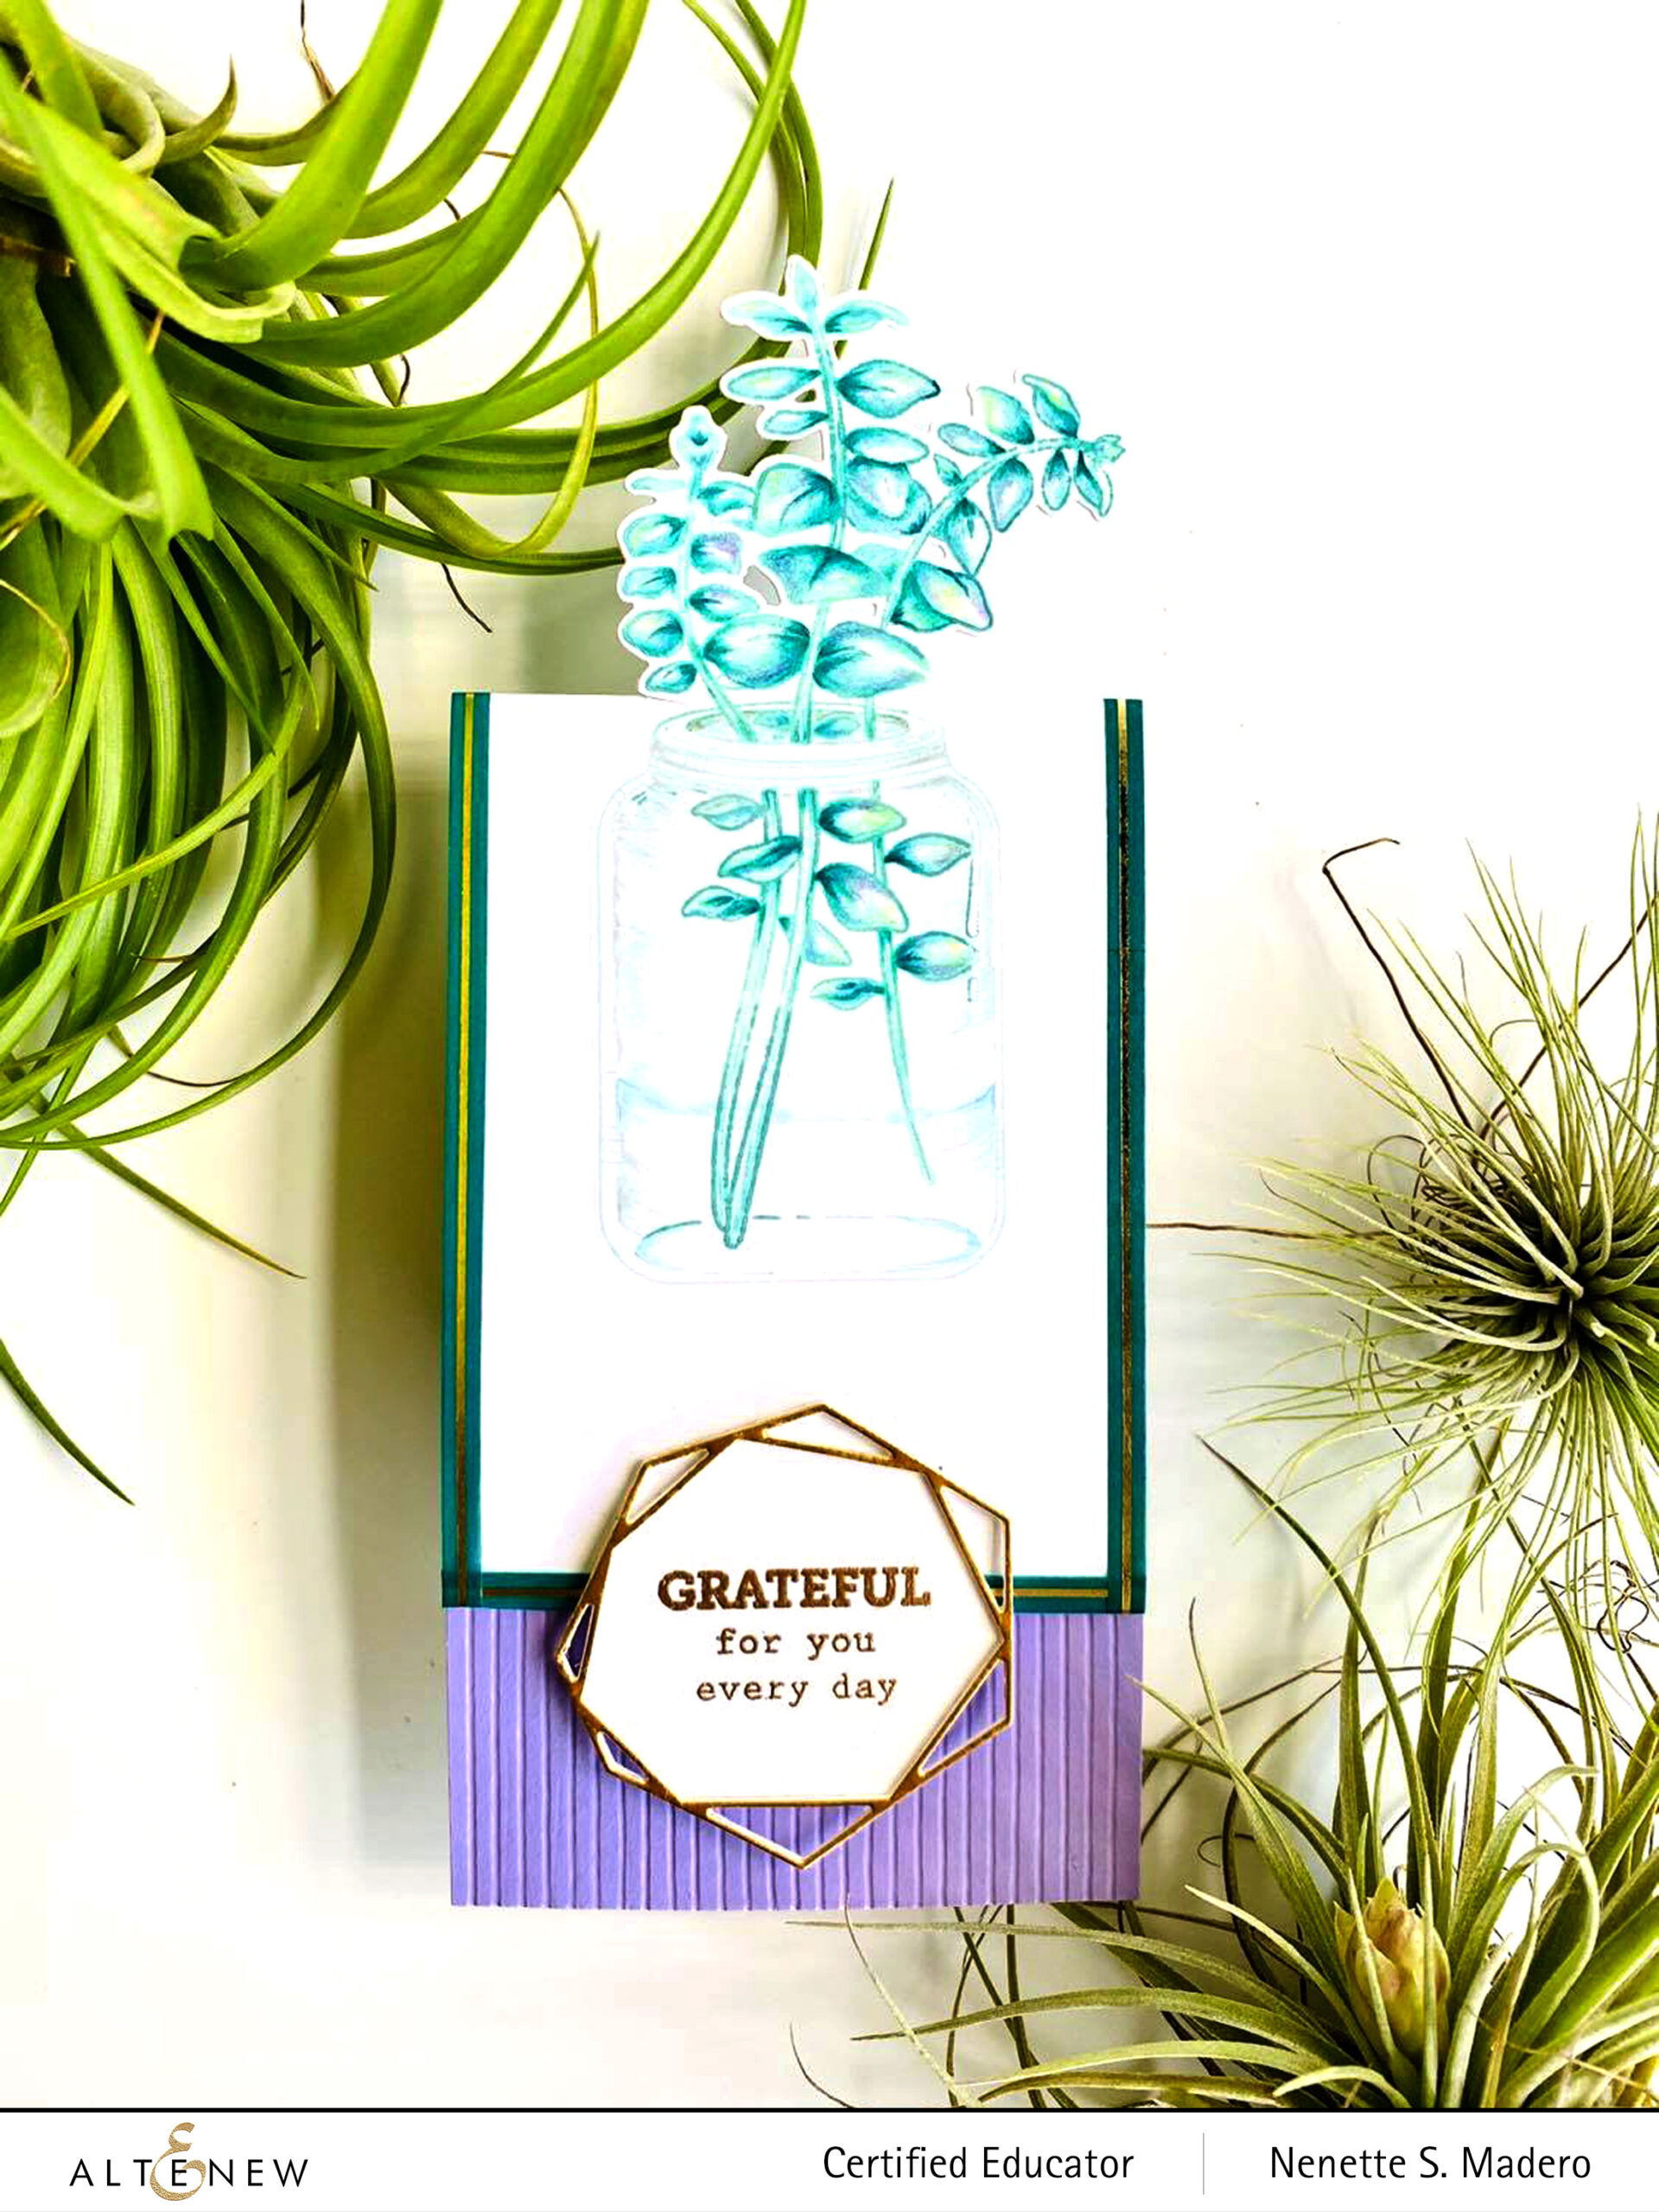
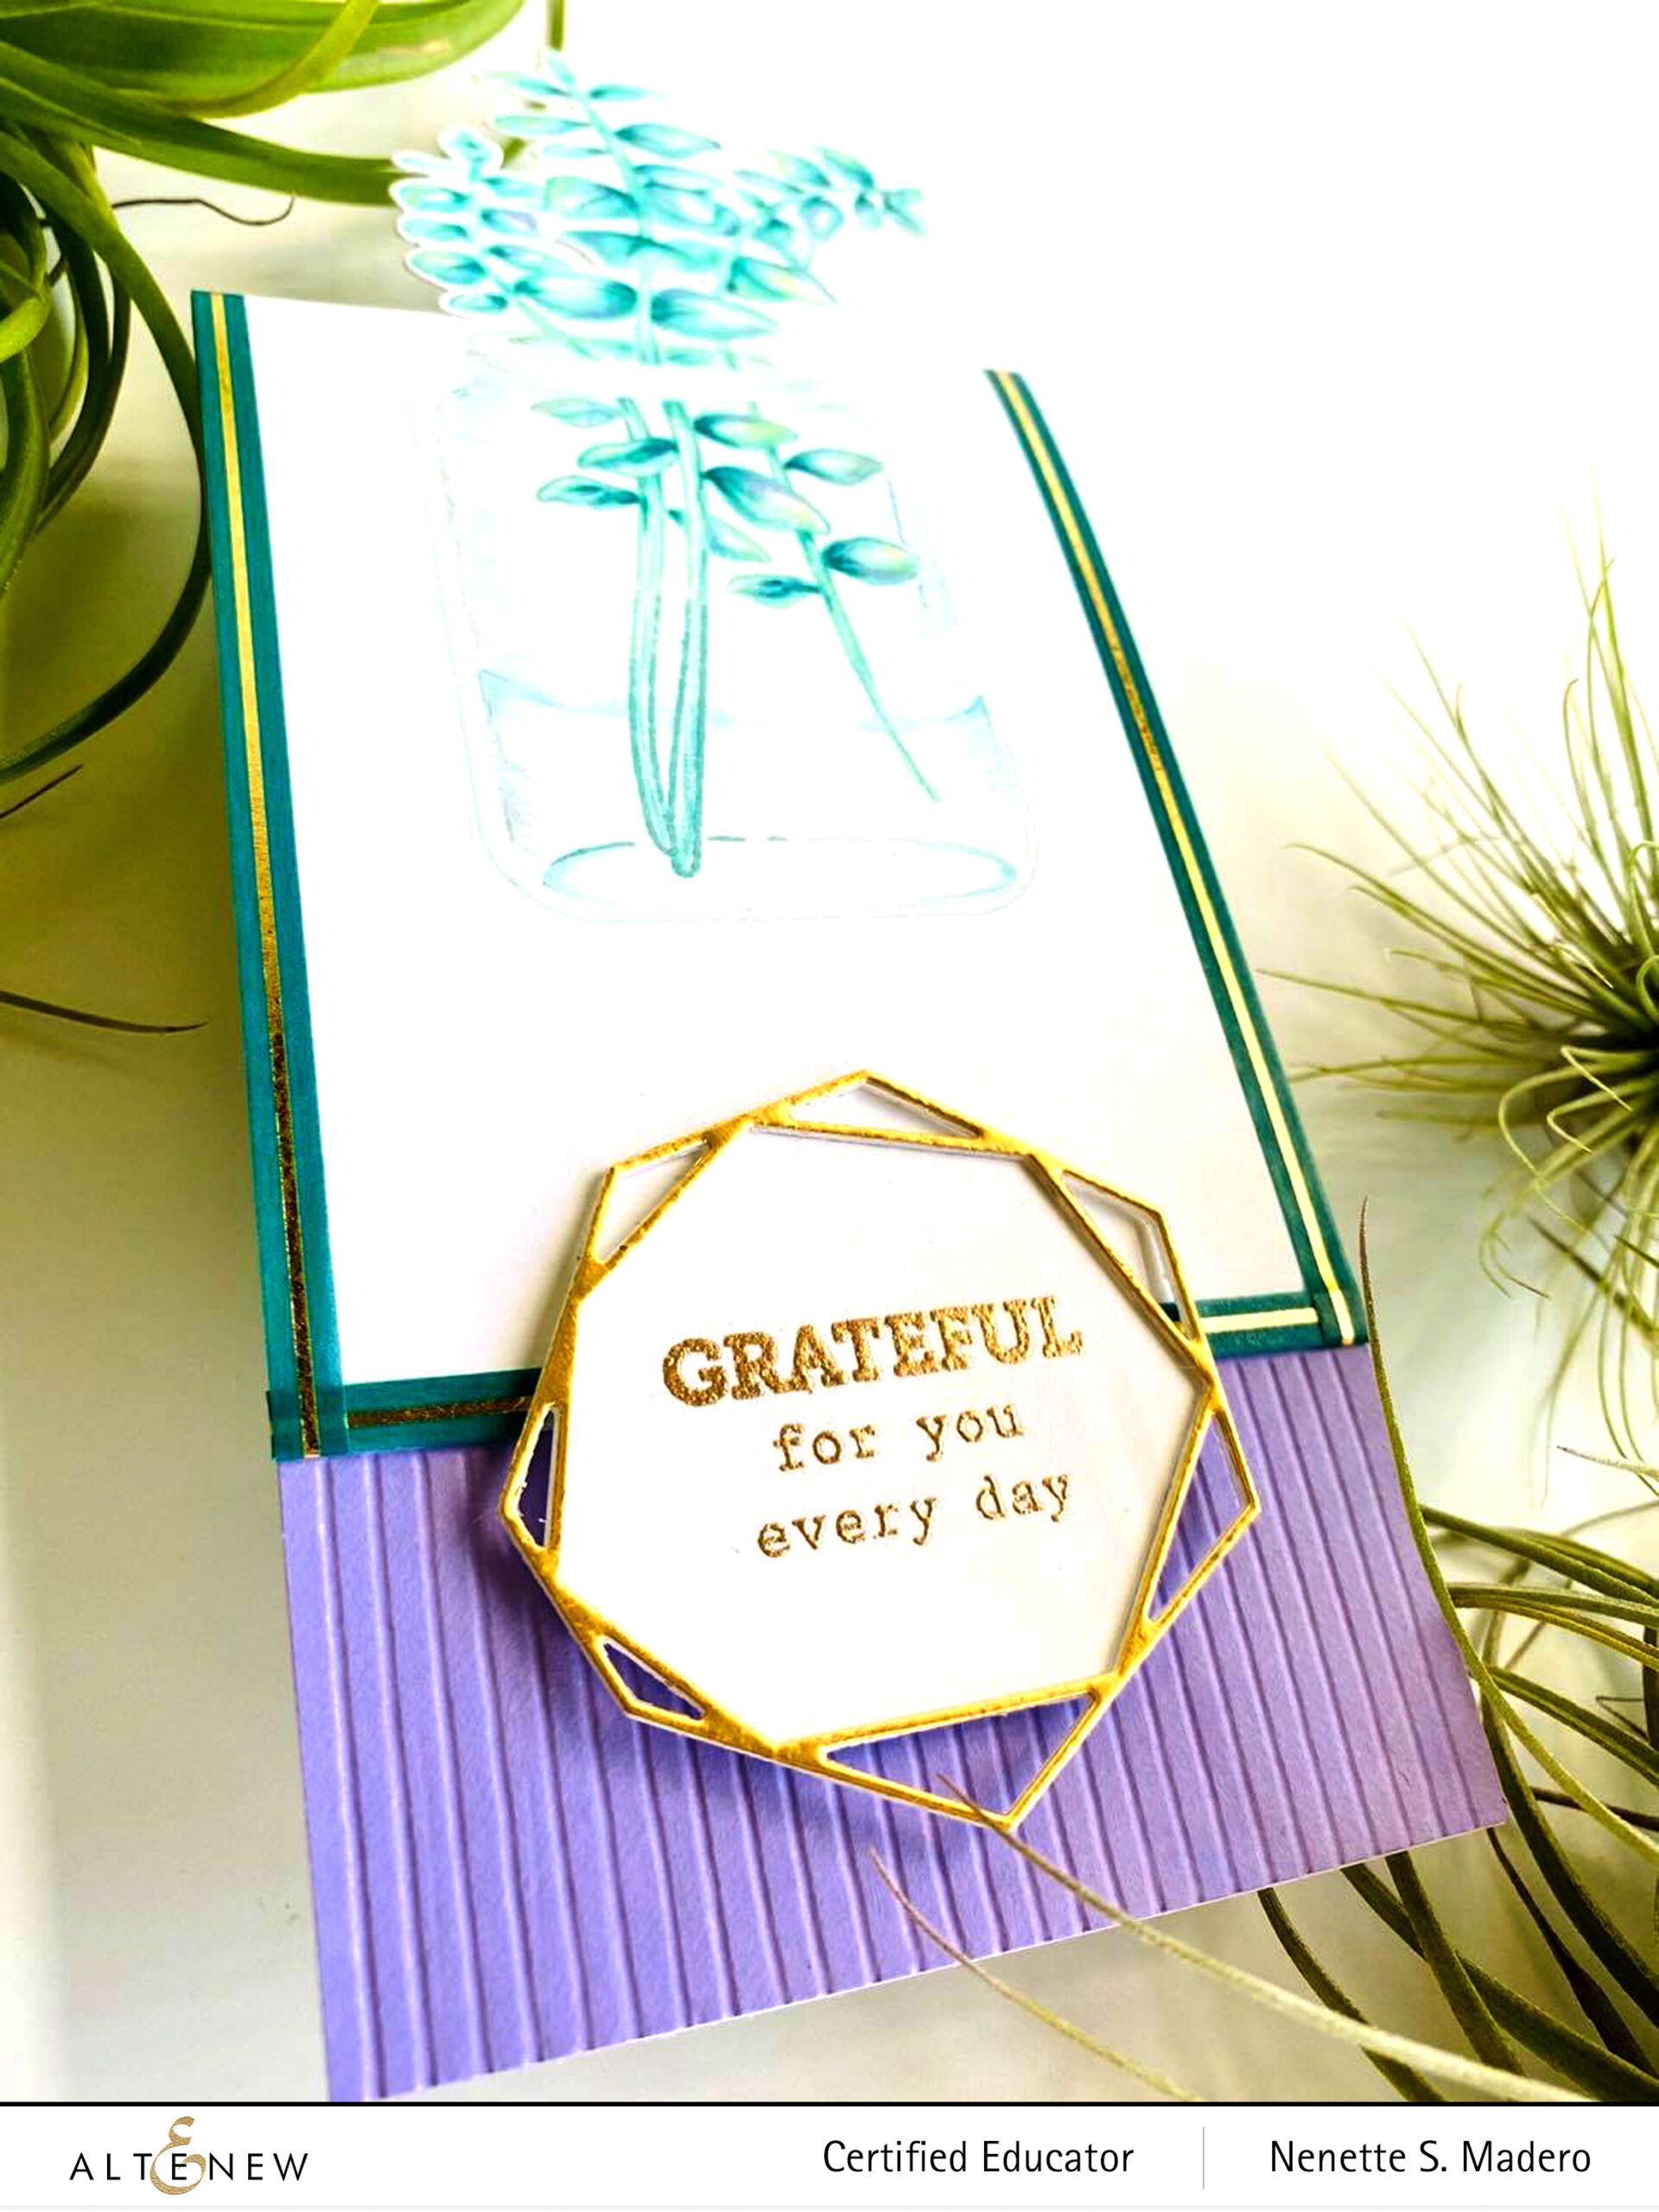
I love the Eucalyptus Jar Stamp set and wanted to use it differently so I created a slim card by doing partial die cutting. First, the image was stamped on Neenah solar white cardstock using the different shades of dye inks (blue greens for the eucalyptus and Sea Glass for the jar). Colored pencils were used to add color. There are many ways to use colored pencils. I prefer to use the medium color first, the lightest next, then lastly the darkest. Just make sure to use a light hand when coloring so that you do not burnish the paper. Once the paper is burnished, you won’t be able to add colors anymore.
I then used the coordinating die to partially die cut the top part of the image. The cardstock was scored and folded. I added purple cardstock to the inside of the card to hide the back. Debossed stripes were added to the bottom of the card for texture using a bone folder and a scor board. I was happy with the outcome then I remembered that it needed a geometric element for the theme!!! 😱 Good thing I had the Crystal Frames die so I die cut one of the frames using matt gold cardstock and then embossed the sentiment with Rose gold embossing powder. I added the teal/gold washi tape on the edges to frame the image. Such a fun card to make!
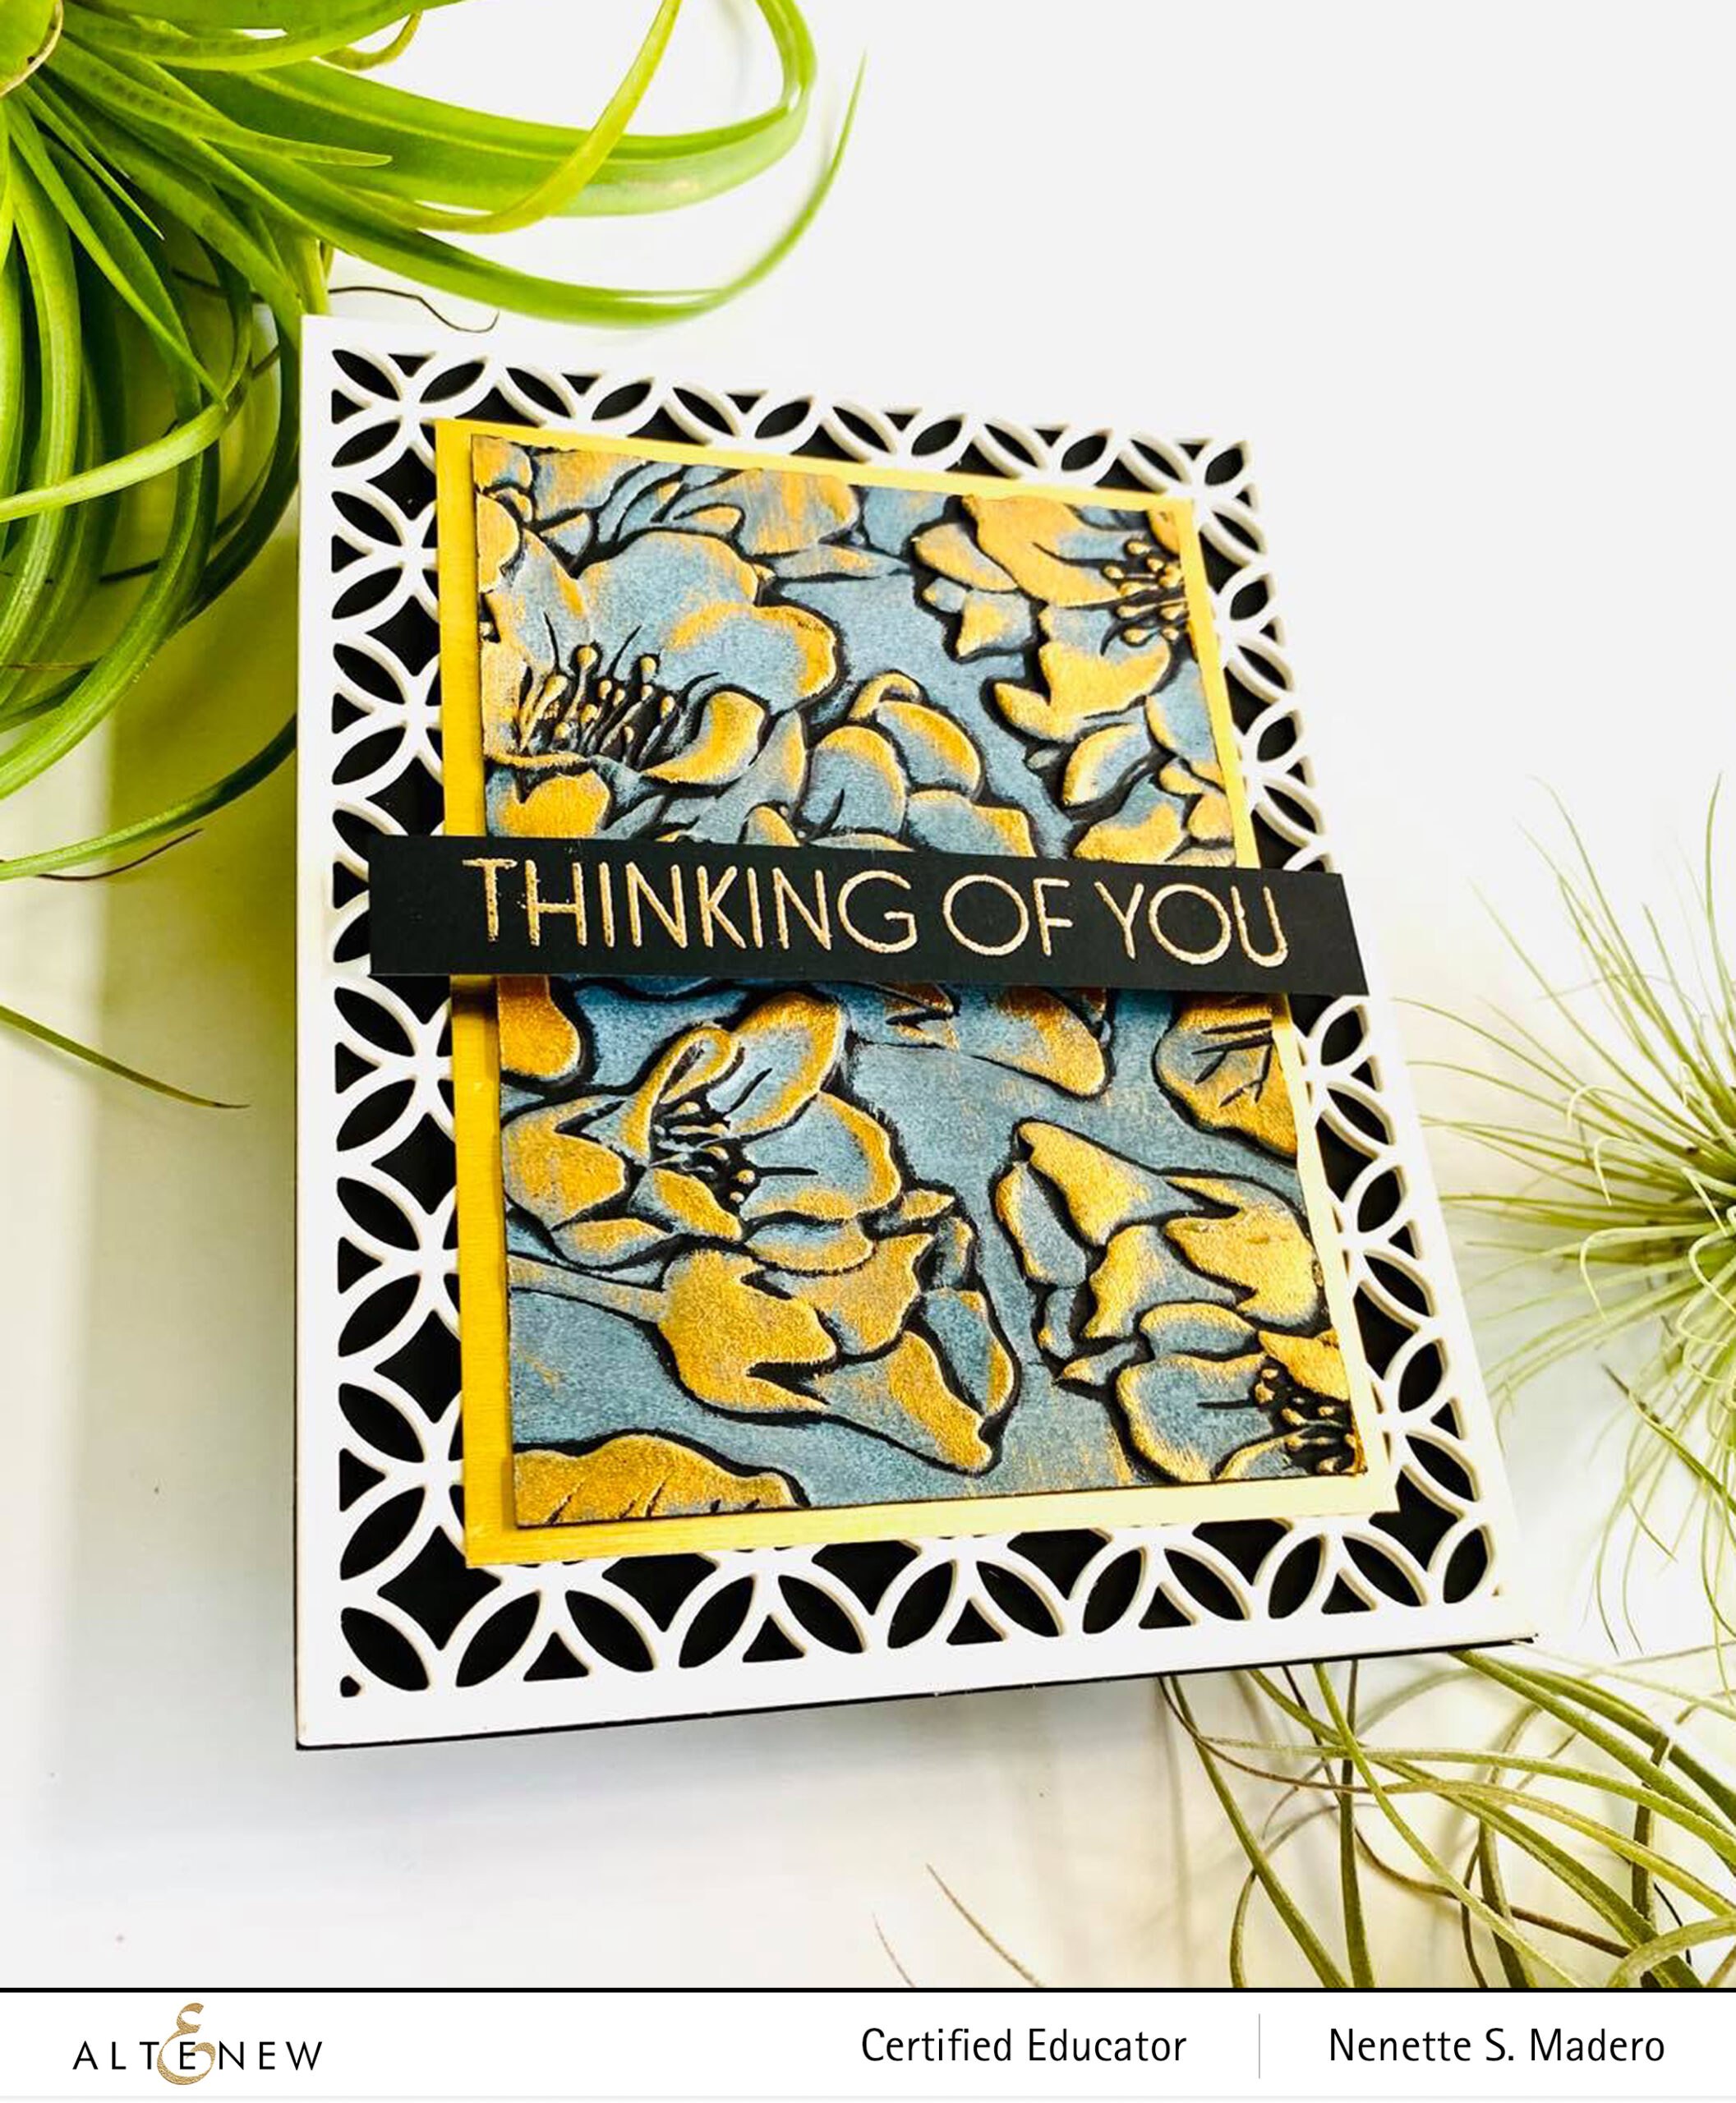
I seldom use black when I make cards but I’m loving the effect that the black cardstock gives when matched with an embossing folder and some inks. I was inspired by Bubblescrap and wanted to try her technique. First, I cut a piece of black cardstock then embossed it with the Beautiful Bergenia 3D embossing folder. I added color to the entire surface of the paper using a distress tool and my inky finger AFTER embossing. The creaminess of the oxide inks makes it easy to apply. When this was dry, I added some gold touches on the embossed parts of the flowers and leaves with a gold gliding polish. Gold cardstock was added to mat the embossed piece.
For my geometric element, the Circle Quilt cover die was used that added a nice contrast to the black cardstock. I stacked 4 pieces on top of each other for more dimension. The sentiment was stamped on black using Versamark ink then embossed with Rose gold embossing powder.
Lately, I have been trying out alcohol inks. I had them for many years but never really used them for fear of the unknown. 🙂 Their reaction to alcohol or blending solution is so unpredictable but I thought they’d look pretty on Altenew florals. I took some classes with @anujaaggarwal— a talented alcohol ink artist because I wanted to learn how these inks behave using different techniques. There’s still so much to learn but you’ll never know if you don’t try. Here are some of the cards I made using alcohol inks.
If you do plan to try this out, here are some tips you should follow:
work in a room that is well ventilated. If you have a respirator mask, the better so that it will prevent you from inhaling the fumes.
wear gloves to protect your hands from the inks and alcohol
alcohol and the inks are highly flammable so do not work near an open flame especially if you will be spraying alcohol
cover your work area with an absorbent mat ( I got a pack of disposable training pads for this purpose)
wipe your canvas/substrate/paper clean with alcohol before starting to remove dust/dirt/ink
seal your artwork with Kryon Kamar varnish then UV (make sure your painting is thoroughly dry before applying the varnish) 2-3 coats but dry between coats. Nozzle should be around 12-14 inches away from the substrate. Allow it to dry. This will prevent the painted flowers from scratches.
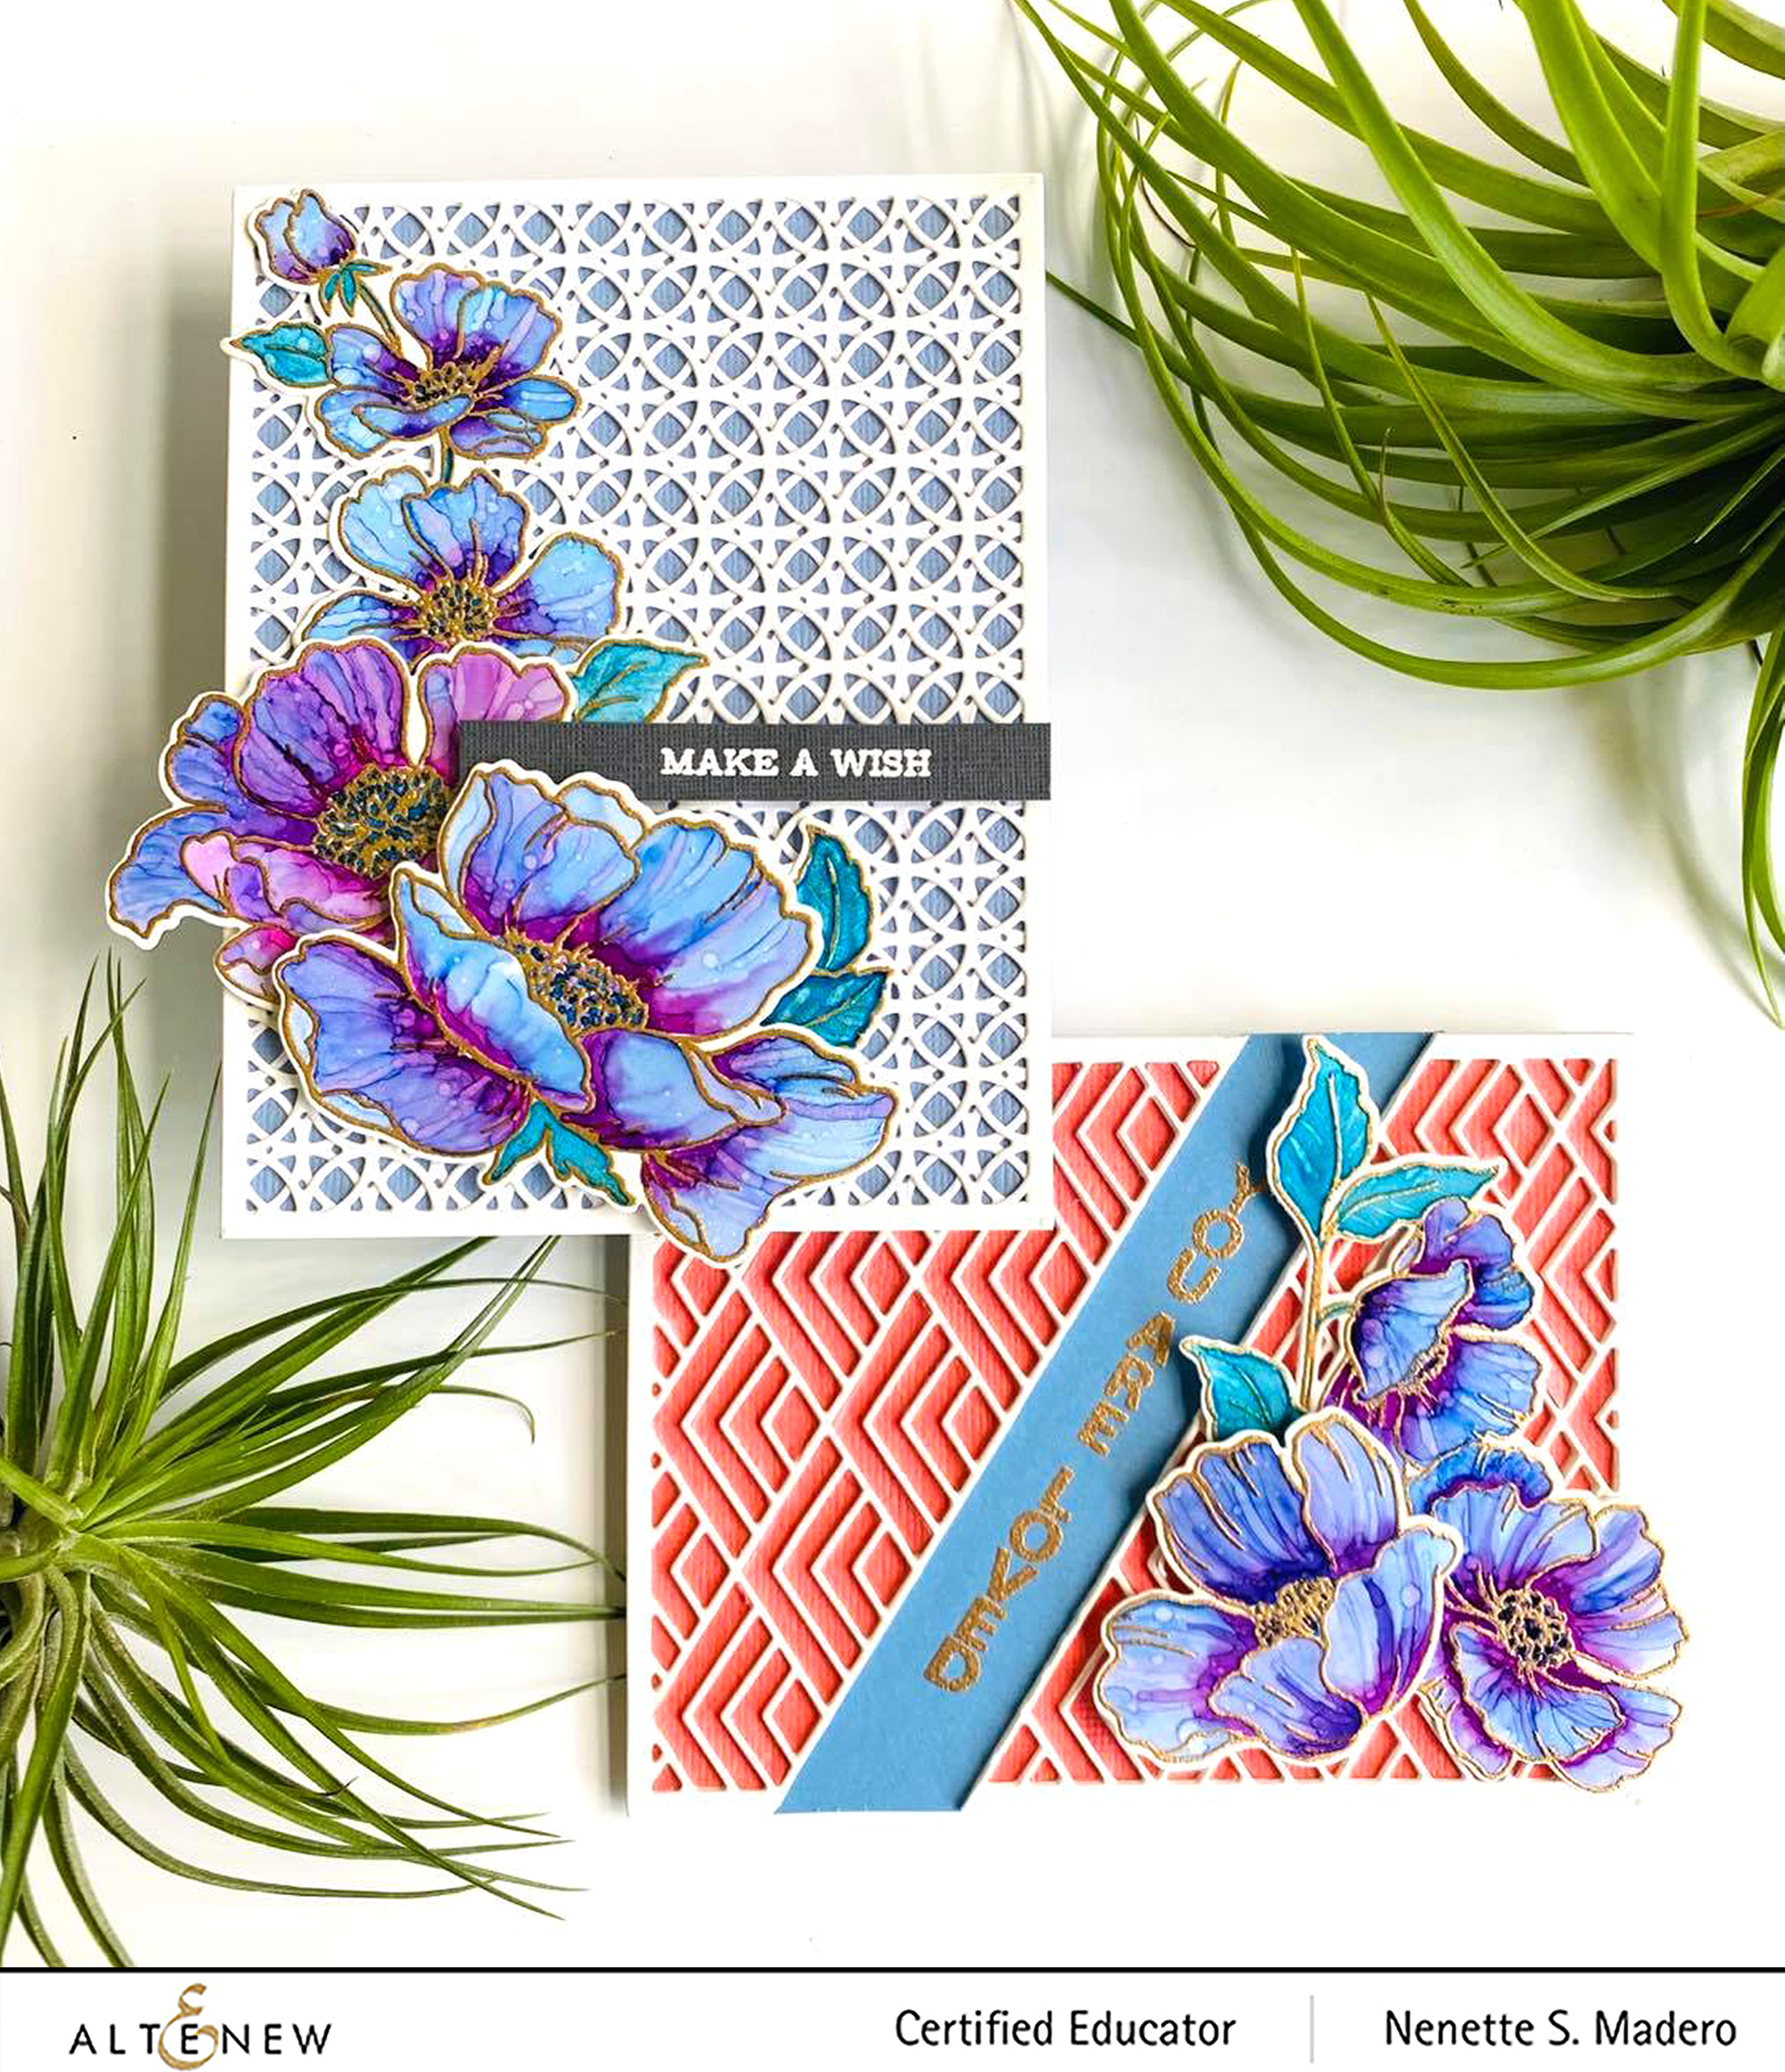
For this technique to work, you will need a floral image that does not have too many details. The POPPY GARDEN STAMP AND DIE SET was perfect for this technique. First, I heat embossed the images on Yupo paper. Do take note that since Yupo paper is made of polypropylene, a thermoplastic resin, it will warp if it is heated for too long. I made sure to keep my heat tool moving to minimize the warpage. The darkest color was added to the centers of the flowers. This was allowed to dry. Then with a brush loaded with alcohol mixed with blue/purple alcohol inks, I colored the rest of the petals slightly touching the dark ink to achieve some blending. Take note that the alcohol ink behaves differently from watercolor cause alcohol will tend to push the pigments away. The alcohol ink/alcohol ratio is also very important. The great thing about this is if you are not happy with the outcome, you can “erase” the area with alcohol. Just note that Yupo paper tends to stain, unlike Nara paper. Patience is needed when working with alcohol inks. I love the texture it gives and how unpredictable the outcome is.
I then used a thin brush to add just plain alcohol for added texture. A fine spray bottle filled with alcohol was used to add tiny specks of alcohol on the entire surface. Make sure it’s far enough from the painted flowers otherwise you will have big blobs of white all over your project. The Circle Quilt die was used to cut 2 sheets of paper and the second was turned upside down before adhering to the 1st die-cut to create a unique geometric pattern for the background. The floral images were die cut using the coordinating dies and adhered to the card front with foam squares for dimension.
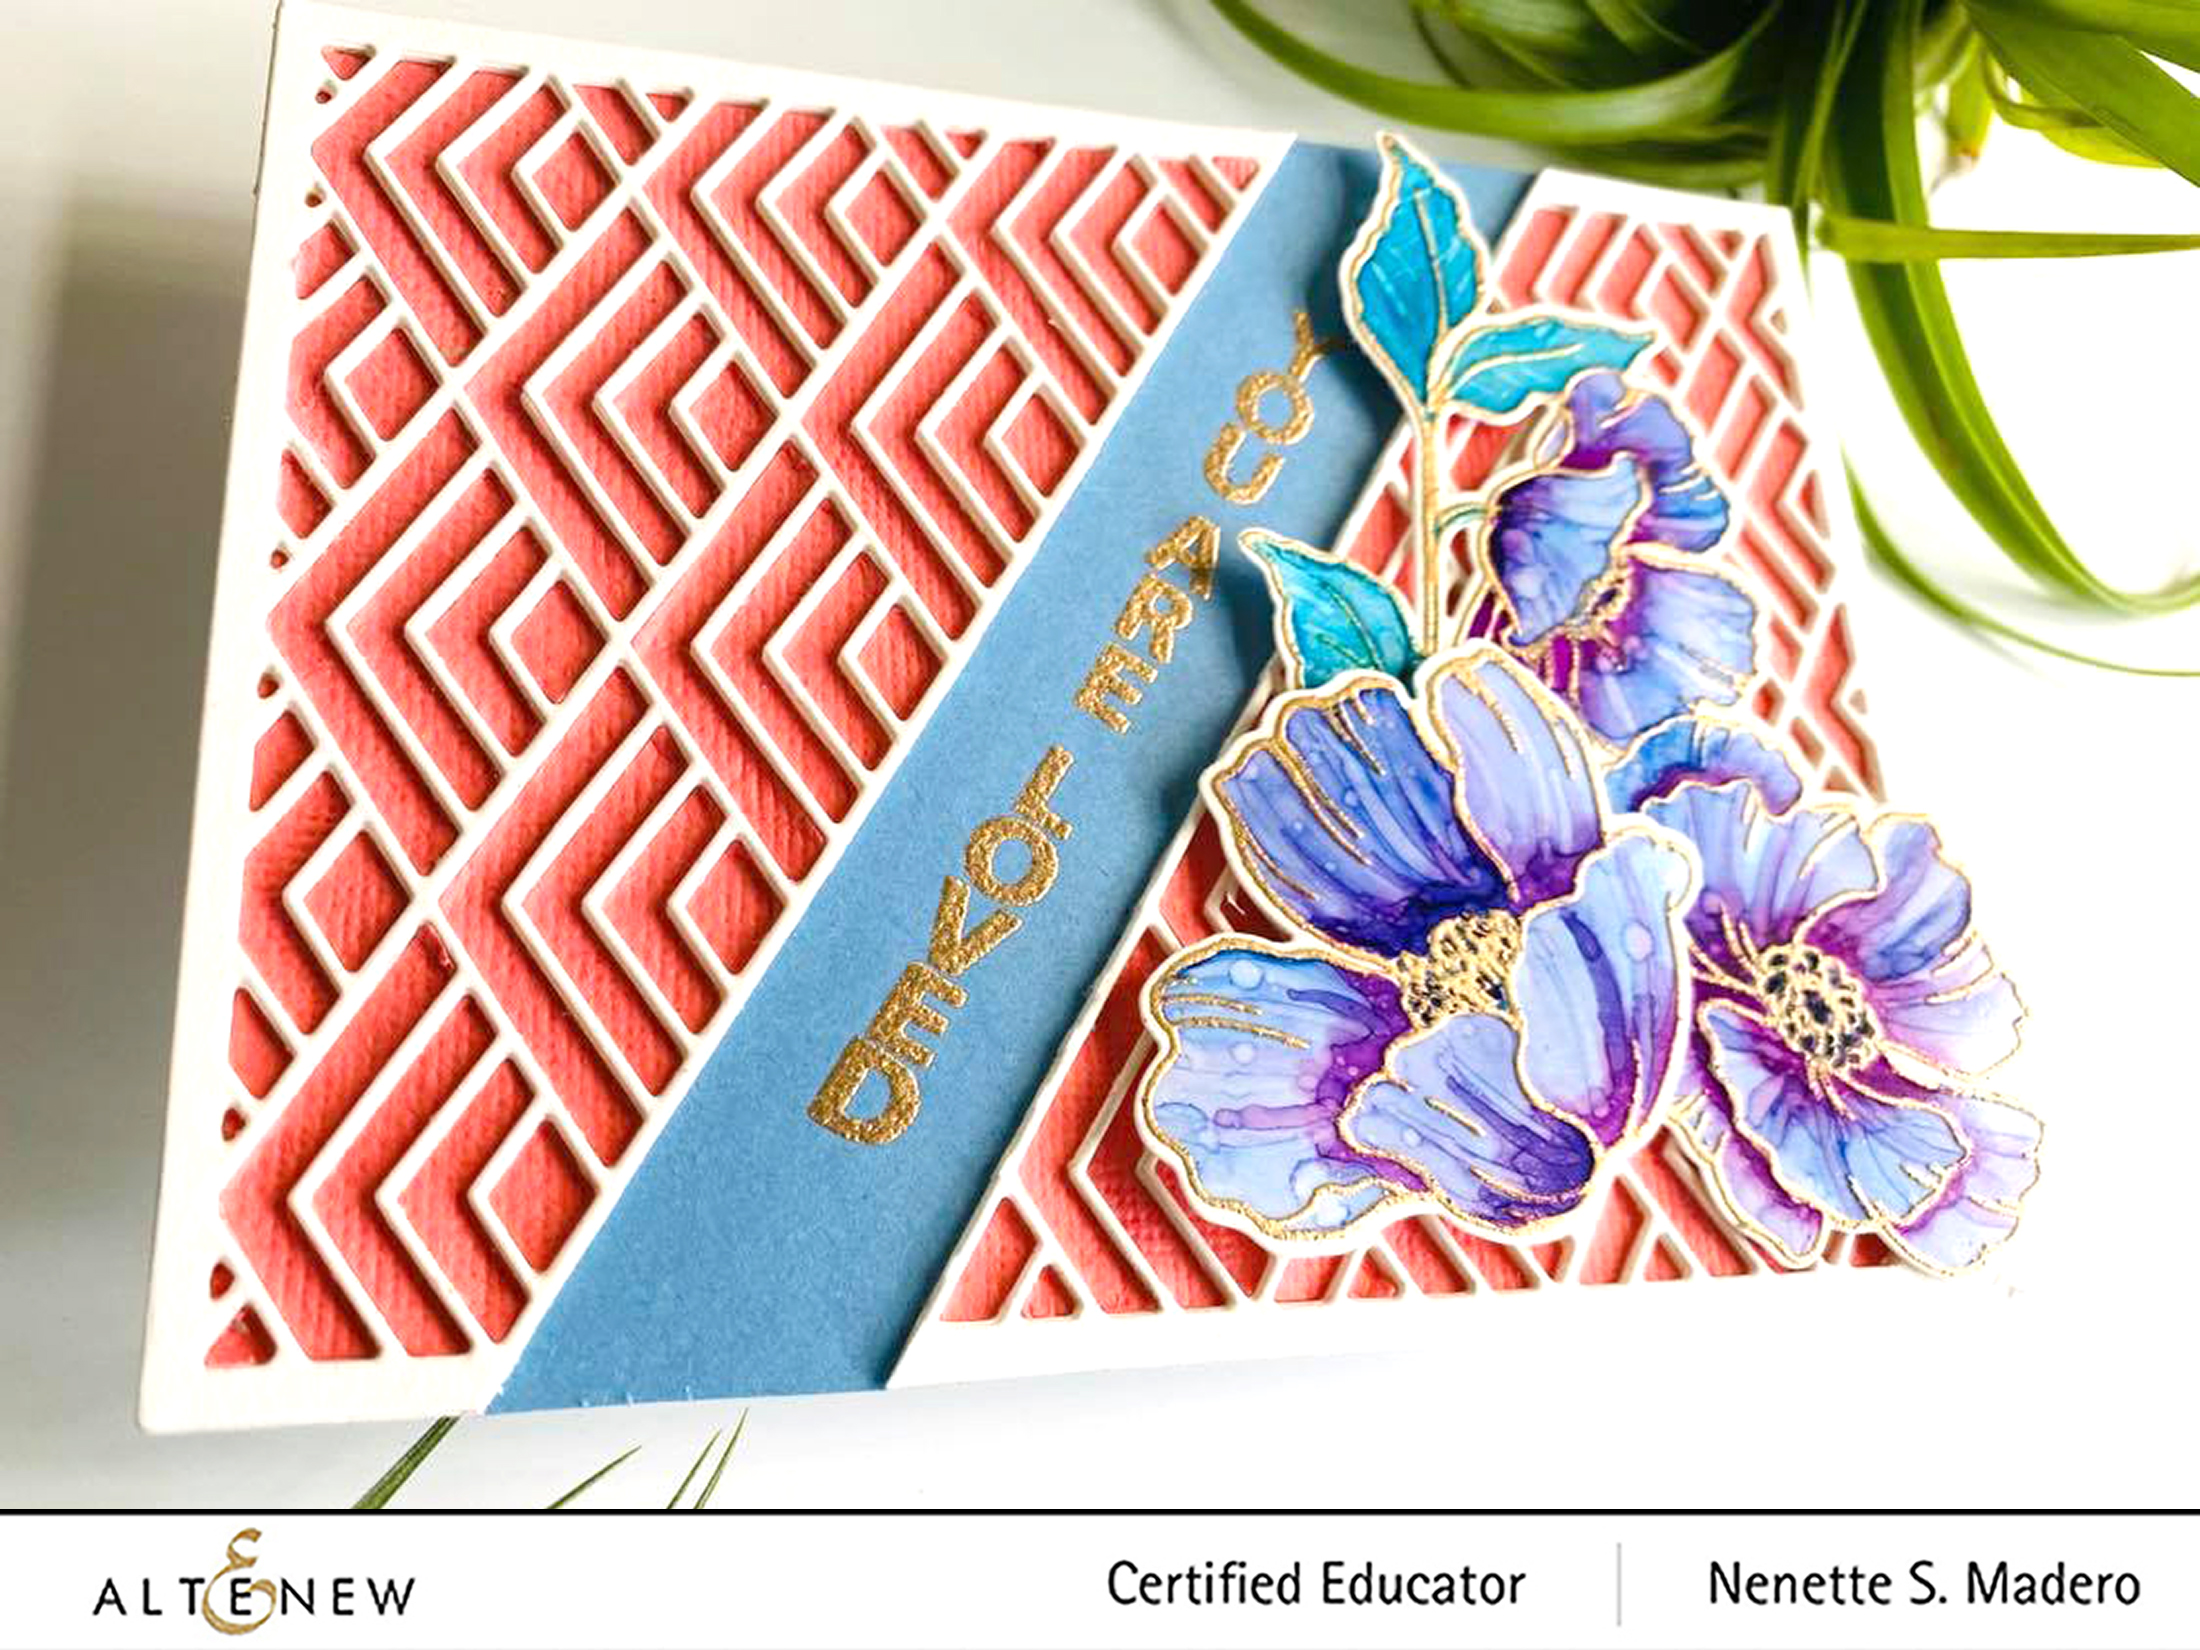
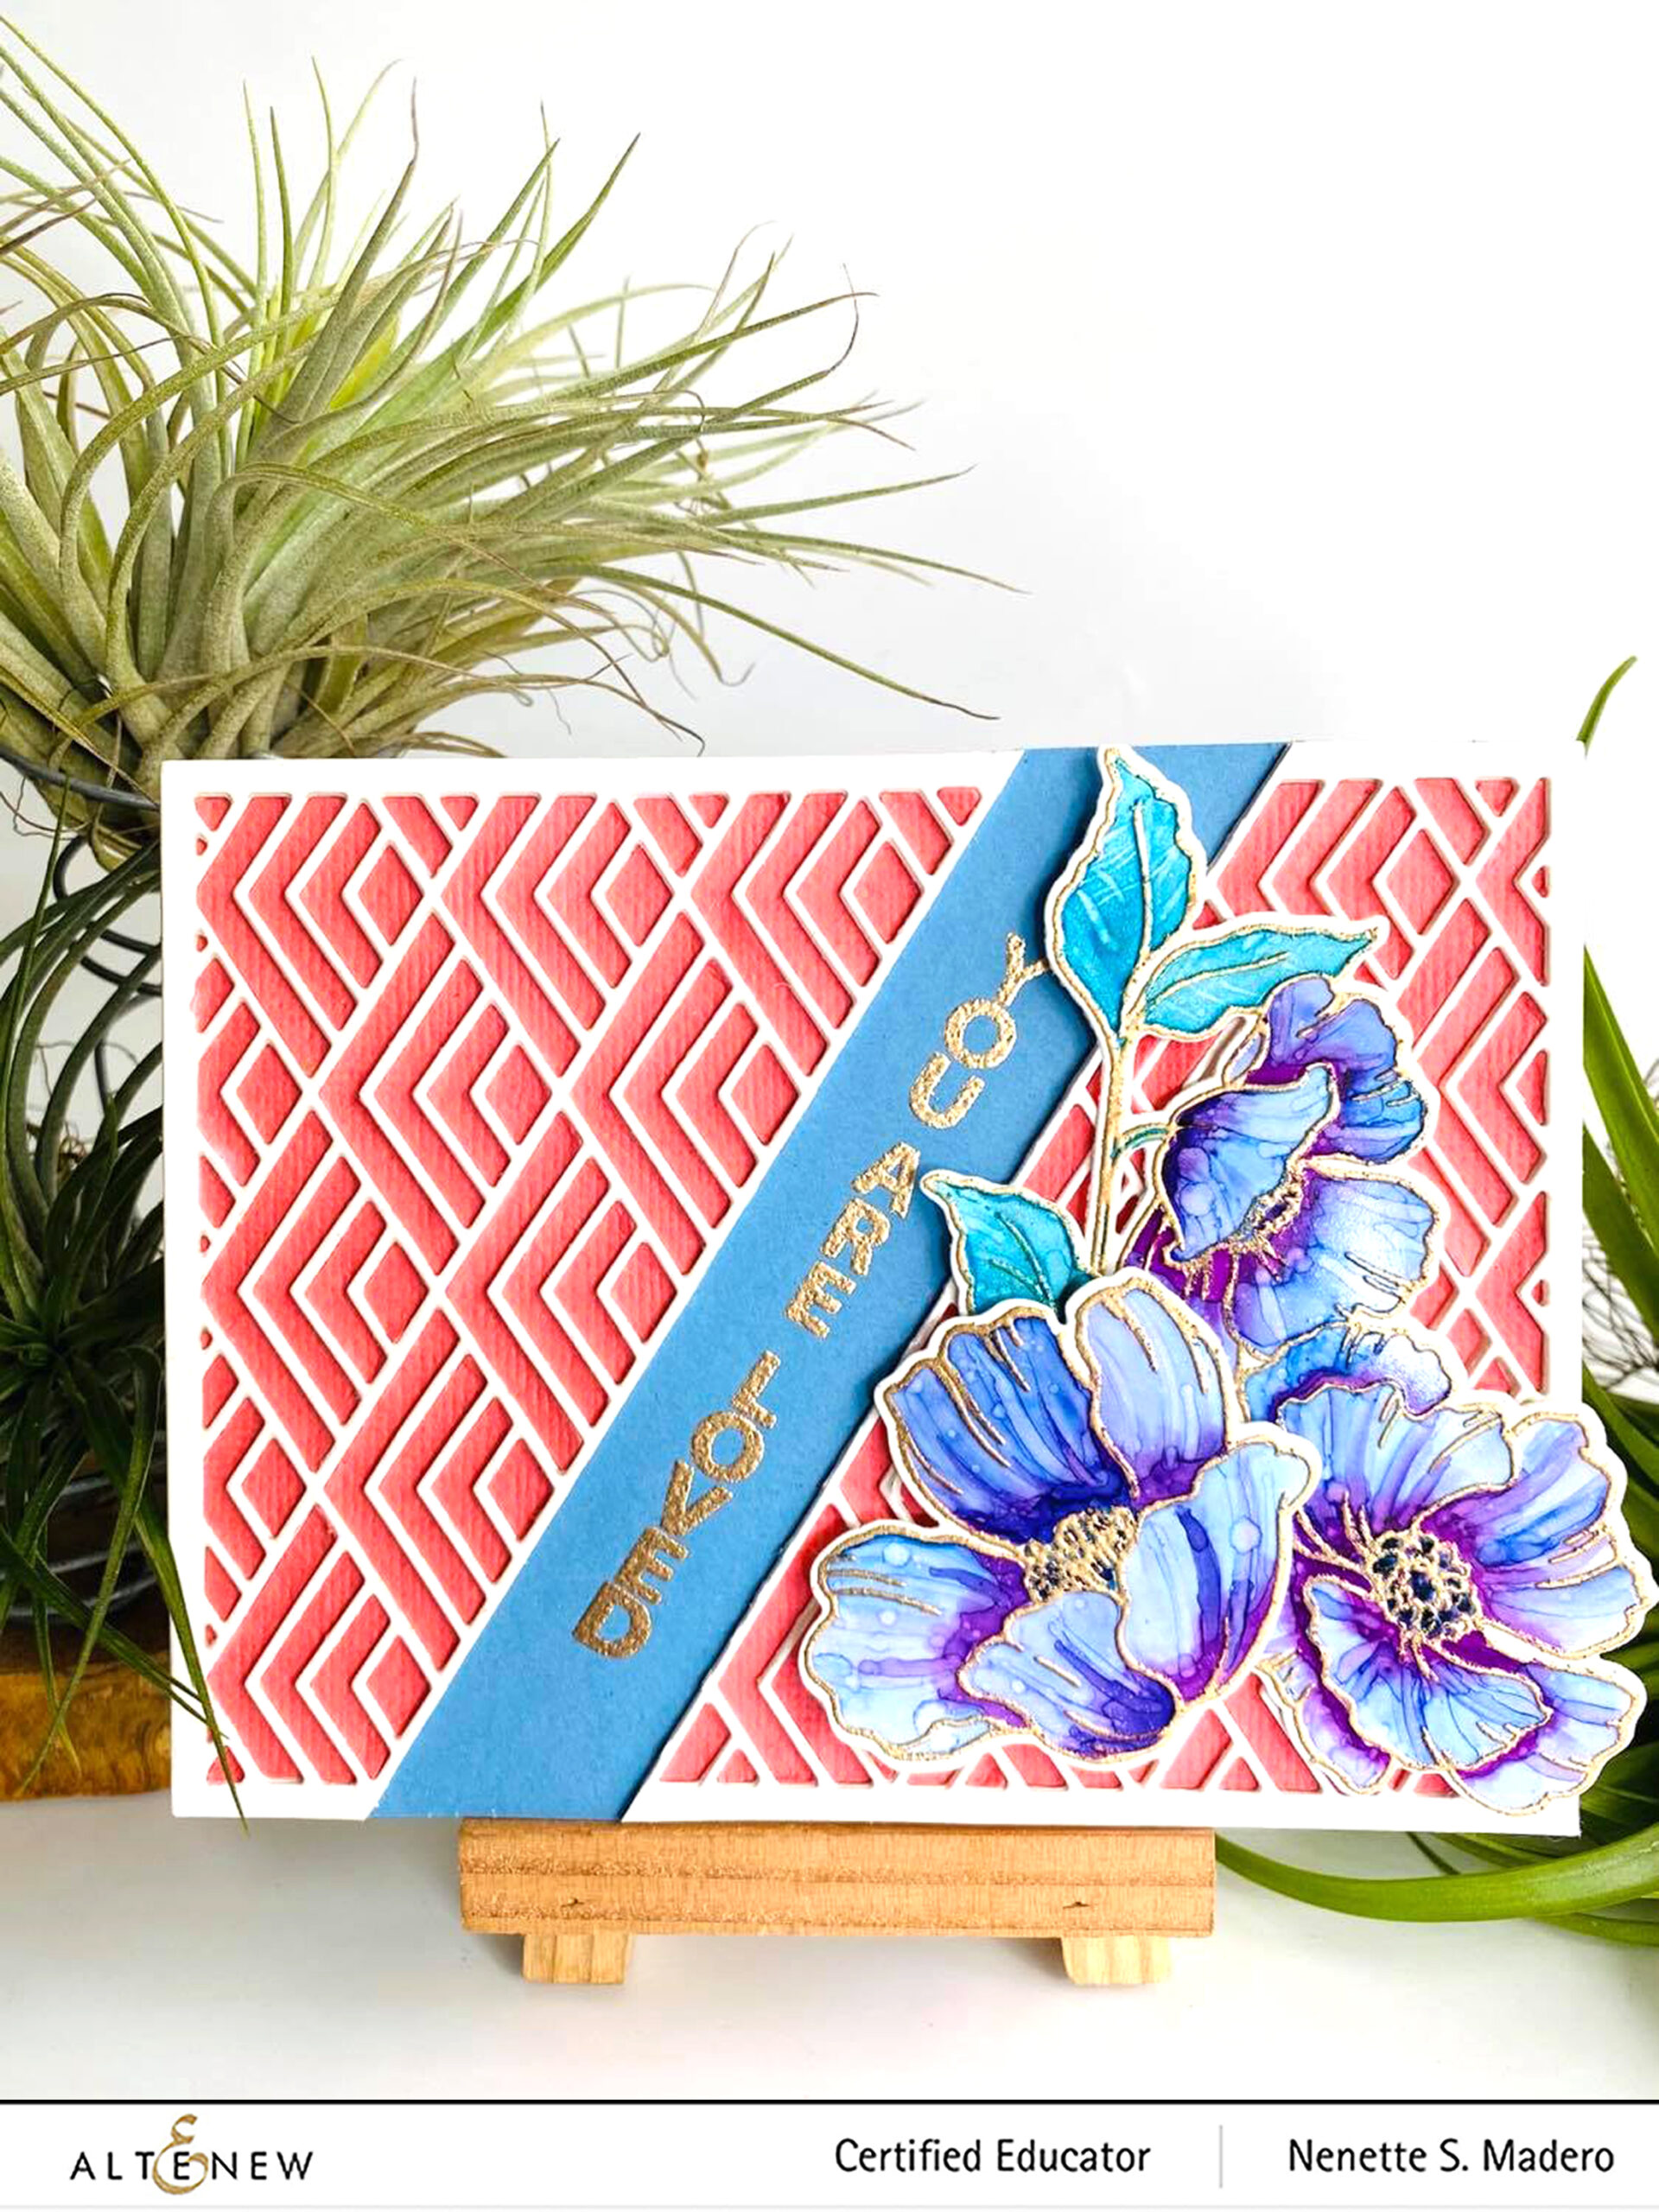
For the second card using the same colored Poppy images, I wanted to create a different kind of background using the Stacked Diamonds cover die. I die cut 5 sheets of Neenah solar white CS and stacked them on top of each other. The middle portion of the die cut was cut off leaving a space for the sentiment.
At first, I adhered the sentiment stamped onto blue CS to a card front then glued the Stacked diamonds die-cuts beside it. I wasn’t too happy with the outcome so I decided to die cut a peach-colored cardstock then did the inlay technique and added the positive pieces one by one. This made the Stacked diamonds die cut stand out more. The flowers were arranged in one corner and foam squares were used to add dimension.
I’ve attached a video tutorial below. You can also watch it on Youtube through this link.
PRIZES
Altenew is giving away a $30 gift certificate to 1 lucky winner! Please leave a comment here on the Altenew Card Blog by 12/21/2020 for a chance to win. Altenew will also draw a winner to receive a $15 Altenew gift certificate from the comments left on each designer’s blog on the blog hop list below. All winners will be announced on theAltenew Winners Page on 12/23/2020.
There’s MORE! What’s a hop without YOU?! We have included an Inlinkz on the Altenew blog for you to enter your gorgeous Altenew “Floral with Geometric Elements” creations. We will pick 2 of our favorite handmade creations from those who joined the linky party and they will each receive a $15 Altenew gift certificate!
Hope you liked the cards I made for this hop. Don’t forget to leave a comment here and in all the following blogs to get a chance to win some fabulous prizes from Altenew. I always look forward to reading your heartwarming comments. If you like my cards, I hope you’ll subscribe to my blog so that you’ll get notified once a new post is up. I would love to interact and get to know you more through Instagram as well so please follow me on IG @mylittleatticstudio and say hello. Next up is the talented Kari VanNoy. Thank you so much for dropping by! Wishing everyone a blessed Christmas and a New Year filled with renewed hope, good health and happiness. Stay safe everyone and happy crafting! 😊
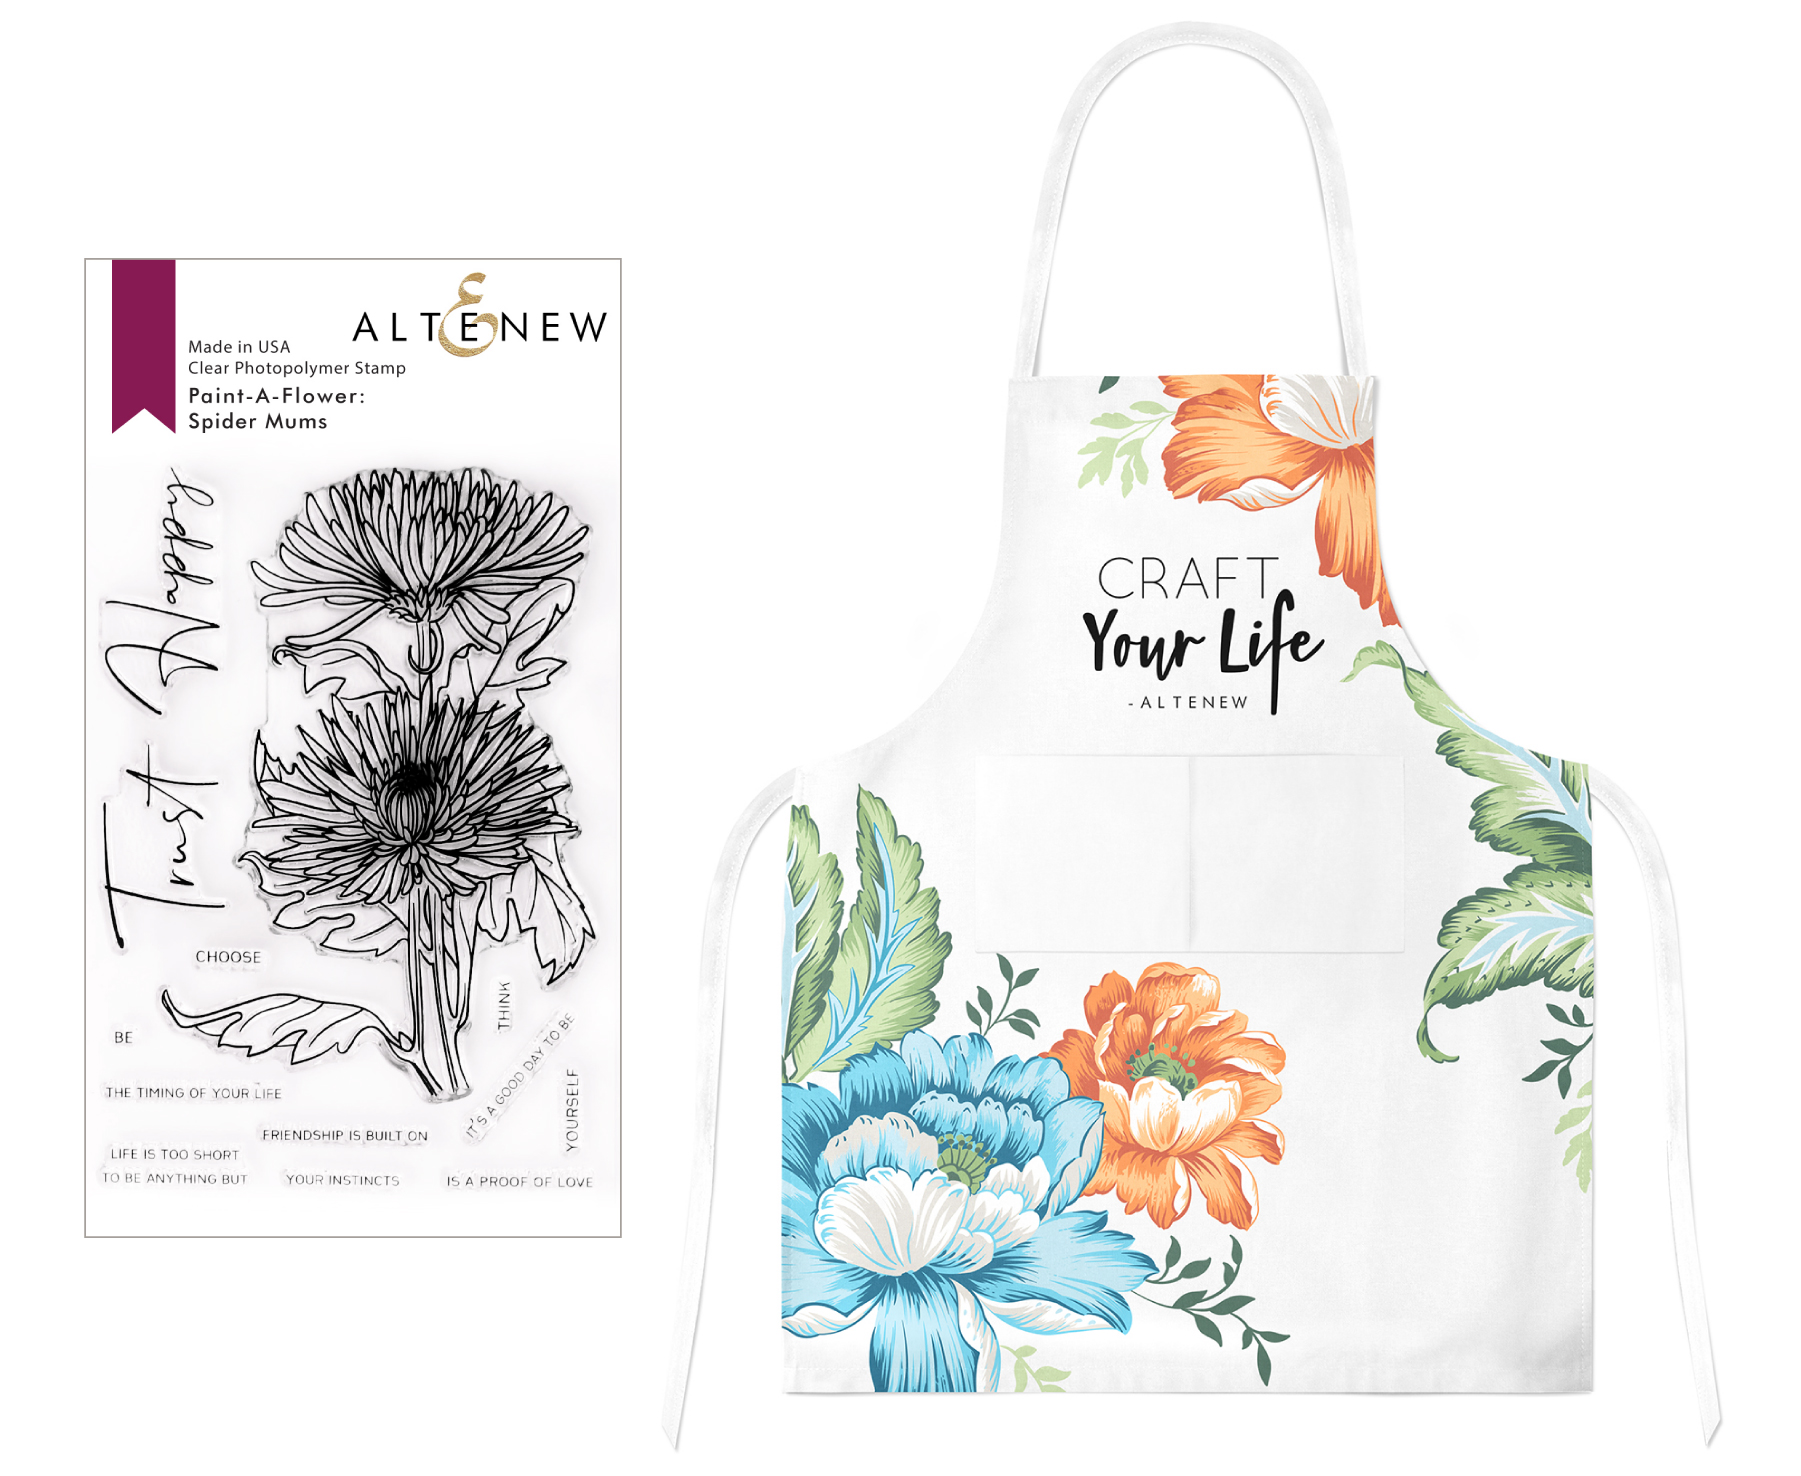
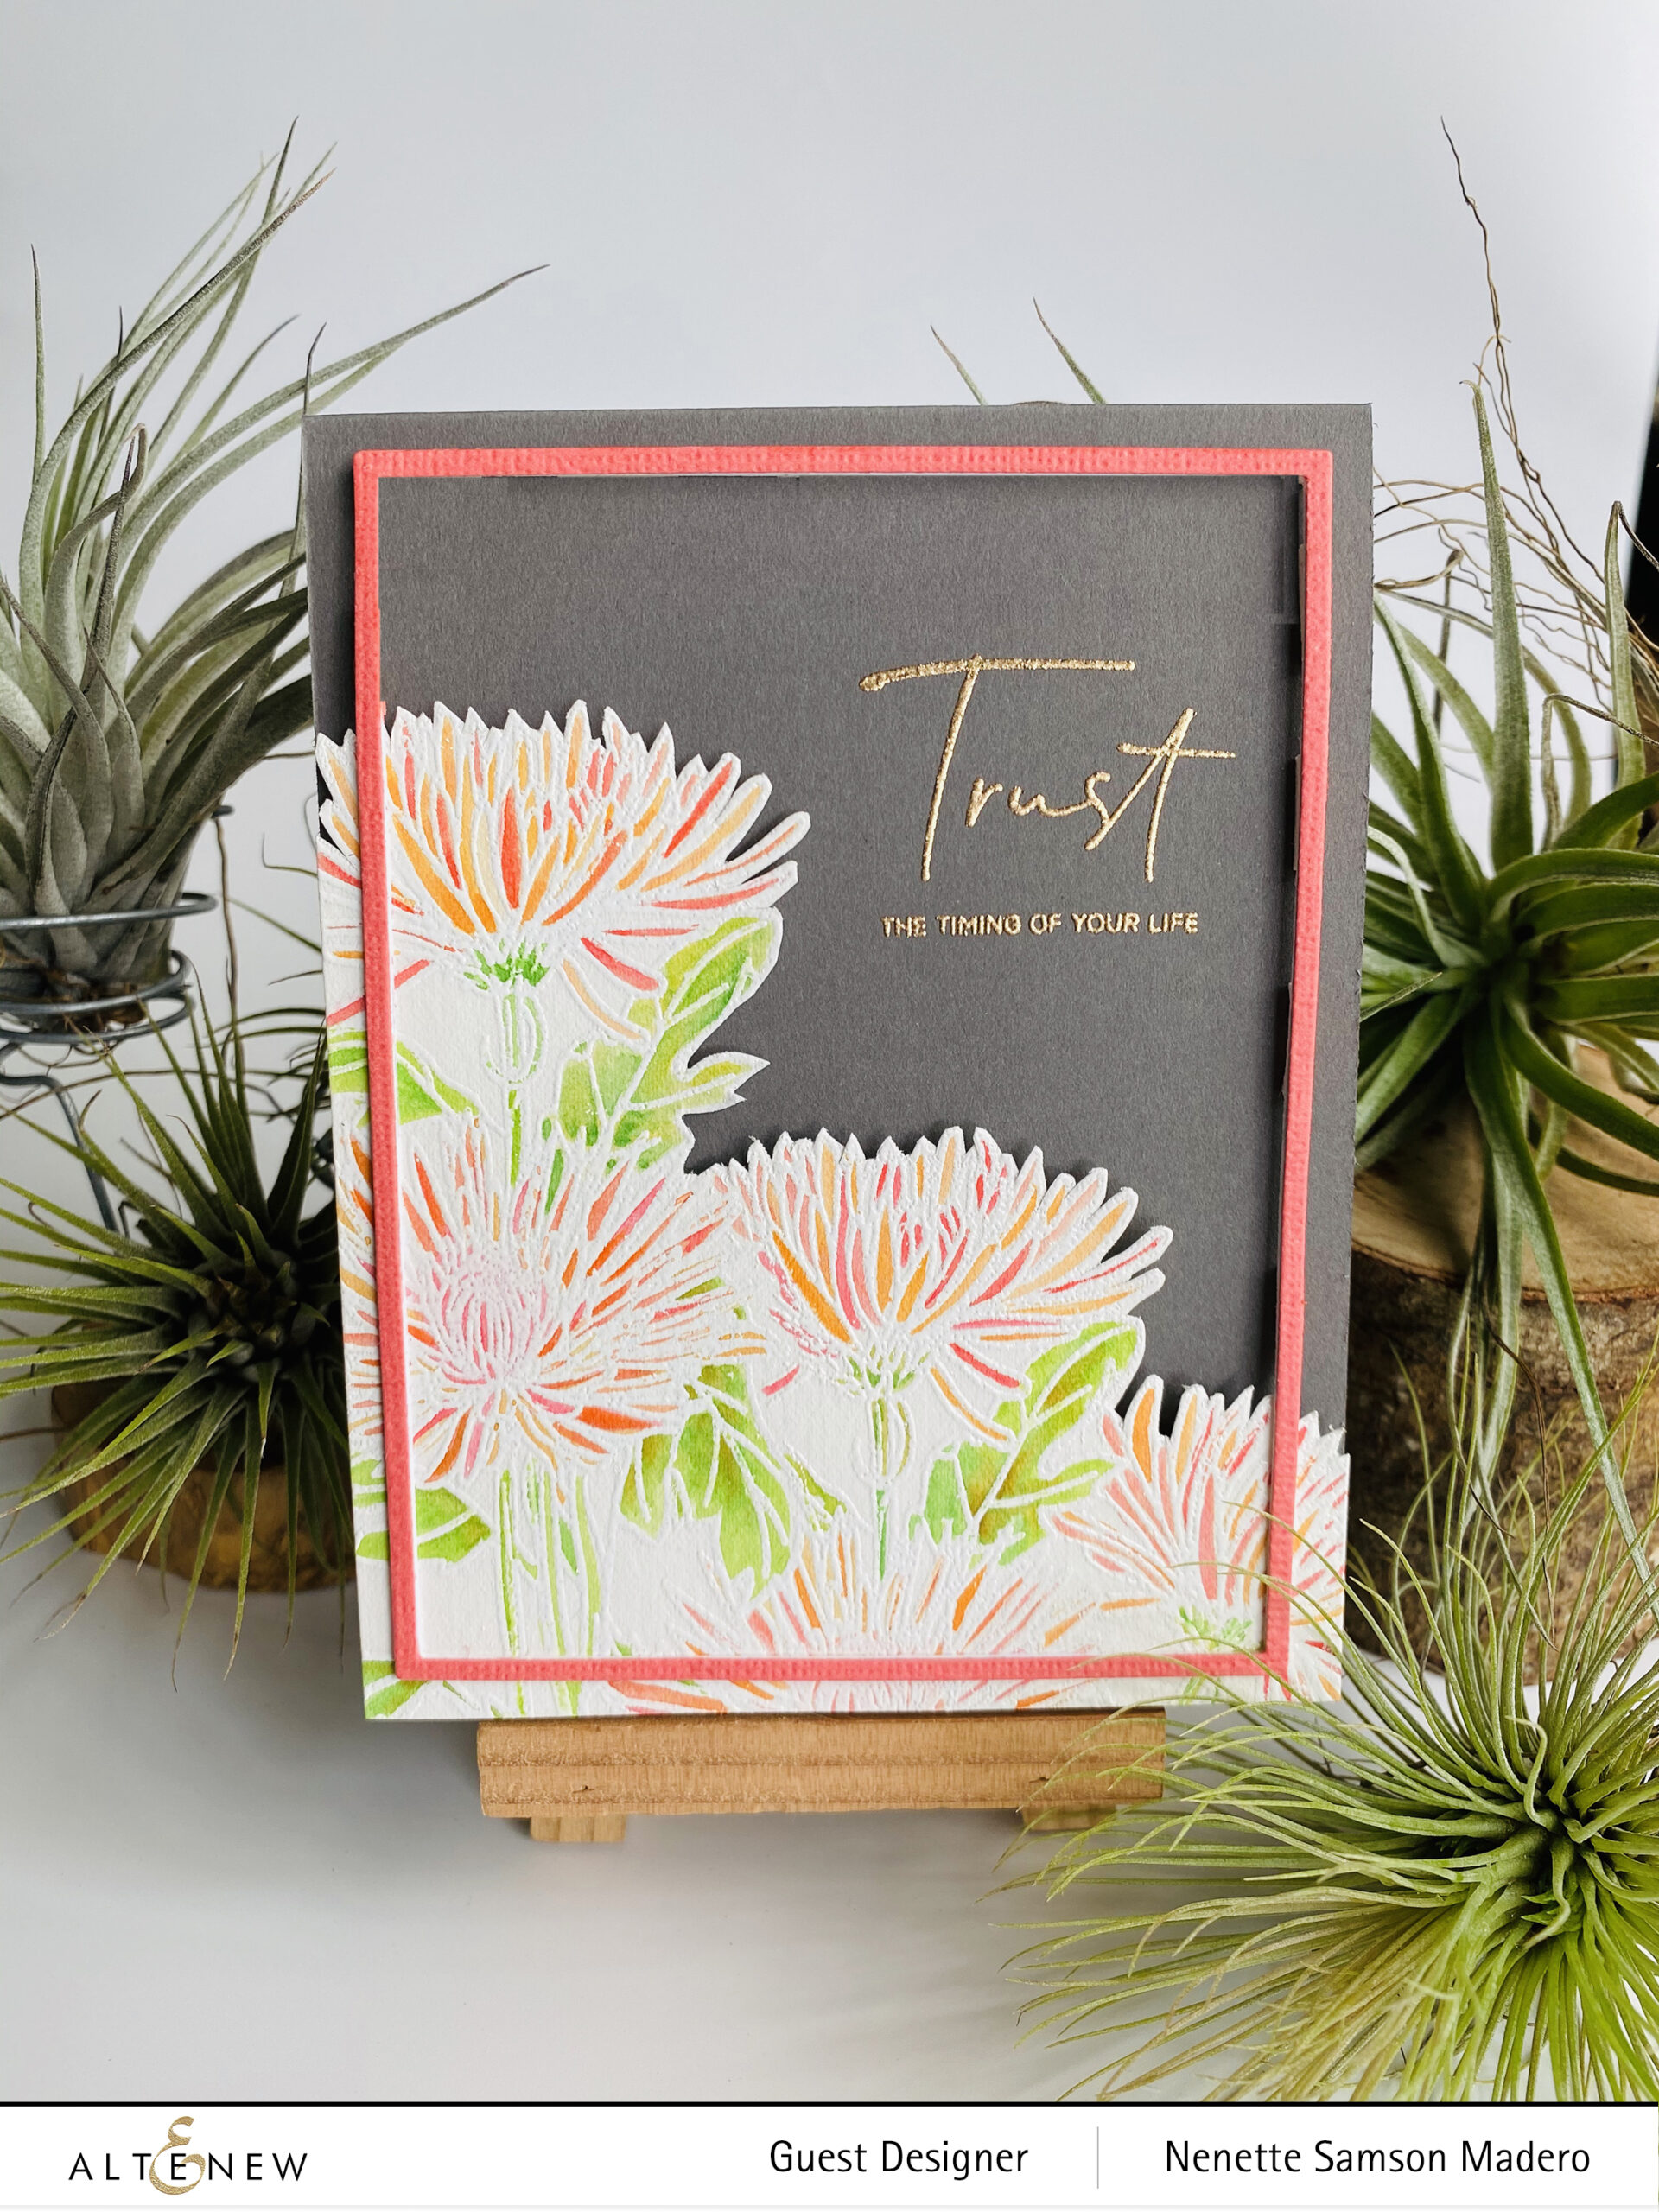
Welcome to Altenew Paint-A-Flower: Spider Mums & Craft Your Life Apron Release Blog Hop + Giveaway! If you just came from the talented Tenia Nelson, then you’re on the right track. For complete details about this hop, make sure to drop by the Altenew Blog. Take a look at the latest release from Altenew ❤️ Aren’t they beautiful?!?! Included in the stamp set are a lot of wonderful sentiments, too.
Below are a few ways you can use this wonderful stamp set. Let me know which one you like best!
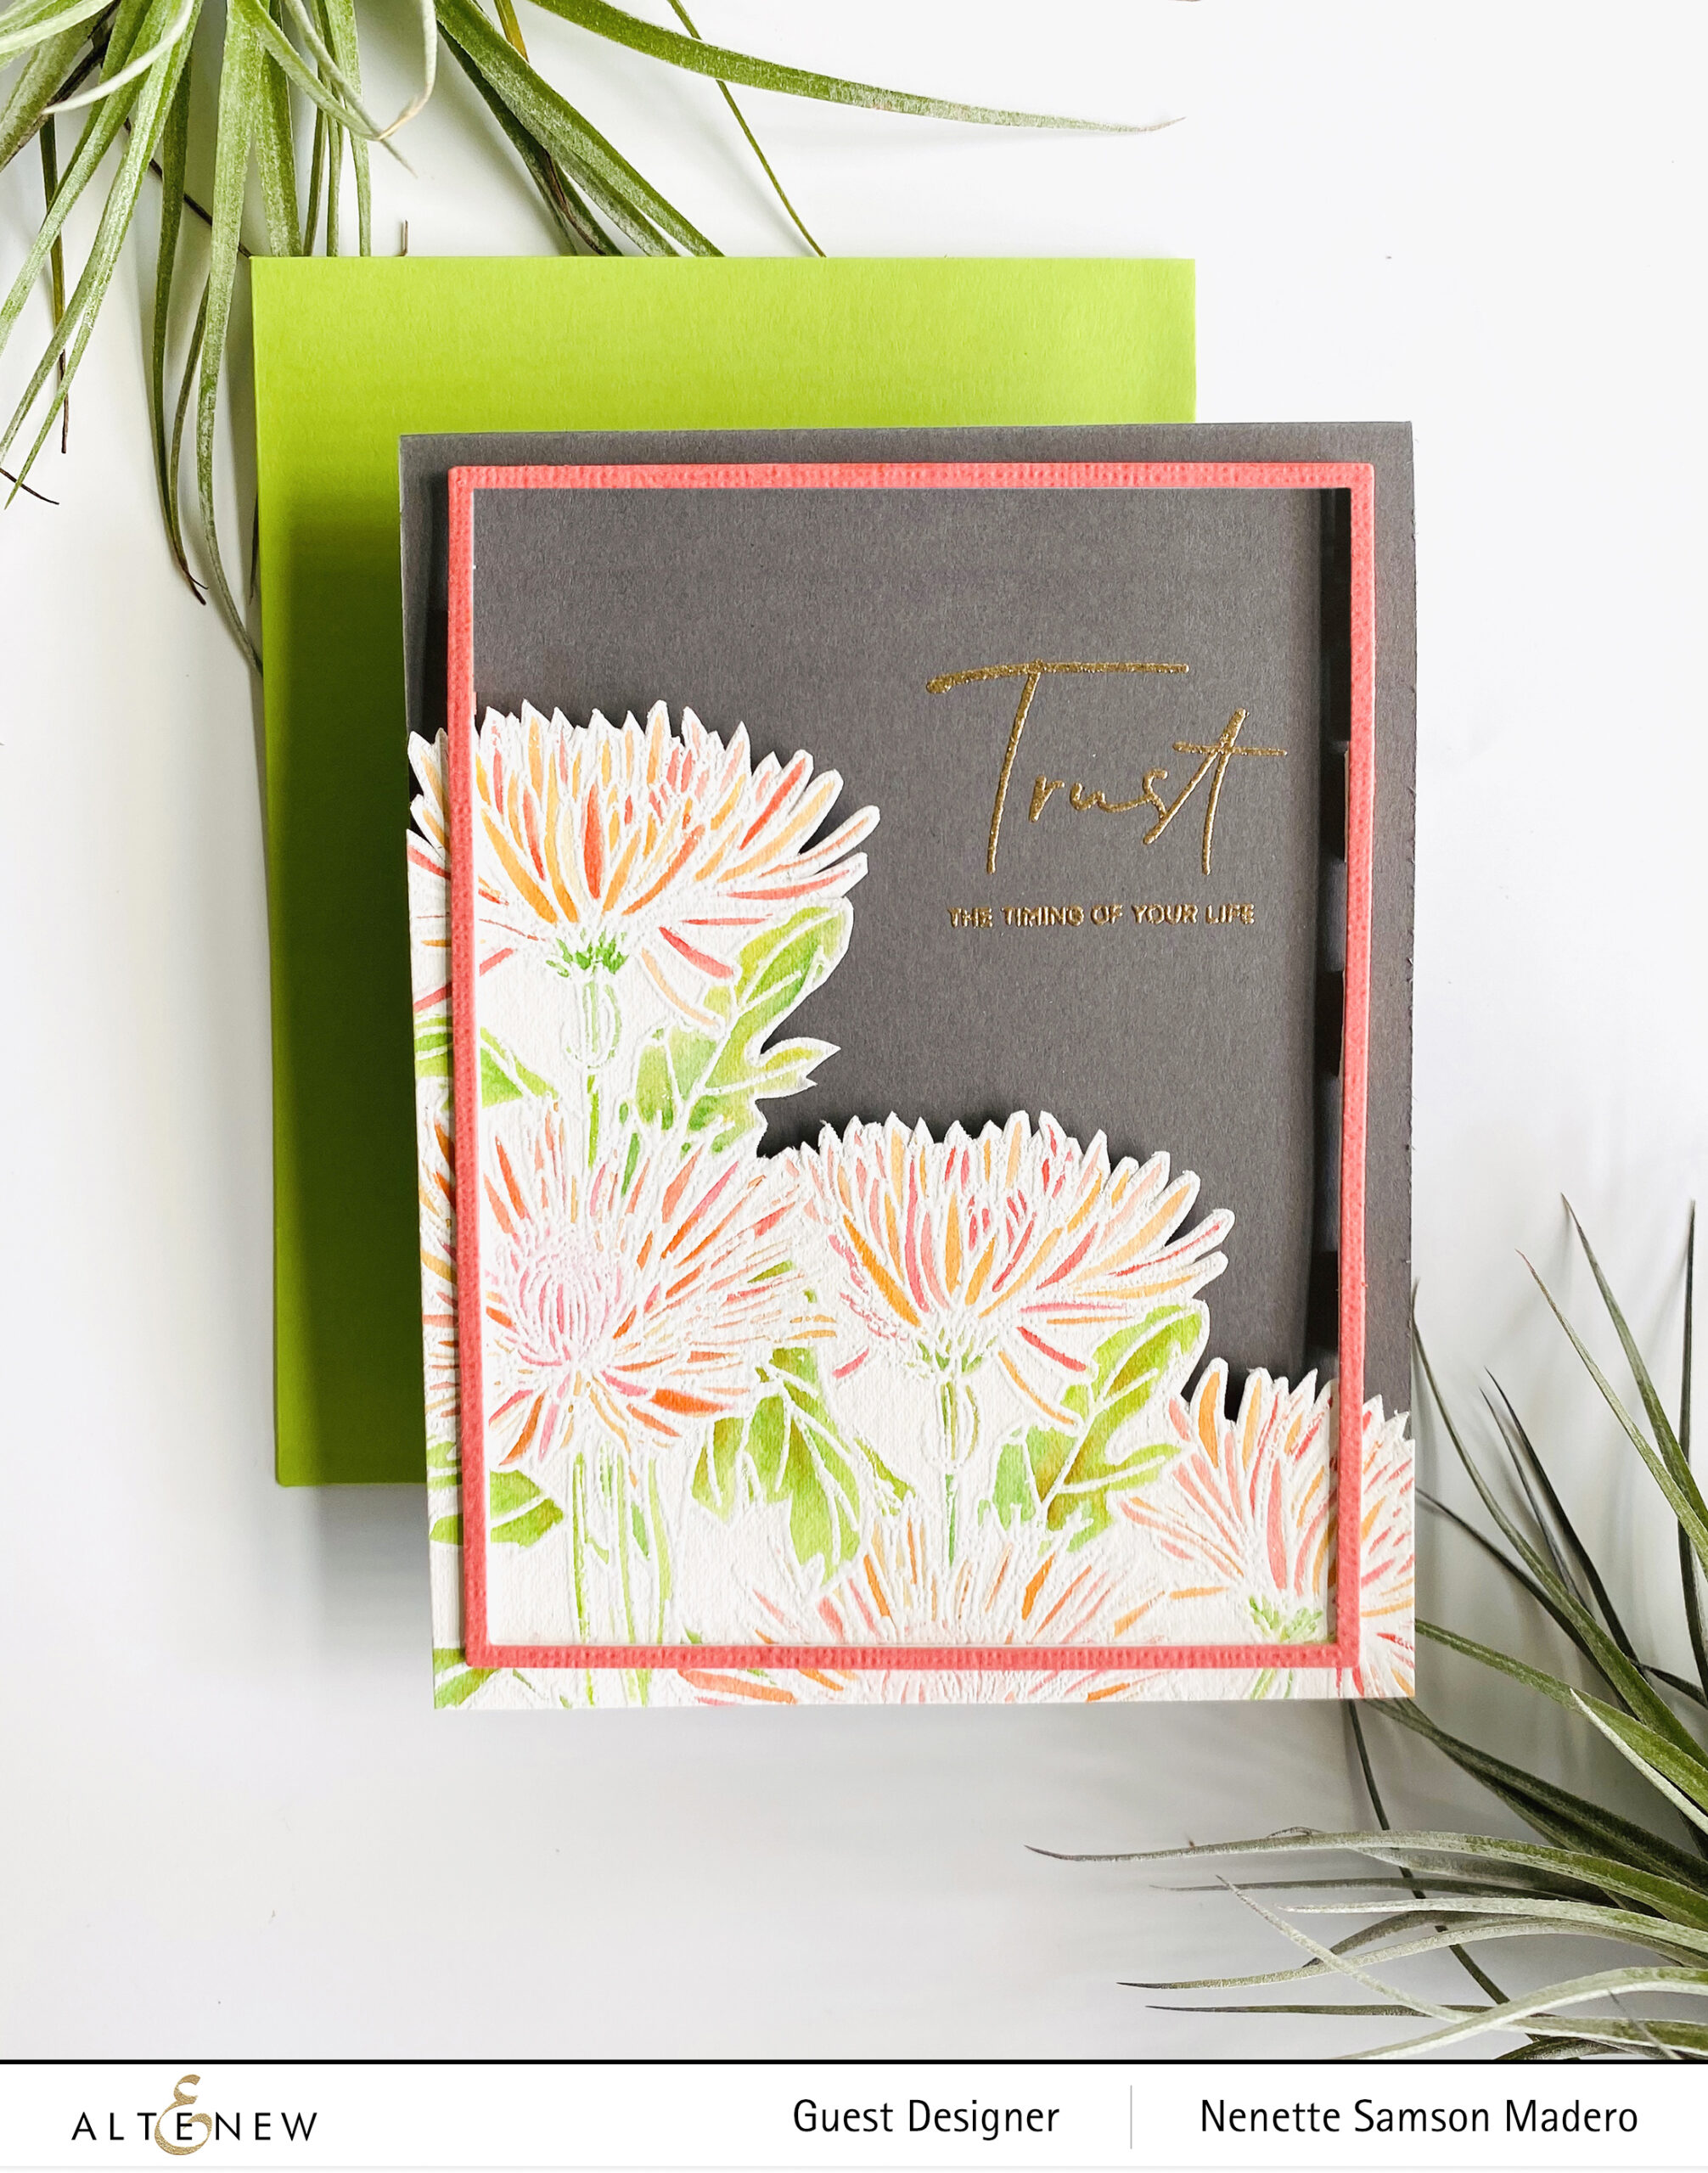
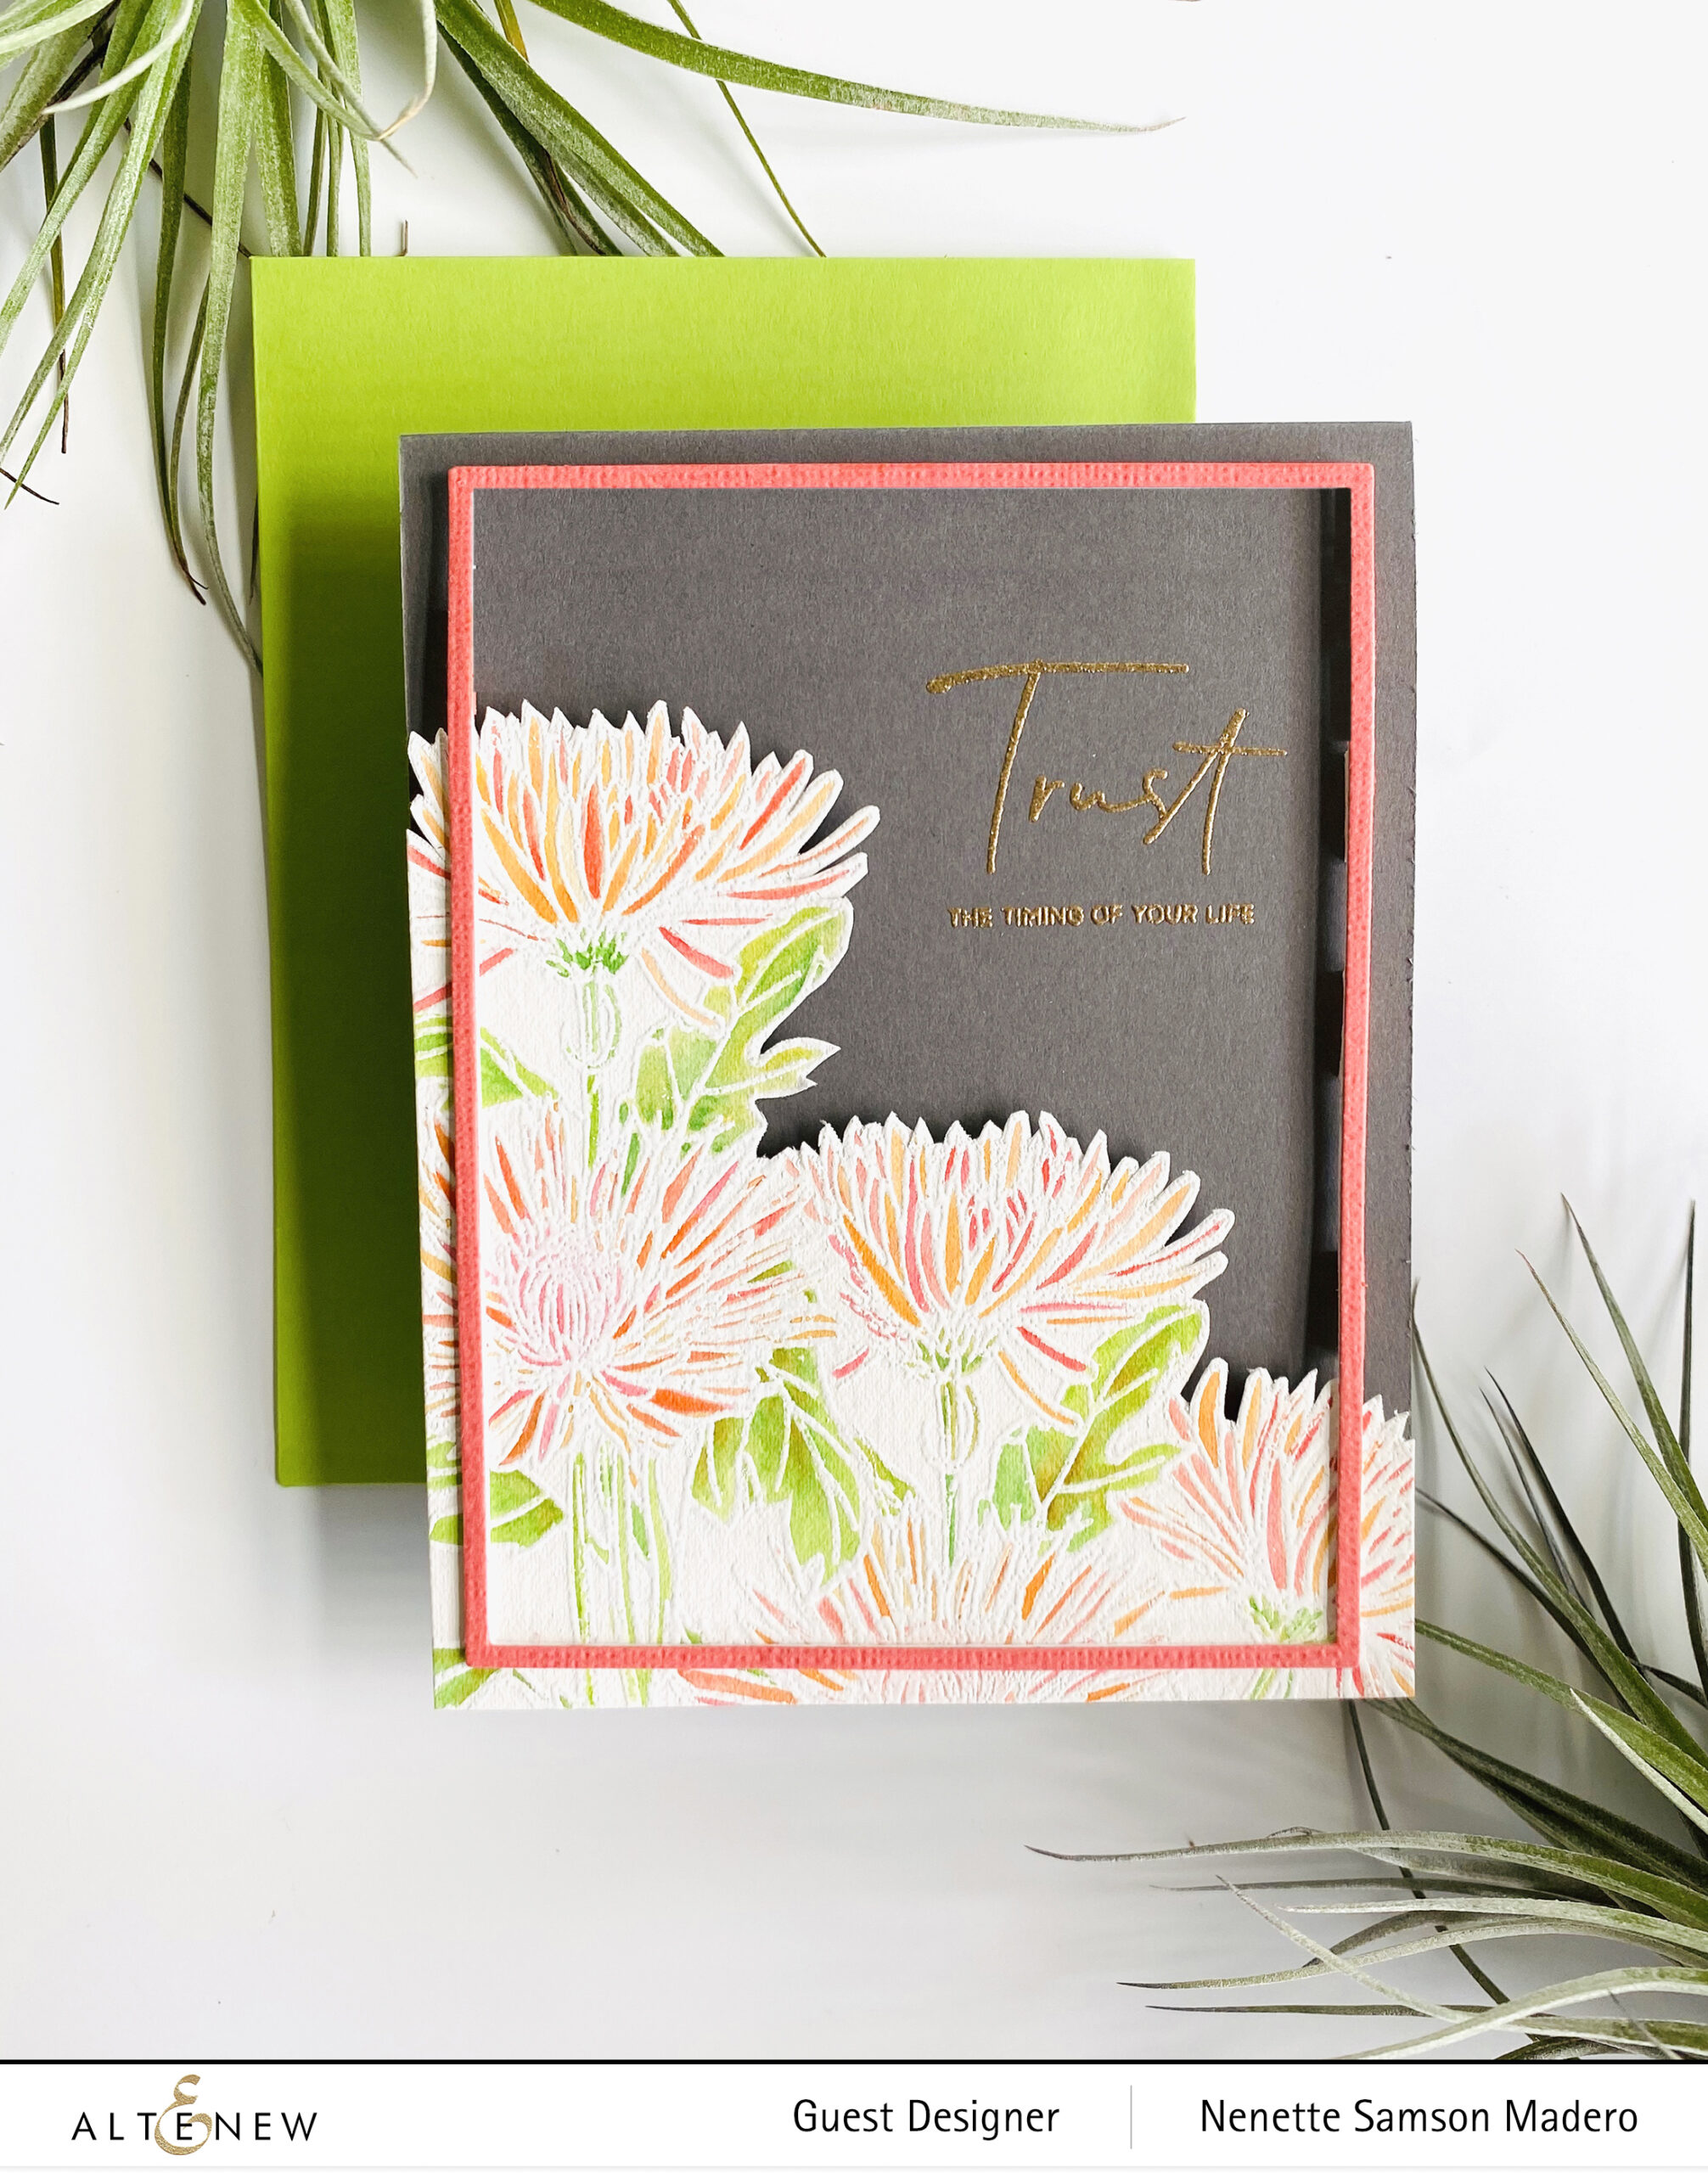
I love the sentiment on the card. Now that our lives are somewhat put on hold, I know in my heart that 2020 will hopefully make us realize what truly matters and make us better people so continue to trust, have faith and be hopeful.
For this card, I stamped the image using Versamark ink onto watercolor paper then heat embossed it using Pure White embossing powder. The image was then colored using the Woodless Watercolor Pencils. I fussy cut the top portion of the flowers and trimmed the left and bottom edges to fit on a top folding A2 sized card. The sentiment was stamped using Rose Gold embossing powder. Both the floral image and the Fine Frames cover die were adhered to the card front using foam squares.
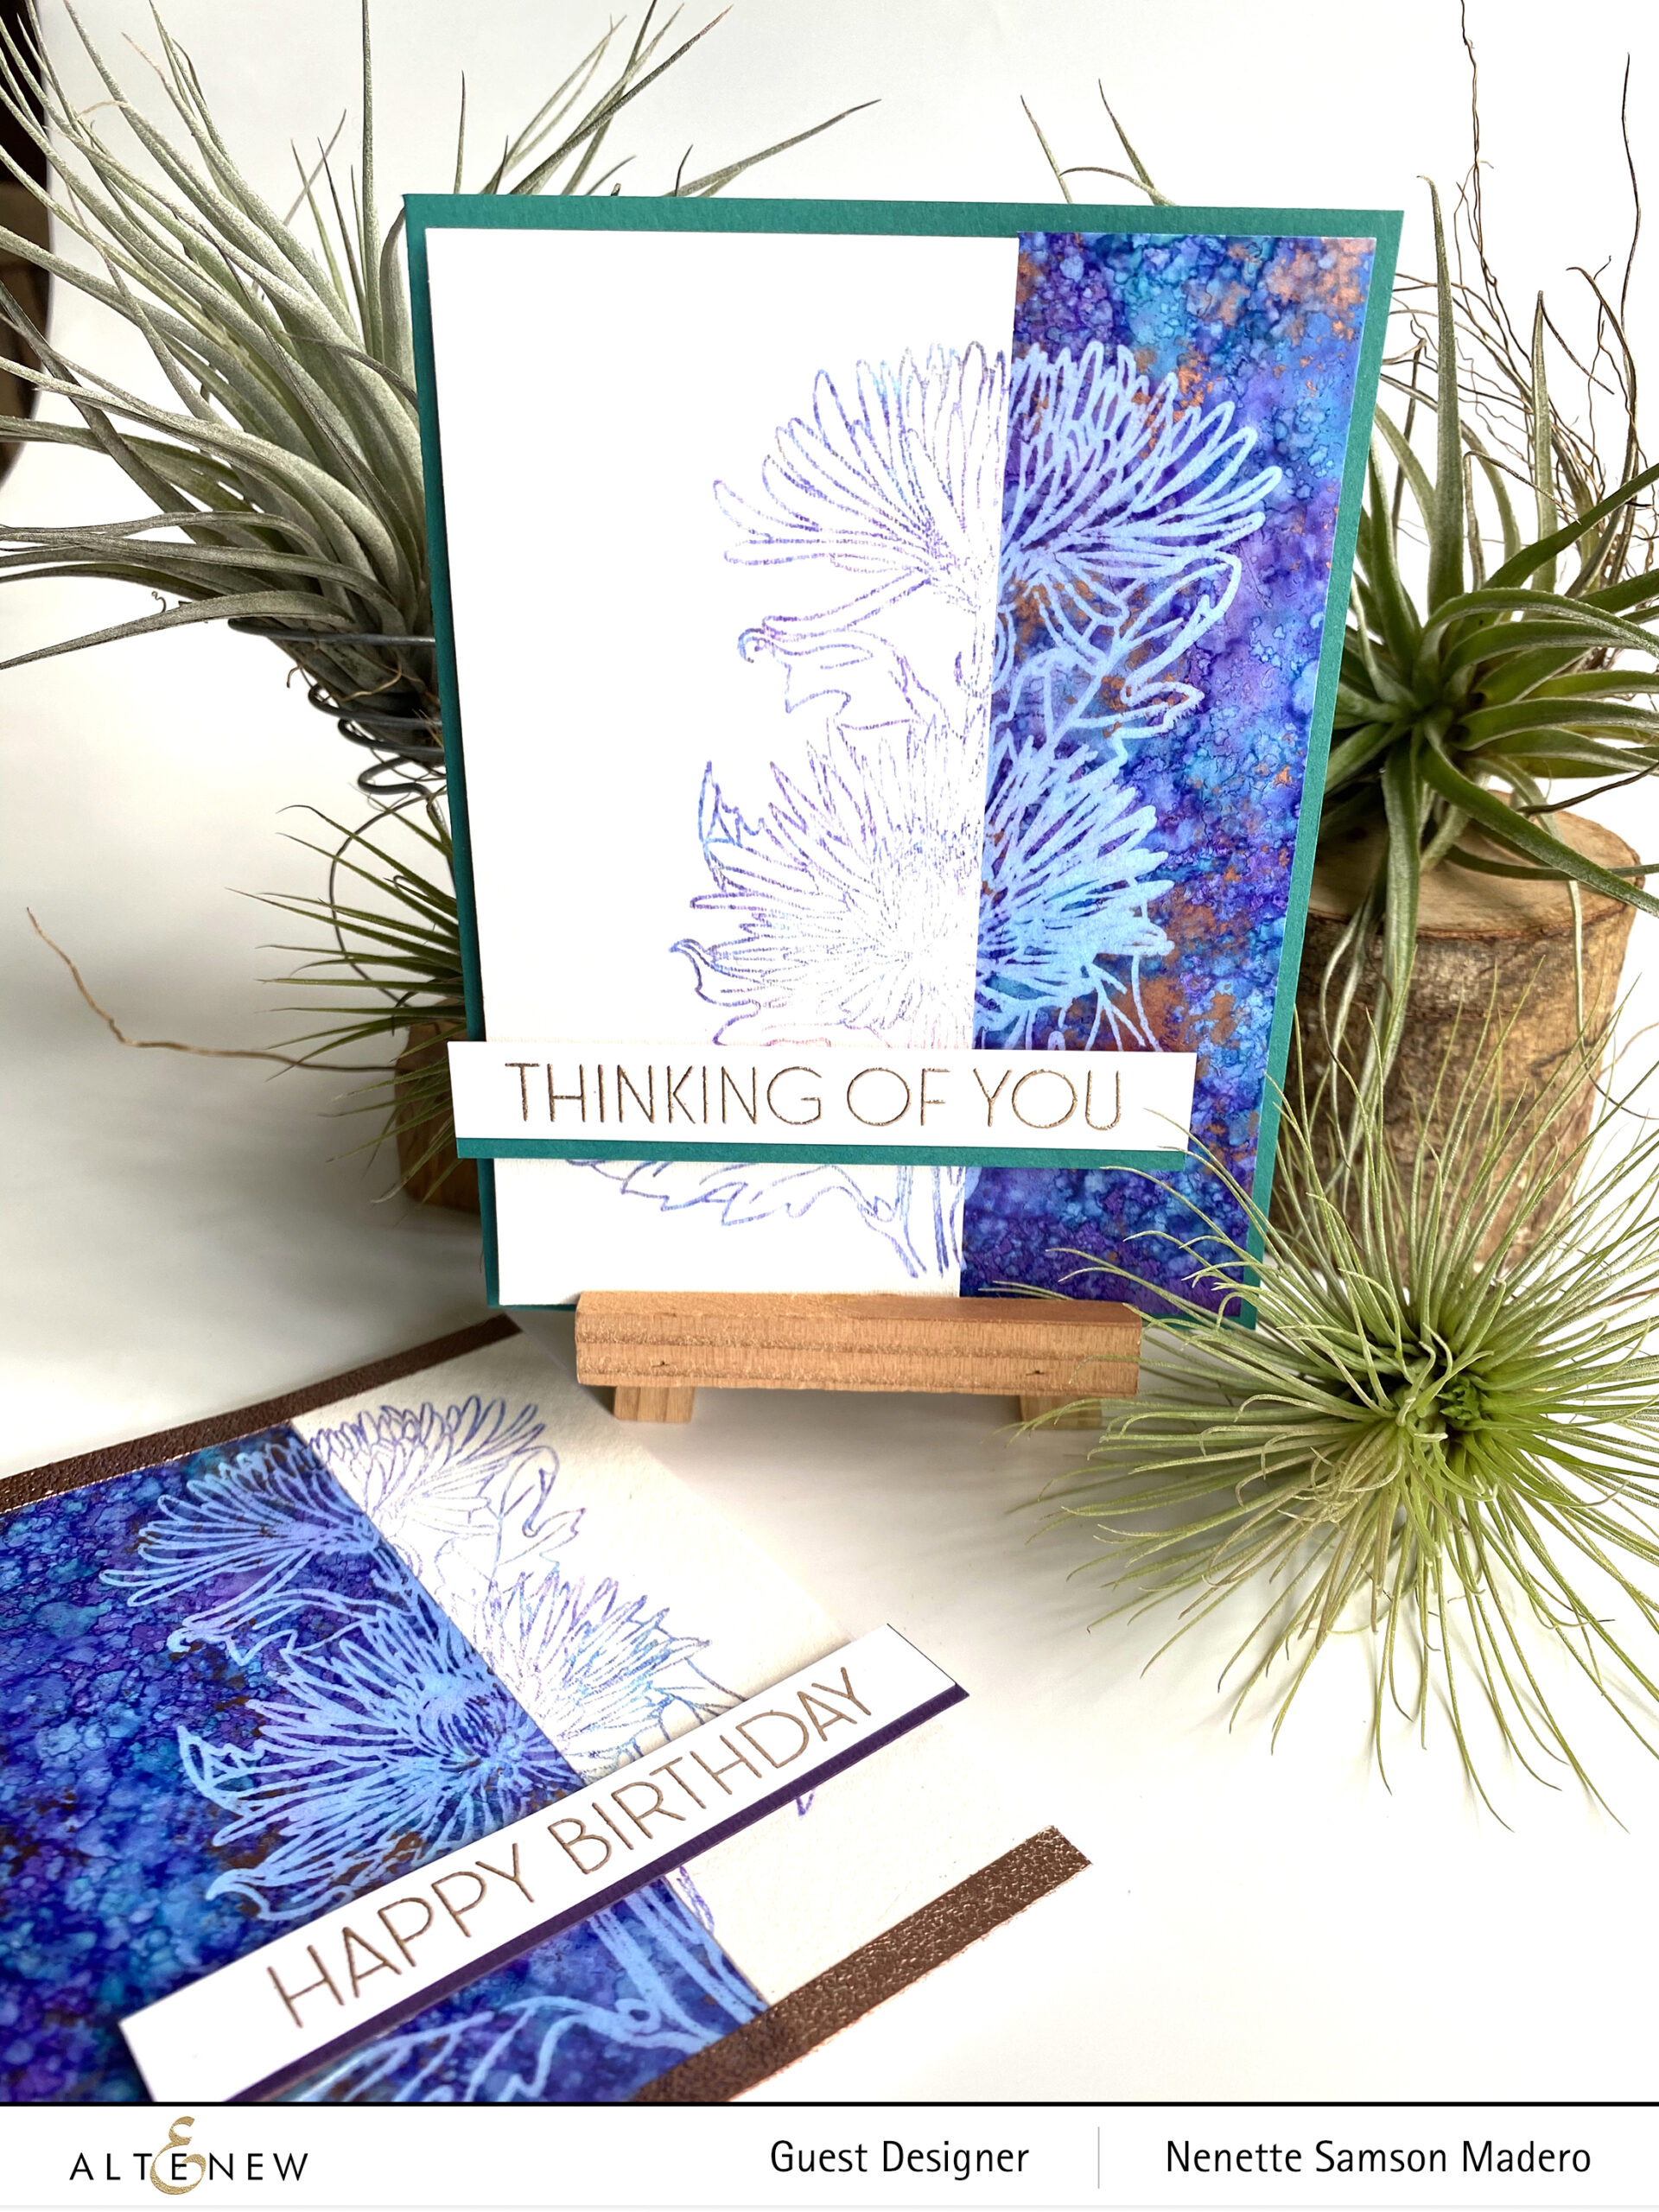
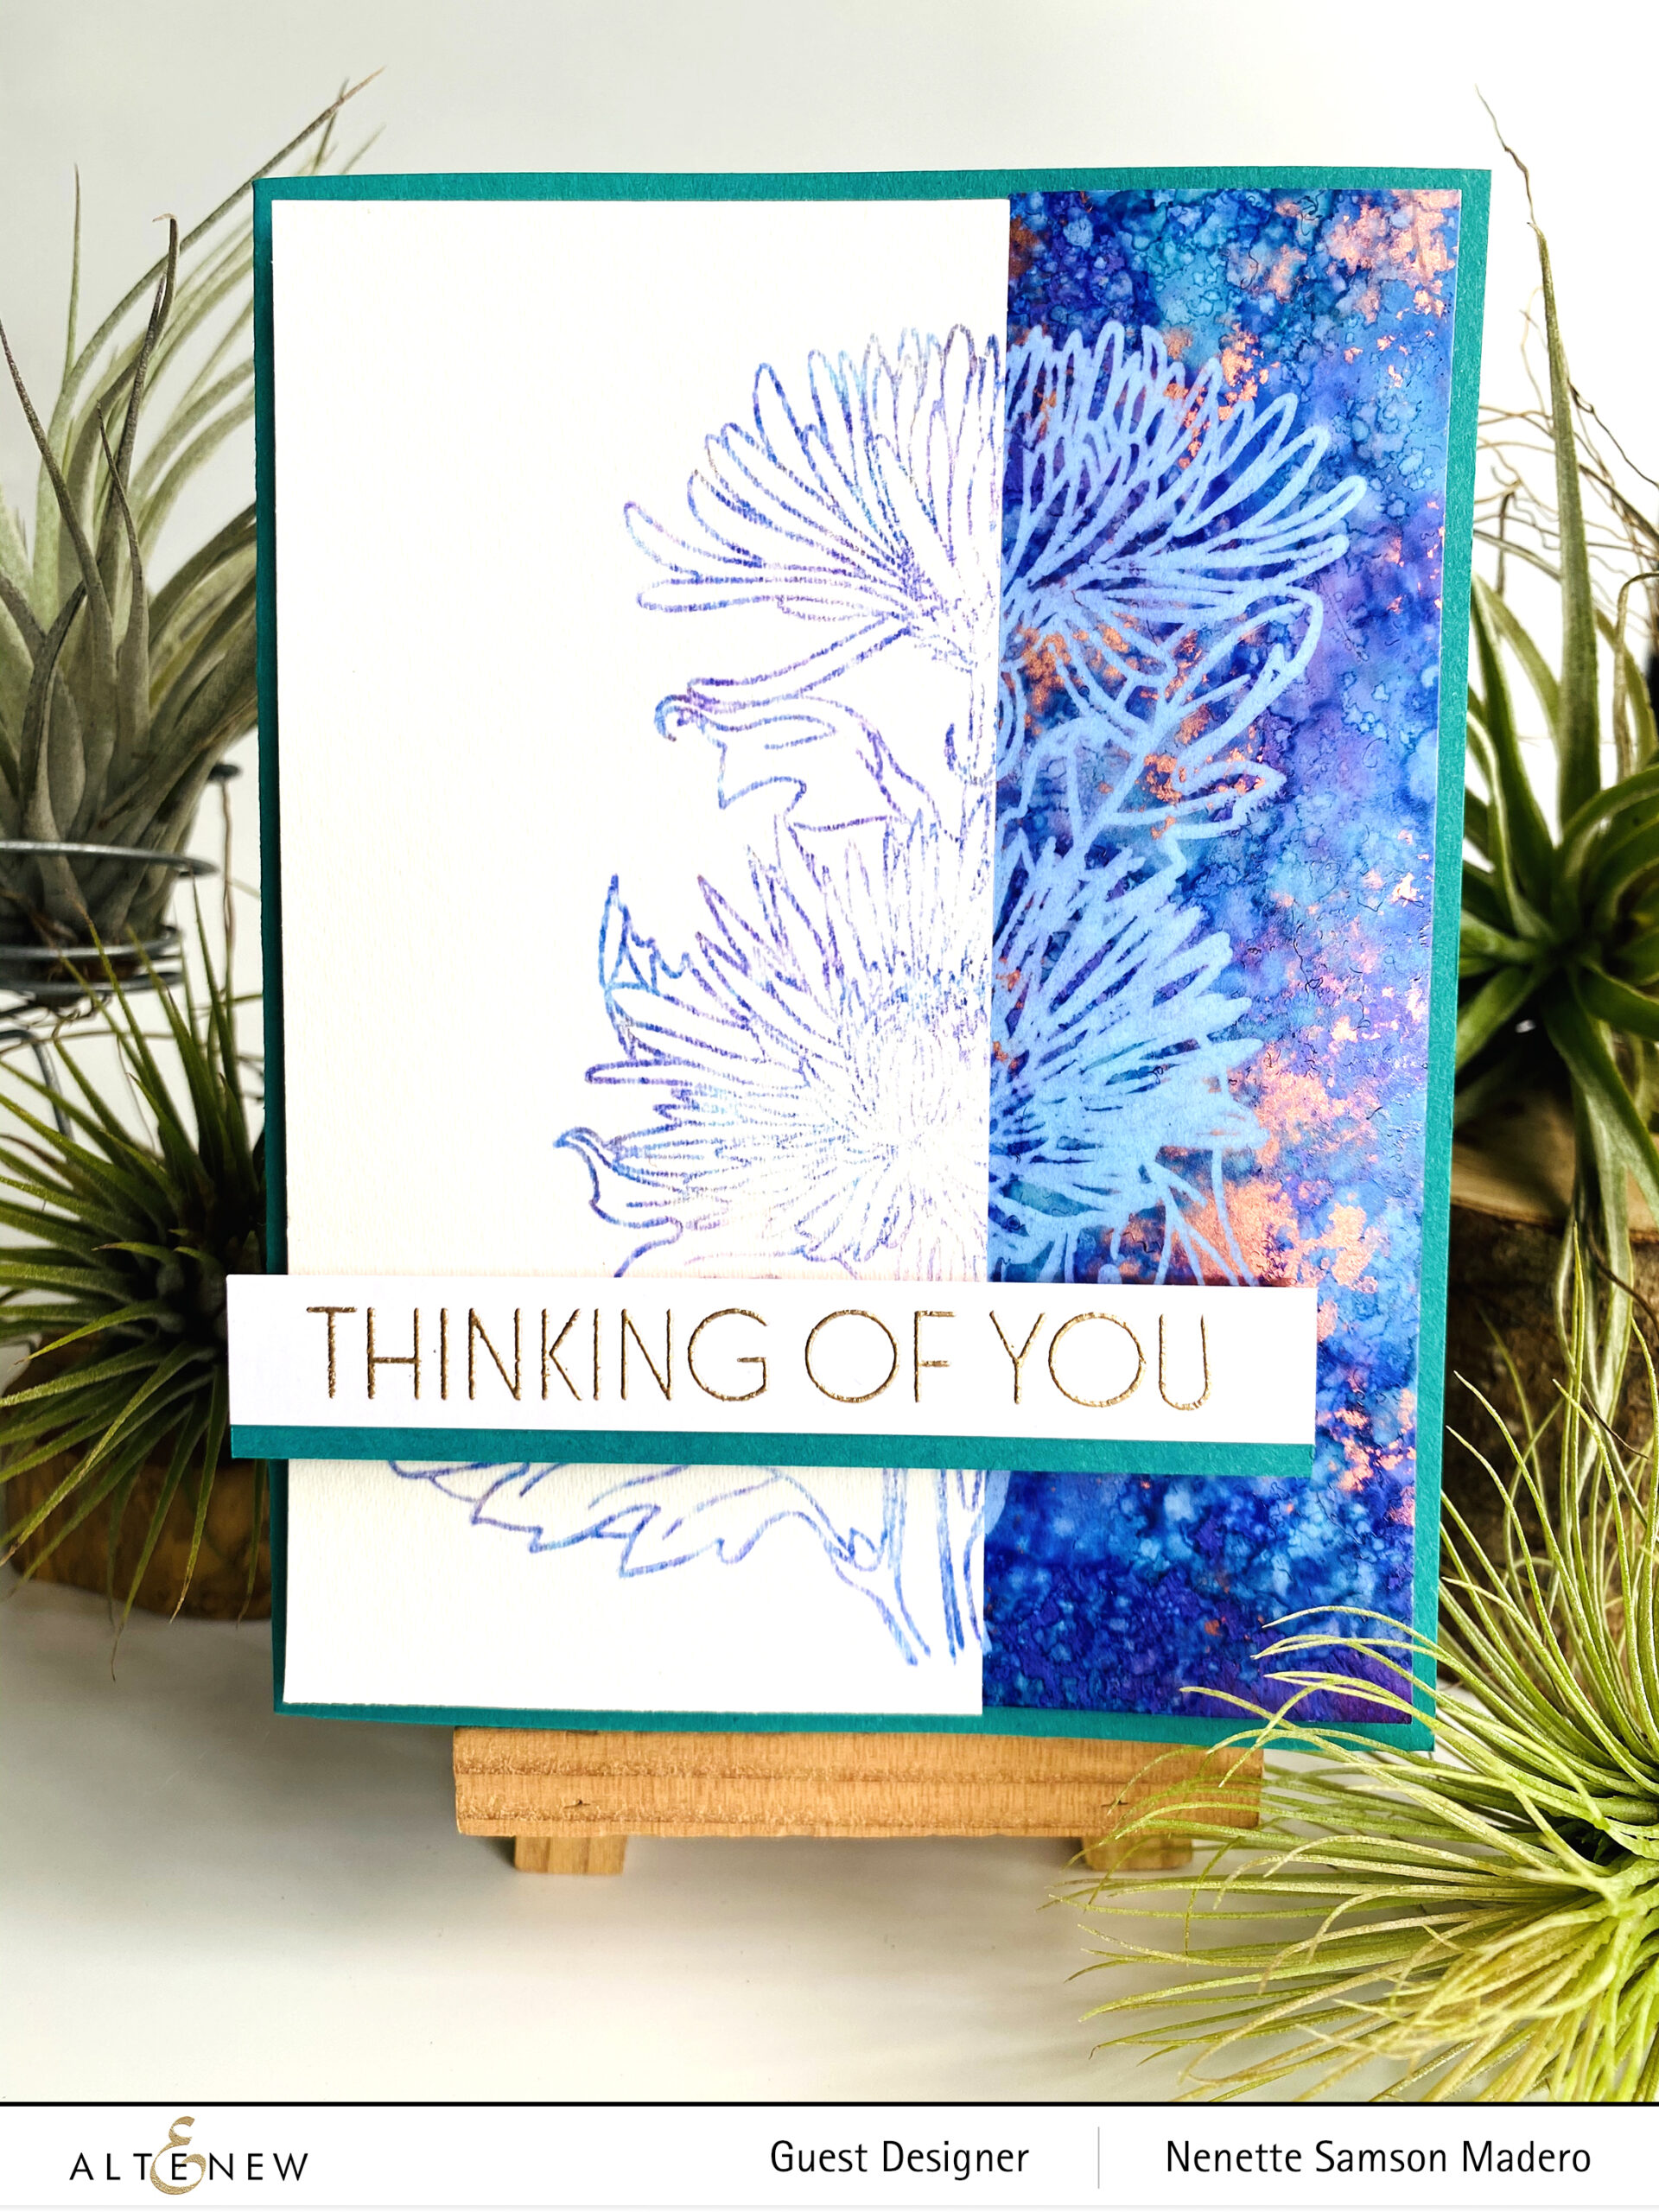
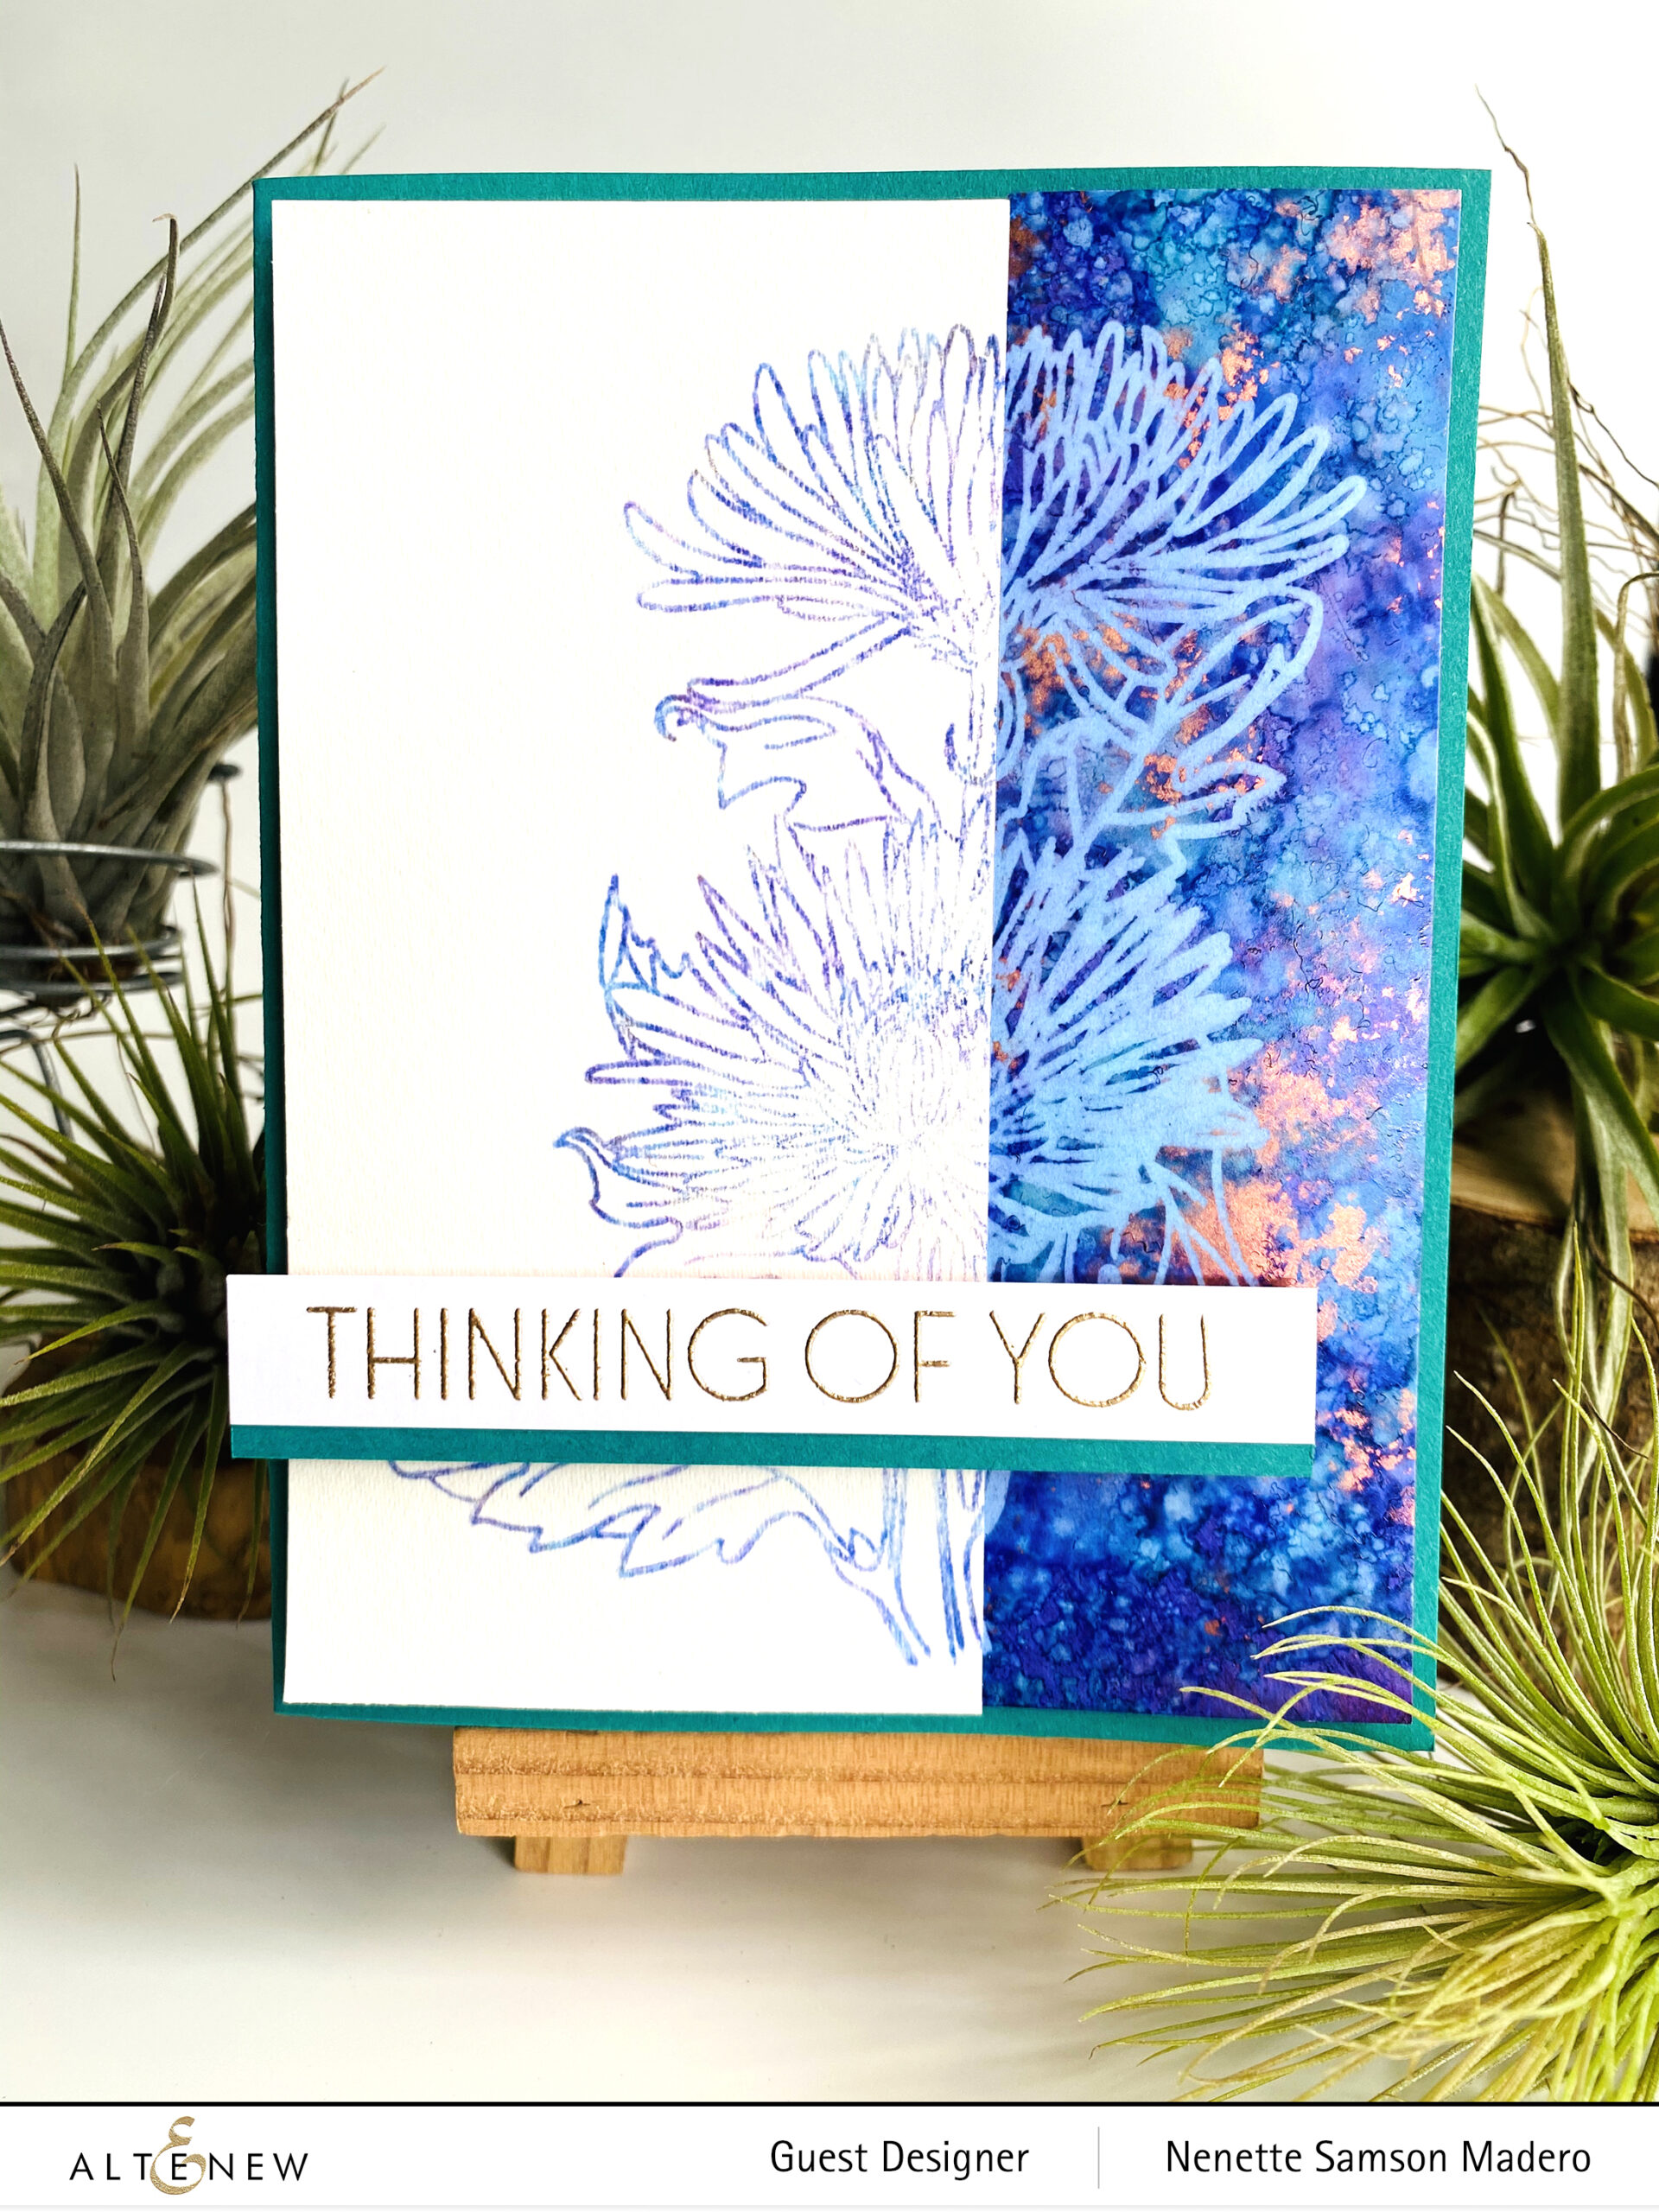
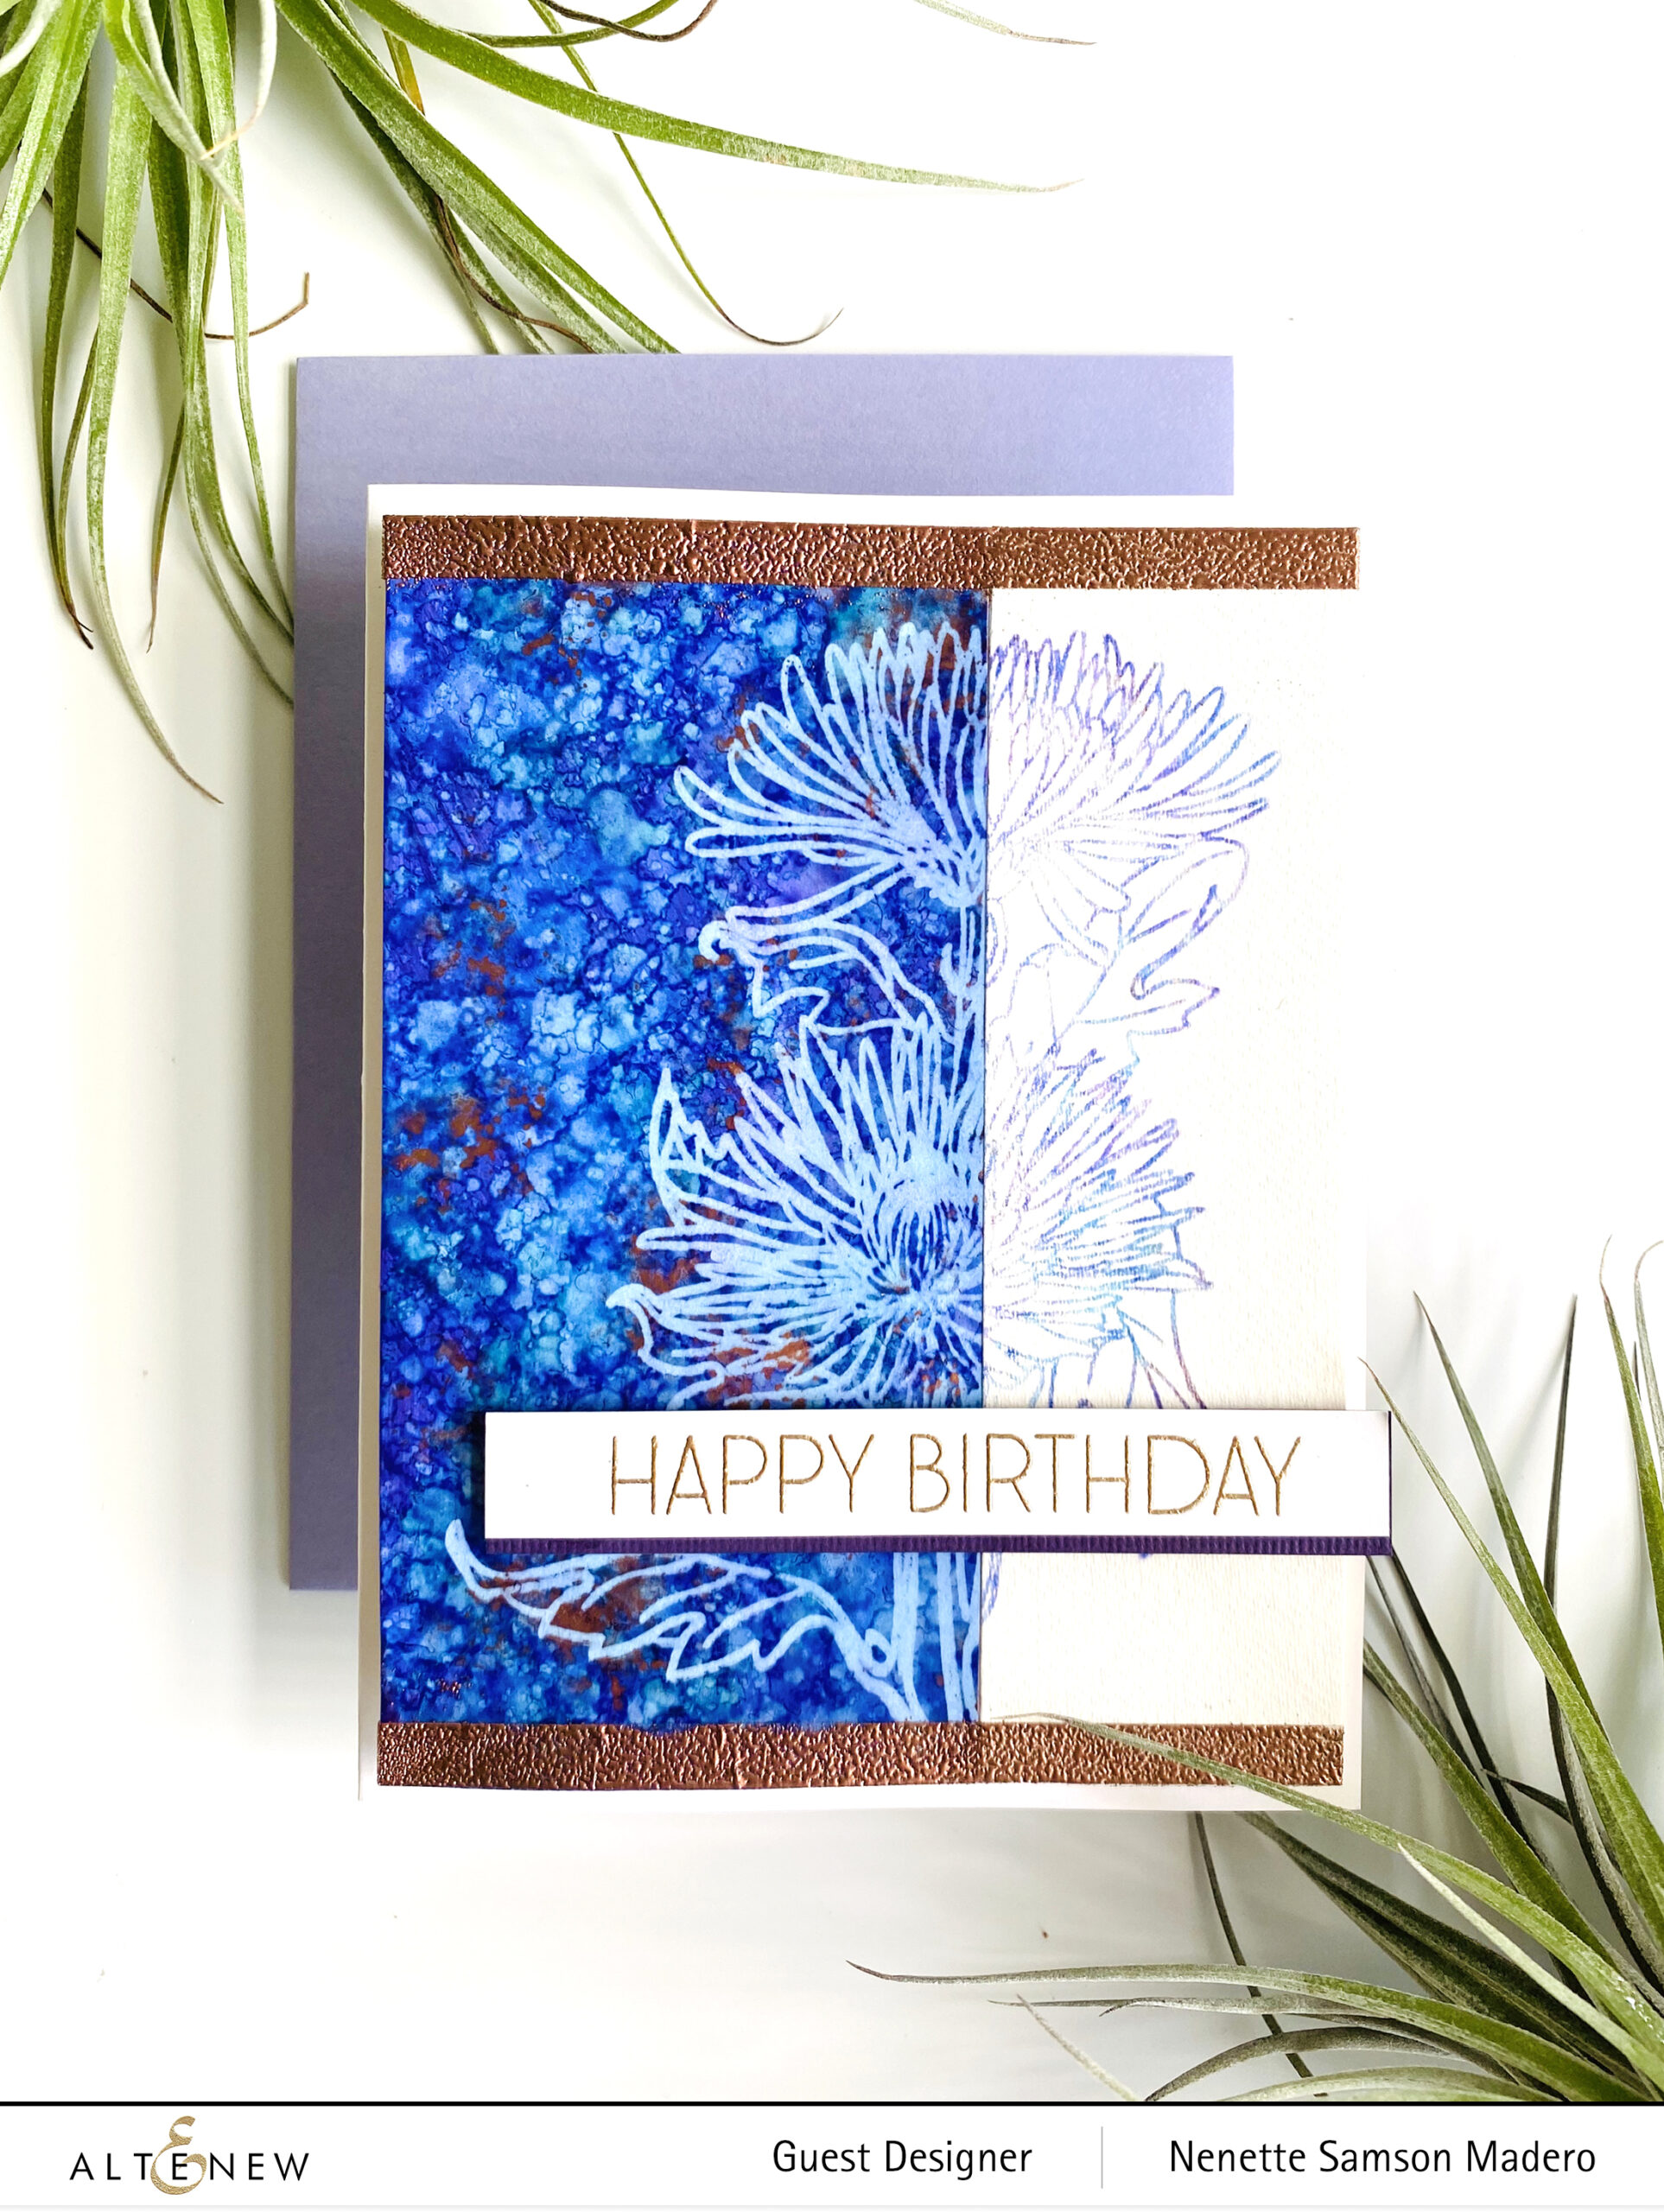
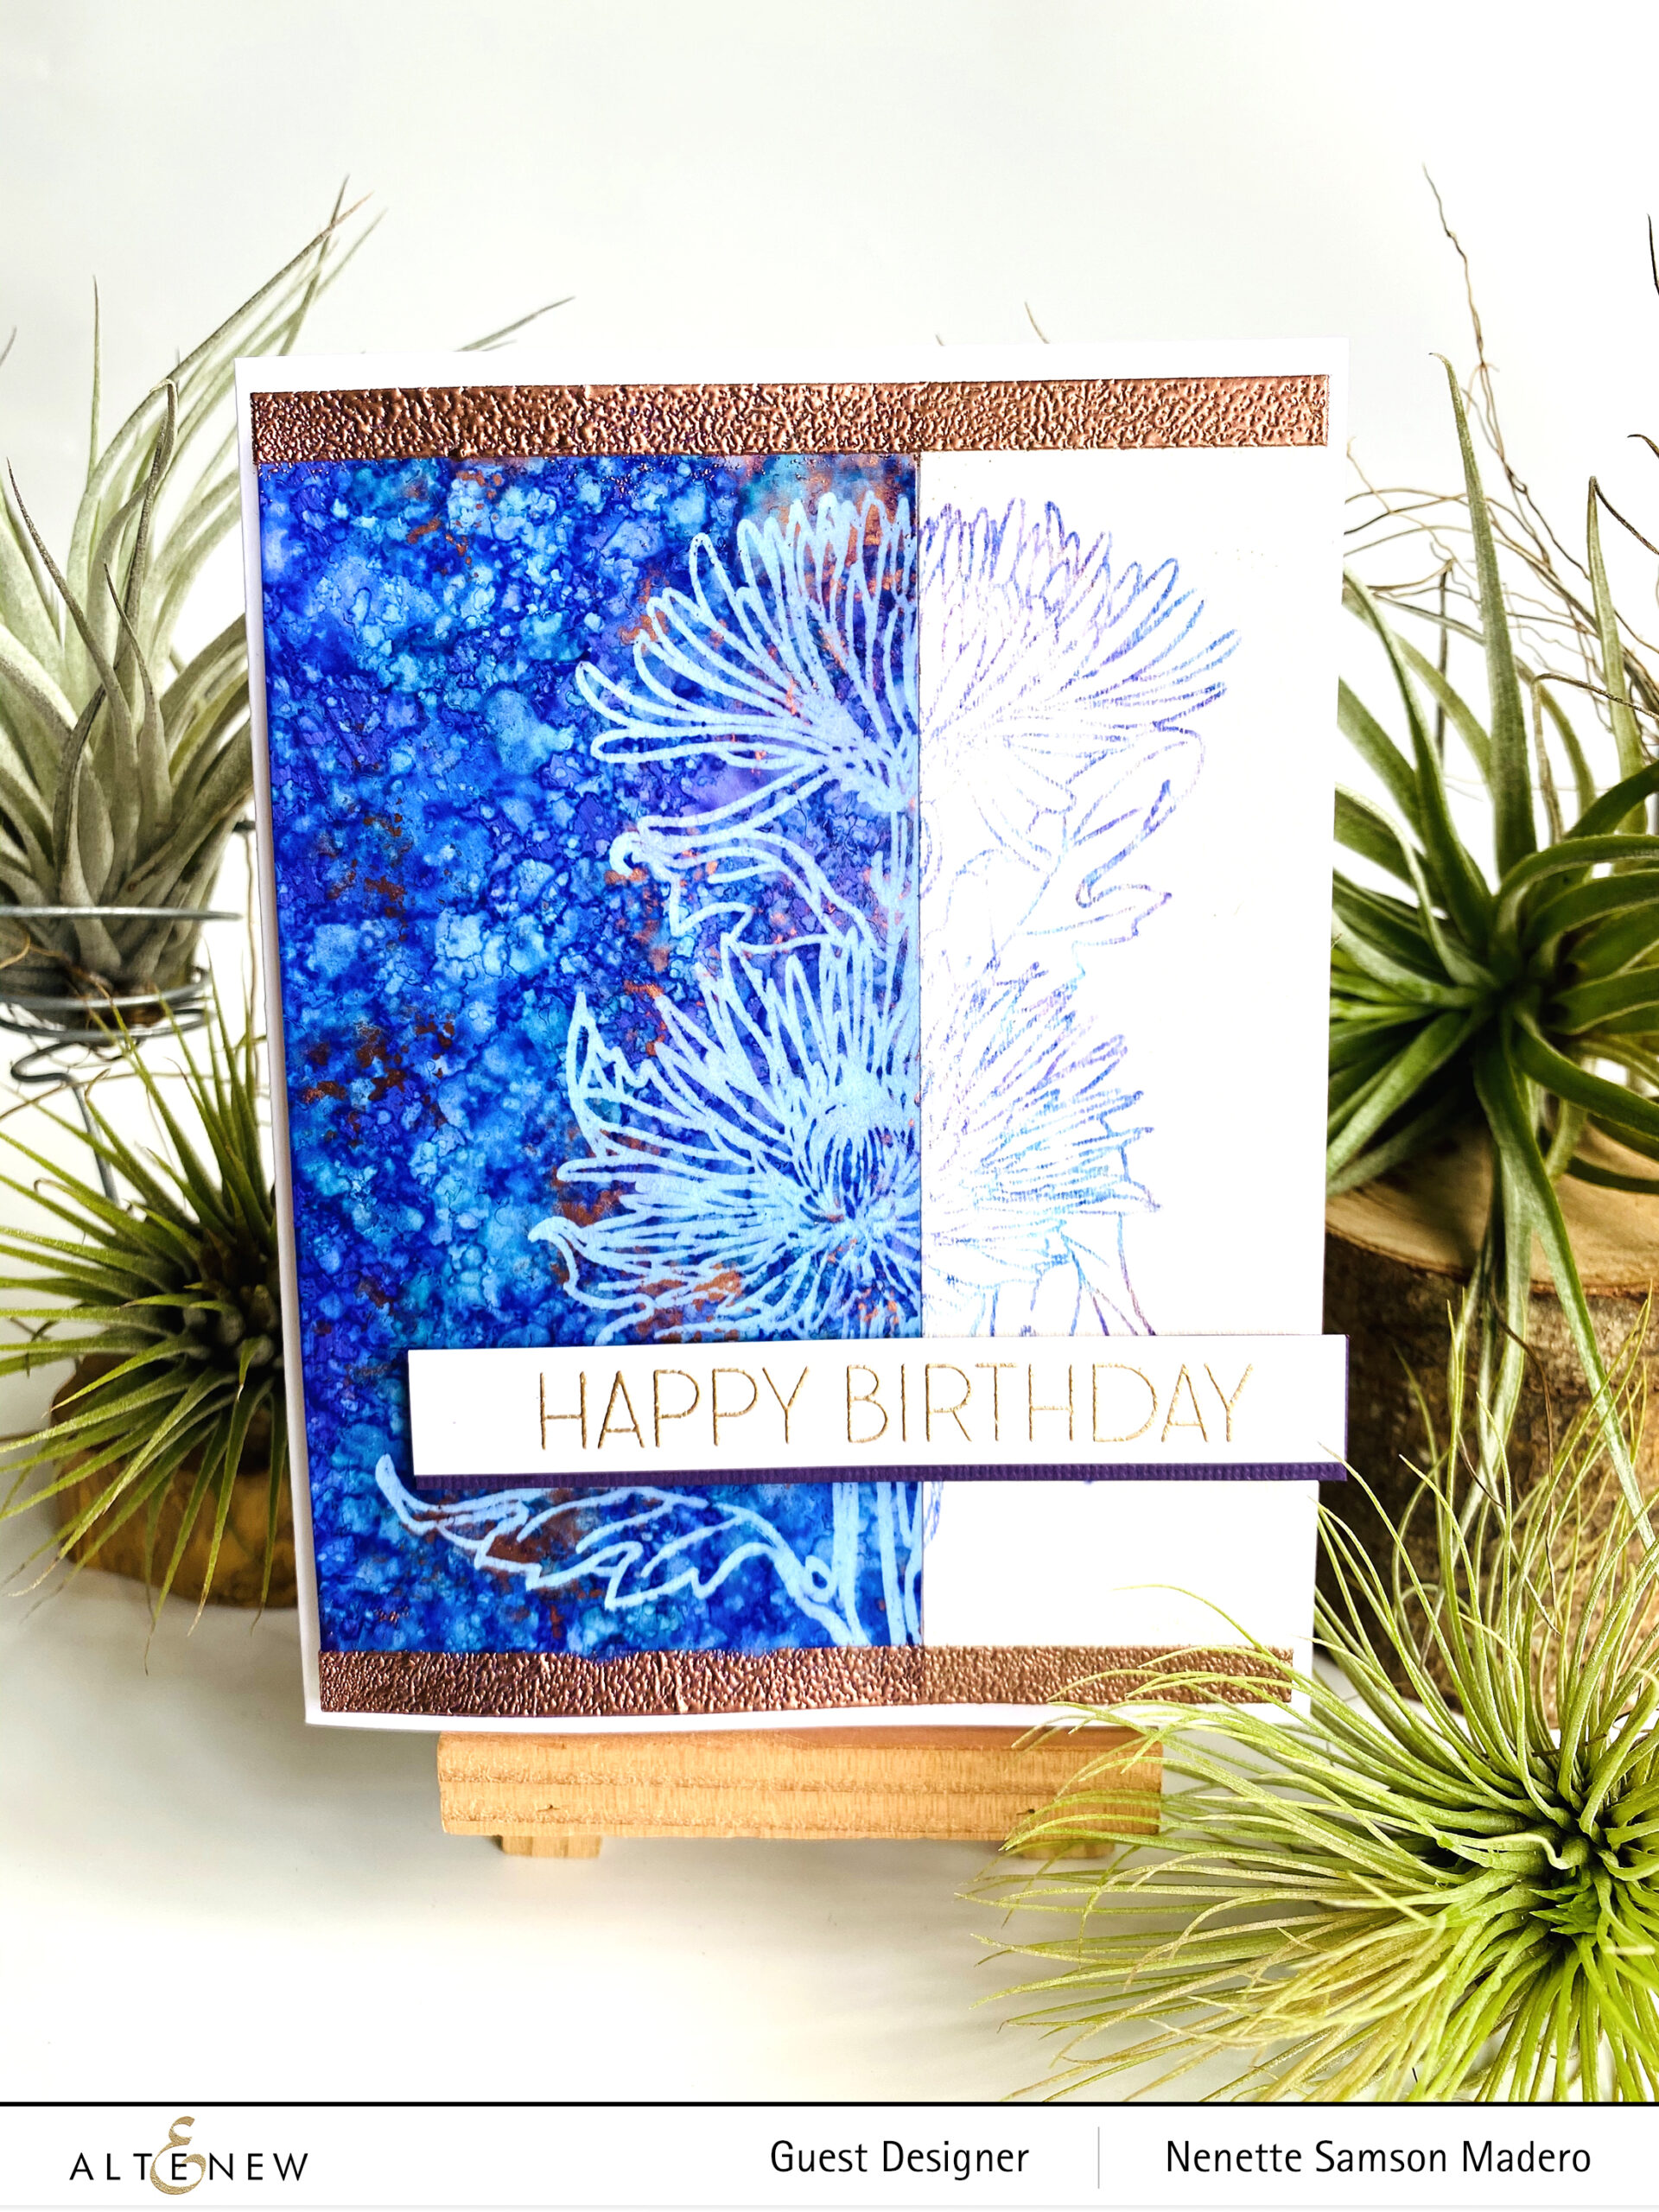
Here are two cards using the same technique. I learned this from Tim Holtz. First, I created the alcohol inked background. I added some alcohol to the Yupo paper, dropped 3 different shades of blue then allowed it to dry. I added more colors using an alcohol ink applicator tool and some blending solution. I added the copper mixative this way, too. When I was happy with the outcome, I used the Alcohol Lift Ink to remove the ink. I made sure to use a Misti for this step so that I can ago back and lift more ink. After lifting, I stamped the lifted ink onto watercolor paper (made sure to position the watercolor paper in the Misti the same position as the background). The stamp was cleaned before reinking again withe the Alcohol lift ink. I did this 4 times. After that, I dabbed the image with dry cloth to remove the excess Alcohol lift ink on the background then used a clean cloth to buff the image. This will make the image stand out more.
I then cut both pieces and then interchanged them to create 2 cards. Remember, lifting and stamping them using a Misti is a must for this technique to work.
HAPPY BIRTHDAY
This is the 2nd card created from the alcohol inked background. For this card, I added an embossed border using the Copper Embossing powder and double sided tape. Sentiment is from the Ornamental Bliss Stamp set.
GIVEAWAYS
To celebrate this release, Altenew is giving away a $30 gift certificate to 2 lucky winners! Please leave a comment on the Altenew Card Blog by 11/28/2020 for a chance to win. We’ll also draw a winner to receive a $15 gift certificate from the comments left on each designer’s blog on the blog hop list below. All winners will be announced on the Altenew Winners Page on 11/30/2020.
Next stop is my talented friend, Terri Koszler.Thank you so much for dropping by my blog. Your visit means so much to me! Don’t forget to leave a message– I truly enjoy reading all your wonderful comments! If you like my creations, it would be wonderful if you can follow me on Instagram @mylittleatticstudio. Stay well and inspired! Happy crafting!
SUPPLY LIST
Affiliate links are used
ALTENEW ROSE GOLD CRISP EMBOSSING POWDER Shop at: ALT | MLA
ALTENEW PURE WHITE CRISP EMBOSSING POWDER Shop at: ALT | MLA