Hello, everyone! Welcome to Altenew’s Build-a-Flower: Bearded Iris Release blog hop + giveaway!!! I’m so thrilled to be joining the designers for this hop! If you just came from Linda Westfall‘s blog, then you almost made it to the finish line!!! You will find the complete blog hop list on the Altenew card blog.
Take a look at this beautiful layering set! For my samples, I made one using only the outline layer and the other using all the layers.
All Altenew products are linked to Altenew’s online store so that it’s easy for you to find them. These are not affiliate links… I just want it to be easier for you to find the items in the store. 😊
Stamp with Versamark ink and emboss the outline image using Rose Gold embossing powder.
Color the image using the Water Garden Artist Alcohol Markers set G
Die-cut Neenah solar white using the Nesting frames die then deboss with the Dotted Starburst debossing die
Stamp the sentiment on black cardstock using Versarmark ink and emboss with Pure white embossing powder.
Create an ombre background using distress oxide inks.
Distress the edges of the background with a paper distresser.
Assemble the card with foam squares for added dimension.
Because the vellum is a non-porous surface, it it’s easier to move and blend the the pigments. With paper, the ink will seep into the fibers very quickly. It wasn’t difficult to create the texture on the flowers by using different shades of the same color.
For this card, I used both the outline stamp set and the layering stamps.
Stamp Neenah solar white cardstock using the outline stamp and Ink on 3 no line coloring ink.
Layer the stamp layers to create a flower using the Warm and Cozy dye ink set. Stamp the leaves using Nature’s Wonders ink set.
Stamp the outline image on making paper then cut out the image to create a mask.
Cover the layered flower with the cut out masking paper and stamp the outline image using Versafine Onyx black.
Create a scalloped edge using the die.
Mat with gold cardstock.
Die-cut the sentiment 5 times. Add Versamark Ink to the lower part of the die-cut and emboss using Rose Gold embossing powder.
Assemble the card with foam squares.
PRIZES
$200 in total prizes! To celebrate this release, Altenew is giving away a $50 gift certificate to 2 lucky winners and a $20 gift certificate to 5 winners! Please leave a comment on the Altenew Card Blog and/or each designer’s blog post on the blog hop list below by 07/07/2021 for a chance to win. Altenew will draw 7 random winners from the comments left on each stop of this blog hop and announce the winners on the Altenew Winners Page on 07/09/2021.
Next up is Svitlana Shayevich I hope you liked the cards I made for this hop. Don’t forget to leave a comment to get a chance to win some prizes from Altenew! Thanks so much for dropping by and stay safe, everyone!!!
Hello, everyone! Welcome to the Altenew Educators blog hop with the theme “Anything But a Card” !!! If you just came from Eva Bussom’s blog, then you’re on the right track. If you get lost, you can find the complete blog hop list on Altenew’s blog or at the end of this post.
When Erum invited me to join this hop, I was so excited because of the theme! I enjoyed creating projects that were not cards for a change, and I hope you will like them, too!
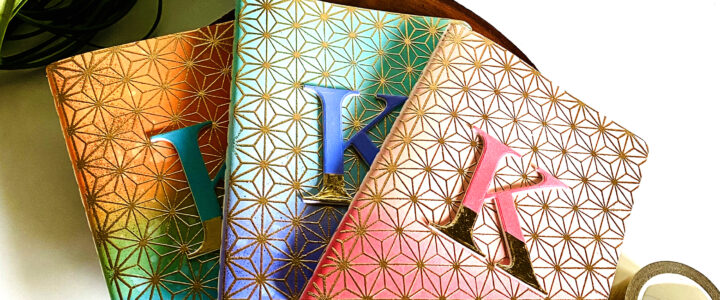
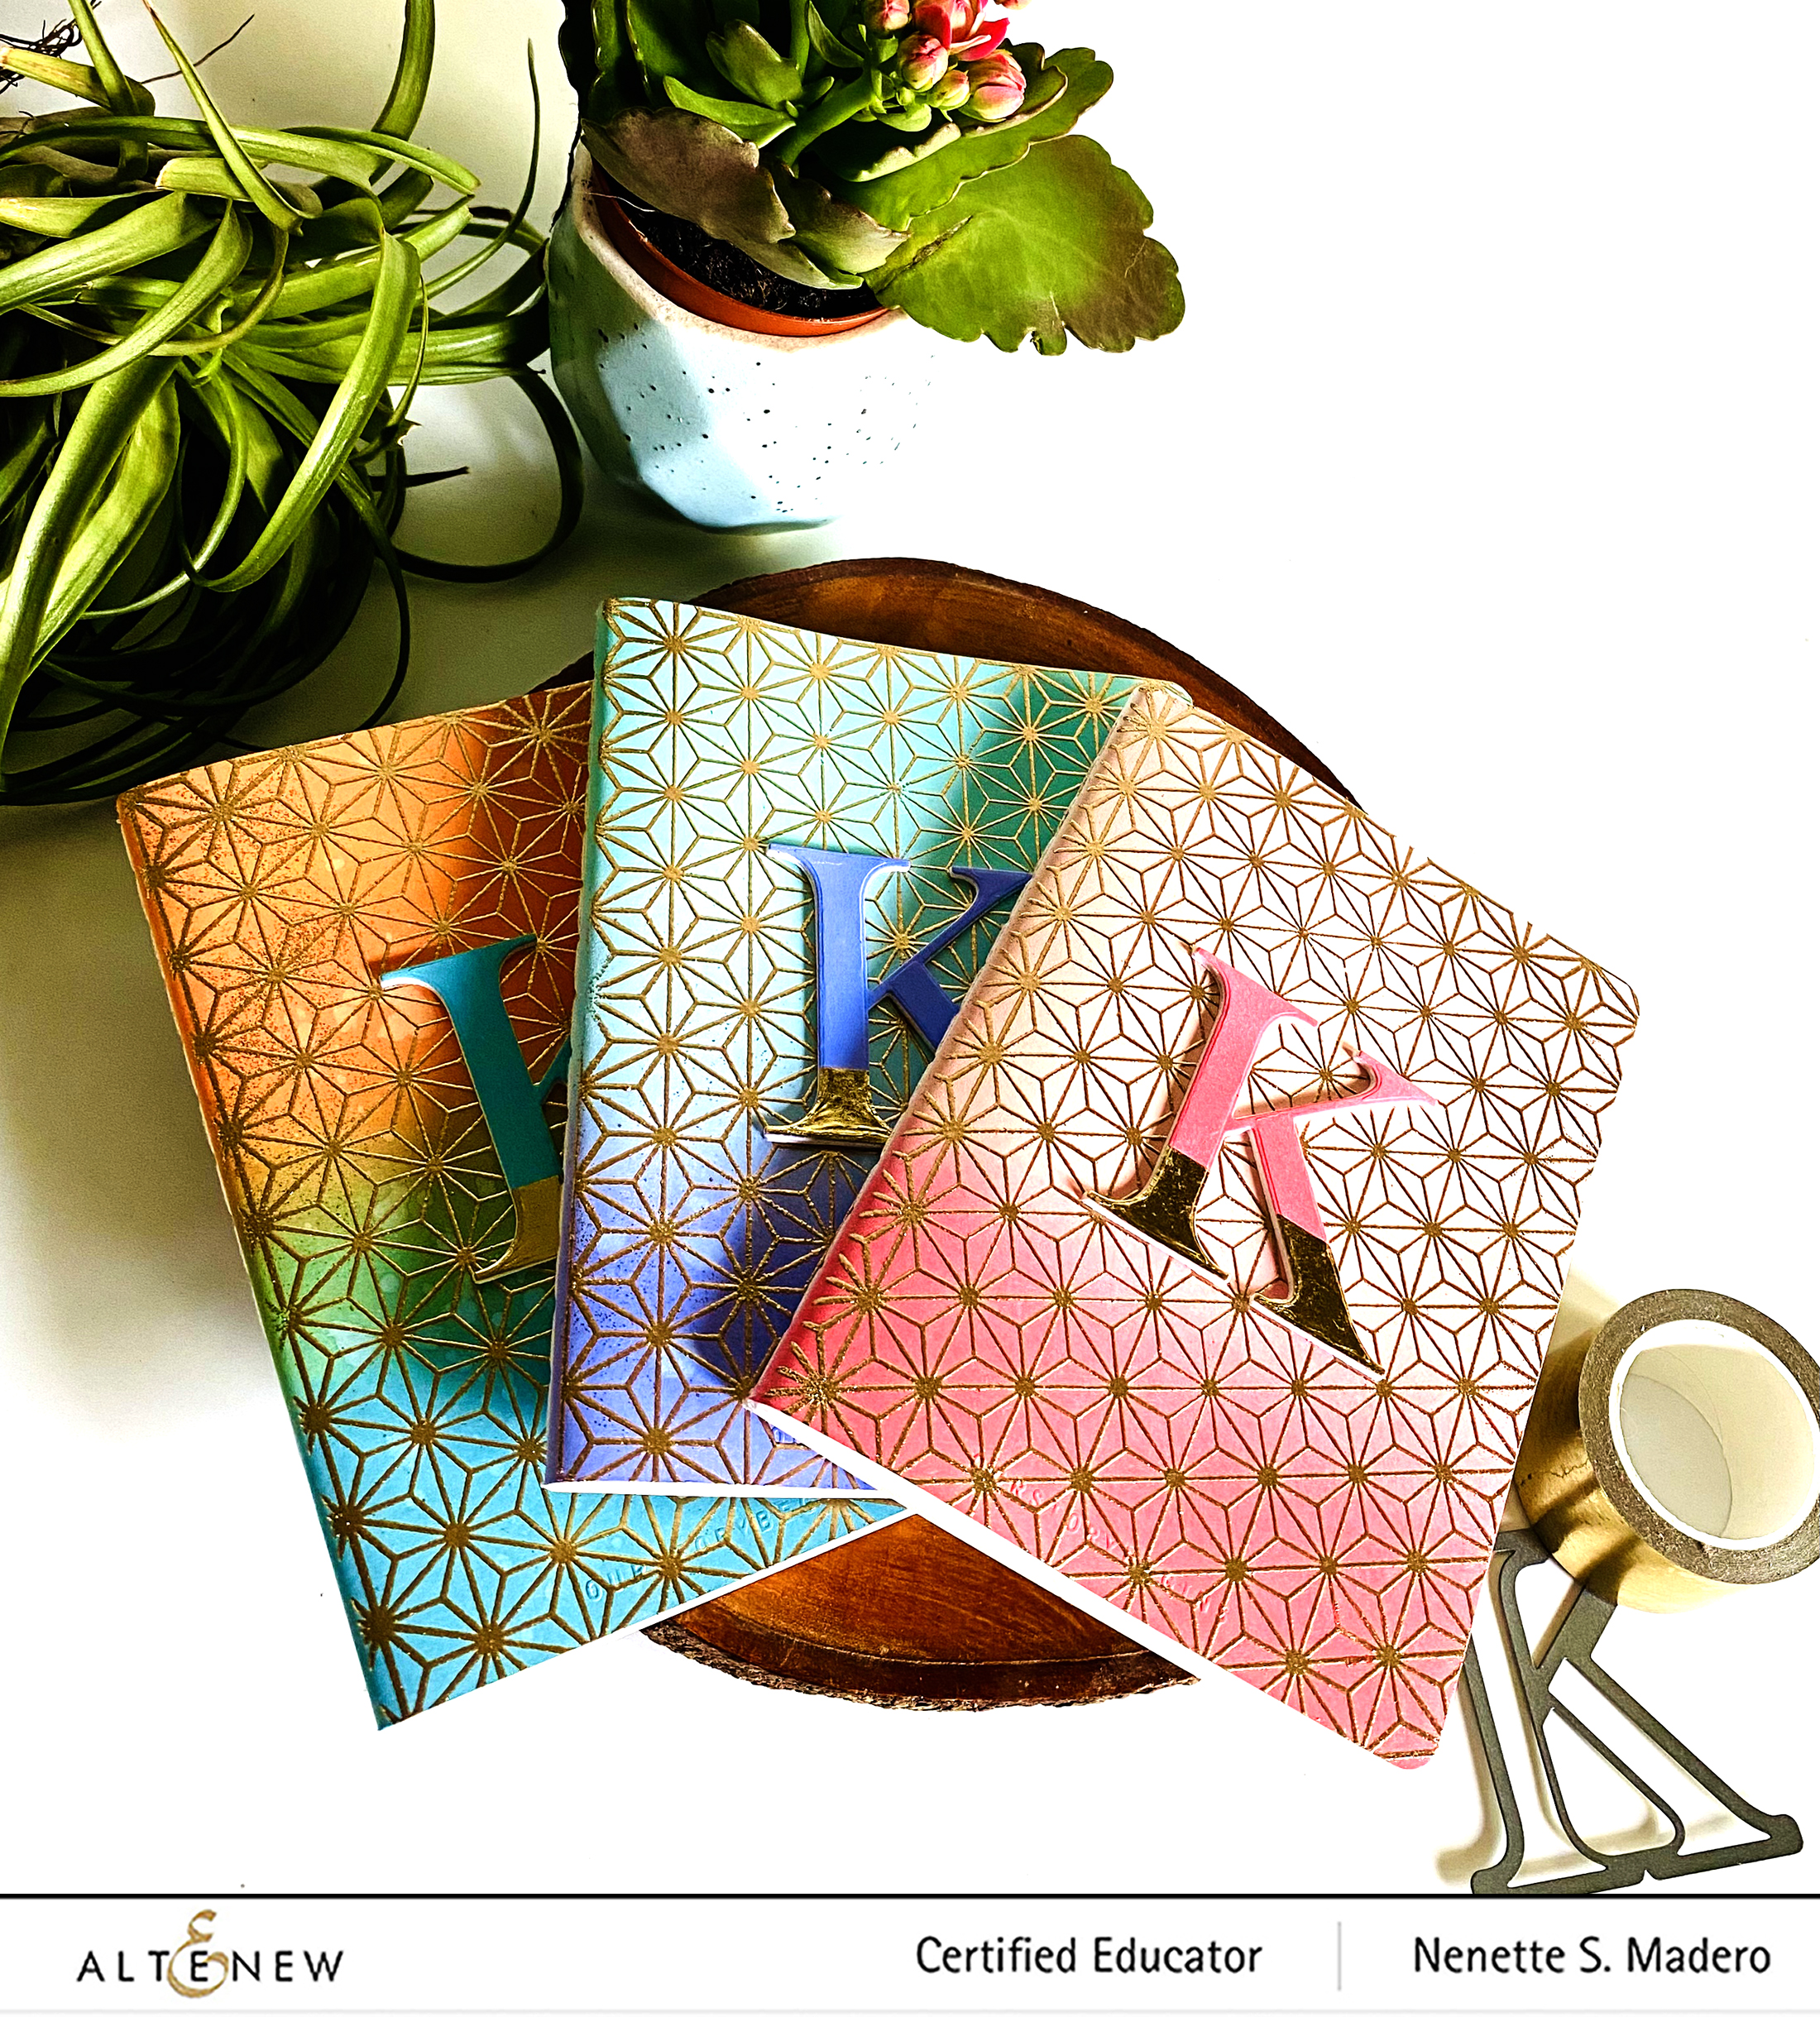
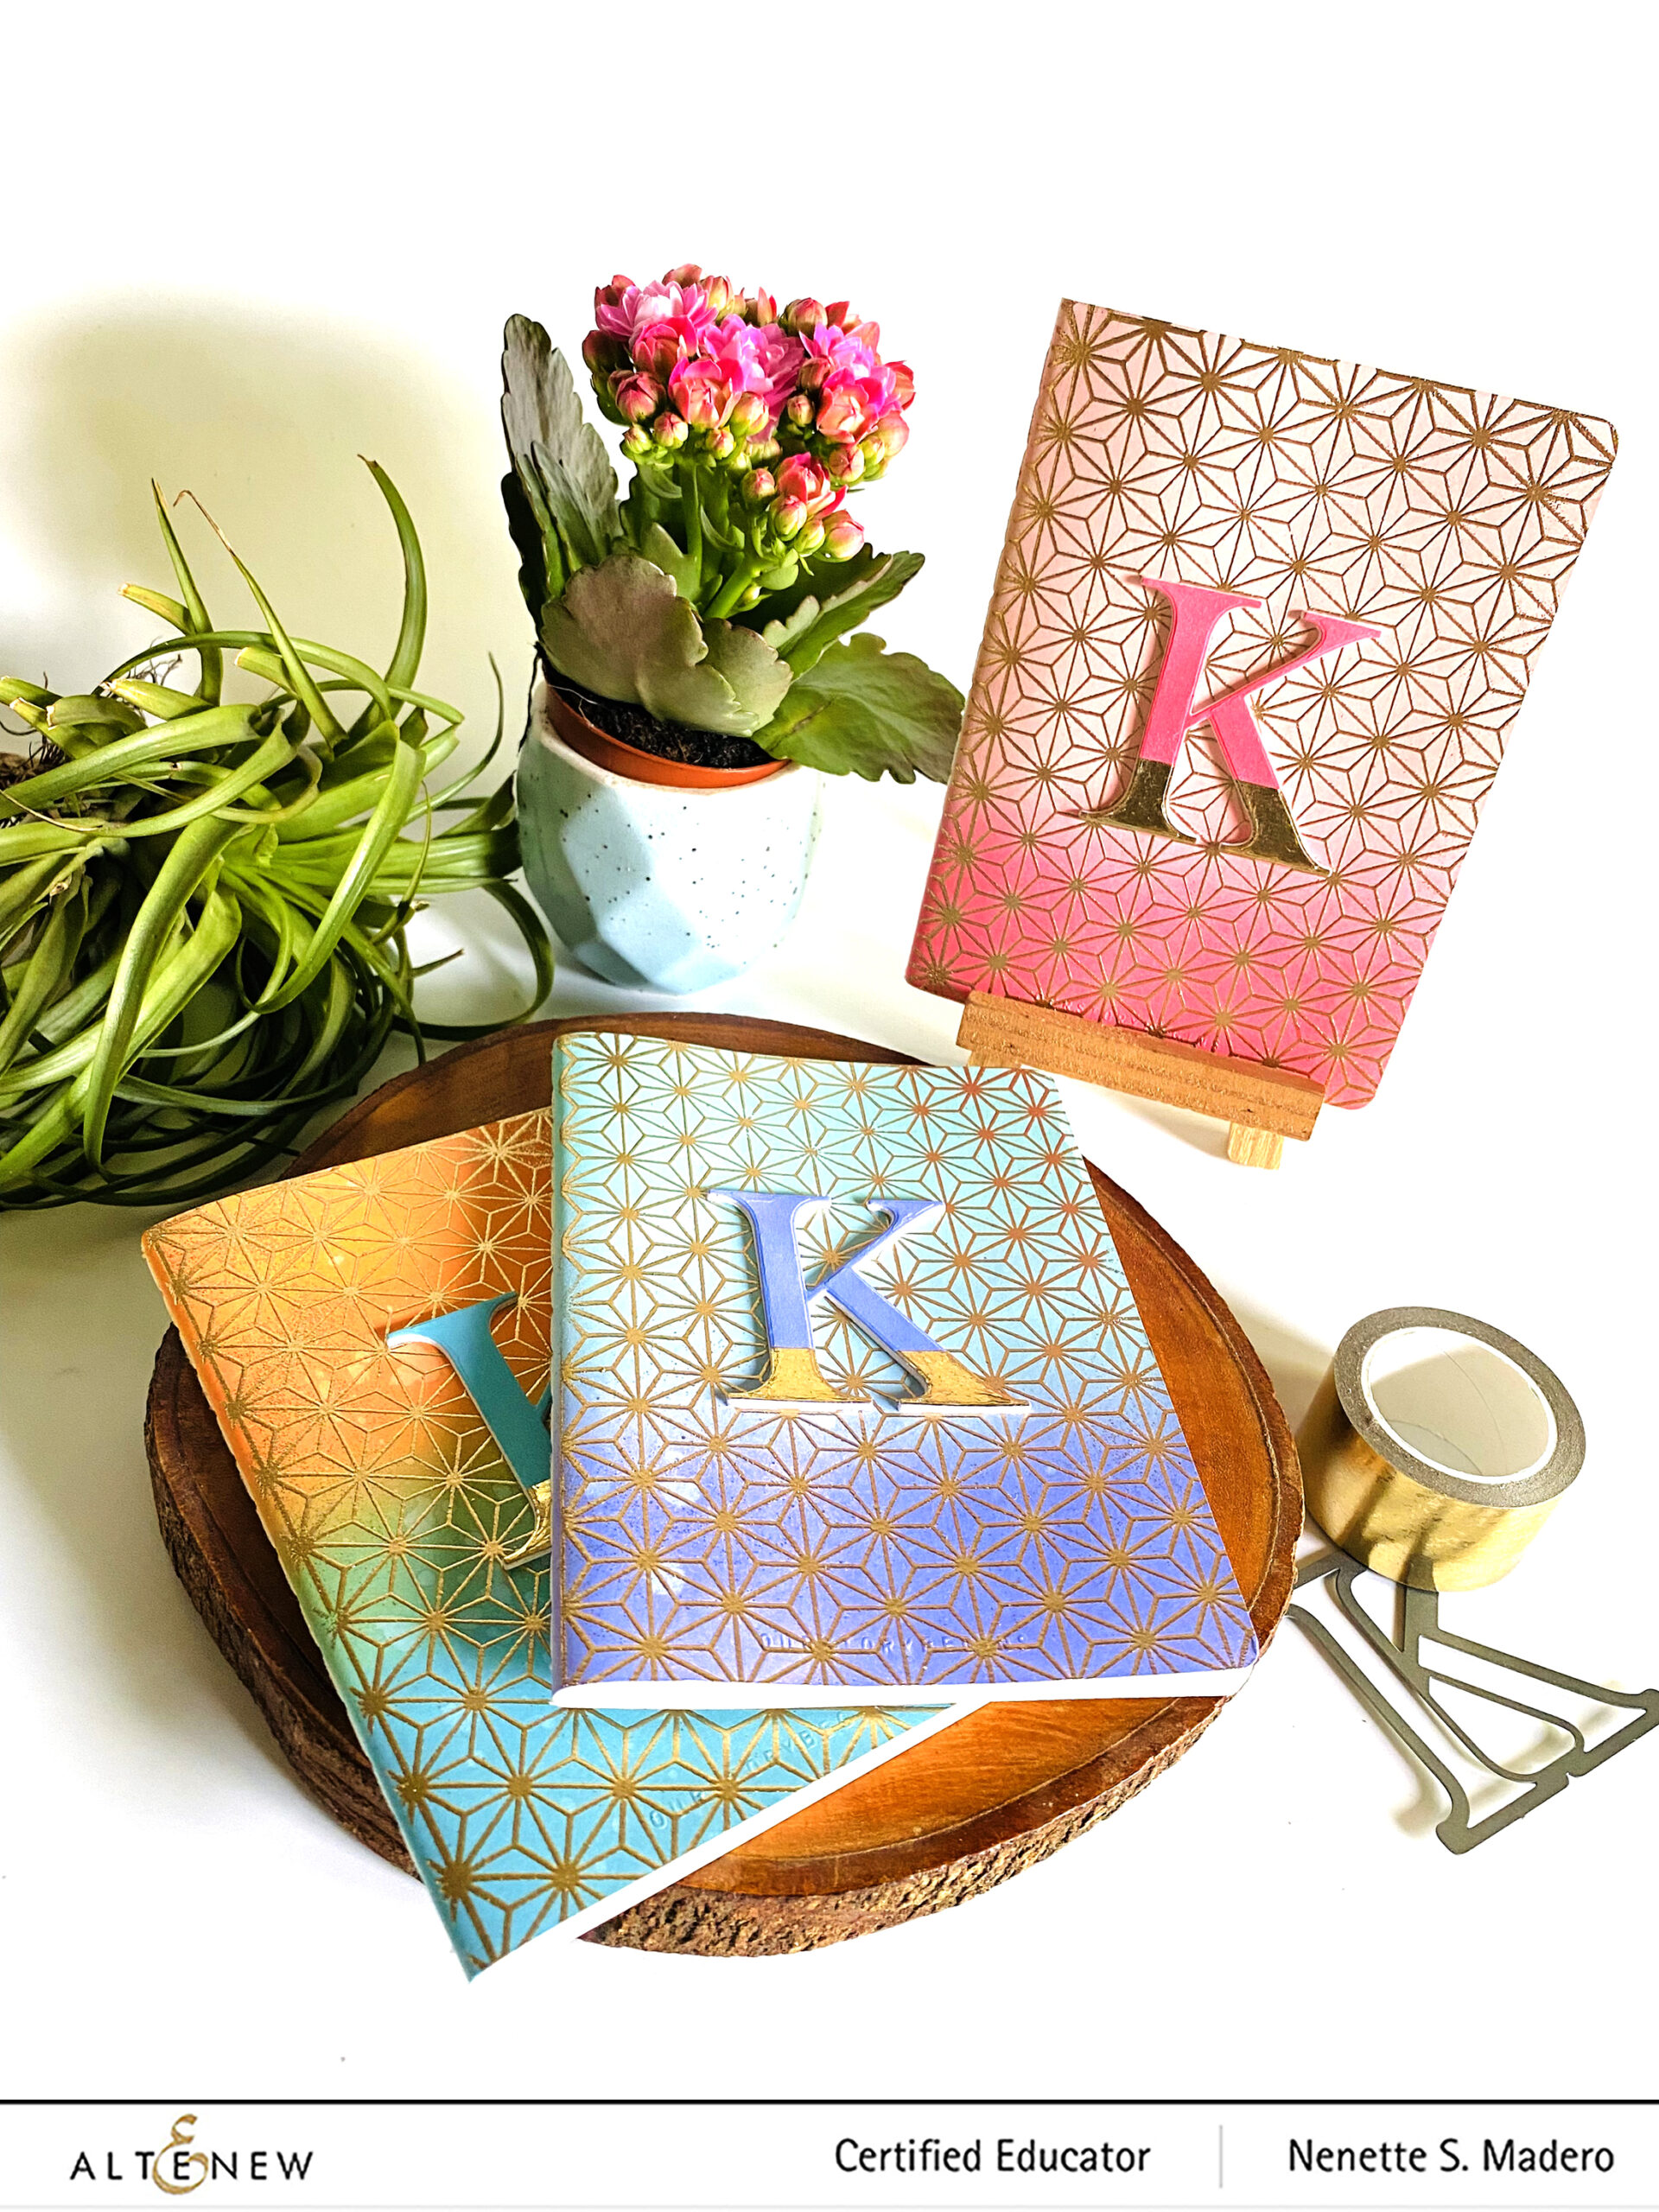
With a blending tool, blend two to three colors on the front cover of the notebook. Add water splatters. Make sure the inks are dry before going to the next step.
Prepare the surface with the antistatic tool. Using a Misti, stamp the background image using Versamark ink and emboss with Rose Gold embossing powder.
Color the top part of Neenah Solar White cardstock. Add the gold foil washi tape on the lower portion and die cut the letter K. Die cut extra 4 letter Ks and adhere on top of each other for added dimension. Glue to the cover.
I created these mini notebooks for a sweet friend of mine. I hope she will like them! Make sure to blend the distress inks well or create an ombre look. I also added some water splatters for added interest. This will also look good using stencils or cover dies, too!
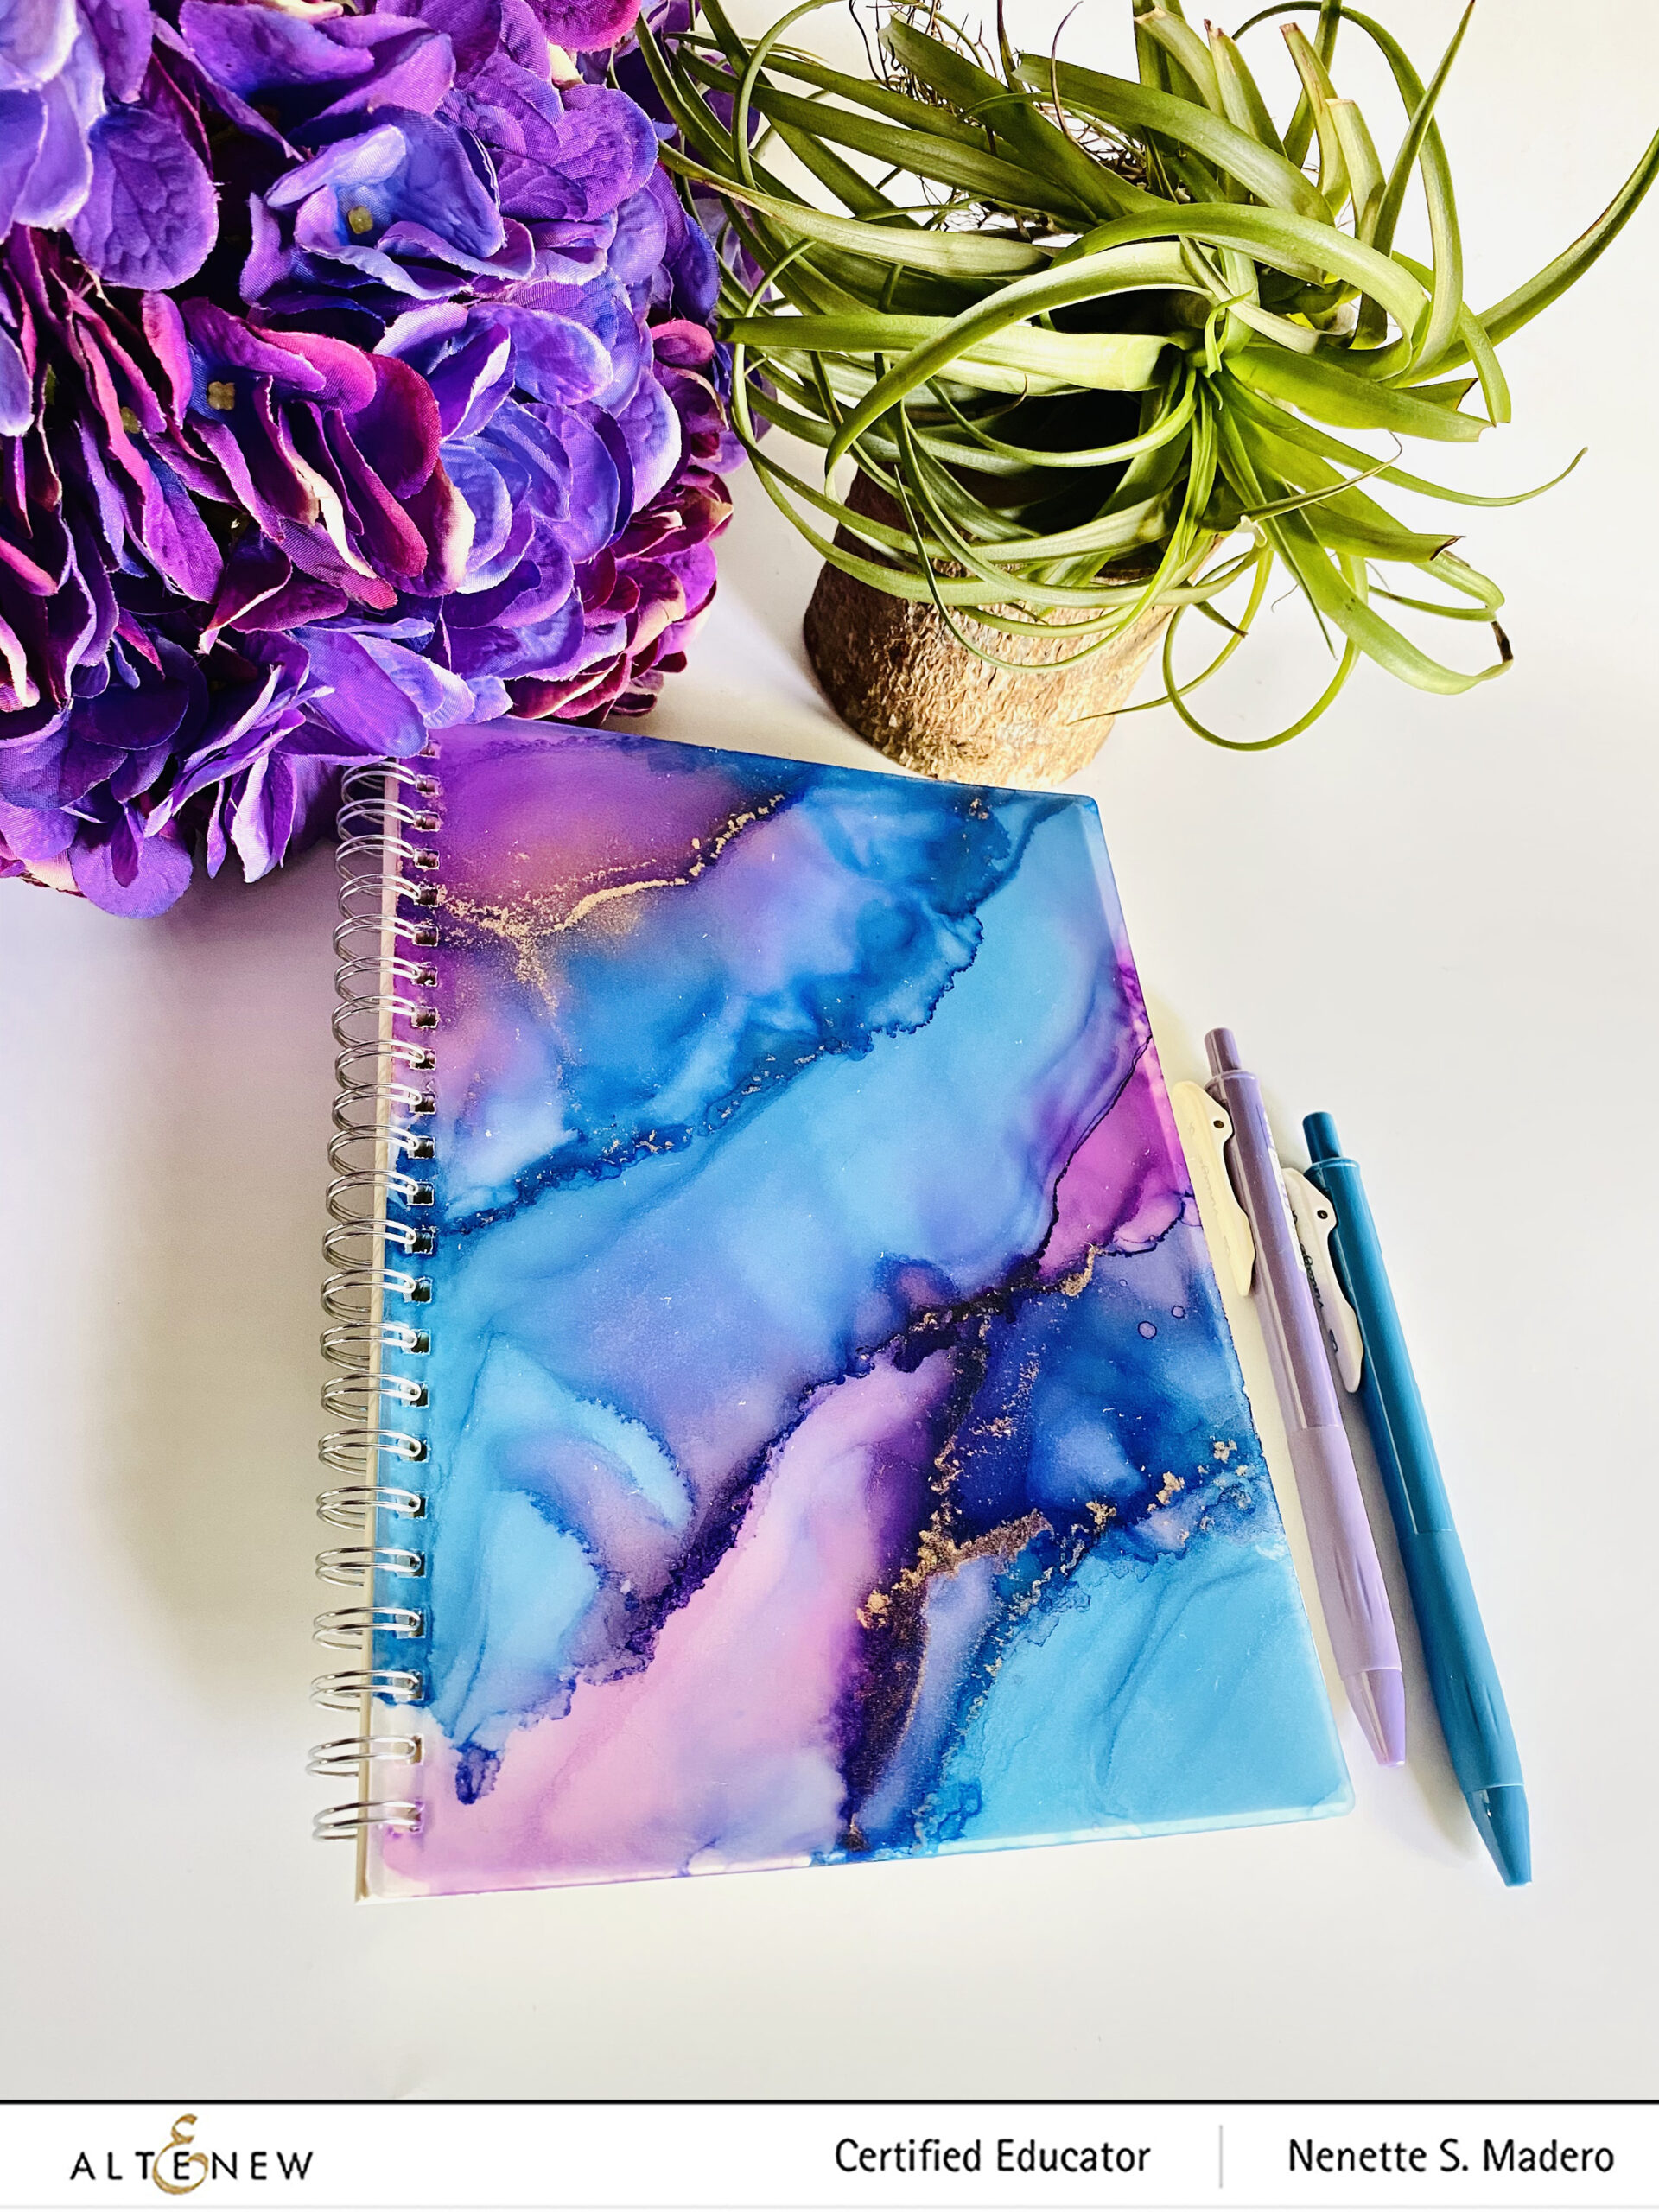
ALCOHOL INKED NOTEBOOK COVER
WARNING: Alcohol inks are highly toxic when fumes are inhaled. The alcohol evaporates very quickly and leaves vapors in the environment and the air you are breathing in so it is imperative to wear proper protective gear such as the correct type of respirator mask to protect you from the harmful airborne particles. Best to work outdoors where there is air circulation. If not, make sure a window/door is opened, have a fan blowing and an air purifier in the room while wearing a respirator mask. It is also important to wear gloves when working with alcohol inks to protect your skin and hands. A mask is likewise required when sealing your artowork with Kryon Kamar Varnish and clear crystal.
MATERIALS: ARTIST MARKER REFILL DEEP IRIS AND DESERT NIGHT, 99% ISOPROPYL ALCOHOL, PIÑATA BRASS, KRYON KAMAR VARNISH, KRYON CLEAR CRYSTAL, NOTEBOOK WITH PLASTIC COVERING
STEPS:
Clean the surface with alcohol.
Add alcohol and alcohol inks and move the pigments using a hair dryer. Work in sections. Add Piñata brass in certain areas.
When the inks are dry, protect the image using Kryon Kamar Varnish. (Make sure you’re wearing protective mask when spraying this!). Spray 3 times with 30 minutes in between sprays to allow the surface to dry bewteen applications.
Lastly, spray the cover with Kryon Clear Crystal.
I might add a die cut word later on or maybe a name or a monogram on the cover. Still not sure.
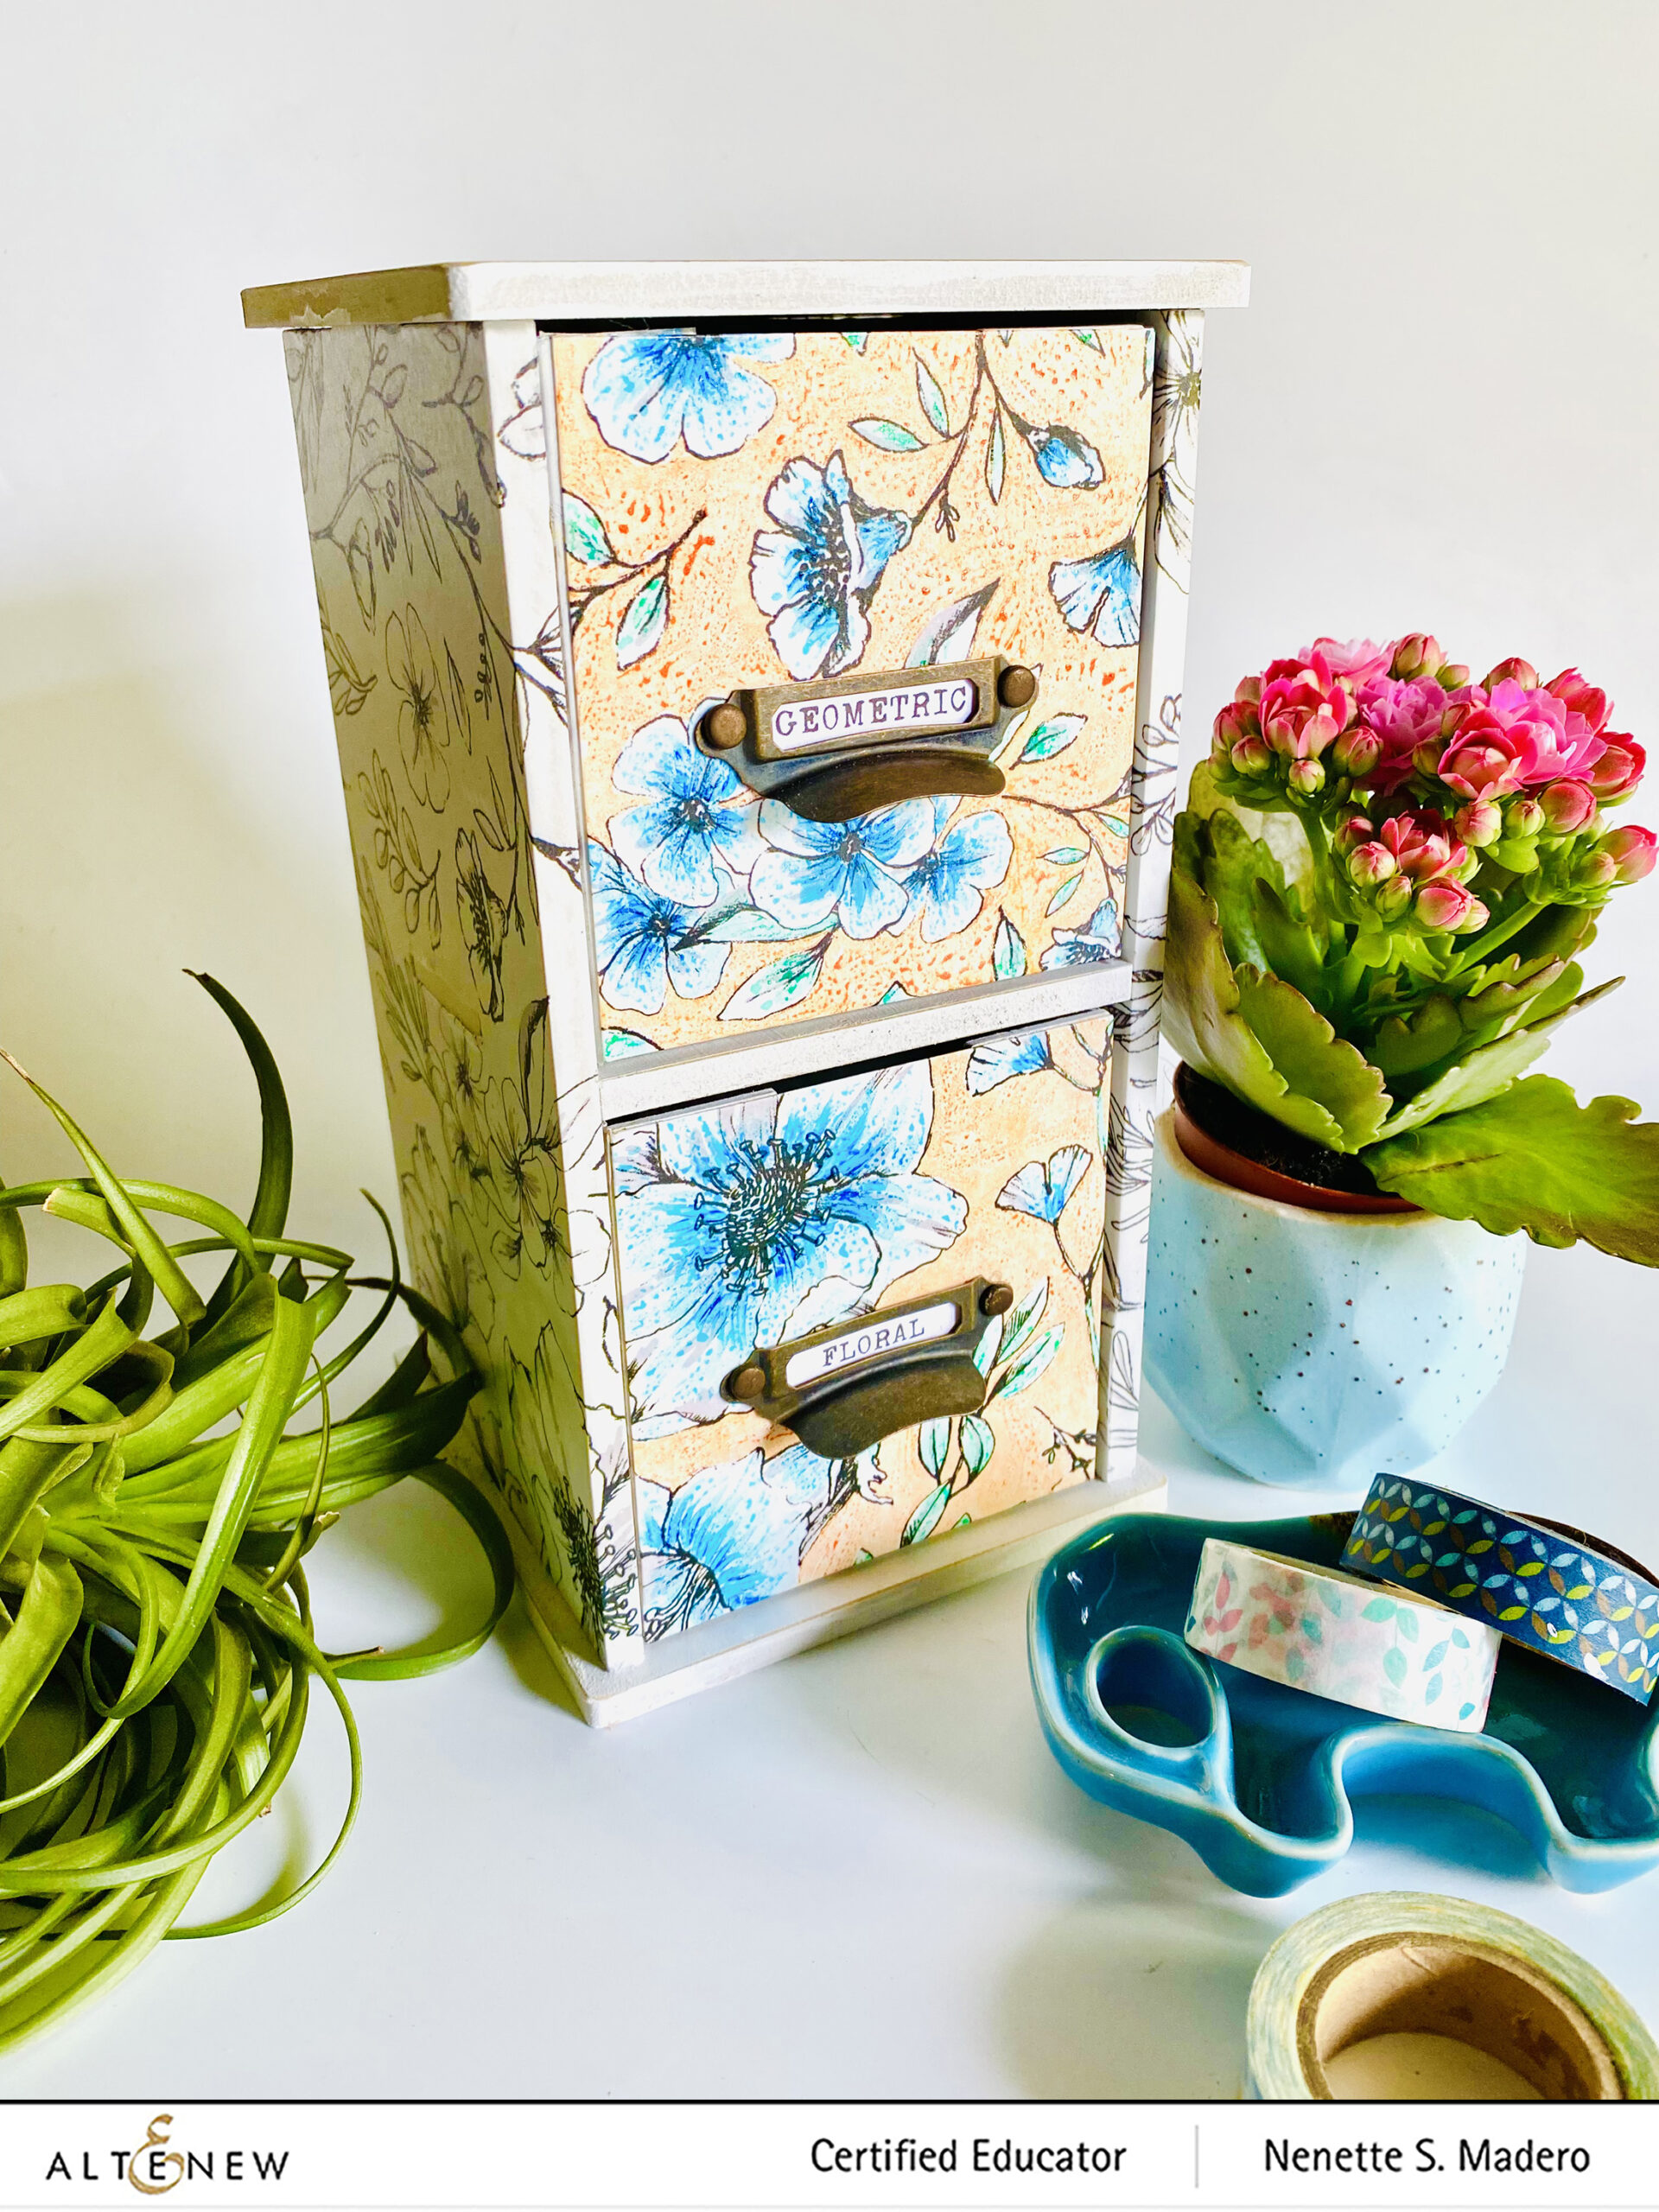
WASHI TAPE ORGANIZER
MATERIALS: BOTANICAL RHAPSODY WIDE WASHI TAPE, KAISERCRAFT 2 DRAWER UNIT, TIM HOLTZ LABEL PULLS, TOMBOW MONO LIQUID GLUE, DISTRESS GLAZE, WHITE ACRYLIC PAINT, COPIC MARKERS
STEPS:
Paint the entire surface of the drawer units with white acrylic paint.
Cover the sides with washi tape.
Measure the front of the drawer and cut out Neenah Solar white with the same measurement as the front of the drawer.
Cover this with washi tape and color using Copic markers.
Adhere this to the front of the drawer with glue.
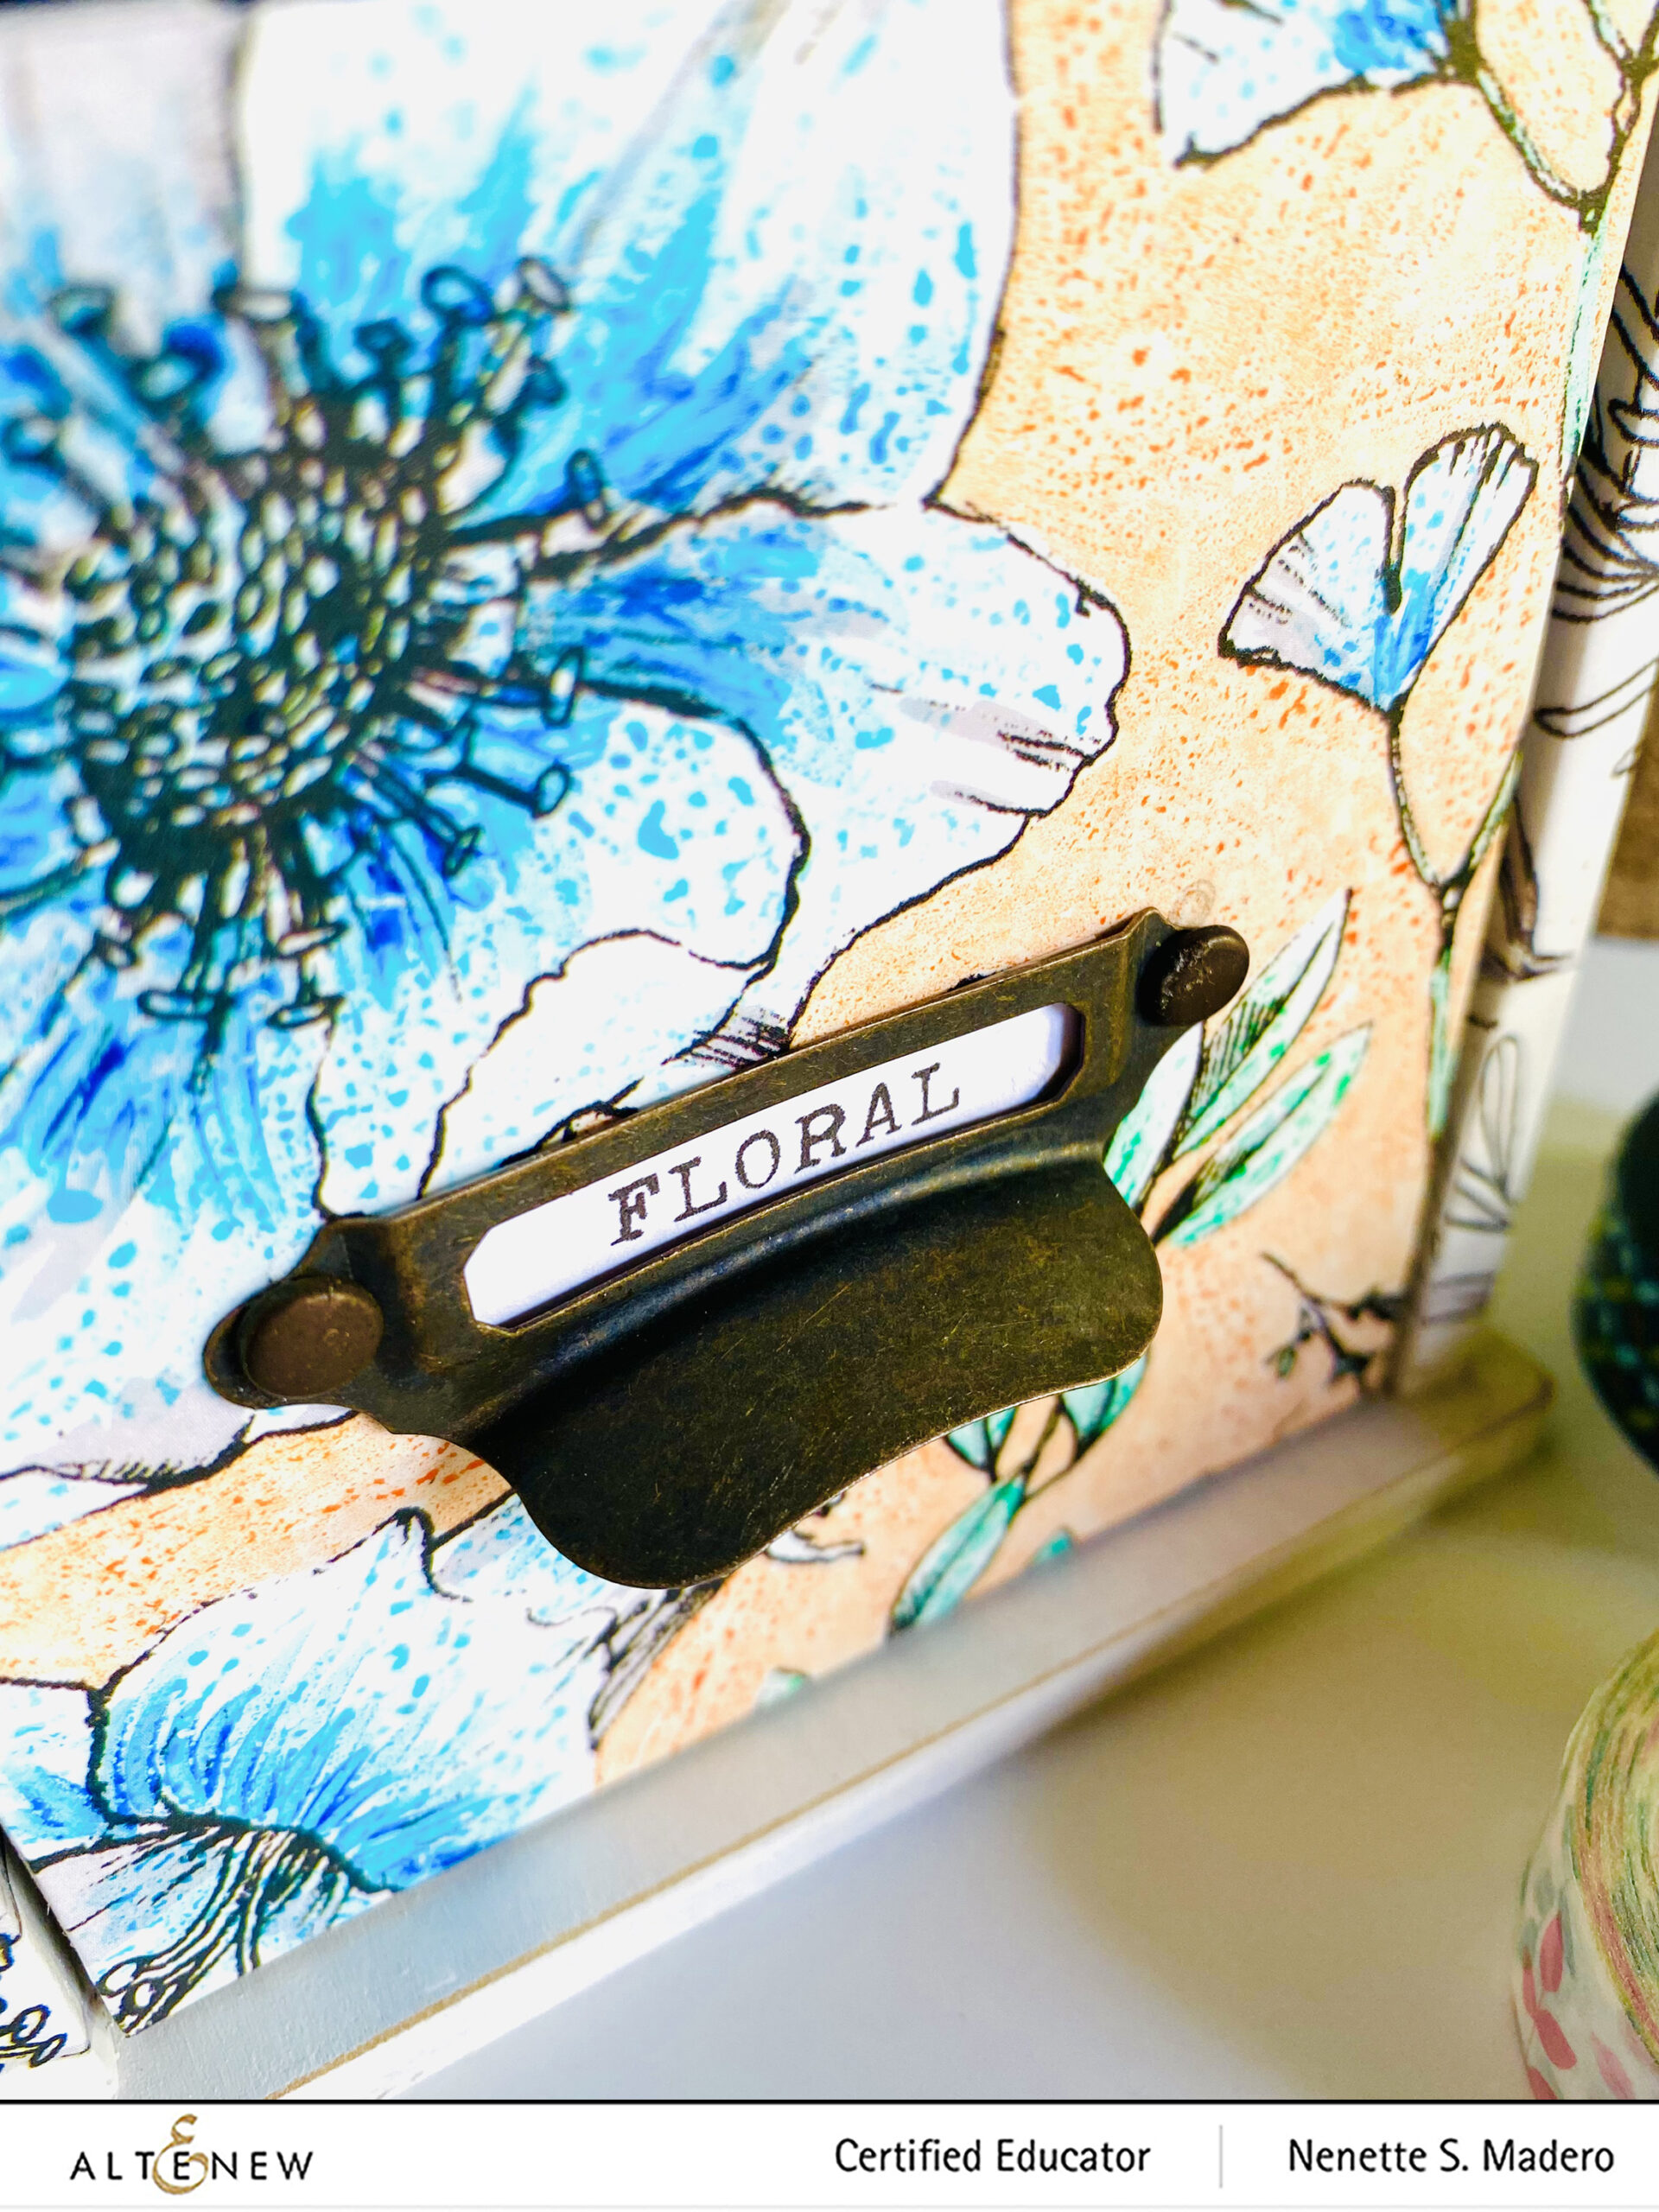
Attach the label pulls.
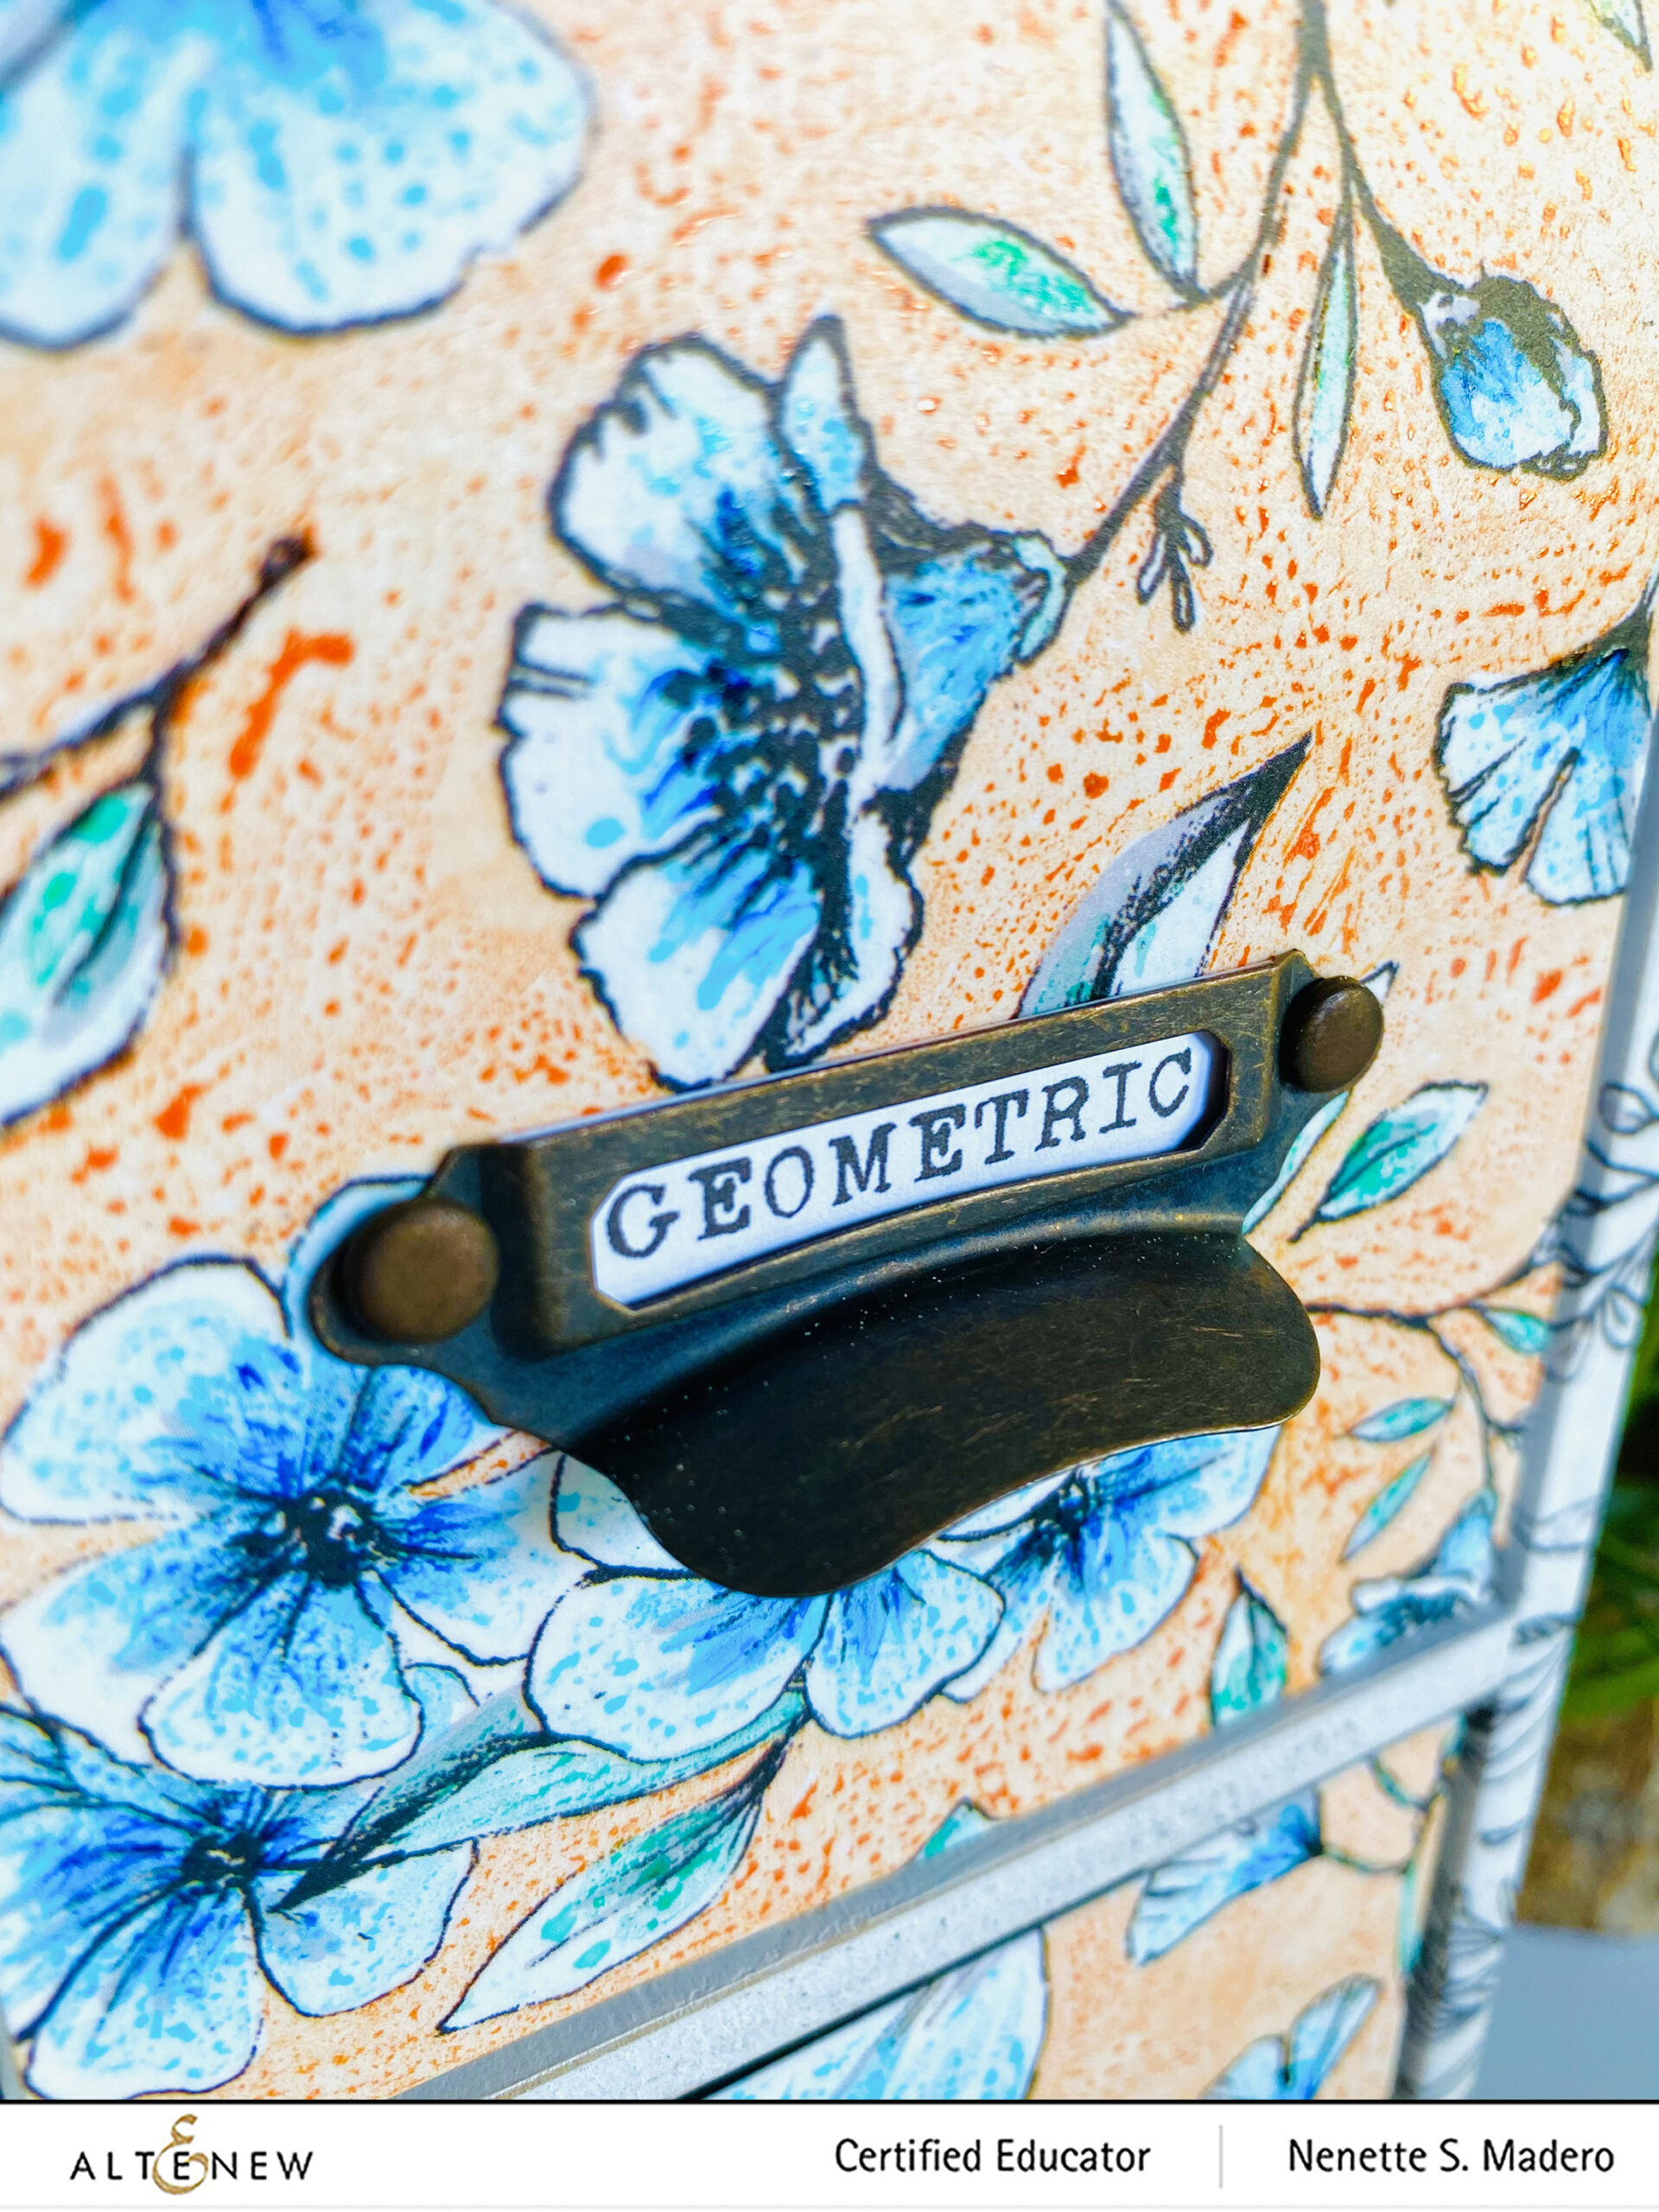
I had fun making this cute organizer. I was planning to use this to organize some of my washi tapes but when my daughter saw it, she asked if she can use it as storage for her jewelry. 🙂 I colored the Botanical Rhapsody washi on the cover of the drawers only for added contrast to the black and white print. Somehow, the alcohol inks beaded up in certain areas of the tape which just added more dimension. I love it when materials react a certain way unexpectedly. When the surfaces were dry, I sealed the colored portion with Distress Glaze.
Apply gesso to the entire surface of the journal page and allow to dry.
Use different distress stains and oxide sprays and add water. Tilt the page to allow pigments to move. Dry with a craft tool.
Add spatters of water using your hand.
Create ghosting effect by using stencils and a baby wipe.
Add patterns using the bubble wrap stencil and doodle around some of the circles with a permanent black pen.
Add white and black splatters.
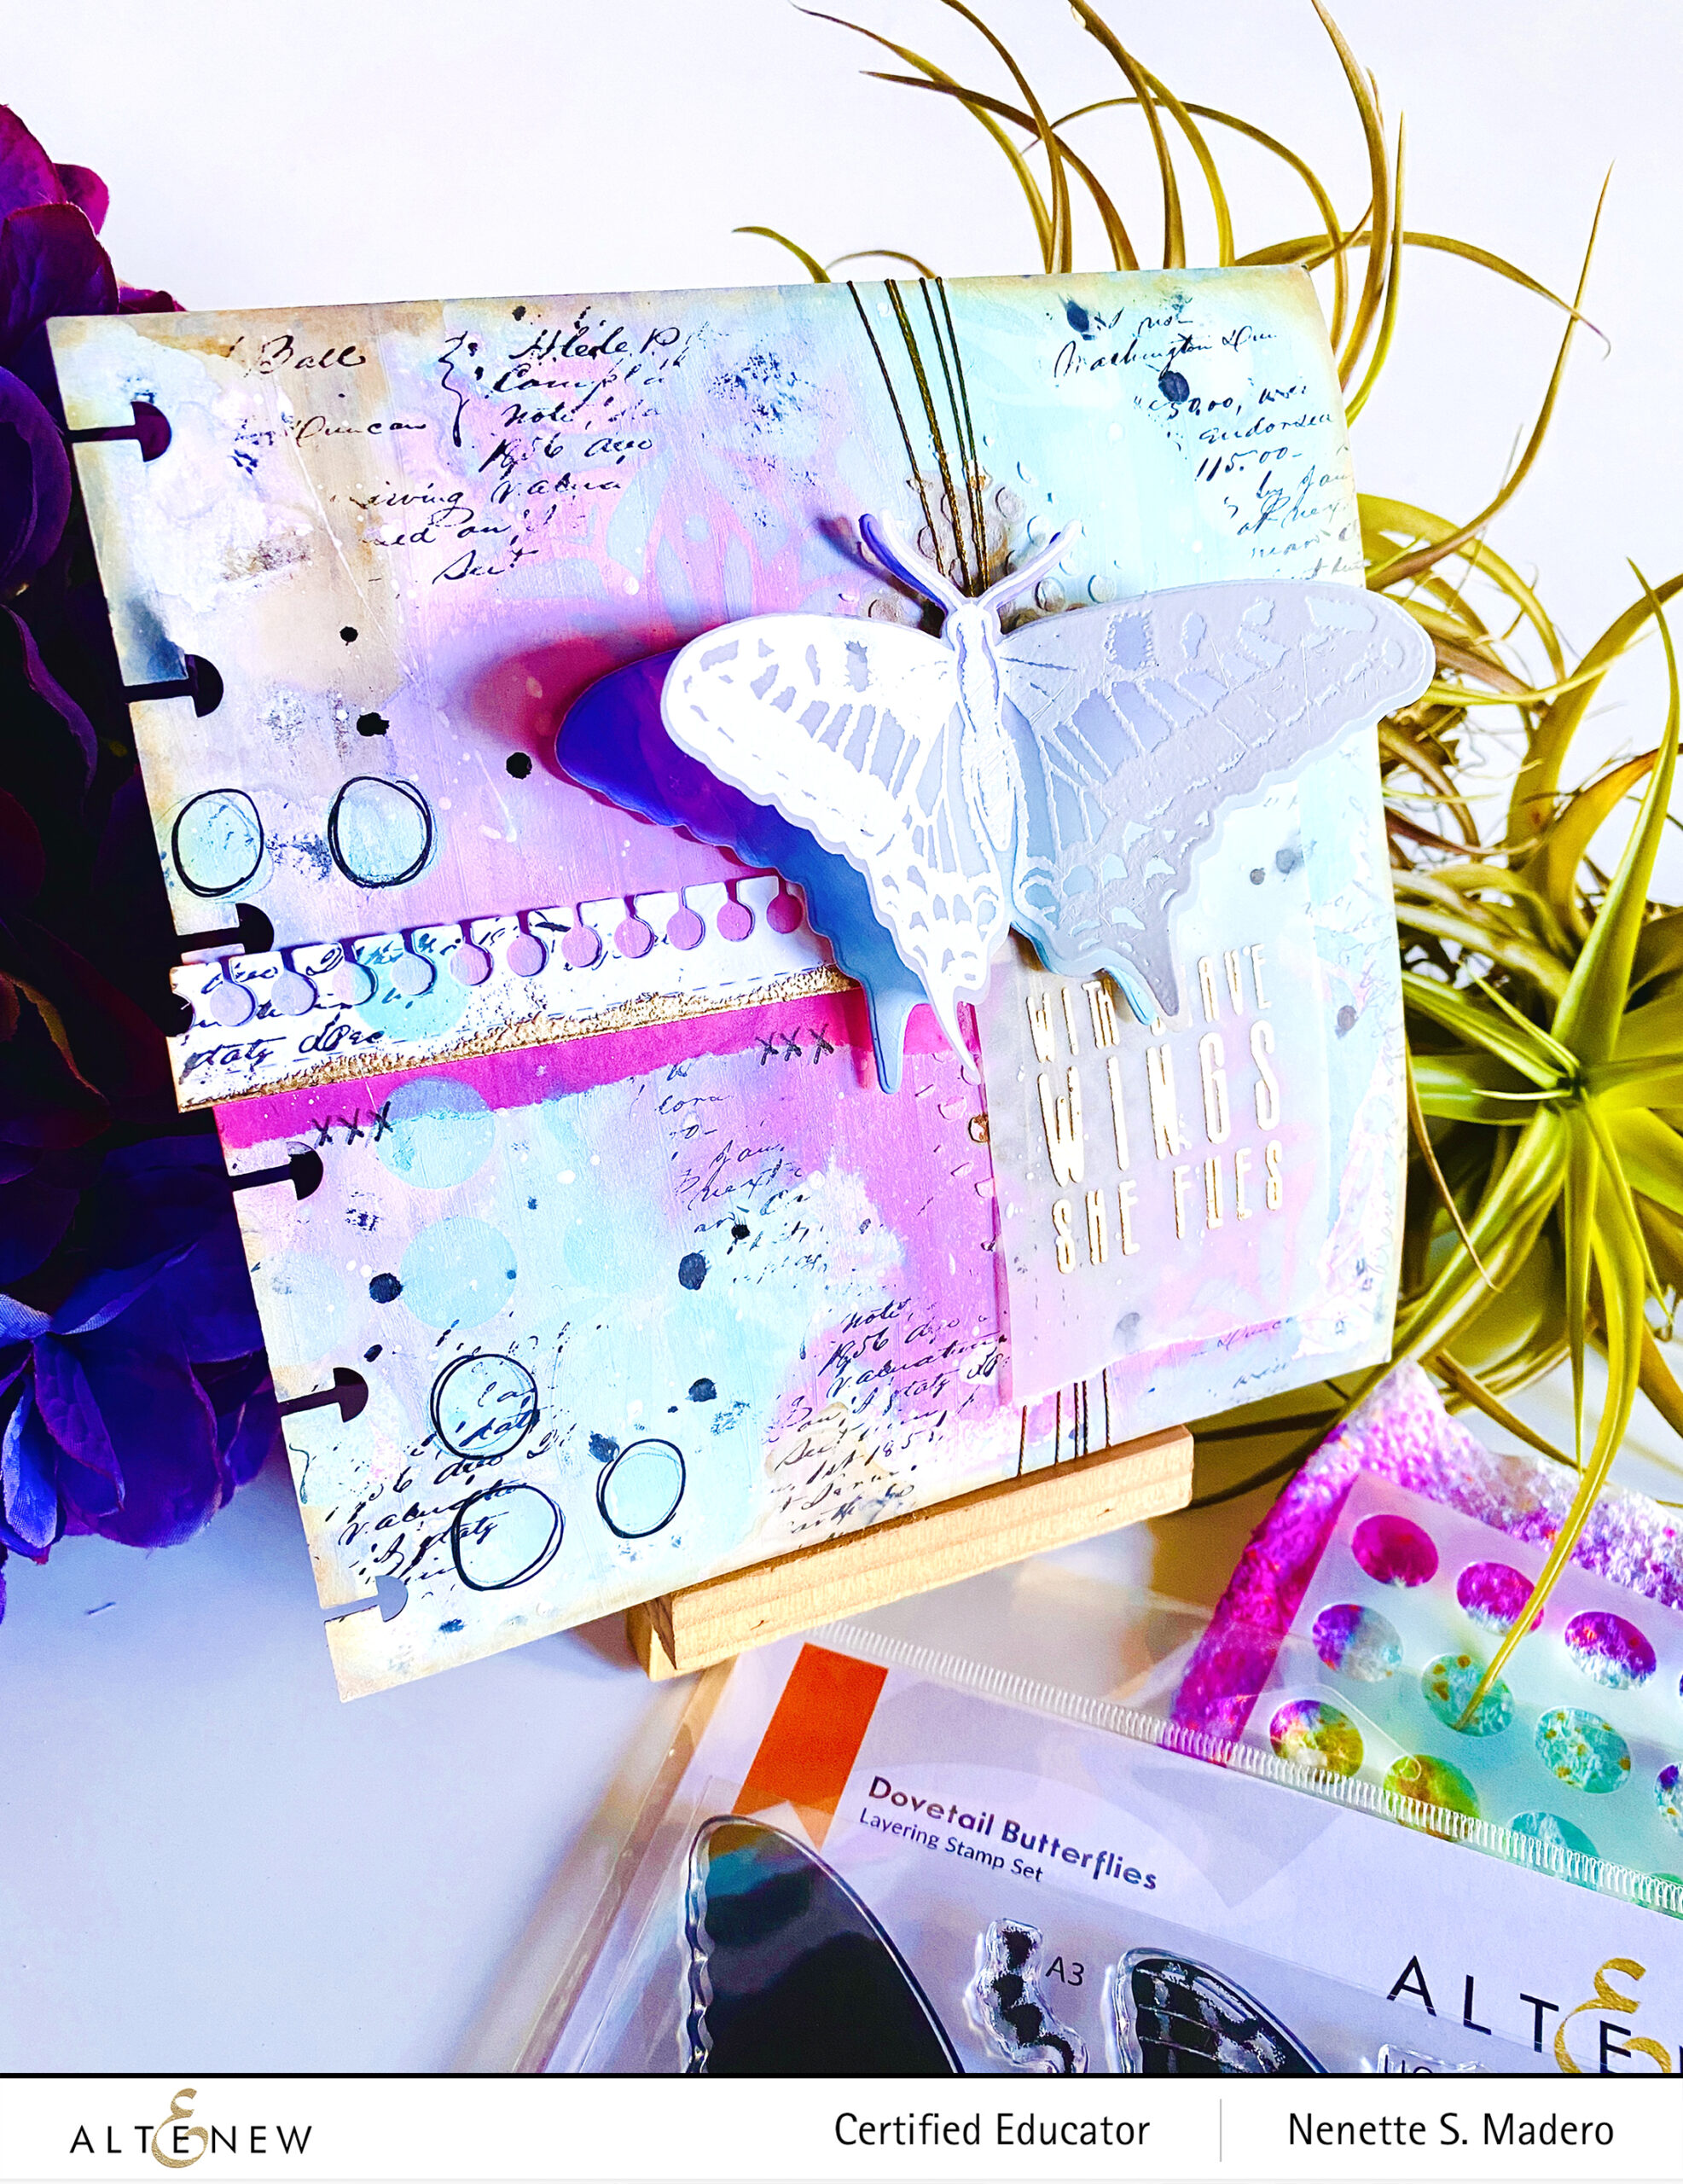
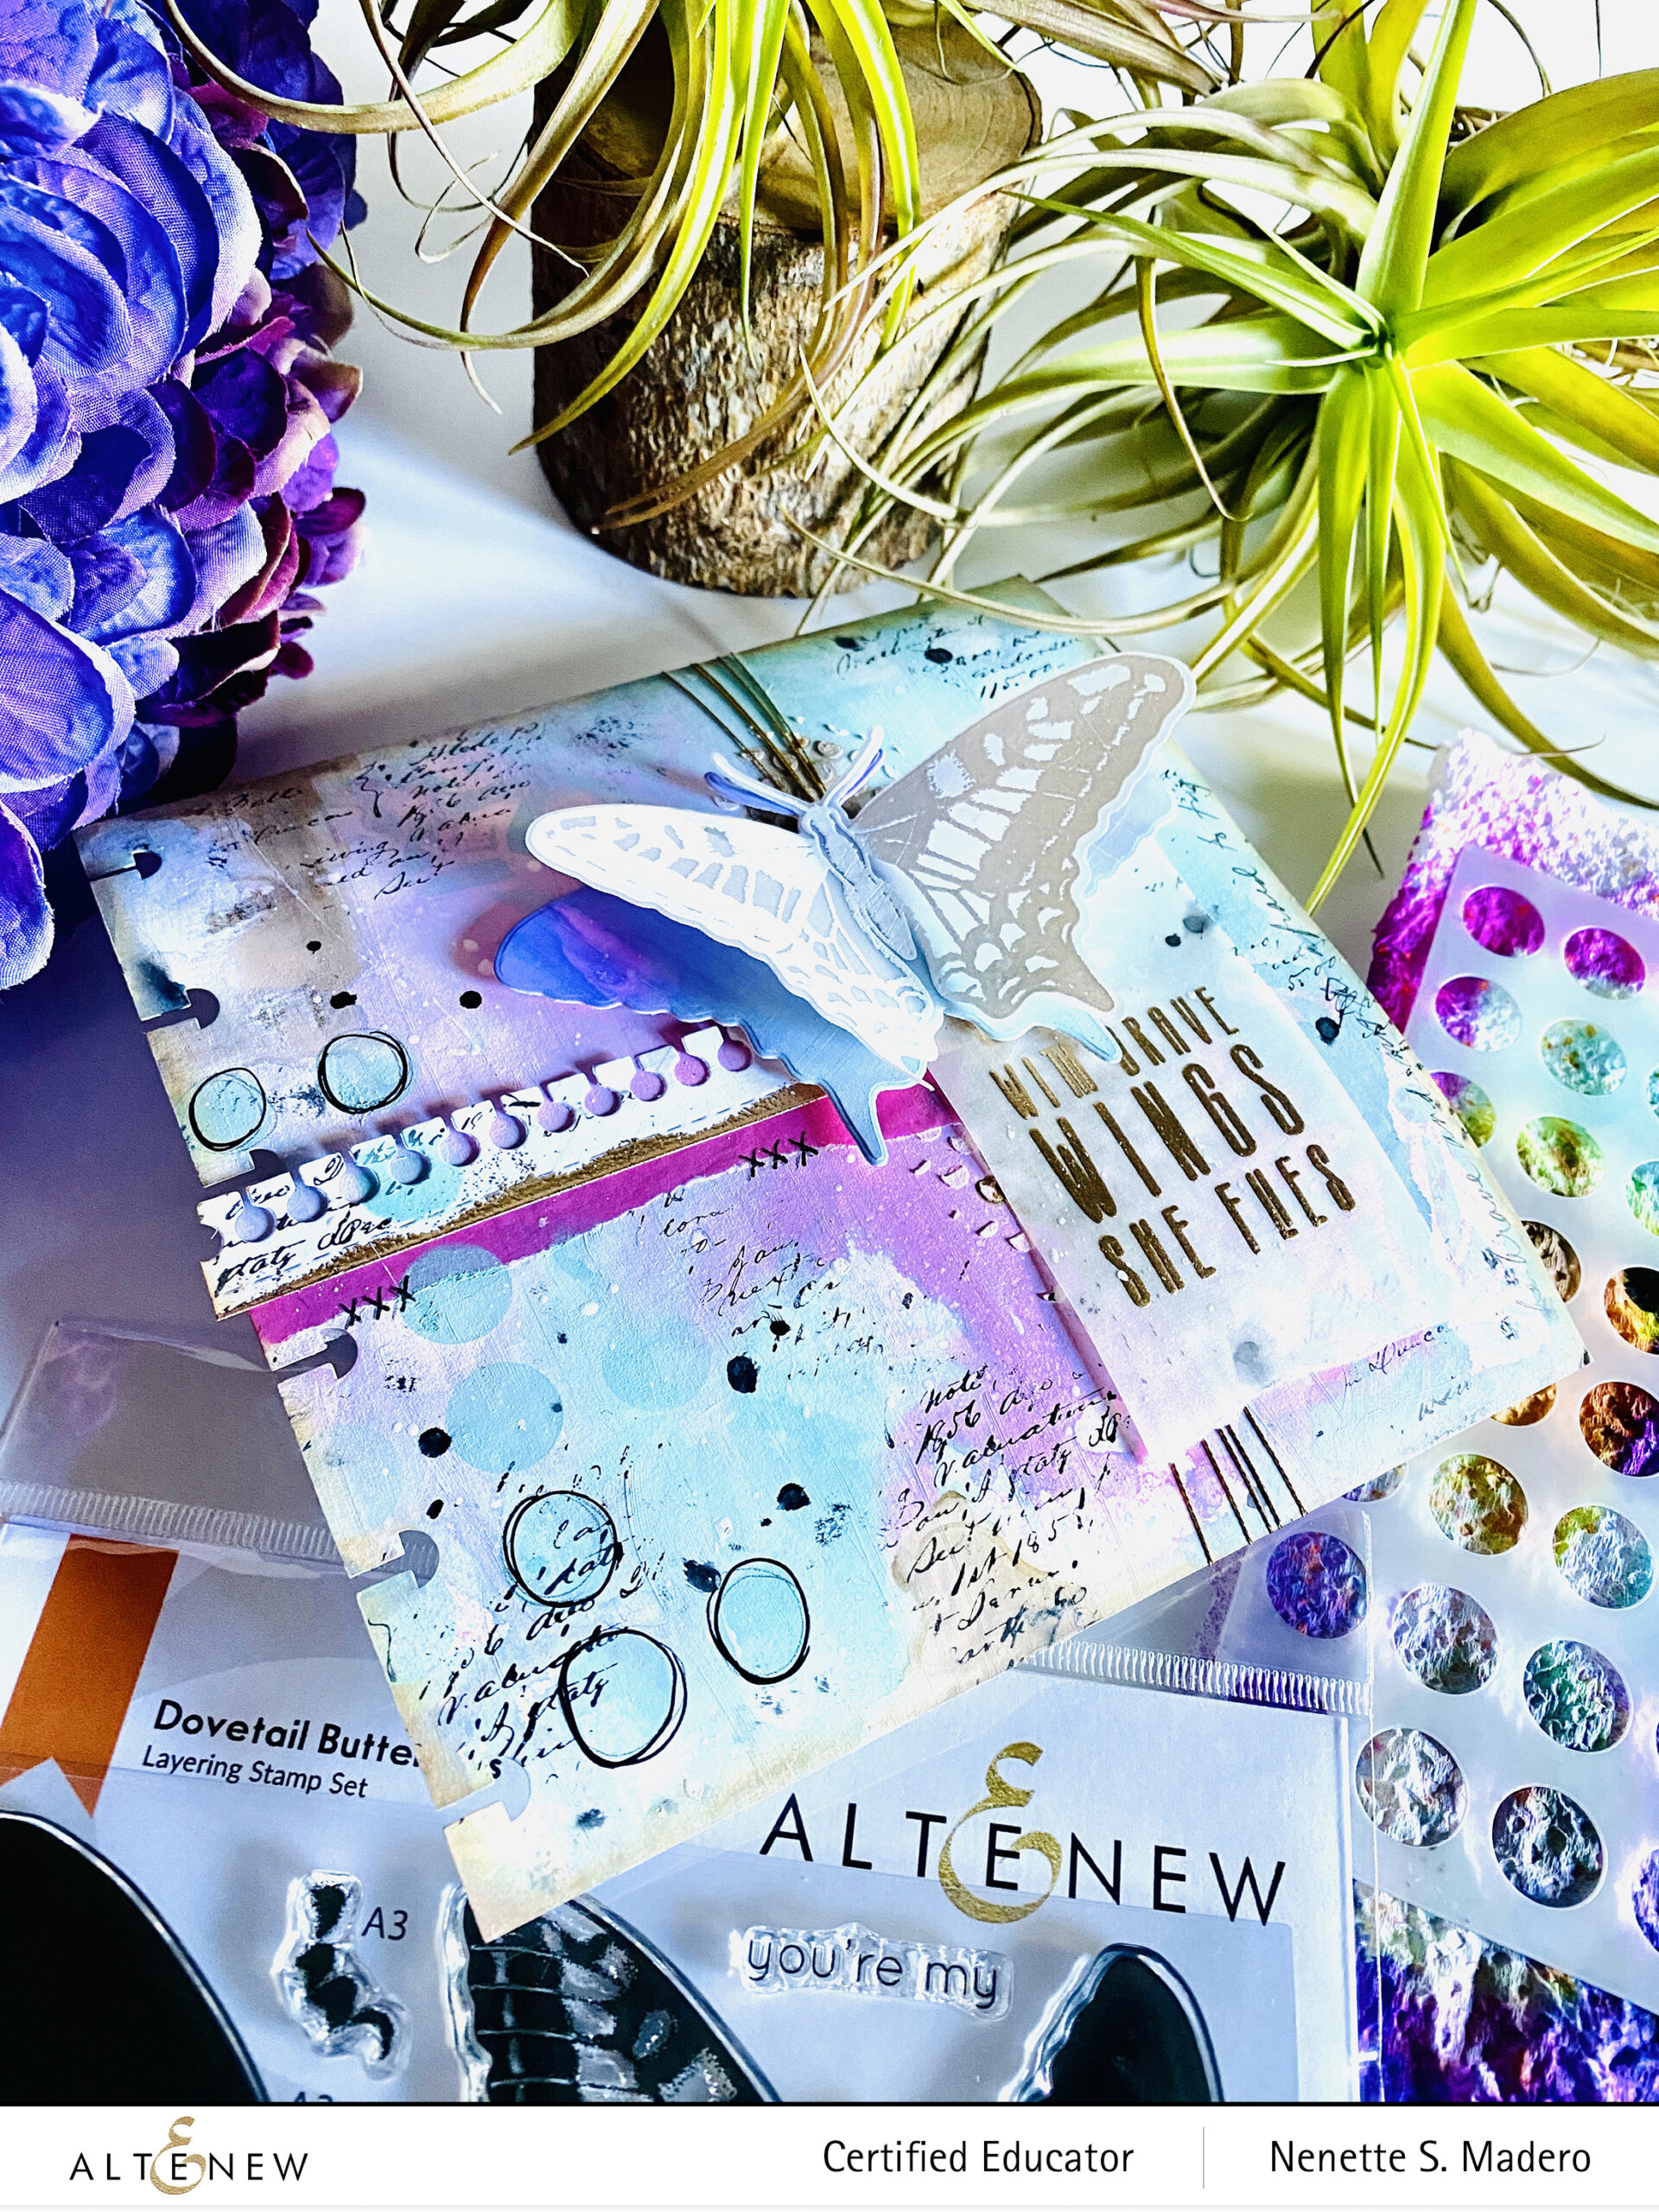
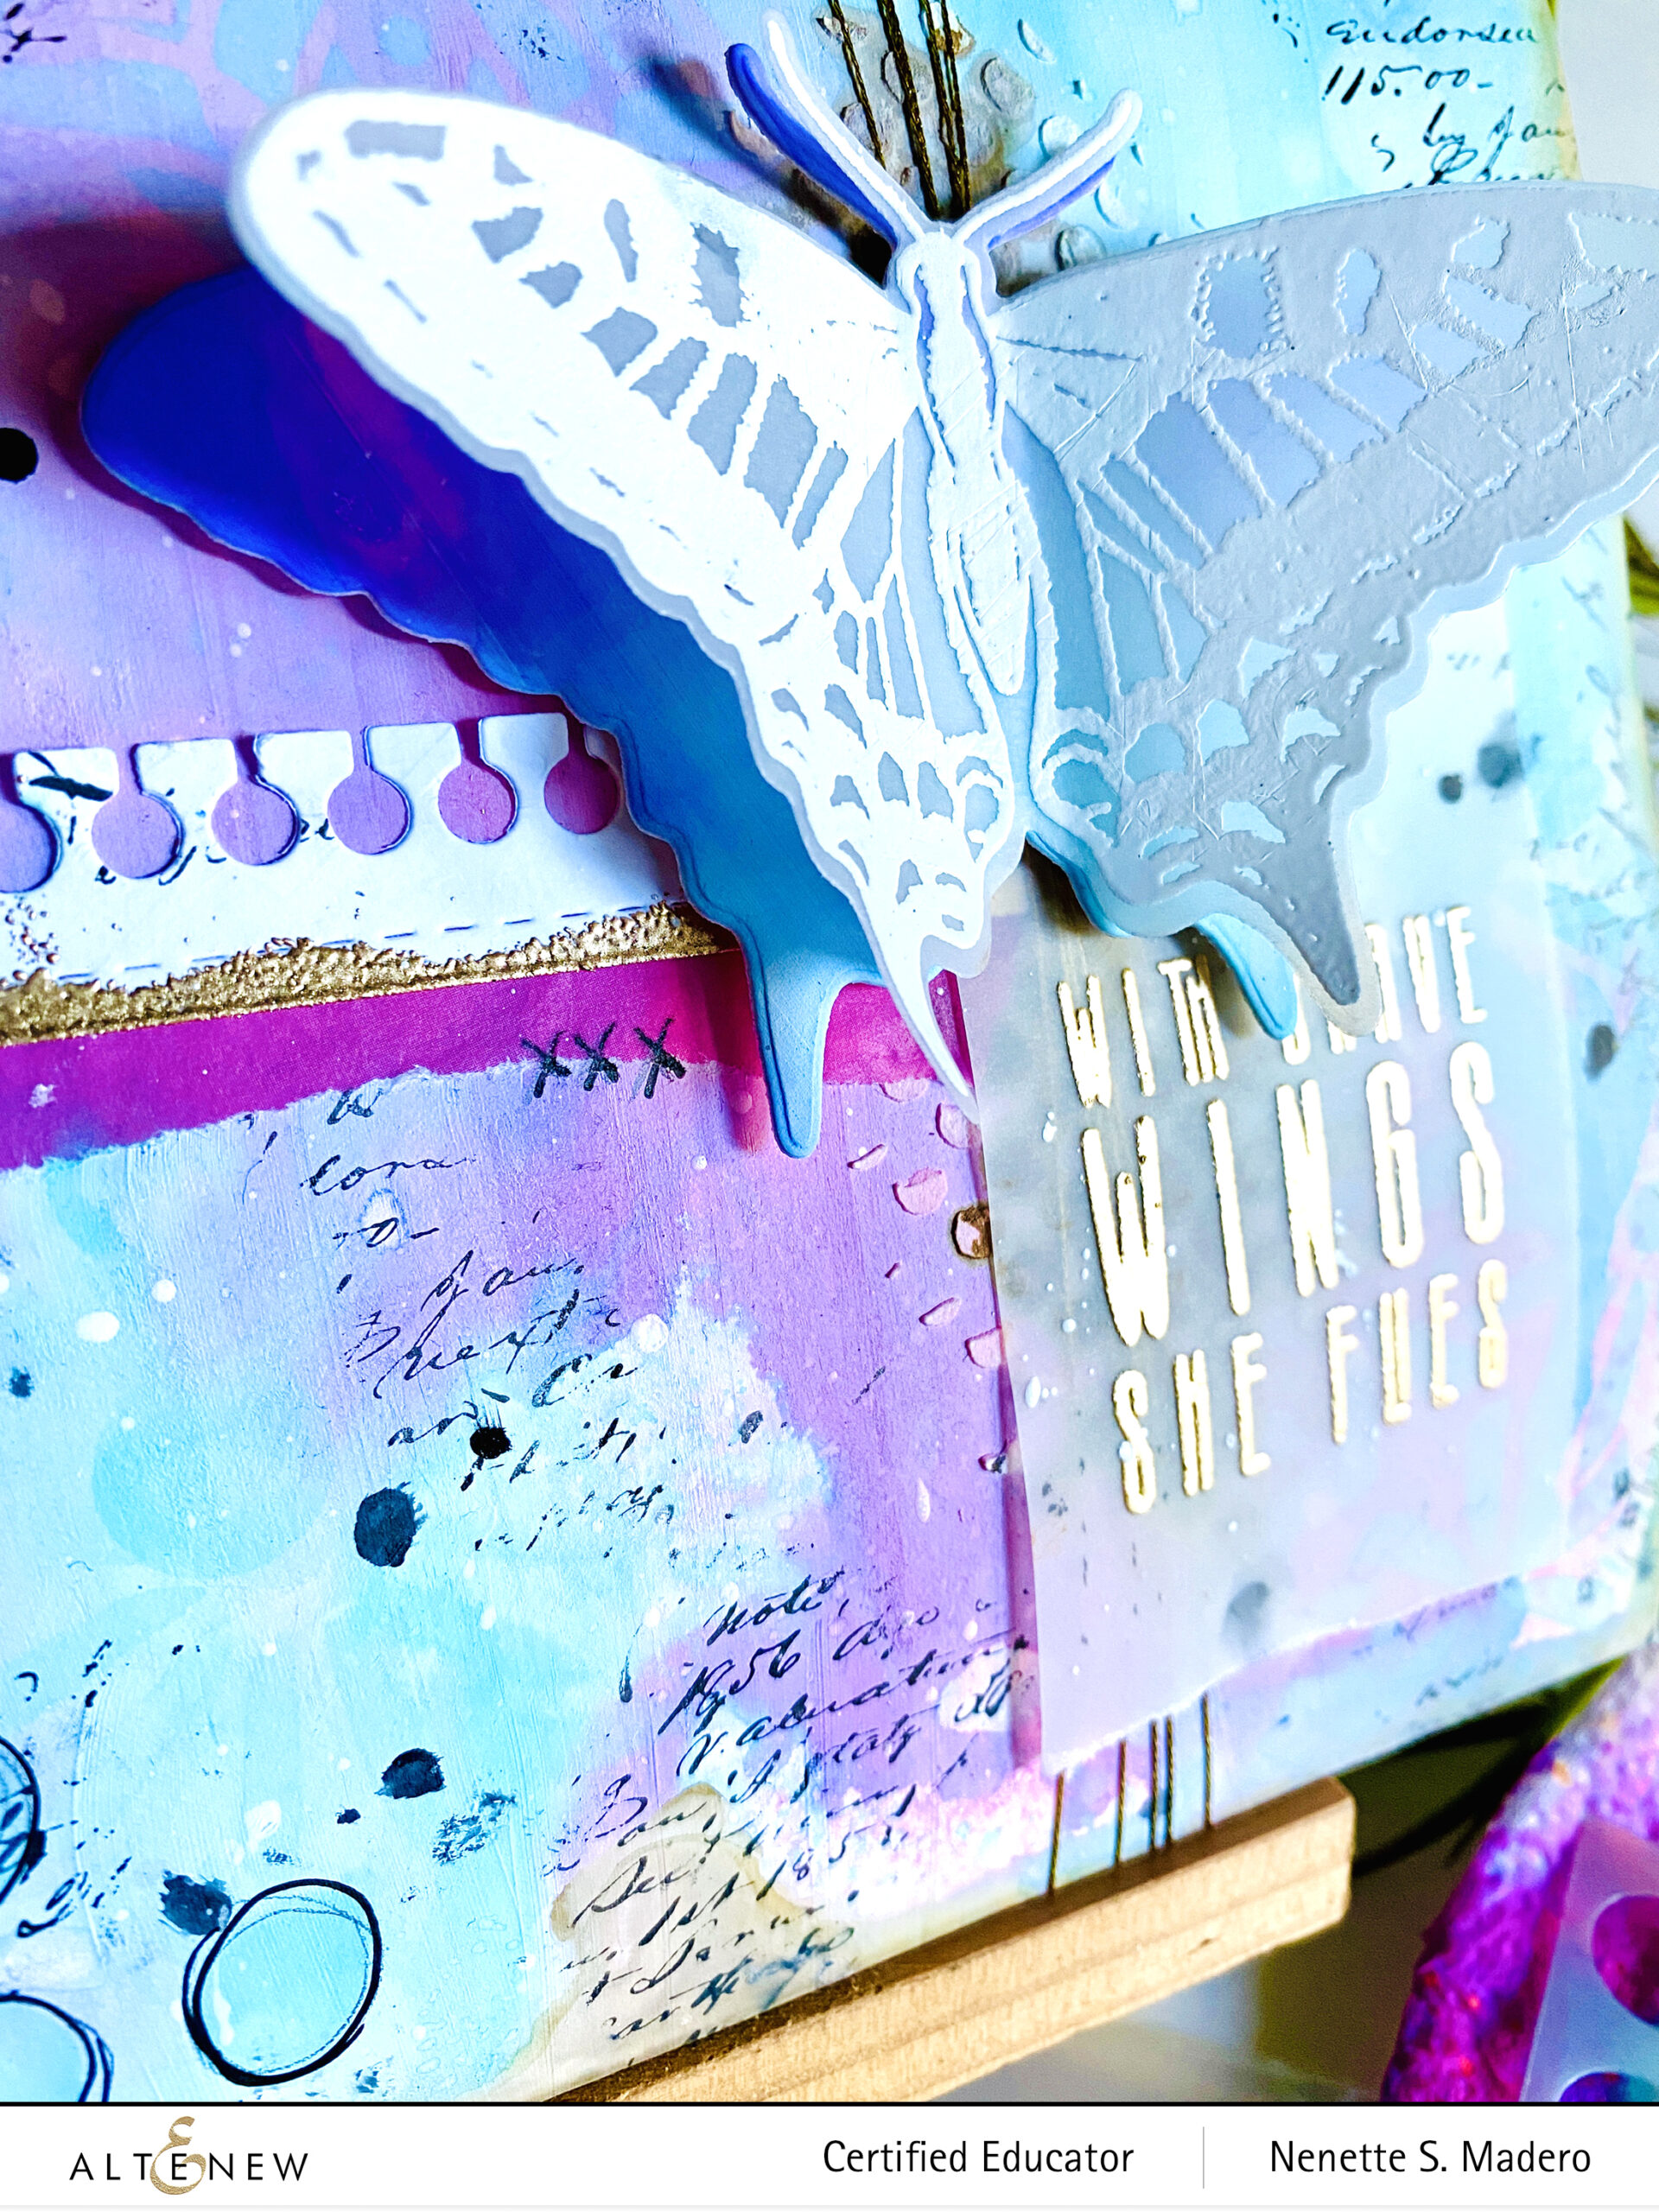
Stamp and emboss the wings and the sentiment on vellum and emboss with Rose gold embossing powder.
With a blending tool, create the base of the butterfly and glue the wings on it.
Tie the gold metallic thread.
Die cut white paper using the Creative Edges notebook die.
Add a strip of torn washi tape from the Rose Petal washi tape.
Glue the notebook edge die cut on top.
Stamp sentiments using Versafine Onyx Black.
Glue the sentiment and adhere the butterfly using foam squares.
“To practice any art, no matter how well or badly, is a way to make your soul grow. So do it.”
Kurt Vonnegut
I’ve been wanting to start an art journal but I haven’t because I was fearful of the outcome–until now. I’ve been so inspired by Tiffany Solorio and Tania Ahmed with all their beautiful mixed media work so I took the plunge and went for it. Tania’s Altenew class, Demystifying Mixed Media, helped me a lot in freeing myself from the fear of a blank page. She talked about composition, color theory and so much more. I have a feeling the more I practice, the less worried about the outcome I will be. The sentiment is perfect– you just have to be brave to try, experiment and just let go!!!
PRIZES
$200 in total prizes! Altenew is giving away a $35 gift certificate to 2 lucky winners and a $20 gift certificate to 5 winners! Please leave a comment on the Altenew Card Blog and/or each designer’s blog post on the blog hop list below by 07/04/2021 for a chance to win.
There’s MORE! What’s a hop without YOU?! We have included an Inlinkz at the Altenew blog for you to enter your gorgeous Altenew “Anything But A Card” creations. We will pick 2 of our favorite handmade creations from those who joined the linky party and they will each receive a $15 Altenew gift certificate!
Altenew will draw 7 random winners from the comments left on each stop of this blog hop and announce the winners on the Altenew Winners Page on 07/06/2021.
I hope you liked the Anything-But-A-Card projects I made for this hop. The next stop is Roteja Galvan . I love hearing from you so I hope you’ll leave a comment and let me know which project you liked the most. This way, you’ll get a chance to win some fab prizes from Altenew. ❤️ It would be nice if you can follow me too on Instagram @mylittleatticstudio. I post all of my works there. Thanks so much for dropping by!!! Stay safe everyone and happy crafting!
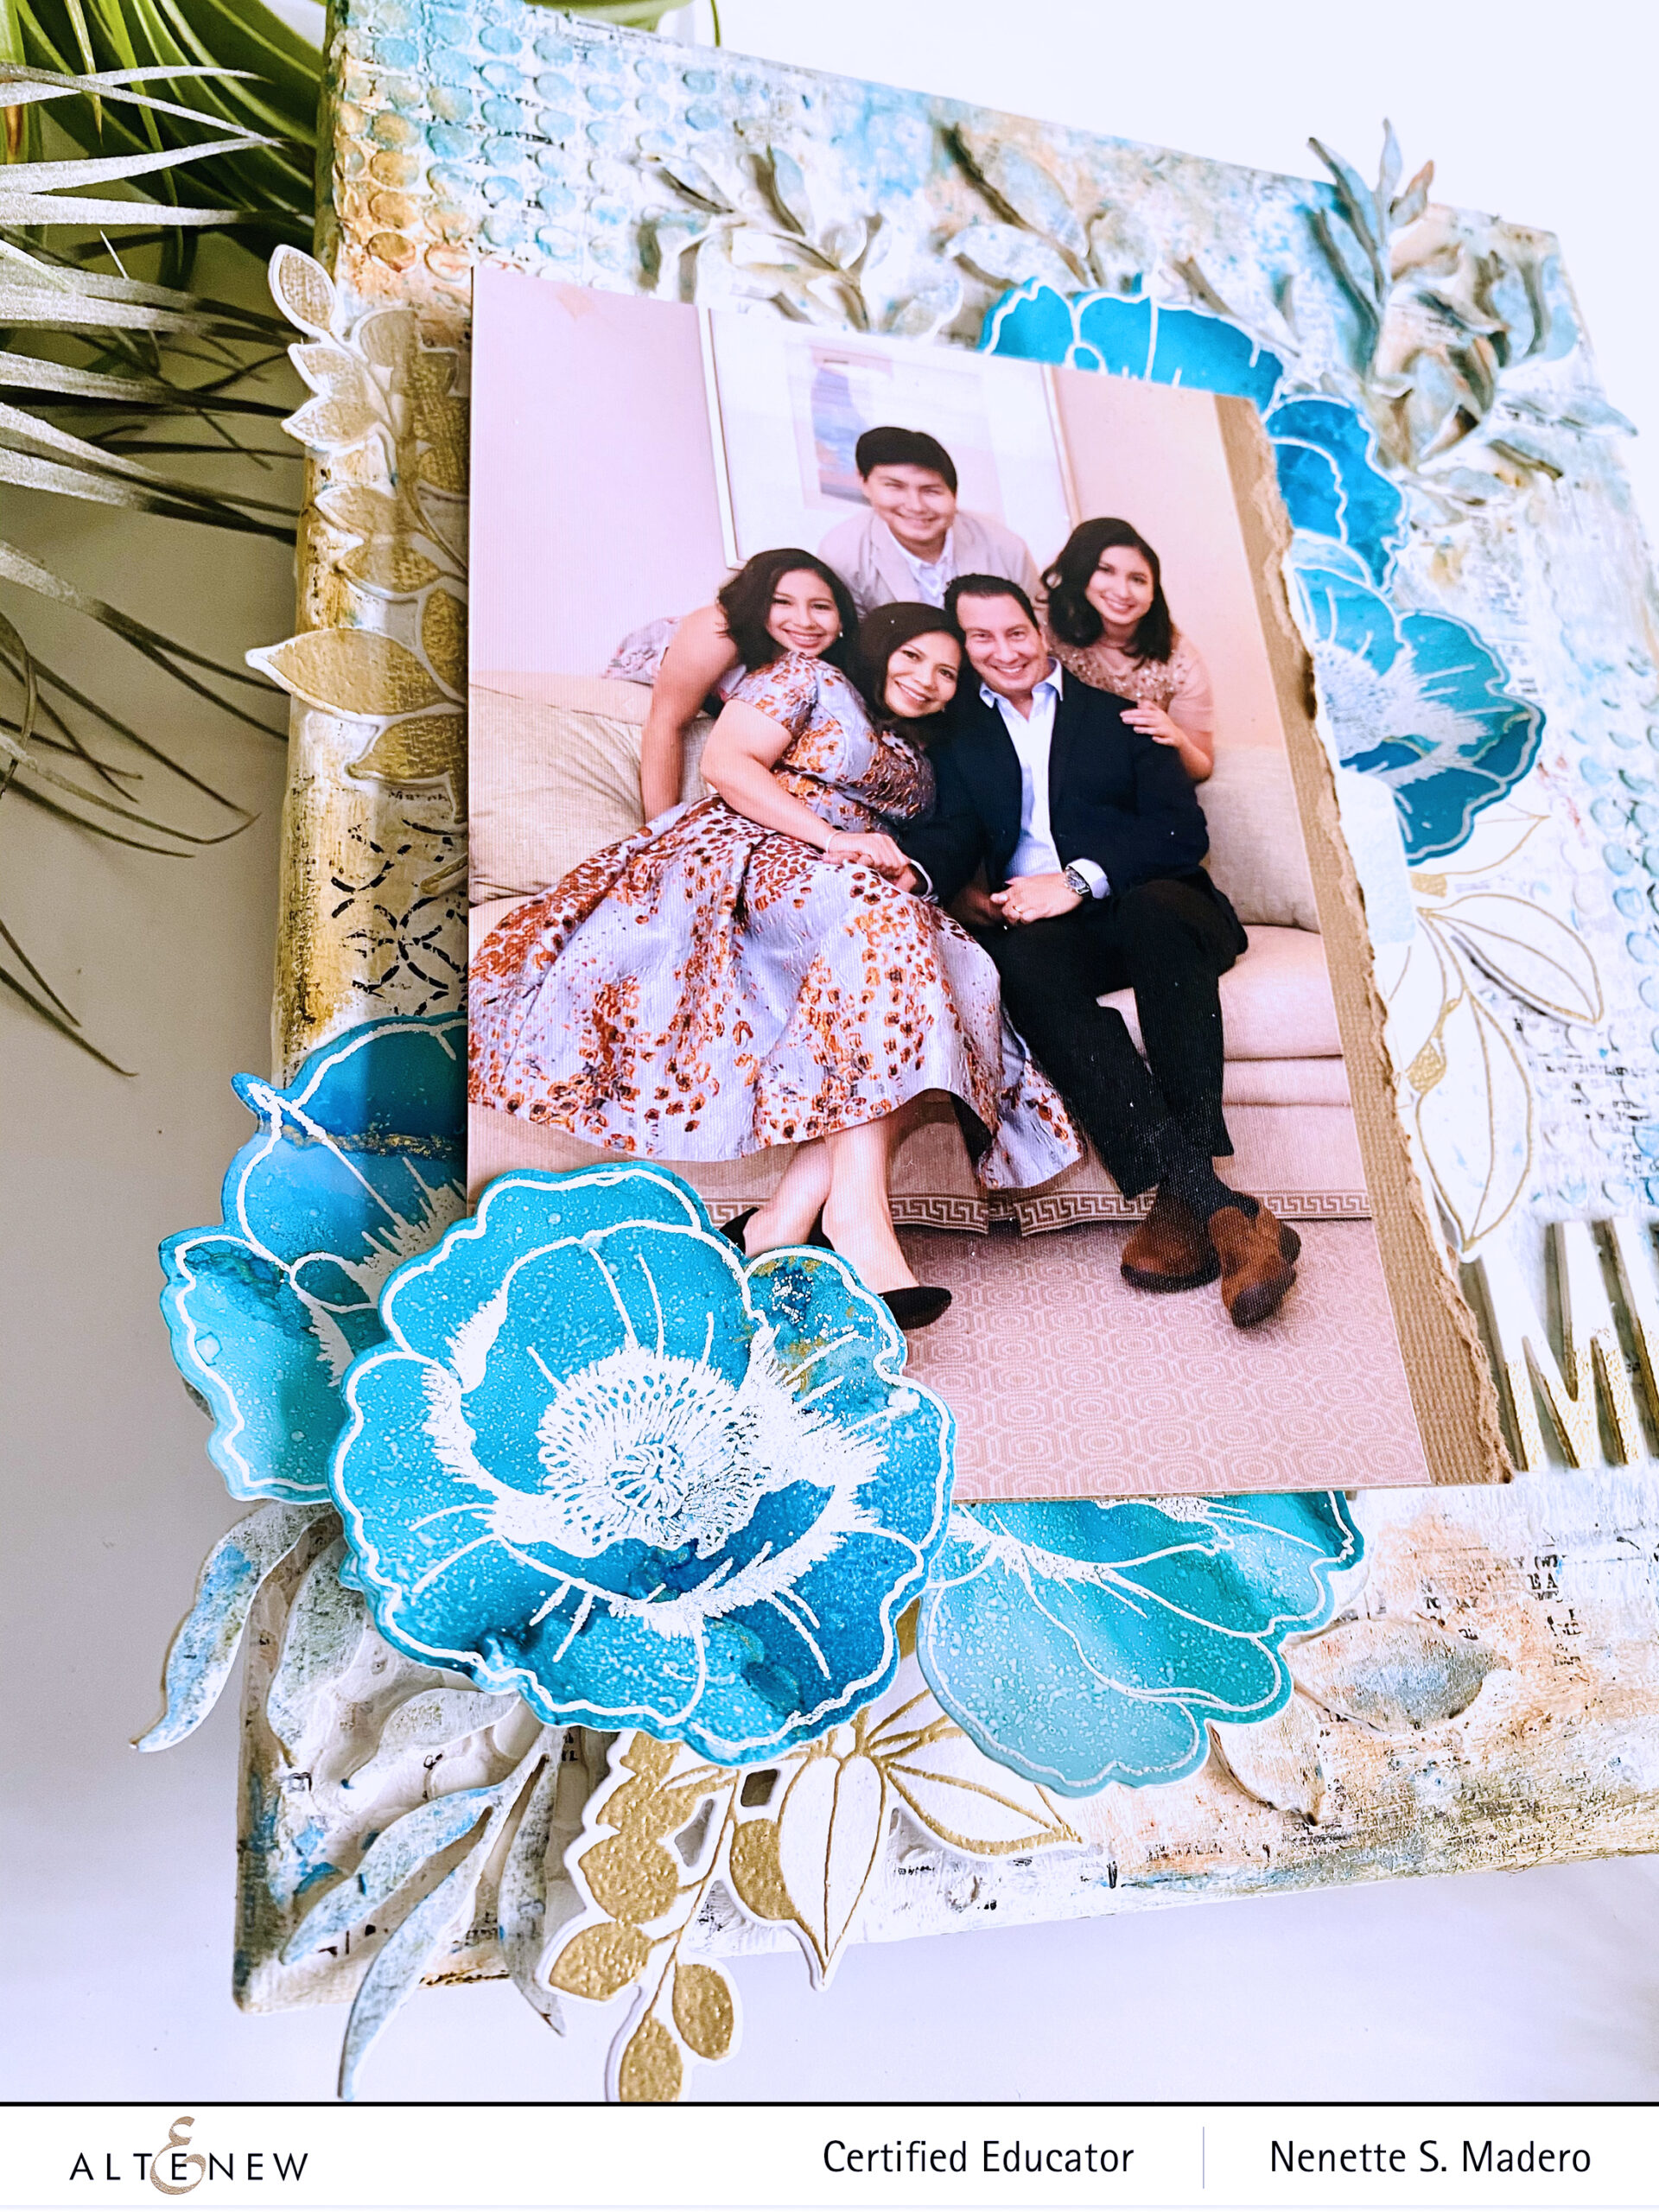
Hello everyone! Nenette here. I’m so honored to be featured on the Altenew Mixed Media blog today! Thank you Altenew for inviting me to be a part of this blog.
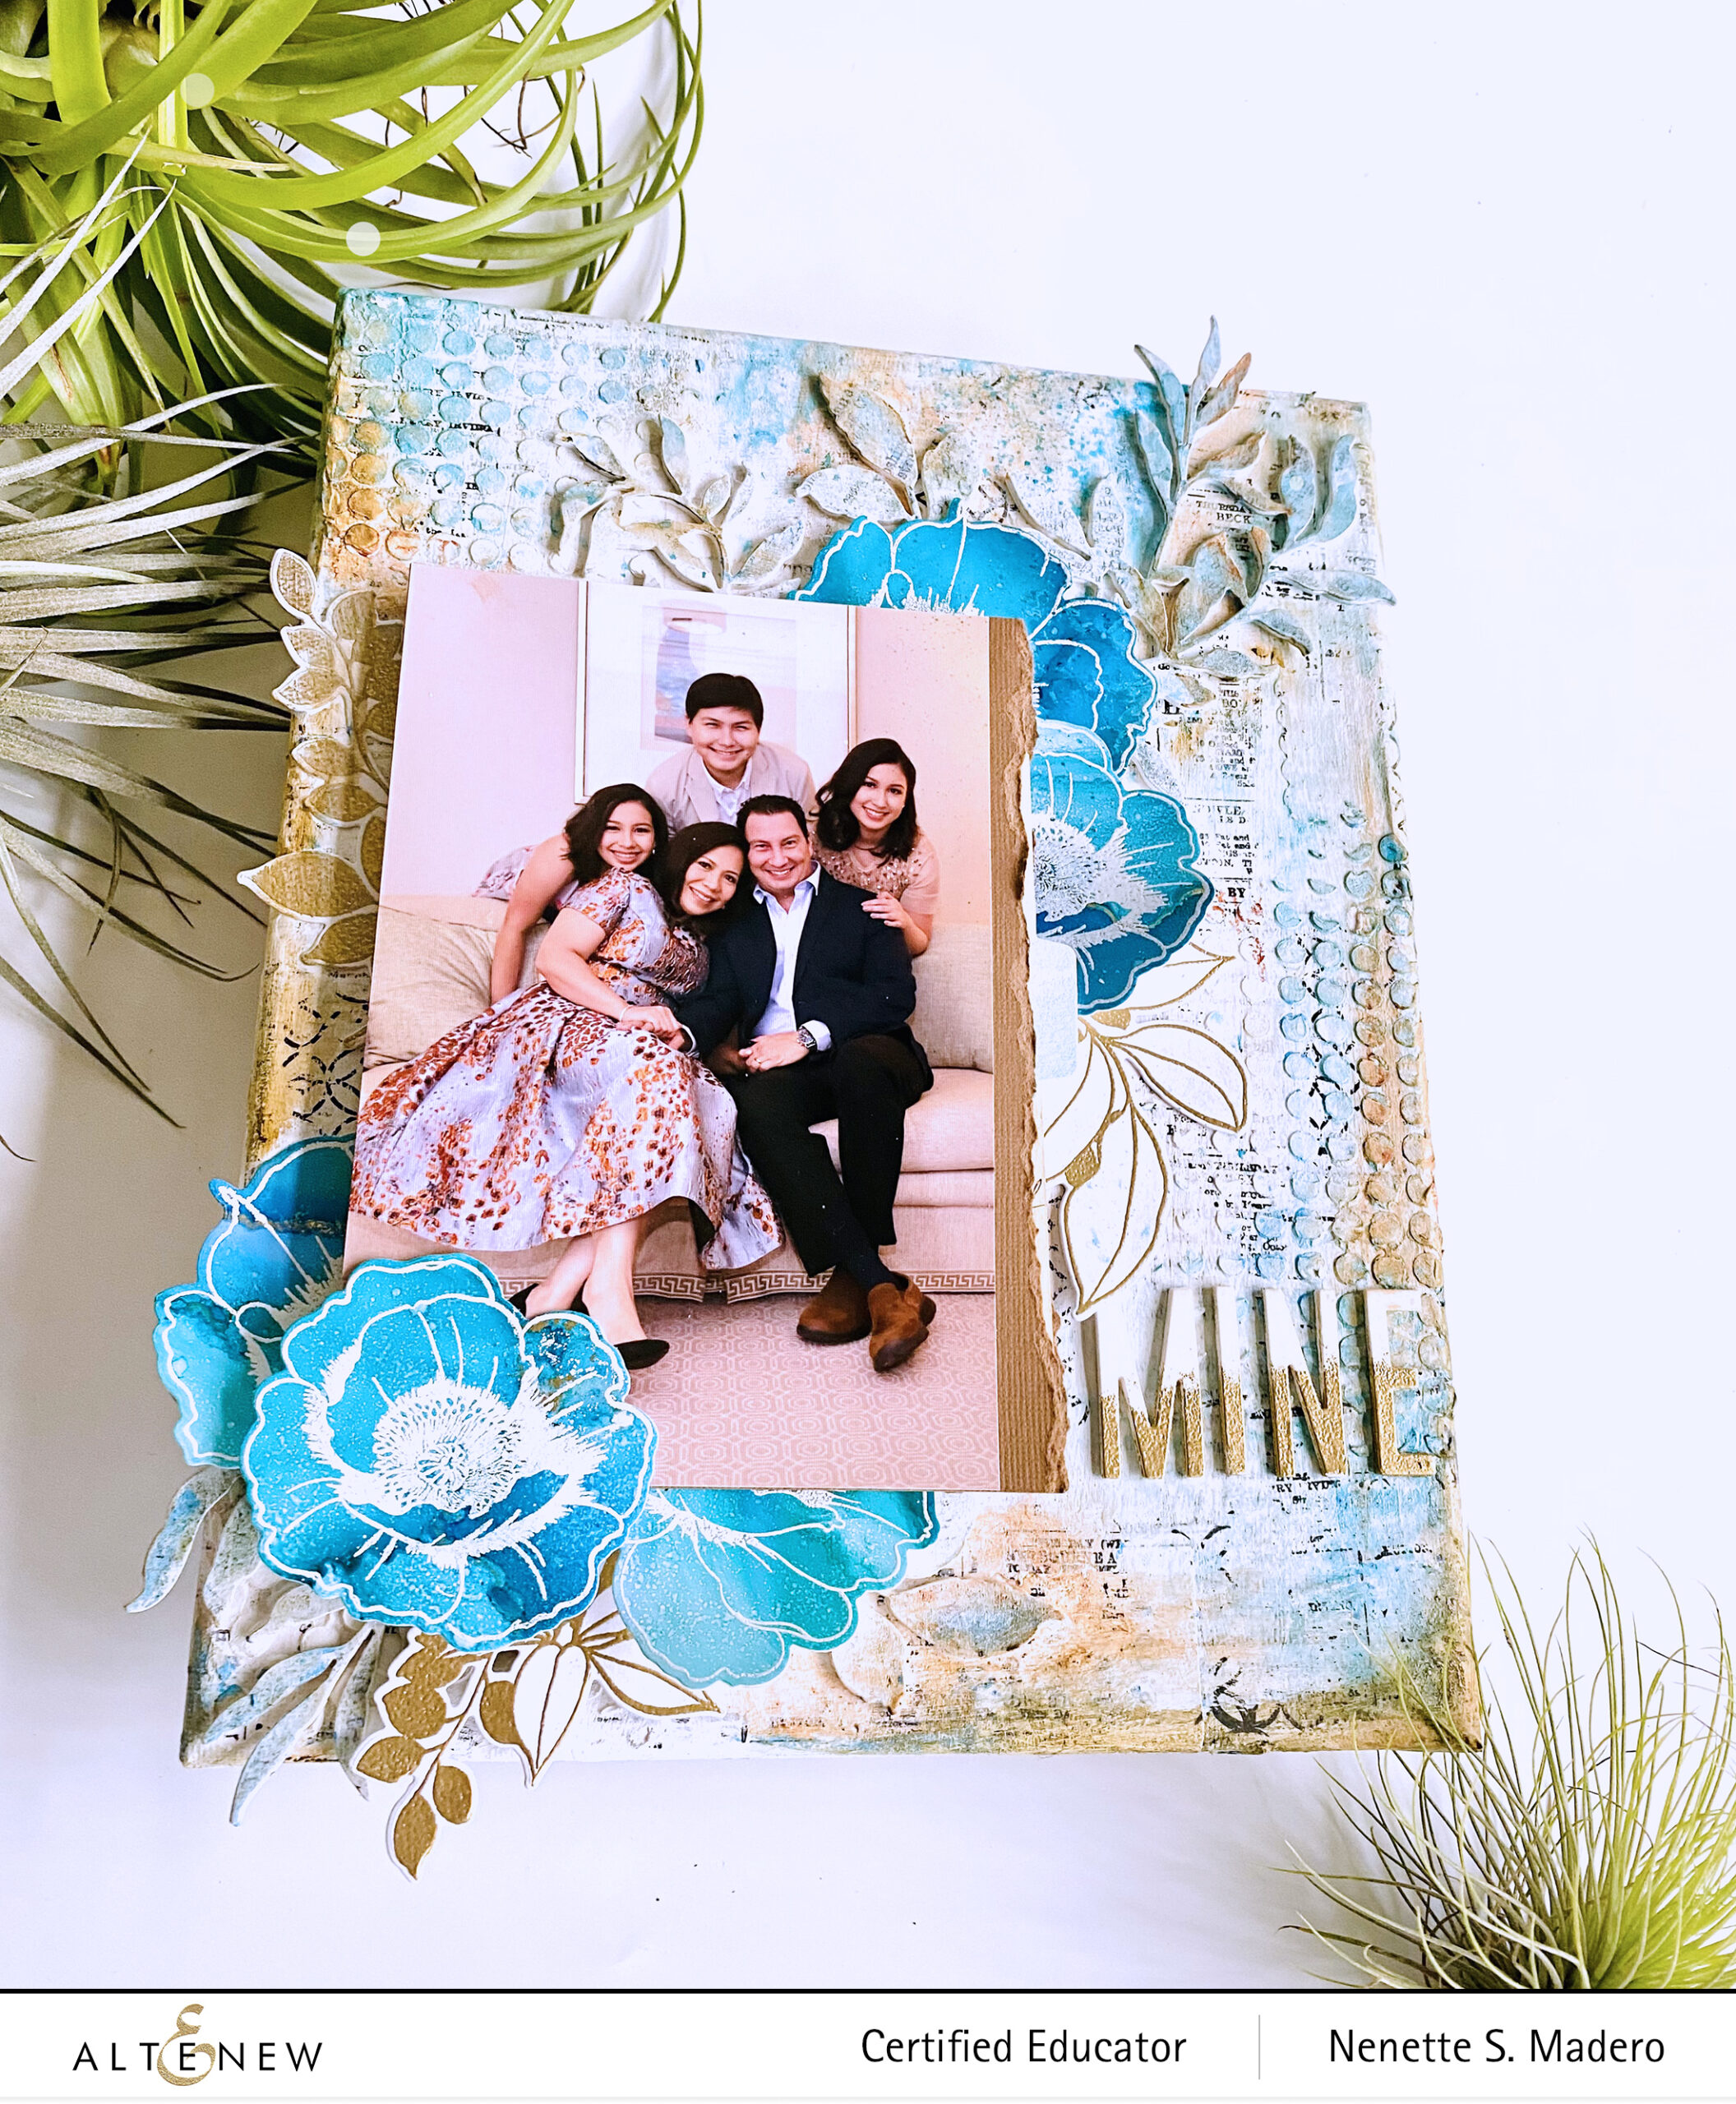
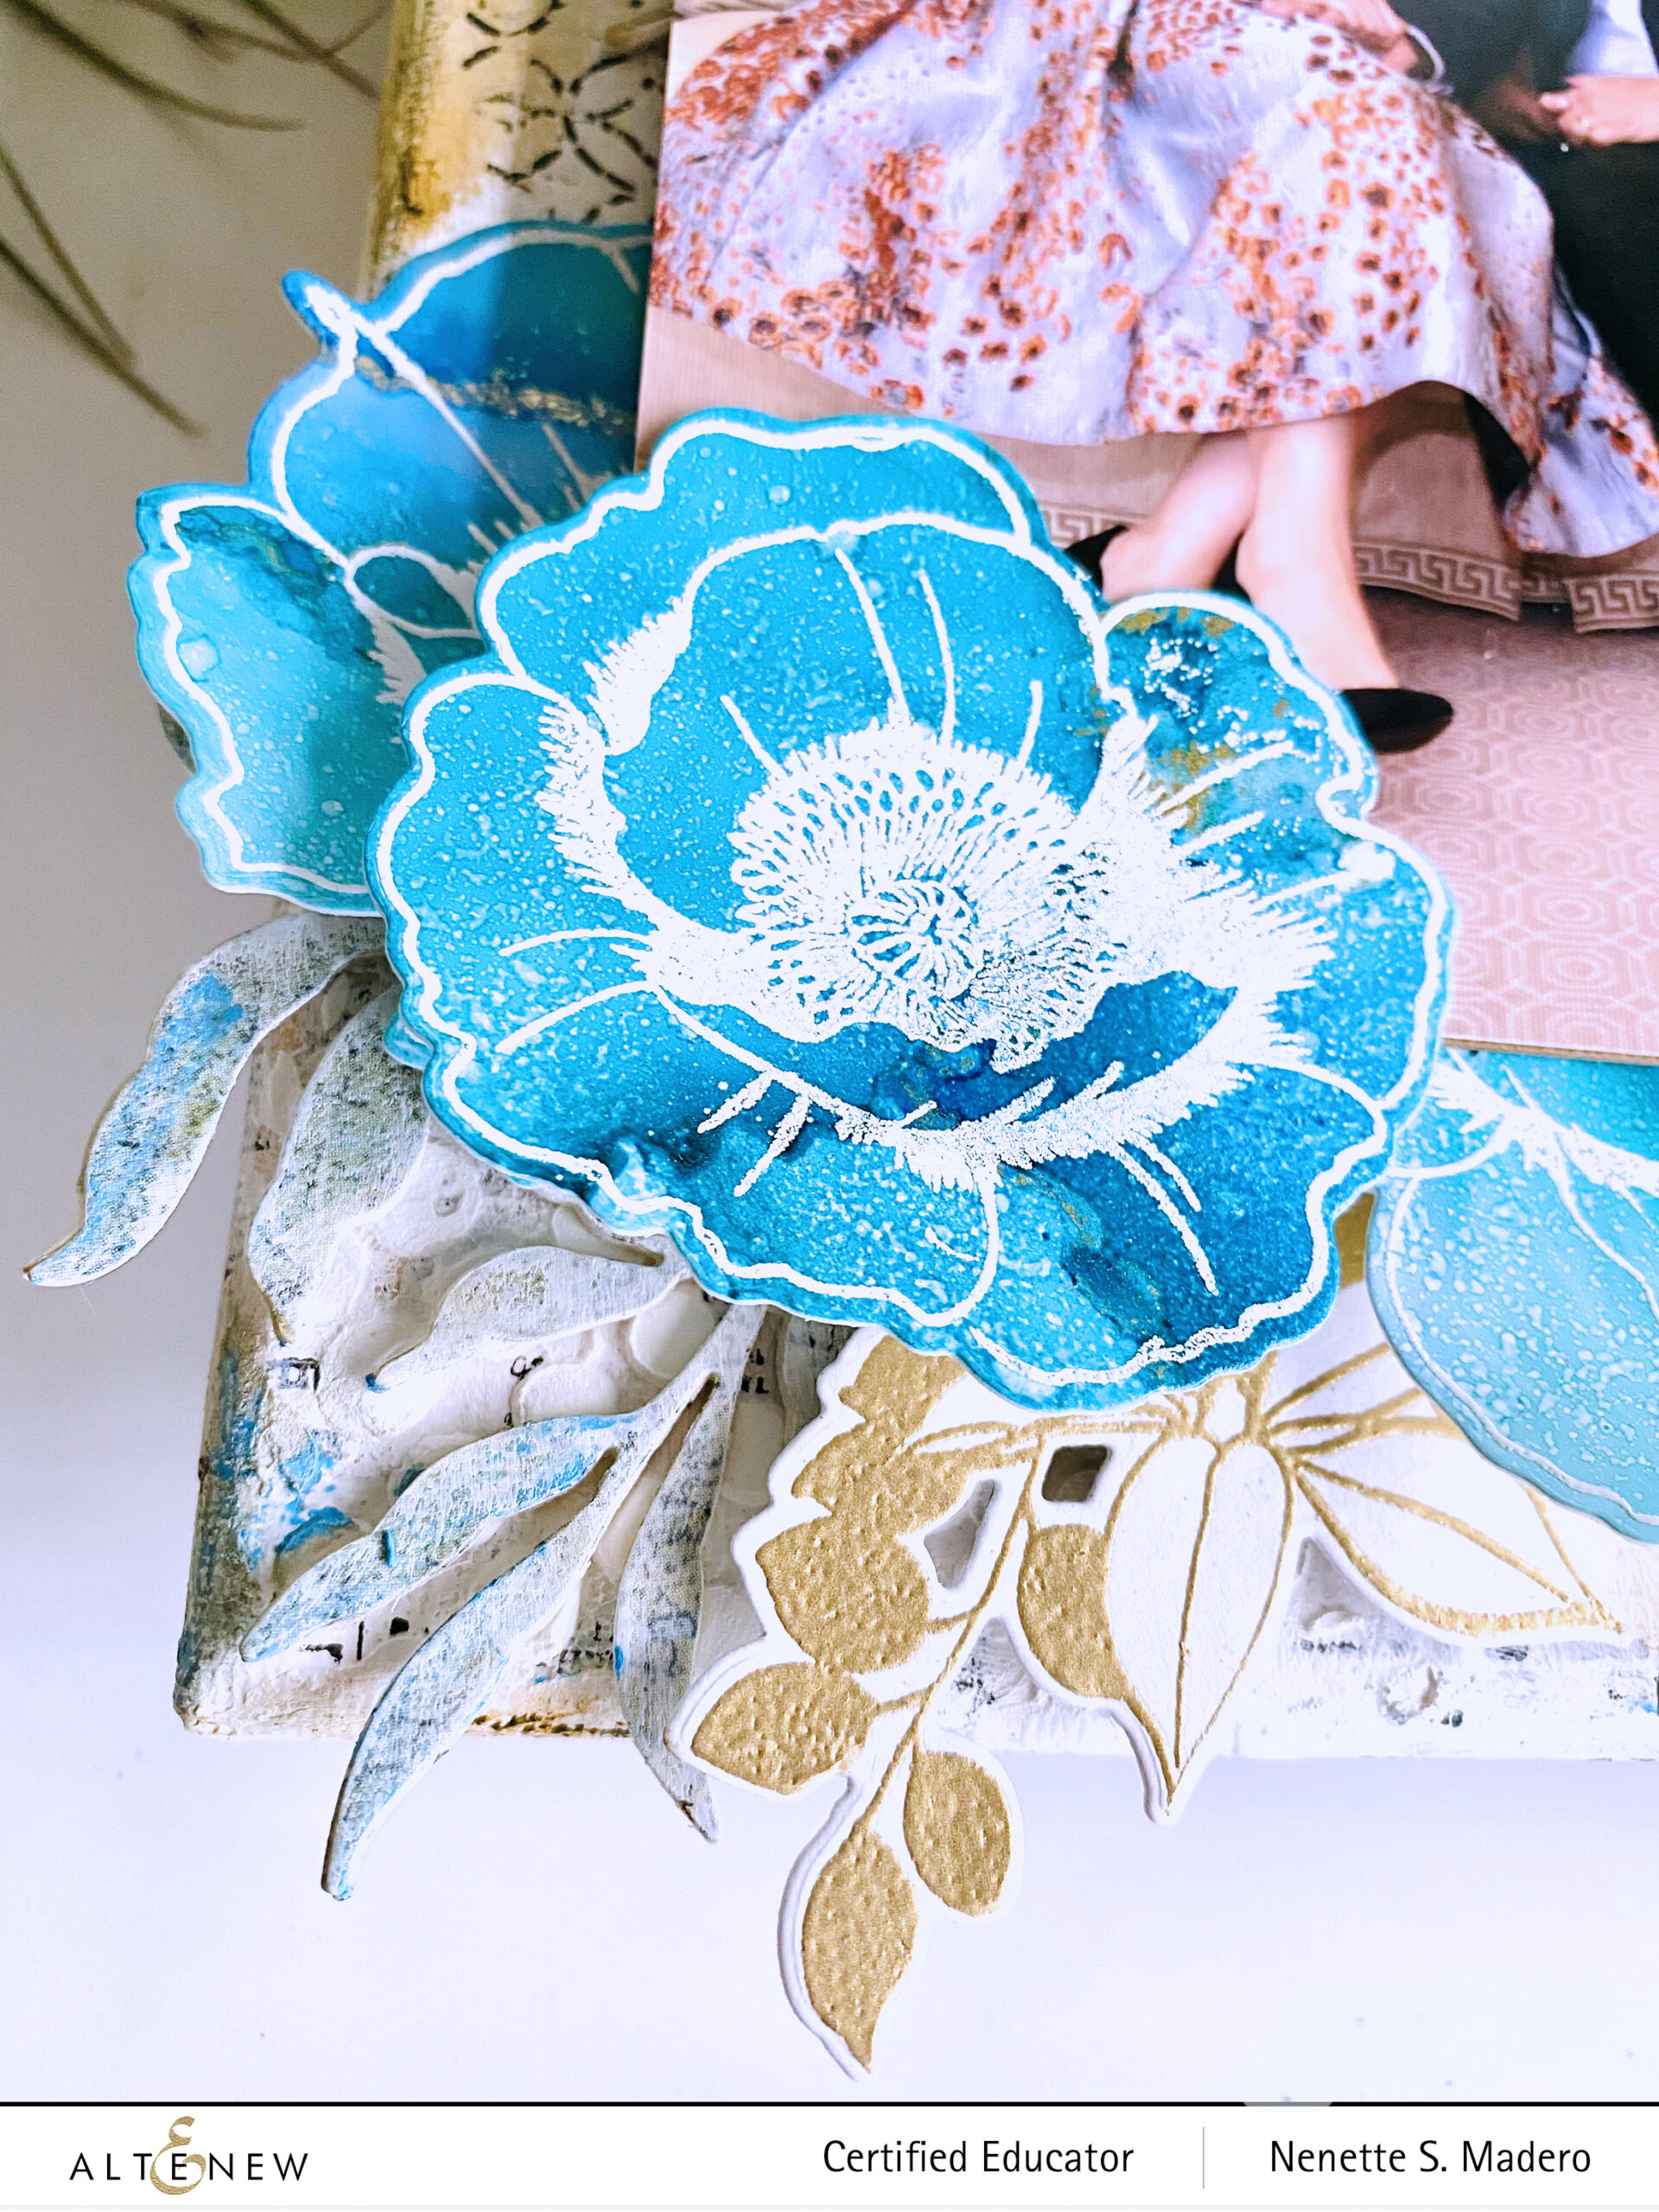
I’m so happy to be sharing with you some fun techniques using alcohol inks and mixed media to create a textured, shabby chic background for a scrapbook layout on canvas.
To me, scrapbook layouts are my love letters to my family. I always make sure that the 3 major components are present in all my layouts– title, photo and journaling. I wanted to elevate this scrapbook page so I created it on canvas.
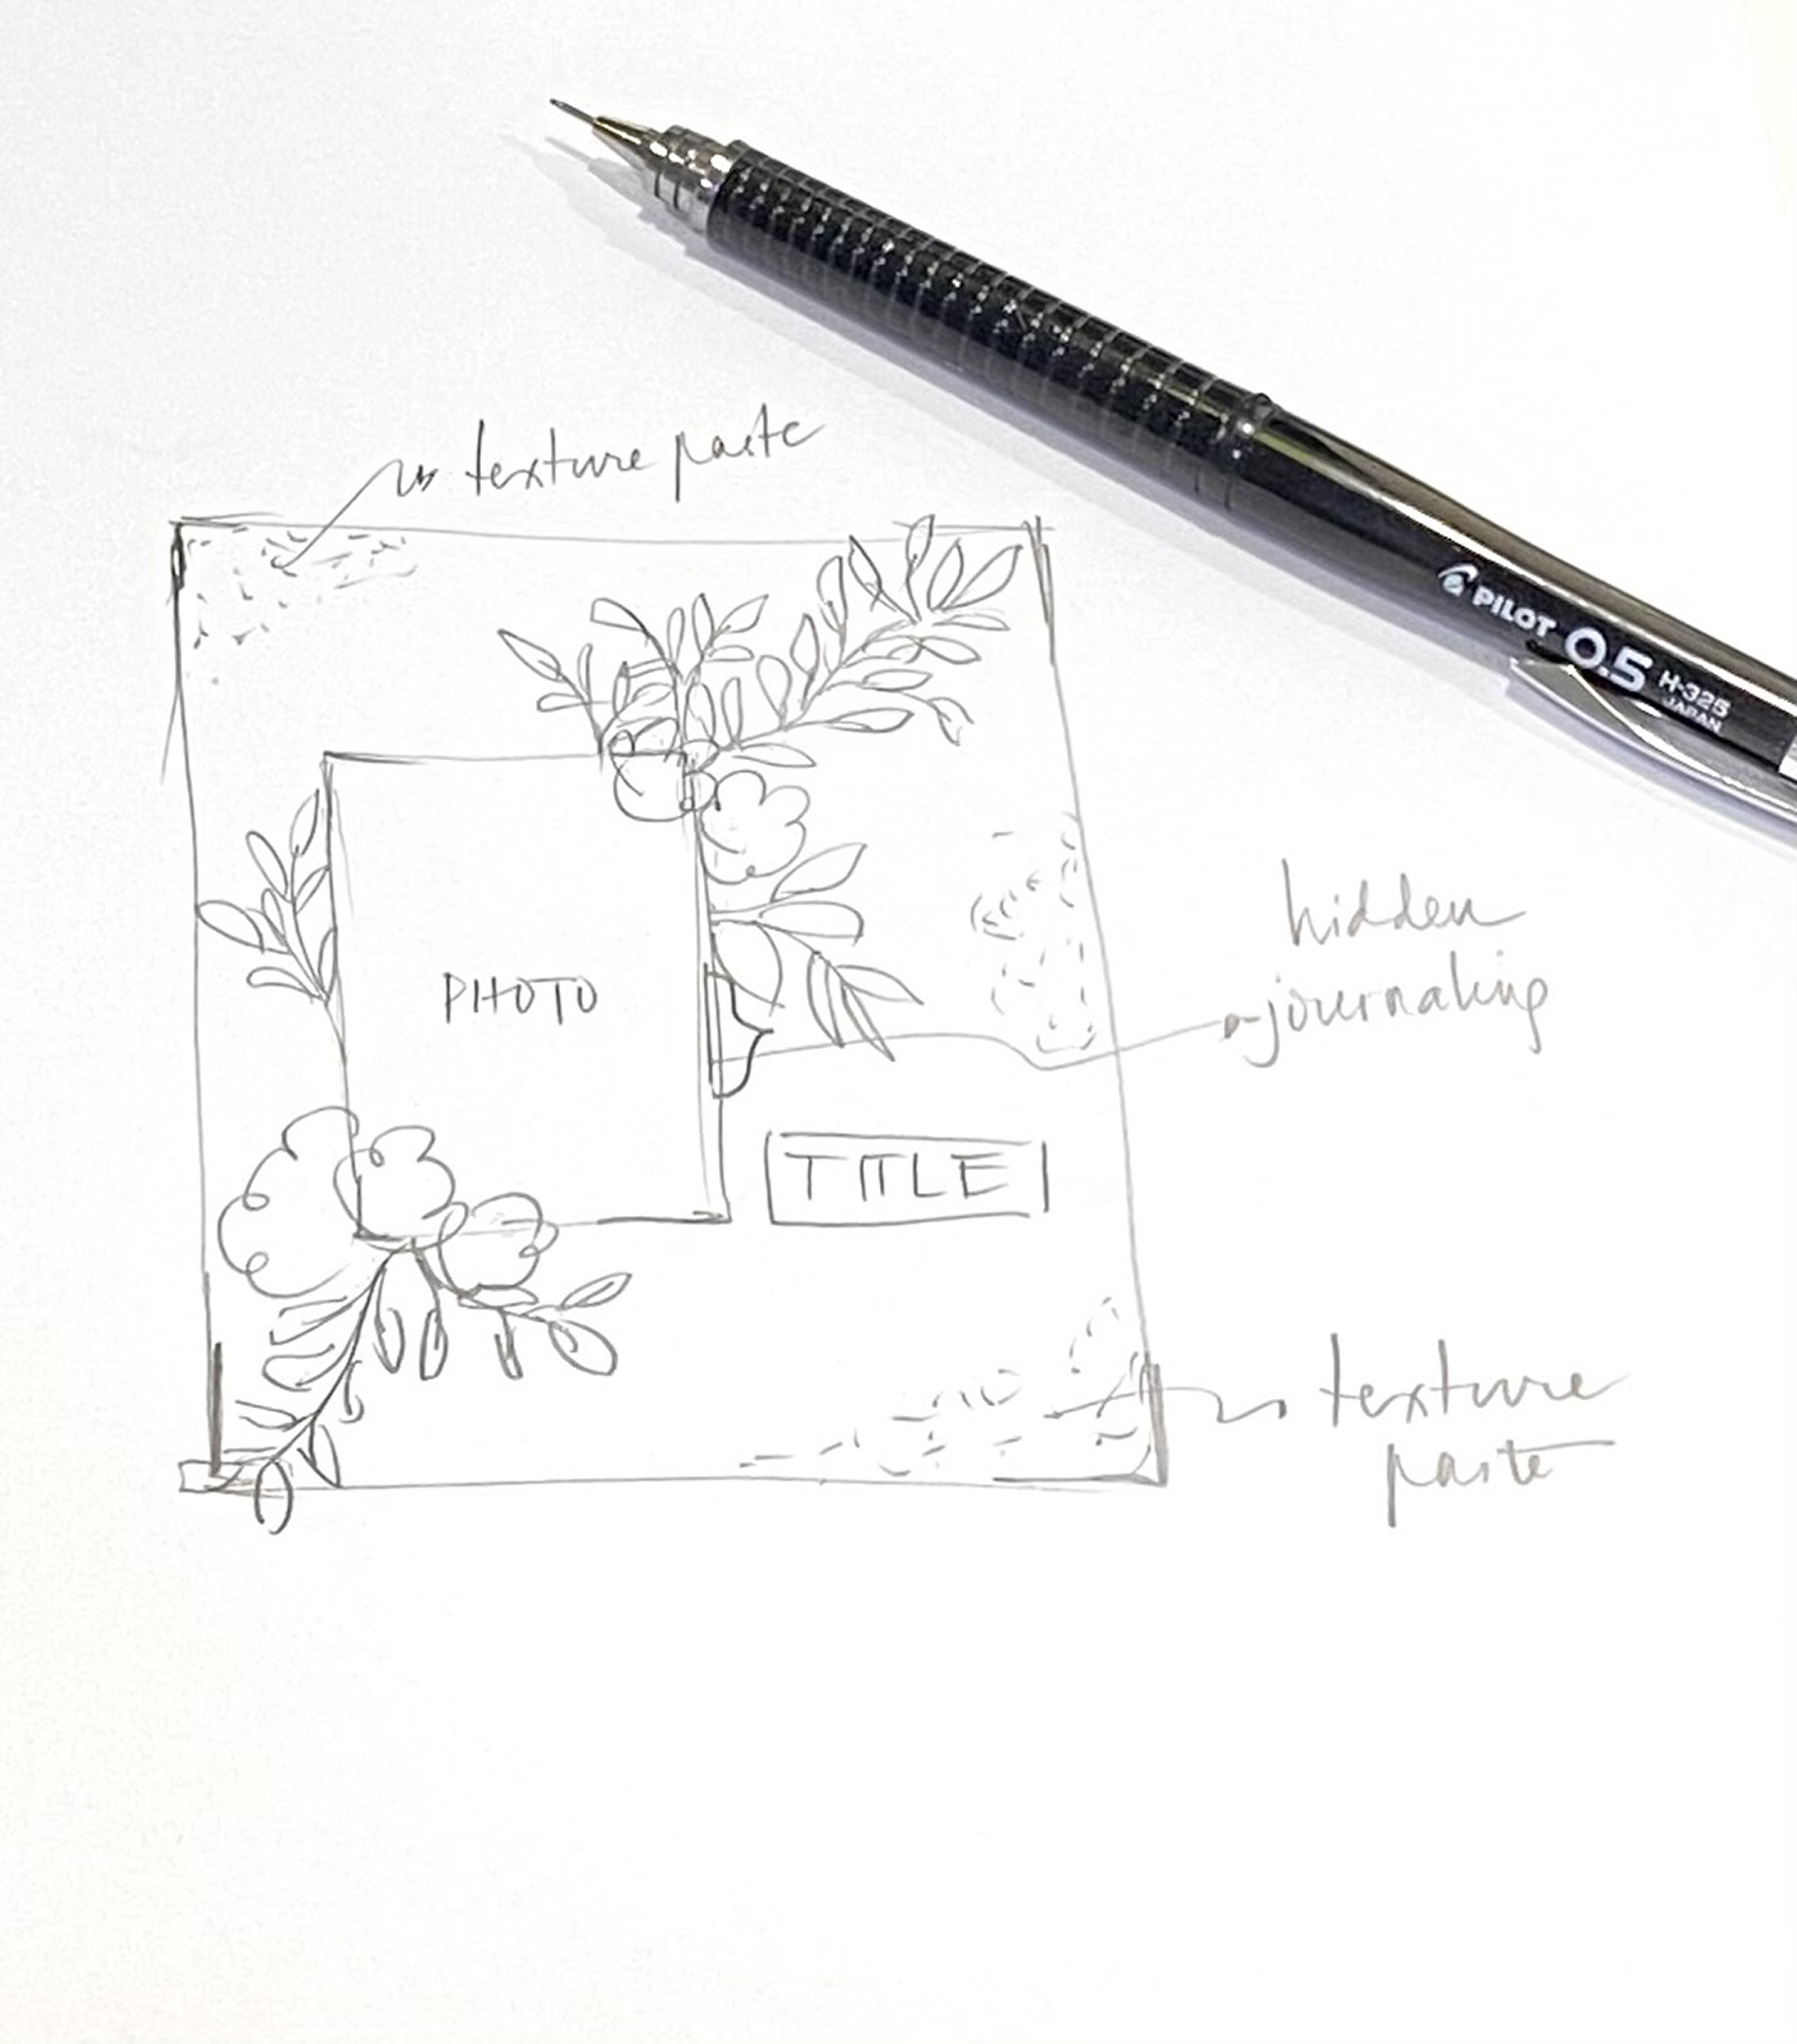
Create a sketch of the layout-most often than not, I start with an idea in my head. Sketching it makes it visually clear as to what I want to do with the layout.
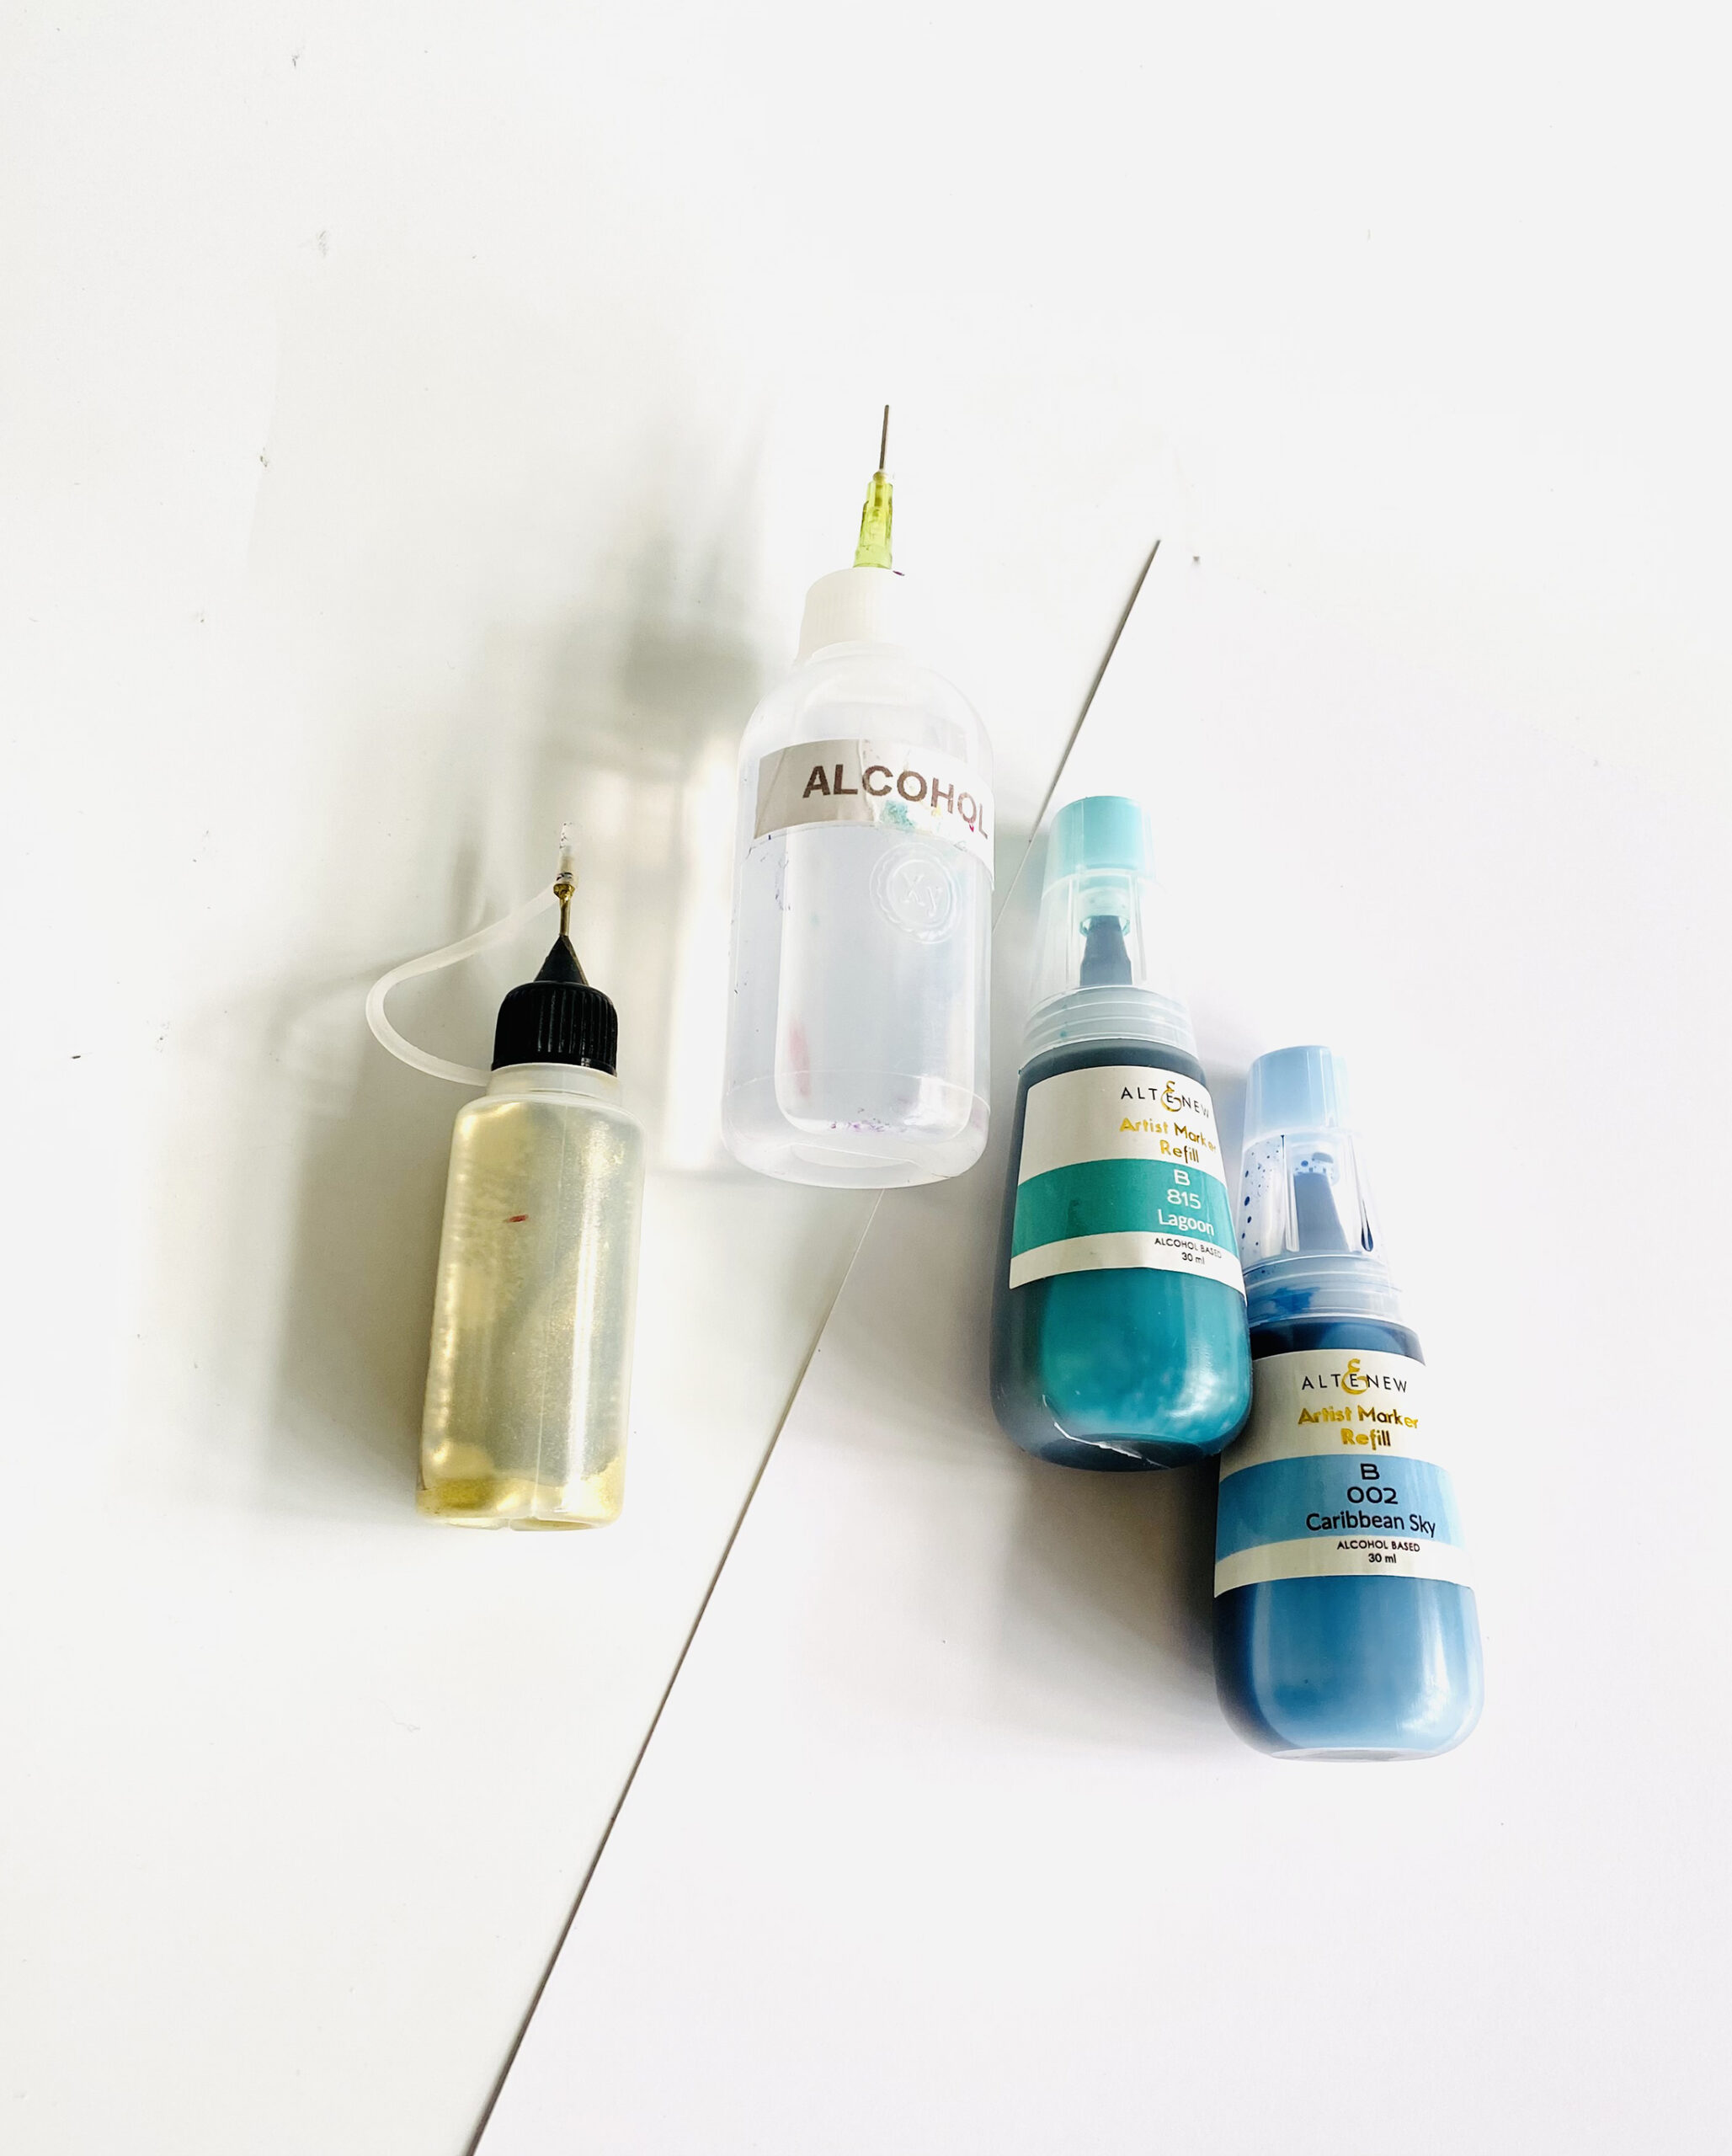
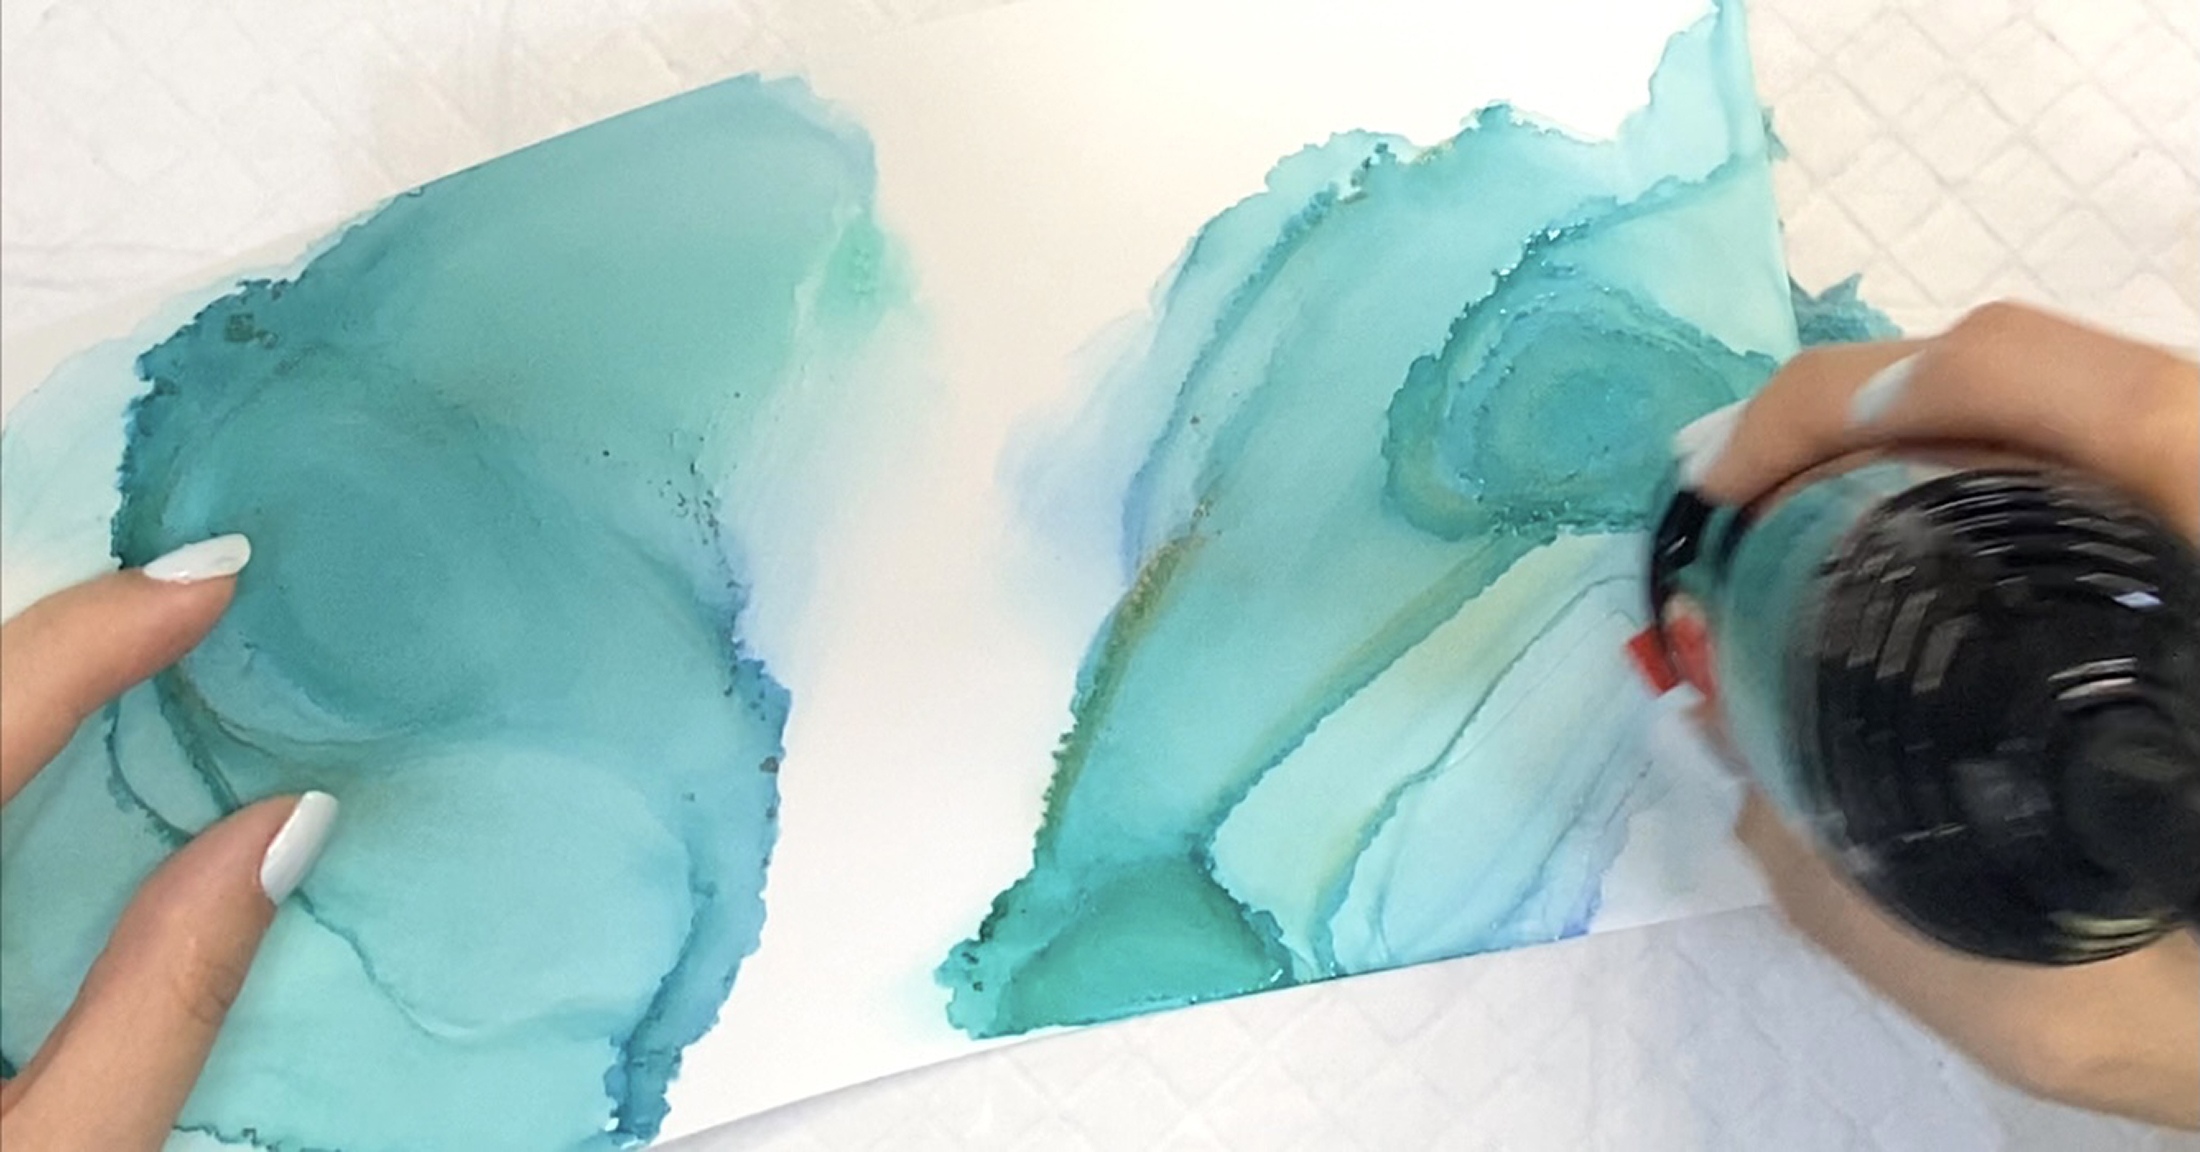
2. Add 99% alcohol and alcohol inks to Nara paper and create ripples using a hairdryer. Move the paper to mix the colors.
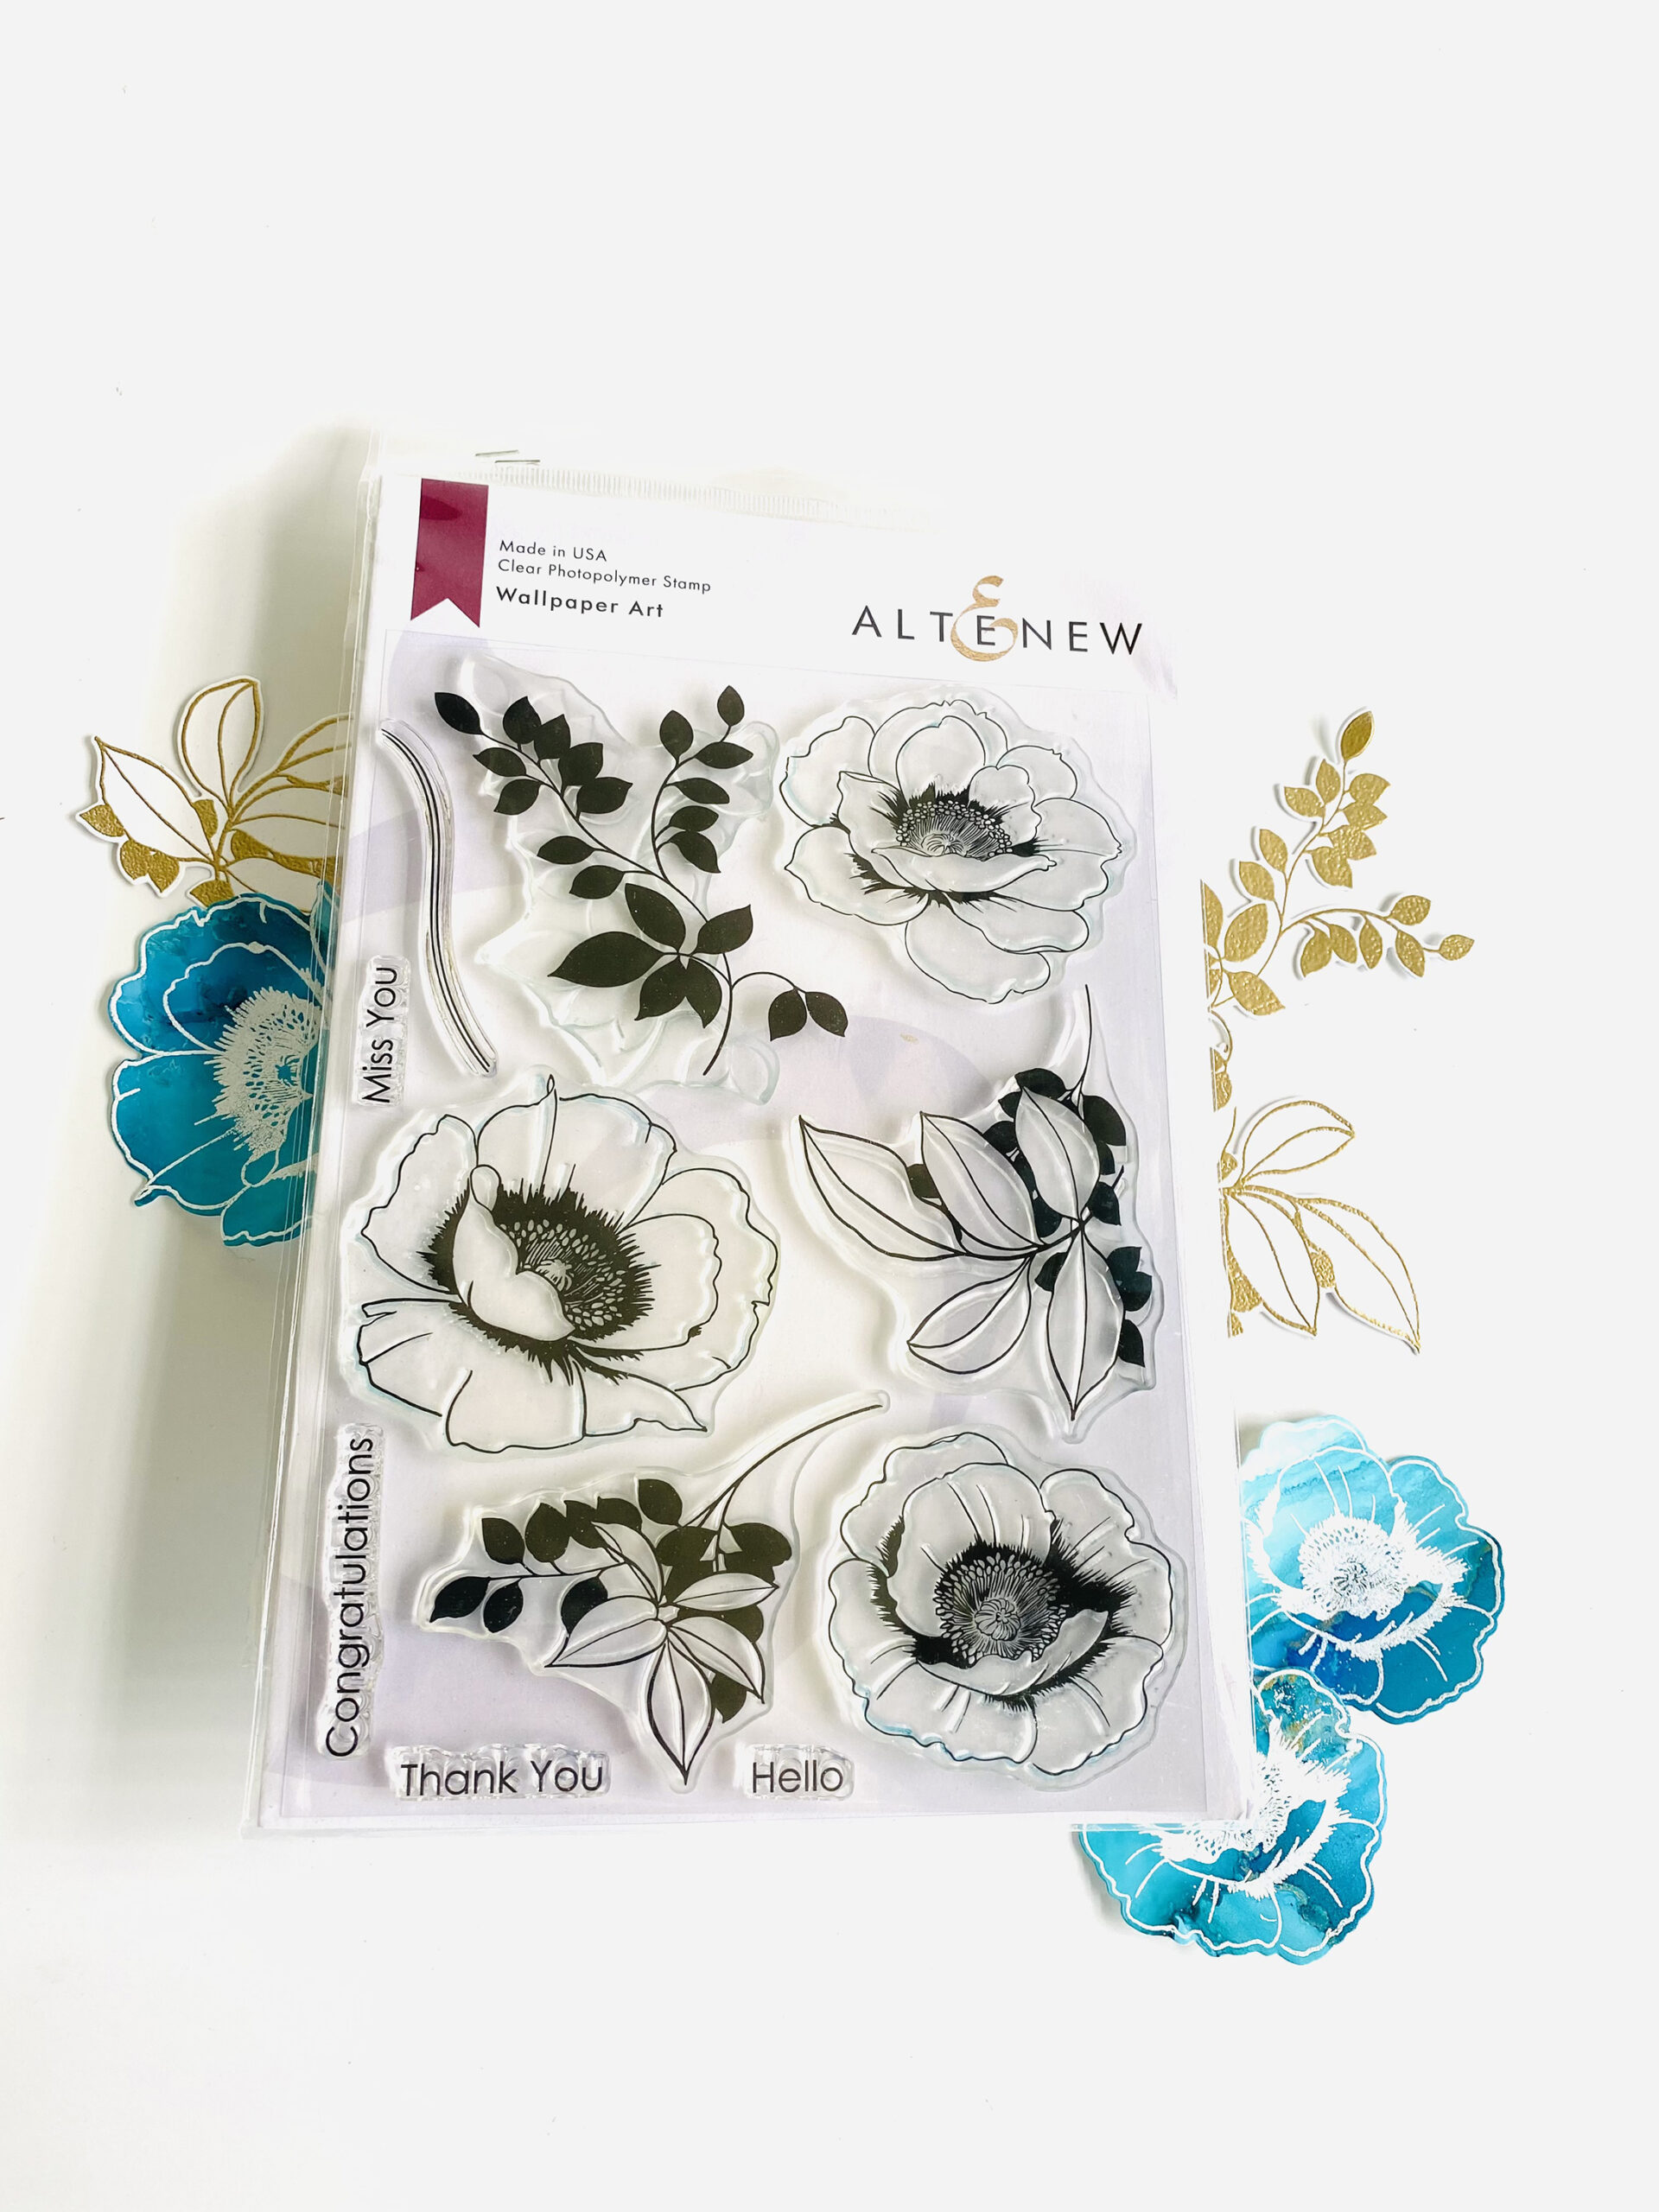
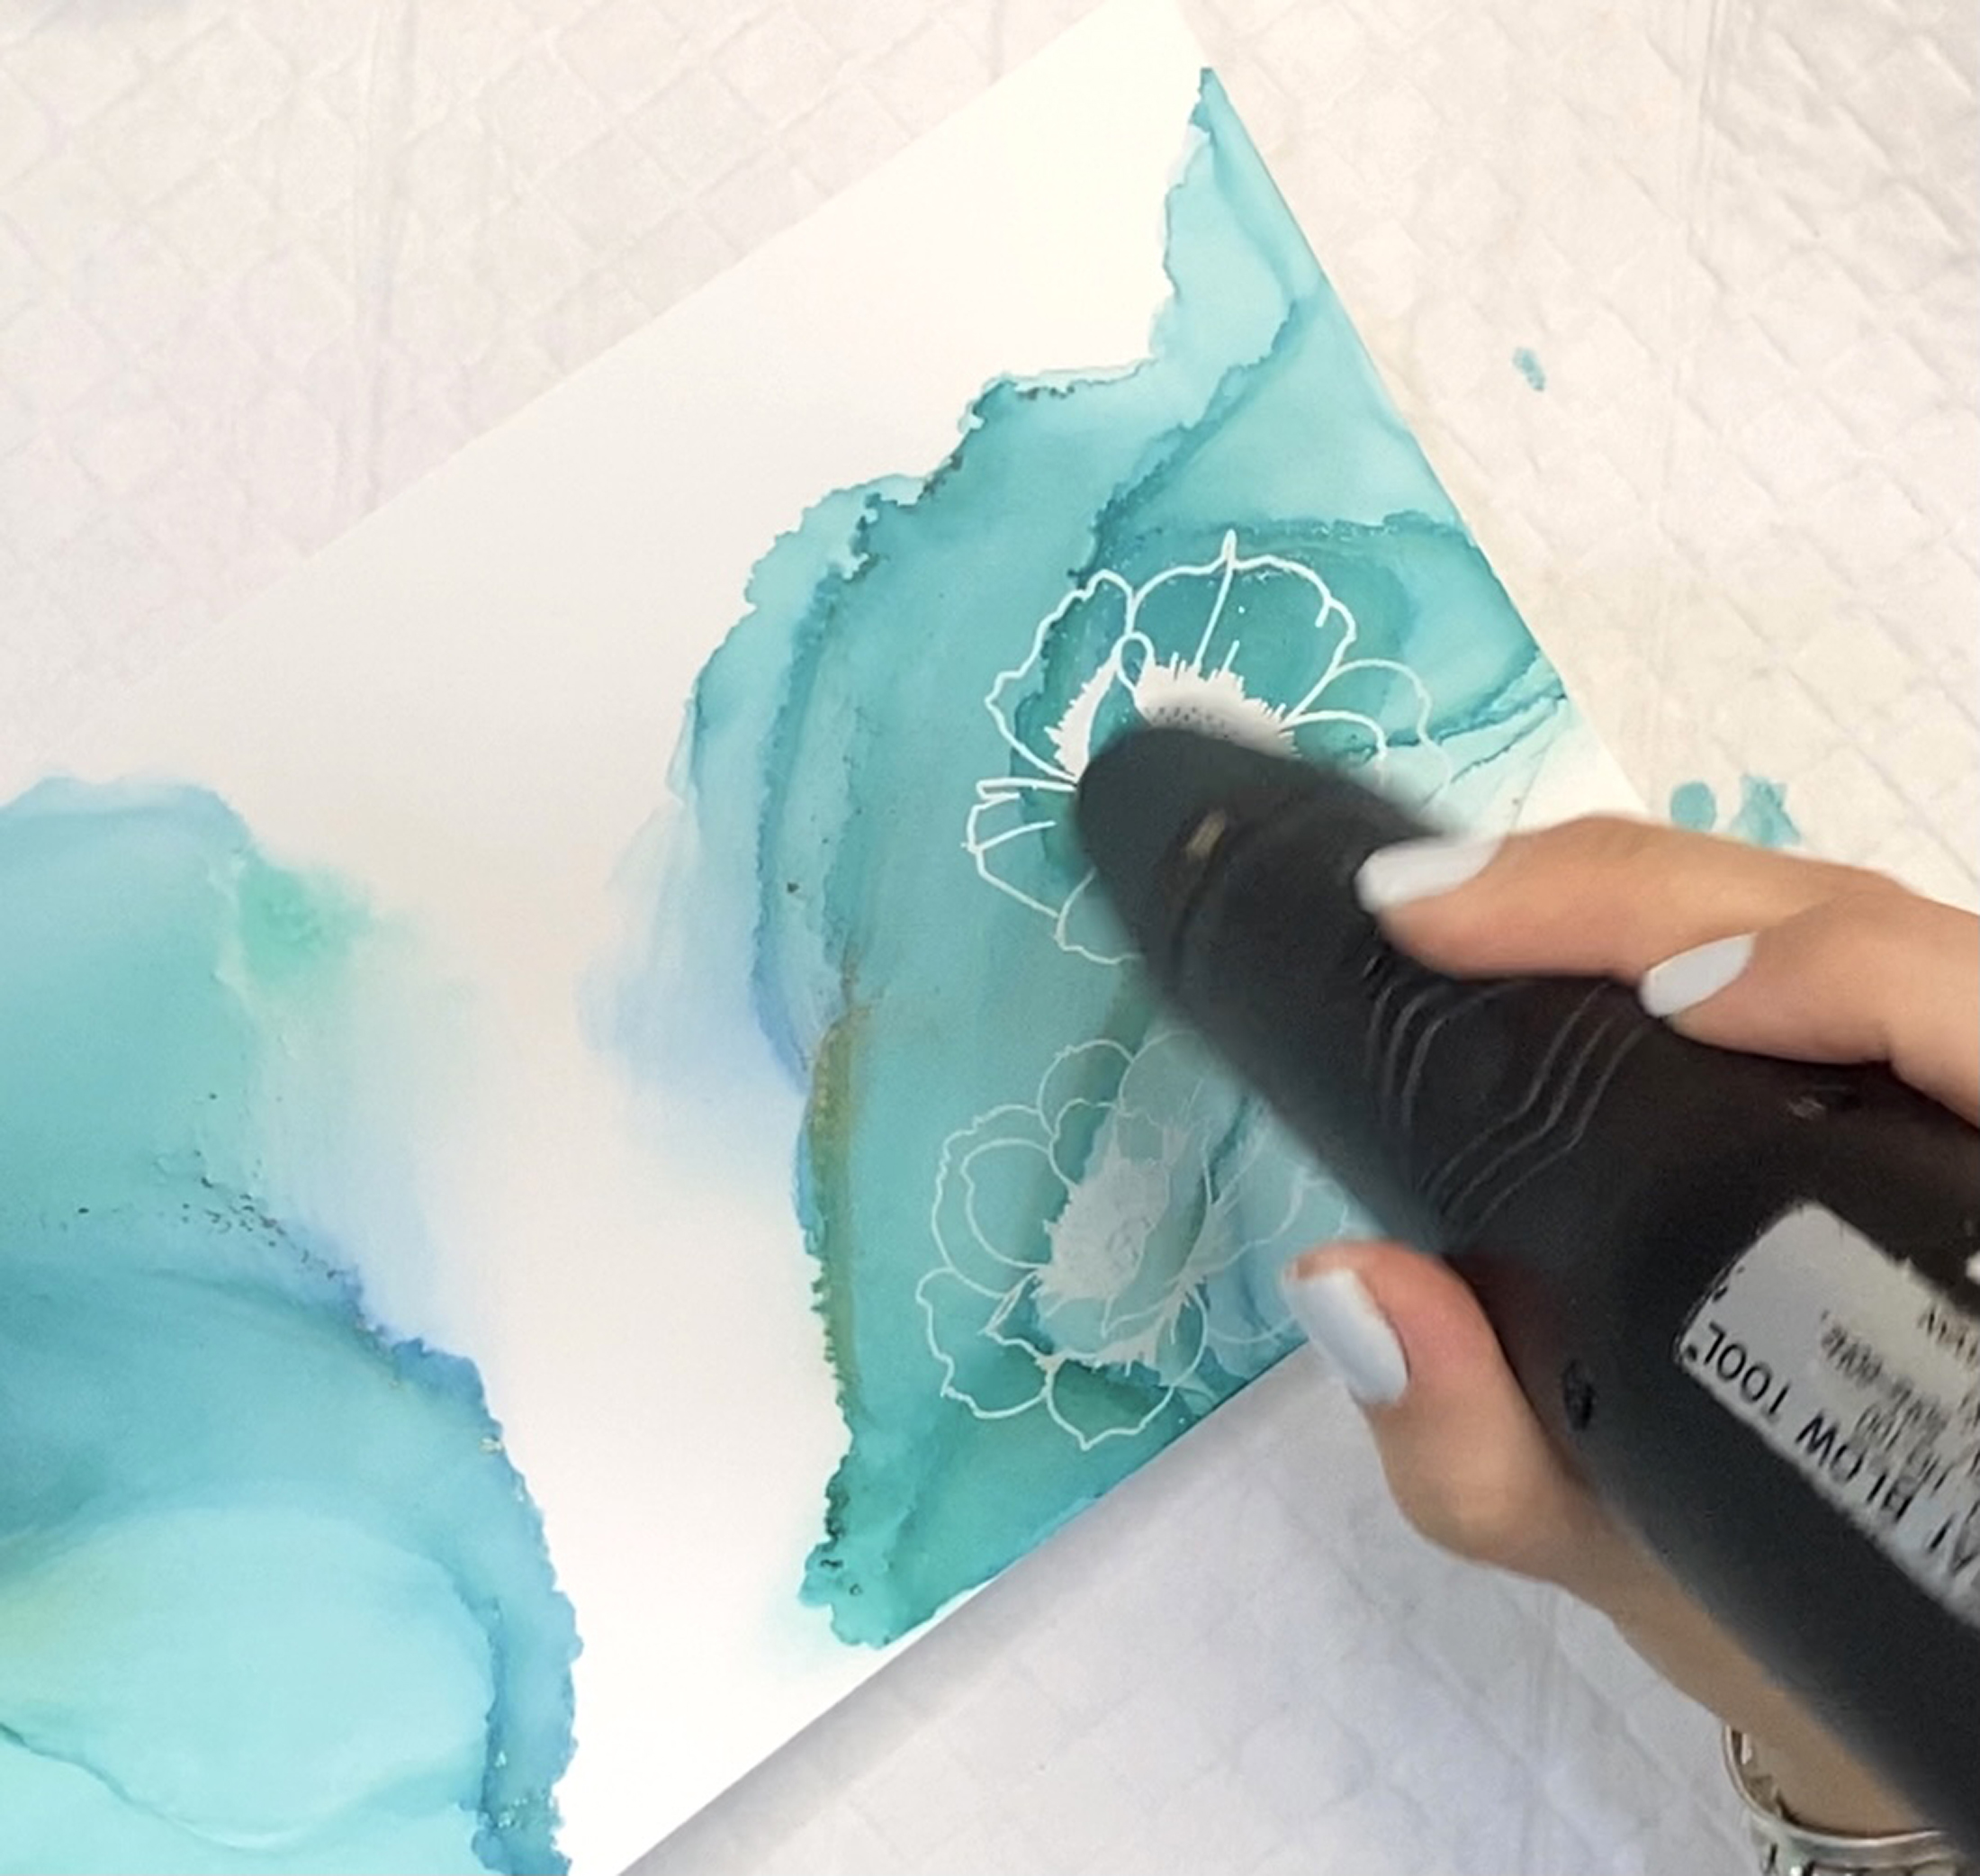
3. Stamp Wallpaper florals on the Nara paper ( choosing areas with nice contrast ) using Versamark Ink and emboss with pure white embossing powder. Make sure to use an anti-static tool before stamping. Do not direct the heat to the paper for a long time because it will melt the synthetic paper.
4. Stamp the leaves on watercolor paper using Versamark and emboss with Antique Gold embossing powder.
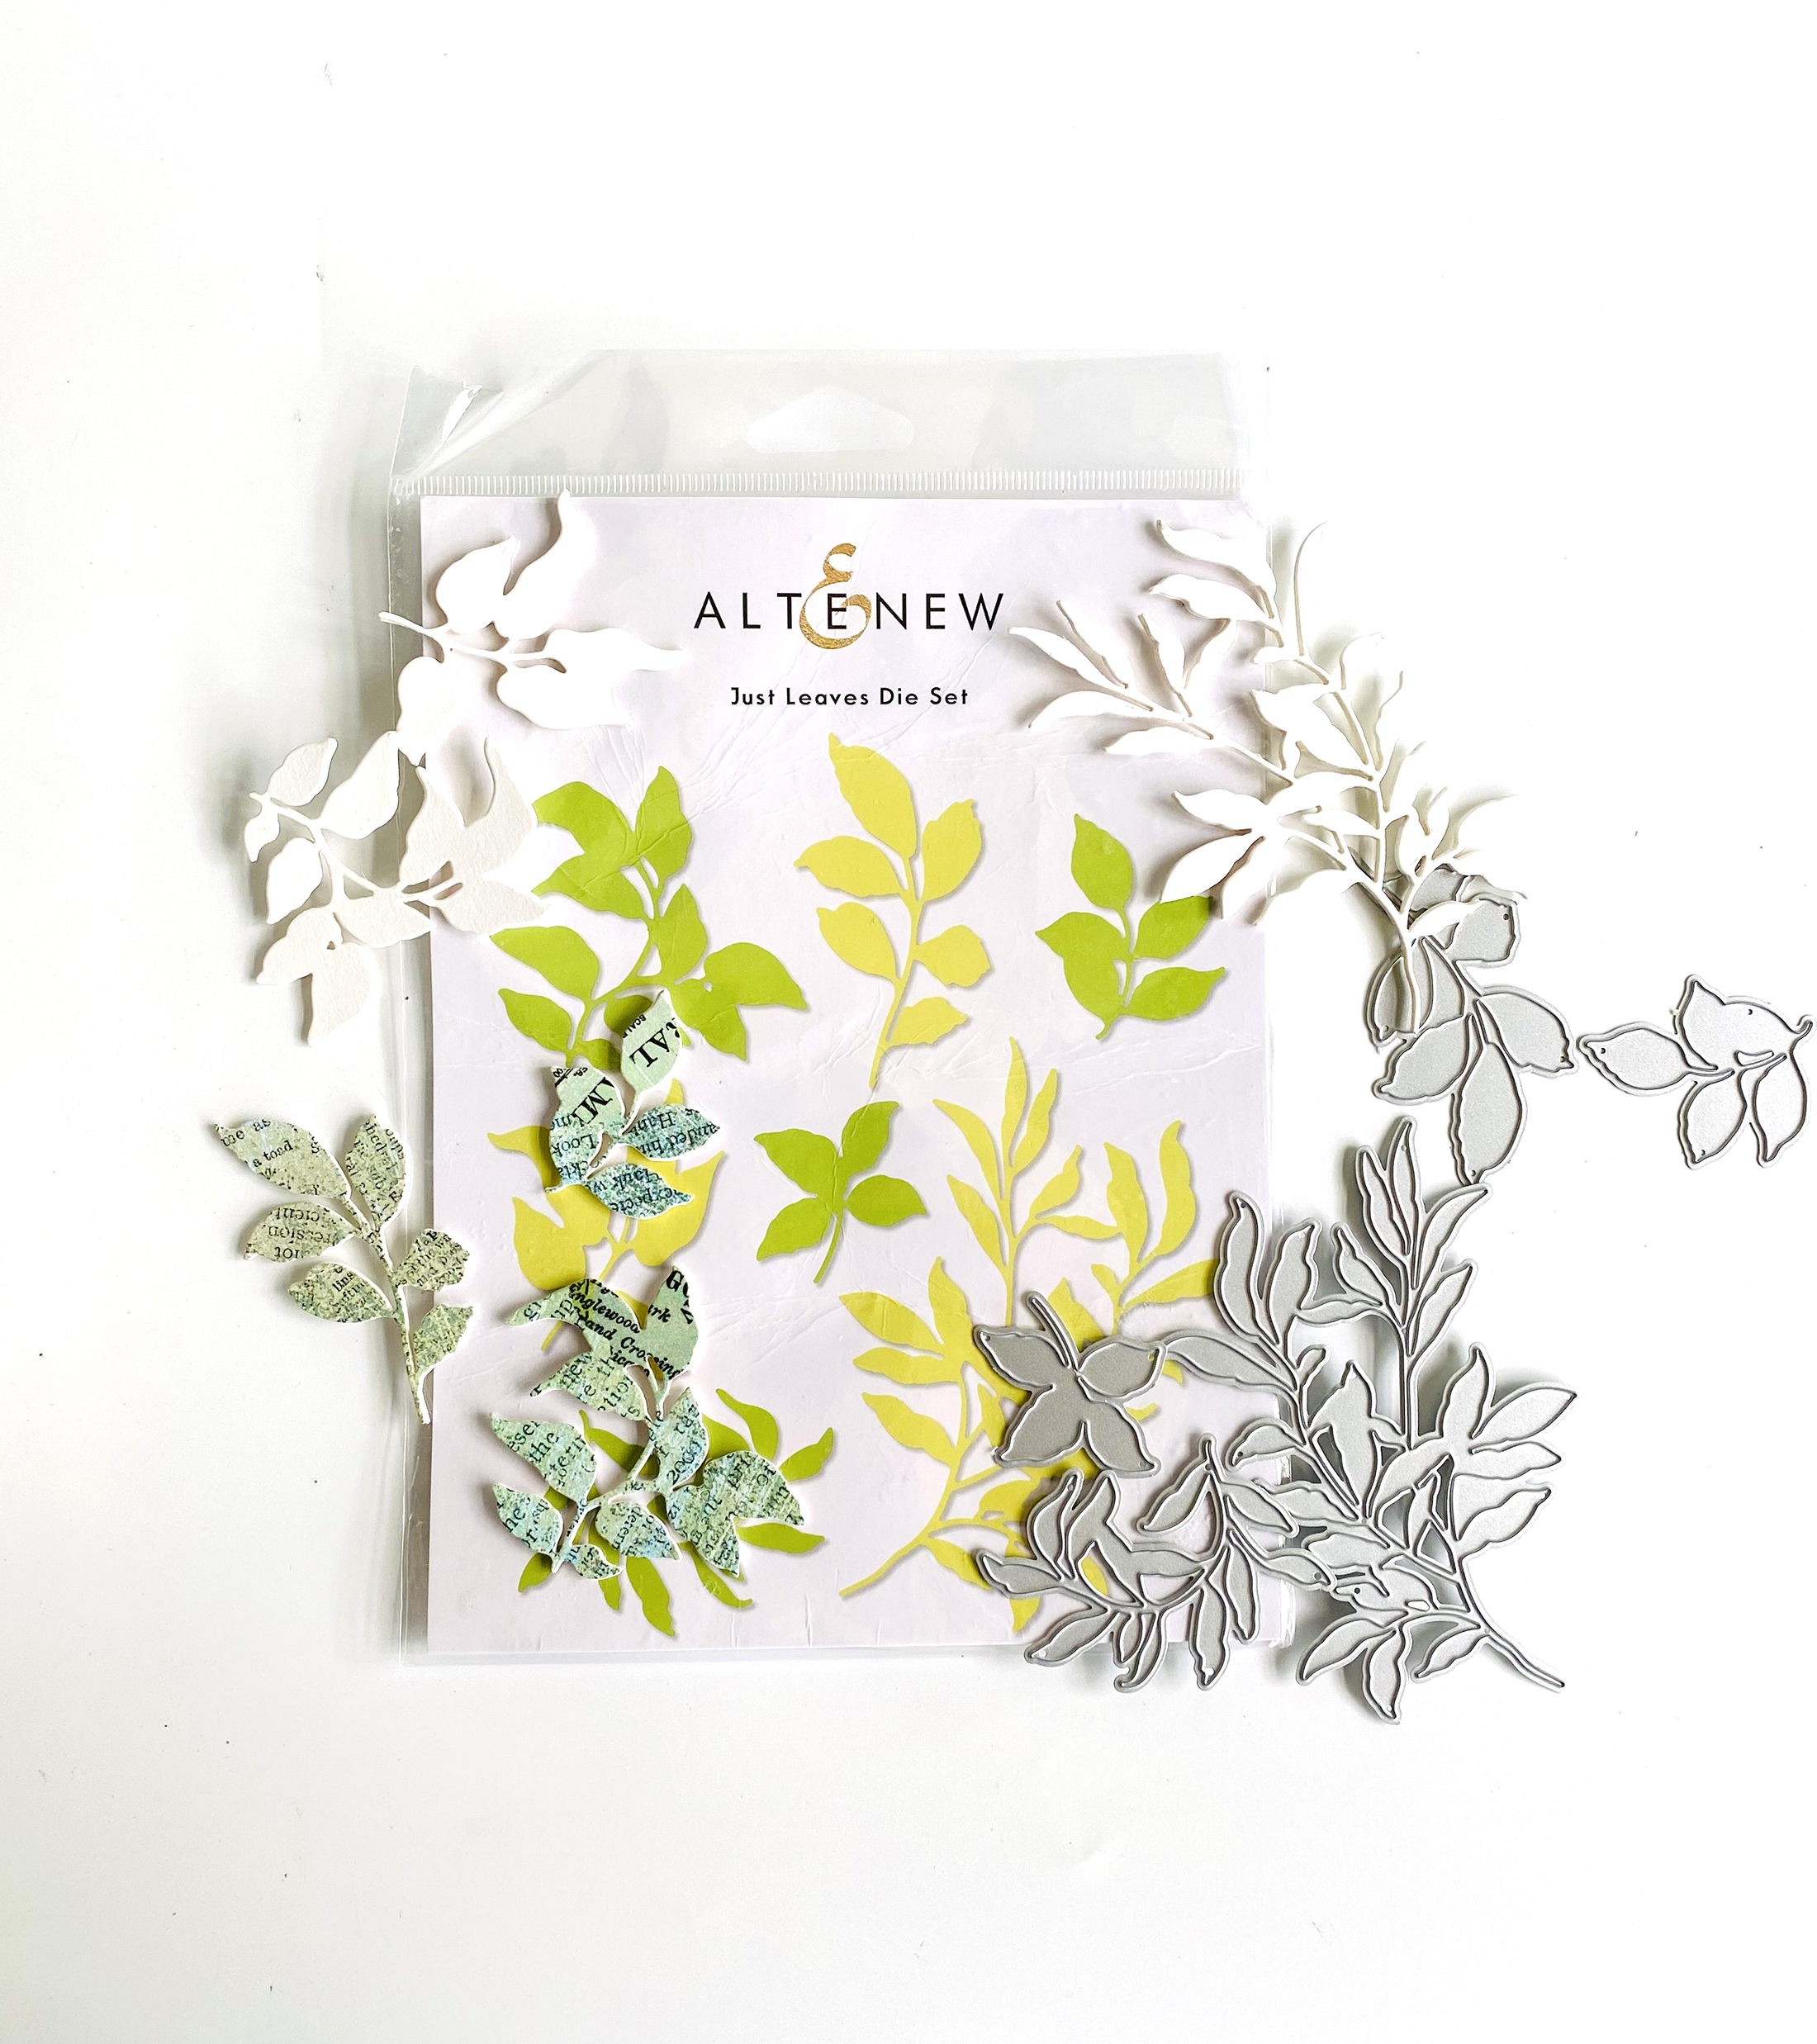
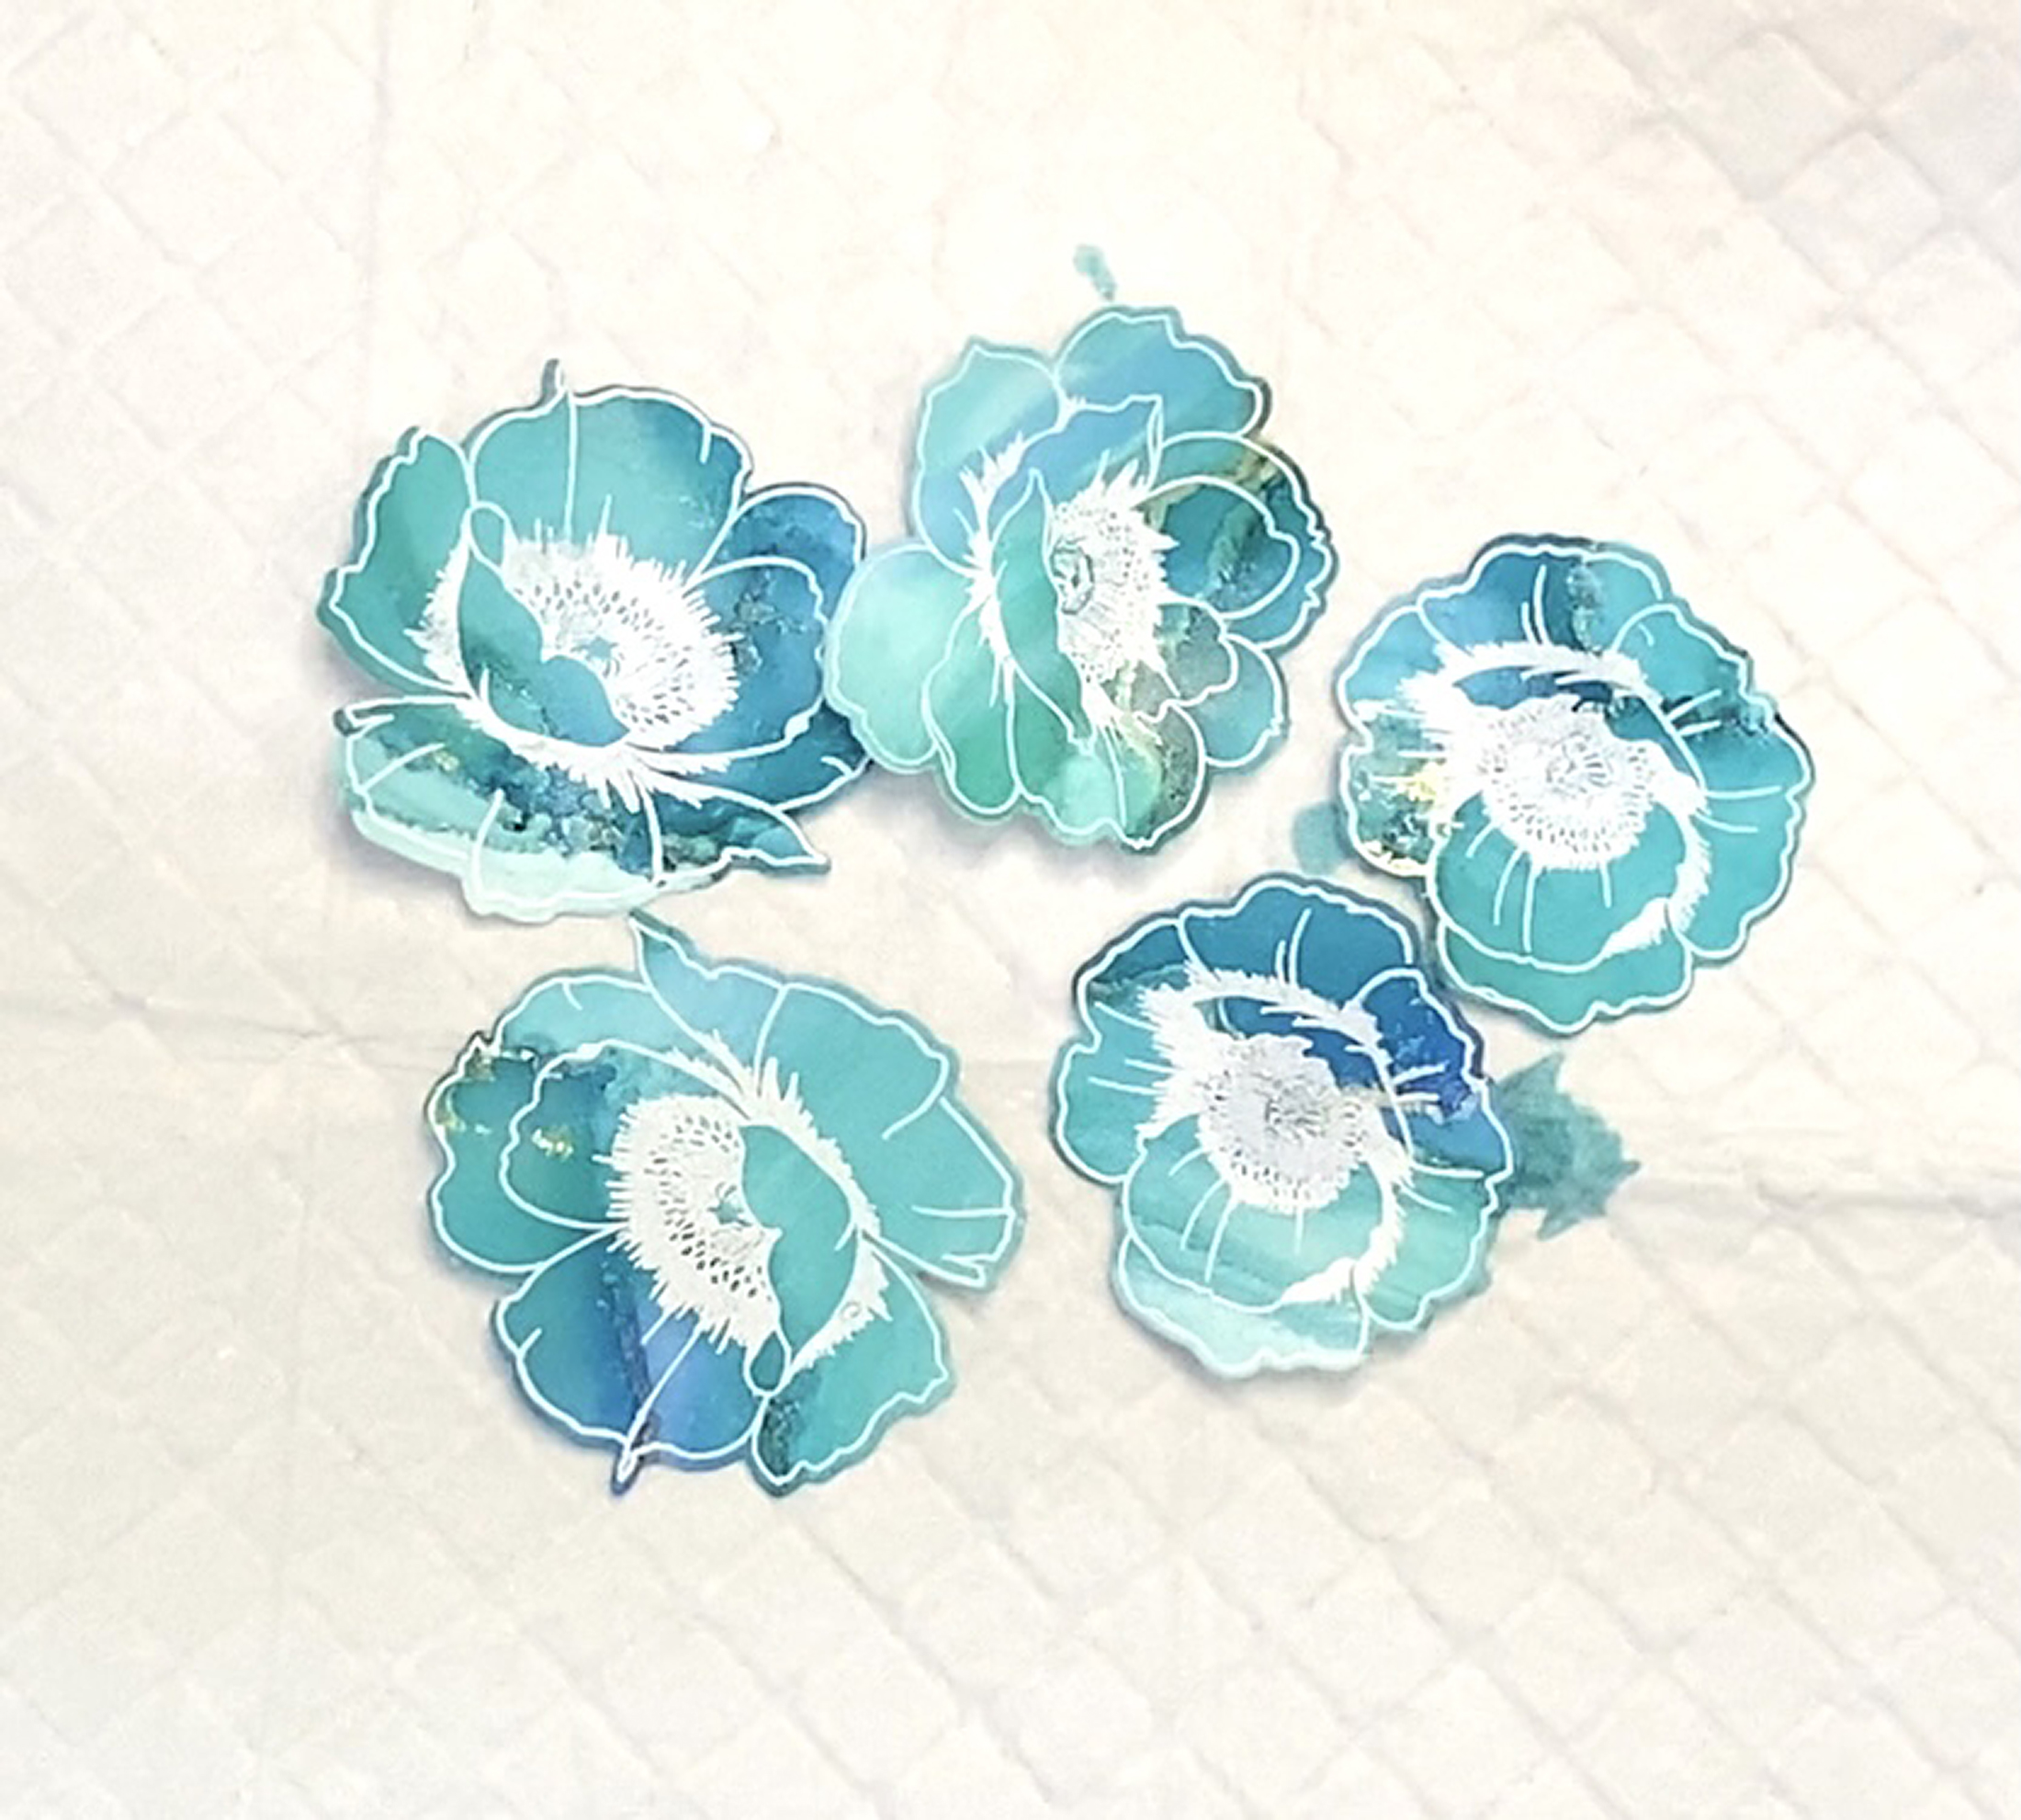
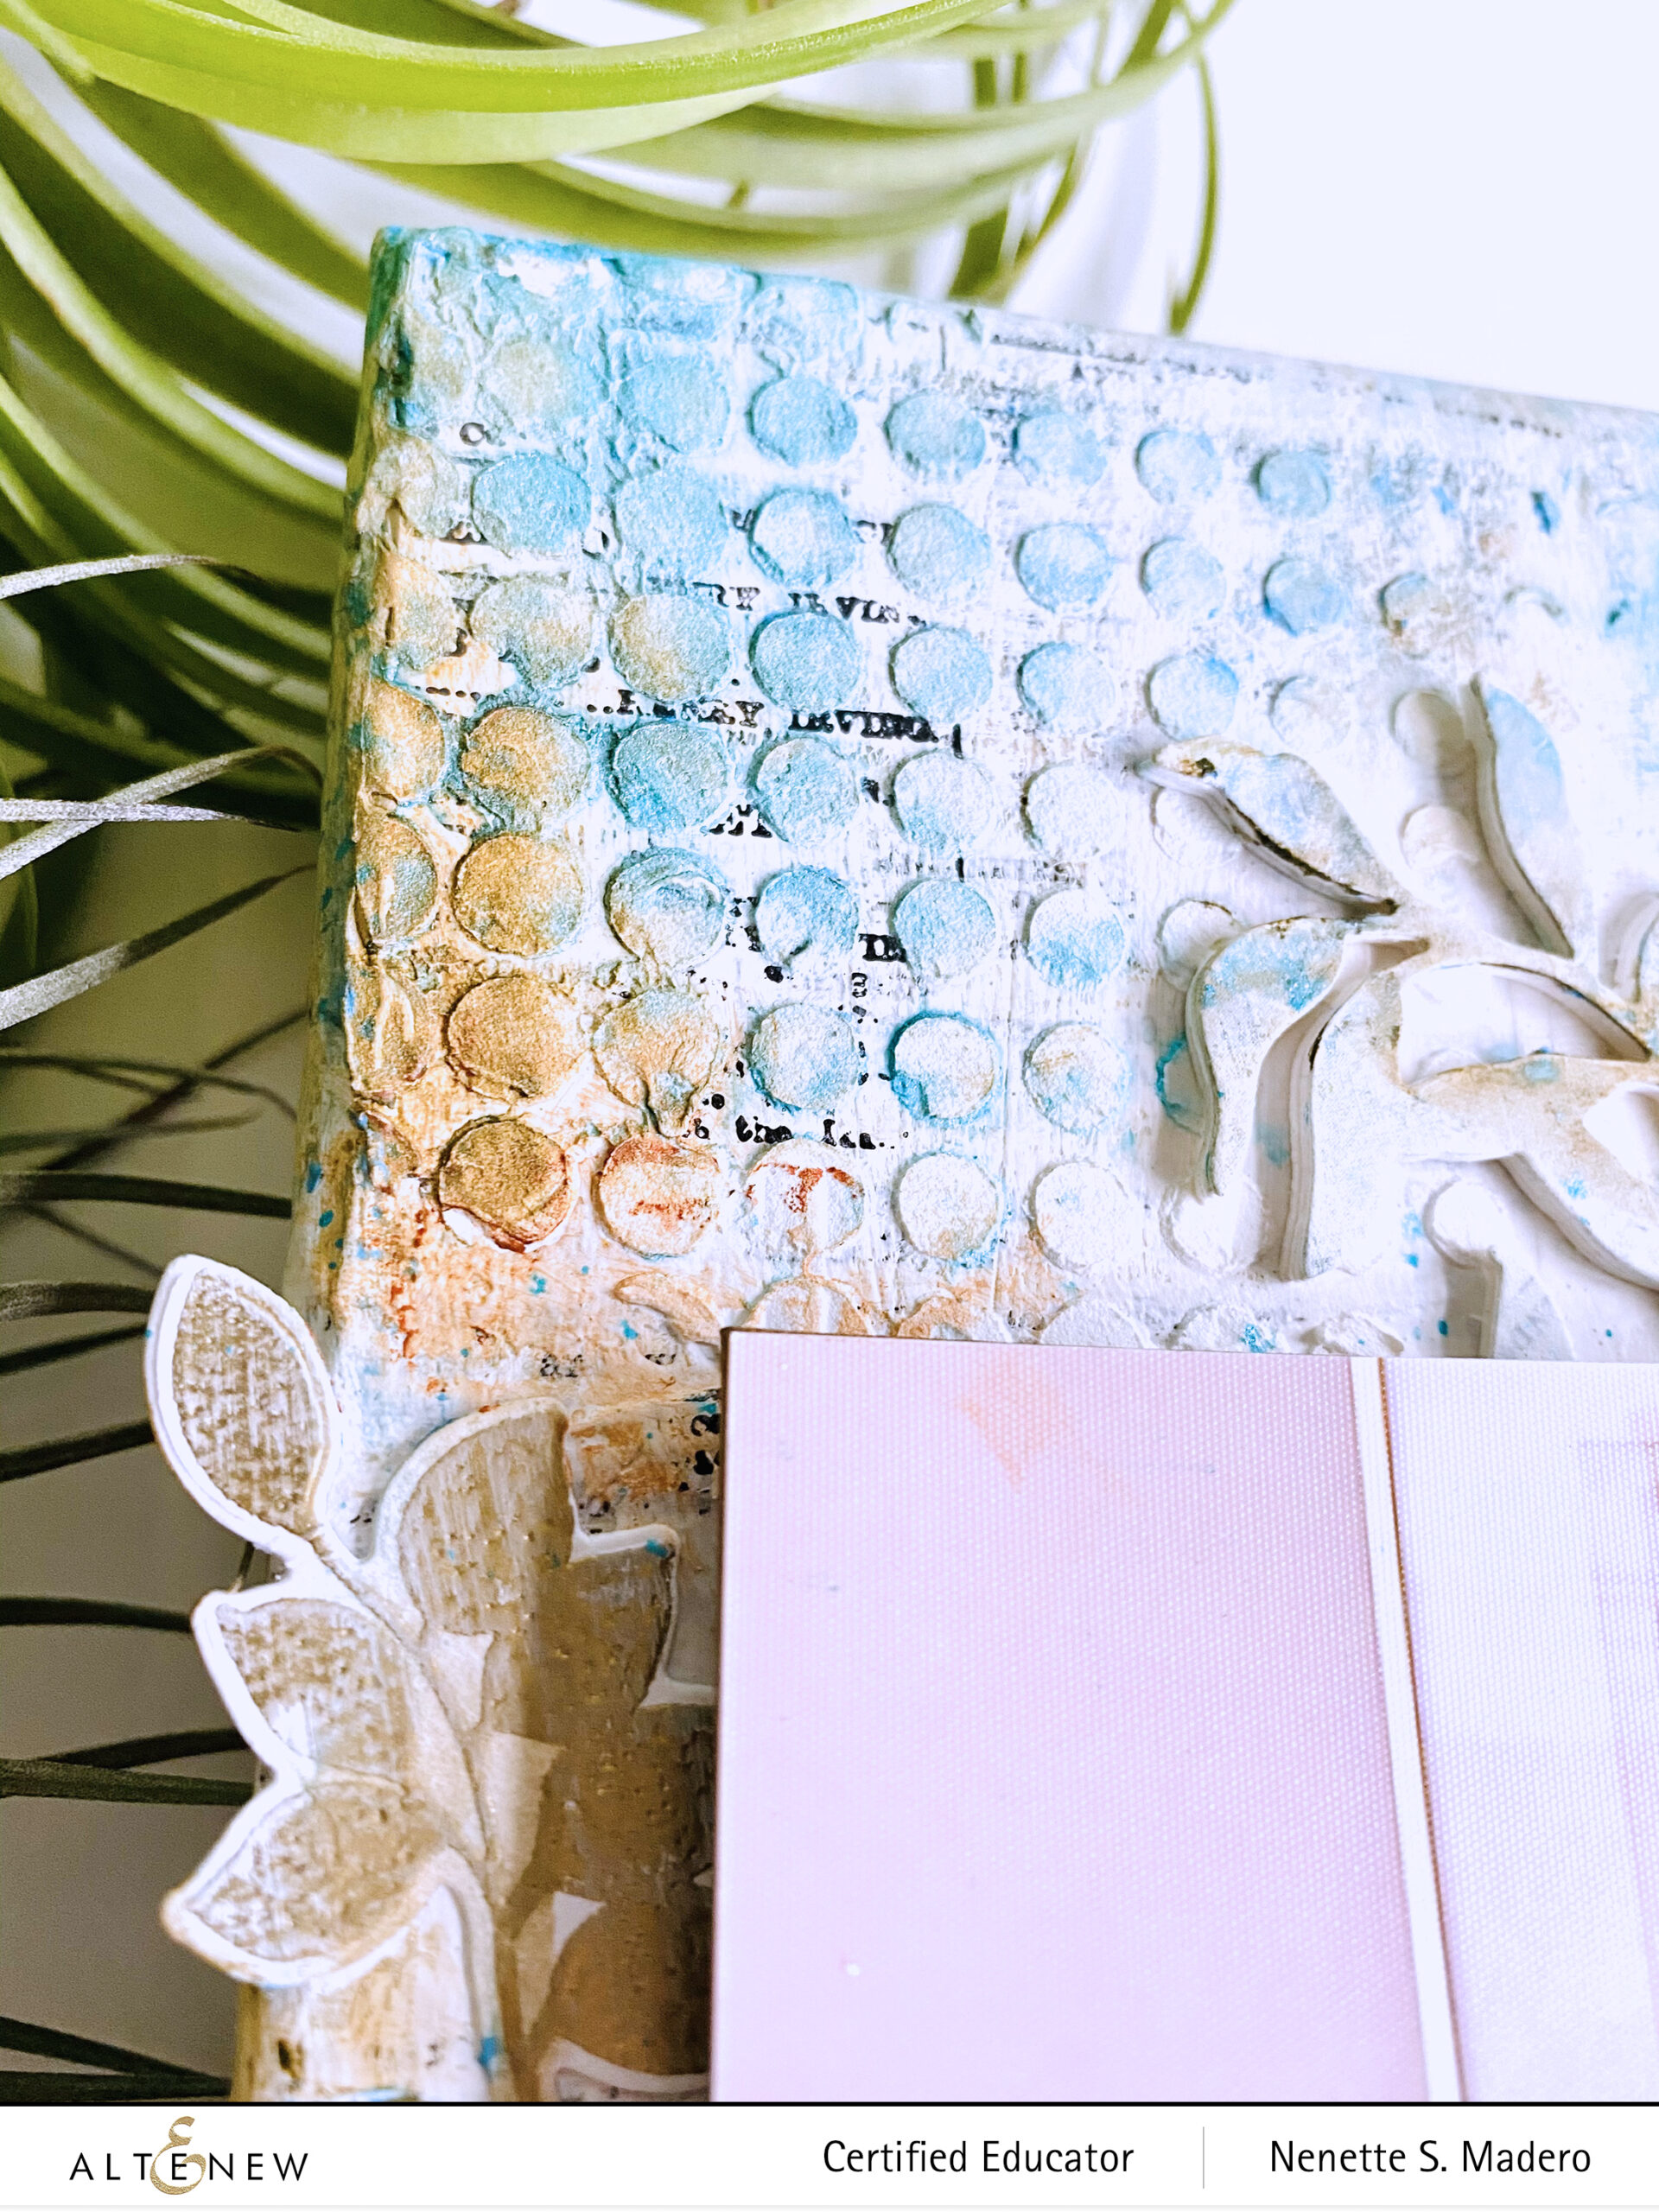
5. Die cut both flowers and leaves using the coordinating dies. Die cut leaves from patterned paper as well then stack the leaves on top of each other using adhesive to create dimension.
6. Cover the entire background with old book sheets and mod podge.
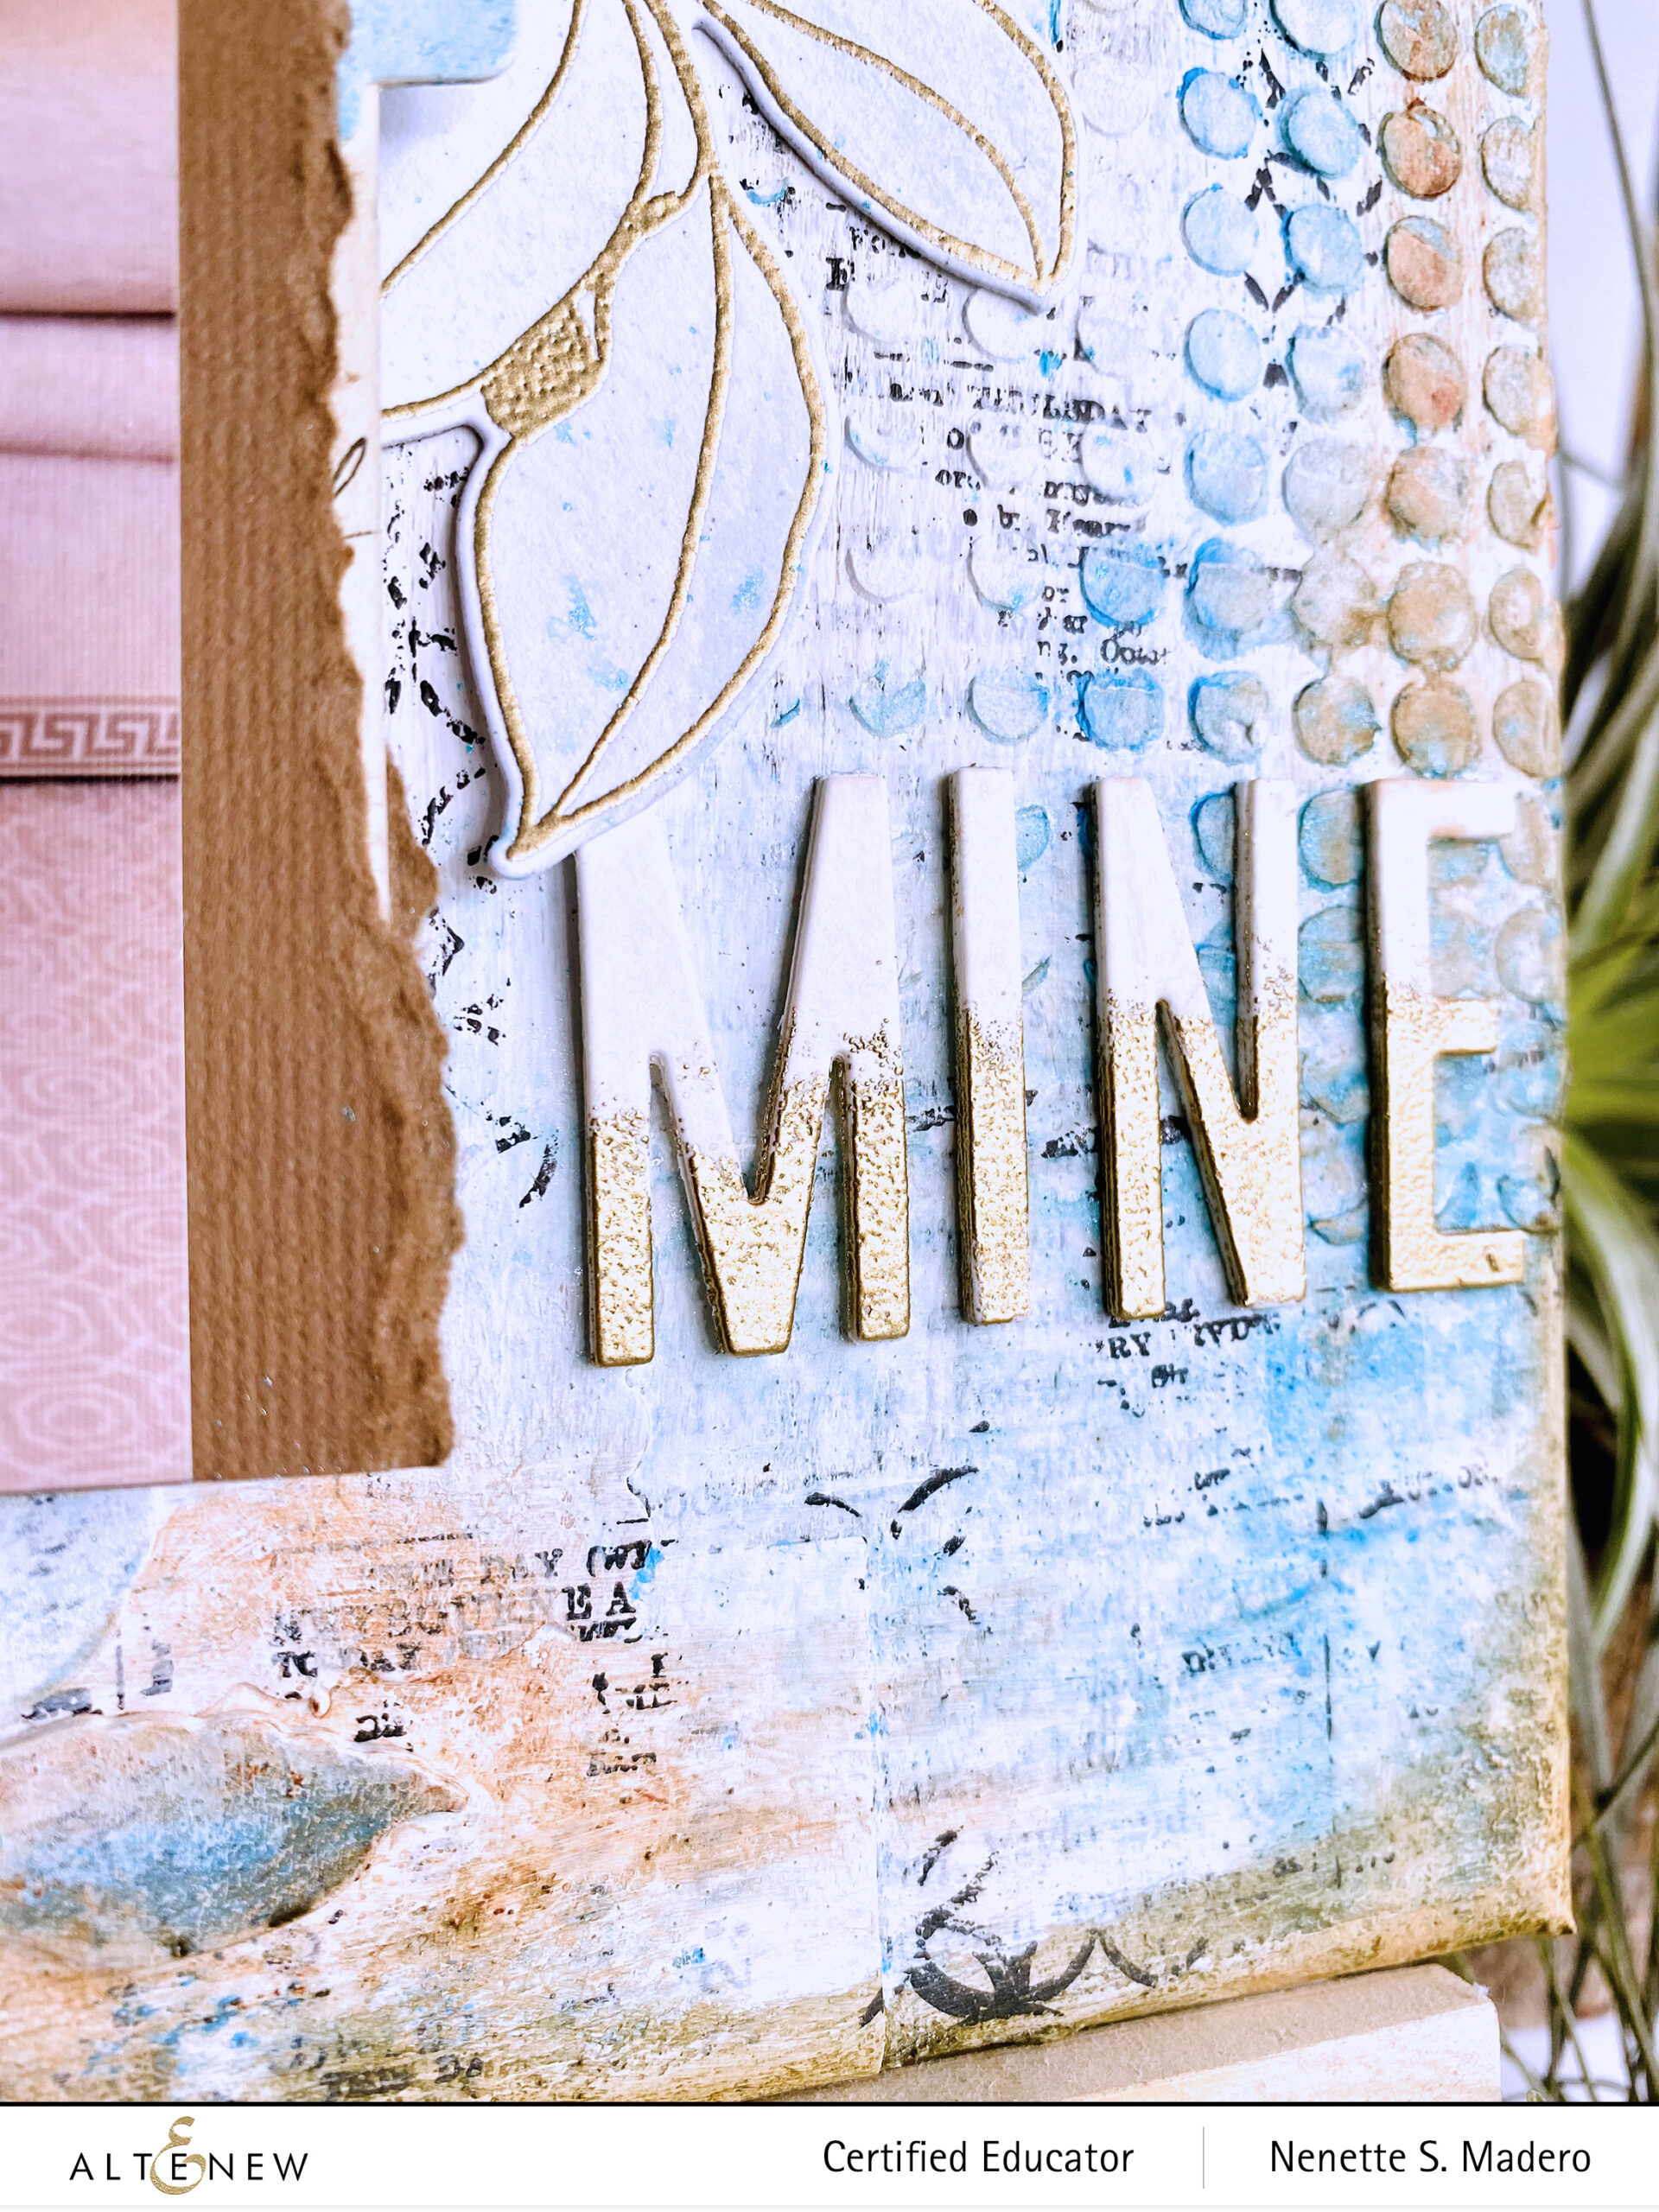
7. Die cut the letters for the title 4 times and adhere on top of each other. Add Versamark ink at the bottom area of the letters and emboss with Antique Gold embossing powder.
8. Add gesso with a dry brush to the entire canvas. This will prevent the color mediums from seeping into the canvas. Dry with a heat tool.
9. Add graphic images to the background using Obsidian black pigment ink for contrast and heat set to make it permanent and waterproof.
10. Use the Halftone stencil with embossing paste to create texture.
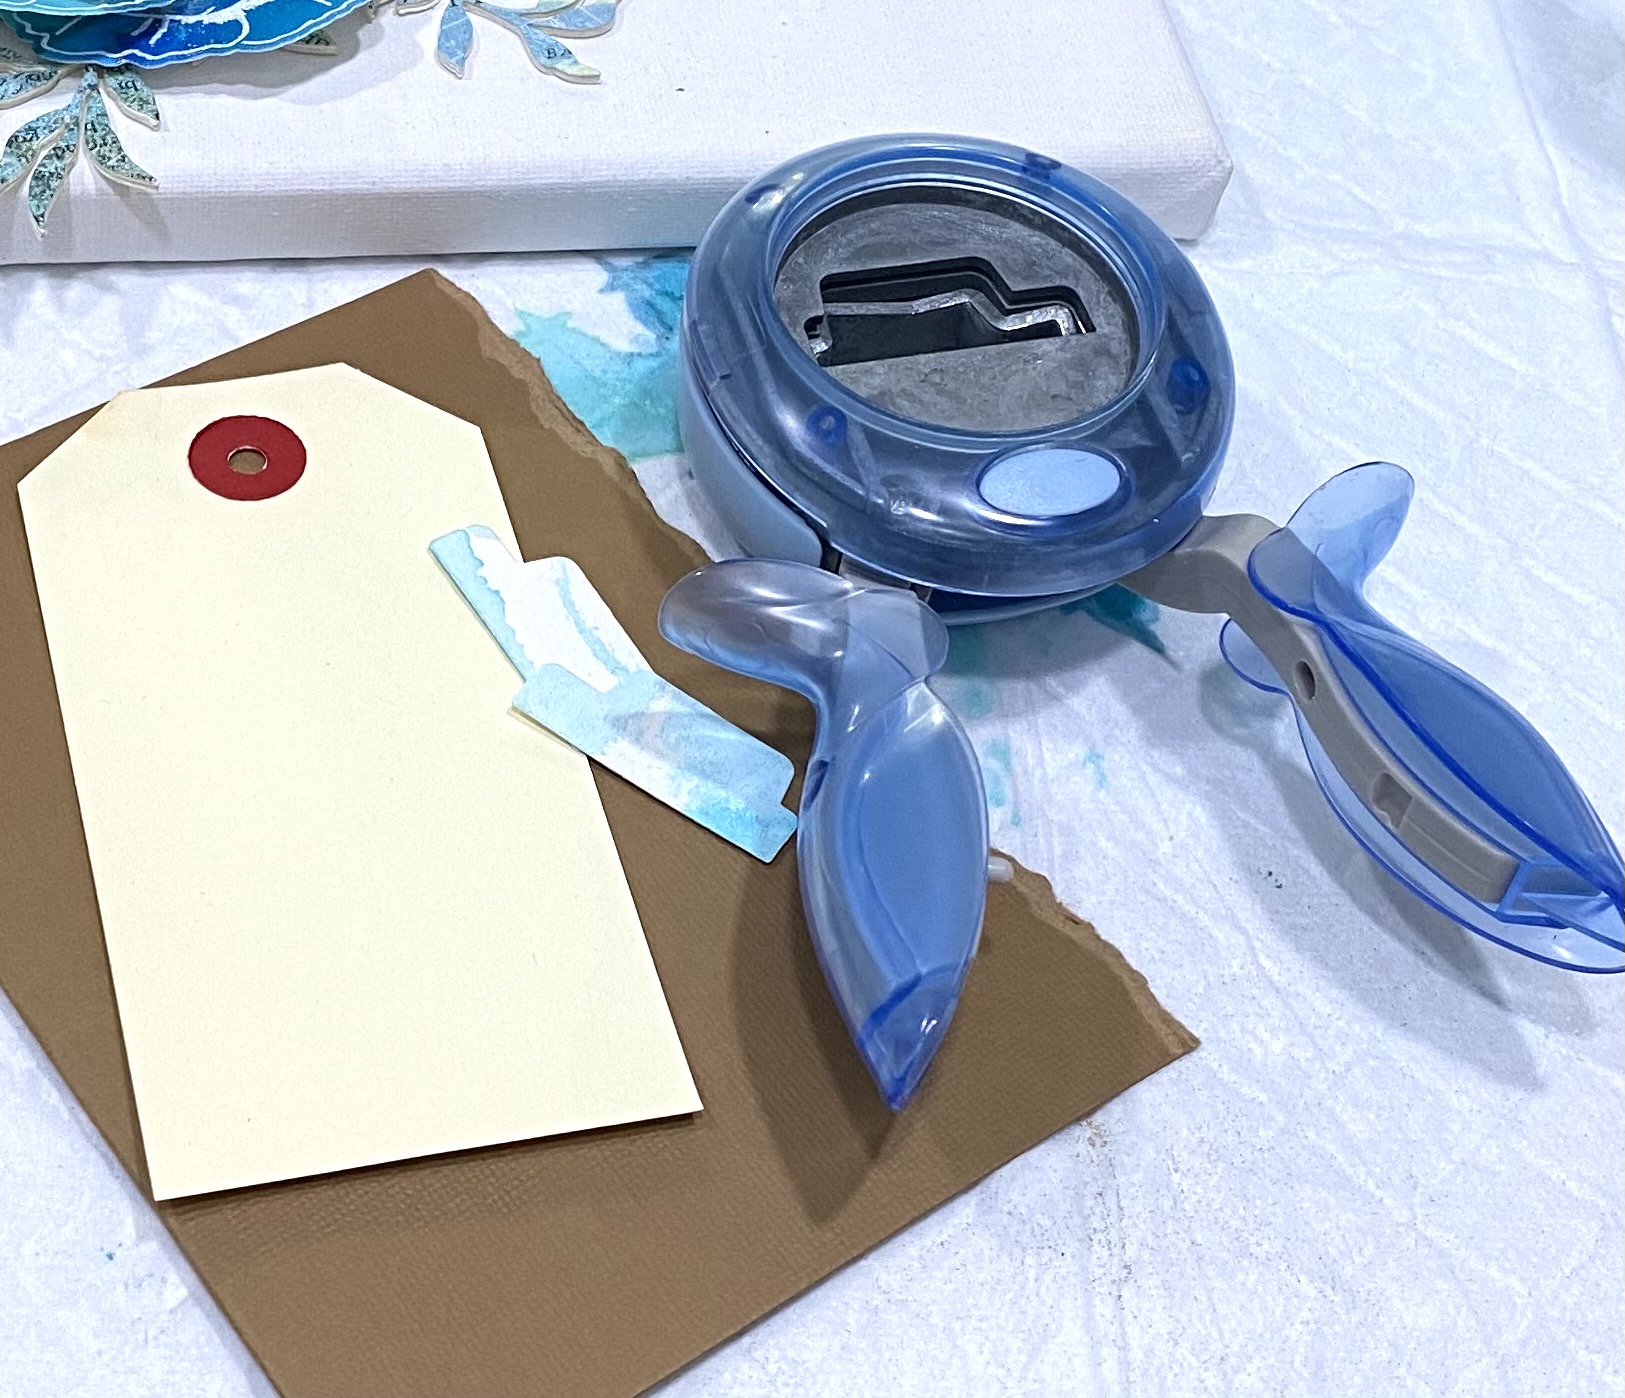
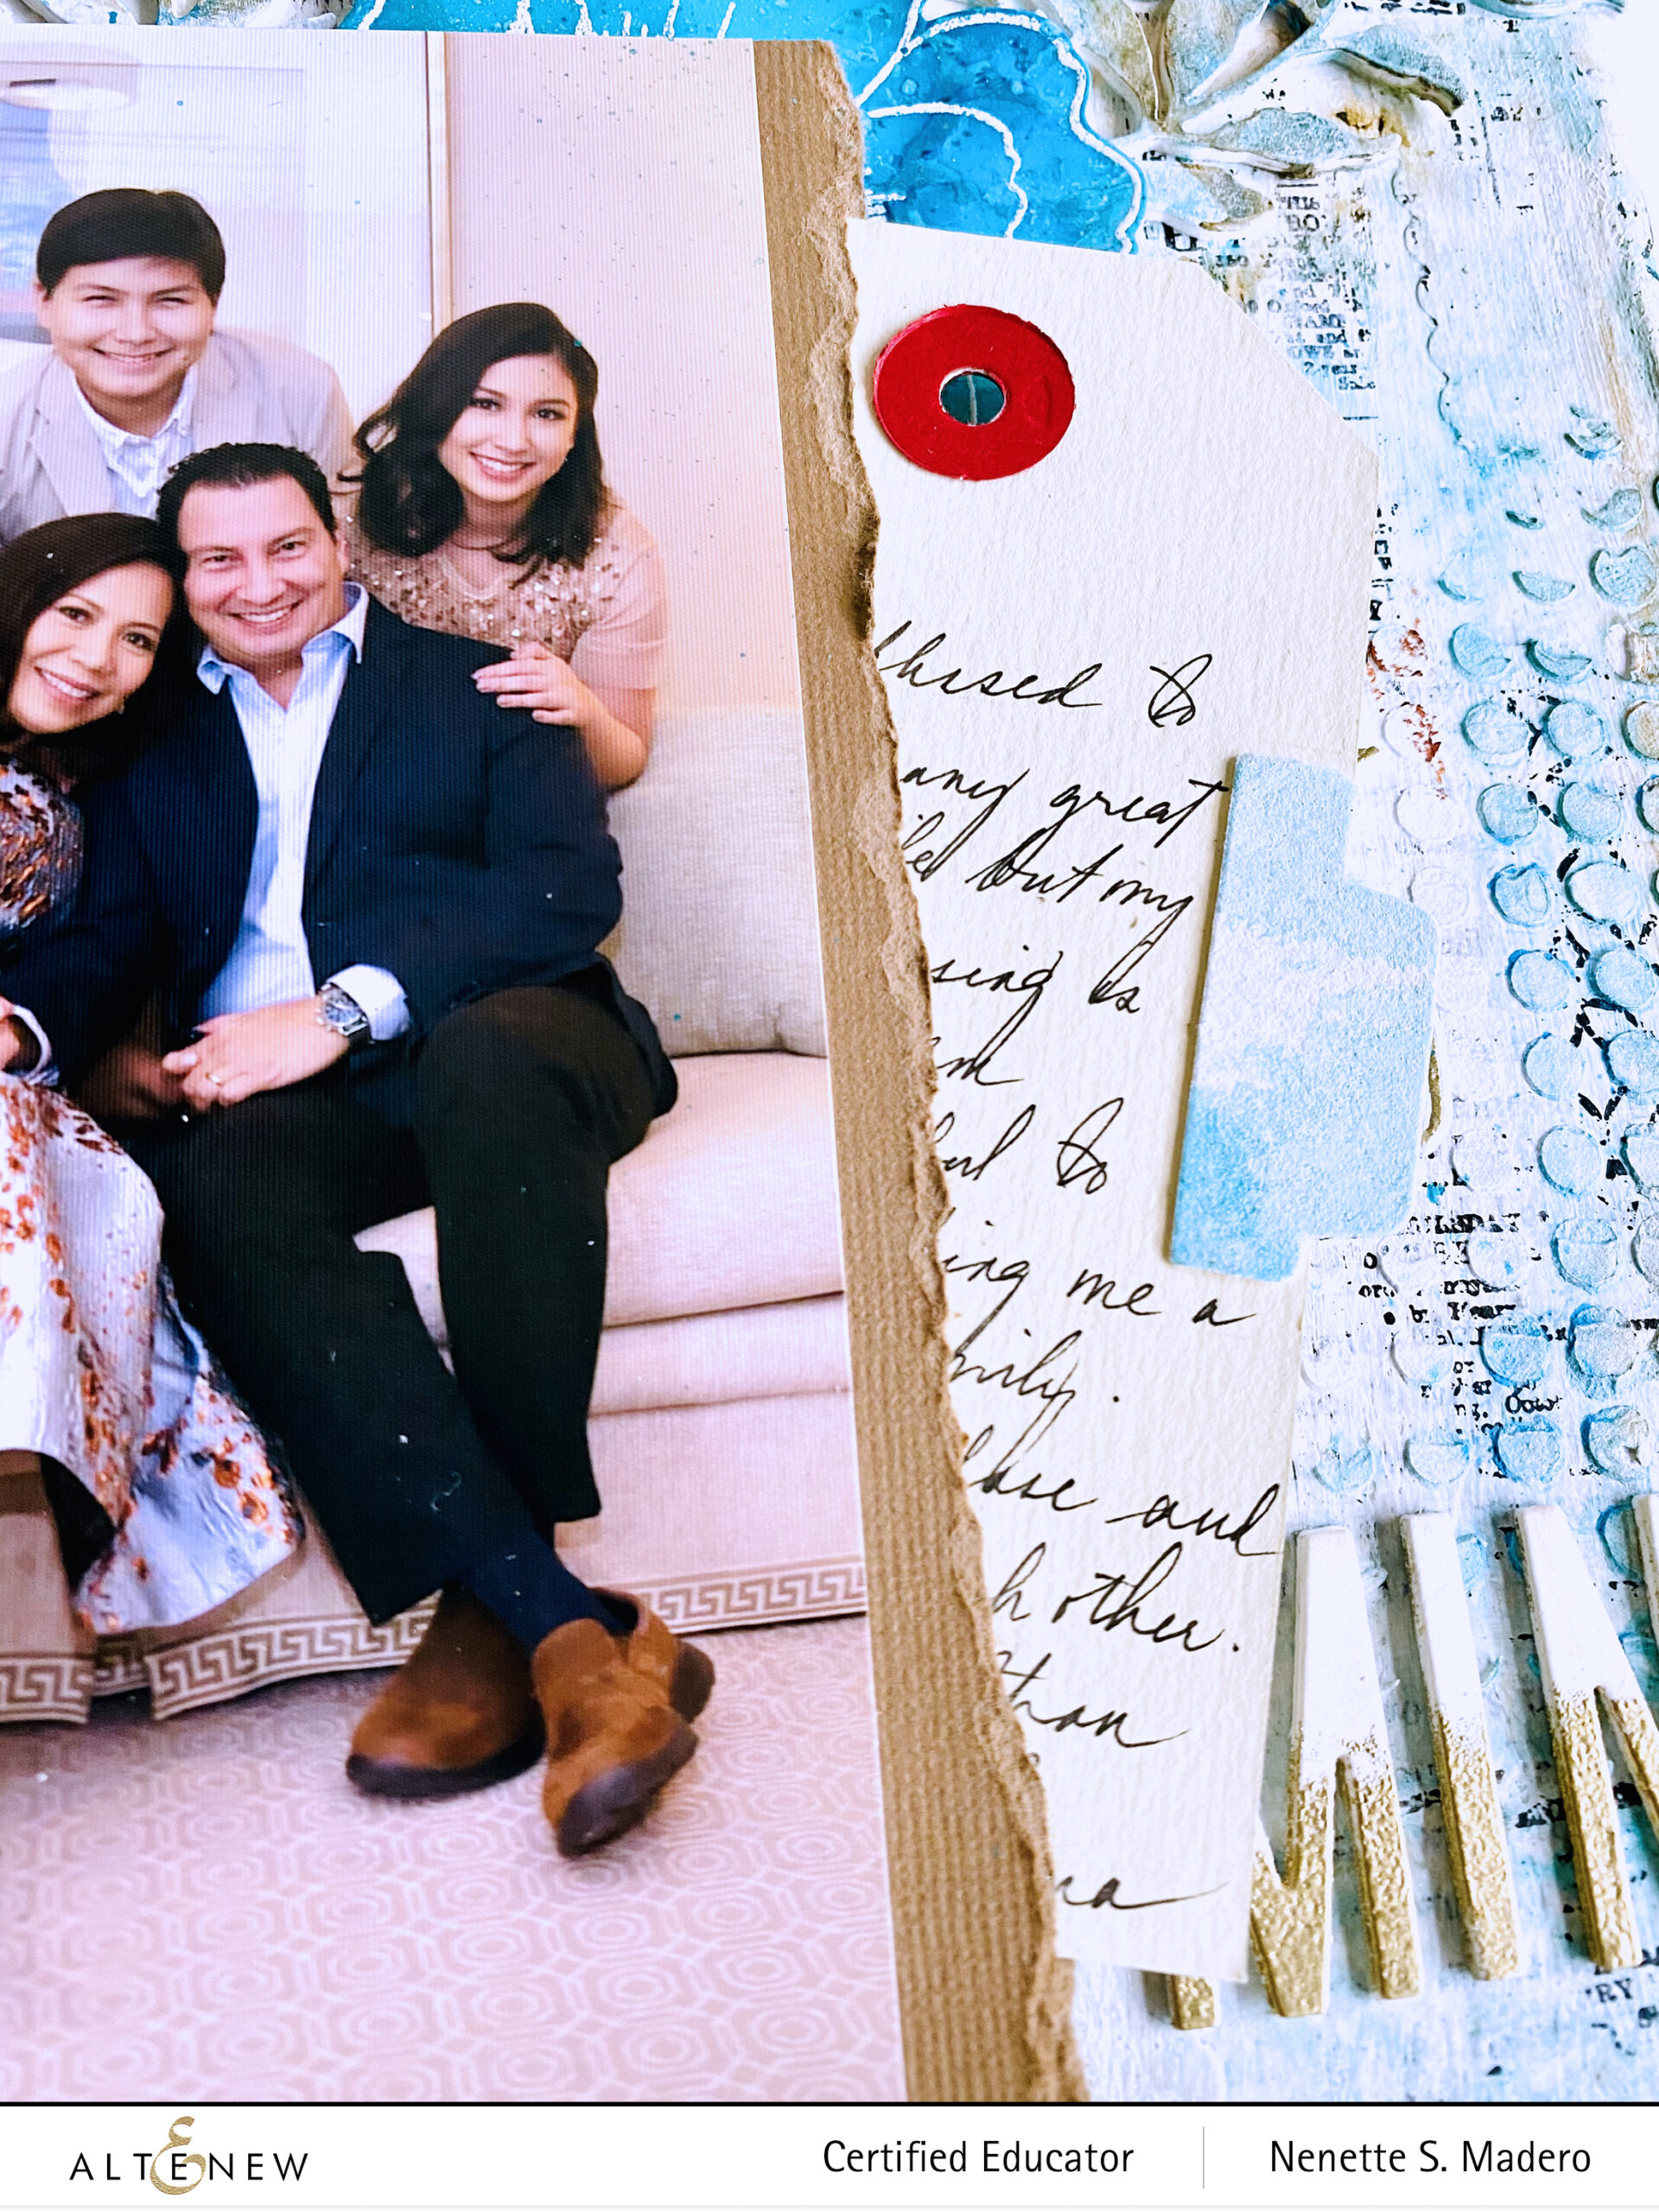
11. Write the journaling on a tag and insert into a folded pocket.
12. Glue the photo to the folded pocket.
13. Temporarily add photo and embellishments to the canvas based on the sketch. When you’re happy with the arrangement, glue the embellishments using a strong adhesive like glossy accent medium.
14. Adhere the leaves and add more gesso to tone down the colors.
15. Glue the flowers and leaves to the canvas. Adhere the photo and pocket to stacked chipboard for added dimension. Use foam squares for the leaves.
16. Scribble color onto the canvas using distress ink crayons. Add water and use your finger to spread the color. Dry with heat tool.
17. Spray the Lagoon metallic shimmer and add water. Allow colors to run down the canvas.
18. Glue the title using glossy accent dimensional medium.
I documented the entire process on a video. You can watch it below.
I hope you found some inspiration to create your own shabby chic background and to use alcohol inks to create embossed flowers. Make sure to leave a comment and let me know what other techniques you’d like to learn for future videos. Your comments mean so much to me! <3 I would love to see you on IG as well so please follow me @mylittleatticstudio. Thank you so much for dropping by, be safe, and keep on crafting!!!
I am based in the Philippines and blessed with a loving and supportive husband, 3 wonderful children and a fur baby named Monty. For fun, I often express myself creatively in activities such as event styling and tablescaping. I find joy in making scrapbooking layouts, cards, and mixed media art. Adding layers and dimension to my pieces are things I enjoy doing and I particularly love using watercolor and alcohol inks as my coloring mediums. I believe that one’s attention to detail makes a big difference and can convert the ordinary into something truly beautiful.
Hello everyone! Welcome to the Altenew Educators’ Certificate Program IG hop! I decided to create a blog post for this as well so that I can share the process with all of you. We were asked to choose a favorite class that we draw inspiration from. I chose the Creative Coloring with Erum — Advanced Techniques workshop because I have been a huge fan of Erum’s coloring skills and I knew that it will be packed with tons of tips and techniques. I was not disappointed. Erum is immensely talented and is always so generous in sharing her creative process. Thank you so much, Erum!!! You can check out her blog here and her youtube channel here.
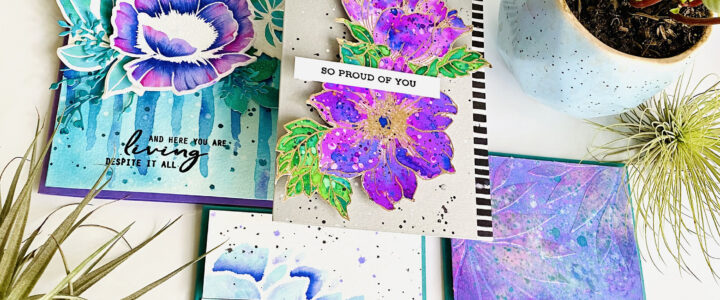
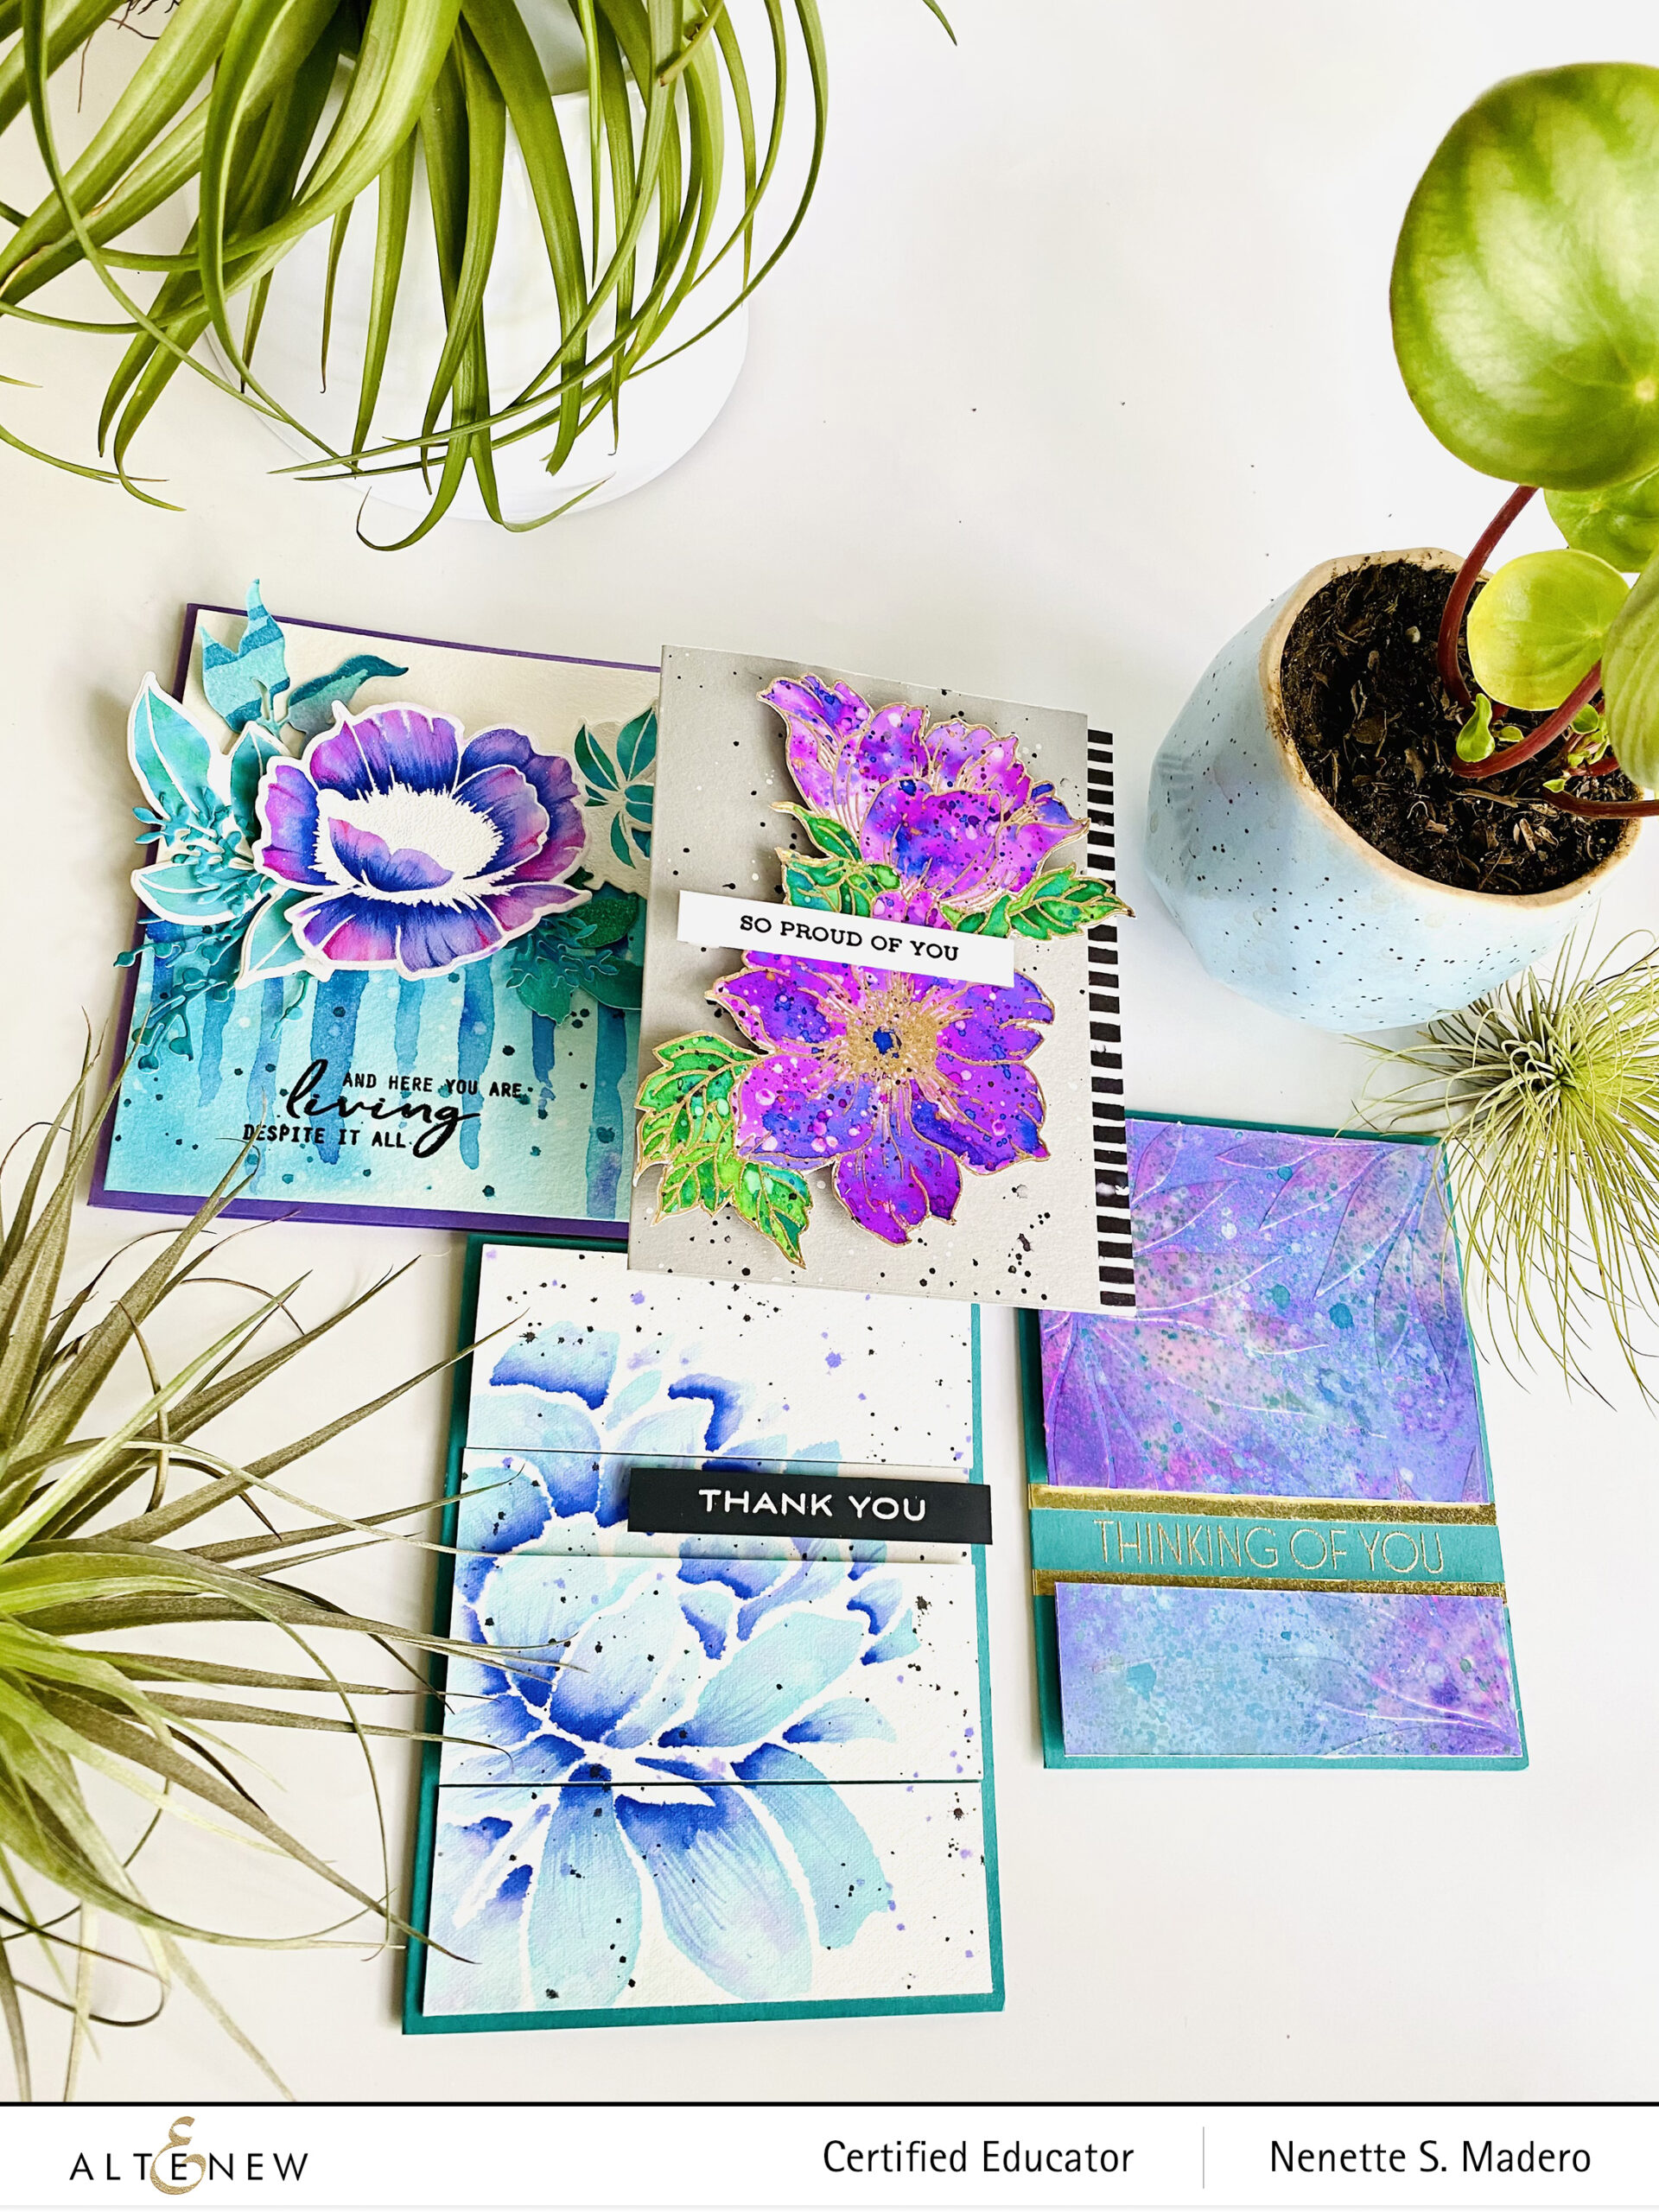
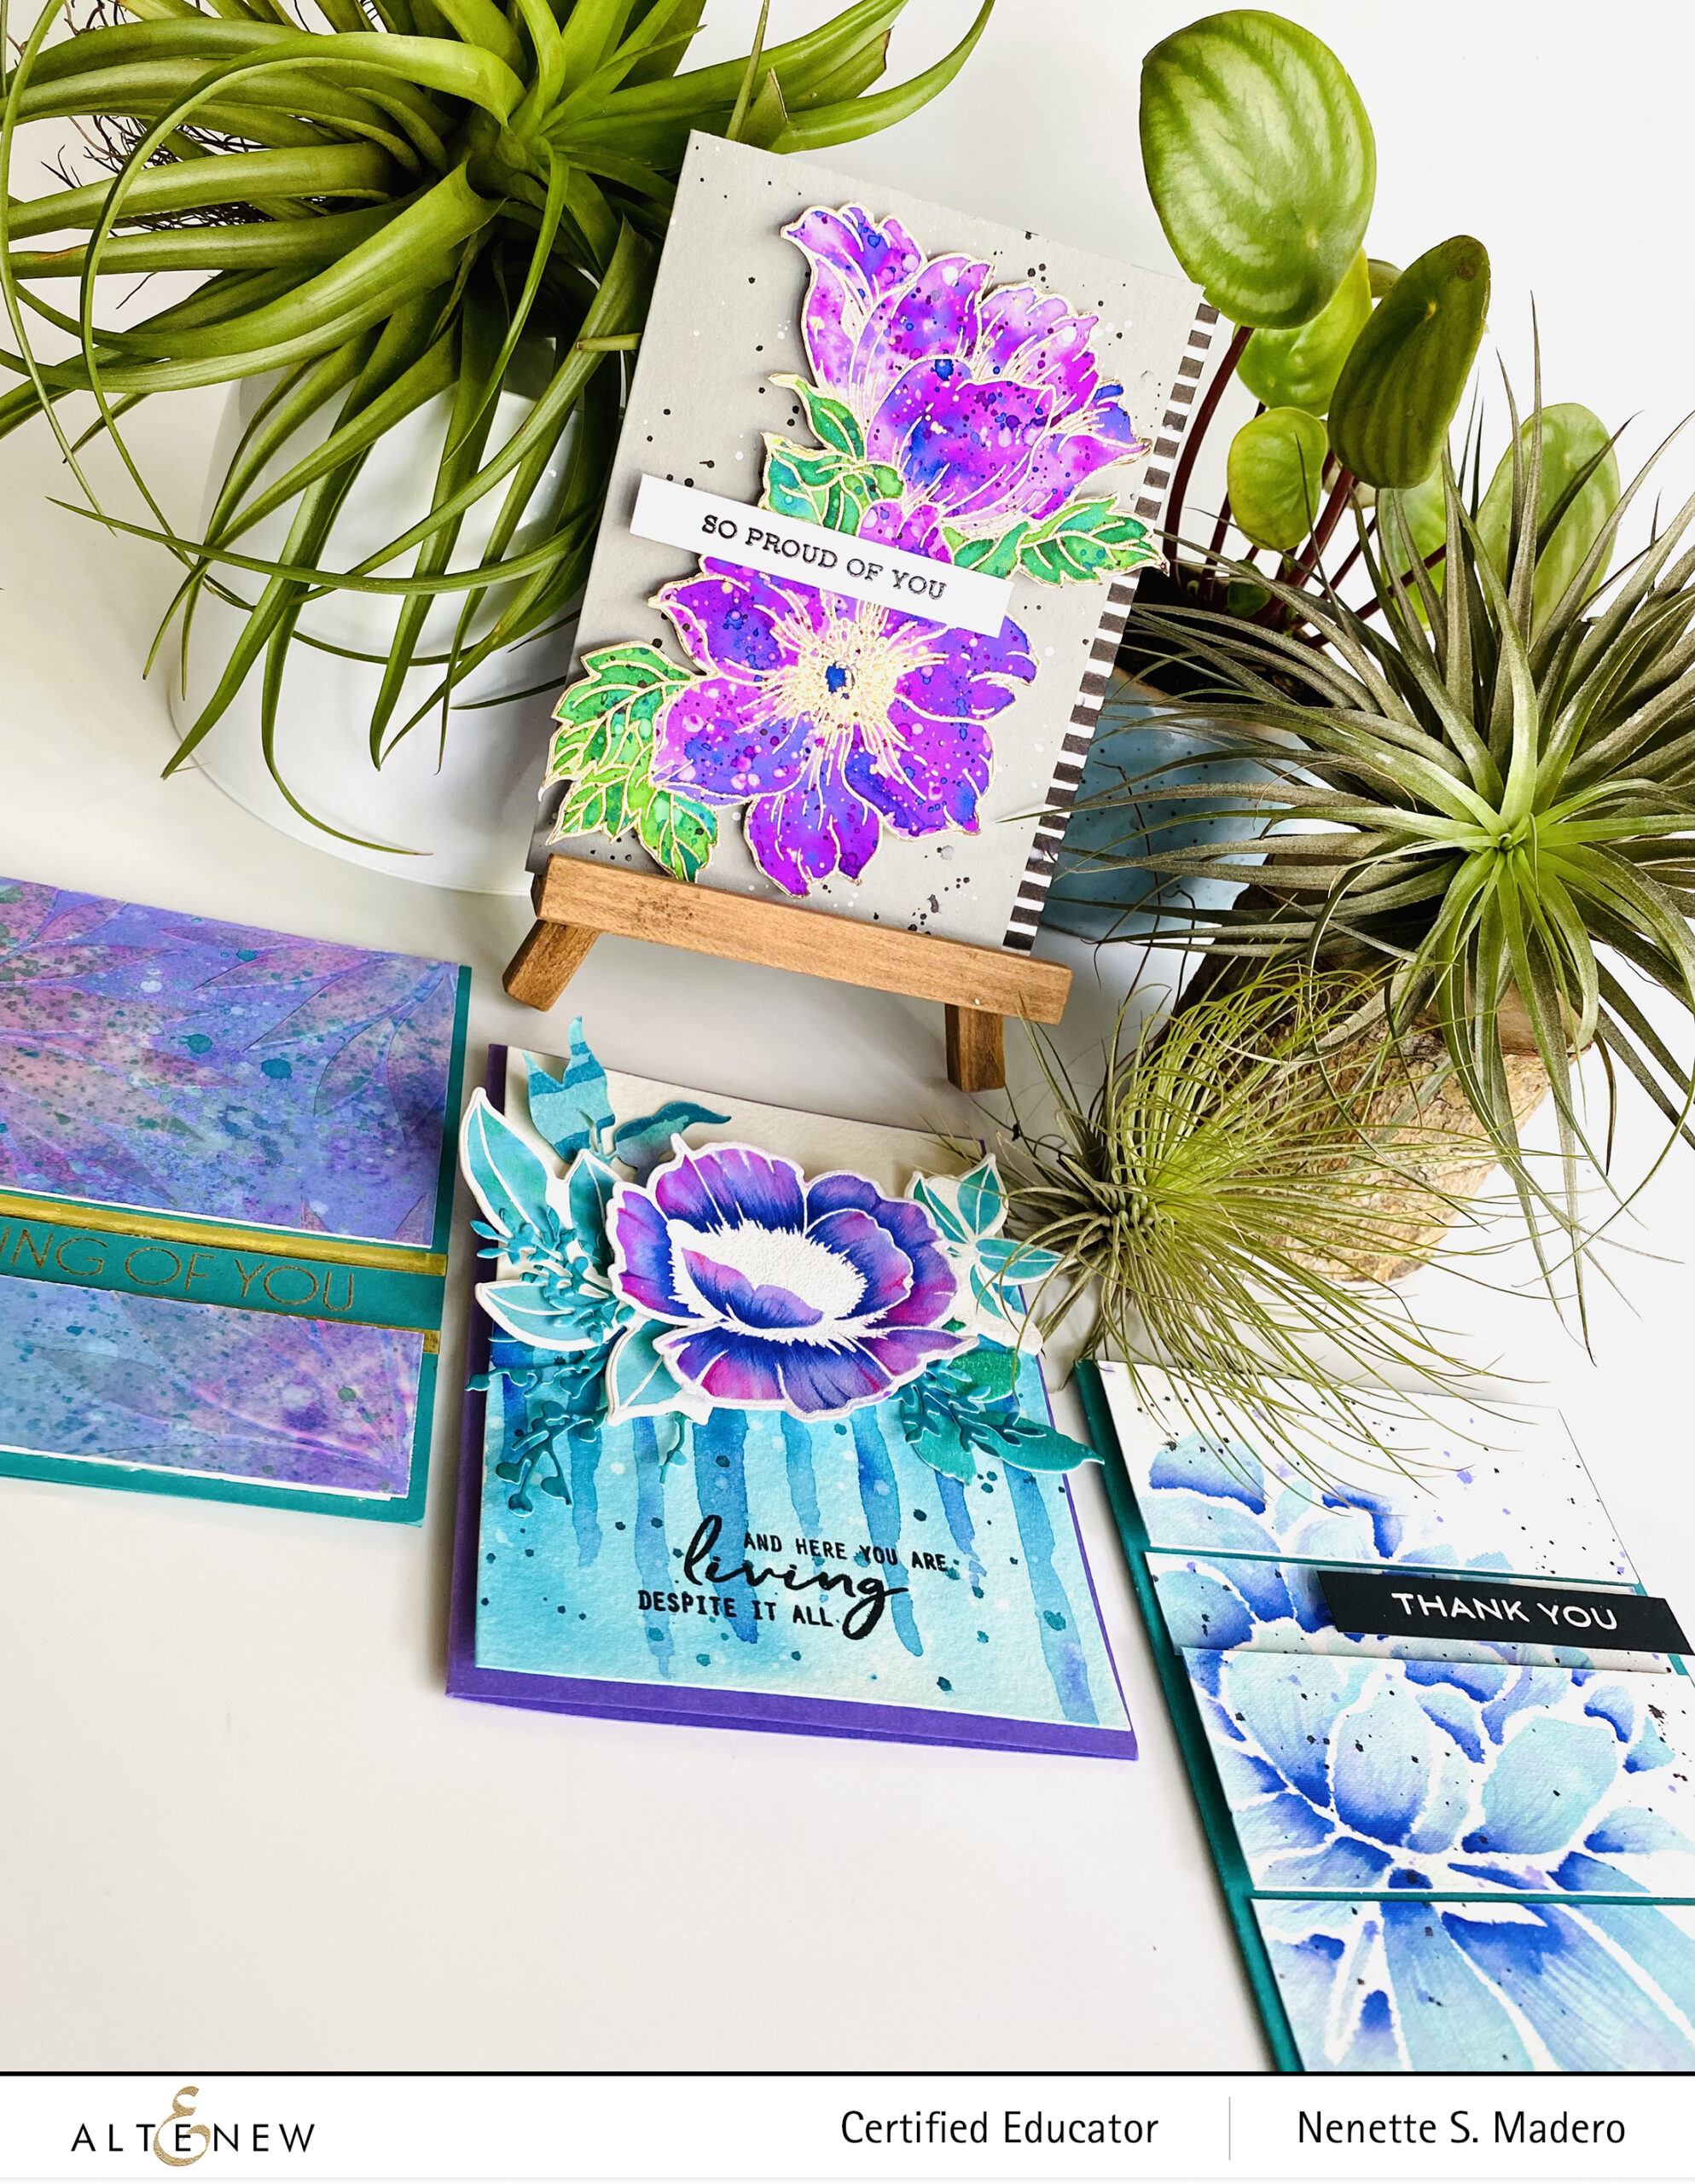
Here are the cards I made which were all inspired by her creations. Do let me know which one is your favorite on the comment section, ok?
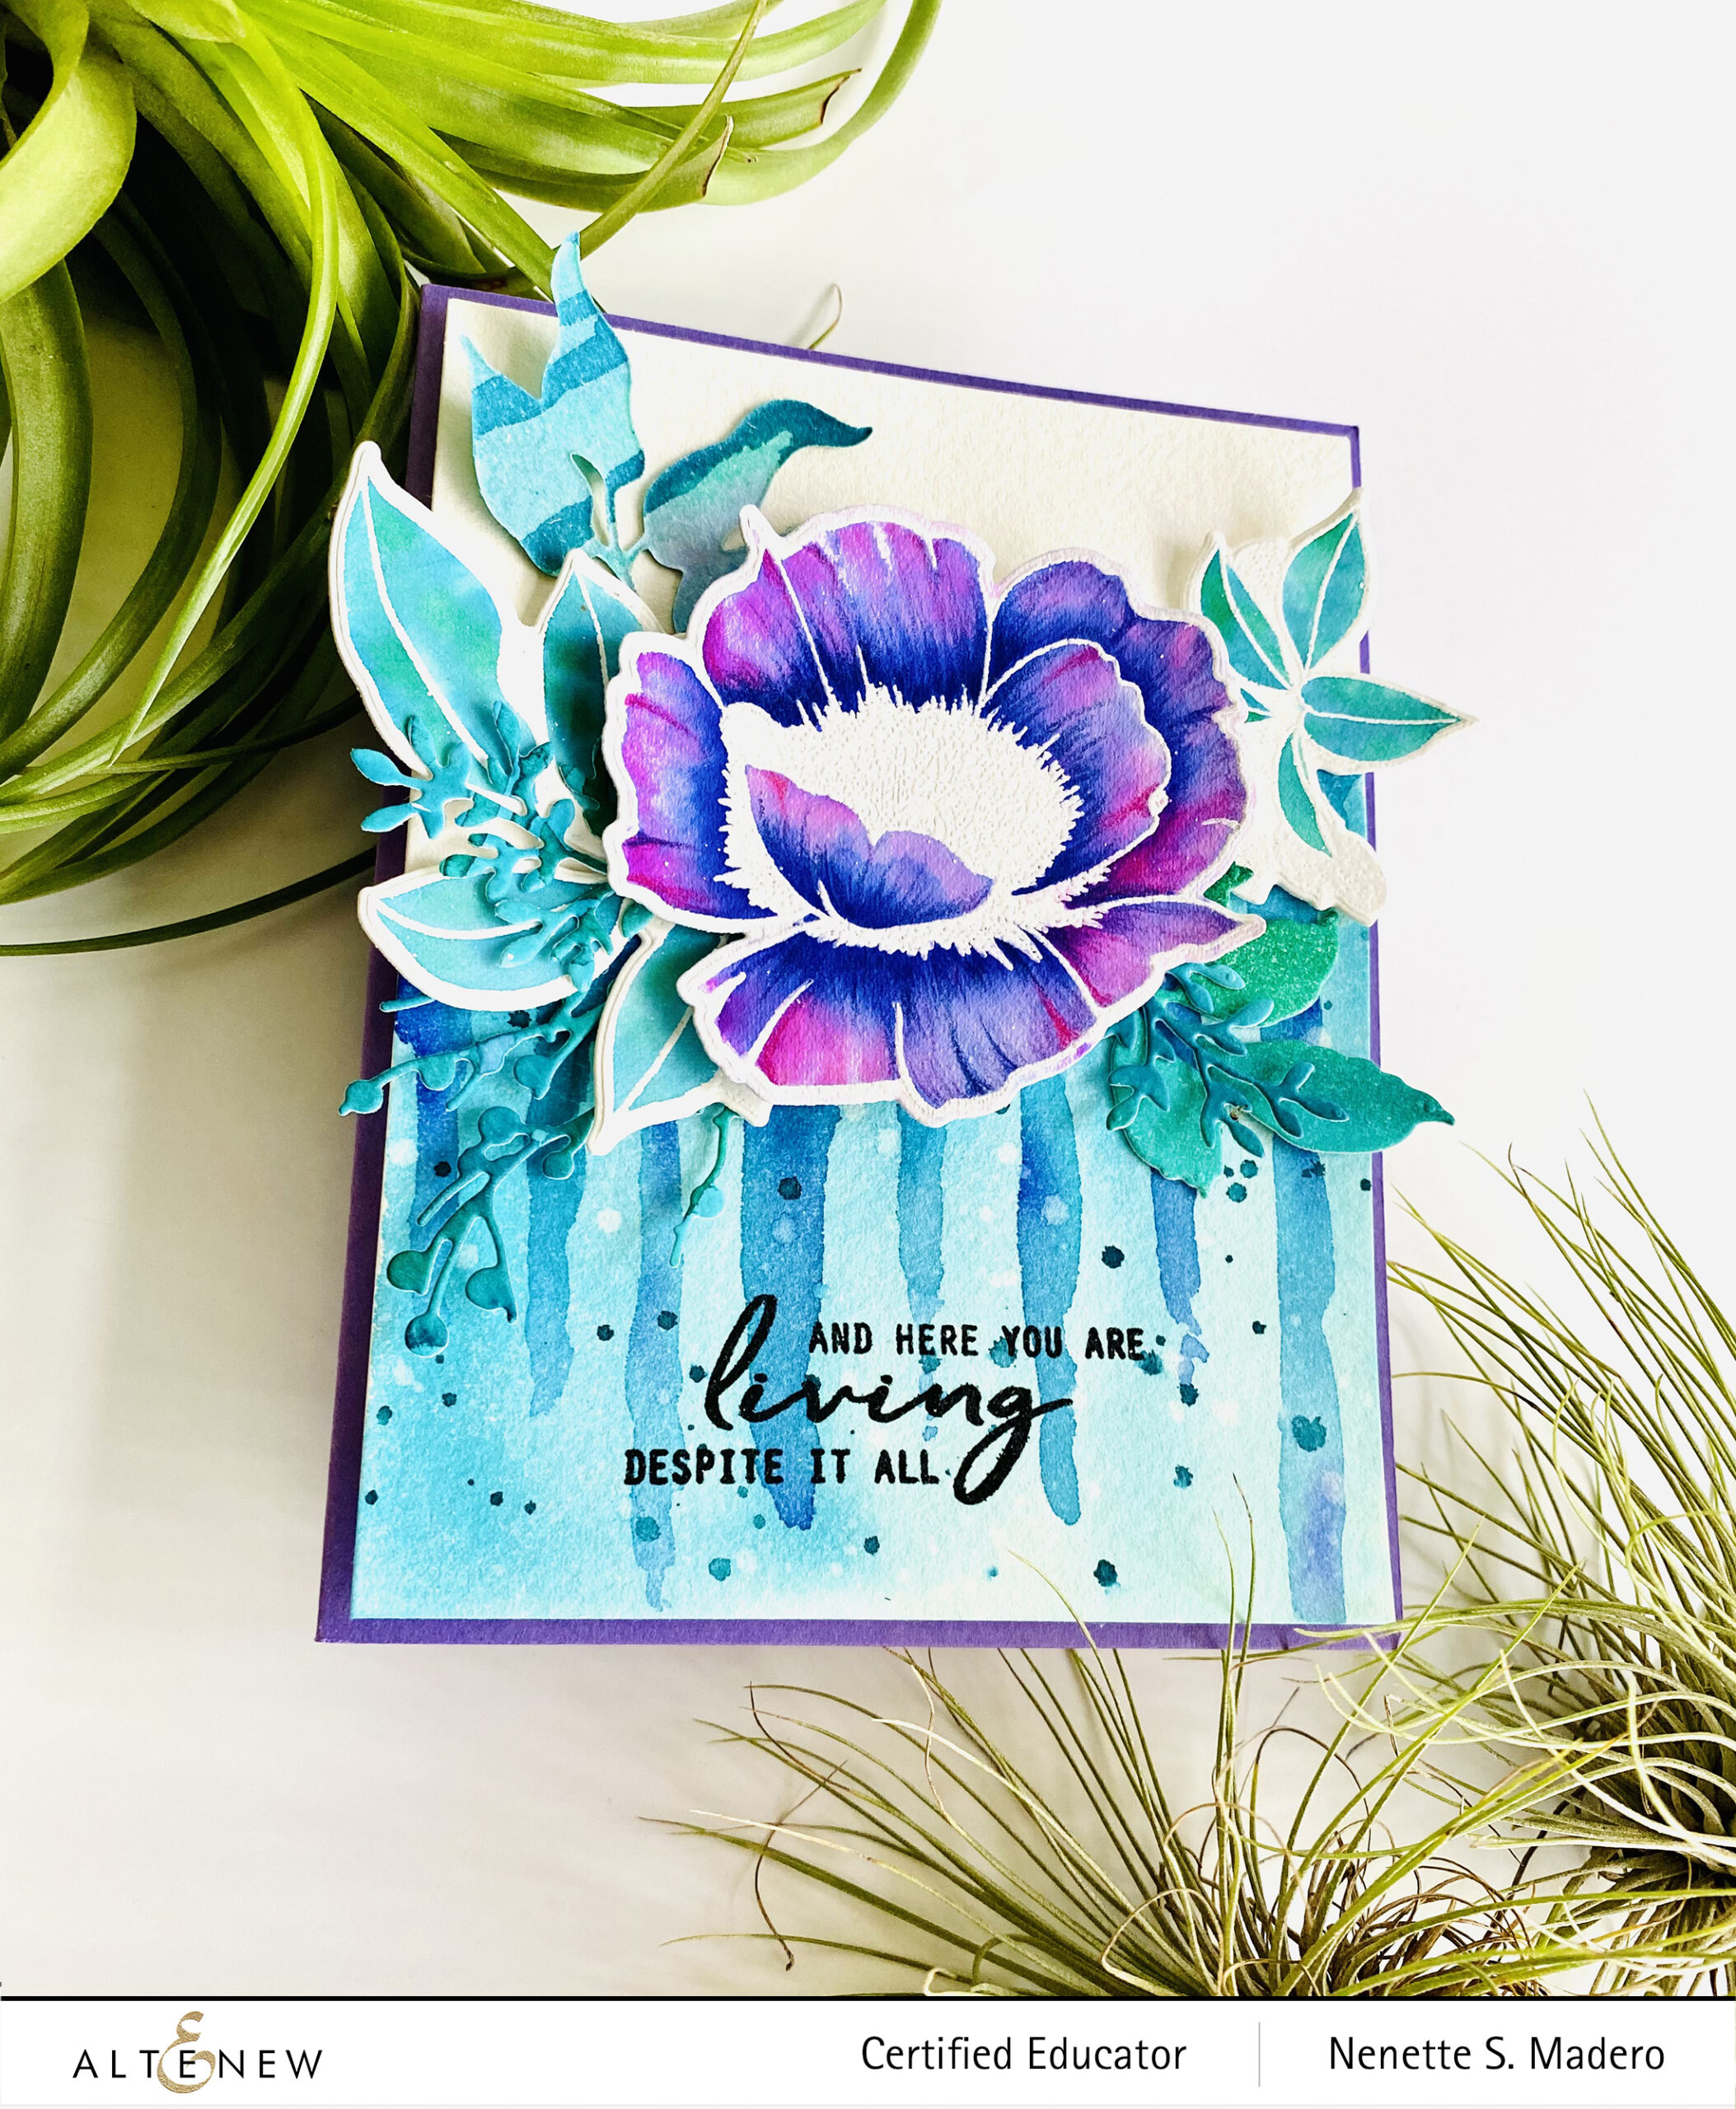
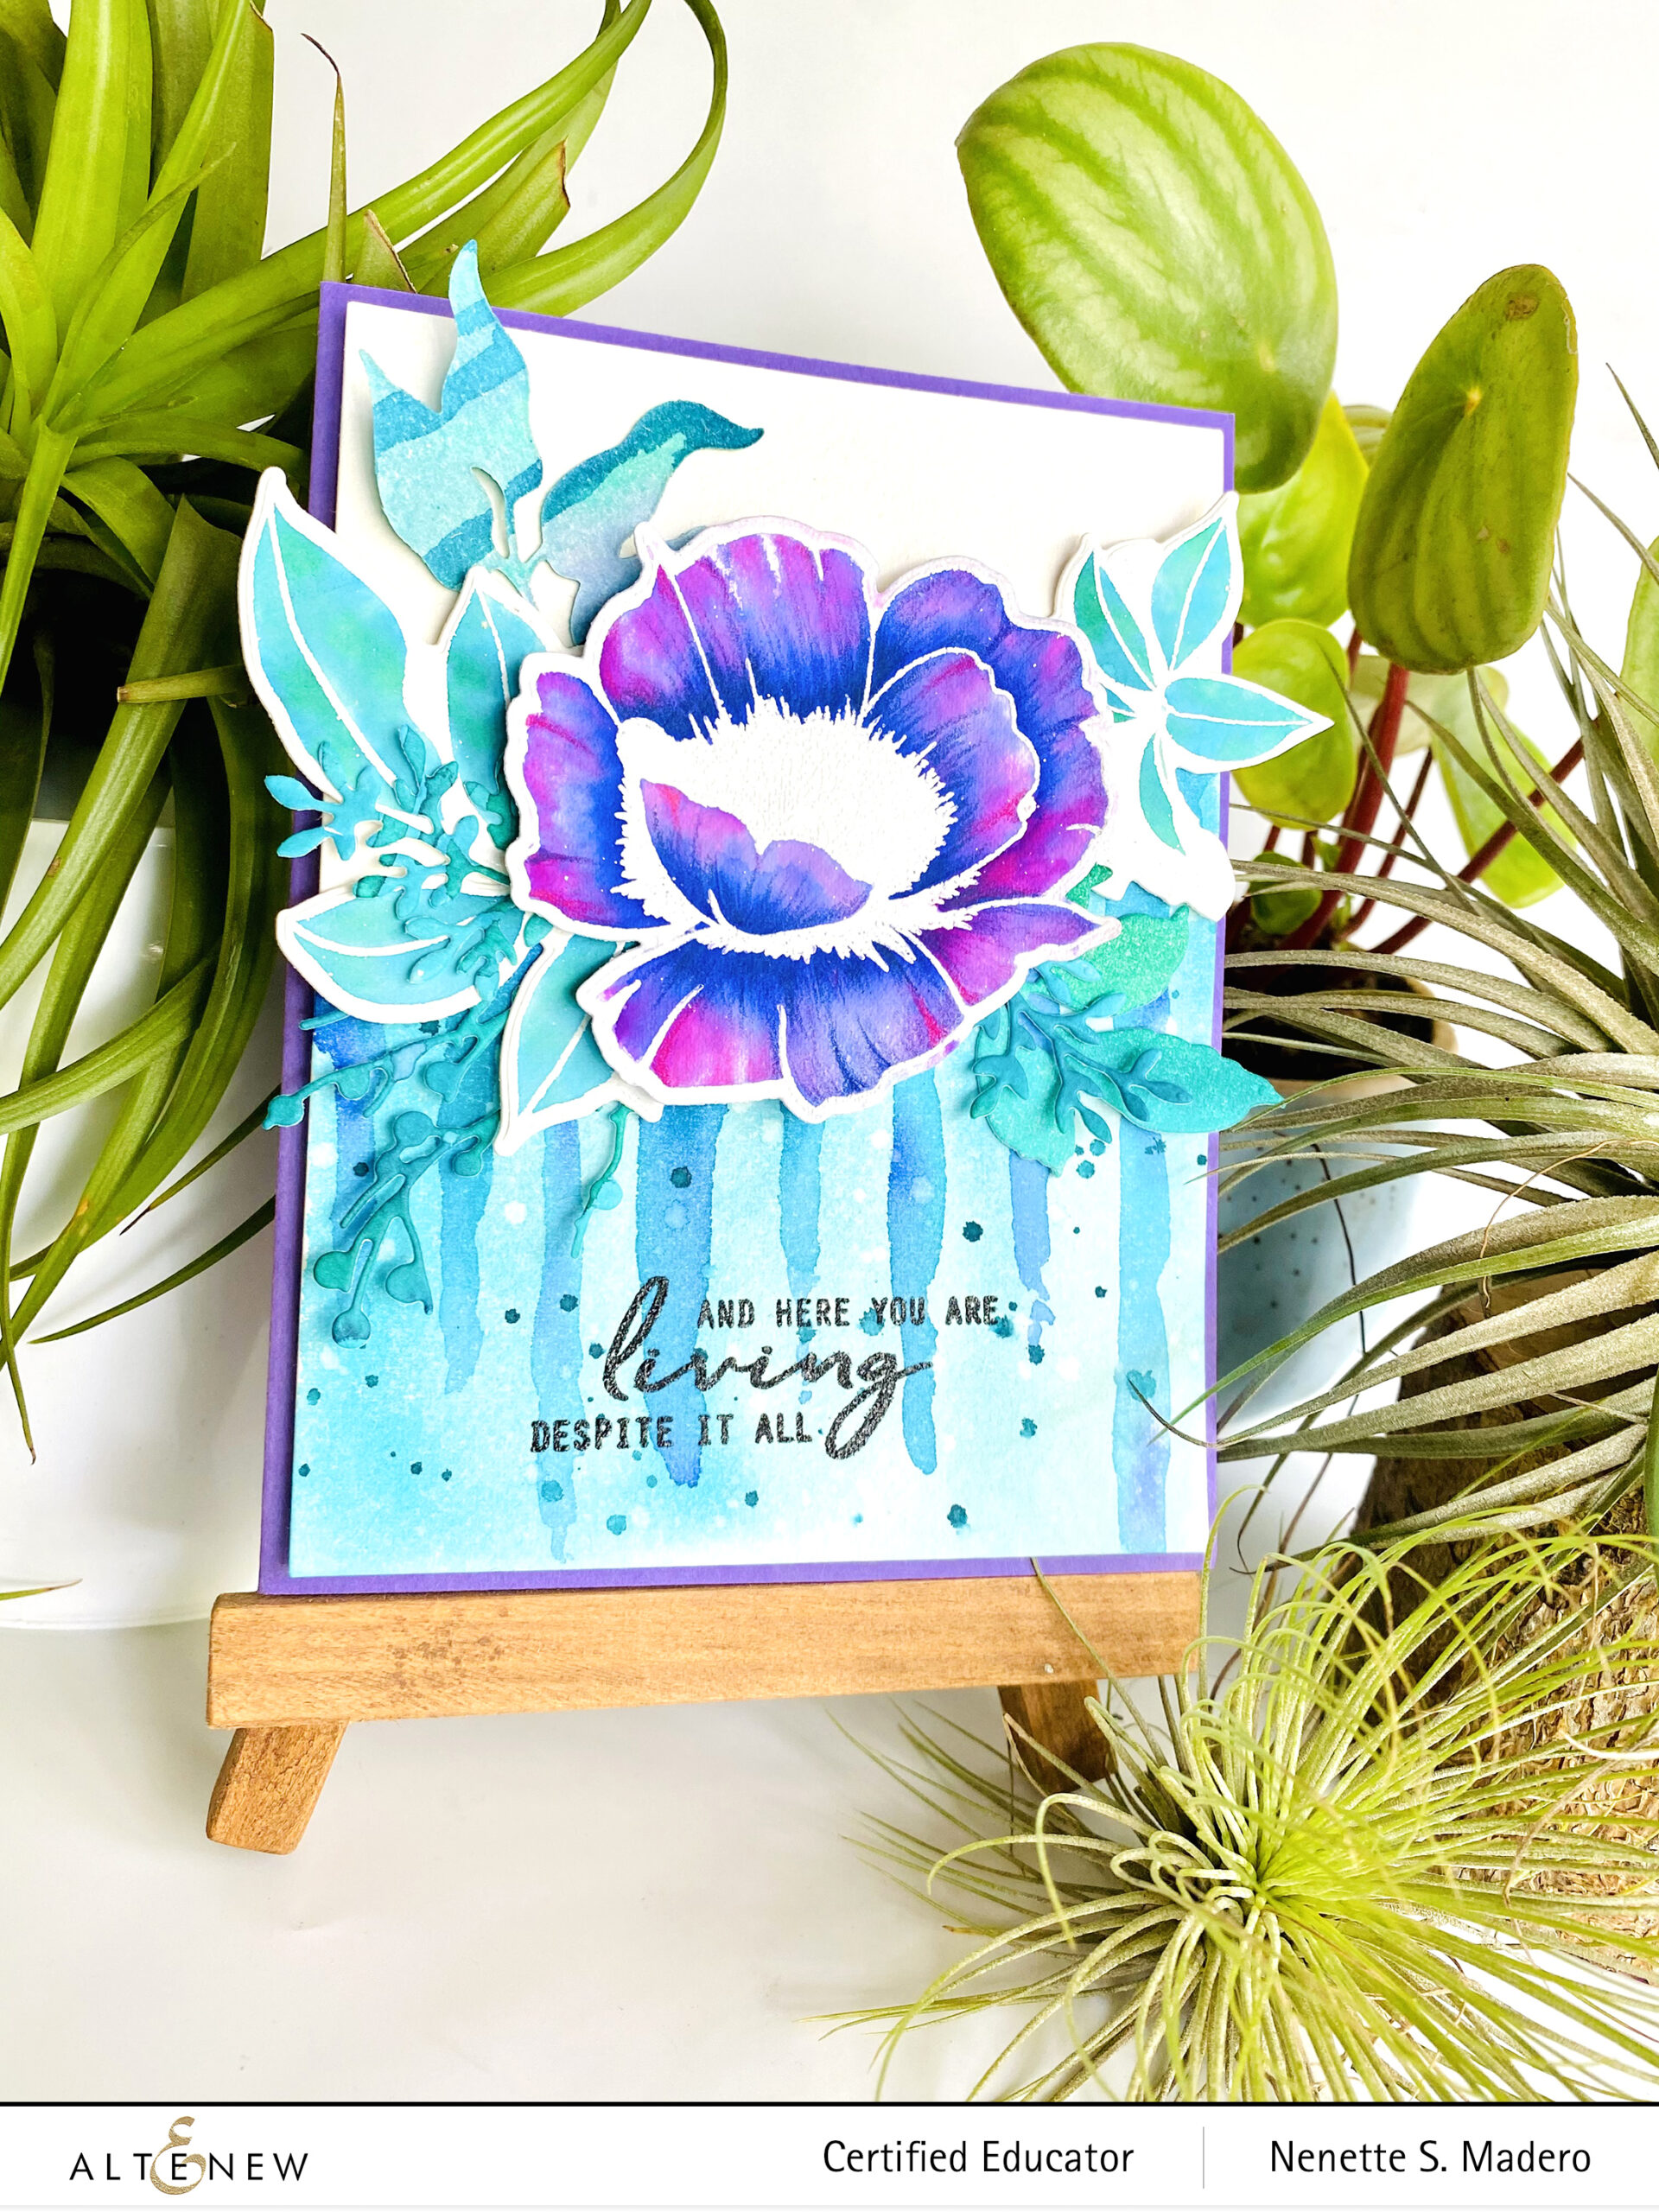
The first card is based on her watercolor drip class.
Add details using Faber Castell polychromos colored pencils.
On a scrap of watercolor paper, do a wash of Lagoon and Emerald. After the inks have dried, die cut the leaves from Branches and Berries dies and the Just Leaves dies.
For the background, wet half of the surface with water and add a light wash using the leftover inks on the palate.
Add more concentrated ink drips by tilting the paper and allow the pool of water to drip down.
When the panel has dried, add spatters of water. After 10 seconds, pat dry with a tissue to remove the ink.
Add spatters of lagoon.
Assemble the card using adhesive and foam squares.
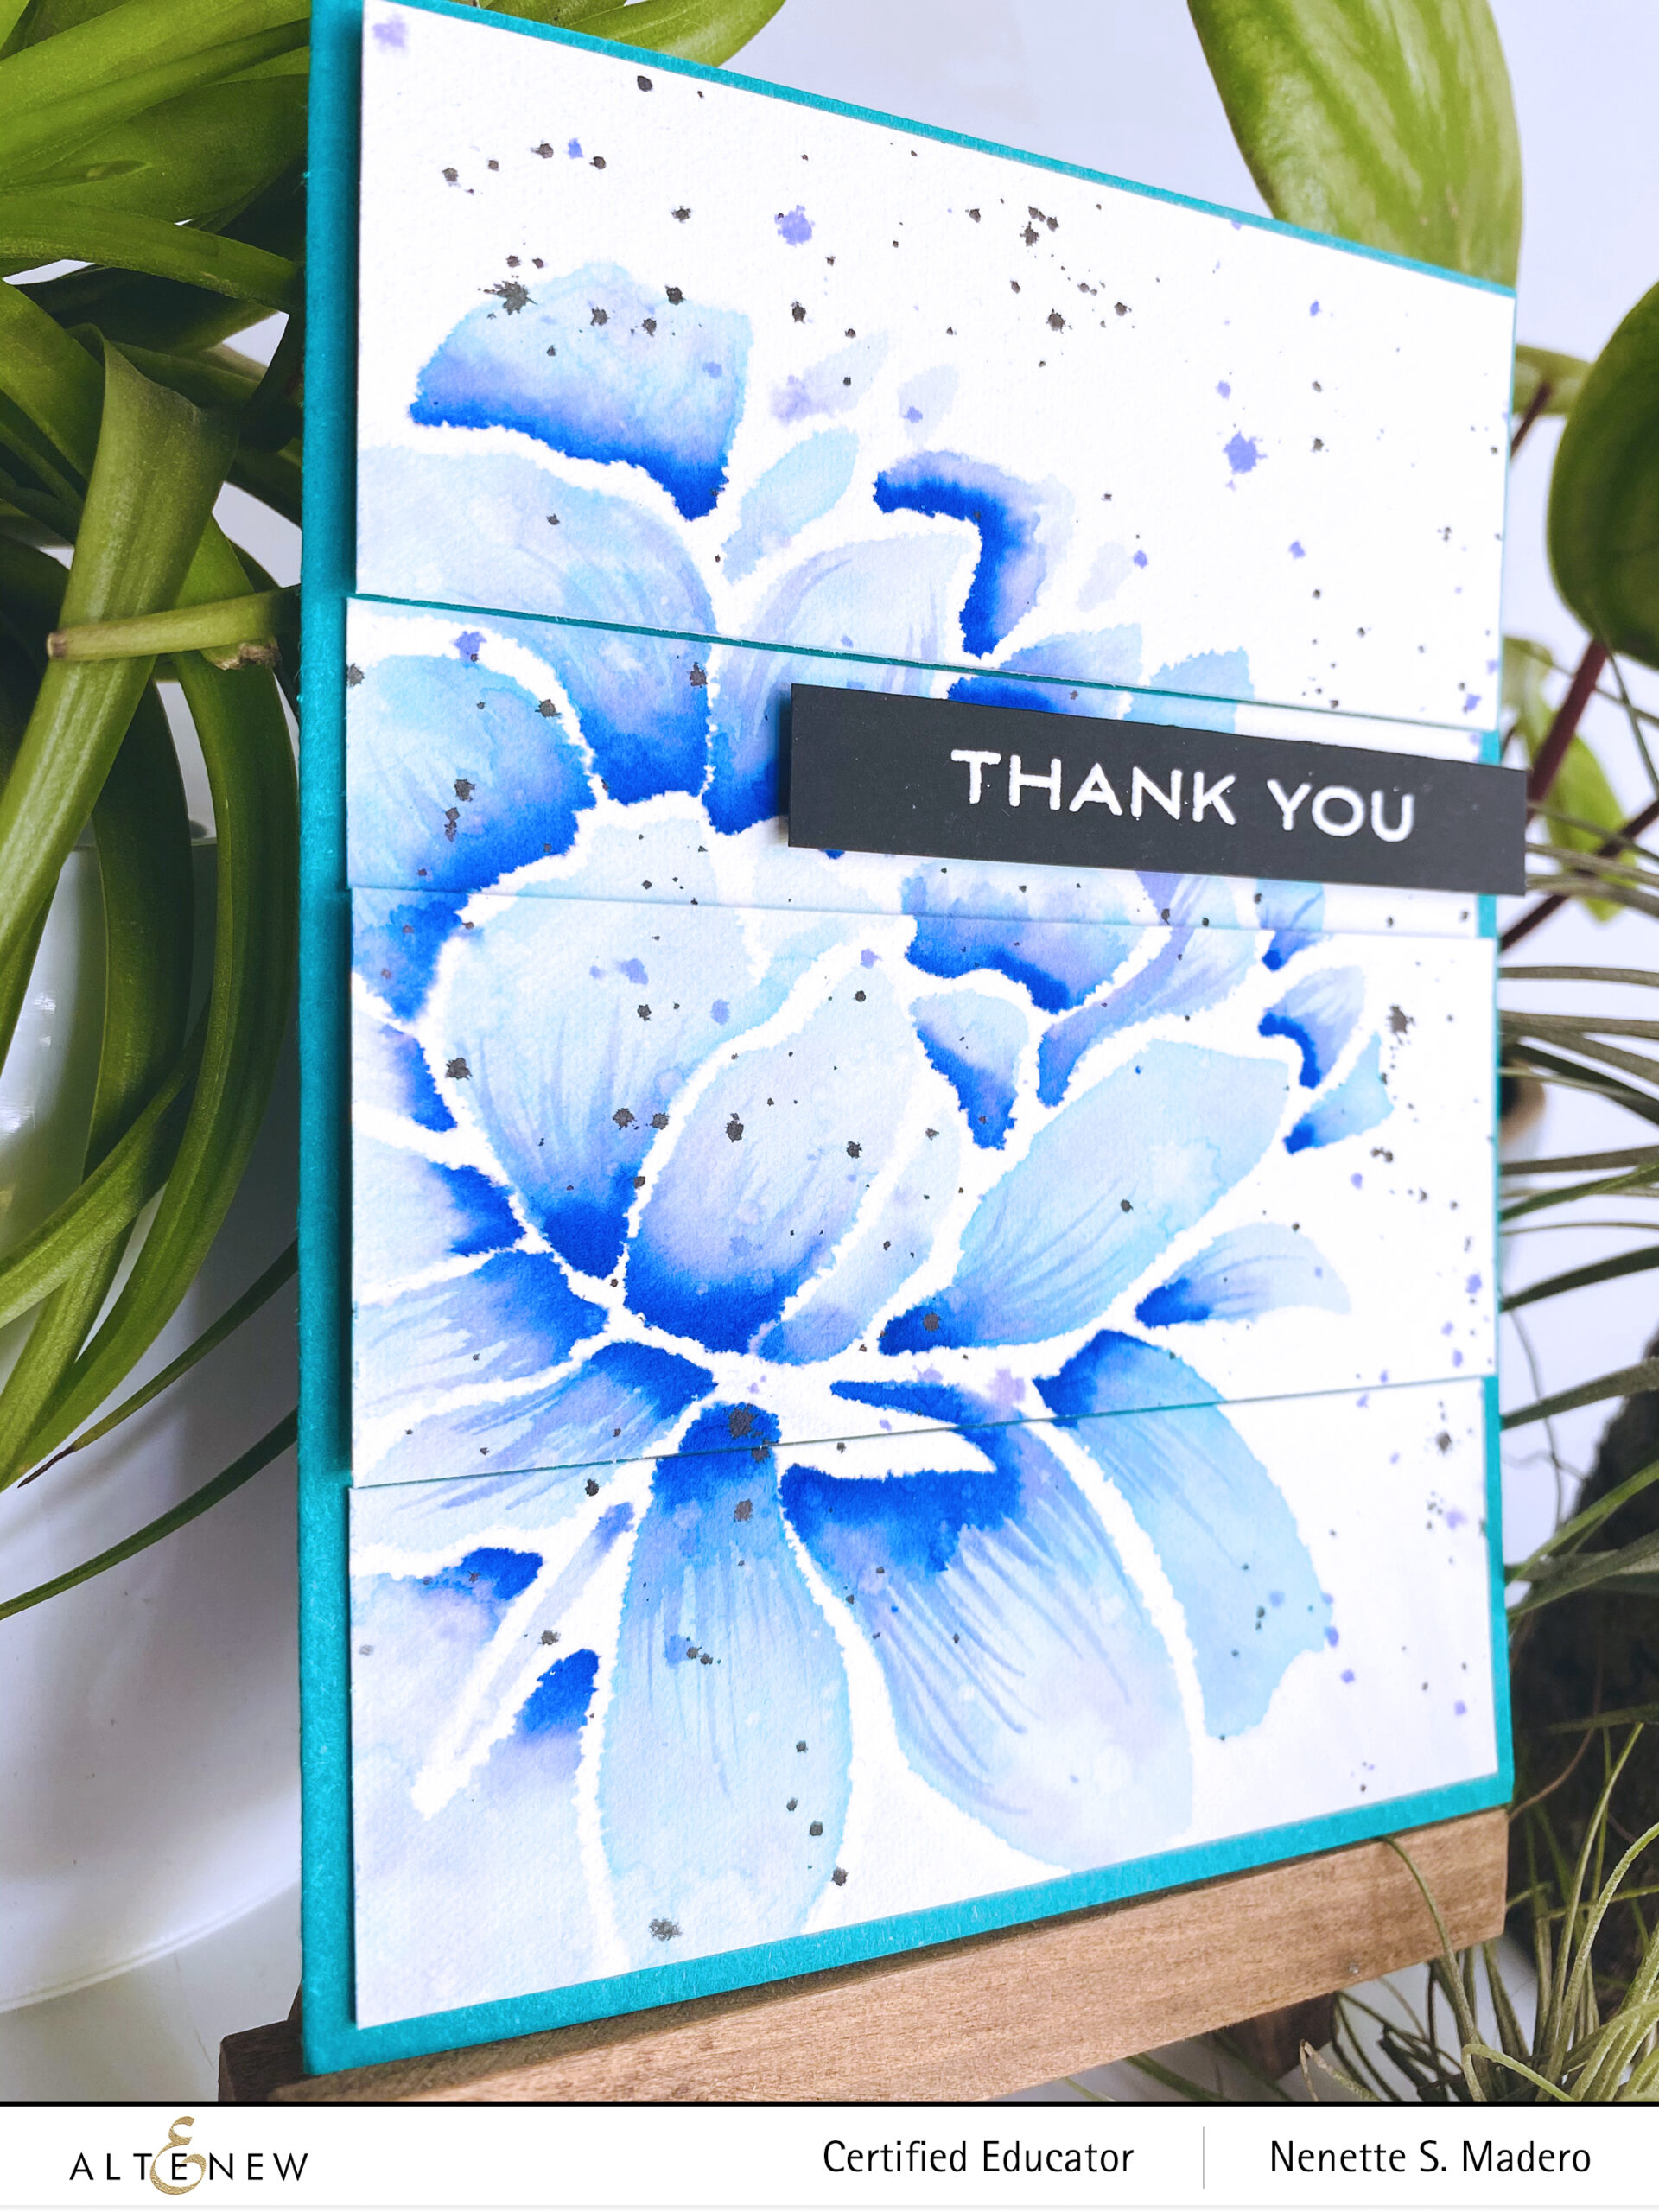
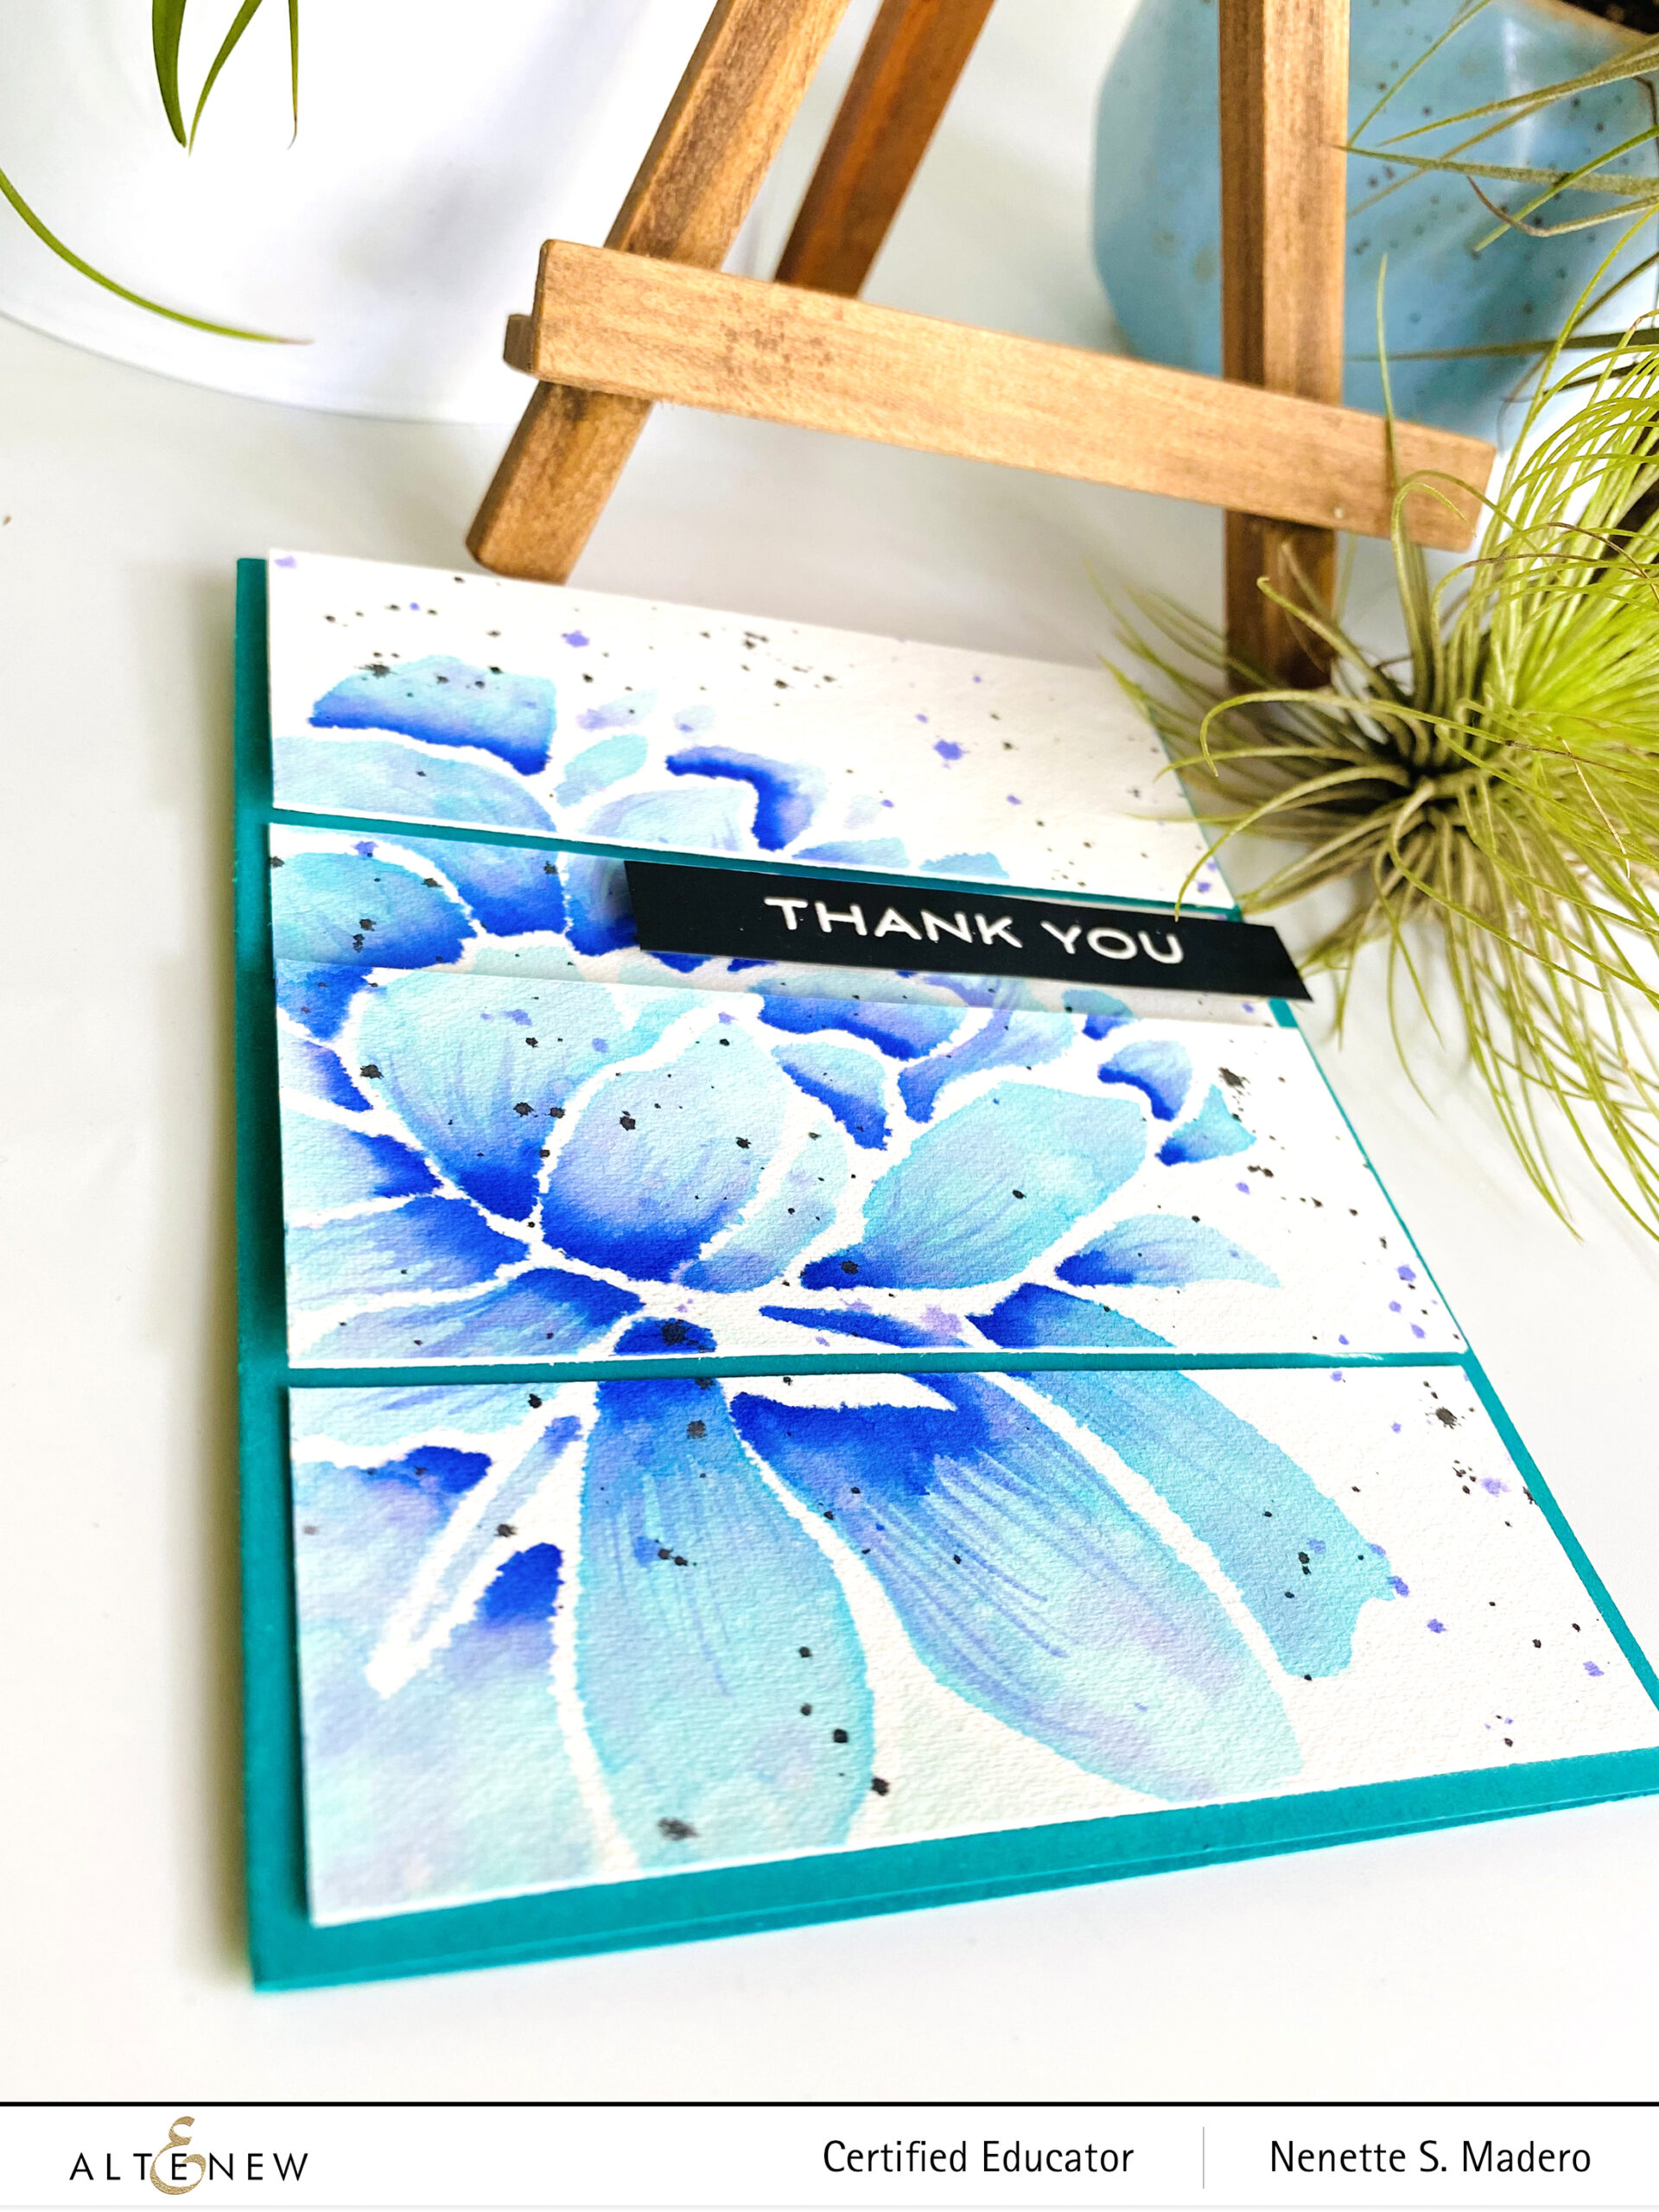
This next card was inspired by the use of watercolor and stencils.
THANK YOU
STEPS:
Using the Mega Bloom stencil, add color using a blending brush and the Dew Drops crisp dye ink on watercolor paper.
Using the wet on wet technique, mix the Lagoon and Mountain Mist watercolor brush markers and the Persian Blue to add shadows to the petals.
Once the flower is dry, add splatters of purple and black.
Cut the panel into 4 pieces and mount the 1st and 3rd panel with foam squares to add dimension to the card.
There were some bleeds at the edges of the petals. I think it’s because I did not heat set the dye ink before I painted the watercolor. 🙁 But I think the roughness of the edges added more character to the flower so I just went ahead and colored the rest of the petals. Cutting the painted card front into panels and adhering some panels using foam tape added more interest to the card.
The third card was inspired by Erum’s splatter watercolor class. Such a fun technique!!!
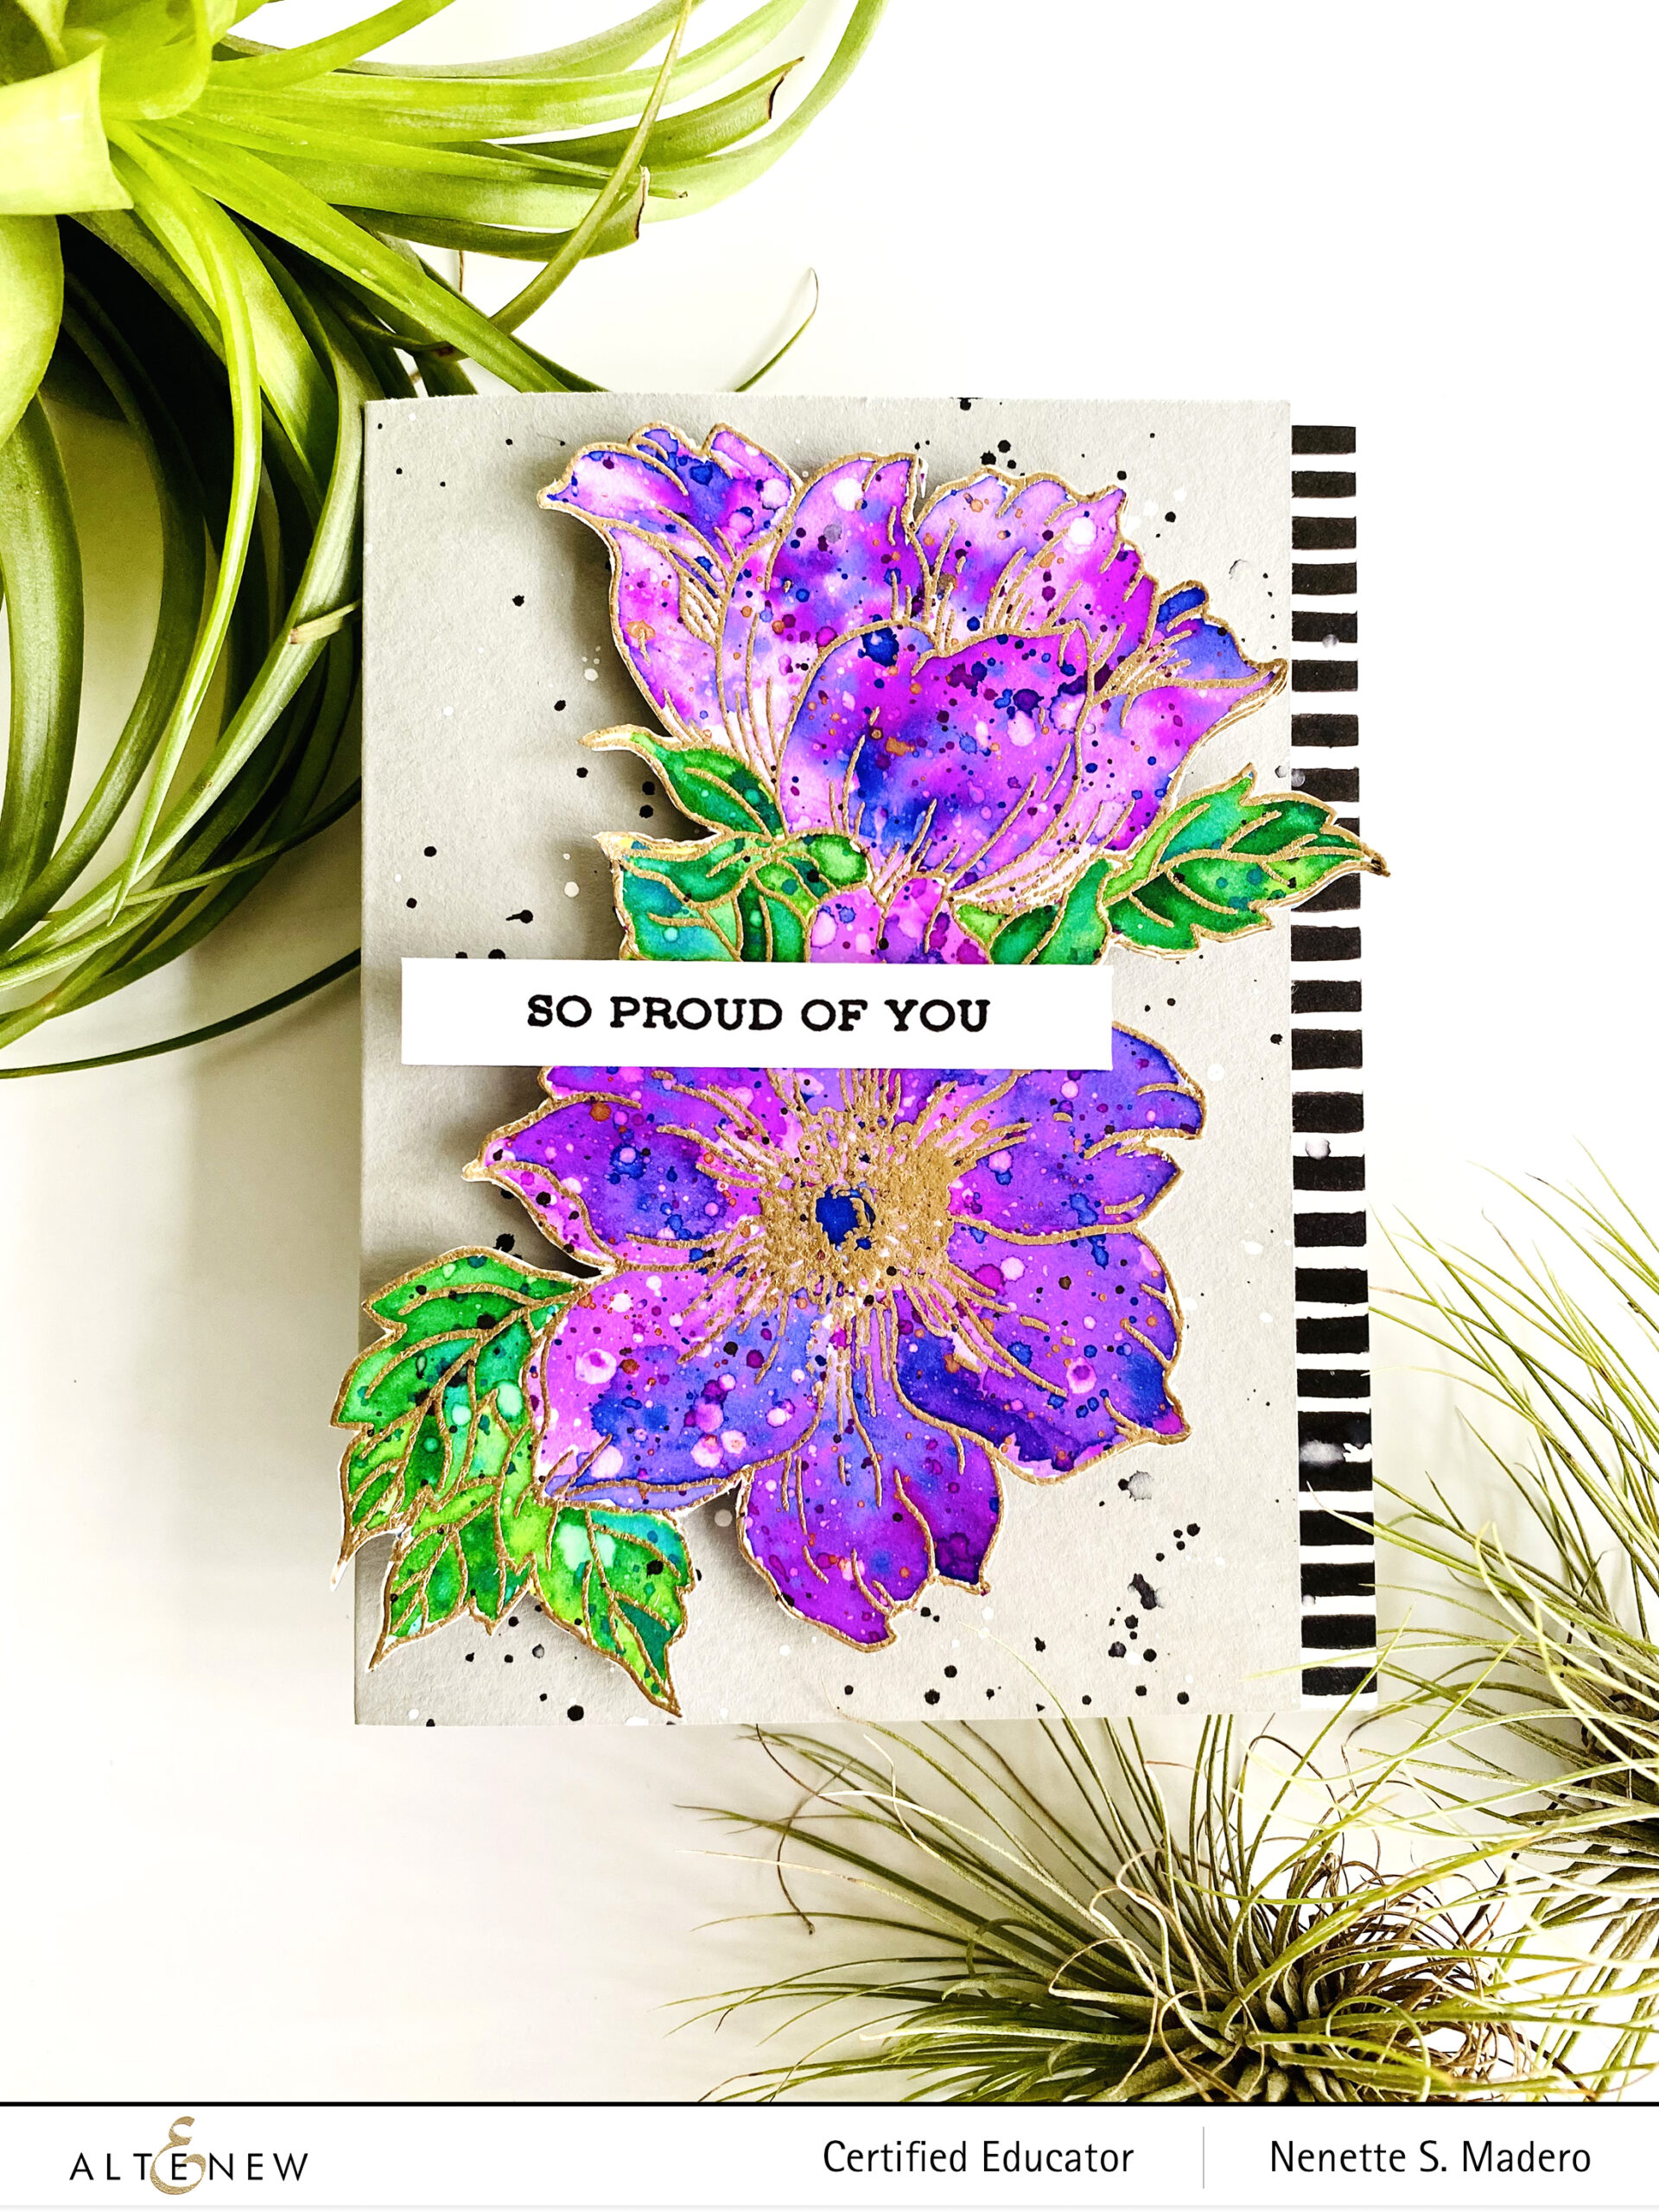
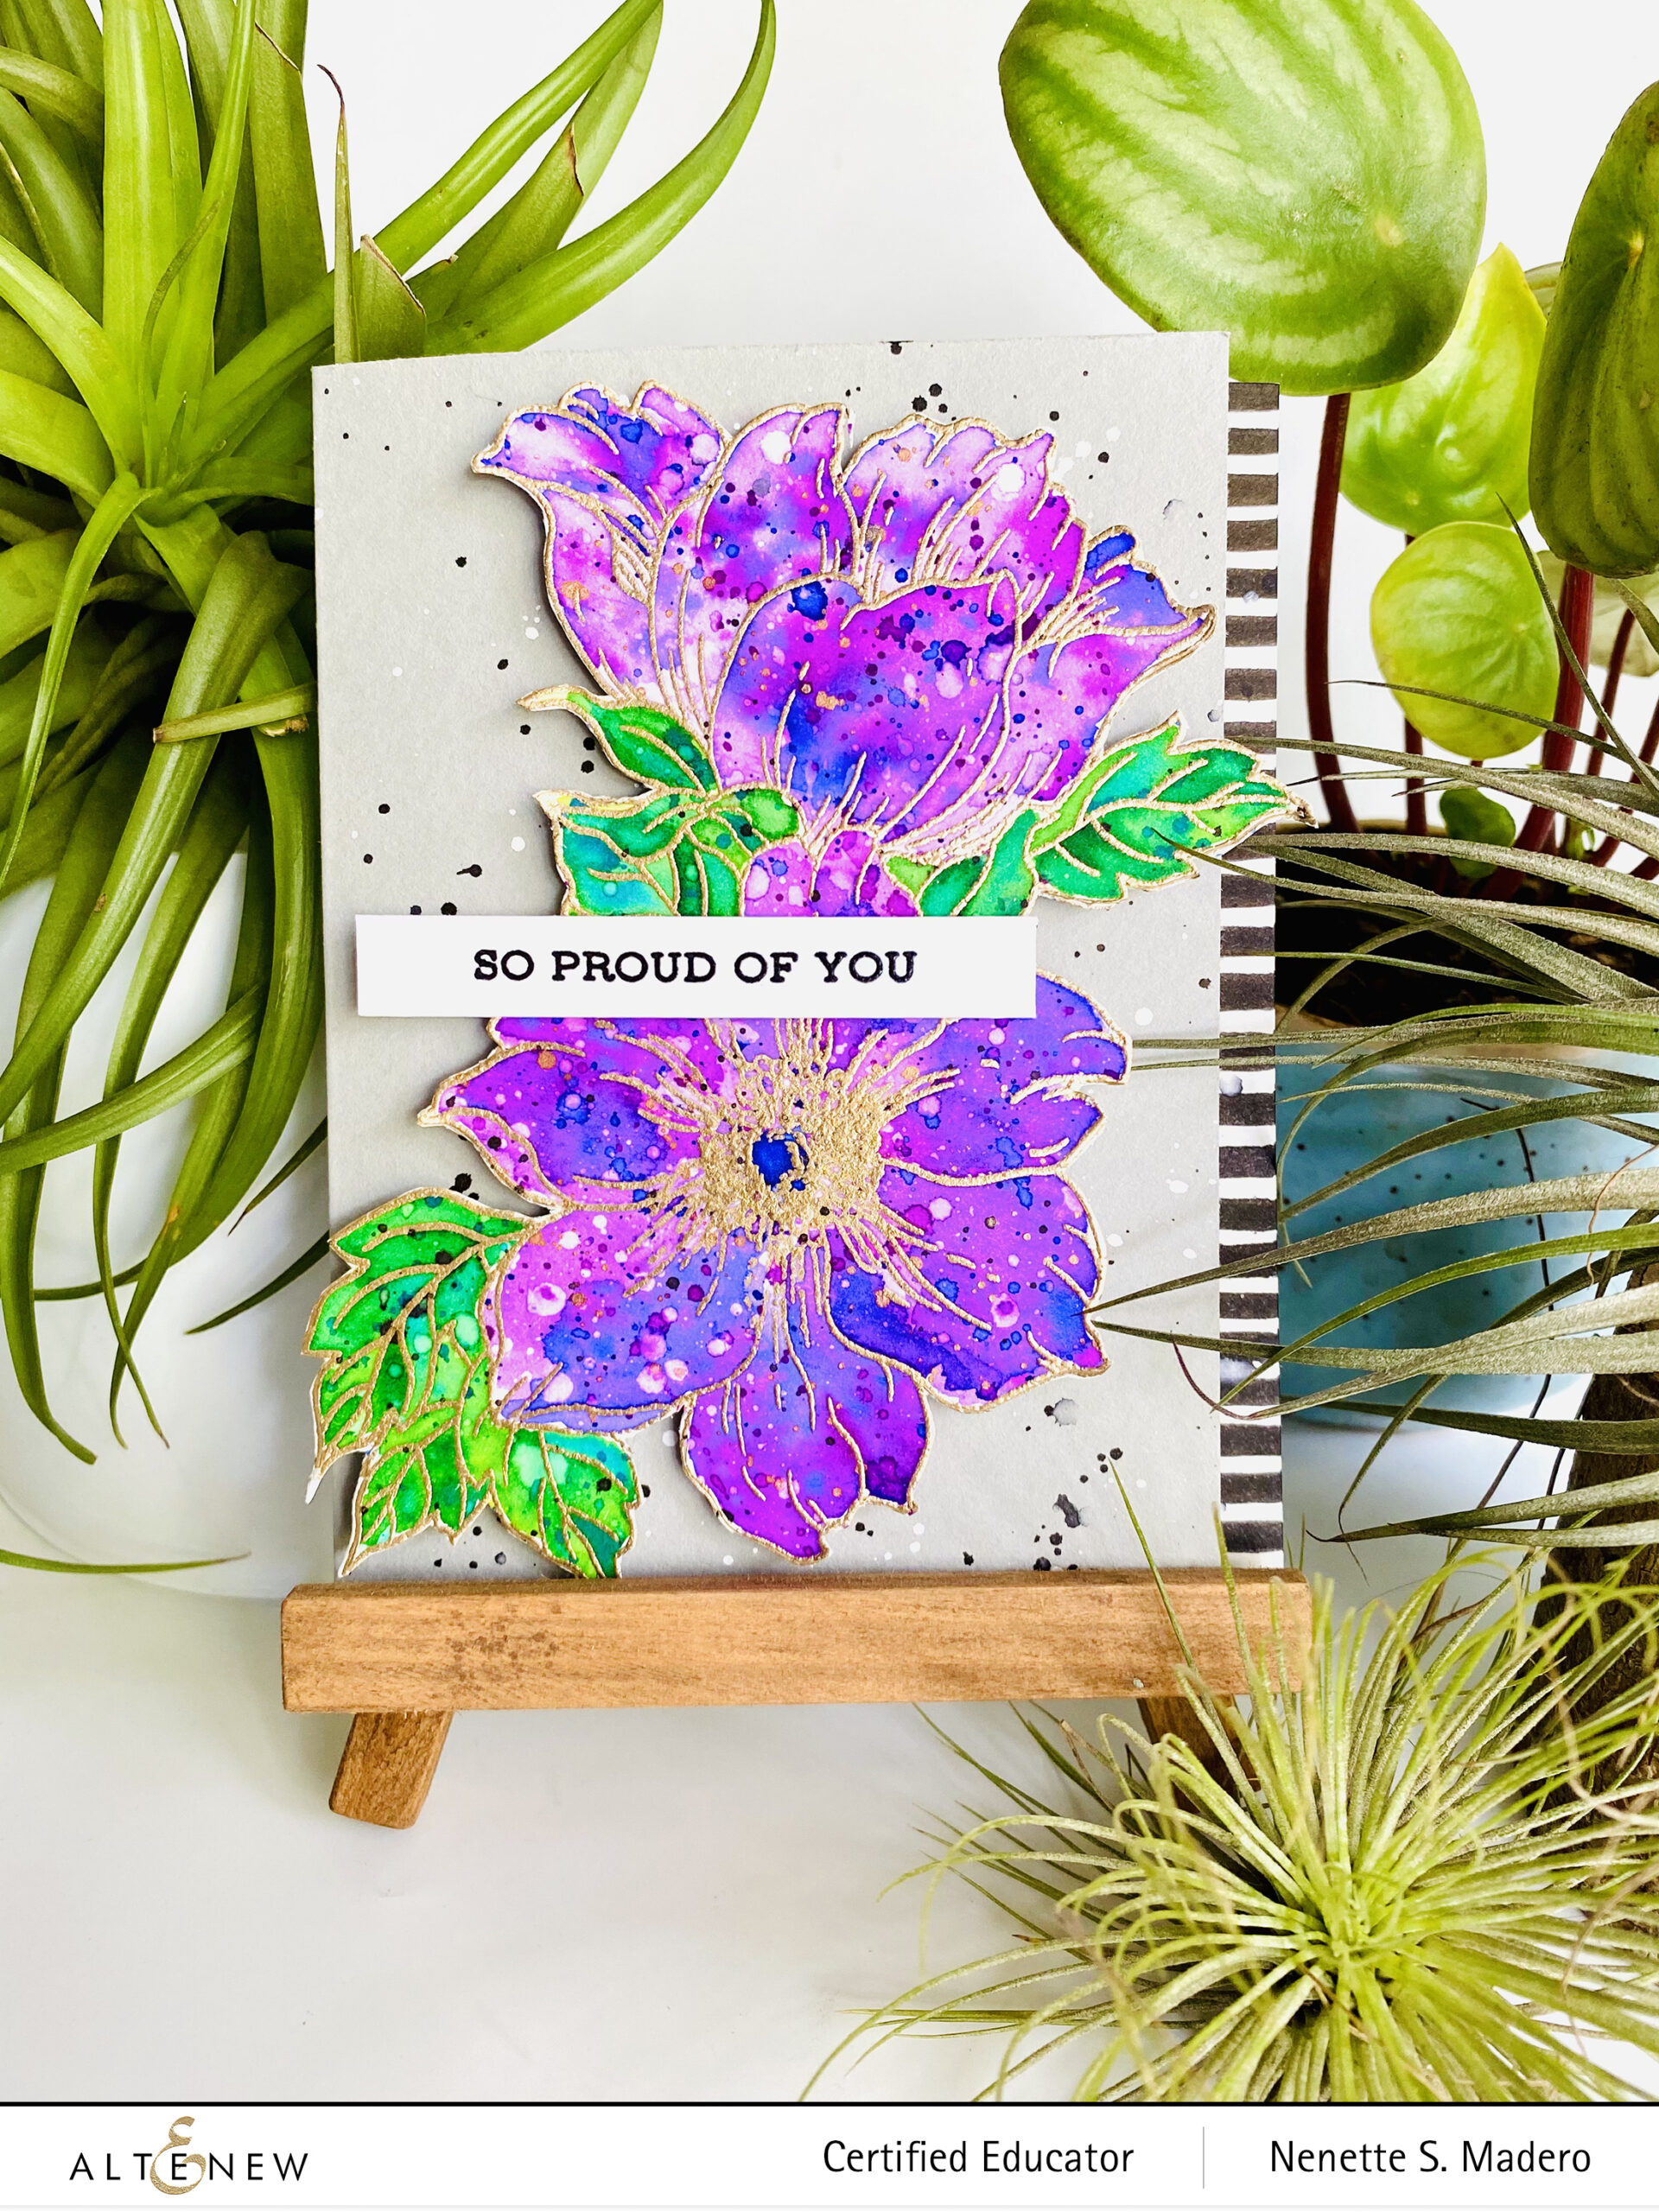
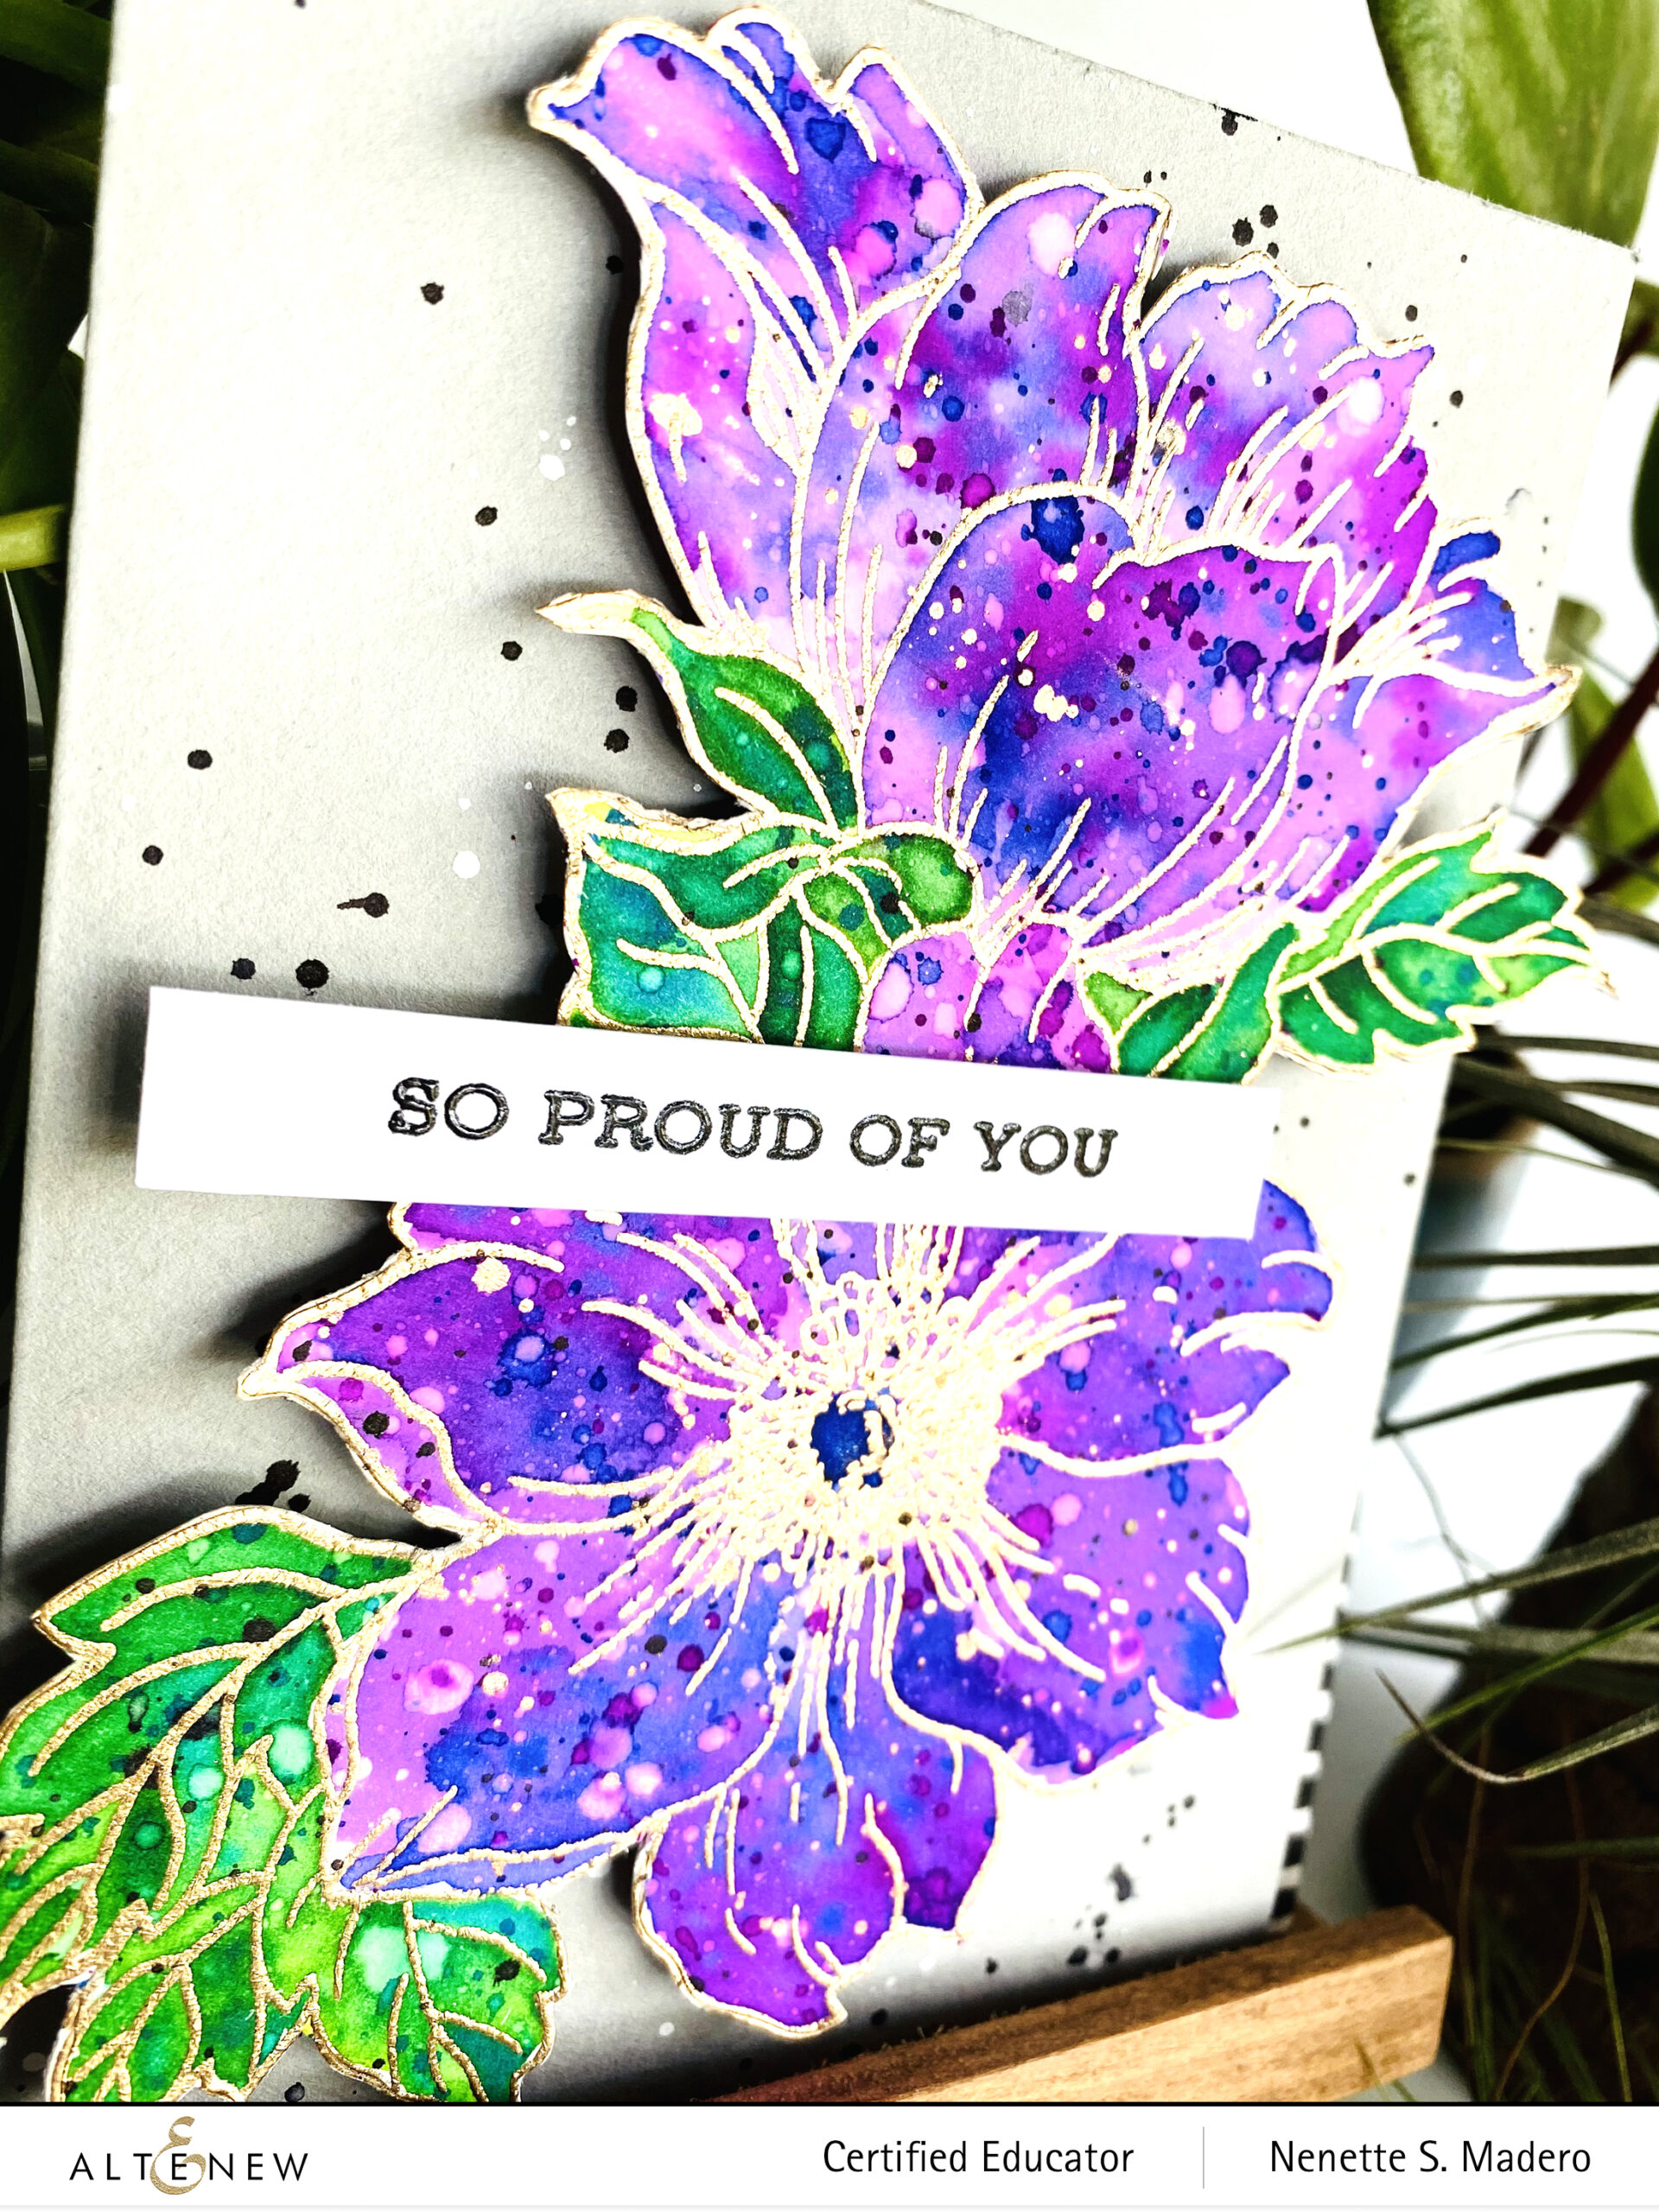
SO PROUD OF YOU
STEPS:
Stamp the image from the Statement Flowers stamp set with Versamark in and embossing with Rose Gold embossing powder.
Wet the surface of the petals with water and then add splatters of watercolor from Midnight Violet and Persian Blue brush markers.
Allow the petals to dry and add more spatters.
Spray the flowers with water and lift the colors for added texture.
Color the leaves using the same technique with Emerald, Limeade and highlight with a little bit of Sea Breeze.
Cut out a mask then trim out the leaves. Cover the flowers to protect them from the green spatters.
Add green and blue splatters to the leaves.
With the Jet Black ink, customize black and white stripes patterned paper.
Add black and white splatters to the Real Grey card base.
I really enjoyed making this card. Just make sure to turn your panel when creating spatters for a variety of direction. Adding water droplets to lift some color added more texture to the petals. I loved this technique because it didn’t take a lot of time to create yet it seems to be complicated to make. I also didn’t have black and white striped paper so I just created my own using a black marker. The freehand lines made the card more organic looking.
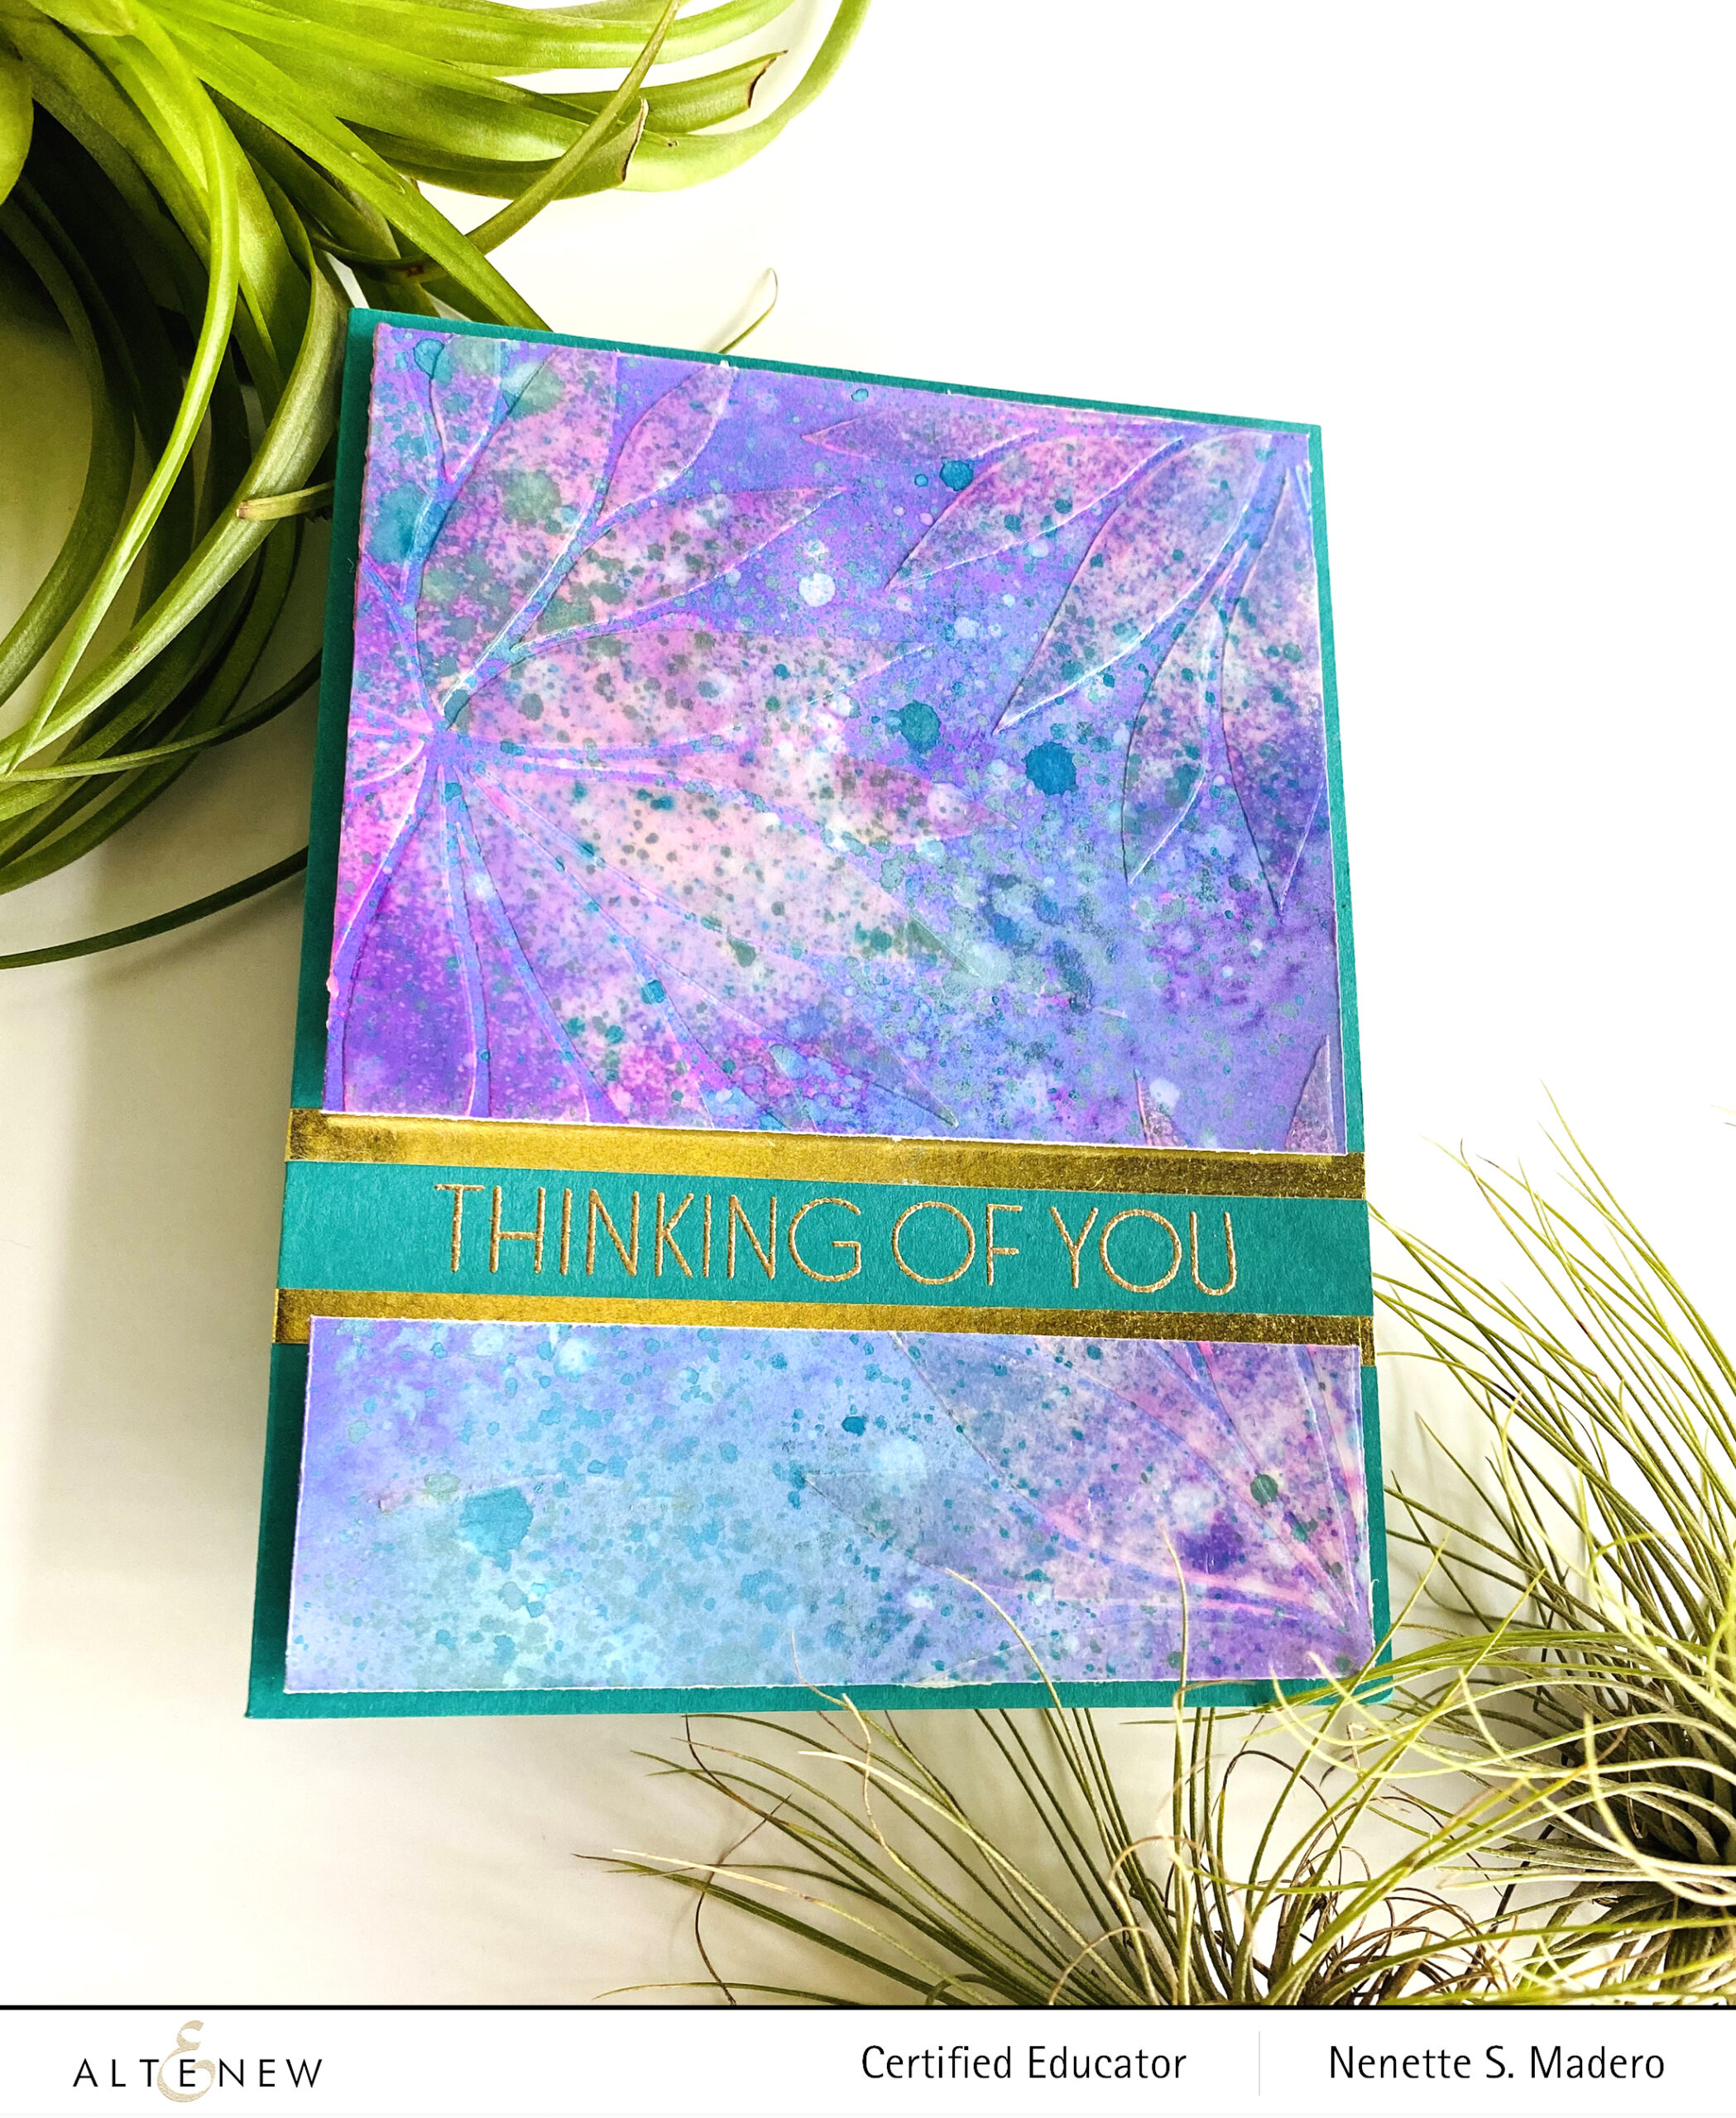
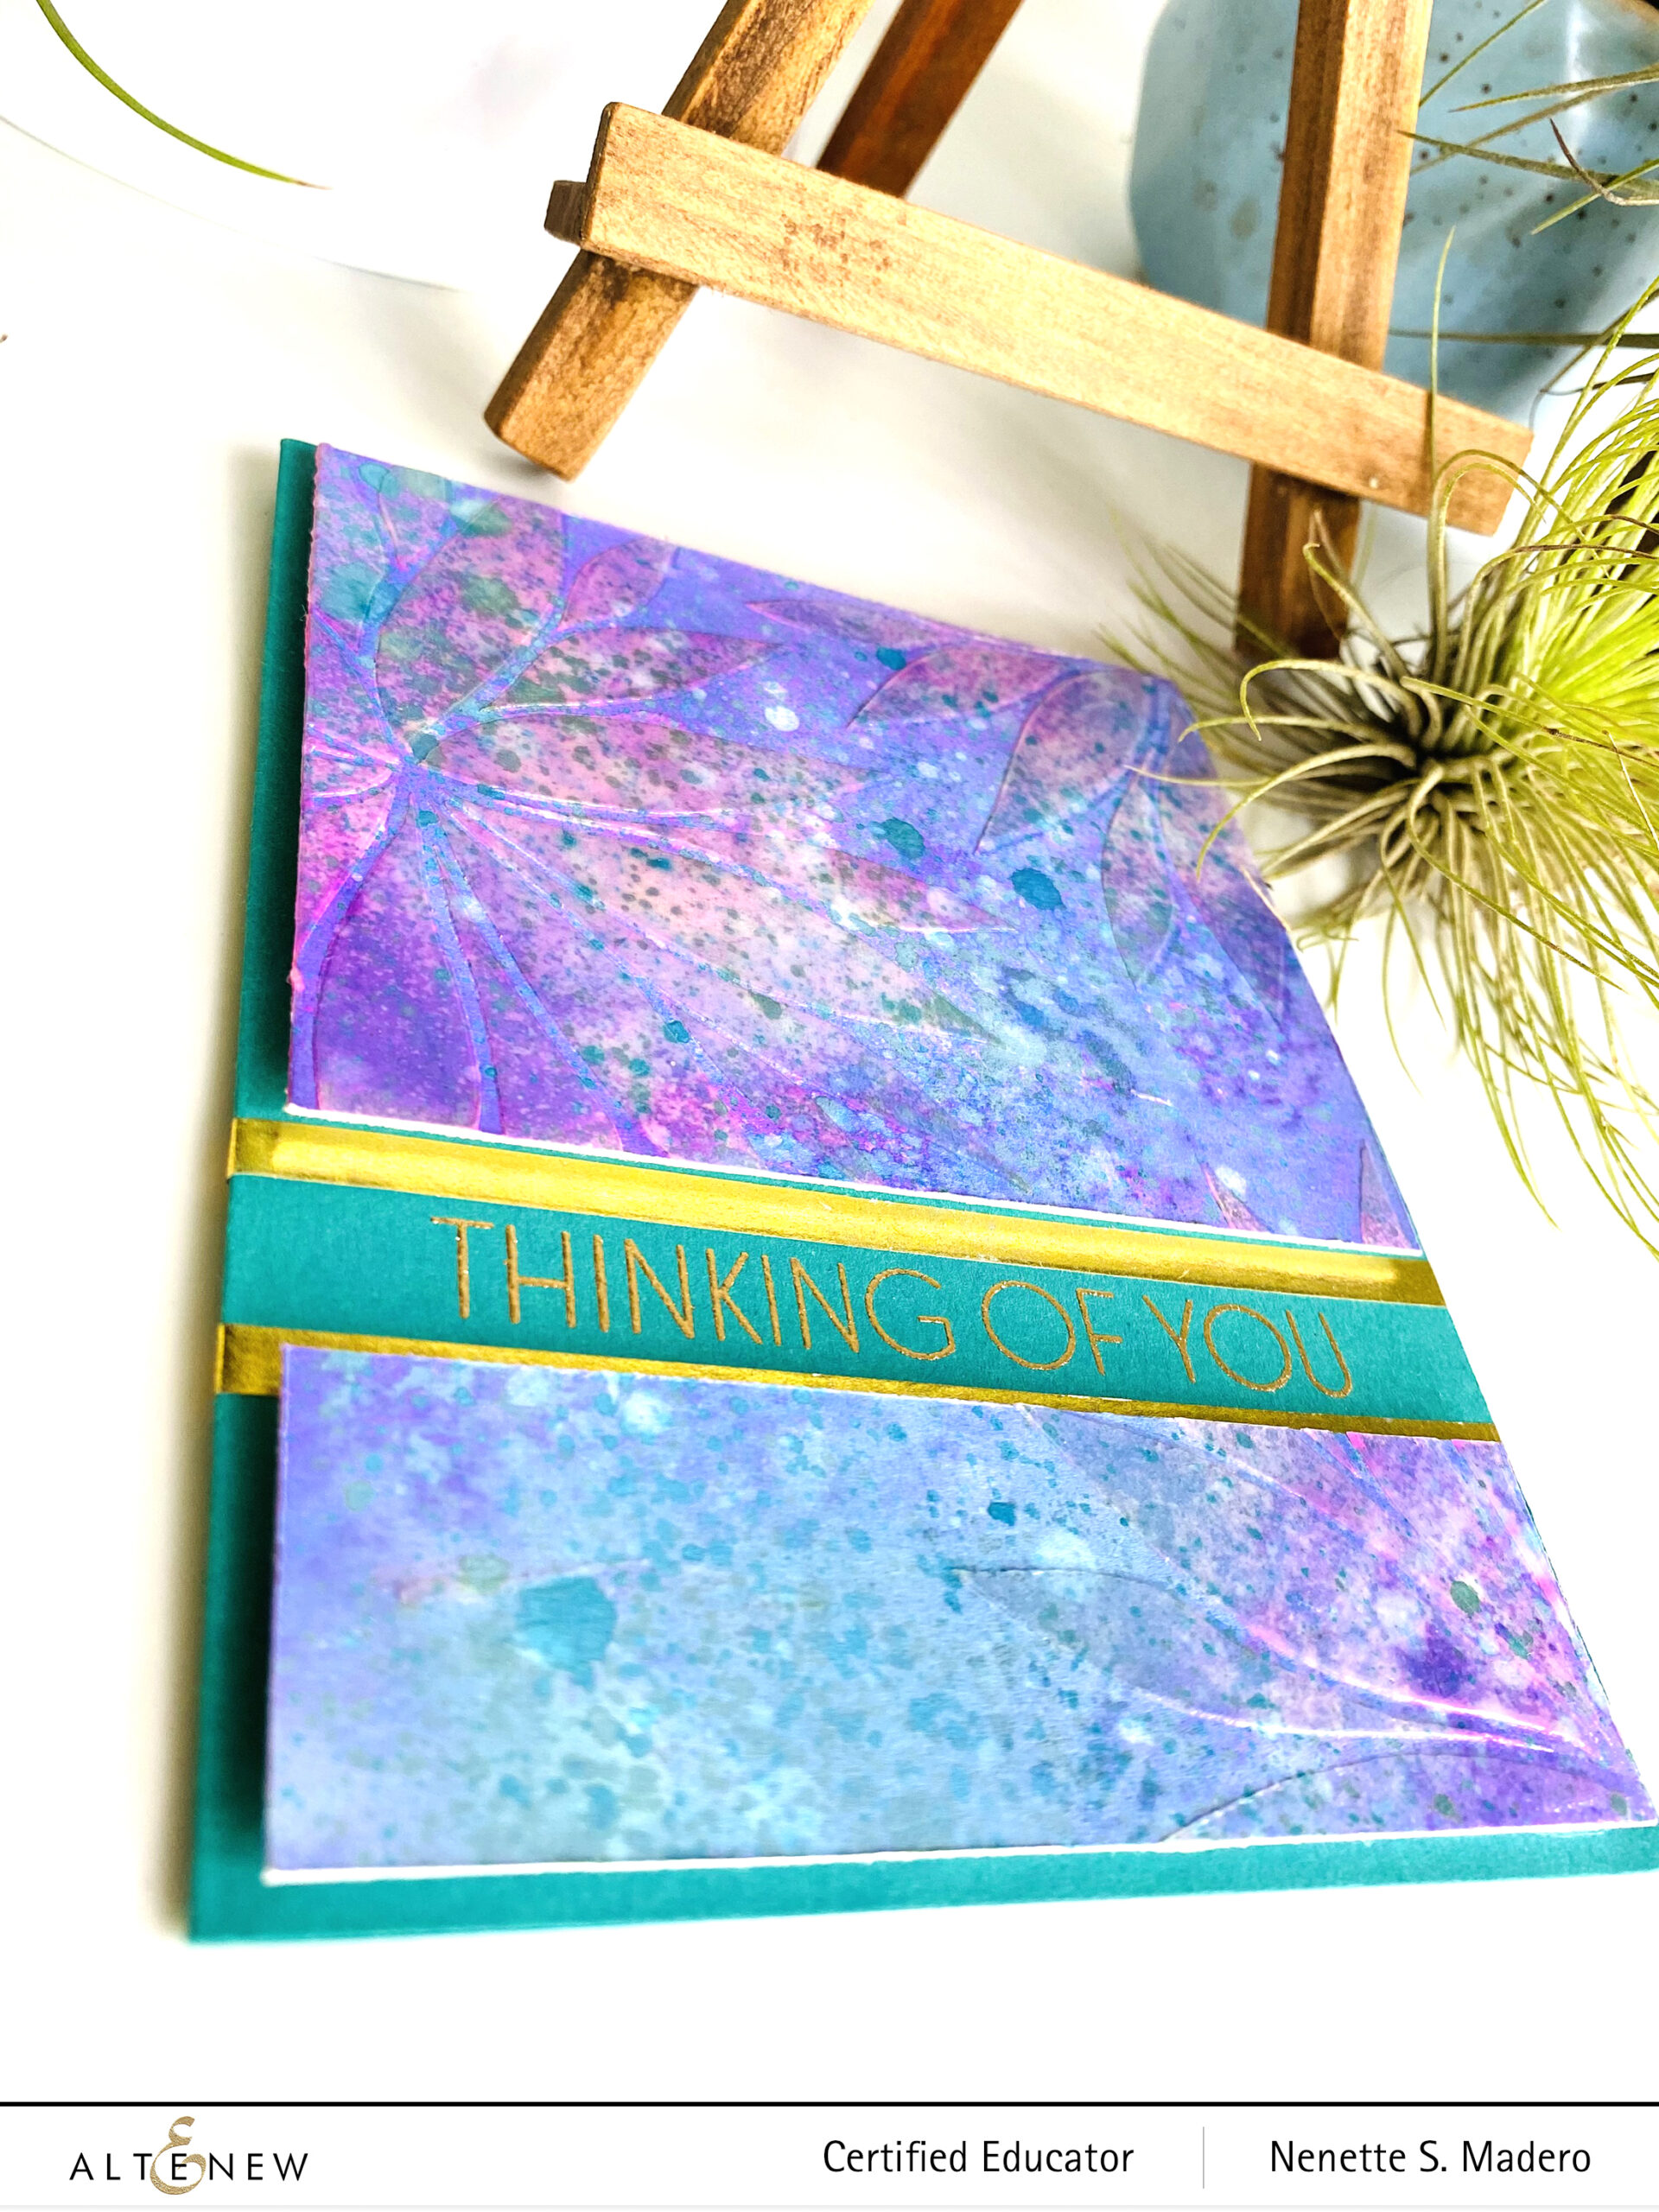
This fourth card was inspired by Erum’s Playing with Texture class.
THINKING OF YOU
STEPS:
Create a background using distress sprays, distress oxides and distress inks. Make sure to dry between sprays.
Add water splatters and after 10 seconds, lift the colors using a paper napkin.
With the Mega Blooms Stencil, create transparent flowers using the transparent texture paste. Allow it to dry.
This was a quick card to make. It only took longer because of the drying time of the transparent texture paste. I love the subtle texture the clear texture paste gives yet it allows the background design to show through.
I hope you liked the 4 cards I made based on Erum’s Creative coloring class. I highly recommend it. She also included tons of other project ideas that you can get inspiration from.
Do stop and say hello on Instagram where I post my latest creations and giveaway announcements. You can also subscribe to this blog if you want to receive email notifications of my posts.
Again, thank you so much for taking the time to drop by! Don’t forget to leave a comment to get a chance to win a prize! I truly appreciate your kind comments and always look forward to hearing from you. 😊 Please stay safe and happy crafting!
Hello everyone!!! Welcome to DAY 3 celebration of Altenew’s 7th Anniversary!!! I’m so excited to be a part of this celebration!!! Thank you so much, Kristina, for relaying you over to my blog. Make sure you drop by the Altenew blog for complete details of the hop.
An anniversary is a good way to look back at what you have done. And you have done so well, Altenew!!! Happy 7th!!! That’s 7 years of coming up with beautiful, innovative and creative products!!! In the early years, Altenew was known for its beautiful layered floral stamps. After 7 years, it has evolved into an all-around crafting company that offers different kinds of papers, embossing folders, inks, tools, stickers, watercolors, alcohol ink markers, tools, embossing powders etc. Congratulations to the leaders of Altenew–Tasnim Ahmed, Jennifer Rzasa, May Sukyong Park, Nicole Picadura, Lydia Evans, Nabil Rab, creative designers, educators, and all the other amazing crew involved in Altenew!!! This company is where it is today because of all of you. What an extraordinary journey it has been and I’m so honored to be a part of this celebration.
My Little Attic was the first online store to bring Altenew to the Philippines and I believe I became the first Altenew Educator in Asia. <3 Sharing Altenew goodness brings me so much joy. I miss giving workshops and interacting with all the Altenew fans here in Manila. 🙁 Hopefully, someday, we can go back to doing workshops together.
I made a couple of cards for this Anniversary hop using my new favorites from this year’s release. Let me know in the comment section which card is your favorite!
SOMETIMES IN THE WINDS OF CHANGE WE FIND OUR DIRECTION
Emboss the image of the Leaf Bed Stencil on Nara paper using the Embossing paste. Allow the paste to dry.
Paint over the entire embossed surface using Ocean Waves alcohol ink. Allow to dry. Spray the surface with water and sprinkle the watercolor pigments. Tilt the Nara paper to allow colors to flow.
For the flowers, prep the watercolor paper with antistatic tool. Stamp the floral images from the Sweet Flowers Stamp set using Versamark ink and emboss with Rose Gold embossing powder.
Color with liquid watercolor and Karin Pro Brush Markers.
Stamp sentiment from the Block Sentiments stamp set on vellum using Versamark ink and emboss with Rose Gold Embossing powder.
I went ahead and watercolored more of the stamped and embossed floral images from the Sweet Flowers stamp set and created a second card. I really love these floral images!
STEPS:
Prep surface with an antistatic tool. Stamp floral images on watercolor paper using Versamark ink then emboss with Rose Gold embossing powder.
Die-cut the floral images. Die-cut the sentiment 4 times and paint the last die cut with the leftover liquid watercolor. Adhere on top of each other and add gold cardstock at the back of the sentiment strip.
Watercolor the background using Dusk Liquid watercolor.
Arrange the flowers to cover the card front and adhere using foam squares.
Glue the watercolored background to the gold card base making sure to leave a margin of gold on the right side for added contrast.
Glue the sentiment.
I ADMIRE YOUR COURAGE
Now for a CAS card, I made a slimline card using the beautiful Tall Foliage Stamp and Die Set. You don’t really need a lot of embellishments for this stamp set cause the image is already stunning on its own.
Cut up scraps of watercolored paper into strips with different widths.
Adhere to card front. Prep paper with antistatic tool then stamp the image using Versamark ink and emboss with Rose gold embossing powder.
Die cut the image.
Die cut 4 more images on purple cardstock then stack on top of each other.
Adhere the stamped image on the stacked purple die cut leaving a shadow.
Adhere the card front to the card base.
Emboss the sentiment using Versamark Ink and Pure white embossing powder.
Adhere using foam squares.
THANK YOU, I ADMIRE YOUR COURAGE, I ADMIRE YOUR KINDNESS, I LOVE YOU
Here is set of coordinating CAS cards that I created using the Tall Foliage Stamp and Die Set. I plan to create more so that I can make a gift set out of these cards.
Using a Misti, stamp the image using Evening Grey dye ink on a 4.25″ x 5.5″ left folding card front and again on a sheet of Neenah Solar White CS with the same measurement.
Trim the stamped sheet to measure 4″ x 5.25″ to create a nice margin all around. Color certain areas of the leaves using alcohol ink markers.
Stamp the image again on Neenah Solar White Cardstock and color some areas of the leaves then die-cut the image. Die-cut a color-coordinated cardstock 4 times and adhere on top of each other. Glue the colored stamped image on top but make sure to leave a margin so that the colored cardstock will create a shadow effect.
Prep the paper with antistatic tool. Stamp the sentiment using Obsidian Pigment Ink and emboss using clear embossing powder.
Assemble the card using foam squares.
For the next 3 cards, I used the beautiful Tulip 3D embossing folder. The 3D embossed images created with this embossing folder is stunning!!!
Emboss the Neenah solar white cardstock using the Tulip 3D embossing folder.
Use the Liquid watercolor brush markers to color the flowers, leaves, stems and background.
Prep the orange cardstock with antistatic tool. Stamp the sentiment using Versamark ink and emboss using clear embossing powder for a watermark effect.
Emboss the Neenah Solar White cardstock using the Tulip 3D embossing folder.
Using a distress tool and an ink dauber, color the embossed images using dye inks.
Carefully cut out the images using an Exacto knife and a cutting pad.
Prep the striped paper then stamp and emboss the sentiment using Rose Gold embossing powder.
Use the Layered Snowflake Stars cover die A to die cut a light blue cardstock.
Layer on top of a left folding cardfront.
Adhere the cutout tulips and insert the stamped sentiment under it.
Hope you liked the cards I created for this hop. I’ve linked all the Altenew products in the materials section (just click the highlighted product) so that you can easily purchase them. These are not compensated affiliate links. I just want to make it easier for you to get the products I used on my cards. ❤️
GIVEAWAYS
Giveaway Prizes
Over $1,400 in total prizes! Altenew is giving away a $70 gift certificate to 5 lucky winners and one Altenew Academy class to 15 lucky winners. There are also 19 awesome companies/crafty friends who are celebrating with us, and they are offering the following prizes:
Be sure to leave comments by 4/18/2021 for a chance to win one of 41 prizes! To make the hop more exciting, start your comment with “Hi from (city or country where you’re from)!” 41 winners will be chosen at random from the comments left on any of the blogs listed below and will be announced on the Altenew Card Blog on 4/24/2021.
Again, thank you so much for dropping by! Next up is the uber-talented Norine Borys. Make sure you visit all the other blogs for more inspiration and don’t forget to leave comments for a greater chance of winning fabulous prizes!!! If you want to stay updated with my latest creations, do follow me on IG @mylittleatticstudio. HAPPY 7TH ANNIVERSARY, ALTENEW!!!