
Hello everyone! Nenette here. I’m so honored to be featured on the Altenew Mixed Media blog today! Thank you Altenew for inviting me to be a part of this blog.
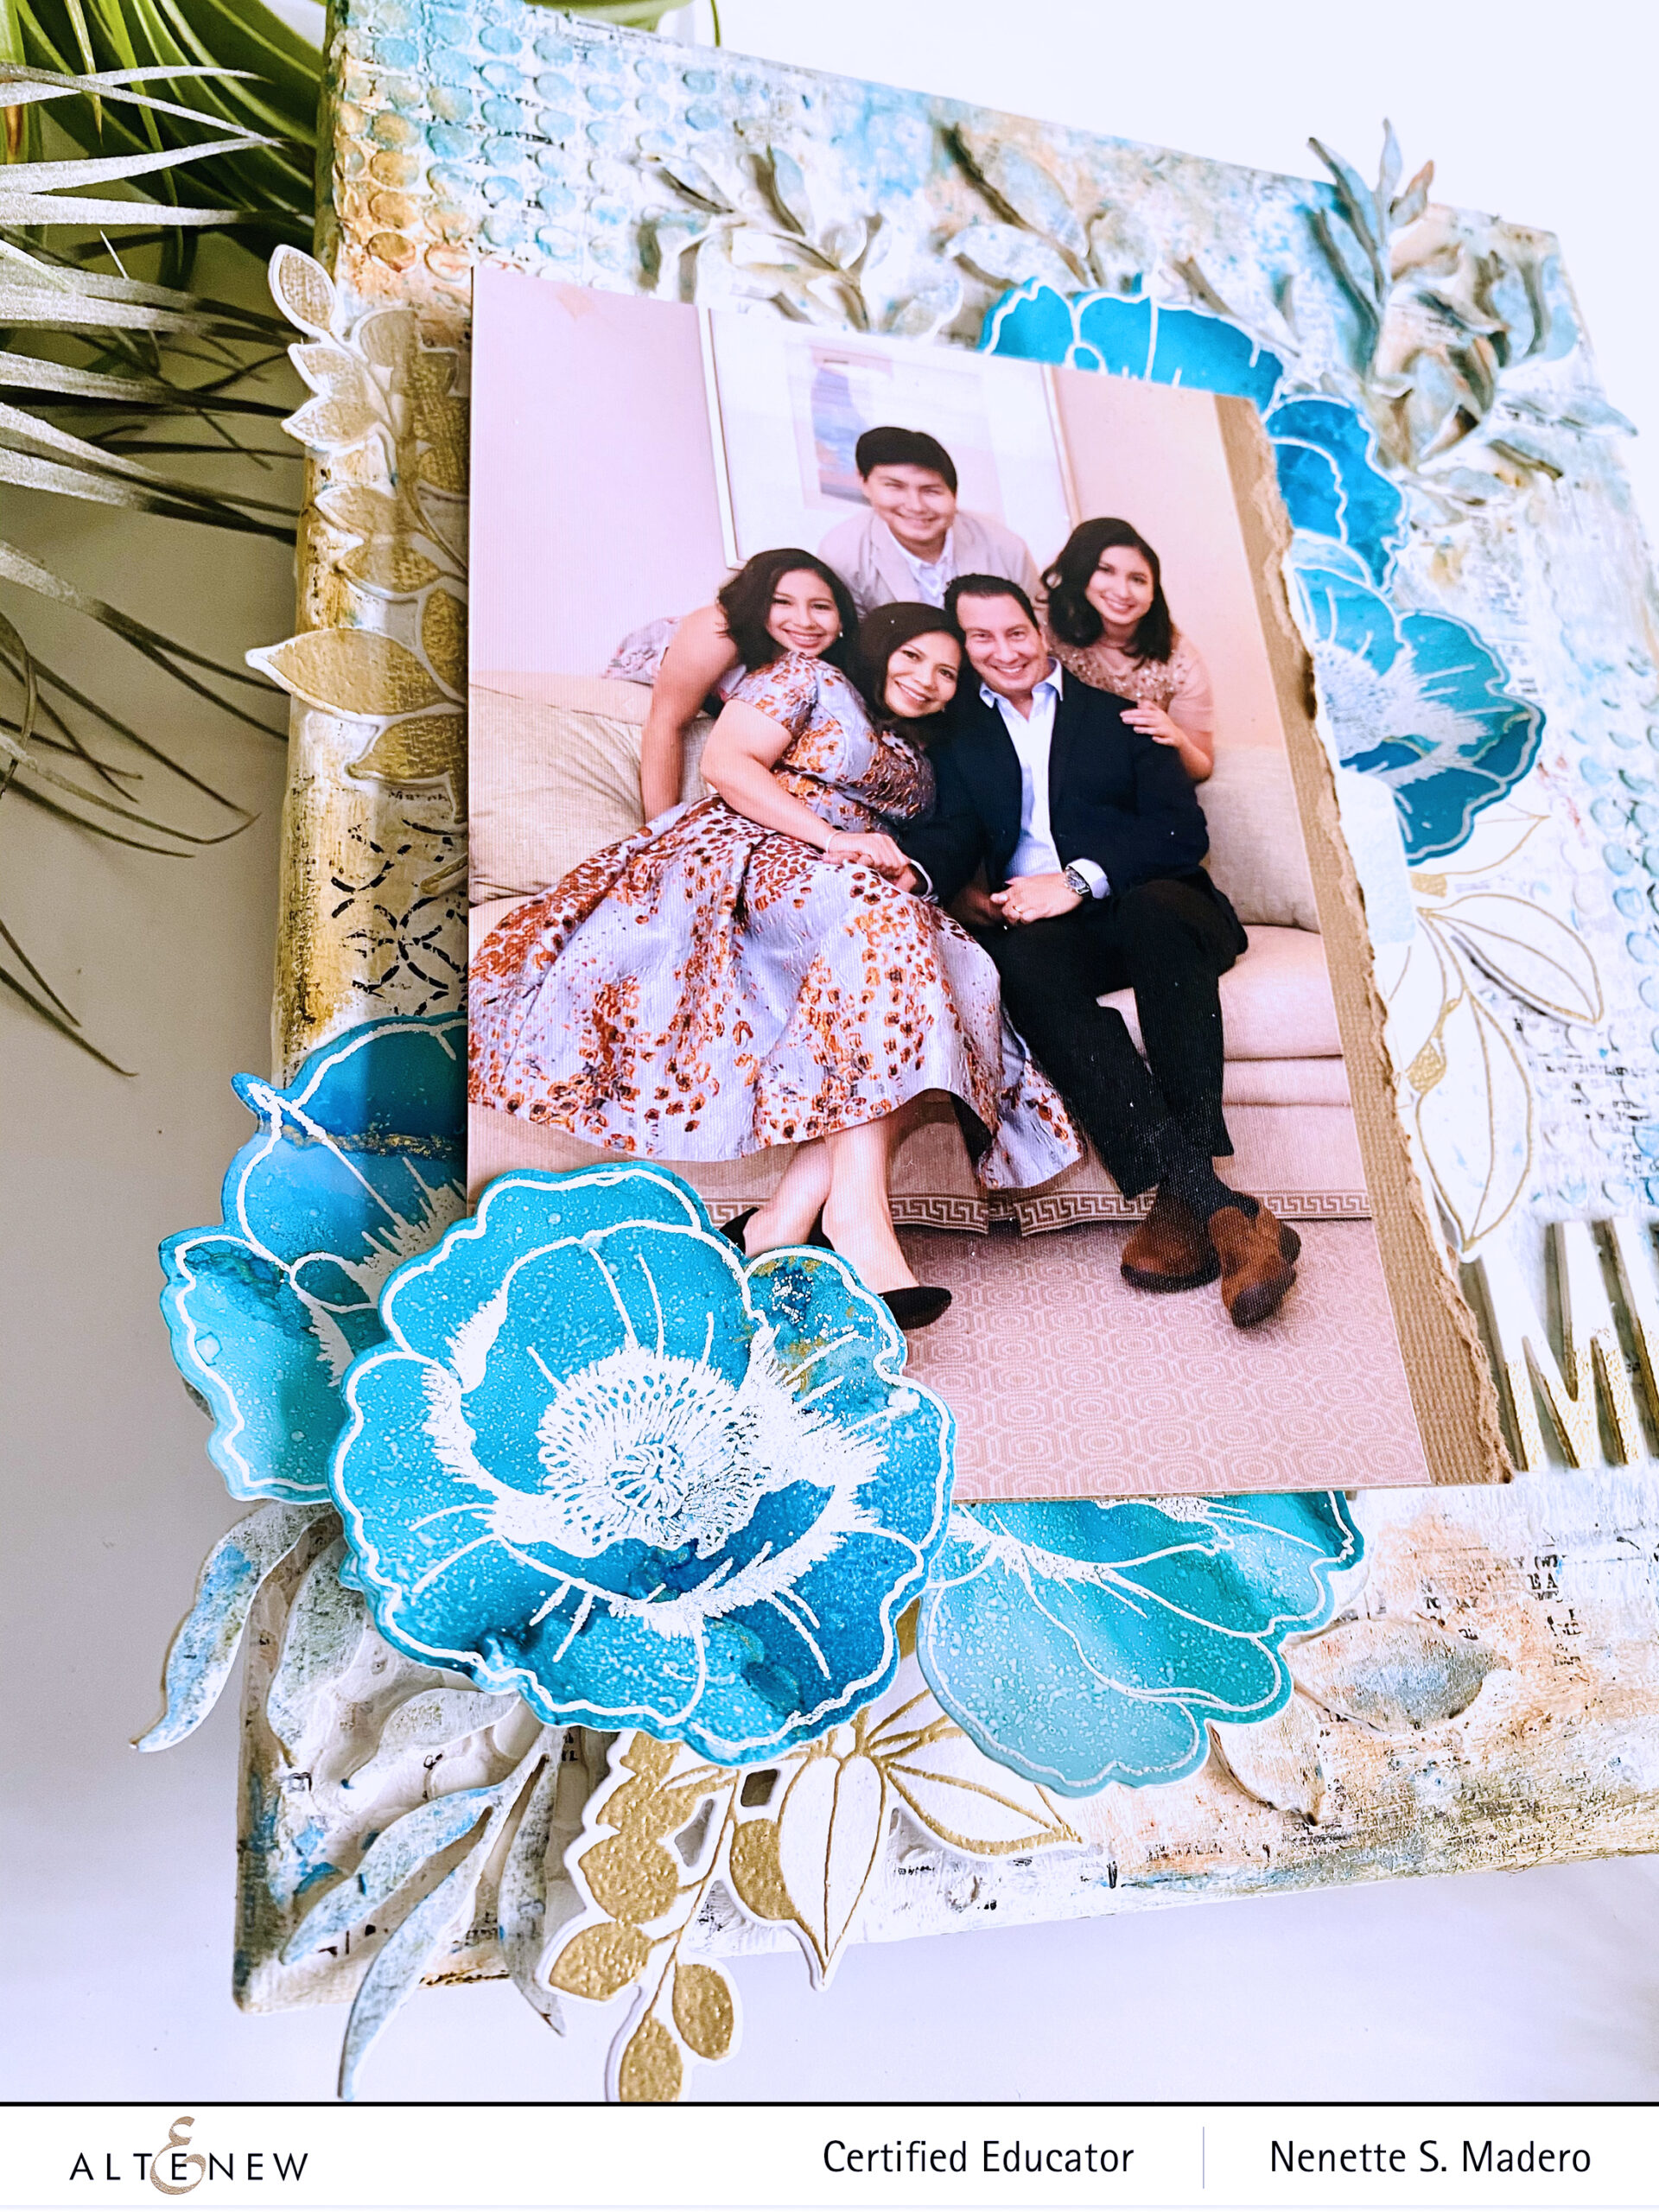
I’m so happy to be sharing with you some fun techniques using alcohol inks and mixed media to create a textured, shabby chic background for a scrapbook layout on canvas.
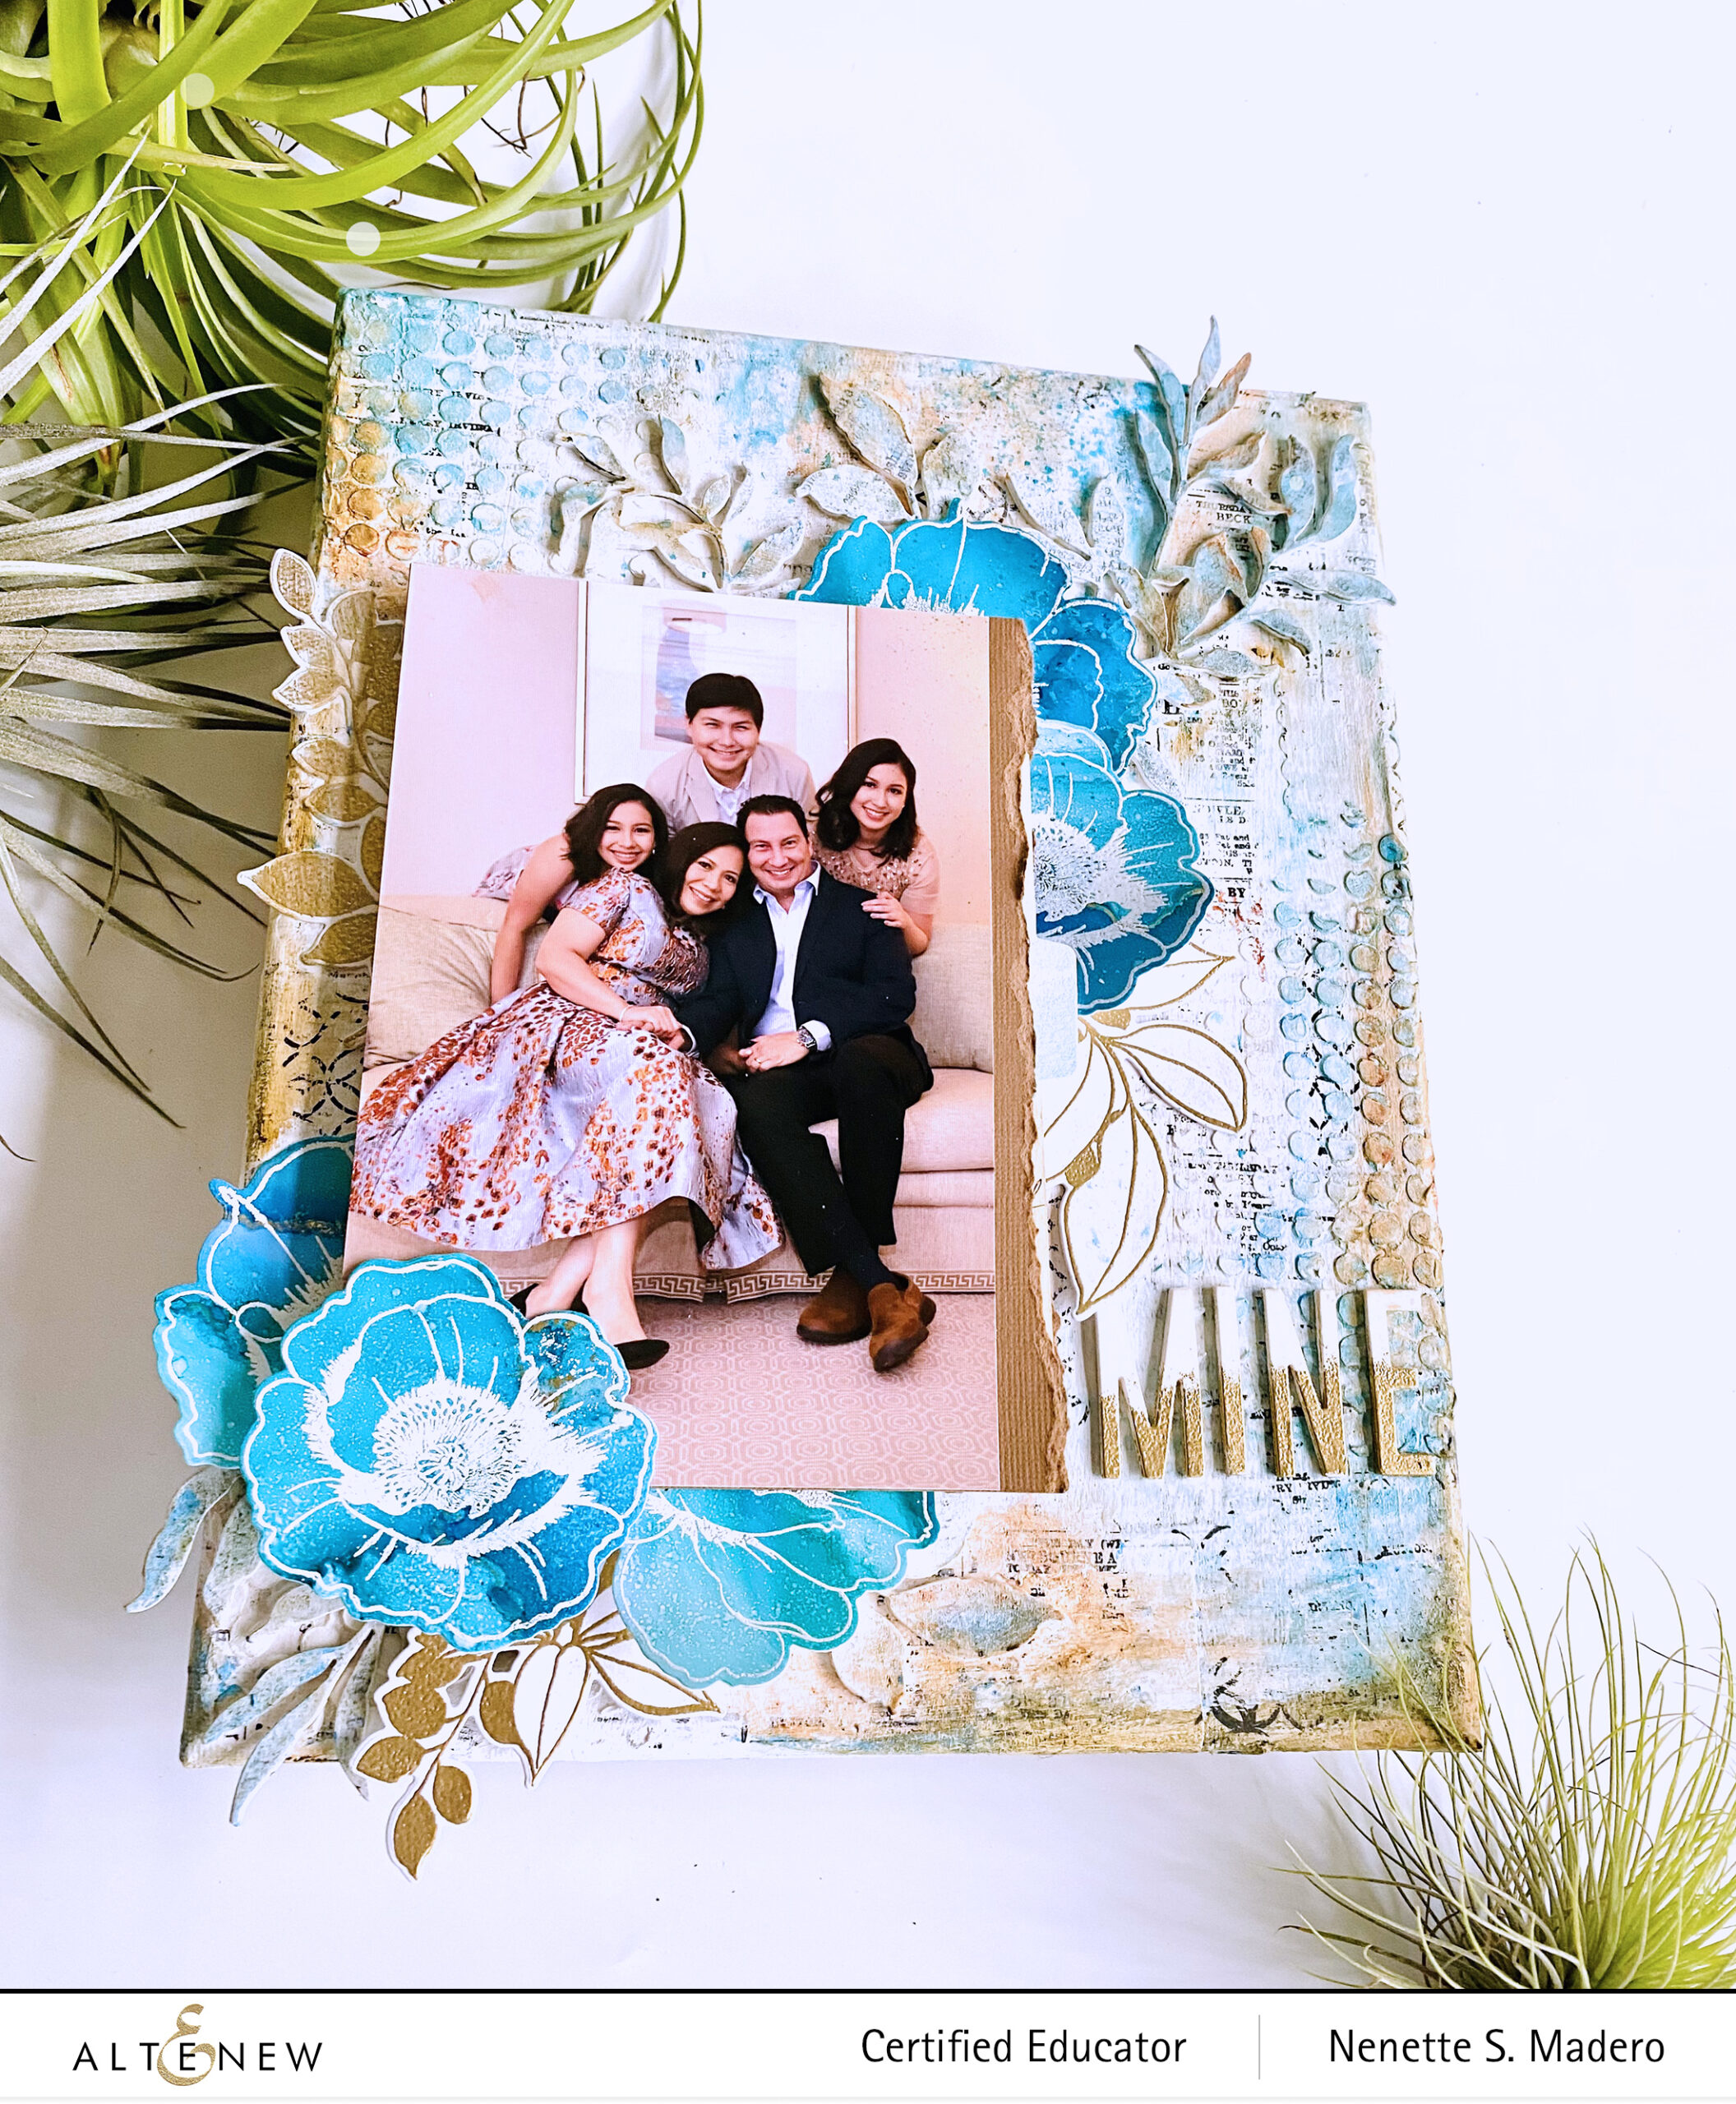
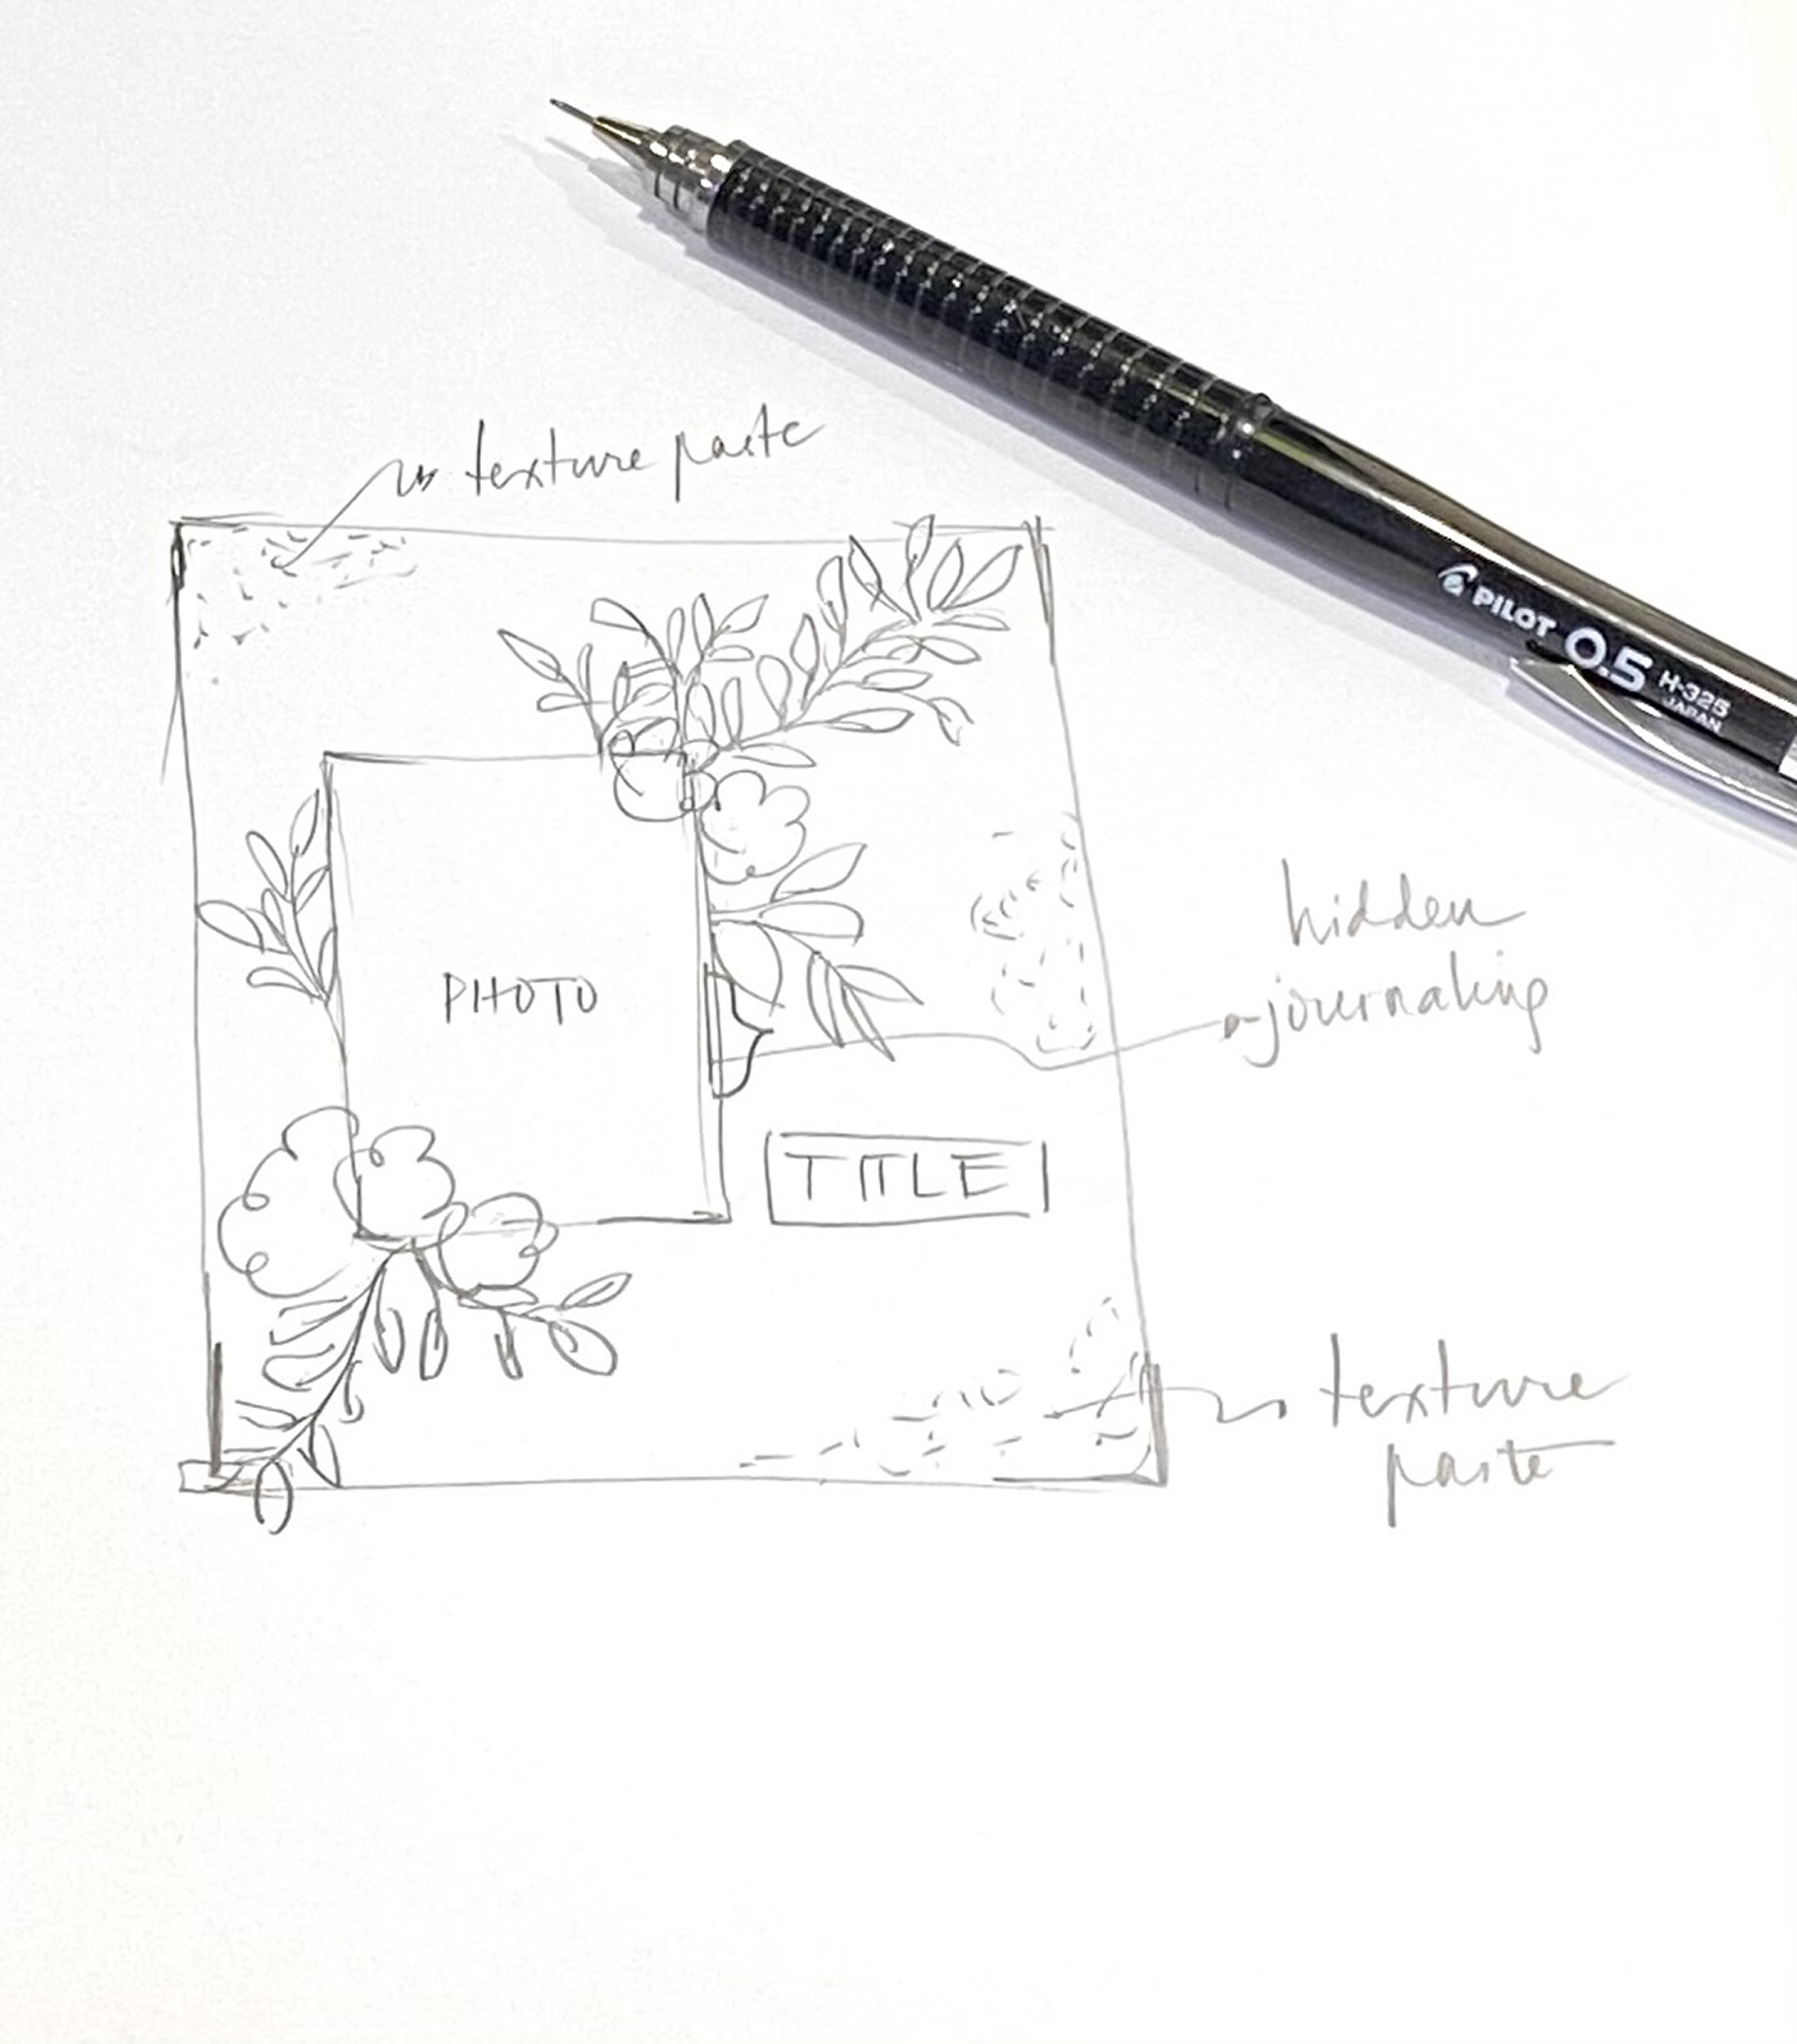
To me, scrapbook layouts are my love letters to my family. I always make sure that the 3 major components are present in all my layouts– title, photo and journaling. I wanted to elevate this scrapbook page so I created it on canvas.
MATERIALS
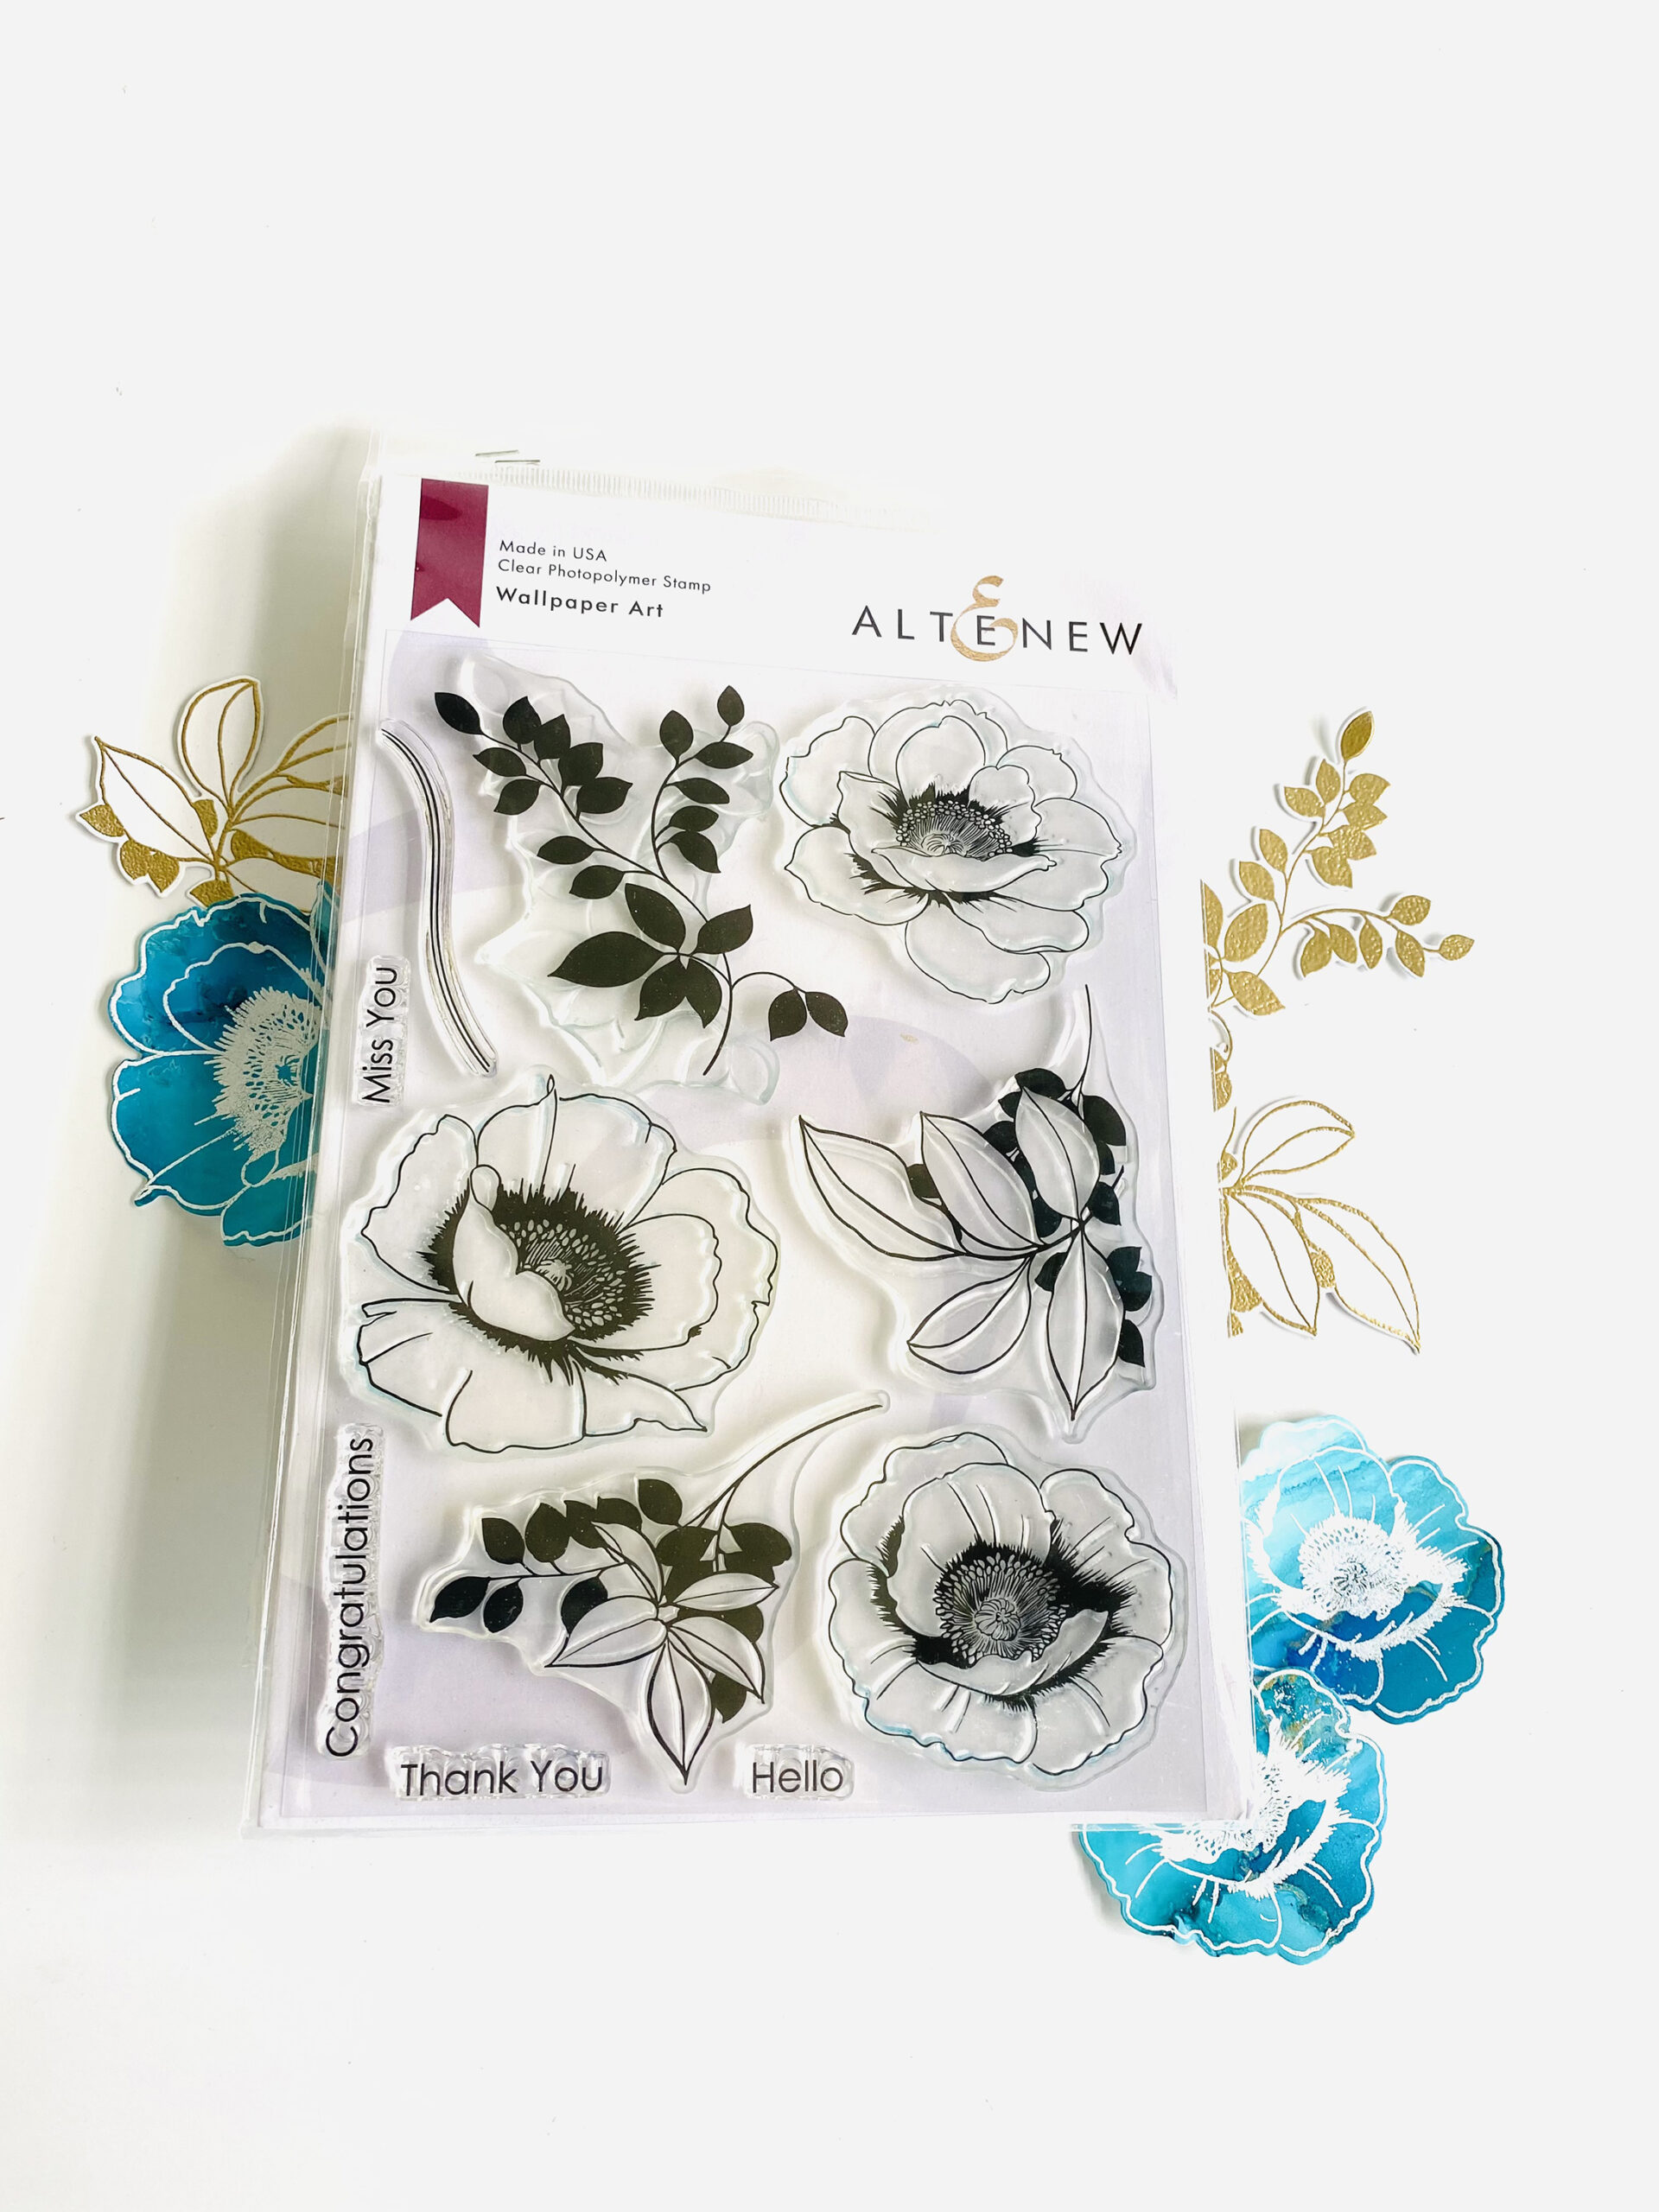
STAMPS: Altenew Wallpaper Stamp, background stamps
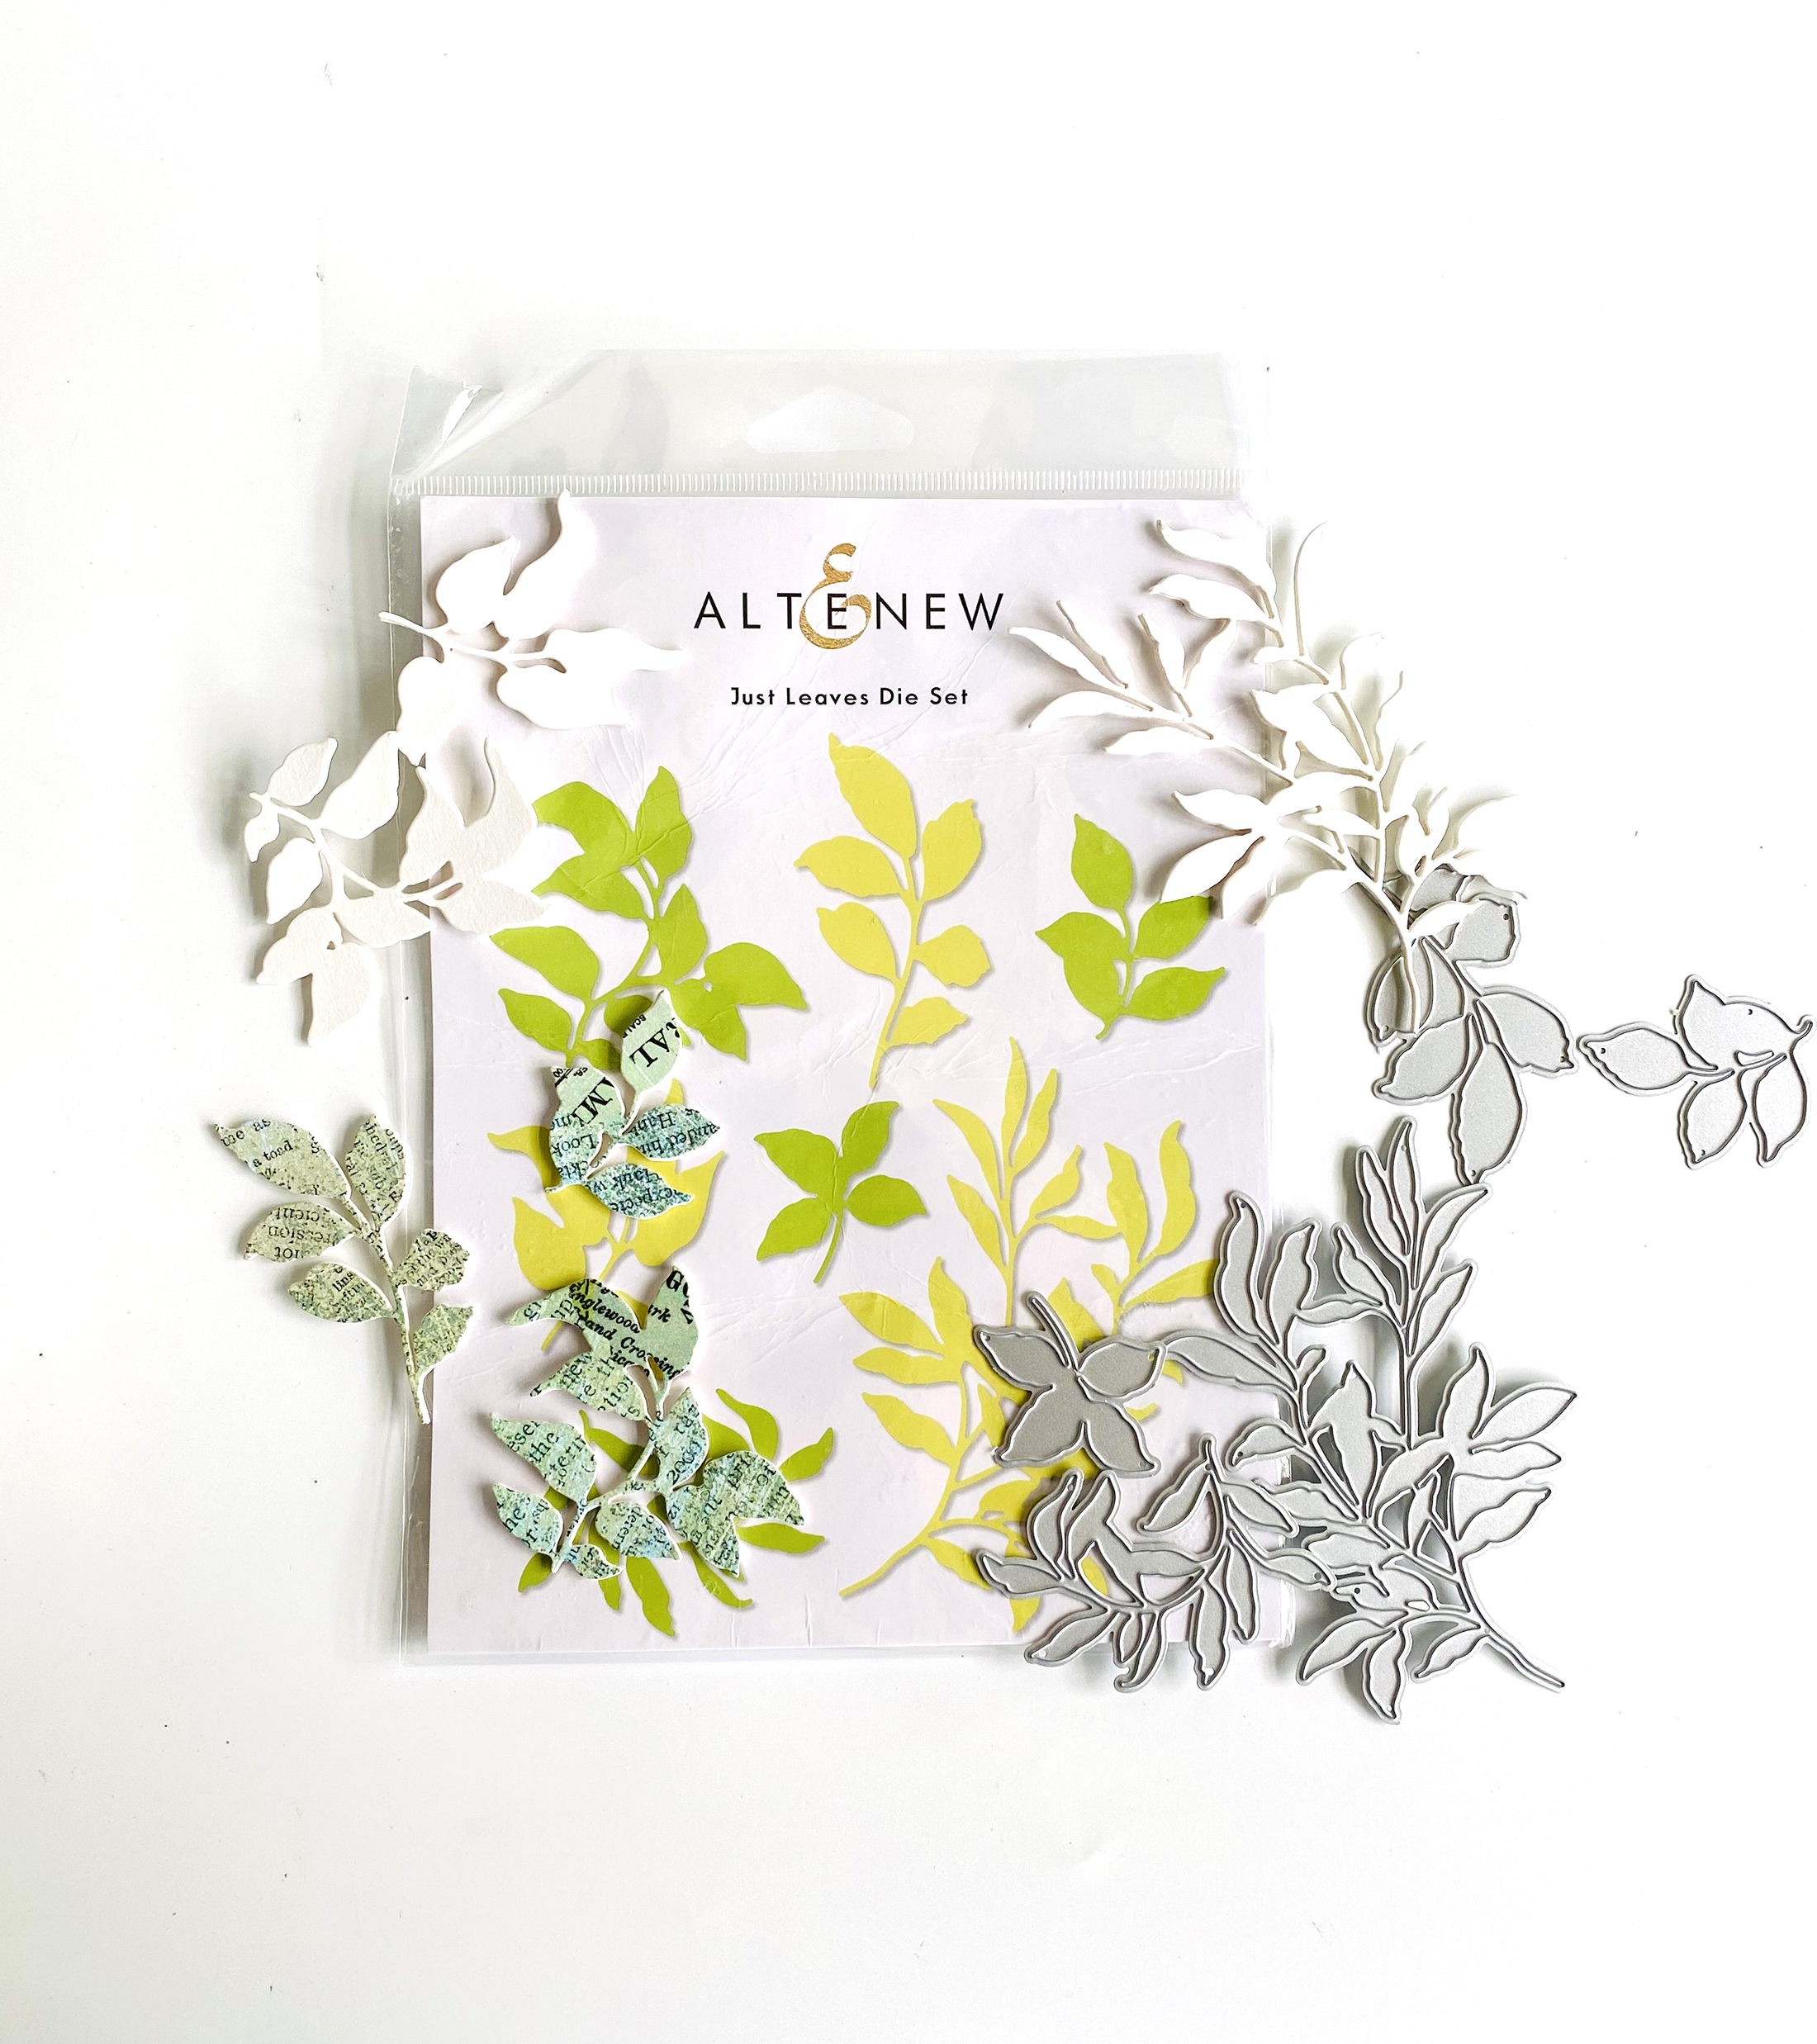
DIES: Wallpaper die, Just Leaves die, Fine Alphabet die
MIXED MEDIA: Altenew Embossing paste, Obsidian Pigment Ink, Altenew Metallic shimmer ink spray Lagoon, Mod Podge glue, white gesso, Versamark Ink, Distress Crayons
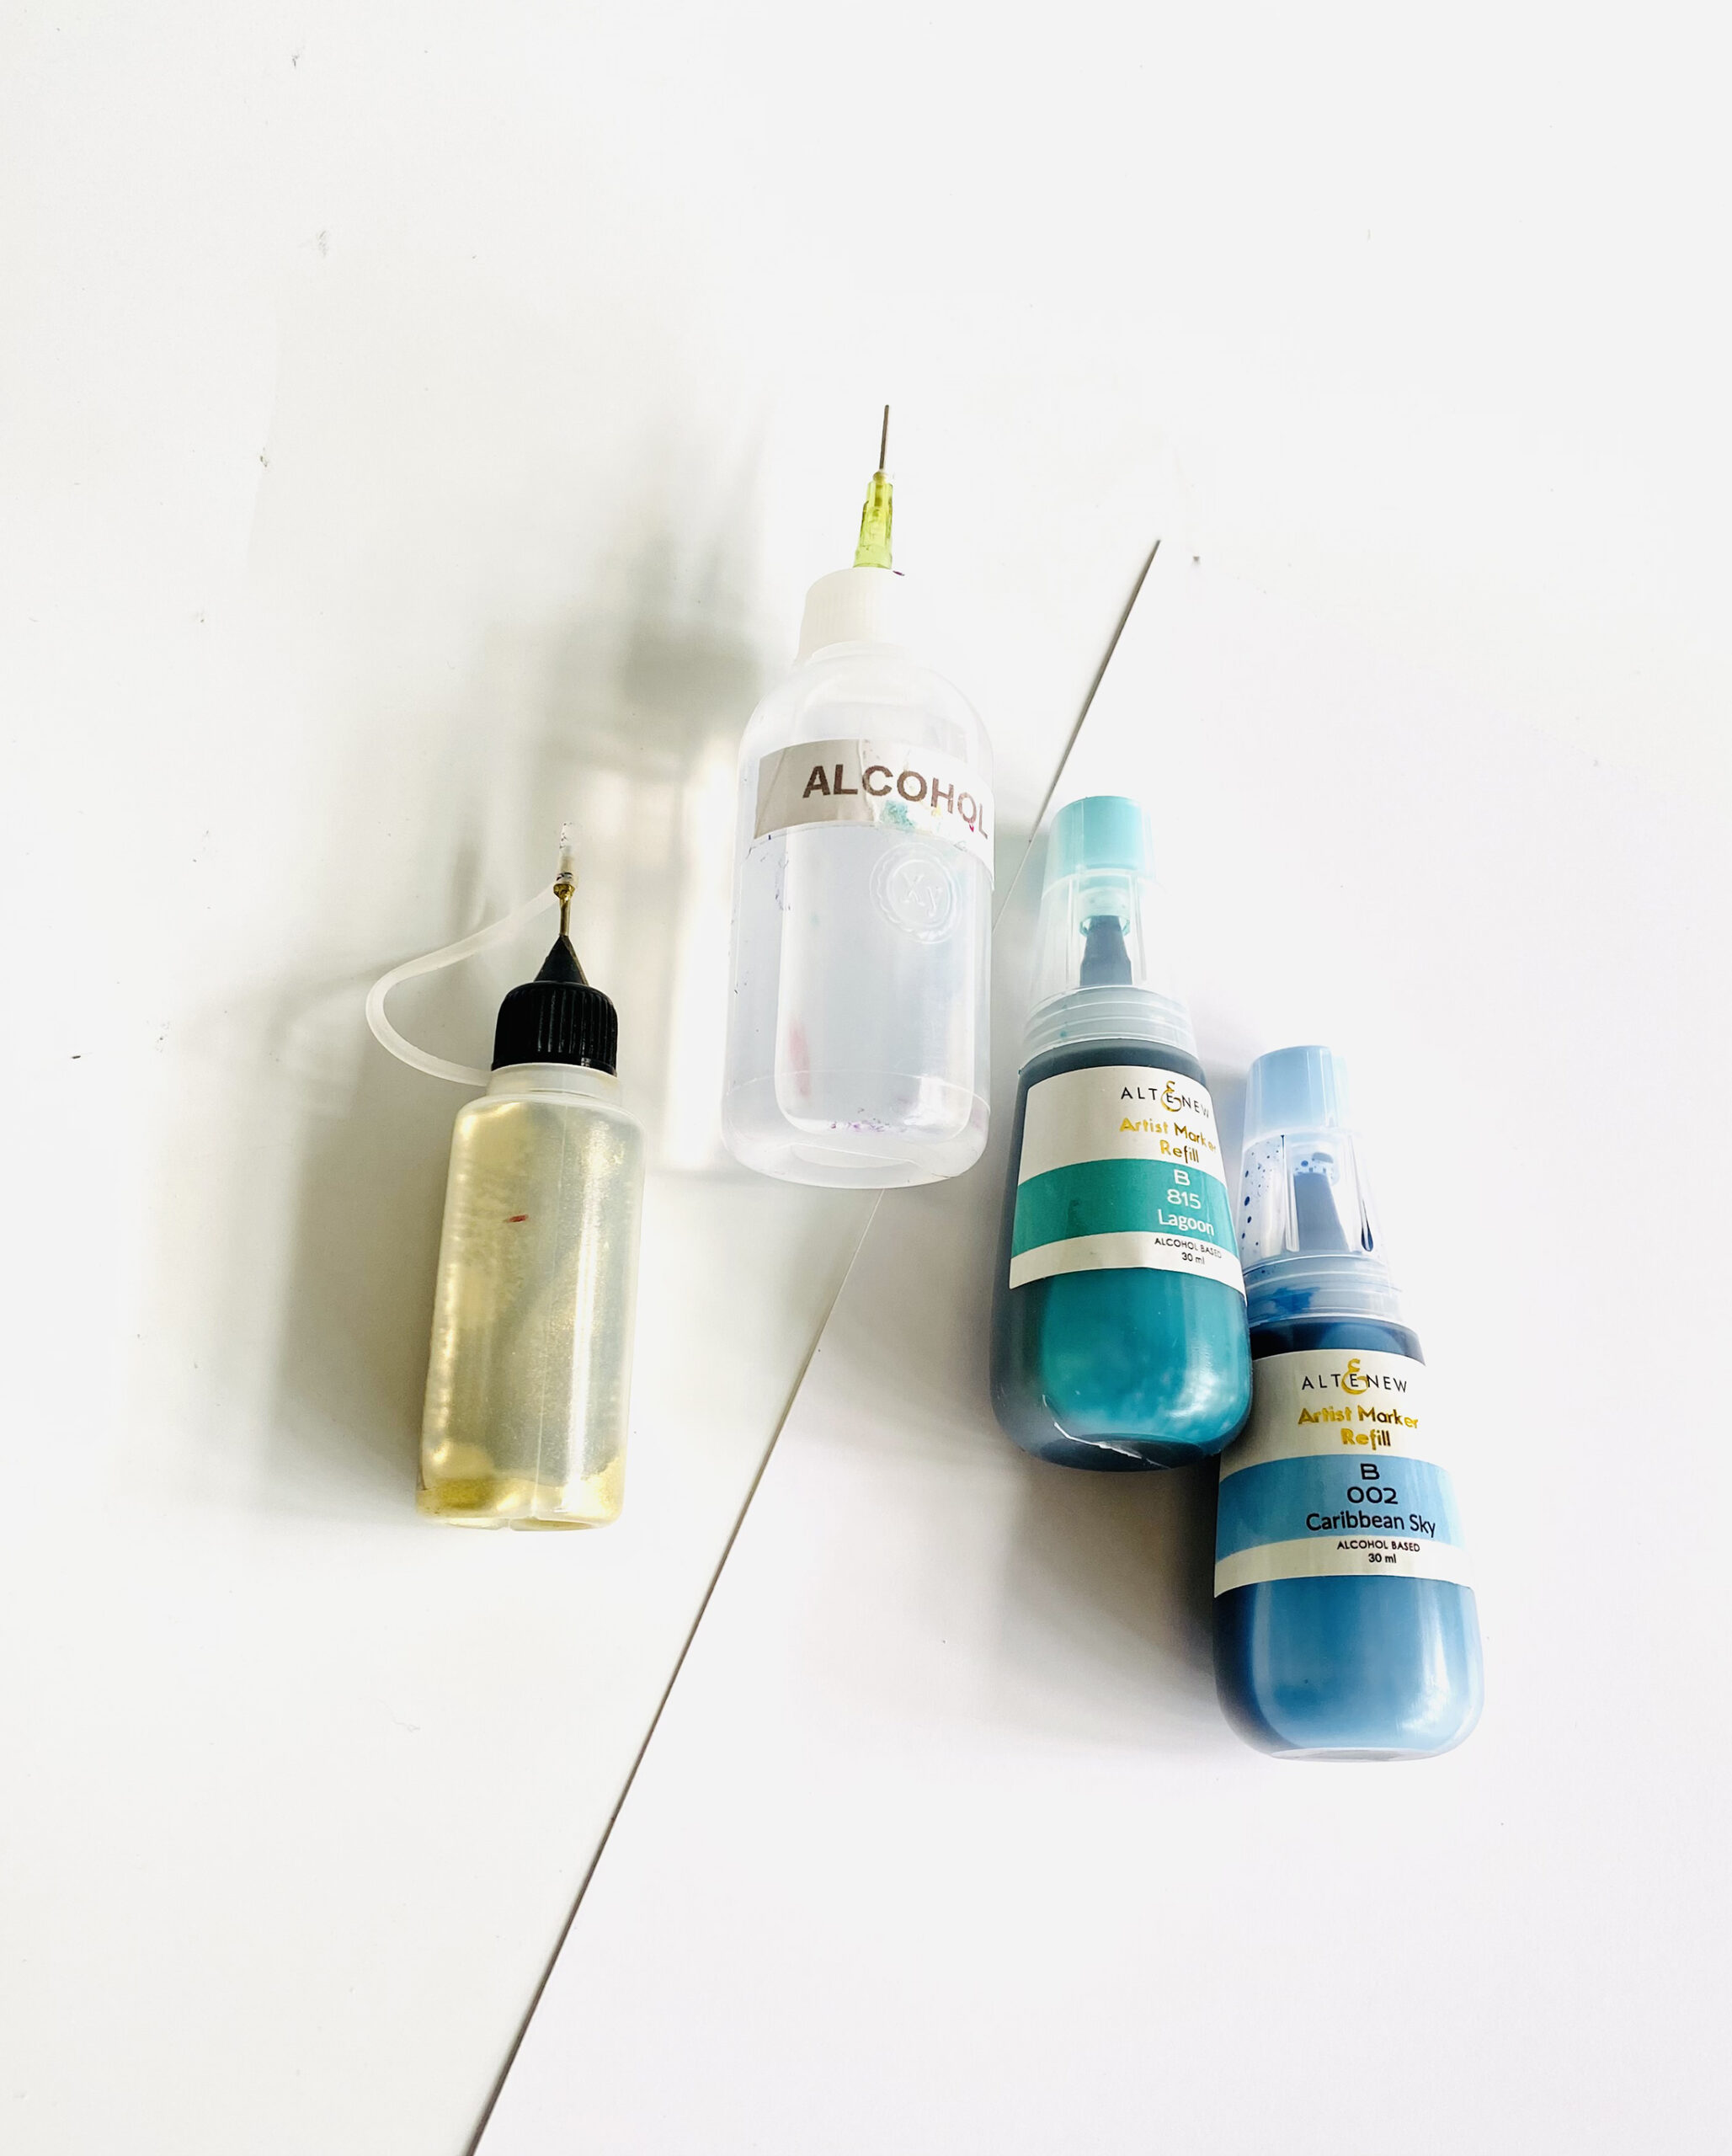
ALCOHOL INKS: Altenew Lagoon and Caribbean Sky, Piñata gold
EMBOSSING POWDERS: Altenew Antique Gold and Pure White
STENCIL: Altenew Halftone Stencil
ADHESIVES: Tombow Multi Liquid glue, Glossy Accent dimensional medium, foam squares
PAPERS: Nara paper, Watercolor paper, Neenah Solar White CS, patterned paper and old book sheets
OTHERS: Canvas, spatula, water spray, 99% alcohol, chipboard sheets, brushes, heat tool, embossing heat tool, hair dryer, die cutting machine, puncher, anti-static tool, Misti
STEPS ON HOW TO CREATE THIS SCRAPBOOK CANVAS
- Create a sketch of the layout-most often than not, I start with an idea in my head. Sketching it makes it visually clear as to what I want to do with the layout.
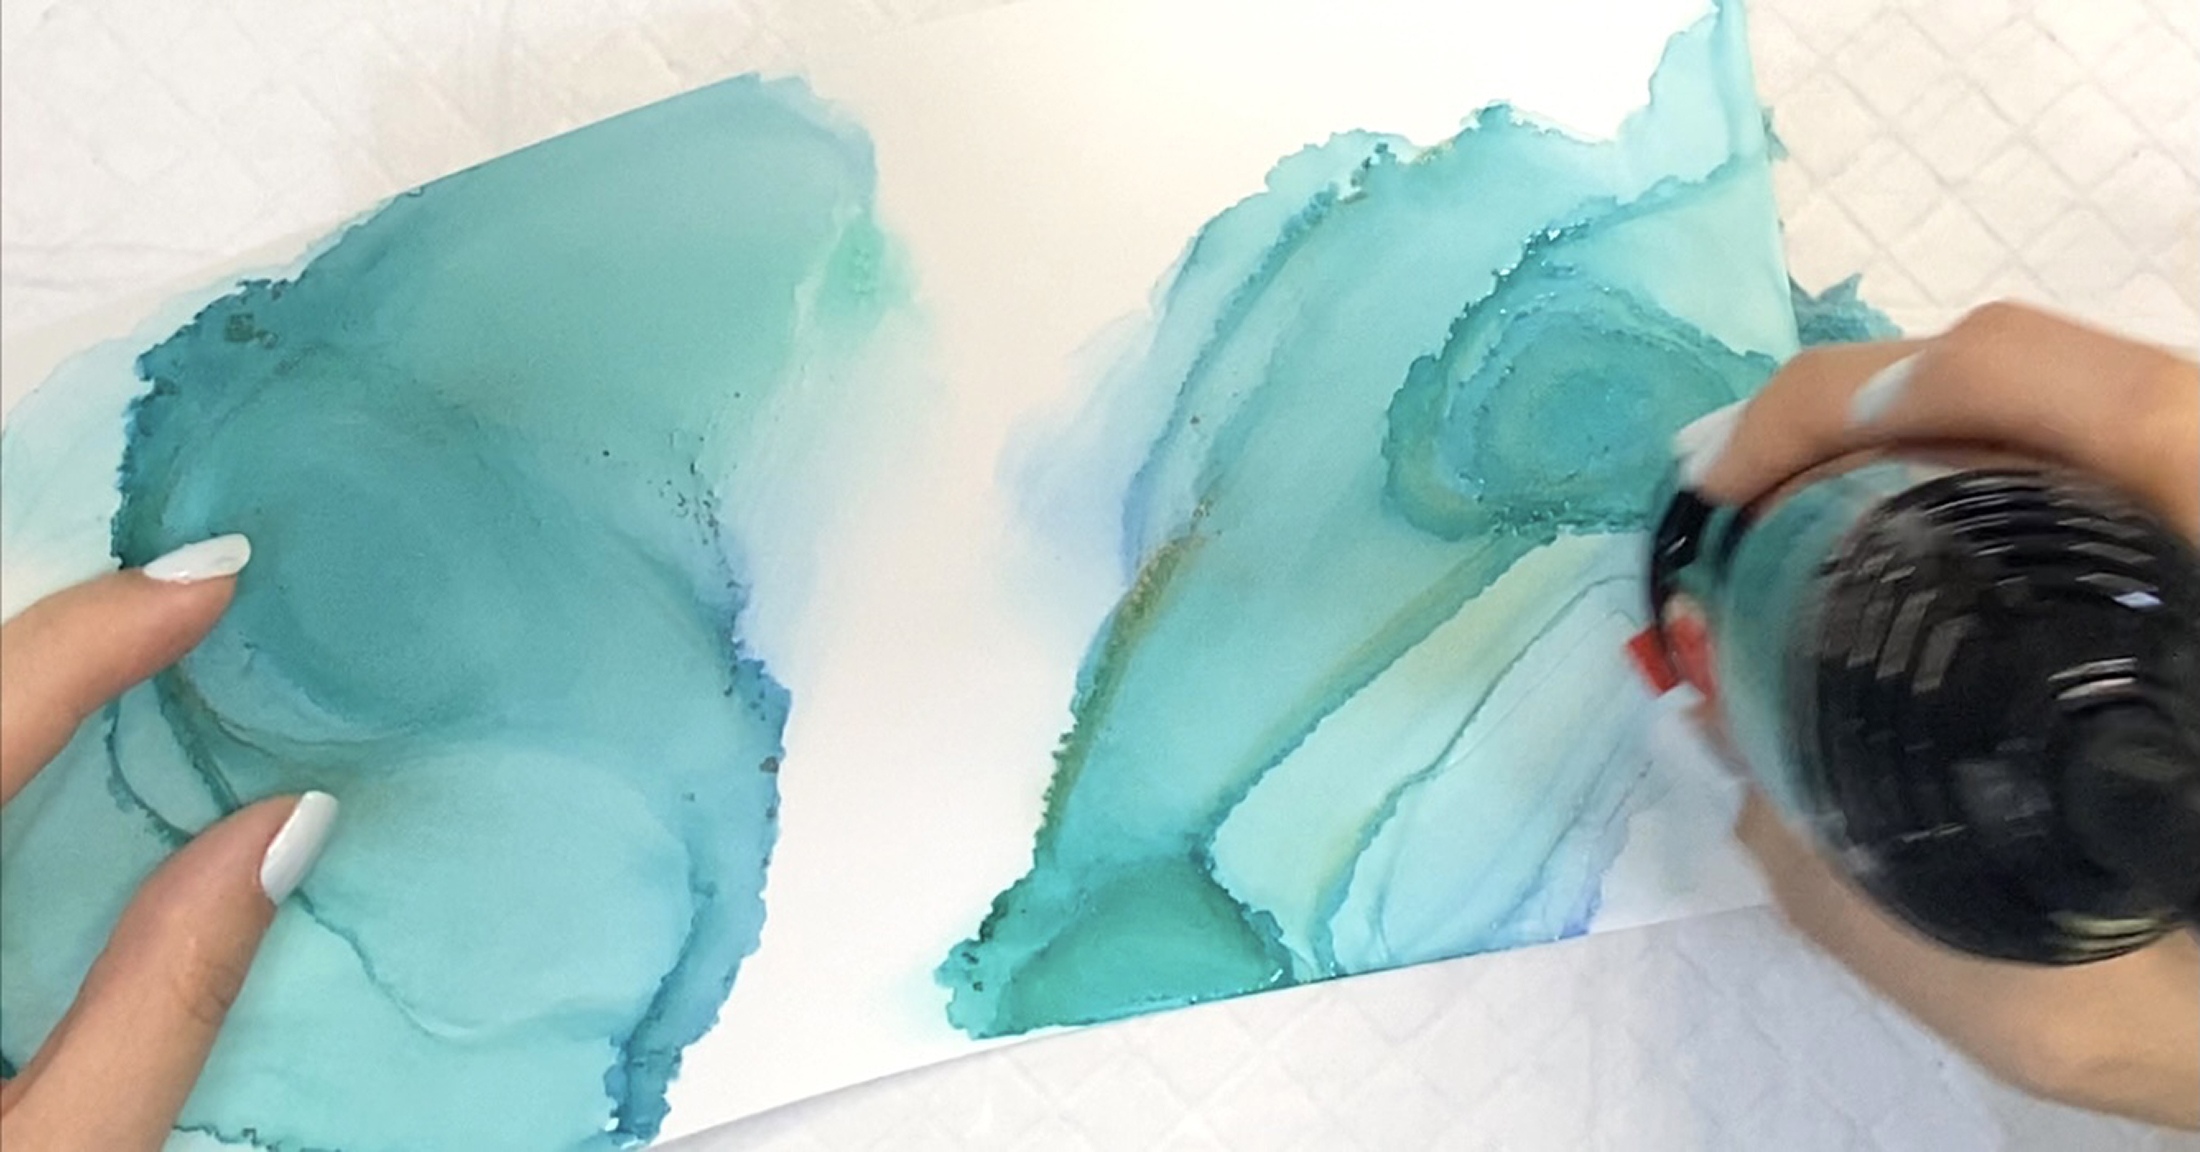
2. Add 99% alcohol and alcohol inks to Nara paper and create ripples using a hairdryer. Move the paper to mix the colors.
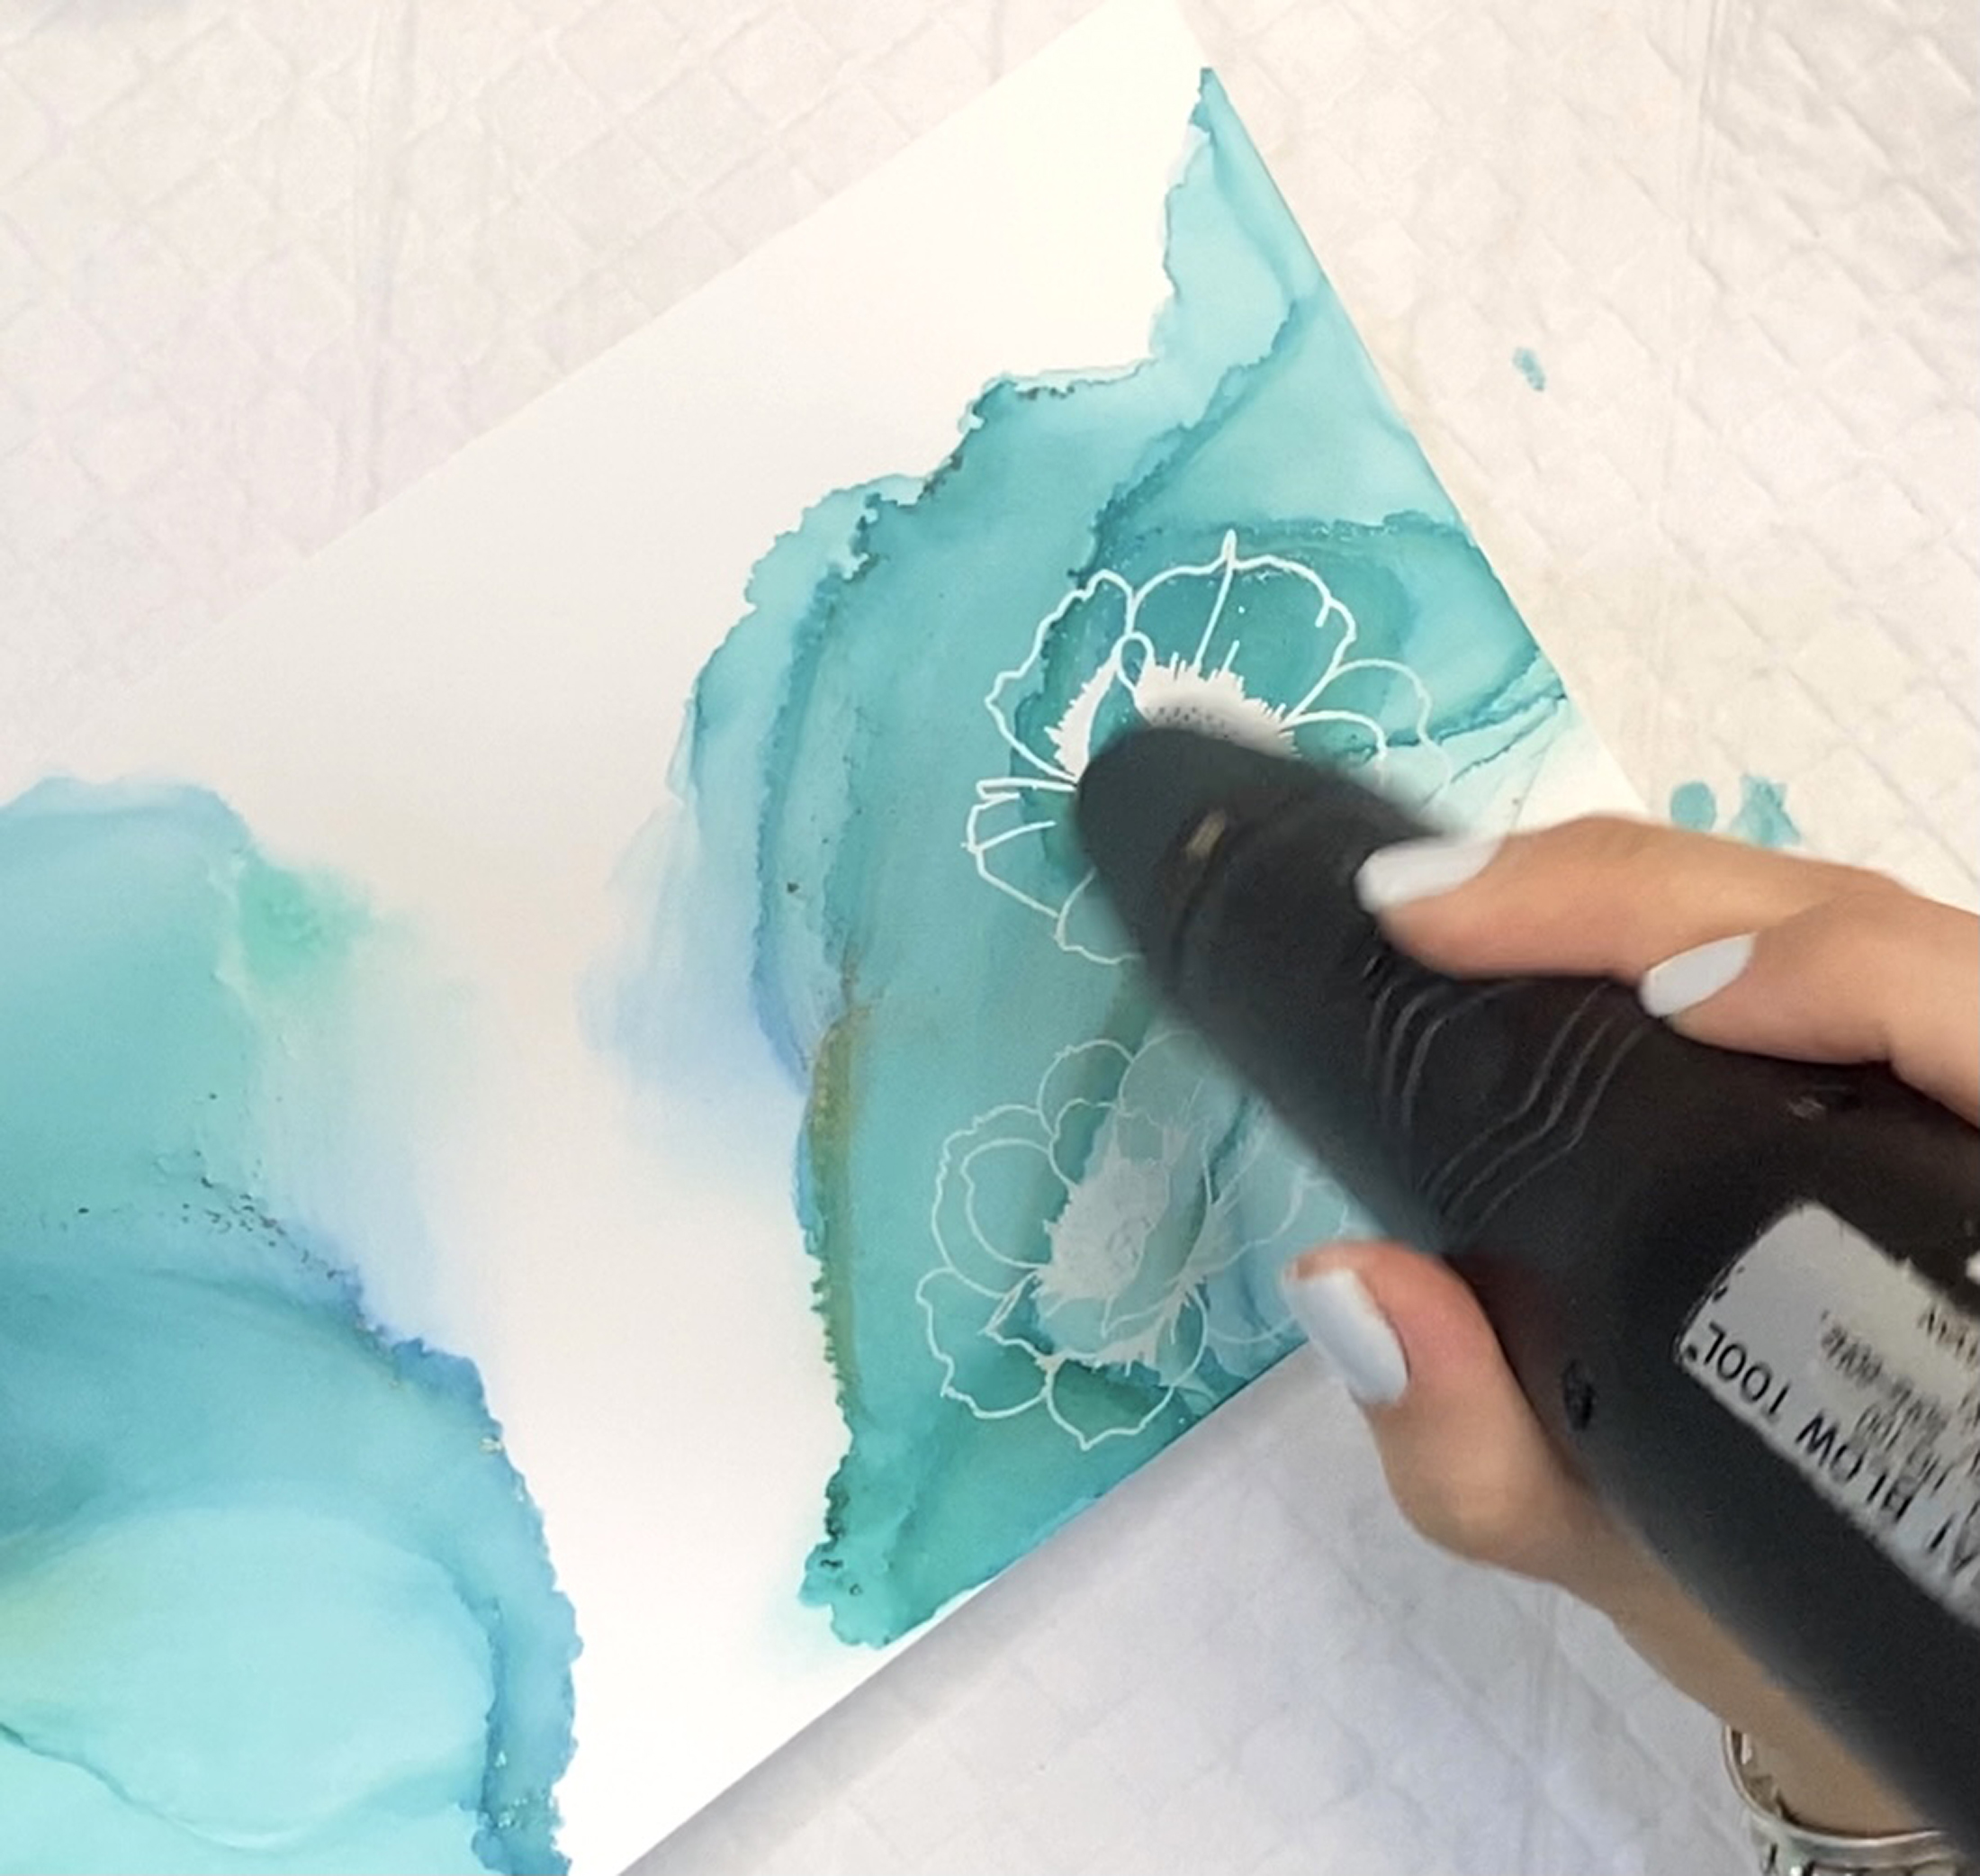
3. Stamp Wallpaper florals on the Nara paper ( choosing areas with nice contrast ) using Versamark Ink and emboss with pure white embossing powder. Make sure to use an anti-static tool before stamping. Do not direct the heat to the paper for a long time because it will melt the synthetic paper.
4. Stamp the leaves on watercolor paper using Versamark and emboss with Antique Gold embossing powder.
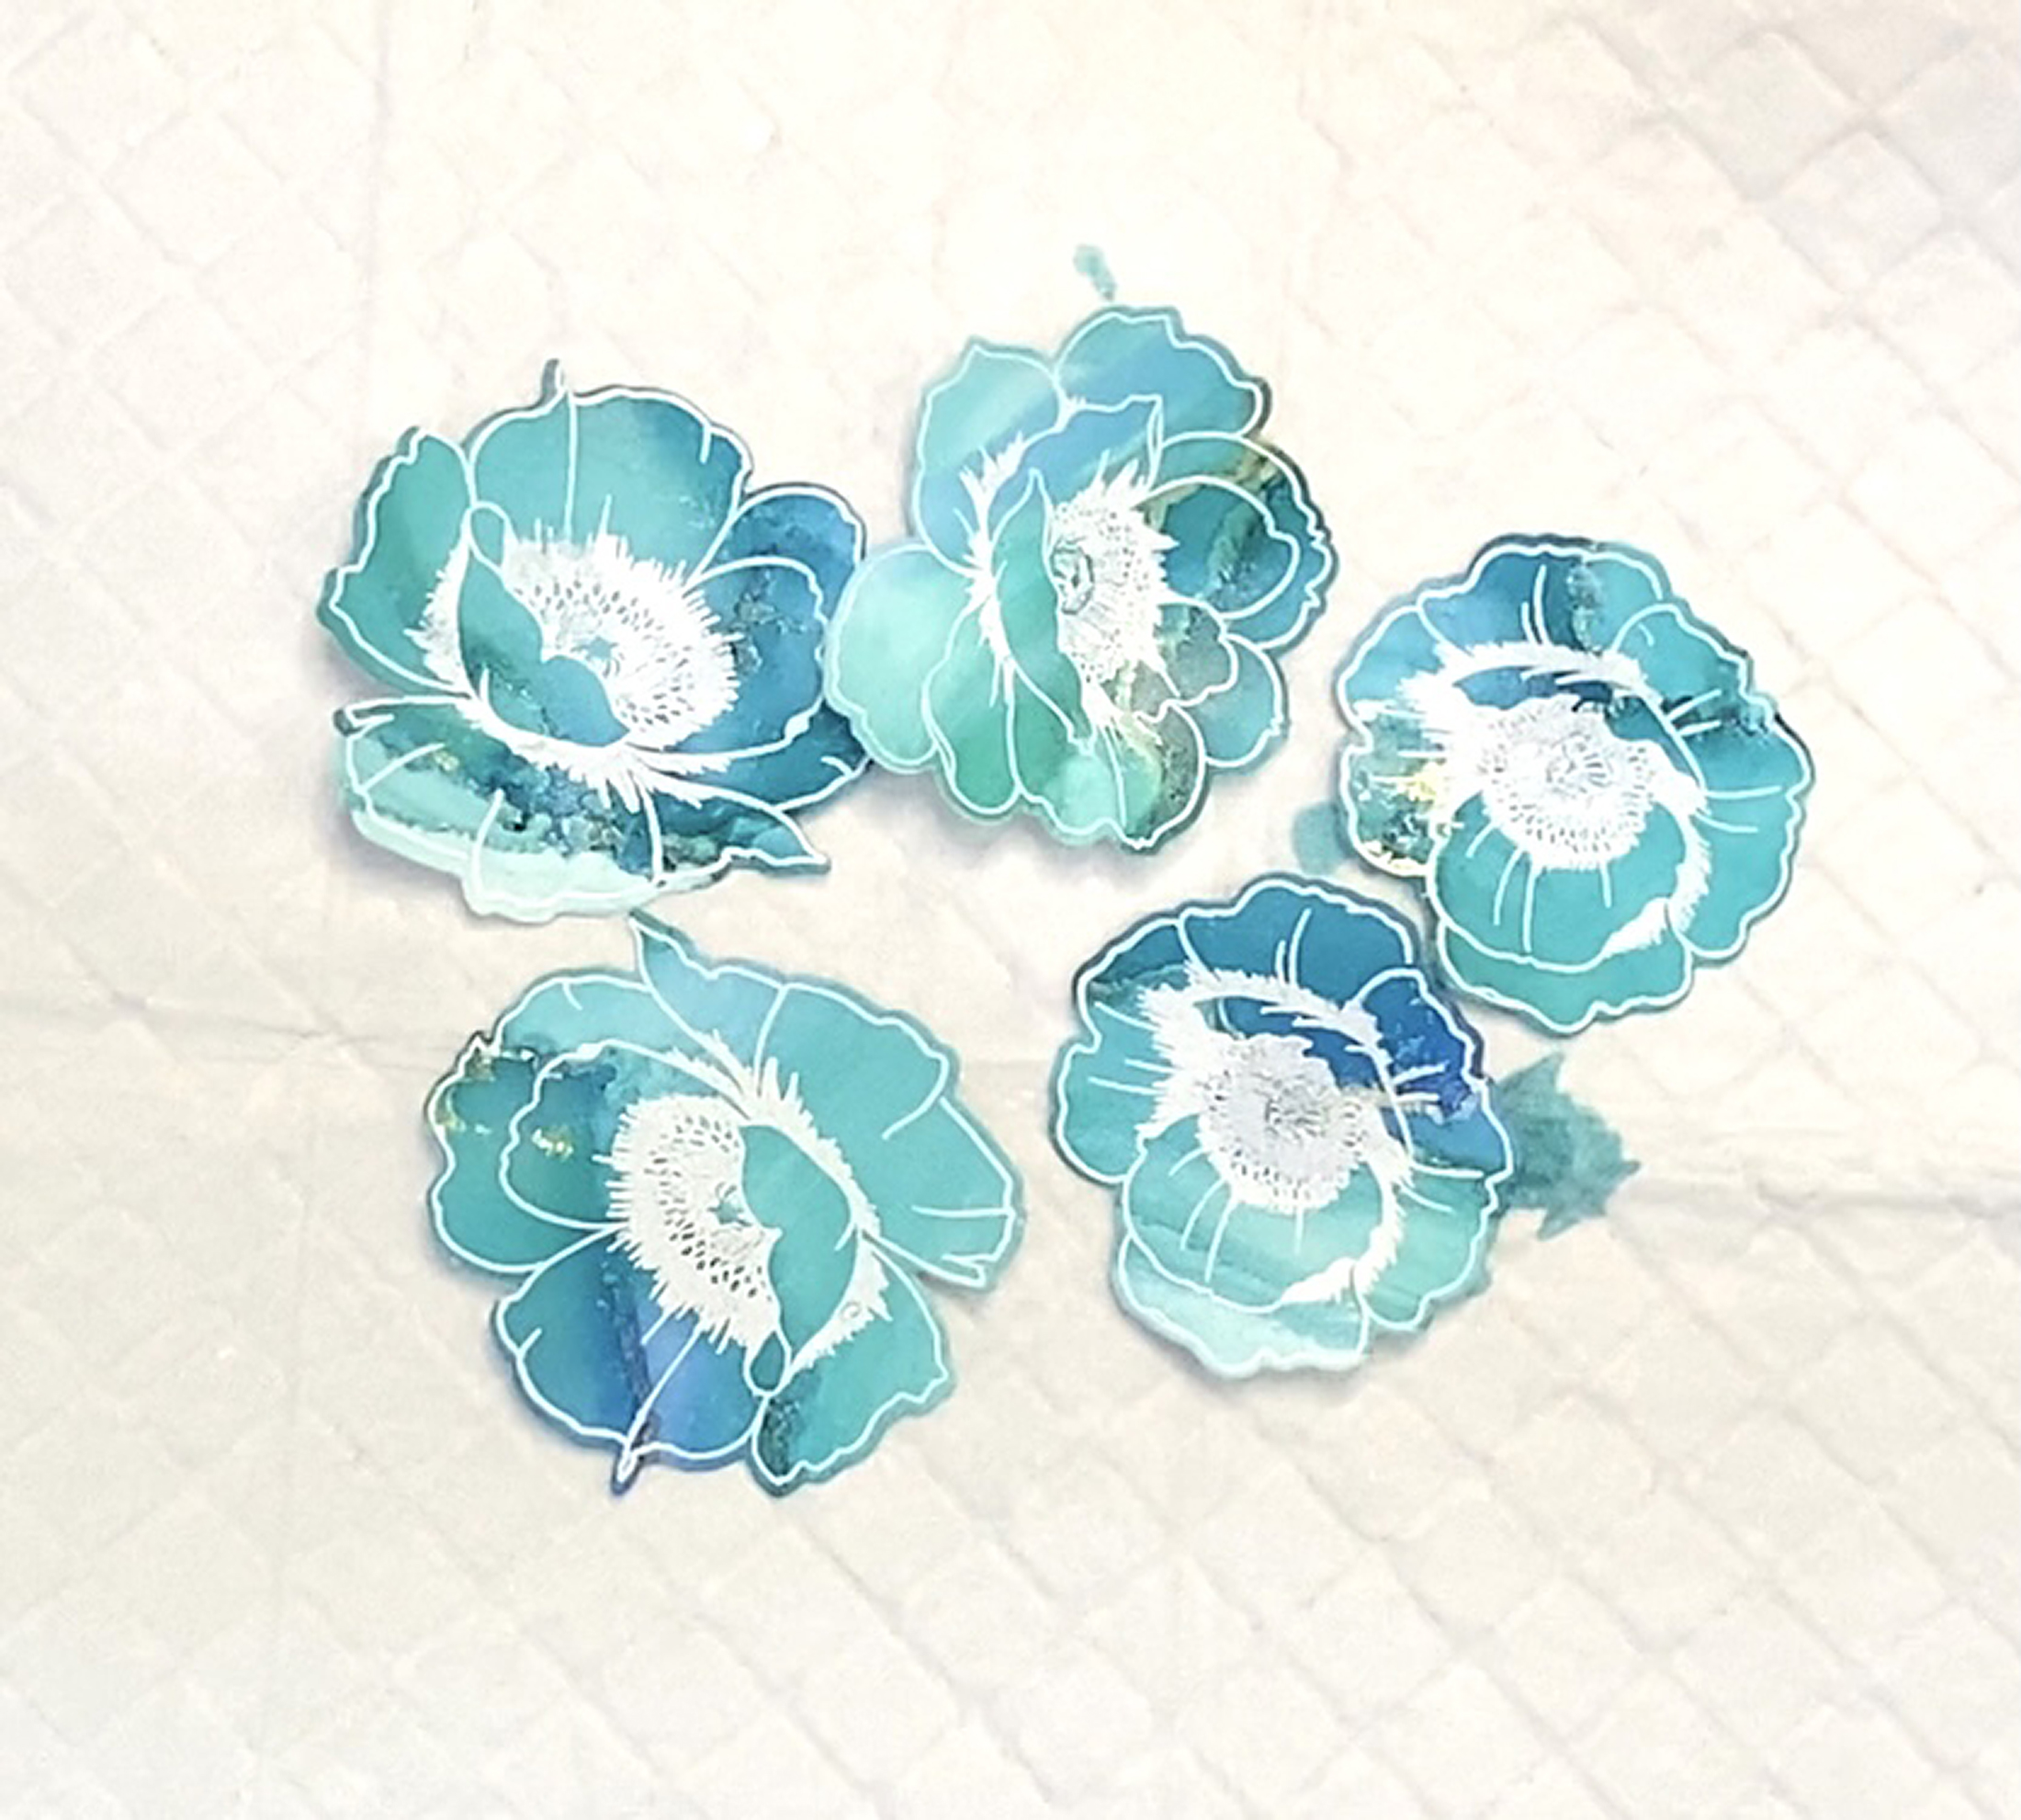
5. Die cut both flowers and leaves using the coordinating dies. Die cut leaves from patterned paper as well then stack the leaves on top of each other using adhesive to create dimension.
6. Cover the entire background with old book sheets and mod podge.
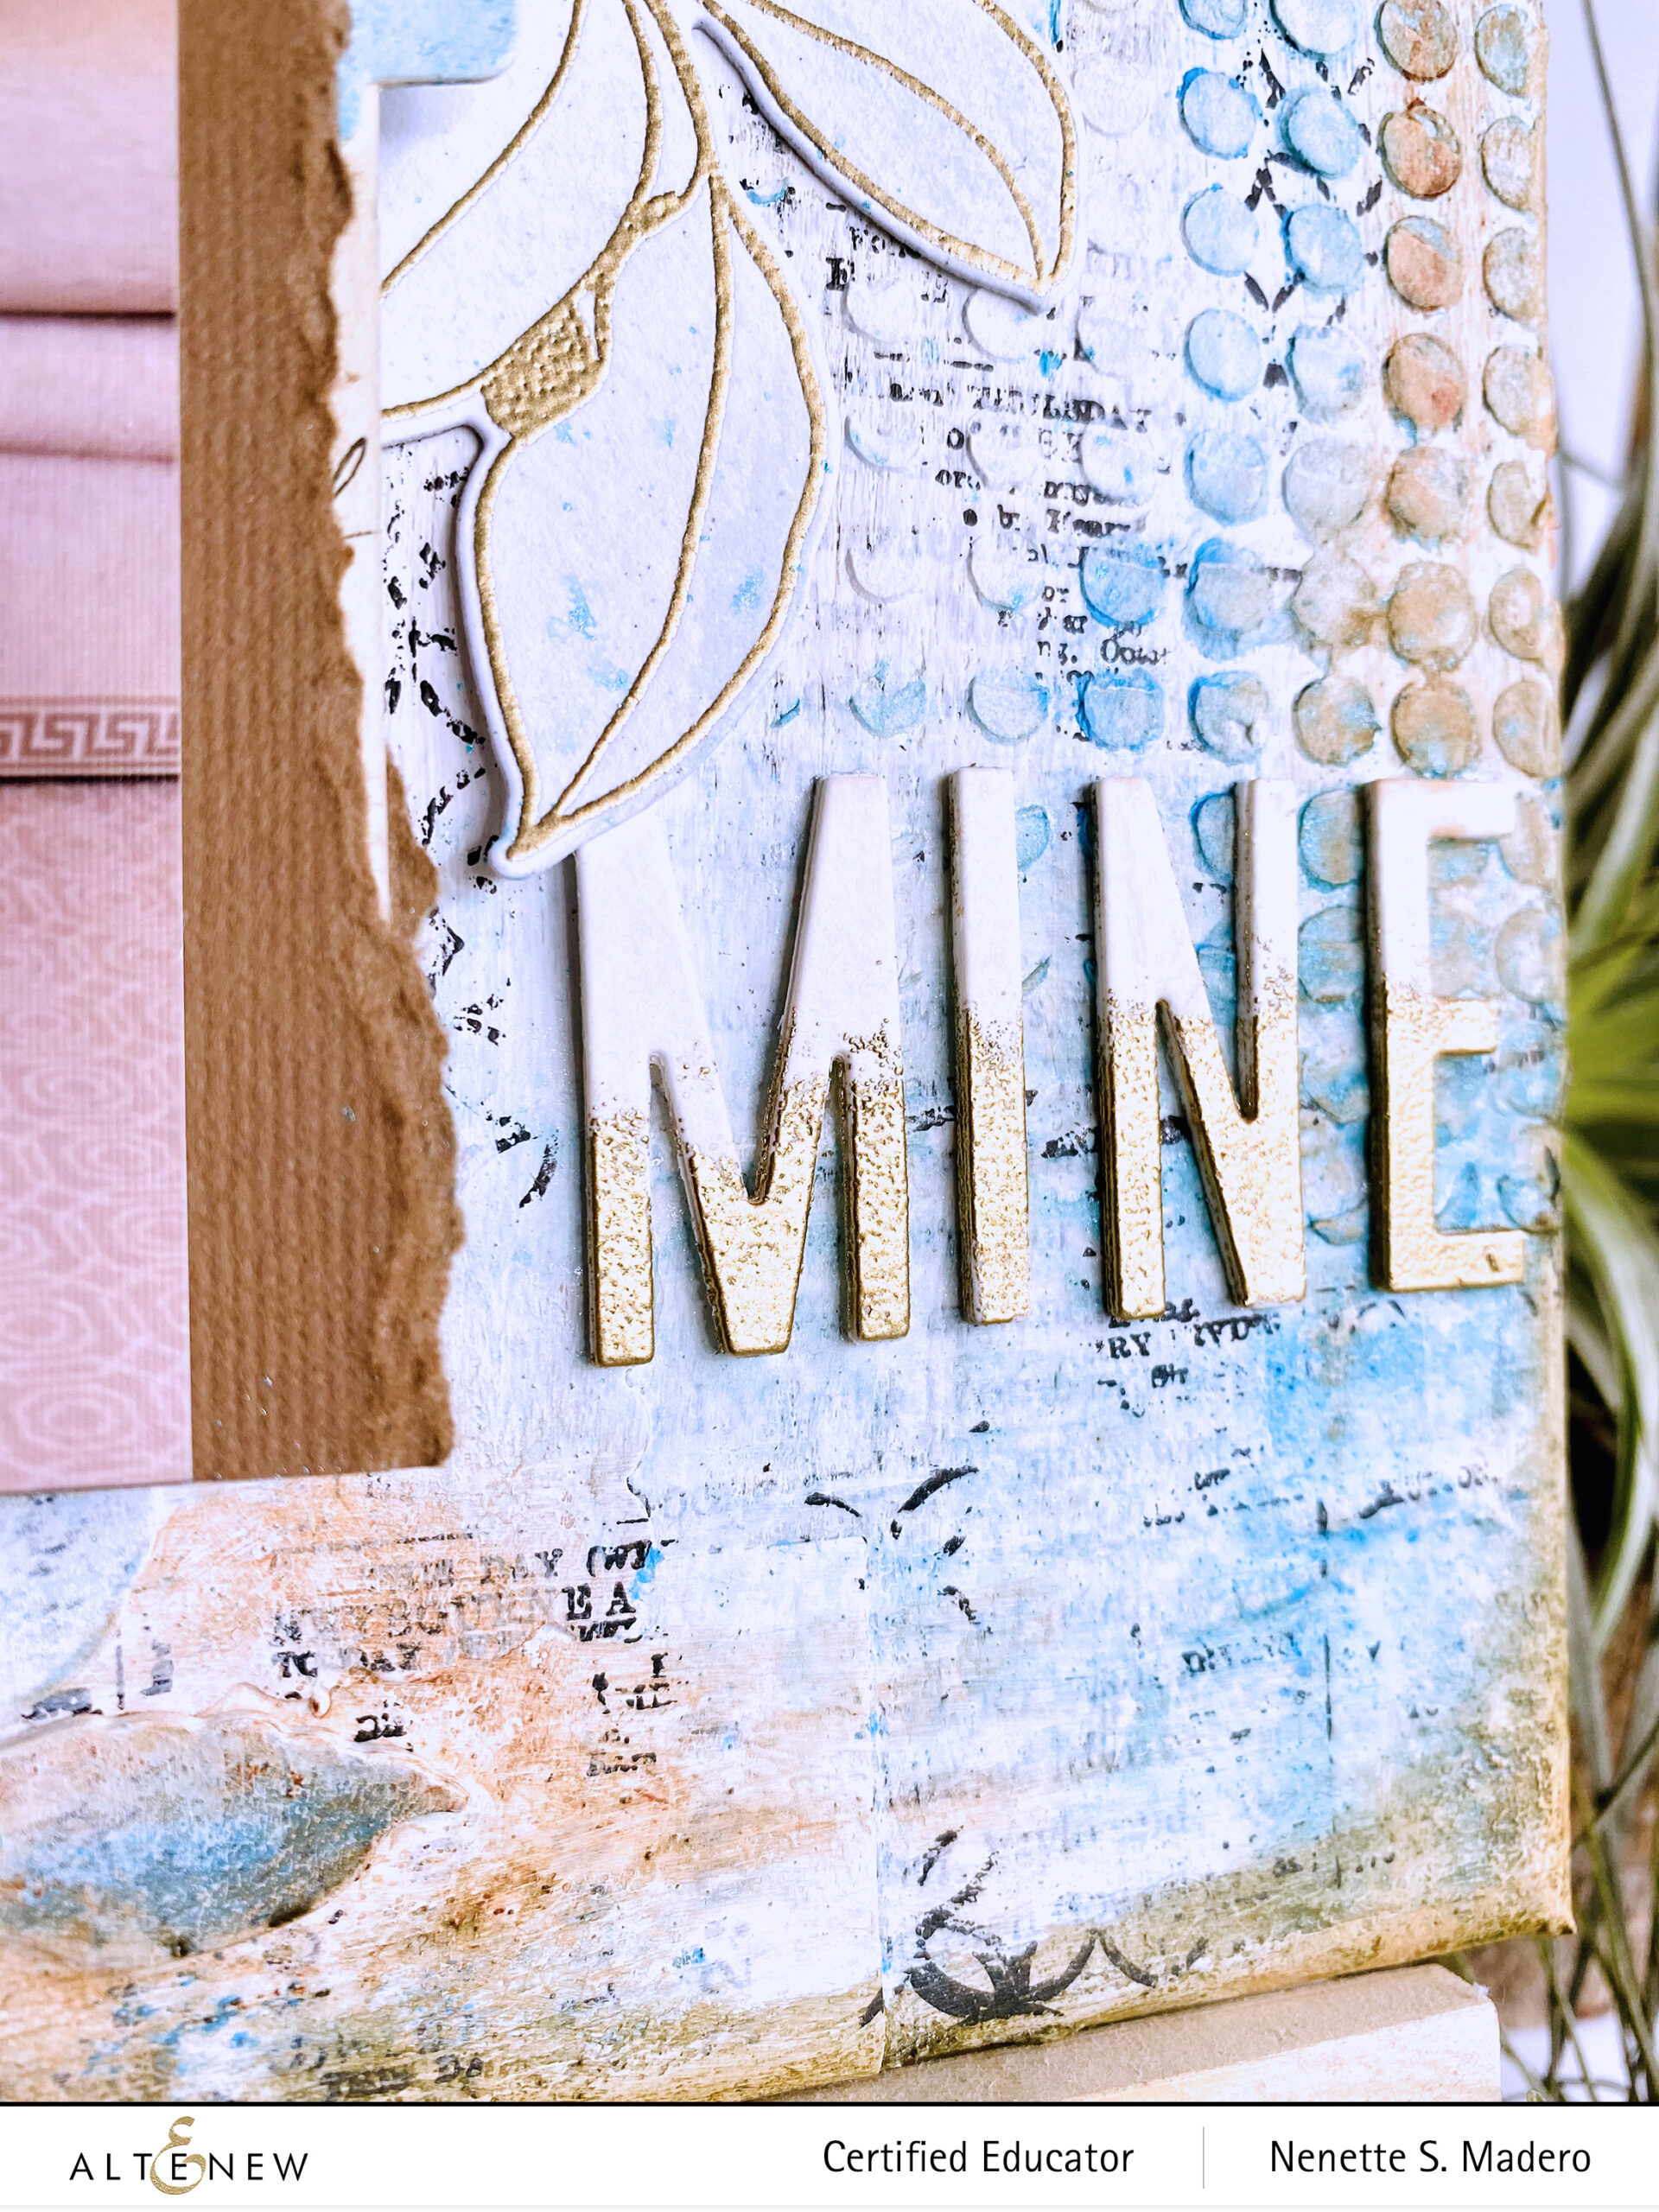
7. Die cut the letters for the title 4 times and adhere on top of each other. Add Versamark ink at the bottom area of the letters and emboss with Antique Gold embossing powder.
8. Add gesso with a dry brush to the entire canvas. This will prevent the color mediums from seeping into the canvas. Dry with a heat tool.
9. Add graphic images to the background using Obsidian black pigment ink for contrast and heat set to make it permanent and waterproof.

10. Use the Halftone stencil with embossing paste to create texture.

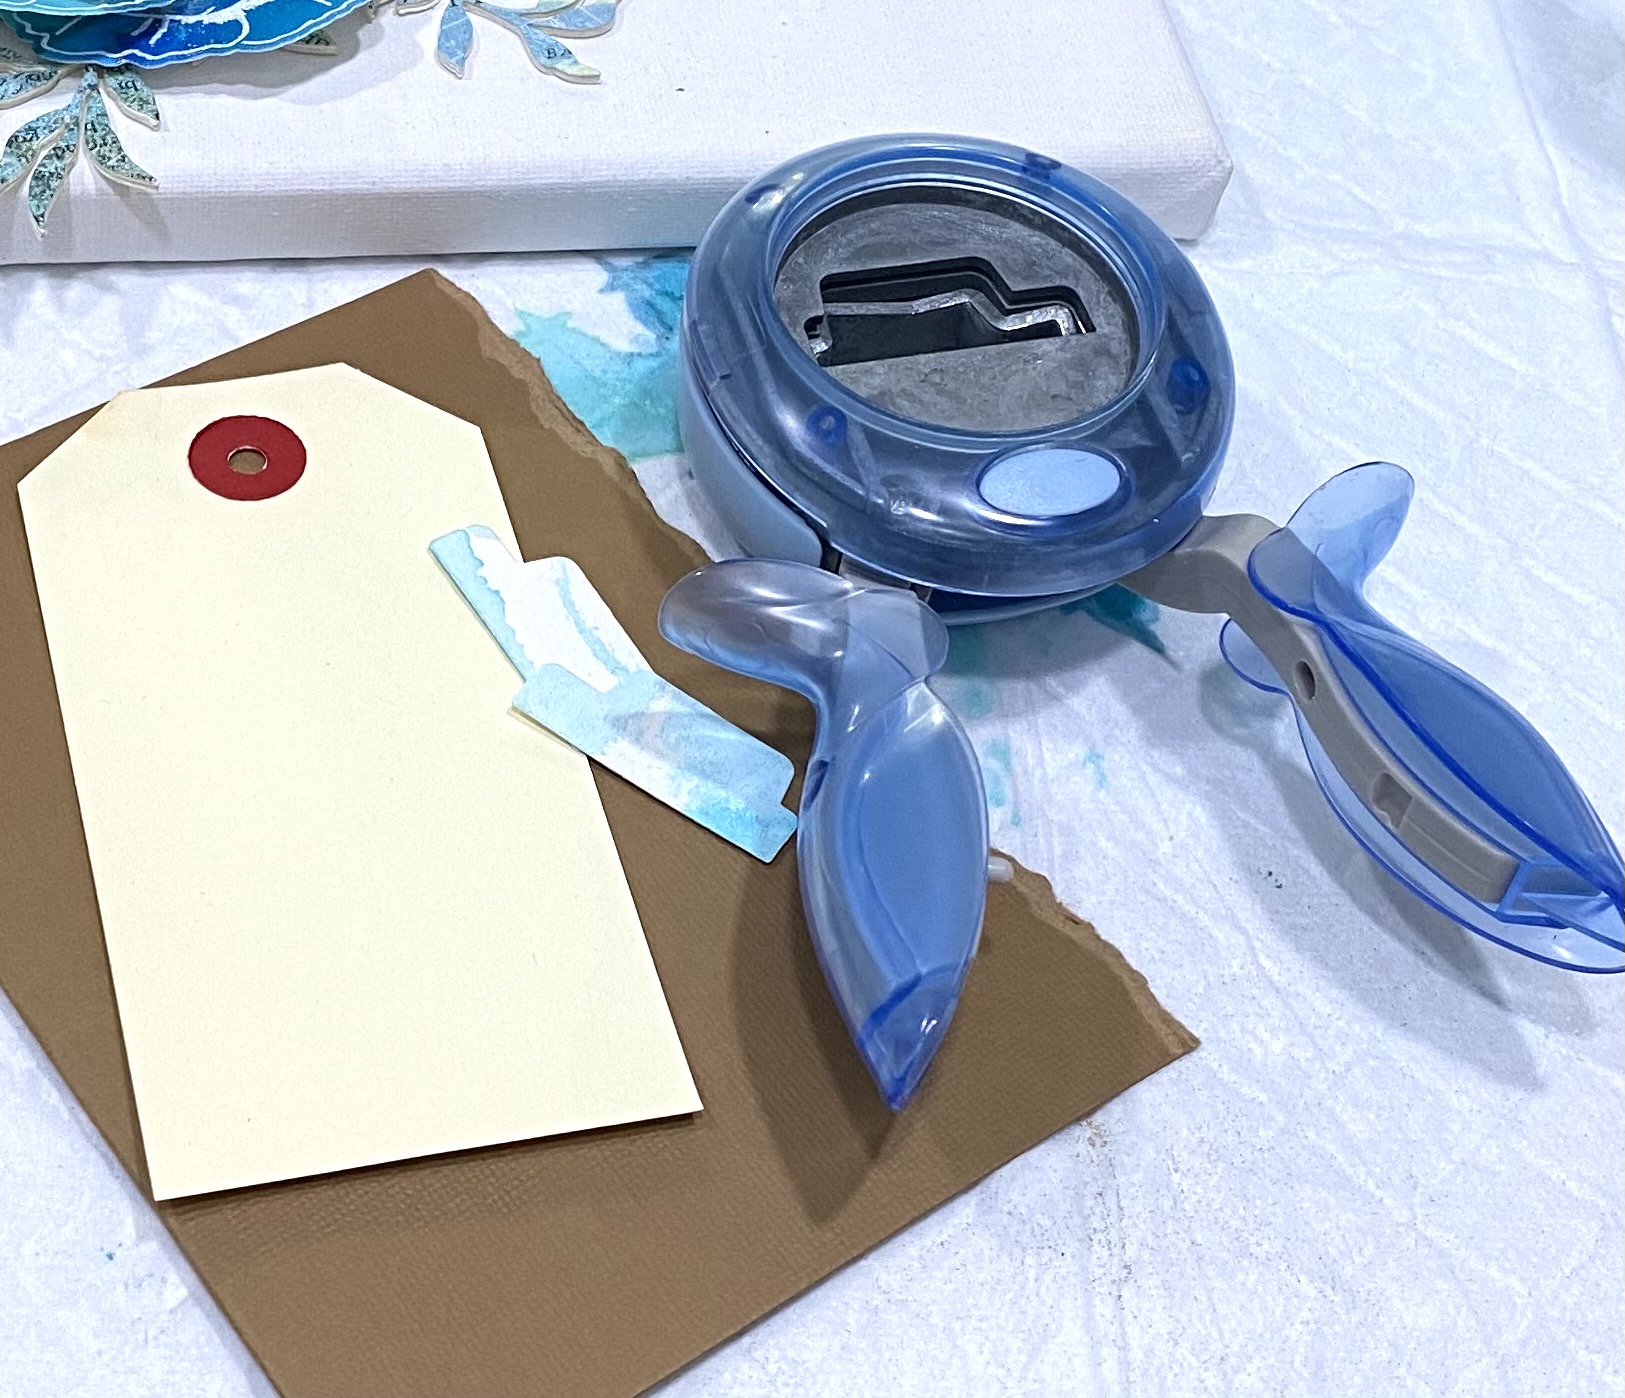
11. Write the journaling on a tag and insert into a folded pocket.
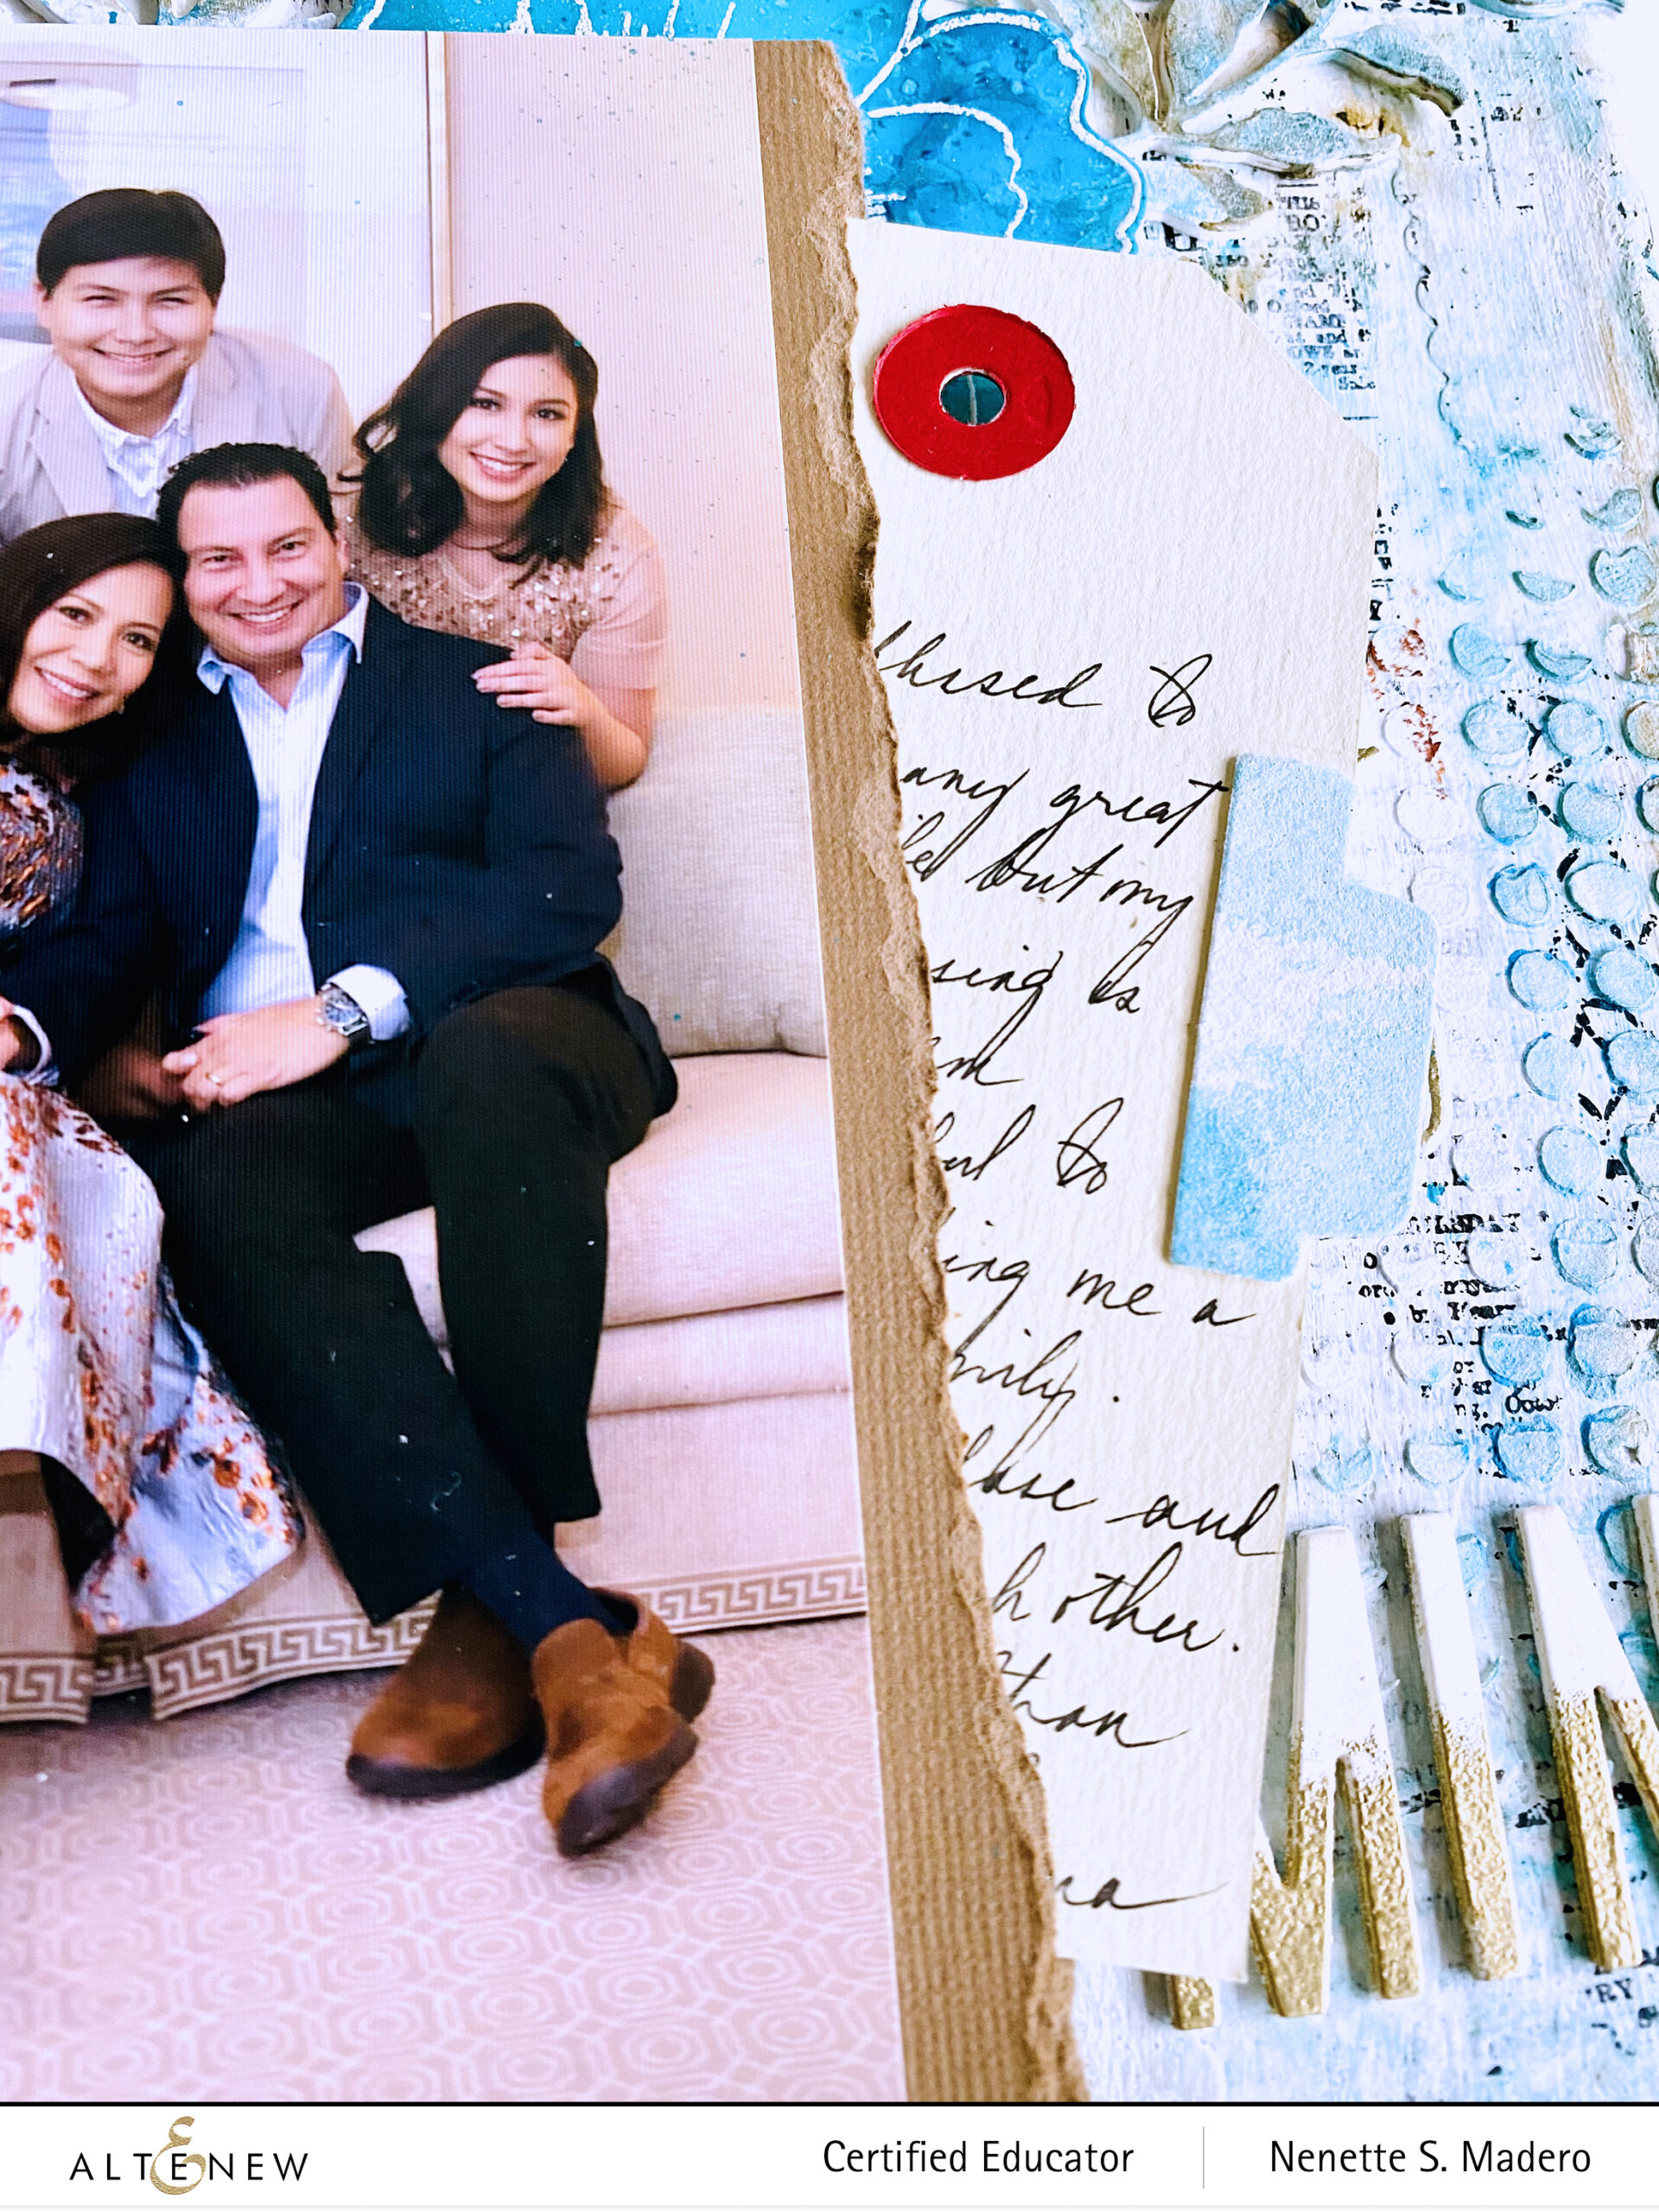
12. Glue the photo to the folded pocket.
13. Temporarily add photo and embellishments to the canvas based on the sketch. When you’re happy with the arrangement, glue the embellishments using a strong adhesive like glossy accent medium.
14. Adhere the leaves and add more gesso to tone down the colors.
15. Glue the flowers and leaves to the canvas. Adhere the photo and pocket to stacked chipboard for added dimension. Use foam squares for the leaves.

16. Scribble color onto the canvas using distress ink crayons. Add water and use your finger to spread the color. Dry with heat tool.

17. Spray the Lagoon metallic shimmer and add water. Allow colors to run down the canvas.
18. Glue the title using glossy accent dimensional medium.

I documented the entire process on a video. You can watch it below.
I hope you found some inspiration to create your own shabby chic background and to use alcohol inks to create embossed flowers. Make sure to leave a comment and let me know what other techniques you’d like to learn for future videos. Your comments mean so much to me! <3 I would love to see you on IG as well so please follow me @mylittleatticstudio. Thank you so much for dropping by, be safe, and keep on crafting!!!

I am based in the Philippines and blessed with a loving and supportive husband, 3 wonderful children and a fur baby named Monty. For fun, I often express myself creatively in activities such as event styling and tablescaping. I find joy in making scrapbooking layouts, cards, and mixed media art. Adding layers and dimension to my pieces are things I enjoy doing and I particularly love using watercolor and alcohol inks as my coloring mediums. I believe that one’s attention to detail makes a big difference and can convert the ordinary into something truly beautiful.
Wow. After you finished your project, you forgot to do the “mic drop” and say, “Boom! And there’s my project!” 😂😂😂 And who is that gorgeous lady in the flower dress in the middle of the photo? 💜💜💜 What a fabulous project and video, my friend. I even got to hear your lovely voice! I don’t know if your hubby has ever used this saying, but “te aventaste!” 🏵🌻🌺 Have a beautiful week!
You just made my day with your lovely and inspiring comments, my dear friend. Thank you so much!!!! <3 <3 <3