Hello, my crafty friends! Welcome to Altenew’s Washi Tape Blog Hop + Giveaway! If you just came from Karen Brown, then you’re on the right track. For the complete blog hop details, please click Altenew Blog.
I created two new cards using washi tapes. I’m also including some old projects from previous blog hops so that you can see the variety of ways you can use the Altenew washi tapes. If you’d like to see the complete collection of Altenew’s washi tapes, click here.
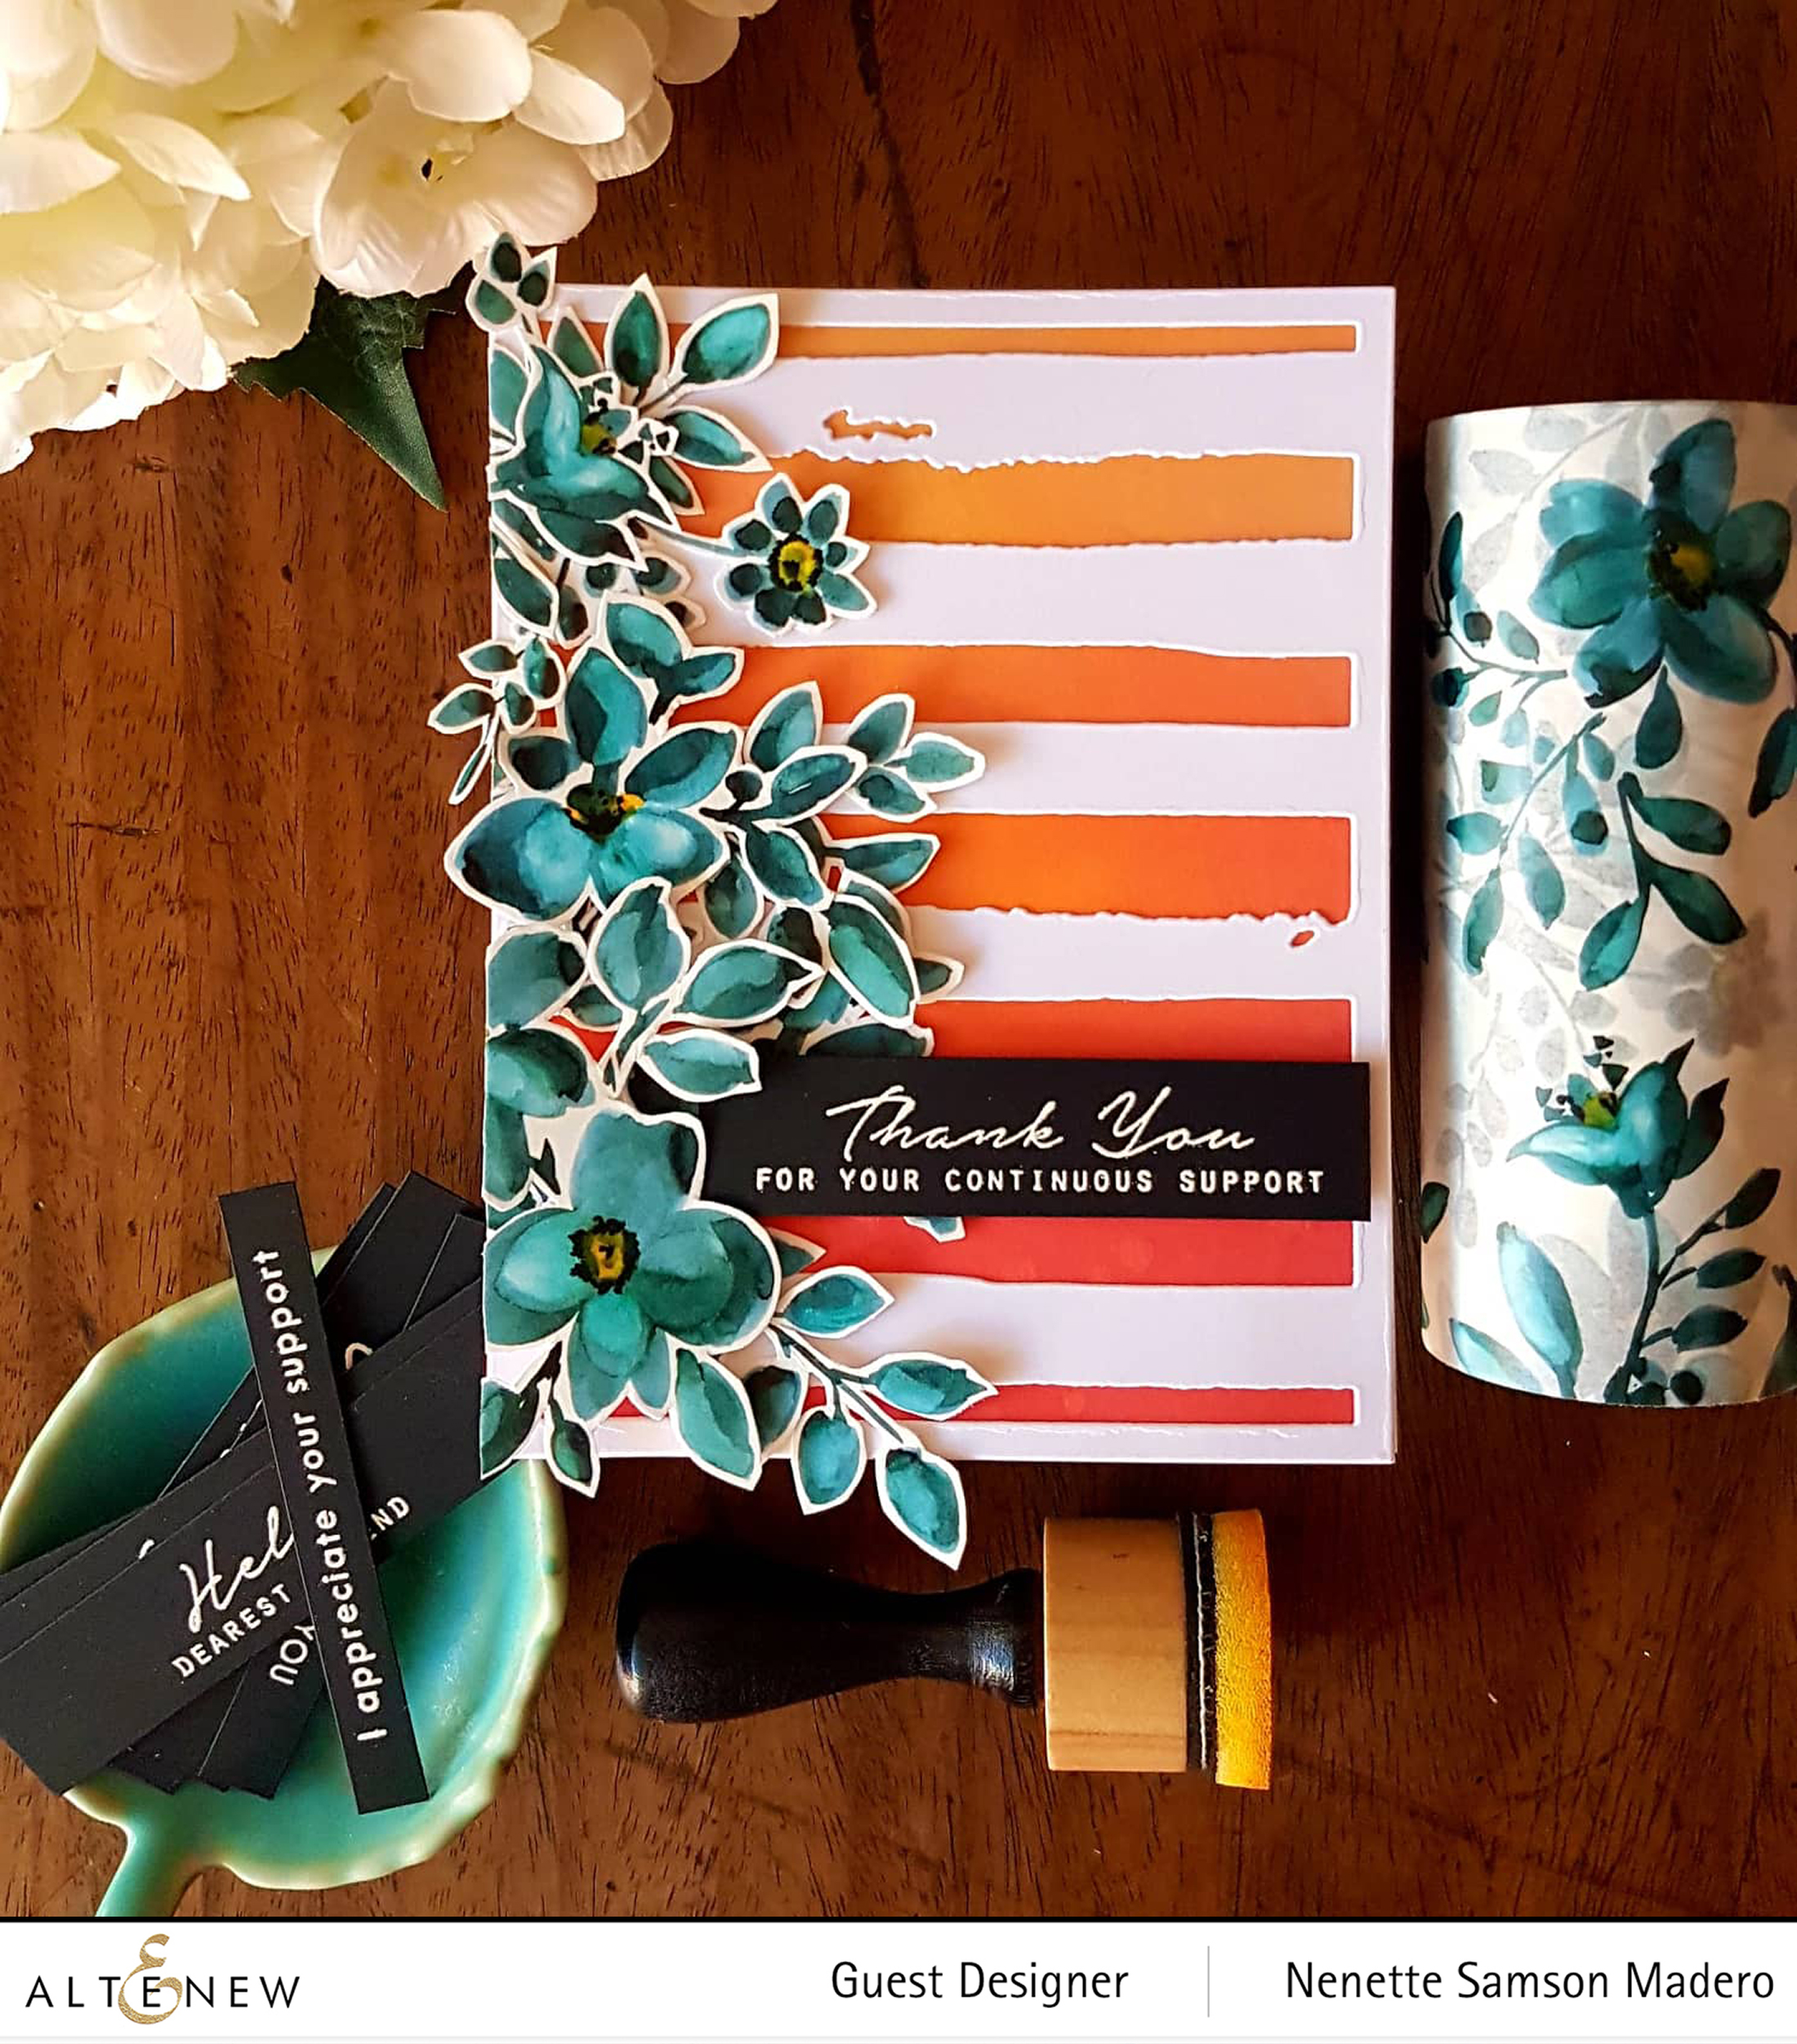
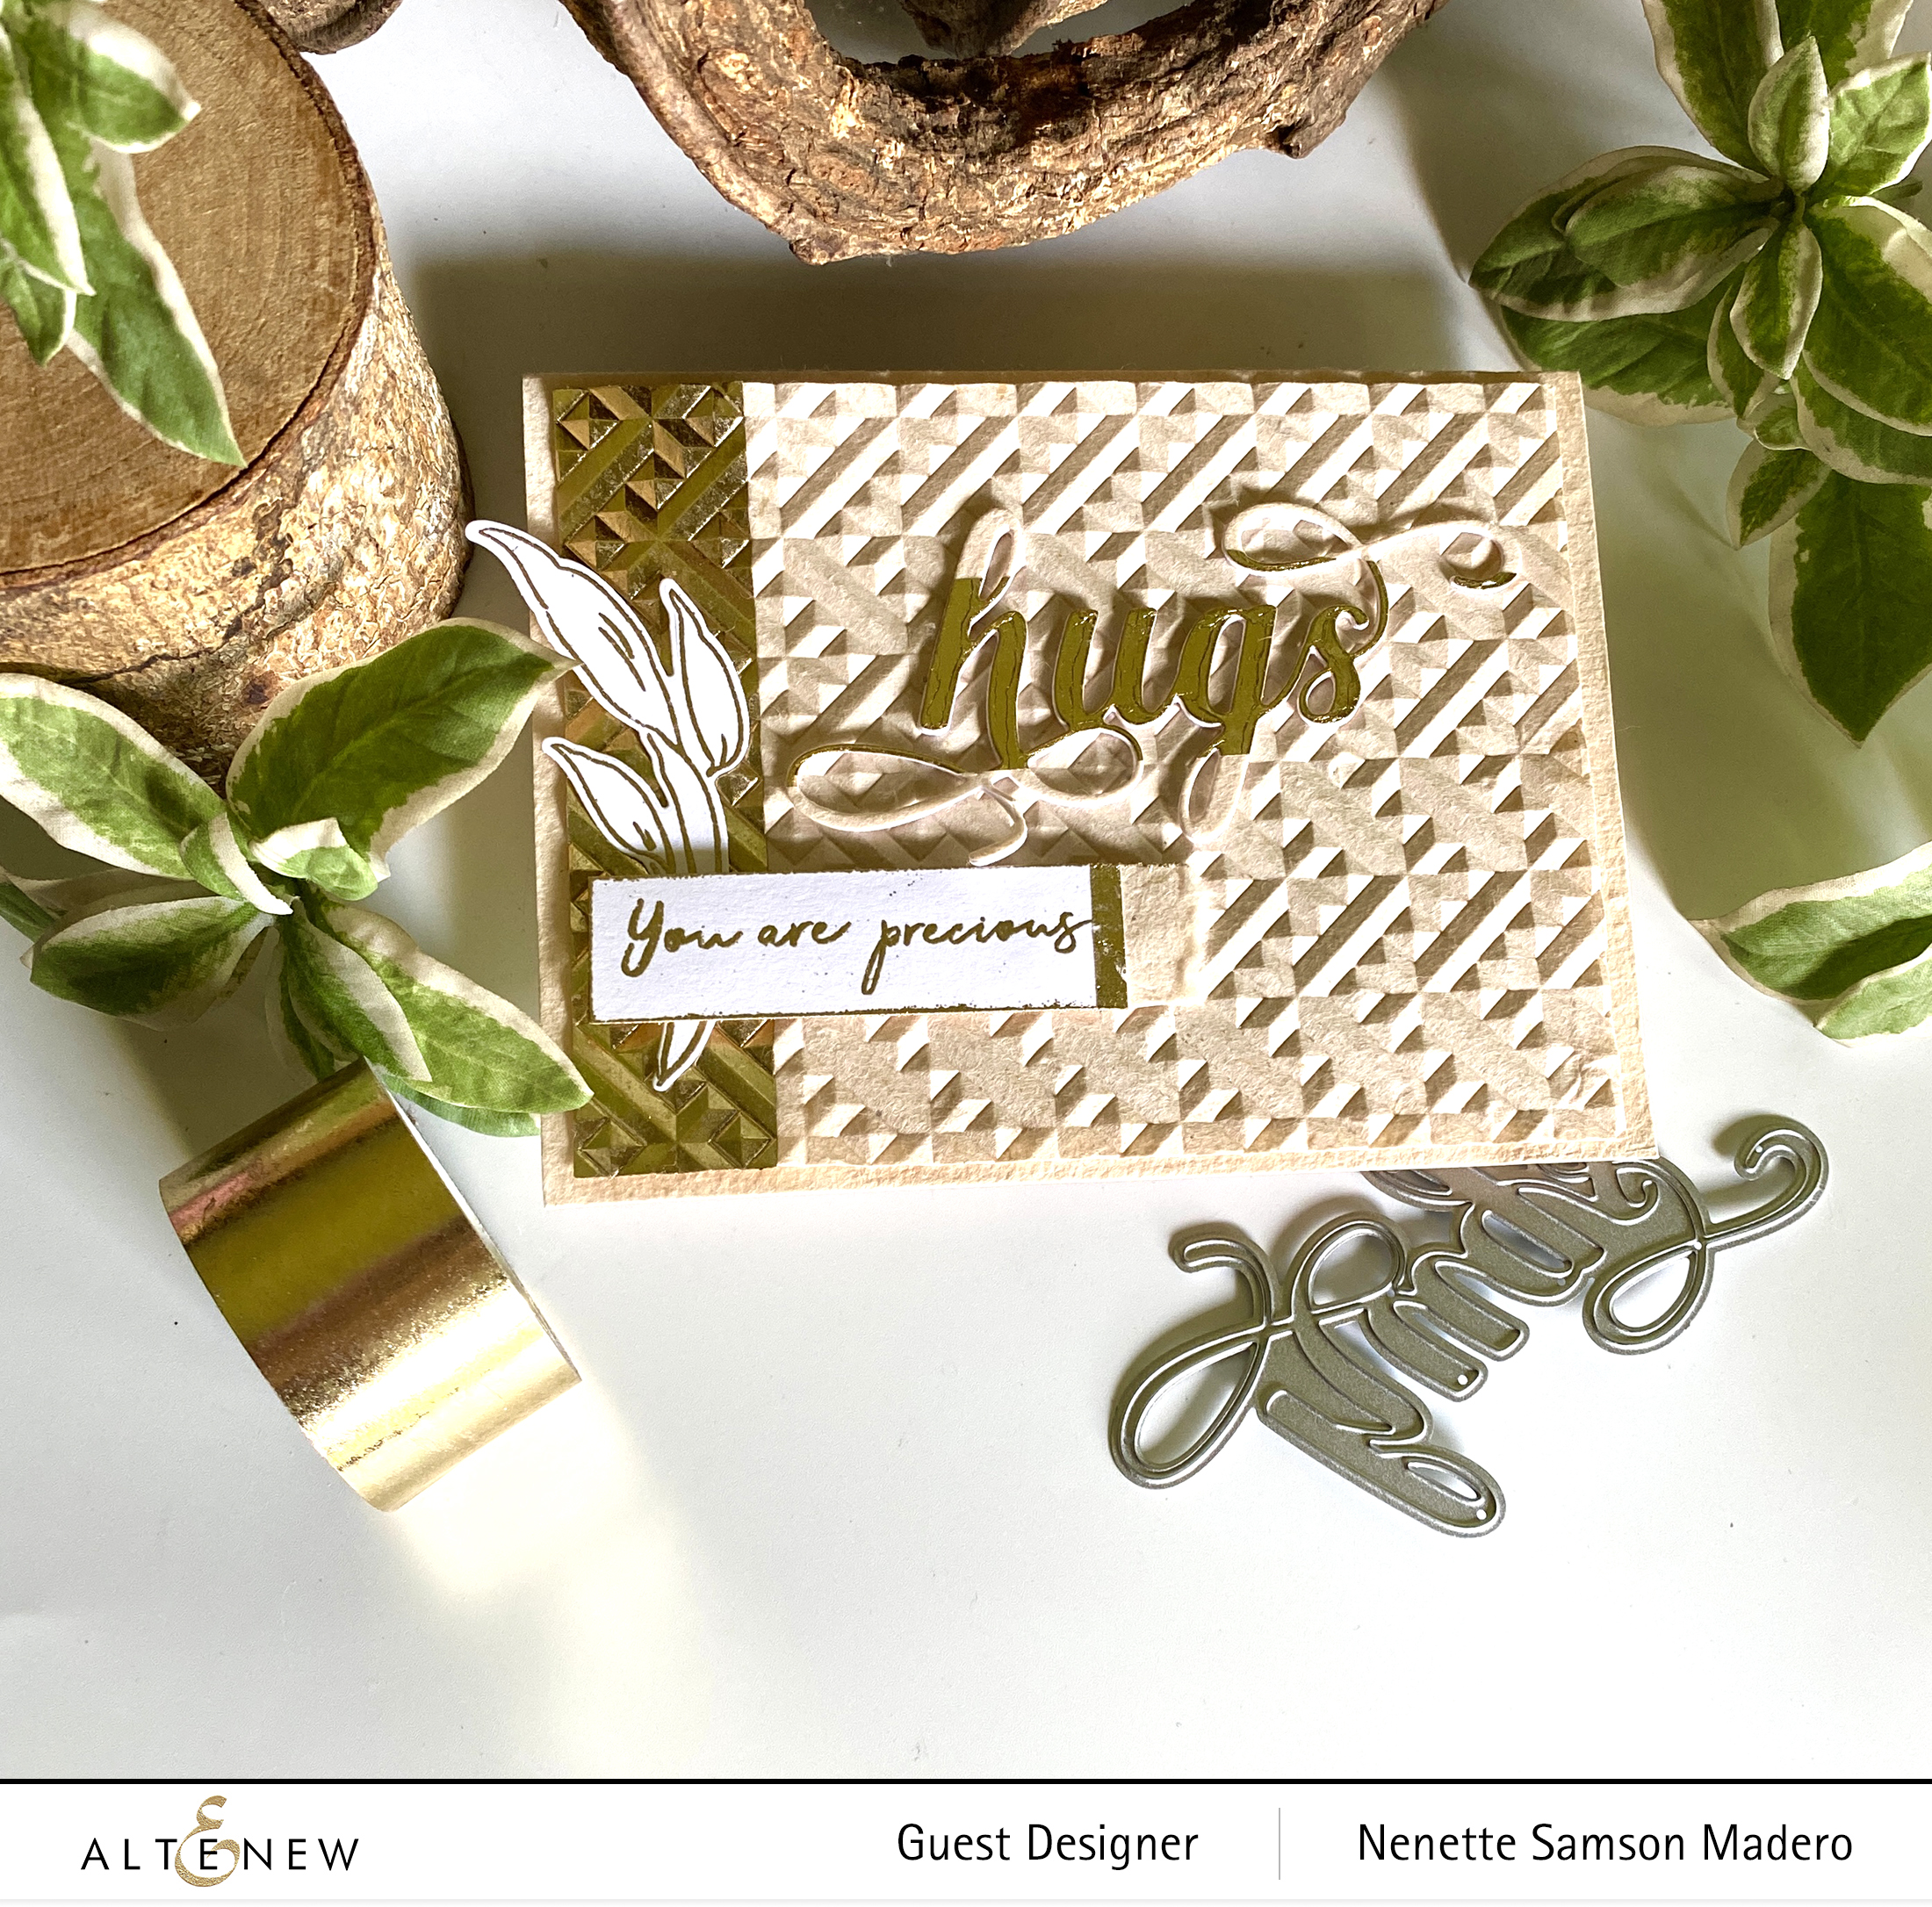
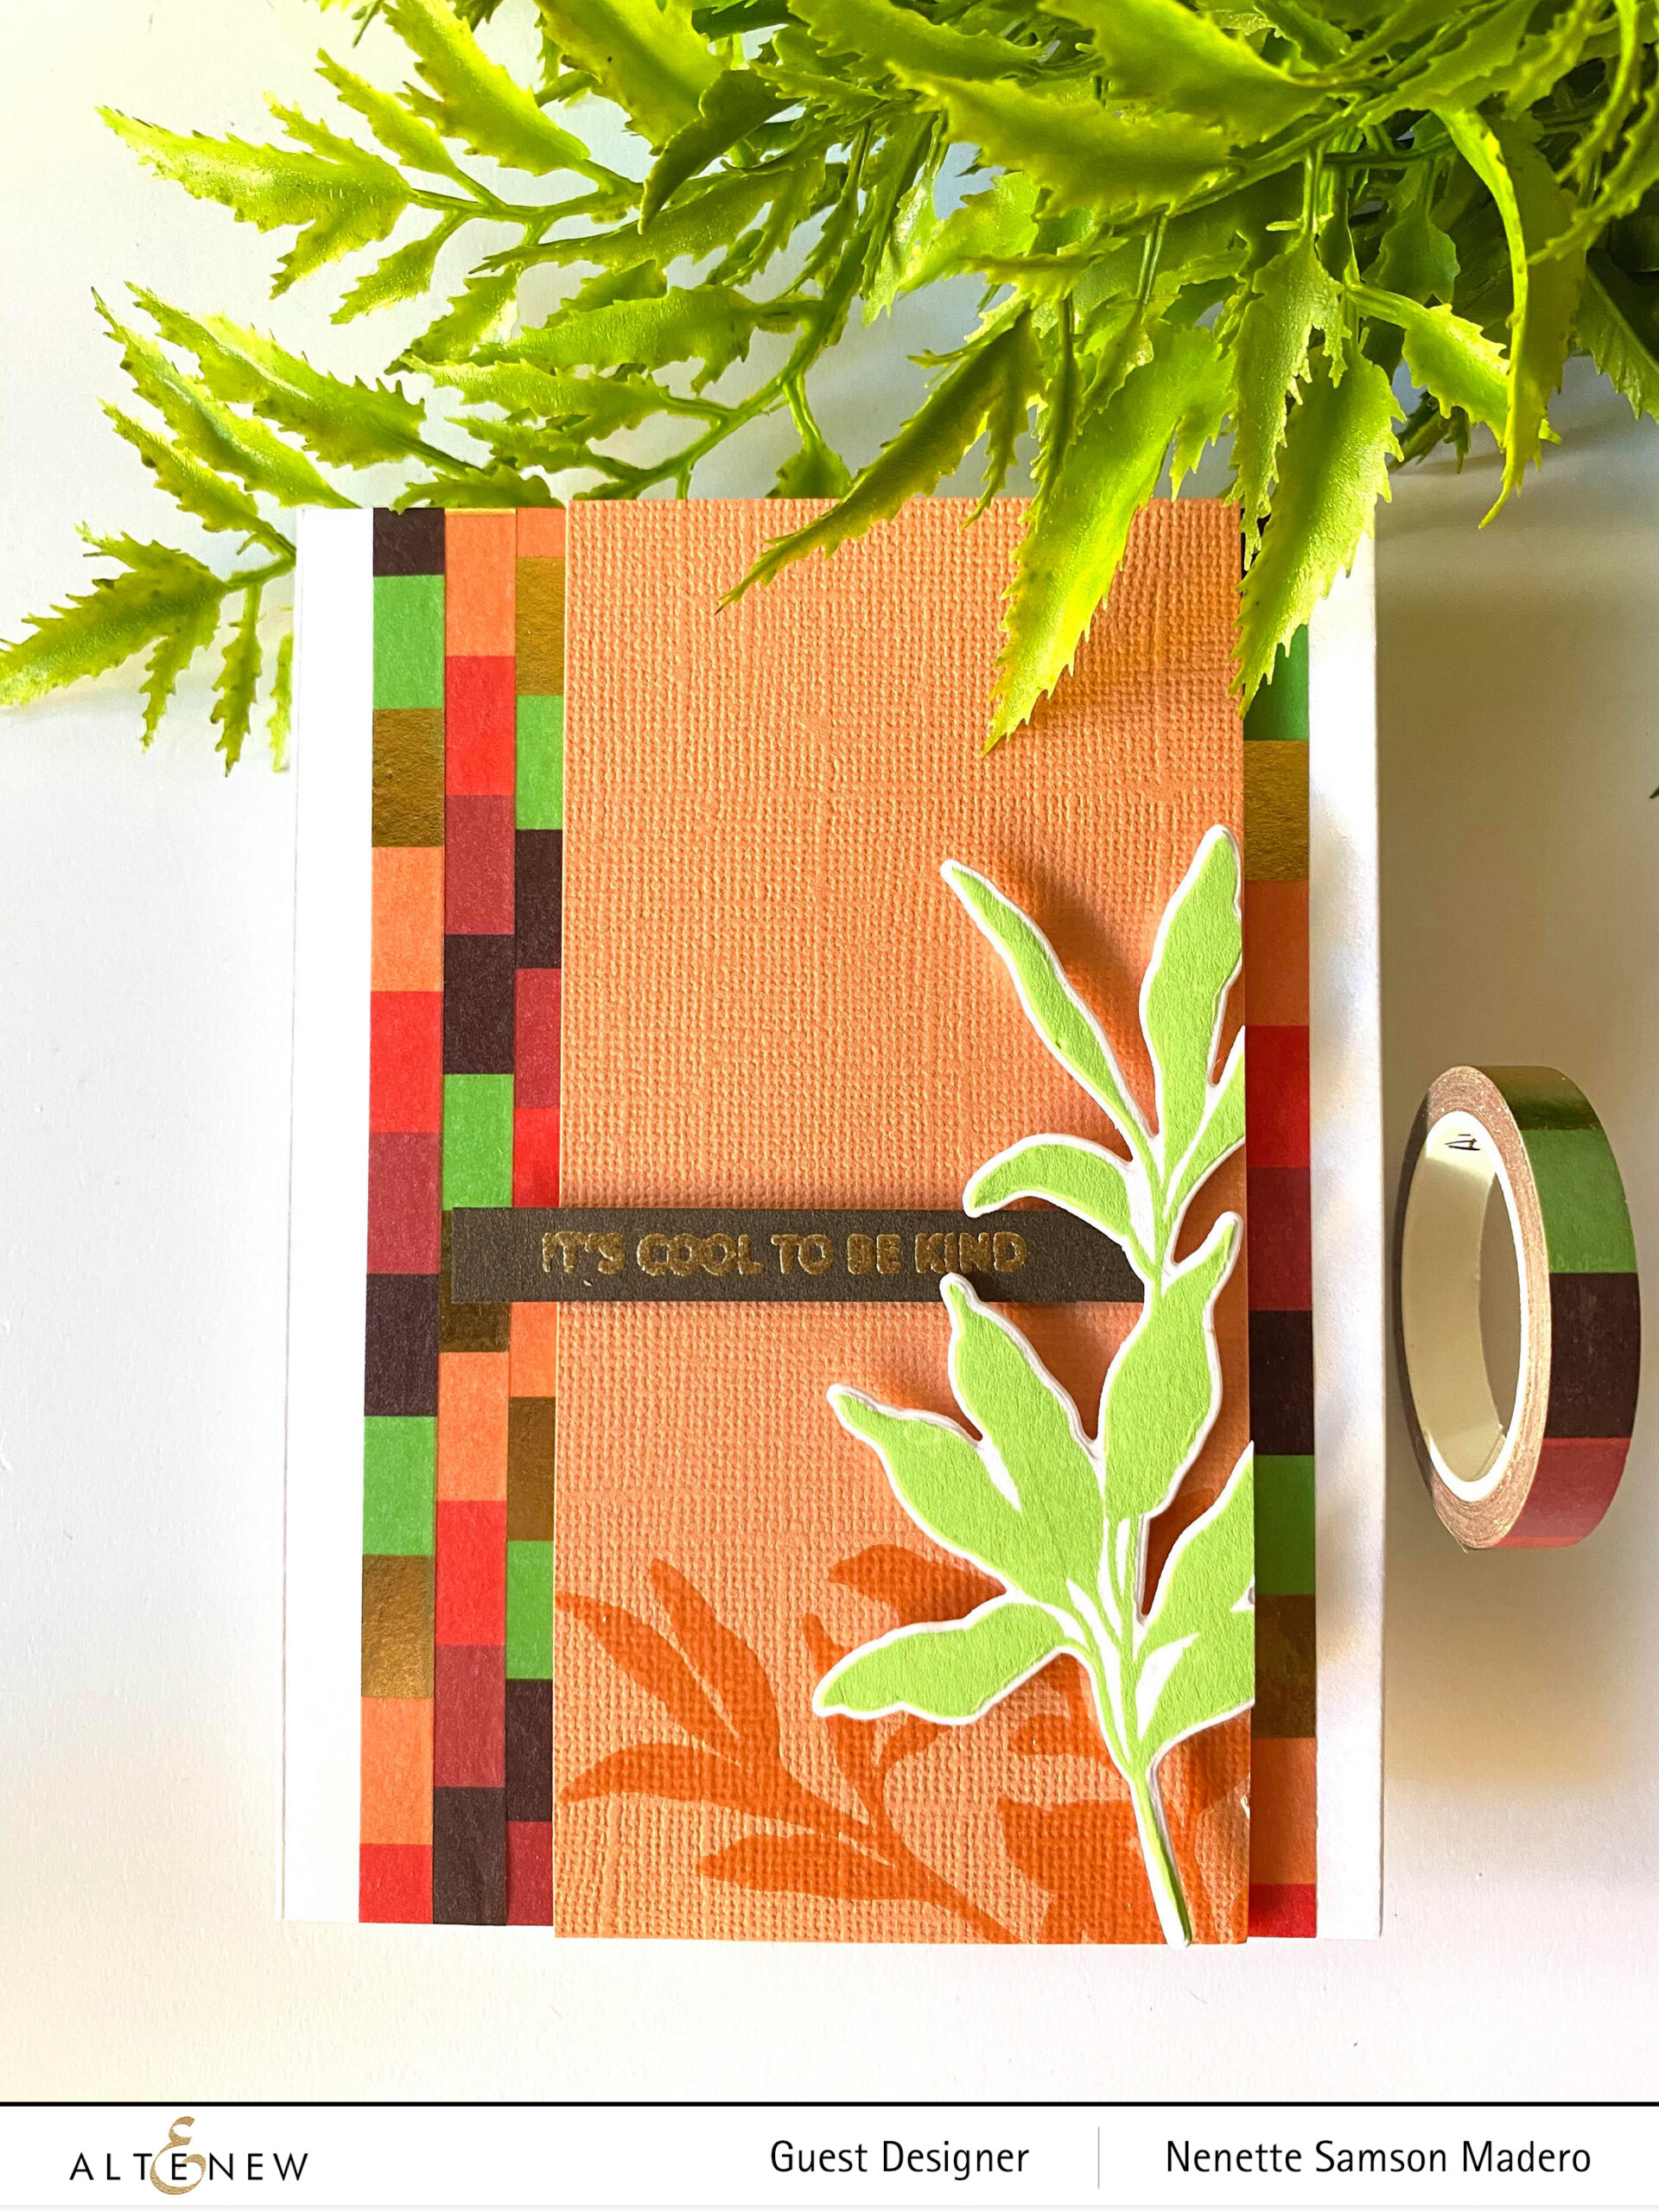
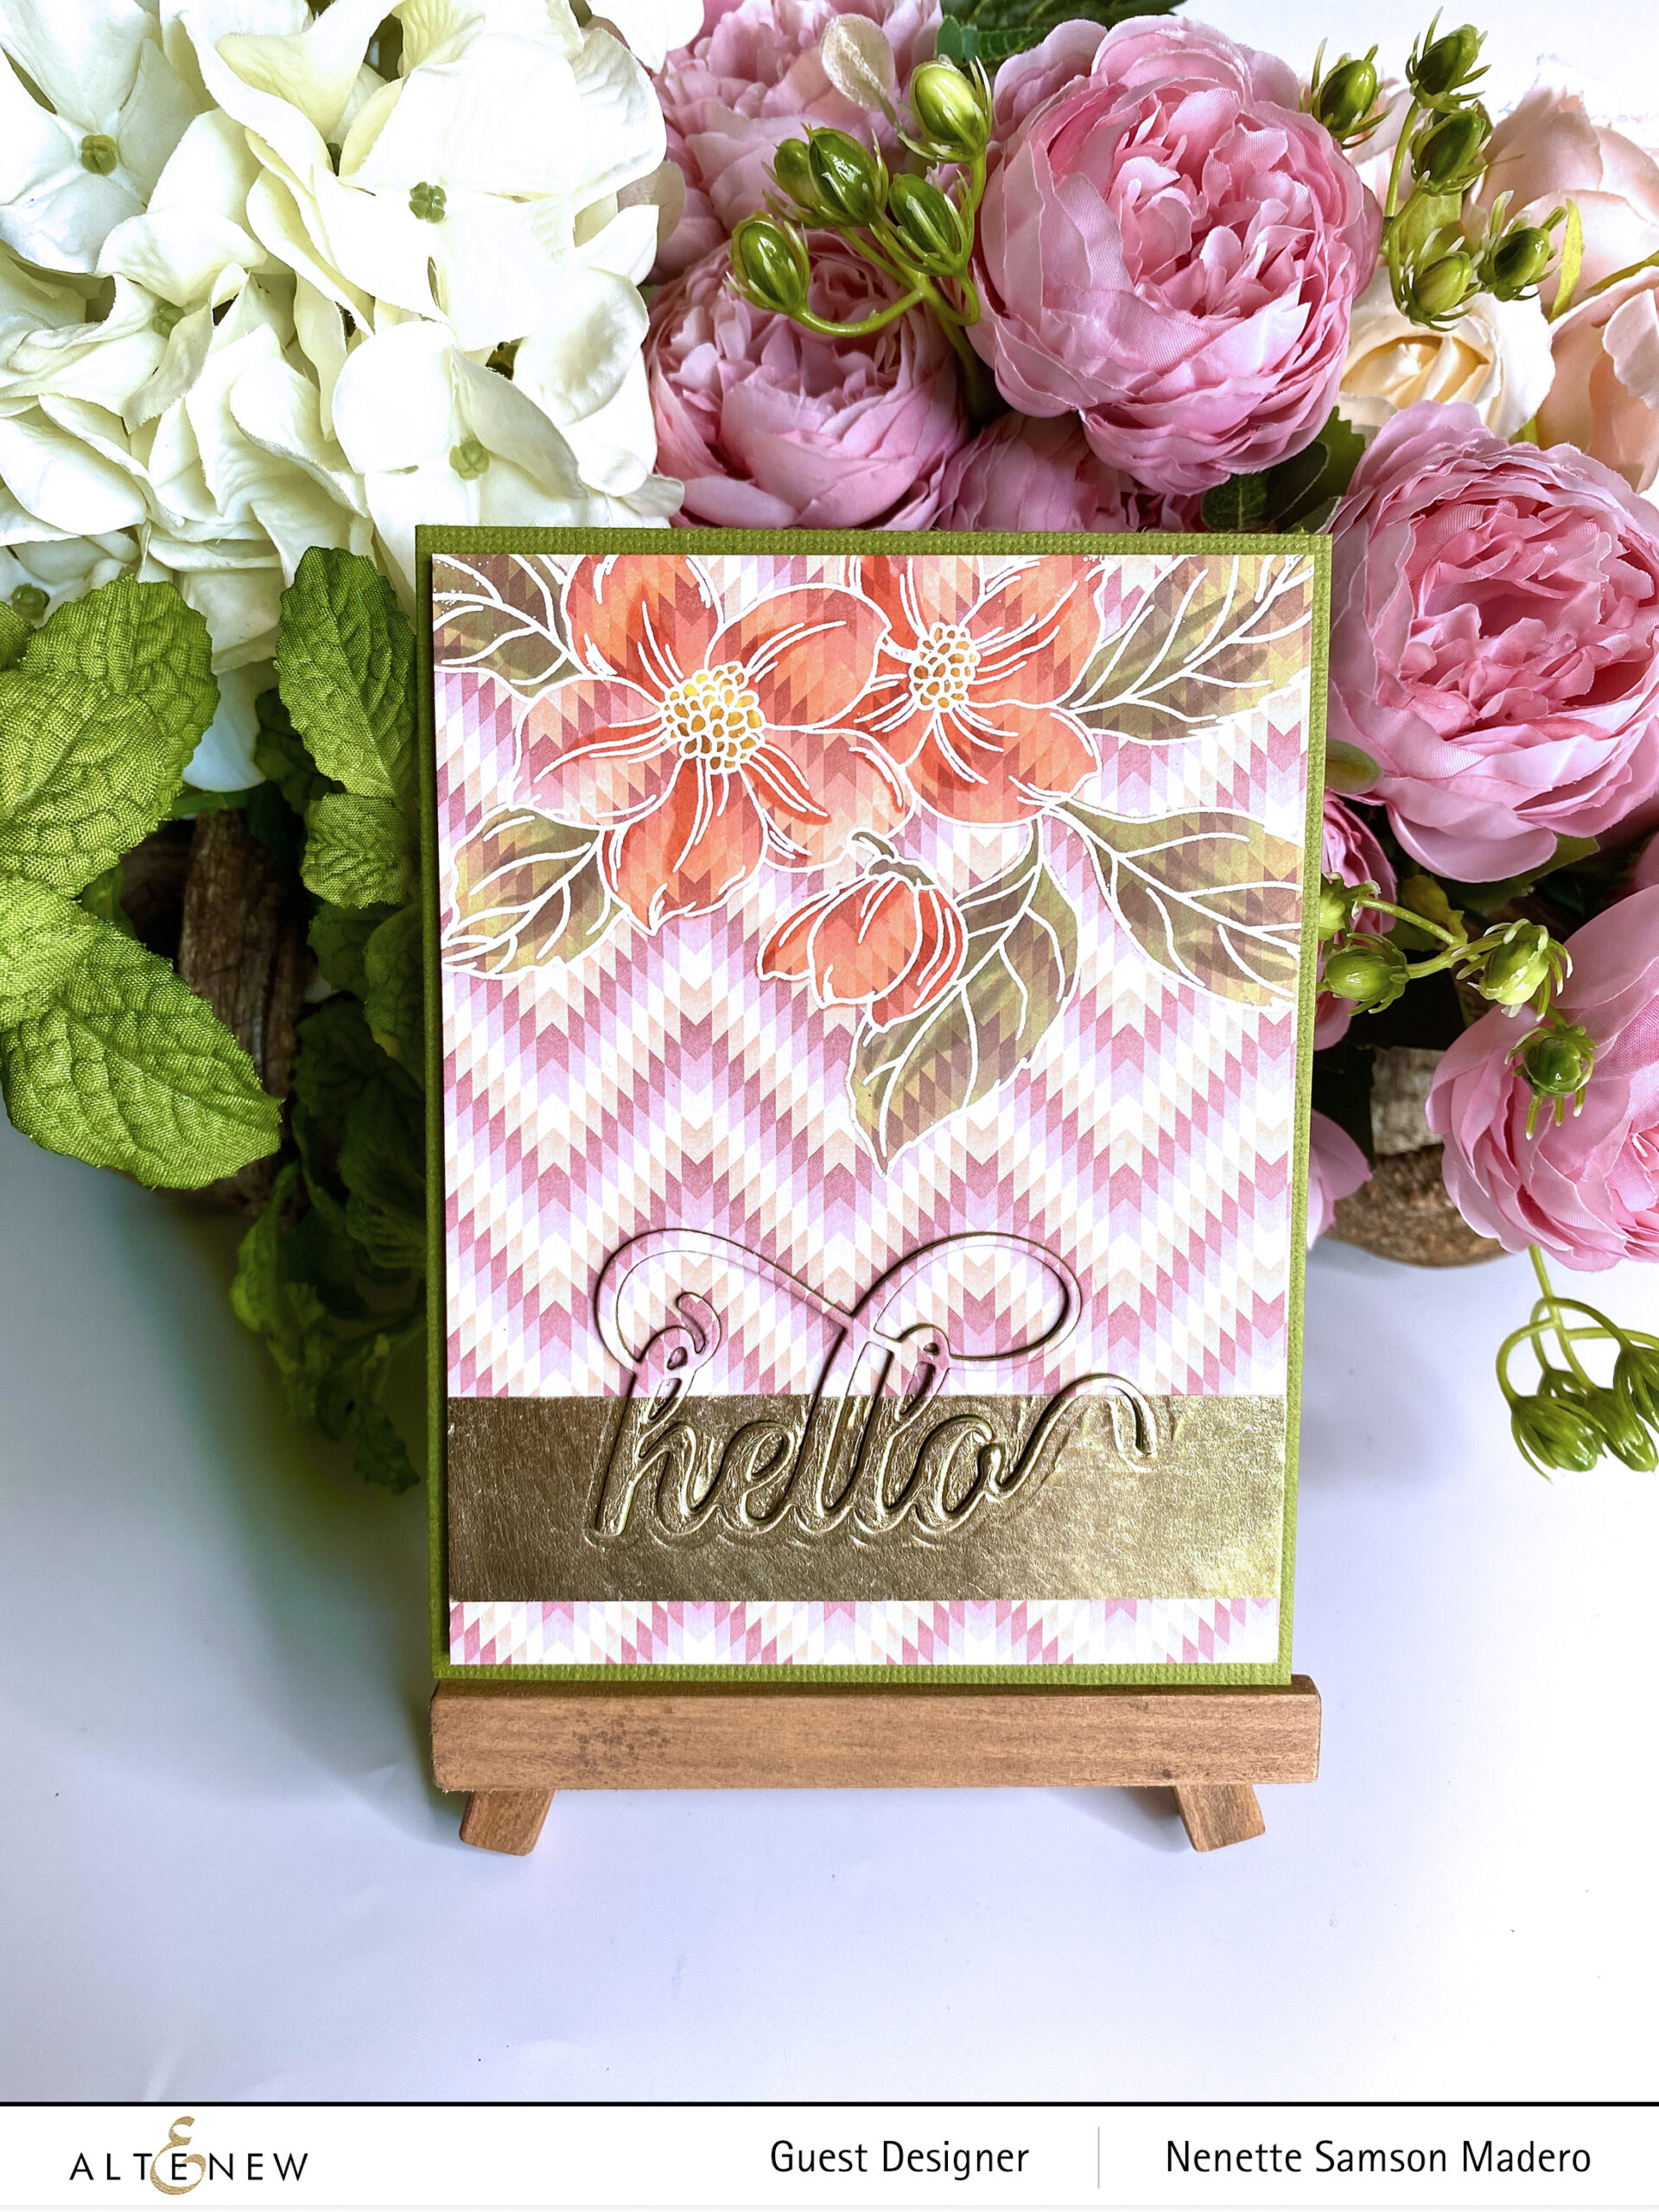
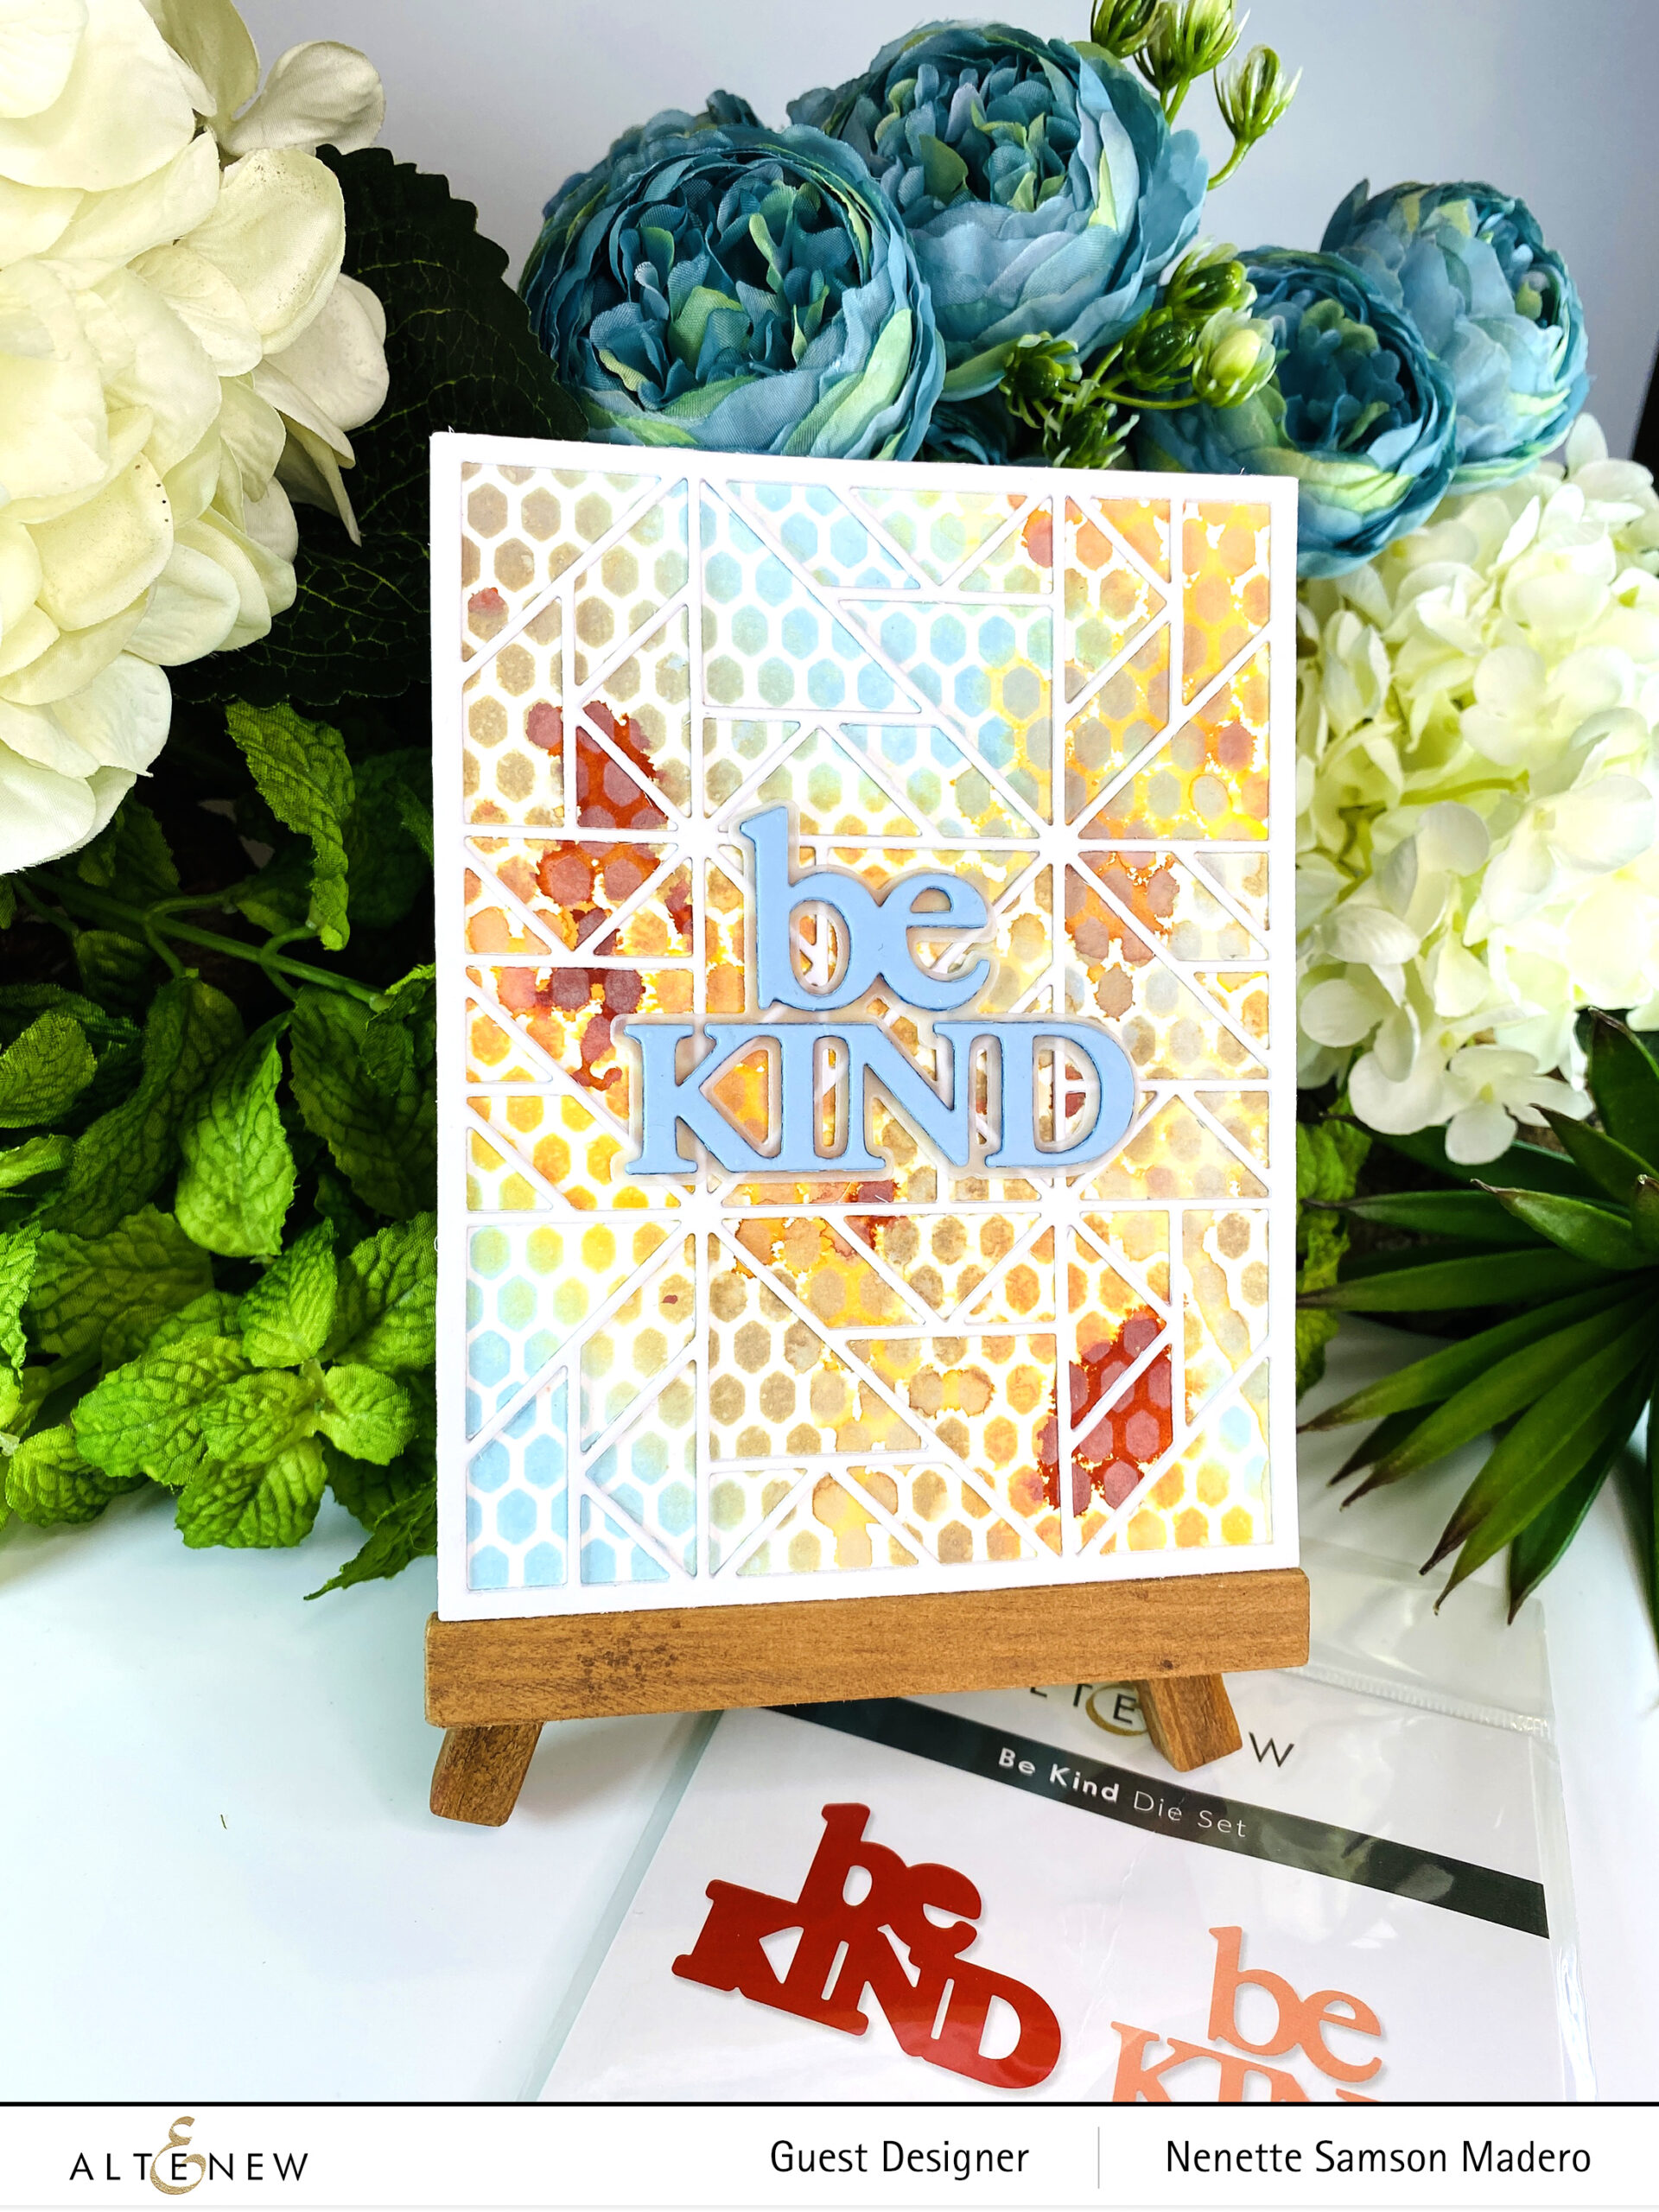
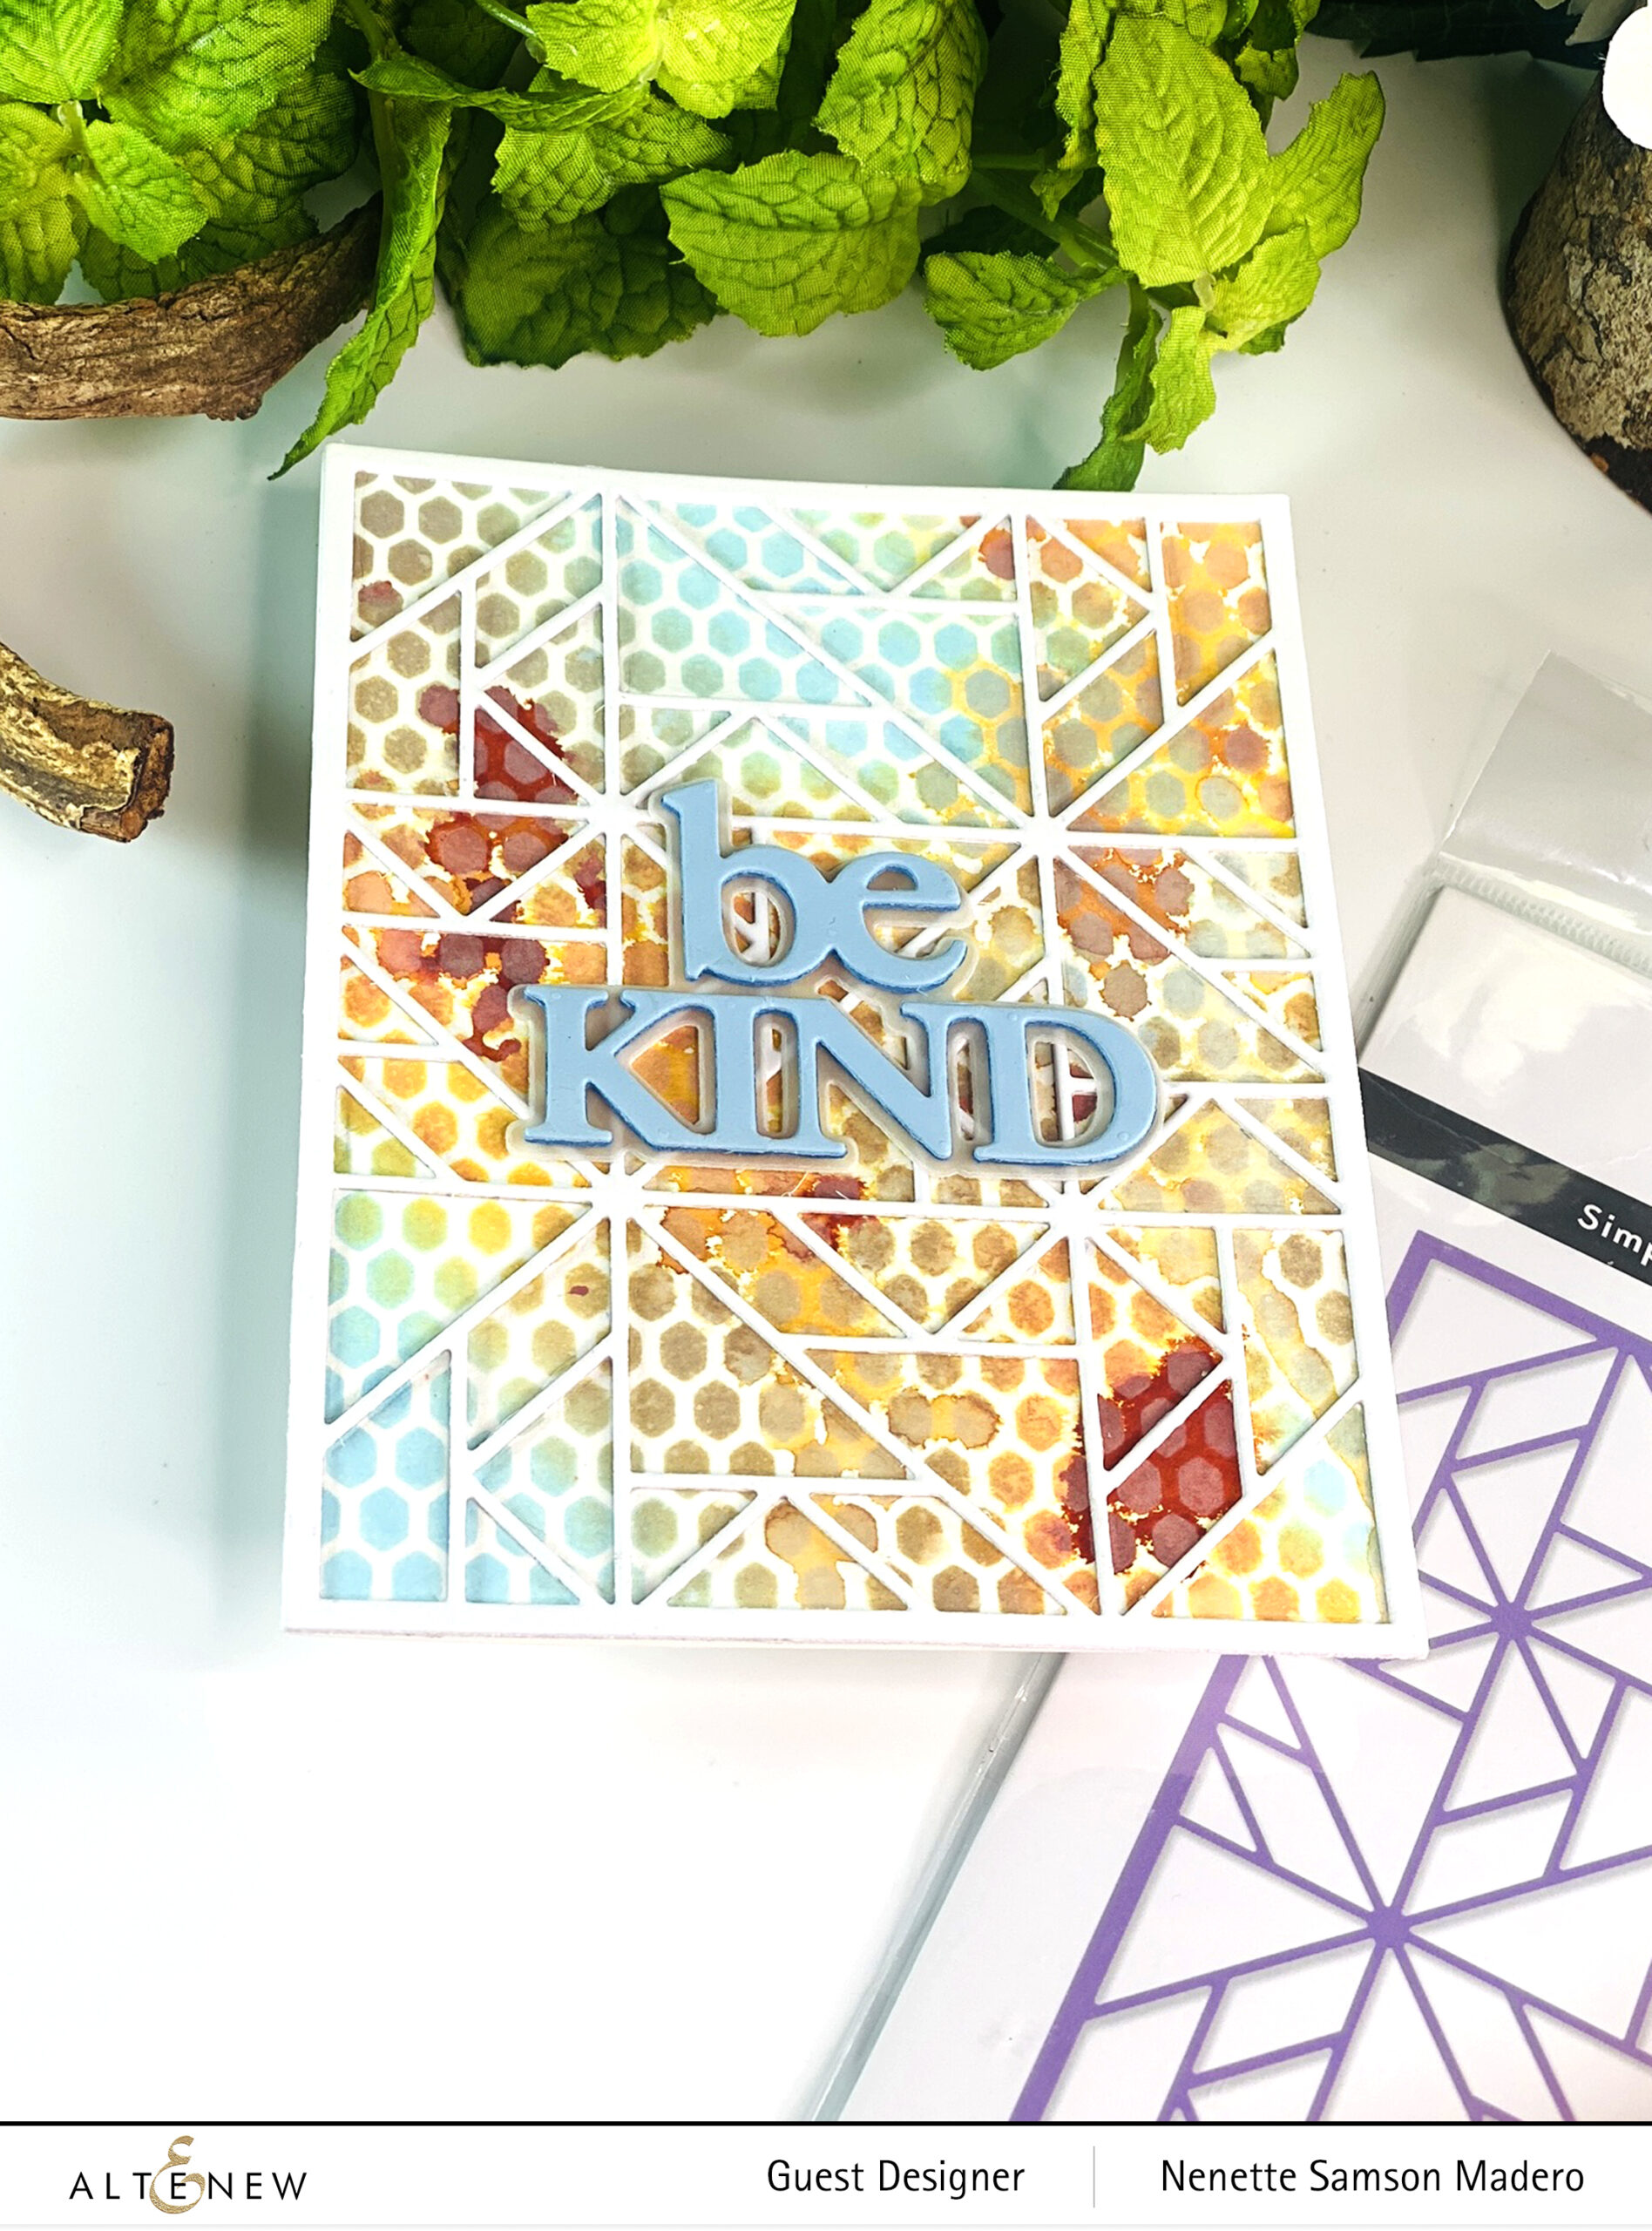
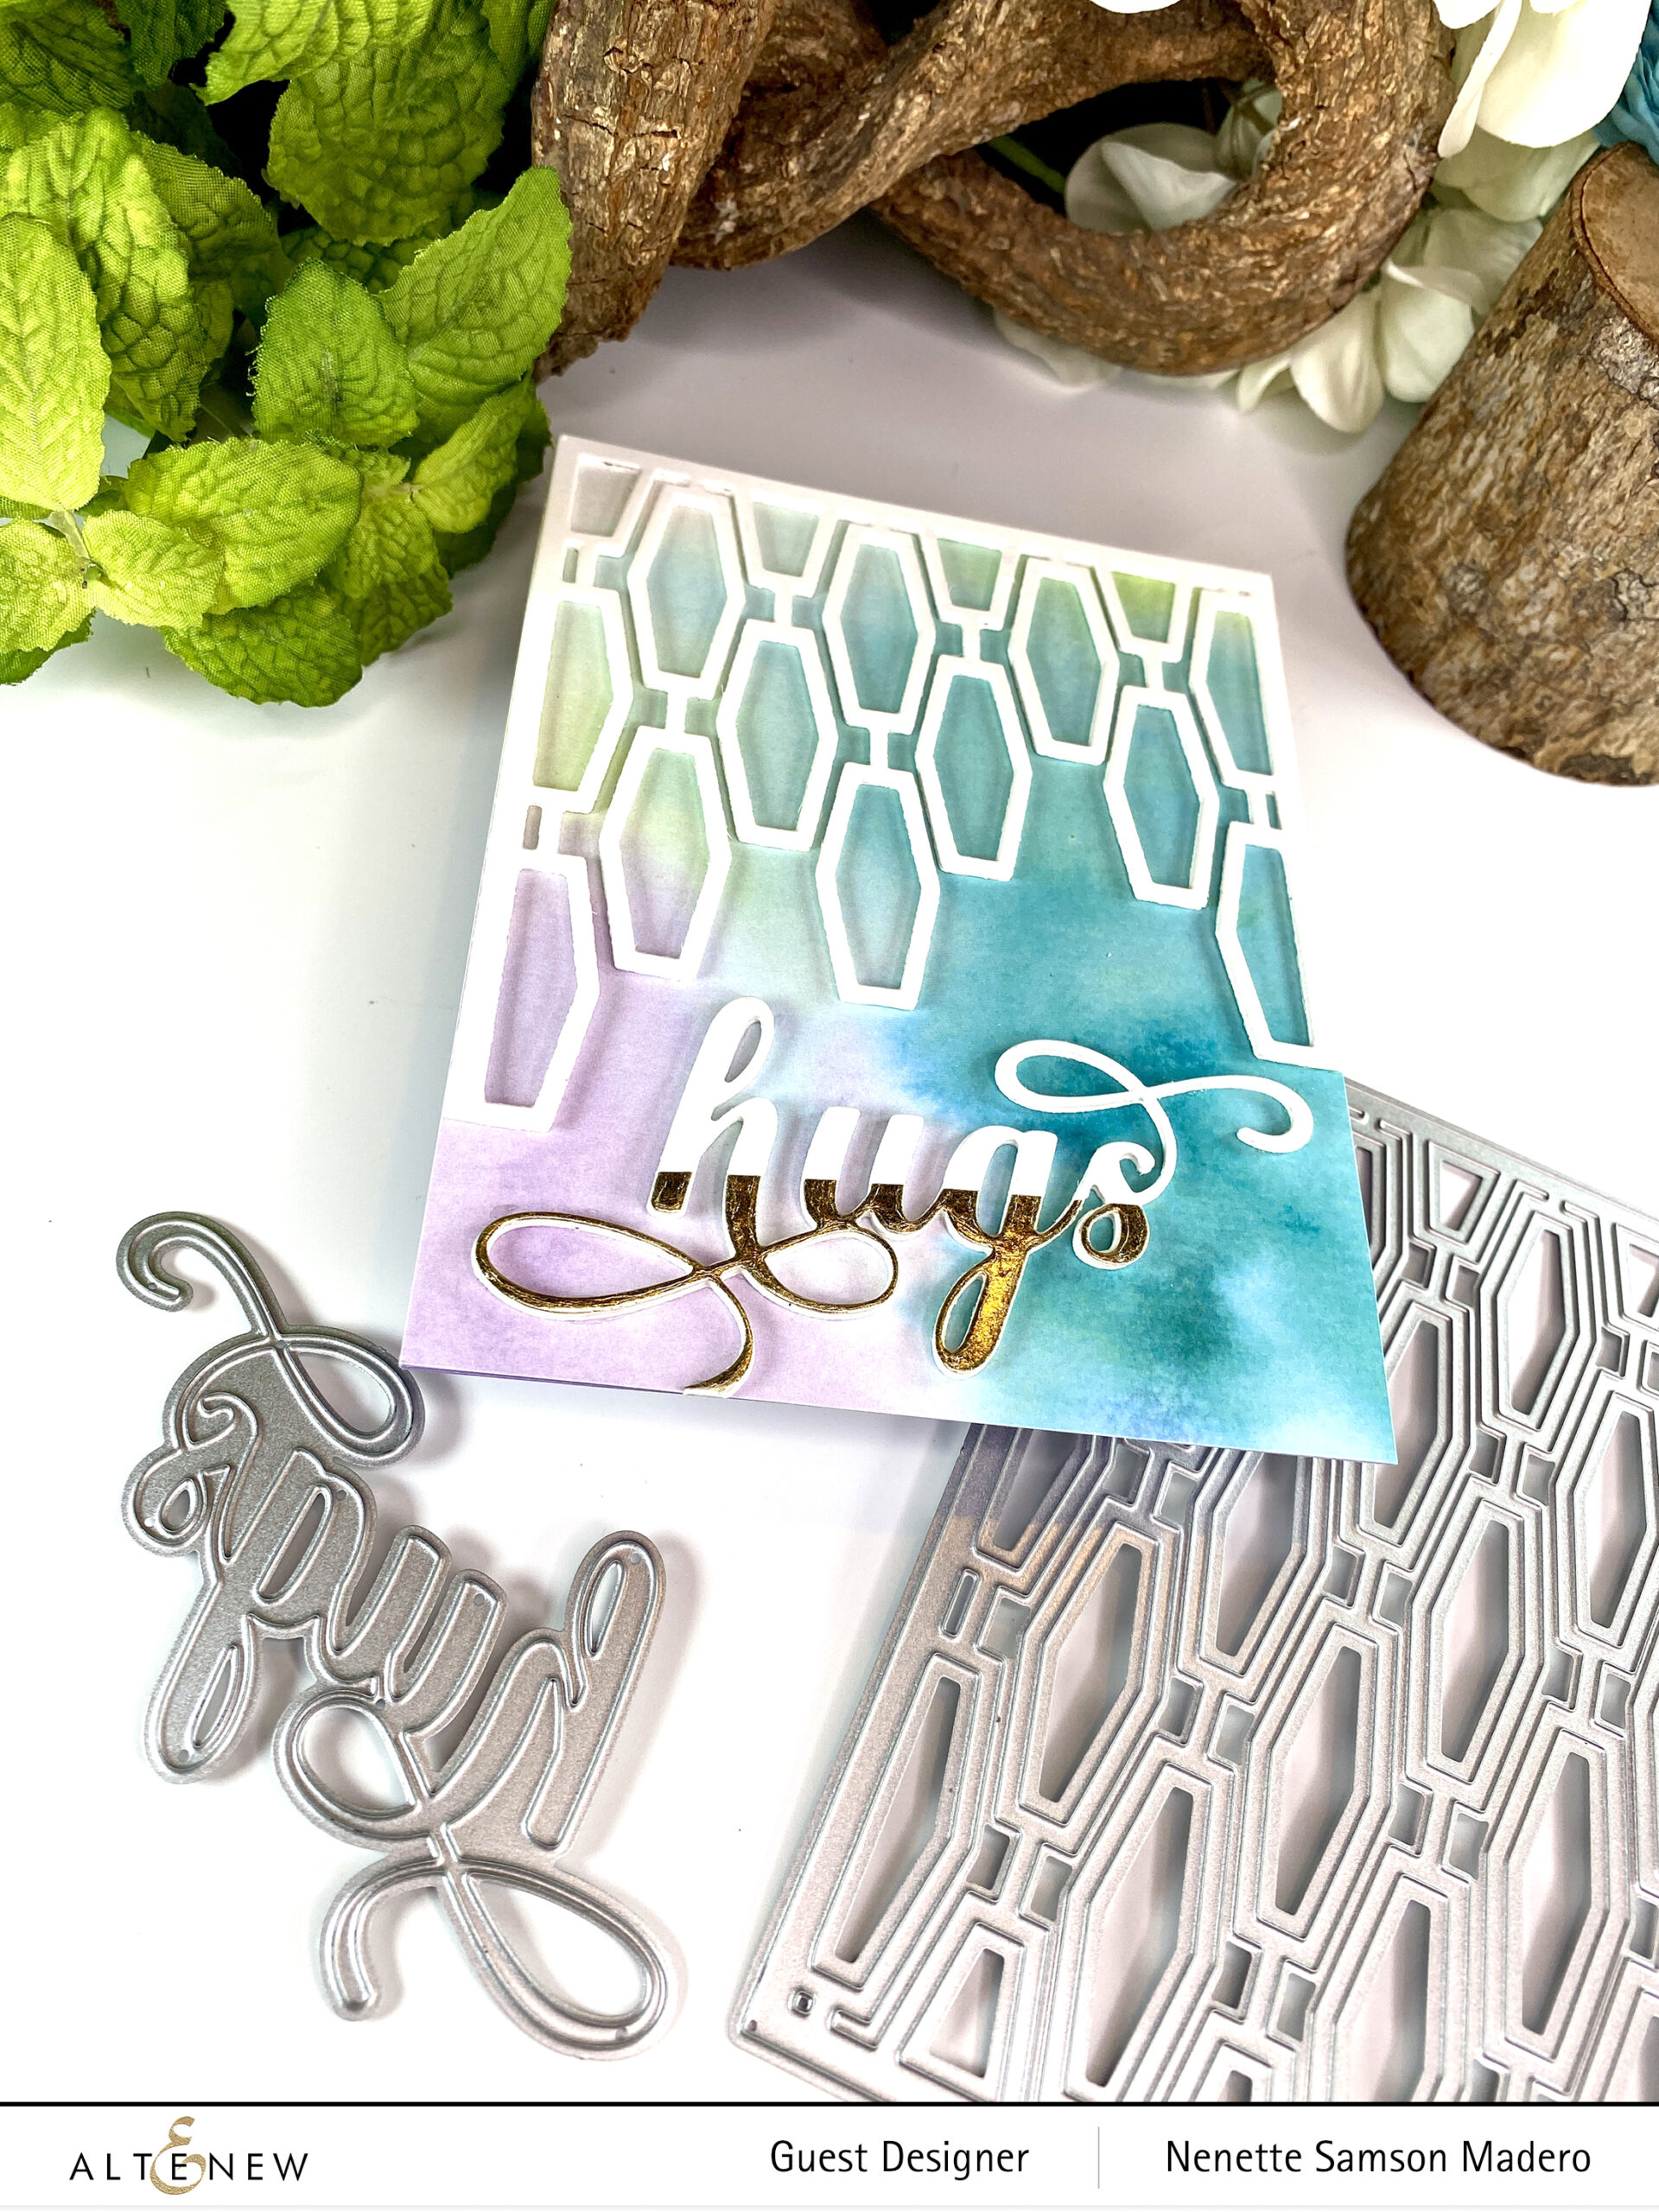
THANKS
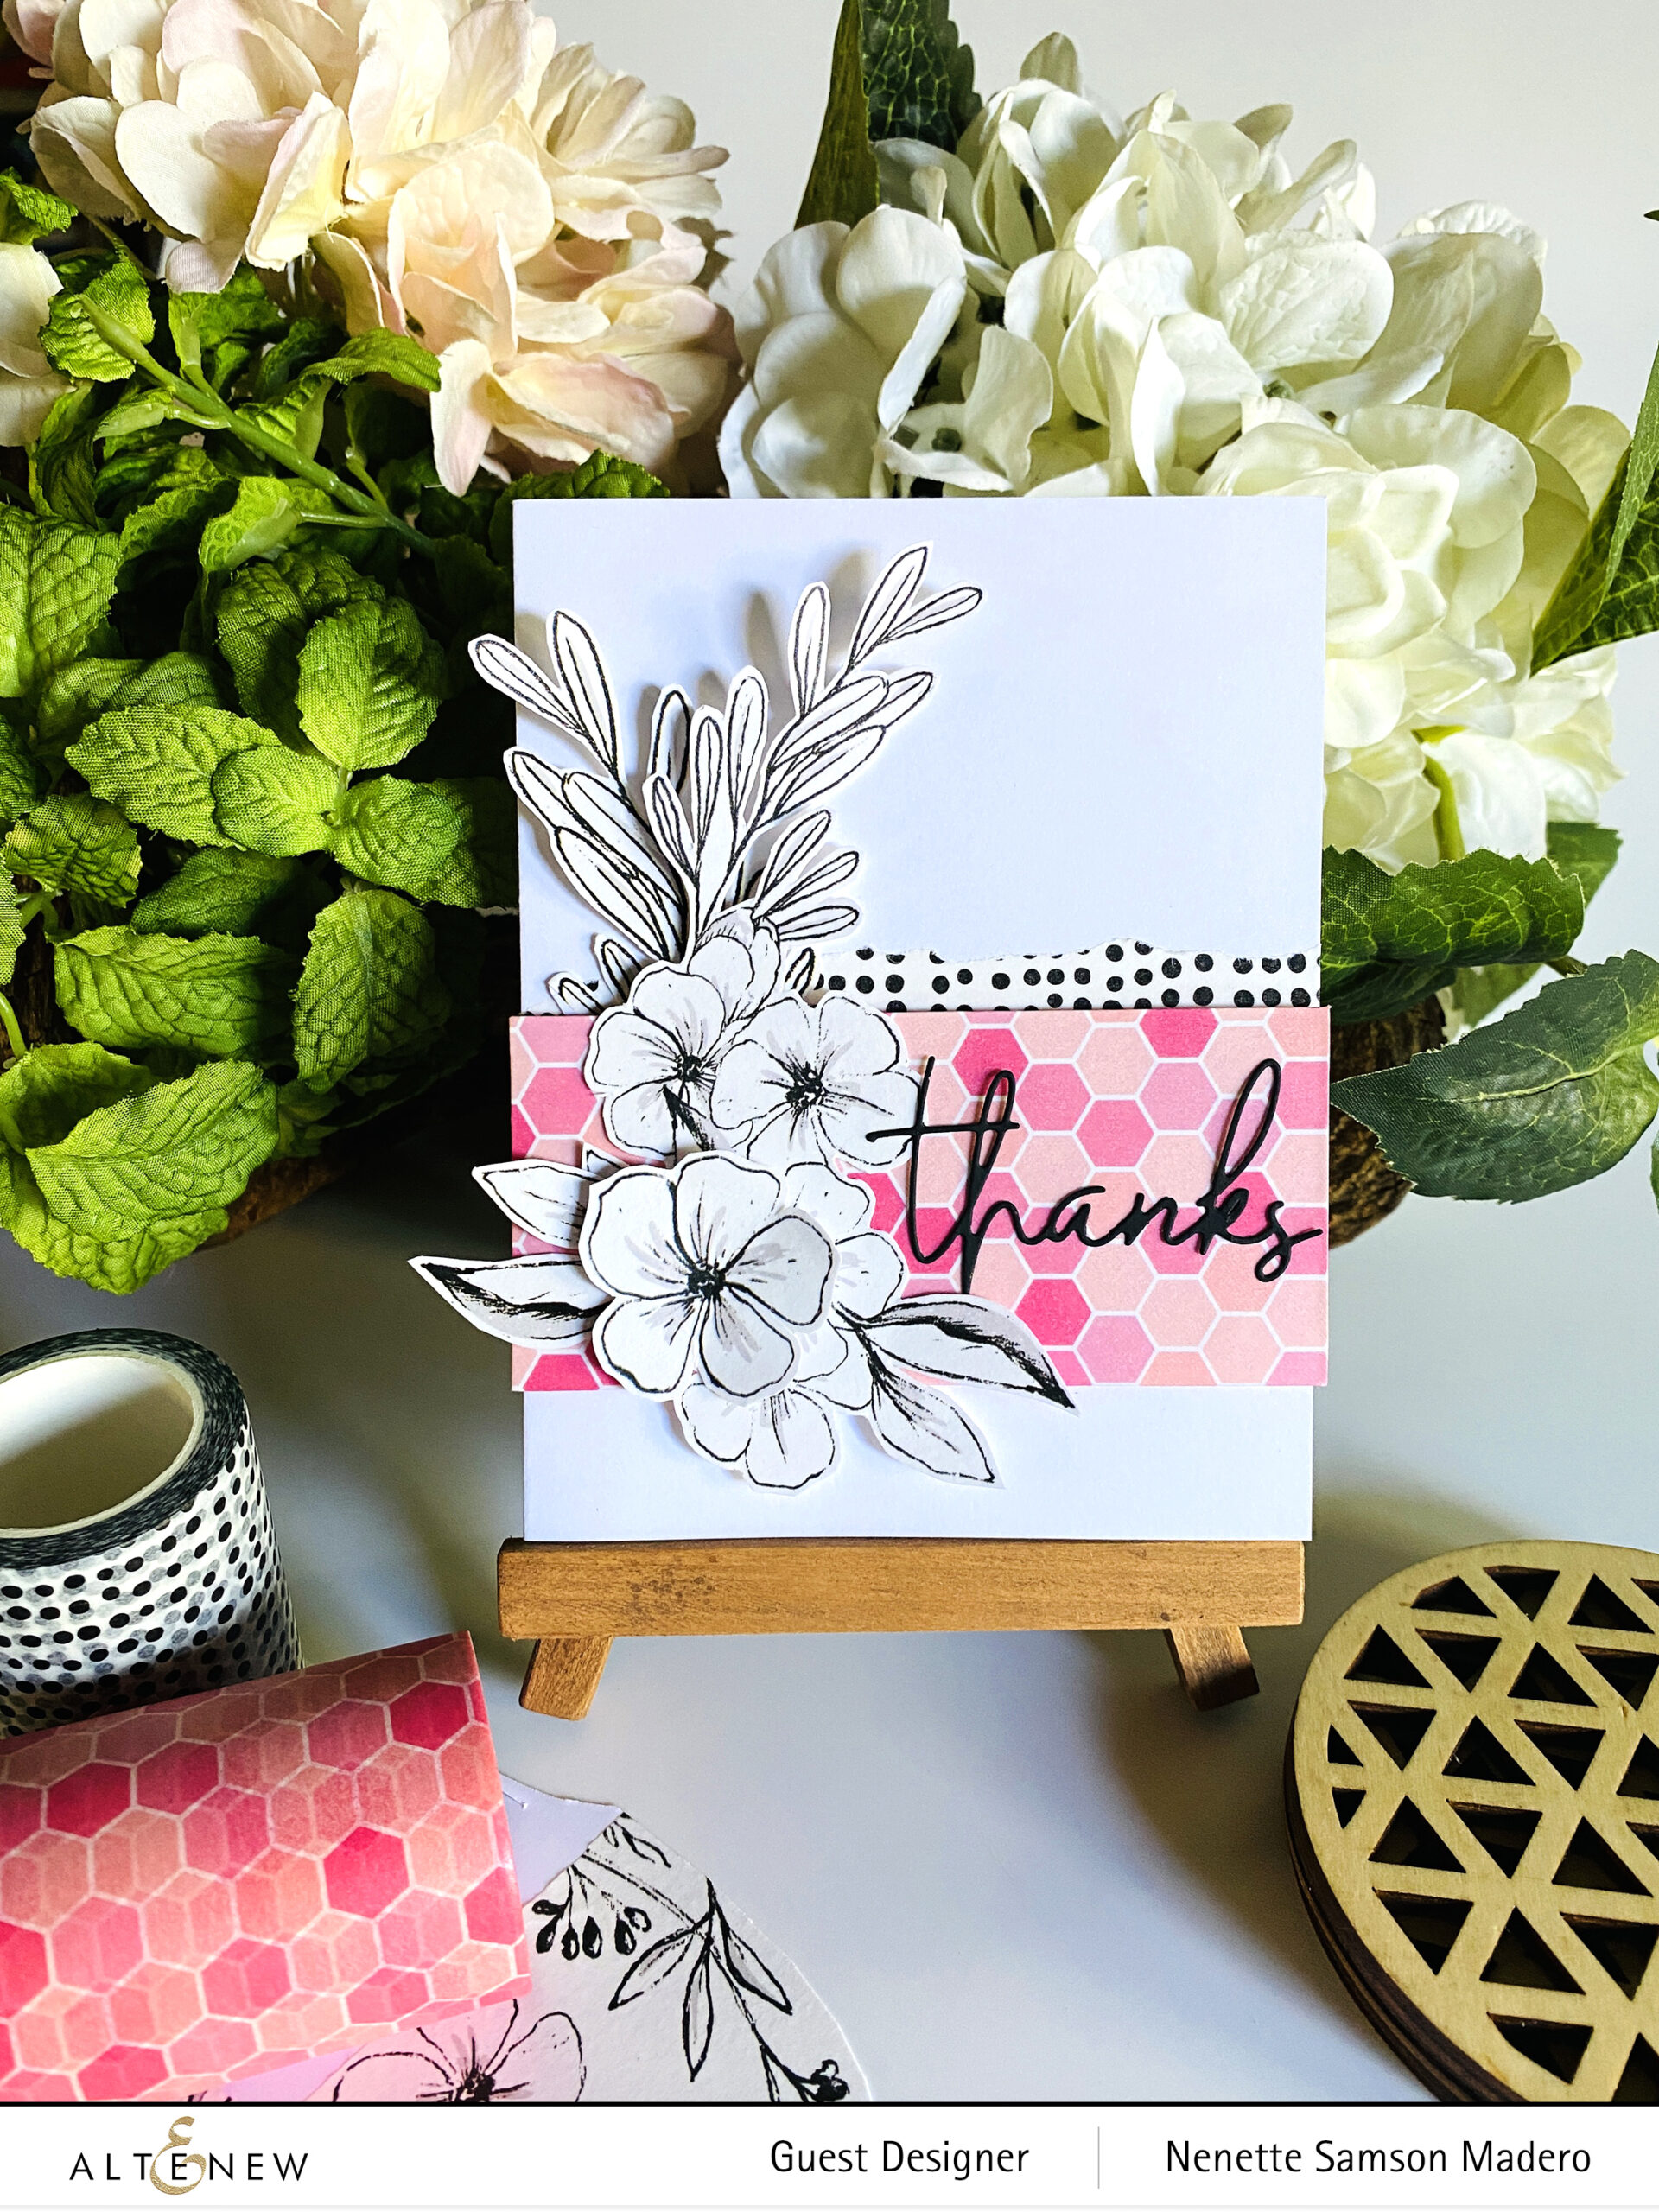
STEPS:
- Attach the Botanical Rhapsody Wide Washi tape onto white cardstock and fussy cut the flowers and leaves.
- Attach the Peachy Tiles Waship tape onto white cardstock and trim to fit an A2 cardfront.
- Add a torn Many Dots Washi tape on the lower third of the cardfront.
- Add the Peachy Tiles panel using foam squares.
- Arrange the flowers and leaves using foam squares and adhesive.
- Adhere the thanks die cut from the Craft your Life Seasonal Blooms set.
See how easy it is to create this card?! Adding the washi tape to paper gave it some sturdiness so that it was easy to cut and shape.
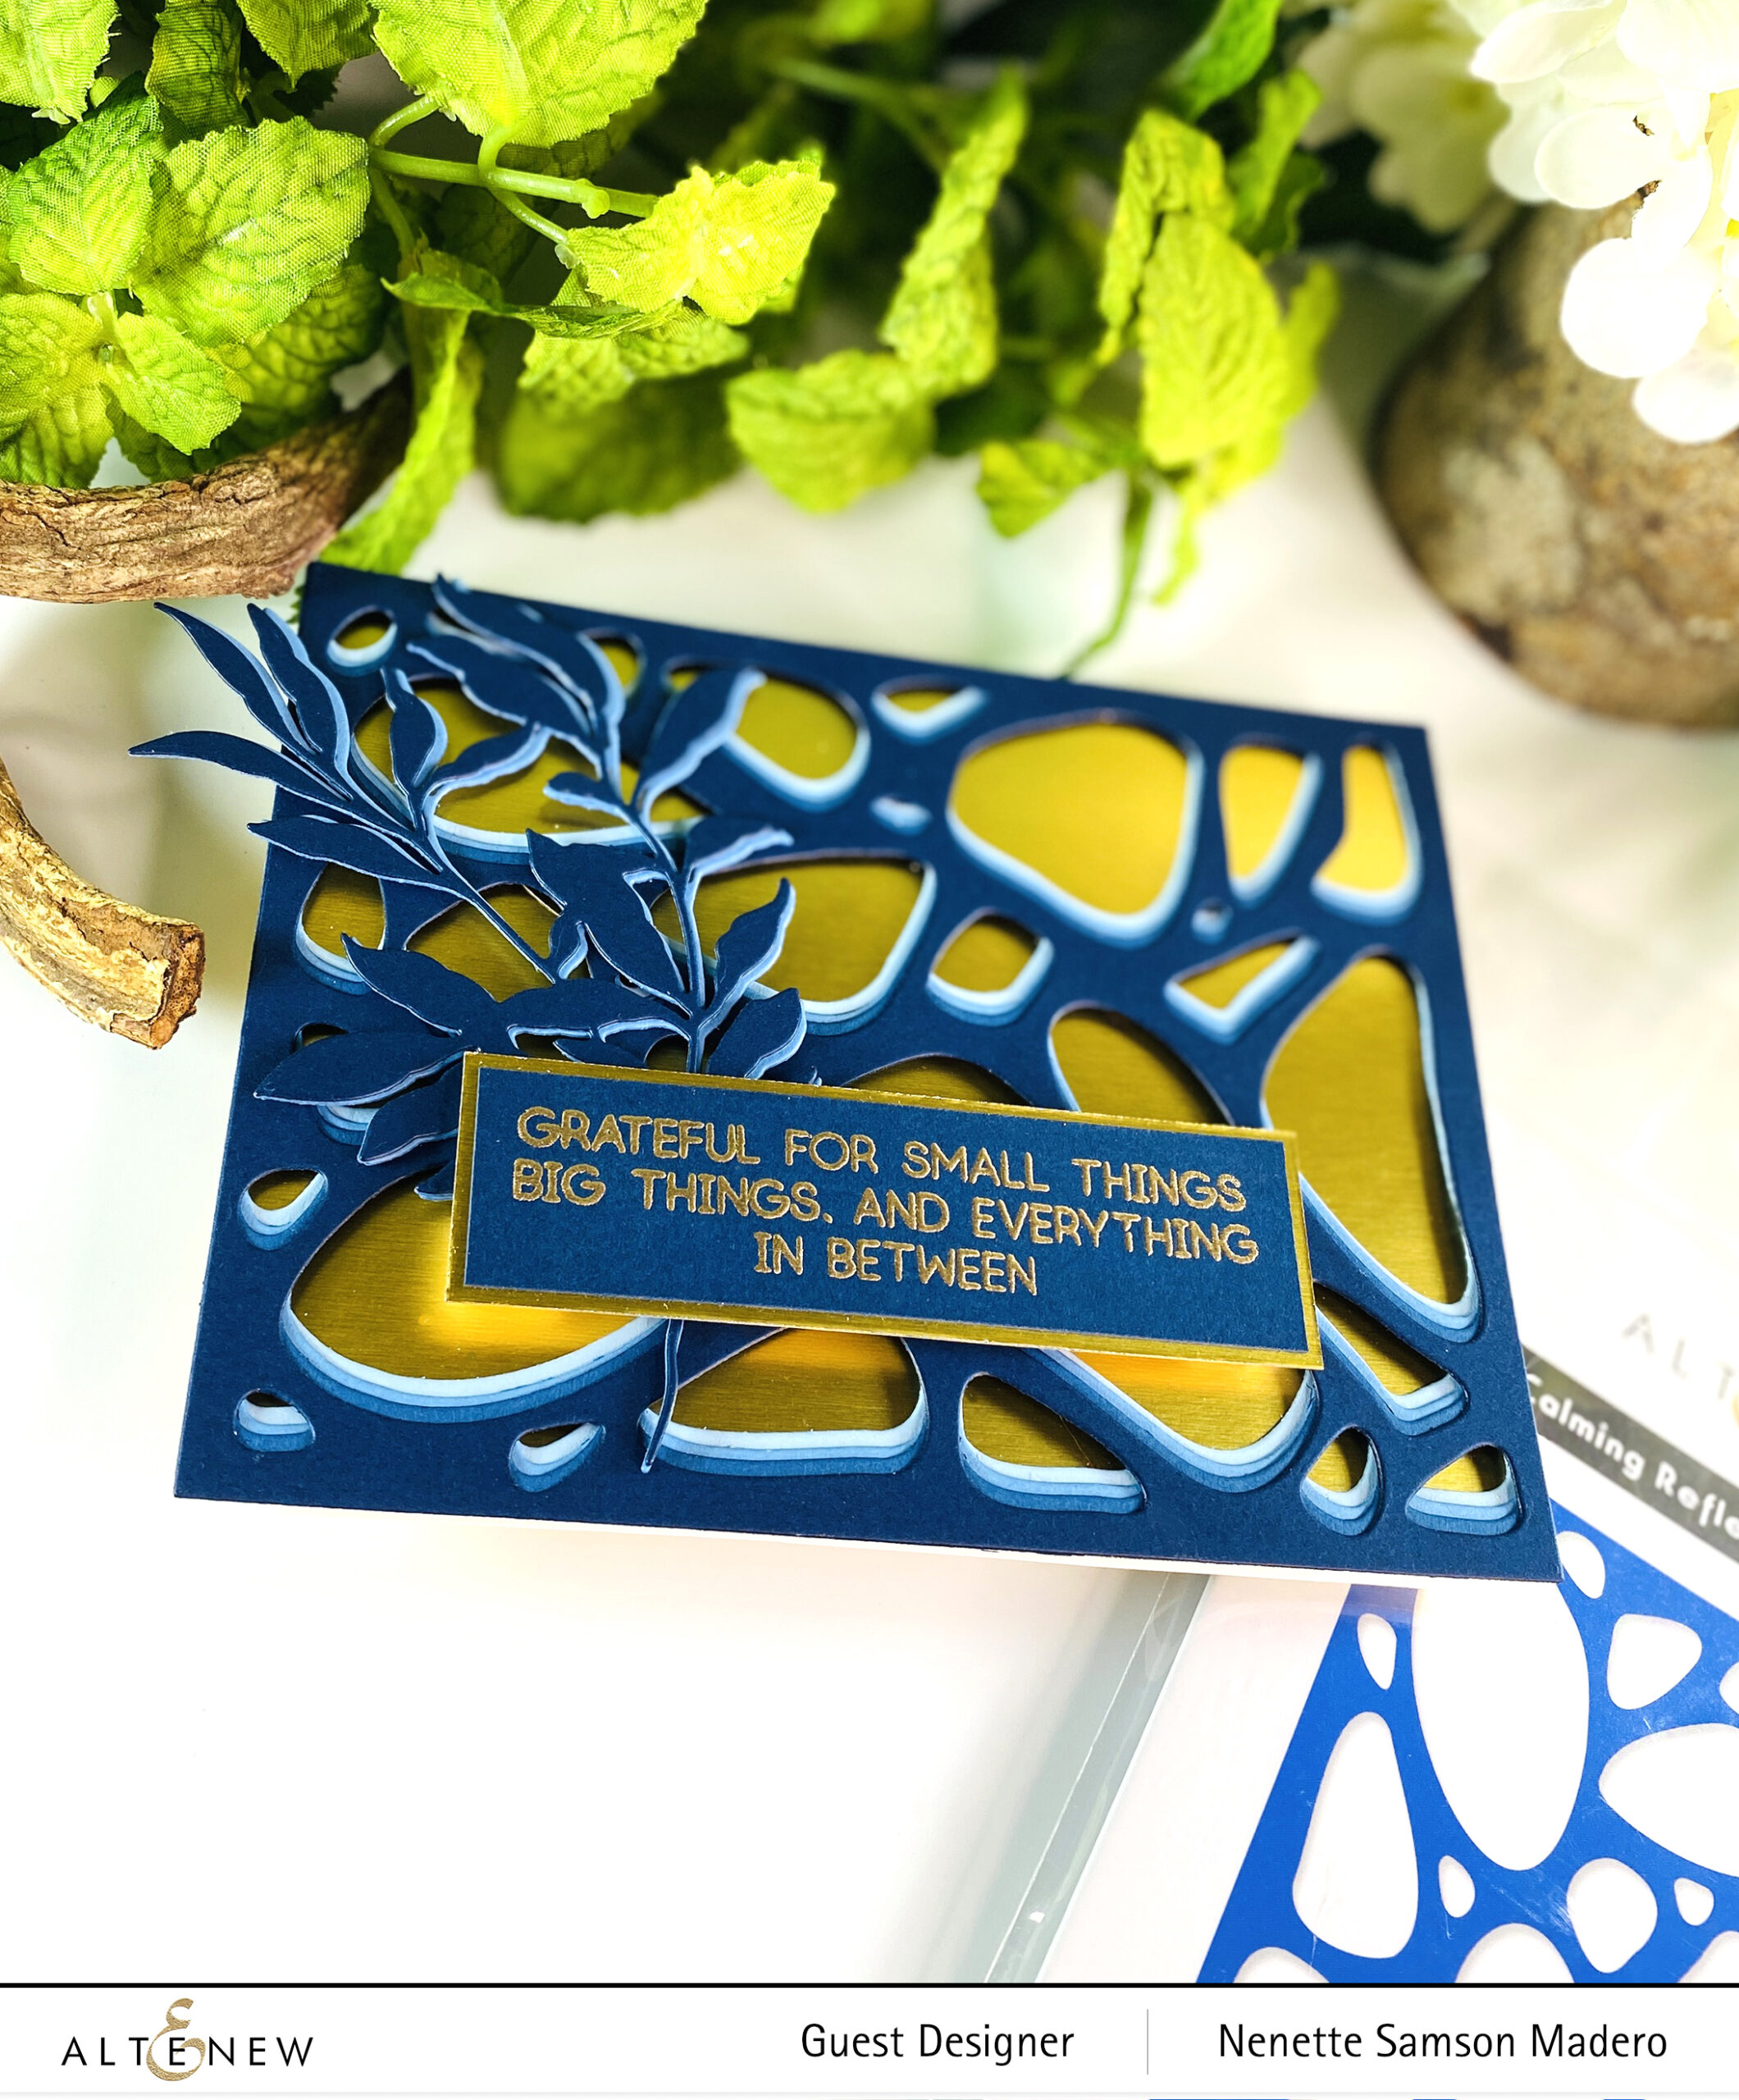
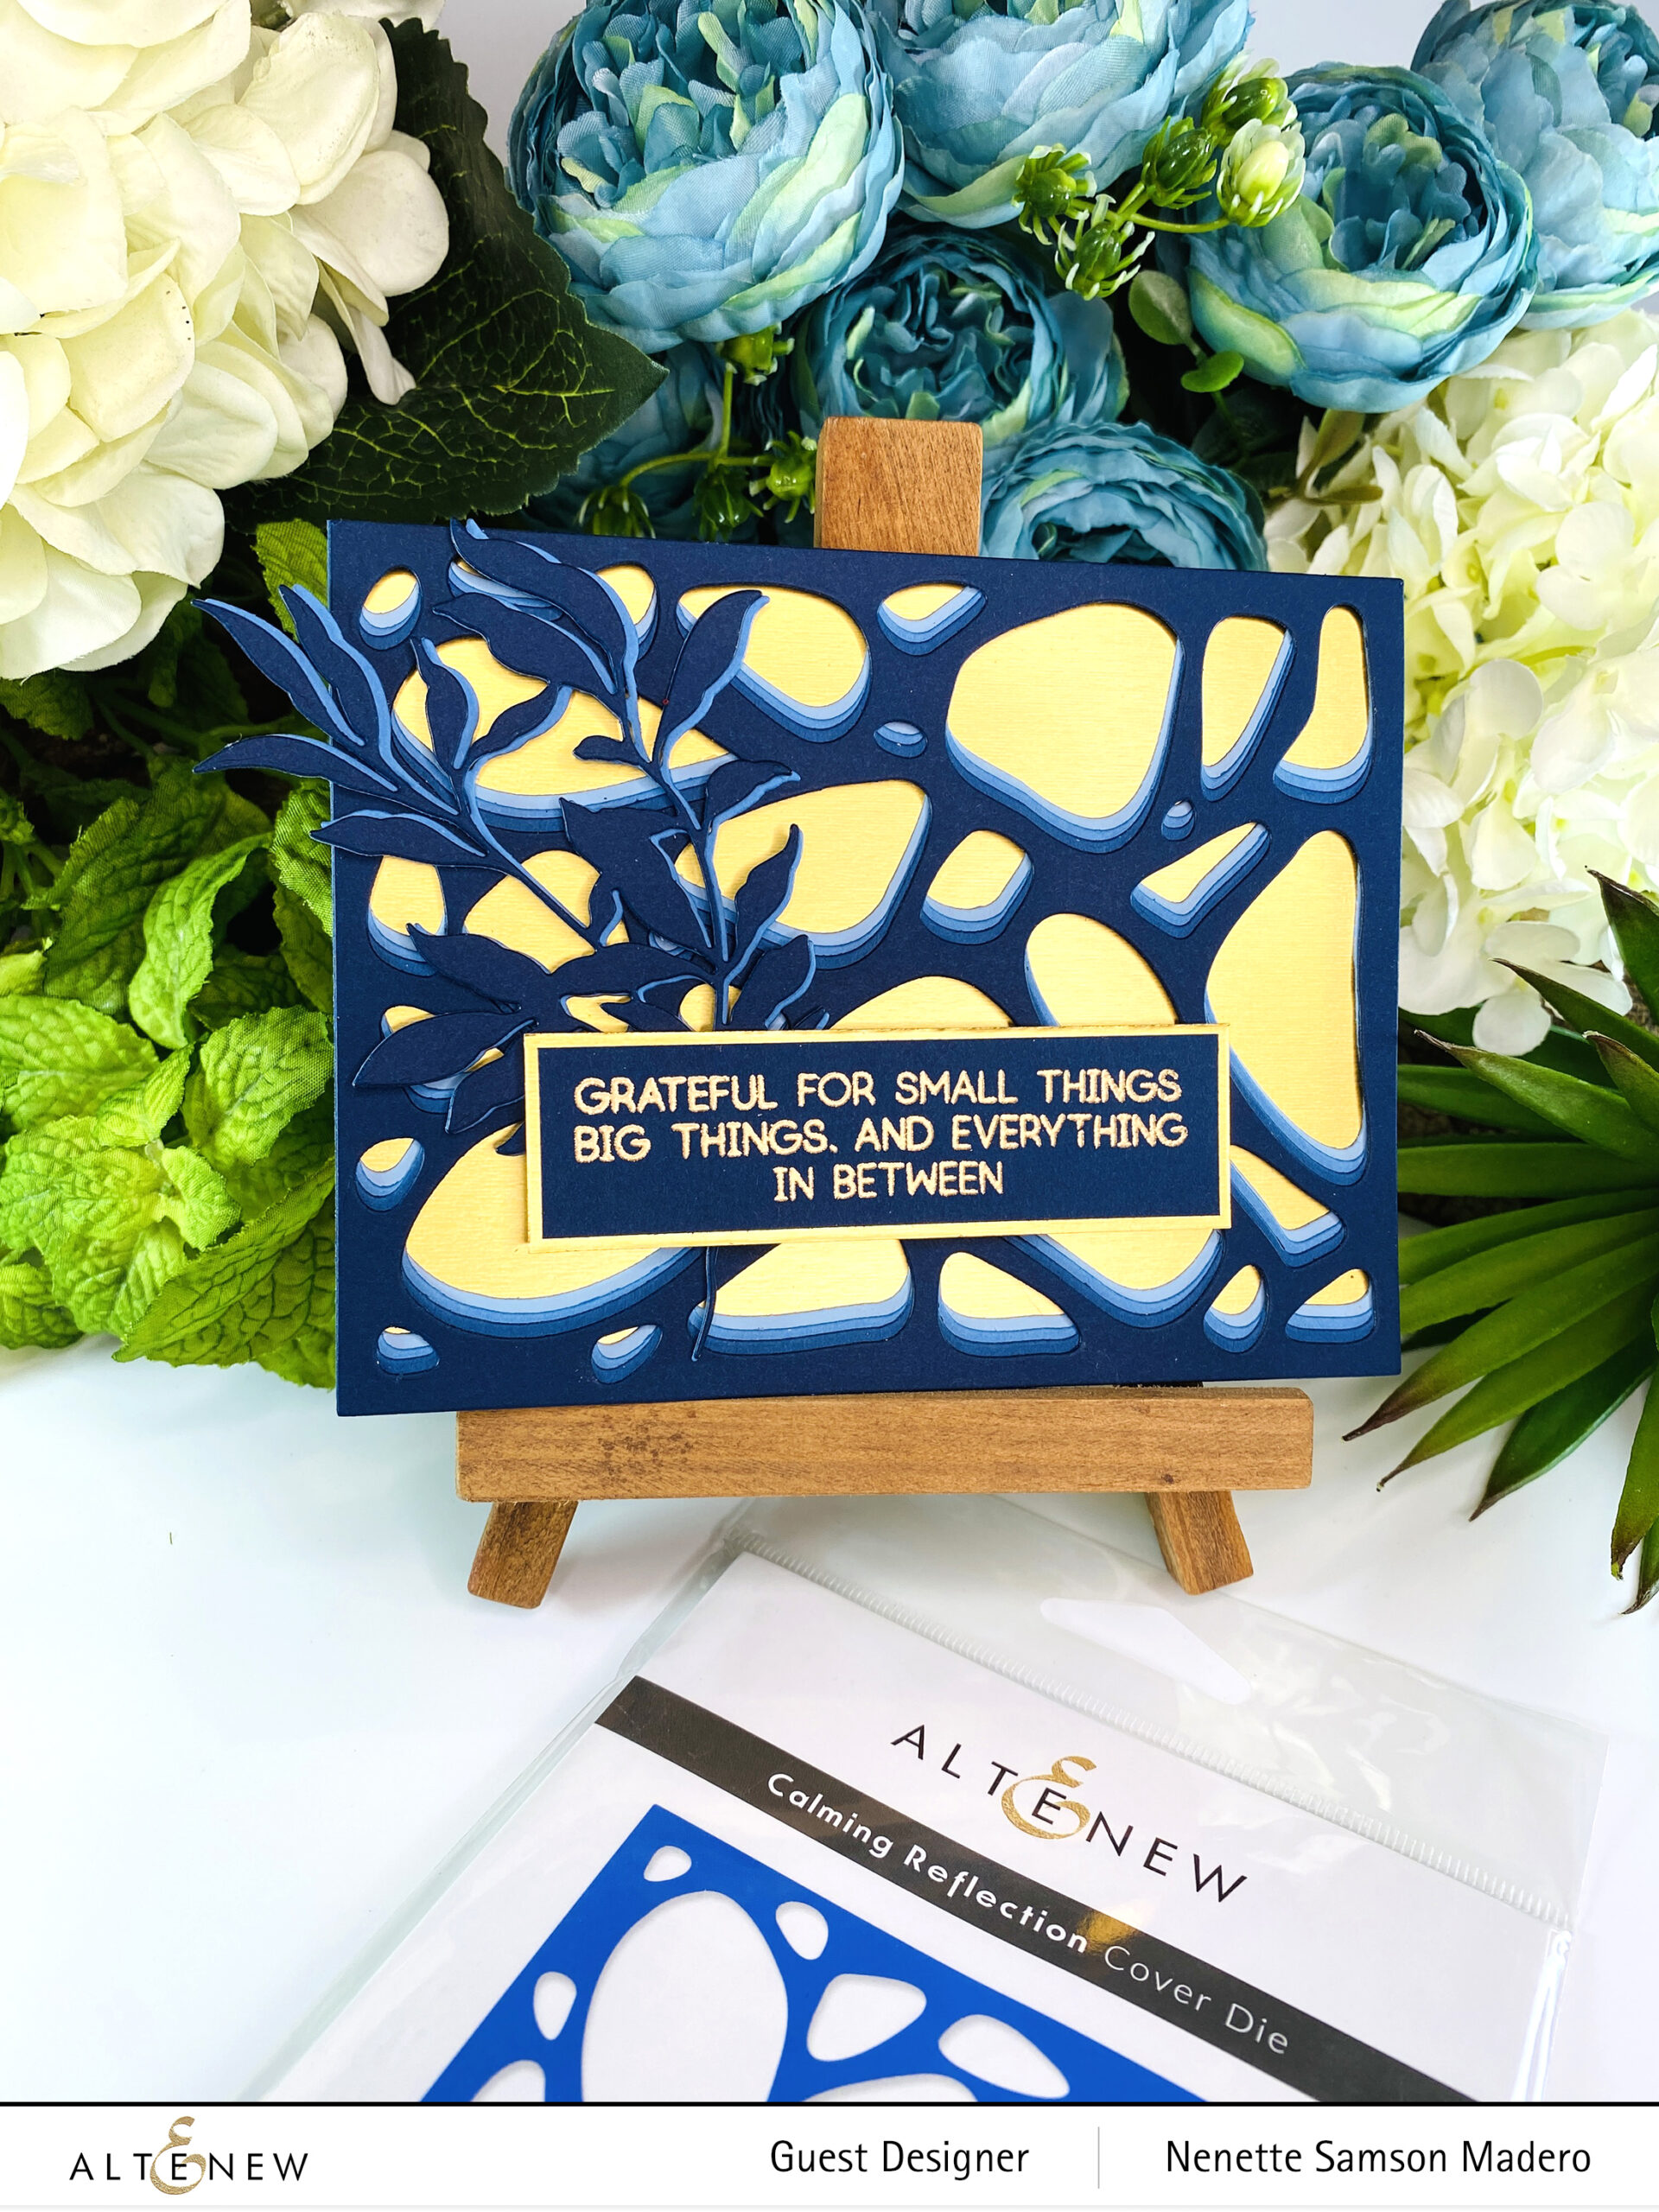
HELLO
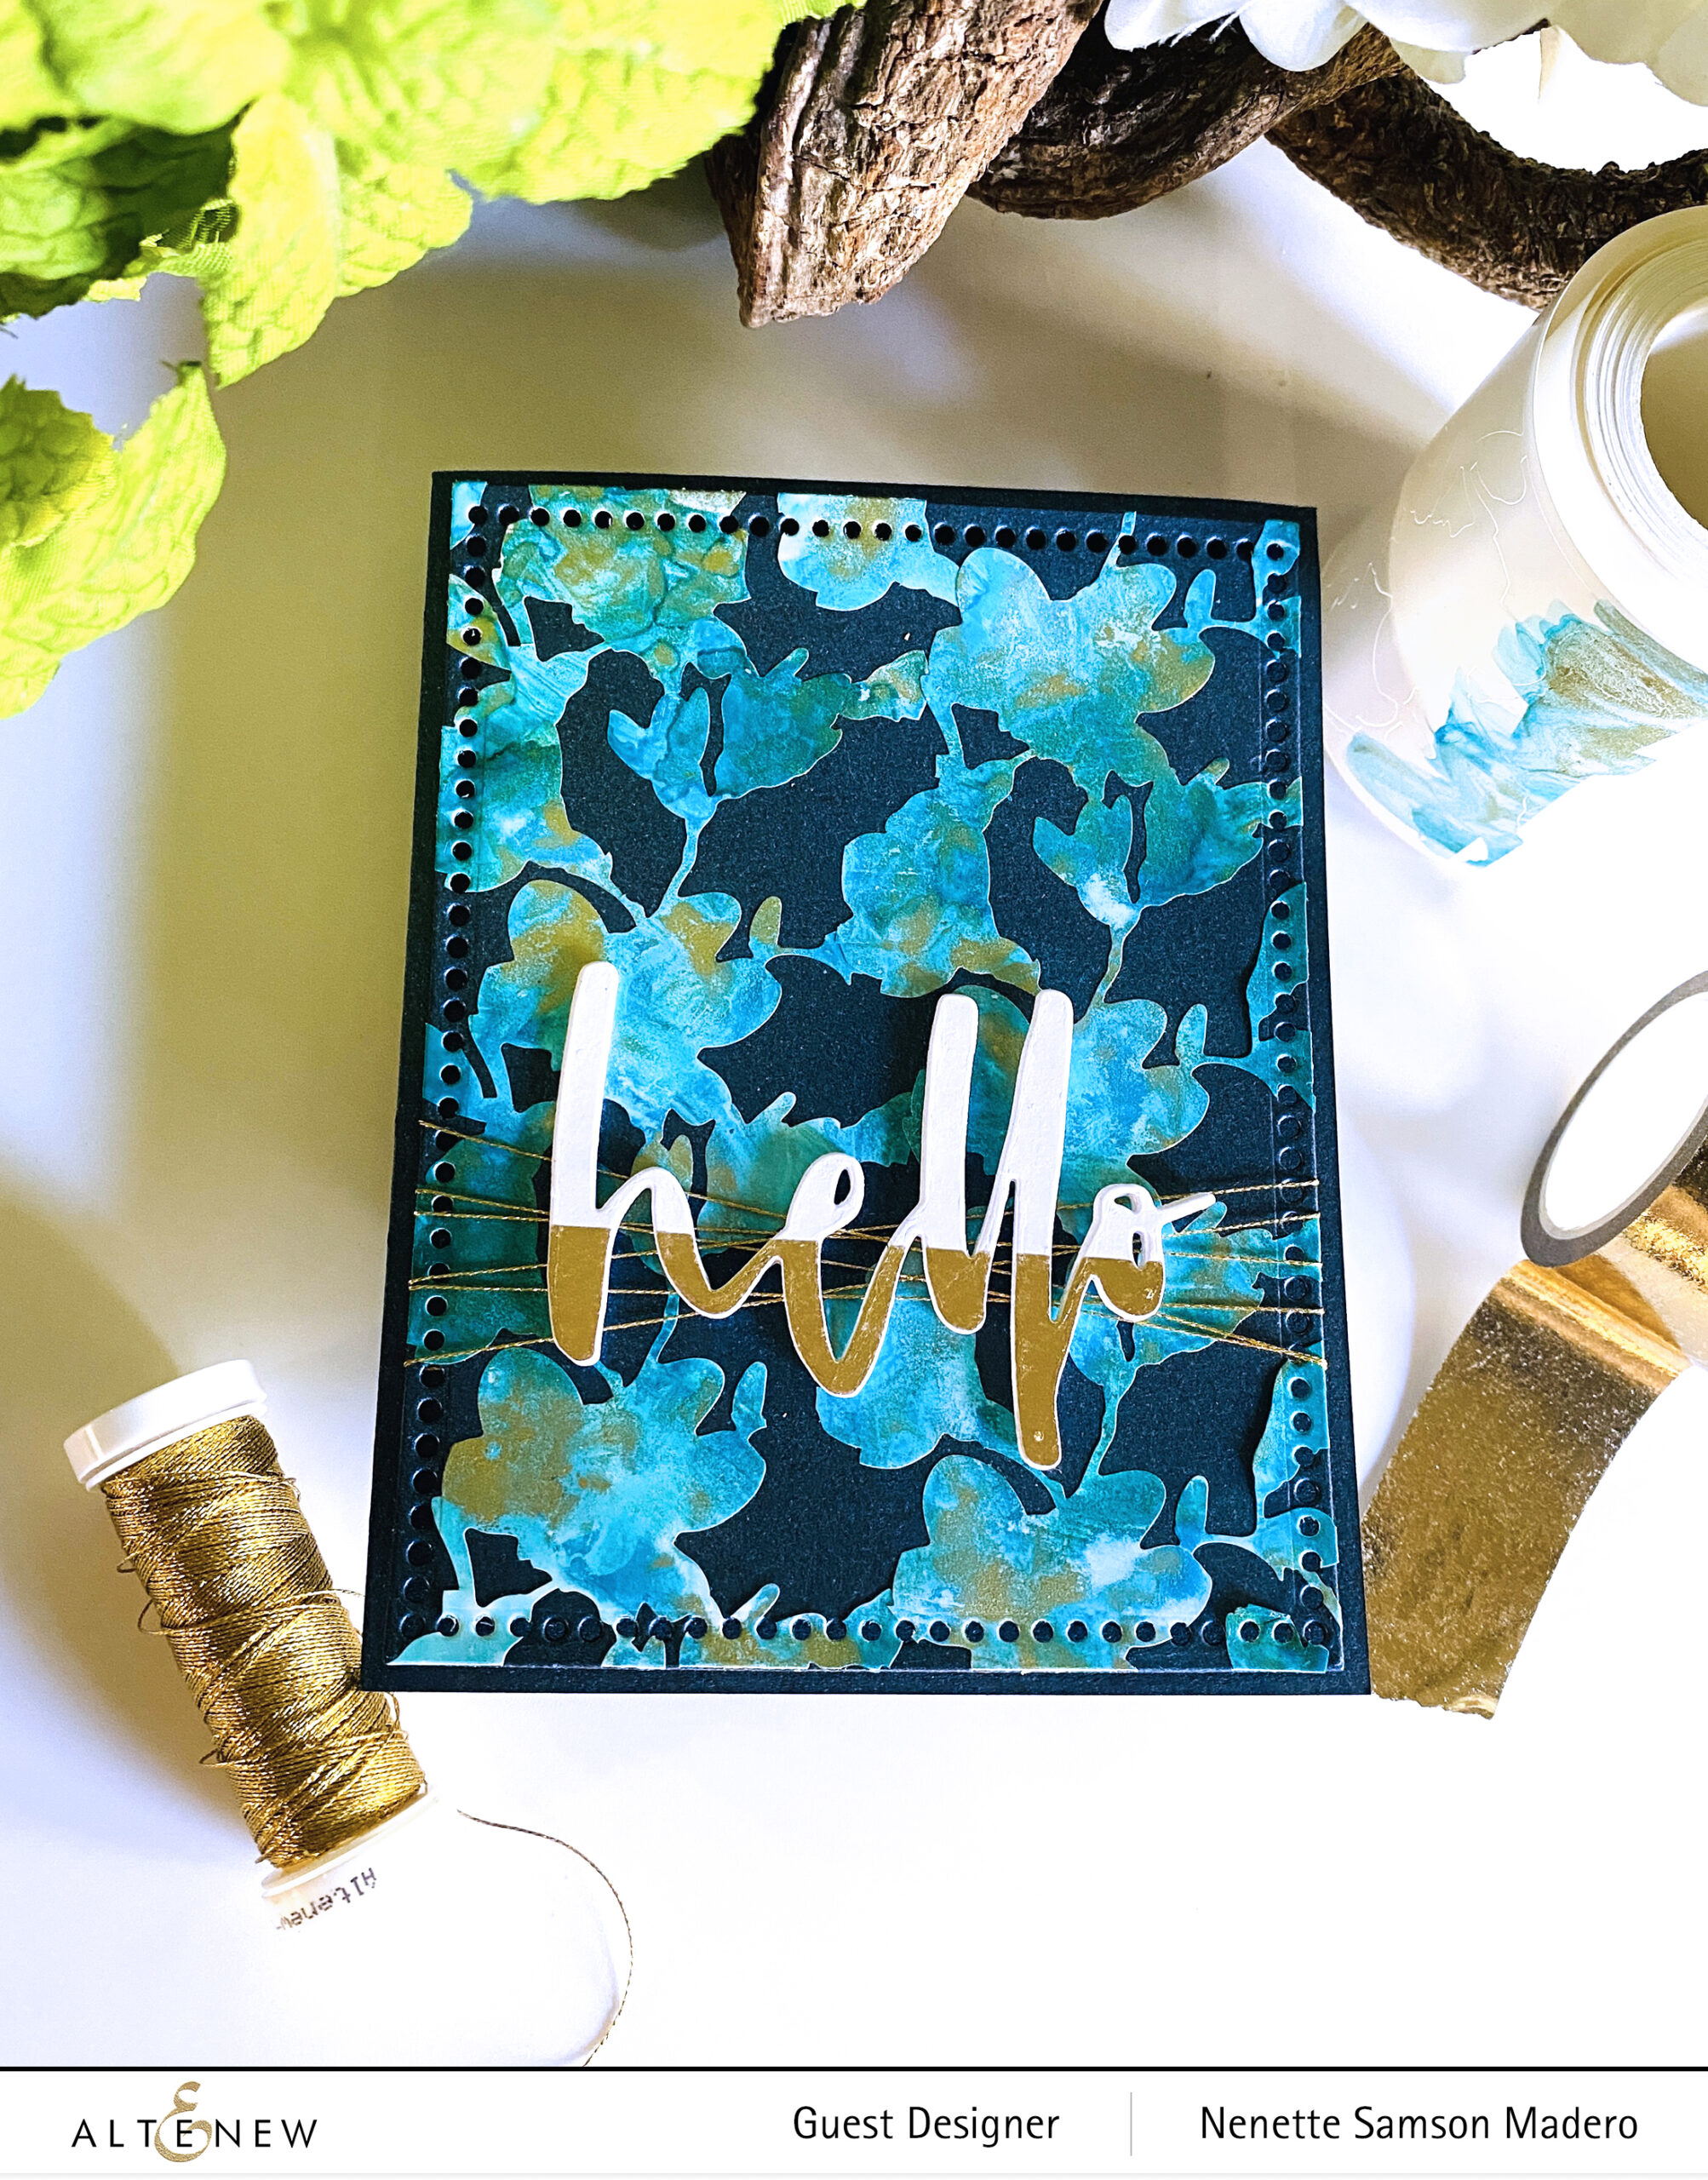
STEPS:
- Color the Bouquet Die Cut tape using Alcohol Ink Mermaid, Alcohol Pearl Tranquil and Piñata Rich Gold. Allow to dry.
- Adhere the colored tape onto dark blue cardstock to create a background for the card front.
- Add a border by using the Mix & Match Frames die.
- Die cut the Hello 4 times using white carstock. For the last one, adhere the Gold Foil Washi Tape first before die cutting the word.
- Add the Enchated Gold Metallic Thread to ground the Waterbrush Hello die cut.
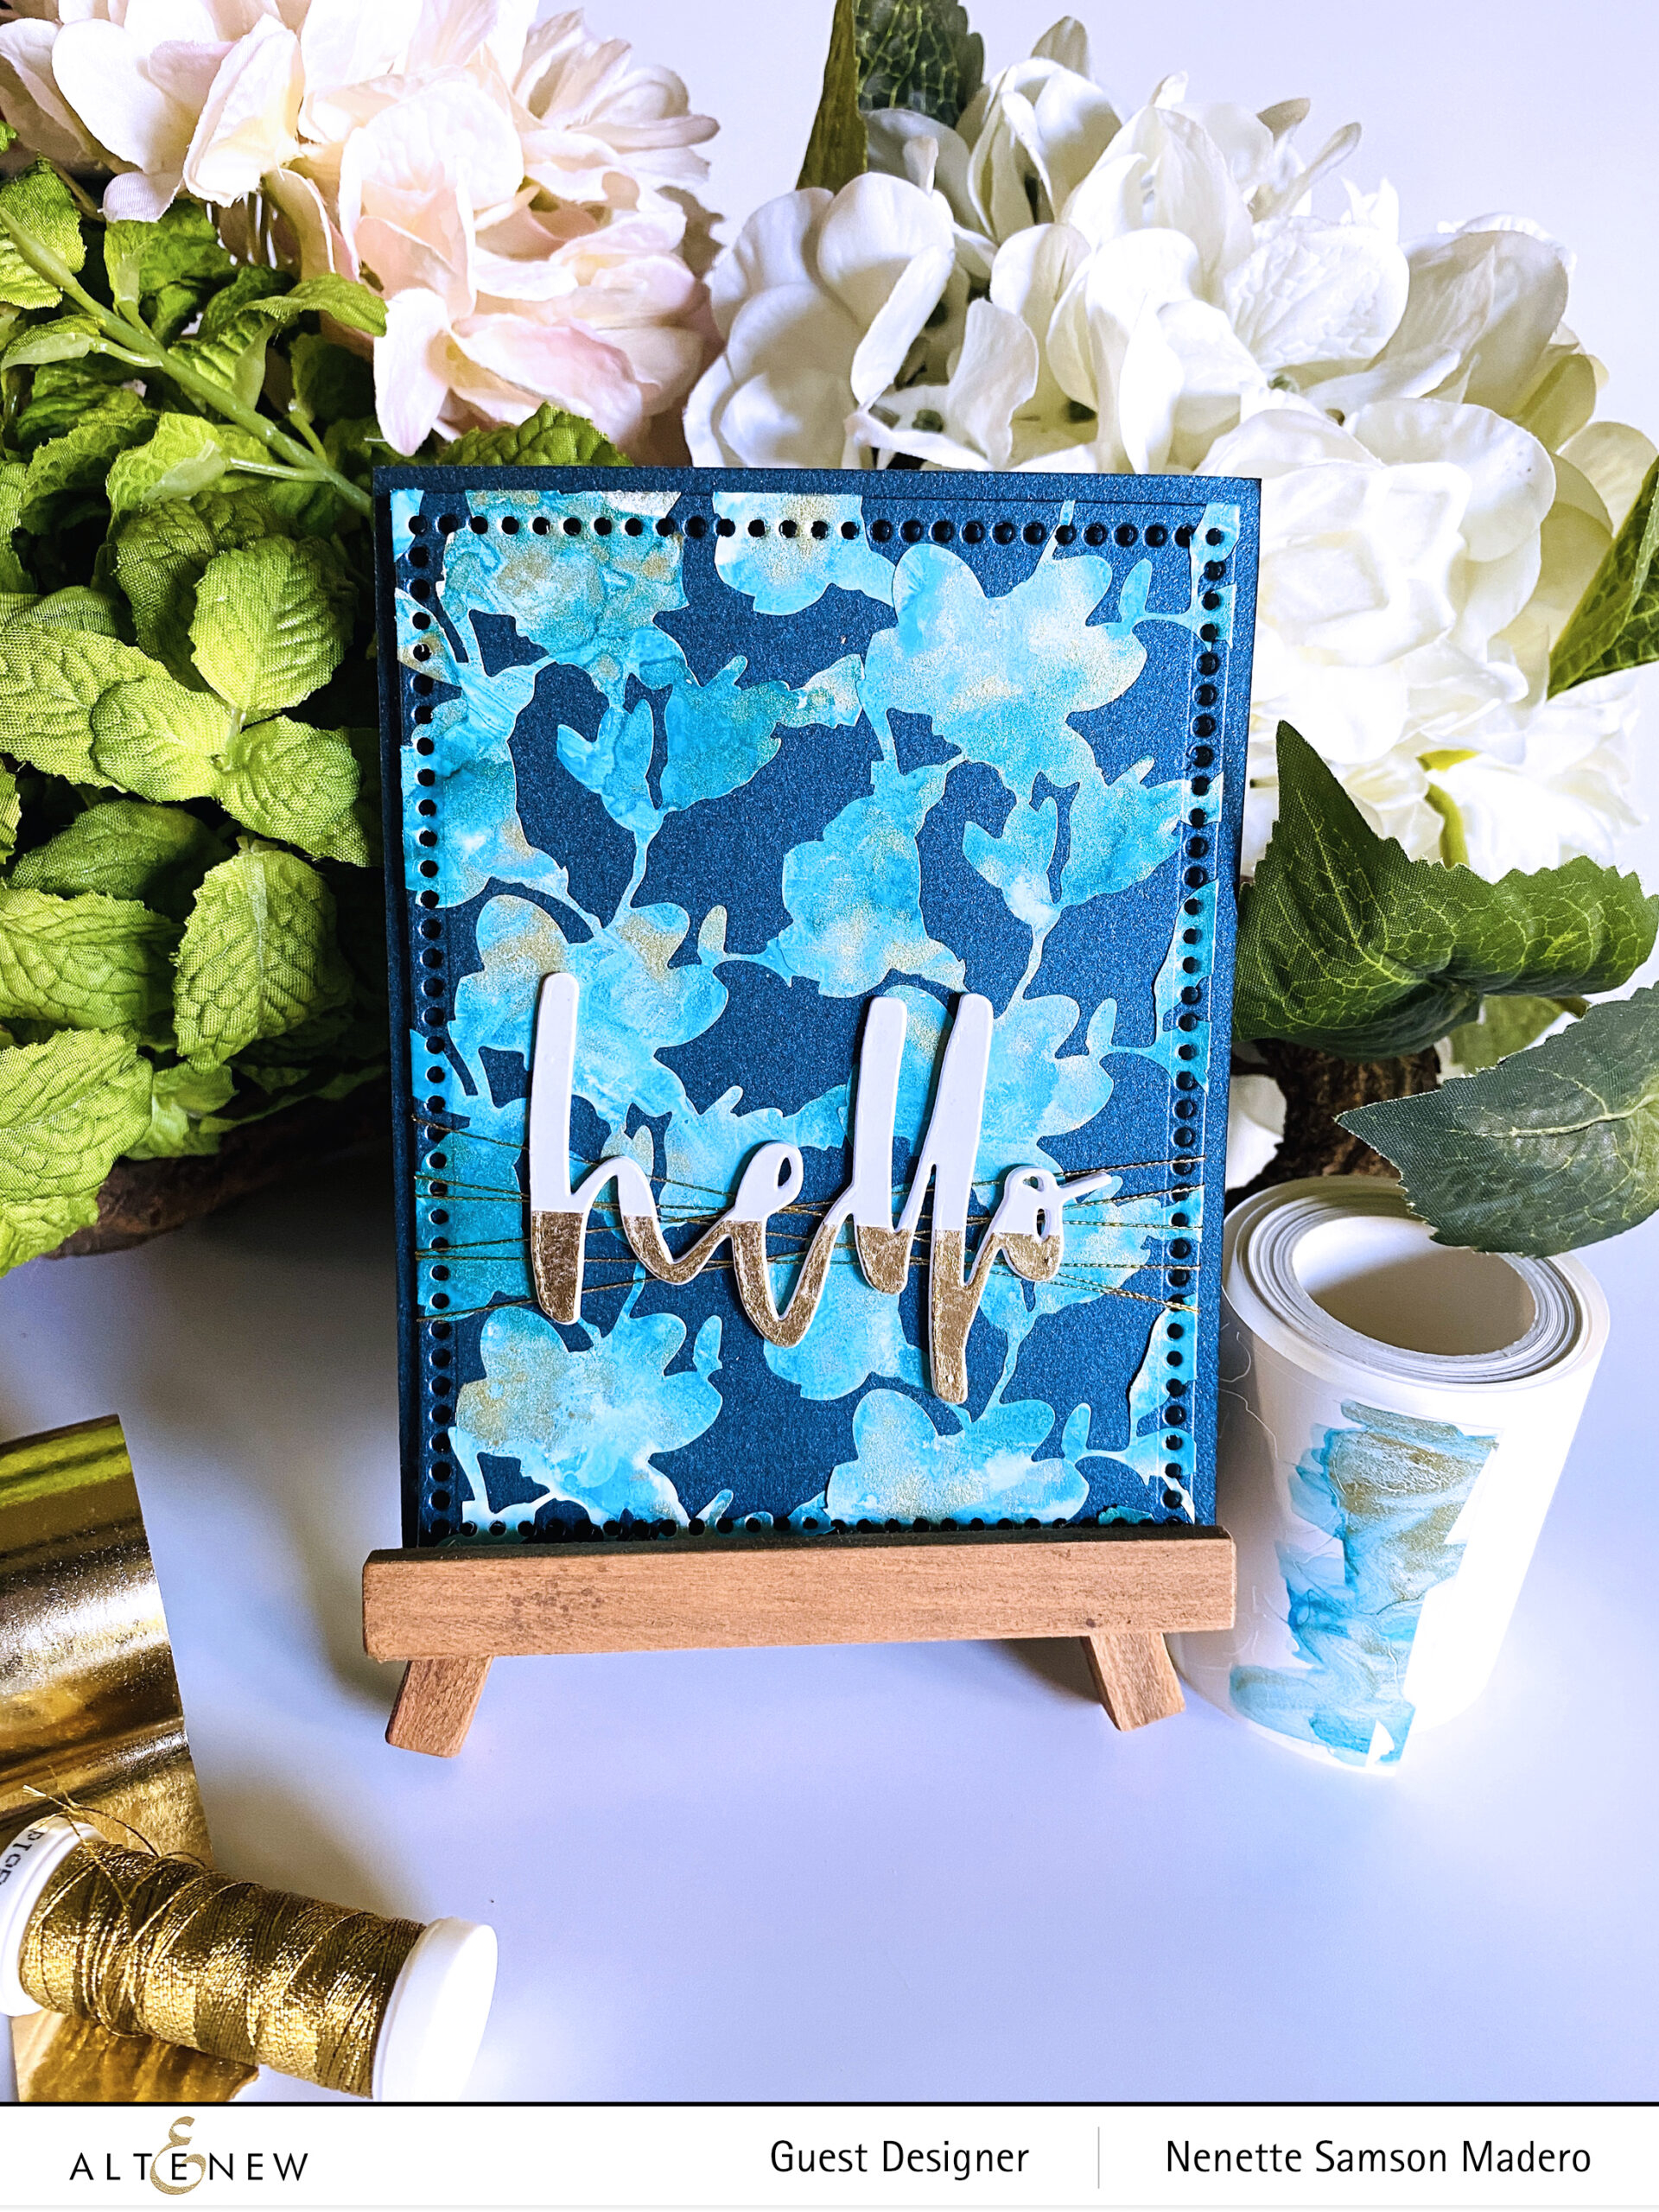
Technically, this is not a washi tape. I realized it was categorized as a die-cut tape AFTER I created the card. 😱 But I liked the effect of the alcohol inks so I thought it would be nice to share the process. Dye inks will not work (yes, I tried blending dye inks and they just rubbed off.)
As you can see, in both of my cards, I did not use any stamp set. All were just washi tapes and die cuts and both were fairly easy to put together.
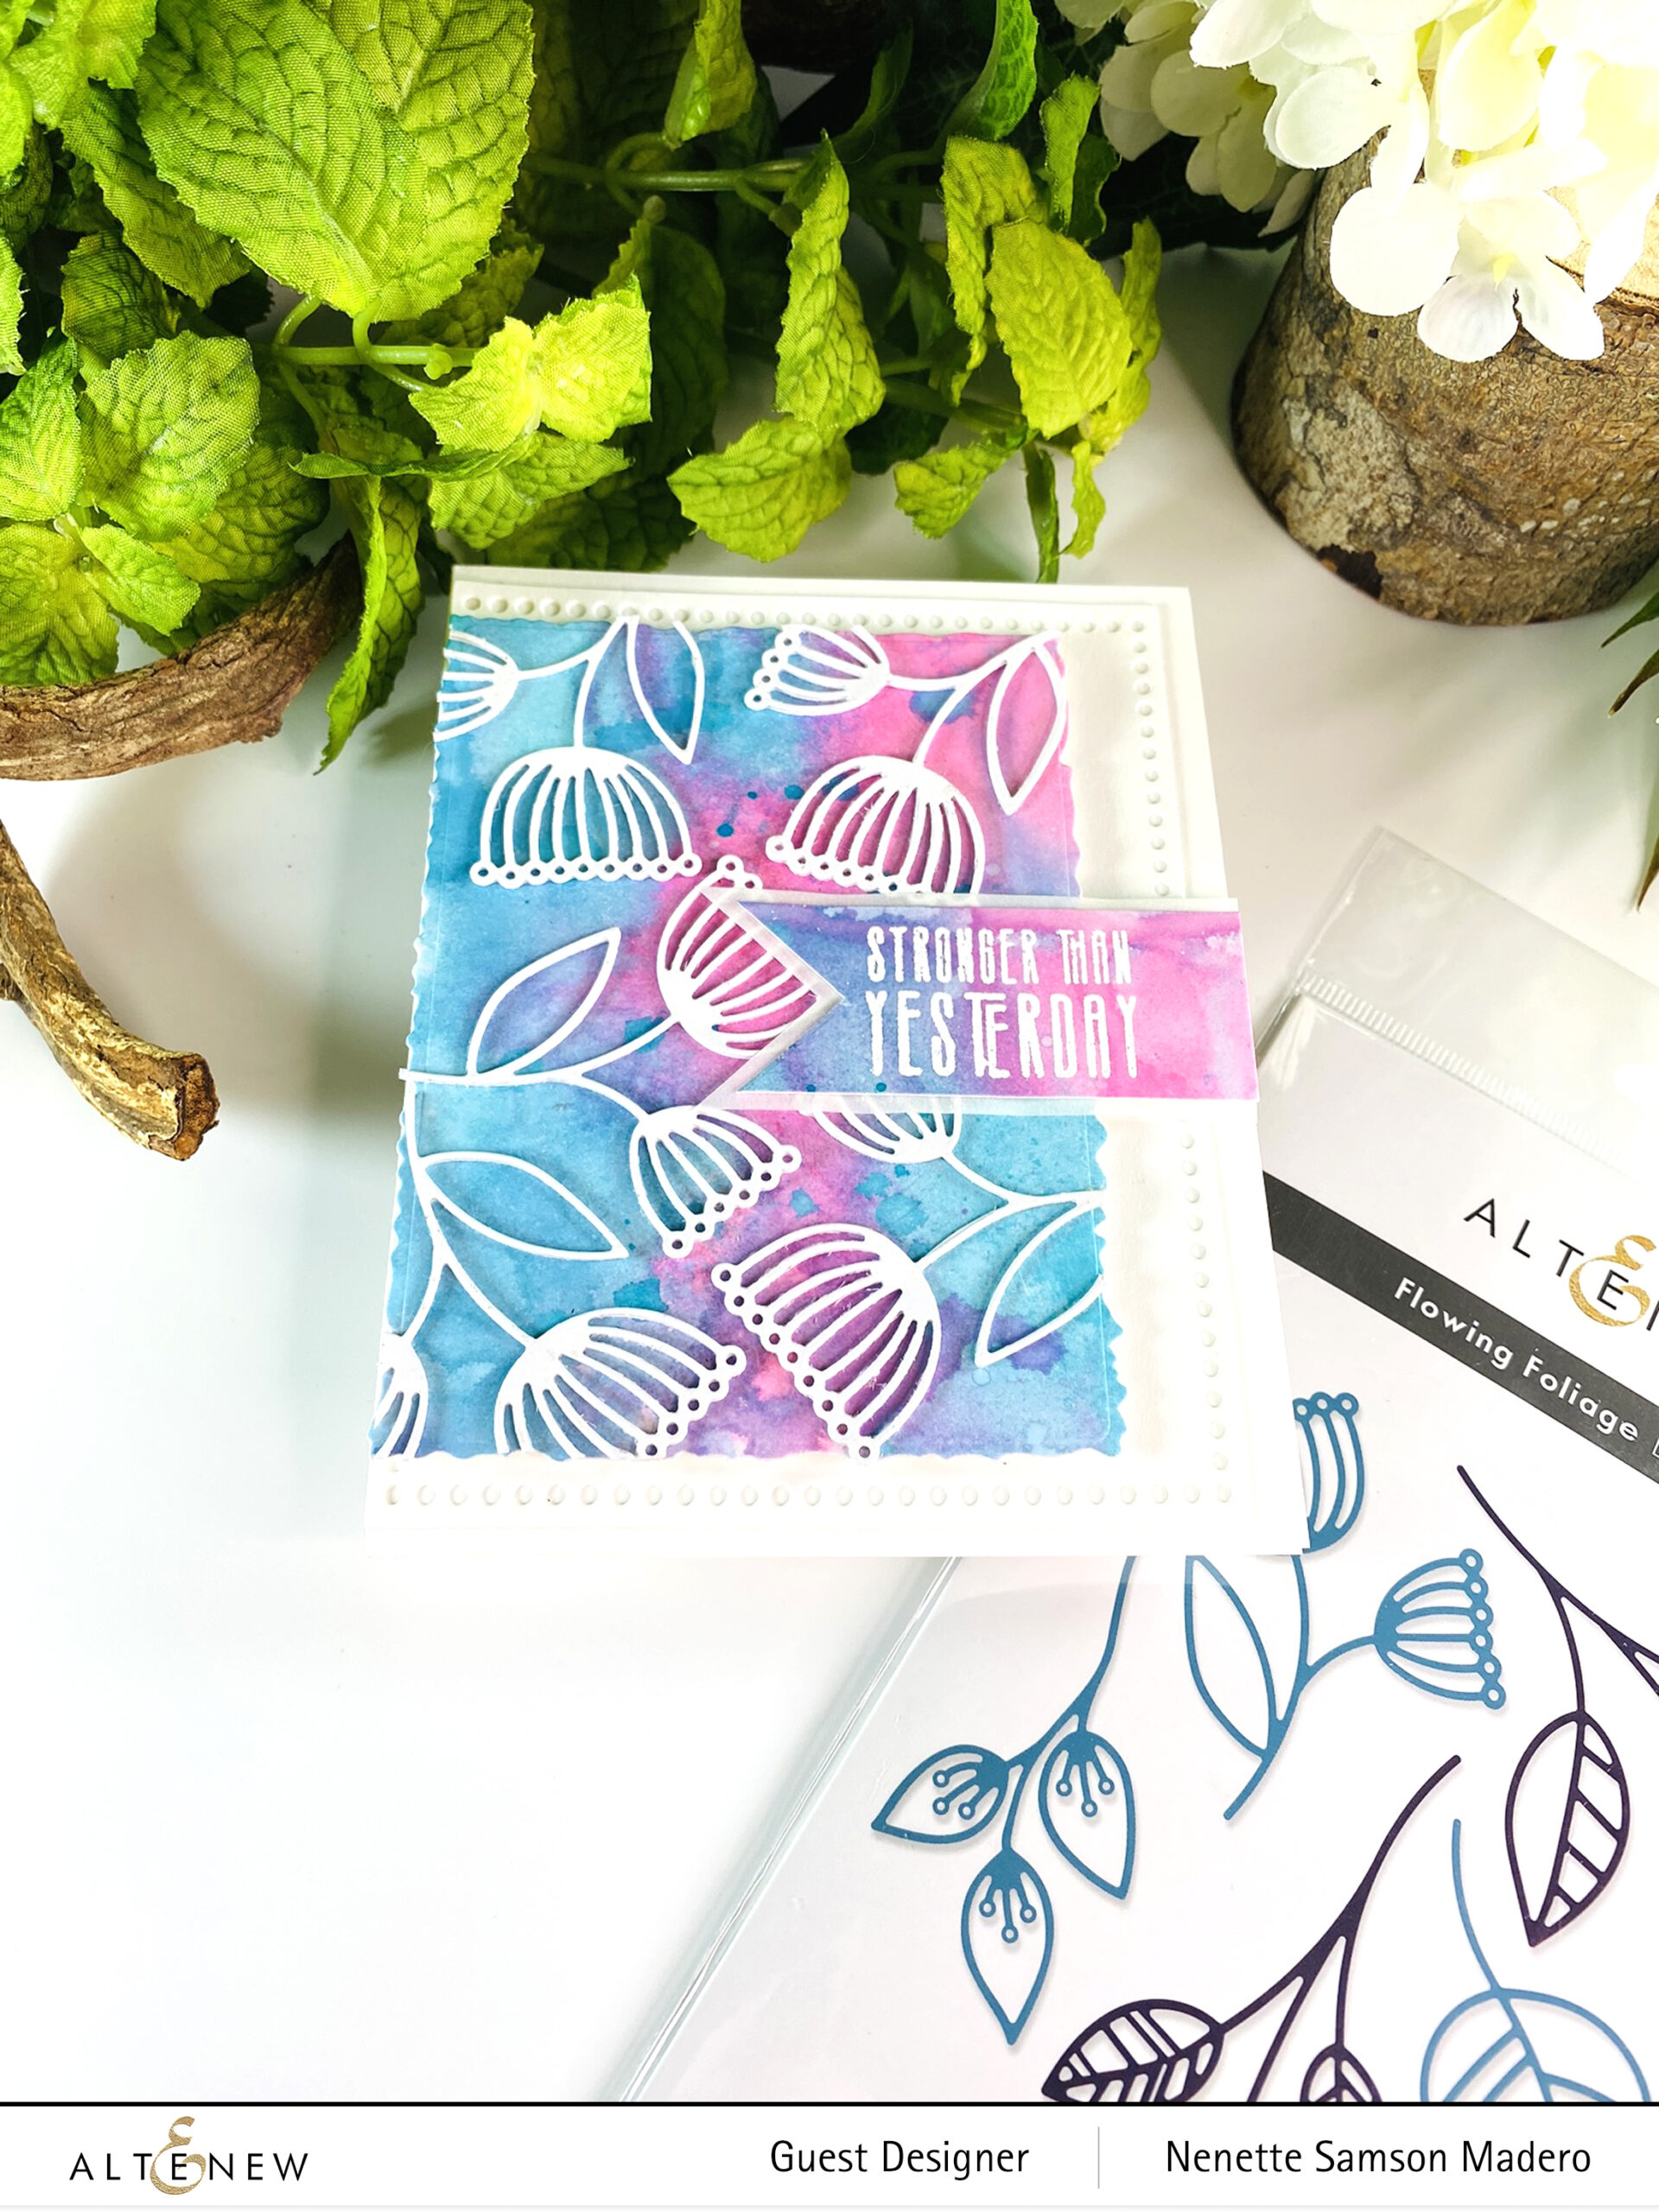
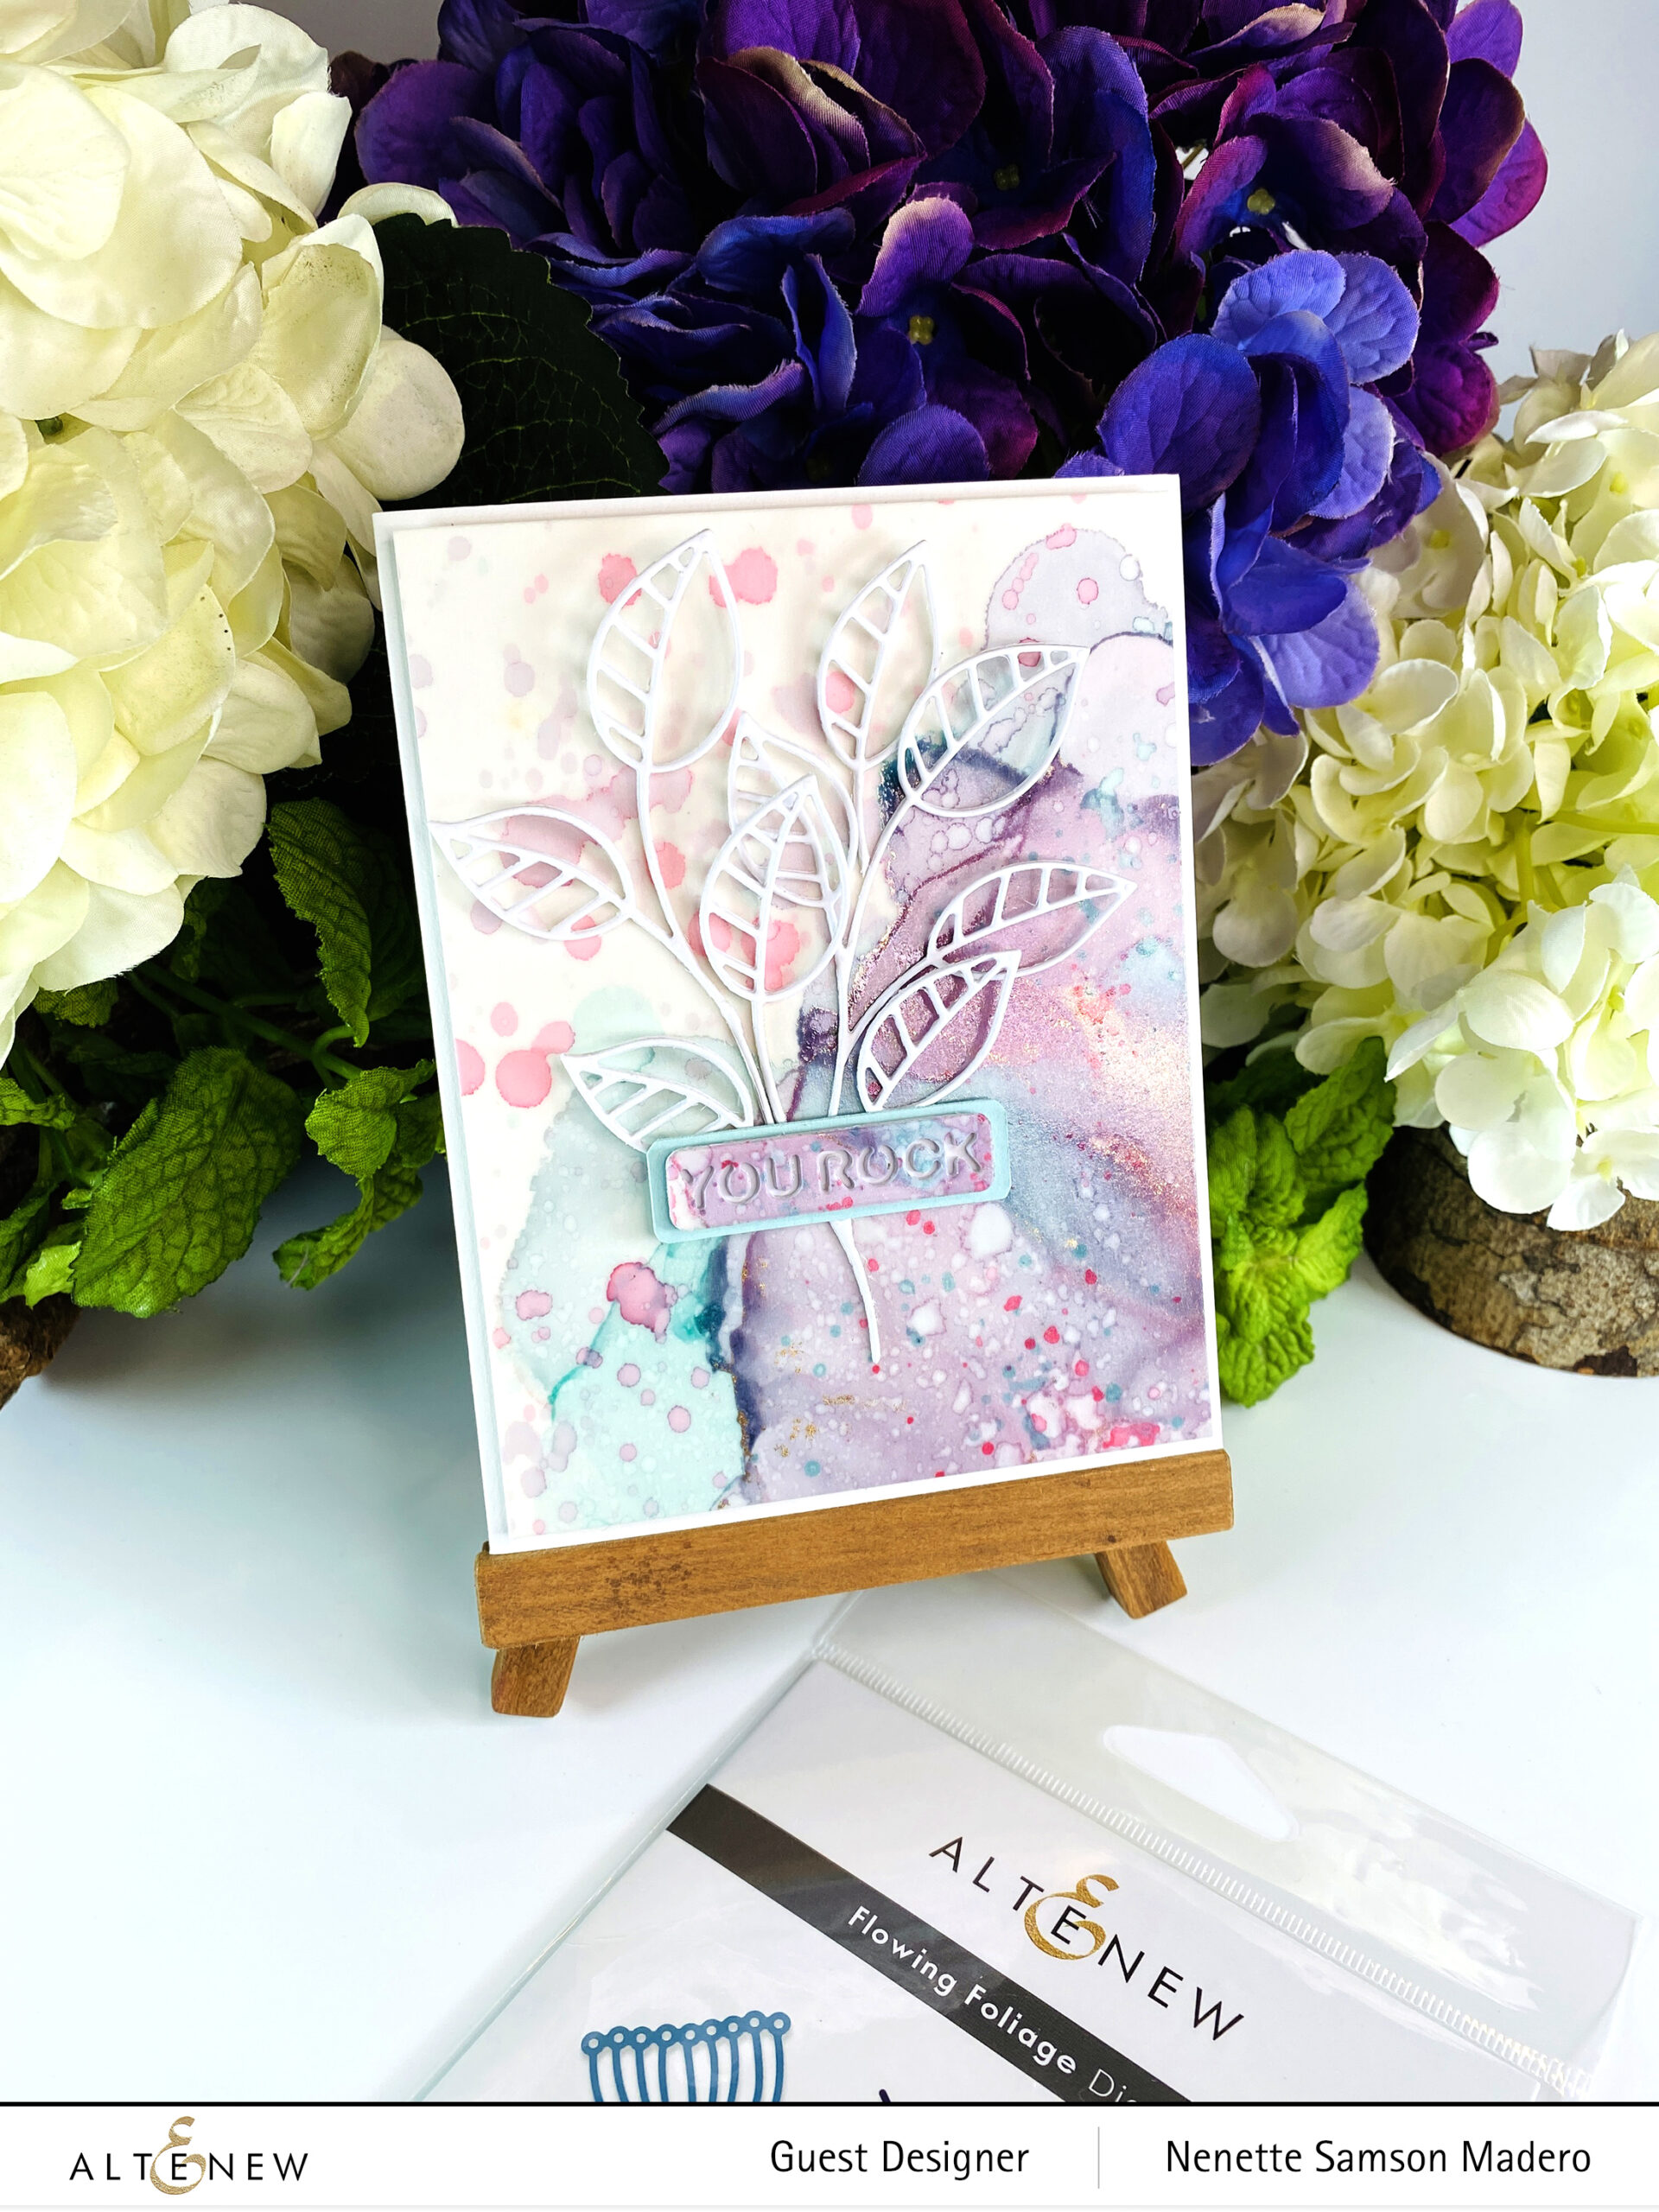
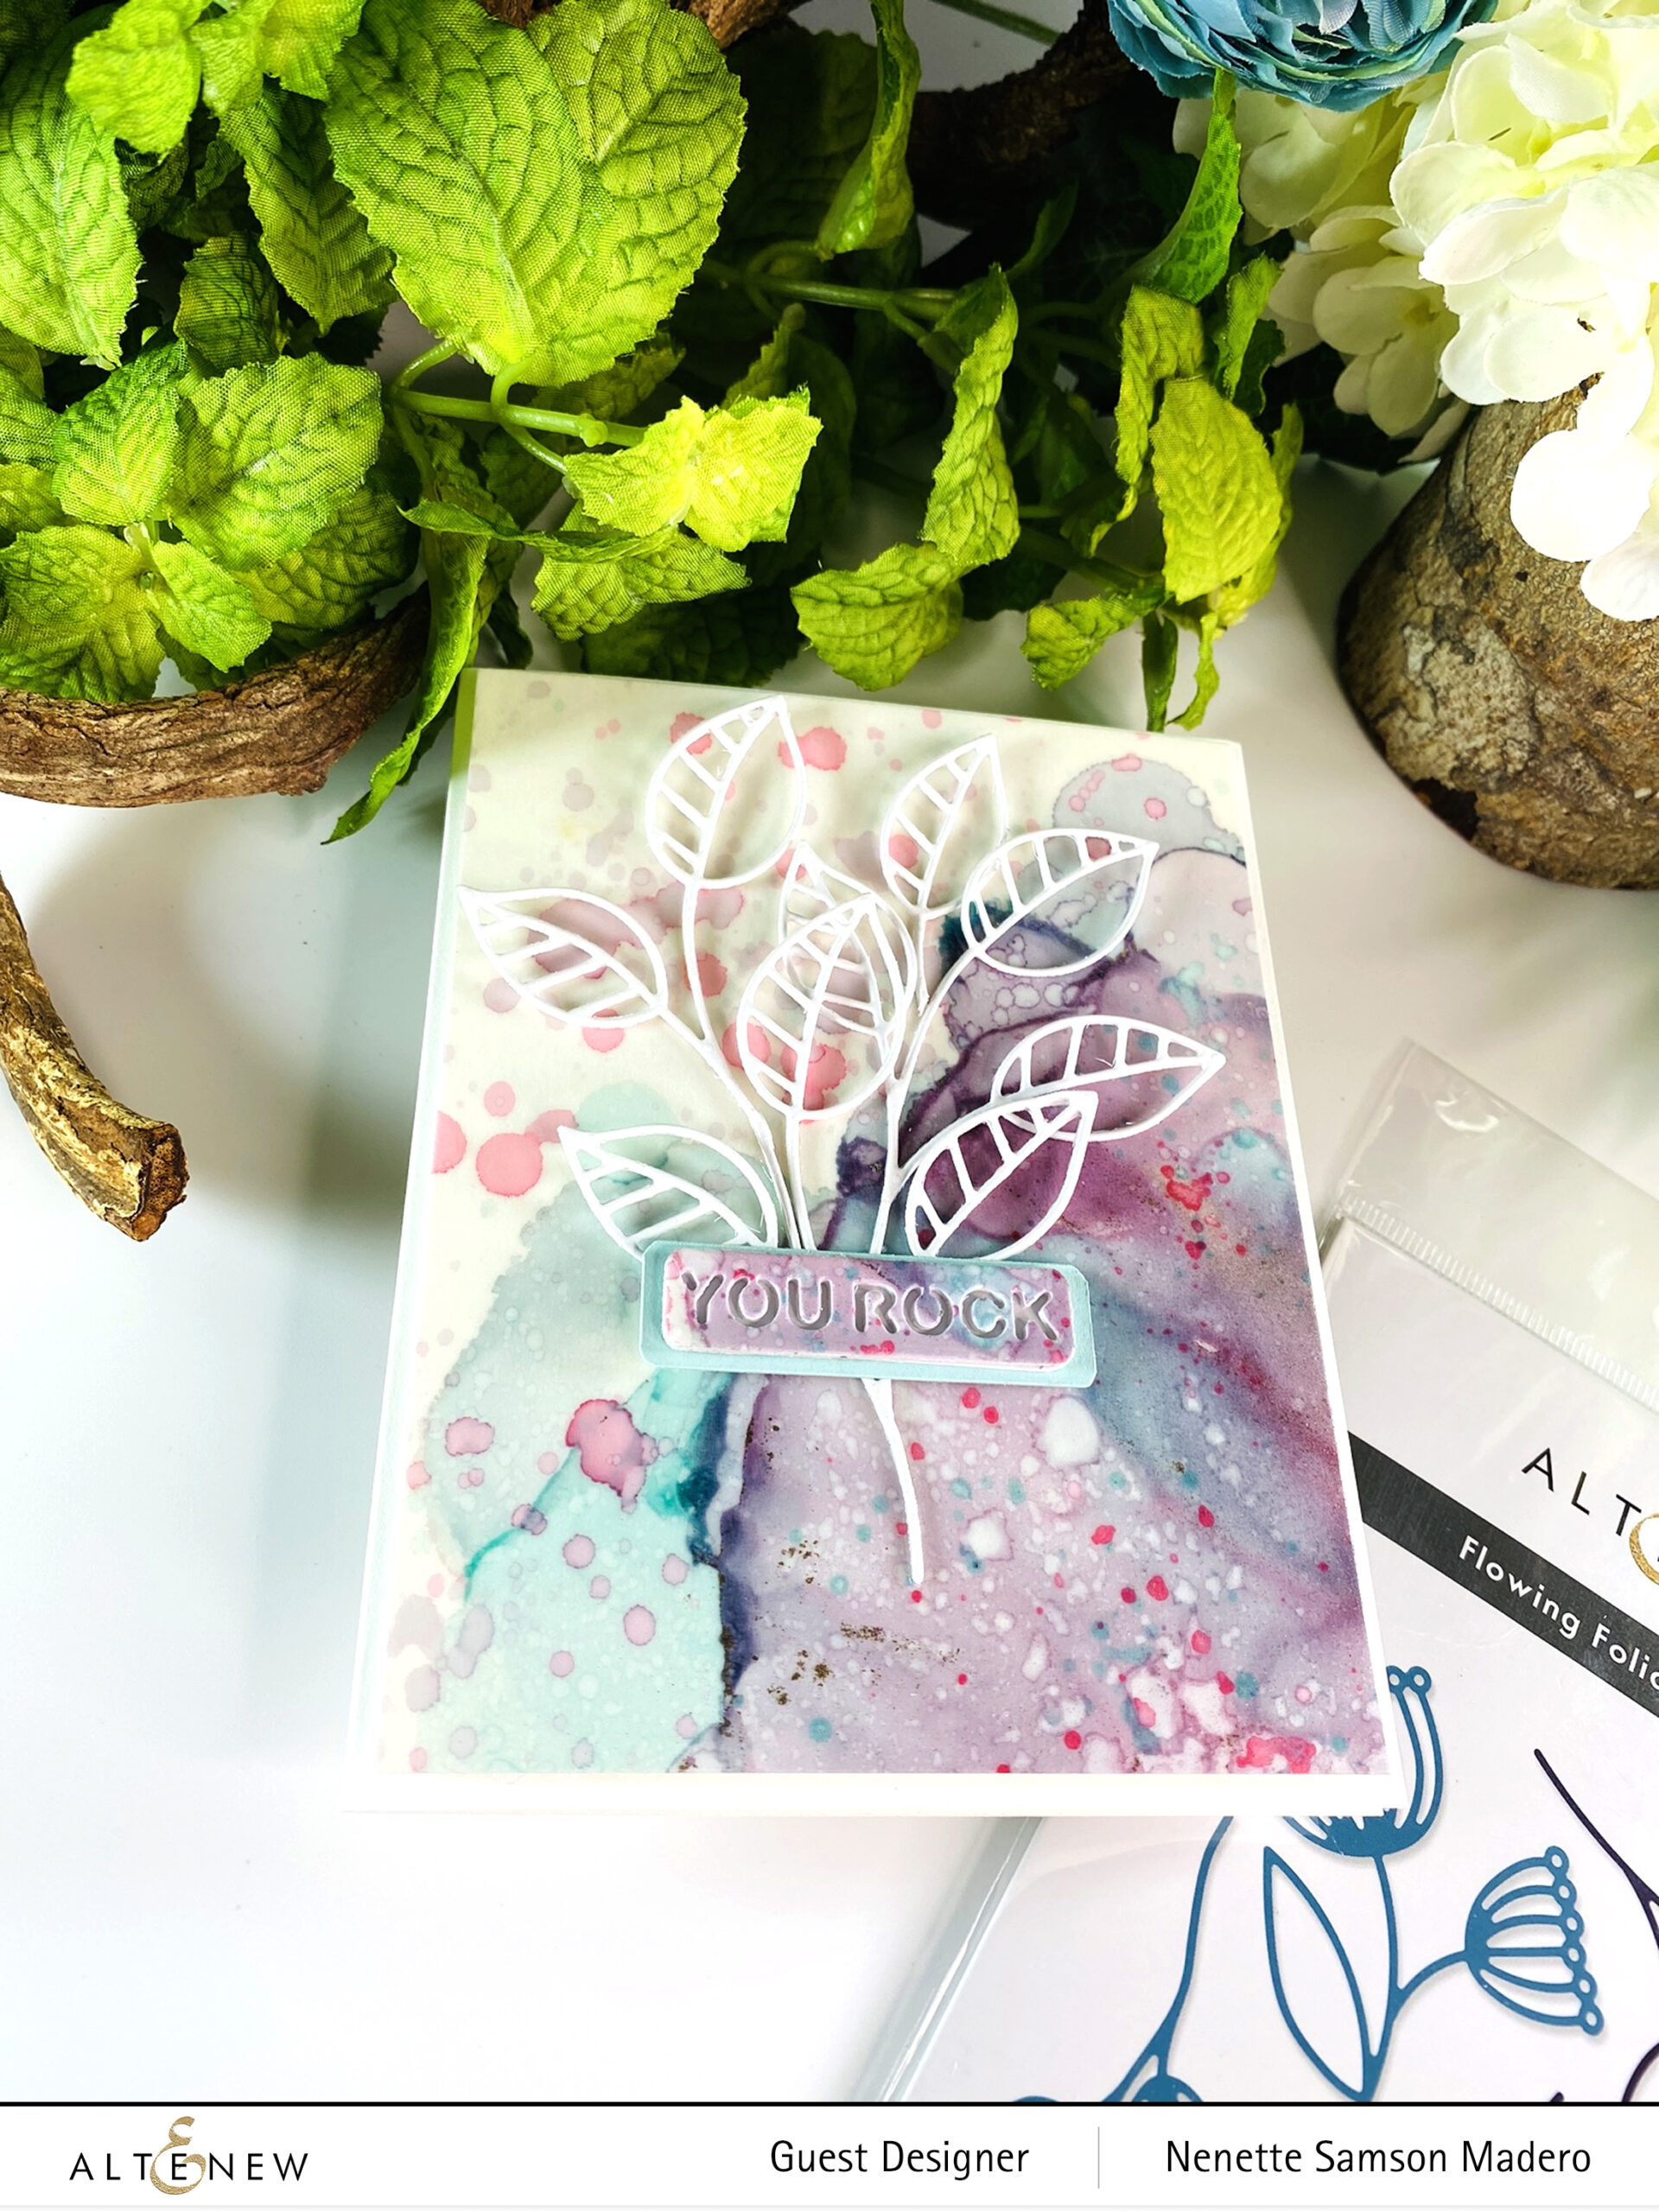
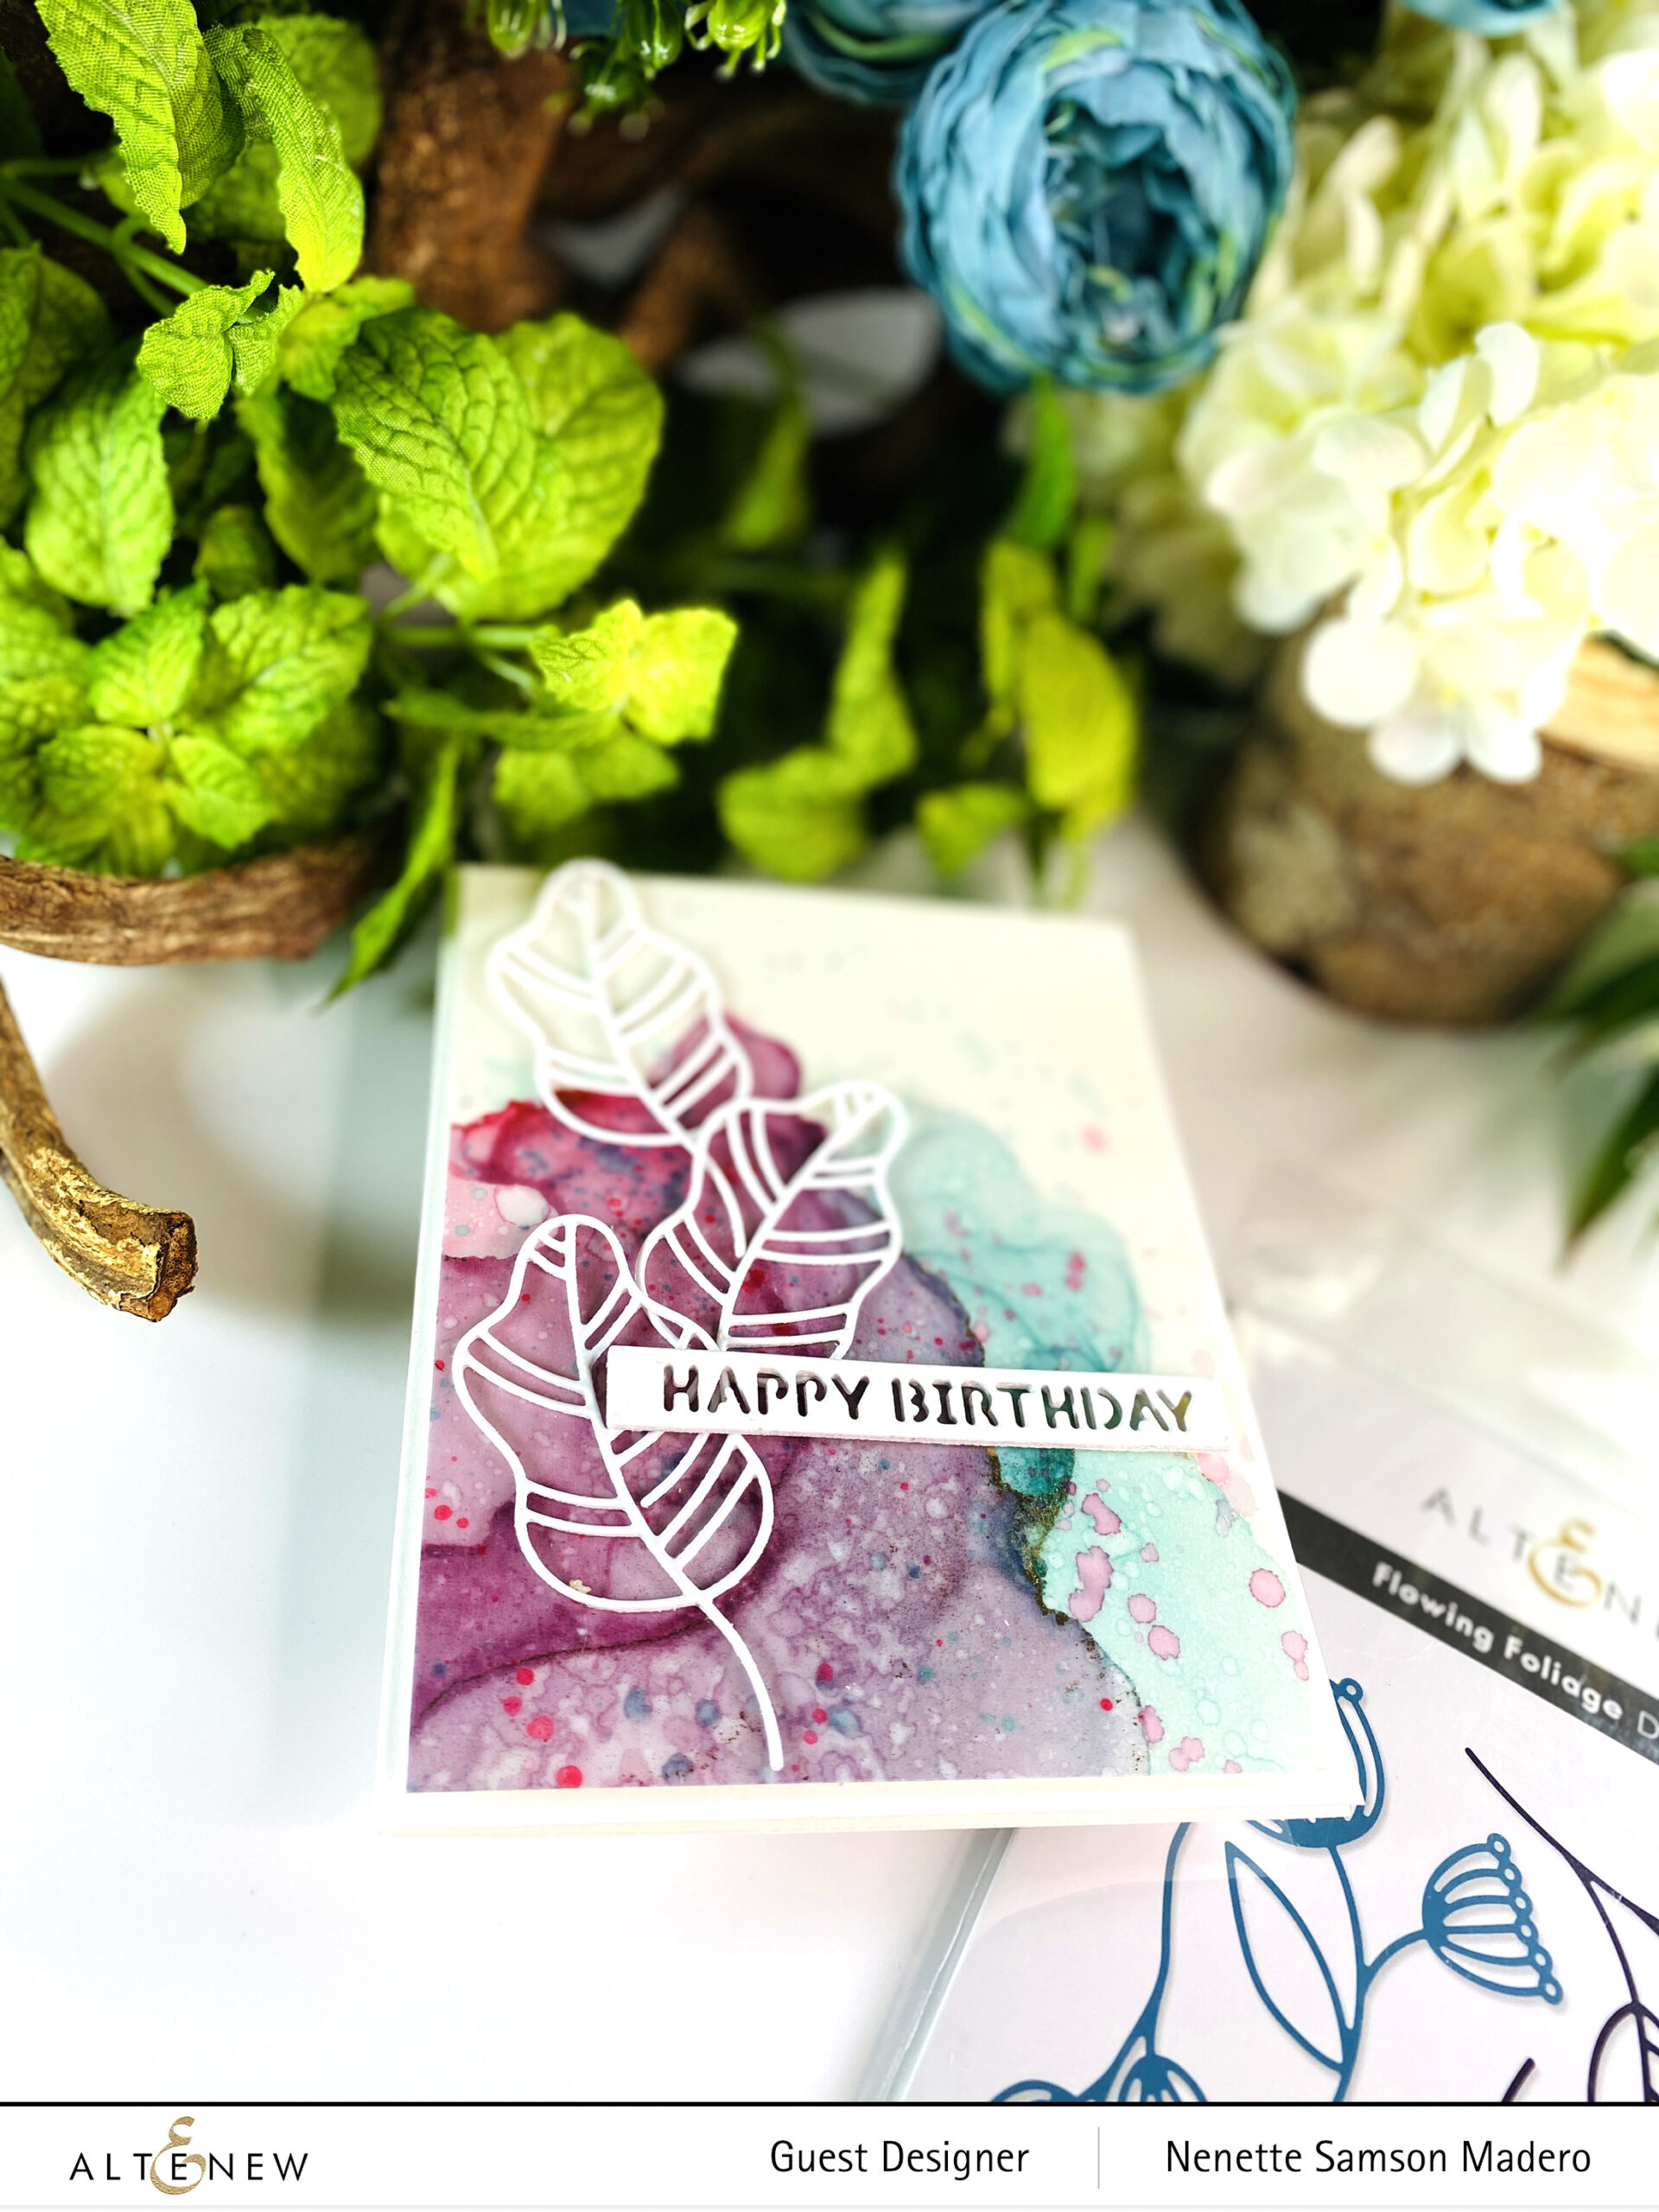
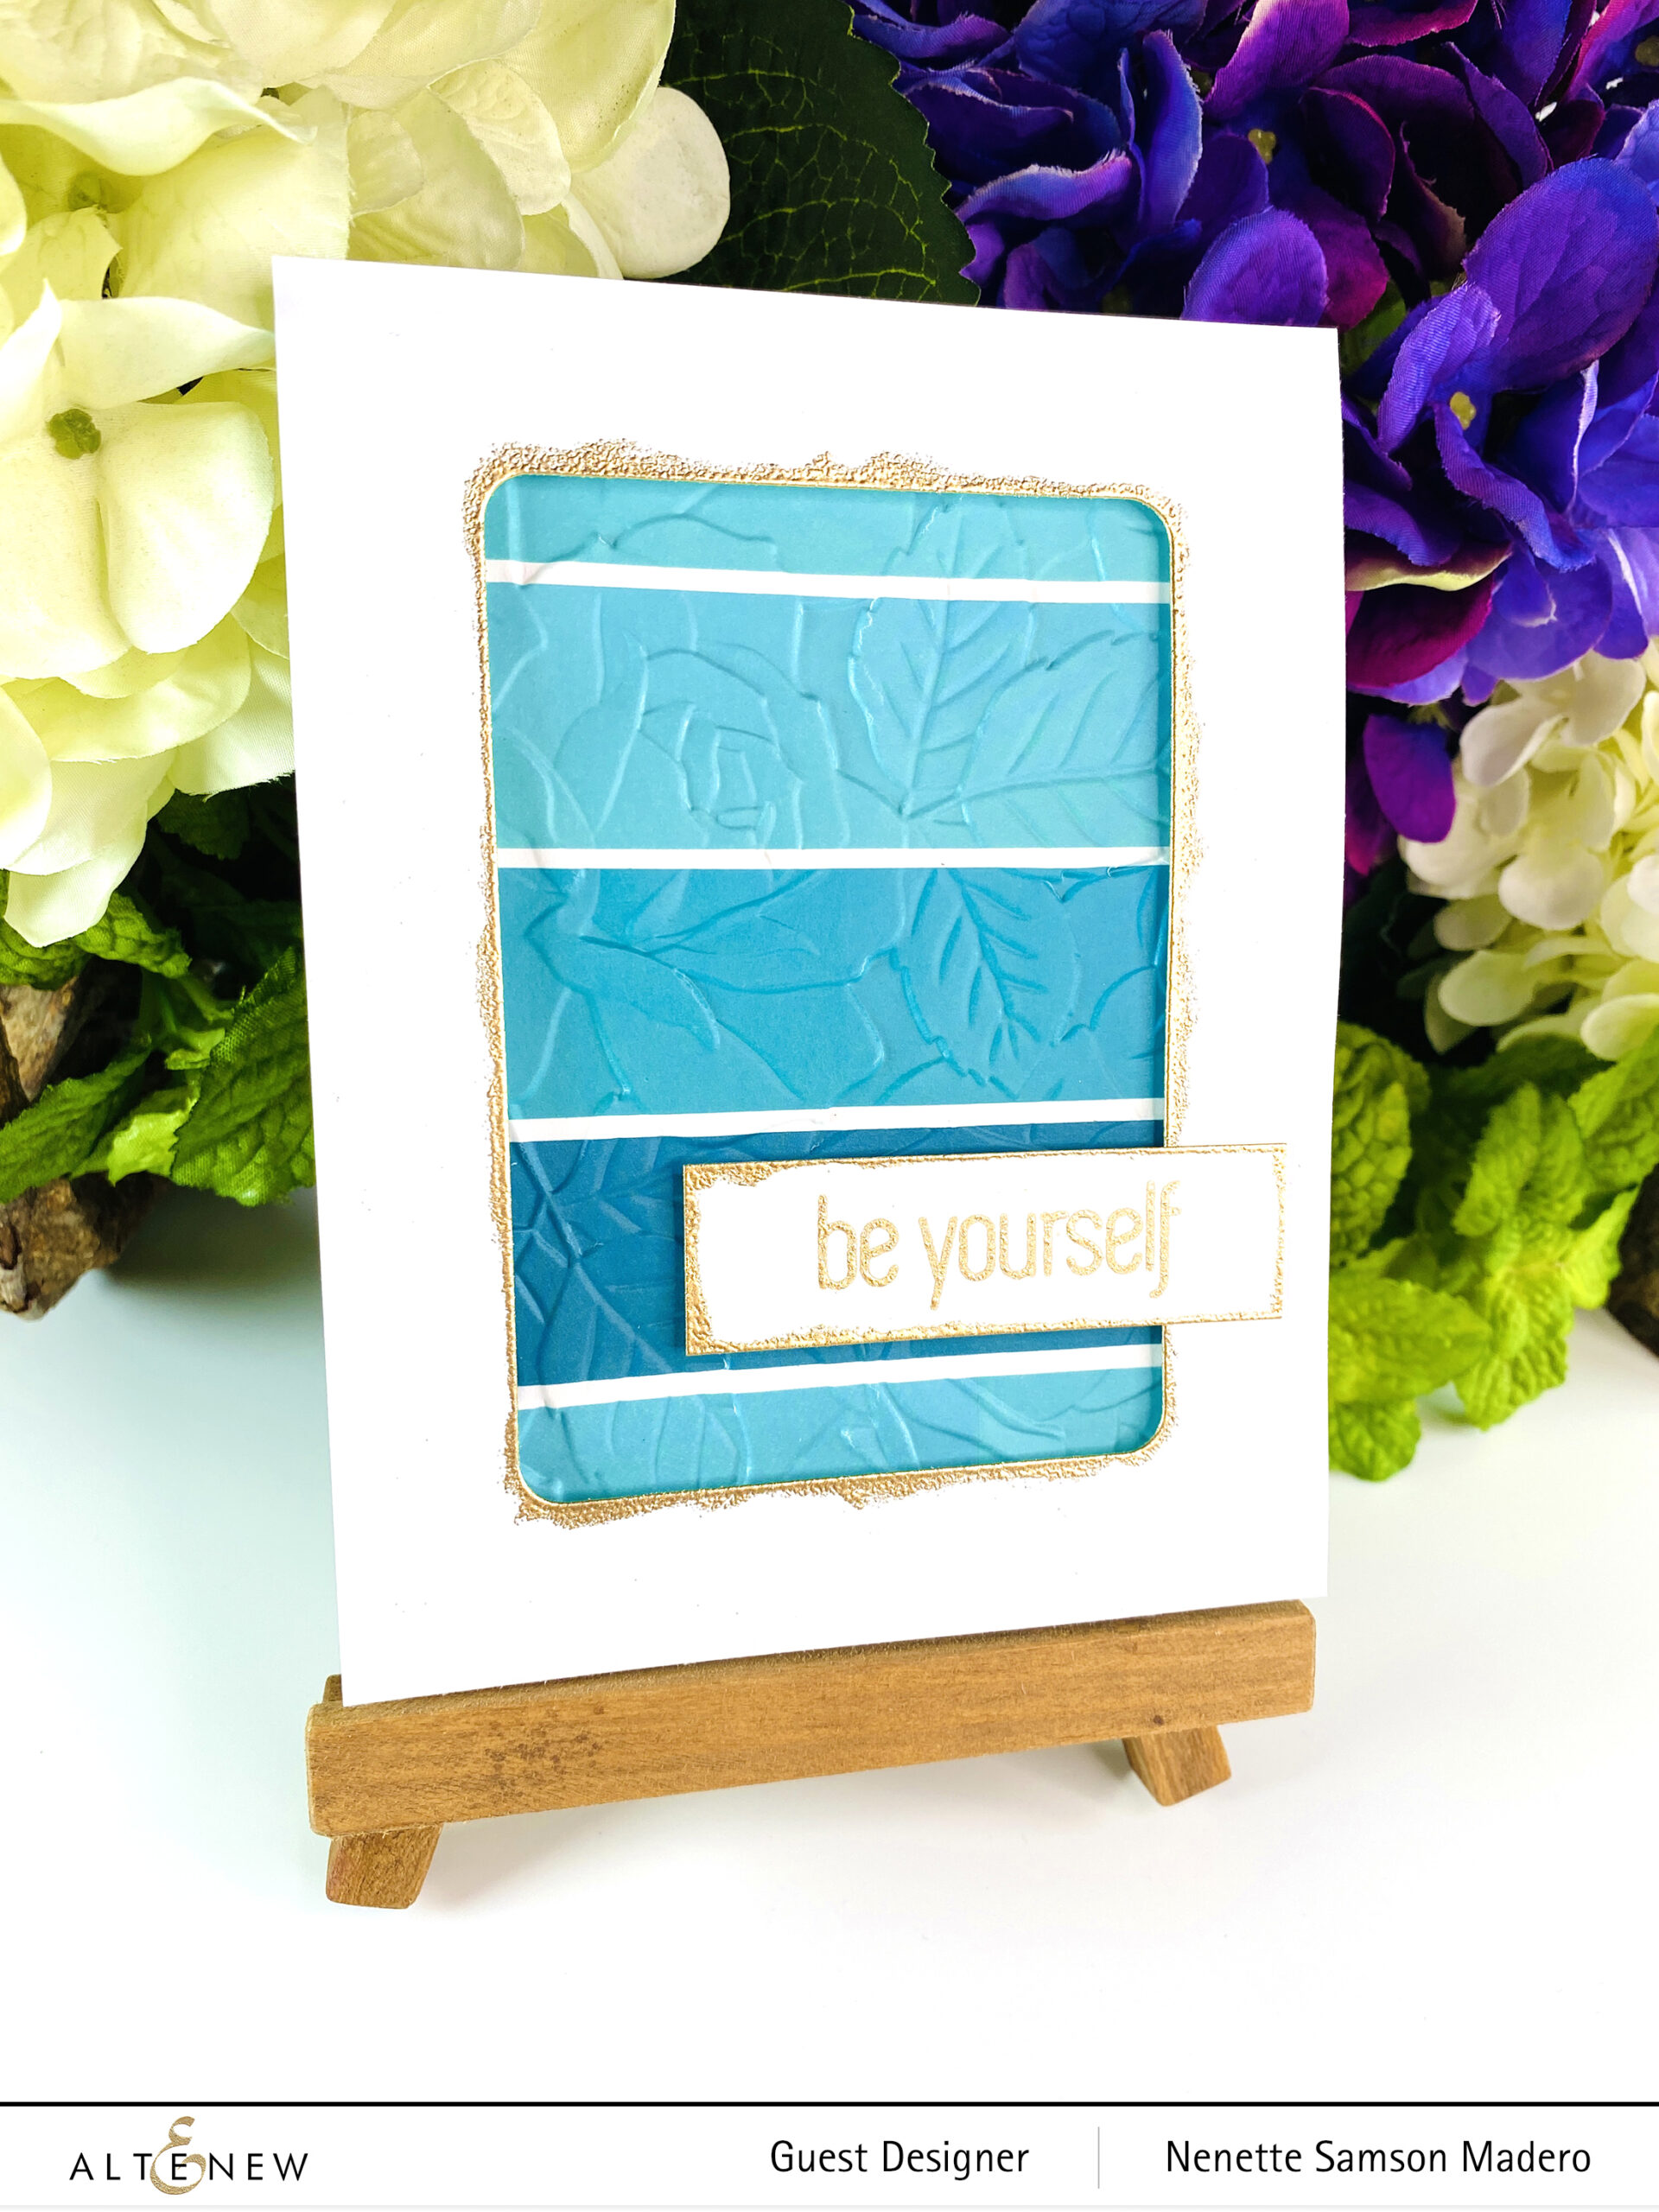
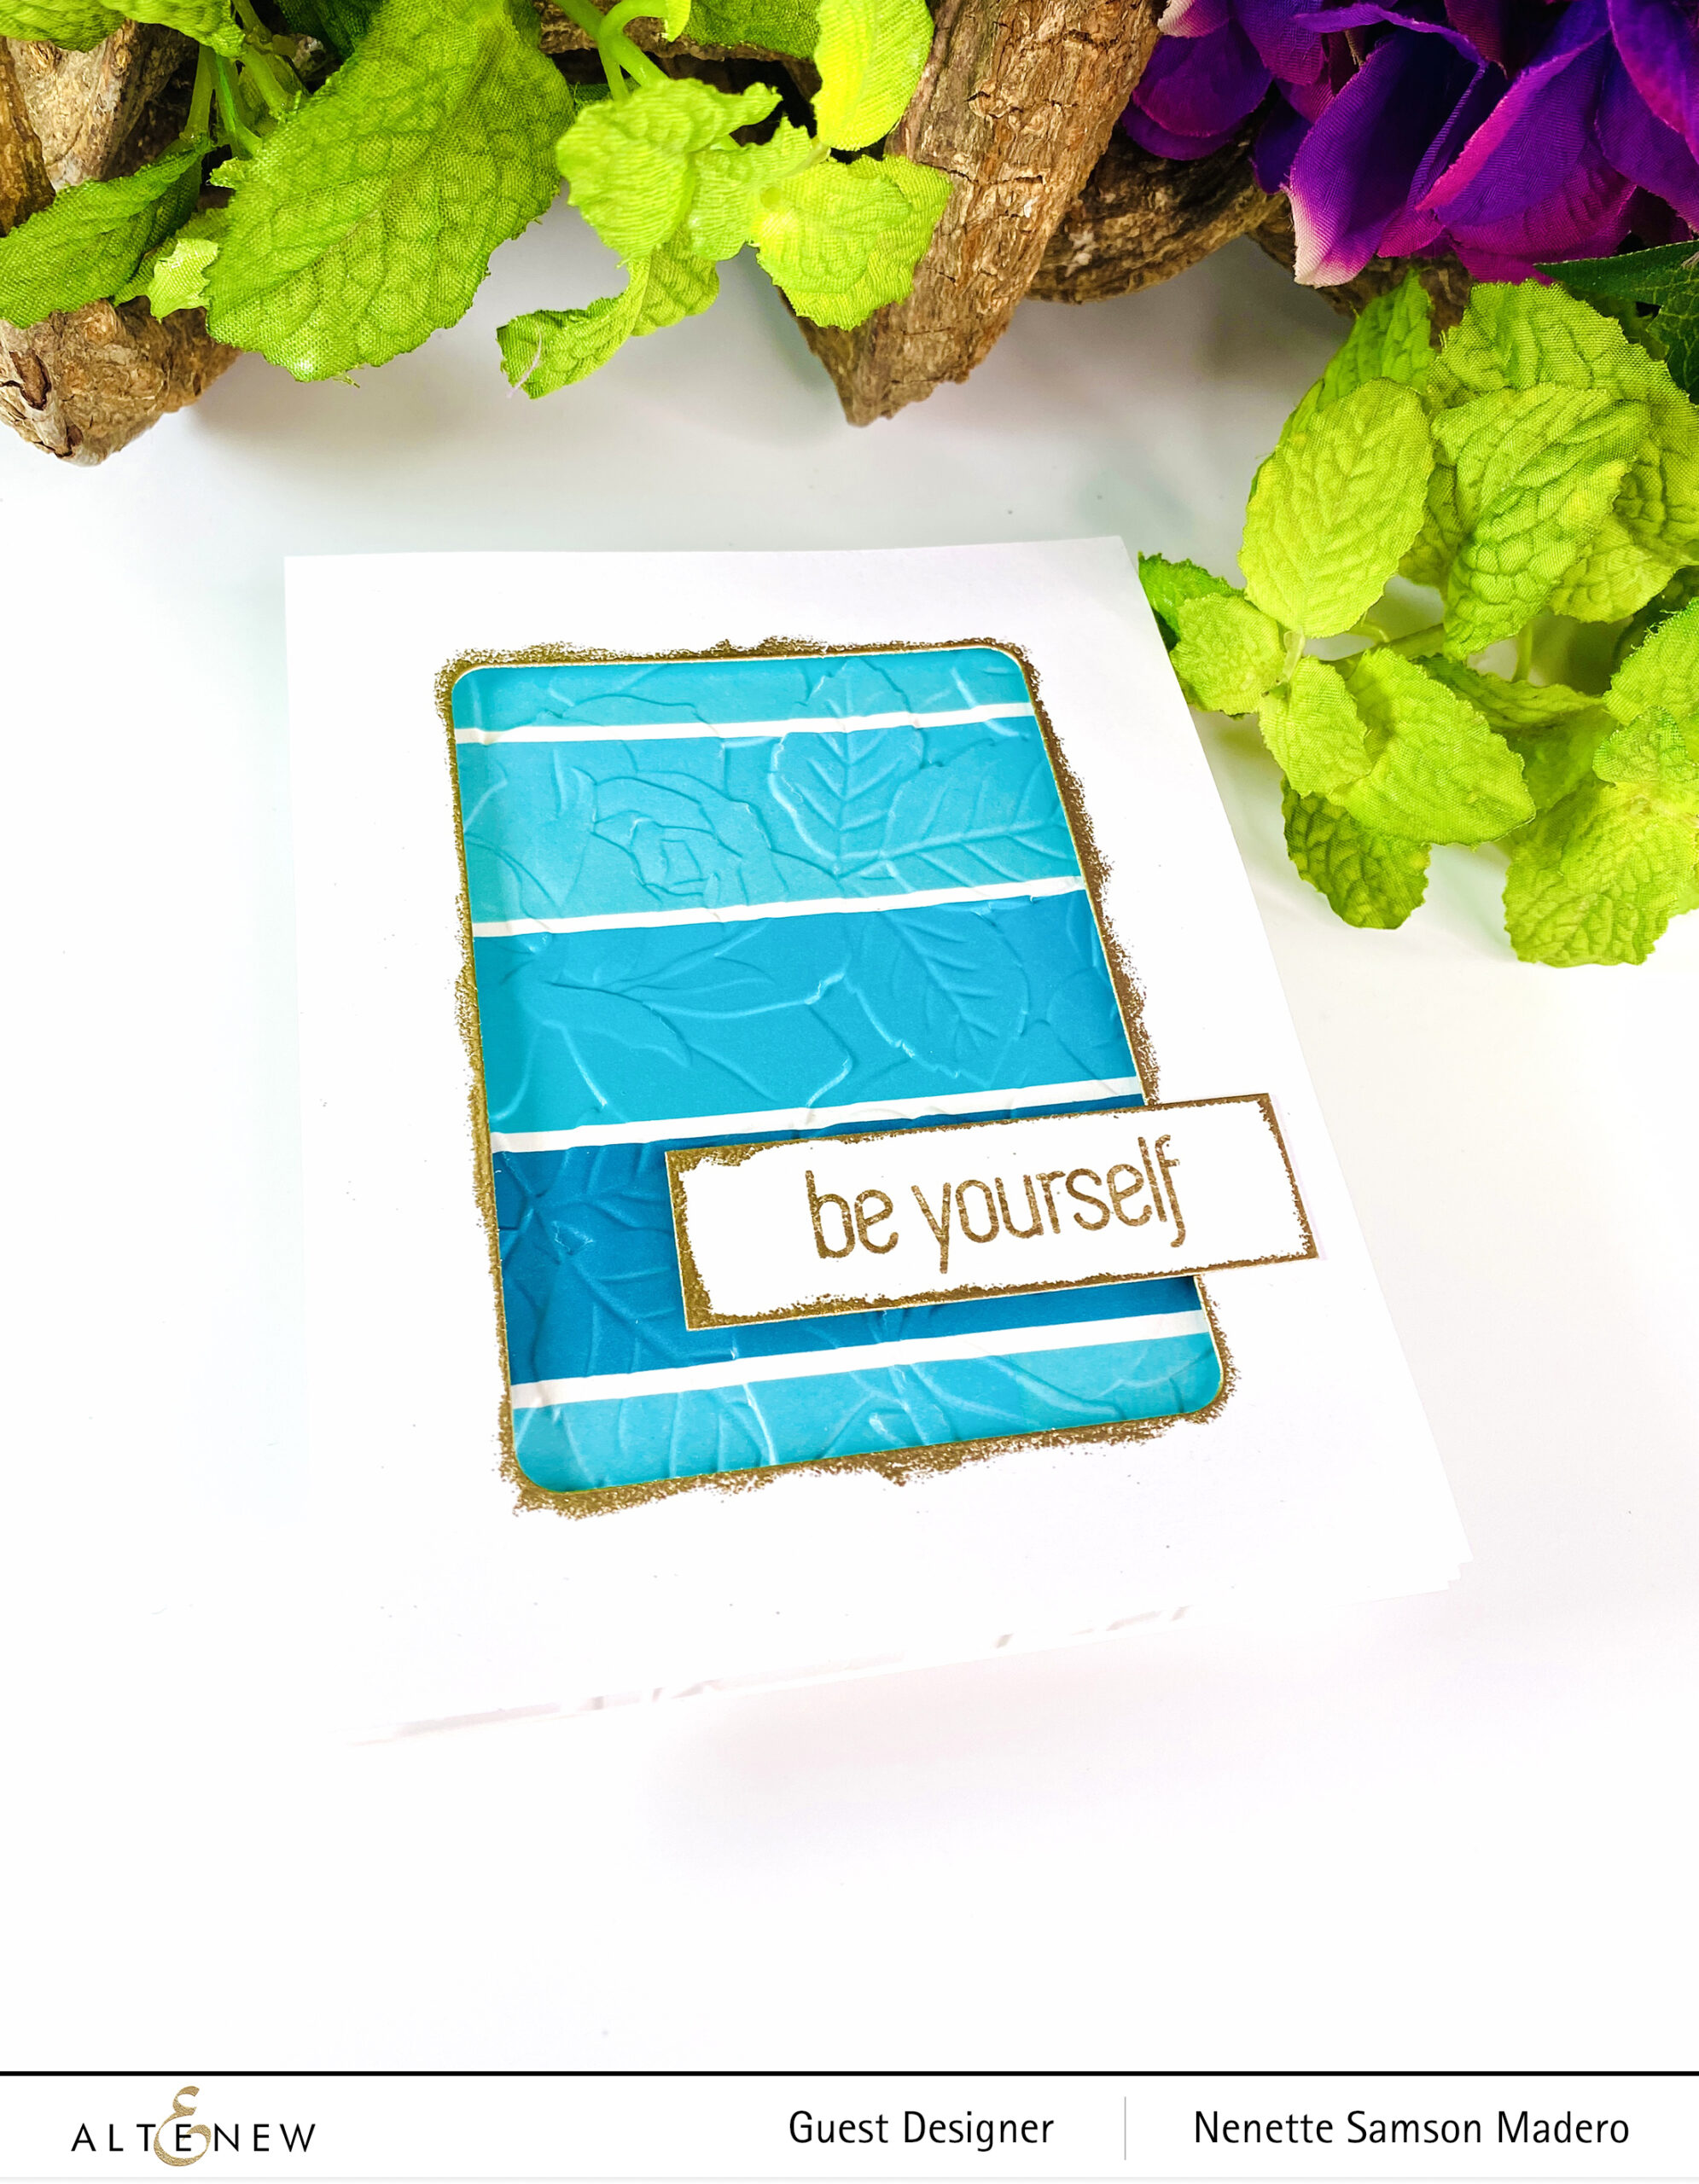
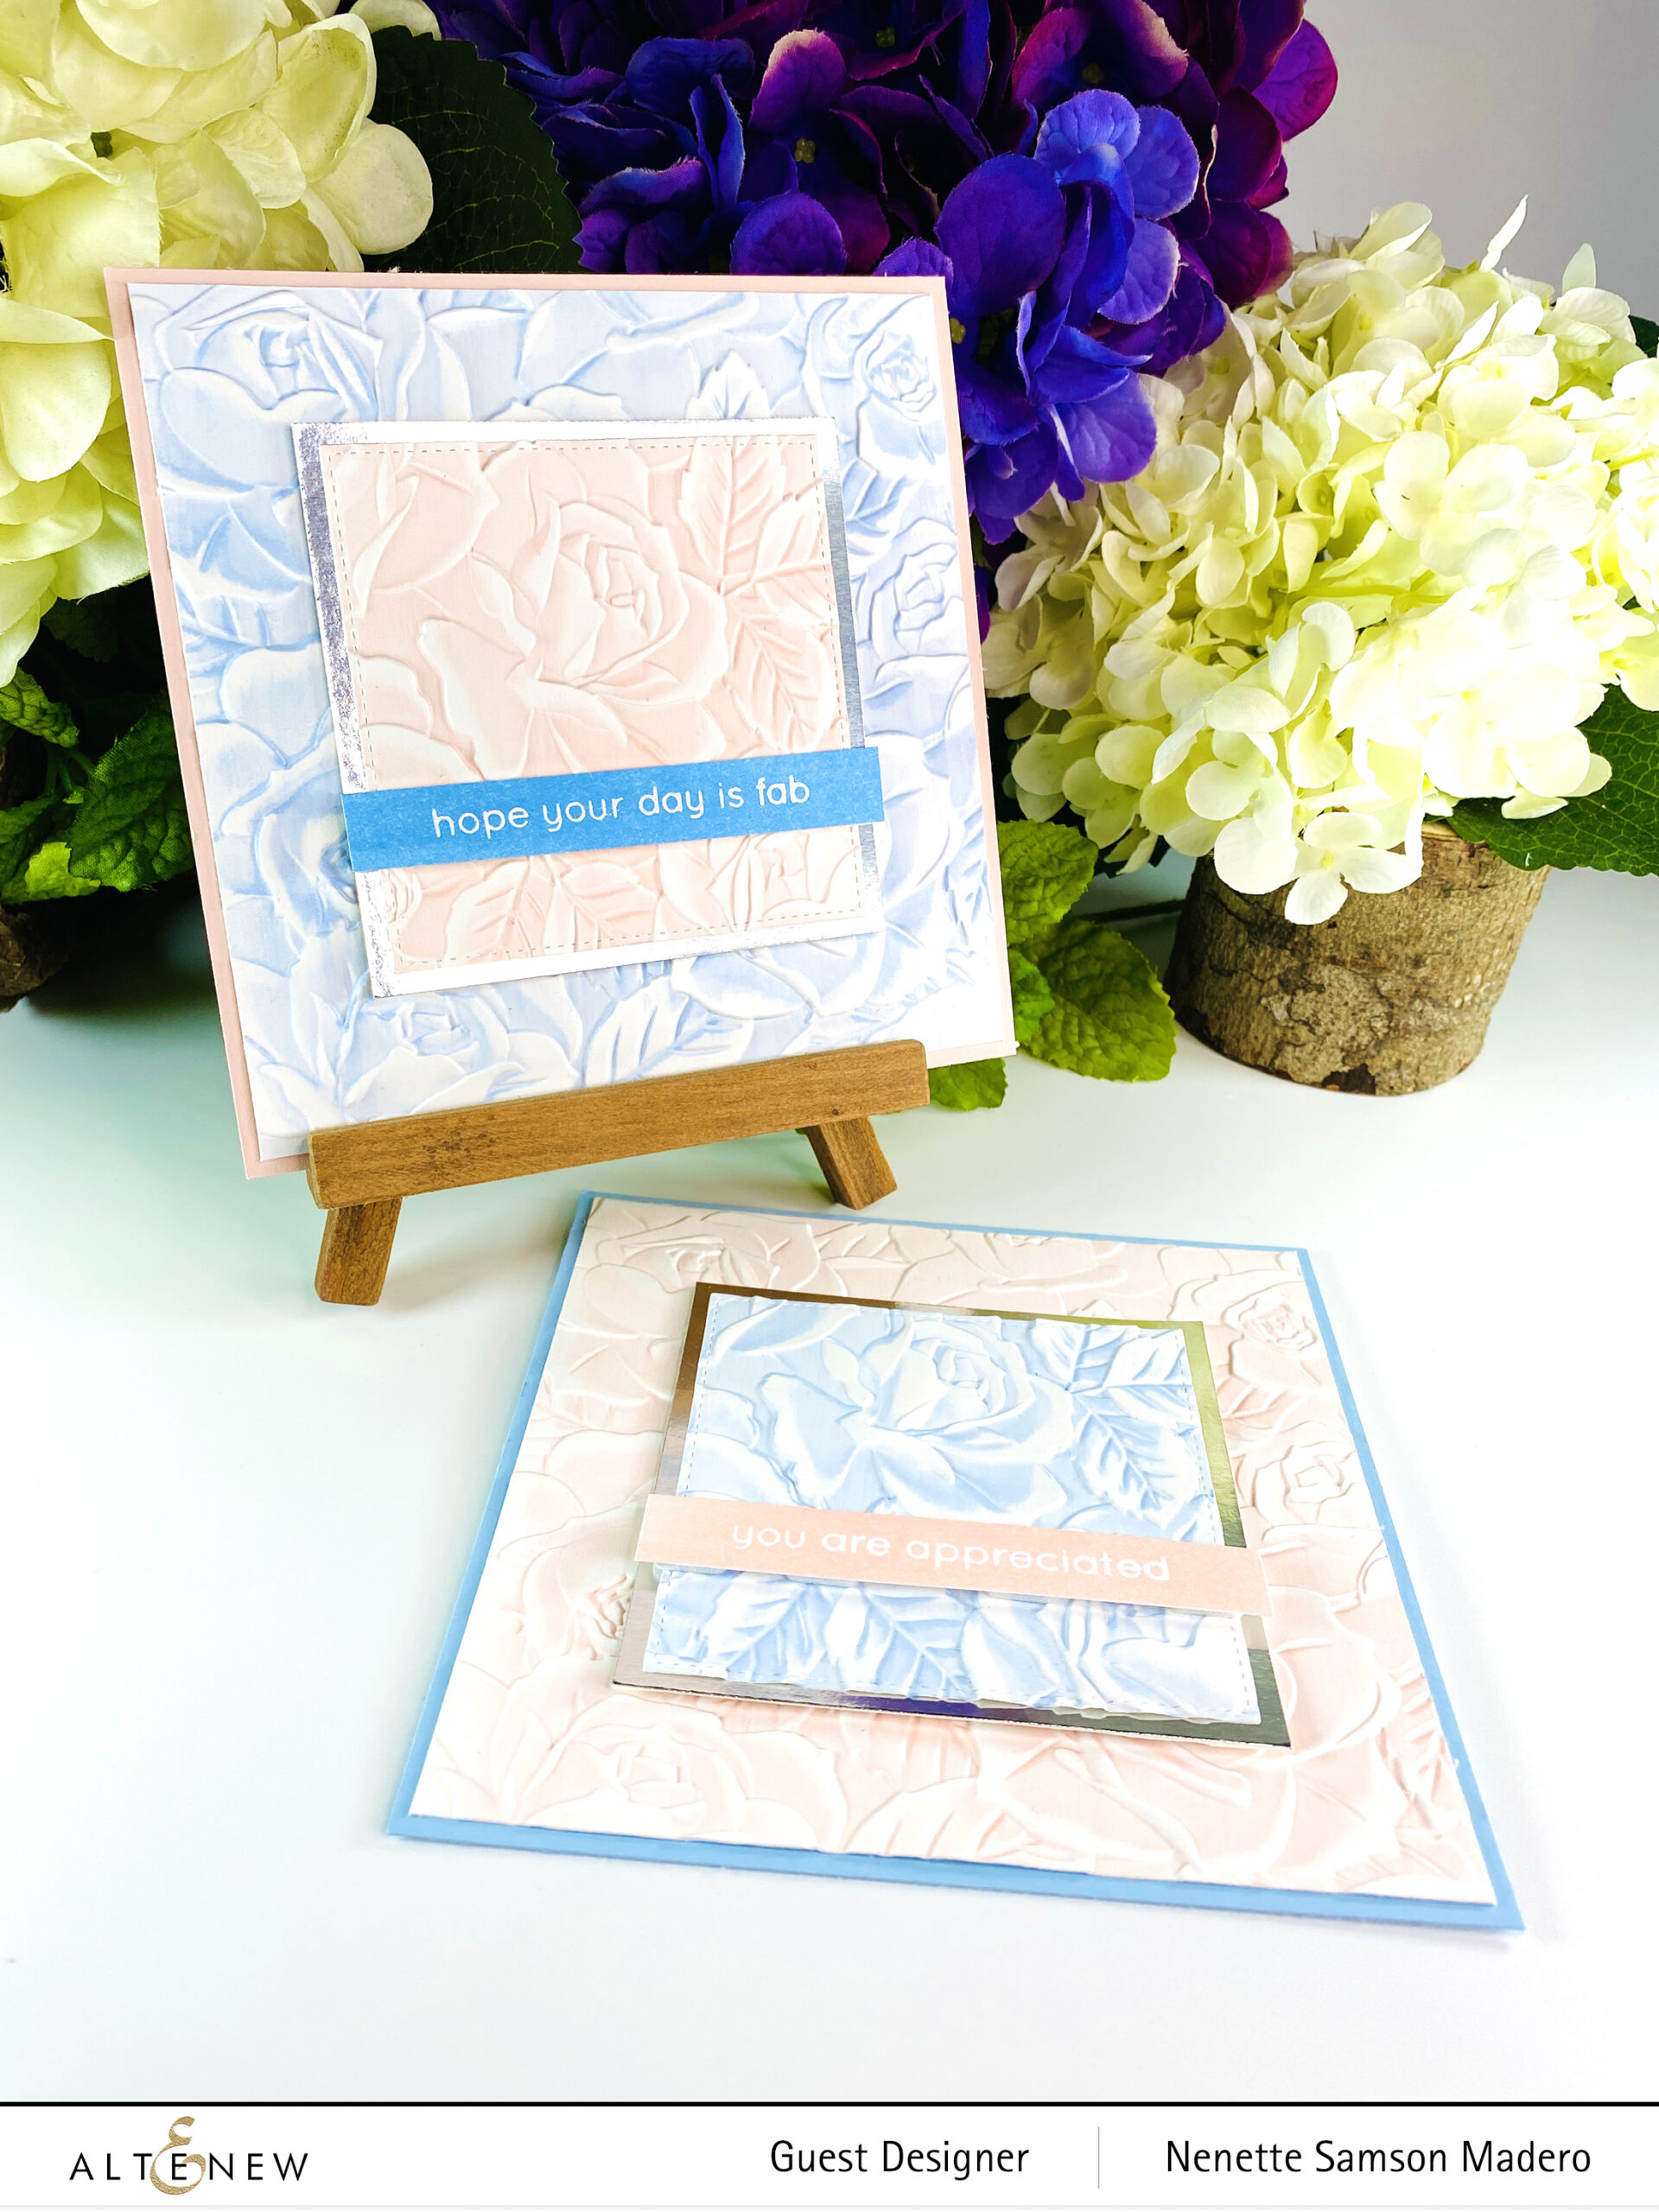
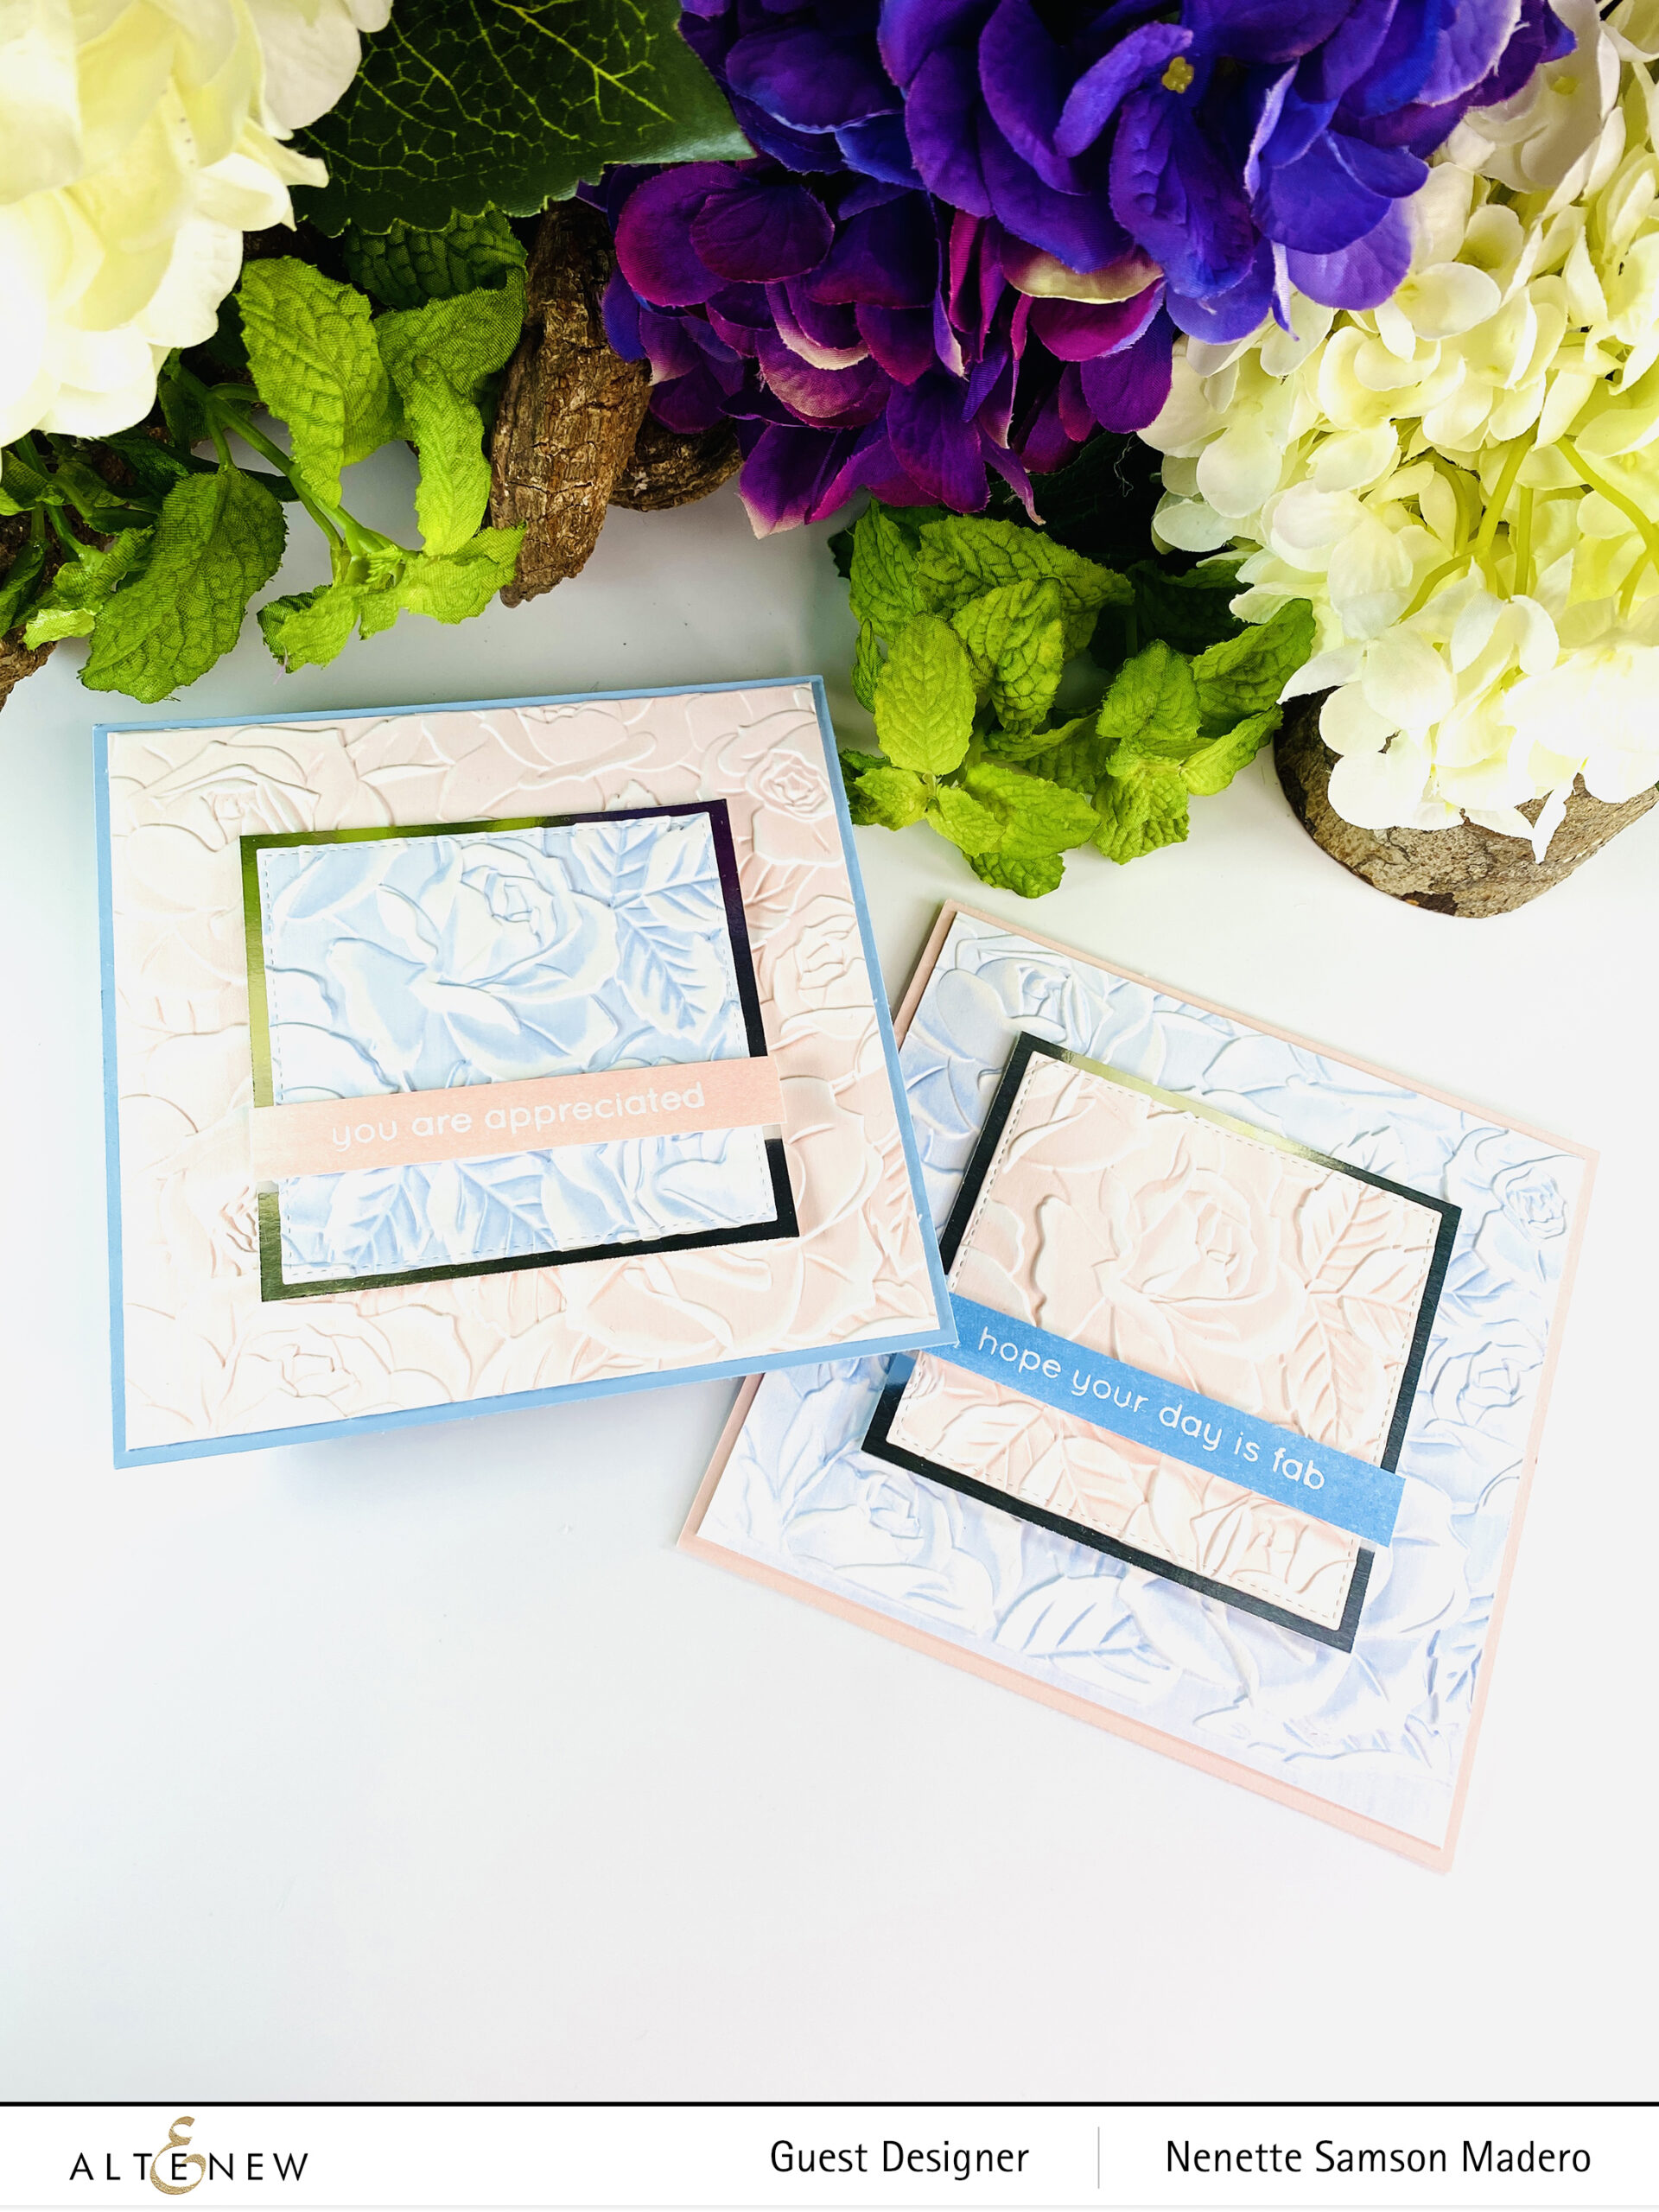
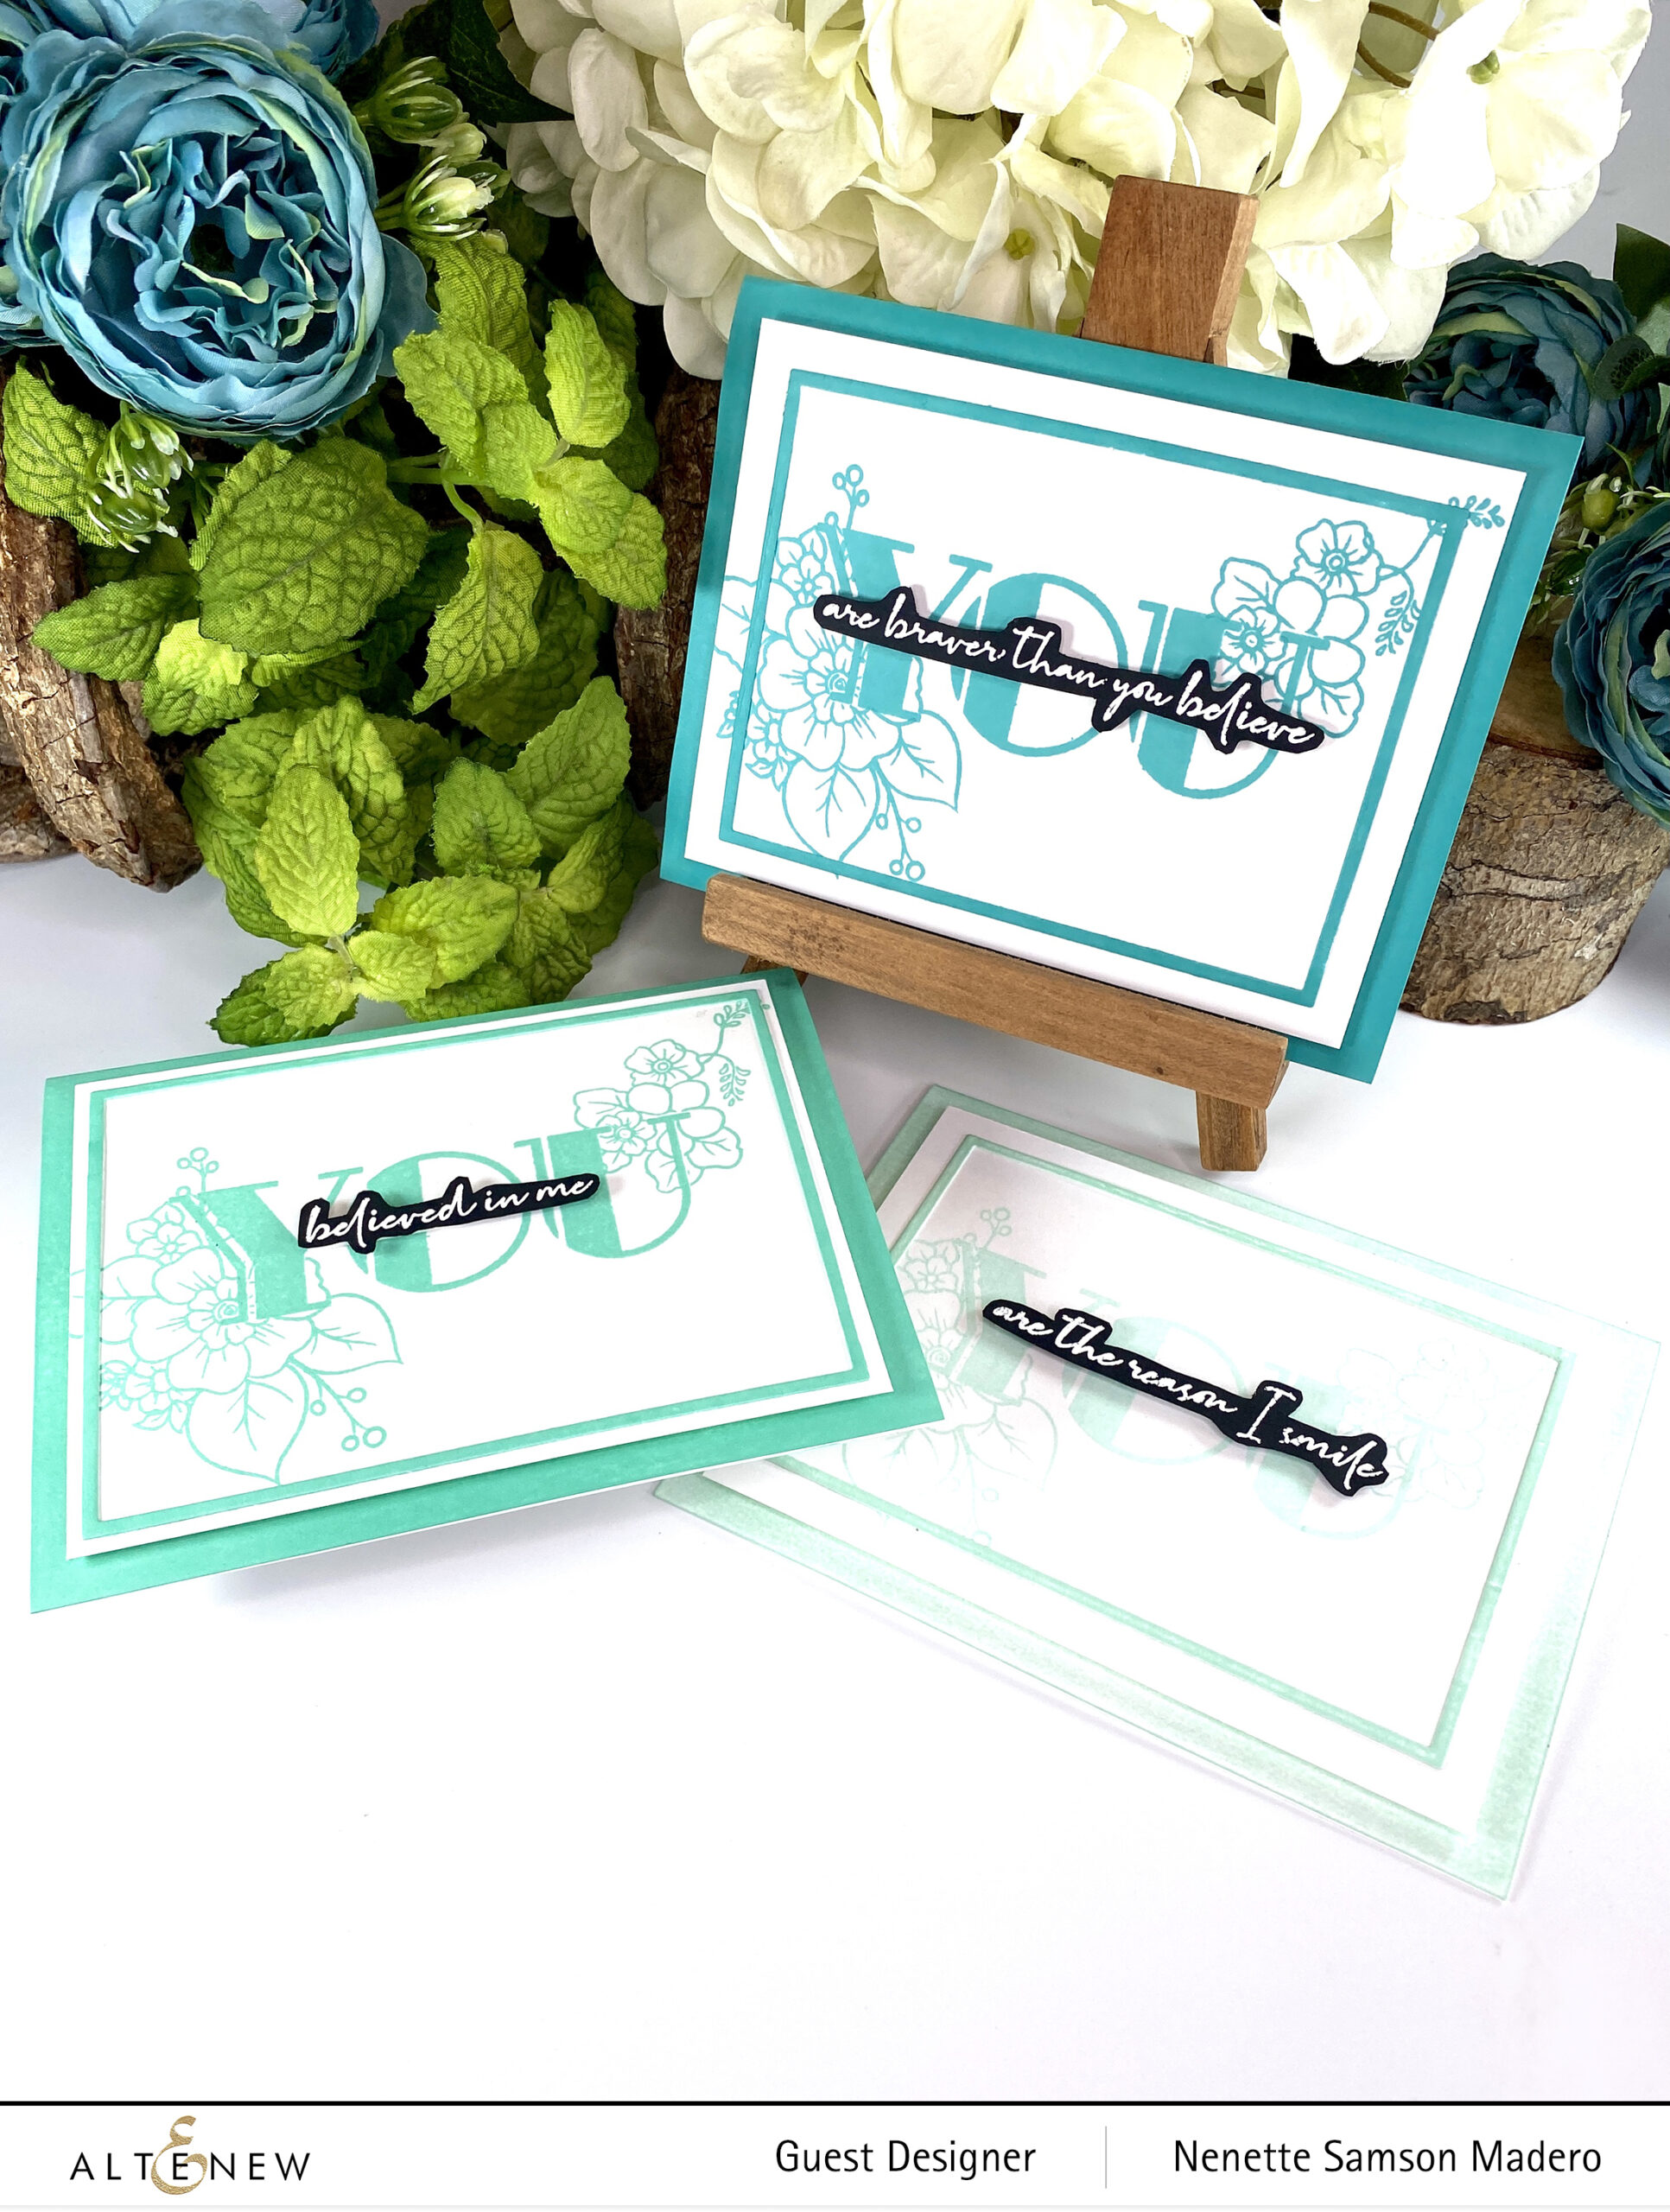
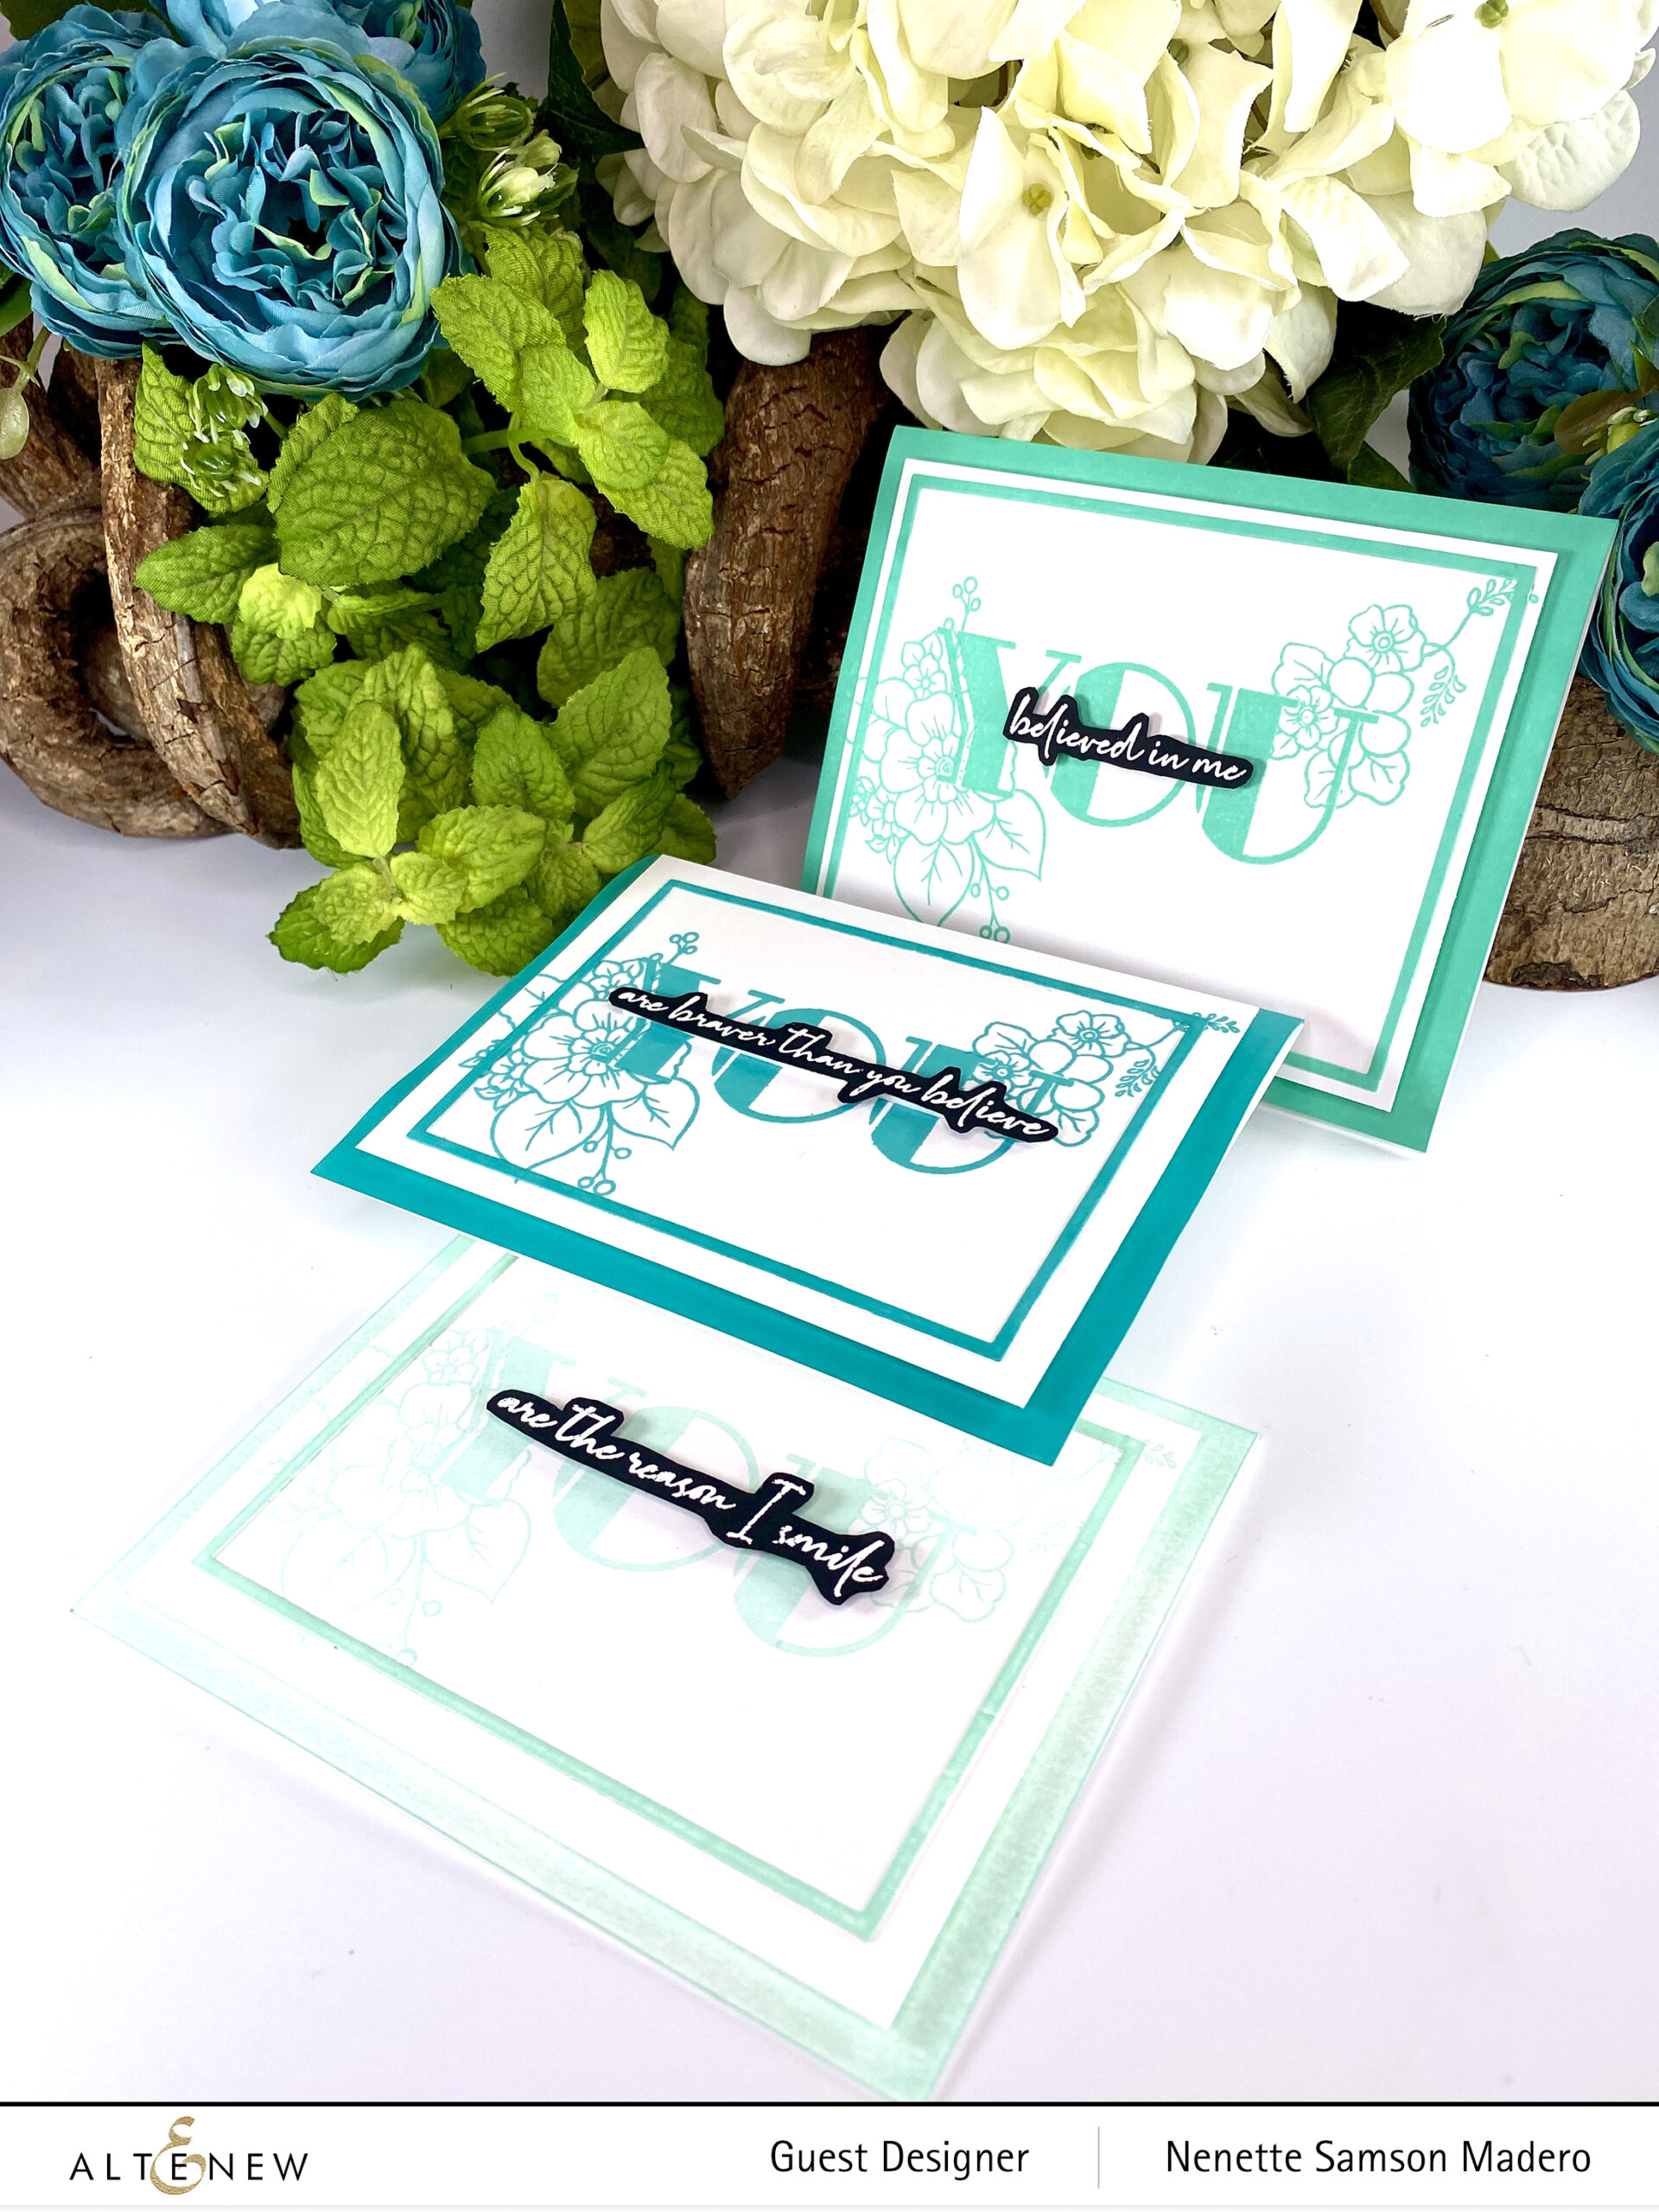
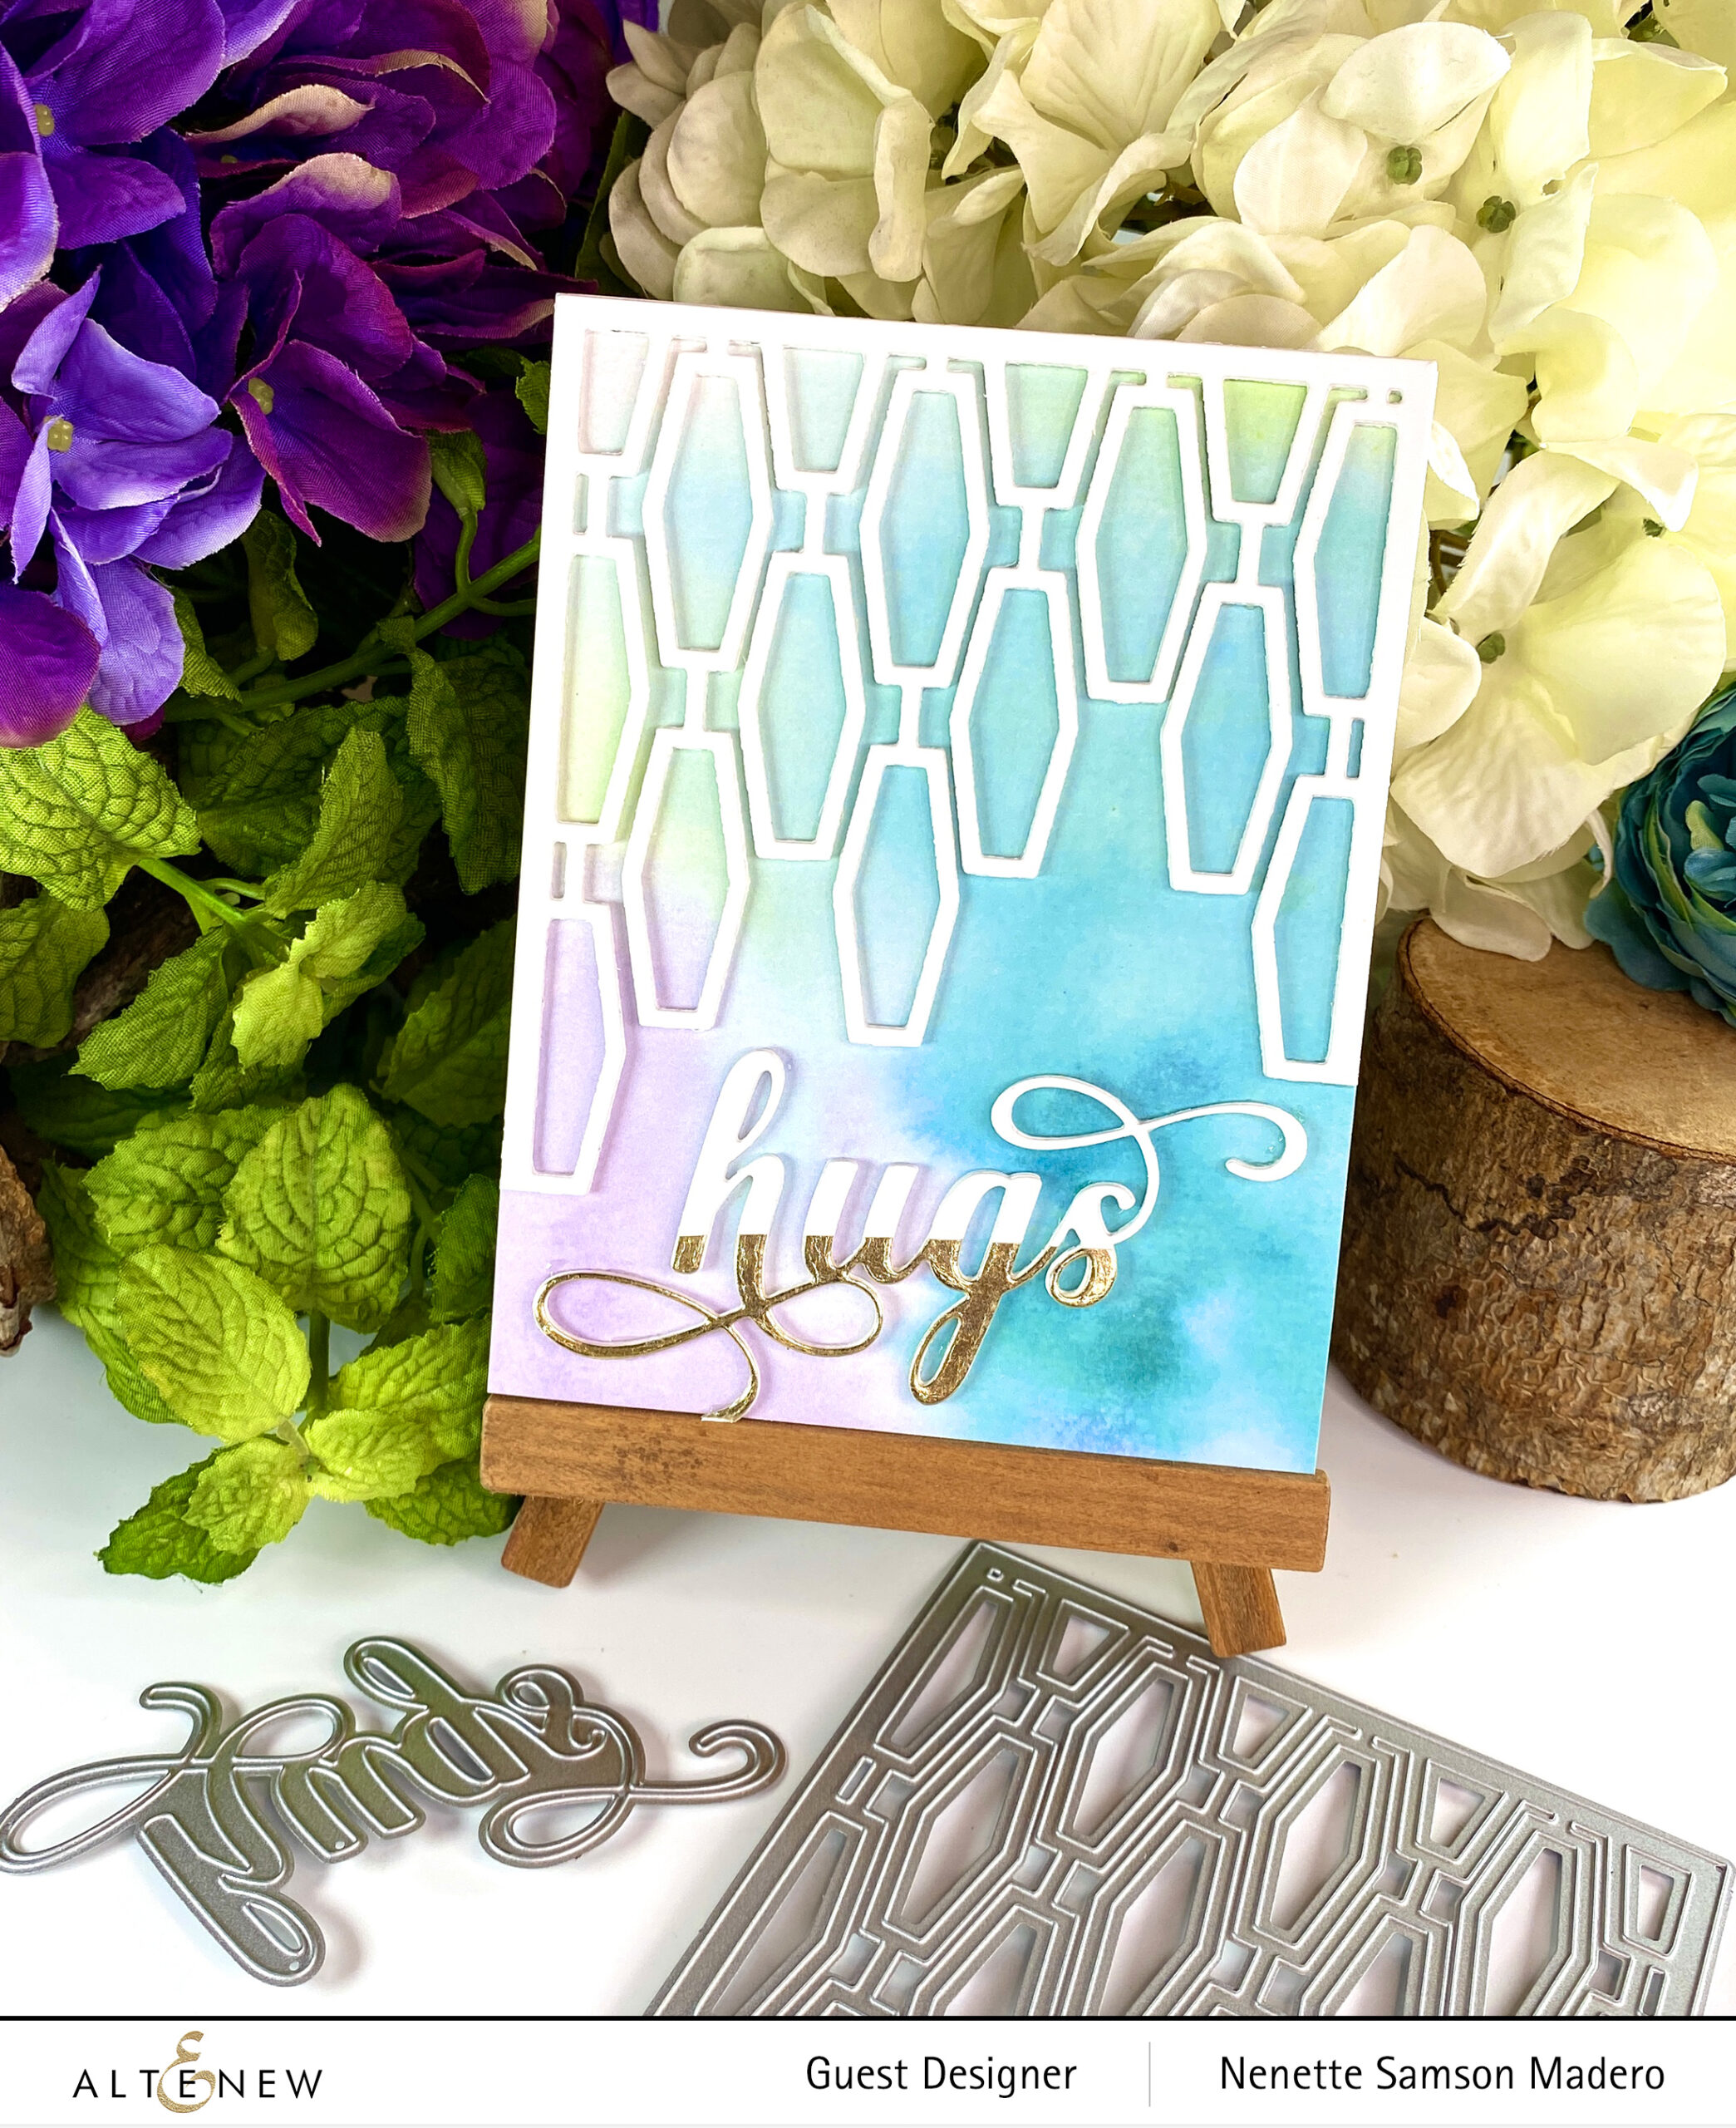
Below are more cards/projects I made using Altenew washi tapes.


PRIZES AND GIVEAWAYS
$200 in total prizes! To celebrate this occasion, Altenew is giving away a $100 gift certificate to 1 lucky winner and a $20 gift certificate to 5 winners! Please leave a comment on the Altenew Card Blog and/or each designer’s blog post on the blog hop list below by 11/17/2021 for a chance to win. Altenew will draw 6 random winners from the comments left on each stop of this blog hop and announce the winners on the Altenew Winners Page on 11/19/2021.
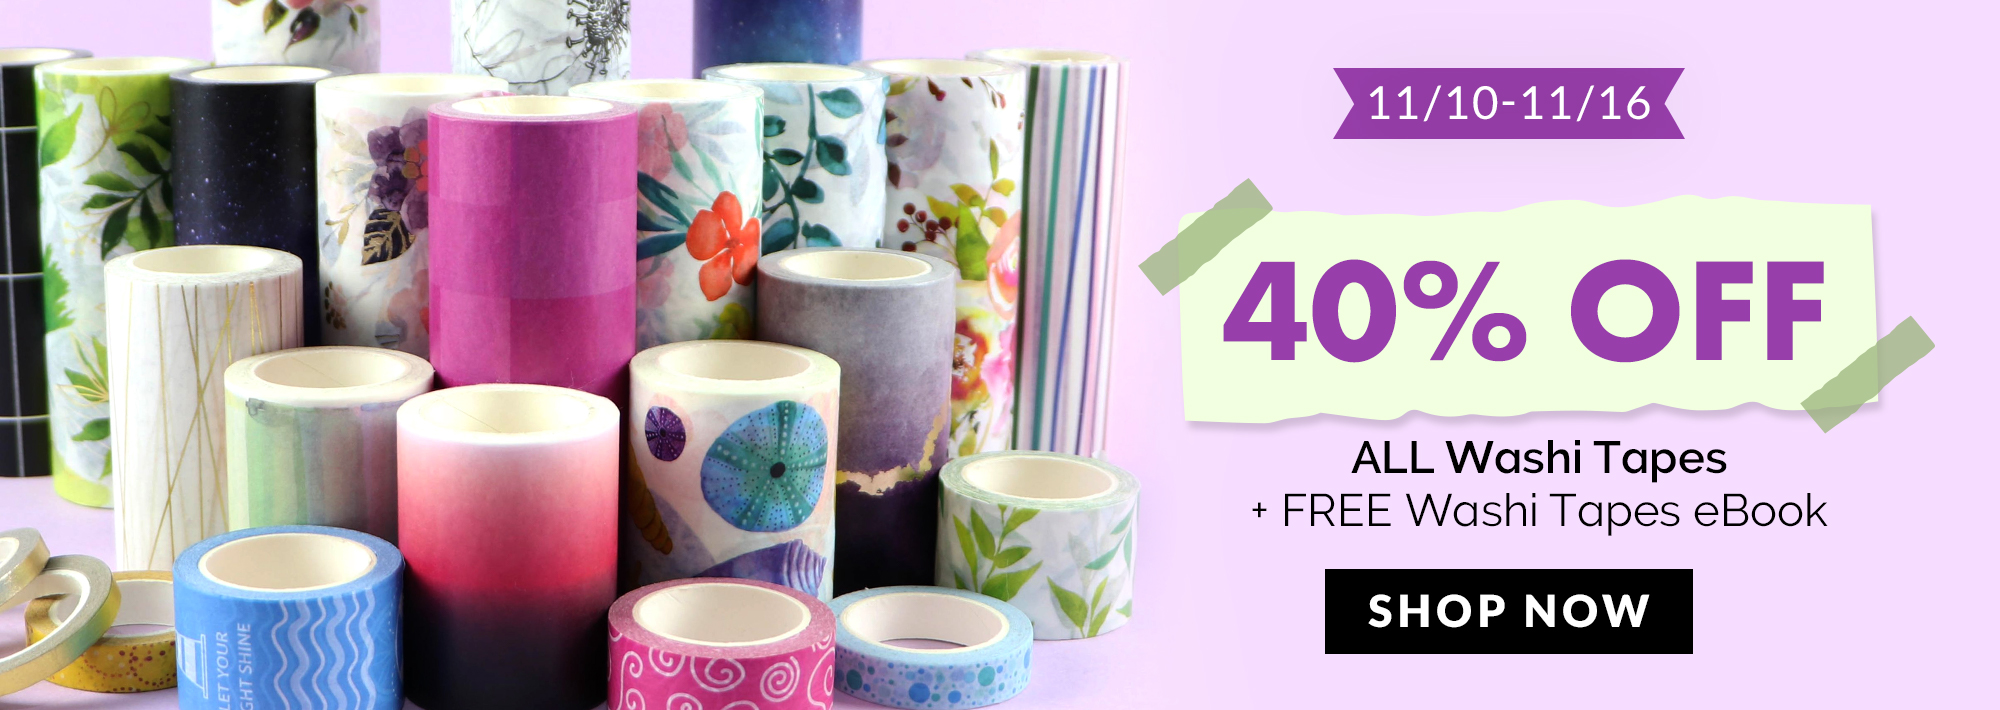
SPECIAL OFFER: 40% off on ALL Washi Tapes from 11/10/2021 at 12:01 AM EST until 11/16/2021 at 11:59 PM EST. Shop here. Not valid on previous purchases. Free gift will be added to the cart automatically with all washi tape orders.
Thank you so much for dropping by! Next up:Nandini Karmarkar. Don’t forget to leave a comment below to get a chance to win a prize from Altenew! I truly appreciate all the wonderful feedback you give and your kind words inspire me to create more so thank you so much!!! For my latest creations, please follow me on Instagram @mylittelatticstudio . Have a wonderful week ahead. Stay safe and happy crafting! 💜

")


")


")


")