Altenew March 2020 Washi Tapes Release Blog Hop + Giveaway

Altenew March 2020 Washi Tapes Release Blog Hop + Giveaway

Hello everyone!!! I’d like to thank Sveta Fotinia from sending all of you over. I’m so thrilled to be a part of this blog hop because this release is just full of colors! I’m sure you will fall in love with them 😍 To view the entire collection, make sure you visit the Altenew Blog or you can check out their online store here. Take a look at these gorgeous summer washi tapes!!!
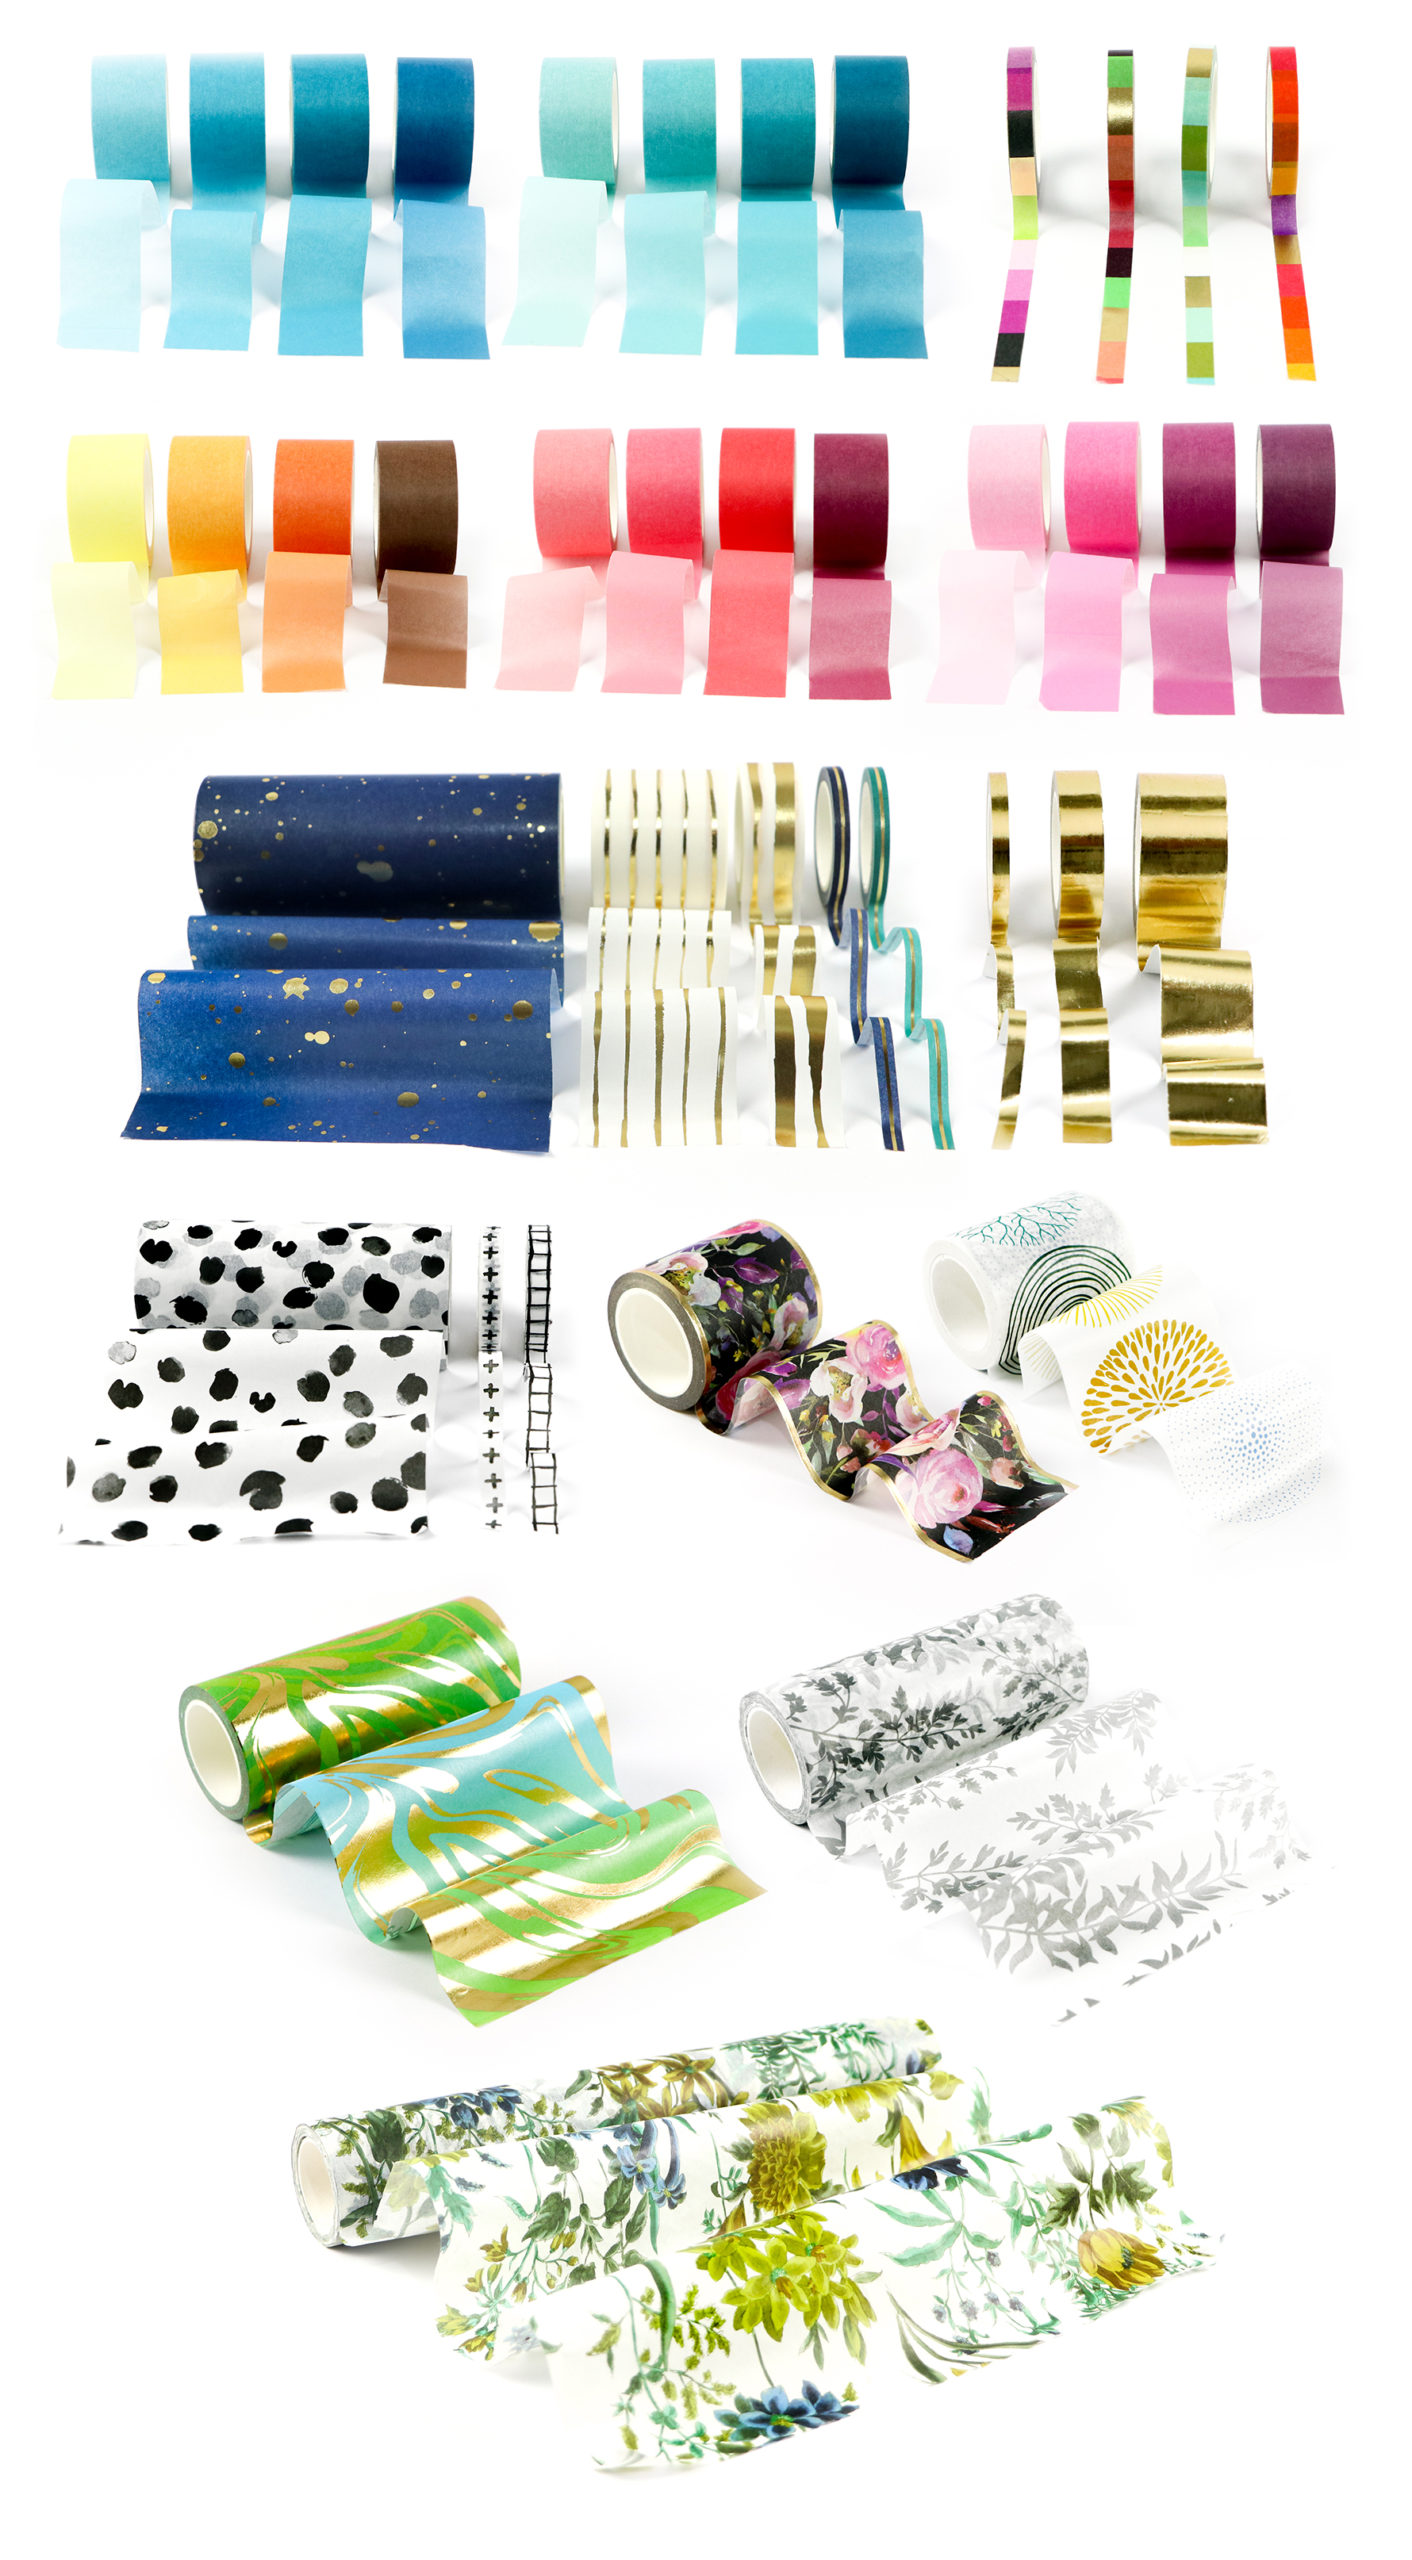
There are so many ways you can use these amazing washi tapes and below are some examples. I just love how you can create wonderful cards in no time at all just by using washi tapes.


CONGRATS CARD
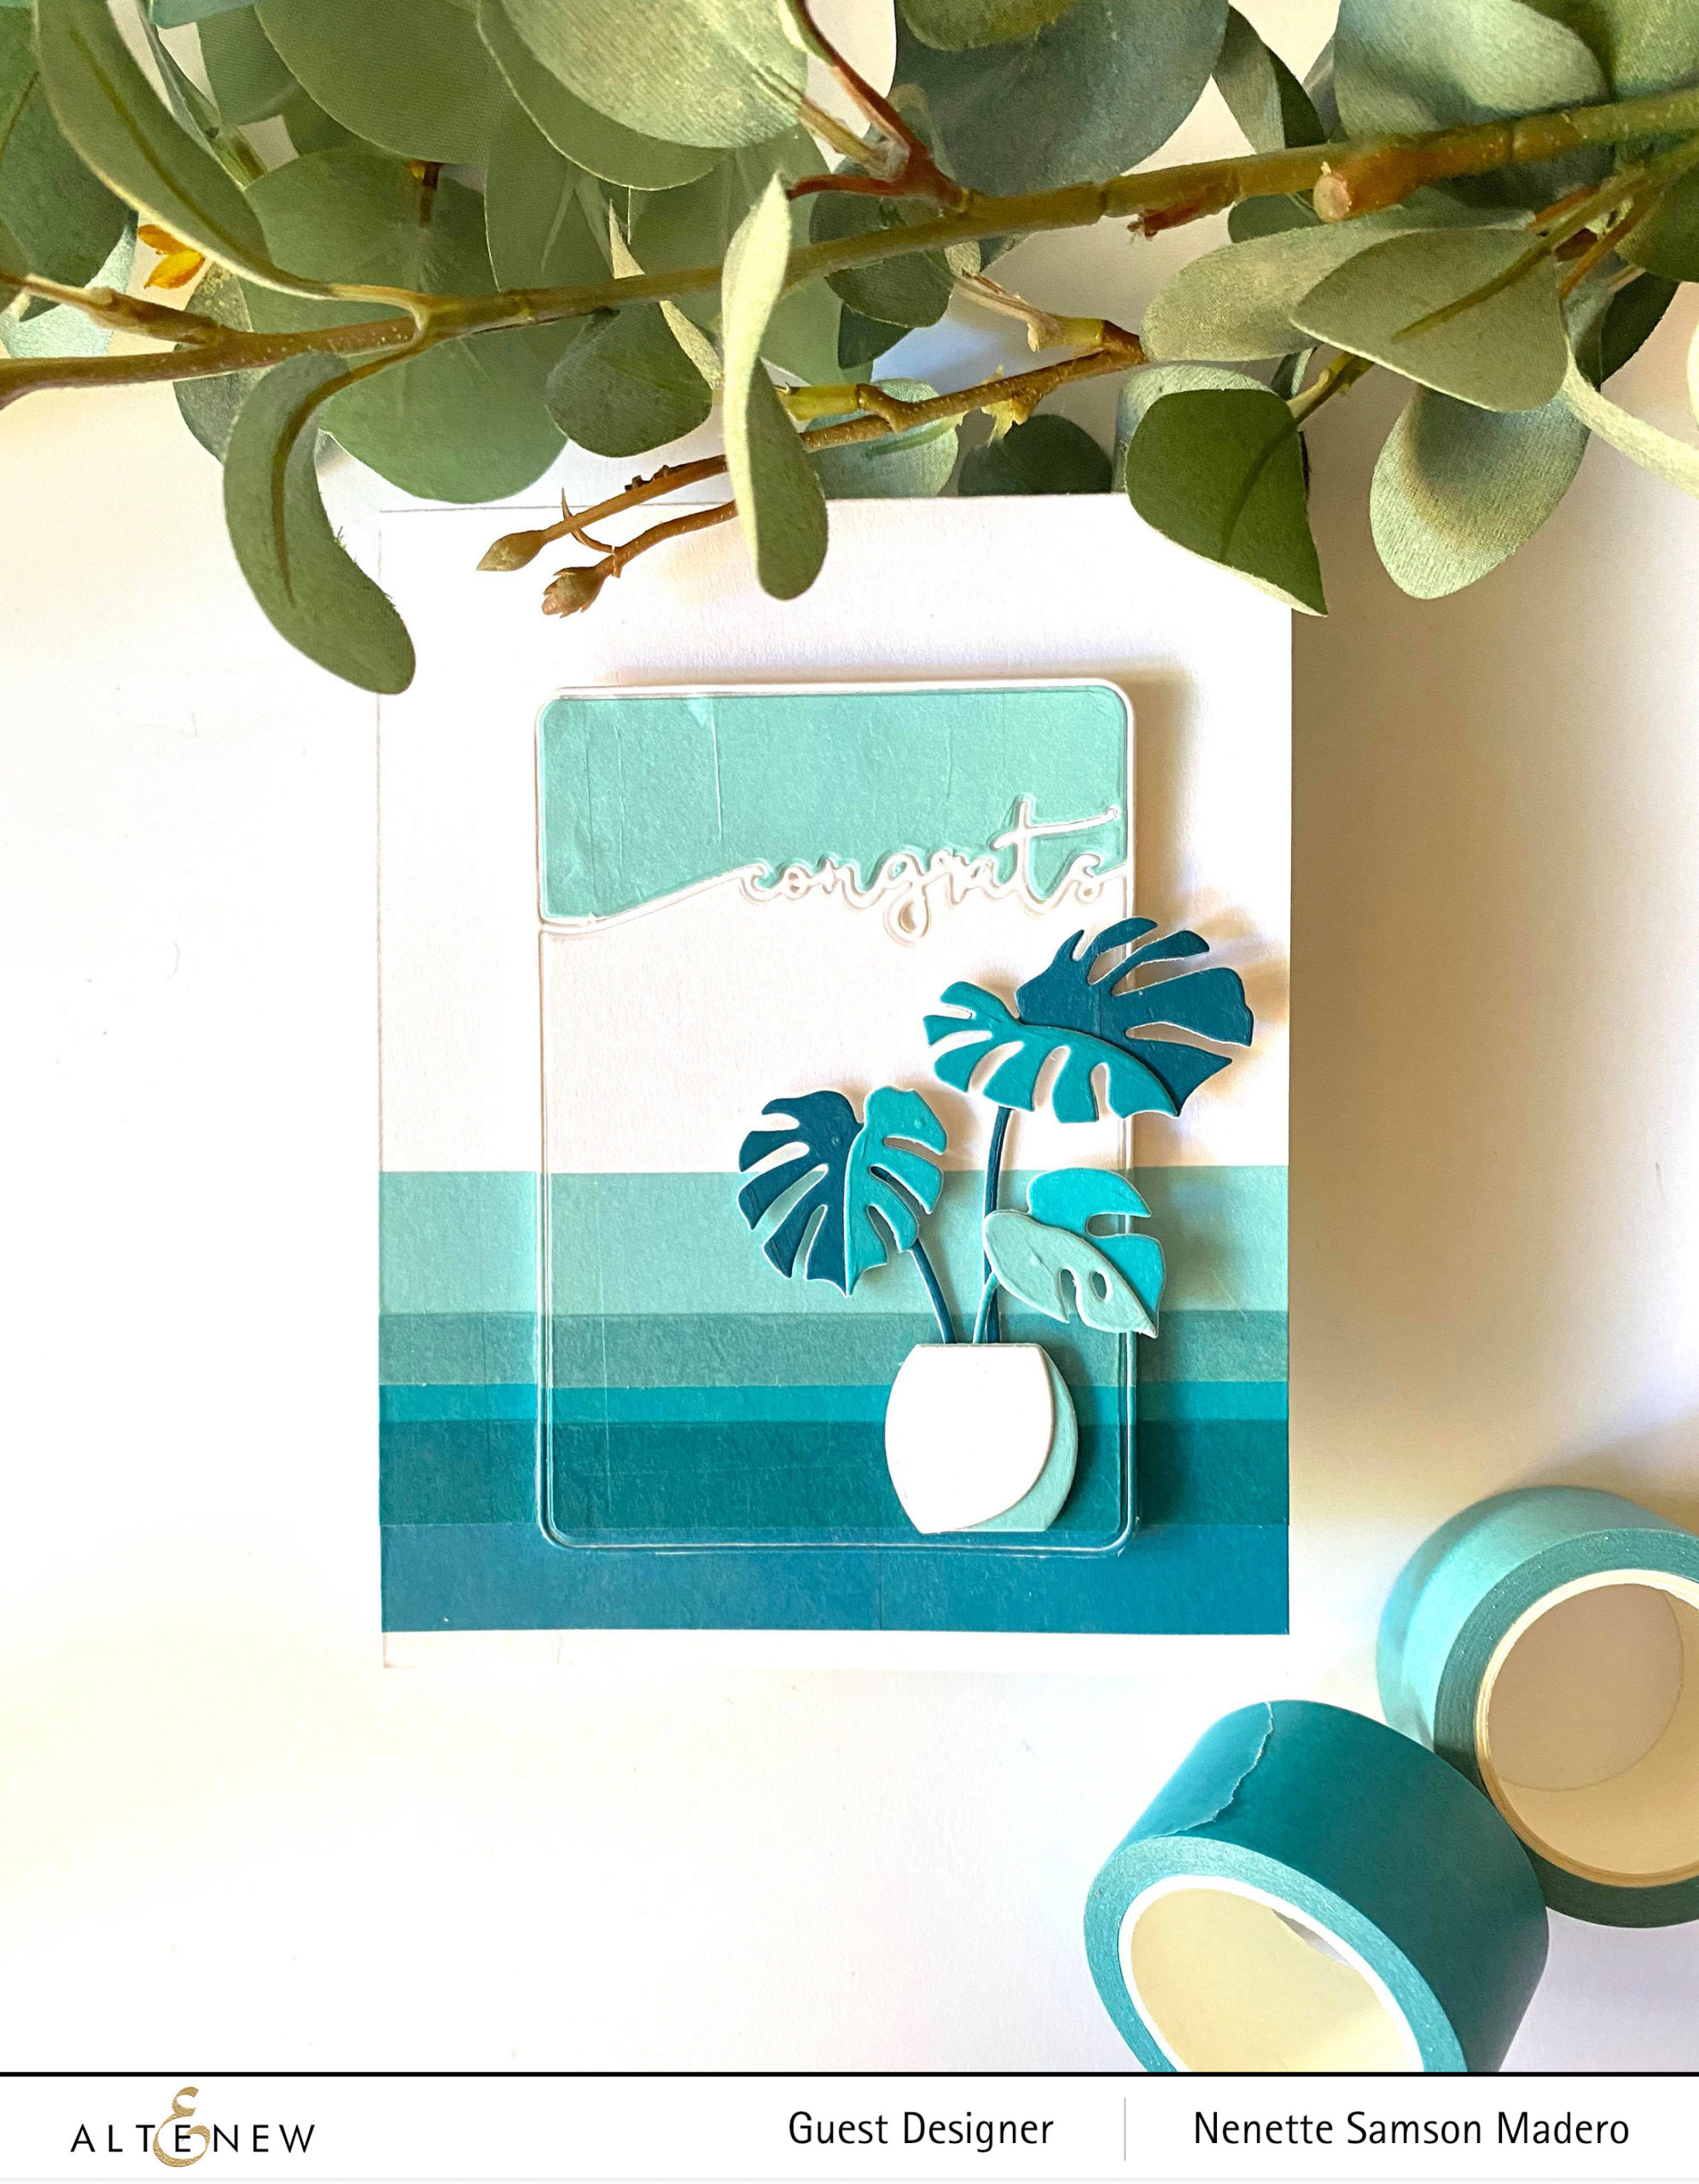

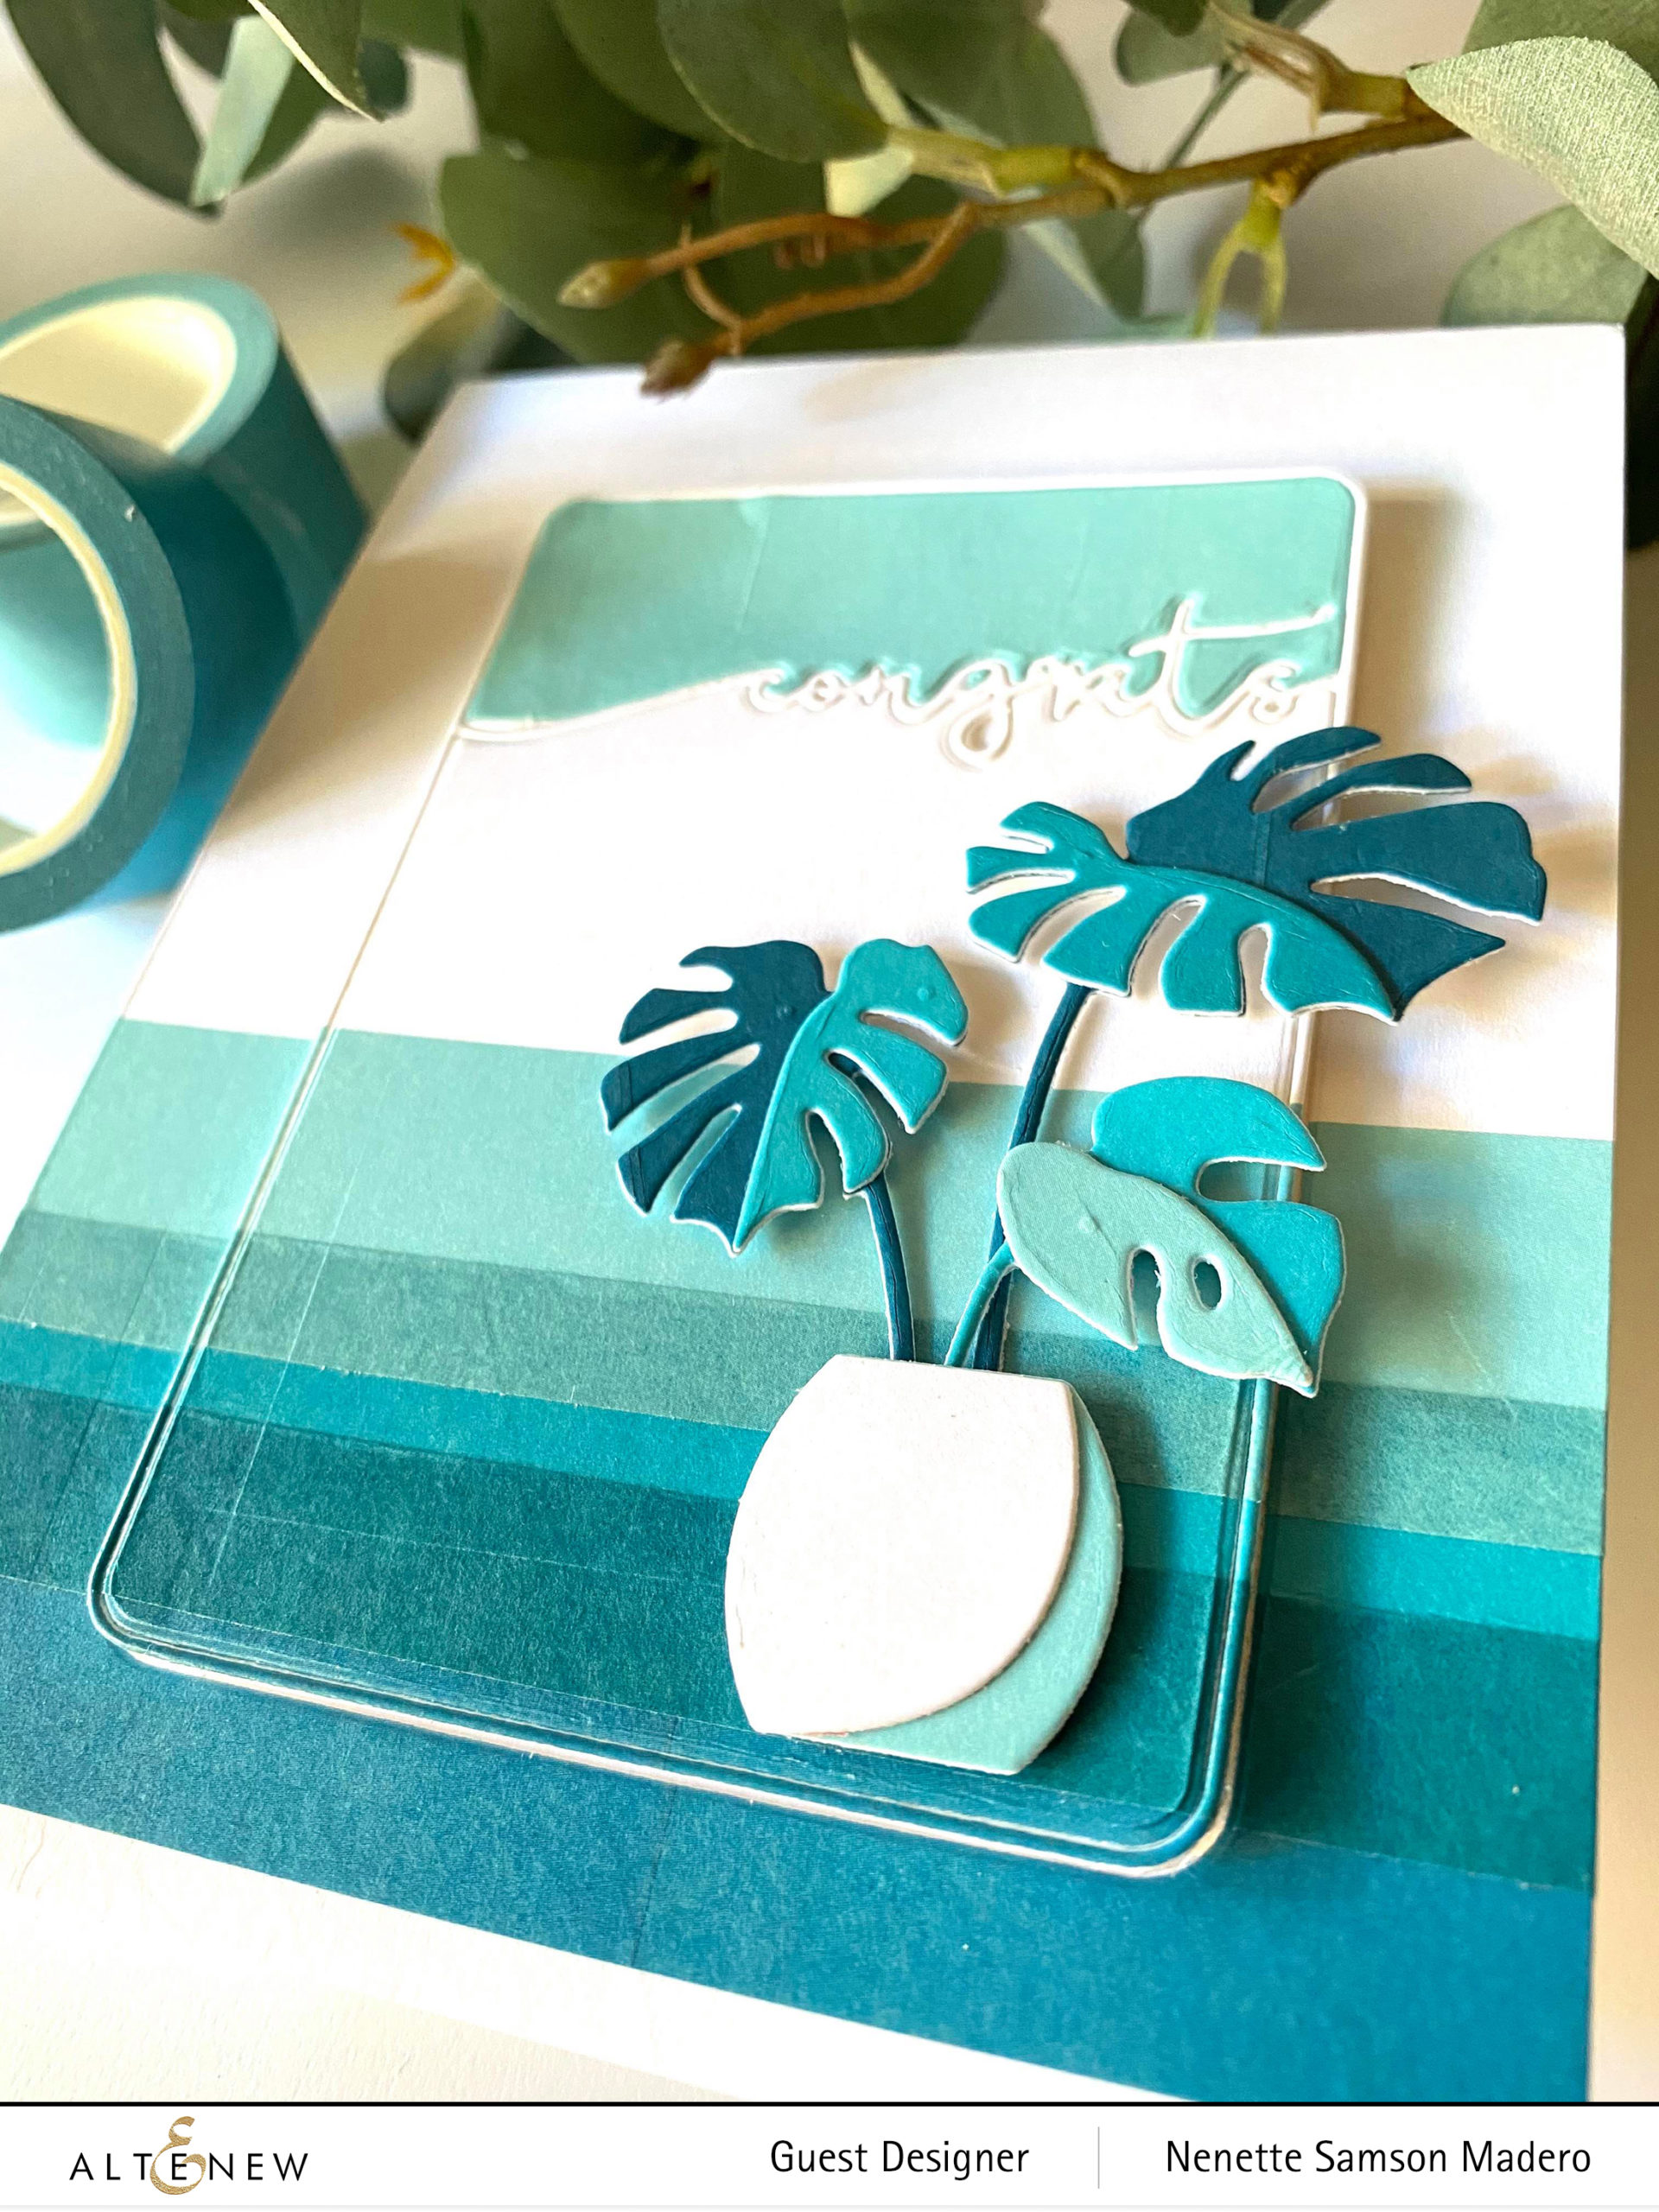
This card was inspired by the talented Norine Borys‘ card from last month’s stand-alone dies. I just loved how simple yet stunning the card was so I created a similar card using washi tape. Materials used for this card are the following: Framed Congrats die, Monstera 3D die and the Sweet Dreams Washi tape.
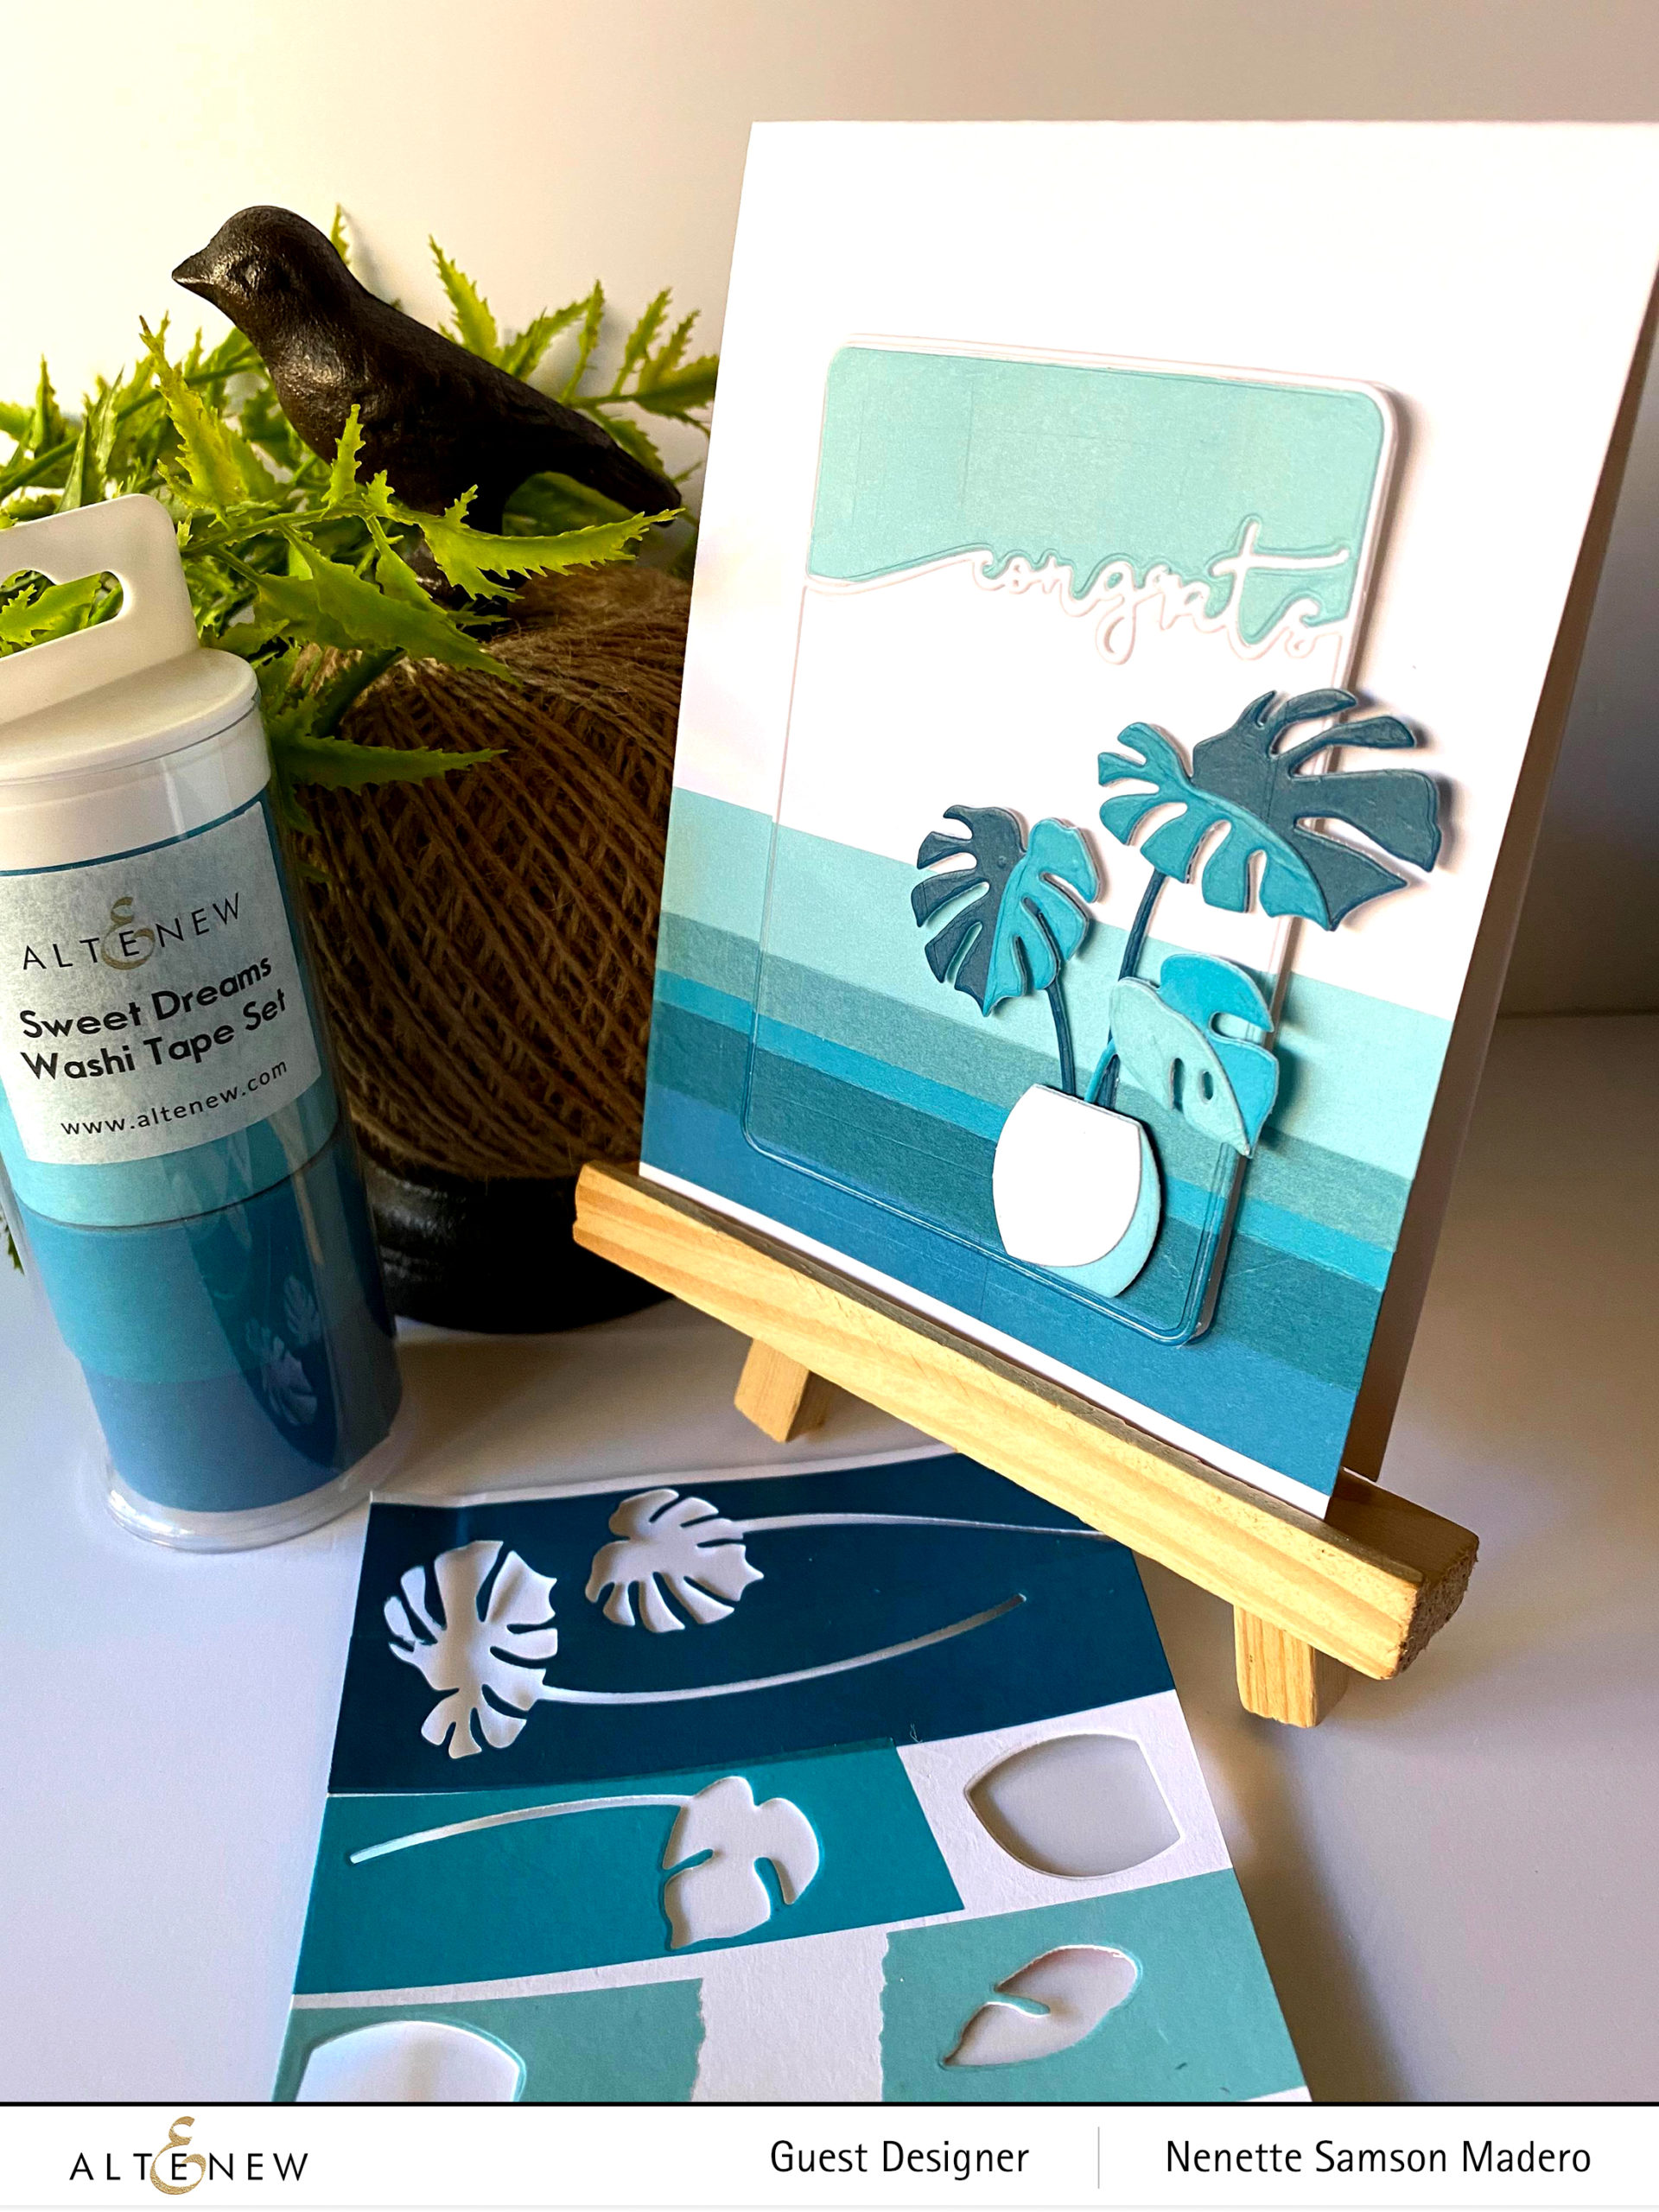
I love how easy it is to add color to a card front using washi tapes. For this card, I used the different shades of blues by sticking them onto Neenah solar white cardstock then die cutting the pieces using the Monstera 3d die. Next, I layered the different shades of washi, sometimes overlapping to create a new shade of blue. I left the upper portion of the card white for more contrast. I cut out the middle part using the Framed Congrats die then cut another 4 more to layer behind it to add some dimension then adhered the plant and pot.

IT’S COOL TO BE KIND CARD
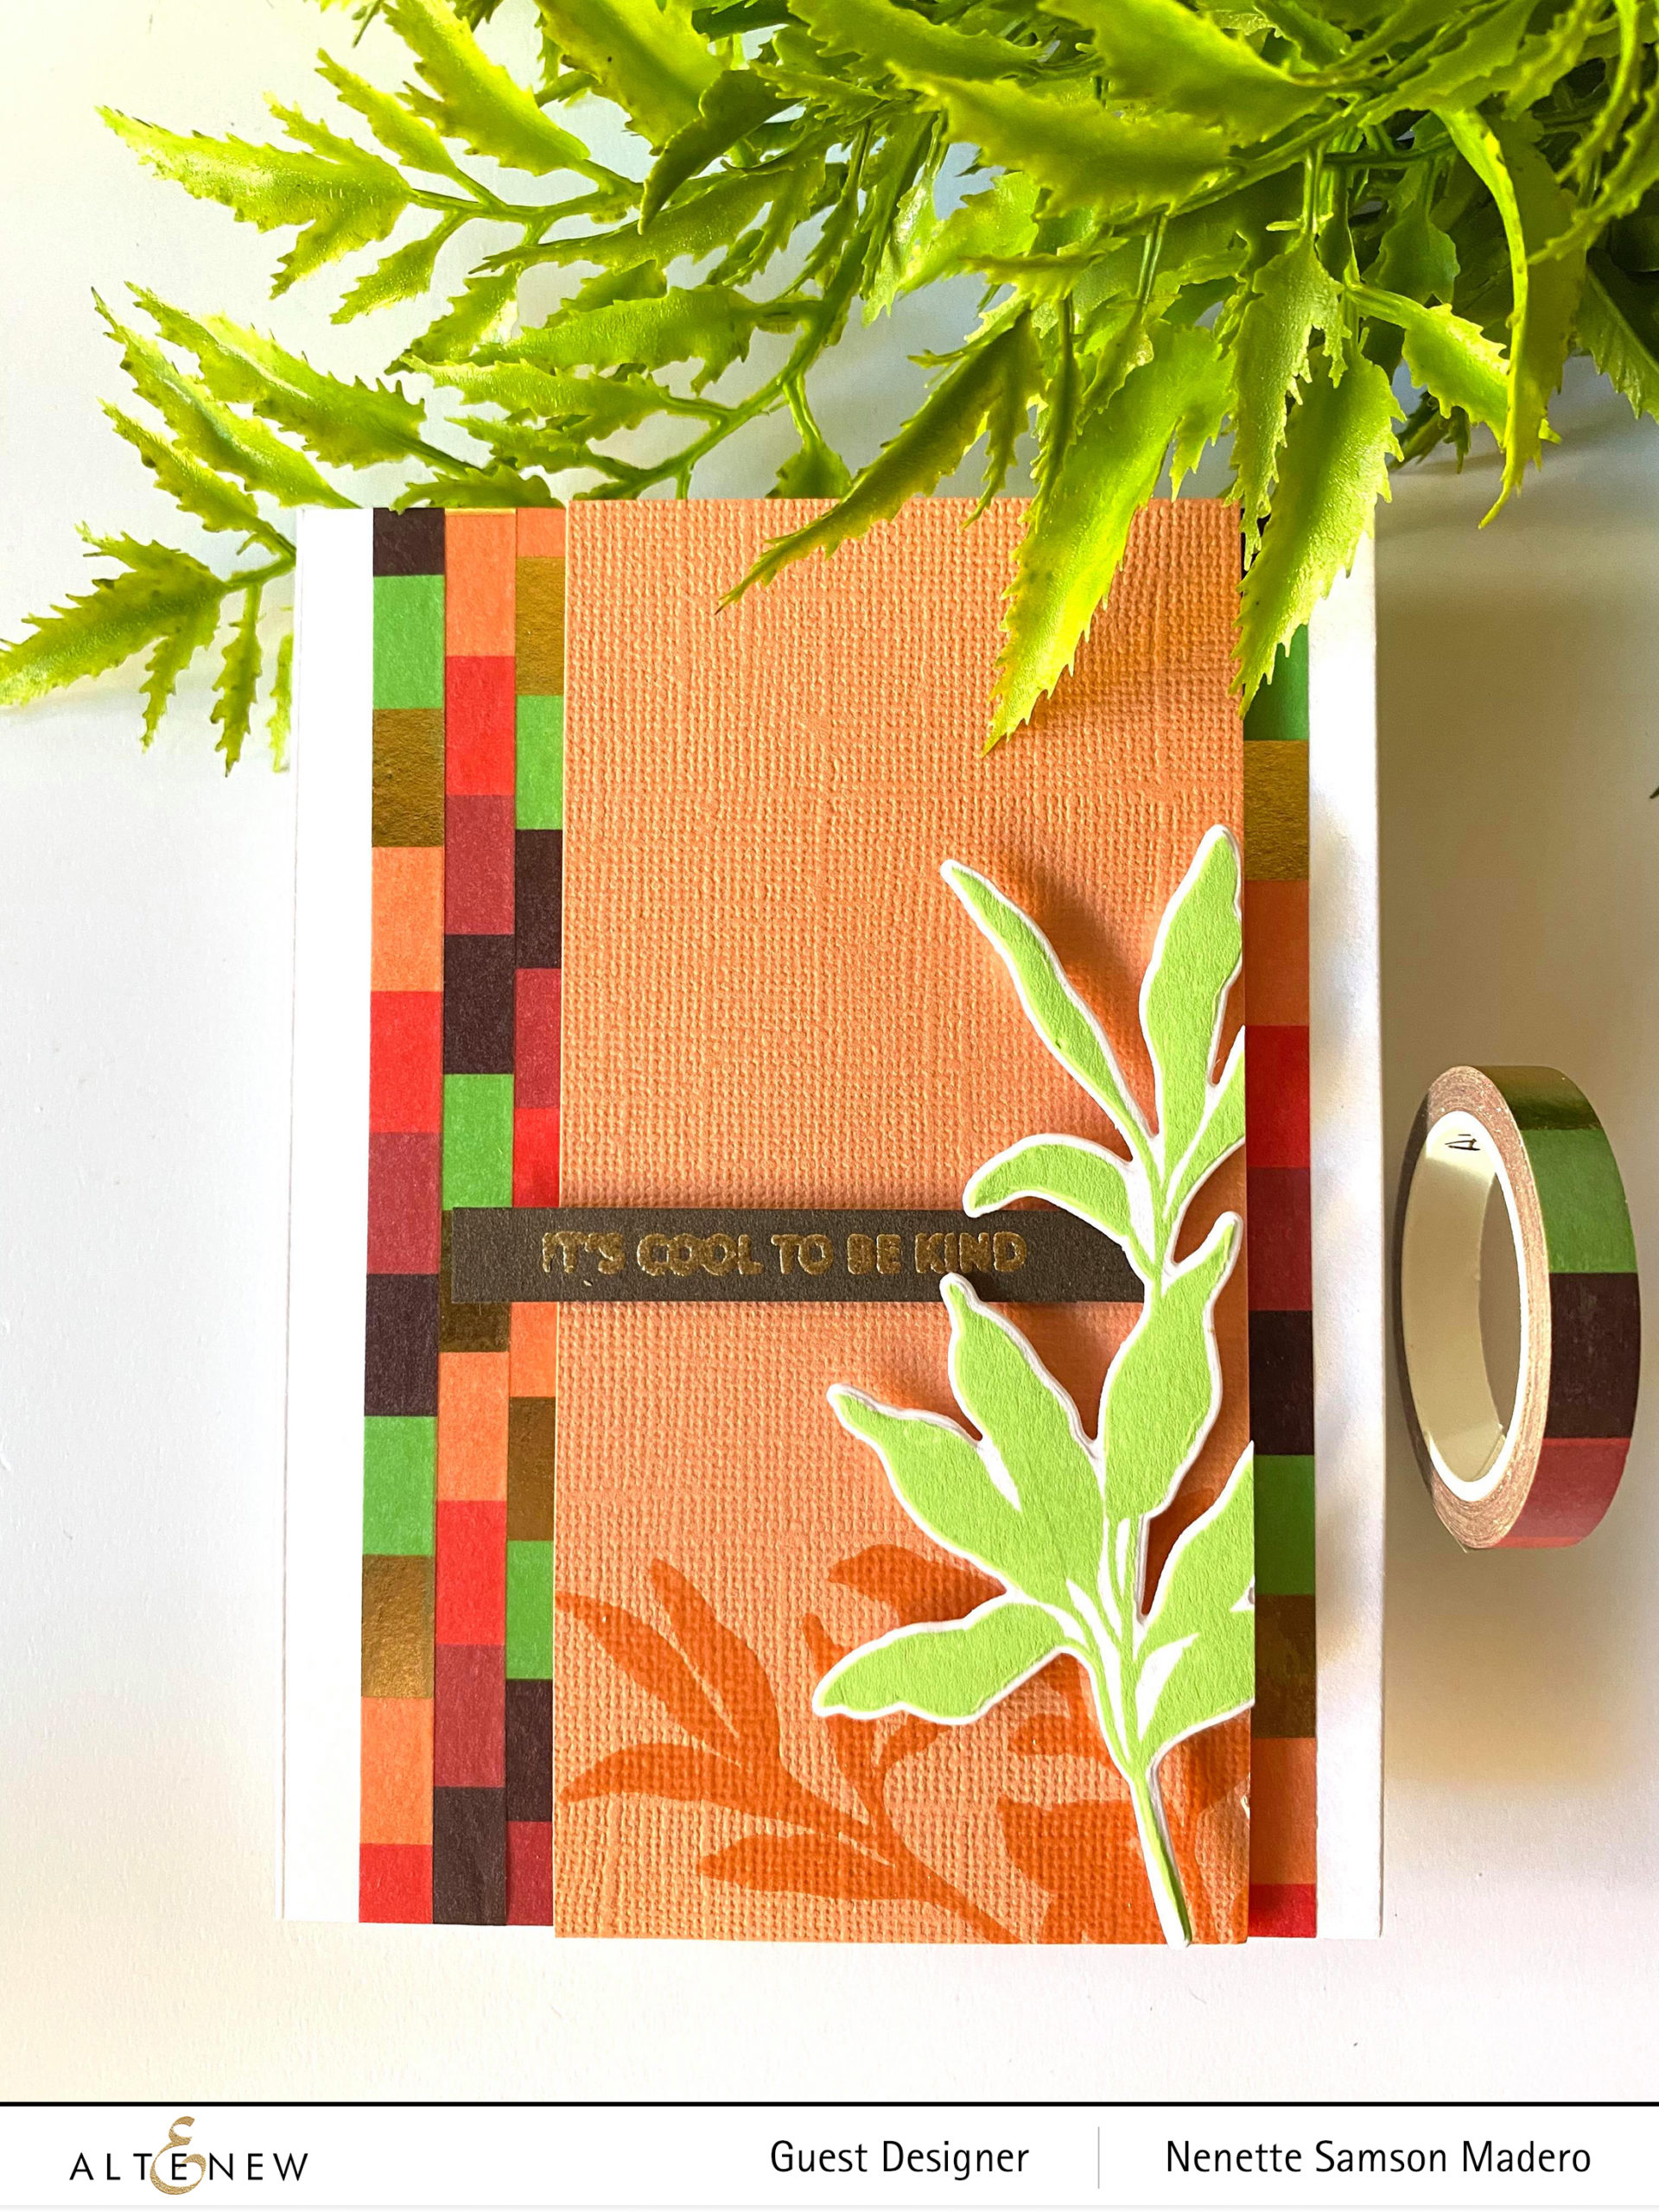

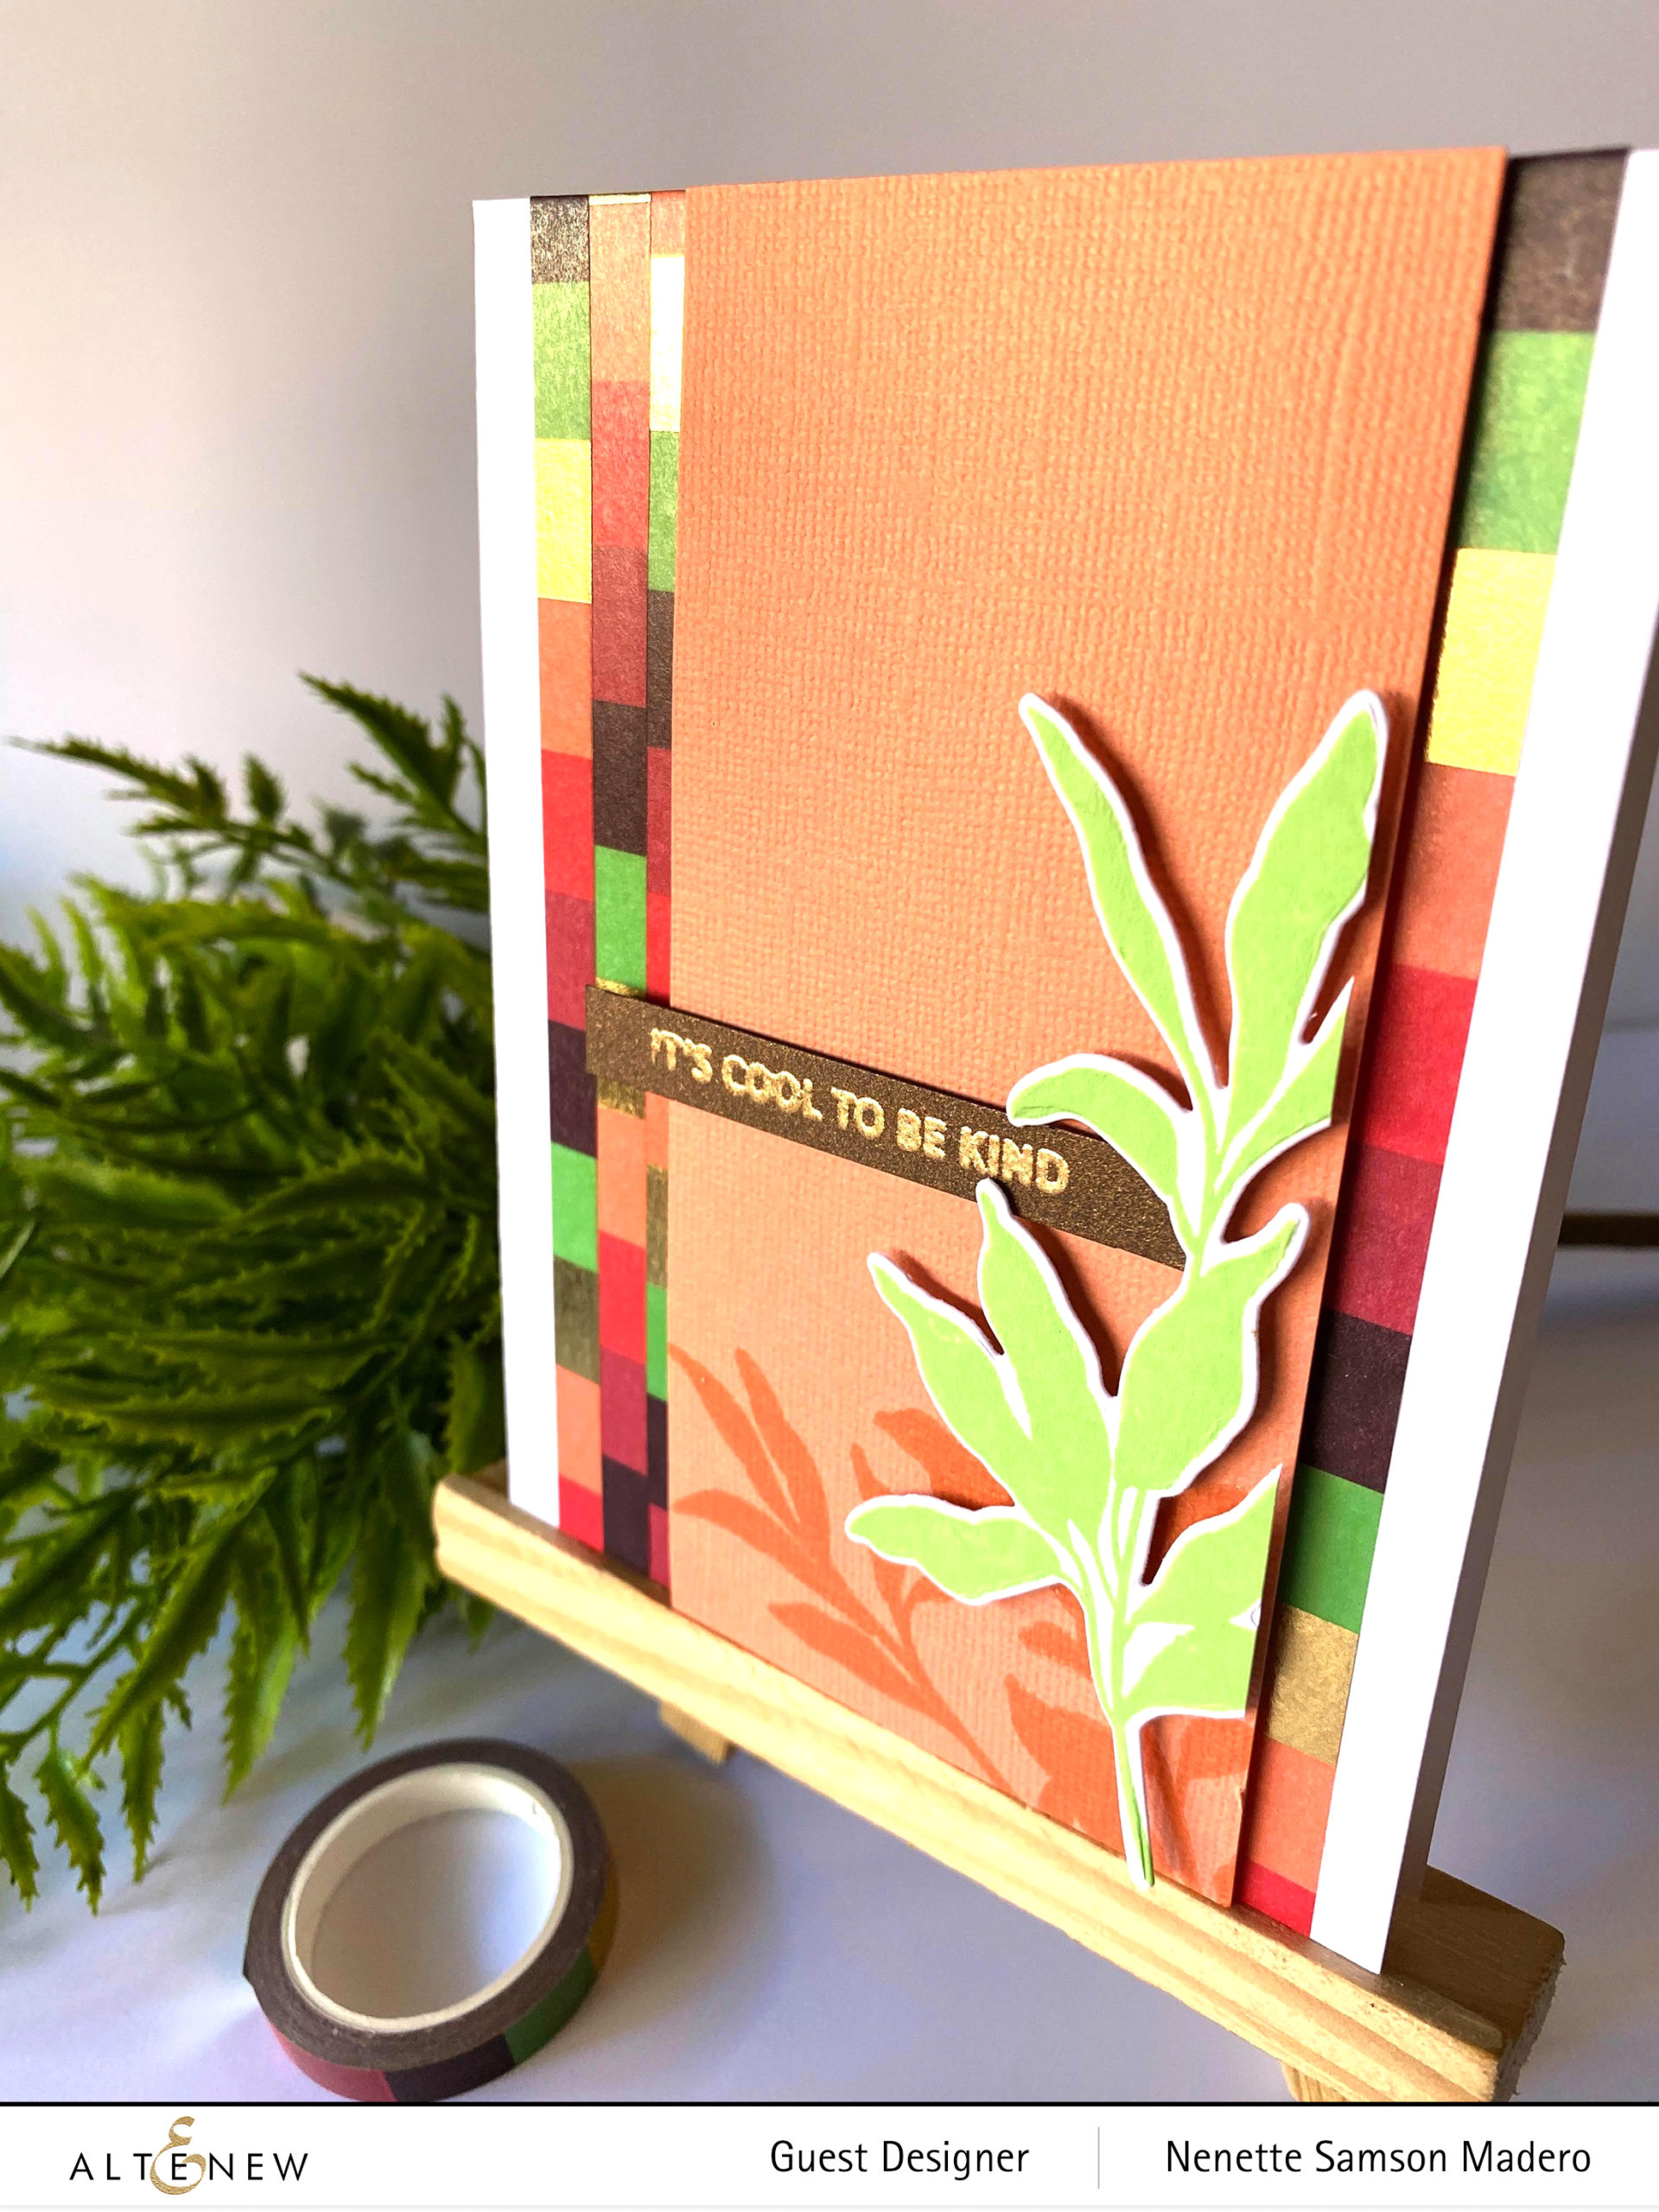
For this card, I used the following: Allium Palette Washi tape, Leaf Clusters Stamp and die set, Firefly crisp dye ink, Rose Gold Crisp Embossing powder, Versamark Ink and cardstocks.
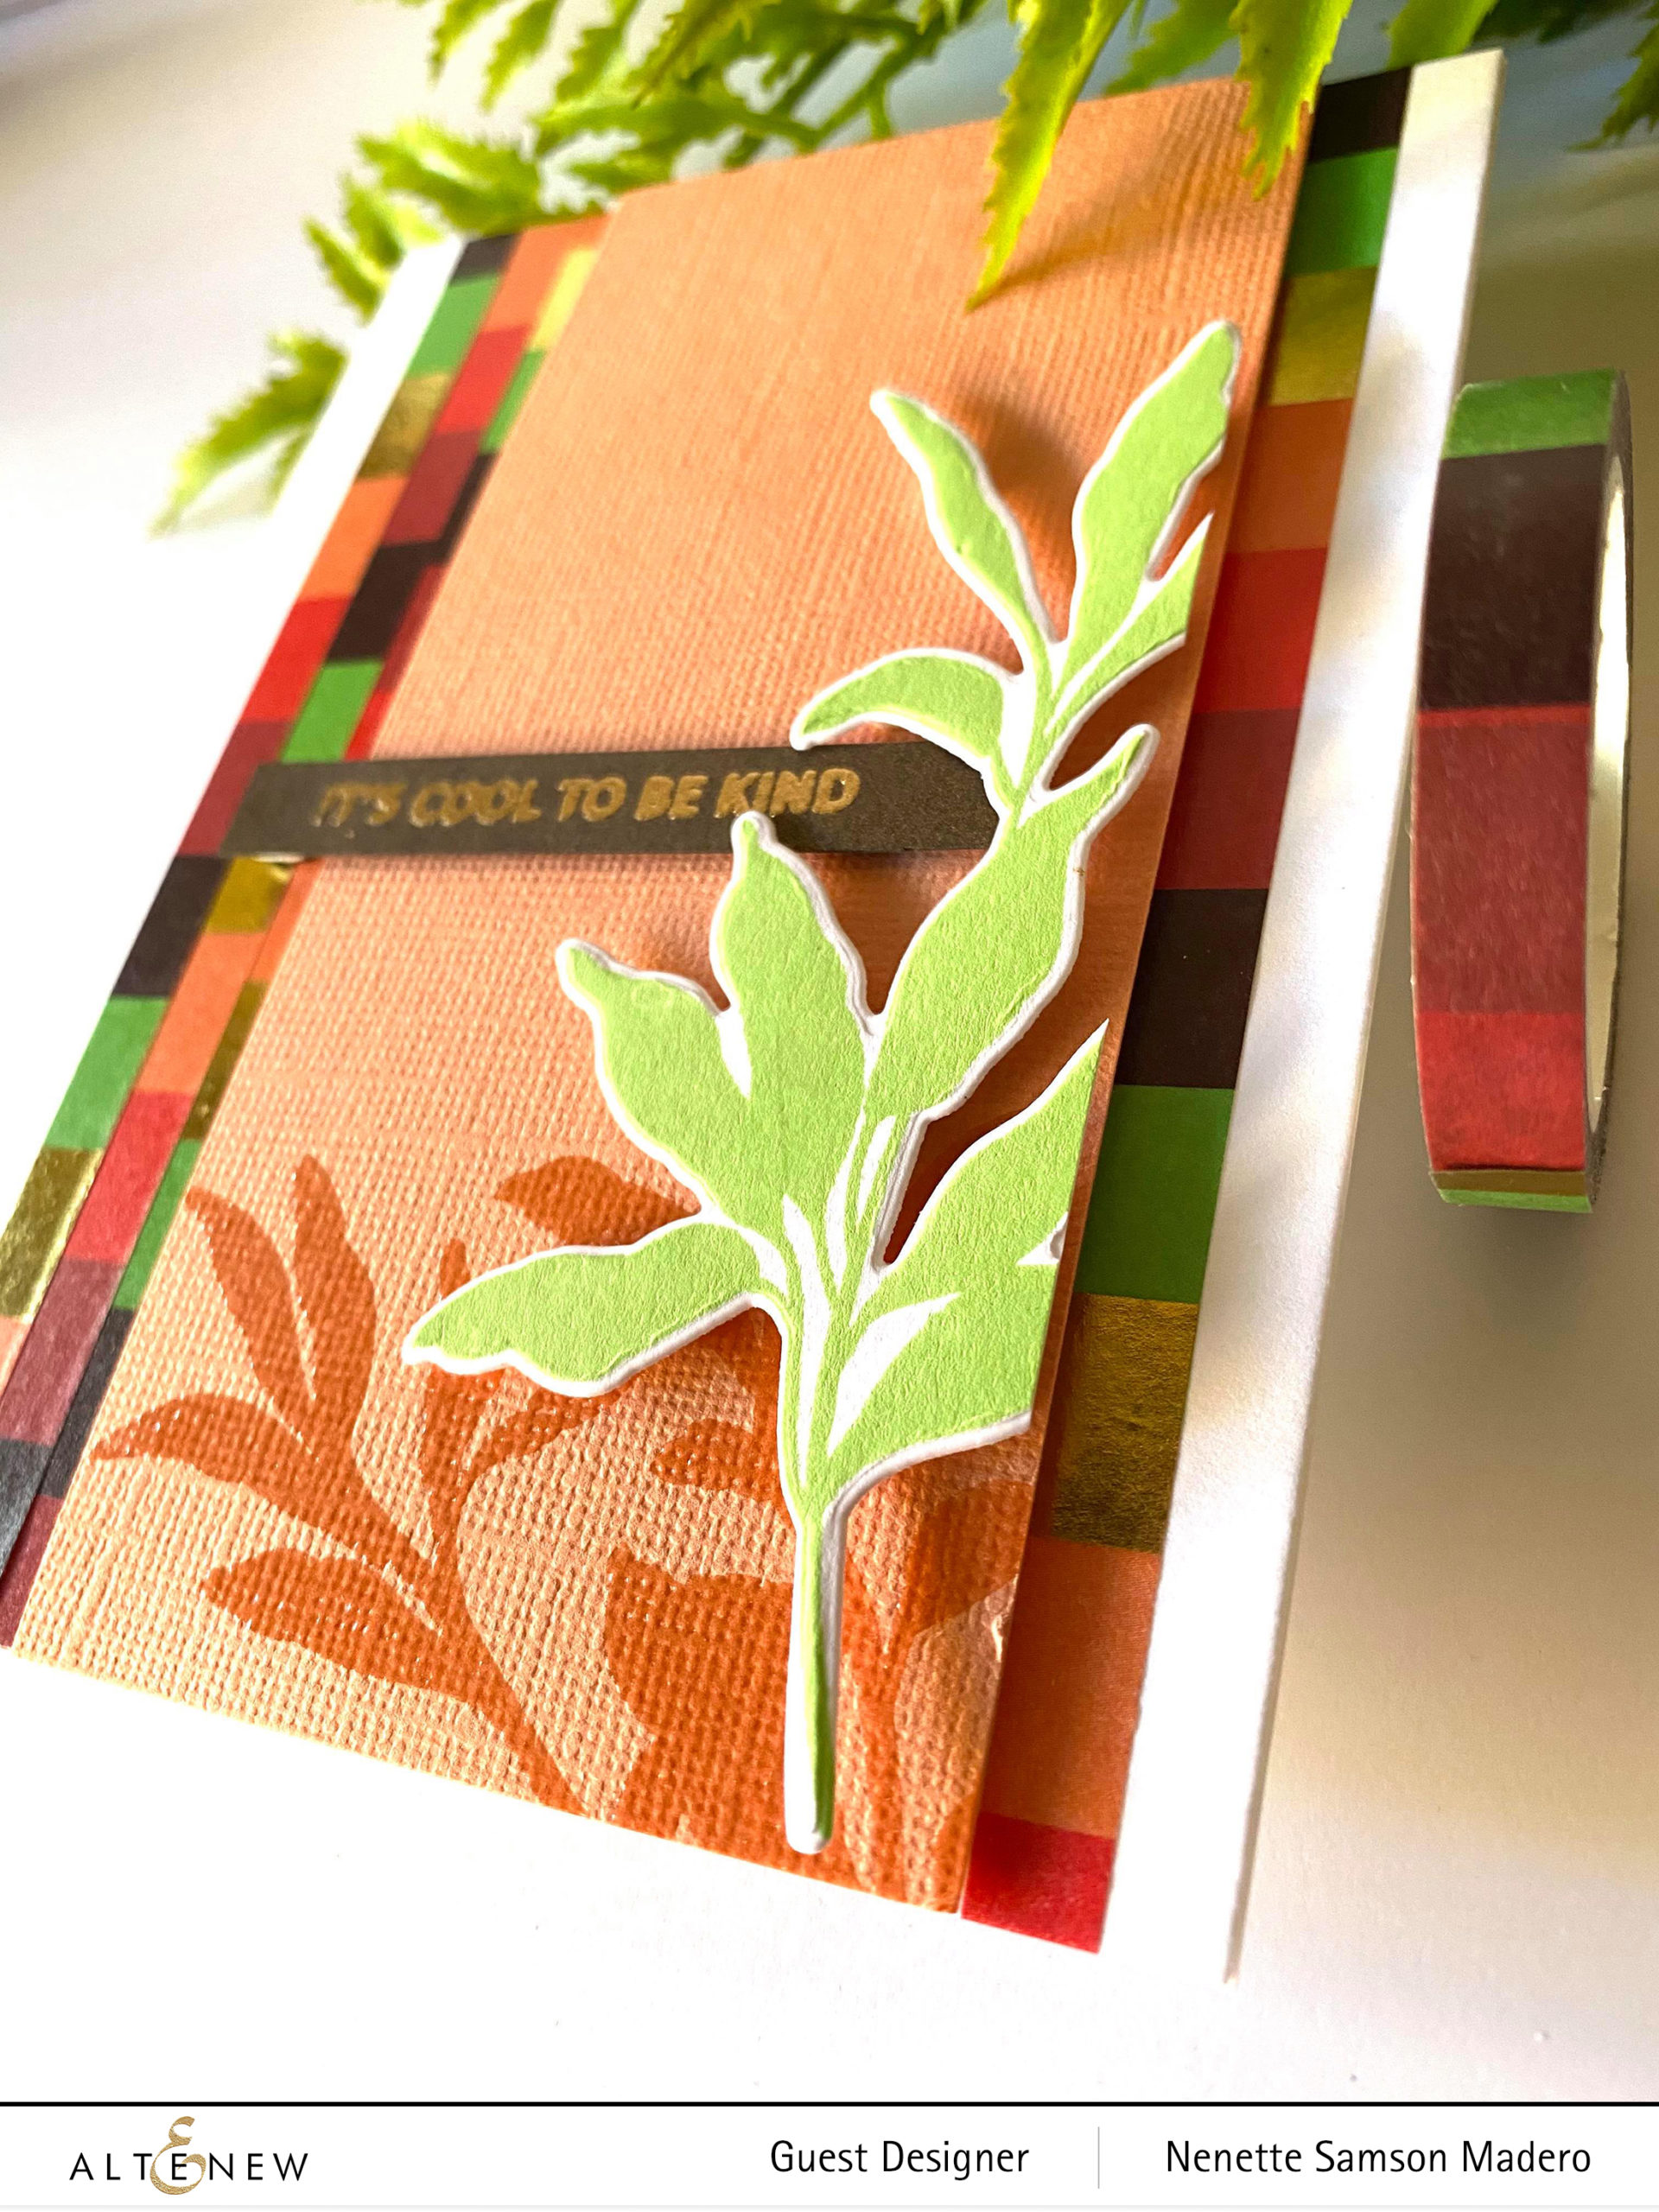
I stamped the leaves onto Neenah Solar White cardstock then die cut it. Another set of leaves was stamped onto the orange cardstock using Versamark ink then embossed with clear embossing powder. the panel was cut and the Allium Palette Washi tape was used to frame the panel on both sides for some accents. I love the color combo used in this tape.❤️ The panel was attached to the card front using foam tape.

MONOGRAM S CARD
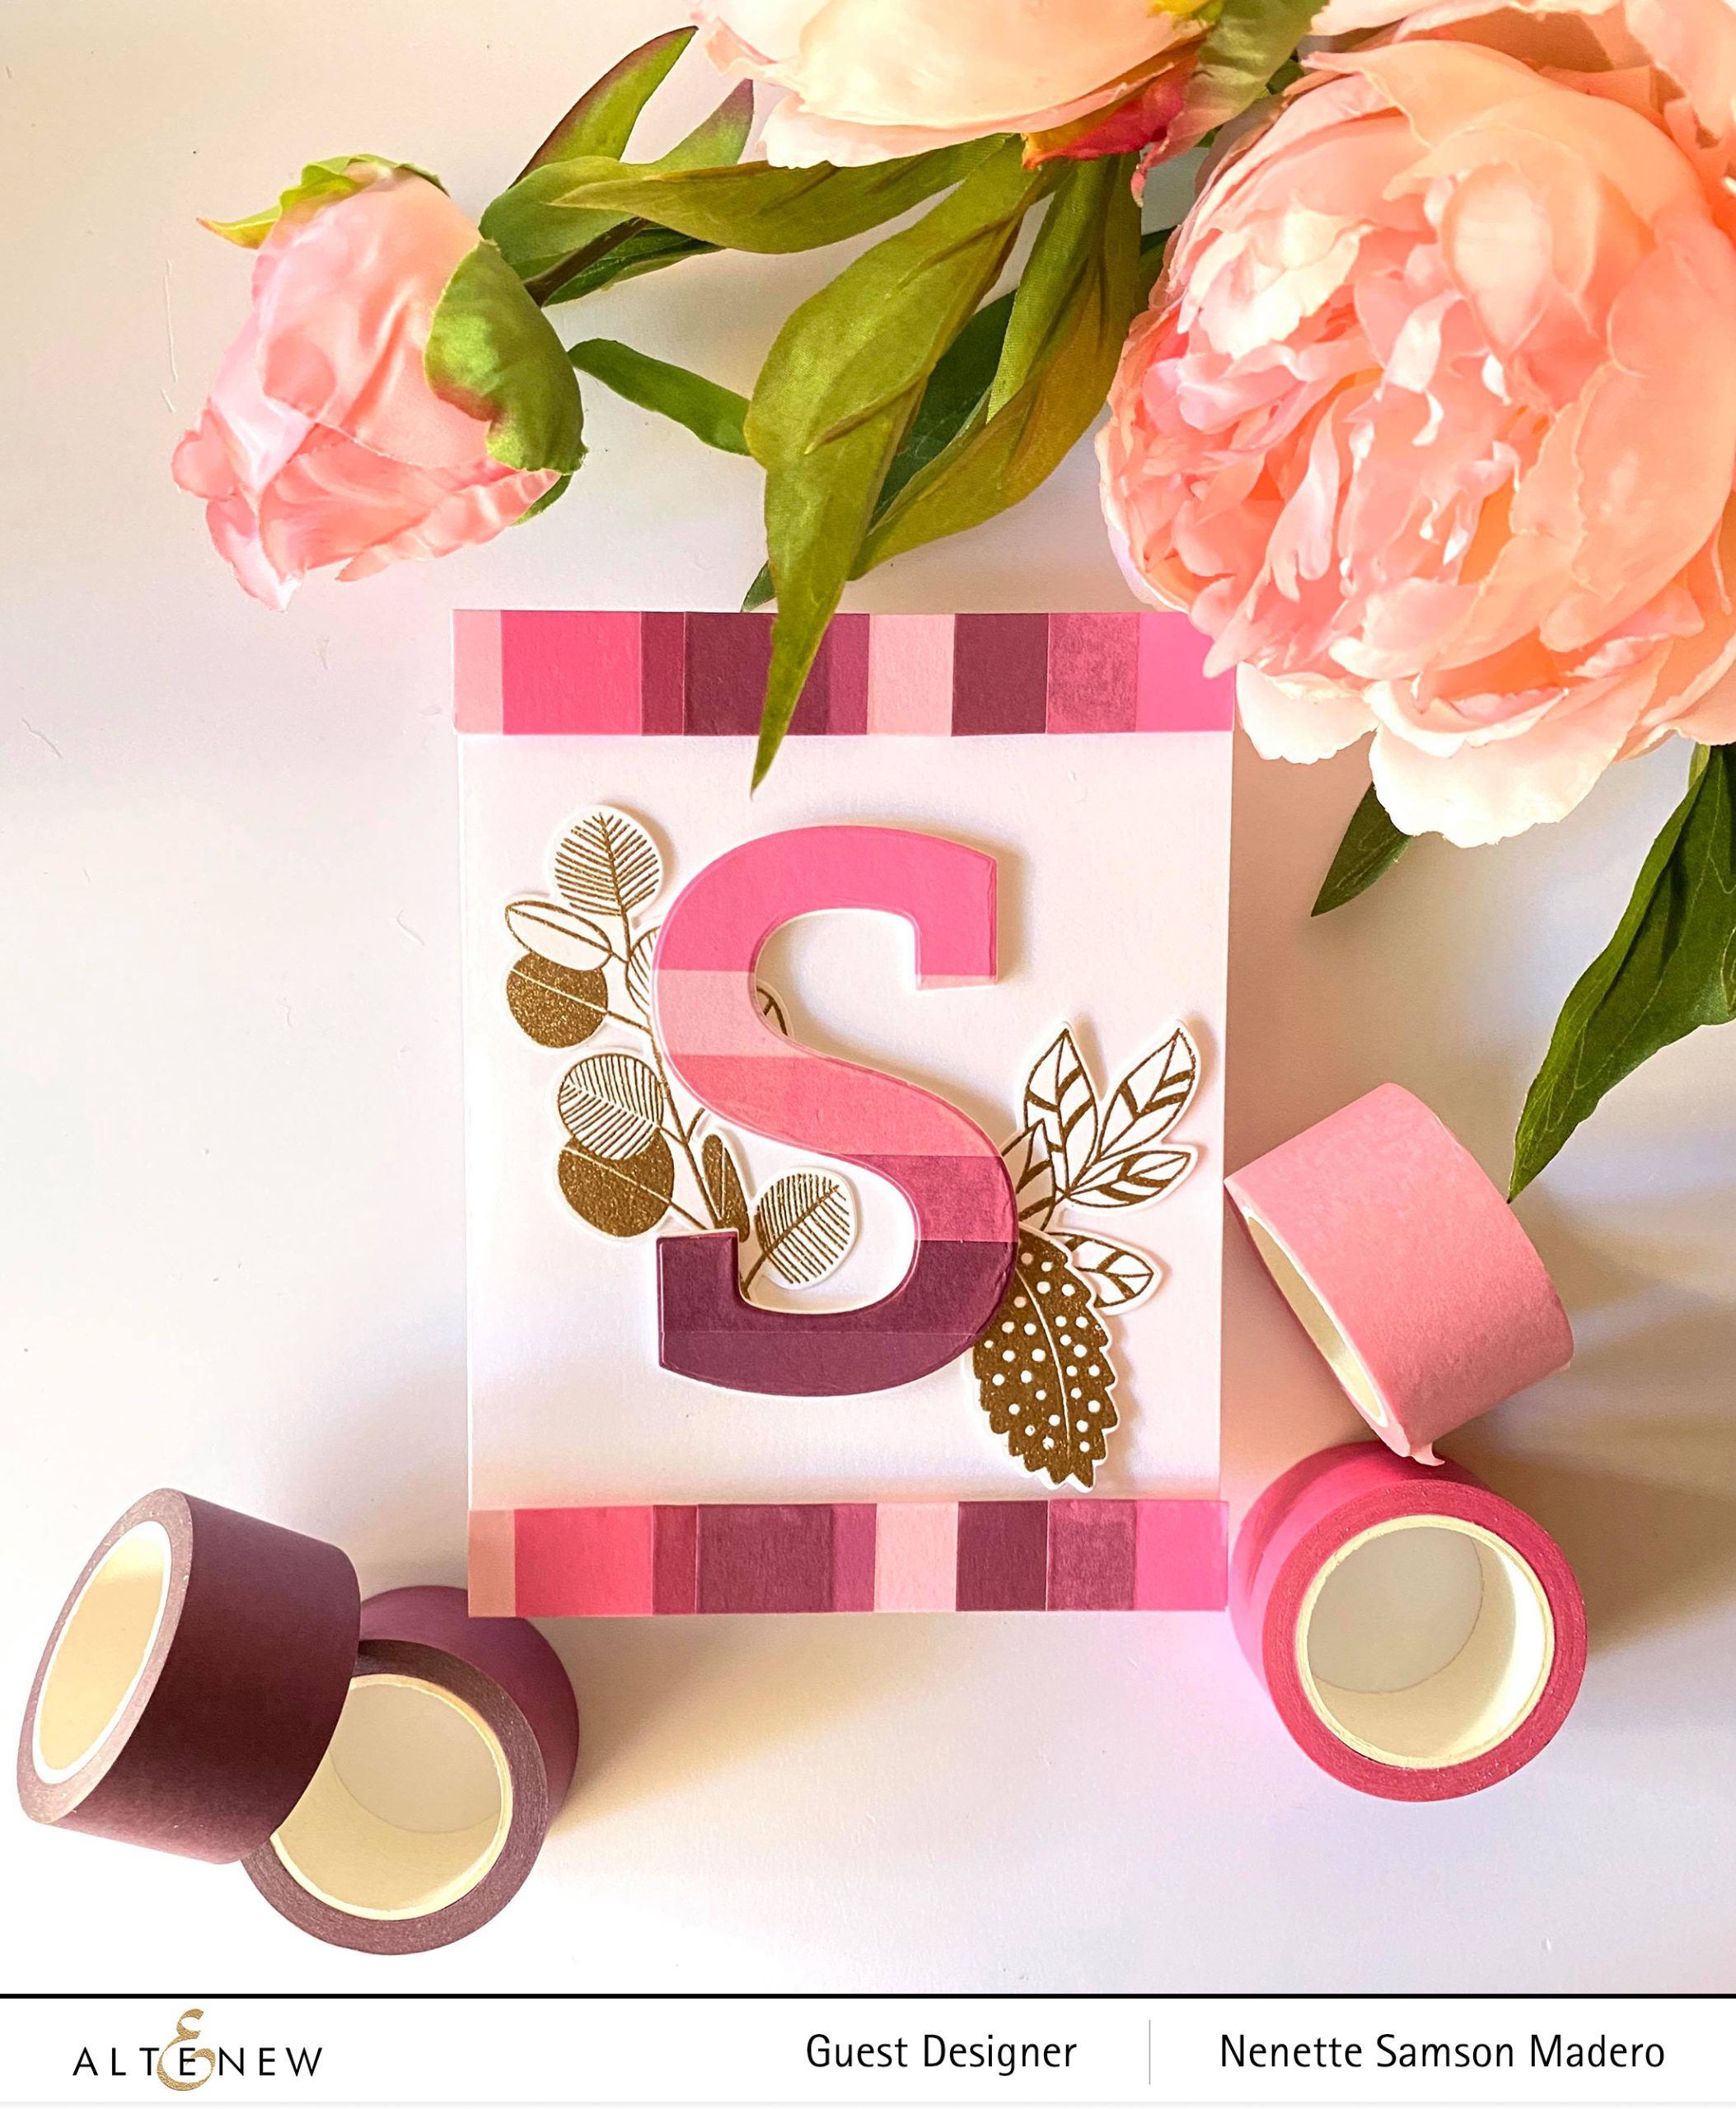

This is another easy card to create. I used the Rose Petal Washi tapes, Mega Alpha S die, Retro Plantines stamp and die set, Rose Gold Embossing powder and Versamark ink.
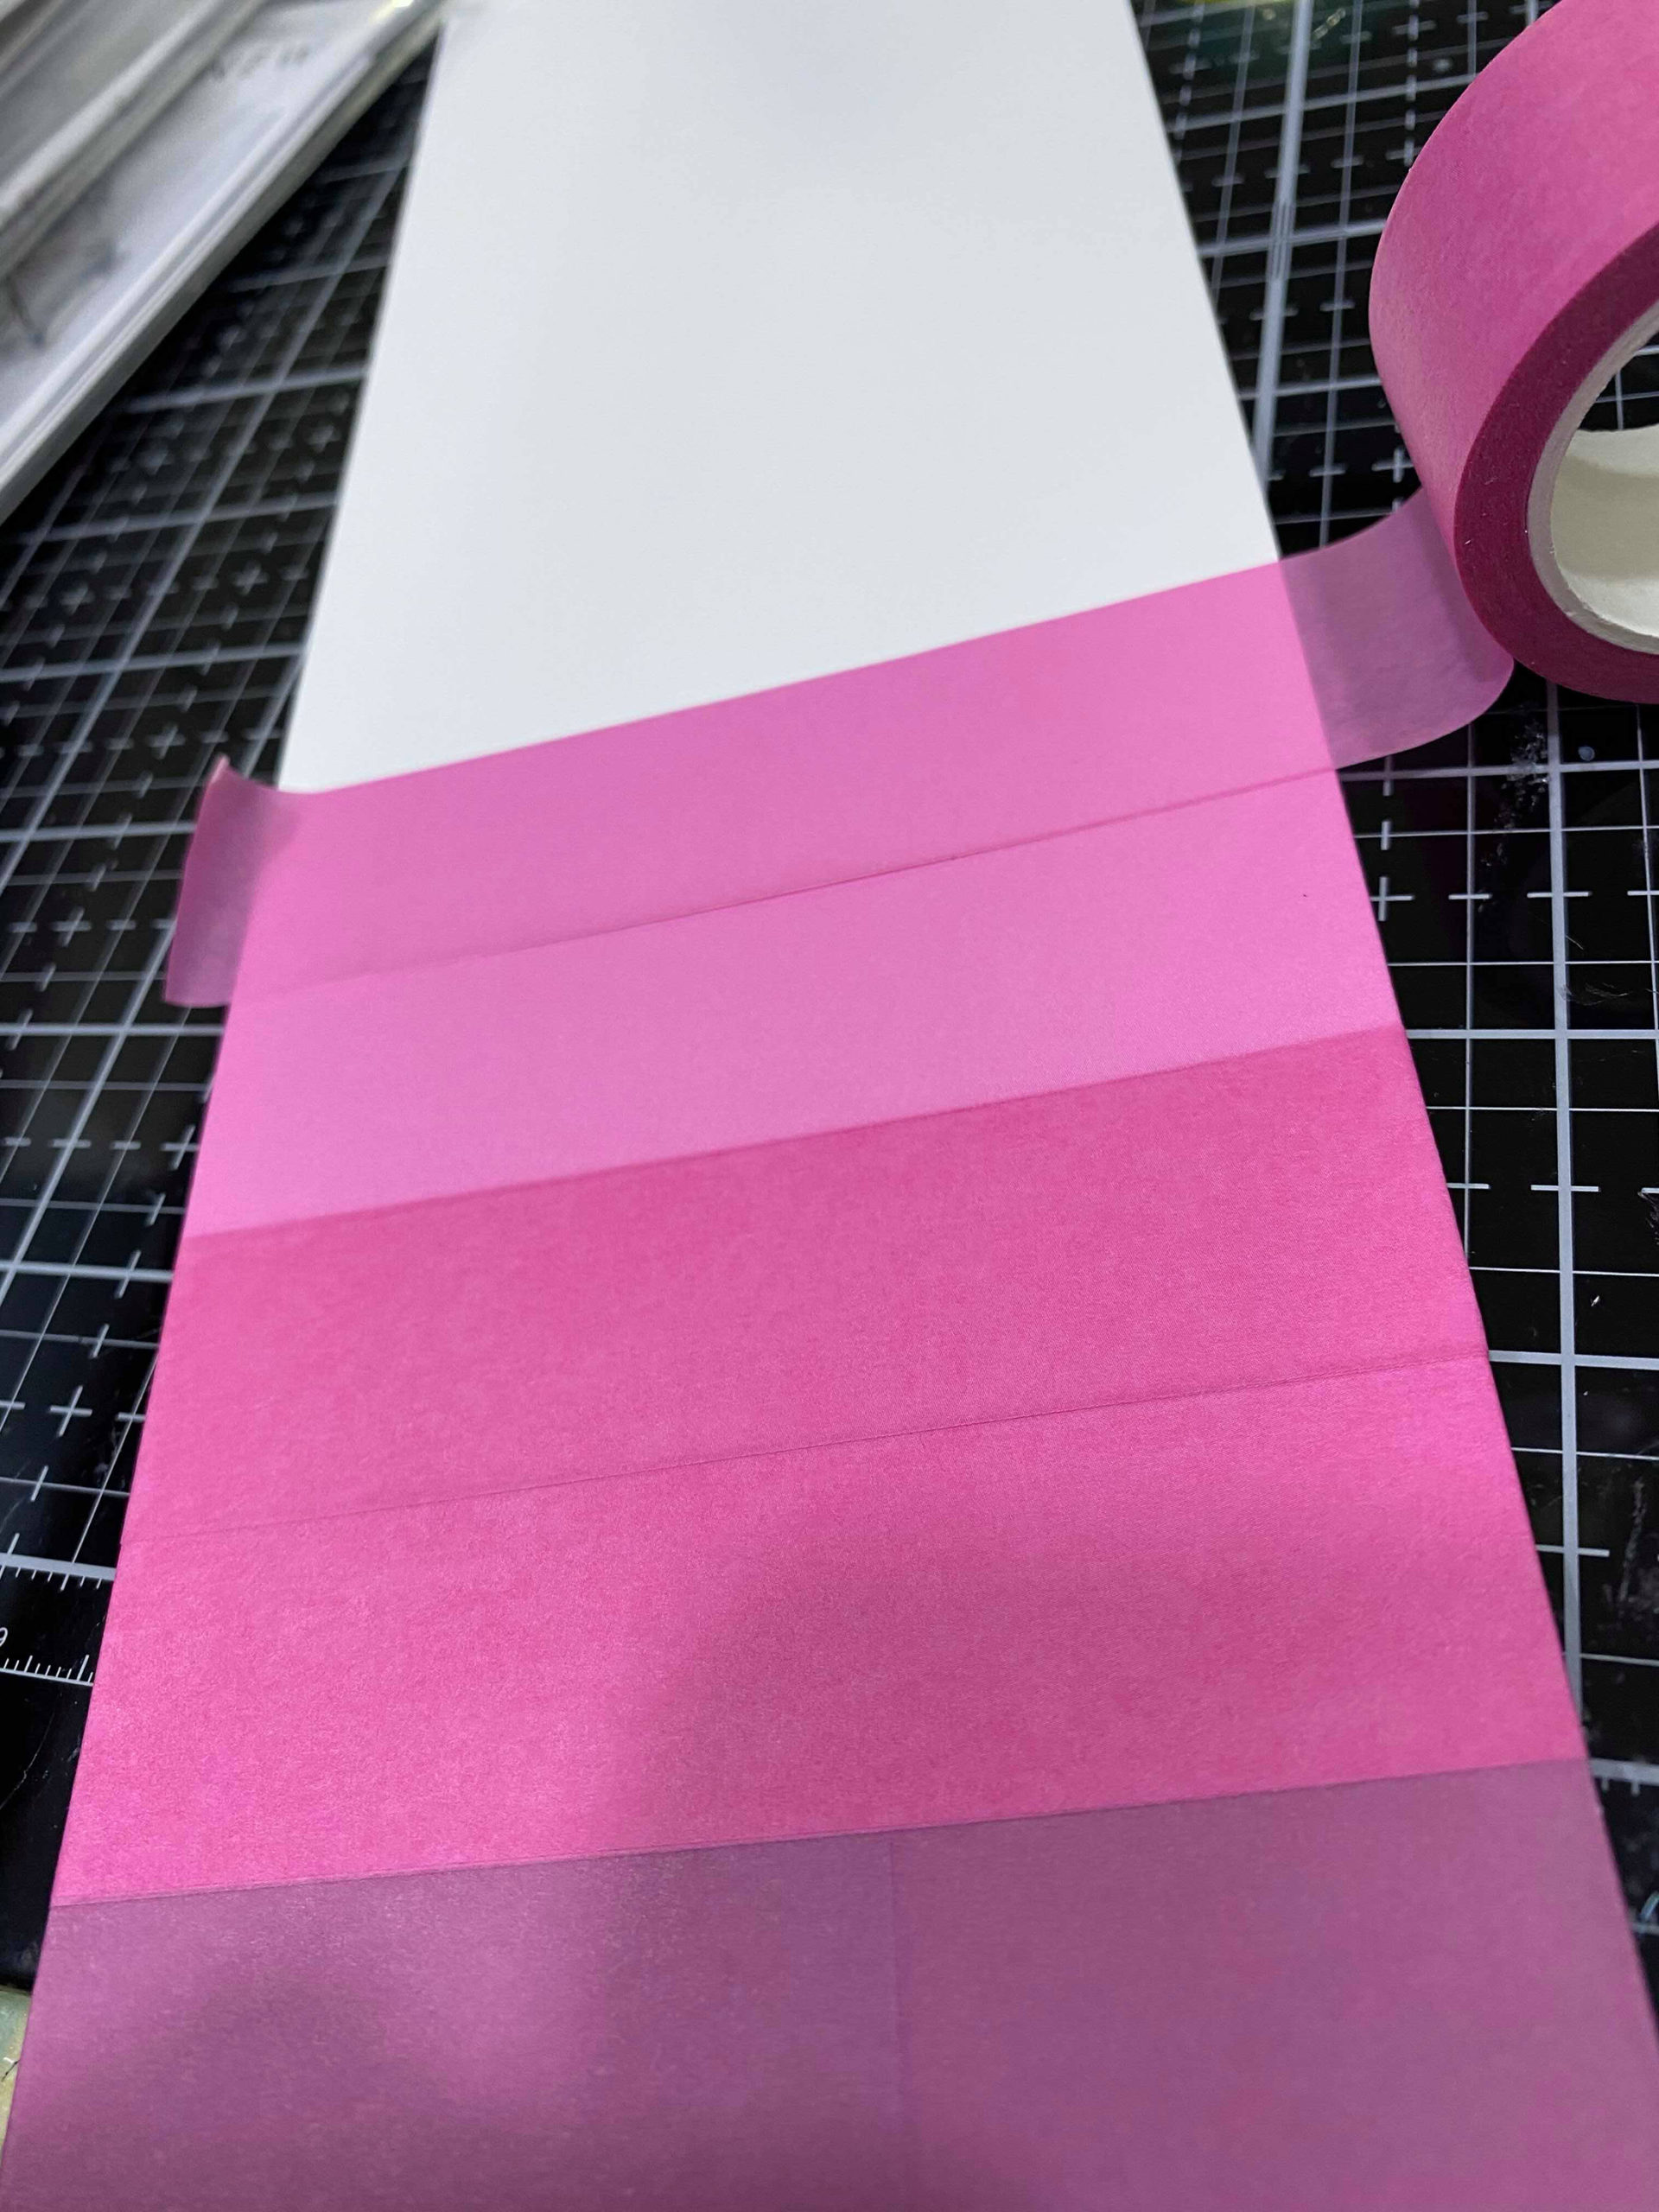
First, I covered a sheet of Neenah Solar White cardstock scrap with the different shades of pink to create an ombre effect. I die cut the letter S then added dimension by adhering 4 more other S die cuts. The leaves from the Retro Plantines stamp set were embossed using the rose gold embossing powder then die cut.
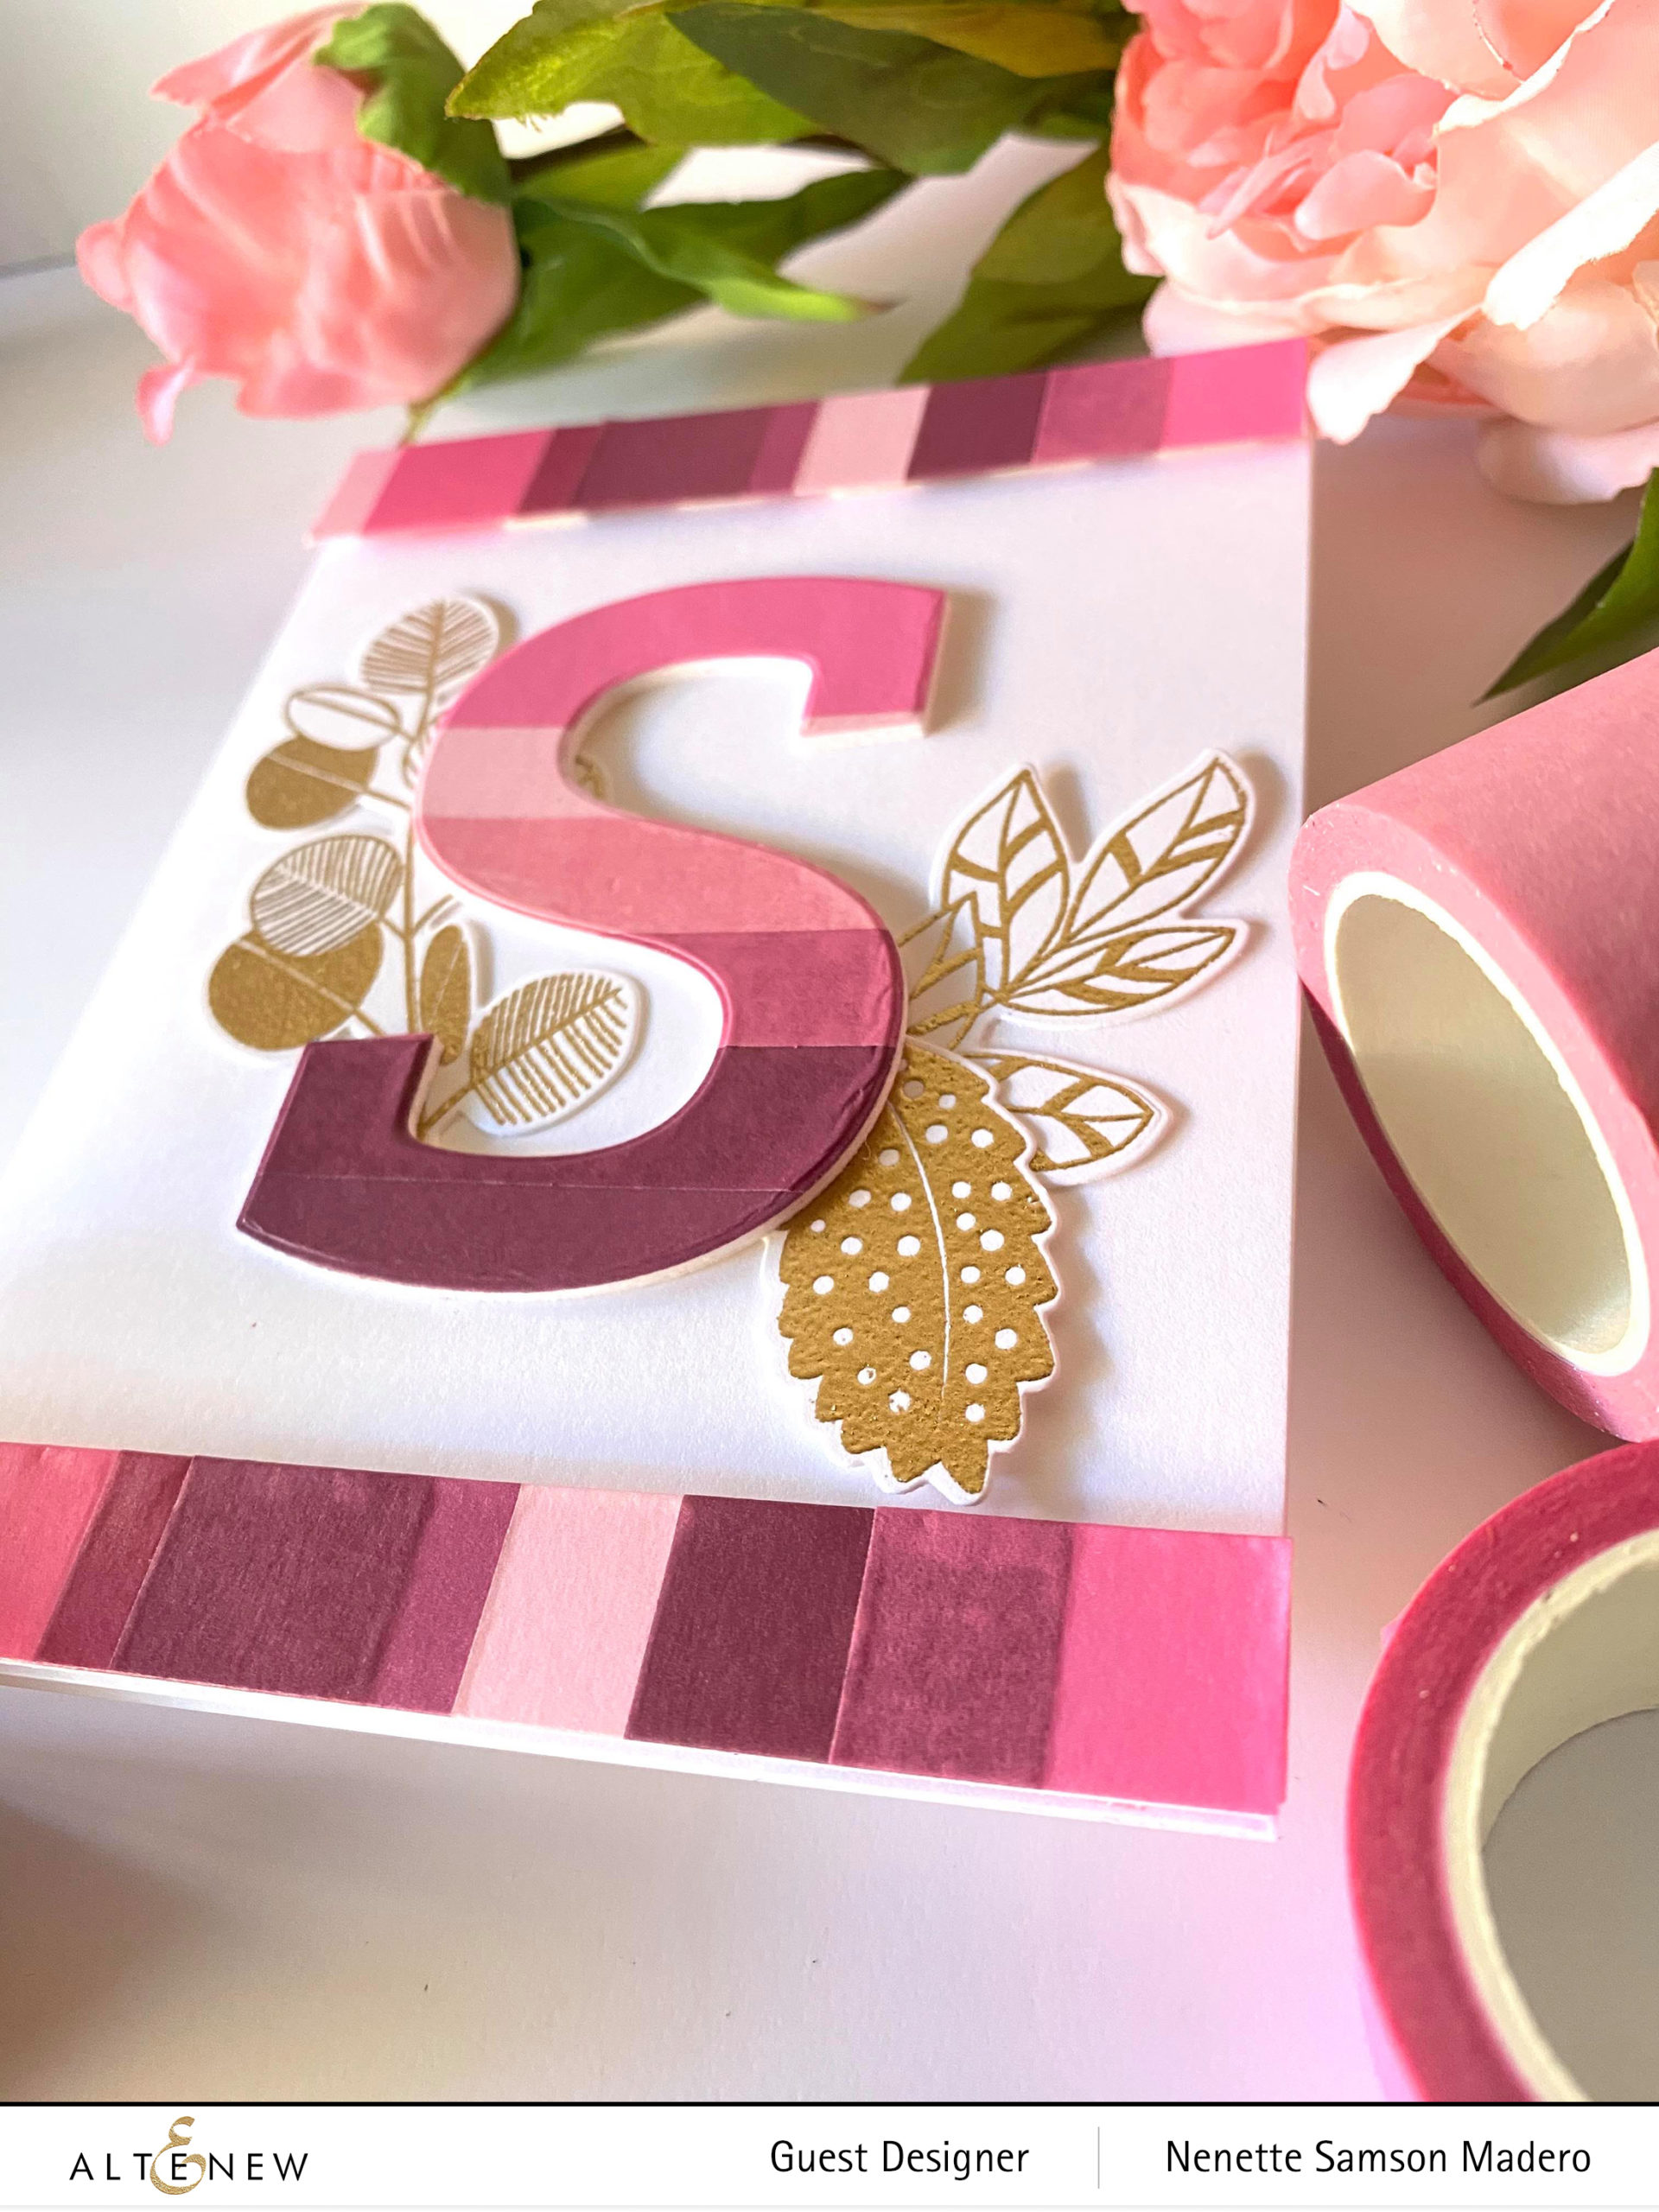
Another strip f cardstock was covered using the washi tape but I made sure to overlap the tapes to create more shades of pink. This was cut into two to create the top and bottom strips on the card. Foam tape was used to add dimension to these strips.


U R SOMEBODY’S REASON TO SMILE CARD
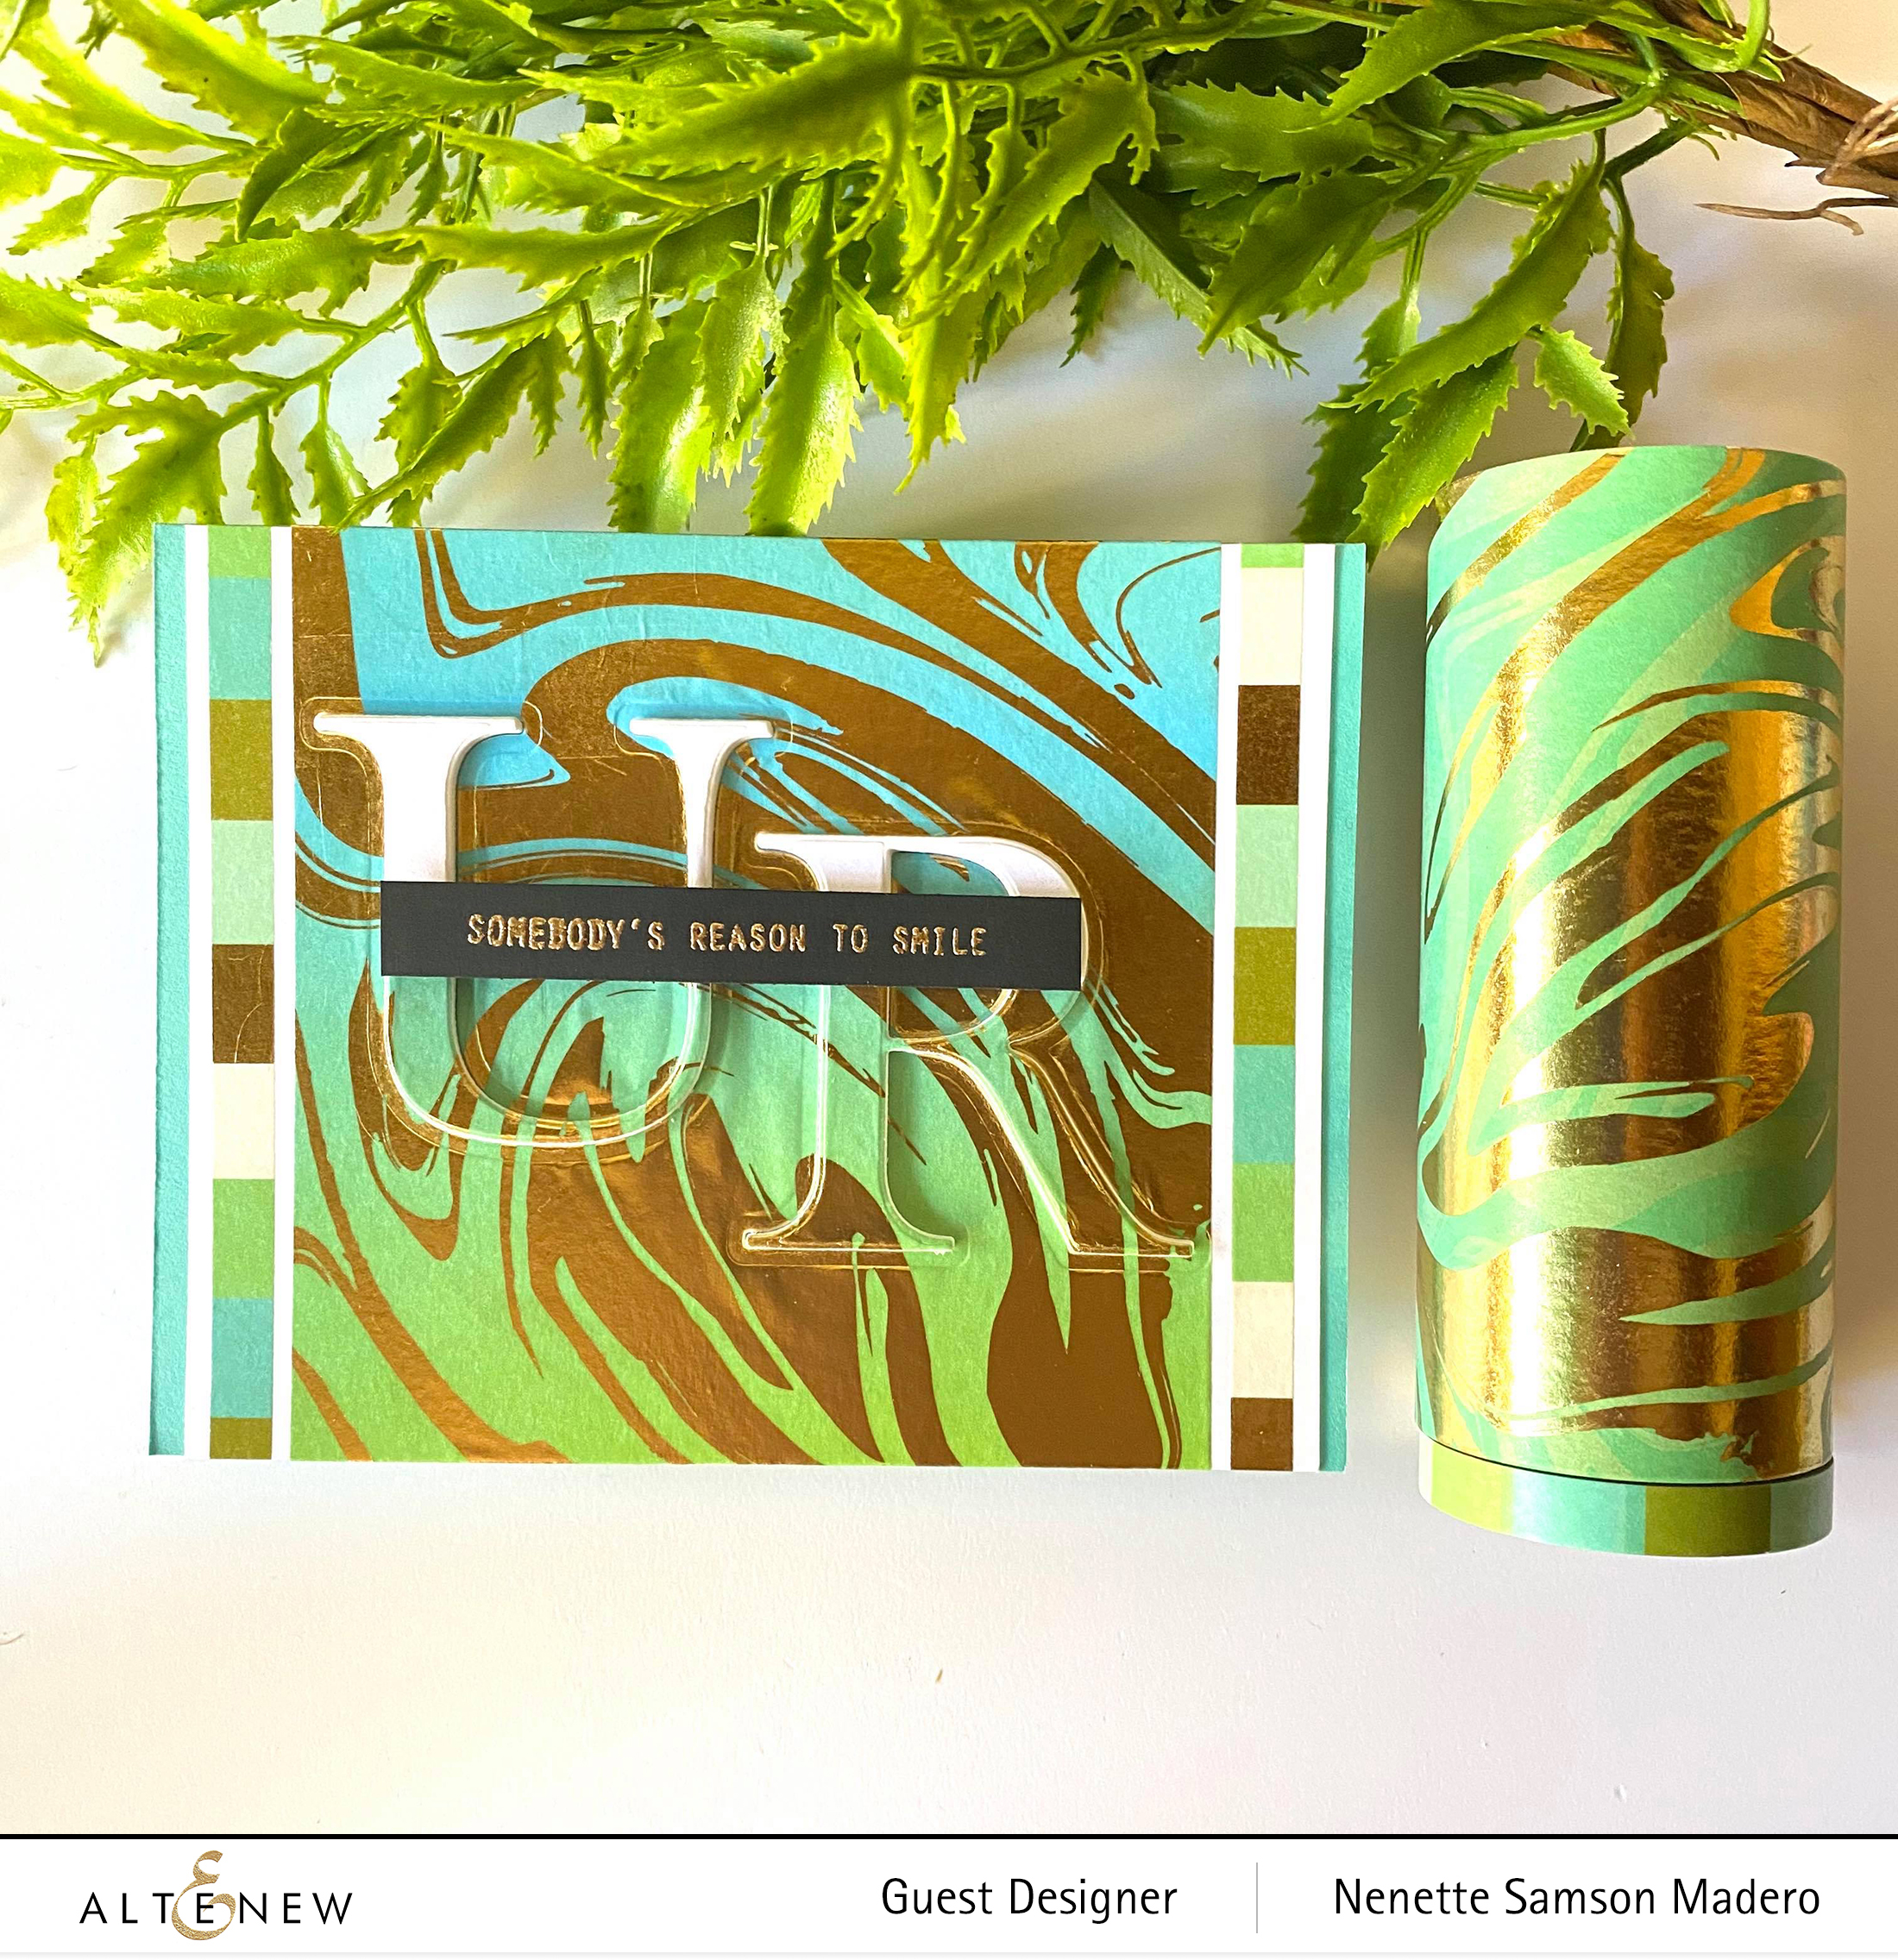

Isn’t this Marbled Dream washi tape just beautiful???
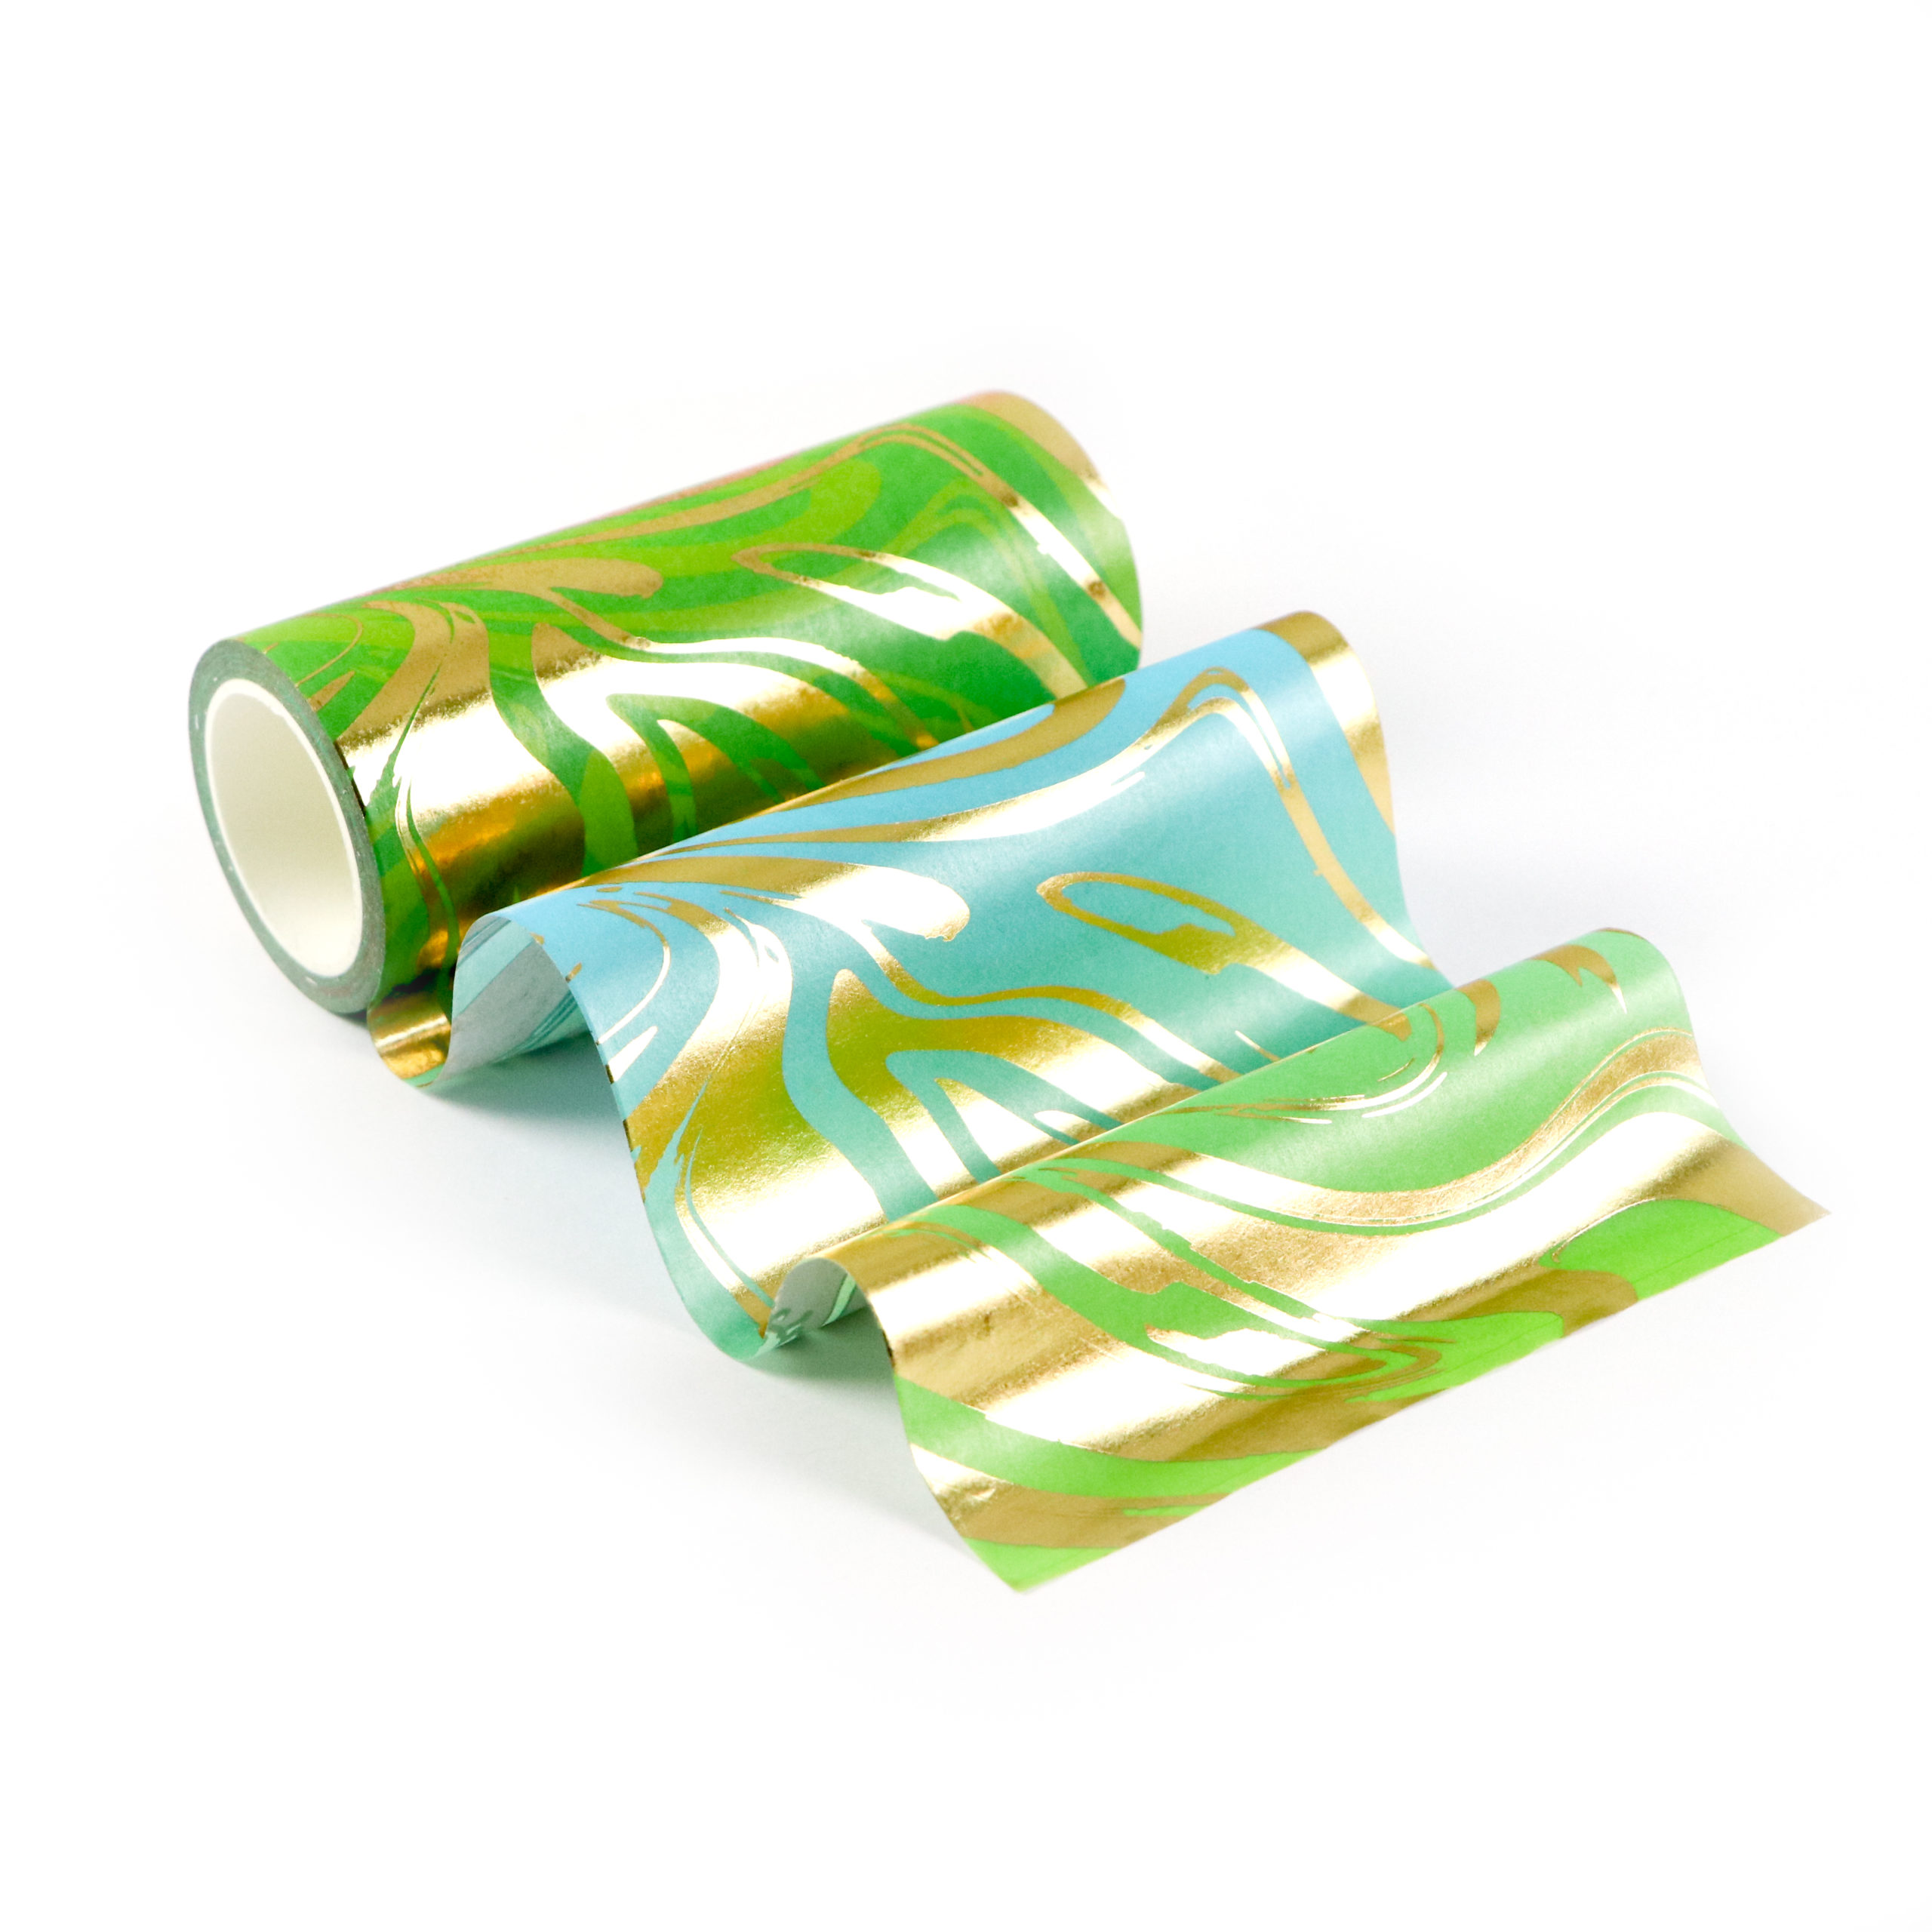
The other materials used for this card are the following: Morning Glory Palette Washi tape, Classic Alphabet die, Reason to Smile stamp set and cardstocks. I covered the center of the white cardstock panel with the Marbled Dream washi tape. The Morning glory palette washi tape was used to add a strip to the left and right of the card since it had similar colors to the Marbled dream. I die cut the letters U and R then added 4 more layers for dimension. The sentiment was stamped using Verasmark Ink and was embossed with Rose Gold embossing powder.


HELLO CARD
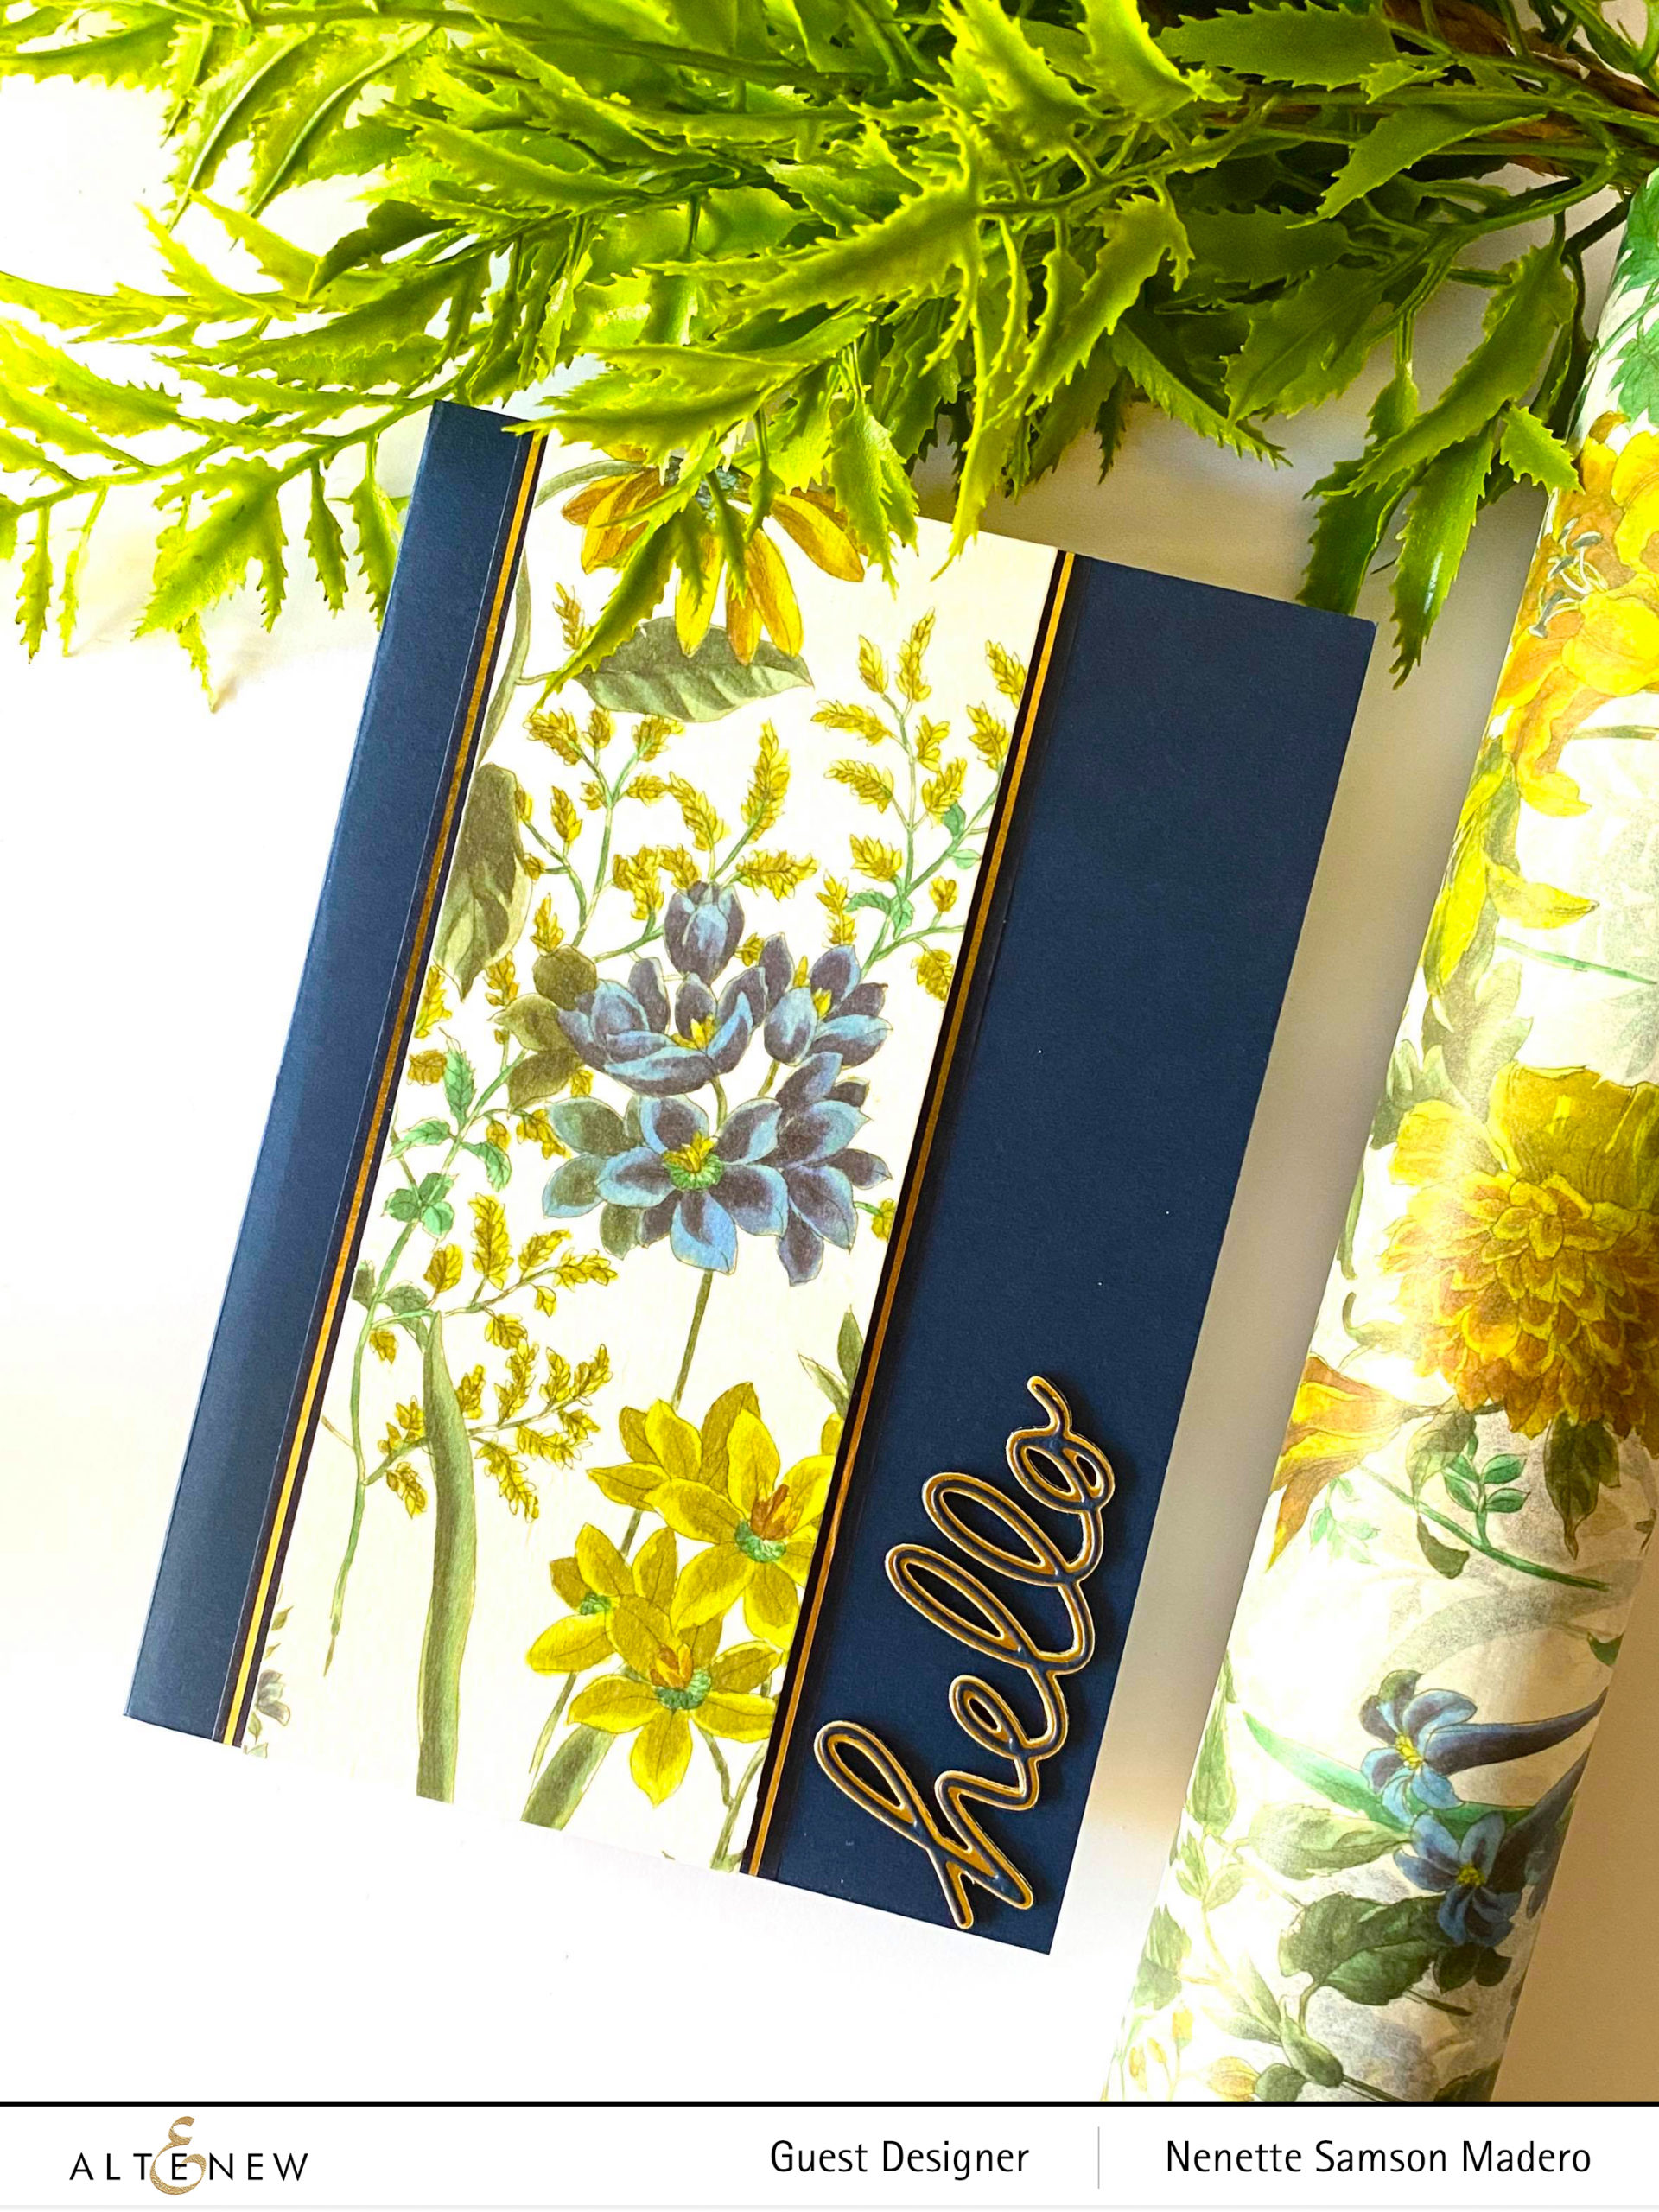

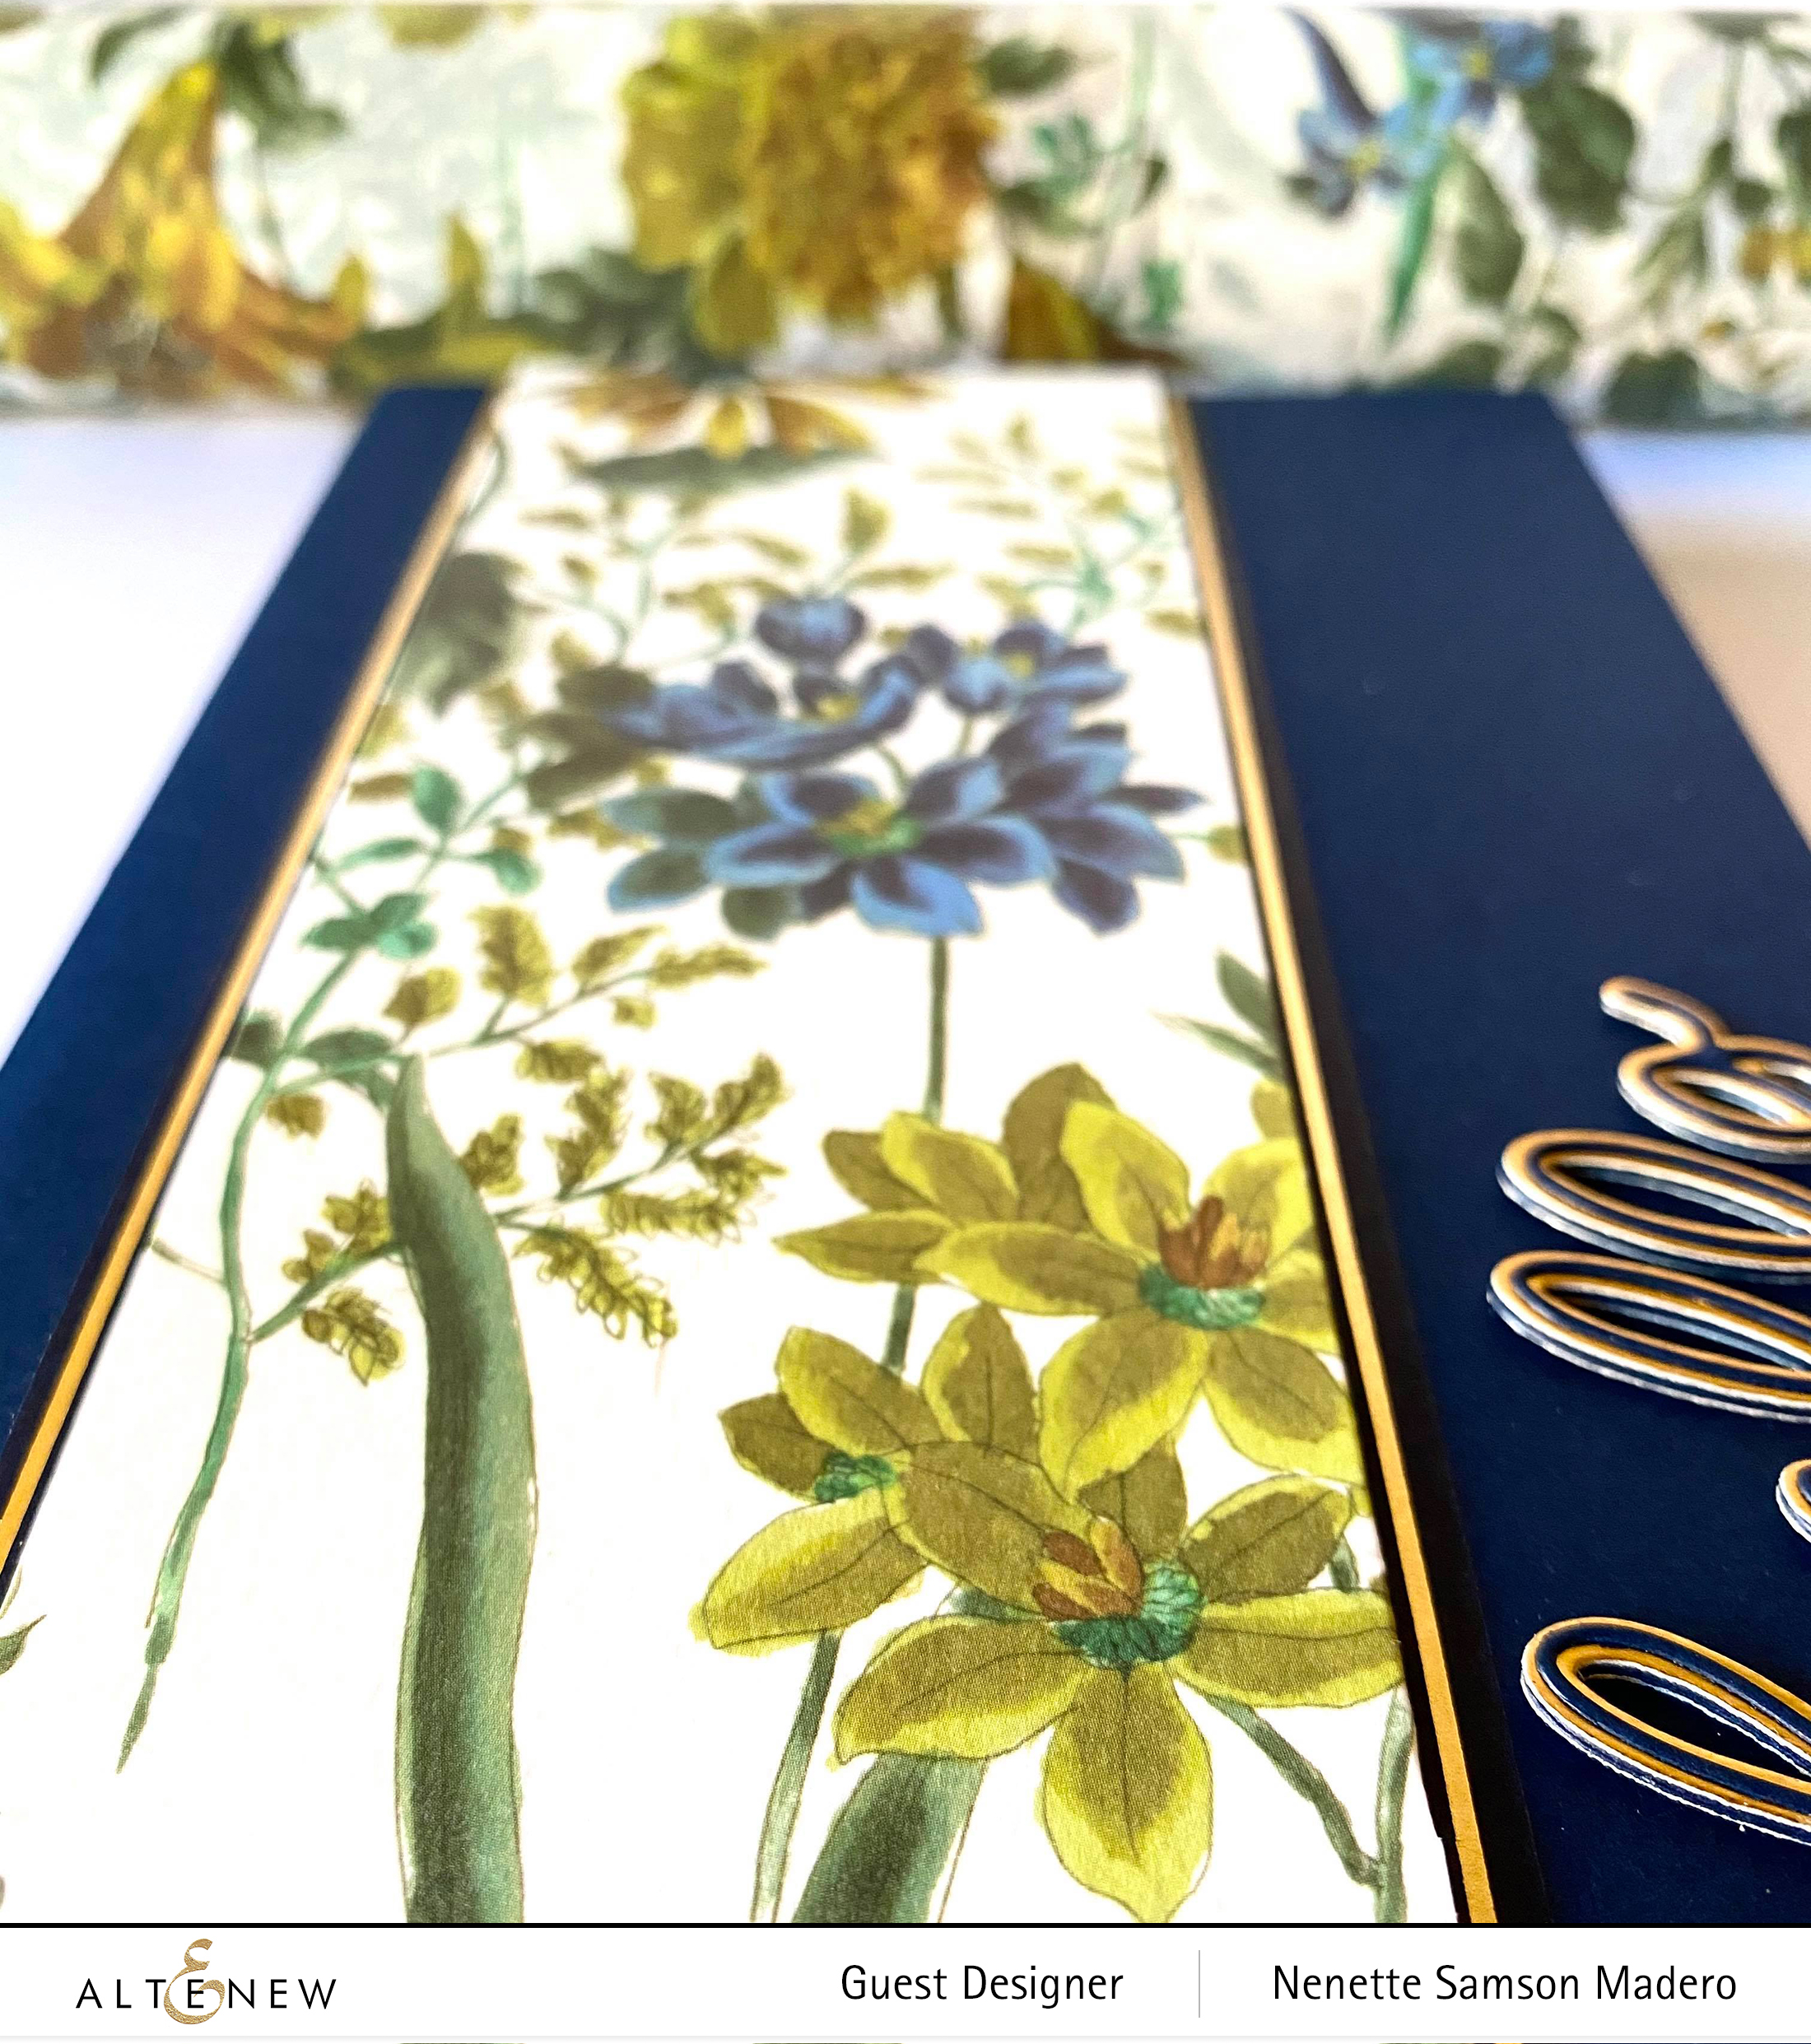
I’ve never seen a washi tape this big!!! The total length of this washi tape is 11.5 inches!!! The design is so beautiful that you just want to use it as is!
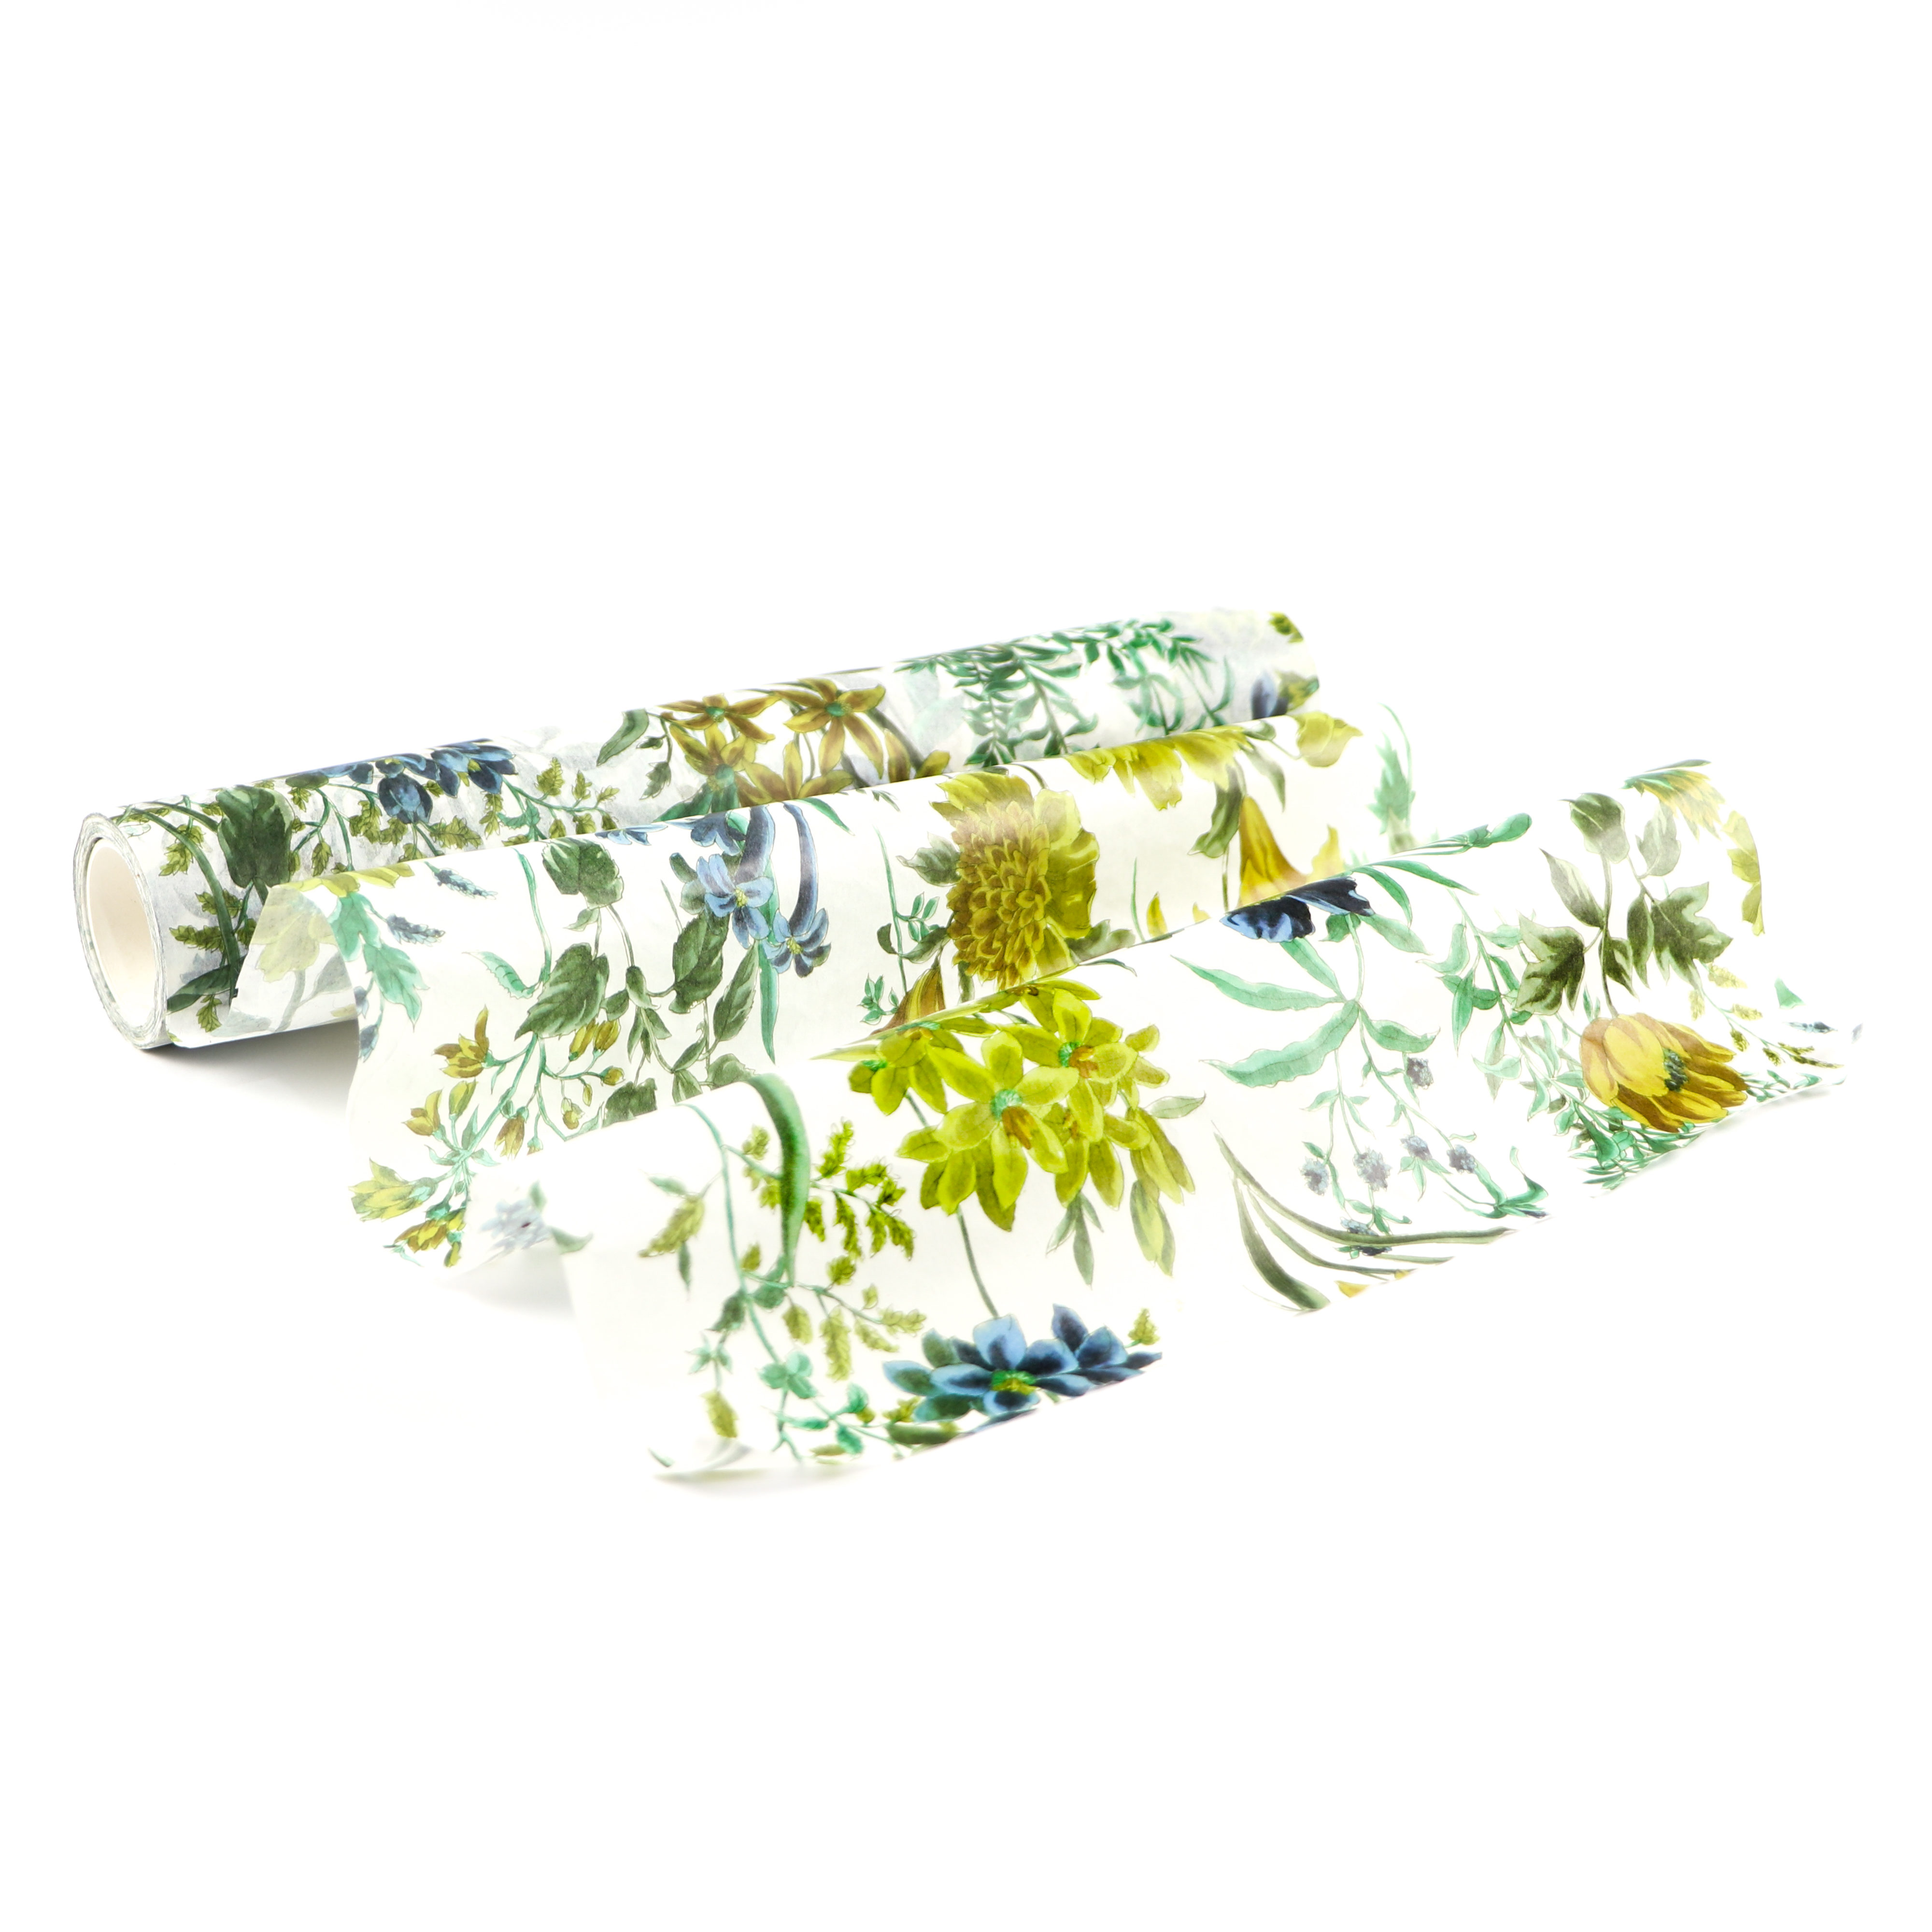
I also used the Navy gold trim washi tape and the handwritten hello die . This is a 5×7 card cause I wanted to maximize the washi tape. I adhered the tape onto white cardstock then trimmed it down to 3×7. I used the Navy Gold trim washi tape as an added accent to the floral panel. The hello was die cut using gold paper for the background and navy blue for the thinner portion of the die. I love how it matched the Navy gold trim washi tape. Super easy card to make!

PRIZES


To celebrate this release, Altenew is giving away a $30 gift certificate to 6 lucky winners! Please leave a comment on the Altenew Card Blog and/or Altenew Scrapbook Blog by 3/18/2020 for a chance to win.

We’ll also draw a winner to receive a $15 gift certificate from the comments left on each designer’s blog on the blog hop list below. All winners will be announced on the Altenew blogs on 3/21/2020.

Thank you so much for dropping by! I truly appreciate the time you take to go through my blog post. Next up is my idol, Erum Tasnim. Make sure to drop by her blog for more inspiration! If you haven’t yet, do follow me on IG or FB for announcements, giveaways and inspiration! Subscribe to this blog as well for the latest update. Until my next post. Happy crafting everyone!❤️


INSTAGRAM | FACEBOOK | WEBSITE | PINTEREST

BLOG HOP ORDER

Altenew Card Blog
Maryam Perez
LauraJane
Ashlea Cornell
Nicole Watt
Virginia Lu
Mindy Eggen
Lilith Eeckels
Svitlana Shayevich
Kelly Griglione
Laurie Willison
Terri Koszler
Norine Borys
Amber Rain Davis
Nathalie DeSousa
Altenew Scrapbook Blog
Amanda Baldwin
Kymona Tracey
Nancy McClelland
Sveta Fotinia
Nenette S. Madero–> YOU ARE HERE
Erum Tasneem
Seeka
Agnieszka Malyszek

Altenew February 2020 Stencils/Decals/Stand-alone Dies Release Blog Hop + Giveaway

Altenew February 2020 Stencils/Decals/Stand-alone Dies Release Blog Hop + Giveaway

Hello everyone!!! I’d like to thank Svitlana for sending you over to my blog. So thrilled to be back as part of Altenew’s February Stencils/Decals/Stand-Alone Dies Release this 2020!!! This is such an amazing release and to view all the latest arrivals, you can check them out here, or you can visit the Altenew Card Blog for the complete details. I have a number of card samples prepared for you so let’s get started!


SO HAPPY FOR YOU CARD


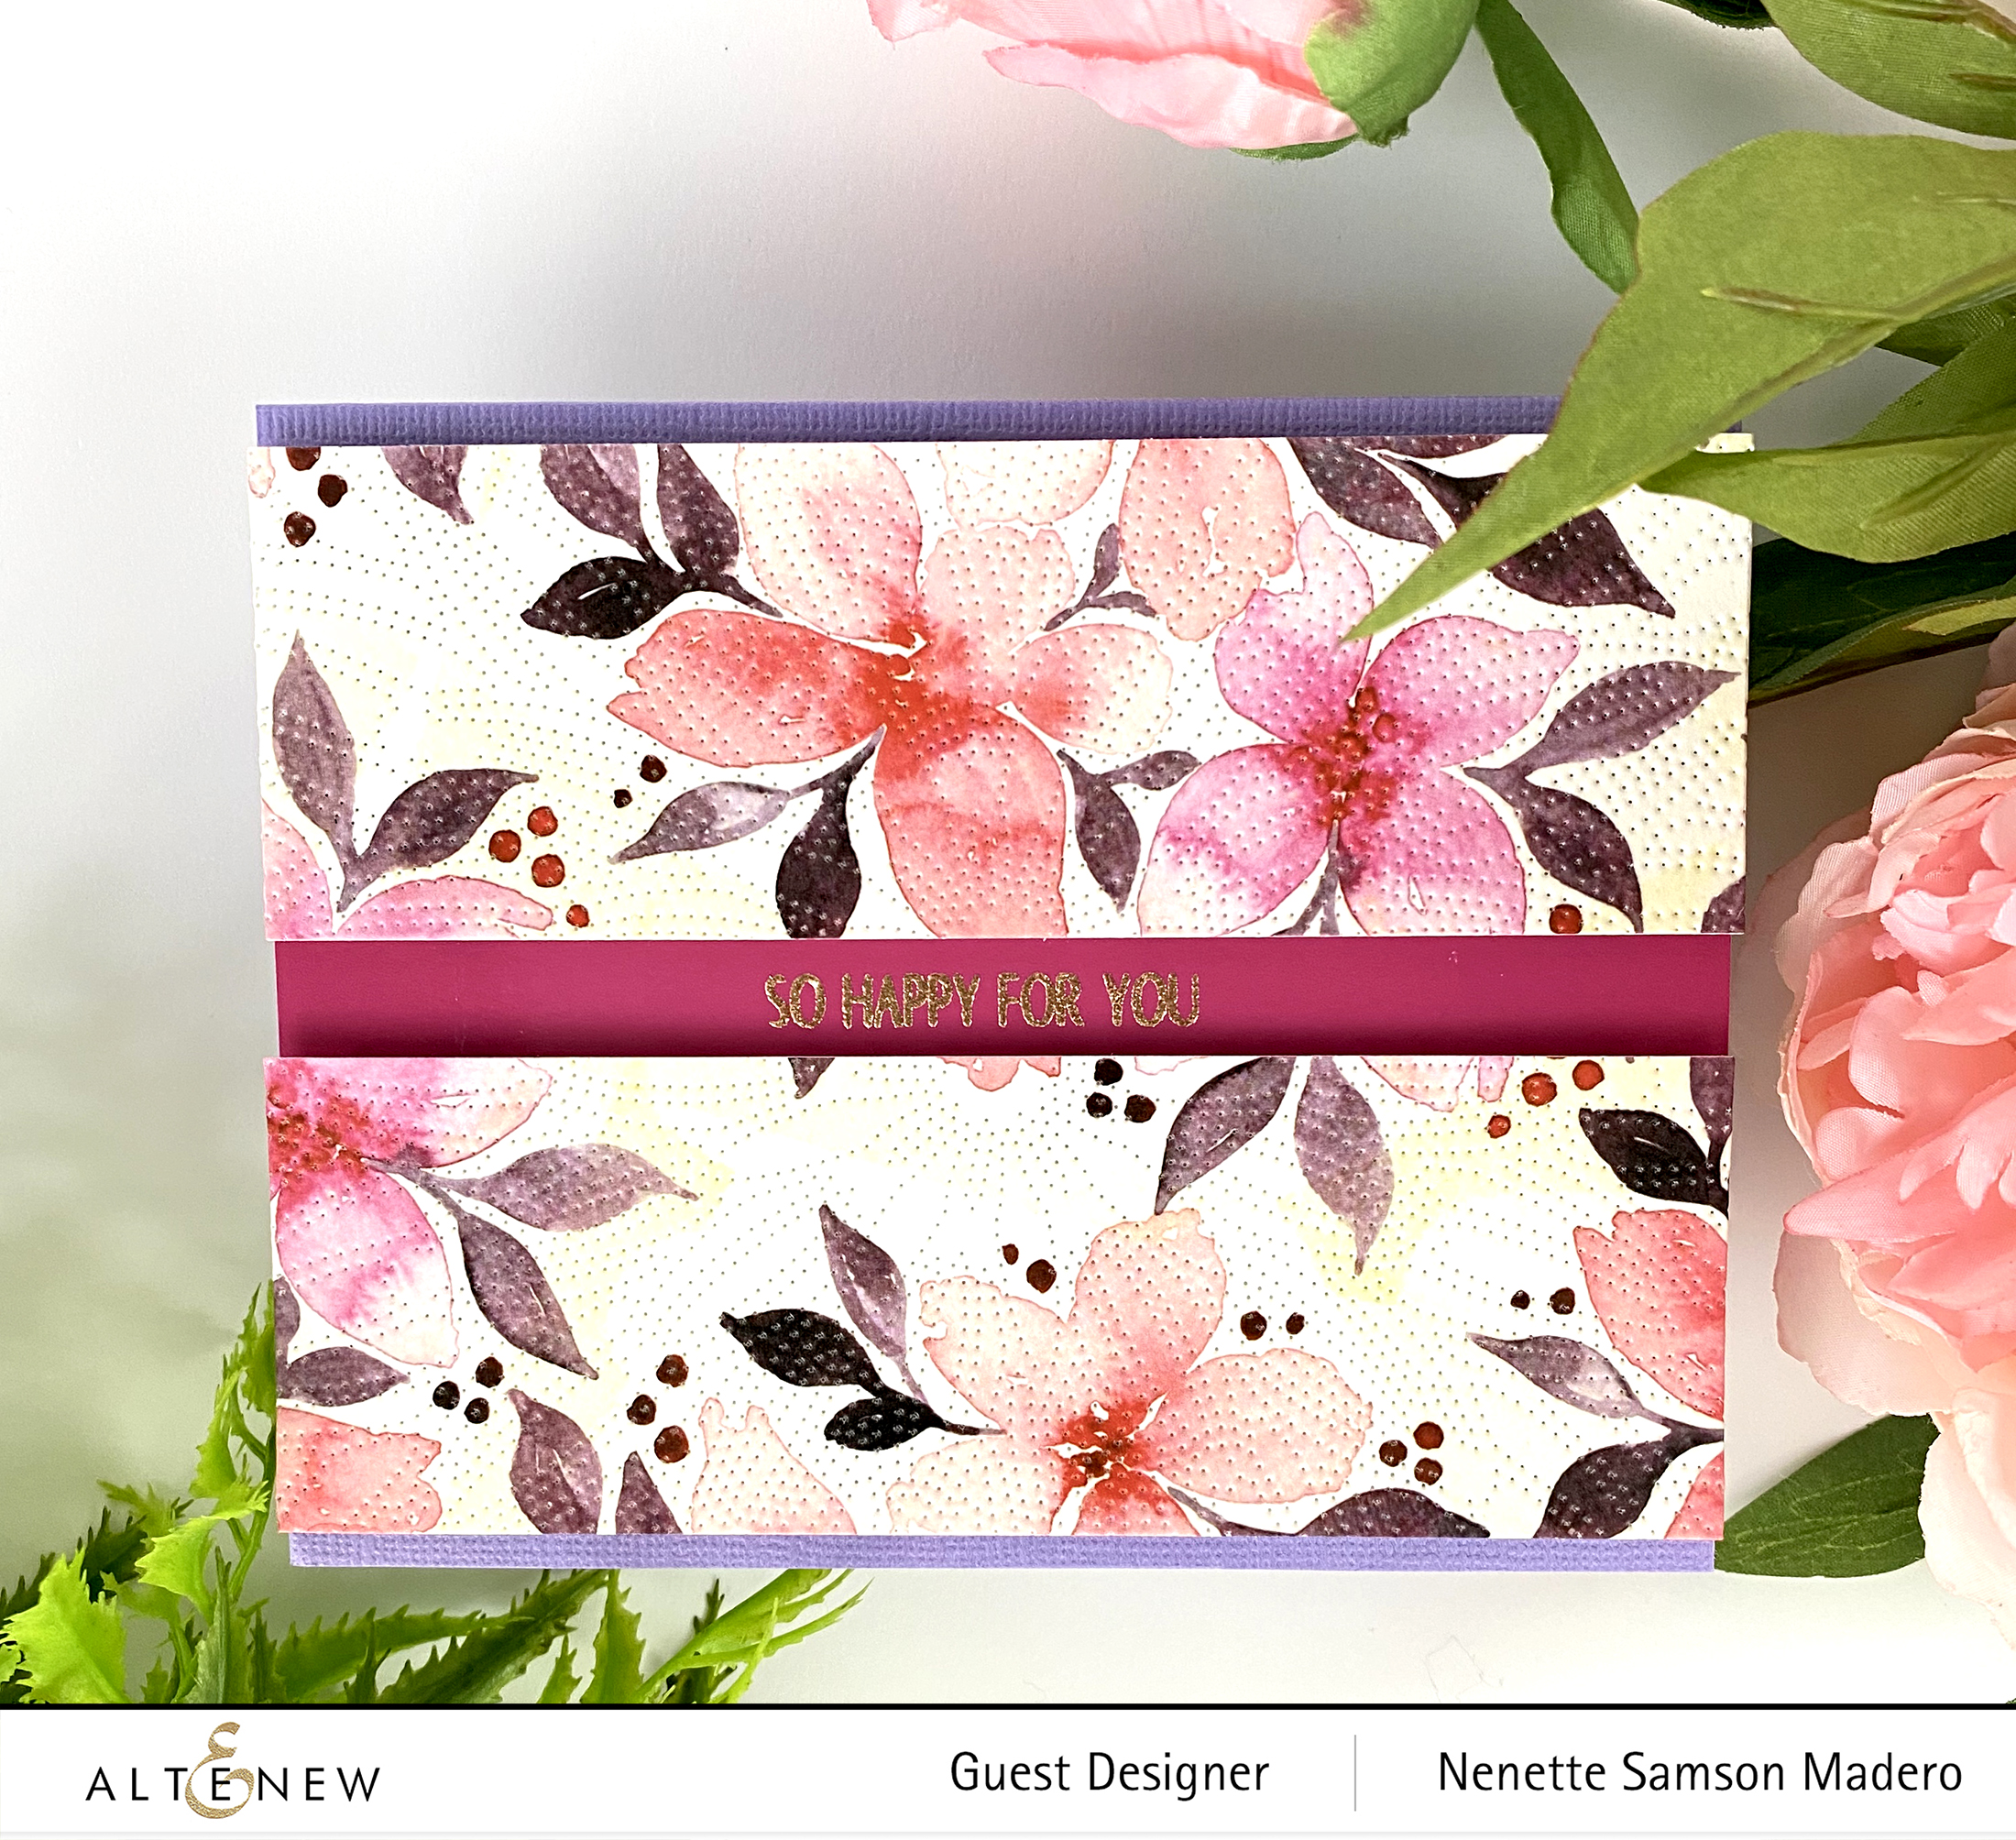
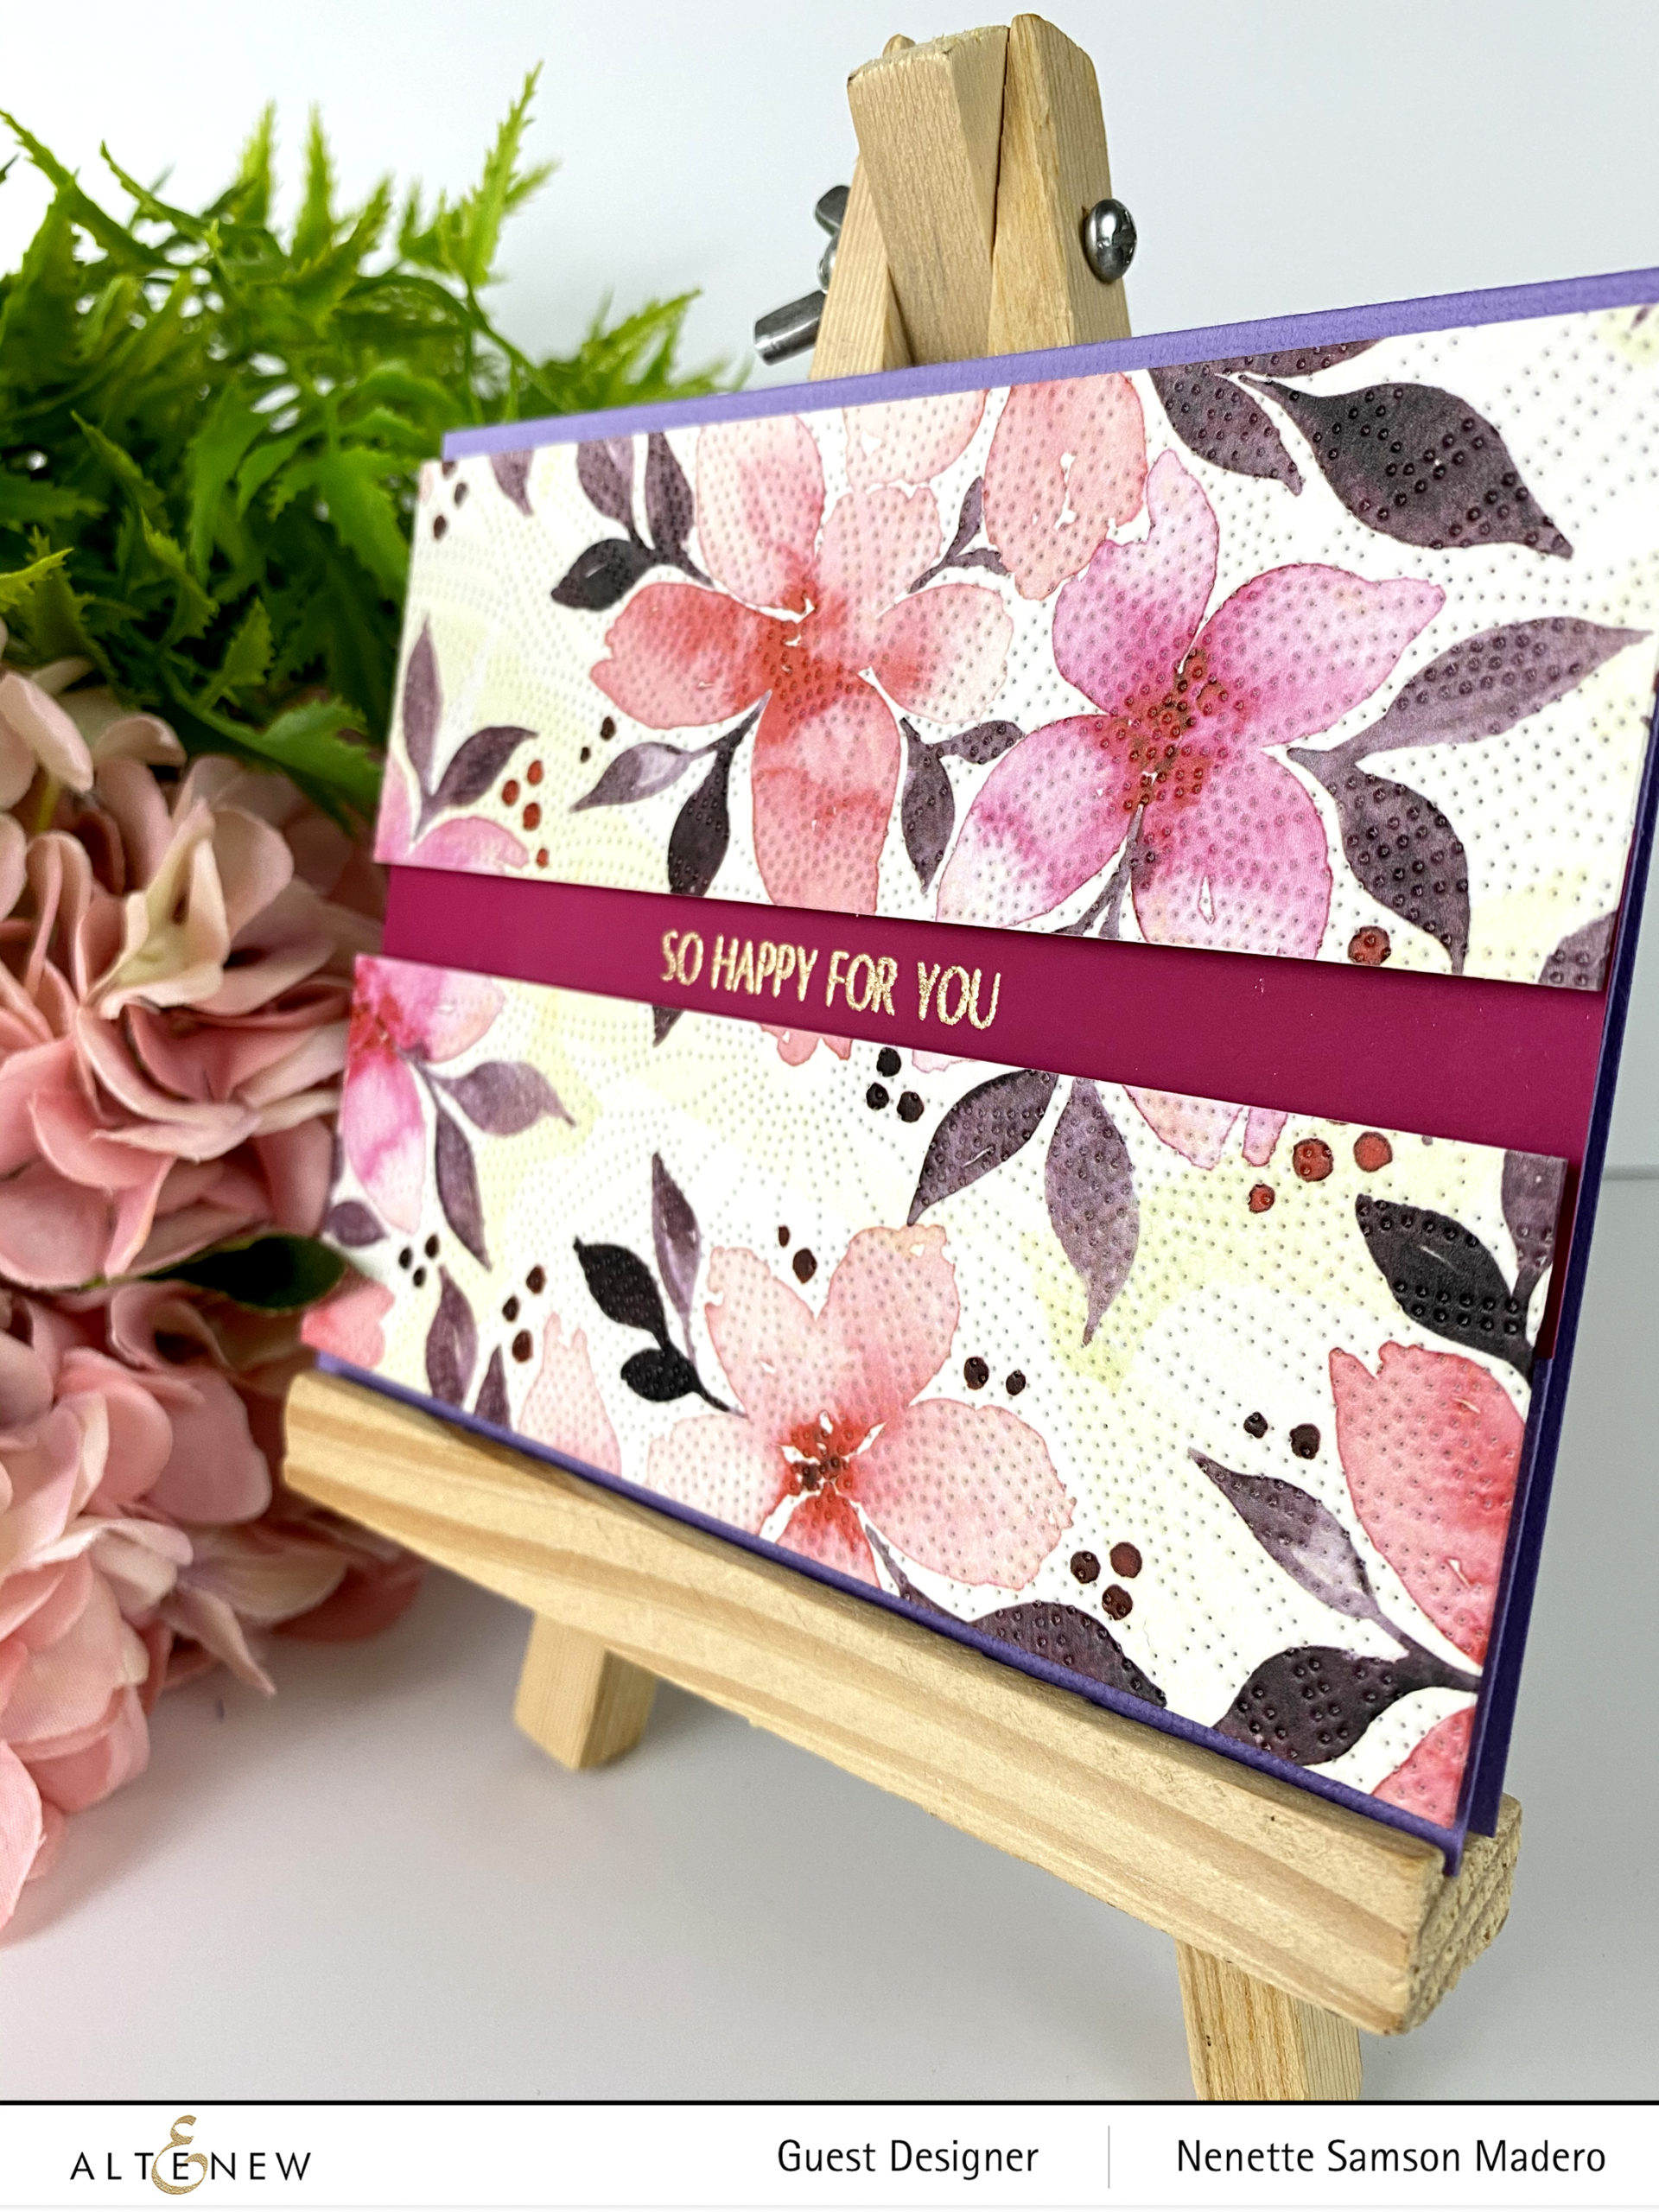
I made this card using the Dotted Starbust Debossing Cover Die, the Calming Bouquet Washi Tape, Rose Gold Embossing Powder and Precious Peony Stamp Set. This was a quick card to make. Simply cover a white cardstock with the washi tape. Run it through the die cutting machine with the Dotted Starburst Debossing cover die. It will give it a beautiful subtle pattern. Cut about .25 inches on both ends then divide the panel in the middle. Stamp the sentiment in the middle of the card front then attach the washi panels using foam tape making sure to reveal the sentient in the middle


WHY FIT IN WHEN YOU WERE BORN TO STAND OUT CARD


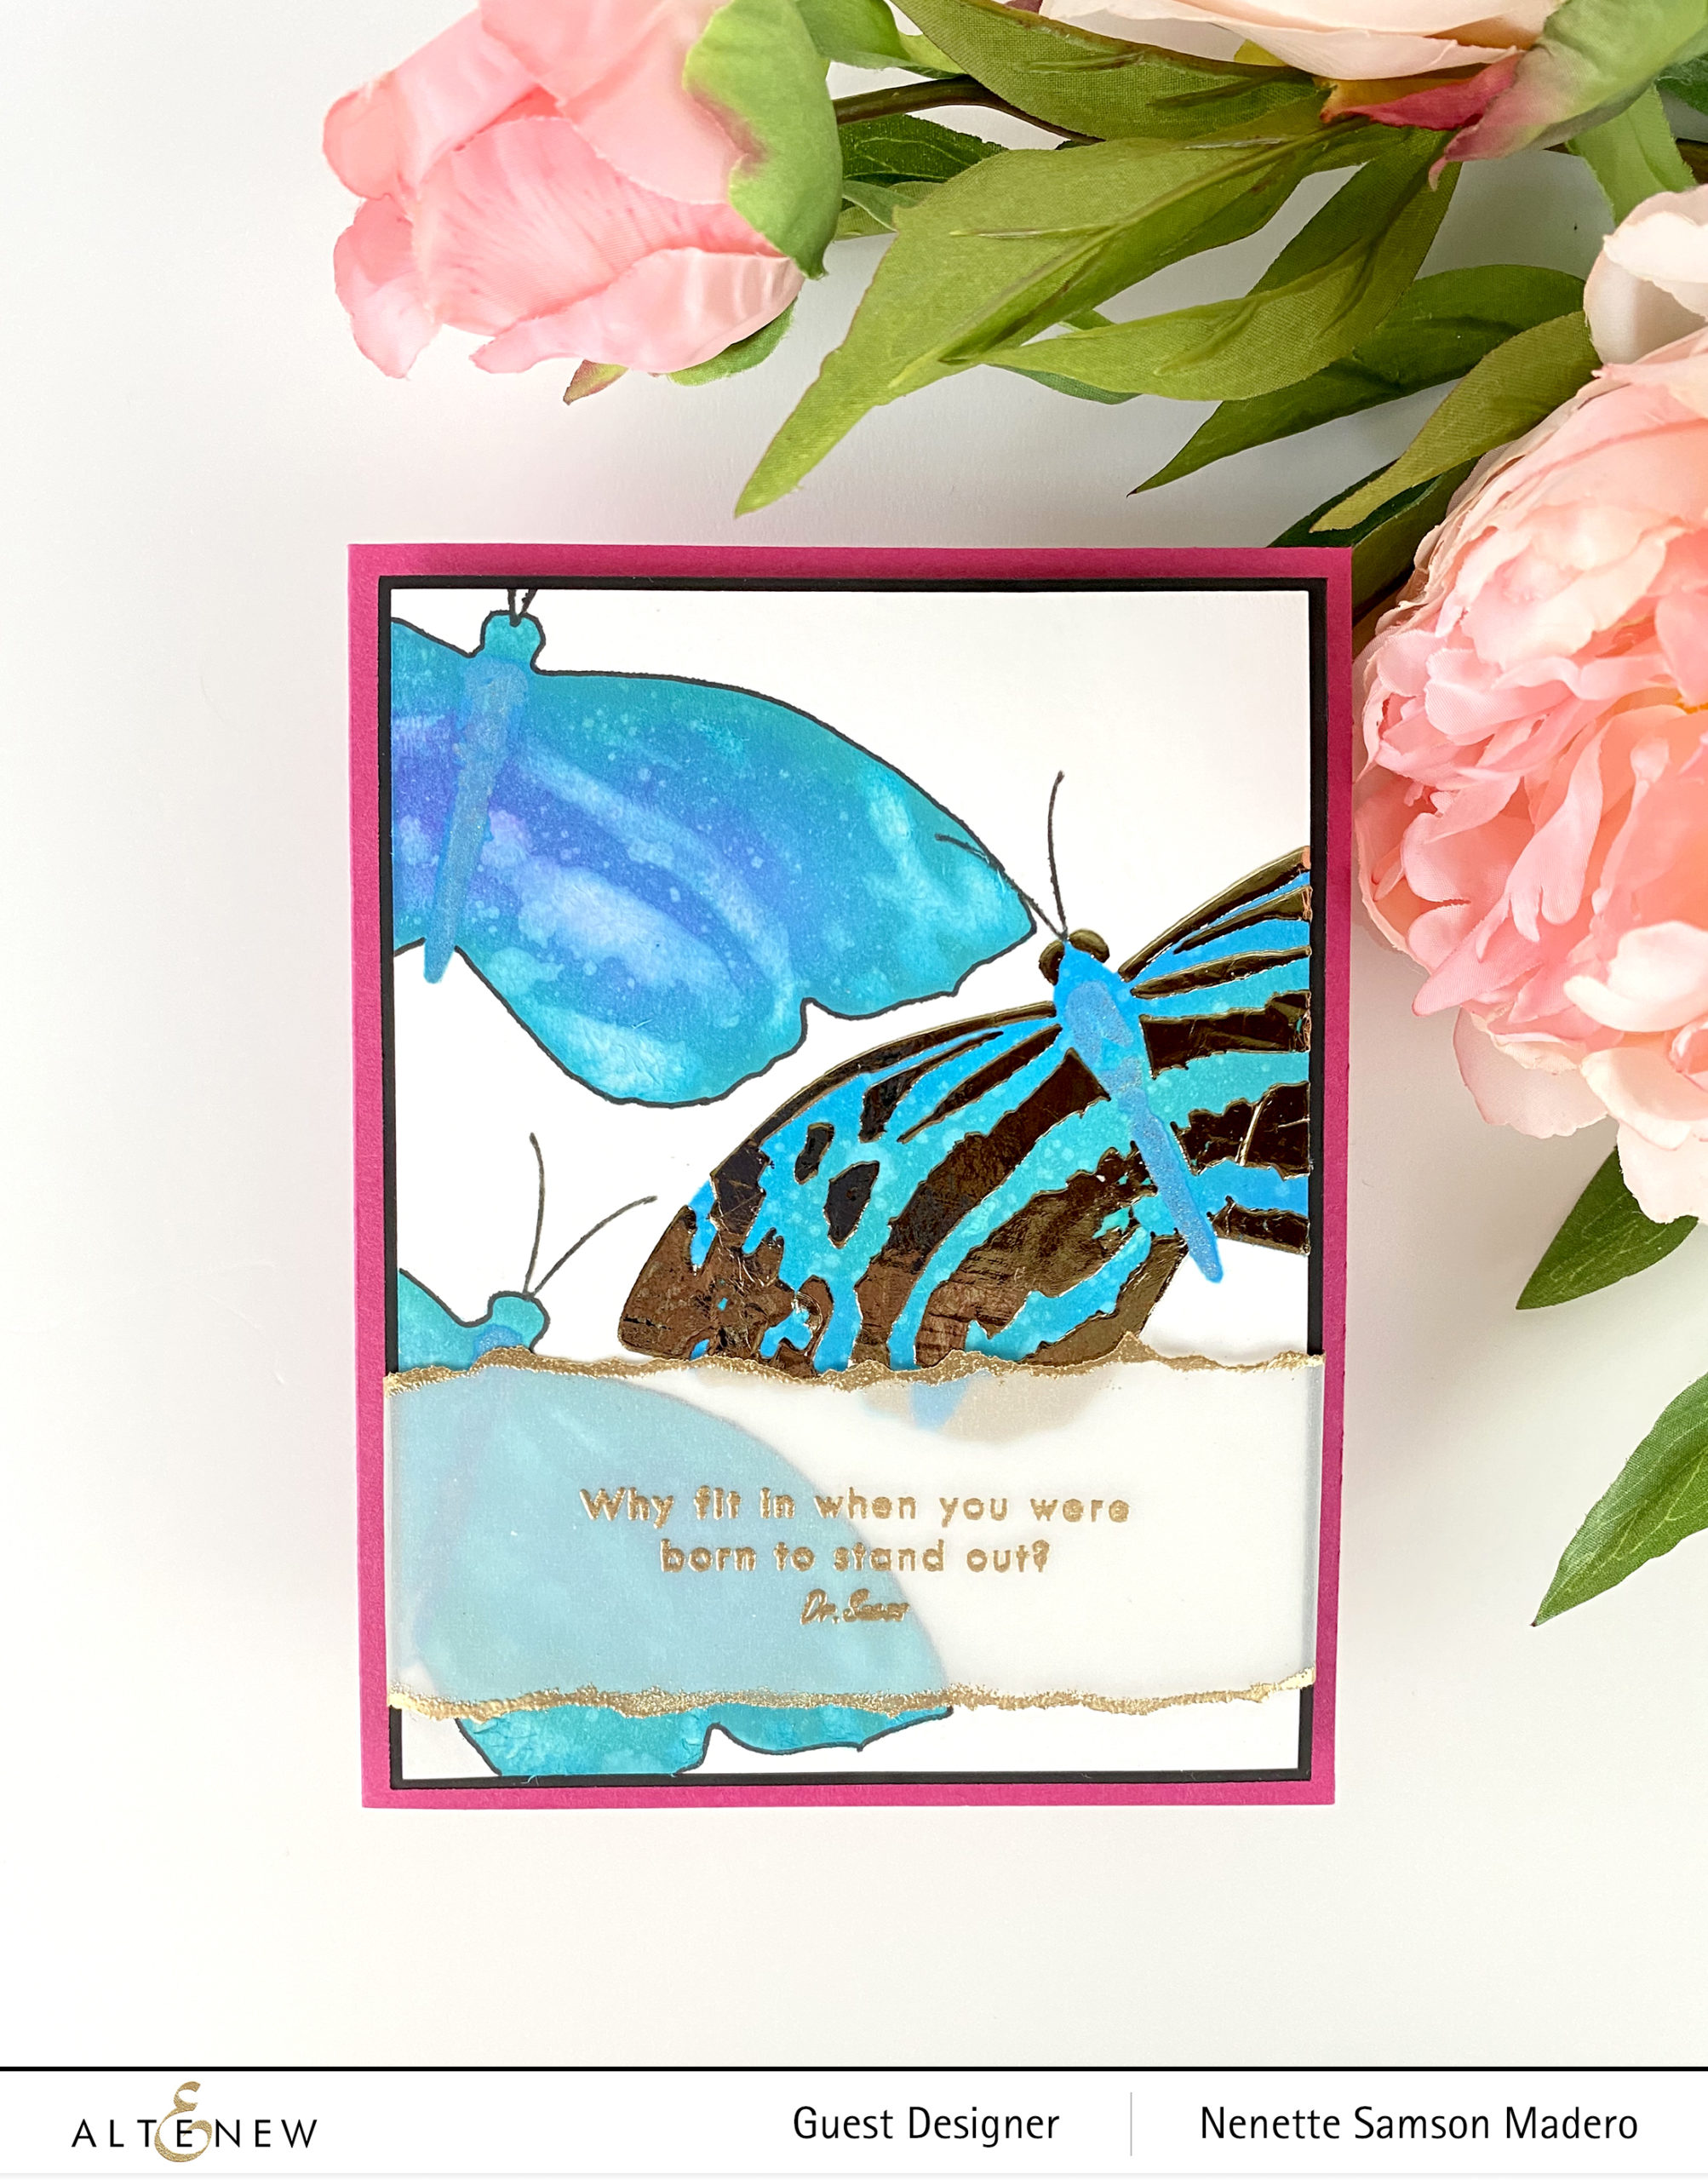
The following were used for this card: Tranquil Wings stencil, Rose Gold Embossing Powder, Distress Oxide inks (Peacock Feathers, Broken China, Mermaid Lagoon and Wilted Violet), Decofoil Transfer Gel, Decofoil gold, laminator, cardstocks, vellum and Versamark Ink.

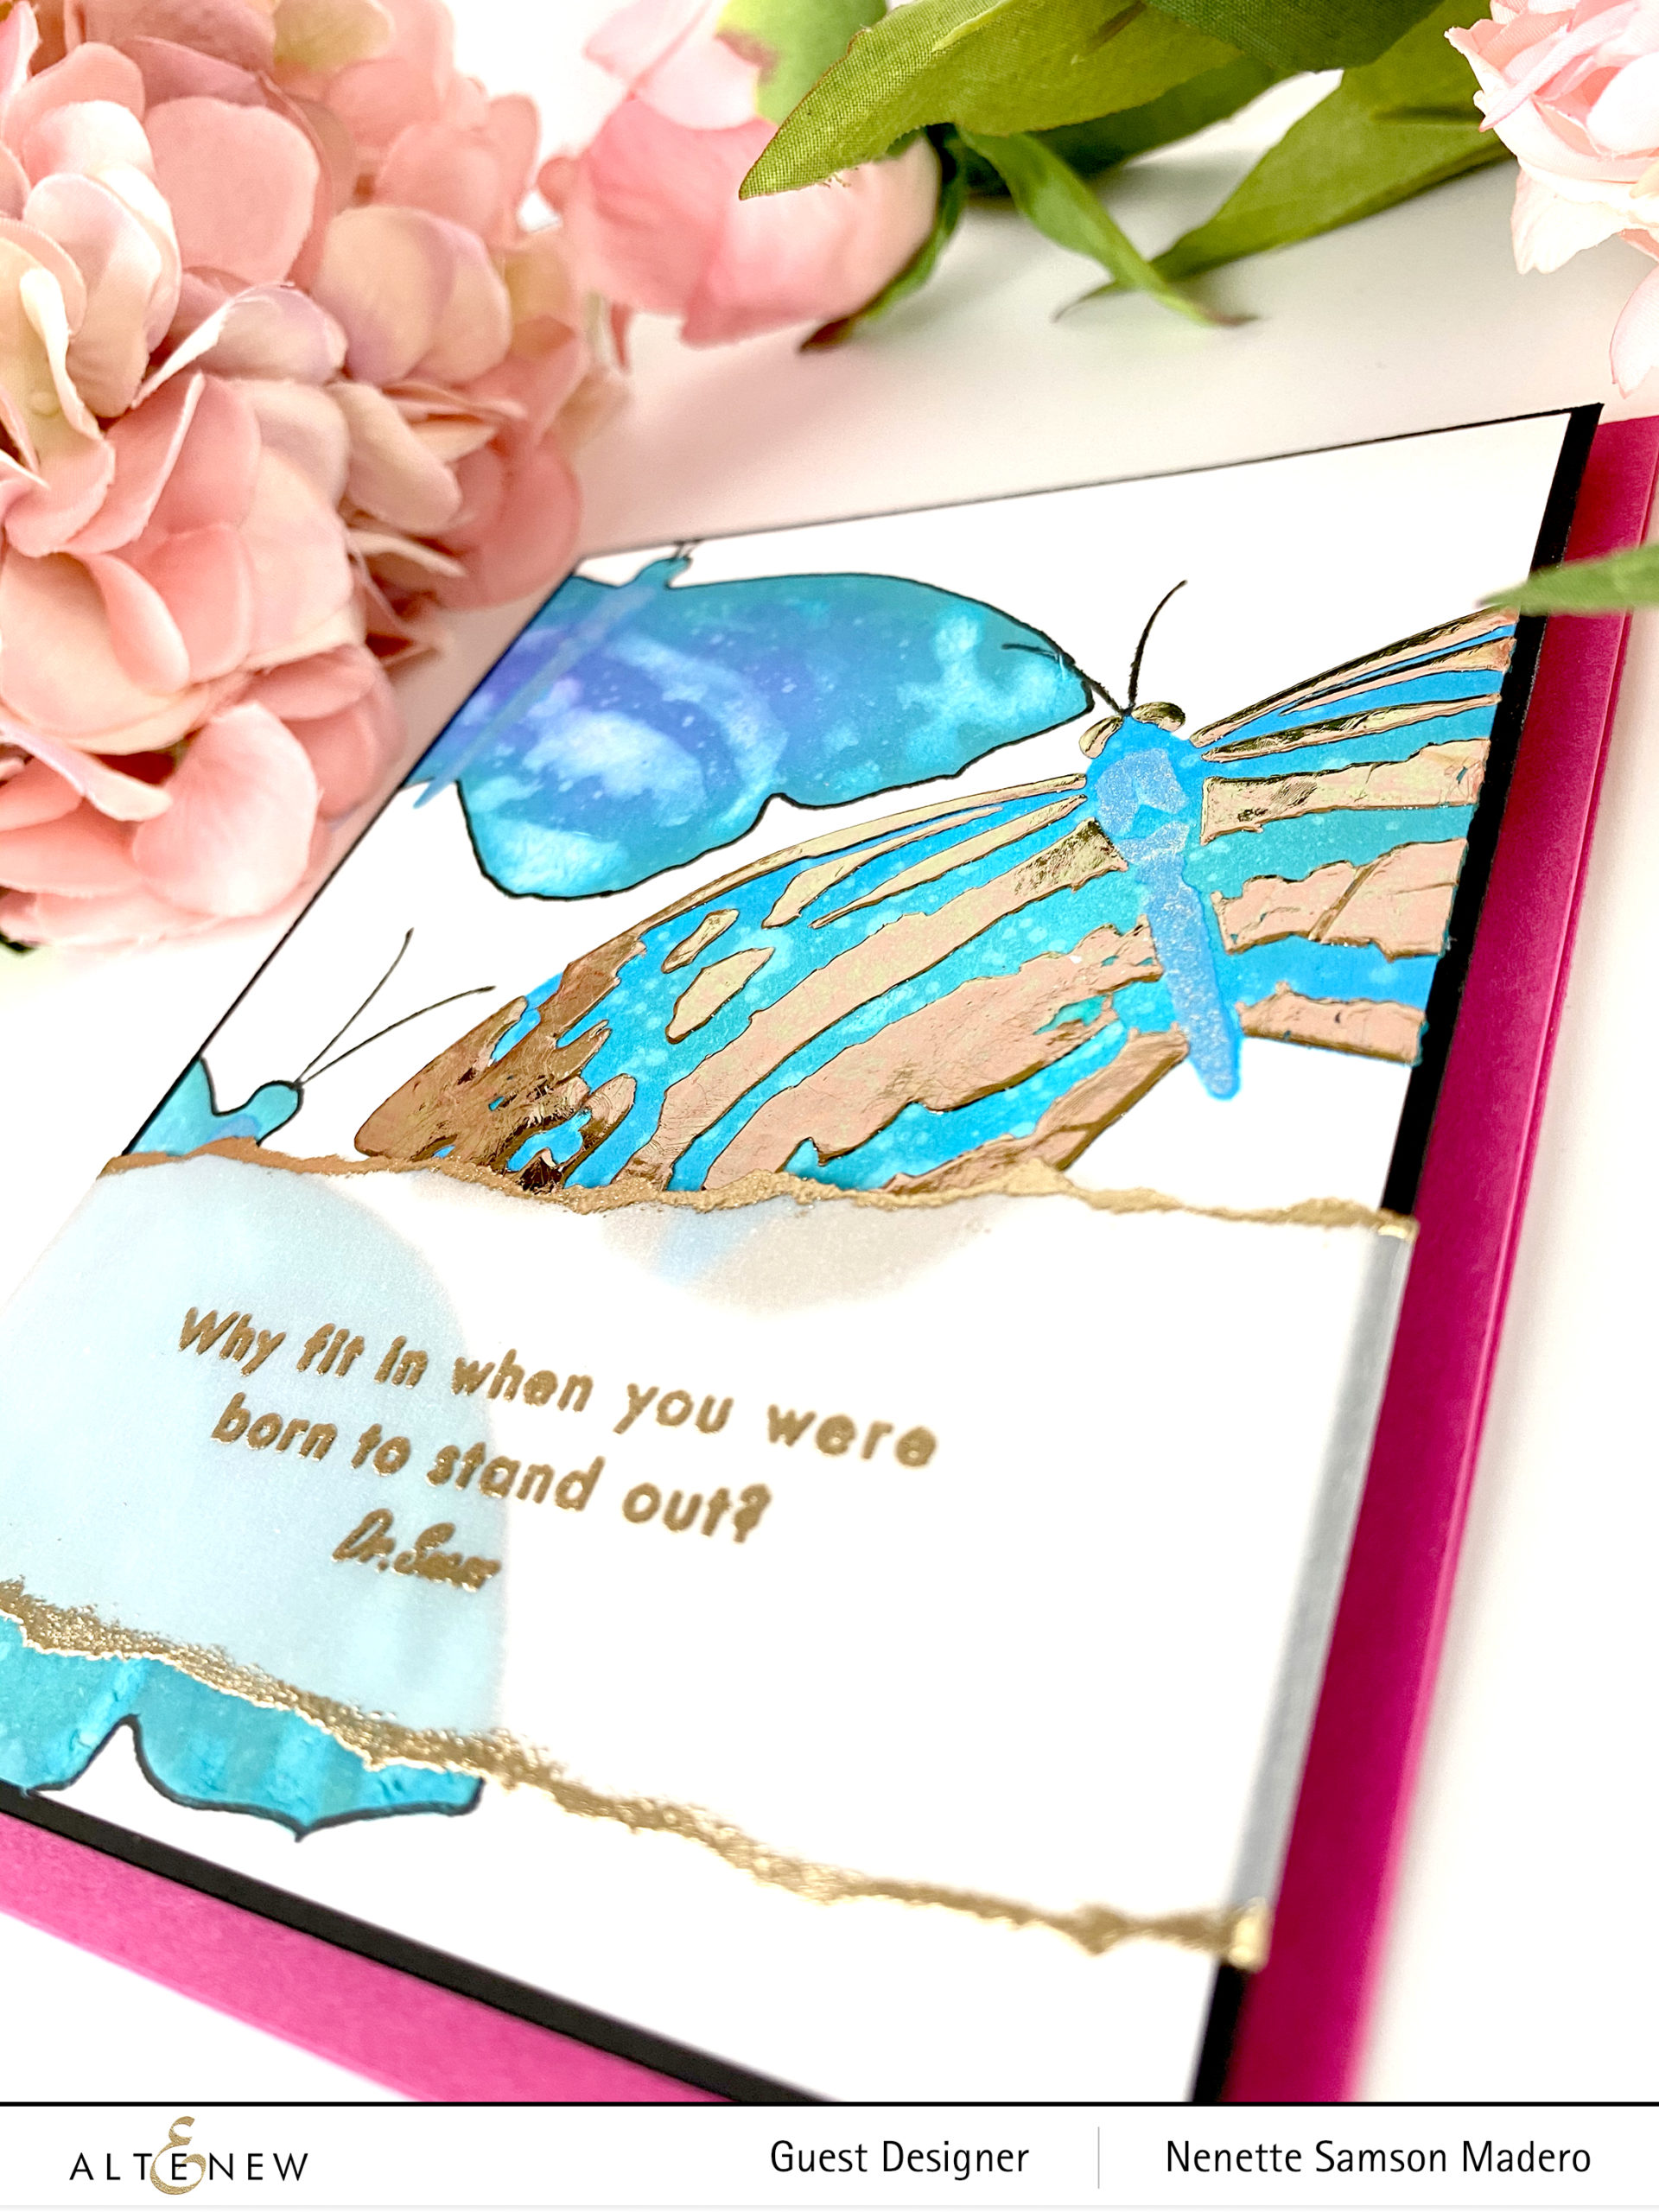
I really wanted the middle butterfly to stand out and be different– in color, texture and position to emphasize the sentiment. First, the body of the butterfly was colored using distress oxide inks. Water droplets were sprayed over them to add more texture. When these were dry, I used the Decofoil transfer gel to add the details of the wings. These were allowed to dry then decofoil was applied using a laminator to add shine to the wings.

The sentiment was stamped on vellum. Edges were torn and Versamark Ink and rose gold embossing powders were added to give a gold embossed edge. I added a black mat before attaching the whole panel to a pink card front. The thin black mat gives it a finished look.


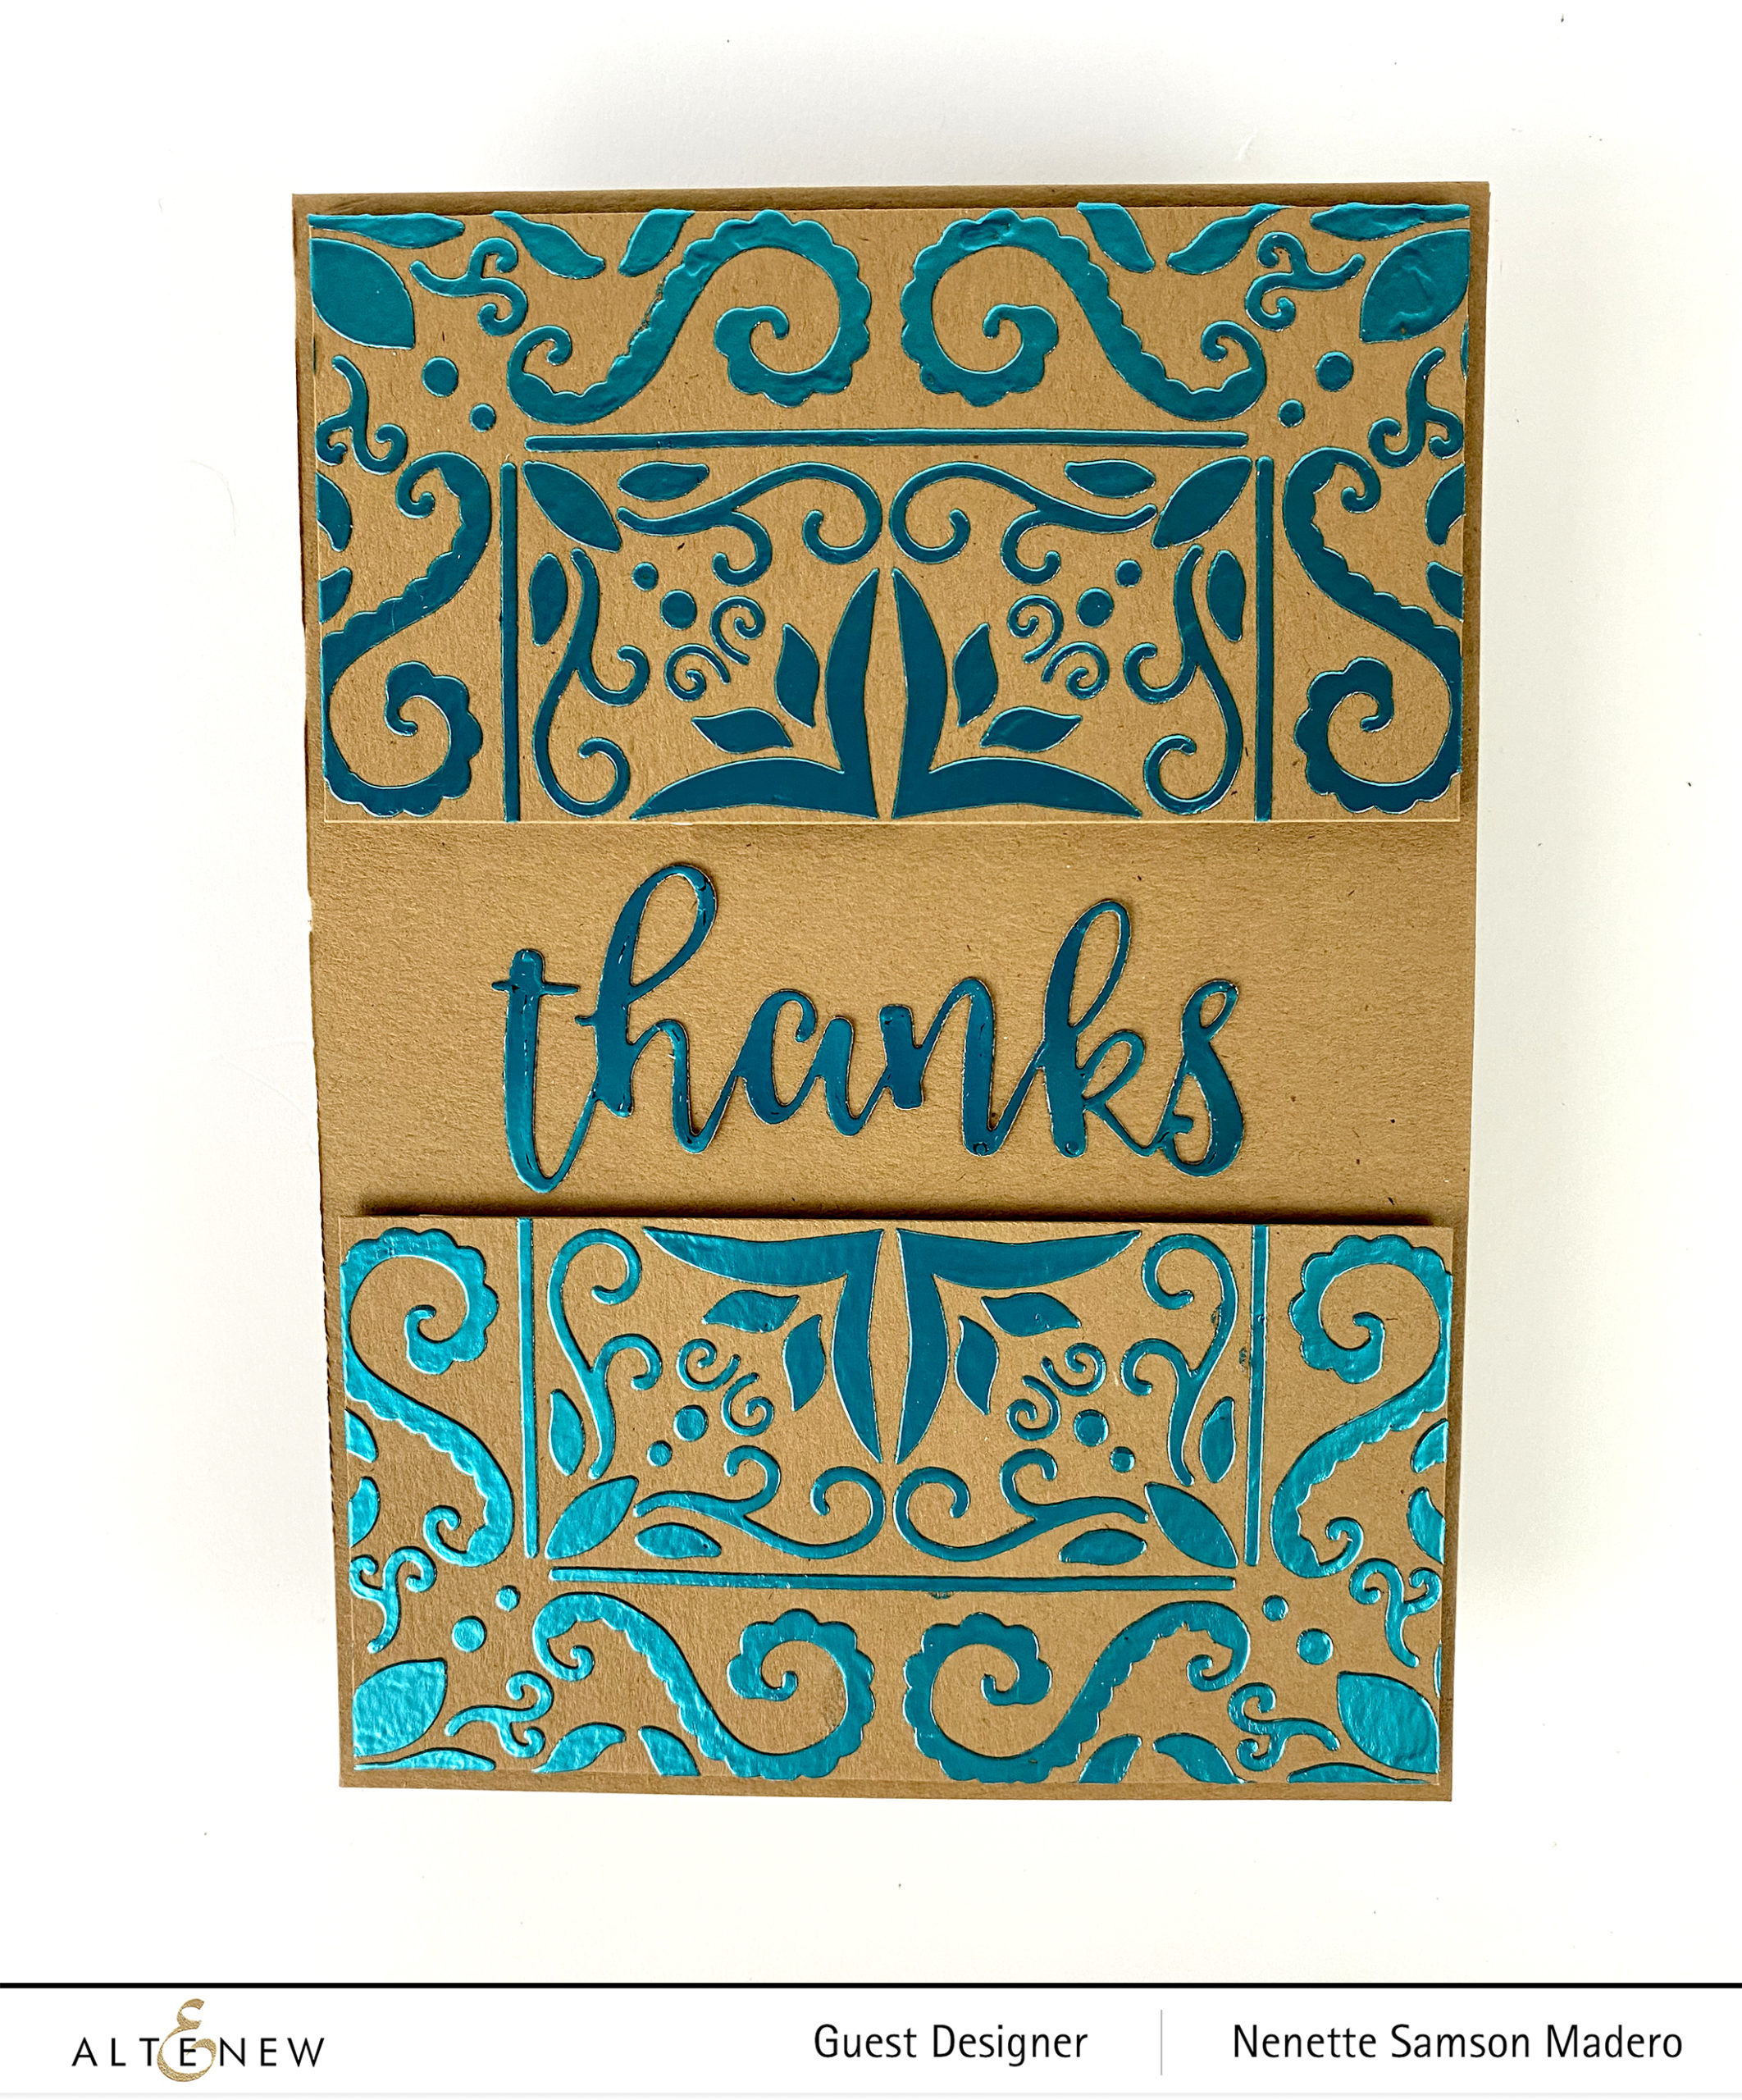
THANKS CARD


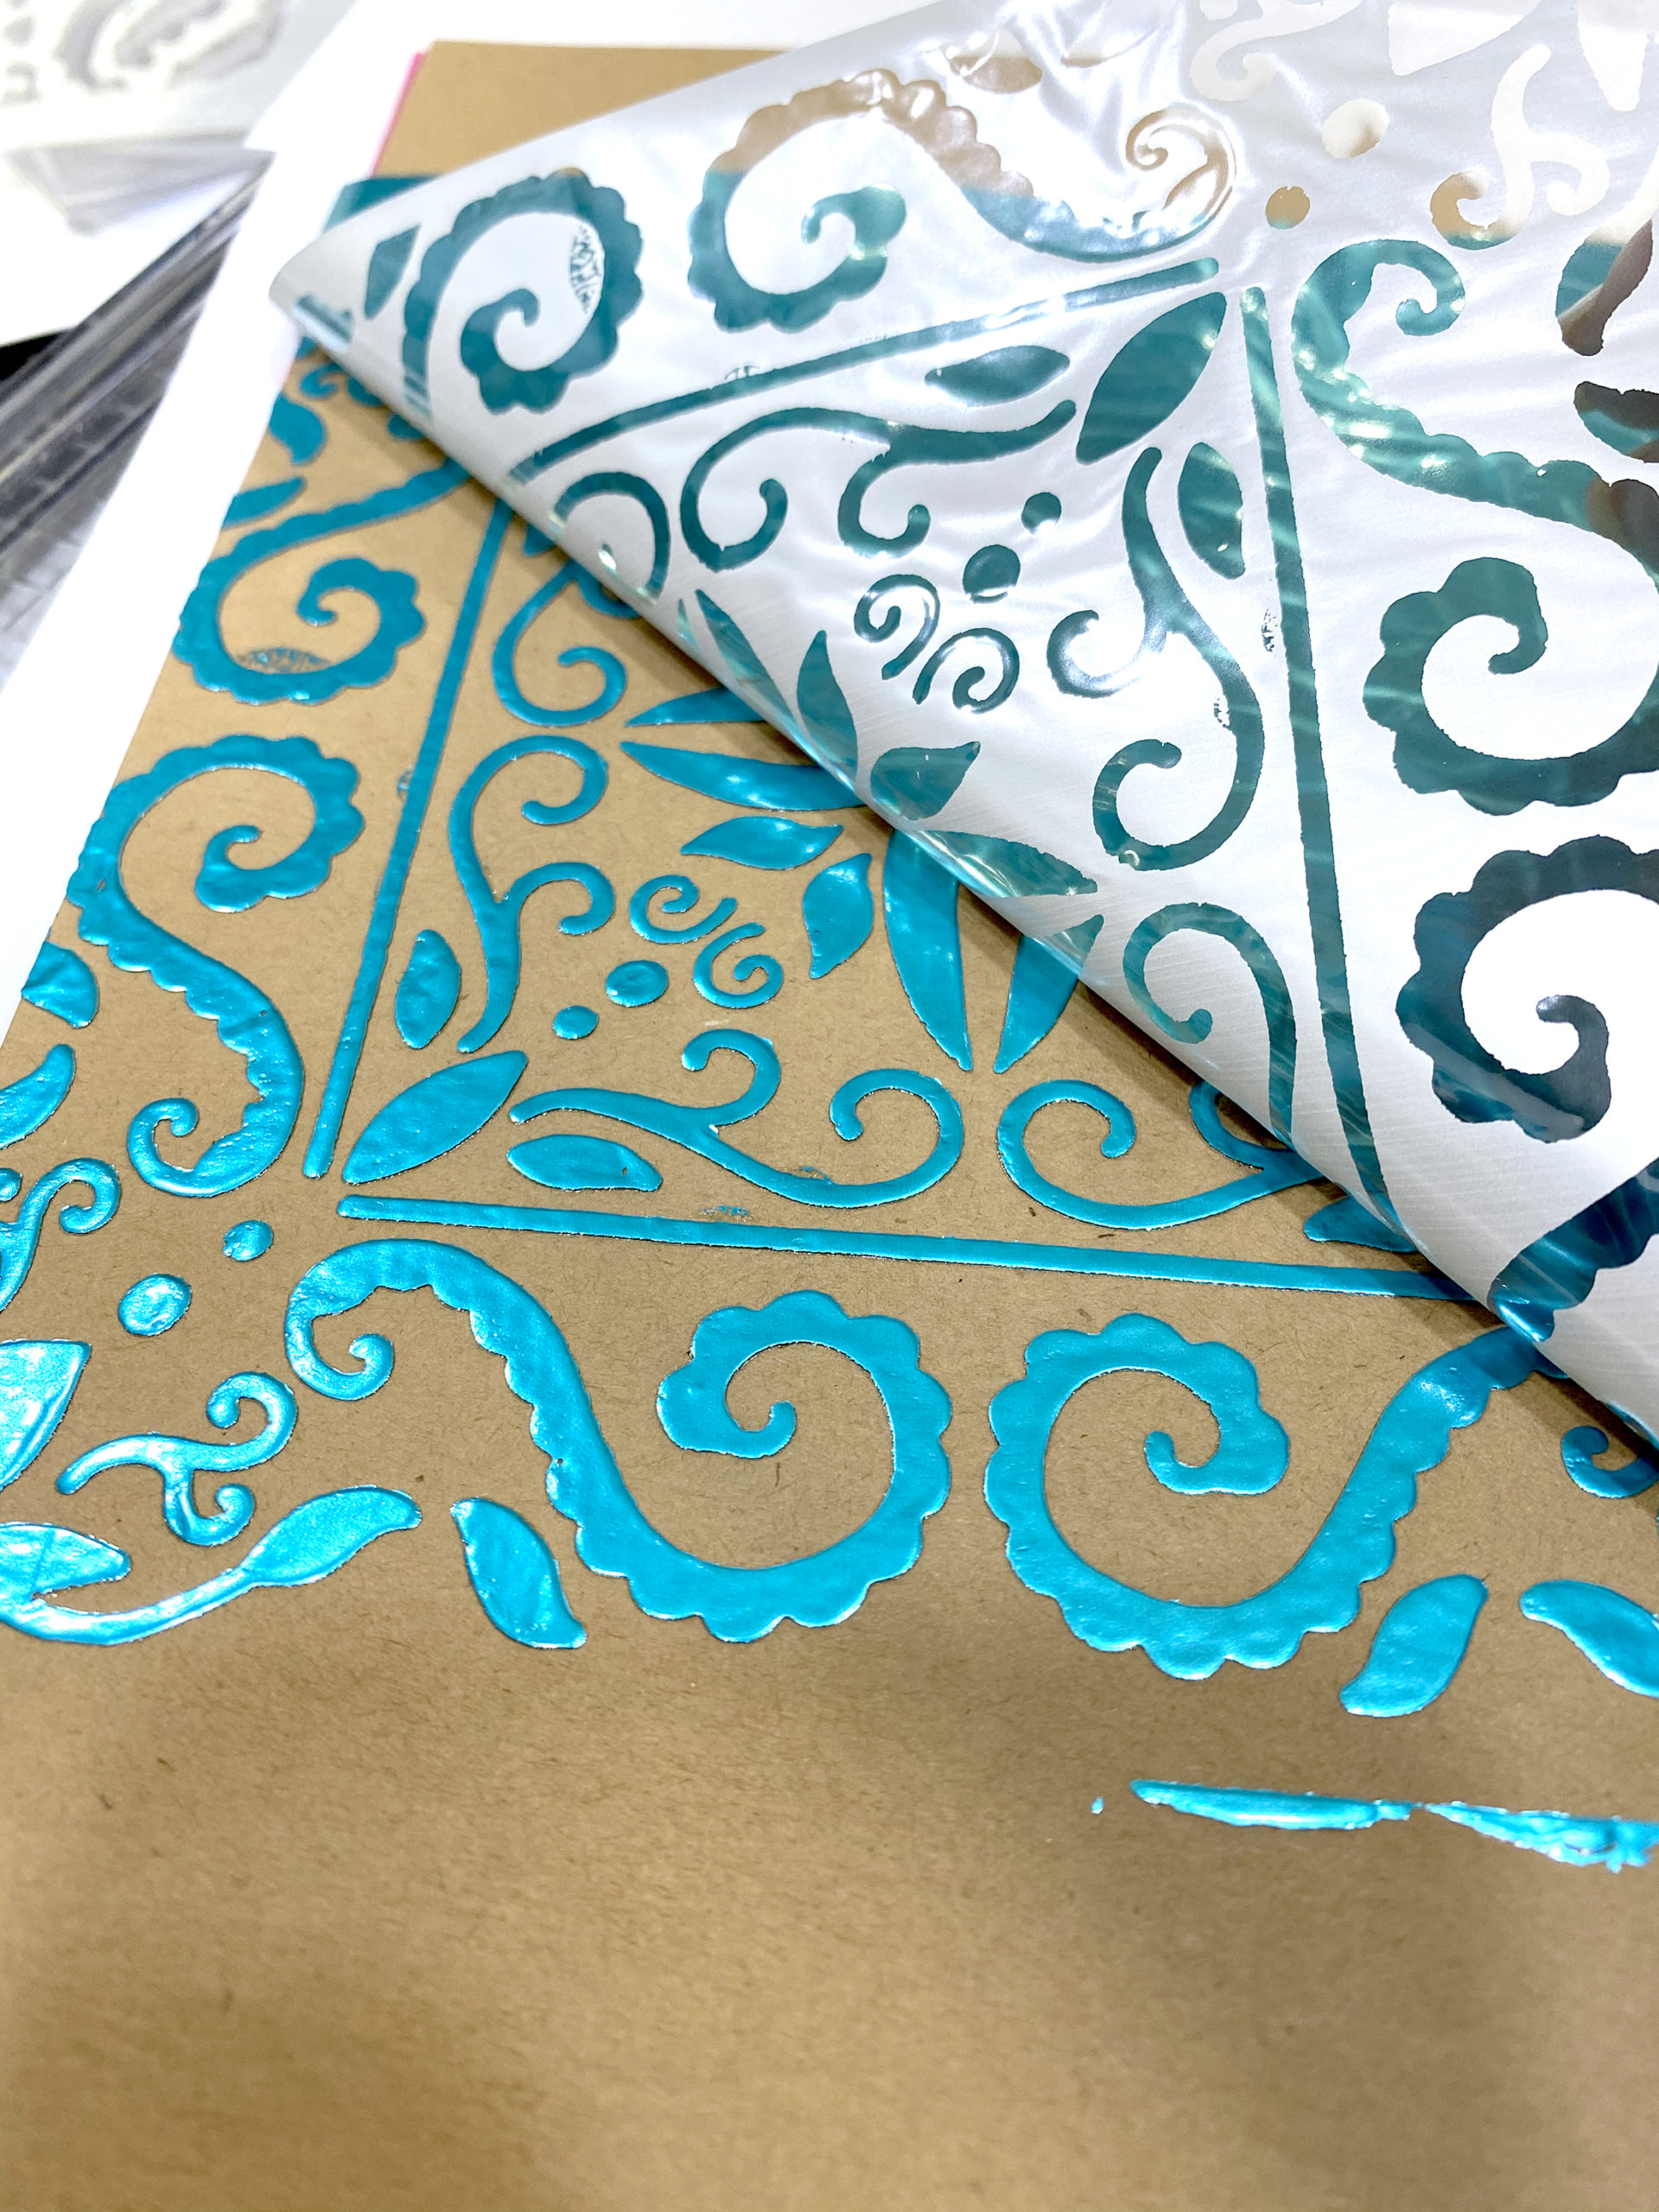
Since I already had my laminator out, I decided to use the Hand Drawn Tile Stencil with the Decofoil Transfer gel on a card front.

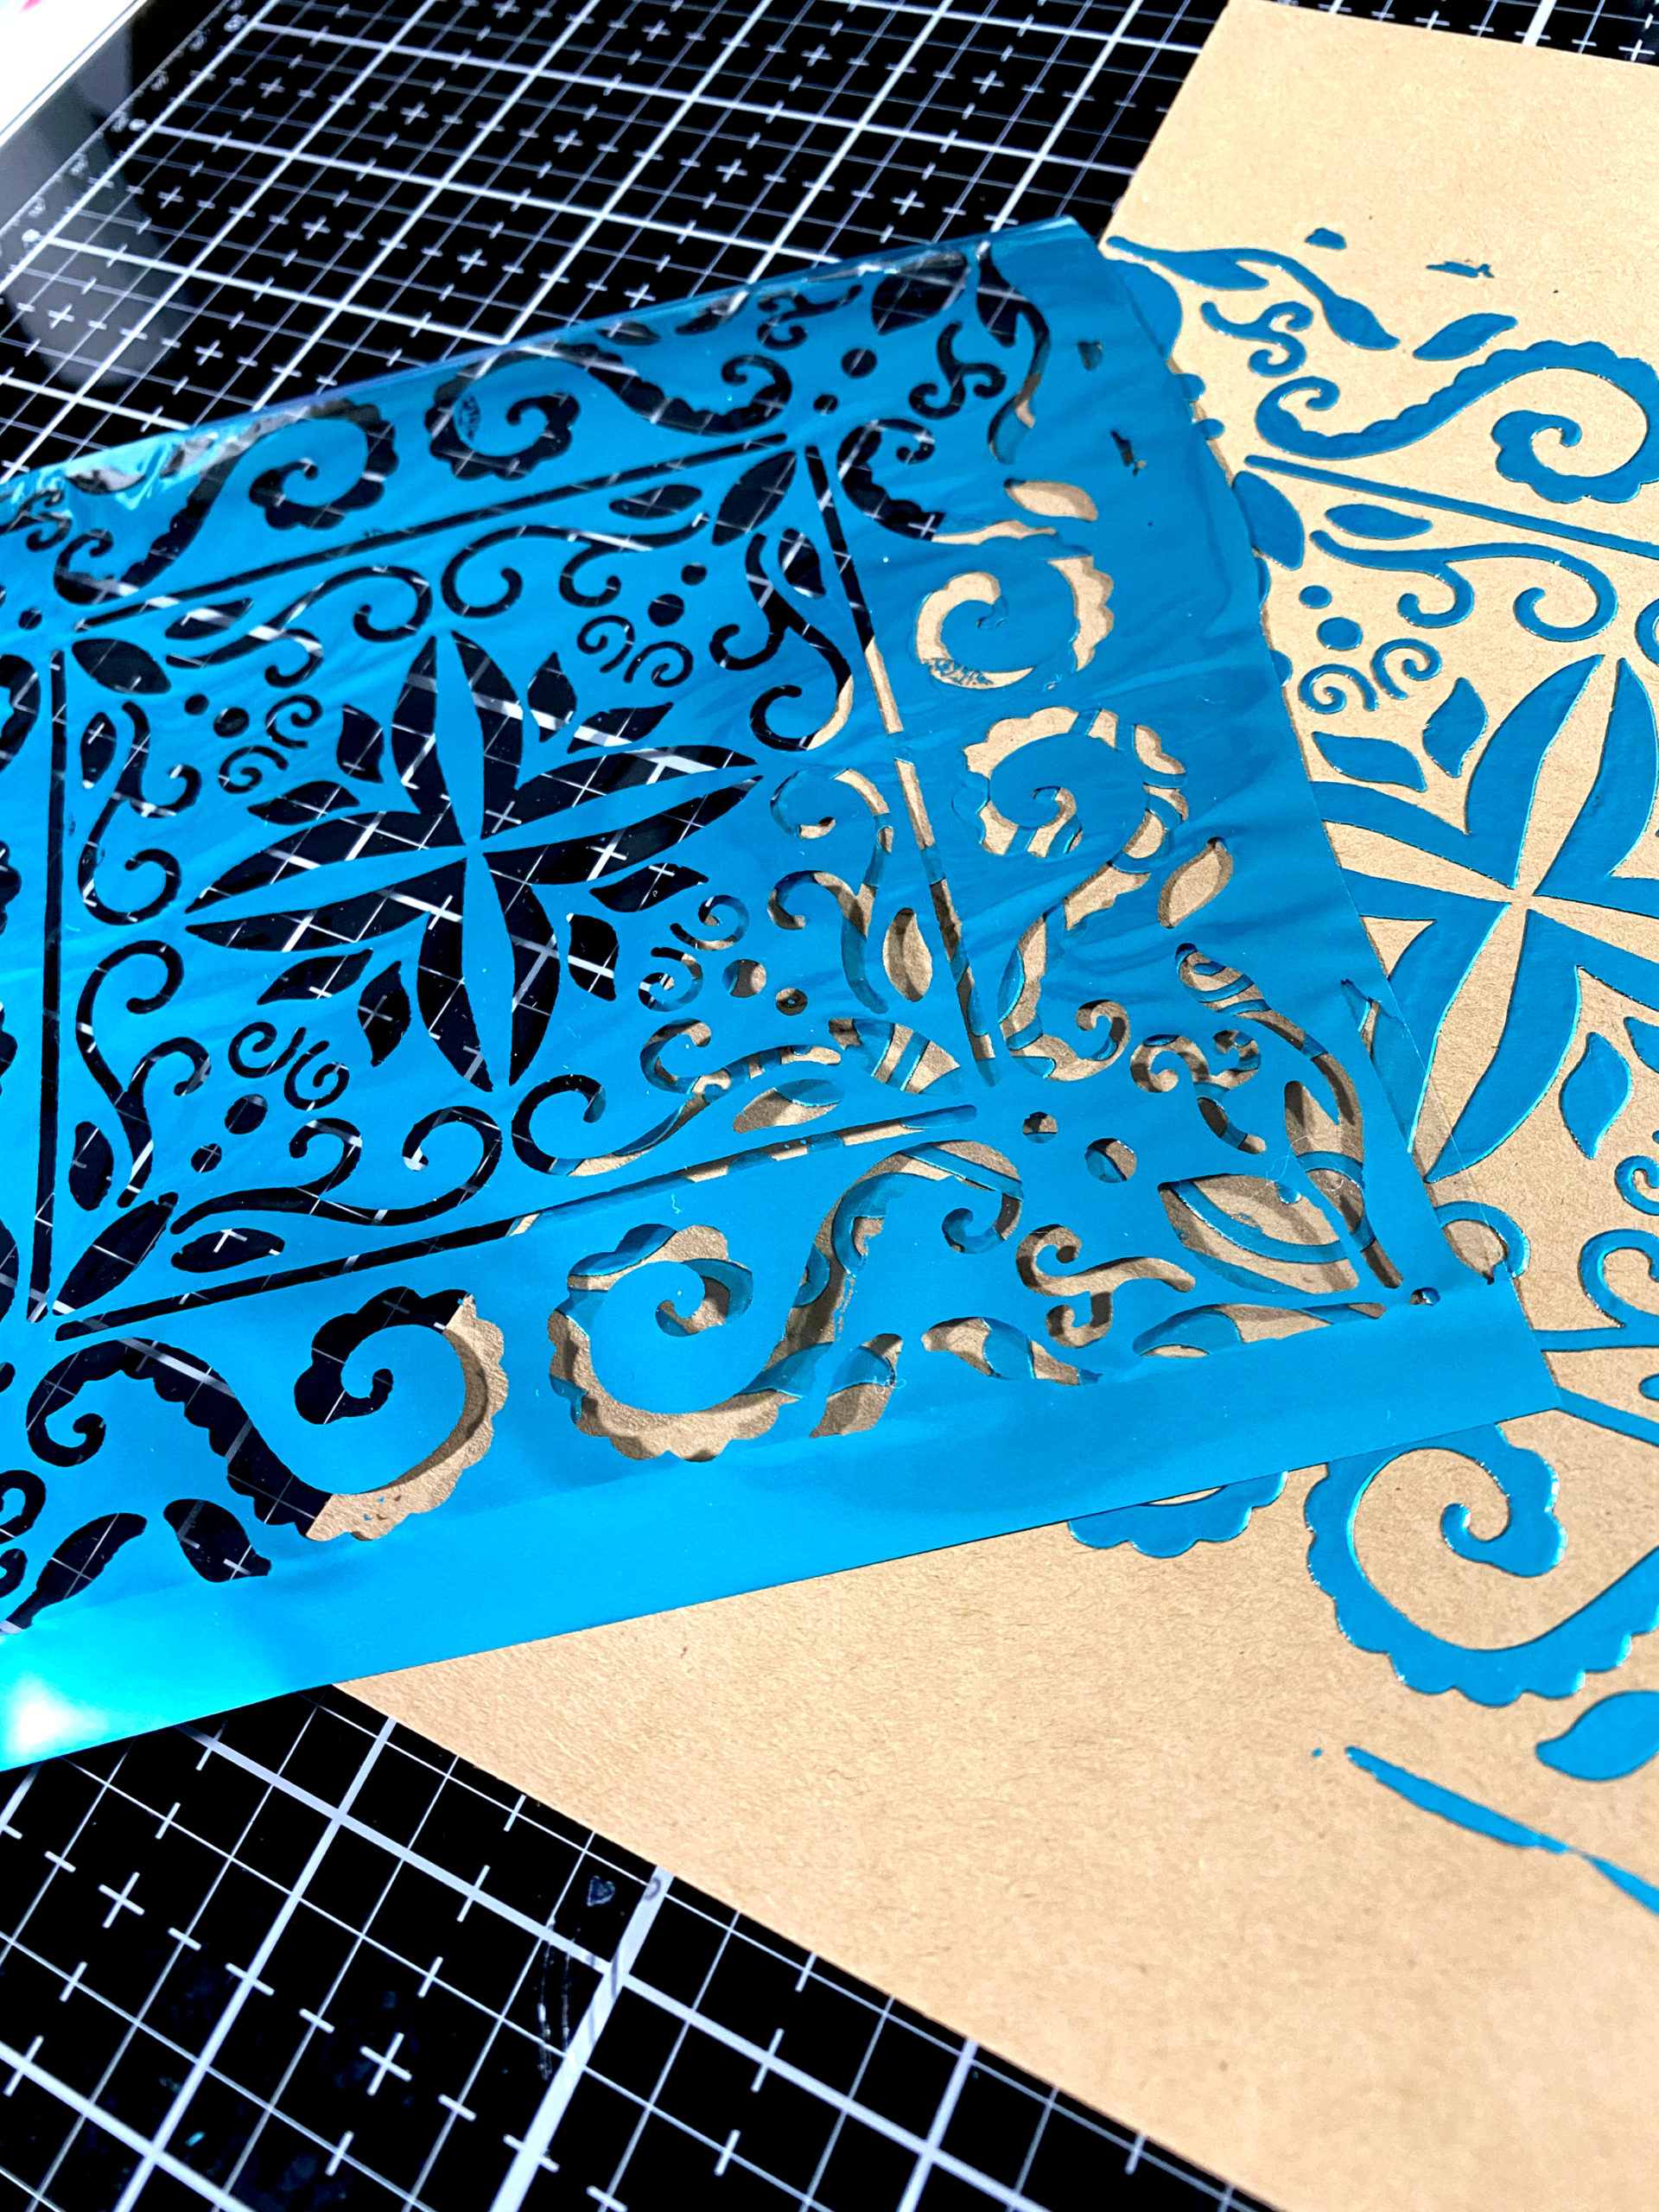
Teal foil was added and the panel was cut into two. The Thanks die from the Script Words 2 die set was used to cut toner paper then this was also foiled.

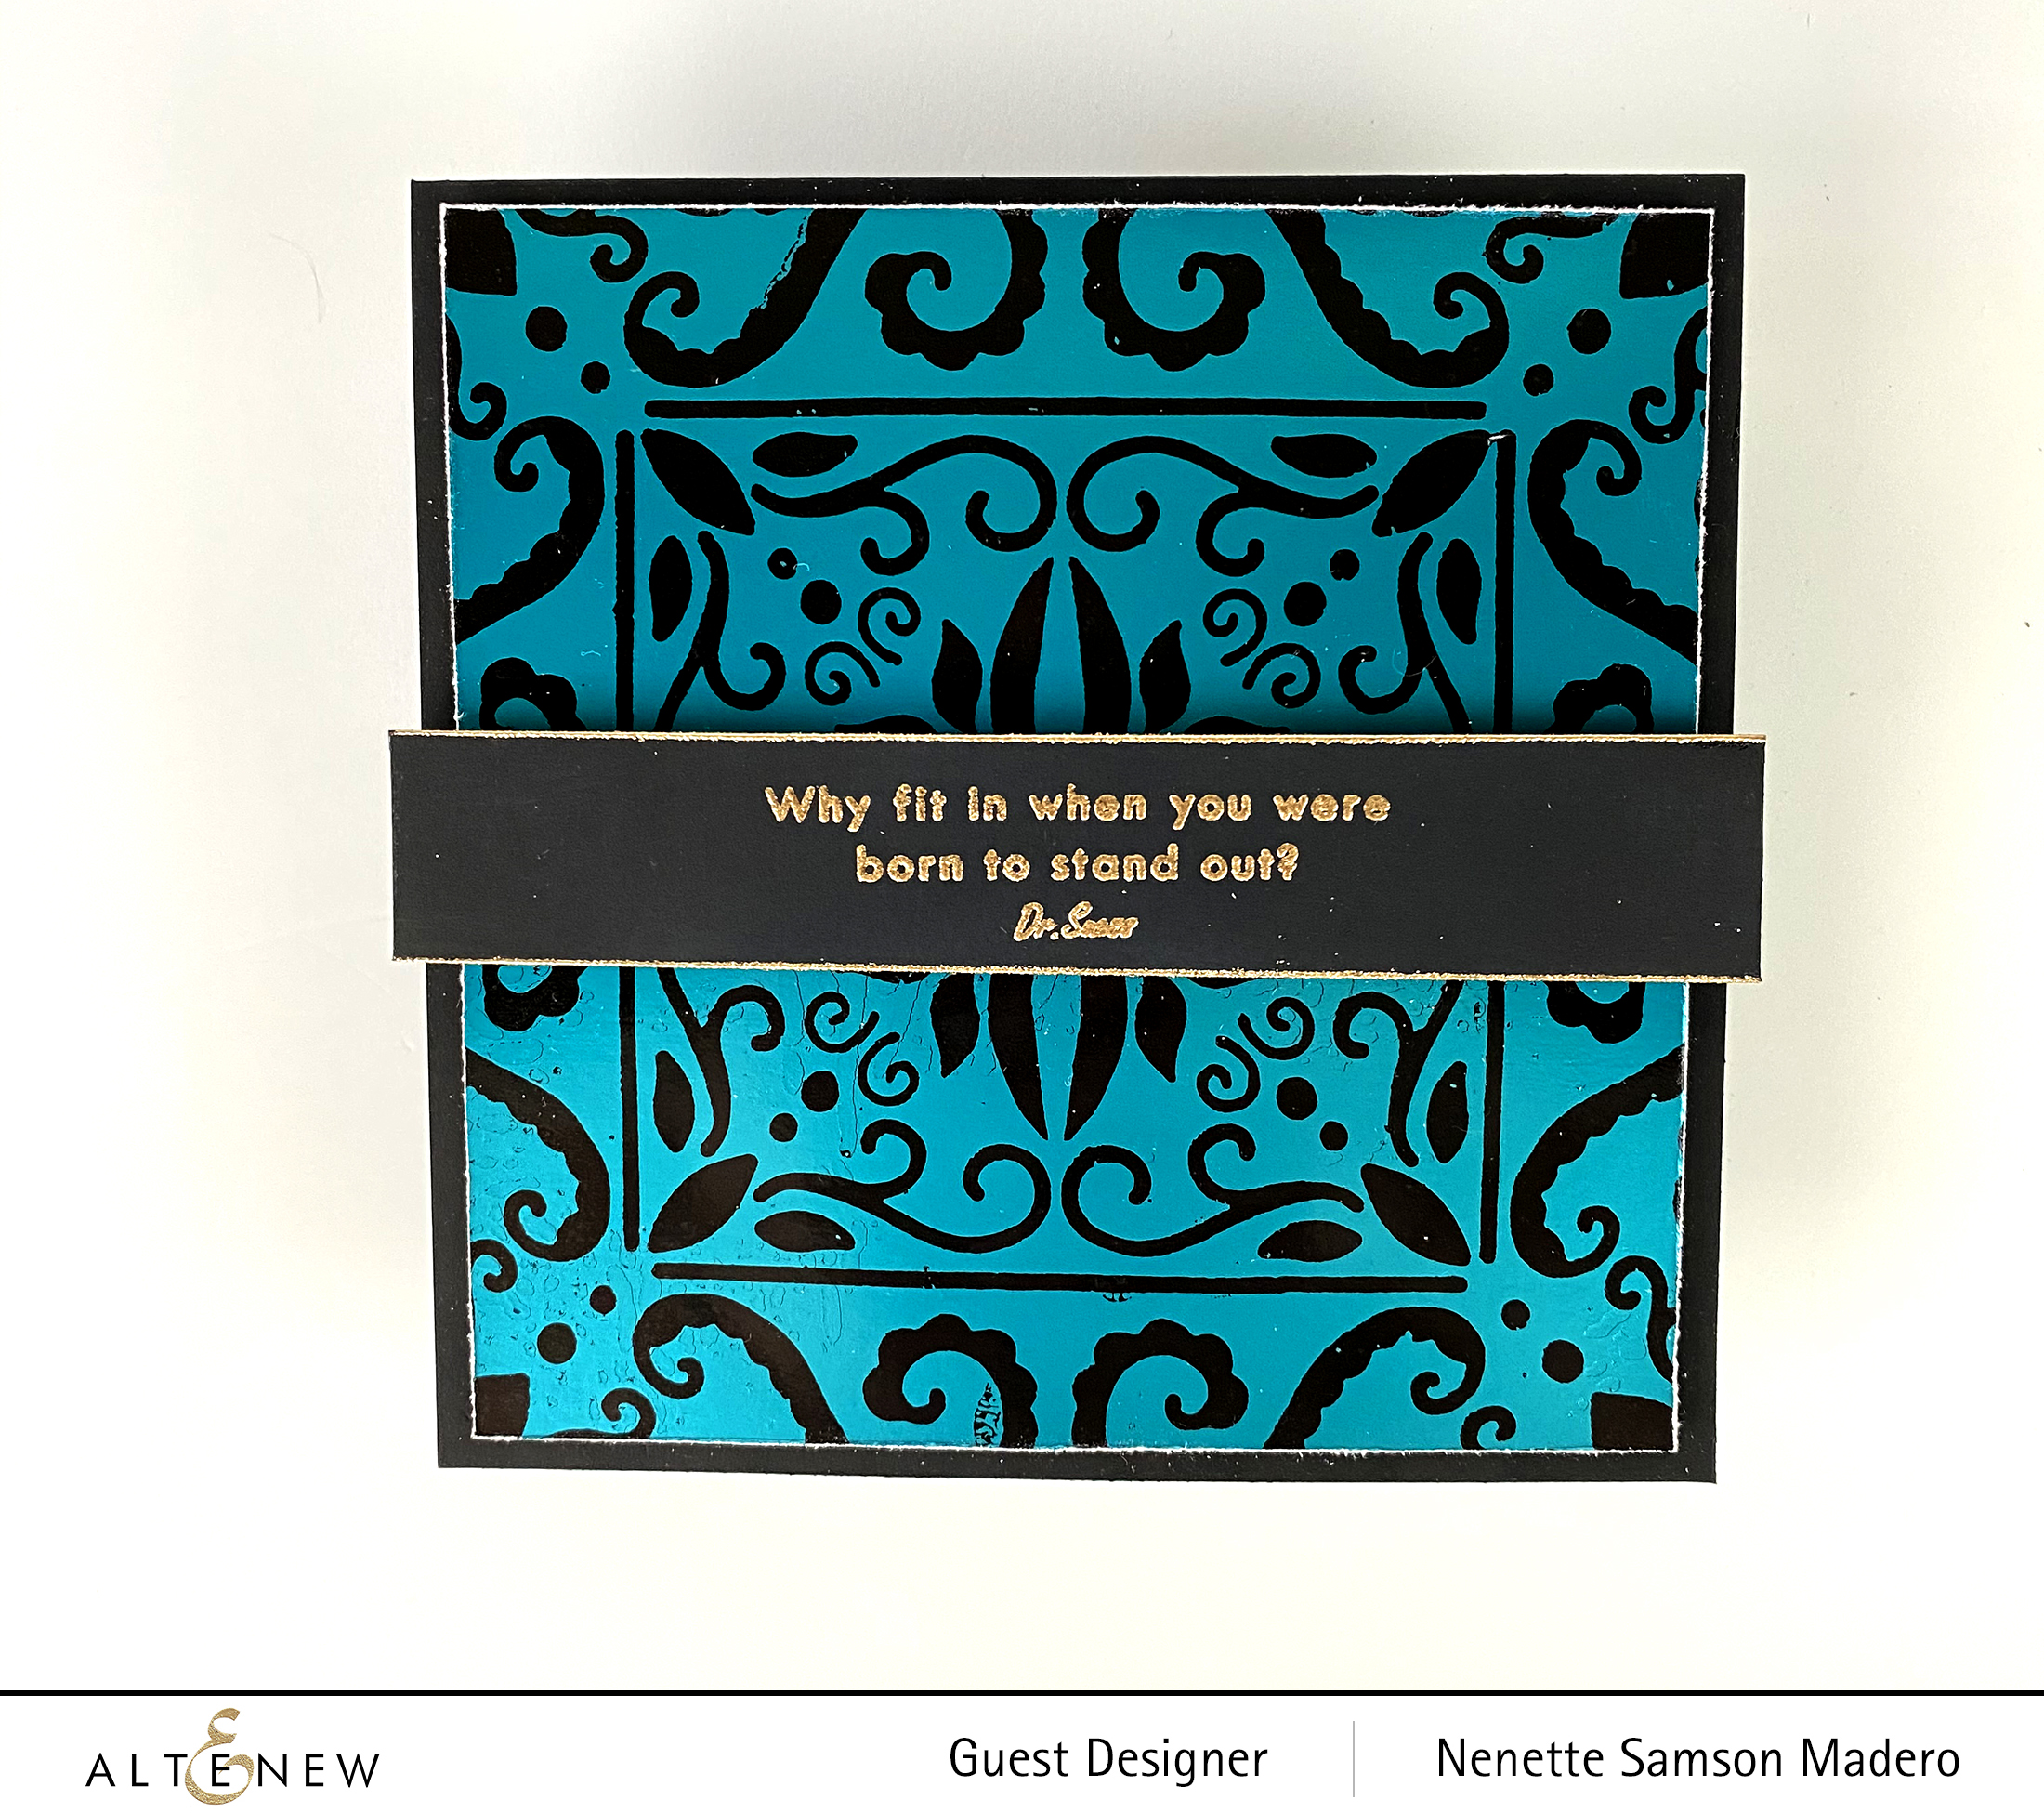
The negative of the foil was so pretty and I didn’t want to waste it so I made another card using toner paper.

The sentiment (one of my all-time faves as you will see me use it often) was taken from the Wonderland Stamp set and embossed using Rose Gold embossing powder.


FOR YOU CARD


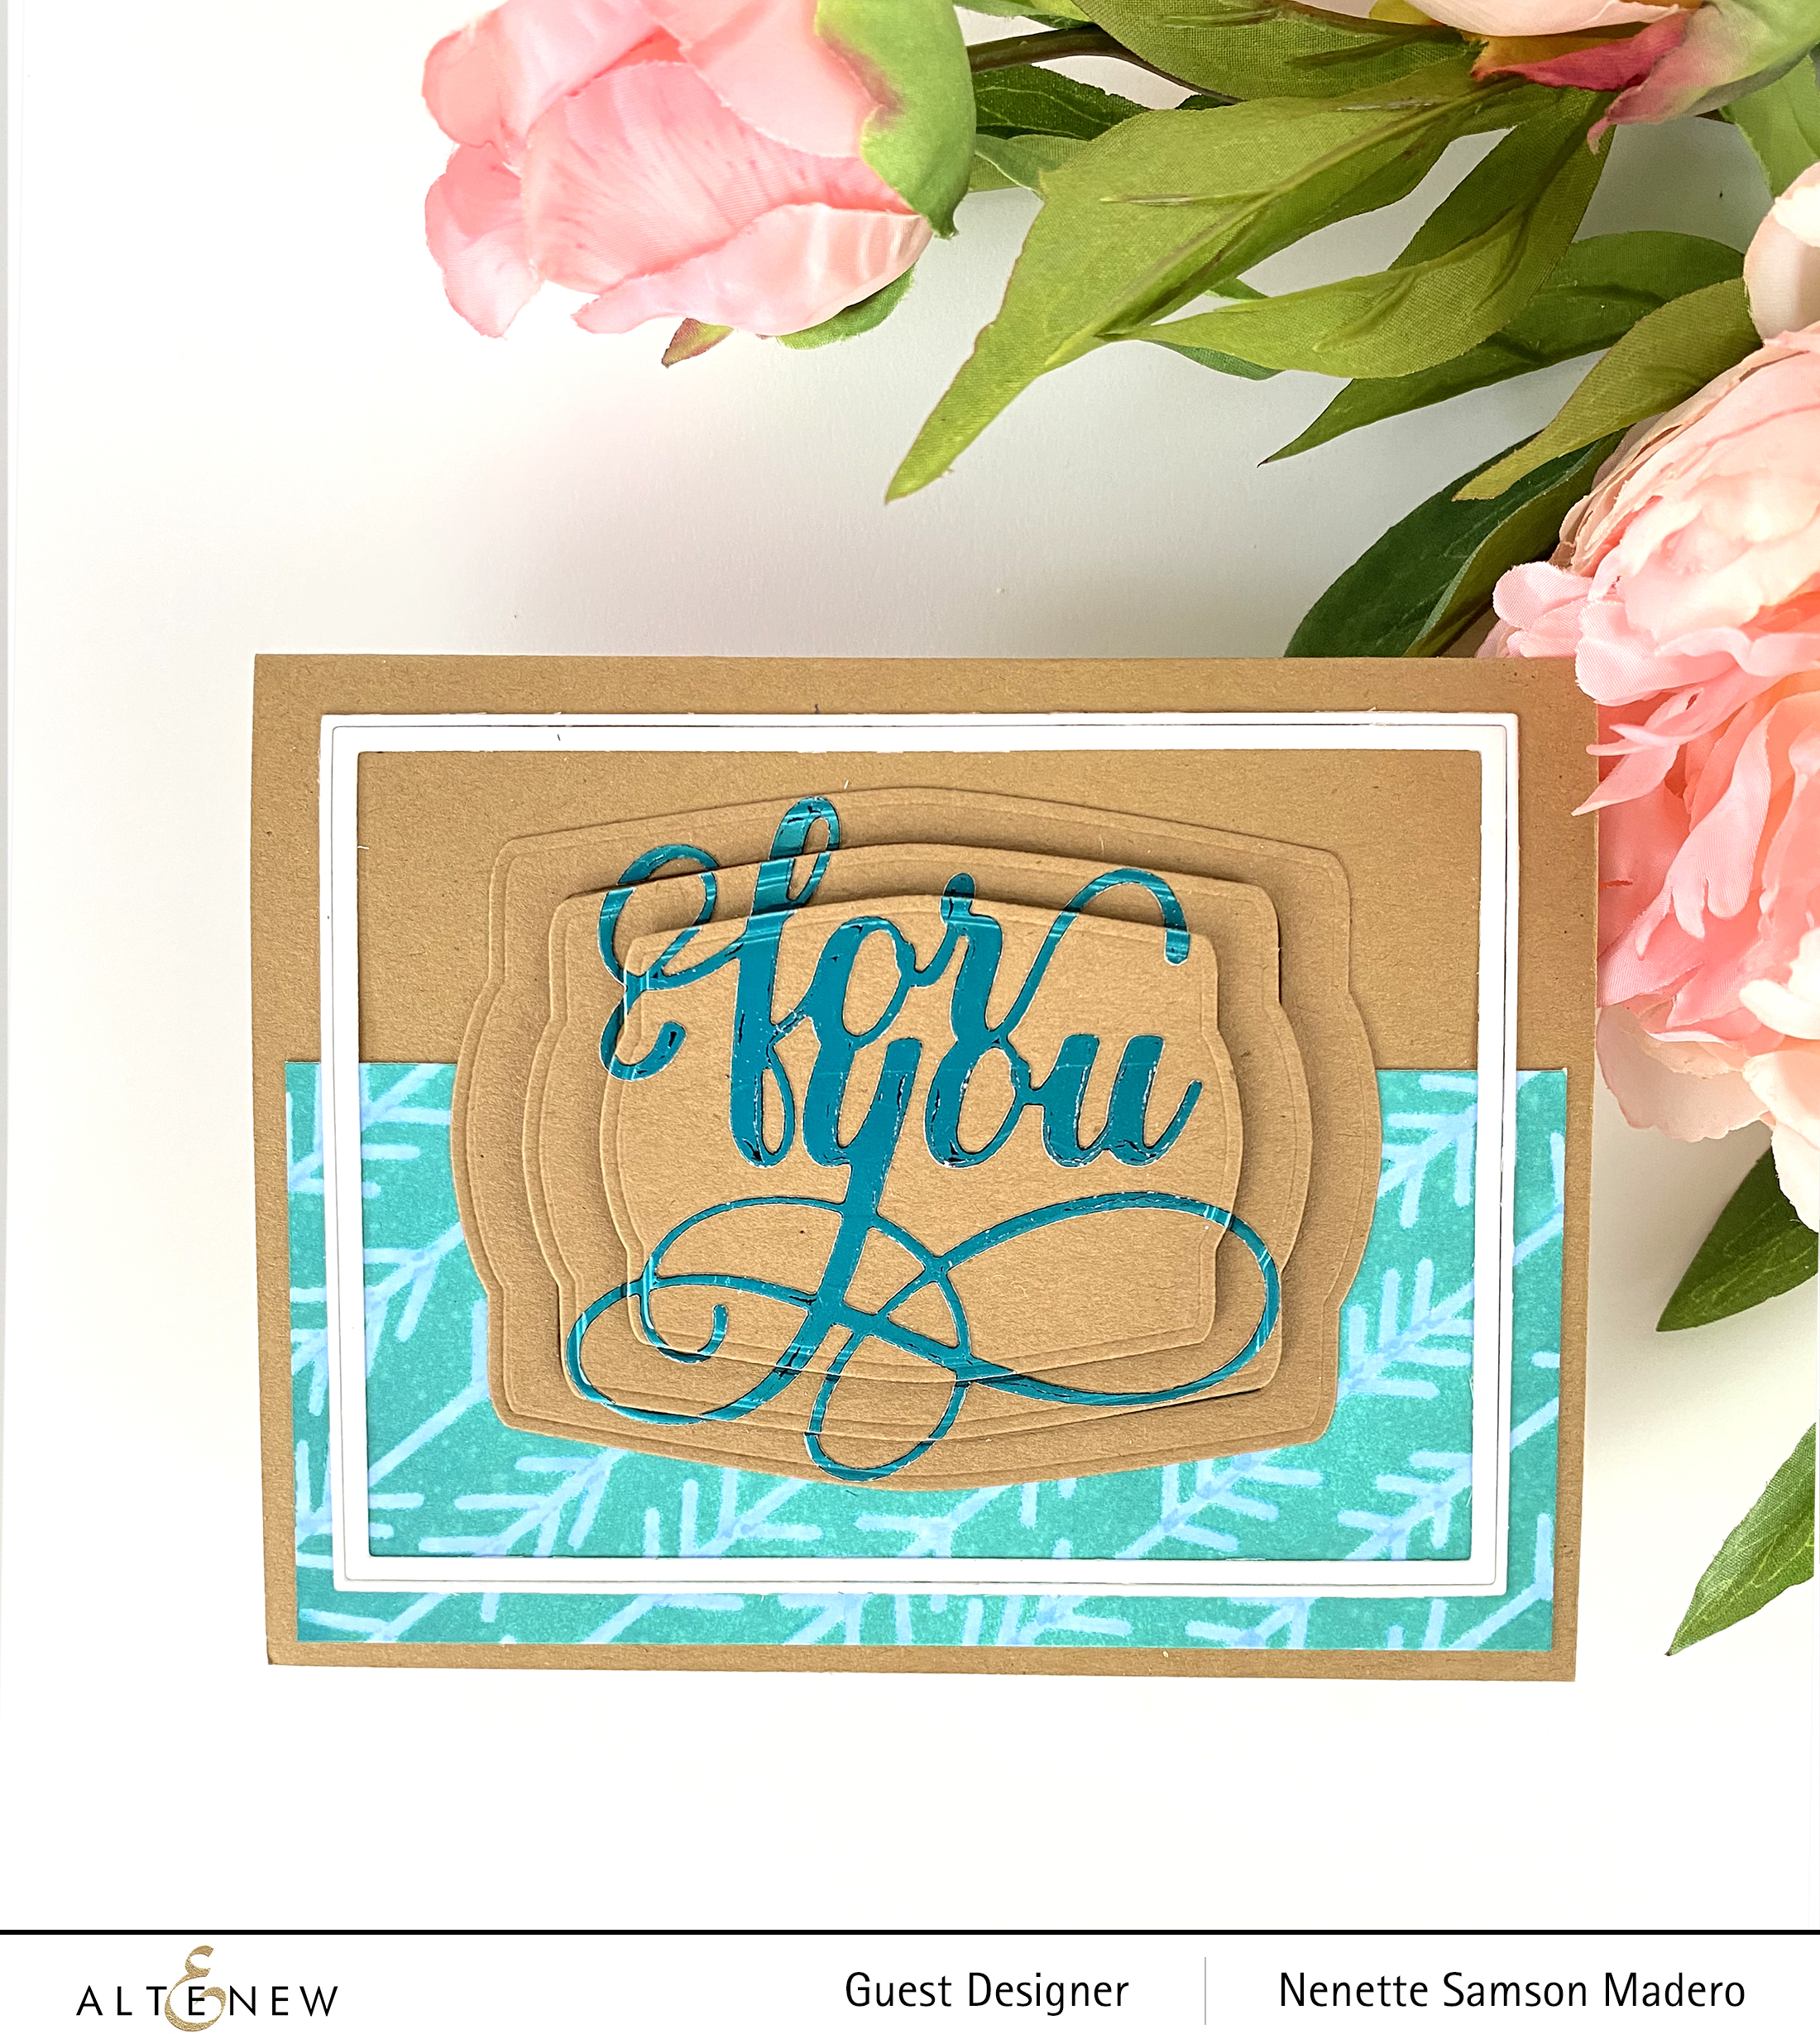
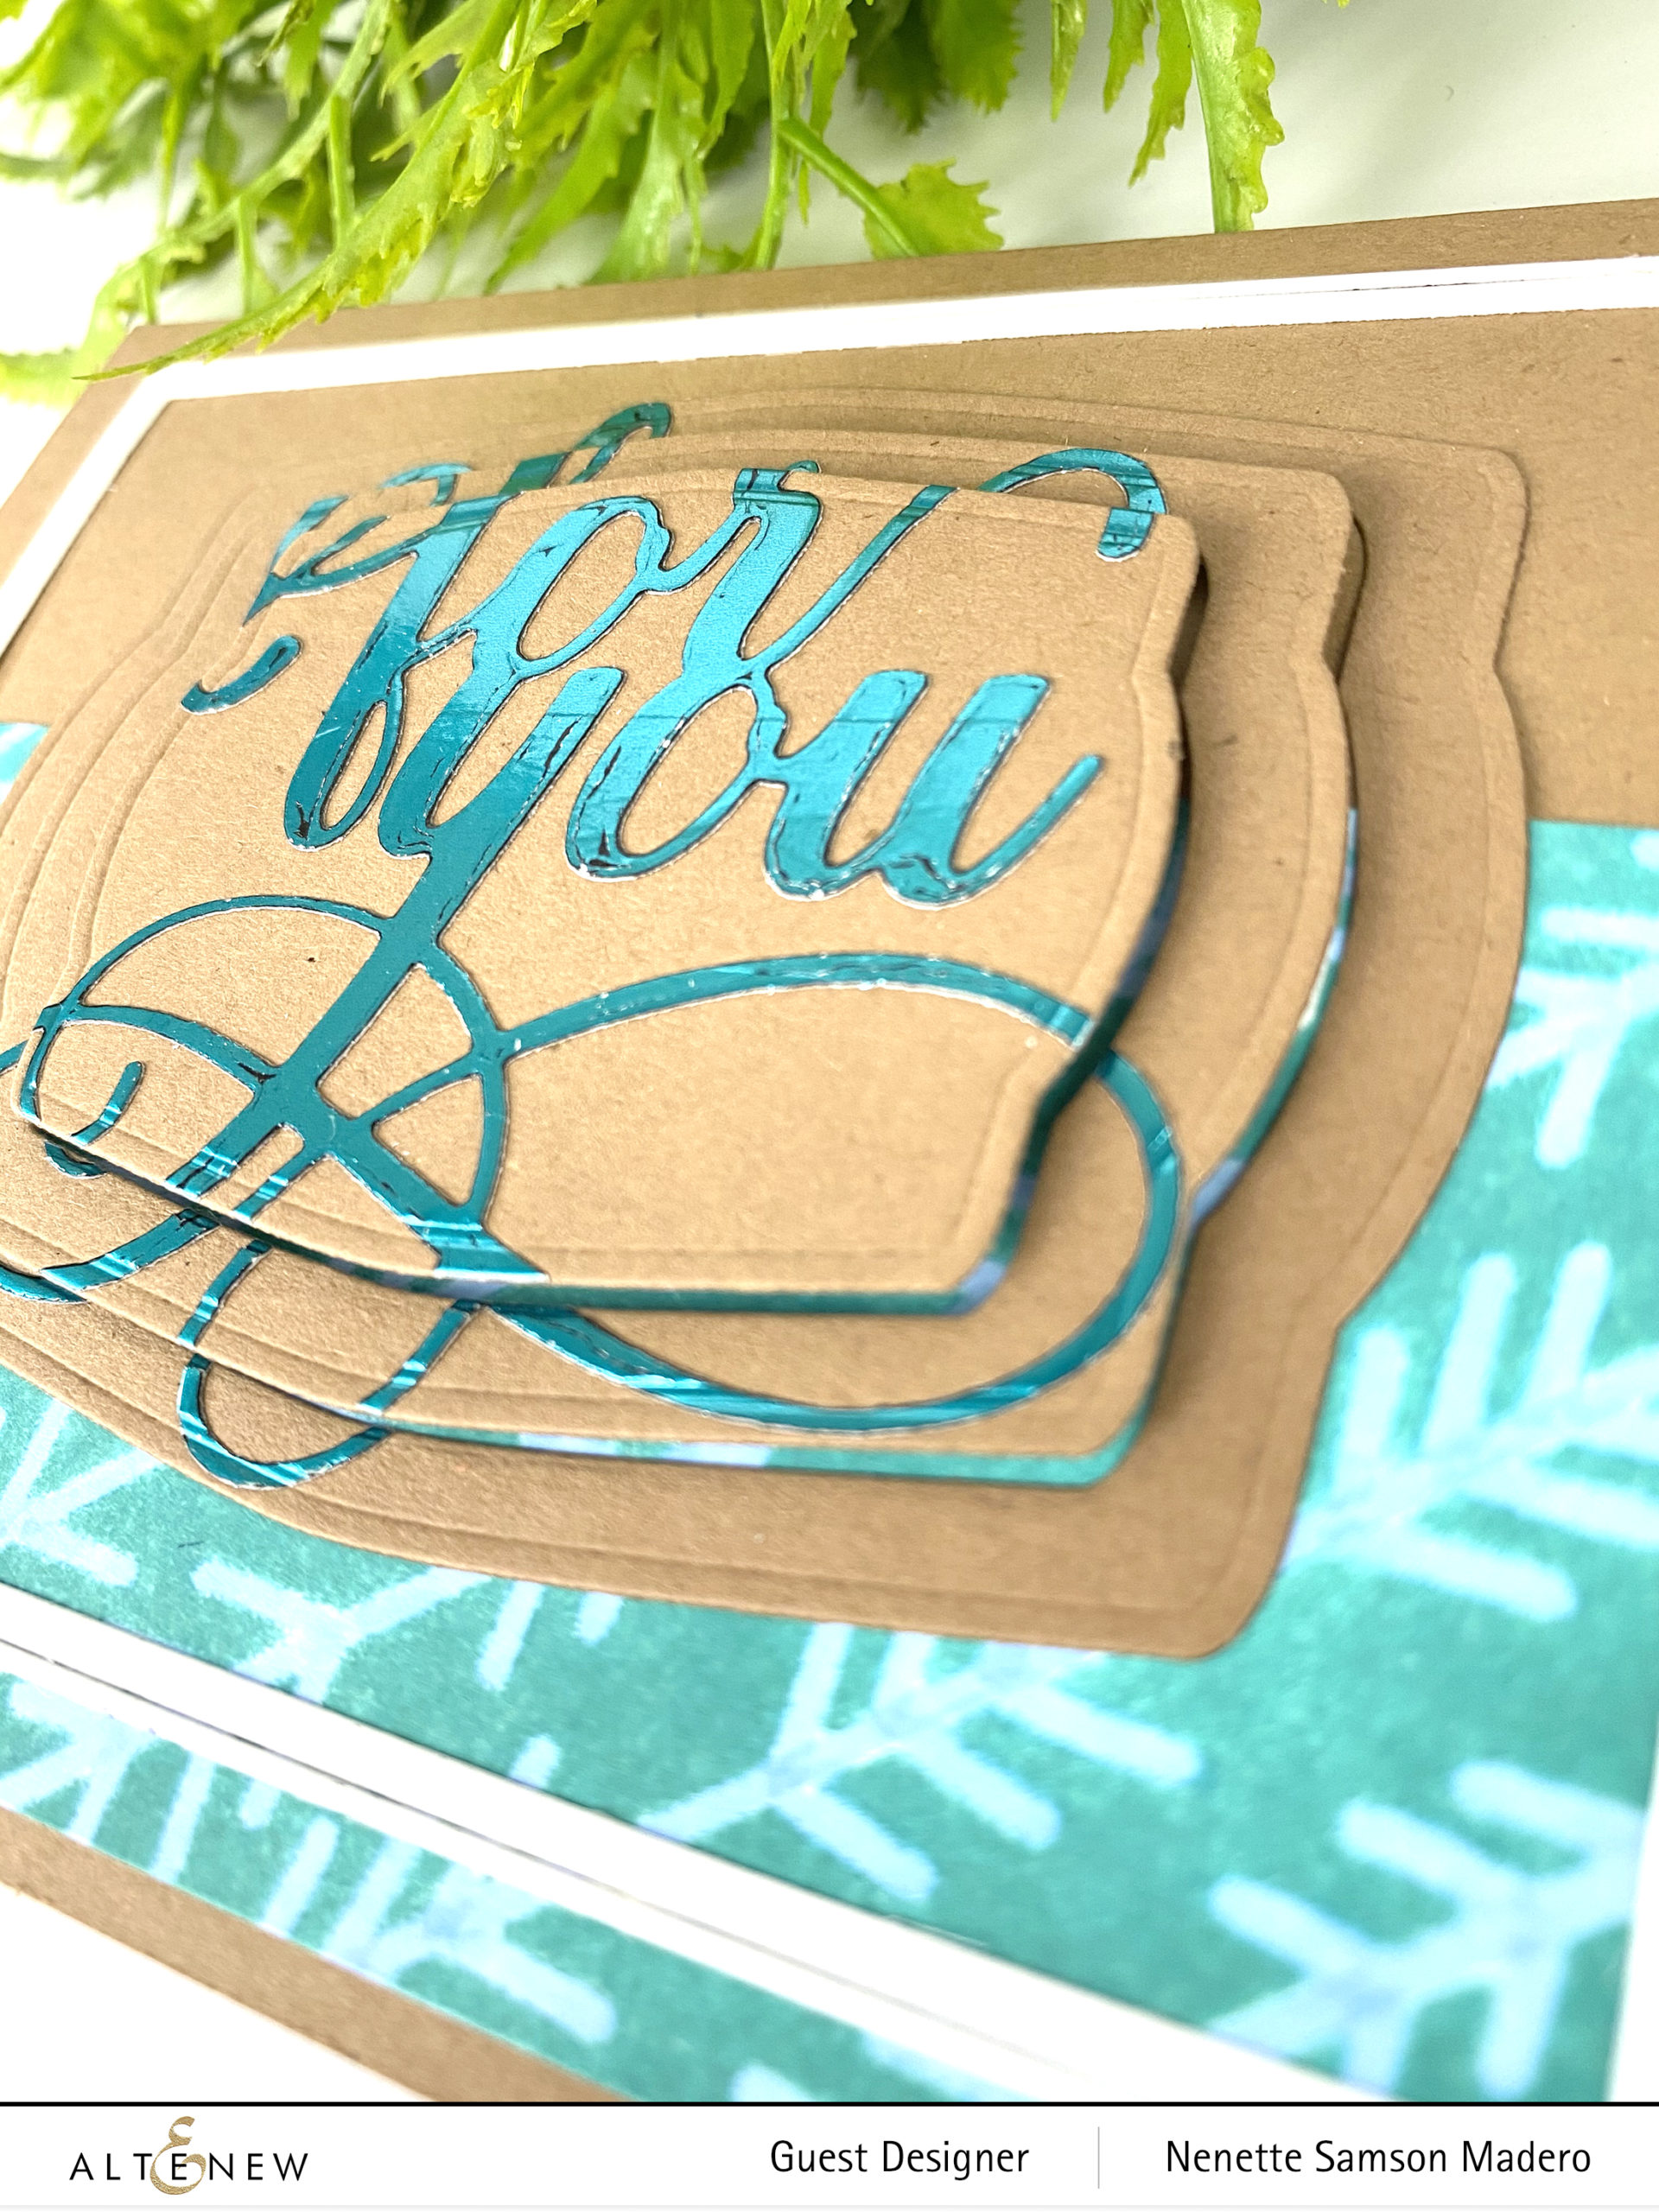
The following materials were used for this card: Fancy For You Die, Nesting Frames Die, On Point Stencil, Fine Frames Cover Die, and Distress Oxide Inks.

I used the Fancy For You die to cut toner paper then foil was added using a laminator. This was then adhered onto the biggest die cut using the Nesting Frames die set. This frame was cut twice using the smaller frames. A panel of paper was inked using distress ink over the On Point stencil. The arrows were then colored in using the Artist marker.

The card was then assembled using foam tape to add dimension to the frames.


I THINK YOU’RE FABULOUS CARD


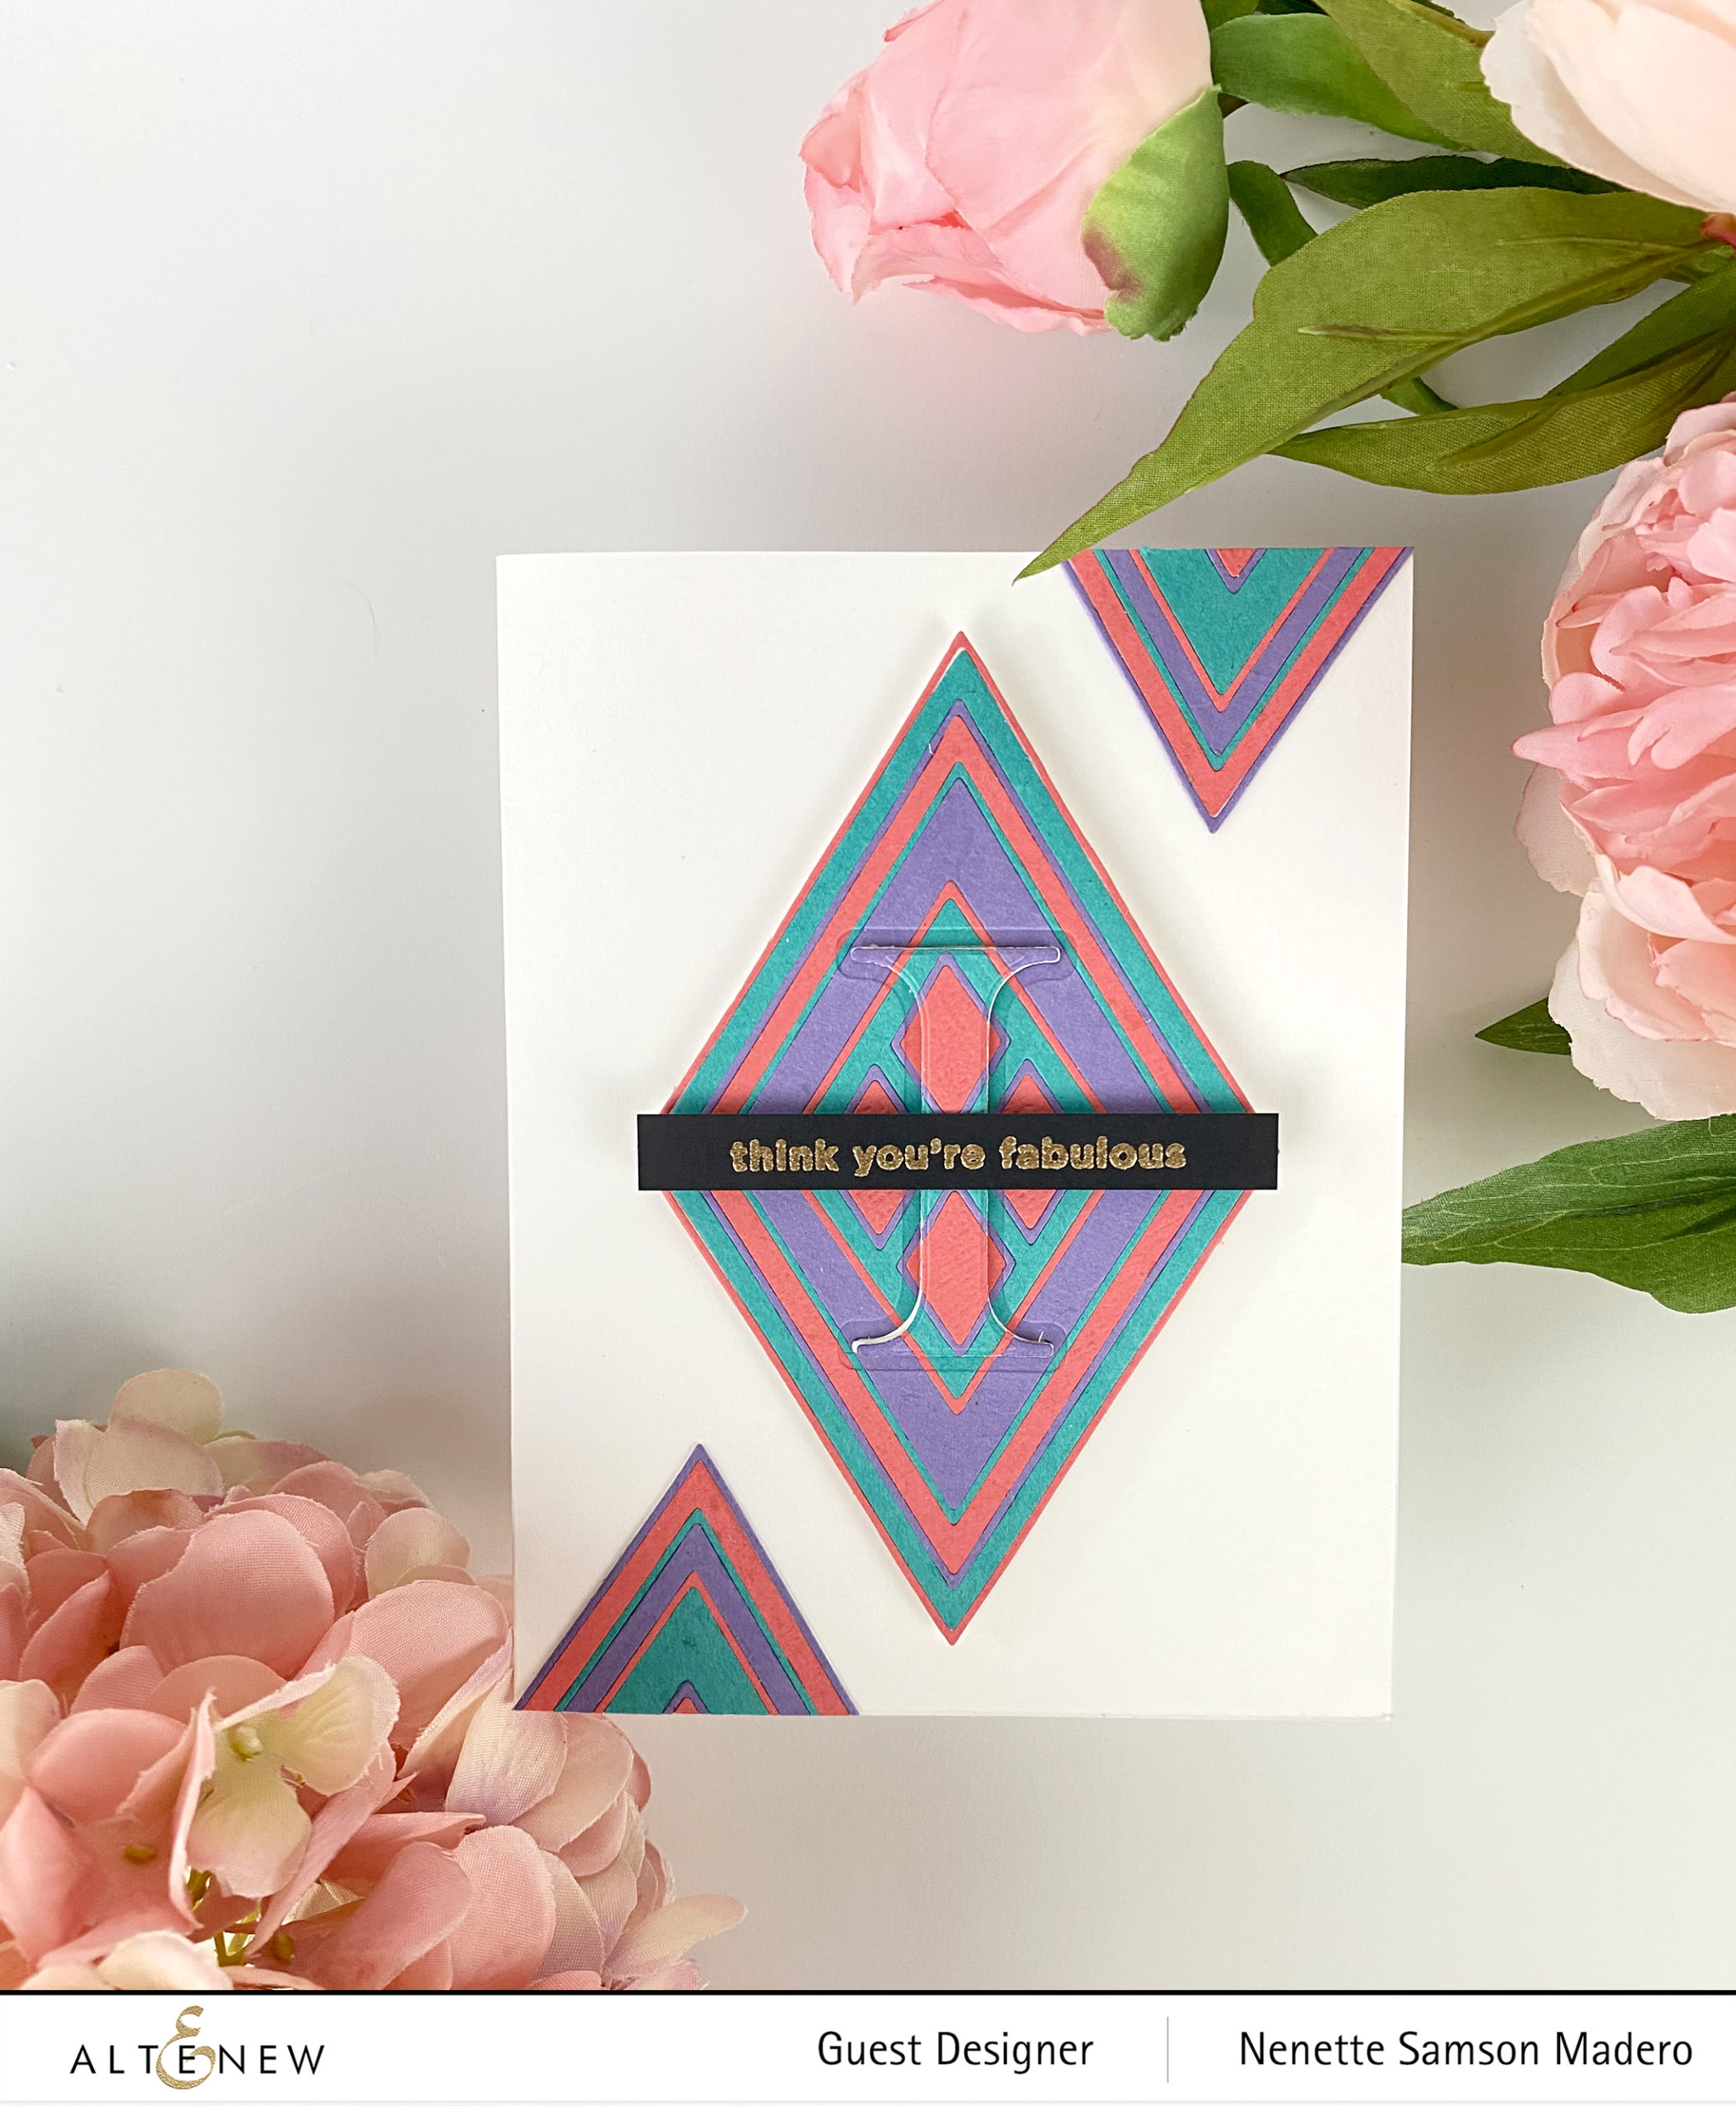
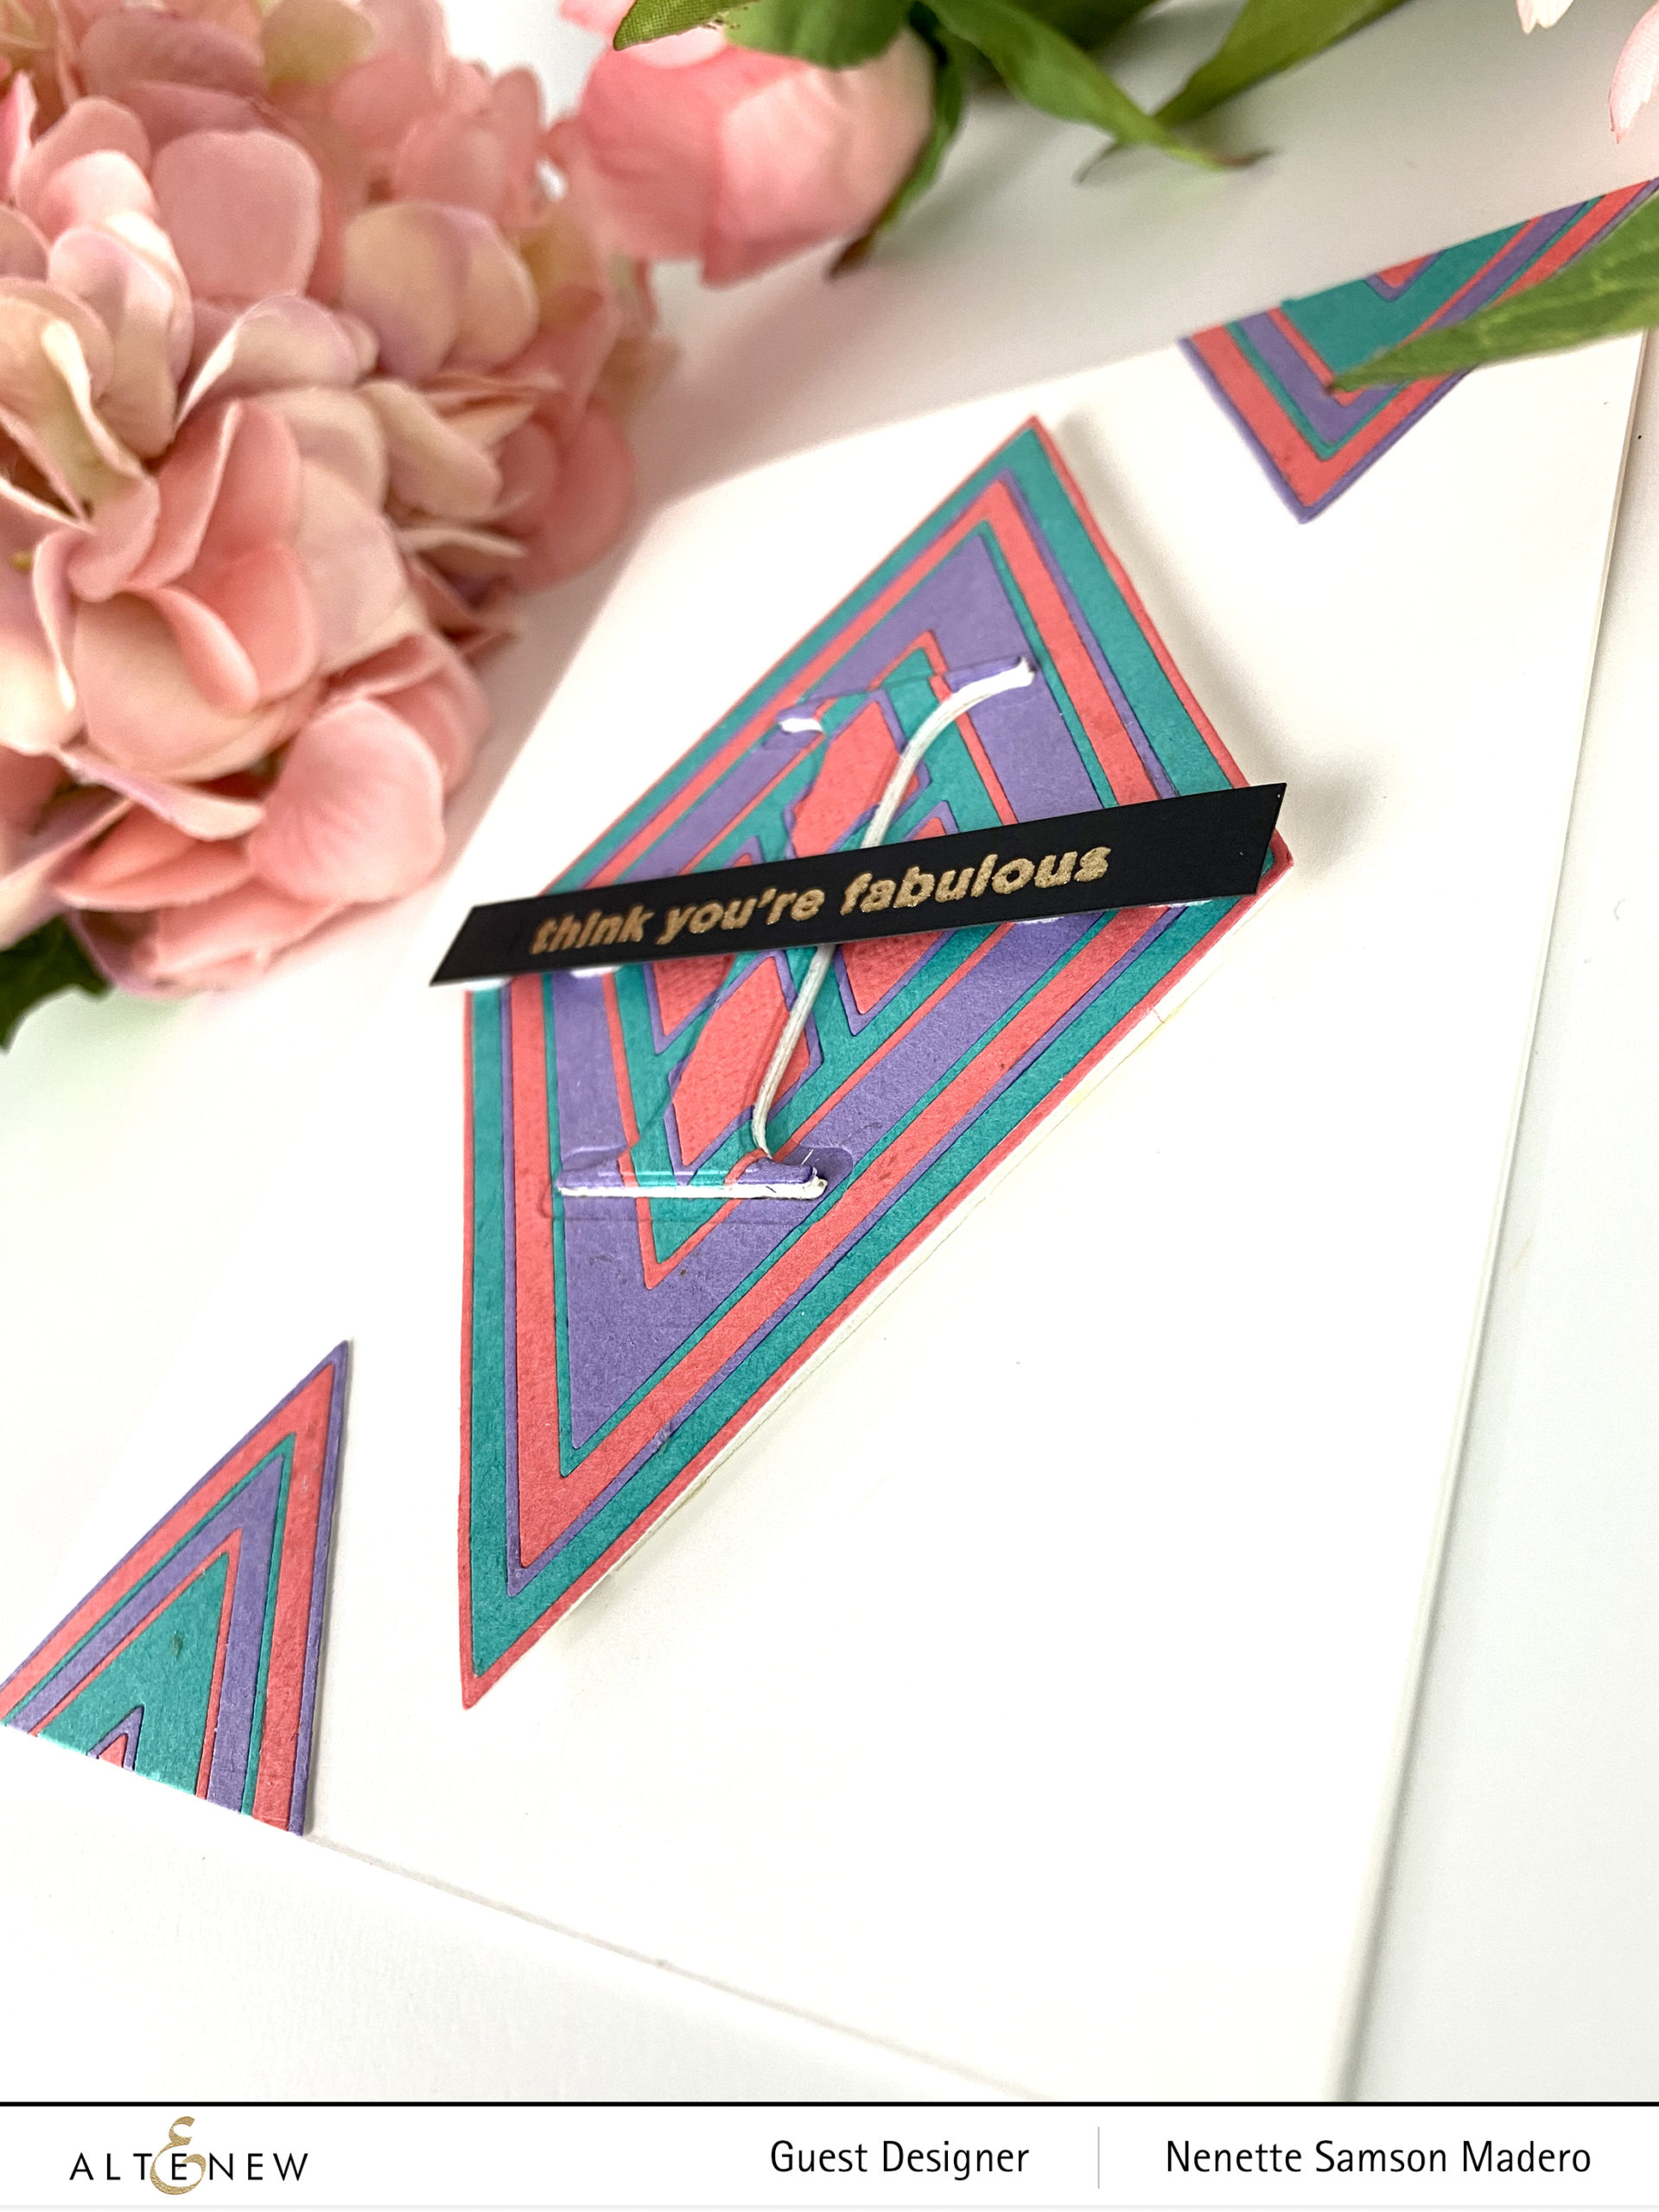
For this card, I used the Fine Frames Diamonds Die Set, The Classic Alphabet die, assorted cardstocks, Rose Gold embossing powder and Versamark ink.

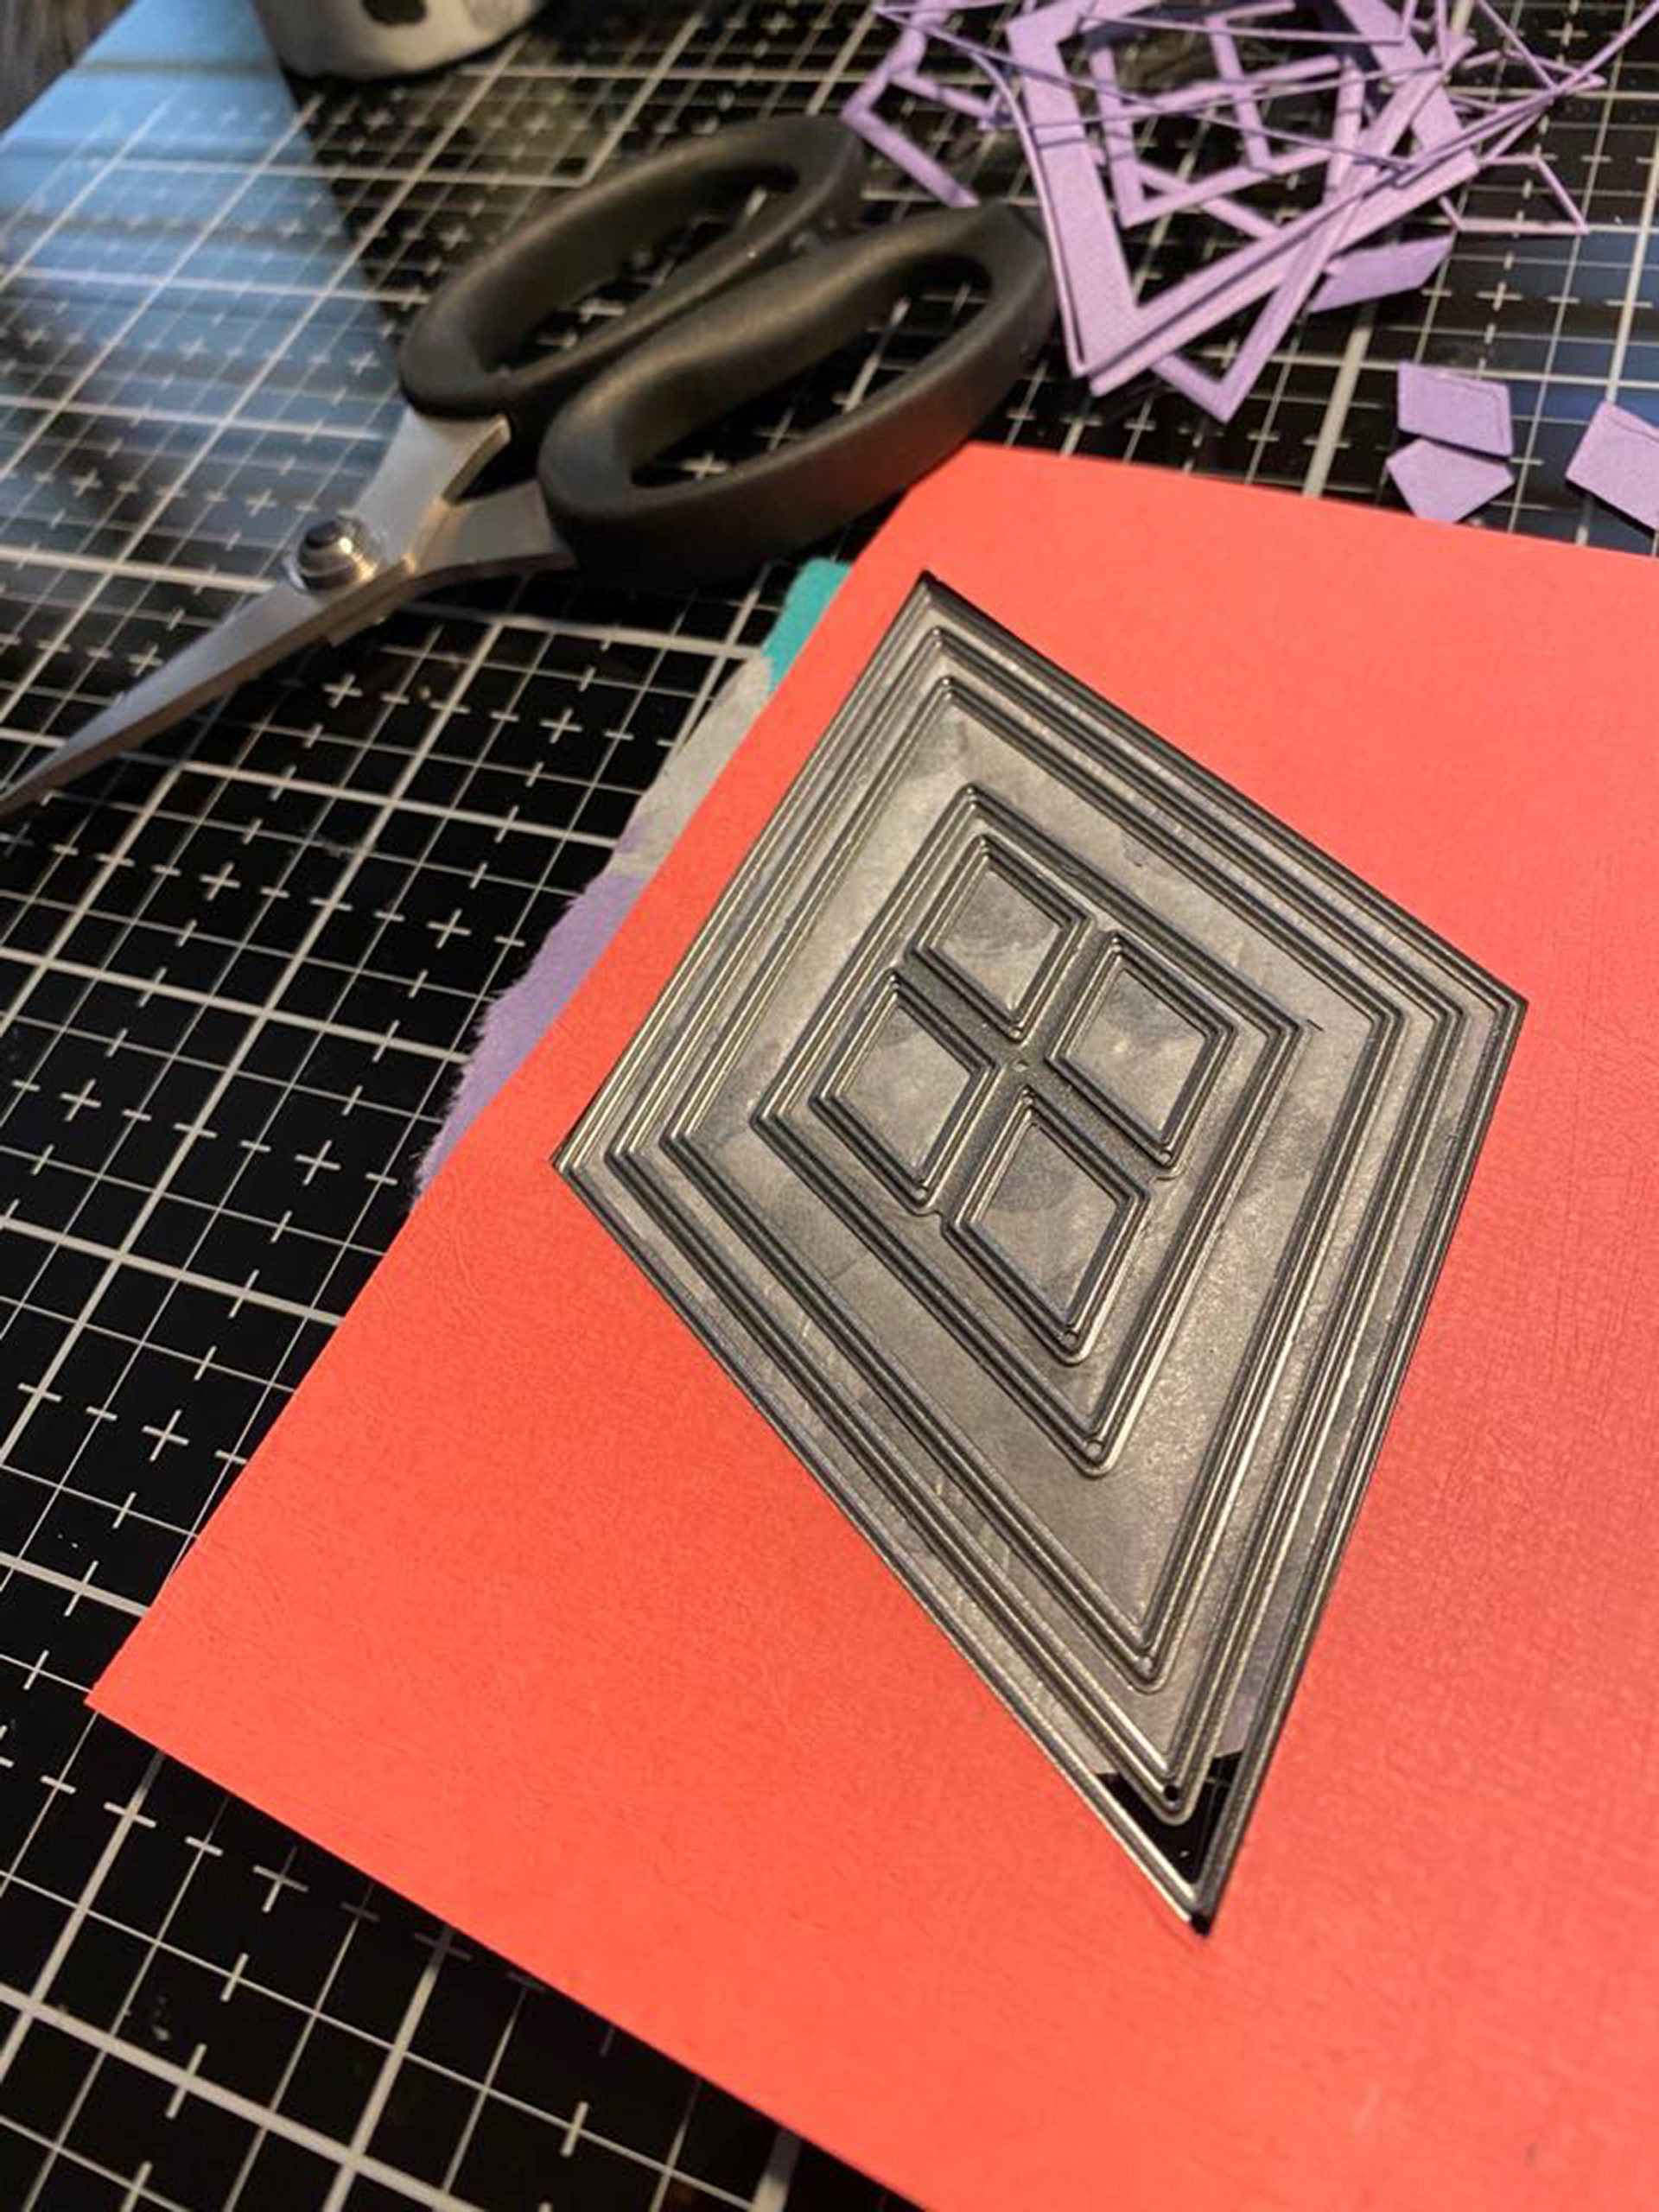
I purposely left a lot of white space so that the attention will be focused on the monogram. 3 different colors of cardstocks were cut using the Fine Frames Diamonds die set. I stuck them together using some washi tape to make sure the dies don’t move so that I can cut different colors of cardstock with the same widths of frames.

I then interchanged the colors to come up with a nice pattern. These were glued onto white cardstock. The letter I was die-cut in the middle of the frames and 4 more were die cut and layered to give it dimension. The sentiment was stamped on black cardstock and embossed in gold. Since I was able to create 3 diamonds mix-matching the papers, I made use of one and added the tips to both top and bottom to balance out the card.


FOR YOU CARD


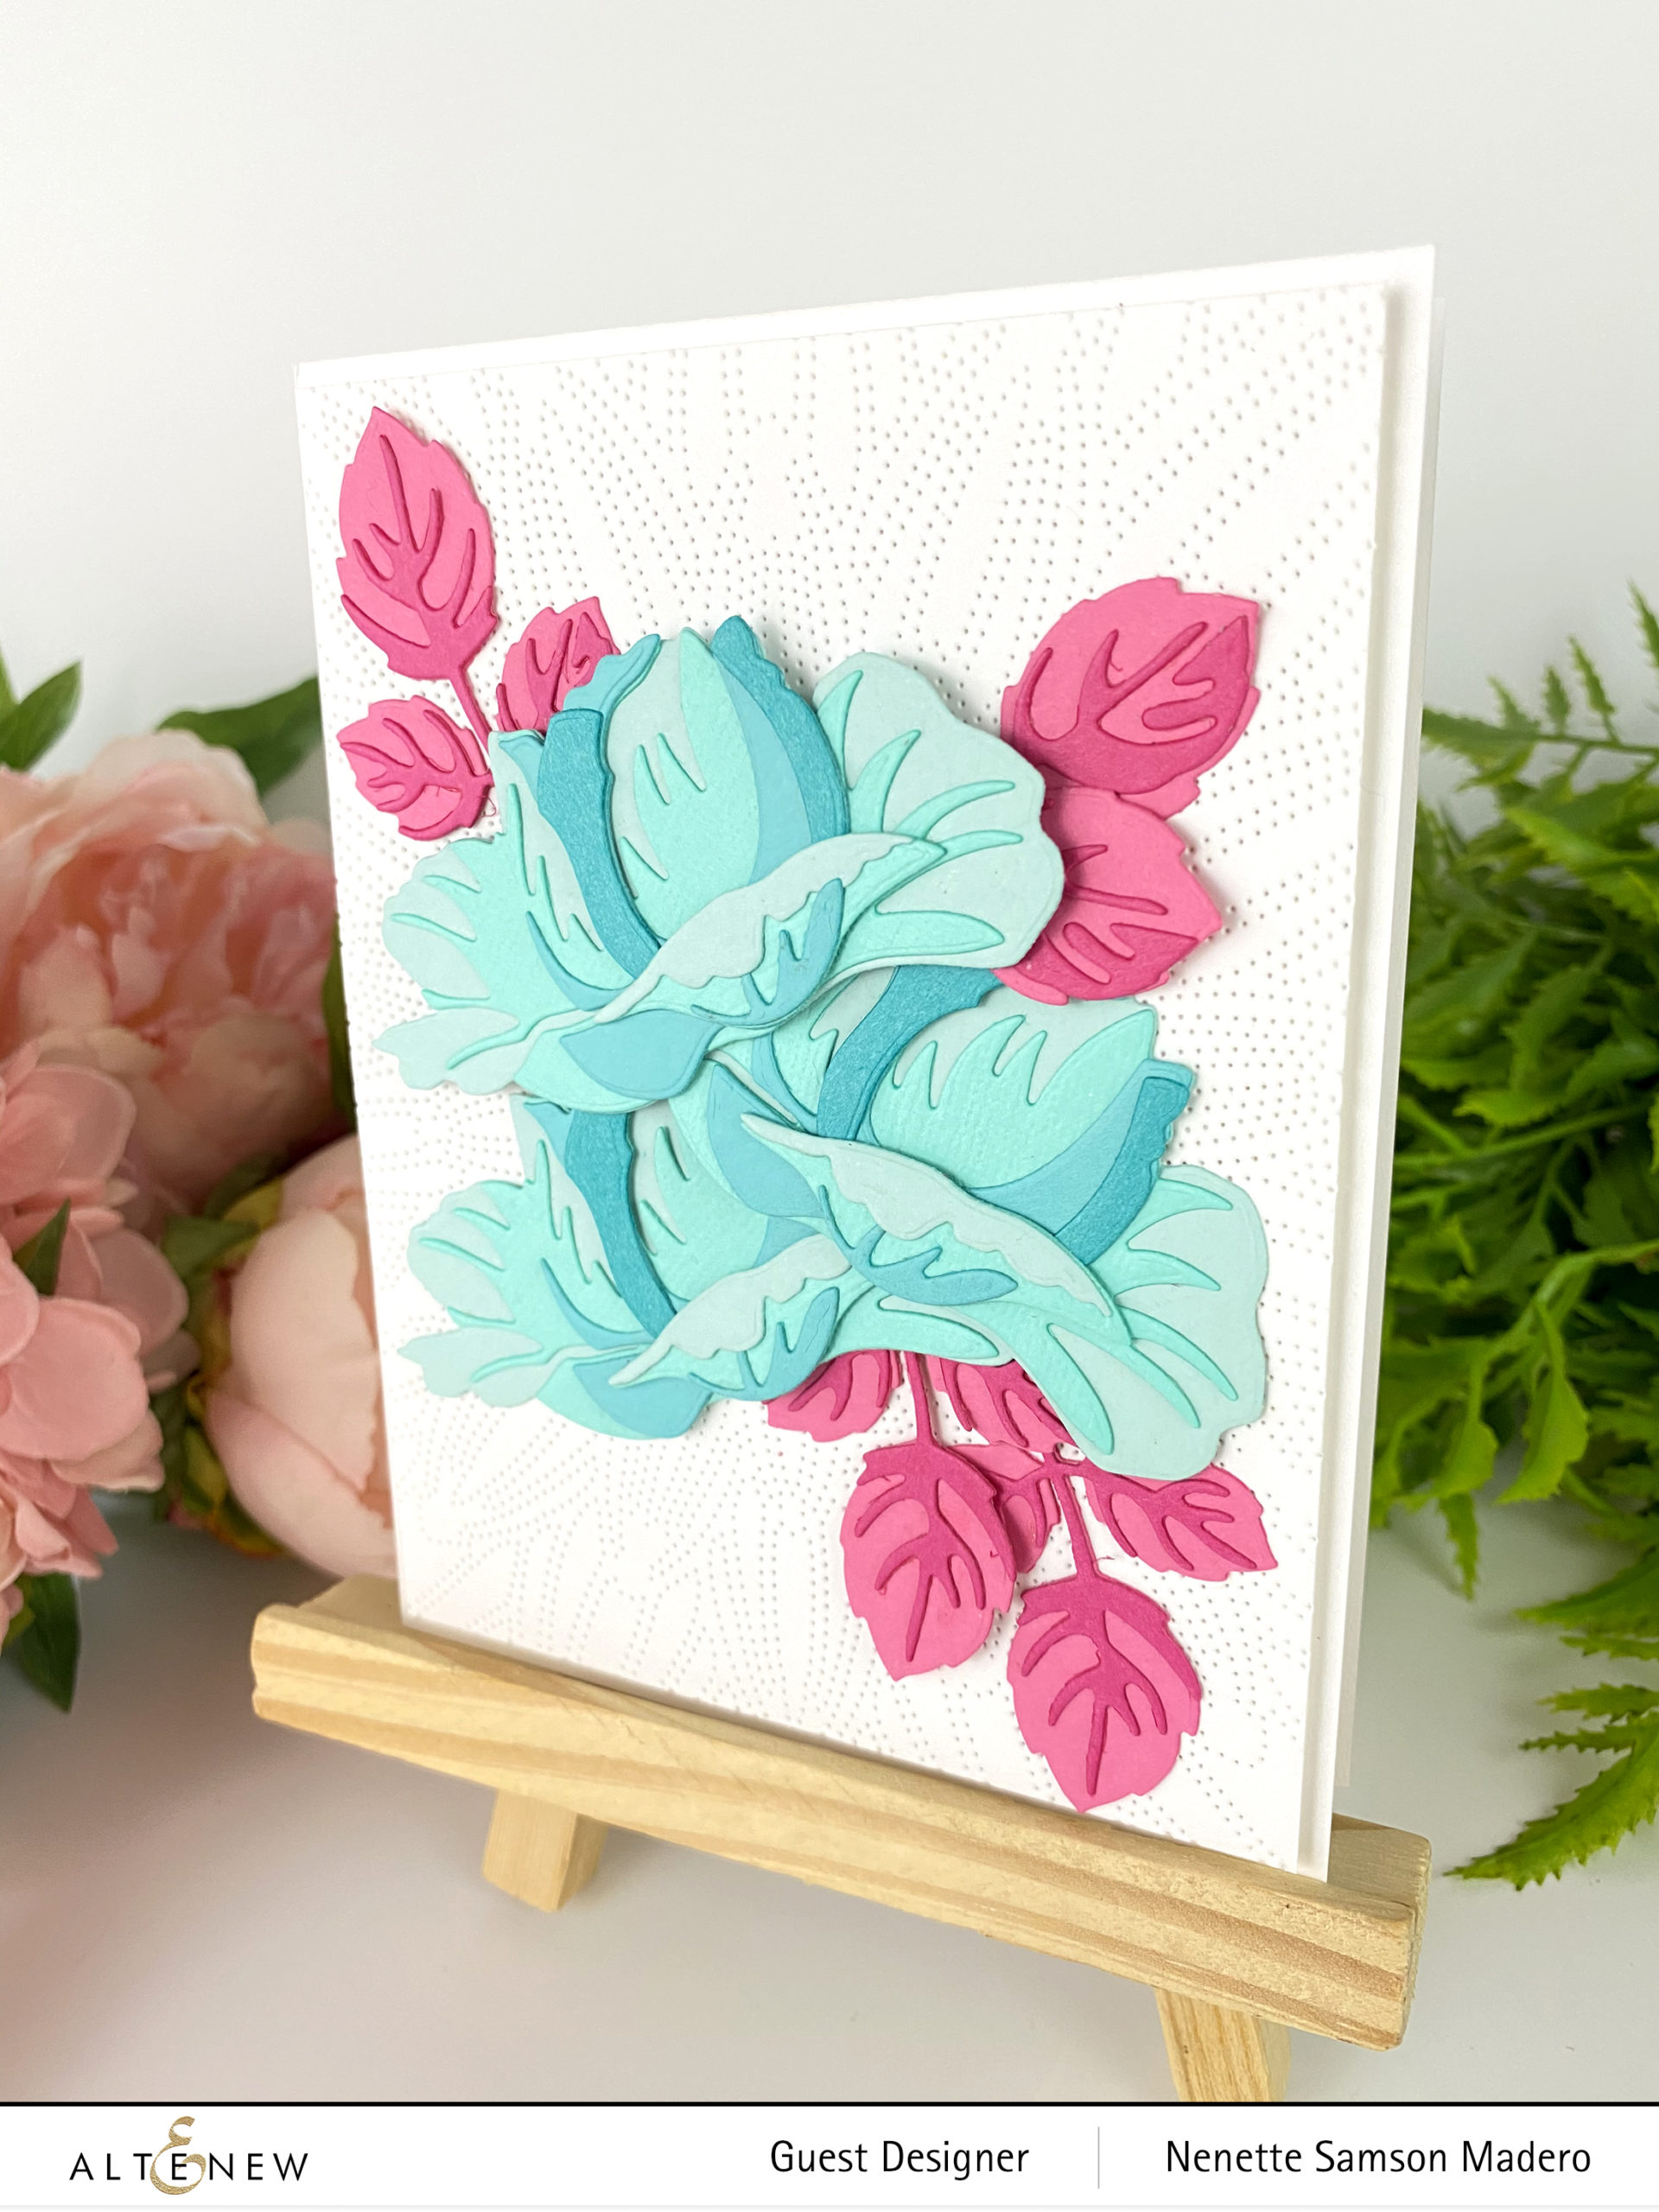
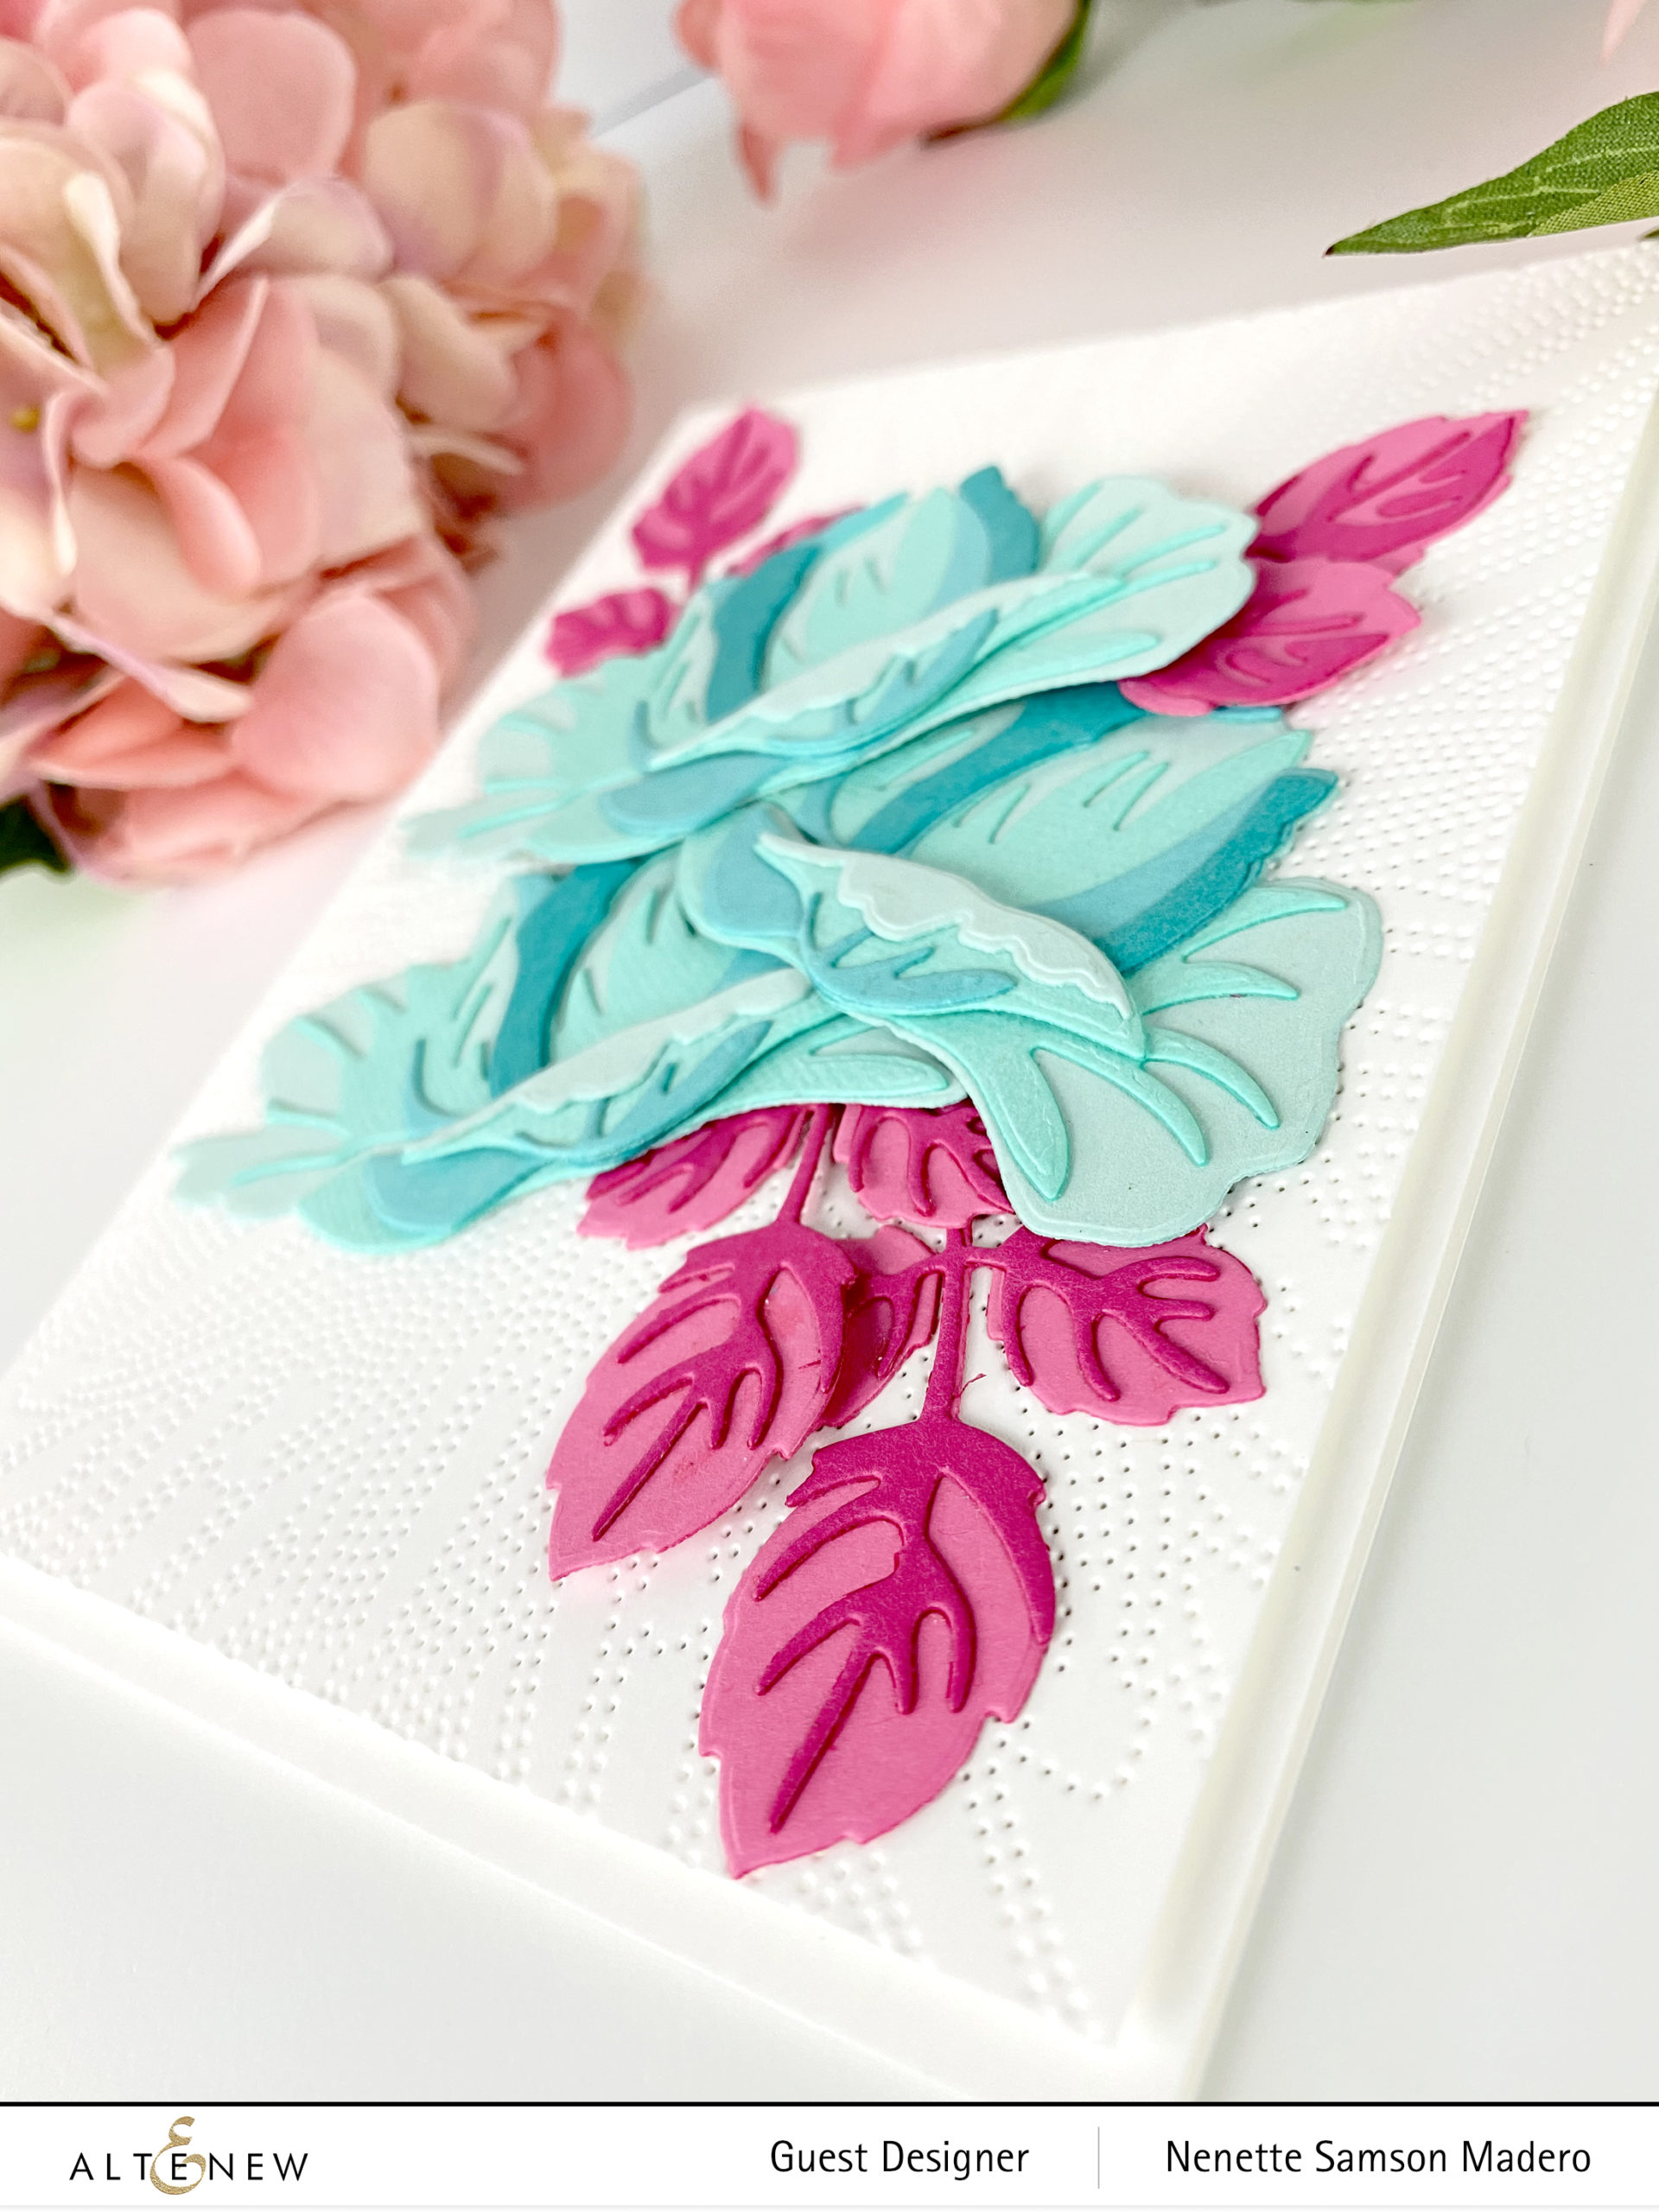
Look how gorgeous these 3D dies are!!! I used the Open Bloom 3D die set, the Dotted Starbust Debossing Cover Die , the Fancy for You die , colored cardstocks and Neenah Solar White cardstock for this sweet card. The die cuts were easy to layer and I popped up some of the flowers with foam squares for more dimension.

I used the Dotted Starbust debossing die for added texture to the card front. Since the front of the card was already full of embellishments, I decided to put the die cut sentiment inside.

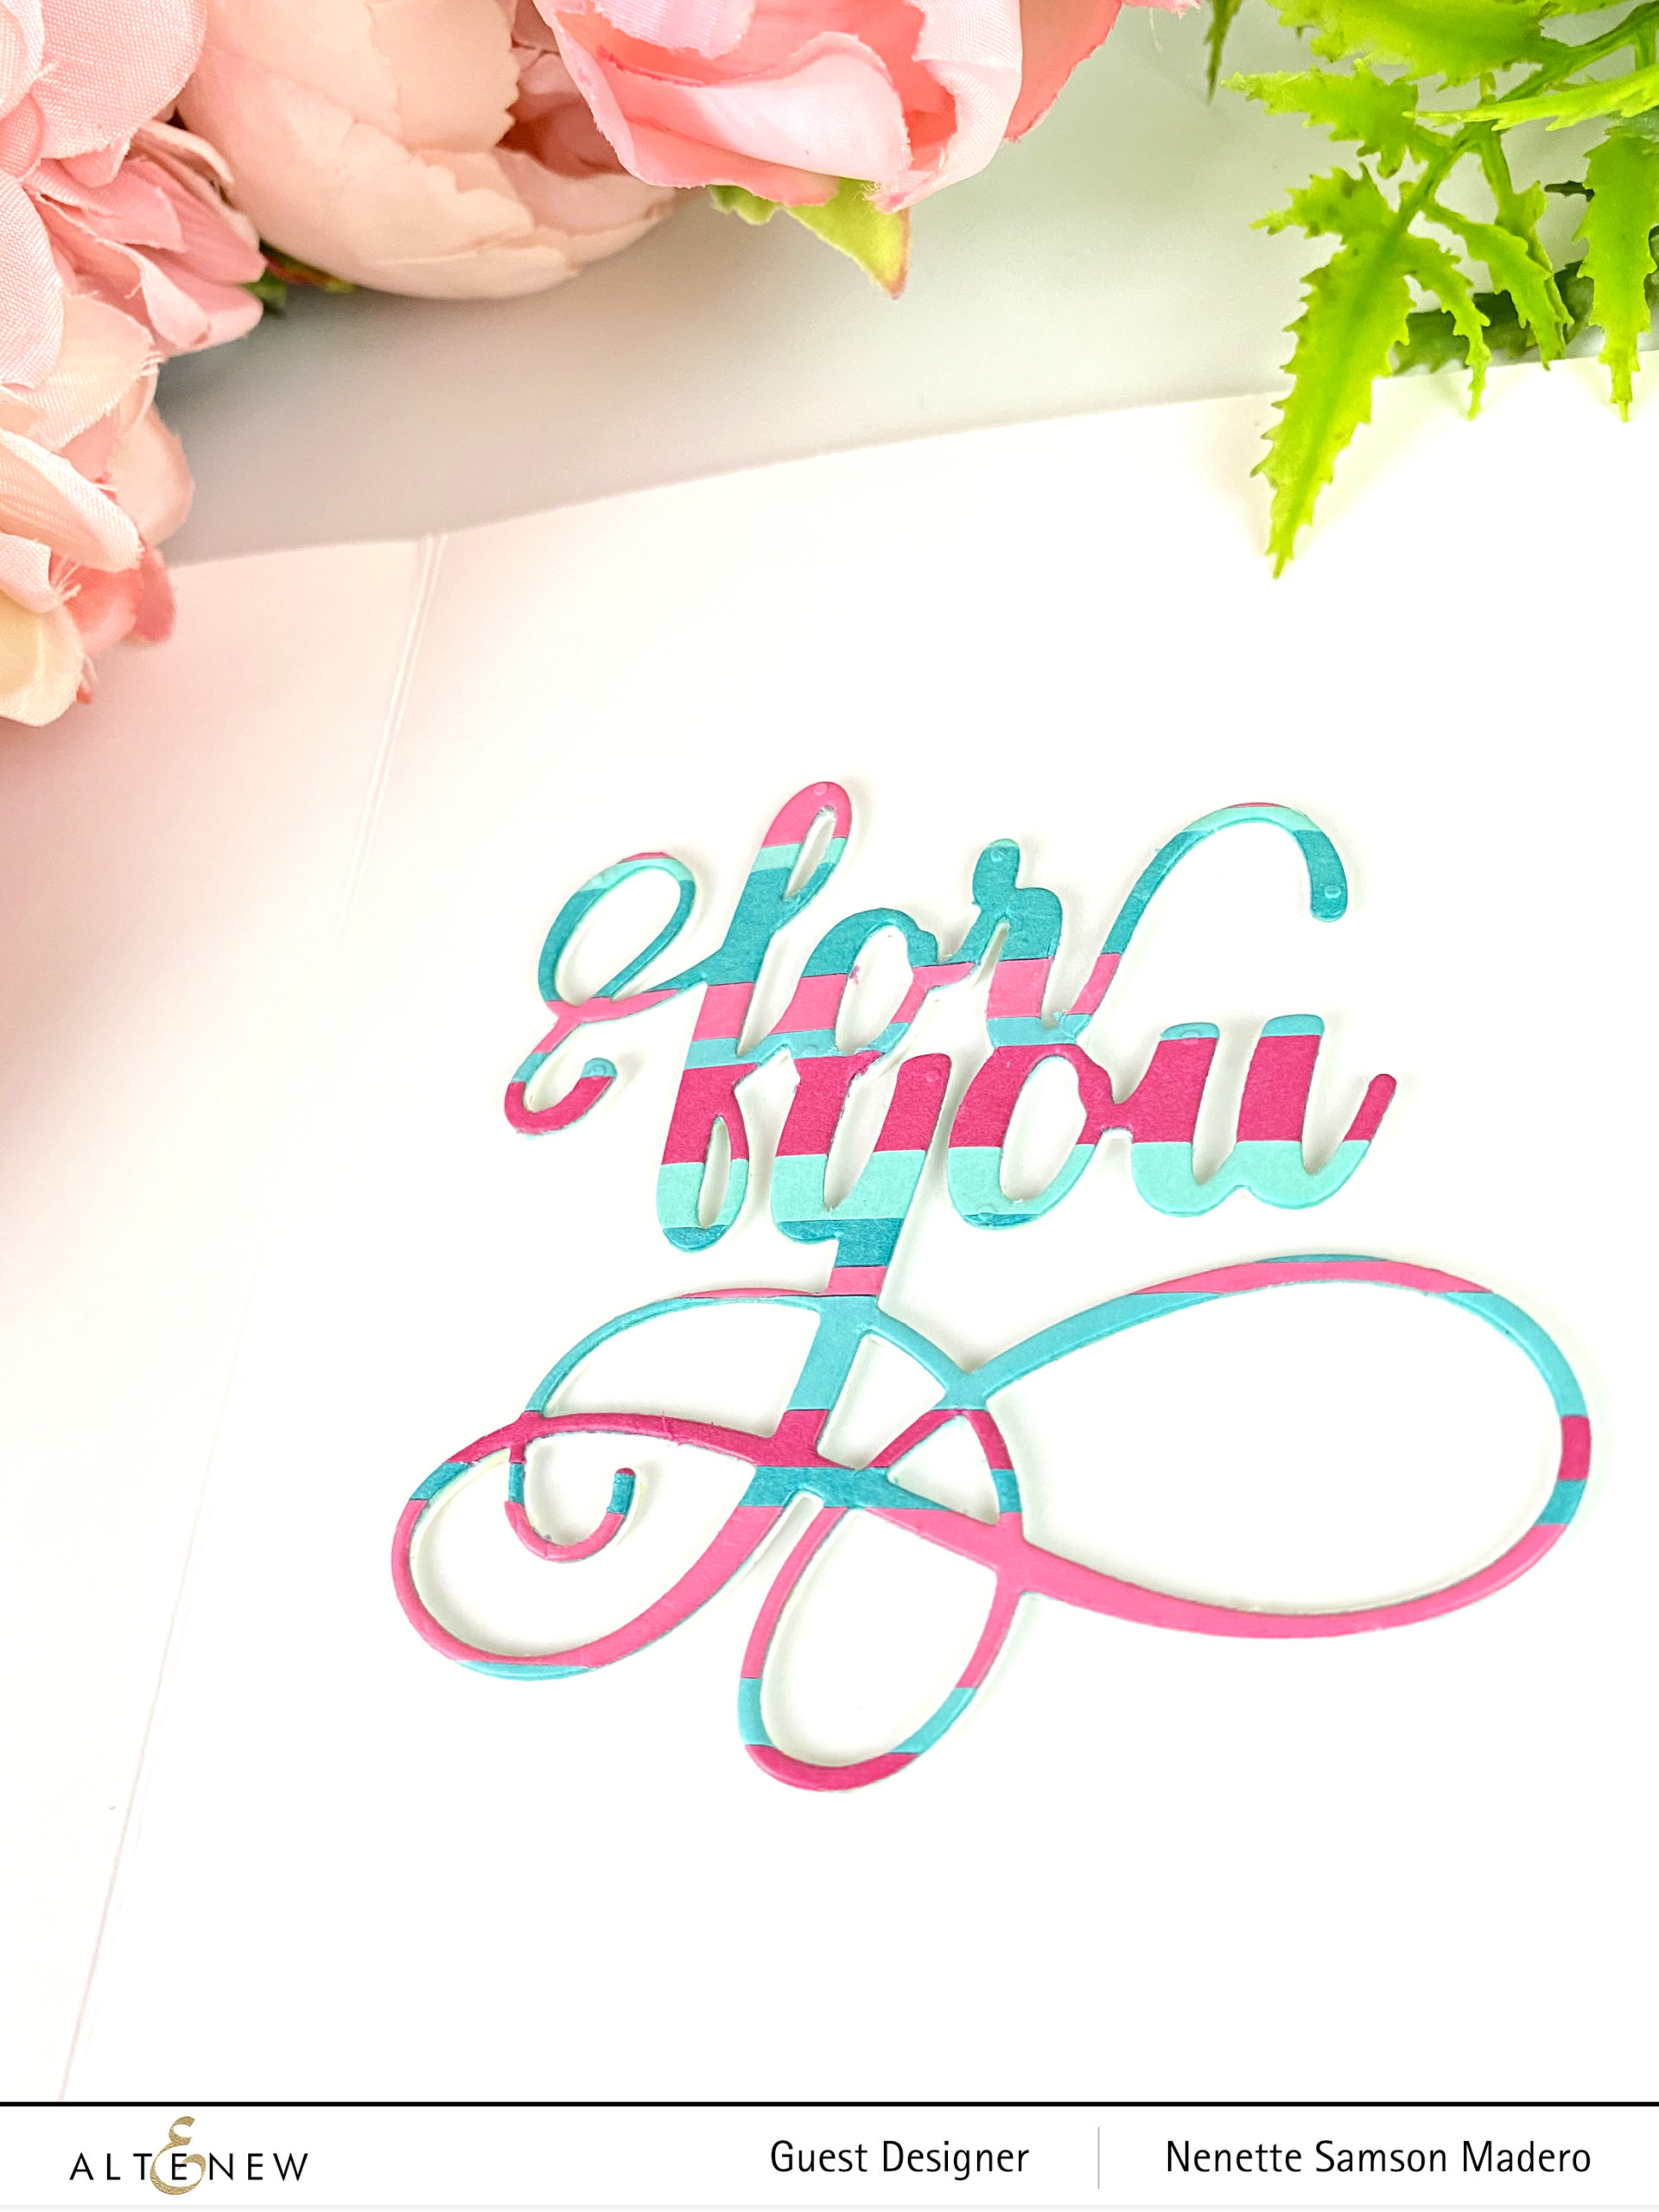
I cut strips of paper using the leftover cardstocks, pasted them on white cardstock then die cut the For You sentiment. I layered them on 4 more die cuts to add dimension then this was glued inside the card.


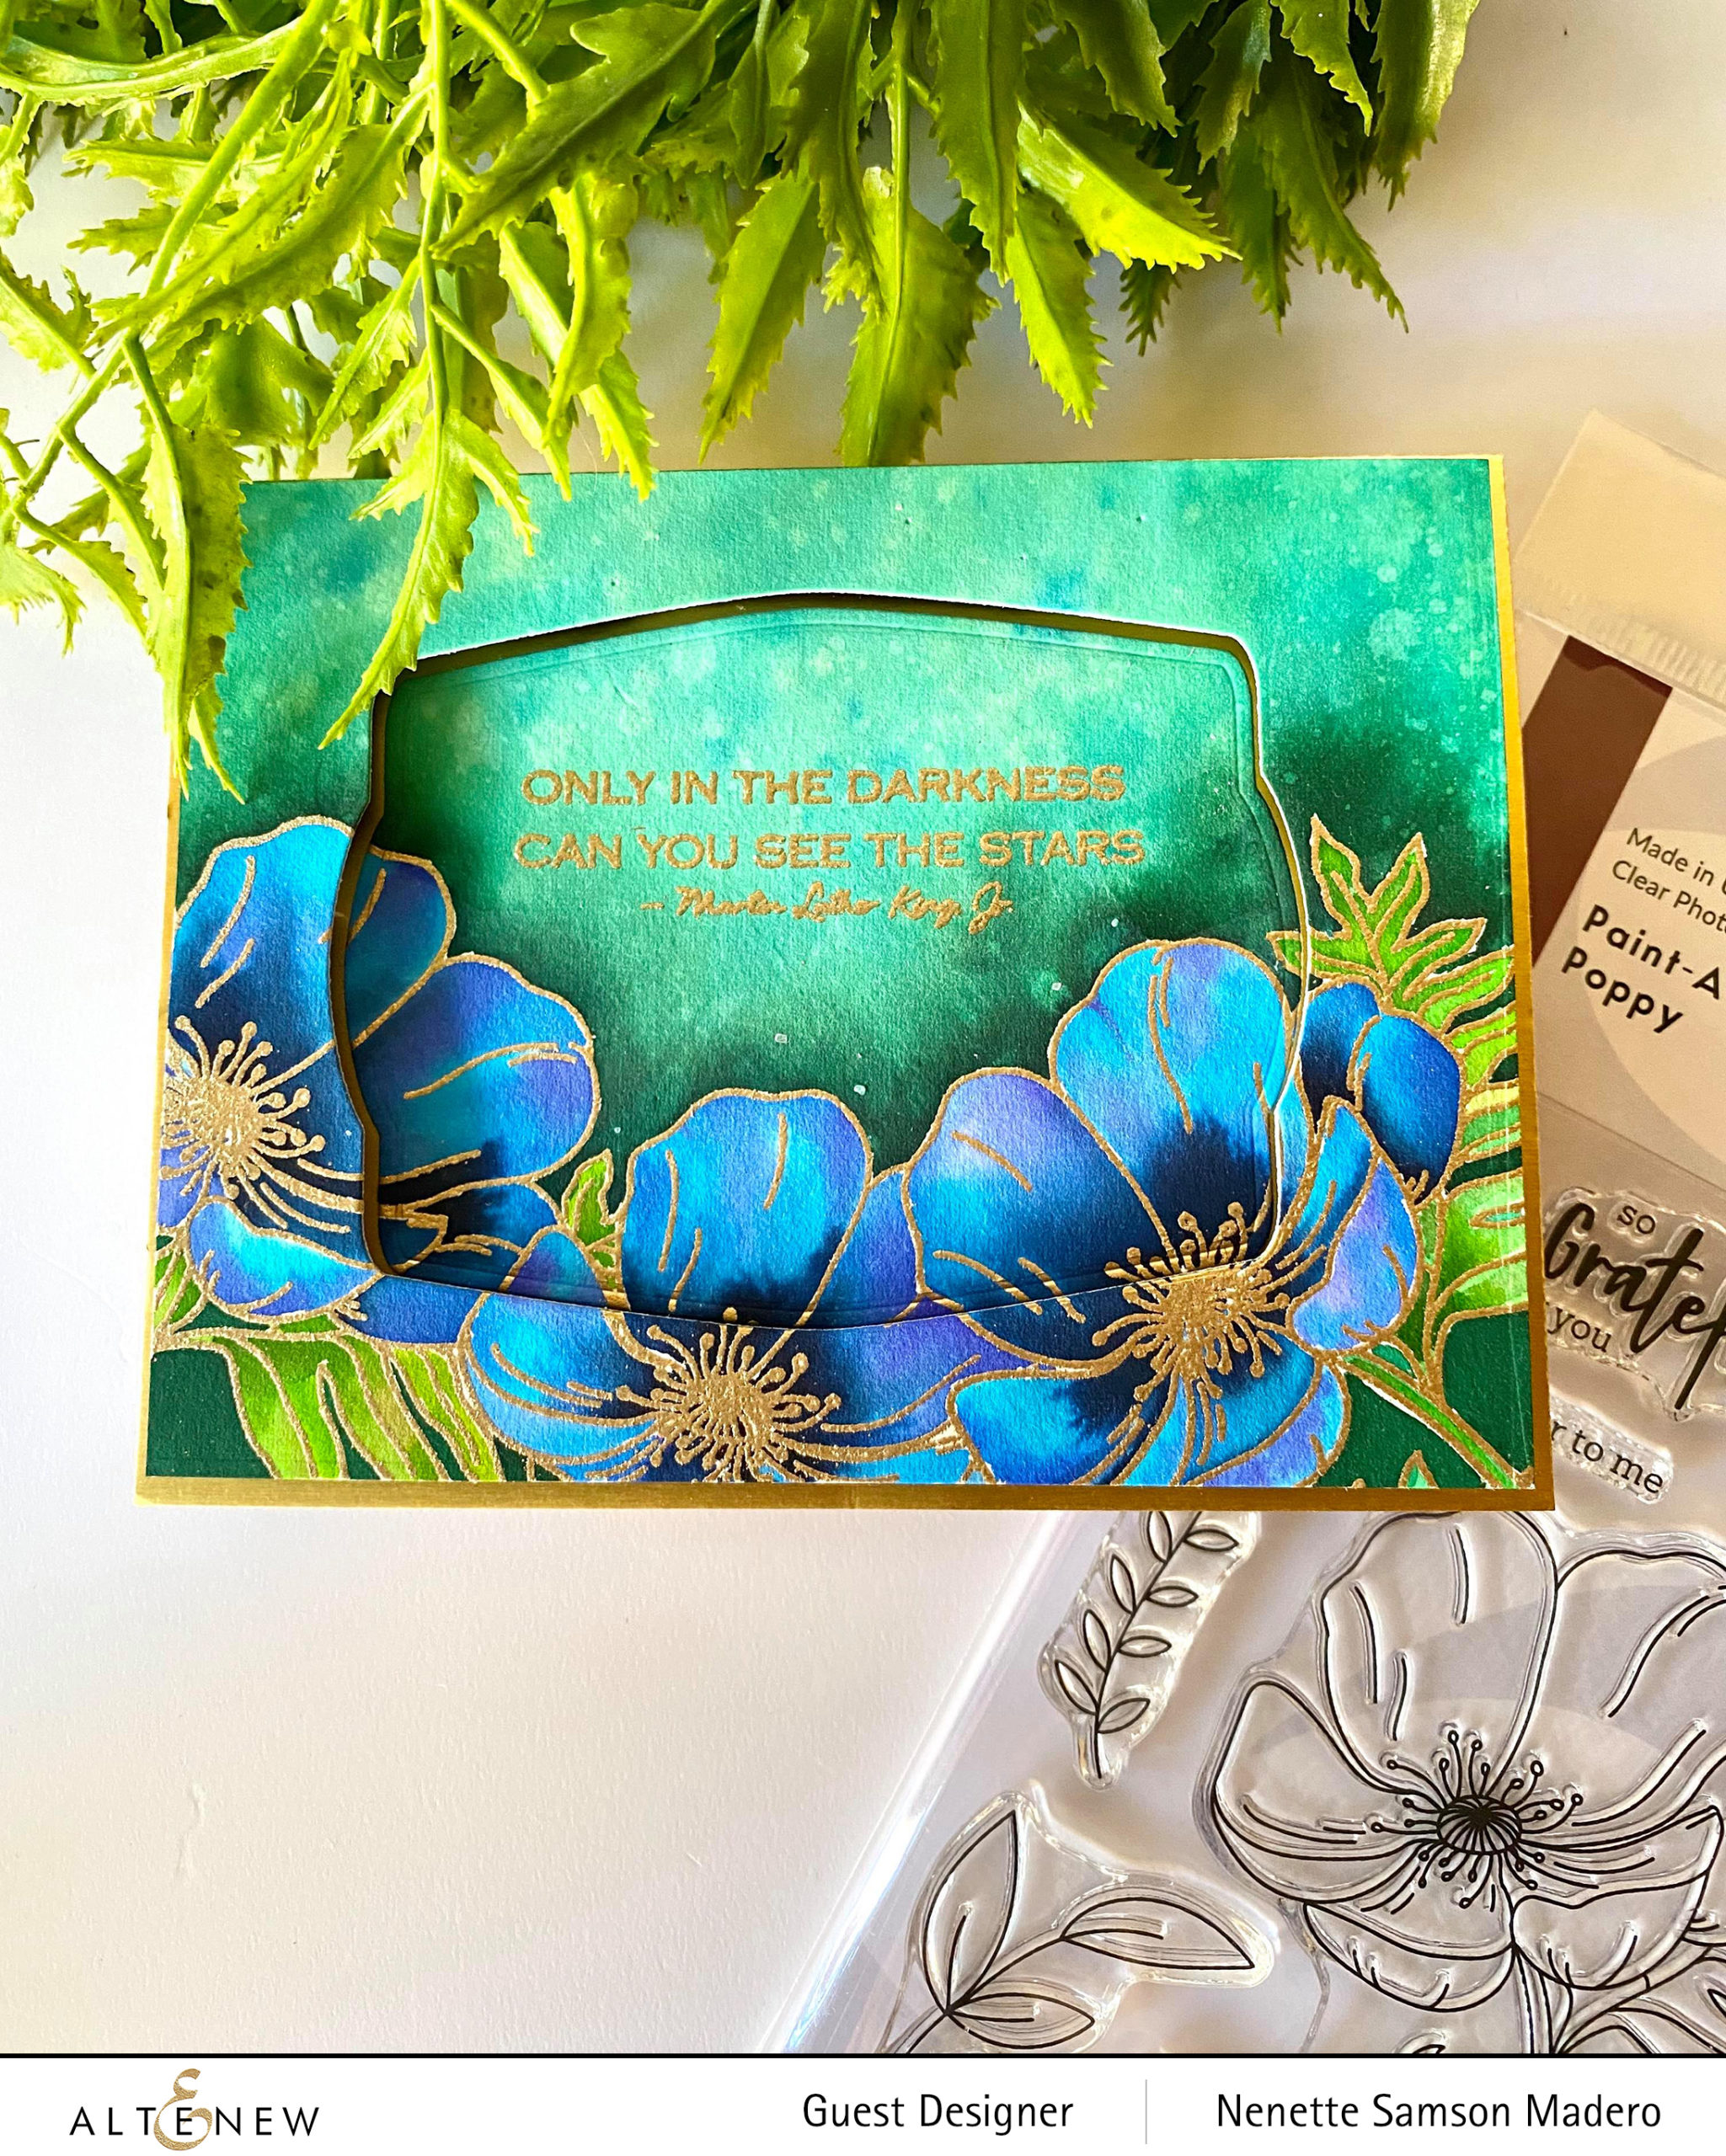
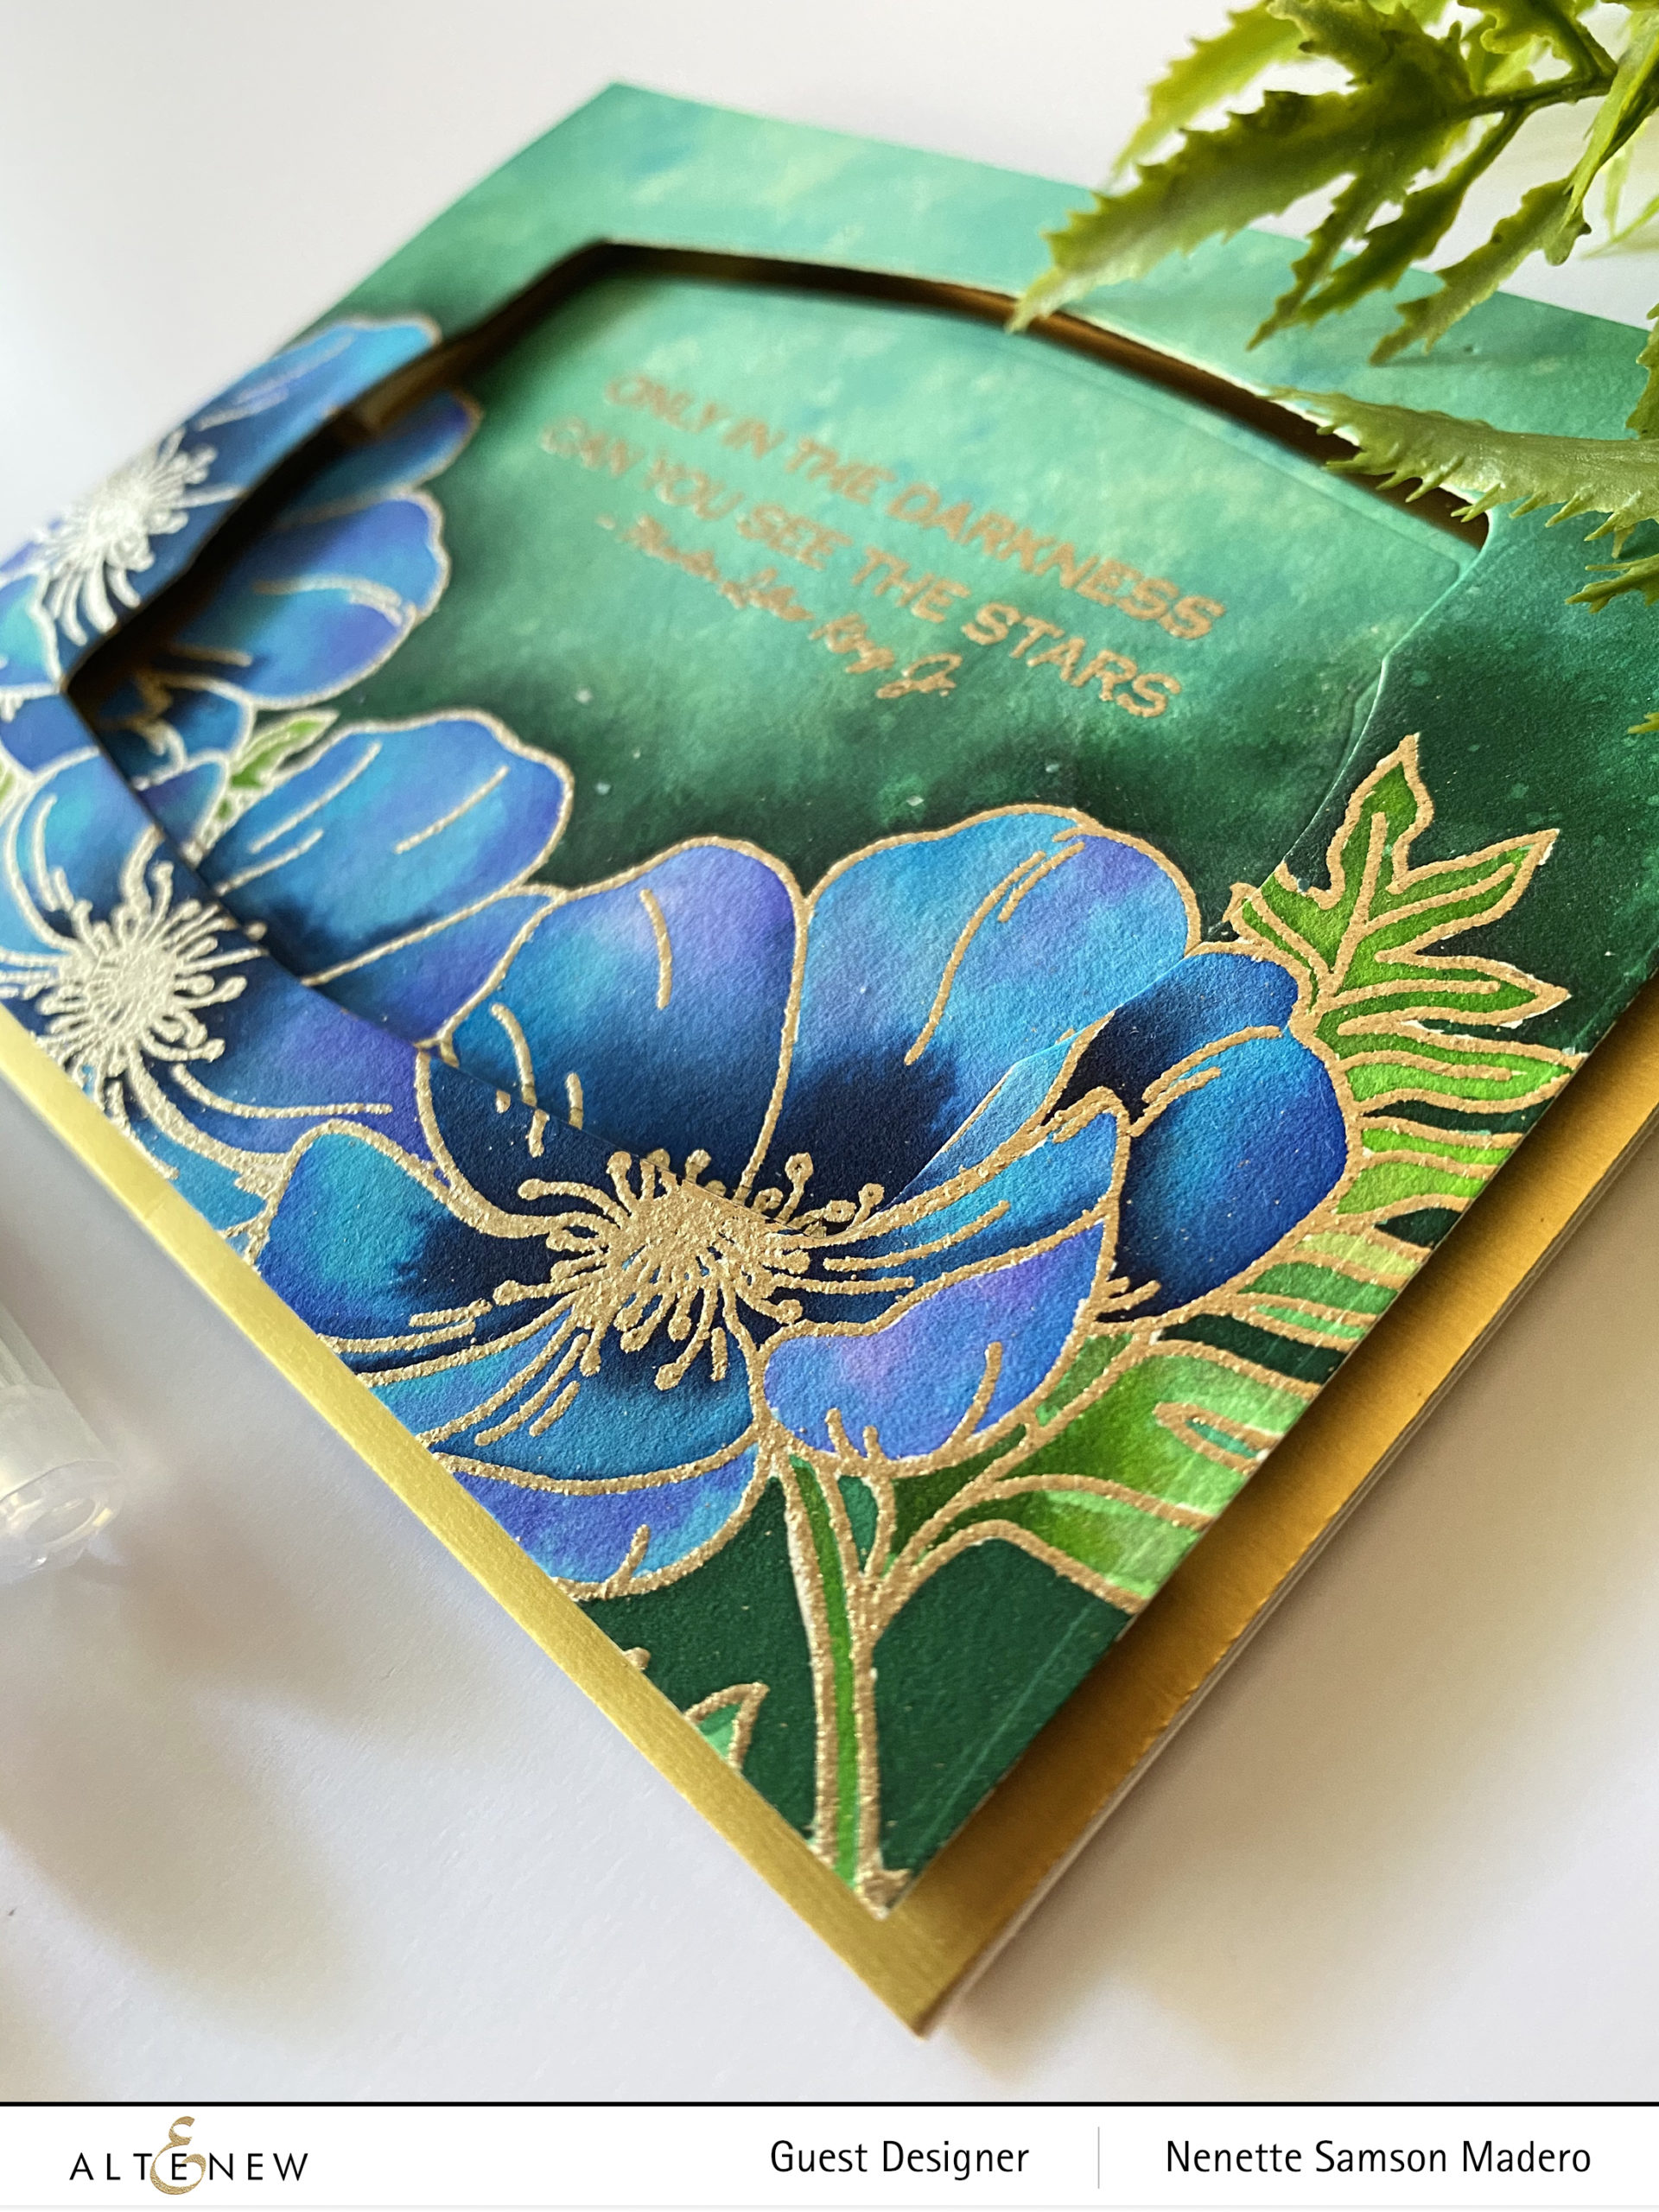
ONLY IN THE DARKNESS CAN YOU SEE THE STARS CARD


The following were used for this card: Paint a Flower Poppy stamp set, Kind Words stamp, Watercolor brush markers, Nesting Frames die, Rose Gold embossing powder, Versamark Ink, Arches cold press 300gsm watercolor paper.

I stamped the flower image on Arches cold press 300gsm watercolor paper using the masking technique. The images were embossed using Rose Gold embossing powder then watercolored with the watercolor brush markers.

I love how intense the colors are! The background was then painted and sprinkled with salt. Water droplets were also added for more texture. When it was dry, the largest die from the Nesting Frames Die was used to cut the center of the panel. The outer edge was then mounted on a gold card base using foam squares while the center was glued directly onto the card front.

PRIZES


To celebrate this release, Altenew is giving away a $30 gift certificate to 6 lucky winners! Please leave a comment on the Altenew Card Blog and/or Altenew Scrapbook Blog by 3/3/2020 for a chance to win.

Altenew will also draw a winner to receive a $15 gift certificate from the comments left on each designer’s blog on the blog hop list below so don’t forget to comment below! All winners will be announced on the Altenew blogs on 3/6/2020.

Next up is one of my idols in the industry–Therese Calvird <3 Make sure to drop by her blog and I’m definitely sure that you’ll get blown away by her creativity!!!

Thank you again for visiting my blog. Do let me know which one is your favorite! I love hearing from my visitors and because I appreciate the time it takes to comment here and on Instagram, I will randomly choose one winner from my blog and one winner from IG on March 6. The winners will be receiving the chosen card so make sure you let me know which one is your favorite. :-). Happy crafting everyone!!!


INSTAGRAM | FACEBOOK | PINTEREST | WEBSITE


BLOG HOP ORDER


Altenew Card Blog
Jennifer McGuire
Jaycee Gaspar
Nicole Watt
Maryam Perez
Kelly Griglione
Norine Borys
Amanda Baldwin
Altenew Scrapbook Blog
Amber Rain Davis
Ashlea Cornell
LauraJane
Kymona Tracey
Seeka
Laurie Willison
Nathalie DeSousa
Erum Tasneem
Nancy McClelland
Sveta Fotinia
Svitlana Shayevich
Nenette S. Madero–> YOU ARE HERE
Therese Calvird
Mindy Eggen
Virginia Lu
Terri Koszler
Emily Midgett
Agnieszka Malyszek Lilith Eeckels
Altenew: A Year In Review Blog Hop + Giveaway

Altenew: A Year In Review Blog Hop + Giveaway

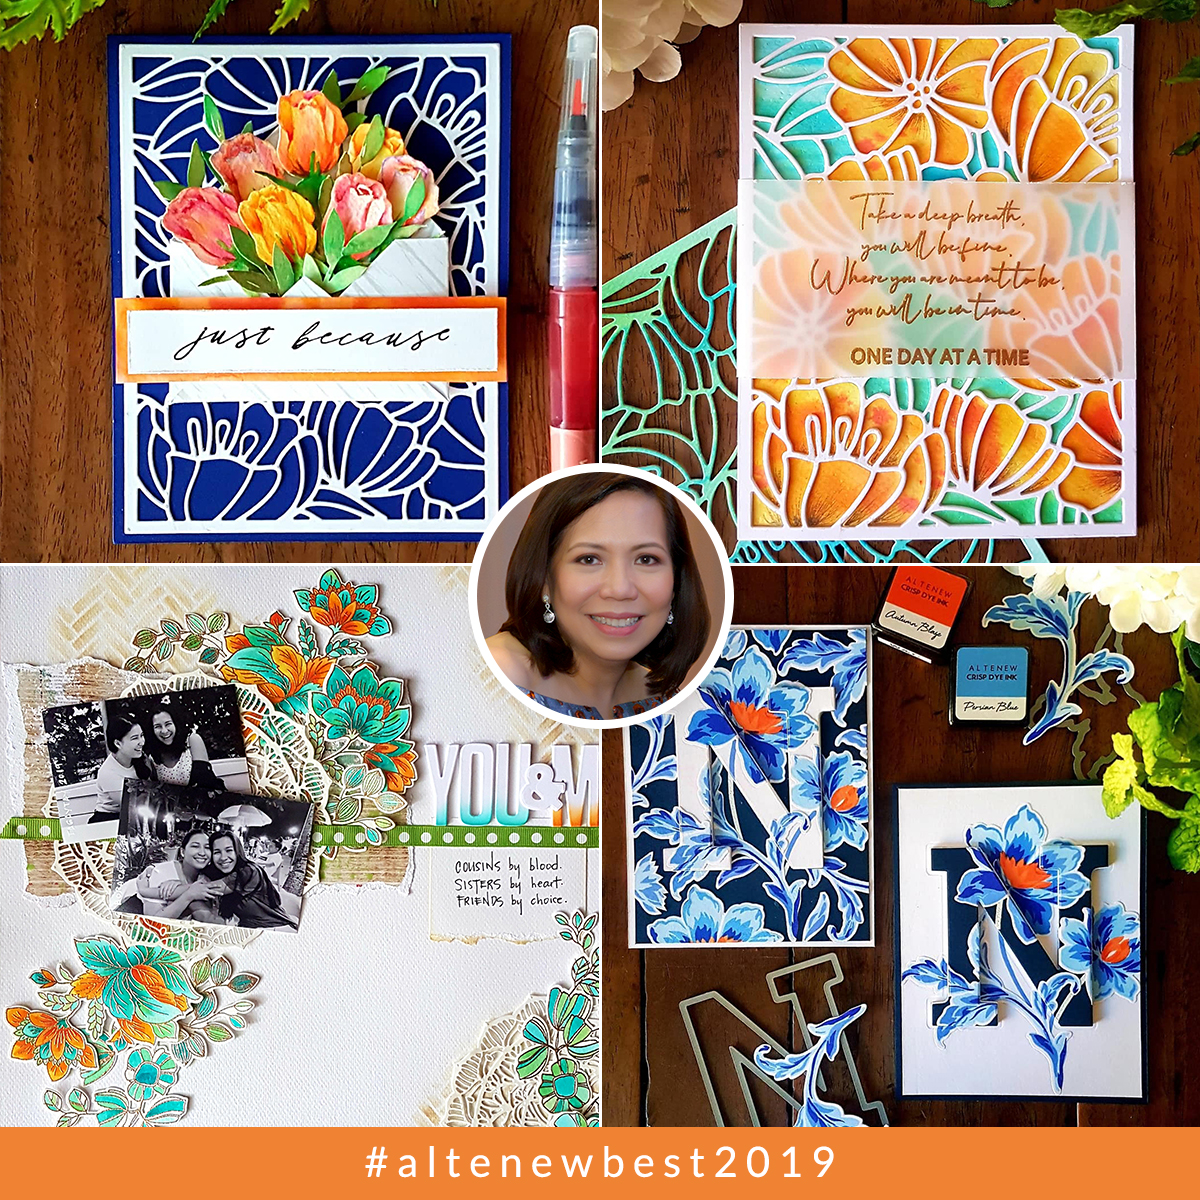
Hi everyone!!! I’m so thrilled to be a part of this Altenew year-end blog hop. Thank you so much, Ashlea Cornell, for sending them over here. 💜 We were asked to choose our top 4 favorite projects from 2019 and honestly, it was quite difficult to narrow it down to 4! I’m so grateful to be one of Altenew’s guest designers this year and because of this, I was able to create a lot of cards and a couple of layouts <3 Here are my top 4 projects:

It was an amazingly creative year filled with so much inspiration from all the talented designers and guest designers. If you start with a product that’s already so beautiful, you get so motivated to create and play with it.

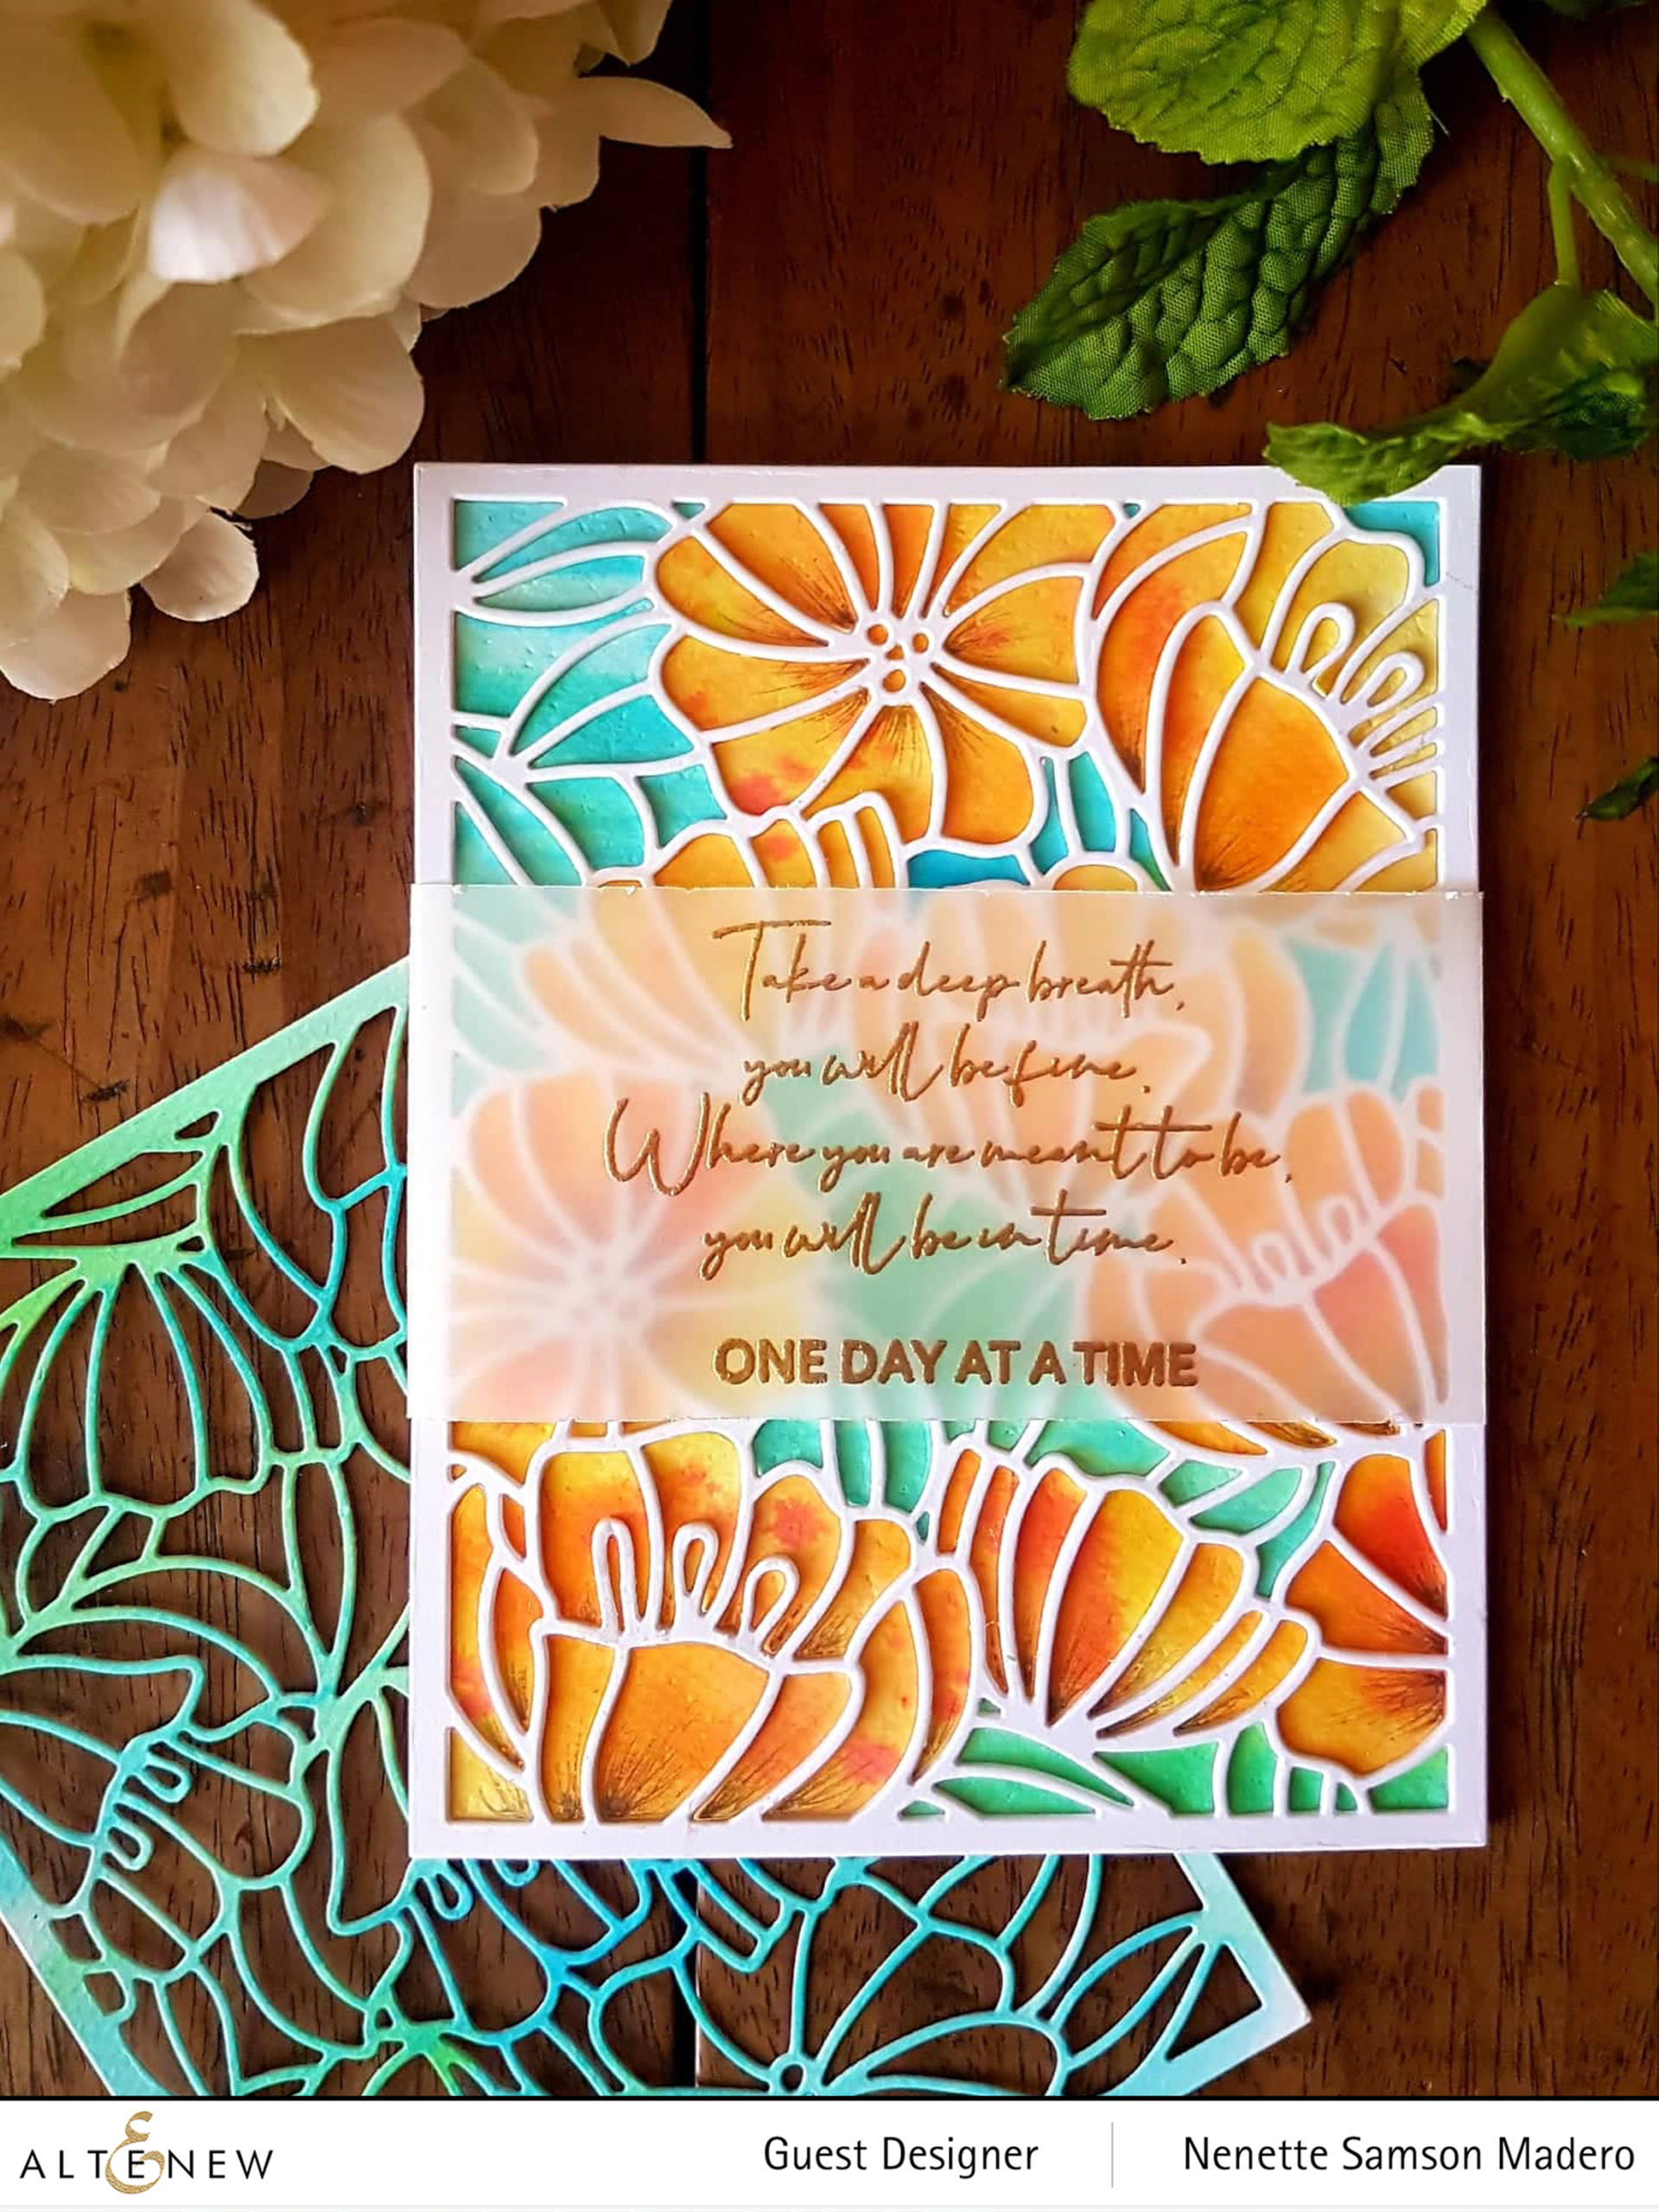
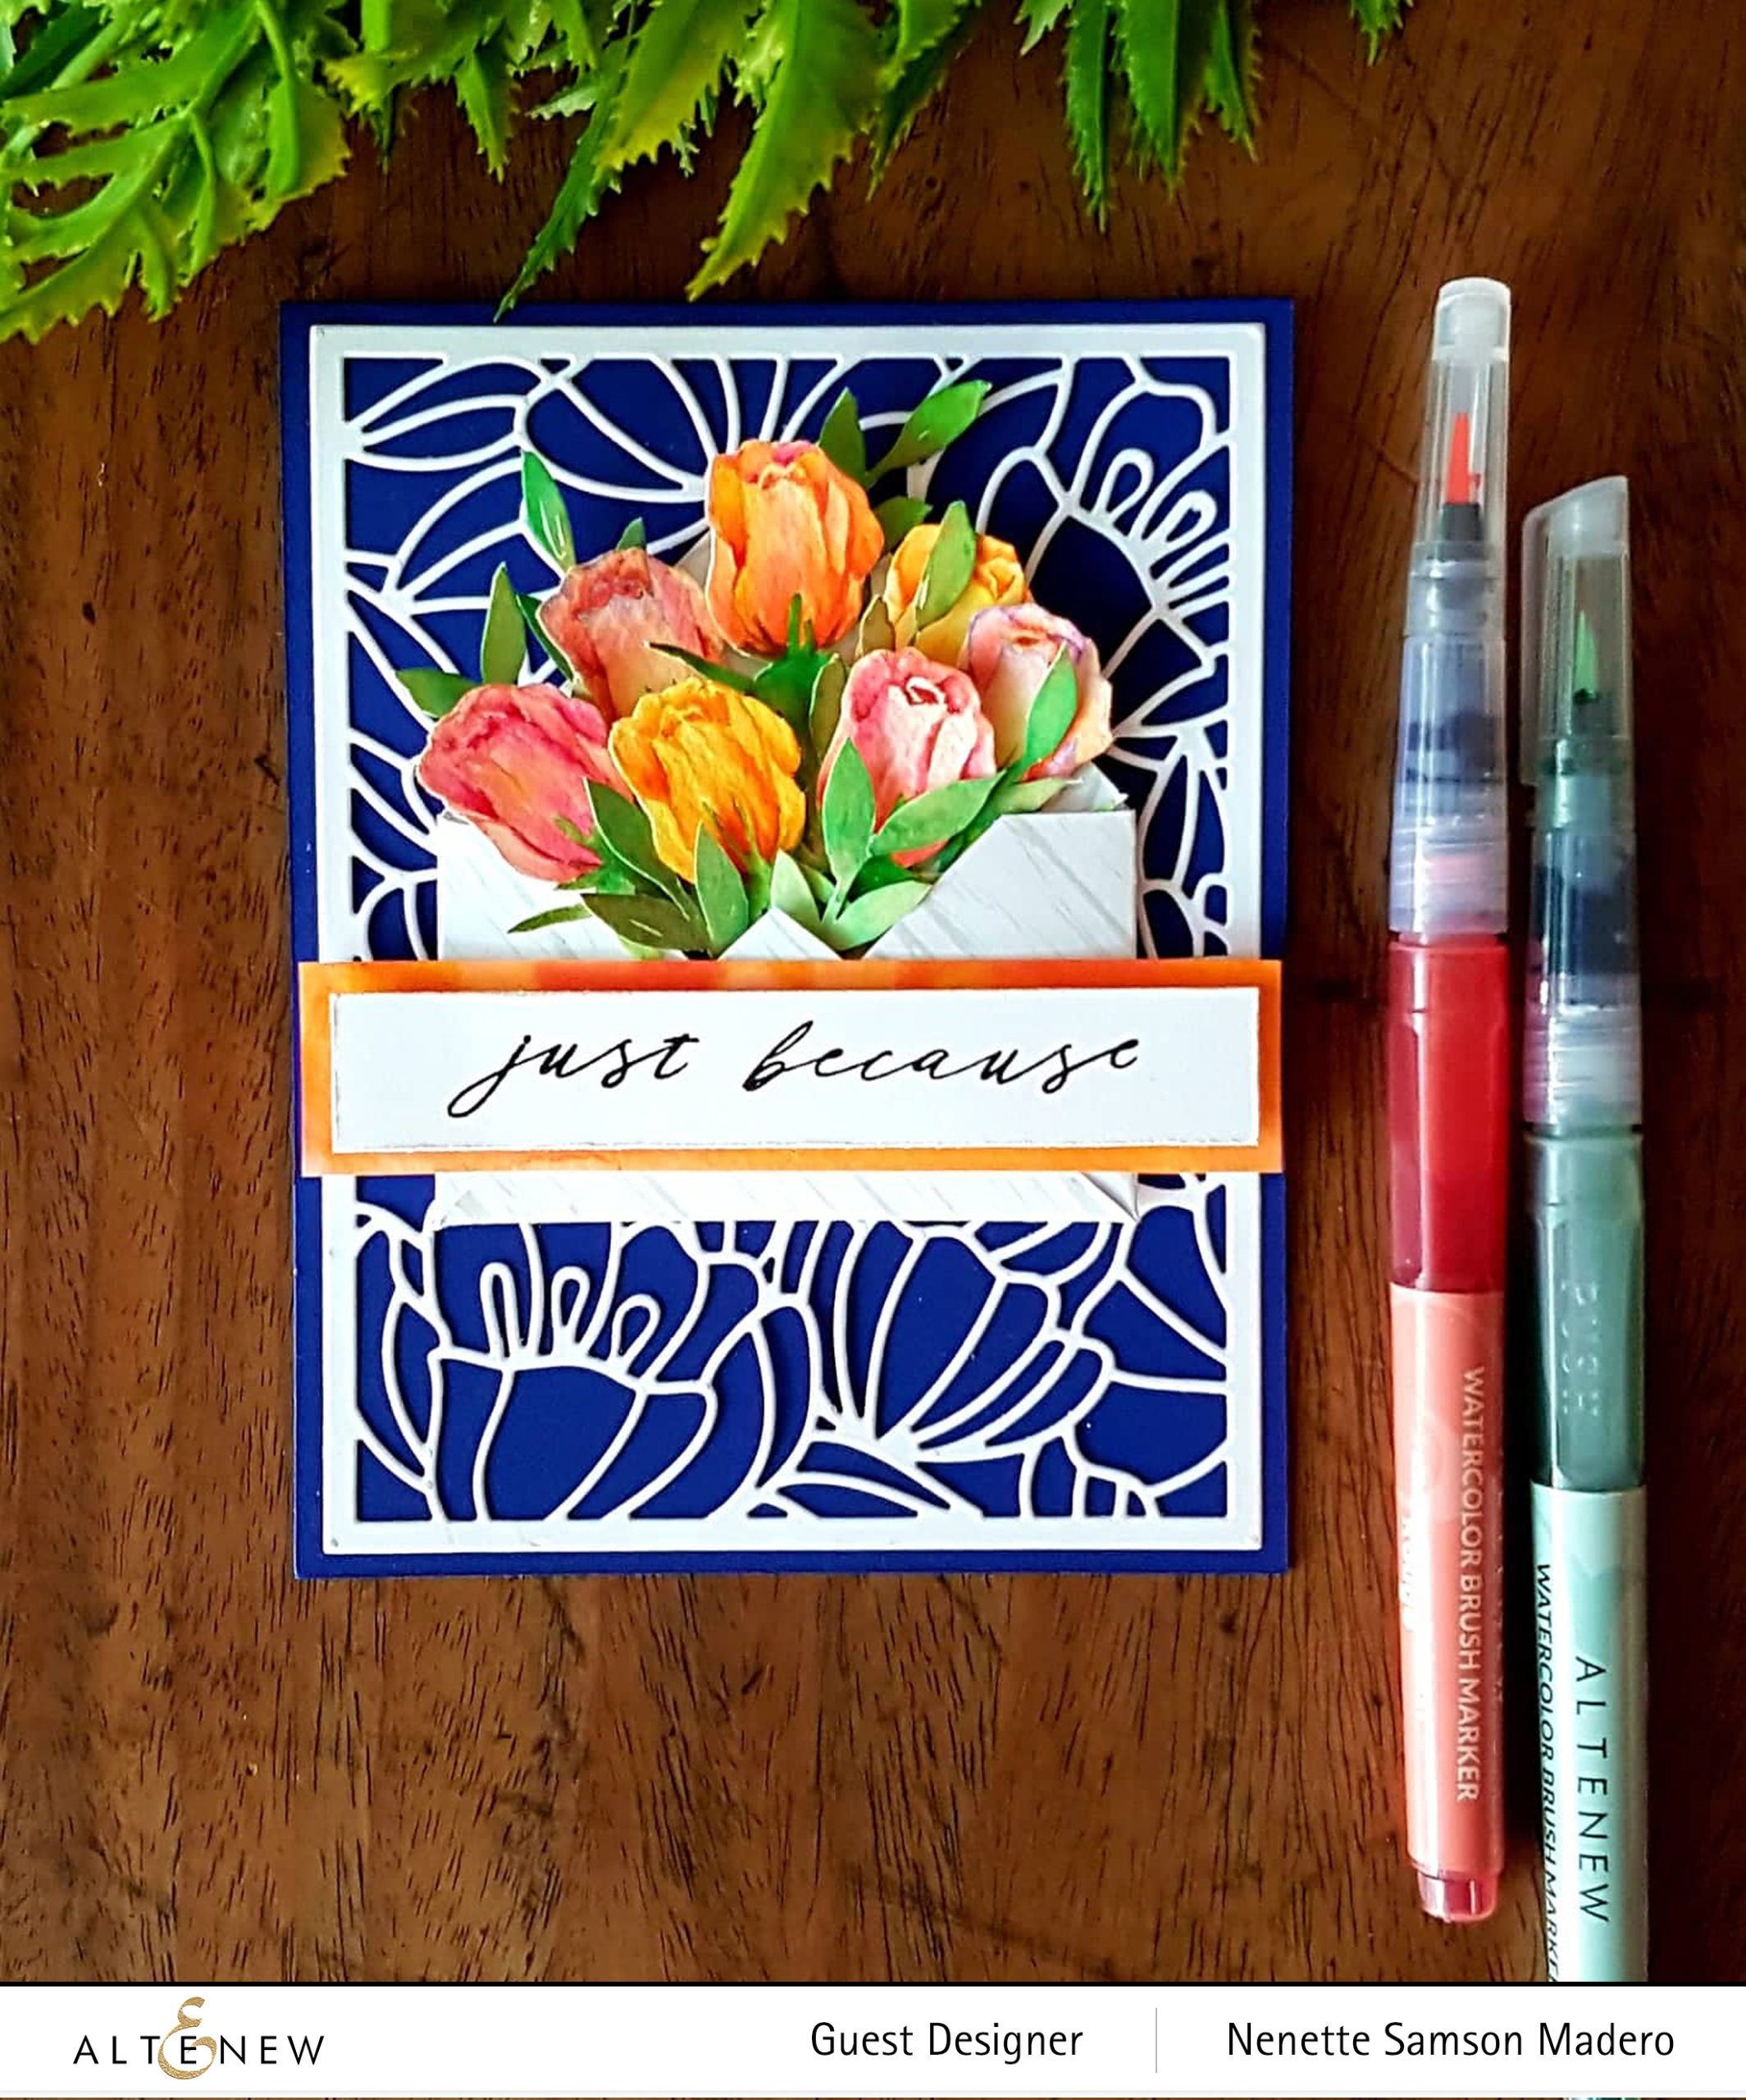
I love this card because of this gorgeous Dainty Blooms cover die. You can also make two cards with one die cut by using both the positive and the negative pieces.

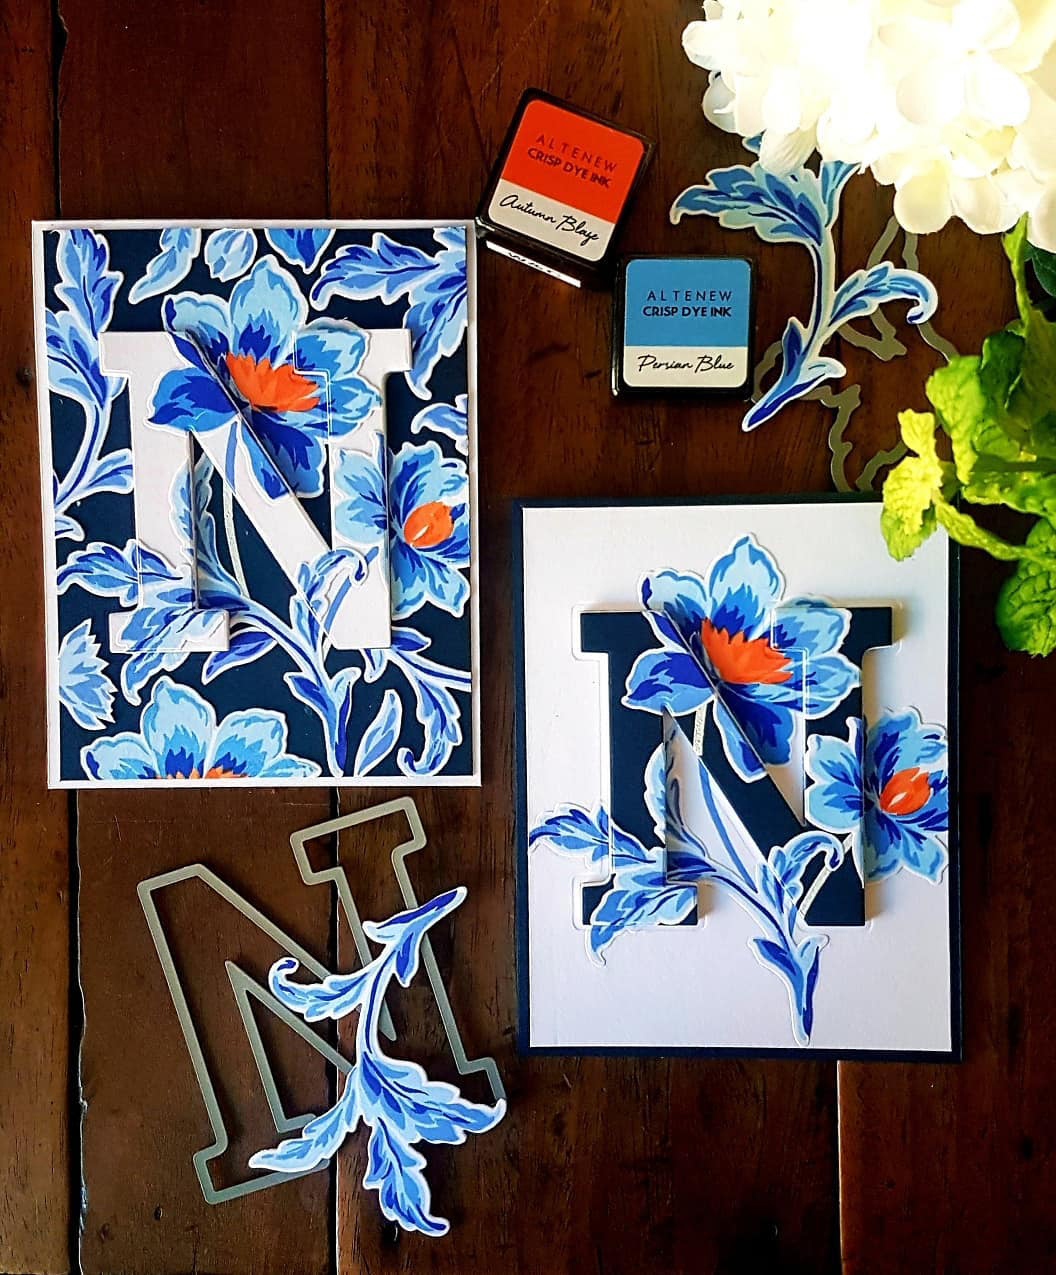
This is what I call my yin and yang cards– one card is elaborate while the other card is clean and simple. ❤️ Here I used the Angelique Motifs stamp and die sets and the Mega Alphabet die to create this monogram card.

This is on my top 4 list because I truly enjoyed painting the Inked rosebud for this card. It was small enough not to get overwhelmed in painting it and somehow, I managed to make it look 3D. 😊 I already had this bouquet design in my mind the minute I saw the stamp set. 🙂

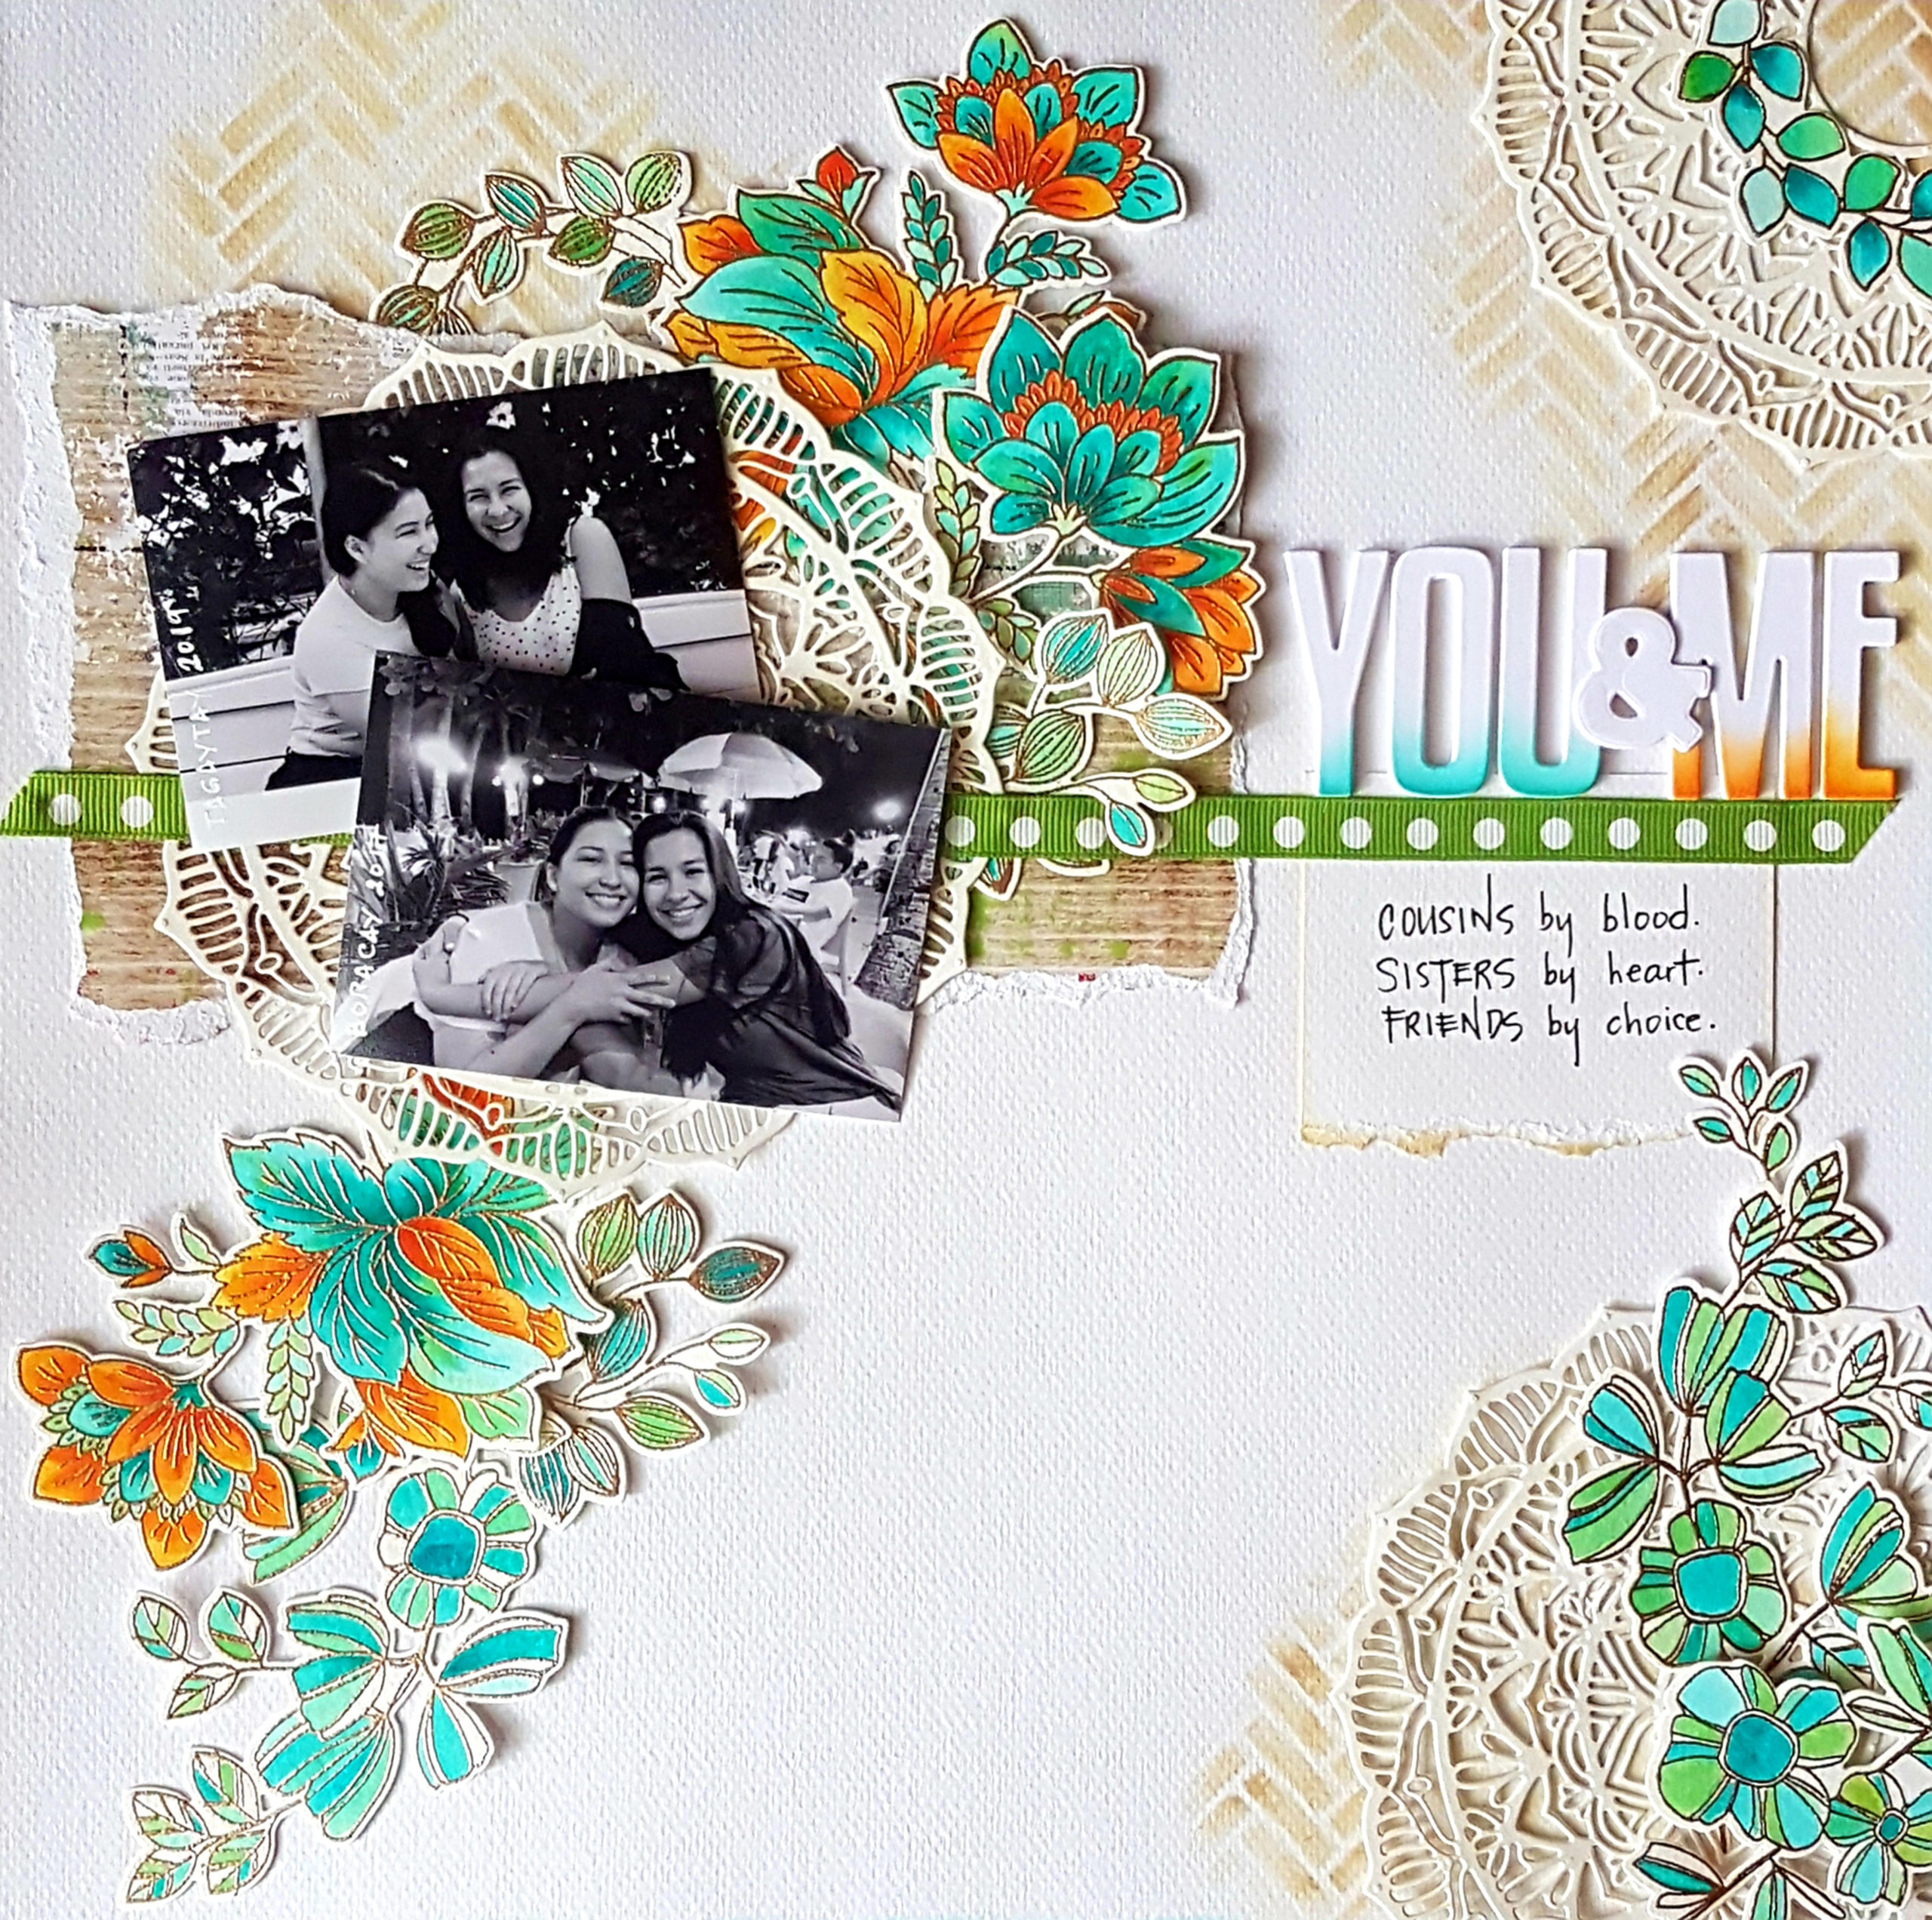
I haven’t done a scrapbook page in ages!!! These are my love letters to my children. Special photos inspire me to document a moment and when I saw these photos of my daughter and her cousin, I knew I had to create a layout using Altenew stamps, dies and stencils as embellishments. The layout was inspired by a PageMaps sketch. I used the Weekend Doodles and Ornate Foliage stamp and die sets, Mandala die and the Broken Chevron Stencil.

This will be my last post for 2019 and I’d like to share with you some cards I recently created for a Christmas card swap of My Little Attic Studio. Here are the cards that I made for my swap mate, Jen.

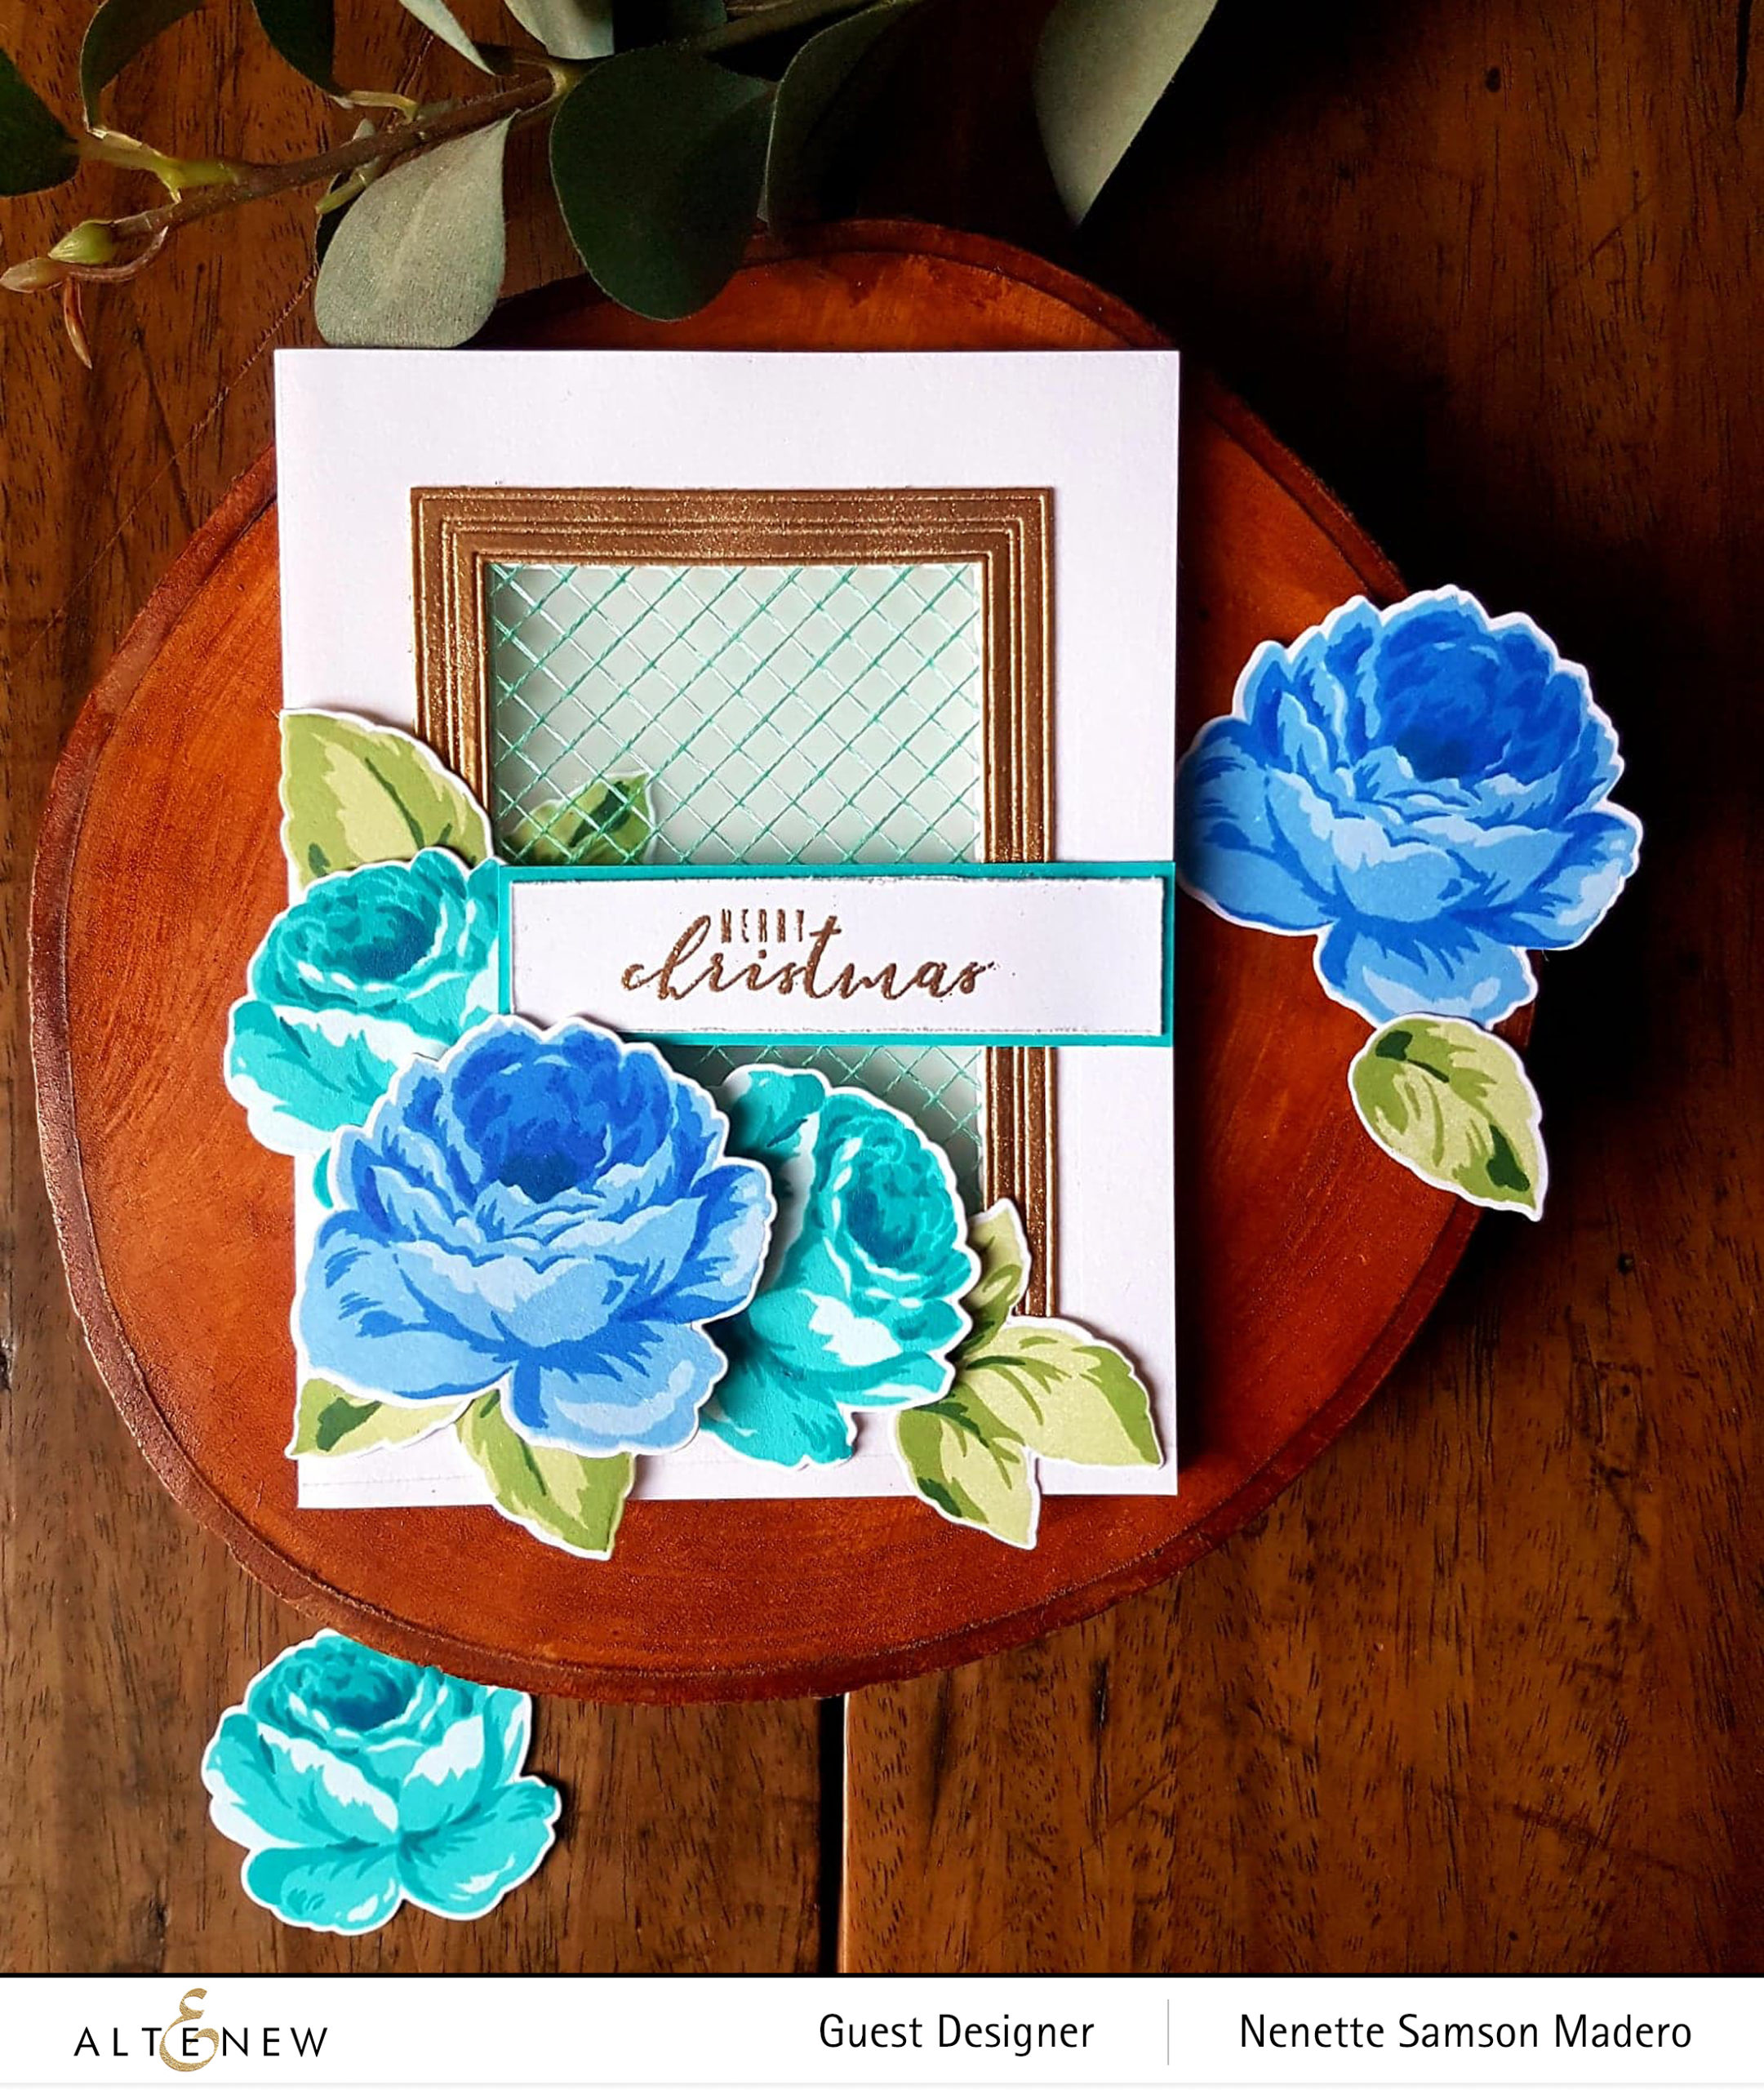
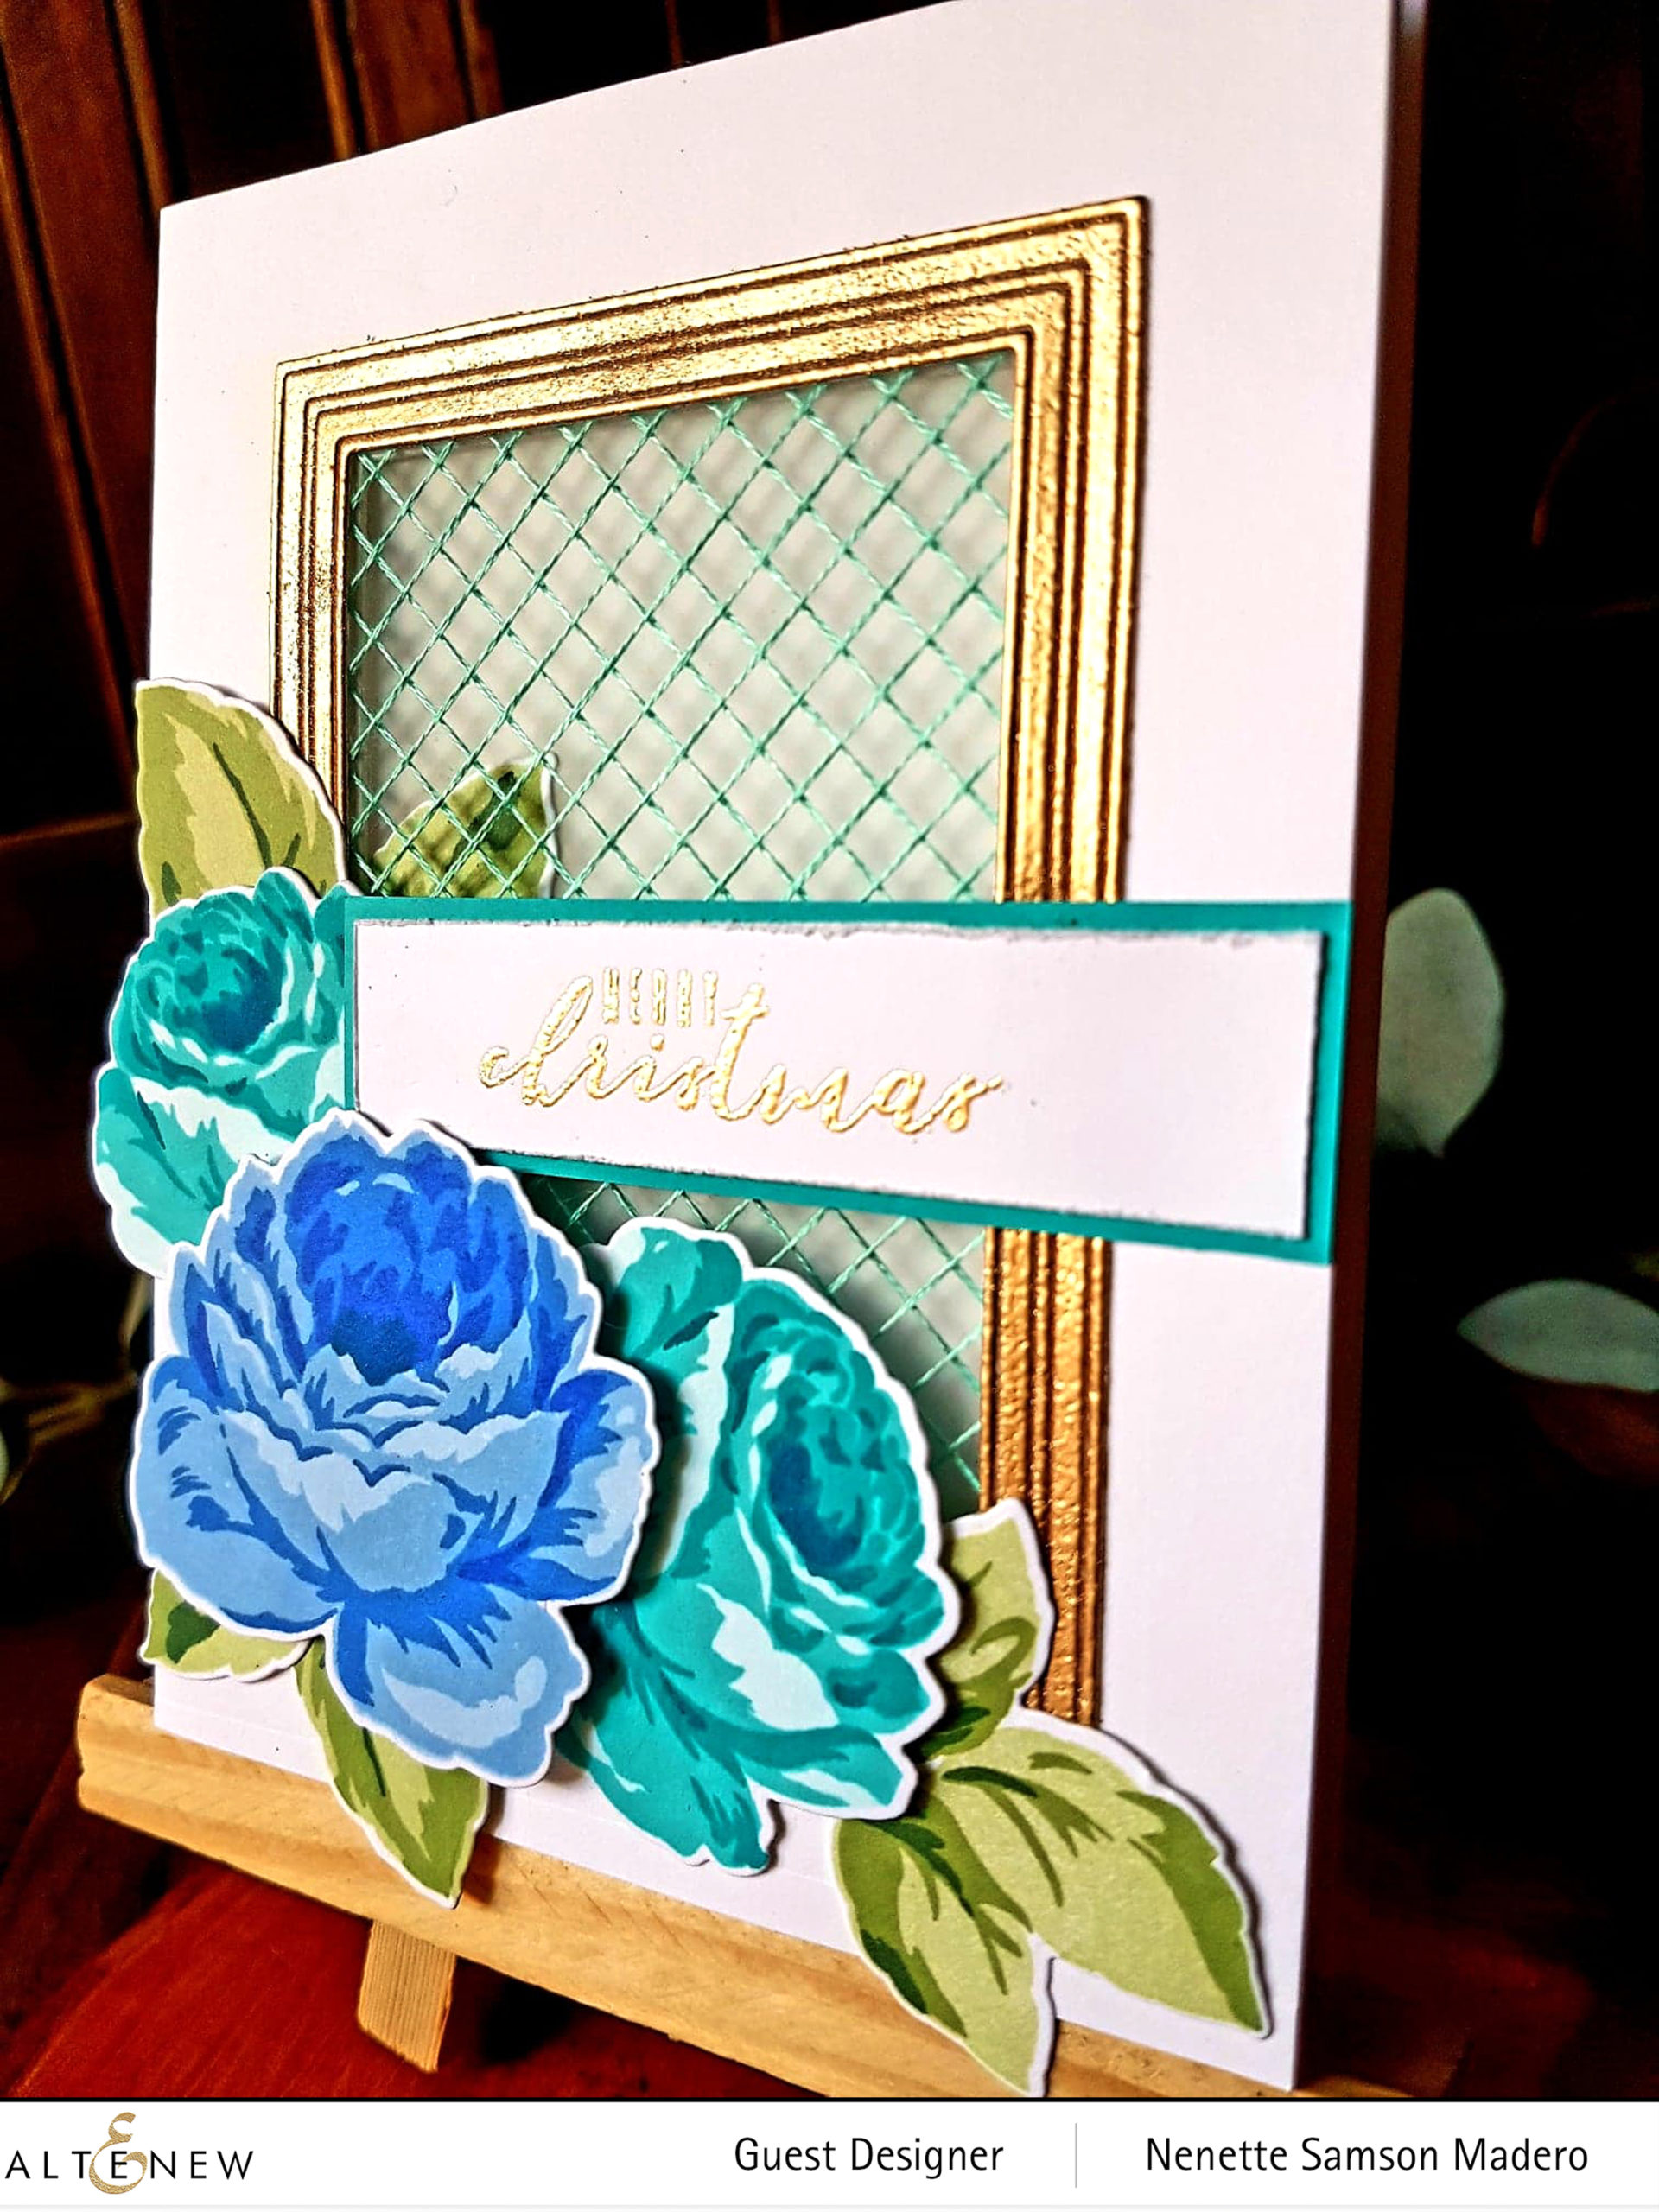
I used non-traditional colors for this Christmas card. This was the first time I played with the Antique Roses Stamp set and I immediately fell in love with it! The Sting Art Rectangle Die was used to create a window for this card.

5 layers of the Fine Frames Cover Die were used to cover the holes of the string art die and embossed with rose gold embossing powder. The flowers and leaves were stamped using Altenew dye inks.

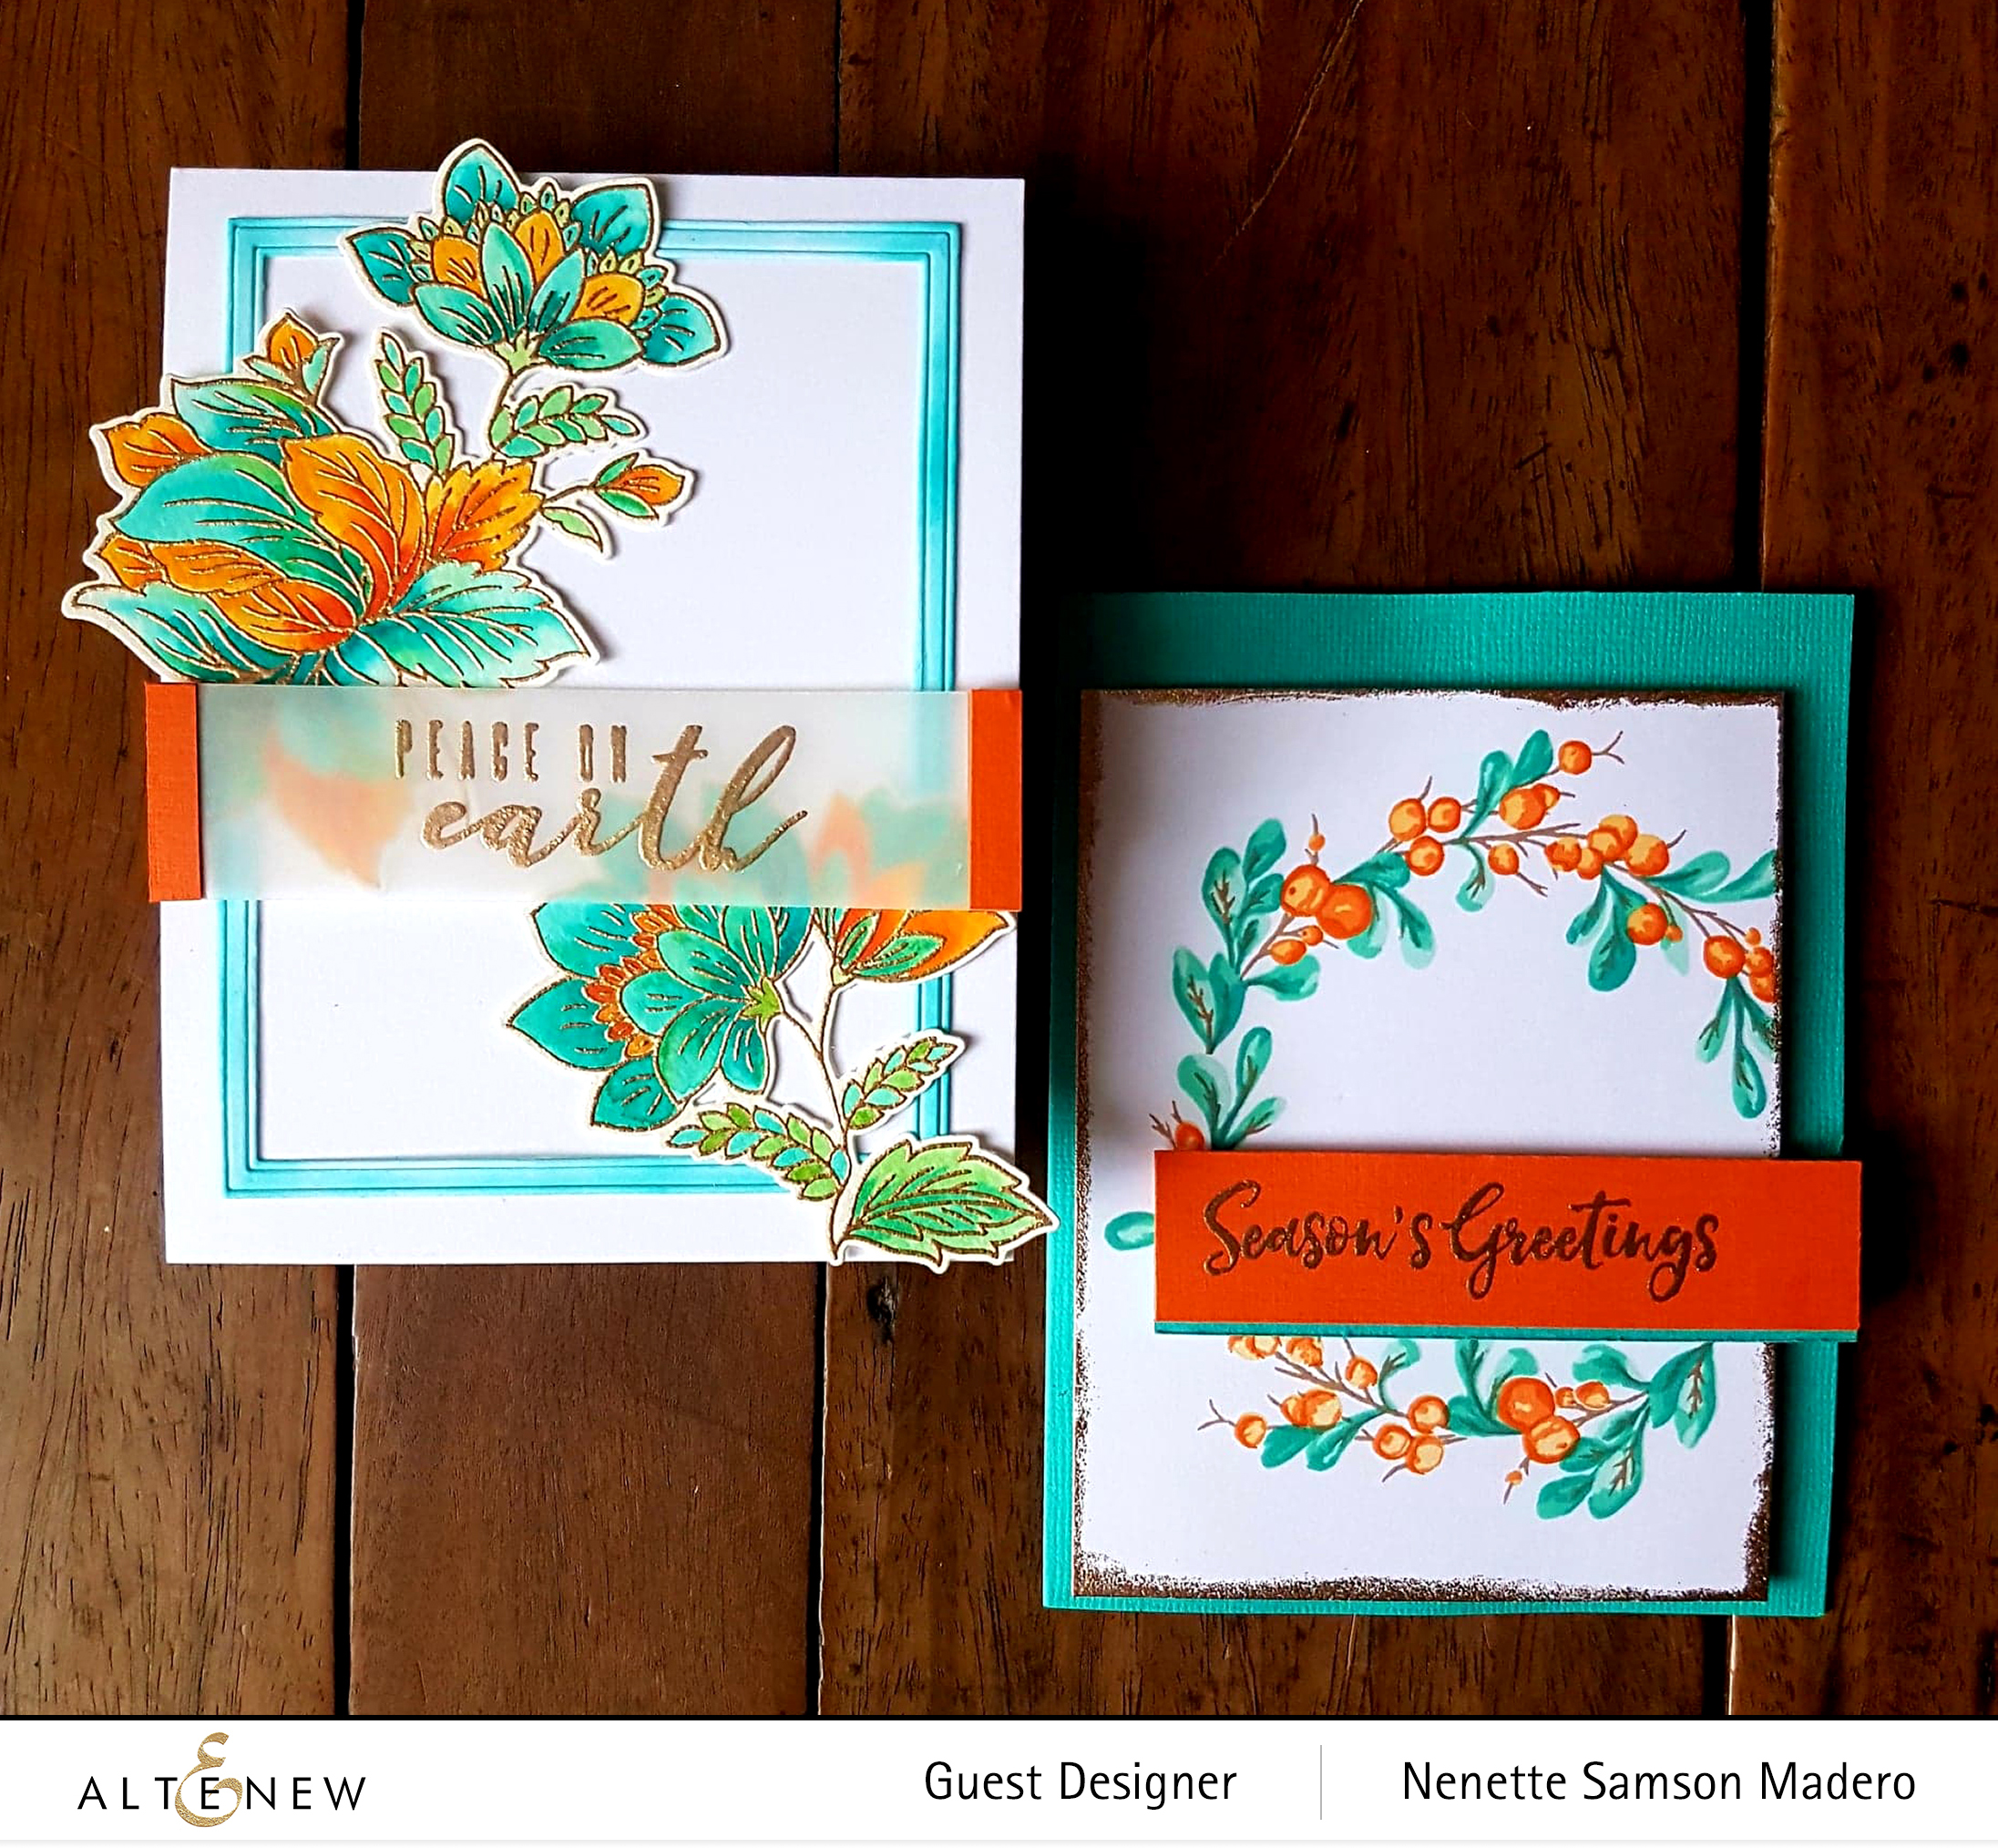
Here are some CAS cards using the Ornate Foliage stamp set and the Bountiful Branch stamp set. A lot of white space was left for these clean and simple cards and I used a combination of oranges and teal green for this set.

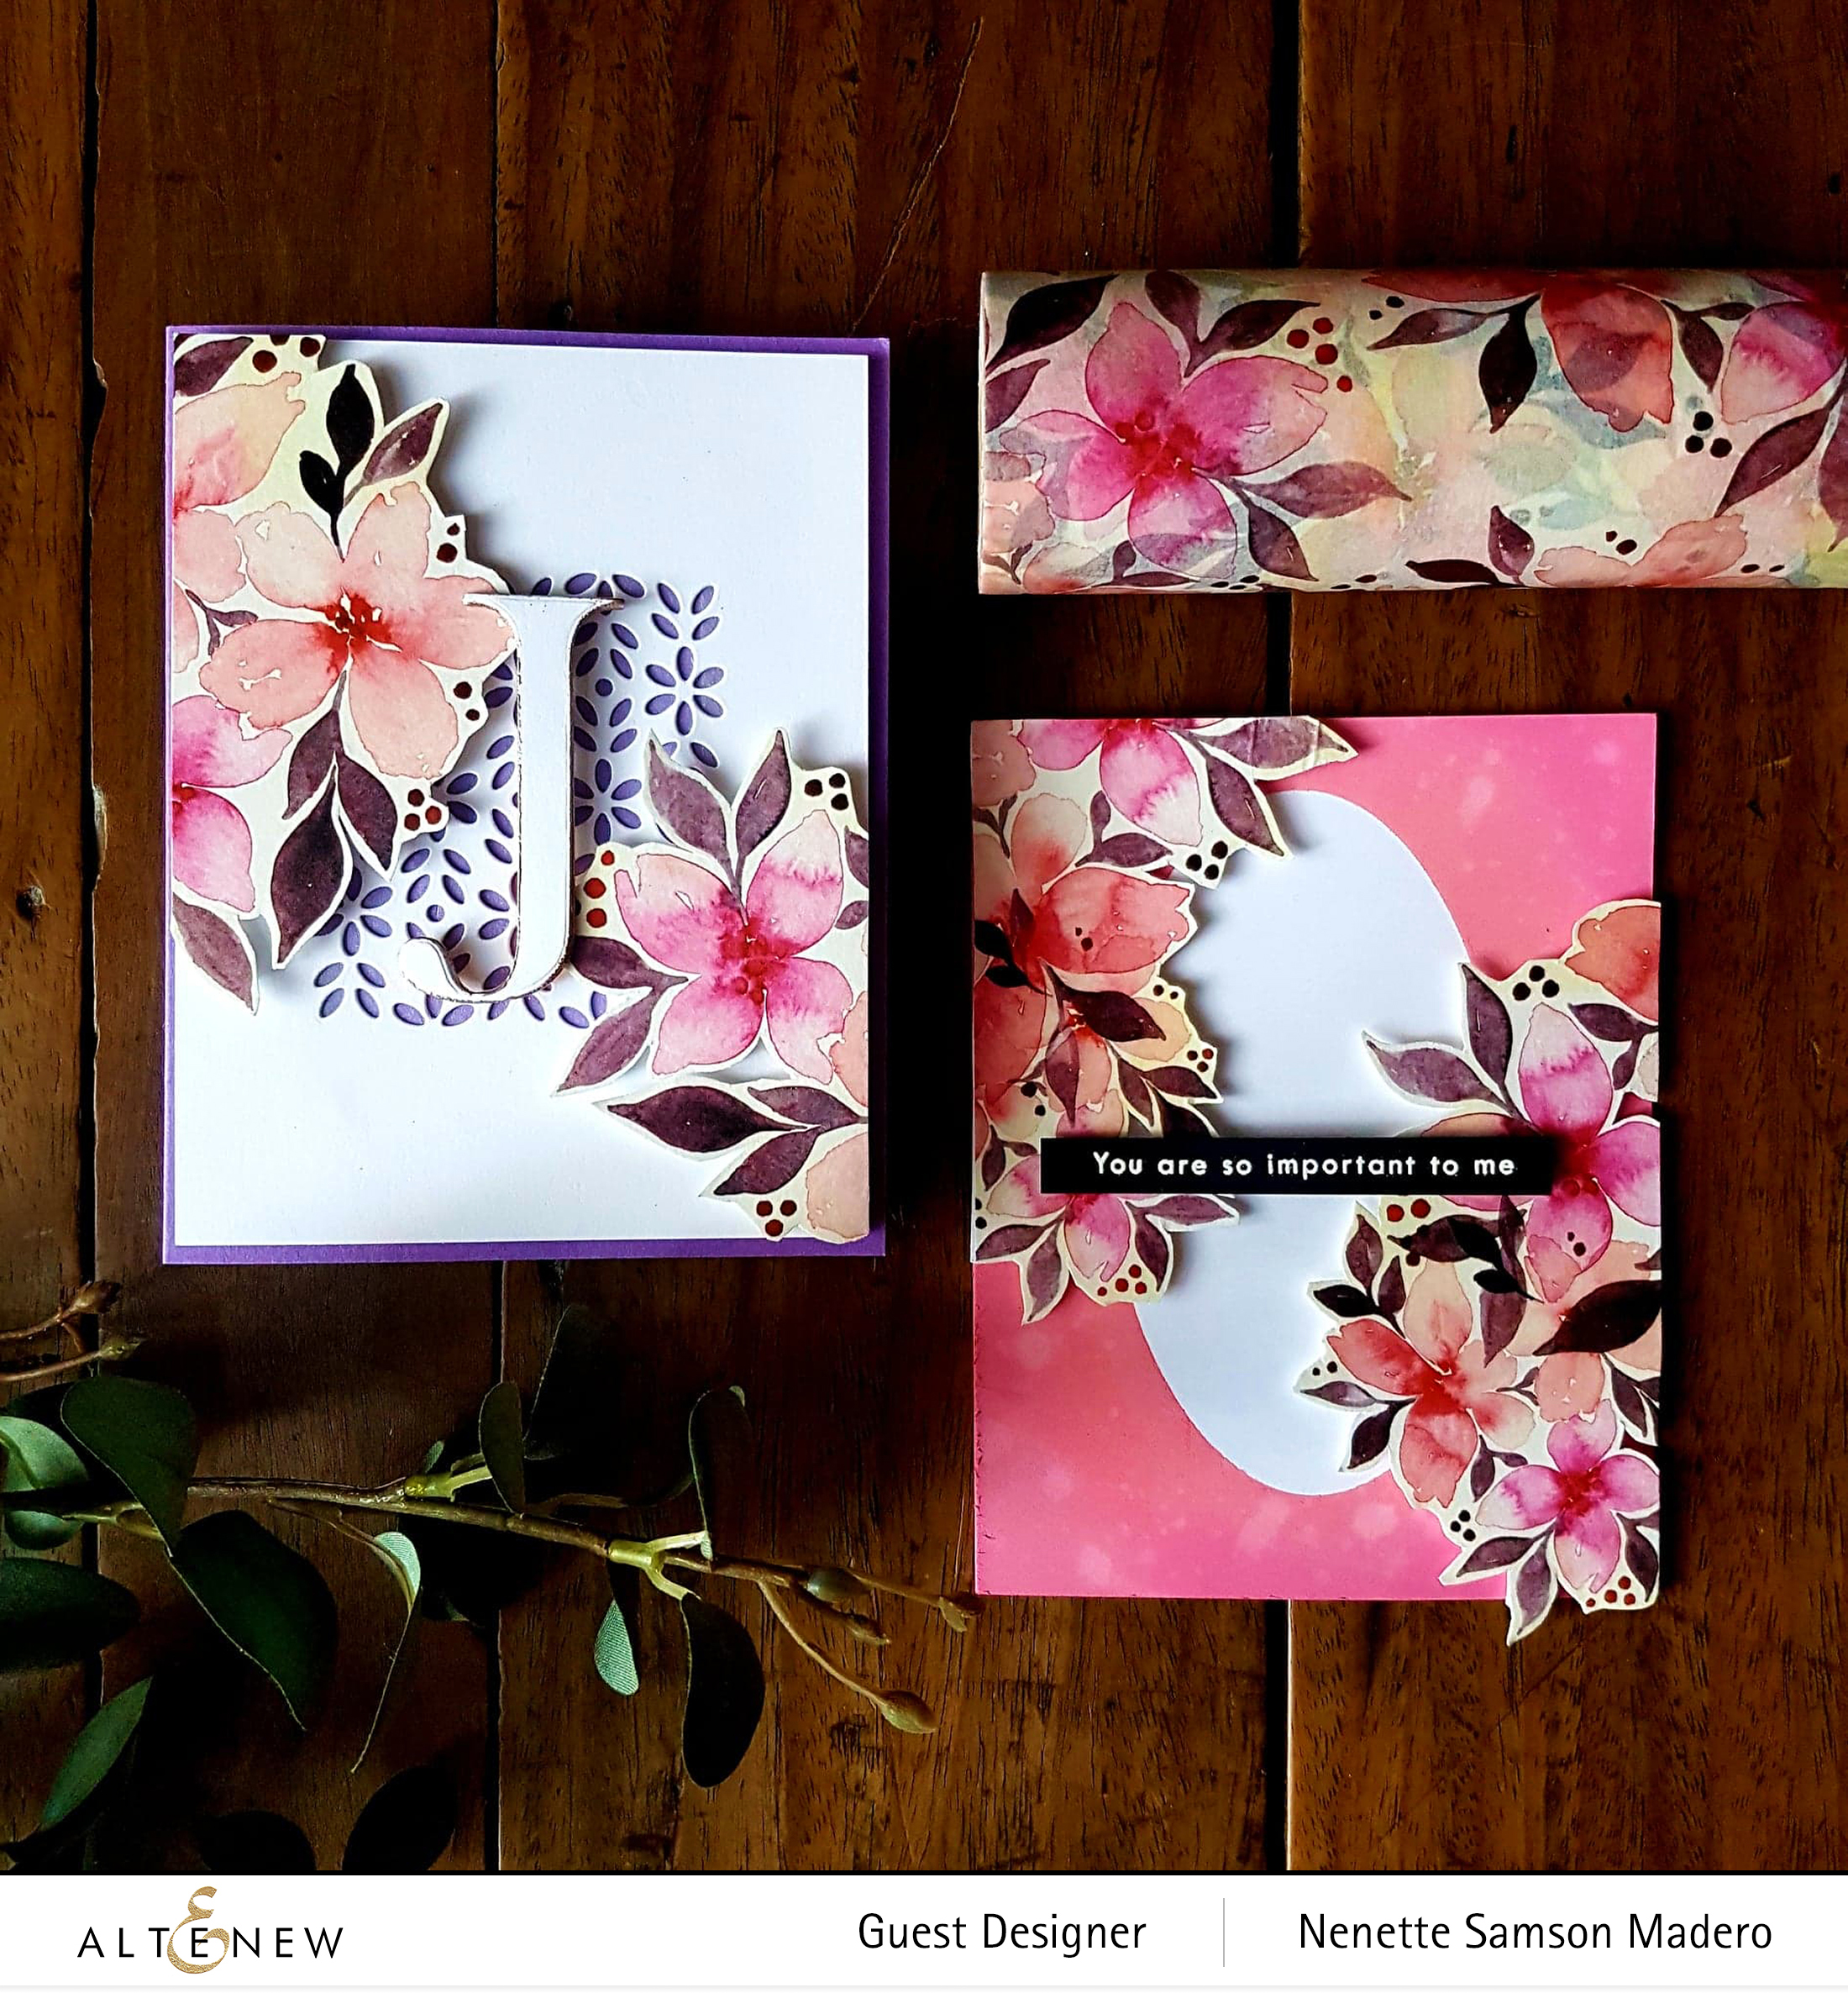
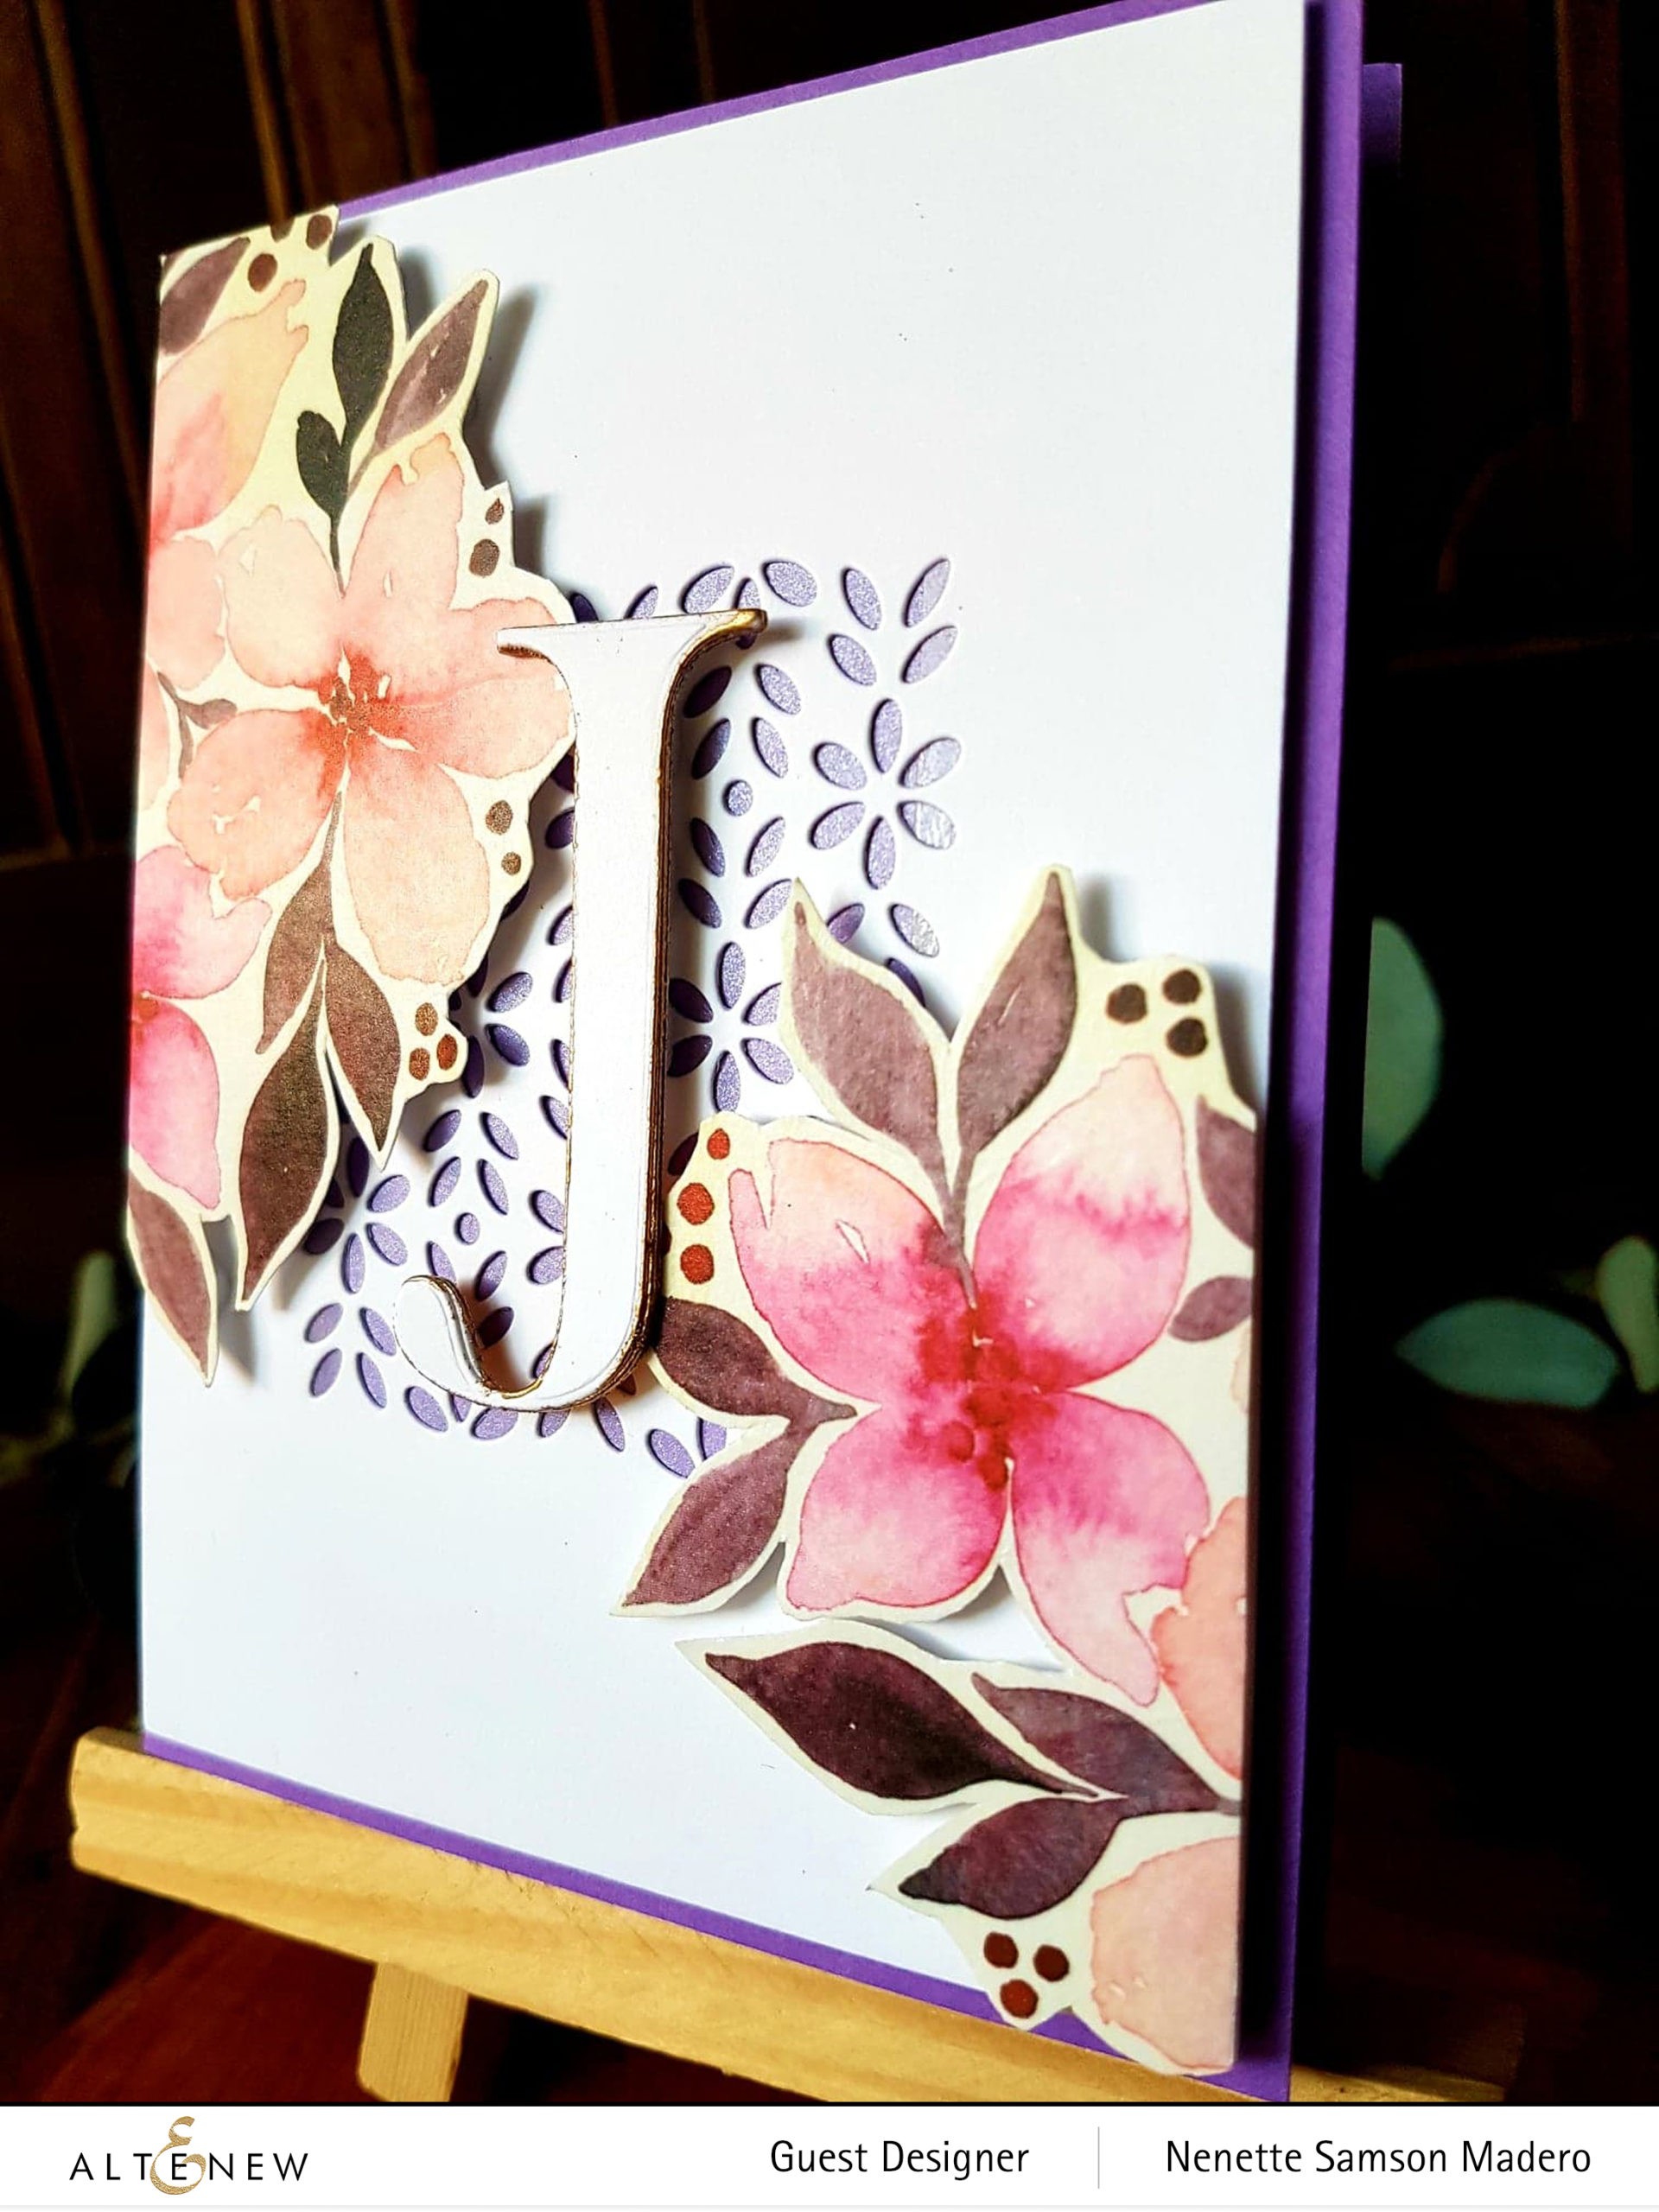
I thought of including some non-Christmas themed cards for the recipient using the Calming Bouquet washi tape. I just love how easy it is to embellish a card or scrapbook page using this washi tape.

Rose gold embossing powder was added to the edge of the monogram letter for some subtle shine. The washi cut-outs were popped up using foam squares to add dimension to the cards.

PRIZES

Altenew is giving away a $30 gift certificate to 6 lucky winners! Please leave a comment on the Altenew Card Blog and/or Altenew Scrapbook Blog by 01/03/2020 for a chance to win. Random winners will also be chosen to win a $15 gift certificate from the comments left on each stop on the hop. All winners will be announced on the Altenew blogs on 01/06/2020.

I’ve gotten to know quite a number of people through this blog, IG and FB and I just want you to know how grateful I am for all the positive and inspiring comments you leave behind. It warms my heart knowing that others appreciate my art. Thank you so much for continuing to inspire me to create! My profound gratitude to May Sukyong Park for inviting me to be a guest designer for Altenew. What an honor. ❤️

Wishing all of you a blessed Christmas season and may your New Year bring you peace, happiness and tons of crafty inspiration!!! Looking forward to a creative year ahead. Wishing you wonderful blessings always! ❤️

FACEBOOK | INSTAGRAM | WEBSITE | PINTEREST

BLOG HOP ORDER

Altenew Card Blog
Keeway Tsao
Laurie Willison
Michelle Murray
Kristina Pokazanieva
Norine Borys
Gayatri Murali
Jen Schow
Mindy Eggen
Vicky Papaioannou
Ashlea Cornell
Nenette S. Madero <– YOU ARE HERE
Janette Kausen
Altenew Scrapbook Blog
Nathalie DeSousa
Terri Koszler
Seeka
Jaycee Gaspar
Teri Wilson
Amber Rain Davis
Therese Calvird
Isha Gupta
Anna Komenda
Erum Tasneem
TaeEun Yoo

Lilith Eeckels
Alex Syberia
Caly Person
Virginia Lu
Amanda Baldwin
Maryám Pérez
LauraJane
Kathleen Graumüller
Zinia Redo
Nancy McClelland Kymona Tracey

ALTENEW BUILD-A-FLOWER: FUCHSIA

ALTENEW BUILD-A-FLOWER: FUCHSIA

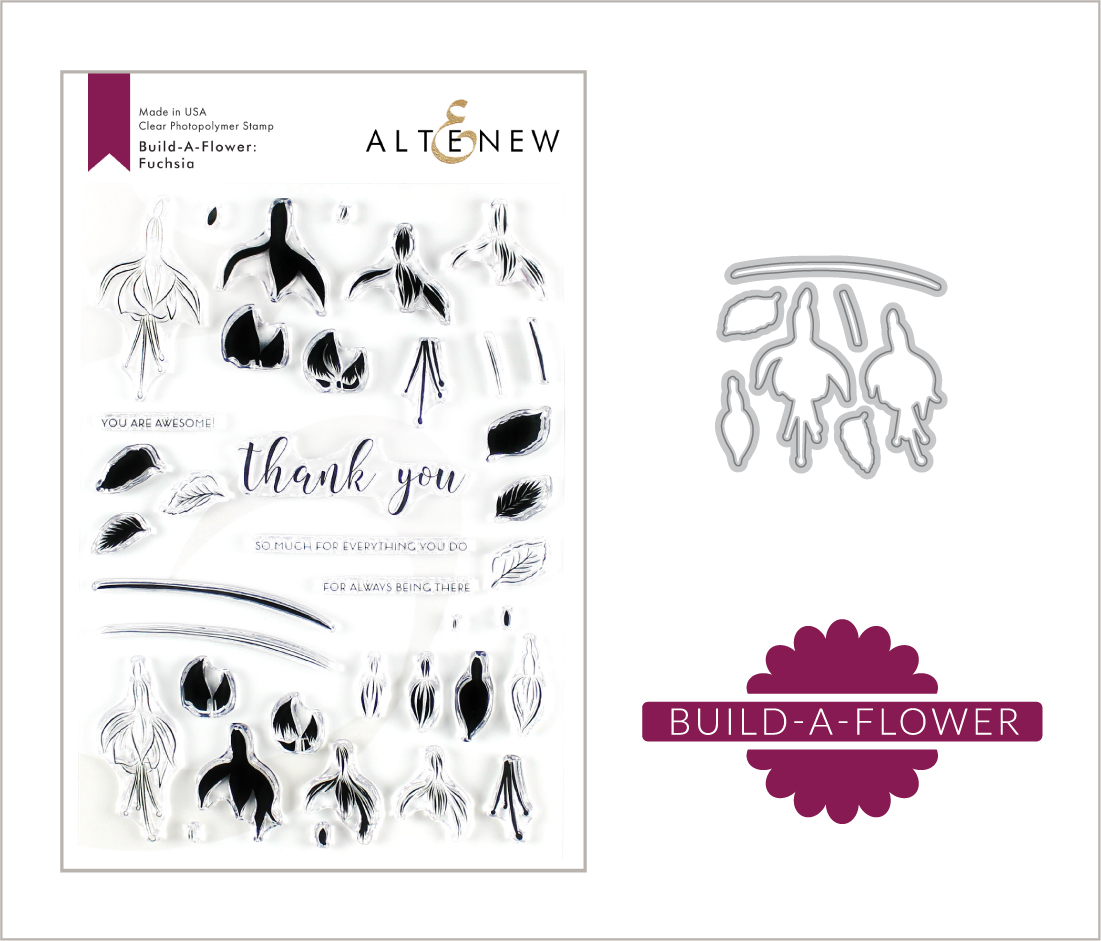
Hi everyone! Welcome to Altenew’s Build-a Flower: Fuschia release! You have arrived from the blog of the amazing EMILY MIDGETT. Just in case you are lost, the master list will be at the end of this blog post and at the Altenew Card Blog where this stamp set release is being hosted. Take a look at this beautiful stamp and die set!!!

BUILD A FLOWER: FUCHSIA

Below are 2 samples of cards I made for this stamp set using the stamp layering technique and the no line watercolor technique.

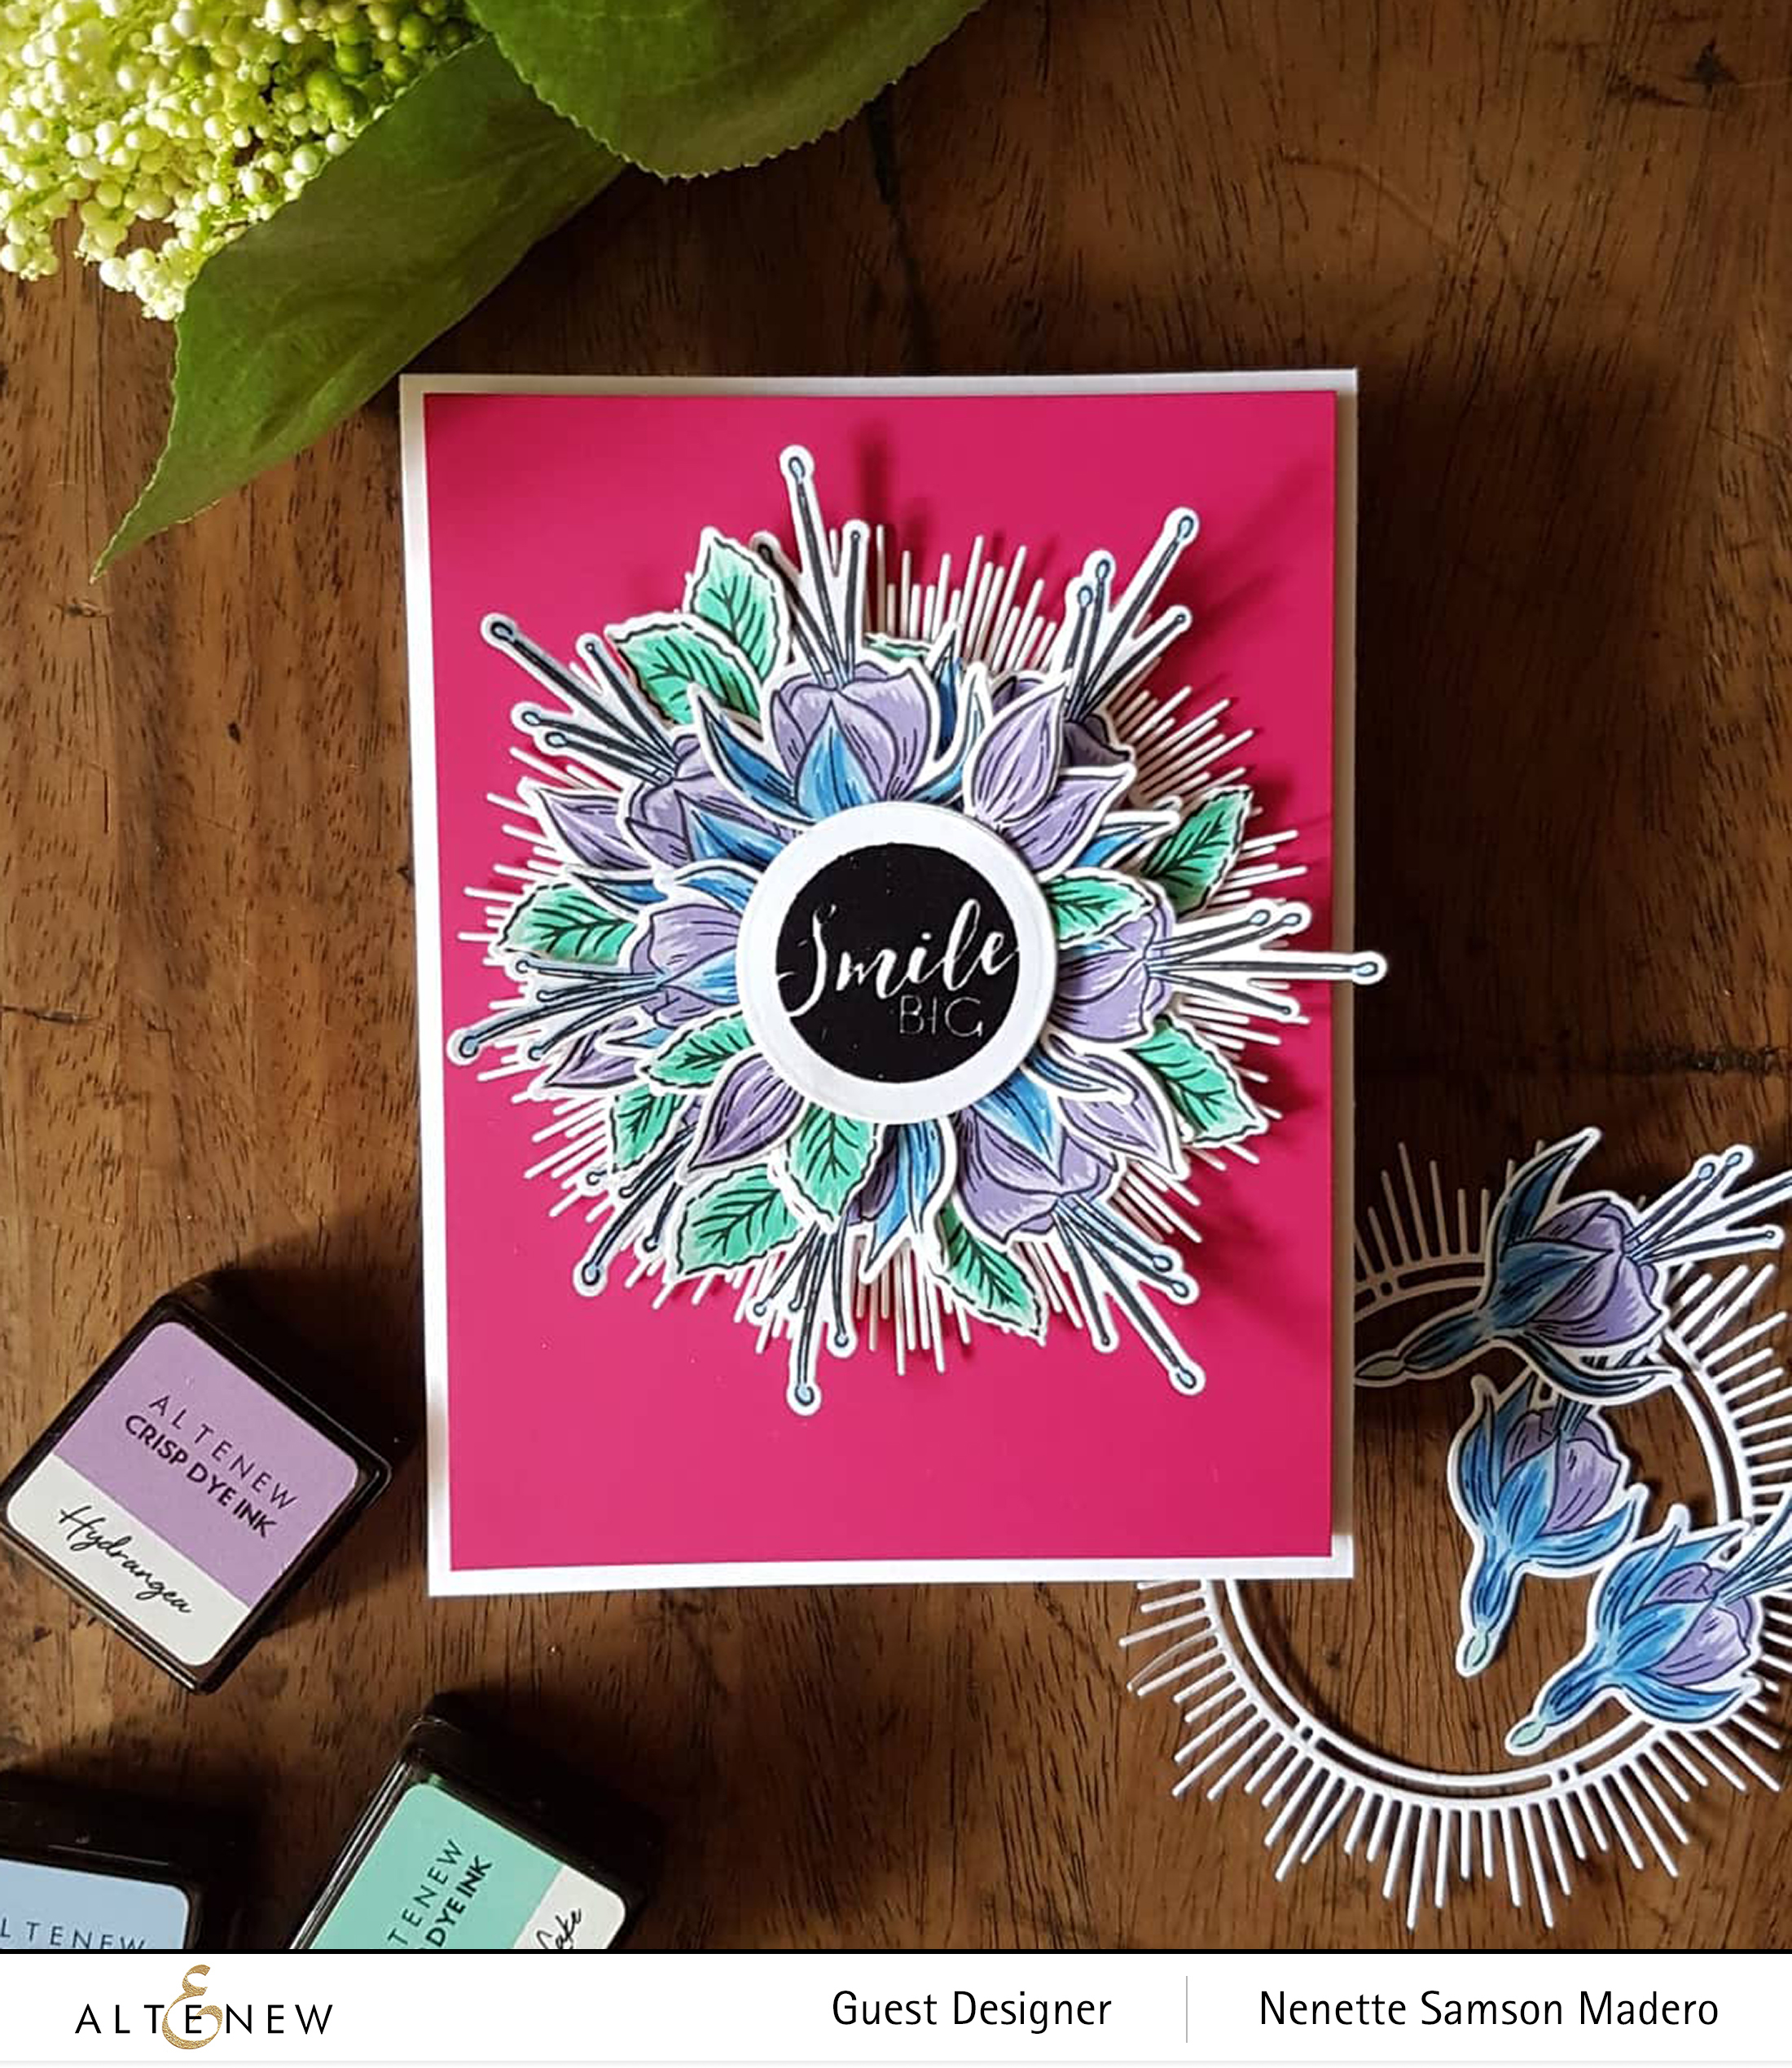
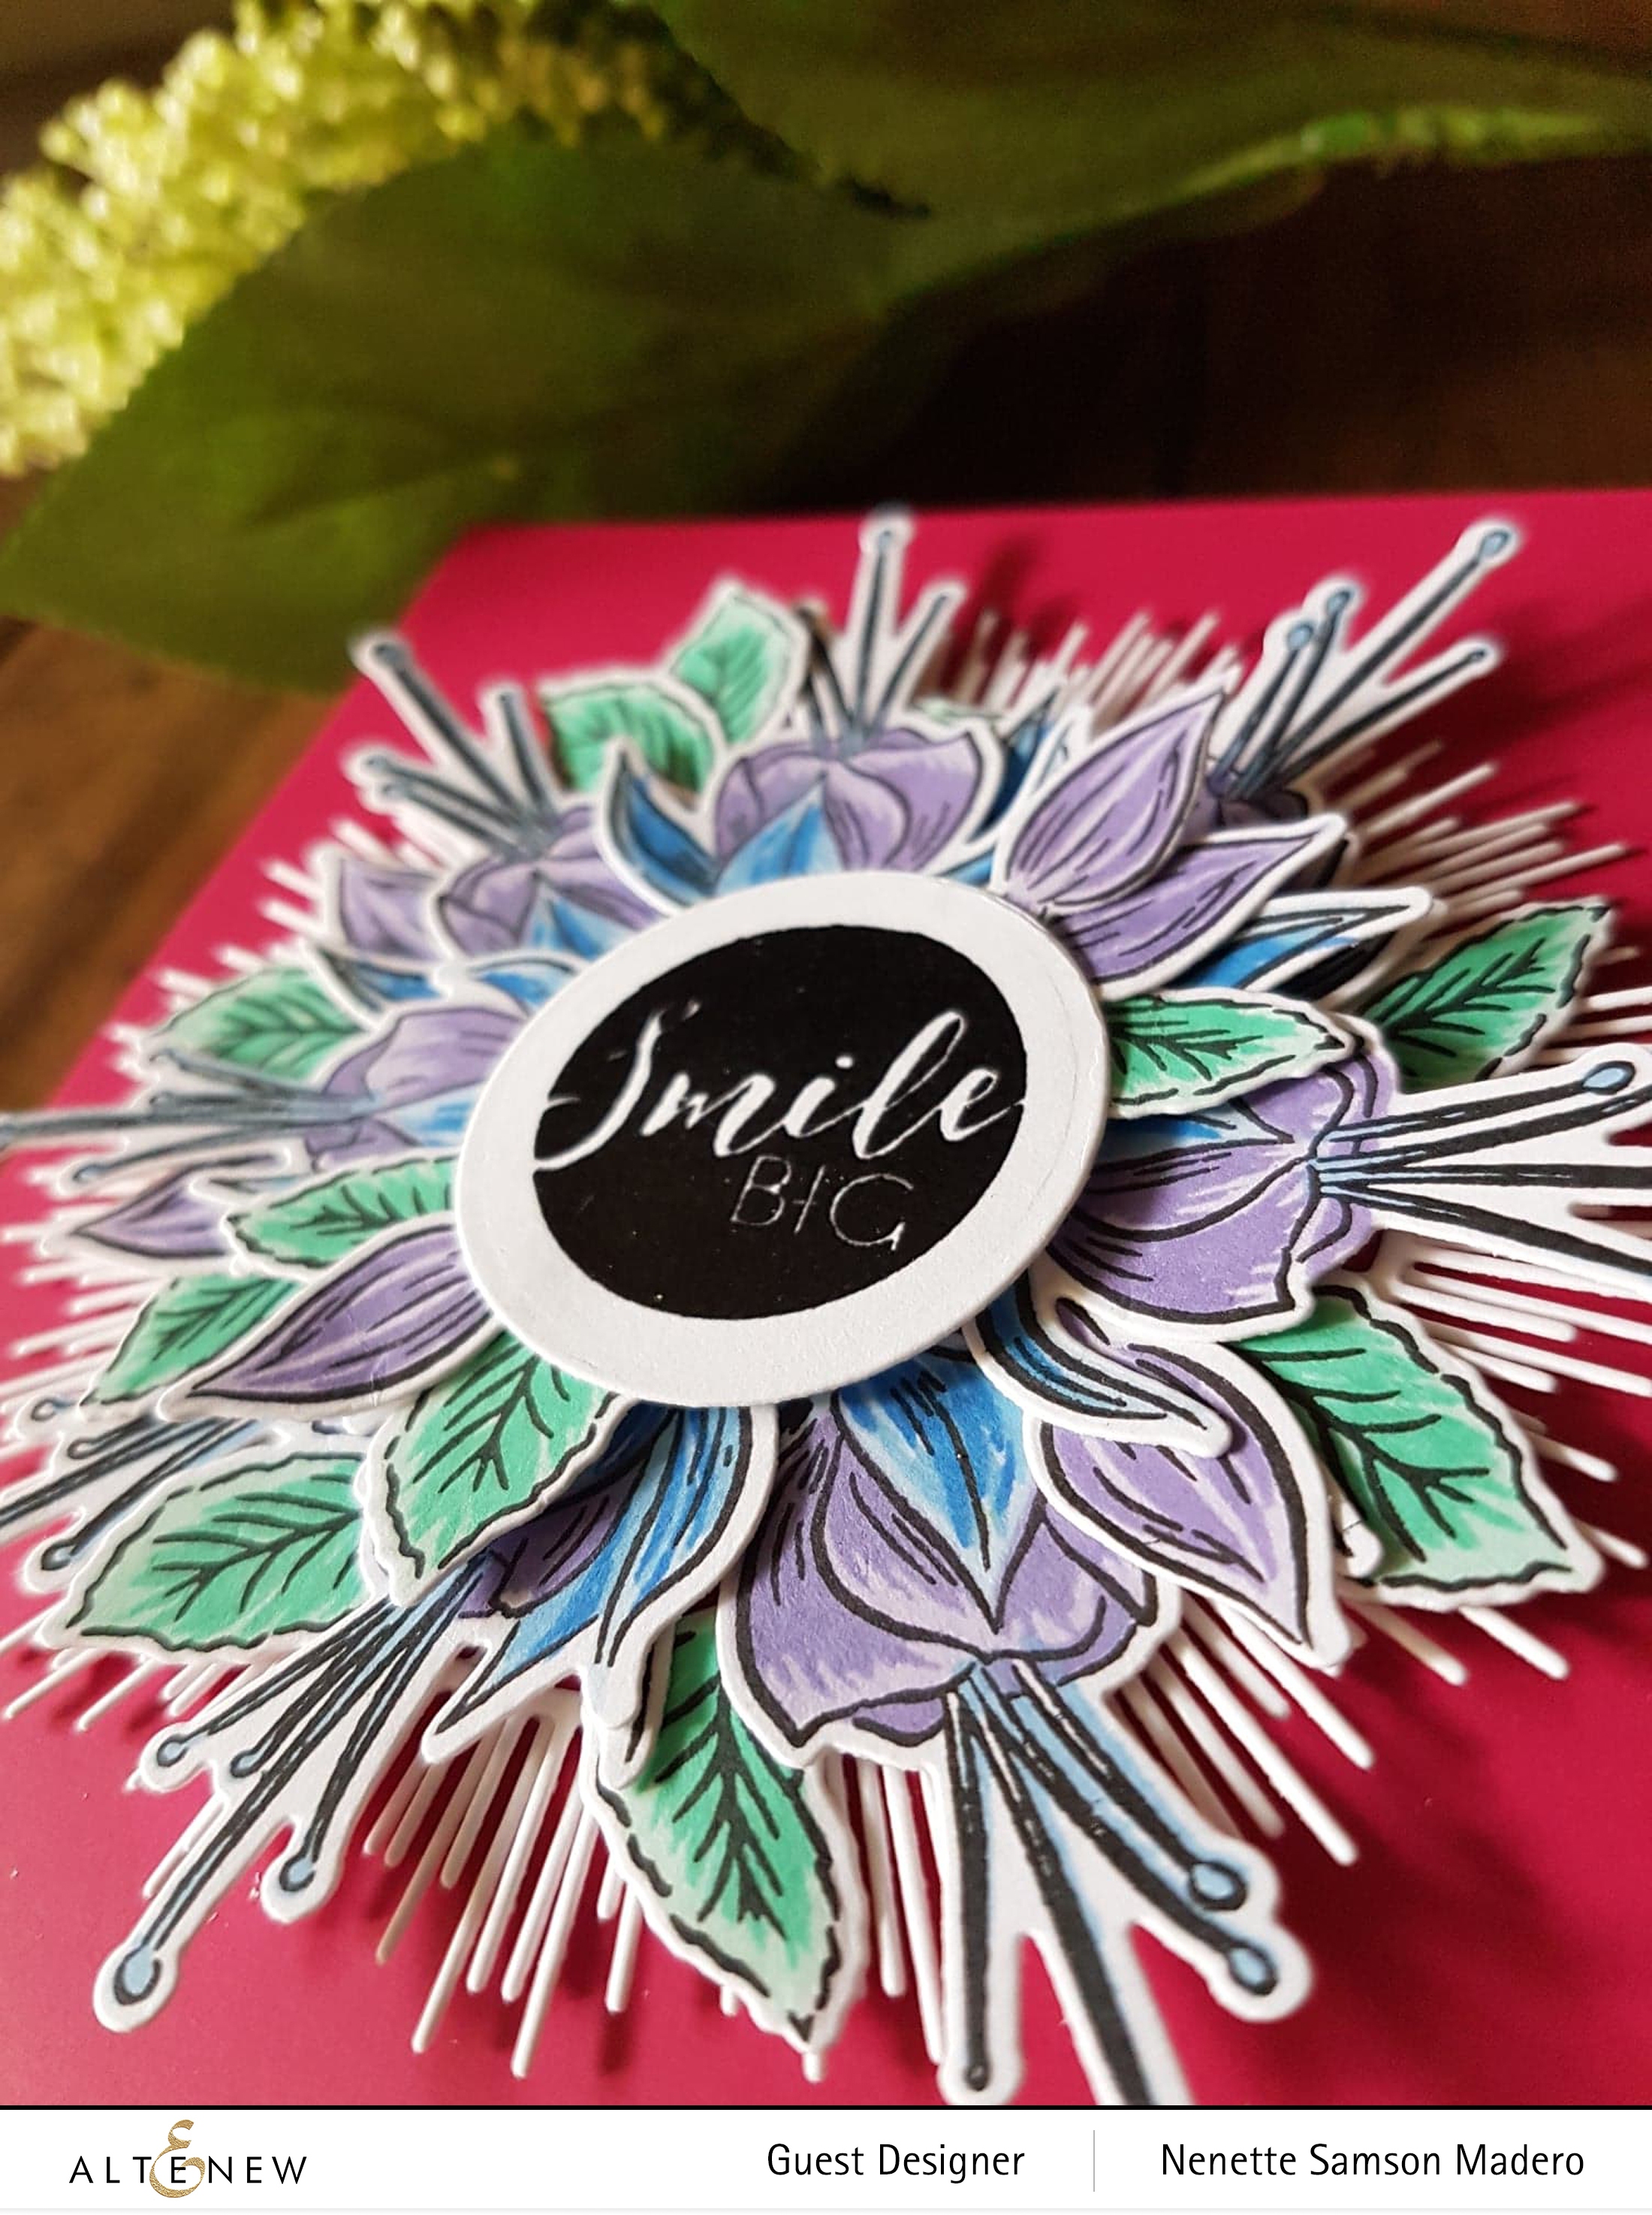
SMILE BIG CARD

MATERIALS:

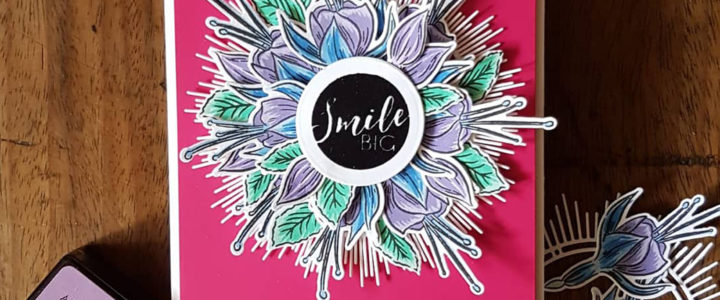
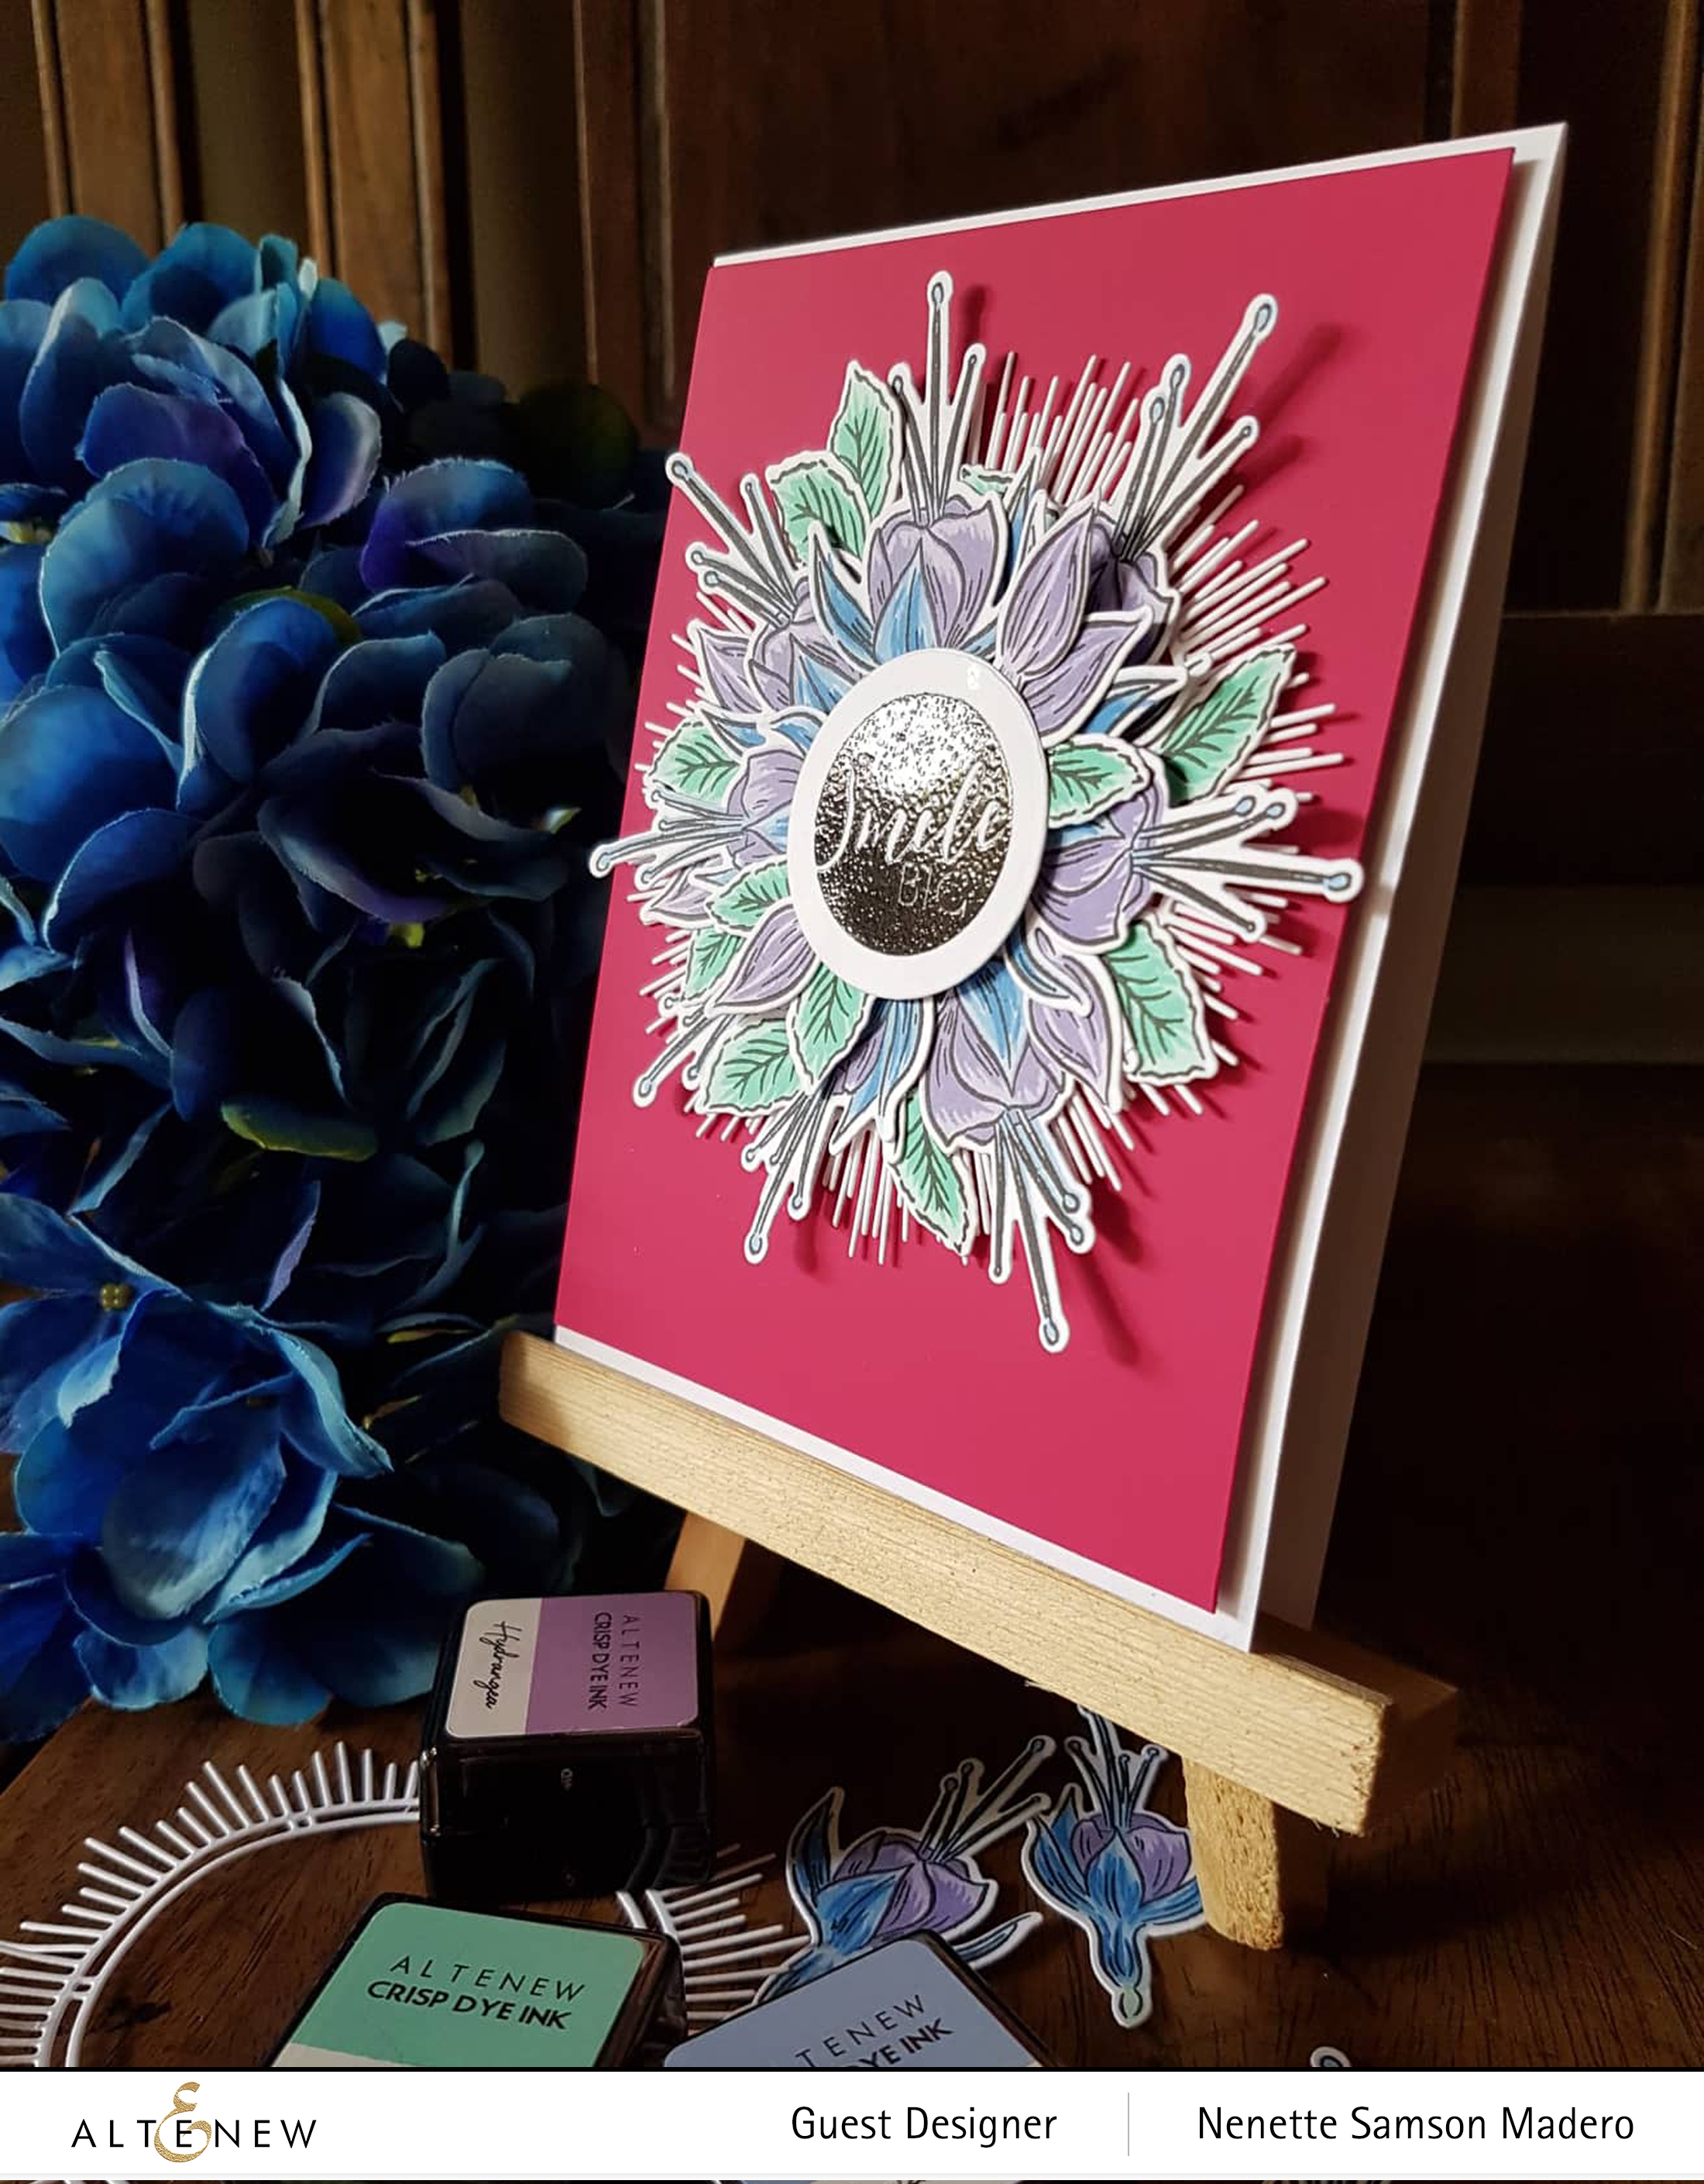
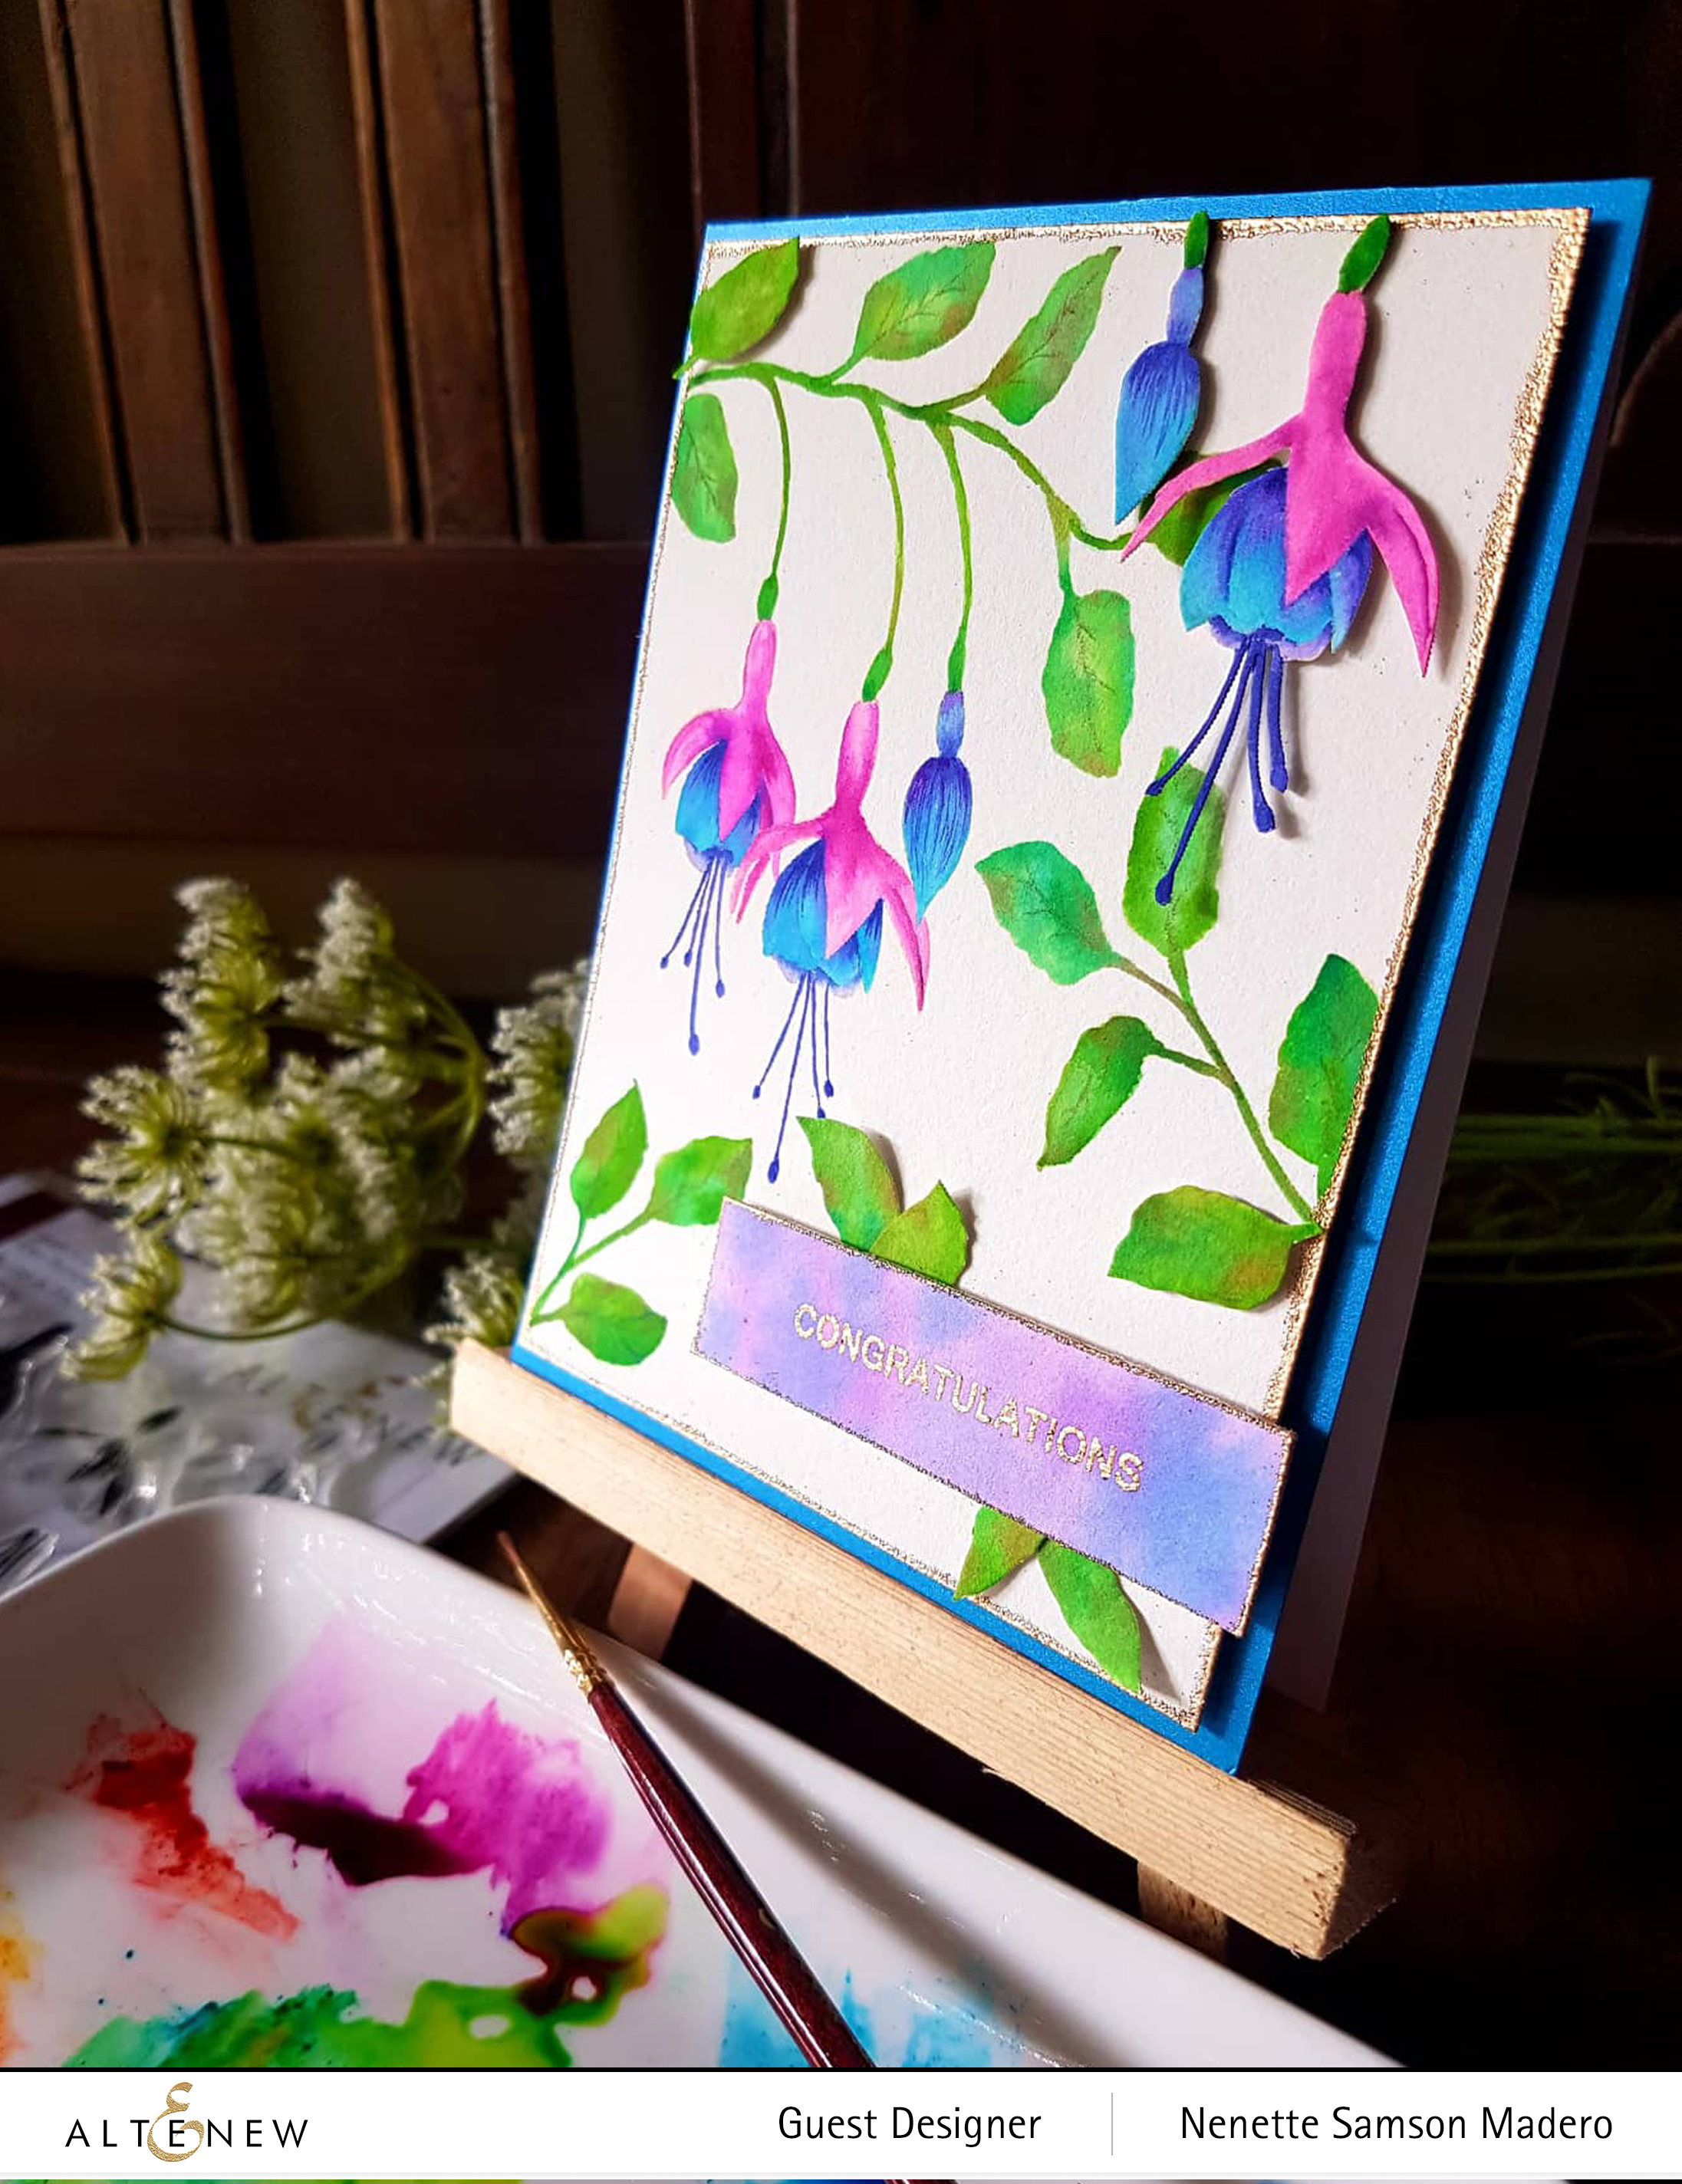
I decided not to use the stems for this flower and just use the flowers, buds and leaves to create a focal point. The mid-century frame die was used to create a frame using white cardstock. Two of them were layered to add more rays. The flowers were then stamped using the different layers then the flowers were arranged using adhesive and foam tape for dimension.

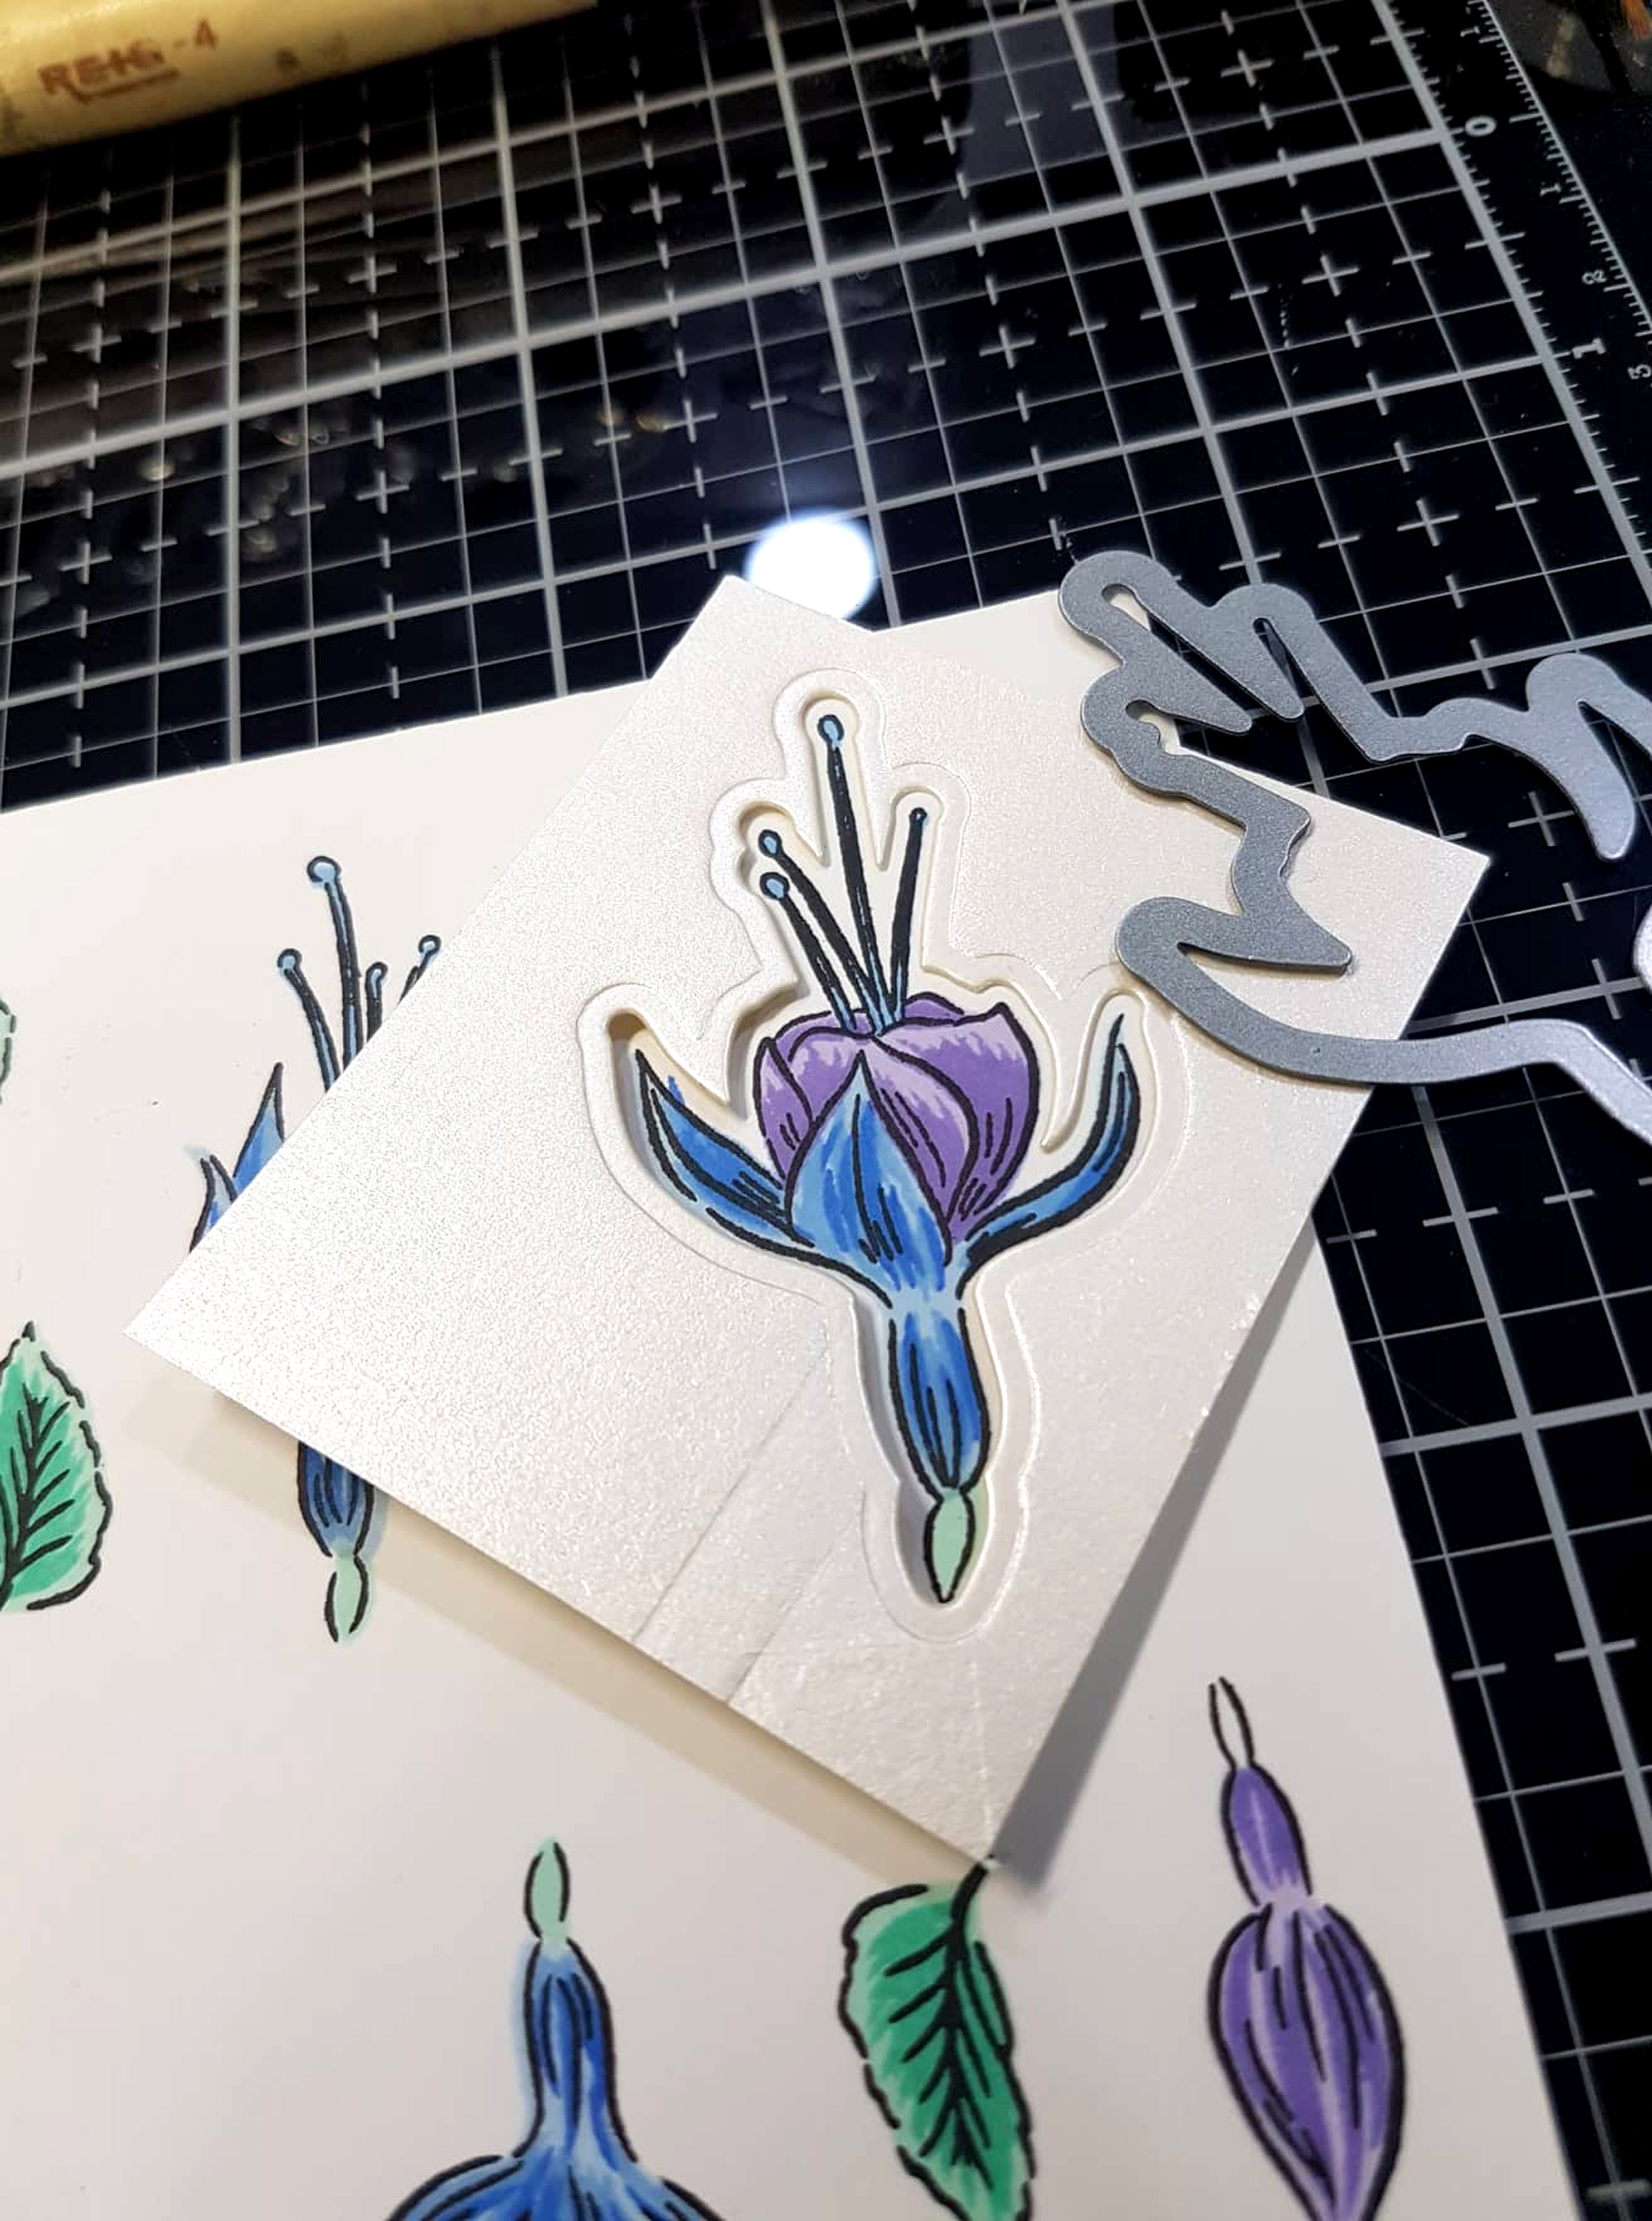
I always die cut scratch paper to act as a template when lining up the die with the stamped image to make sure the white outline around the image is uniform.

The sentiment from the Circled Sentiments was stamped using the Obsidian pigment ink then embossed with clear embossing powder.

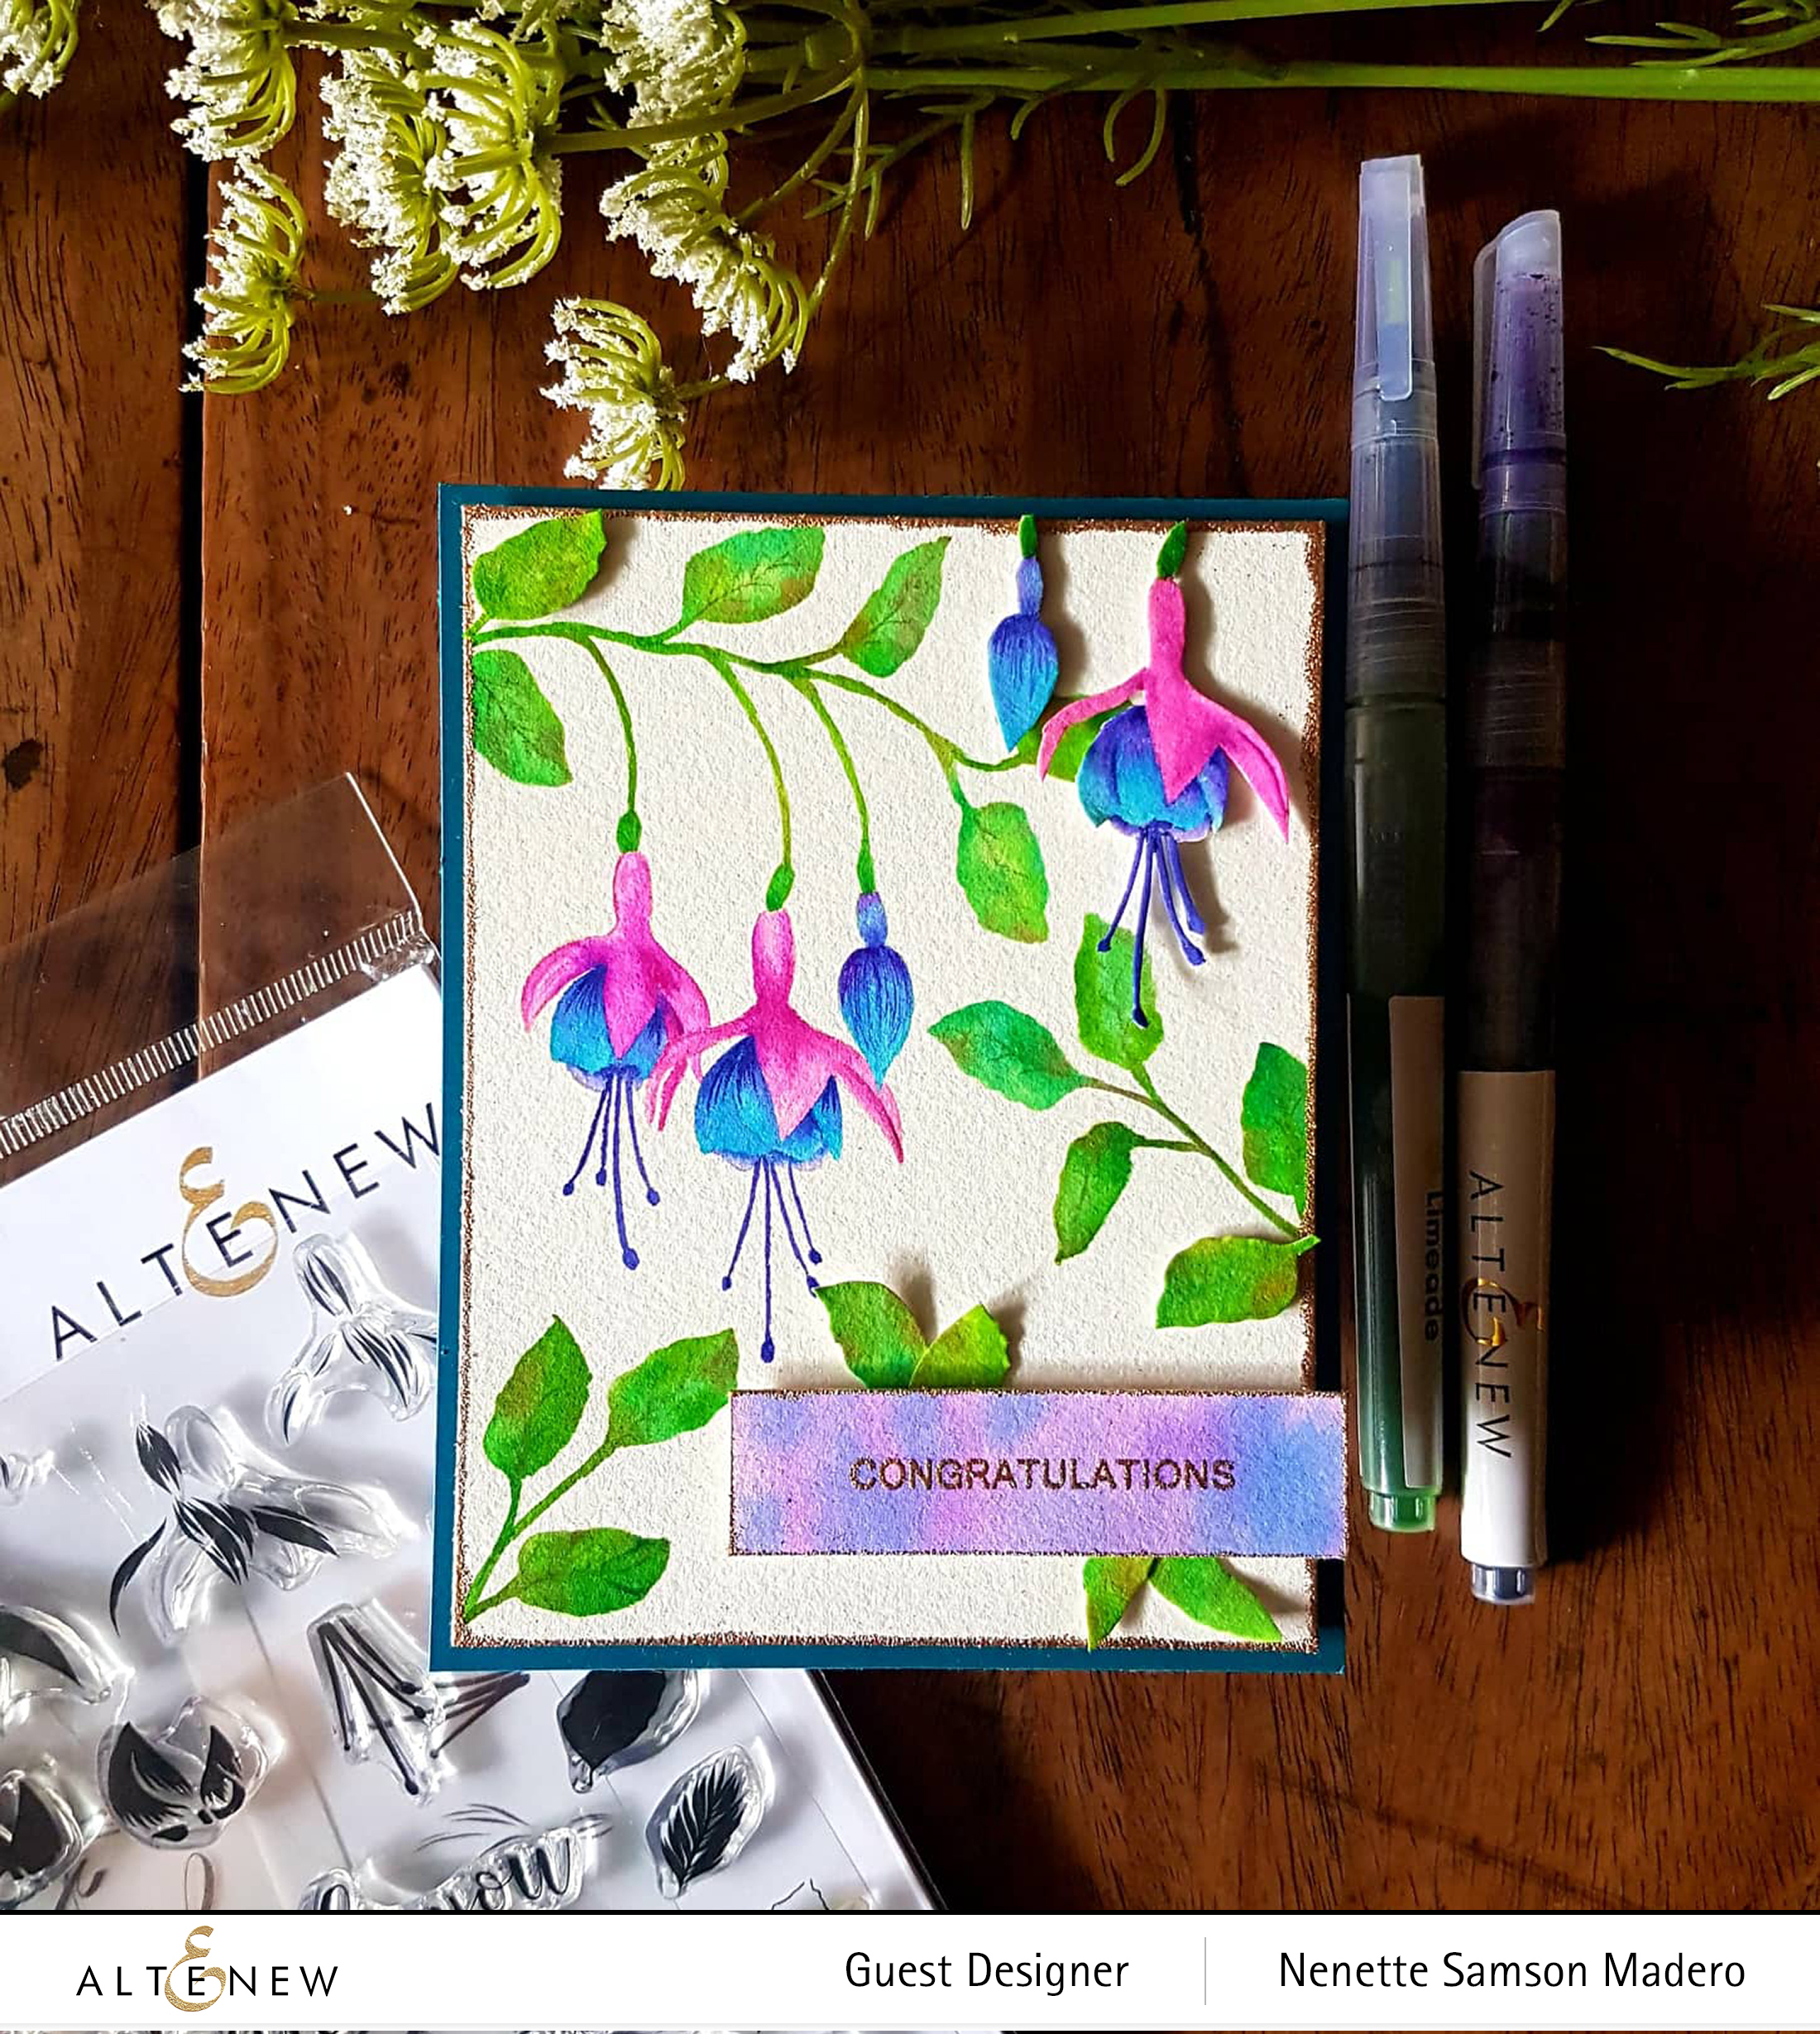
CONGRATULATIONS CARD

MATERIALS:

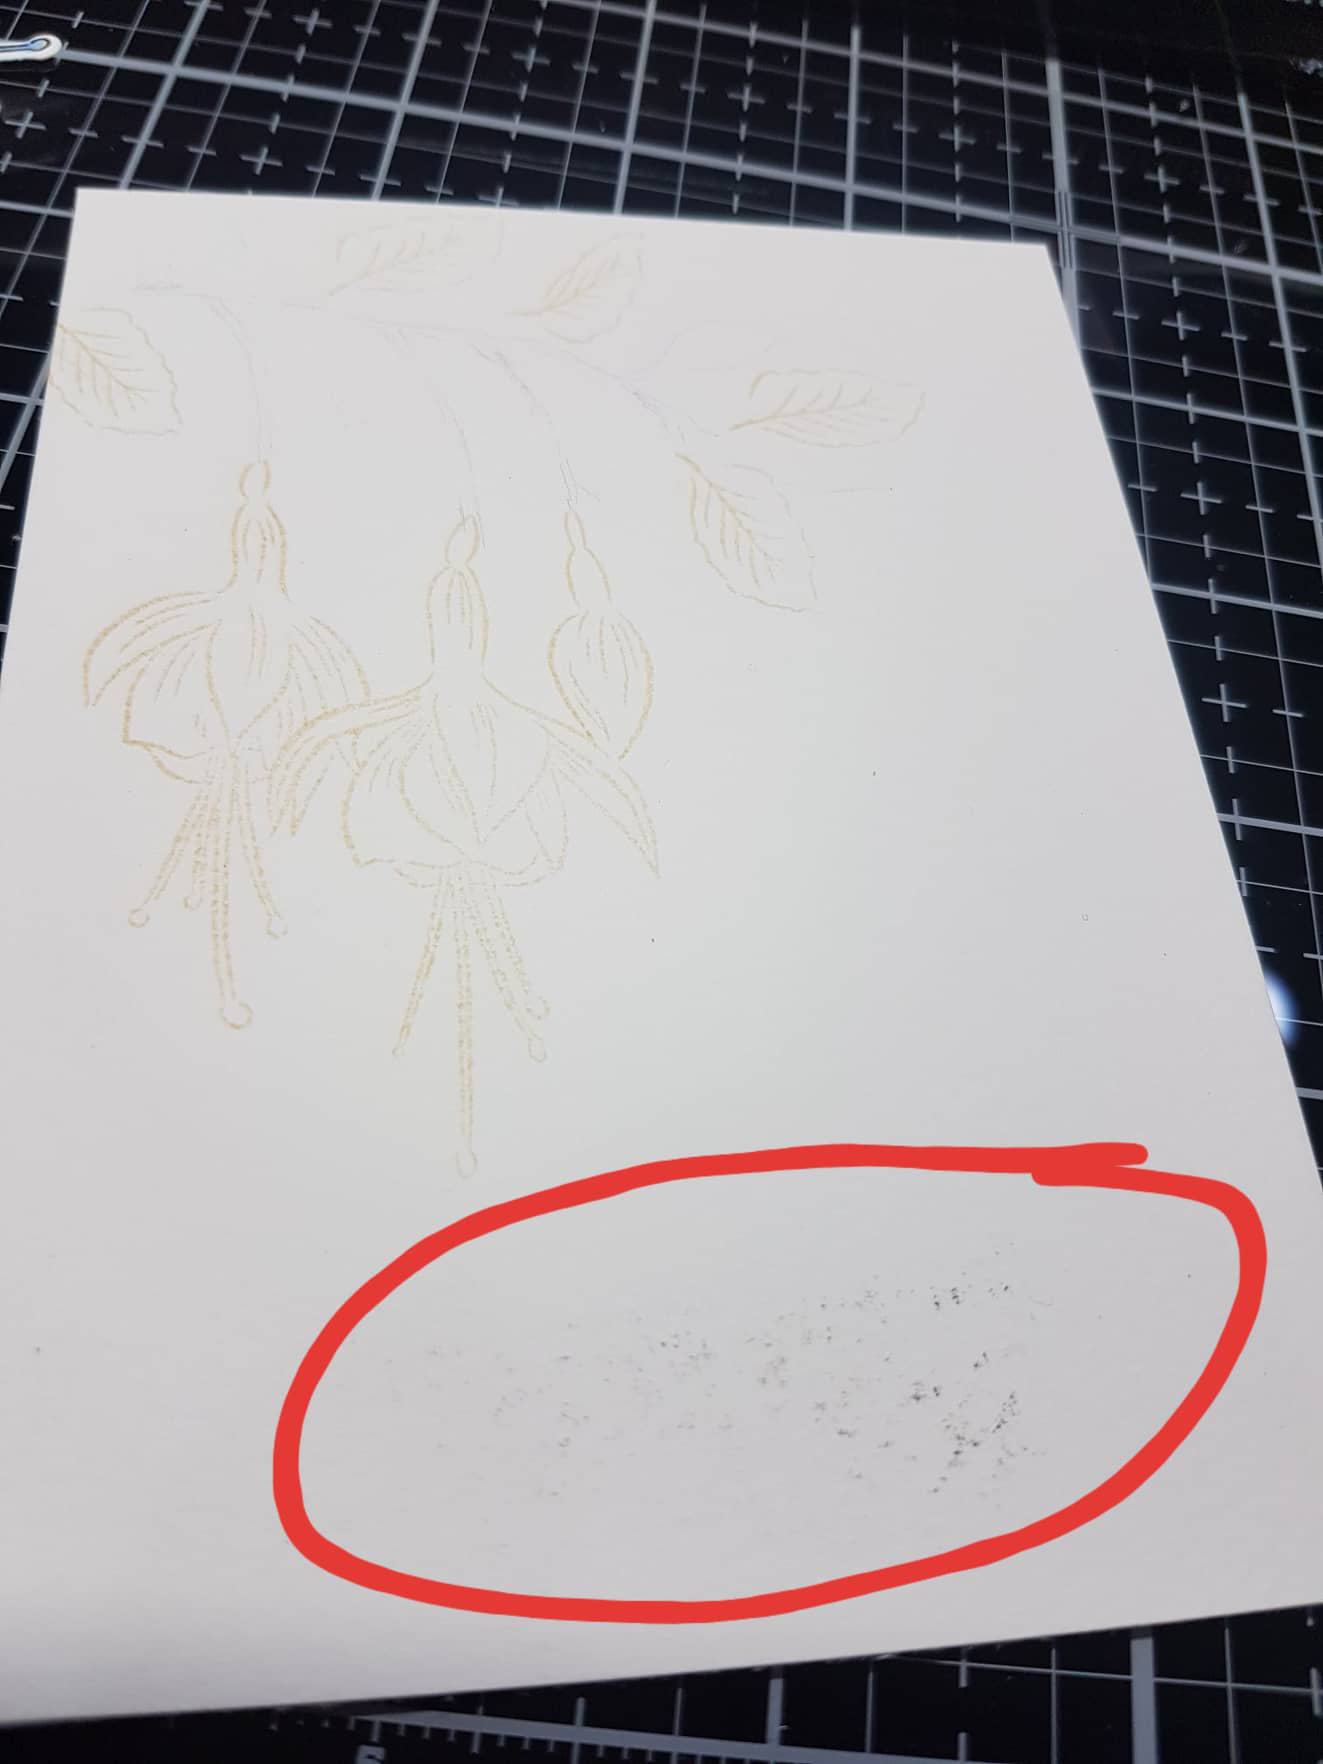
I had a booboo 🙁 After carefully stamping and masking my card front, I didn’t realize that the magnet of my Misti somehow had ink underneath it so when I lifted it from the card front, this was what I saw. 🙁

So instead of starting all over again with stamping and masking, I just decide to cover up the area with a watercolored sentiment strip. 🙂

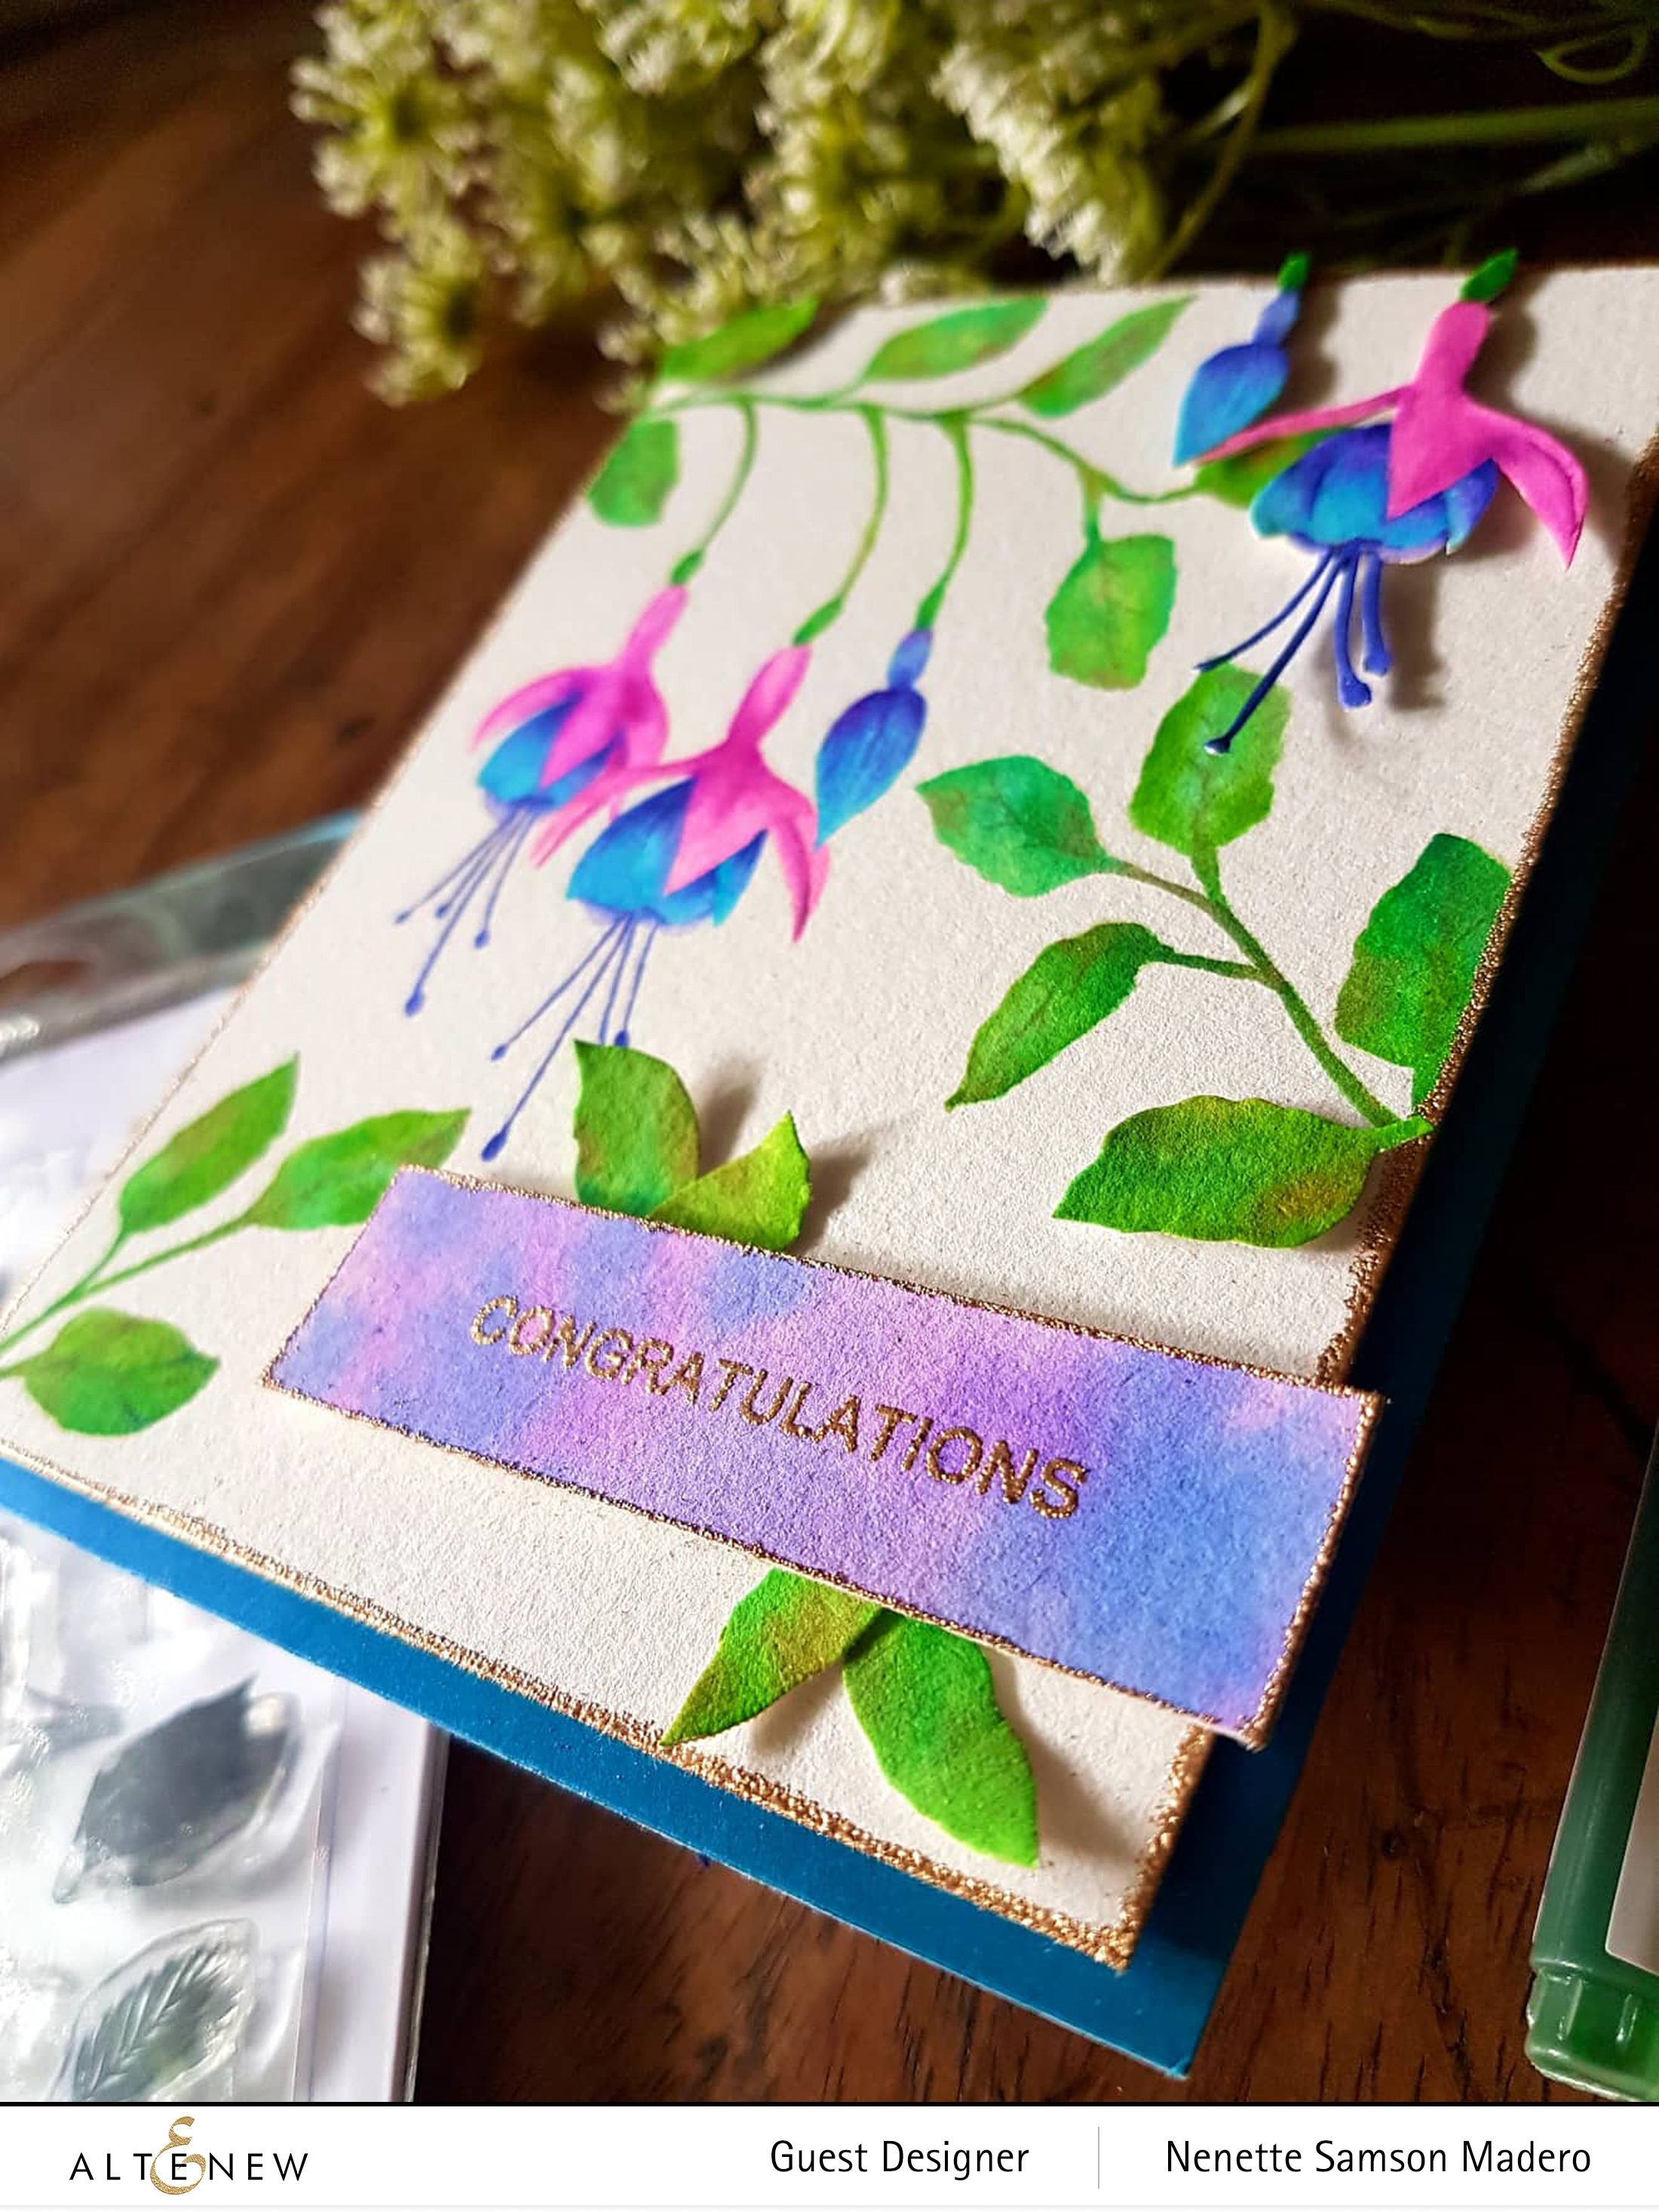
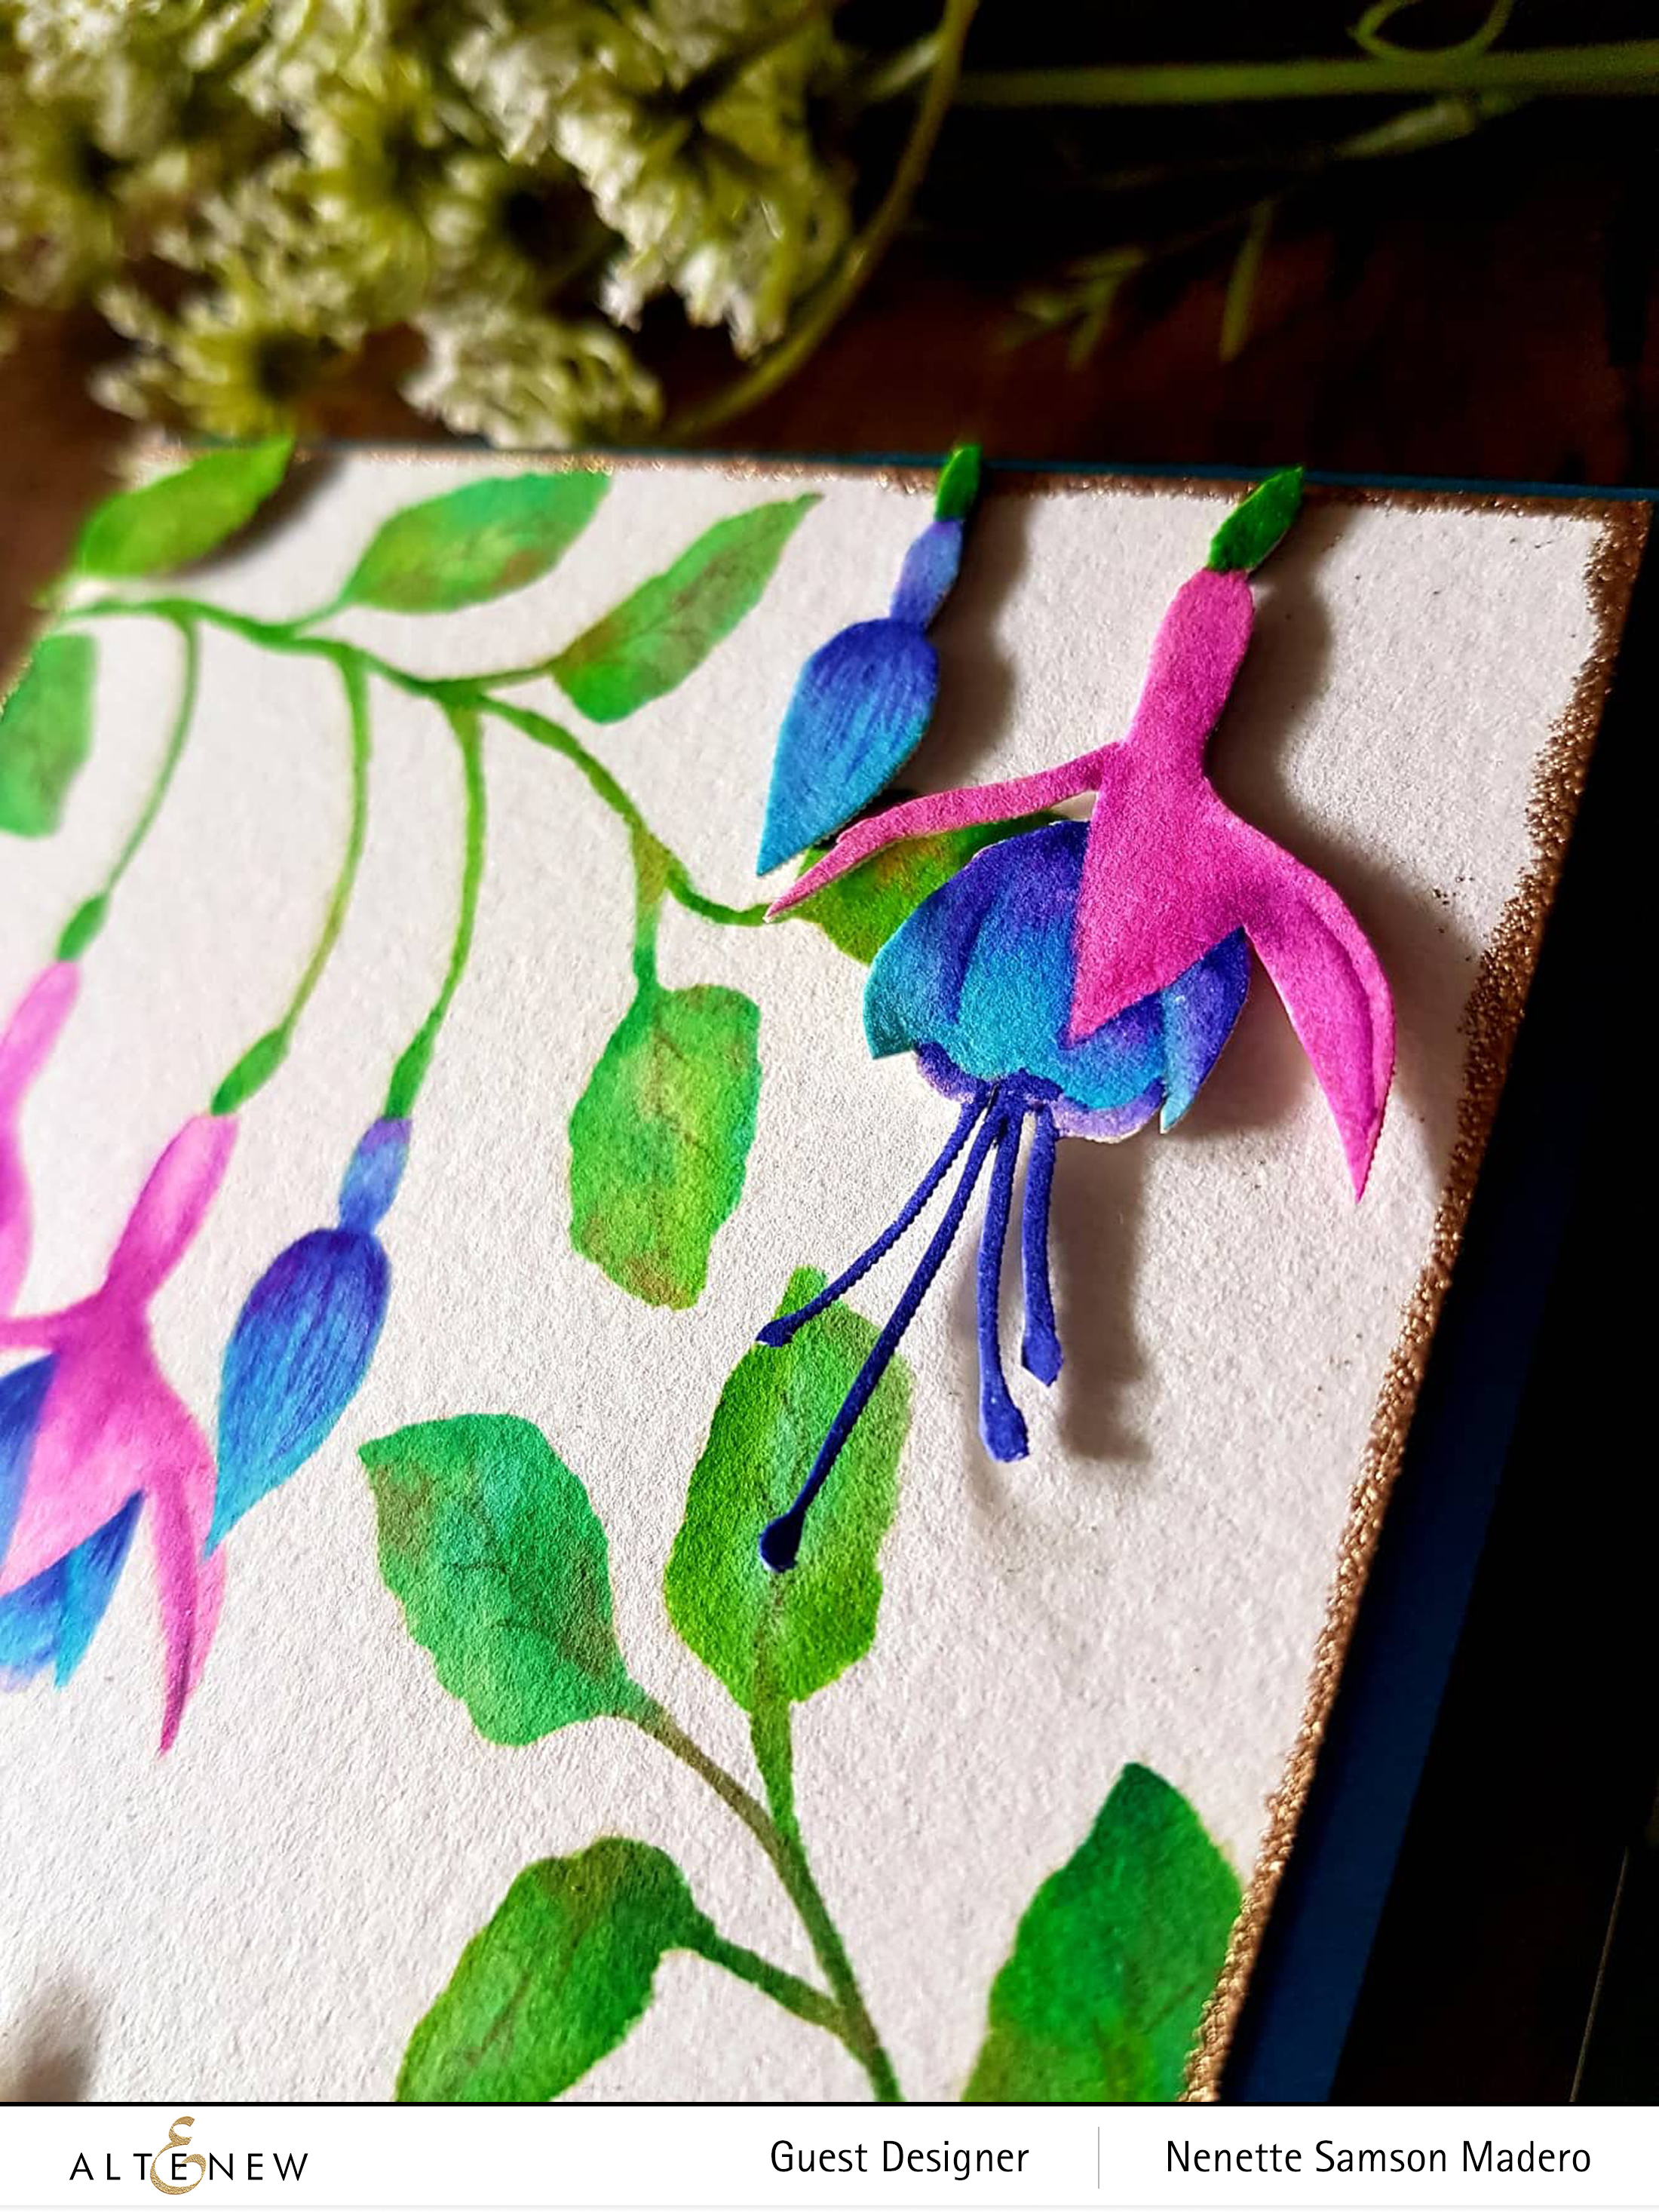
I chose to make a simple no-line coloring card front by stamping the images using Distress Ink Antique Linen then colored them in with Altenew’s watercolor brush markers. A few of the flowers were stamped then the rest of the cardfront was filled with leaves. The stems were painted freehand after stamping the leaves randomly. The flower was masked so that I could layer one on top of the other.

I also inked the edges of the card front and sentiment strip with Versmark Ink and then heat embossed with Rose Gold embossing powder to add a touch of shimmer at the edges of the card.

Since I had extra flowers and leaves, I decided to fussy cut them and adhere them to the card front with foam tape for better balance and to add more dimension.

To celebrate this release, Altenew is giving away a $30 gift certificate to 6 lucky winners! Please leave a comment on the Altenew Card Blog and/or Altenew Scrapbook Blog for a chance to win.

We’ll also draw a winner to receive a $15 gift certificate from the comments left on each designer’s blog on the blog hop list below. All winners will be announced on the Altenew blogs on 10/7/2019.

Thank you so much for dropping by!!! I appreciate all your heartwarming comments here and on IG. Your kind words continue to inspire me to create more. ❤️ Next up is the amazing Caly Person. Hope you can follow my IG & FB accounts for future paper crating projects. Have a wonderful week ahead! ❤️

FACEBOOK | INSTAGRAM | PINTEREST

BLOG HOP LIST

ALTENEW SEPTEMBER 2019 STAMP/DIE/STENCIL RELEASE BLOG HOP + GIVEAWAY

ALTENEW SEPTEMBER 2019 STAMP/DIE/STENCIL RELEASE BLOG HOP + GIVEAWAY

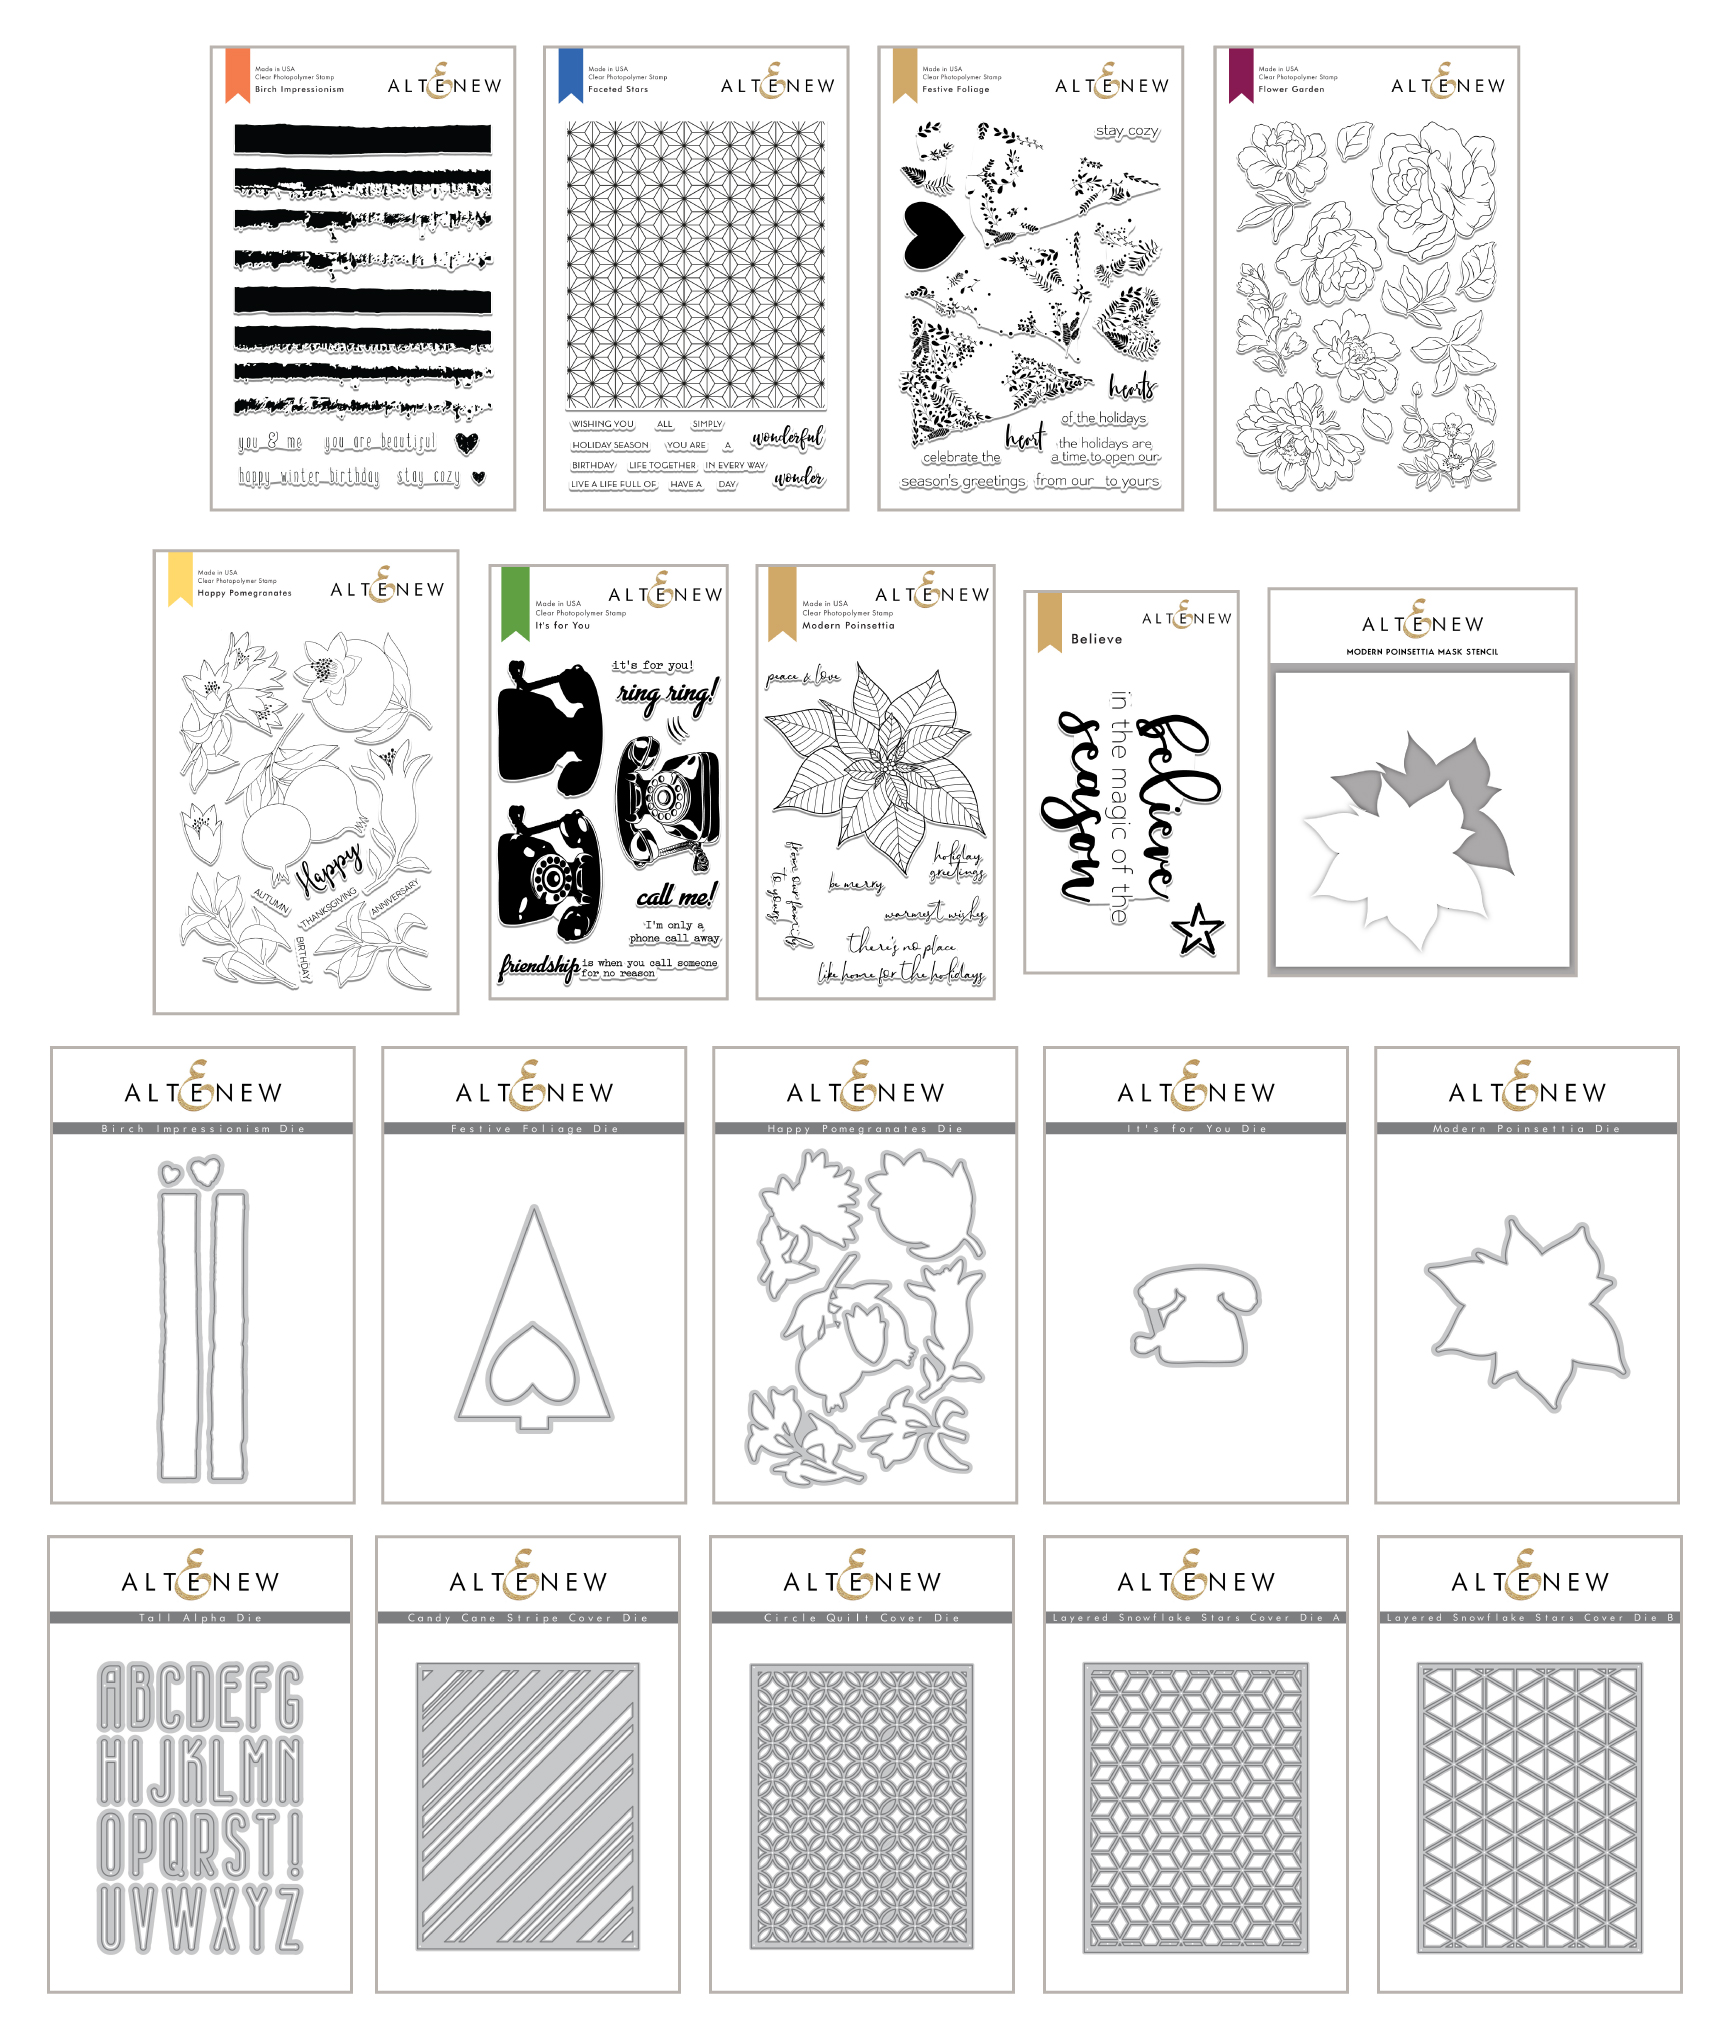
Welcome to my blog, everyone! I’m so happy to be a part of Altenew’s September 2019 Release Blog Hop with all the talented card designers. ❤️ I’d like to thank the amazing Nathalie DeSousa for sending you over here. 🙂 If you are lost, the master list will be at the end of this post. Take a look at all the wonderful stamps, dies and stencils in this September Release. Scroll down to see how some of them were used to create handmade cards. 🙂

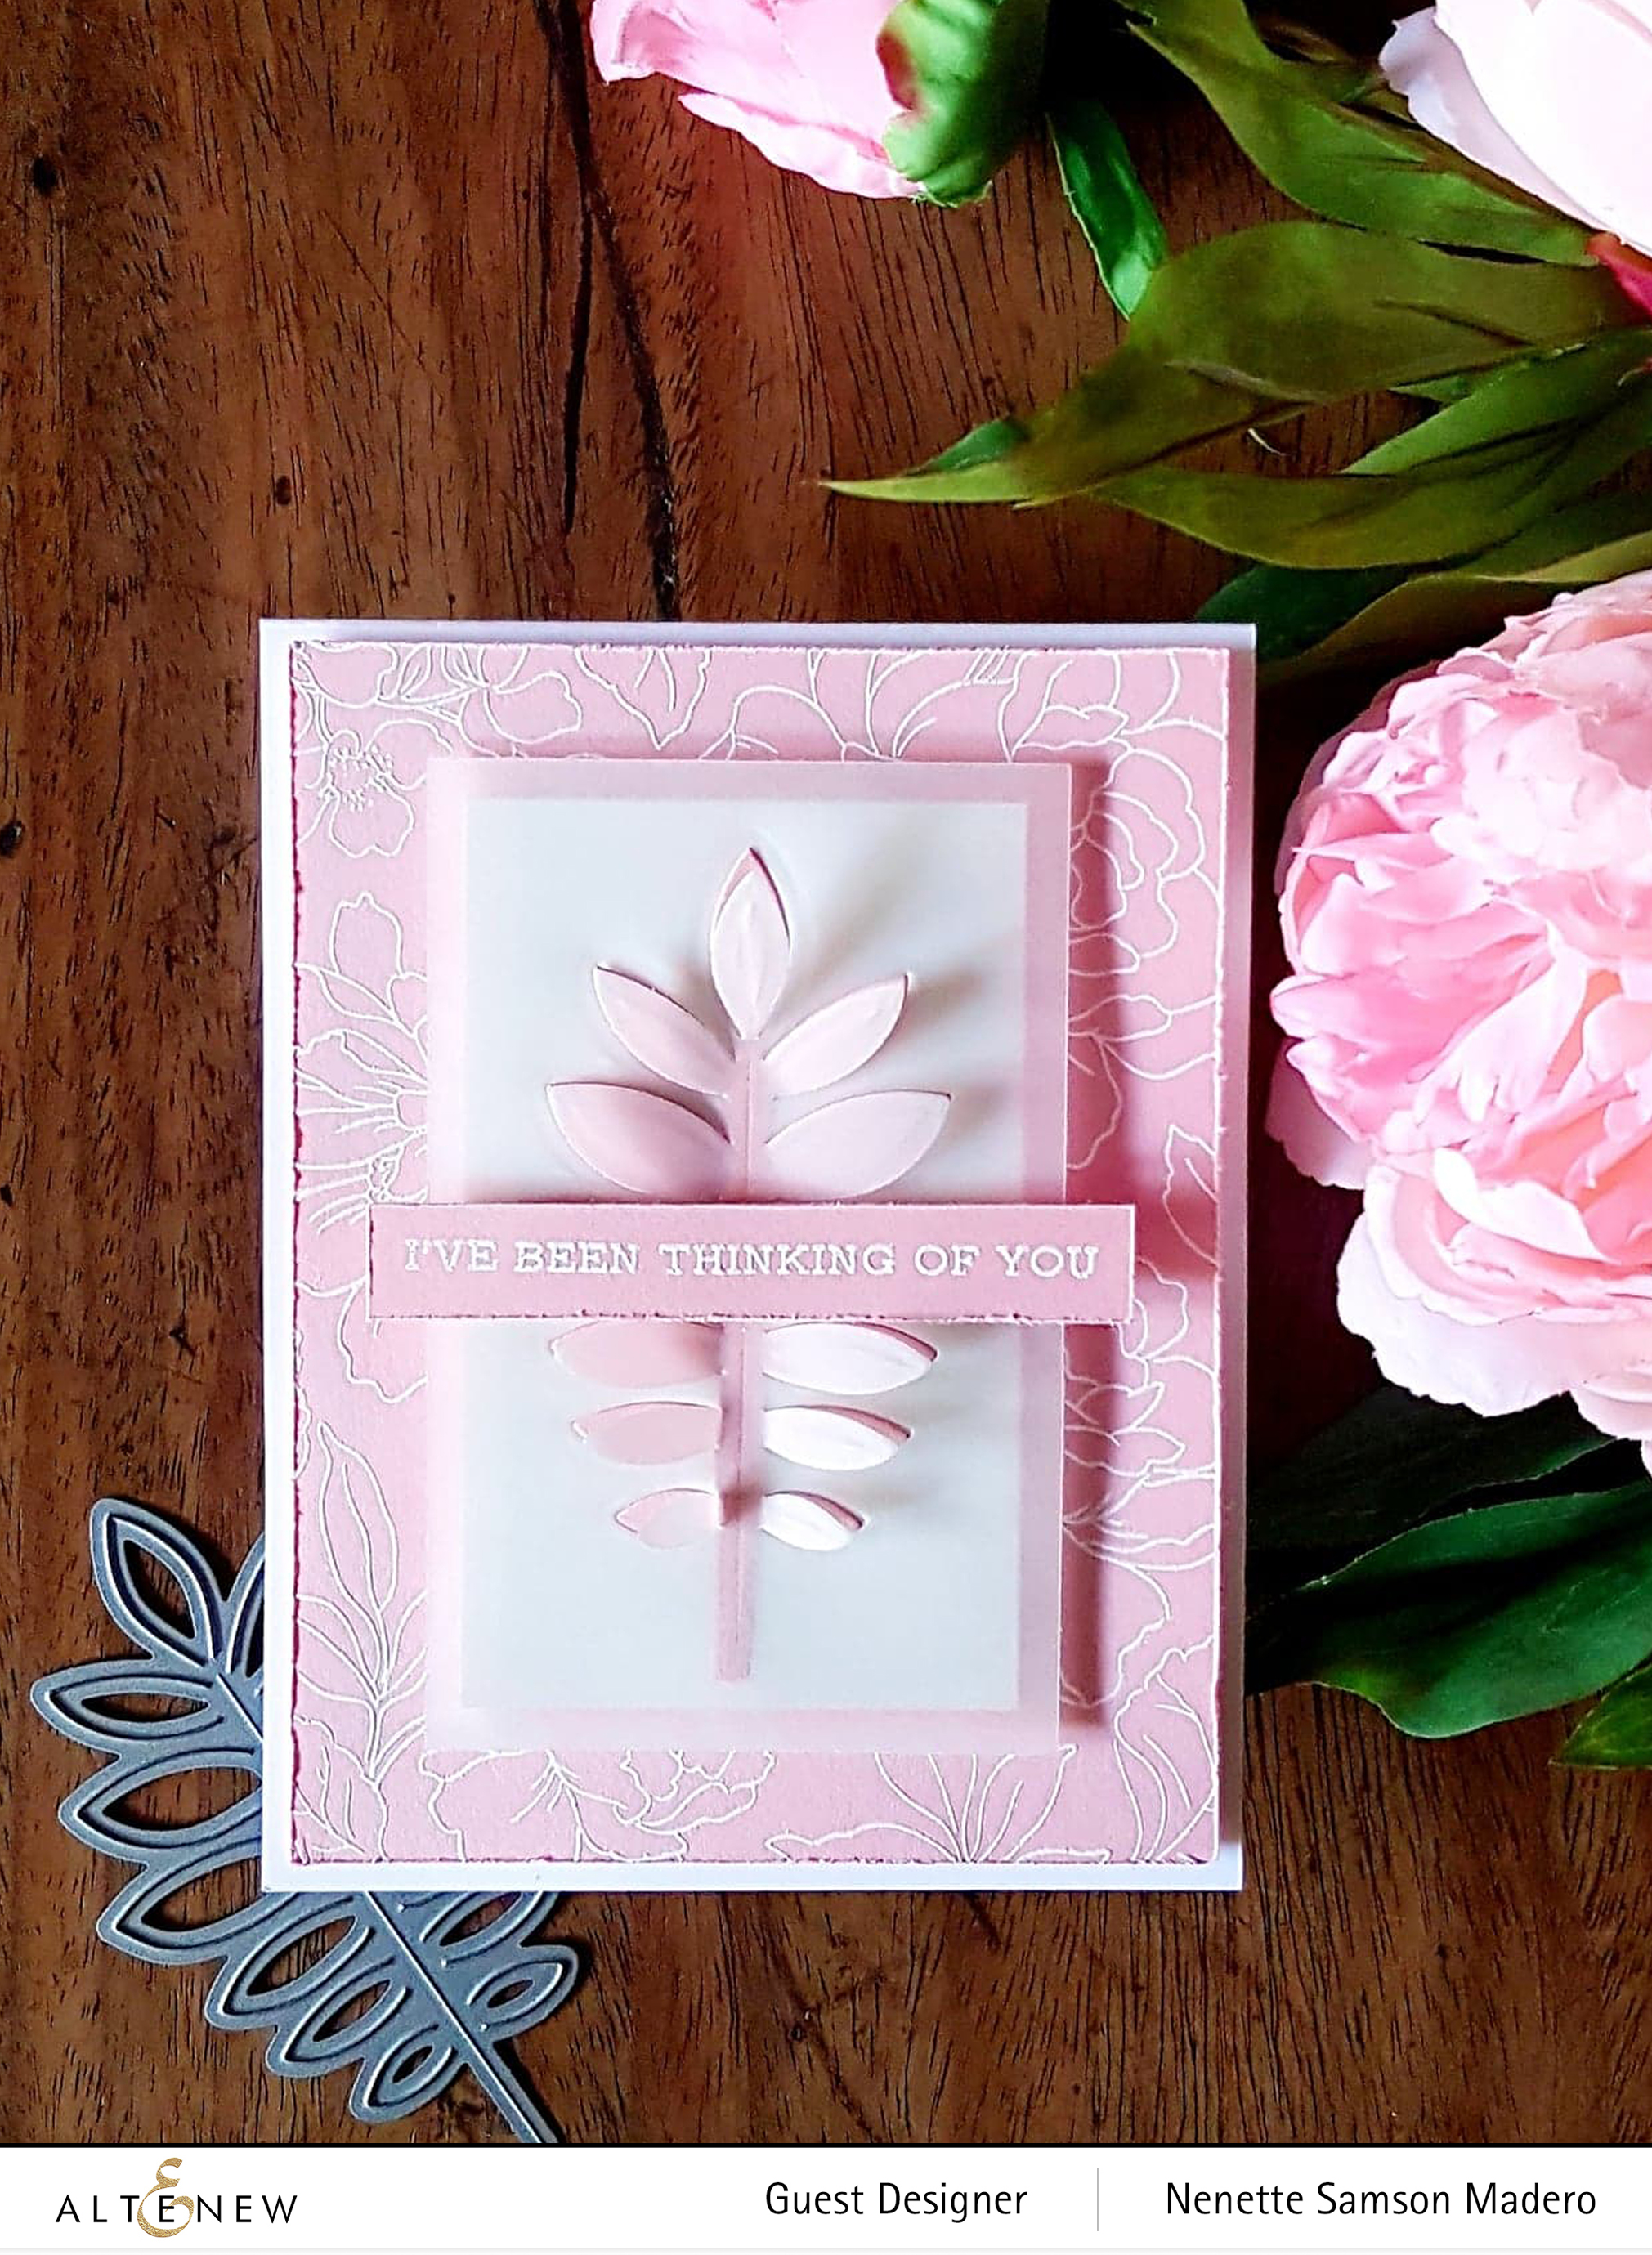
I’VE BEEN THINKING OF YOU CARD

The Flower Garden is a beautiful stamp set that is so versatile. You can use different coloring materials to add life to the images or you can simply stamp the outline and create subtle, clean, feminine, and elegant cards.

MATERIALS:

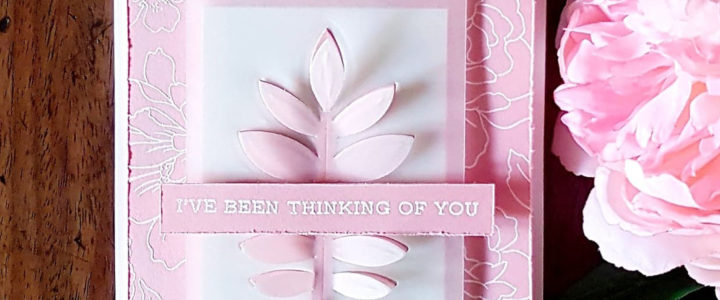
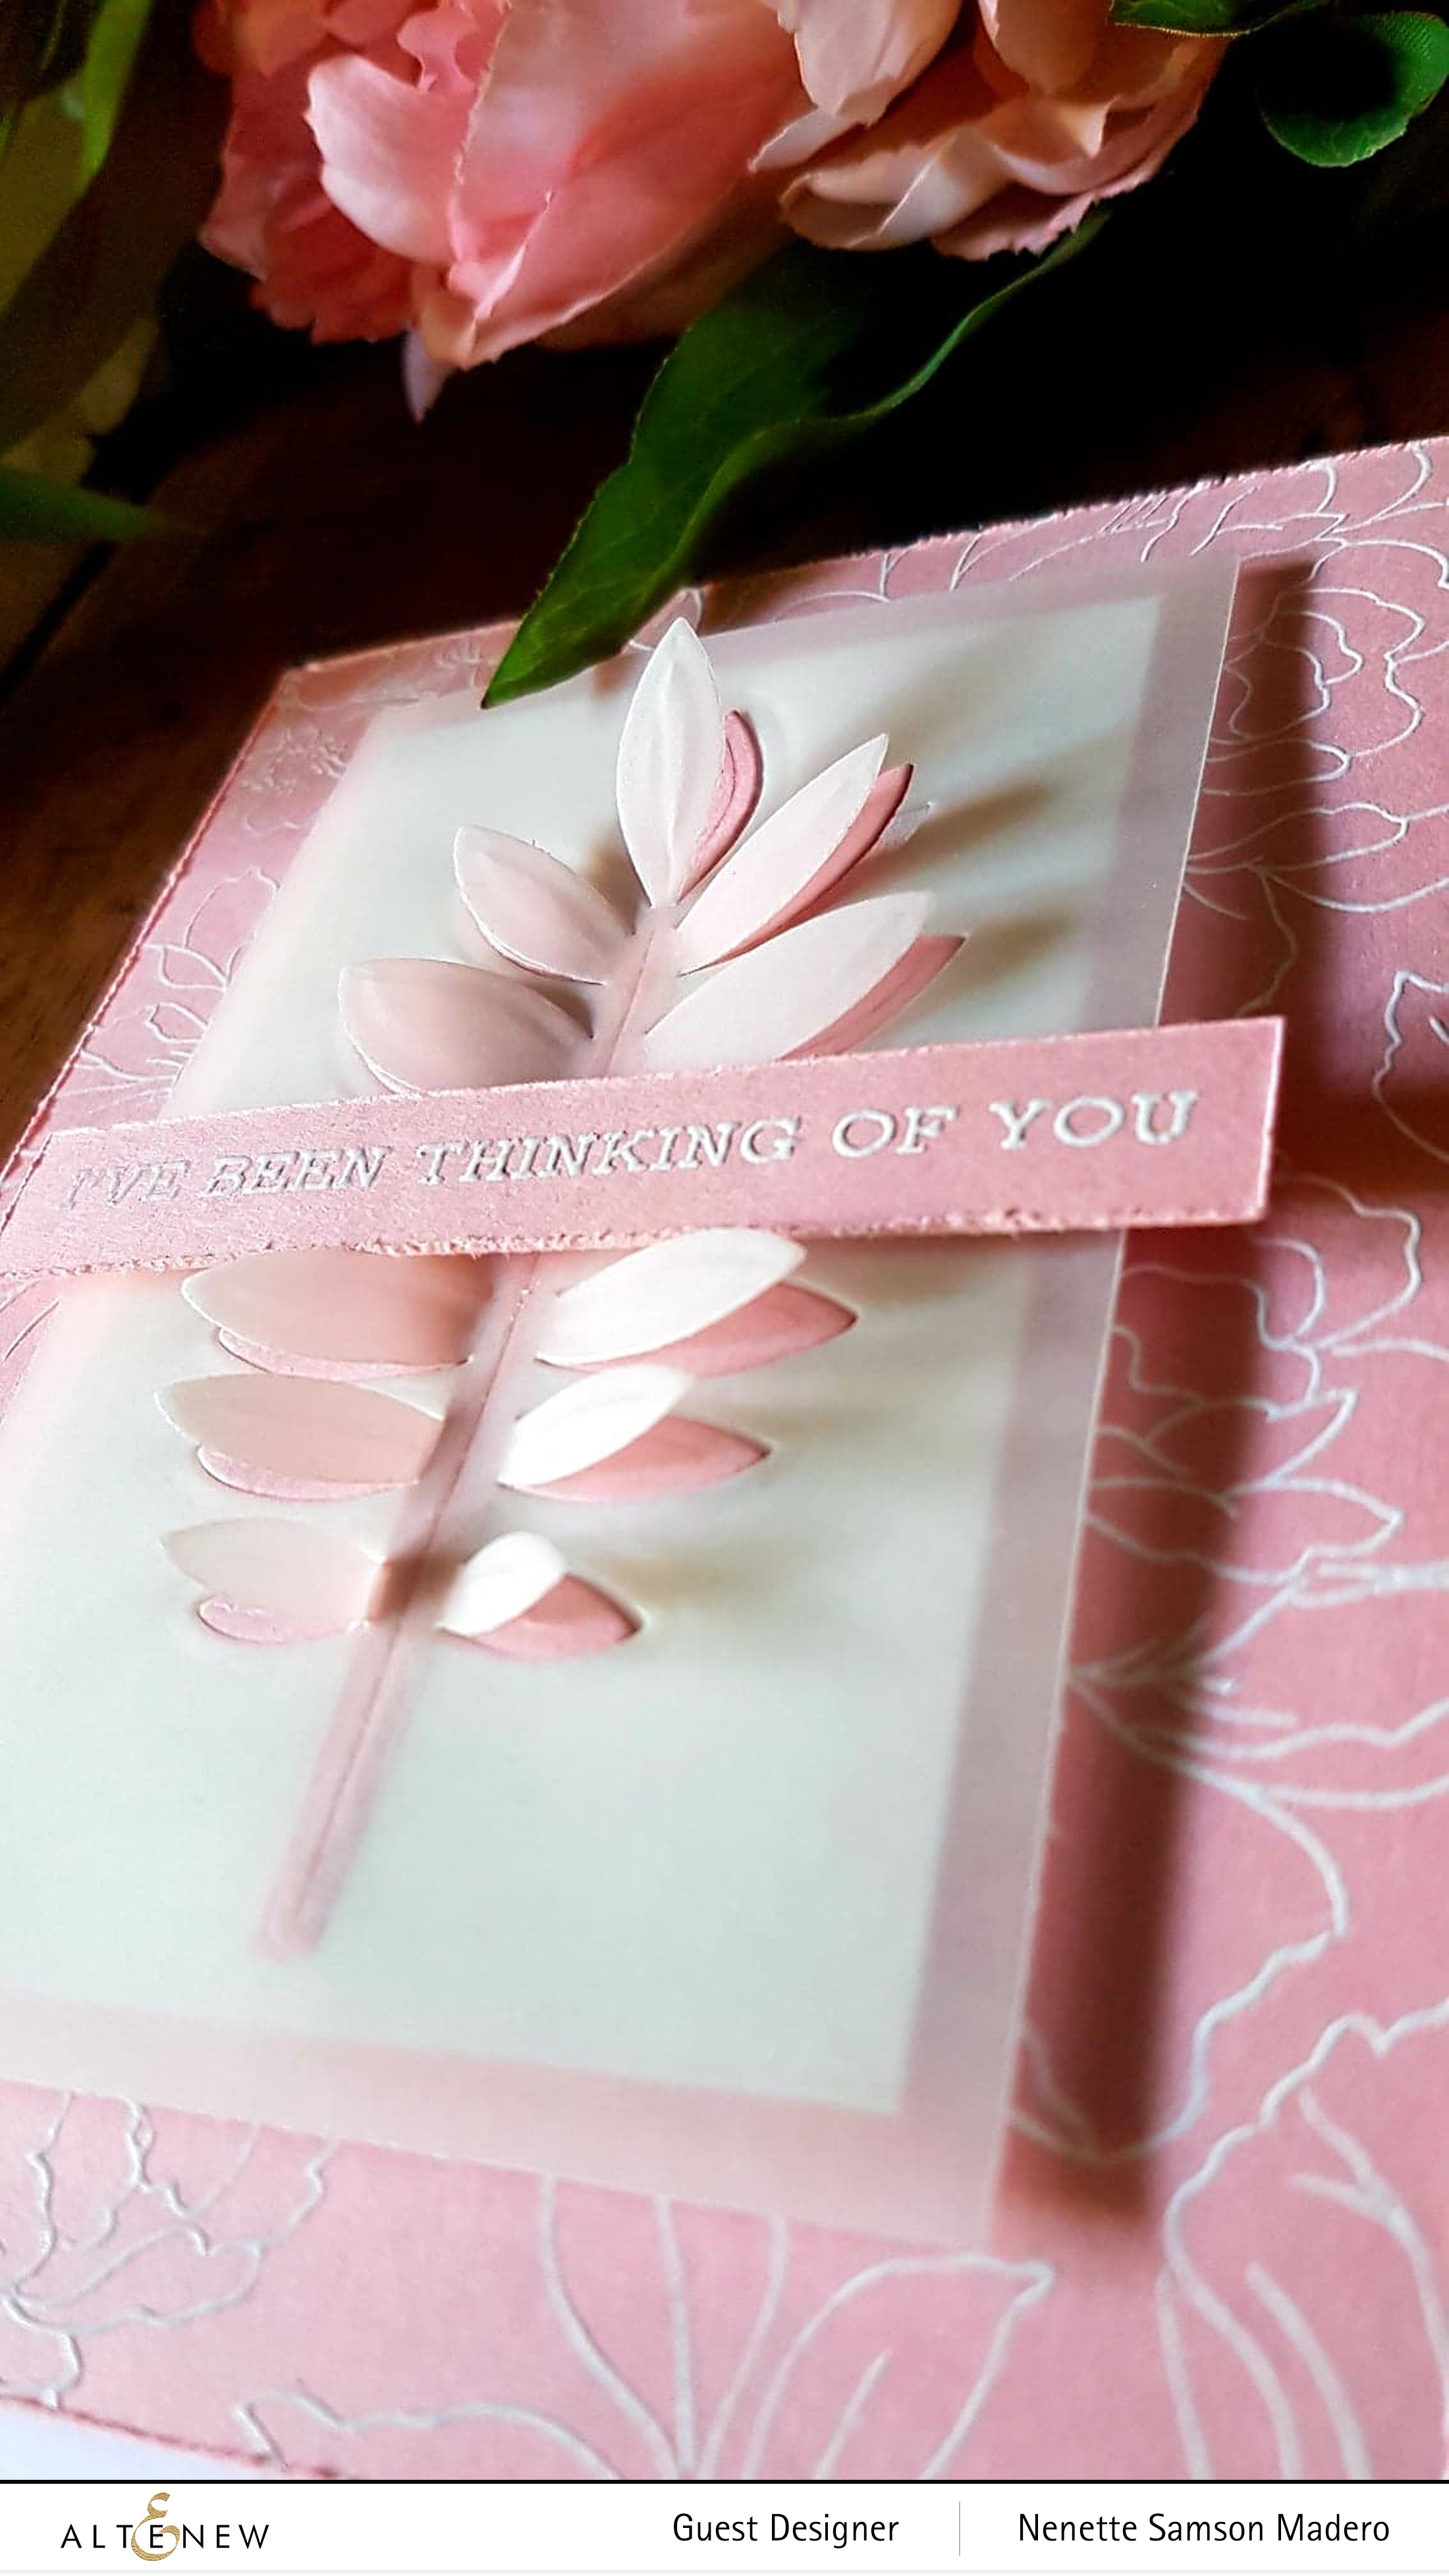
For my first card, I stamped the different images of the Flower Garden stamp set all at the same time using the Misti stamping tool on a 4″ x 5.25″ pink cardstock using Versamark Ink then embossed with Altenew crisp white embossing powder. Edges were distressed using the paper distresser. White and pink cardstocks were trimmed to 2.25″ x 4″ panels and vellum was cut to 2.5″ x 4.25″. The Pressed leaf die was used to die cut both the vellum and the pink cardstock then glued on top of the white cardstock. The sentiment was stamped onto the pink CS and embossed using white embossing powder. Foam adhesives were used to create dimension. All the layers were mounted on a 5.5″ x 4.25″ white top folding CS.

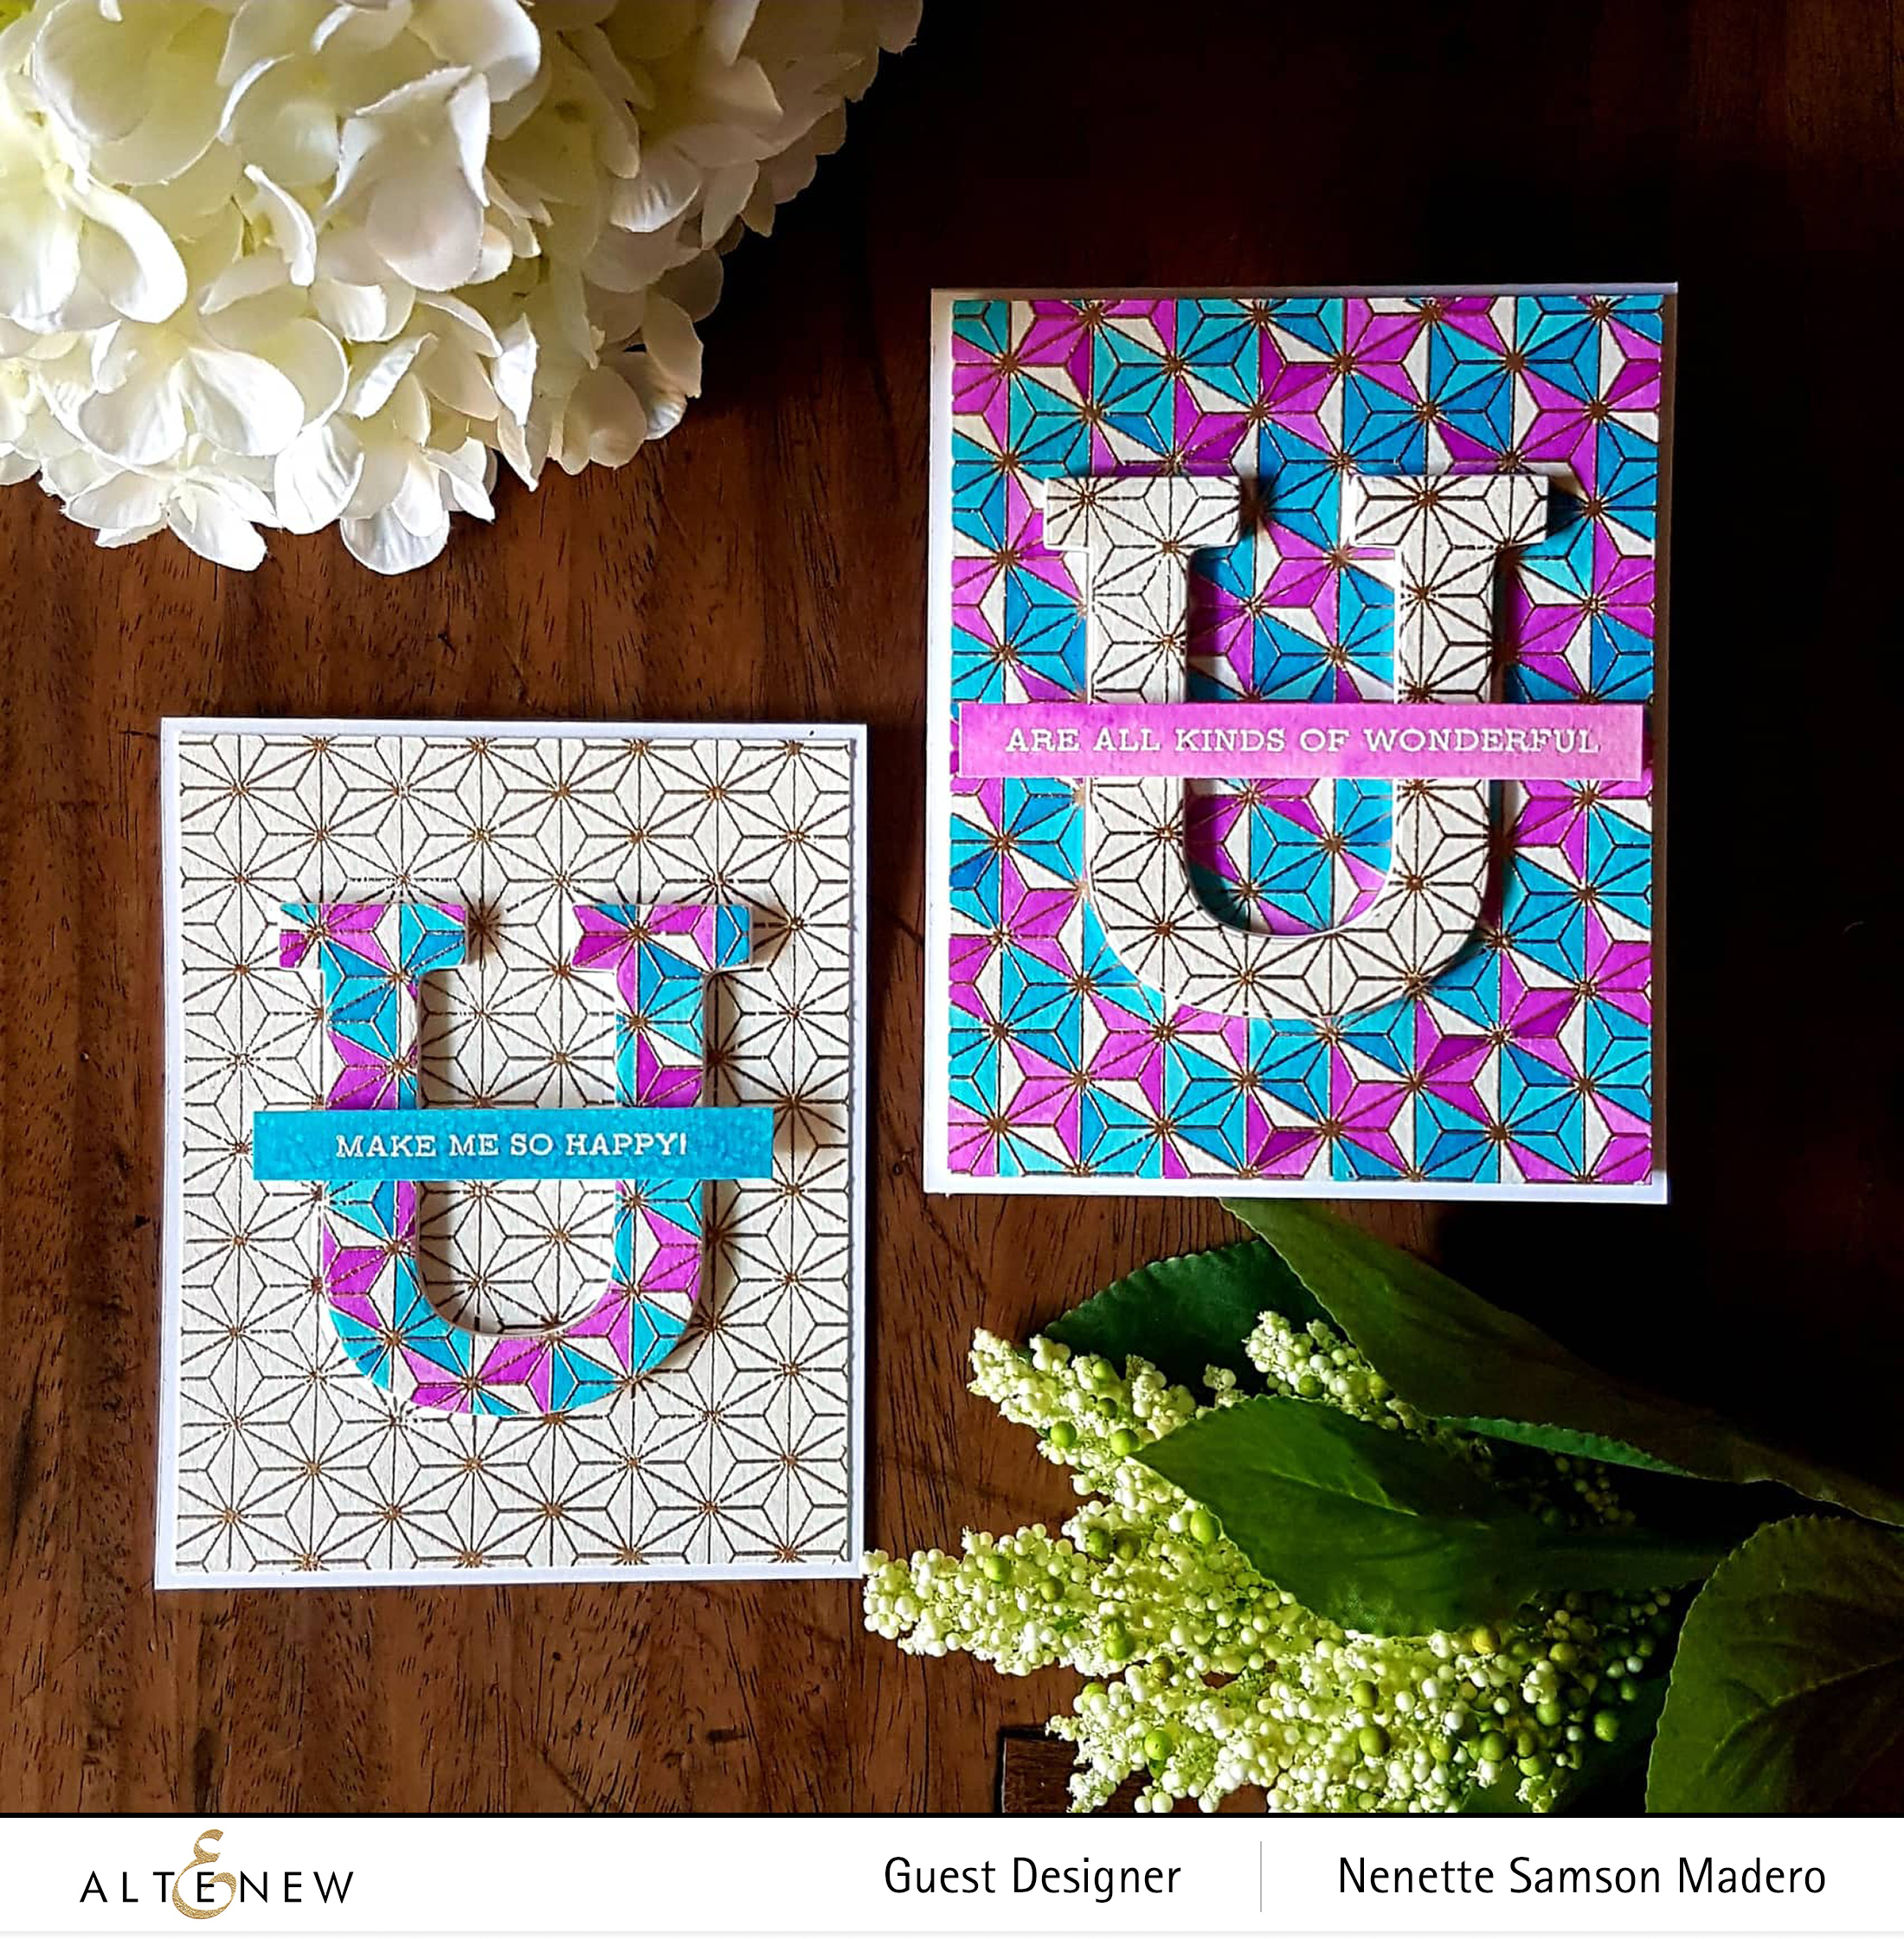
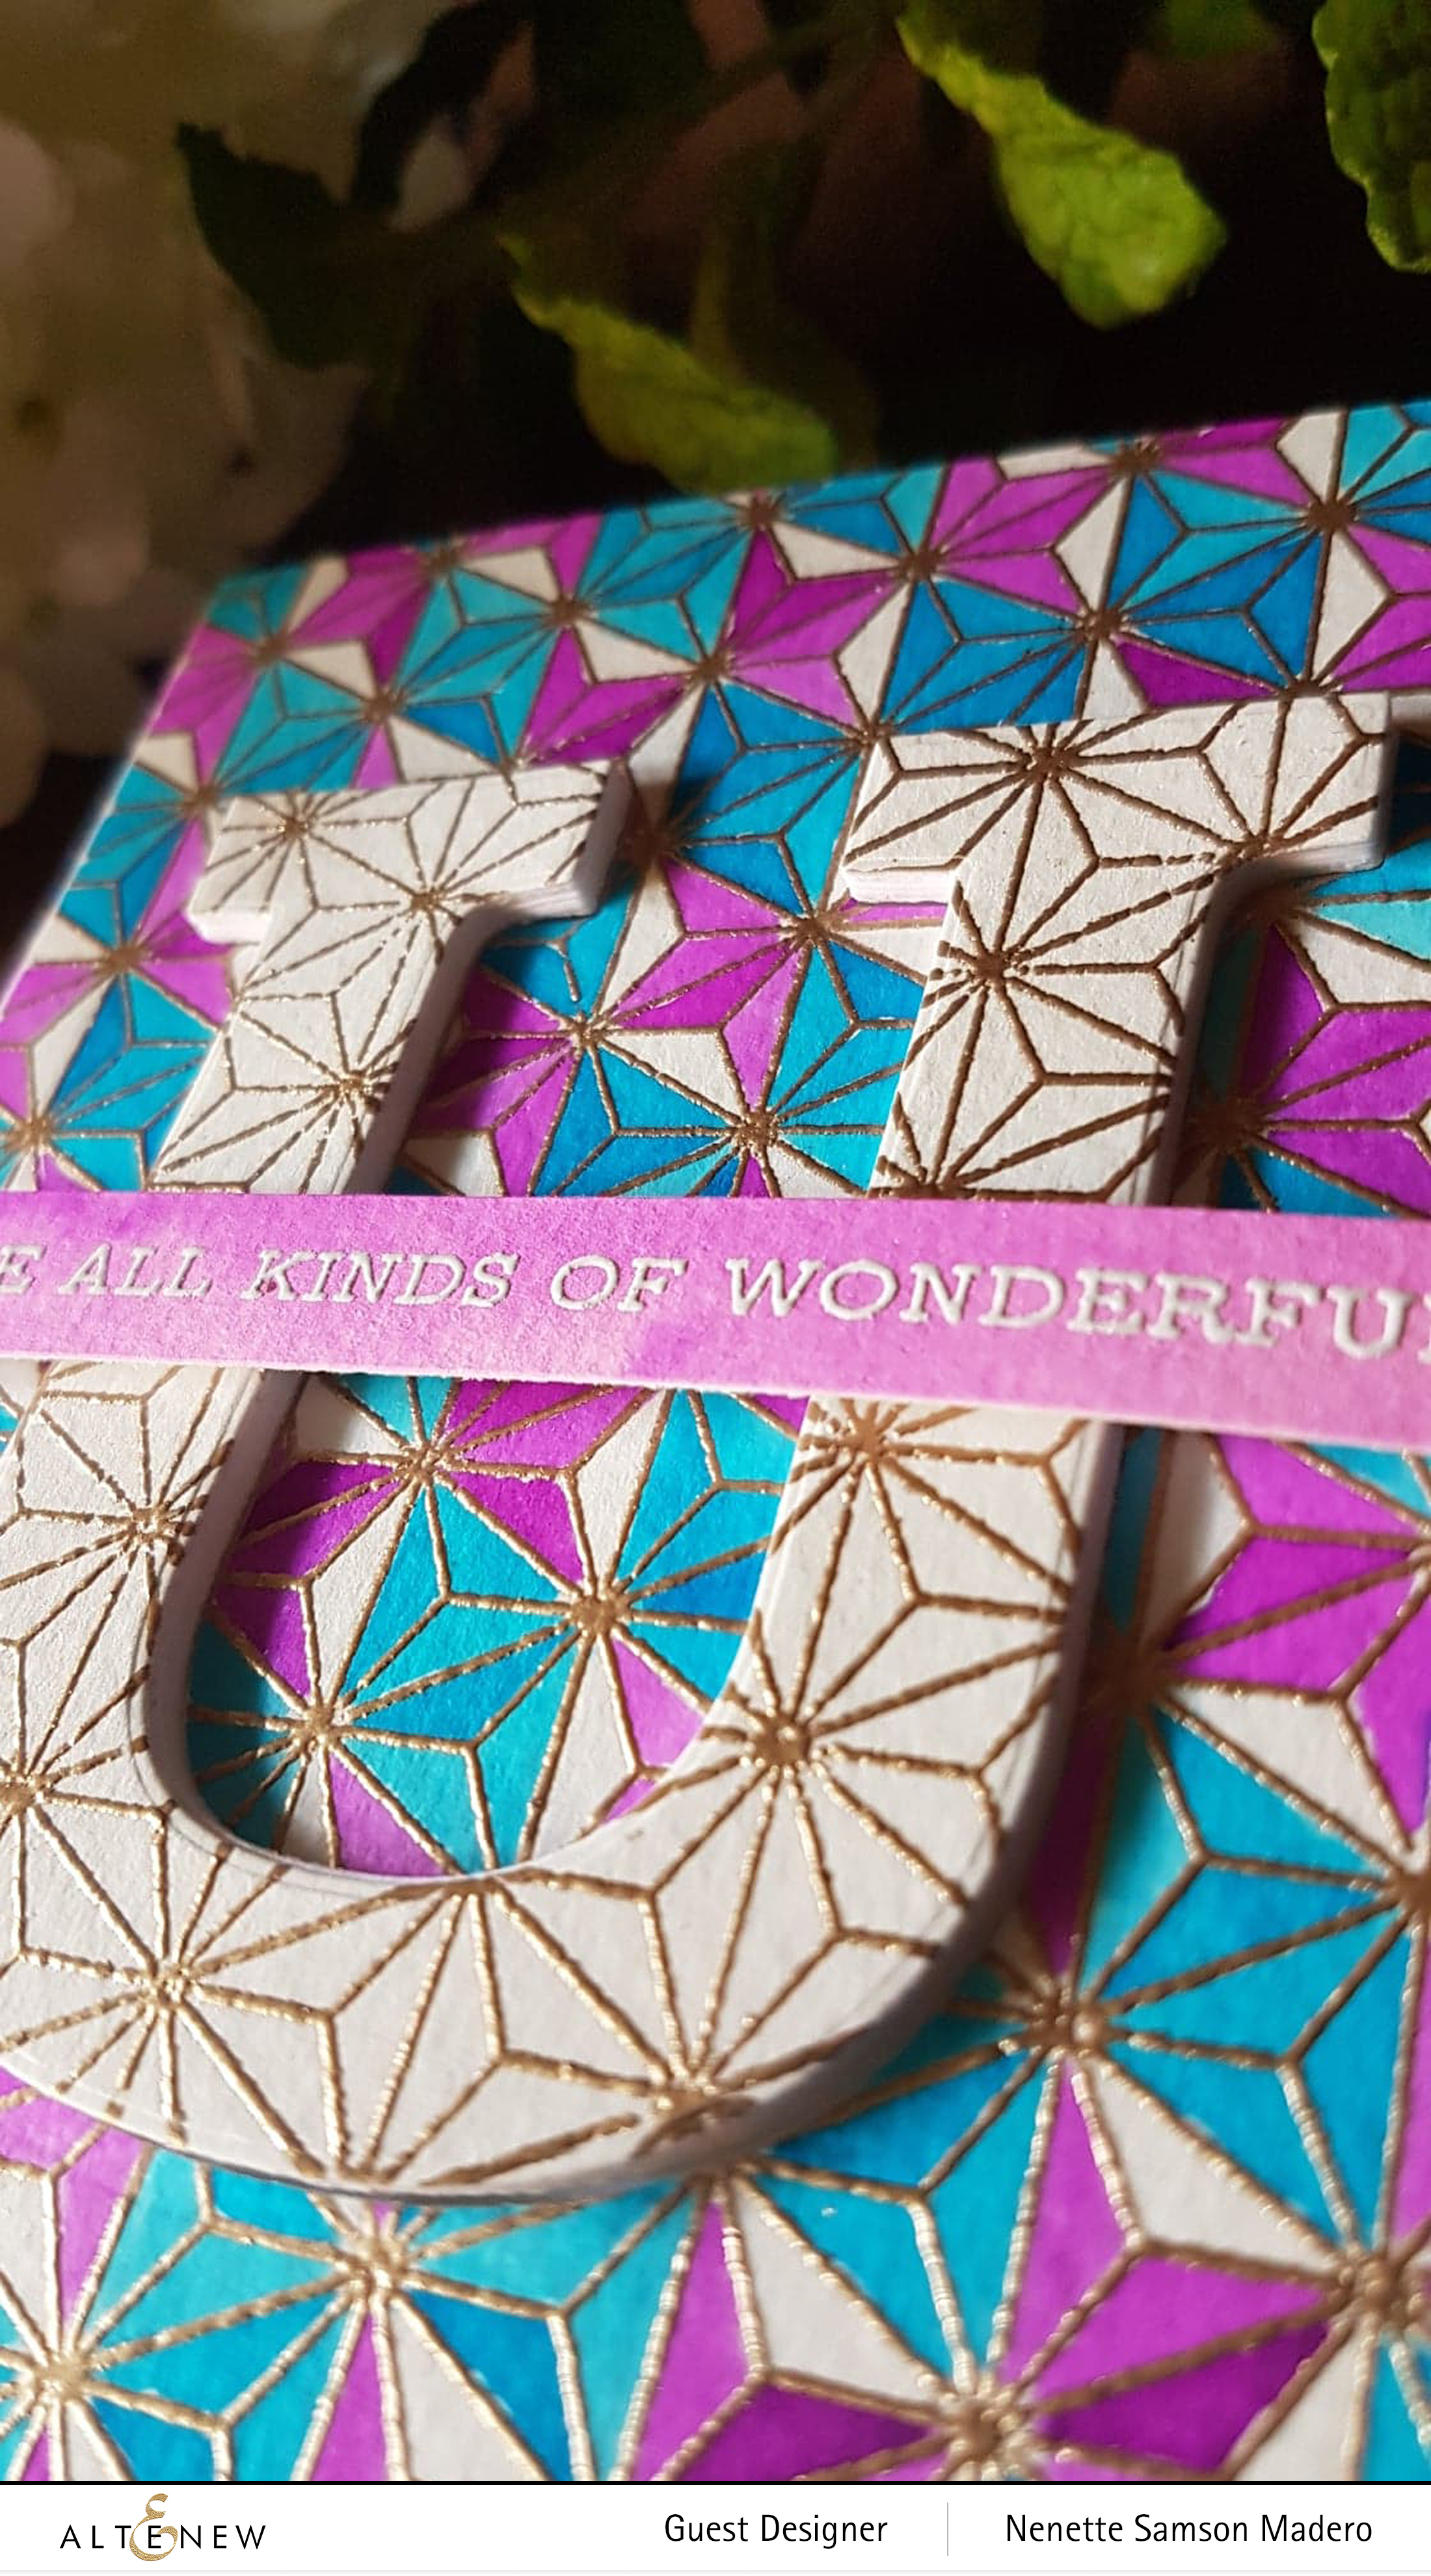
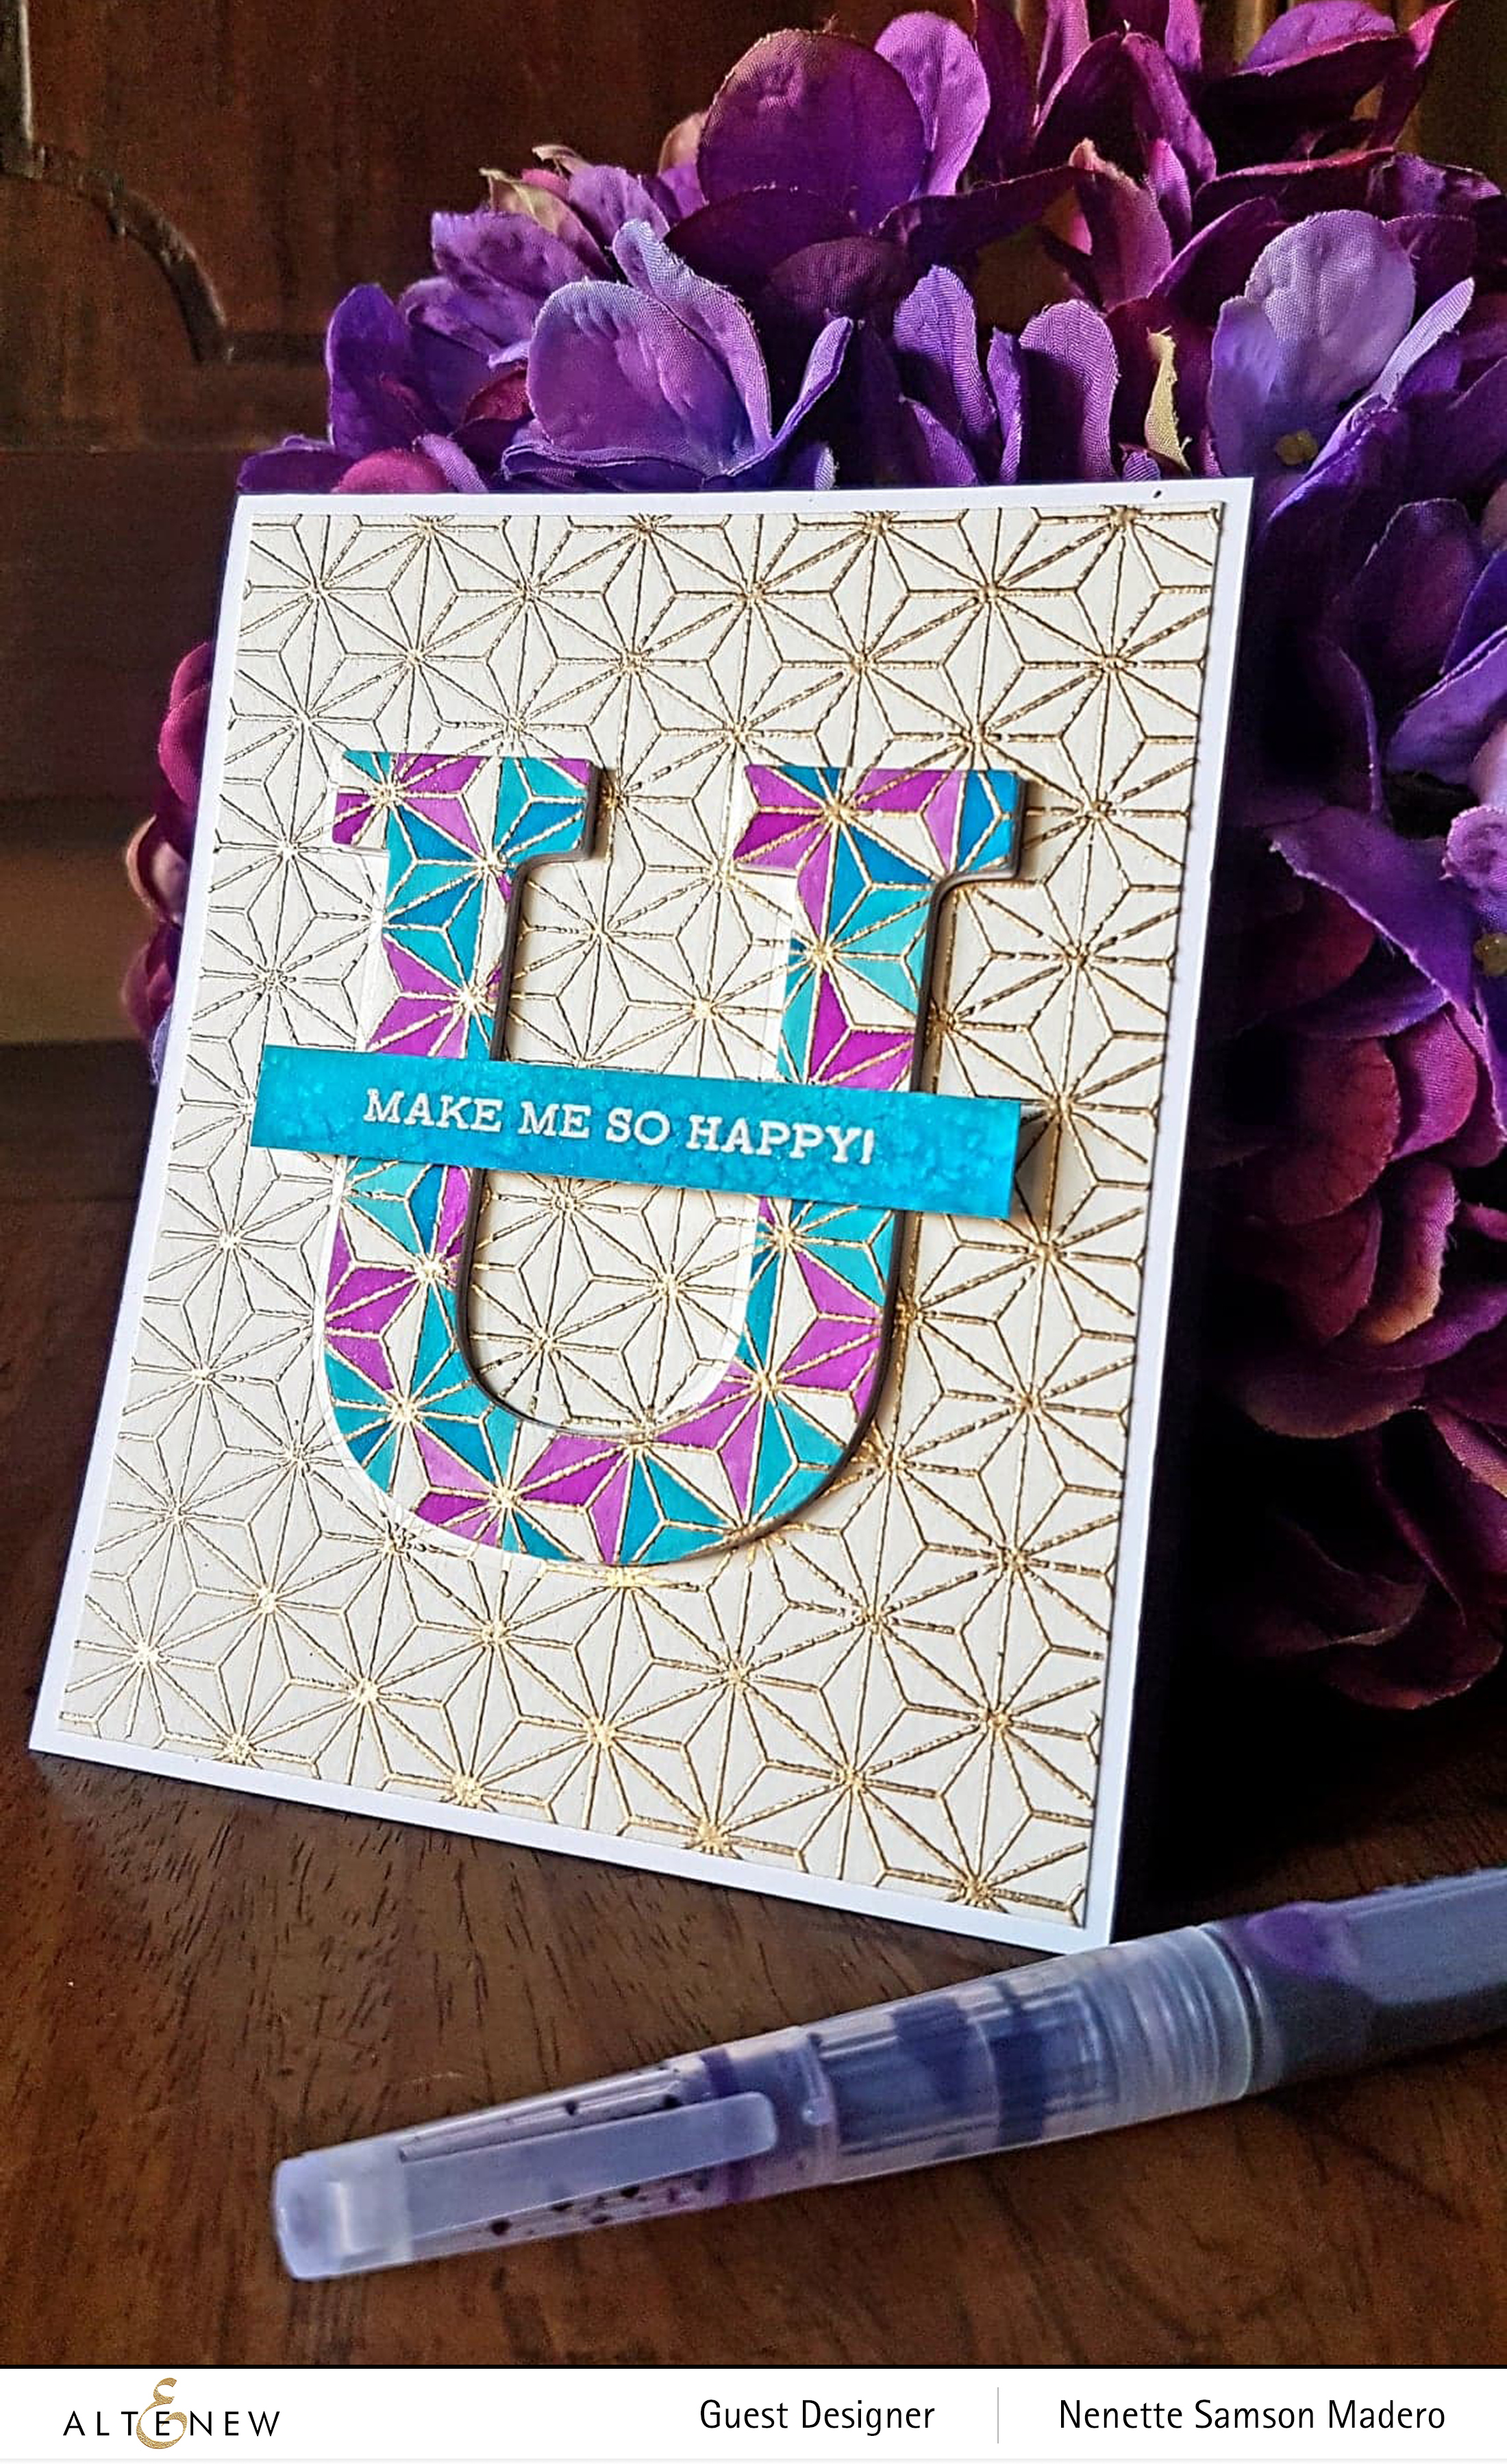
U MAKE ME SO HAPPY & U ARE ALL KINDS OF WONDERFUL CARDS

MATERIALS:

The Faceted Stars stamp was stamped onto 2 watercolor papers using Versamark ink then embossed with rose gold embossing powder. Midnight violet and turquoise watercolor brush markers were used to color in certain areas of 1 embossed image. I made sure some triangles were darker than the others for added dimension. Coloring these patterns was so calming and addicting!!! 🙂

The other was left uncolored. The alpha mega die letter U was then used to die cut these embossed panels and the letters were switched for high contrast. Additional letter U was die cut from plain CS and layered to add more dimension. Sentiments were stamped on coordinating watercolored strips and adhered using foam squares.

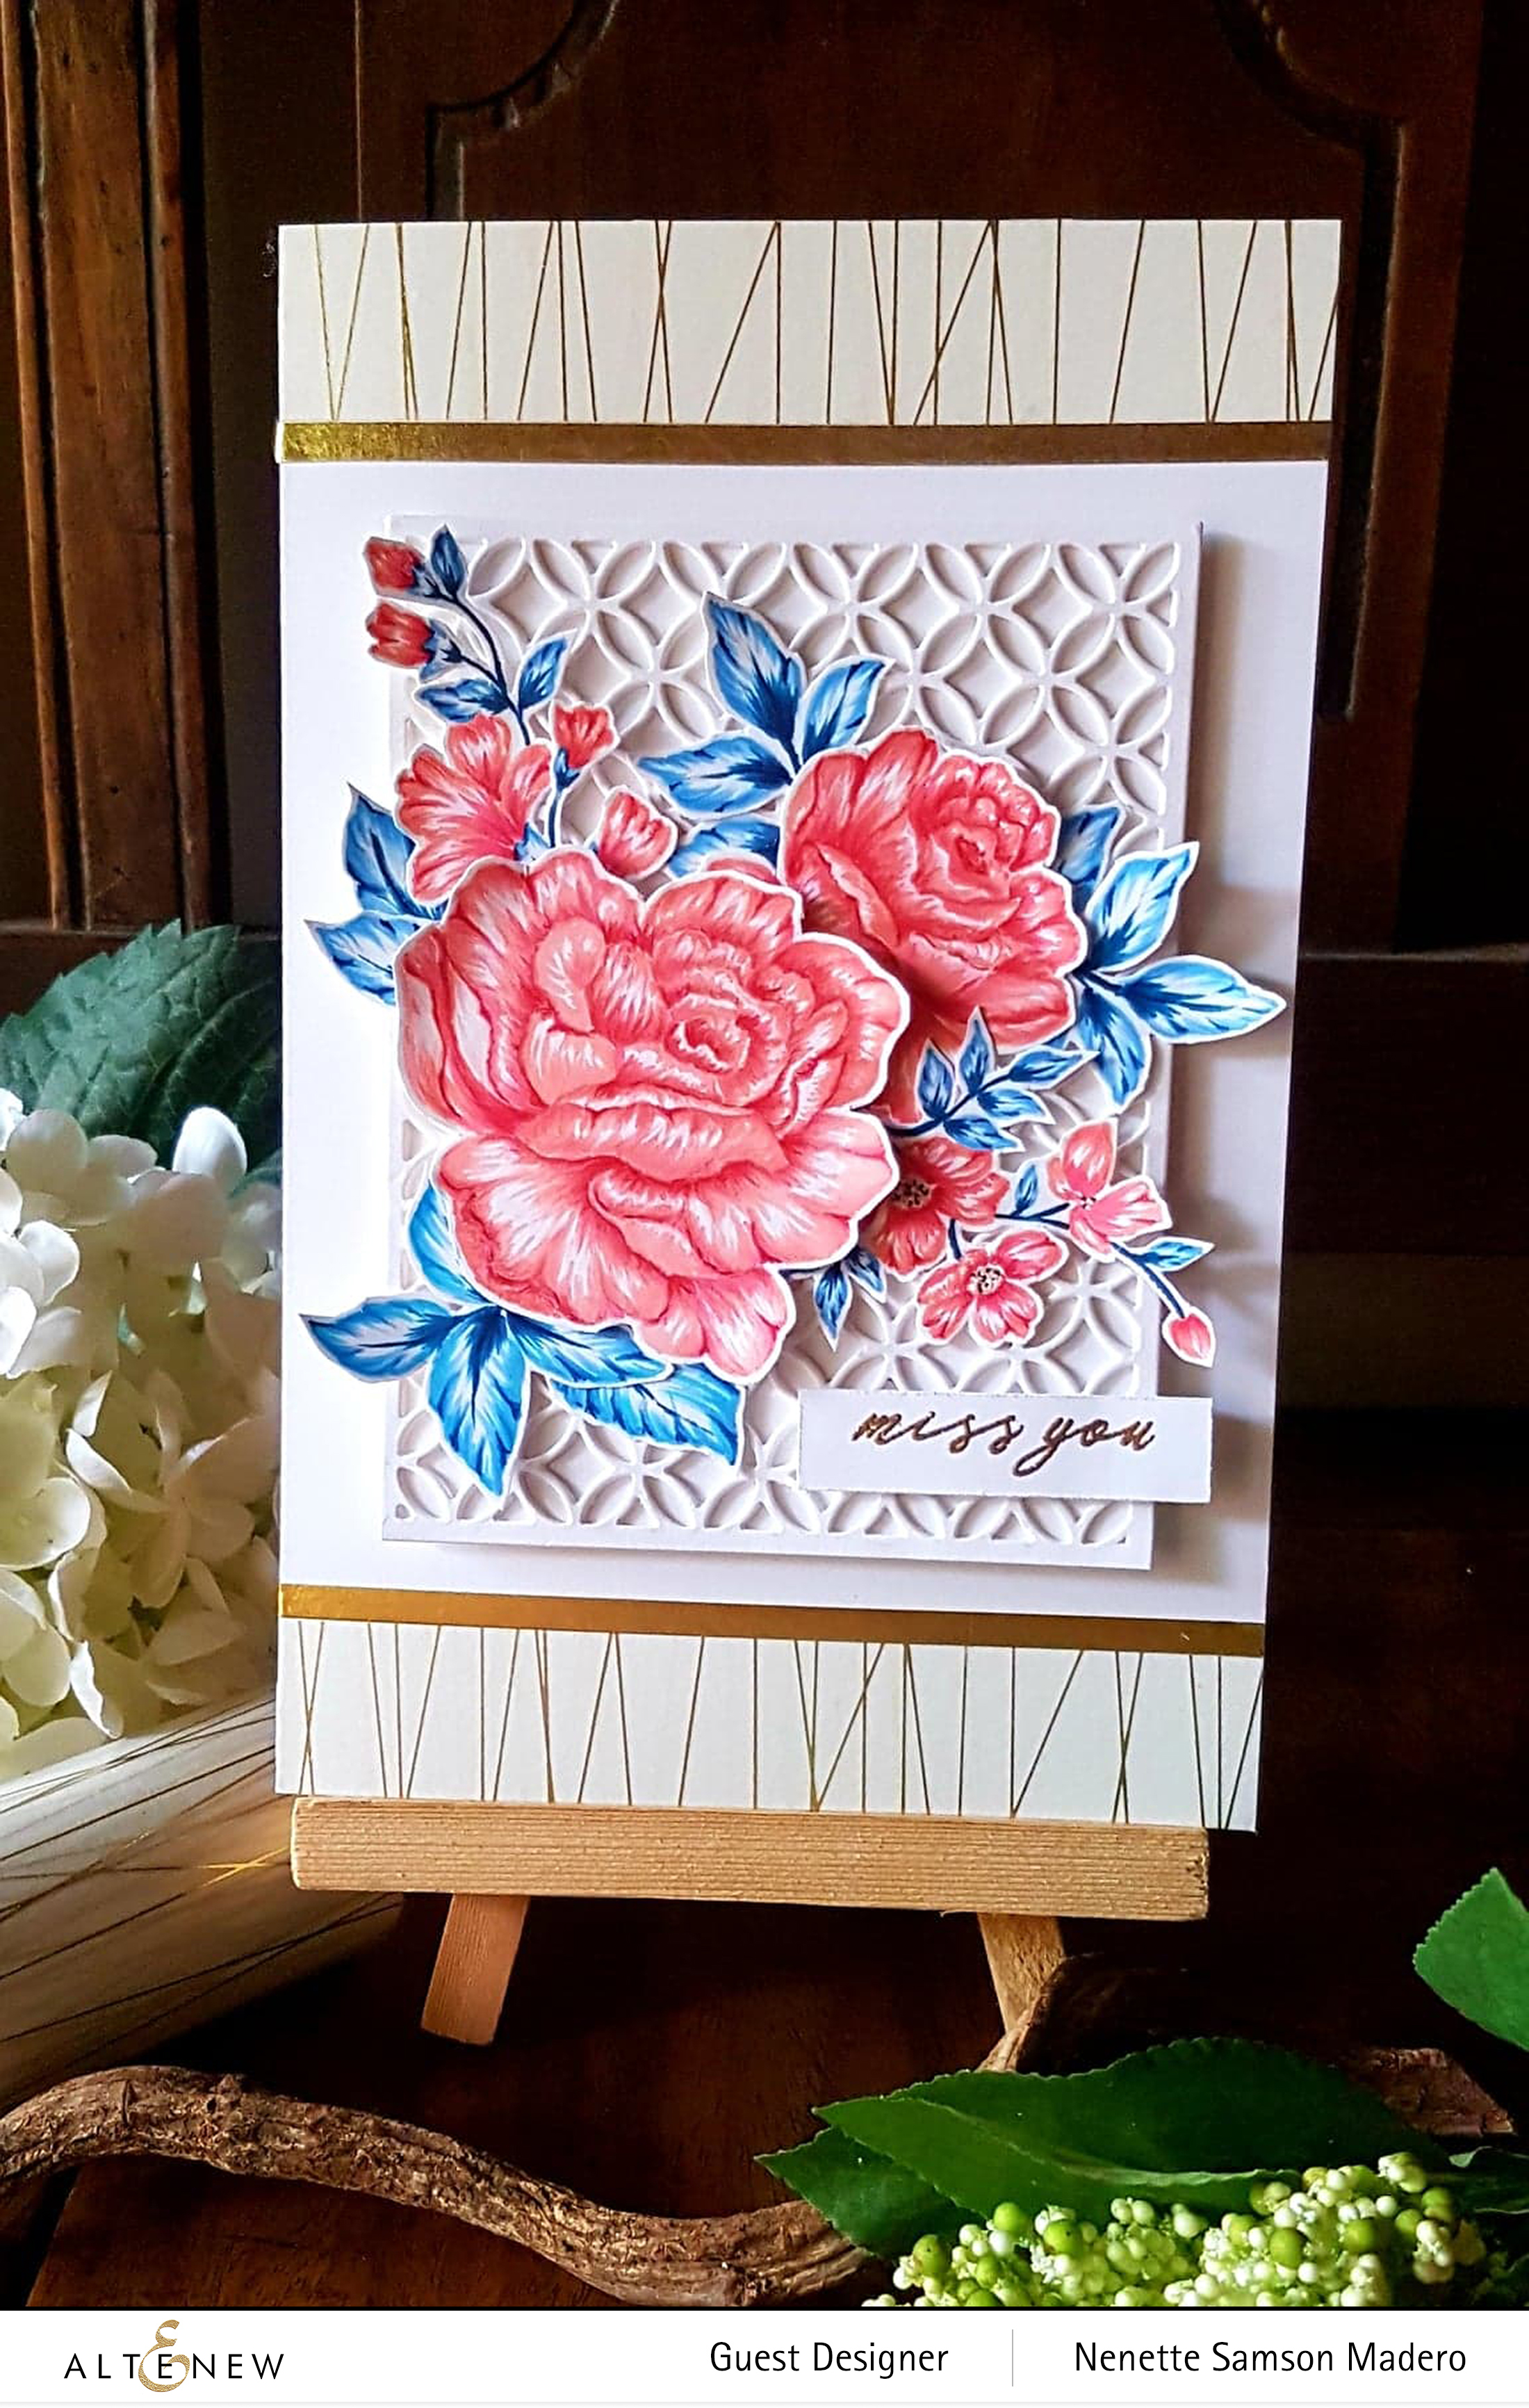
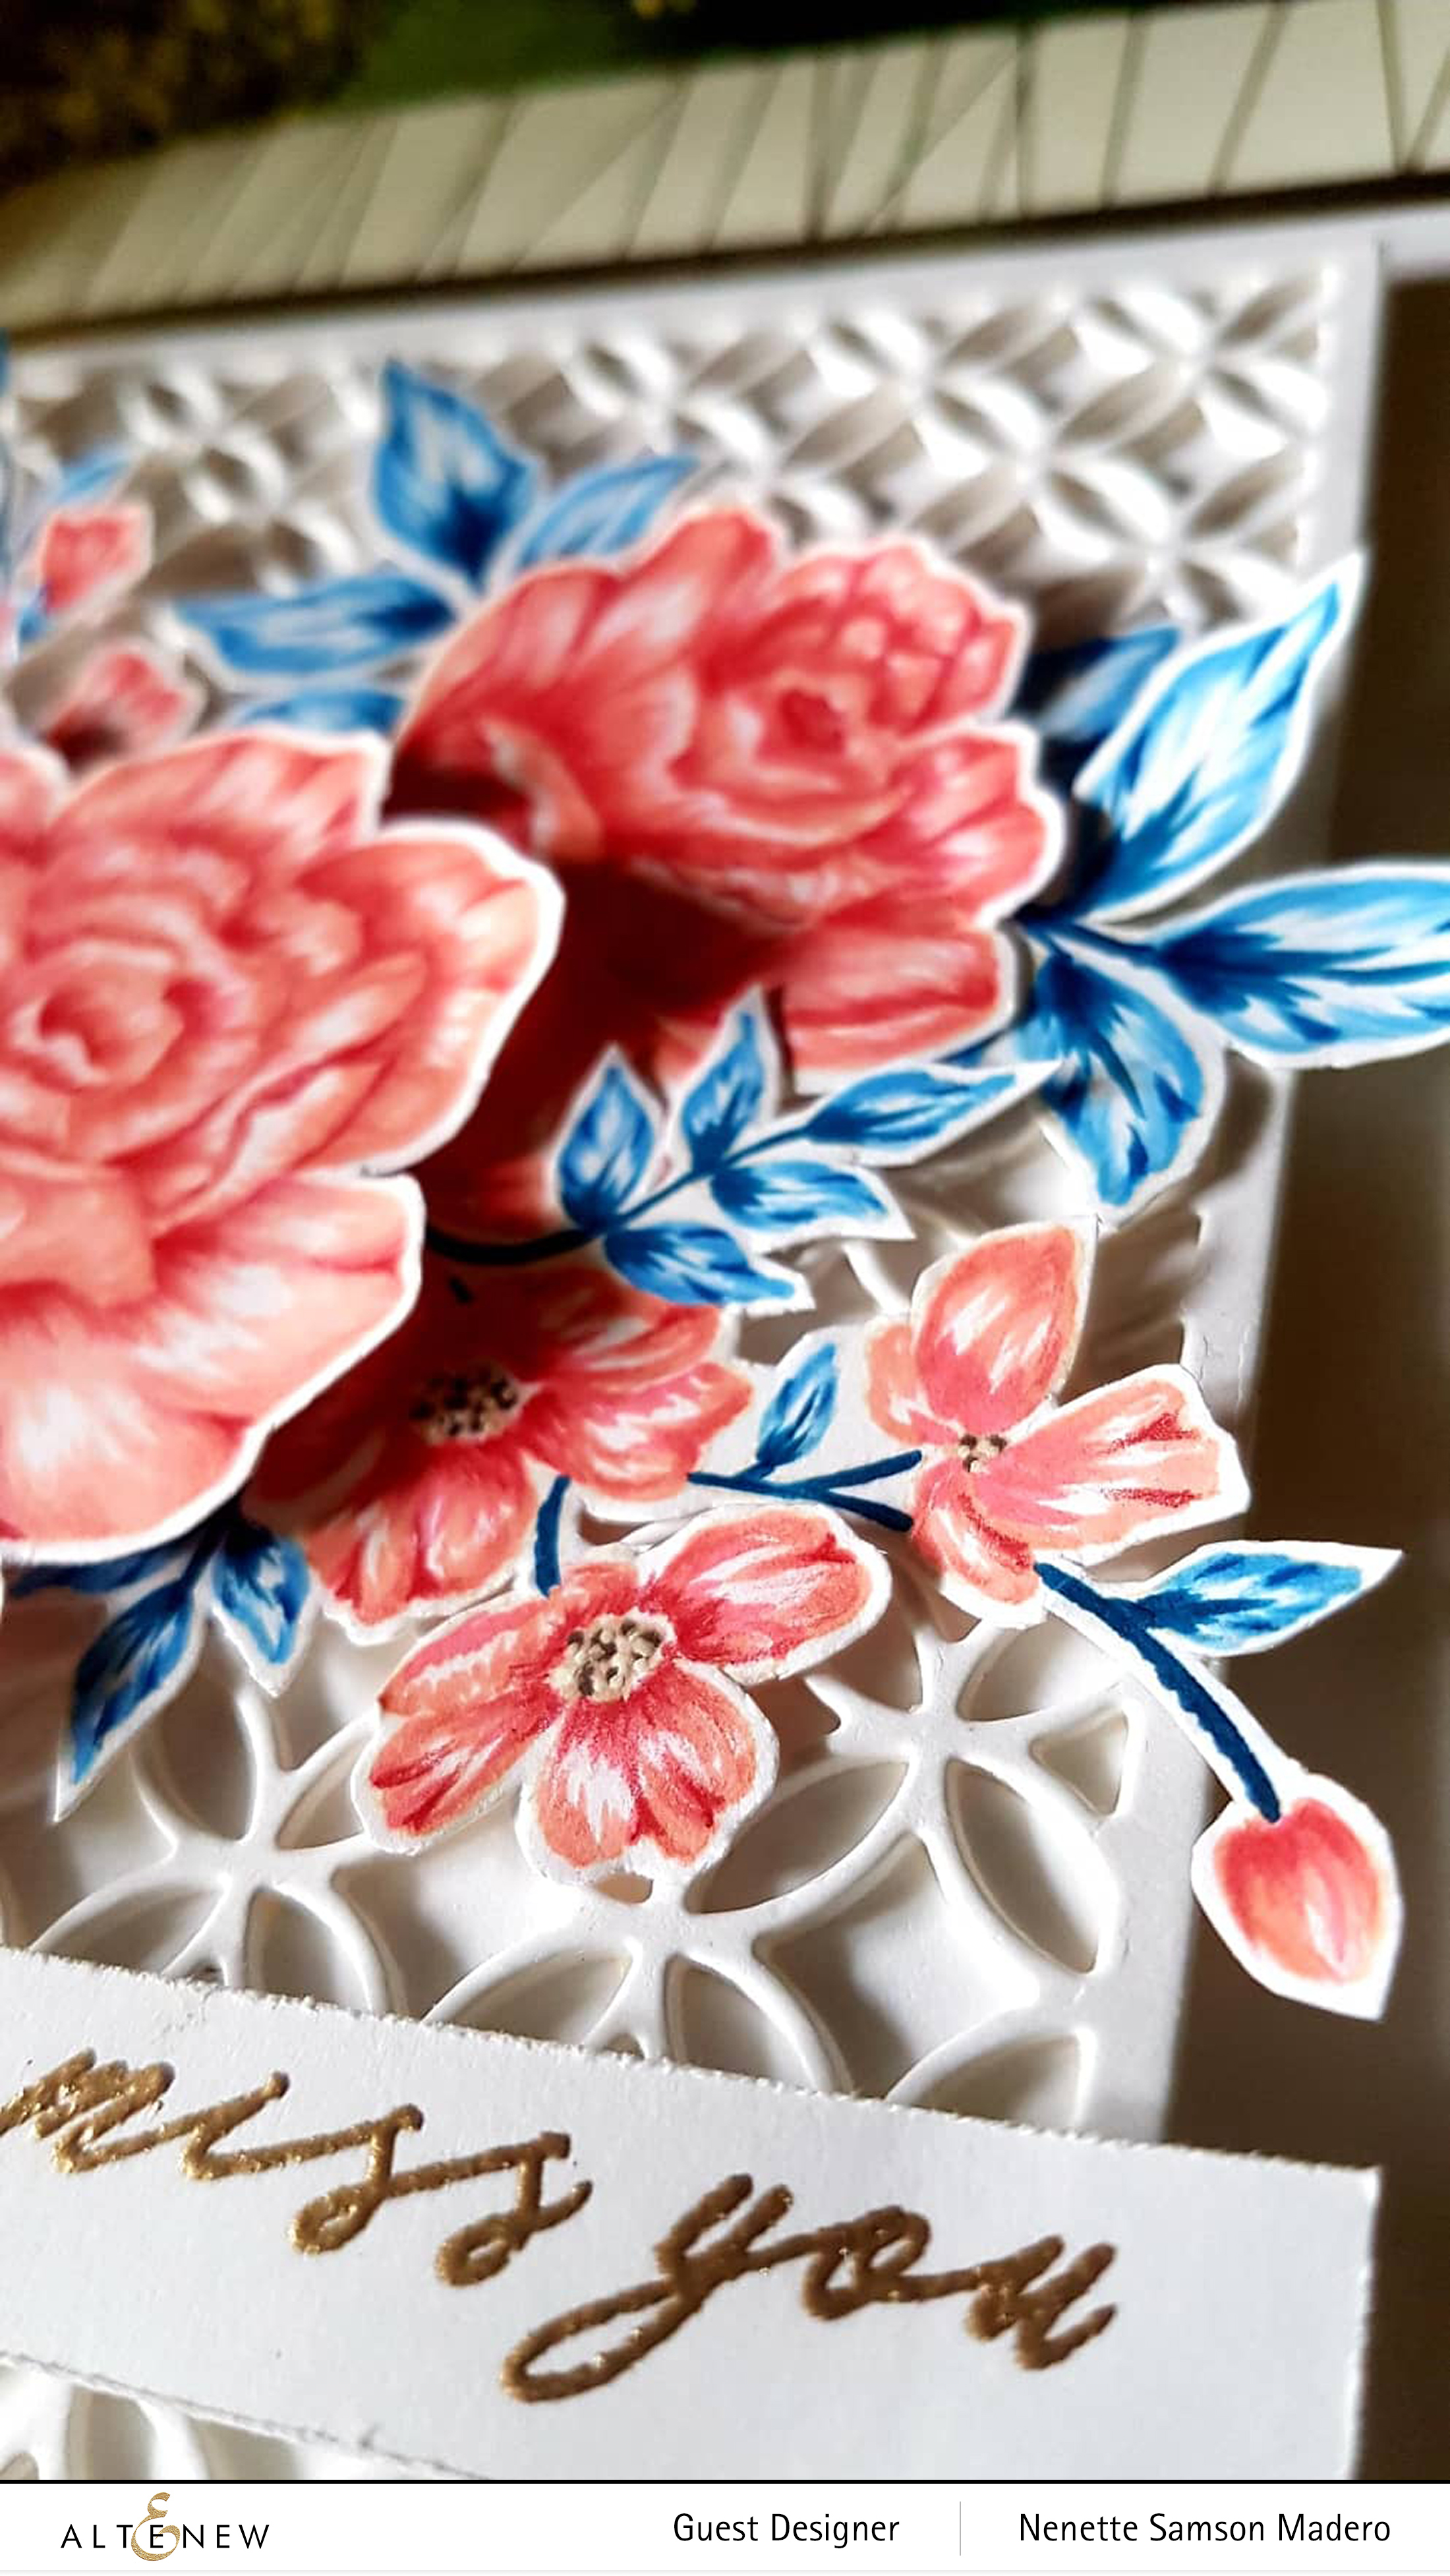
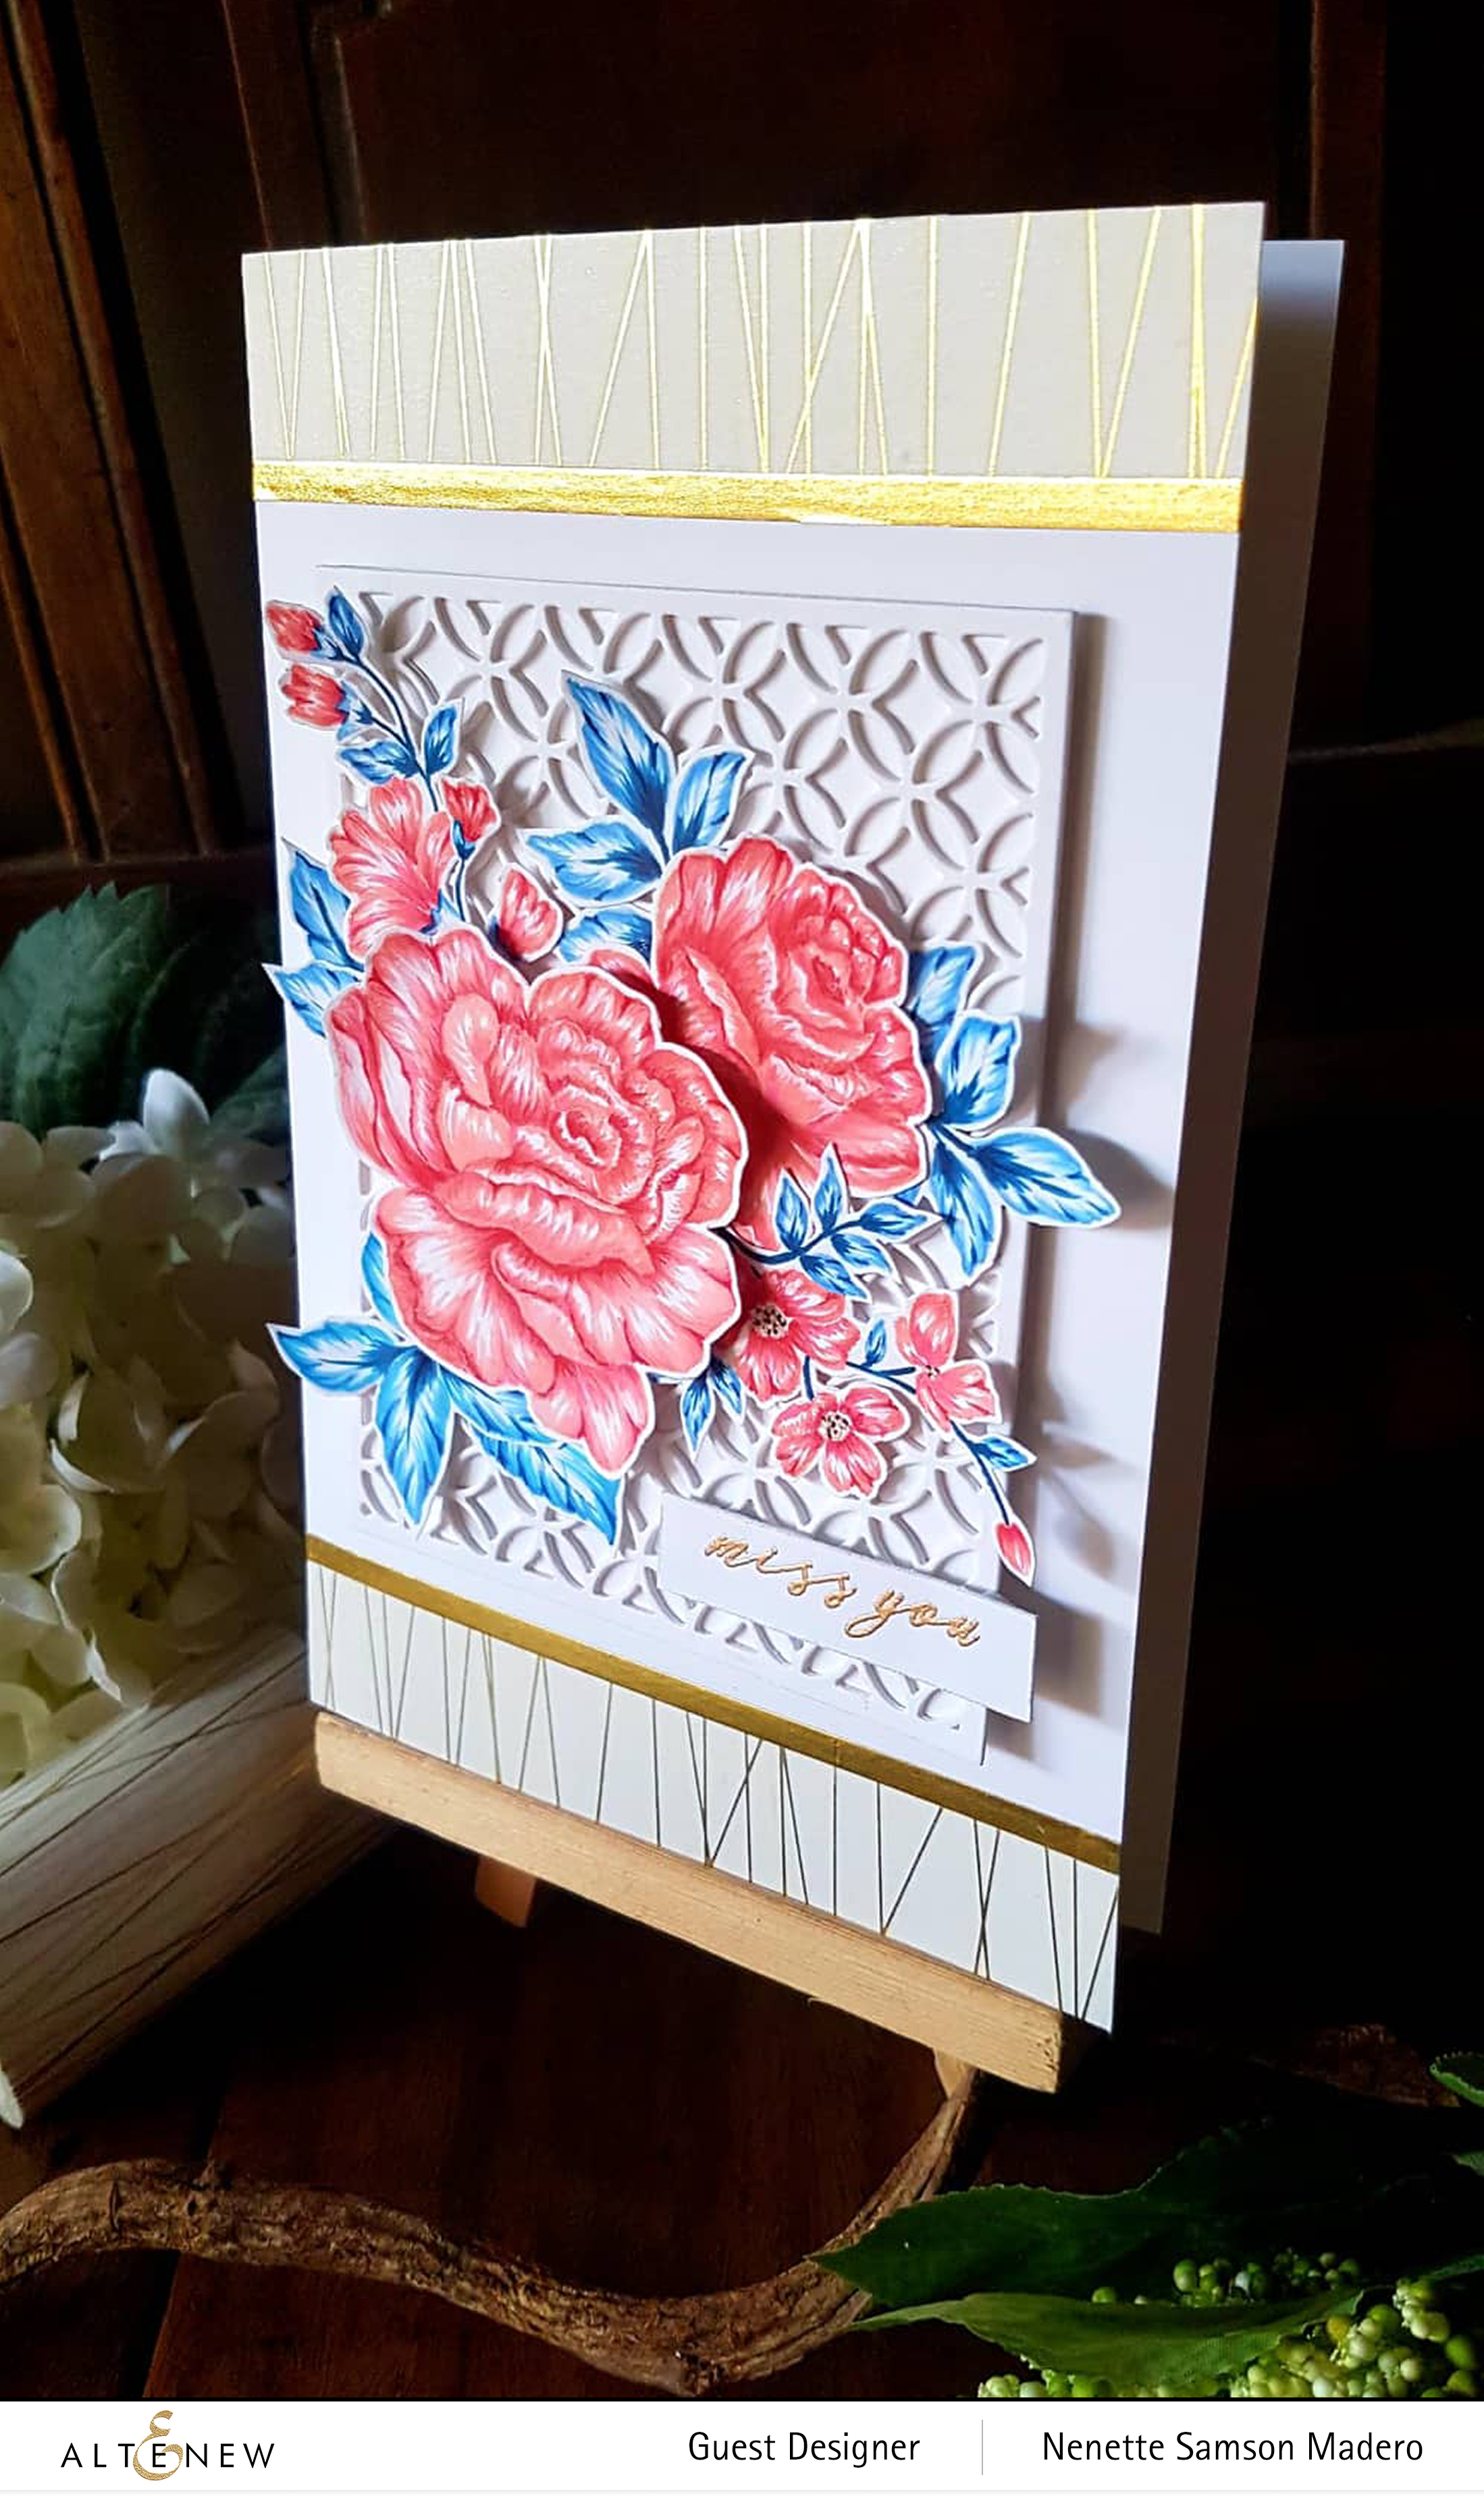
MISS YOU CARD

MATERIALS:

I have been a big fan and get so much inspiration from amazing artists like Tae Eun and Jaycee Gaspar who both have superb coloring skills. Since alcohol markers are NOT my go-to coloring materials, I wanted to step outside my comfort zone and try them out this time. I first stamped the images onto white cardstock using Antique Linen distress ink for no-line coloring. After 30 minutes of coloring, I was ready to throw it out of the window!!! 😂 I started to lose details of the flower and it looked flat. Then I remembered Jaycee mentioning that he started out with the darkest color to mark where the shadows should be. So I colored using the darkest, then lighest then mid-tone alcohol markers and used the colored pencils after to add more detail. I also realized that you need a TON of patience cause this kind of coloring takes a lot of hours to finish especially for beginners like me. I just have to keep on practising until I’m comfortable with this method of coloring. 😊 Although I’m not too happy with how it turned out, I will still share this card with all of you. Any tips will be greatly appreciated! Thanks so much for the inspiration, Jaycee❤️

I used the gold string washi tape and a strip of gold cardstock to create borders for the card. The circle quilt cover die was used to cut 4 sheets of cardstock and stacked them on top of each other with adhesive to add dimension. The sentiment from the Garden Silhouette was stamped onto white CS using Versamark ink then heat embossed with rose gold embossing powder. Flowers were arranged then Press’n Seal was used to pick up all the diecuts and these were adhered using glue or foam squares.

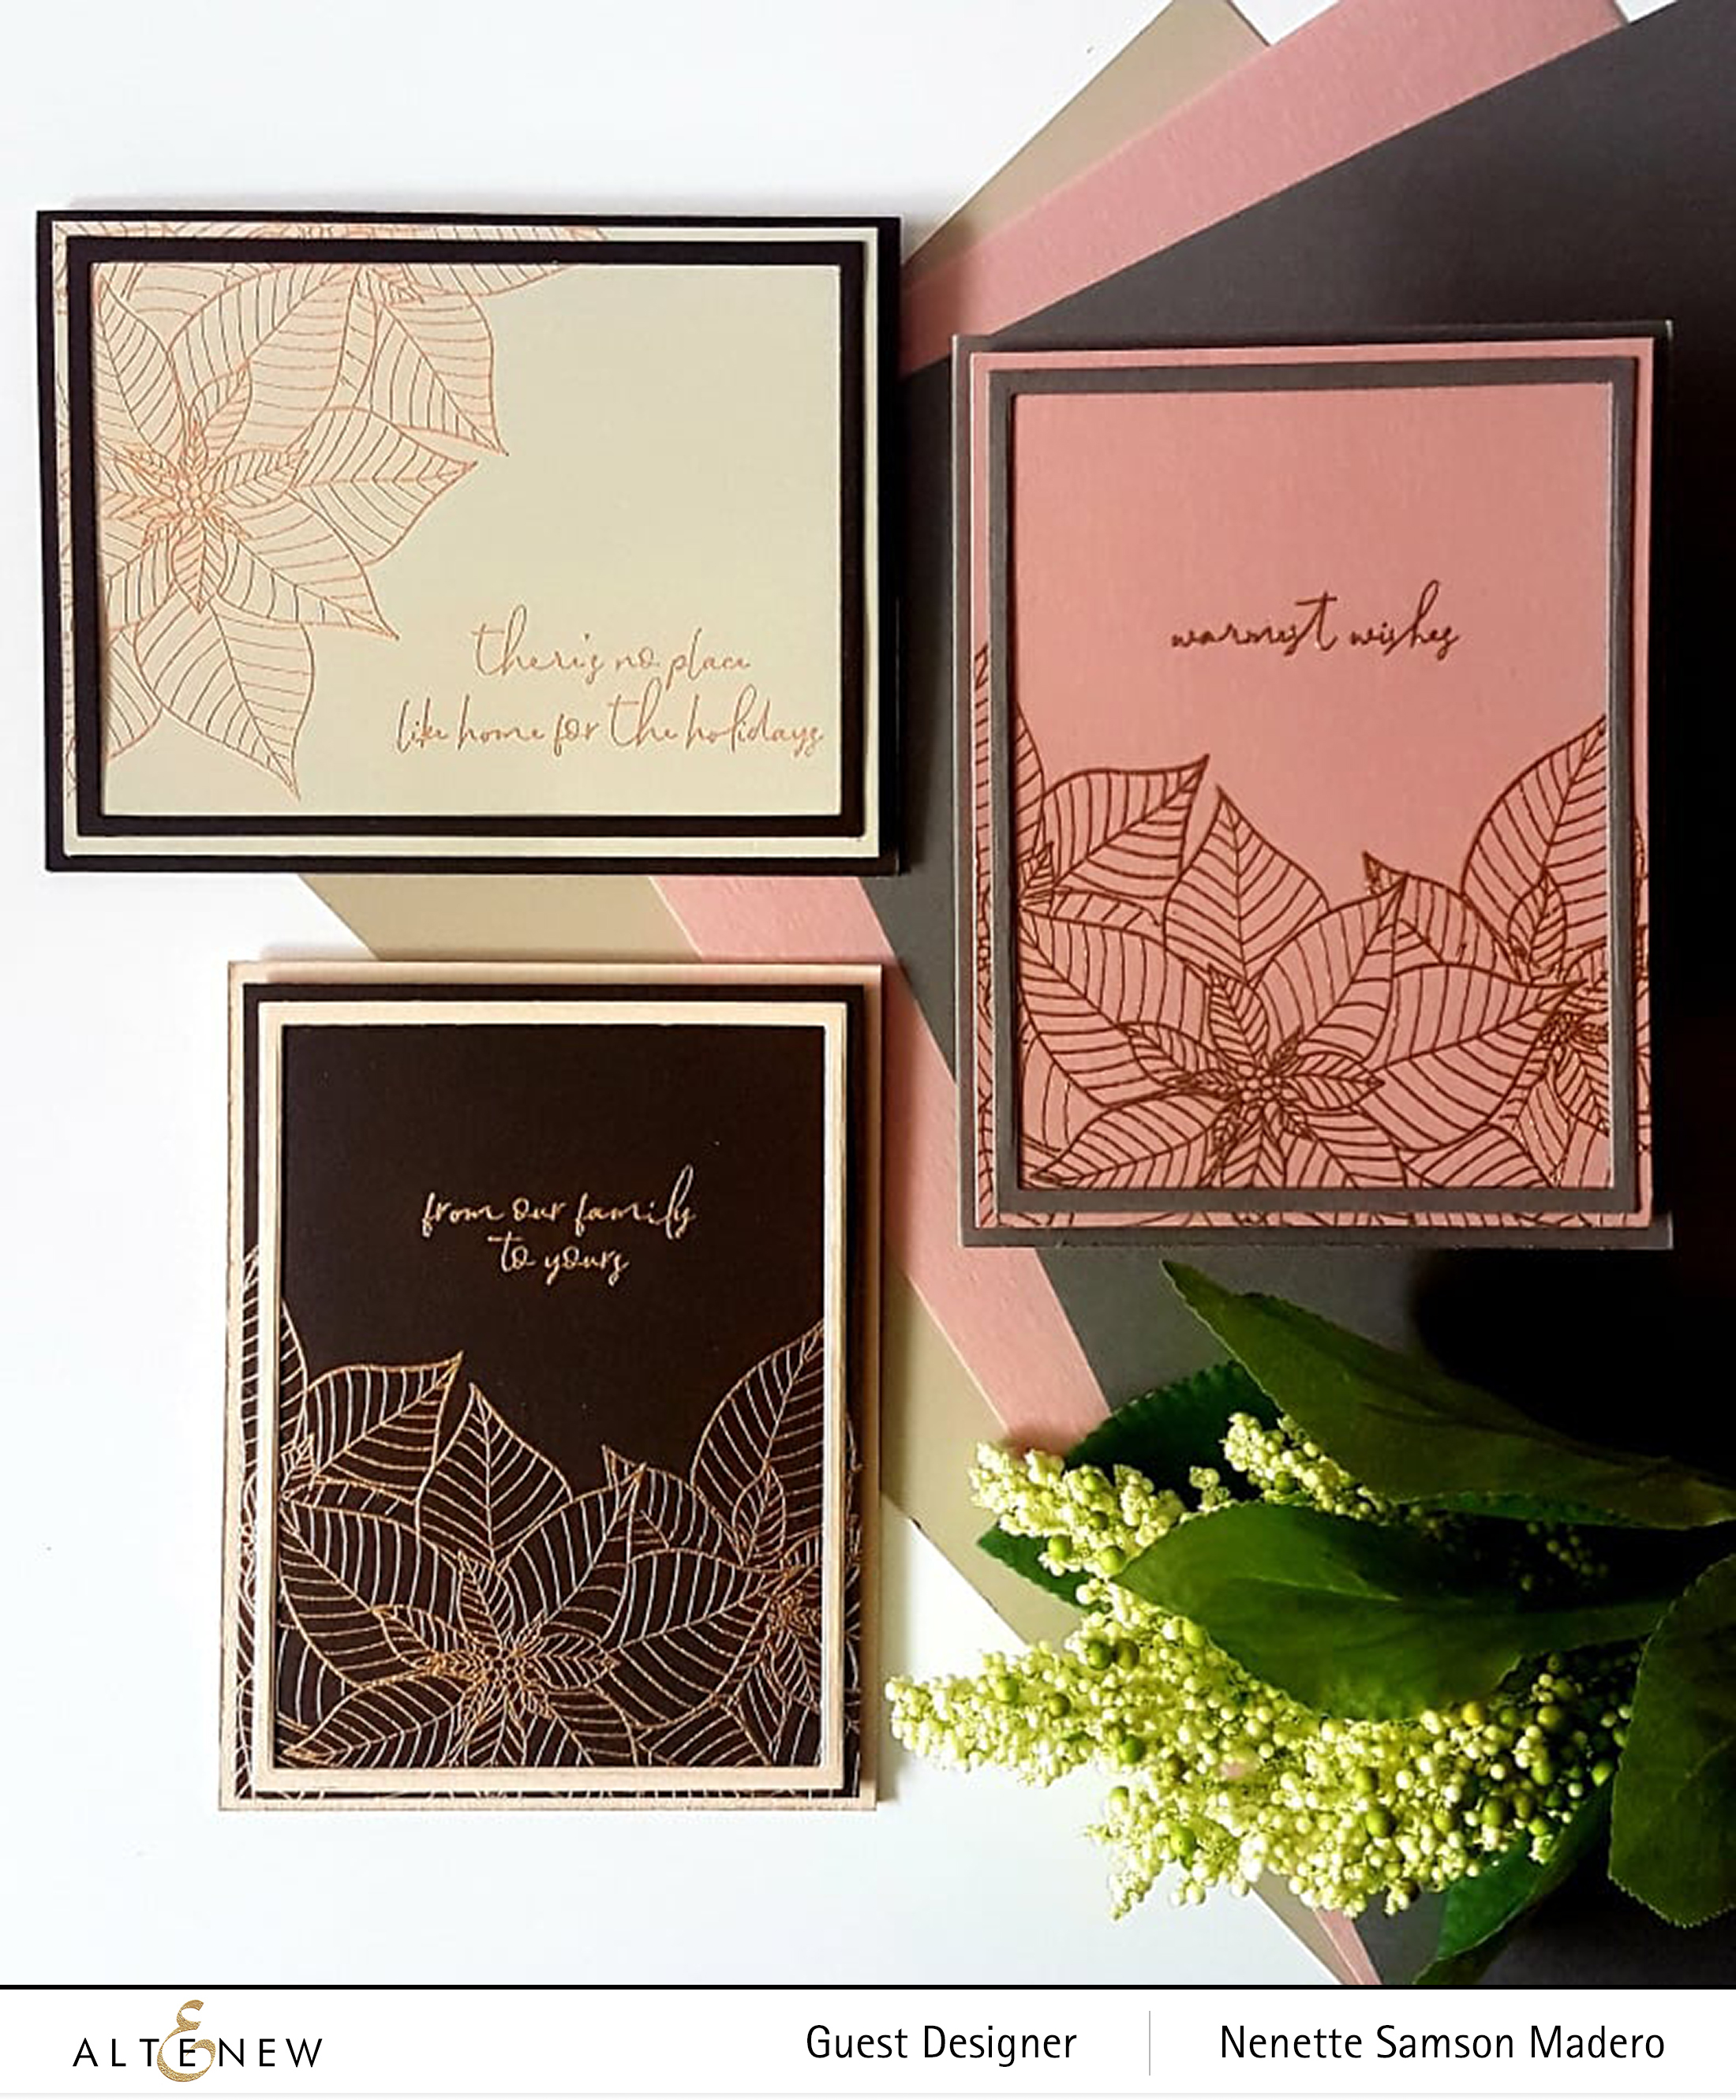
FROM OUR FAMILY TO YOURS ETC CHRISTMAS CARDS

MATERIALS:

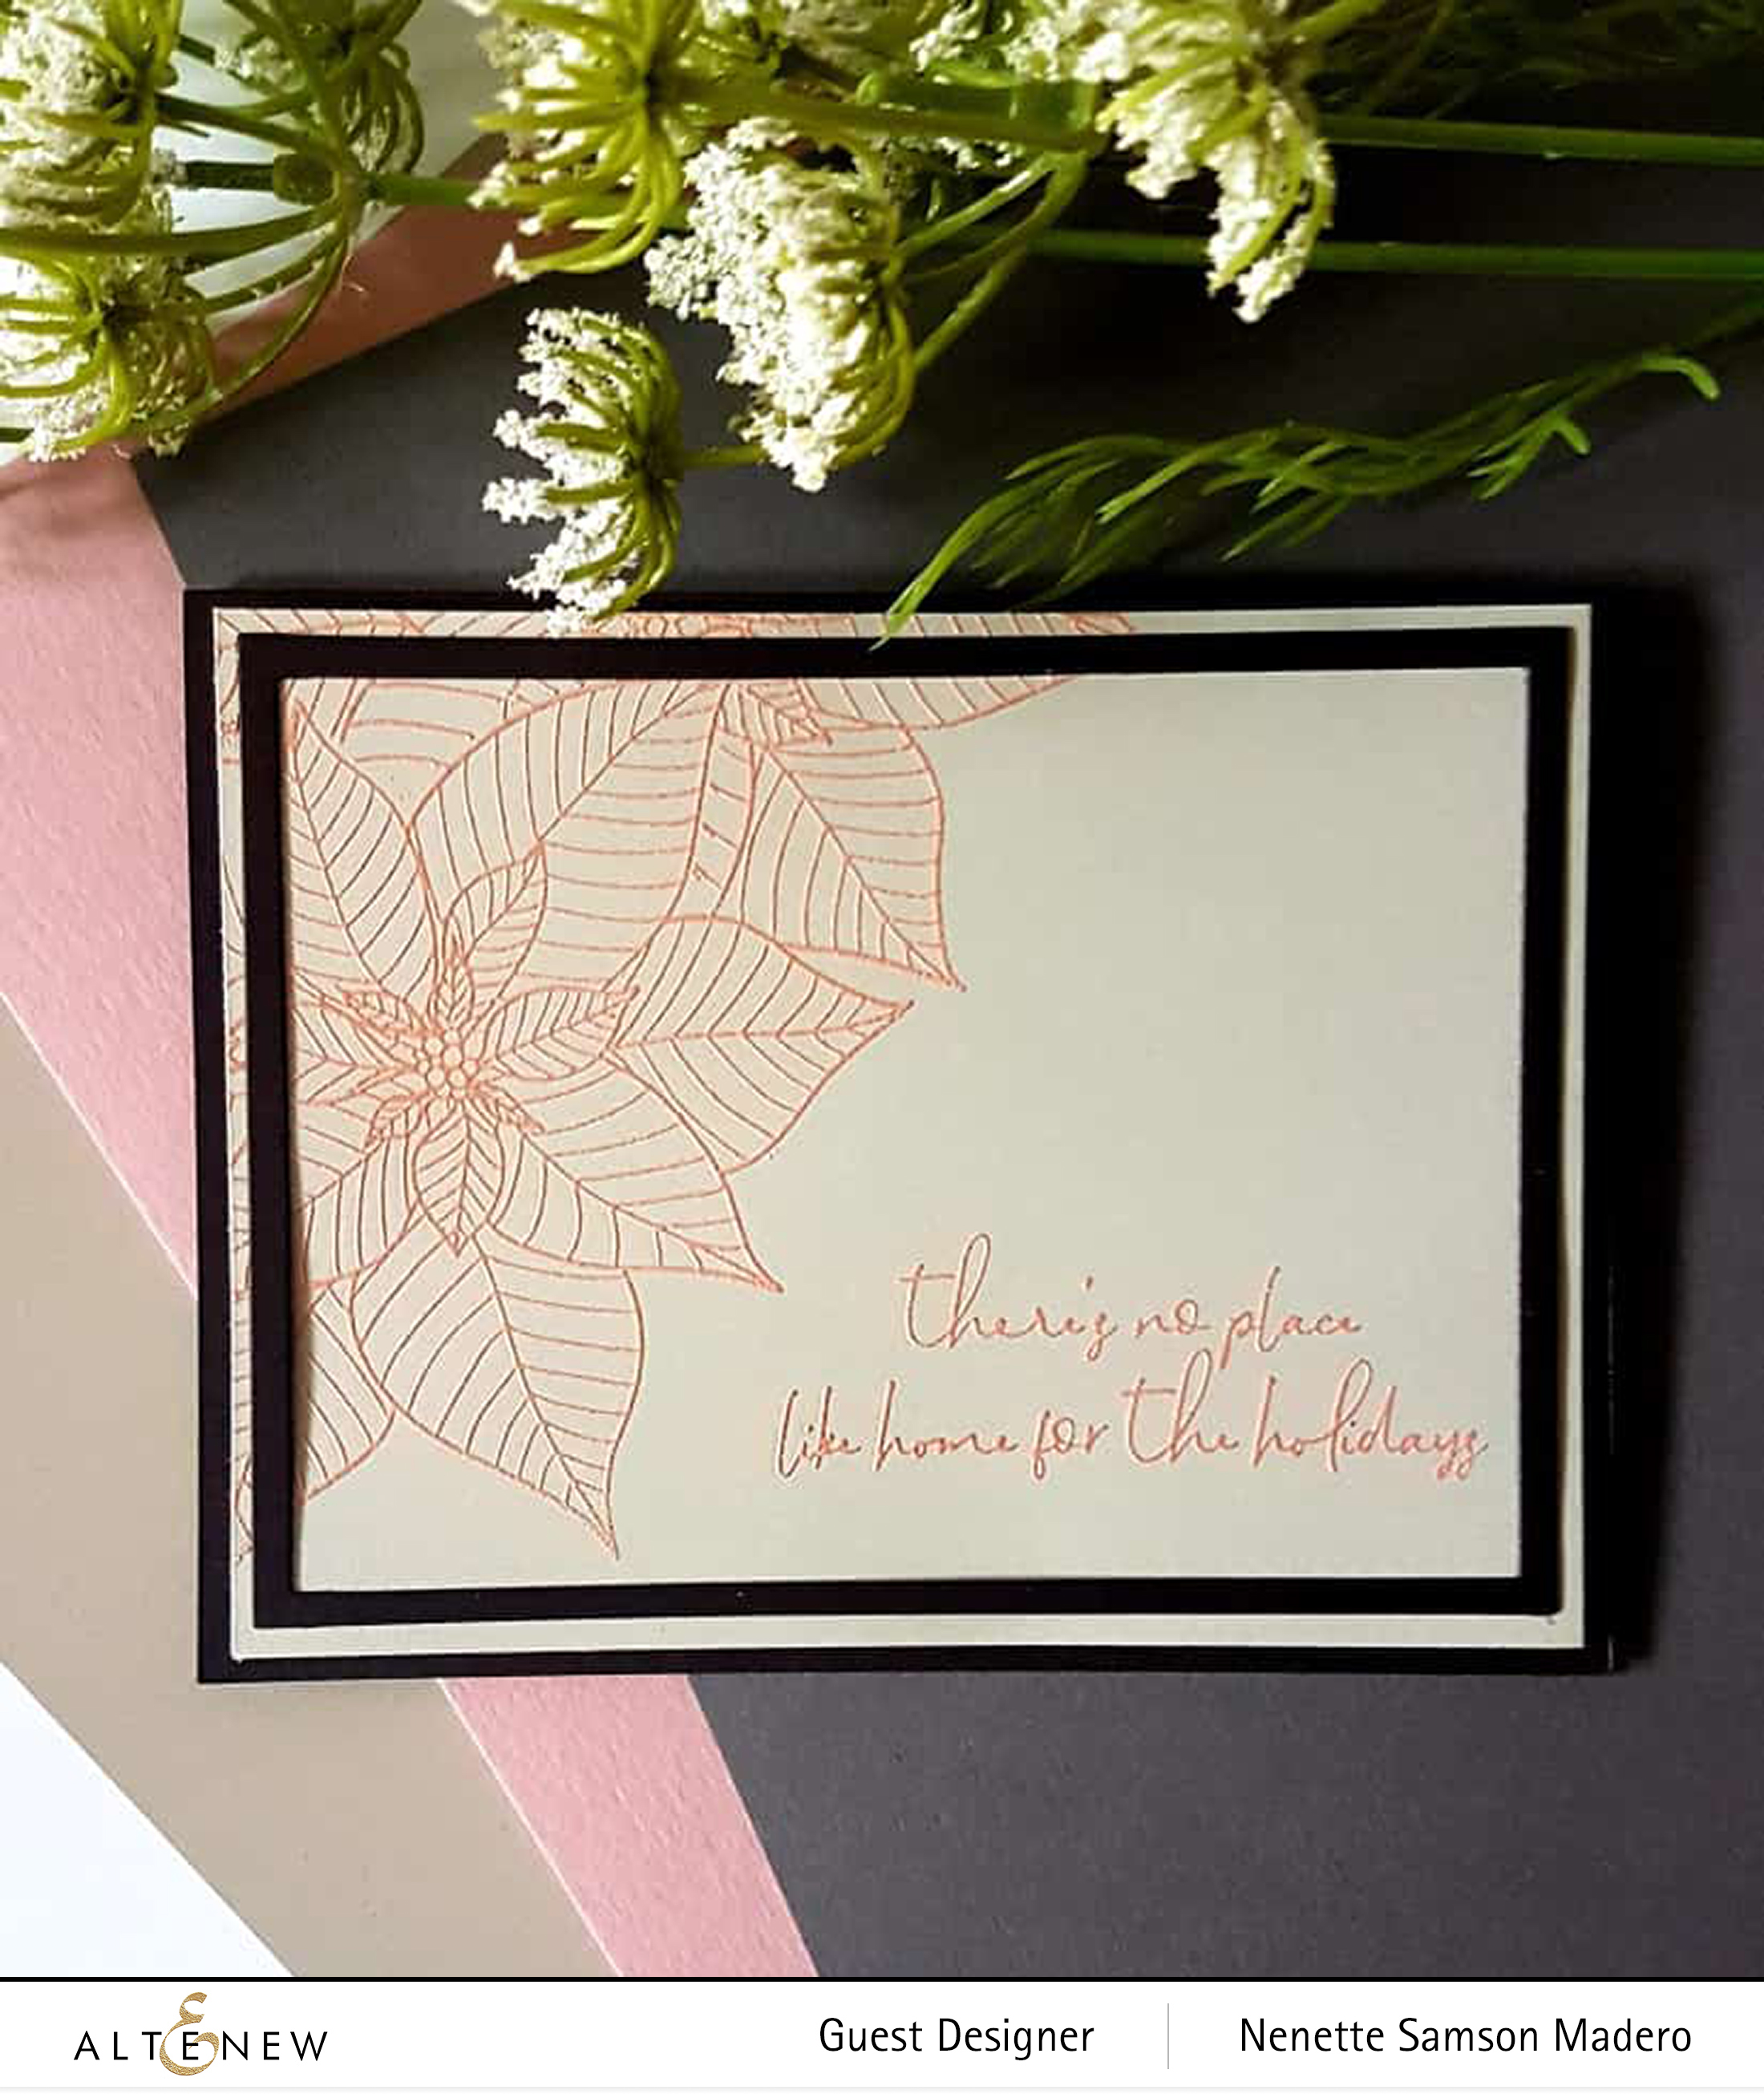
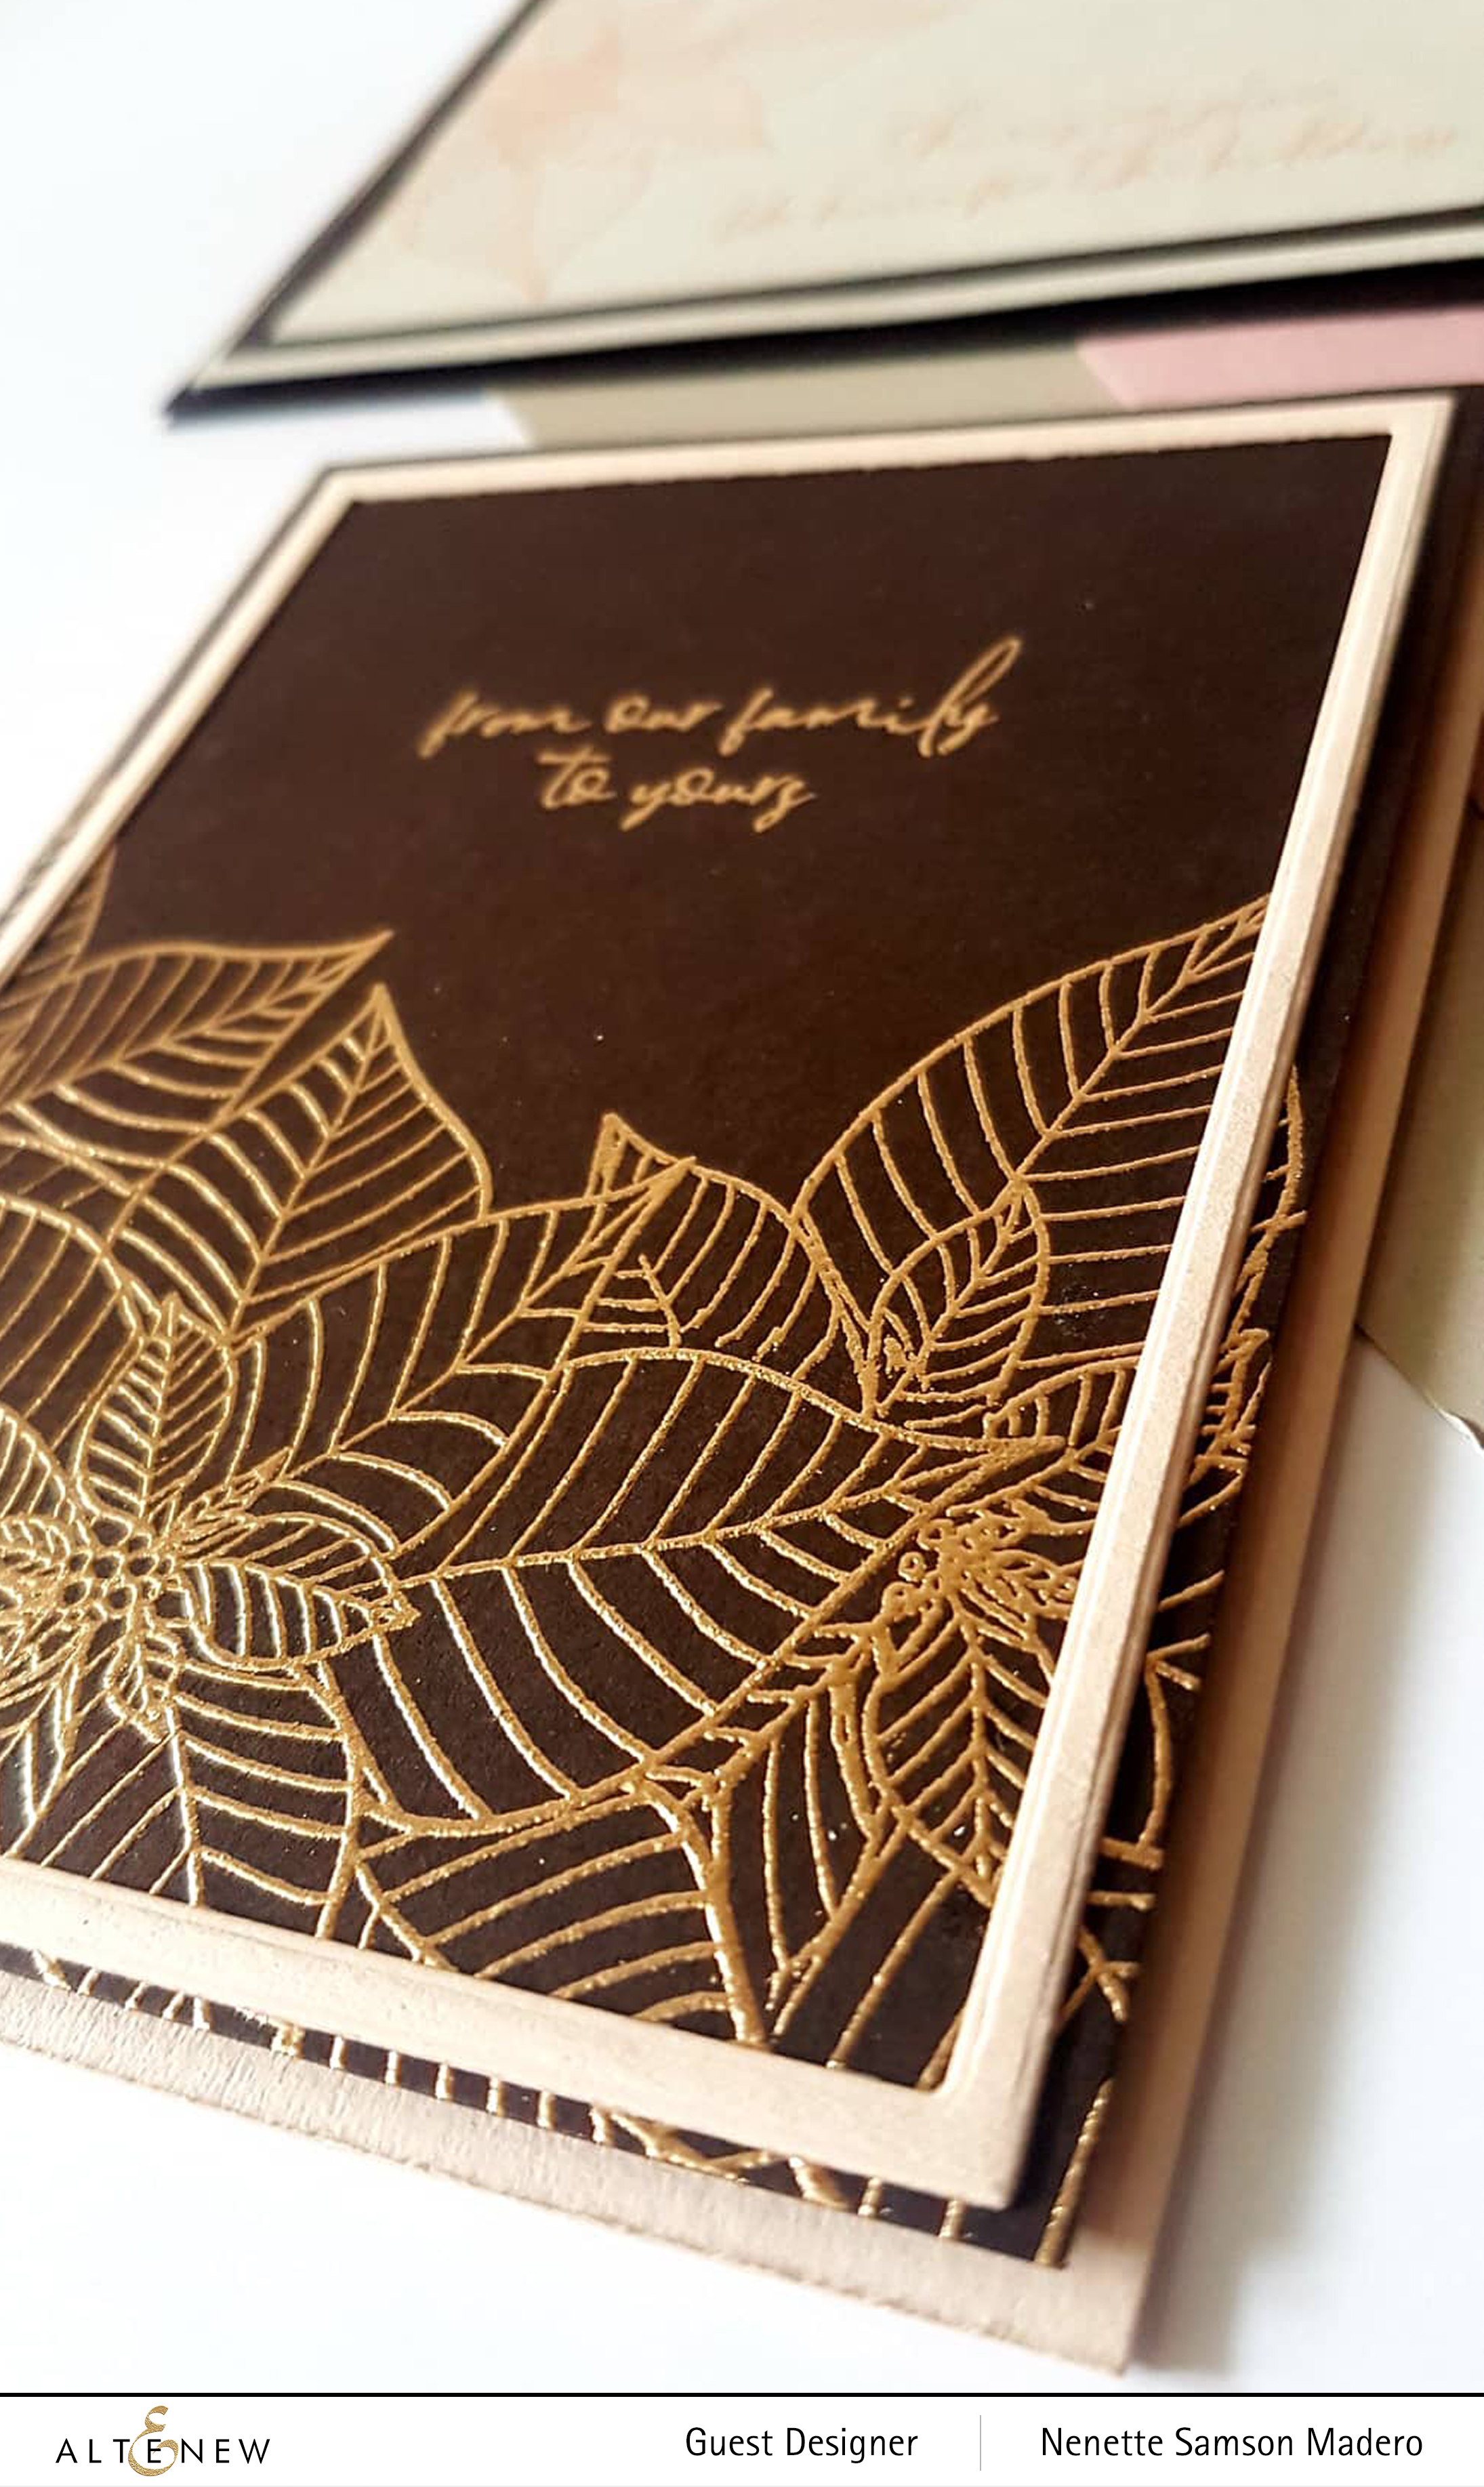
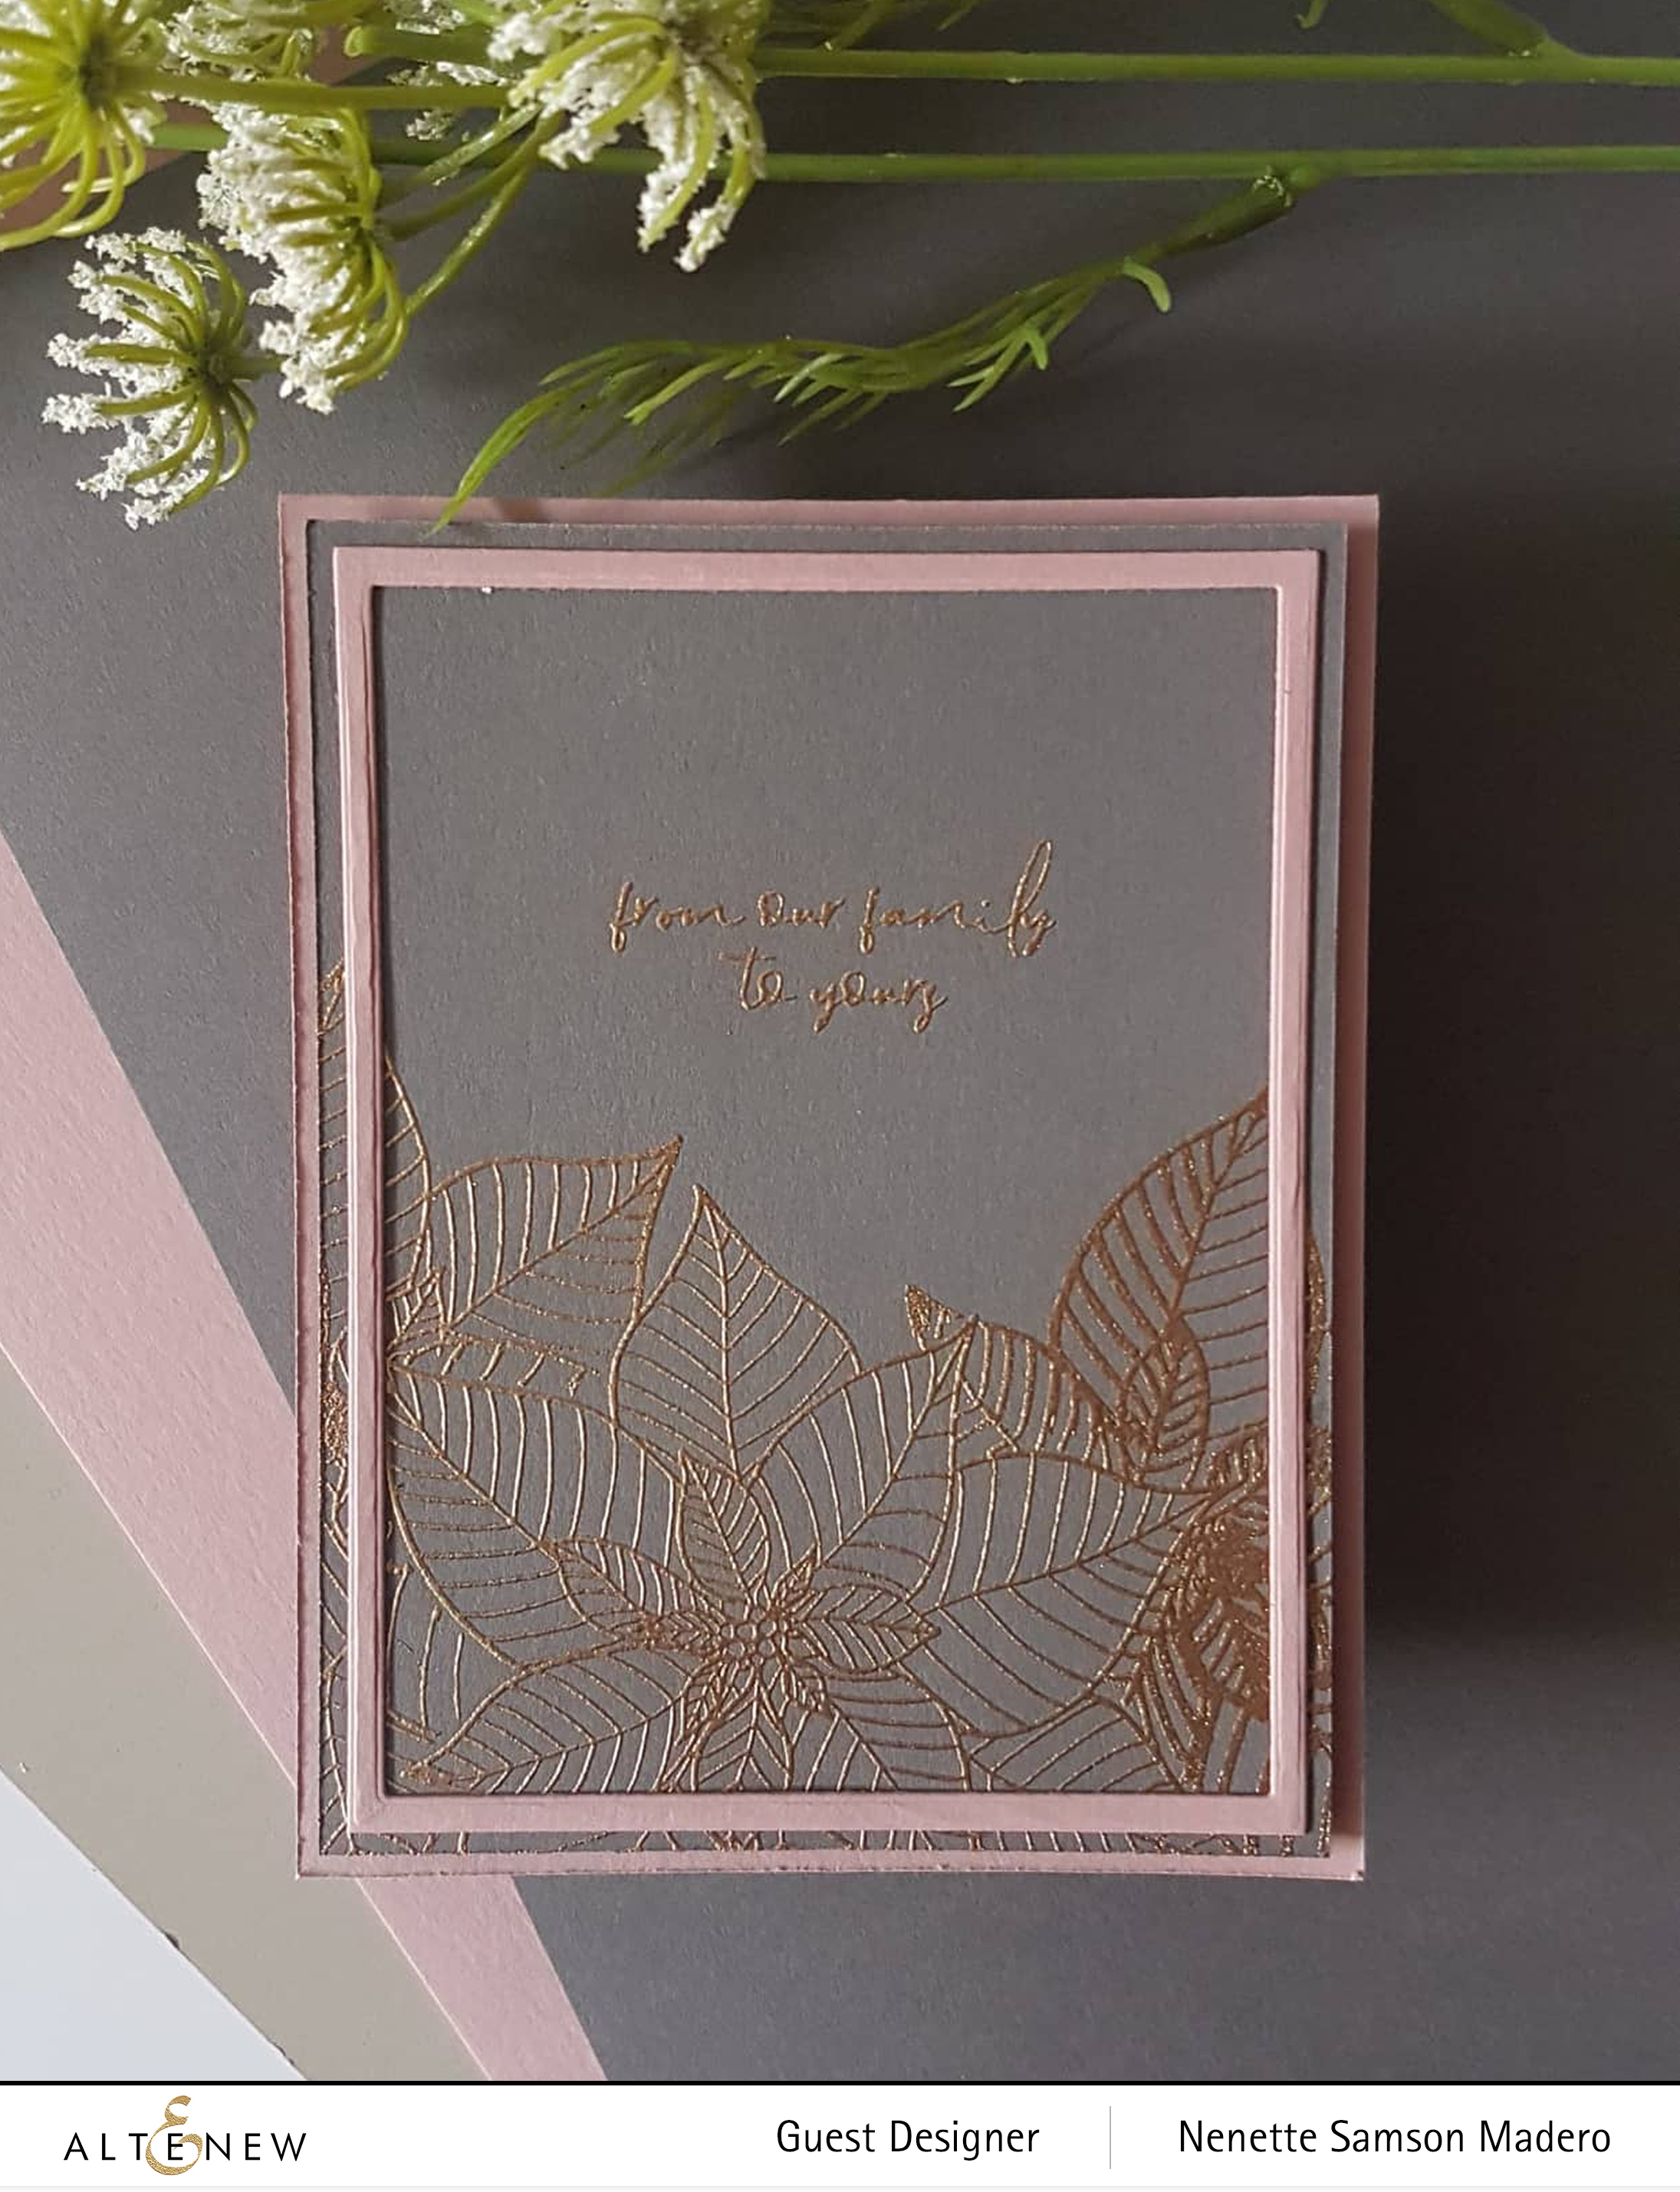
I wanted to get an early start with my Christmas cards and the Modern Poinsettia made it easy. Because this will be mass-produced, I chose a simple card to replicate and just changed the color of the cardstocks.

The cardstocks were cut to 4″ x 5.25″. The flower was stamped using Versamark Ink then embossed with different embossing powders depending on the color that will match the cardstock. The image was covered with the mask then a second flower was stamped and embossed. Most often than not, there will be some blank space between the 2 stamped images where they overlap so I used the Zig embossing fine pen to draw the lines then embossed it once more. One more flower image was stamped and embossed followed by the sentiment. I couldn’t find my Altenew Fine Frames cover die 😥 so I just used 2 rectangle stax dies to die cut the matching cardstock to create a frame just to add more interest to the card front.

HAPPY HAPPY BIRTHDAY CARD

MATERIALS:

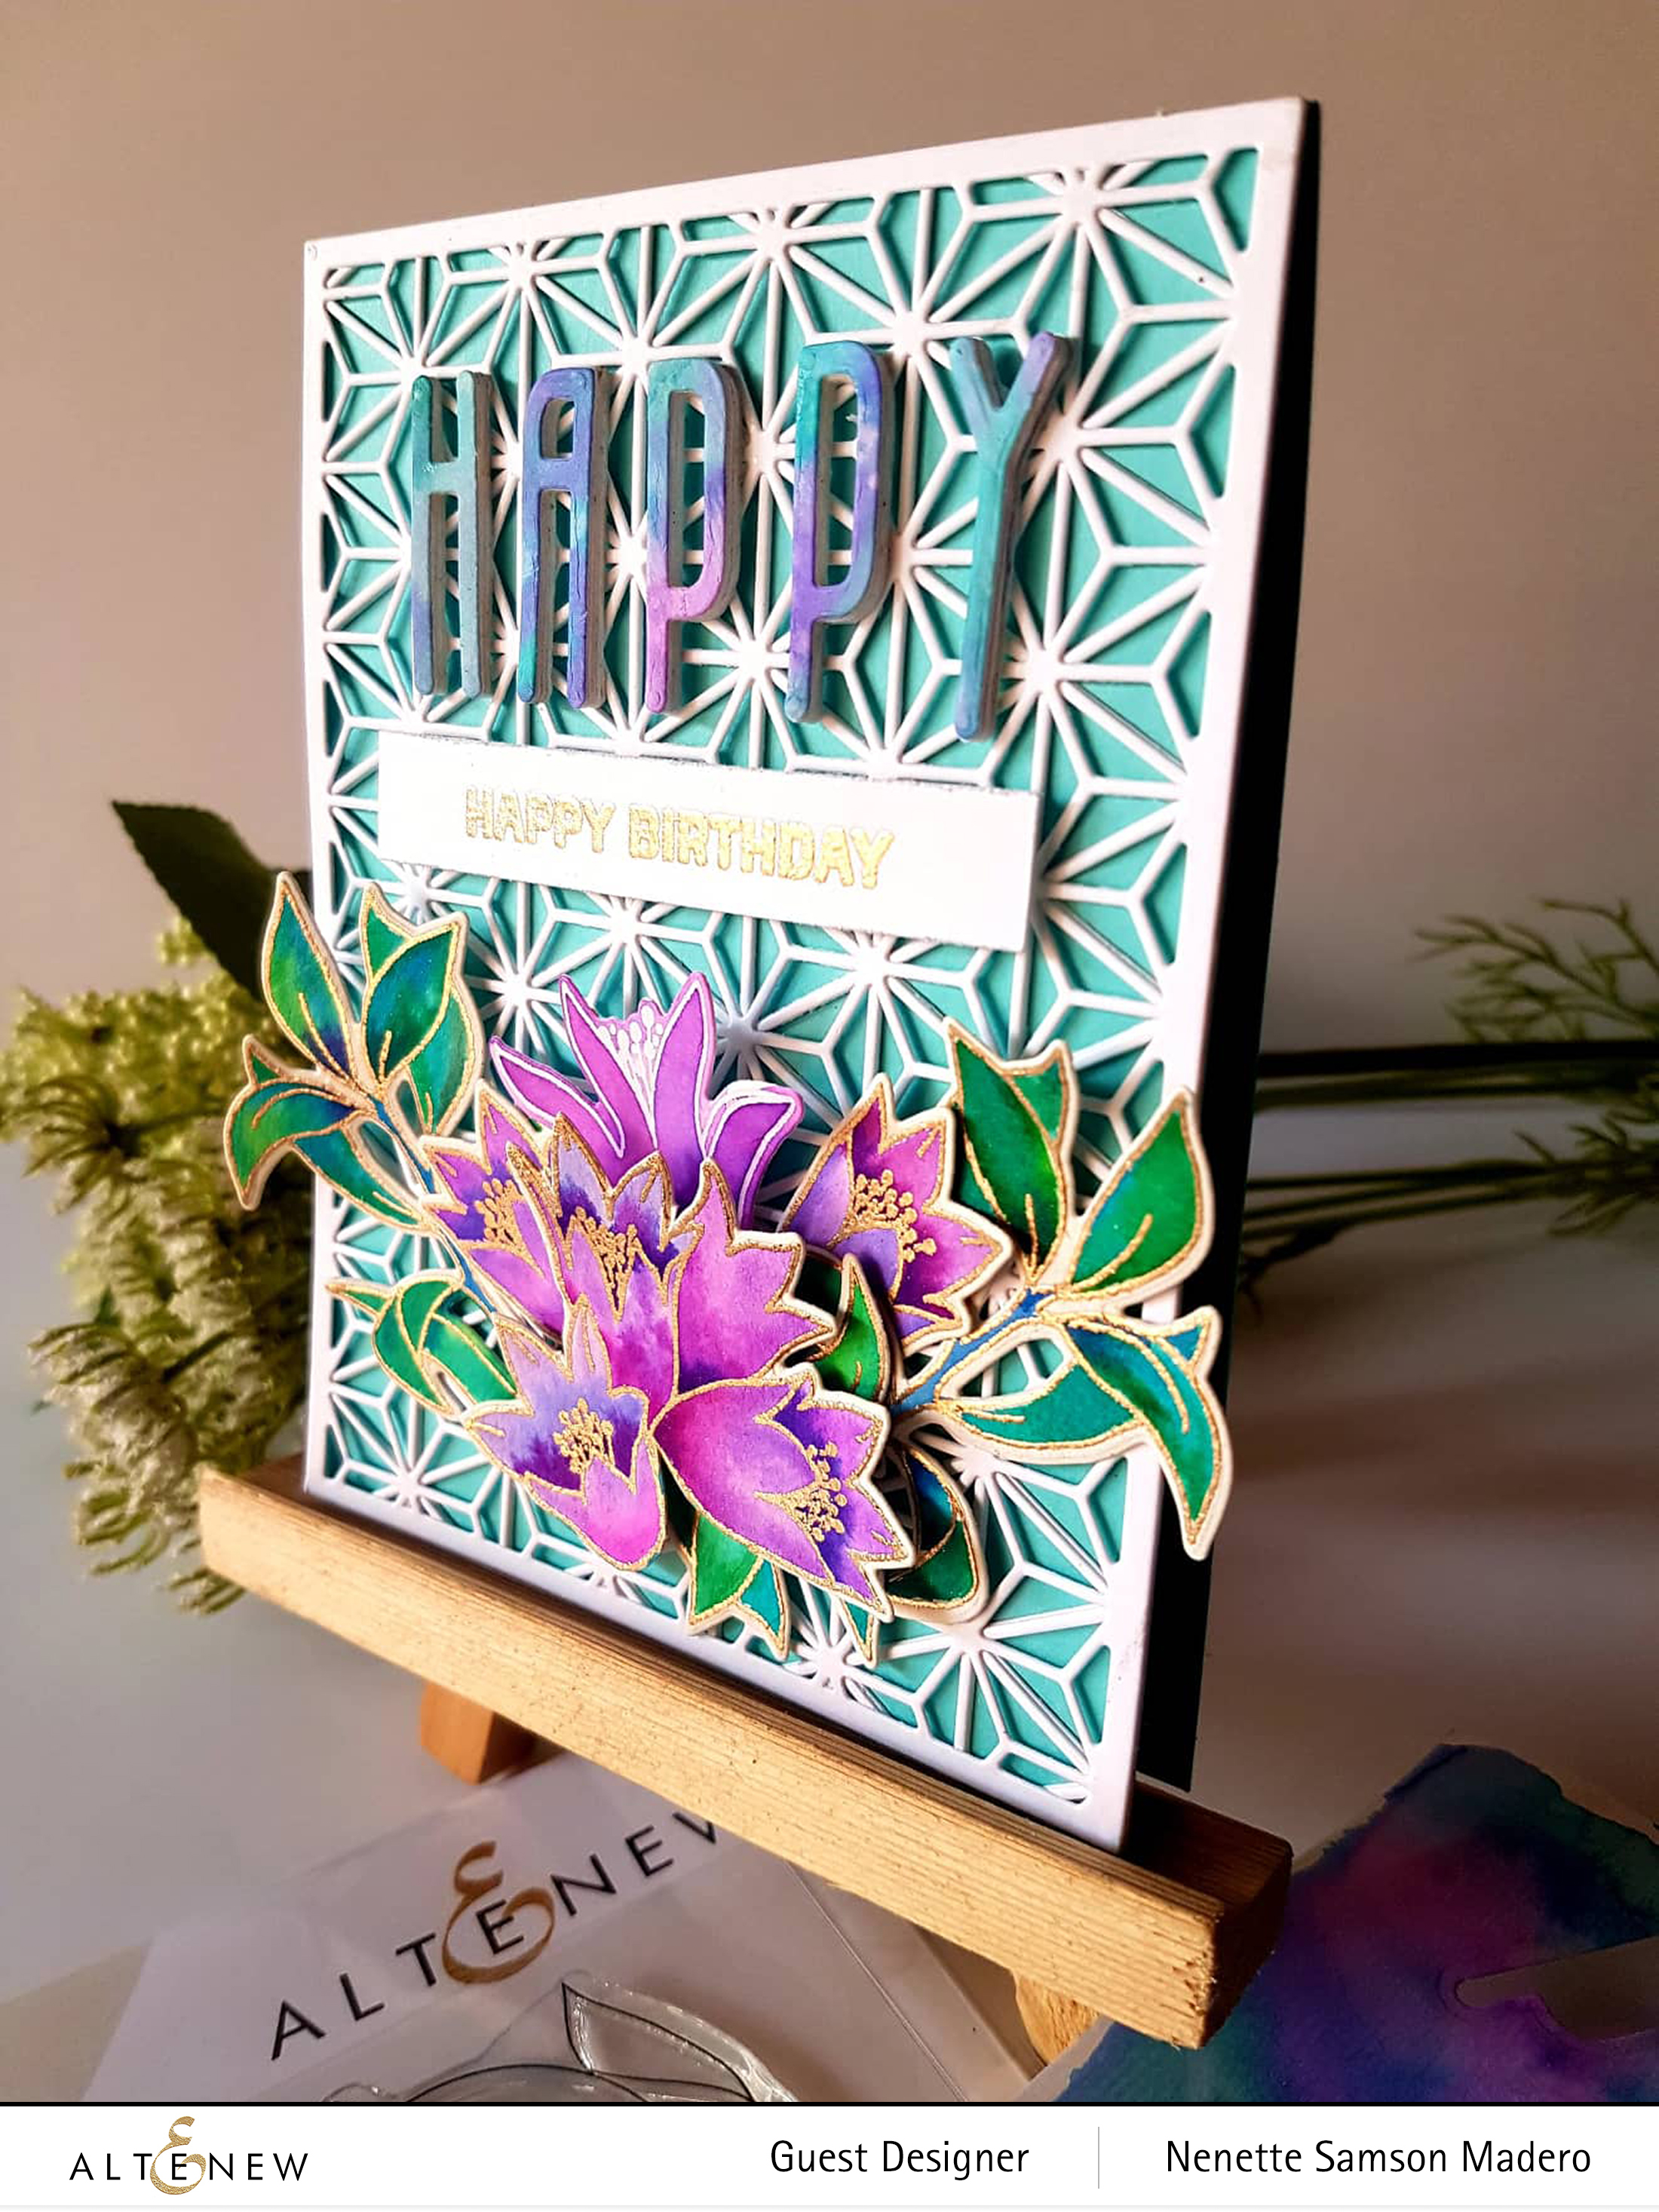
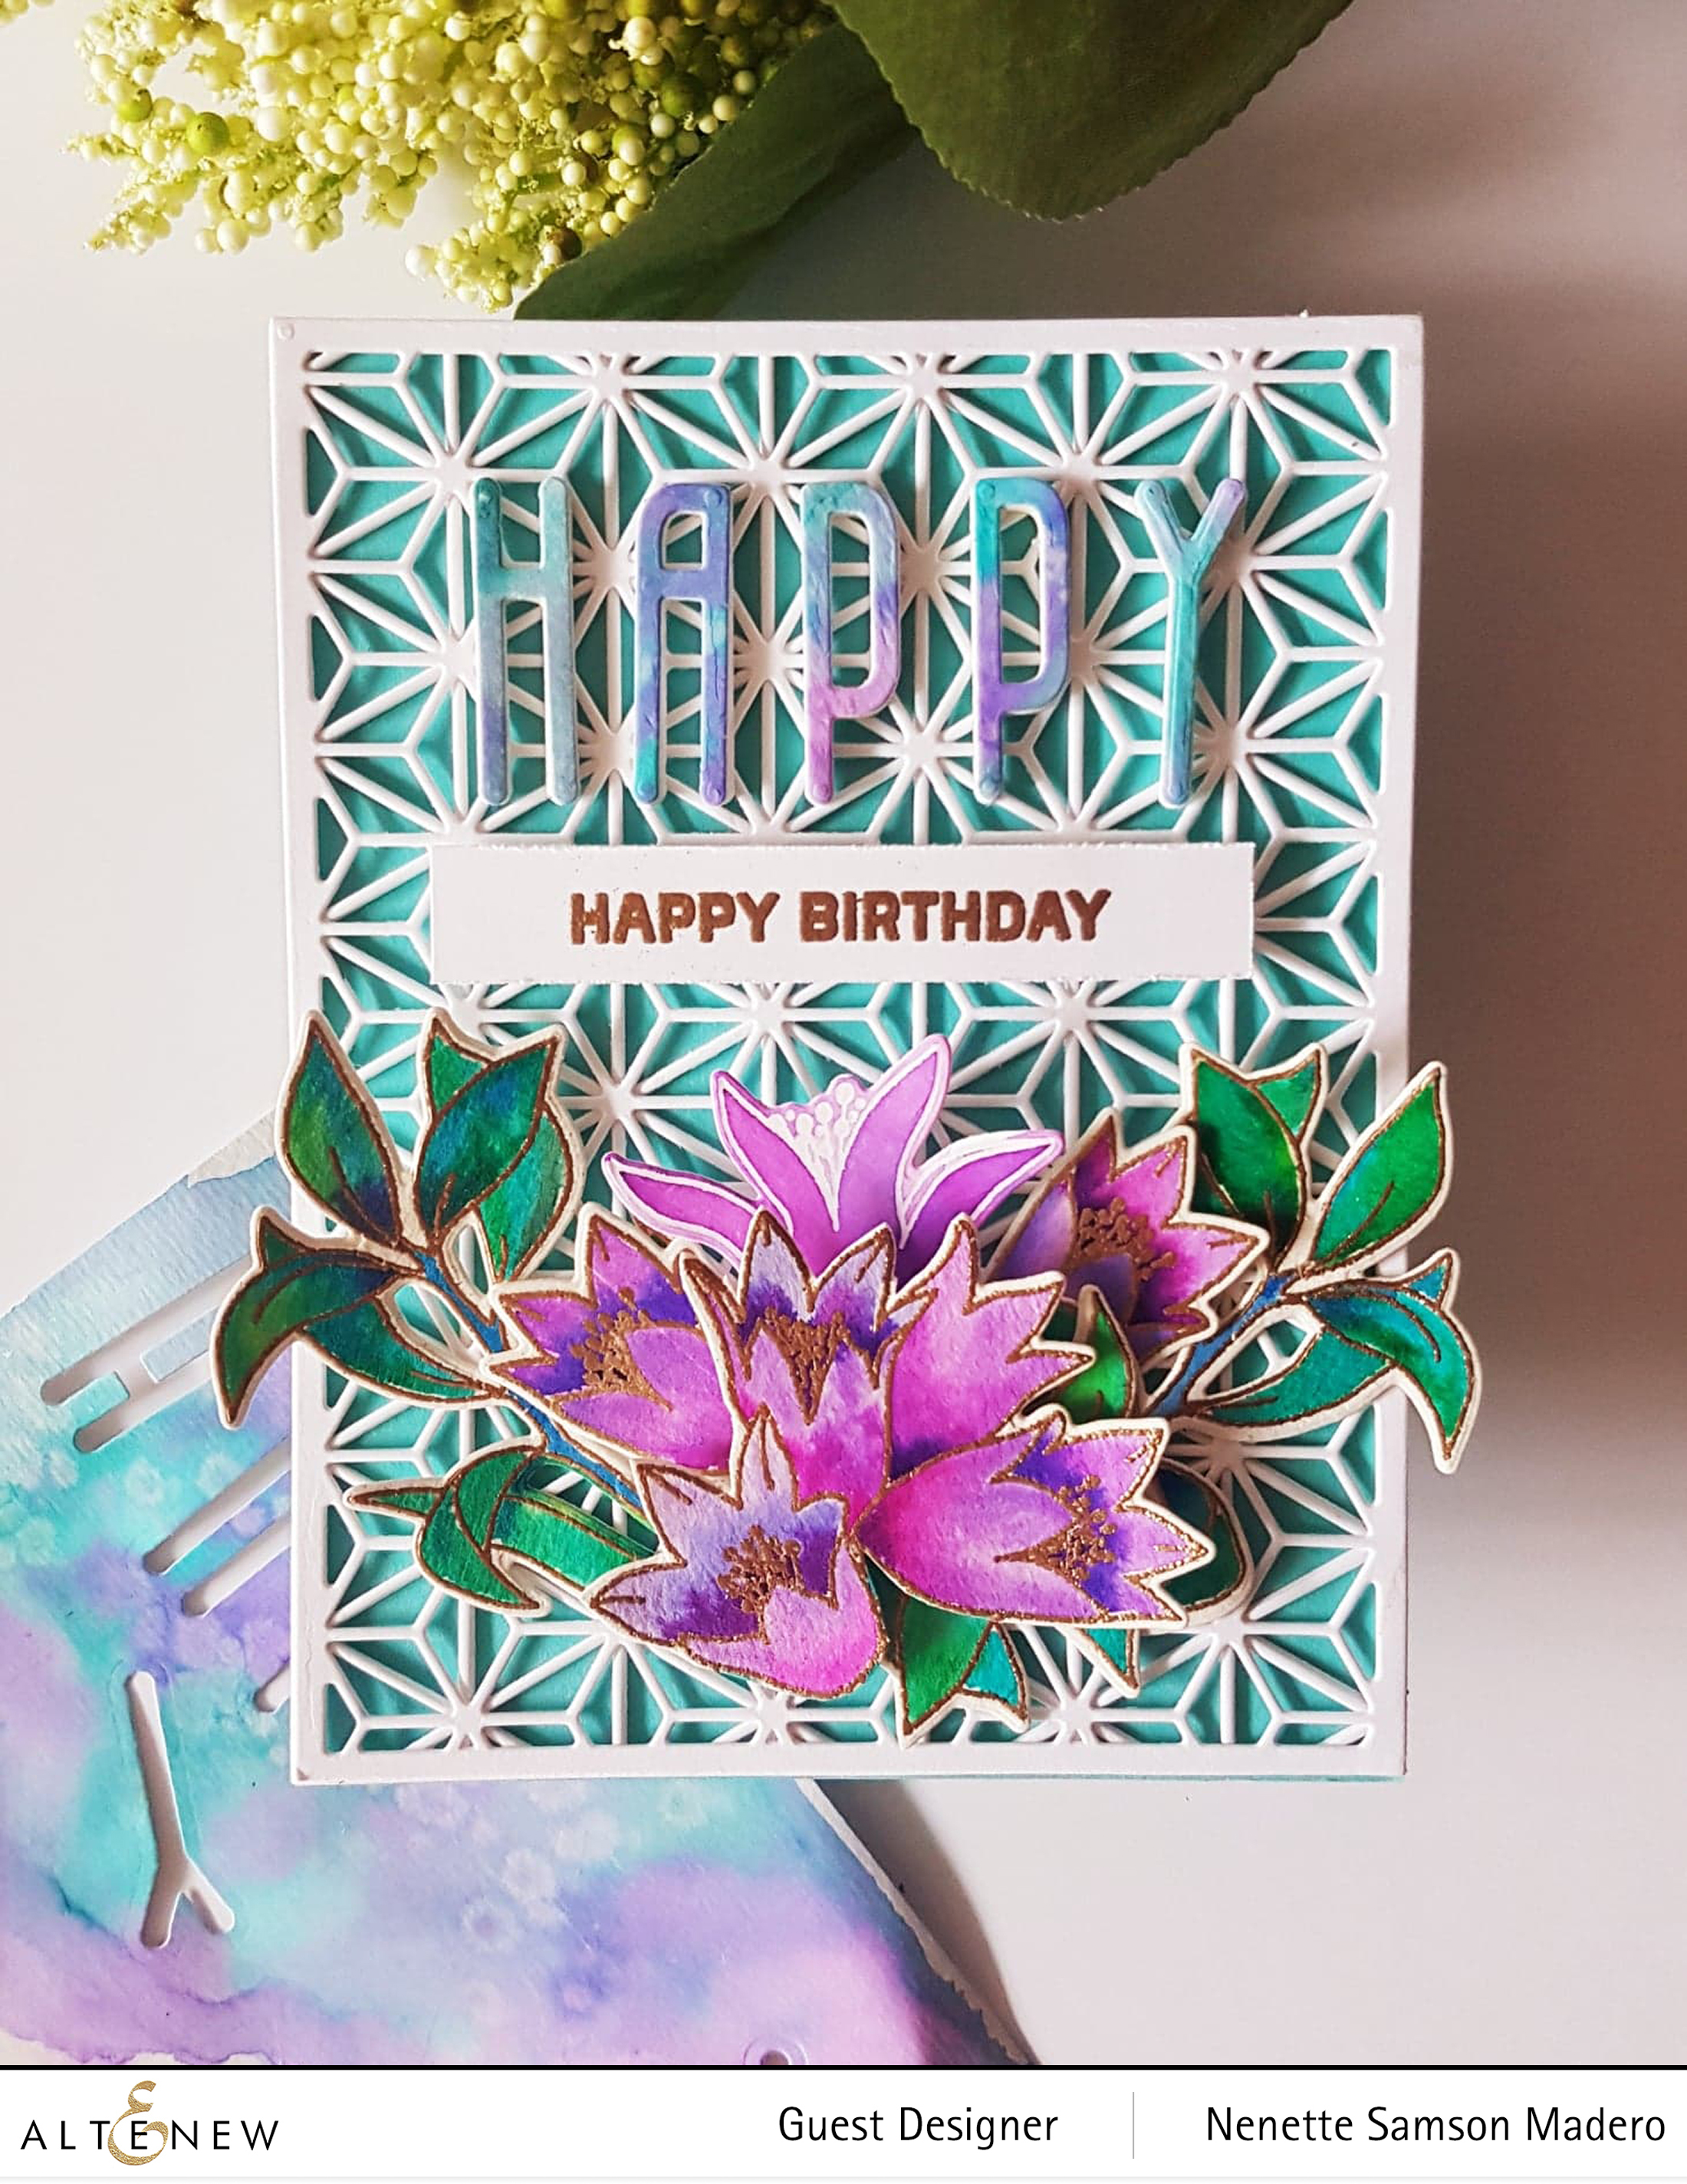
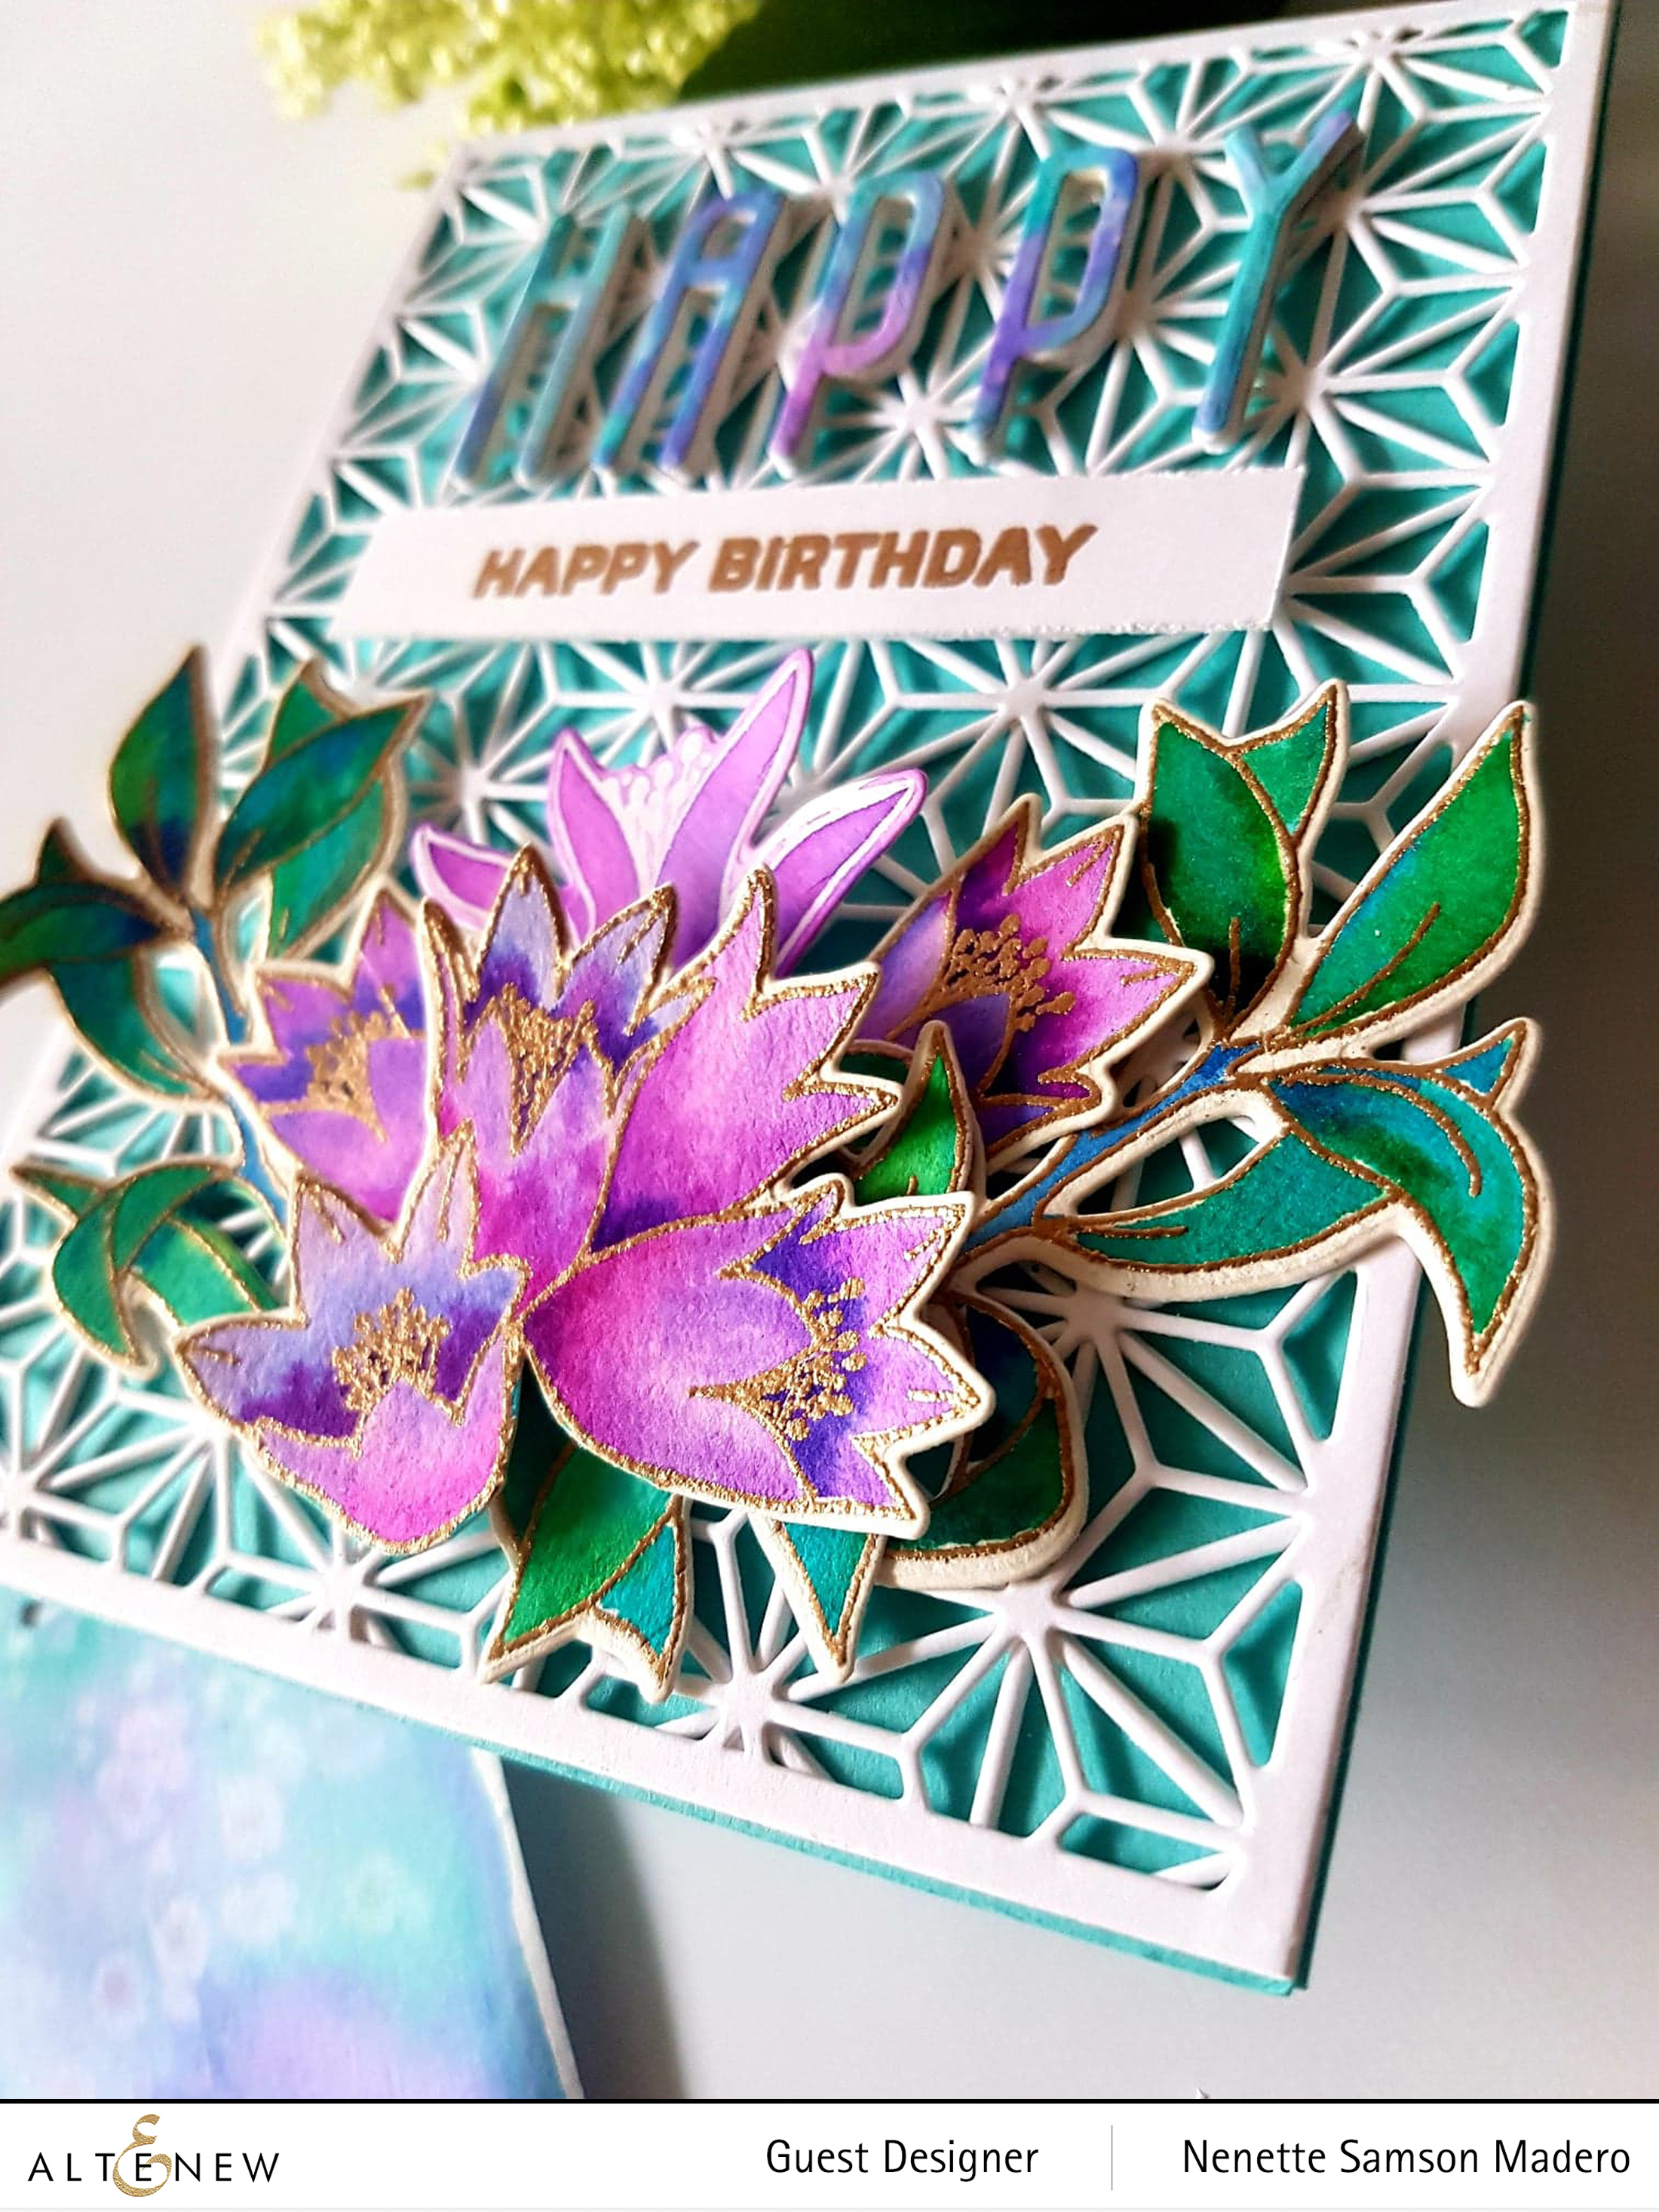
For this last card, I wanted to incorporate a number of Altenew stamps and dies. I used the flowers and leaves from the Happy Pomegranates Stamp set. I stamped these images on watercolor paper using Versamark Ink then embossed with Rose Gold embossing powder. For the flowers, I used the following watercolor brush markers– Midnight violet, Rubellite, Persian Blue and Purple Wine. For the leaves, I used the following: Turquoise, Sea Breeze, Lime, Limeade and Emerald. With these colors, I made a wash for my letter dies. The Layered Snowflakes Stars Cover dies A and B were used to cut out 2 panels. These were adhered onto a blue top folding A2 card.

The leaves and flowers were die cut and arranged at the bottom of the card. Adhesive and foam squares were used to give some dimension. The HAPPY letters were then die cut using the watercolor wash and 4 layers of plain cardstock then adhered on top of each other to create thickness. Happy Birthday sentiment was stamped using Versamark Ink then embossed with Rose Gold embossing powder.

PRIZES AND GIVEAWAYS

To celebrate this release, Altenew is giving away a $50 gift certificate to 6 lucky winners! Please leave a comment on the Altenew Card Blog and/or Altenew Scrapbook Blog by 9/10/2019 for a chance to win.

We’ll also draw a winner to receive a $20 gift certificate from the comments left on each designer’s blog on the blog hop list below. All winners will be announced on the Altenew blogs on 9/13/2019.

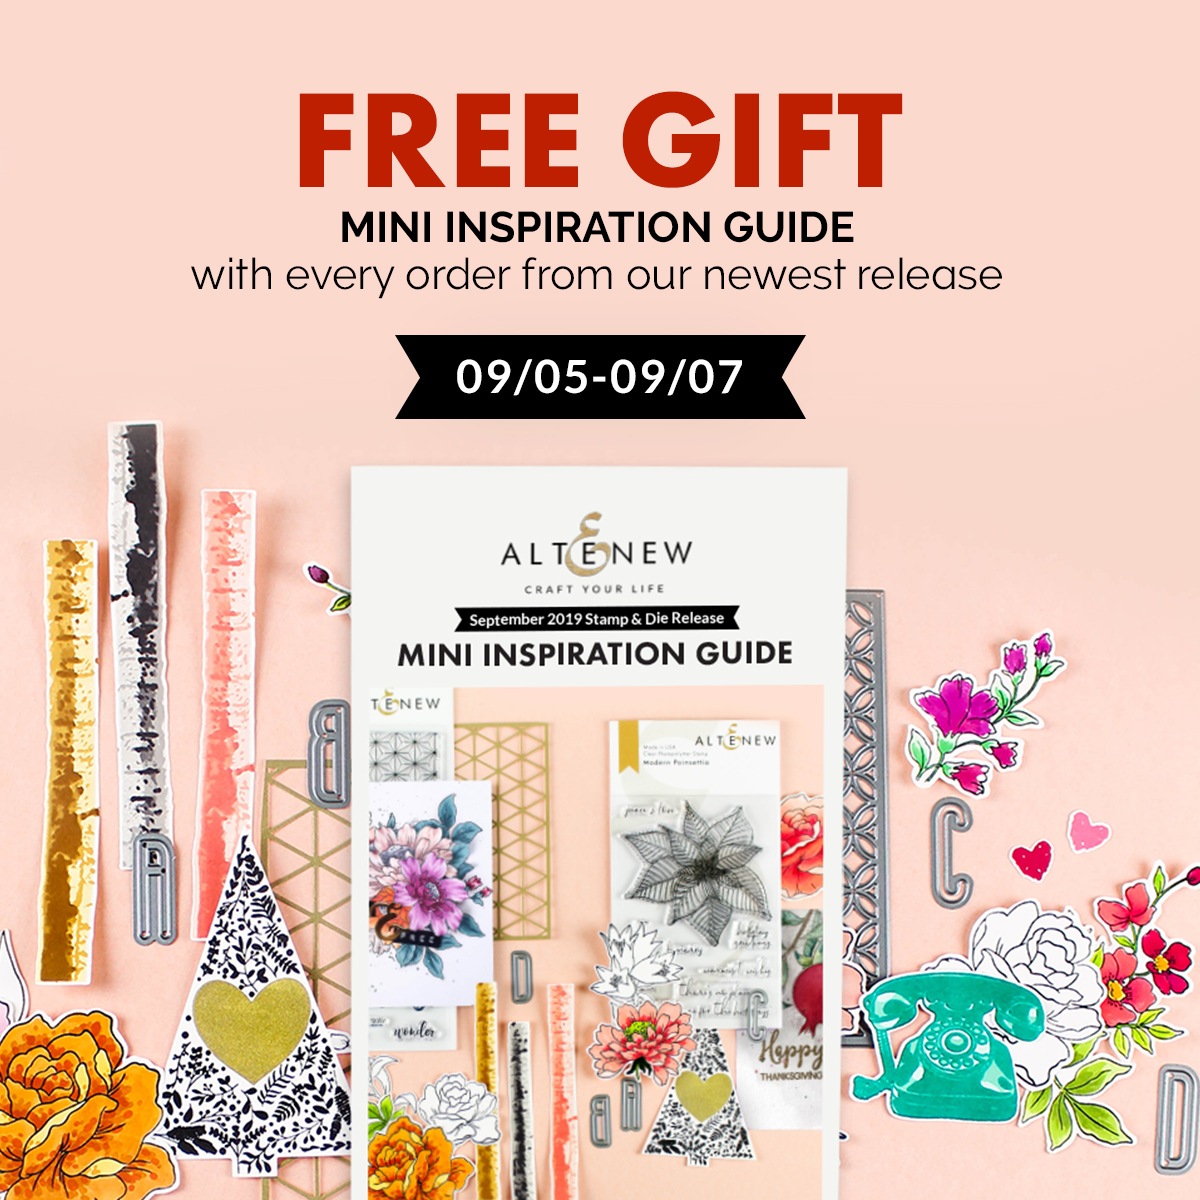
Limited Time Offer! Get a FREE mini inspiration guide with every order from the September 2019 Stamp/Die Release collection! Shop HERE. Free gift will be added to the cart automatically. One gift per order. While supplies last!

Thank you so much for dropping by. Next up is the uber-talented Norine Borys. I’m a fan of her cards! The complete Blog Hop Order is listed below in case you are lost. Please don’t forget to subscribe to receive the latest card creations from My Little Attic Studio. I truly appreciate all the love and wonderful comments you leave here, on FB and in my IG account. All your words of encouragement just give me more inspiration to create so thank you so much once again for dropping by and saying hello! Happy crafting! ❤️

FACEBOOK | INSTAGRAM | PINTEREST | WWW.MYLITTLEATTIC.COM

BLOG HOP ORDER:

Altenew Card Blog
Altenew Scrapbook Blog
Agnieszka Malyszek
Alex Syberia
Ashlea Cornell
Caly Person
Christine Pennington
Emily Midgett
Erum Tasneem
Jaycee Gaspar
Jeanne Jachna
Jennifer McGuire
Jen Schow
Kathleen Graumüller
Kathy Racoosin
Kelly Griglione
Kelly Janes
Kymona Tracey
Maryam Perez
May Sukyong Park
LauraJane
Laurie Willison
Lilith Eeckels
Mindy Eggen
Nathalie DeSousa
Nenette S. Madero –> YOU ARE HERE
Norine Borys
Reiko Tsuchida
Sveta Fotinia
Svitlana Shayevich
Terri Marie Koszler
Therese Calvird
Virginia Lu