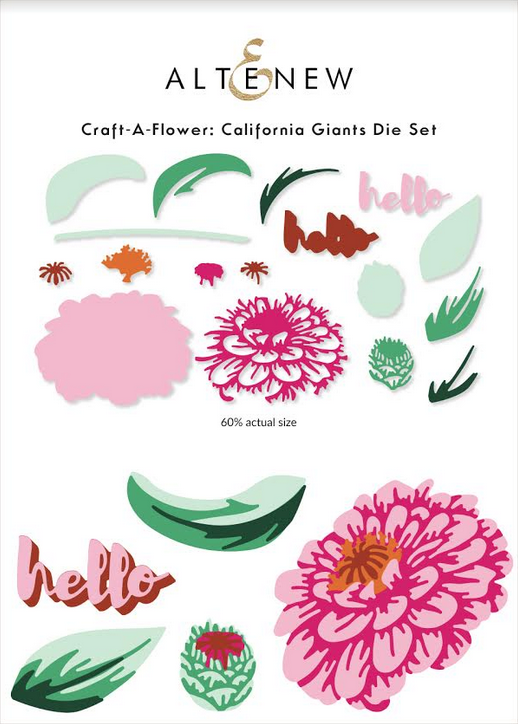
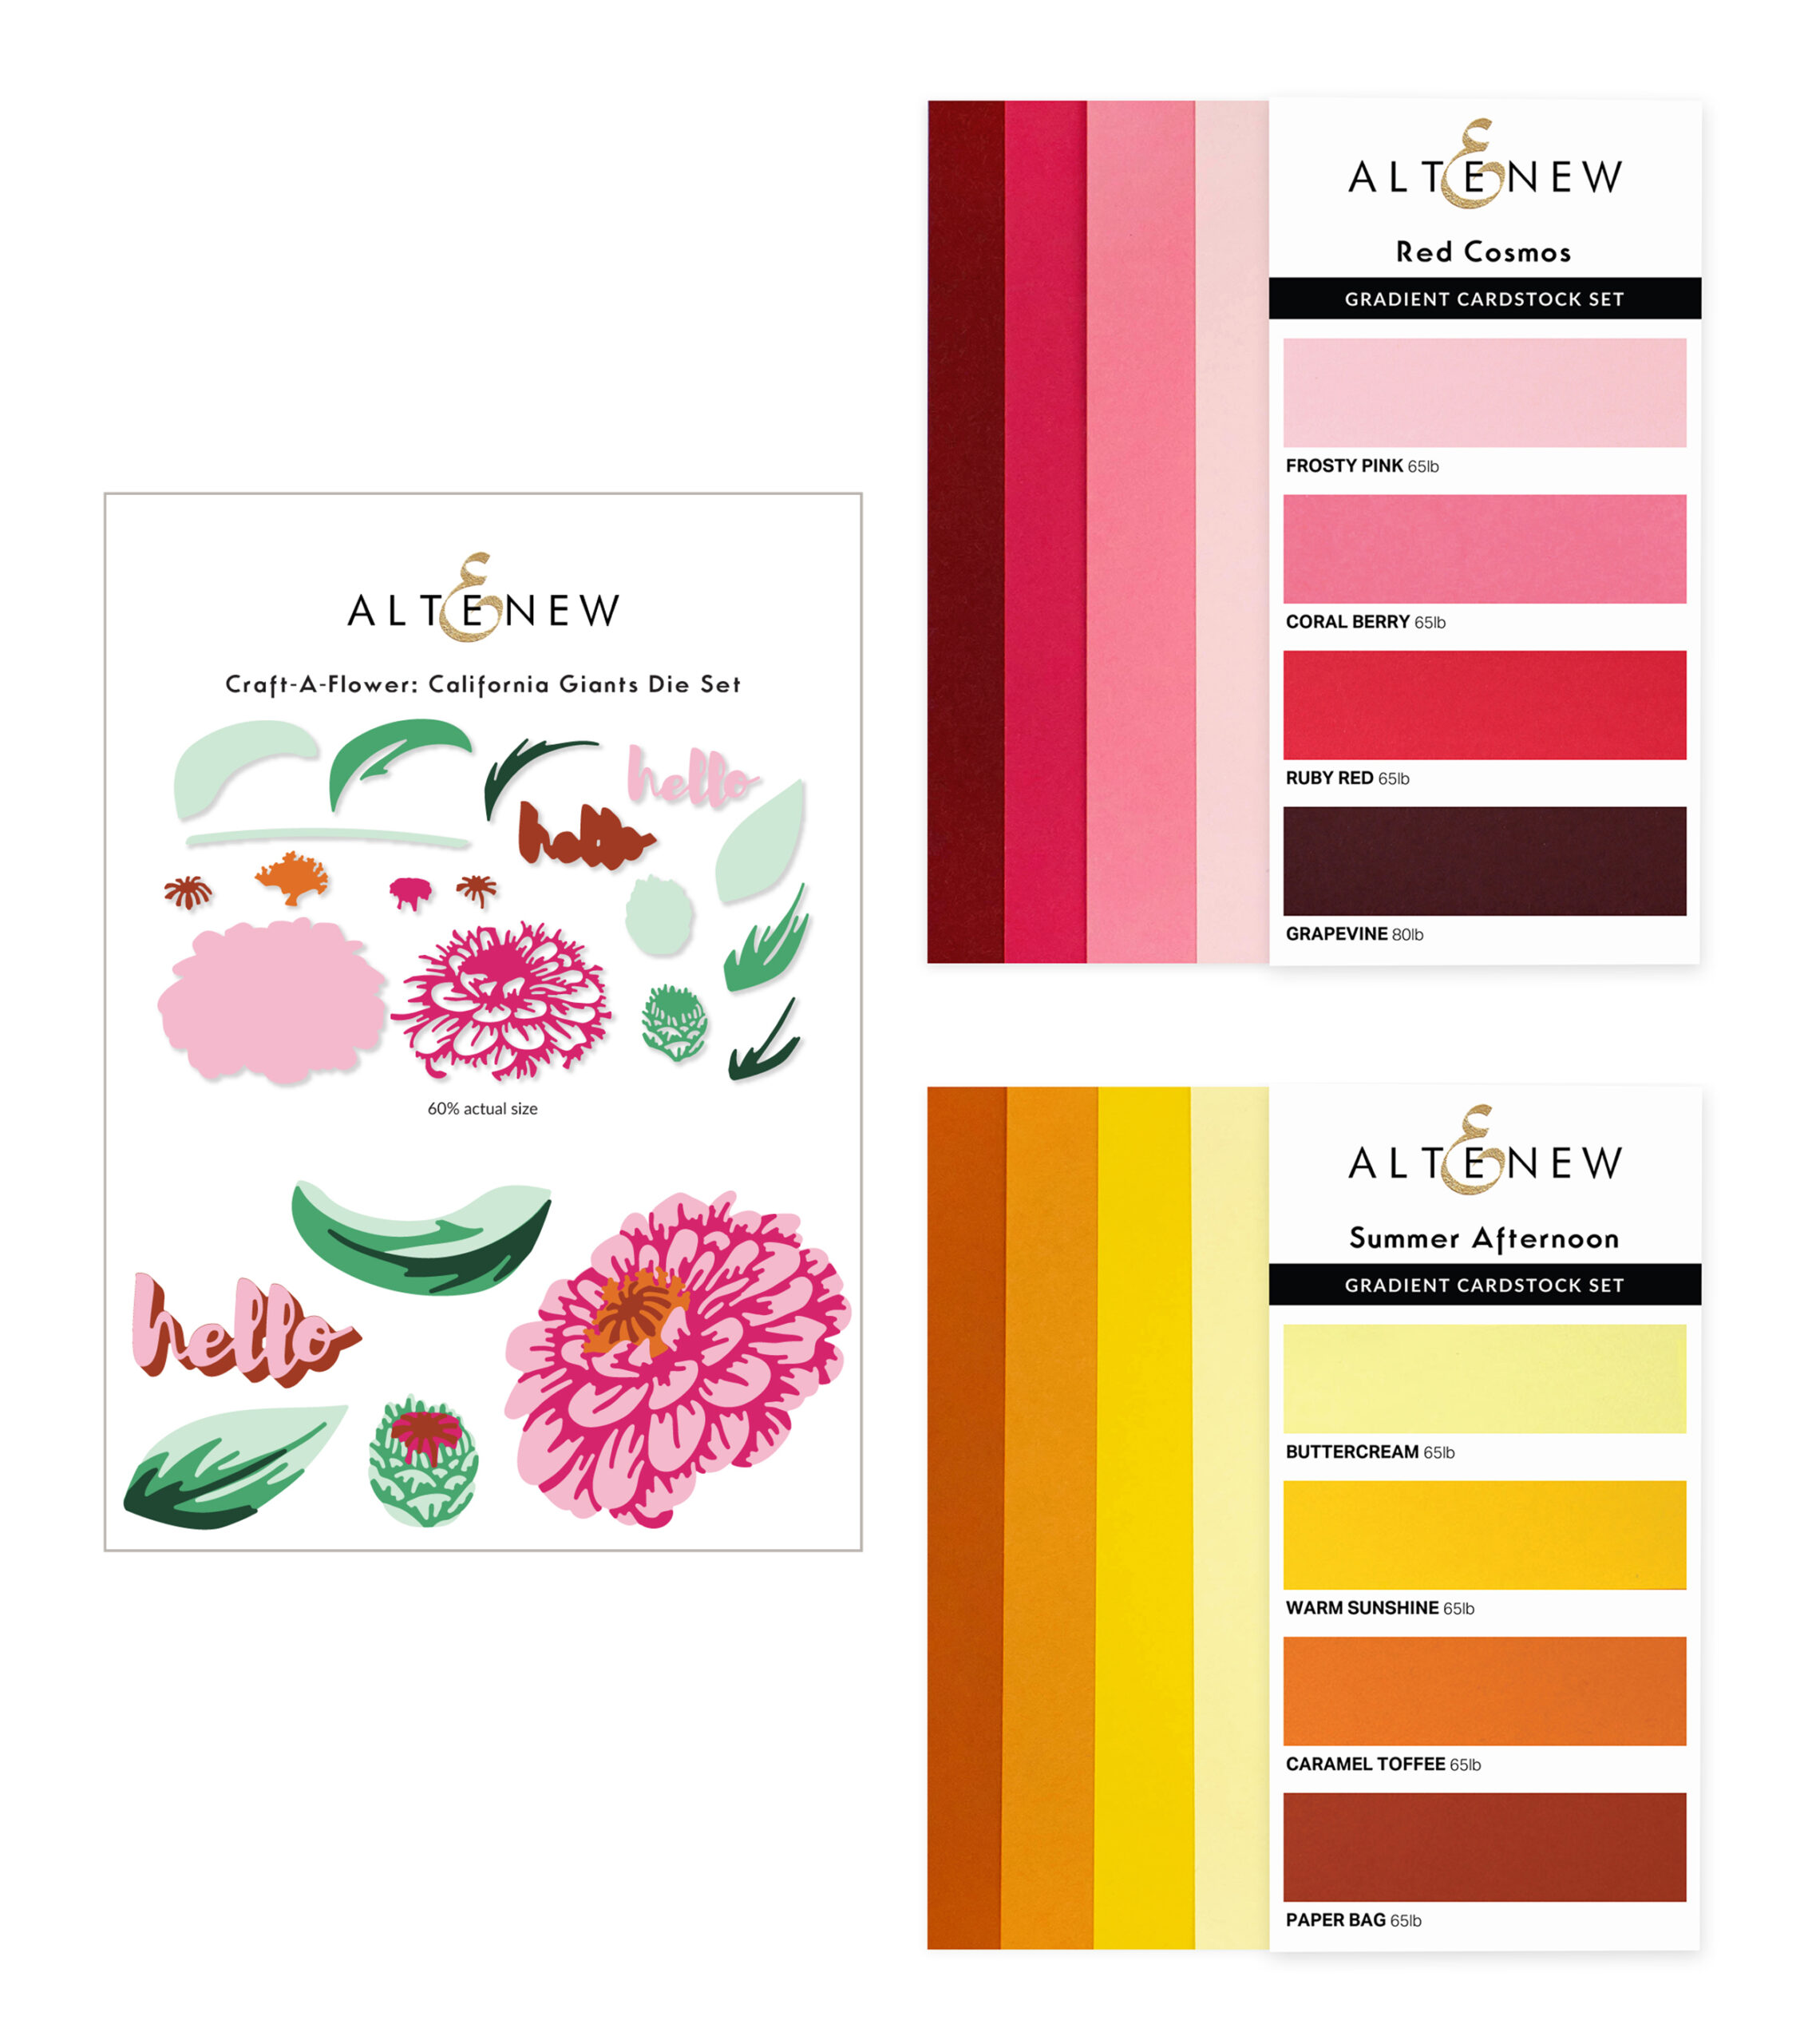
Hello, crafty friends! Welcome to my blog! If you just came from Joy Baldwin, then you’re on the right track. For the complete hop list, go to the Altenew Blog. Take a look at this beautiful craft-a-flower die set!
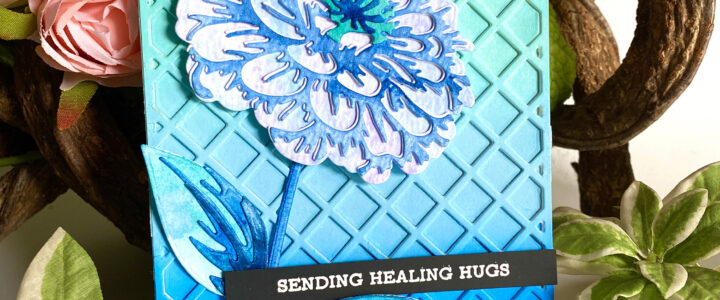
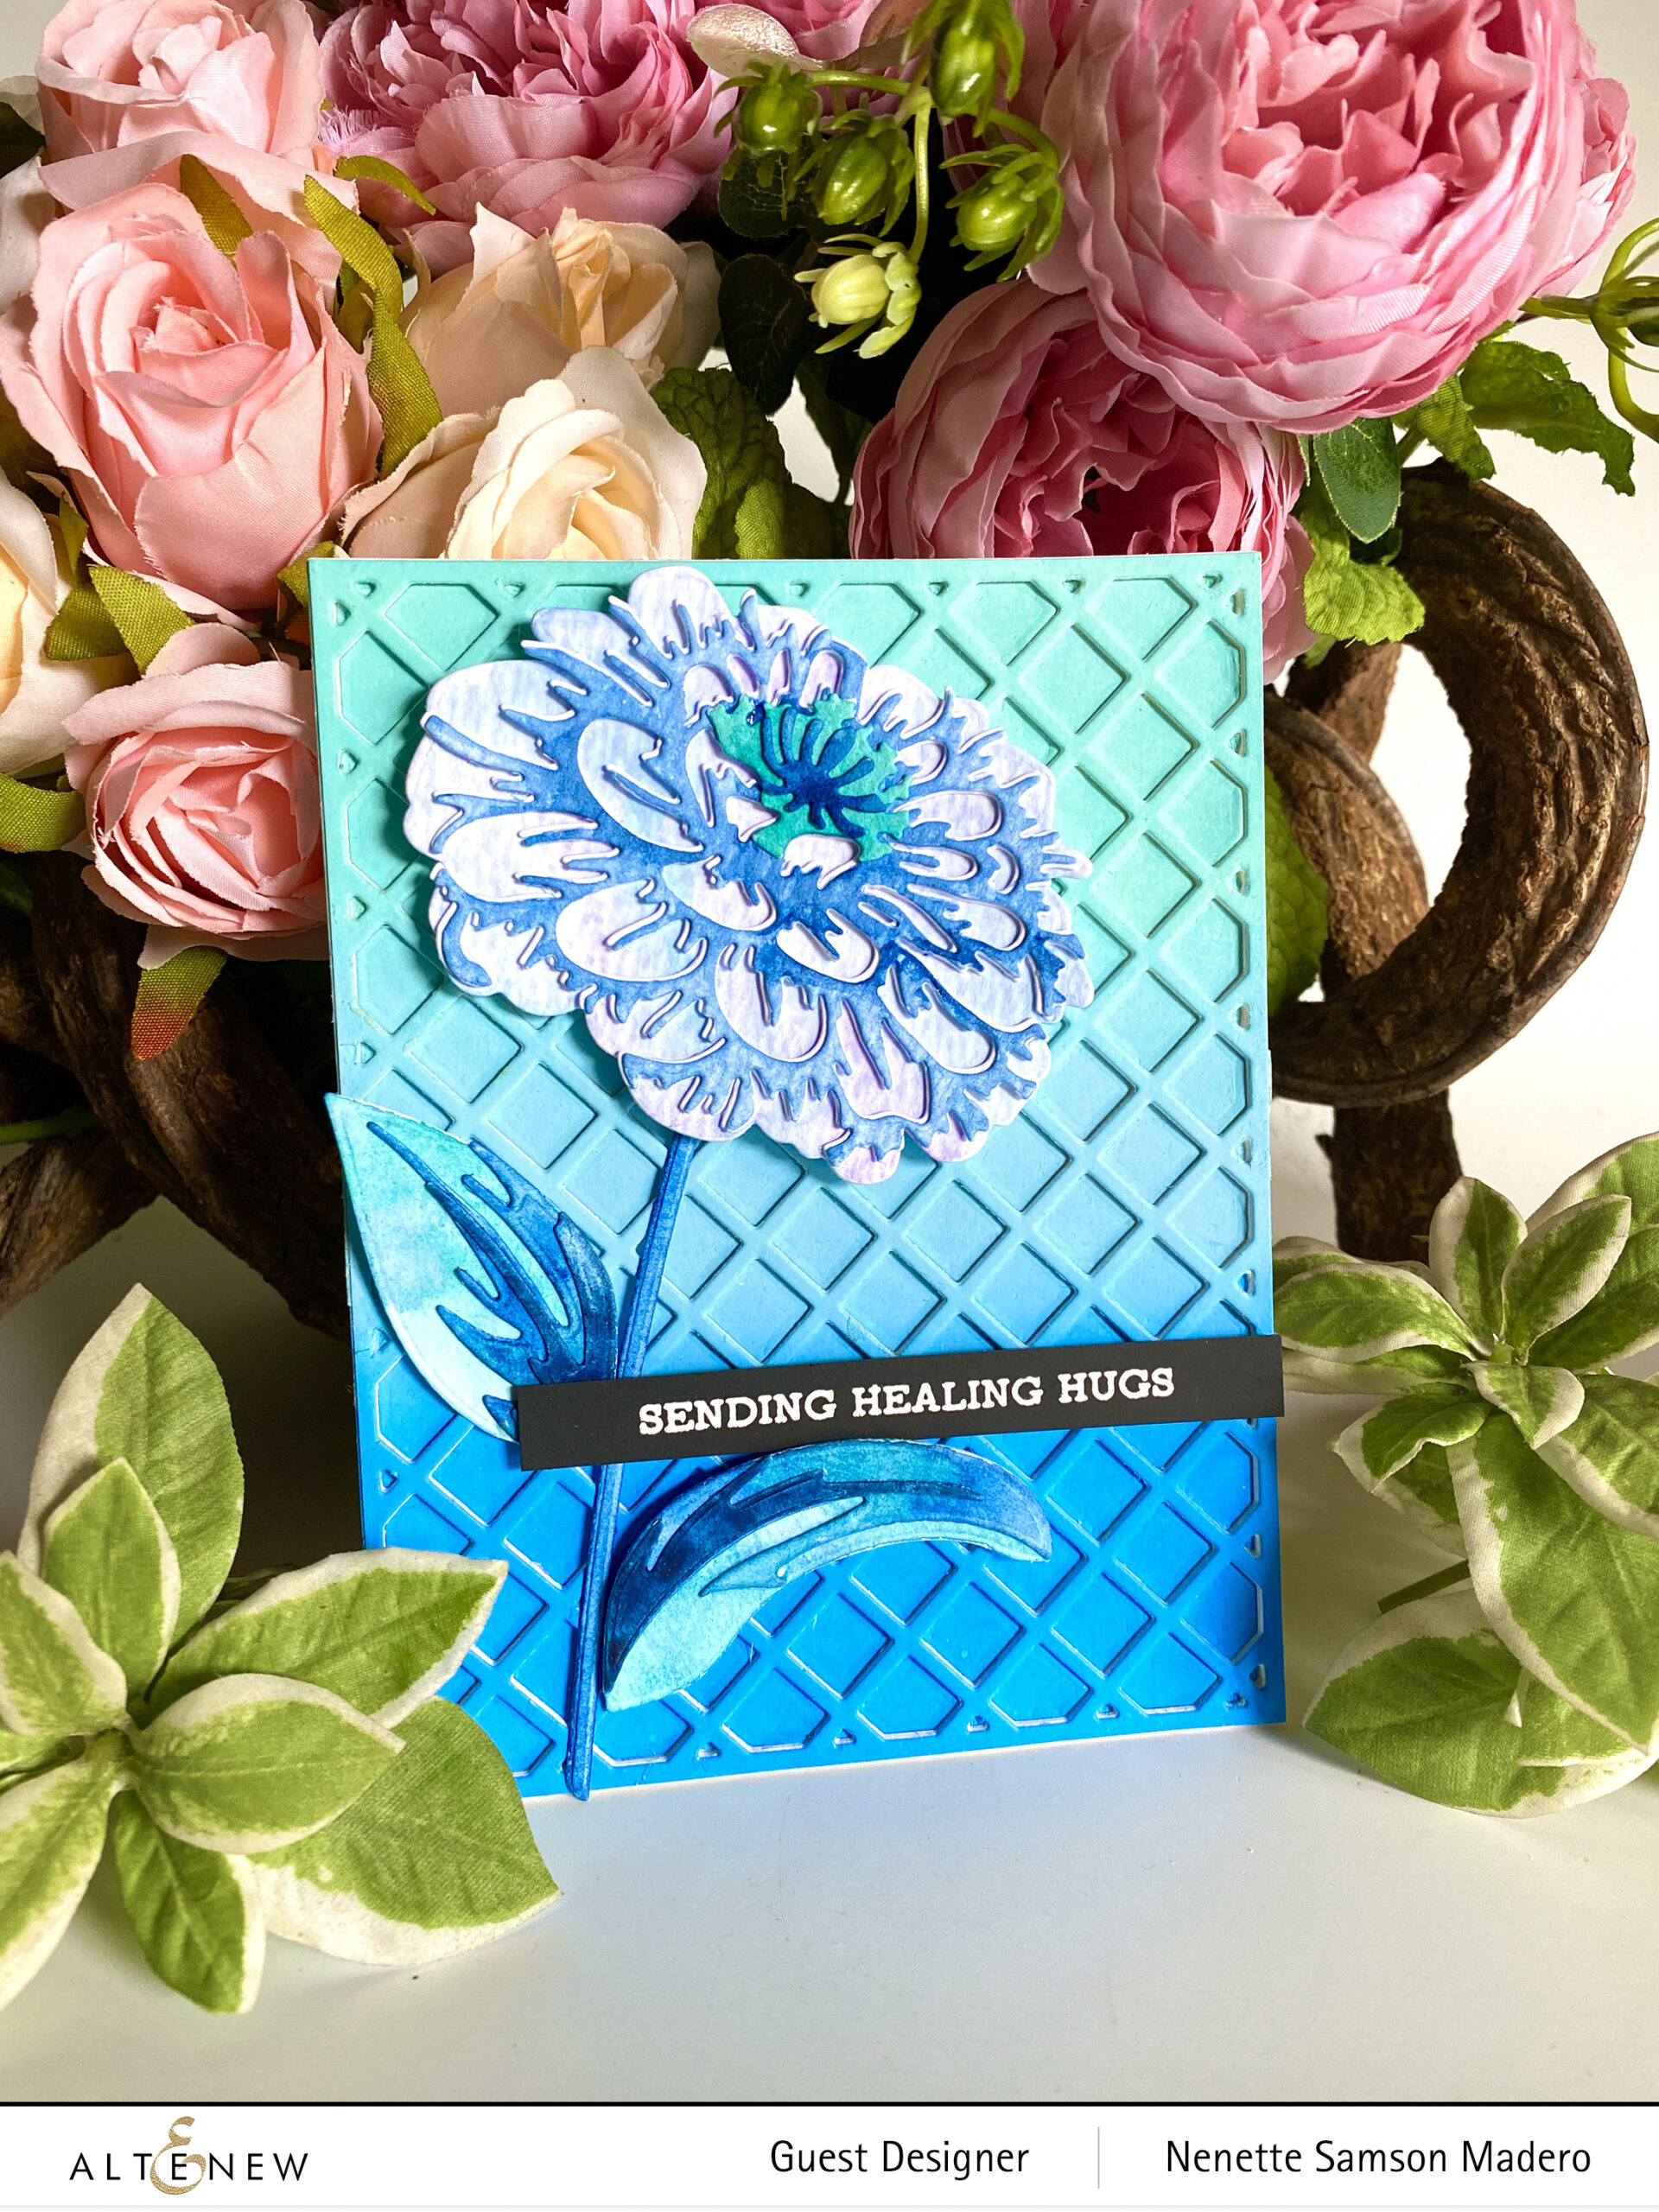
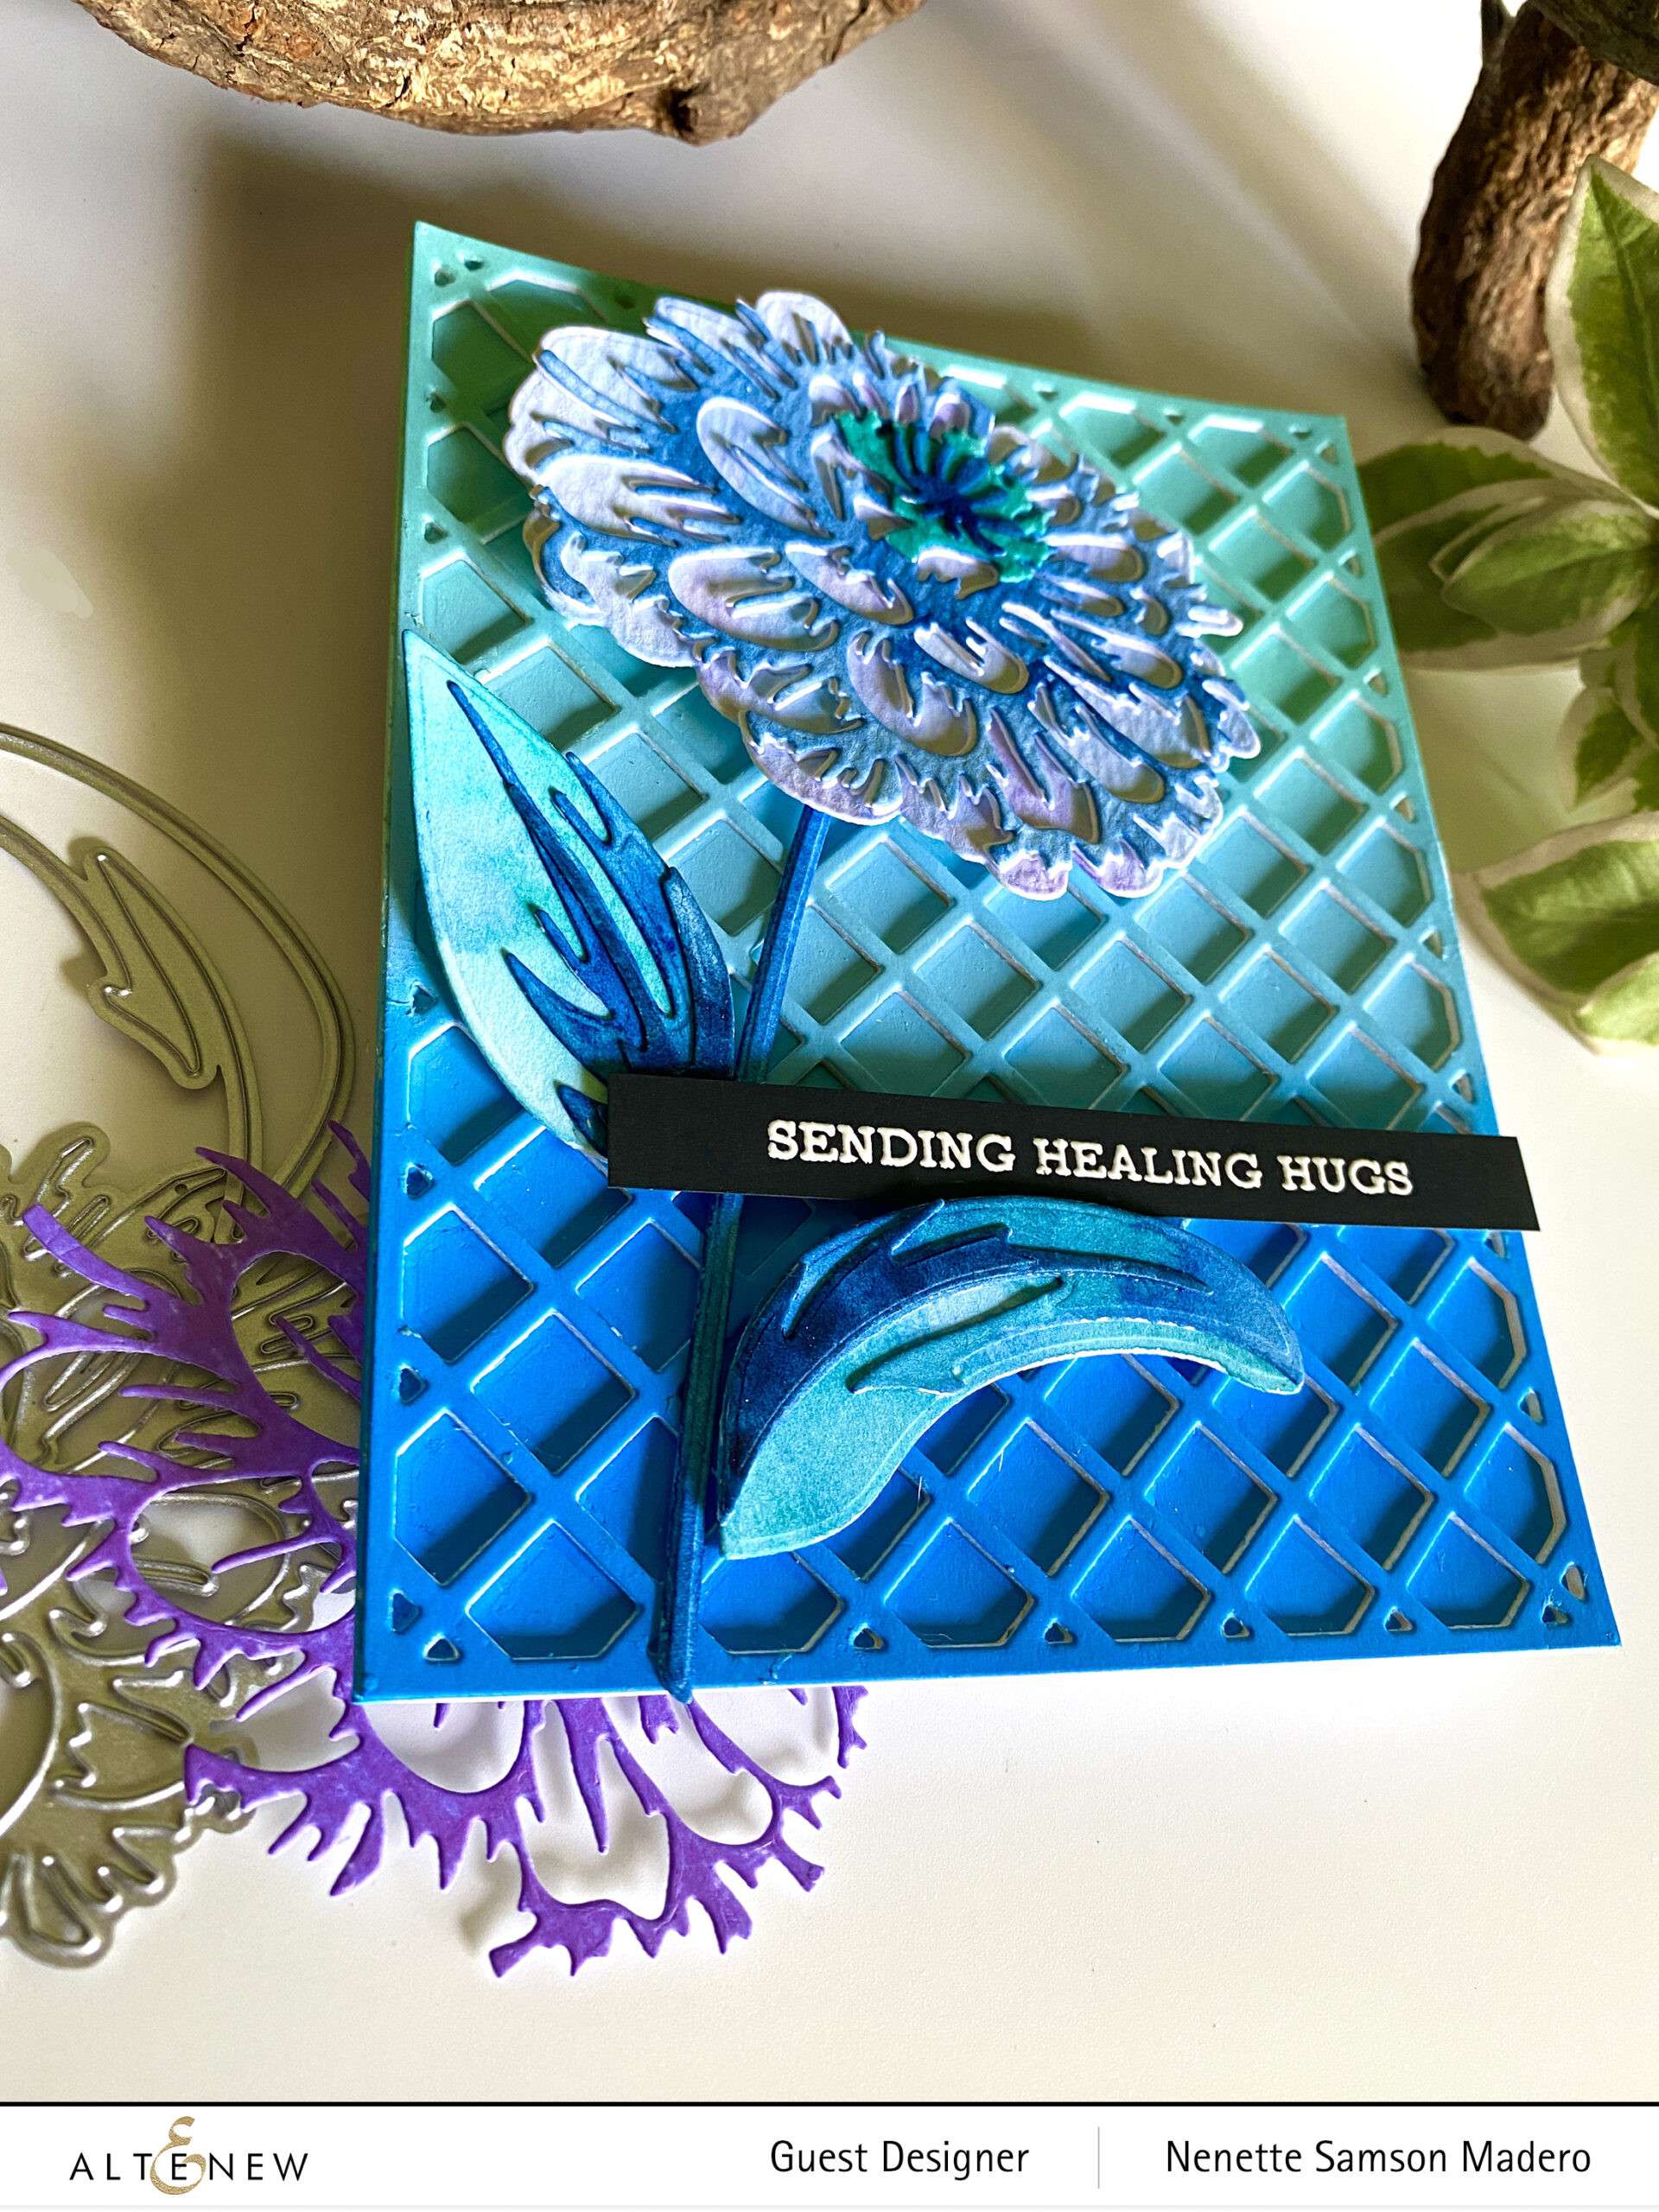
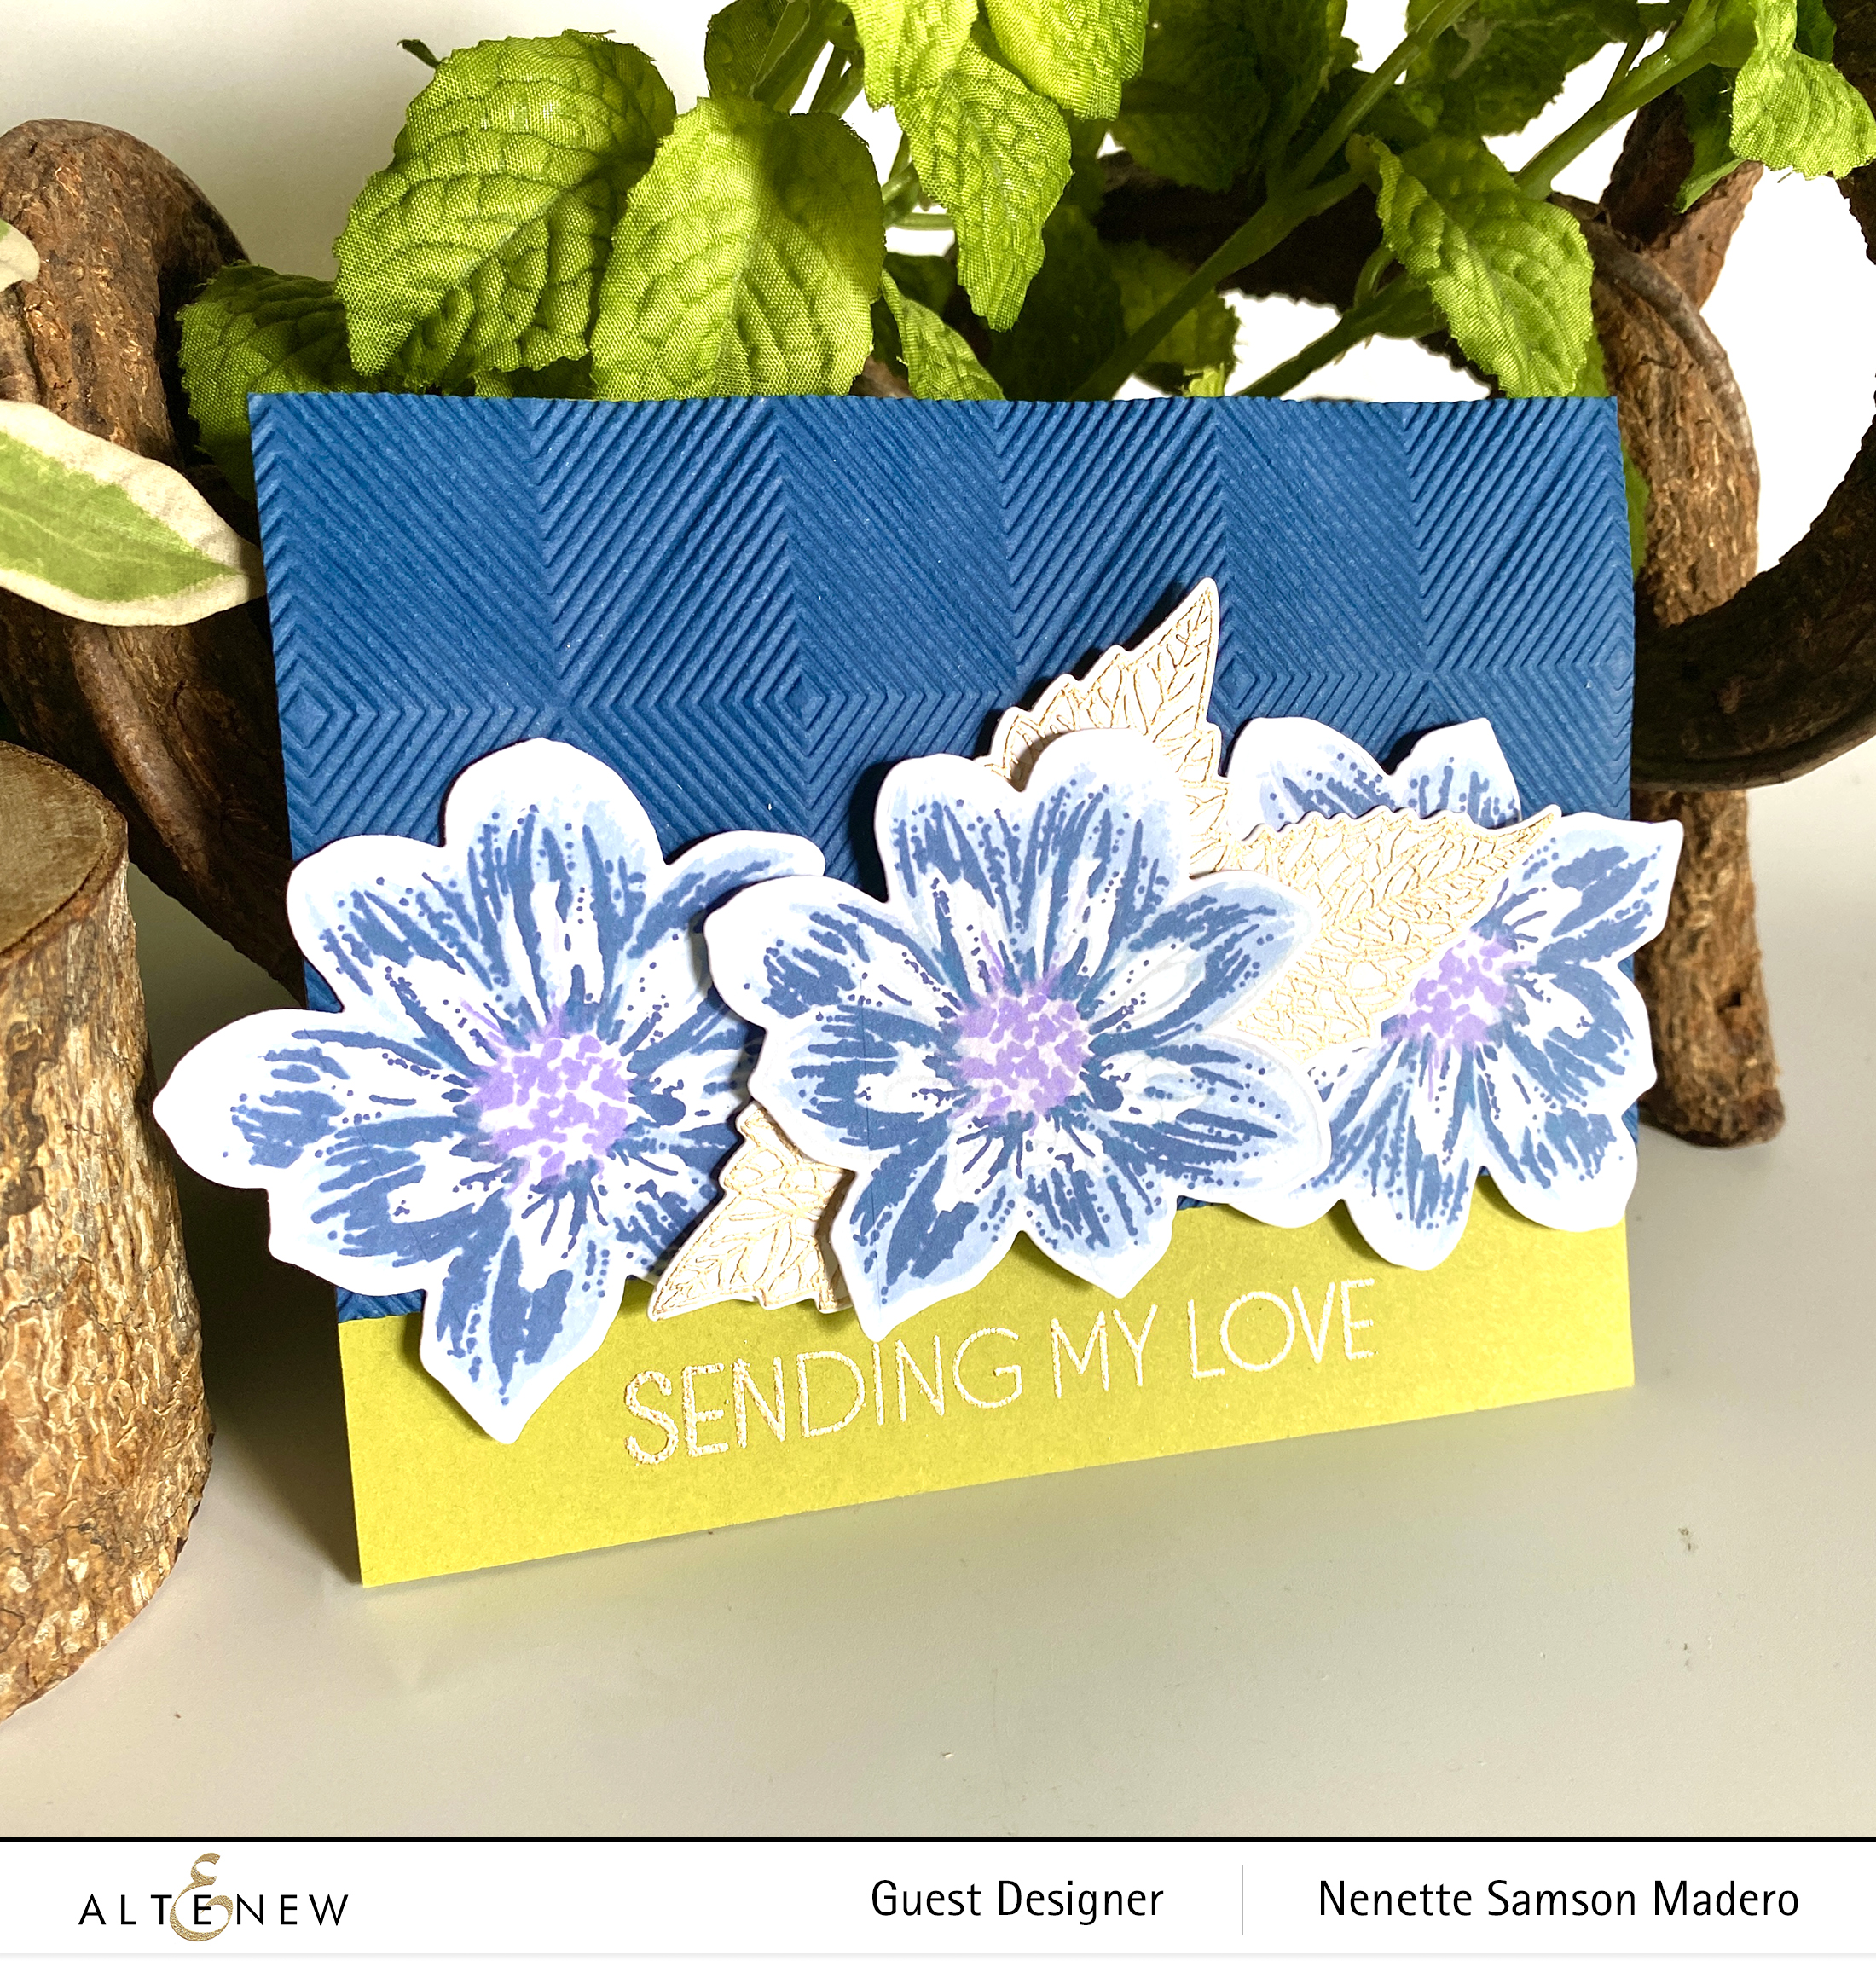
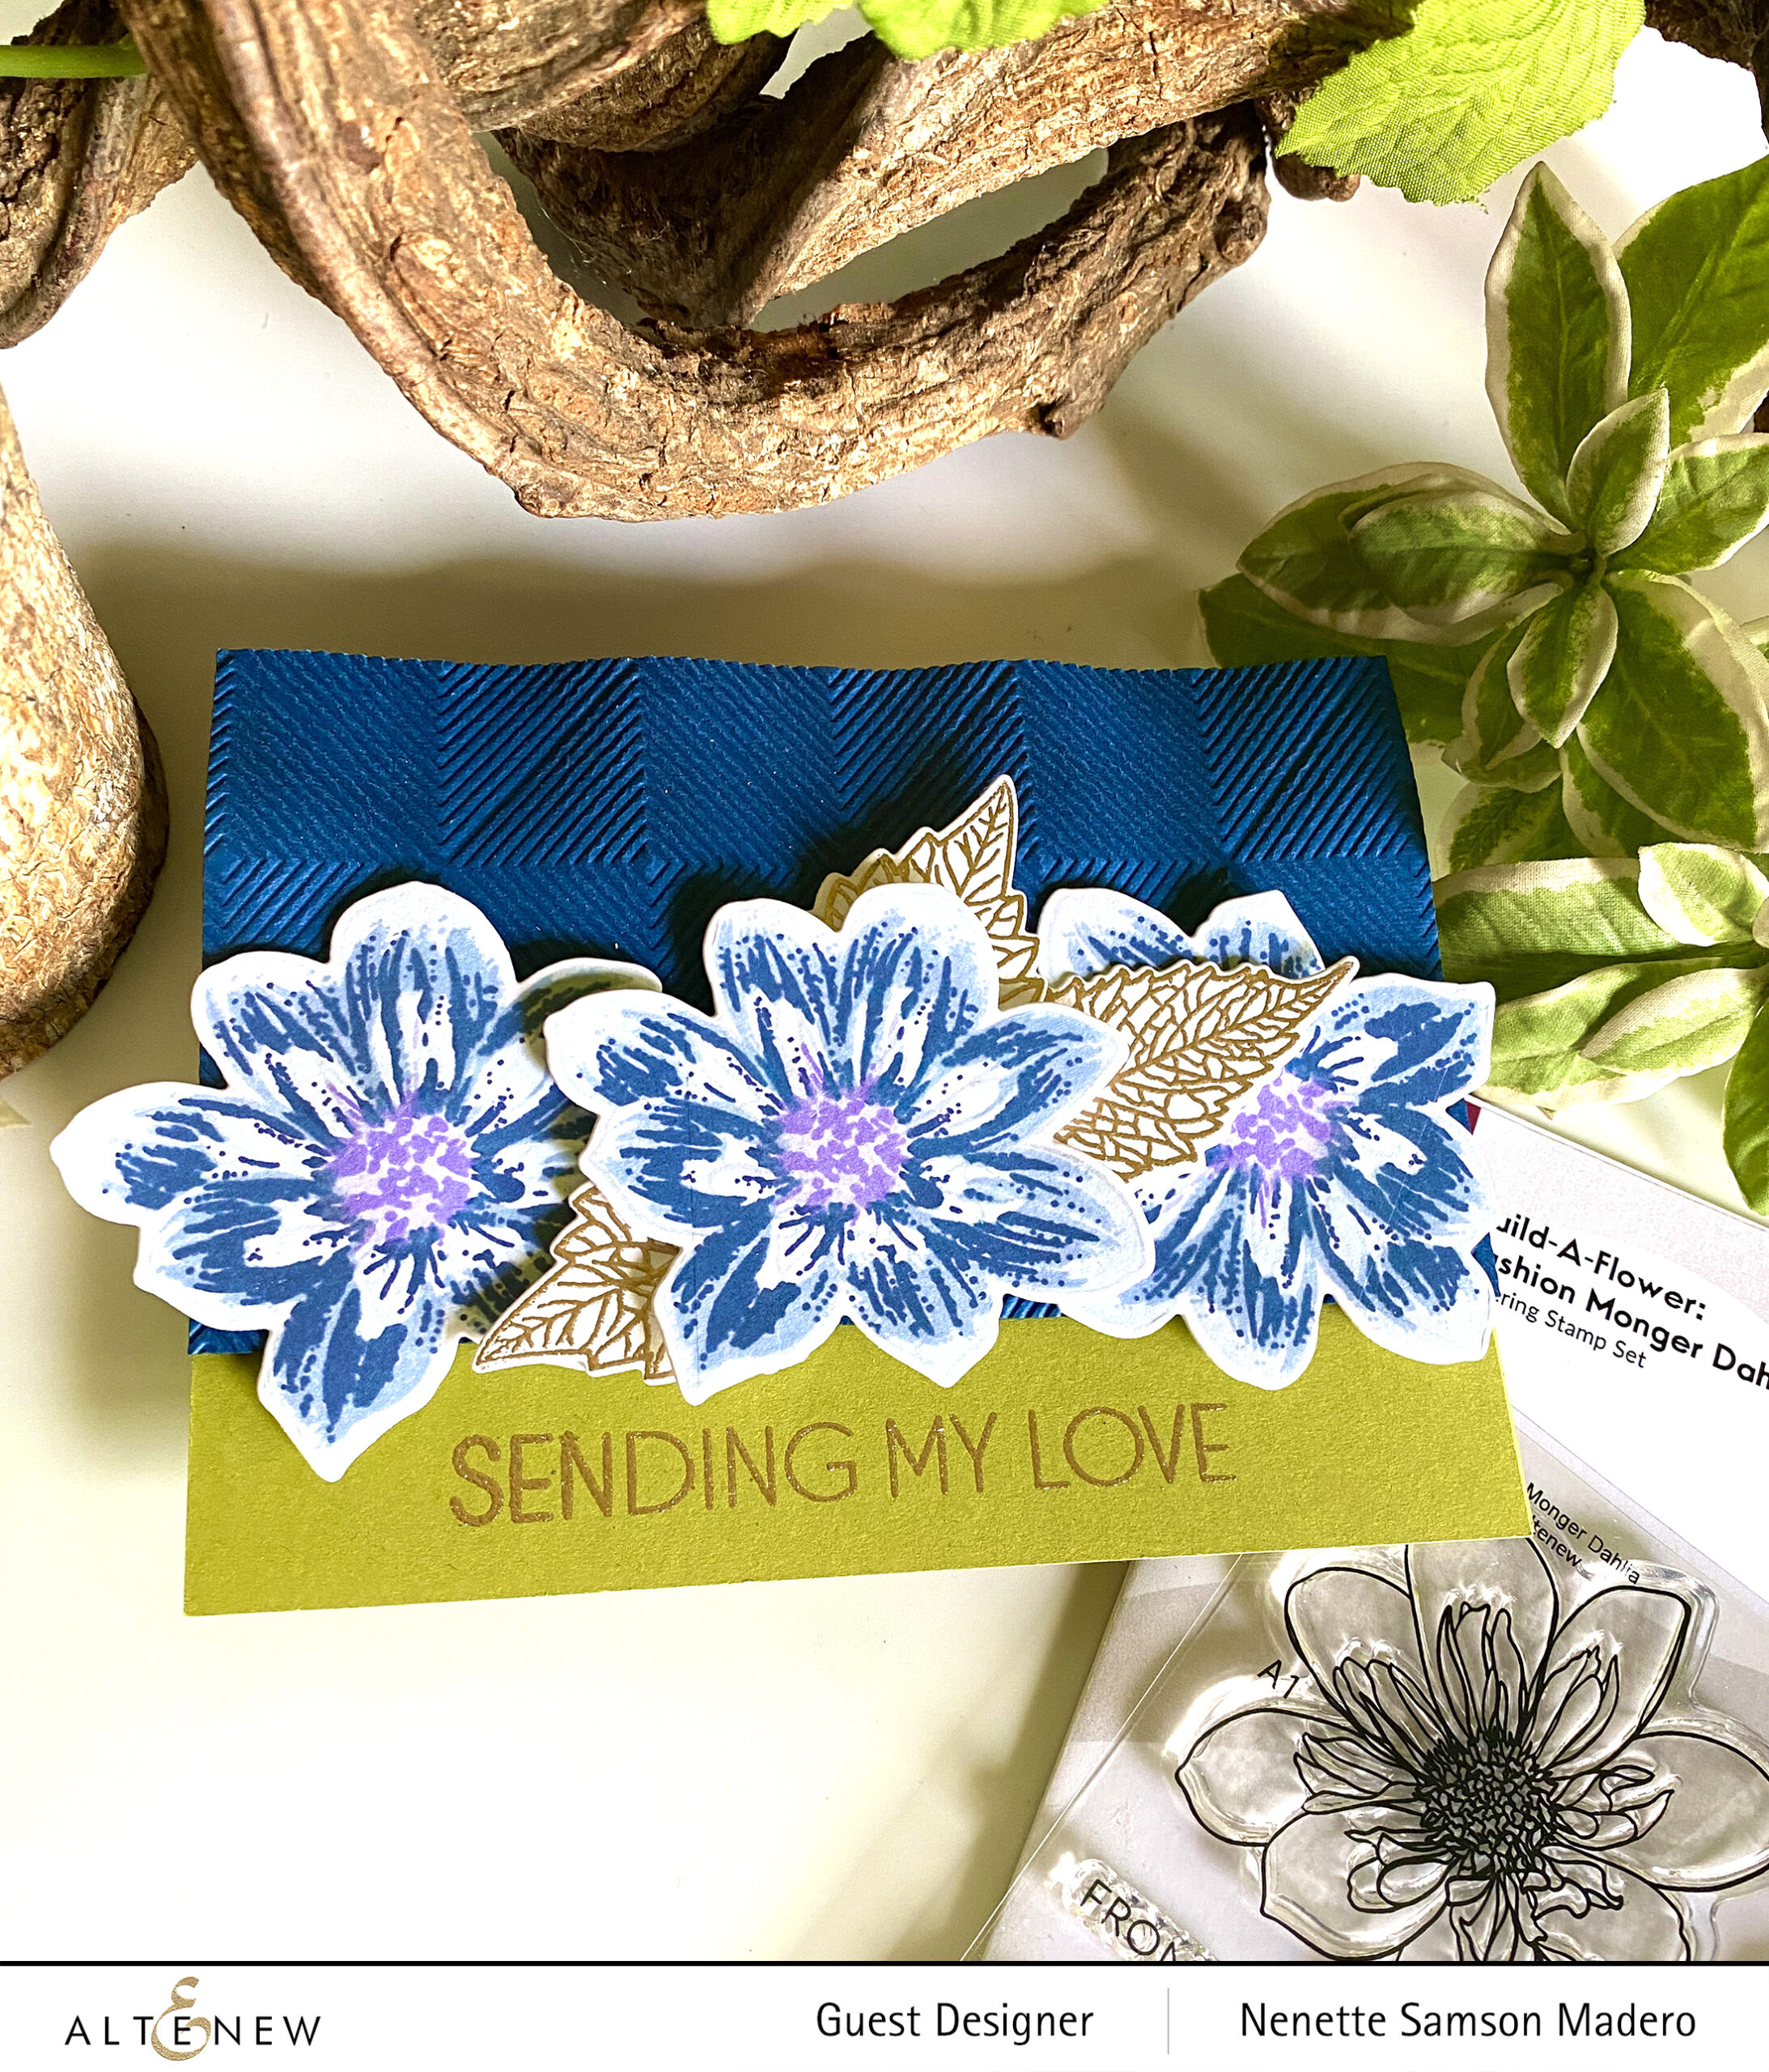
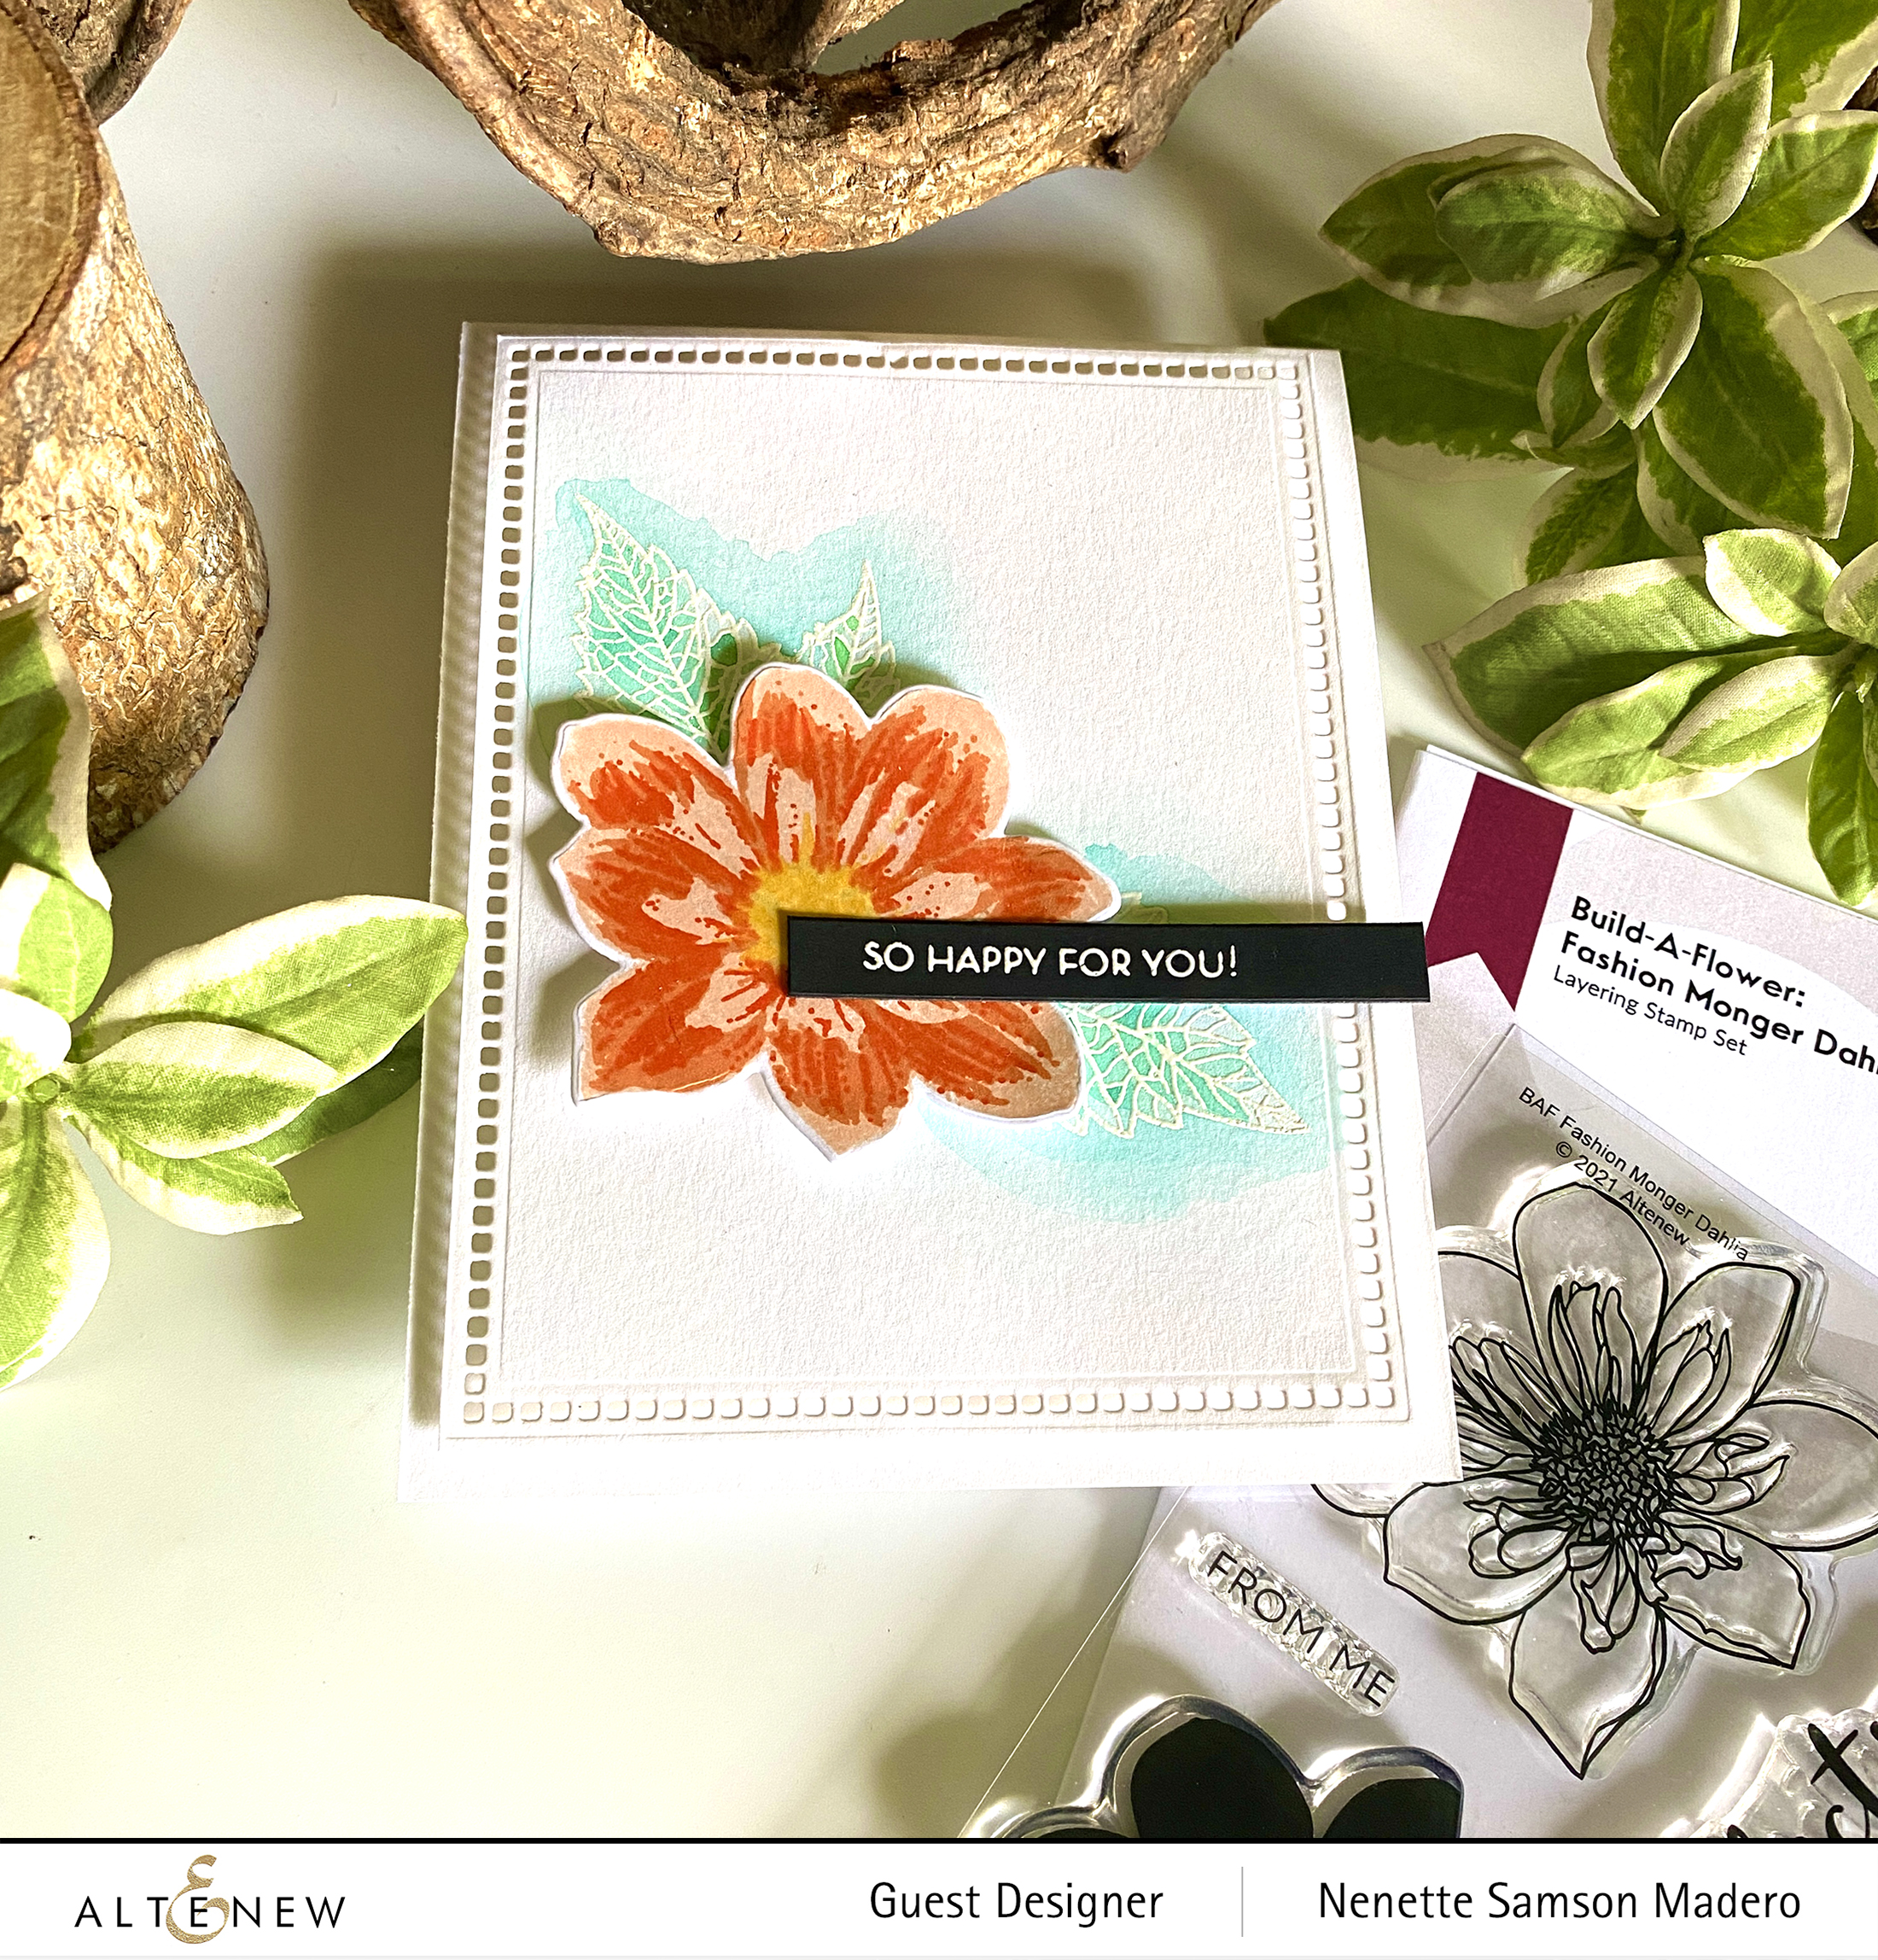
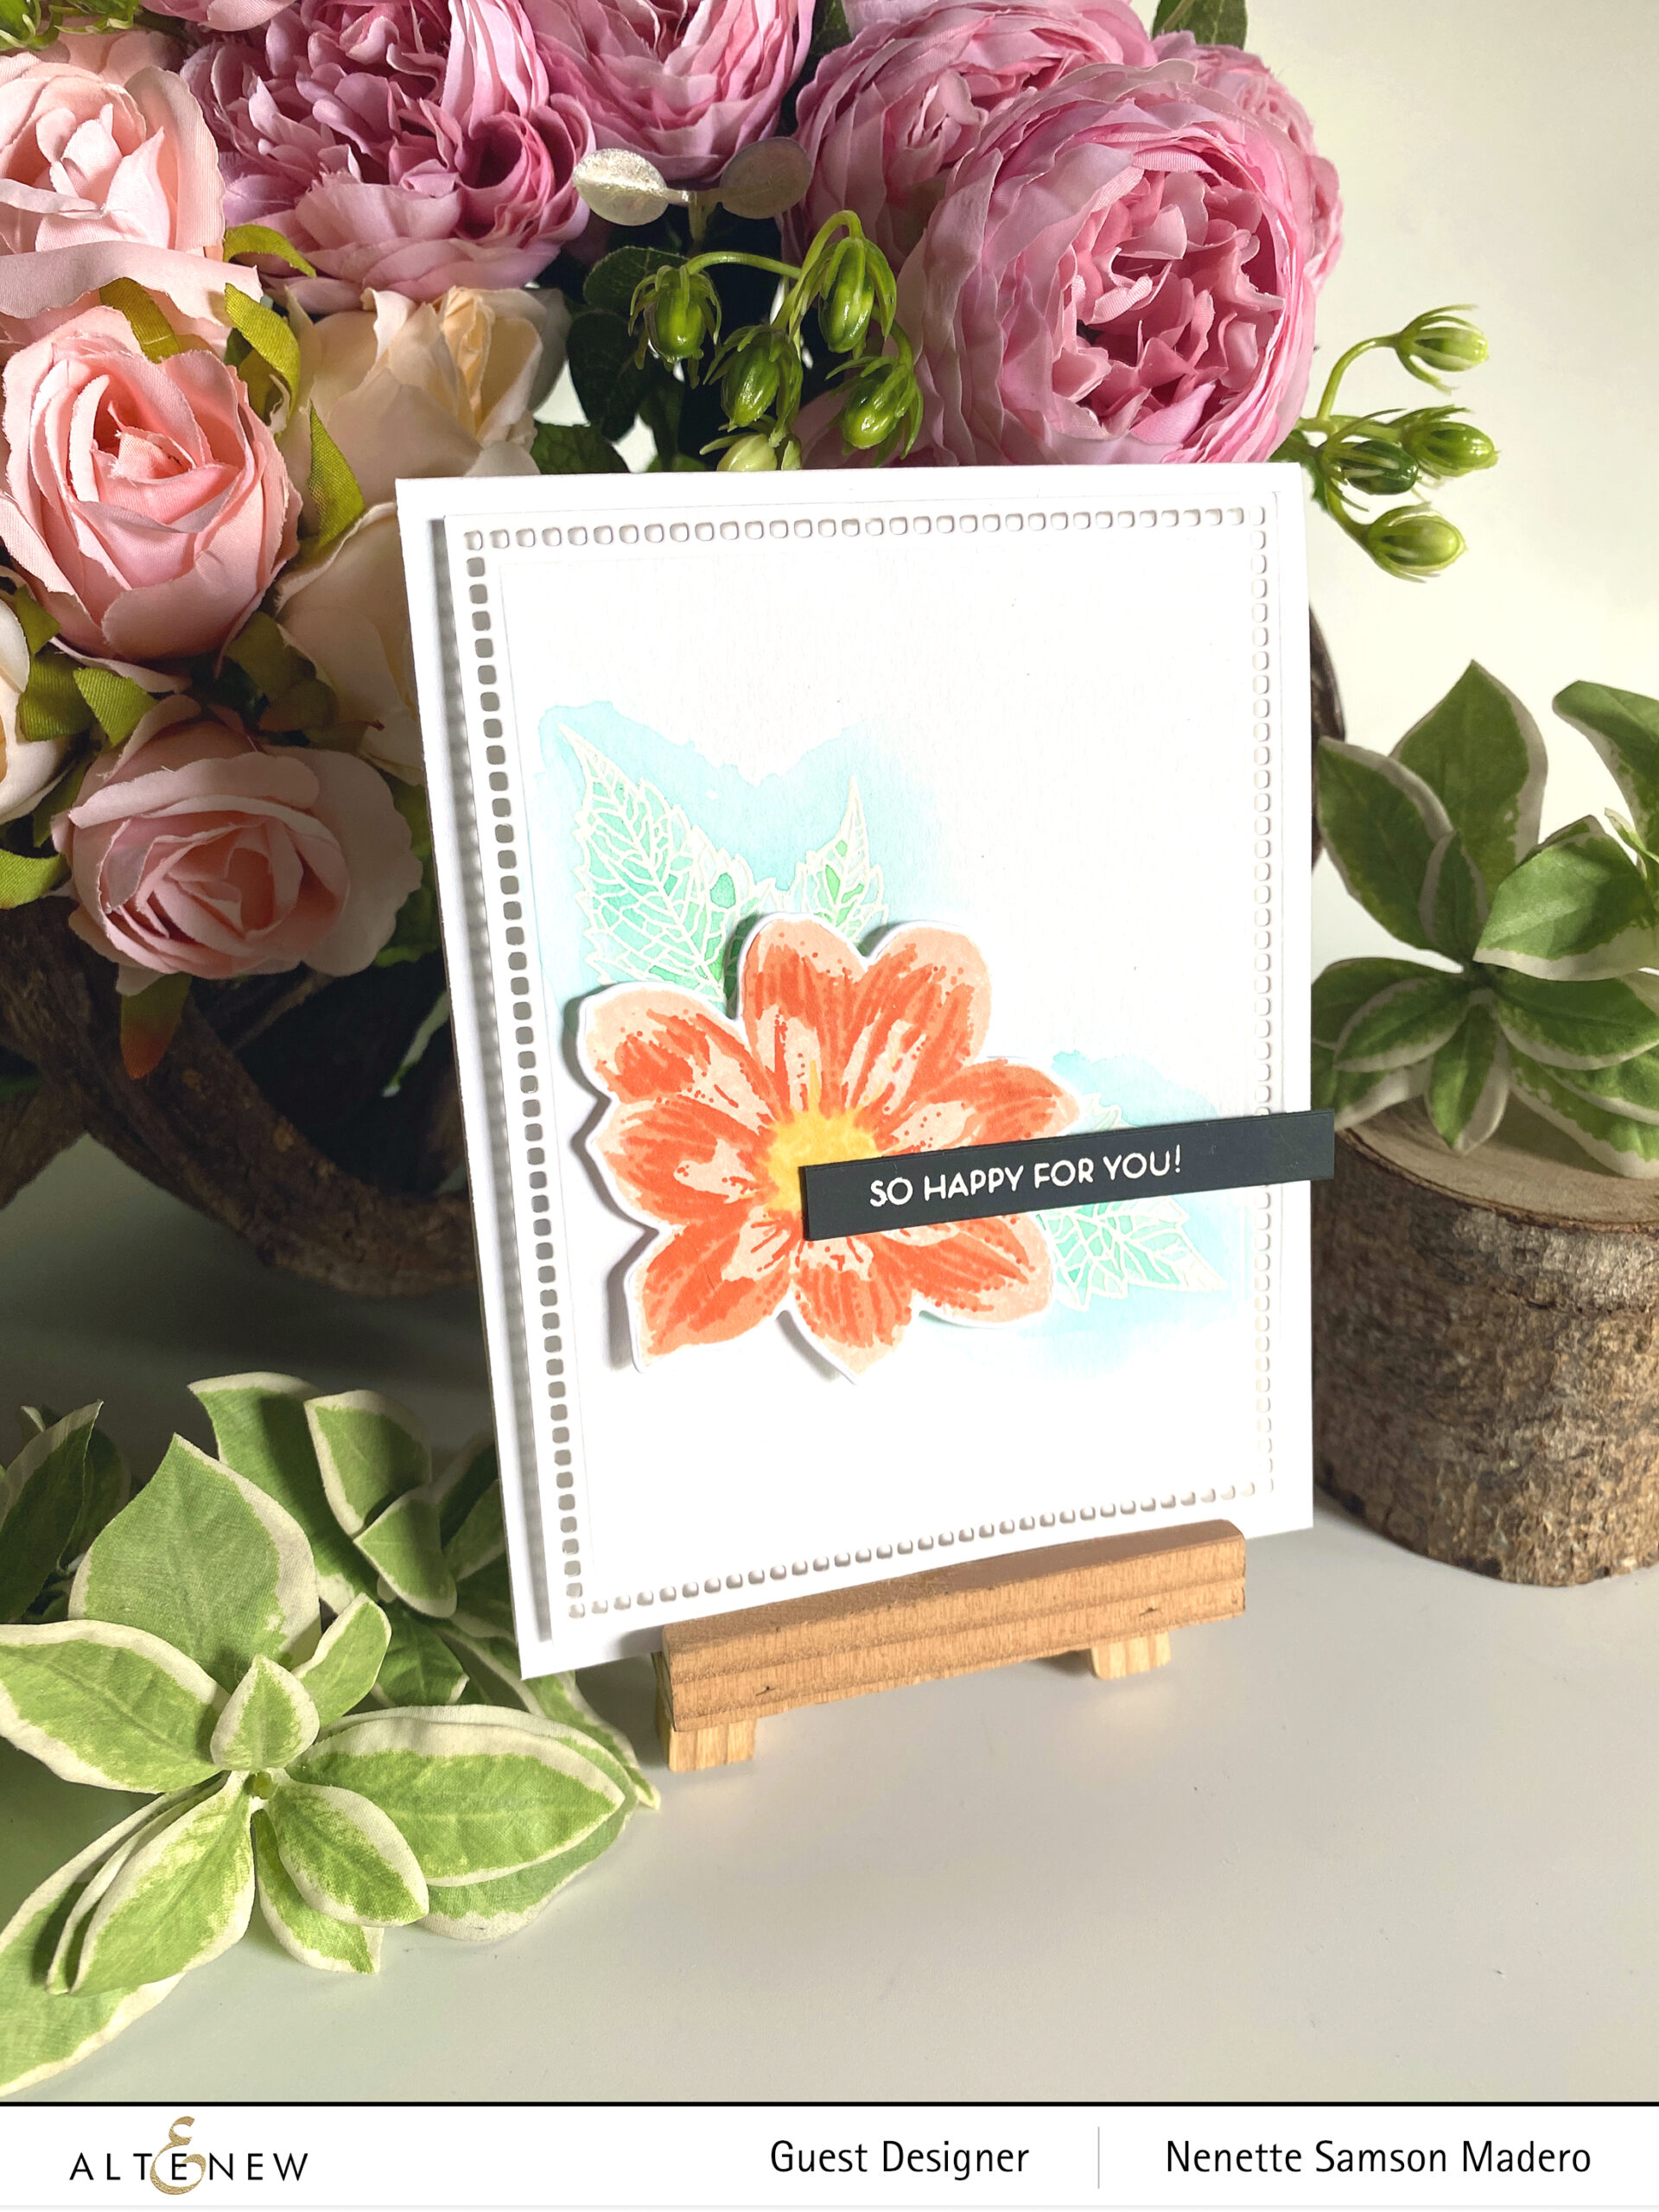
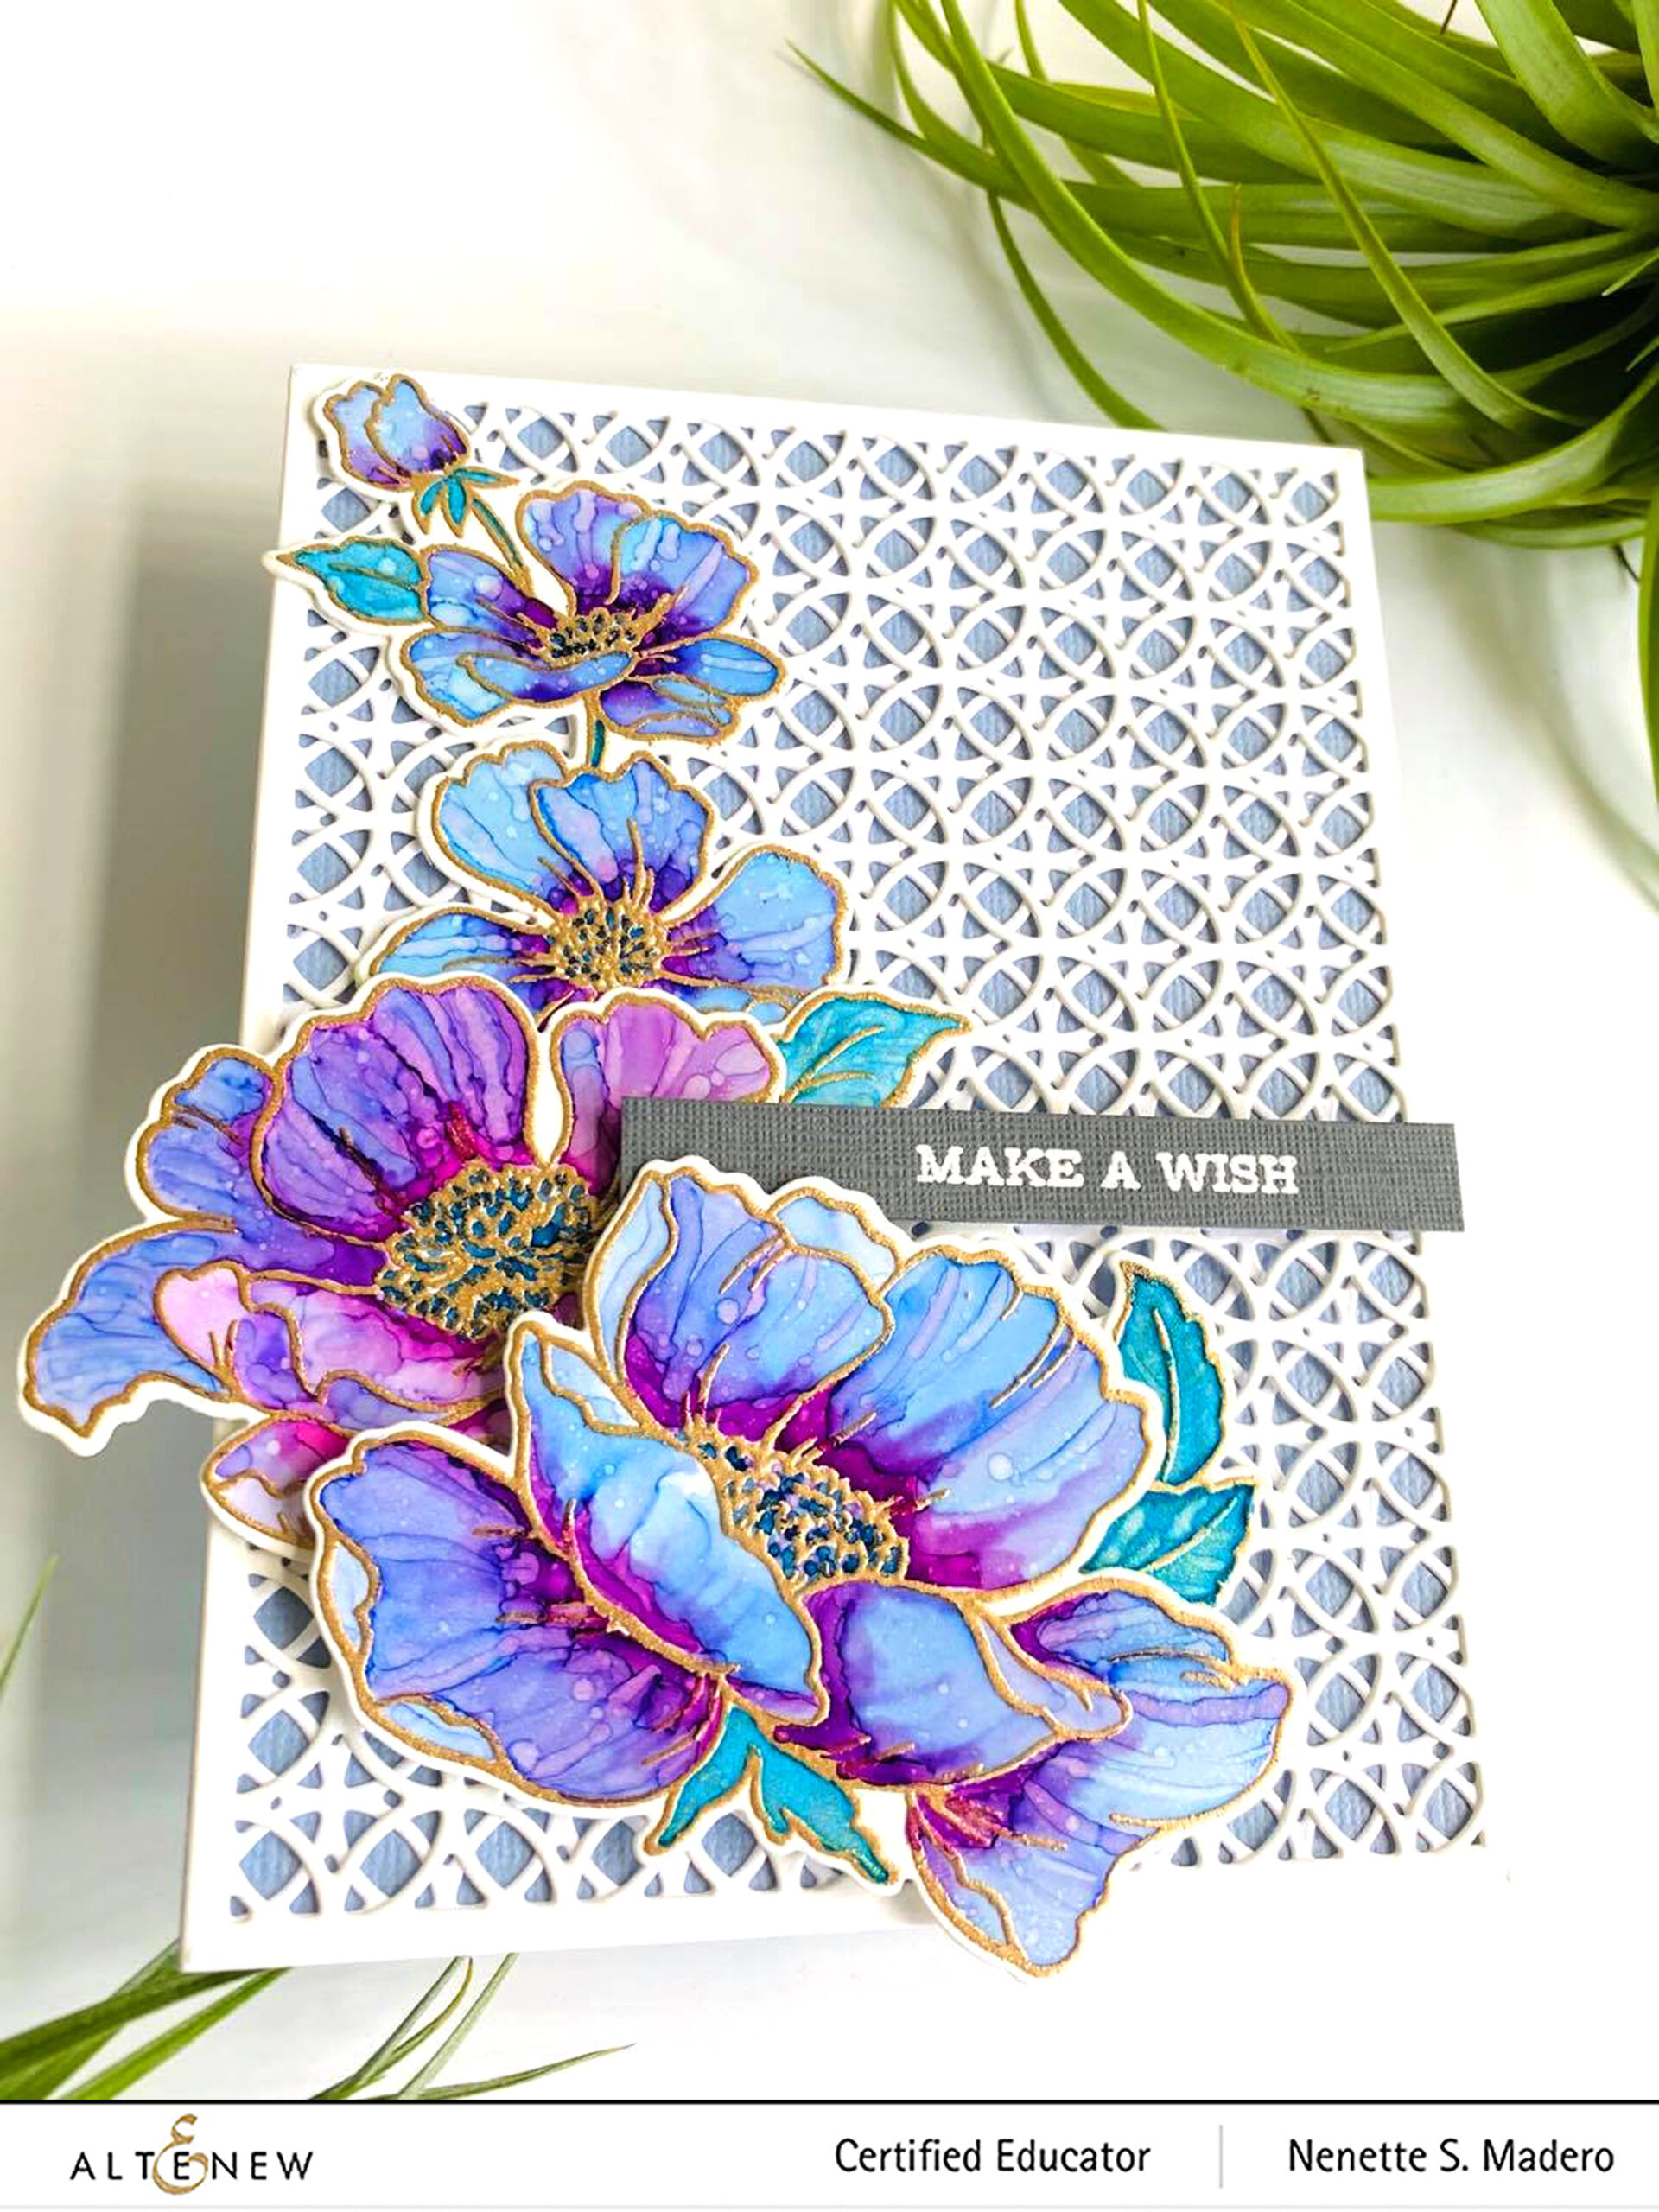
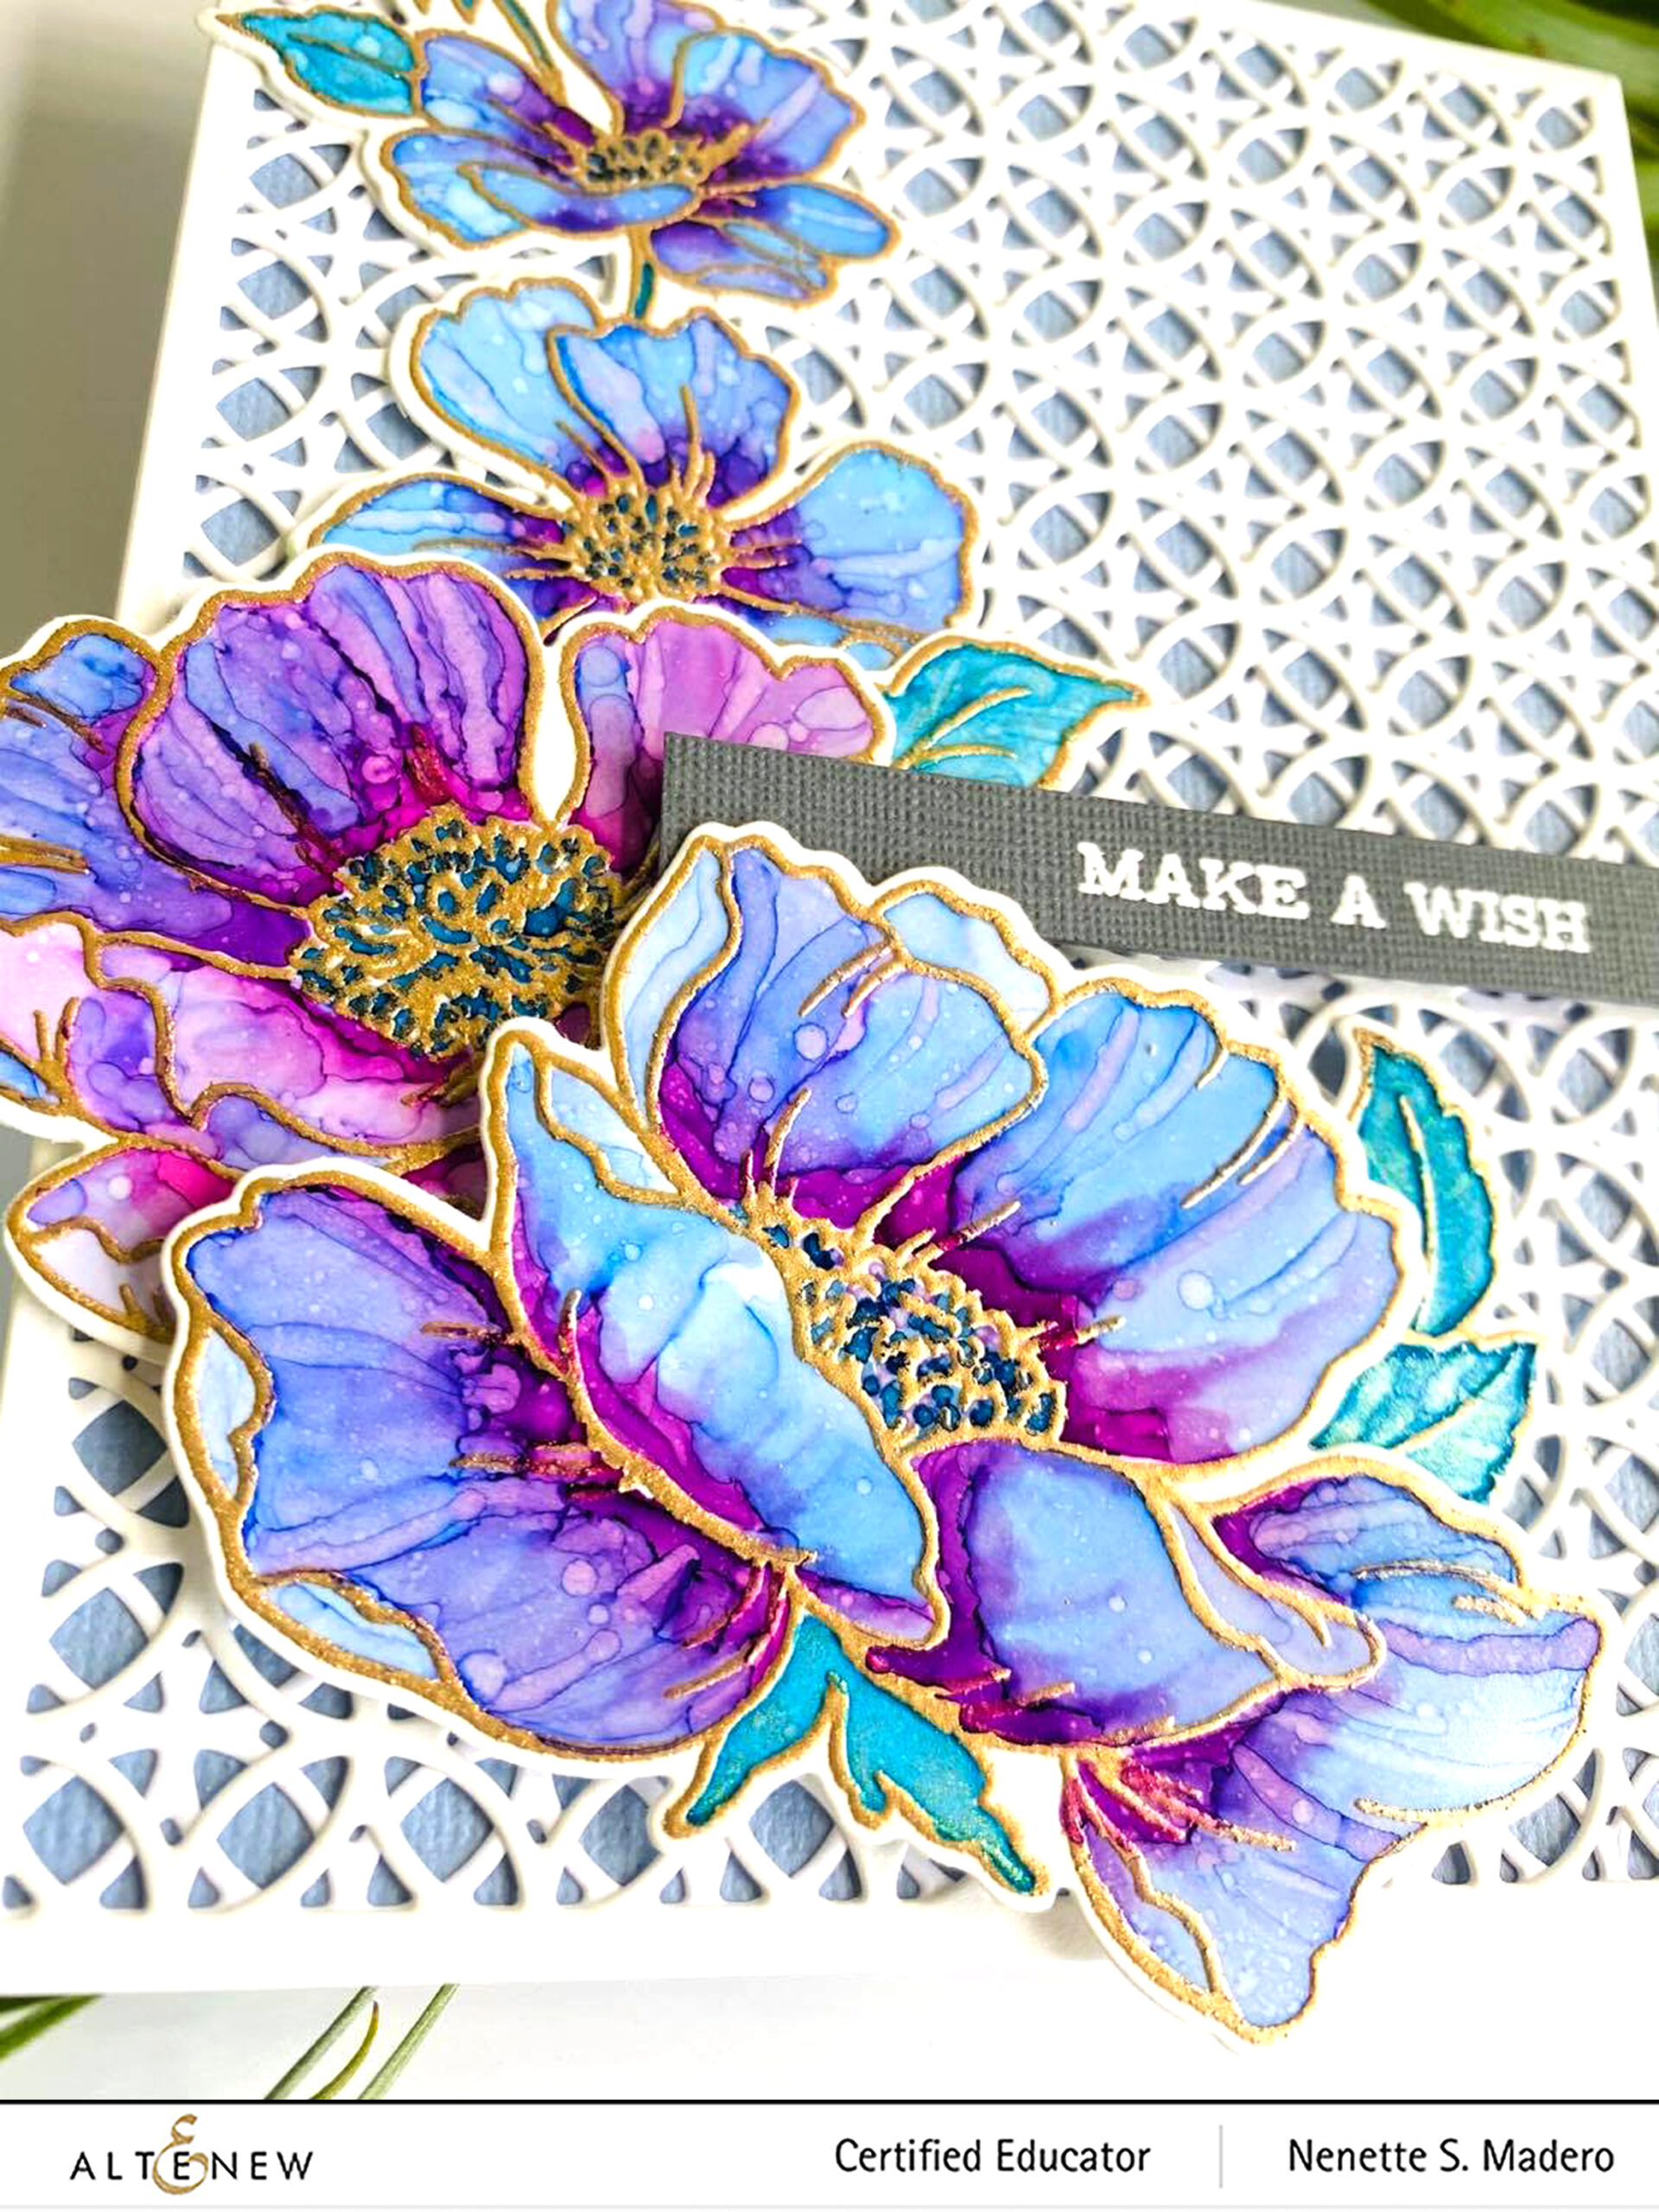
I used watercolor paper to create this flower so that I can play with monochromatic shades of blue. The ombre background was created using Distress oxide inks Tumbled Glass, Salvaged Patina and Salty Ocean. The Garden Trellis Cover die added more texture to the background. To finish off this card, I embossed the sentiment from the Sentiment Strips 2 stamp set. I used cool colors for this card so that everything will blend well together.
You get a 5% discount when purchasing this bundle!
GIVEAWAY PRIZES
$200 in total prizes! To celebrate this release, Altenew is giving away a $50 gift certificate to 2 lucky winners and a $20 gift certificate to 5 winners! Please leave a comment on theAltenew Card Blog and/or each designer’s blog post on the blog hop list below by 8/13/2021 for a chance to win. Altenew will draw 7 random winners from the comments left on each stop of this blog hop and announce the winners on the Altenew Winners Page on 08/15/2021.
I hope you liked this card that I created for the CAF series. Next up is Preeti Chandran. Thanks so much for dropping by! I truly appreciate all your wonderful comments. <3 Take care and stay safe!
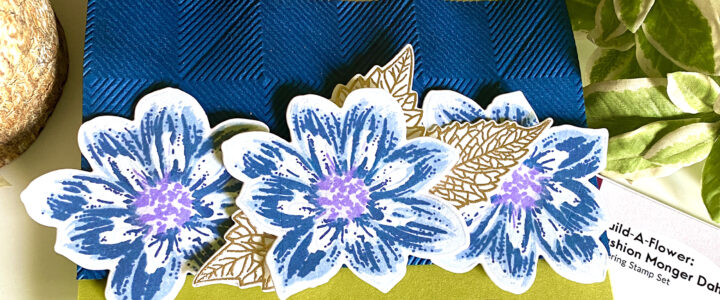
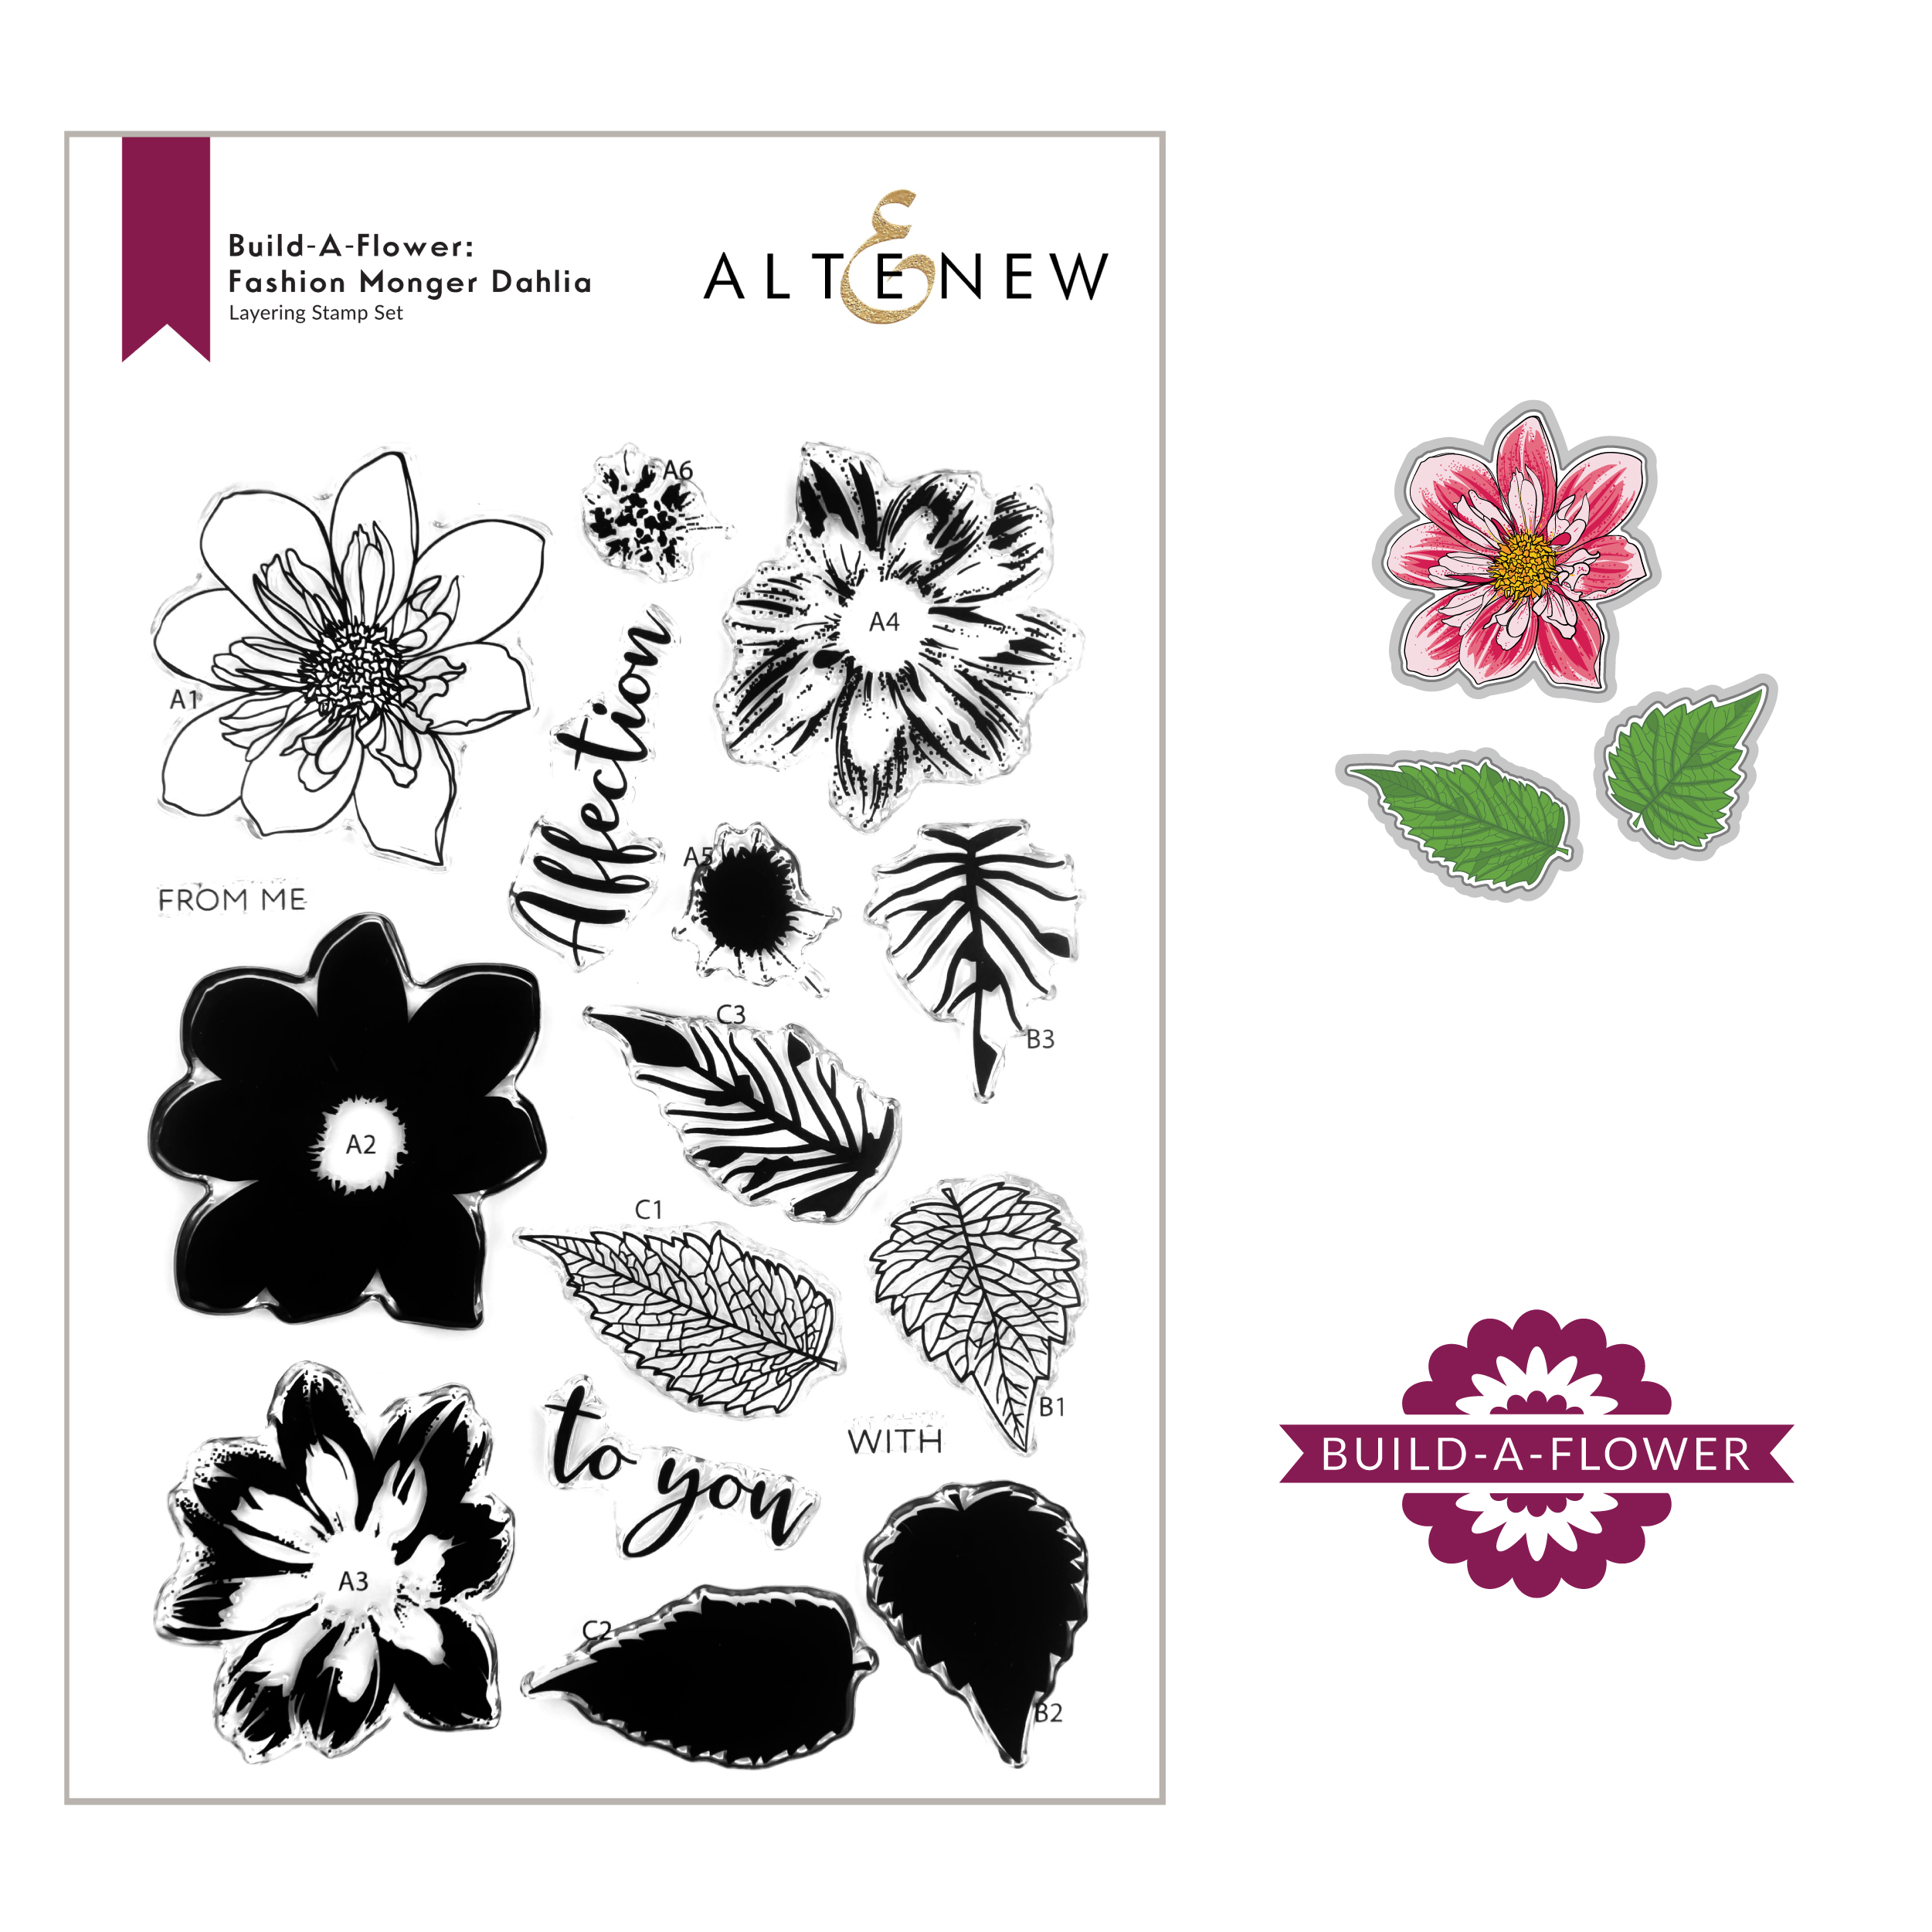
Welcome, everyone! If you just came from Joylita Dsouza blog, then you’re on the right track. For the full list of the hop, do drop by the Altenew Card Blog. Want to make a bold statement on your handmade cards? The Fashion Monger Dahlia is the flower for you! This set features one six-layer flower and two three-layer leaves. The leaves have a delicate and lacy feel to them to help you achieve a richer look on your projects. The included sentiments feature a gorgeous pairing of fonts to accompany your floral creations. Gorgeous, right?
Below are a 2 samples of cards I made using the stamp set.
Here’s a simple card I made using this stamp set. I made sure there was a lot of white space to give more emphasis to the flower itself. The leaves were directly stamped on the card front with Versamark Ink then embossed using Pure White embossing powder. Artist watercolor markers were used to color the leaves. The Fashion Monger Dahlia was colored using the following dye inks–Pastel Sunrise, Canyon Clay, Burnt Red, Sunray and Chamomile then cut using the coordinating die cut. The sentiment was stamped on black cardstock then embossed using Pure White embossing powder.
If you don’t want to miss any of the Build-A-Flower series, you can avail of the subscription plan at a discounted rate.
$200 in total prizes! To celebrate this release, Altenew is giving away a $50 gift certificate to 2 lucky winners and a $20 gift certificate to 5 winners! Please leave a comment on the Altenew Card Blog and/or each designer’s blog post on the blog hop list below by 08/07/2021 for a chance to win. Altenew will draw 7 random winners from the comments left on each stop of this blog hop and announce the winners on the Altenew Winners Page on 08/09/2021.
Next up is the talented Natasha Davies. Don’t forget to leave a comment below to get a chance to win a prize from Altenew! Thank you all for dropping by. I love hearing from all of you and hope we can be friends on IG as well (@mylittleatticstudio). Stay safe and happy crafting!!!
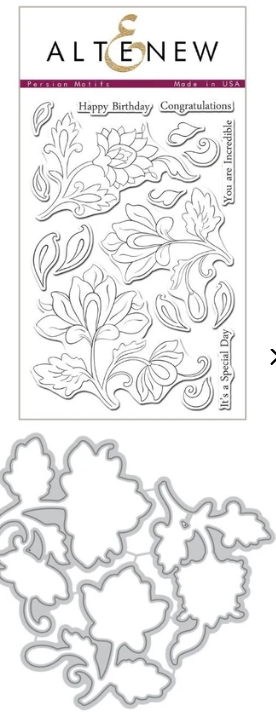
Hello friends! Welcome to Altenew’s Educators “Favorite Old/New Altenew Stamp blog hop! If you just came from Vicki Finger’s blog, then you’re on the right track. We were assigned to choose a favorite stamp set from our old or new stash and highlight it in this post. I decided to create from an old AND a new stamp. It wasn’t easy to pick a favorite… I have too many!!! Anyway, for the old stamp set, I chose one of my all-time favorites– the Persian Motifs Stamp and die set.
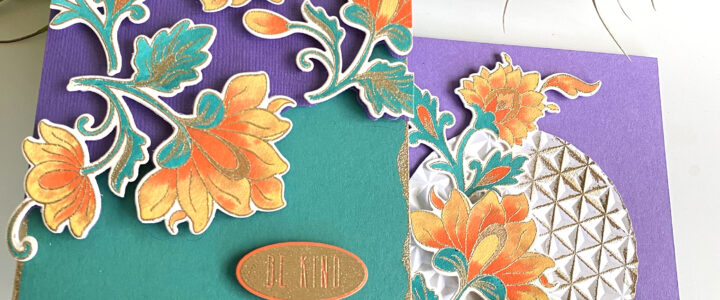
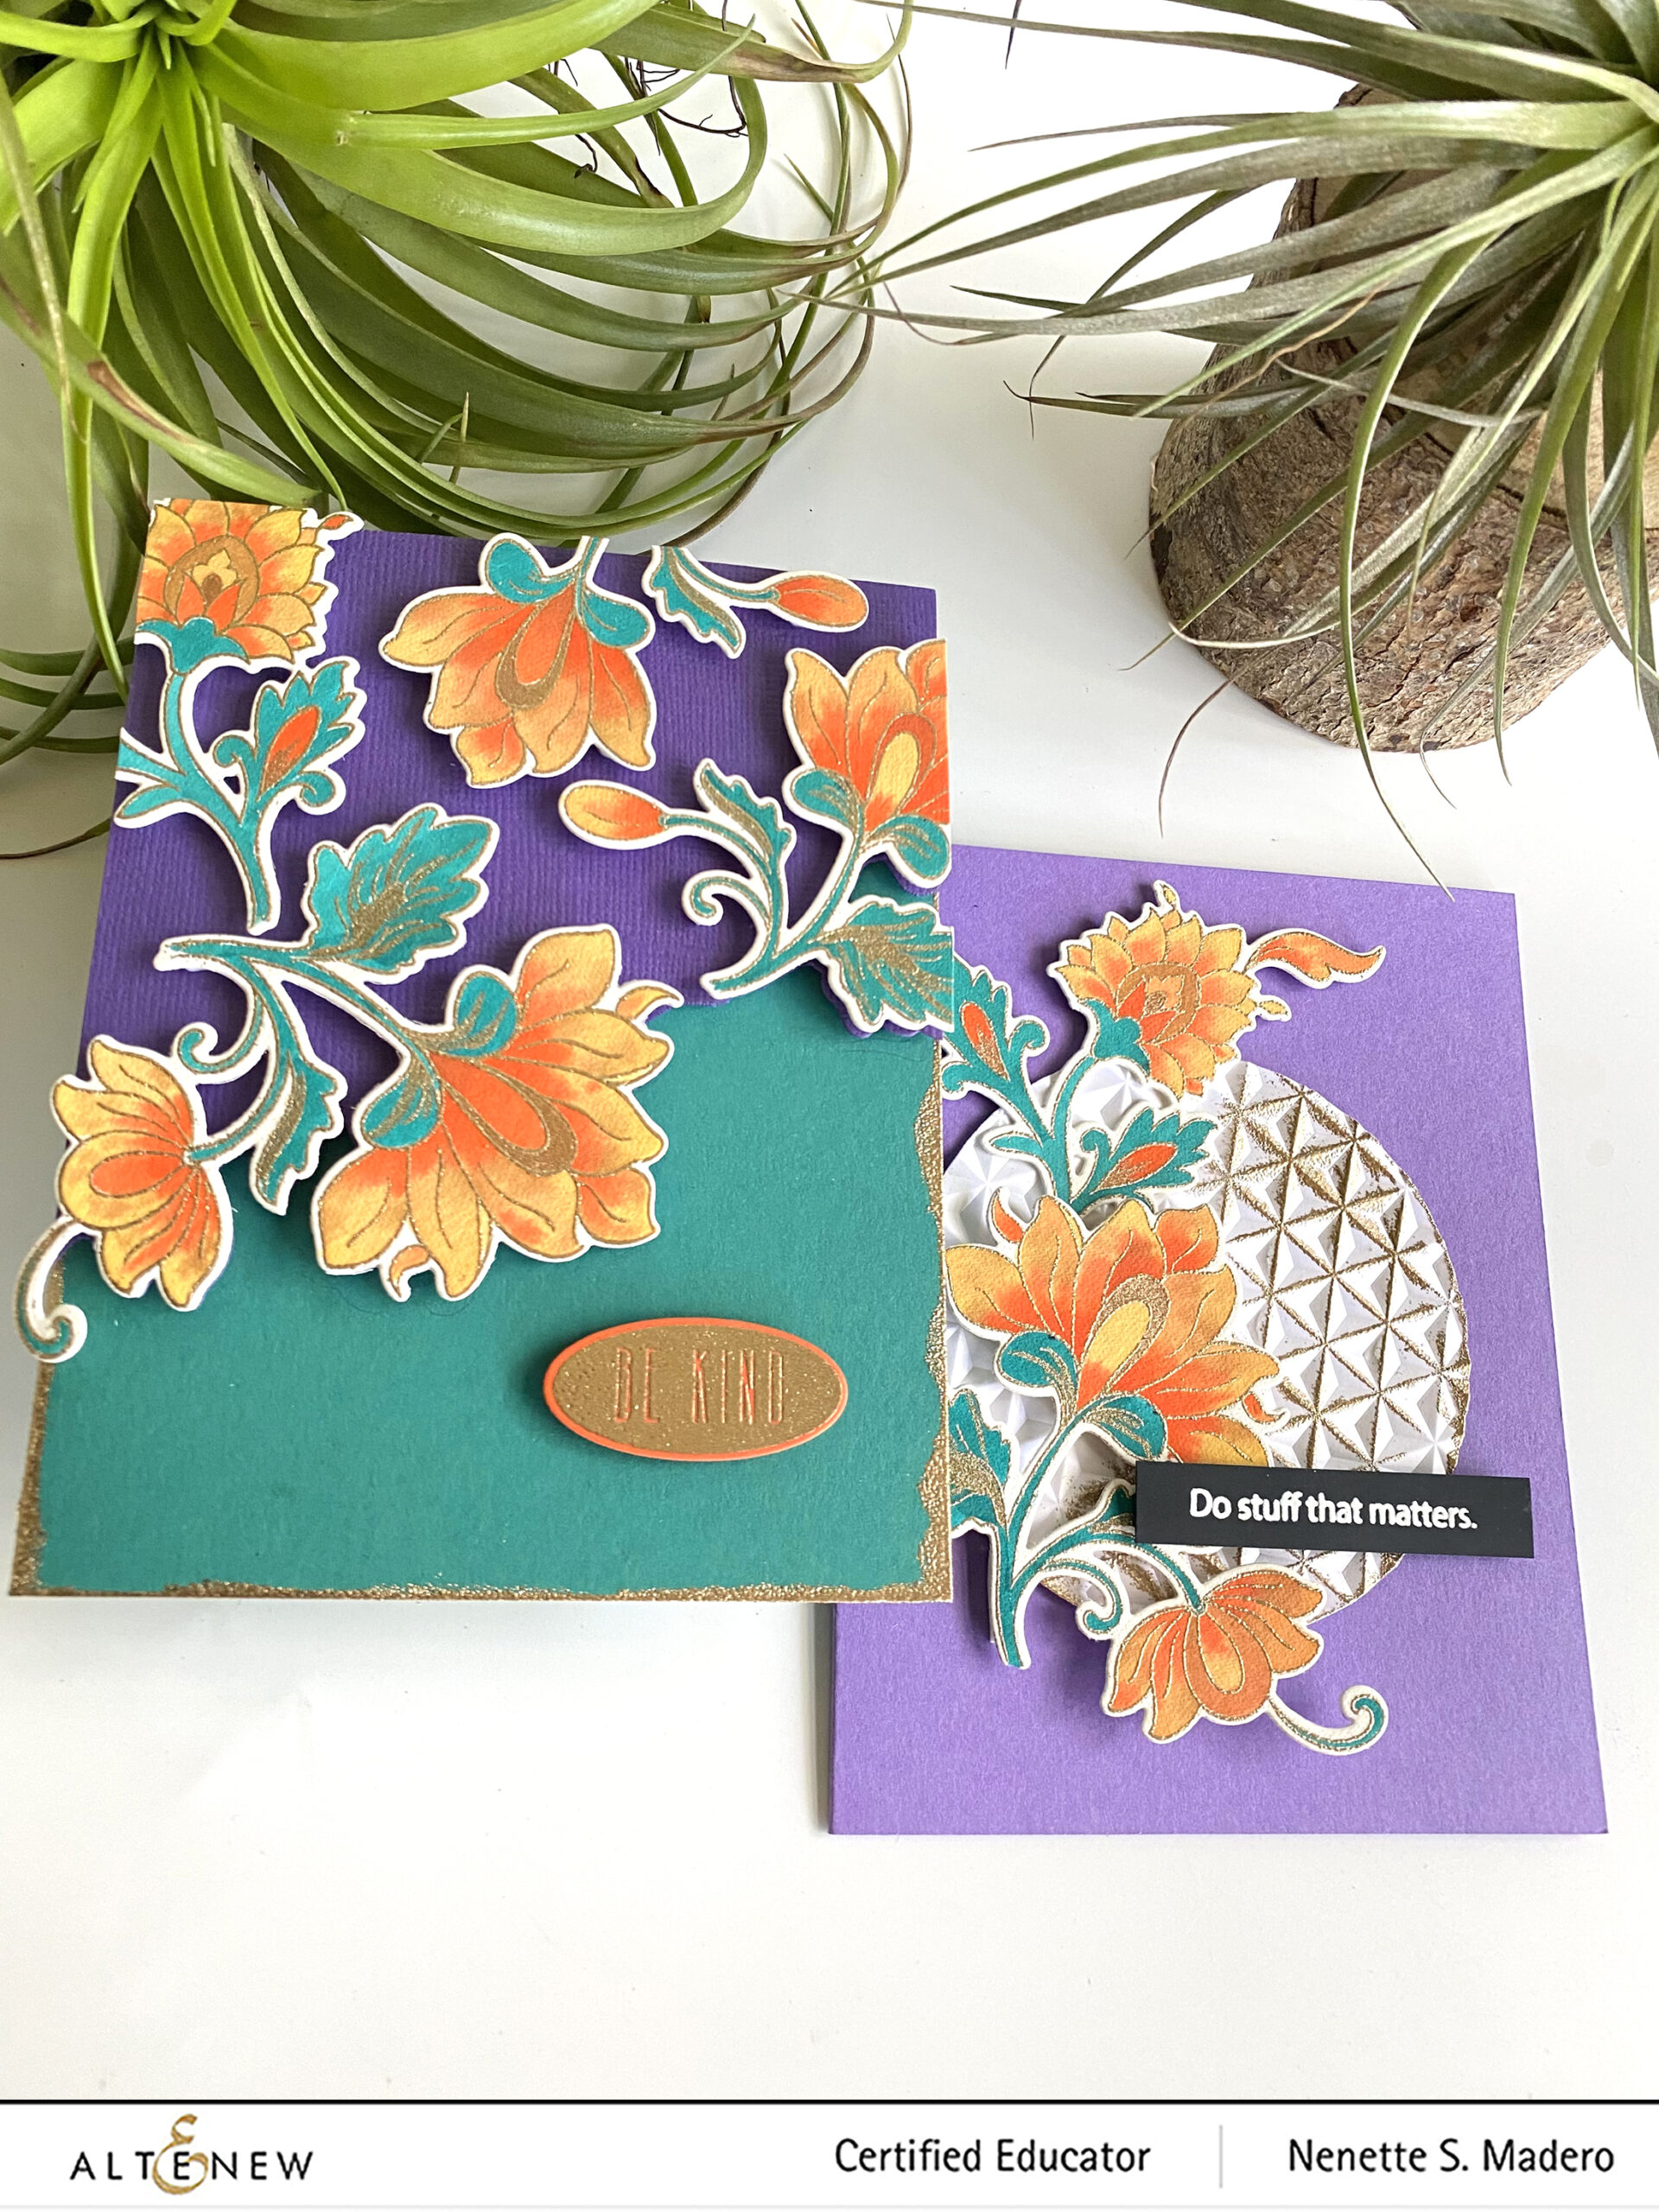
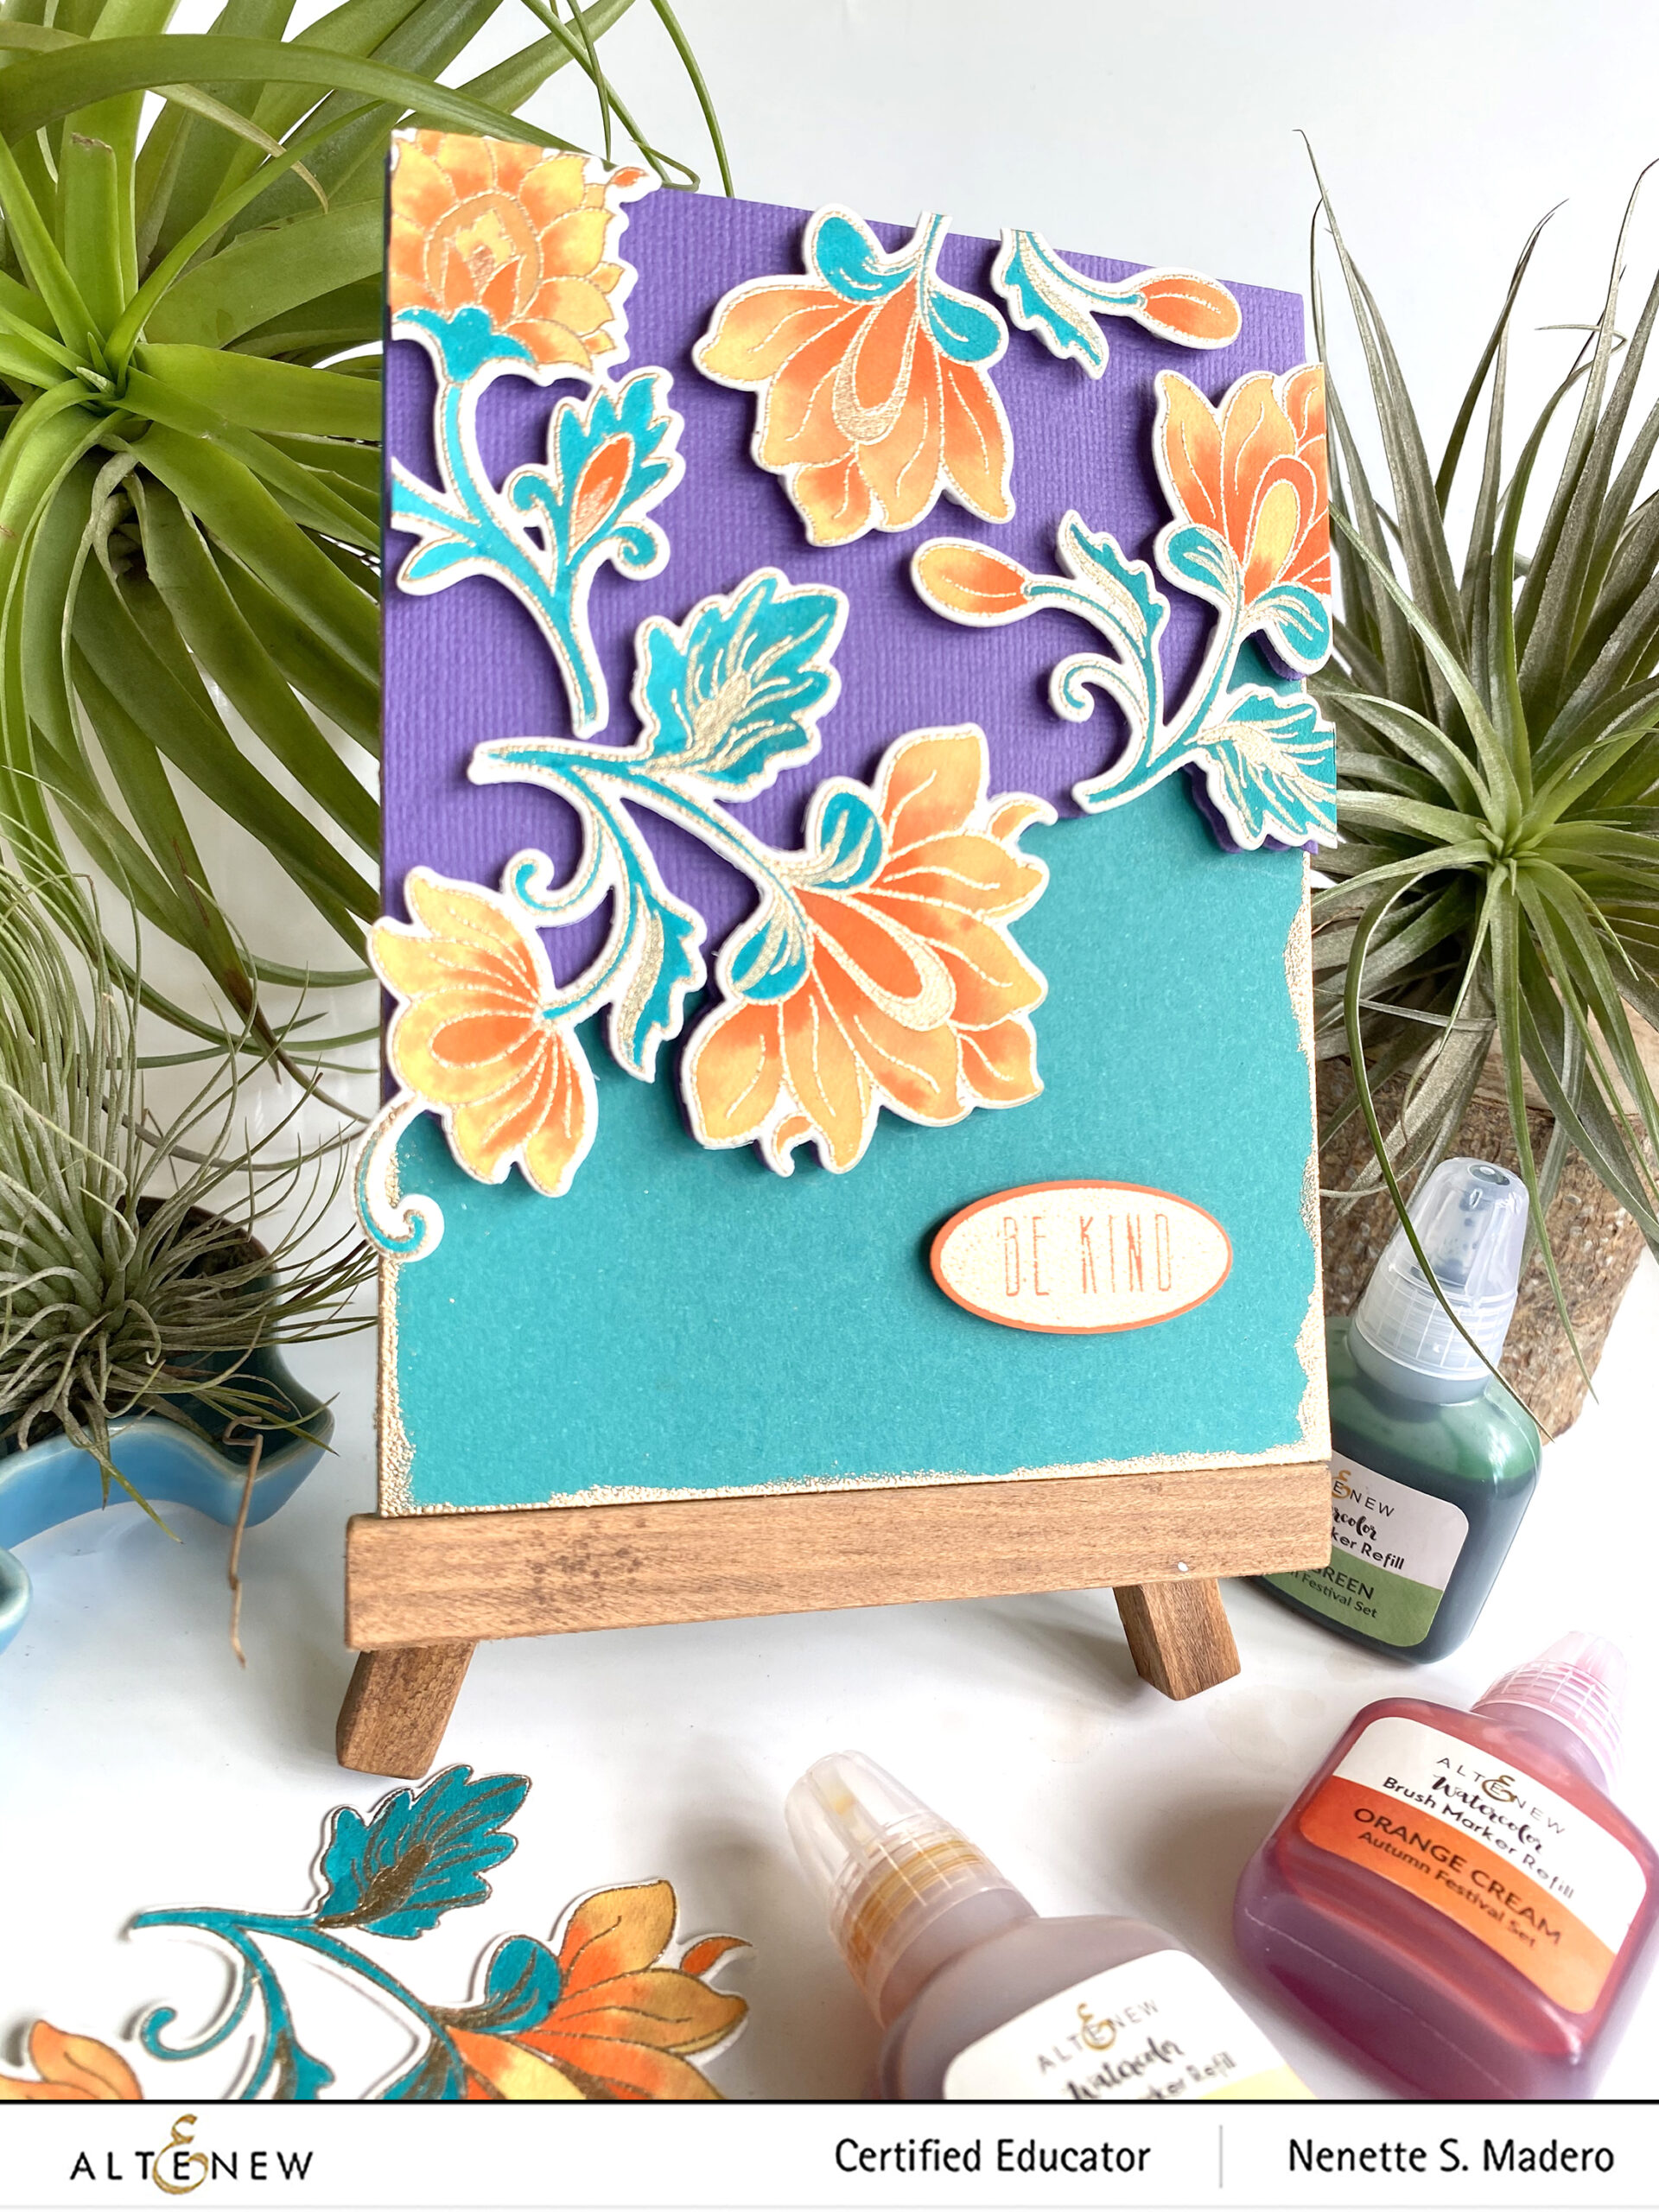
I have always loved the vintage Indian woodblock designs and this stamp set reminds me of that. I created two cards using the Persian Motifs stamp and die set.
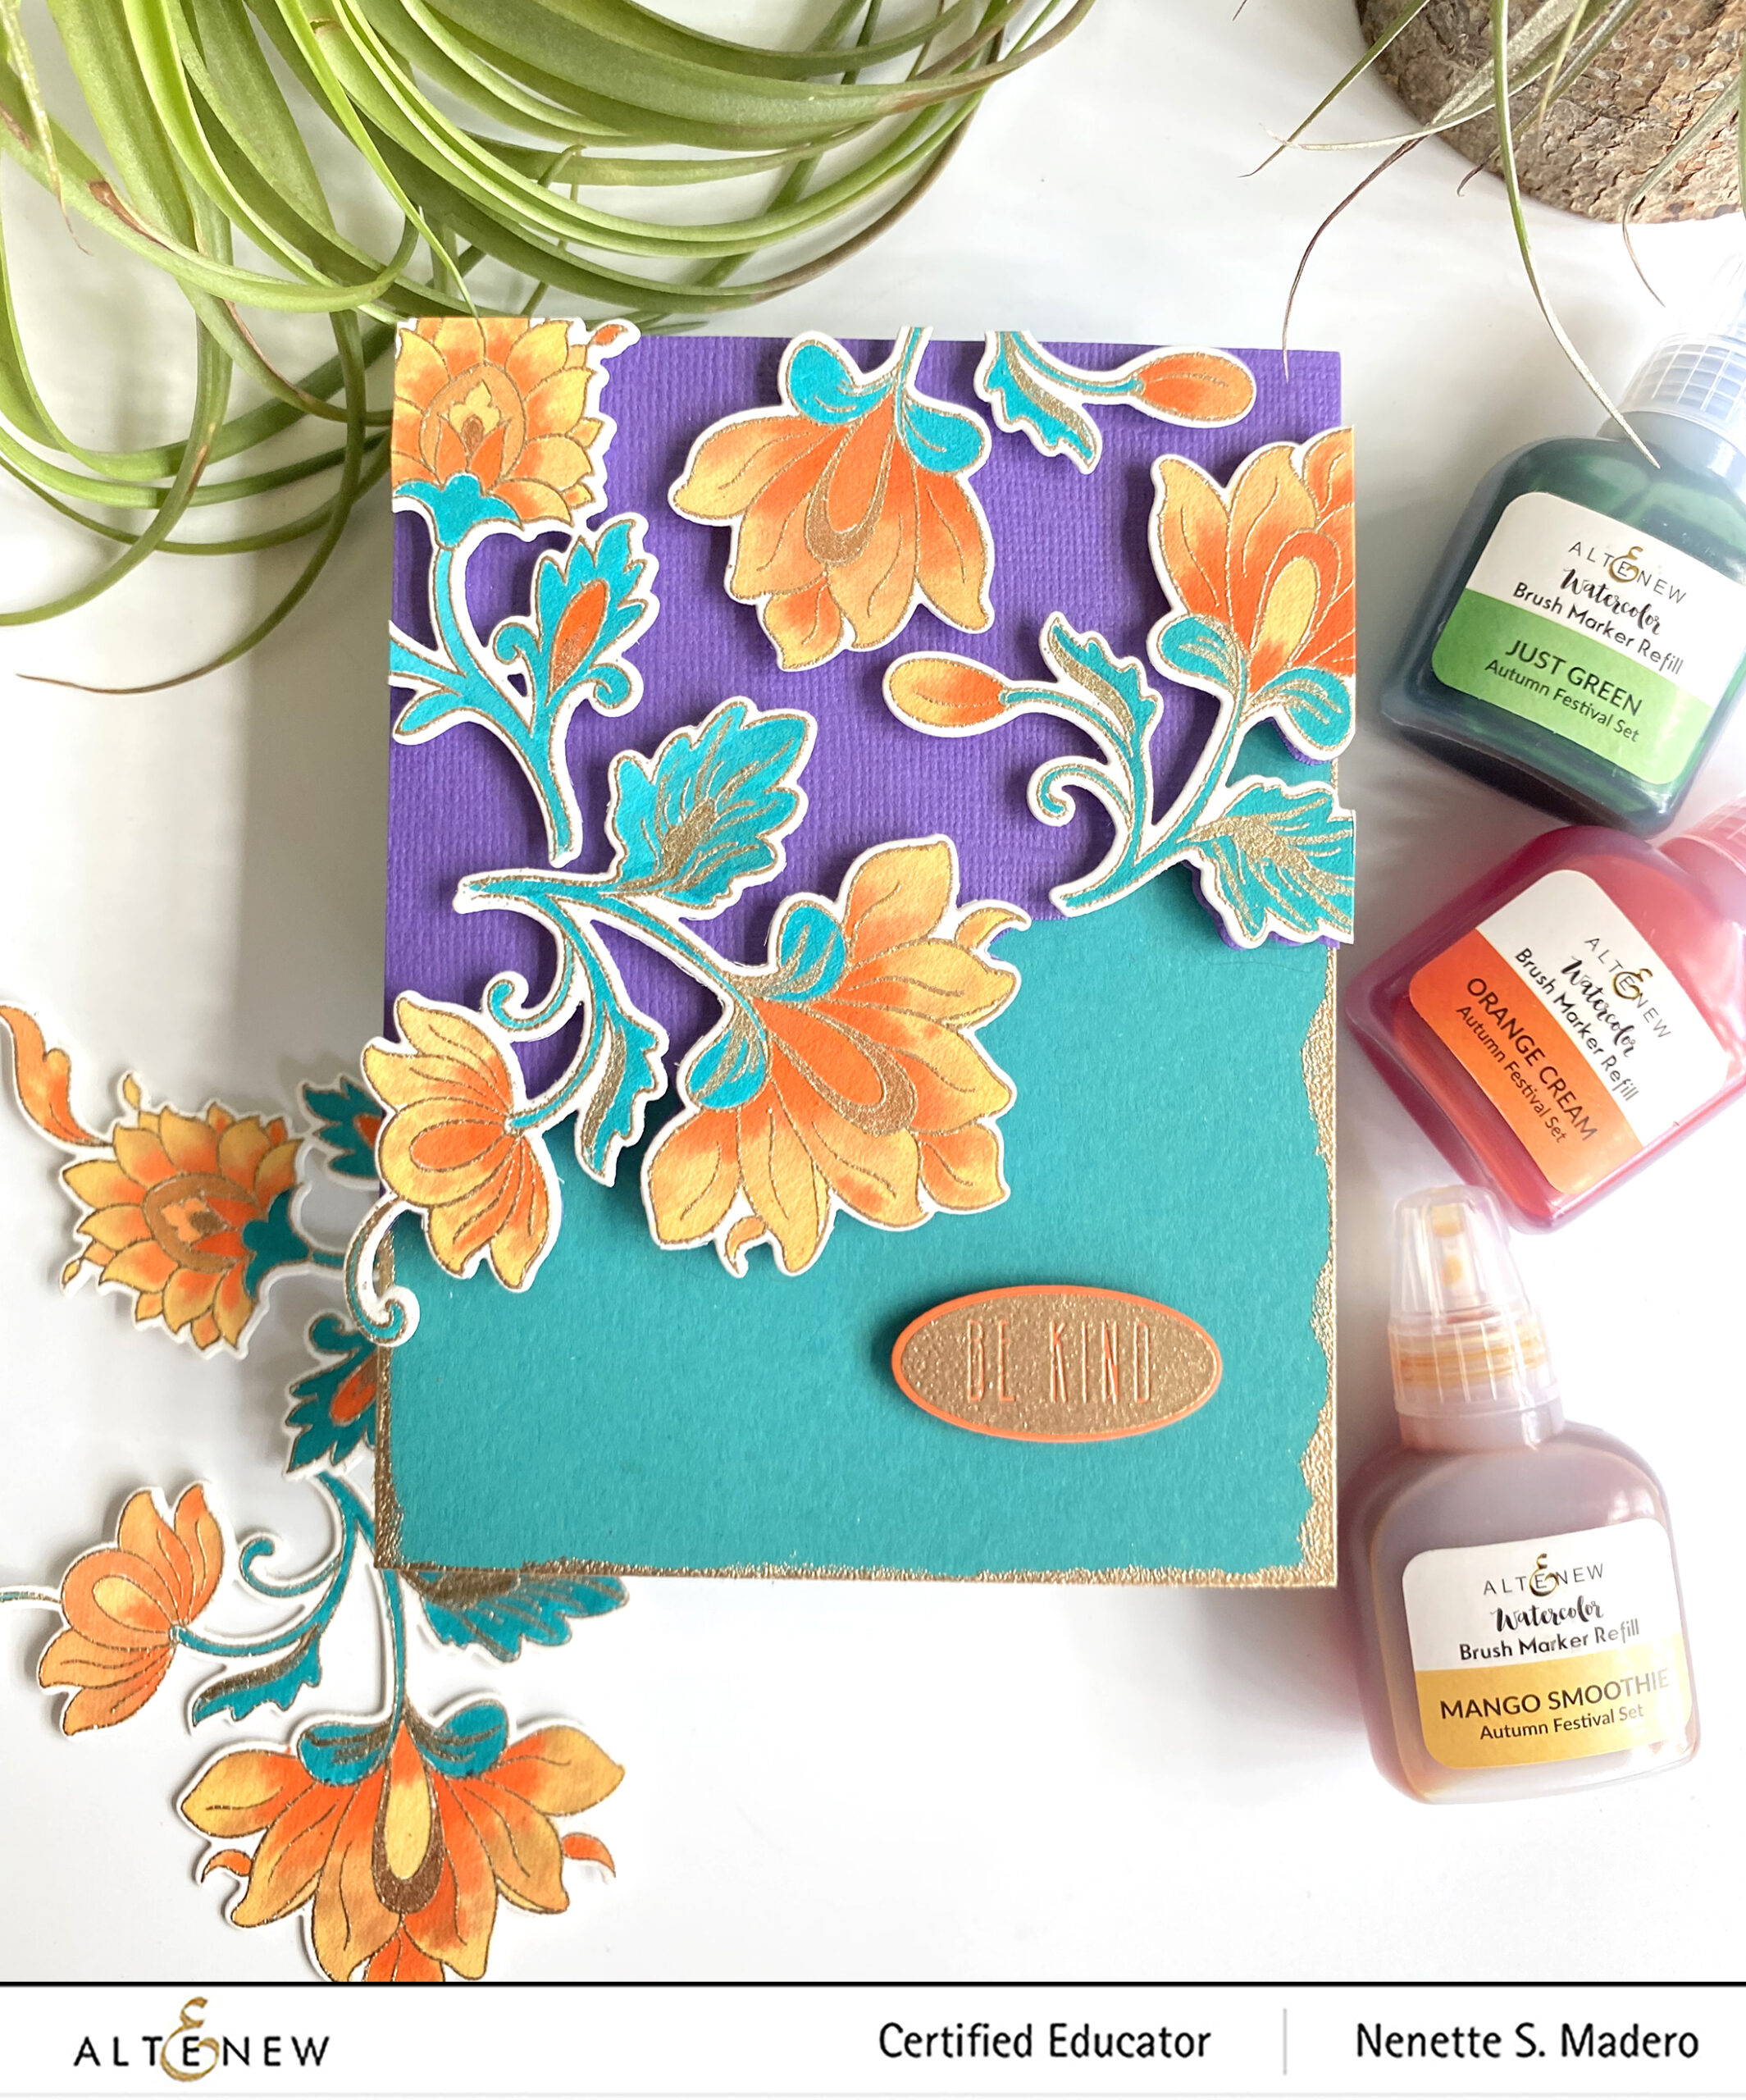
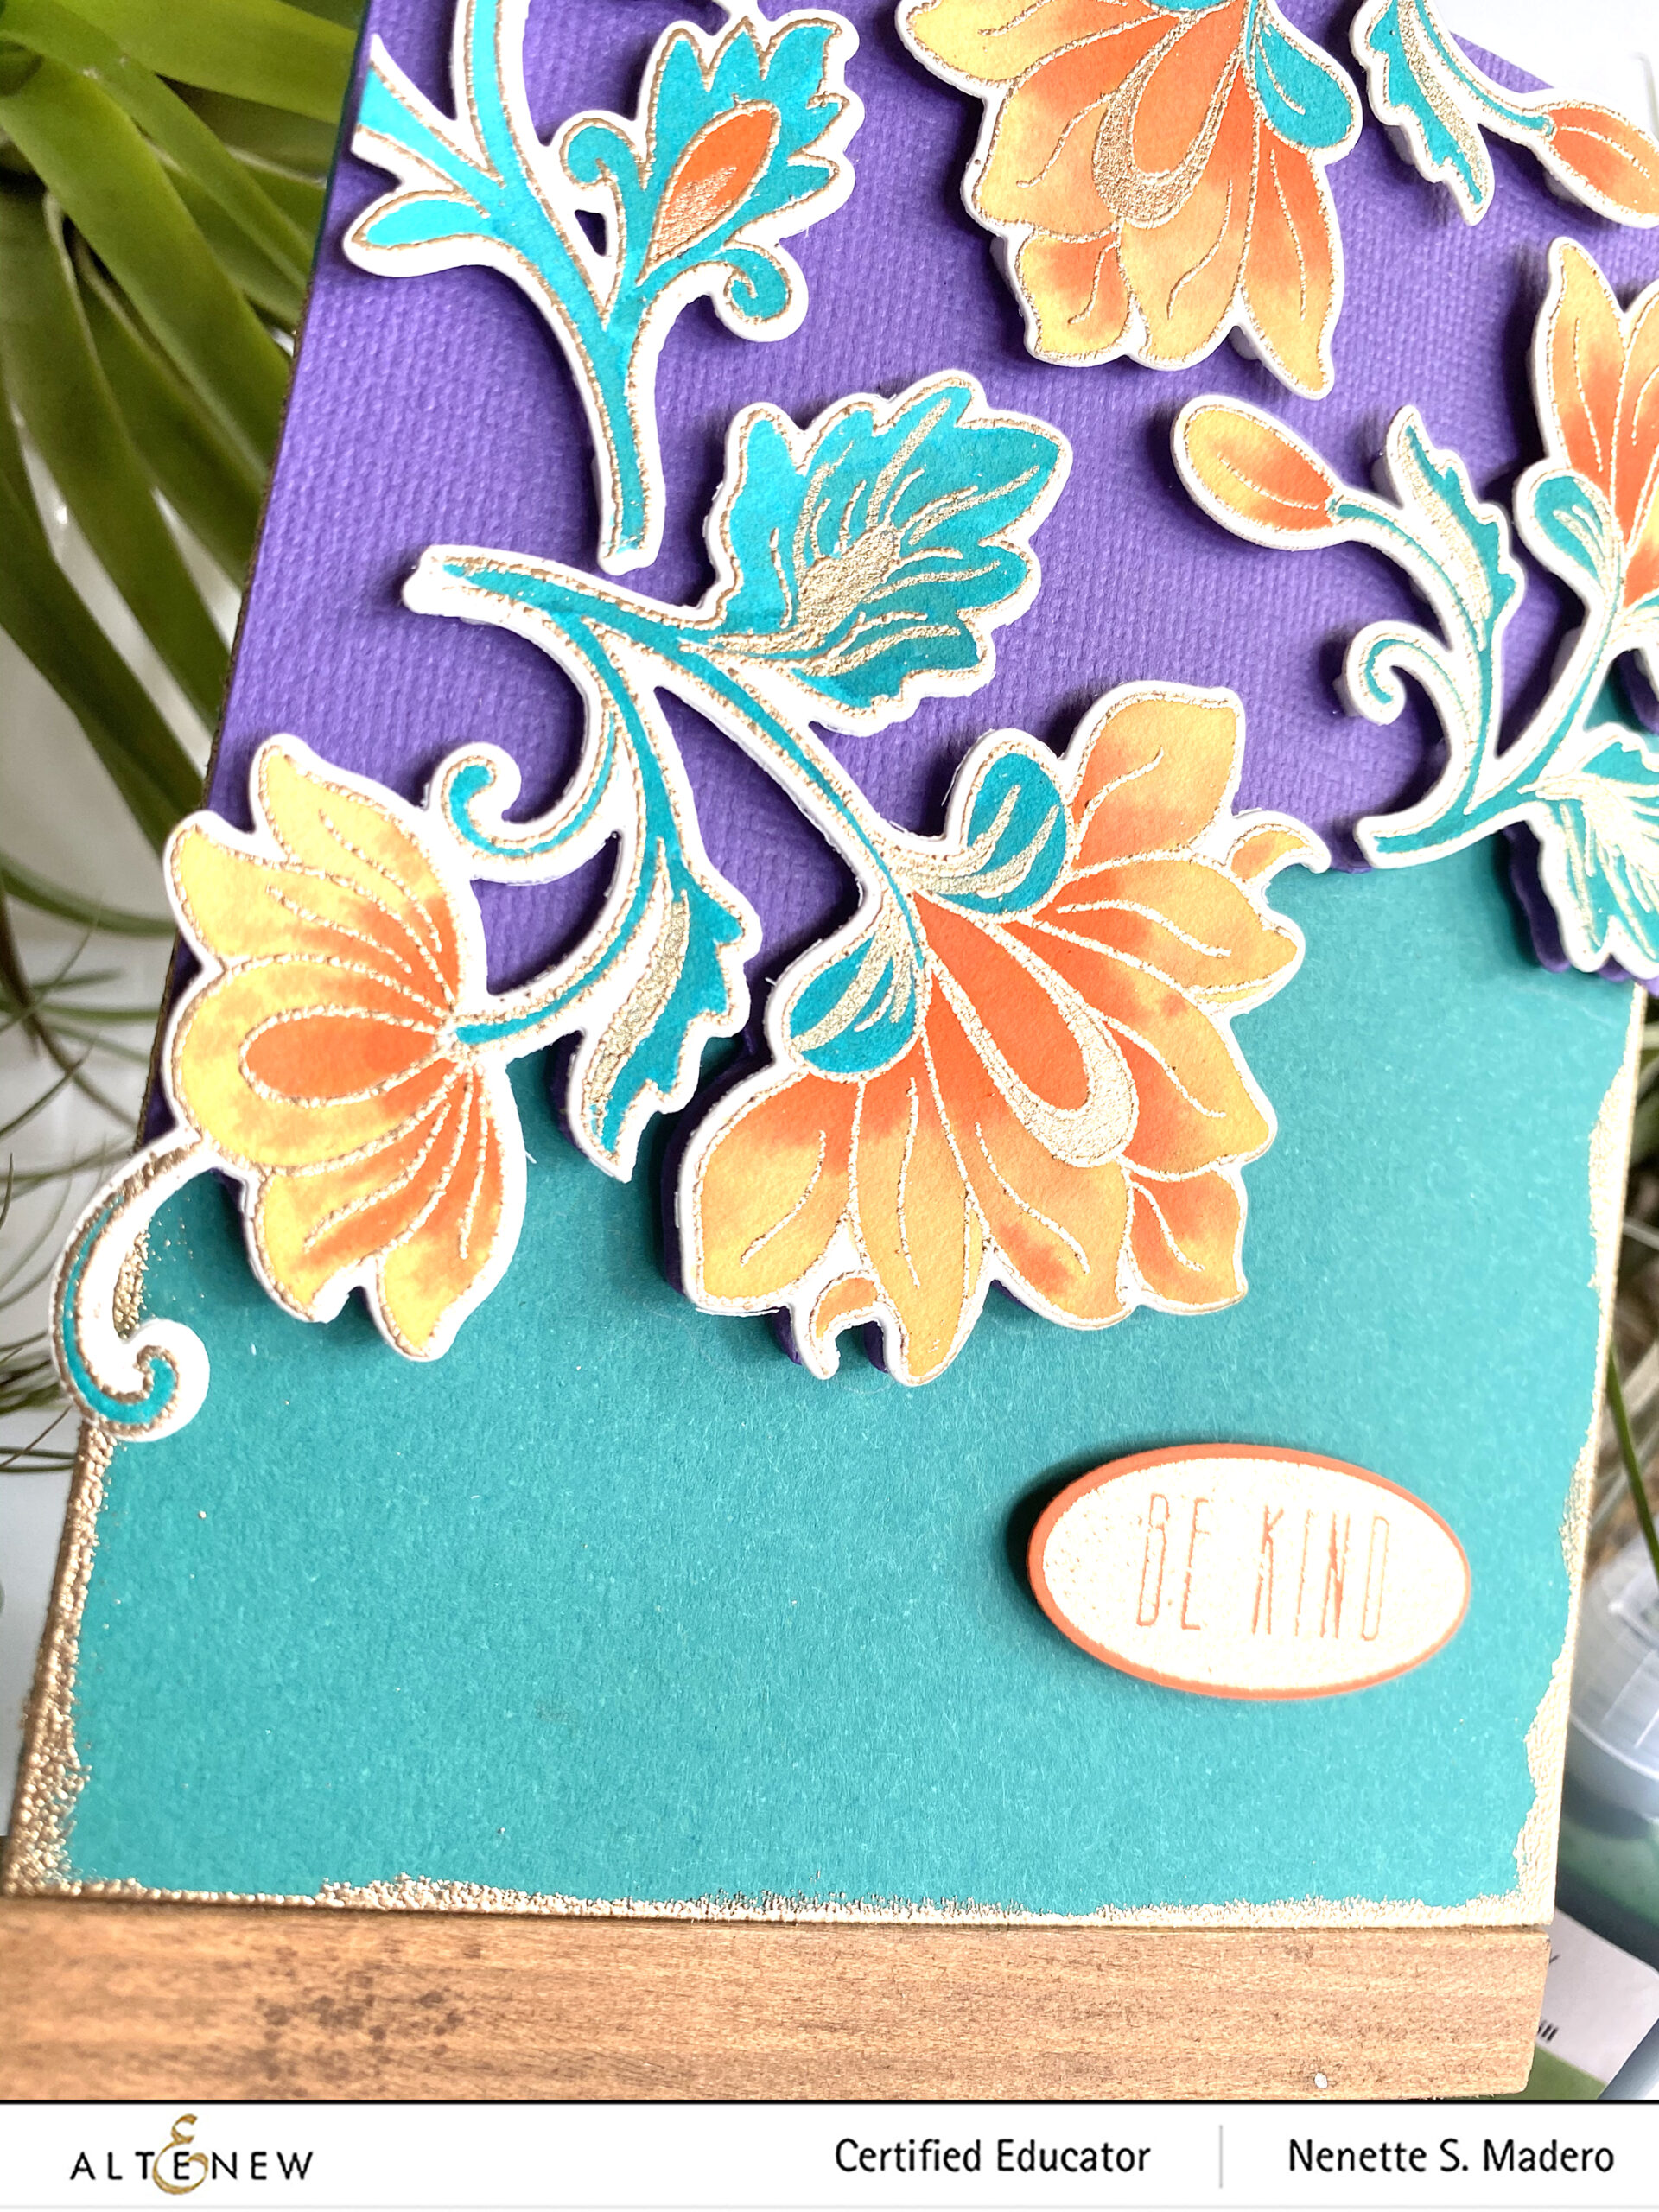
Now, more than ever, we should remind ourselves, daily, to be kind to one another. Sadly, there is so much hatred and injustice around the world. I’ve been listening to a podcast by Fr. Mike Schmitz and this message struck me. We have to remember that we are all part of one world and that it’s not a battle between race or ethnicities. Even in the midst of all the brokenness, we can still find peace and be united if we just BE KIND to one another.
STEPS:
Prep the paper with antistatic tool and stamp images on watercolor paper with Versamark ink and emboss with Rose Gold embossing powder.
Color images using watercolor brush markers.
Add metallic details using the metallic watercolor pan set.
Arrange the images temporarily on purple cardstock. Mark with pencil the edges of the flowers.
Arrange the dies for partial die cutting to remove the lower part of the purple cardstock.
Add embossed gold edges to the lower part of the card front using Versamark ink and Rose Gold embossing powder.
Add foam sheet to the back of the purple cardstock and foam squares to the floral images for added dimension.
Emboss the sentiment with Rose Gold embossing powder then die cut.
Assemble the card.
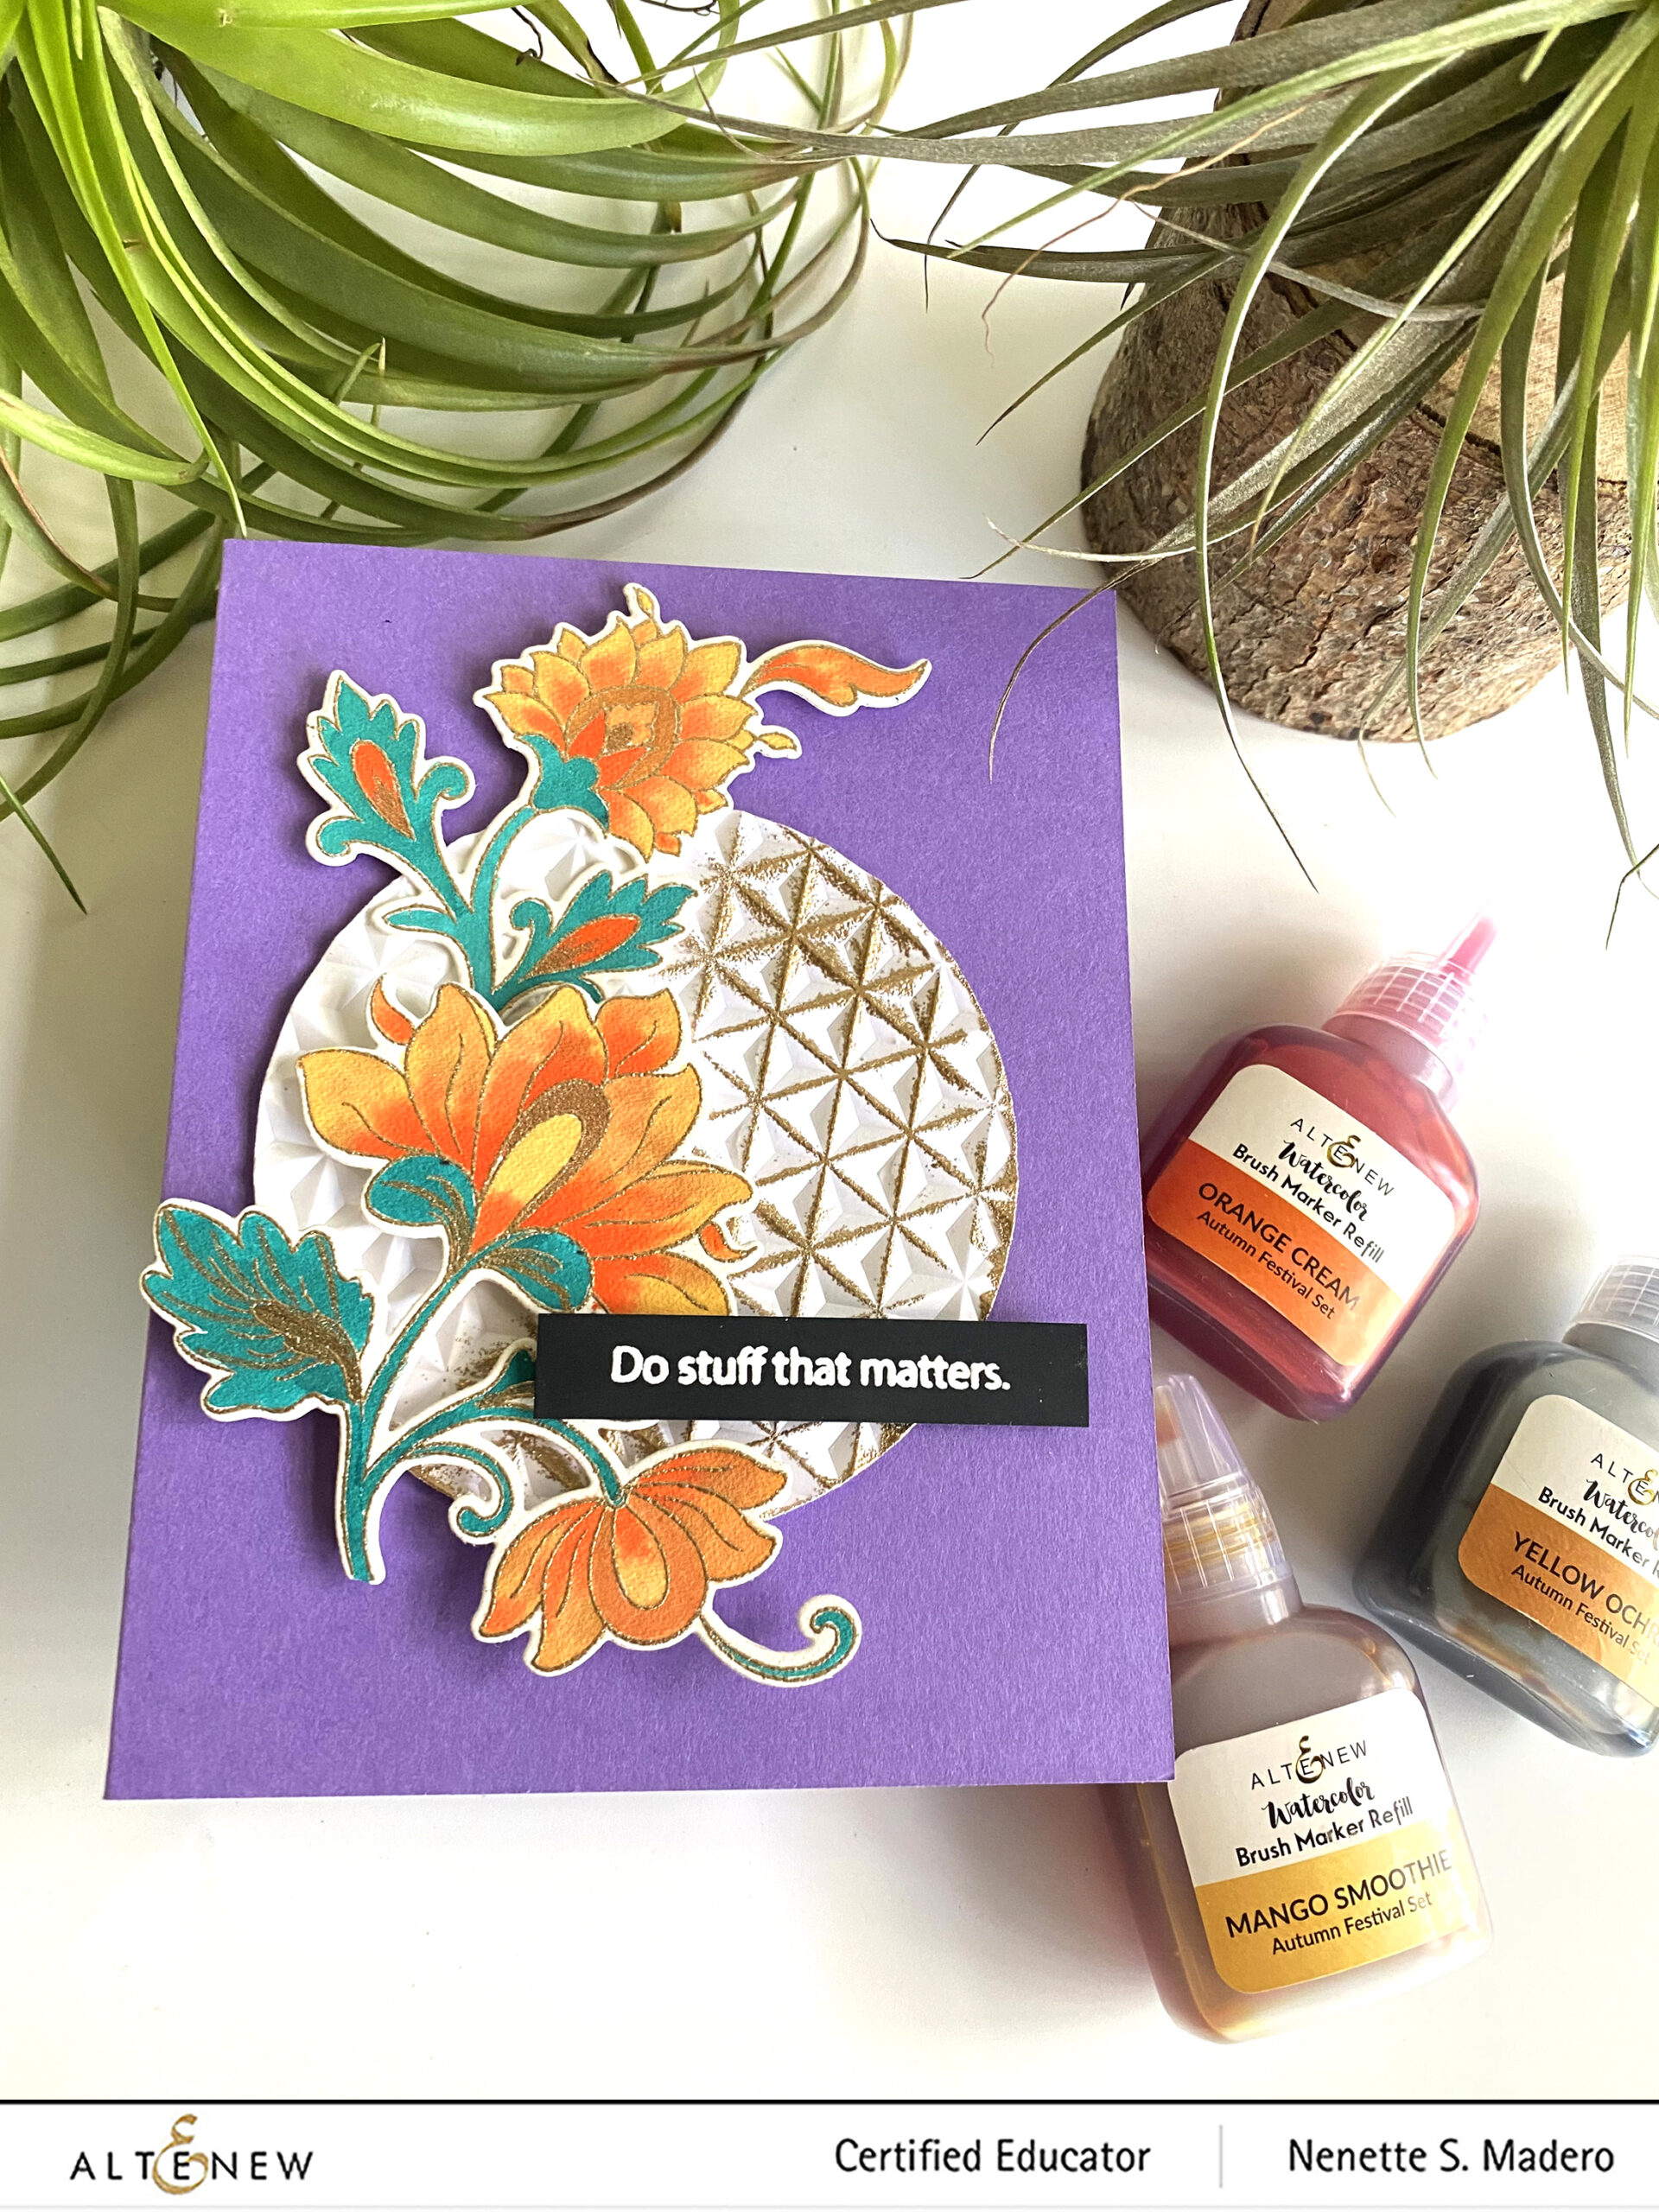
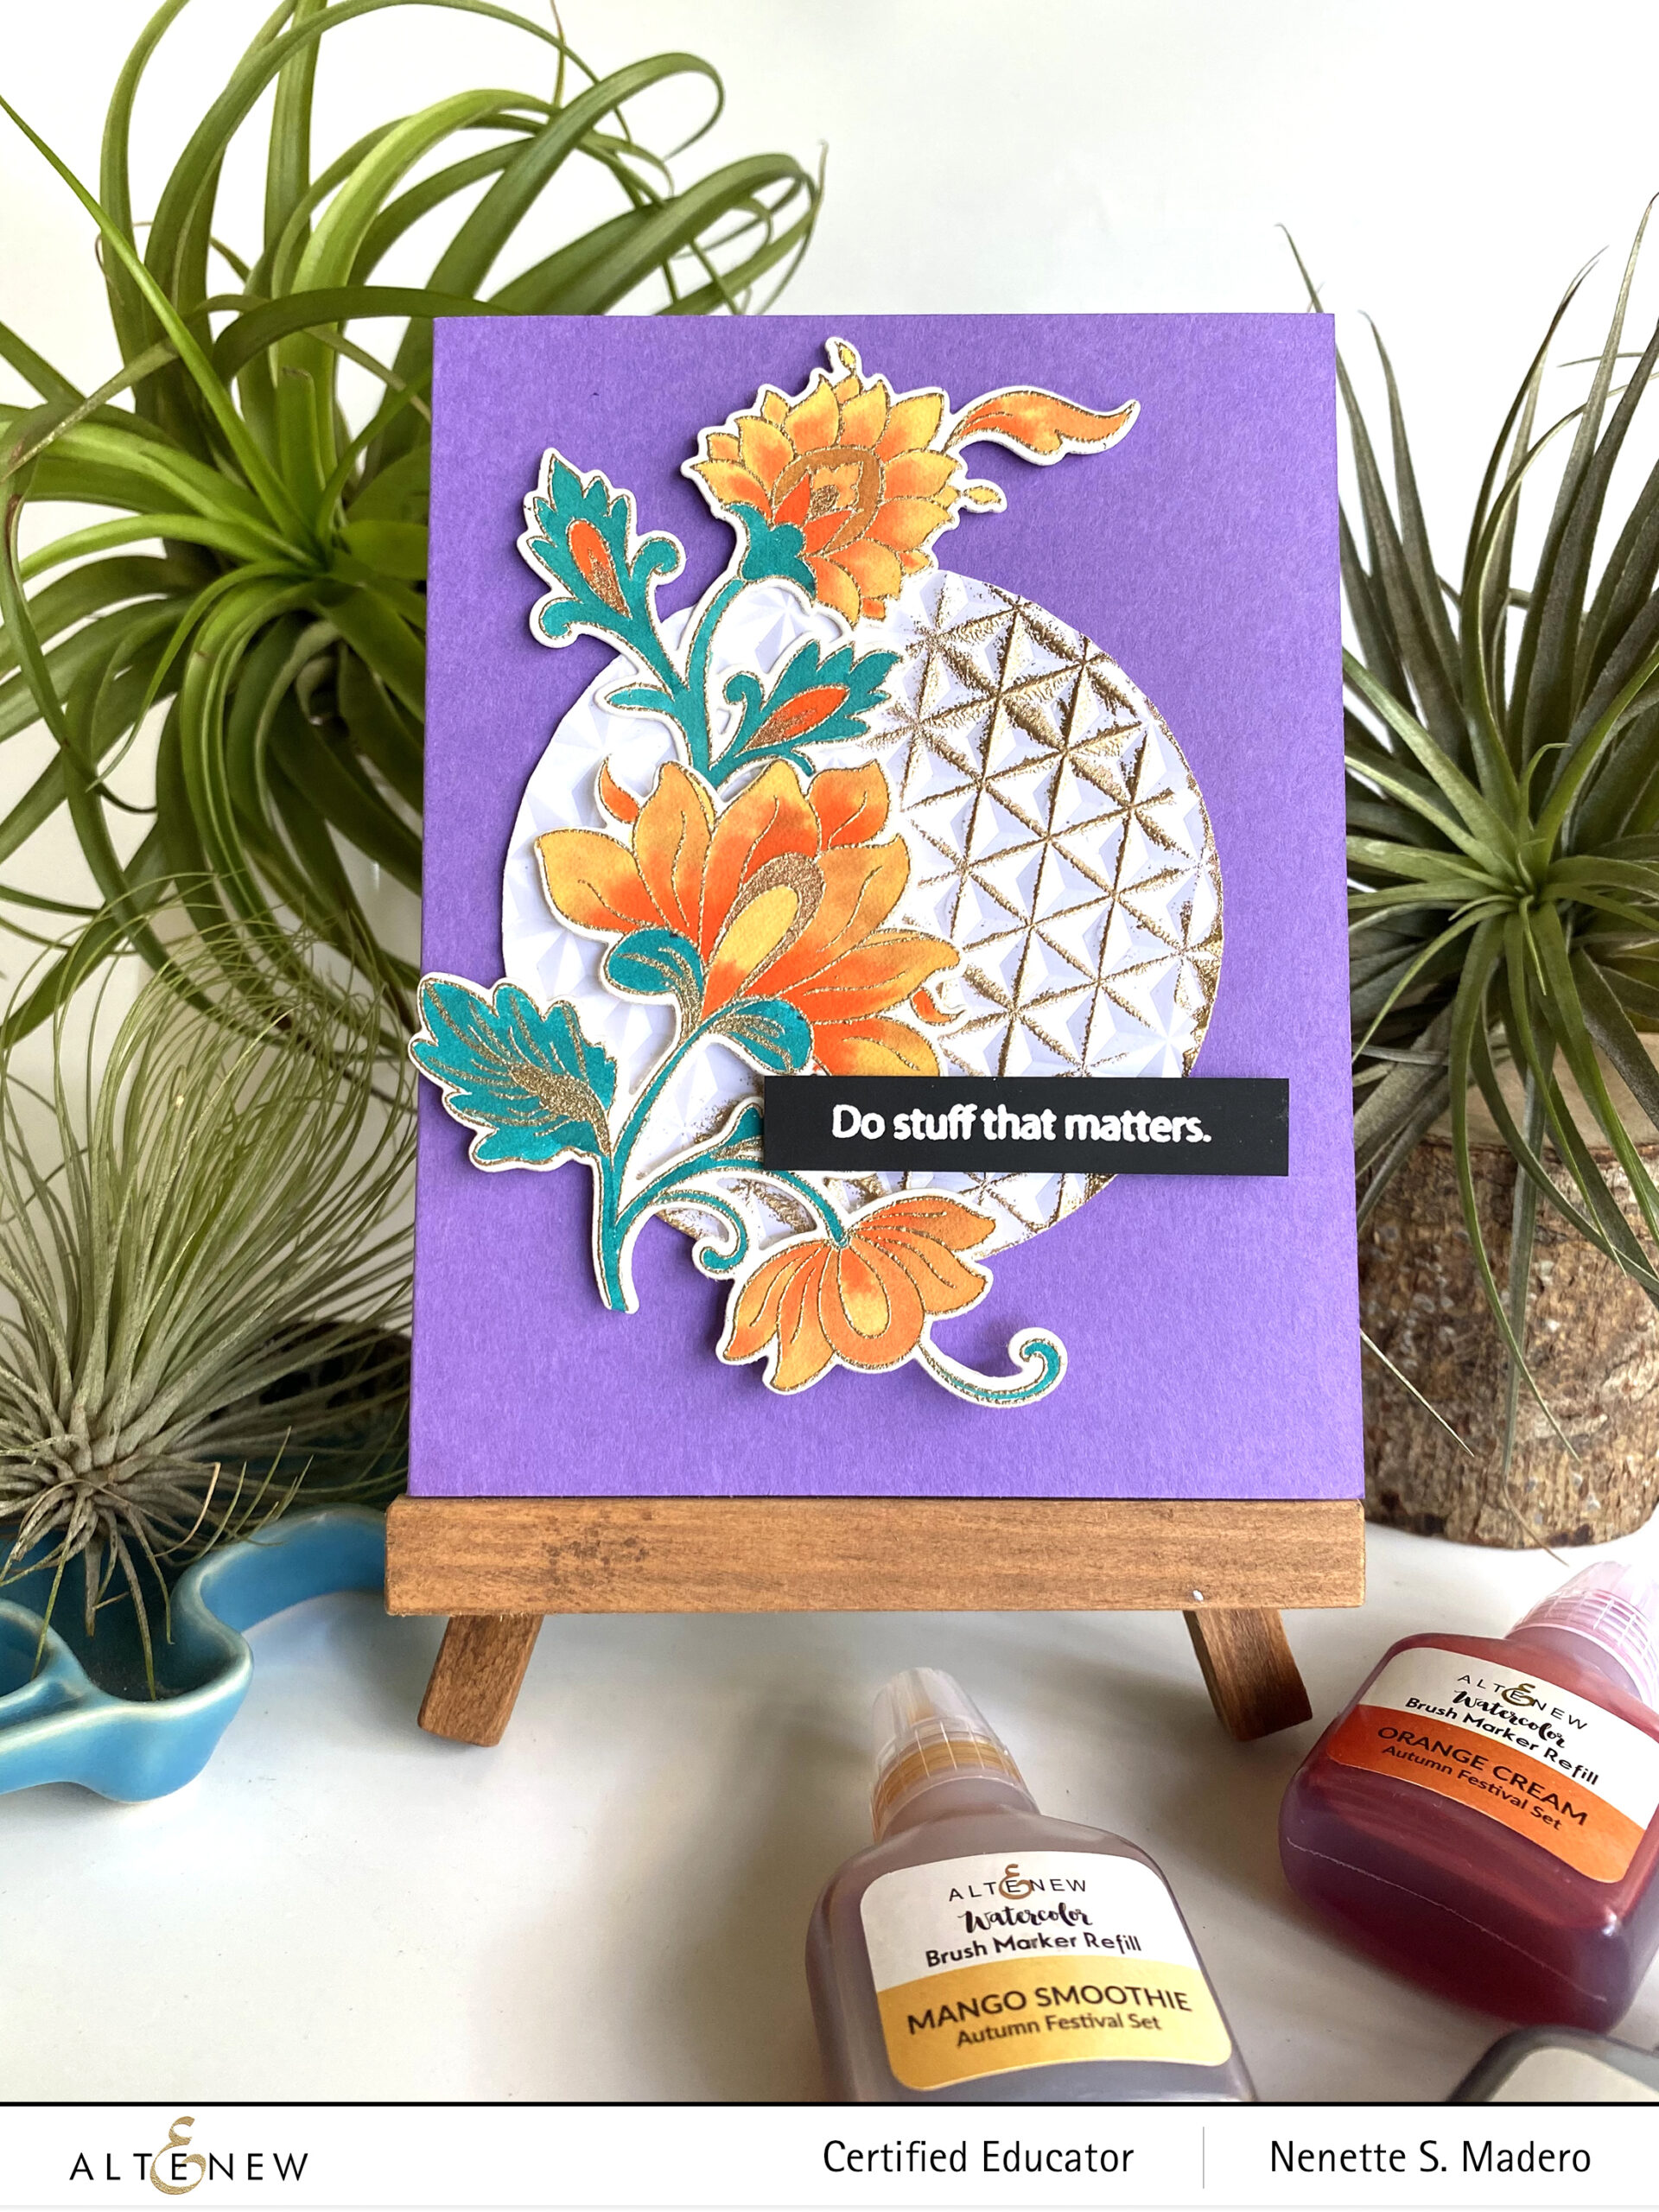
More often than not, I usually stamp, emboss and watercolor more than what I need. Since I had extras, I decided to create a second CAS card using the same stamp set.
Prep the paper with the antistatic tool then stamp and emboss the images from the Persian Motifs Stamp.
Add more details using the Metallic Watercolor pan set.
Emboss white cardstock using the Diamond Stars embossing folder.
Add Versamark Ink to the embossed parts and emboss with Rose Gold embossing powder.
Stamp the sentiment from the Hello Hydrangea stamp set with Versamark ink and emboss with Pure White embossing powder.
Assemble the card using foam squares for added dimension.
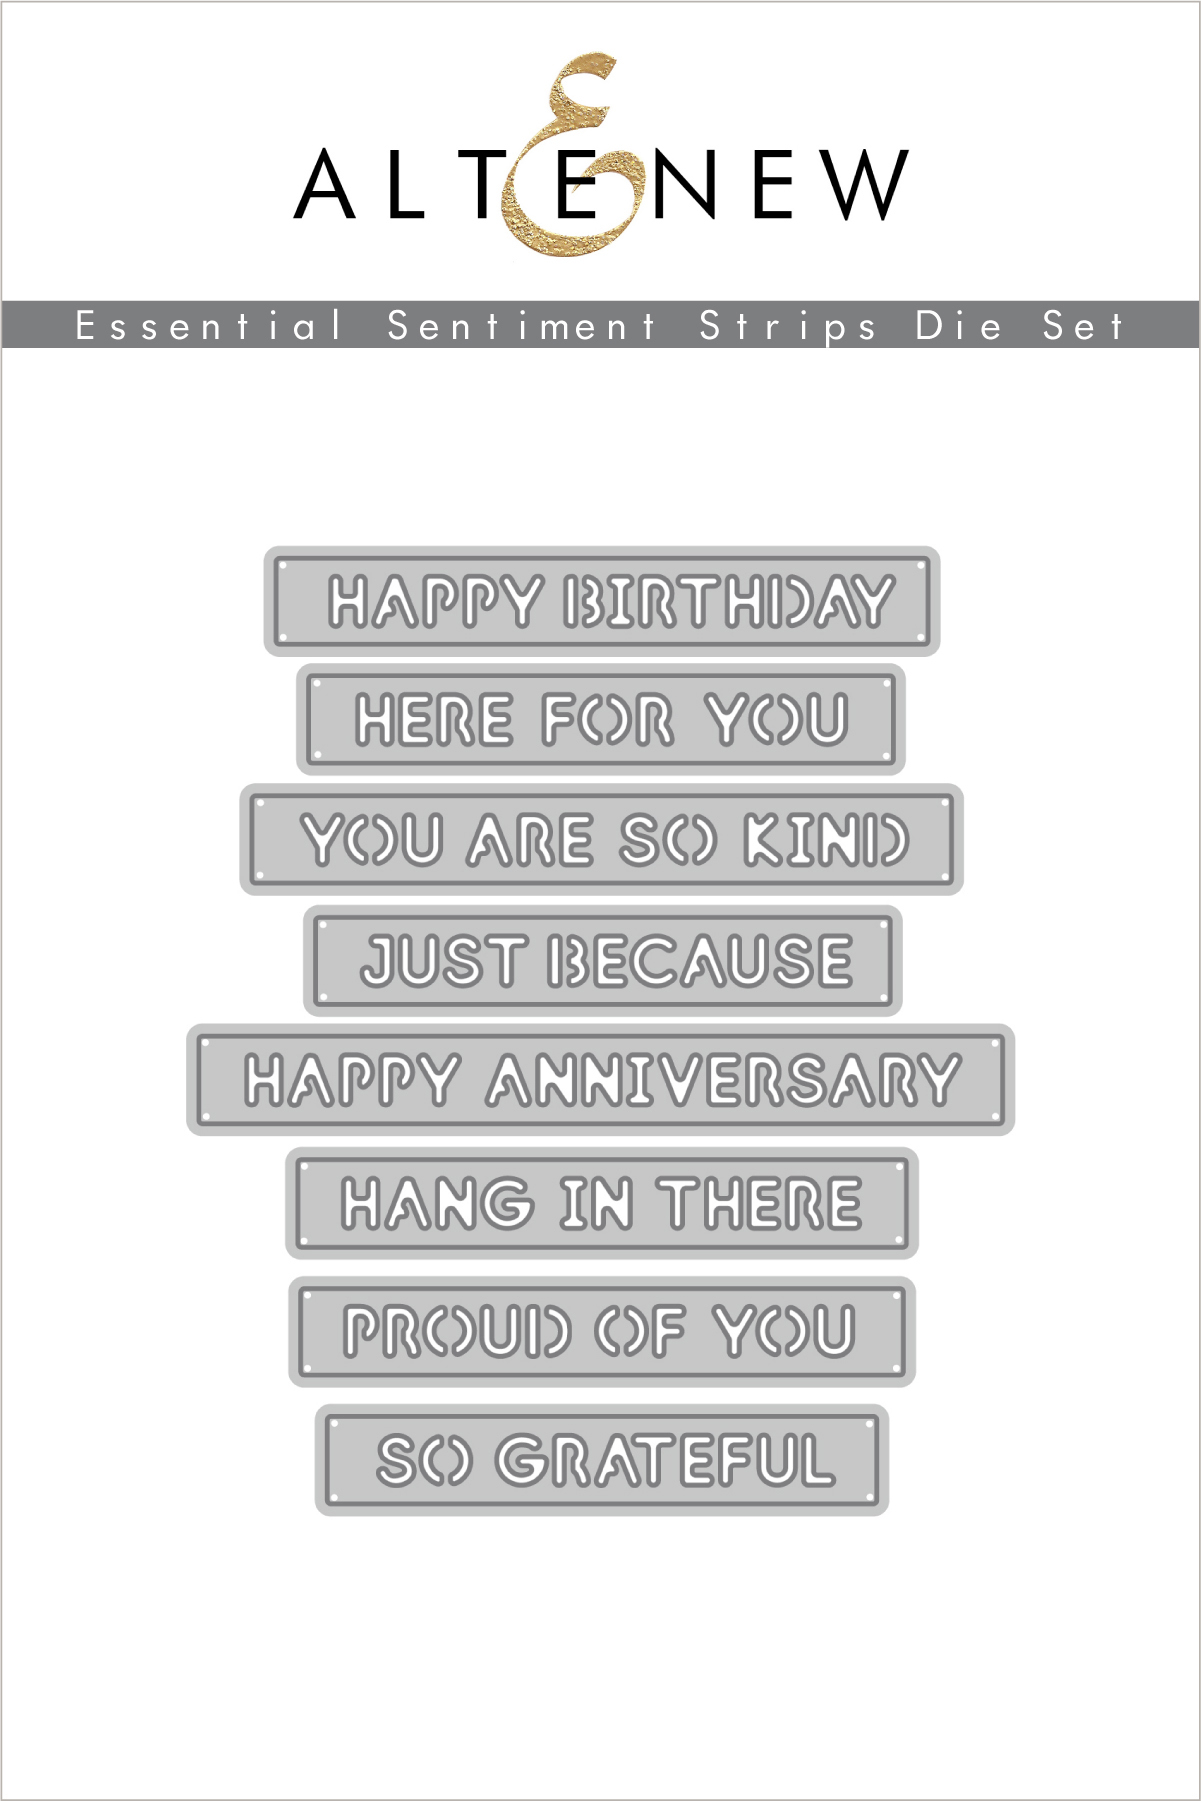
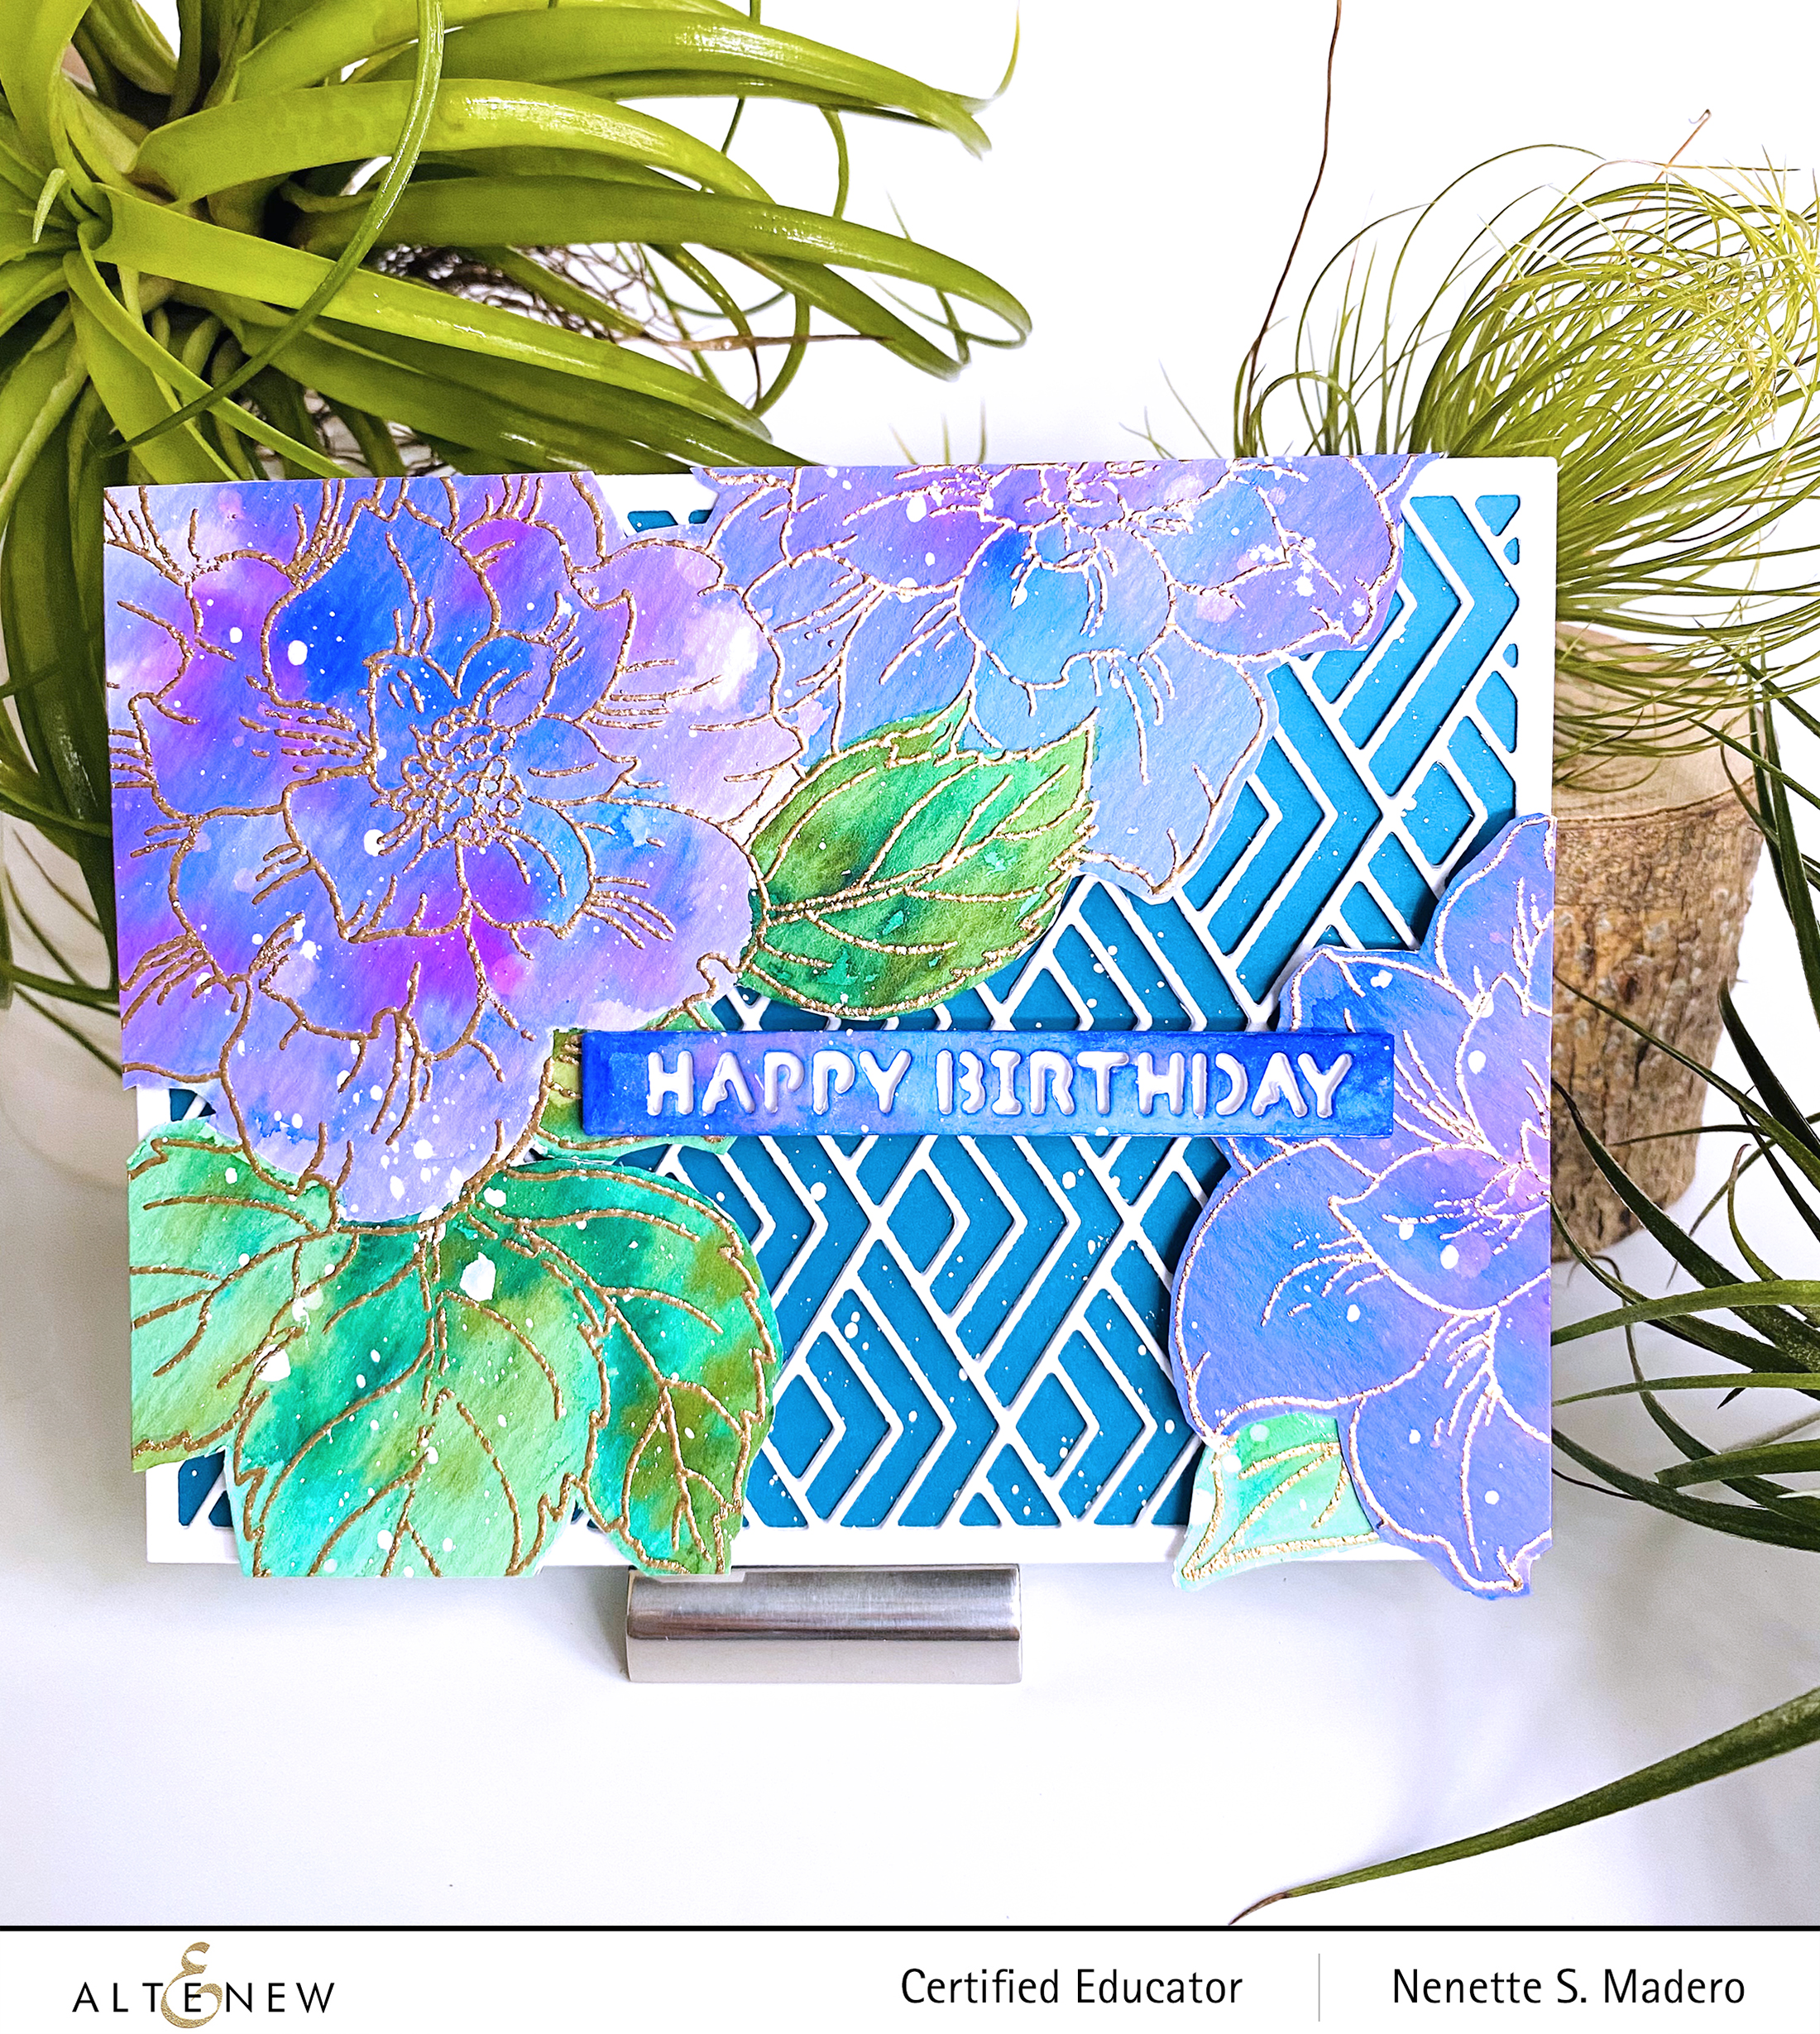
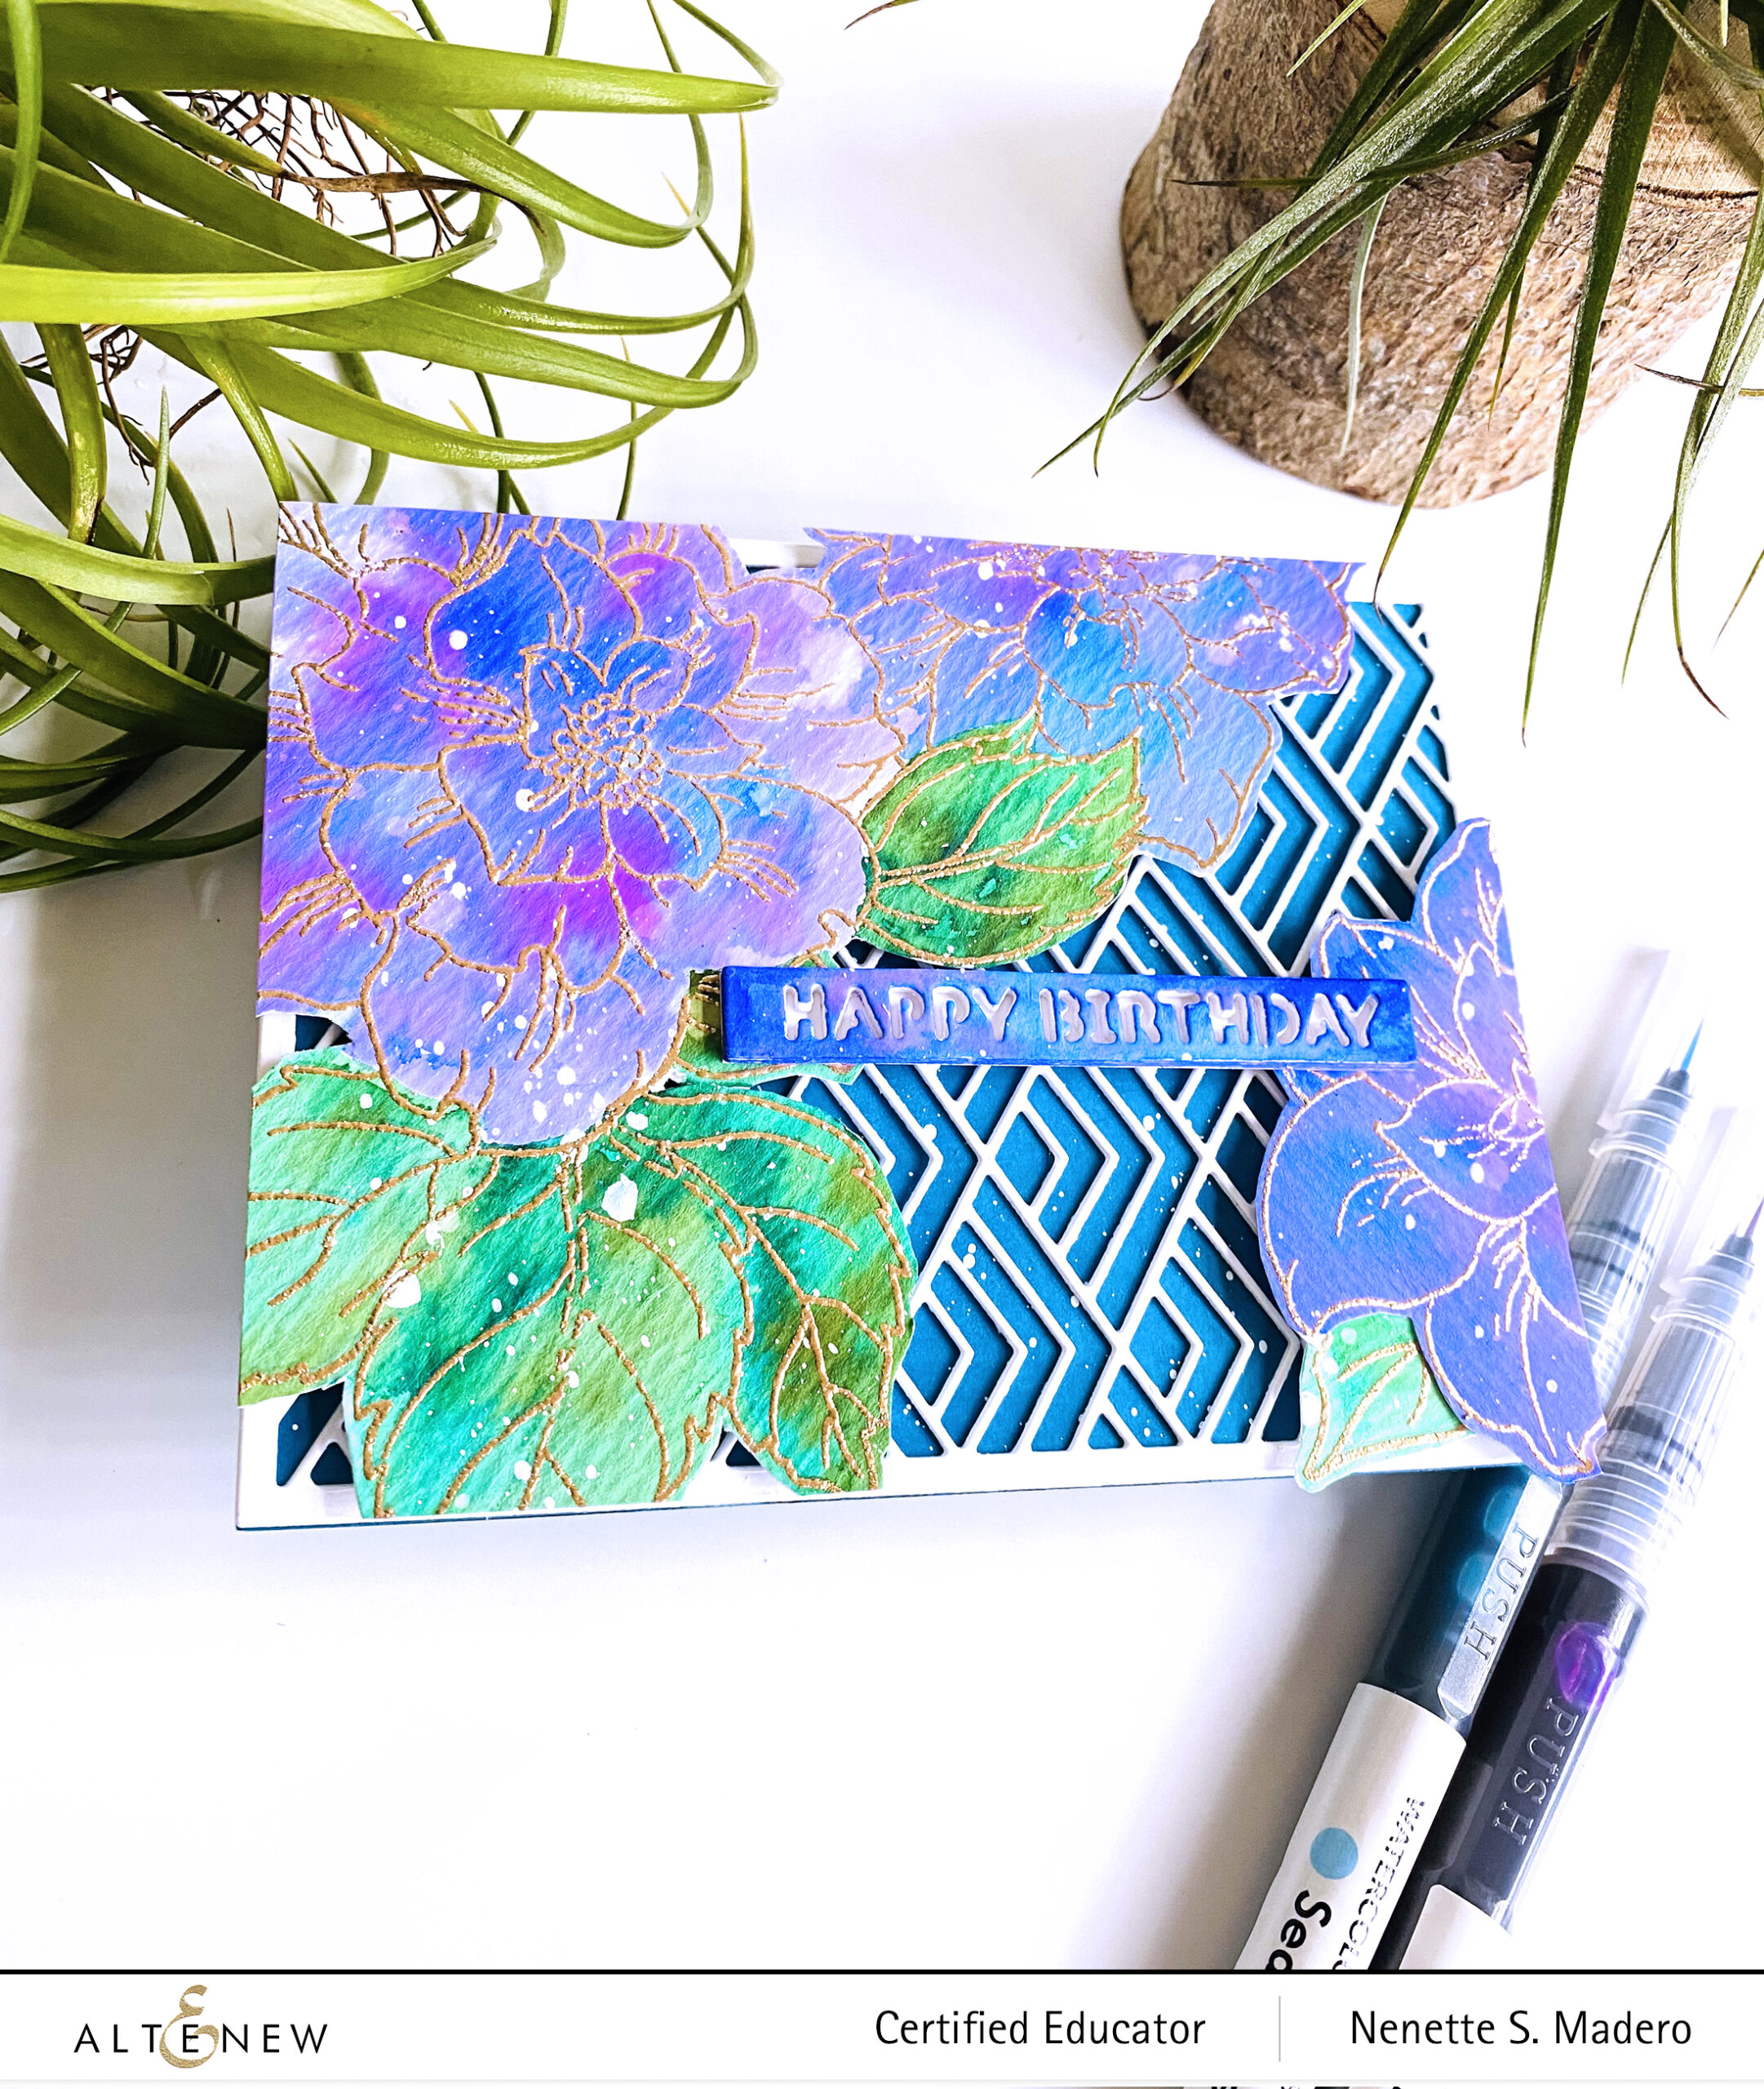
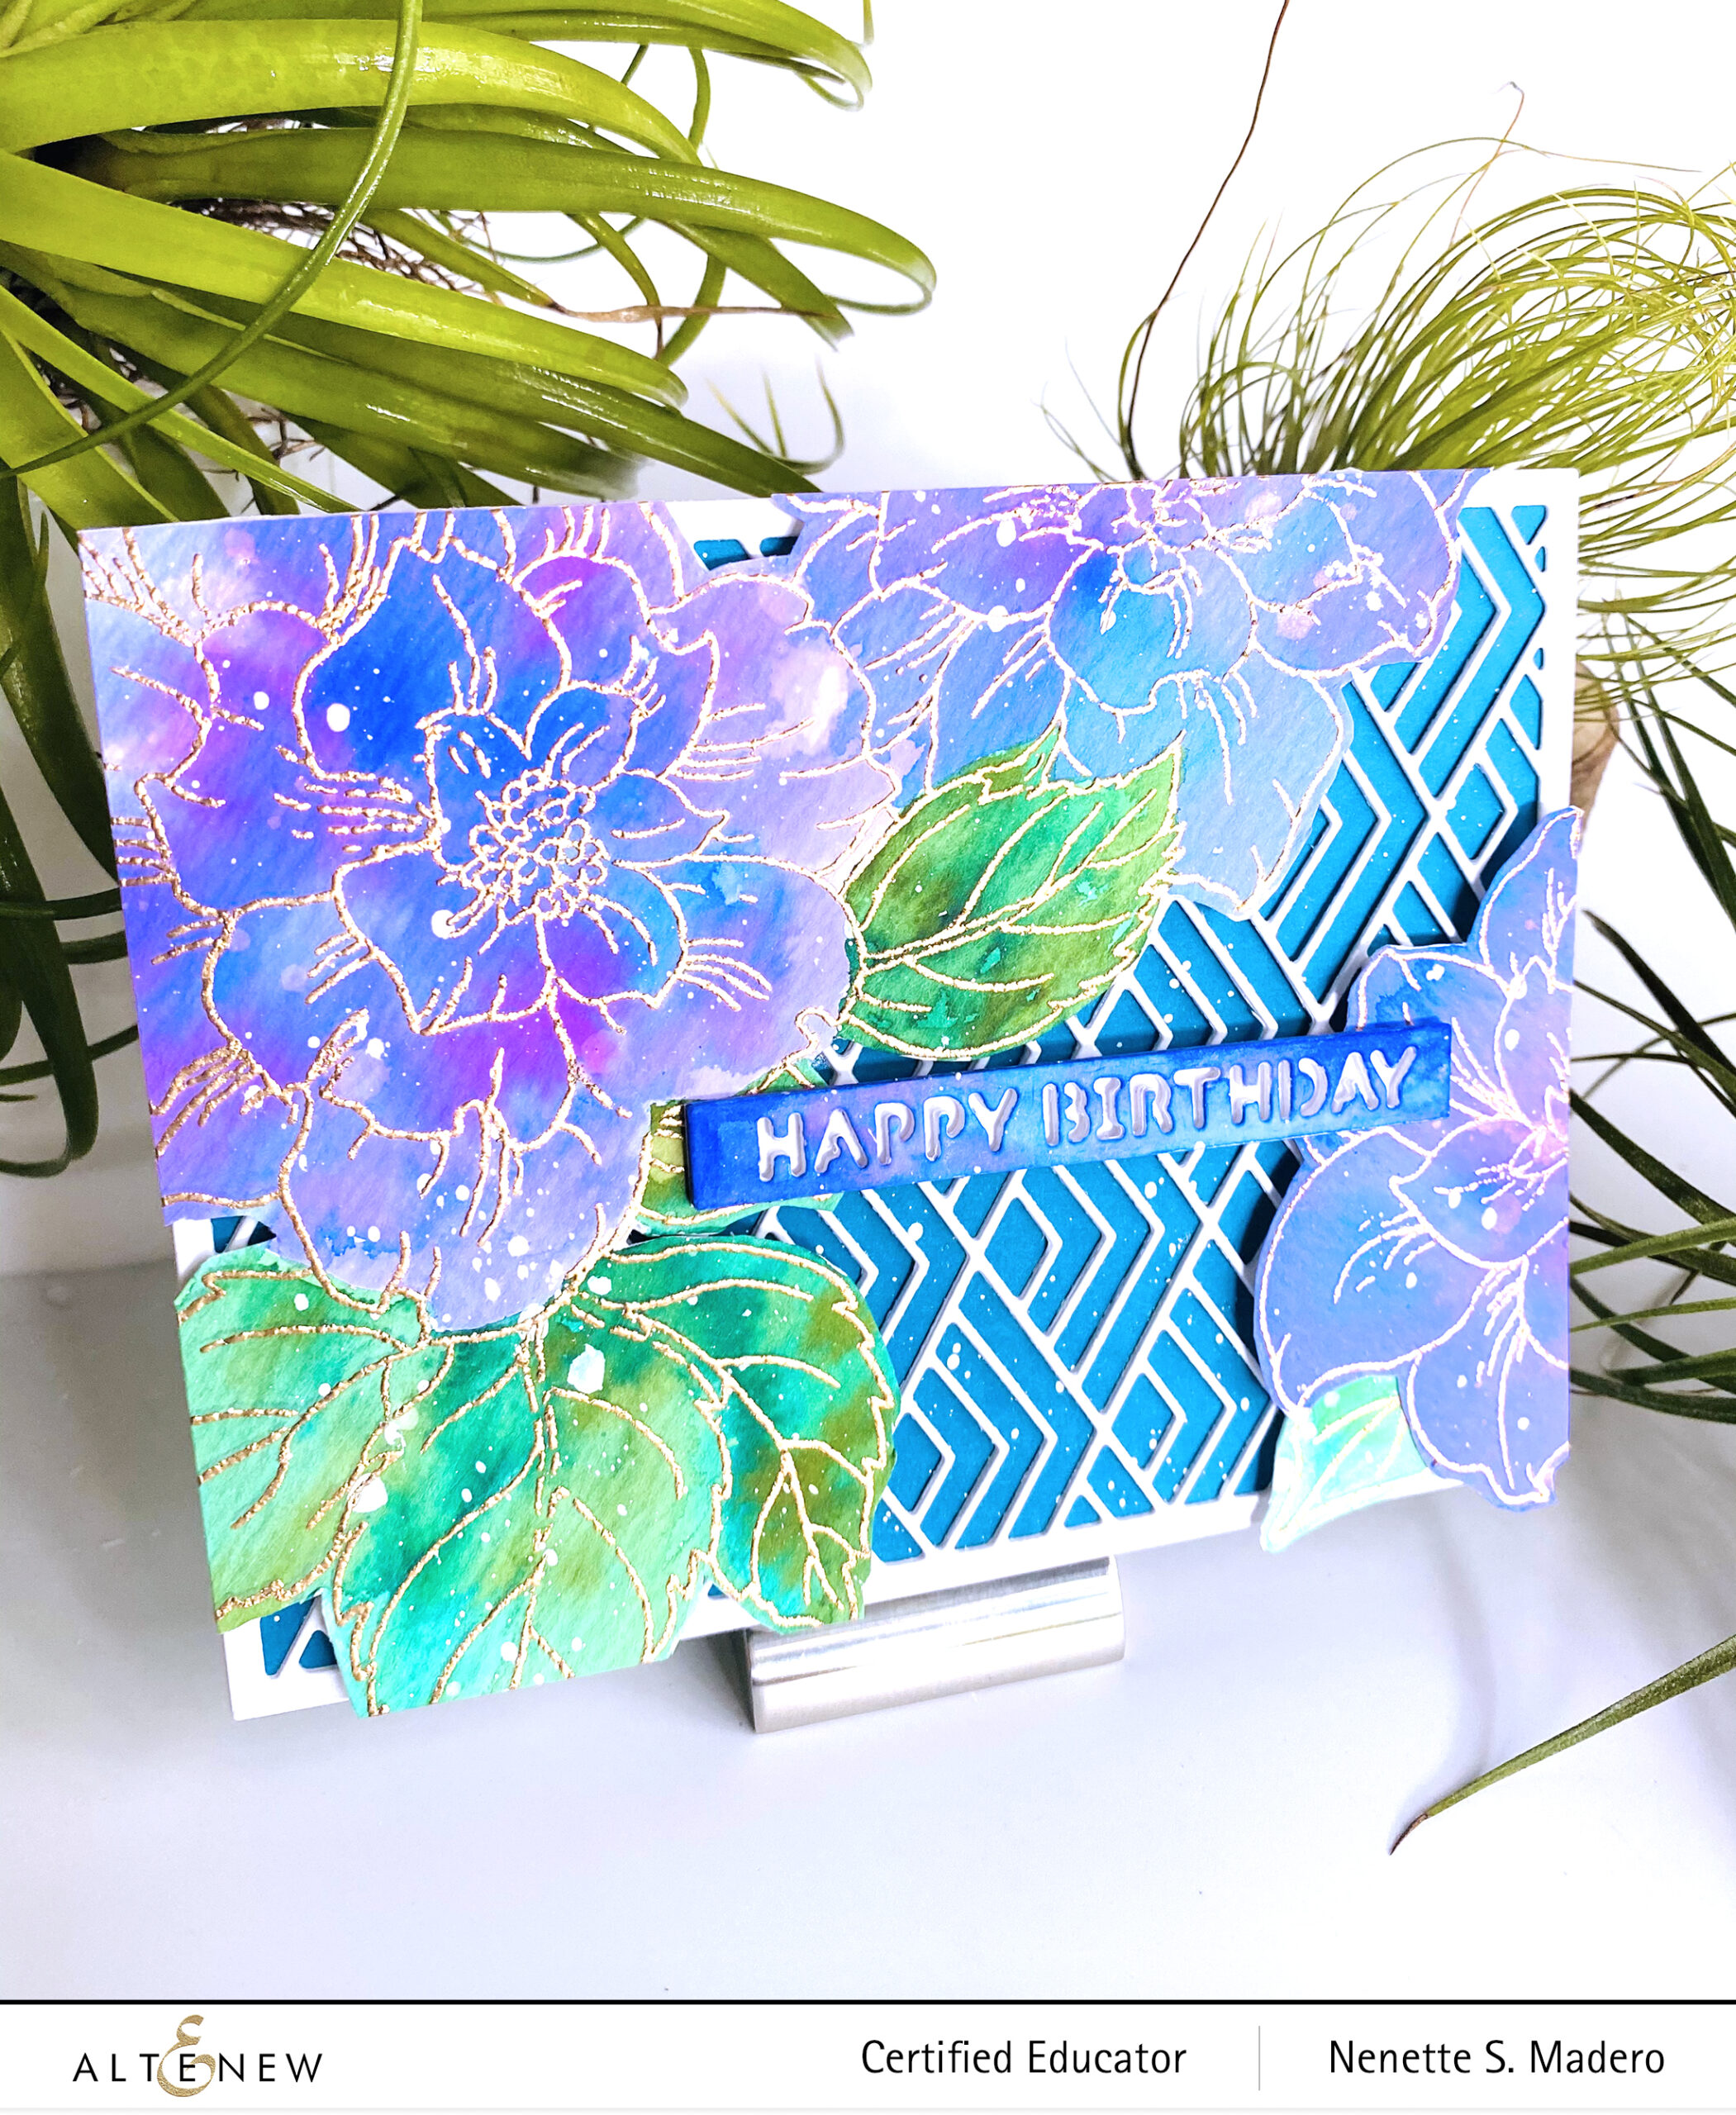
For the new stamp, I chose two of my favorites– the Courageous You Stamp set which was released sometime in July 2020. I love the huge image that can cover the whole card front! Another favorite of mine is the Essential Sentiment Strips die– the easiest way to add a dimensional sentiment to your card. <3
Stamp the image onto watercolor paper using very light dye ink. (I used a Misti and didn’t move the watercolor paper after stamping.)
Loosely paint over the entire flowers going over the outlines using Turquoise, Ultraviolet, Midnight violet, Sea Breeze and Ultramarine for the flowers and Emerald, Sweet Leaf and Moss for the leaves.
After the watercolor dries, add spatters of water and allow to sit for 10 seconds. Dry with a paper towel to remove some ink to create texture.
When the image is dry, prep the paper with the antistatic tool then re-stamp again the outline image with Versamark Ink and emboss with Rose Gold embossing powder. (Remember, I left the image inside the Misti so that I can restamp again.)
Die-cut the image as well as the Stacked Diamonds cover die.
Die-cut the sentiment die 4 times and watercolor the 1st layer using the leftover inks.
Add white cardstock to the back of the sentiment strip die cut.
Adhere the cover die onto the card front and attach the flowers and sentiment with foam squares.
Add white gouache splatters.
Add the sentiment strip die cut using foam squares.
PRIZES
Altenew is giving away a $20 gift certificate to 5 lucky winners! Please leave a comment on the Altenew Card Blog by 4/4/2021 for a chance to win.
Altenew will also draw a winner to receive a $15 Altenew gift certificate from the comments left on each designer’s blog on the blog hop list below. All winners will be announced on theAltenew Winners Page on 4/6/2021.
There’s MORE! What’s a hop without YOU?! We have included an Inlinkz at the Altenew blog for you to enter your gorgeous Altenew “Old/New Favorite Altenew Stamp” creations. Altenew will pick 2 of our favorite handmade creations from those who joined the linky party and they will each receive a $15 Altenew gift certificate!
Next up is the amazing Teri Wilson. Hope you liked the cards I made using old and new stamp and die sets. I’m sure you have your own favorite Altenew stamps as well. I’d love to know which one is yours! Leave a comment below to get a chance to win some fabulous prizes from Altenew. Hope we can be friends on IG as well (@mylittleatticstudio). This is where I post my latest creations, too. Thank you so much for dropping by and stay safe always. Happy crafting!!
Hello everyone!!! Welcome to the Altenew Educators’ Floral with Geometric Elements Blog Hop and giveaway! If you just came from the Altenew blog, I’d like to welcome all of you to mine!!! It is truly a thrill to be sharing this blog hop with my co-educators. We have all completed an amazing creative journey through the Altenew Educator Certification Program and each of us has definitely learned so many wonderful tips and techniques through all the amazing classes the program offers. During my time, it was Virginia Lu and Nicole Picadura who were heading the program and were so helpful and encouraging. Now, the talented Erum Tasneem has joined the group. Big, big thanks to these lovely ladies for everything that they do for the educators!!!
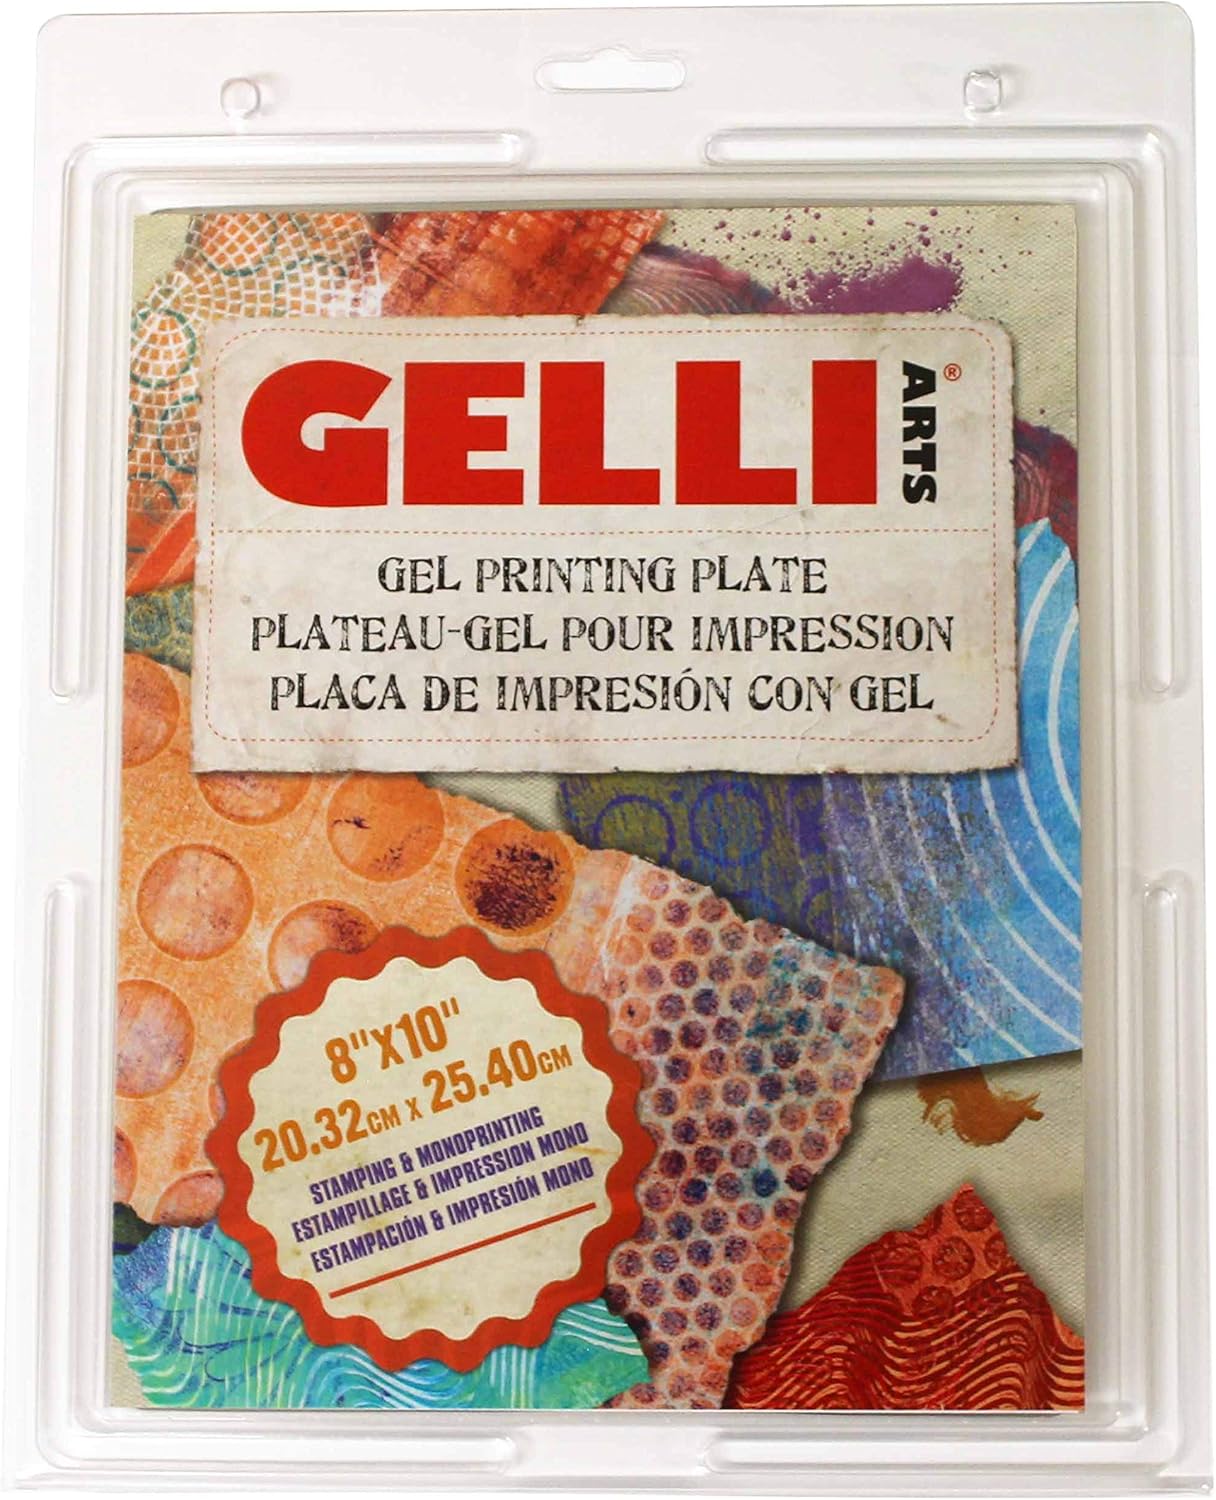
I have a number of cards to share so let’s get started! A few weeks back, I was in a creative rut… no inspiration at all. Some of my friends suggested to organize my craft room, learn a new technique, change my workspace etc. but what actually worked for me was making backgrounds using the Gelli plate! I love how unplanned the process is. All I had to do was make sure the colors complemented each other. And it worked! The idea to create backgrounds came from Bridgit Koopsen, an amazing mixed media artist. I had a number of backgrounds to play with and below are some of the cards that I made using the backgrounds I created using some Altenew stencils as my geometric element.
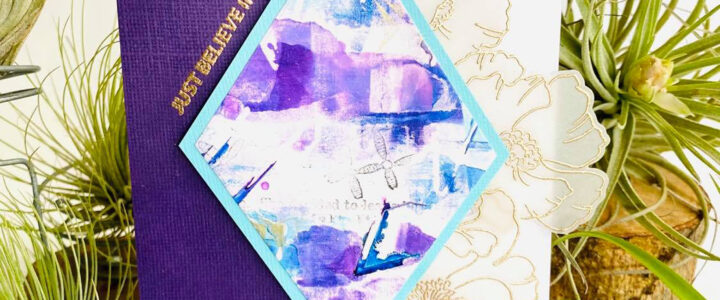
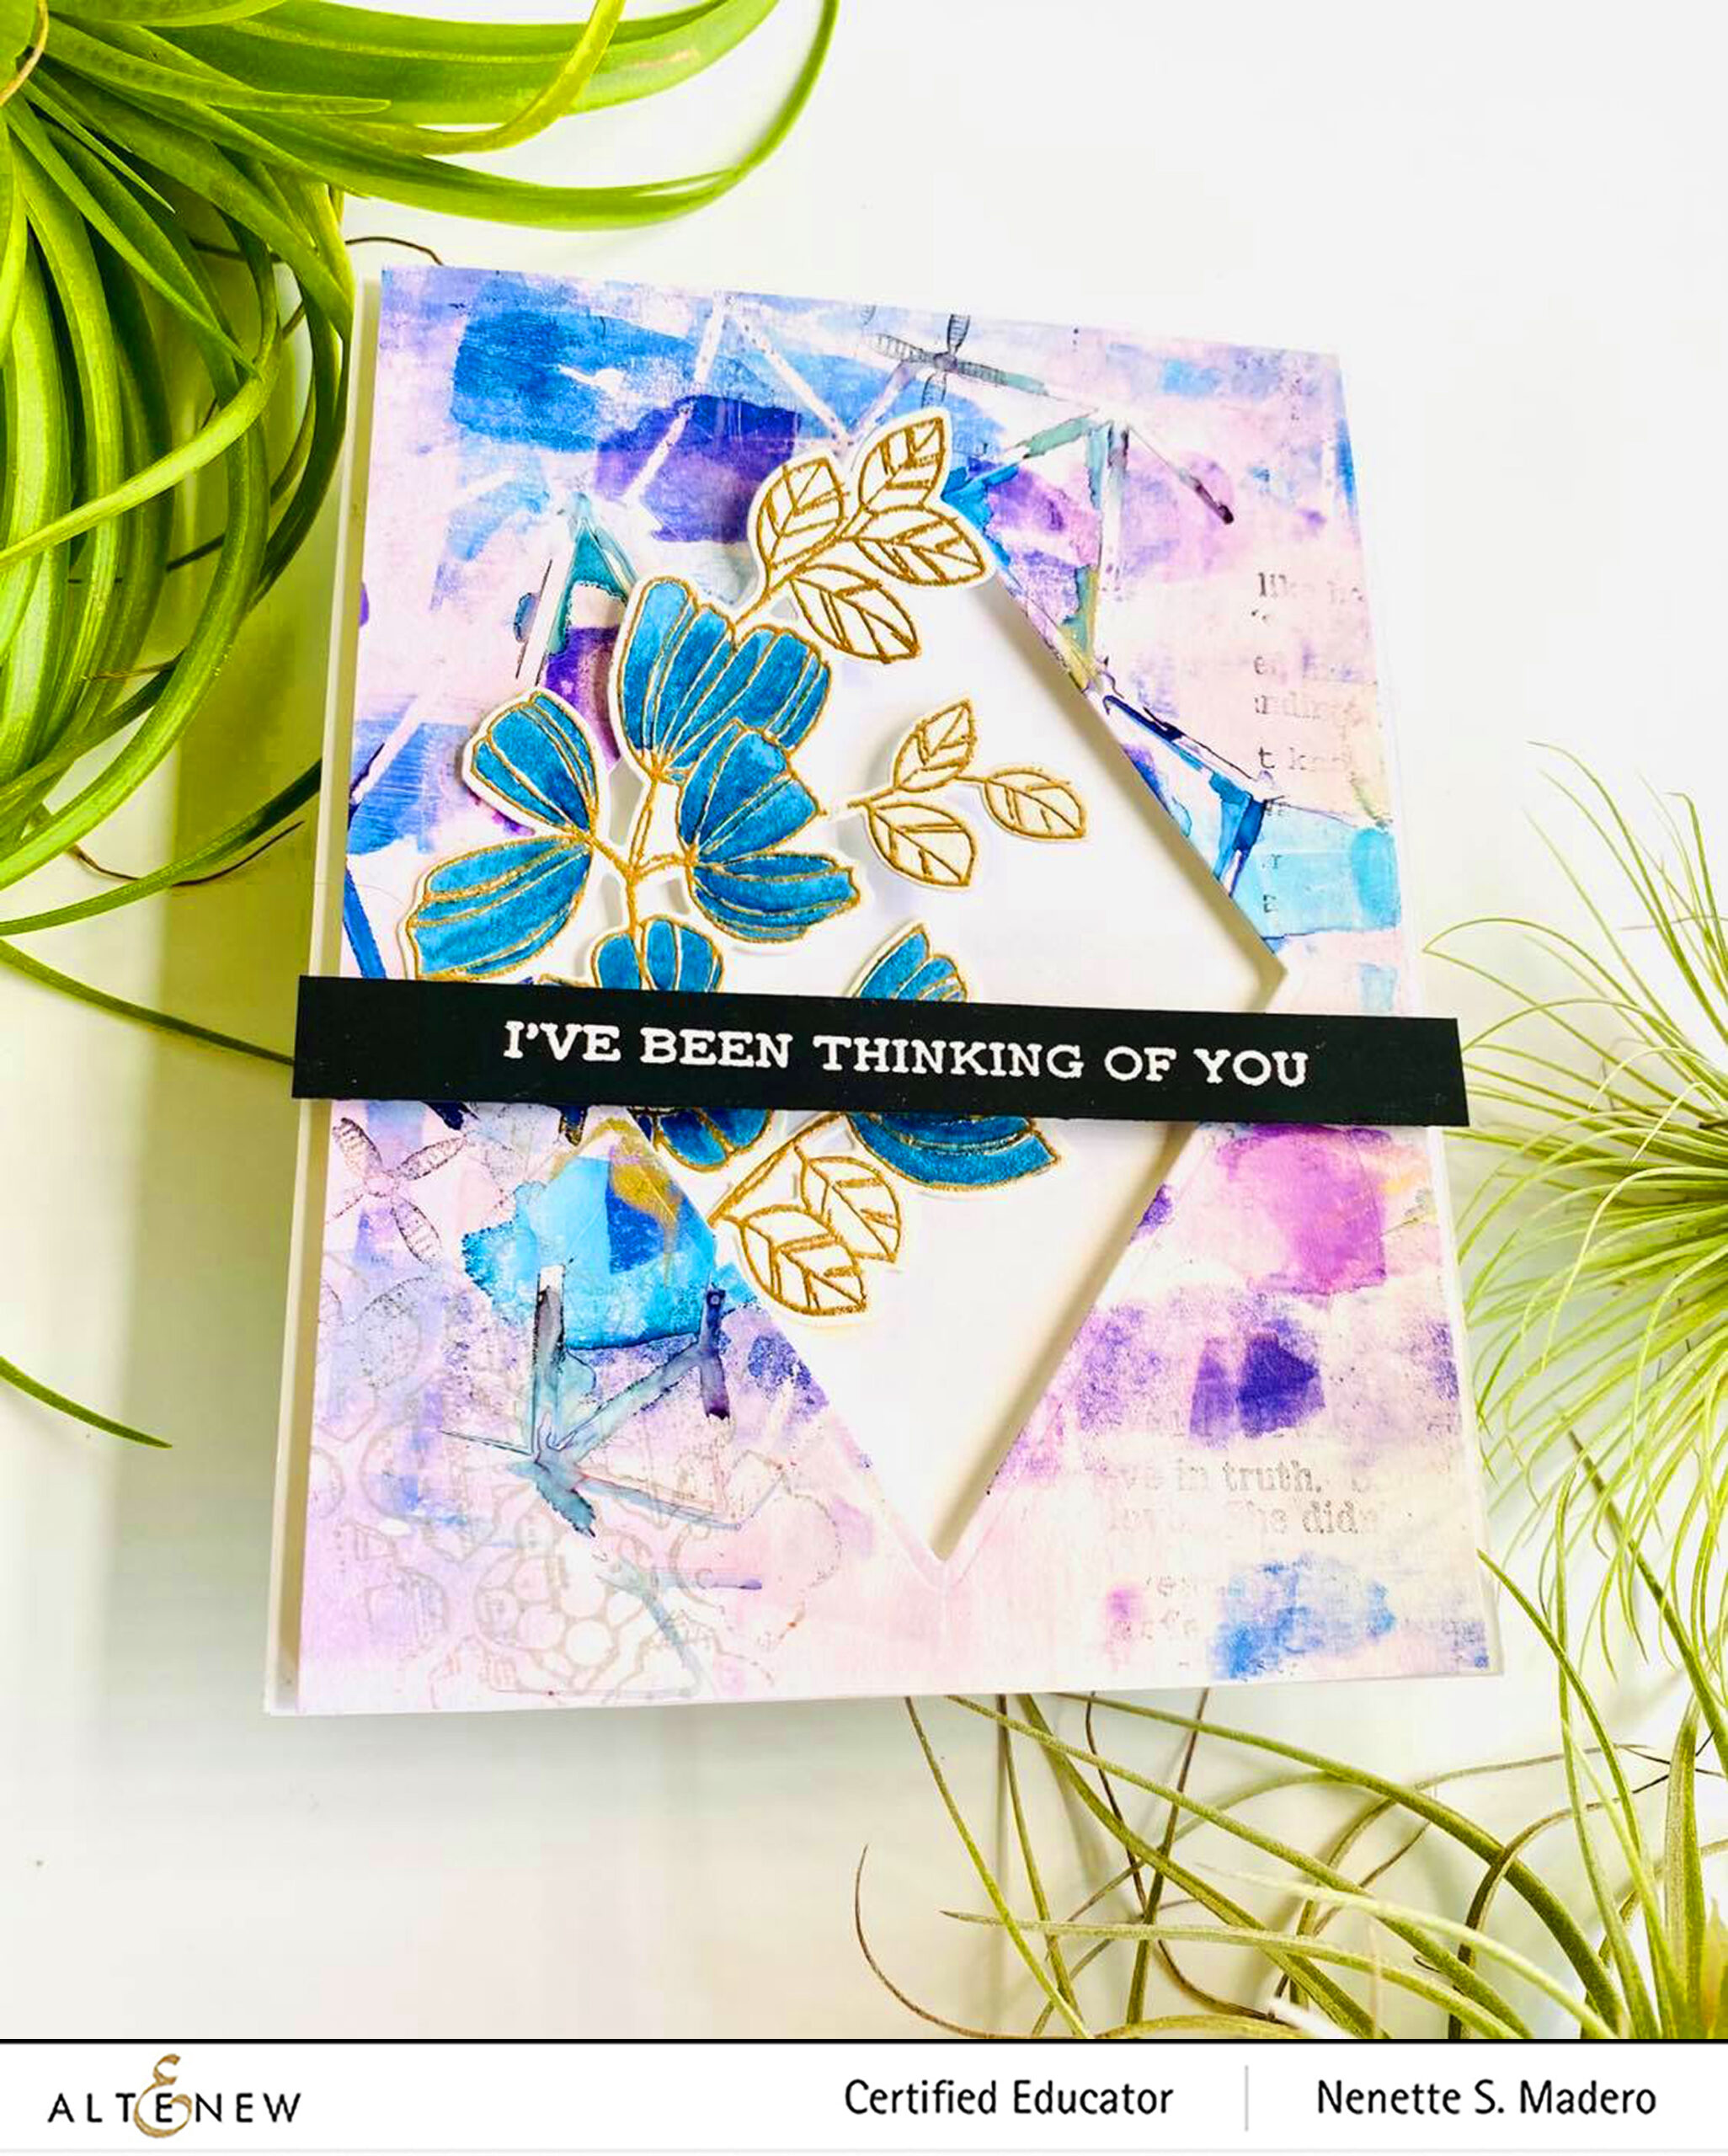
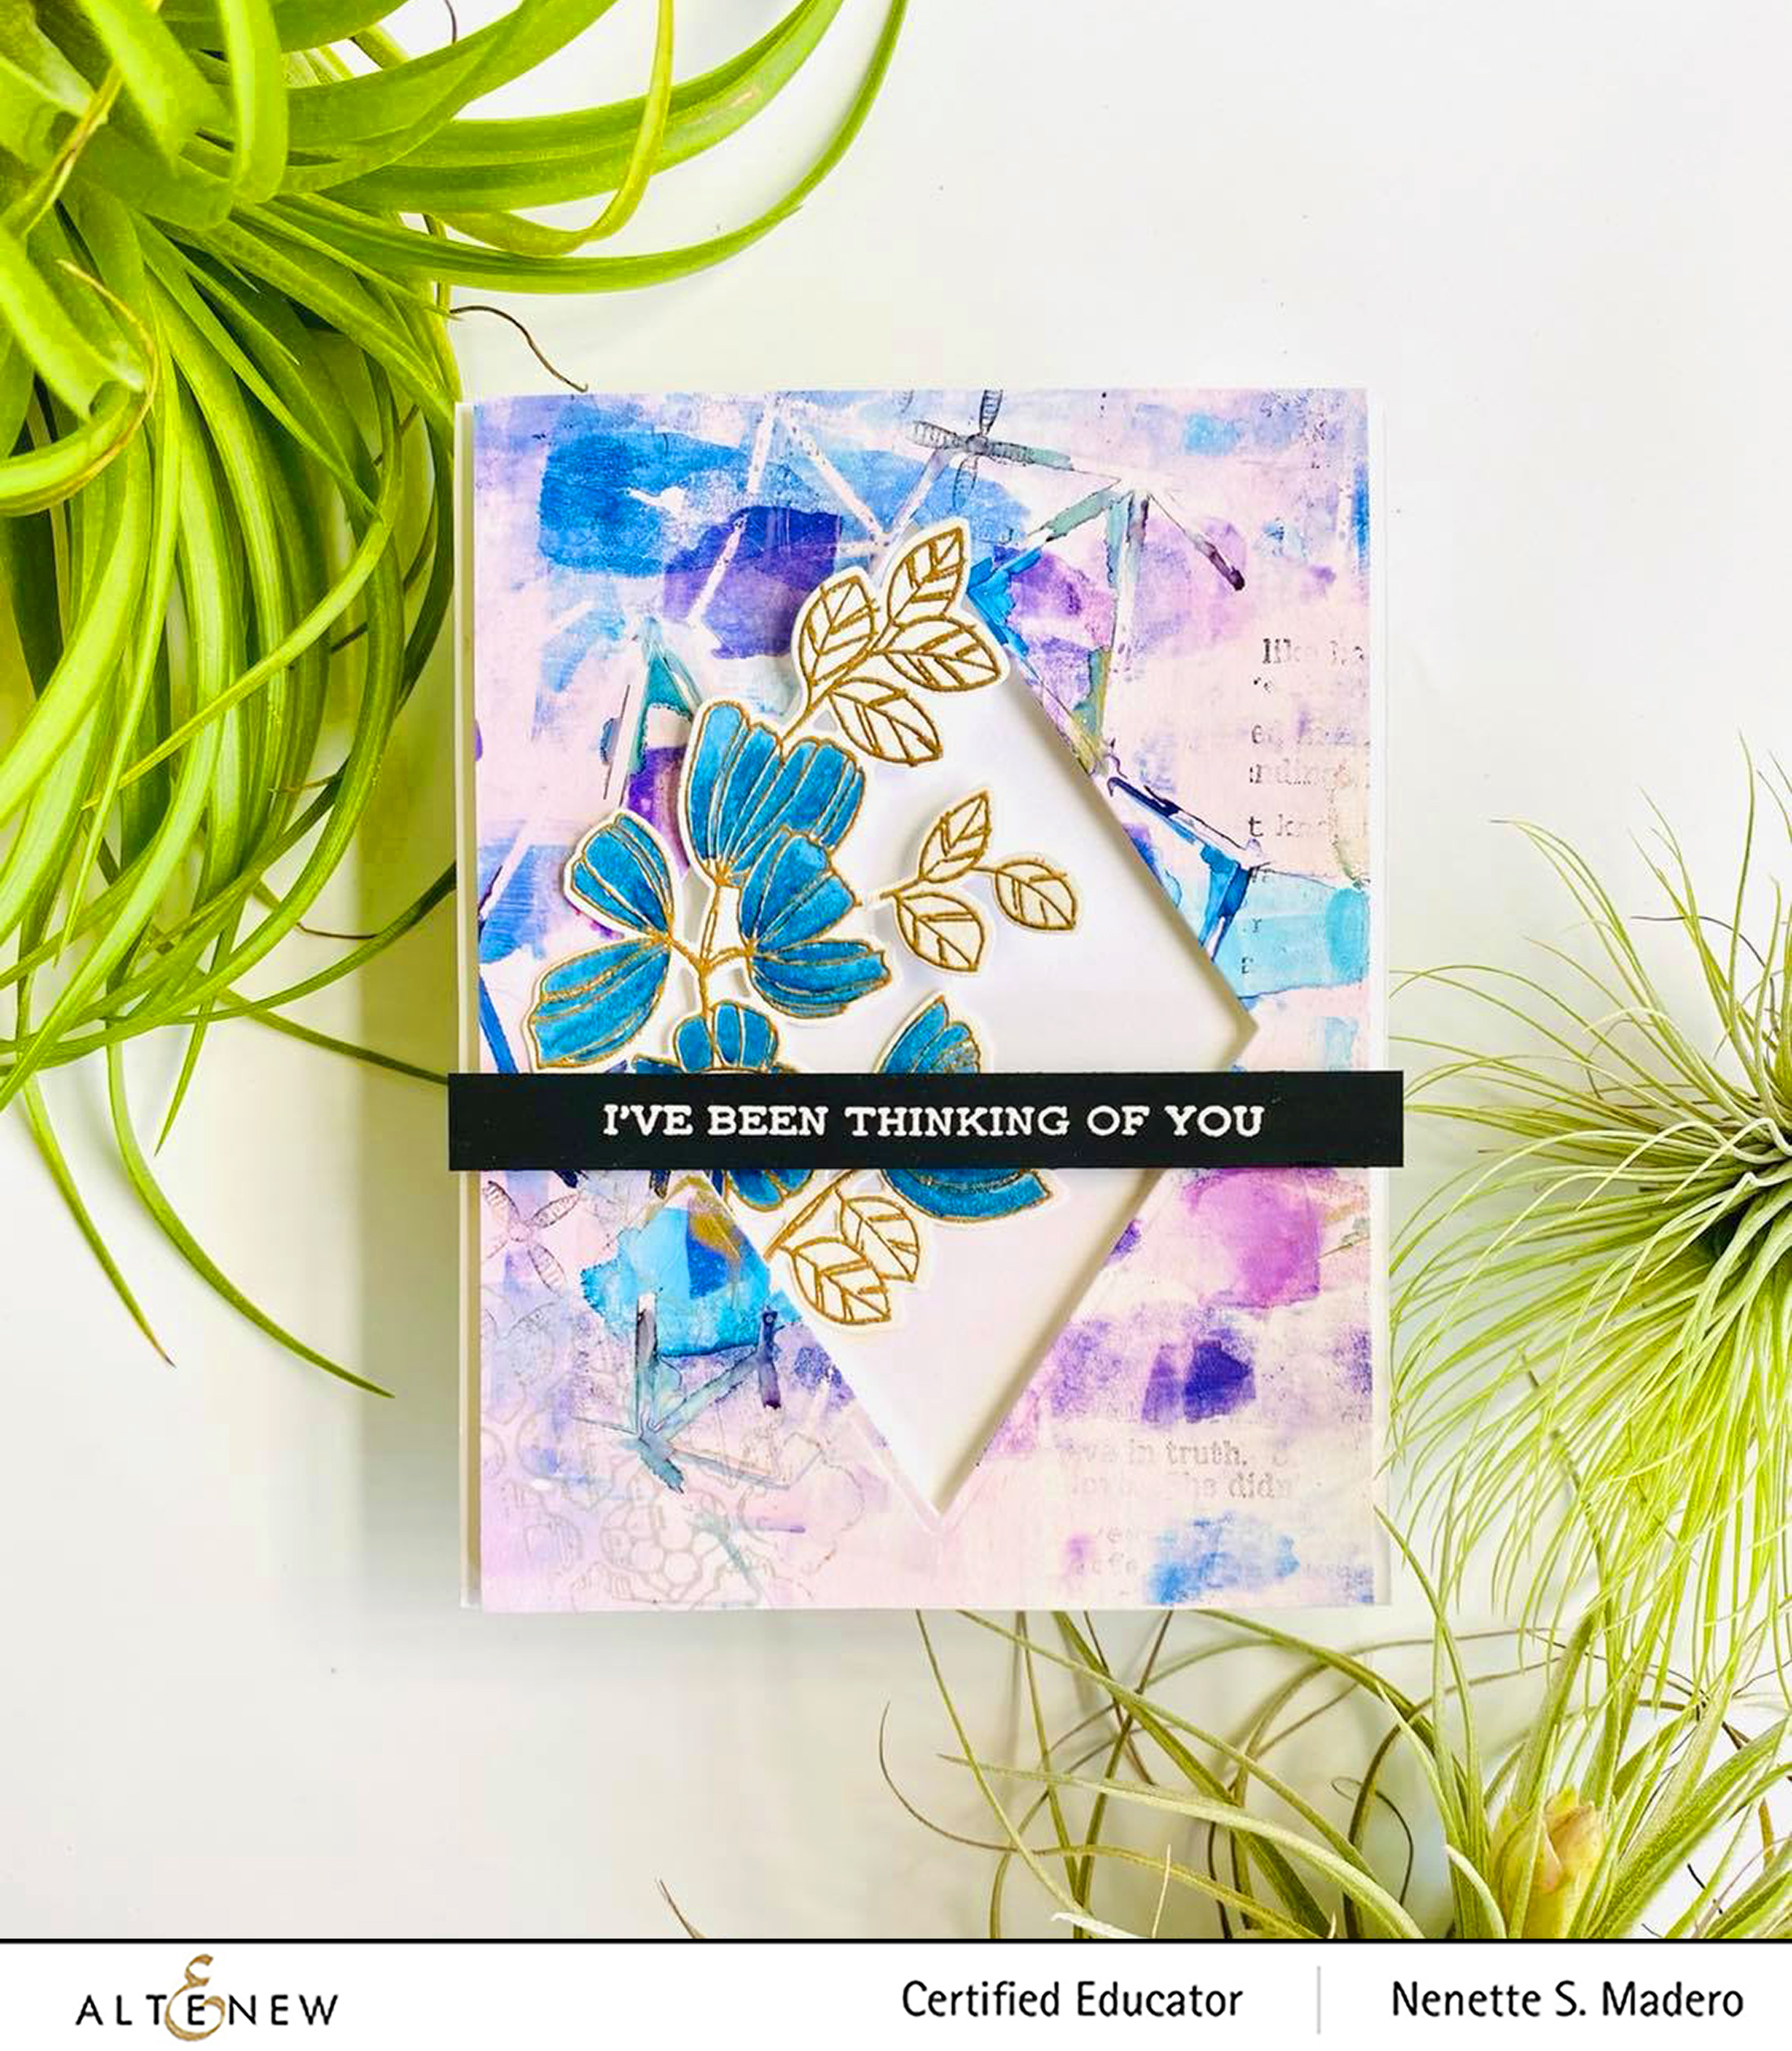
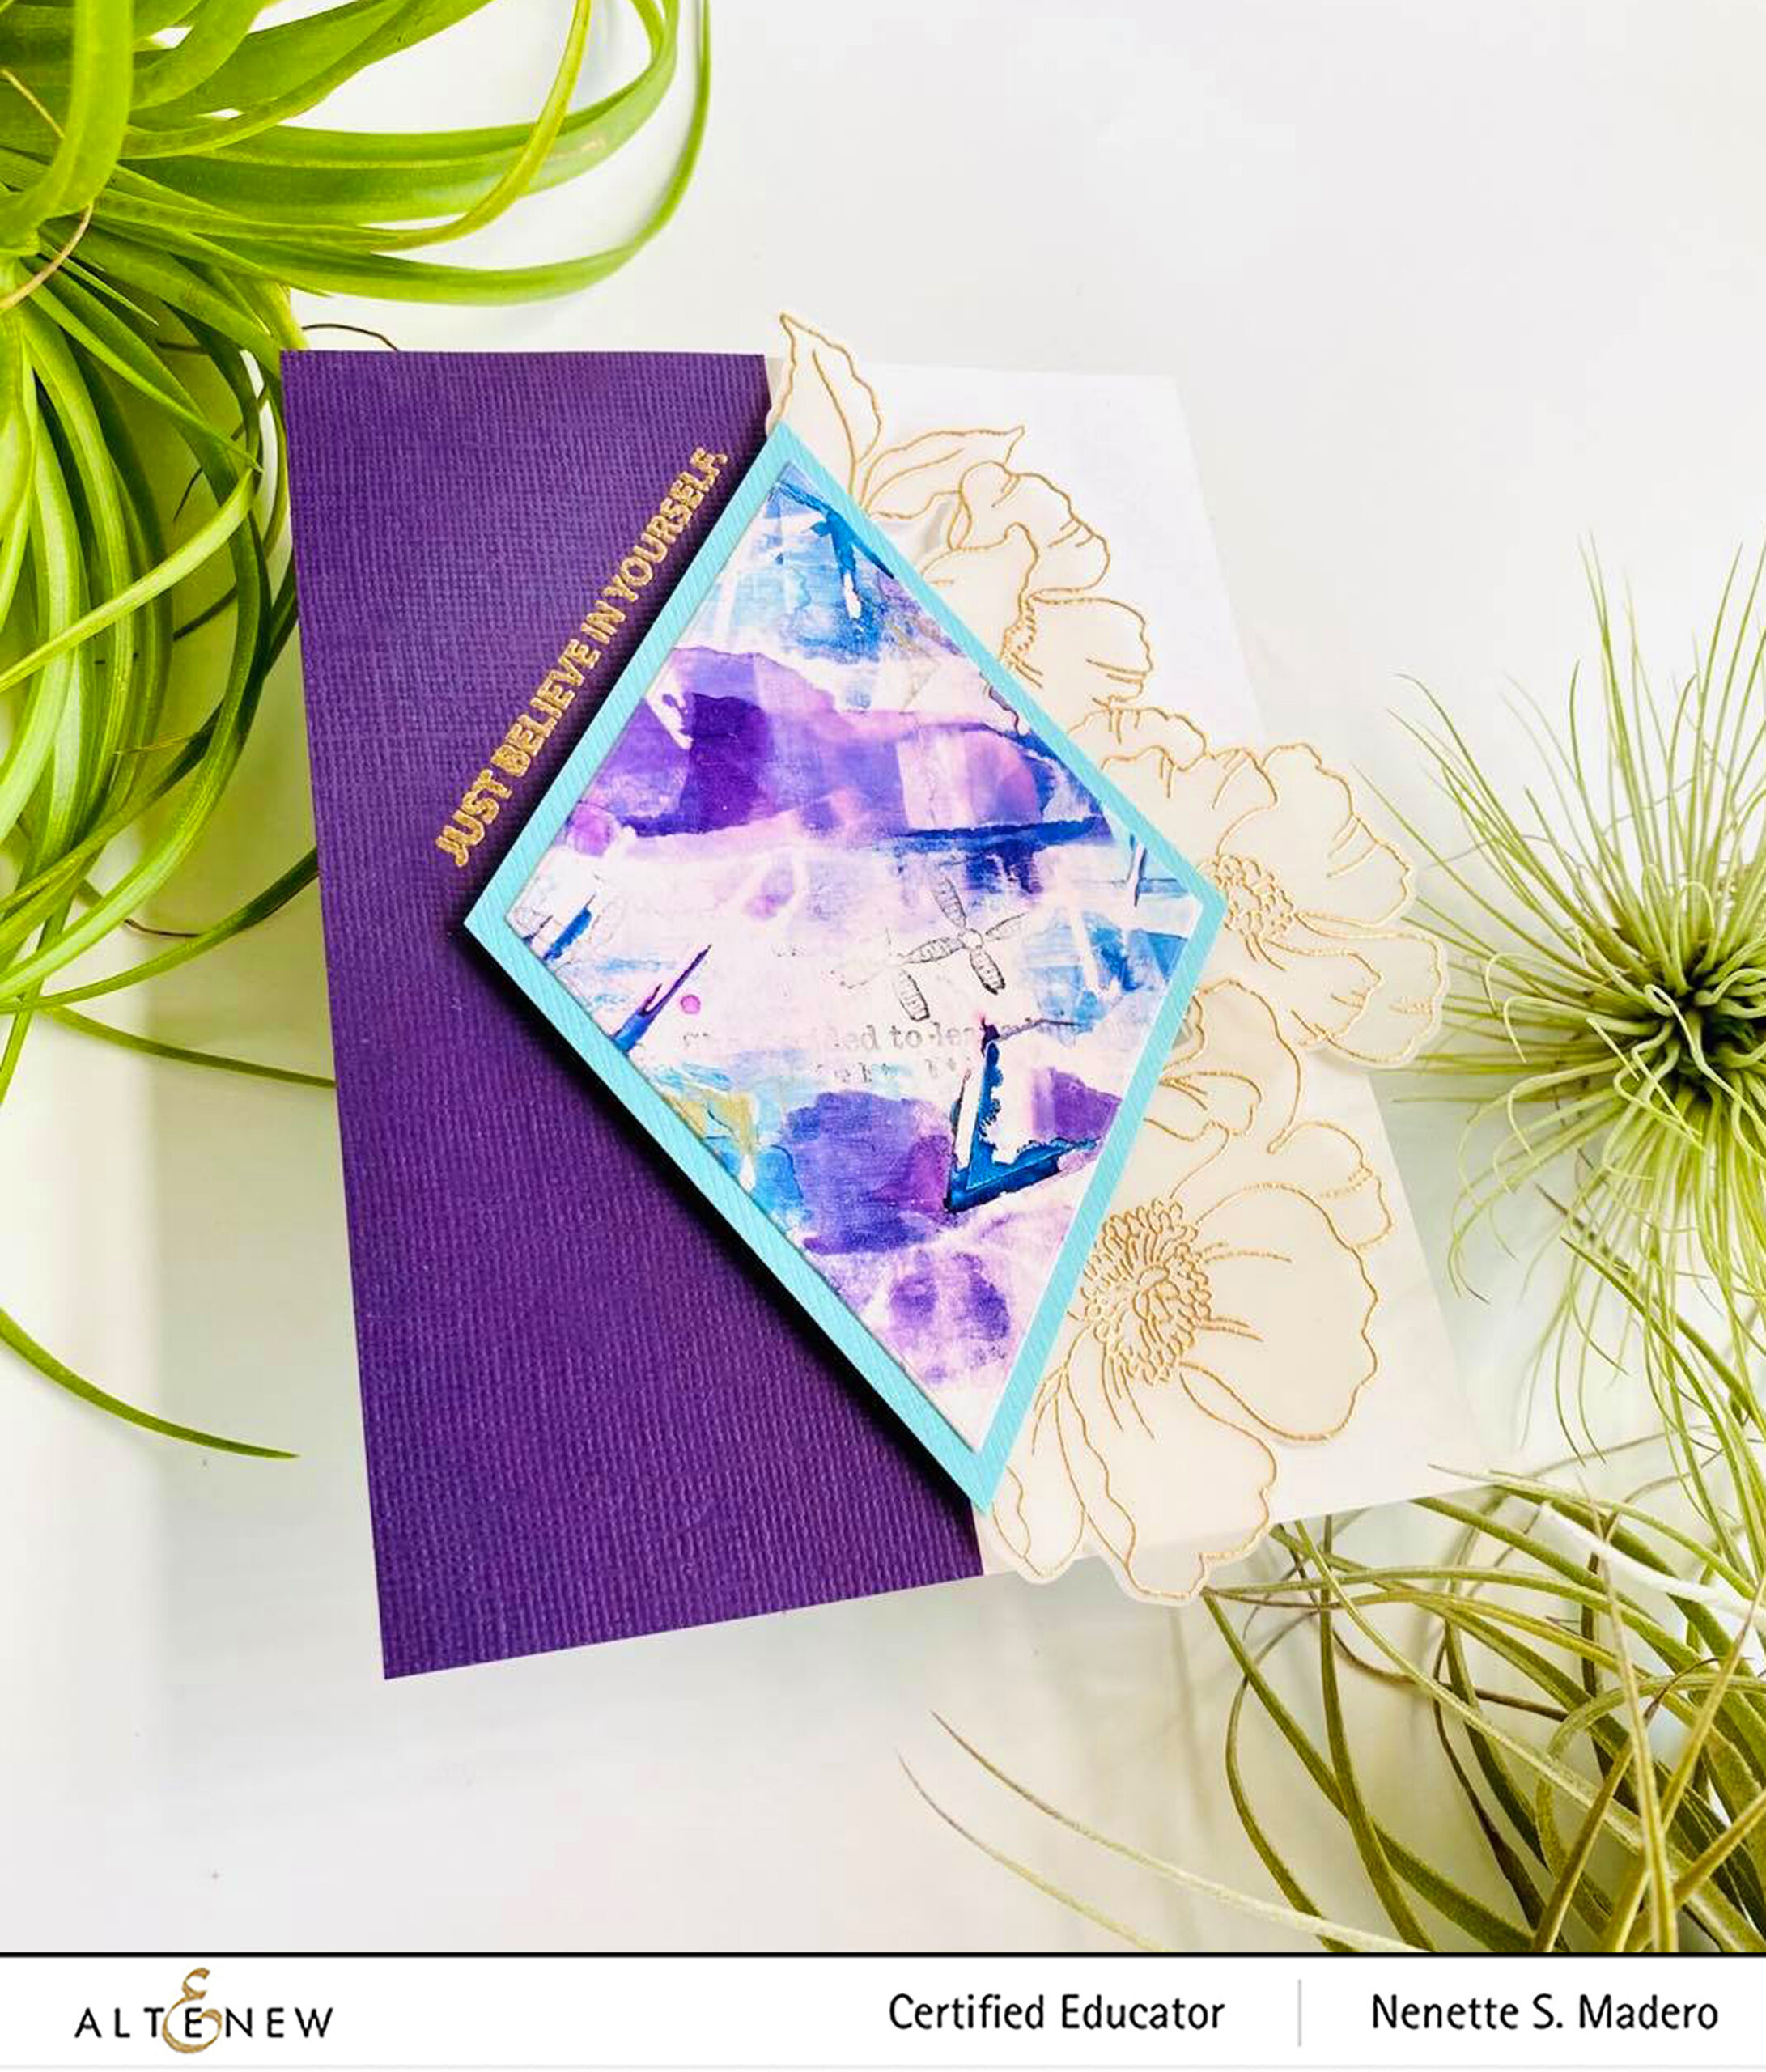
JUST BELIEVE IN YOURSELF/I’VE BEEN THINKING OF YOU
These are what I call my Yin and Yang cards wherein I switch the die cut parts to create two cards. For the background, I dropped alcohol inks on a Gelli plate and used a brayer to spread the inks. I let the first coat dry then placed the stencil on top and dropped a second layer of inks. When the inks were dry to touch, I removed the Geometric Landscape stencil then covered the entire surface with a thin coat of white acrylic paint. Neenah solar white cardstock was placed on top of the paint and I used a brayer to go through the entire surface. A print was then pulled from the gelli pate. It’s amazing how fun this technique was… I really couldn’t tell what the outcome would be. Random images were then stamped using black or grey for added texture.
For the “I’ve been thinking of you card”, I die cut the diamond from the center of the printed image and saved the die cut part. Working with the negative part, I adhered it to a top folding A2 card using foam squares and inserted a die cut, embossed and watercolored floral image from the Weekend Doodles stamp set. The sentiment was stamped on black cardstock and embossed using white embossing powder.
For the “Just Believe in Yourself” card, I adhered a purple cardstock on half of the card front. I added embossed floral images from the Poppy Garden Stamp set to the matted diamond die-cut and added this in the middle of the card with foam squares. I love how the weight of the flowers balanced the dark colored cardstock. The diamond at the center also serves as a geometric element.
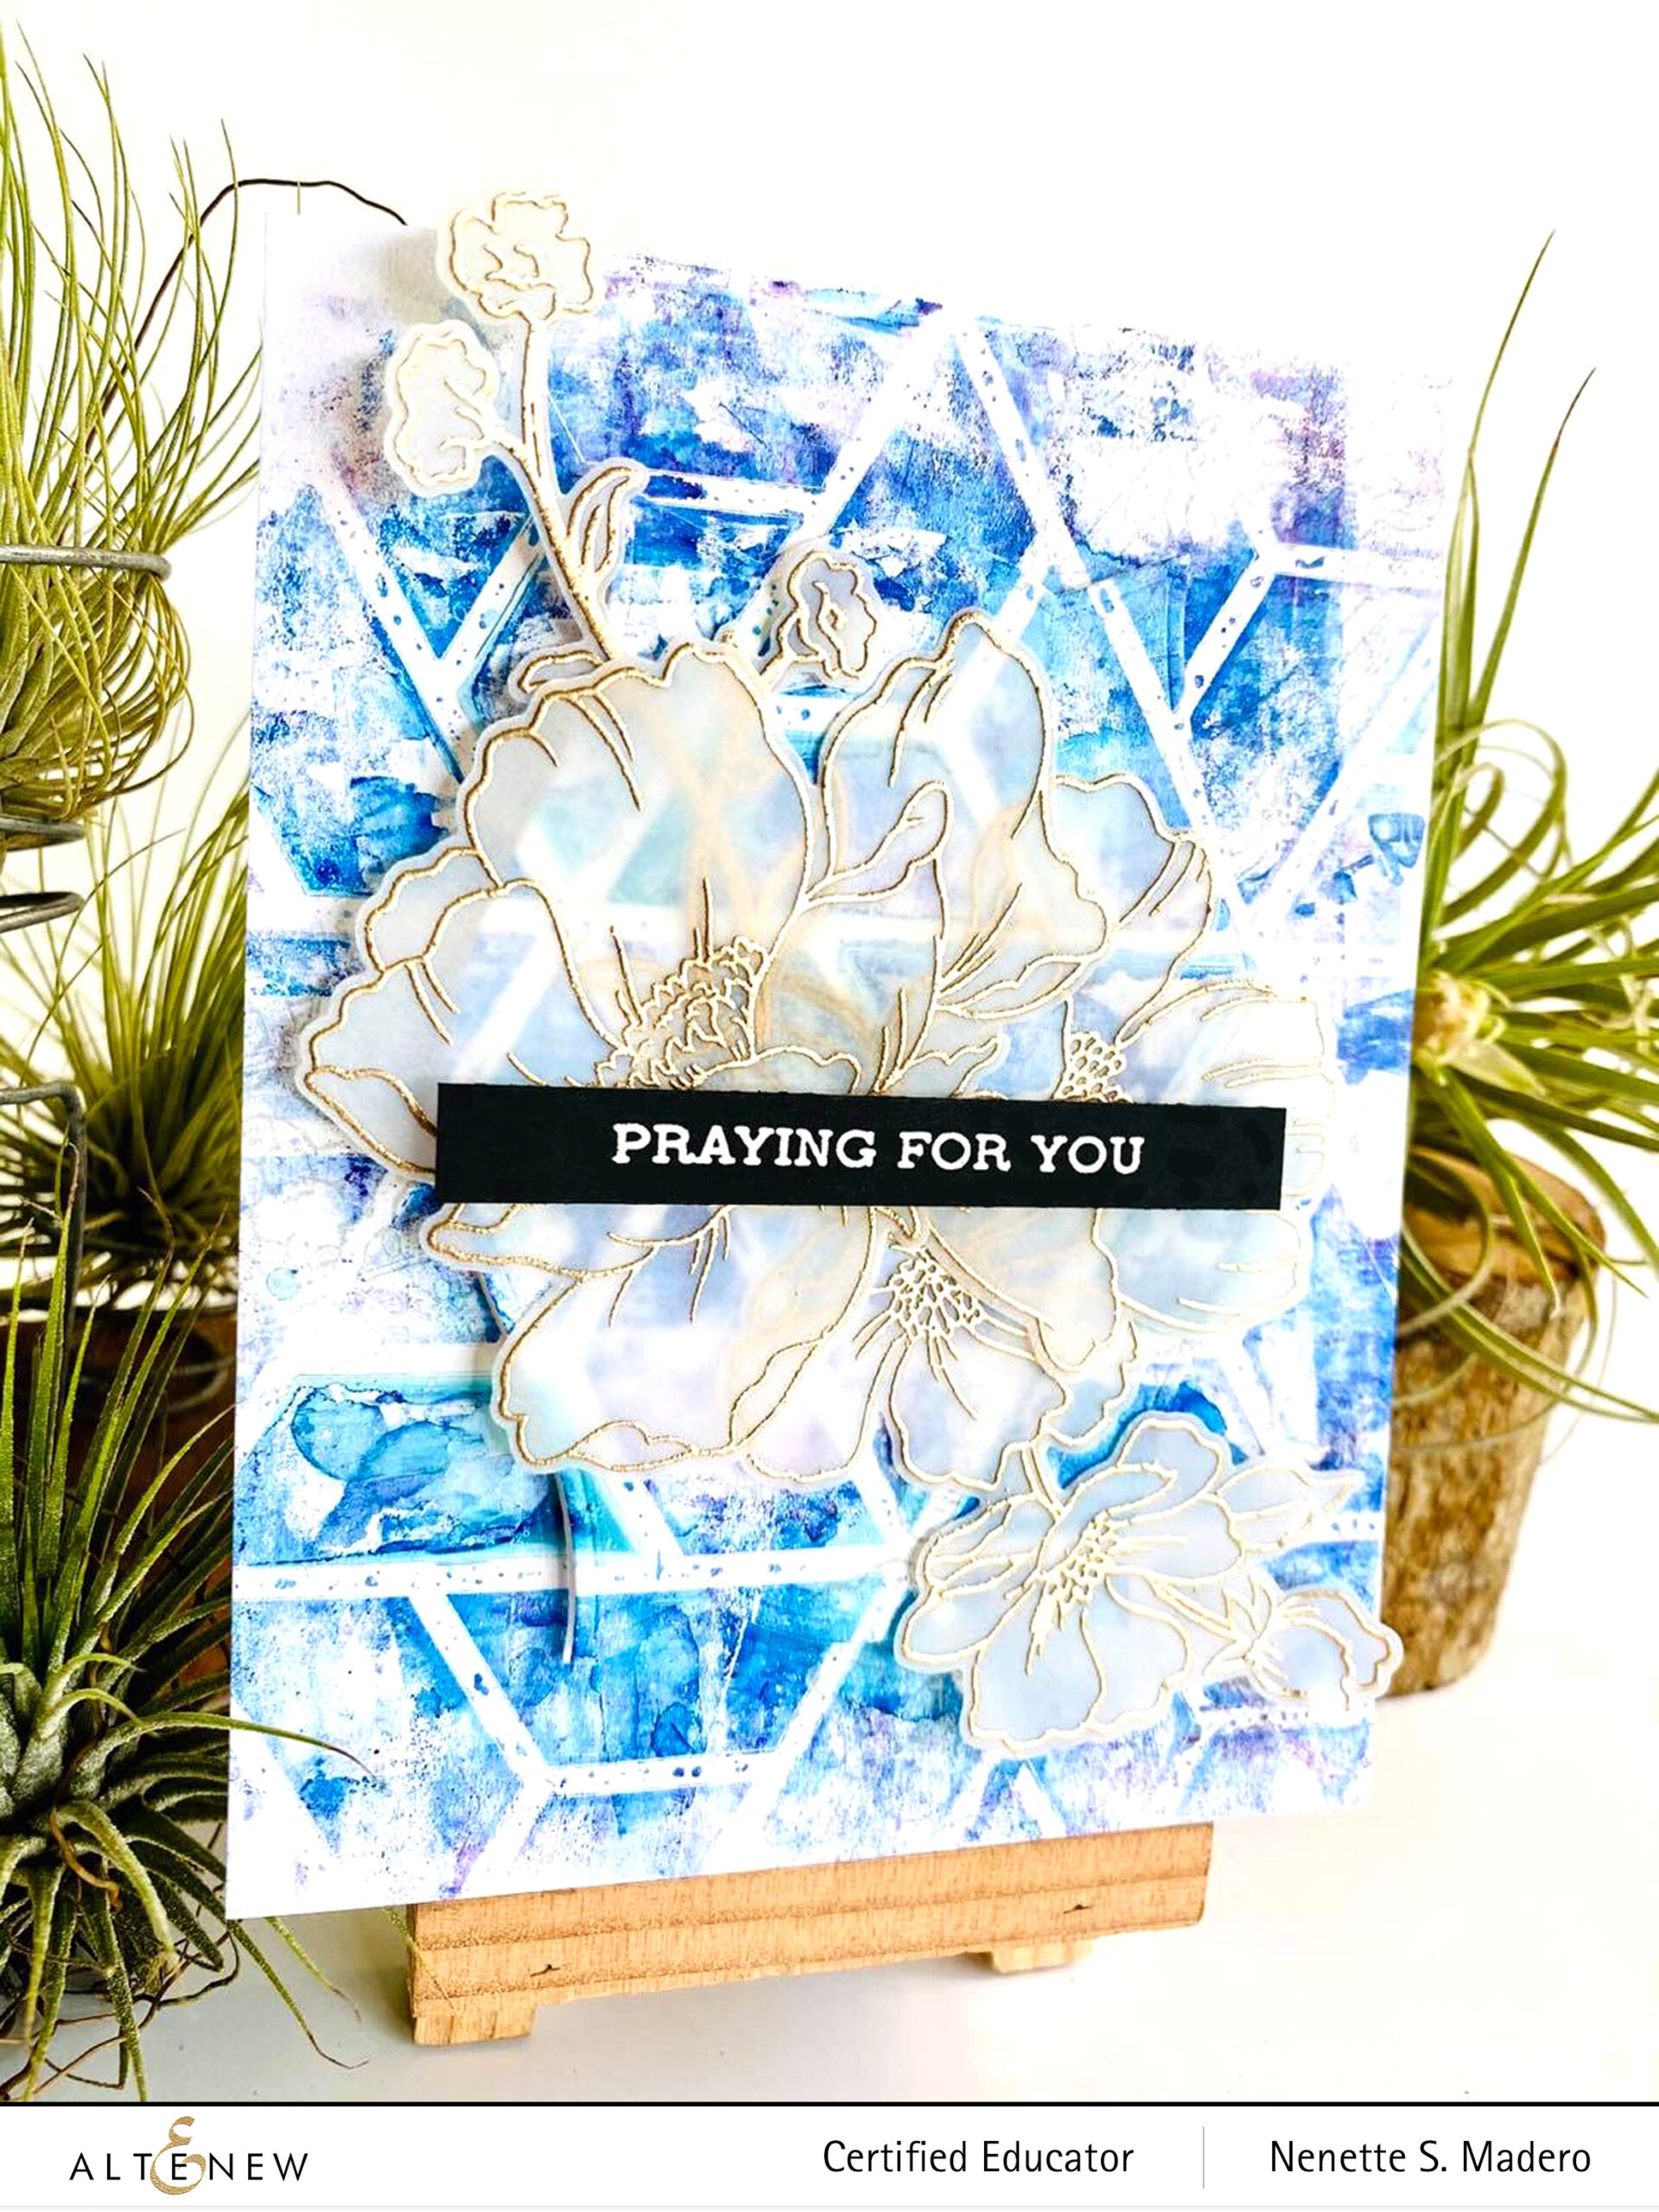
Here’s another card using the background I made. Same procedure as the cards above but this time using the Color Block Triangle Stencil for the geometric element. I die cut the center using the Nesting label die and popped it up with foam sheets so that the images from the Poppy Garden stamped on vellum will stand out more. I love the elegant look of the embossed gold on vellum. Just make sure to heat up your heat tool and heat the image from the back of the vellum to prevent warping.
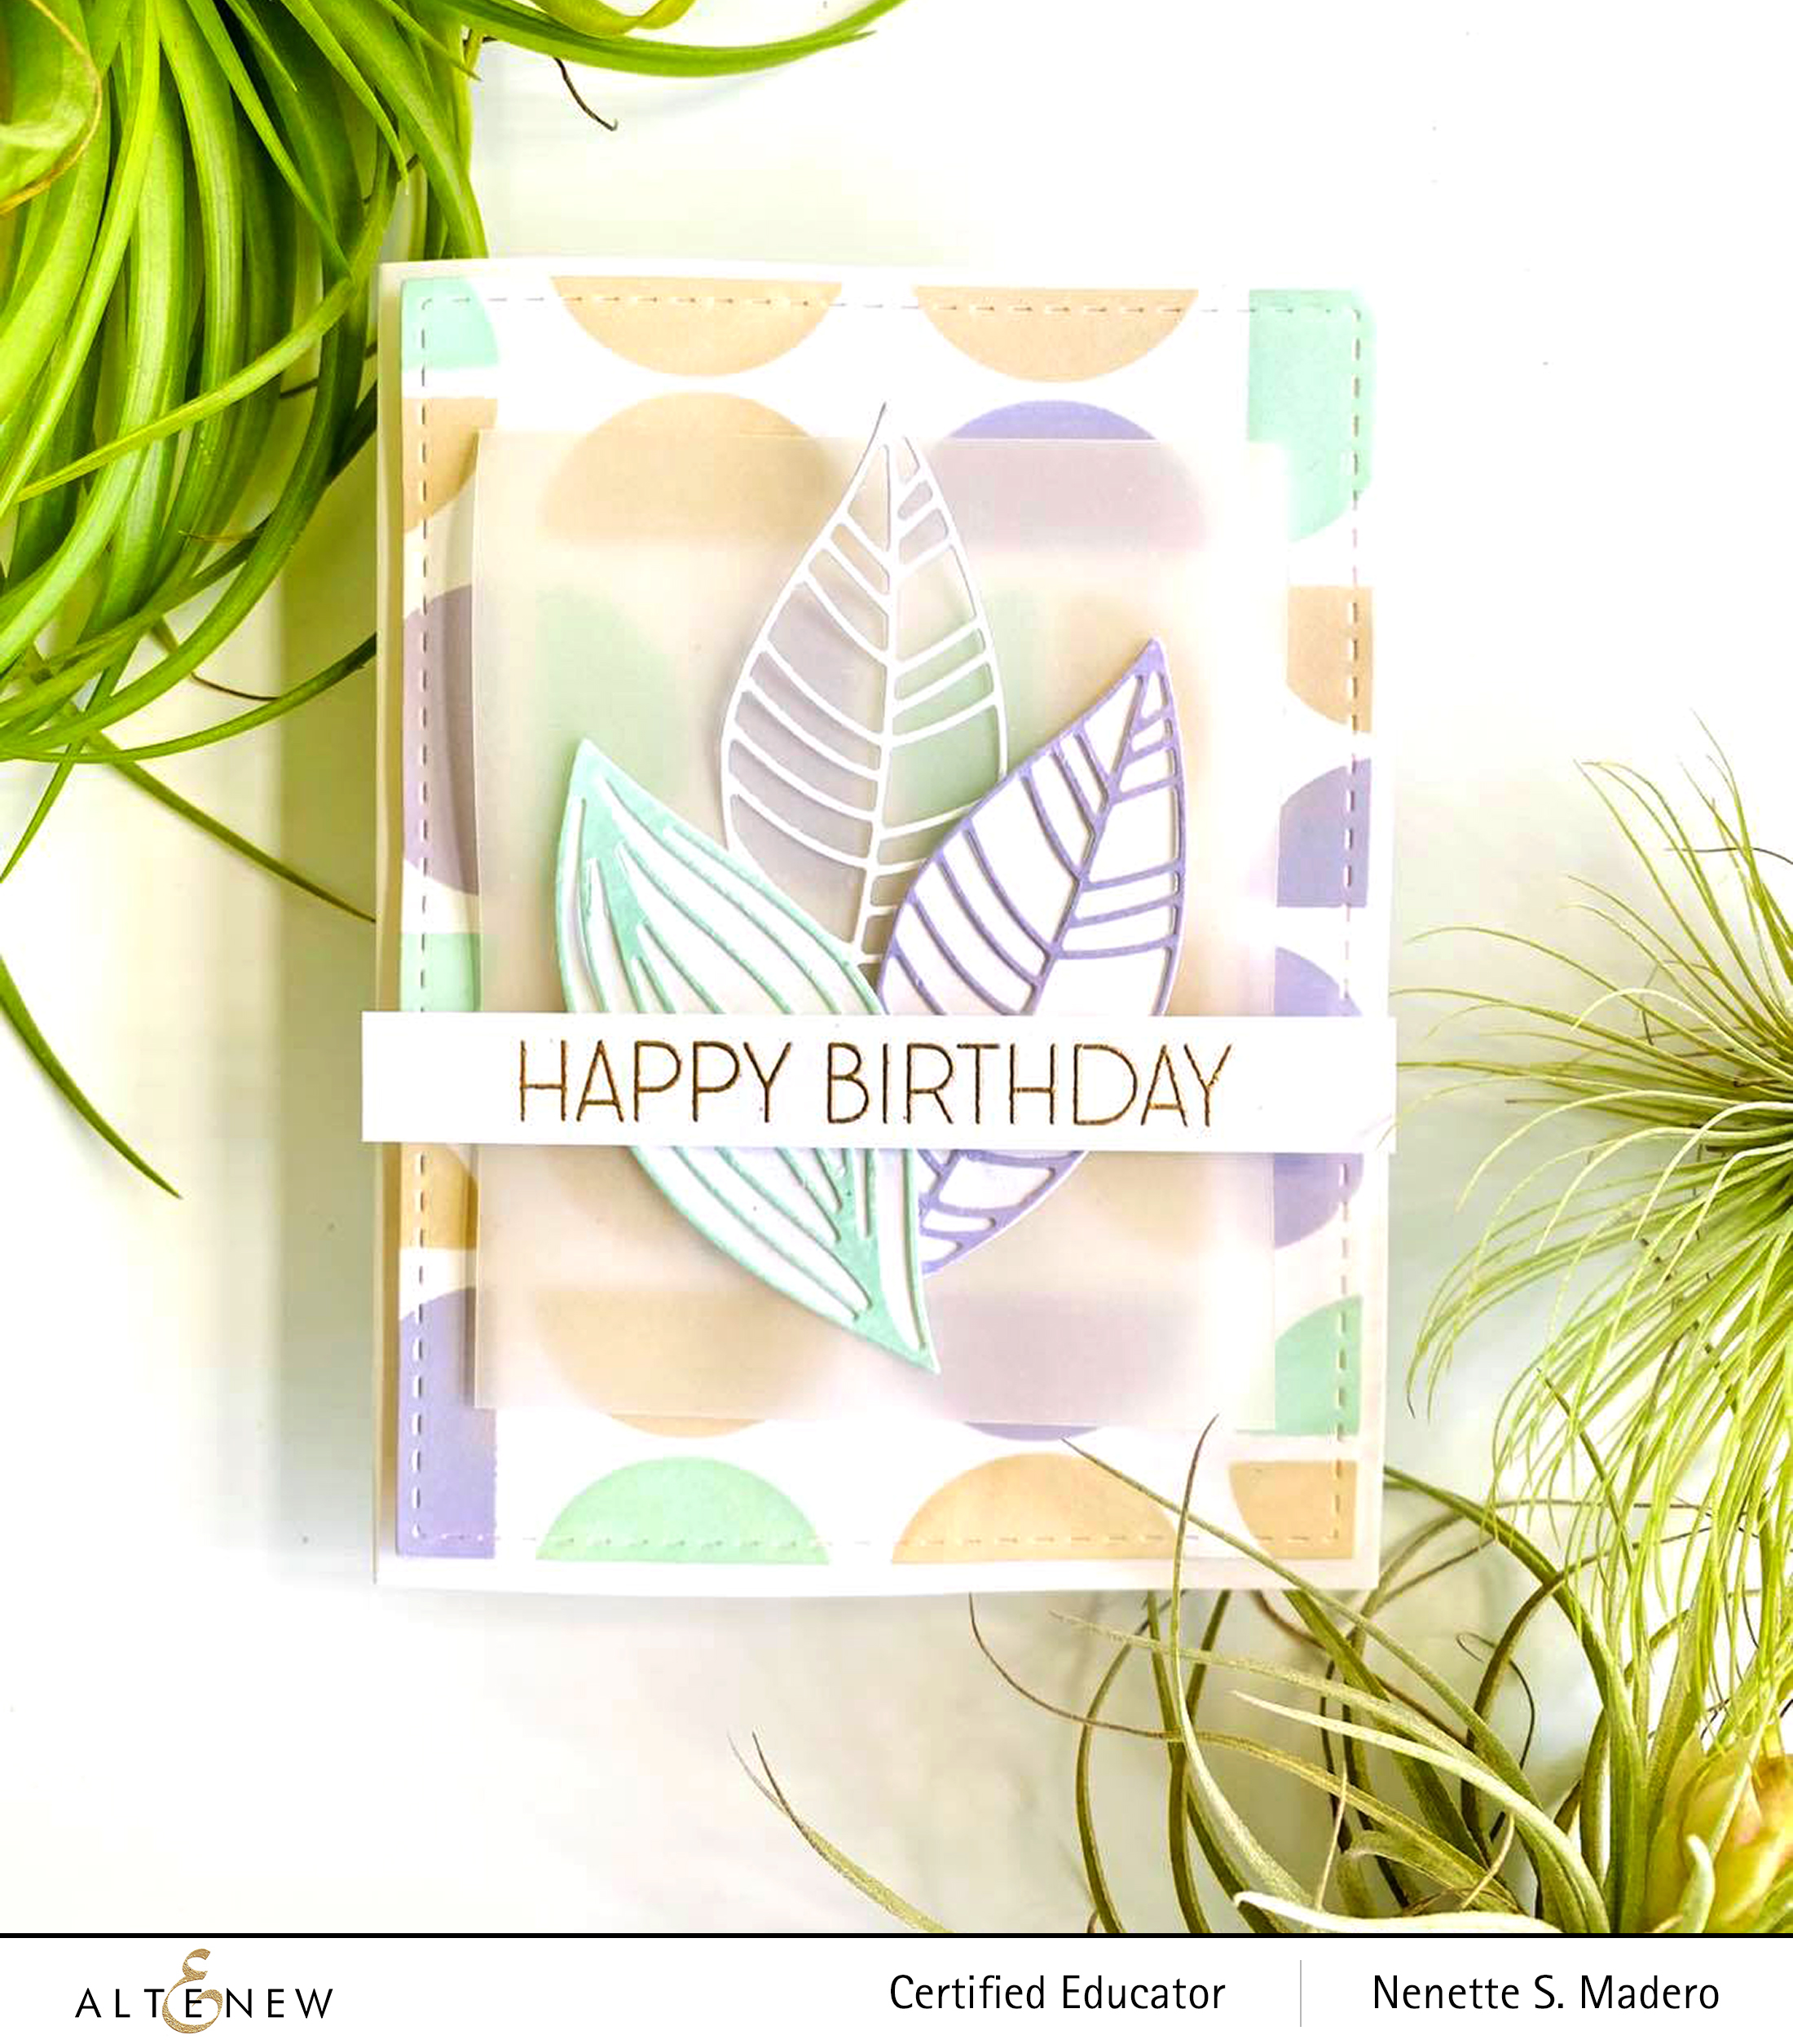
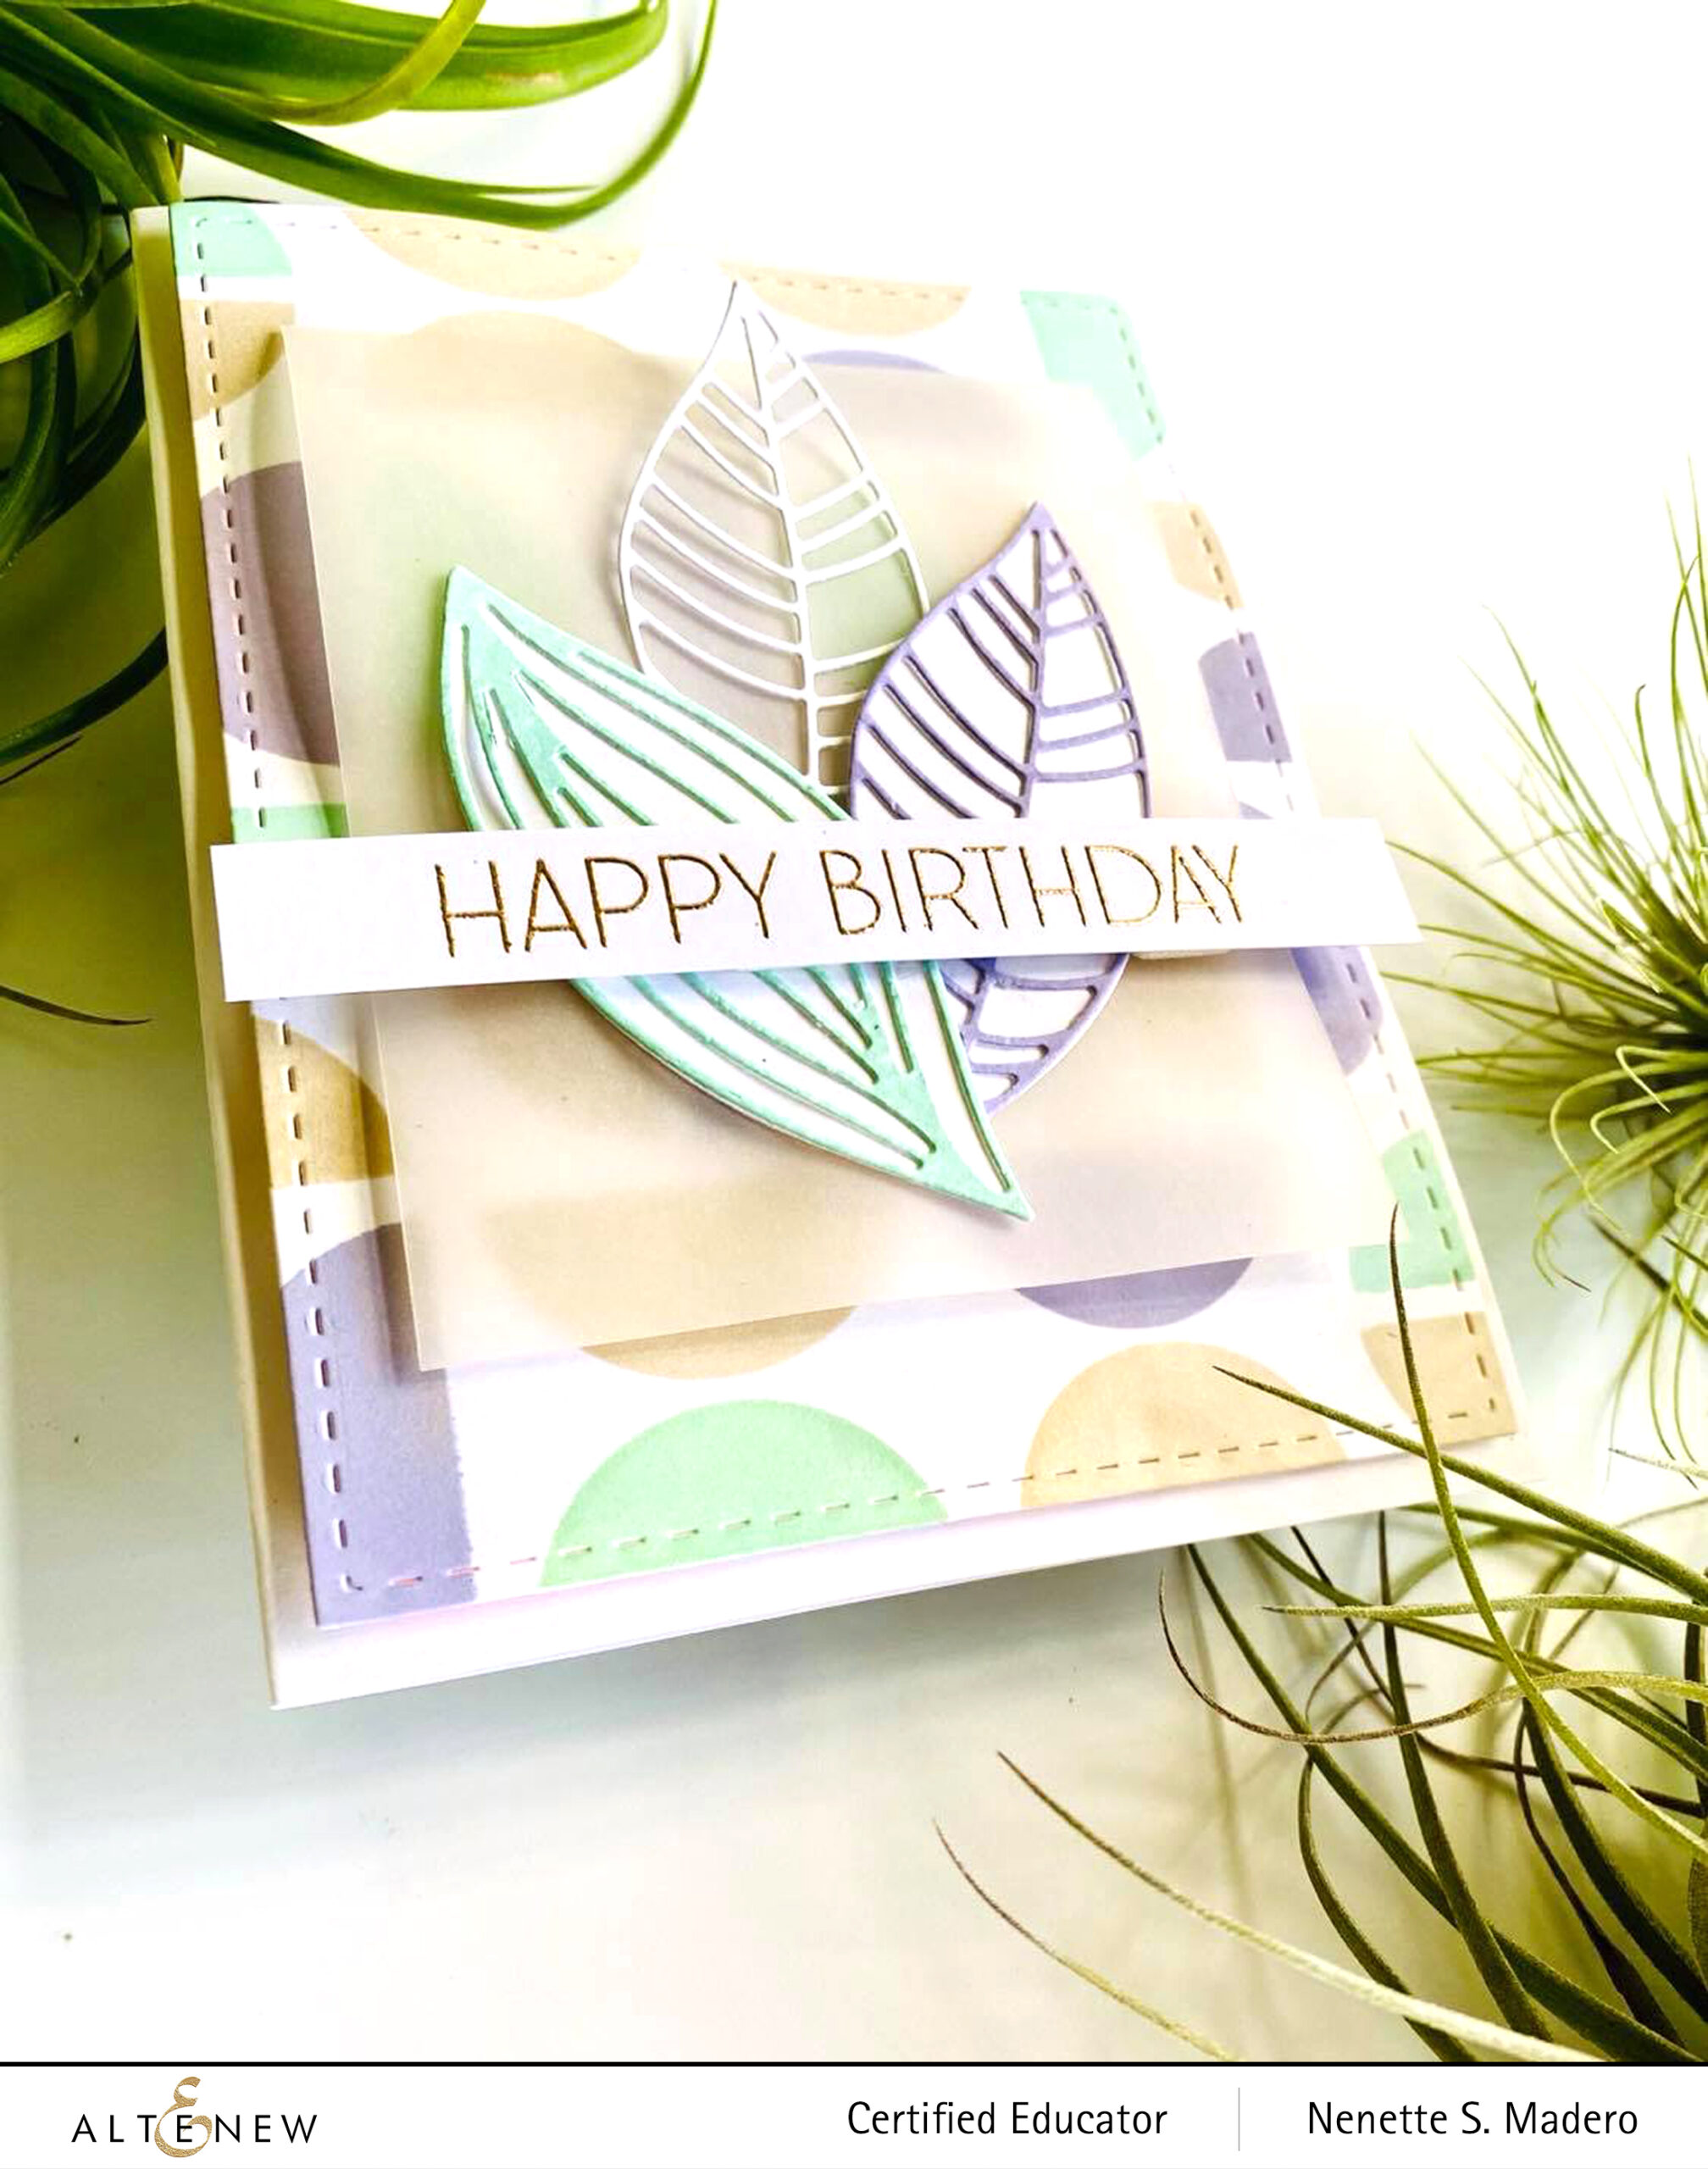
For this card, I wanted to use the Modern Circles Stencil as the geometric element. I chose 3 colors and used a distress tool to add color to the card front. The stencil was rotated and more colors added to fill up the spaces. For the leaves, I just swiped the mini ink cubes directly on the white cardstock then die cut the leaves. These were then arranged on top of vellum and layered to the card front using foam squares.
I made sure to use the same colors from the background to match the leaves. This is such a sweet birthday card and the vellum adds some softness to the card. The sentiment from the Ornamental Bliss stamp set was used for this card and embossed with Rose Gold embossing powder .
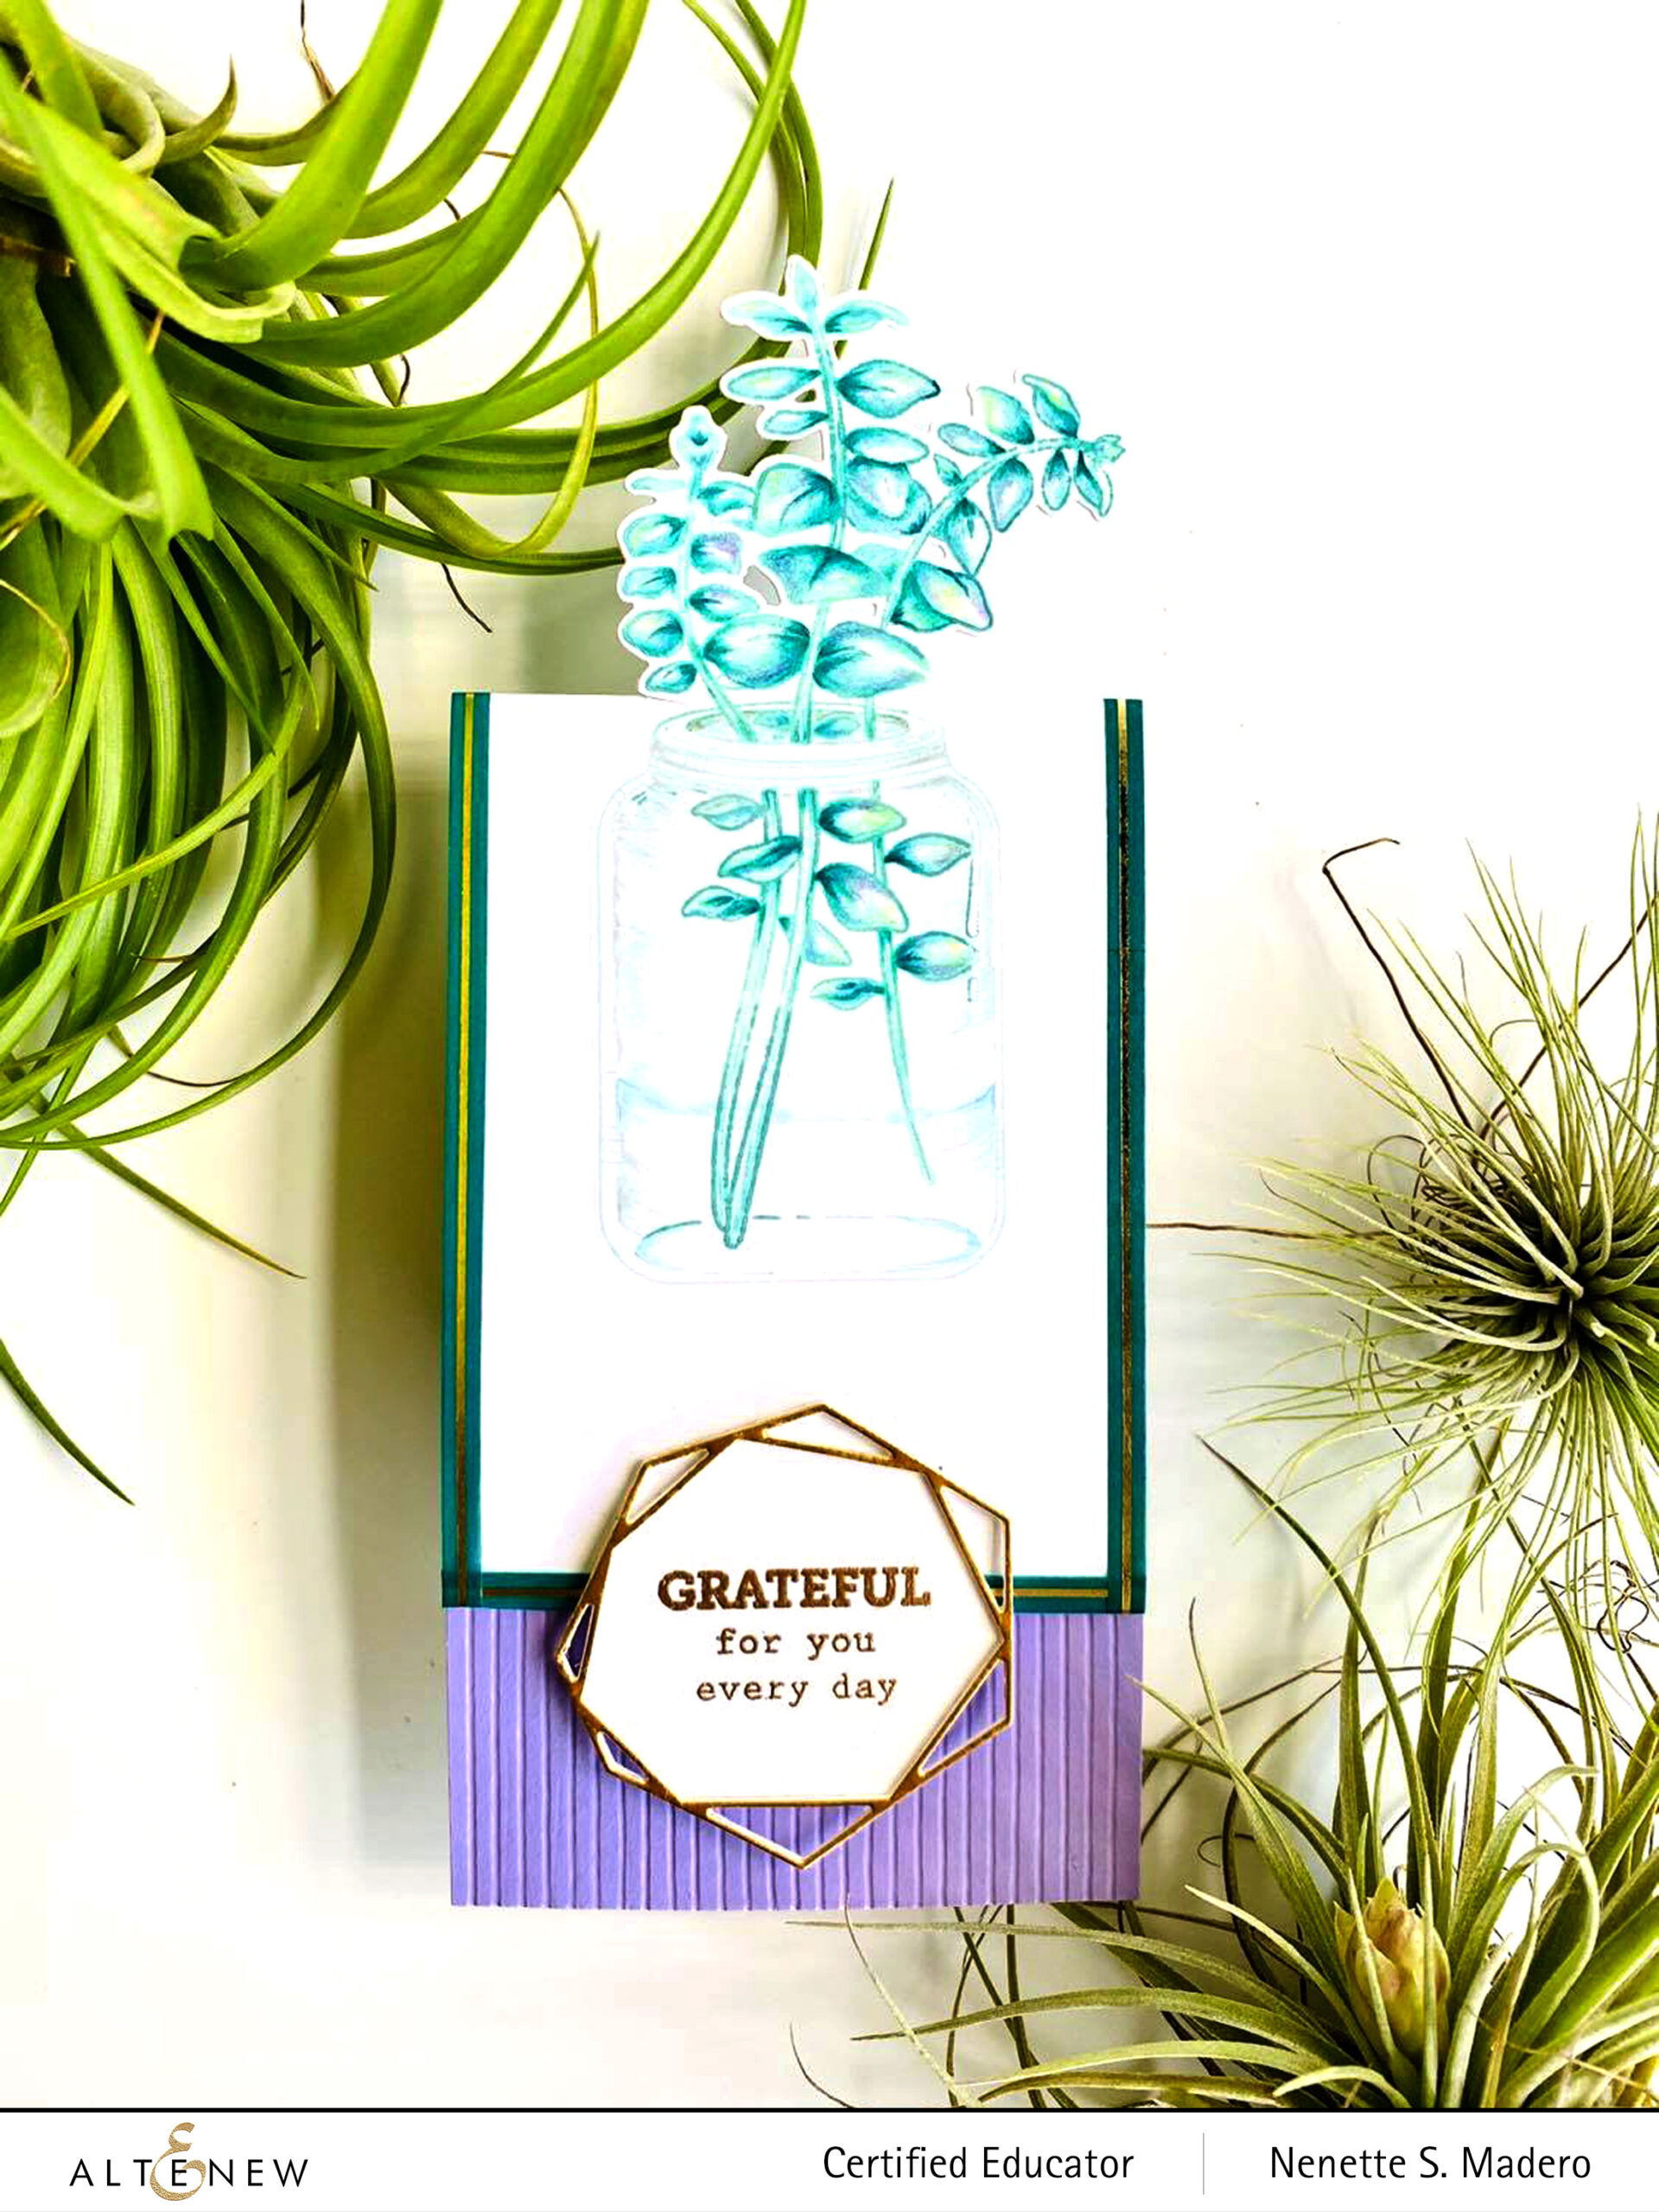
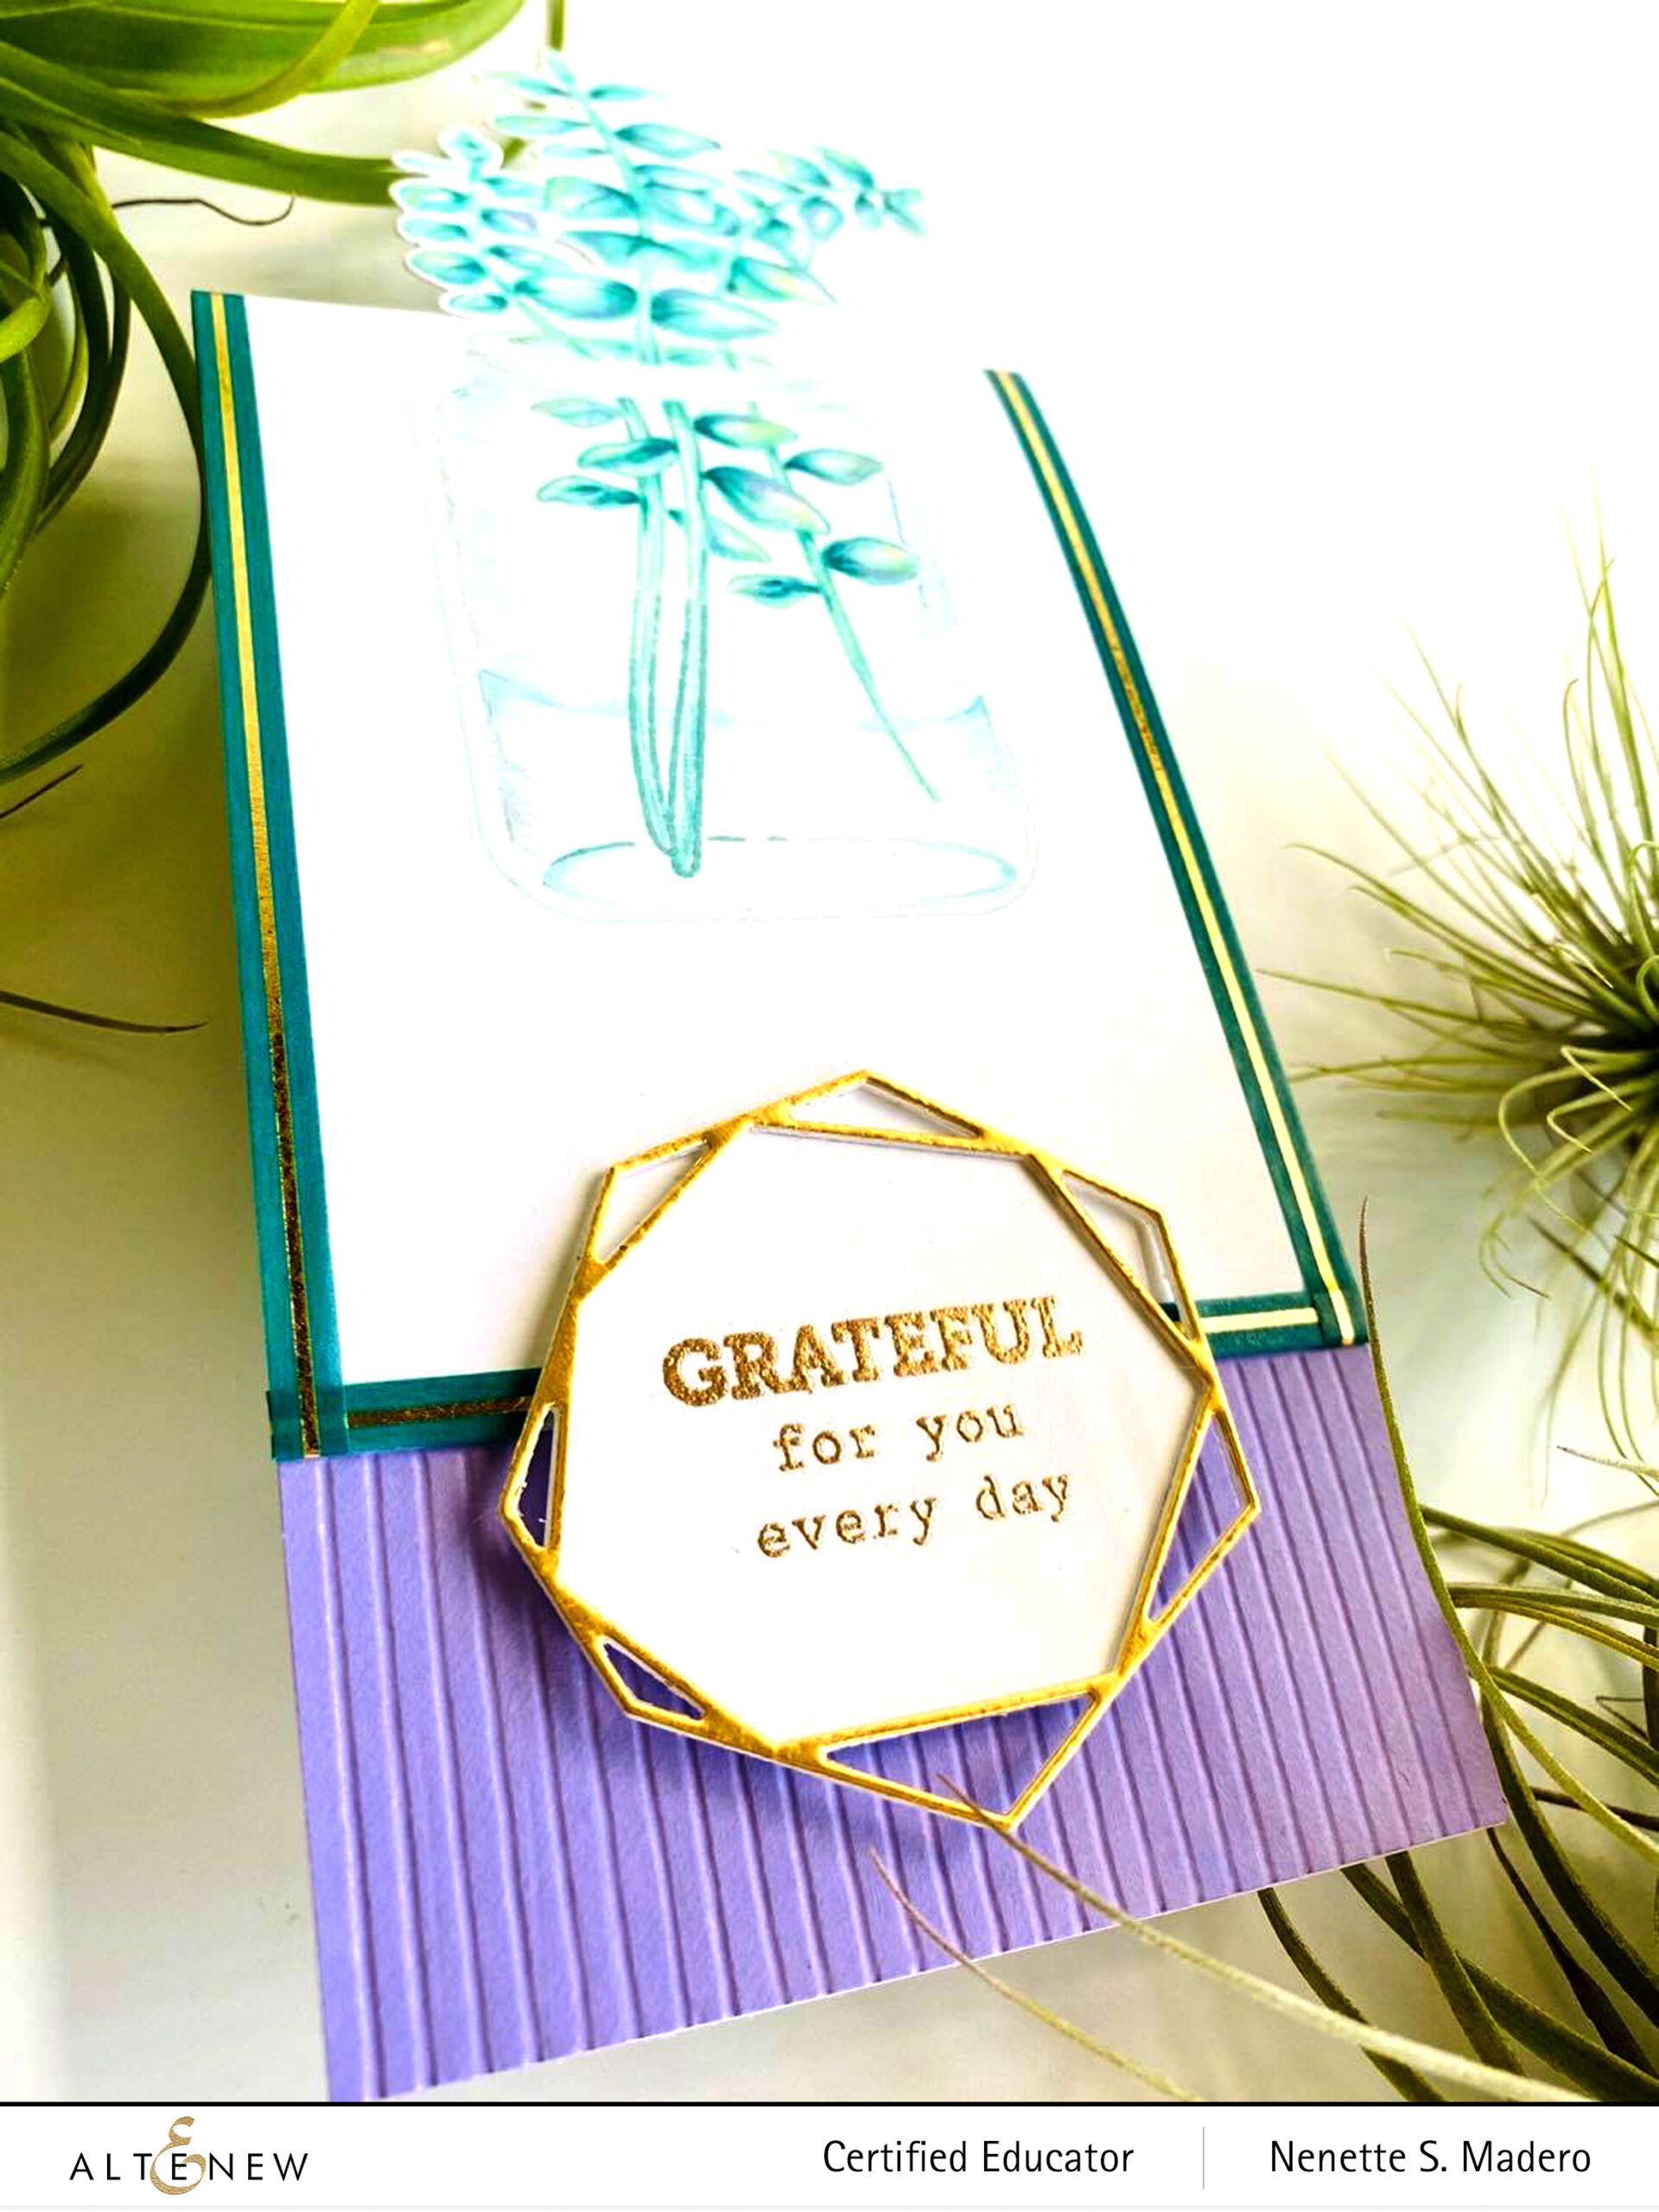
I love the Eucalyptus Jar Stamp set and wanted to use it differently so I created a slim card by doing partial die cutting. First, the image was stamped on Neenah solar white cardstock using the different shades of dye inks (blue greens for the eucalyptus and Sea Glass for the jar). Colored pencils were used to add color. There are many ways to use colored pencils. I prefer to use the medium color first, the lightest next, then lastly the darkest. Just make sure to use a light hand when coloring so that you do not burnish the paper. Once the paper is burnished, you won’t be able to add colors anymore.
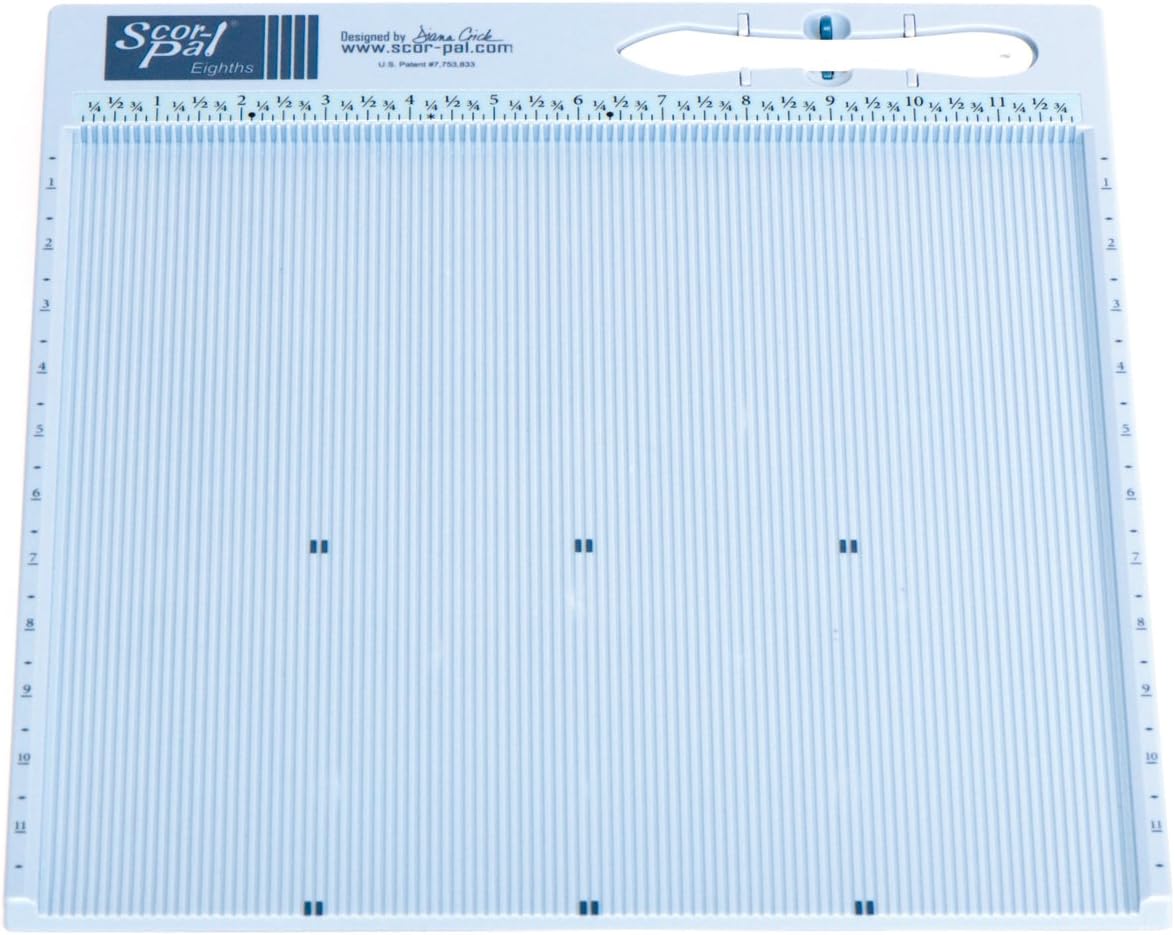
I then used the coordinating die to partially die cut the top part of the image. The cardstock was scored and folded. I added purple cardstock to the inside of the card to hide the back. Debossed stripes were added to the bottom of the card for texture using a bone folder and a scor board. I was happy with the outcome then I remembered that it needed a geometric element for the theme!!! 😱 Good thing I had the Crystal Frames die so I die cut one of the frames using matt gold cardstock and then embossed the sentiment with Rose gold embossing powder. I added the teal/gold washi tape on the edges to frame the image. Such a fun card to make!
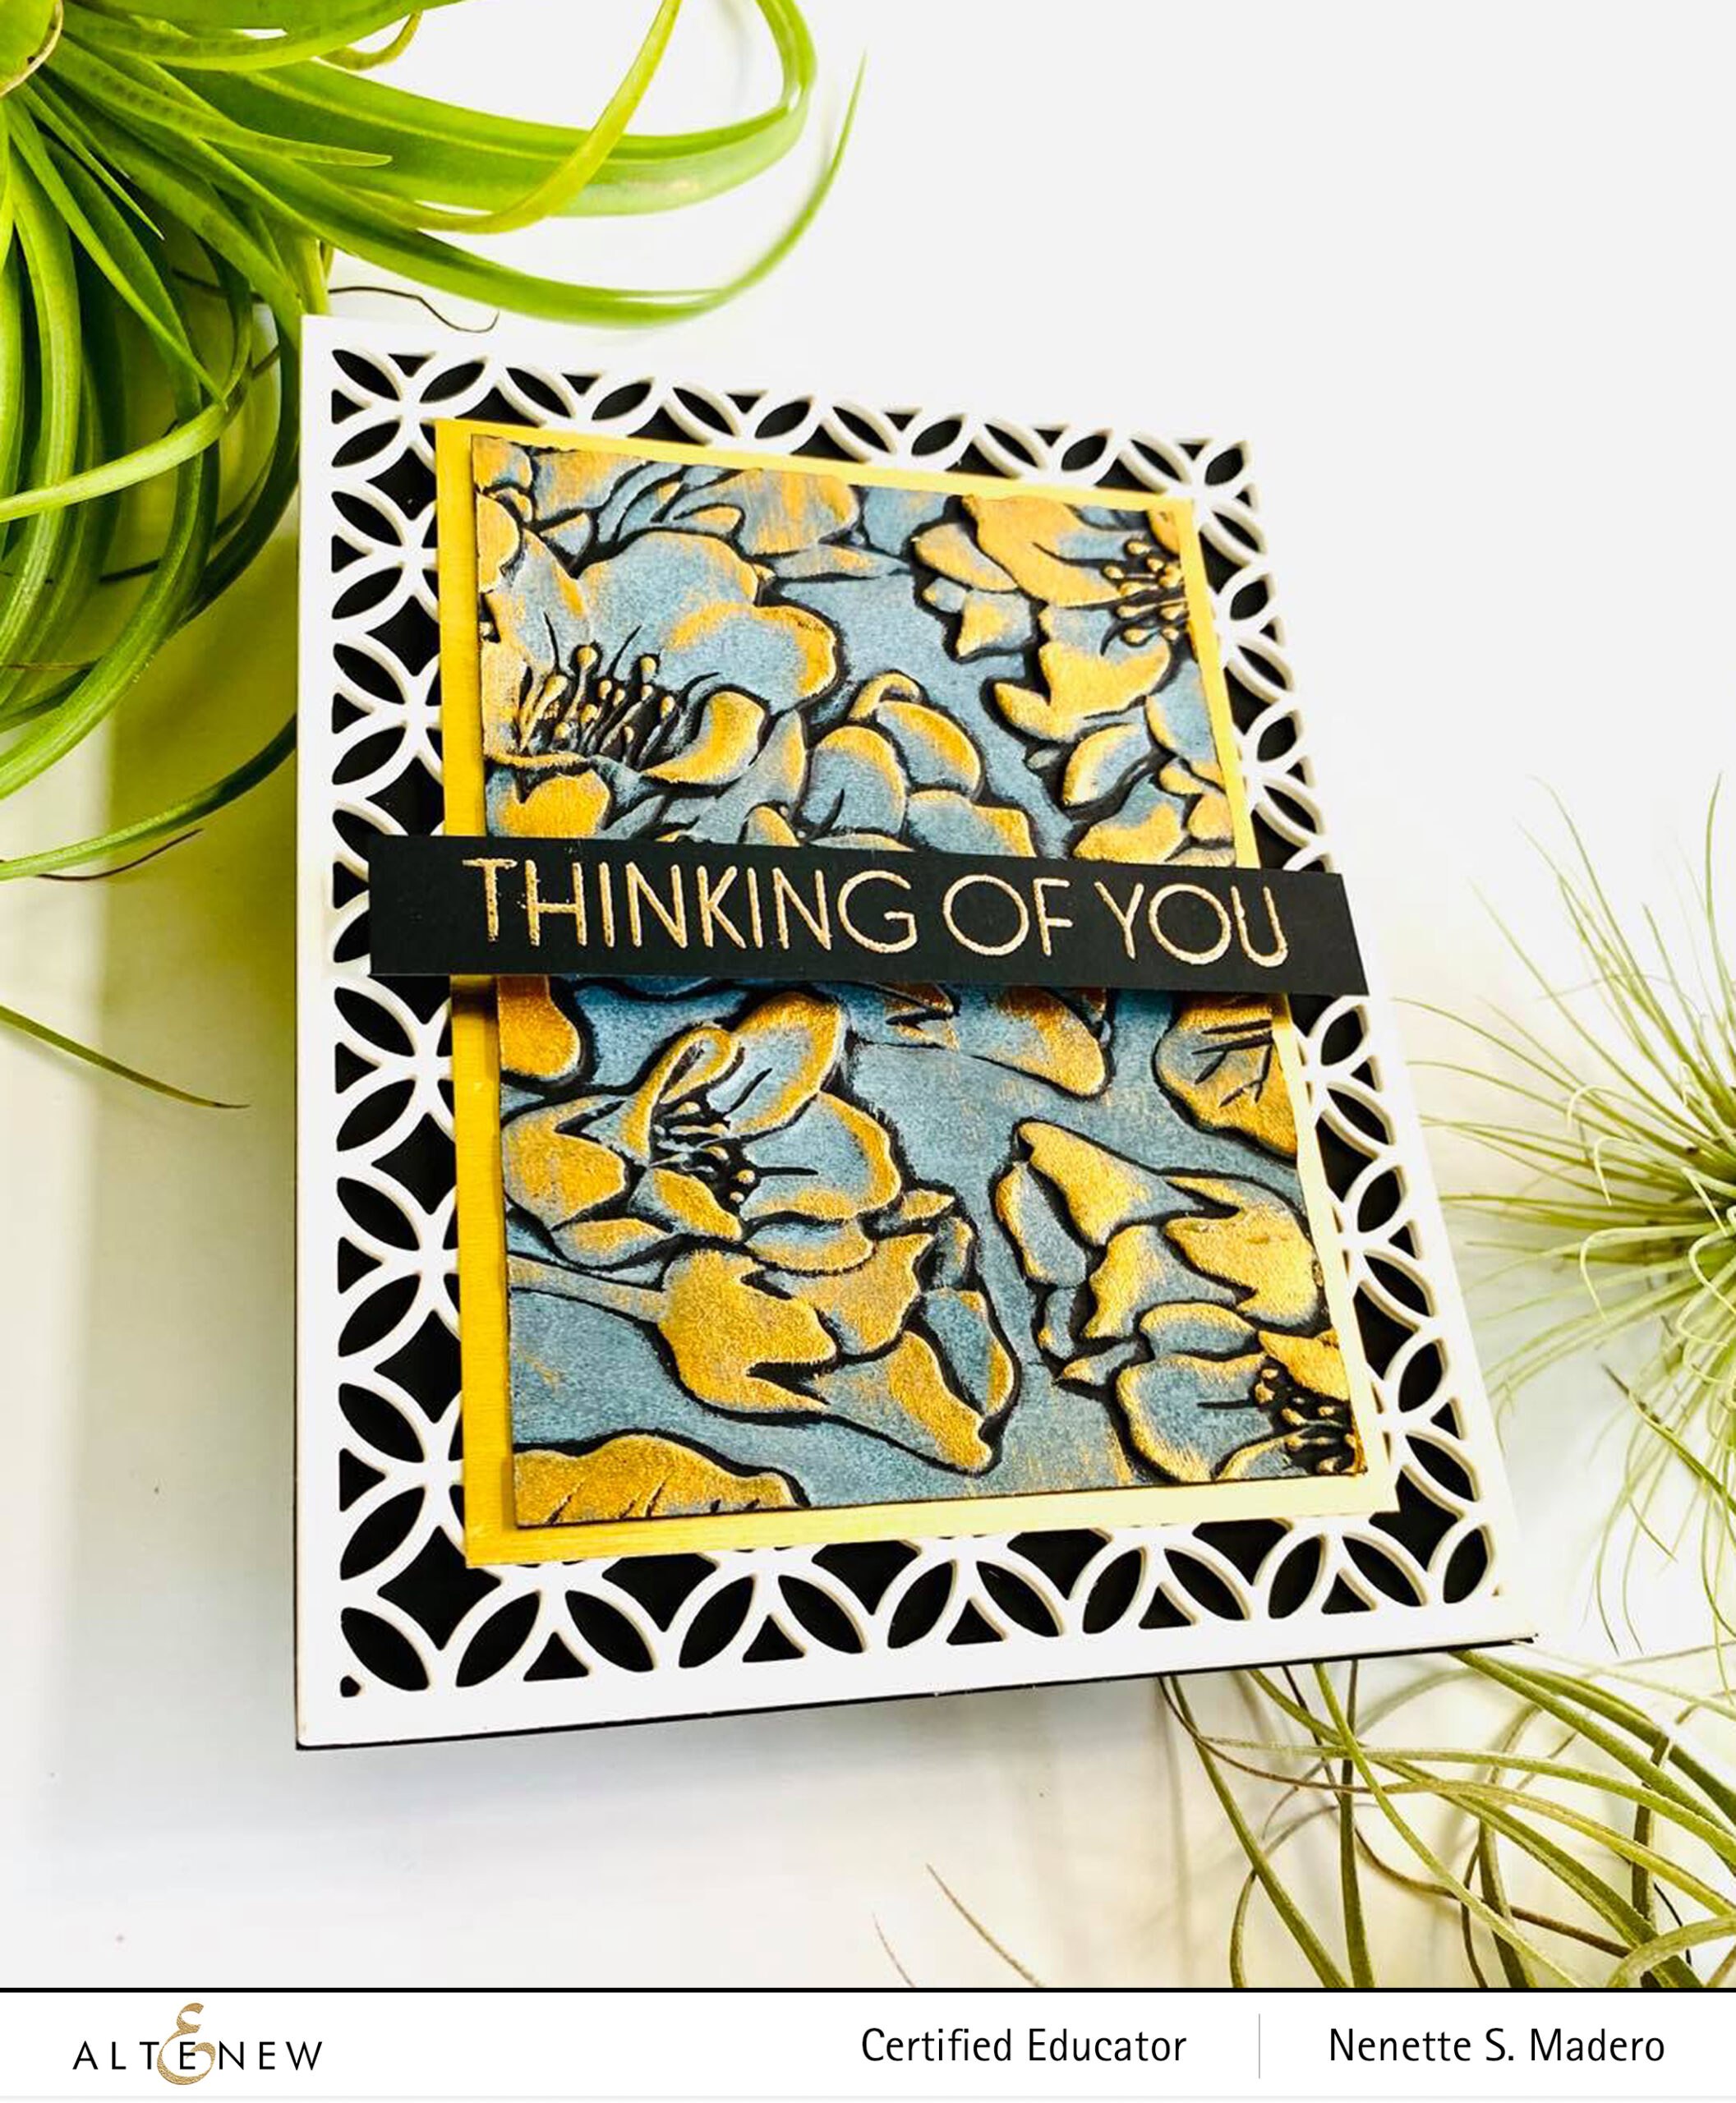
I seldom use black when I make cards but I’m loving the effect that the black cardstock gives when matched with an embossing folder and some inks. I was inspired by Bubblescrap and wanted to try her technique. First, I cut a piece of black cardstock then embossed it with the Beautiful Bergenia 3D embossing folder. I added color to the entire surface of the paper using a distress tool and my inky finger AFTER embossing. The creaminess of the oxide inks makes it easy to apply. When this was dry, I added some gold touches on the embossed parts of the flowers and leaves with a gold gliding polish. Gold cardstock was added to mat the embossed piece.
For my geometric element, the Circle Quilt cover die was used that added a nice contrast to the black cardstock. I stacked 4 pieces on top of each other for more dimension. The sentiment was stamped on black using Versamark ink then embossed with Rose gold embossing powder.
Lately, I have been trying out alcohol inks. I had them for many years but never really used them for fear of the unknown. 🙂 Their reaction to alcohol or blending solution is so unpredictable but I thought they’d look pretty on Altenew florals. I took some classes with @anujaaggarwal— a talented alcohol ink artist because I wanted to learn how these inks behave using different techniques. There’s still so much to learn but you’ll never know if you don’t try. Here are some of the cards I made using alcohol inks.
If you do plan to try this out, here are some tips you should follow:
work in a room that is well ventilated. If you have a respirator mask, the better so that it will prevent you from inhaling the fumes.
wear gloves to protect your hands from the inks and alcohol
alcohol and the inks are highly flammable so do not work near an open flame especially if you will be spraying alcohol
cover your work area with an absorbent mat ( I got a pack of disposable training pads for this purpose)
wipe your canvas/substrate/paper clean with alcohol before starting to remove dust/dirt/ink
seal your artwork with Kryon Kamar varnish then UV (make sure your painting is thoroughly dry before applying the varnish) 2-3 coats but dry between coats. Nozzle should be around 12-14 inches away from the substrate. Allow it to dry. This will prevent the painted flowers from scratches.
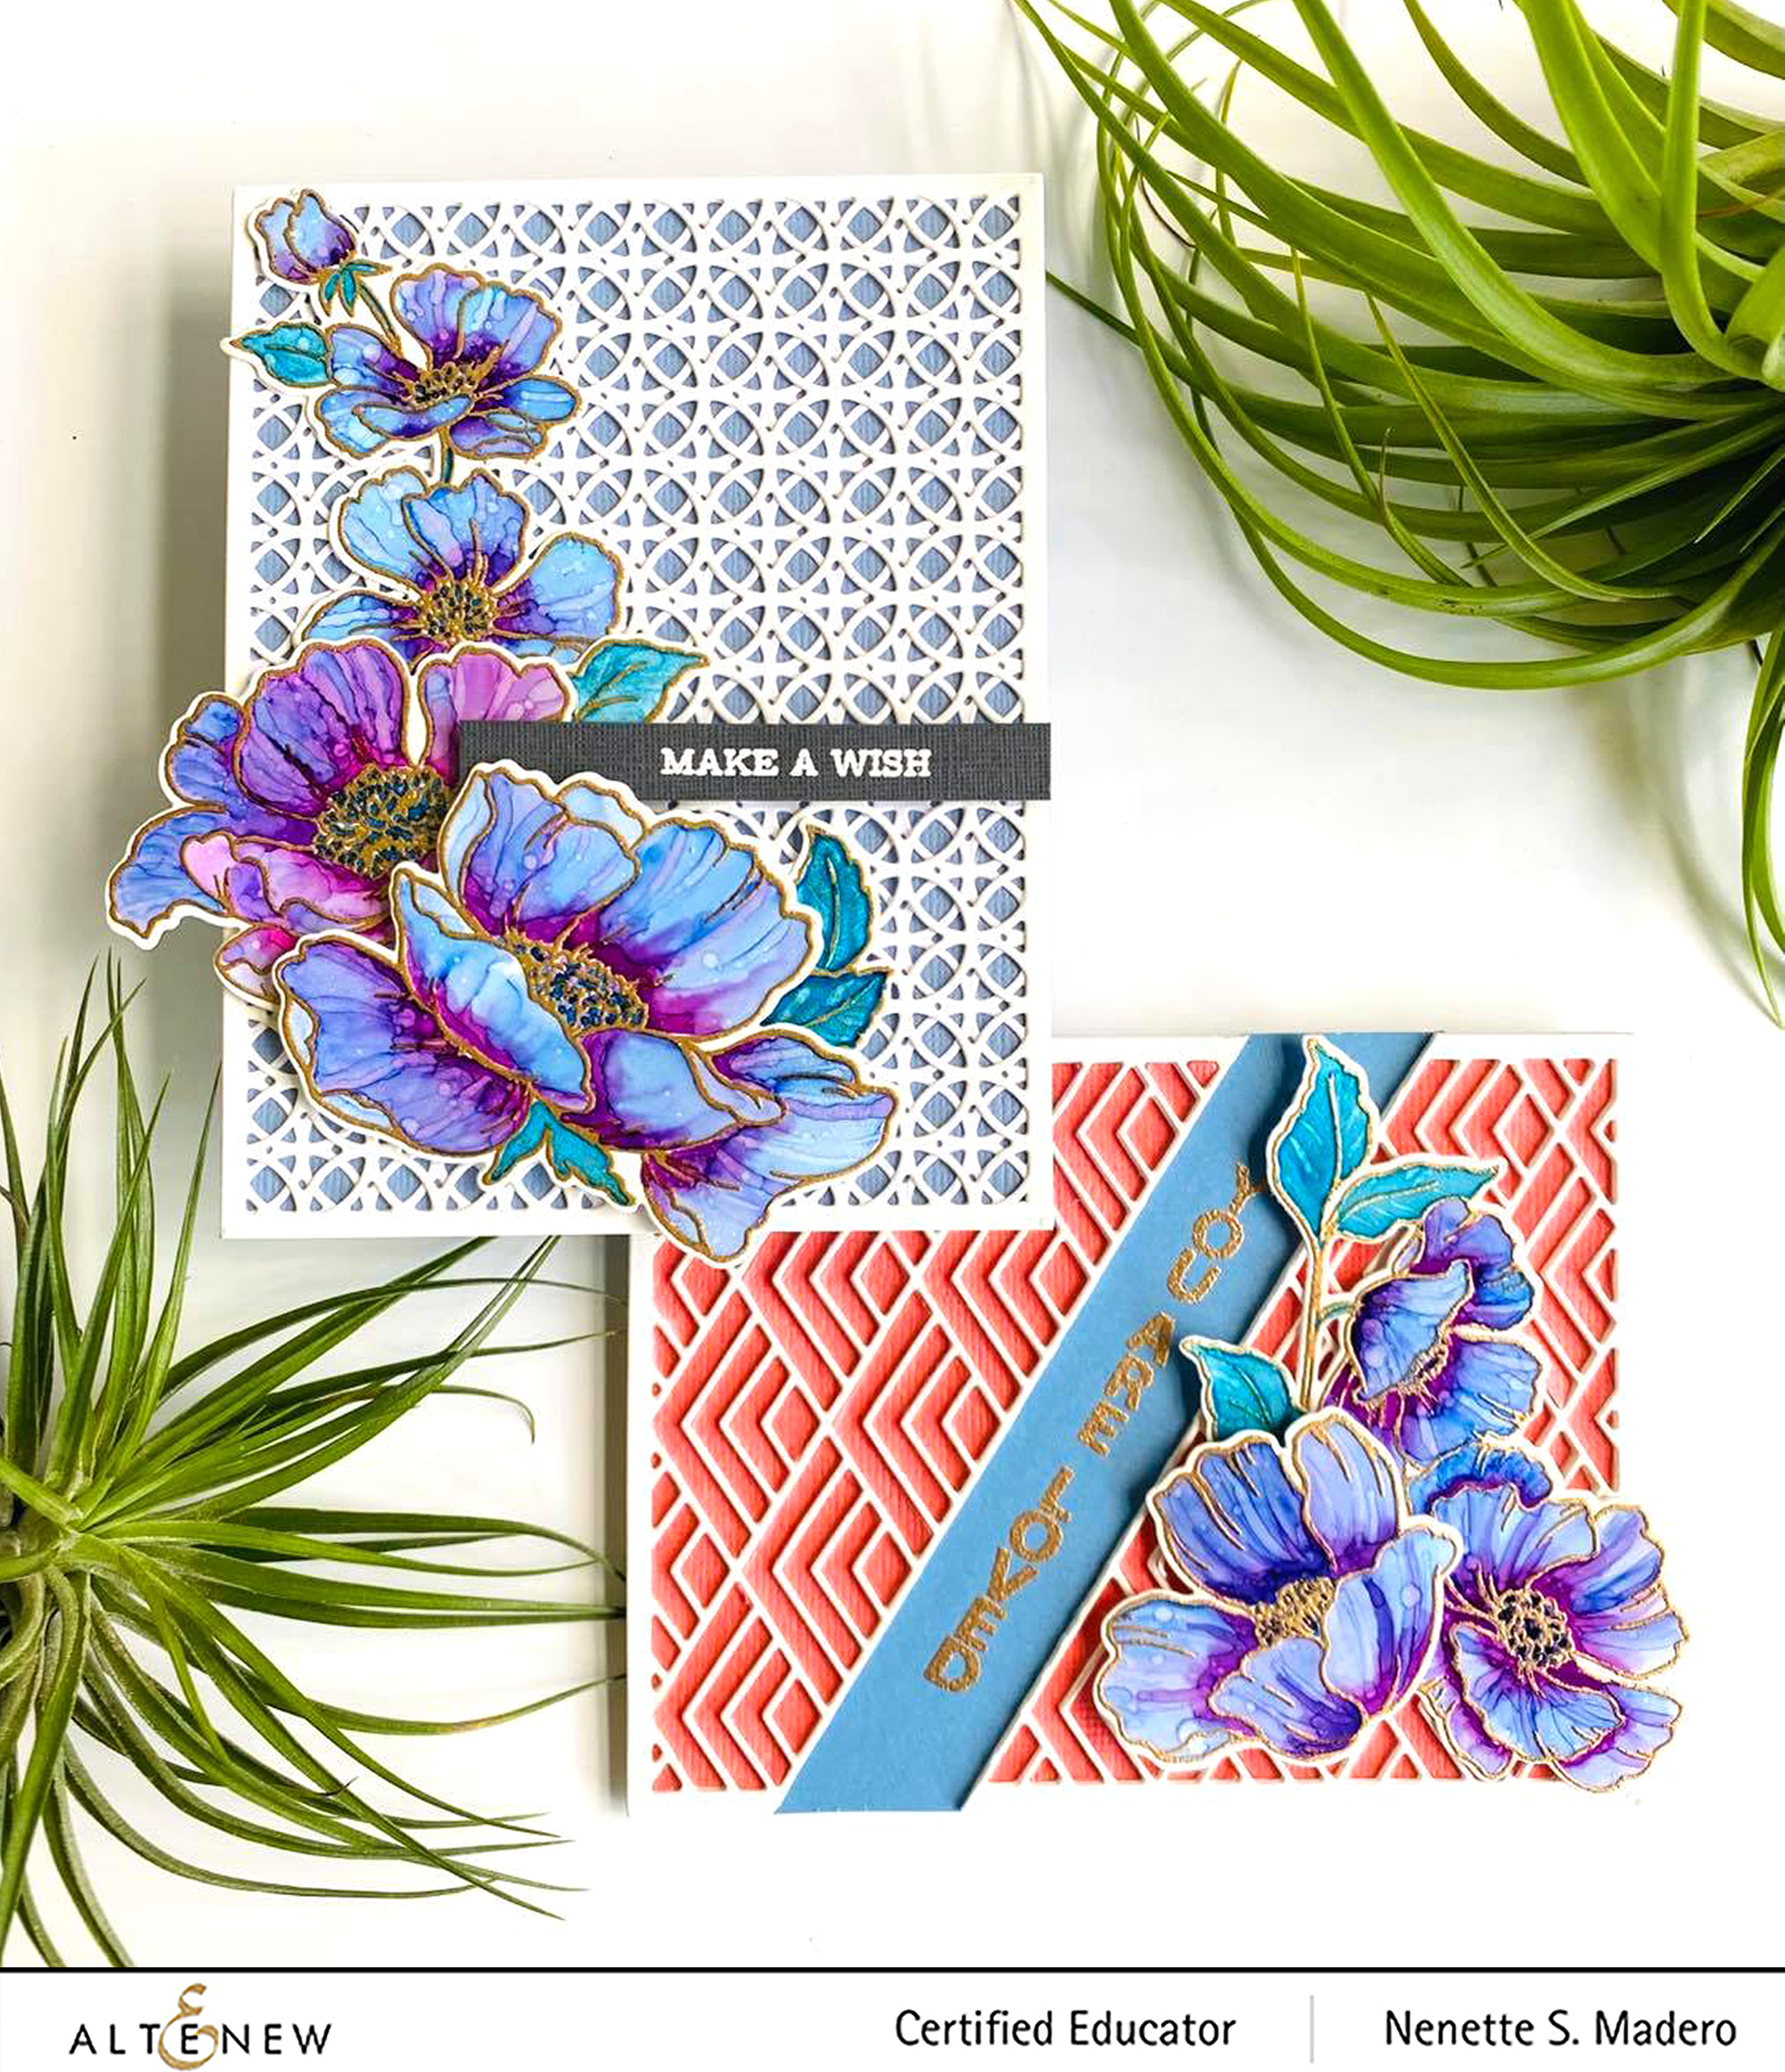
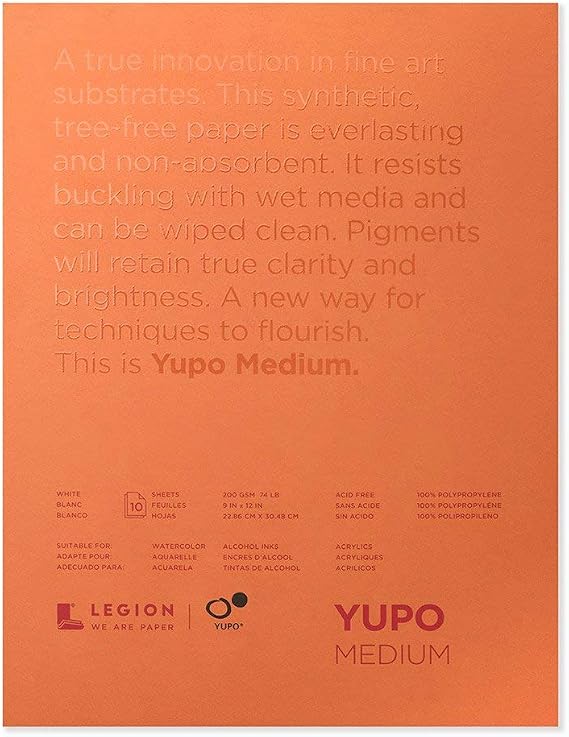
For this technique to work, you will need a floral image that does not have too many details. The POPPY GARDEN STAMP AND DIE SET was perfect for this technique. First, I heat embossed the images on Yupo paper. Do take note that since Yupo paper is made of polypropylene, a thermoplastic resin, it will warp if it is heated for too long. I made sure to keep my heat tool moving to minimize the warpage. The darkest color was added to the centers of the flowers. This was allowed to dry. Then with a brush loaded with alcohol mixed with blue/purple alcohol inks, I colored the rest of the petals slightly touching the dark ink to achieve some blending. Take note that the alcohol ink behaves differently from watercolor cause alcohol will tend to push the pigments away. The alcohol ink/alcohol ratio is also very important. The great thing about this is if you are not happy with the outcome, you can “erase” the area with alcohol. Just note that Yupo paper tends to stain, unlike Nara paper. Patience is needed when working with alcohol inks. I love the texture it gives and how unpredictable the outcome is.
I then used a thin brush to add just plain alcohol for added texture. A fine spray bottle filled with alcohol was used to add tiny specks of alcohol on the entire surface. Make sure it’s far enough from the painted flowers otherwise you will have big blobs of white all over your project. The Circle Quilt die was used to cut 2 sheets of paper and the second was turned upside down before adhering to the 1st die-cut to create a unique geometric pattern for the background. The floral images were die cut using the coordinating dies and adhered to the card front with foam squares for dimension.
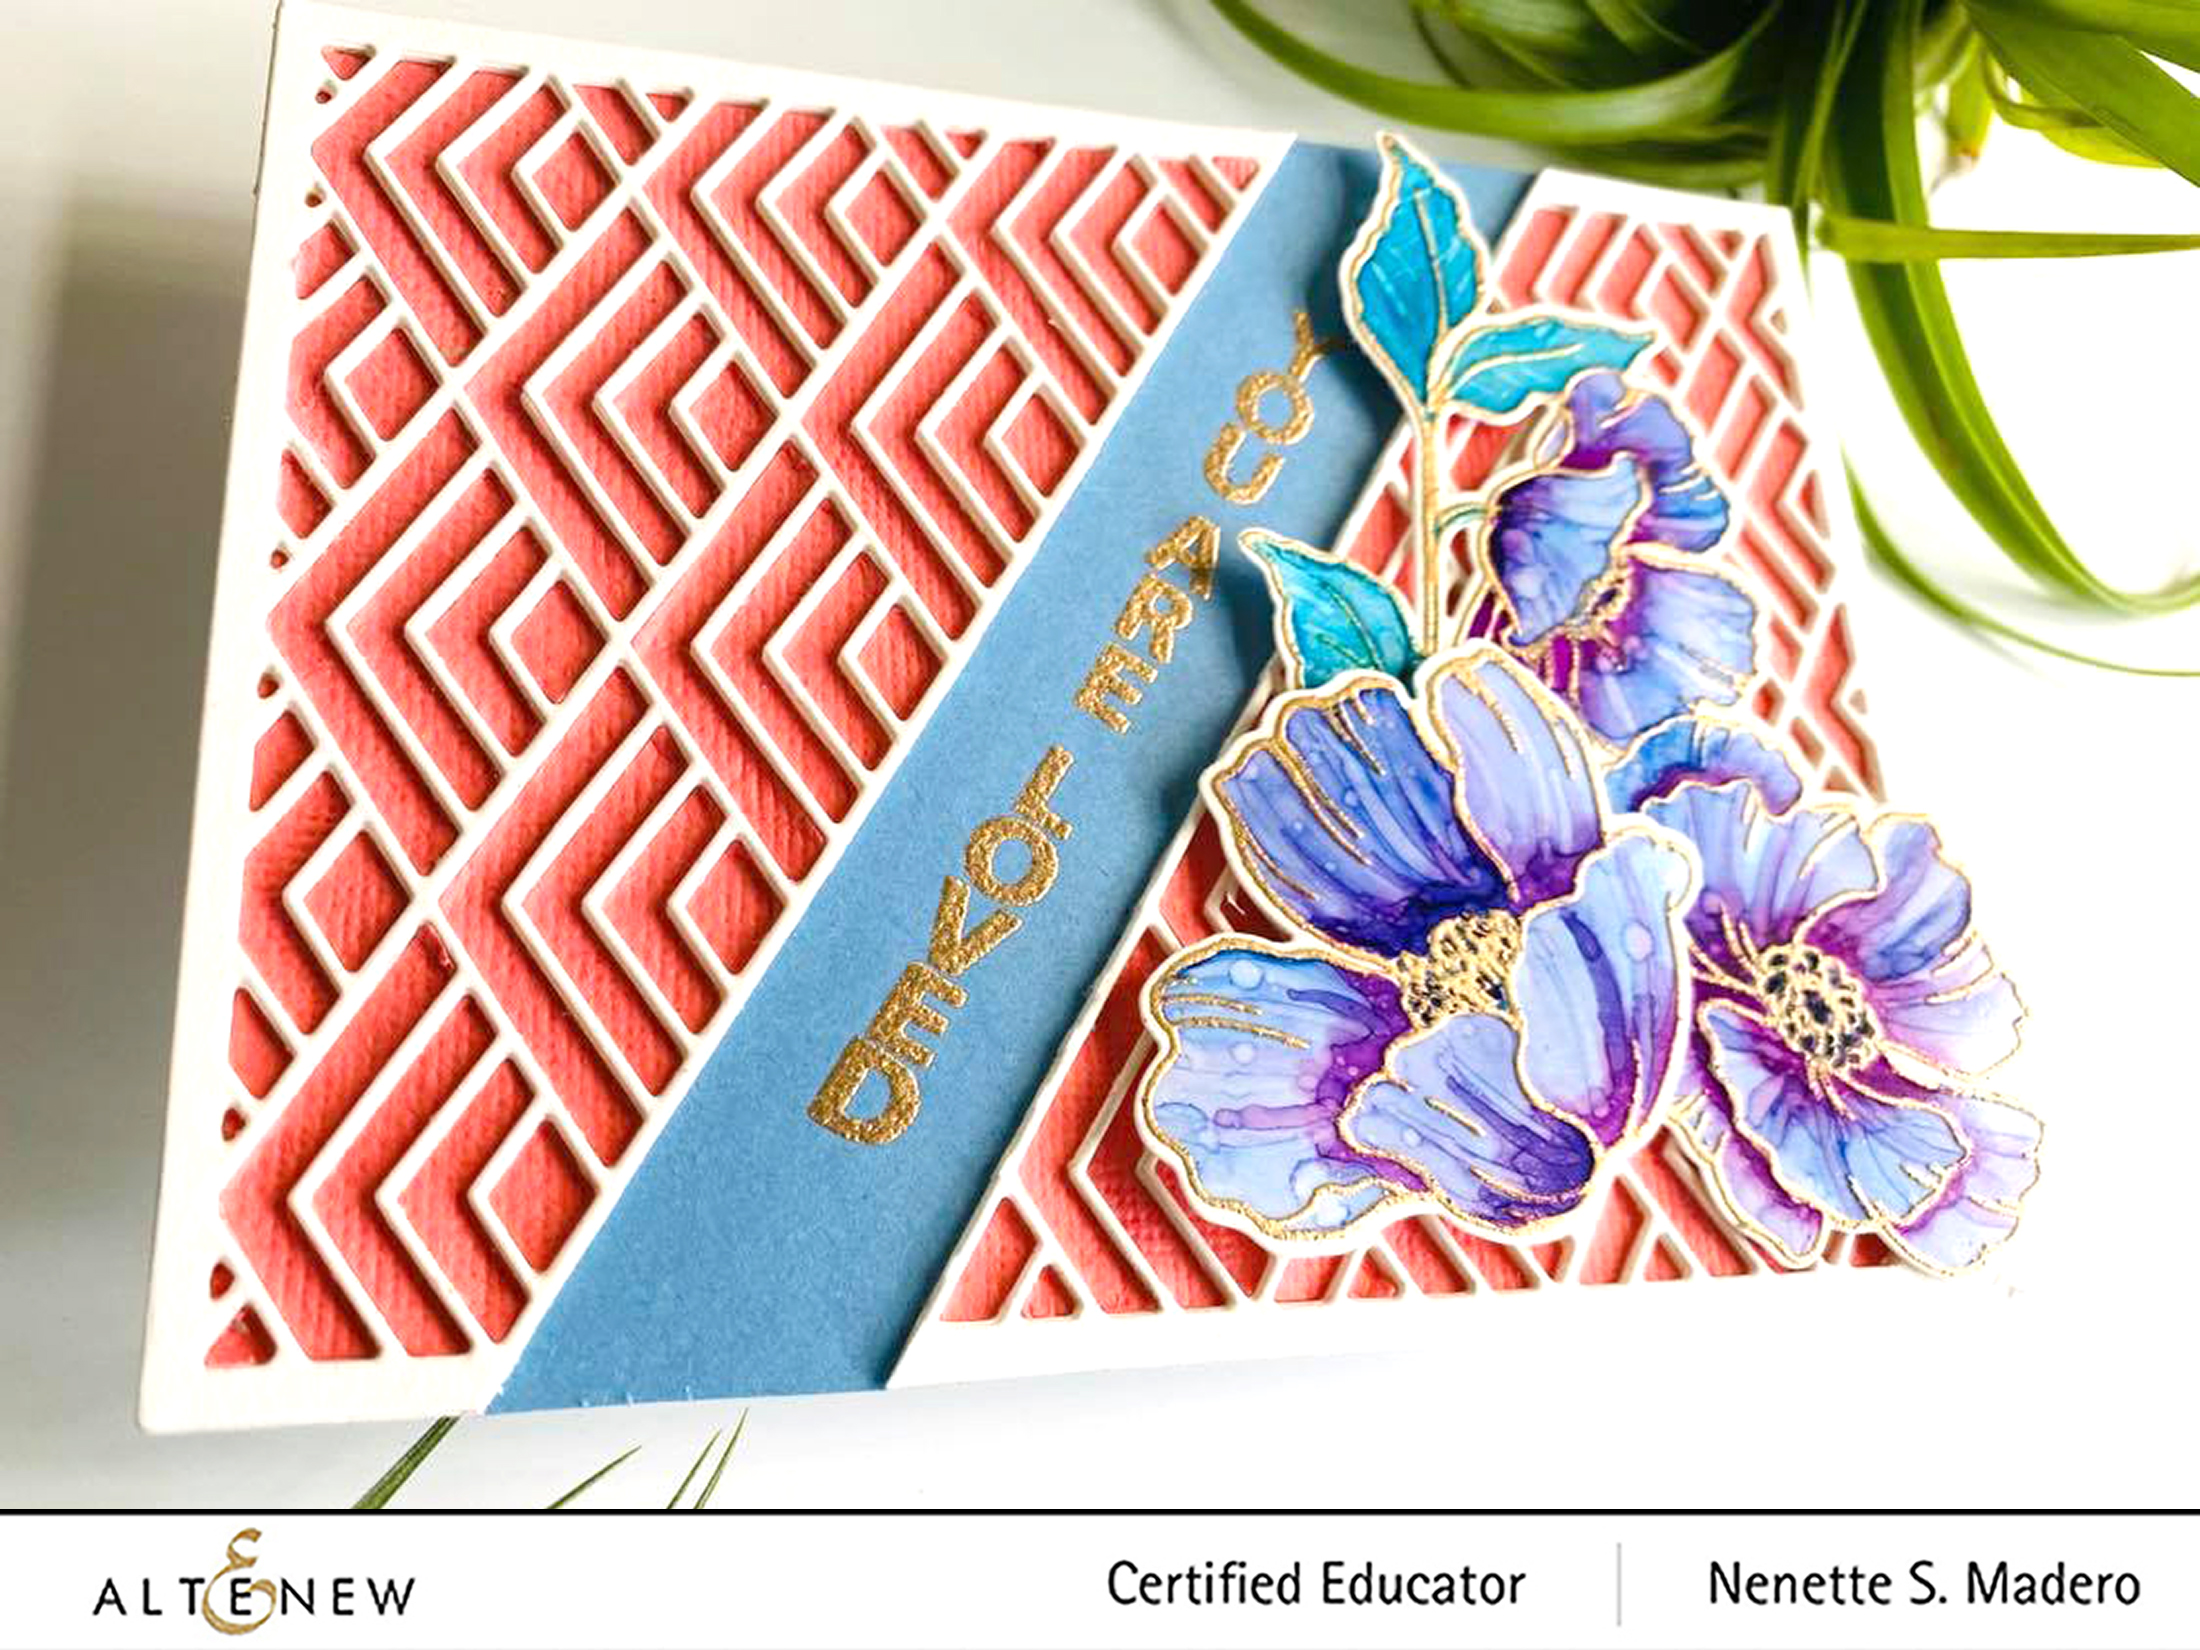
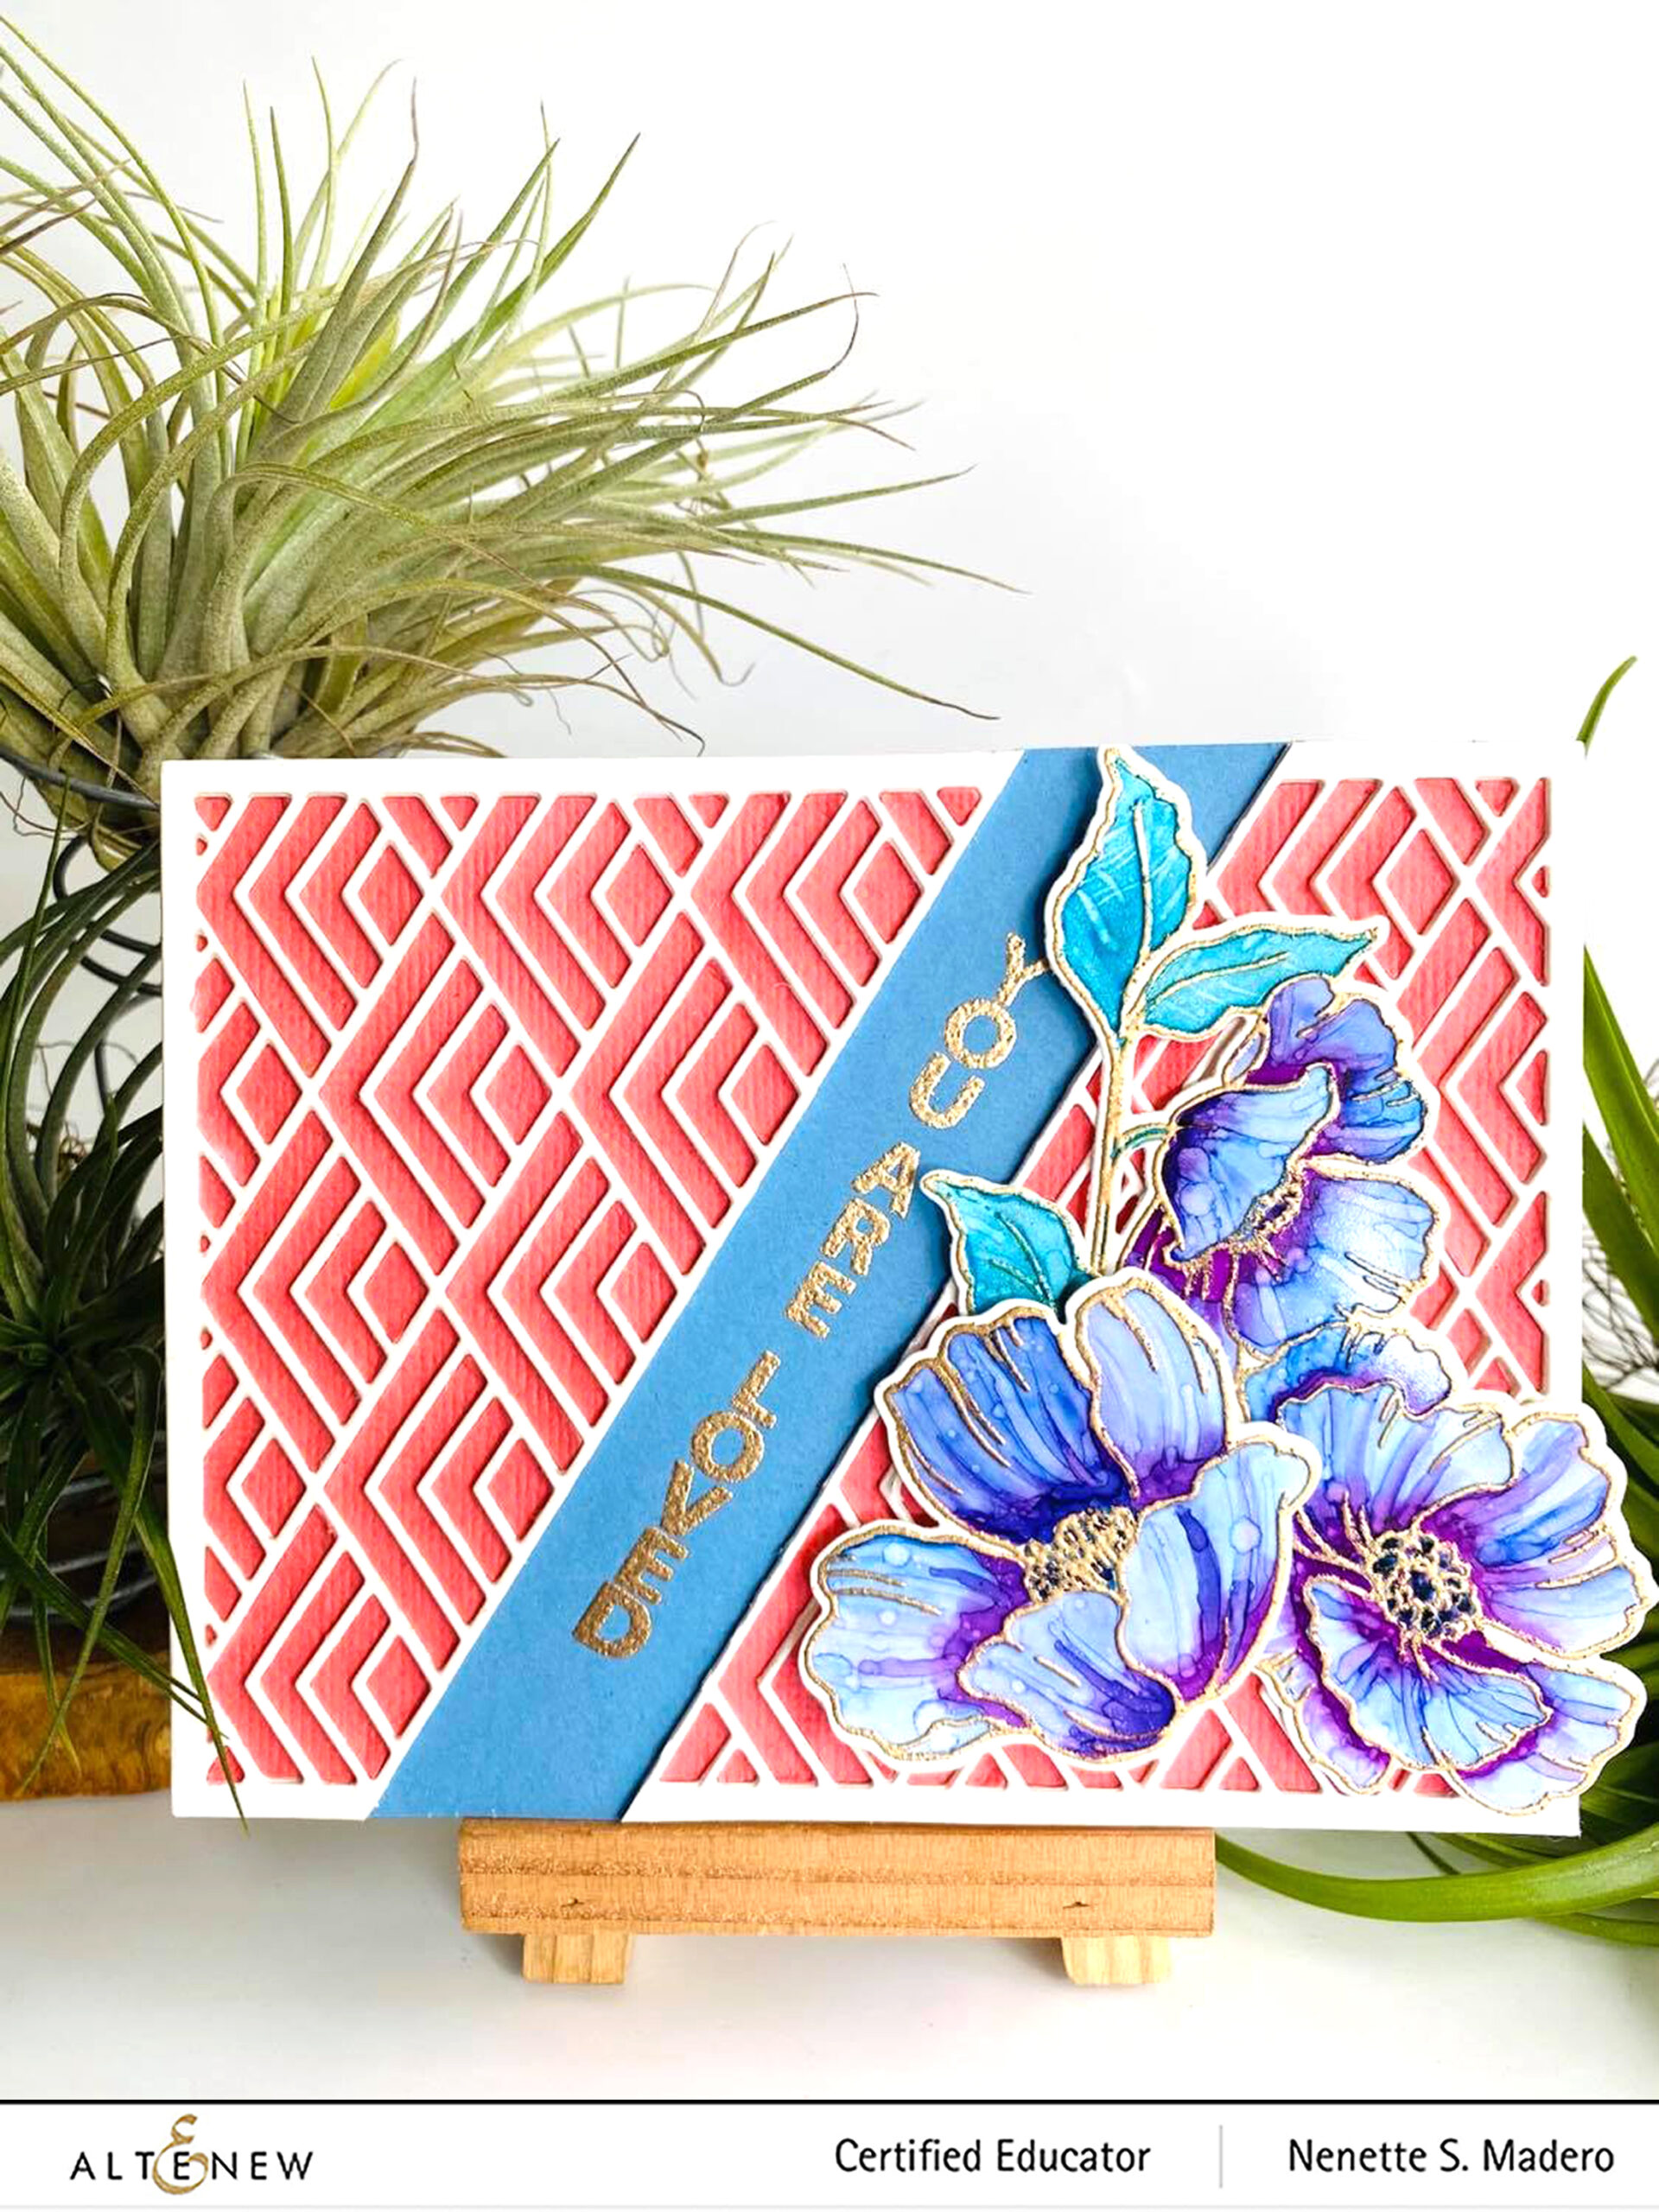
For the second card using the same colored Poppy images, I wanted to create a different kind of background using the Stacked Diamonds cover die. I die cut 5 sheets of Neenah solar white CS and stacked them on top of each other. The middle portion of the die cut was cut off leaving a space for the sentiment.
At first, I adhered the sentiment stamped onto blue CS to a card front then glued the Stacked diamonds die-cuts beside it. I wasn’t too happy with the outcome so I decided to die cut a peach-colored cardstock then did the inlay technique and added the positive pieces one by one. This made the Stacked diamonds die cut stand out more. The flowers were arranged in one corner and foam squares were used to add dimension.
I’ve attached a video tutorial below. You can also watch it on Youtube through this link.
PRIZES
Altenew is giving away a $30 gift certificate to 1 lucky winner! Please leave a comment here on the Altenew Card Blog by 12/21/2020 for a chance to win. Altenew will also draw a winner to receive a $15 Altenew gift certificate from the comments left on each designer’s blog on the blog hop list below. All winners will be announced on theAltenew Winners Page on 12/23/2020.
There’s MORE! What’s a hop without YOU?! We have included an Inlinkz on the Altenew blog for you to enter your gorgeous Altenew “Floral with Geometric Elements” creations. We will pick 2 of our favorite handmade creations from those who joined the linky party and they will each receive a $15 Altenew gift certificate!
Hope you liked the cards I made for this hop. Don’t forget to leave a comment here and in all the following blogs to get a chance to win some fabulous prizes from Altenew. I always look forward to reading your heartwarming comments. If you like my cards, I hope you’ll subscribe to my blog so that you’ll get notified once a new post is up. I would love to interact and get to know you more through Instagram as well so please follow me on IG @mylittleatticstudio and say hello. Next up is the talented Kari VanNoy. Thank you so much for dropping by! Wishing everyone a blessed Christmas and a New Year filled with renewed hope, good health and happiness. Stay safe everyone and happy crafting! 😊
Welcome everyone to Altenew Educators Giving Thanks Blog hop and linky party + giveaway!!! I’m so excited to be a part of this blog hop with my co-educators!!! The hop starts at the Altenew Card Blog. The complete blog hop list is at the end of this post in case you get lost.
We are in this unprecedented crisis. Yet so many doctors, nurses, technicians, scientists, policemen, grocery storekeepers, pharmacists, food delivery crew, bank tellers, couriers, garbage collectors, hospital cleaning staff etc. work tirelessly to keep us all safe and so that we can continue to live our new normal lives. I truly appreciate that the theme for this blog hop is thankfulness. In our own little way, we can express our appreciation and gratitude to these everyday heroes for their dedication and selflessness through our cards.
I love the idea of coming up with 2 cards using the same stamped images. I sometimes call it my yin and yang cards. The following pairs were done using the same stamp sets. I just varied the looks by using the negative and positive die cuts, changing up the placement of the flowers, or by cutting the die cuts in half (the split card trick was inspired by Jennifer Mcguire). Here are my samples:
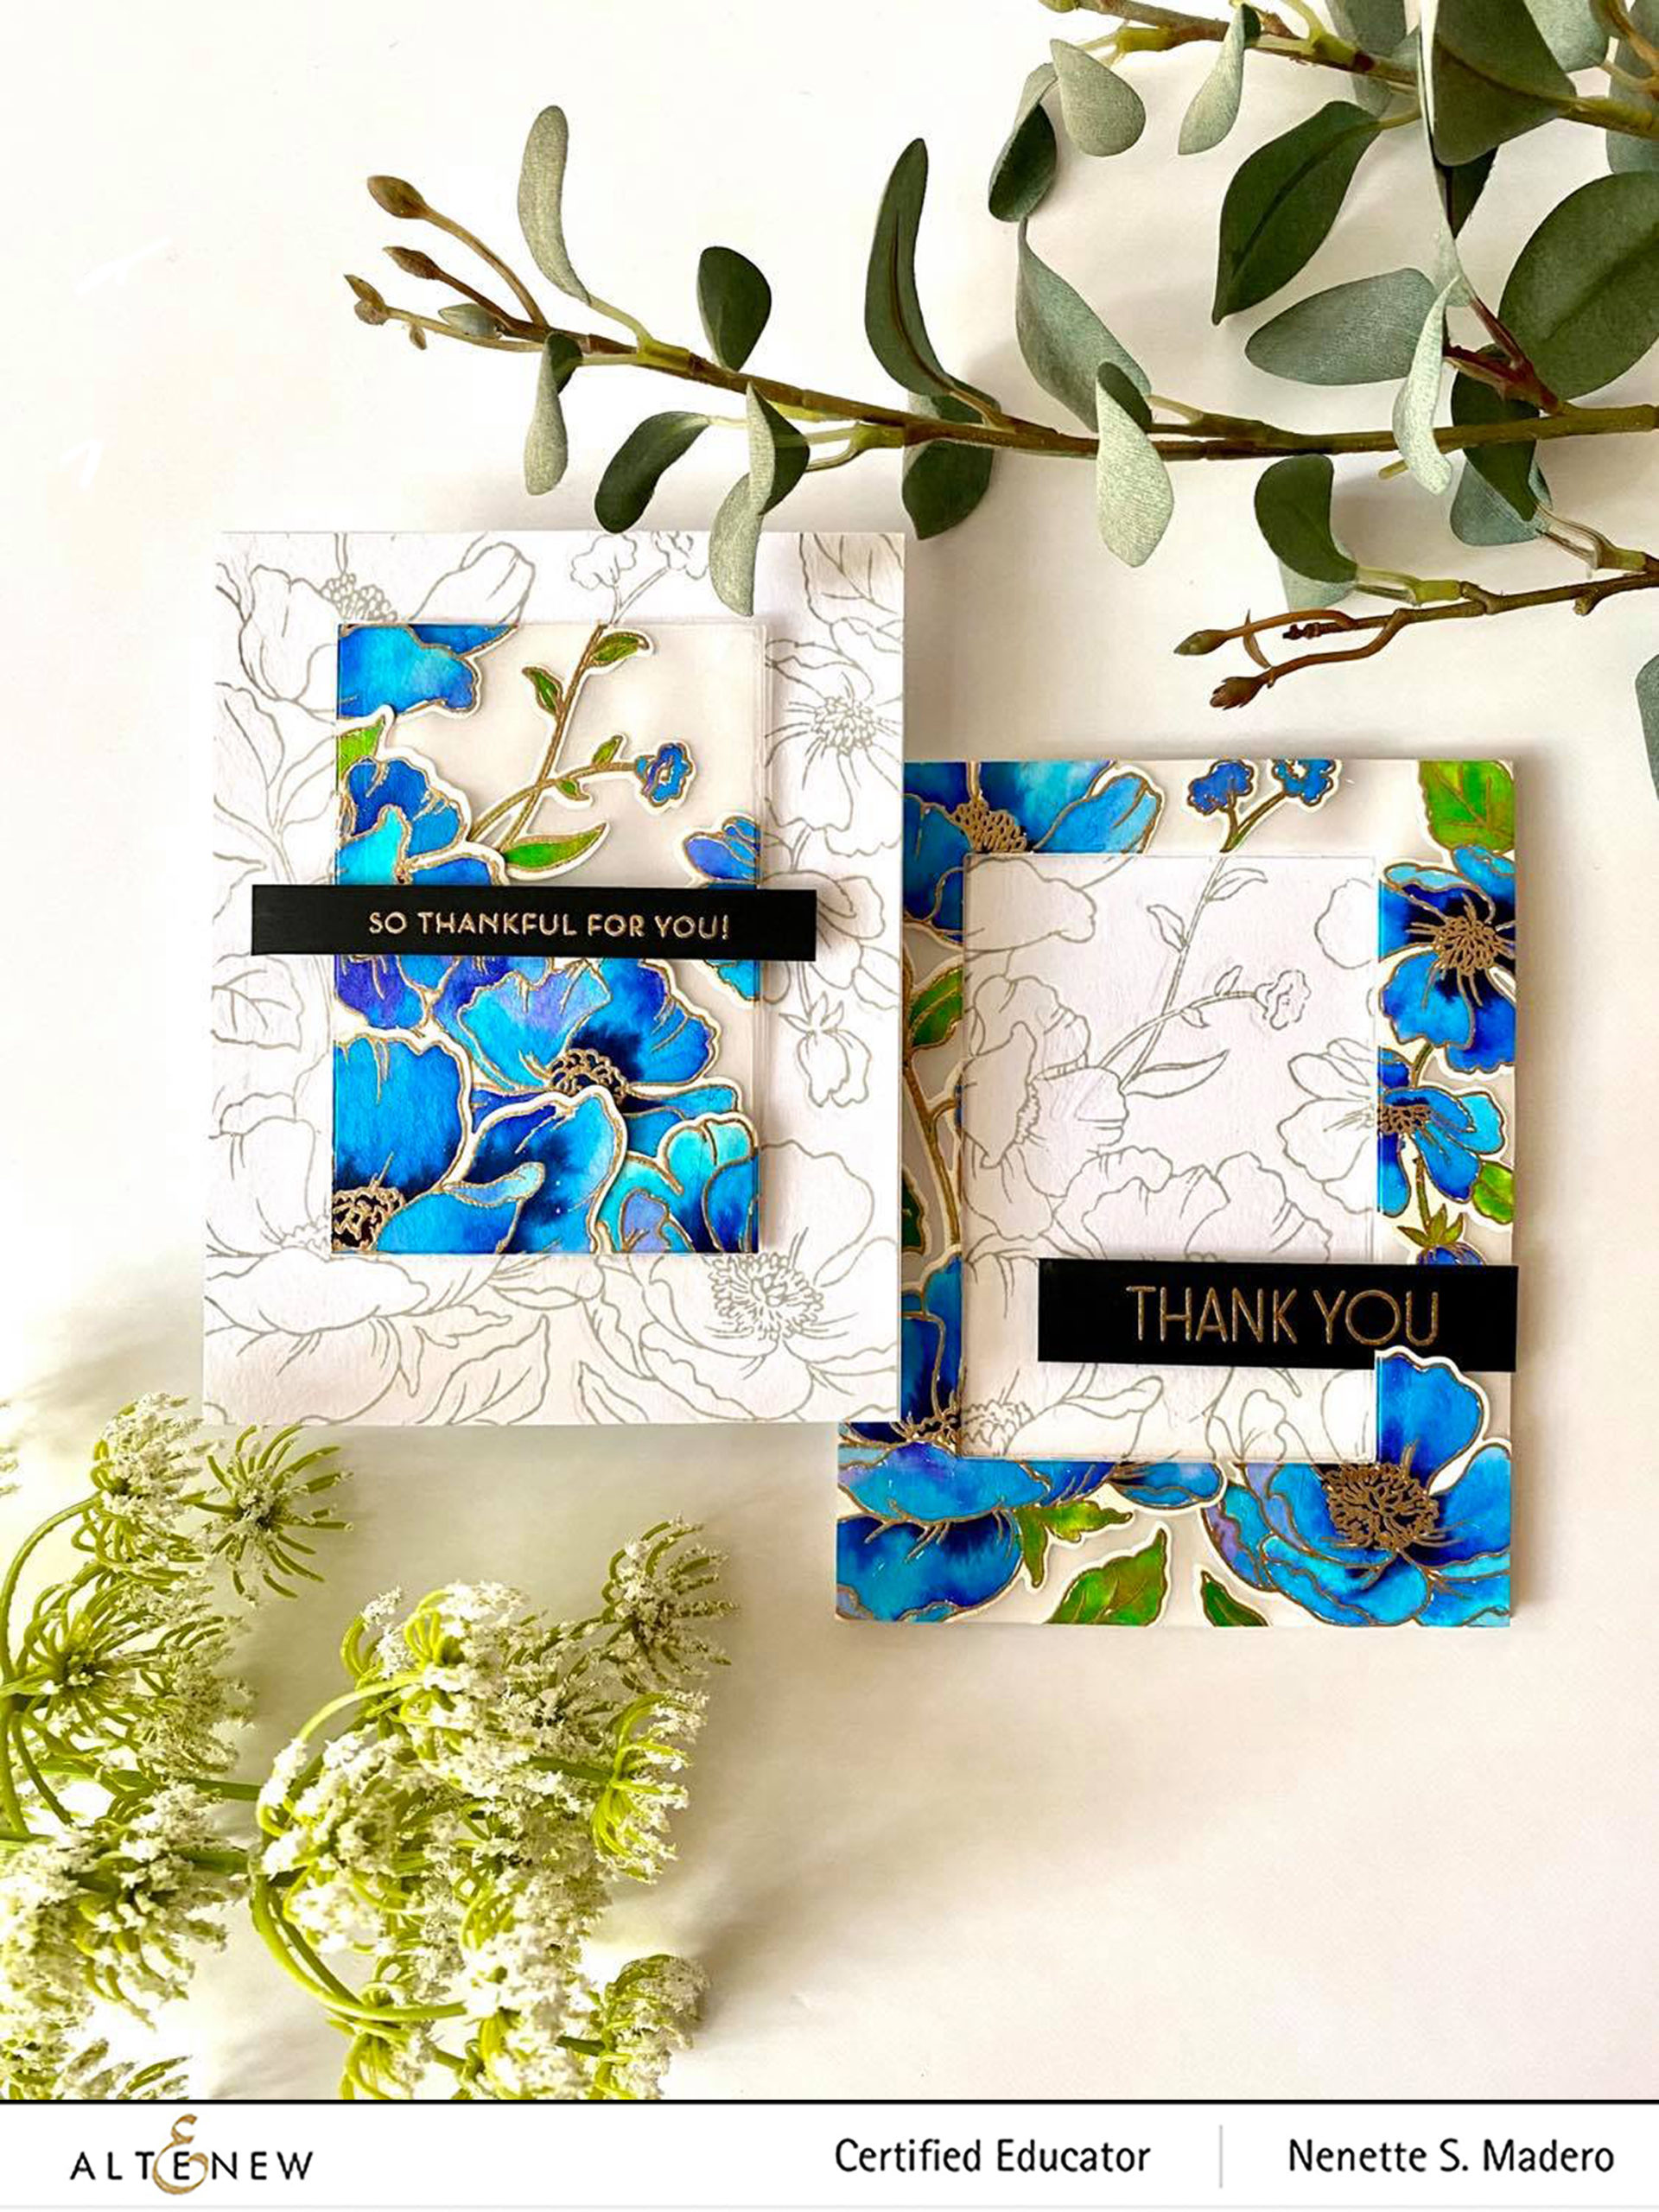
THANK YOU AND SO THANKFUL FOR YOU CARDS
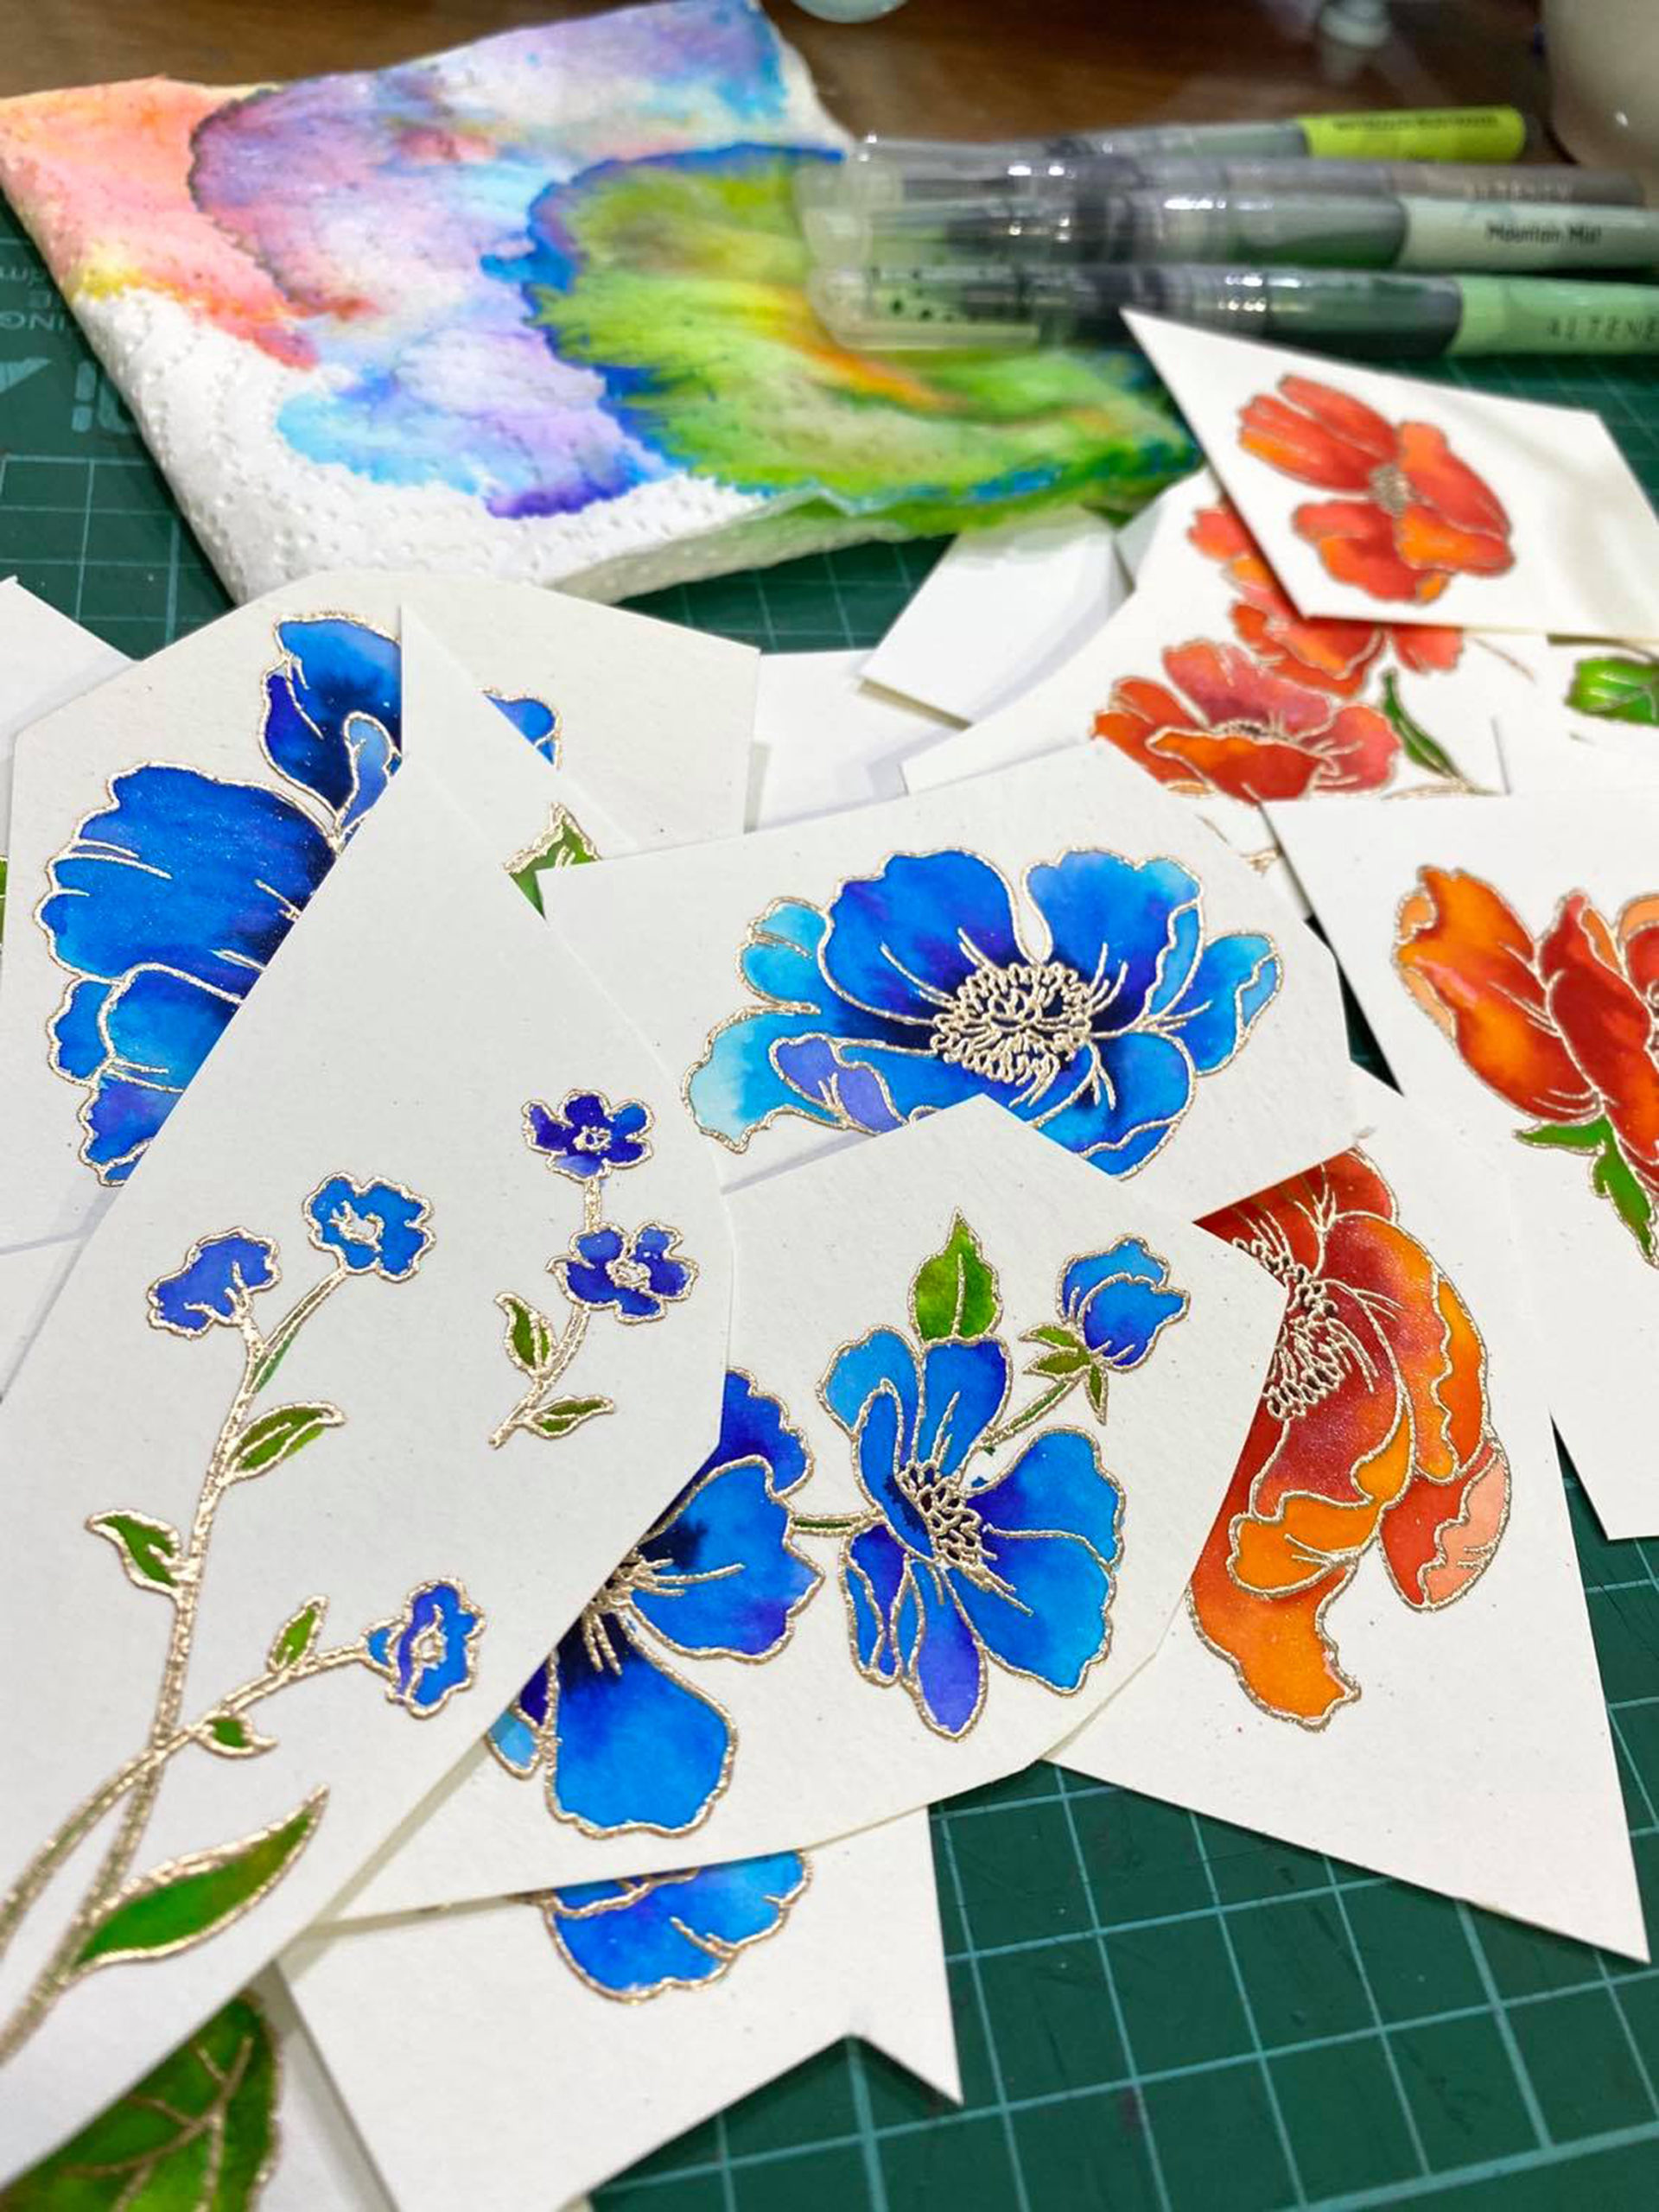
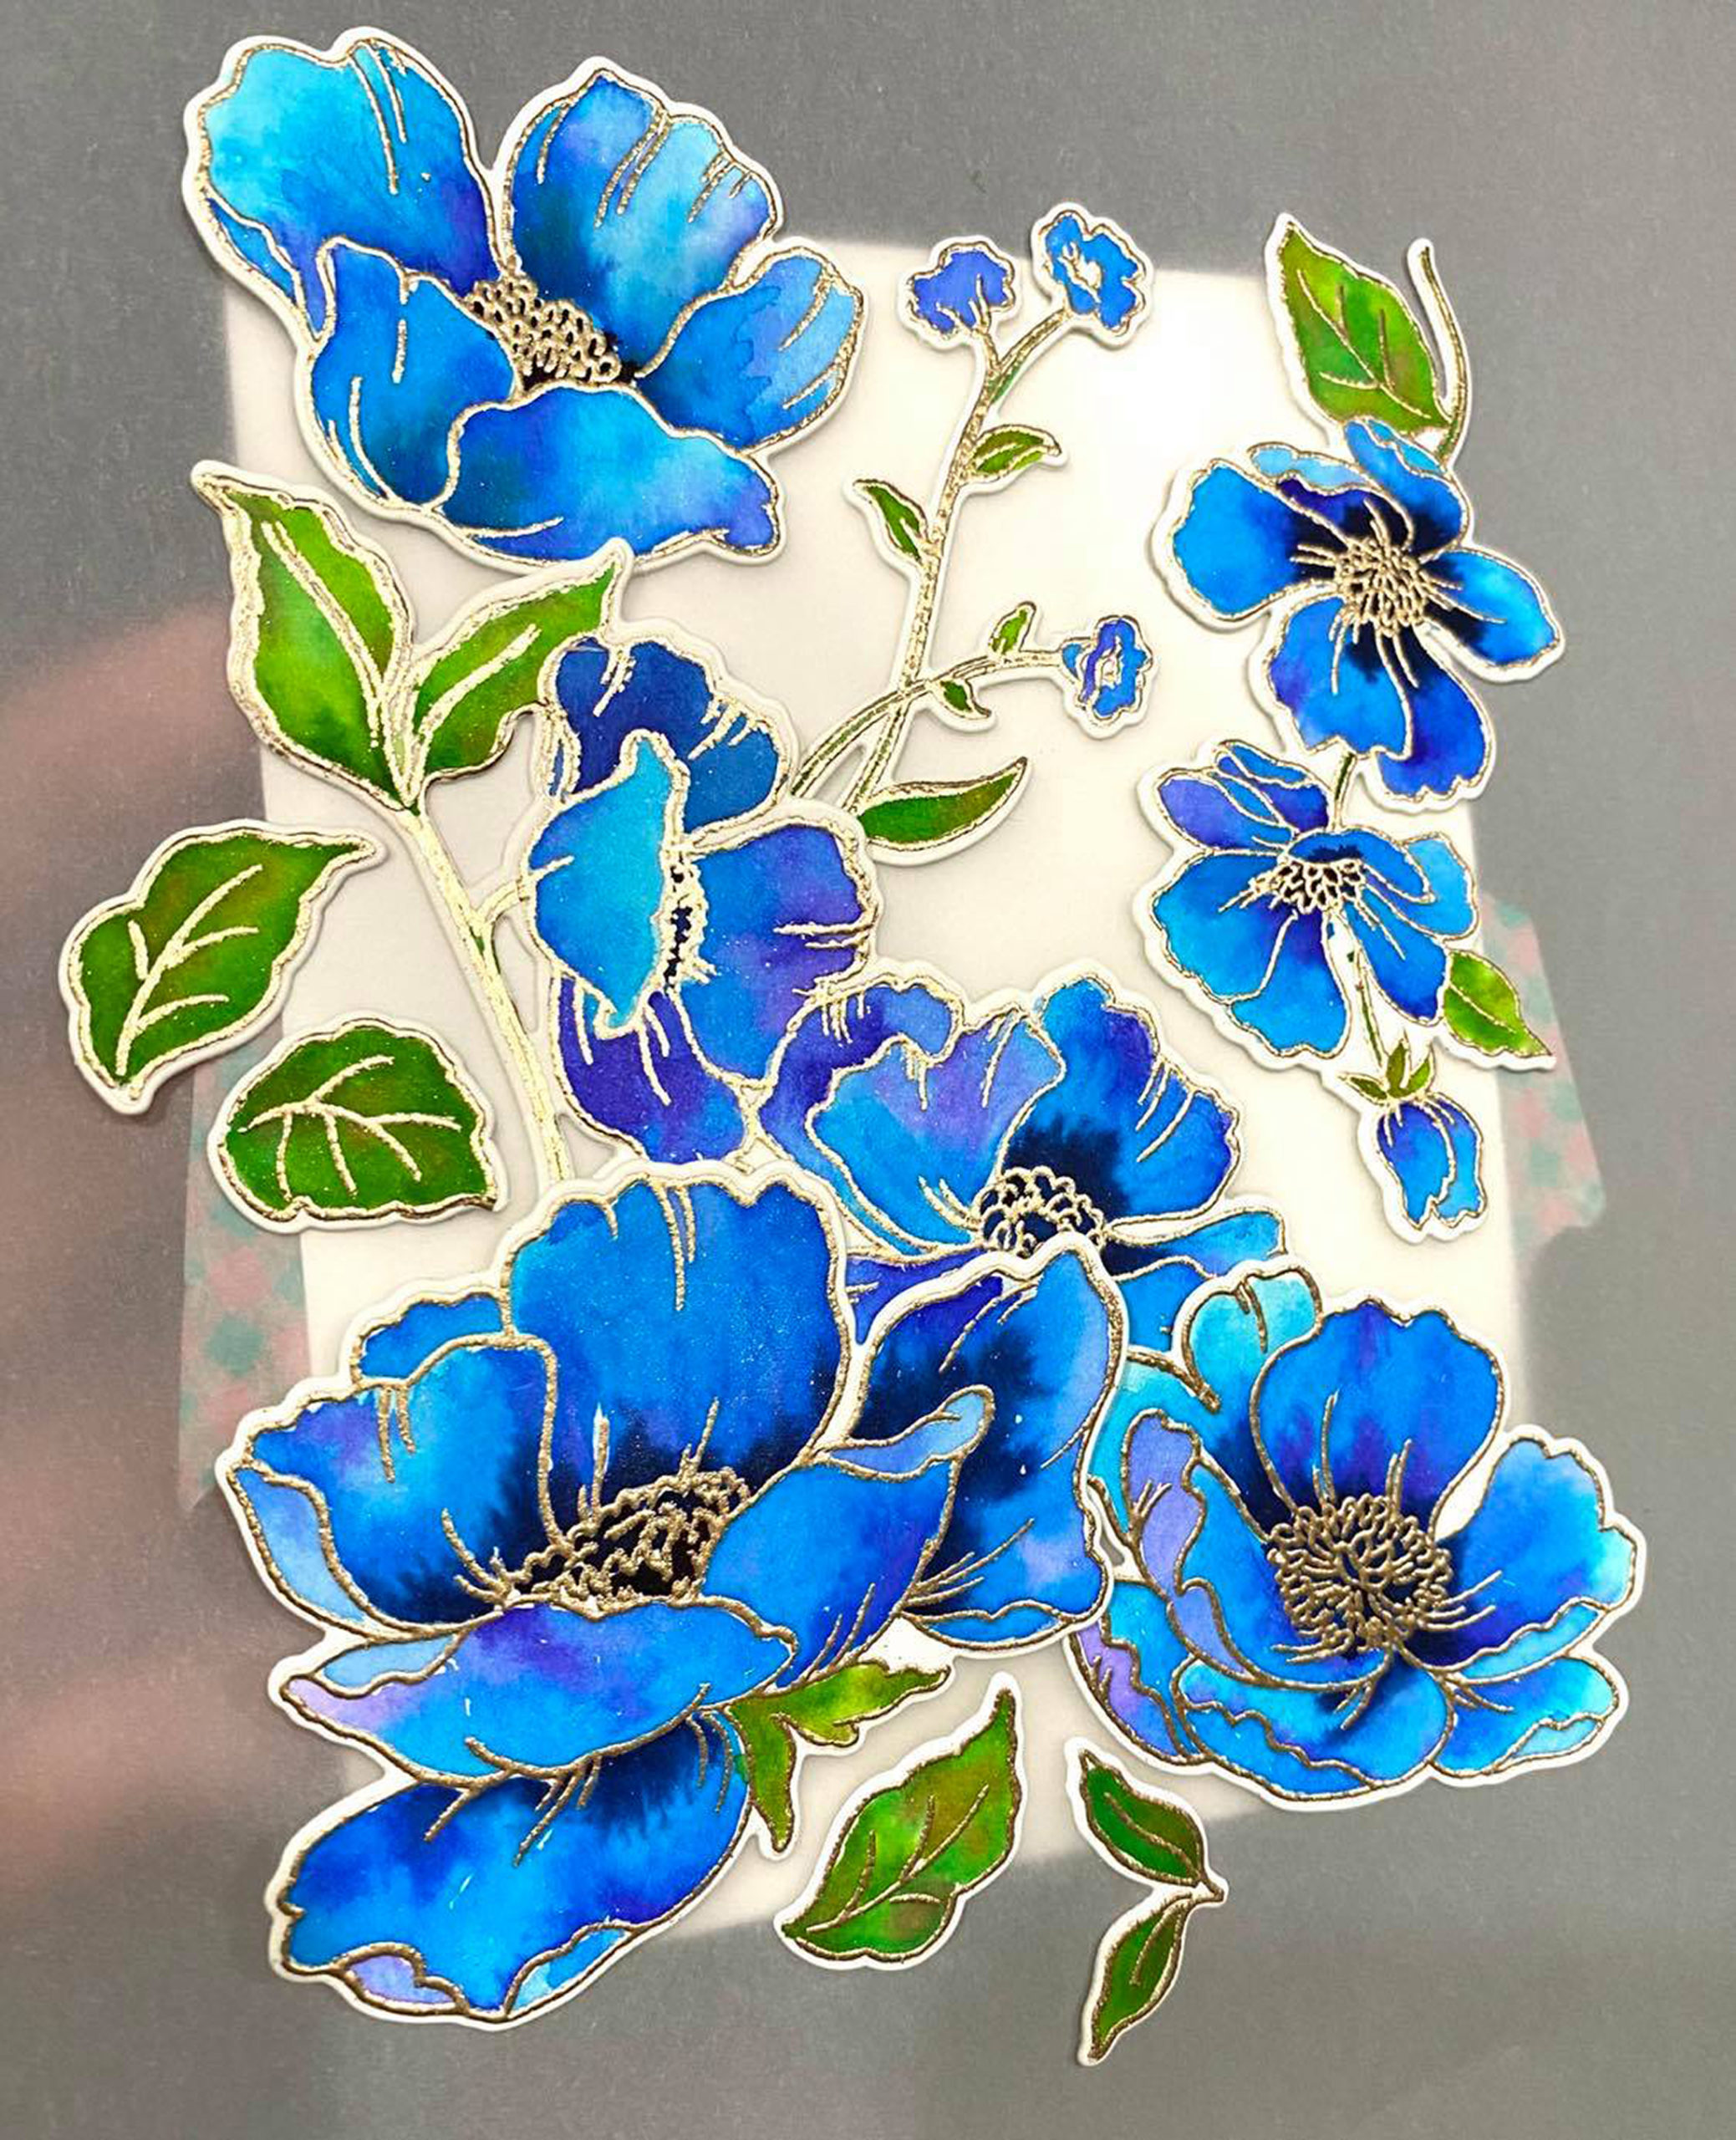
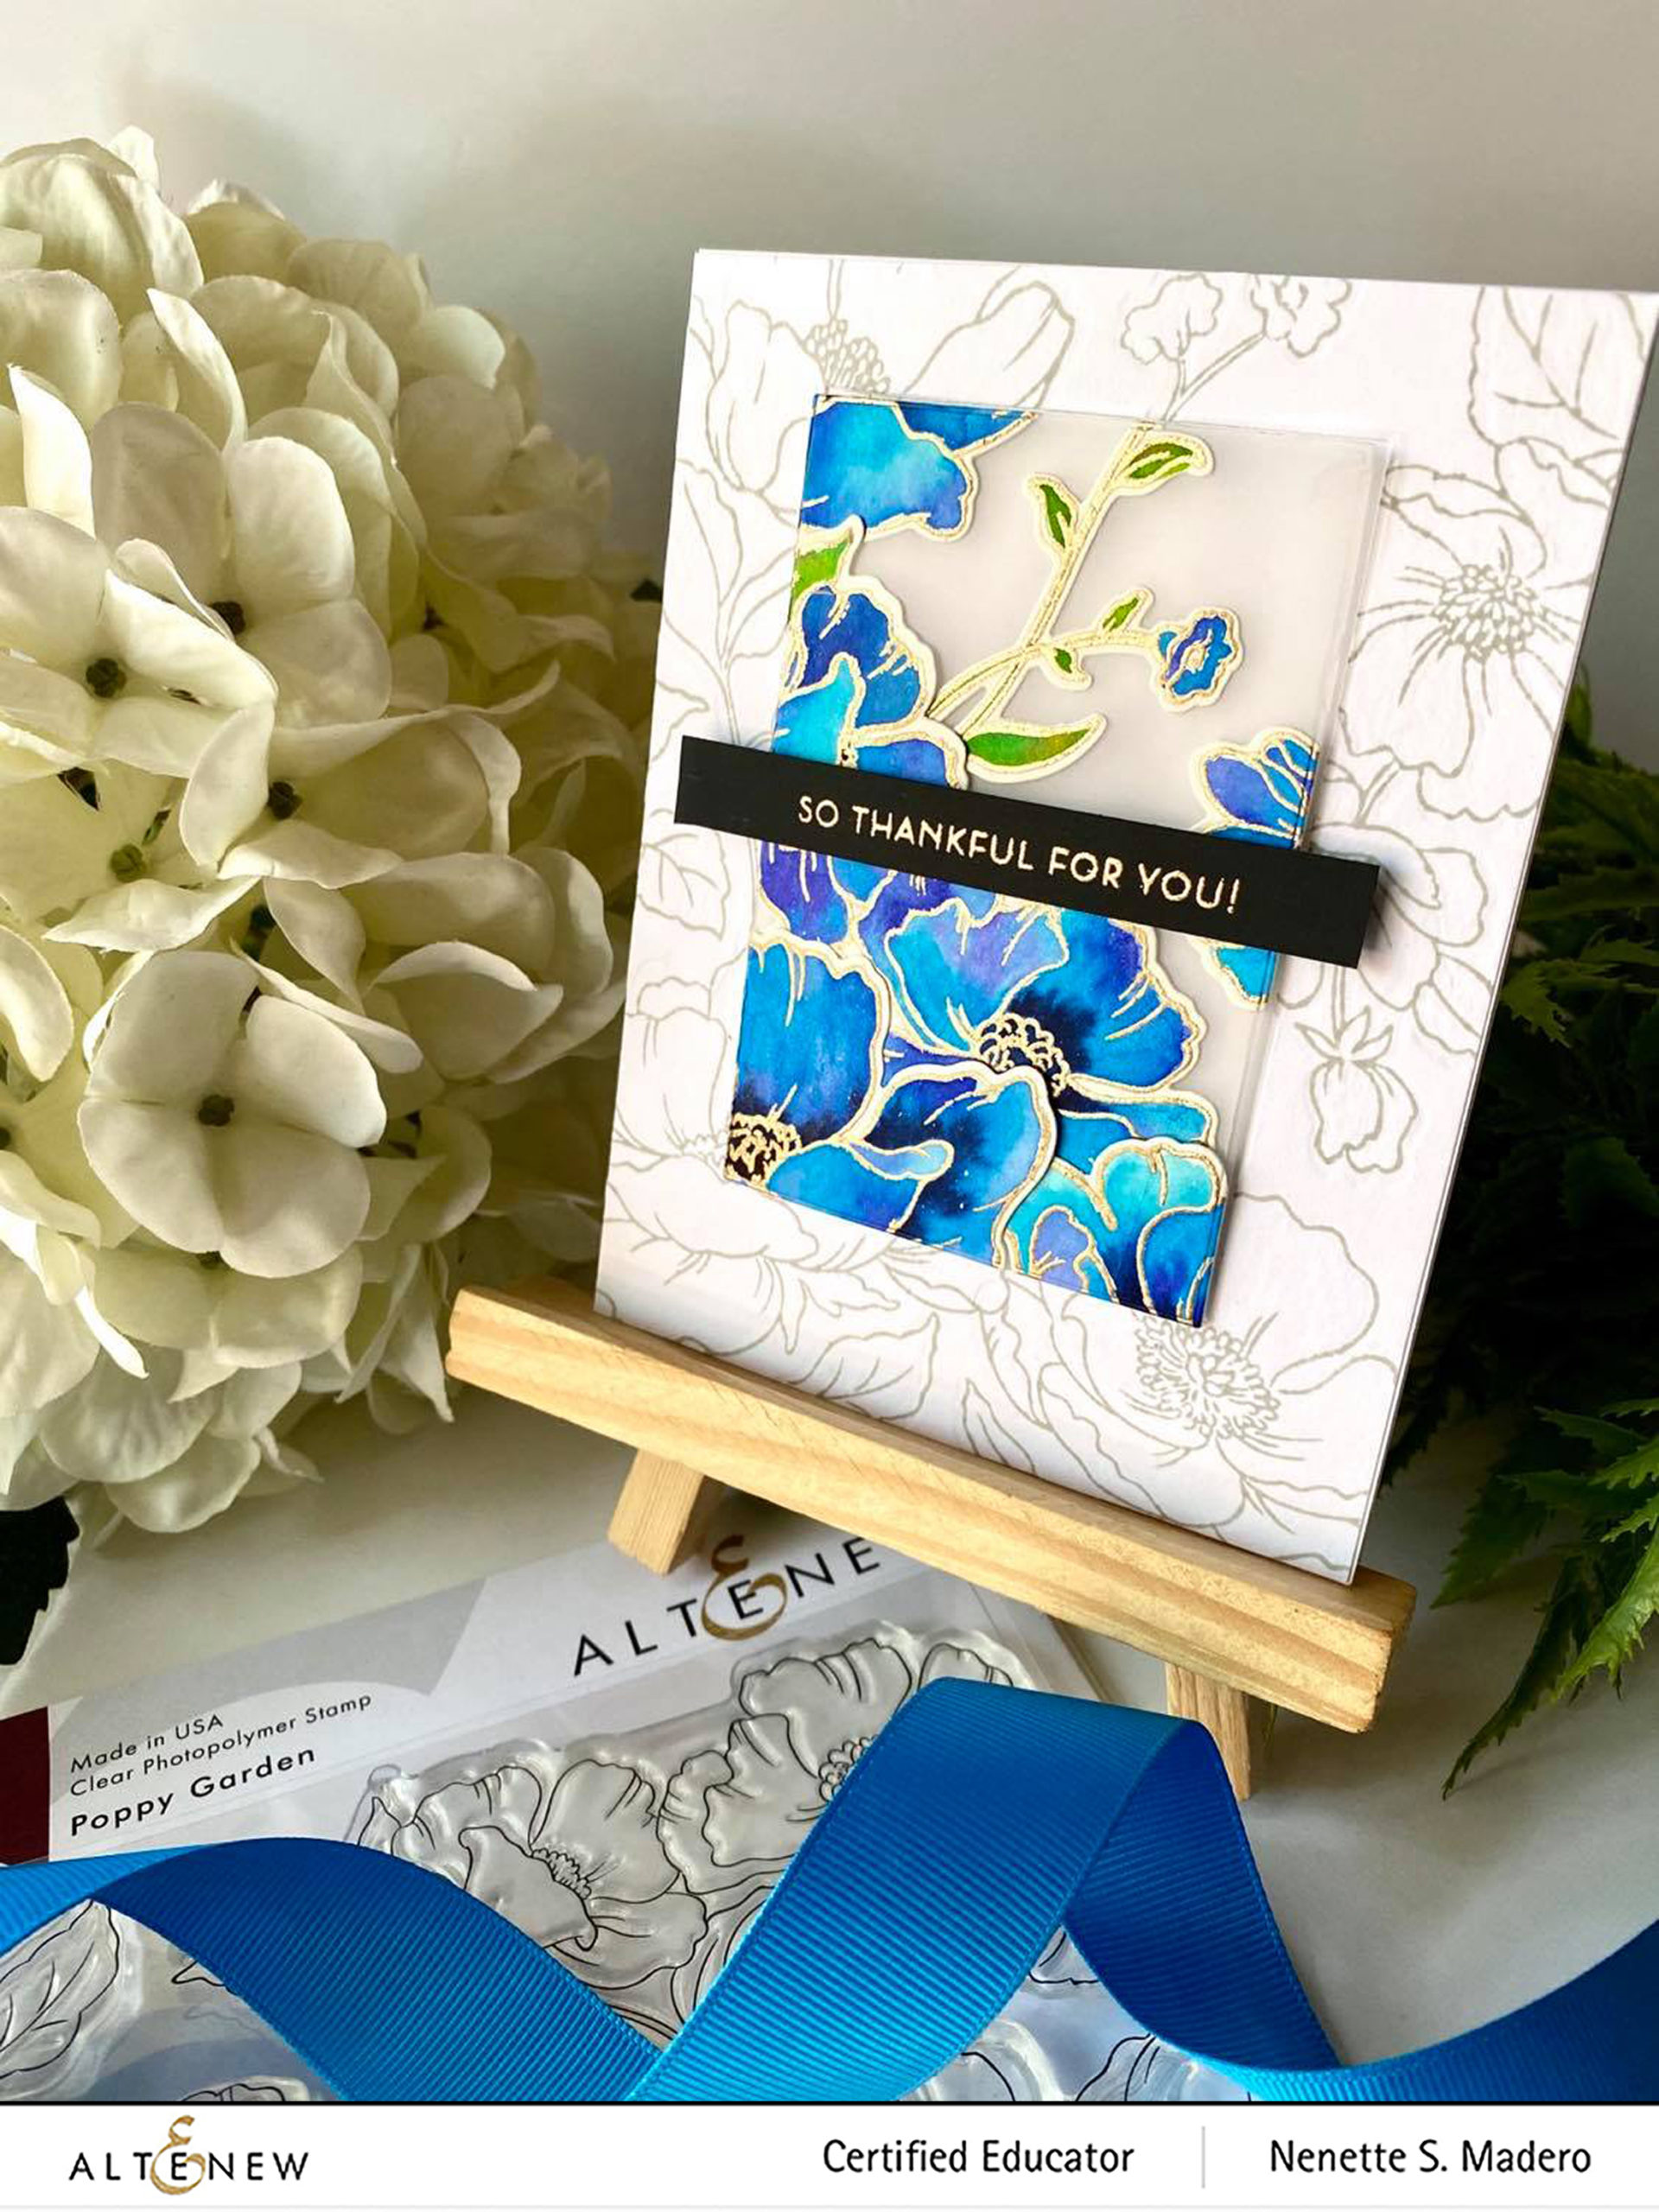
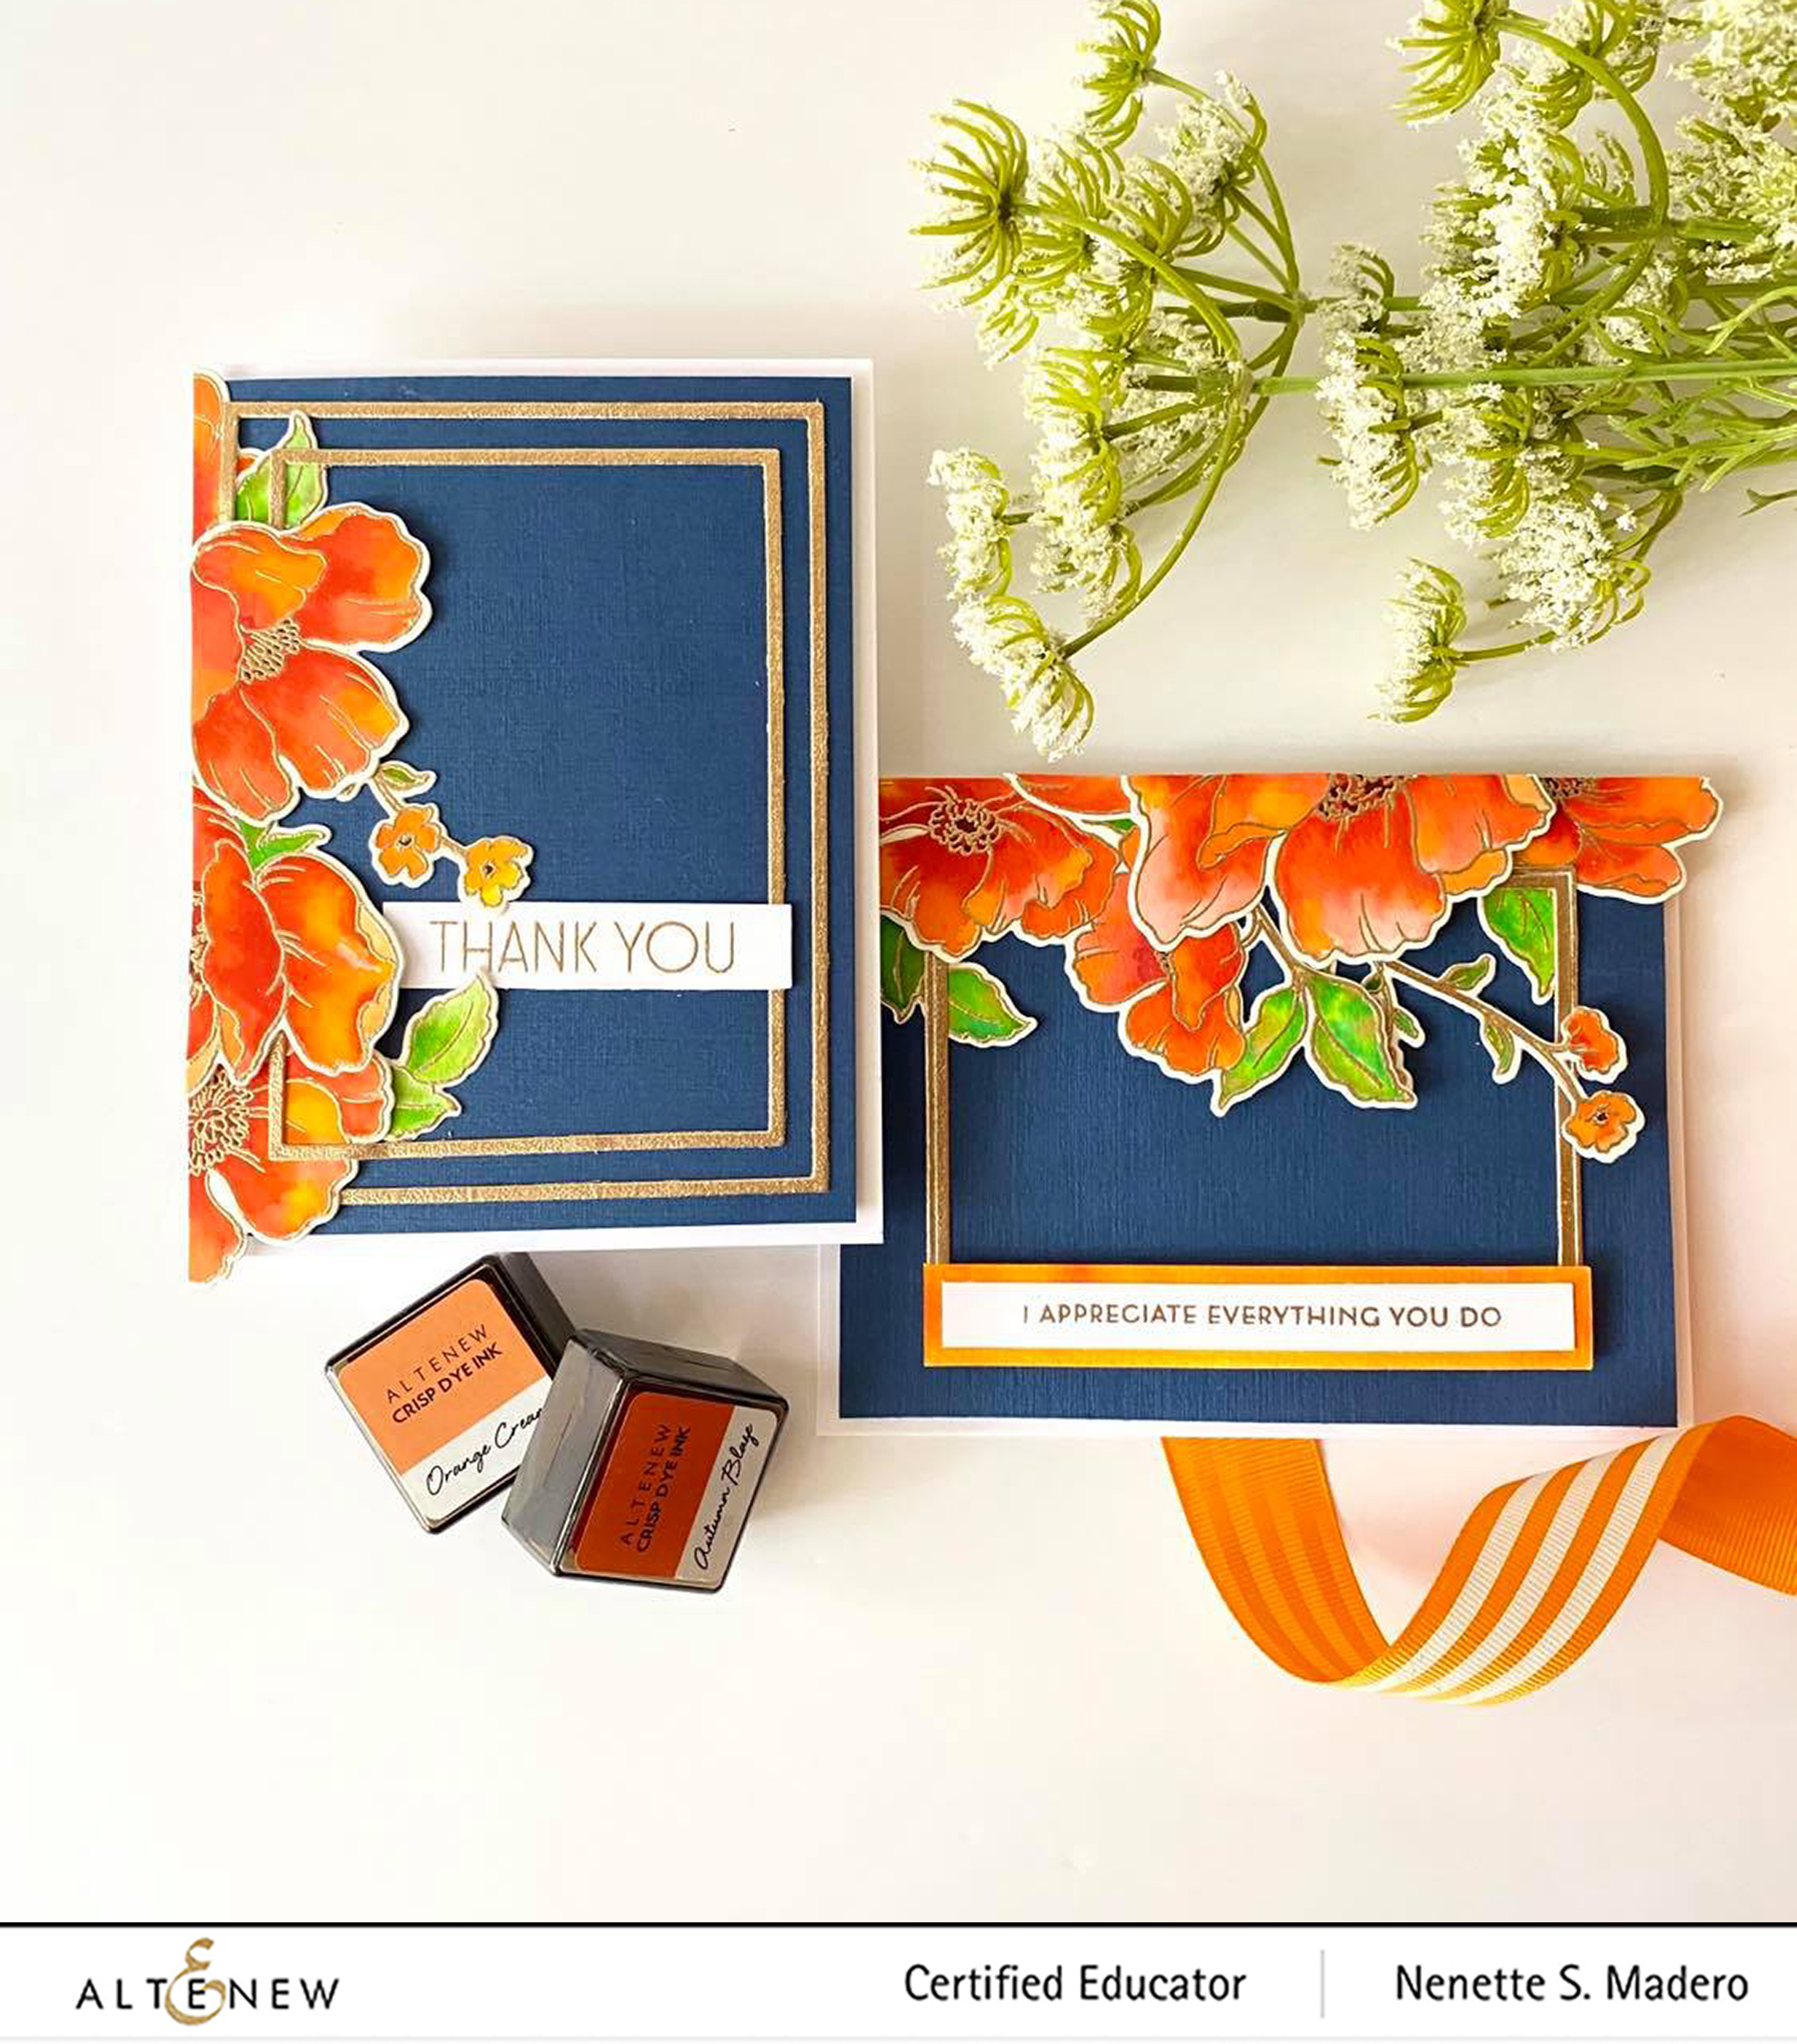
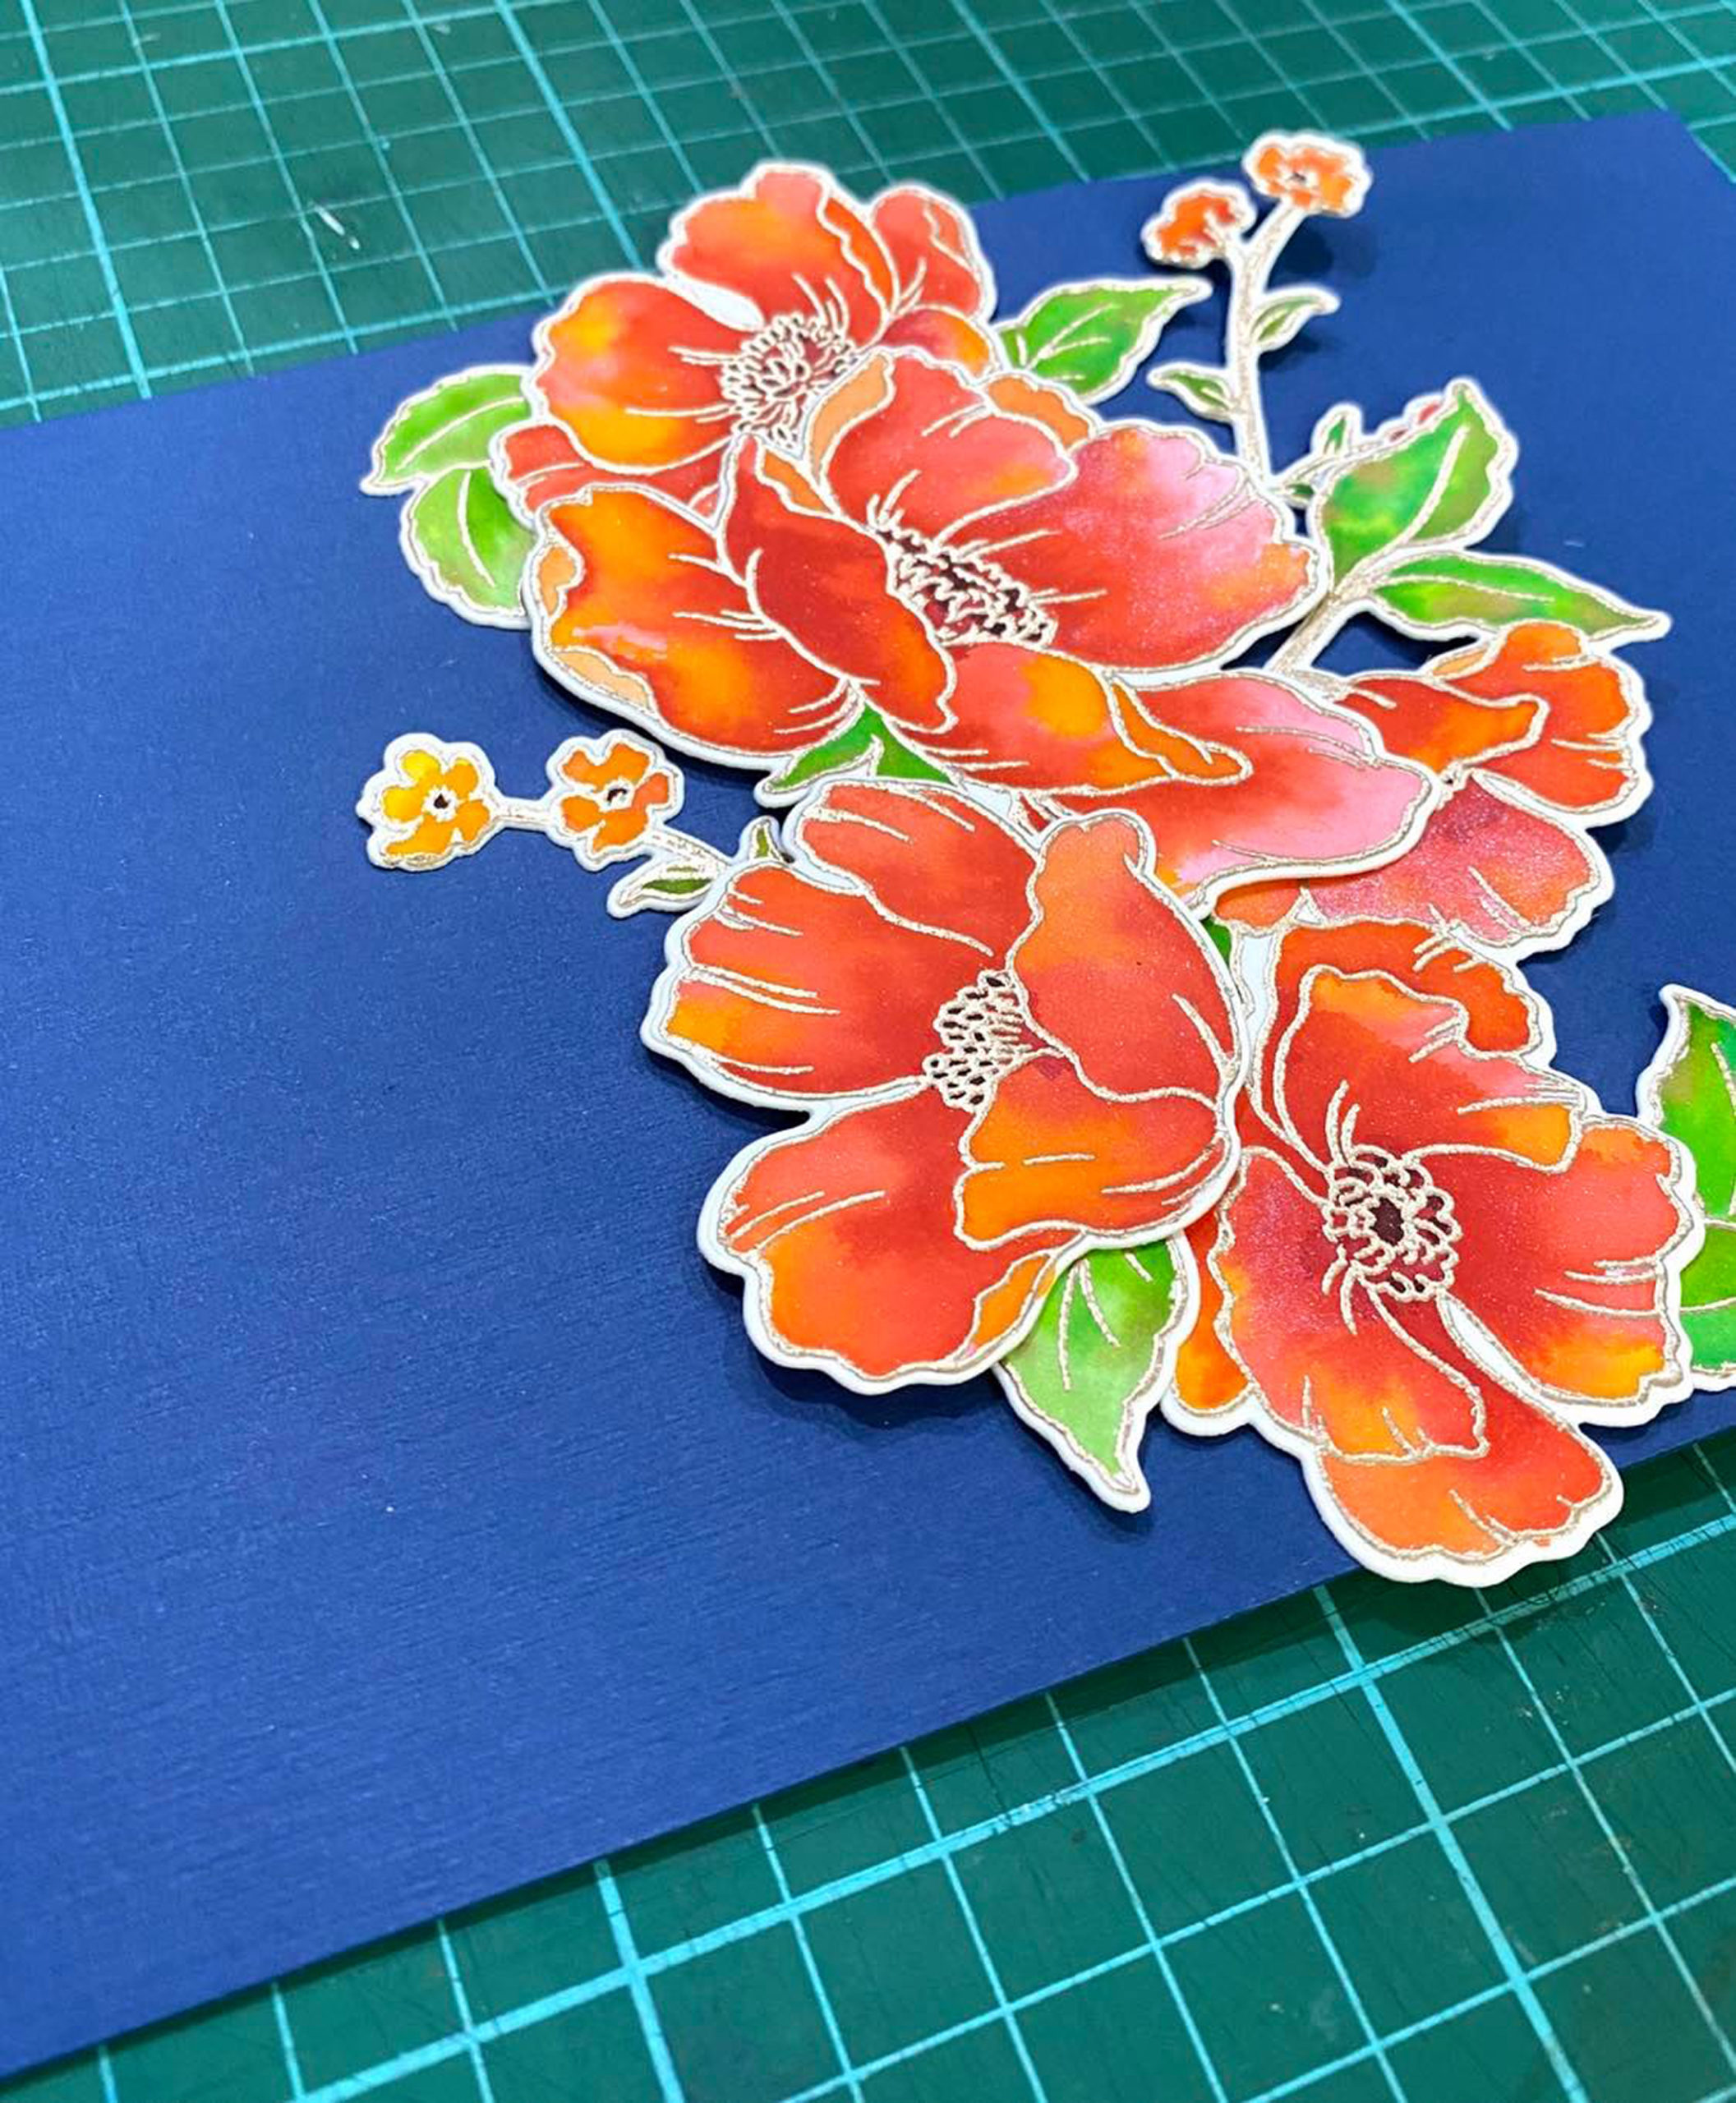
I loved coloring the Poppy Garden stamp images so I used it in 4 of my cards– warm colors for one set of die cuts and cool colors for the other set. I stamped all the images on watercolor paper with Versamark Ink then embossed with Rose gold embossing powder. The Tropical Fiesta and Winter Wonderland watecolor brush markers were used to color the stamped and embossed images. The images where then die cut using the coordinating dies.
Next, I stamped the biggest image onto Neenah Solar White CS using the Silver lake dye ink. I chose a lighter color instead of black so that the watercolored images will stand out more. Then I used the coordinating stencil to mask the stamped image so that I can overlap and stamp the second image. Always remember that whatever you stamp first will be the image that will look closest to you. Everything else will be behind the masked image so plan your stamping accordingly. I continued until I covered the entire paper using all the different stamp images.
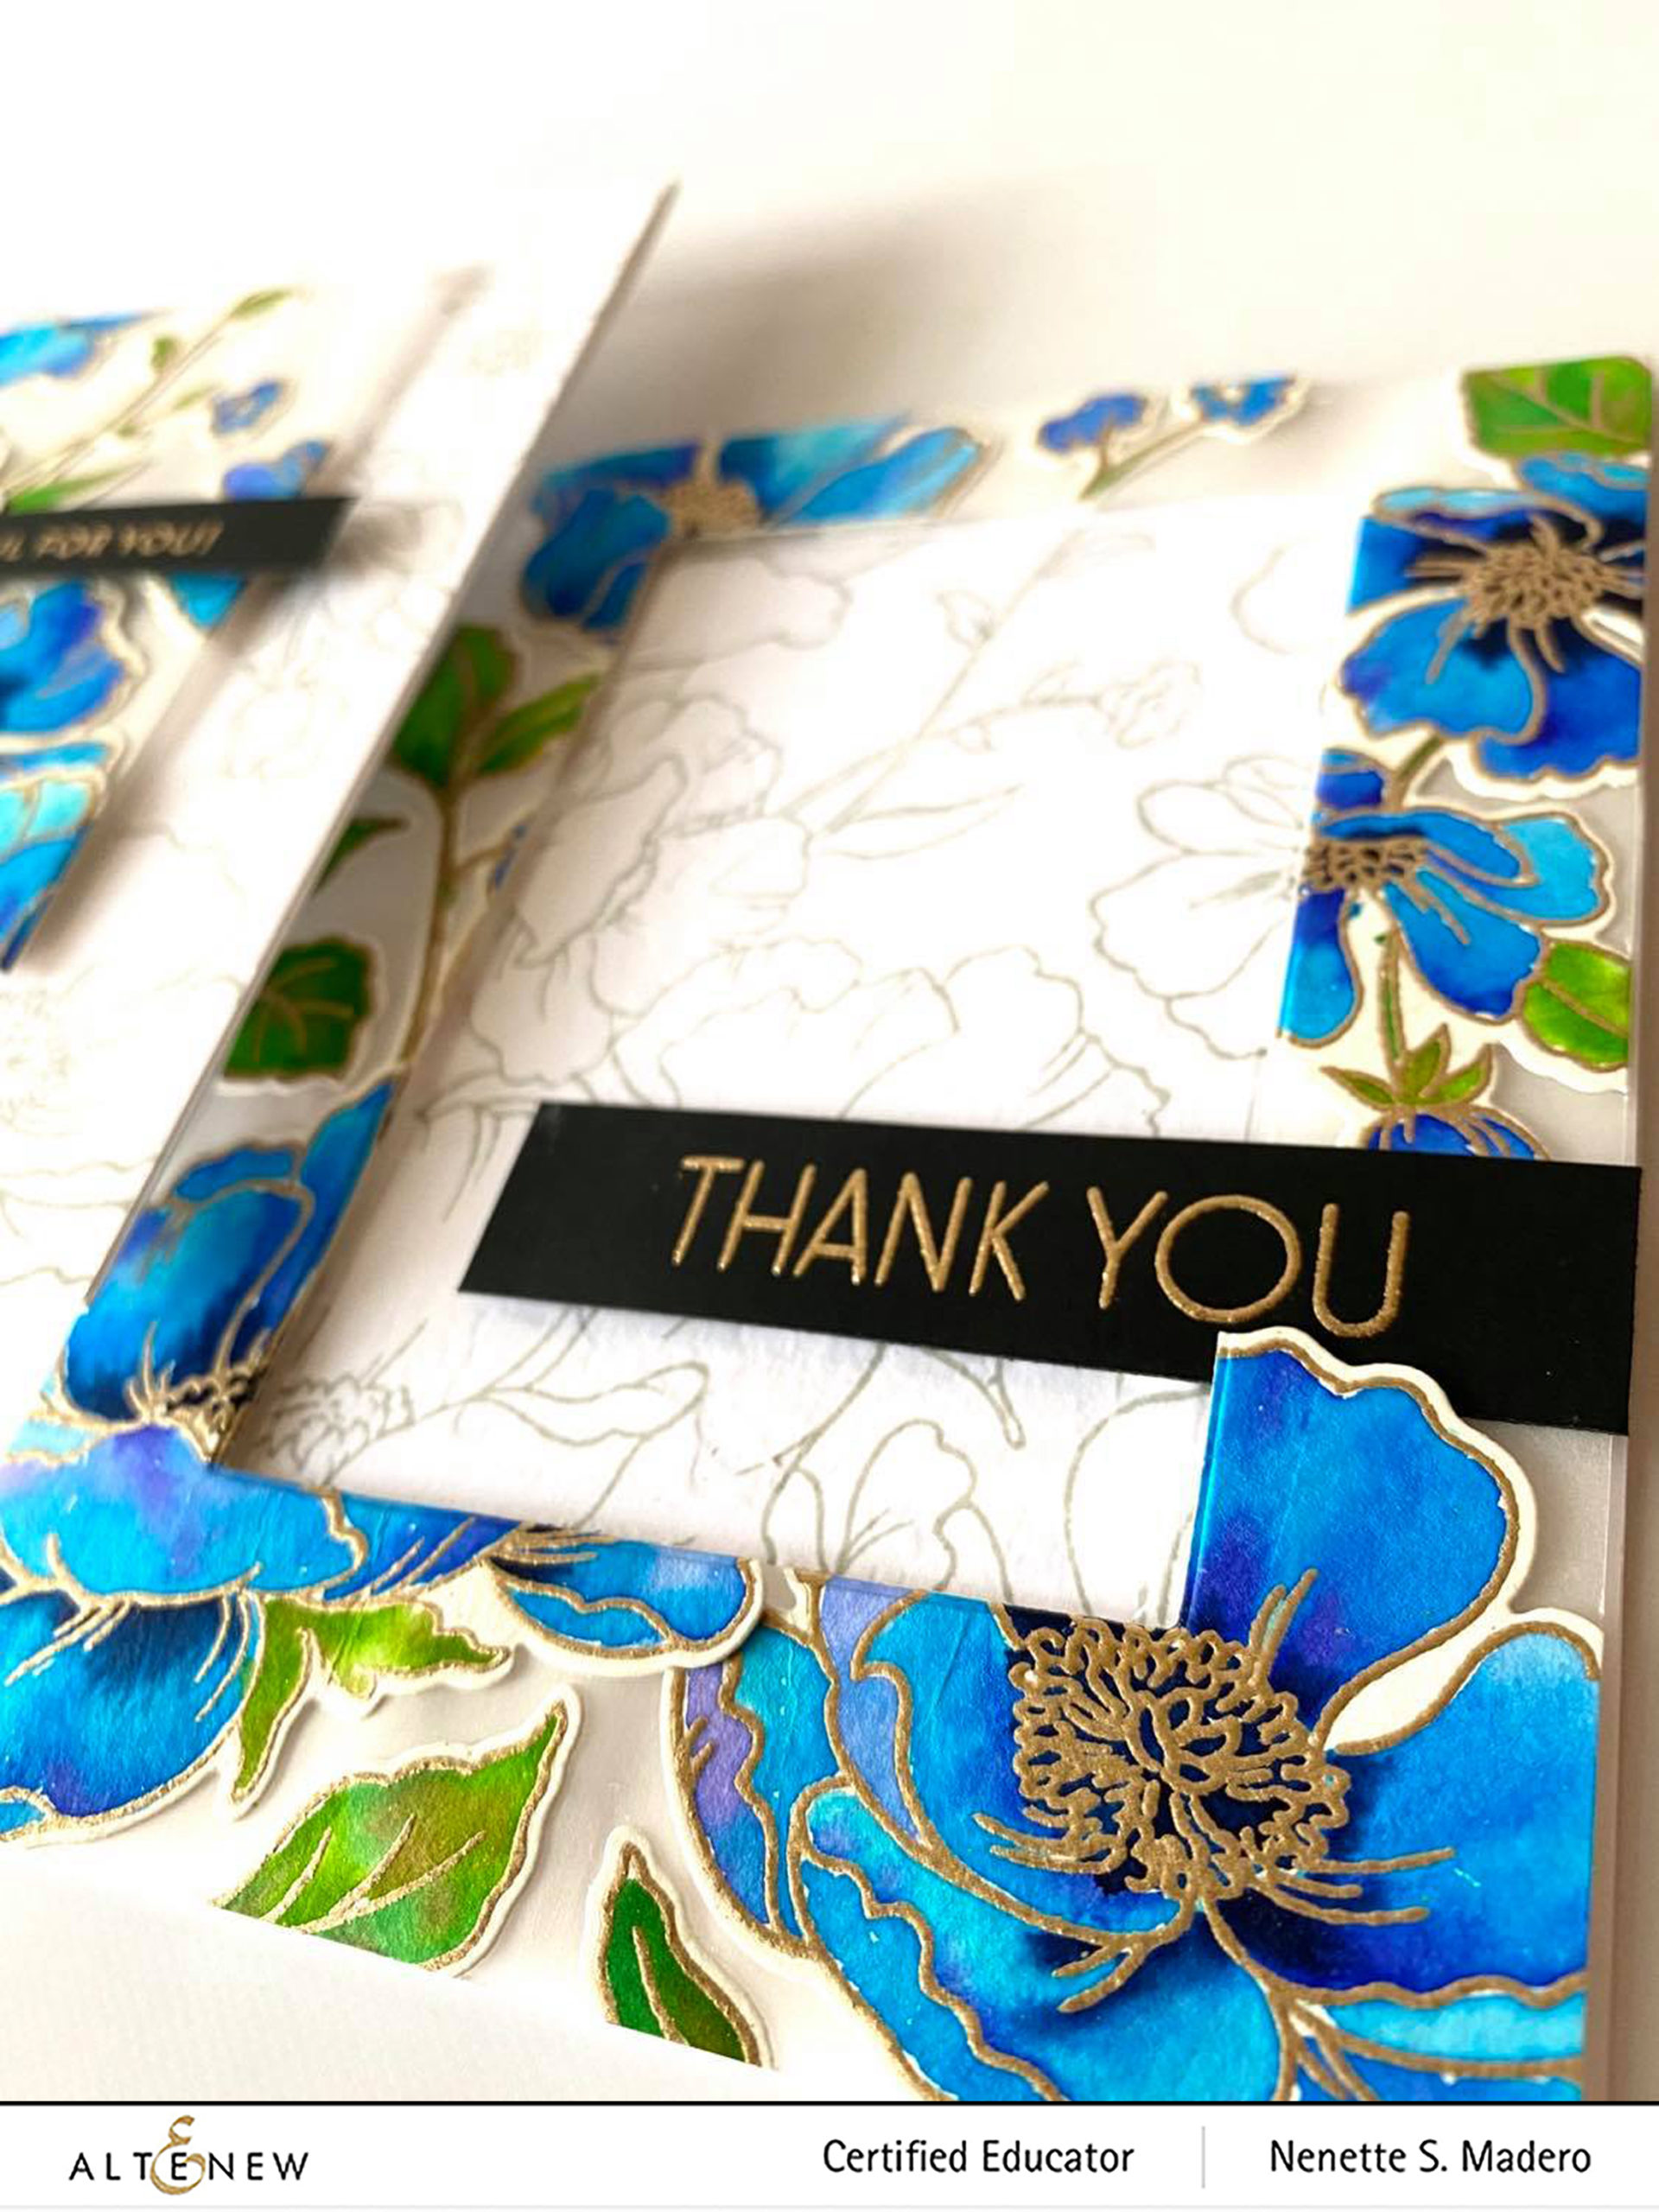
I then temporarily adhered vellum over the stamped panel using washi tape so that I can glue the die-cut flowers on top following the placement of the stamped images. You can also use transparency as an alternative. Make sure you secure the two together using washi tape so that the vellum with the die cuts and the stamped panel will not shift when it goes through the die-cutting machine. Both sheets were then die cut using a rectangular die to create a frame.
The negative die cut frame was adhered onto an A2 card front using foam squares. The middle portion of the stamped panel was glued to the center of the card then the sentiment from the Ornamental Bliss stamp set was stamped on black cardstock and embossed with Rose Gold embossing powder. This was mounted onto the card front using foam squares.
The same thing was done for the 2nd card. I just made sure that the flowers aligned when I adhered the middle panel using foam squares. Sentiment for this card was from the Needlework Motif stamp set.
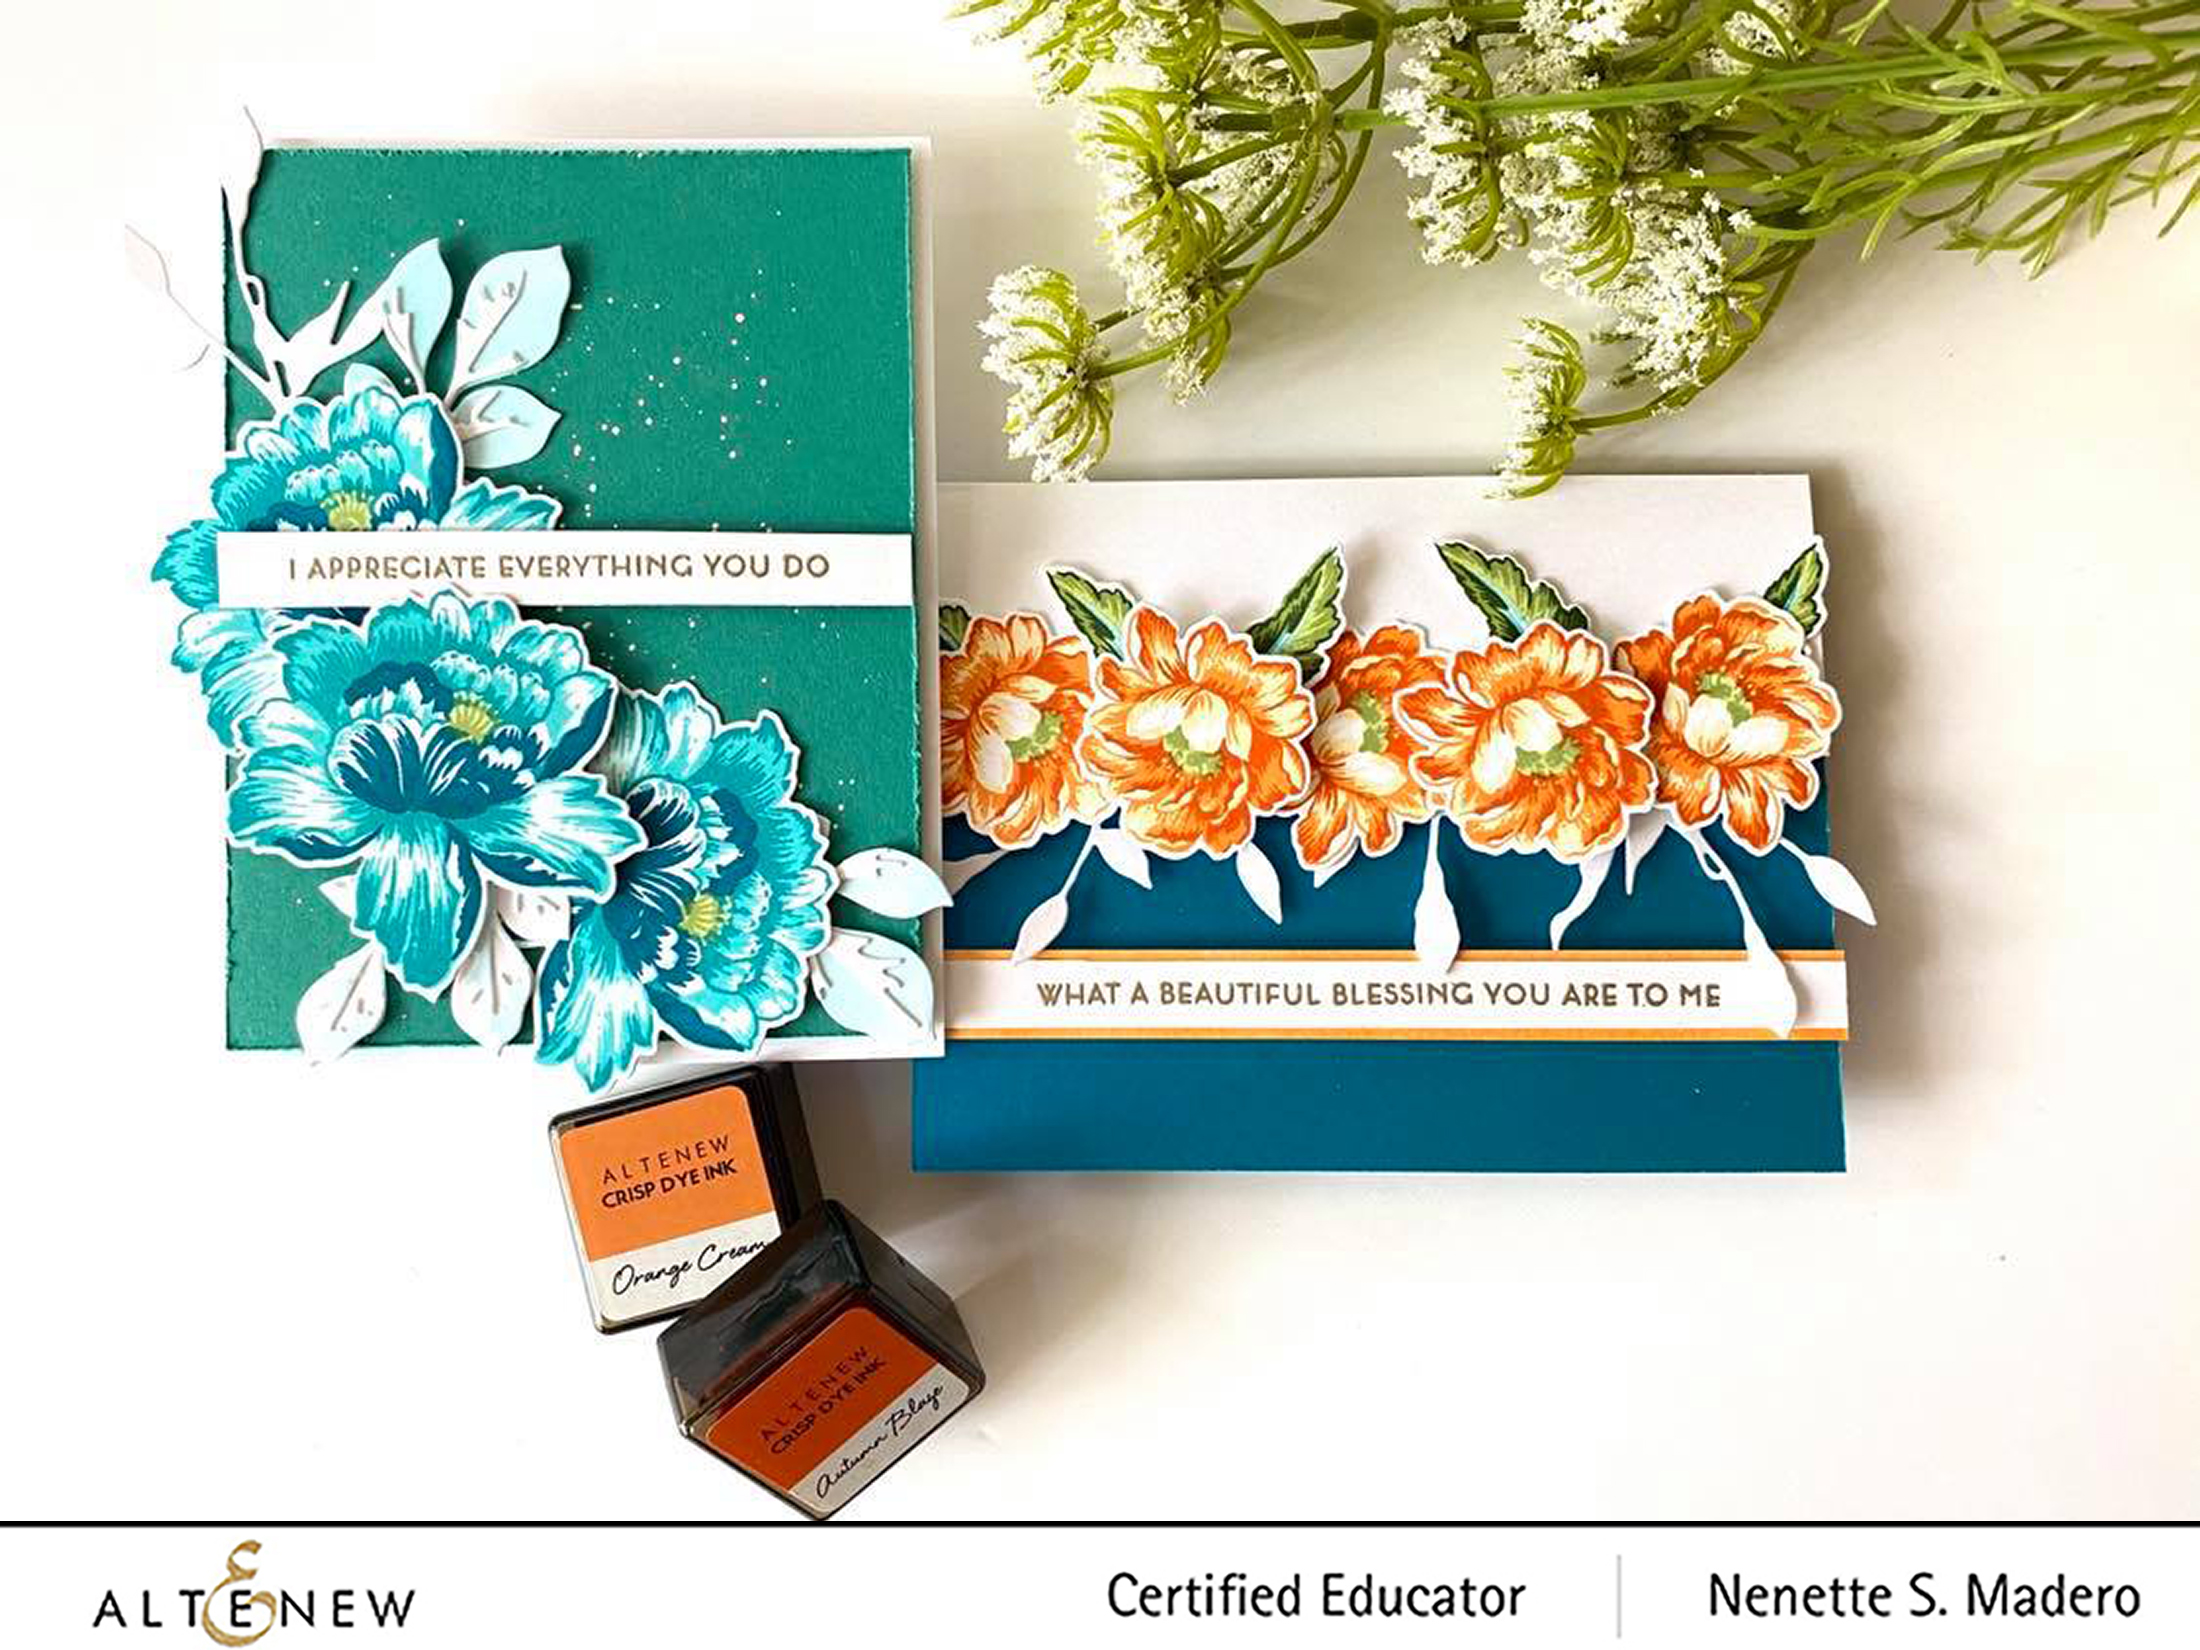
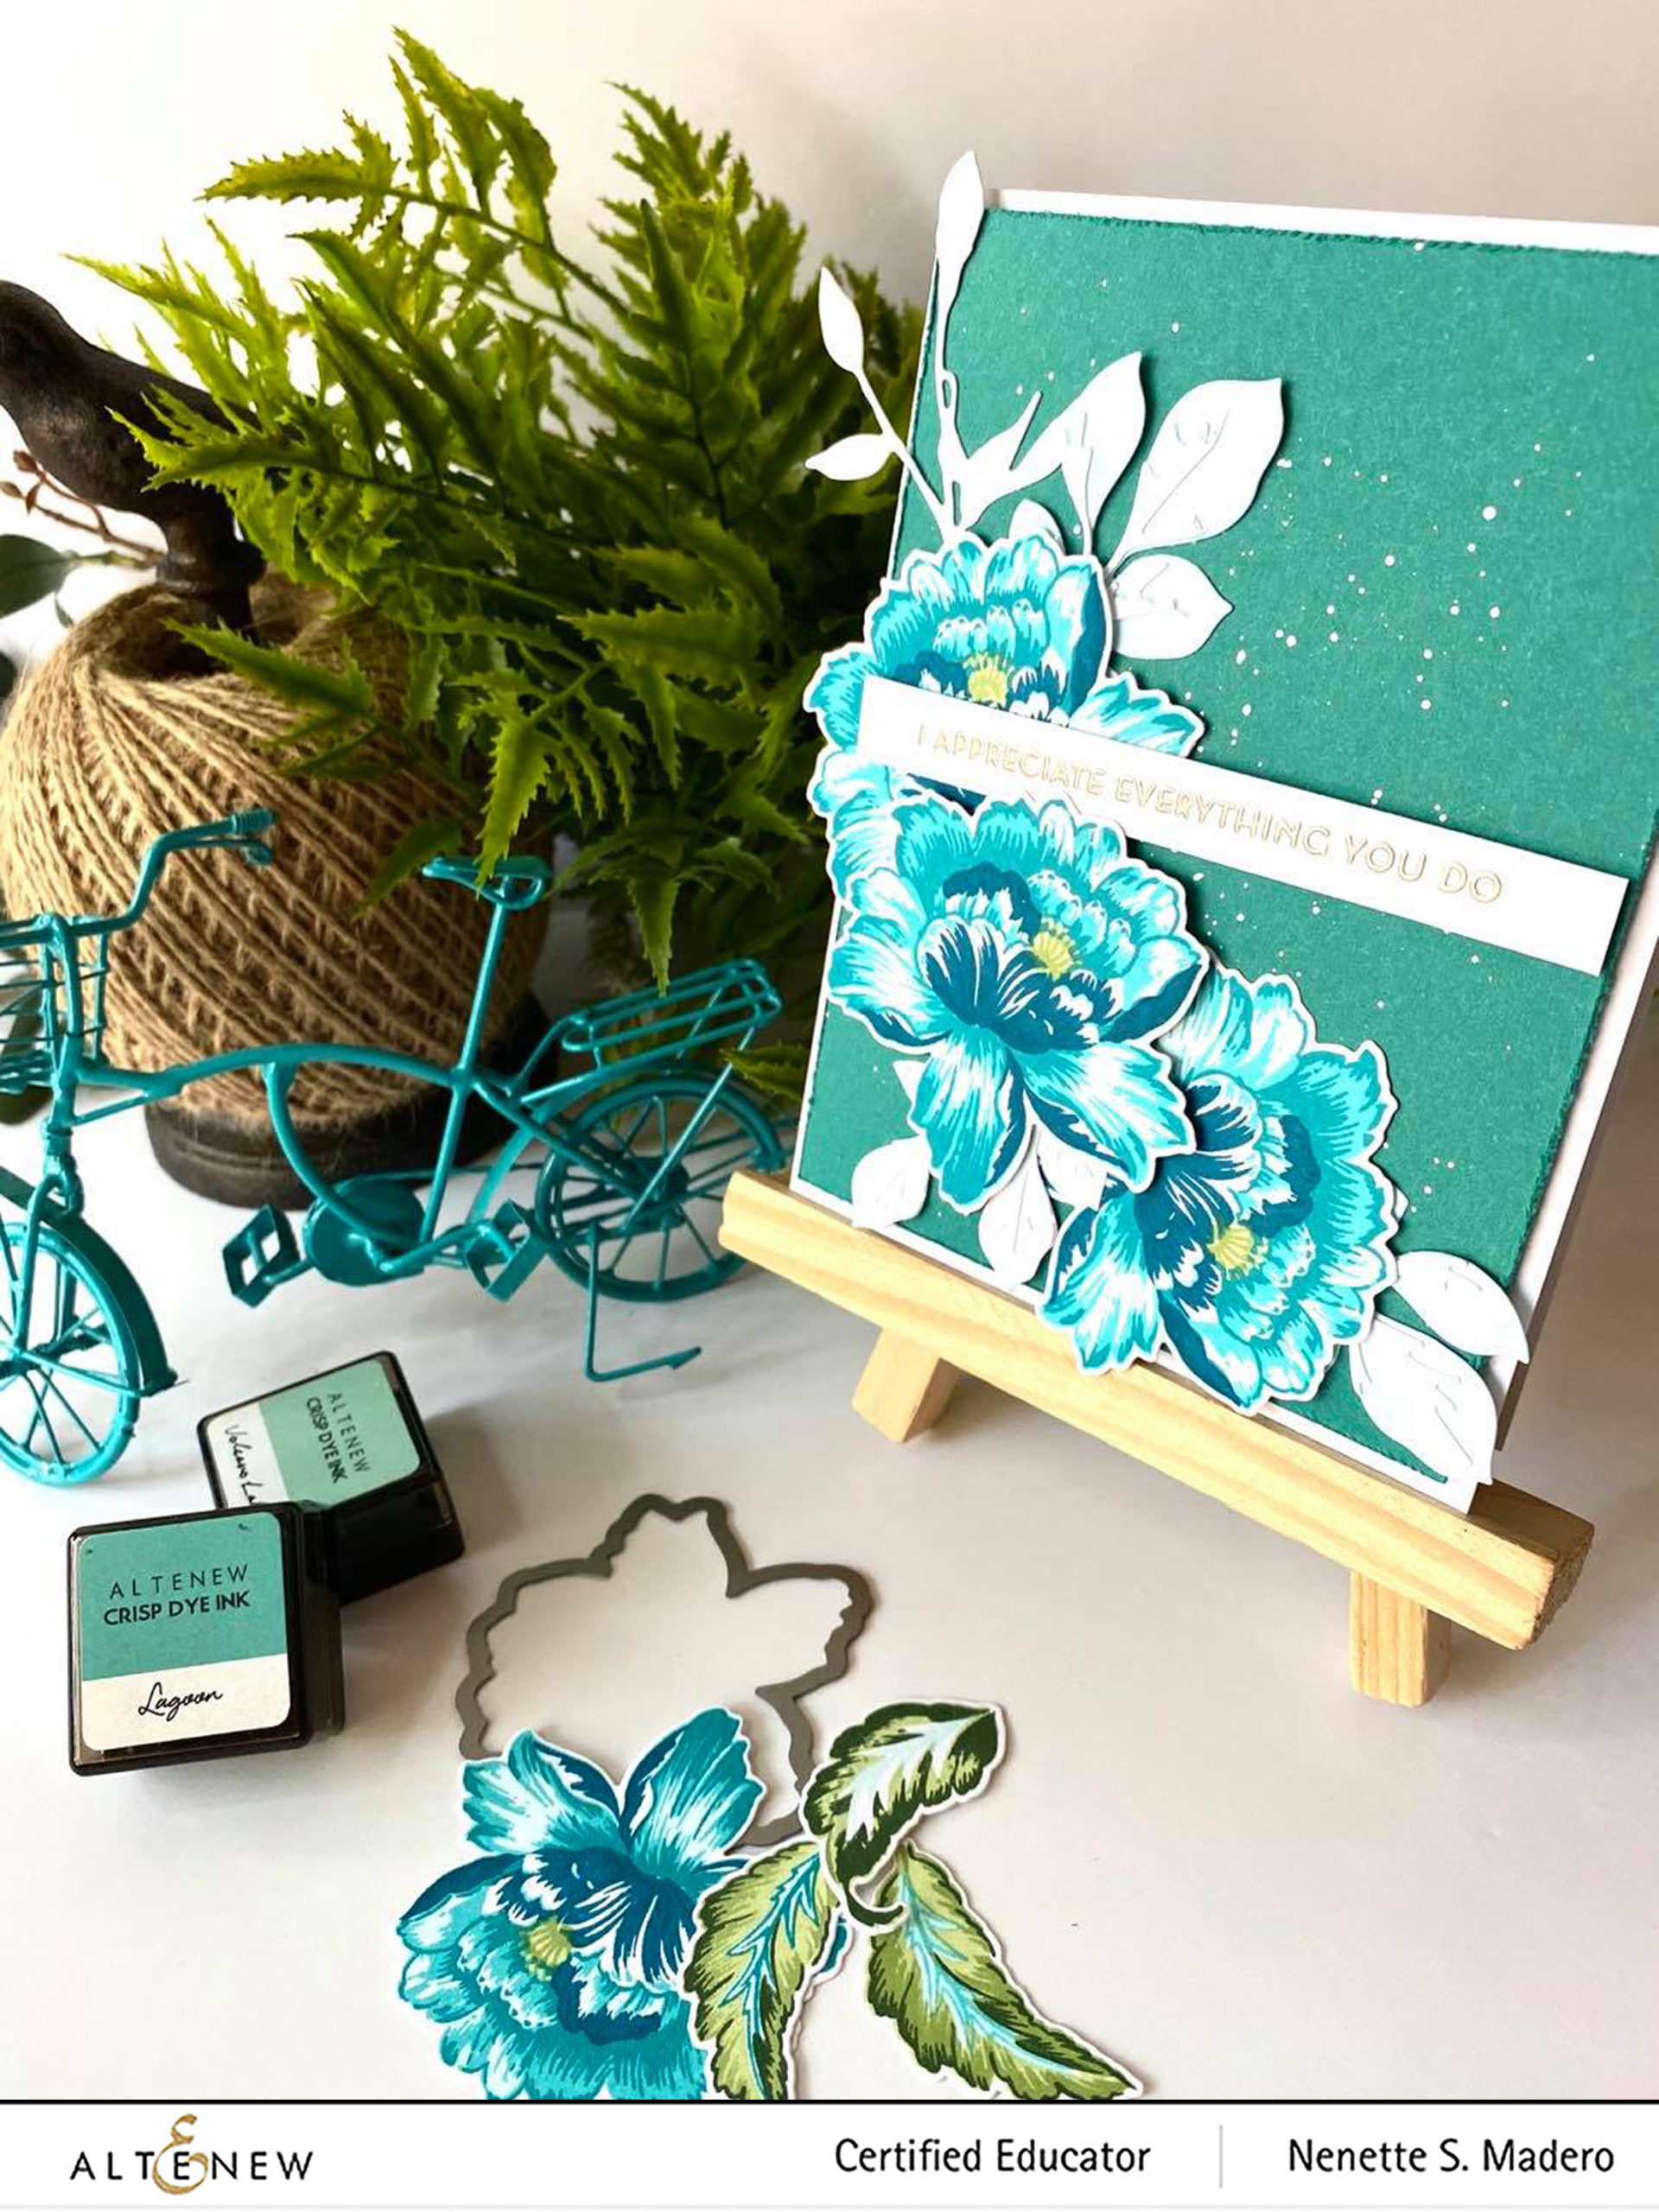
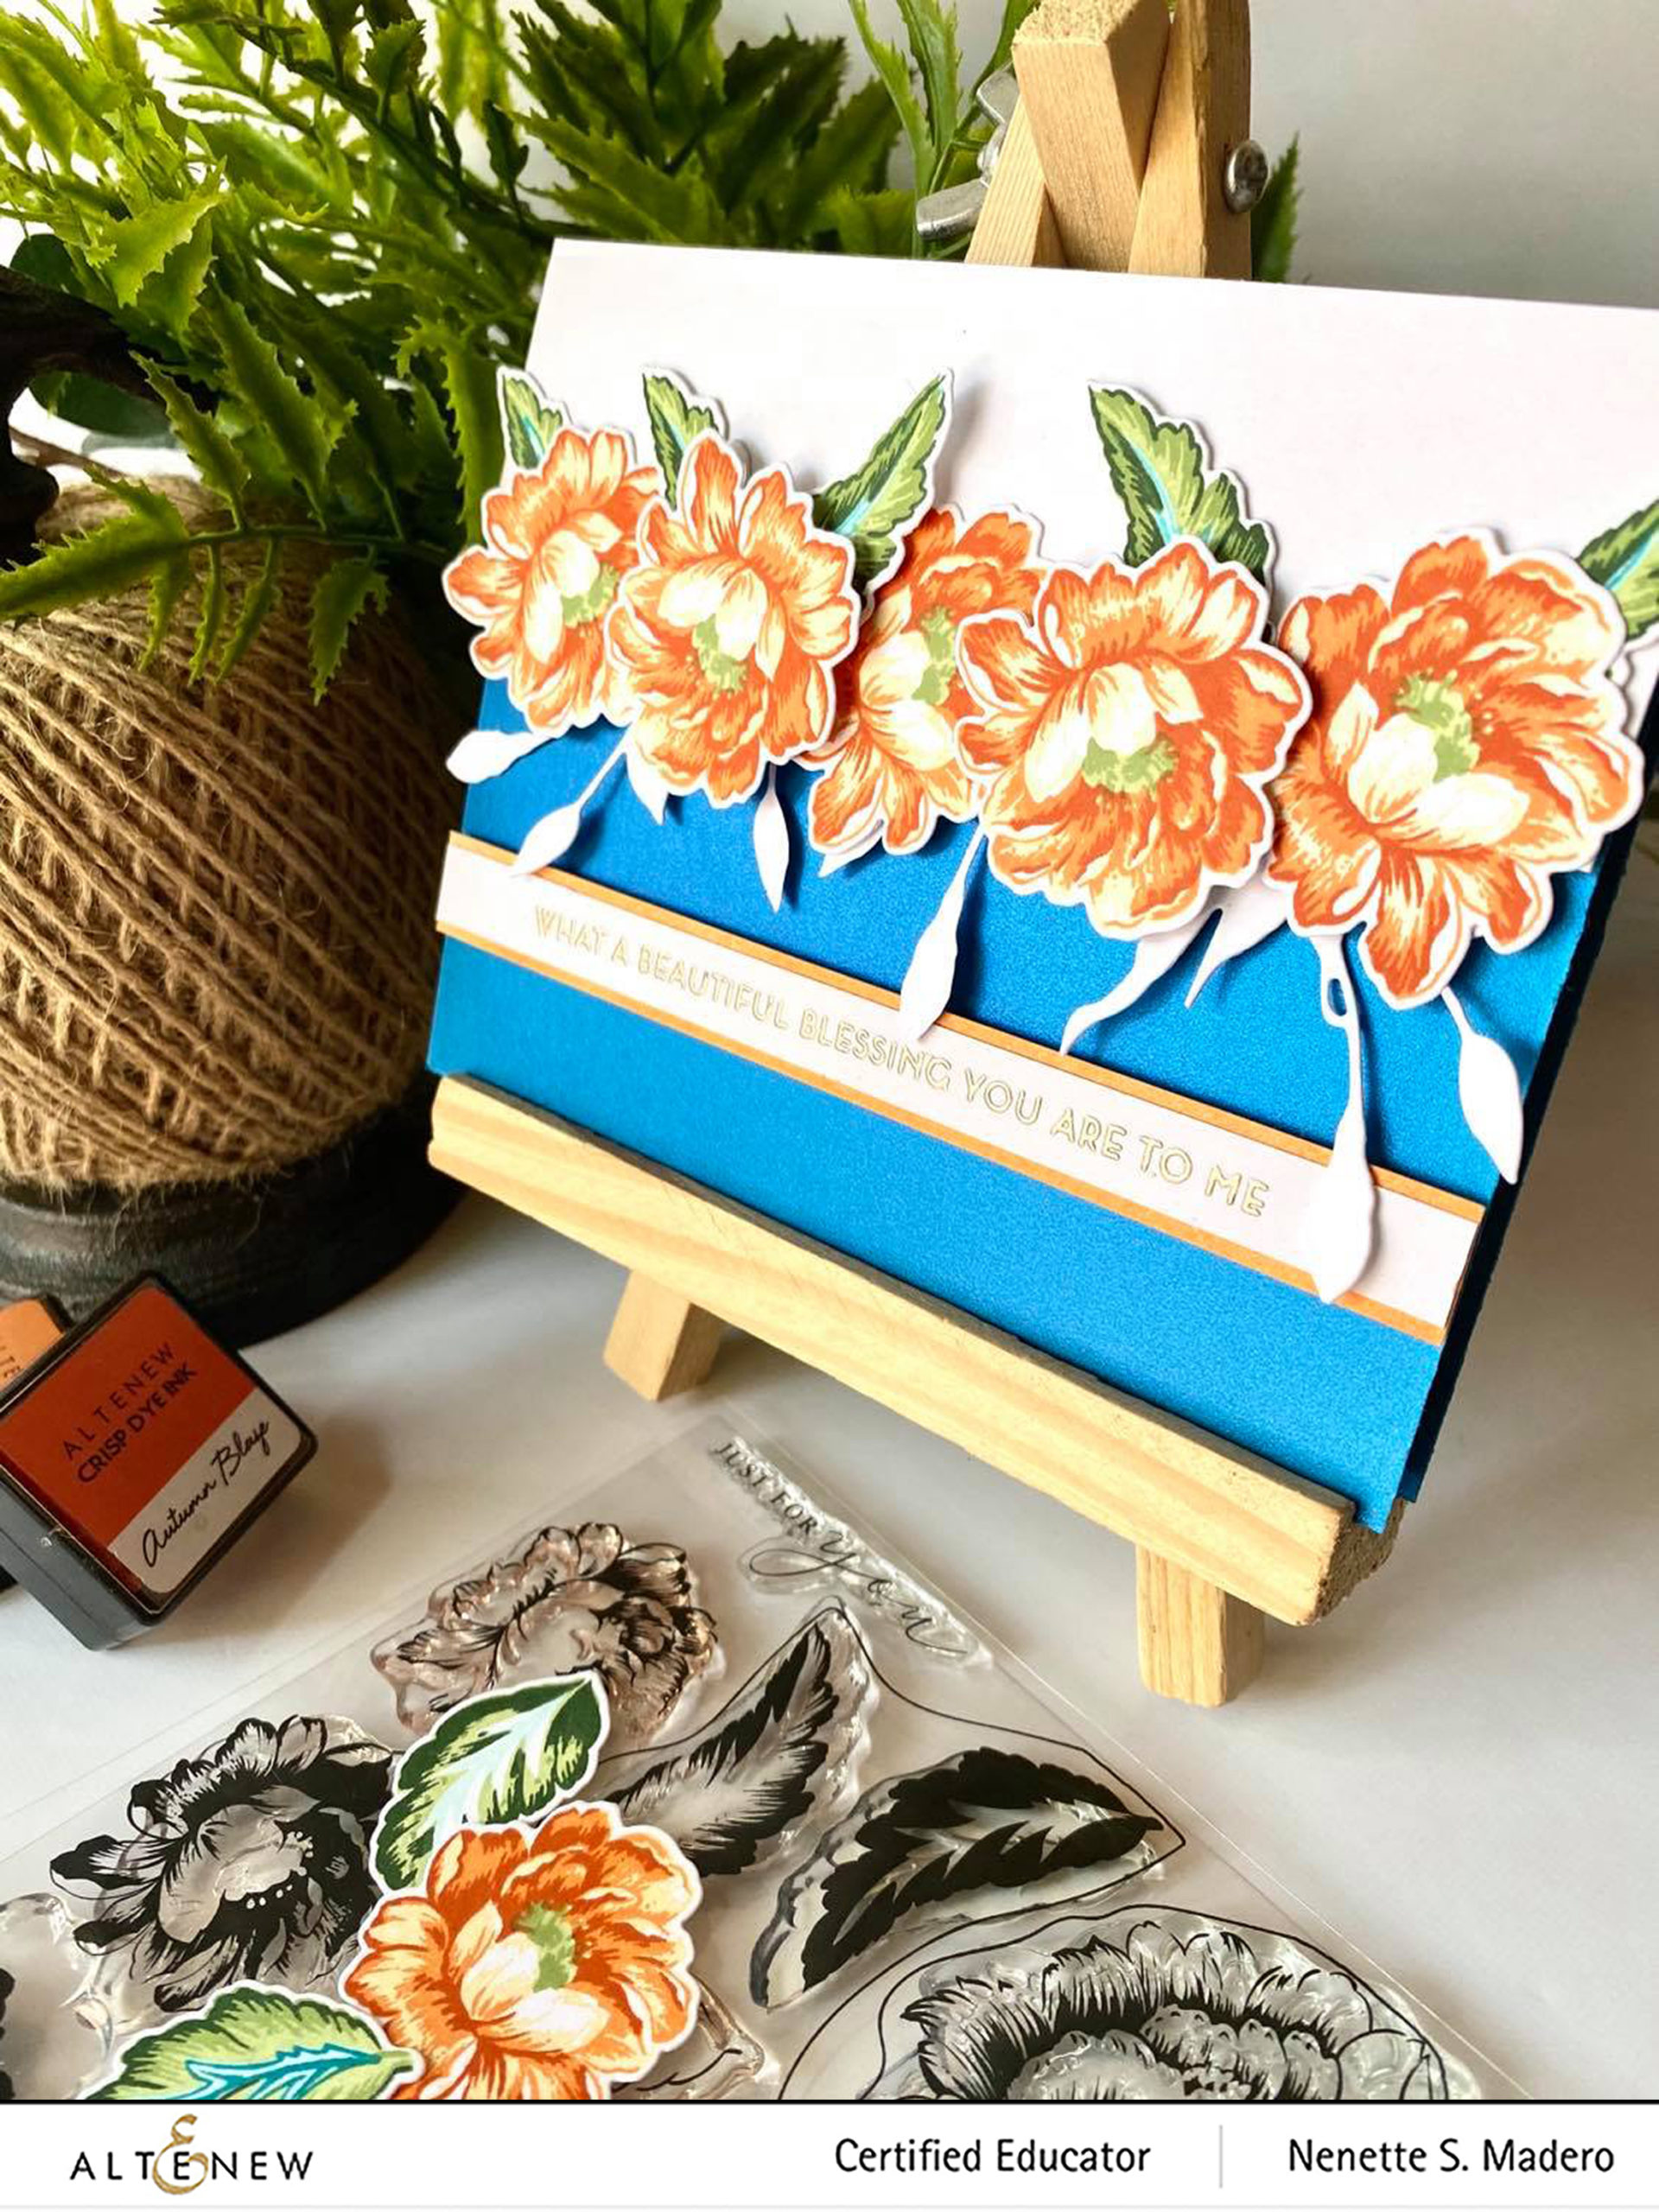
THANK YOU AND I APPRECIATE EVERYTHING YOU DO CARDS
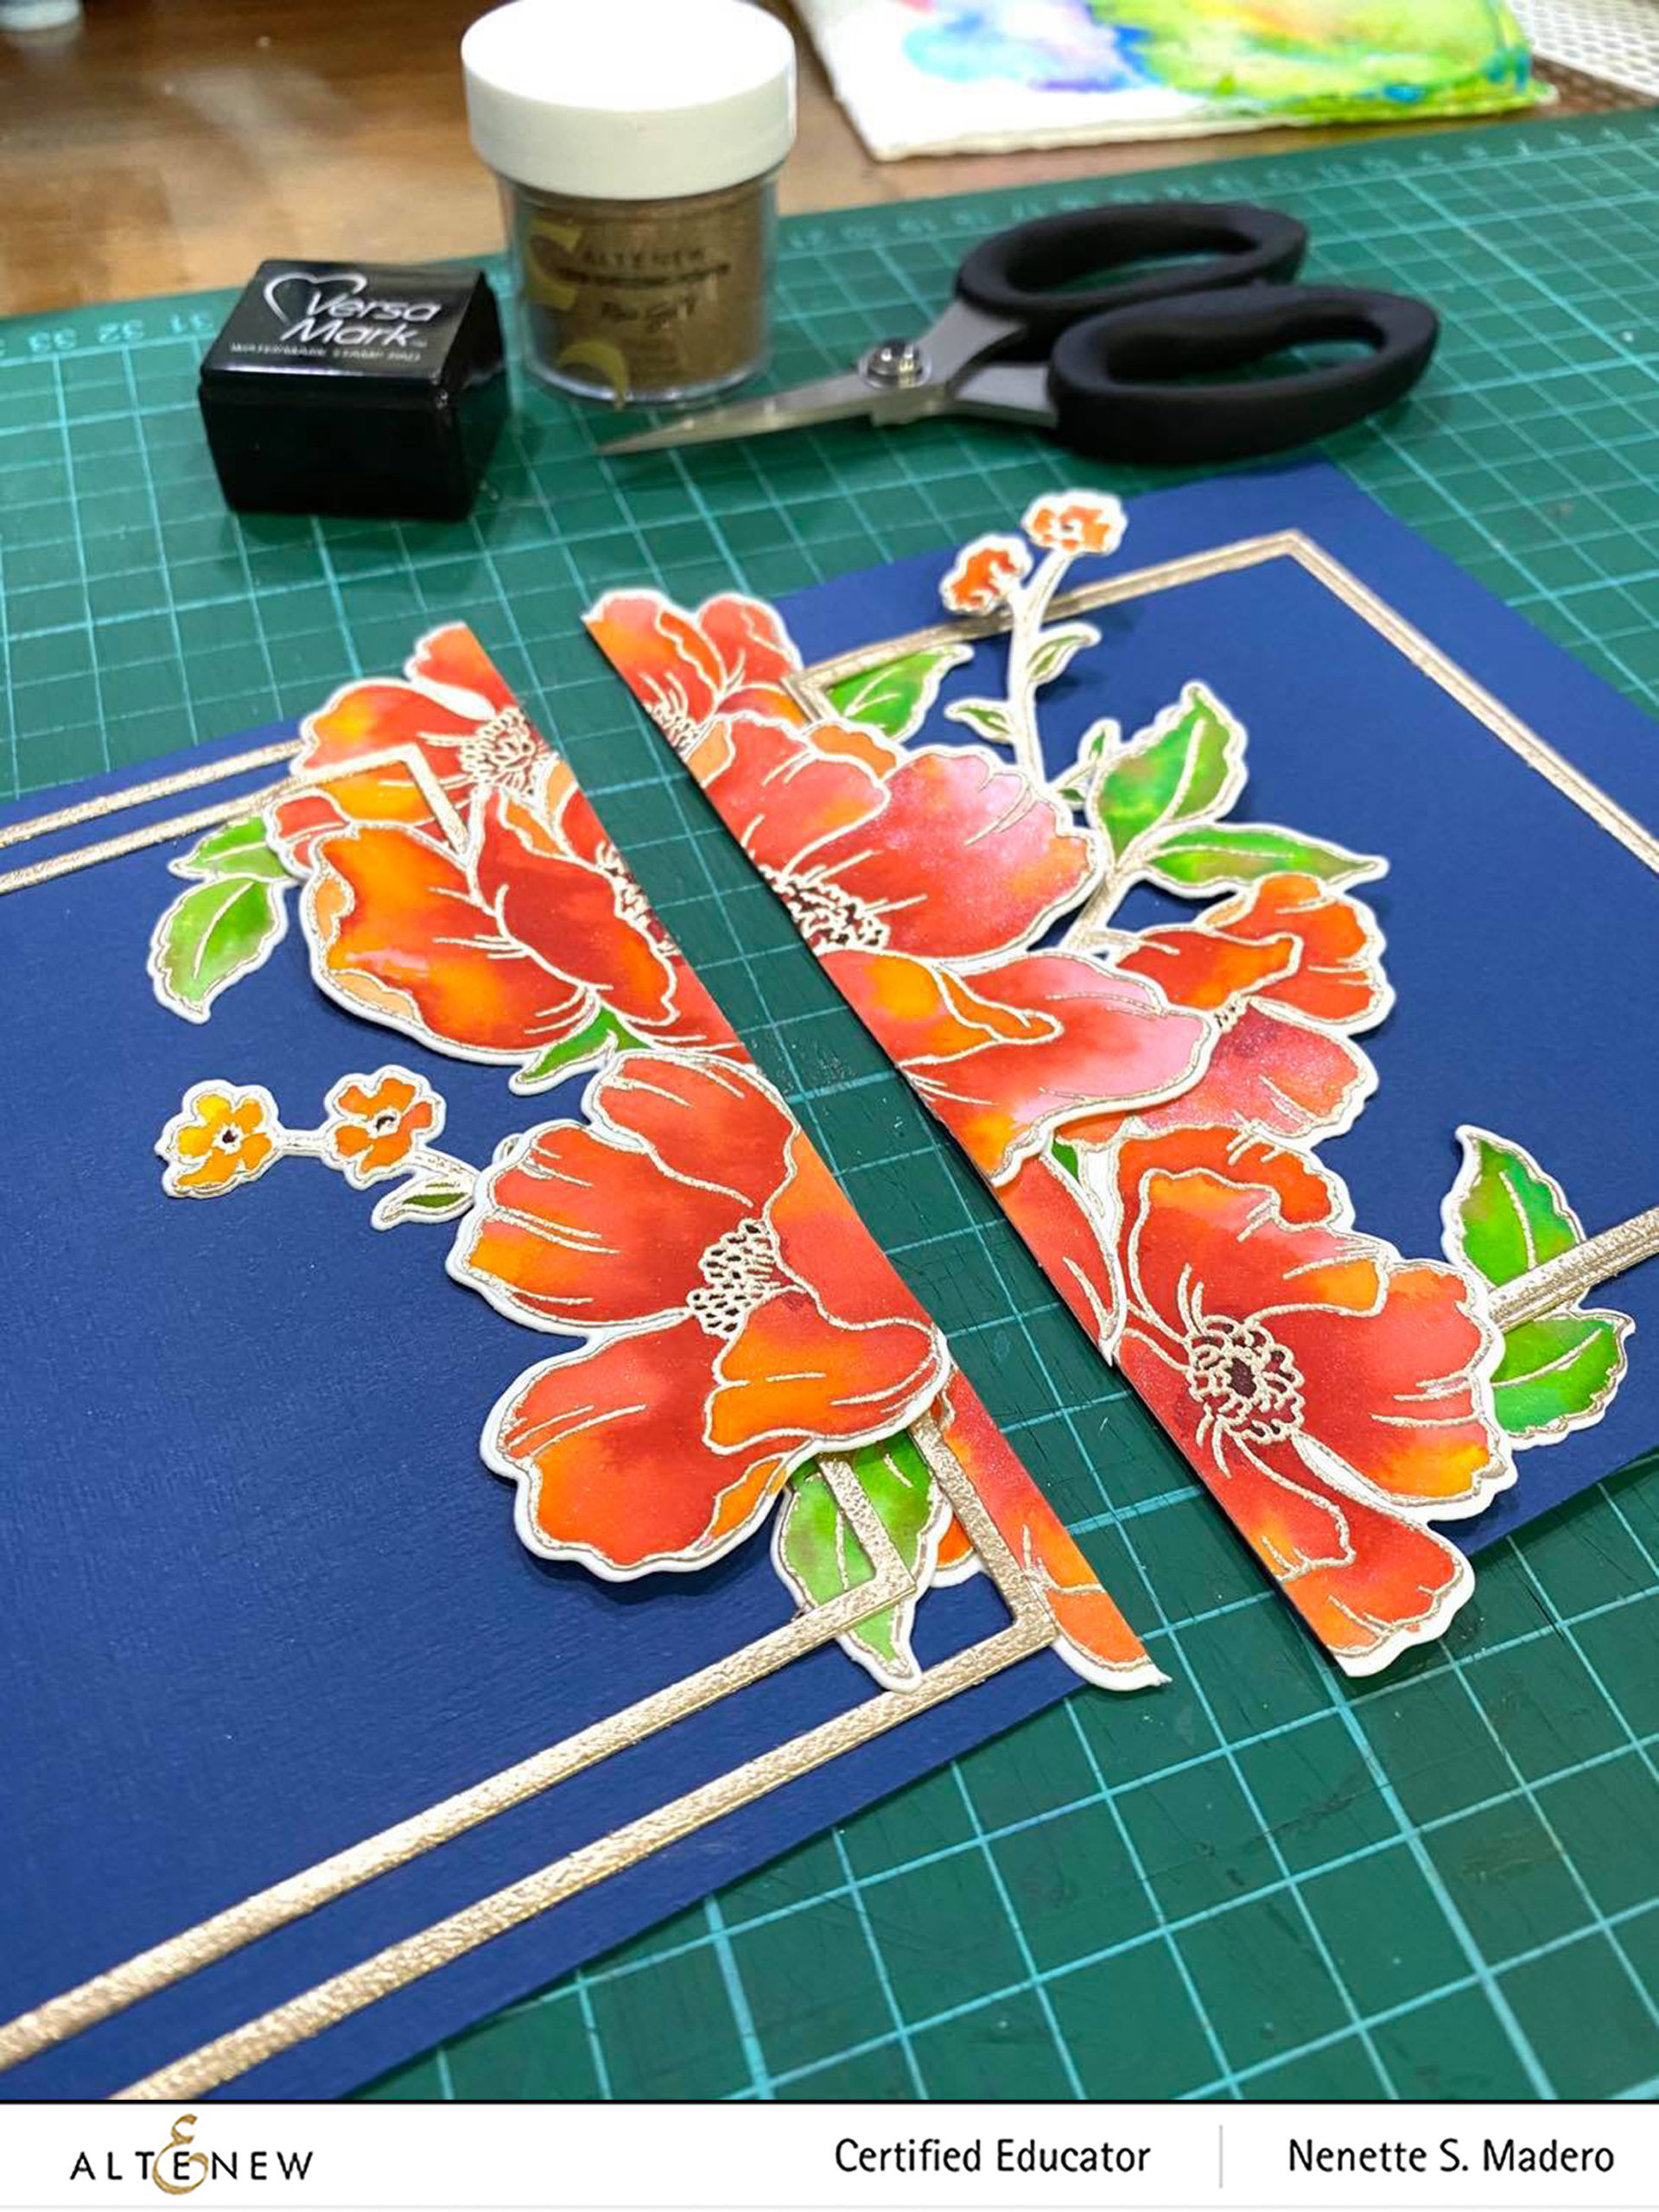
For these cards, I watercolored the flowers using the wet on wet technique using warm colors. I loved the split card idea of Jennifer Mcguire wherein she adhered the elements in the middle of an 81/2 x 5 1/2 cardstock just like the photo below.
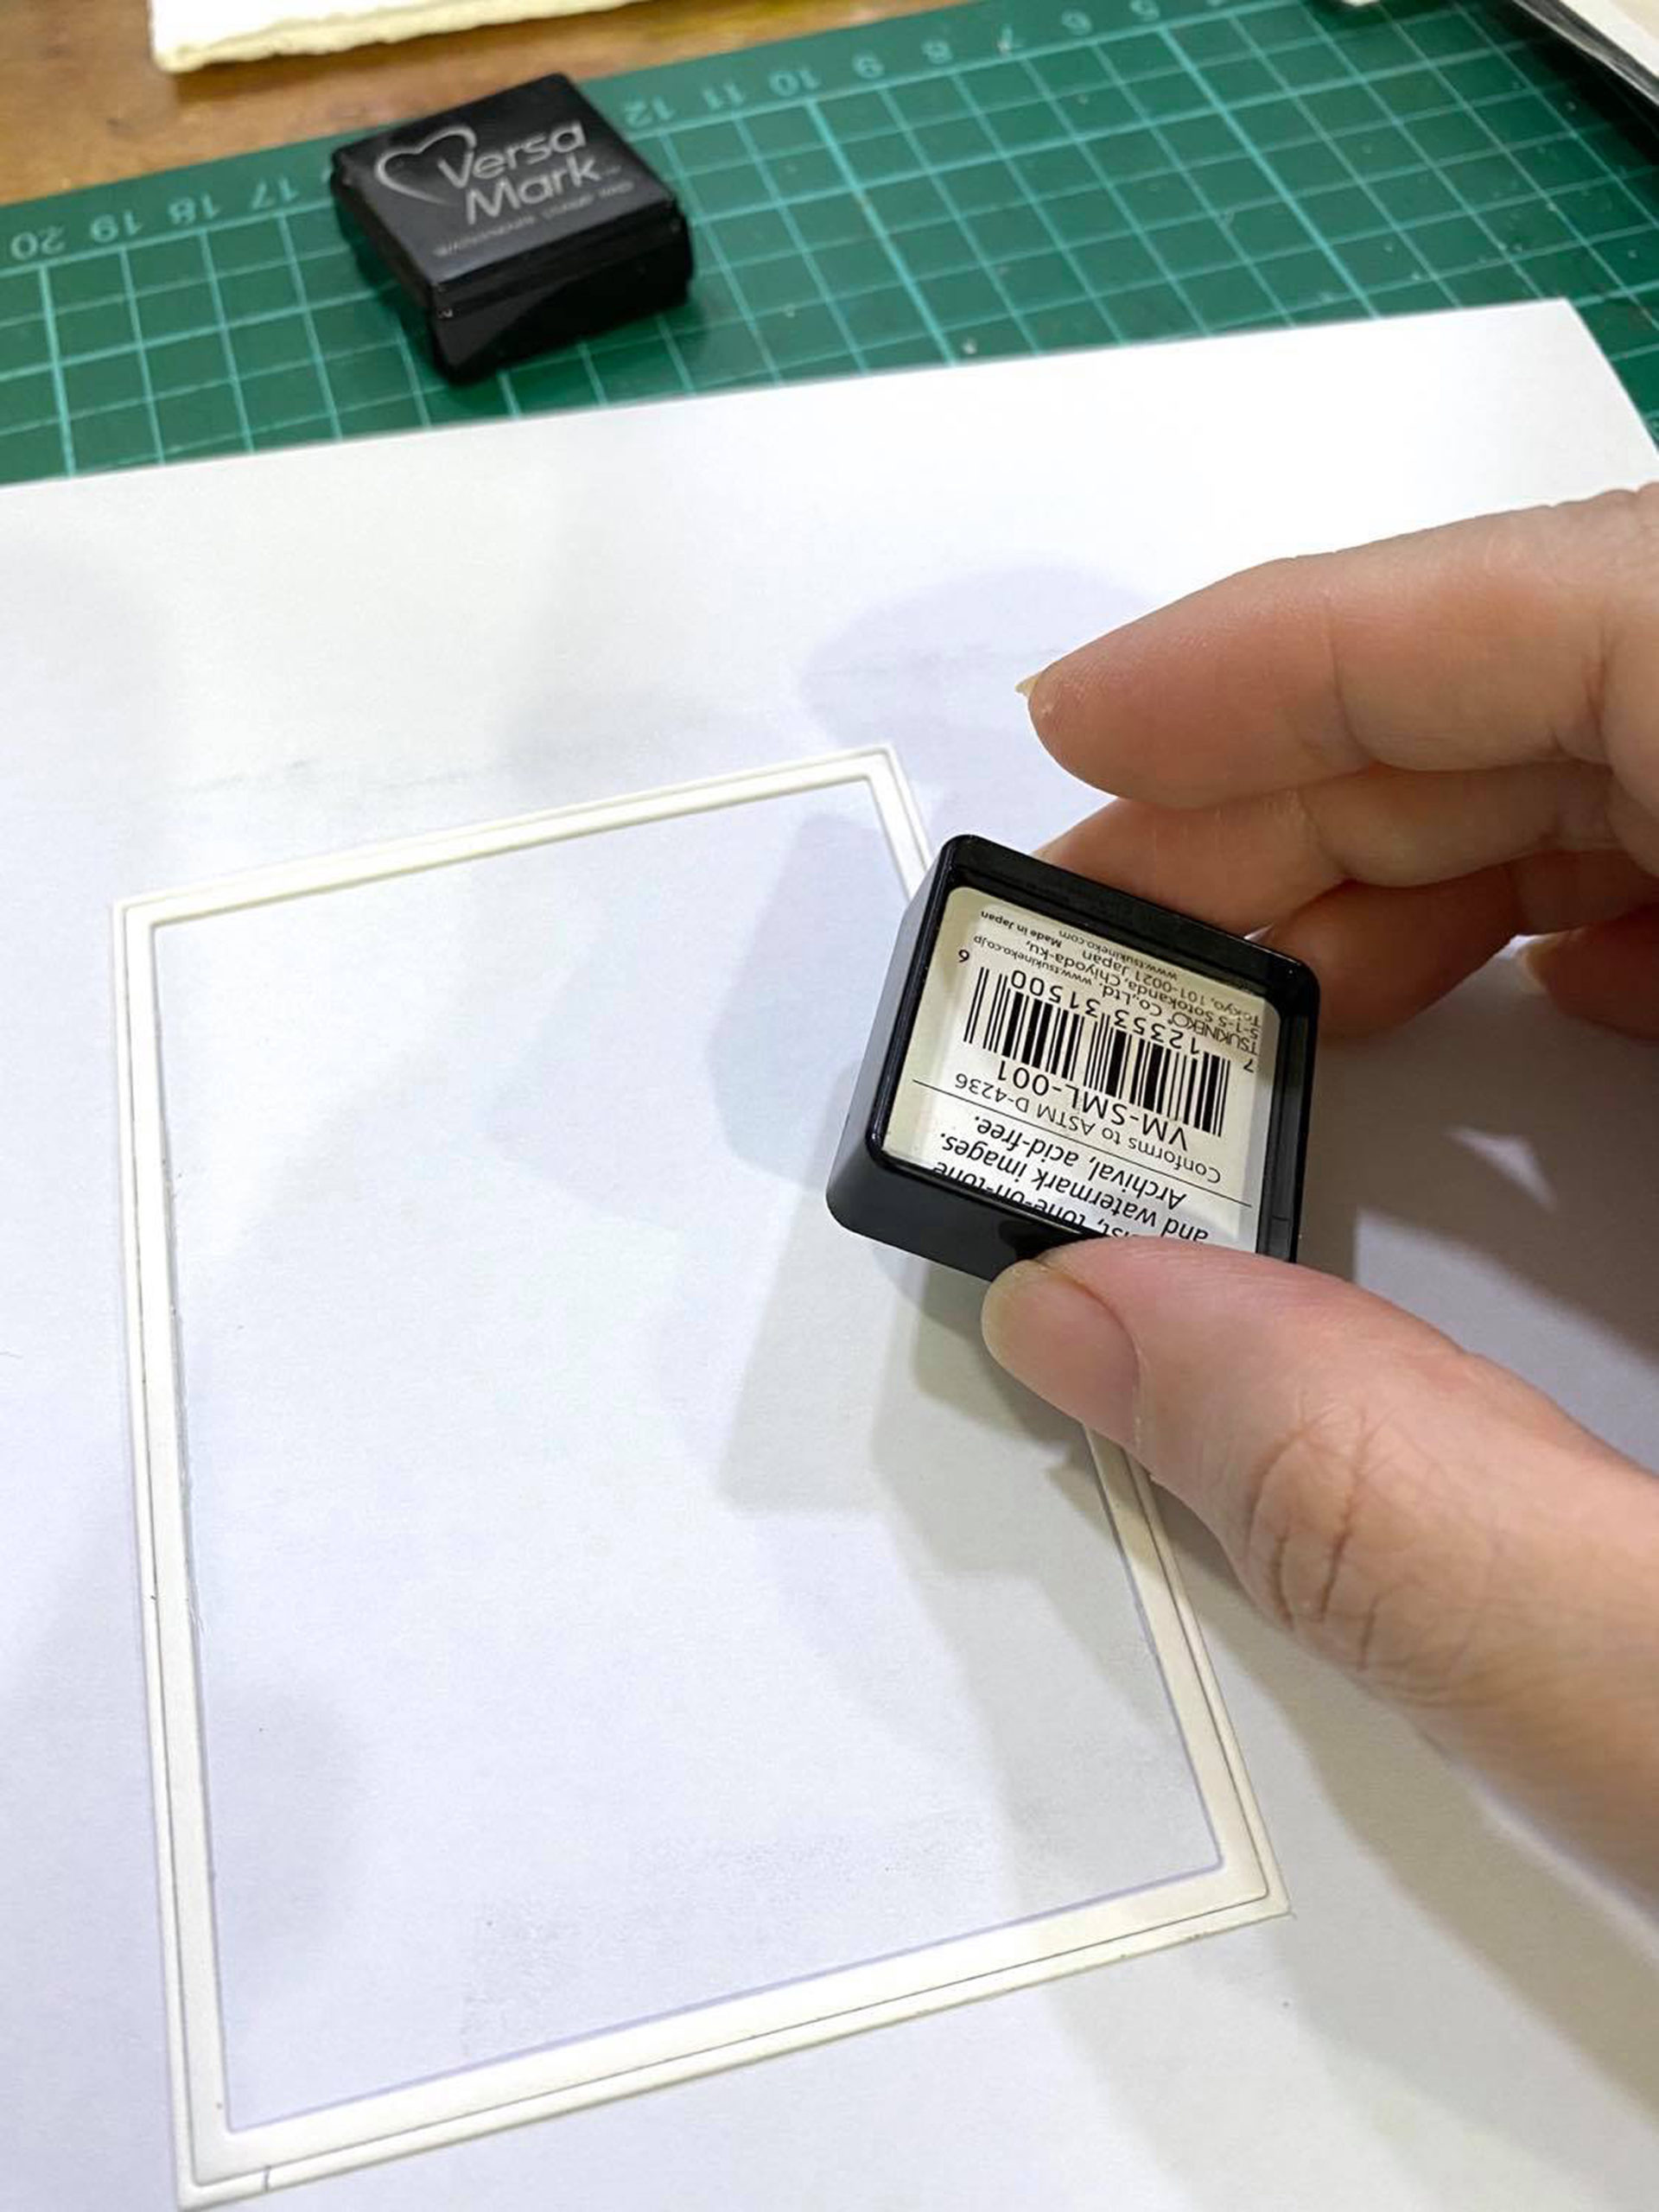
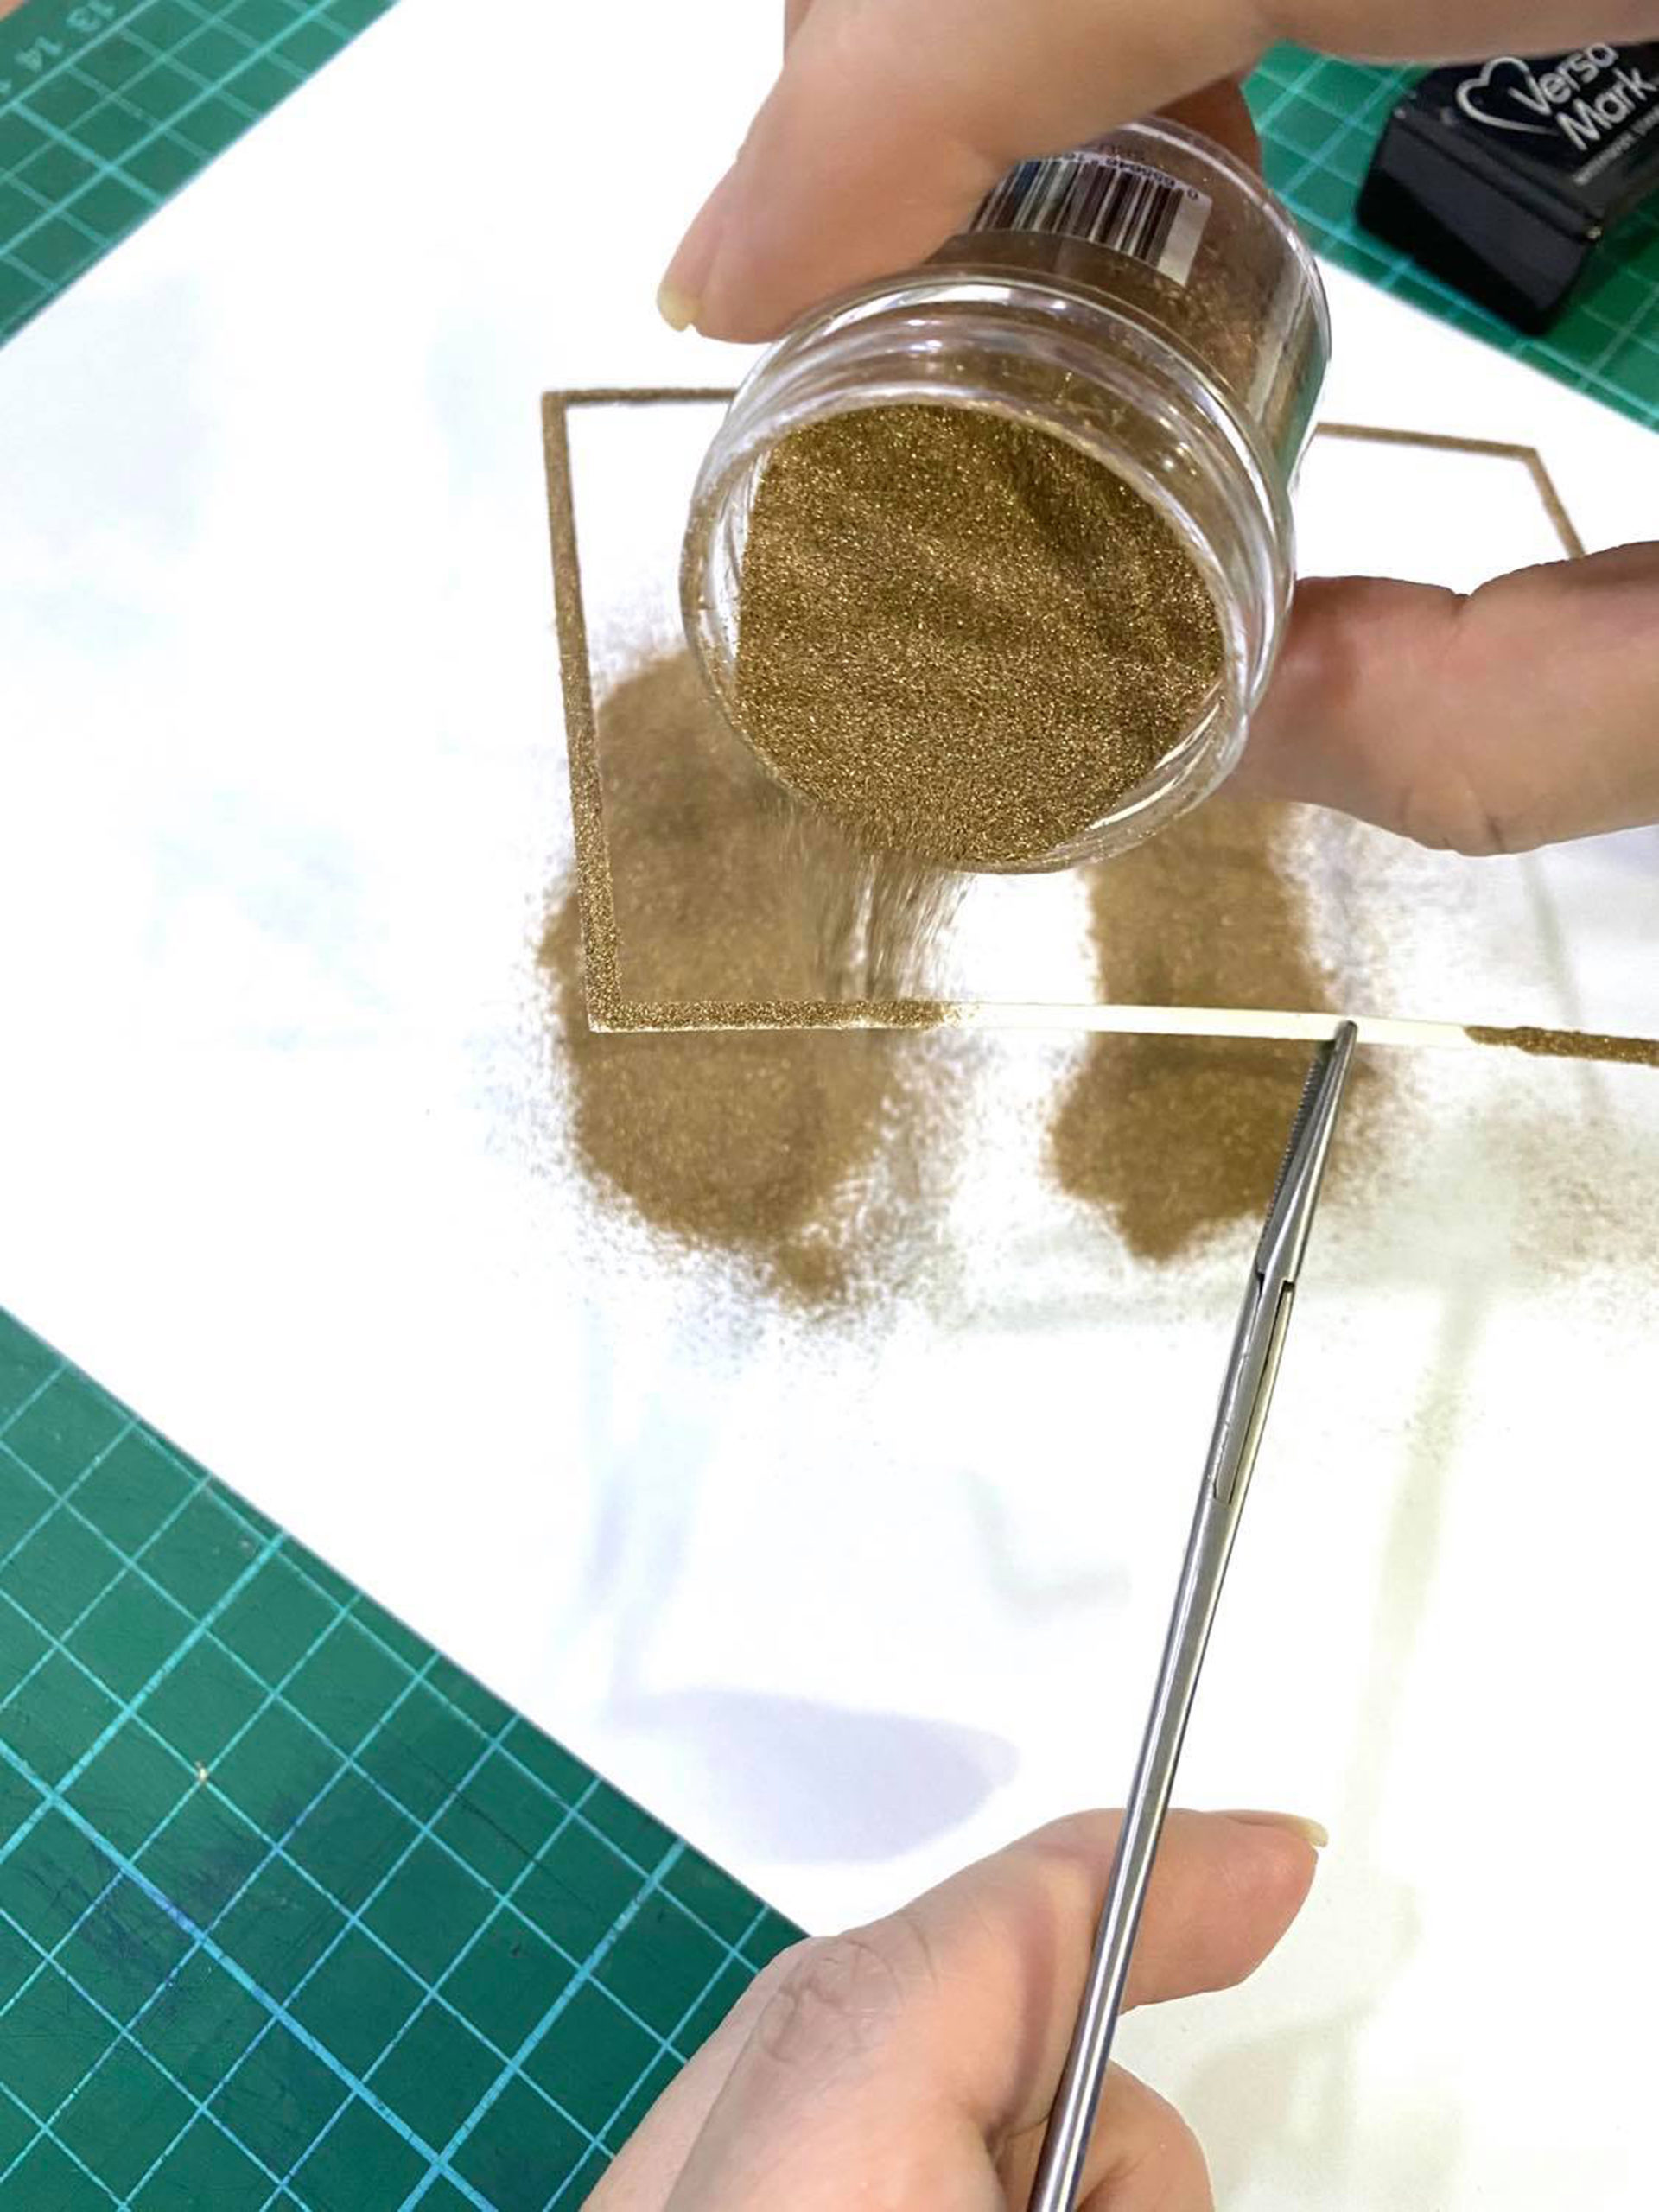
I then used a guillotine cutter to cut right at the center thus dividing it into two panels. I wanted a gold border for both panels to define the edges so I went ahead and embossed the fine frame die cuts with rose gold embossing powder.
First, I inked up the frames with Versamark Ink then I poured the embossing powder and embossed it with a heat gun.
Now I have frames that match perfectly with the embossed flowers.
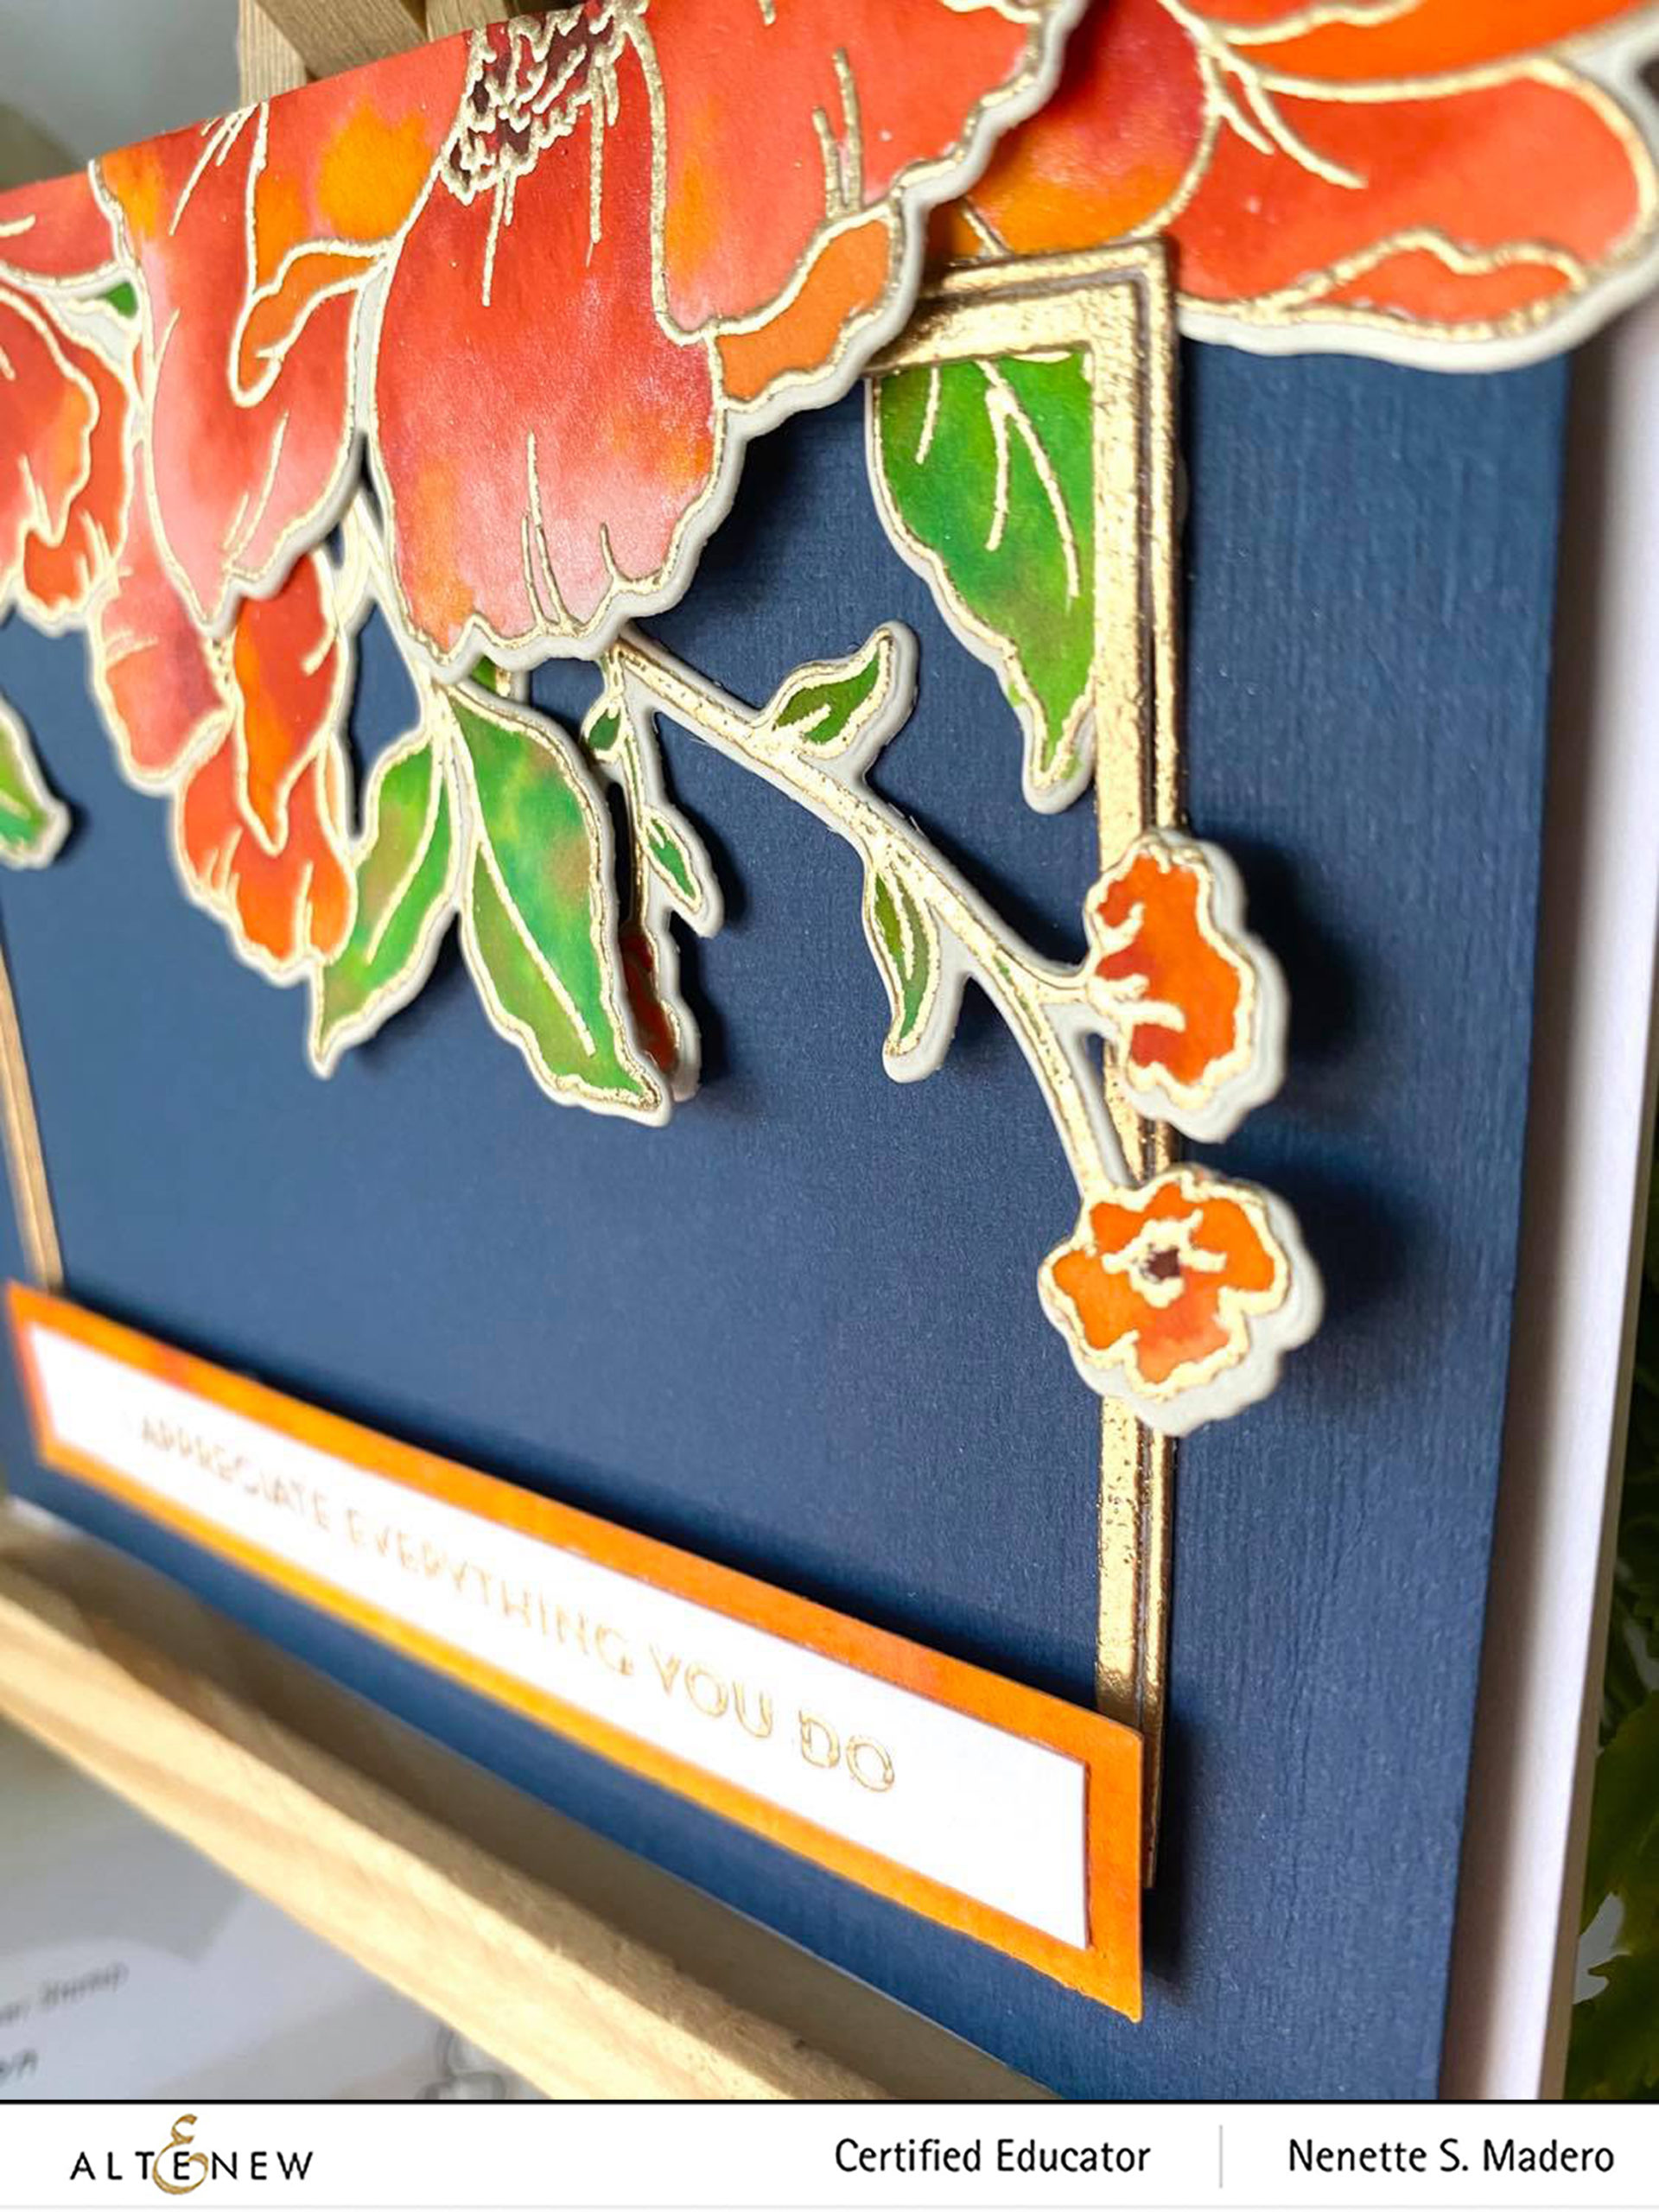
I made sure to use foam squares to adhere some of the flowers for added dimension. I also did not put glue at the tips of the leaves and small flowers for a more organic look. To finish it off, the card fronts were adhered to top folding and side folding A2 white cardstocks.
I APPRECIATE EVERYTHING YOU DO AND WHAT A BEAUTIFUL BLESSING YOU ARE TO ME CARDS
Altenew is giving away a $30 gift certificate to 3 lucky winners! Please leave a comment here on the Altenew Card Blog by 6/17/2020 for a chance to win.
Altenew will also draw a winner to receive a $15 Altenew gift certificate from the comments left on each designer’s blog on the blog hop list below. All winners will be announced on the Card Blog on 6/21/2020.
There’s MORE! We will pick 2 of our favorite handmade creations from those who joined the linky party and they will each receive a $15 Altenew gift certificate!
Special offer:
FREE U.S. shipping with code HAPPY6T or $5 OFF international shipping with code SHOPPING6T at checkout on orders over $29. Offer valid from 6/10/2020 at 12:01 am EDT through6/11/2020 at 11:59 pm EDT. Shop HERE! Not valid on prior purchases. Cannot be combined with other promo codes. Not valid on Altenew Academy Classes and Virtual Workshops.
This is no ordinary hop! Altenew wants you to join in on the fun as well. There is a Linky Party going on at the Altenew Card Blog. All you have to do is link up your creations based on the theme of the hop, which is, “Giving Thanks” and mention that you are taking part in the Altenew Educators Blog Hop and Linky Party. So what are you waiting for?! Link up!
There are many more card examples from the other amazing certified Altenew educators so please make sure to drop by their blogs, too! Next up is Christine Pennington. Thank you so much for dropping by and do leave a comment to get a chance to win! I always love hearing from my readers. Stay safe everyone! Until my next post. Happy crafting!!!
FB & IG: MY LITTLE ATTIC STUDIO | WWW.MYLITTLEATTIC.COM