Altenew May 2022 Dreams Come True Collection Release Blog Hop + Giveaway ($300 in total prizes)

Altenew May 2022 Dreams Come True Collection Release Blog Hop + Giveaway ($300 in total prizes)

Welcome to my blog, crafty friends! Thanks so much to the talented Virginia Lu for sending everyone over. For the complete details of this hop, make sure to drop by the Altenew blog.
This collection is filled with beautiful stamps, dies, and stencils. I made six cards to showcase how you can use these wonderful products.

HOLA

STEPS:

  1. Stamp the outline images from the Whispy Joy Stamp set with Obsidian Ink and emboss with clear embossing powder.
  2. Stamp the different layers and die cut using the coordinating dies.
  3. Stamp the word Hola and supporting sentiment from the Hello Friend stamp set with Obsidian Ink and emboss with clear embossing powder.
  4. Create an embossed background using the Crystal Wall 3D embossing folder.
  5. Assemble card.

Stamping the round sentiment in black gives the card great contrast that makes it stand out.

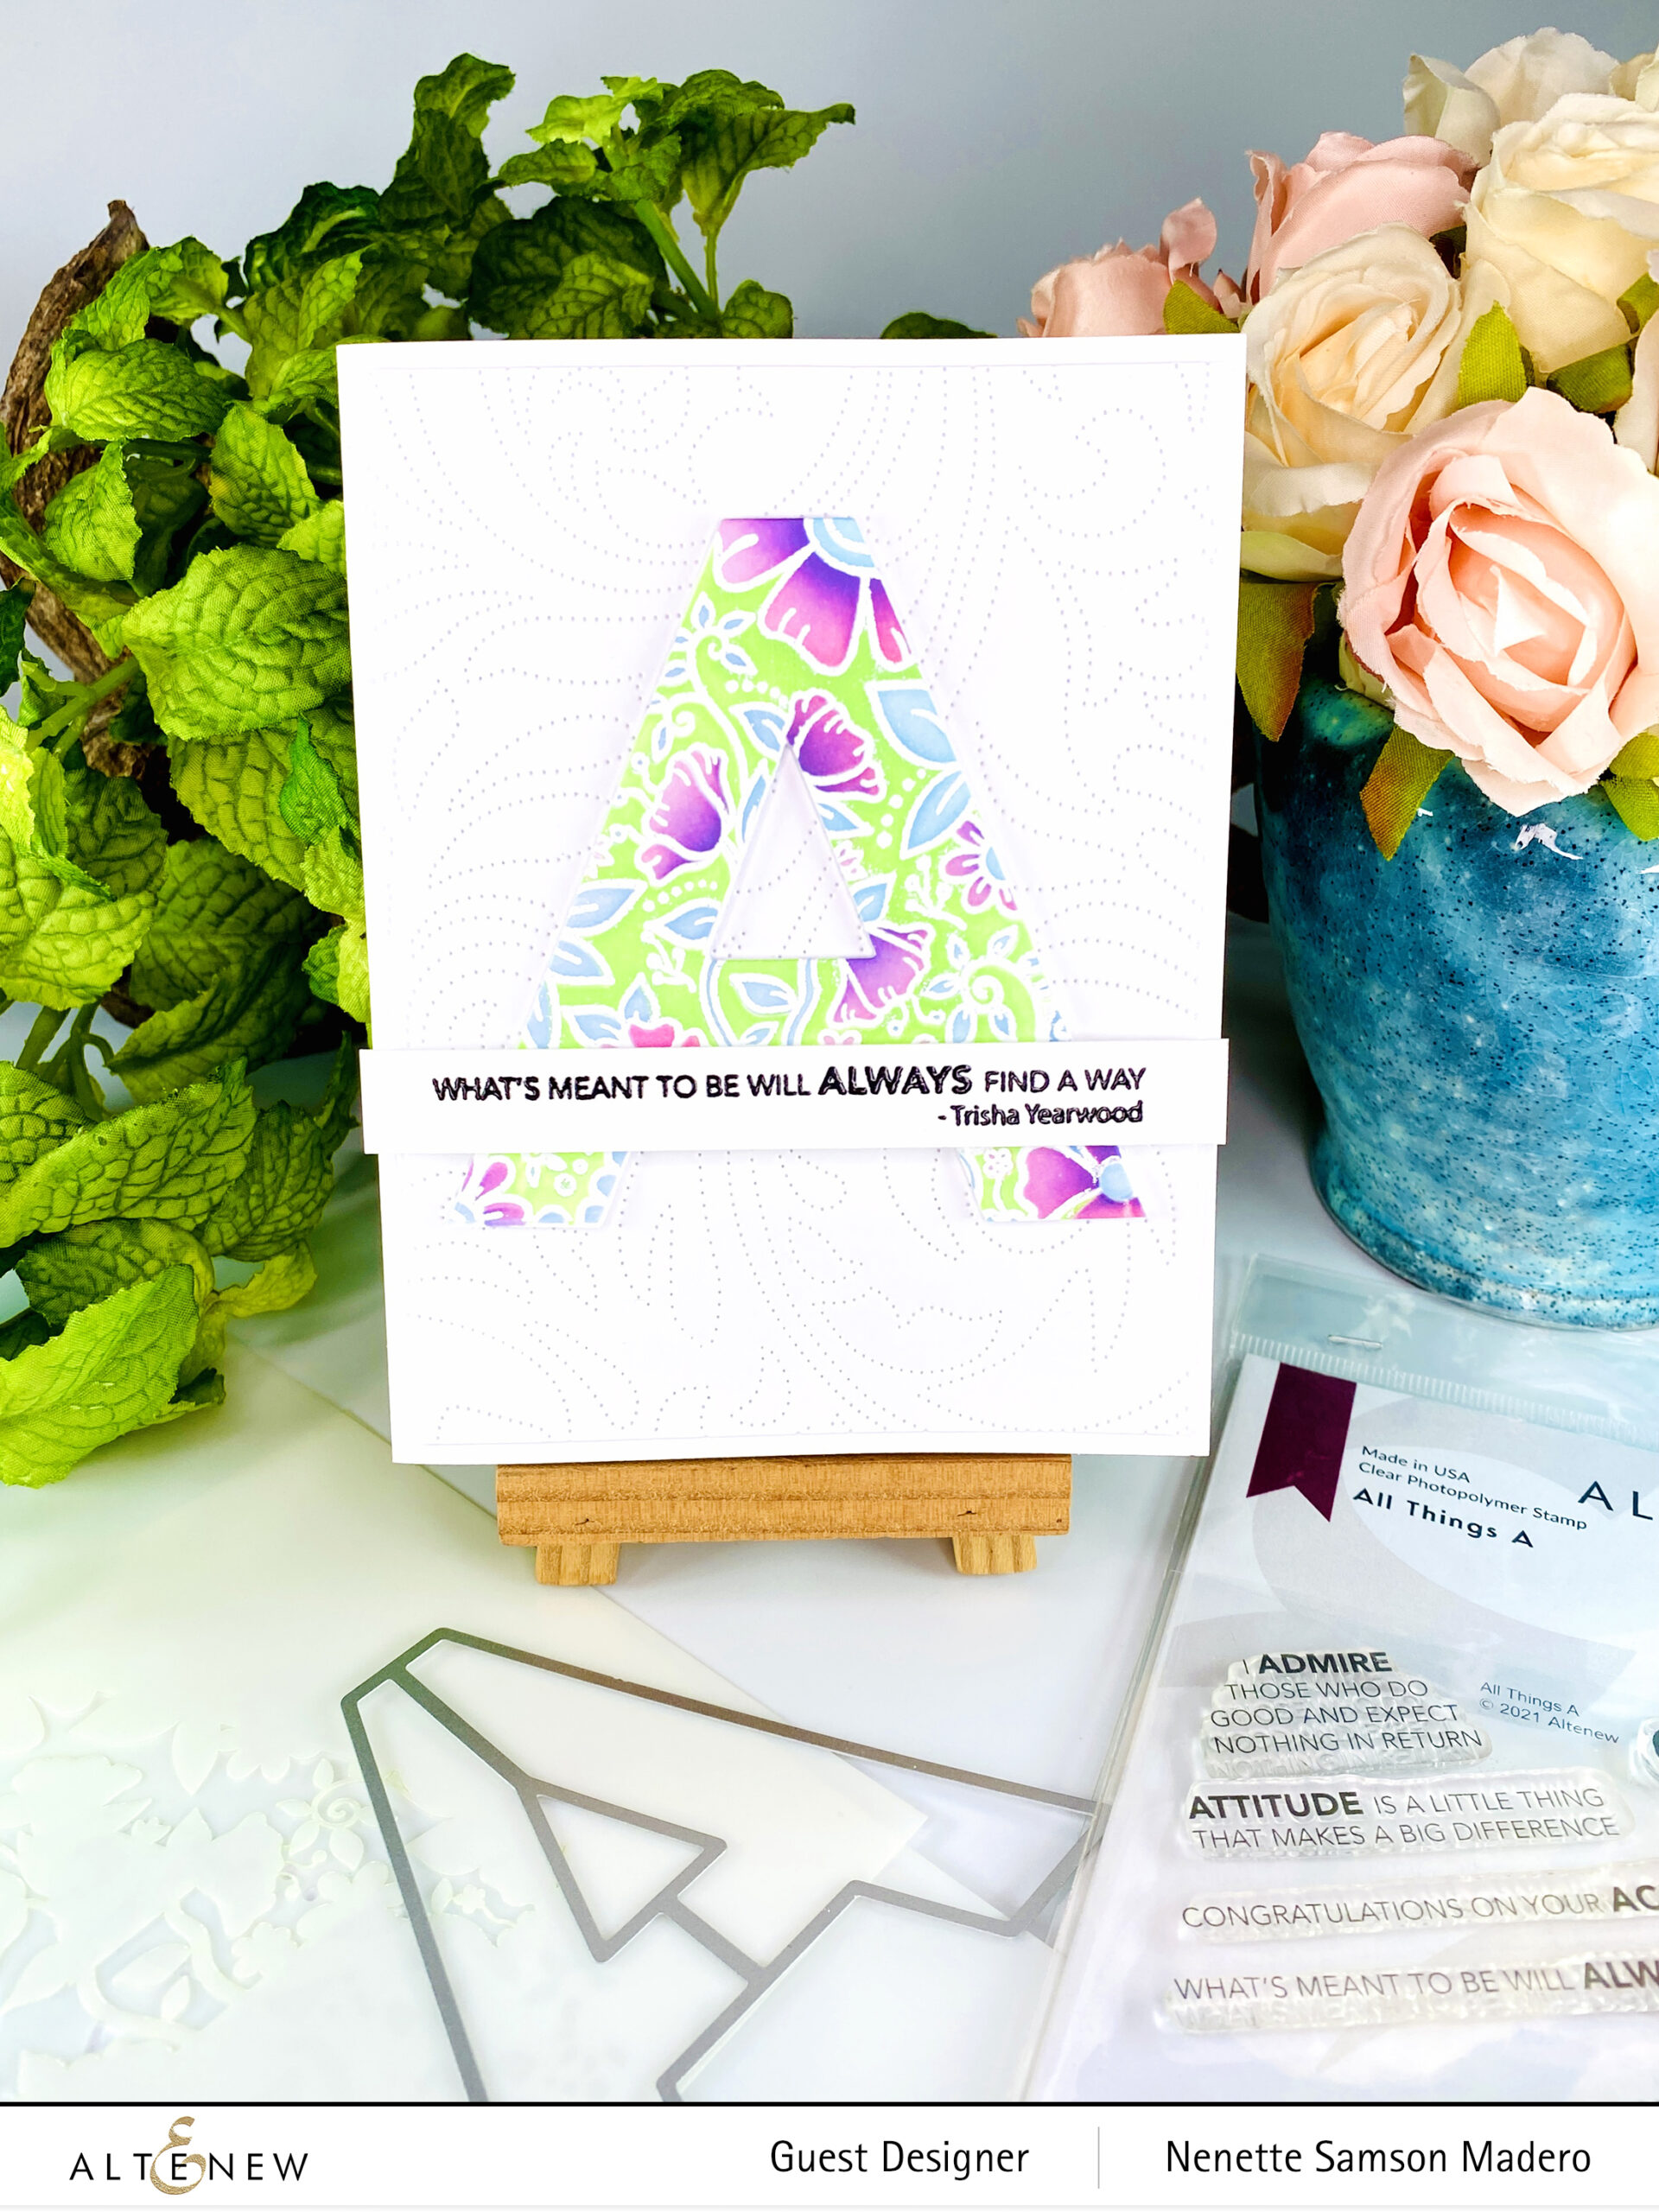
WHAT’S MEANT TO BE WILL ALWAYS FIND A WAY
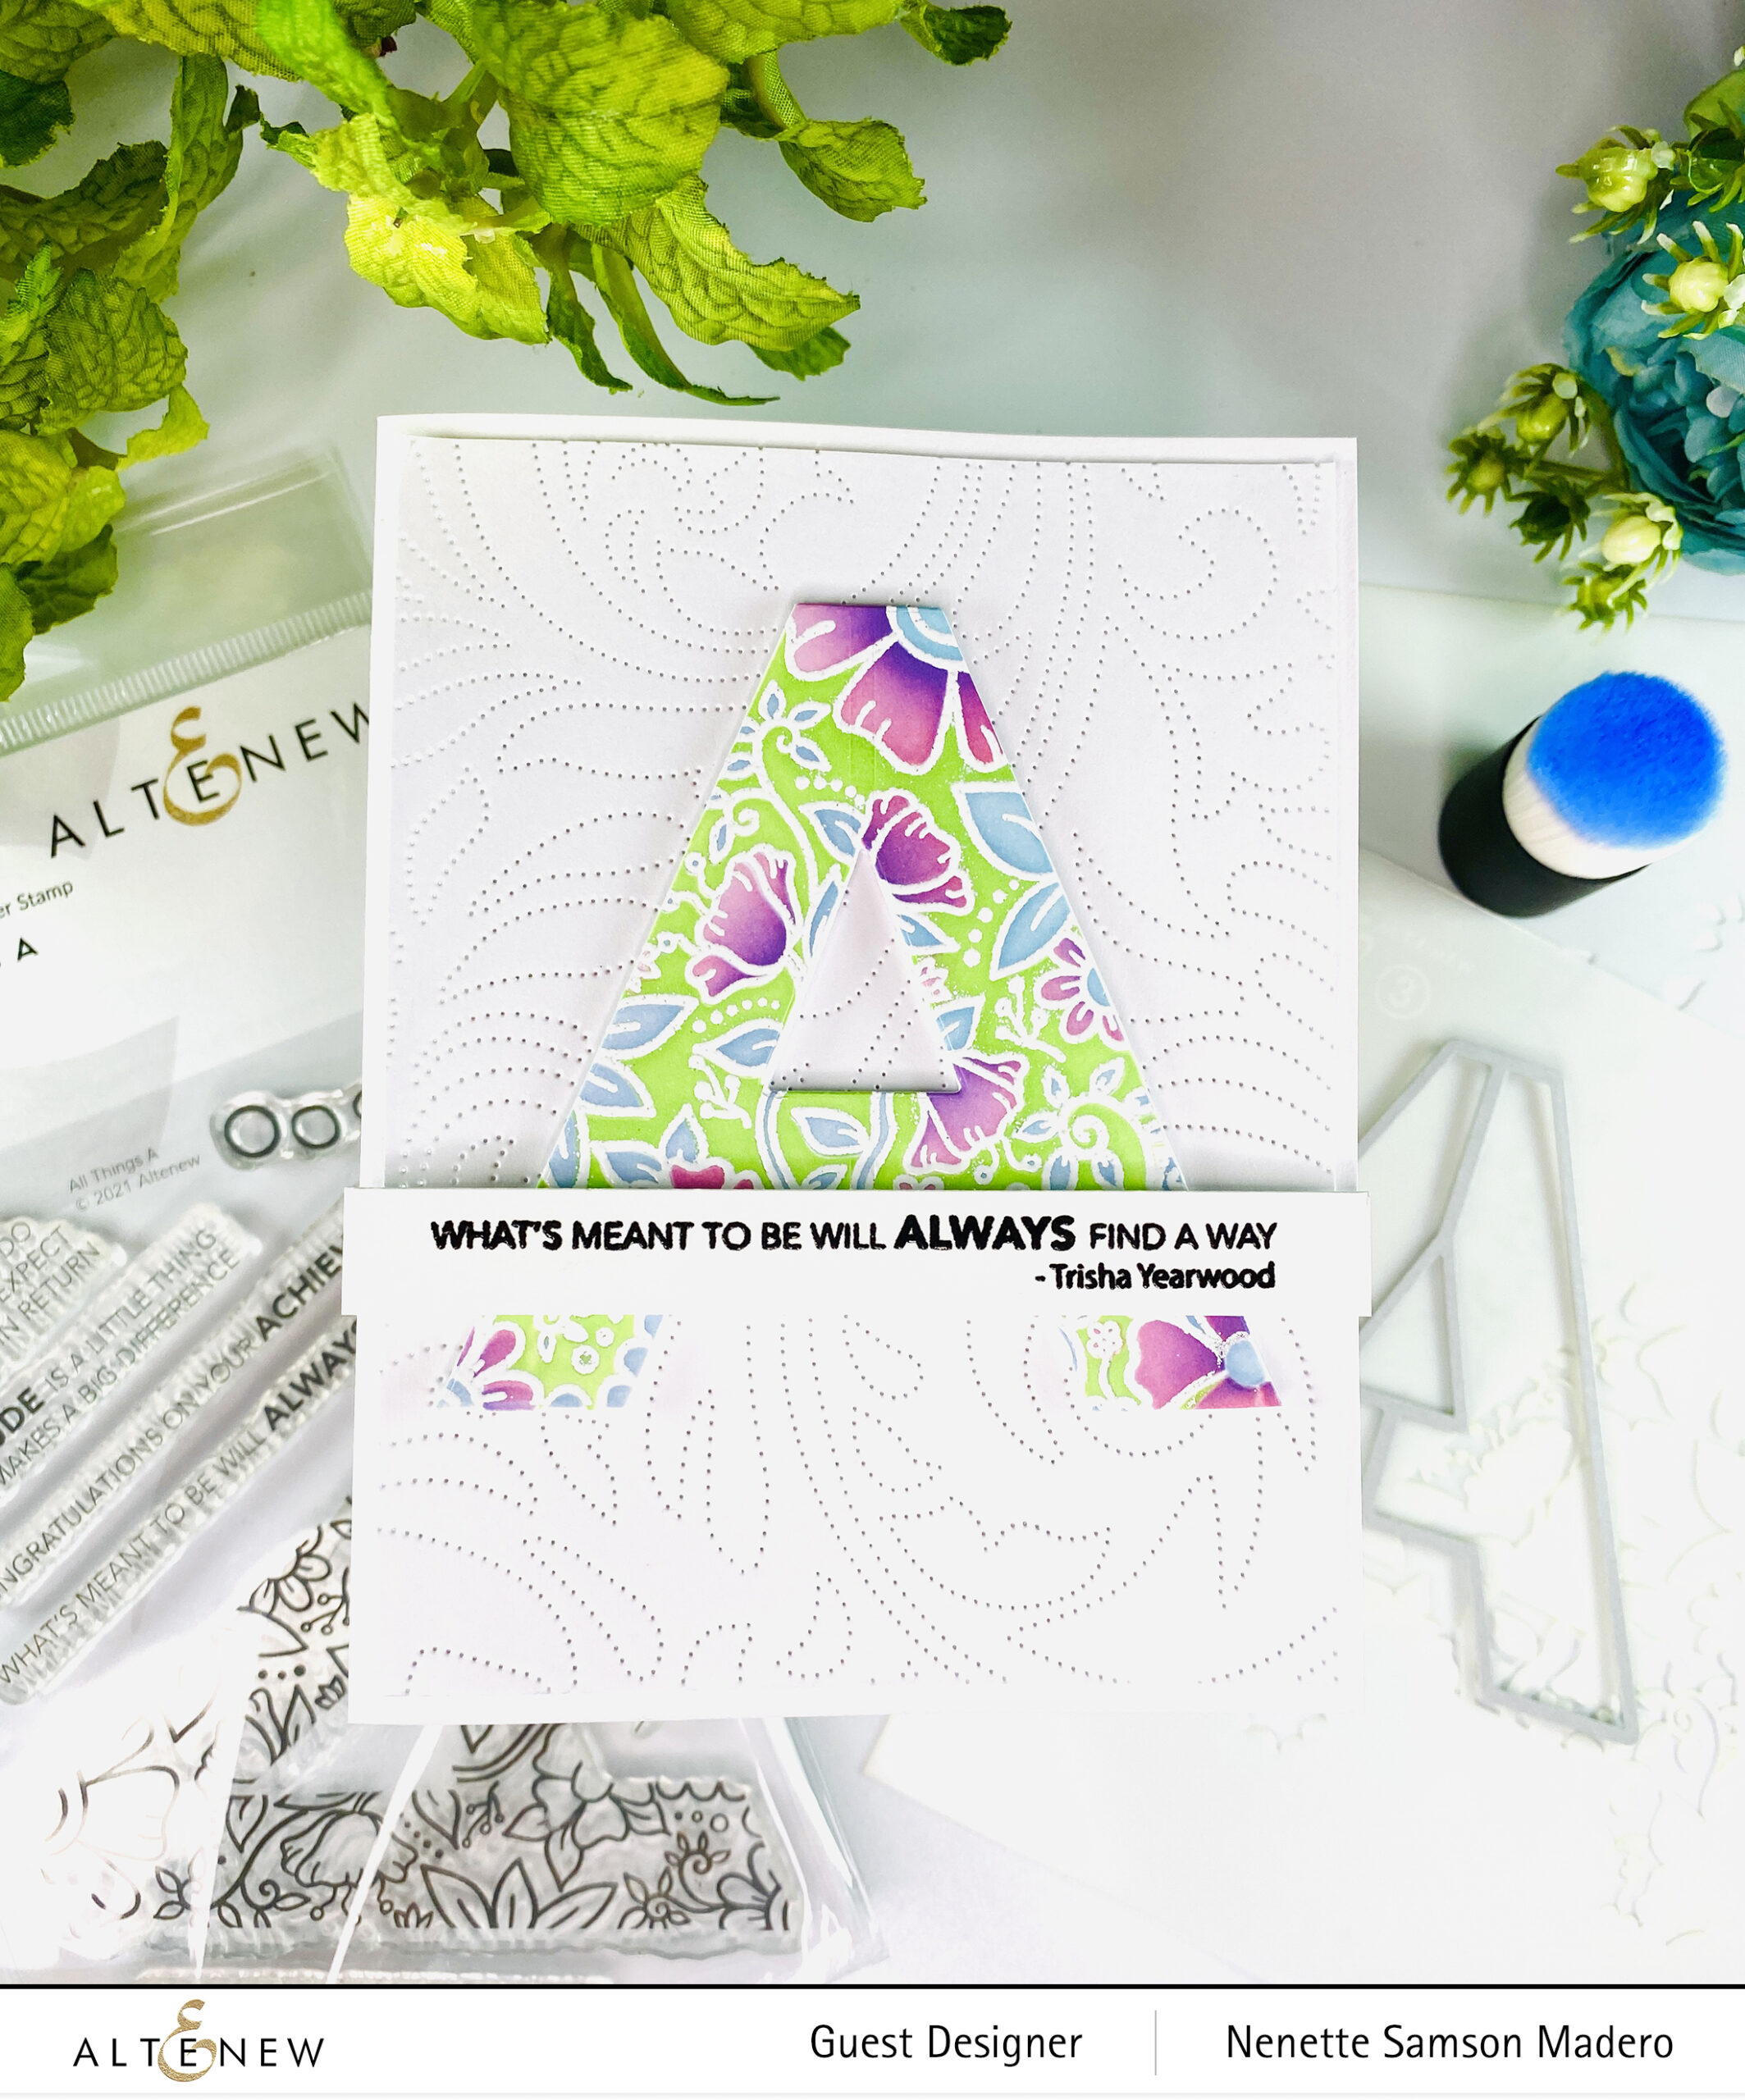
STEPS:

  1. Stamp the A with a very light dye ink.
  2. Use the All Things A simple coloring stencils to color the letter A with dye inks.
  3. Stamp the outline with Versamark Ink and emboss with Pure White embossing powder. Die cut the letter A with the coordinating die.
  4. Stamp the sentiment with Obsidian Ink and emboss with clear embossing powder.
  5. Create a background using the Dotted Swirls Debossing Cover Die.
  6. Assemble card using foam squares.

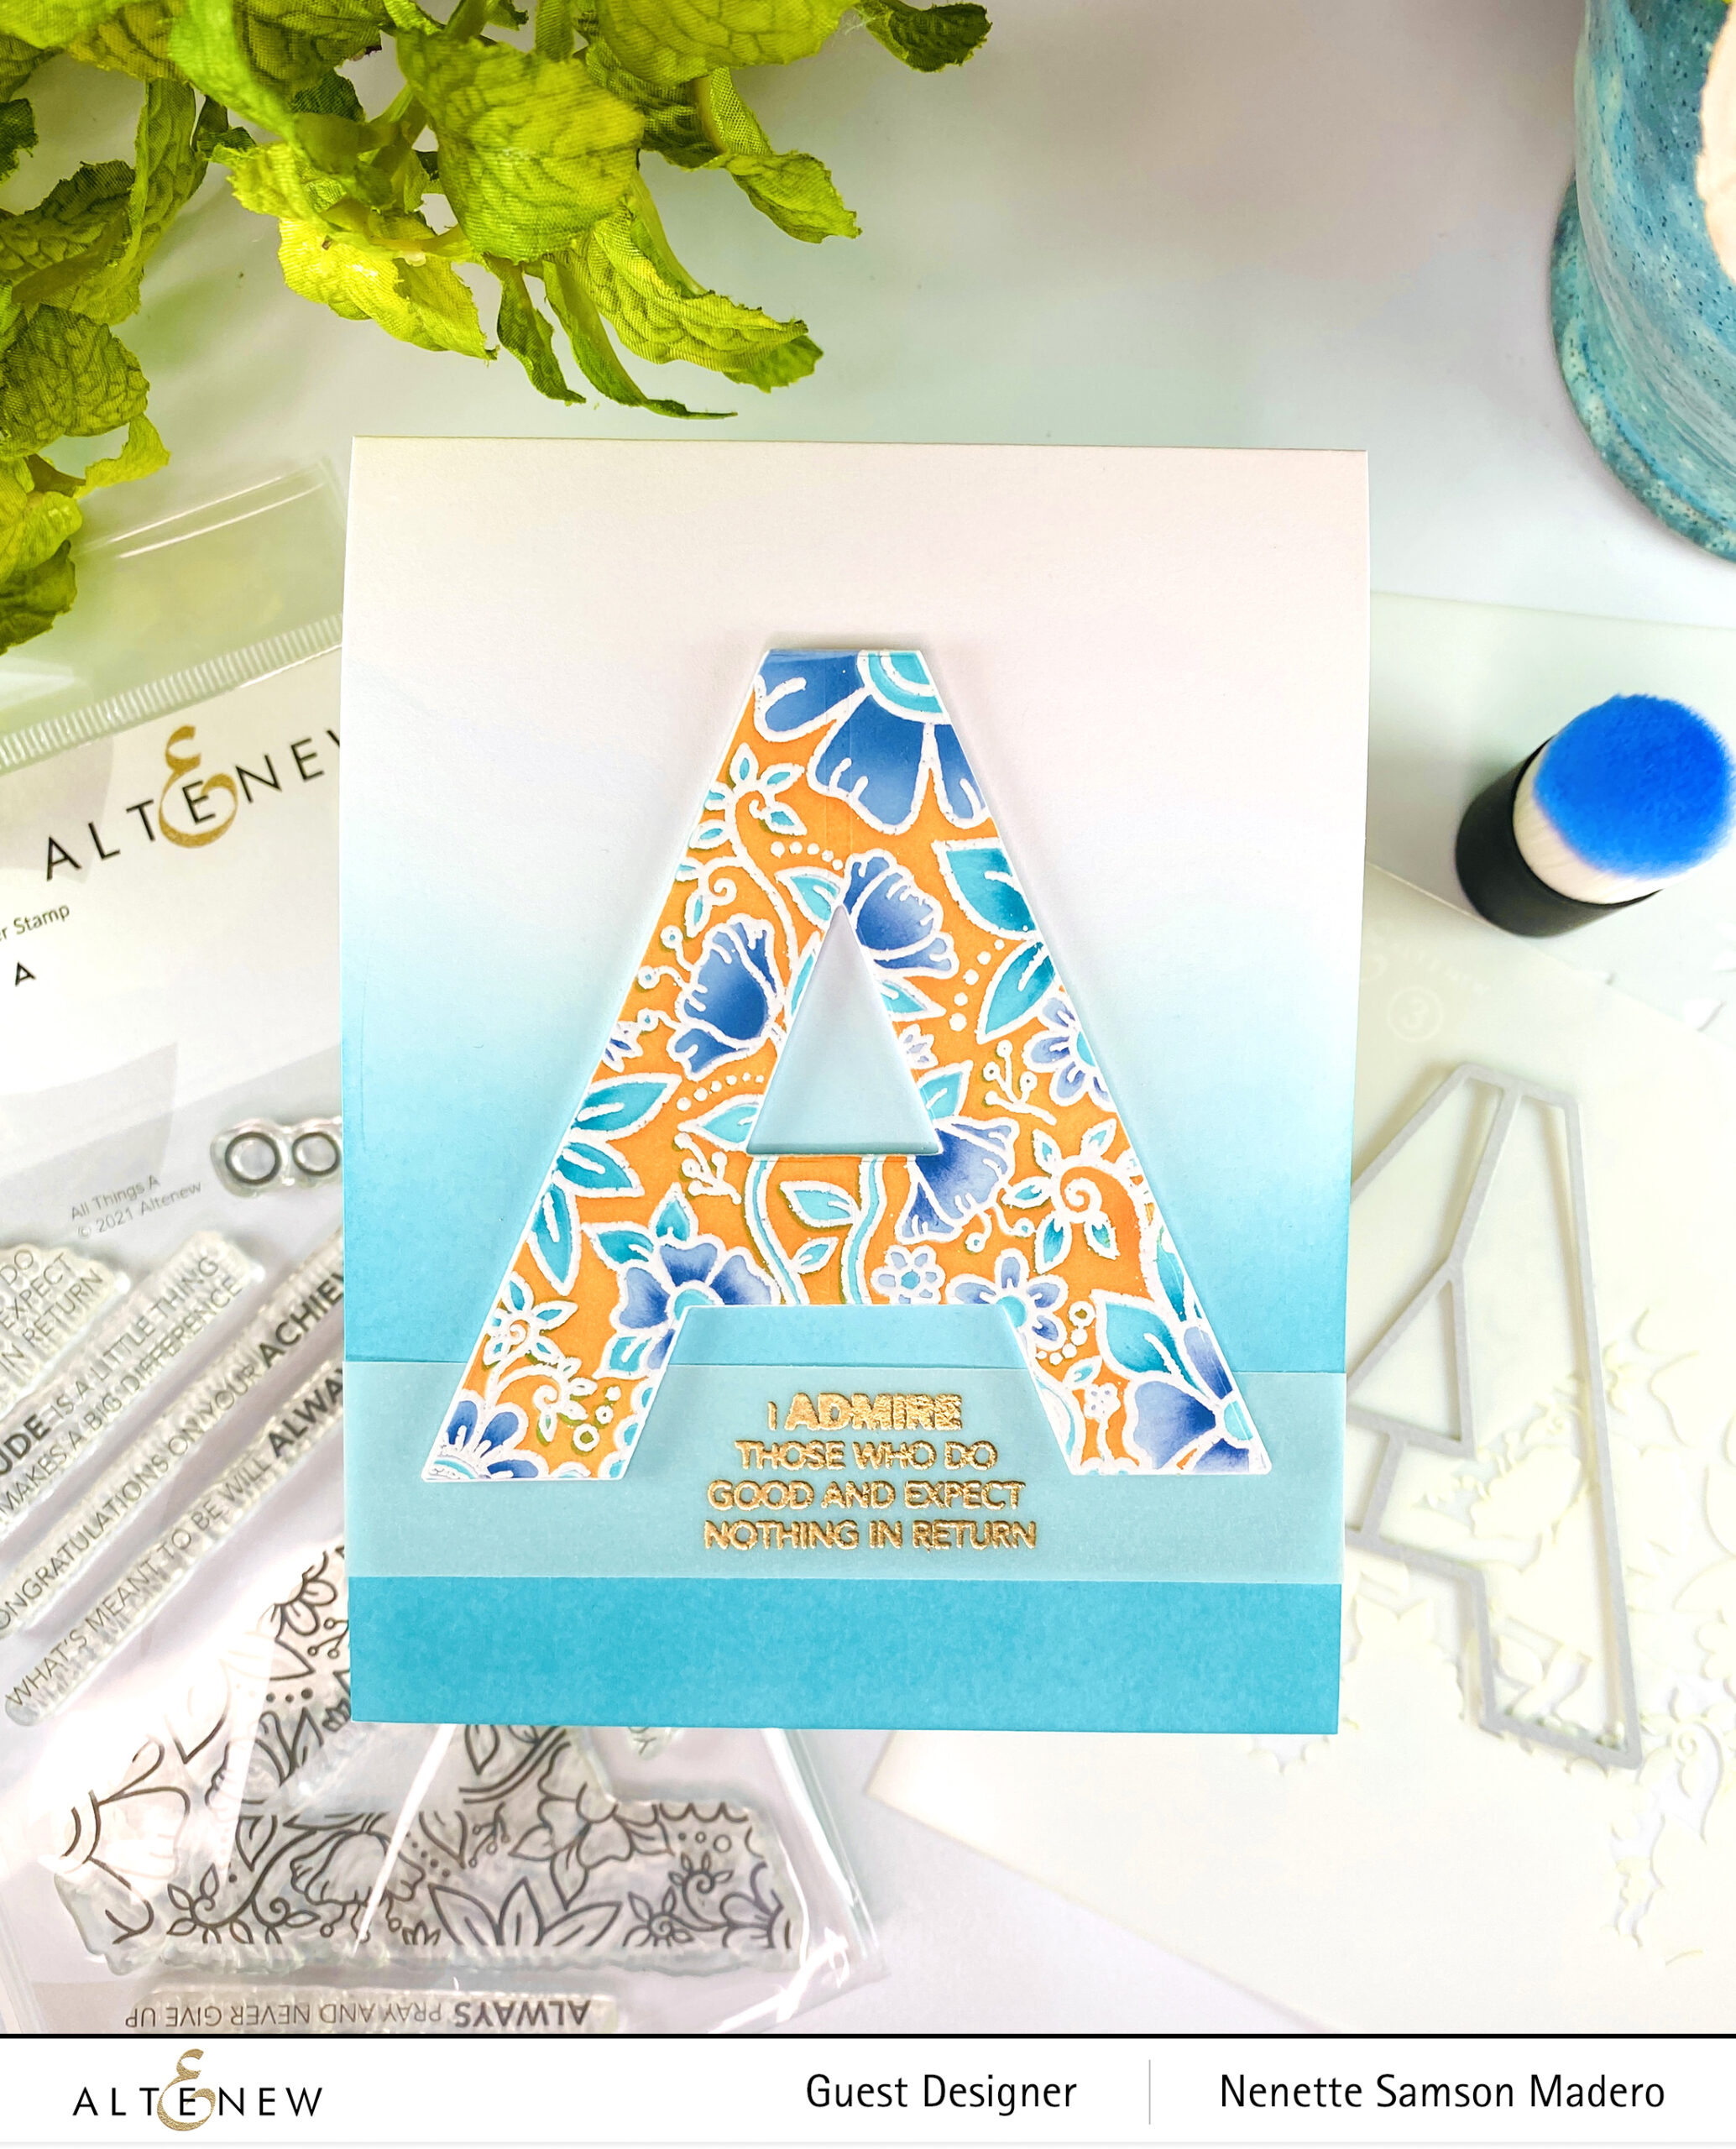
Do you get intimidated by intricate designs? Well, fear no more!! These coloring stencils make it easy to color this beautifully detailed stamp set! I love the sentiments in this stamp set, too! Below is another sample using the All Things A coloring stencils. I just created an ombre background for a different look.
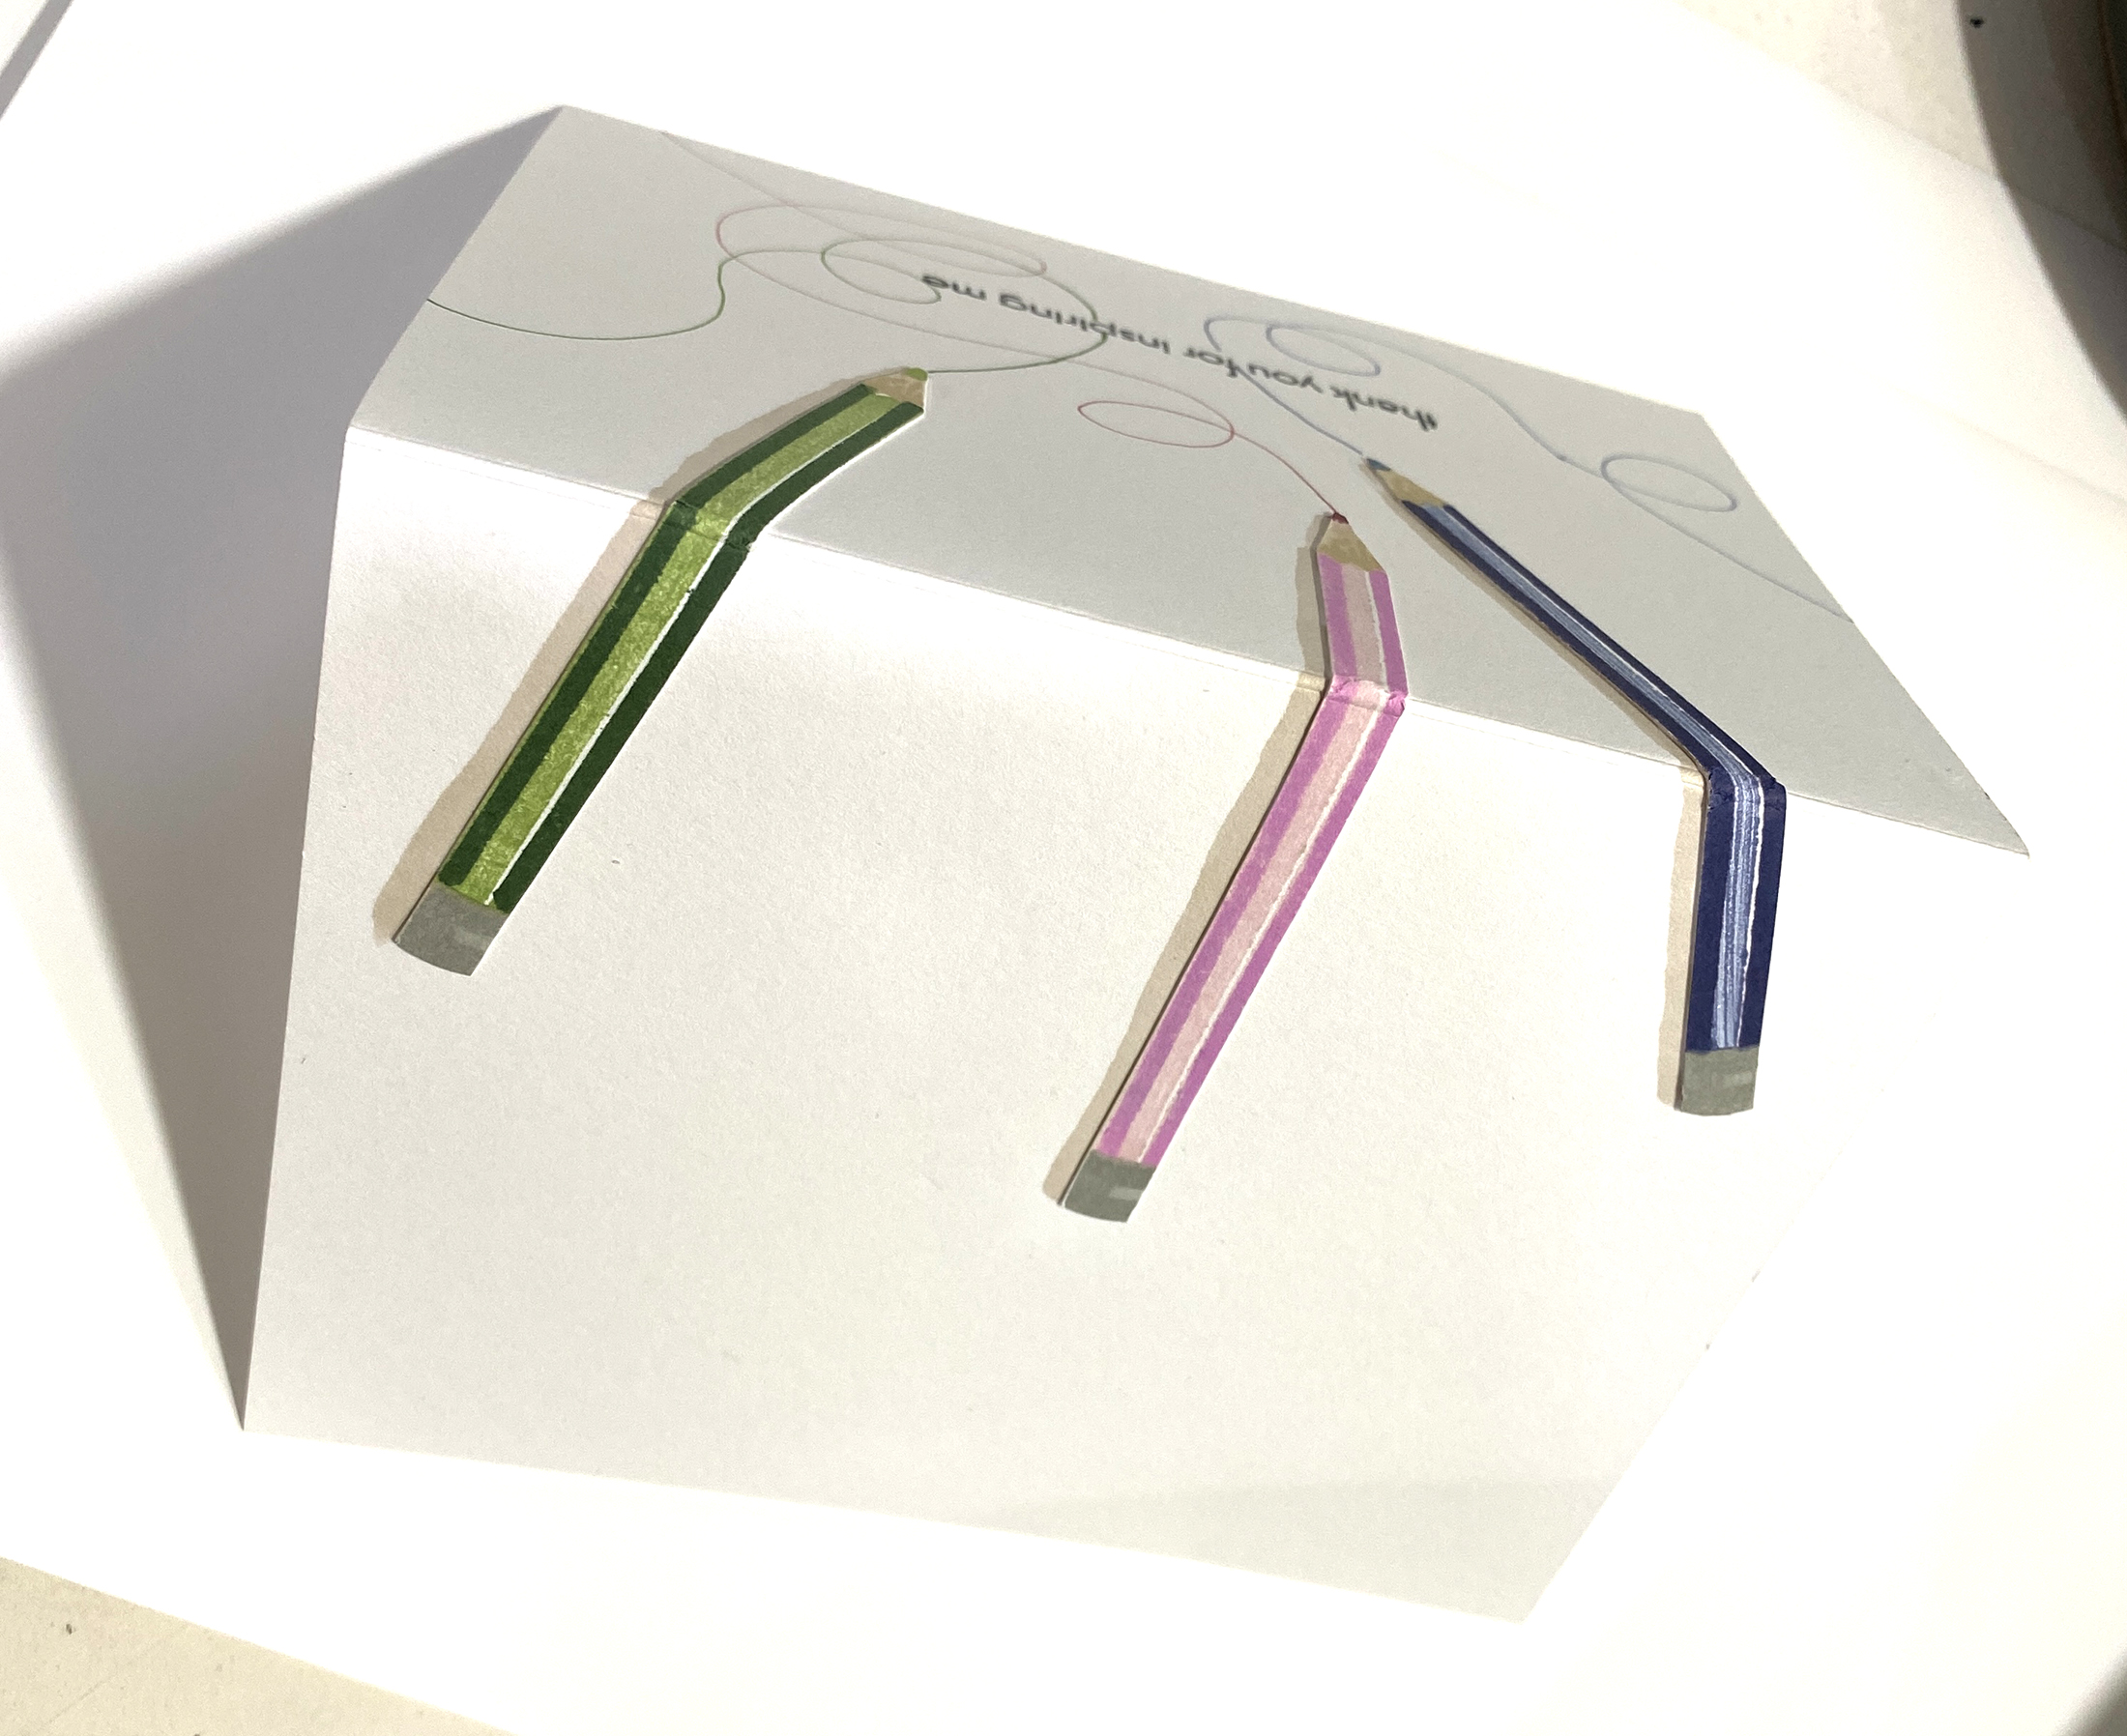
THANK YOU FOR INSPIRING ME

STEPS:

  1. Stamp the pencil images from the Educators Rule Stamp set using Pink Diamond, Puffy Heart, Forest Glades, Evergreen, Winter Lake, Arctic Mountain, Silver stone and Gray Denim and die cut.
  2. Stamp the sentiment with Obsidian Ink and emboss with clear embossing powder.
  3. Glue the pencils.
  4. Draw squiggly lines that math the color of the pencils.
  5. Add shadows to the pencils using alcohol brush marker.

I glued the pencils and wrapped them all the way to the back for continuity to add something different to this CAS card.
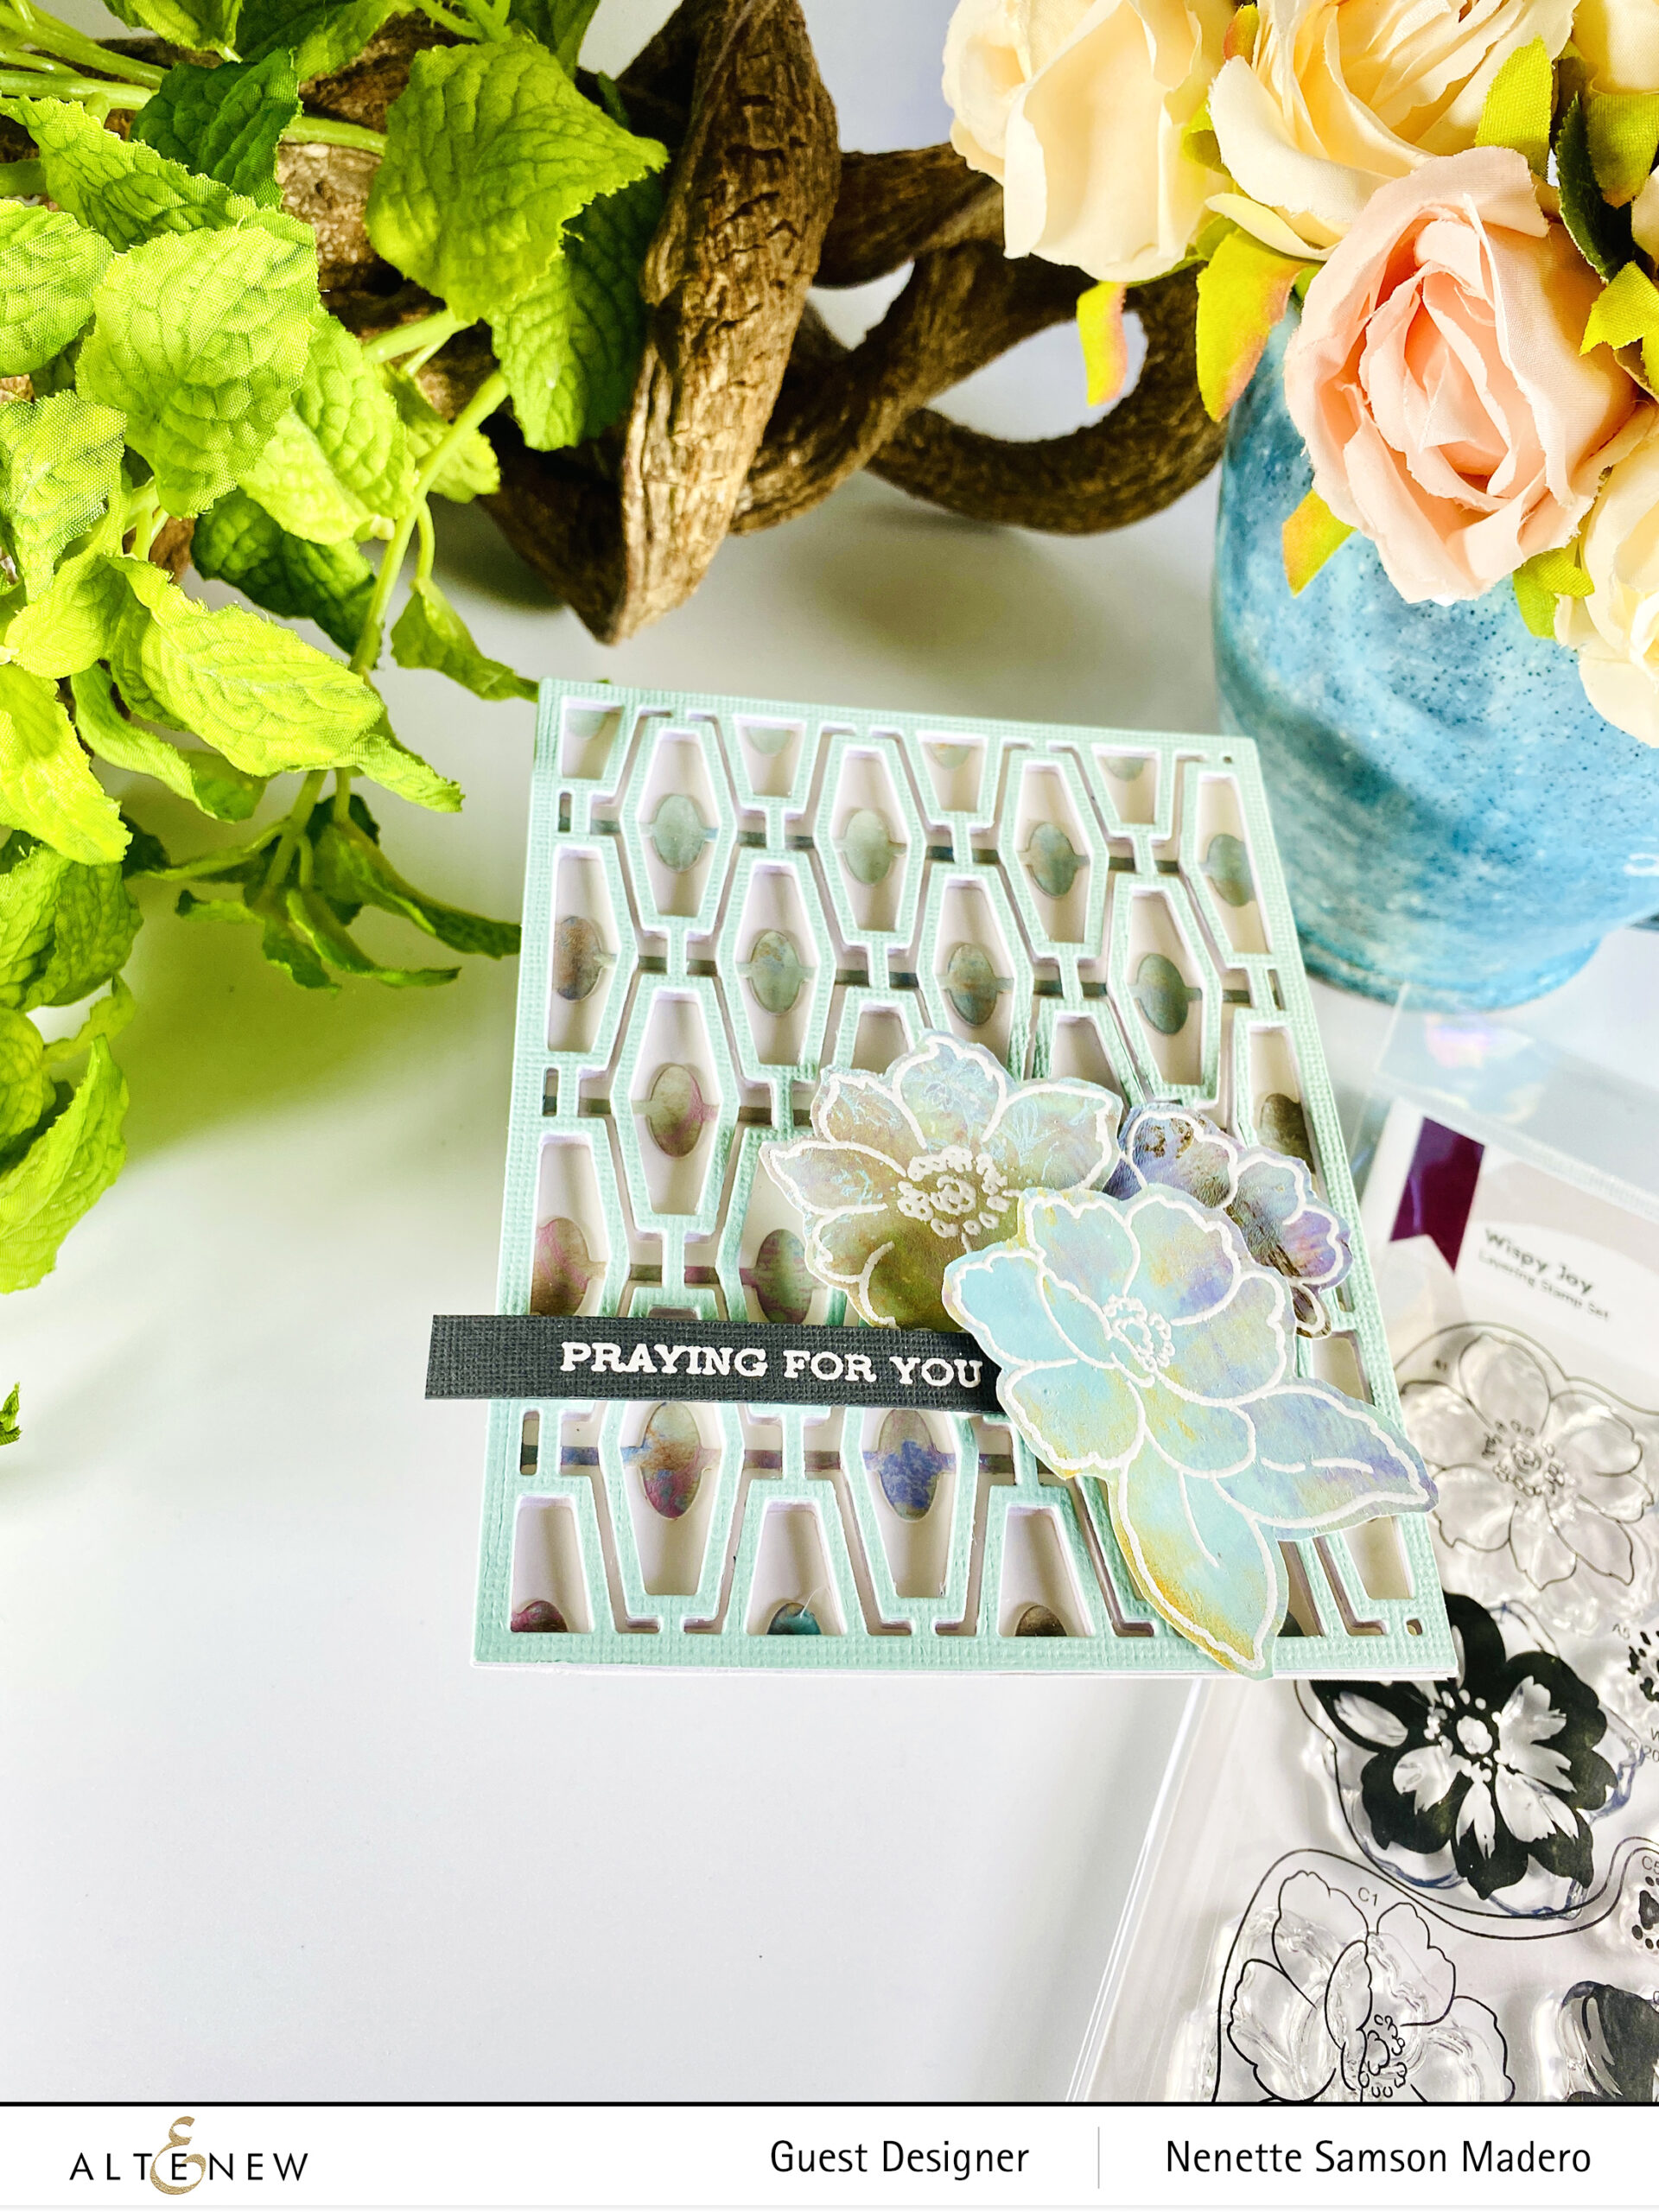
PRAYING FOR YOU
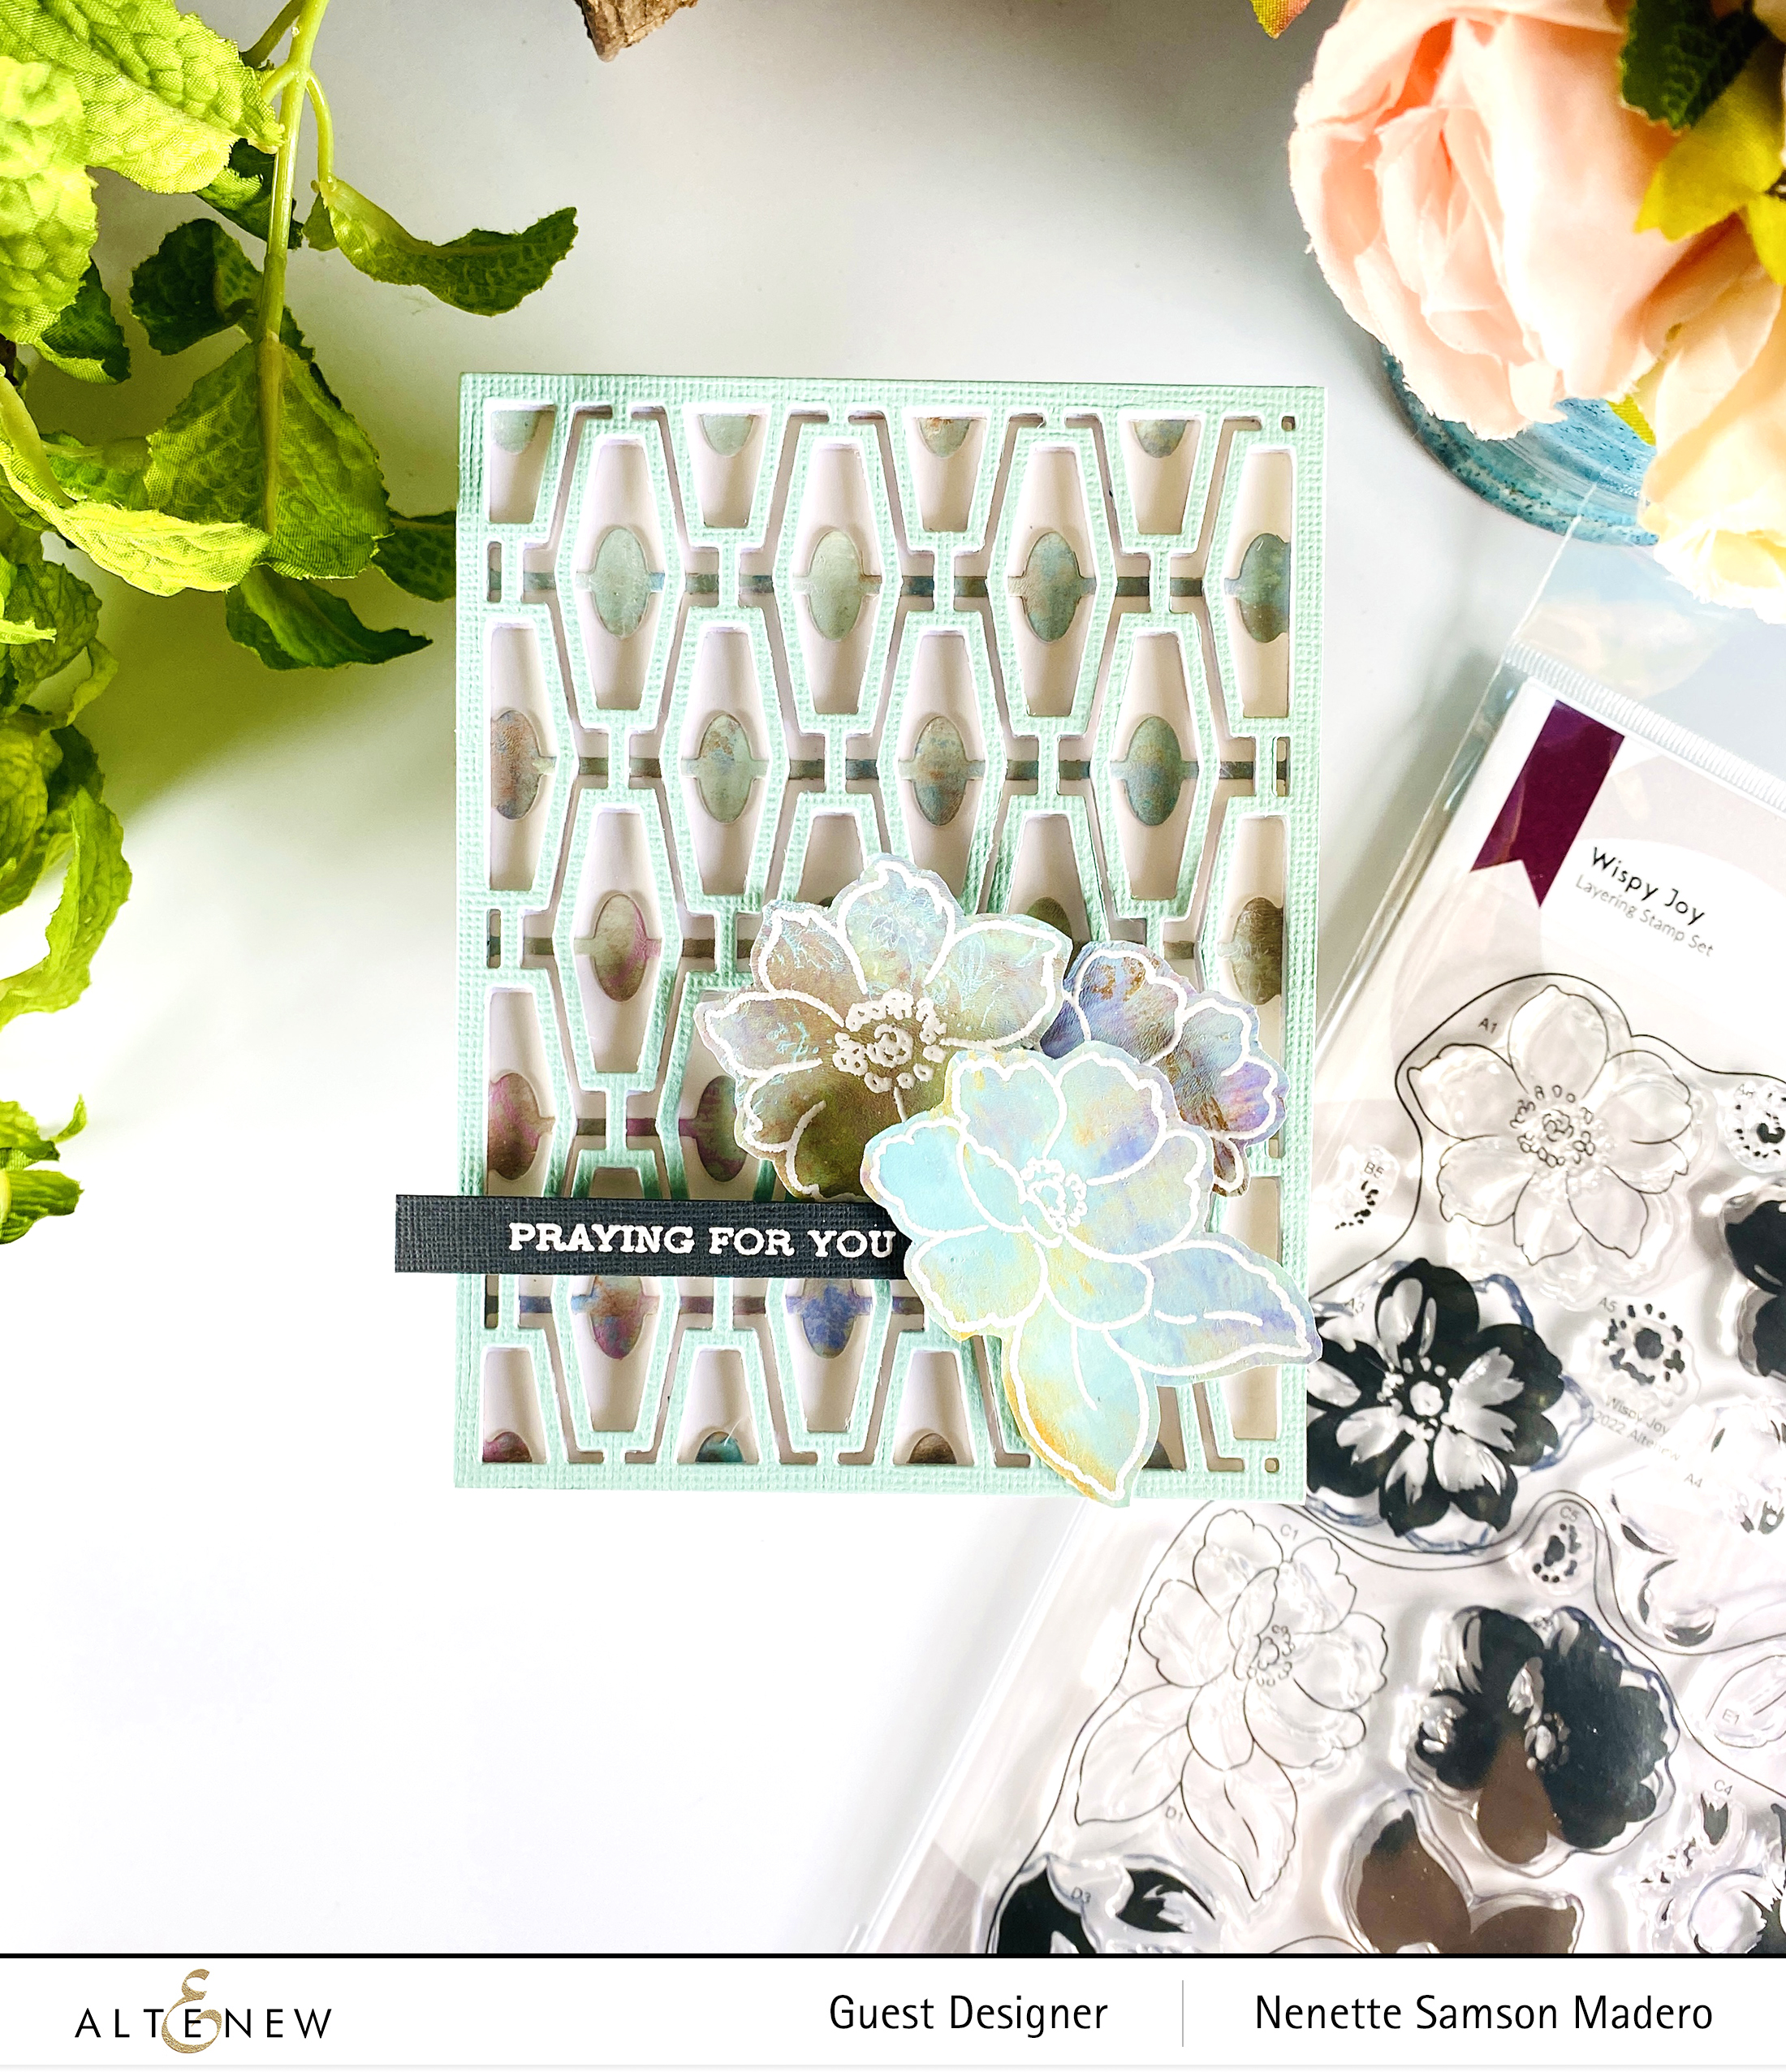
STEPS:

  1. Create a background using acrylic paints and a gelly art plate.
  2. Stamp the image frmo the Wispy Joy Stamp set and emboss using White embossing powder. Die cut the images.
  3. Die cut cardstock using the gelly art print and cardstock using the Mid-Century Cover die and the Abacus cover die.
  4. Stamp the sentiment on grey cardstock and emboss with white embossing powder.
  5. Assemble card using foam squares and adhesive.
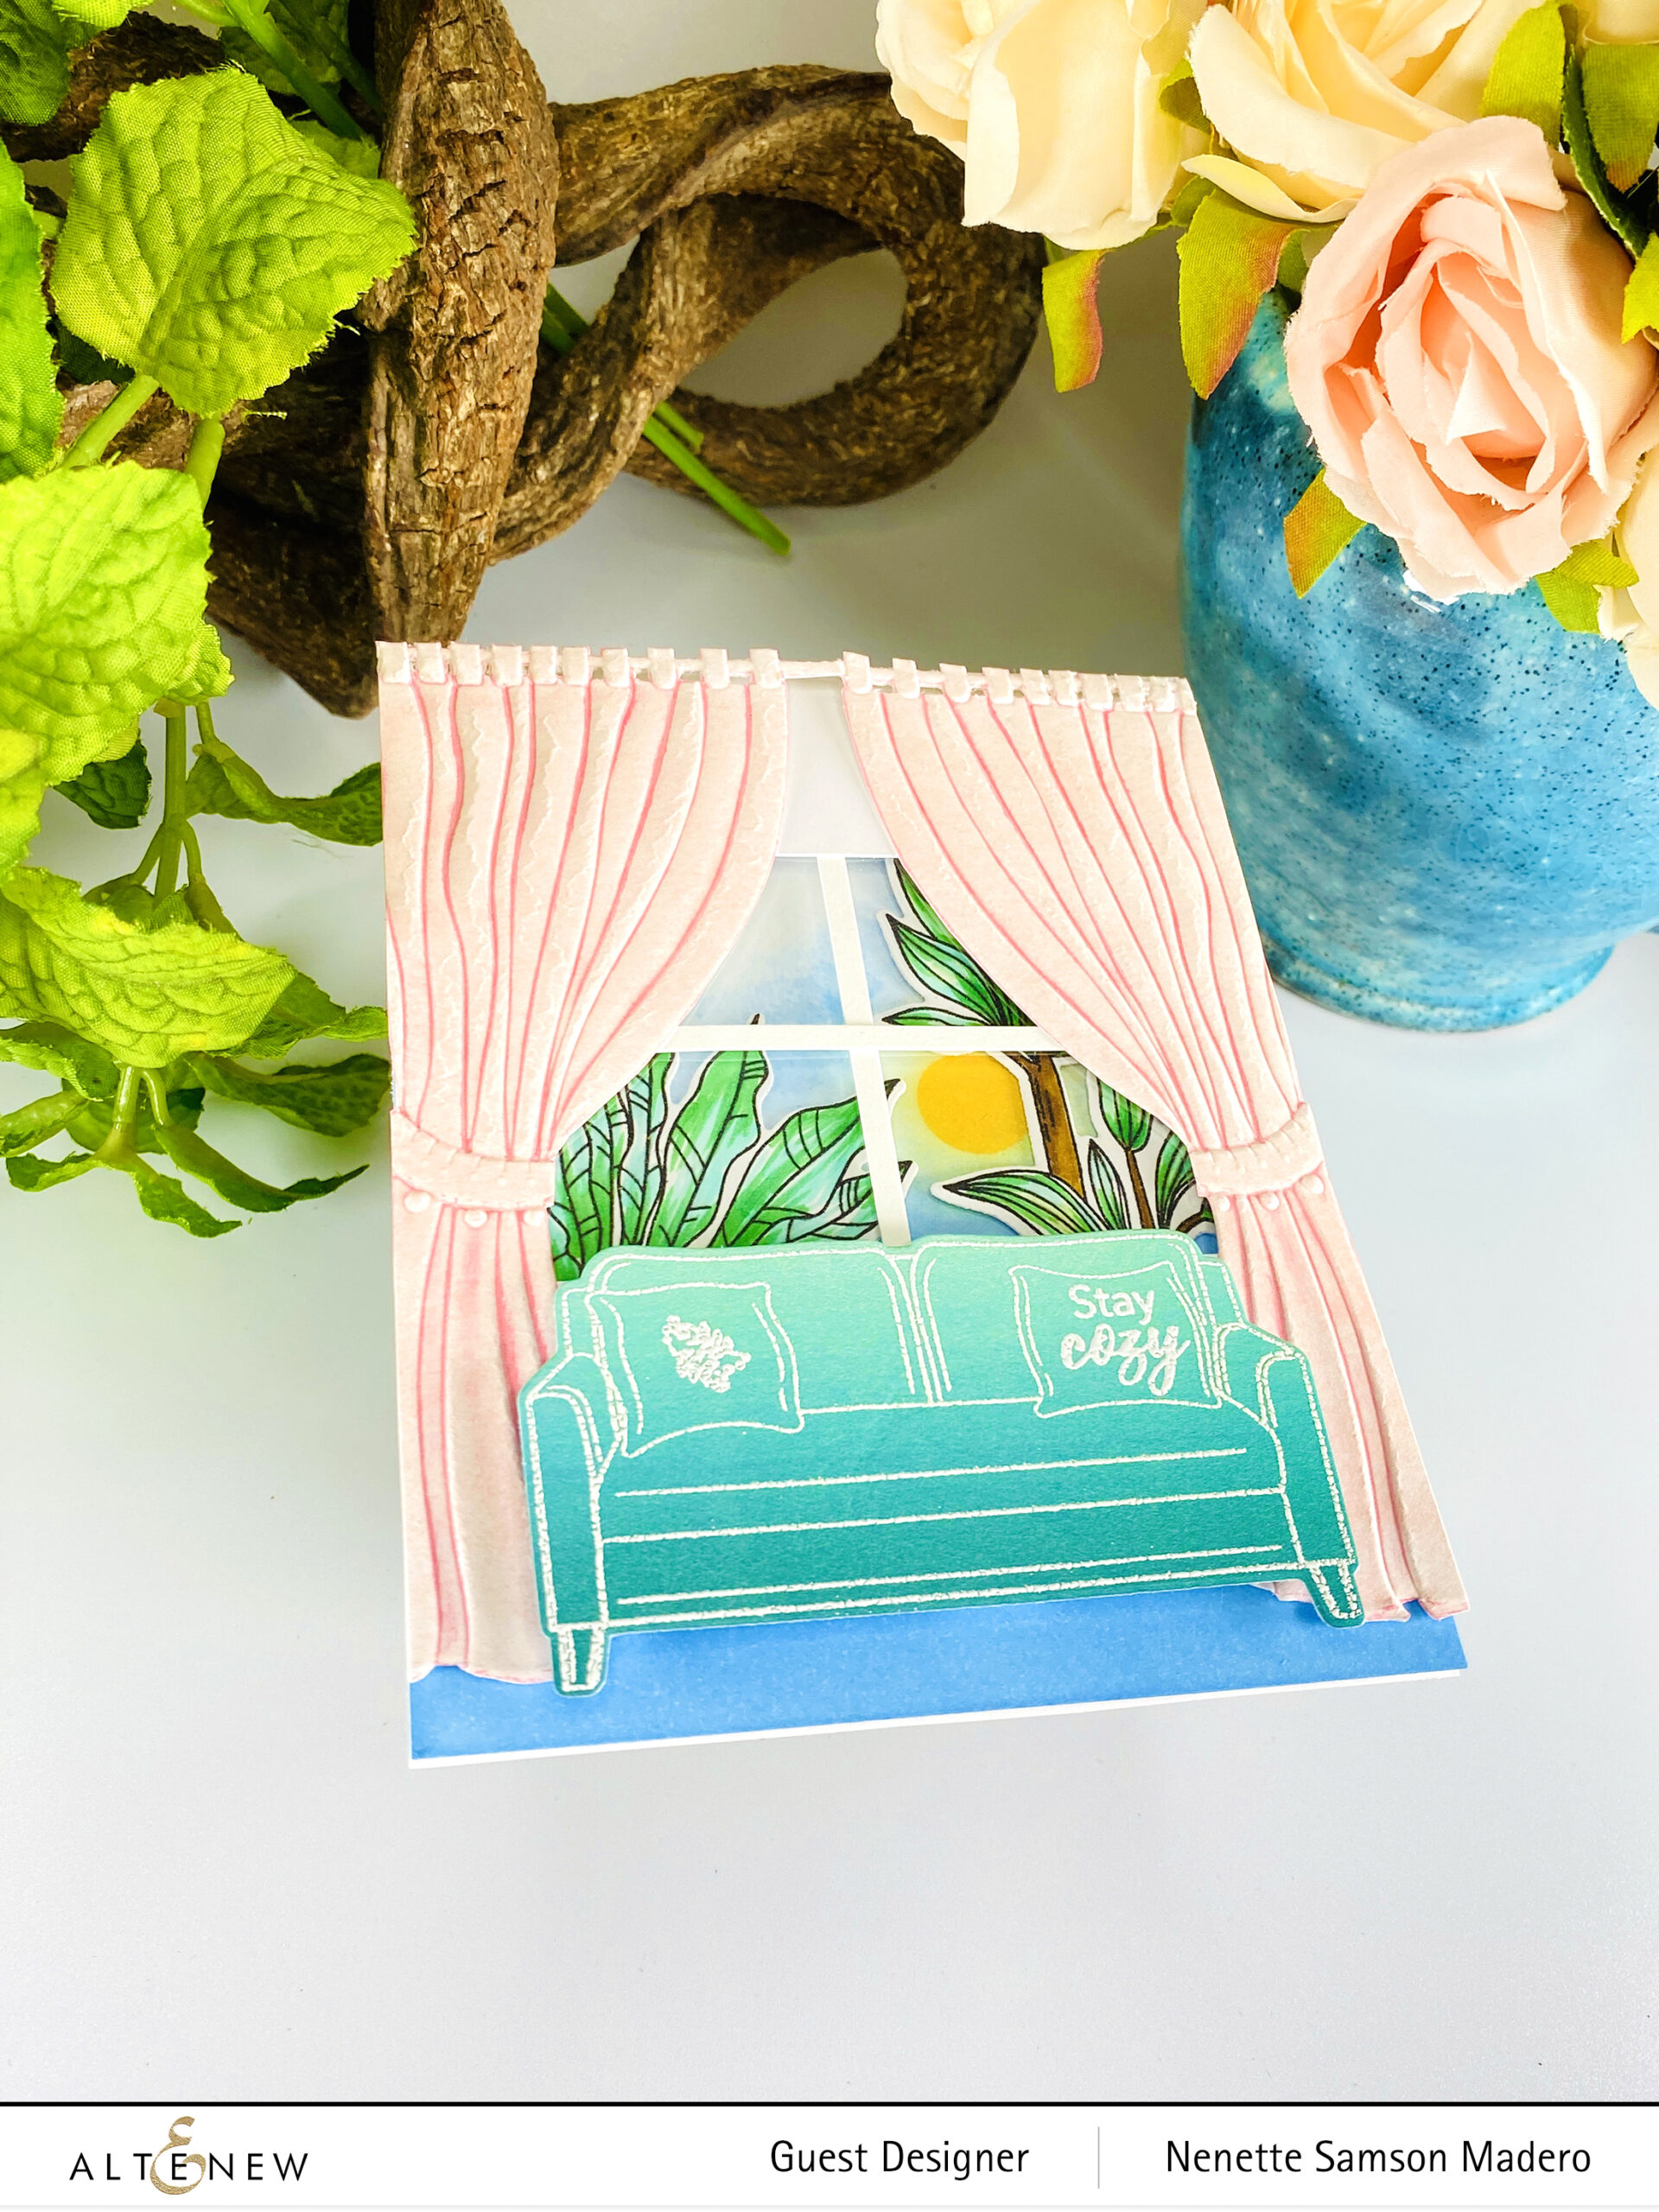
STAY COZY
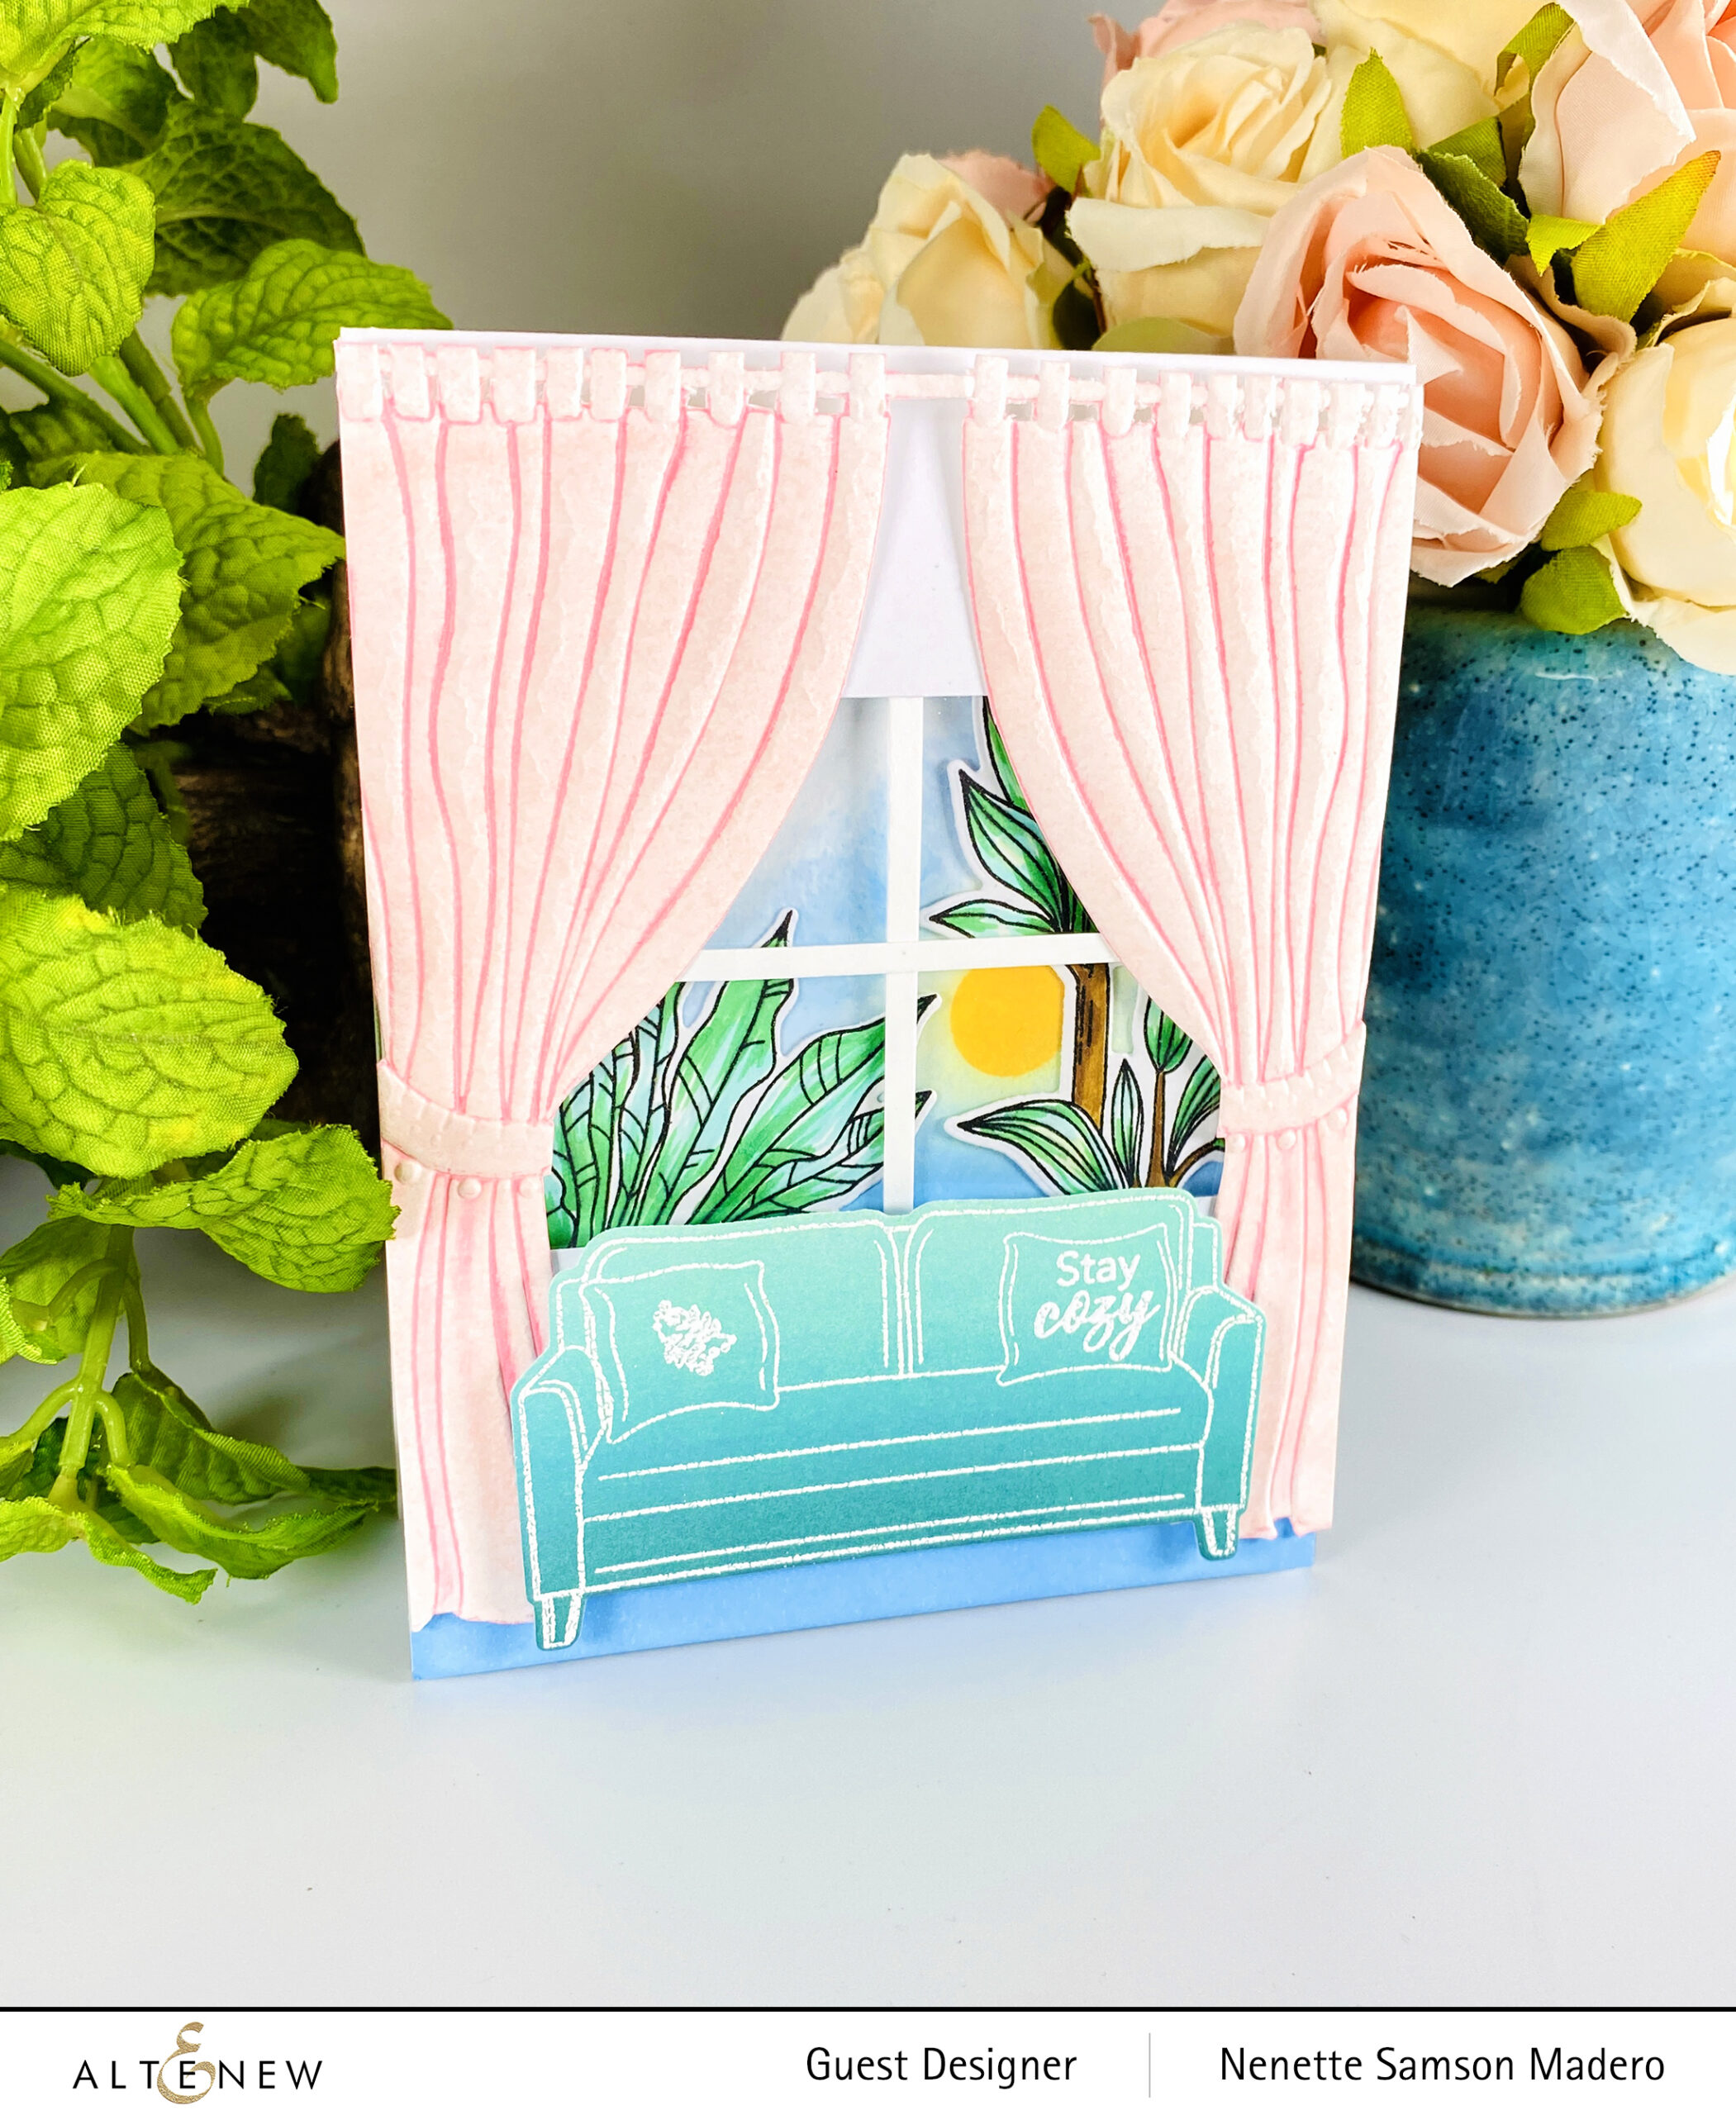
STEPS:

  1. Stamp the image from Comfy Couch Stamp on one of the ombre papers from the Blends 6×6 paper pack and emboss with Pure White embossing powder. Die cut the image.
  2. Add Frosty Pink Mixed Media ink to the embossed portions of the Folded Drapes 3D embossing folder and emboss using white cardstock.
  3. Stamp plants from the Pots & Plants Stamp with Obsidian ink, emboss with clear embossing powder, and color with Alcohol brush markers. Diecut.
  4. Cut out a window. Create the sky background and the carpet using mixed media inks.
  5. Stamp the sentiment from the Armchair Stamp to the pillow and emboss with Pure white embossing powder.
  6. Assemble the card.

I wanted to use a variety of stamp sets to create this scene. Don’t you love a compy sofa with a view of plants outside your window? It’s the perfect spot to read a good book and sip coffee. <3

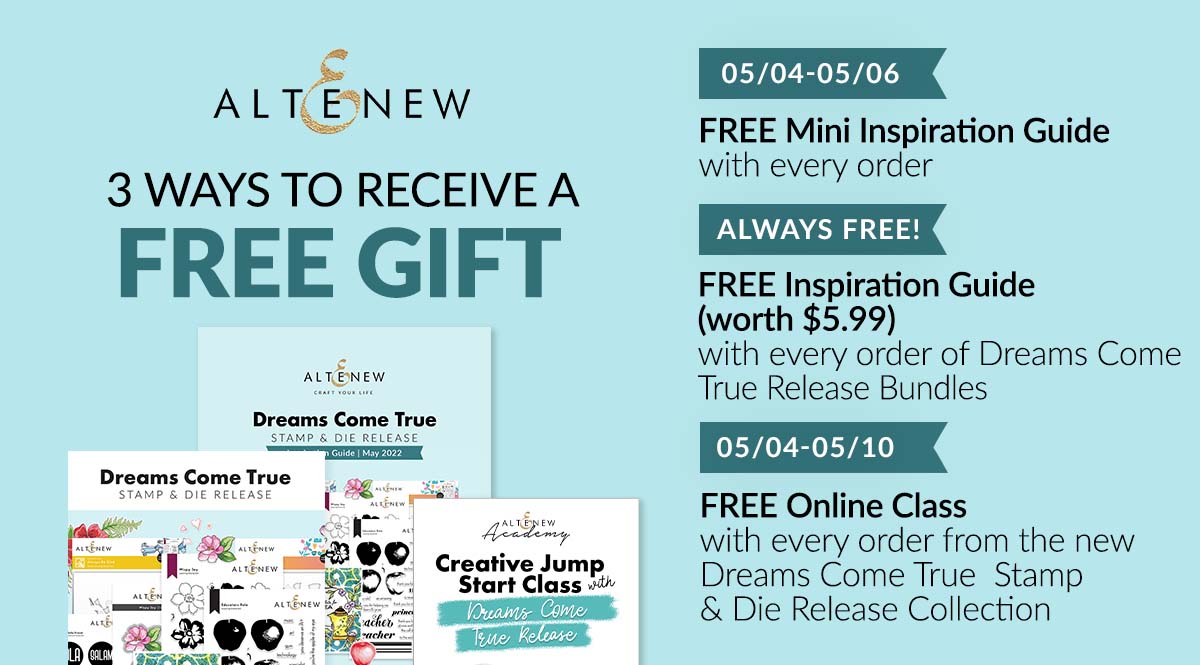
FREE GIFT
GIVEAWAY PRIZES

$300 in total prizes! To celebrate this release, Altenew is giving away a $50 gift certificate to 2 lucky winners and a $25 gift certificate to 8 winners! Please leave a comment on the Altenew Card Blog and/or each designer’s blog post on the blog hop list below by 05/10/2022 for a chance to win. 

Altenew will draw ten random winners from the comments left on each blog hop stop and announce the winners on the Altenew Winners Page on 05/12/2022.

NEXT UP: Laurie Willison. Thank you for dropping by. I hope you liked what I created for this release. Let me know which one is your favorite in the comment section below to get a chance to win a prize from Altenew. Until my next post. Stay safe and keep on crafting! <3

Altenew Build-A-Garden: Magnificent Branch Release Blog Hop + Giveaway ($200 total prizes)

Altenew Build-A-Garden: Magnificent Branch Release Blog Hop + Giveaway ($200 total prizes)

Hello, crafty friends! Welcome to my blog! Thanks so much, Michelle Short, for sending everyone over. For the complete details of this blog hop, visit the Altenew blog.

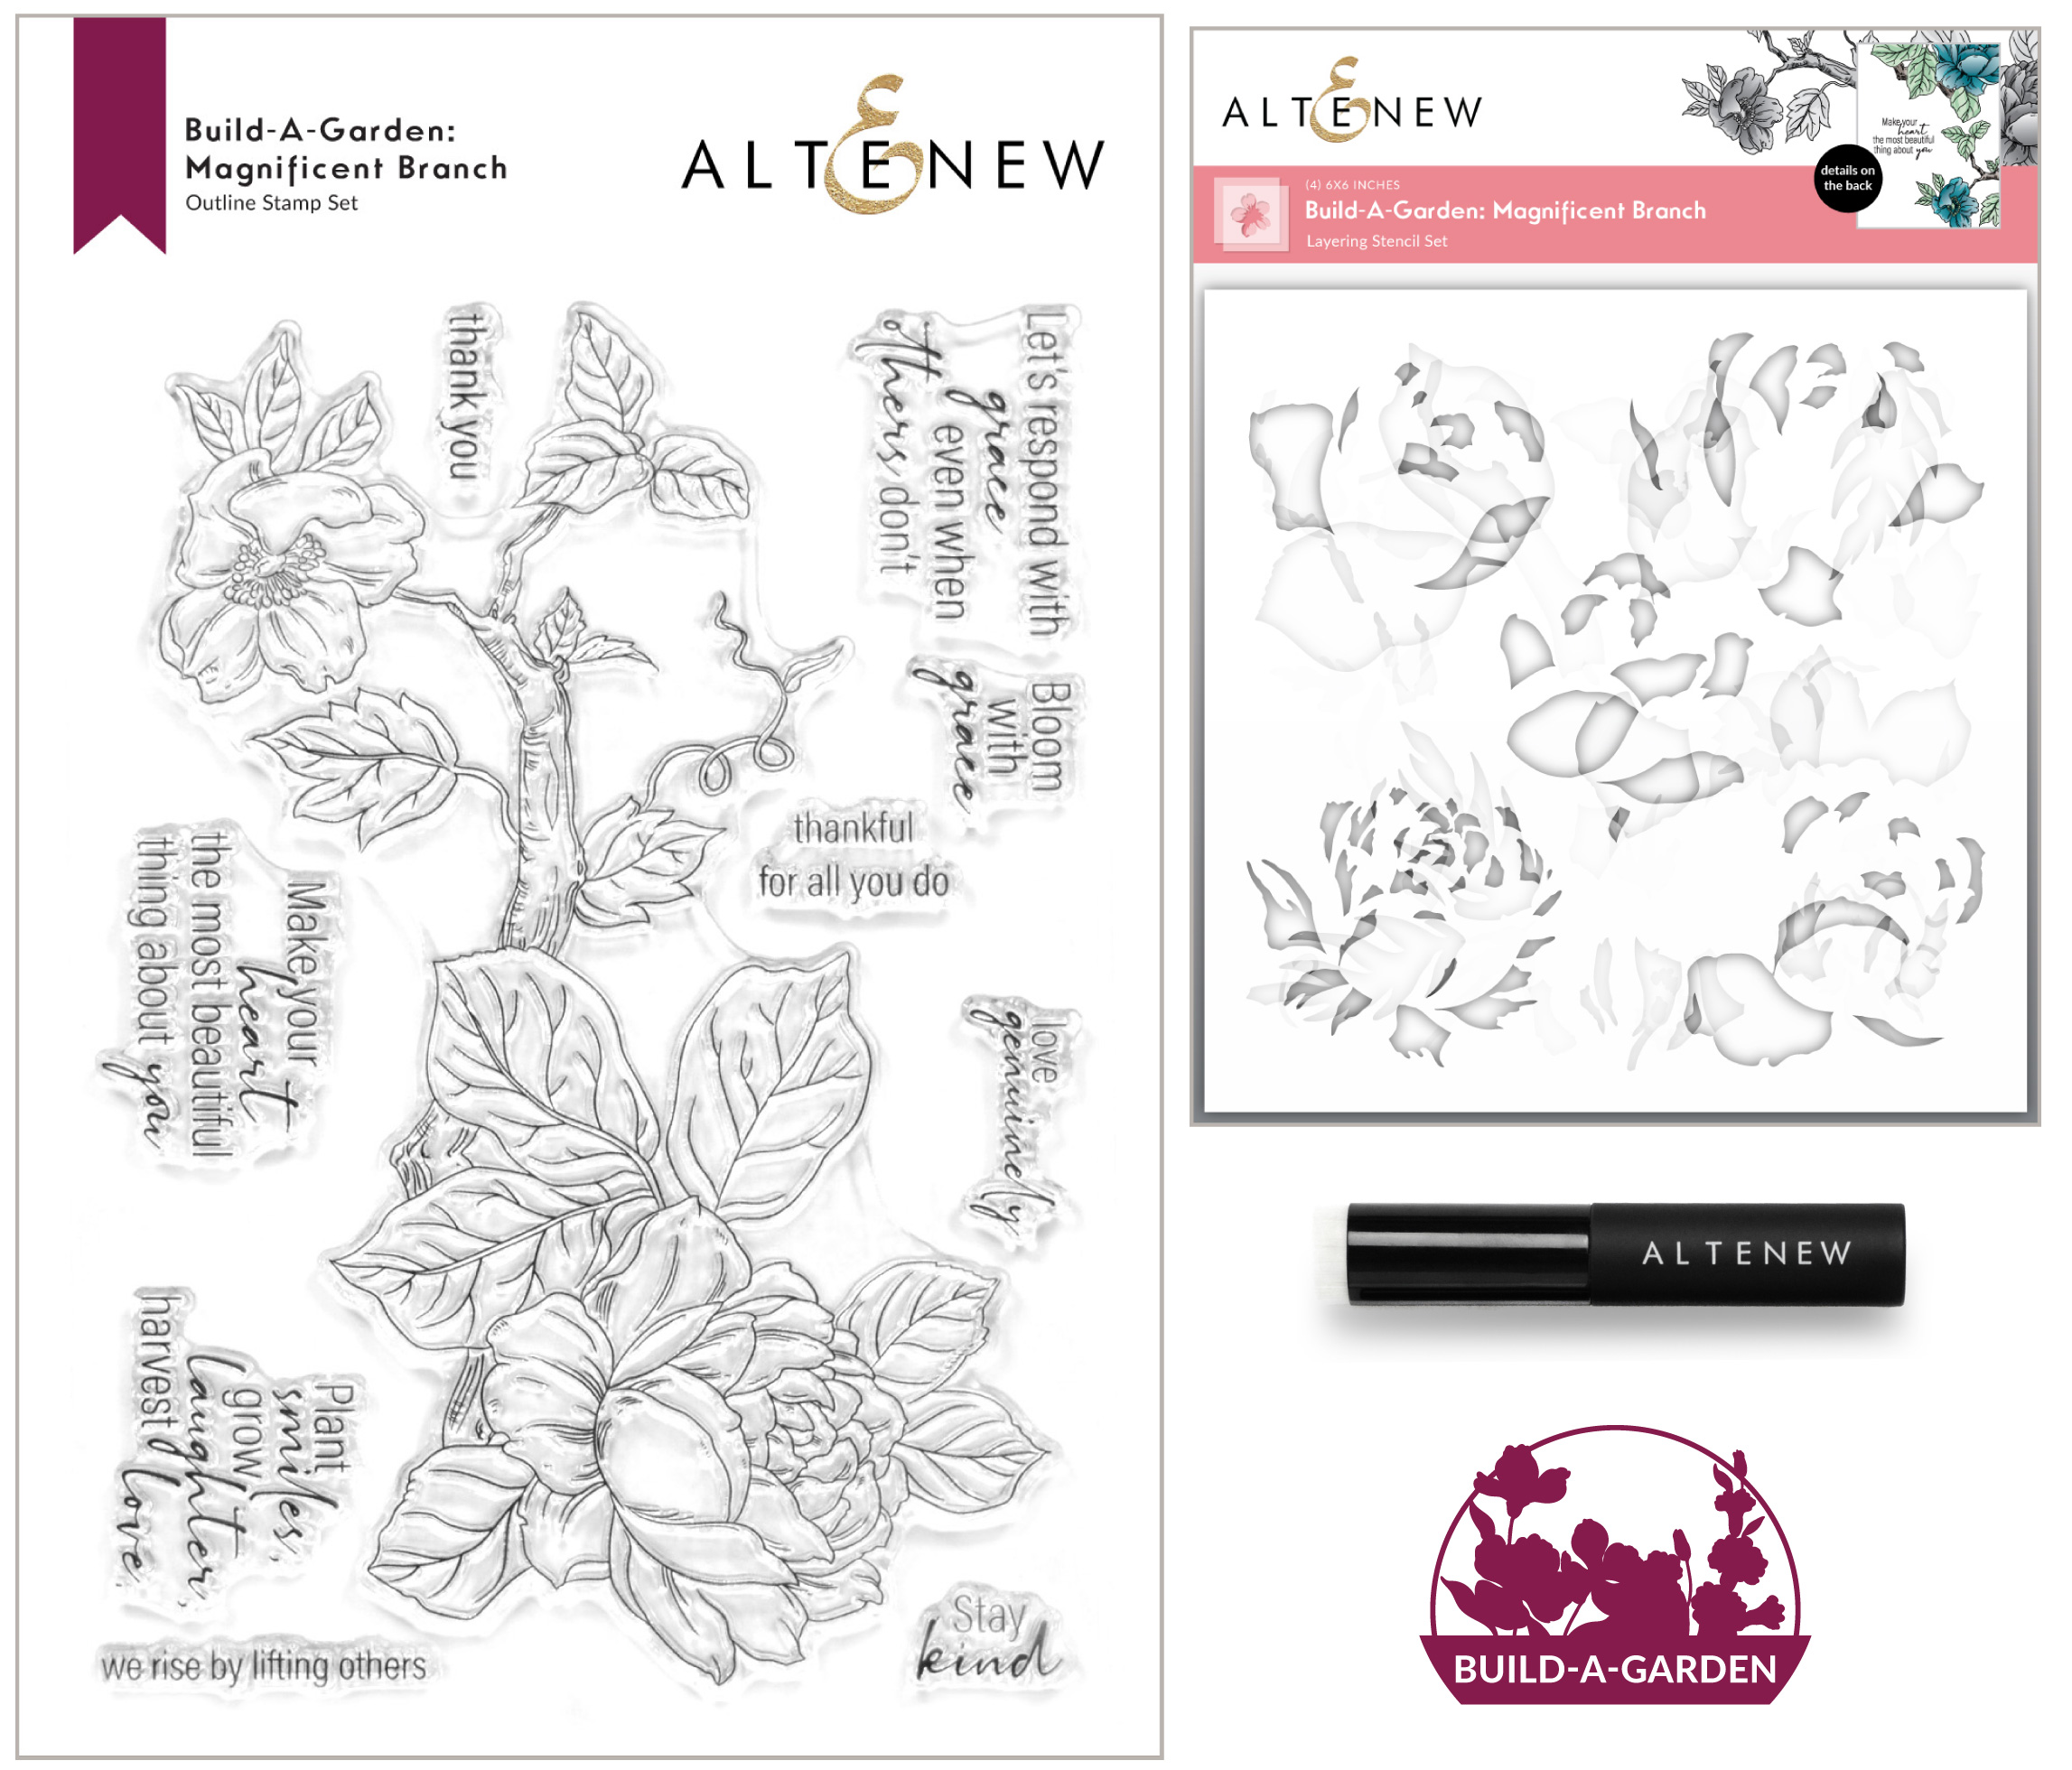
BUILD-A-GARDEN: MAGNIFICENT BRANCH

Love genuinely, and bloom with grace. Create two card fronts at once with this first-of-its-kind floral stamp set! The imaginative collection features a magnificent tree branch bearing flowers that you wouldn’t usually see together in nature. Cut the design just right for a card featuring the cupped rose and another card featuring the flat rose. Stamp the heartwarming sentiments and quotes to inspire your loved ones. We hope you love this stamp set as much as we do!

Enjoy our Build-A-Garden project set, an exciting monthly package that will get the creative juices flowing! Each month includes a stamp set and a coordinating stencil set, and/or die set PLUS a customer-favorite Mini Blending Brush! Build your collection of brushes from month to month so you will never be left looking for the perfect tool while crafting.

This set contains the following products:

– one 6″ x 8″ stamp set containing ten stamps made in the USA from high-quality photopolymer

– one layering stencil set containing four stencils that coordinate with the stamp set

– one Mini Blending Brush for ink blending

Note: These products are NOT sold separately. 

There are so many ways you can use this stamp/die/stencil set! Hopefully, the cards below will inspire you to create your own mini garden on paper.

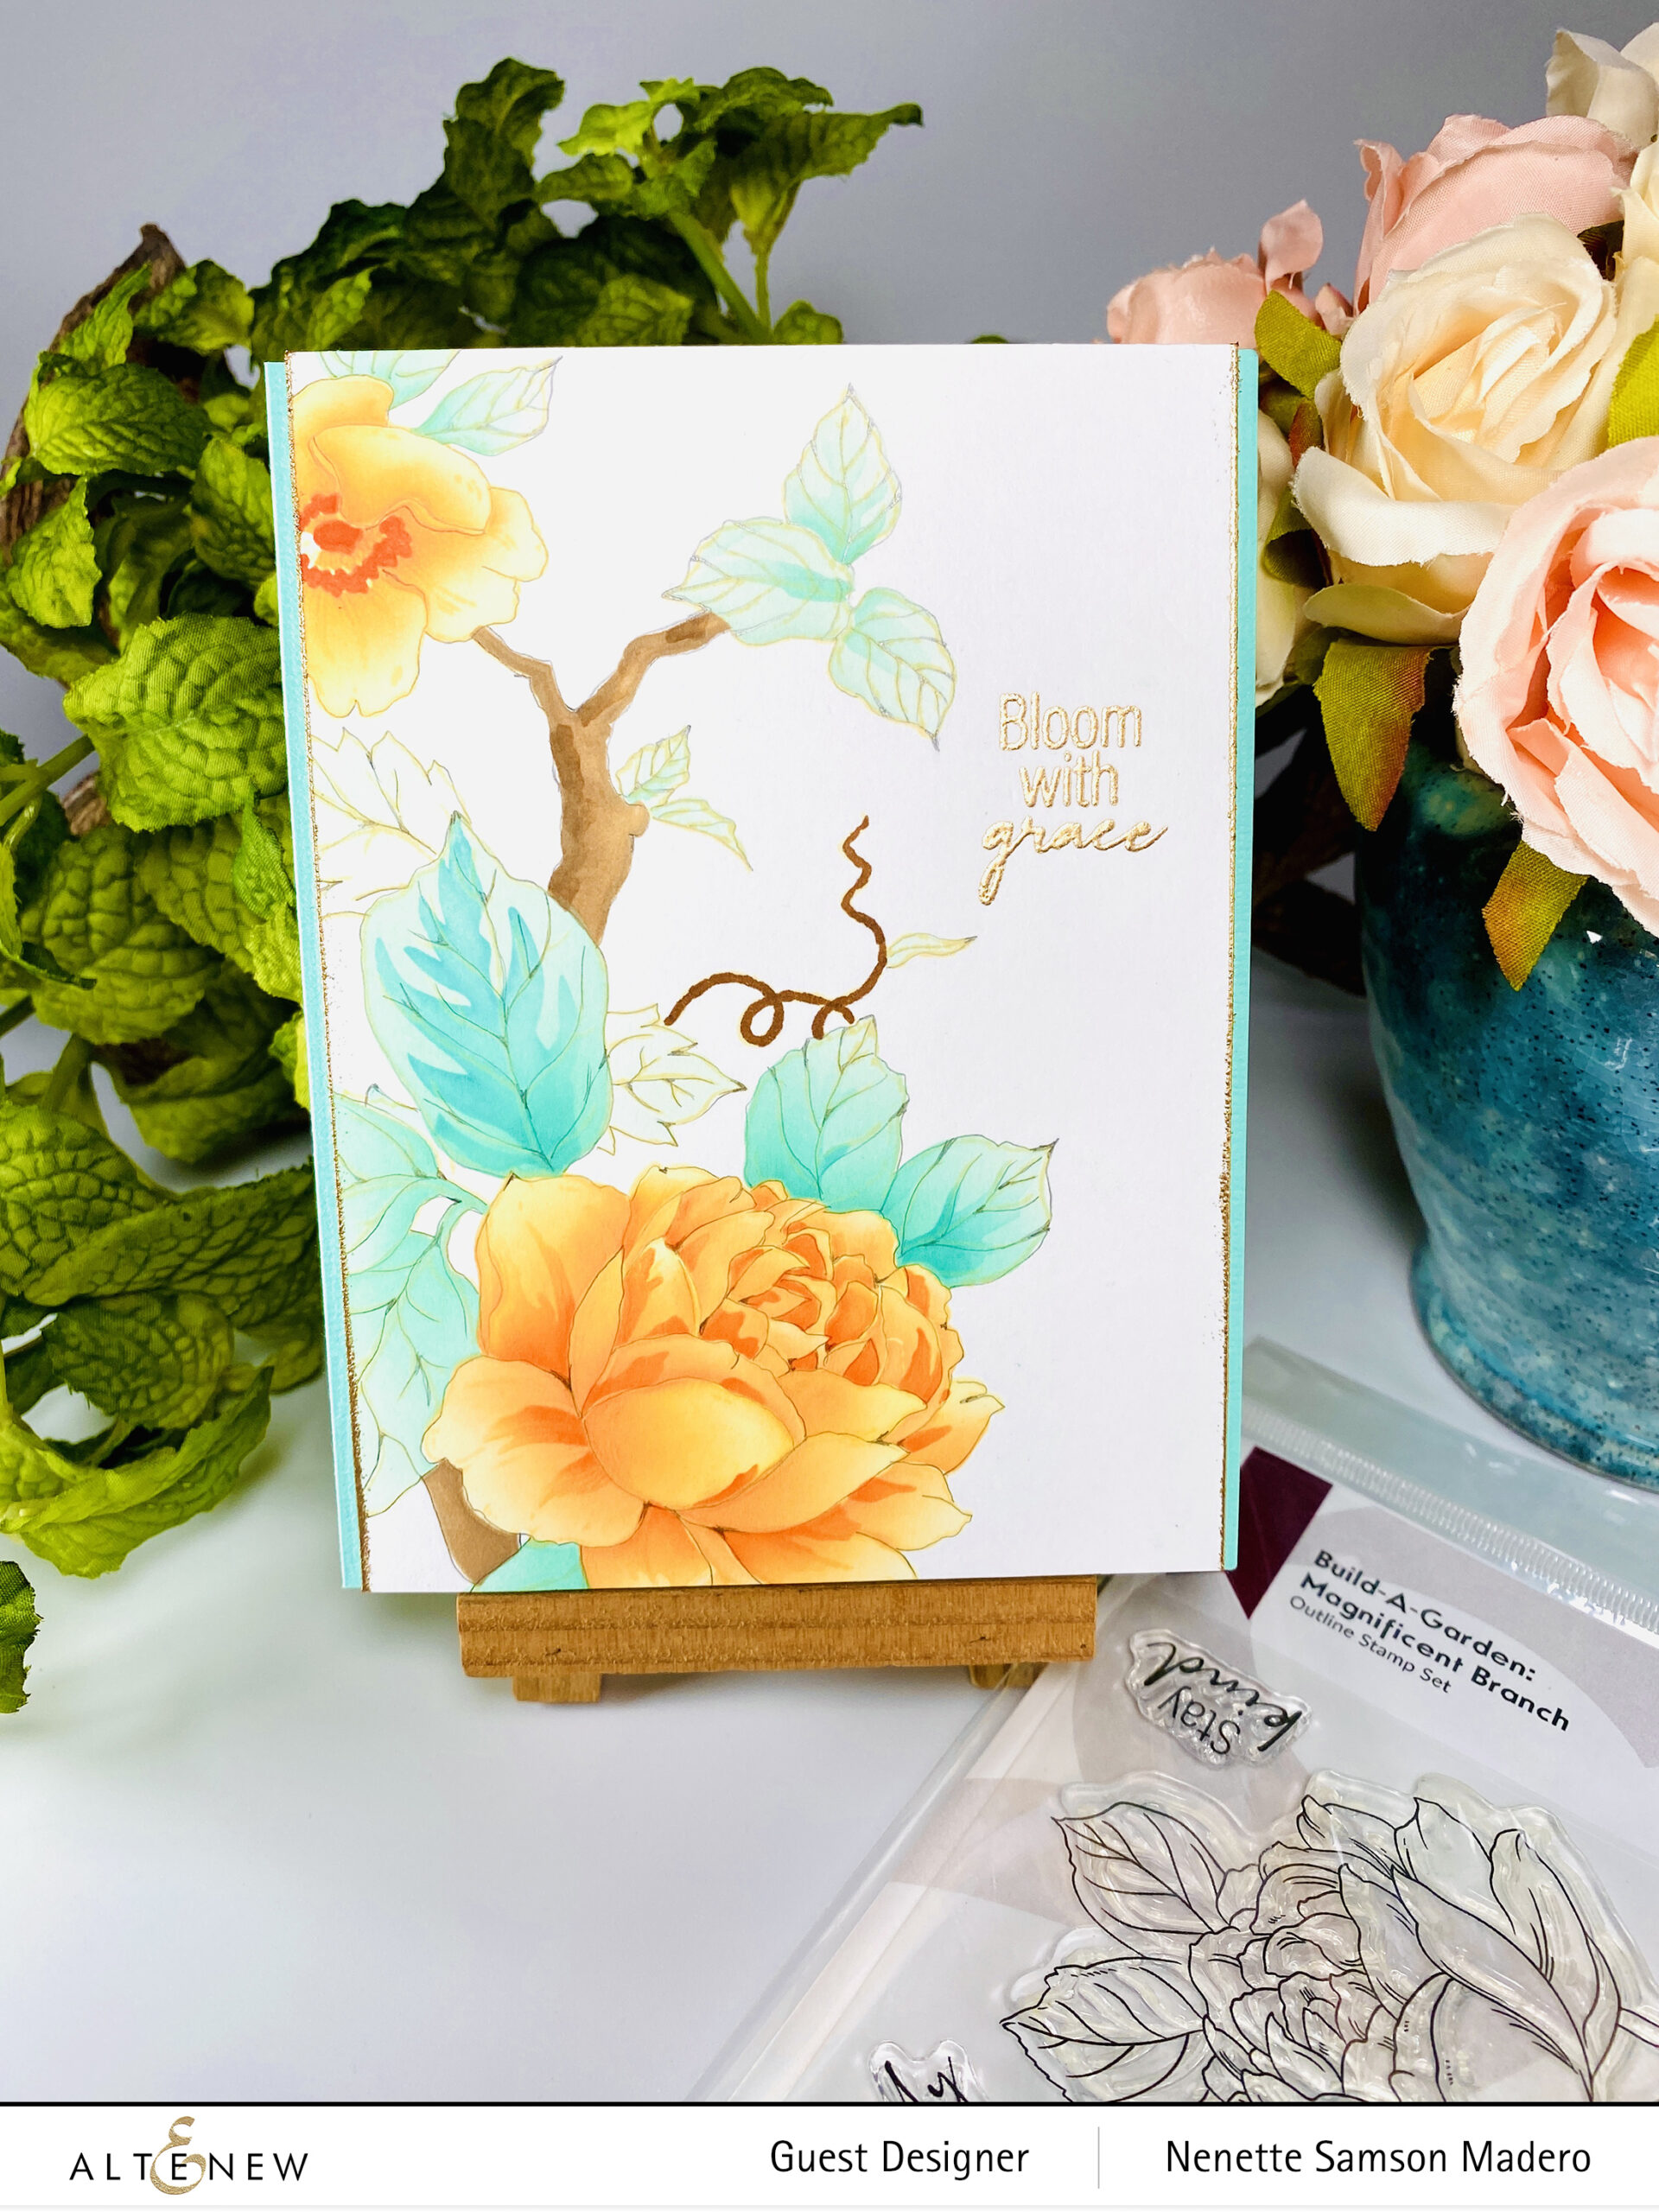
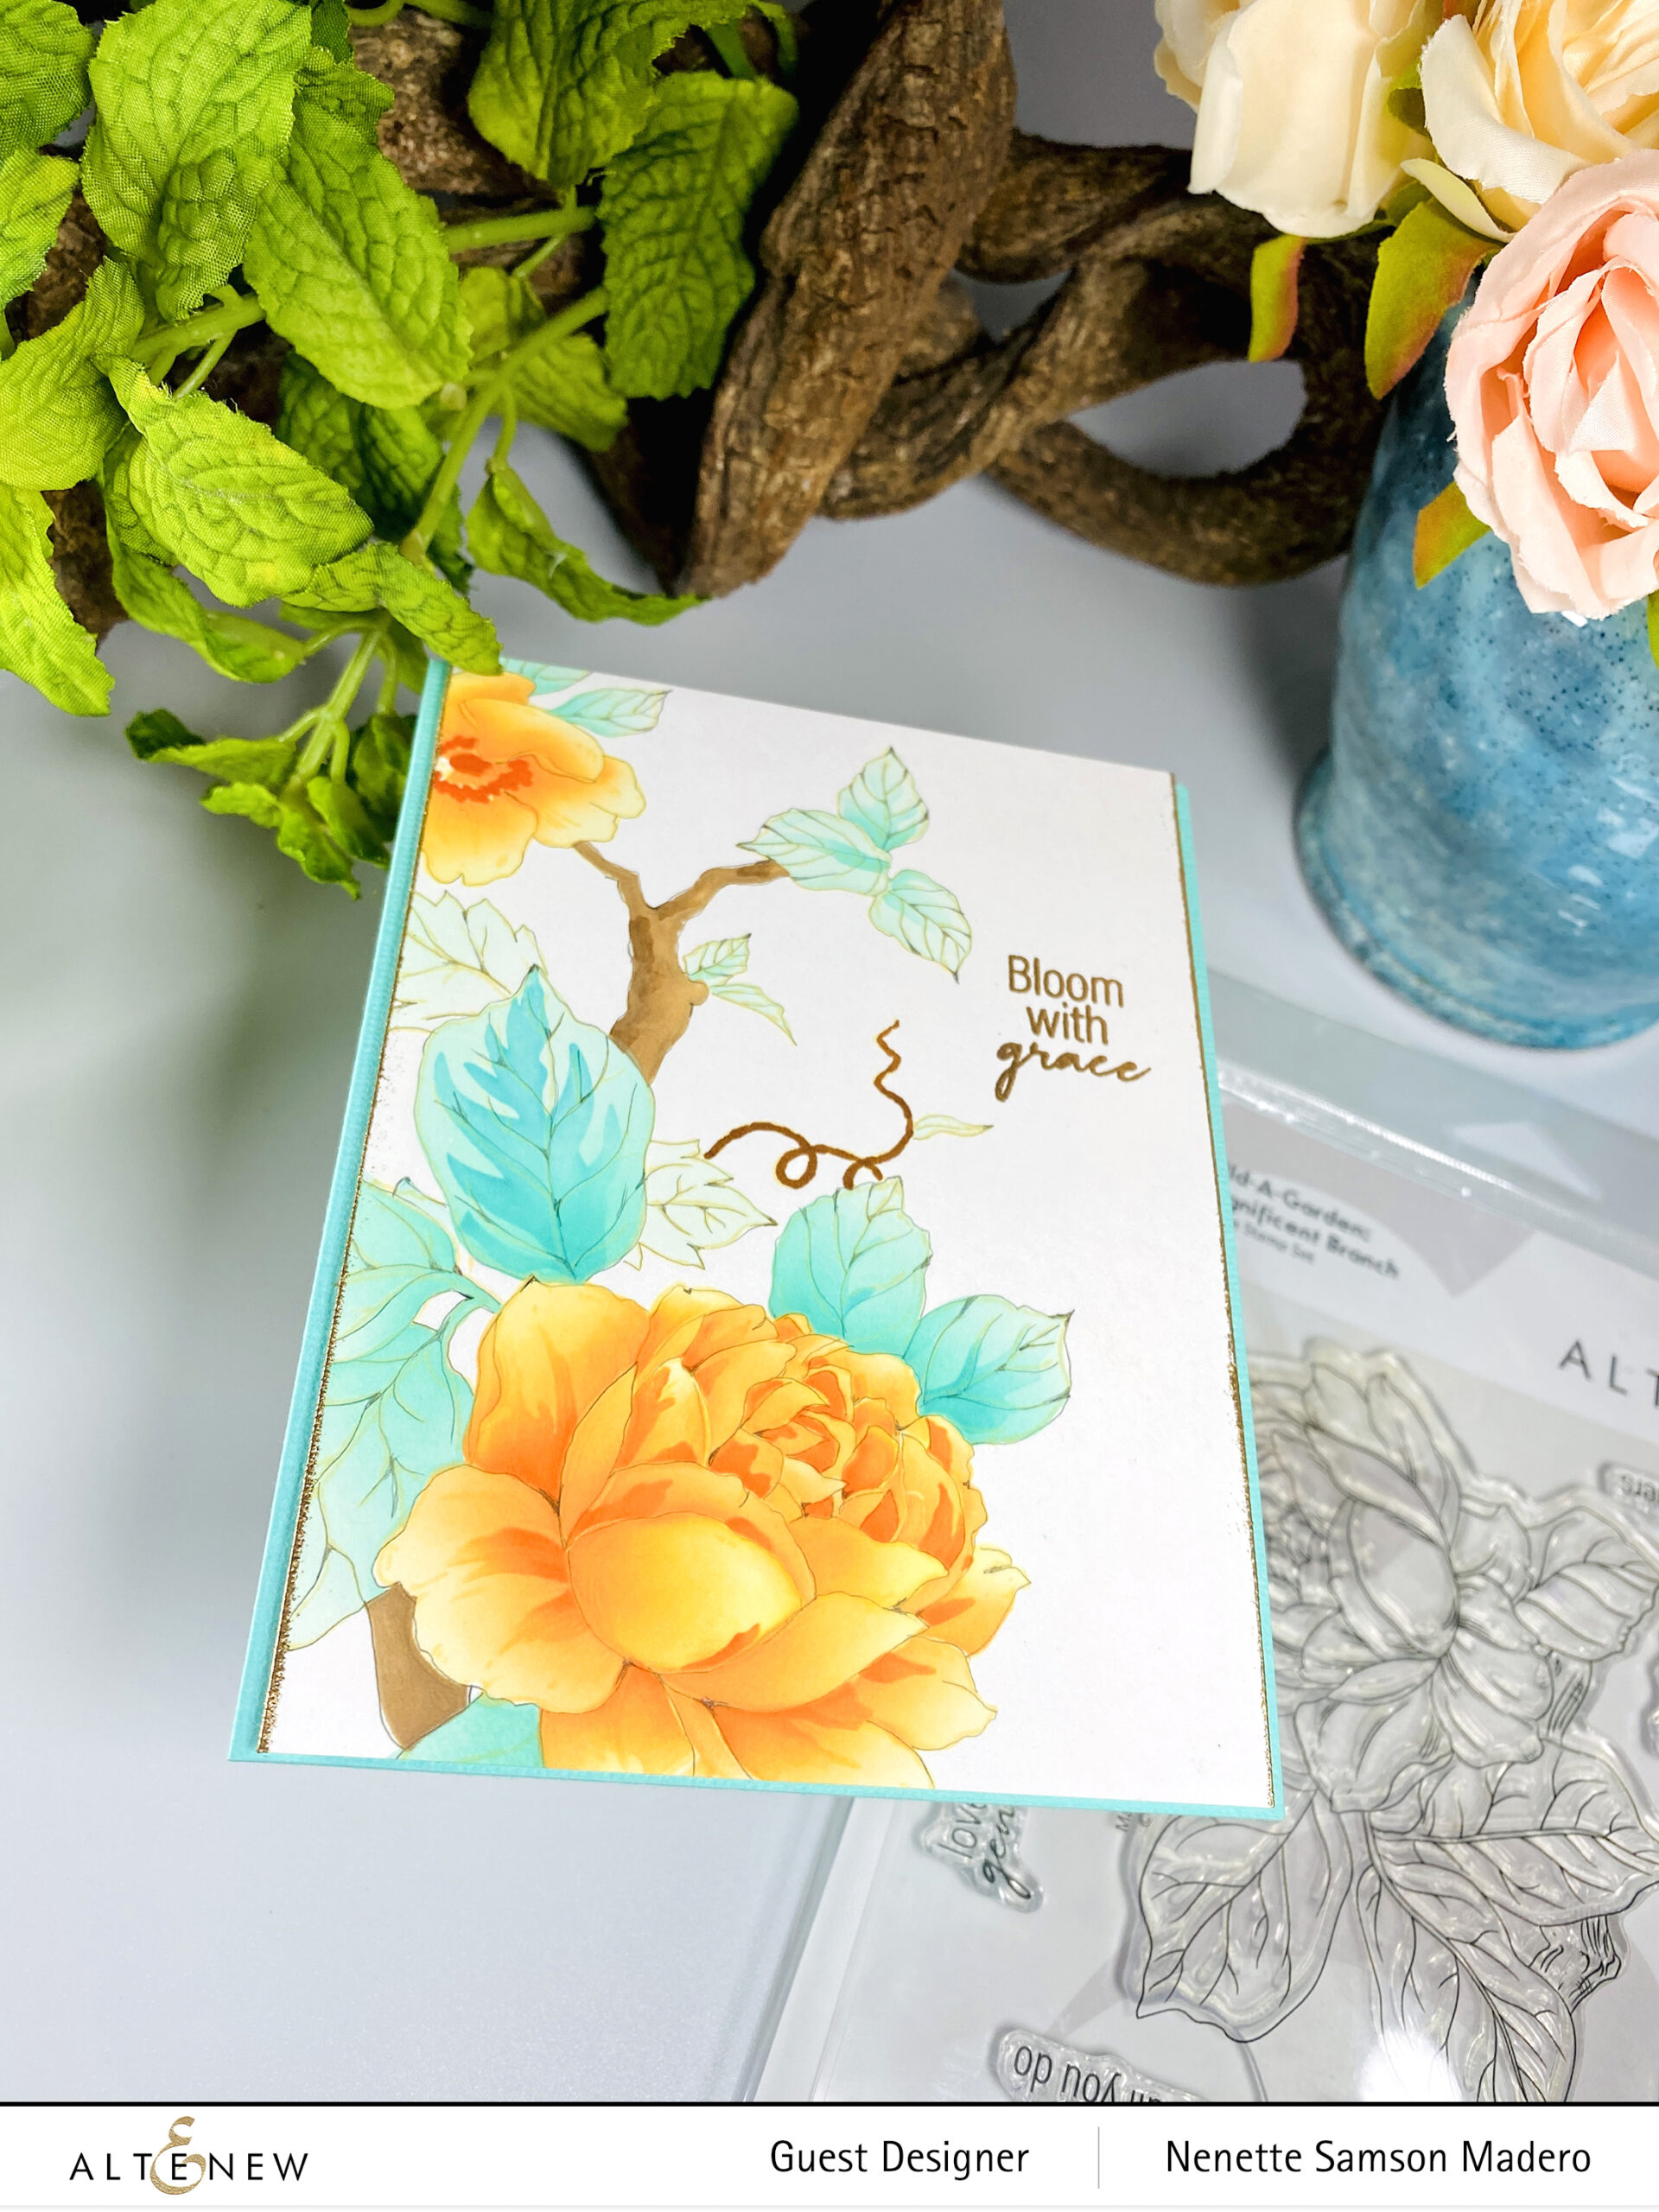
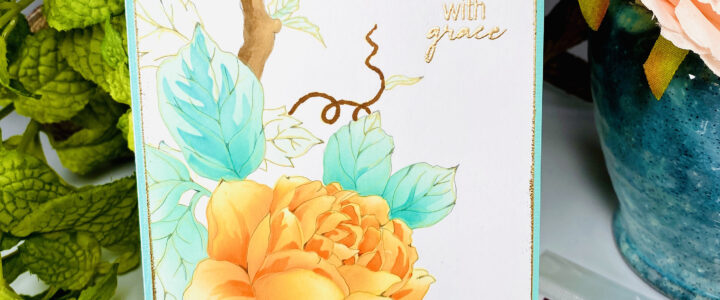
BLOOM WITH GRACE

STEPS:

  1. Stamp the image of the big flower only from the Build-a-Garden: Magnificent Branch using a very light colored dye ink. Mask the image and stamp the smaller flower and branch.
  2. Color the image using the coordinating stencils. Start with the lightest ink then slowly add darker shades.
  3. Loosely trace the images with a mechanical pencil.
  4. Stamp the sentiment with embossing ink and emboss using Rose Gold embossing powder. Emboss the edges as well for added contrast.
  5. Assemble card using foam squares.

I love this stamp set cause you can play around and use different parts of the image to create cards with unique layouts. By masking, you can rearrange the elements of the image to fit your card front. For this card, I shortened the branch of the small flower and moved it inwards.

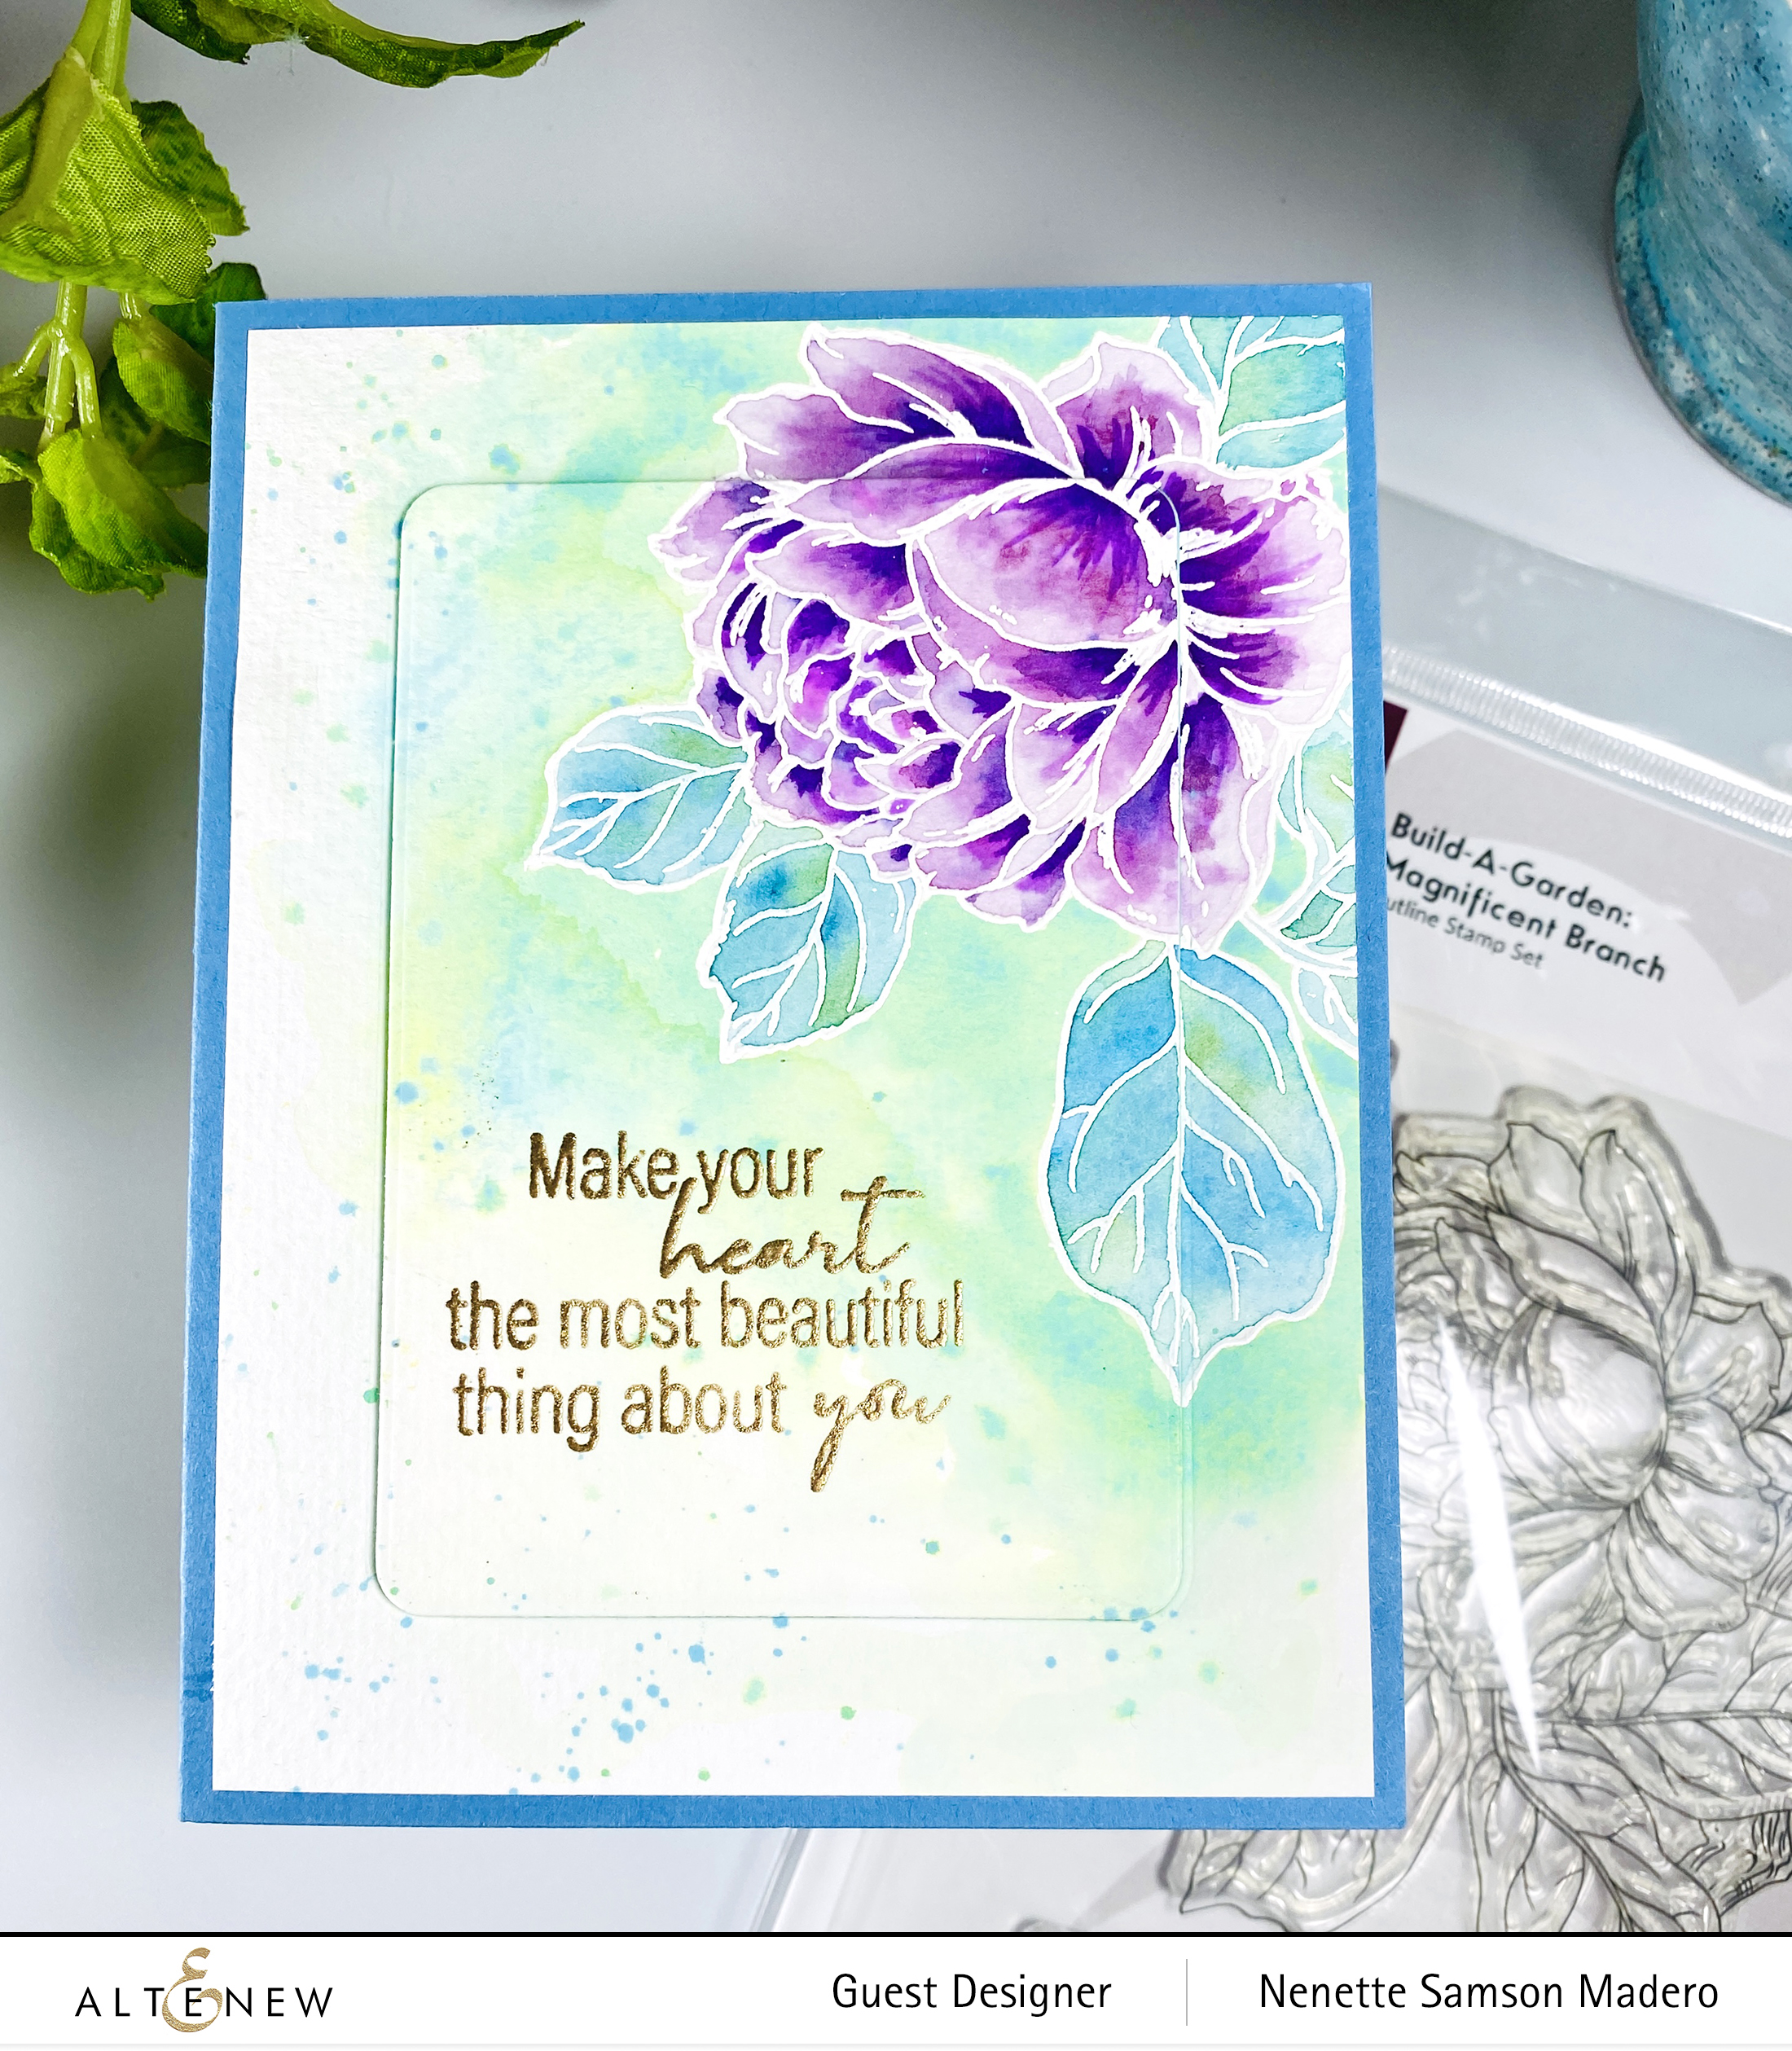
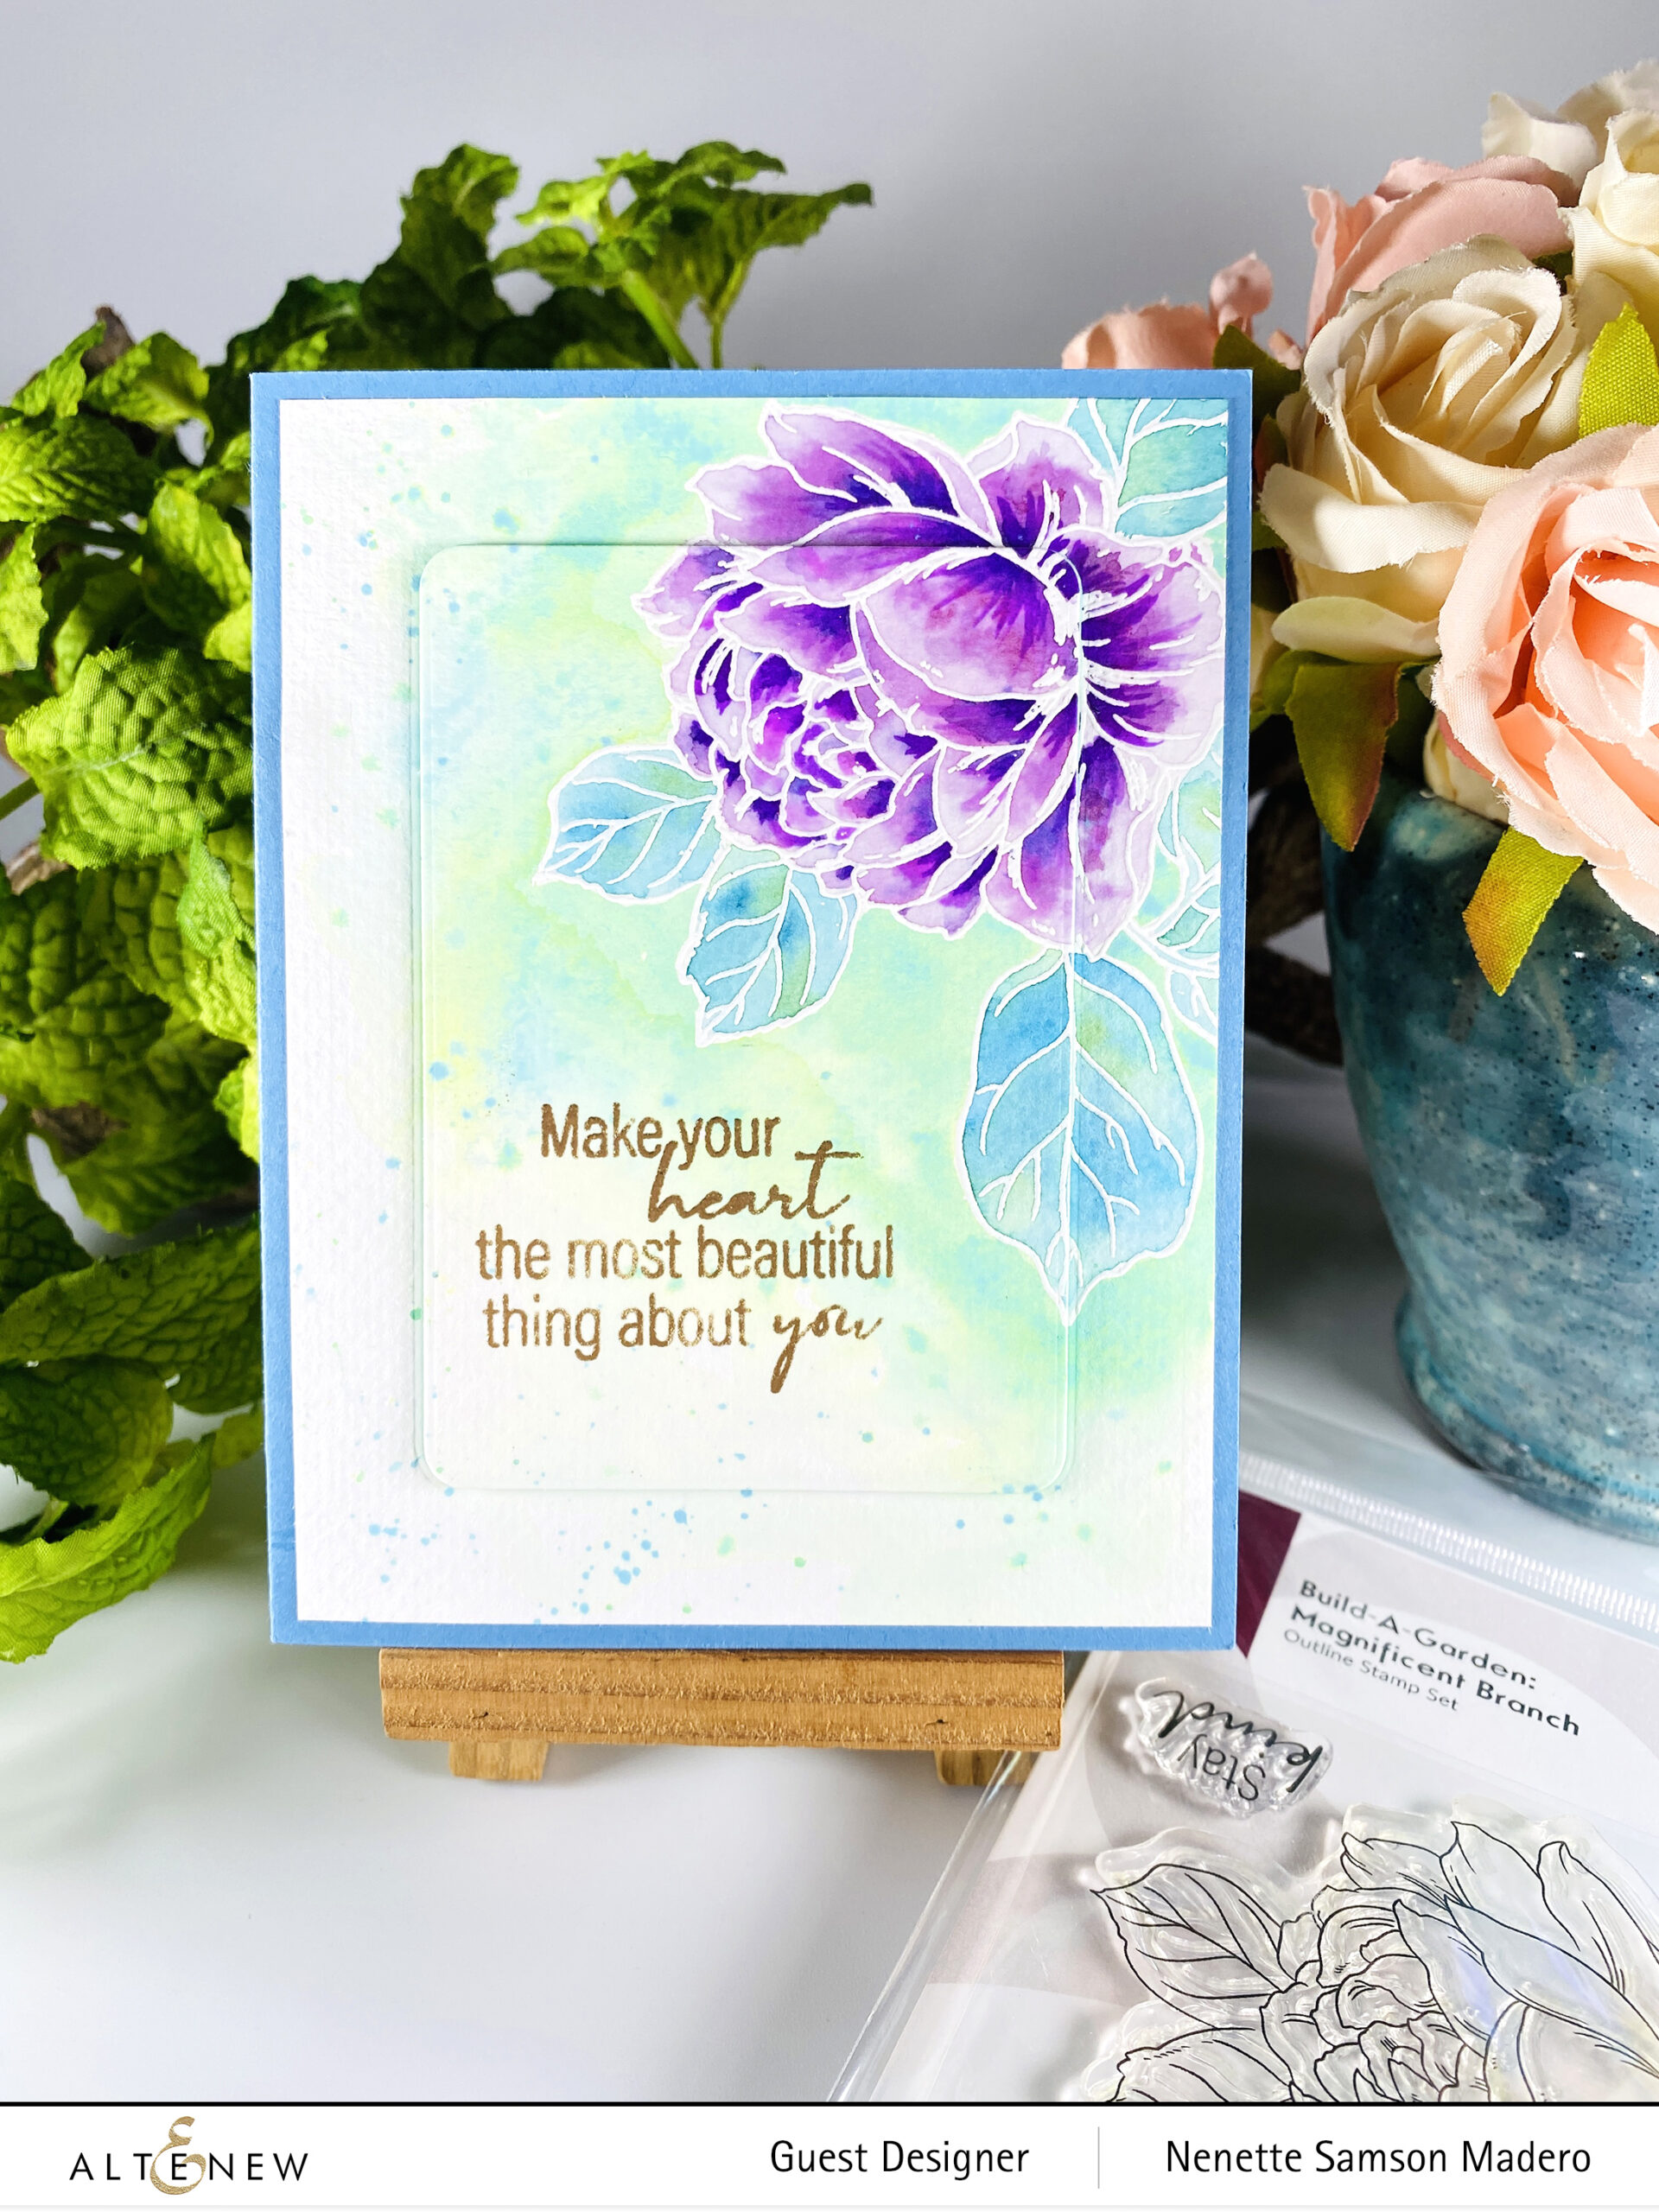
MAKE YOUR HEART THE MOST BEAUTIFUL THING ABOUT YOU

STEPS:

  1. Stamp and emboss the image with Pure White Crisp embossing powder.
  2. Watercolor the image using Enchanted Garden crisp dye inks and add dark shadows with Midnight Violet watercolor brush marker.
  3. Color the background using Cracked Pistacchio Oxide ink. Add splatters.
  4. Die cut the image using the Rounded Rectangle die. Add 4 more layers using colored cardstock.
  5. Stamp the sentiment and emboss with Rose gold embossing powder.
  6. Assemble card using adhesive.

GIVEAWAY PRIZES

$200 in total prizes! To celebrate this release, Altenew is giving away a $50 gift certificate to 2 lucky winners and a $20 gift certificate to 5 winners! Please leave a comment on the Altenew Card Blog and/or each designer’s blog post on the blog hop list below by 05/07/2022 for a chance to win. Altenew will draw seven random winners from the comments left on each stop of this blog hop and announce the winners on the Altenew Winners Page on 05/09/2022.

NEXT UP is my talented friend, Colleen Balija. I hope you liked the cards I made for this hop! I post all my projects on Instagram, so I hope you can follow me there. ☺️ All links to my social media platforms are listed below. Thanks so much for dropping by, and I hope to see you again soon! Happy crafting!

Altenew April 2022 Spring Garden Collection Release Blog Hop + Giveaway ($300 in total prizes)

Altenew April 2022 Spring Garden Collection Release Blog Hop + Giveaway ($300 in total prizes)

Hello, everyone! Welcome to my blog! Thanks, Tenia Nelson, for sending everybody over. For complete details about this hop, drop by the Altenew blog. There are so many beautiful products in the latest Stand-Alone Die release by Altenew! Here are a few cards I made using them.

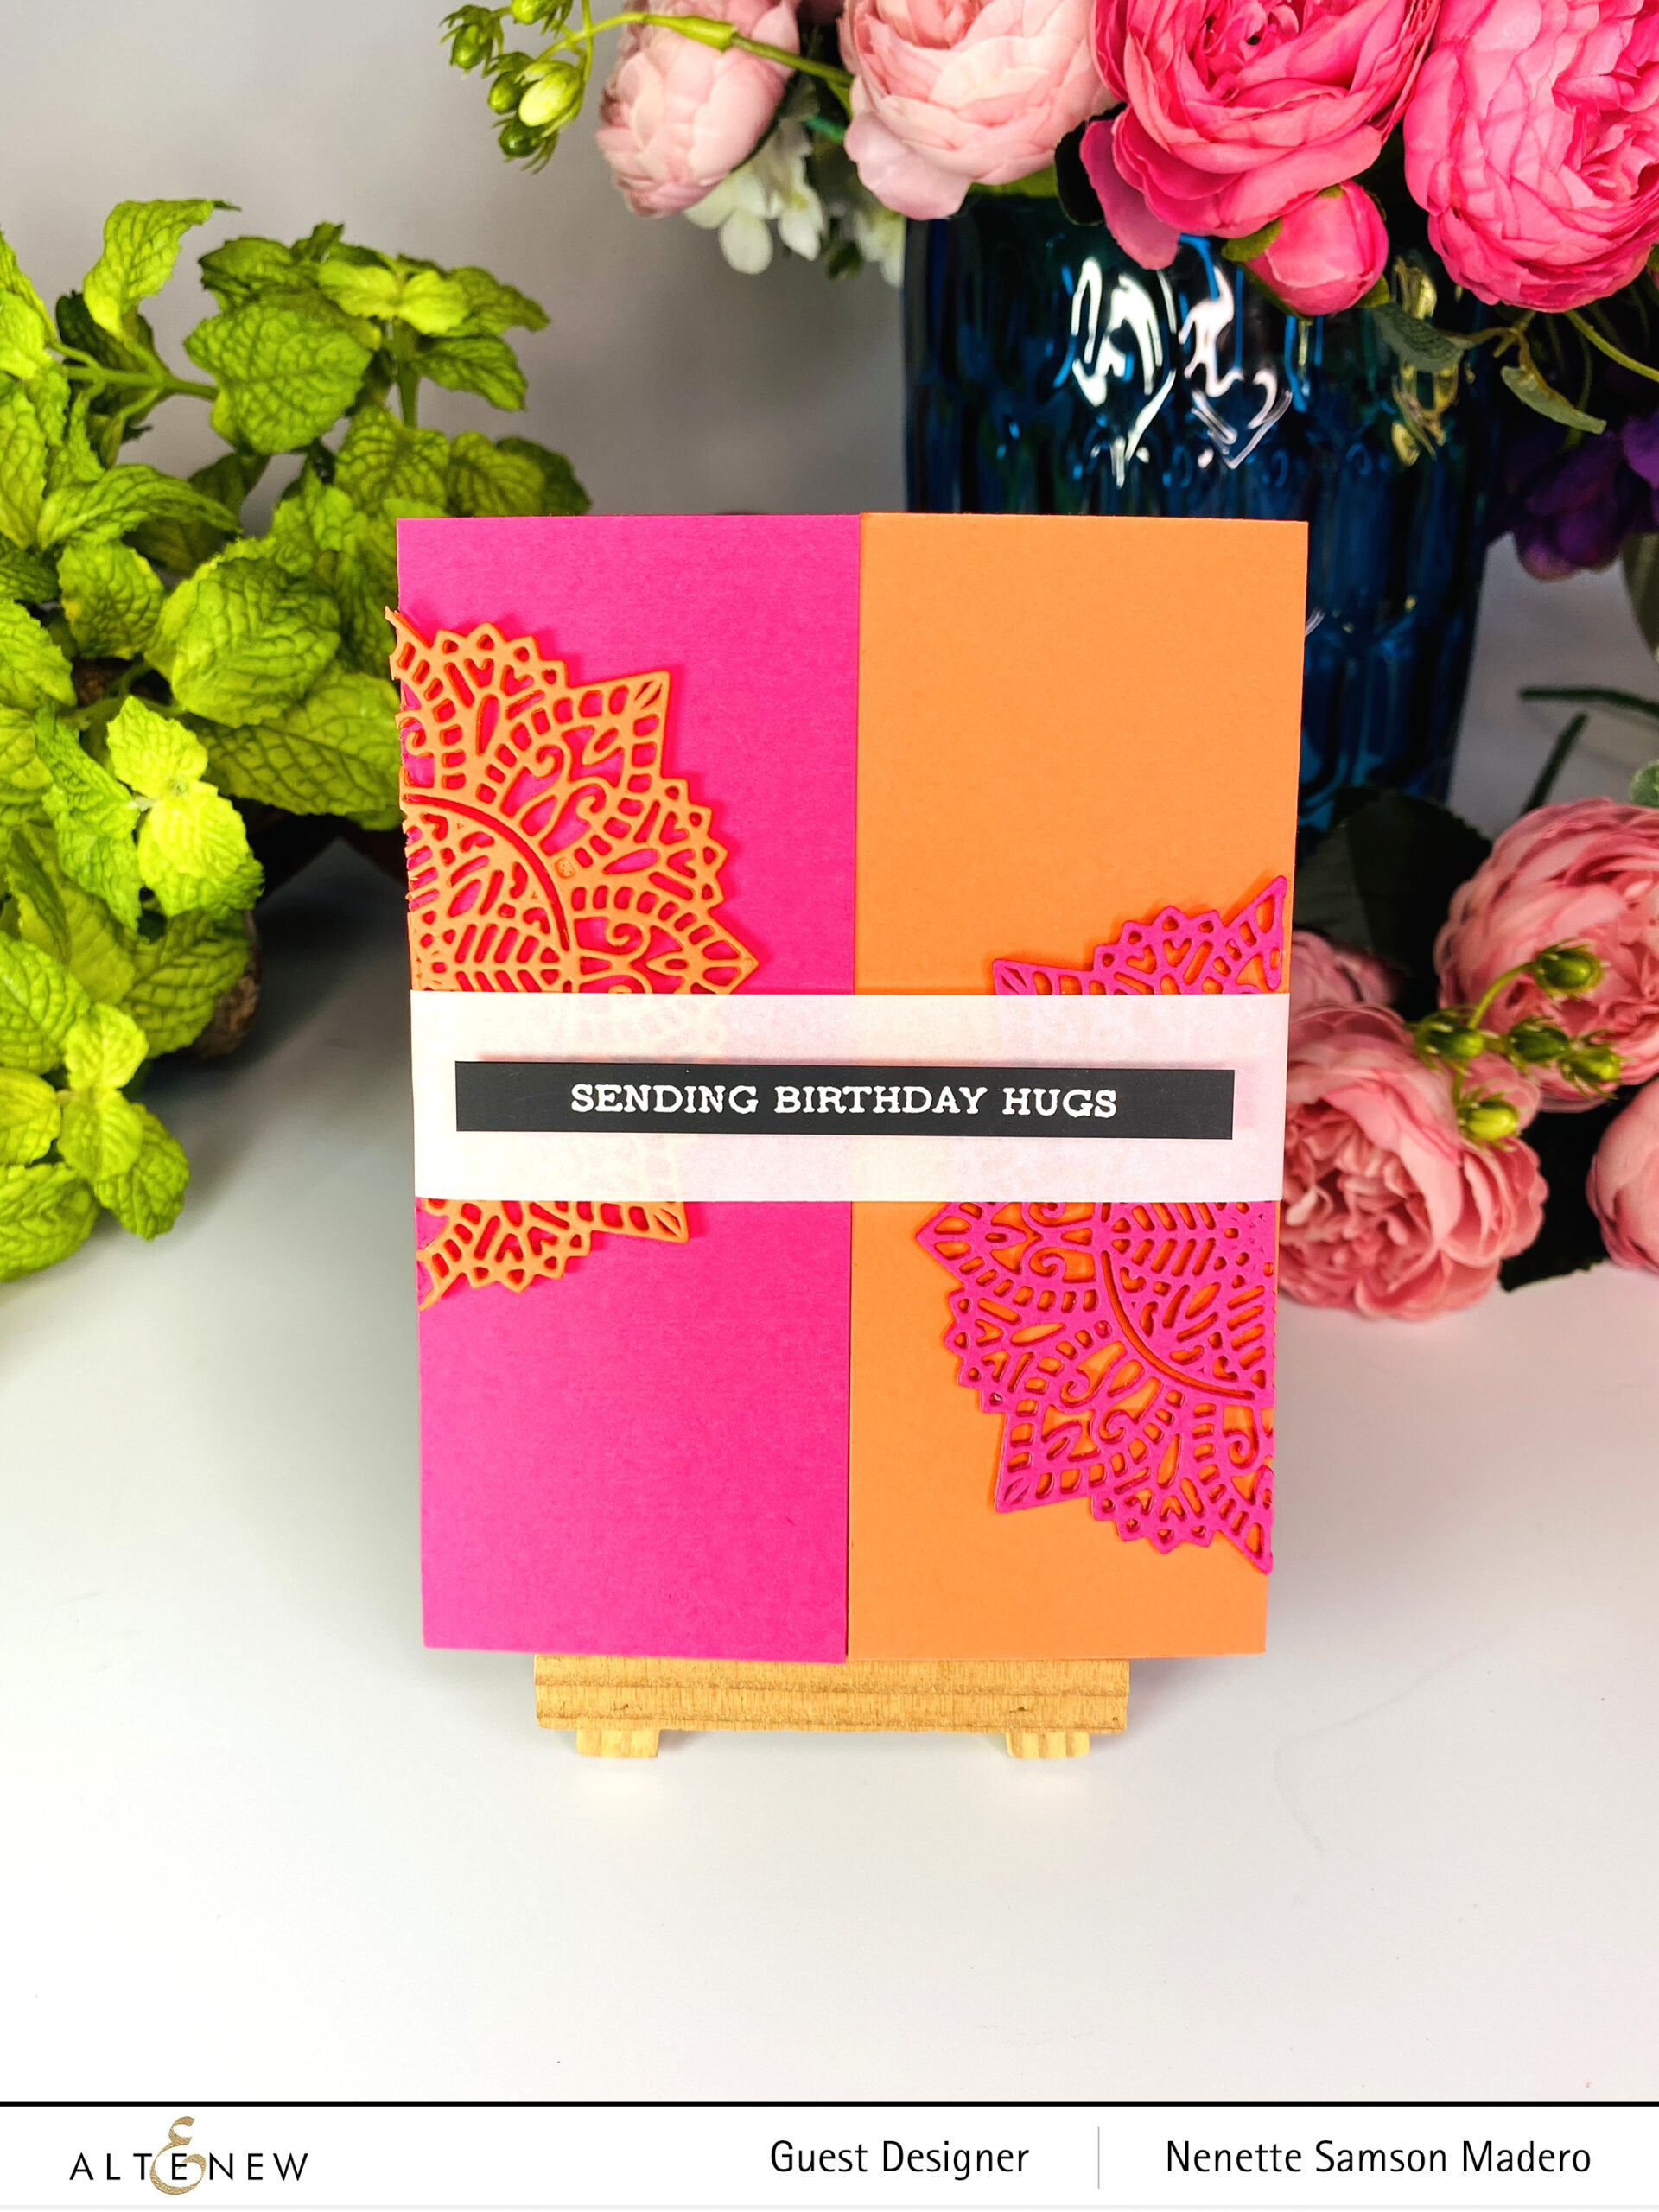
SENDING BIRTHDAY HUGS

LACY DOILY DIE

STEPS:

  1. Die cut colored cardstock using the Lacy Doily die 4 times using pink and 4 times using orange. Cut the die cuts in half.
  2. Adhere on top of each other.
  3. Create an A2 gate folded card using orange card stock and add a pink panel to the left side.
  4. Adhere the doily die cuts using the opposite colors.
  5. Stamp and emboss the sentiment with Pure White embossing powder on black cardstock.
  6. Create a vellum band and attach the sentiment.

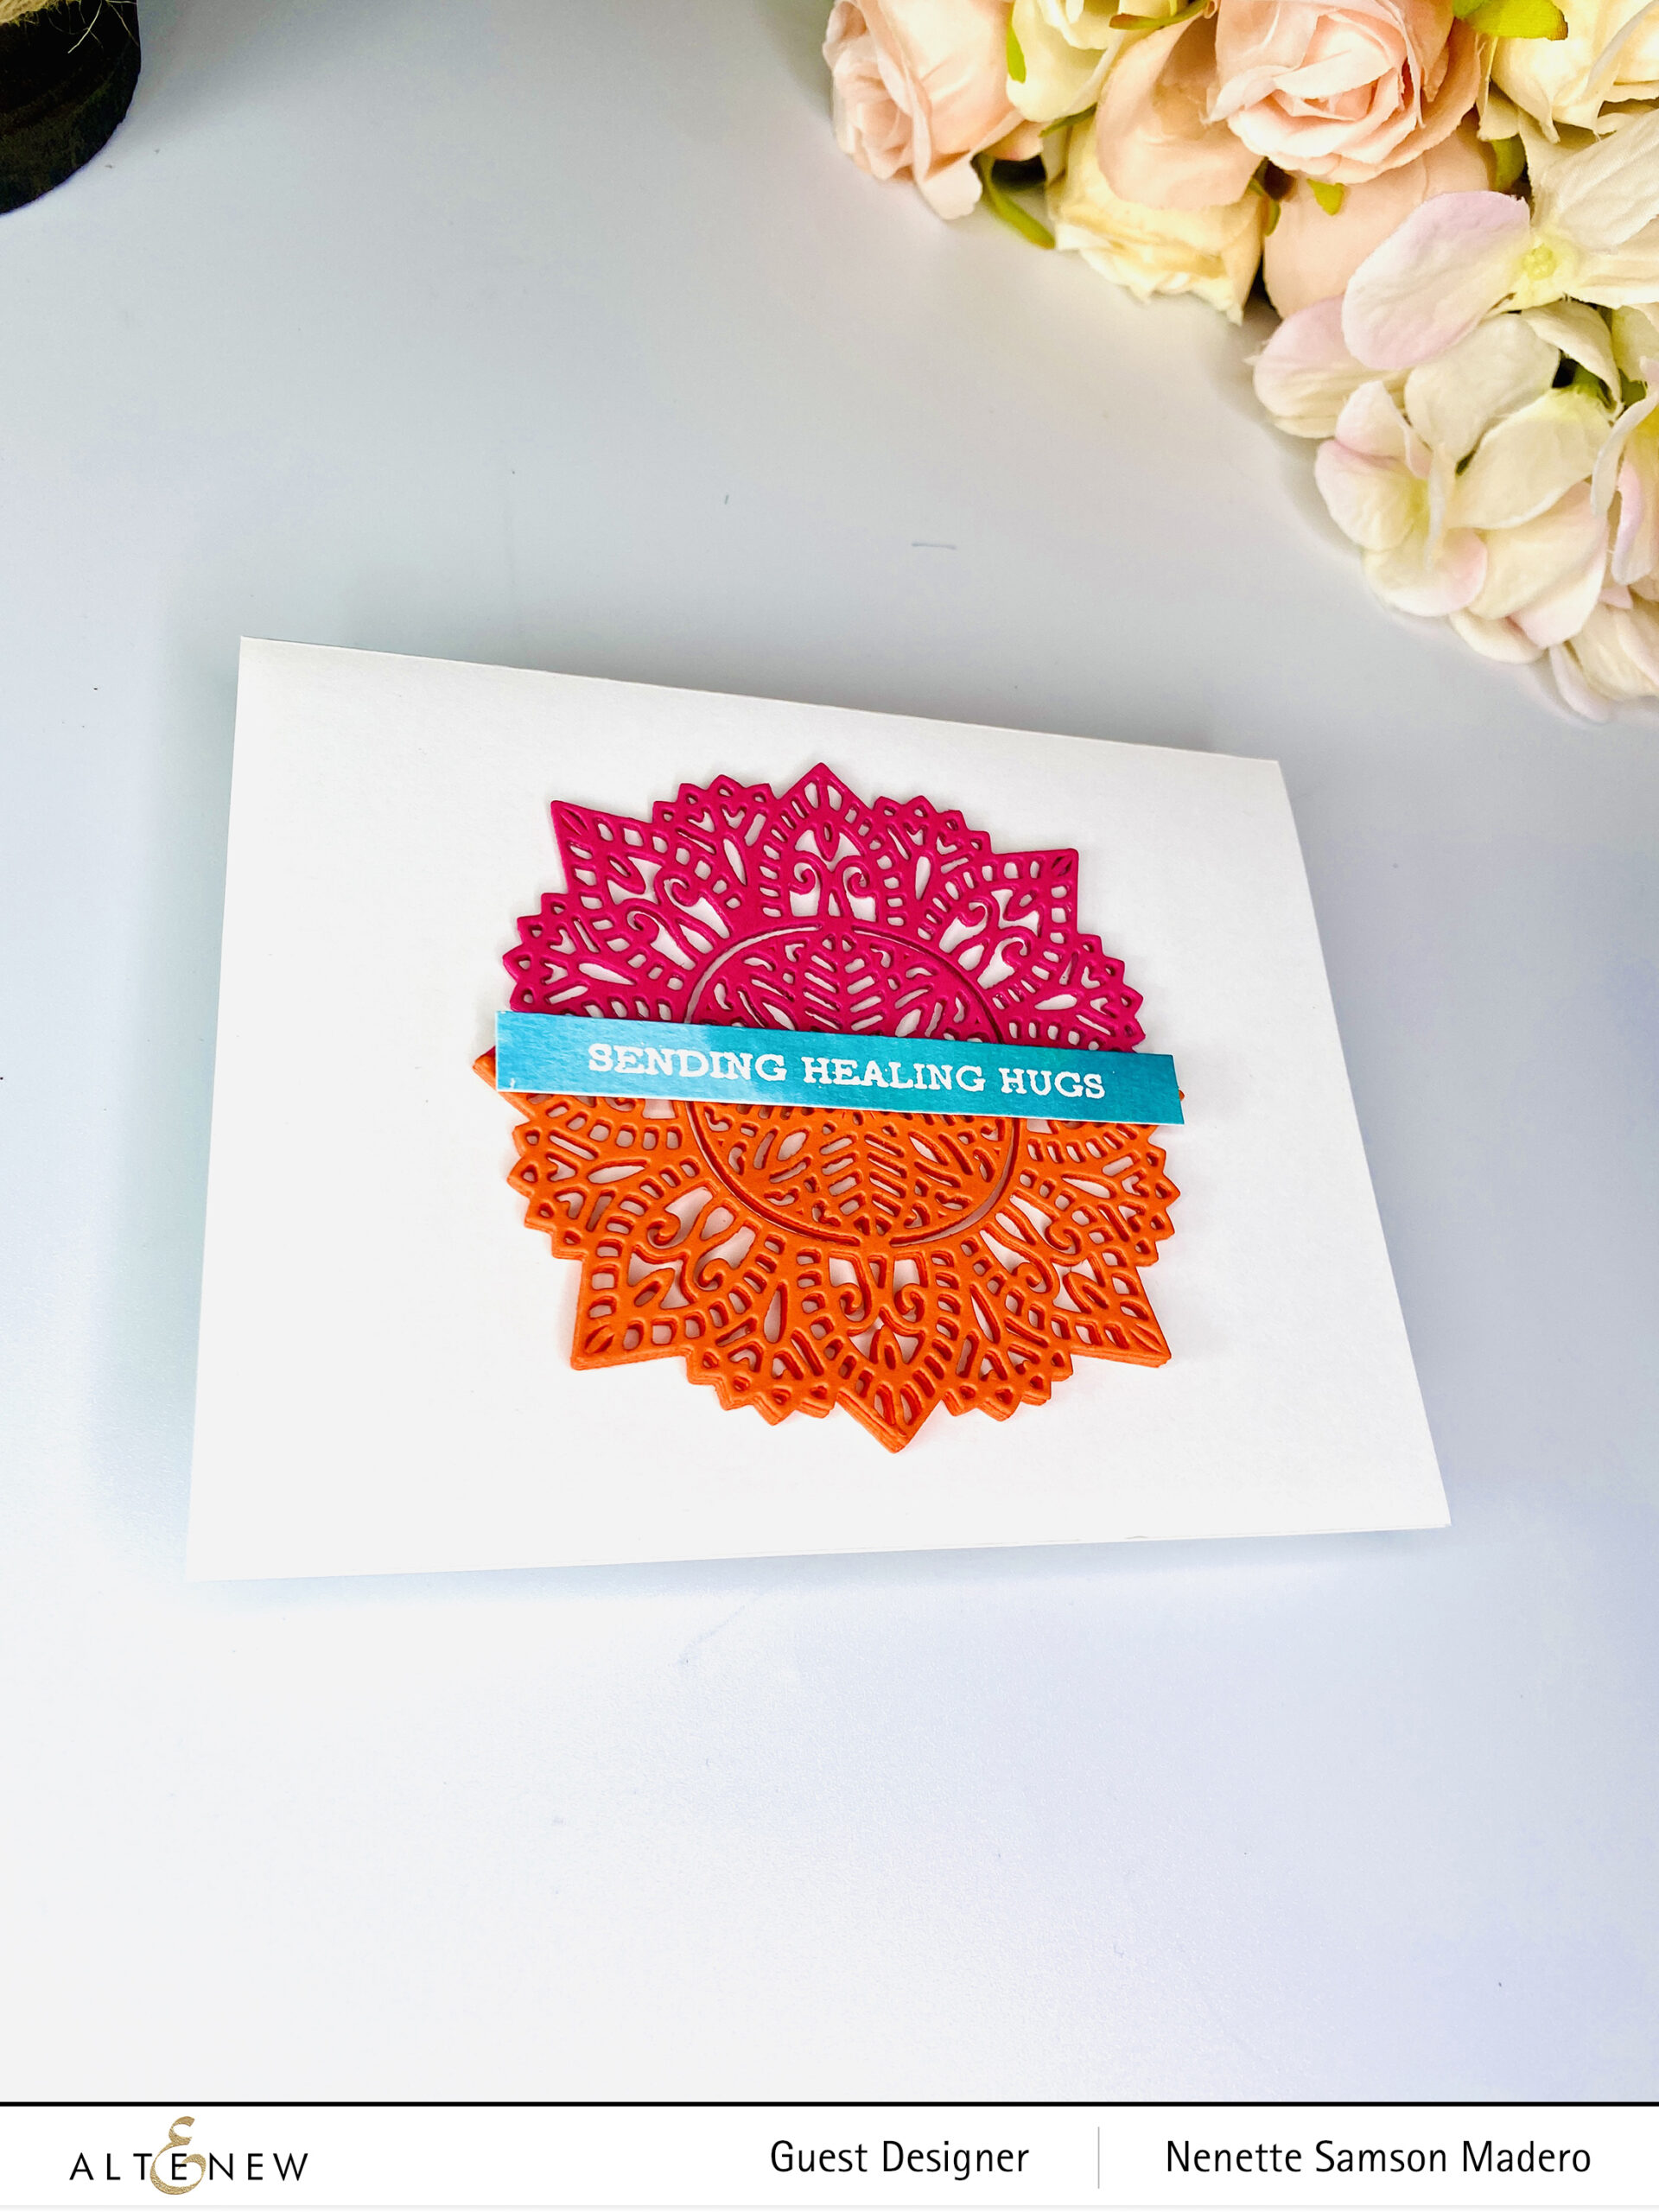
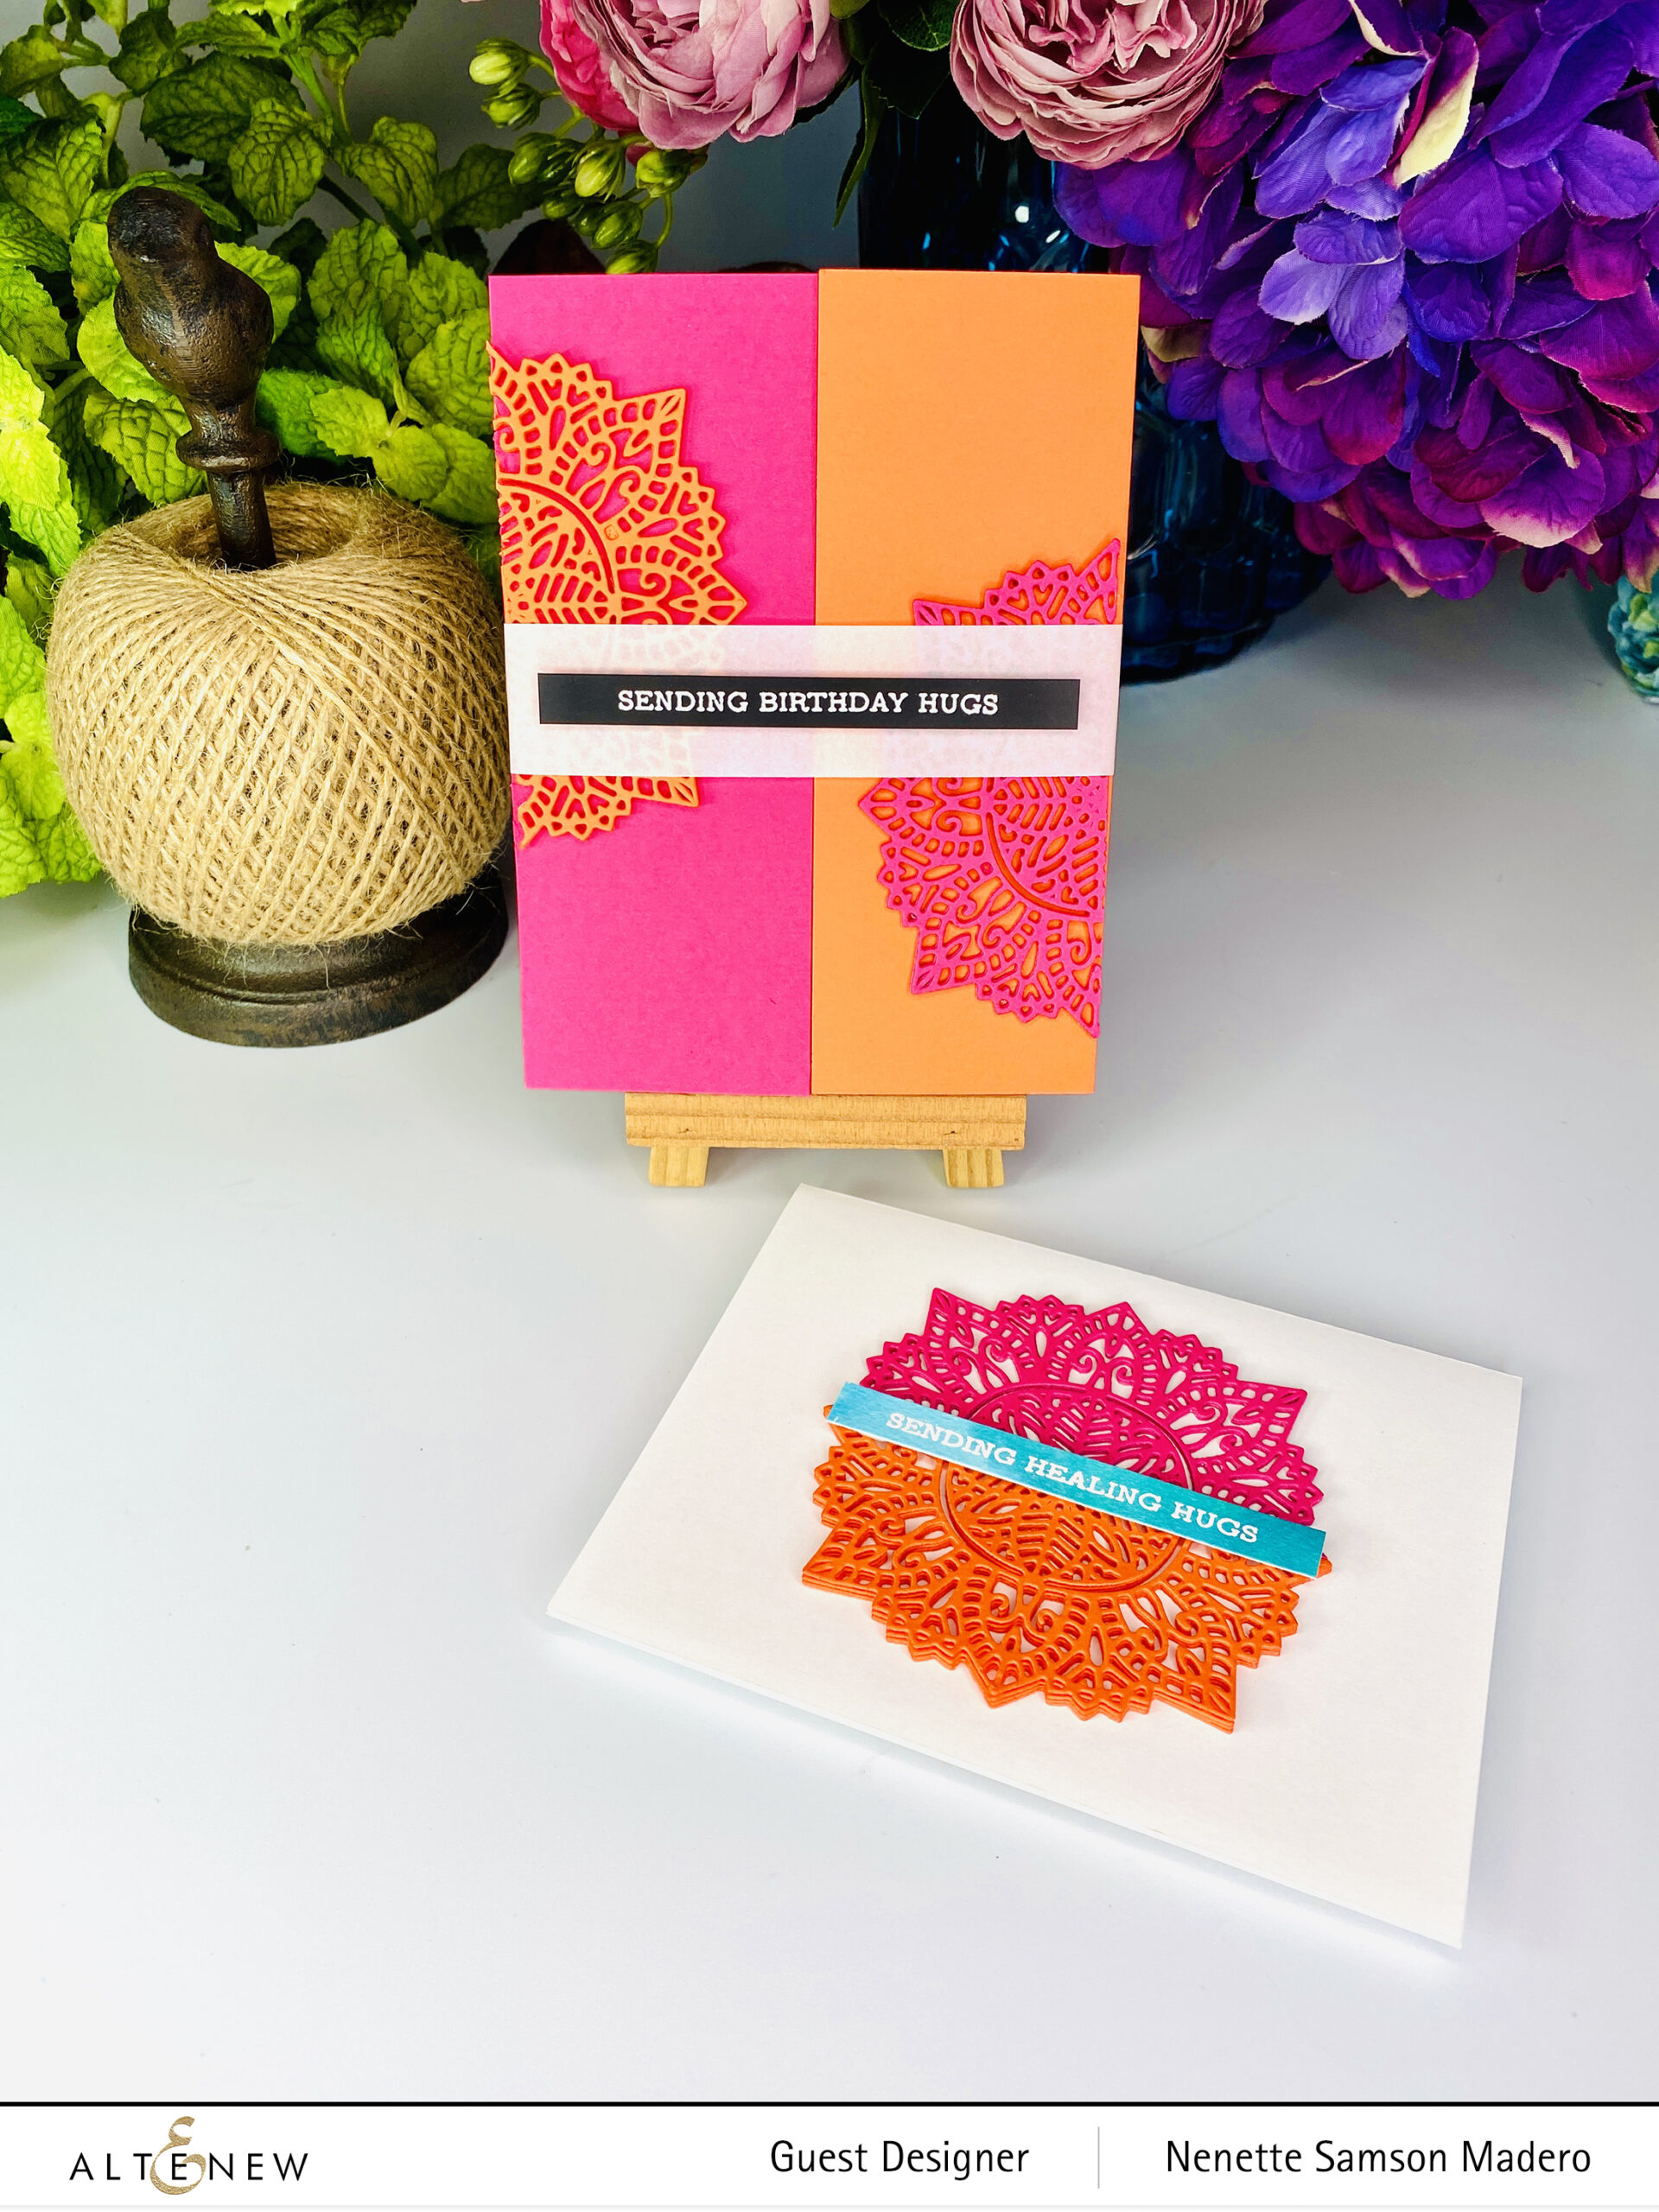
Here’s another card using the other half of the die cuts. Use a sentiment stamped on watercolored strips using Watercolor Brush Markers to hide the edges.

I love when I can make two cards out of one die-cut! Although the 2nd one is a CAS card, the high contrast of the colors makes it stand out.

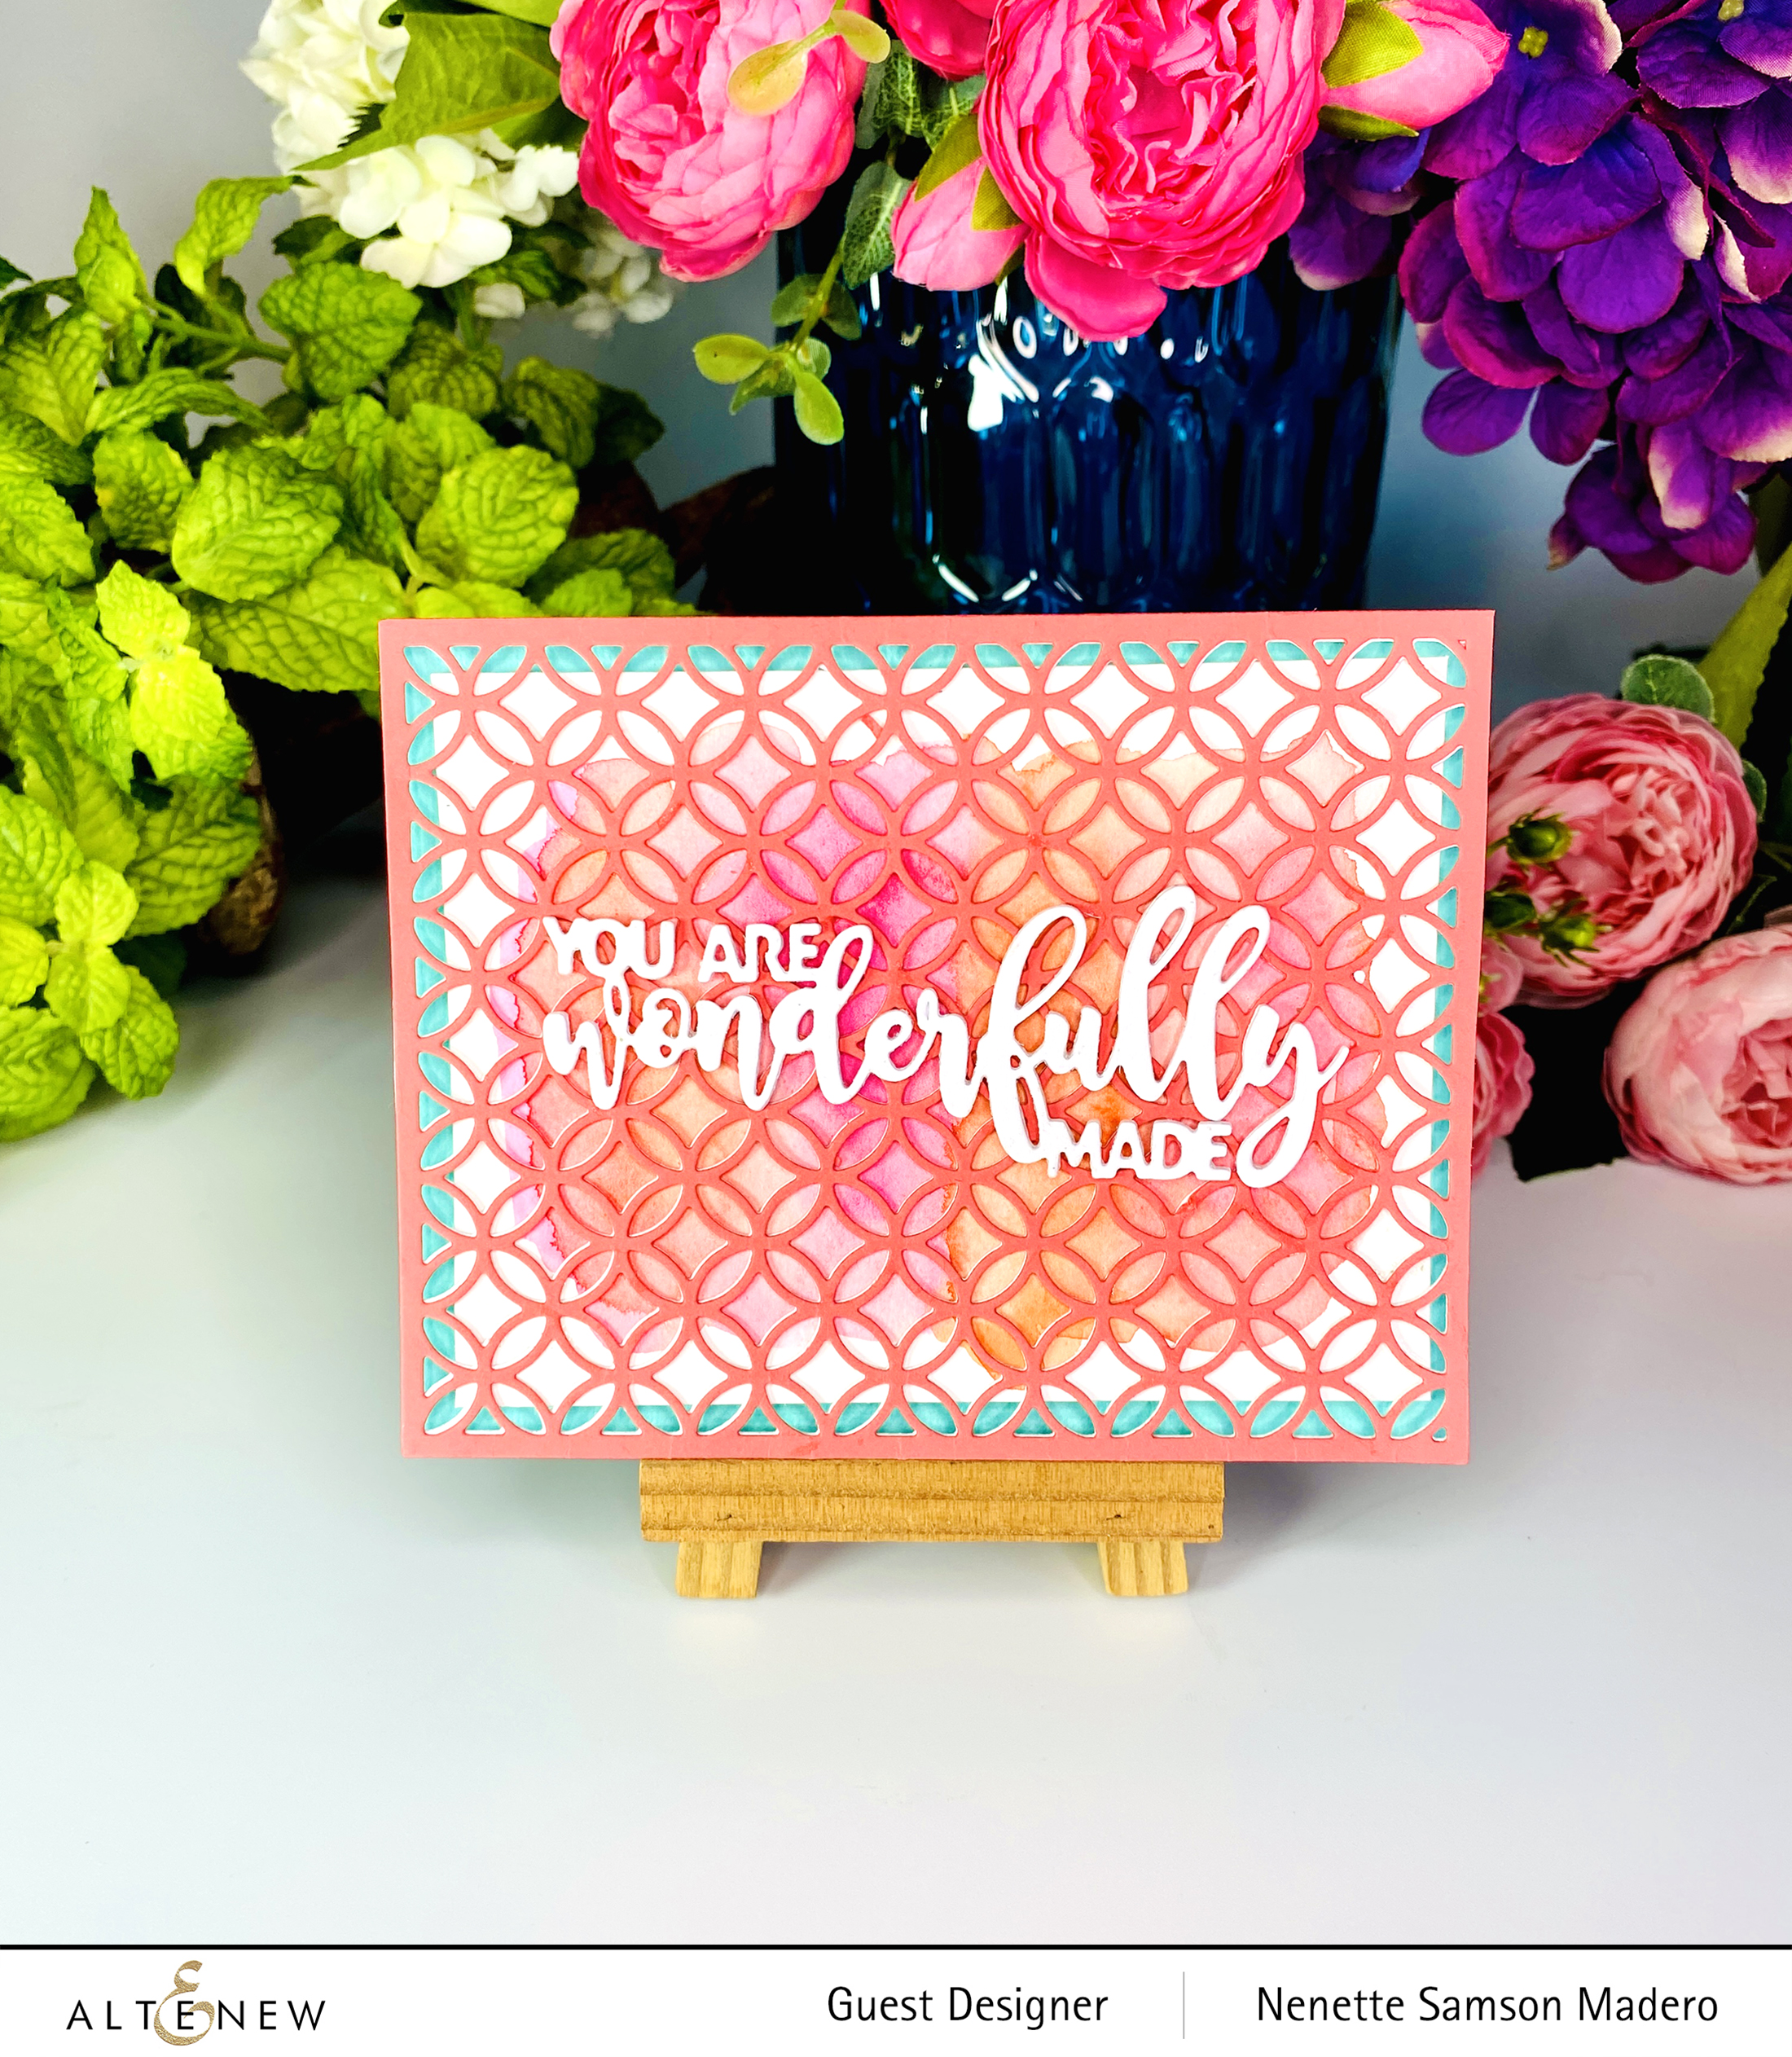
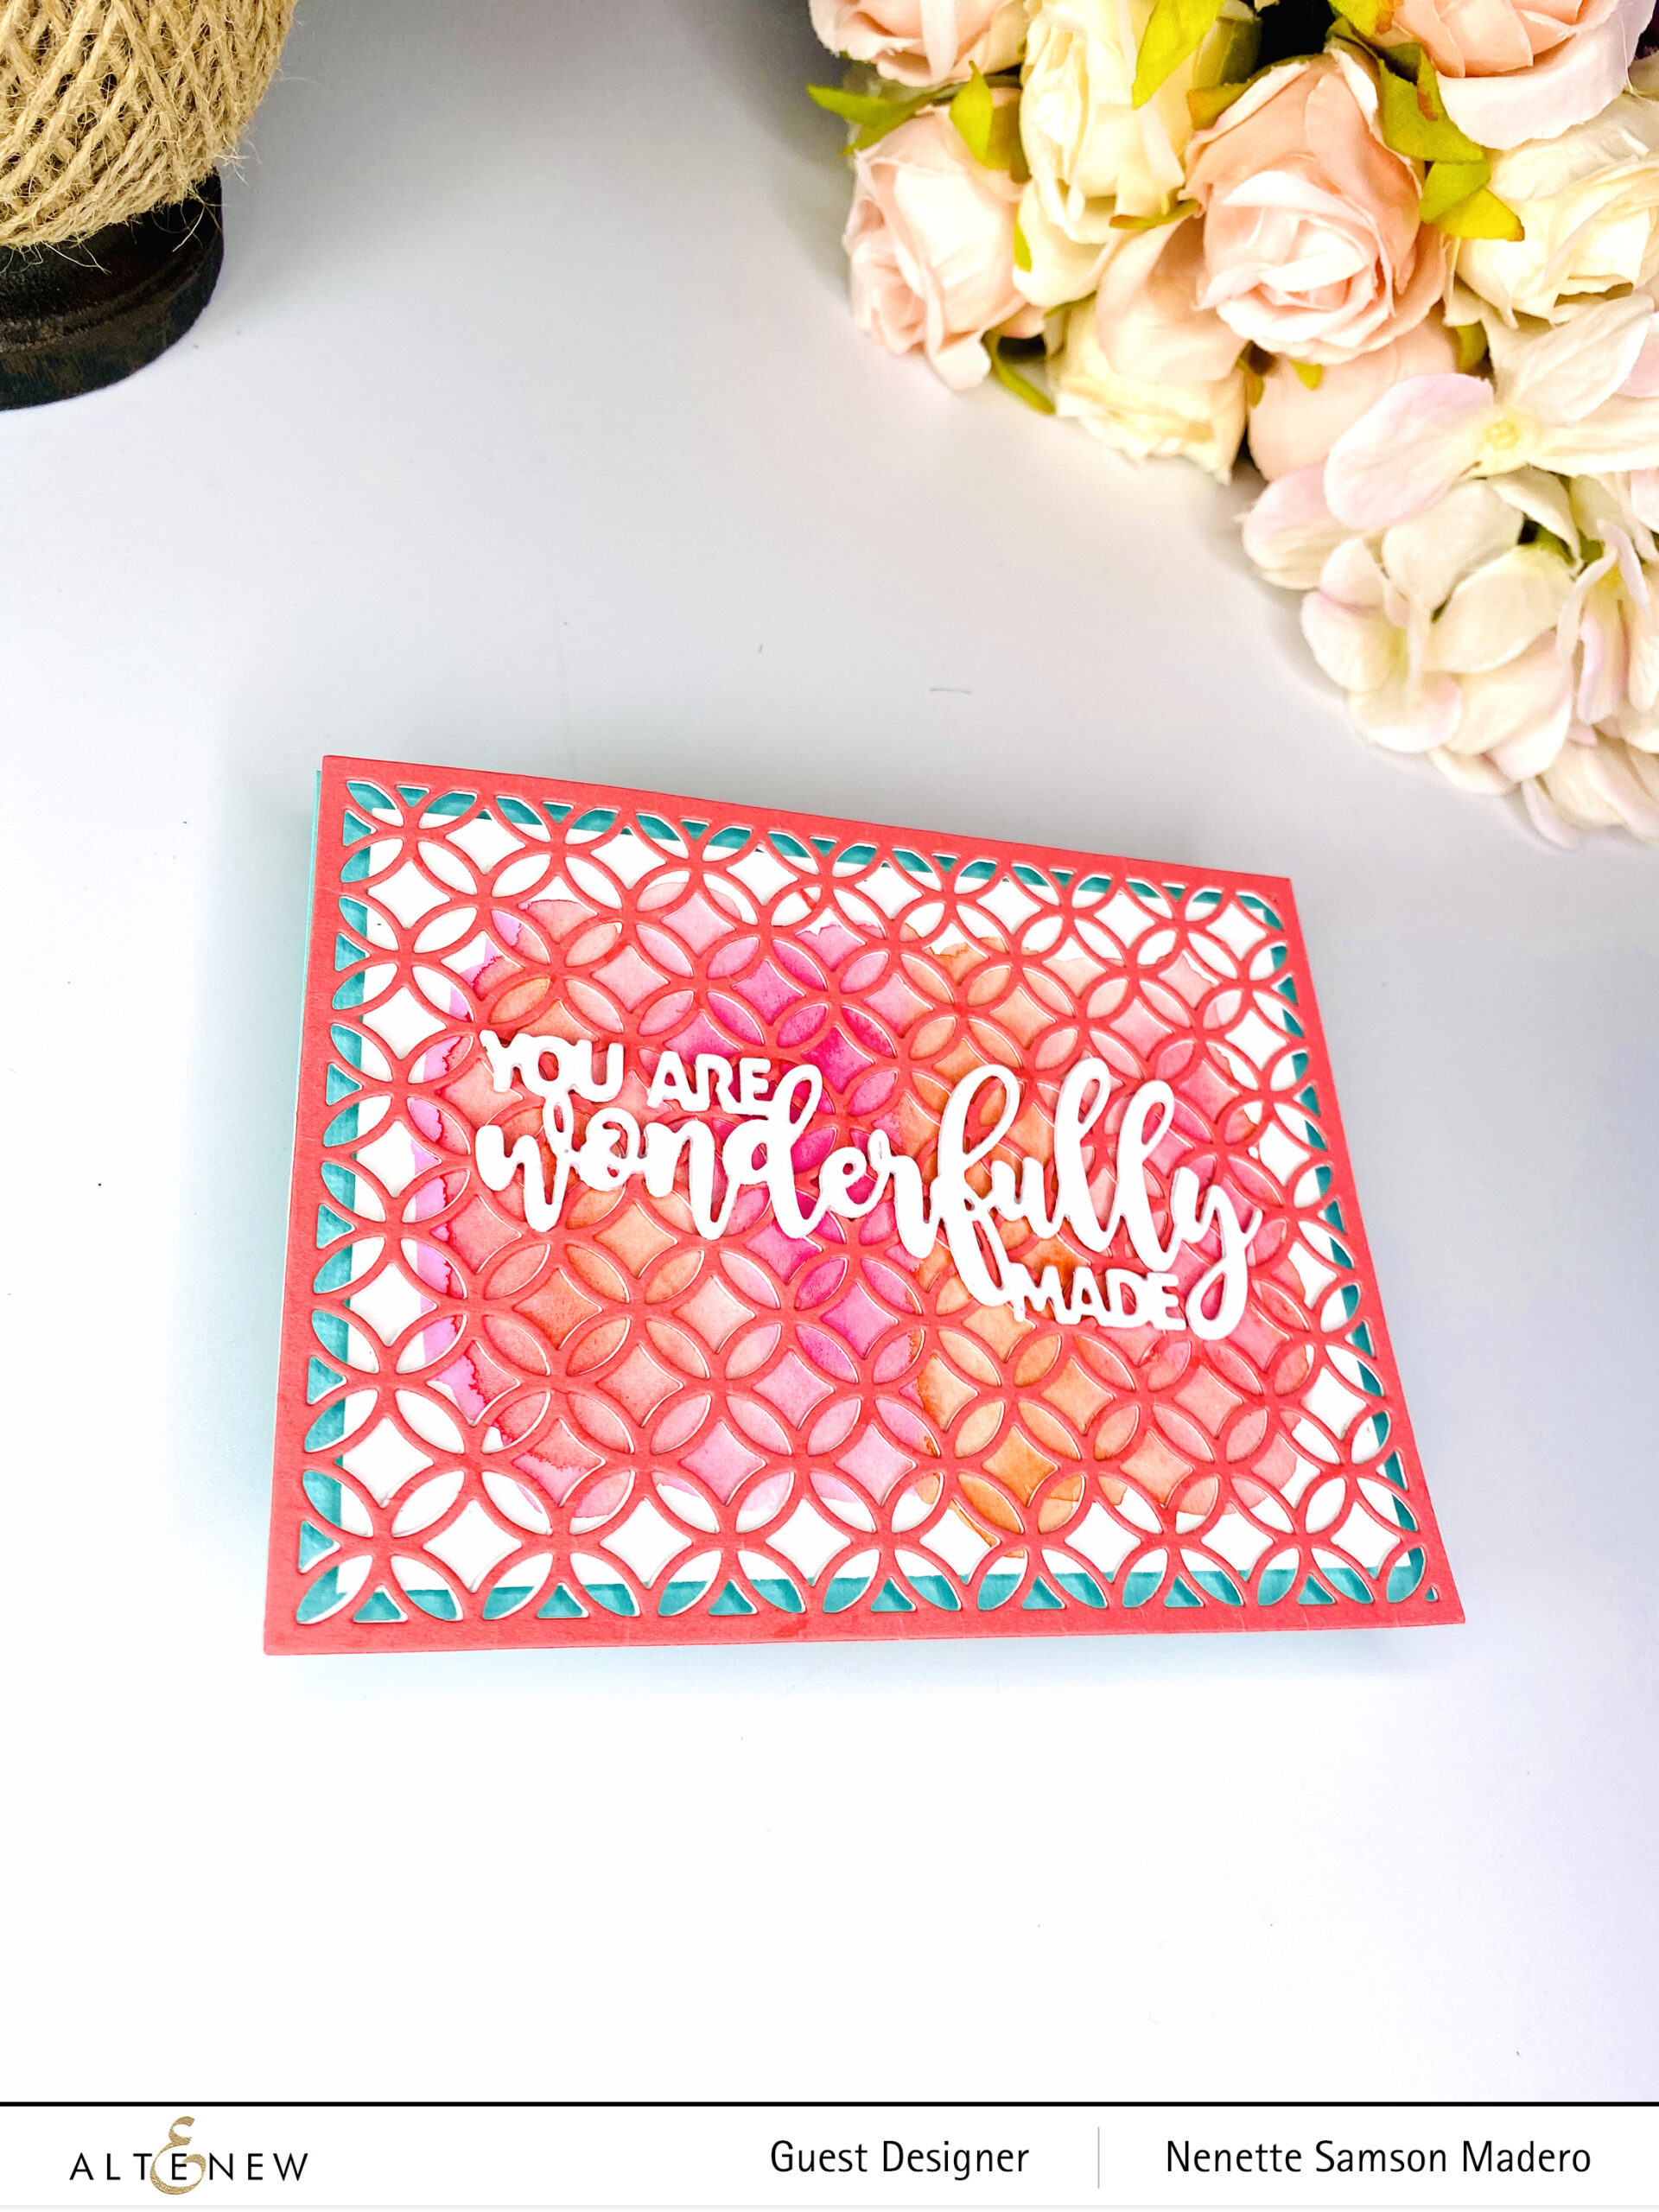
YOU ARE WONDERFULLY MADE

WONDERFULLY MADE DIE

STEPS:

  1. Watercolor a background using pinks and peaches.
  2. Die cut the You are Wonderfully Made sentiment 4 times and adhere on top of each other.
  3. Die cut pink cardstock using the Circle Quilt Cover Die.
  4. Assemble the card.

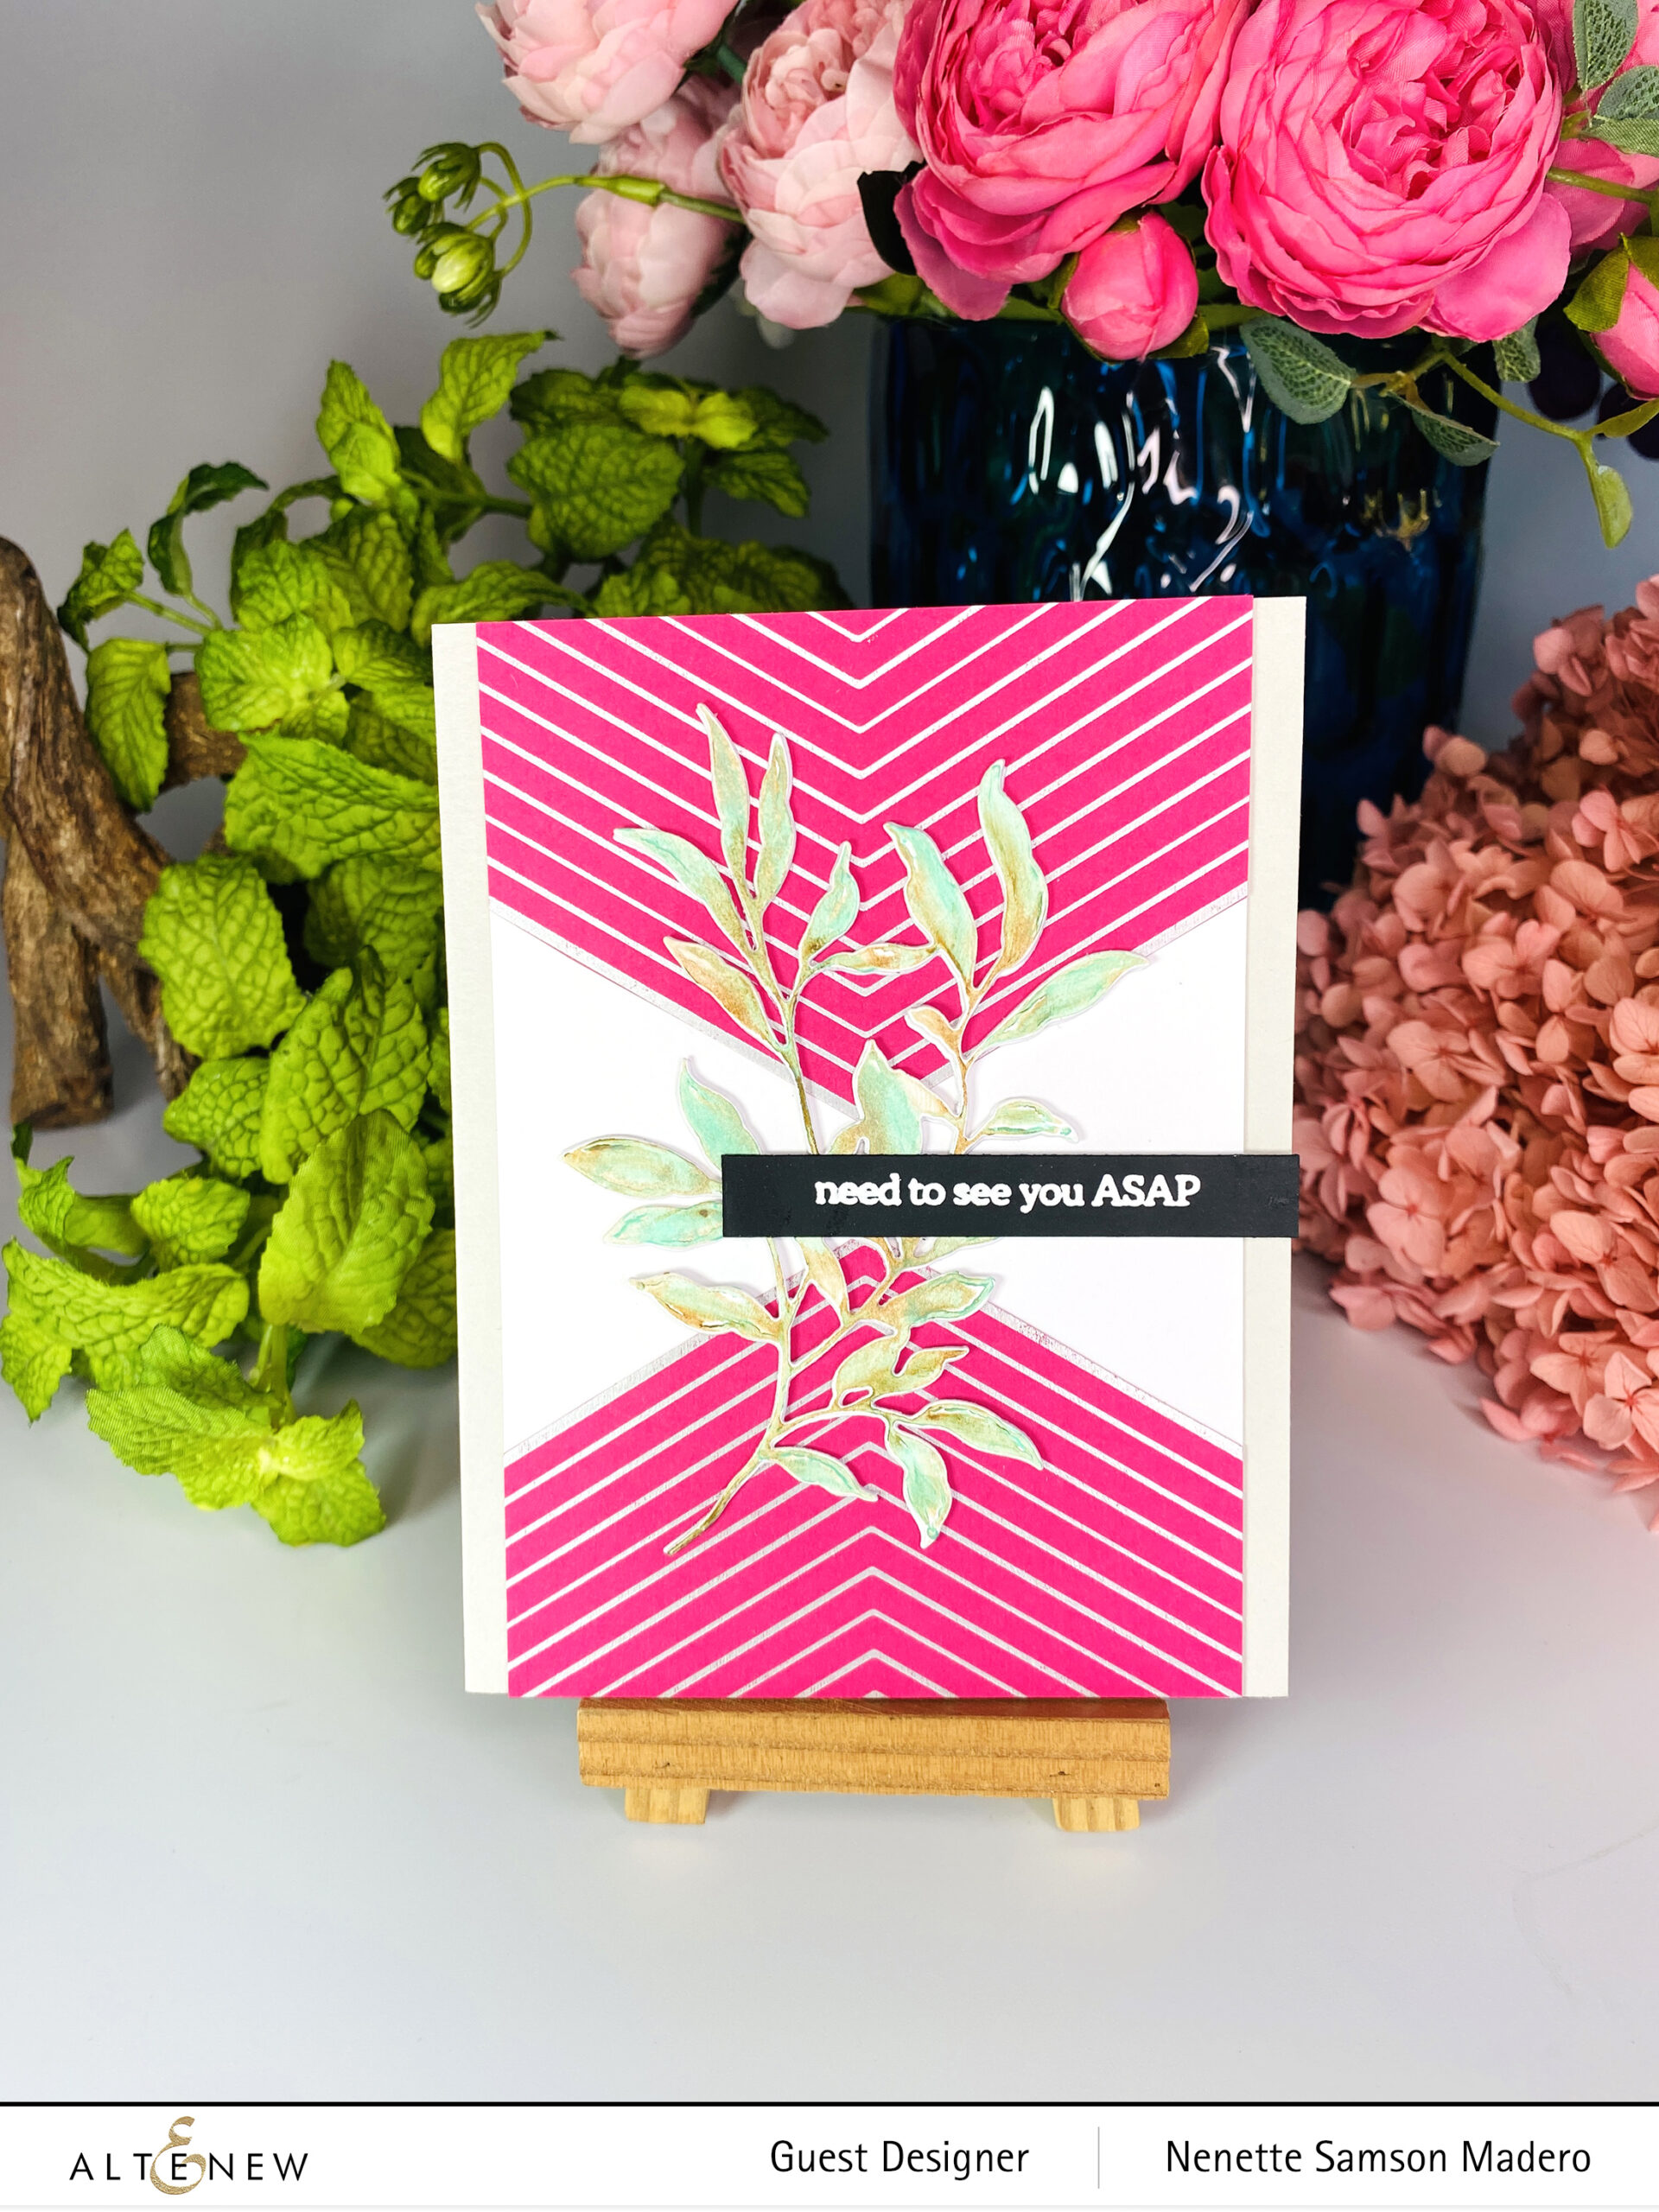
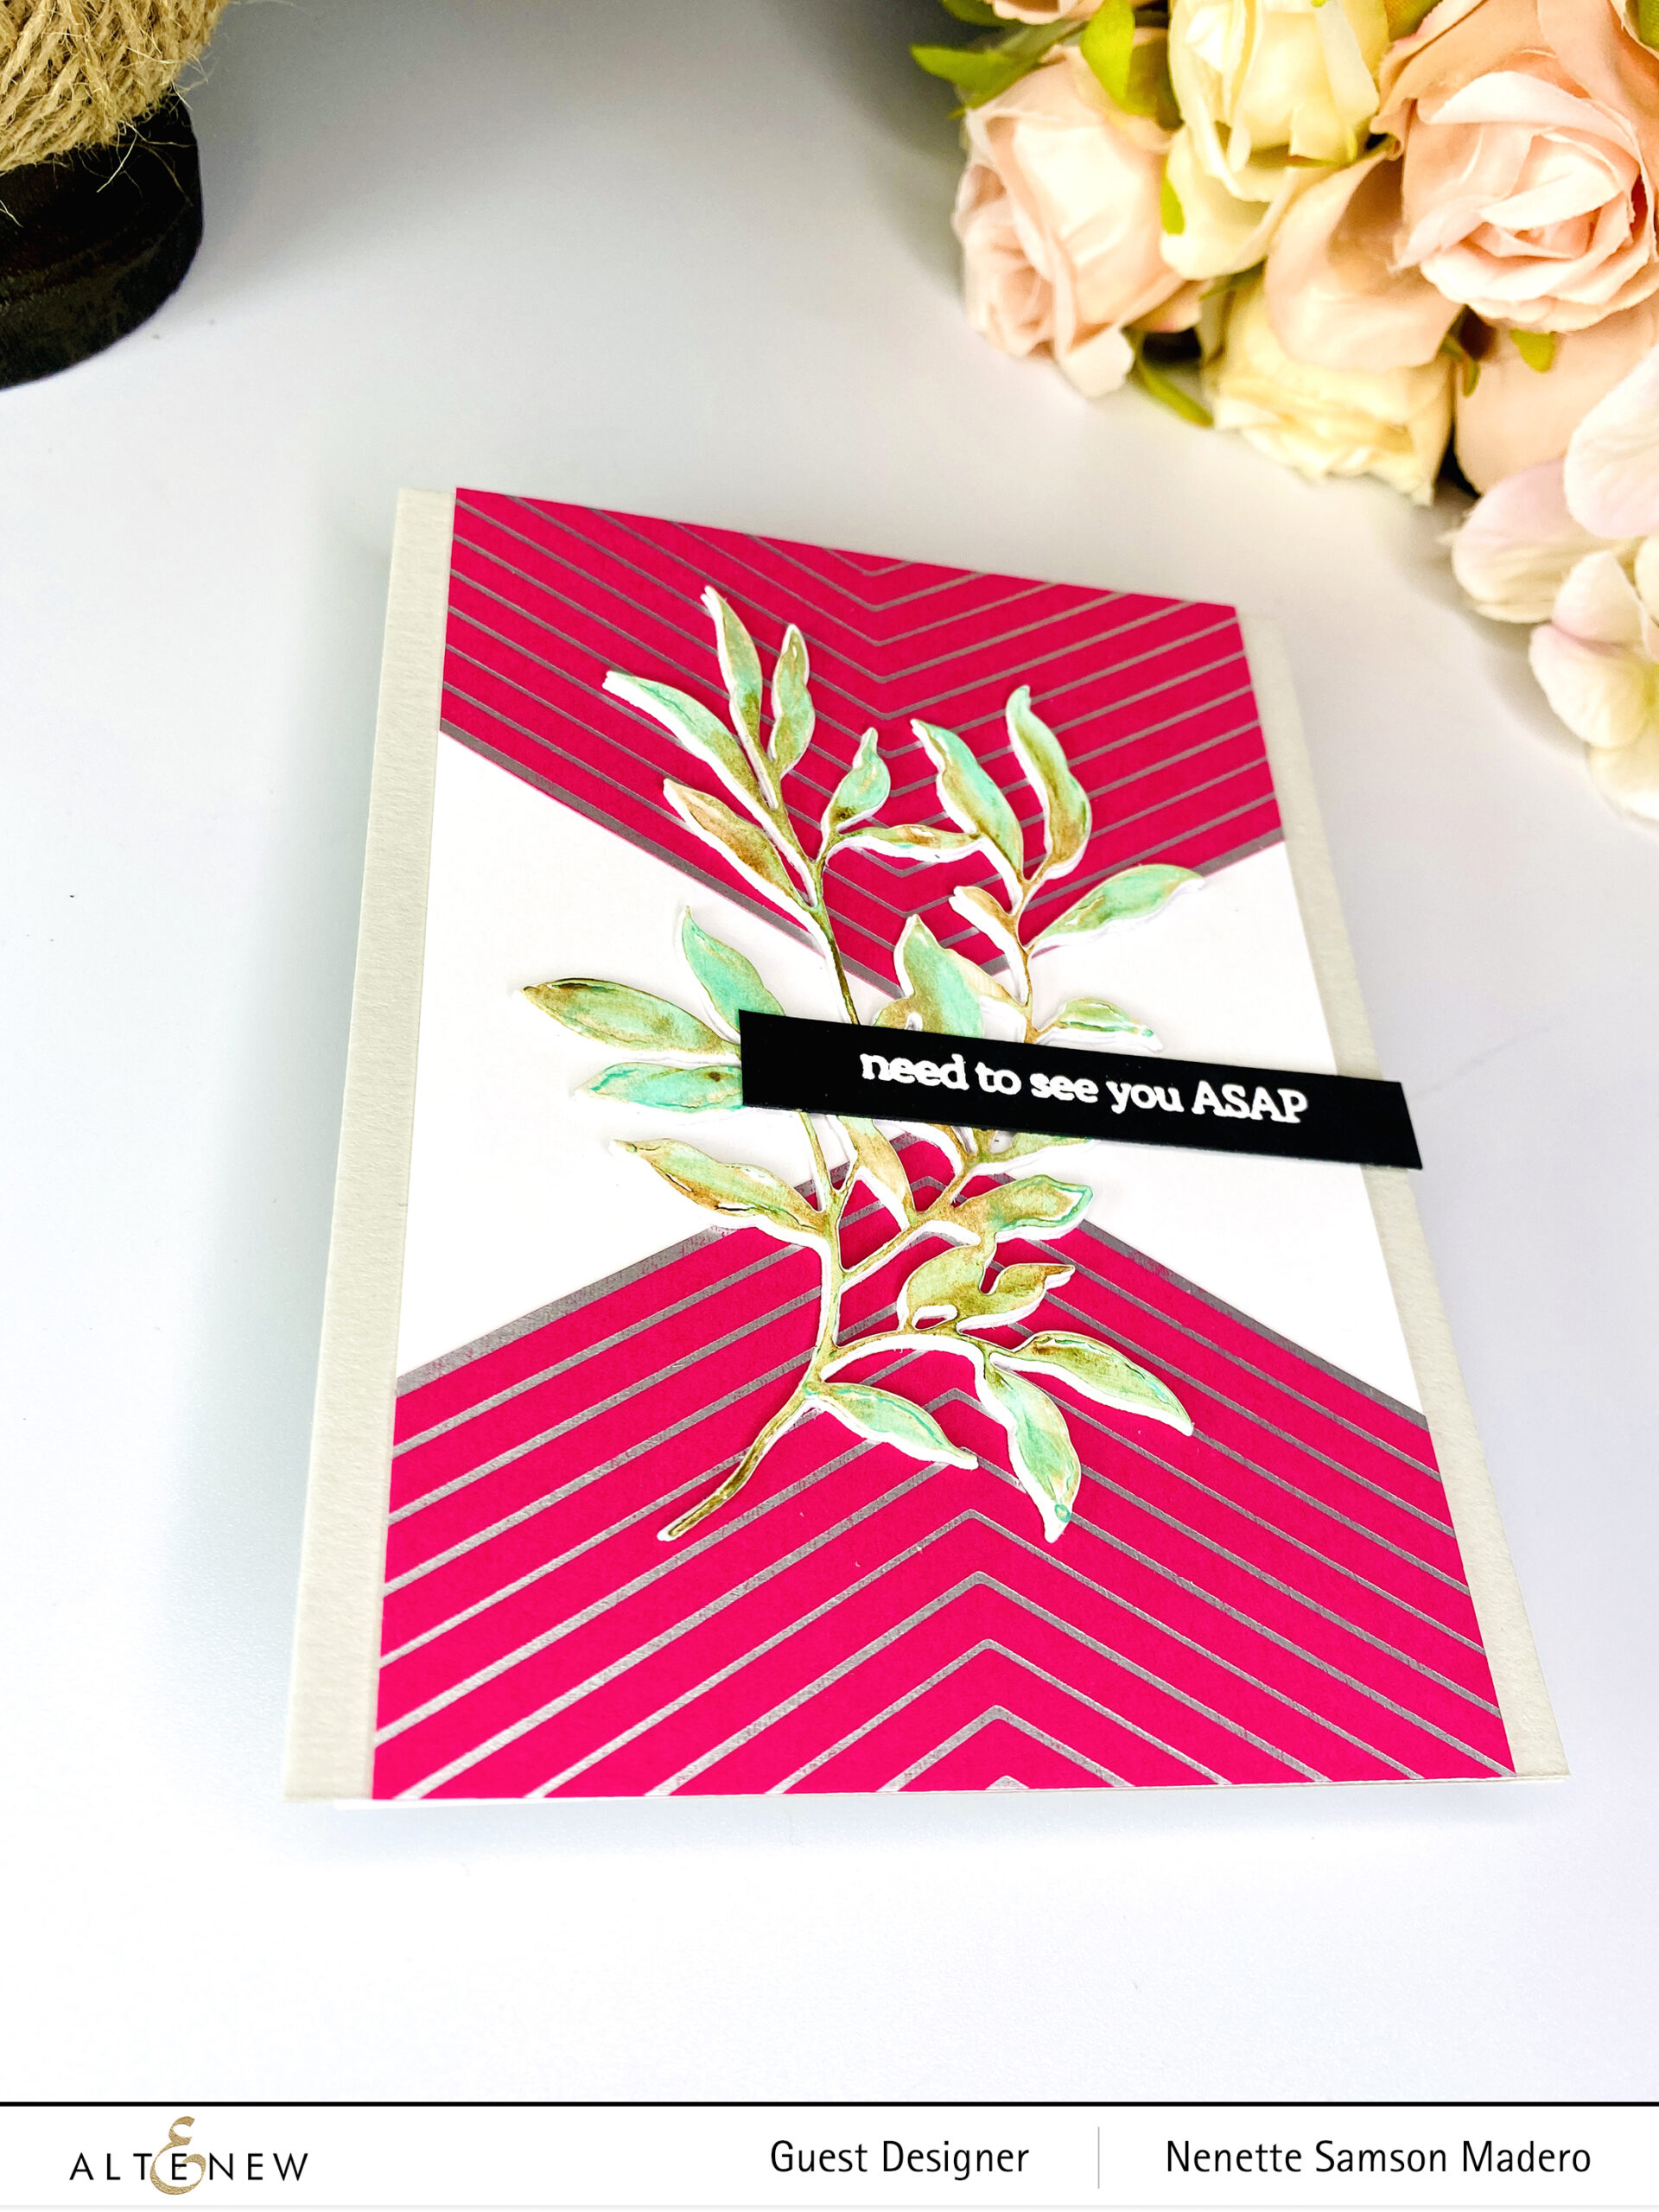
NEED TO SEE YOU ASAP

CHEVRON BACKGROUND HOT FOIL COVER PLATE

STEPS:

  1. Hot foil hot pick cardstock with silver foil using the Chevron Background Hot Foil Plate.
  2. Die cut foliage using the Just Leaves die and color using Distress Crayons and water.
  3. Emboss the leaves with Distress glaze.
  4. Stamp and emboss the sentiment with Pure White embossing powder.
  5. Assemble the card.

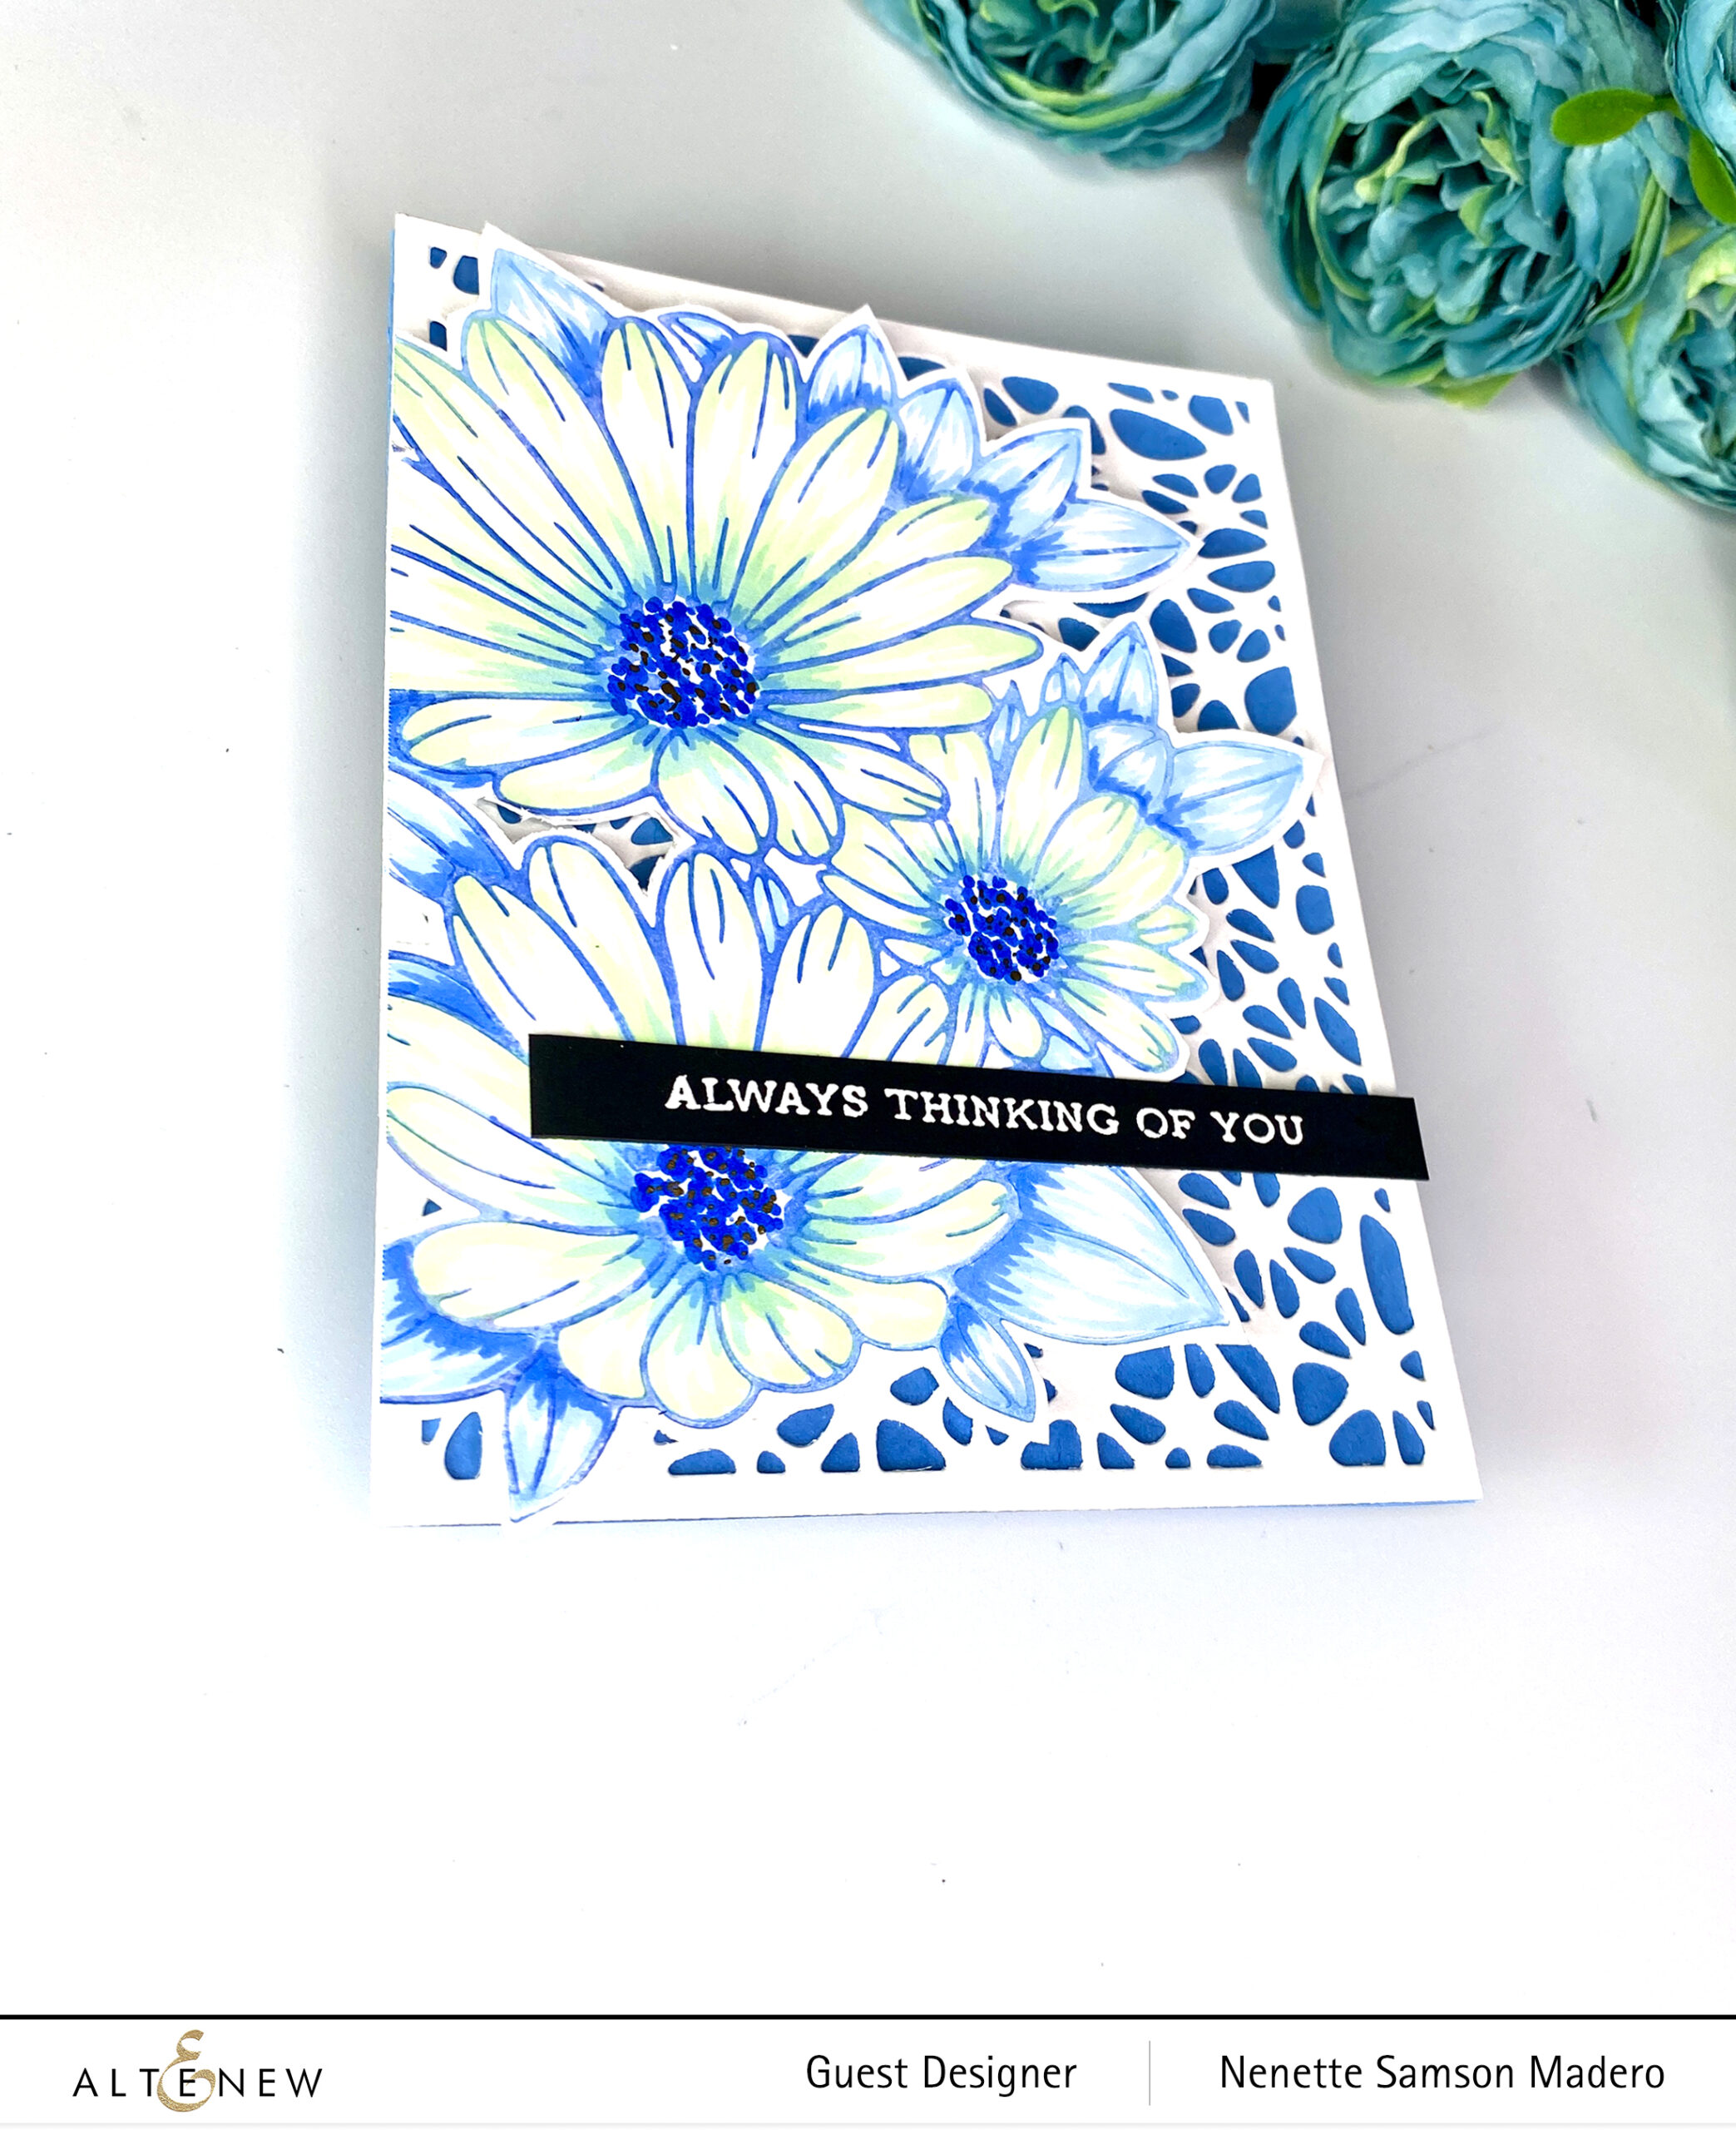
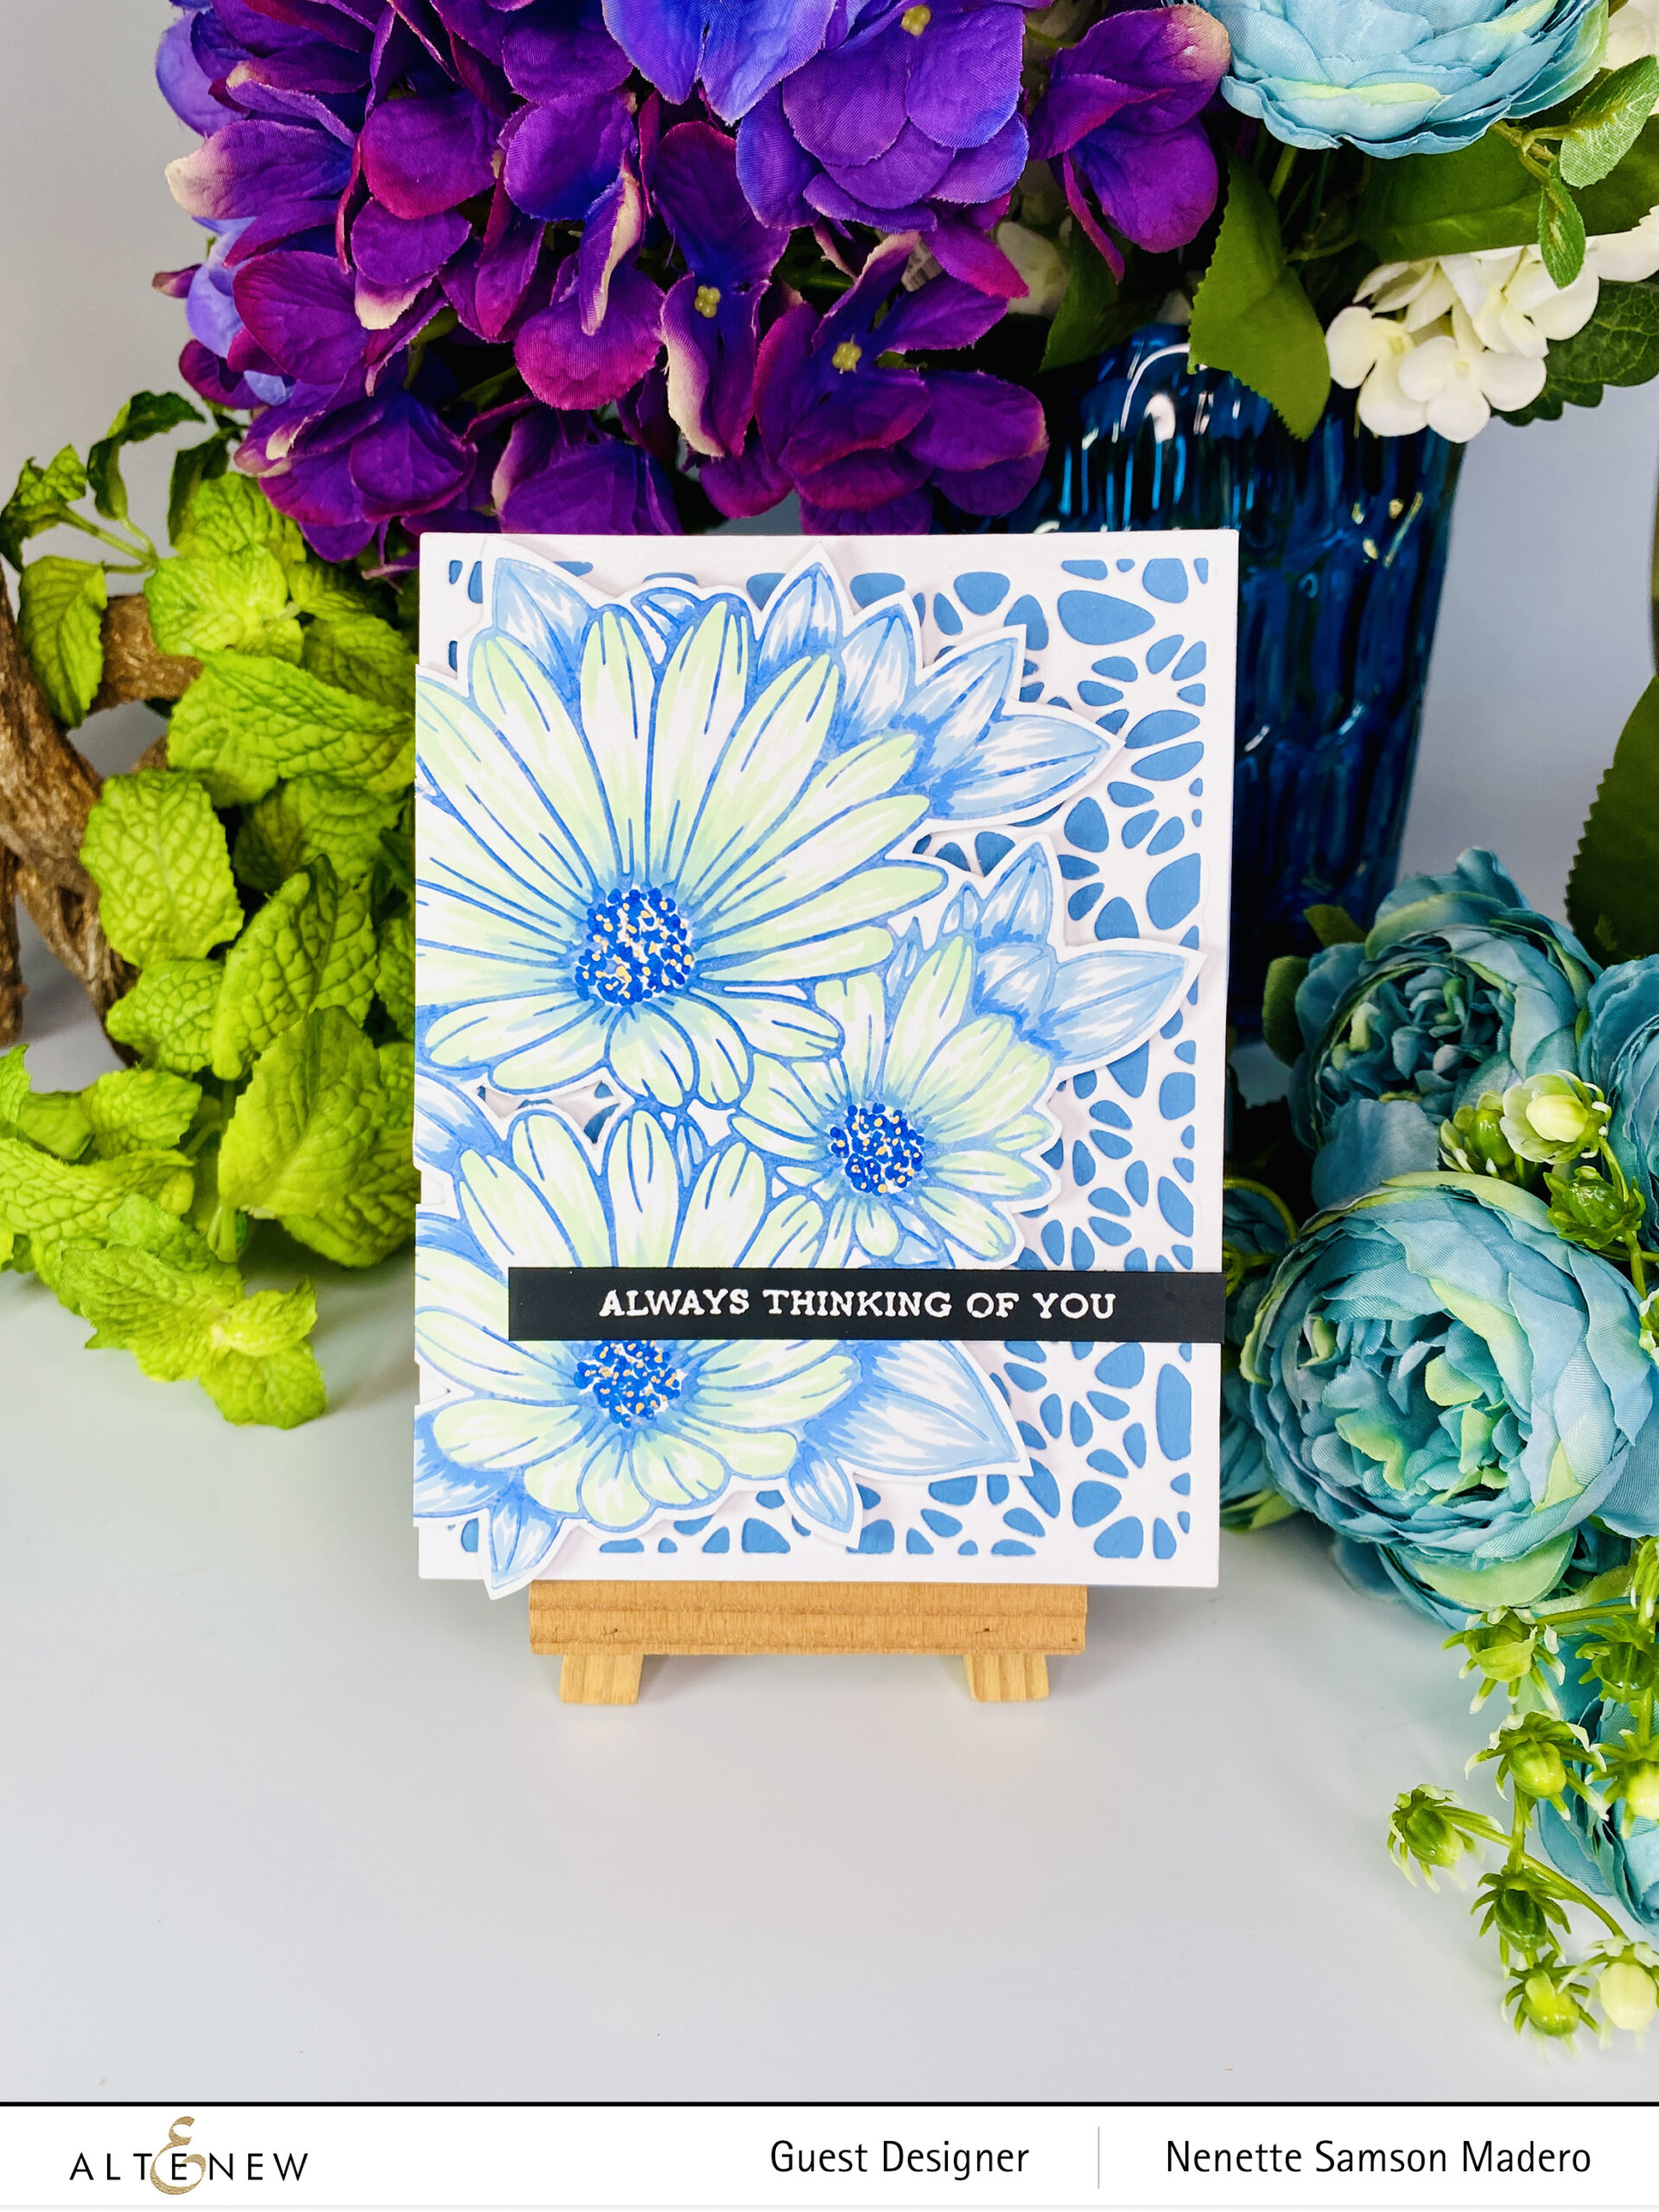
ALWAYS THINKING OF YOU

VIBRANT FLORALS HOT FOIL PLATE; DETAILED WEB DIE

STEPS:

  1. Brayer Mixed Media Ink on the Vibrant Florals Hot Foil plate and run it through the die cutting machine to print the image onto cardstock.
  2. Color the image using Alcohol inks.
  3. Die cut white cardstock using the Detailed Web cover die.
  4. Stamp and emboss the sentiment with Pure White Embossing powder on black cardstock.
  5. Assemble card with foam squares and adhesive.

This is another way you can expand the use of your Hot Foil Plates– by using them as a “stamp.” Jennifer Macguire has also used hot foil plates to create a faux letterpress look.

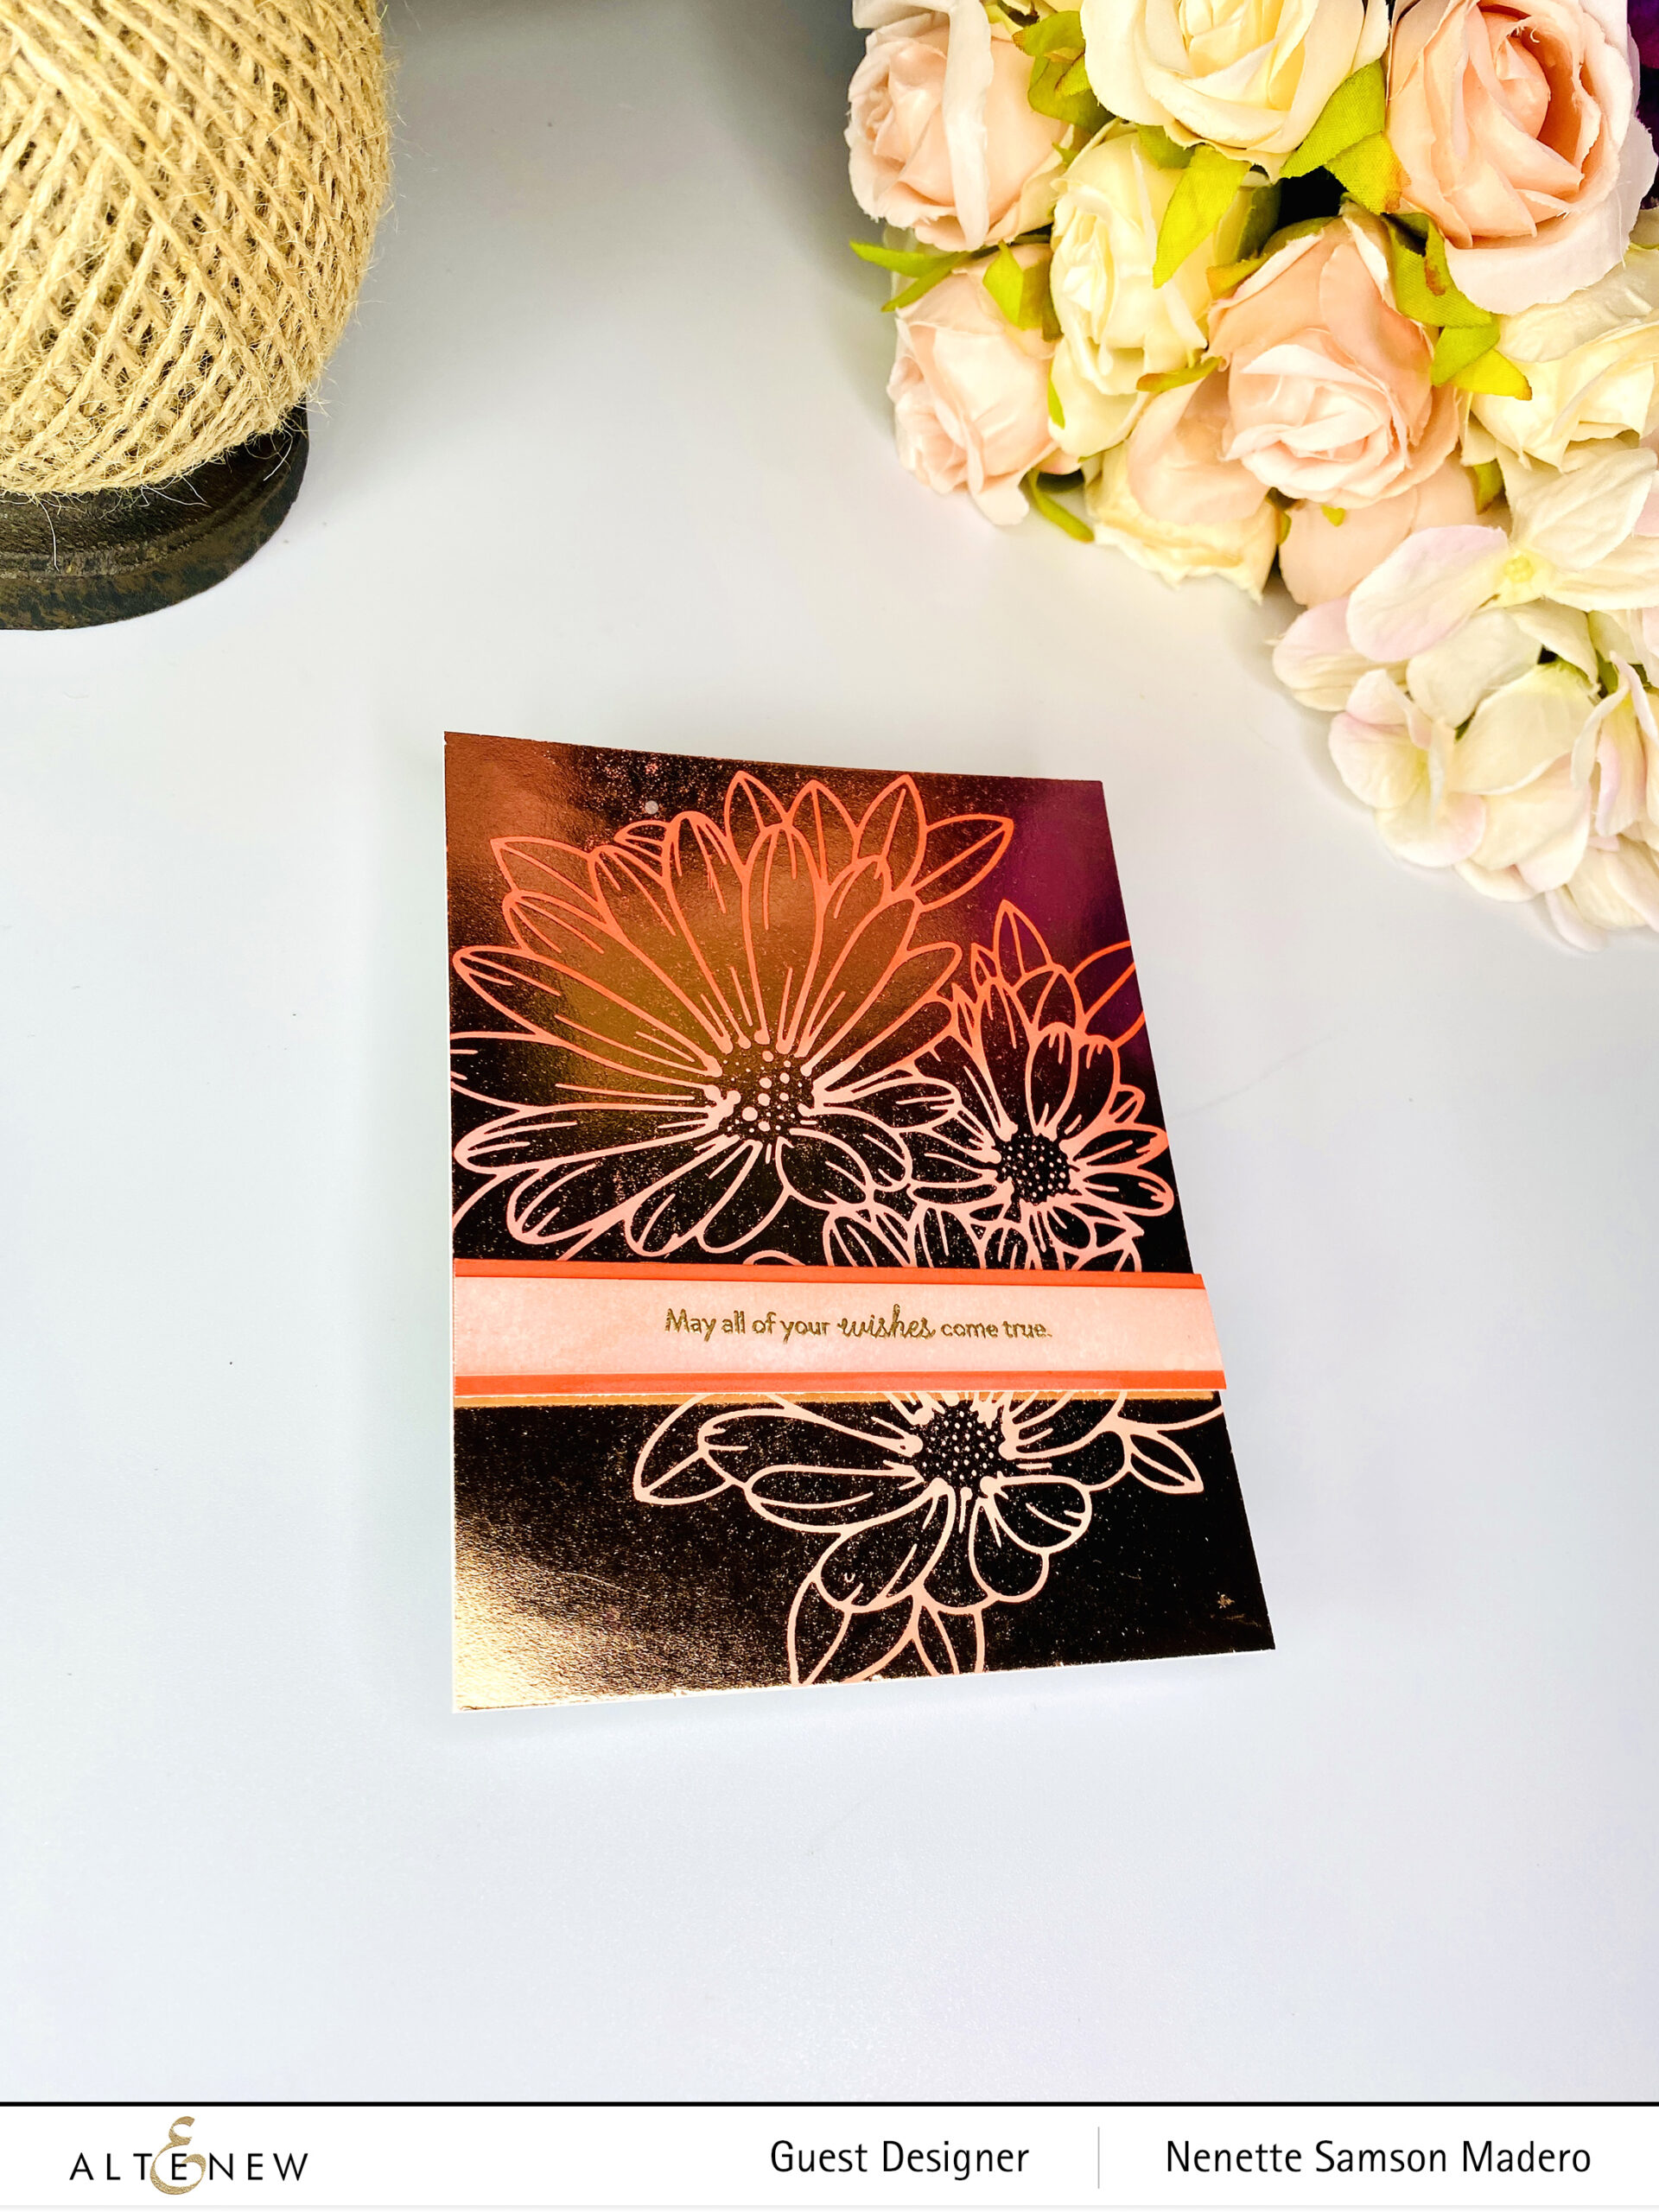
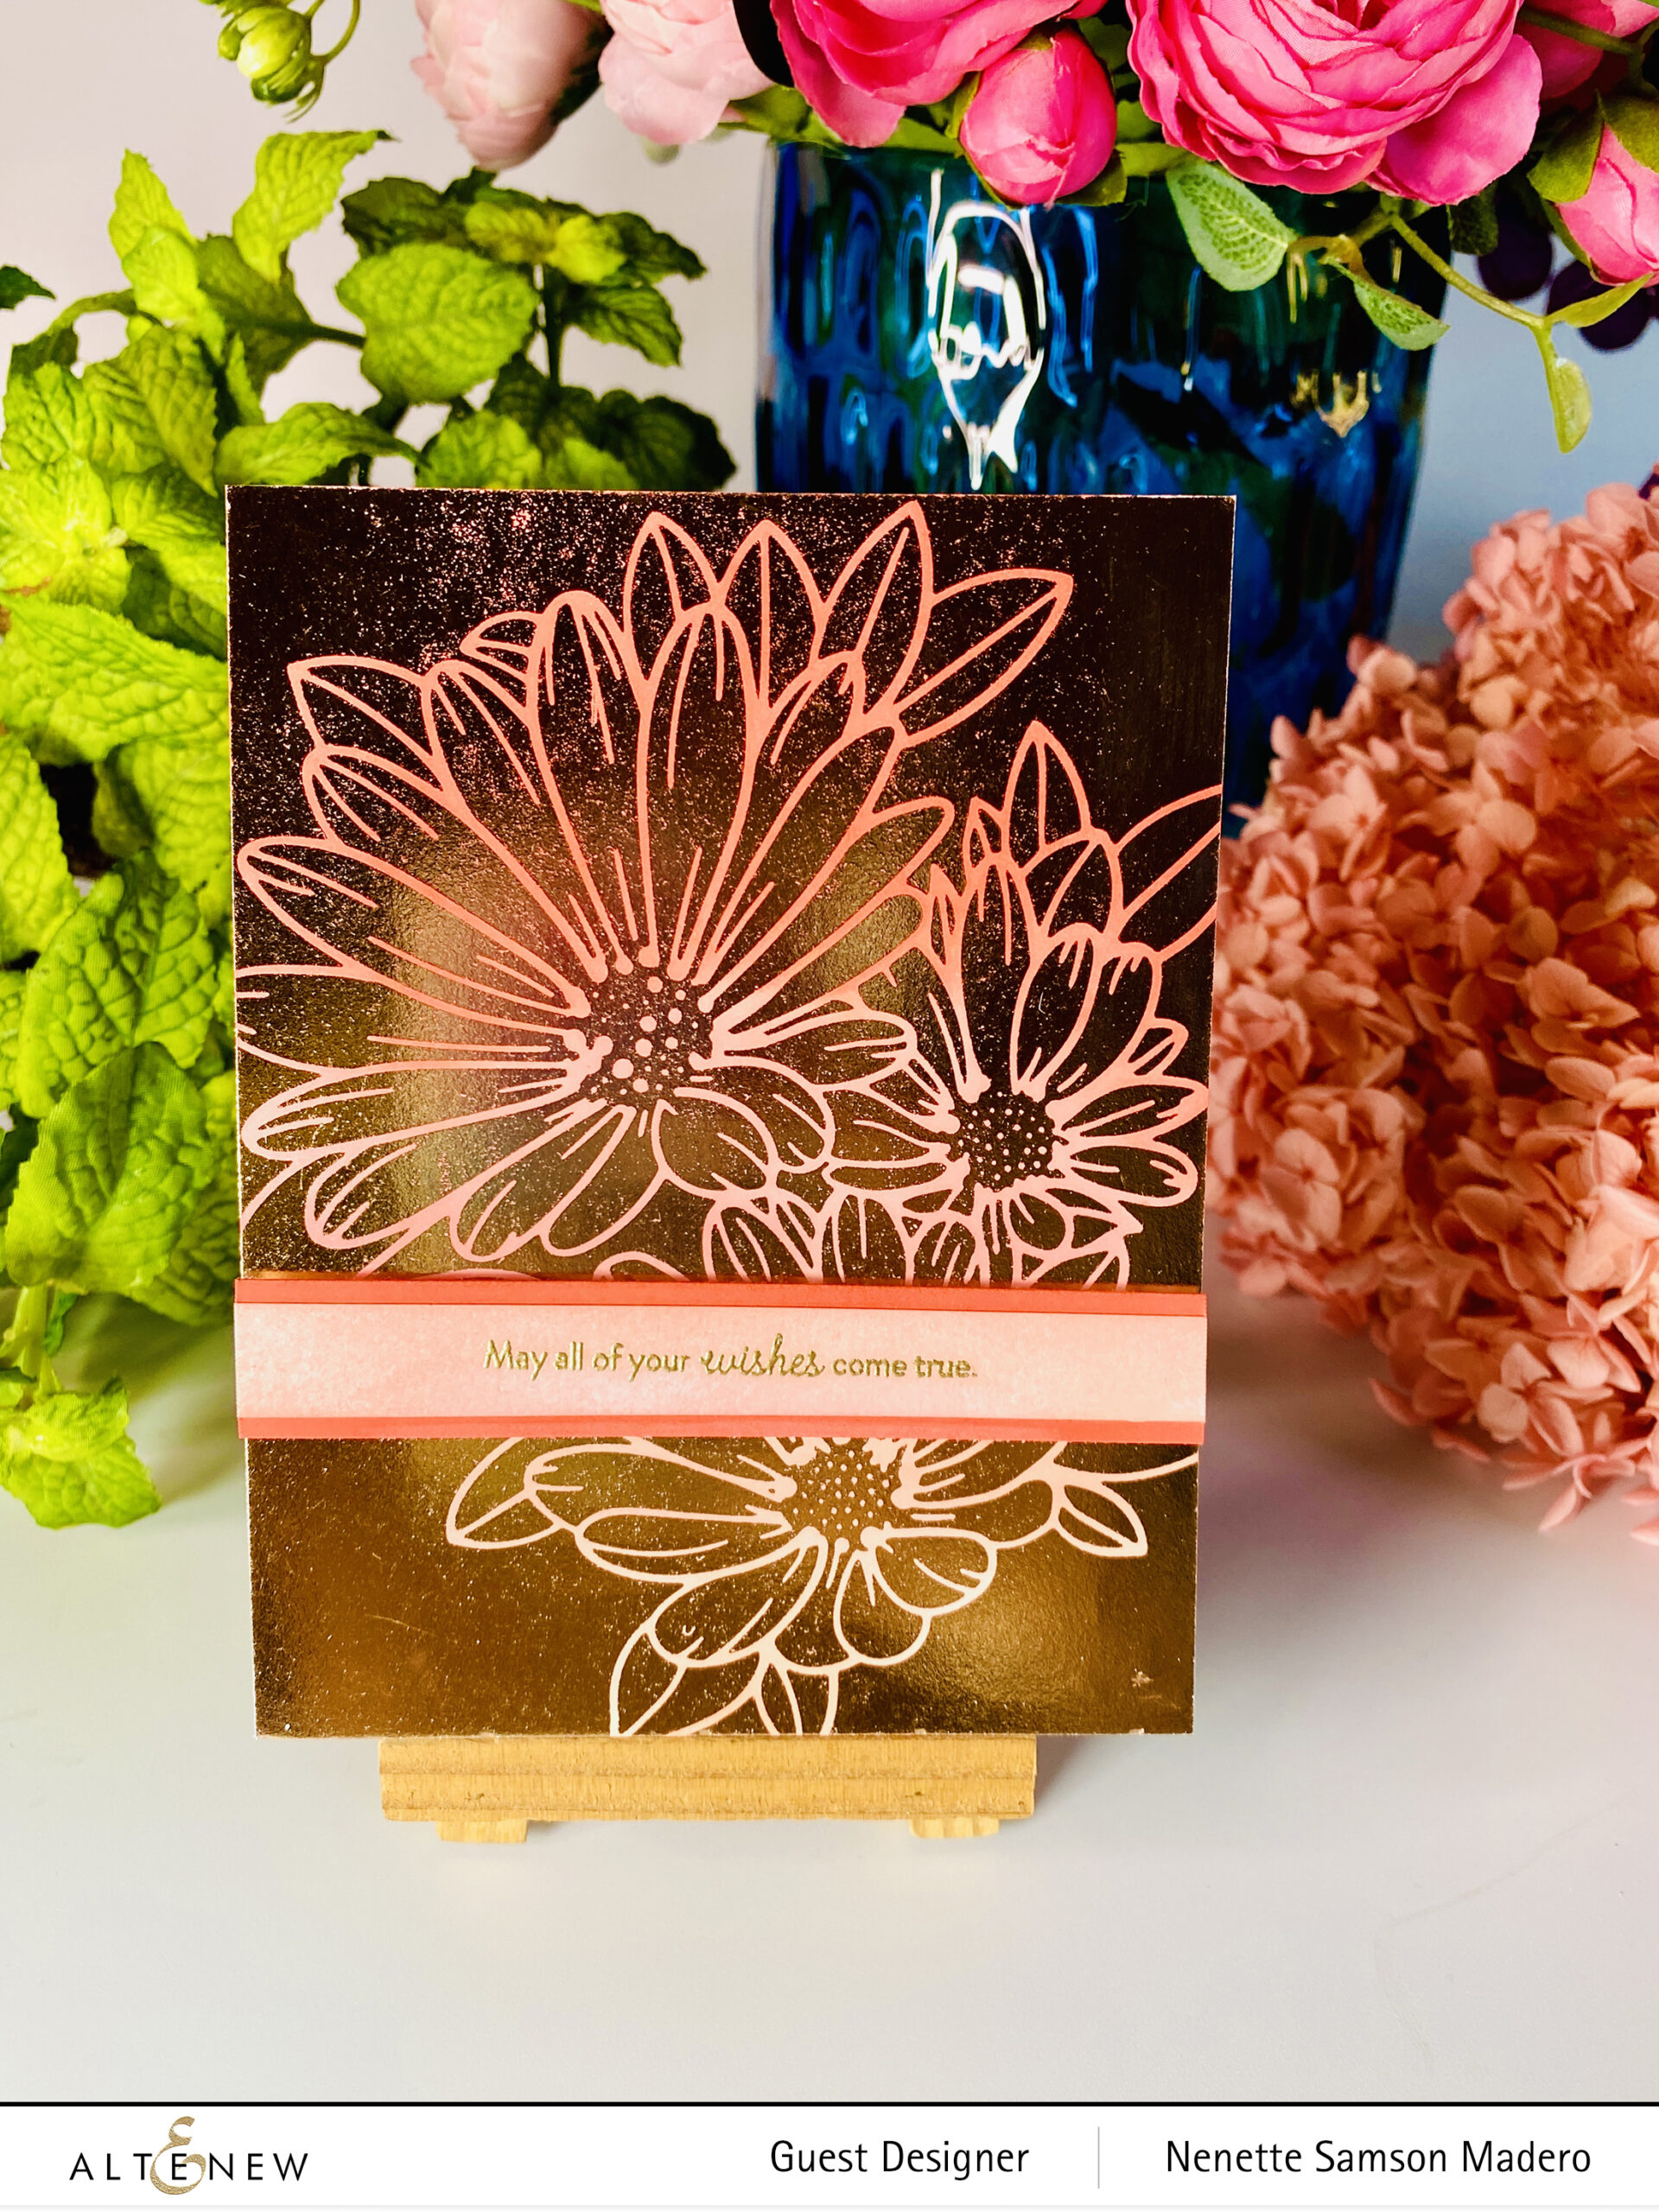
VIBRANT FLORALS HOT FOIL PLATE, ULTRA STICKY DOUBLE-SIDED TAPE

STEPS:

  1. Hot foil the negative leftover on white cardstock using a solid hot foil plate.
  2. Color the exposed paper using dye inks from the Tea Party mini dye ink set— Pink Pearl, Coral Bliss and Heart Beat creating an ombre look.
  3. Stamp the sentiment on paper(which was colored using one of the dye inks) and emboss with Rose gold embossing powder.
  4. Assemble card using adhesive and foam squares.

I love how you can still use the negative image on the foil to create a lovely background. Nothing goes to waste! 🙂

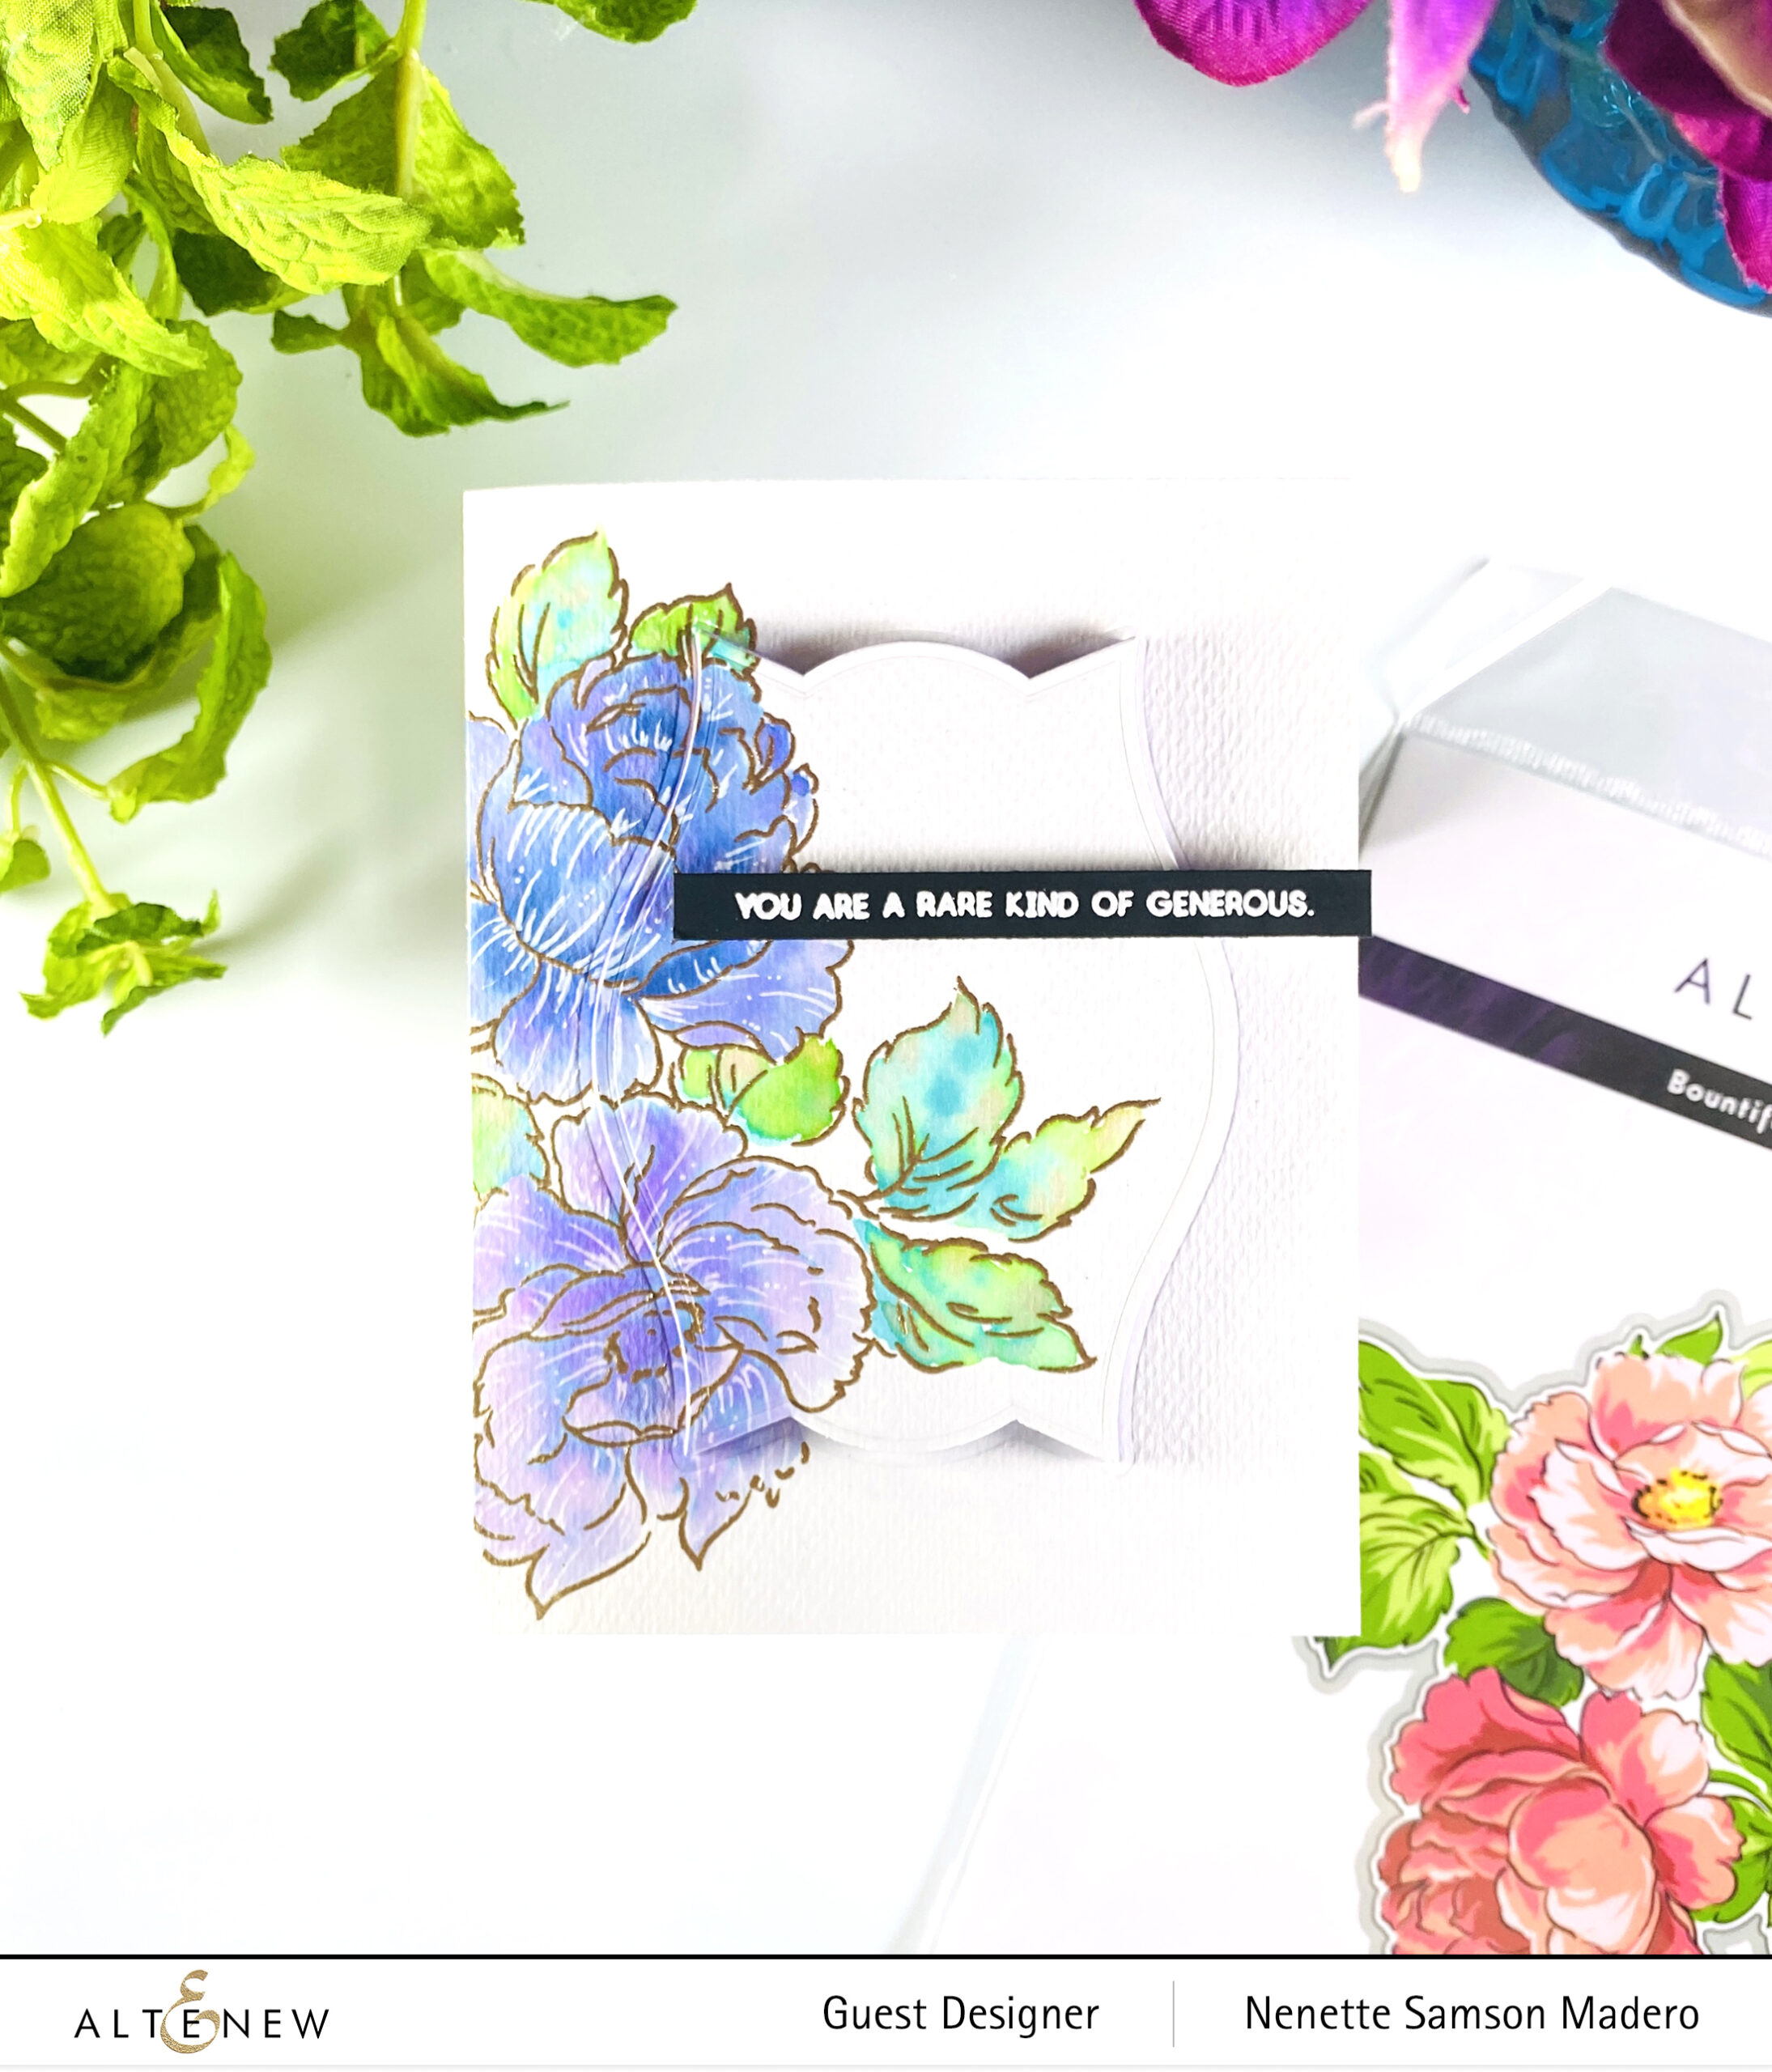
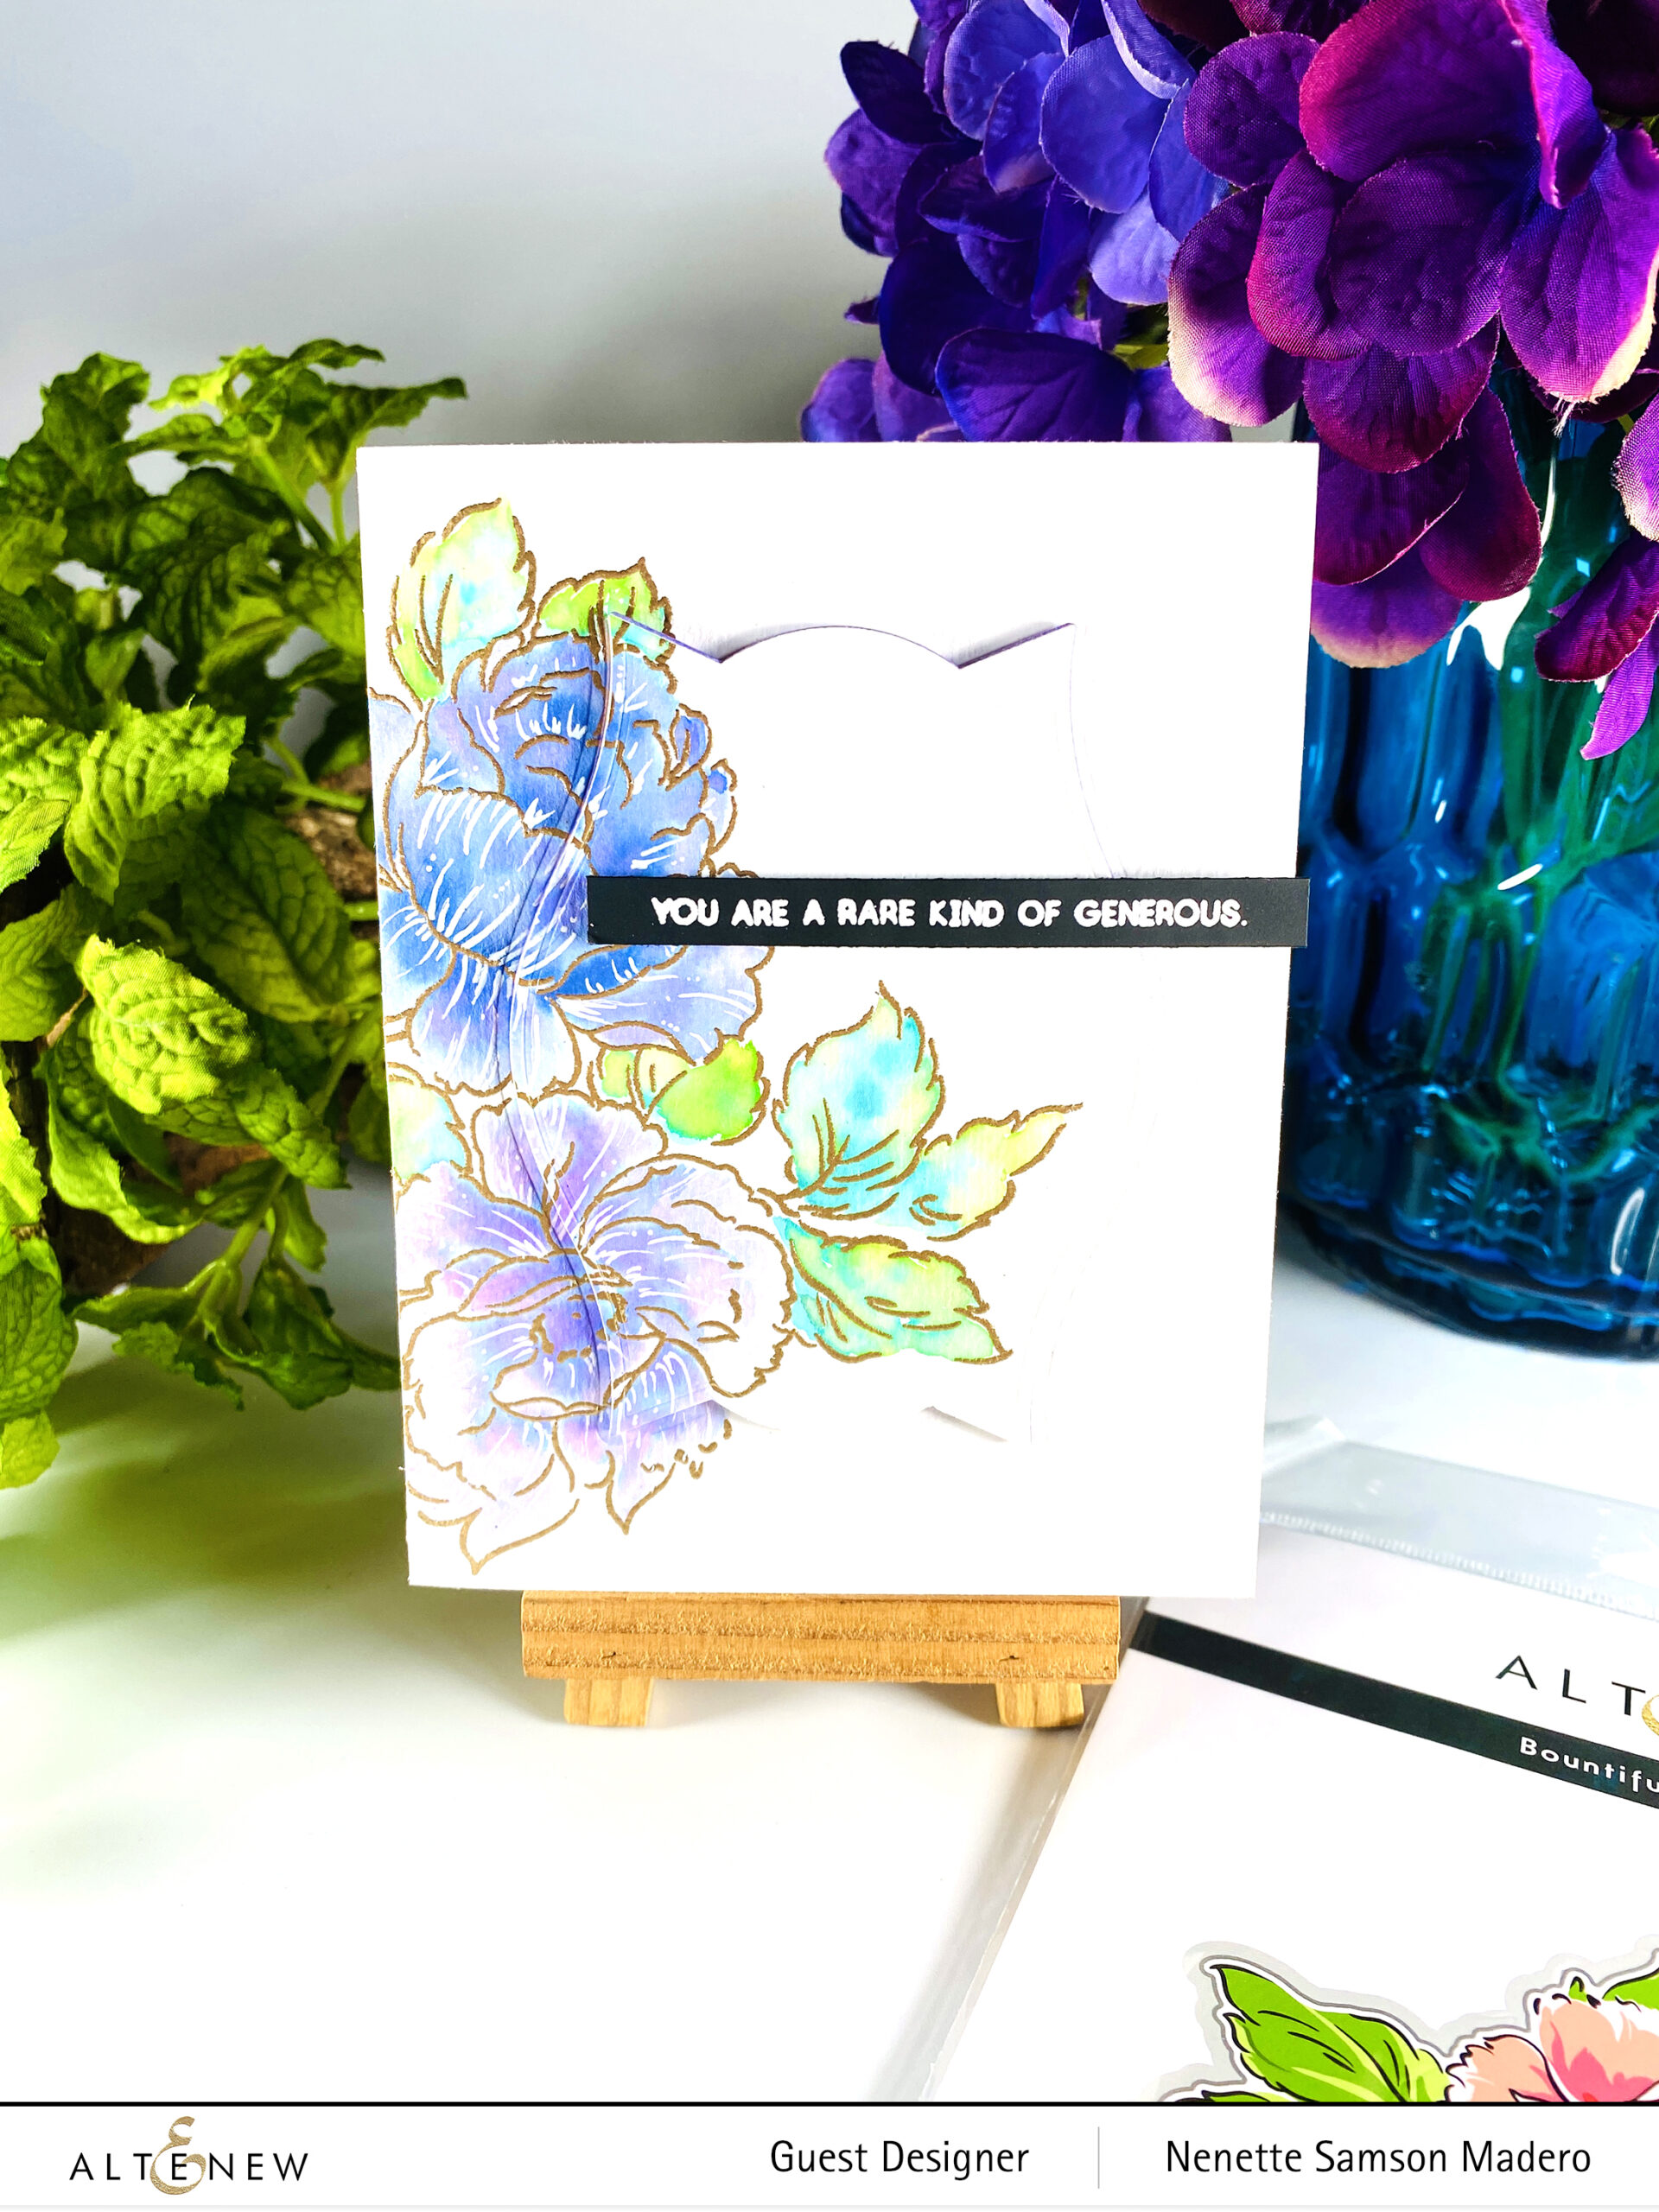
The next card is my favorite. 💕 I used the inlay technique.

YOU ARE A RARE KIND OF GENEROUS

BOUNTIFUL BOUQUET STAMP AND DIE

STEPS:

  1. Stamp image from the Bountiful Bouquet Stamp set onto watercolor paper and embossing using Rose Gold embossing powder.
  2. Watercolor using dye inks.
  3. Add details using a white pigment pen.
  4. Die cut the image using Nesting Frames die.
  5. Emboss the sentiment.
  6. Assemble the card.

LOVE YOUR KIND HEART

BEAUTIFUL BOUQUET STAMP SET

STEPS:

  1. Stamp with a light ink using the outline stamp.
  2. Stamp the other layers of the floral and leaf stamps.
  3. Die cut the flowers as well as extras for the backing of the flowers.
  4. Adhere to cardfront using foam squares.
  5. Stamp sentiment and emboss.

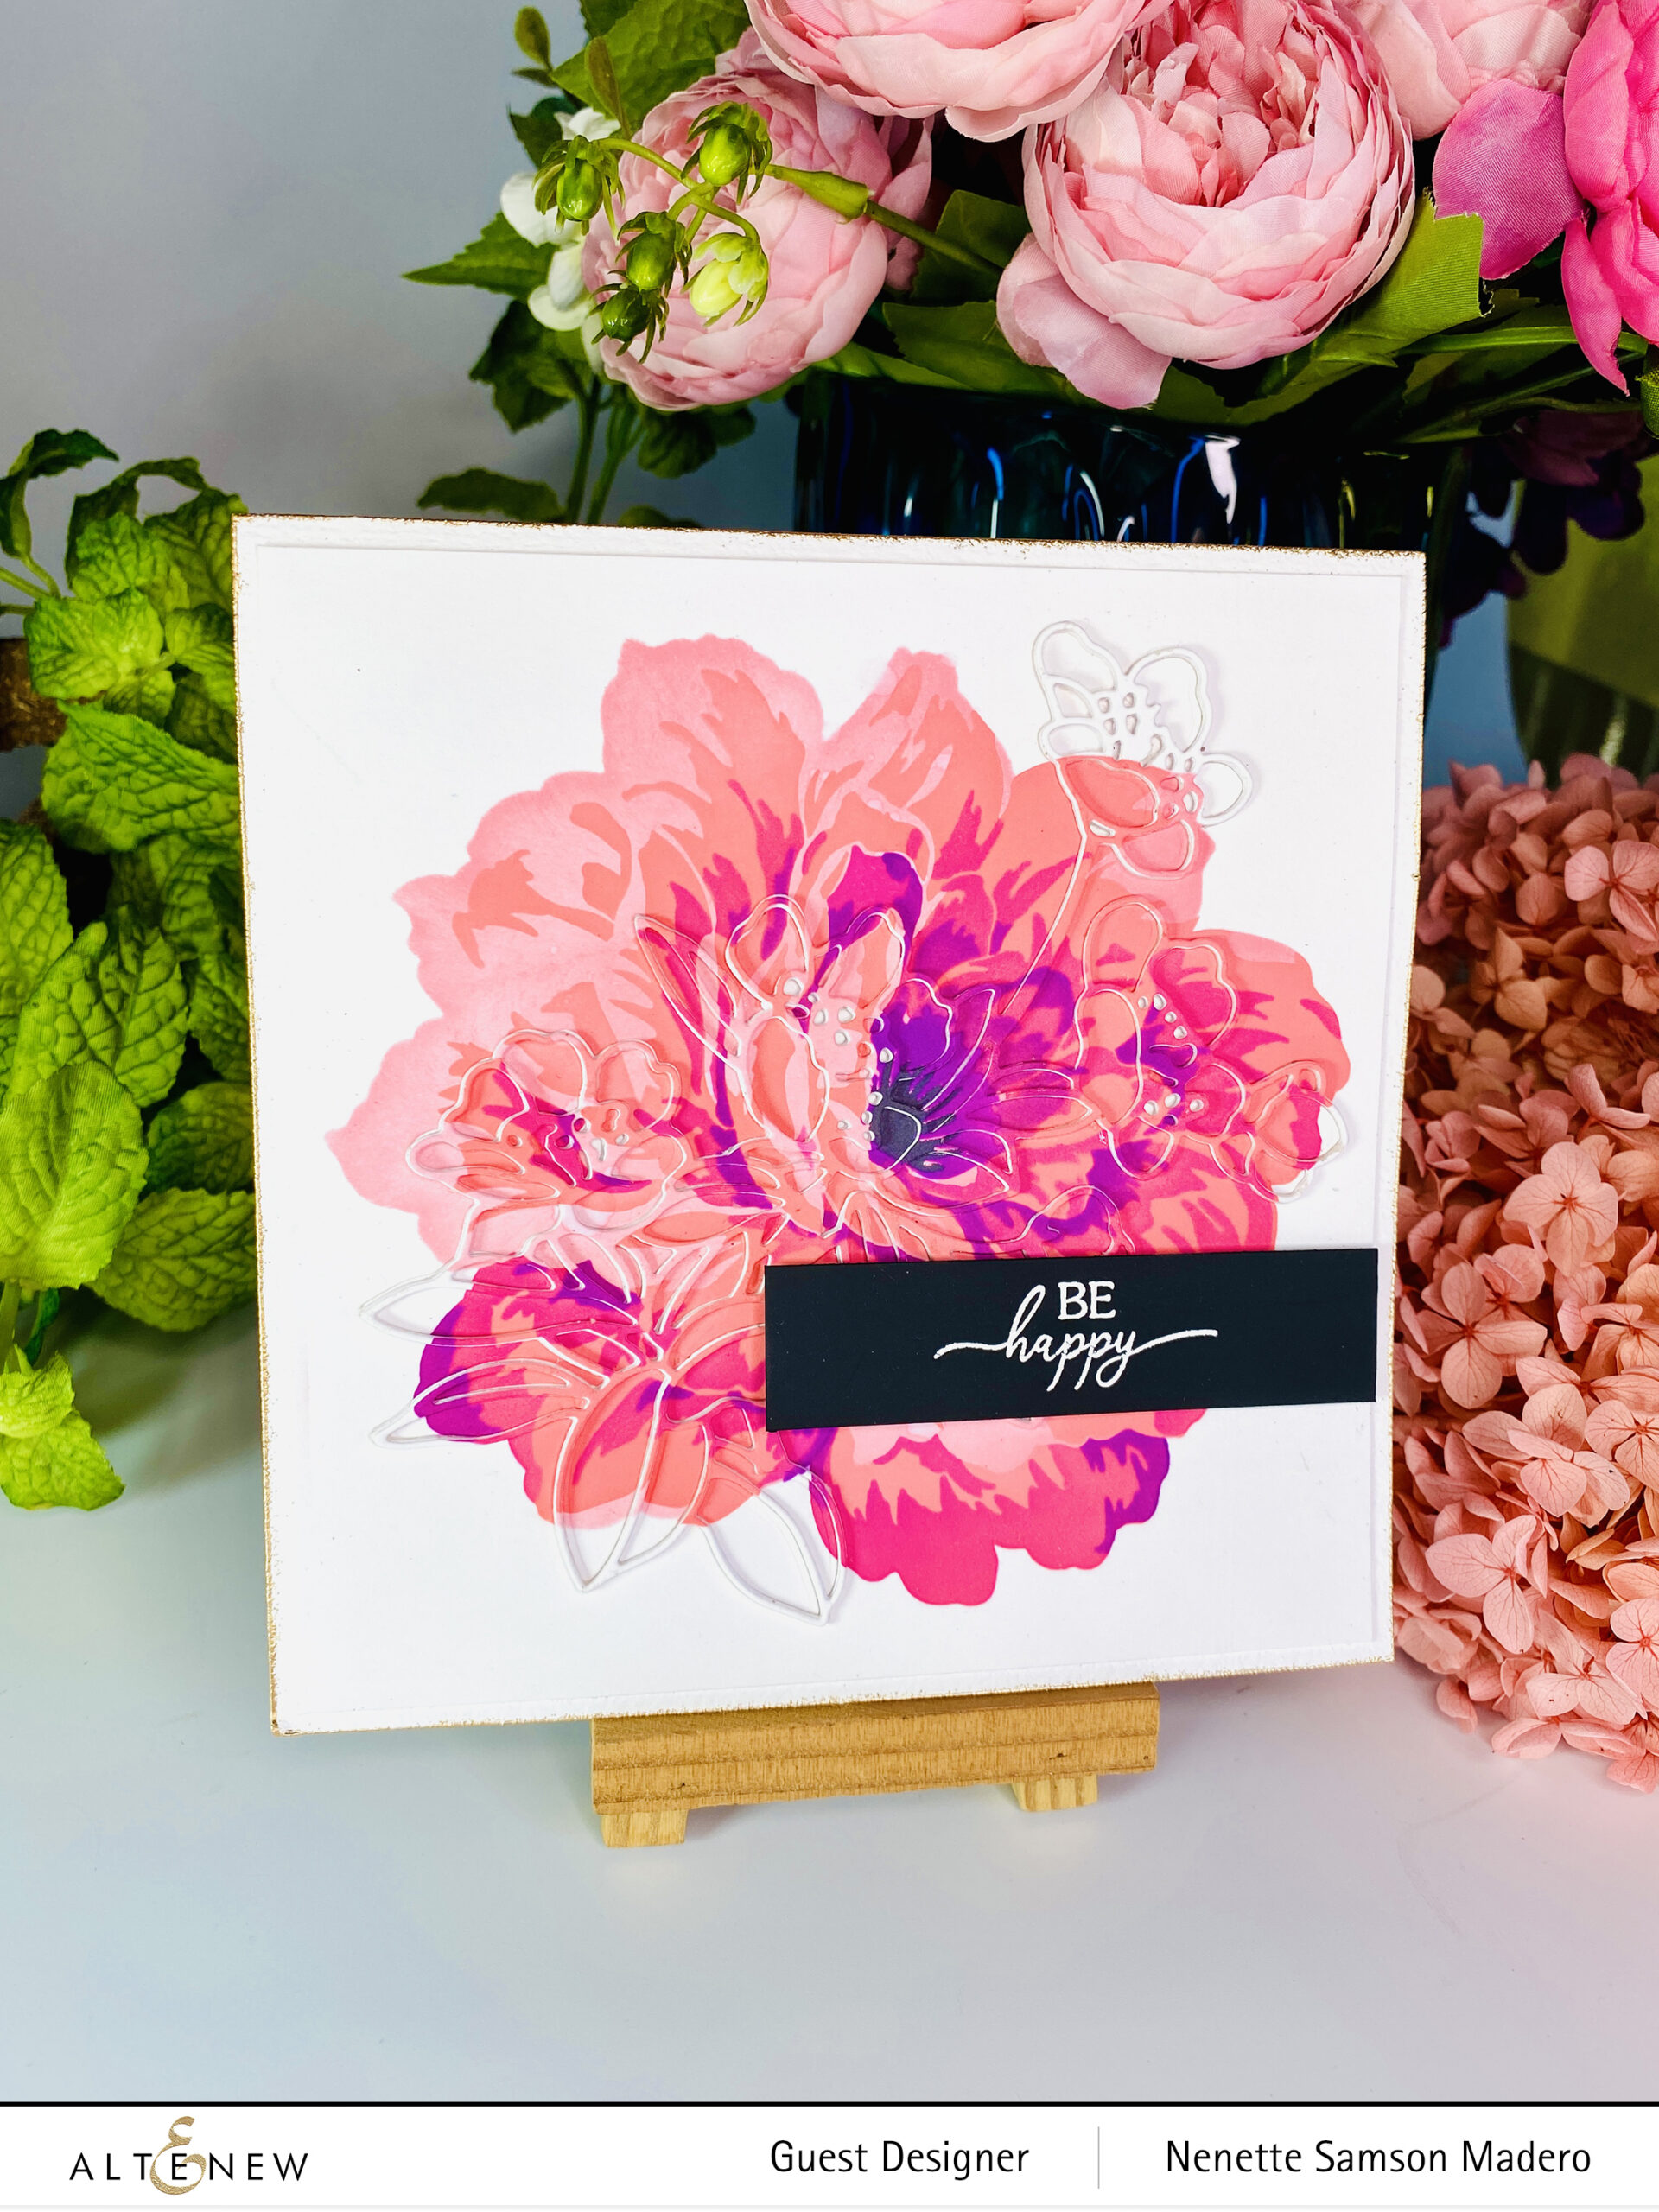
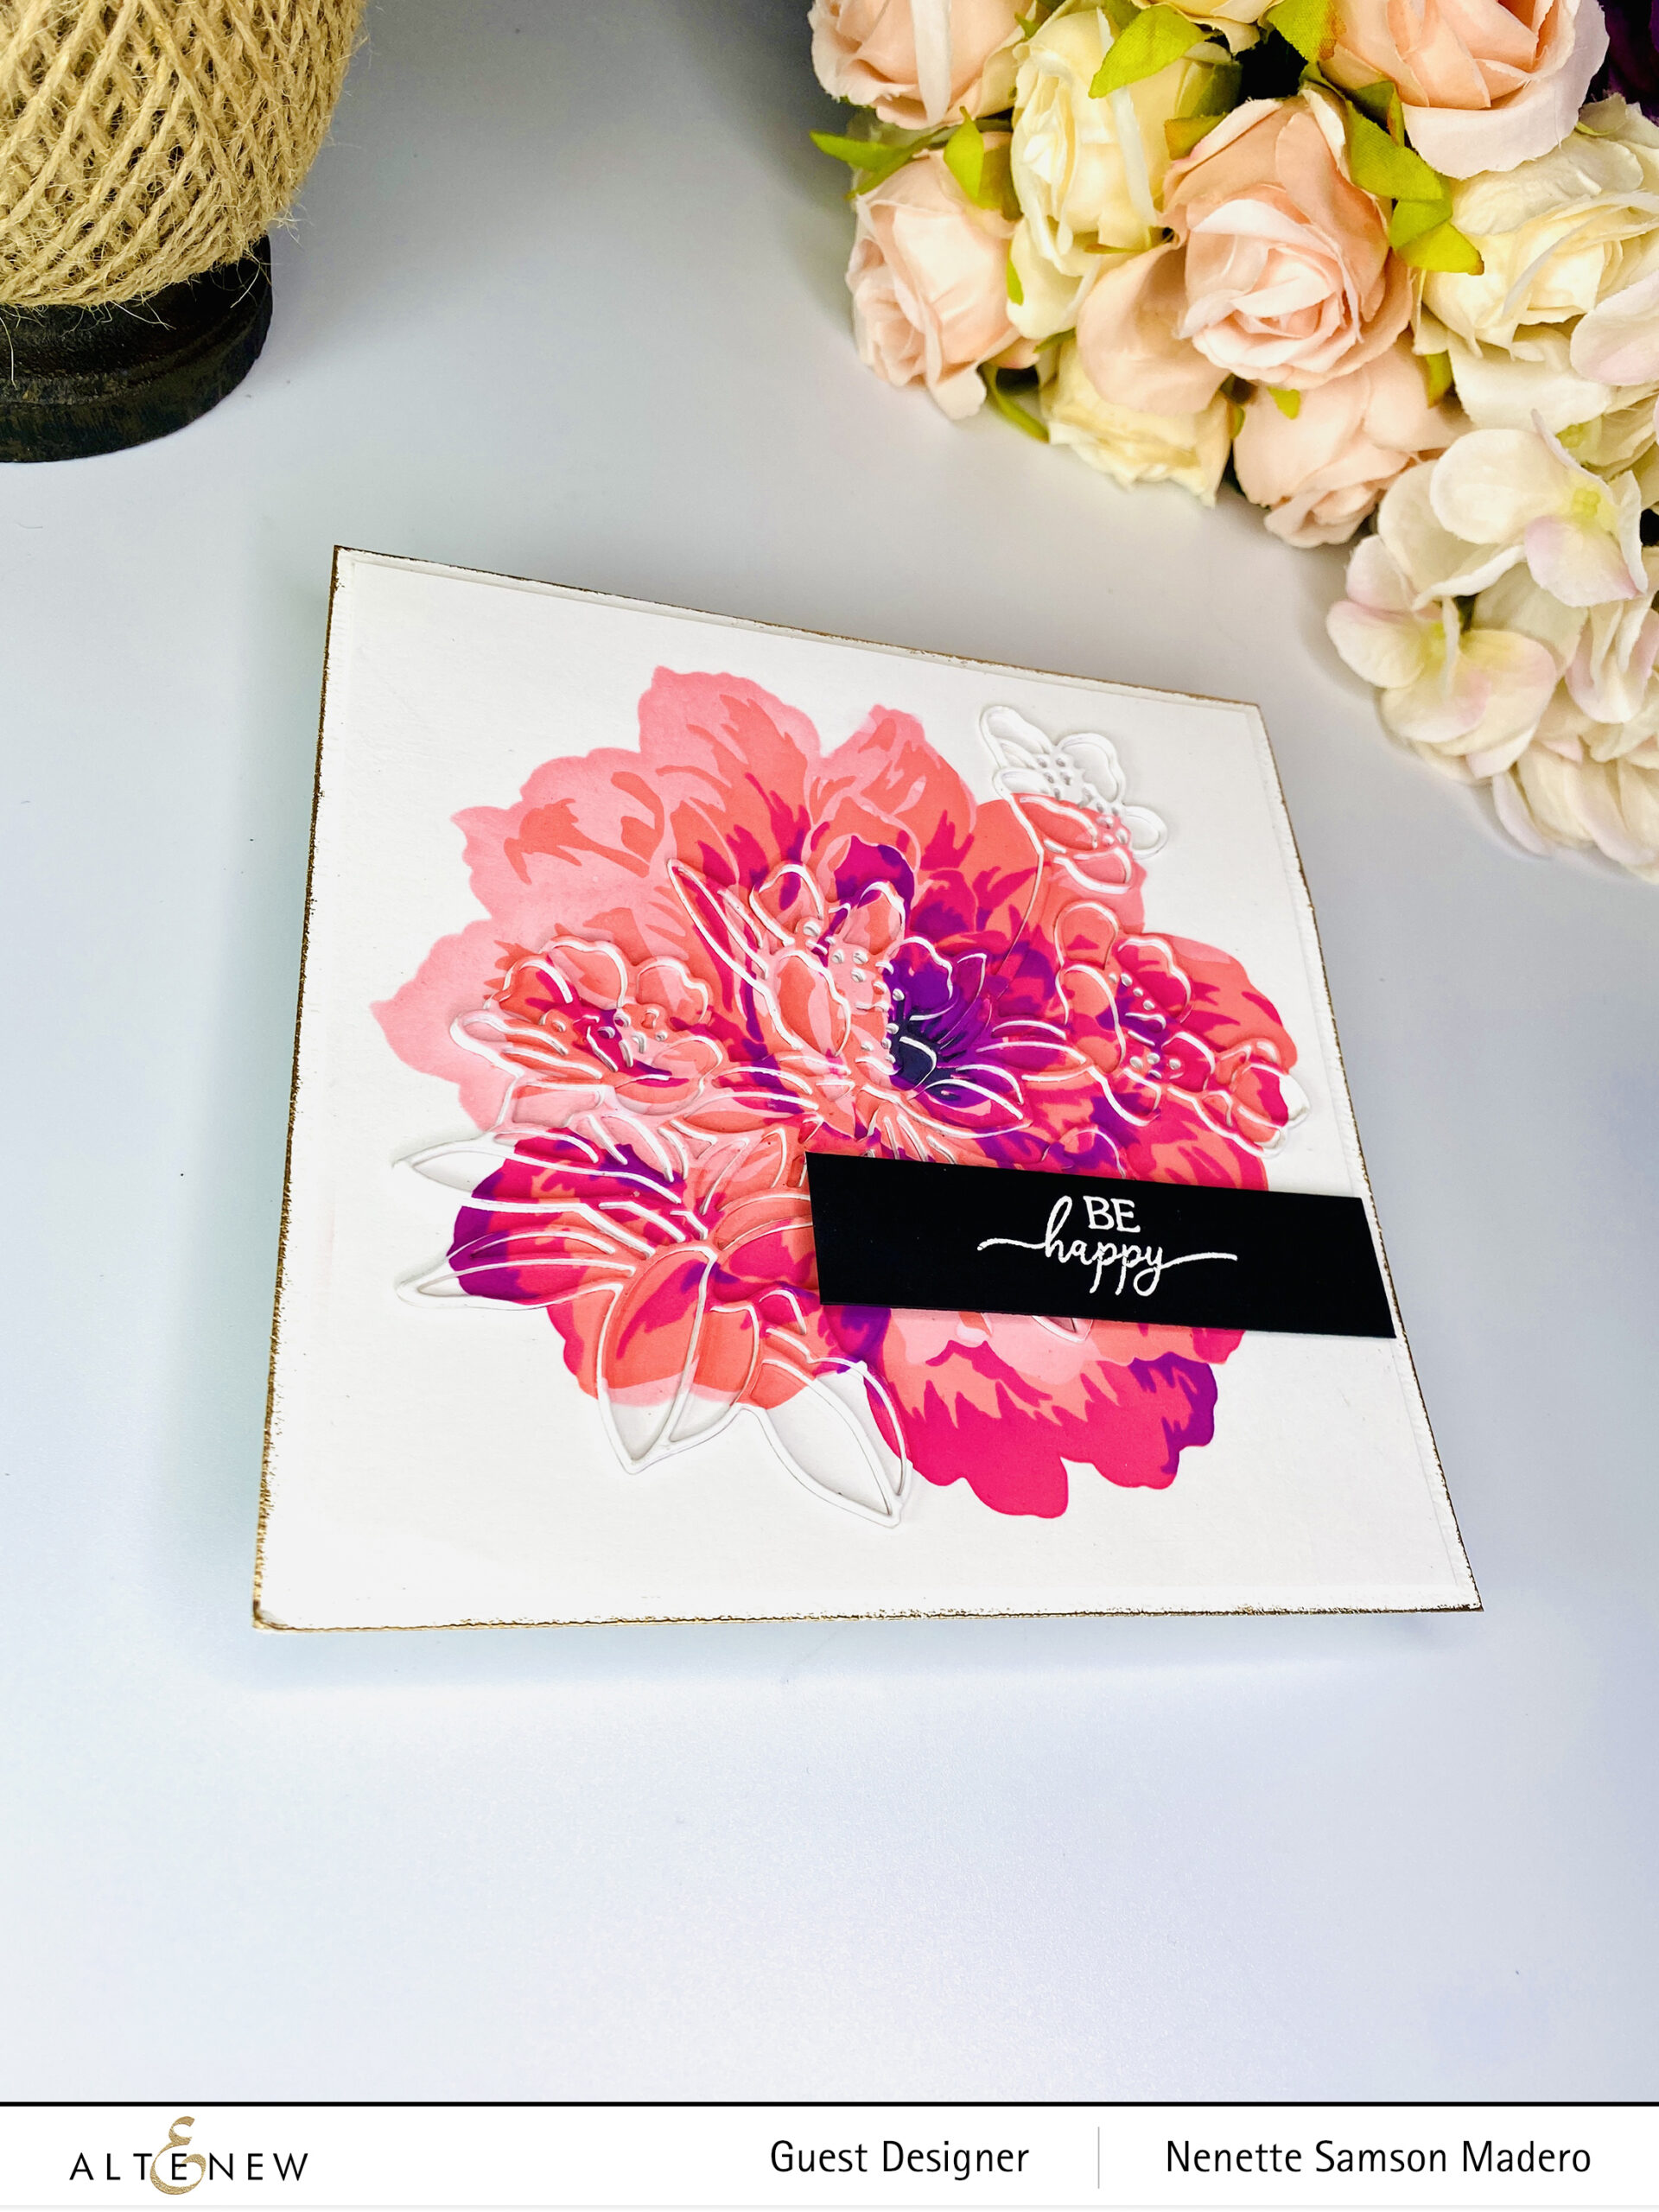
BE HAPPY

ANTIQUE BLOSSOMS DIE, GOLDEN DAYS SIMPLE LAYERING STENCIL

STEPS:

  1. Create a background using the Golden Days stencils and dye inks.
  2. Die cut the center using the Antique Blossoms die. Use Press and Seal to pick up all the positive and negative parts of the die cut.
  3. Die cut 4 more layers using white cardstock and adhere on top of each other. Add the colored layer on top.
  4. Glue the background panel onto a card base.
  5. Inlay the die cut and add the negative pieces.
  6. Emboss the edges of the card using Rose gold embossing powder.

Do you like this card, too? I love how the Antique Blossoms die-cut is somehow hidden, but the die-cut is revealed when you tilt the card. The Golden Days layering stencil is one of my latest favorites of the layering stencils that Altenew offers. It’s such a beauty!!!

GIVEAWAYS

$300 in total prizes! To celebrate this release, Altenew is giving away a $50 gift certificate to 2 lucky winners and a $25 gift certificate to 8 winners! Please leave a comment on the Altenew Card Blog and/or each designer’s blog post on the blog hop list below by 05/01/2022 for a chance to win. 

Altenew will draw ten random winners from the comments left on each stop of this blog hop and announce the winners on the Altenew Winners Page on 05/03/2022.

The next stop is Agnieszka Małyszek. Thanks so much for dropping by! Your comments mean so much to me! Let me know which one is your favorite. If you liked what you saw, please subscribe to this blog, and I hope you can follow me on Instagram, Pinterest, and Facebook (links below). Stay safe, everyone, and happy crafting! <3

Altenew Craft Your Life Project Kit: Fragrant Florals Release Blog Hop + Giveaway ($300 in total prizes)

Altenew Craft Your Life Project Kit: Fragrant Florals Release Blog Hop + Giveaway ($300 in total prizes)

Welcome to my blog, everyone! Thanks so much, Tenia Nelson, for sending everyone over. For the complete details of this hop, make sure to drop by the Altenew Blog.

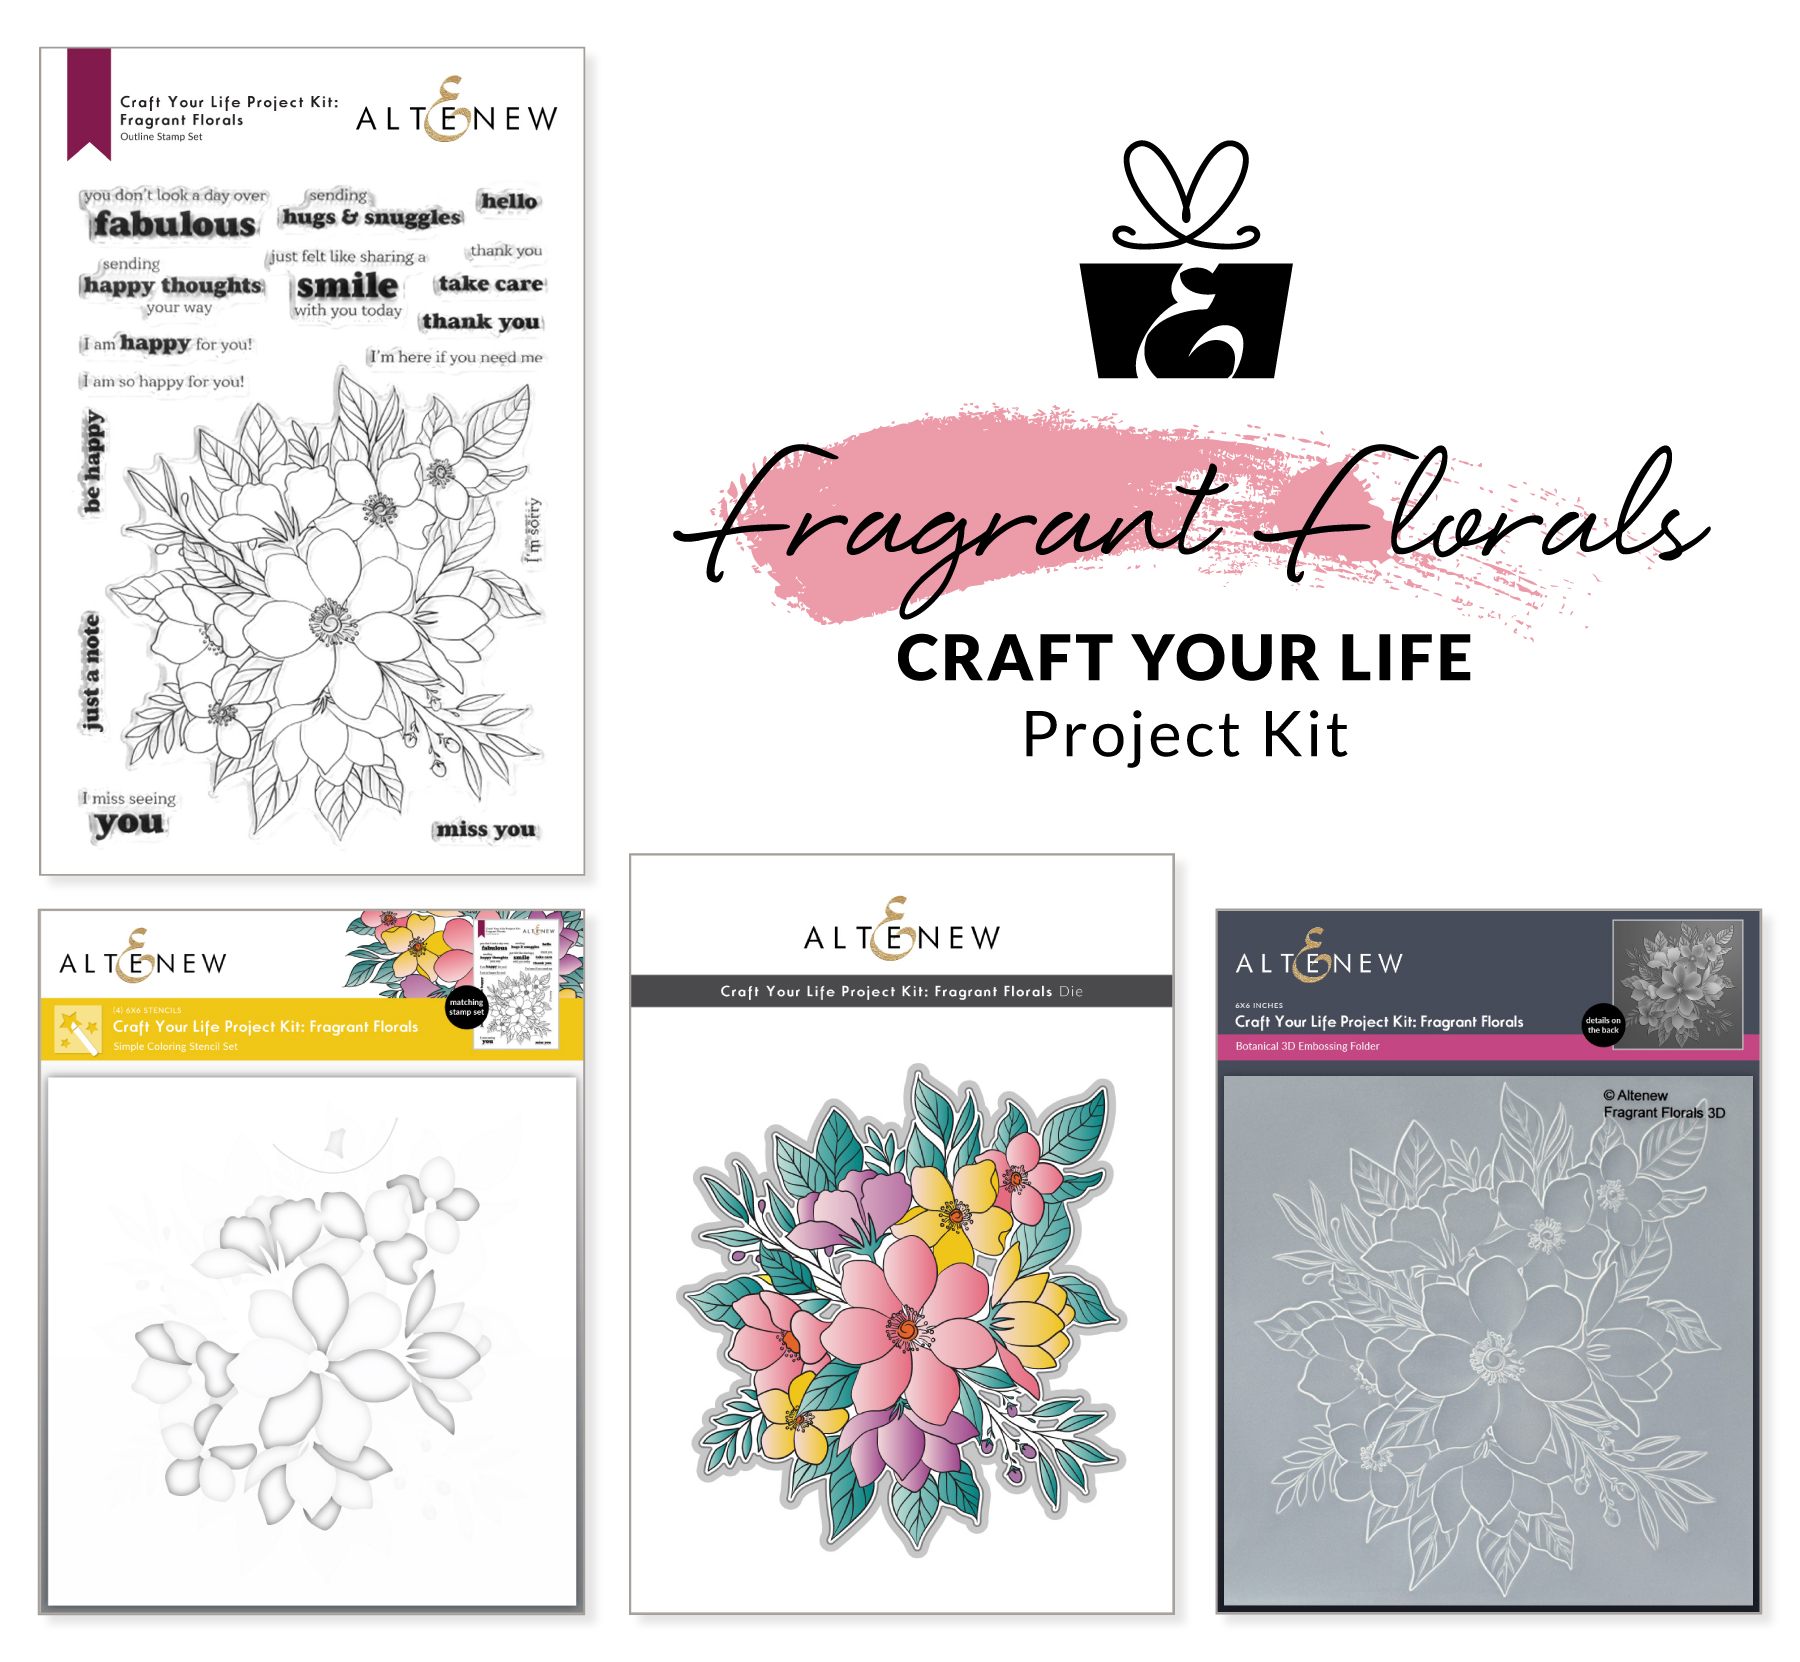
I’m excited to share what I made for the Craft Your Life Project Kit: Fragrant Florals release! You can find this new release here. This is such a gorgeous kit, and there are many ways you can use the stamp, stencil, die, and embossing folder. Here are a few ways you can use them.

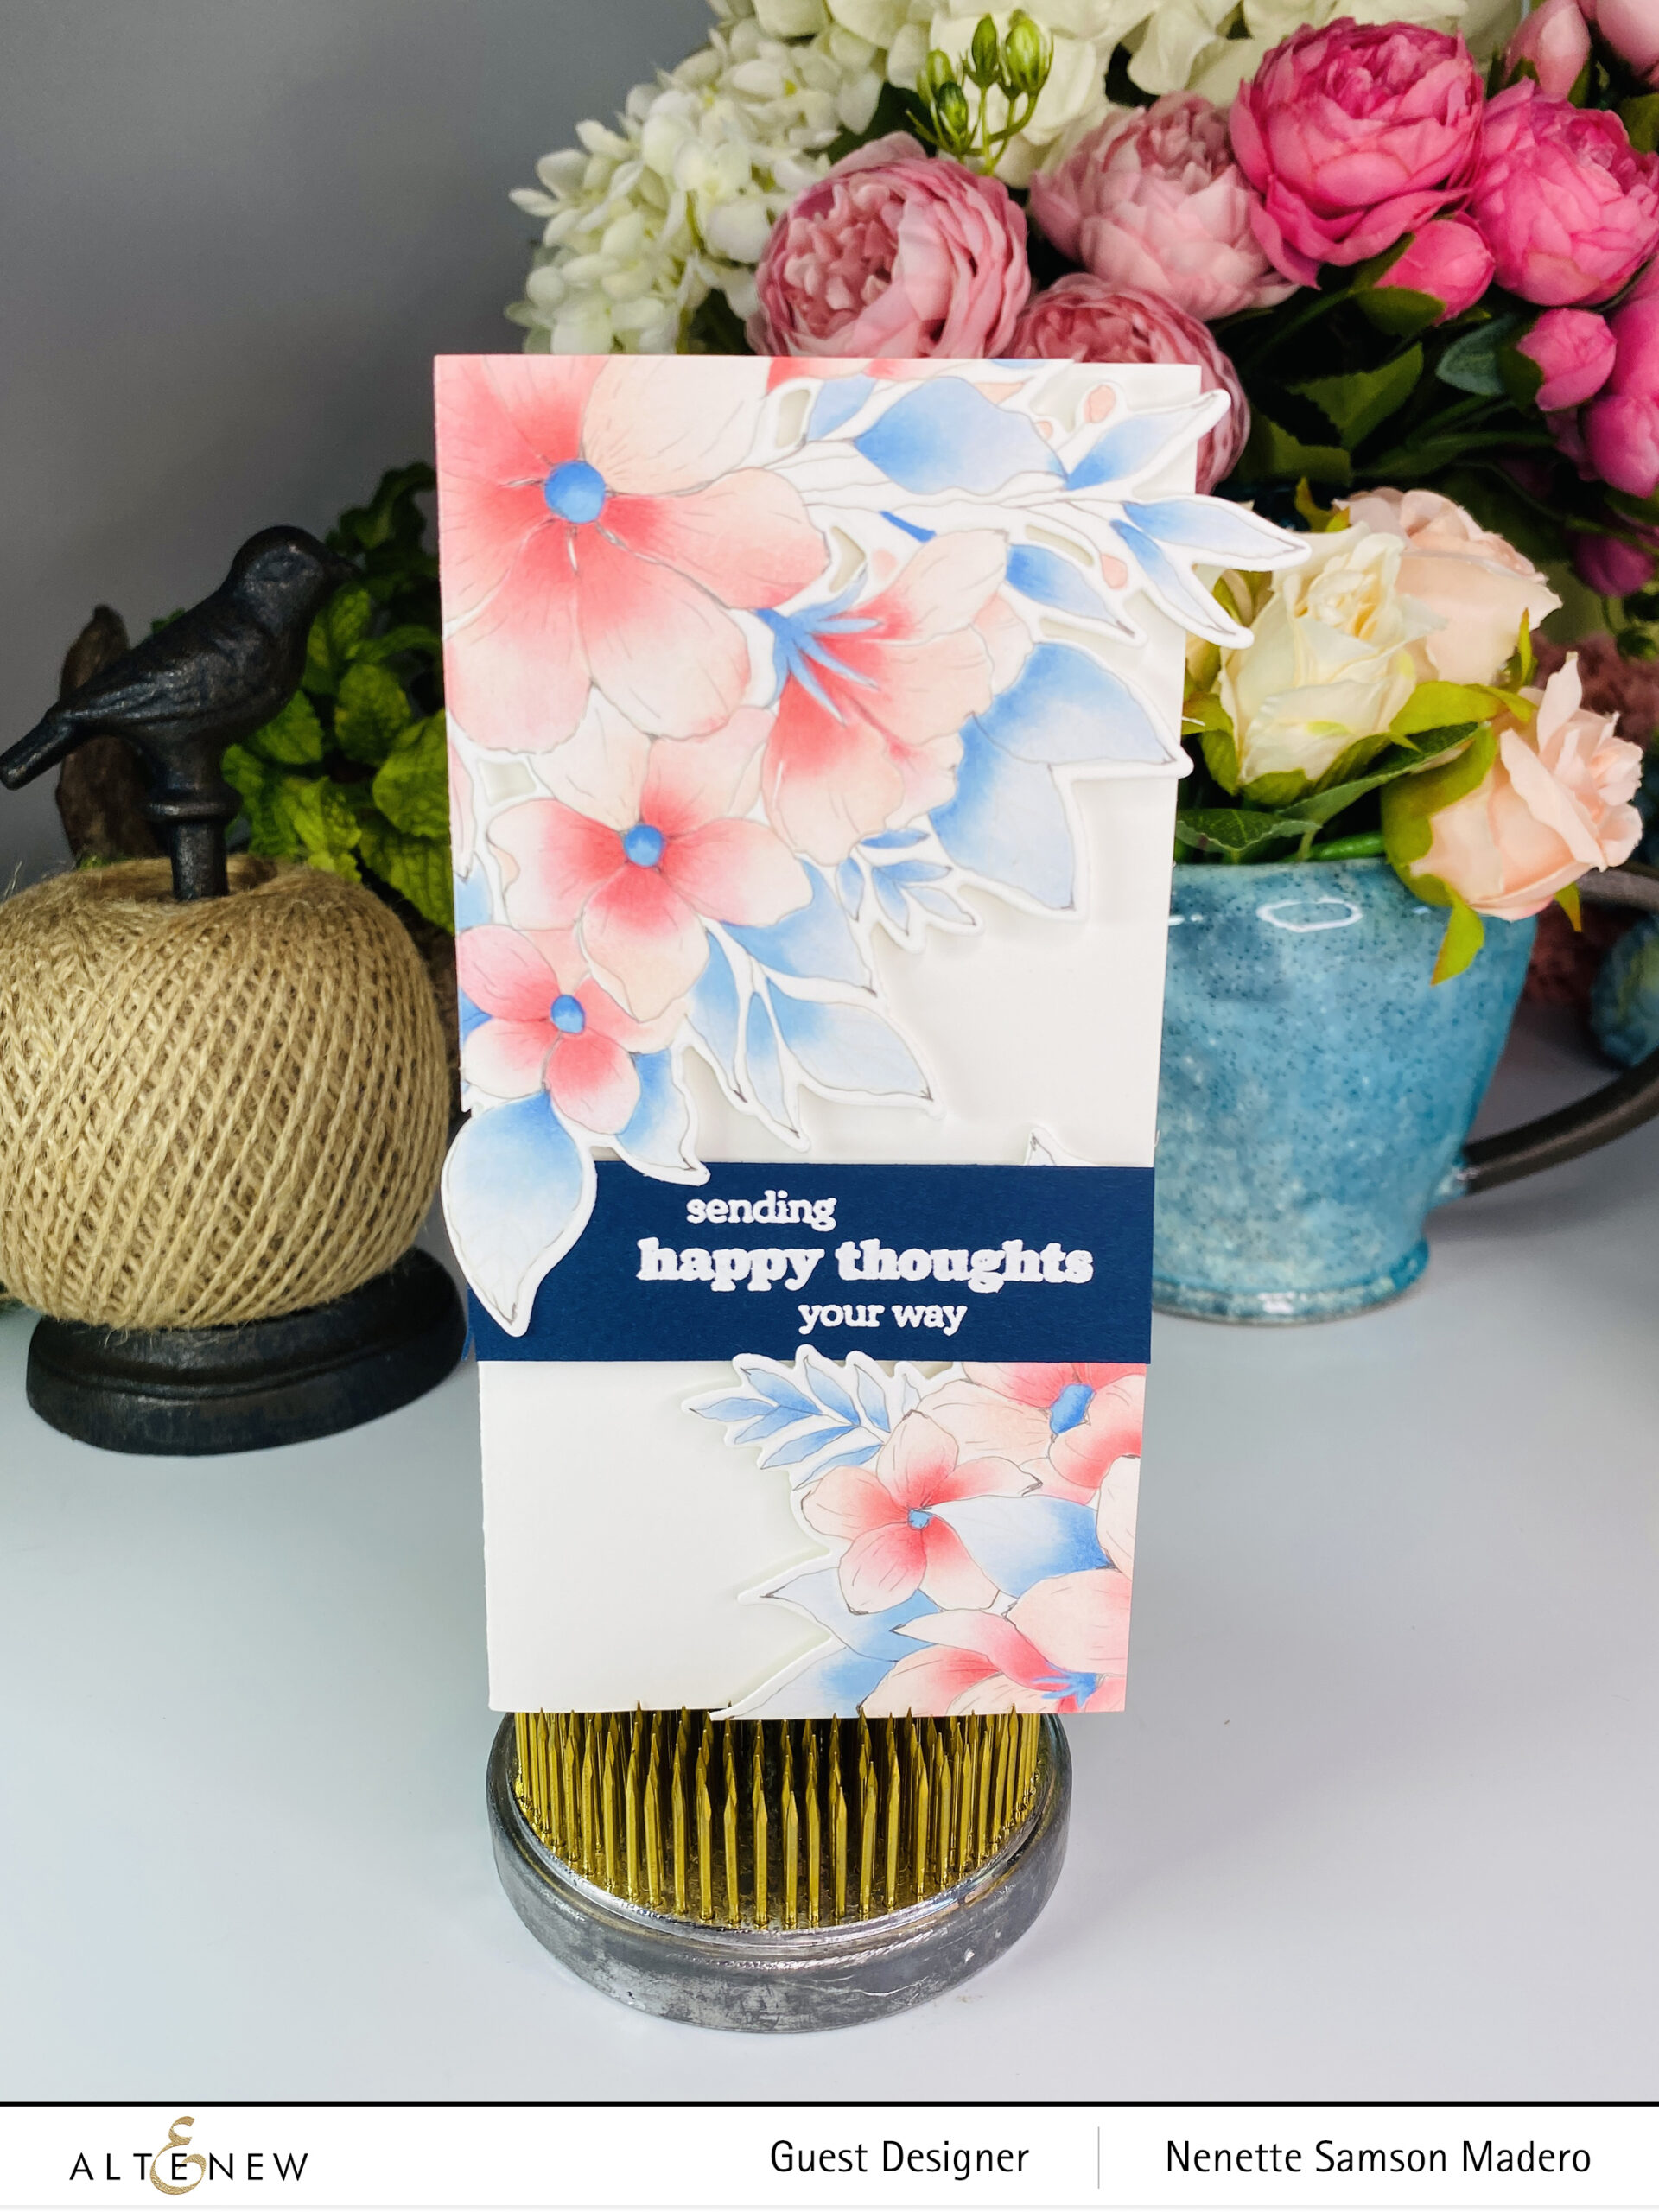
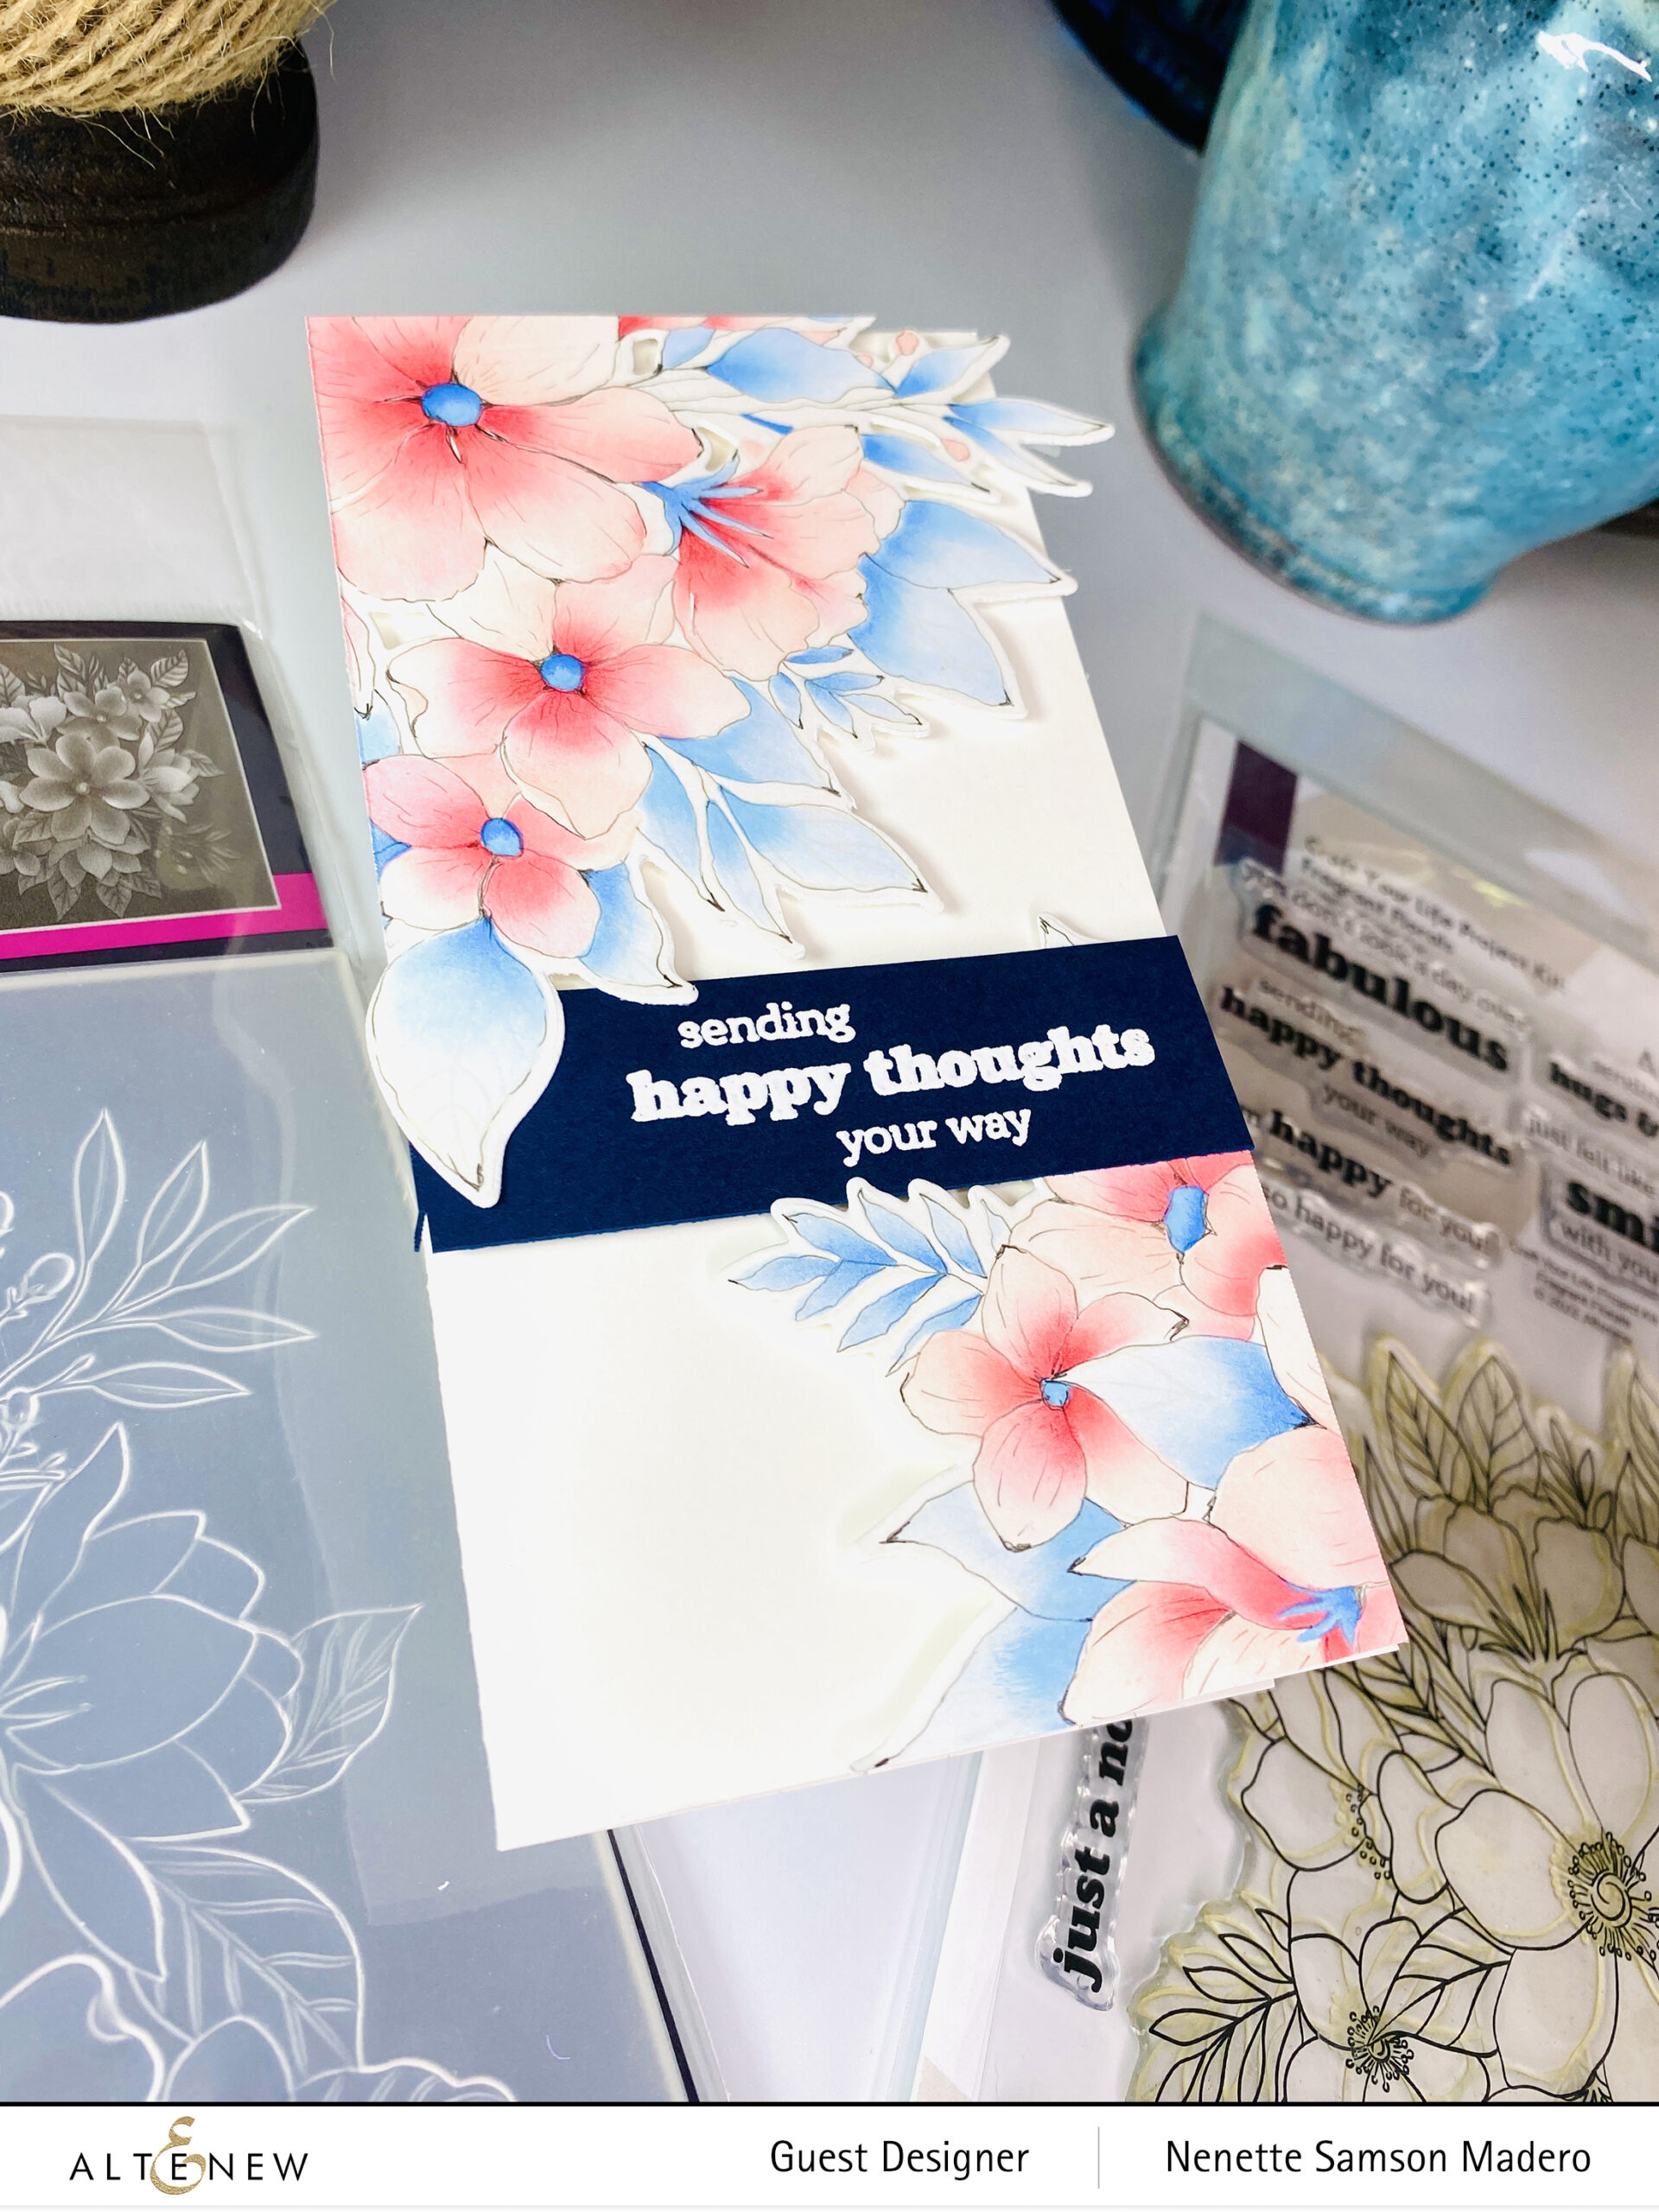
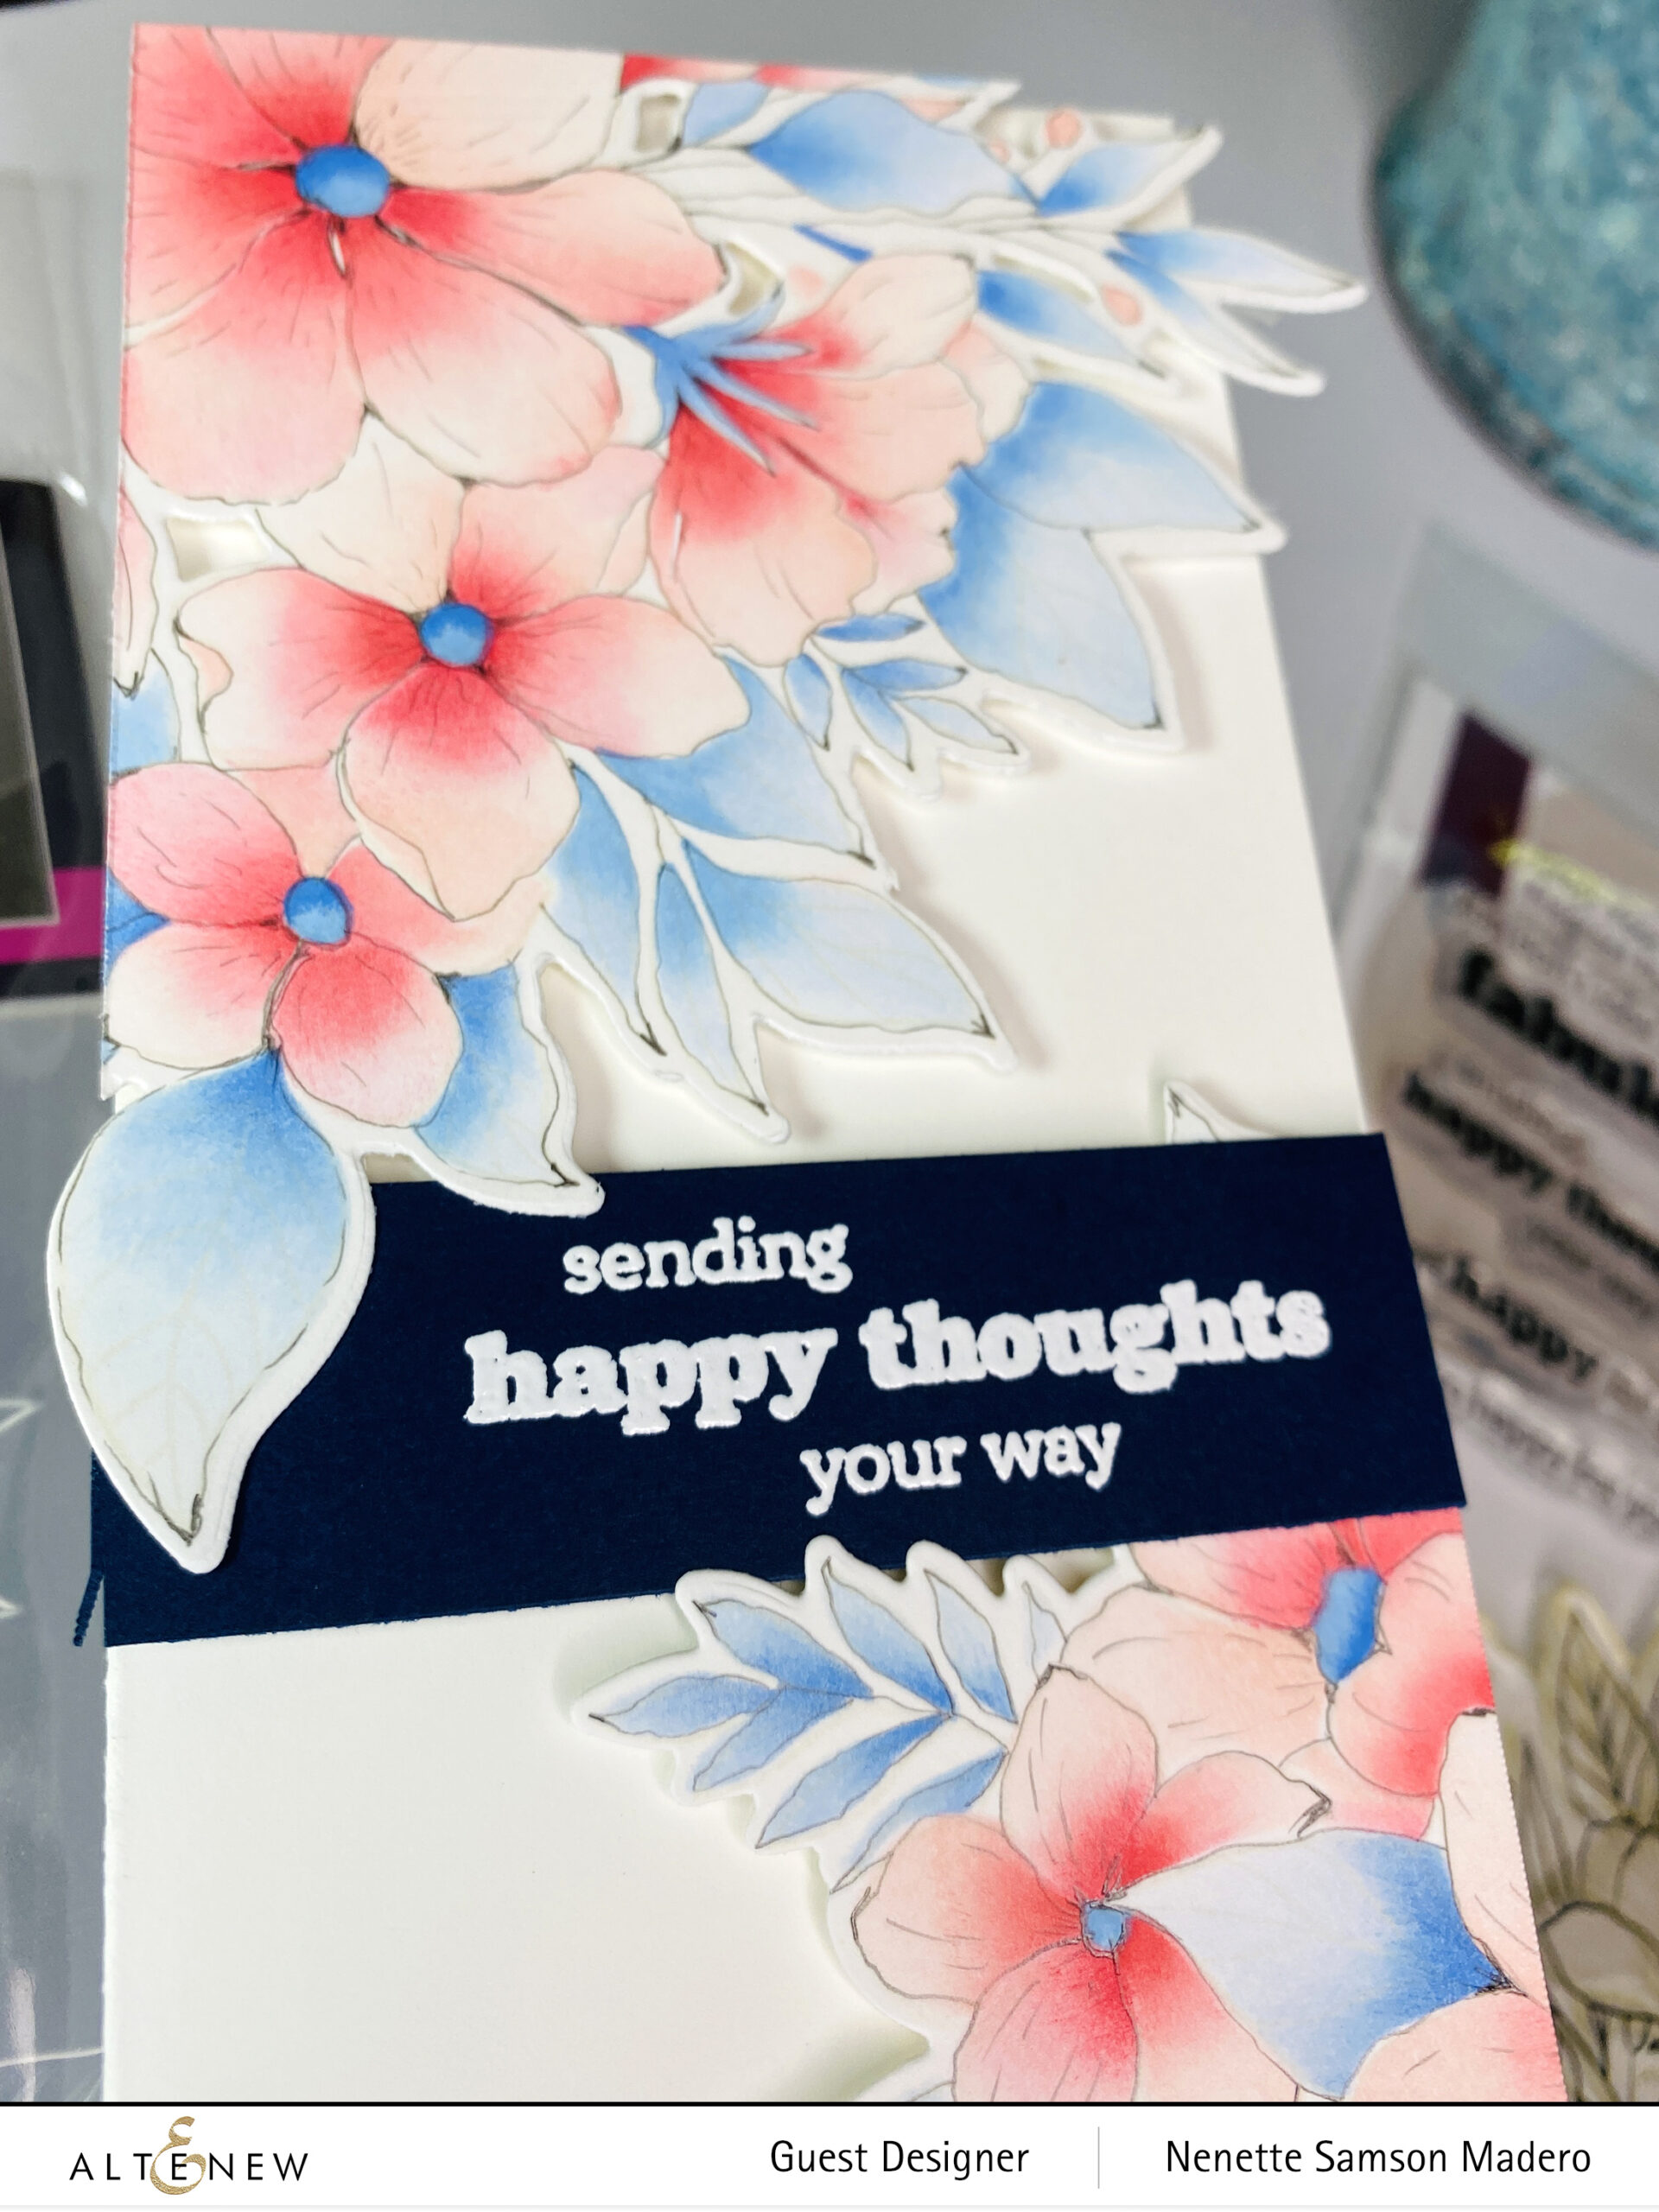
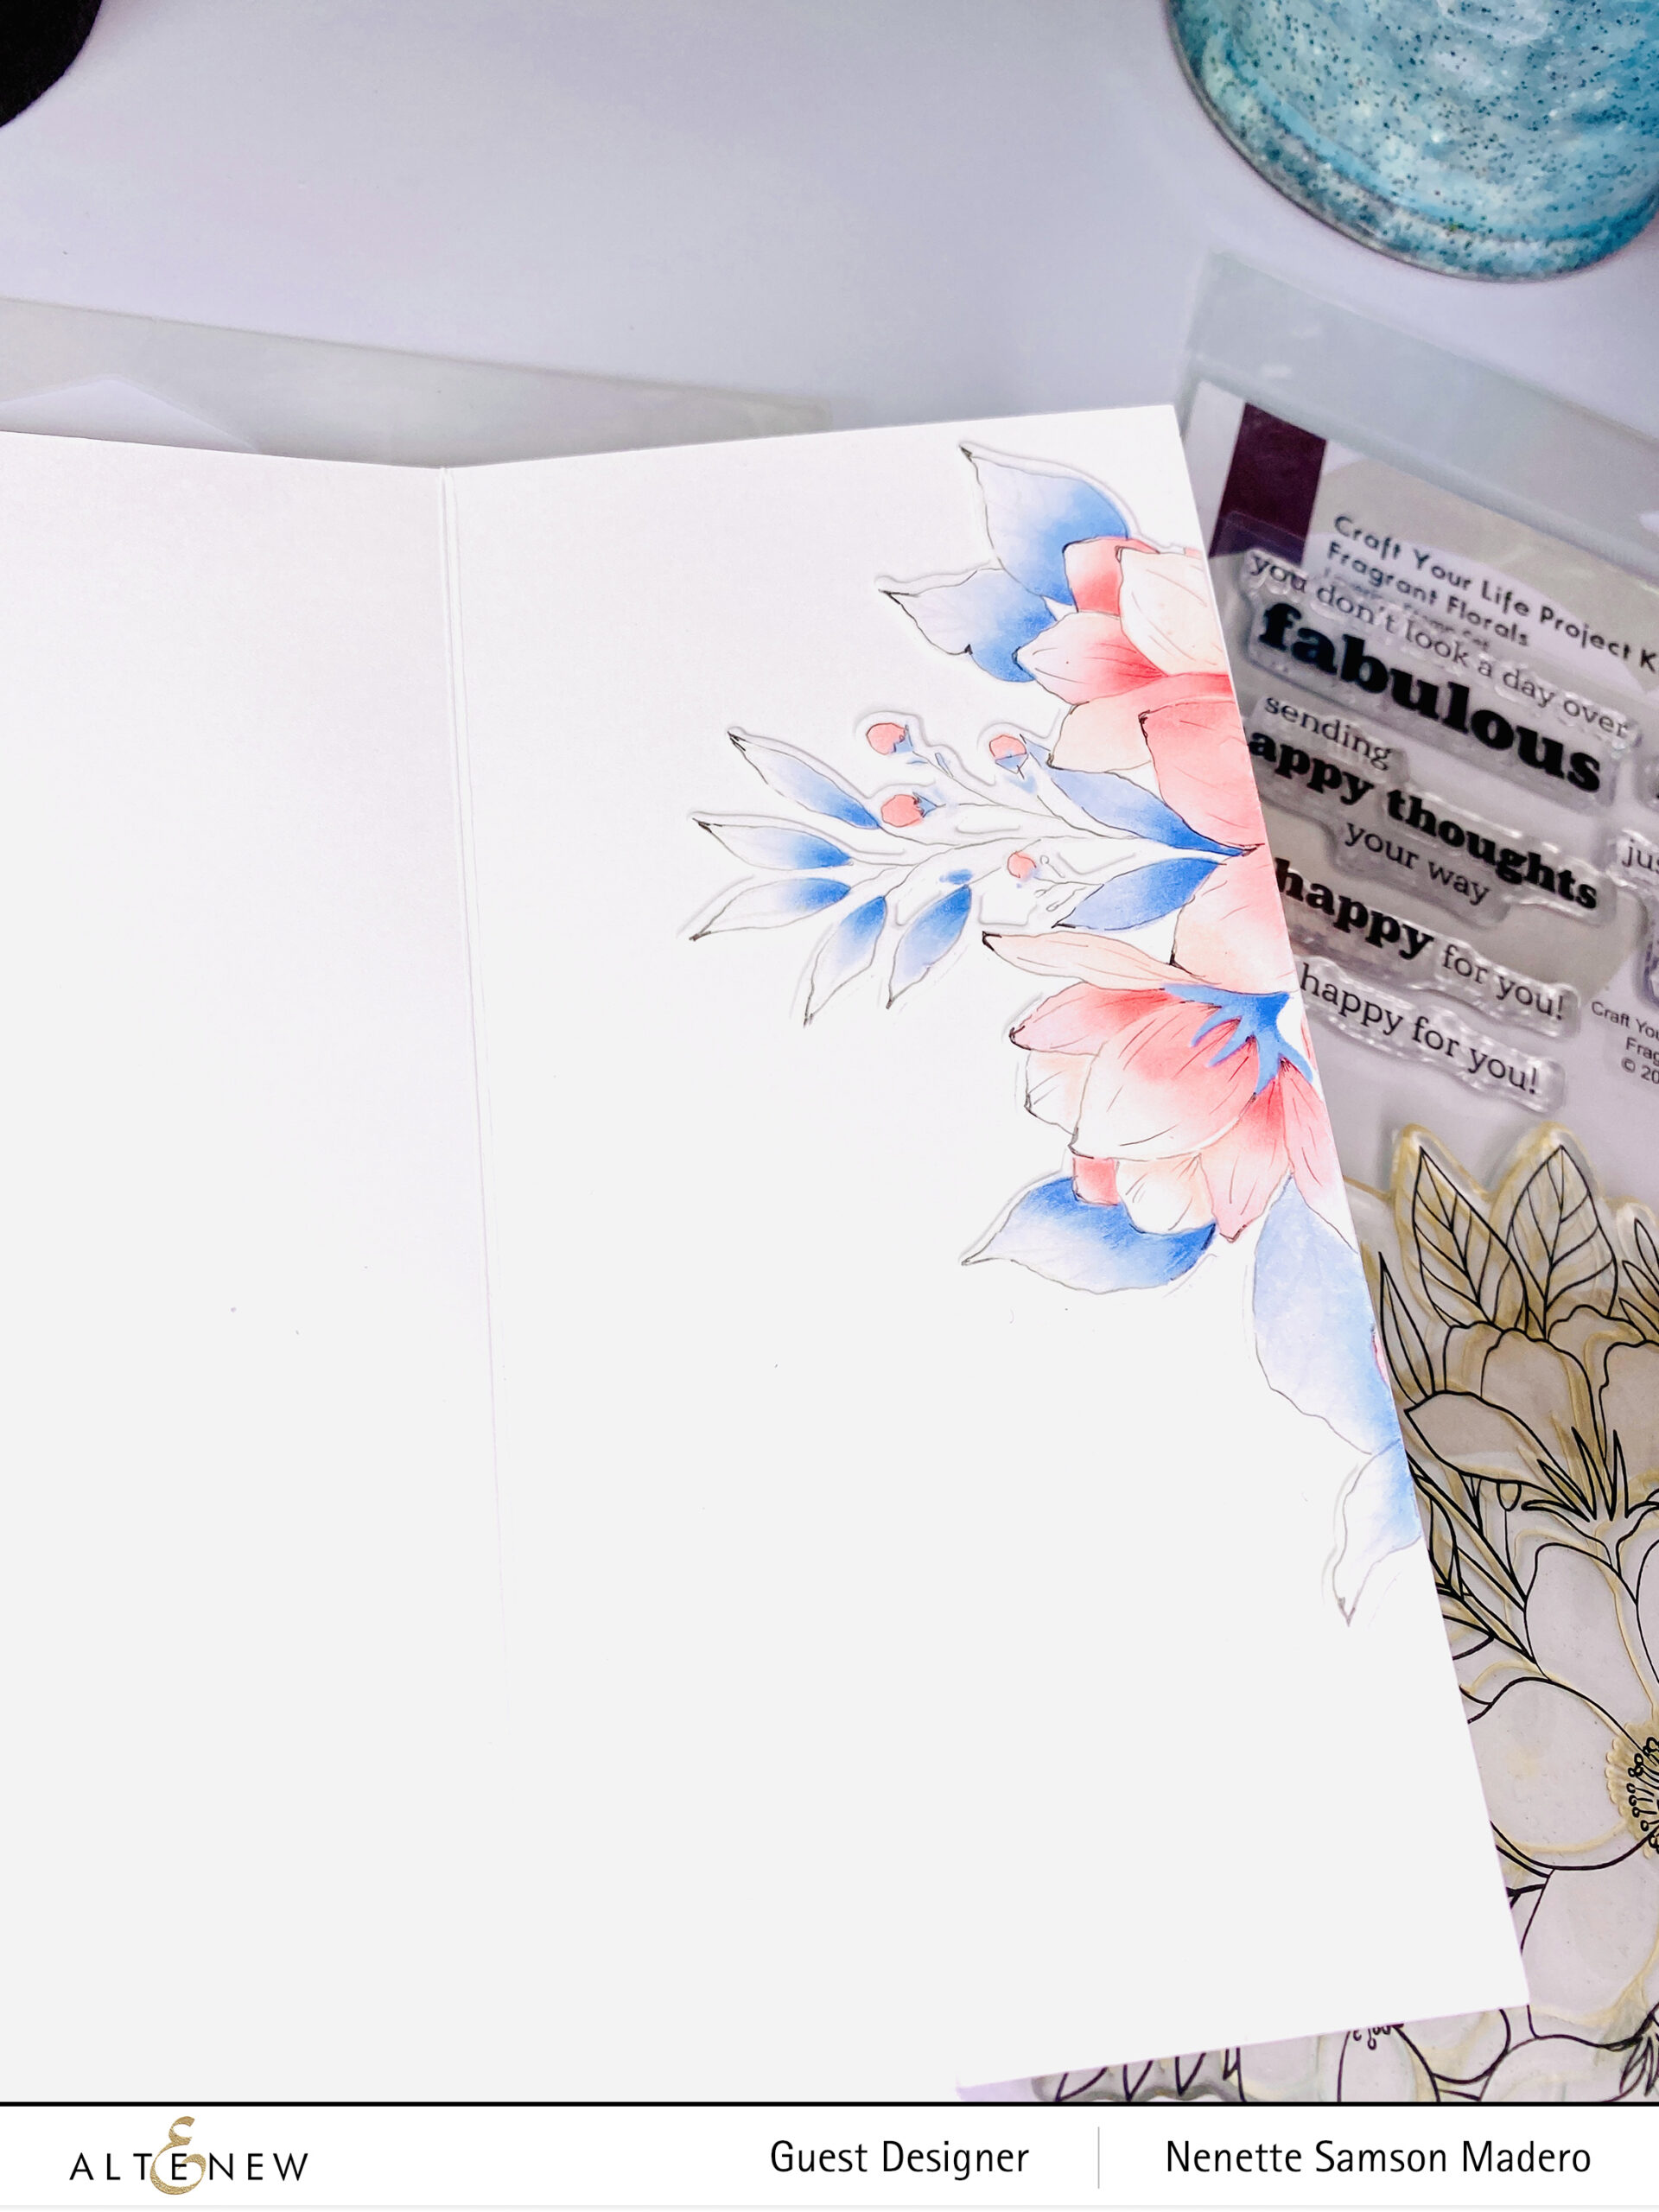
SENDING HAPPY THOUGHTS YOUR WAY

STEPS:

  1. Stamp image using a very light ink.
  2. Color the image using the stencils and Frosty Pink, Corral Berry, Ruby Red, Caribbean Sky, Arctic and Persian Blue Mixed Media Inks with a blender brush and detailed blender brush.
  3. Loosely outline the image with a .03 pencil.
  4. Emboss the sentiment on navy blue cardstock using Pure White Crisp Embossing powder.
  5. Die cut the image and trim down to fit a mini slimline card.
  6. Assemble the sentiments using foam squares.
TIP: Don’t throw away leftovers from the colored image. You can always add them to the inside of the card.

Blending the Mixed Media Inks was a dream!!! Since these are pigment inks, they stay wet long enough so that you can get a nice blend. Just use the same stencil to add layers to the petals and leaves. Always start with the lightest, then work towards the darkest. The detailed blending brushes work well, mainly when you apply the darkest to the areas where there should be shadow. I learned the pencil outline technique from the amazing watercolorist Danielle Donaldson and thought this technique would look wonderful with the Altenew images.

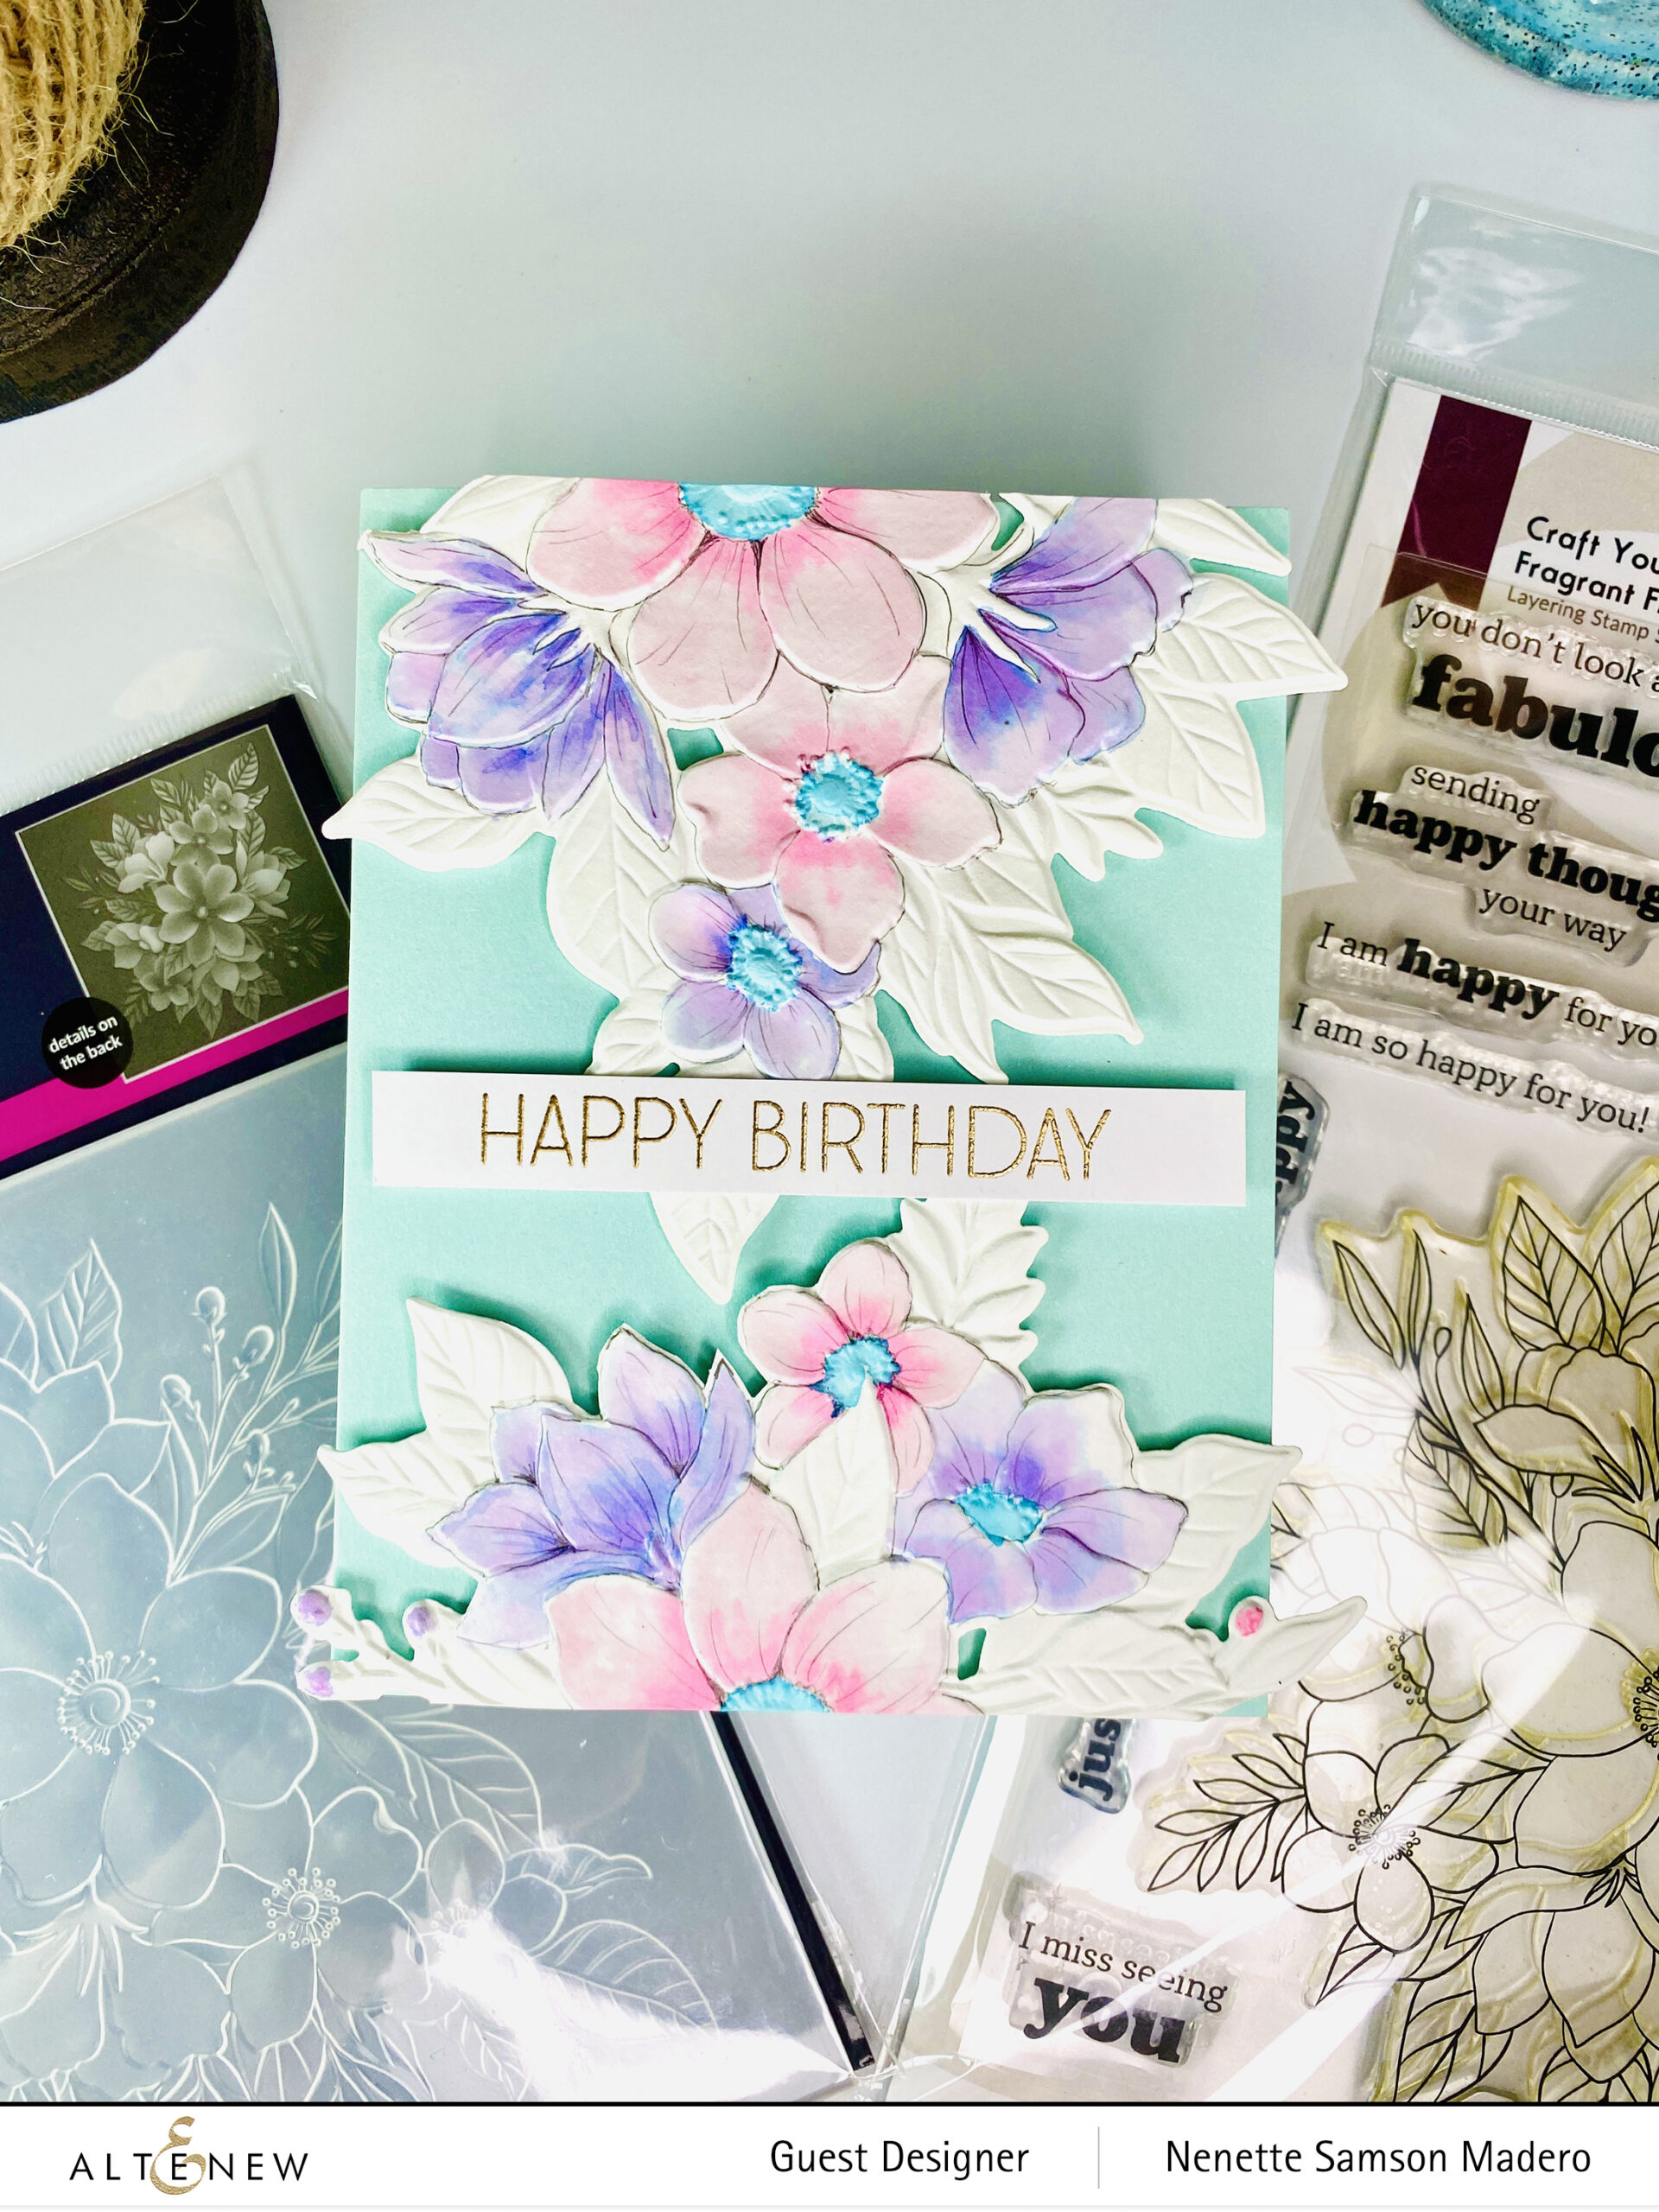
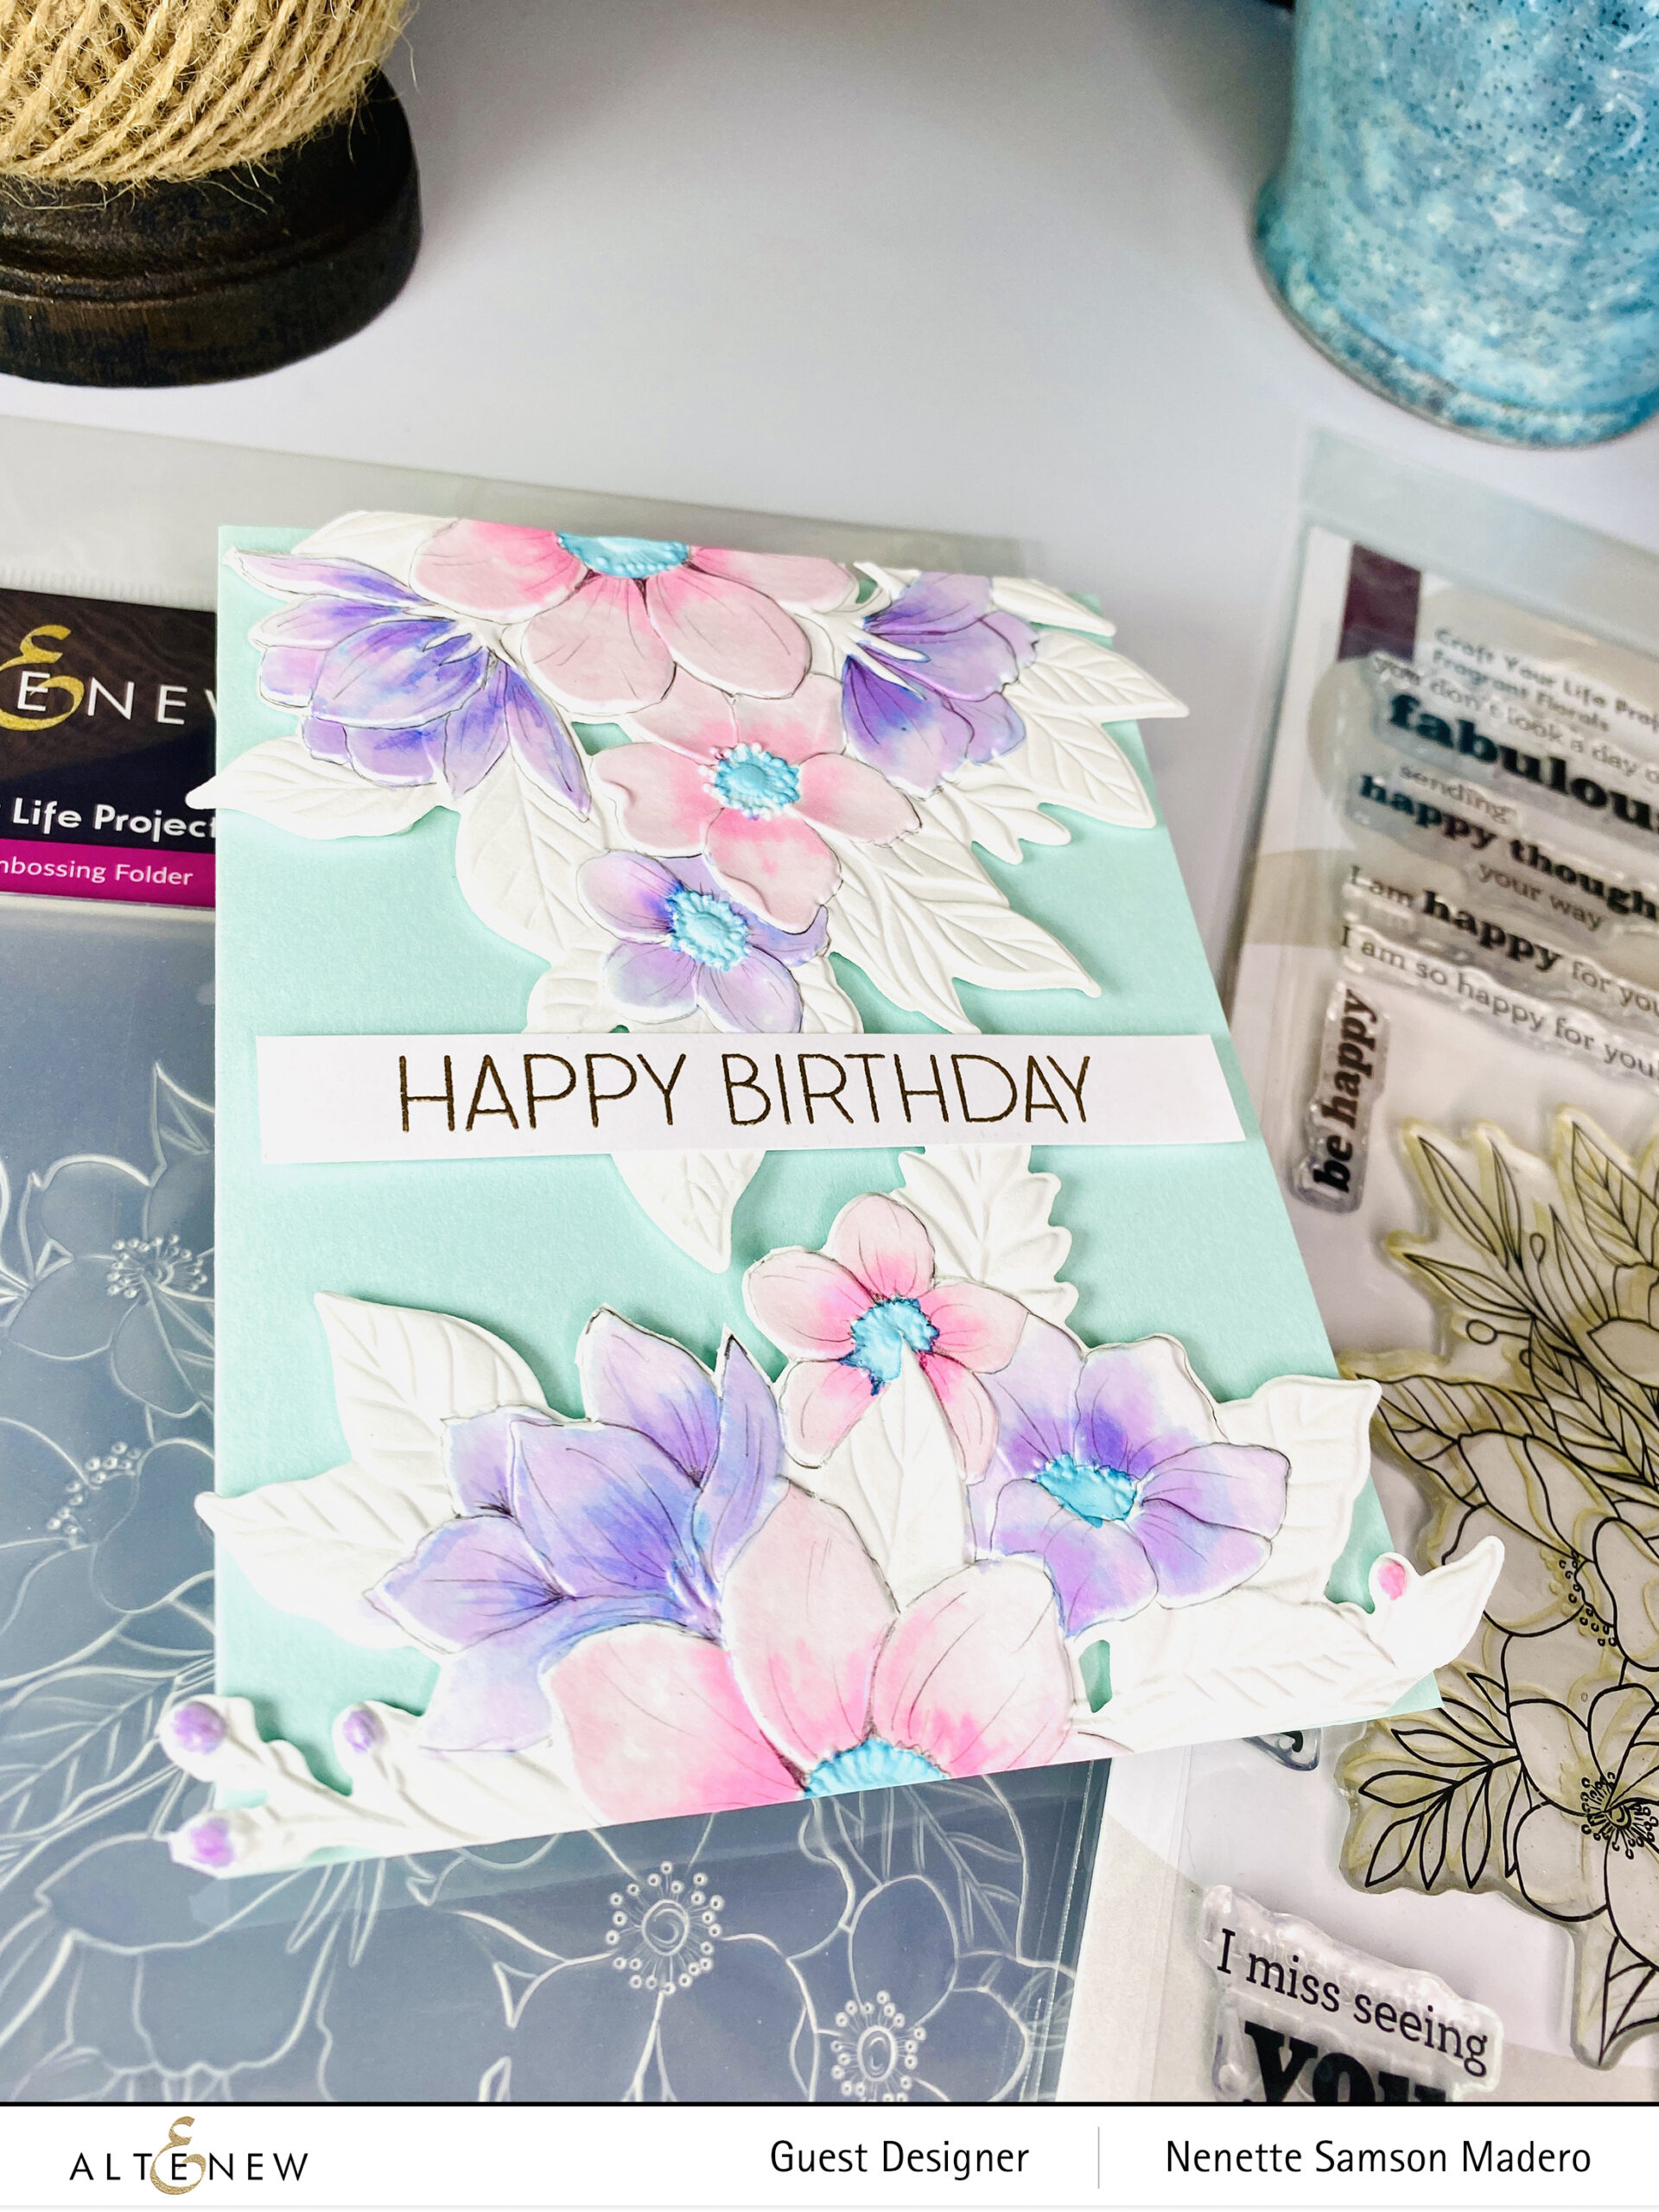
HAPPY BIRTHDAY

STEPS:

  1. Emboss Neenah Solar White cardstock using the CYL Fragrant Florals 3d Embossing folder.
  2. Watercolor using the following dye inks: Hydrangea, Pinkalicious and Turquoise.
  3. Die cut image using the coordinating die.
  4. Emboss the image again with the 3D embossing folder.
  5. Add outline using a mechanical pencil.
  6. Stamp and emboss sentinent from the Ornamental Bliss Stamp set using Rose Gold embossing powder.
  7. Assemble card with foam squares.
TIP: Mist the front and back of the paper with water before embossing. This will help break down the paper fibers and prevent tearing.

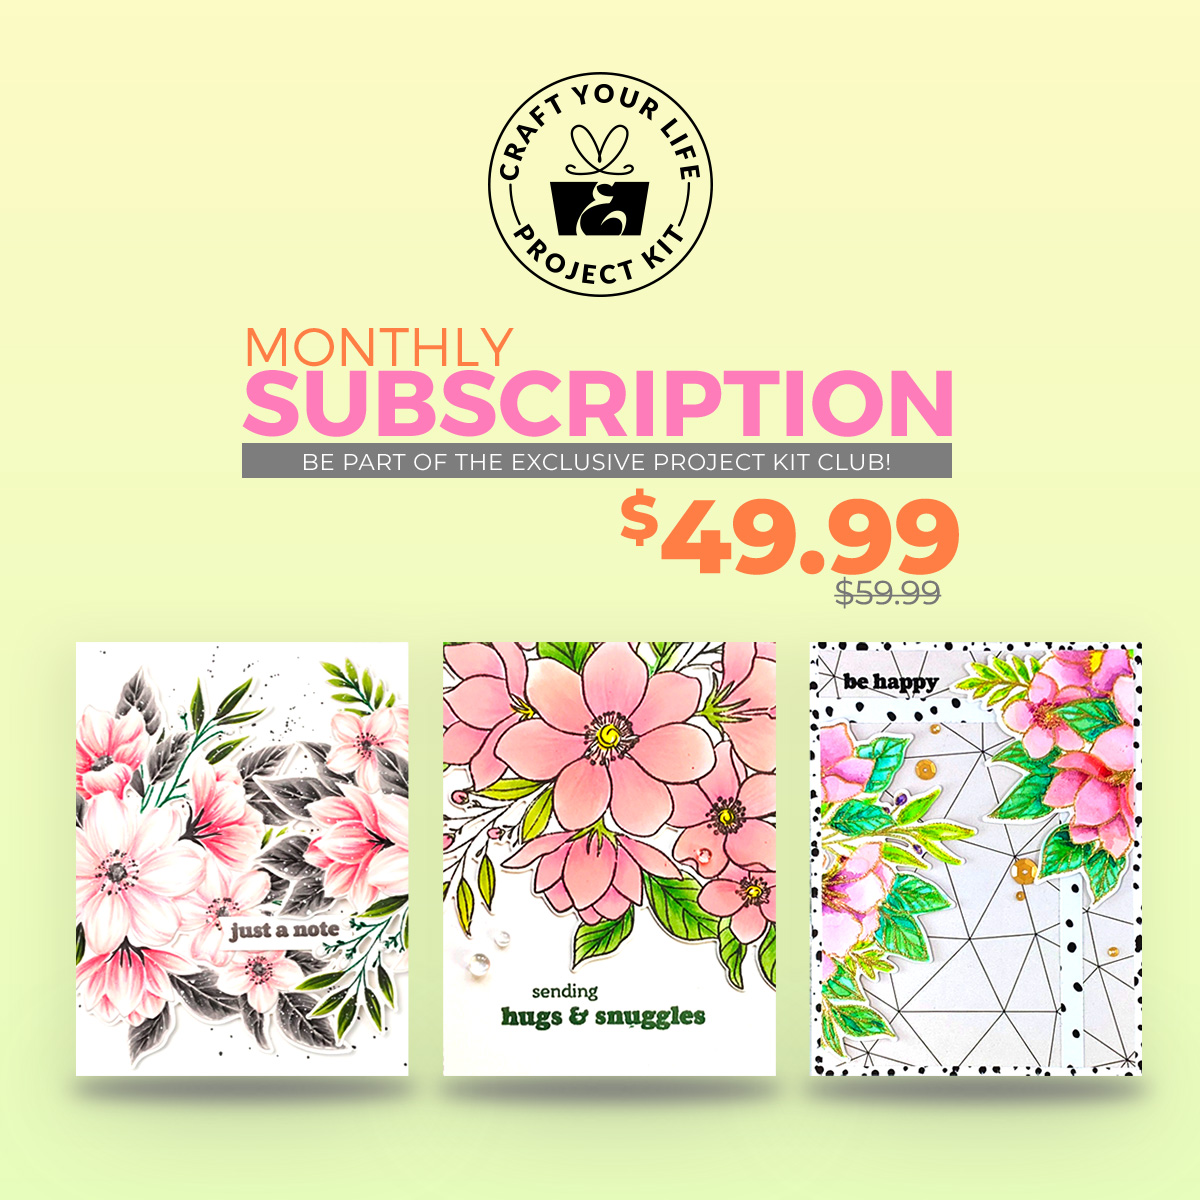
SUBSCRIPTION PLAN

GIVEAWAYS

$300 in total prizes! To celebrate this release, Altenew is giving away a $50 gift certificate to 2 lucky winners and a $ 25 gift certificate to 8 winners! Please leave a comment on the Altenew Card Blog and/or each designer’s blog post on the blog hop list below by 04/18/2022 for a chance to win. Altenew will draw 10 random winners from the comments left on each stop of this blog hop and announce the winners on the Altenew Winners Page on 04/20/2022.

Up next: Terri Koszler. Thank you so much for dropping by! I hope you liked the cards I made for this release. Let me know which card you prefer in the comment section below, and you might get a chance to win a prize from Altenew. <3 If you like what you see, please subscribe to this blog and my Instagram @mylittleatticstudio. Stay safe, everyone, and happy crafting!
Altenew Craft-A-Flower: African Daisy Release Blog Hop + Giveaway 

Altenew Craft-A-Flower: African Daisy Release Blog Hop + Giveaway 

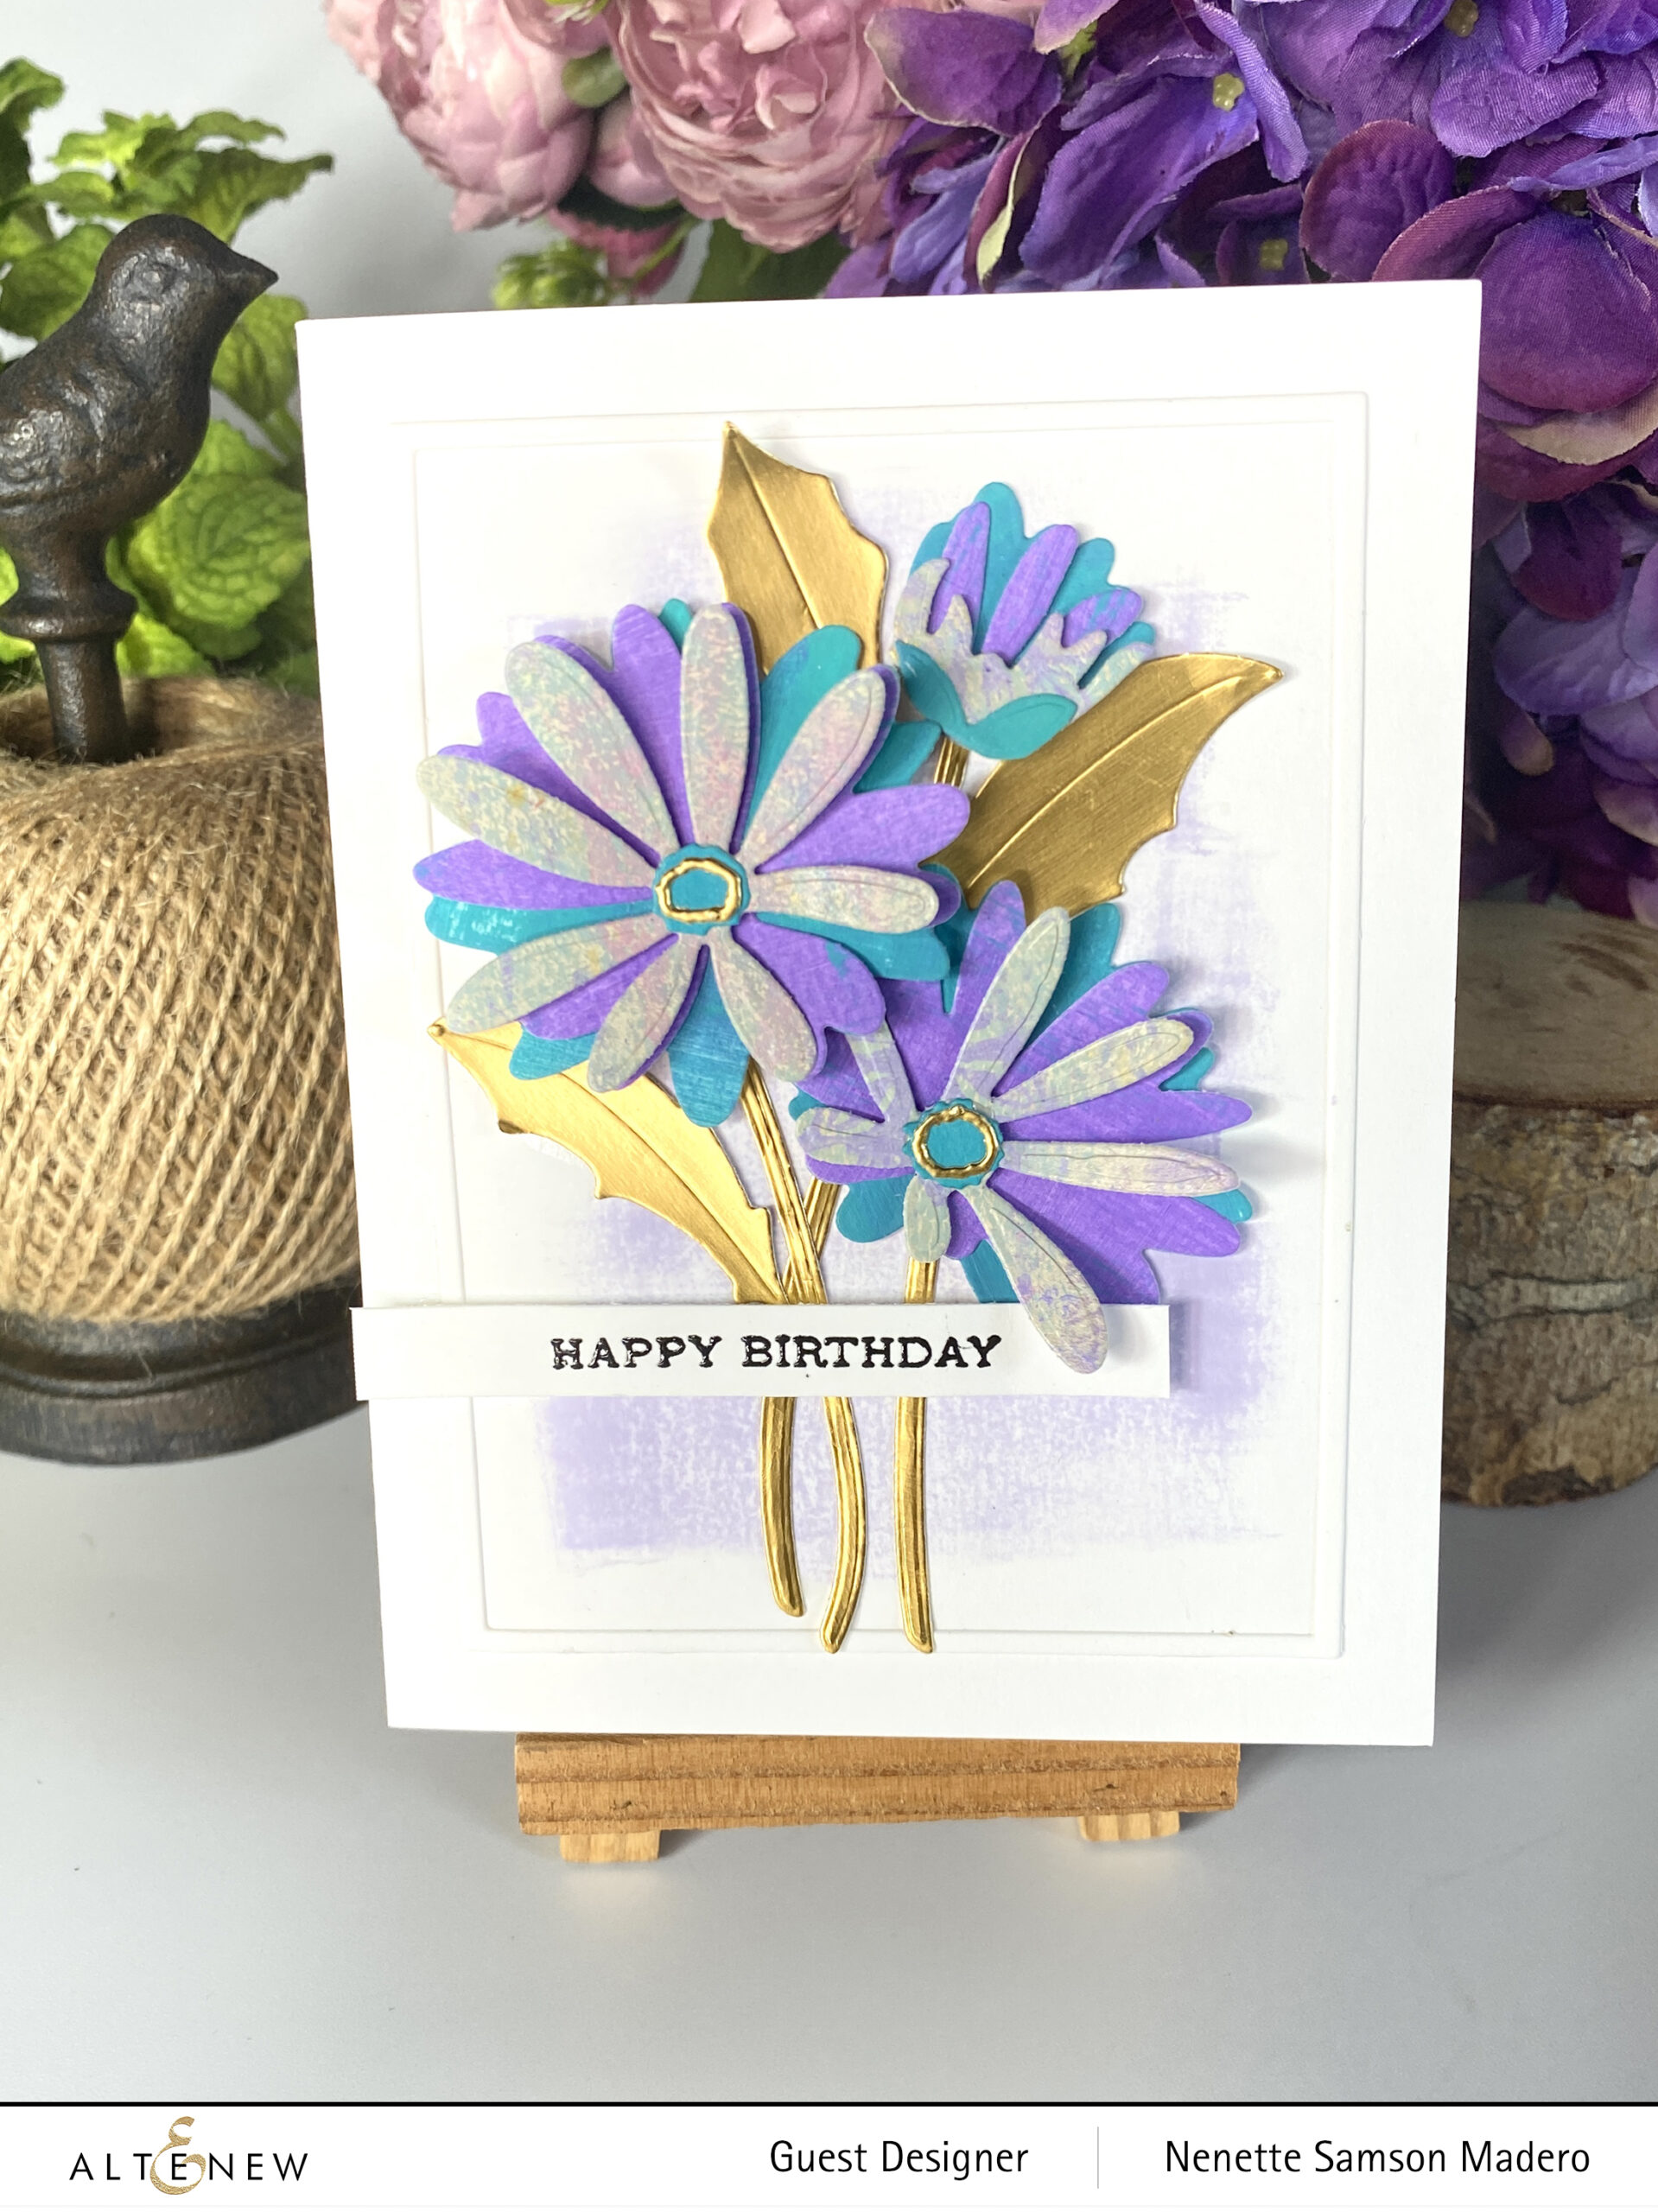
Welcome to my blog, crafty friends! Thanks, Tenia Nelson, for sending everyone over. I created two cards for this hop. For the complete details of the blog hop, make sure you drop by the Atlenew Blog.

HERE FOR YOU

STEPS:

  1. Create background paper using the gel printing plate and acrylic paints to use for the top layer of the flower.
  2. Paint white paper to create solid colors using some of the acrylic paints used with the gel printing plate to create monoprints. These will be used for the other layers of the flowers.
  3. Die cut the stem and leaves from the Craft-A-Flower: African Daisy die set using gold cardstock.
  4. Die cut the different layers of petals using the monoprinted papers with the Craft-A-Flower: African Daisy die set as well.
  5. Assemble the flowers using glue and foam squares.
  6. Stamp the sentiment from the Pots and Plants Stamp set using Obsidian Ink and emboss with clear embossing powder. Adhere to vellum with double sided tape.
  7. Assemble card.
TIP: Apply glue at the center of the flower only for a more natural/softer looking flower.

By painting the paper, one can create more texture, and it will also create variations of colors on each petal.

HAPPY BIRTHDAY

STEPS:

  1. Use the extra flowers created for the first card.
  2. Swipe Wisteria Dye ink onto the white cardfront to create a background.
  3. Add a white frame using the Fine Frames Cover die.
  4. Emboss the sentiment using Obsidian Ink and clear embossing powder.
  5. Assemble the card.

GIVEAWAYS

$200 in total prizes! To celebrate this release, Altenew is giving away a $50 gift certificate to 2 lucky winners and a $20 gift certificate to 5 winners! Please leave a comment on the Altenew Card Blog and/or each designer’s blog post on the blog hop list below by 04/13/2022 for a chance to win. Altenew will draw seven random winners from the comments left on each stop of this blog hop and announce the winners on the Altenew Winners Page on 04/15/2022.

The next stop is my mentor and talented friend, Virginia Lu. Thanks so much for dropping by! I enjoy reading your comments, so I hope you can drop me a line and say hello. If you liked what you saw, please subscribe to this blog, and I hope you can follow me on Instagram, Pinterest, and Facebook (links are located below). Stay safe, everyone, and happy crafting! <3