")

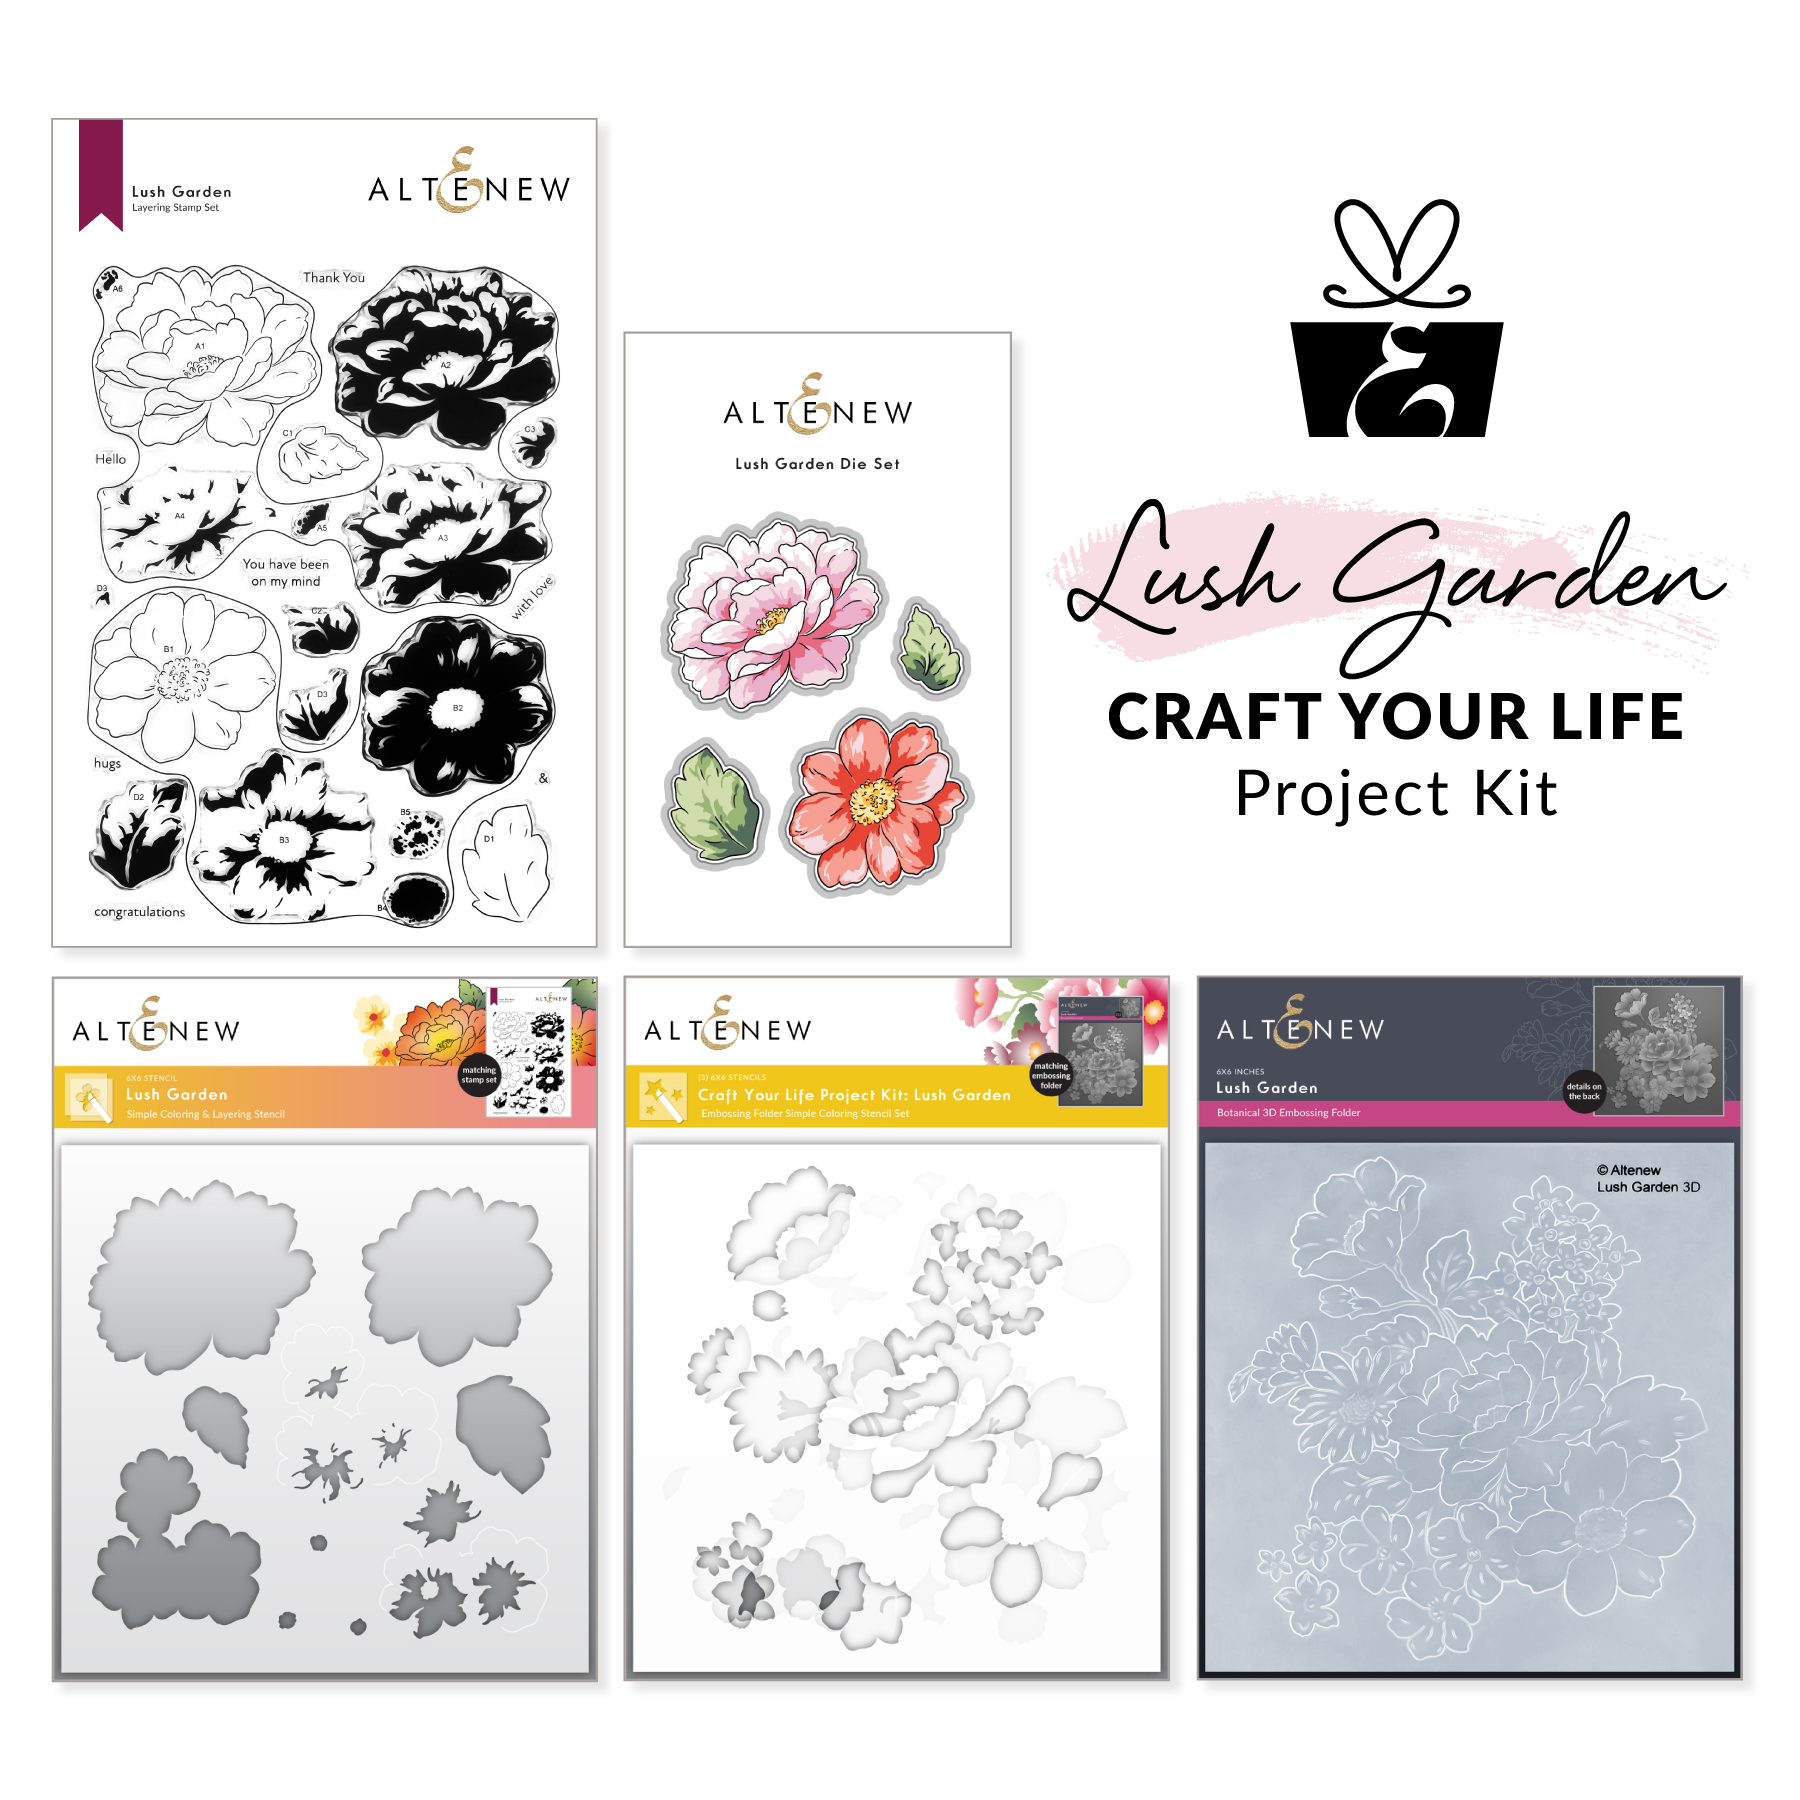
Welcome to my blog, everyone!!! If you just came from Joylita Dsouza‘s blog, then you’re on the right track. For the full blog hop list, head on to the Altenew card blog. There are a lot of wonderful products in this release! You can find the whole collection here. Below are some samples of how you can make use of some of the products from this release.

HAPPY BIRTHDAY
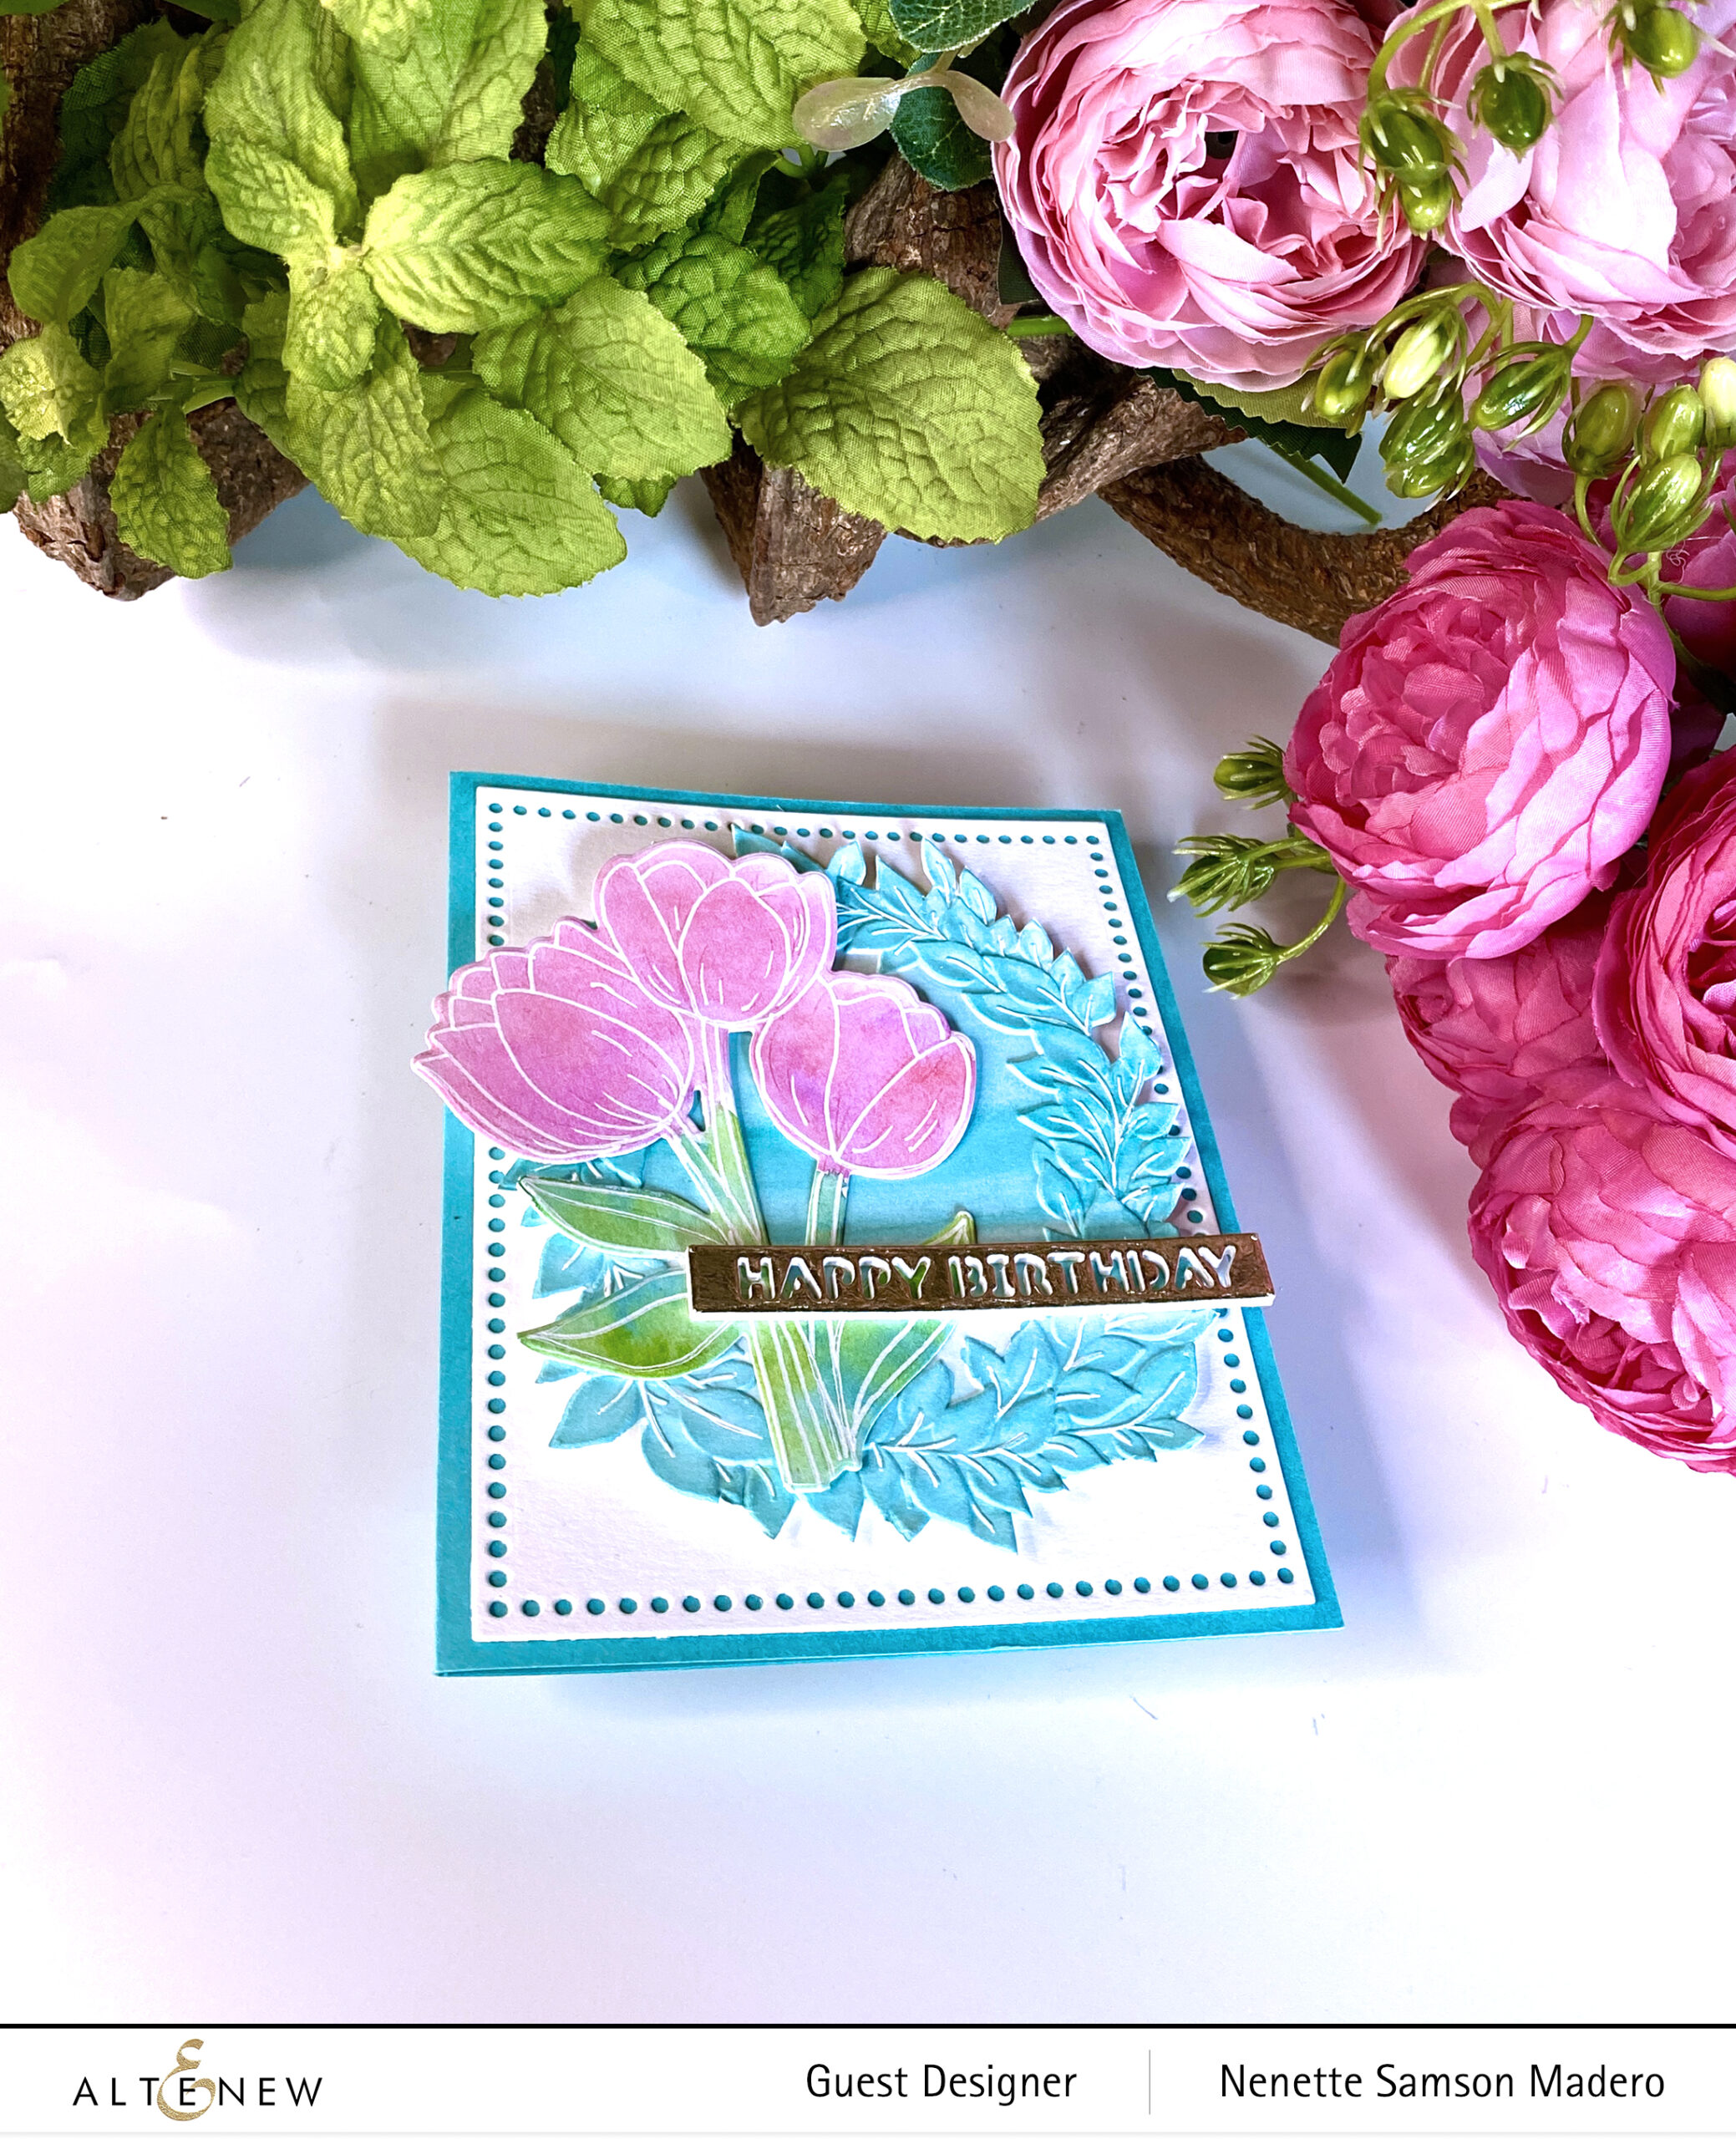
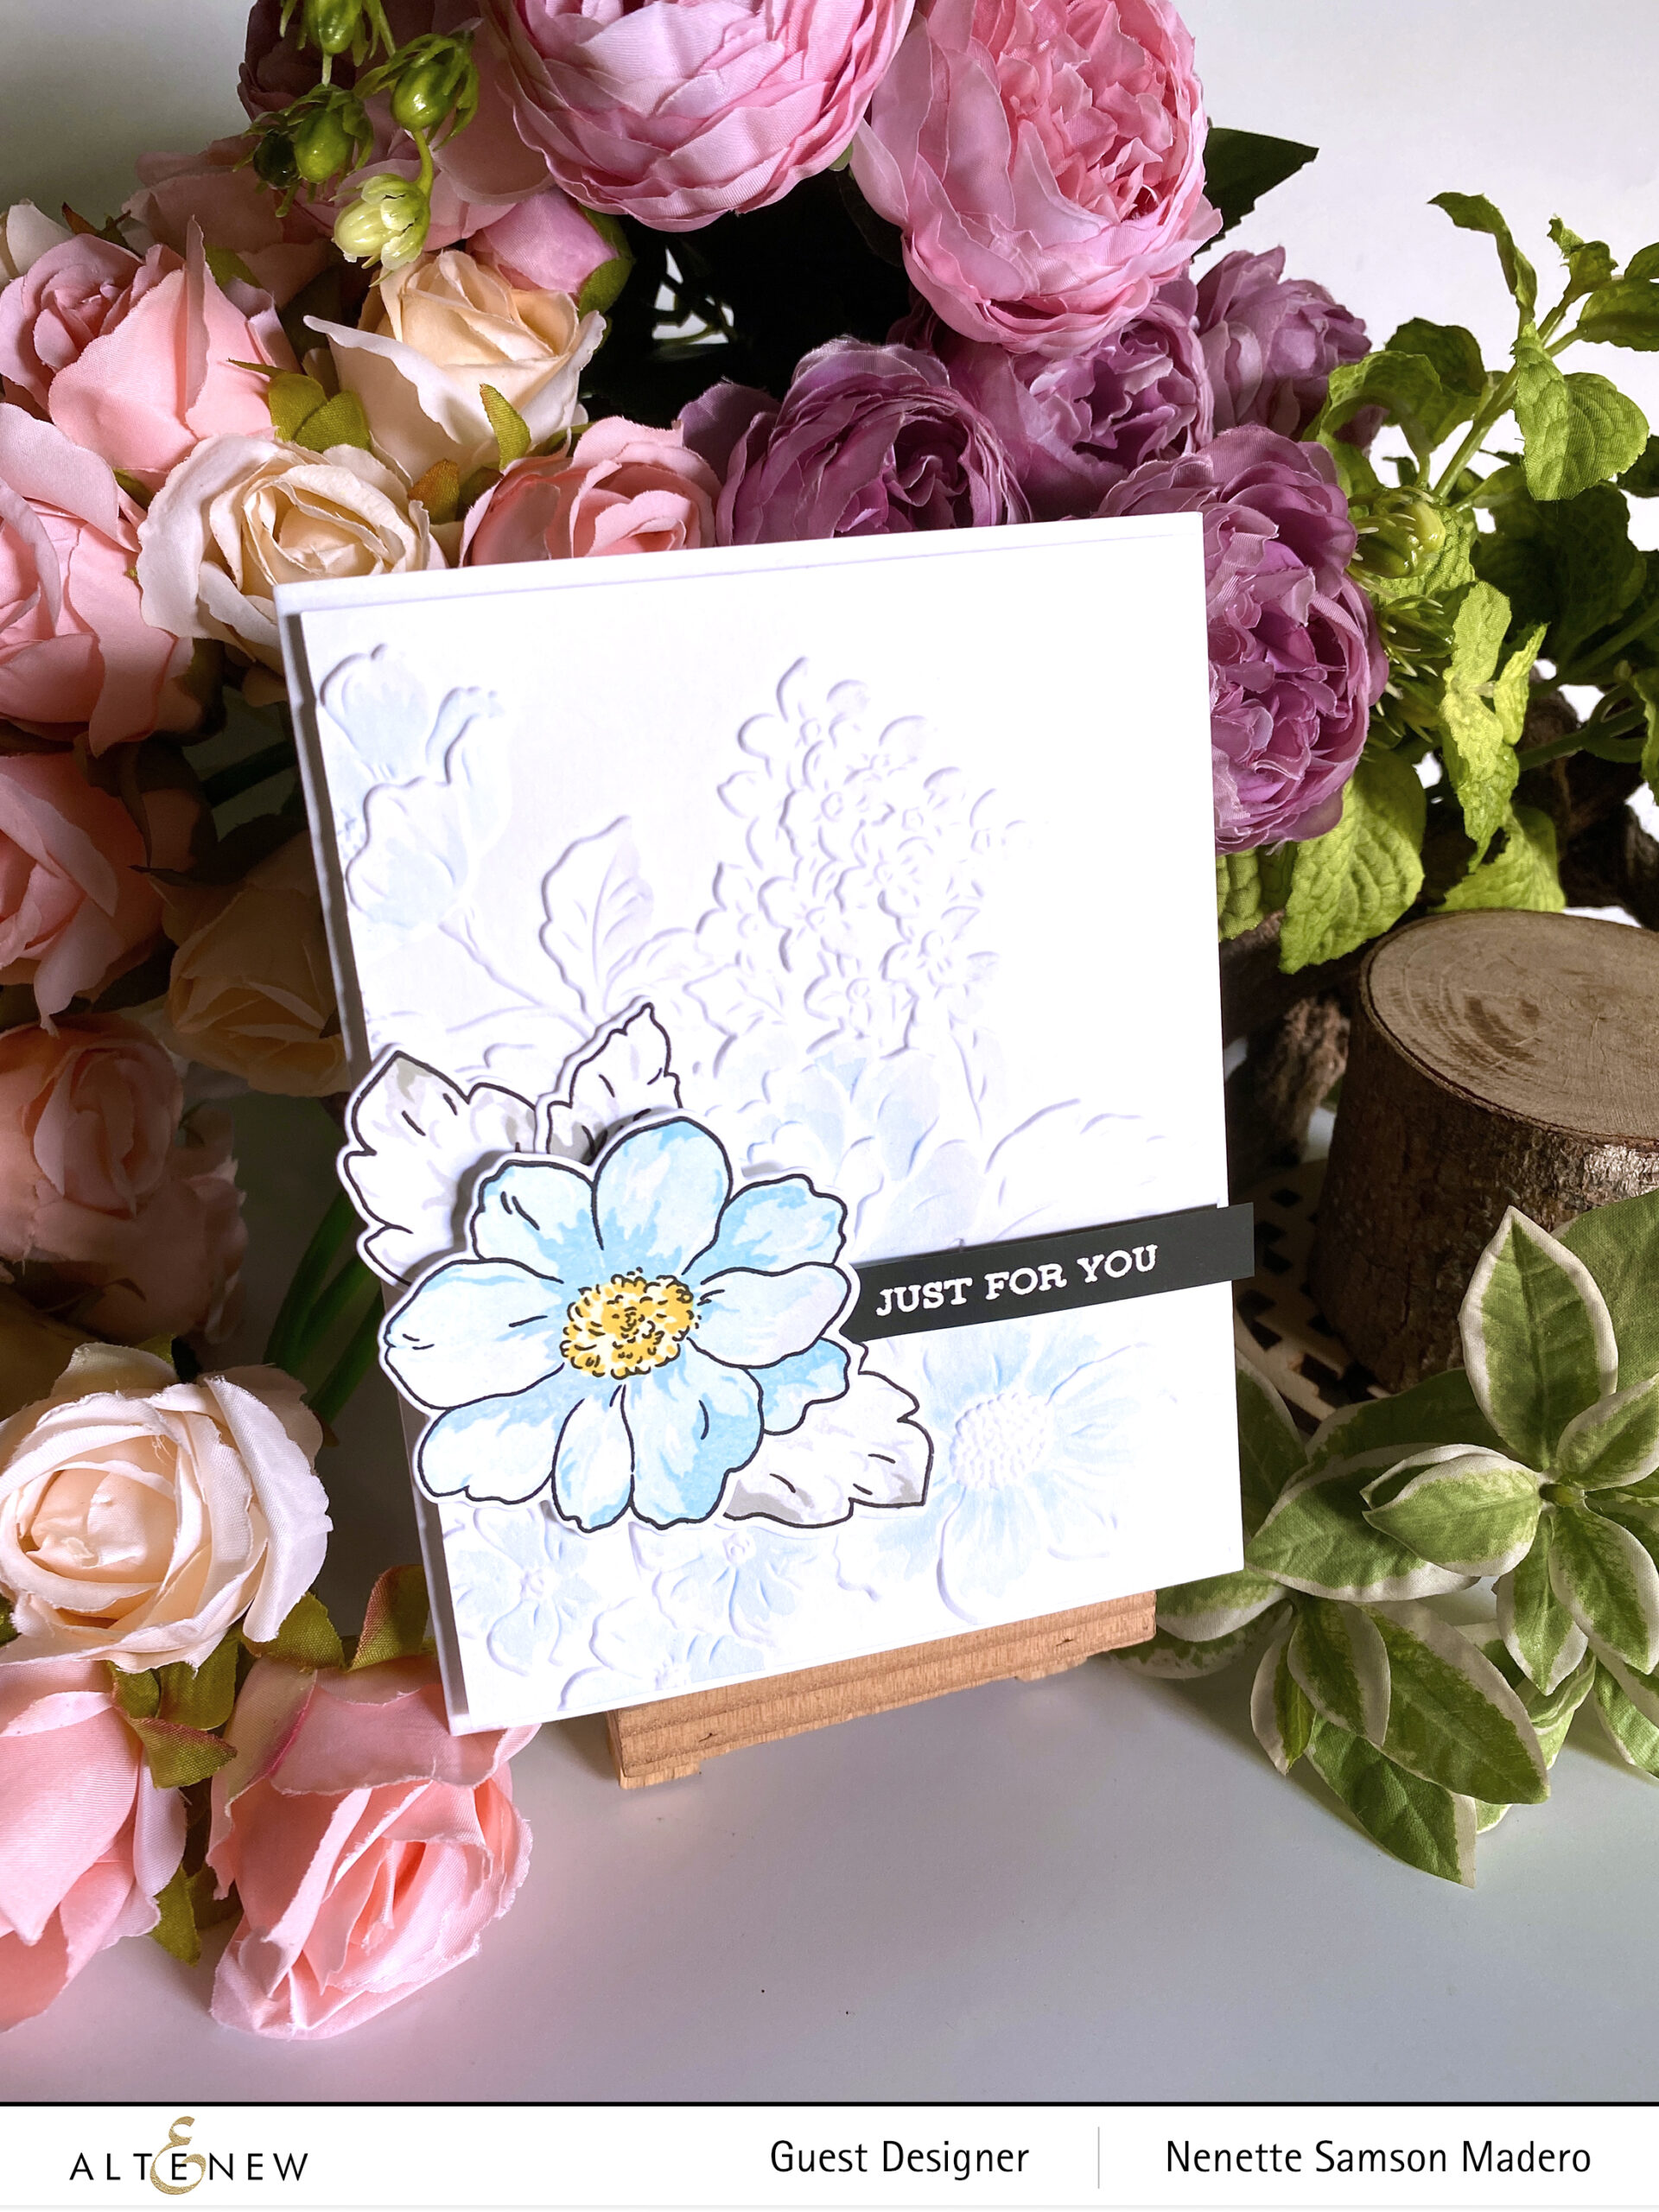
- Create a watercolor wash. Emboss with the Flowing Wreath 3D embossing folder. Use a white pigment pen to highlight the leaf veins. Cut the outer portion to create a frame.
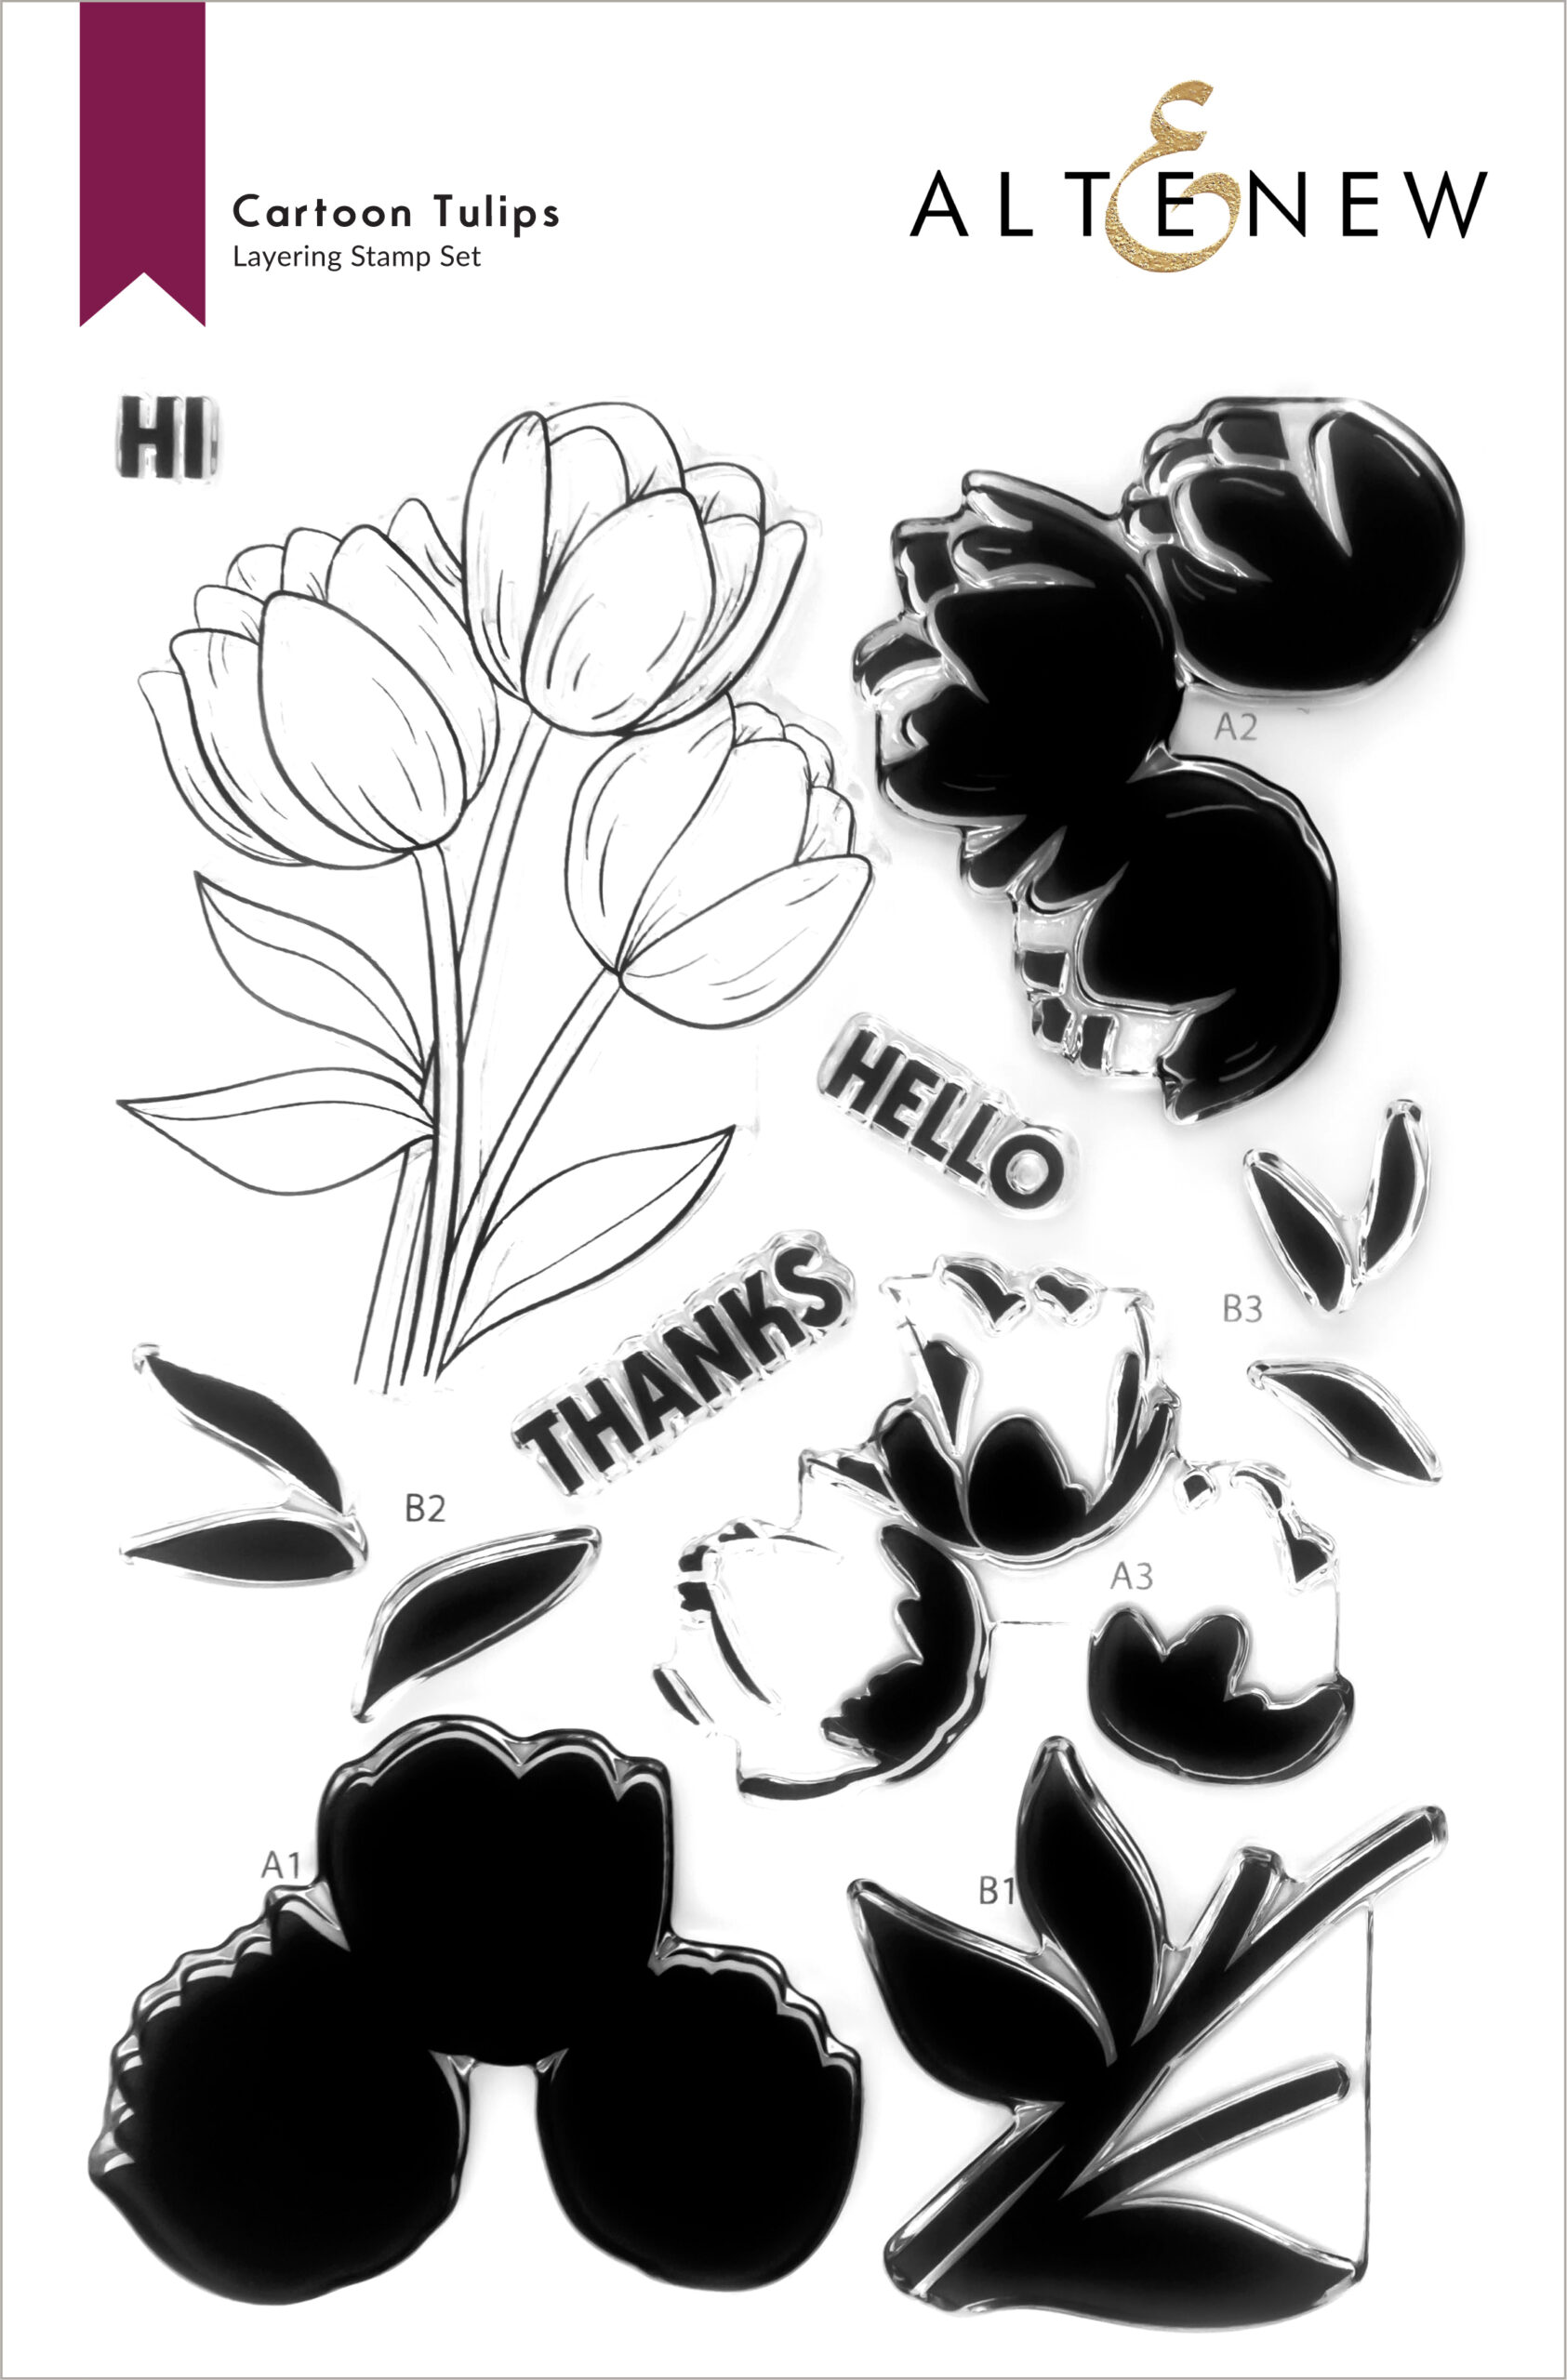
- Stamp the Cartoon Tulips image on watercolor paper using Antique Linen distress ink. Do a color wash on the petals and leaves and outline the image with a white gel pen.
- Die cut the Happy Birthday sentiment 4 times. Adhere gold washi tape on the 5th before die cutting. Layer on top of each other with glue.
- Die cut the dotted border from the Mix and Match Frame die.
- Assemble the card.
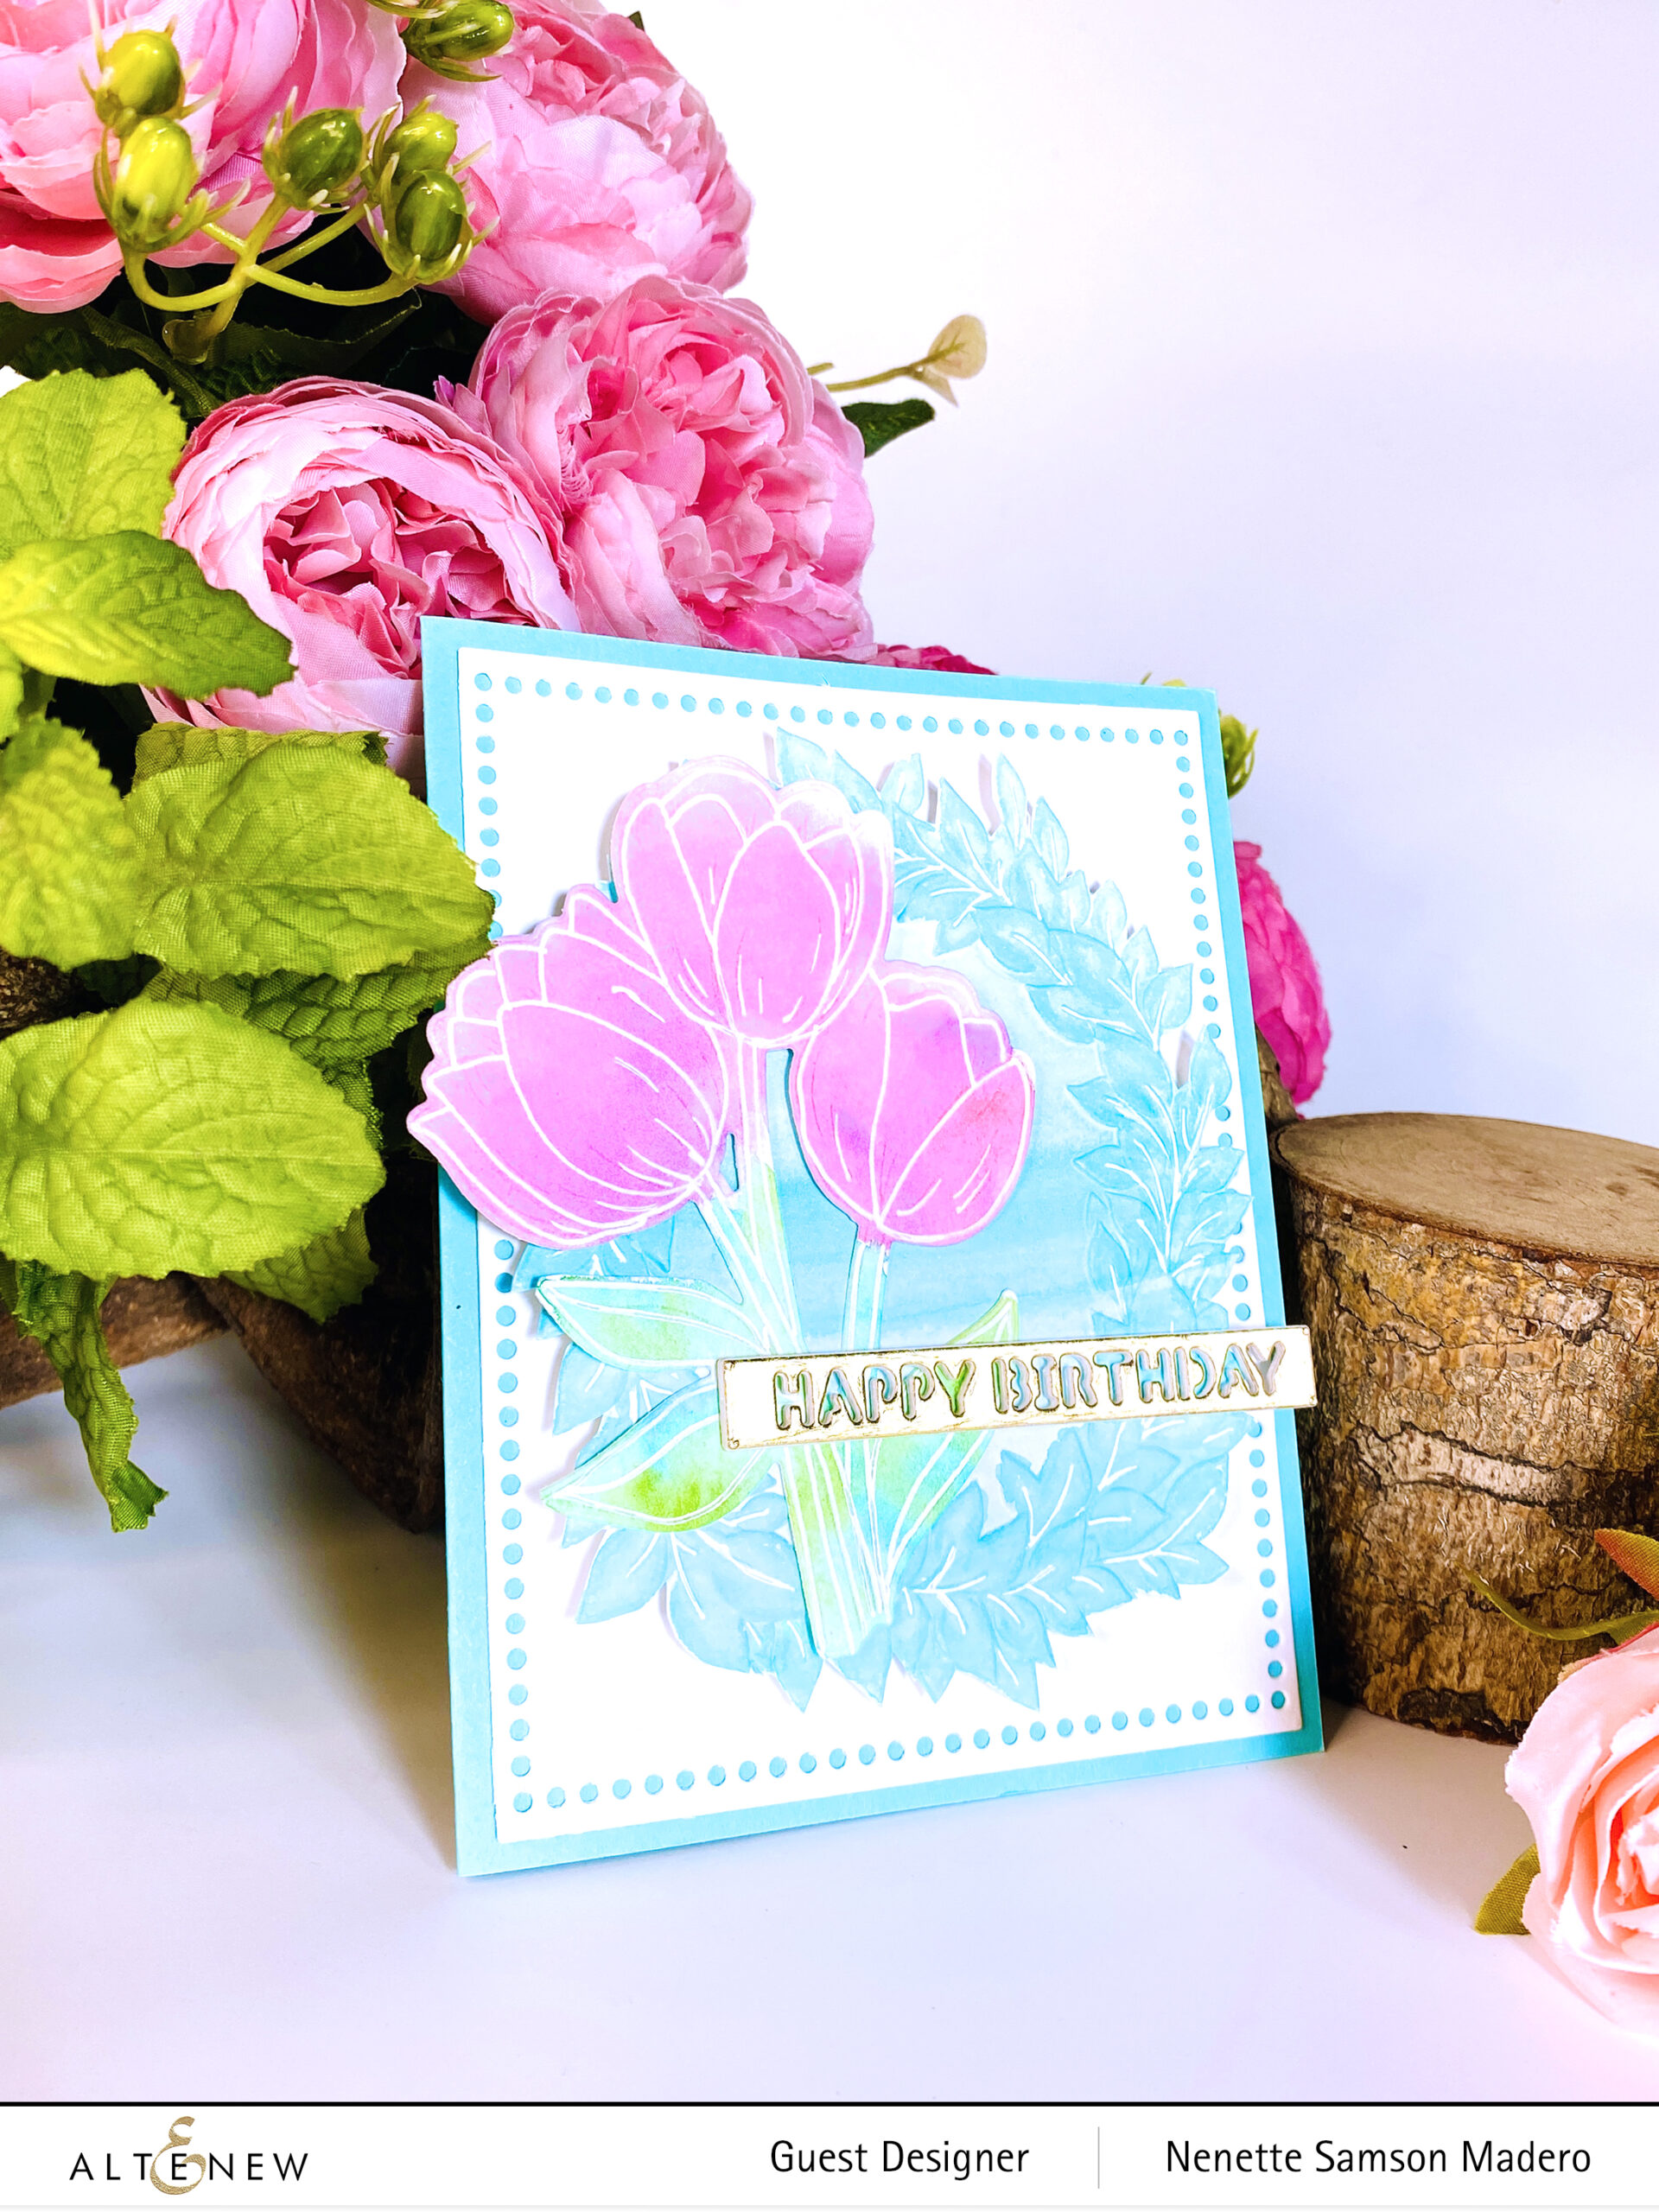
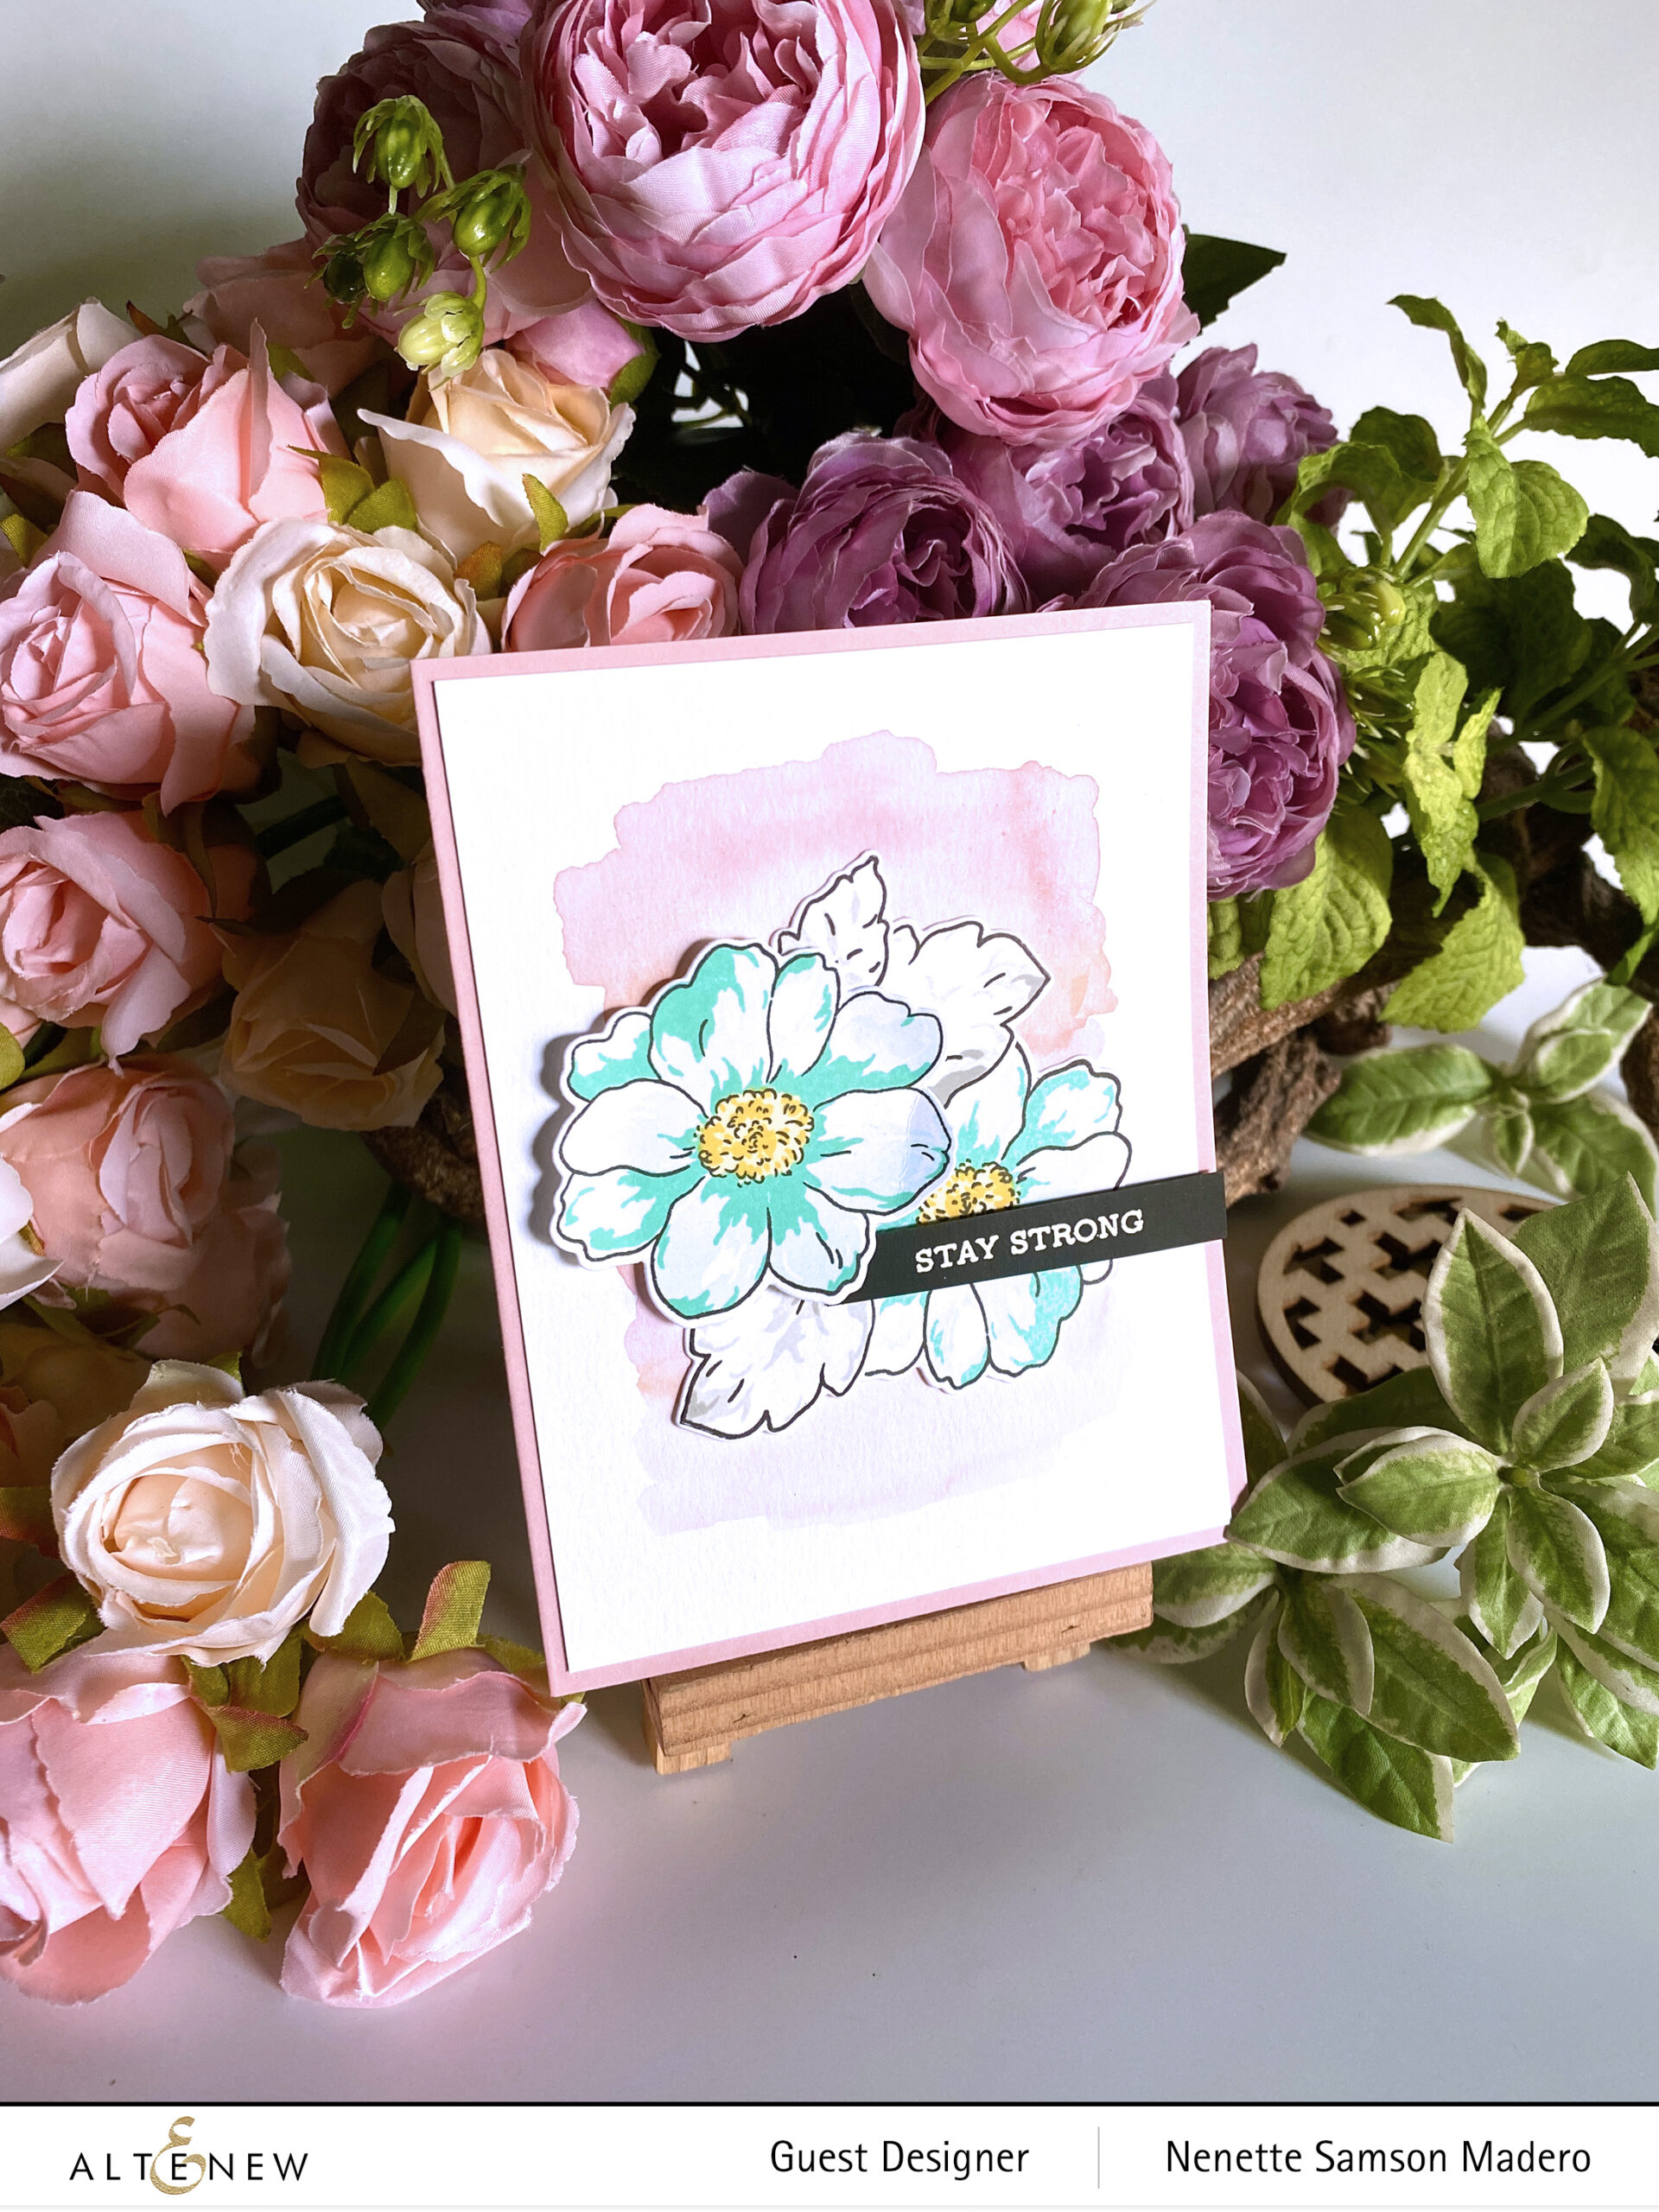
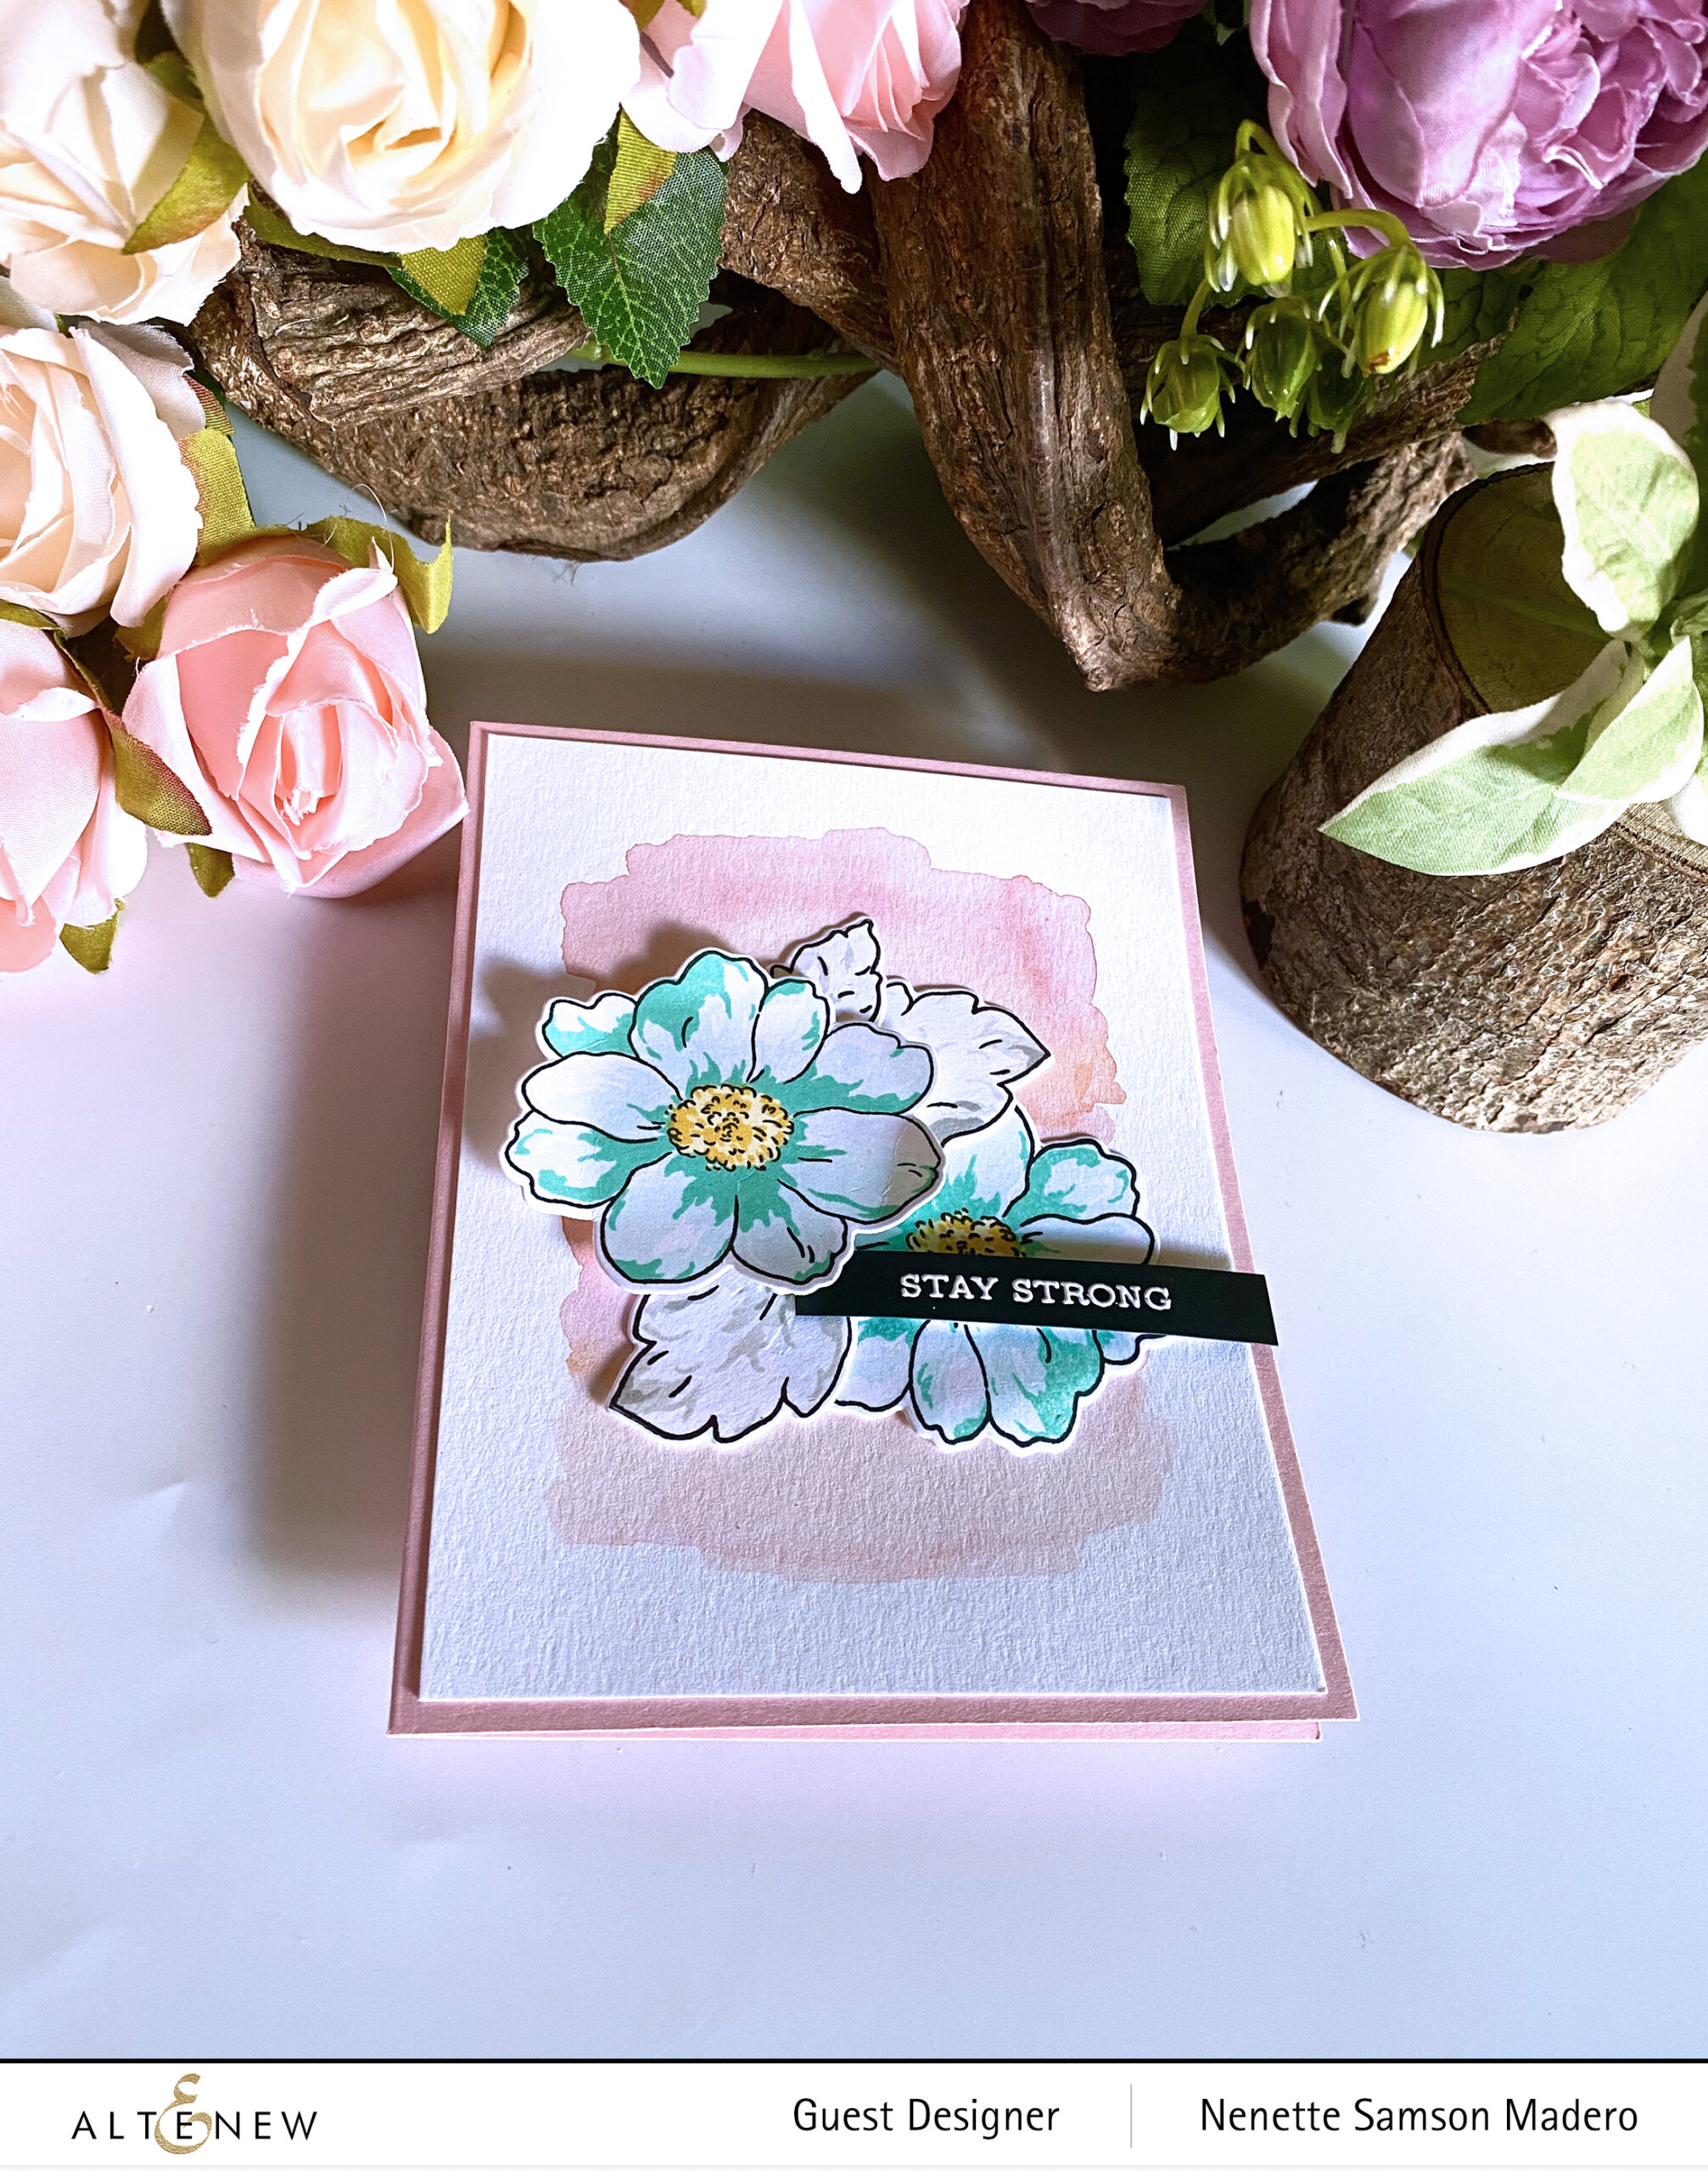
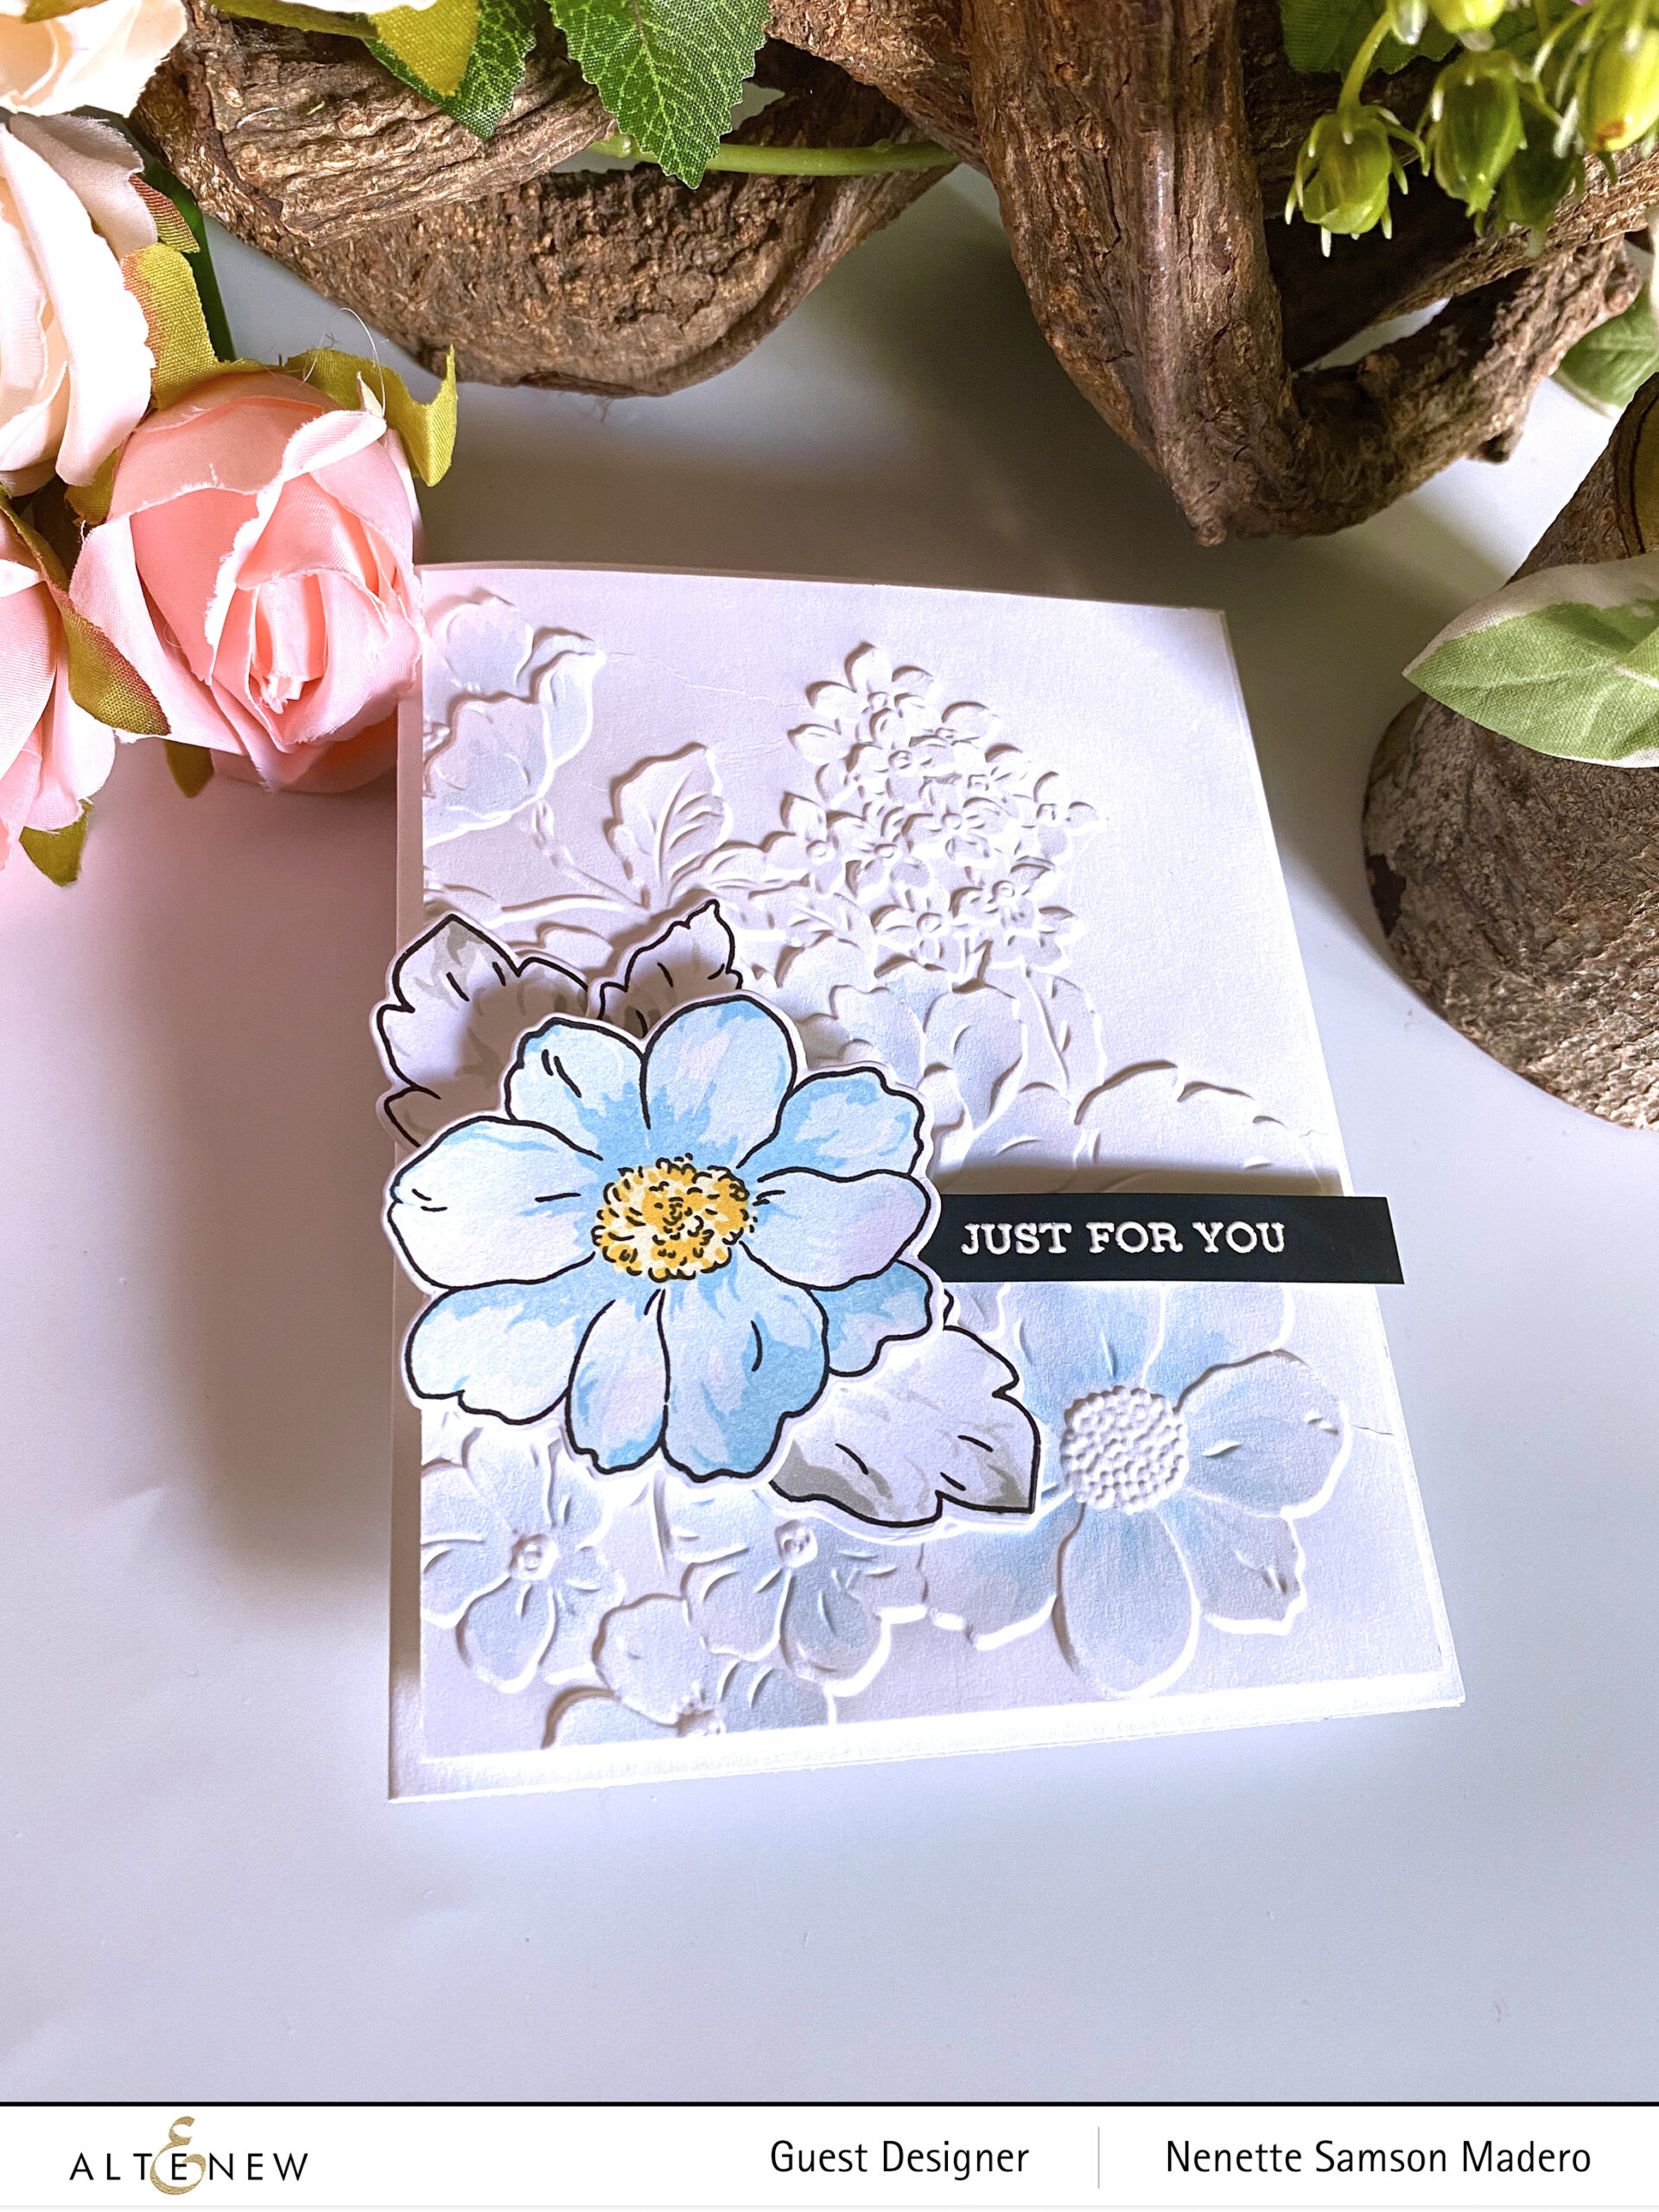
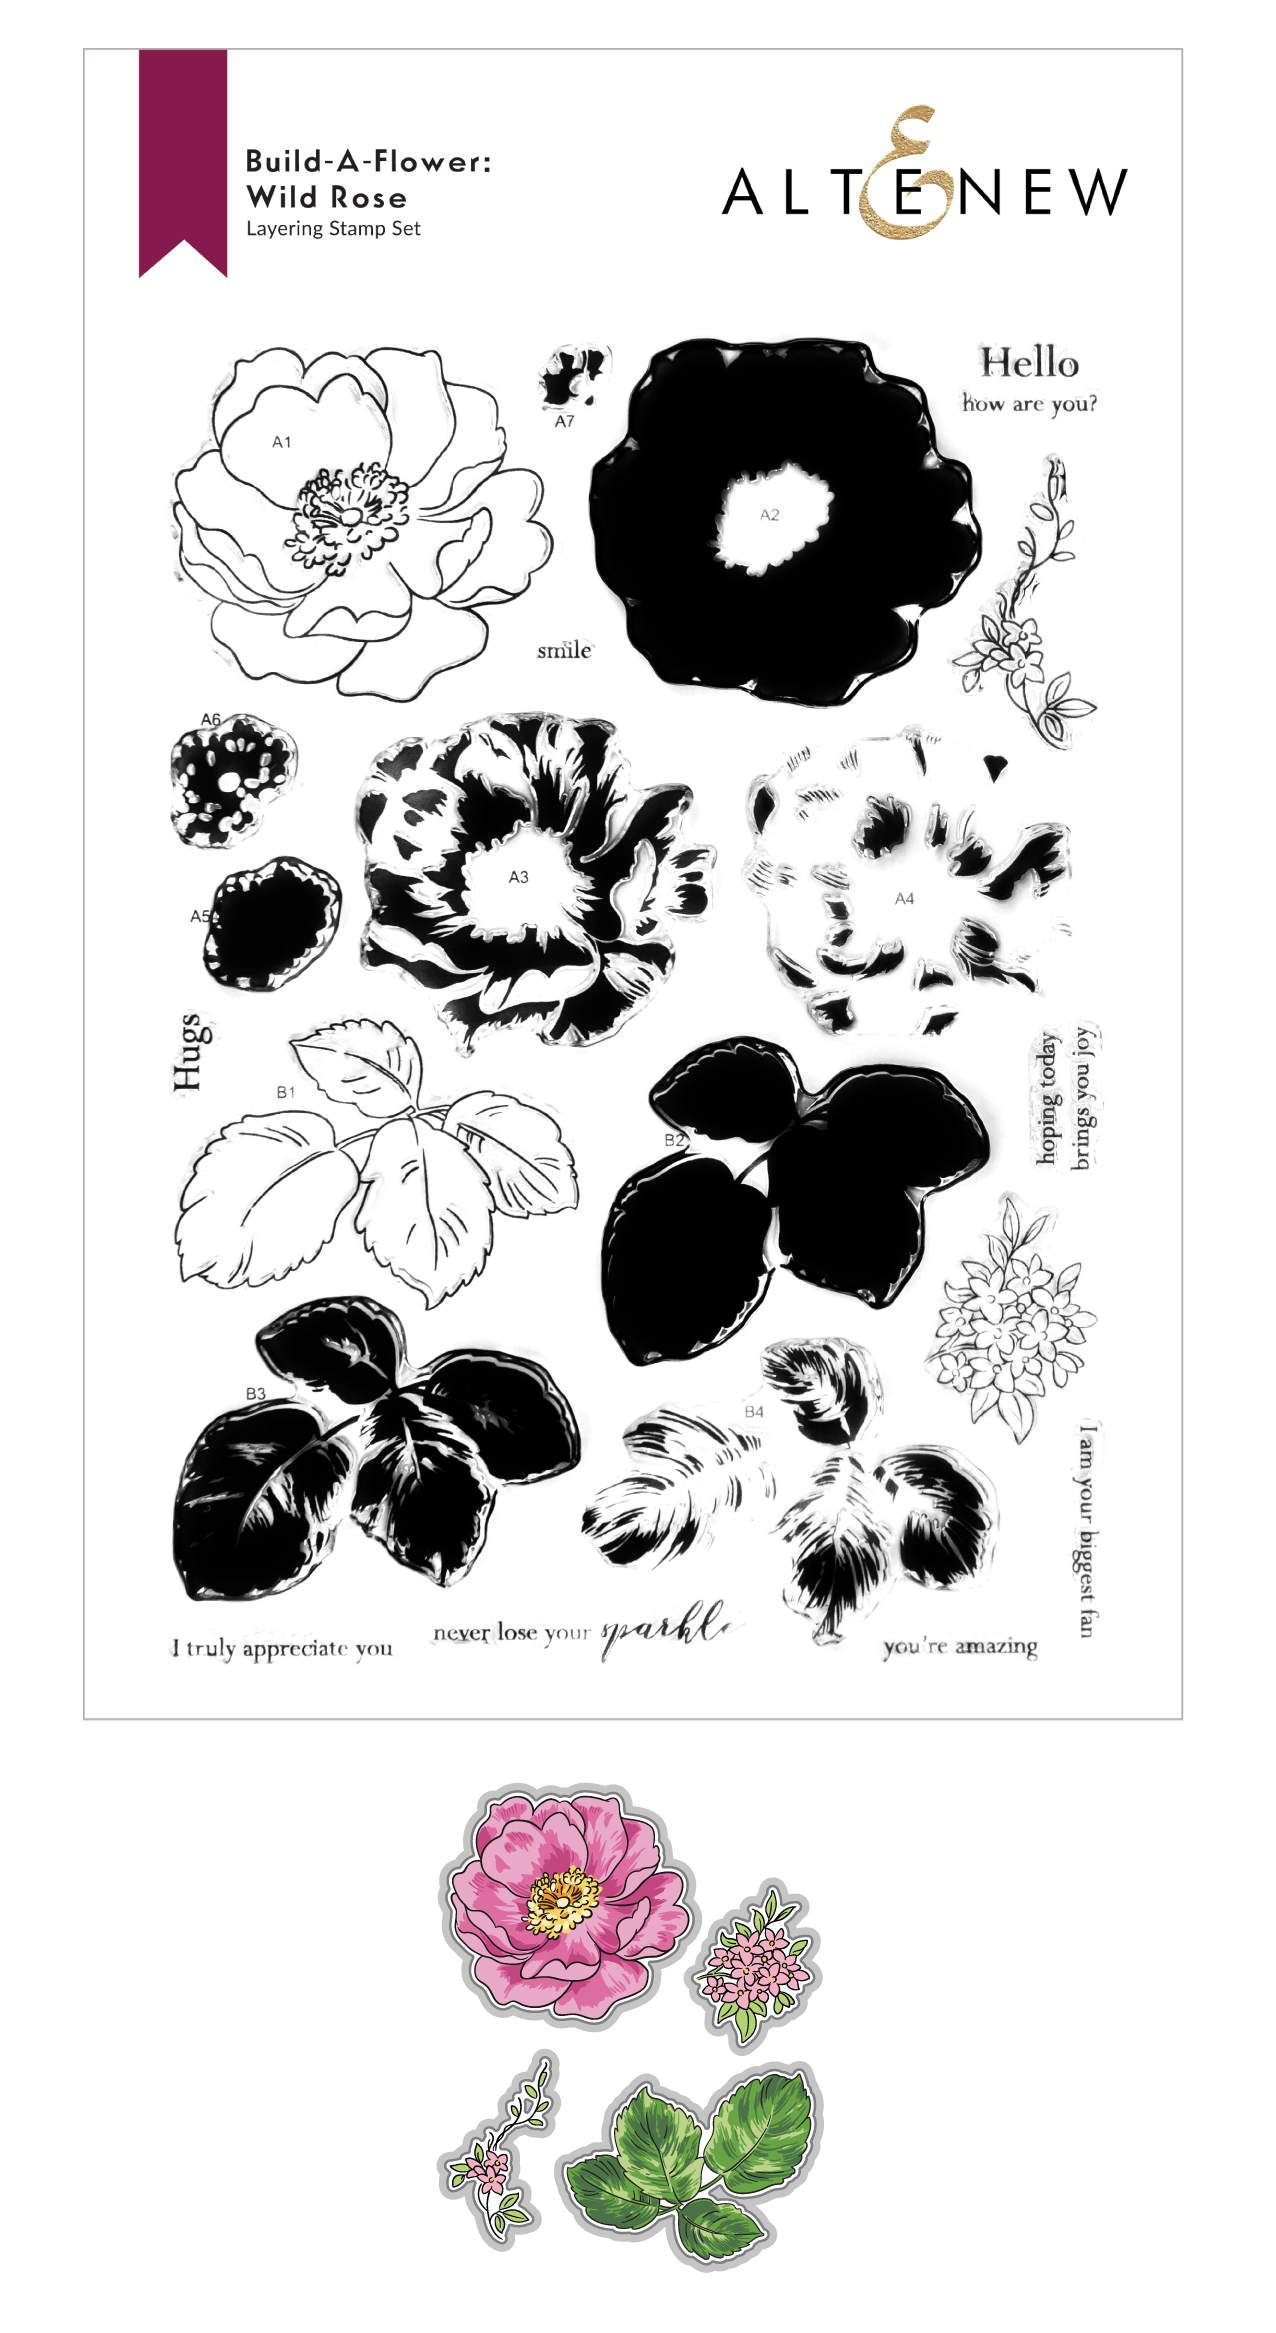
This tulip outline set comes with layering stamps so that if you are not comfortable in watercoloring, you can easily stamp the layers! It’s also very easy to watercolor because the flowers and leaves have big spaces wherein you can play with blending colors.
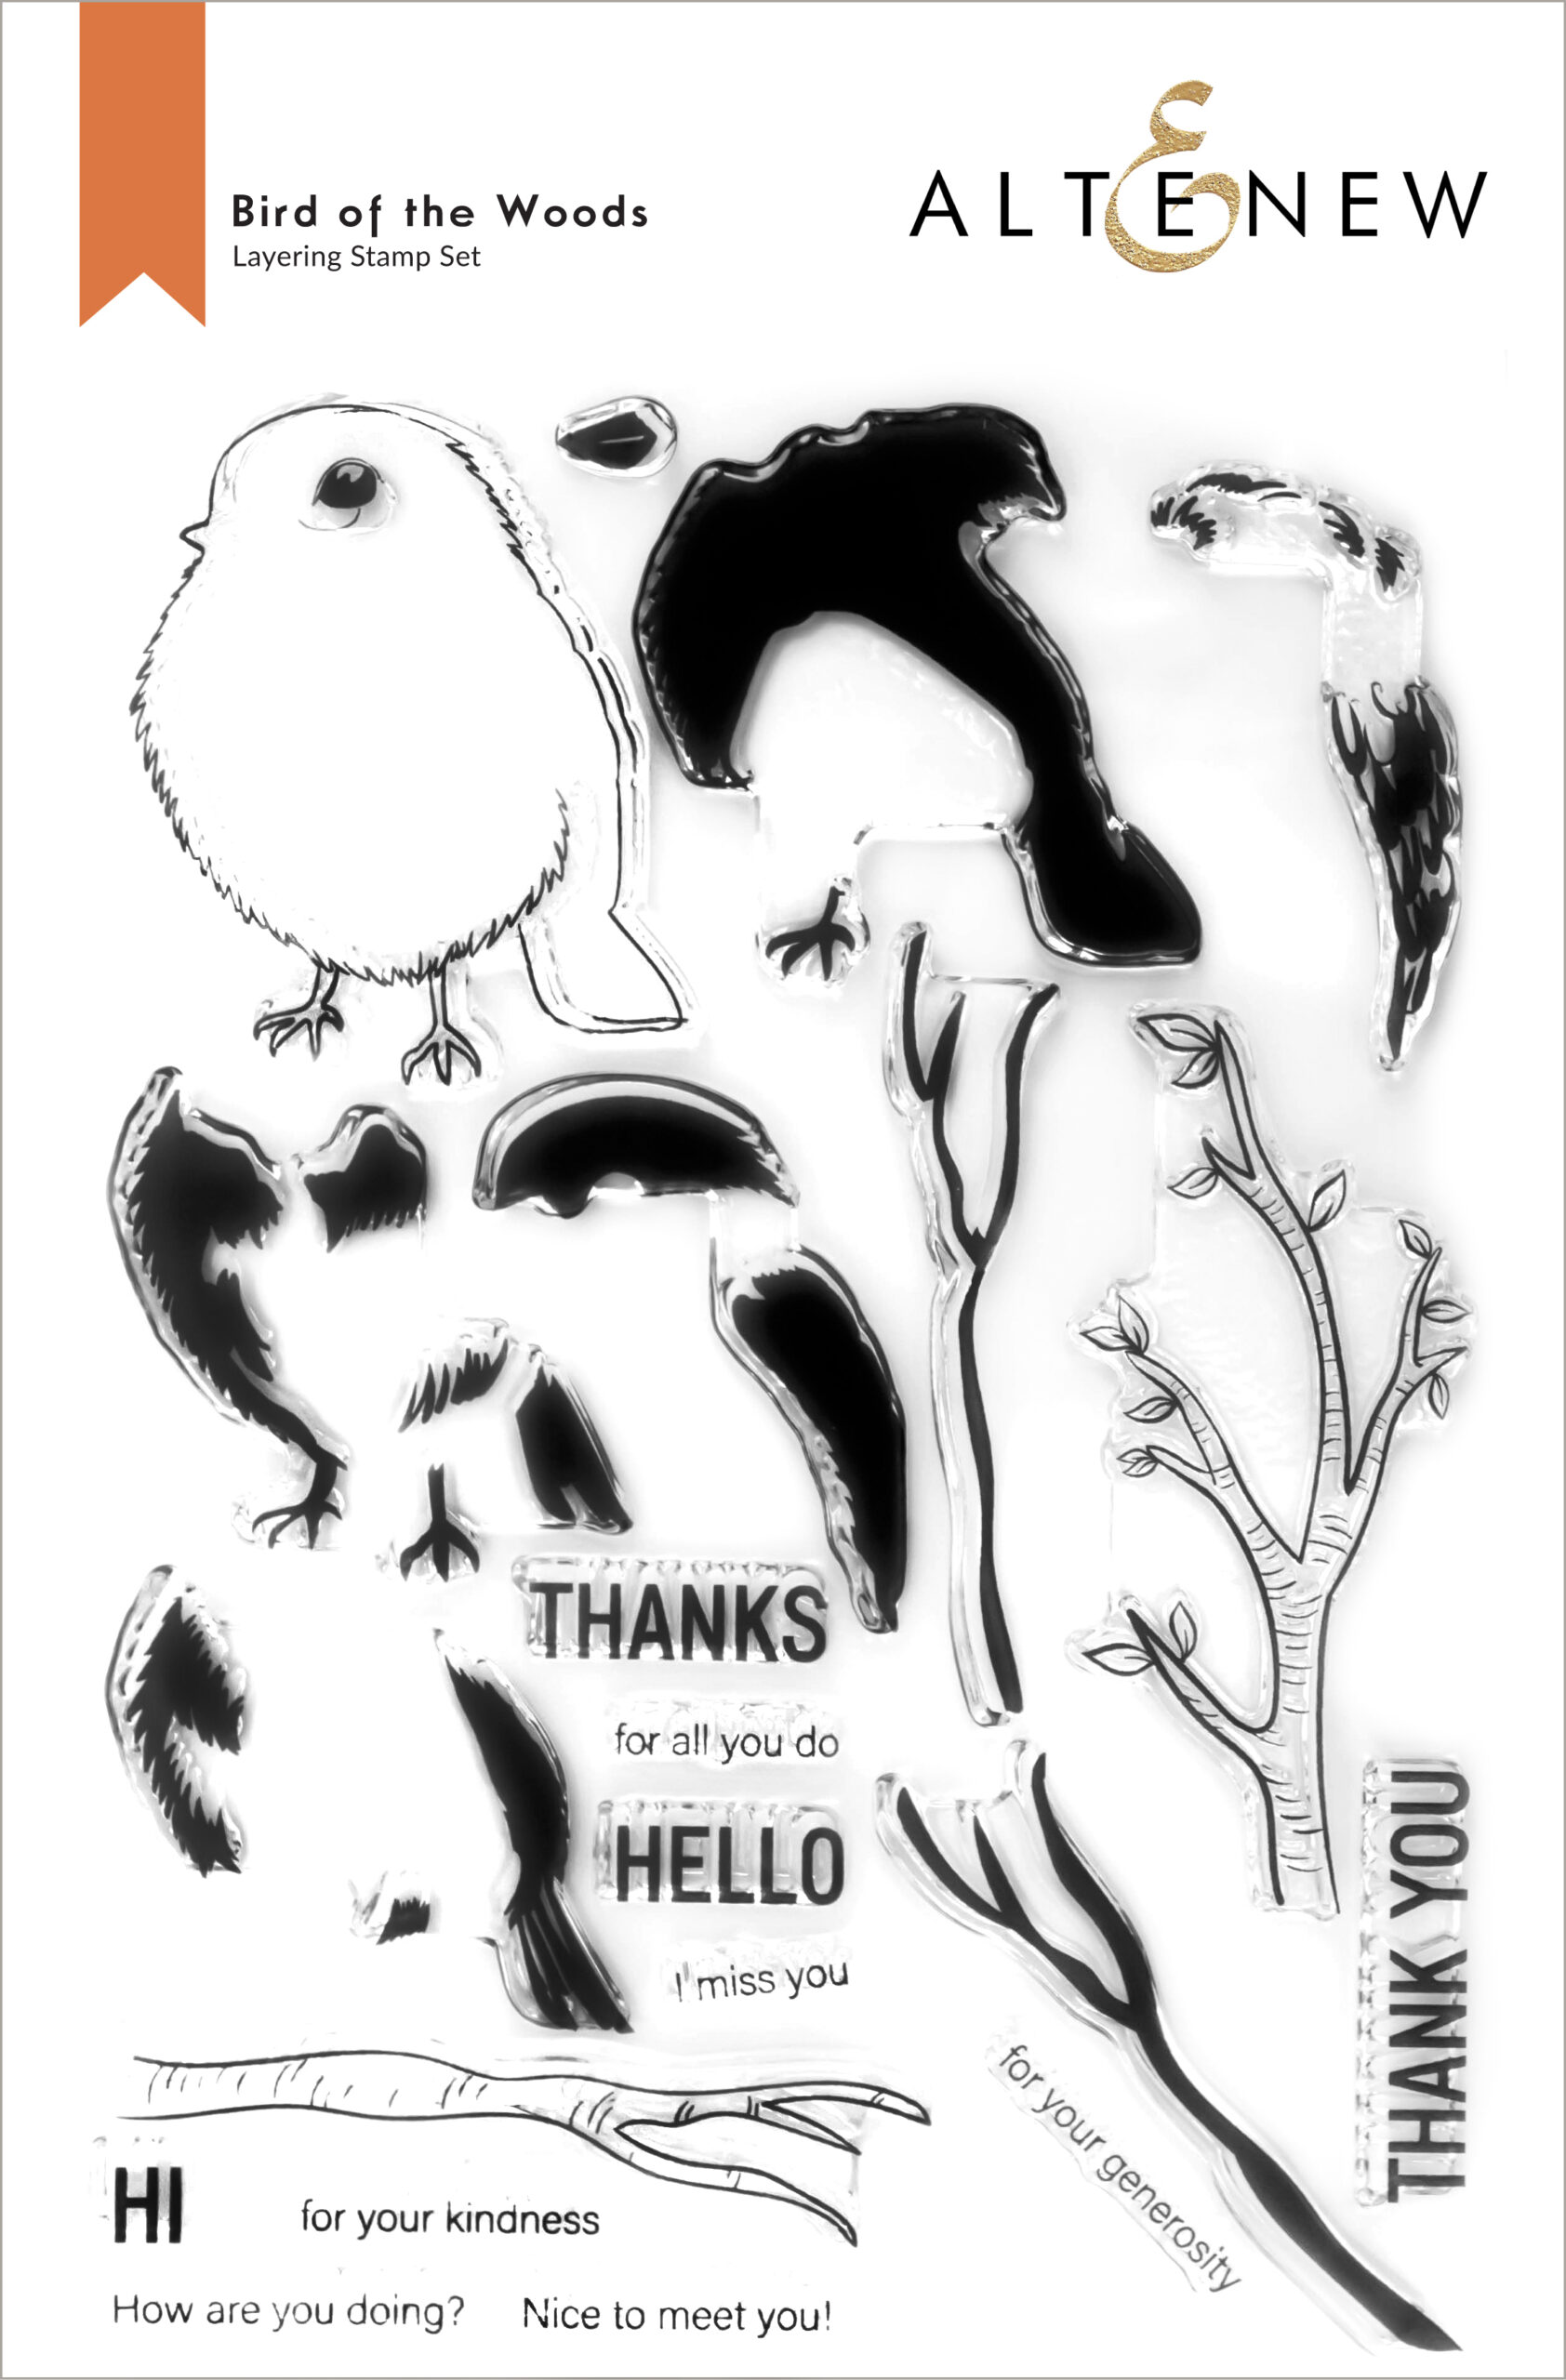
THANK YOU FOR YOUR KINDNESS
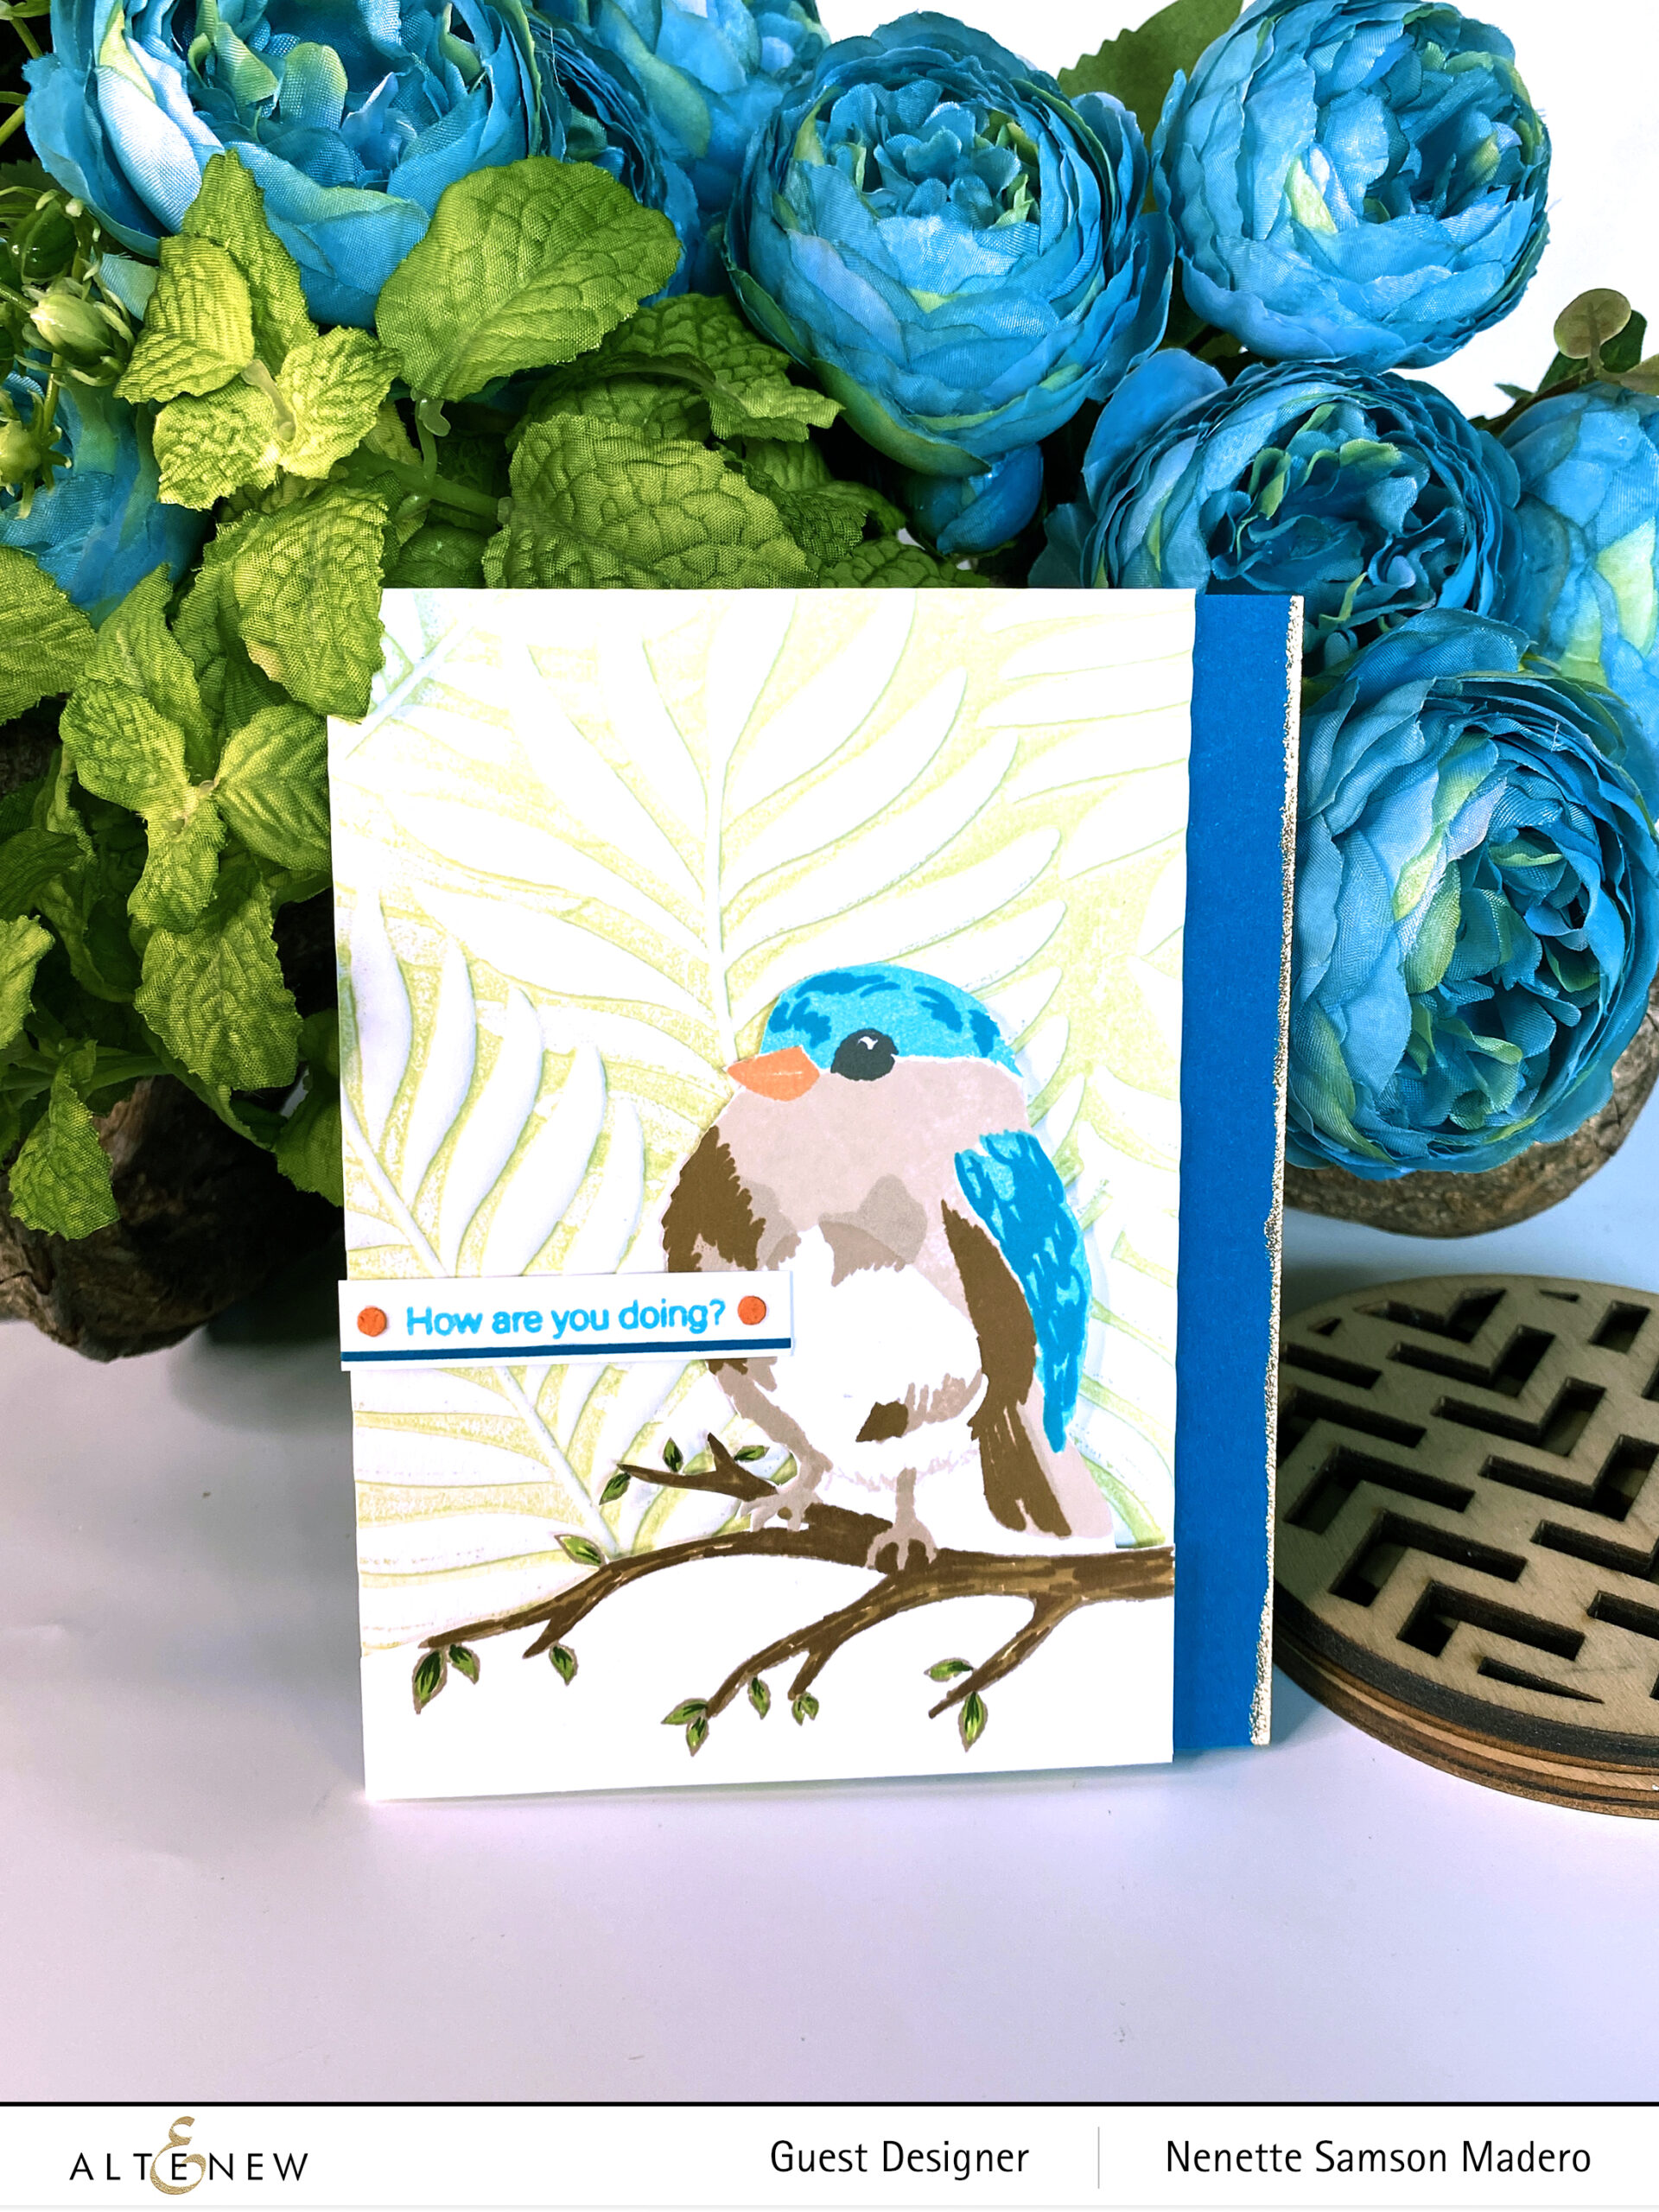
- Stamp the different layers of the bird. Mask the bird then stamp the branch.
- Fussy cut the bird and the branch without cutting the lower portion.
- Apply ink on the flat surface of the Areca Palm 3D embossing folder to create a letterpress look.
- Stamp the sentiment. Add two orange dots and a thin line for added interest.
- Emboss the edge of the card base using Versamark Ink and Rose Gold embossing powder.
- Assemble the card.
Don’t you just love this cute little bird?! <3 You can create a scene using all the foliage 3D embossing folders to change the background.
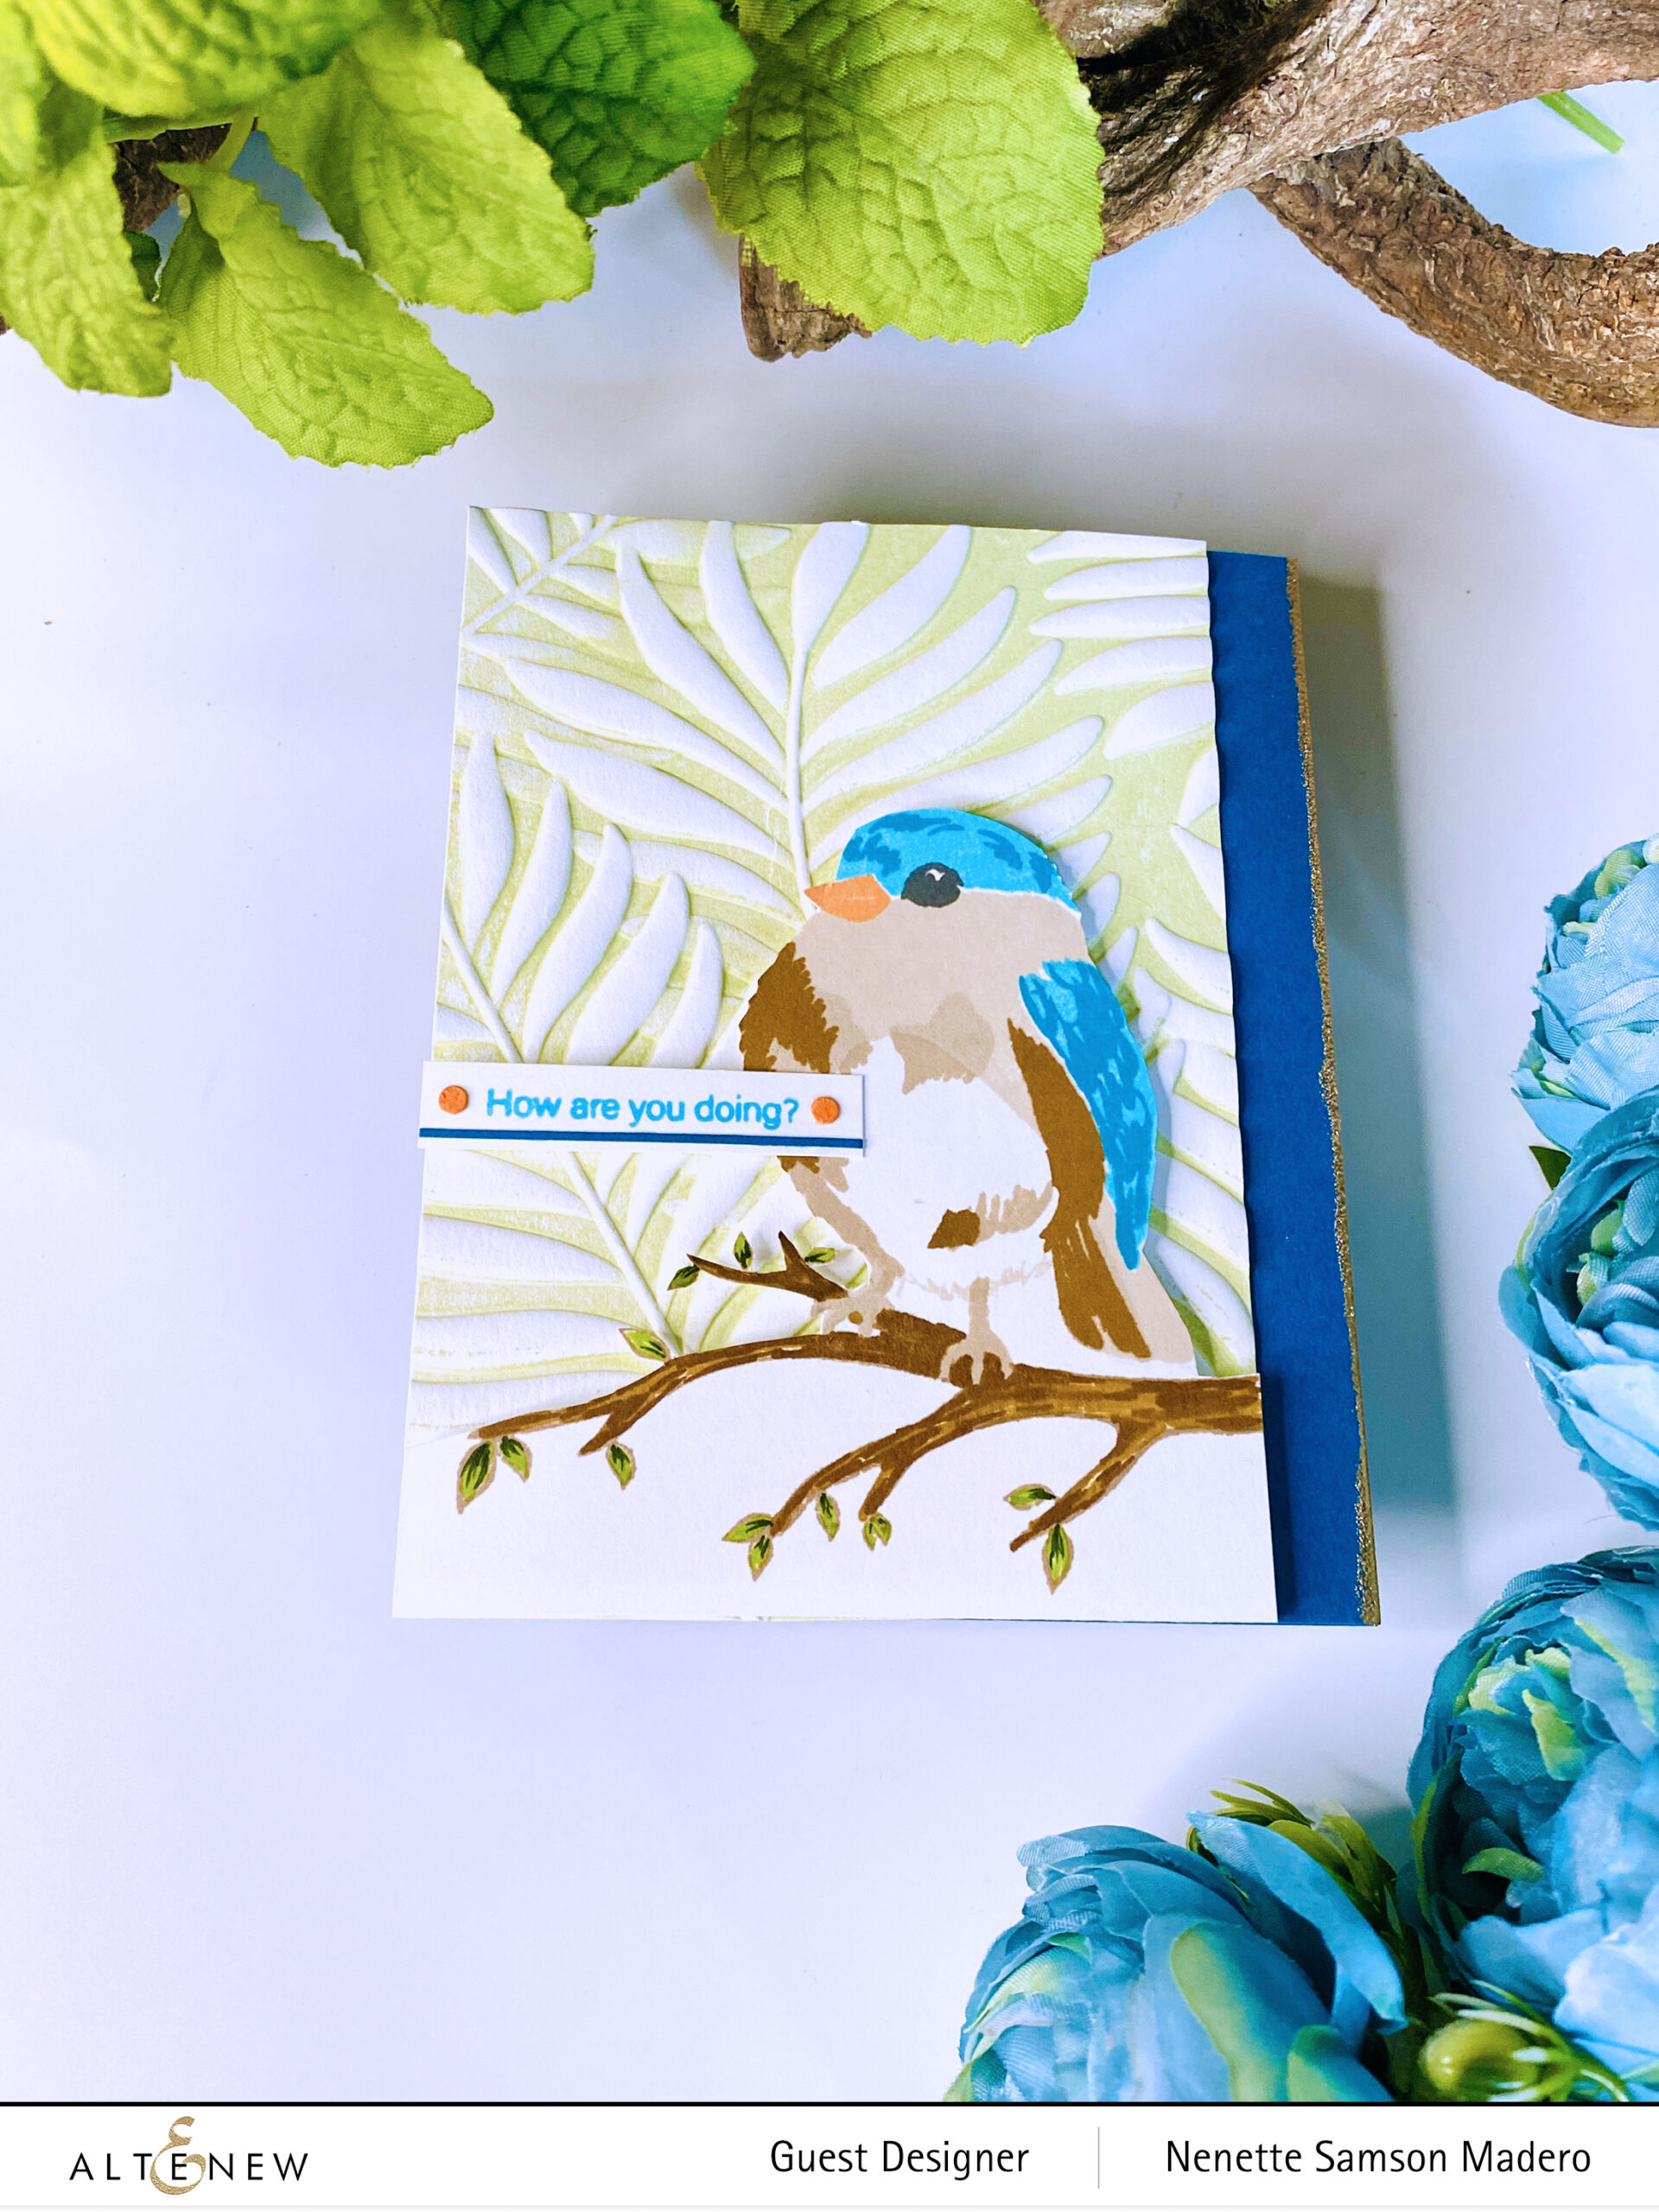
THANK YOU FOR YOUR KINDNESS

- Add pigment ink to the flat surface of the embossing folder and emboss.
- Stamp the bird using dye inks. Stamp the branch as well.
- Stamp and emboss the sentiment with Pure white embossing powder.
- Emboss the edges of the embossed background with silver glitter finish.
- Assemble the card.
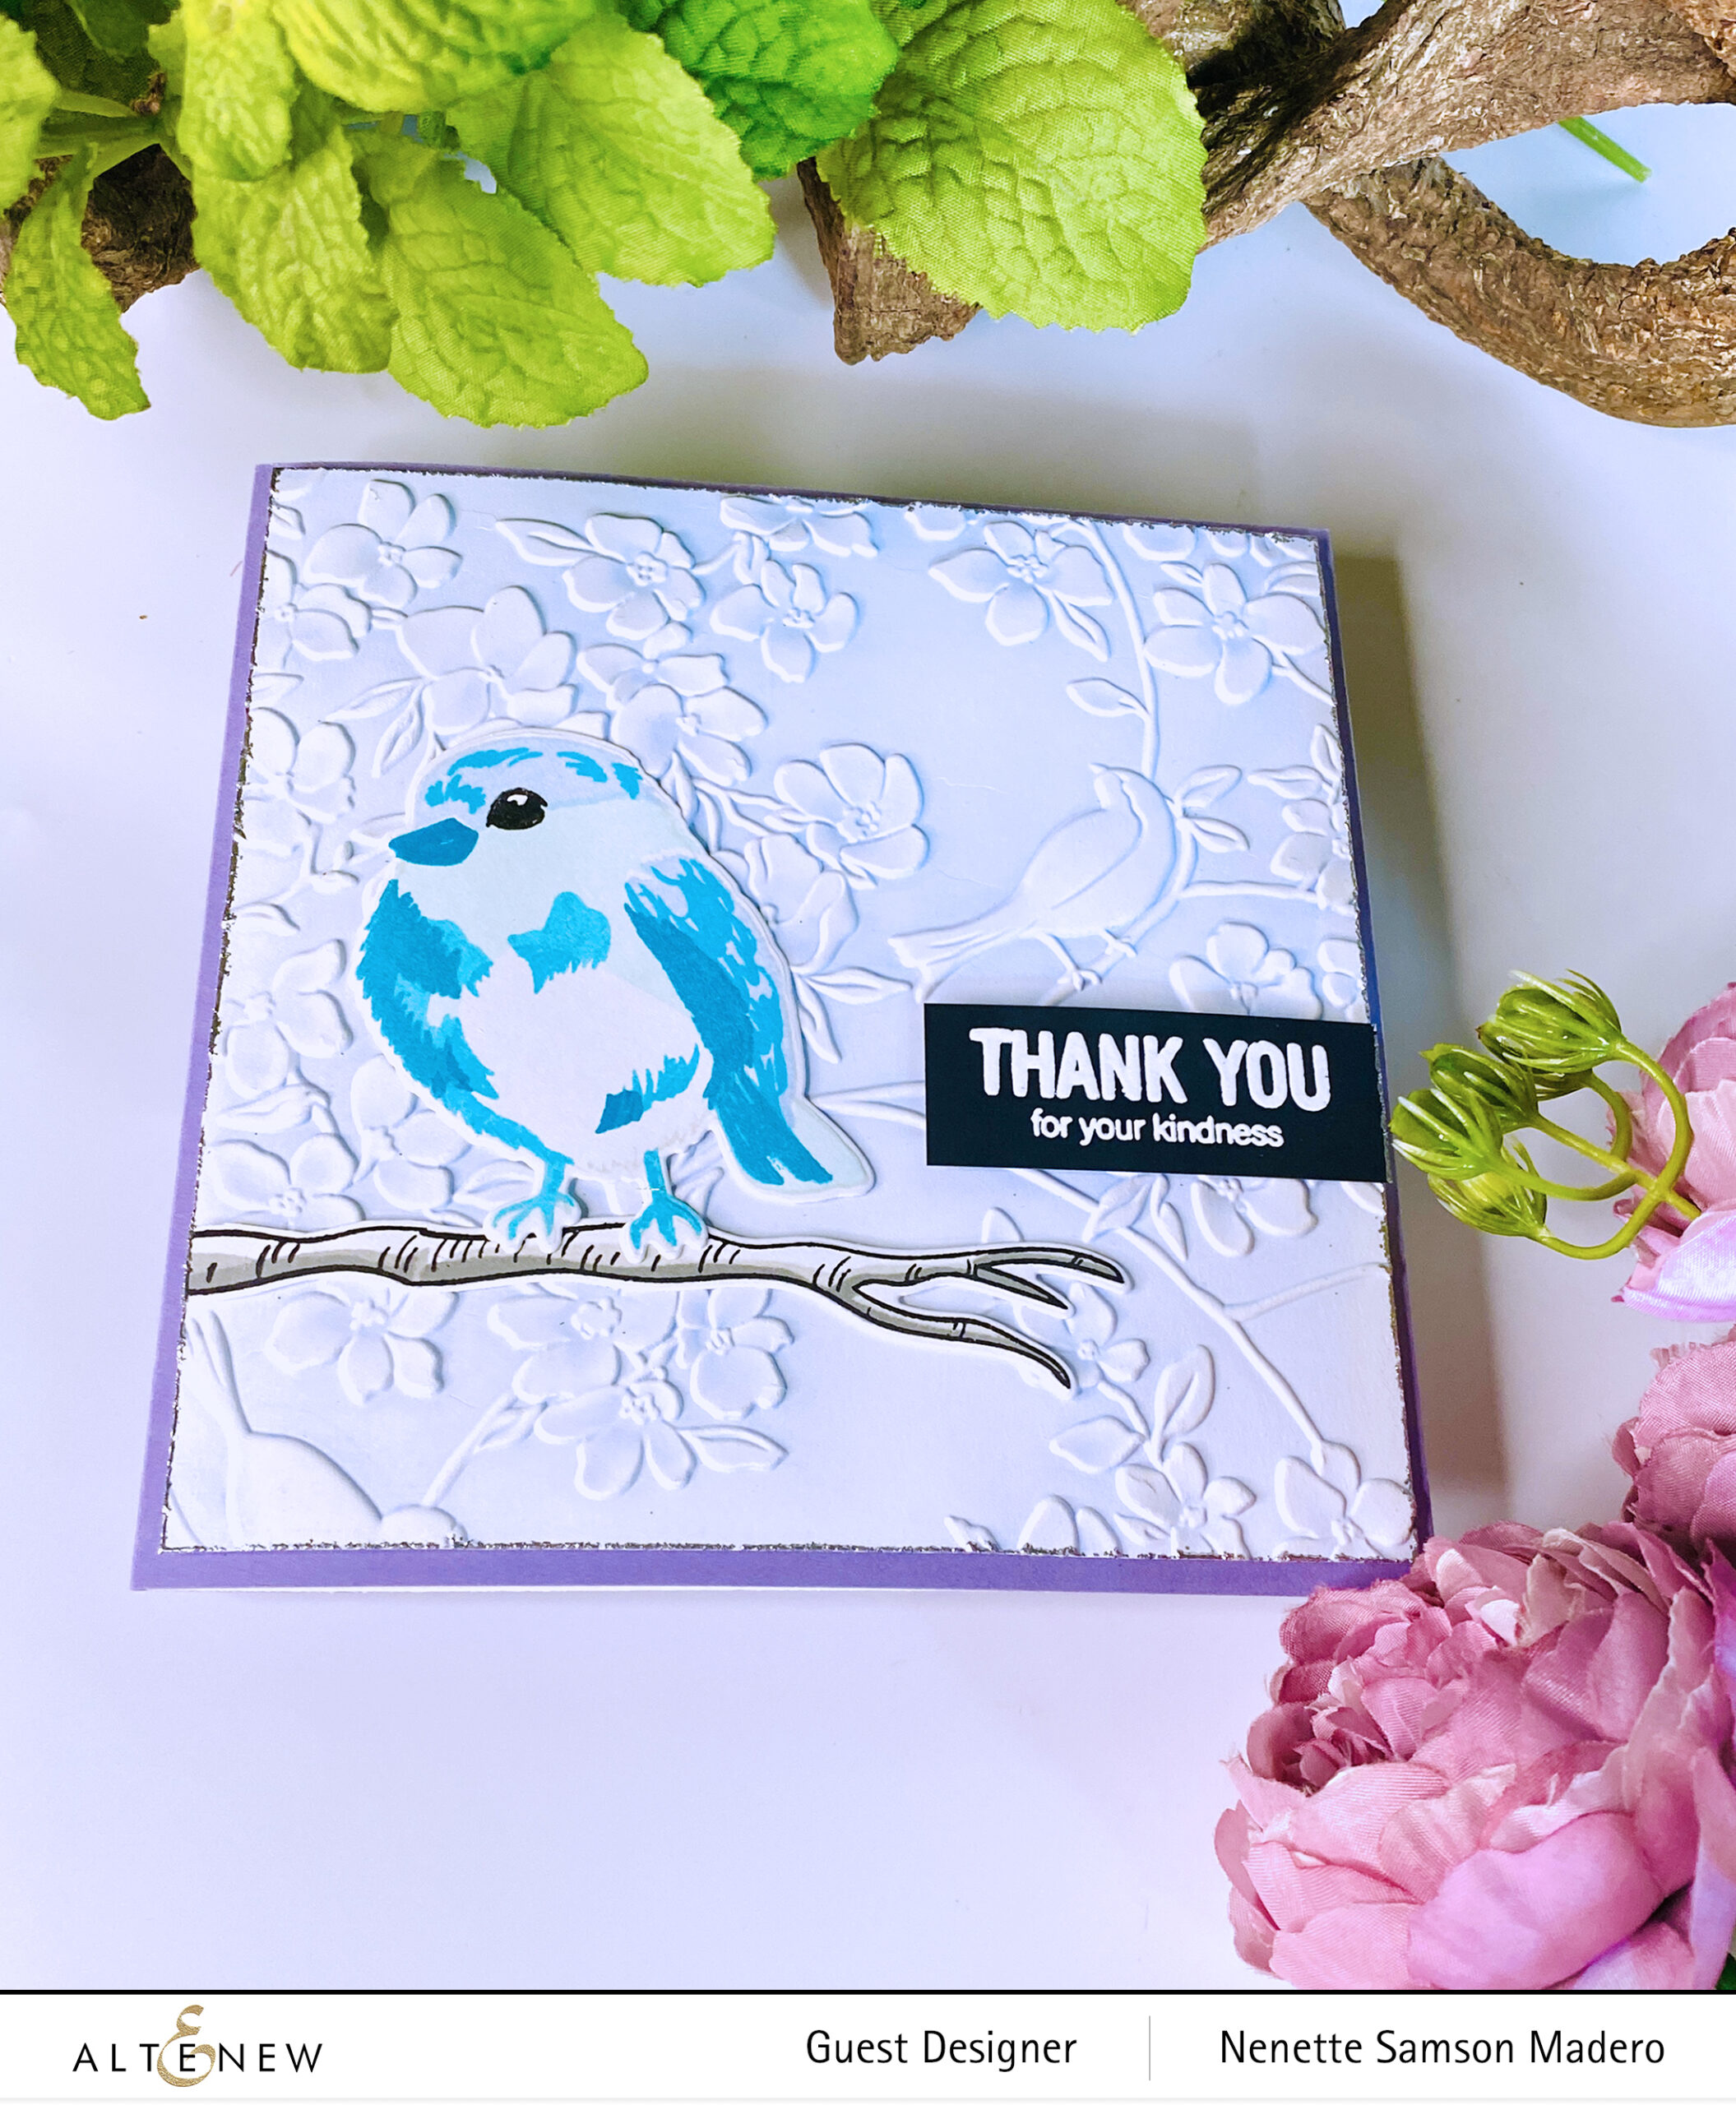
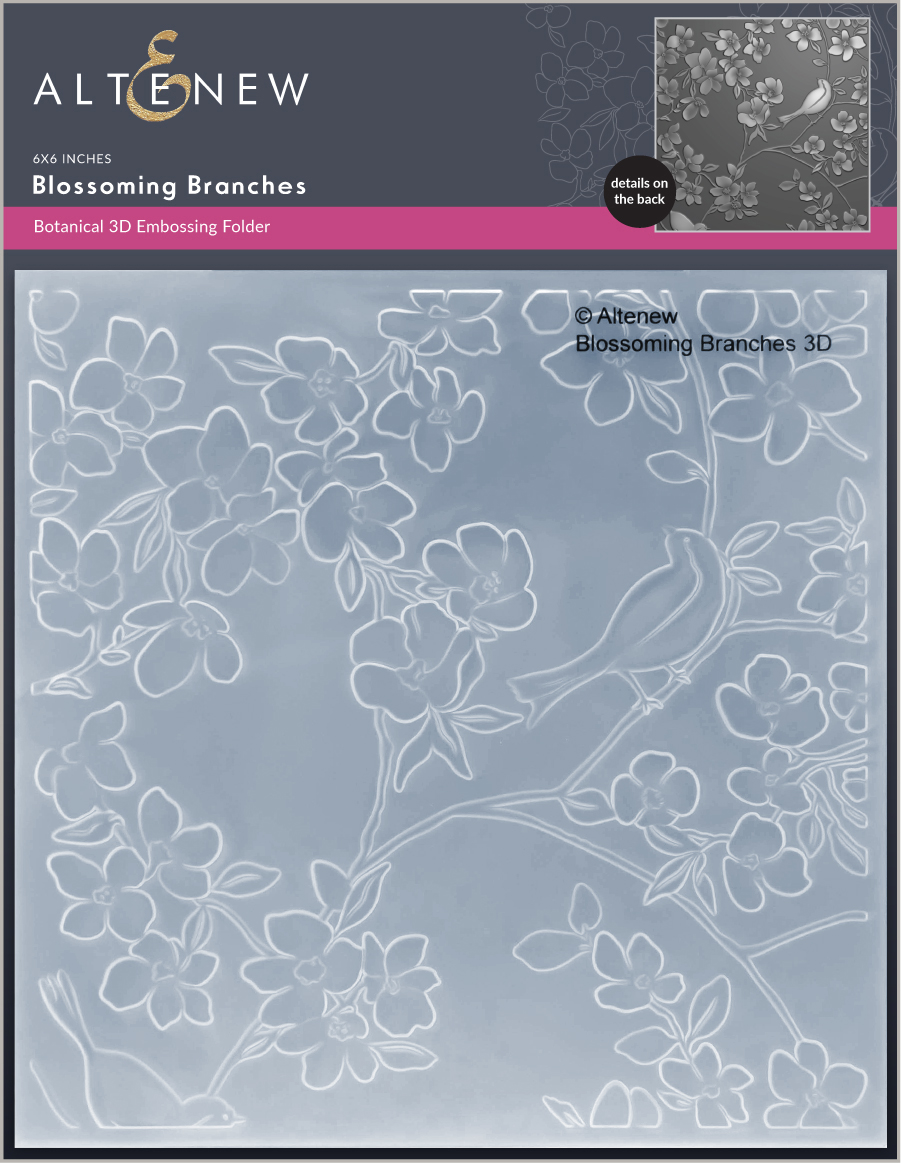
I paired the Blossoming Branches 3D embossing folder with the Bird of the Woods. Isn’t this a perfect match? 🙂
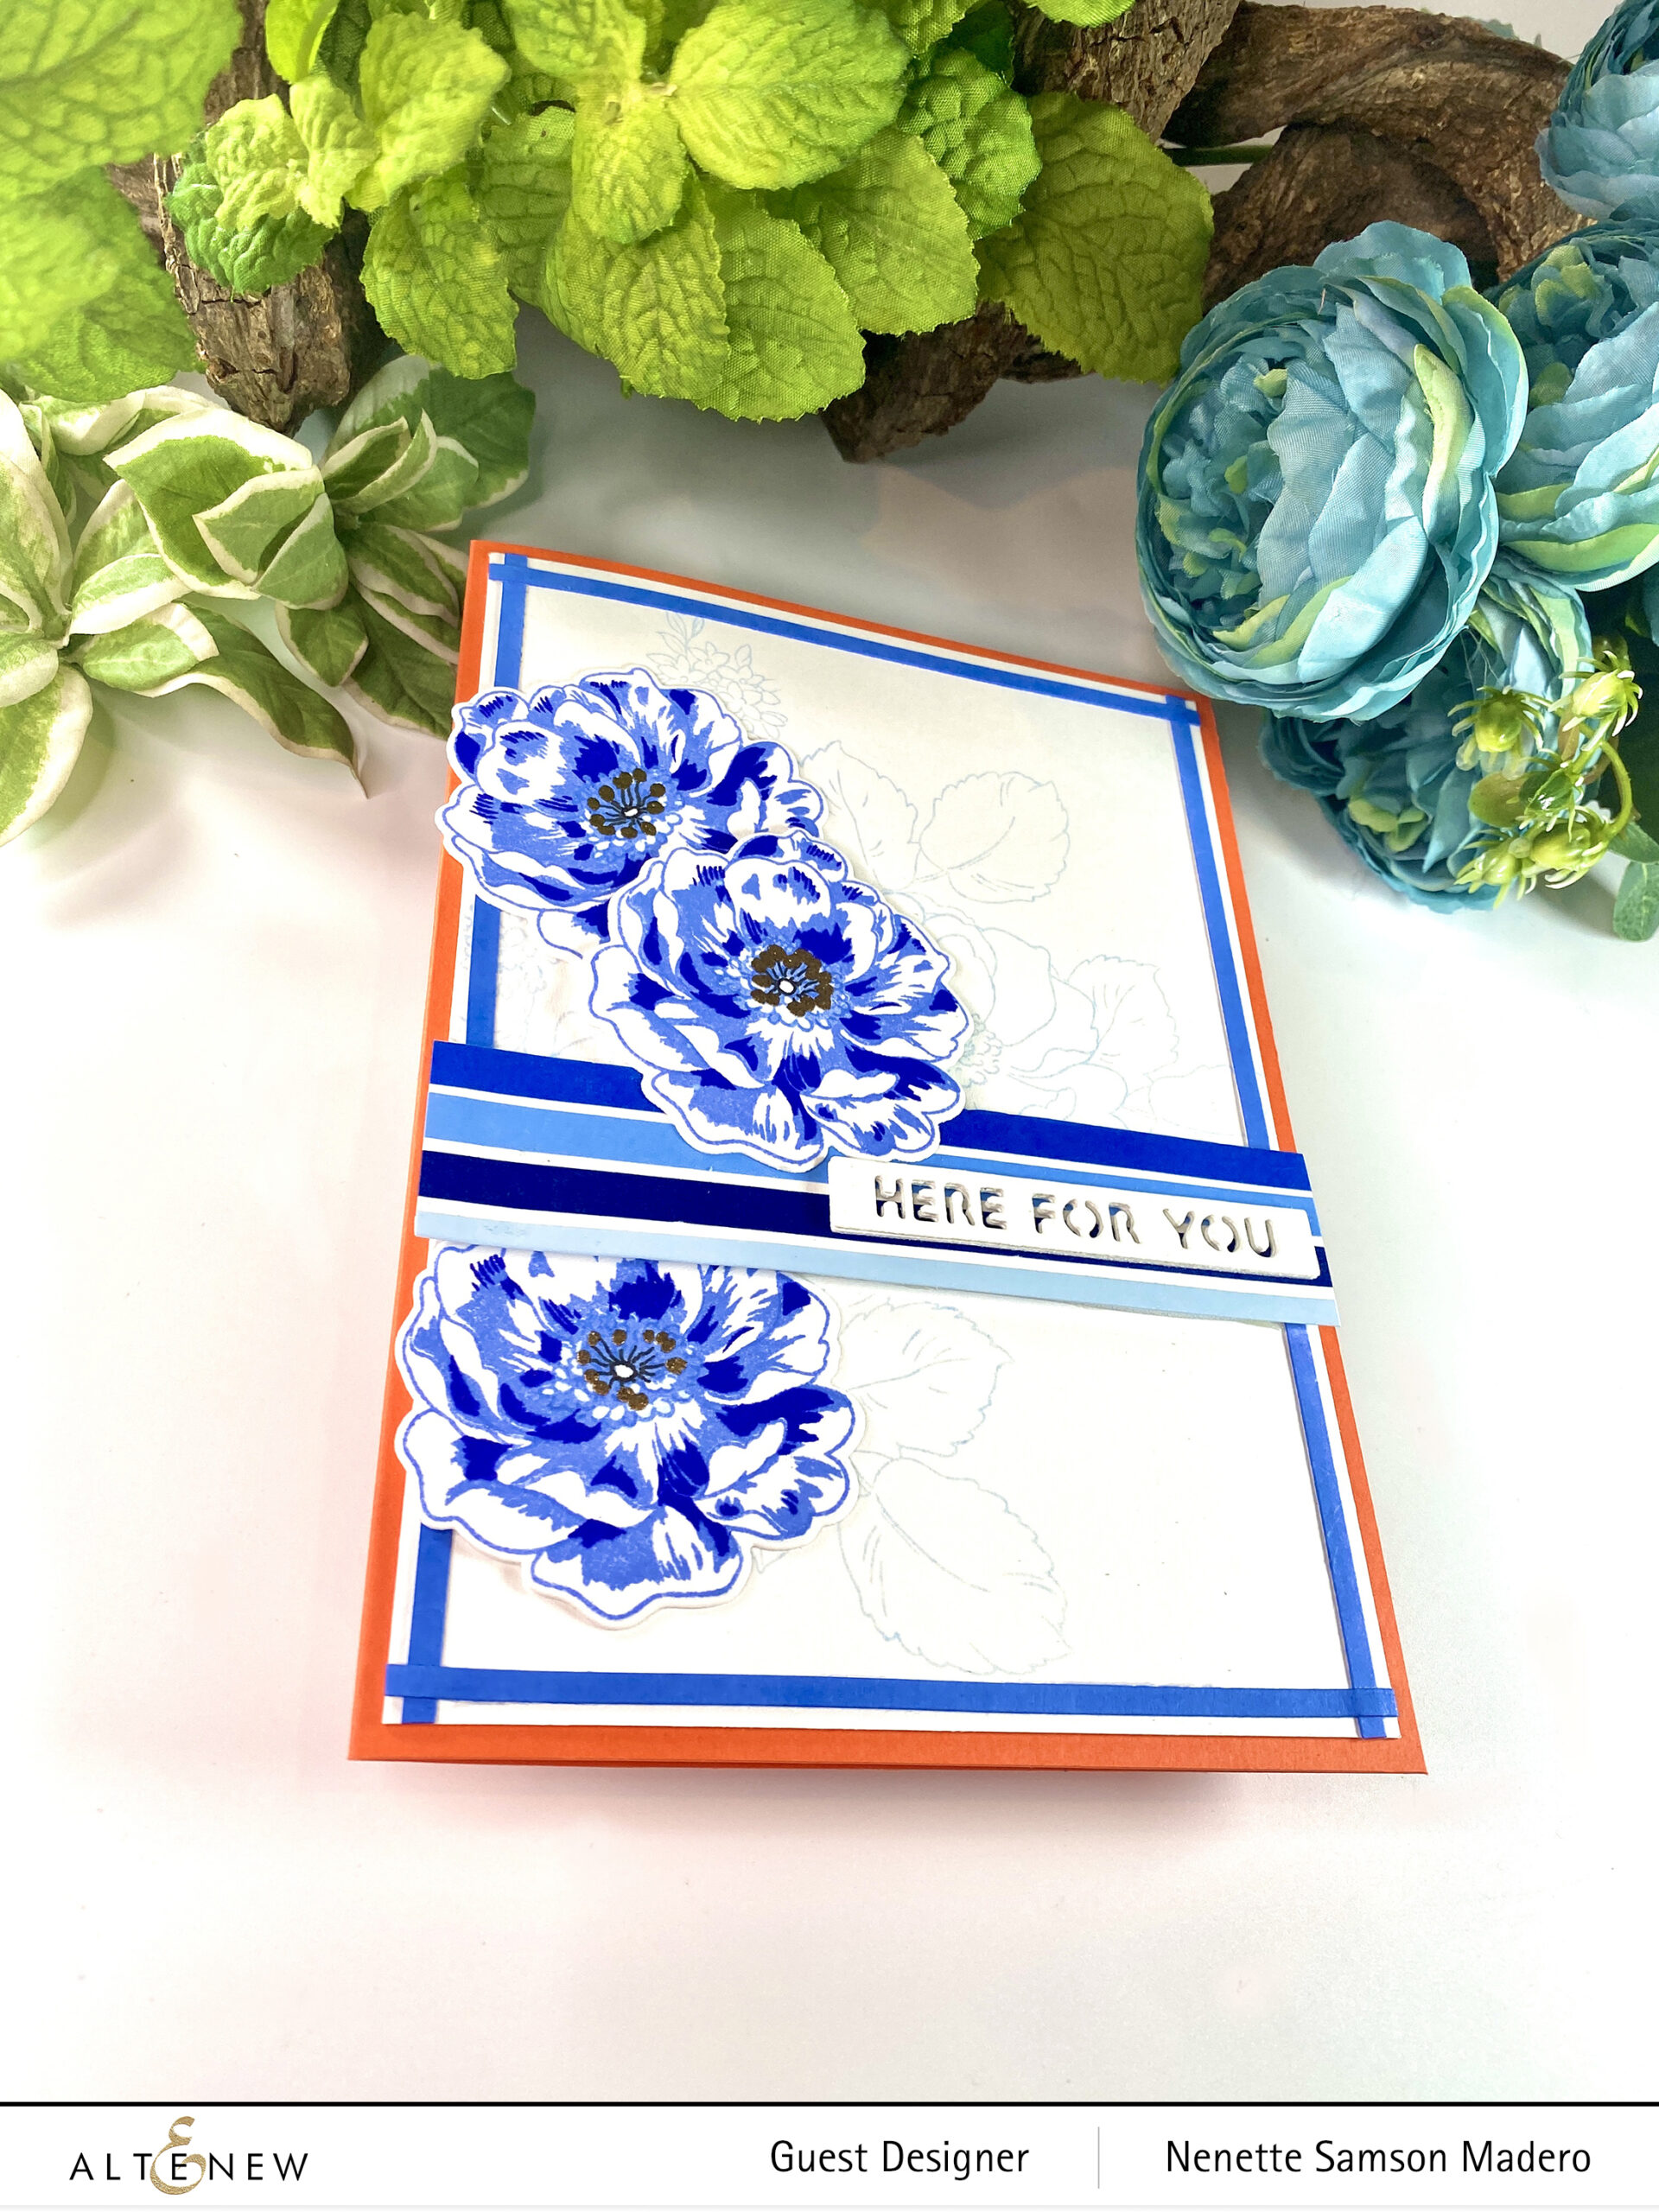
EVERY DAY IS A BLESSING
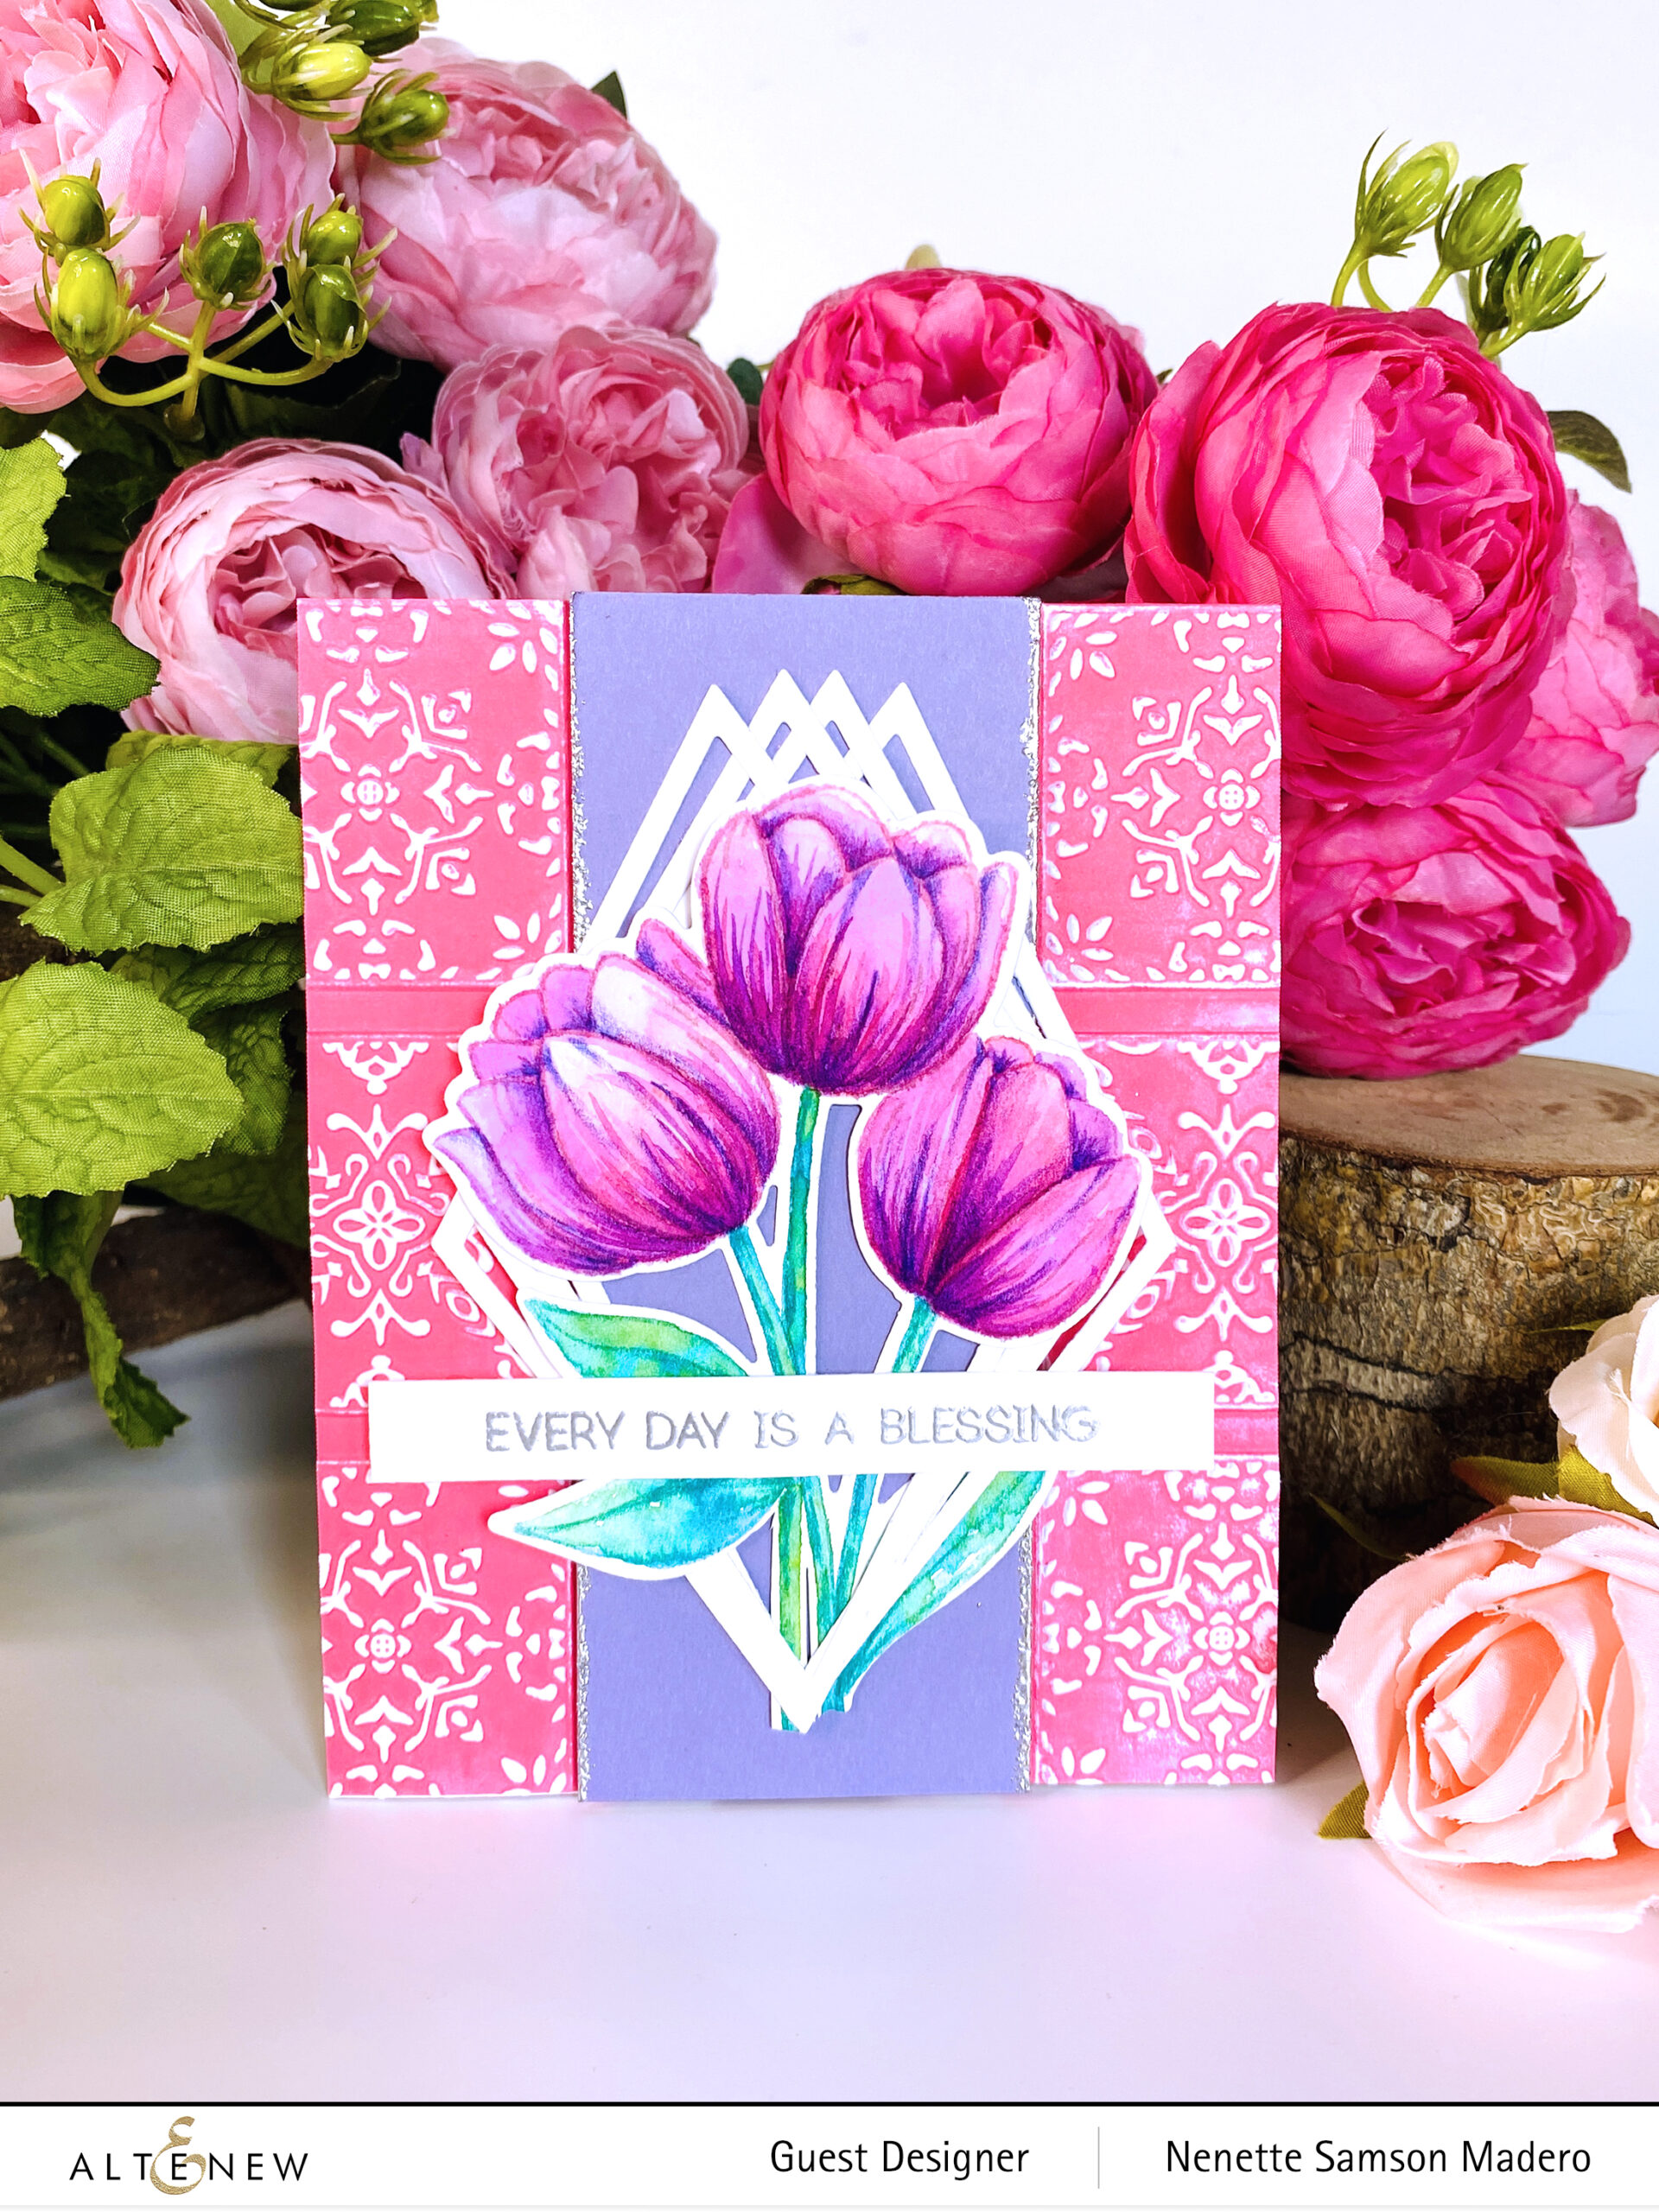
- Stamp the Cartoon Tulips on watercolor paper using Anitque Linen Distress Ink and watercolor the flowers, stems and leaves. Add details using colored pencils then die cut.
- Stamp and emboss the sentiment with Versamark Ink and Antique Silver embossing powder.
- Die cut the fine frames diamond 4 times.
- Add Coral Berry pigment ink to the flat surface of the Dreamy Tiles 3D embossing folder and emboss.
- Cut out a strip of purple cardstock and emboss the edges with silver embossing powder.
- Assemble the card.
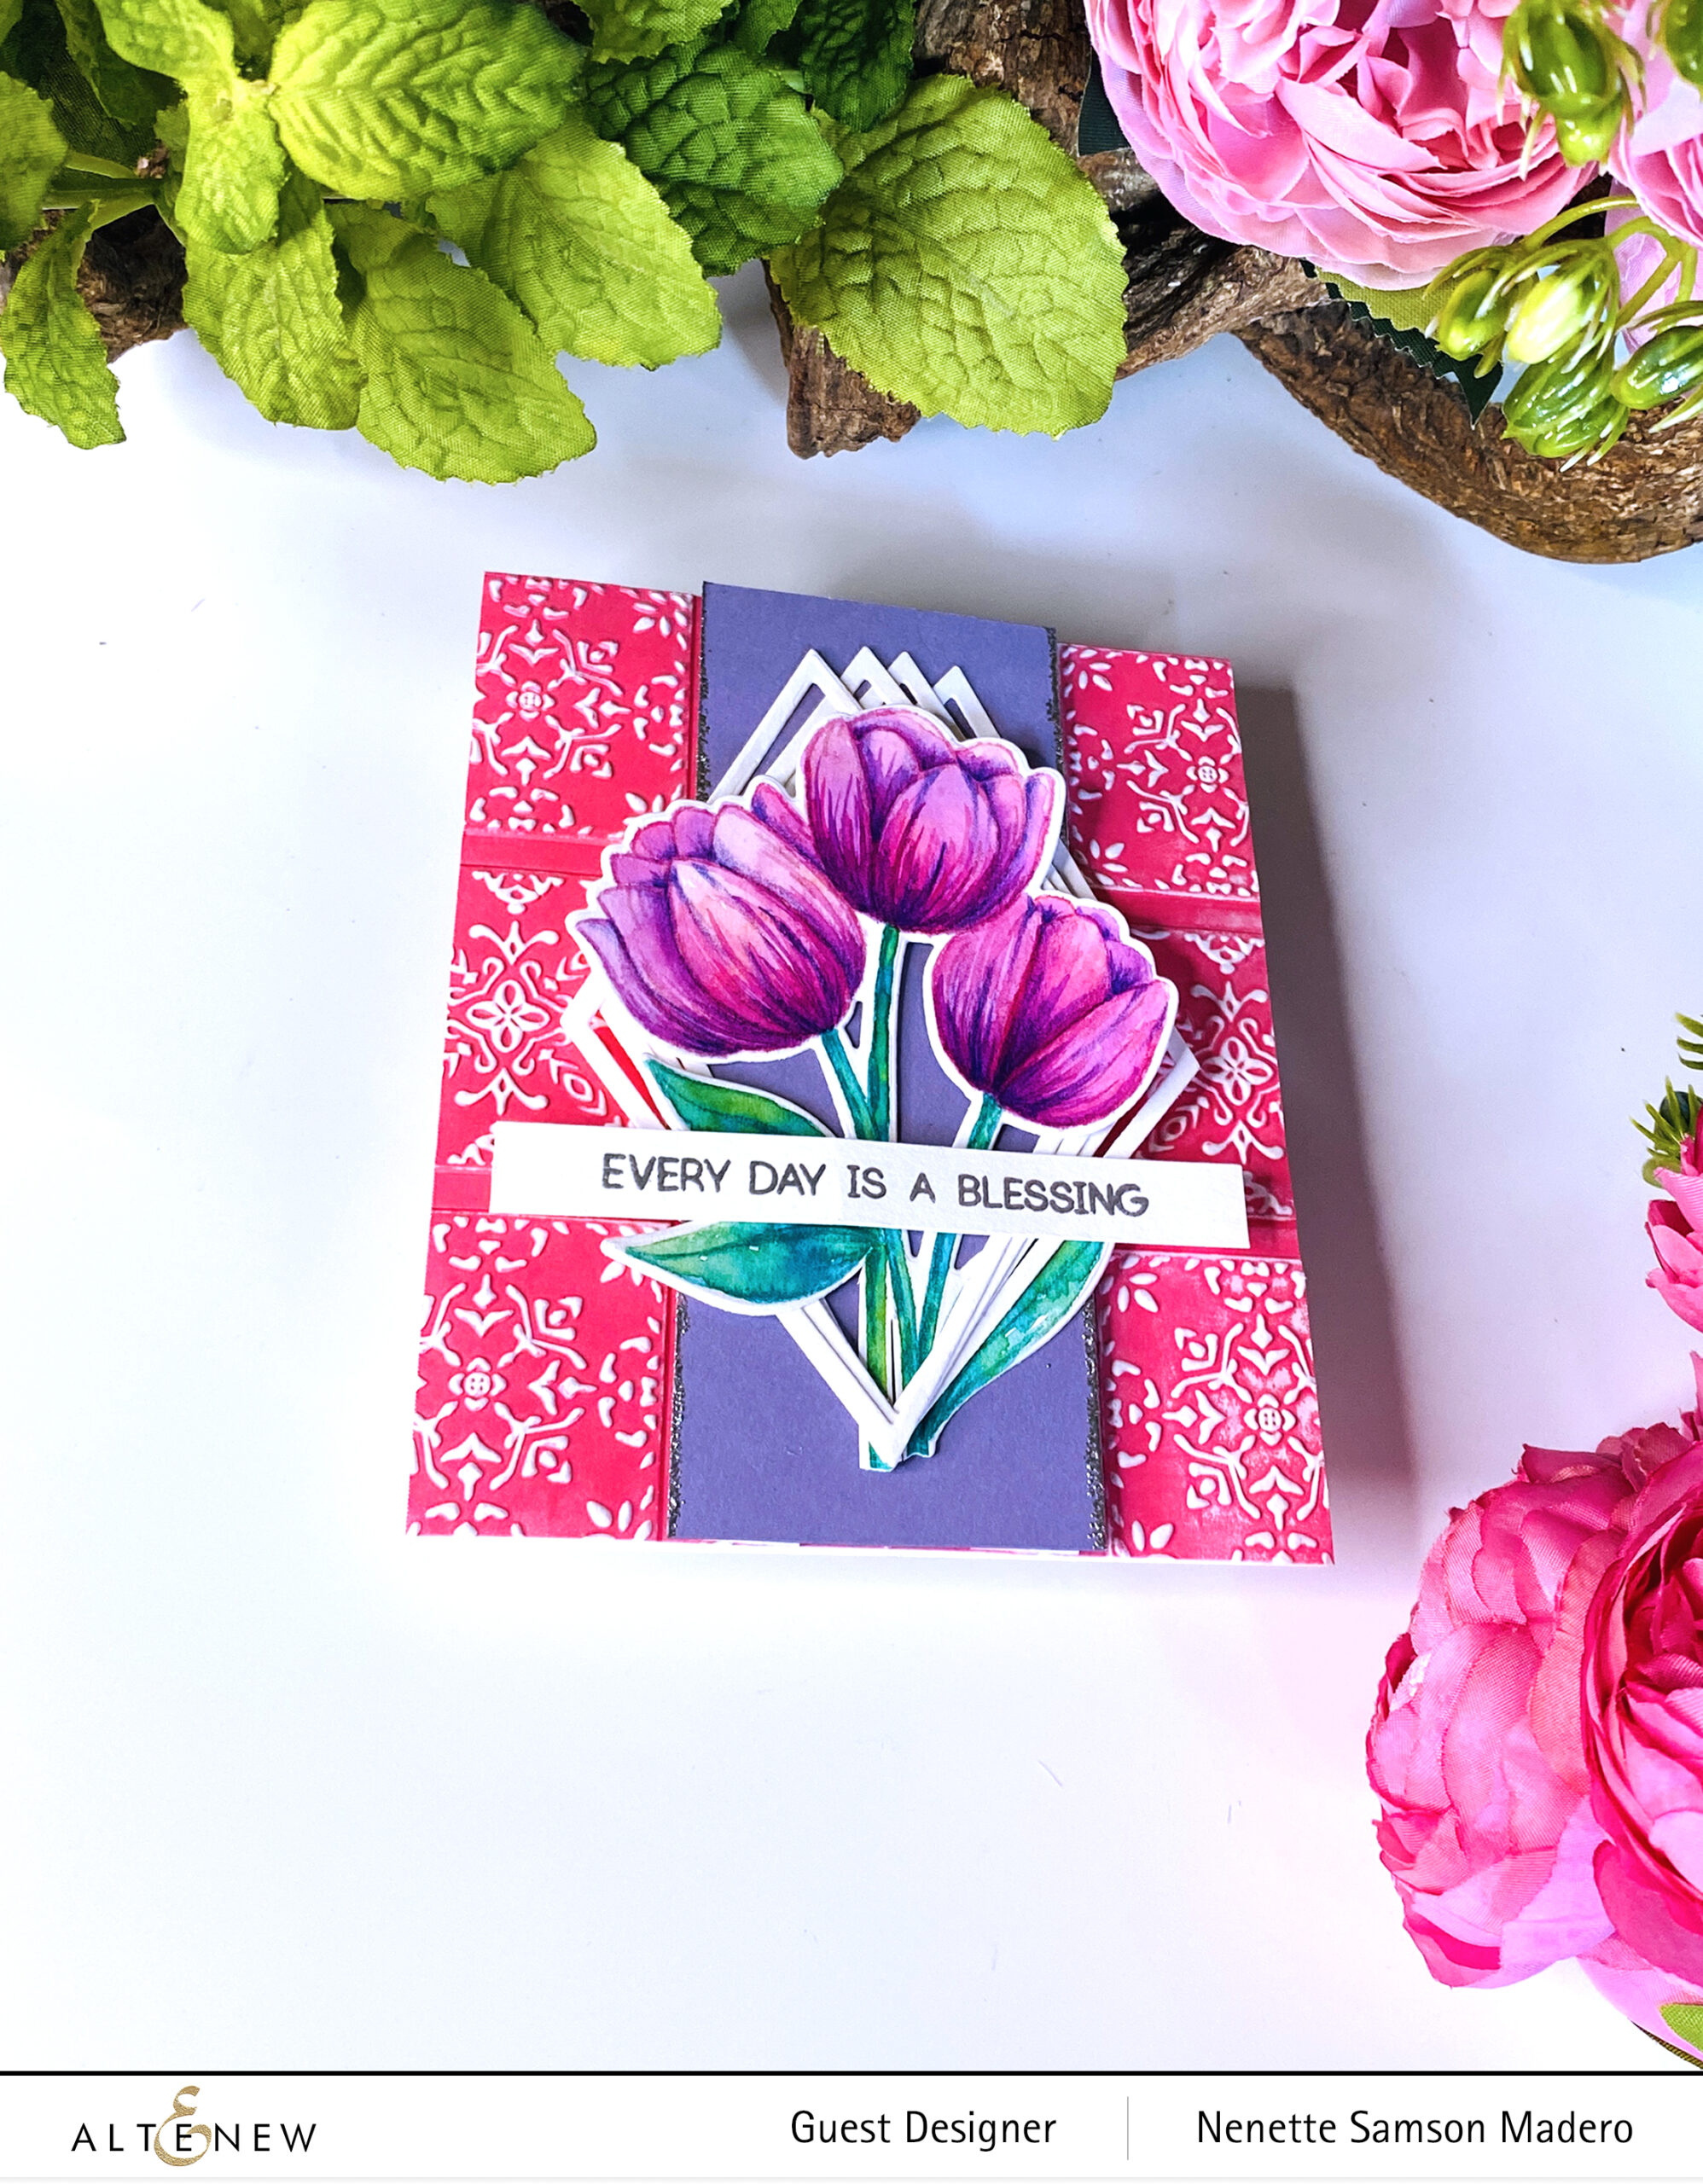
All of the elements in this card draw the eye to the tulips– the purple strip, the diamond die cuts and the position of the sentiment strip. I can’t wait to make more cards using this lovely stamp set.

- Get a FREE brand new Thanks and Blessings Release Mini Inspiration Guide with every order from 09/03/2021 through 09/05/2021. Shop HERE!
- Get a FREE brand new Online Cardmaking Class with every order from the new Thanks and Blessing Stamp & Die Release Collection from 09/03/2021 through 09/09/2021. Shop HERE!
GIVEAWAY PRIZES
$300 in total prizes! To celebrate this release, Altenew is giving away a $50 gift certificate to 2 lucky winners and a $25 gift certificate to 8 winners! Please leave a comment on the Altenew Card Blog and/or each designer’s blog post on the blog hop list below by 09/09/2021 for a chance to win.
Altenew will draw 10 random winners from the comments left on each stop of this blog hop and announce the winners on the Altenew Winners Page on 09/11/2021.
Next up is my dear and talented friend, Sandhya Iyer. Make sure to leave a comment below to get a chance to win a prize from Altenew! I hope you liked the cards I created for this hop. I love hearing from all of you and your comments just inspire me to be more creative!
Thank you so much for dropping by. Stay safe and keep on crafting!

")


")