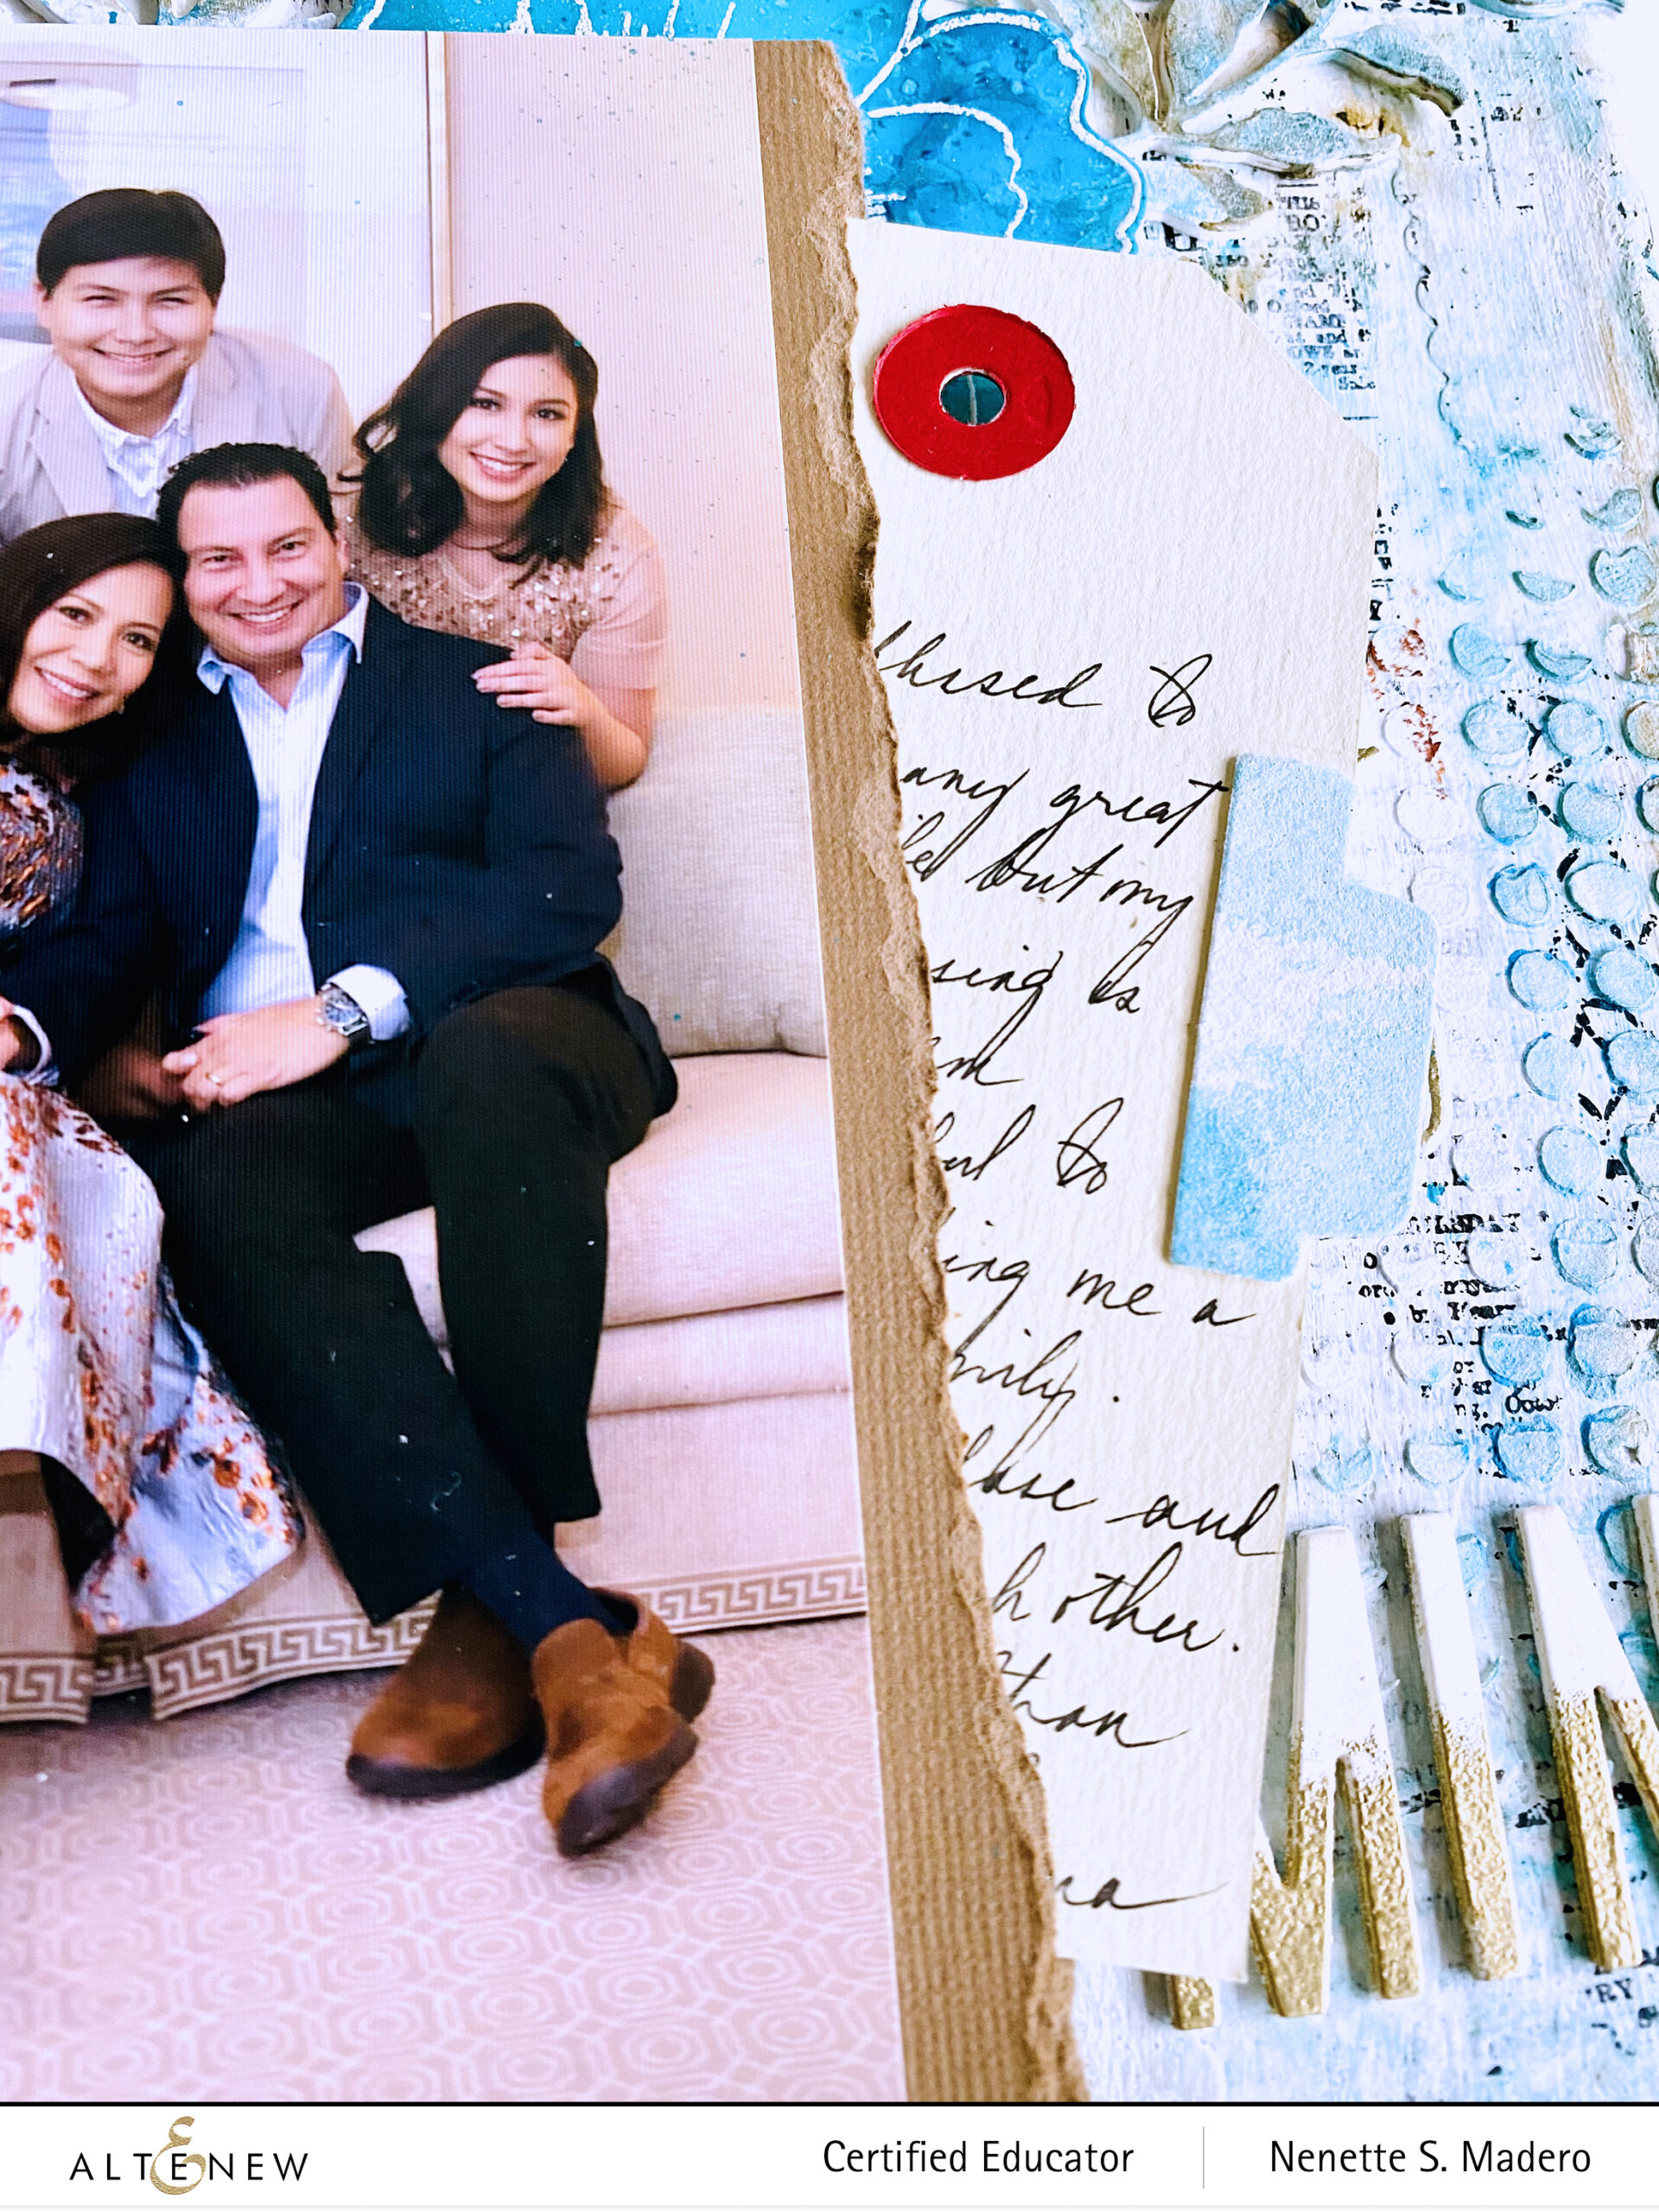
How to Create a Shabby Chic Background With Alcohol Inked Florals for a Scrapbook Layout on Canvas

How to Create a Shabby Chic Background With Alcohol Inked Florals for a Scrapbook Layout on Canvas

Hello everyone! Nenette here. I’m so honored to be featured on the Altenew Mixed Media blog today! Thank you Altenew for inviting me to be a part of this blog.

I’m so happy to be sharing with you some fun techniques using alcohol inks and mixed media to create a textured, shabby chic background for a scrapbook layout on canvas.
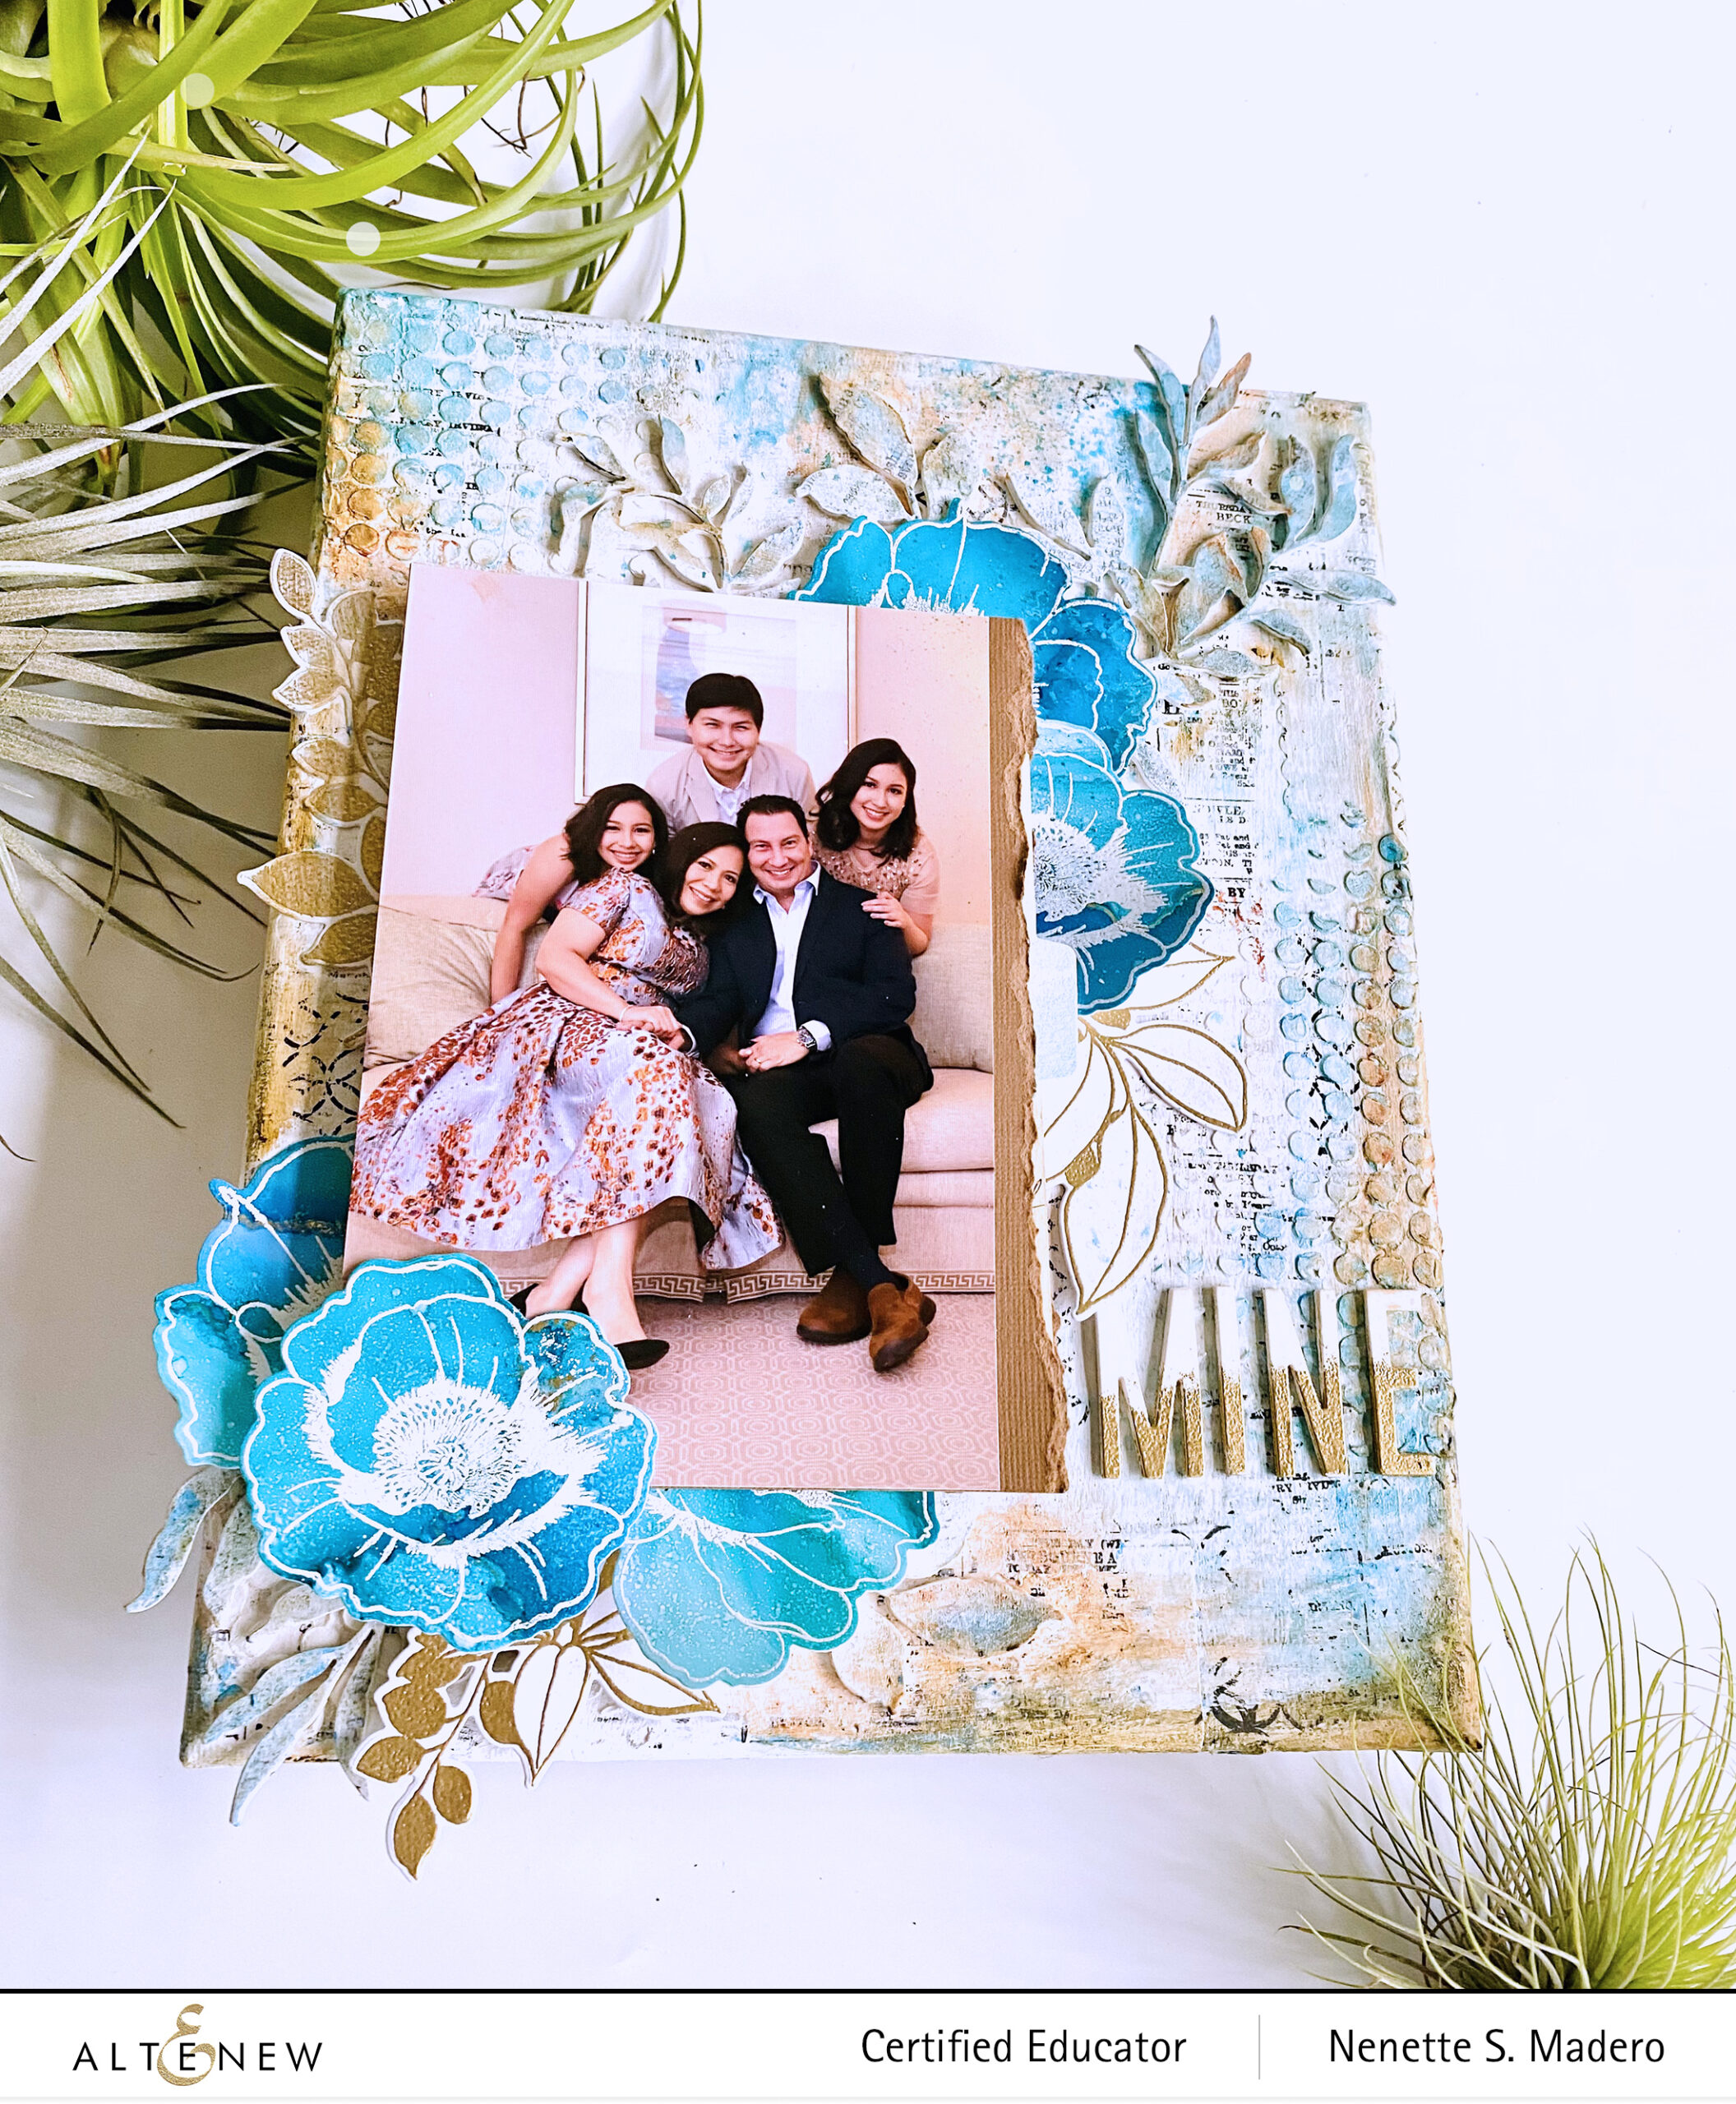
To me, scrapbook layouts are my love letters to my family. I always make sure that the 3 major components are present in all my layouts– title, photo and journaling. I wanted to elevate this scrapbook page so I created it on canvas.


MATERIALS


STAMPS: Altenew Wallpaper Stamp, background stamps
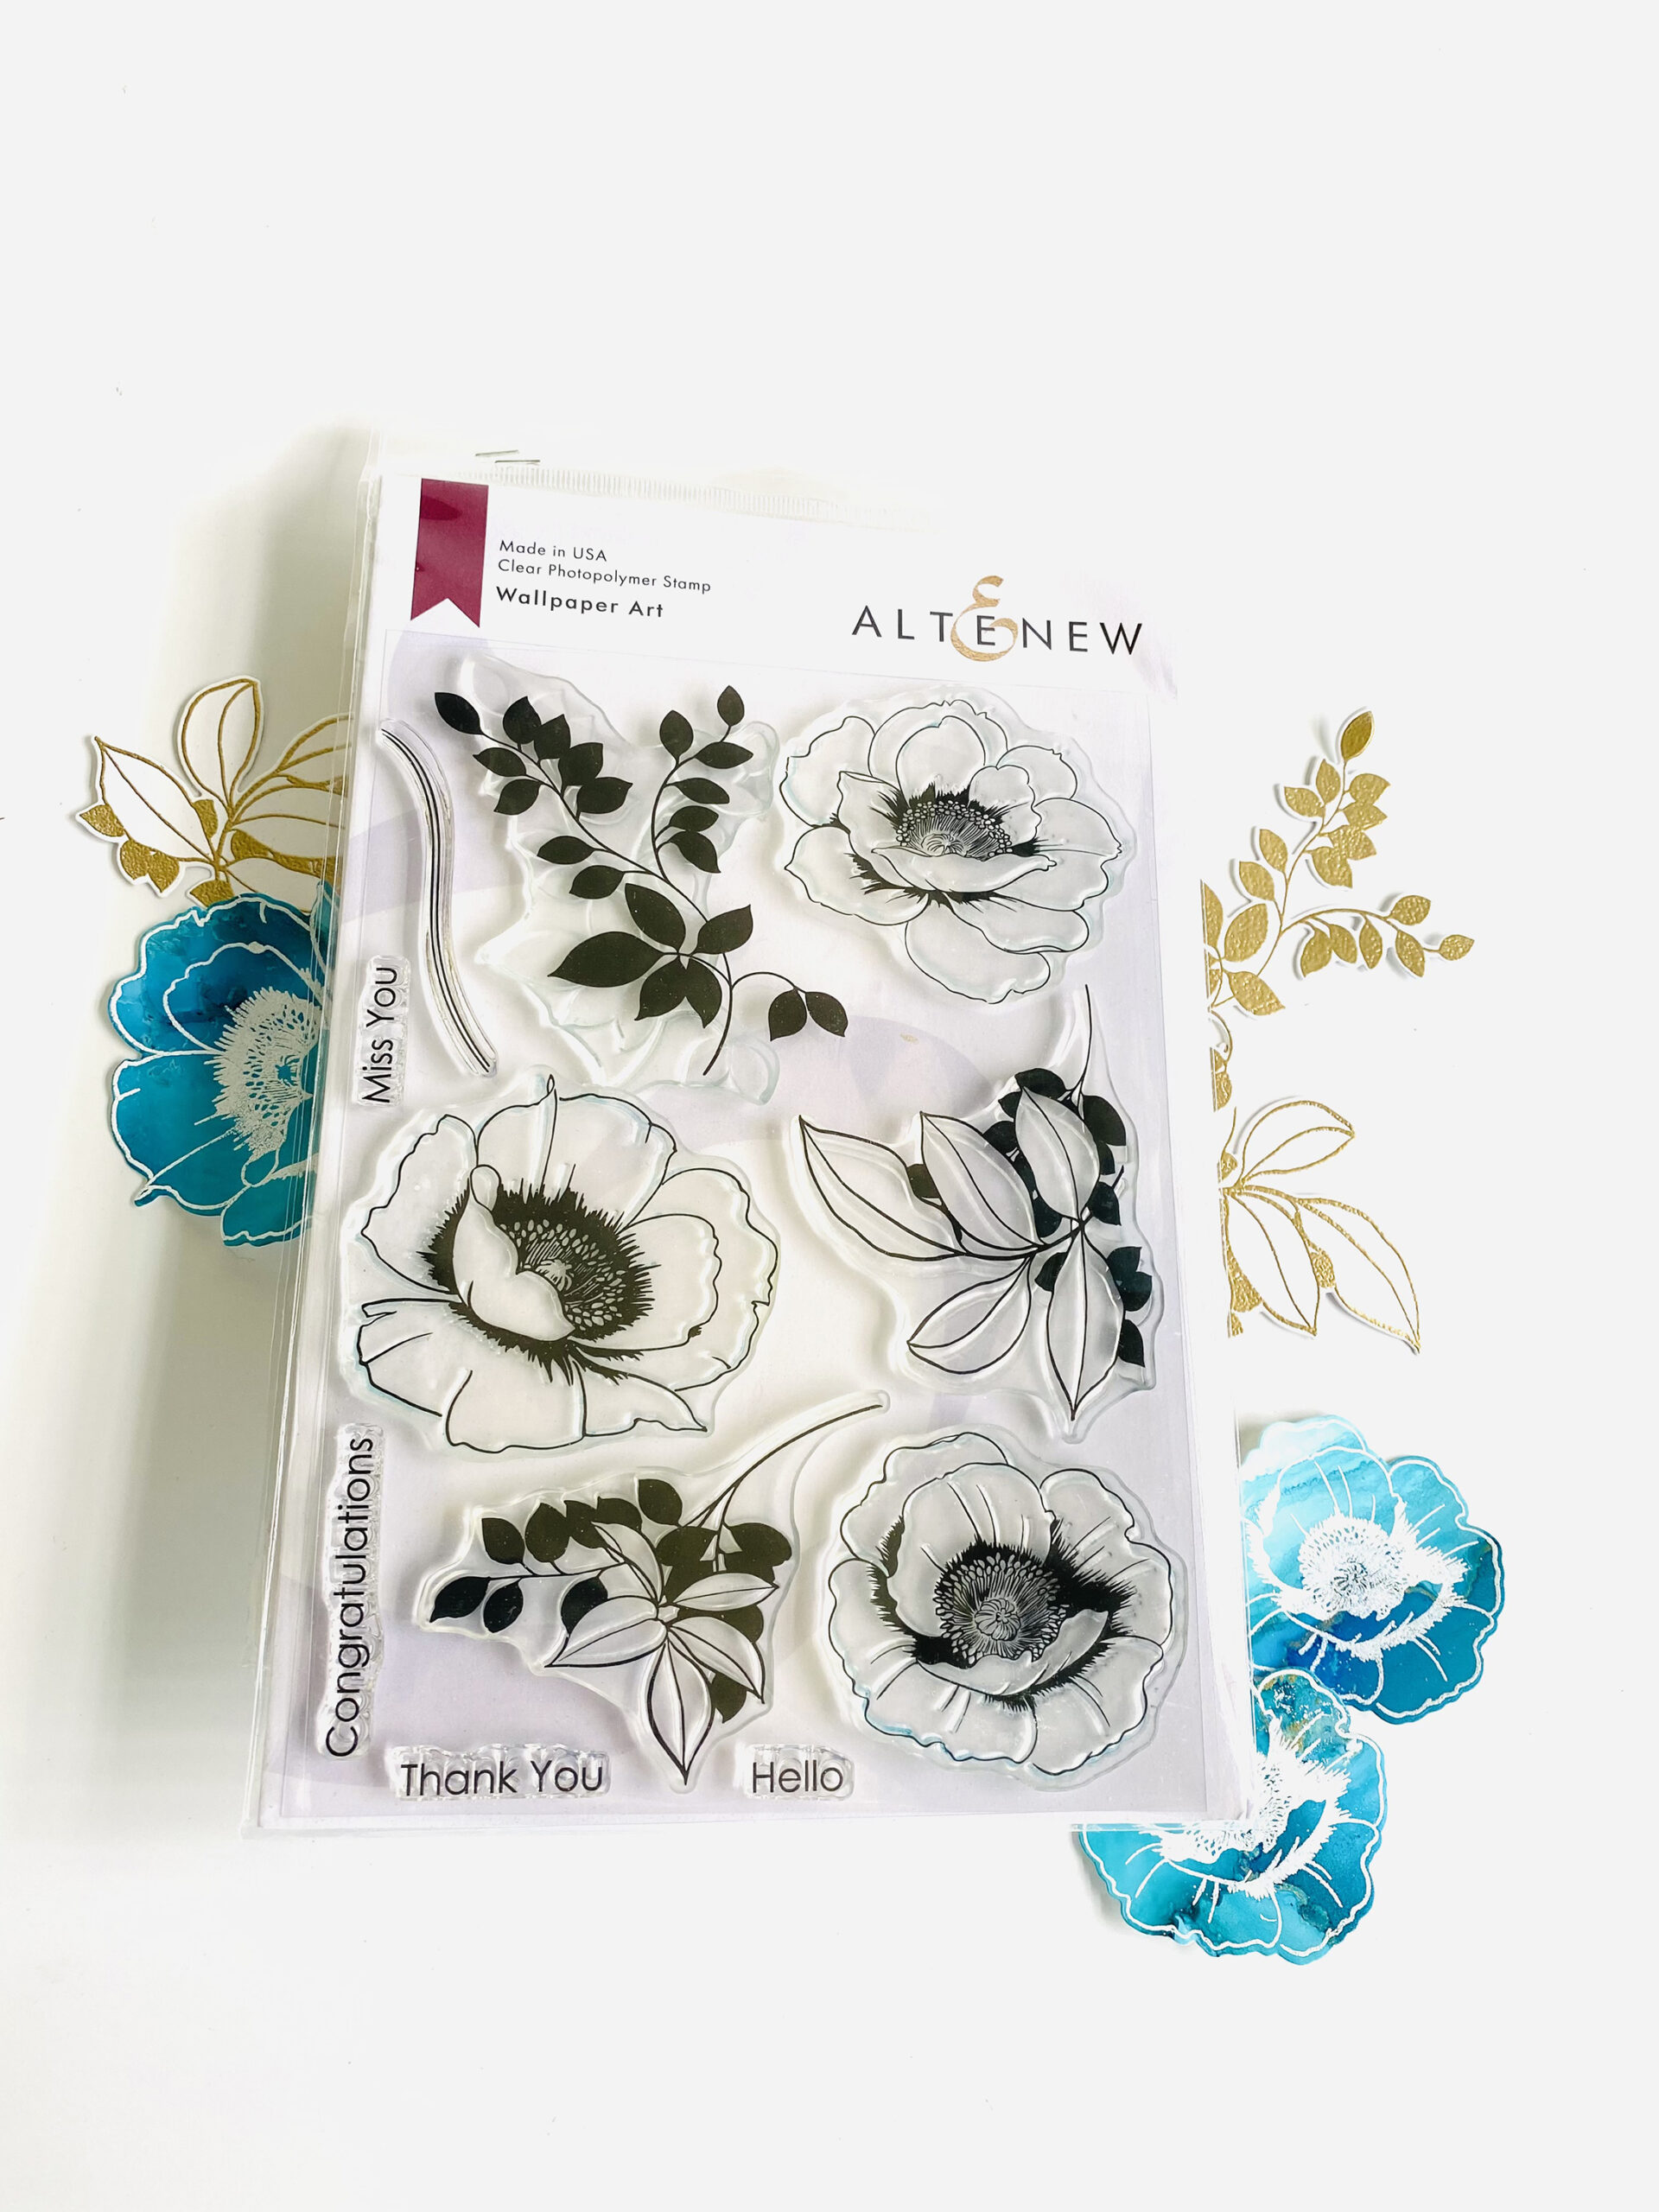
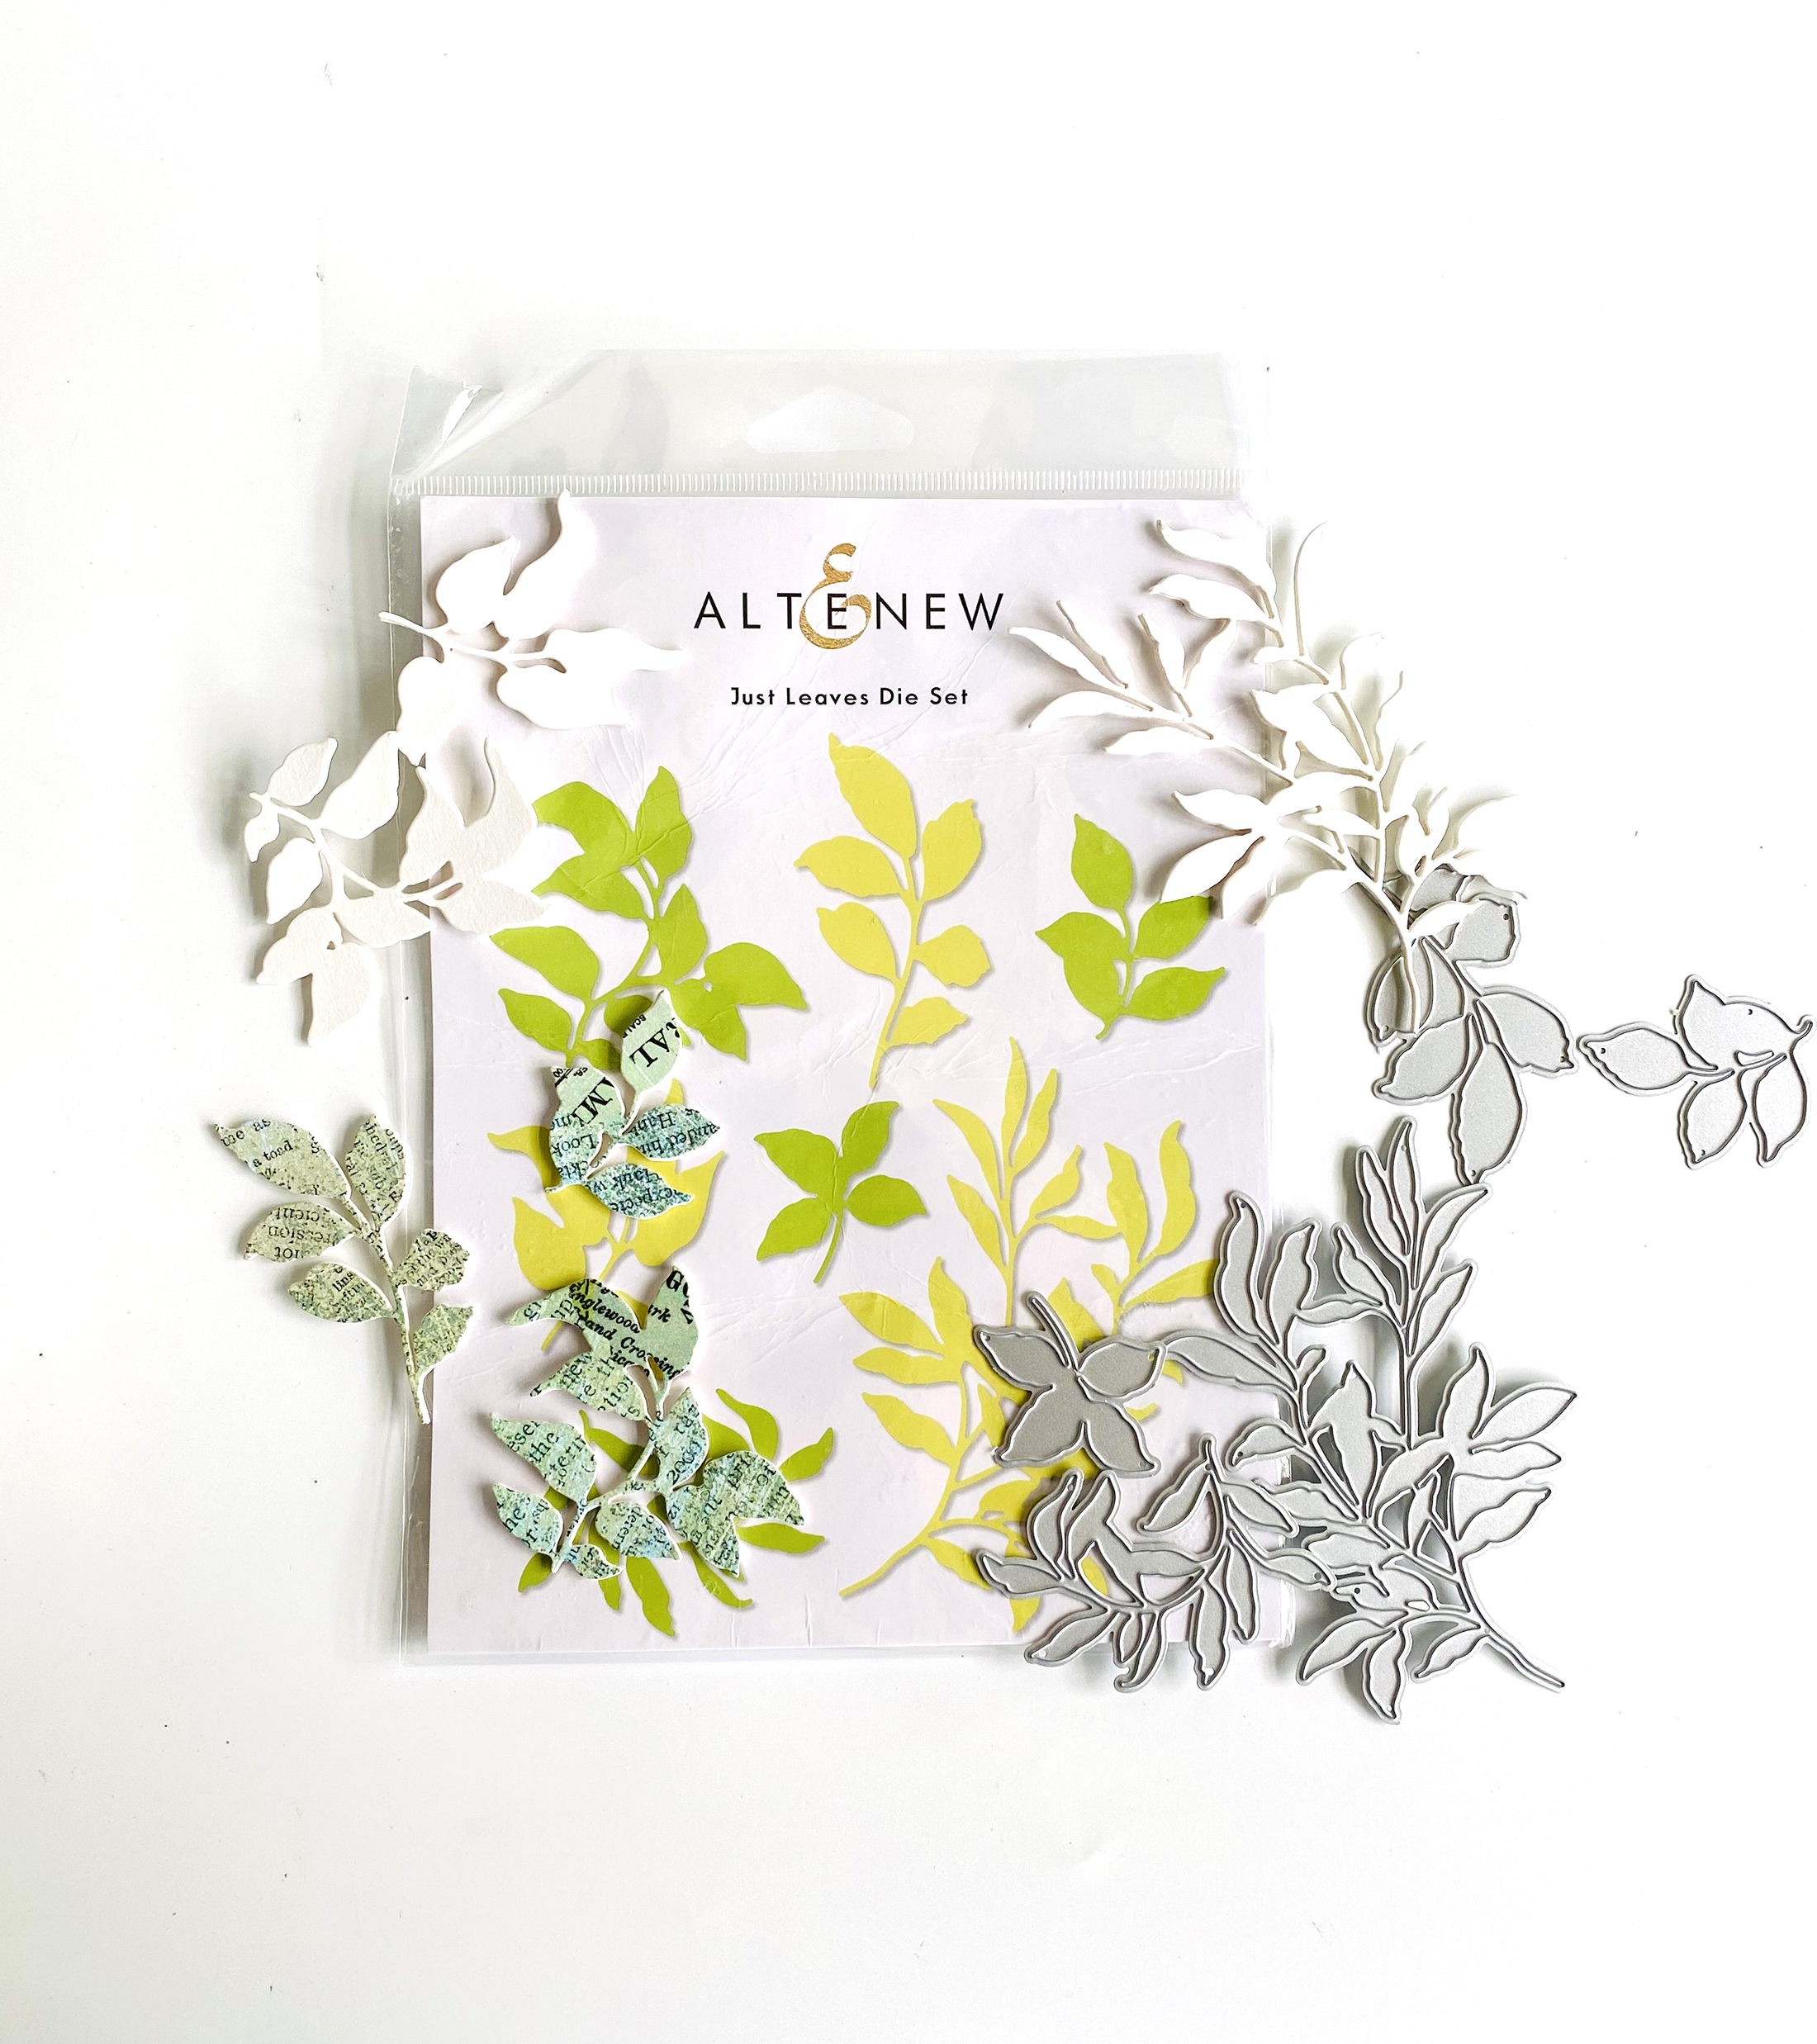
DIES: Wallpaper die, Just Leaves die, Fine Alphabet die
MIXED MEDIA: Altenew Embossing paste, Obsidian Pigment Ink, Altenew Metallic shimmer ink spray Lagoon, Mod Podge glue, white gesso, Versamark Ink, Distress Crayons

ALCOHOL INKS: Altenew Lagoon and Caribbean Sky, Piñata gold
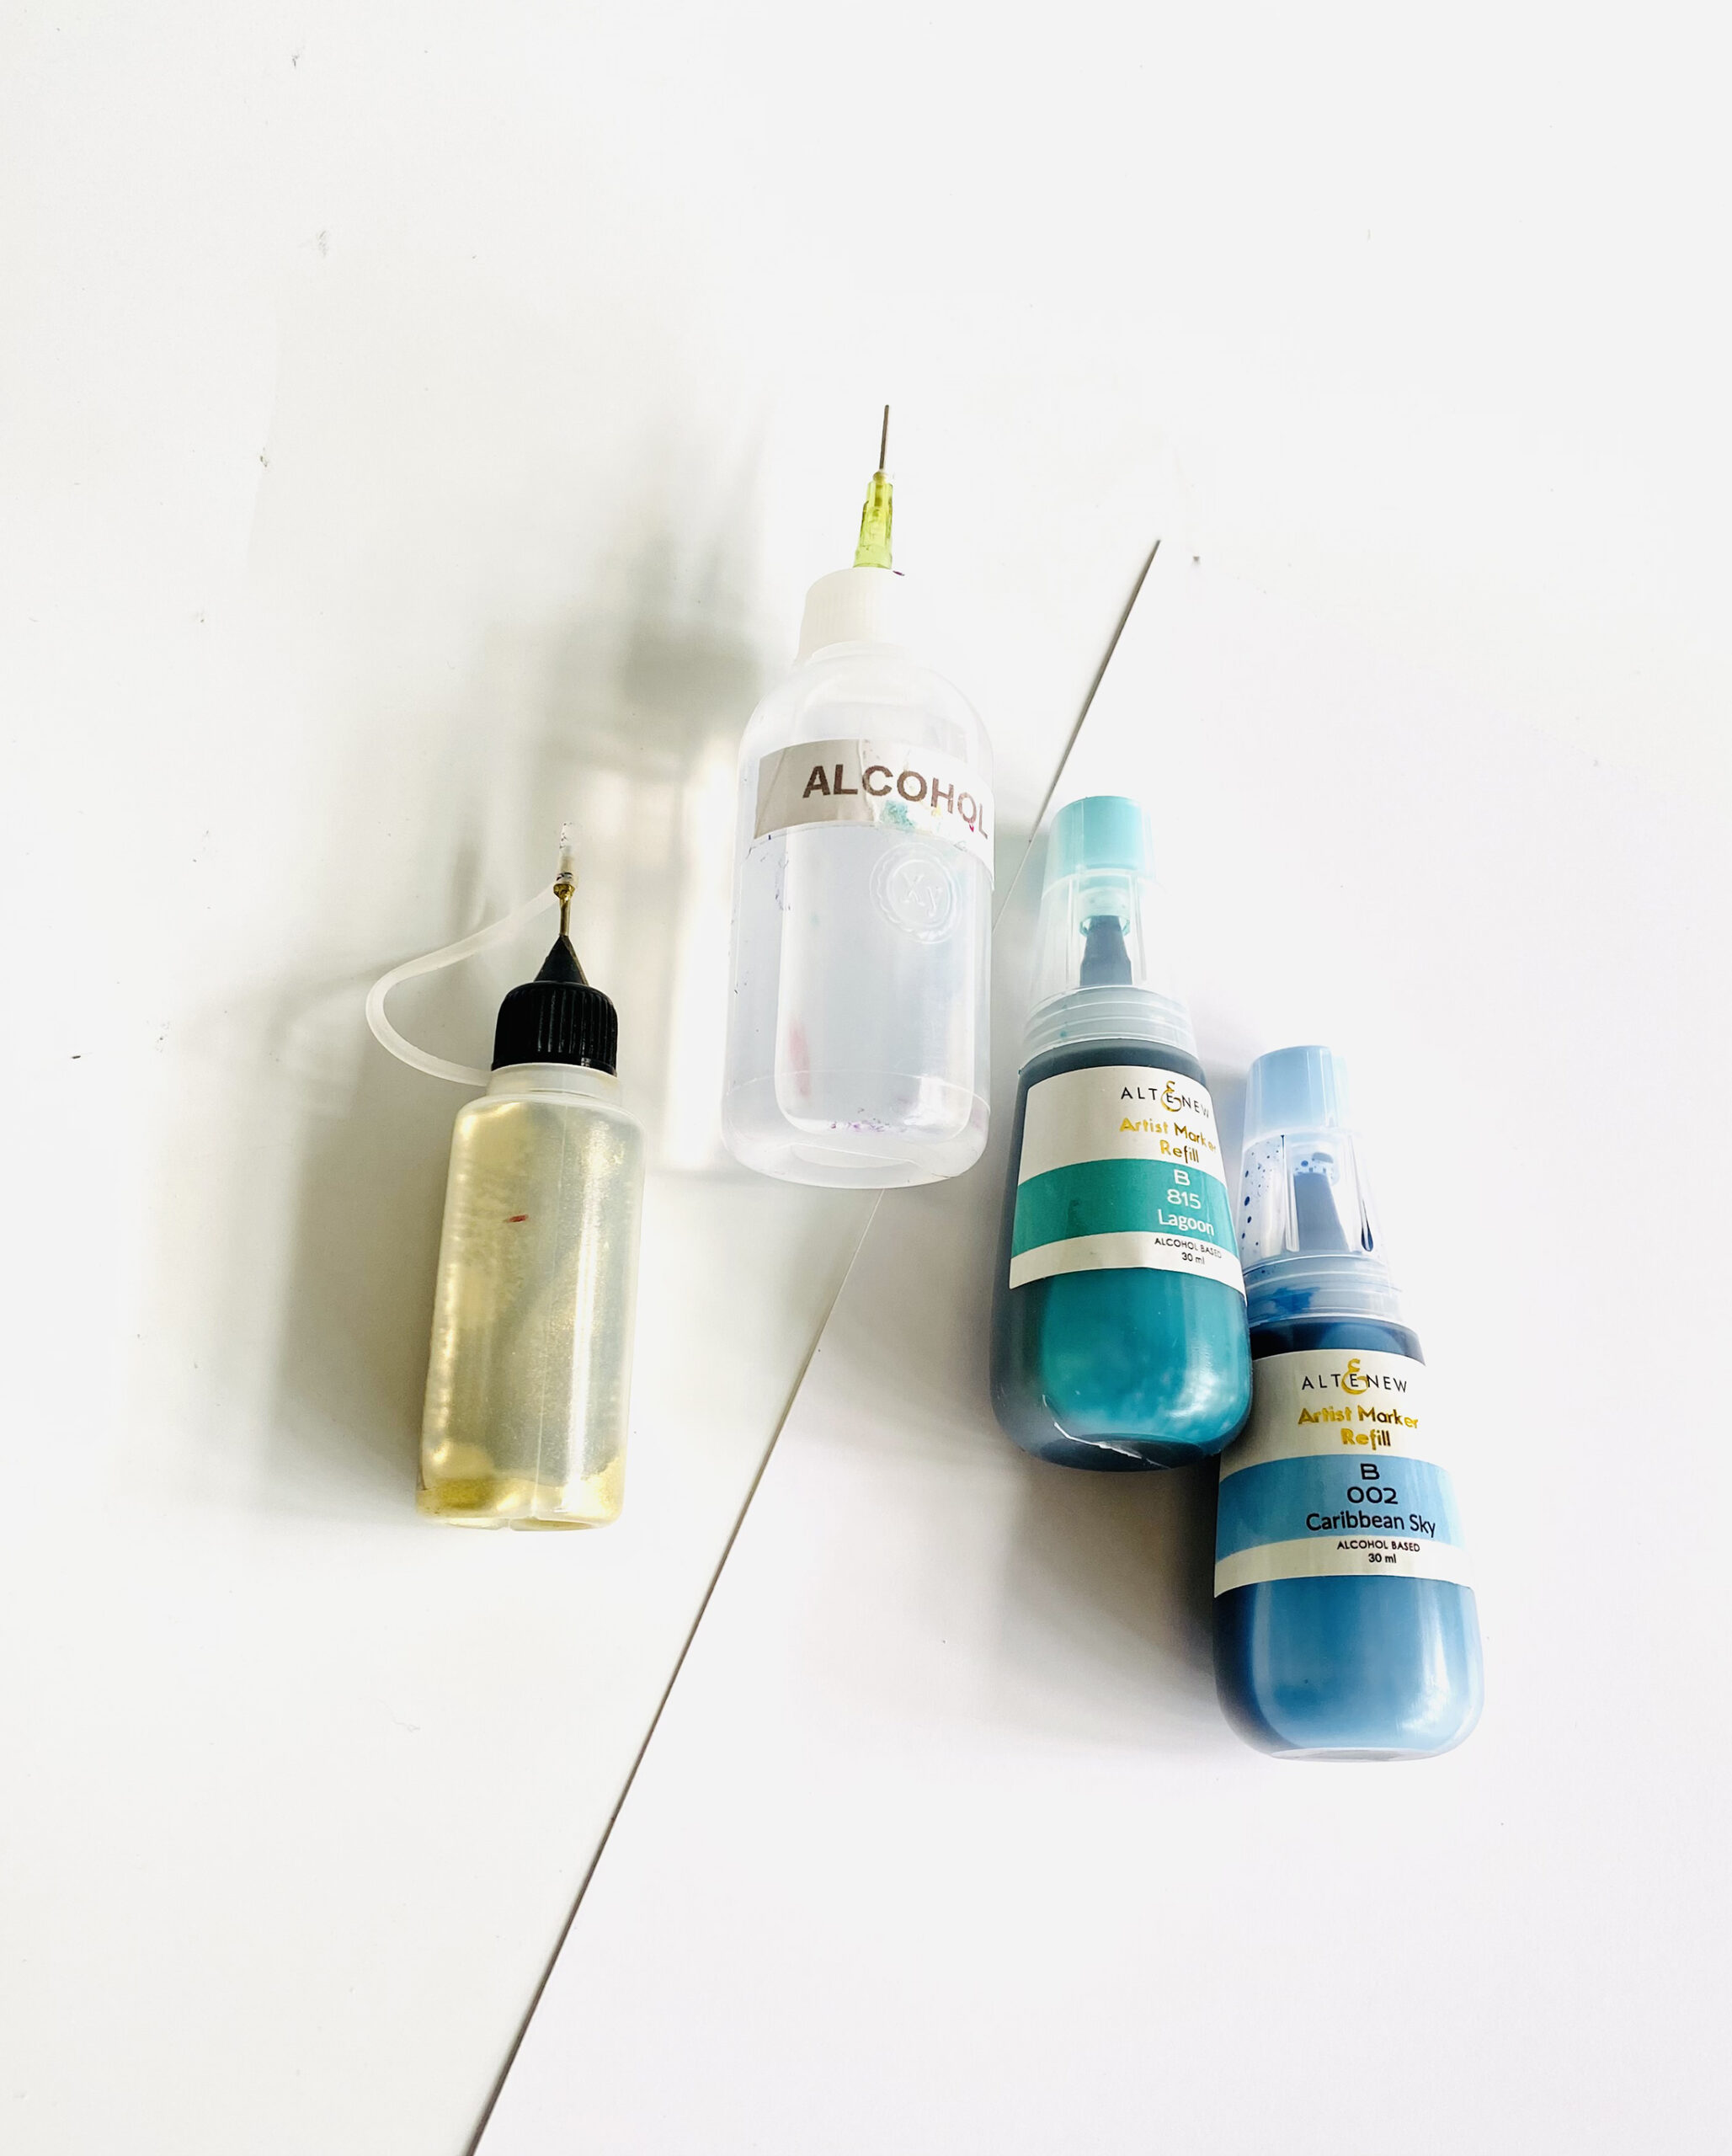
EMBOSSING POWDERS: Altenew Antique Gold and Pure White

STENCIL: Altenew Halftone Stencil

ADHESIVES: Tombow Multi Liquid glue, Glossy Accent dimensional medium, foam squares

PAPERS: Nara paper, Watercolor paper, Neenah Solar White CS, patterned paper and old book sheets

OTHERS: Canvas, spatula, water spray, 99% alcohol, chipboard sheets, brushes, heat tool, embossing heat tool, hair dryer, die cutting machine, puncher, anti-static tool, Misti


STEPS ON HOW TO CREATE THIS SCRAPBOOK CANVAS


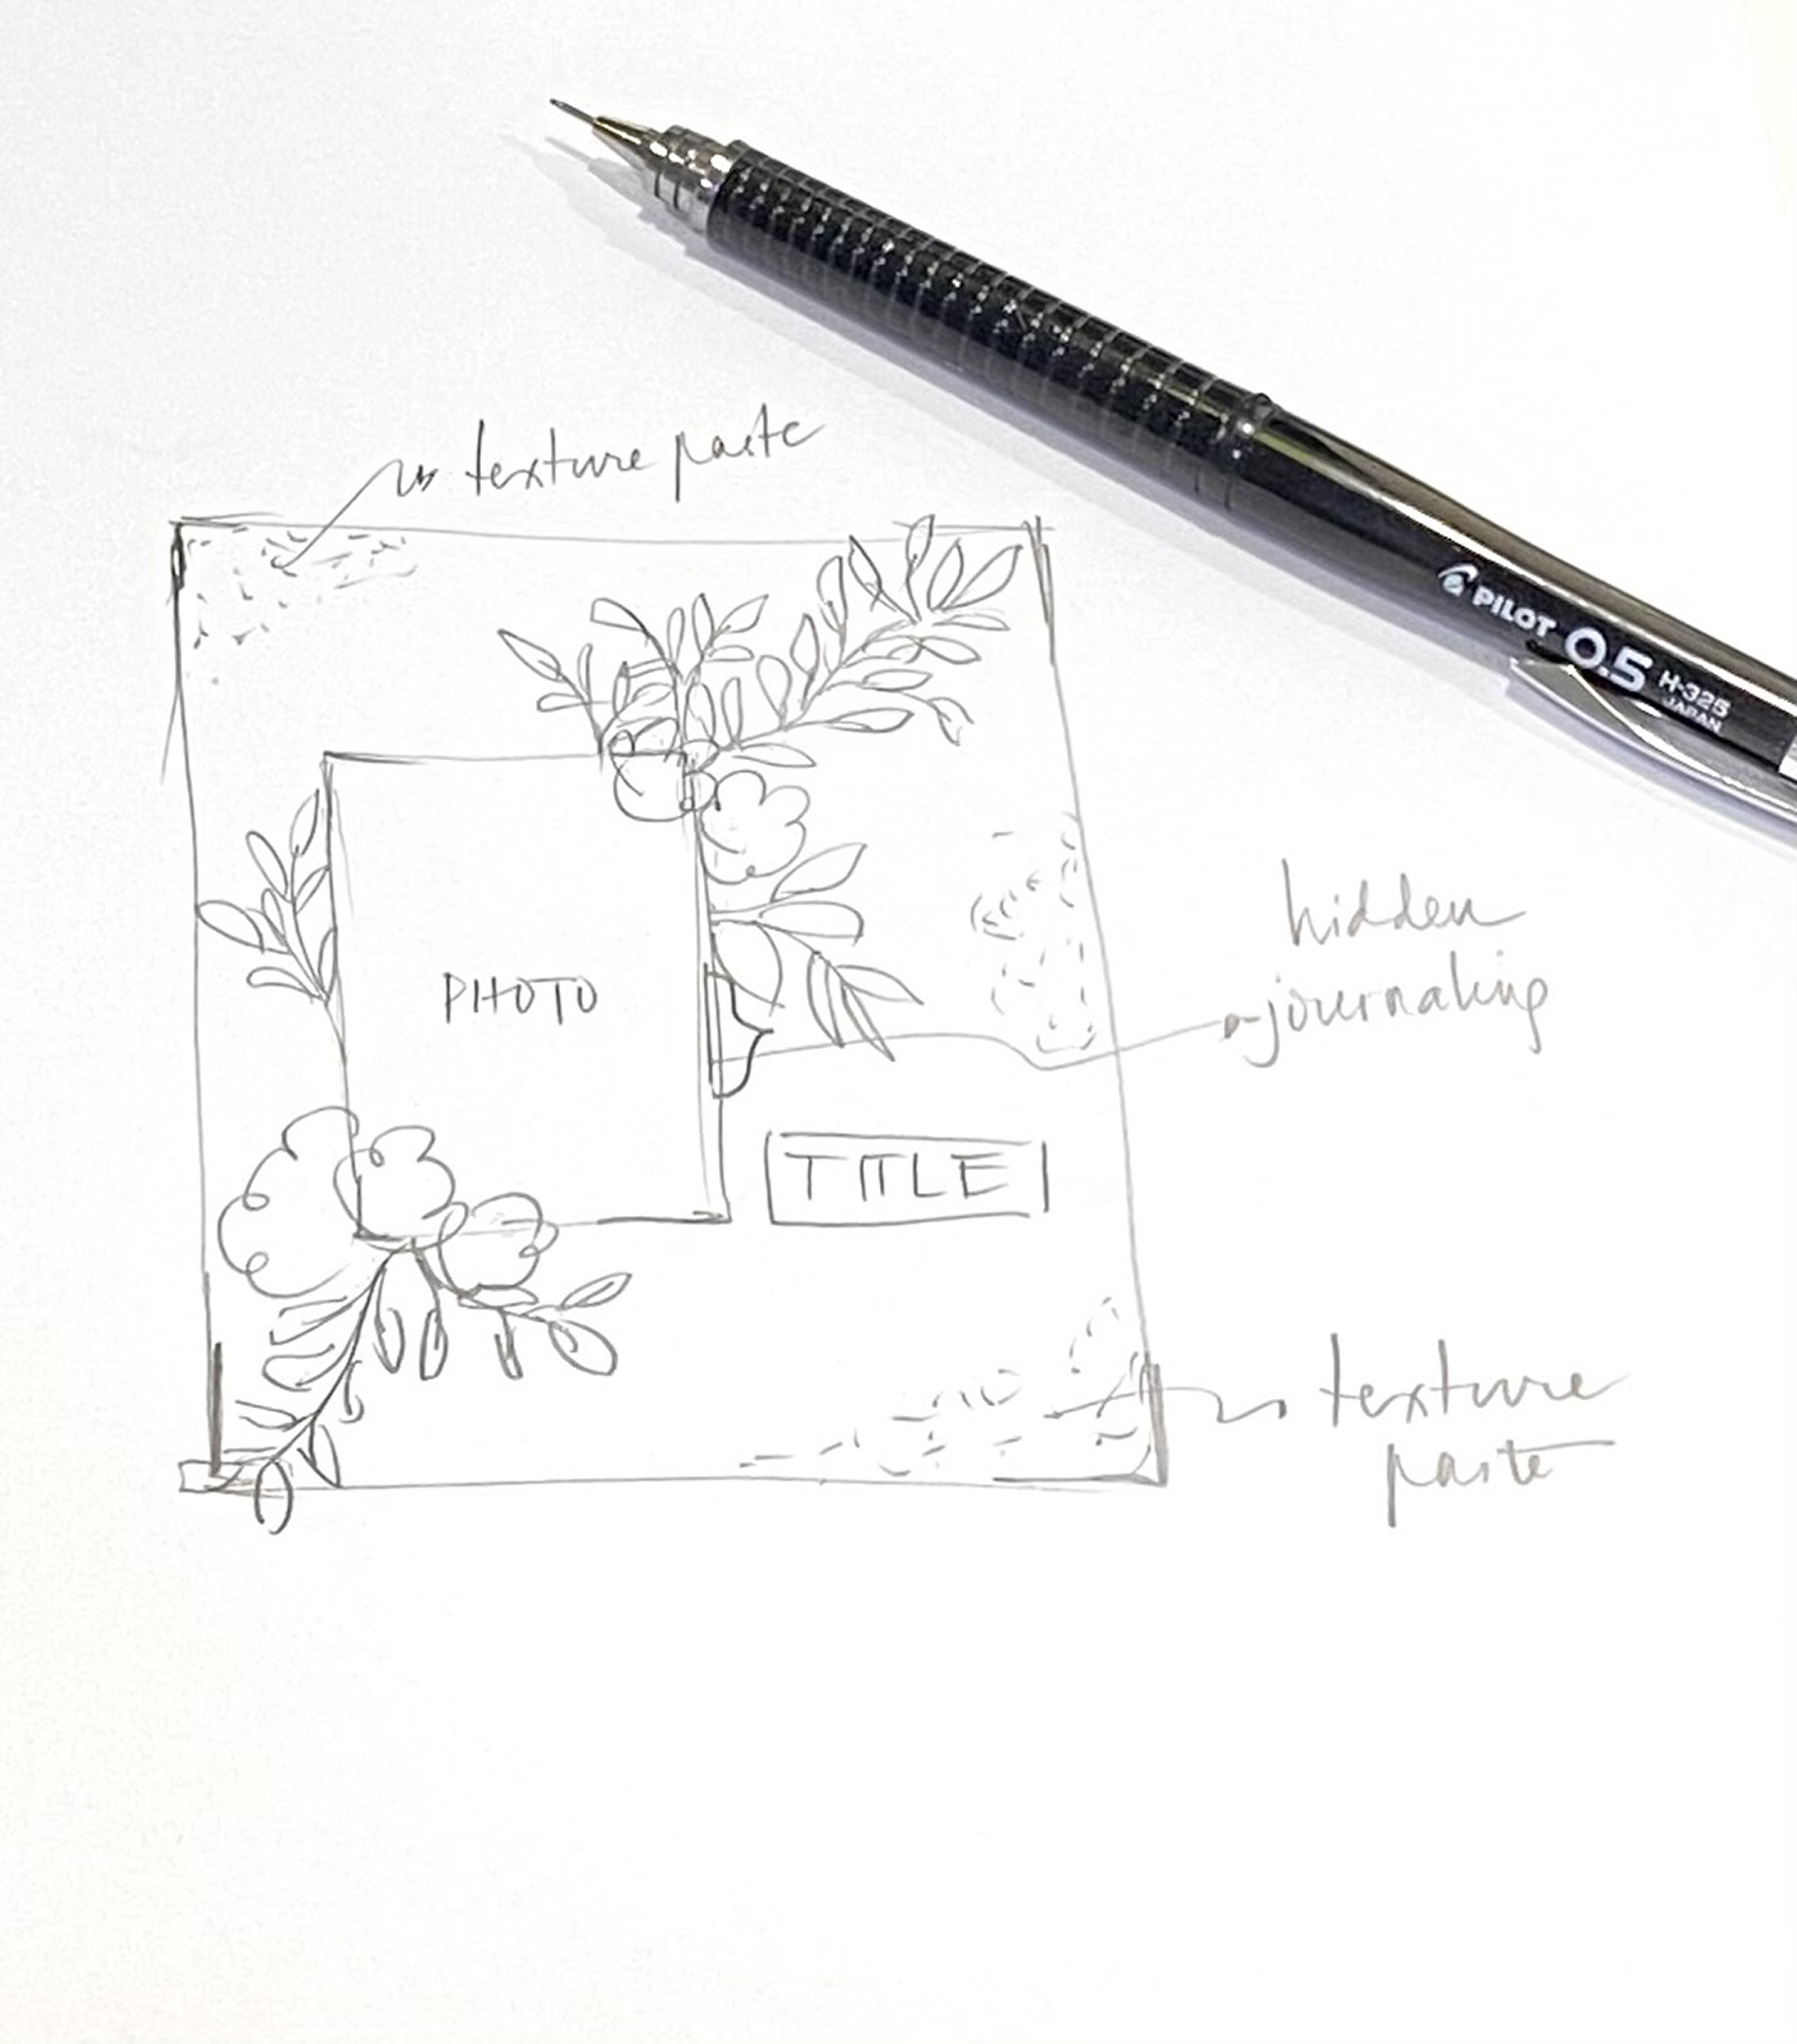
  1. Create a sketch of the layout-most often than not, I start with an idea in my head. Sketching it makes it visually clear as to what I want to do with the layout.
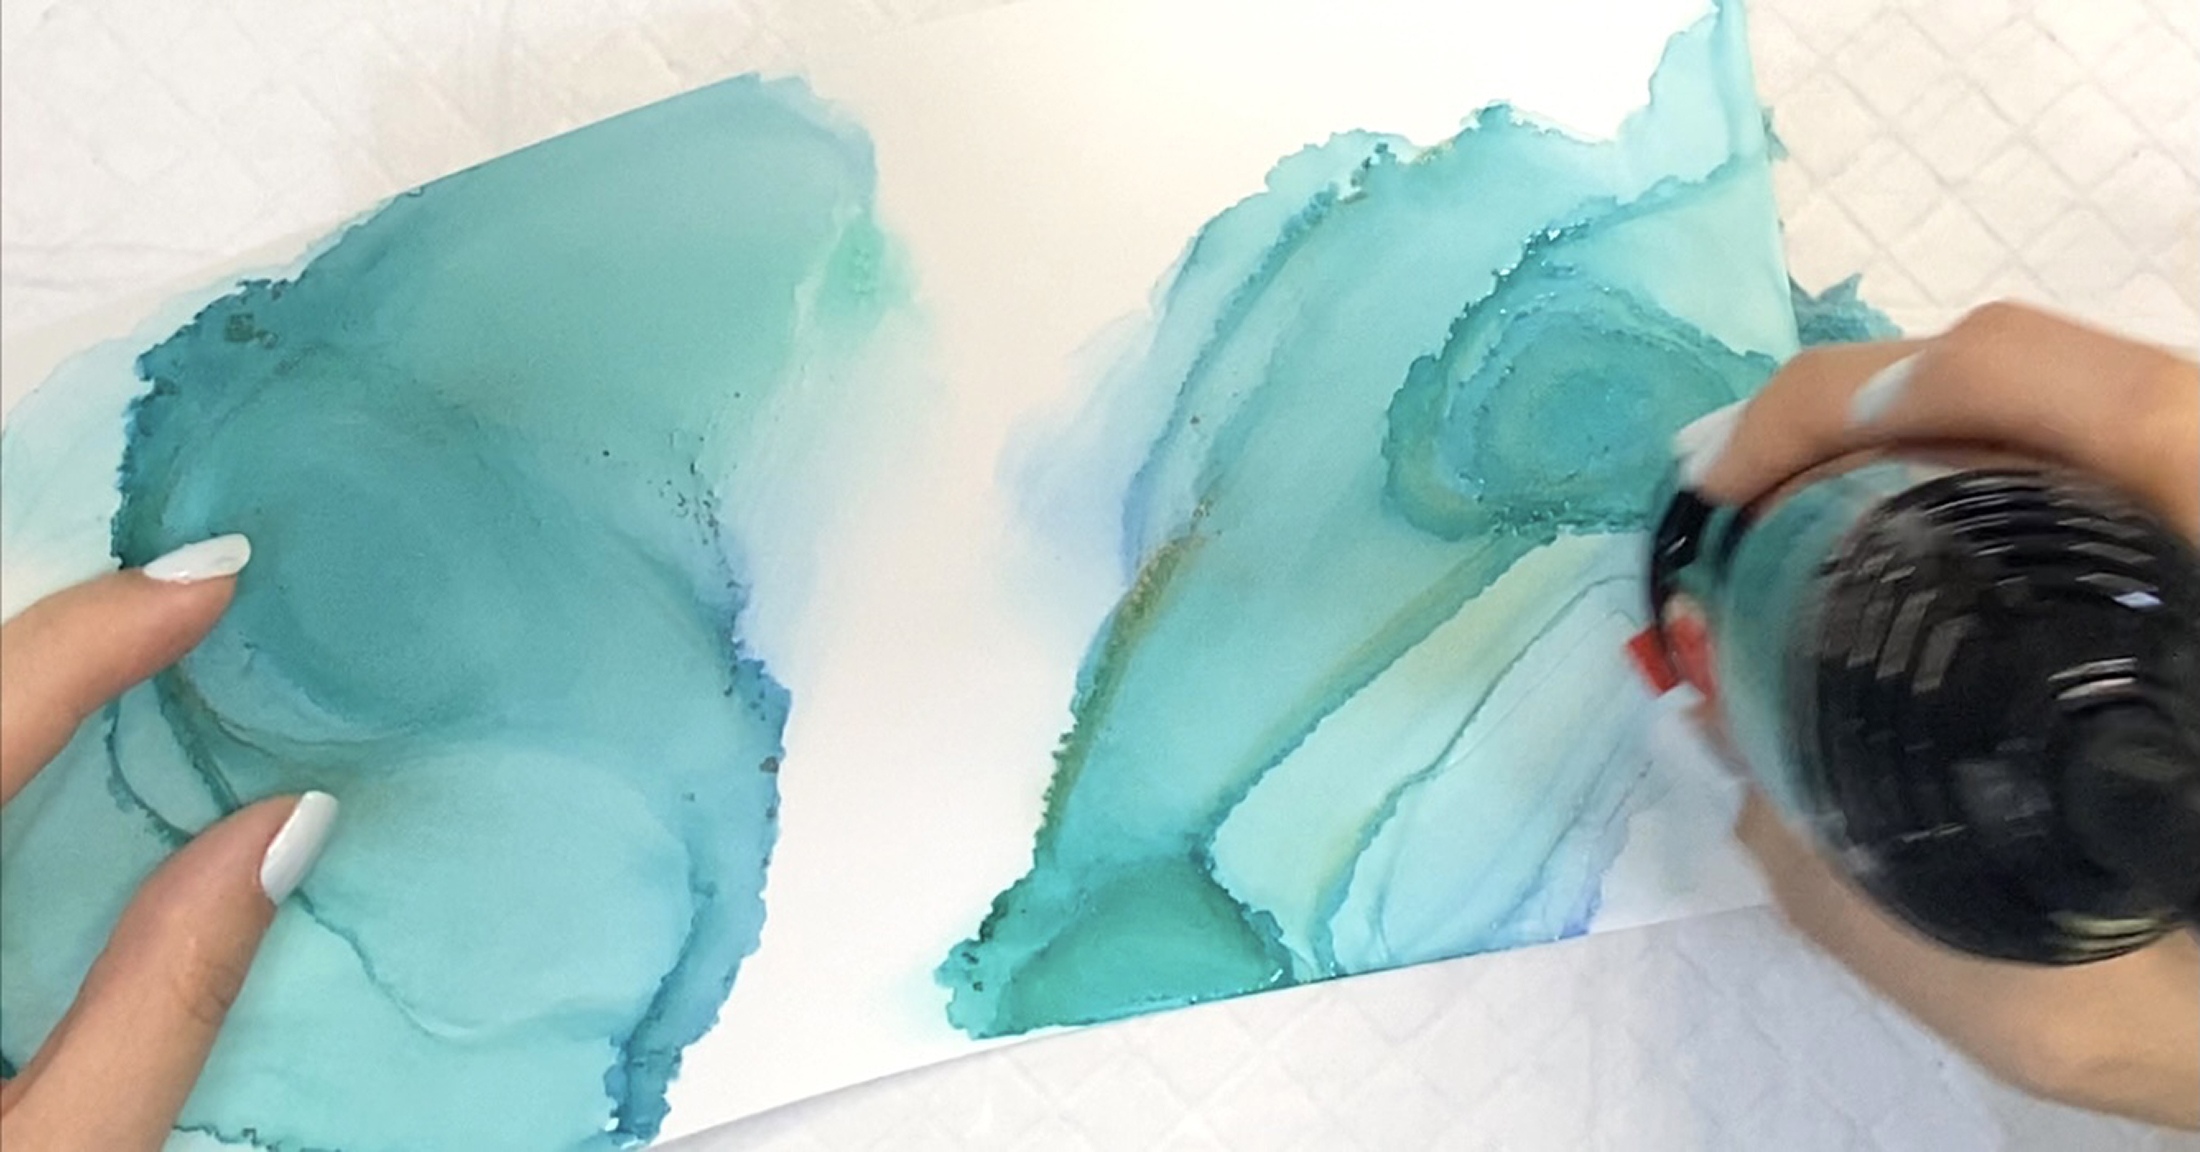
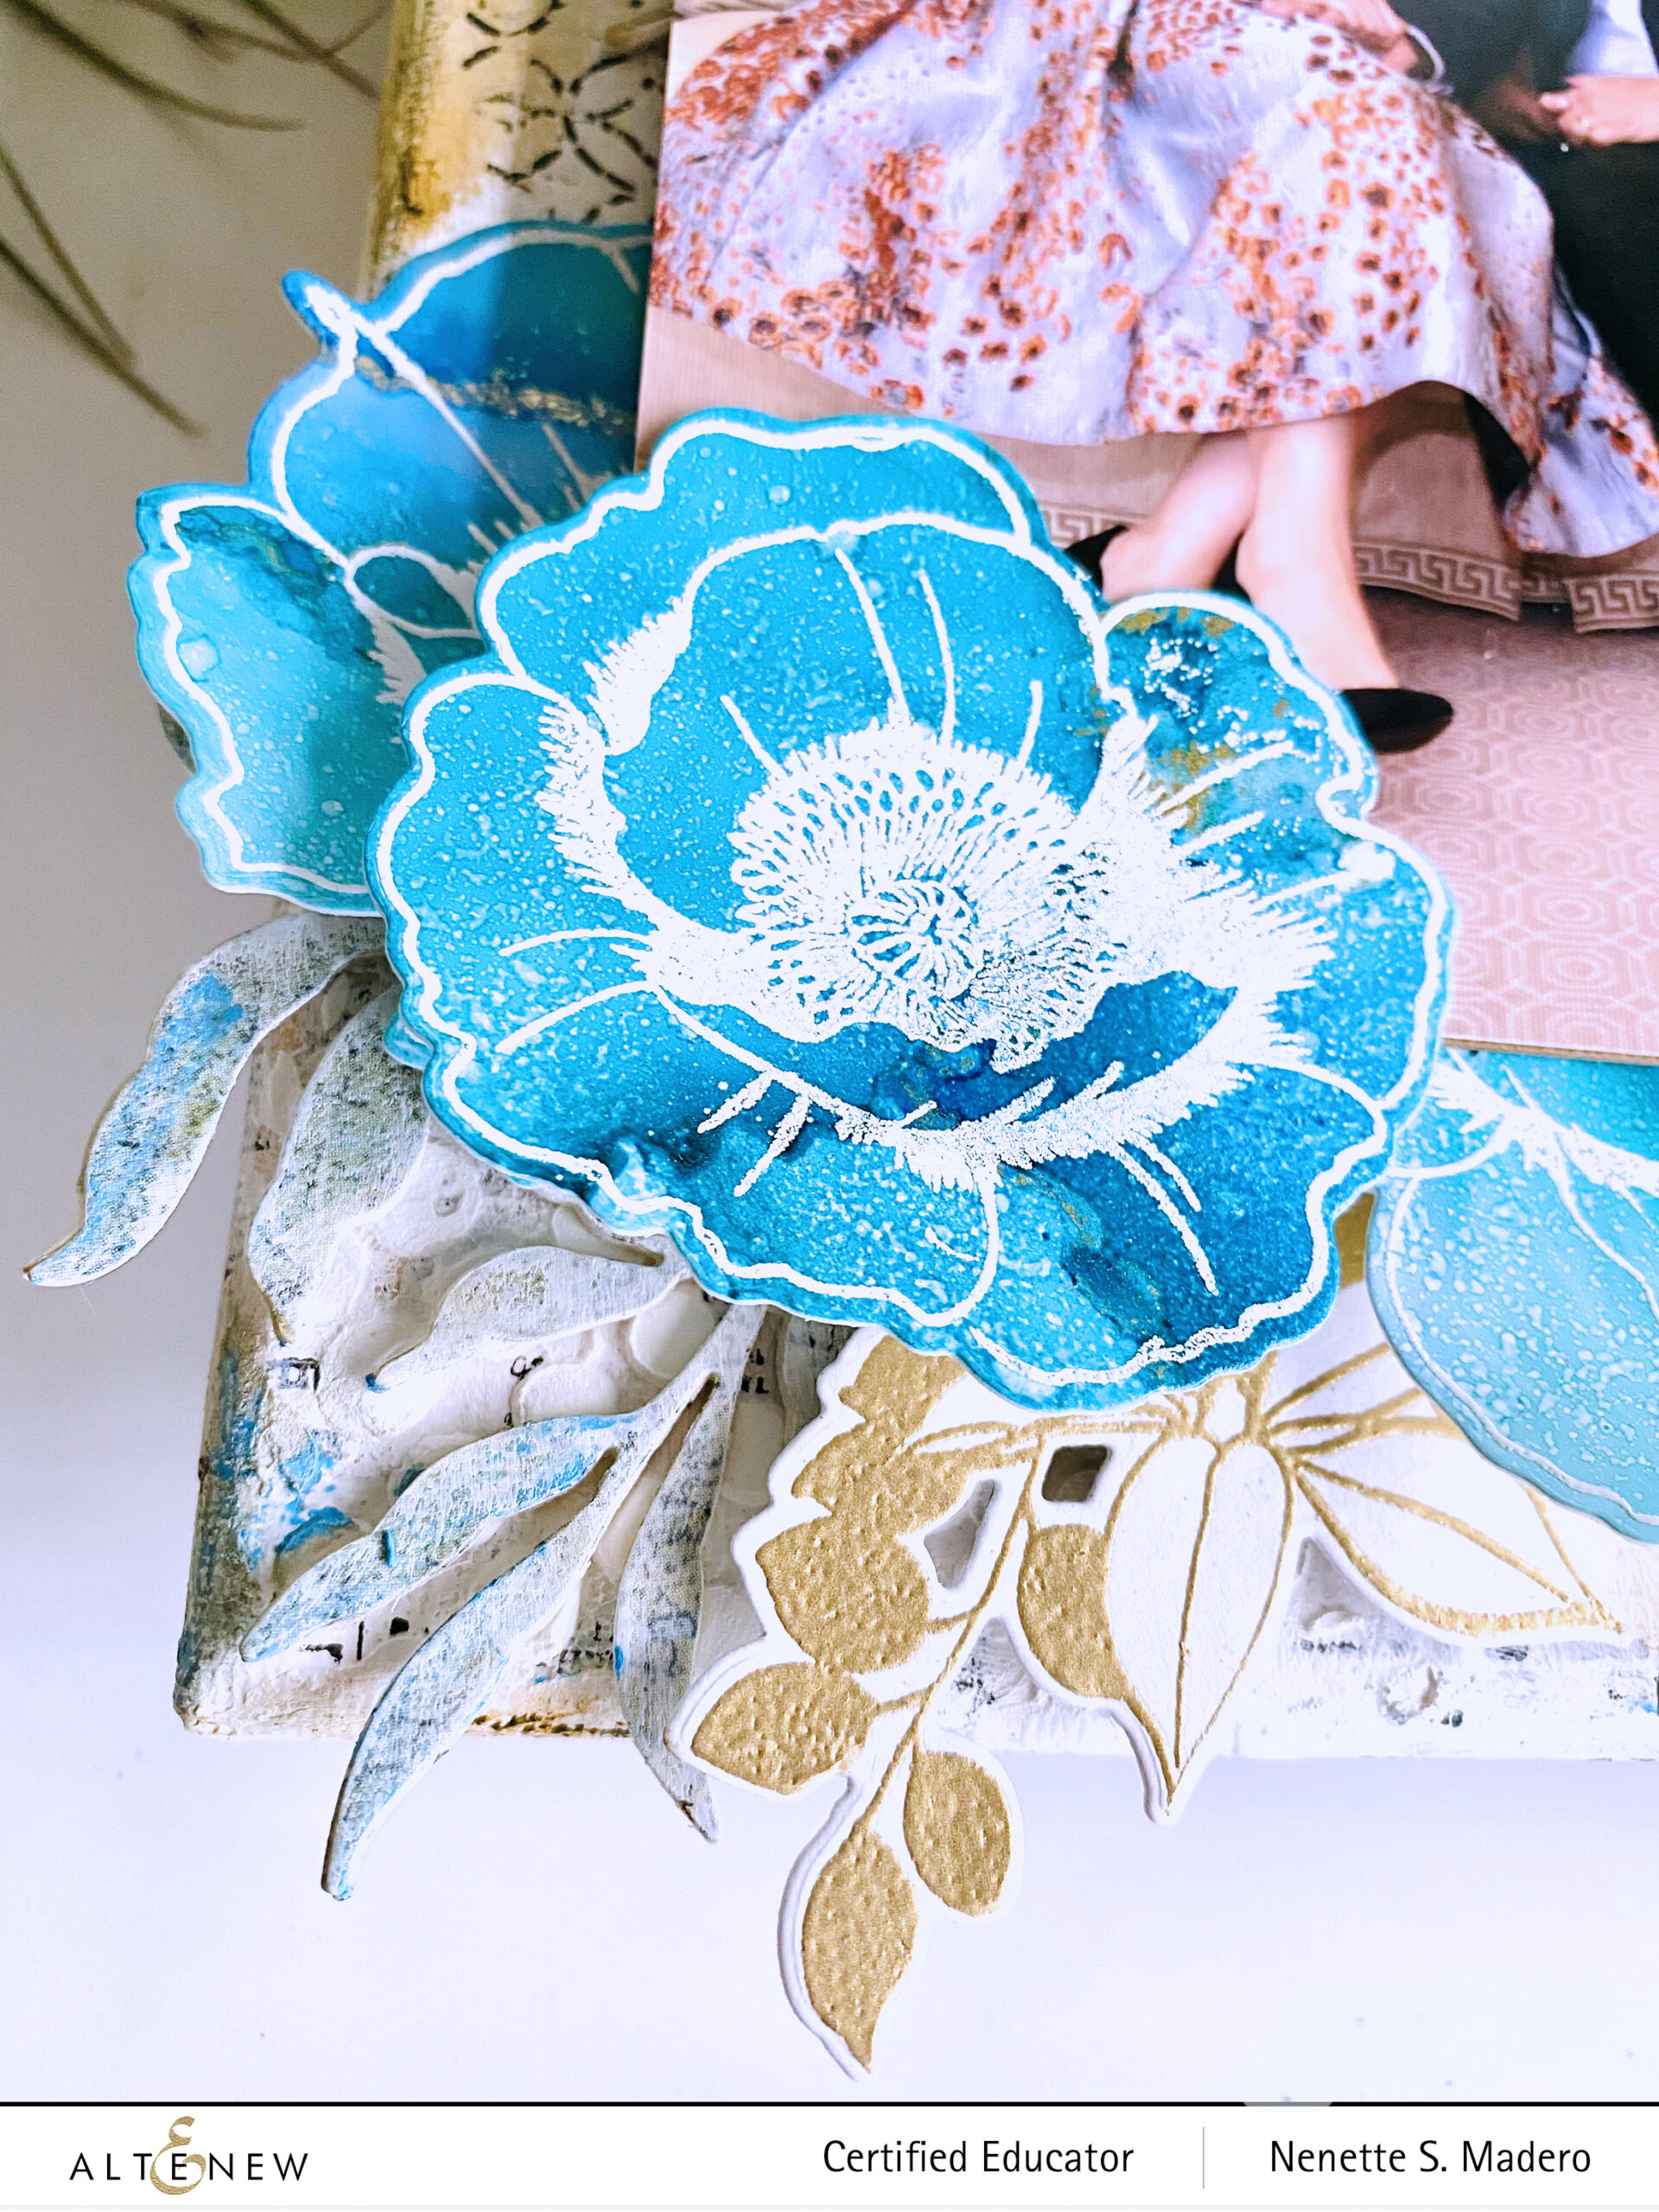
2. Add 99% alcohol and alcohol inks to Nara paper and create ripples using a hairdryer. Move the paper to mix the colors.
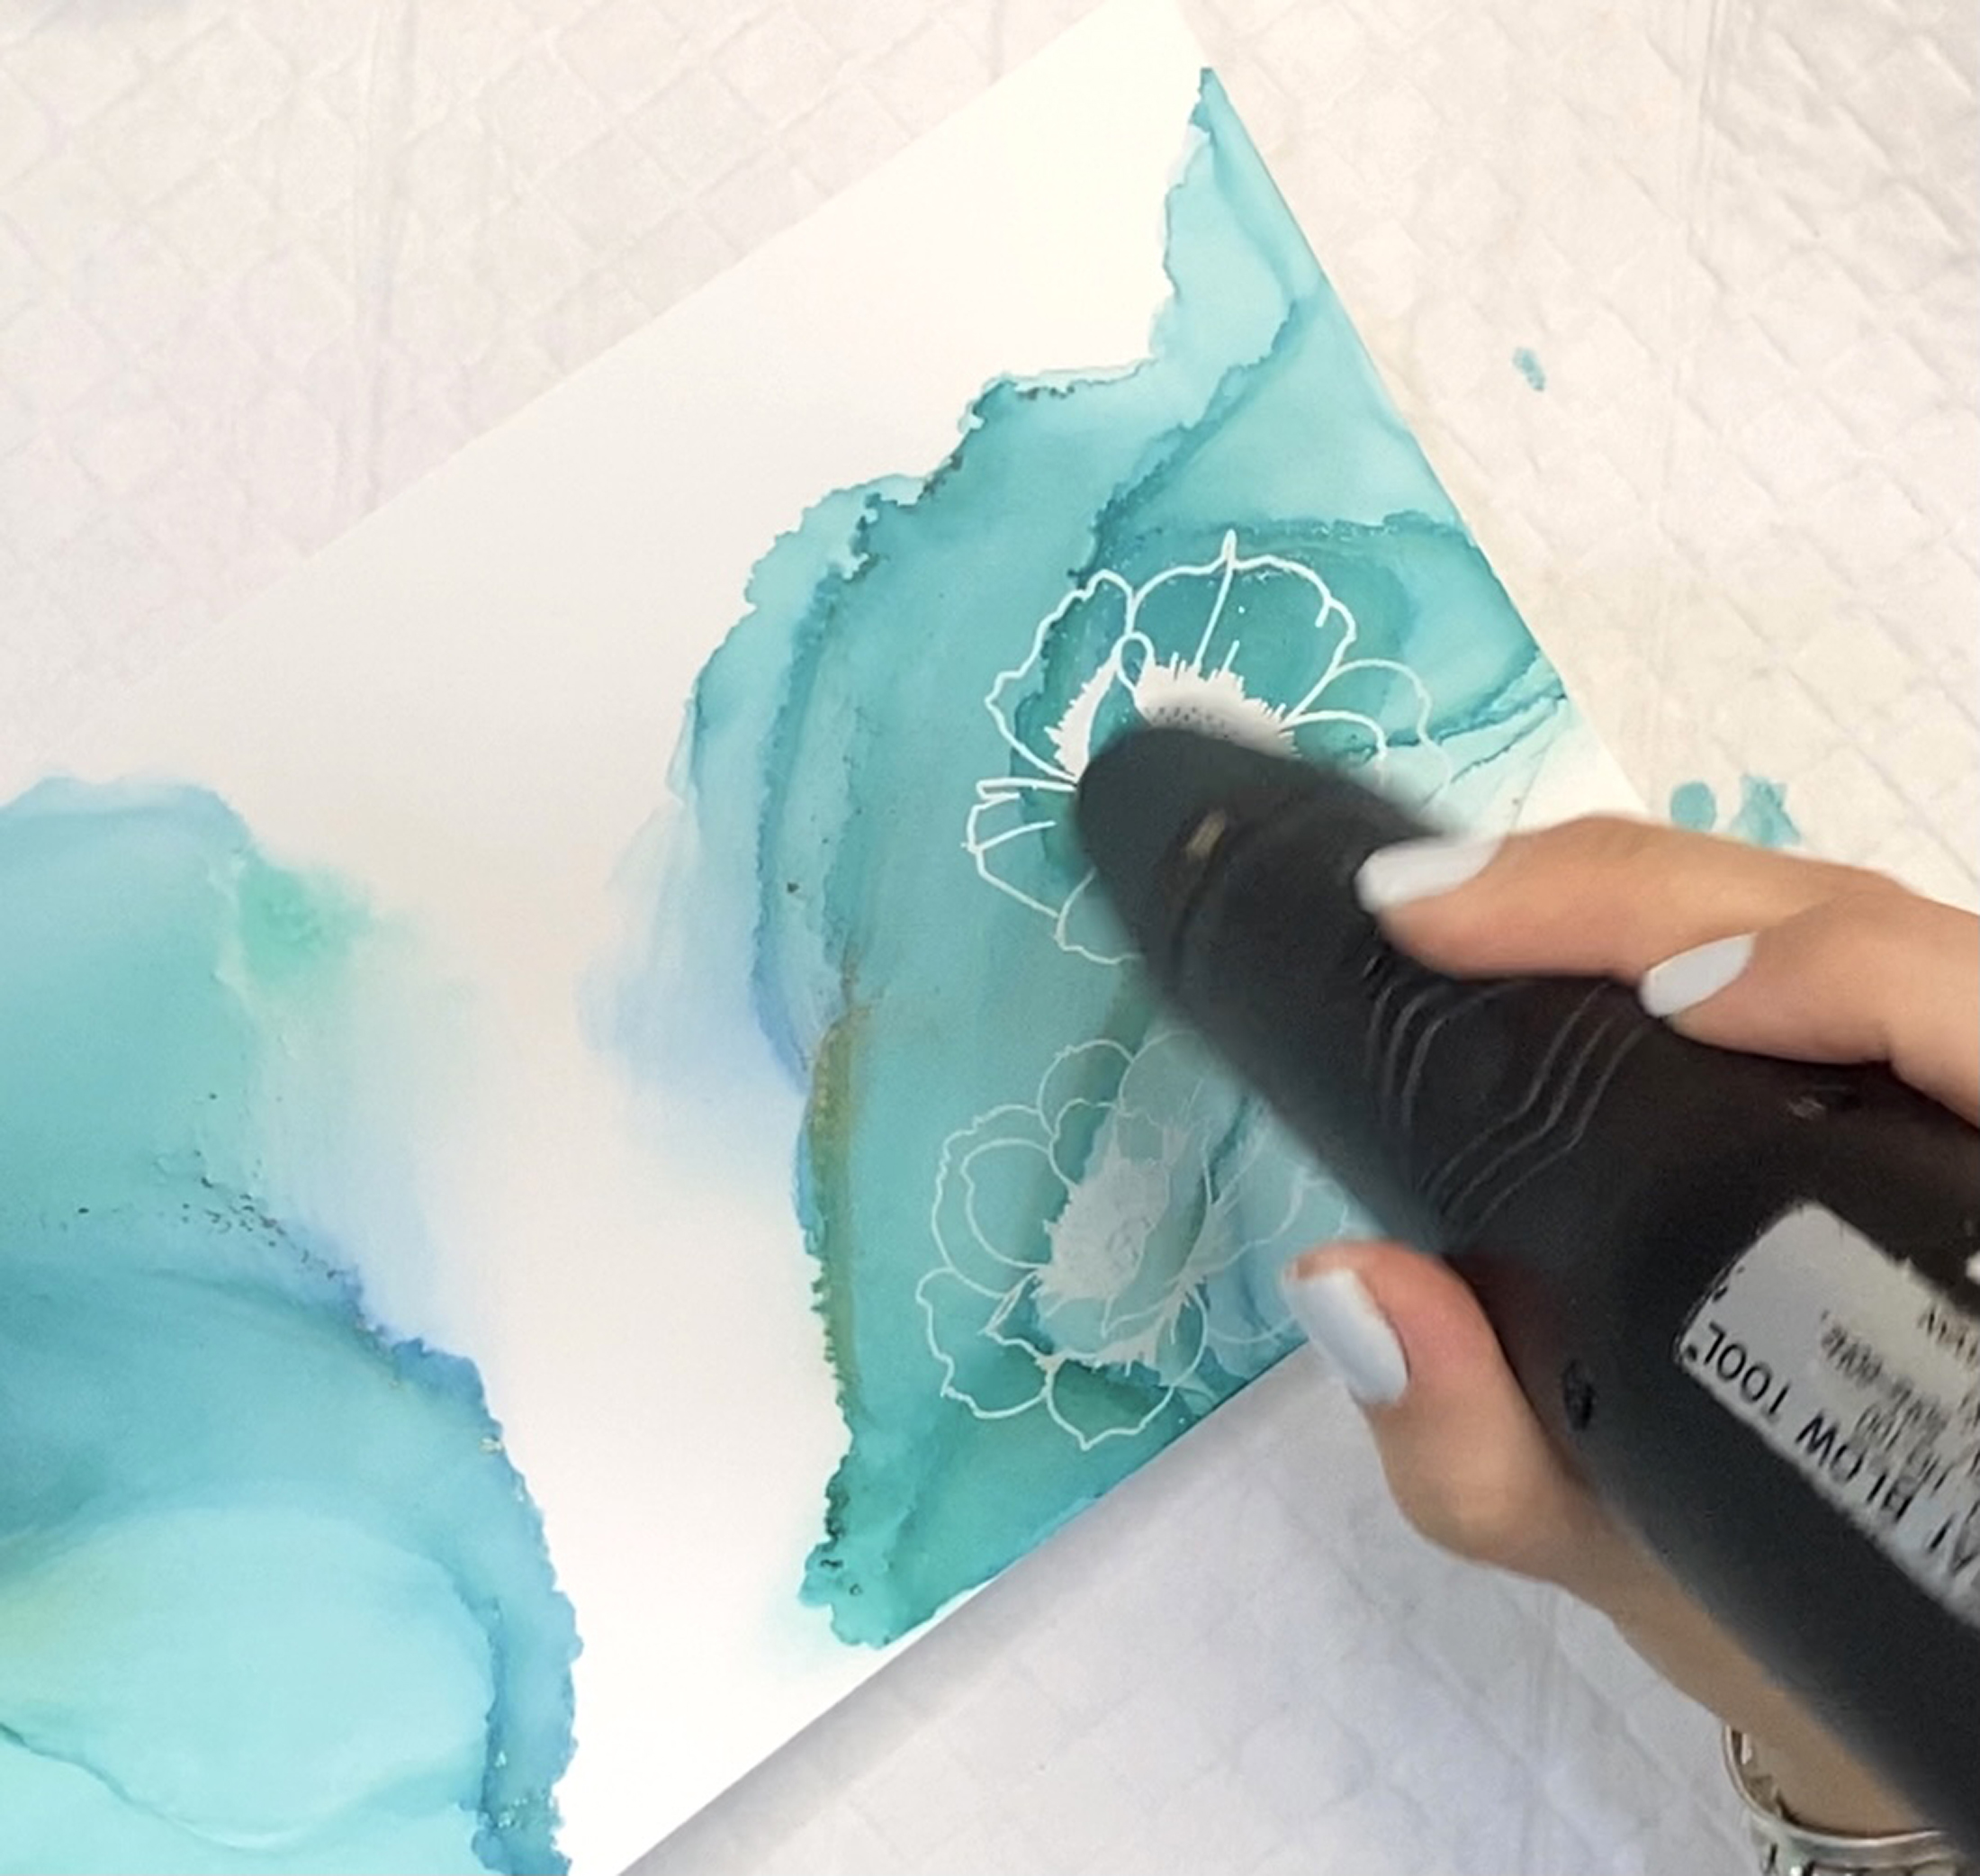
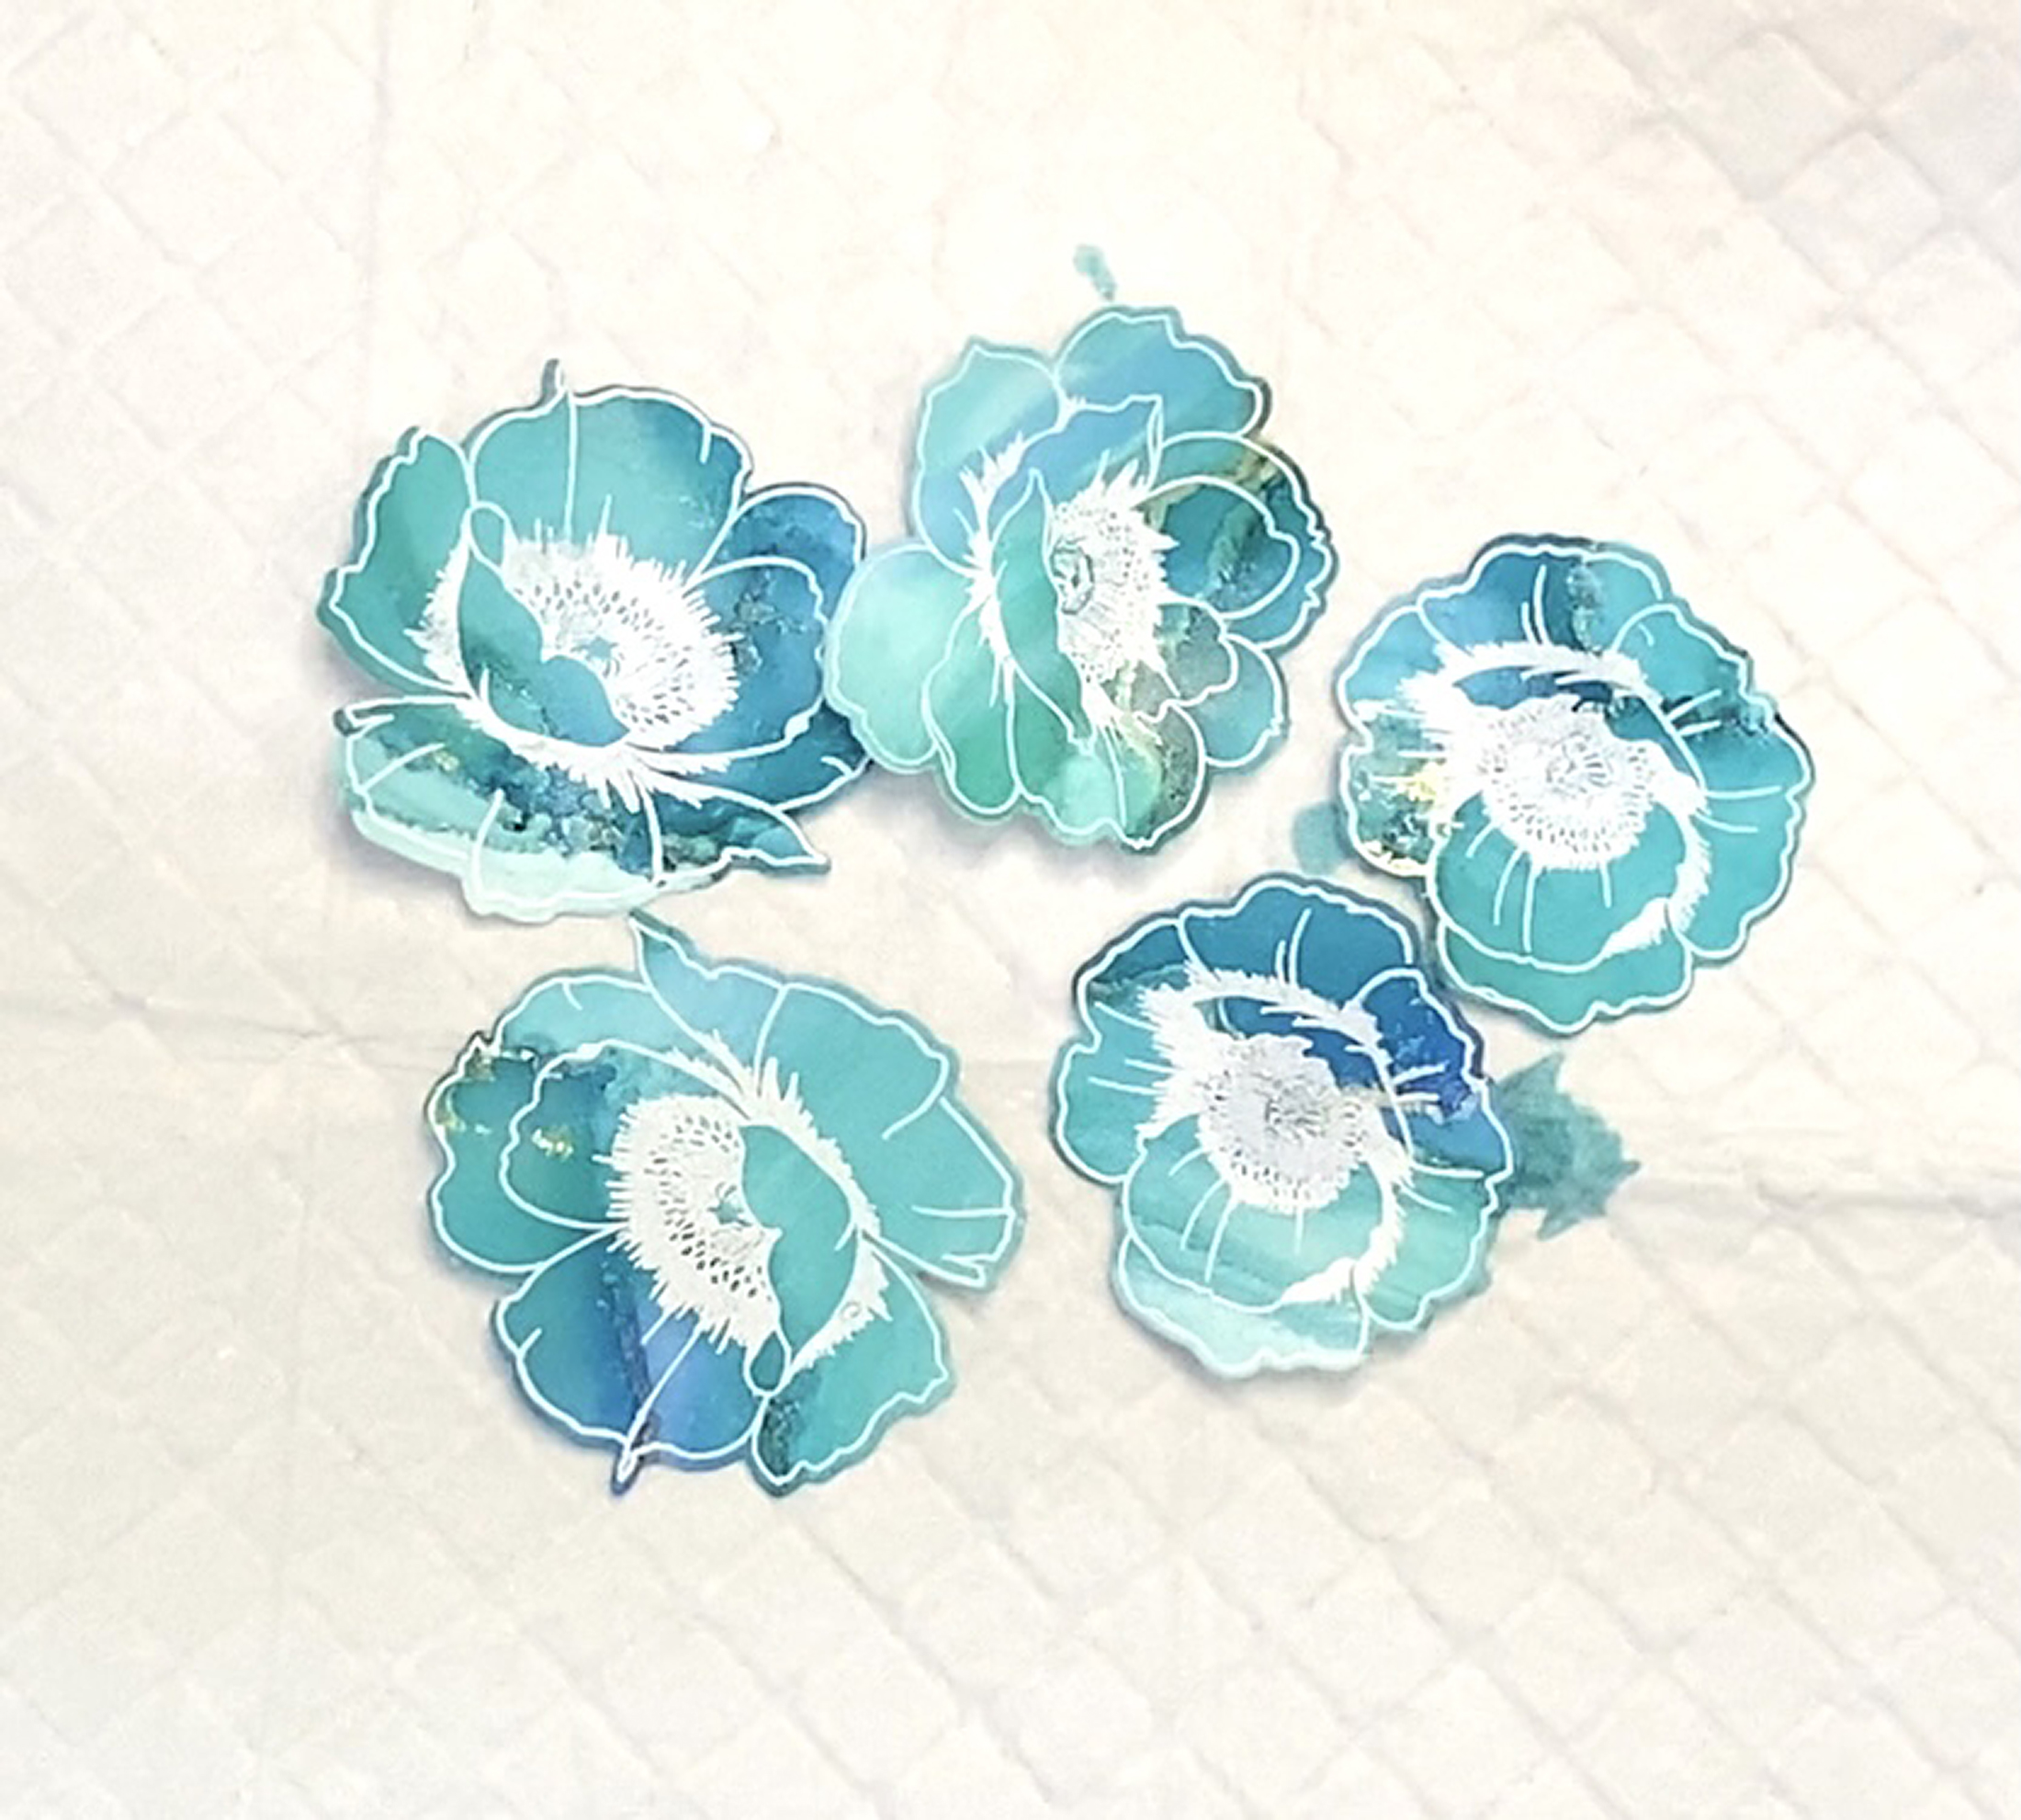
3. Stamp Wallpaper florals on the Nara paper ( choosing areas with nice contrast ) using Versamark Ink and emboss with pure white embossing powder. Make sure to use an anti-static tool before stamping. Do not direct the heat to the paper for a long time because it will melt the synthetic paper.
4. Stamp the leaves on watercolor paper using Versamark and emboss with Antique Gold embossing powder.

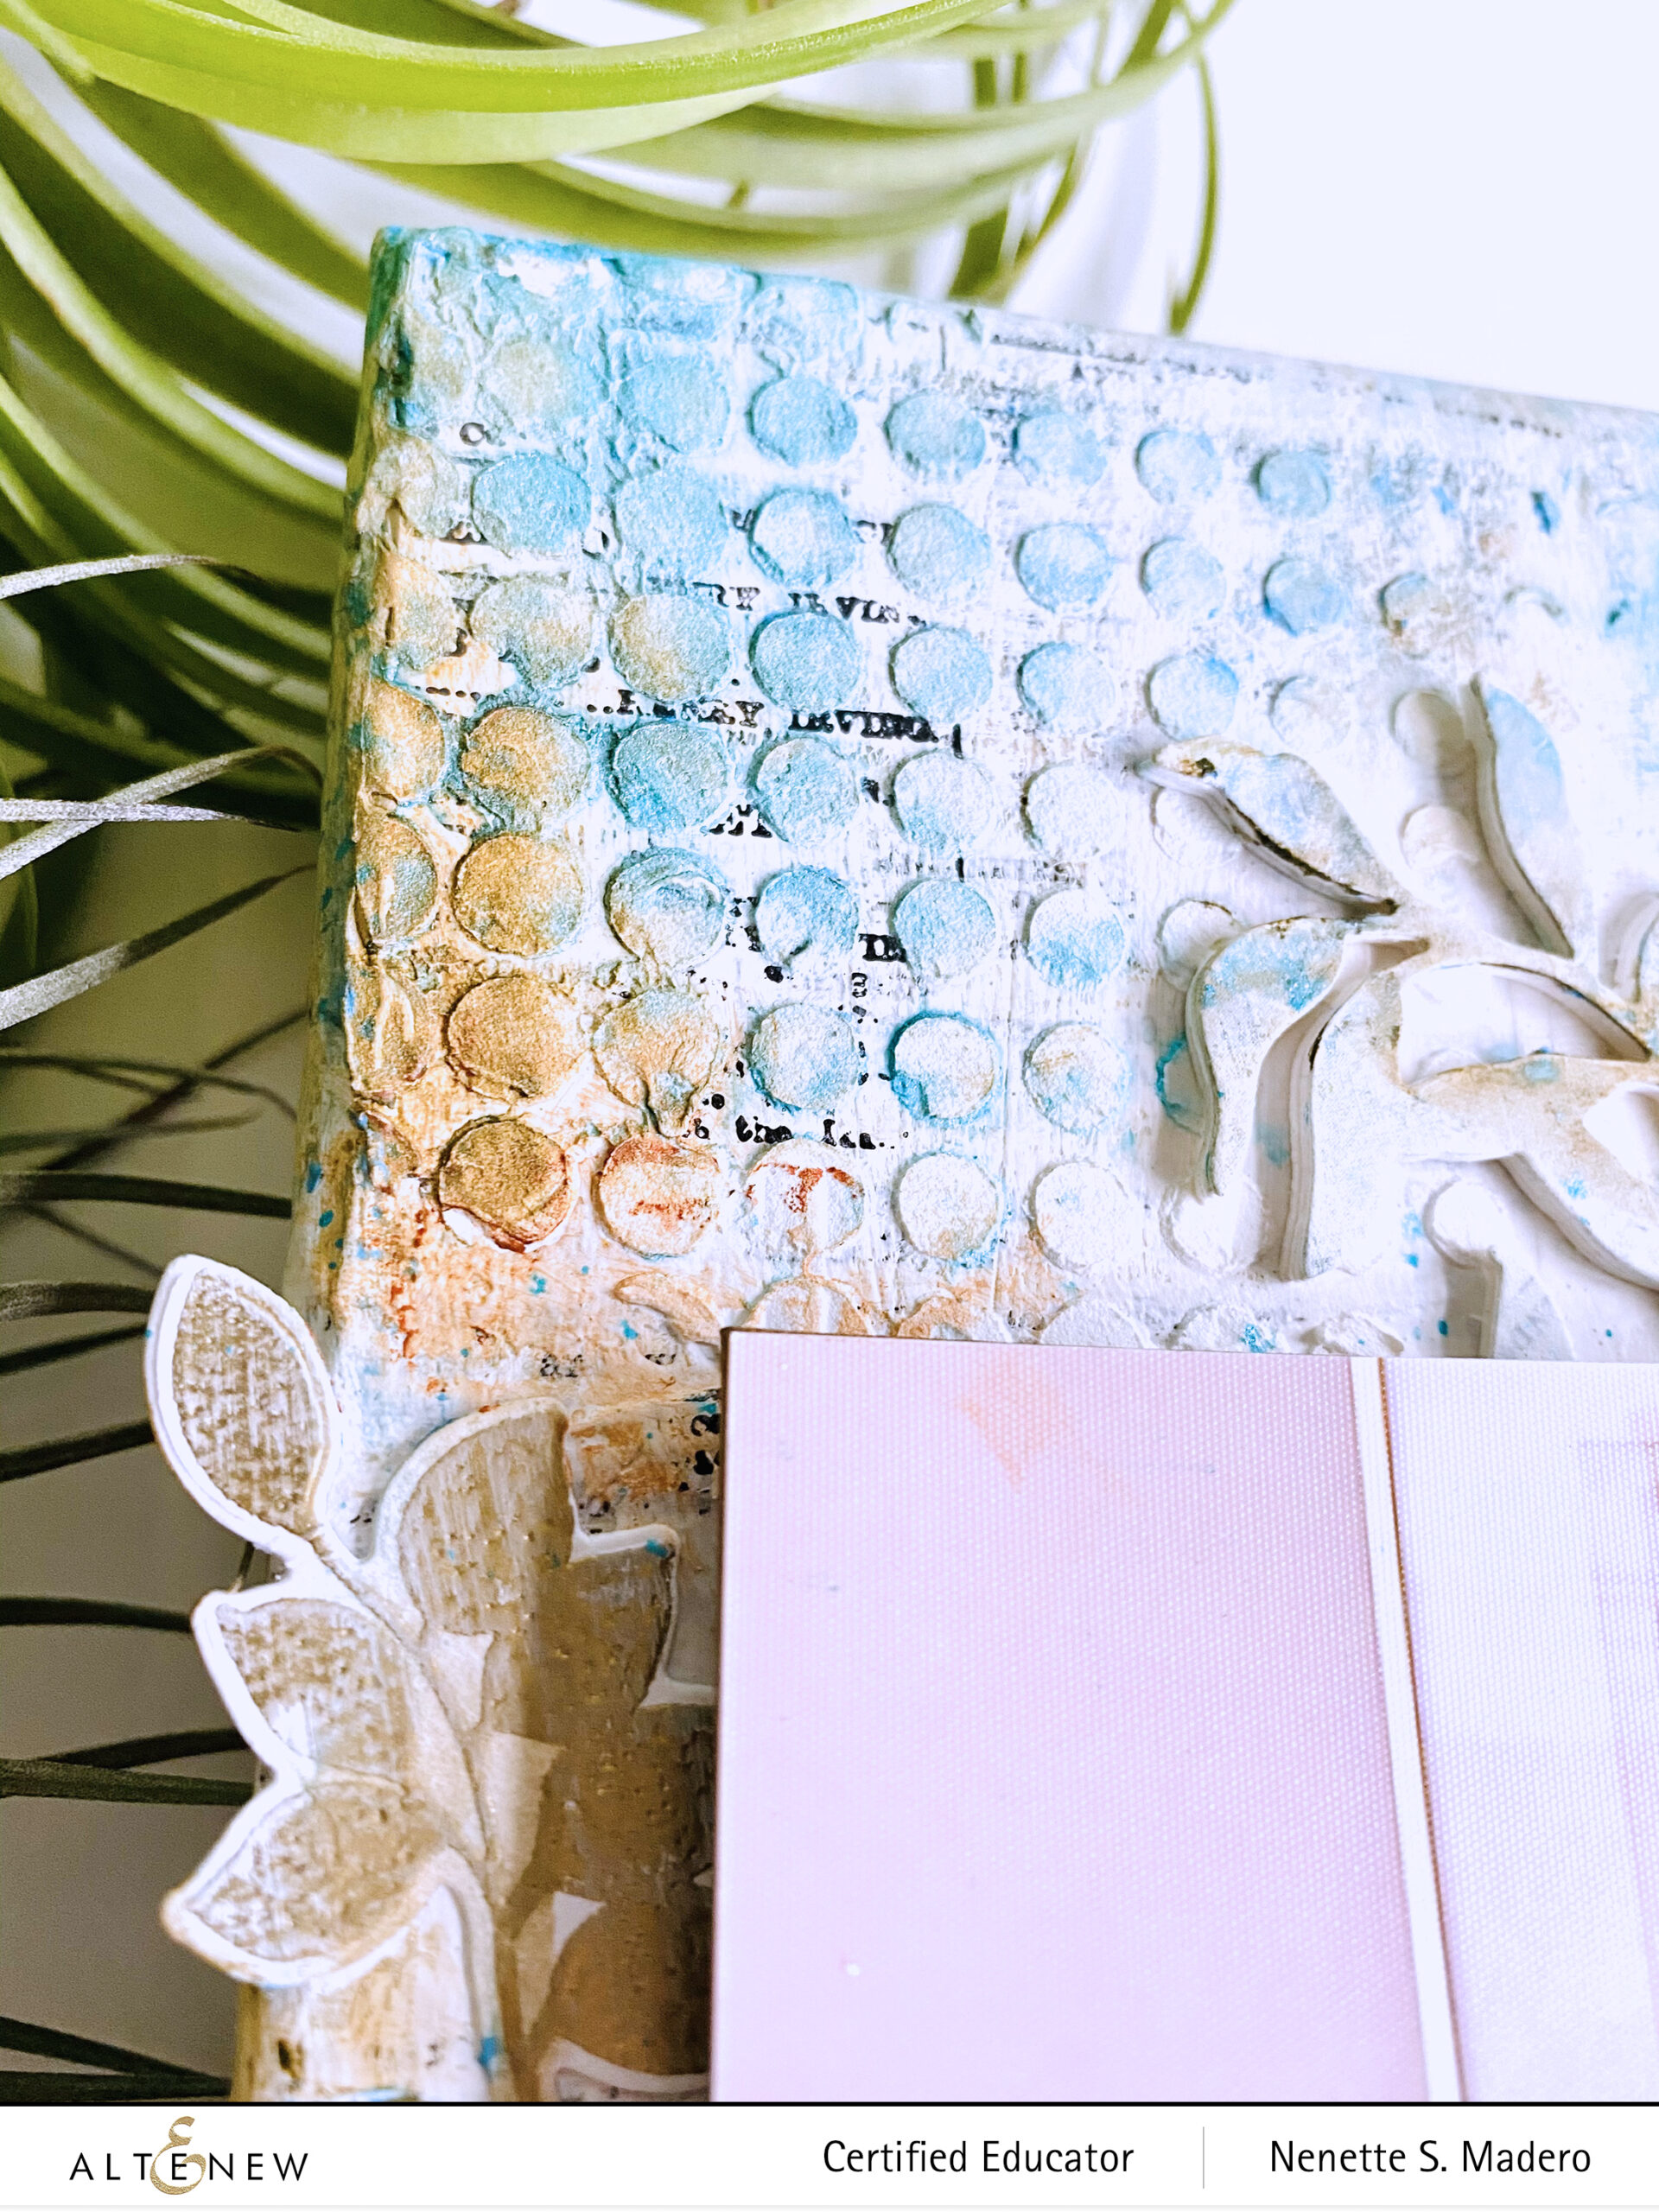
5. Die cut both flowers and leaves using the coordinating dies. Die cut leaves from patterned paper as well then stack the leaves on top of each other using adhesive to create dimension.
6. Cover the entire background with old book sheets and mod podge.

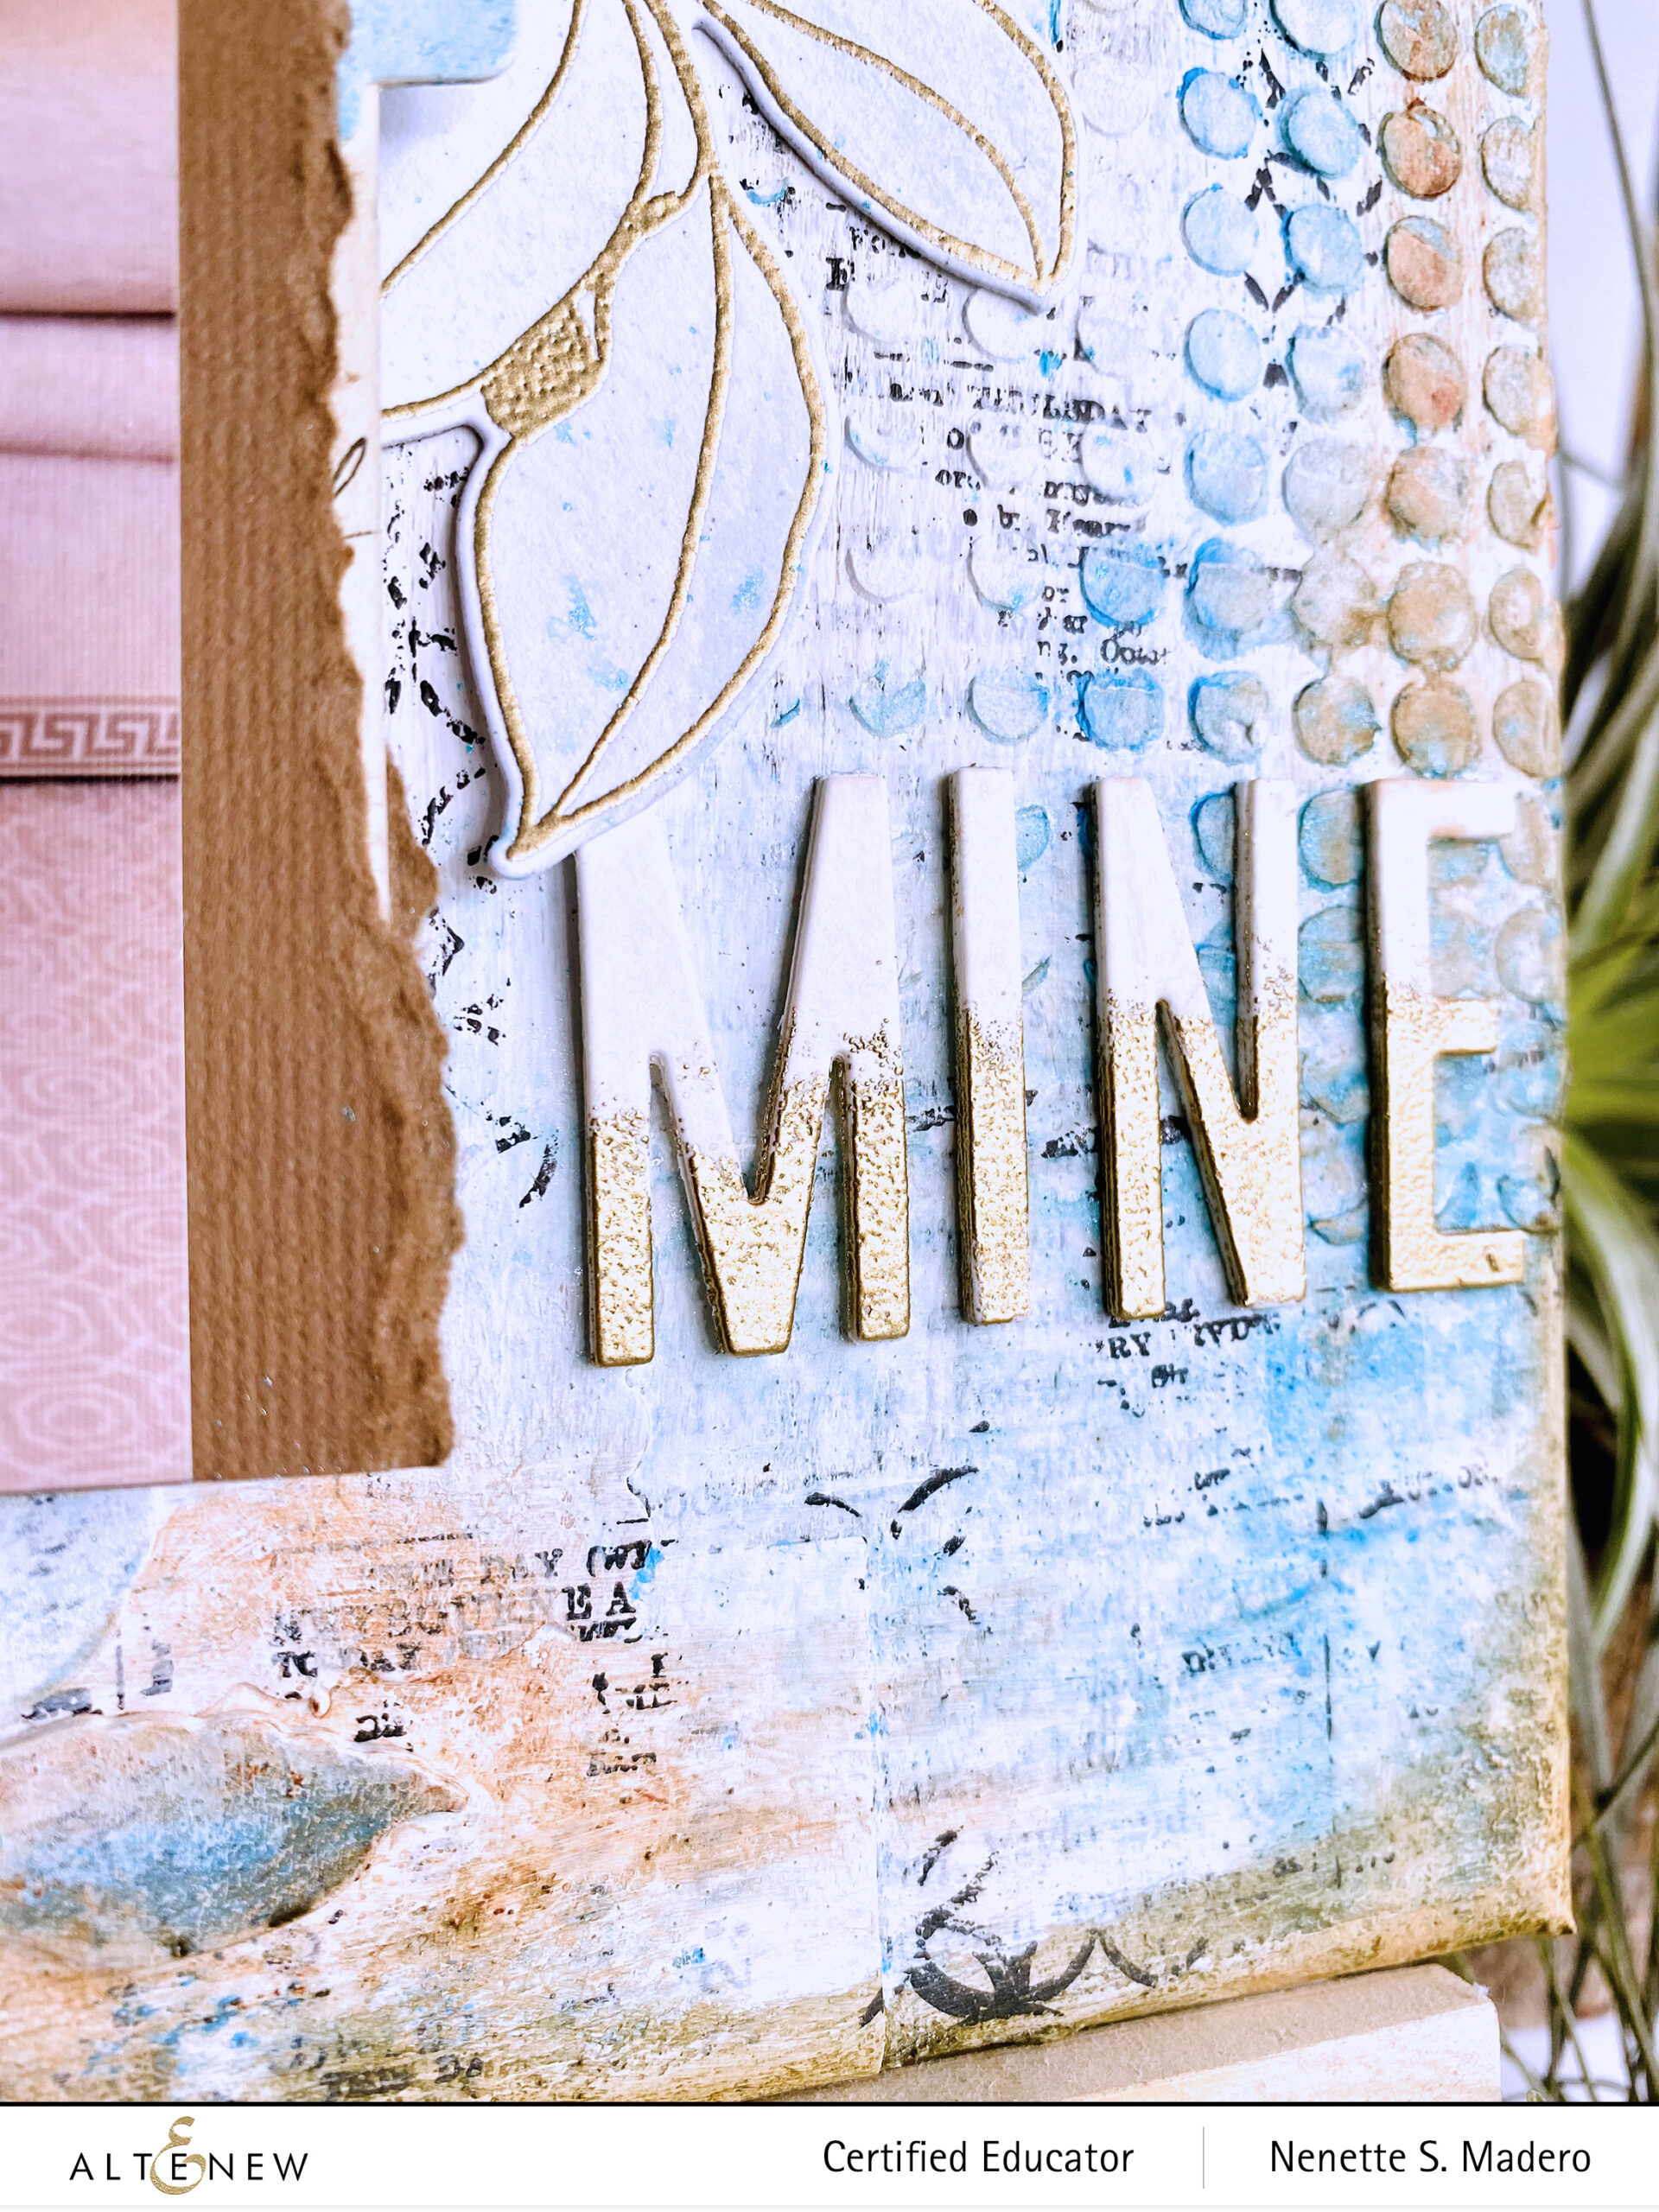
7. Die cut the letters for the title 4 times and adhere on top of each other. Add Versamark ink at the bottom area of the letters and emboss with Antique Gold embossing powder.

8. Add gesso with a dry brush to the entire canvas. This will prevent the color mediums from seeping into the canvas. Dry with a heat tool.

9. Add graphic images to the background using Obsidian black pigment ink for contrast and heat set to make it permanent and waterproof.

10. Use the Halftone stencil with embossing paste to create texture.
11. Write the journaling on a tag and insert into a folded pocket.

12. Glue the photo to the folded pocket.
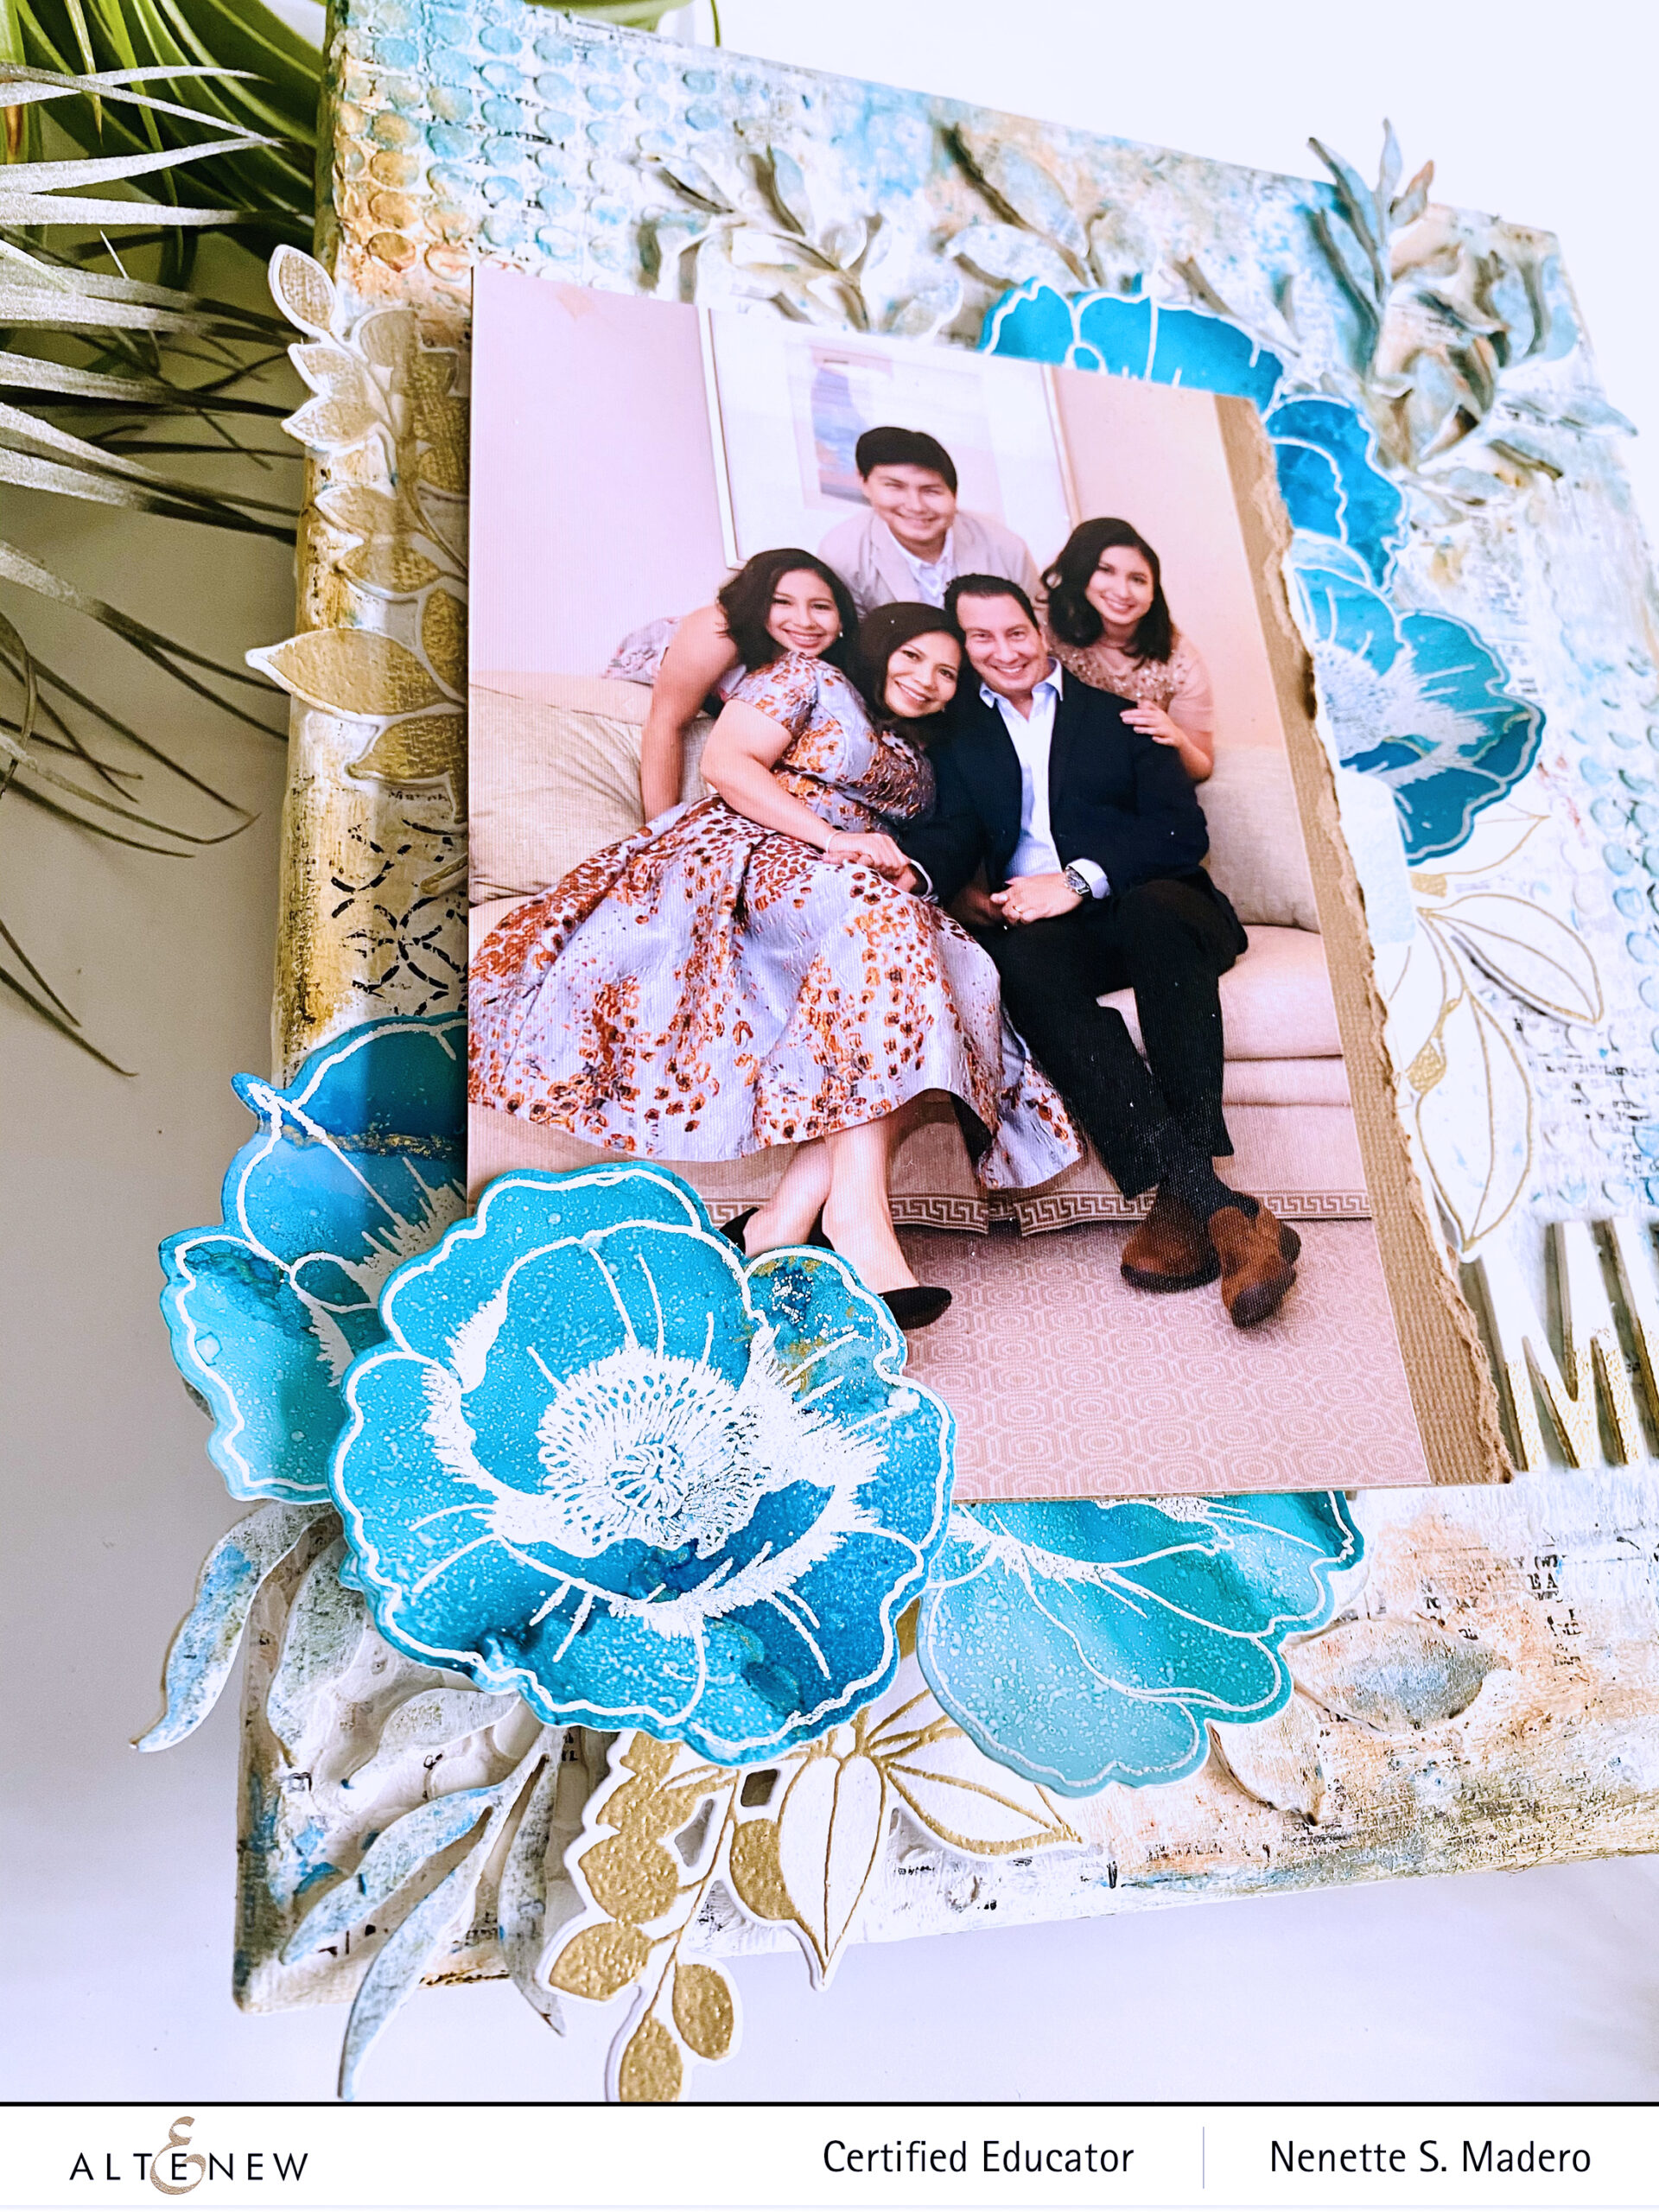
13. Temporarily add photo and embellishments to the canvas based on the sketch. When you’re happy with the arrangement, glue the embellishments using a strong adhesive like glossy accent medium.

14. Adhere the leaves and add more gesso to tone down the colors.

15. Glue the flowers and leaves to the canvas. Adhere the photo and pocket to stacked chipboard for added dimension. Use foam squares for the leaves.
16. Scribble color onto the canvas using distress ink crayons. Add water and use your finger to spread the color. Dry with heat tool.

17. Spray the Lagoon metallic shimmer and add water. Allow colors to run down the canvas.

18. Glue the title using glossy accent dimensional medium.

I documented the entire process on a video. You can watch it below.

https://youtu.be/JNXuqetvwgQ

I hope you found some inspiration to create your own shabby chic background and to use alcohol inks to create embossed flowers. Make sure to leave a comment and let me know what other techniques you’d like to learn for future videos. Your comments mean so much to me! <3 I would love to see you on IG as well so please follow me @mylittleatticstudio. Thank you so much for dropping by, be safe, and keep on crafting!!!


I am based in the Philippines and blessed with a loving and supportive husband, 3 wonderful children and a fur baby named Monty. For fun, I often express myself creatively in activities such as event styling and  tablescaping. I find joy in making scrapbooking layouts, cards, and mixed media art. Adding layers and dimension to my pieces are things I enjoy doing and I particularly love using watercolor and alcohol inks as my coloring mediums. I believe that one’s attention to detail makes a big difference and can convert the ordinary into something truly beautiful.

ALTENEW EDUCATOR “FOR THE LOVE OF FLOWERS” BLOG HOP AND LINKY PARTY + GIVEAWAY

ALTENEW EDUCATOR “FOR THE LOVE OF FLOWERS” BLOG HOP AND LINKY PARTY + GIVEAWAY

Hello everyone!!! I’d like to thank Neha Aggarwal for sending you over to my blog. I’m so thrilled to be joining this Altenew Educator “For the Love of Flowers” blog hop and linky party + giveaway with my co-educators!!! Make sure you drop by the Altnenew Card Blog for more inspiration. The Altenew certified educator numbers are growing and more are in the process of getting certified. Being an Altenew educator has definitely made me a more credible teacher. Sharing what I know brings me so much joy and I look forward to more workshops in the future!!! Here are some of the cards I made for this hop.


HELLO PRECIOUS FRIEND/IF YOU CAN DREAM IT, YOU CAN DO IT CARDS


These are what I call my yin and yang cards– elements of cards that I interchange to create 2 cards. You will need a stamp positioning tool for this technique. First, I stamped the largest image of the Altenew Flower Garden Stamp Set using Versamark Ink onto the card front of a Neenah Solar White Cardstock and the image was embossed with Rose gold embossing powder. Stamp the same image onto navy blue cardstock without moving the stamp. The image was embossed with White Crisp embossing powder.

Next, I masked the large image so that I can stamp the smaller image right next to it. I continued to mask and stamp until the upper and side part of the card was covered with the floral images and leaves. The center was die cut using the Fine Frames Cover Die.

Sentiments from the Stone Mosaic Stamp Set were embossed on vellum paper and wrapped around the center panel. The center was then interchanged and mounted with foam sheets. The thinnest frame from the Fine frames was used to add a finishing touch to the center of the card. The card was then assembled.


YOU’VE GOT THIS CARD


This second card was made using the beautiful Antique Roses Stamp set. I first wet some watercolor papers with water and added color using a mixture of Limeade, Emerald, Sea Breeze and Turquoise from the Altenew Watercolor Brush Markers. This became the first layer of the stamp set. I then used the Mountain Mist, Volcanic Lake and Lagoon from the Sea Shore Crisp Dye Ink Set for the succeeding layers of the flowers. I used the base layer to add Versamark Ink to the entire front of the flower and then I embossed with Clear embossing powder to add some shine. The leaves were also colored with watercolor and only the shadow stamp set was used to add some contrast. I die cut the leaves from the Rose Flurries 3D die from white cardstock and added them to the arrangement. The background was made using the Moroccan Mosaic Cover die. I also added some Distress Oxide ink on the card front for added contrast. The sentiment was stamped on black cardstock and embossed using the Rose Gold Embossing Powder.


COMPLETELY TOTALLY PROUD OF YOU CARD


Although this is not a floral card, leaves definitely enhance the flowers. 🙂 I wanted to show how you can use the other element of this stamp set aside from the flower itself and still make it look like a floral card. This was a fun card to make. I used the leaf image from the Paint a Flower Poppy stamp set and stamped the image going one direction using a very light ink. I went ahead and painted the leaves with the watercolor brush markers using a variety of cool colors. Using a .5 Pigma Micron pigment ink pen, I drew some fine lines to mimick the leaf veins on some of the painted leaves. I die cut the painted panel using a rectangular die. A thin blue frame was also cut using the Fine Frames Cover Die. The outer layer of the painted panel was mounted on foam squares and adhere to the card front.


WHY FIT IN WHEN YOU WERE BORN TO STAND OUT CARD


I really love the poppy image from the Paint a Flower Poppy stamp set. <3 I stamped the image several times on watercolor paper using a very light ink. For the main image, I colored it using the watecolor brush markers then added some shadows and accents using Faber-Castell polychromos pencils. The sentiment from the Wonderland Stamp set was stamped on vellum using Versamark ink then embossed with rose gold embossing powder. This was framed using the same brown cardstock and adhered using foam squares.


SIBLINGS LAYOUT


I haven’t made a scrapbook page for quite some time now but the Altenew stamps and dies have brought back my love for scrapbooking because now I can make my own embellishments!!!

Materials for this layout are the following: Pen Sketched Flowers Stamp and dies, Leaf Clusters stamp and dies, Flower Garden stamp set, Watercolor Stripes Cover Die, Inline Alpha Dies, Rose Gold Embossing Powder, Altenew watercolors: Lagoon, Sea Breeze, Dessert Night and Turquoise.

The flowers from the Pen Sketched Flowers stamp set were stamped on watercolor paper using Versamark Ink then embossed with Rose Gold embossing powder. The different shades of blues were used to color the flowers using the wet on wet technique. Next, the leaves from the Leaf Clusters were stamped on Neenah Solar white cardstock and embossed with Rose Gold embossing powder. The leaves from the Flower Garden stamp set were also stamped and embossed then all were die cut. The photos were adhered to foam sheets to add dimension.

The background was splattered with white gouache to add some interest. I wanted to add 3 brads at the bottom of the vellum to keep the journaling in place but I didn’t have the right shade of gold so all I did was to add Versamark ink to the surface of the brad, dip the brad into the rose gold embossing powder then heat set it. Now they match the leaves 🙂

When creating a layout, remember to always have the 3 key elements on a scrapbook page– photos, title and journaling. As much as possible, I try to use my own handwriting for more emotional connection.


PRIZES


Altenew is giving away a $30 gift certificate to 3 lucky winners! Please leave a comment here on the Altenew Card Blog by 3/11/2020 for a chance to win. We’ll also draw a winner to receive a $15 gift certificate from the comments left on each designer’s blog on the blog hop list below. All winners will be announced on the Altenew Card Blog on 3/14/2020.

There’s MORE! We will pick 2 of our favorite handmade creations from those who joined the linky party and they will each receive a $15 gift certificate to our store!

SPECIAL OFFER: Save 15% off on ALL Stamp & Die Bundles from 3/5/2020 at 12:01 AM EST until 3/6/2020 at 11:59 PM EST. No code needed to enjoy this sale! Not valid on previous purchases. Excludes February 2020 release products. Shop here.

Thank you so much for dropping by! Next stop is the talented Nancy McClelland. The complete blog hop list will be found below. Make sure you drop by all the blogs and be inspired by all the creativity of the educators. I appreciate the love and wonderful comments <3 Make sure you follow me on IG and let me know which card is your favorite! You might just be the lucky one to receive it. <3 Happy crafting everyone!


FACEBOOK | INSTAGRAM | PINTEREST | WEBSITE


BLOG HOP ORDER

Altenew Card Blog
Michelle Ochoa Murray
Nandini Karmarkar
Terri Marie Koszler
Irina Fonina
Amy Hill
Vicki Finger
Laurel Beard
Teri Stokes
Neha Aggarwal
Nenette S. Madero–> YOU ARE HERE
Nancy McClelland
Eva Bussom
Amber Rain Davis
Rosie Neustaedter
Patty Mello
Helen Kalb
Teri Wilson
Christine Pennington
Maryam Sharara
Nicole Watt
Virginia Lu